I've found a couple of references for us here in BC (or perhaps it's for all of Canada, but theses were BC specific): 56cm minimum. Which is about 22.5".
Thank you Stubby79 for the info , Then RBS2 be safer installing headlights on upper area even if still lower than 22.5"
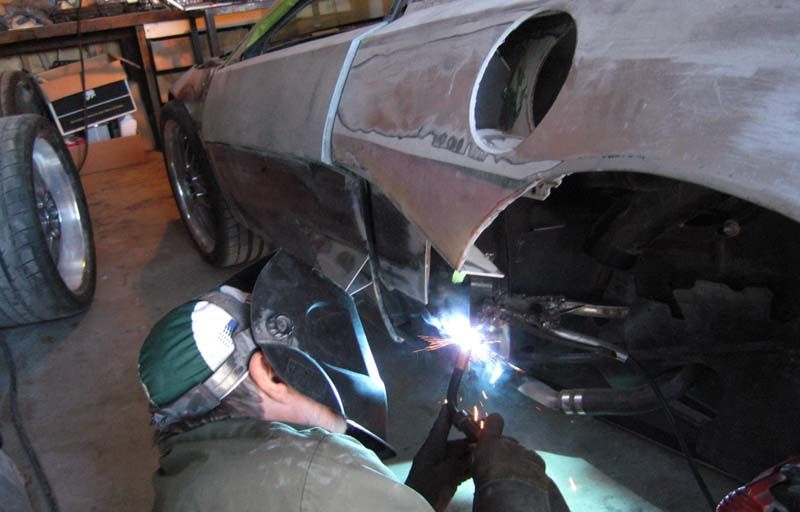
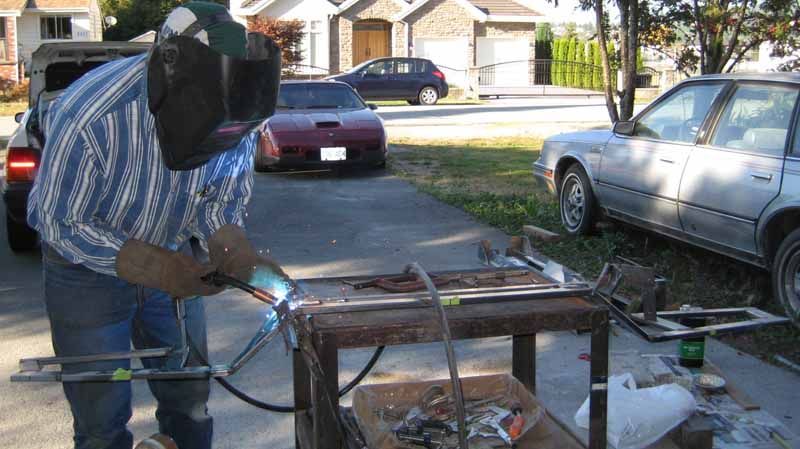
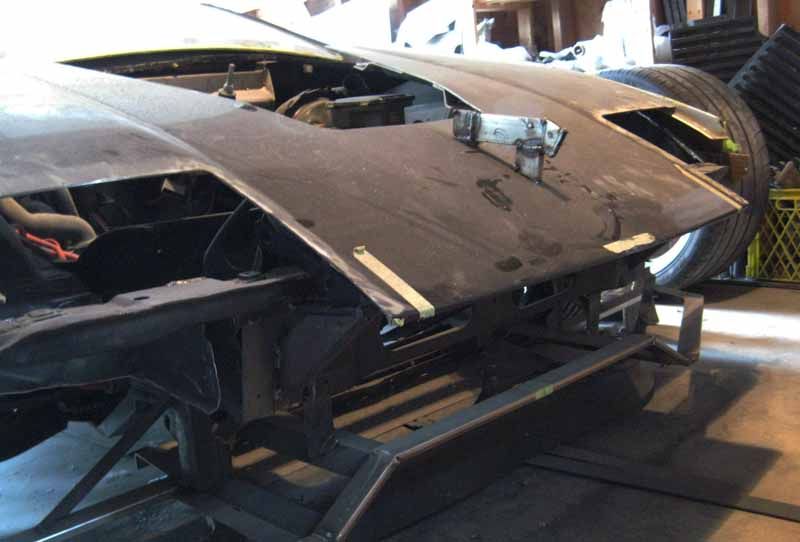
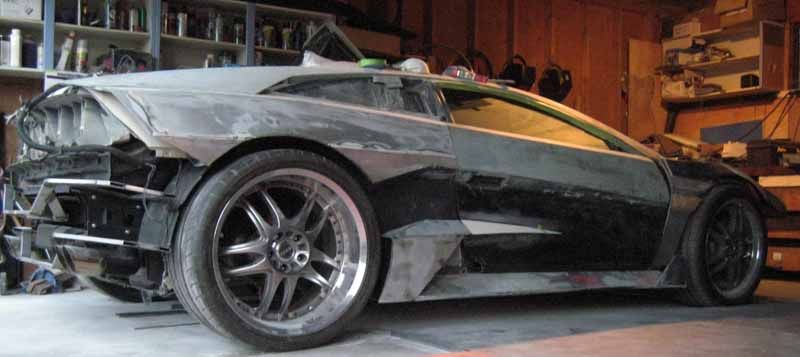
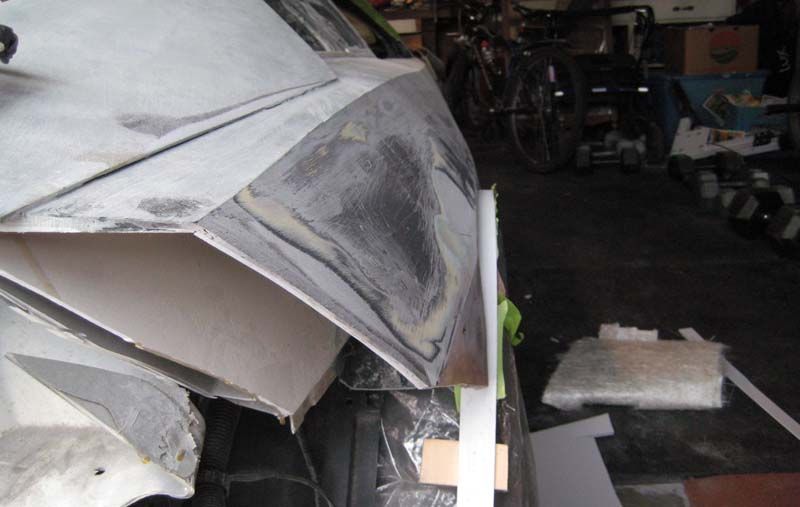
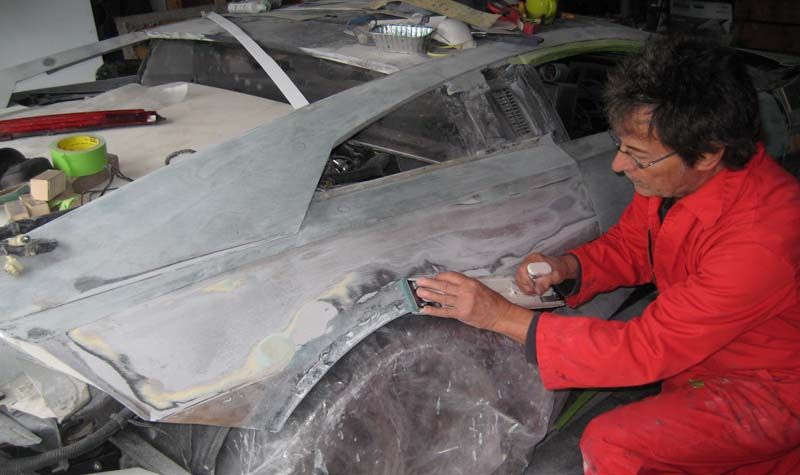
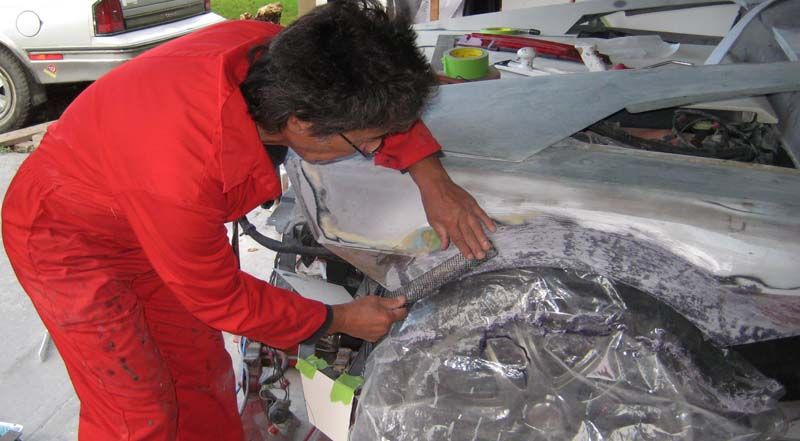
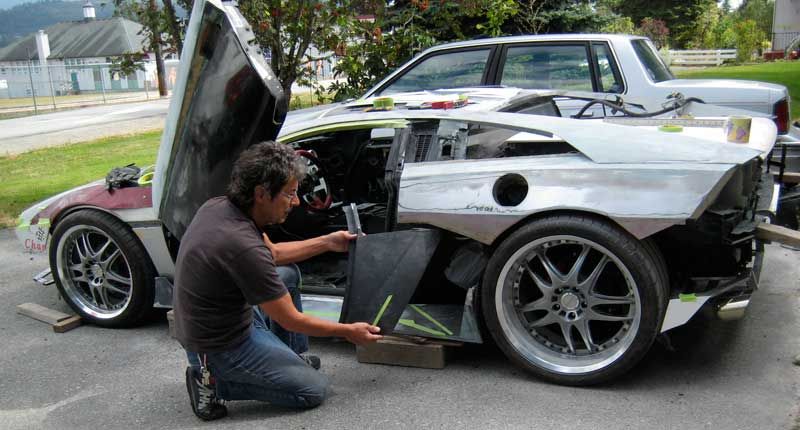
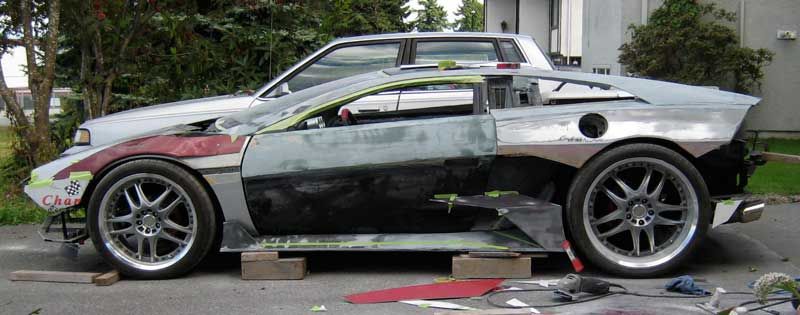
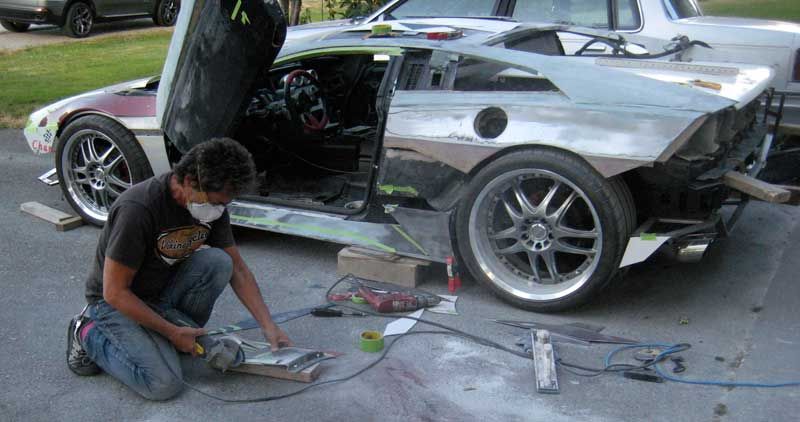
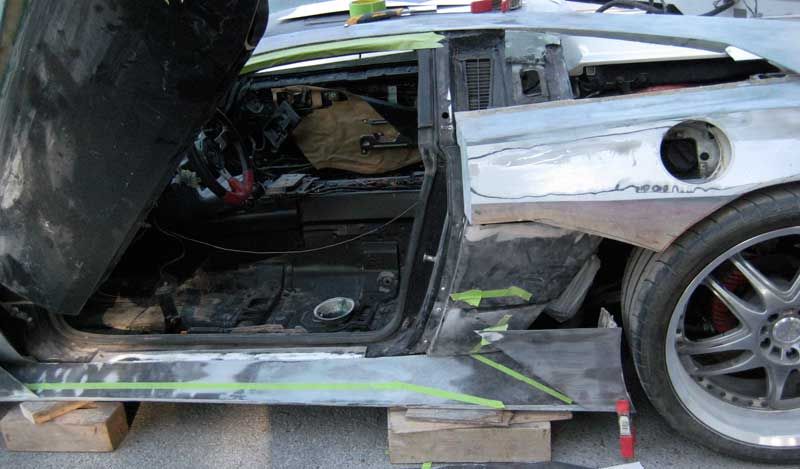
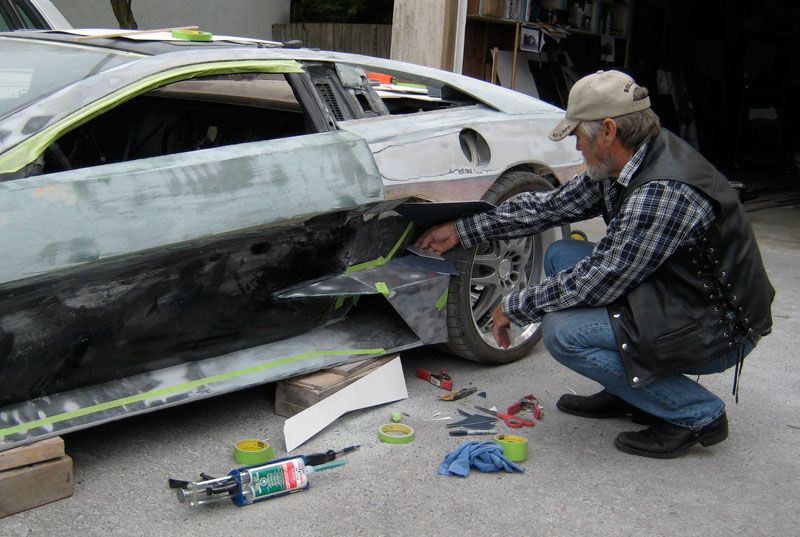
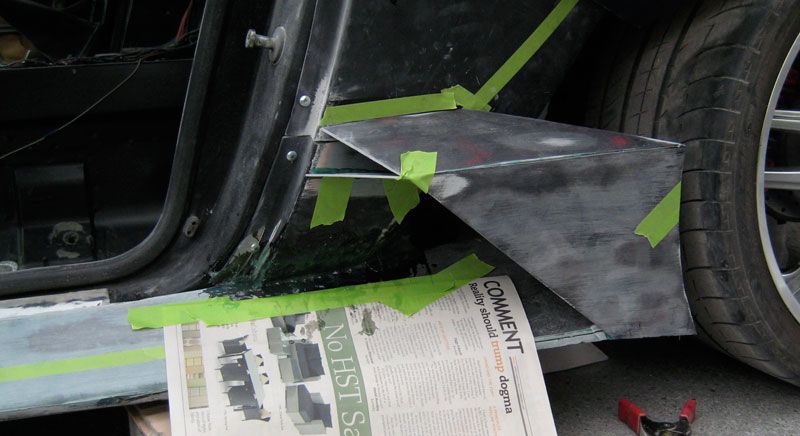
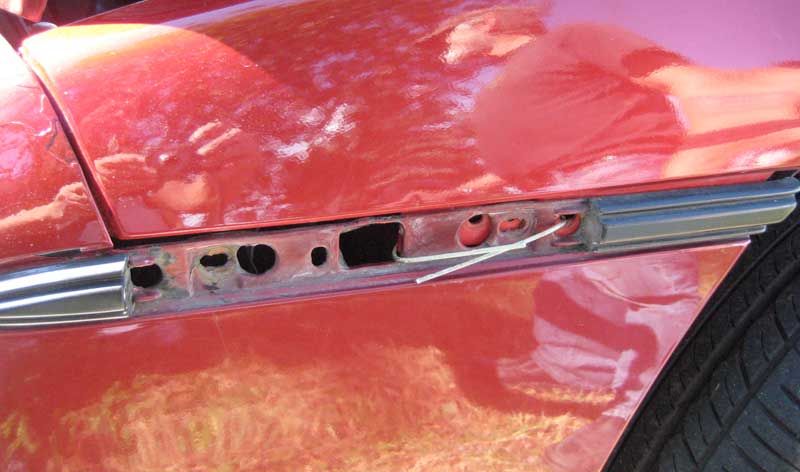
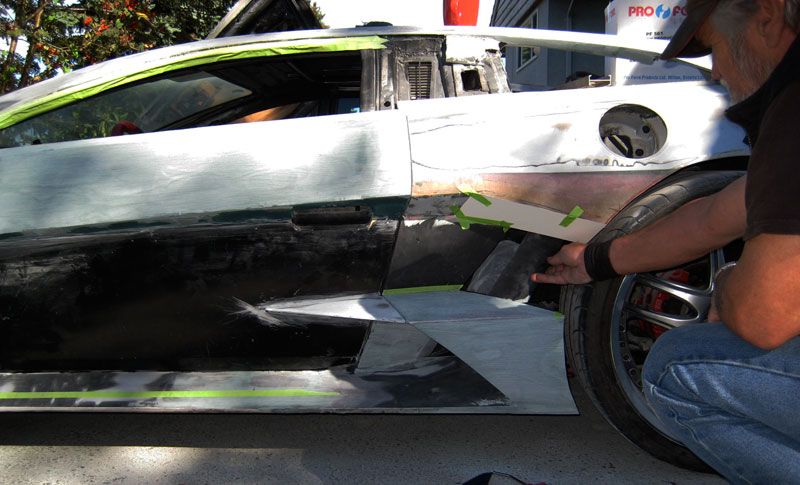
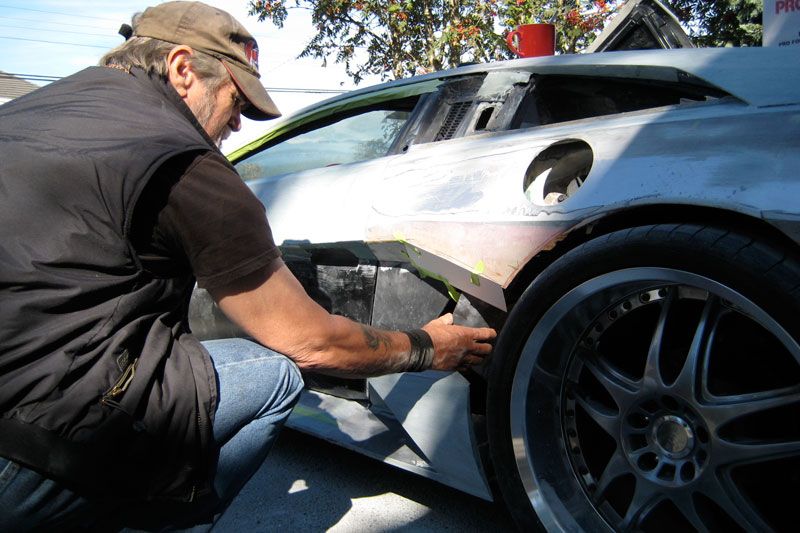
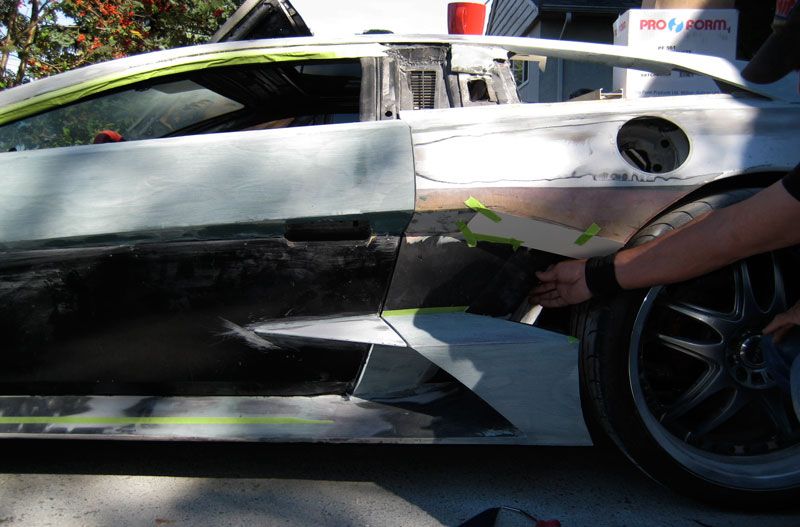
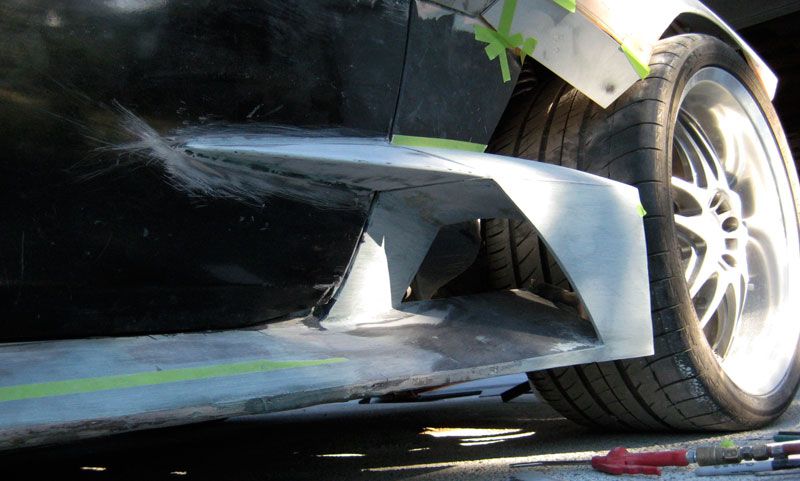
Today I started on rocker panels and scoops, tweaked mock up of scoop...
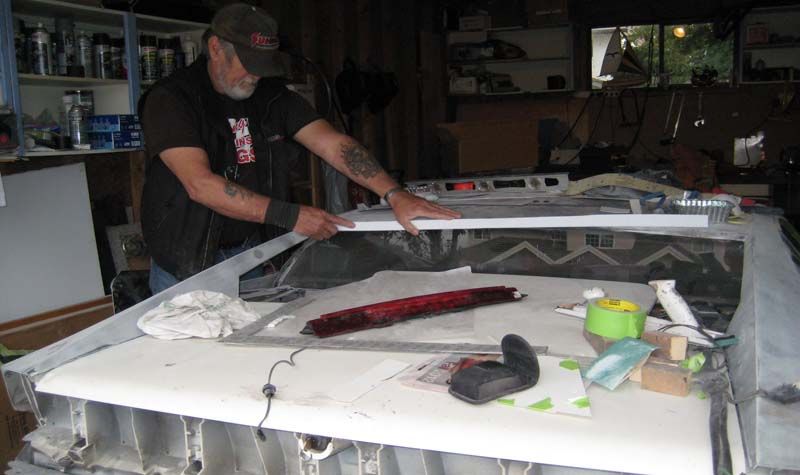
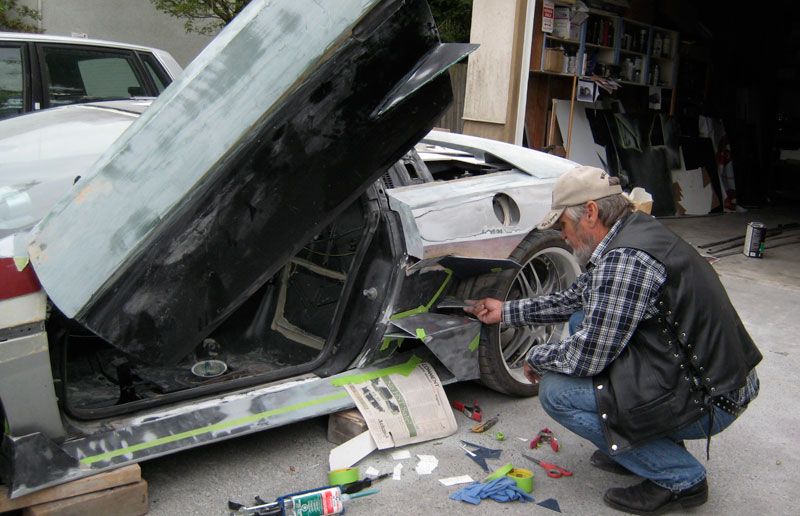
Fitting old RBS rear panel
Trimming rear panel
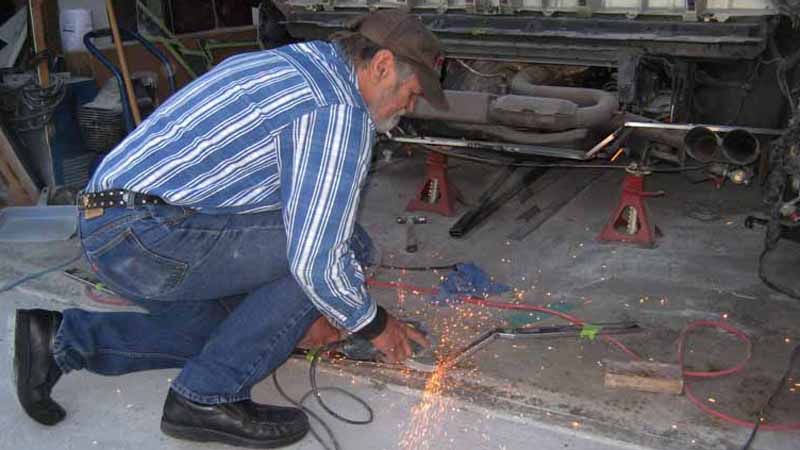
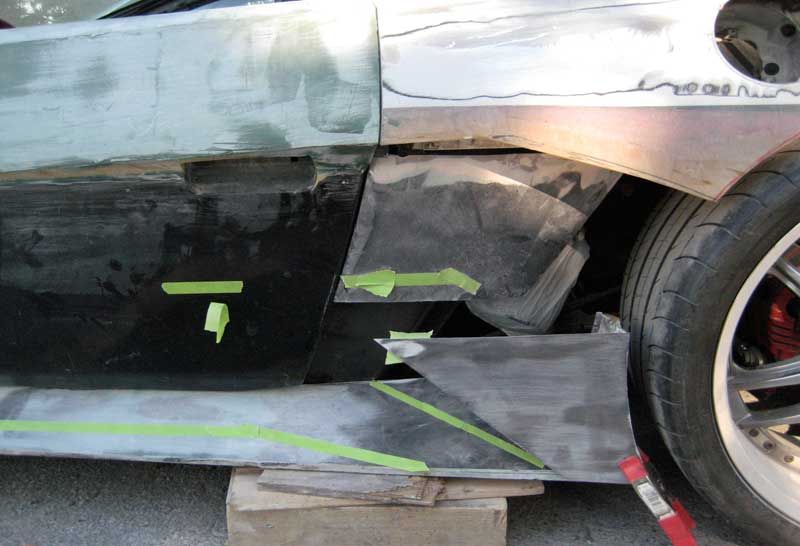
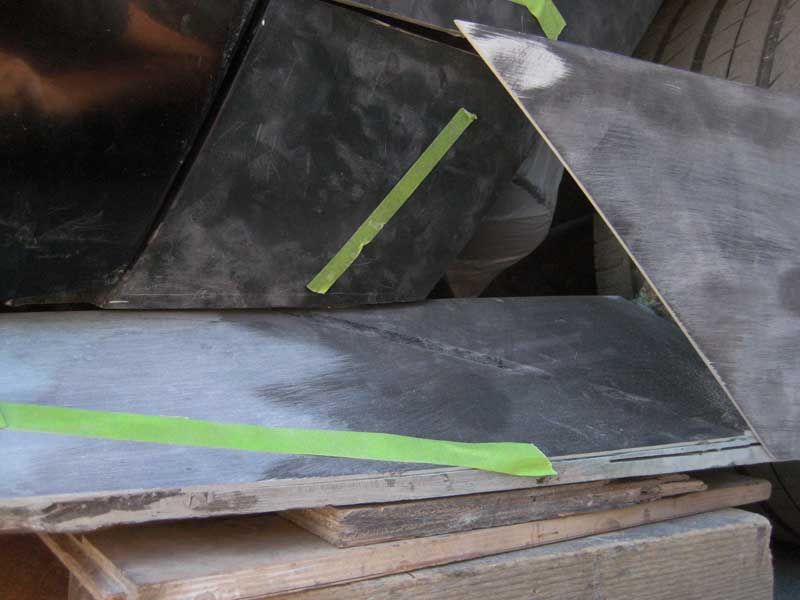
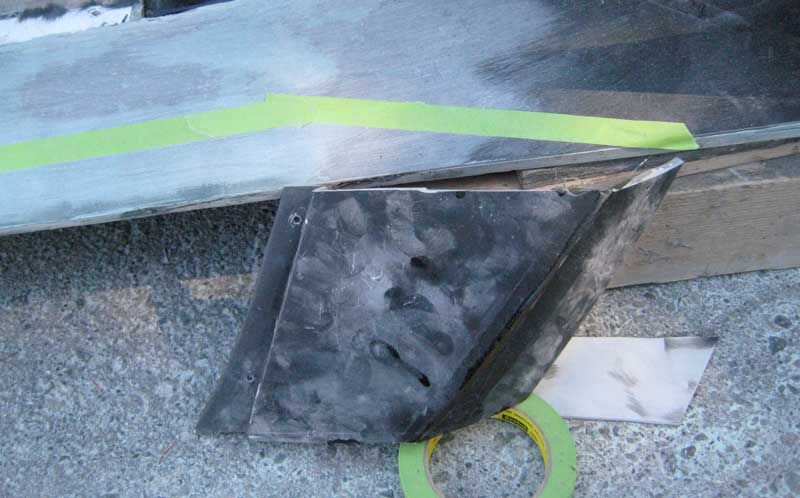
Cutting out side scoop pieces from old rear deck lid
Viewing bottom part of scoop
Both parts of scoop
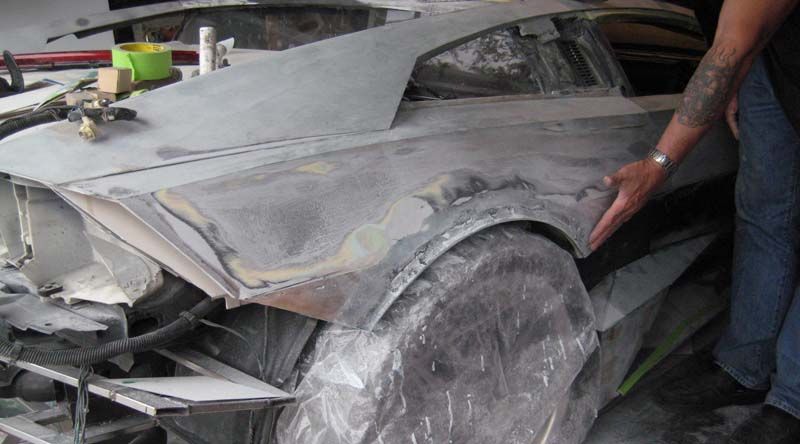
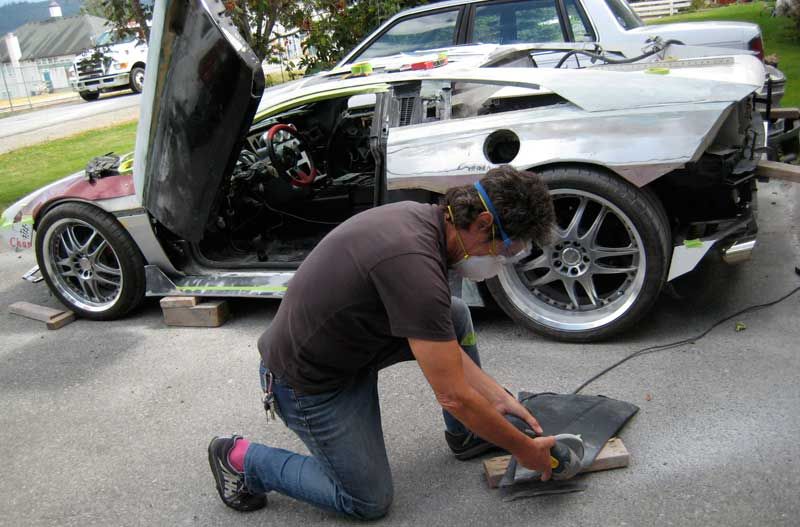
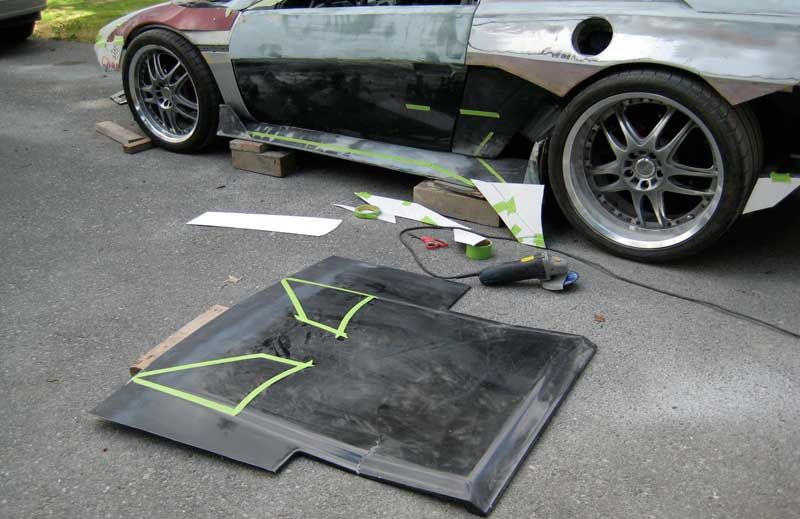
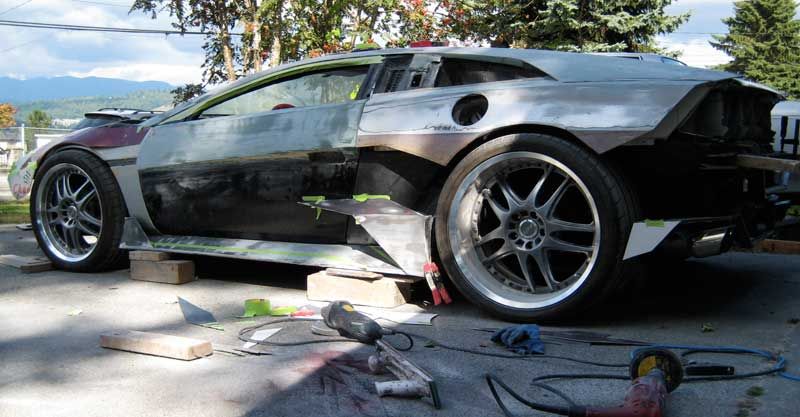
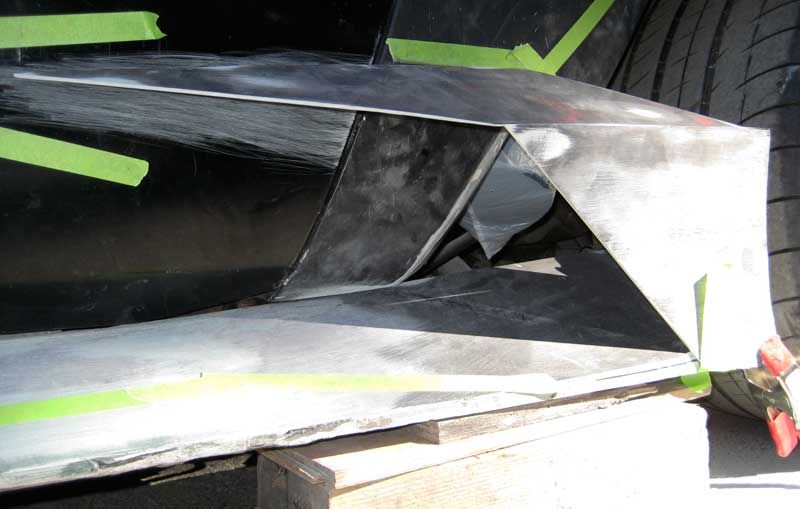
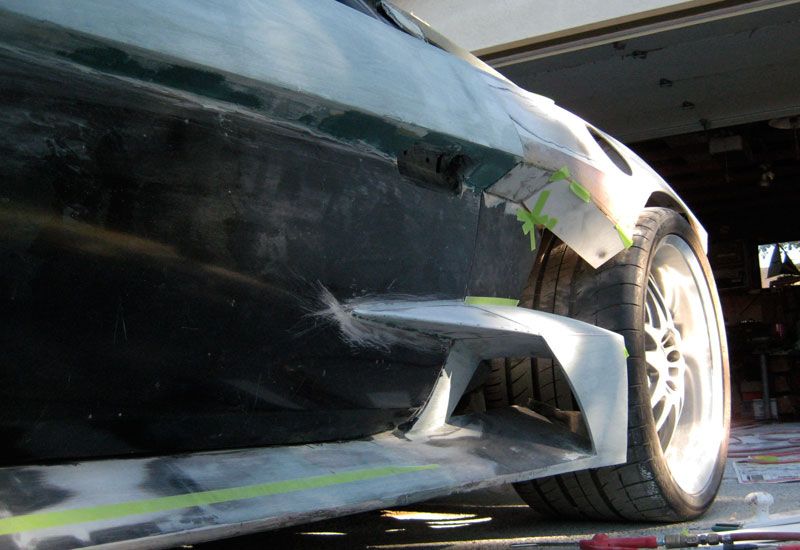
Cut rear panel in half, upper will be fiberglass onto rear clip body and lower panel fiberglass to rocker panel scoop (will be removable )
Trim to fit again
Two separate rear panels ready to fiberglass onto upper rear clip and lower rocker scoop
[This message has been edited by Car-Lo (edited 08-25-2012).]
Maybe cut out and permanently attach the door section with "the blade"? Or make a false secton with the blade attached that the door lowers behind. Does it make sense?
Maybe cut out and permanently attach the door section with "the blade"? Or make a false secton with the blade attached that the door lowers behind. Does it make sense?
Thanks
quote
Originally posted by carnut122:
This thread just keeps getting better!
Thanks carnut122, Clynt and I are having lots of fun with Mad Max
quote
Originally posted by doublec4:
So freakin cool. This thing is going to be a piece of art.
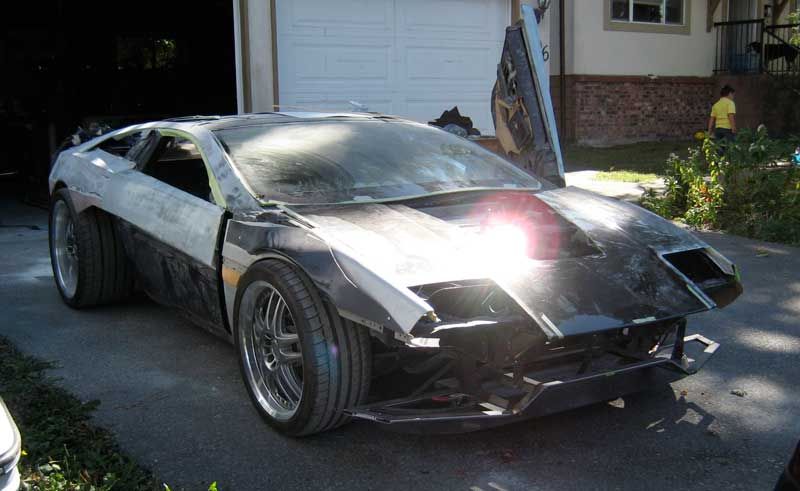
Thanks doublec4, RBS2 is slowly shaping into a weapon
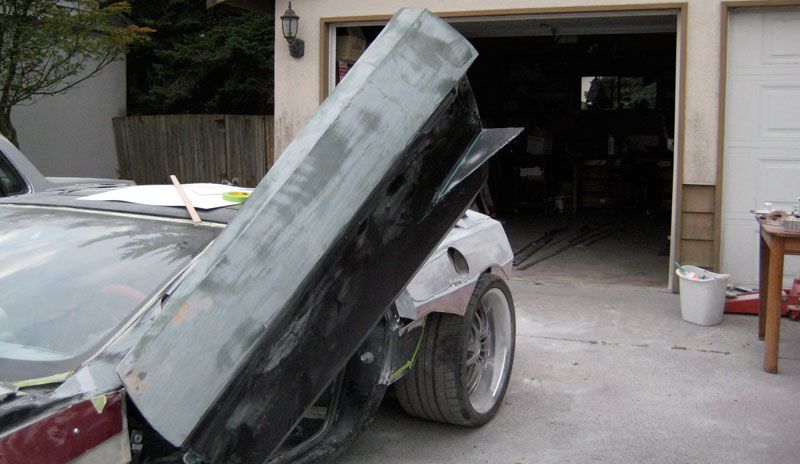
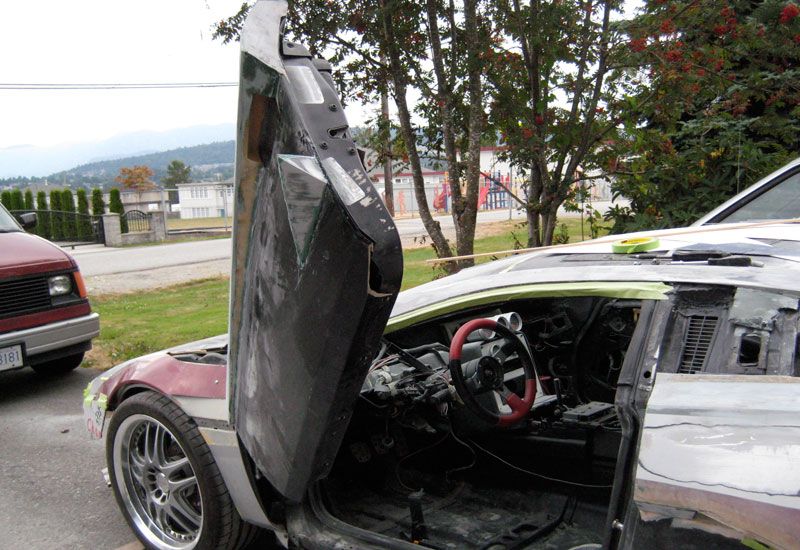
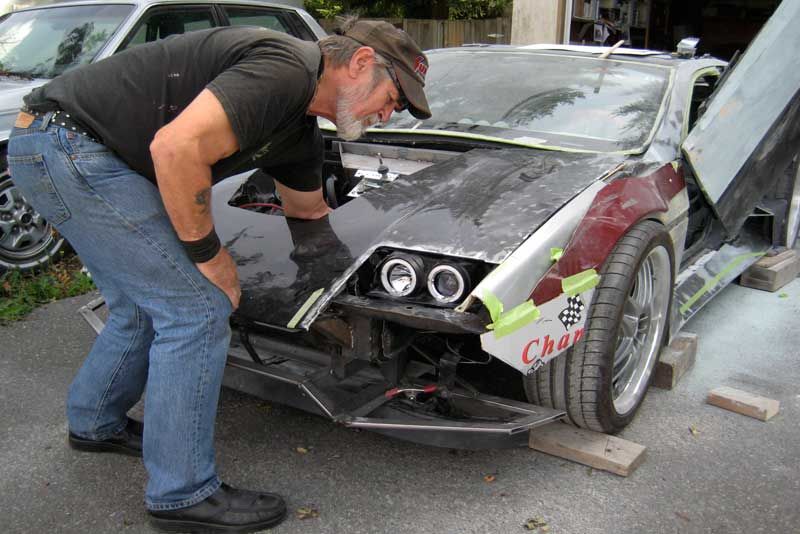
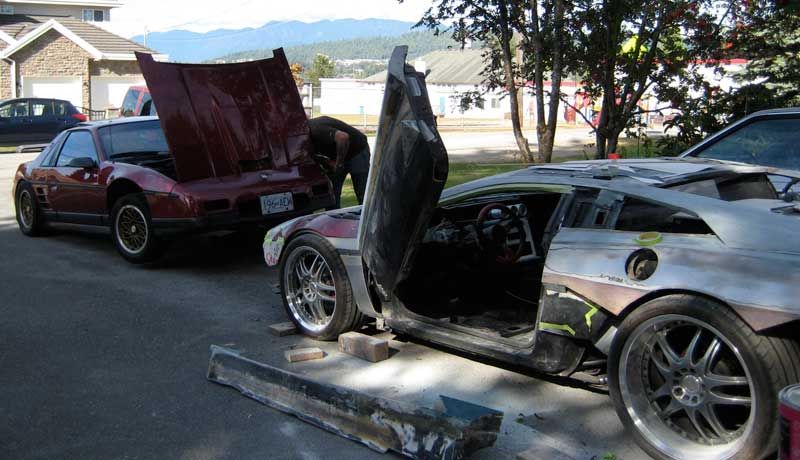
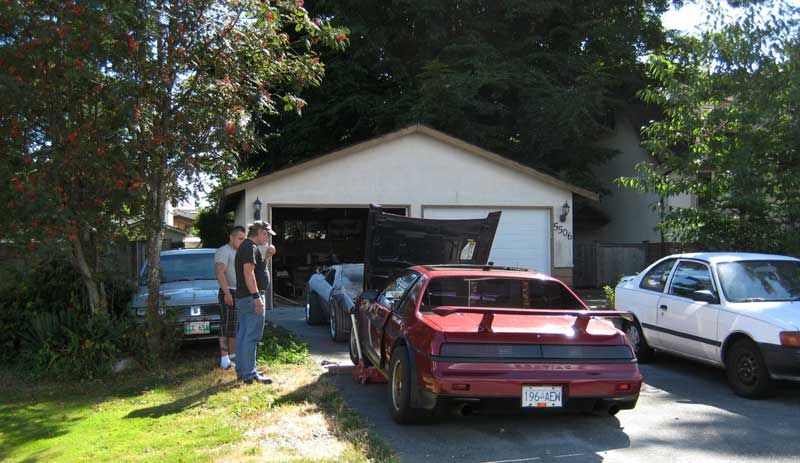
Today Clynt came over to repair his bubble top, first we played with headlights, visualizing and not to much got done on RBS2 Anyway pics of the day...
Notice rag on "the blade", Clynt doesn't want to get hurt
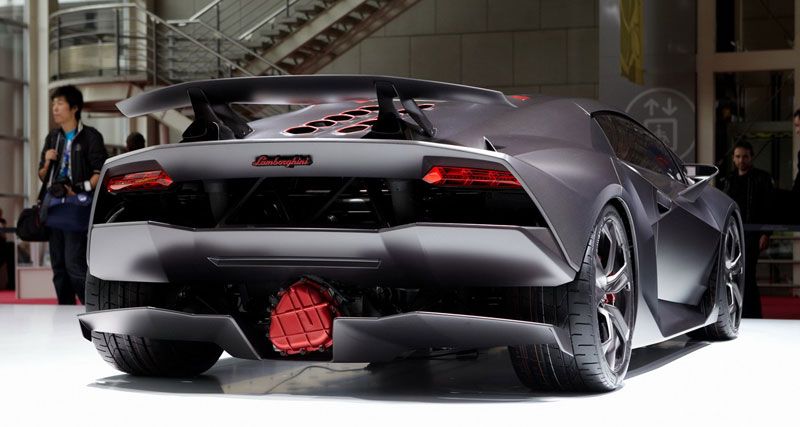
Thanks for that great video 85LAMB, I sneaked idea from Lambo's lower wing and exposing RBS2 fat 325 Michelins
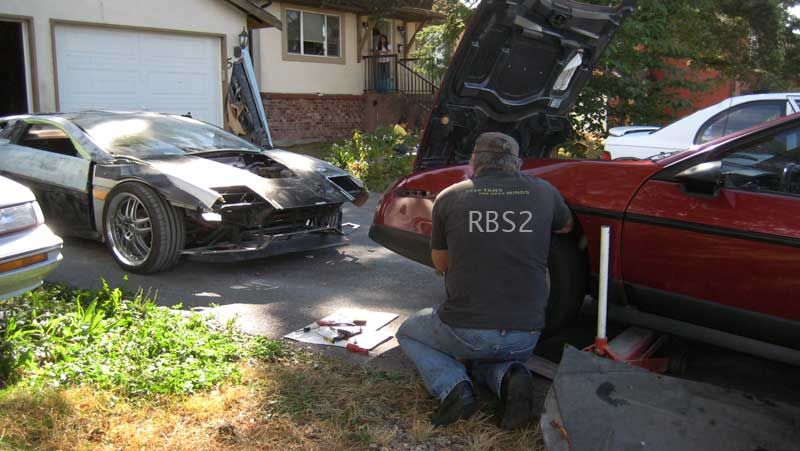
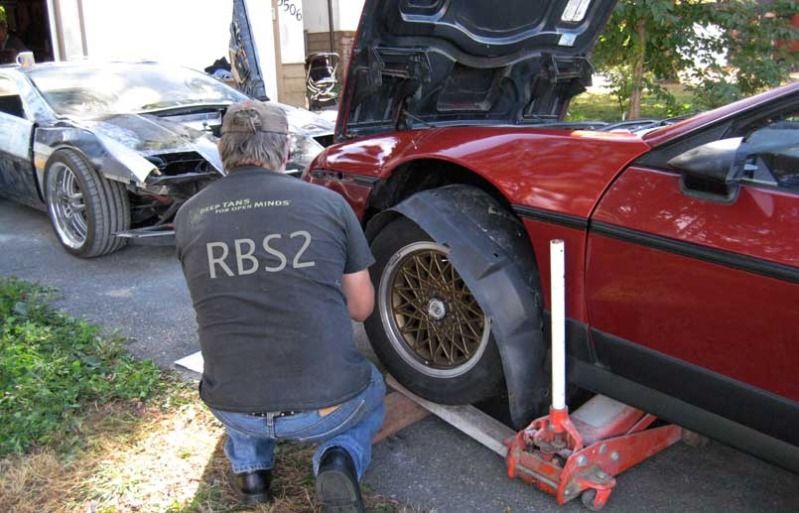
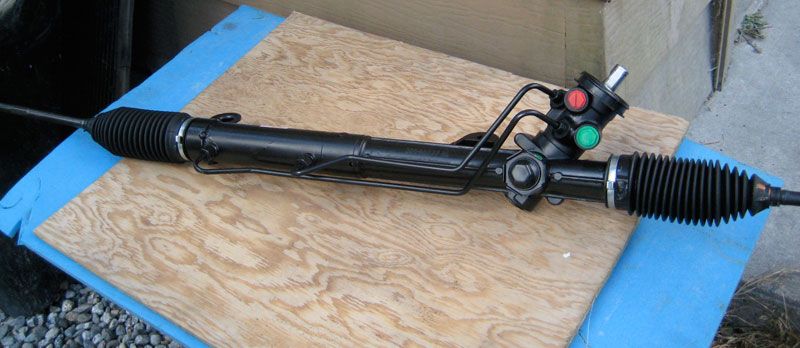
Back to RBS2... Well not to much play with Mad Max, Clynt's had to install a rebuilt Camaro power rac (old one was leaking) I had to help him
After Clynt's ride, we had a scoop huddle, maybe adding gill scoop on upper panel, more air intake (but it may look too goofy) Here's the gill scoop today...
Without gill
Worm's view, lower scoop
Car-Lo's view
[This message has been edited by Car-Lo (edited 09-03-2012).]
Looking amazing Car-Lo. Will you be working on this over winter? Are you planning on having it ready for next summer?
Thank you so much andrew. Yes, we'll be working over most winter, the deadline is now for next summer, but that's what I said last year
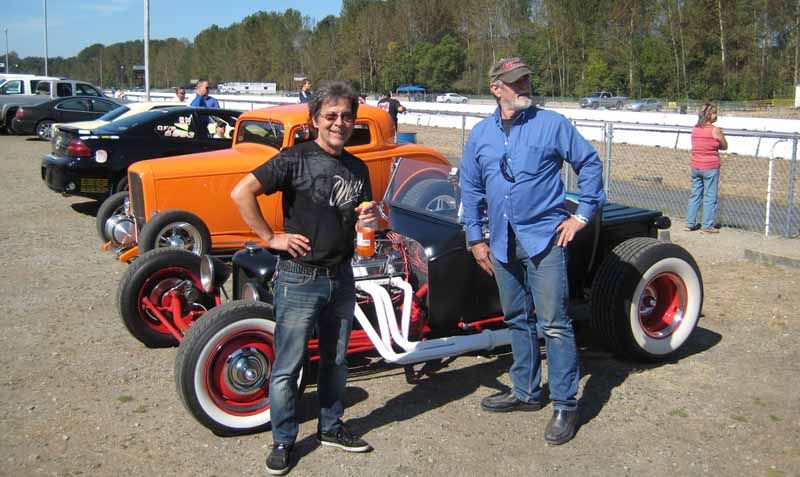
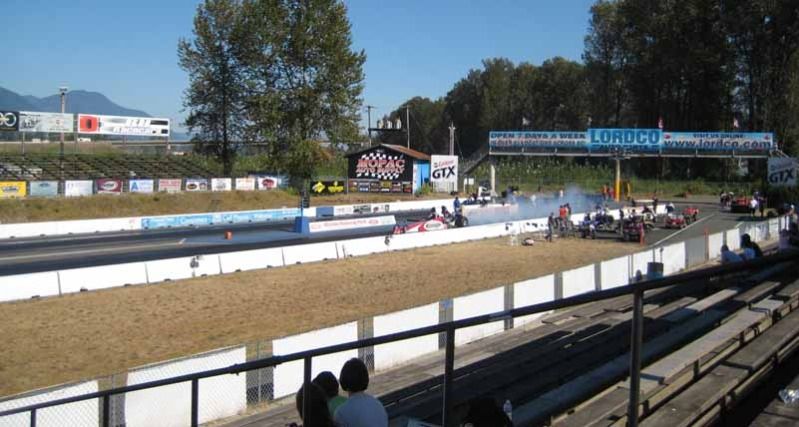
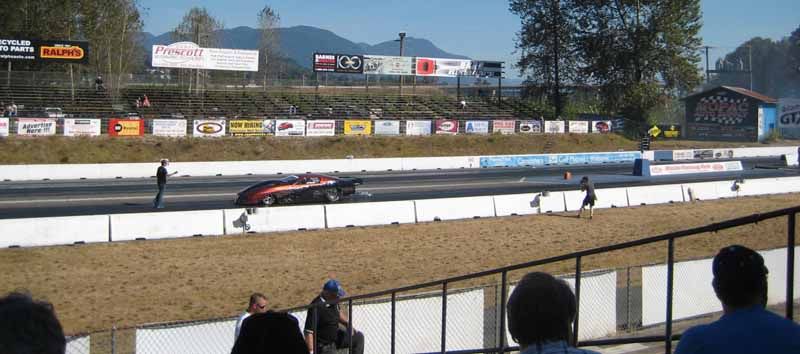
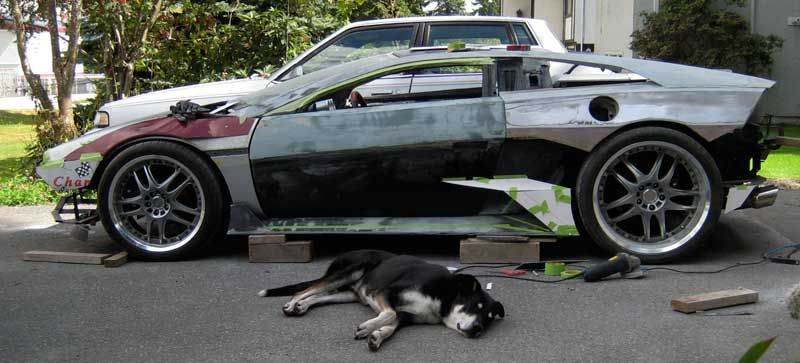
Yesterday no playing with RBS2, Clynt's friend had free passes for Mission Race Track (about 1 hour from Vancouver), so we went to see some drag racing...
We walked around looking at all the cool race cars
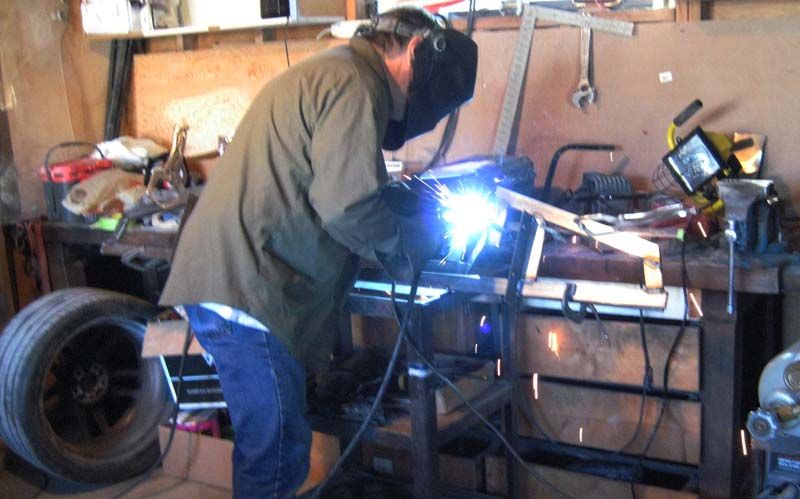
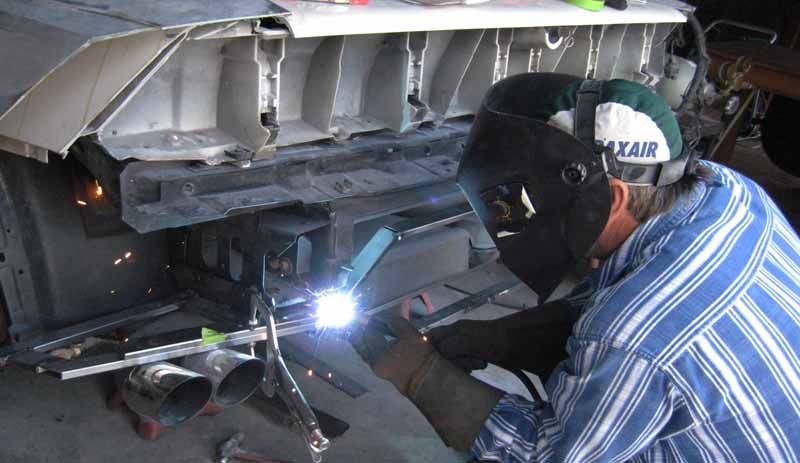
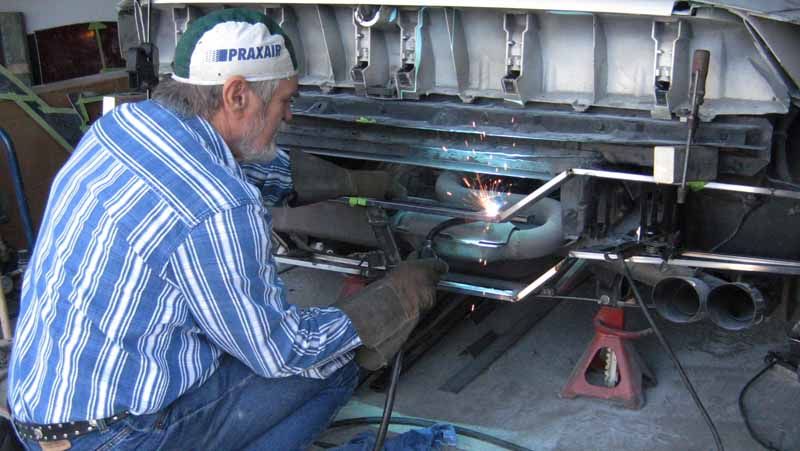
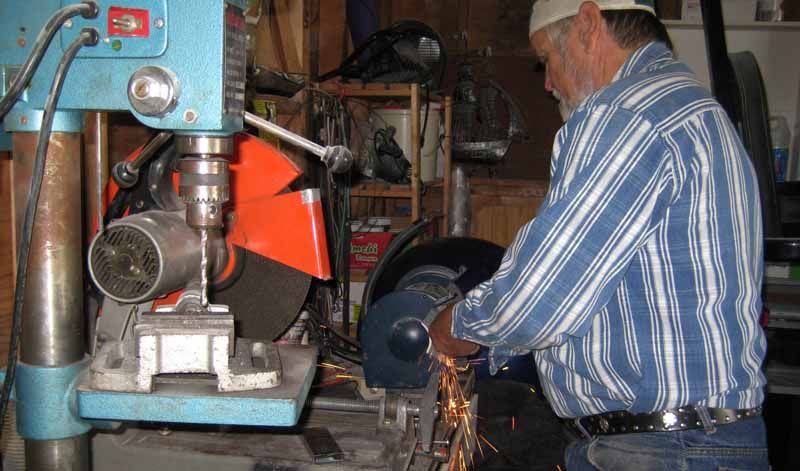
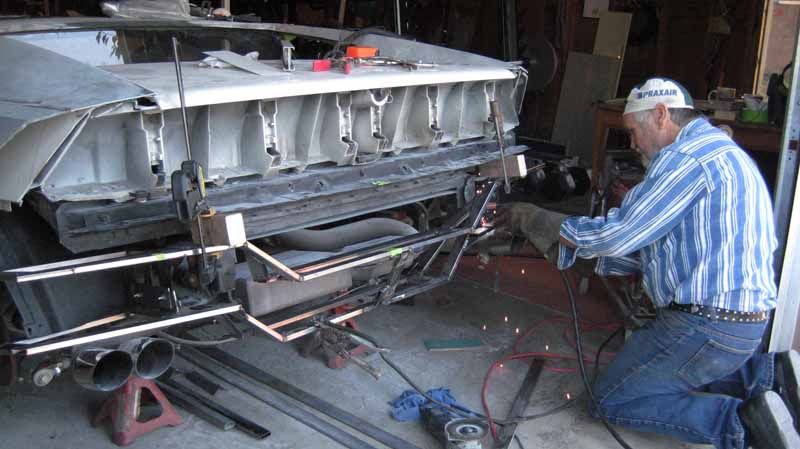
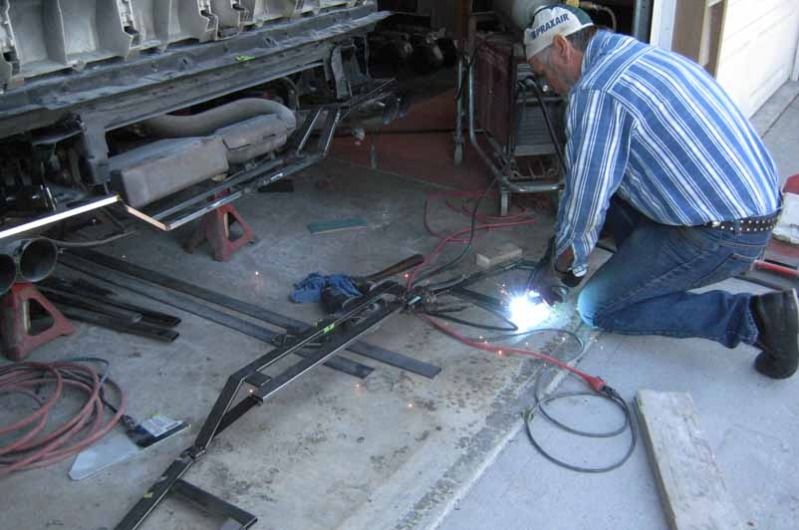
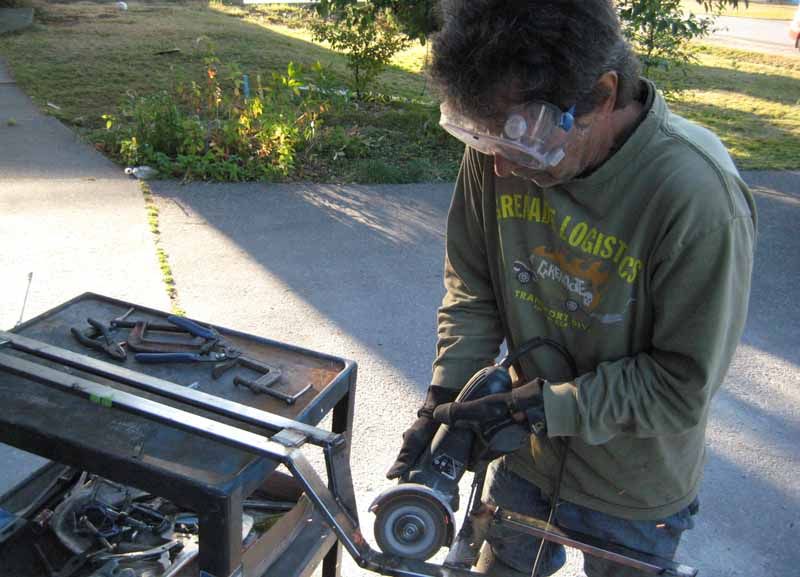
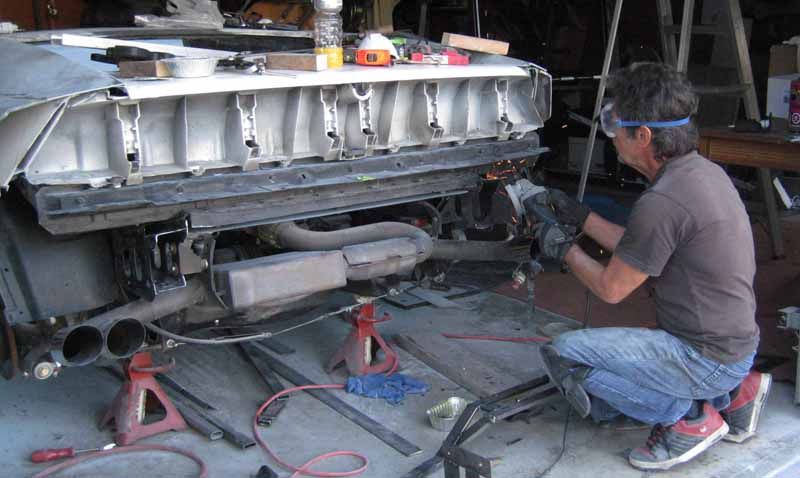
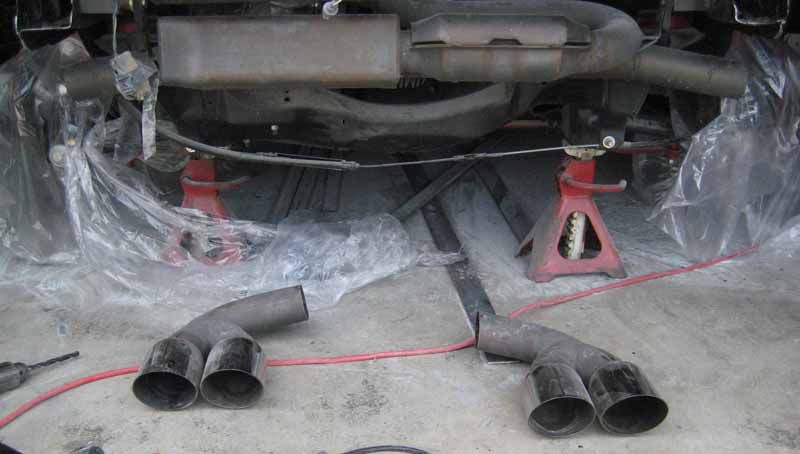
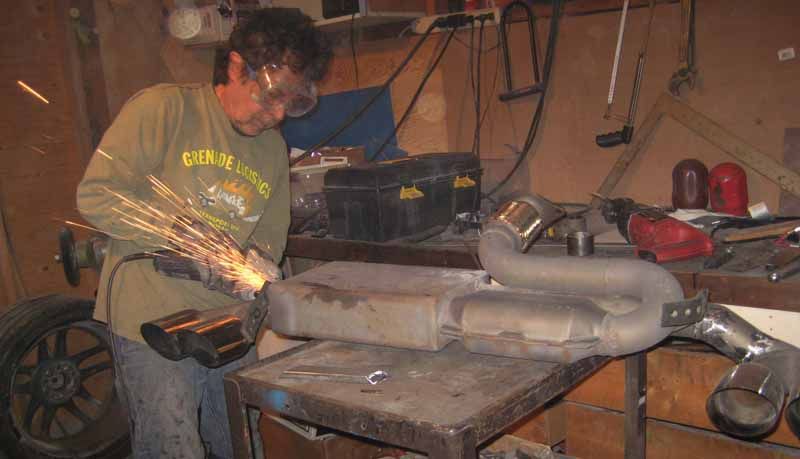
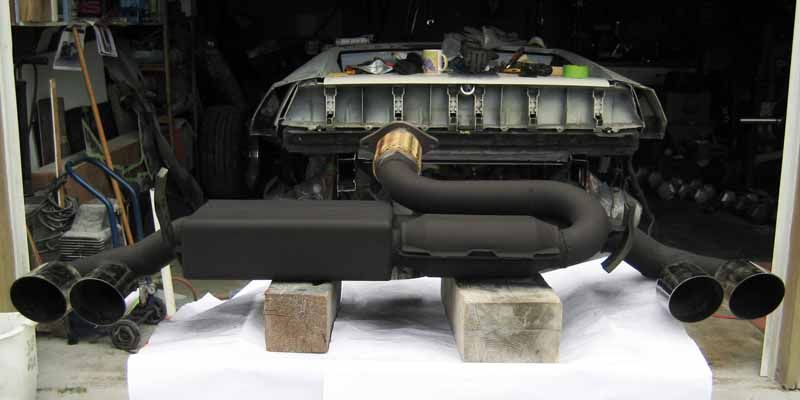
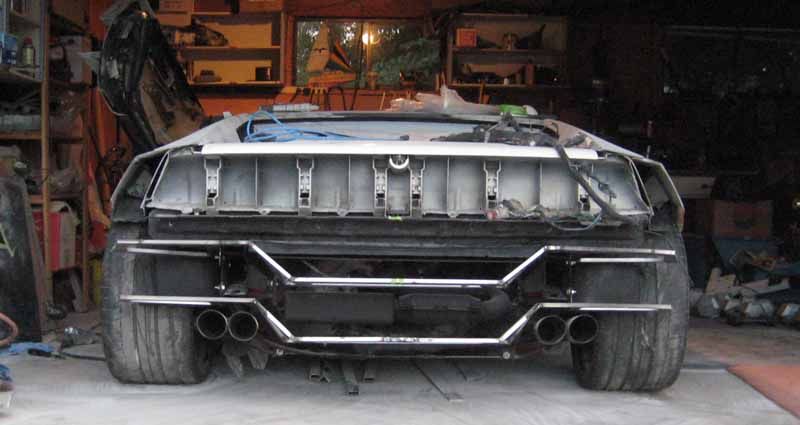
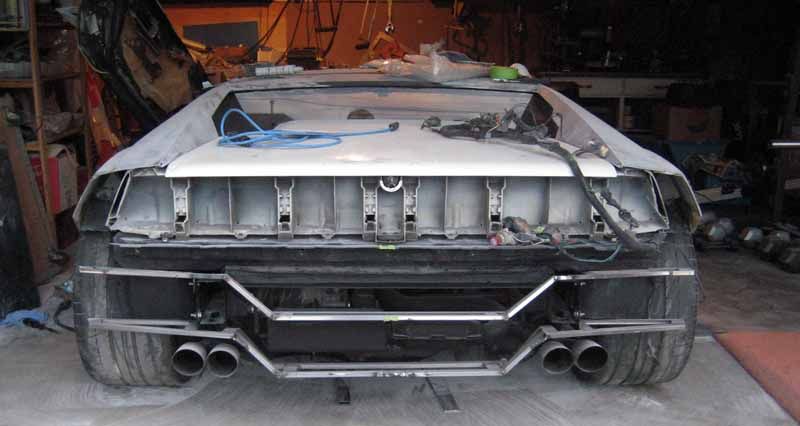
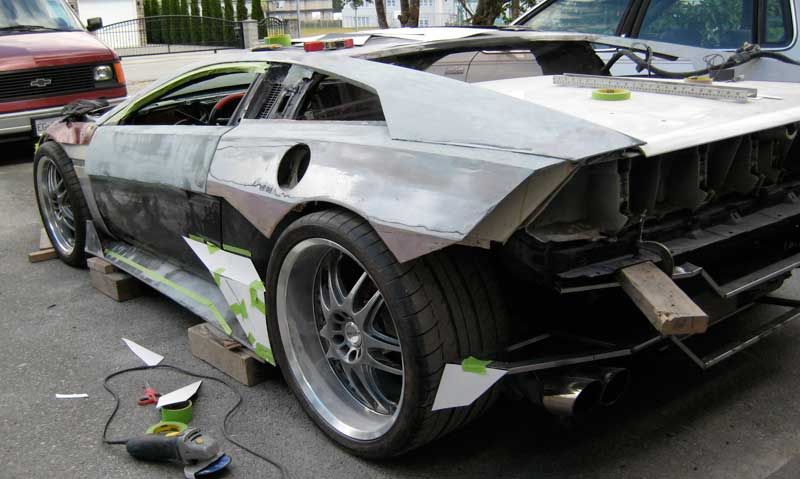
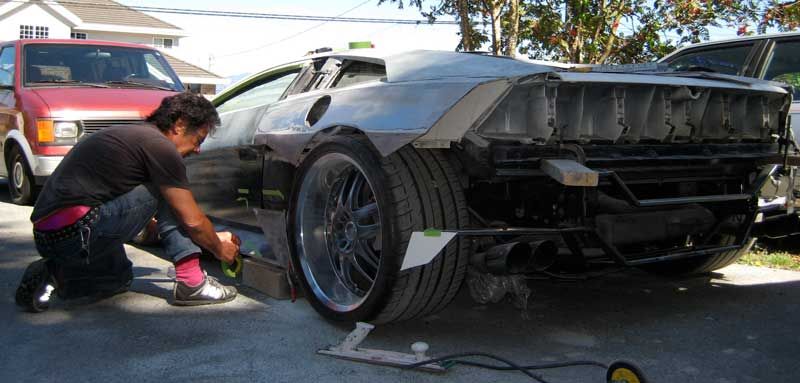
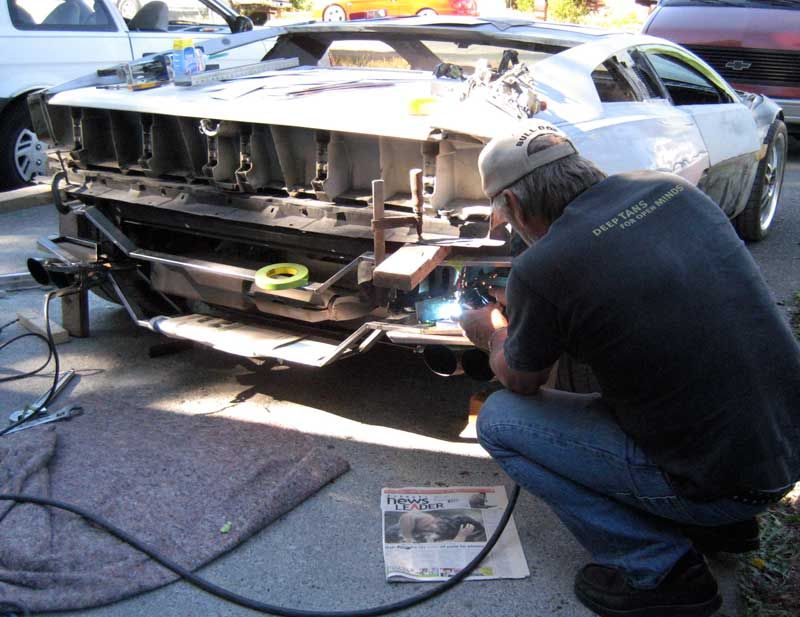
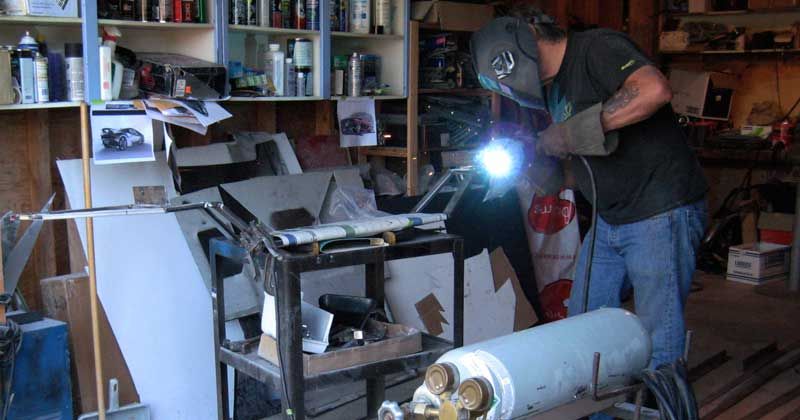
Exhaust all welded up and grinding welds smoother ready for chroming exhaust
maybe not chrome but have you given thought to the DIY powder coat stuff ya do in the oven? Doing the exhaust in a bright color that contrasts the body would be sweeeet! ALL HAIL RBS2!!!
Exhaust all welded up and grinding welds smoother ready for chroming exhaust
maybe not chrome but have you given thought to the DIY powder coat stuff ya do in the oven? Doing the exhaust in a bright color that contrasts the body would be sweeeet! ALL HAIL RBS2!!!
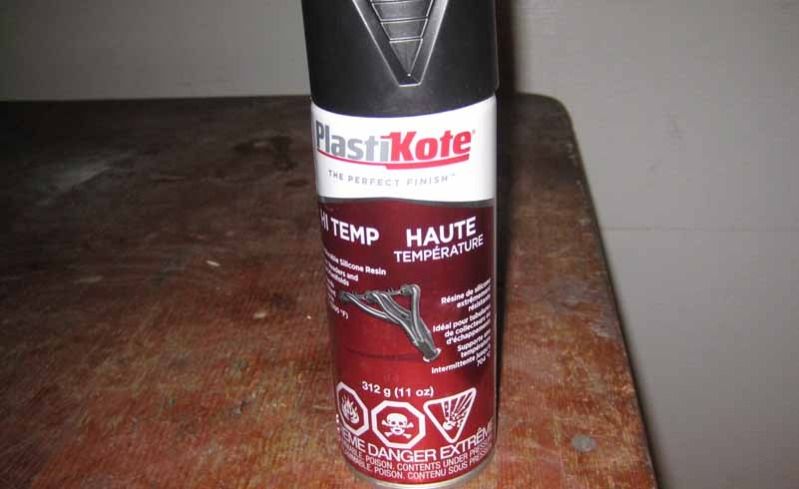
Thank you so much jaremurray88 for your input you are so right about a bright color and today I made a mistake by painting exhaust matt black Maybe I can repaint exhaust red so it will have something bright in background against all blacked out rear
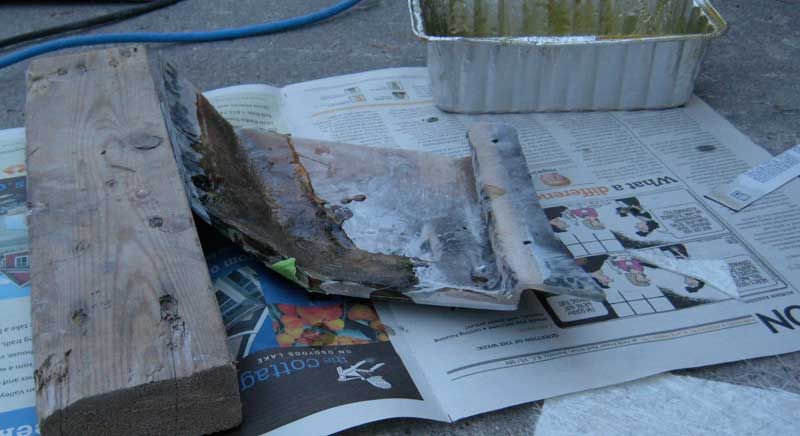
This is what I used today...
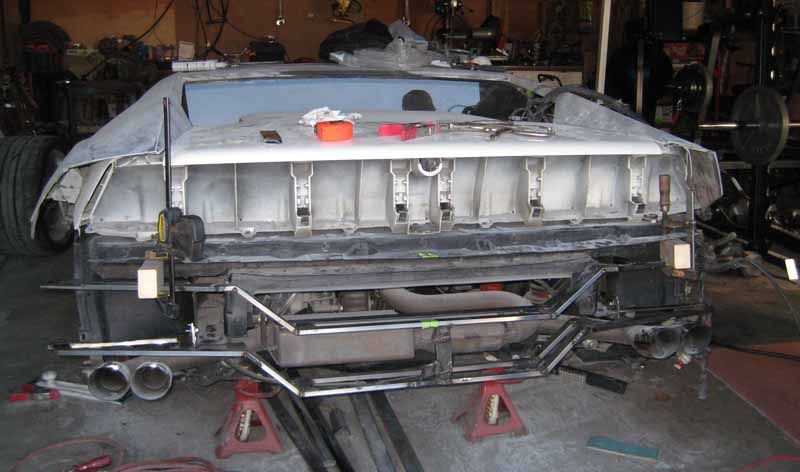
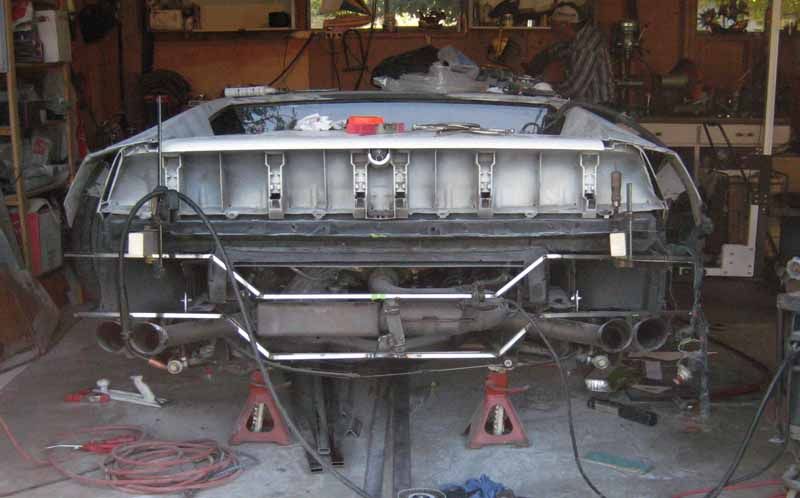
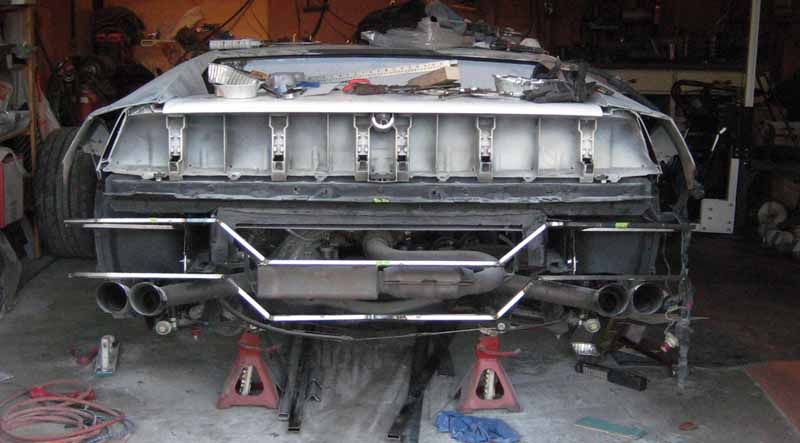
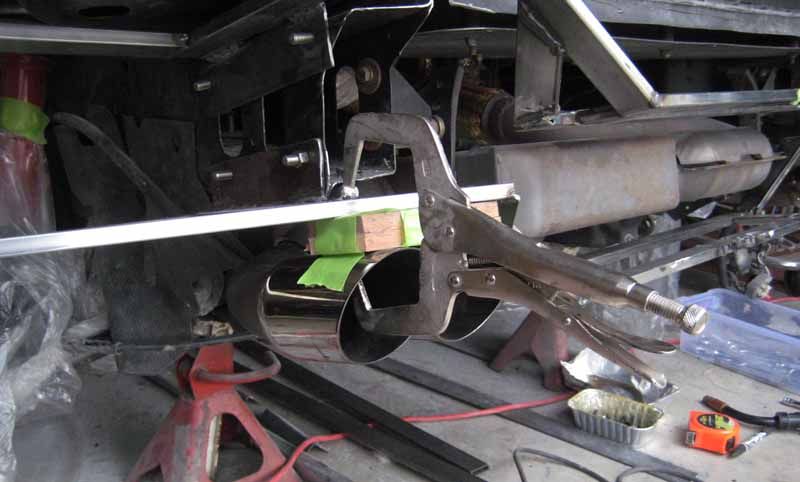
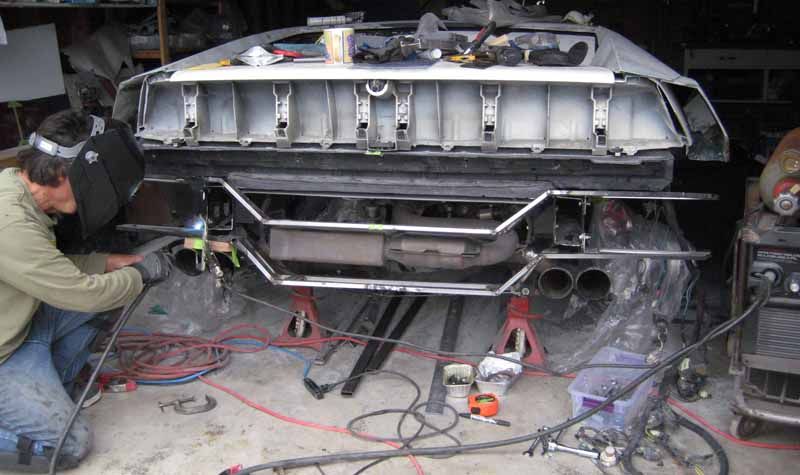
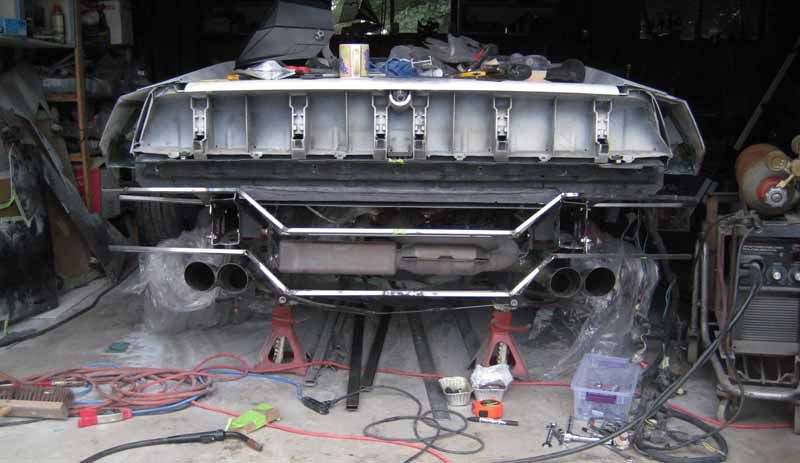
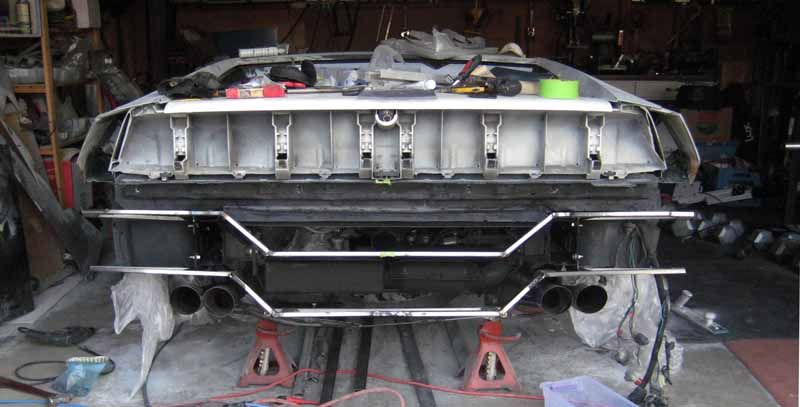
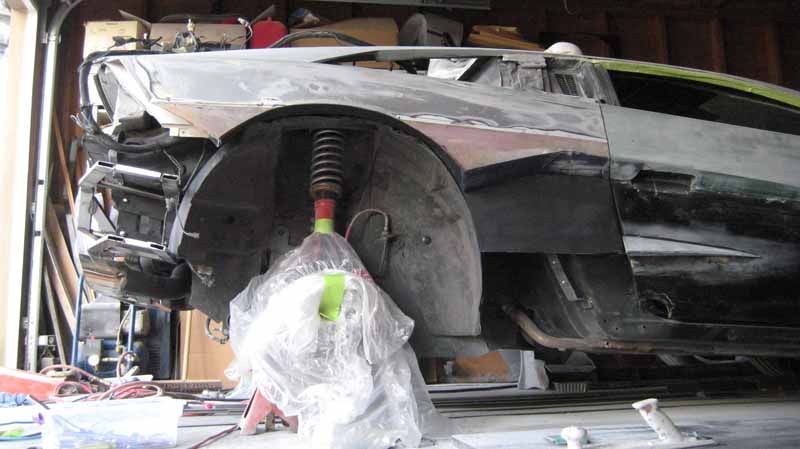
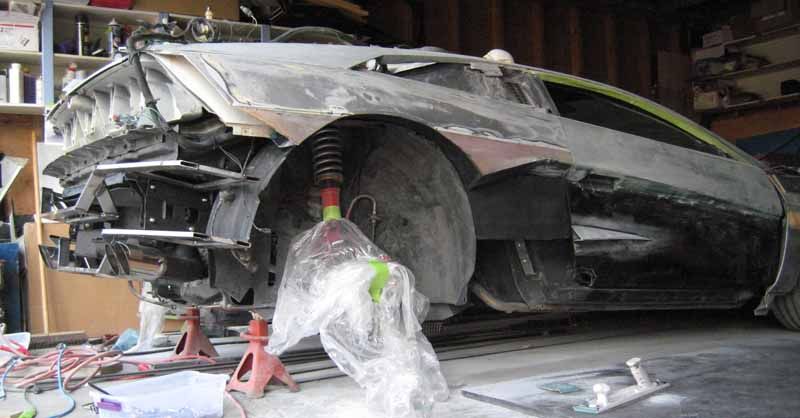
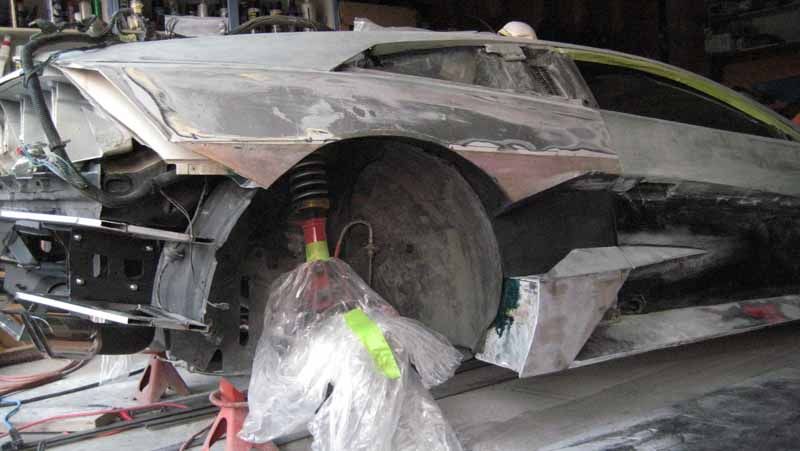
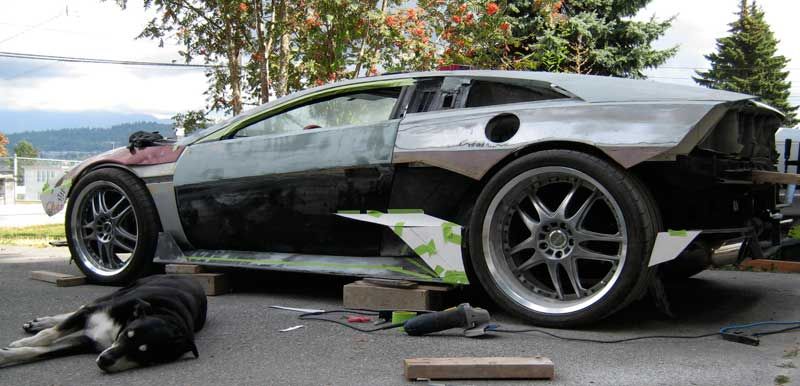
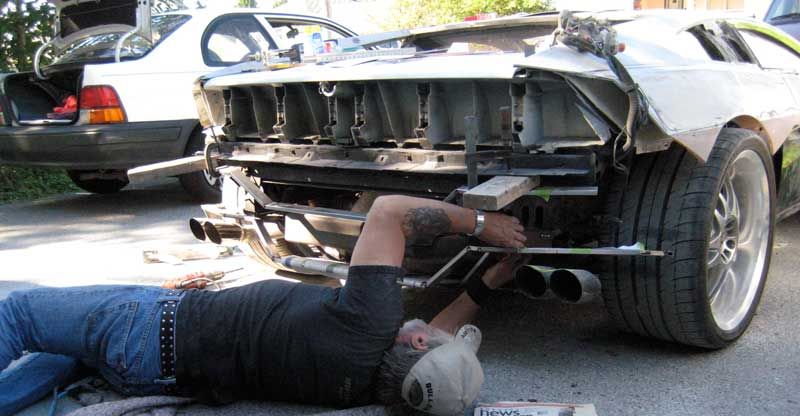
Overall view, exhaust installed
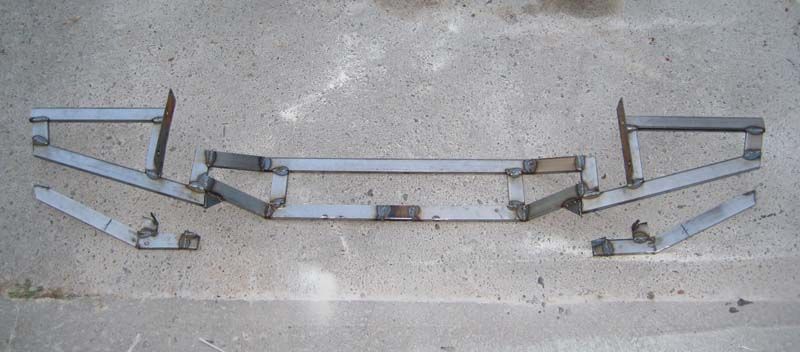
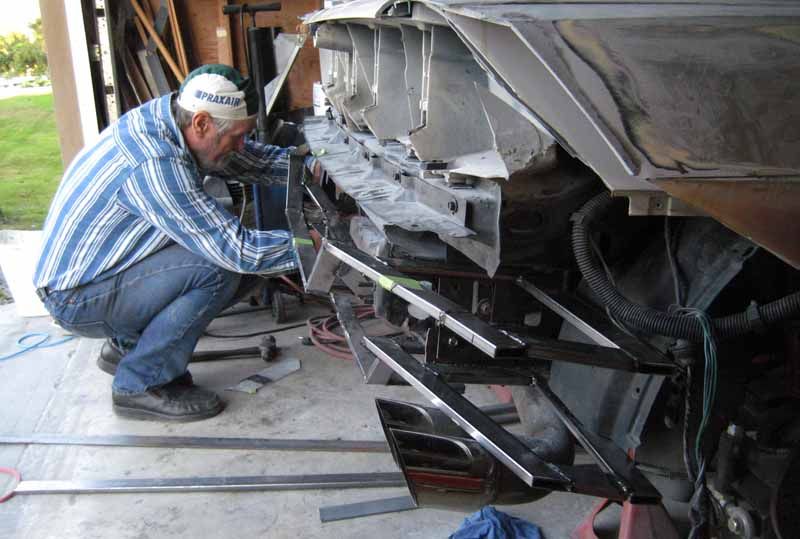
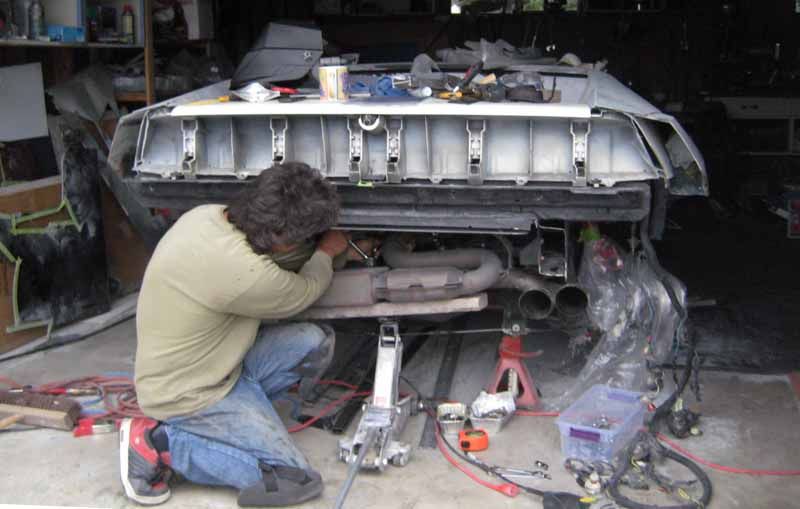
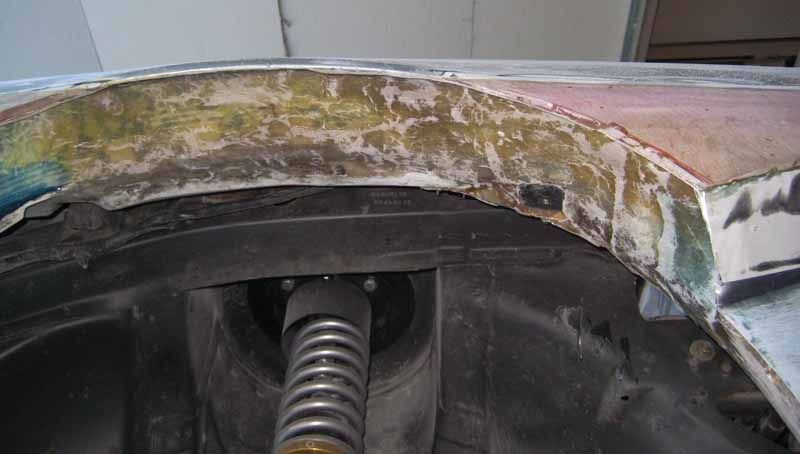
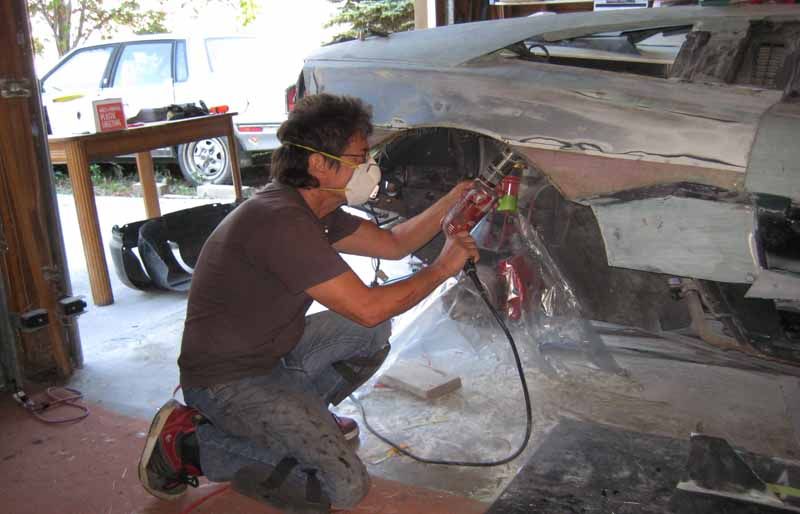
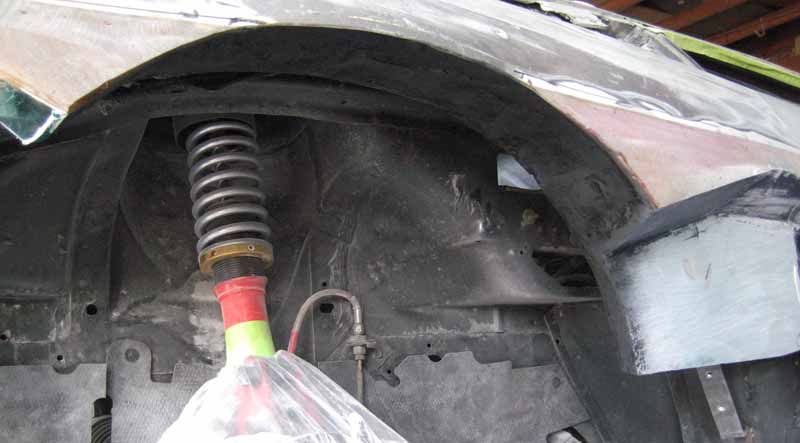
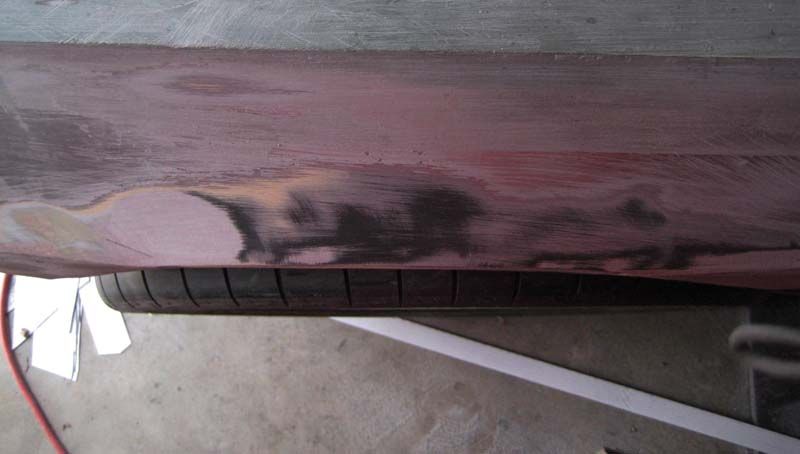
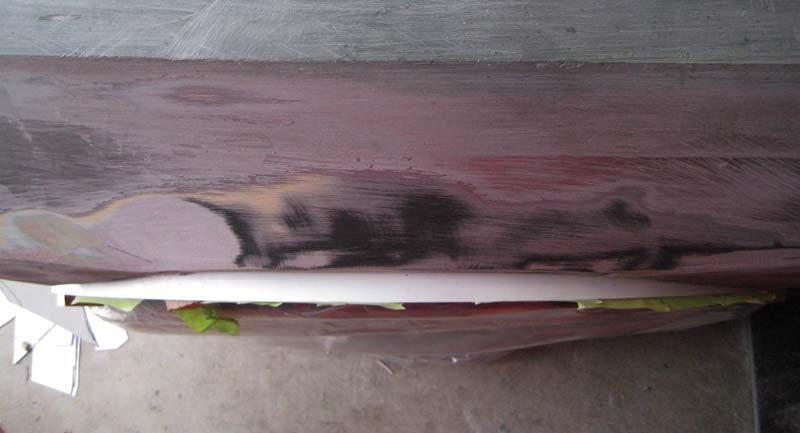
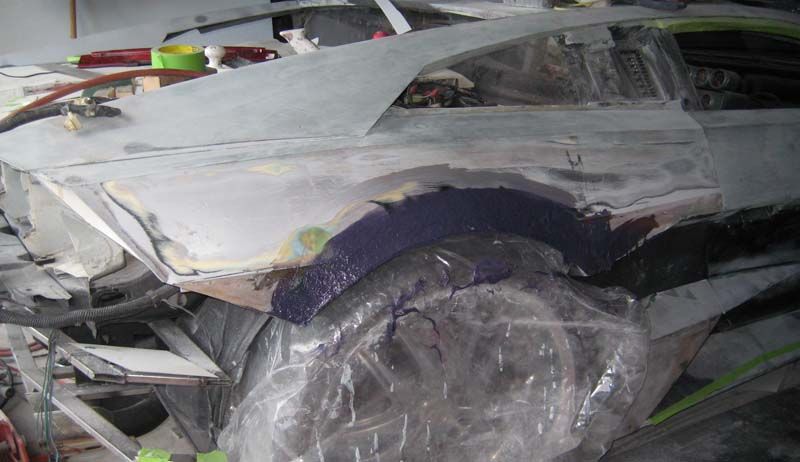
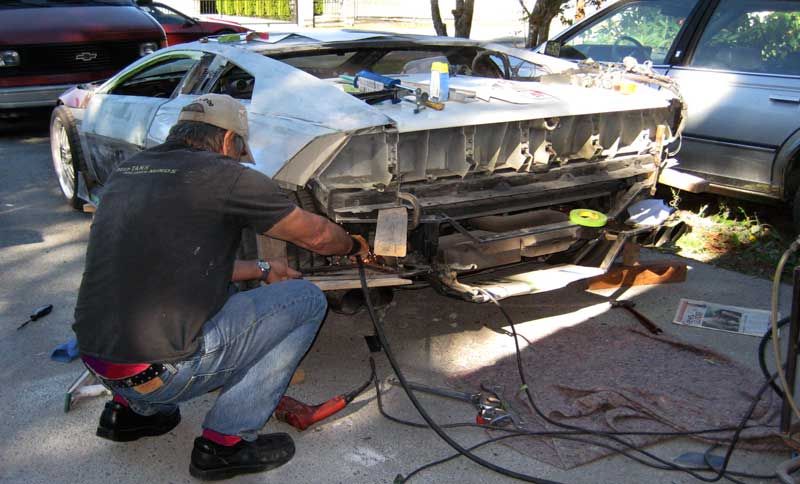
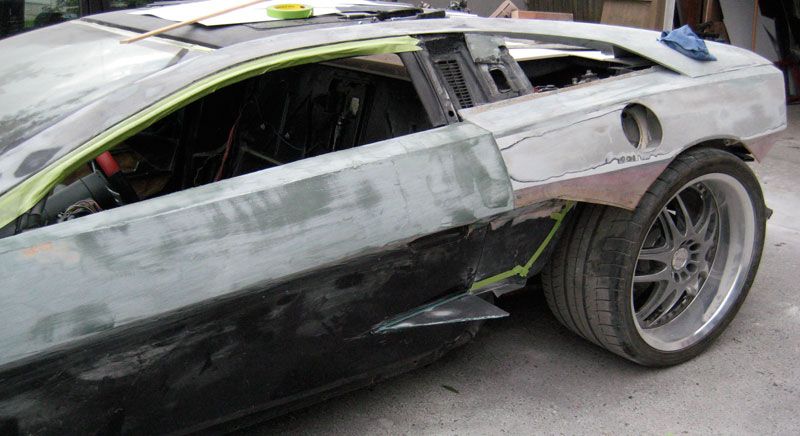
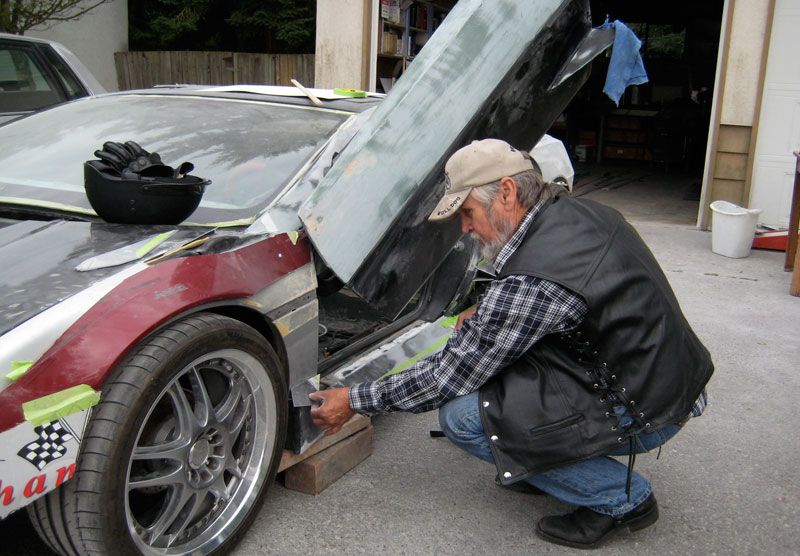
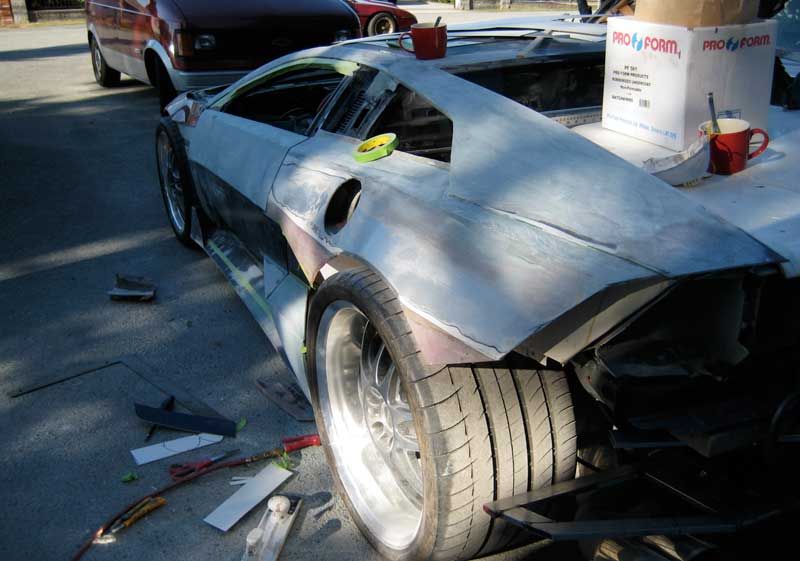
Mean while back in the wheel well, fiberglass 3" filler liner between rear clips to join them together
Bit more sanding
Primed filler liner
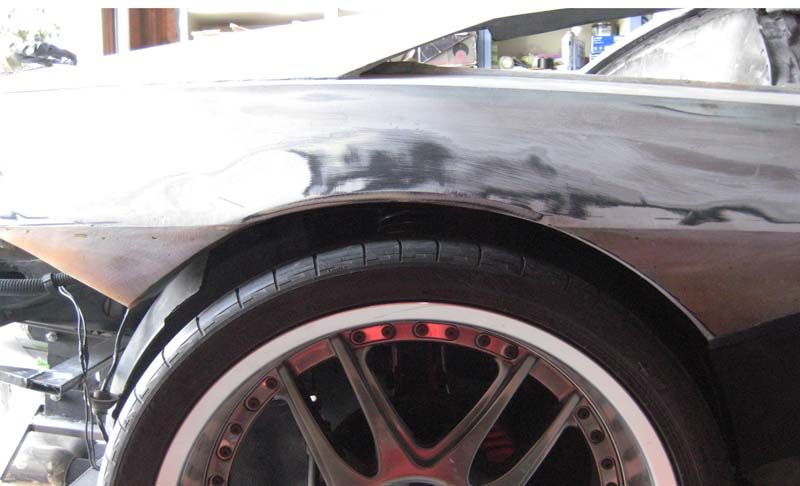
Installed wheel liner, also side view of exhaust and wings
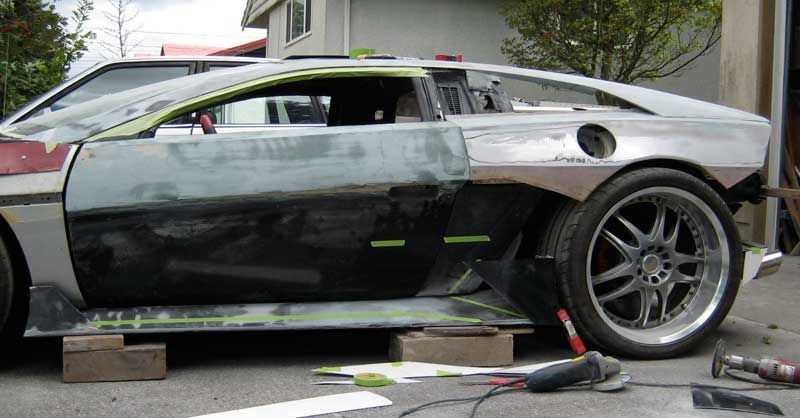
Next: finish rocker panel and scoop
[This message has been edited by Car-Lo (edited 09-24-2012).]
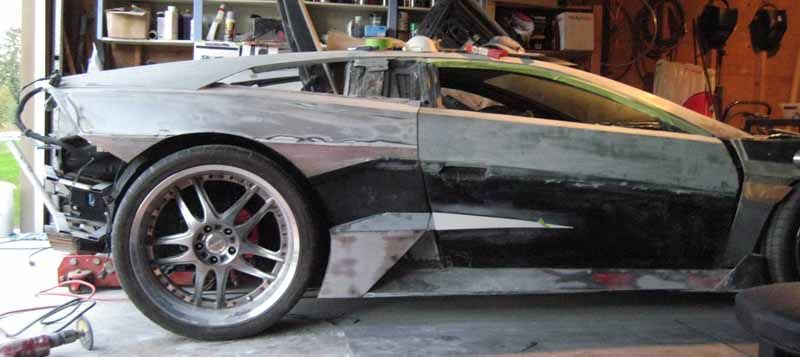
carlo that door spear needs to be longer it is detracking from the upper door shape and looks chopped short it should extend as far as the middle of the door at least great build otherwise
[This message has been edited by bubbajoexxx (edited 09-24-2012).]
carlo... I've read that many exotic cars these days are using fake tips on the exhaust... they look really good, but are not functional... You could put some cool octagonal tips around your tailpipes with a screen covering the actual pipes. :-o http://www.supertightstuff....ust-pipes-not-tight/
[This message has been edited by testigo007 (edited 09-24-2012).]
That thing is a work of art! You should incorperate it in to the final design!
Thanks Stubby, there you go...
quote
Originally posted by bubbajoexxx:
carlo that door spear needs to be longer it is detracking from the upper door shape and looks chopped short it should extend as far as the middle of the door at least great build otherwise
Thank you bubbajoexxx for suggesting a longer spear
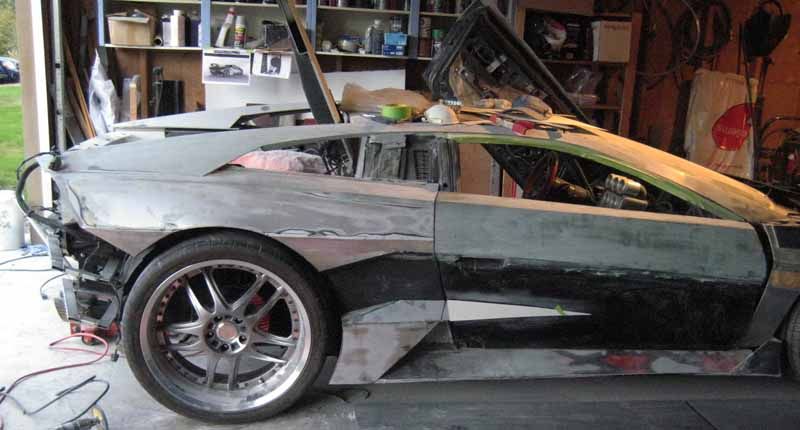
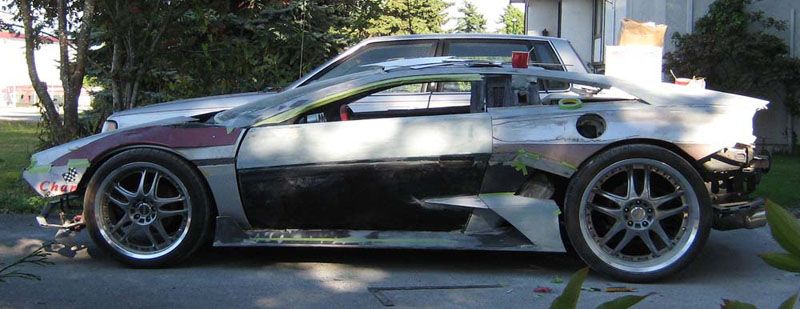
Today I did a mock up of door spear 5-1/2" longer and it's looking a lot better, thank you
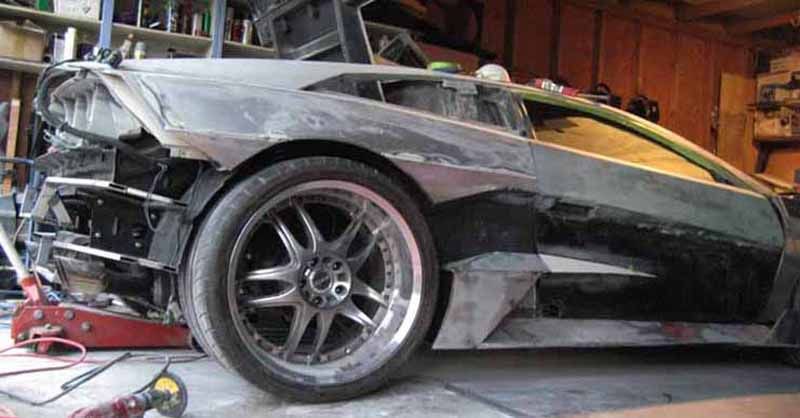
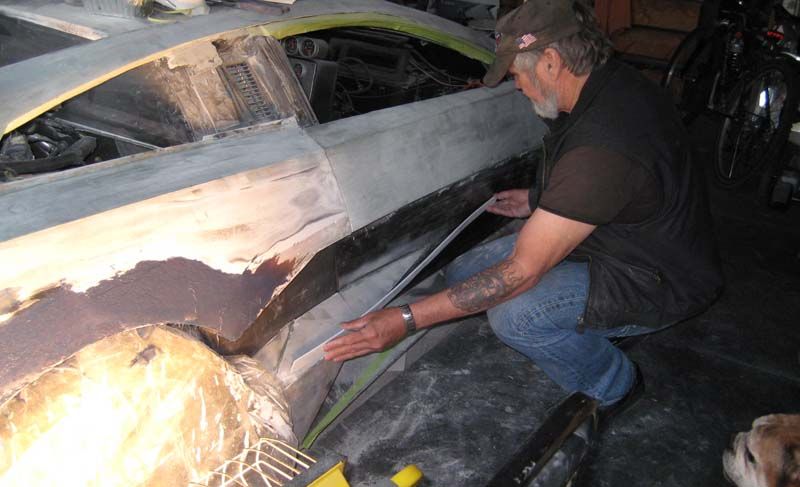
Back to the rear, just have to trim wheel well liners to expose the 325s
quote
Originally posted by testigo007:
carlo... I've read that many exotic cars these days are using fake tips on the exhaust... they look really good, but are not functional... You could put some cool octagonal tips around your tailpipes with a screen covering the actual pipes. :-o http://www.supertightstuff....ust-pipes-not-tight/
Thanks for the tip testigo007, that is a pretty trick idea I was thinking of fabricating something octagonal like that later on, as for now I'll just use what I have
[This message has been edited by Car-Lo (edited 09-25-2012).]
Originally posted by Car-Lo: Thanks for the tip testigo007, that is a pretty trick idea I was thinking of fabricating something octagonal like that later on, as for now I'll just use what I have
Although I don't much care for bubbajoe either but I do agree it does look better with the "reaper" {little funny there sorry} farther down the door. I always thought something as just a tad bit off but couldn't put my finger on it. good eye my man
Rear flare looks really good. A possible suggestion. What about working the lines on the flare to keep the hard edges from the body lines in tact as it goes into the flare? You could add in a bit more duraglas to fill out the front and rear edges to put in the hard line to match up with the body piece. I think that would finish it off really well and keep the body lines end to end.
I have just three words for this thread....... MAD FREAKIN' SKILLS!! Way to go that thing is gonna be the most over the top fiero ever made anywhere.... peace
This is a spectacular build. While part of me is sad that it looks so little like a Fiero, another part is truly amazed by your skills. I hope your hard work helps younger generations want to join the hobby and perhaps save a Fiero.
As Dennis Gage says "Don't crush 'em. Restore 'em."


 , Then RBS2 be safer installing headlights on upper area even if still lower than 22.5"


 then I stopped work on scoop and help him with rear wing
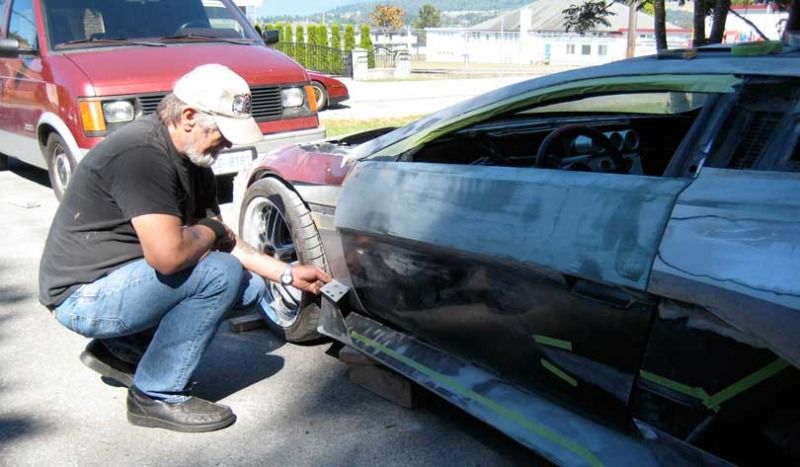

 a few pics
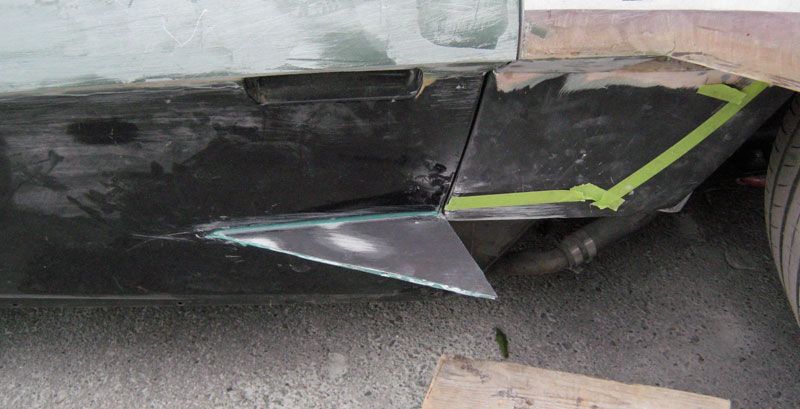


 will do !