I solved another issue I was having with the shifter as it needed to be manhandled like an old lambo gearbox. Turns out it just needed a tuneup and now I have nice crisp short throws with no more effort than a stock Fiero. Here are the pictures:
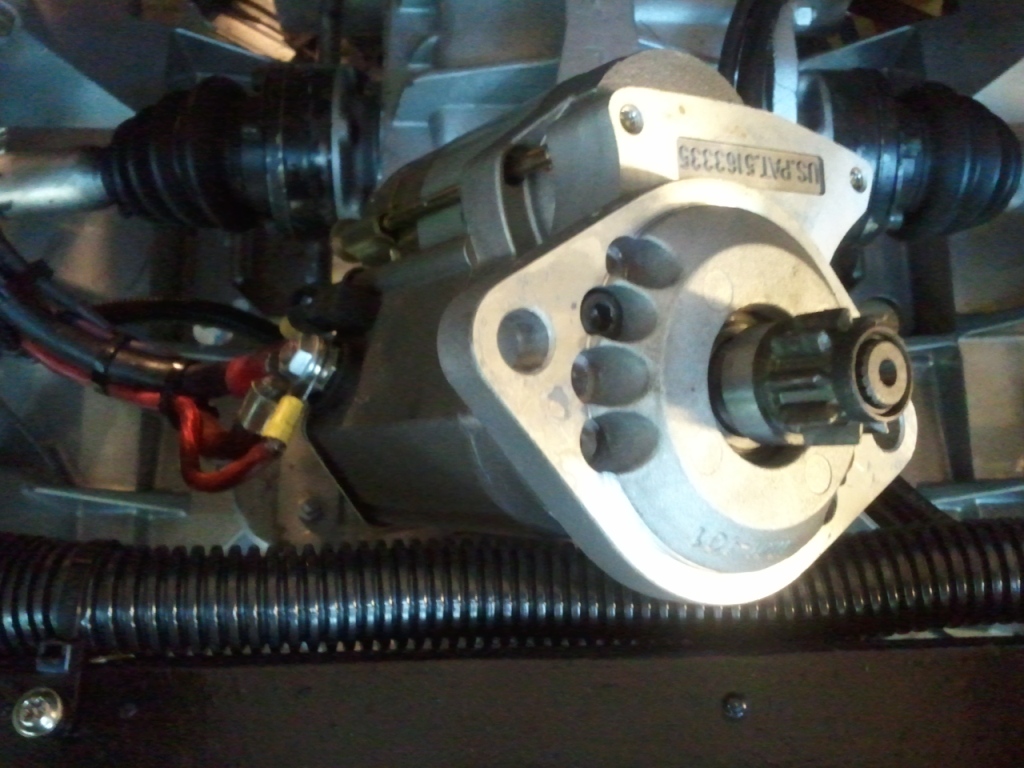
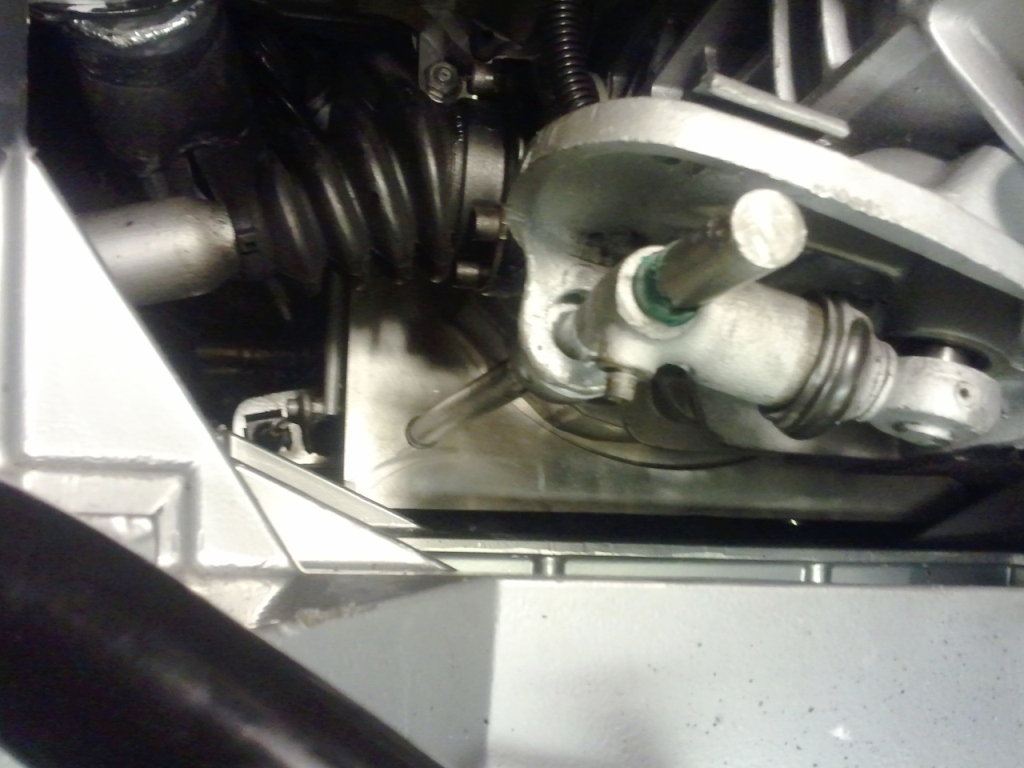
Clutch linkage disassembled as I had some sticky helm joints and I wanted to reset the neutral position of the shifter:
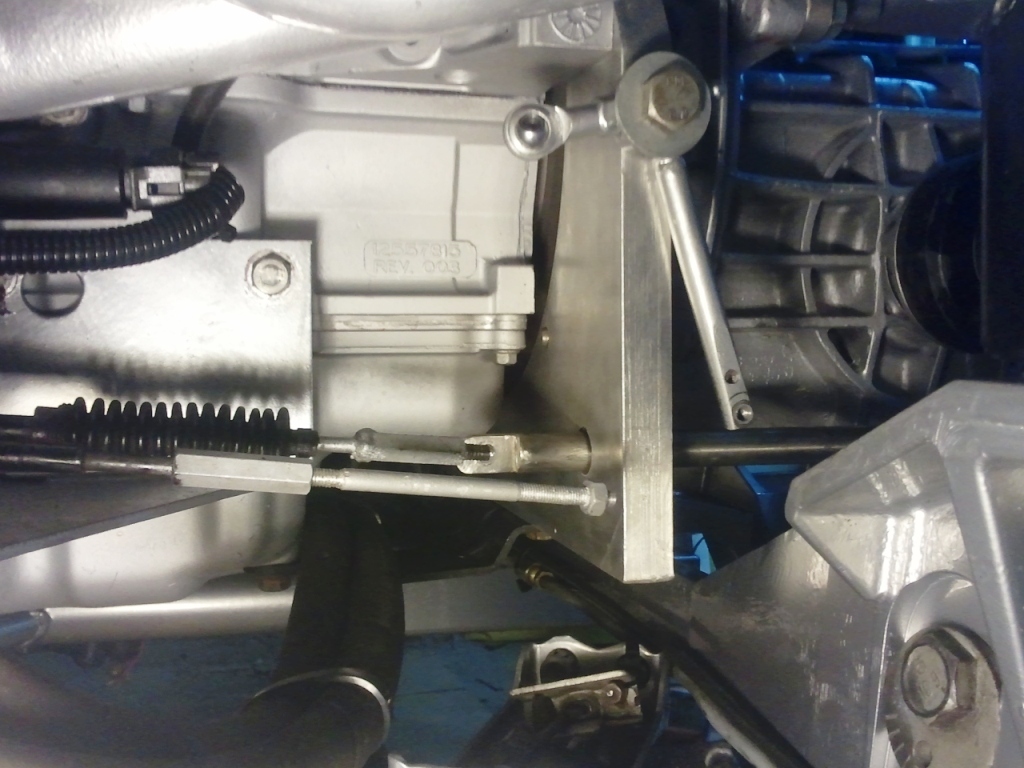
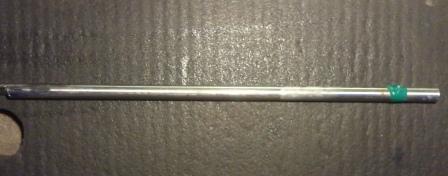
Side shifter rod removed from transaxle after marking the adjustment location. I knew that it was already in the ideal spot through previous trial and error:
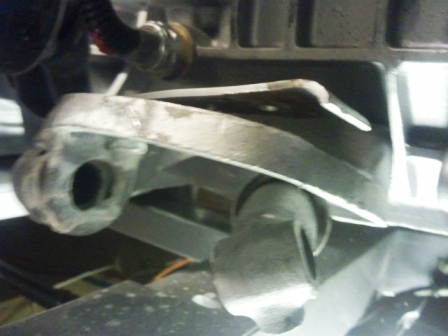
Rod is cleaned and checked to ensure it wasn't bent:
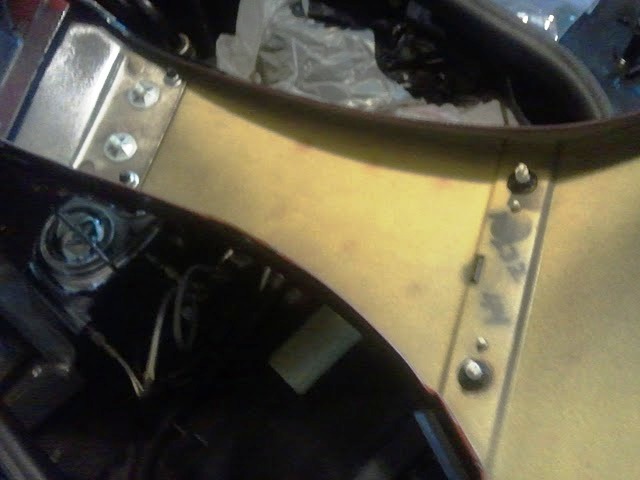
Reinstalled adjustment screw pin in original location. Shaft guide shimmed with washer on top rear to align with adapter plate sleeve (needed to drop angle a little to remove binding):
Helm joints cleaned and adjusted for smooth operation:
A little bit of grease was applied at the sleeve and linkage could now easily move by hand. Success Another fine tuning issue crossed off the list...
[This message has been edited by Fiero2m8 (edited 06-13-2011).]
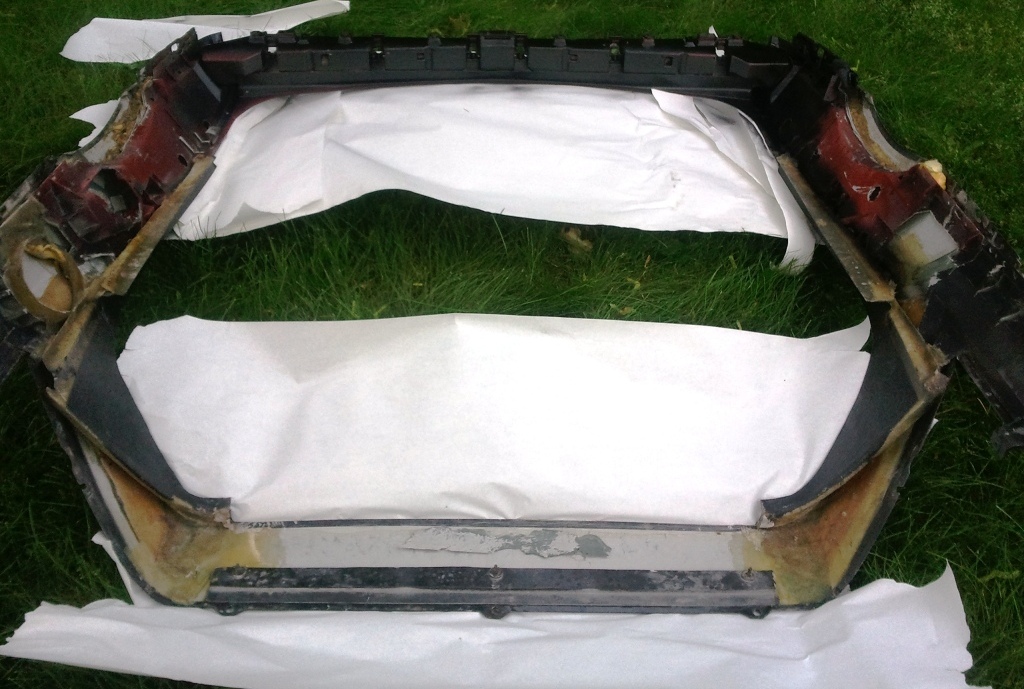
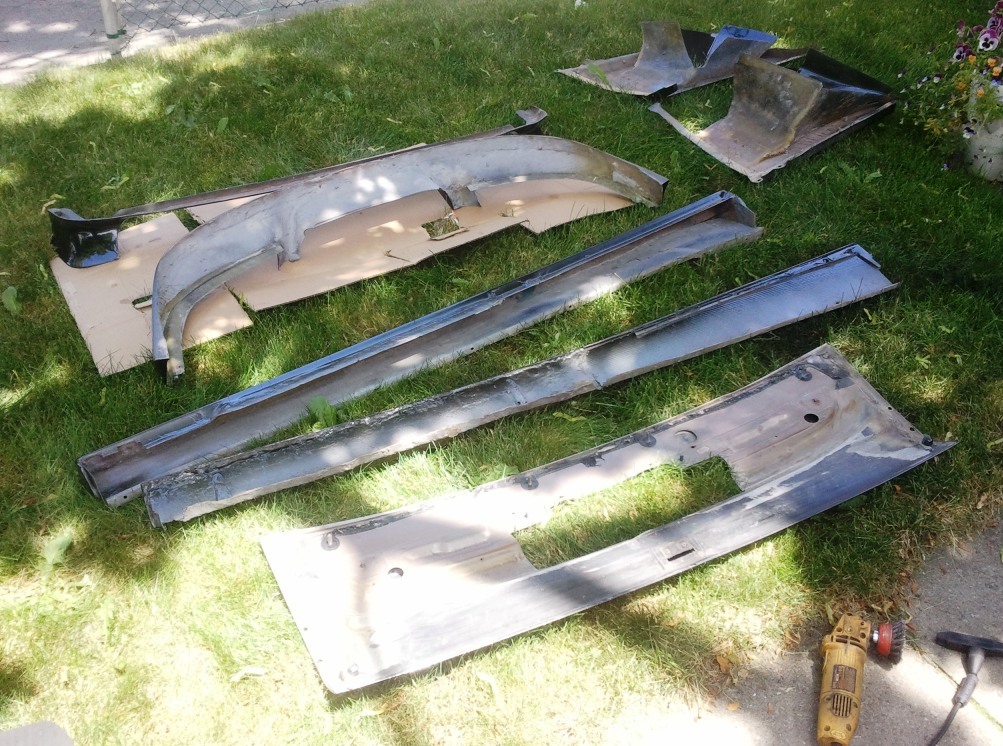
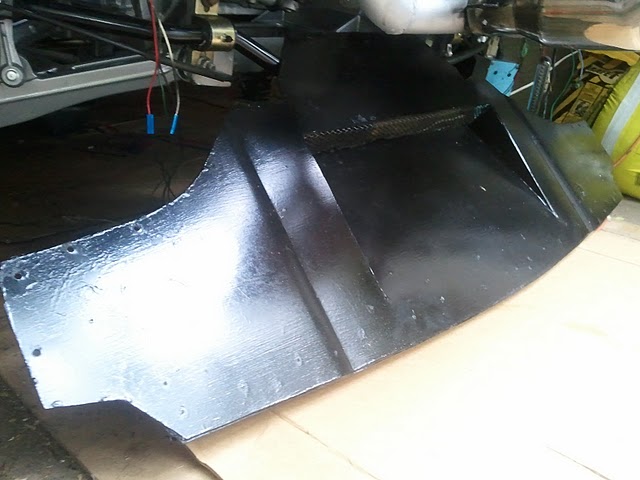
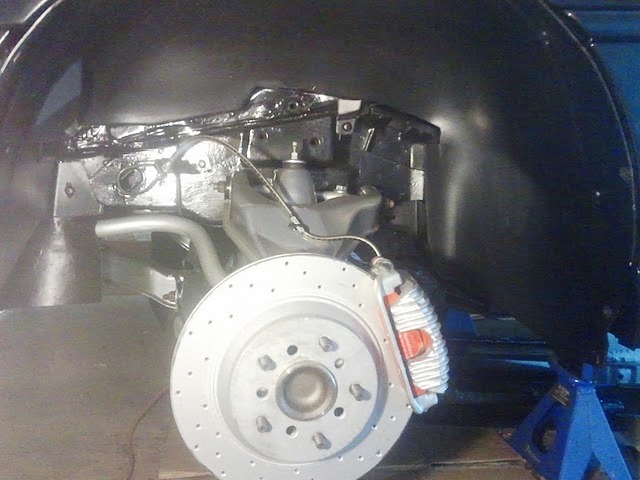
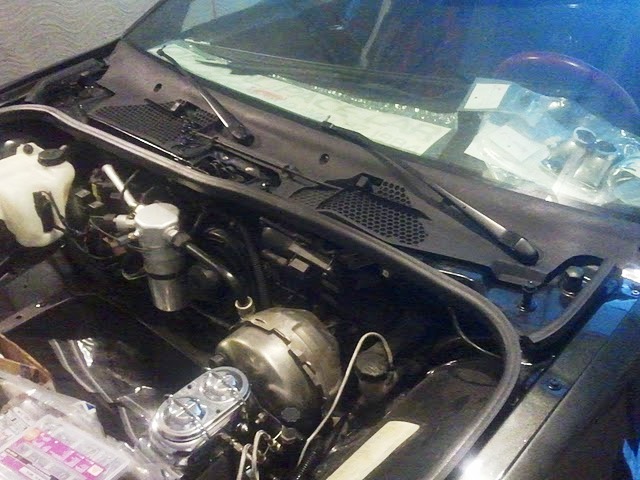
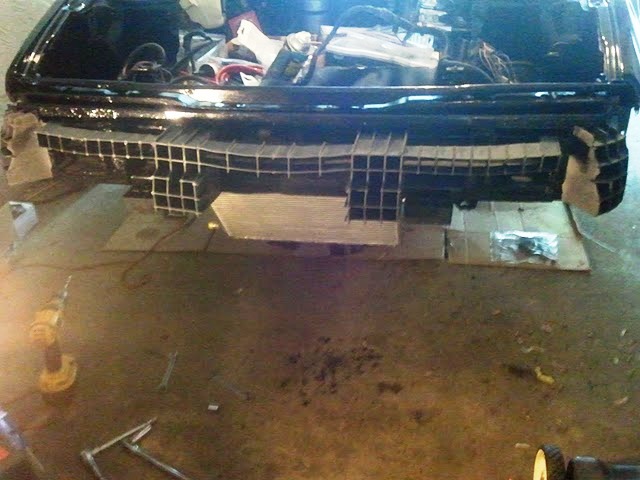
In order to start reassembling body panels, some need the underside painted as they are partially visible when installed. Usually this would be done prior to the paint shops work, but this way they didn't need to worry about masking or overspray saving them time and me money. I just had to be careful not to get any overspray on my new paint job. Here are the pictures of the rear clip that I started with since it goes on first:
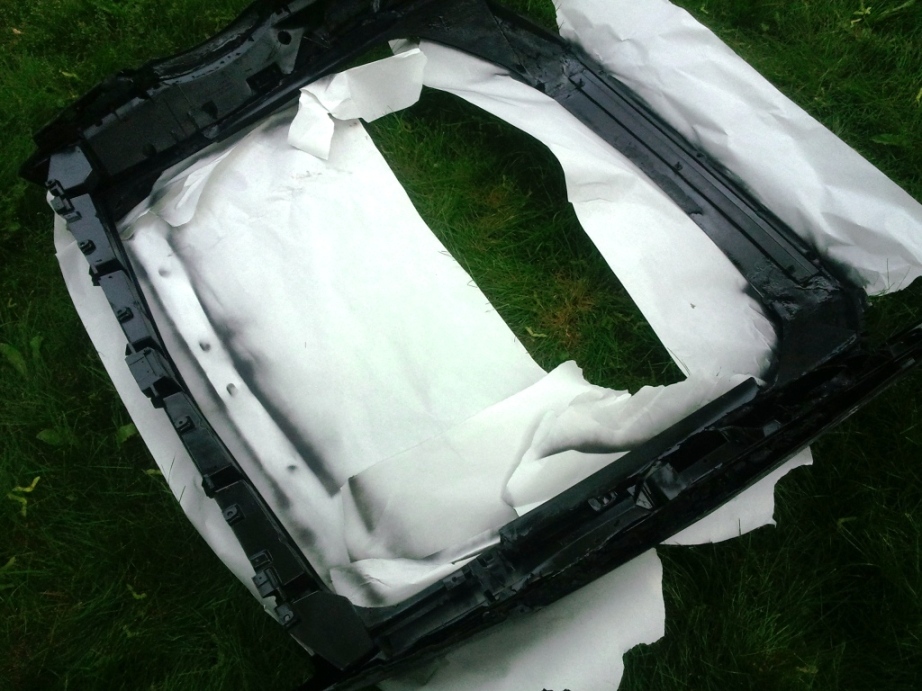
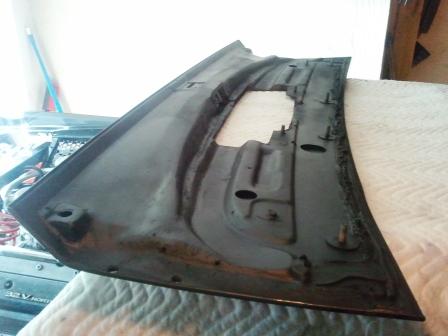
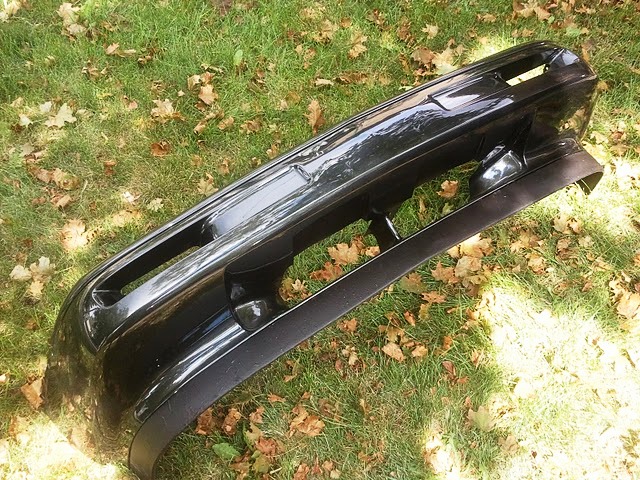
My first coat was I semi-gloss black, but I later decided that flat black looked better:
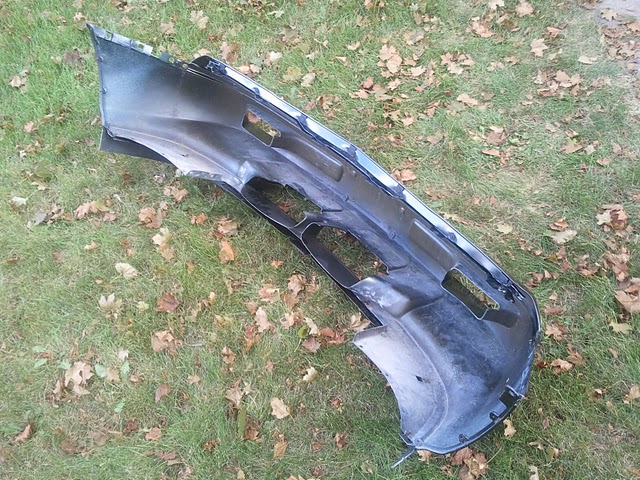
Then I flipped it over and did a third coat to ensure I had complete coverage:
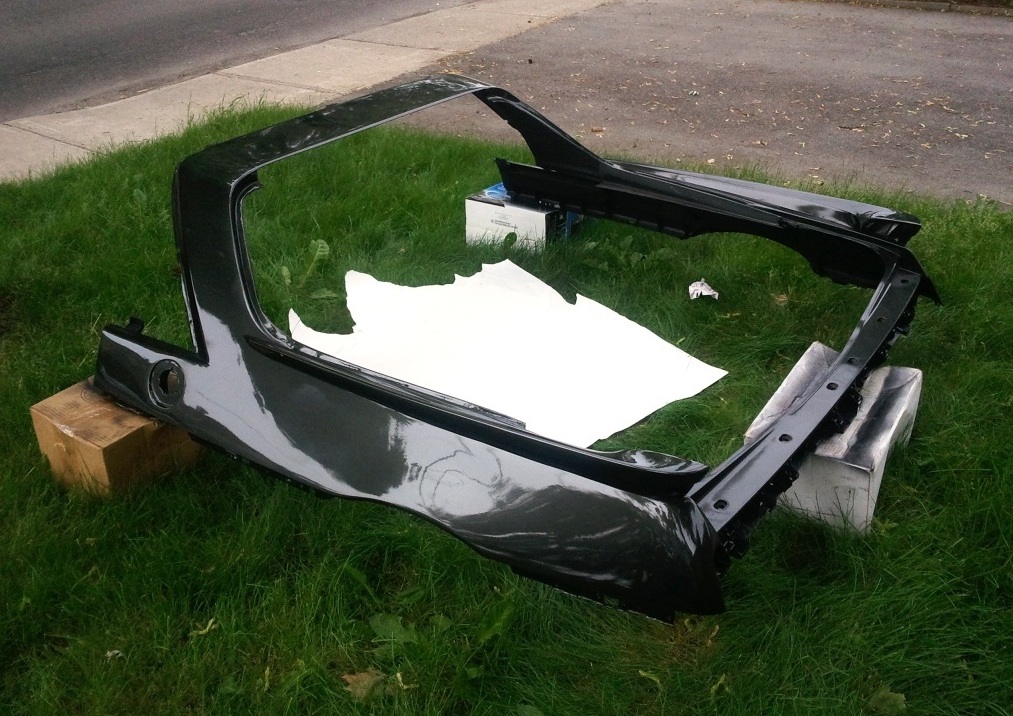
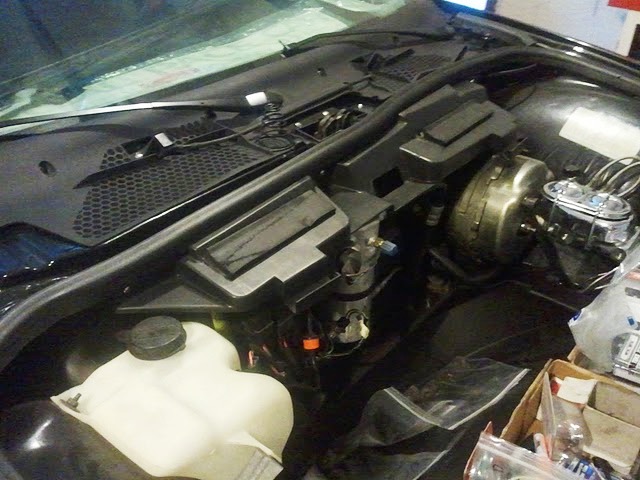
Glad to report that the first panel is back on the Fiero to stay since engine bay is near completion:
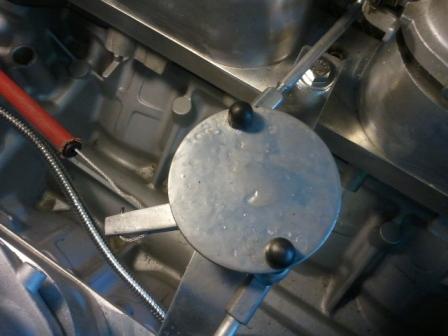
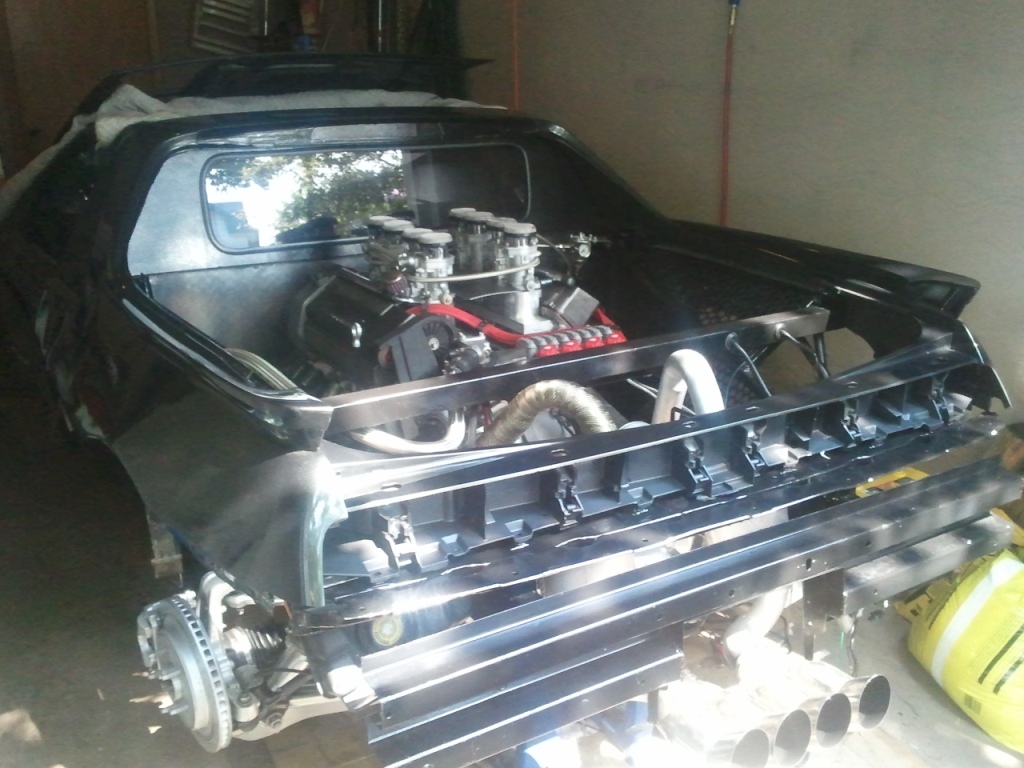
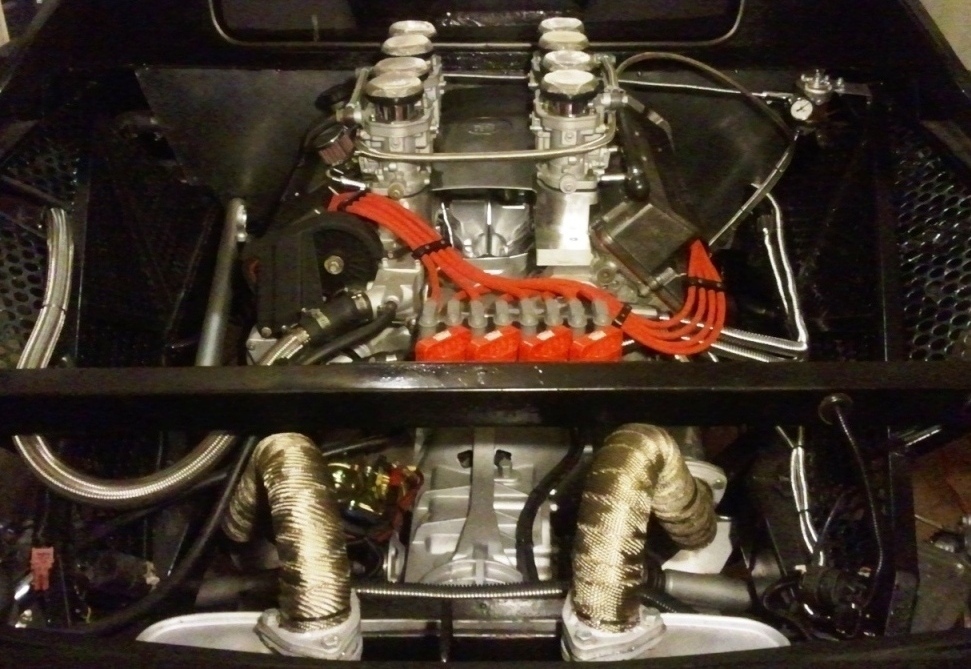
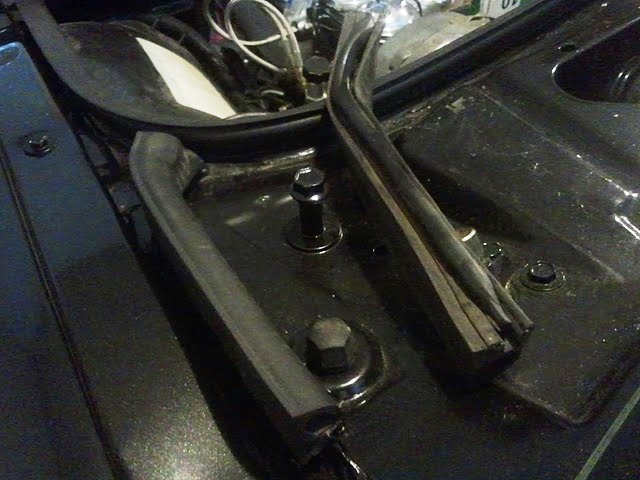
Can you box in the vally cover to go over the link
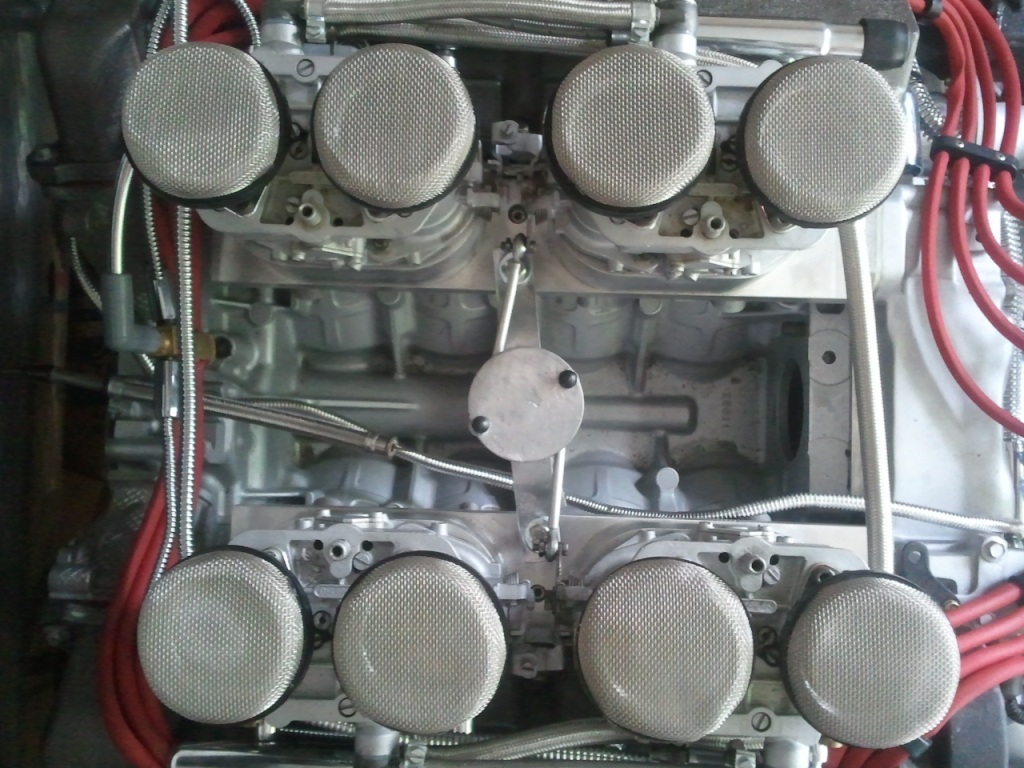
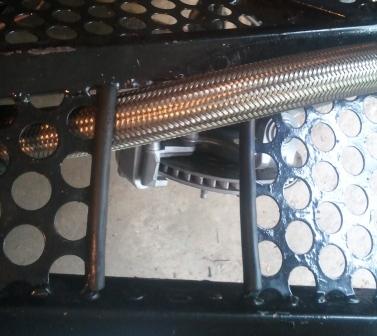
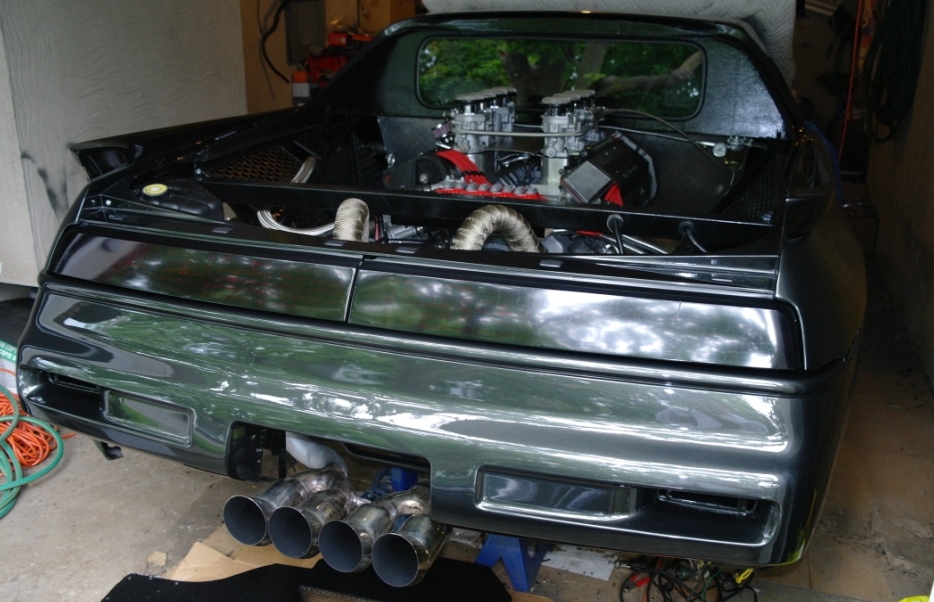
I experimented with this setup (above the linkage) after installing the exhaust wrap, let me know what you think... I also went with paint to match the valve covers.
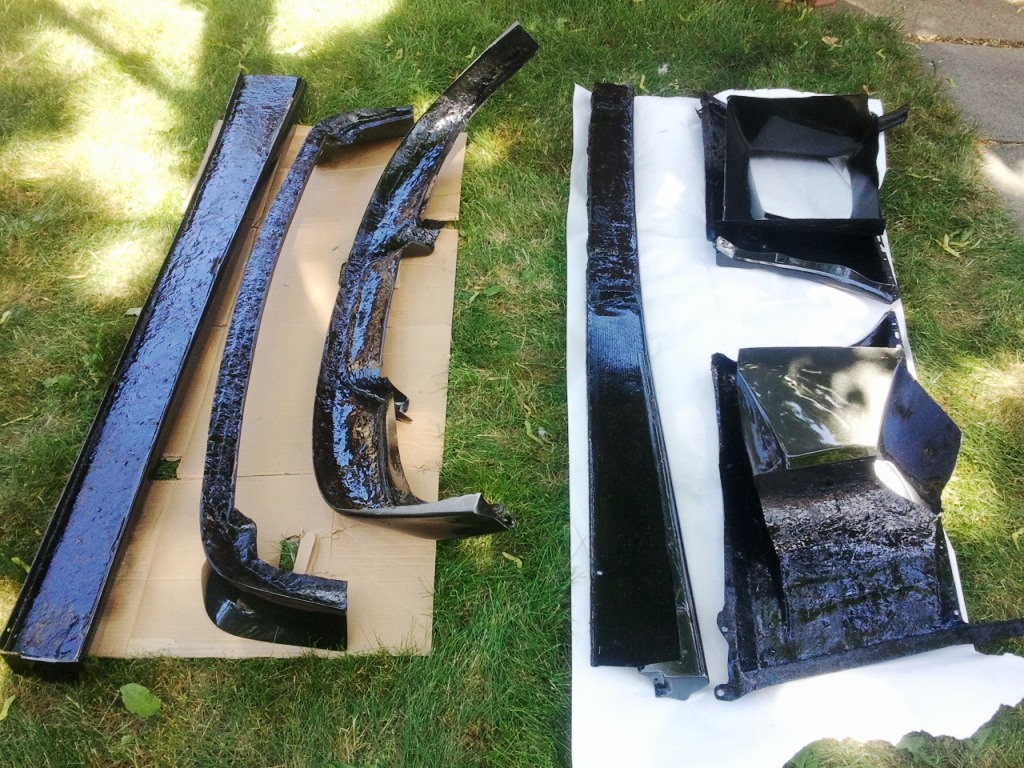
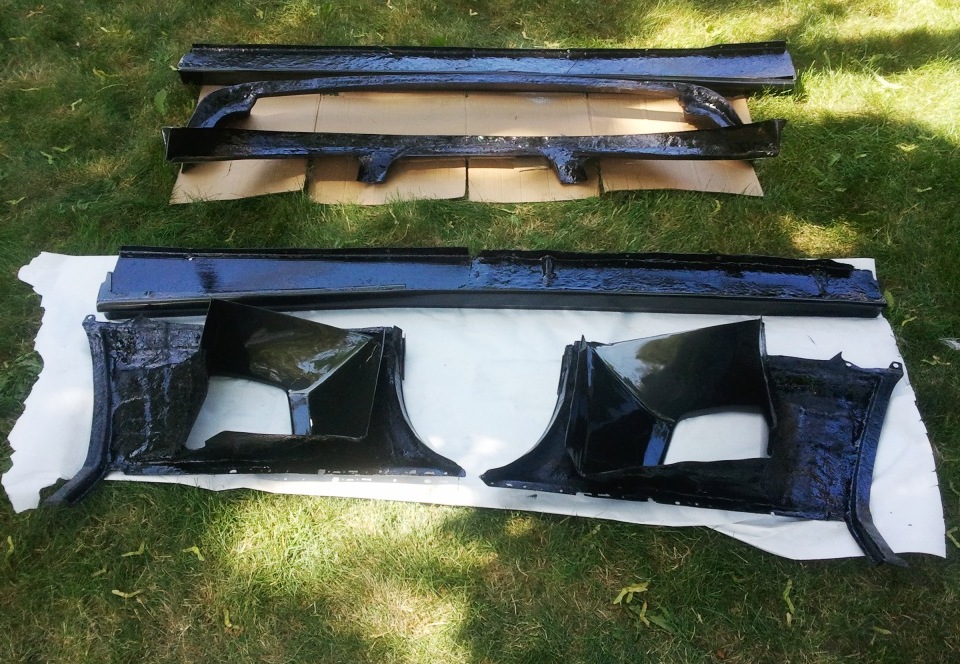
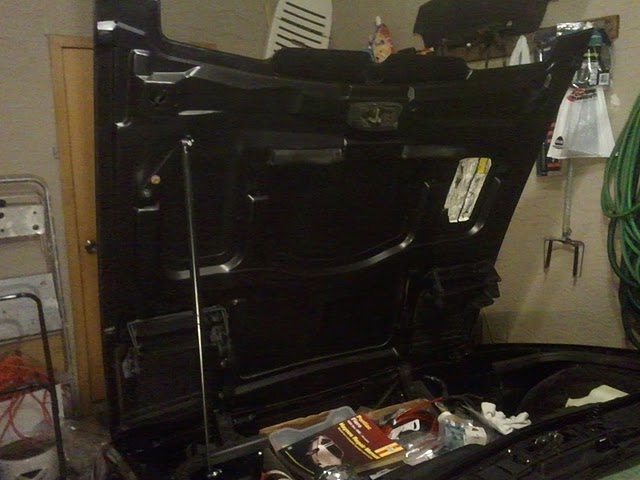
This past weekend's progress was made painting the underside of body panels. The decklid was done in flat black and the rest in gloss black to match the chassis. Most of this won't be seen but this was my chance to cover the bare fiberglass and make it easier to keep looking nice.
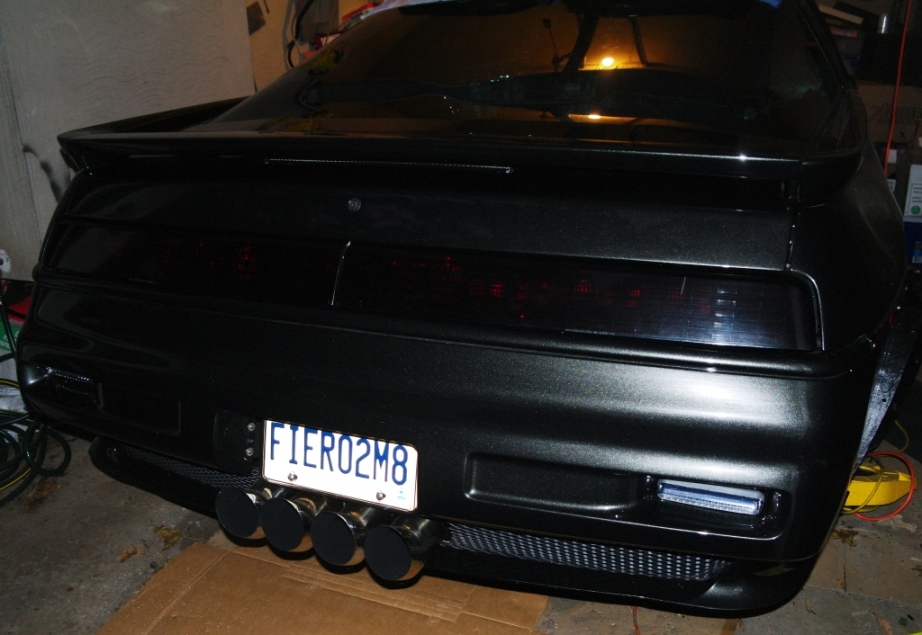
More progress today on body with rear clip attached with all new hardware. Rear 1/4 panels and rear bumper cover mounted.
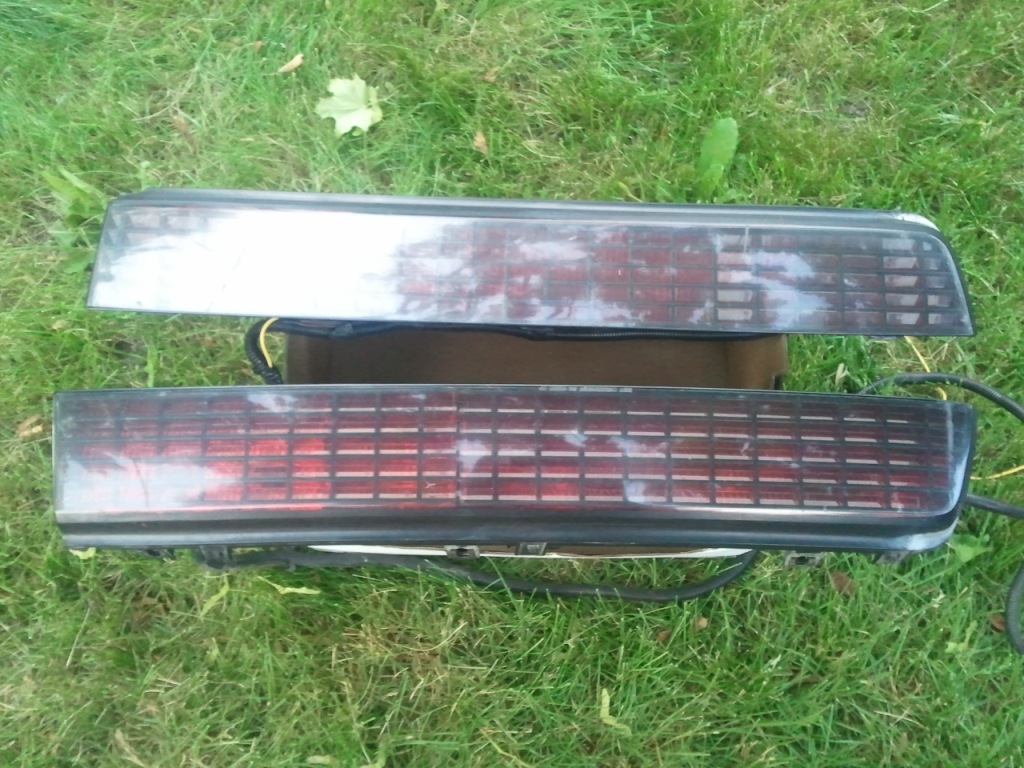
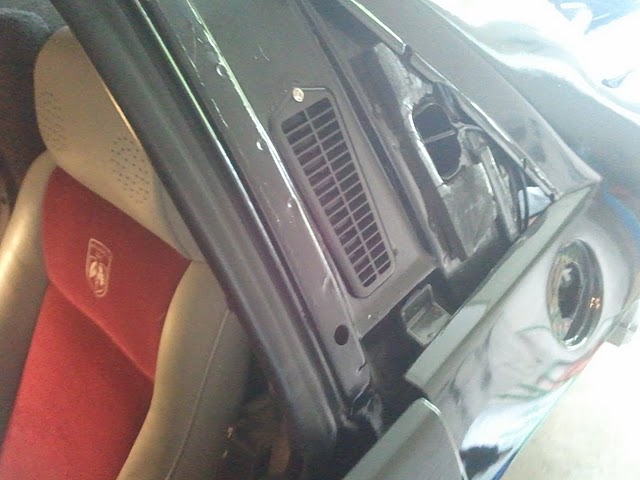
Good news is tailights look great. Bad news is they don't work. There is power at the bulb sockets with light switch on but I'm guessing no ground. The rear marker lights, license plate lighting and reverse lights all work. The sequential box is working as I can hear it clicking when the hazard lights are turned on. These tailights both plug into the box and also plug in to each other to split a power feed. The only other wire is a yellow wire which I connected back to where I had previously cut it. There is also a green feed wire from the harness I labelled "Parking Lights" which has 12V+ when switch turned on. Anyways I was getting frustrated since it worked fine when I removed it. However that was almost 2 years ago - my memory is good but short.
I can't remember how the lights get their ground, if anyone has ideas let me know.
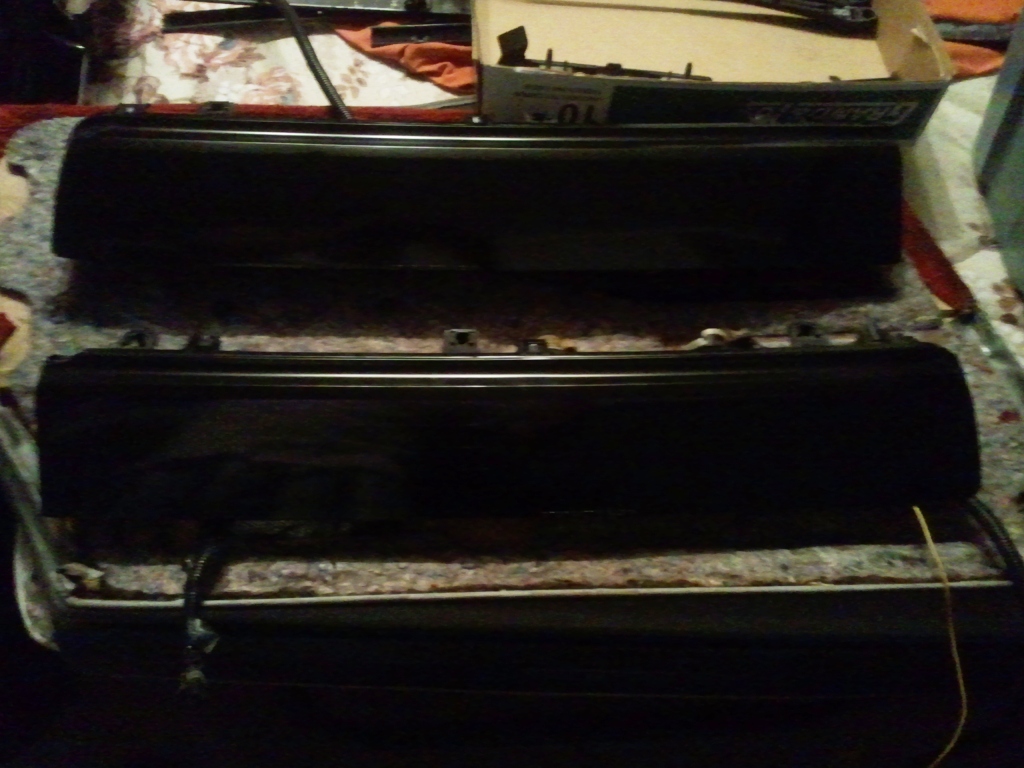
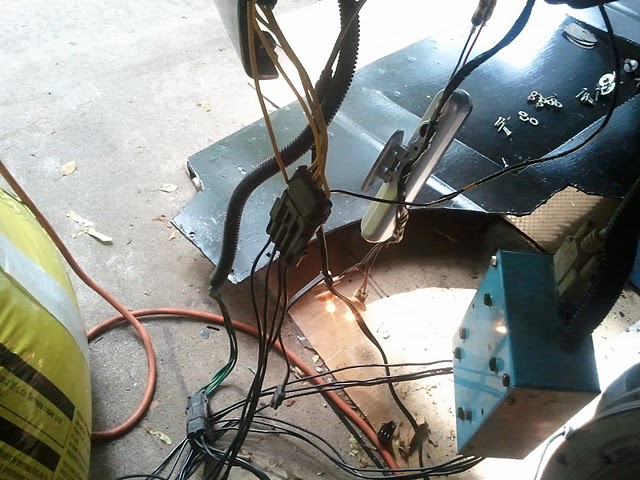
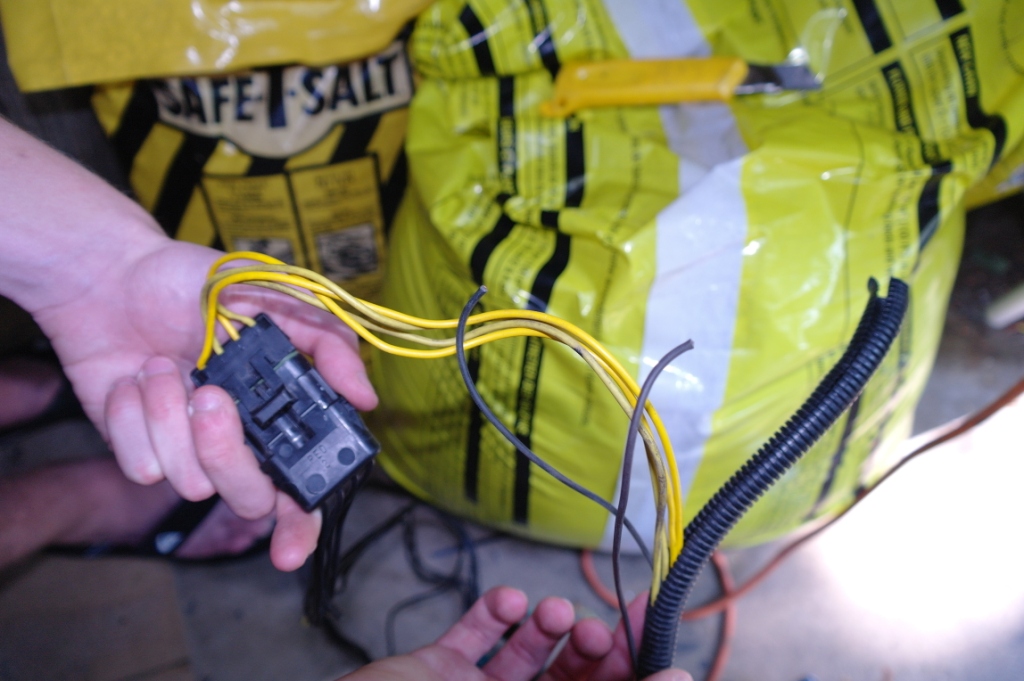
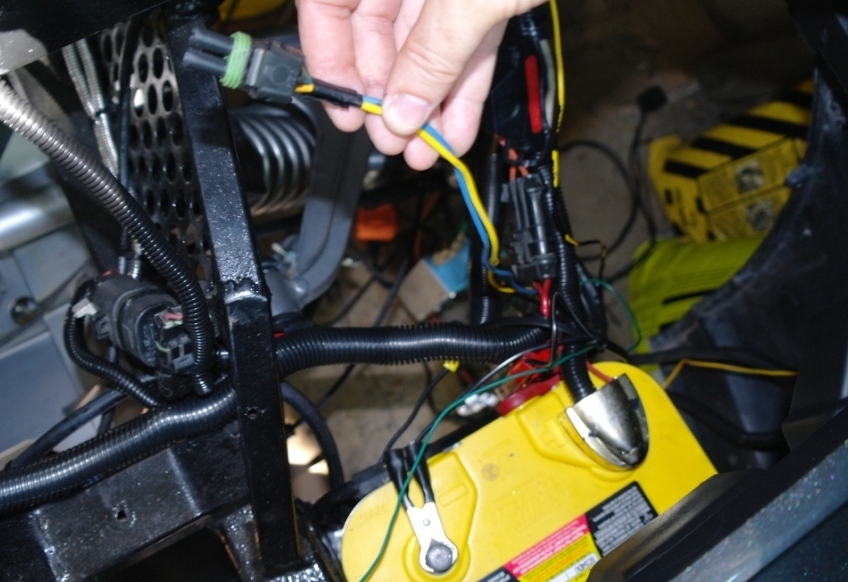
Look what I found in the wiring loom...it's usually something simple.
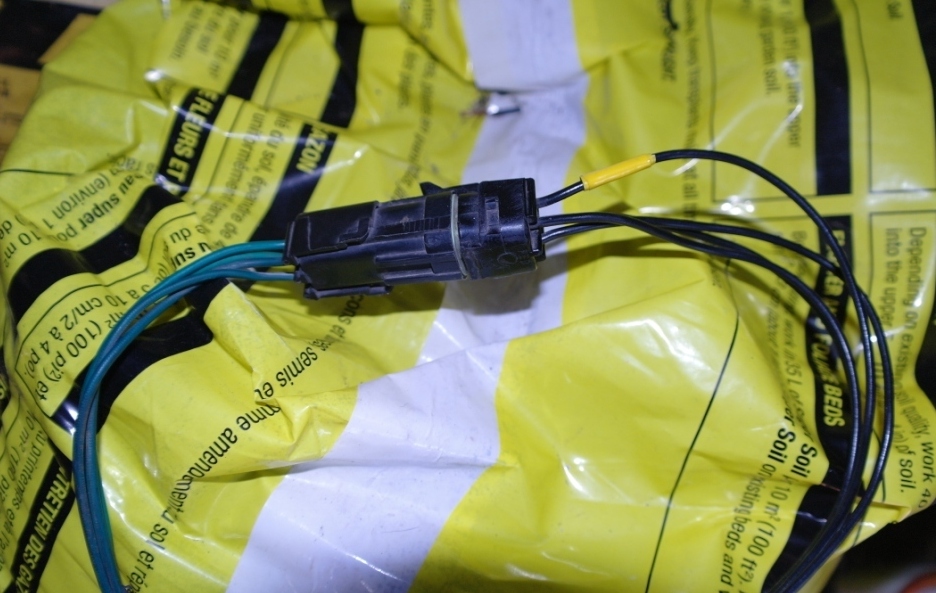
Now yellow to yellow brown to brown and black to black and parking lights work. Only new issue is one flasher doesn't work and it's an issue coming from the box (black wires from box and green to lights). The wire I marked with yellow tape is the feed wire with no intermittent +12V.
Joe I will call you Tuesday night once I open the box up...
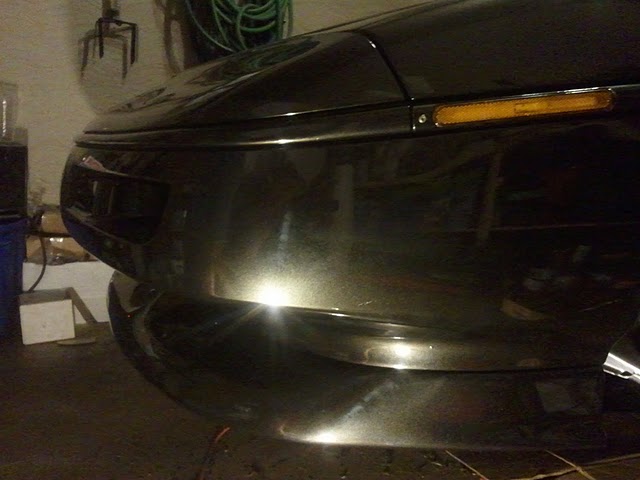
2nd paint casuality as door panel was dropped on the driveway (first one was a clear coat scratch on the front apron)
There are definitely some benefits painting the panels on the Fiero. Once it's all together it getting a visit to the painter to fix blemishes and buffing etc.
2nd paint casuality as door panel was dropped on the driveway (first one was a clear coat scratch on the front apron)
There are definitely some benefits painting the panels on the Fiero. Once it's all together it getting a visit to the painter to fix blemishes and buffing etc.
Hey! Stop ruining the paint before we get a completed shot! Hahaha, hopefully those can be touched up for a decent price. Hadn't looked in here for a week or two, good to see all the progress! Keep it up
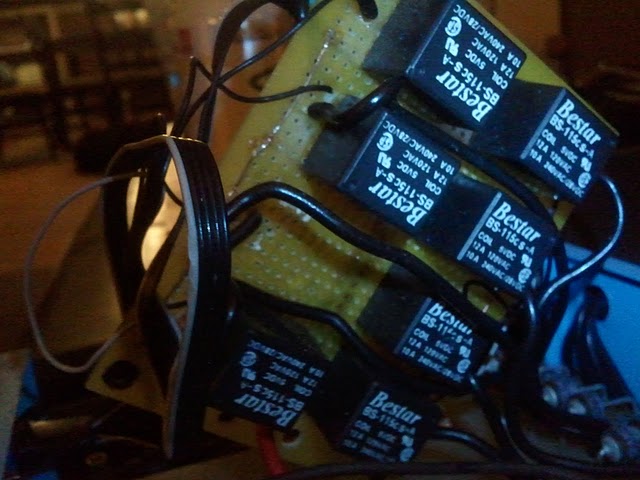
After opening and testing the sequential light box, I found the relay that failed as bypassing it caused the bulb to light continuously. Thanks to a tip from Bubbajoe, today I was able to buy spares of the exact relay for $4 each. Place is called A1 Electronics Surplus in Toronto. Here is a picture of what Bubbajoe built.
I will be swapping out the relay and soldering the new one in.
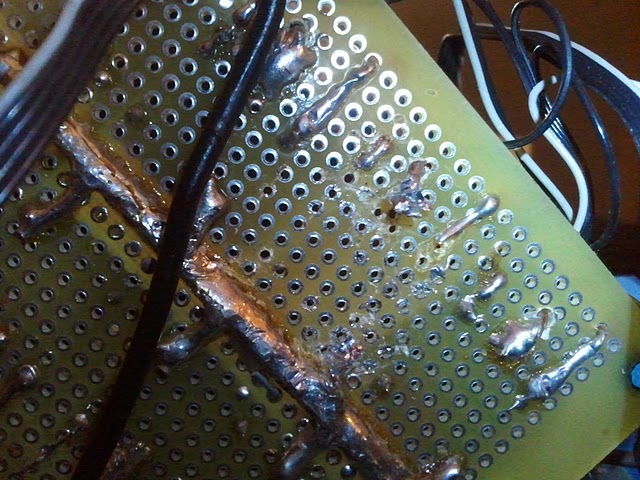
Relay removed and replaced with new one soldered in...
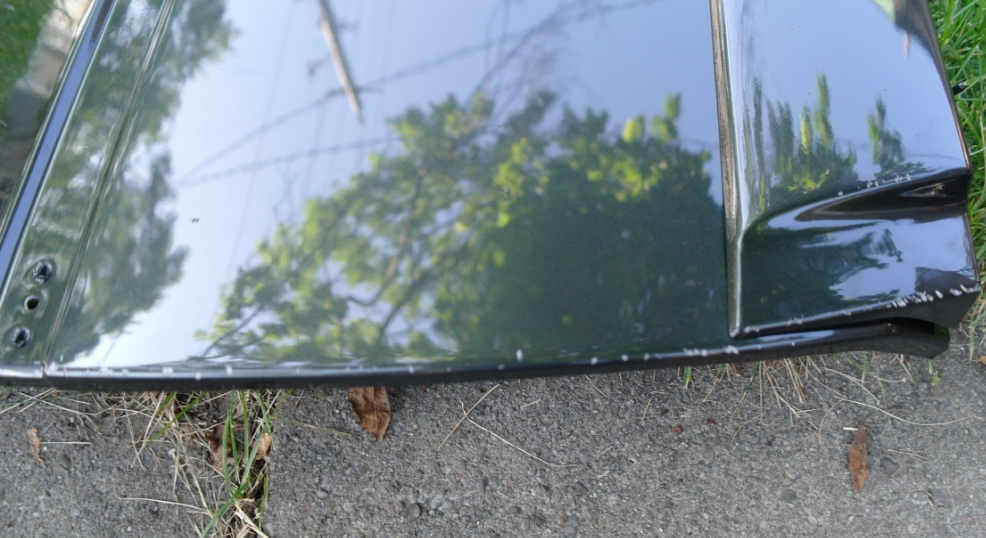
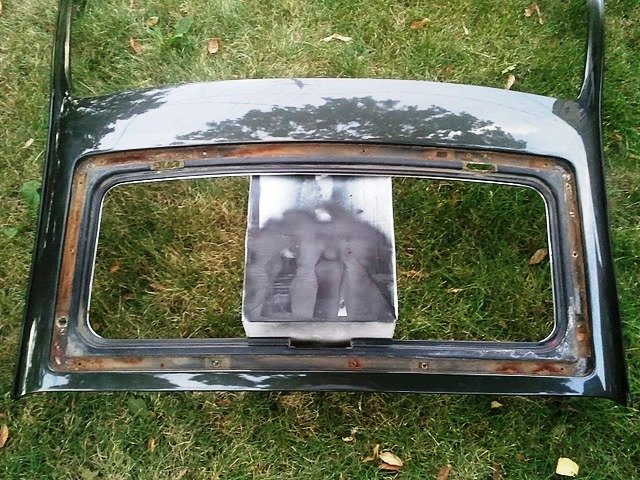
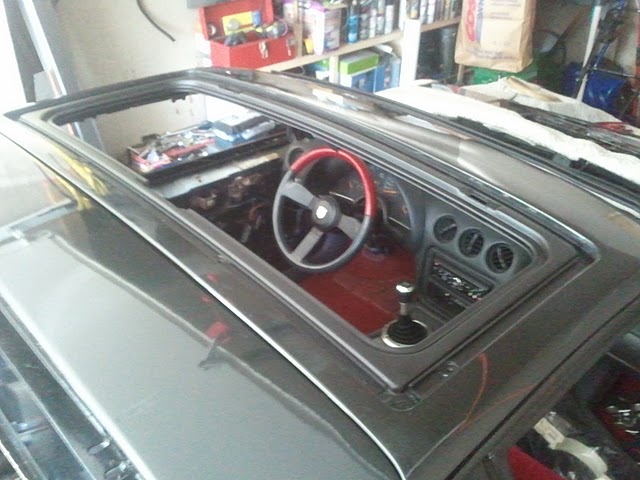
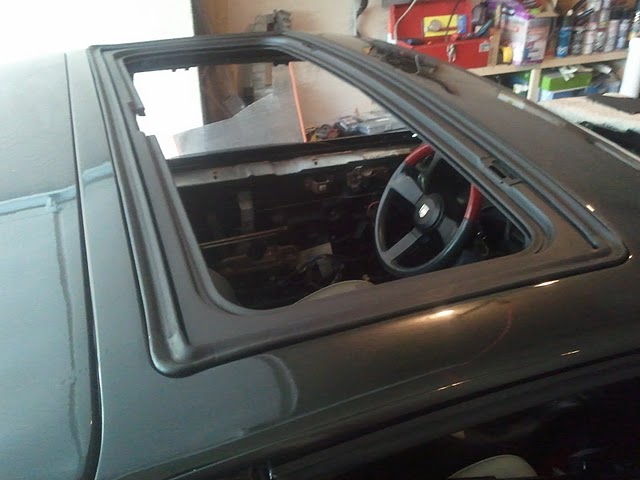
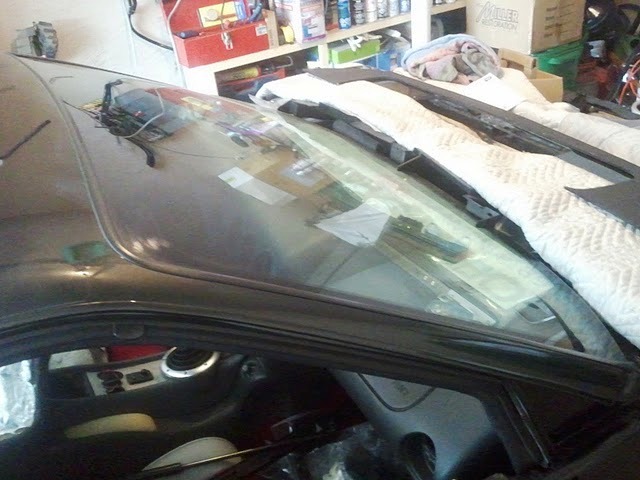
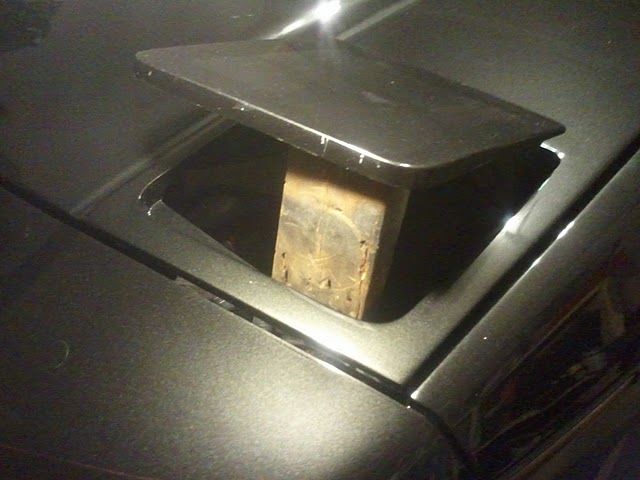
Today the roof panel was delivered Looks good however this particular roof panel appears to need some attention to the sunroof tracks that I only noticed when the seal was removed.
LED markers are also painted, next we're doing the 1/4 windows. Working on installing rear apron, rear wheel wells and finishing rear lighting.
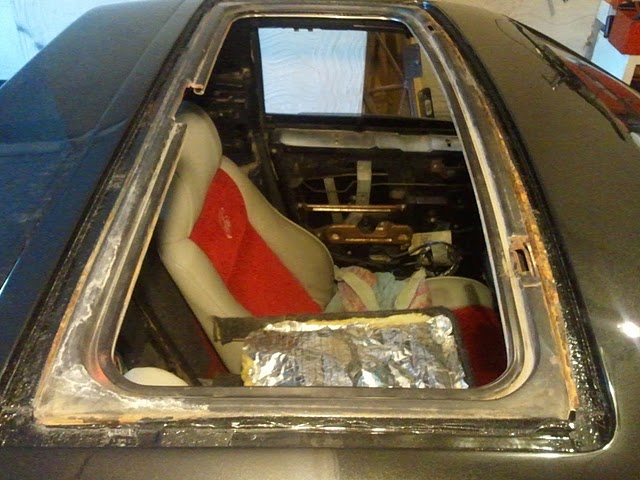
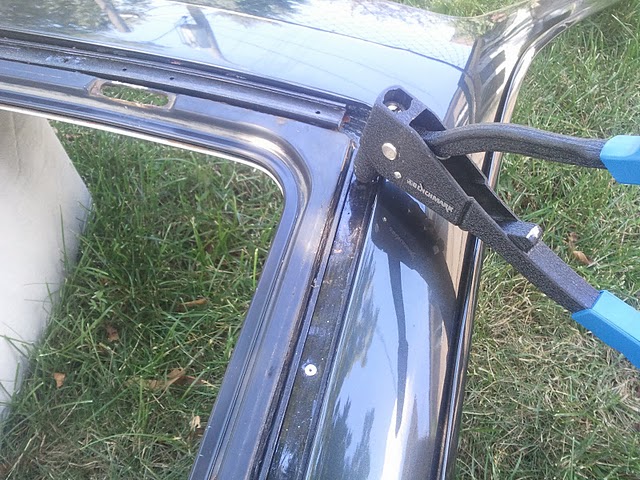
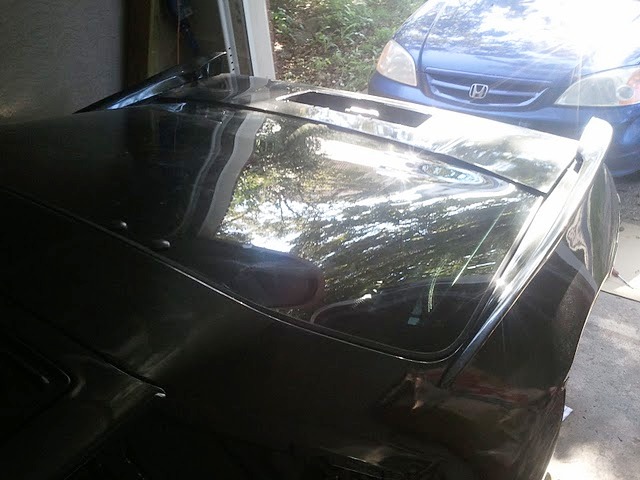
Finally got some time to put the sunroof tracks in so I can reattach the roof panel.
I used rivets like the factory did as both the roof panels I had attached this way.
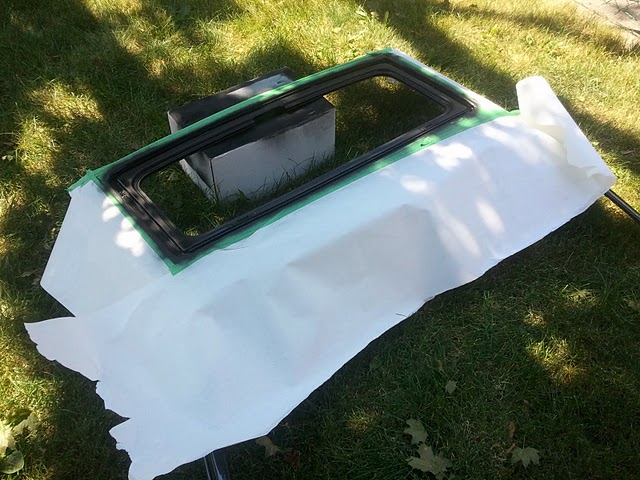
Masked and painted flat black.
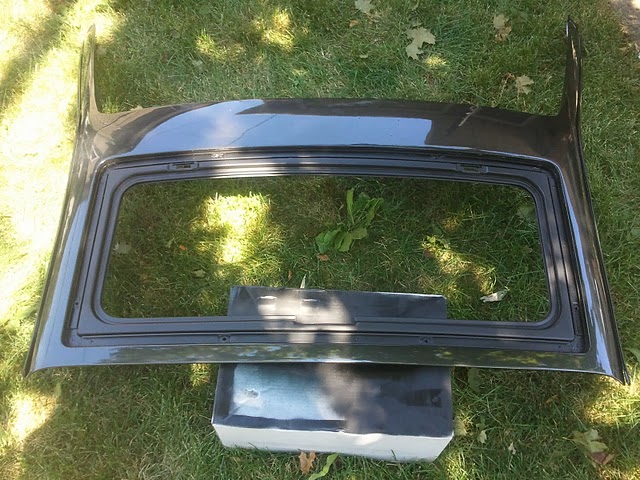
Ready for new sunroof seal.
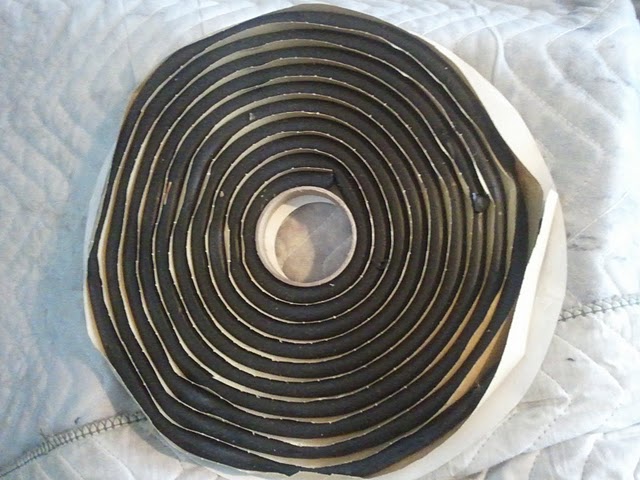
Was able to convince Speedy Glass to sell me their final roll of butyl tape for $5 since I promised it was not for the windshield.
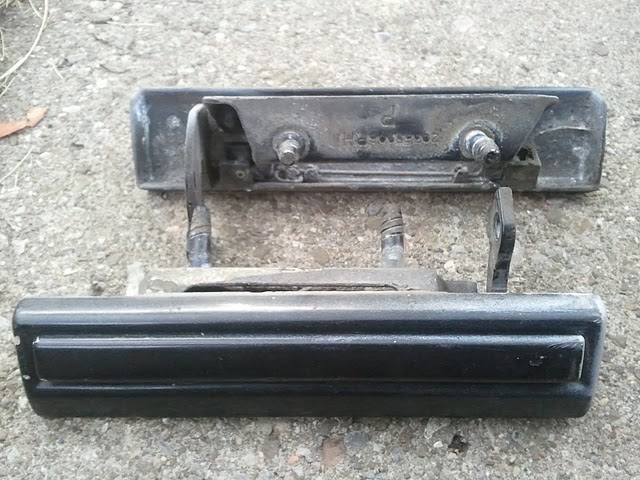
Also dropped off door handles to painter (other ones went missing...) but these ones are going to be shaped to match smooth molding. Let me know where I can get new torsion springs for the handles as one is missing and other is rusty.
[This message has been edited by Fiero2m8 (edited 07-22-2011).]
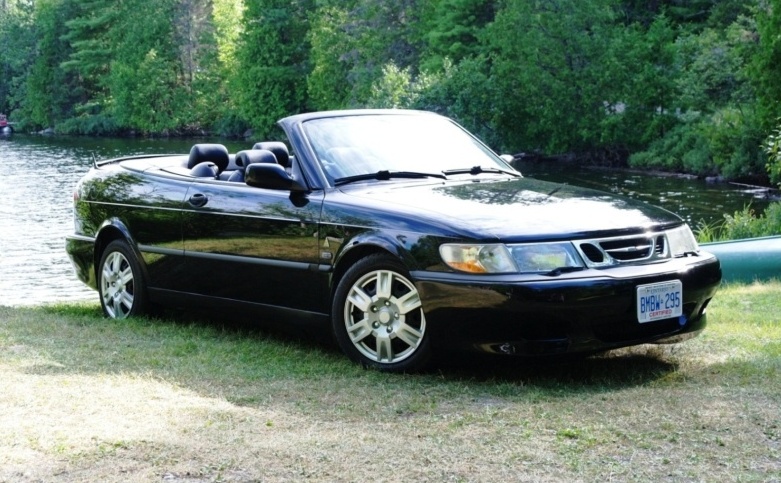
Sorry just getting back into the project now that I'm back from vacation where I was tinkering with my new daily driver toy. It's a 02 SAAB 9-3 Viggen Convertible (exactly like the one my brother had and these are pretty rare in Canada).
If you don't know what a "Viggen" was, more info here:
It appears to me that the engine compartment vent area will be in a high pressure area given that the spoiler will be adjacent. It seems that the high pressure would negate the scavenging of the engine compartment air. What do you think? Perhaps if the vent were located behind the spoiler (a negative pressure area) it might function better. Just some thoughts. I'm looking forward to your machine getting on the road and getting sorted. It's a terrific design.
It appears to me that the engine compartment vent area will be in a high pressure area given that the spoiler will be adjacent. It seems that the high pressure would negate the scavenging of the engine compartment air. What do you think? Perhaps if the vent were located behind the spoiler (a negative pressure area) it might function better. Just some thoughts. I'm looking forward to your machine getting on the road and getting sorted. It's a terrific design.
Ken
Thanks Ken, glad you like the design!
The air path while car is in motion is through the side scoops and out the rear just below the bumper. I agree that the scavenging will only work when stationary as the vent is directly above the hot exhaust so the warm air will have a path out. The other use for the decklid vent was to allow warm air to be forced downward towards the rear vent while in motion. Engine temp and under glass temps were not an issue when it was last on the road. In fact my LT1 Roadster was much warmer in the engine compartment probably due to the cramped engine bay (no 12" wheelbase stretch in that one). I guess I could try a video with air streamers to check the theory one day, but now that everything is painted, body mods will be minor going forward
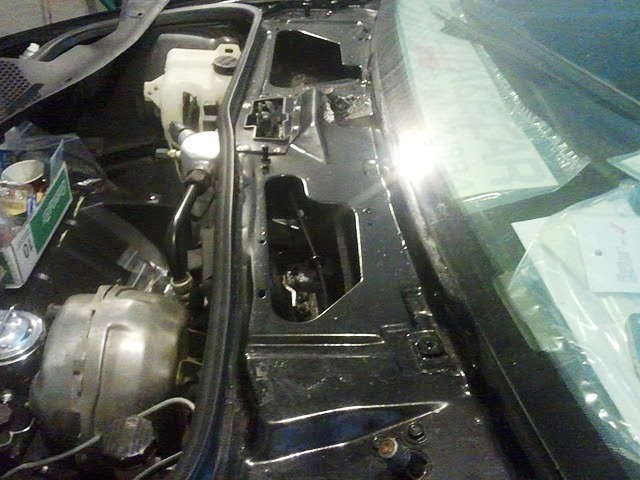
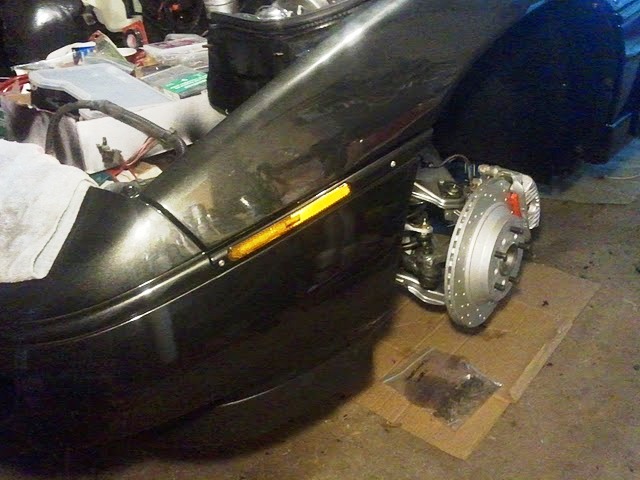
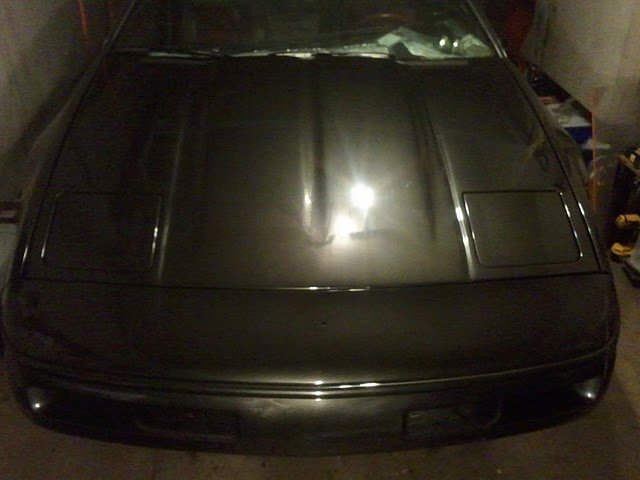
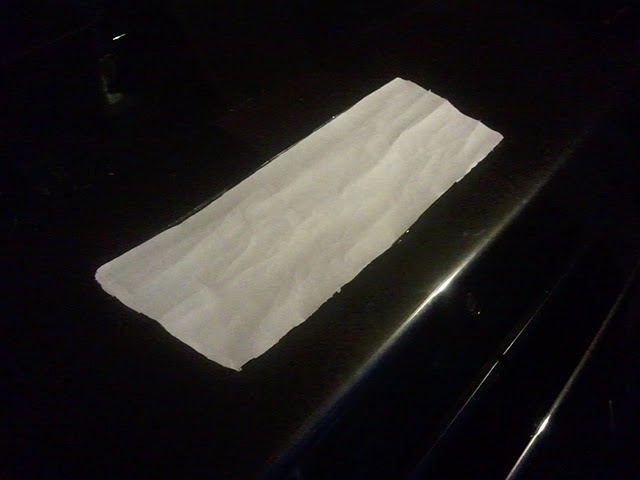
For the front compartment lid, I placed in position vertically on a towel since I was installing it by myself. Then I could finger tighten the lid bolts and lower it down with the headlight doors open for access.
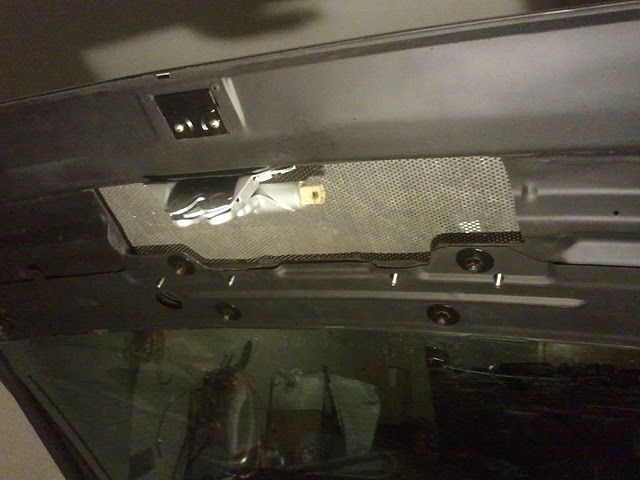
Once the panel was aligned for gap and height, I tightened the bolts with a 13mm socket. Next I raised the panel and finished tightening the 13mm nuts as well. Although centering adjustment was needed, the existing washer marks had me in the ballpark during the finger tight process.
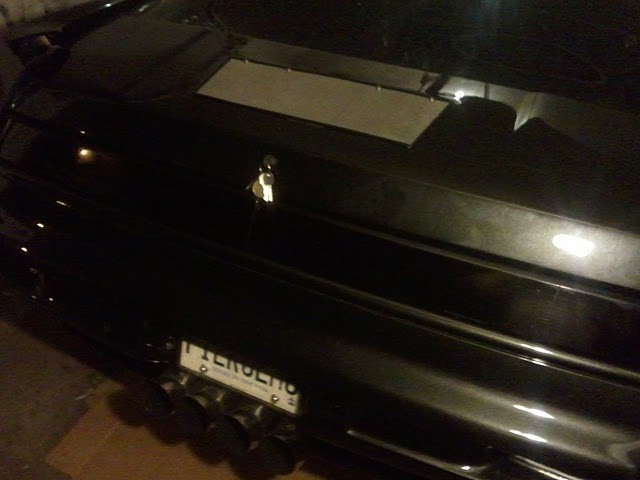
Next I installed the Rodney Dickman strut rod kit - works perfectly and I highly recommend it to anyone who is too lazy to fab up their own
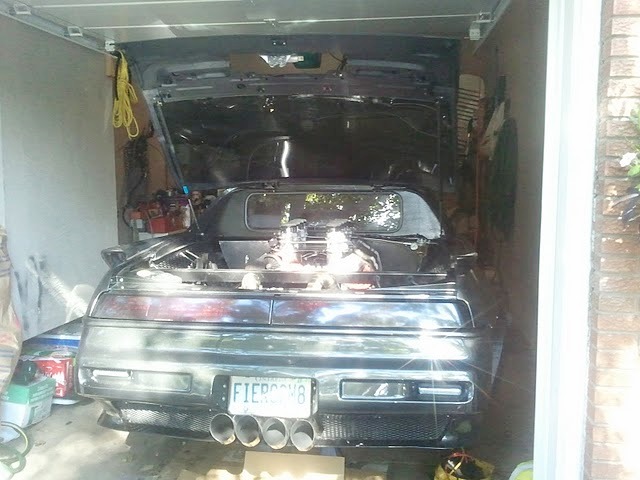
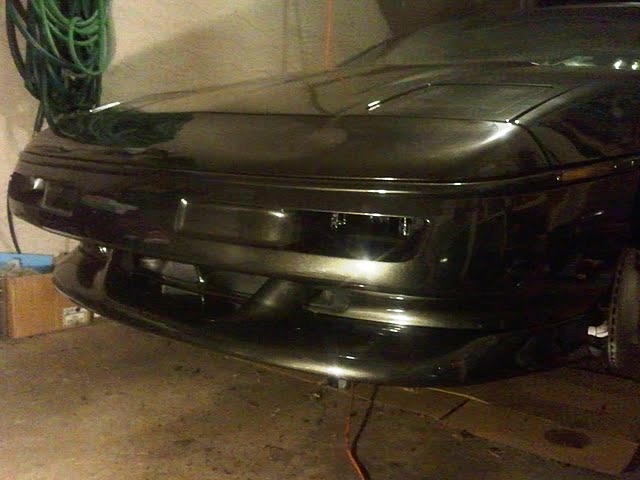
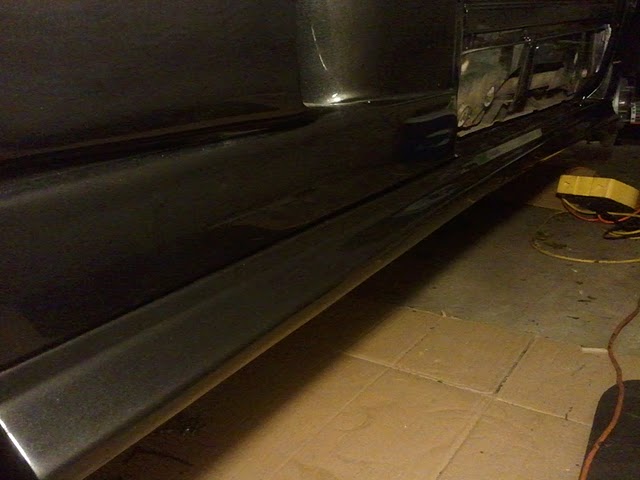
I'm happy with the results, looks like a car again.
Next to go on are the last of the painted panels (lower front apron, door panels, side skirts and 1/4 windows)...
It's exciting to watch this truly amazing build on the final leg of assembly. Great attention to every detail....you have a ride that you should be extremely proud of.
------------------ Nick M.
A journey in design and fabrication begins with a vision, a single pen stroke ... and in some cases the blow of a hammer.
If you read some of the original posts, it's amazing how much better this build is going to look than anyone could imagine or suggest! Amazing work! And it's only taken 8 years!
Thanks very much guys! Yes it's really starting to look like a unique Fiero as it goes back together. This newest project with it's 69 page build thread, and over 288,000 views is something I am very proud of. I'm looking forward to driving it again after a 2 year drought but I keep telling myself it will be worth the wait. On with the show...
Made a template for the newly shaped decklid vent:
Used aluminum mesh I got from Bubbajoe back in 2008:
The edges are finished in black door edging and it's mounted with removable stainless bolts:
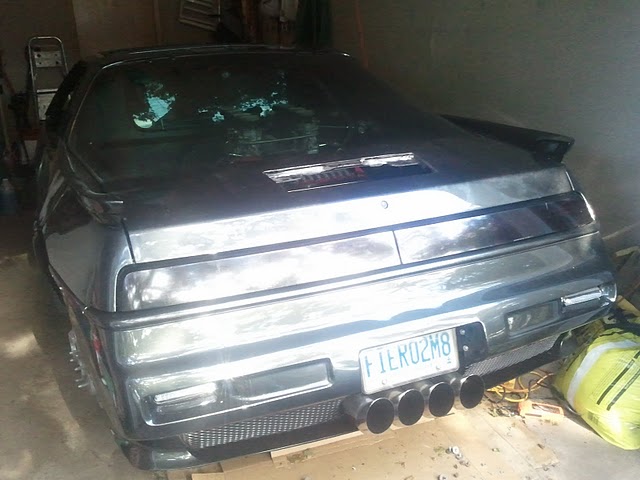
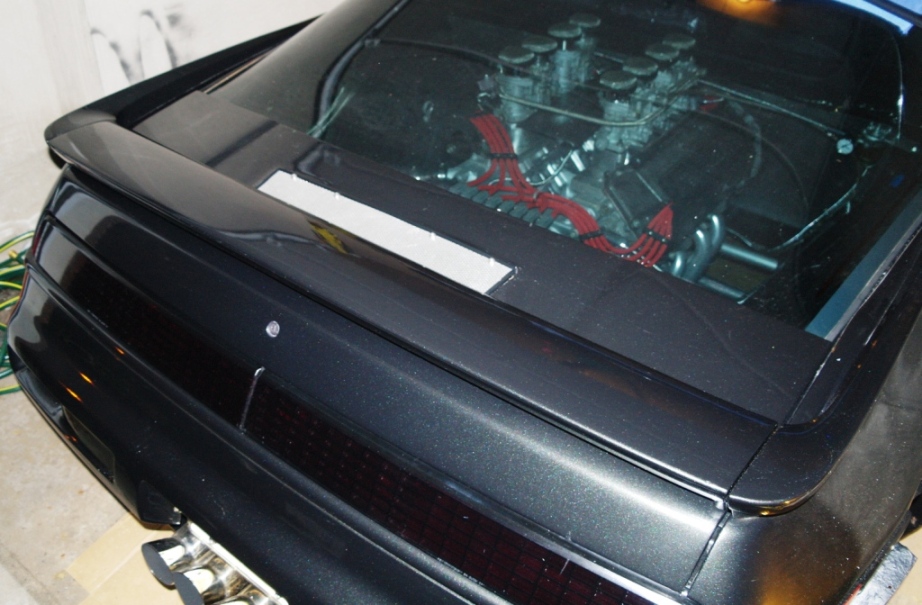
It sits virtually flush with the decklid and is mostly covered from view by the spoiler I can now install.
I had to slot the mounting holes to align the spoiler but she's bolted in position now. The decklid was installed flush with the rear fenders to improve the body gap alignment. I'm much happier now with the overall alignment and smooth operation of the engine hatch.
Here's a better overhead view taken with my flash camera at night:
Should have all the parts to work on the door panels soon...