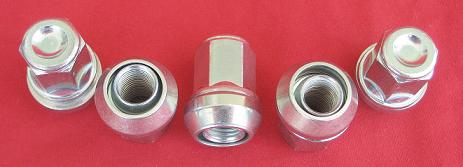
These nuts allow wheels and hubs with slighly mis-matched bolt circles to be assembled. They could be used to: Mate 120.65mm (4.75" Chevy pattern) to 120mm (BMW pattern)
OR (as relevant to the Fiero community)
Mate 114.3mm (4.5" Everything but GM pattern) to 115mm (GM large FWD pattern)
This satisfies my OCD with regard to avoiding side-loading the lug studs with slightly mismatched patterns.
Obviously use of these requires that appropriate attention be paid to adapting center bore diameters to keep the wheel hub-centric.
Yeah, Will can be a little rough around the edges. Too much time on the internet maybe. I really wonder if aftermarket wheel manufacturers even care, they probably oversize the holes a little and split the difference. I'm not buying two sets of wheels to find out though.
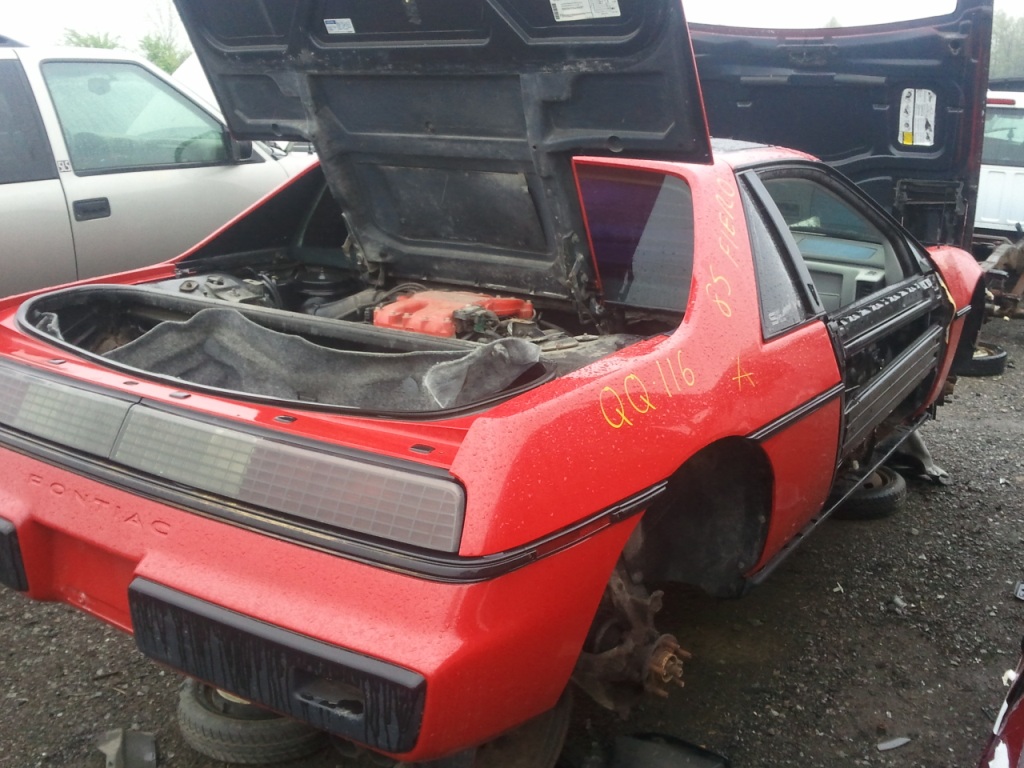
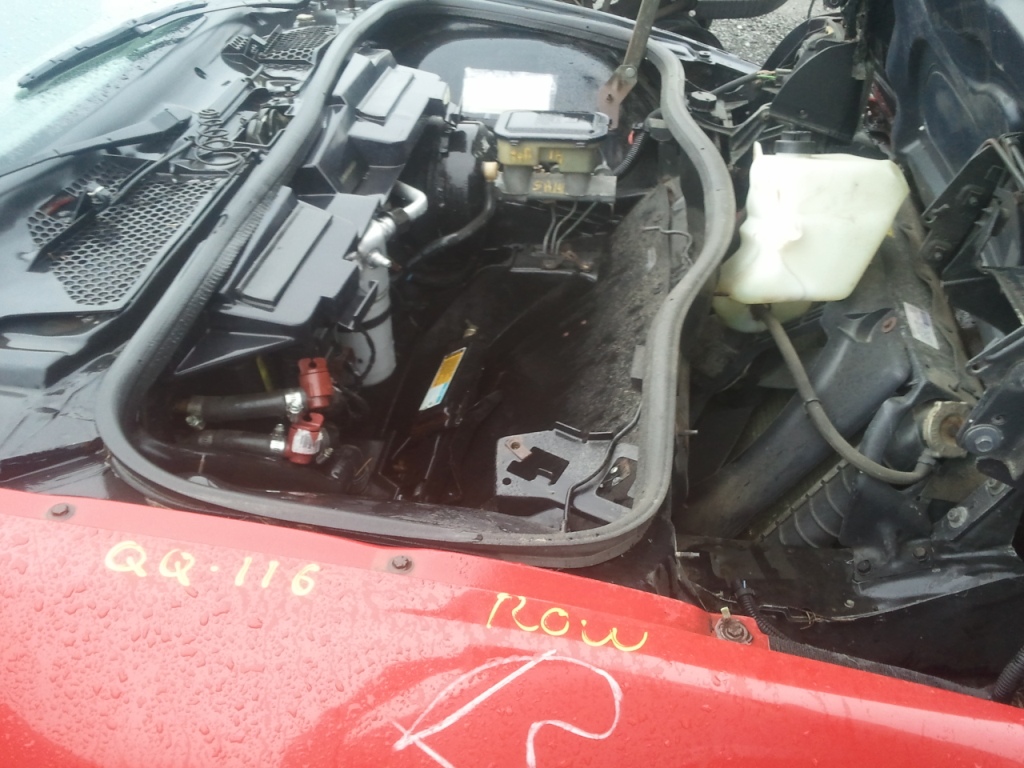
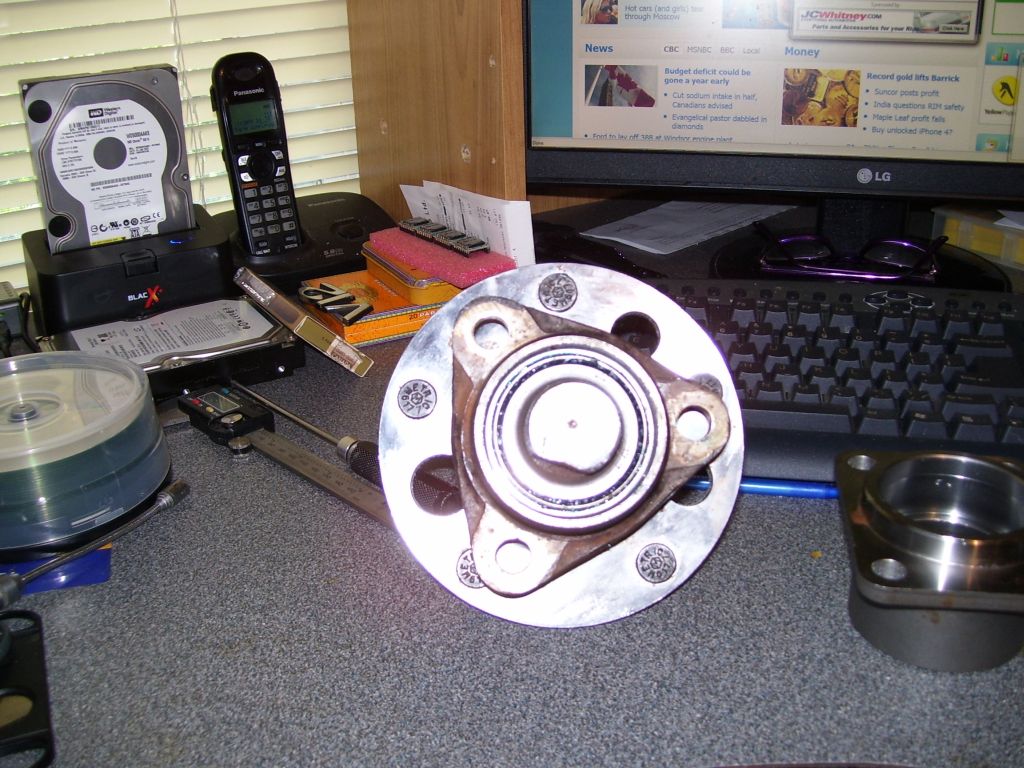
I see we're on page 68 now While I was at the wreckers on Saturday picking up rocker panel covers for my Mercedes, I also picked up this:
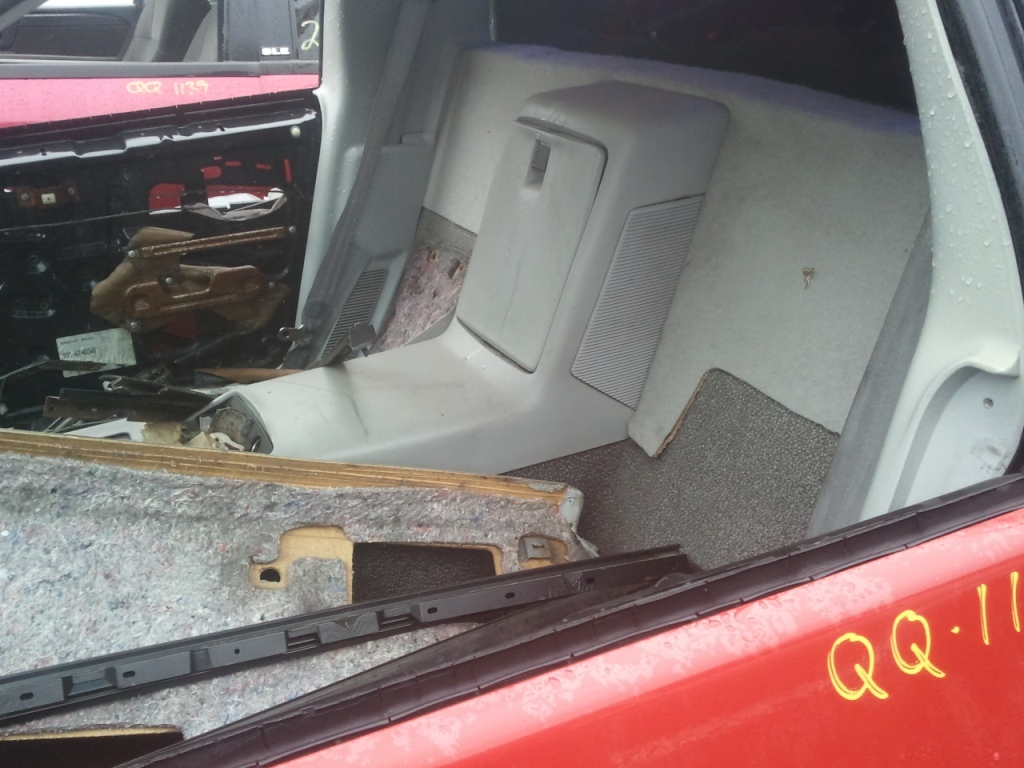
I also found this 85 SE V6 with A/C which might come in handy if need more misc. parts when I reassemble mine:
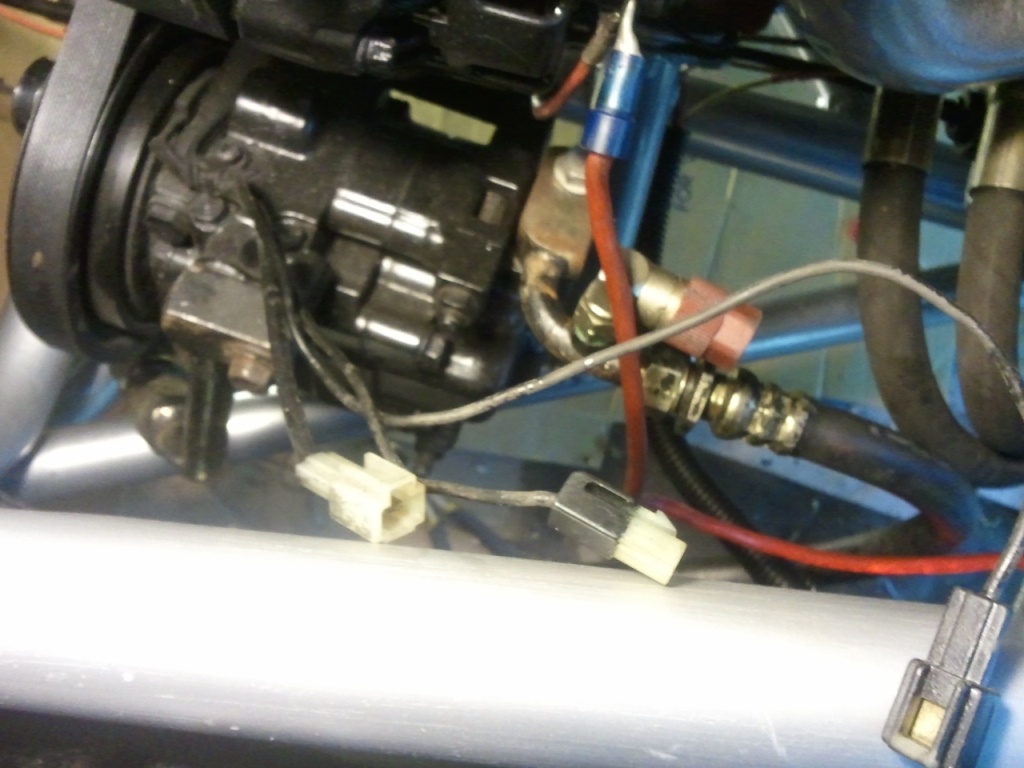
Also, question for Joe...I installed the suction and liquid lines today but noticed 3 wires from the compressor. One come from the clutch and the other two from the main housing. How do I wire these up connecting to the 2 wires (yellow and green) from the harness?
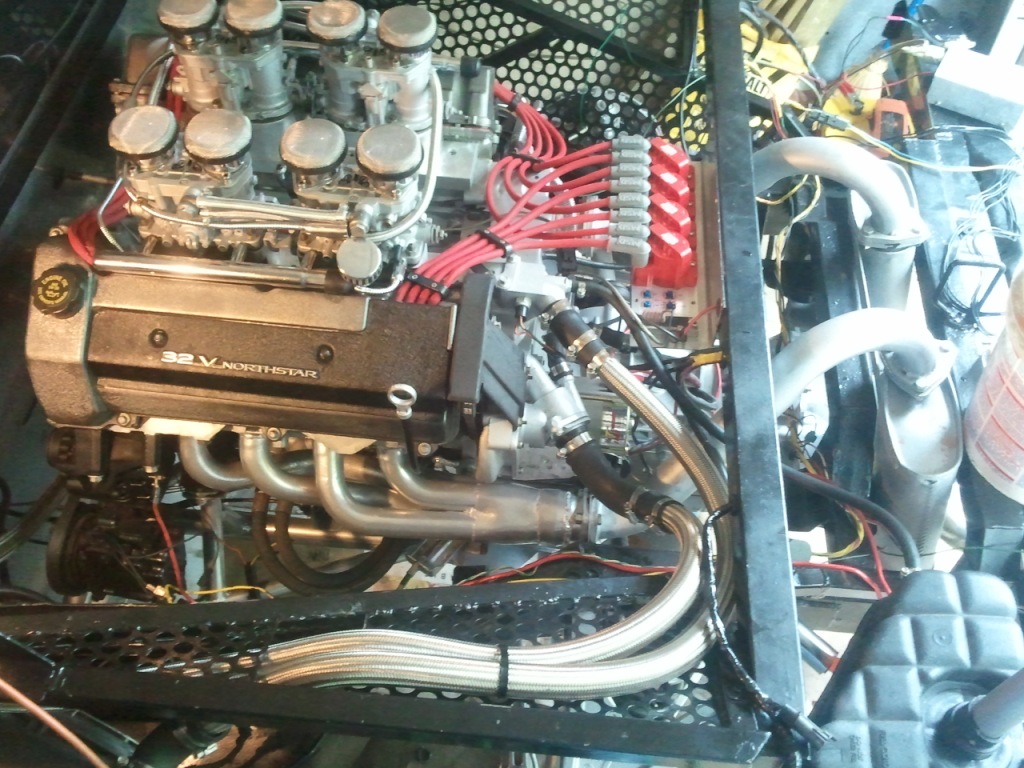
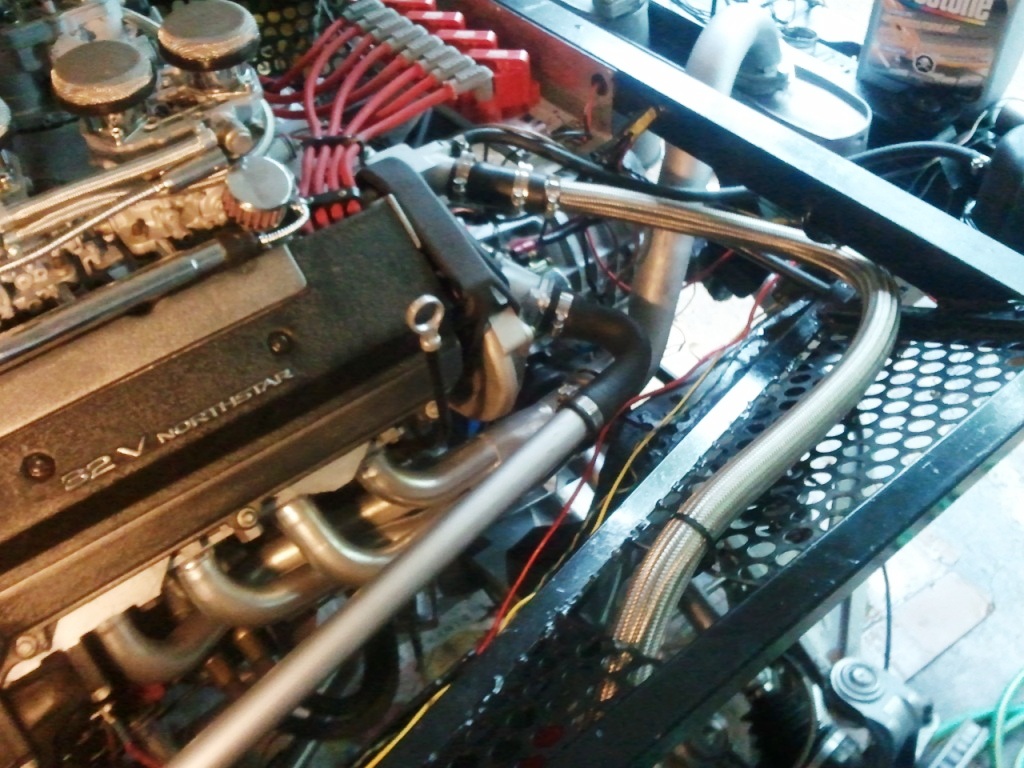
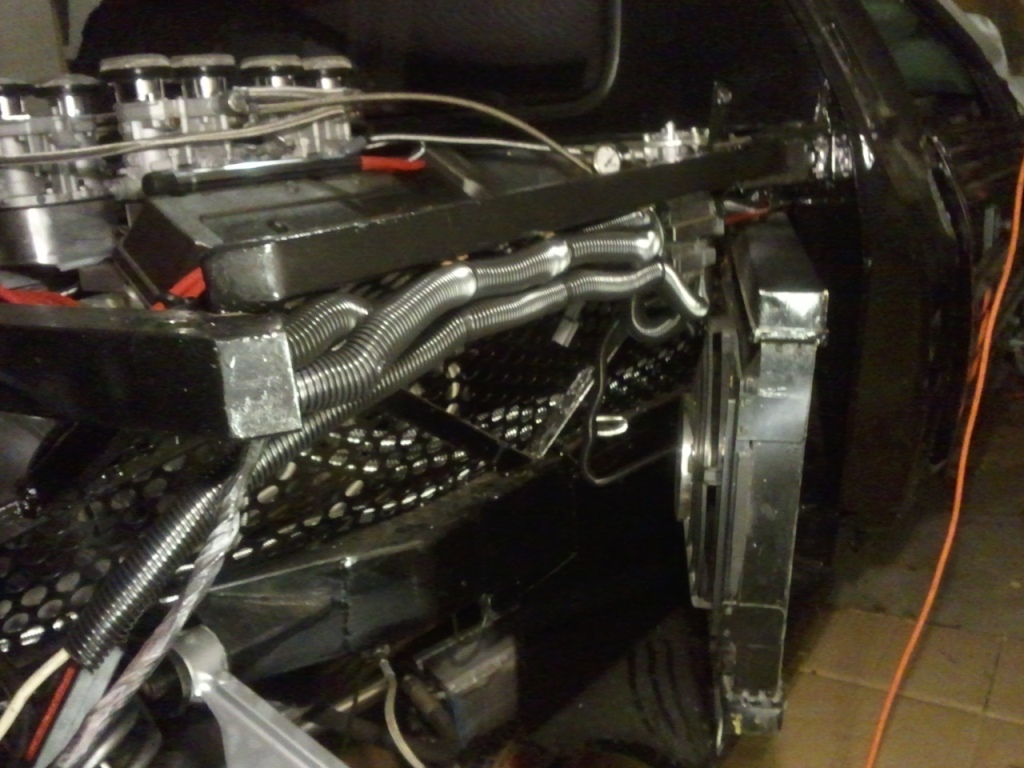
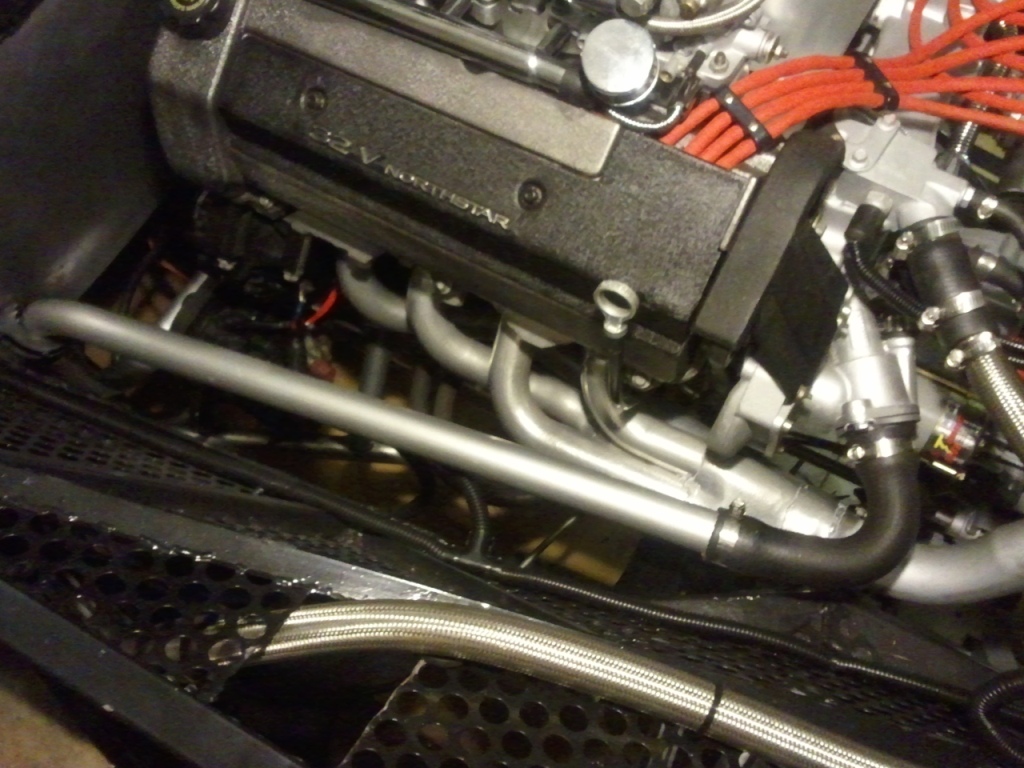
Originally posted by Gokart Mozart: I've wondered about the coolant tube crossing the engine bay. It's a bit distracting. What about running it along the side and rear and painting it black?
Okay this mod is finally done...
Last week I tried this setup but there were two issues:
1. I didn't like the fact that the coolant reservoir was no longer the highpoint in the system 2. The stainless line returning from the passenger rad to the waterpump developed a leak in the hose itself about a foot from the rad
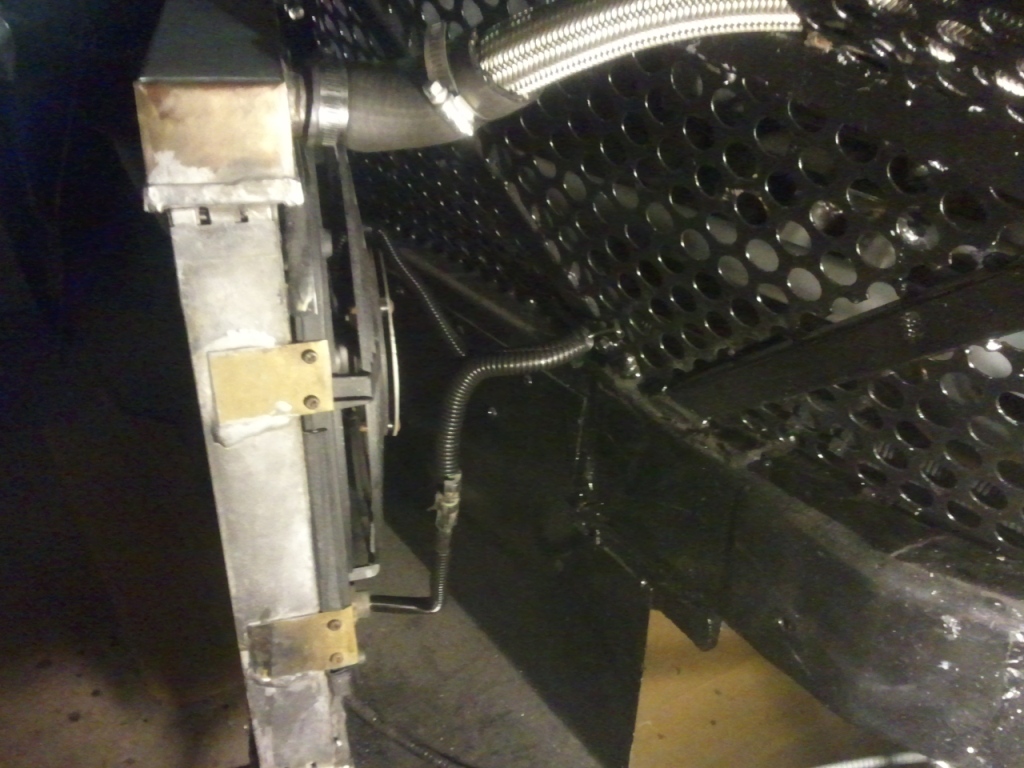
That meant draining the DEXCOOL yet again I decided to keep the other stainless hose as a spare for my upper rad hose (that doesn't leak) and went back the a hard line setup for the return
Cooling system is refilled with no leaks. All the air bubbles are gone. The guage is reading correctly with fans coming on above T-stat rating.
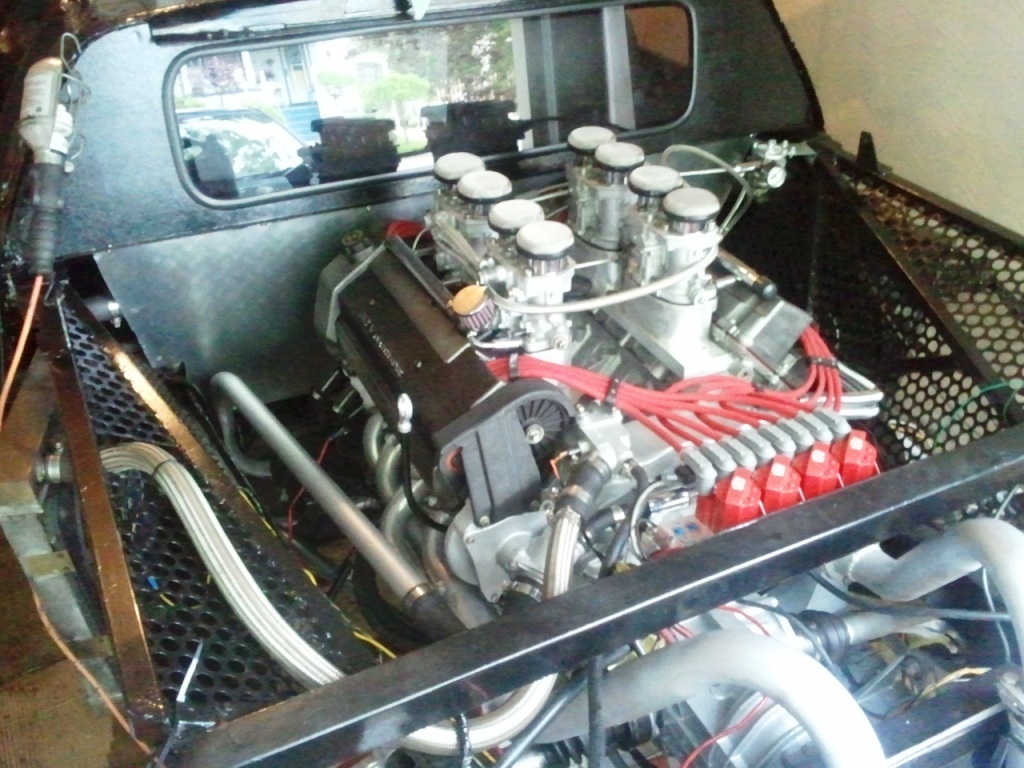
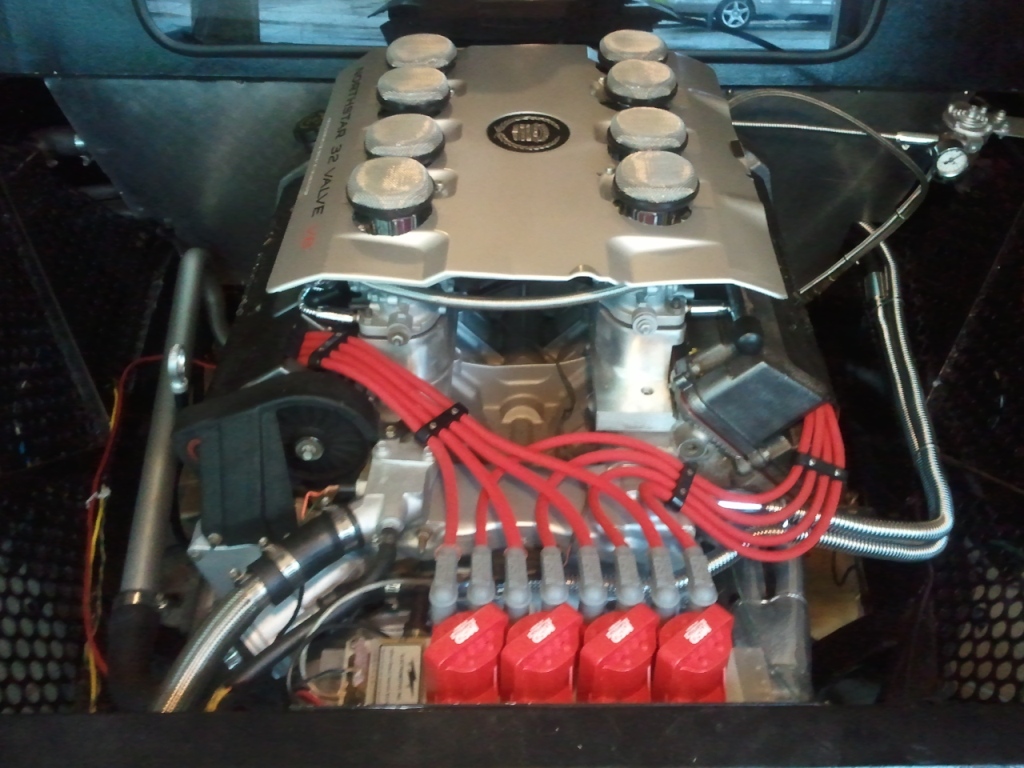
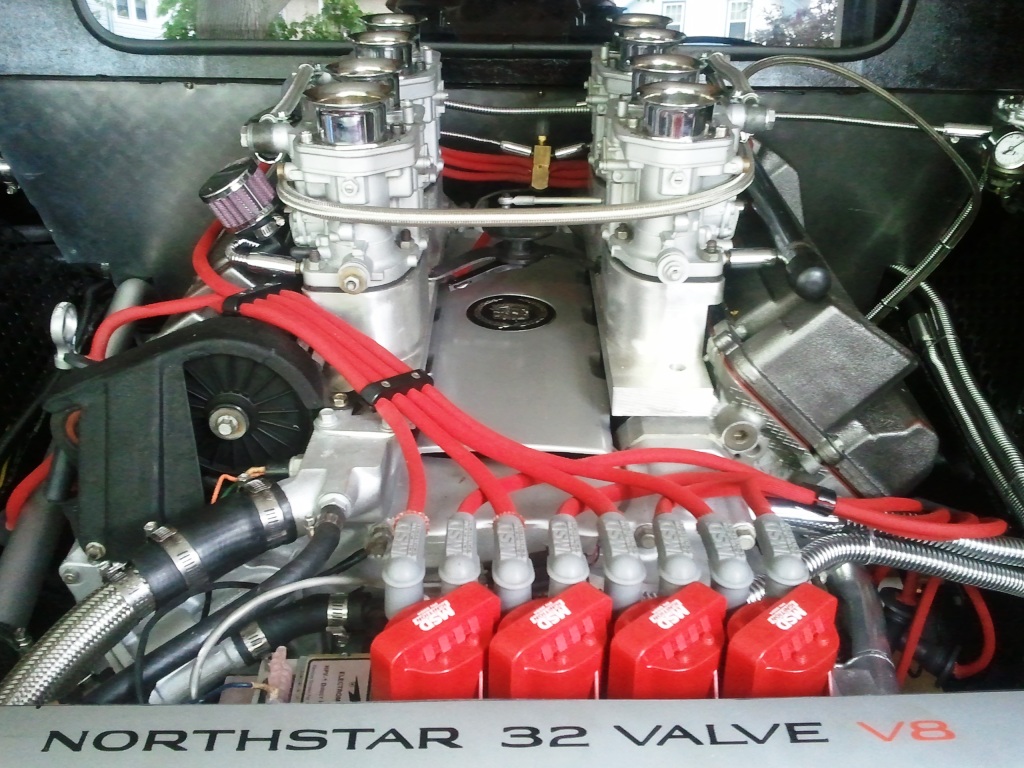
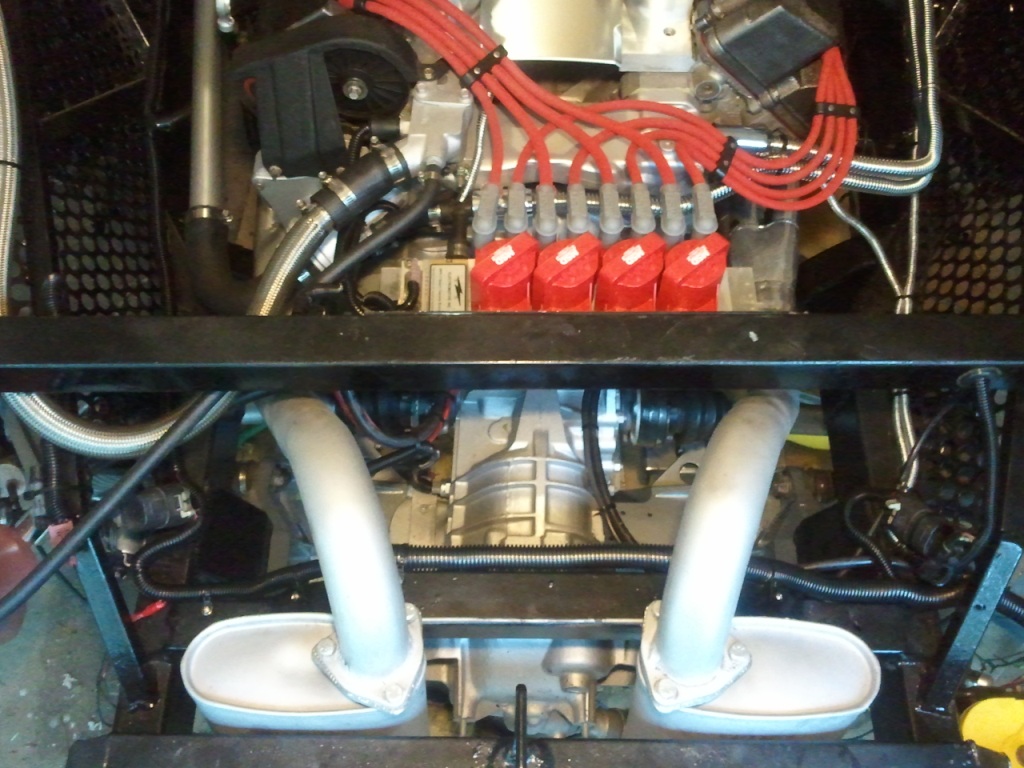
For the engine cover I wanted a tidy modern look with side benefit of less visible parts to keep clean: Sitting on top it's really far from the valve covers while vacuum tubes are in the way of stock location so I have two ideas to lower it to somewhere is the middle.
A - cut 8 holes in it for velocity stacks so it hides some plumbing but carbs still visible B - only use the centre section between the carbs just above the throttle linkage
If I don't like option A result I can still try option B but not the other way around.
What if you used it to cover the coil pack area instead. Would reduce the dirt blowing up from under the car a little. I agree with others that it takes away from the look of the engine otherwise.
What if you used it to cover the coil pack area instead. Would reduce the dirt blowing up from under the car a little. I agree with others that it takes away from the look of the engine otherwise.
Then people will say why cover the nice wires and coils....but I've thought about that too
I like the idea of having a cover, it is a more modern look.
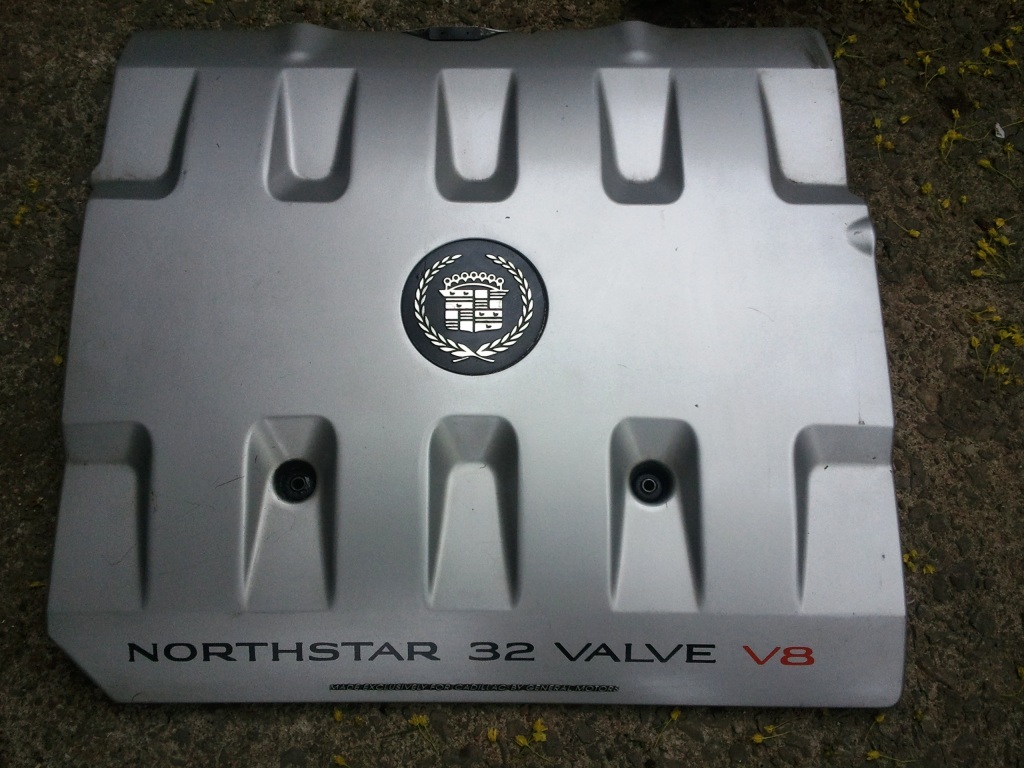
How about a custom cover out of stainless or powder coated to match? Cover the center and have the sides bend down near the valve covers much like the Caddy cover. Make 4 elongated holes for each pair of stacks. Also bend down the back to cover the difference in height that will be needed to cover the center linkages and the plug wires.
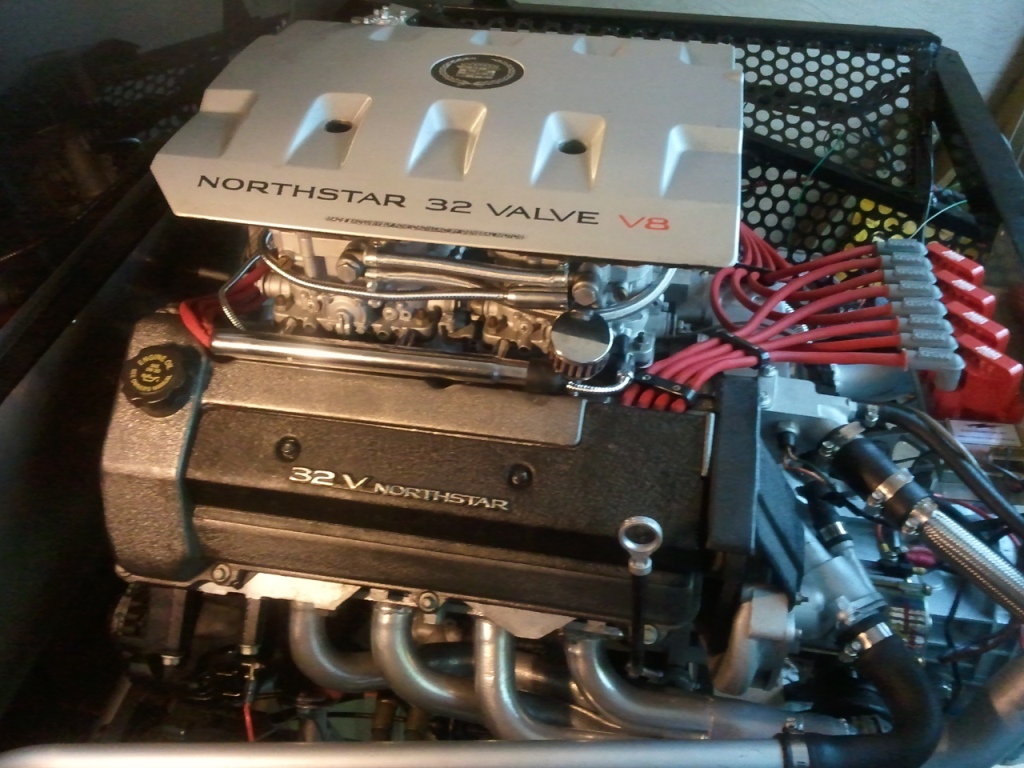
I think the extra badging for "Northstar 32 Valve" on the cover is redundant when placed next to the valve covers. If you want to keep the Caddy logo, add it to the new cover either in the center or along the centerline near the back of the cover.
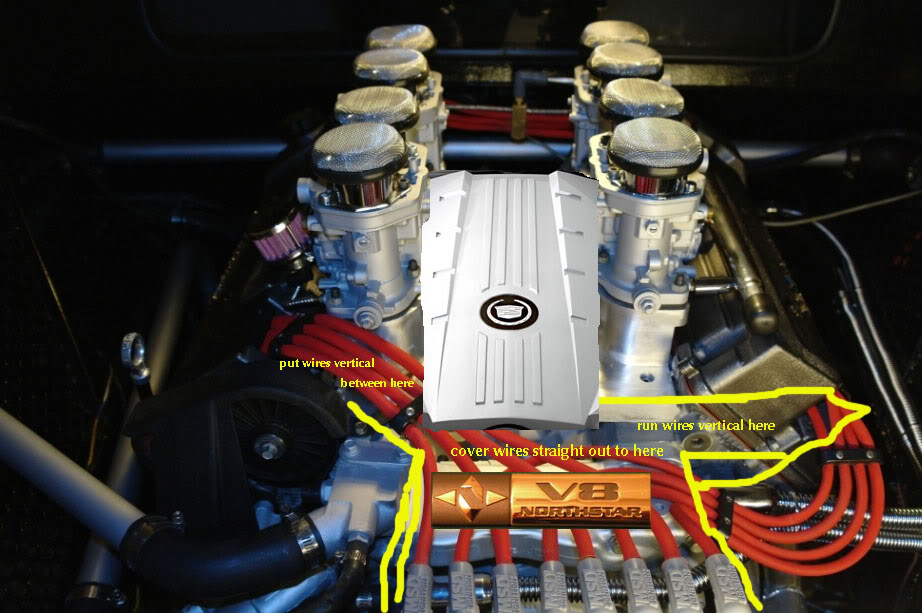
Please forgive the following Photobucket edited photo, (edit: awesome, its over 300k, so my horrible art won't show up to any but those who are prepared ) but I really wanted to convey my idea, that was based off Gokart's.
So basically that same cover with the 4 parallel raised lines, placed right on top of the polished area in between the carbs. Paint or powdercoat (or whatever works) the cover black, with the Caddy logo right in the center.
Make sense? It still exposes much of the engine's character, but dresses it up at the same time.
I also want to see your photoshop of the "option of 2 large holes so the entire carbs stick through and only the empty valley is covered."
Fiero38SC's idea sounds good too!
Really amazing build you have here!
[This message has been edited by 1988holleyformula (edited 05-21-2011).]
I have two N* Fieros. One with the cover and one without. The one without could use a cover to hide the " busy Look" of the engine, but I sure wouldn't hide an engine like yours.
[This message has been edited by dratts (edited 05-21-2011).]
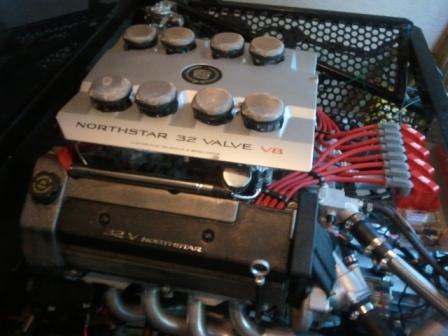
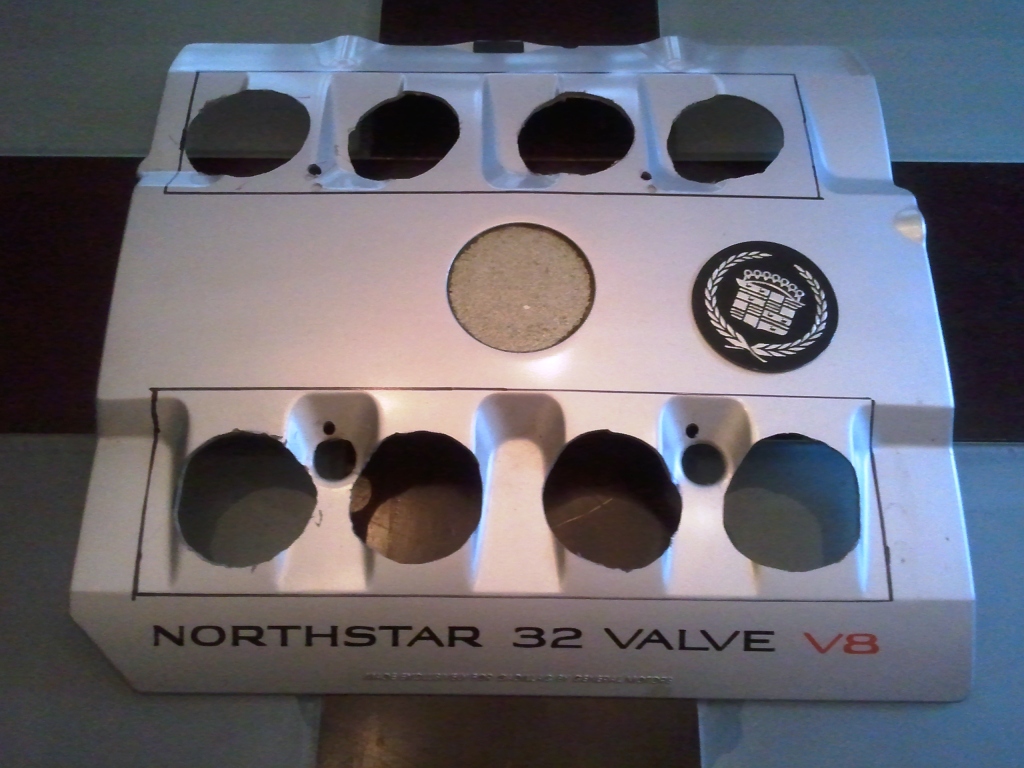
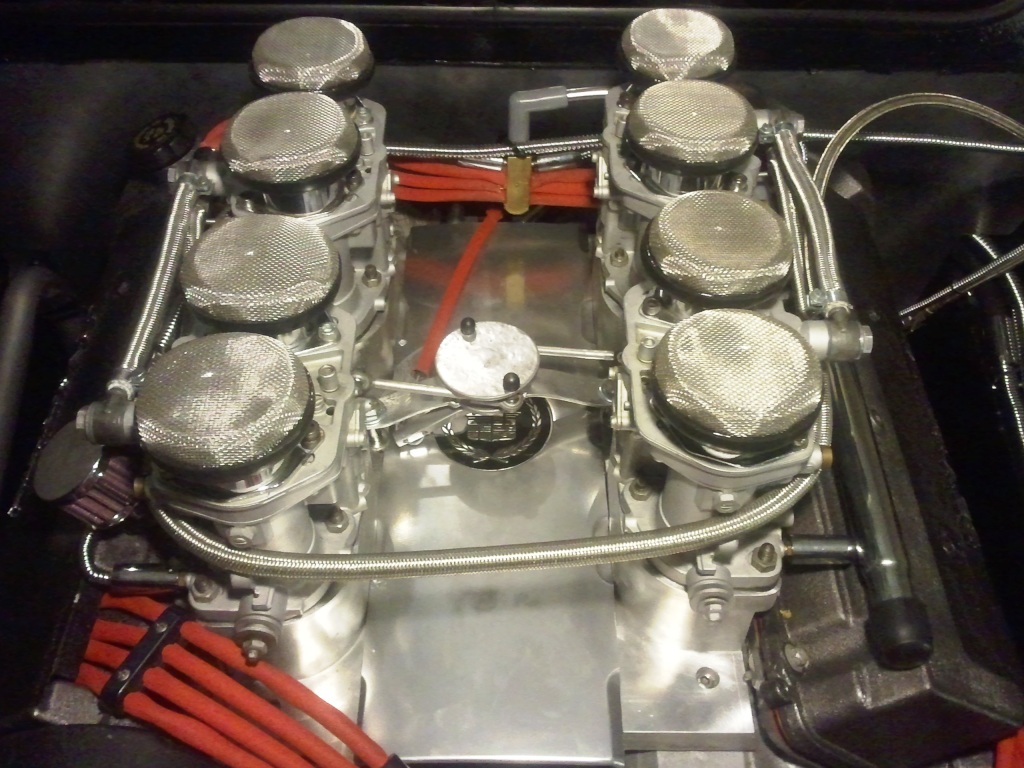
Thanks for the suggestions. I marked out the openings for the carbs here:
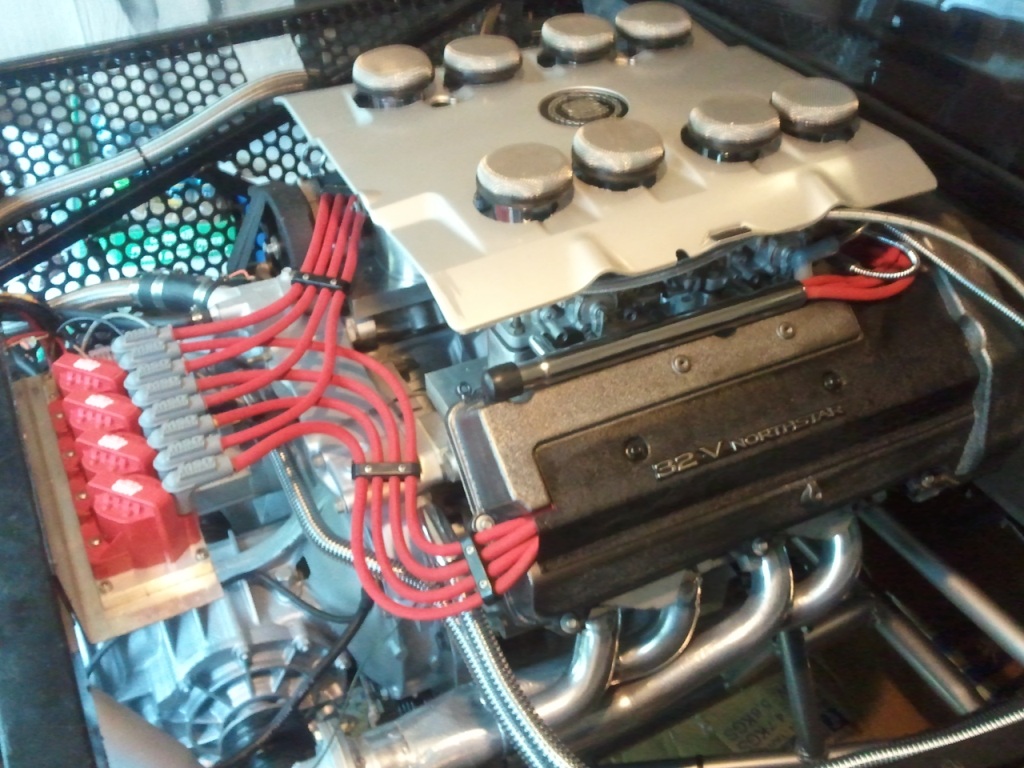
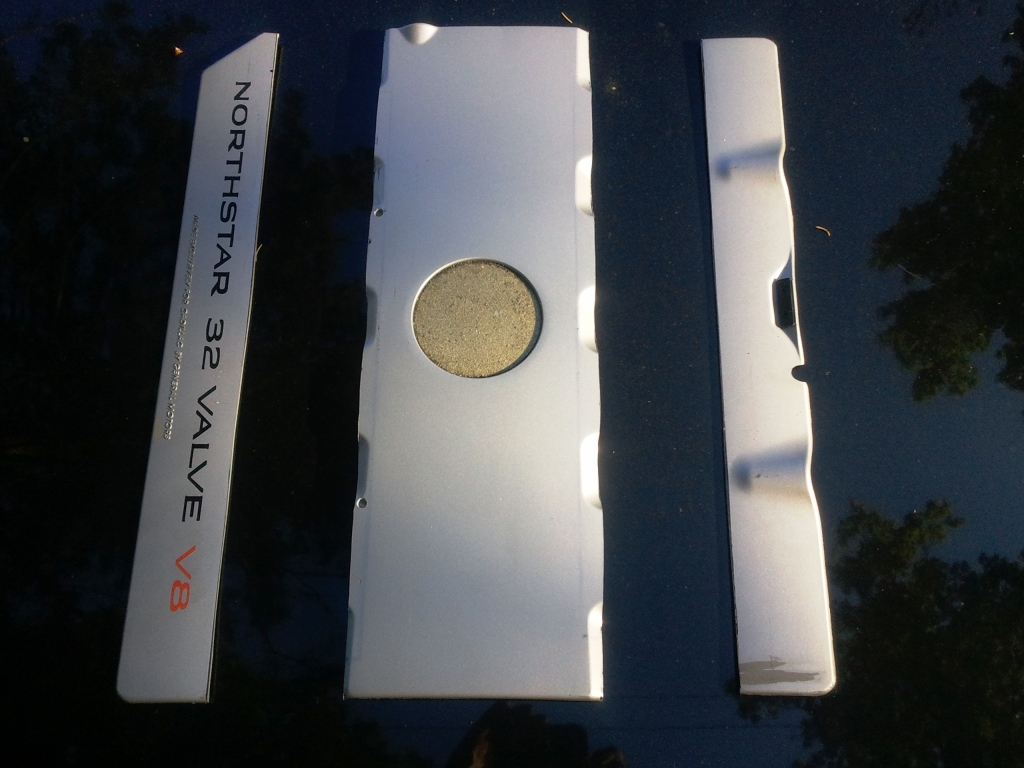
However I realized that they would still cover up the intake manifolds which I wanted to keep visible. So I ended up cutting out the center section and removing the emblem so it could be rotated 90 degrees. I agree that the extra badging is duplication and it was only on one side anyways so not needed above the valve covers.
Here's my idea to cover the valley only and keep everything above exposed (including the throttle linkage)
Ok cover is repainted silver and emblem glued and reinstalled. New spark plugs are gapped / installed just need to refurb throttle linkage: Working on covering rest of the engine harness...
I picked up some LED lamps to use as reverse lights. Since the old ones never worked I installed a new backup switch in the transaxle. I also ran a new +12V (power with ignition on) wire so lights can't be left on. Here's a picture of them wired up, with key on and shifter in reverse - it works
Then I was able to finally finish installing the wire loom within the engine bay:
Yes good suggestion. I currently have rubber under the hose but also have some rubber door edge molding I please to add where the metal is cut. This will be done soon prior to the car moving.
Ok, will be heading north of the border (to North York) the first week of july and would love to see this car in person if it's out and about on the road.
Ok, will be heading north of the border (to North York) the first week of july and would love to see this car in person if it's out and about on the road.
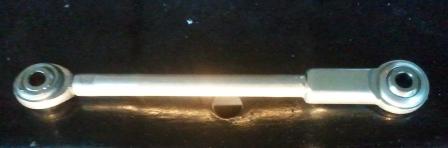
Started by rebuilding the broken linkage with new helm joint. They came very stiff, so I little tap with the hammer and socket loosened them up to swivel freely:
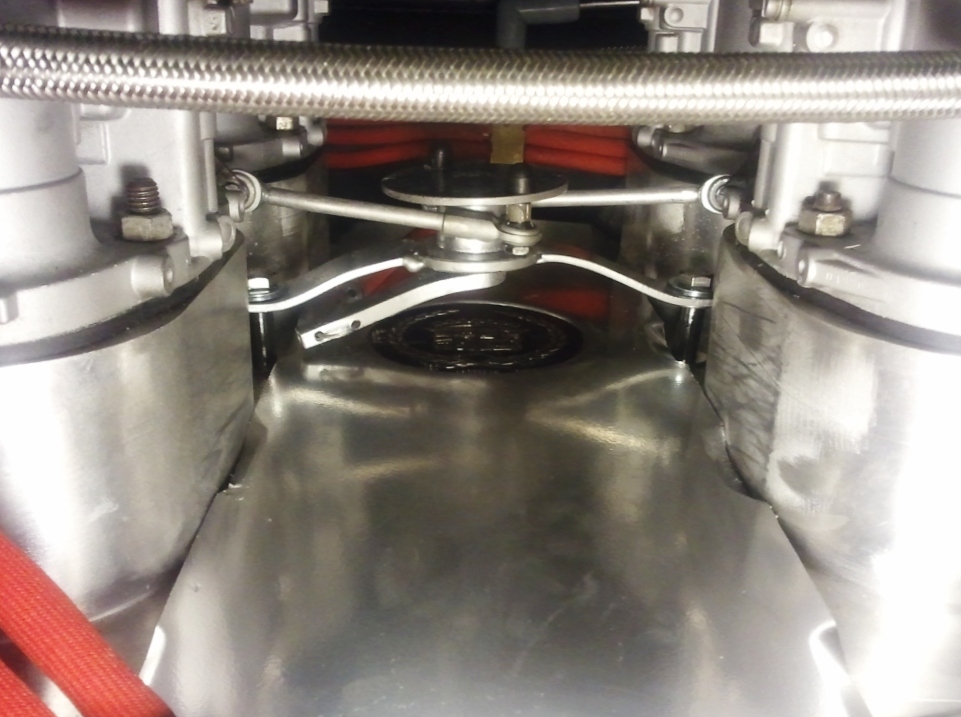
Due to the valley cover, I needed to raise it, so I used new stainless bolts, washers and chrome tubing as spacers to get the clearance I needed. To avoid linkage binding I reversed the mounting points from above to below to keep the joints horizontal:
Finished it off with rubber caps on top. The throttle stops snap back even when only one side is connected so I have good throttle response and consistent idle control: