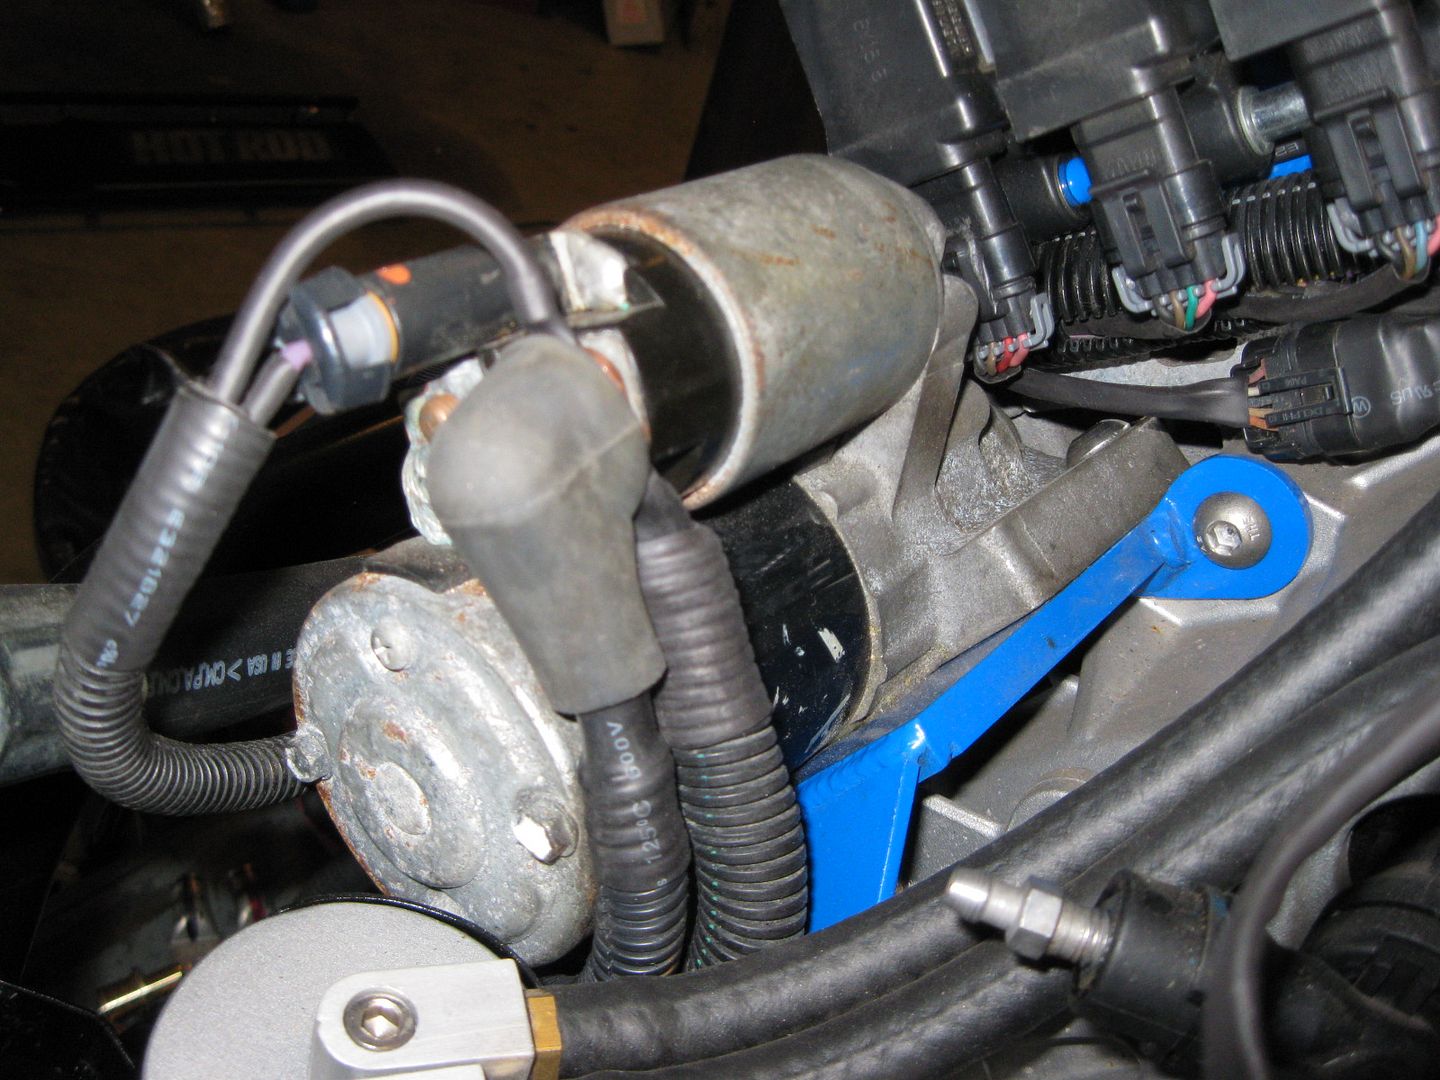
Discharge side (pre-thermostat, so it functions as the coolant bypass and so the heater sees hot water as soon as possible).
On the 88, the return from the heater core dumps into the passenger coolant tube before the fuel pump (suction side). The hardline I cut short is for the heater core supply and needs to come from a portion of the water pump before the thermostat. I am going to drill/tap and install a hose barb in the pump in the next few days.
Did you mean to say "water pump" instead of "fuel pump?"
Your work has inspired me; I'm employing your urethane bearing method for transmission and motor mounts and your 2.5L damper/pulley to shorten the front end dress.
Did you mean to say "water pump" instead of "fuel pump?"
Your work has inspired me; I'm employing your urethane bearing method for transmission and motor mounts and your 2.5L damper/pulley to shorten the front end dress.
Ken
Yes, it should be water pump... I will fix the typo.
Glad you have liked some of my solutions and putting them to use!
Speaking of fuel pump, How are you regulating fuel pressure? The LS4 engine does not have a regulator on the fuel rail . GM used one on the fuel pump module. Did I miss something?
Speaking of fuel pump, How are you regulating fuel pressure? The LS4 engine does not have a regulator on the fuel rail . GM used one on the fuel pump module. Did I miss something?
From the bottom of page 1:
quote
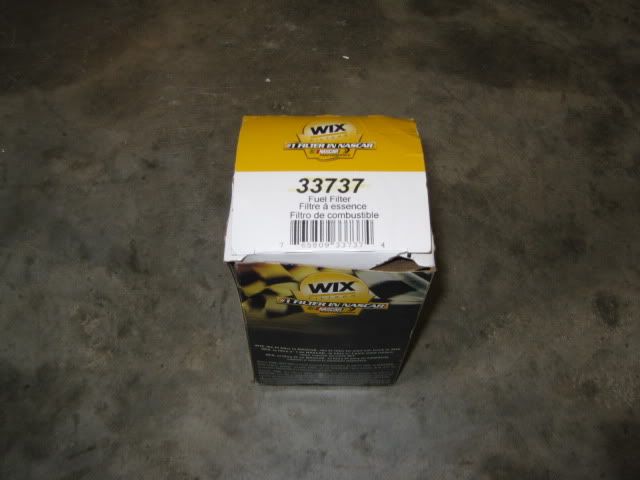
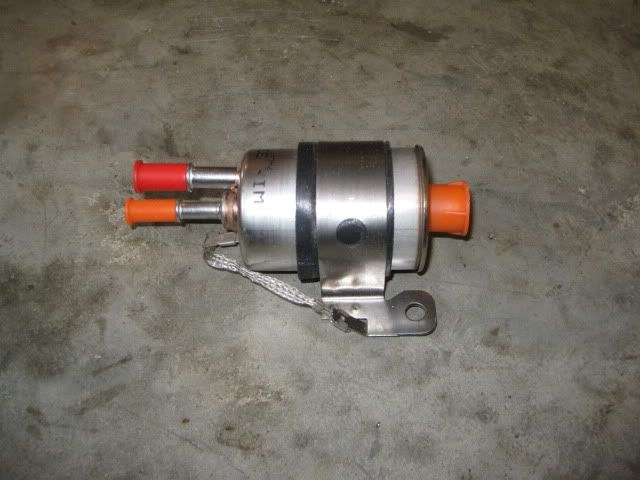
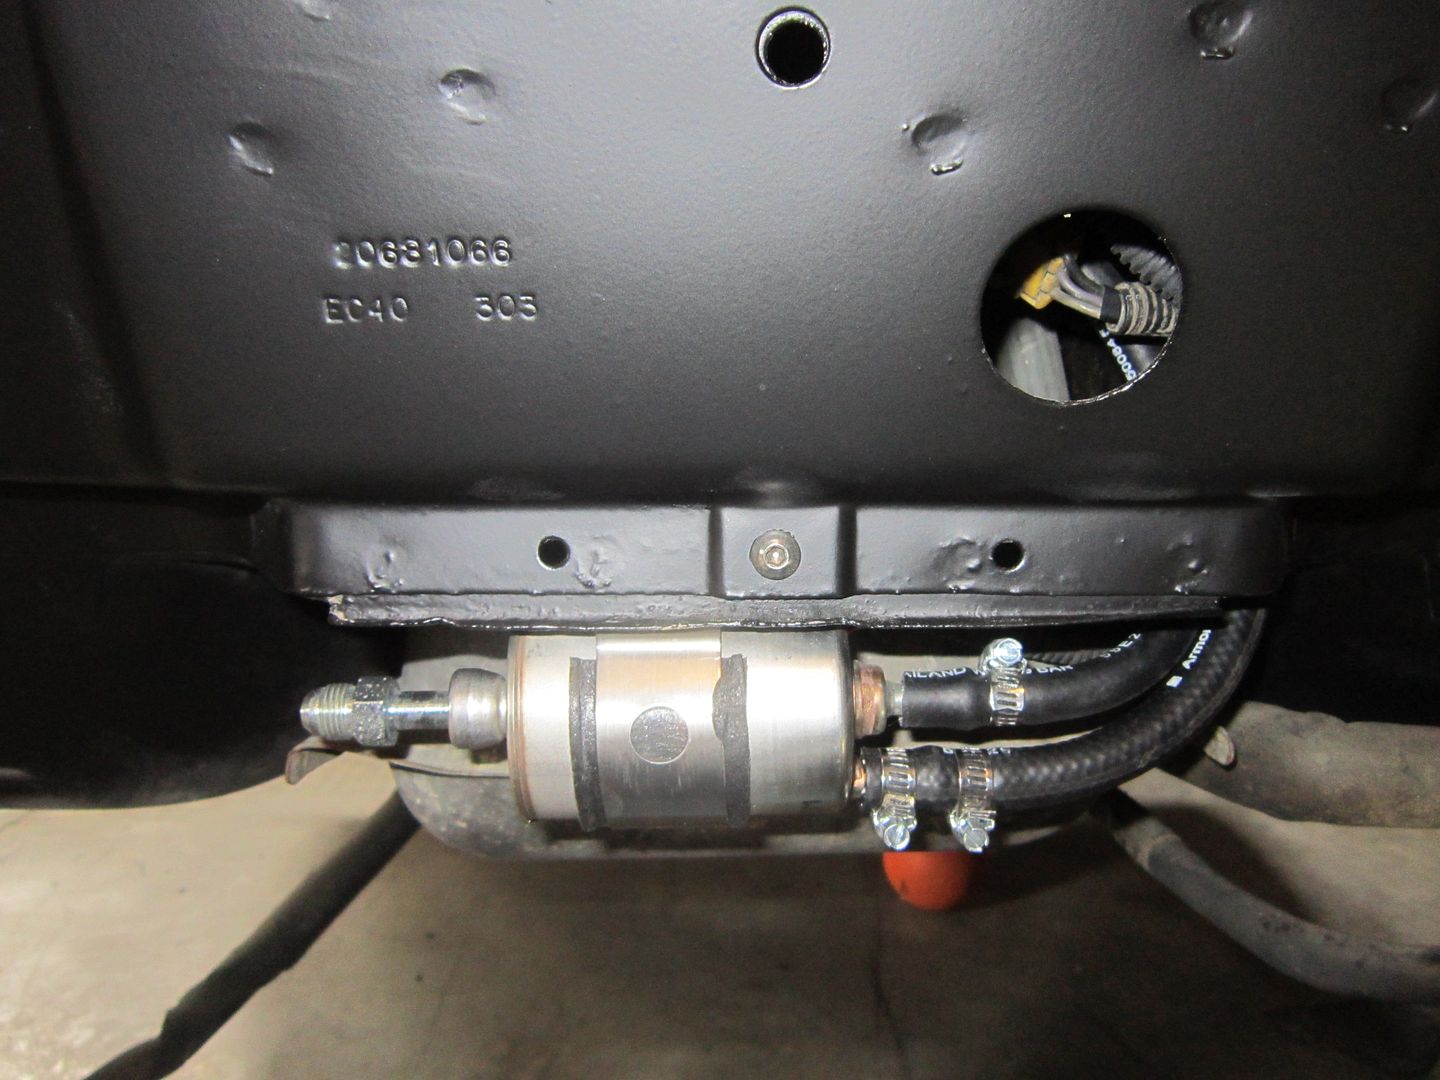
Originally posted by fieroguru: One last bit of info... the LS4 came with a return-less fuel system and I plan to keep it return less. The easiest and probably a cheapest way to accomplish this is with a factory fuel filter/regulator built into 1 for the Corvettes. In my best Mad Max Thunder Dome chant "2 lines enter, 1 line leaves, 2 lines enter, 1 line leaves..." I picked mine up for just over $40 shipped:
[This message has been edited by fieroguru (edited 12-10-2012).]
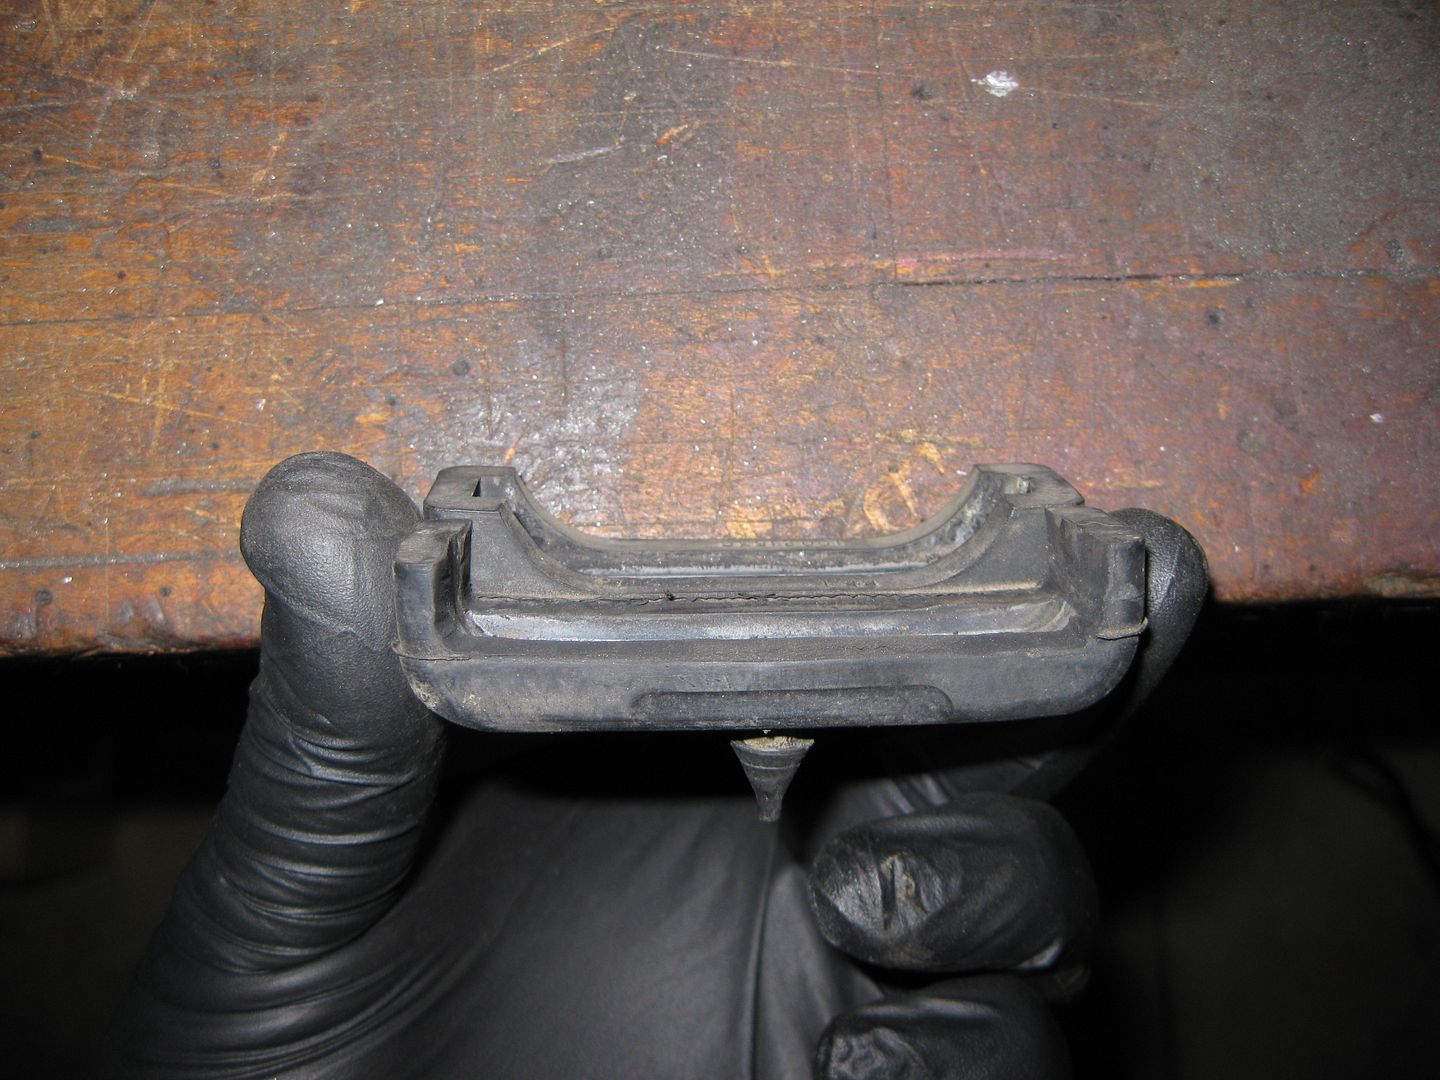
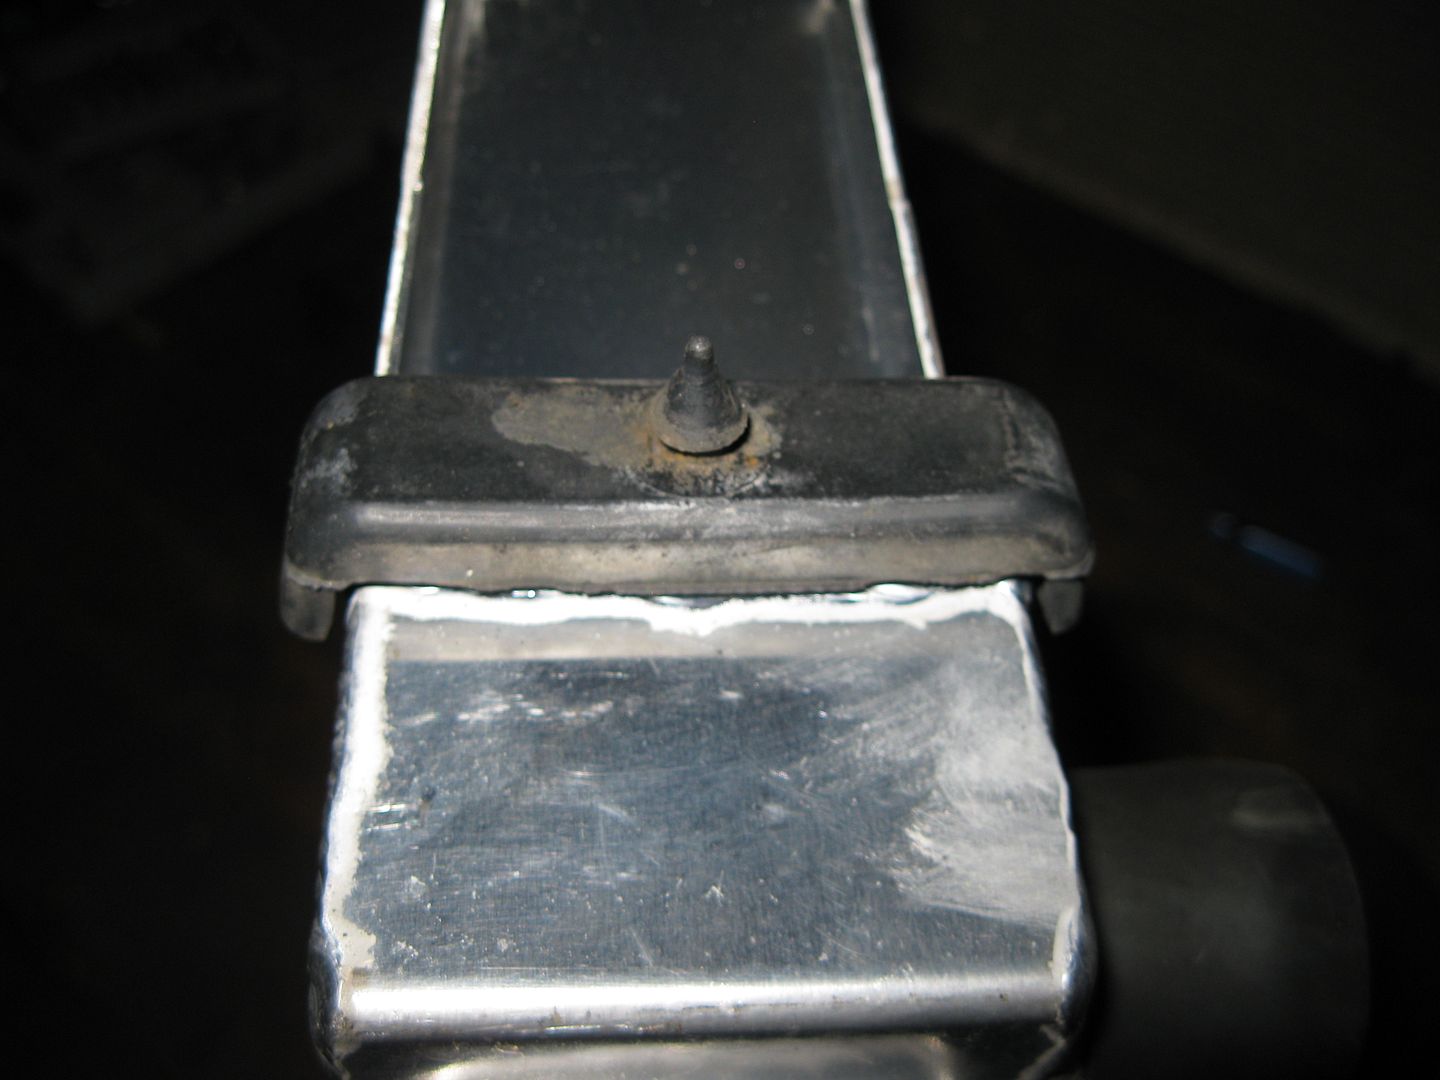
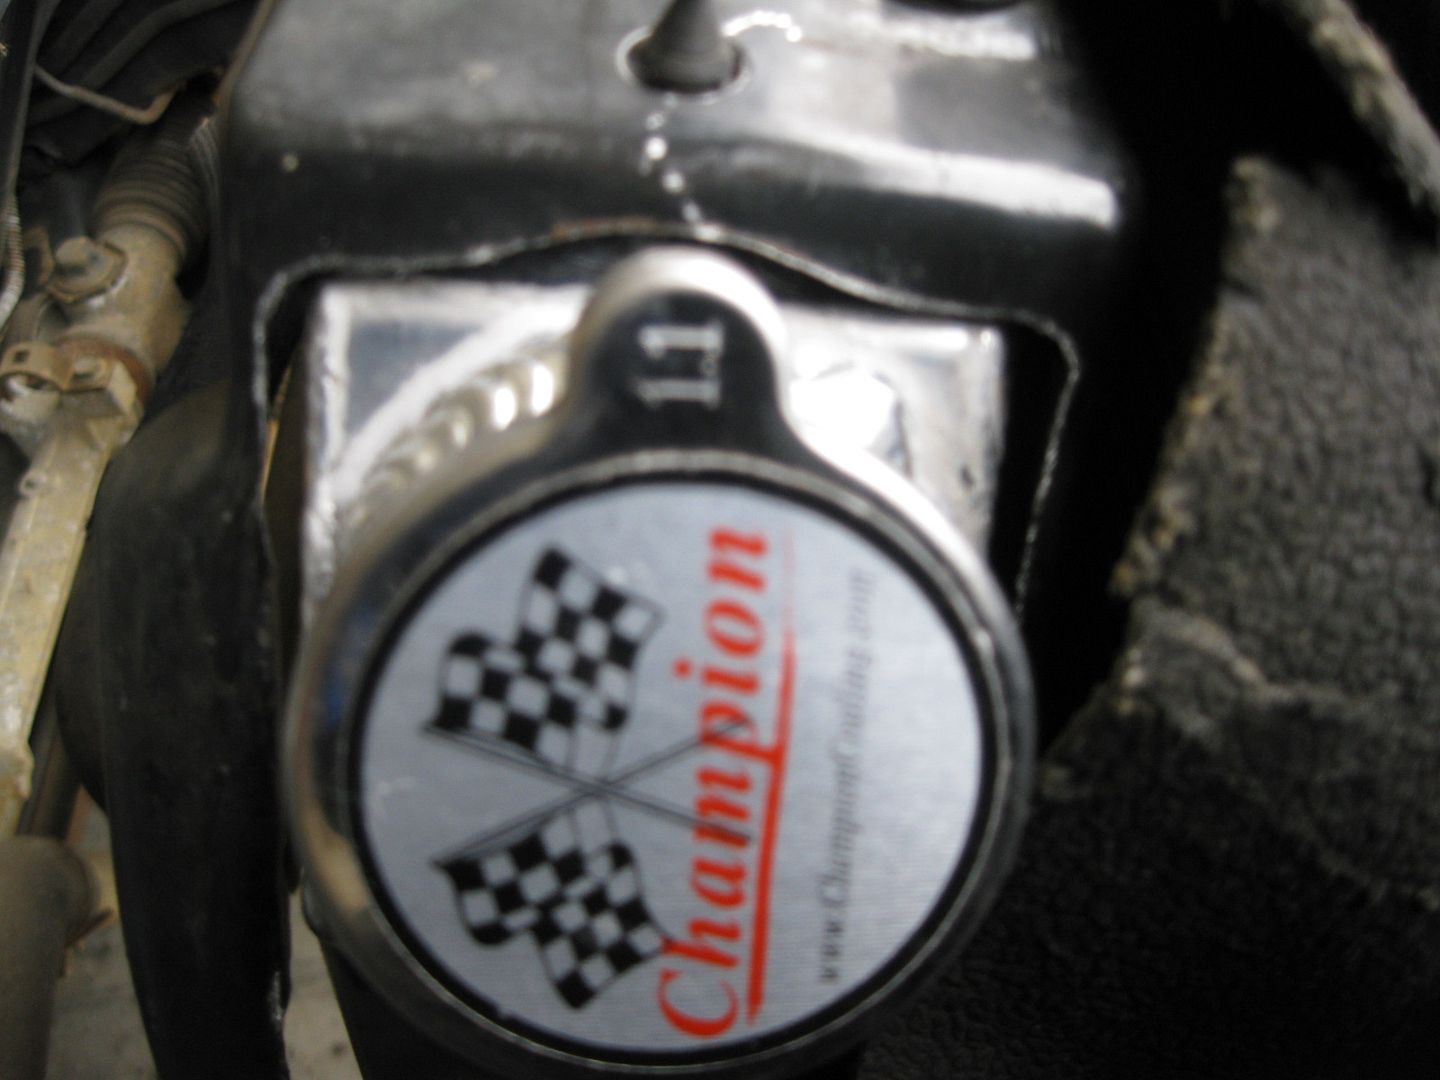
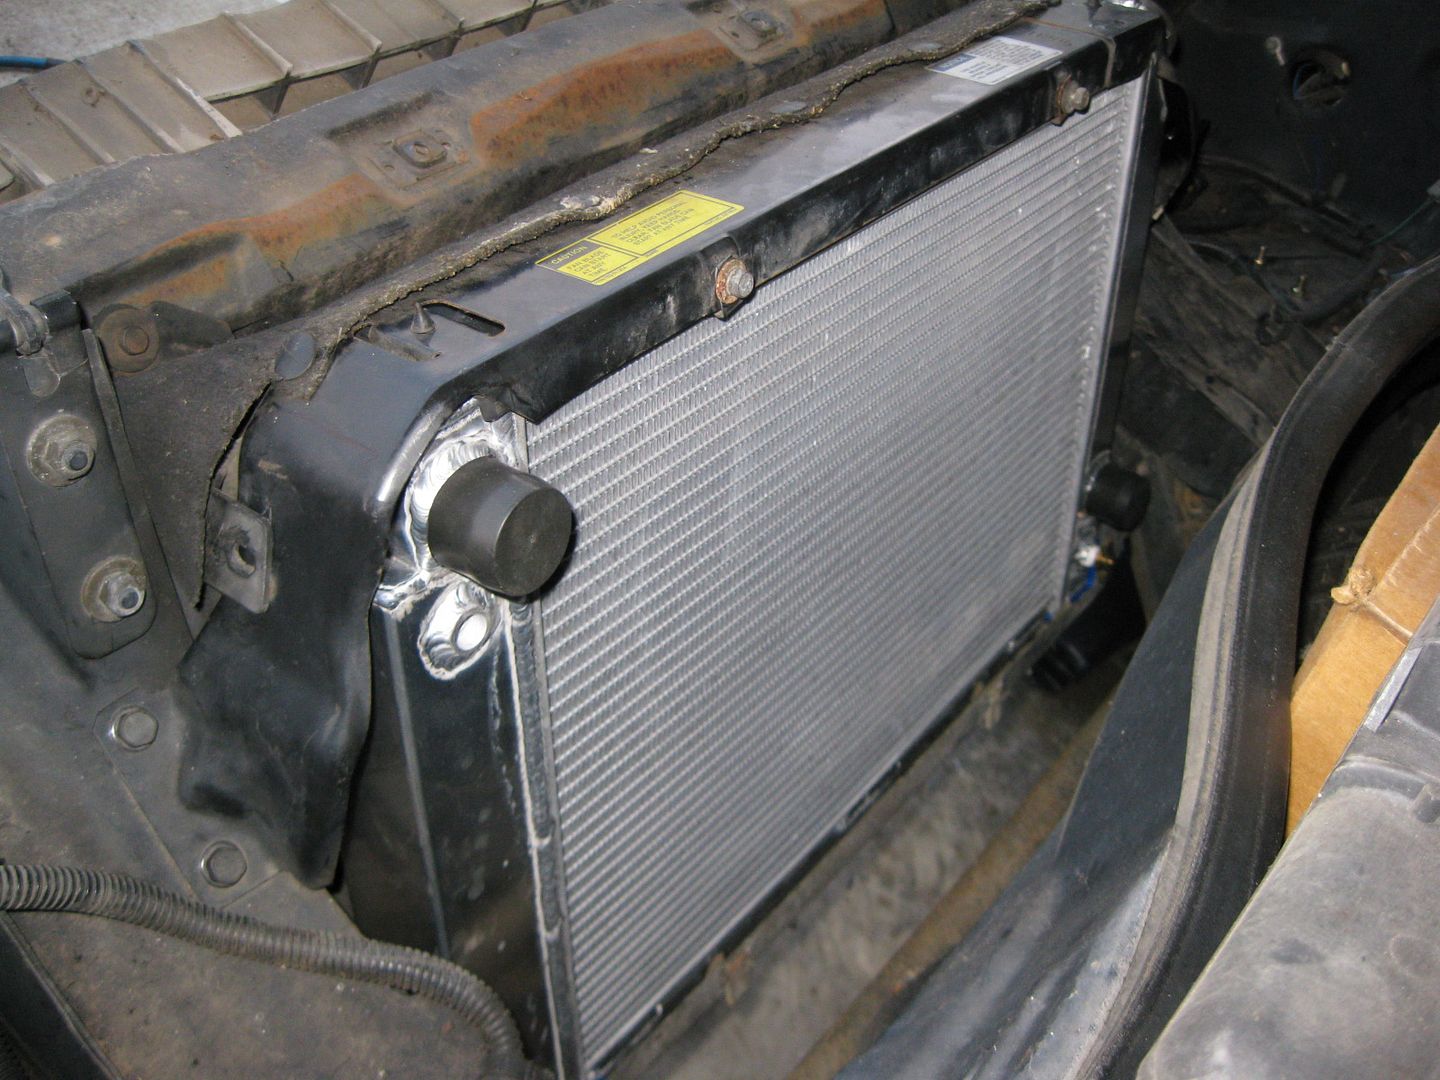
I think the radiator upgrade is now complete. I ended up reshaping the top rubber seats as well (modified one in front, stock one in back):
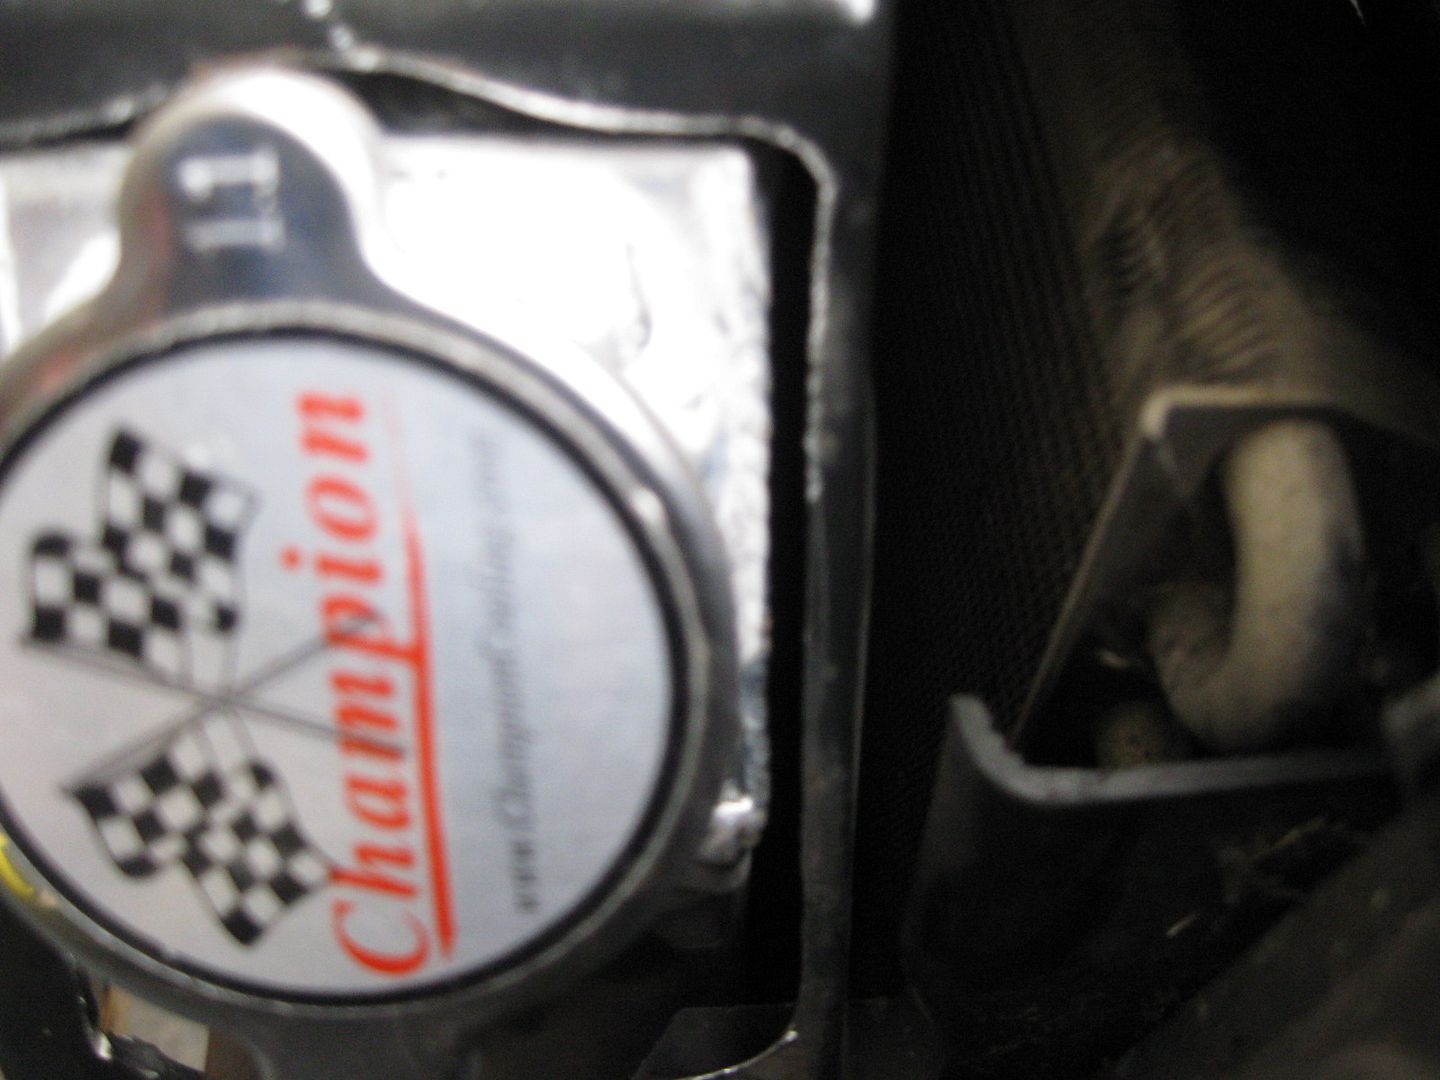
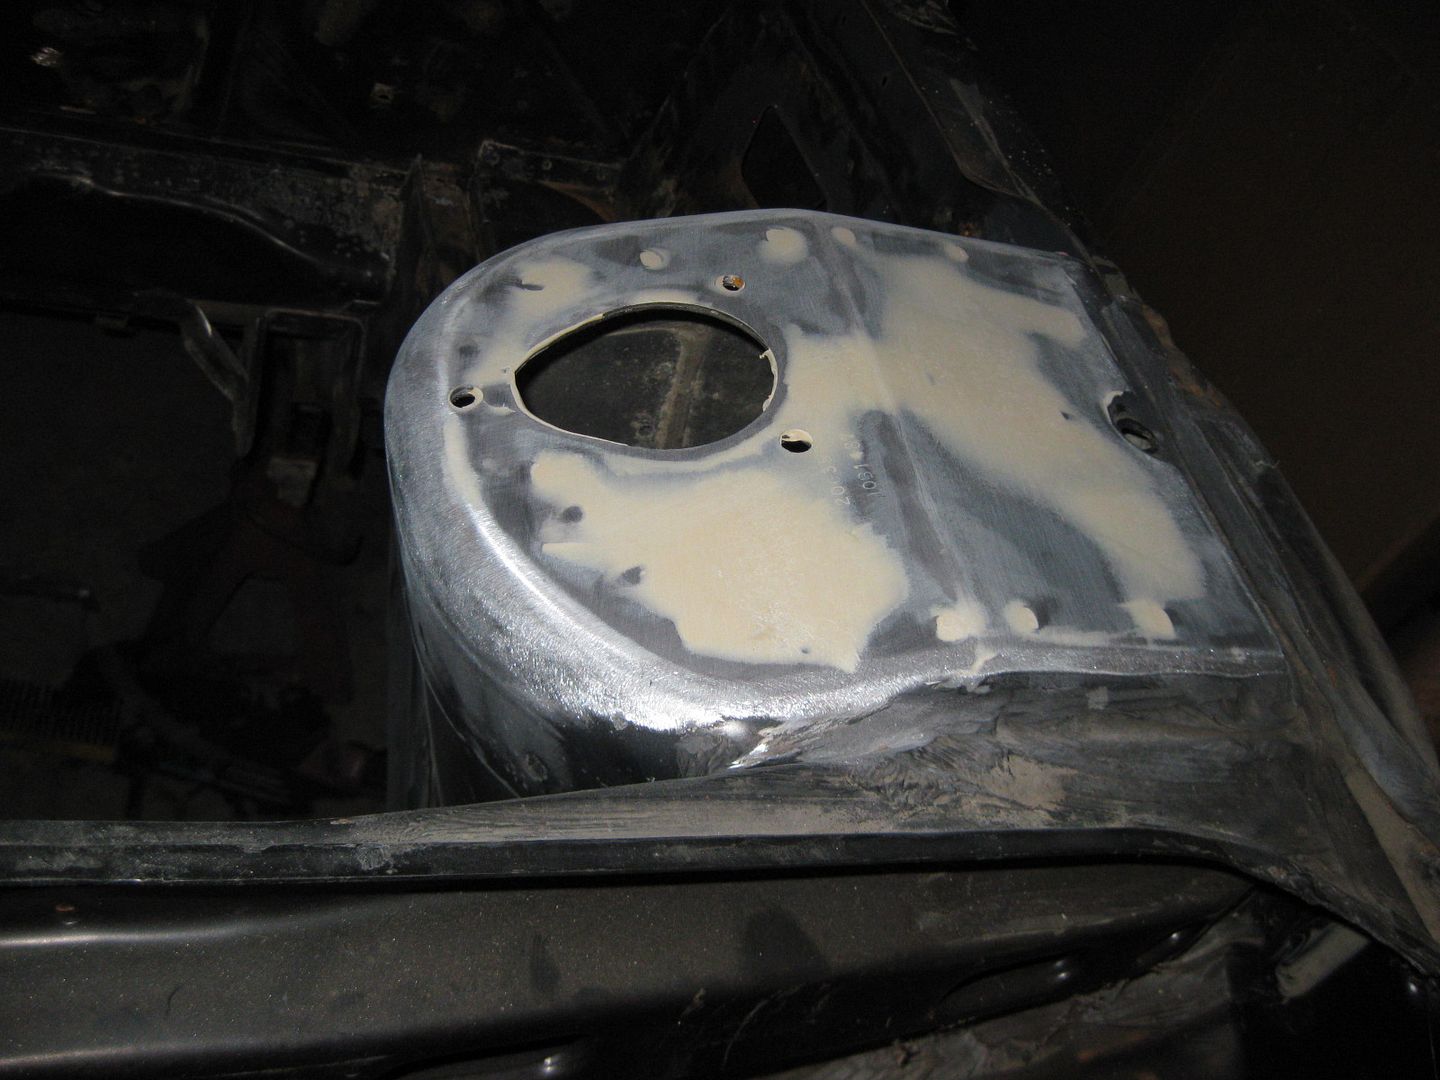
The only modification to the sheet metal was to open up the hole around the fill neck:
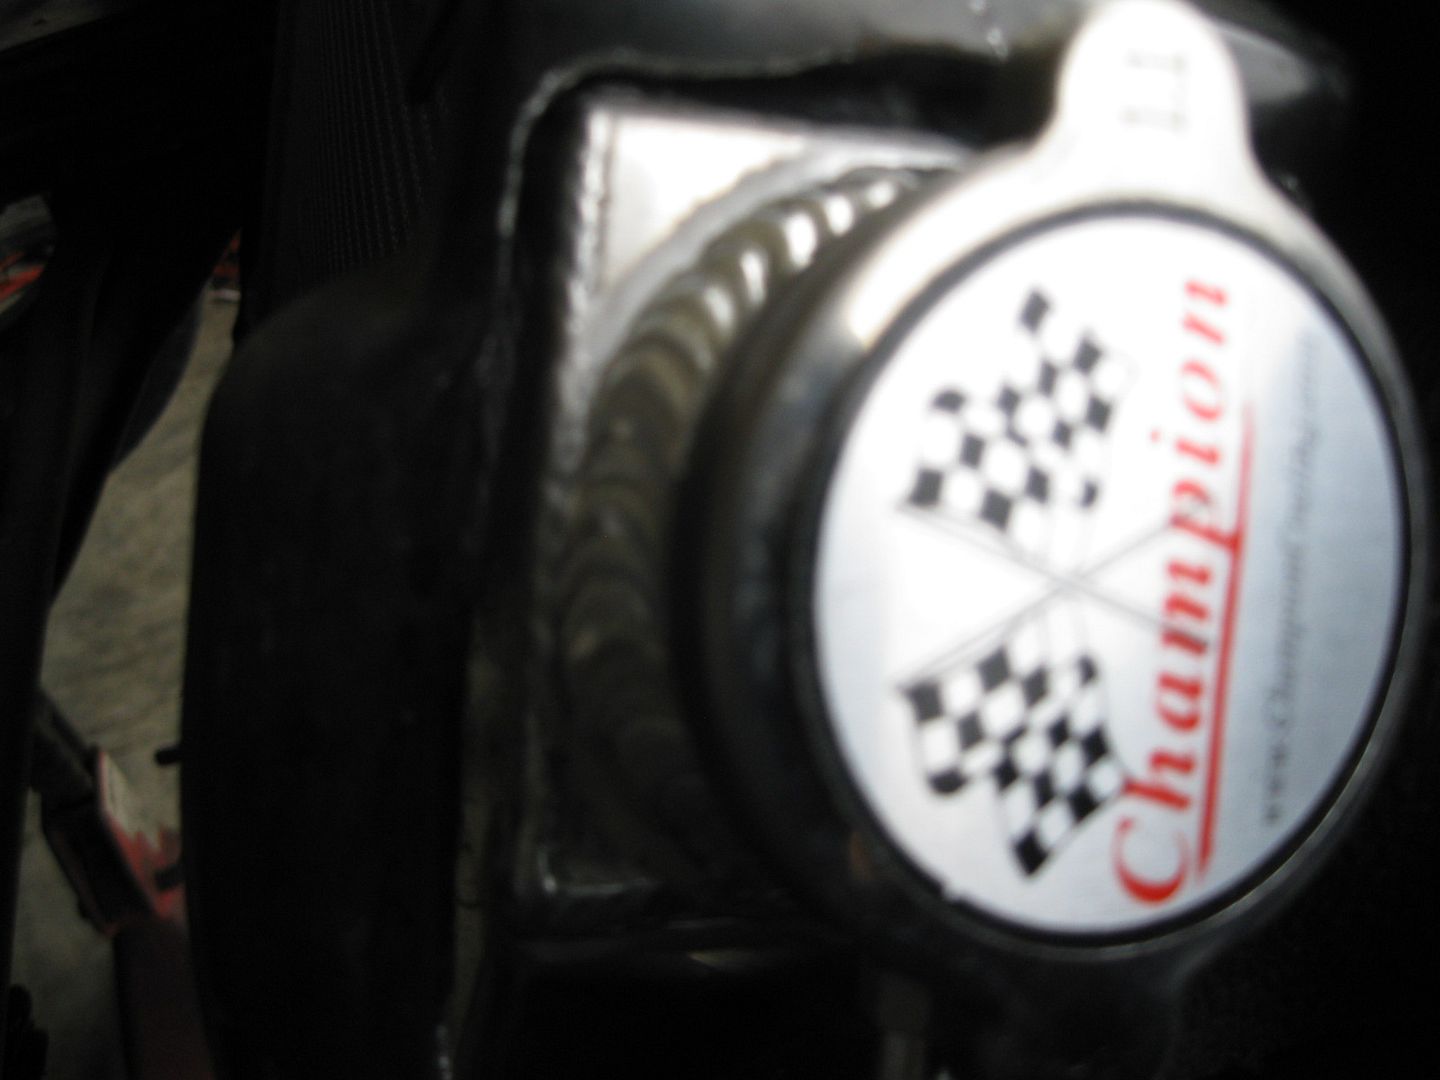
I didn't need to do any modifying to the driver side, probably because I was able to slide the radiator over about 1/8" (with the larger fill cut out) to get everything to clear.
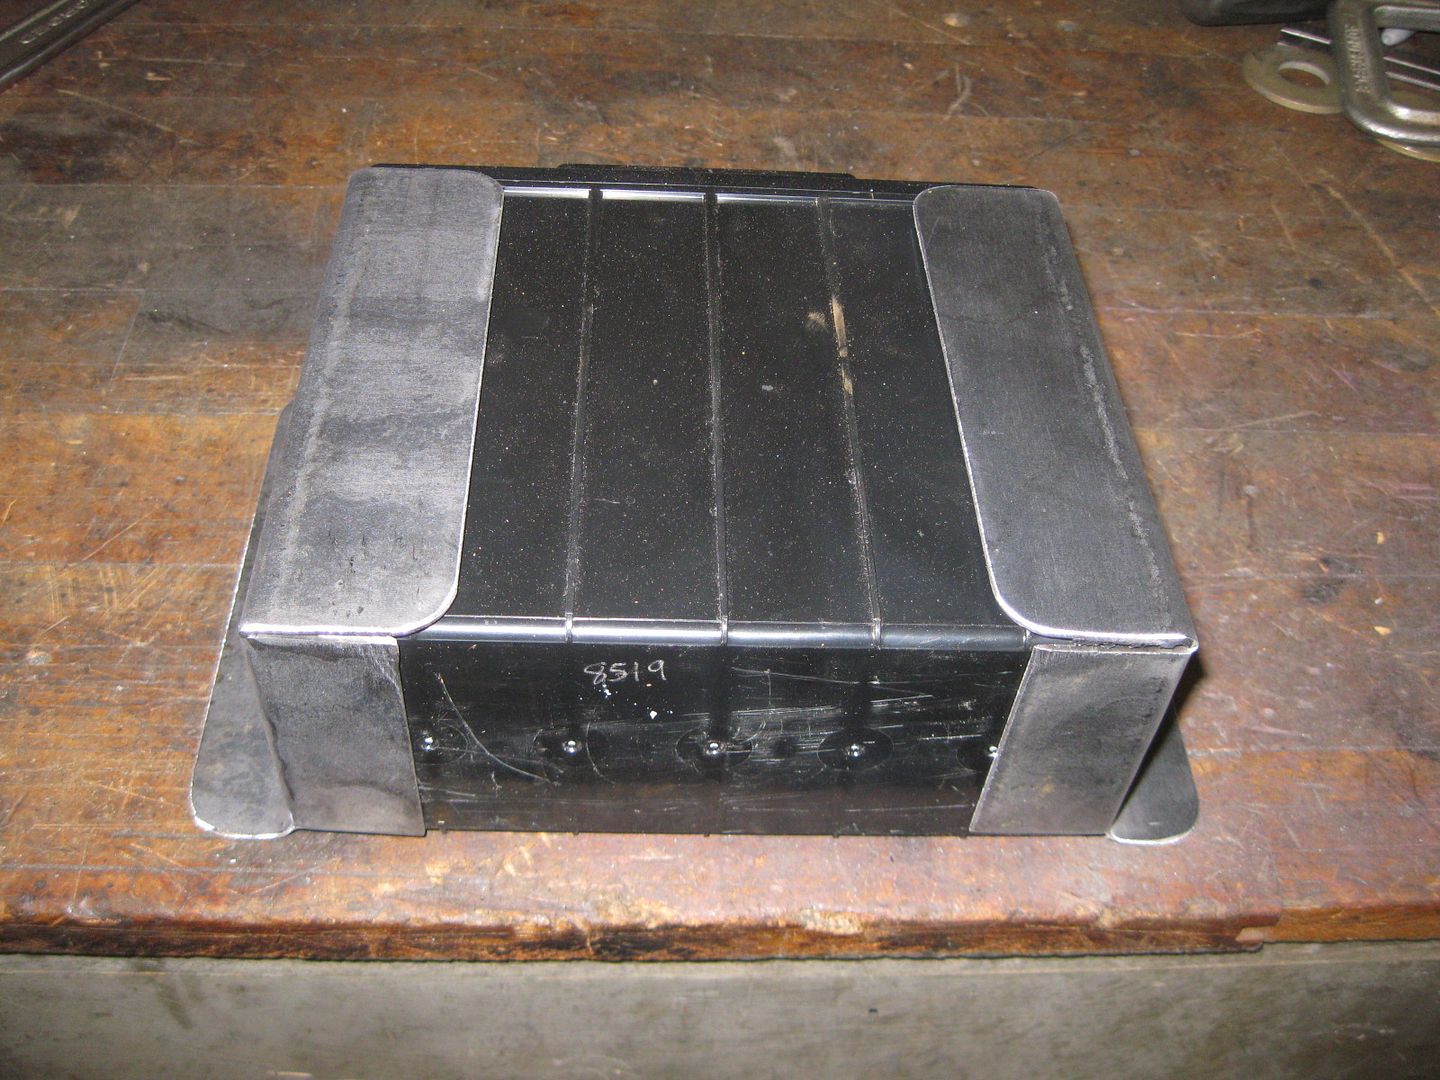
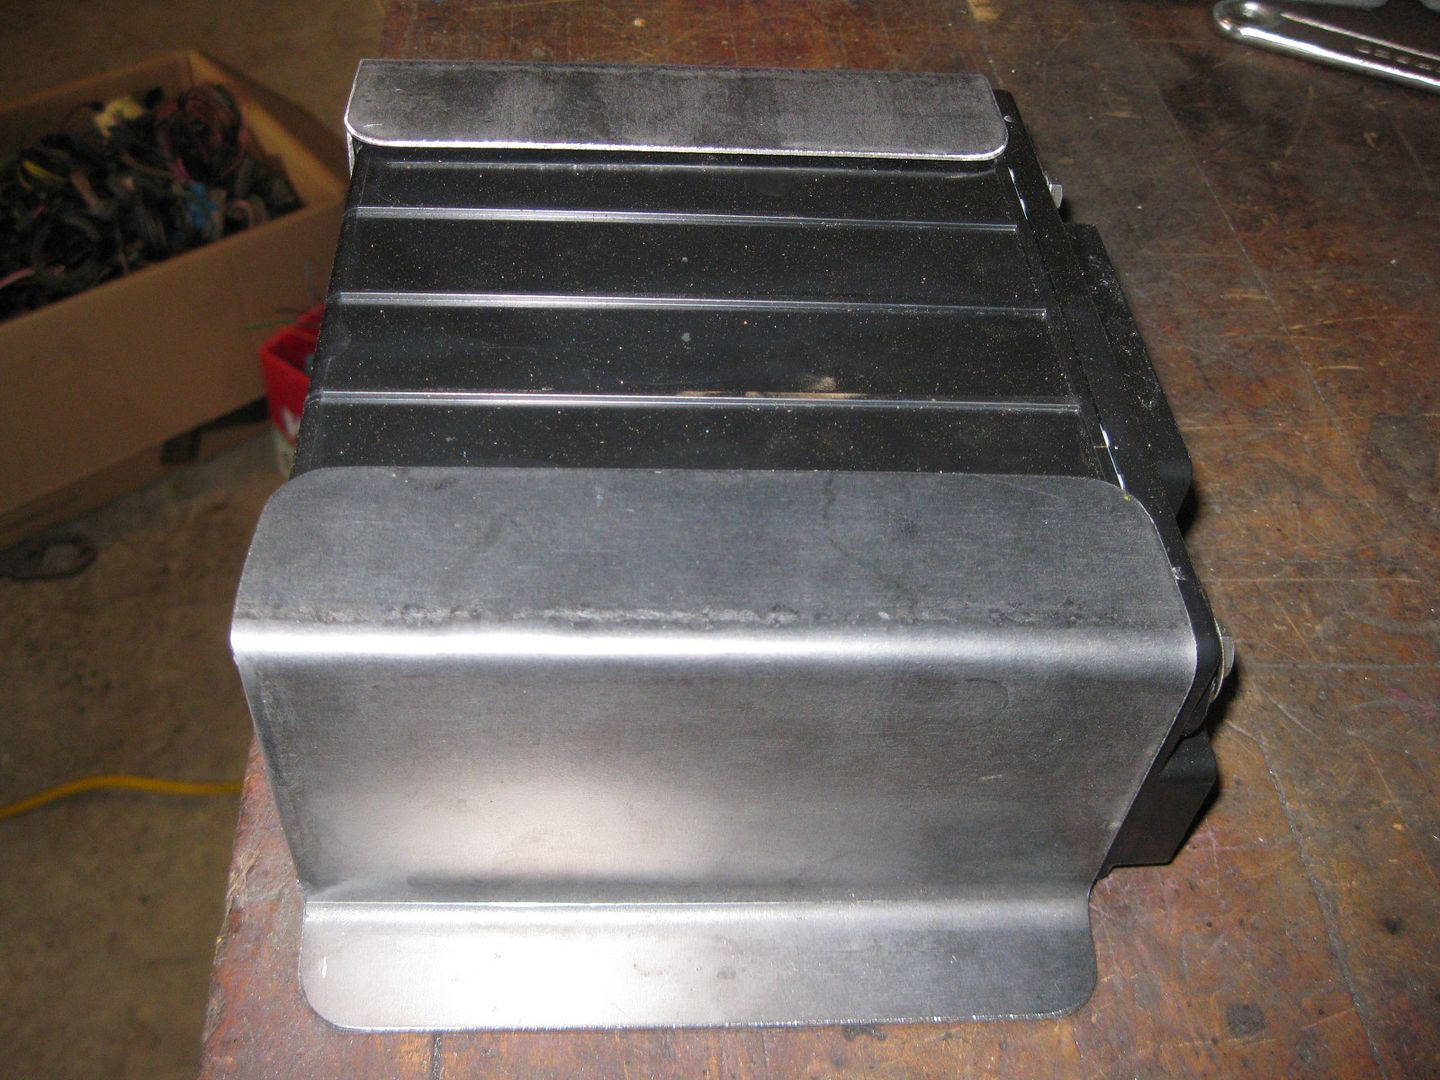
Then I worked on the battery mount. I fabbed up these brackets to hold the battery, but ended up unbending one of the bolted flanges.
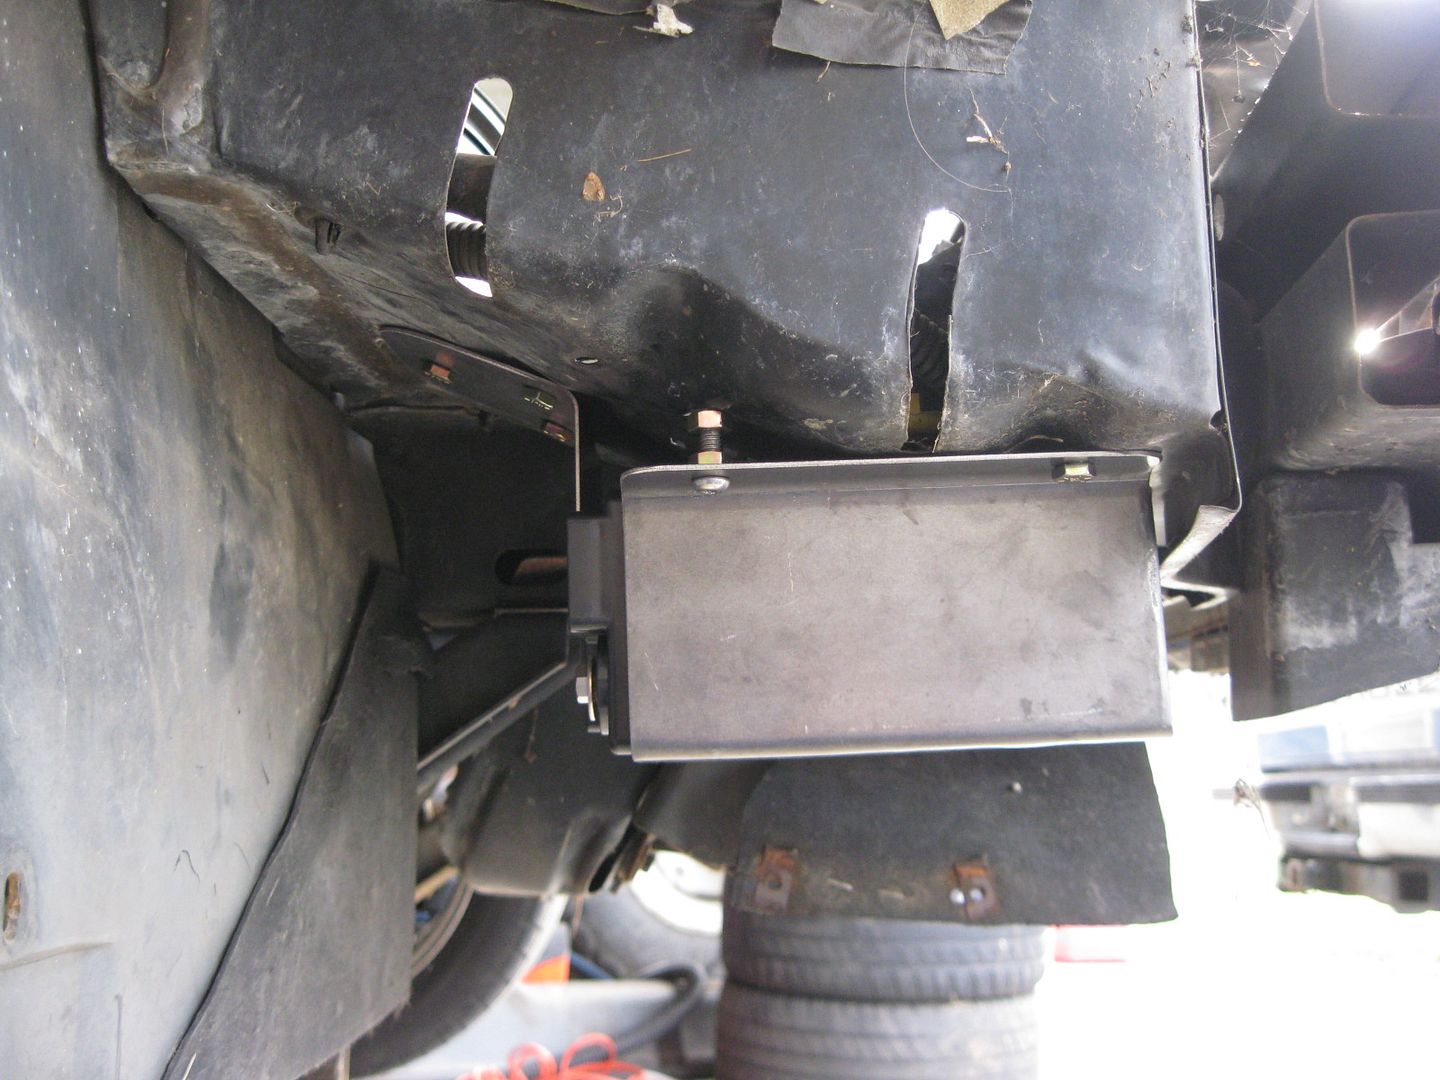
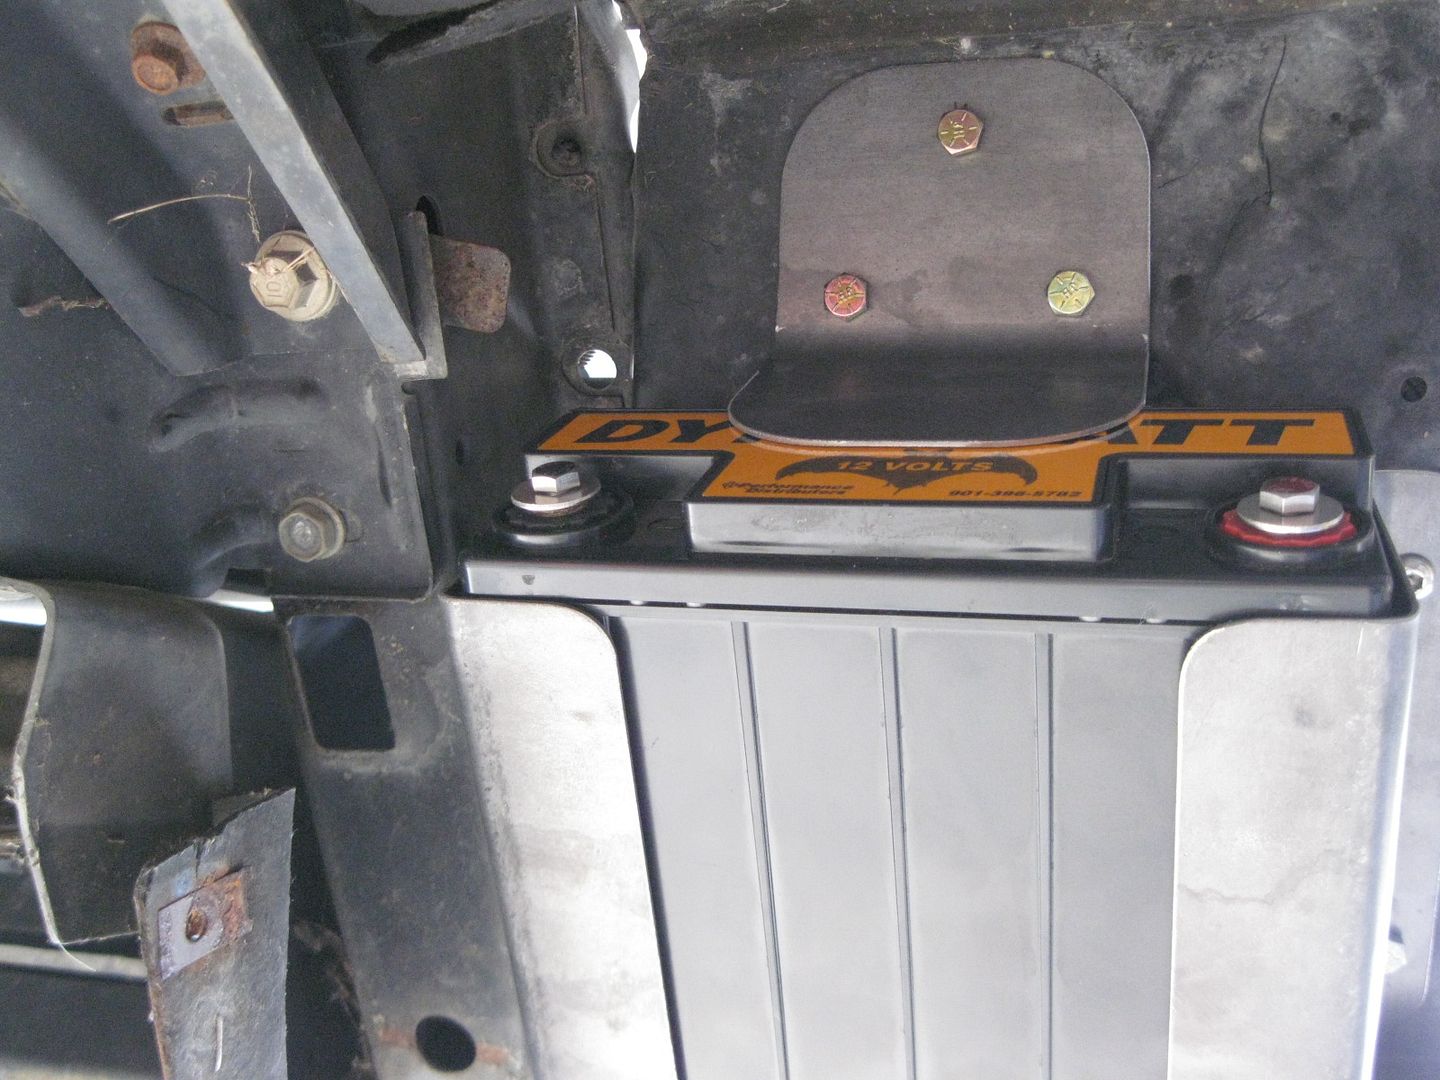
The battery is now mounted under the passenger head light, but the only modification to the sheet metal in that area was to drill seven 1/4" holes and remove the protruding flange from the 1" diameter drain hole on the bottom side. In the first picture you can see that the battery easily clears the bottom of the 88 coupe fascia (notice the 2 bolt air ducting bracket on the other side of the battery).
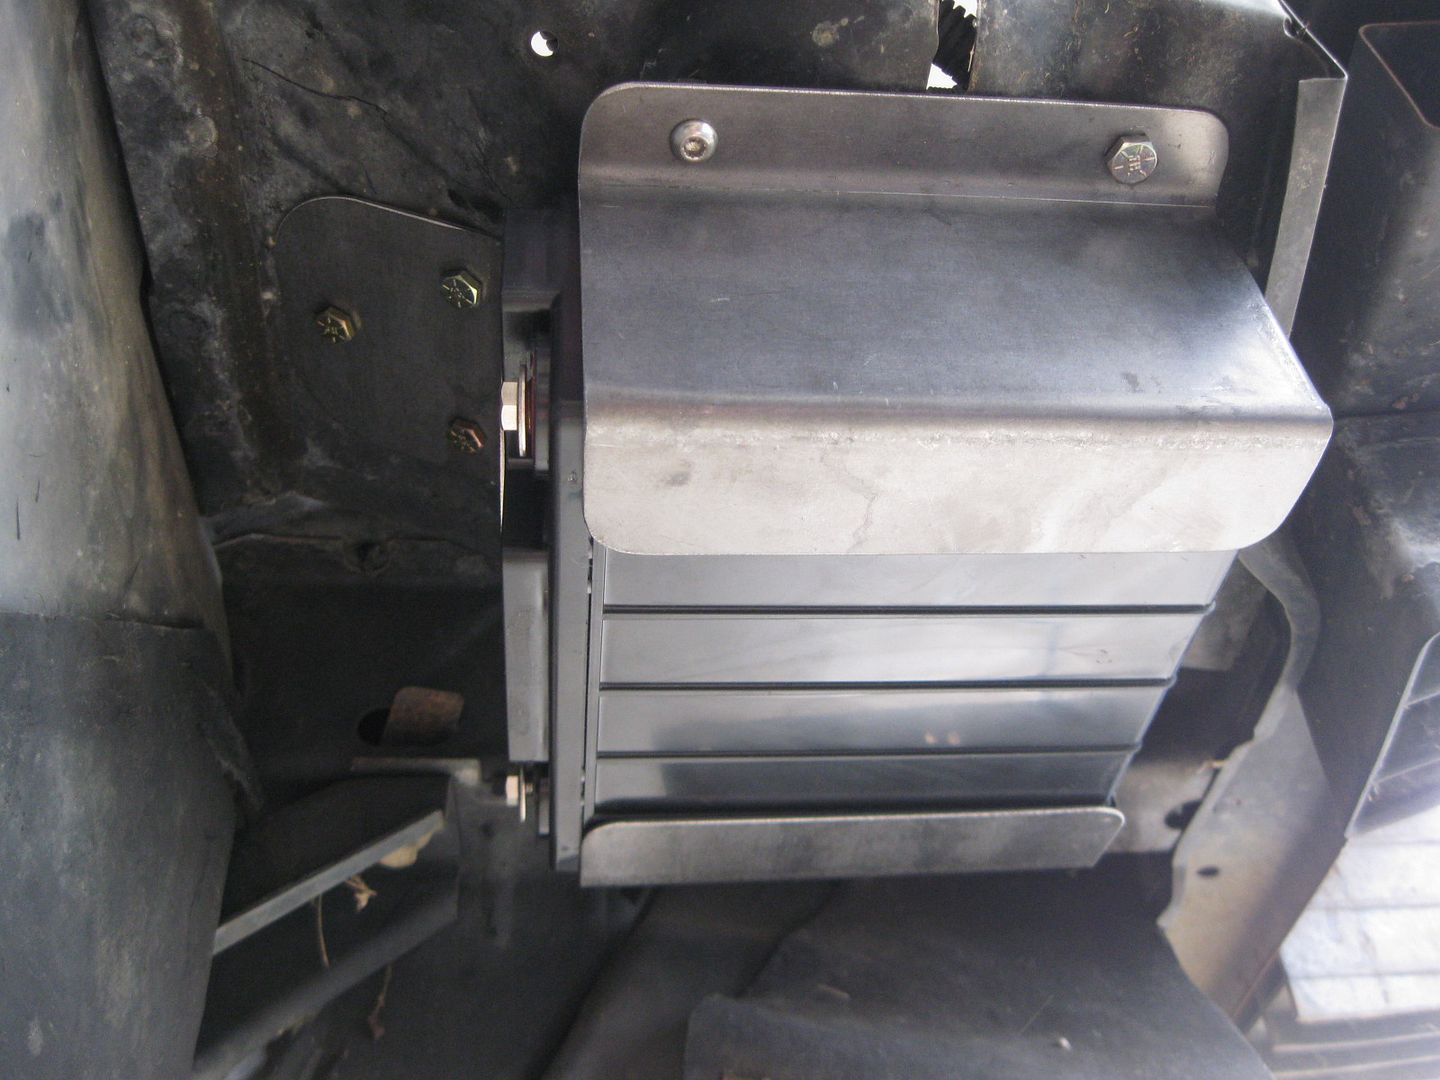
The mounting bracket holds the battery firm in 3 directions and the batter hold down tab secures it in the 4th direction.
[This message has been edited by fieroguru (edited 12-15-2012).]
I forgot to take a pic of the radiator with it installed:
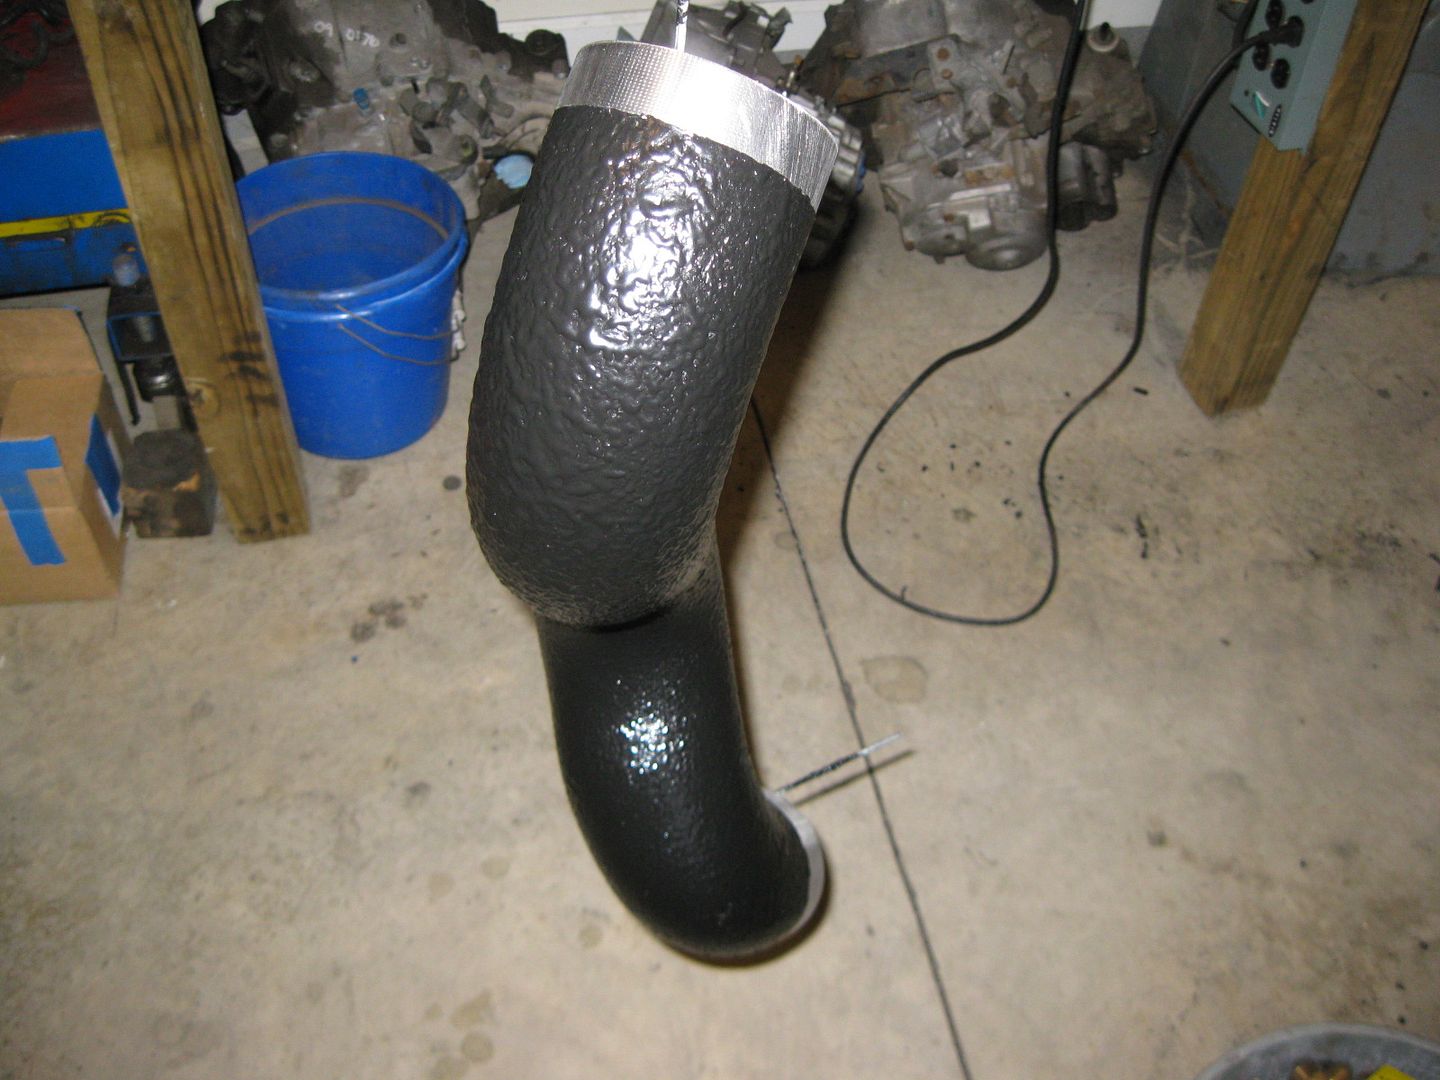
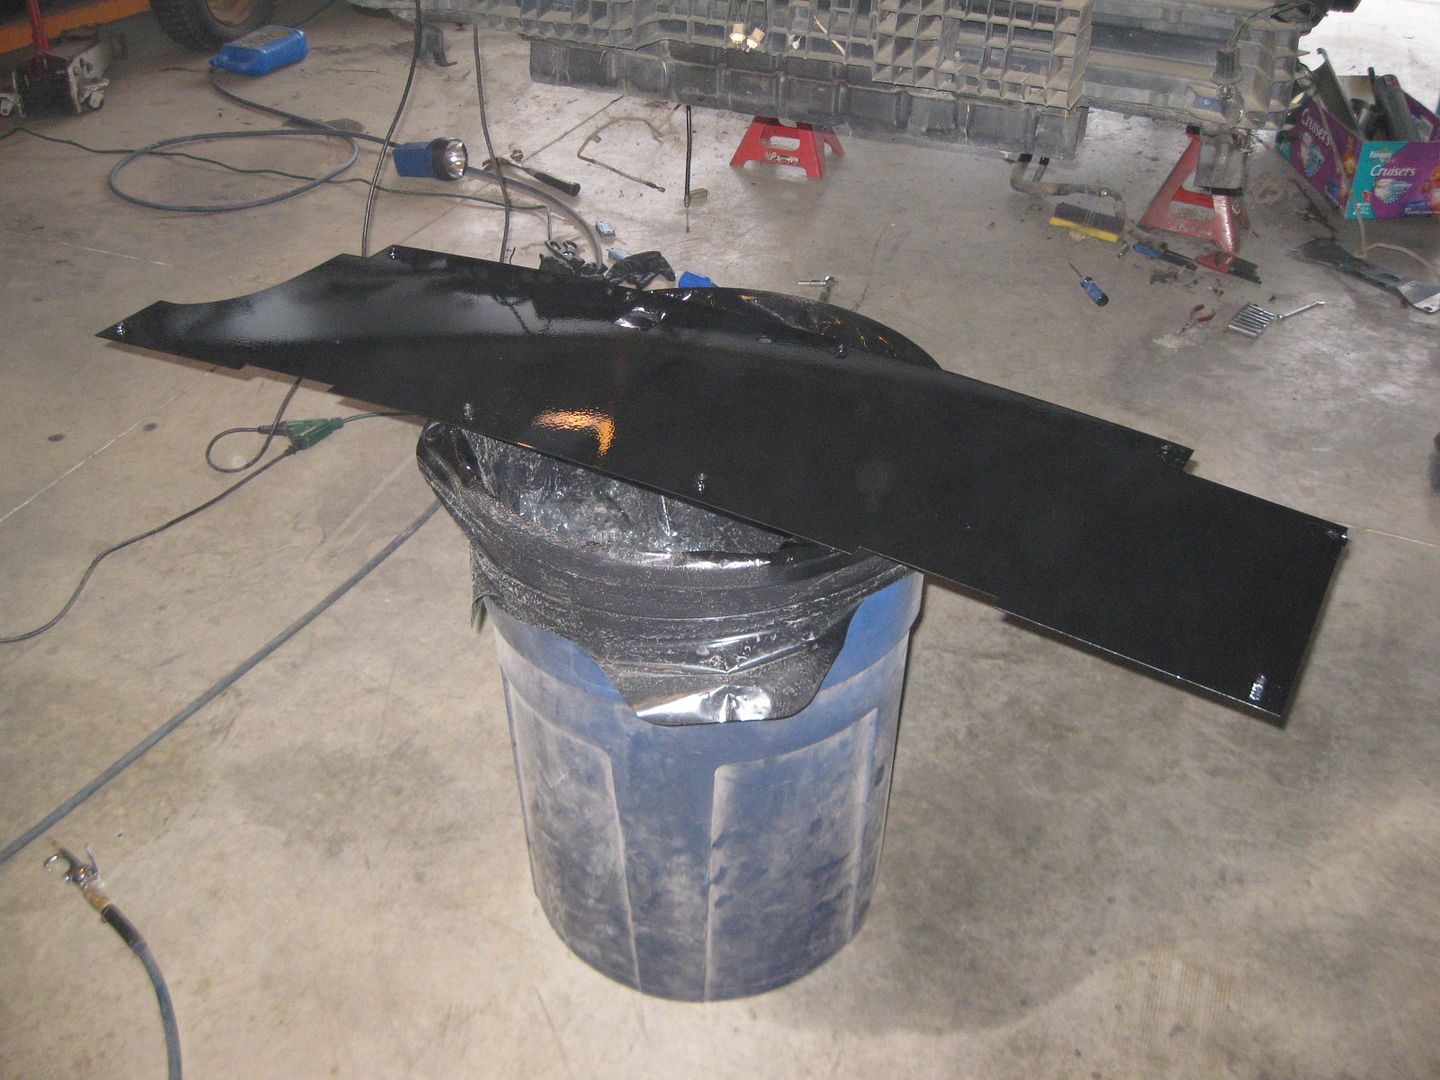
Used some truck bed liner to coat the outside of my cold air intake. This helps to insulate it, as well as masking any weld imperfections:
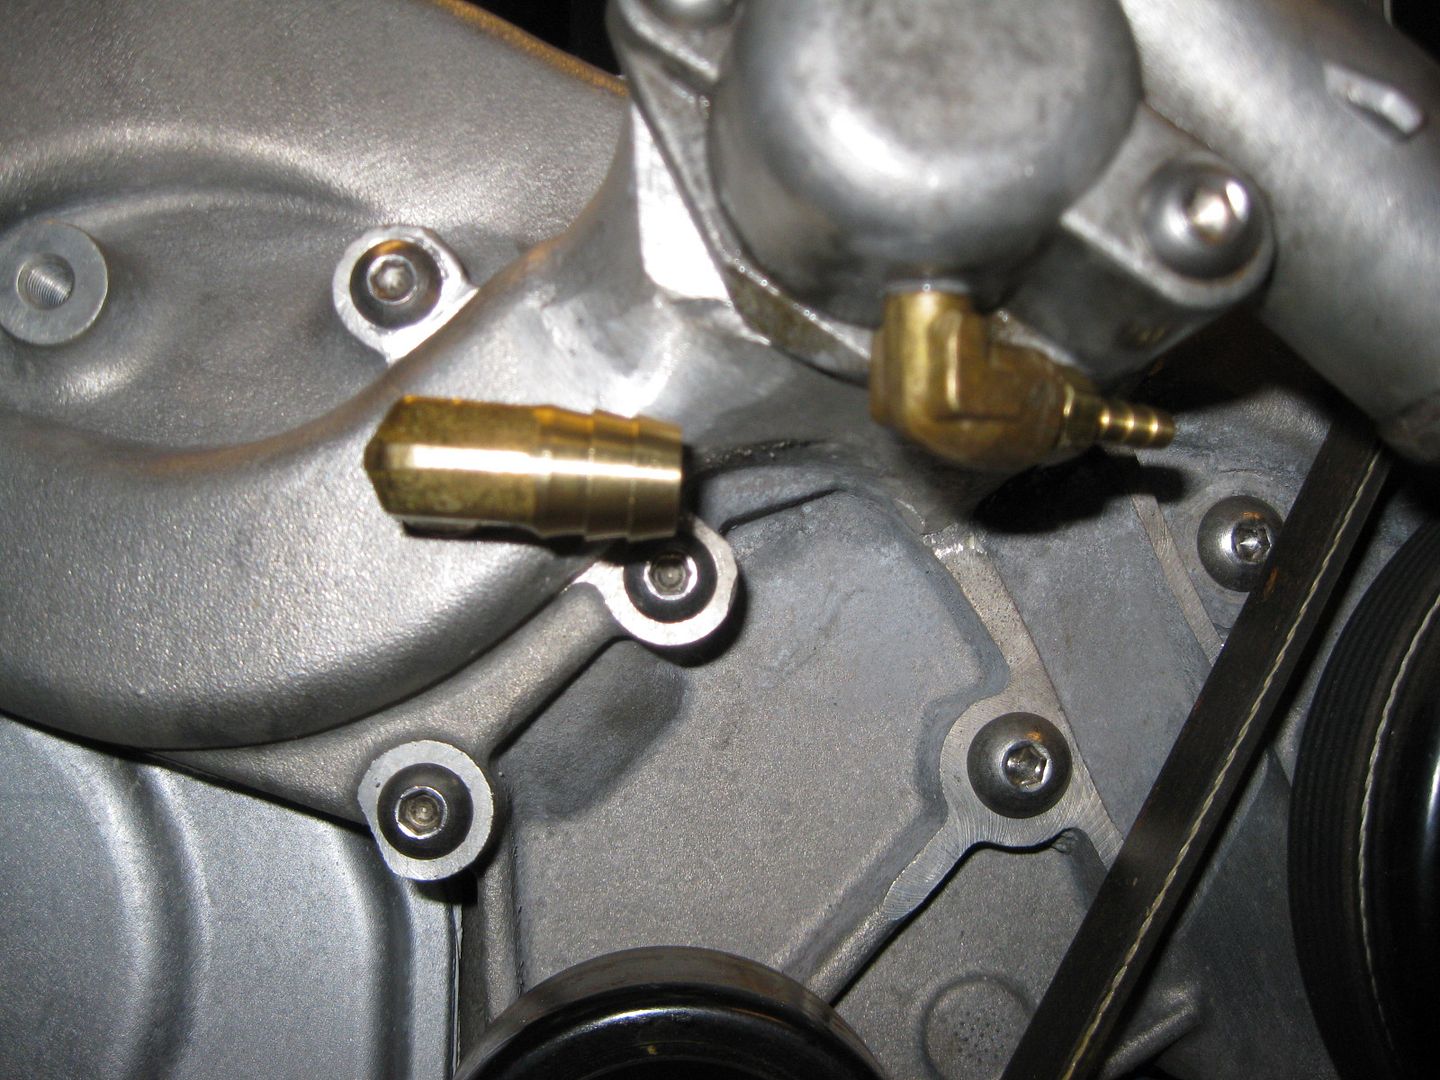
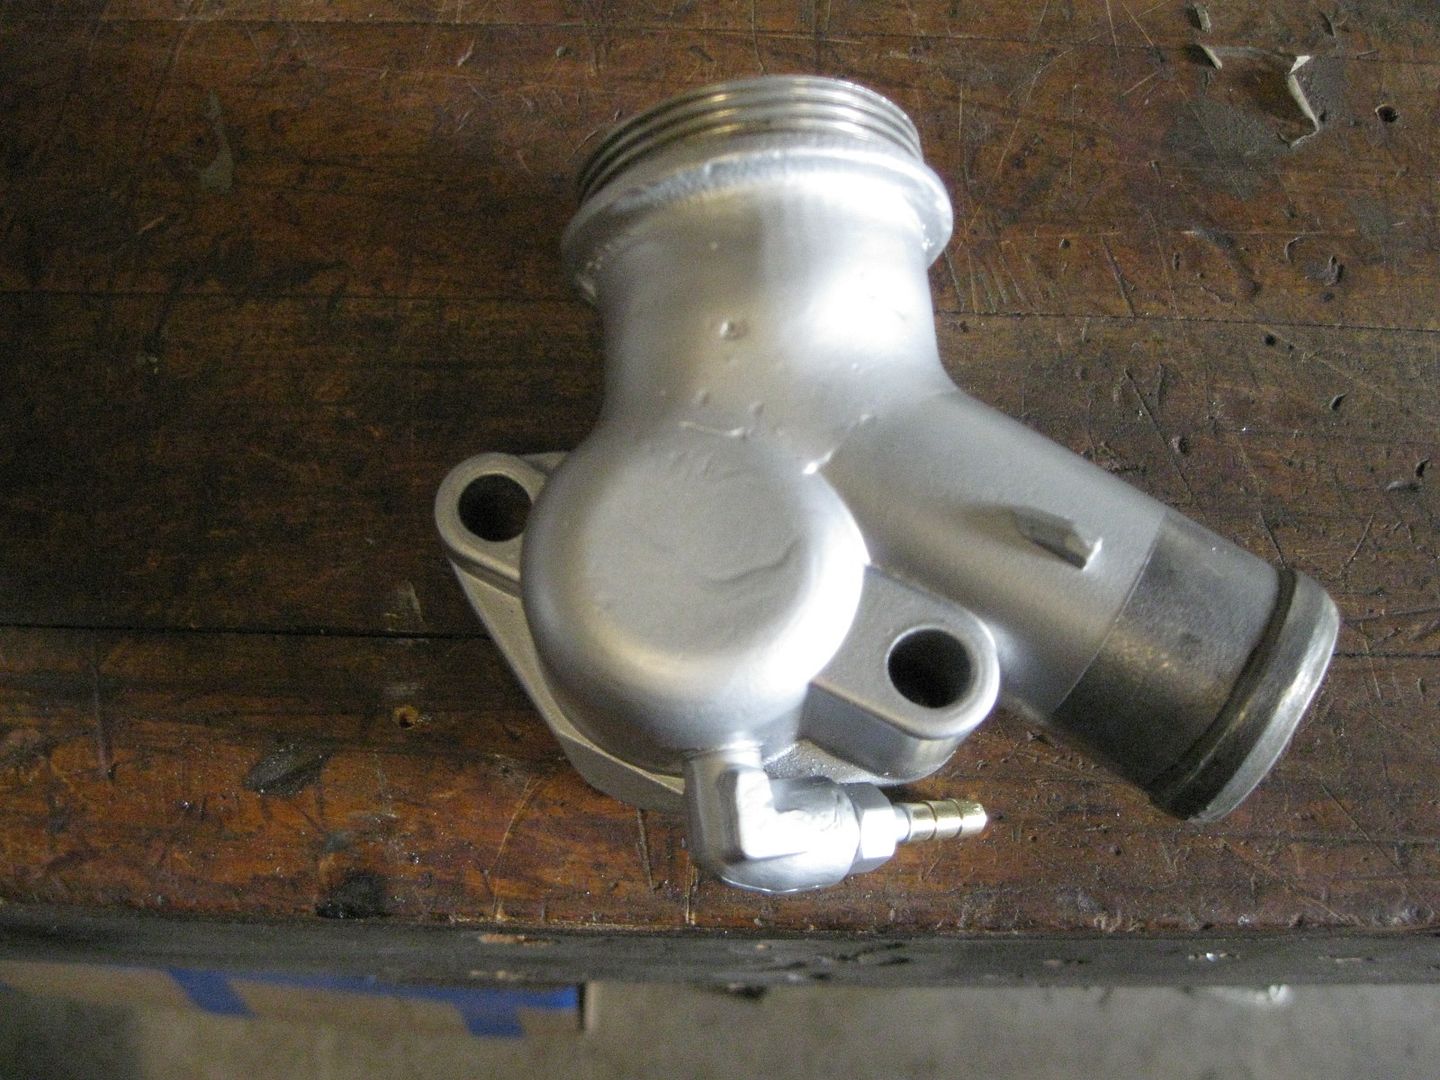
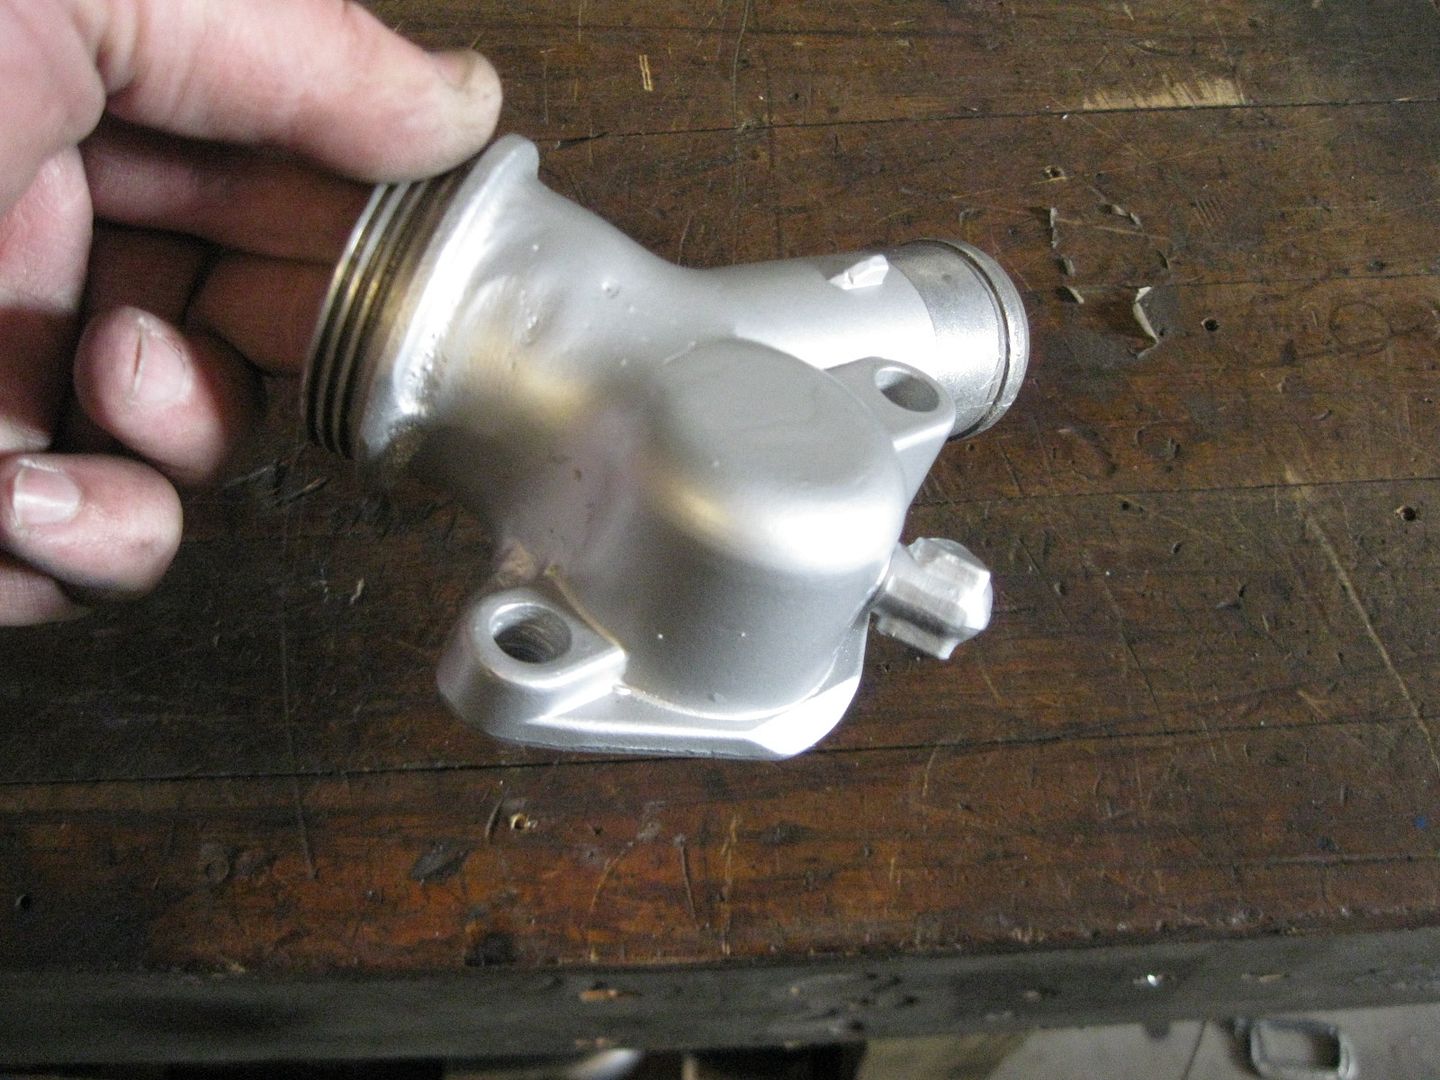
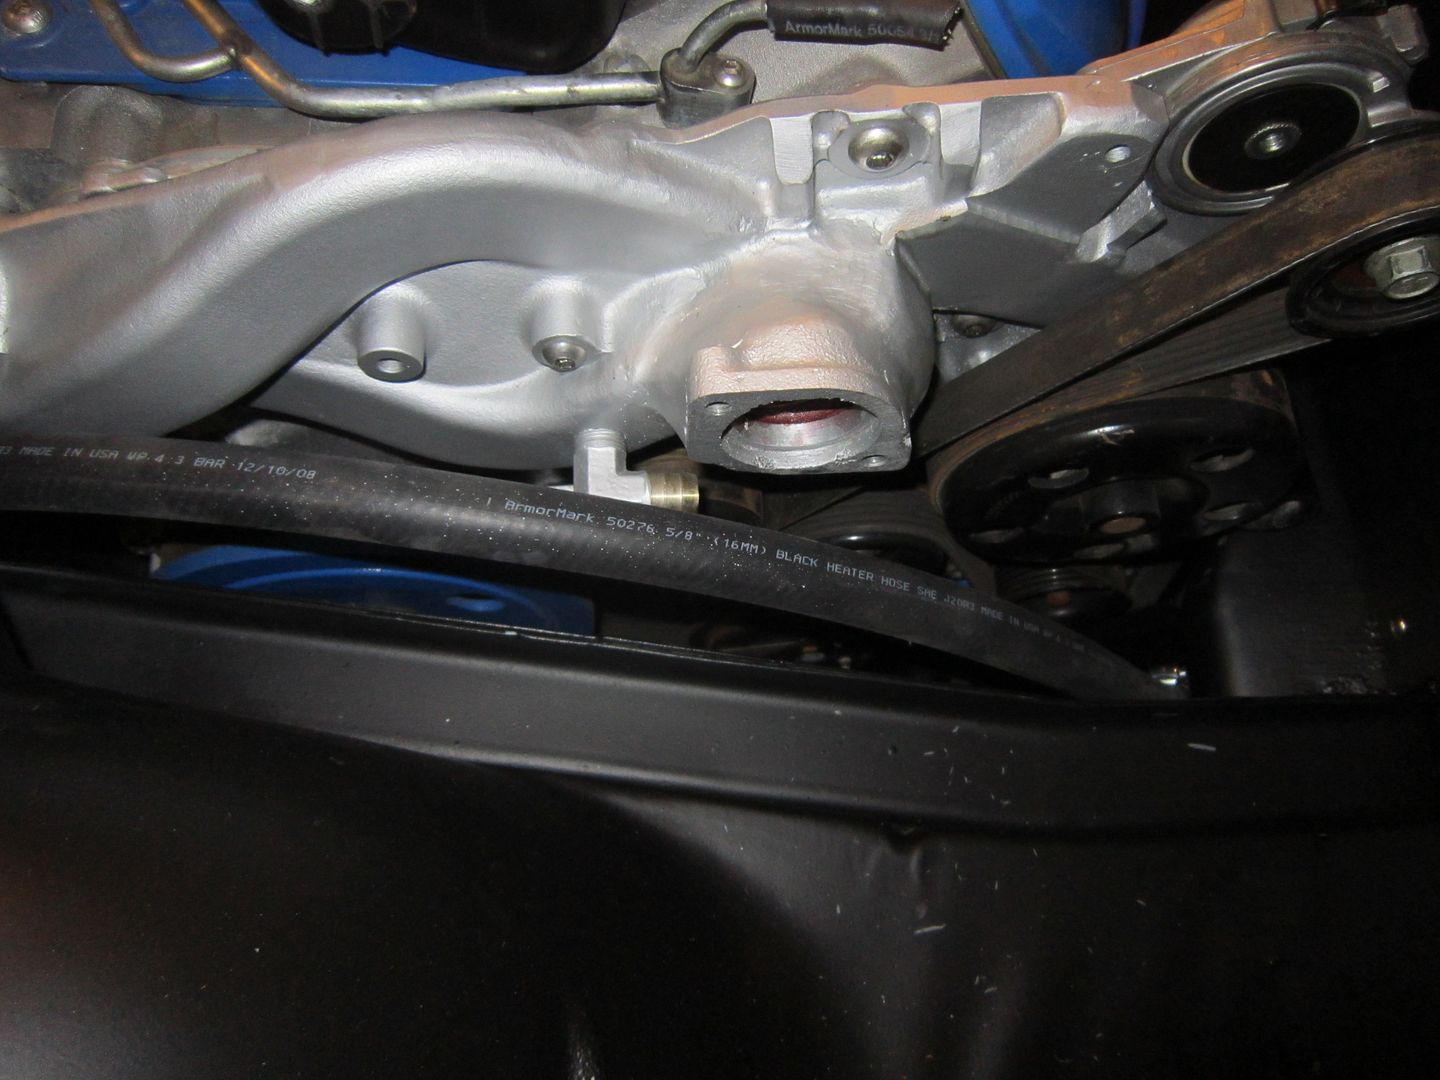
Also added the last two hose barbs for the coolant system. The small one is post-thermostat and is for the hose from the steam ports on the heads (it normally dumps to the top of the radiator, but post thermostat is pretty much the same. The larger hose barb is pre-thermostat and is for the supply hose to the heater core. The hose for this will run underneath the main hose coming off the thermostat housing:
I also sent the ECM and TCM off to get the stock 2007 LS4/4T65E-HD calibration loaded on them with the same VIN #. This will let them talk to each other and then I can eventually start the long process of tuning this this for all the changes.
It is almost time to refocus on preping the engine bay for paint and the smooth firewall panel.
[This message has been edited by fieroguru (edited 12-15-2012).]
Been slacking.... but finally spent some time in the garage.
I soldered on the battery cable end at the starter, routed the power cable around the starter and then coiled up the excess. I will run the cables on the final install.
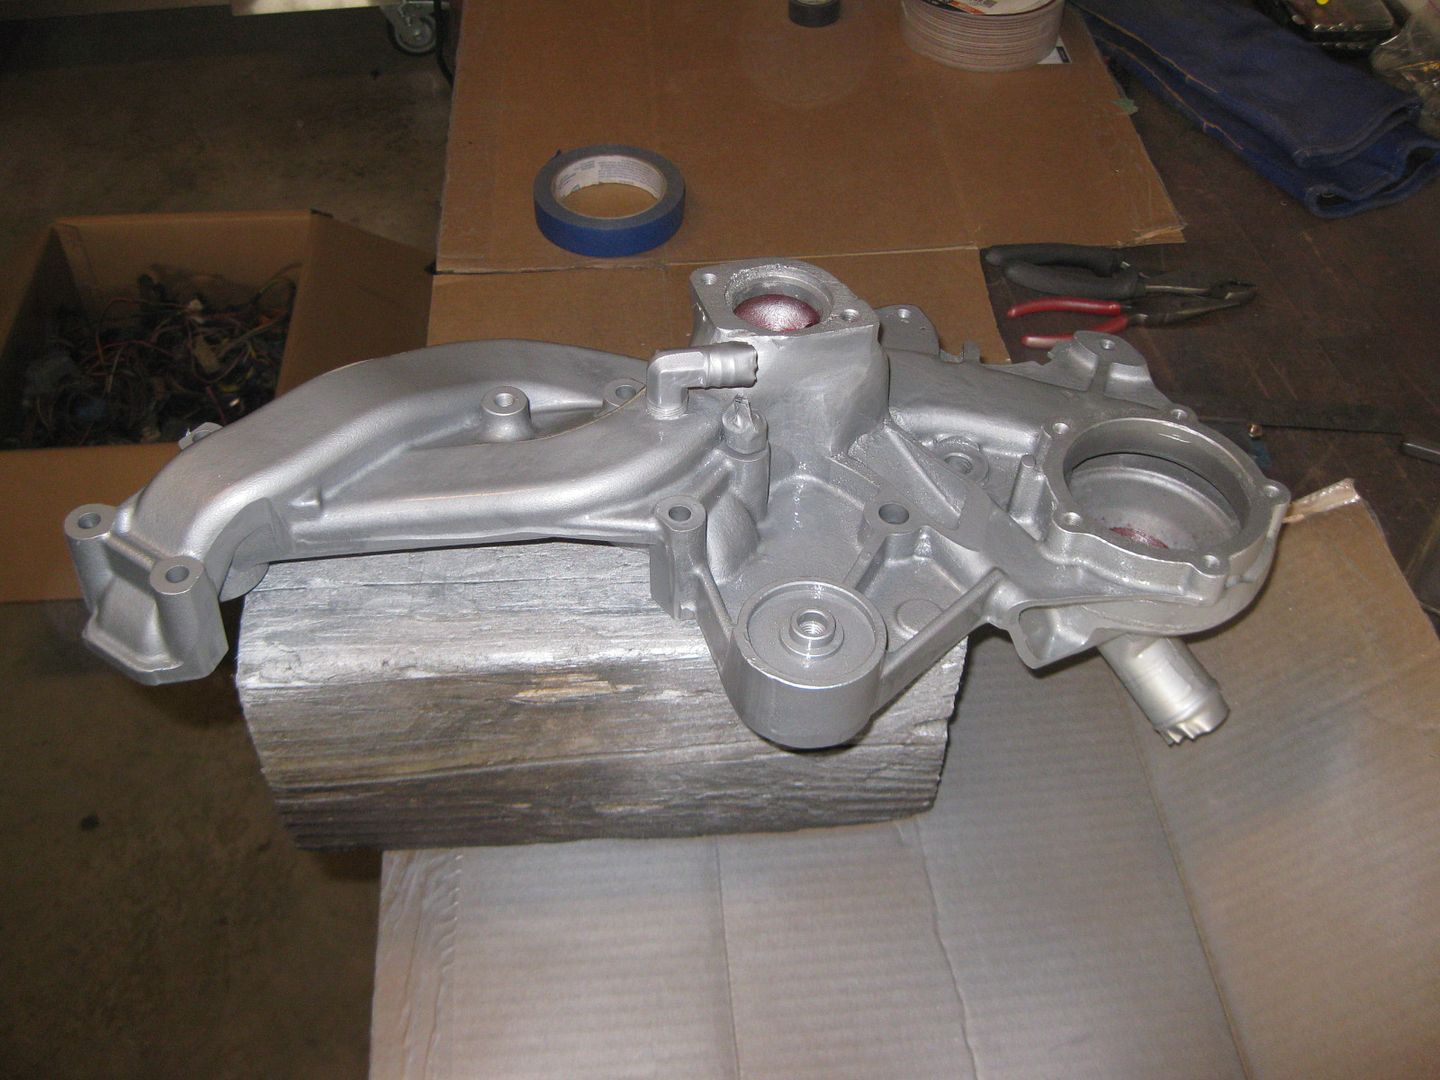
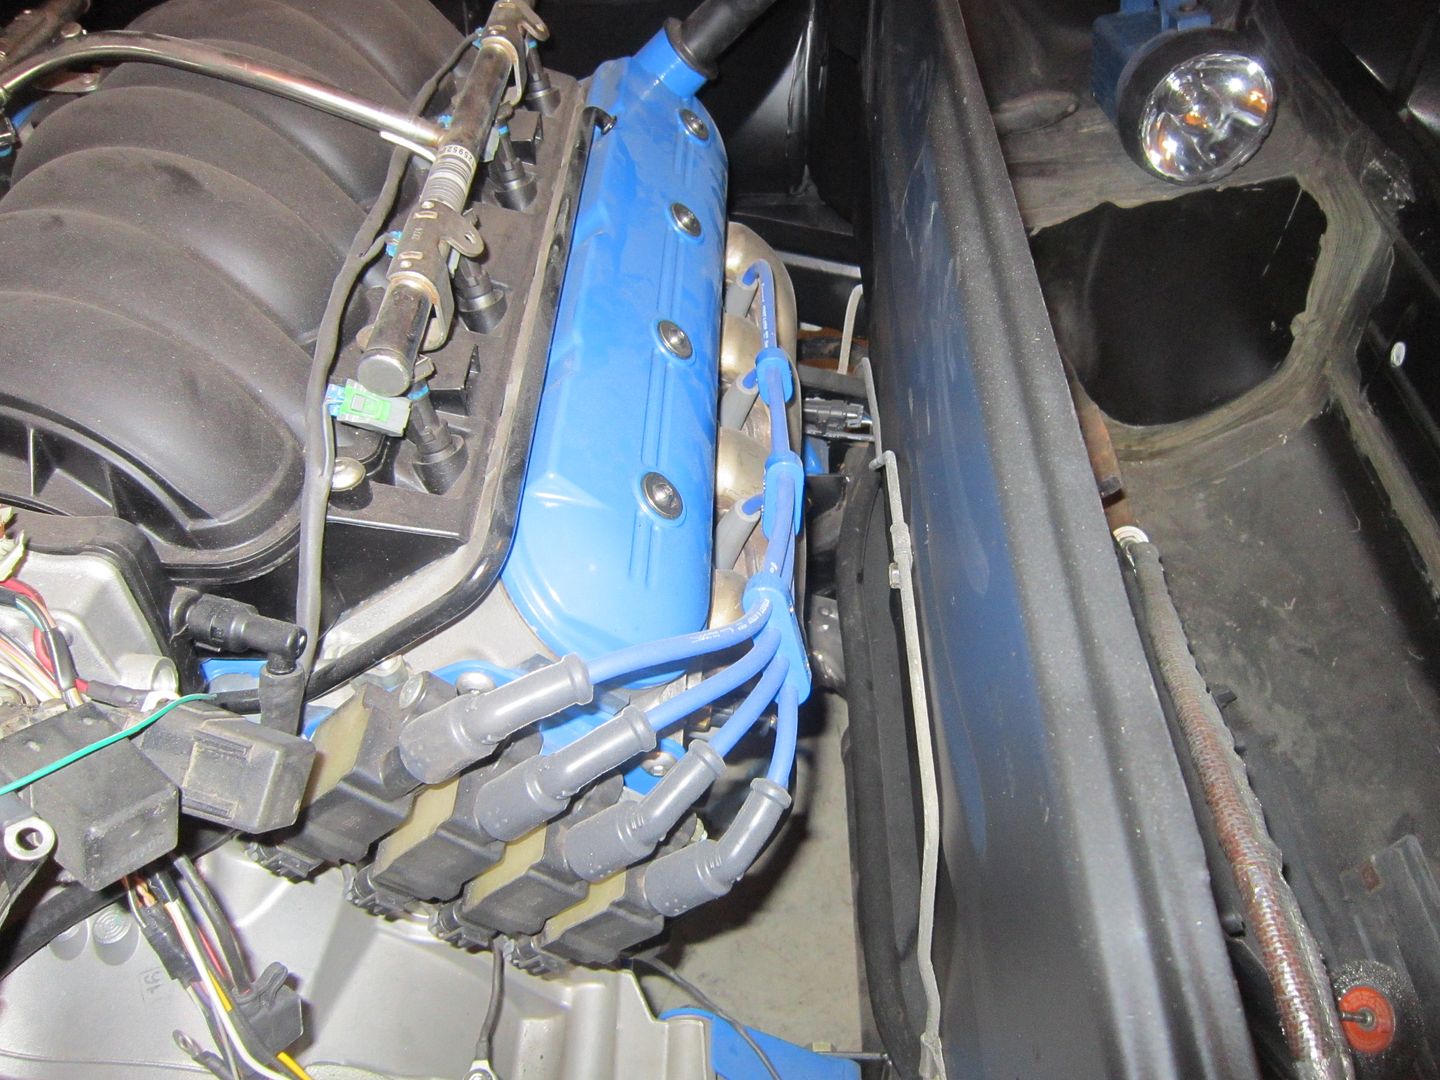
Then I removed the water pump and thermostat housing and painted them aluminum so they would have a more uniform look:
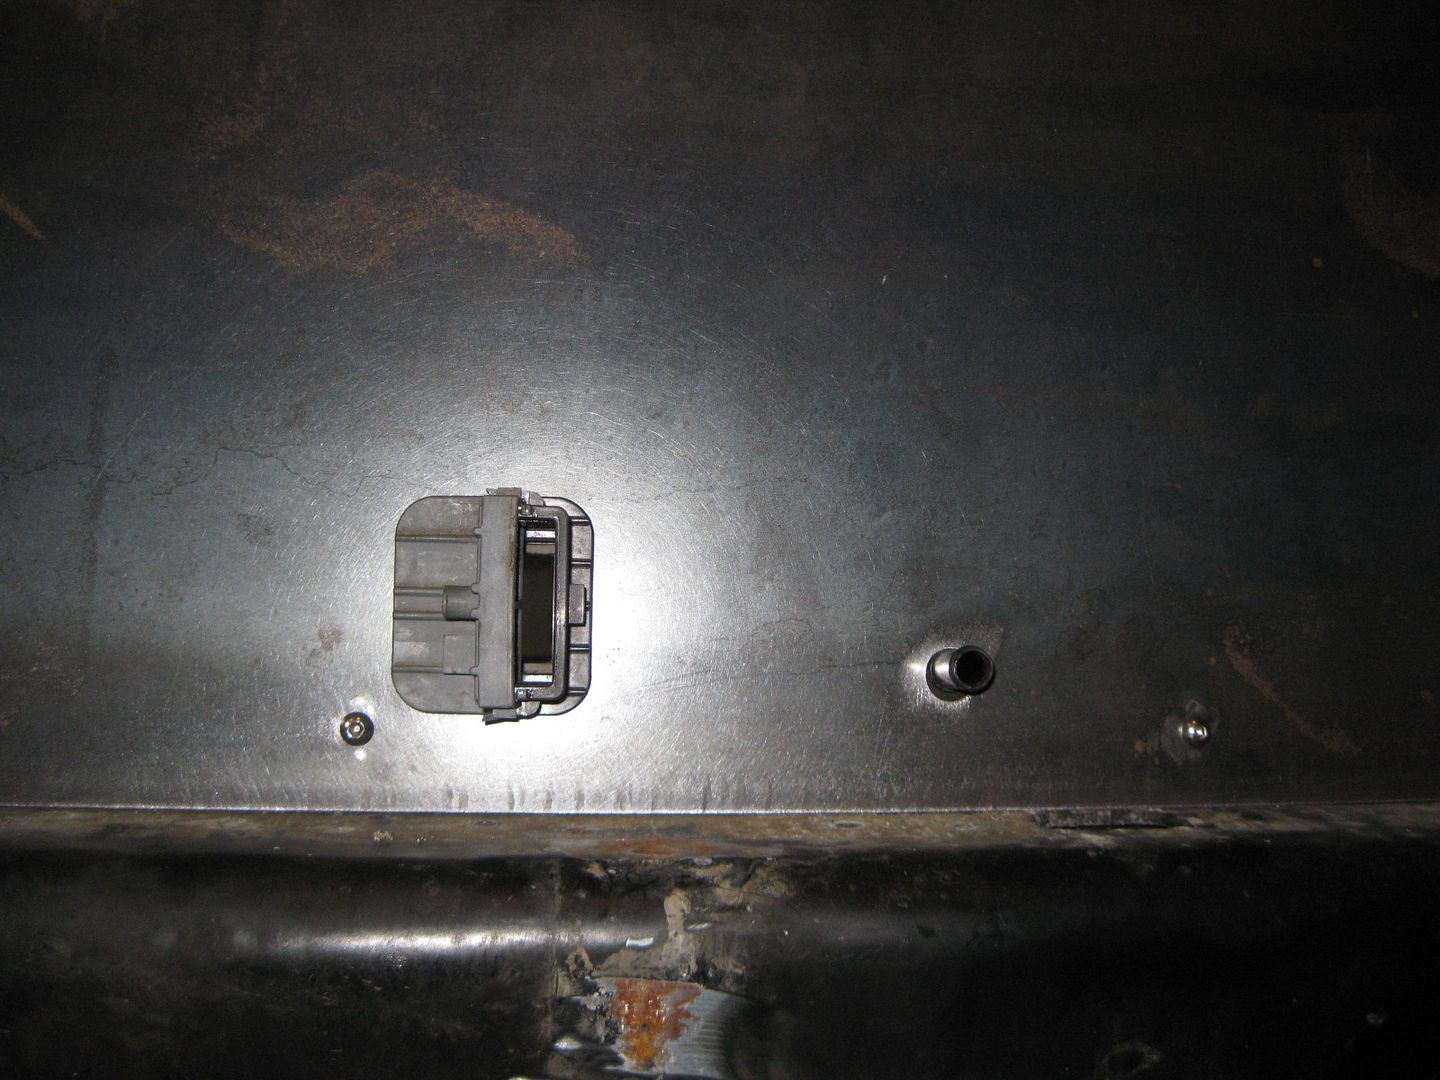
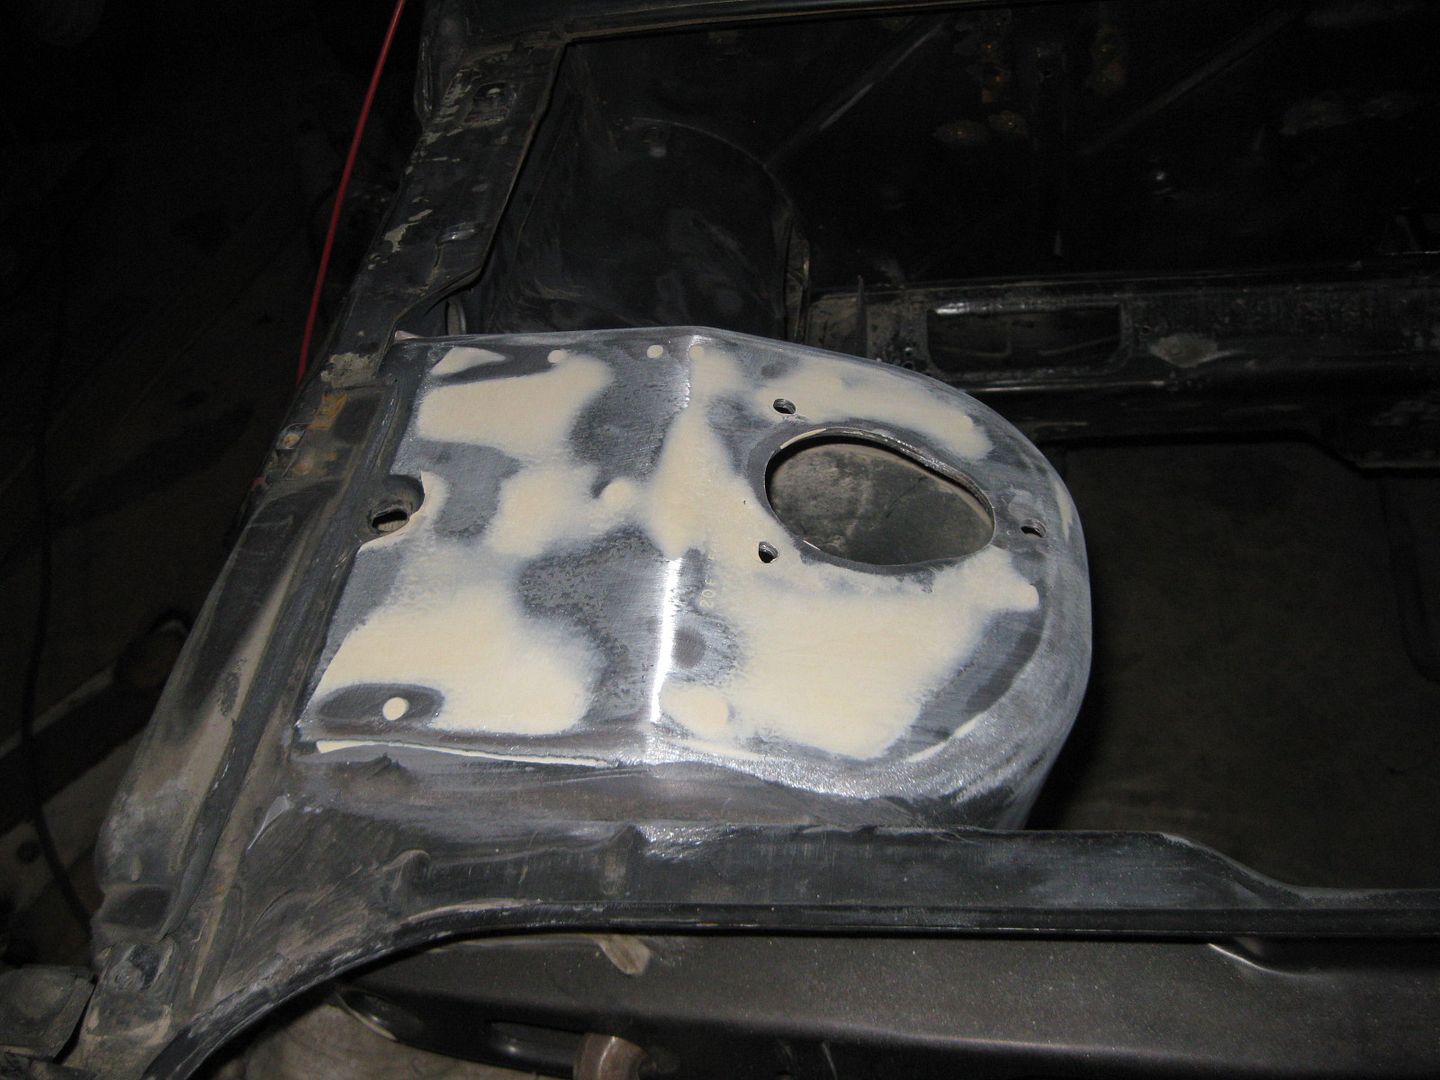
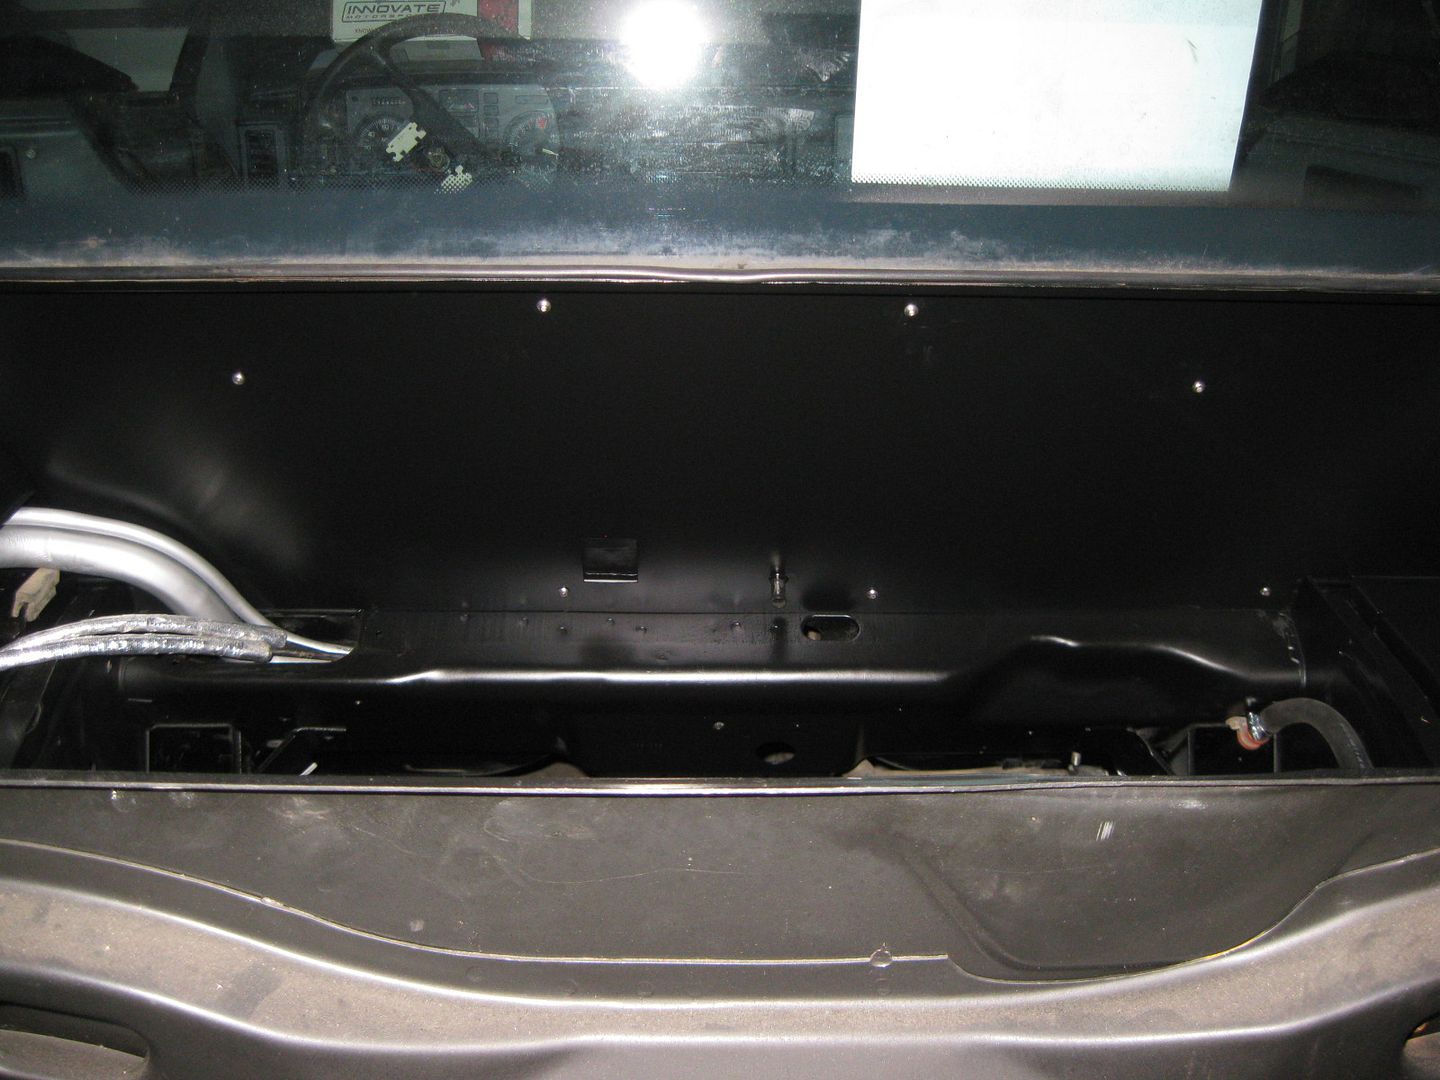
Then I started playing with the smooth firewall panel. I tacked some 3/8" nuts to the backside to space it from the stock firewall, then drilled the 1/4" mounting holes for the bolts and cut the hole for the harness connector:
Now I get to clean the engine bay and sand/prep it for paint!
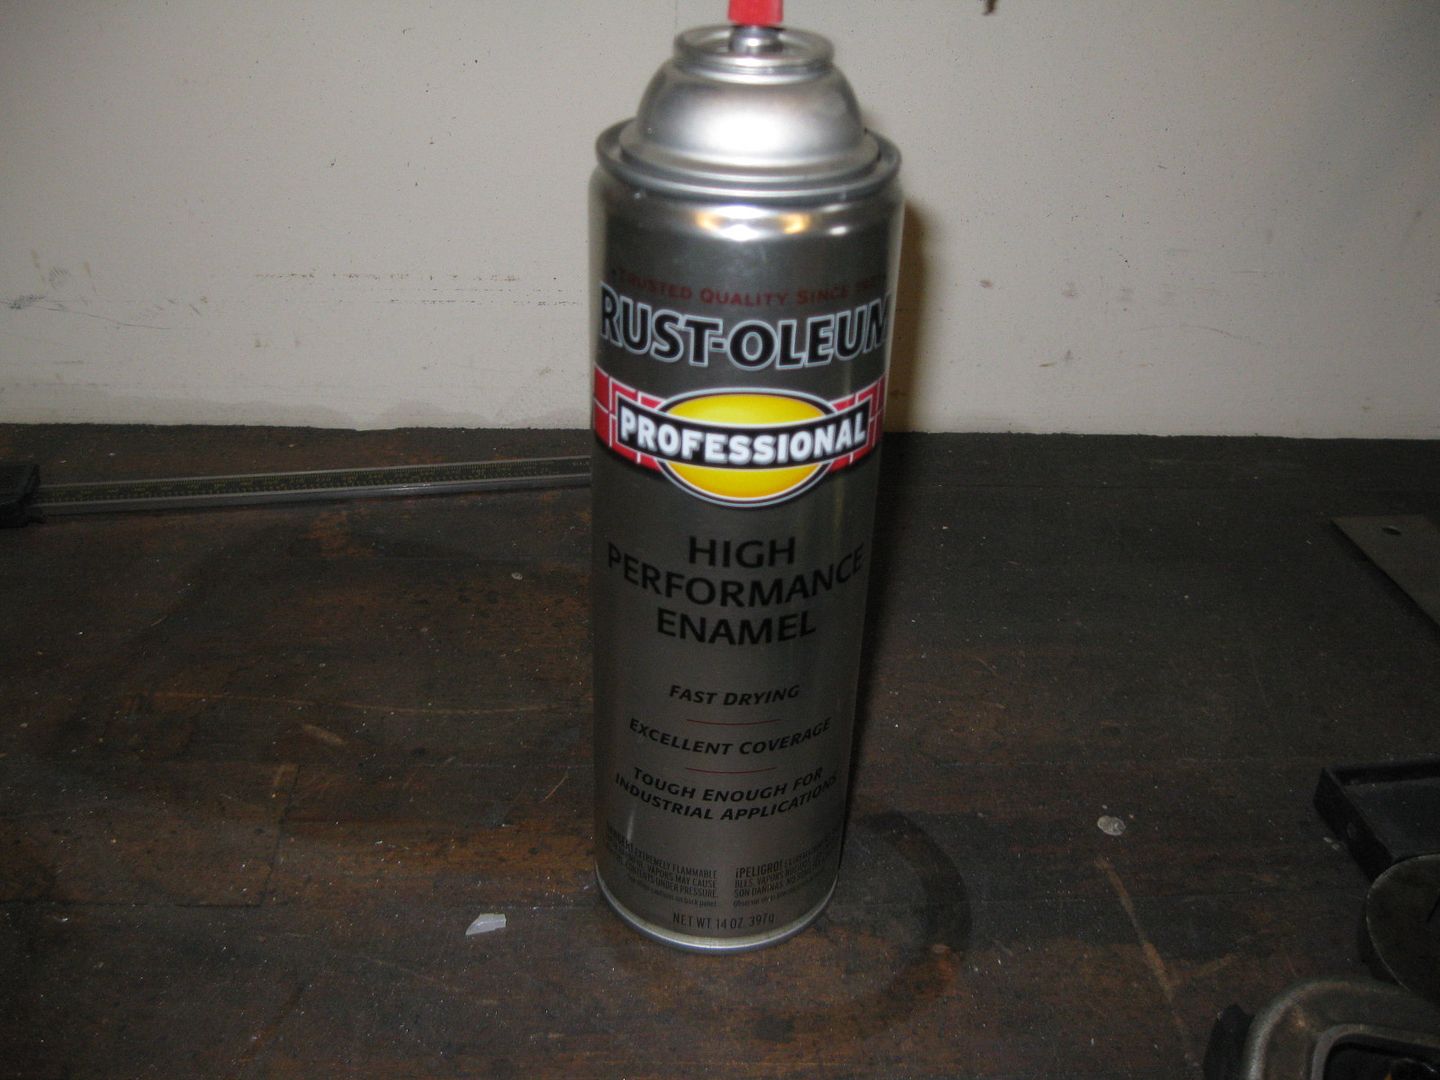
I am getting ready to start painting my alum. water pump assembly too, yours looks good! Since I'm limited to spray bombs, would you happen to have a recommendation?
I am getting ready to start painting my alum. water pump assembly too, yours looks good! Since I'm limited to spray bombs, would you happen to have a recommendation?
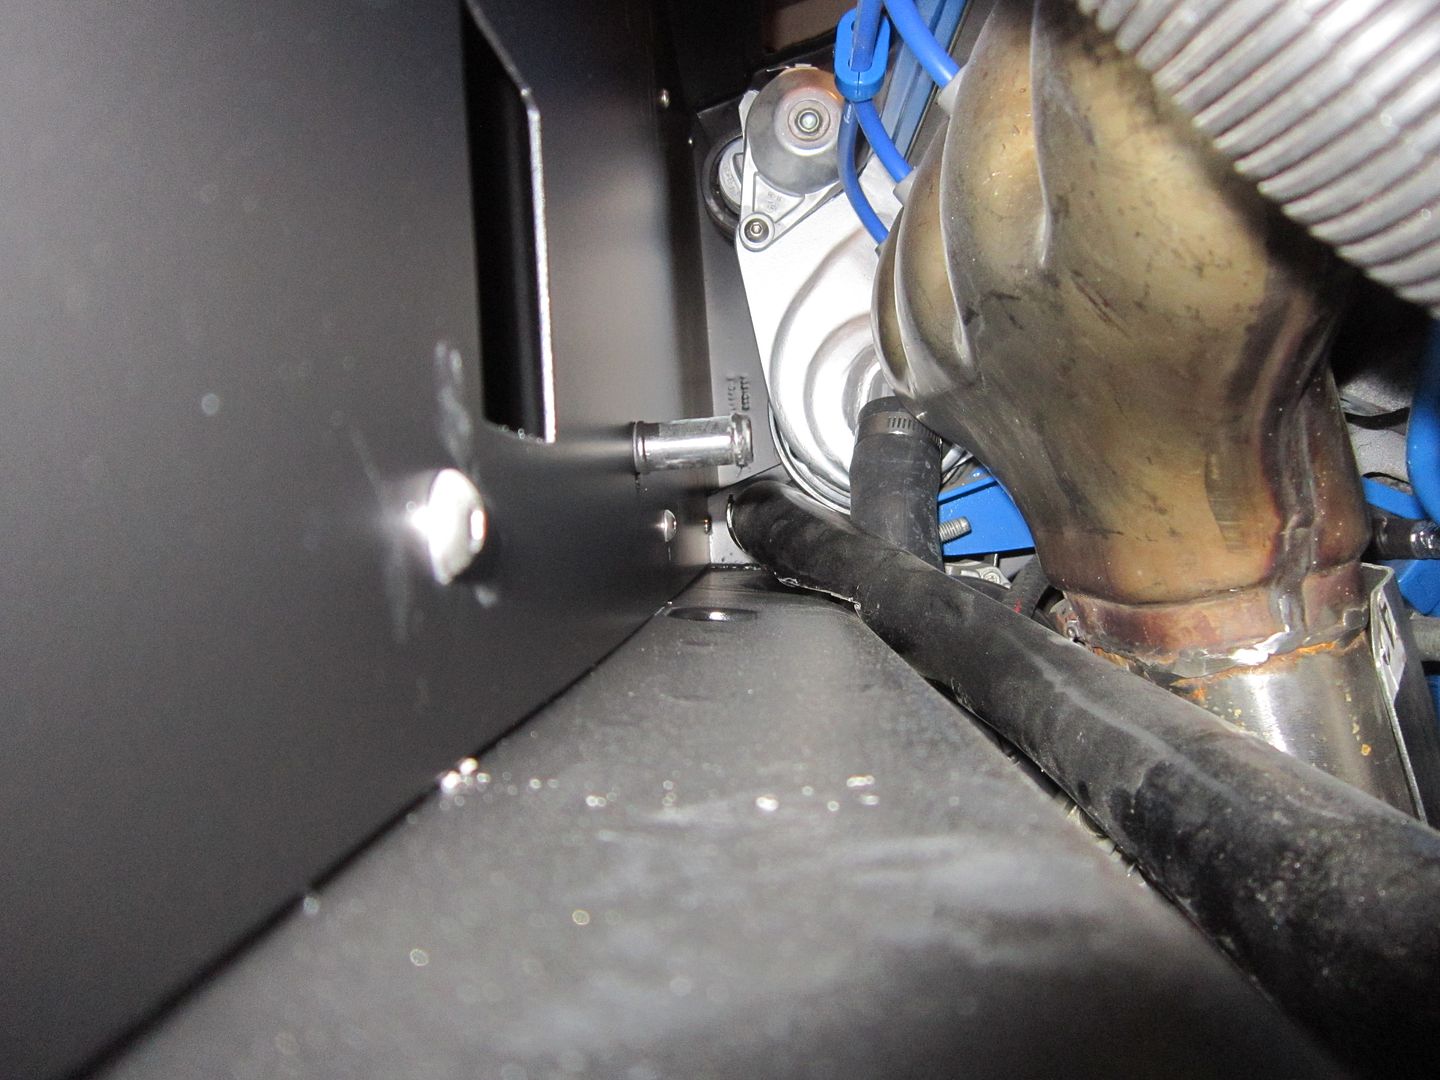
Thanks! I made a couple of templates to get everything nice and tight to the edges. The very bottom edges that go against the frame rails need more clearance as the rails pinch in as they move away from the fire wall. Also, with the top sides being quite close, you have to flex the panel slightly to make it clear the flange on the top frame rails.
For most of my rattle can painting, I use Rustoleum professional grade paint. Lowes sells is in the silver cans.
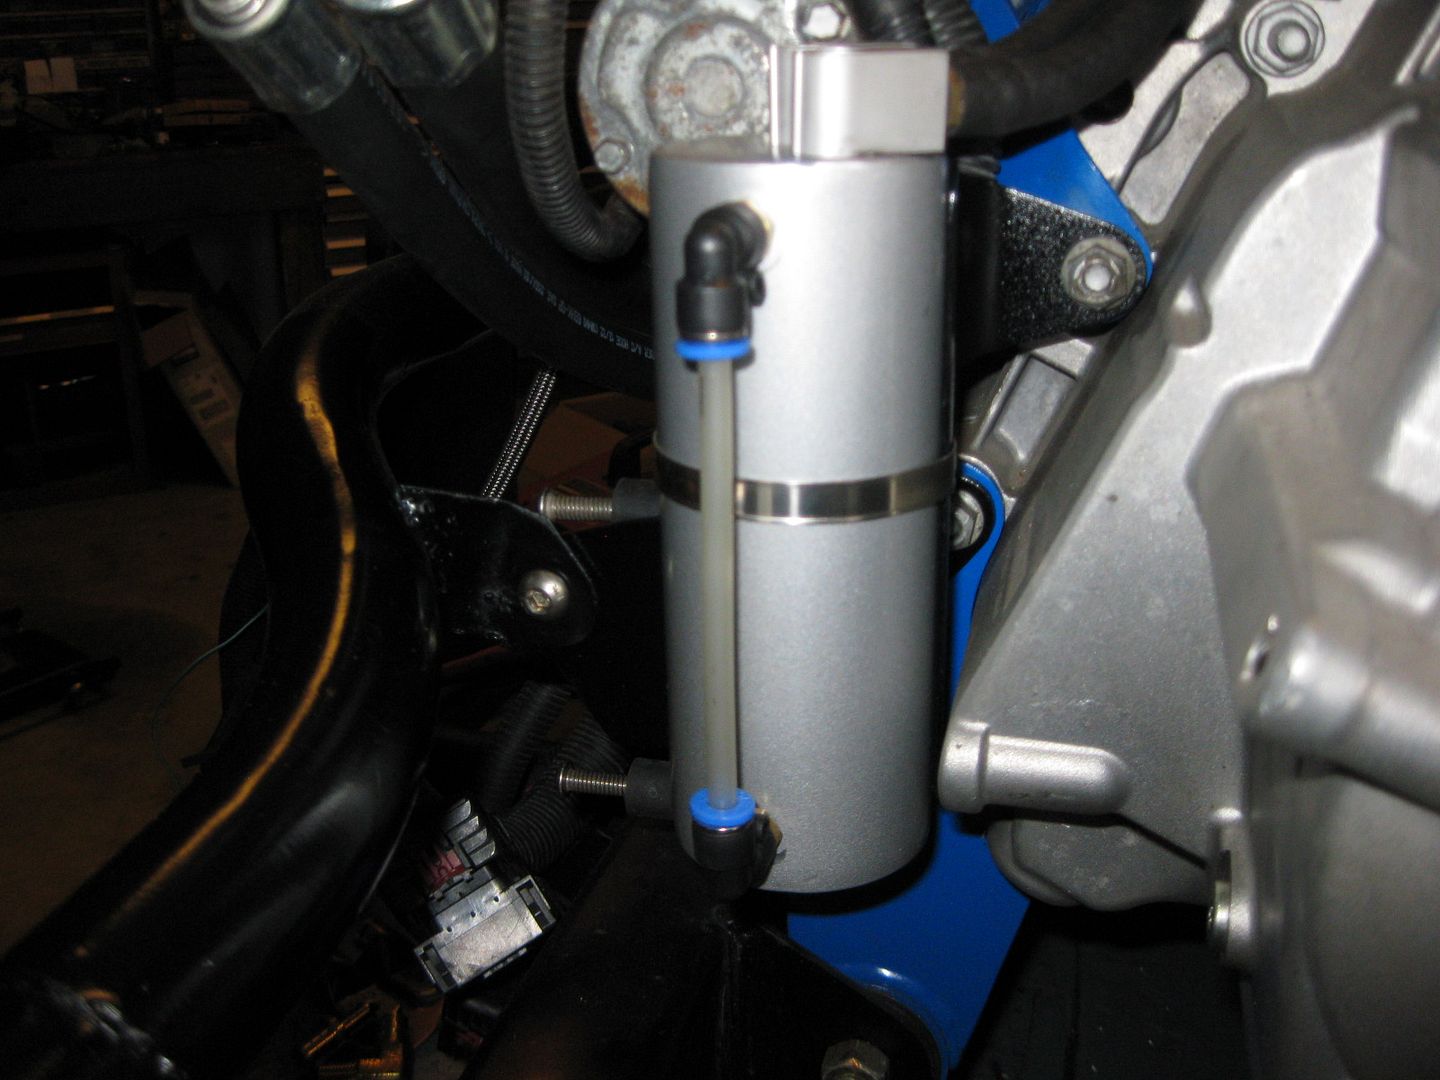
One of the last loose end to finish up on the engine was relocating the oil level sight tube for the catch can. So I marked the holes, drilled/tapped them and now have the sight level in a visible spot:
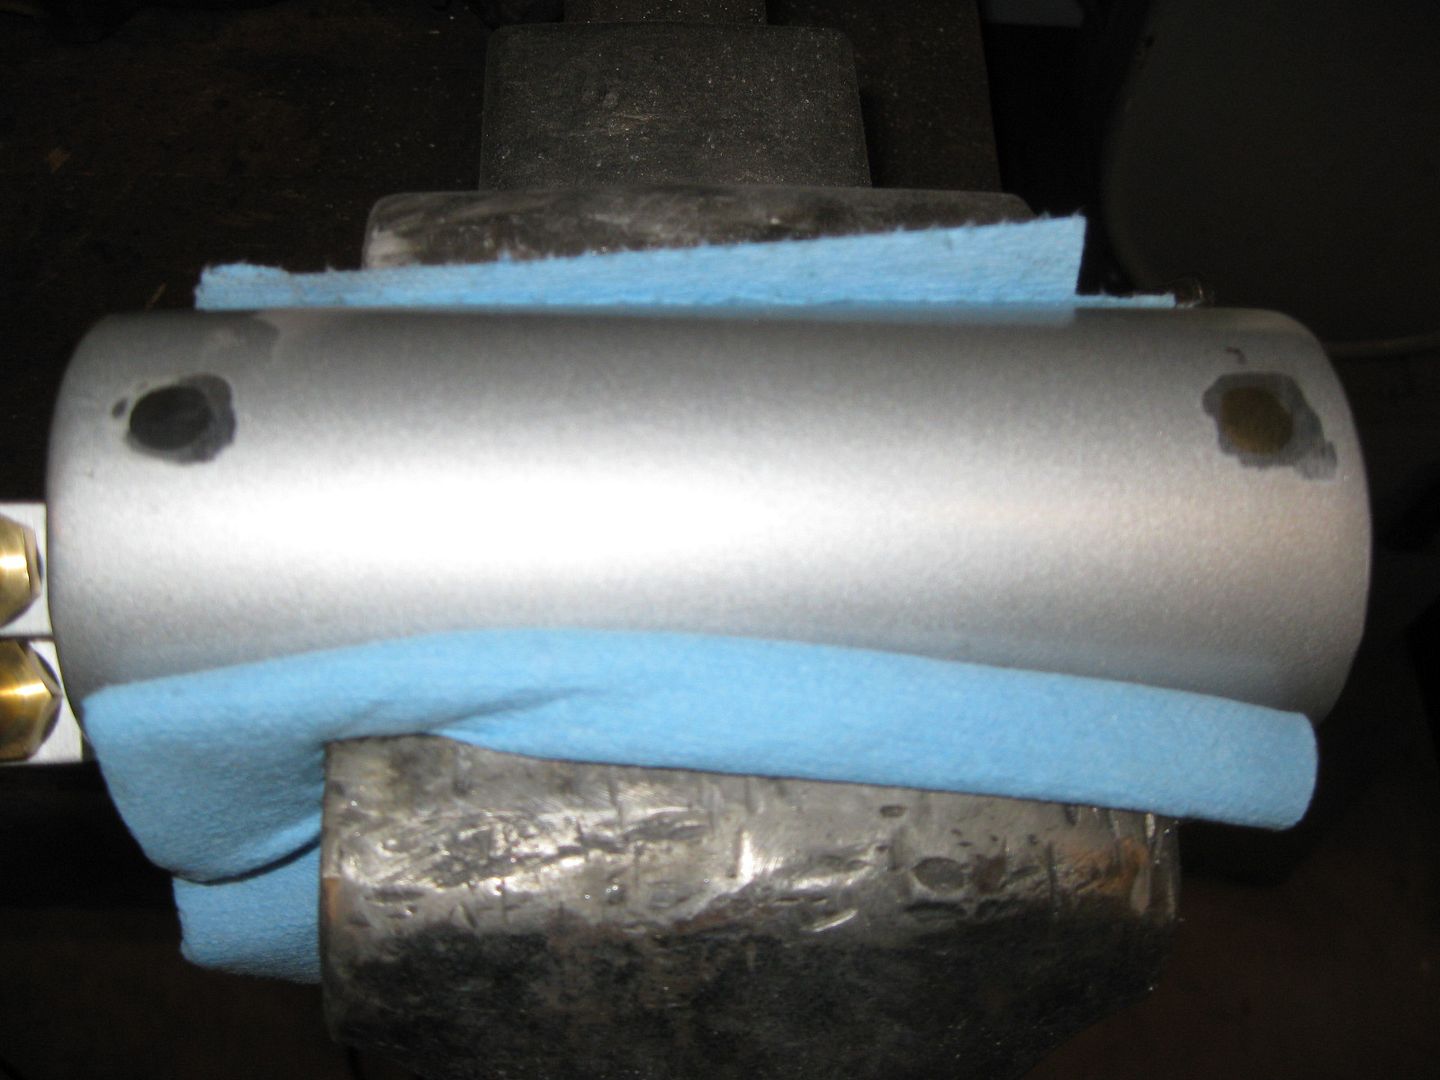
The original holes were filled with threaded caps, then the ends ground down flush (they are up against the mounting bracket:
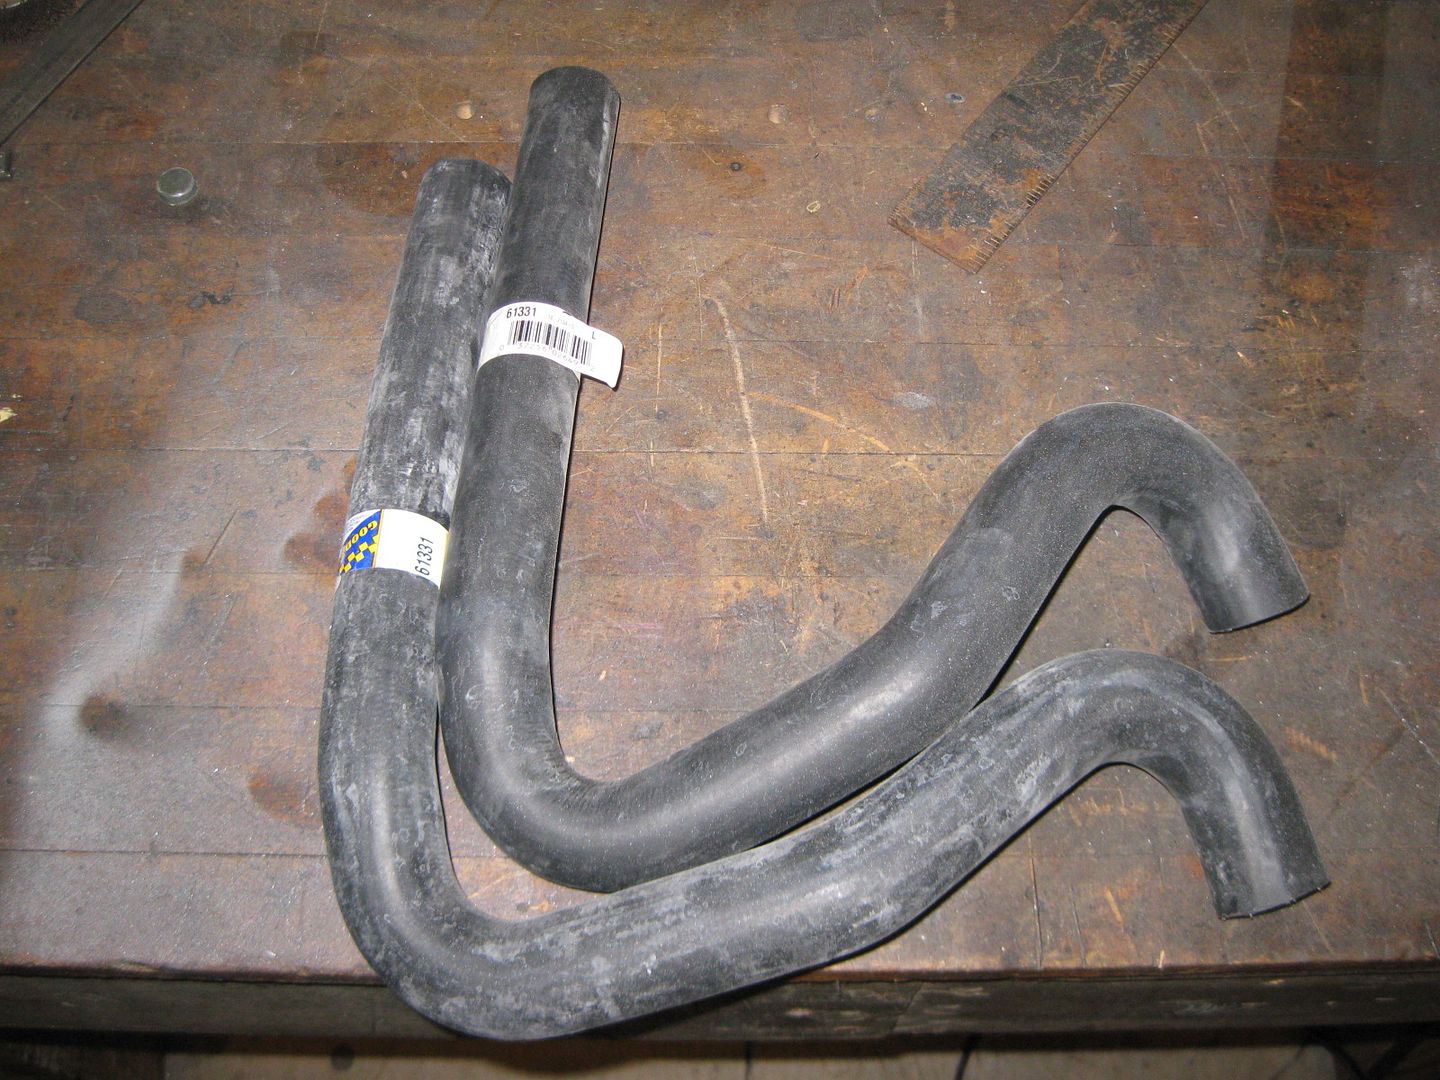
The other radiator hoses came in today. These are the same as the previous one I cut up for the pipe to water pump inlet, so I figured might as well keep using the same part # to make the rest of the hoses.
Just by cutting the hose in the proper place, I was able to use one hose for both the thermostat to pipe and lower coolant tube to pipe hoses on the passenger side:
Then doing the same on the driver side pipe to lower coolant tube:
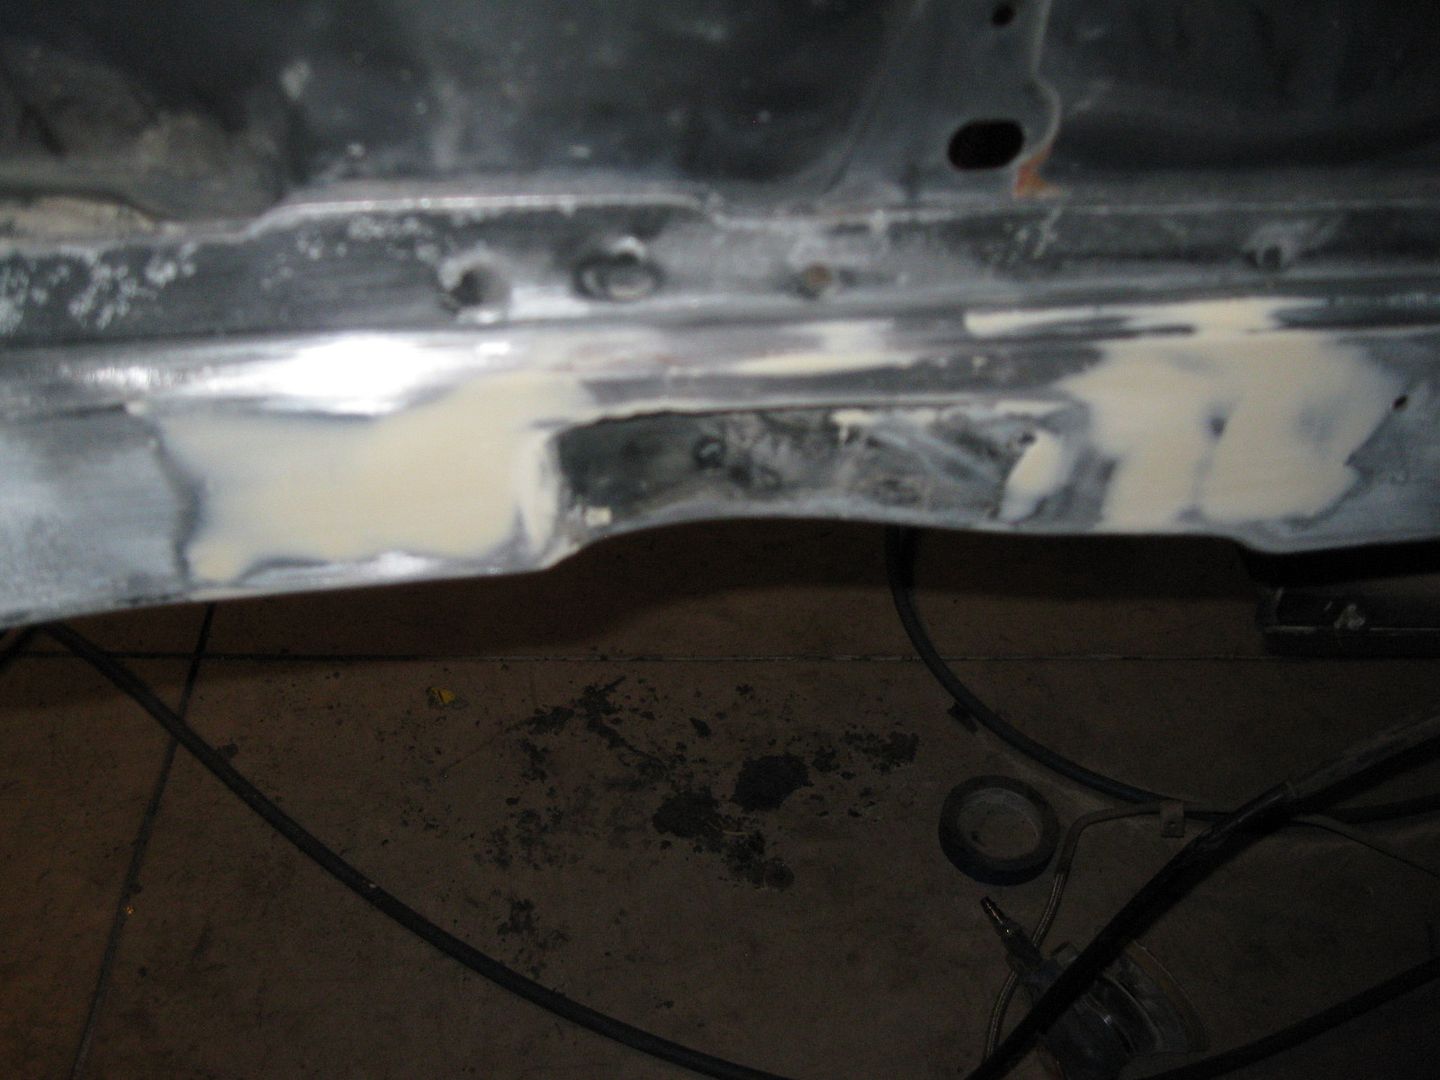
Also started on smoothing out the tops of the strut towers some as well as the small work I did to the lower frame rail when I relocated the factory bulge to the rear about 1/2":
The ECM and TCM are back with the stock 2007 LS4/4T65e-hd calibration loaded on them. In a week or two I will have to spend some quality time with HP tuners and do all the baseline calibration changes to this thing will actually start.
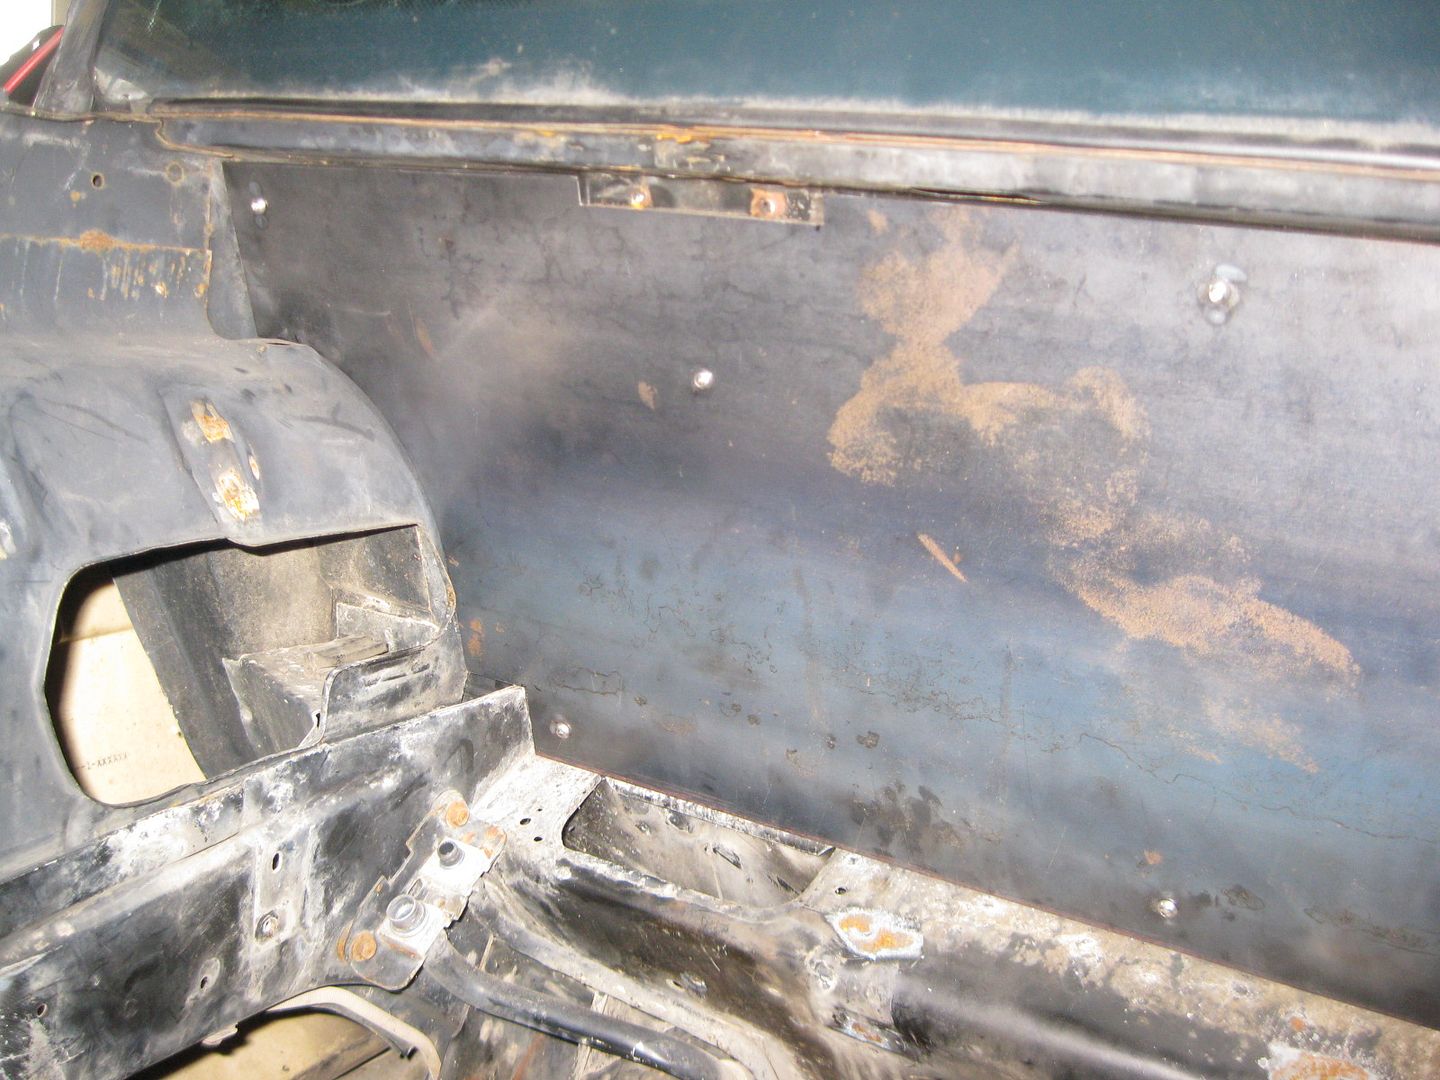
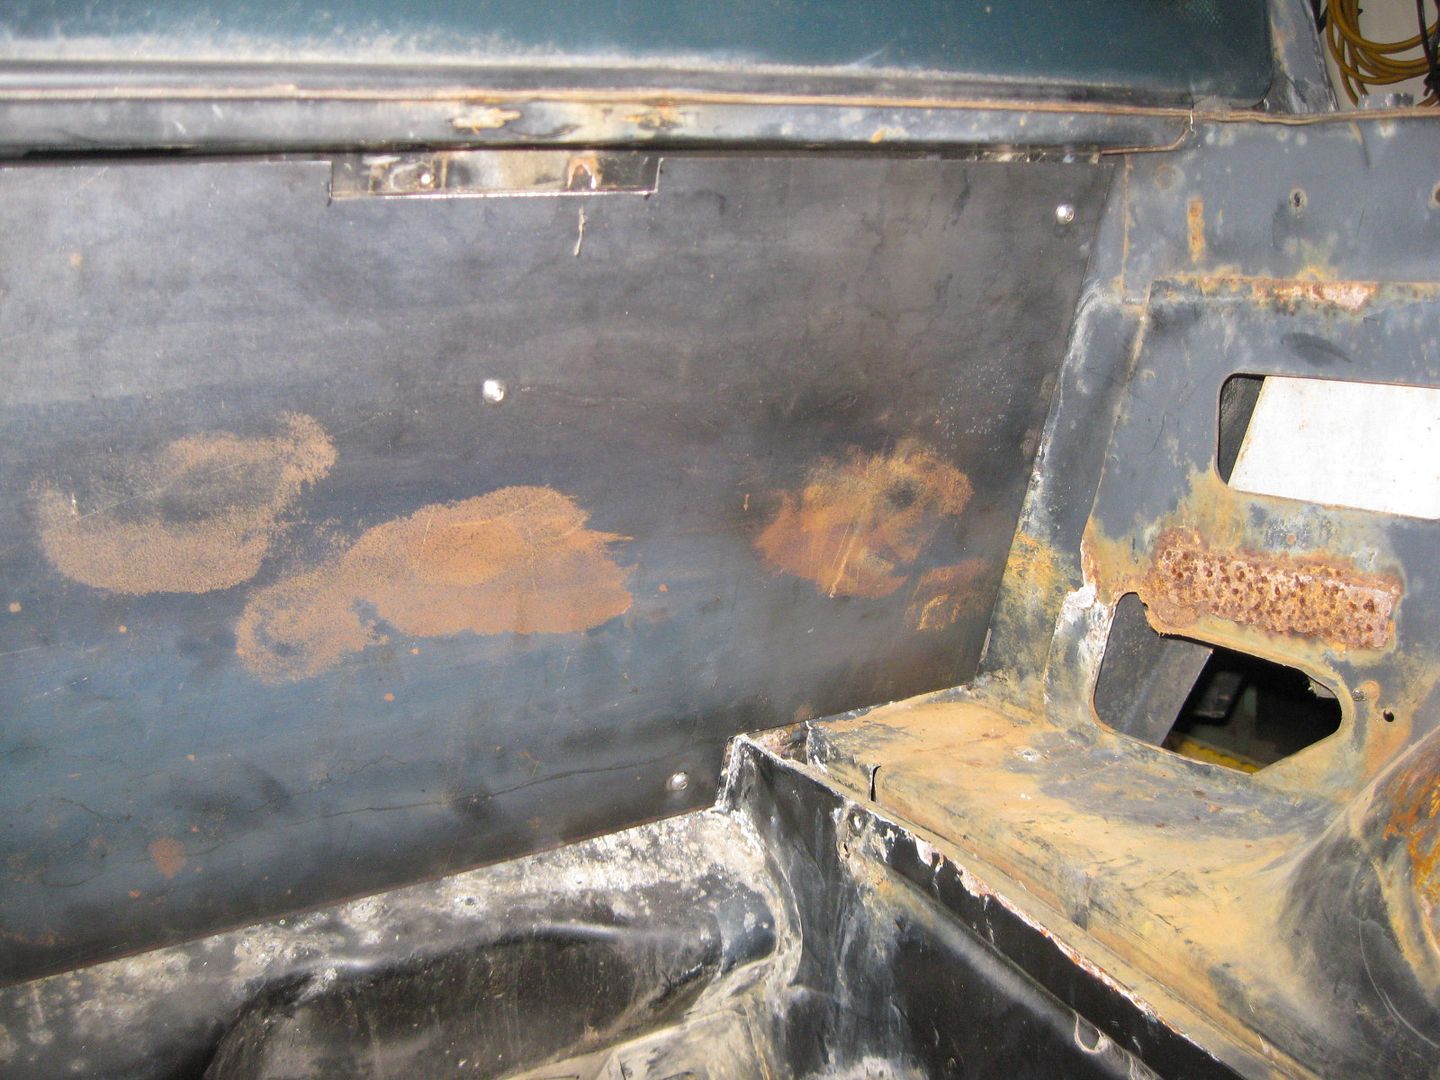
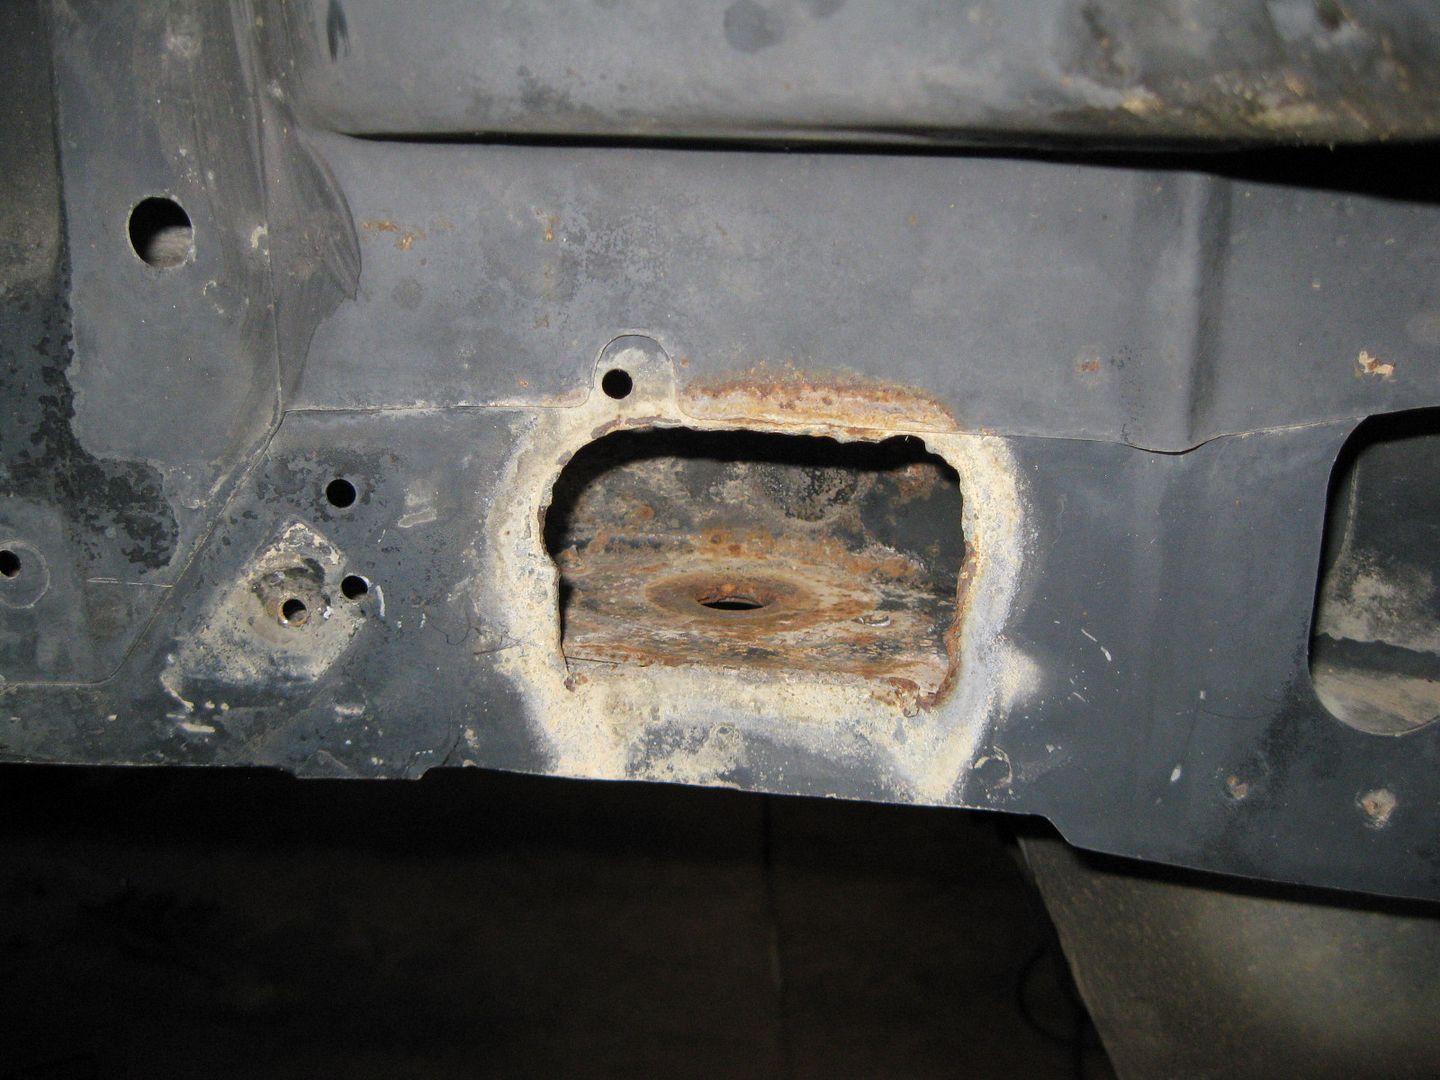
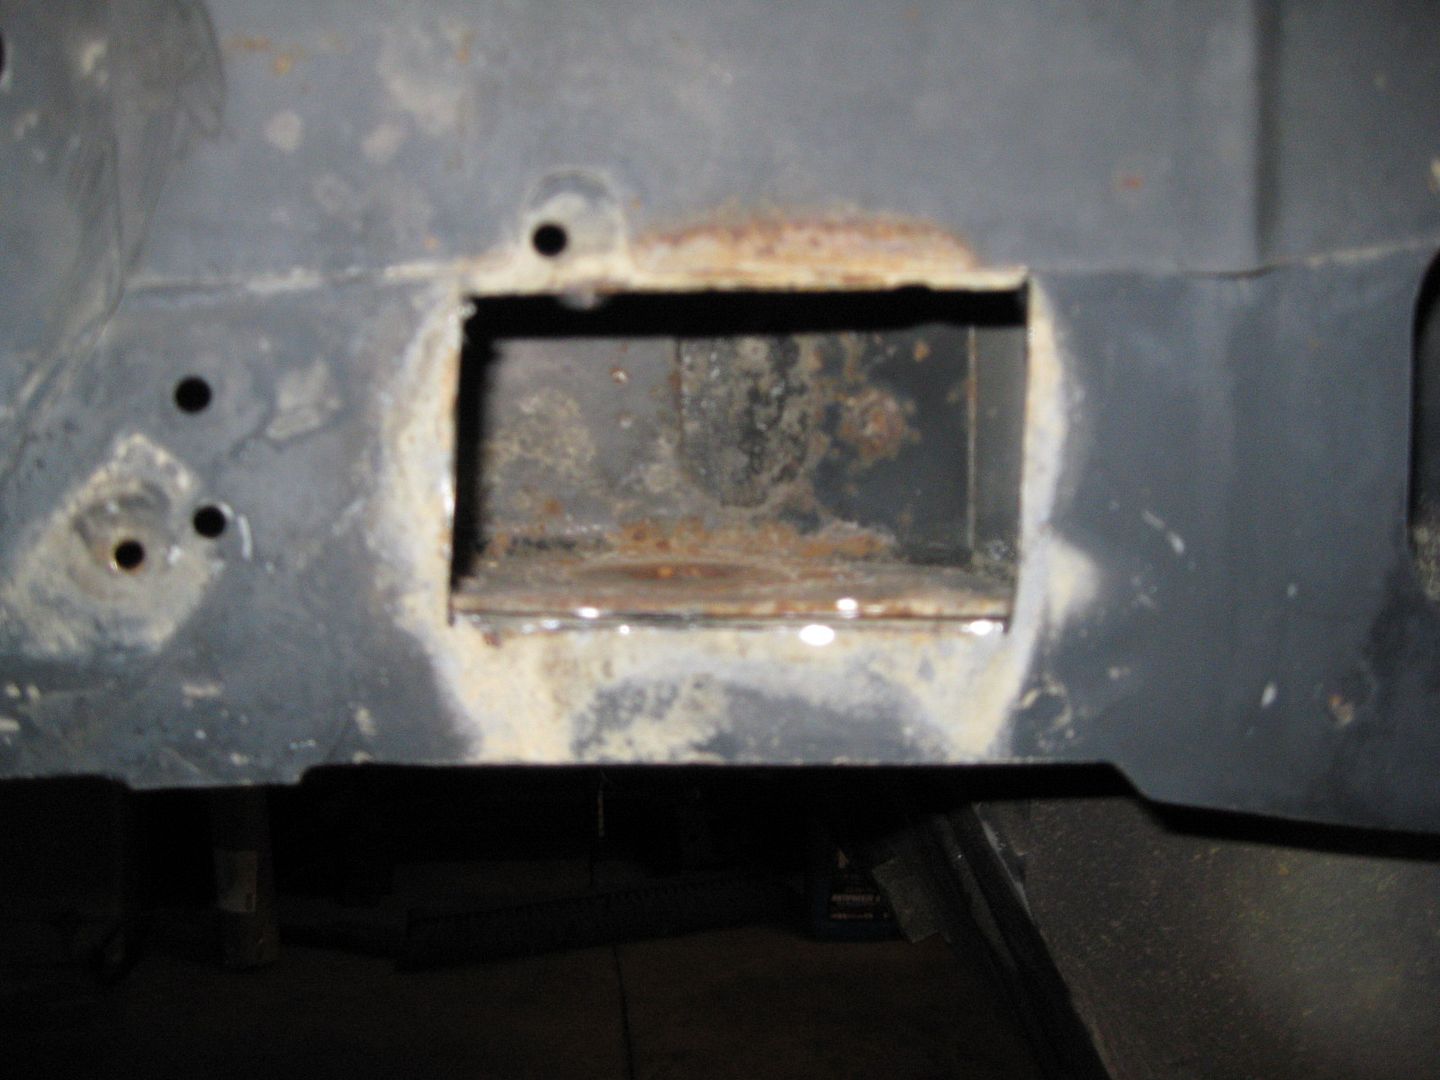
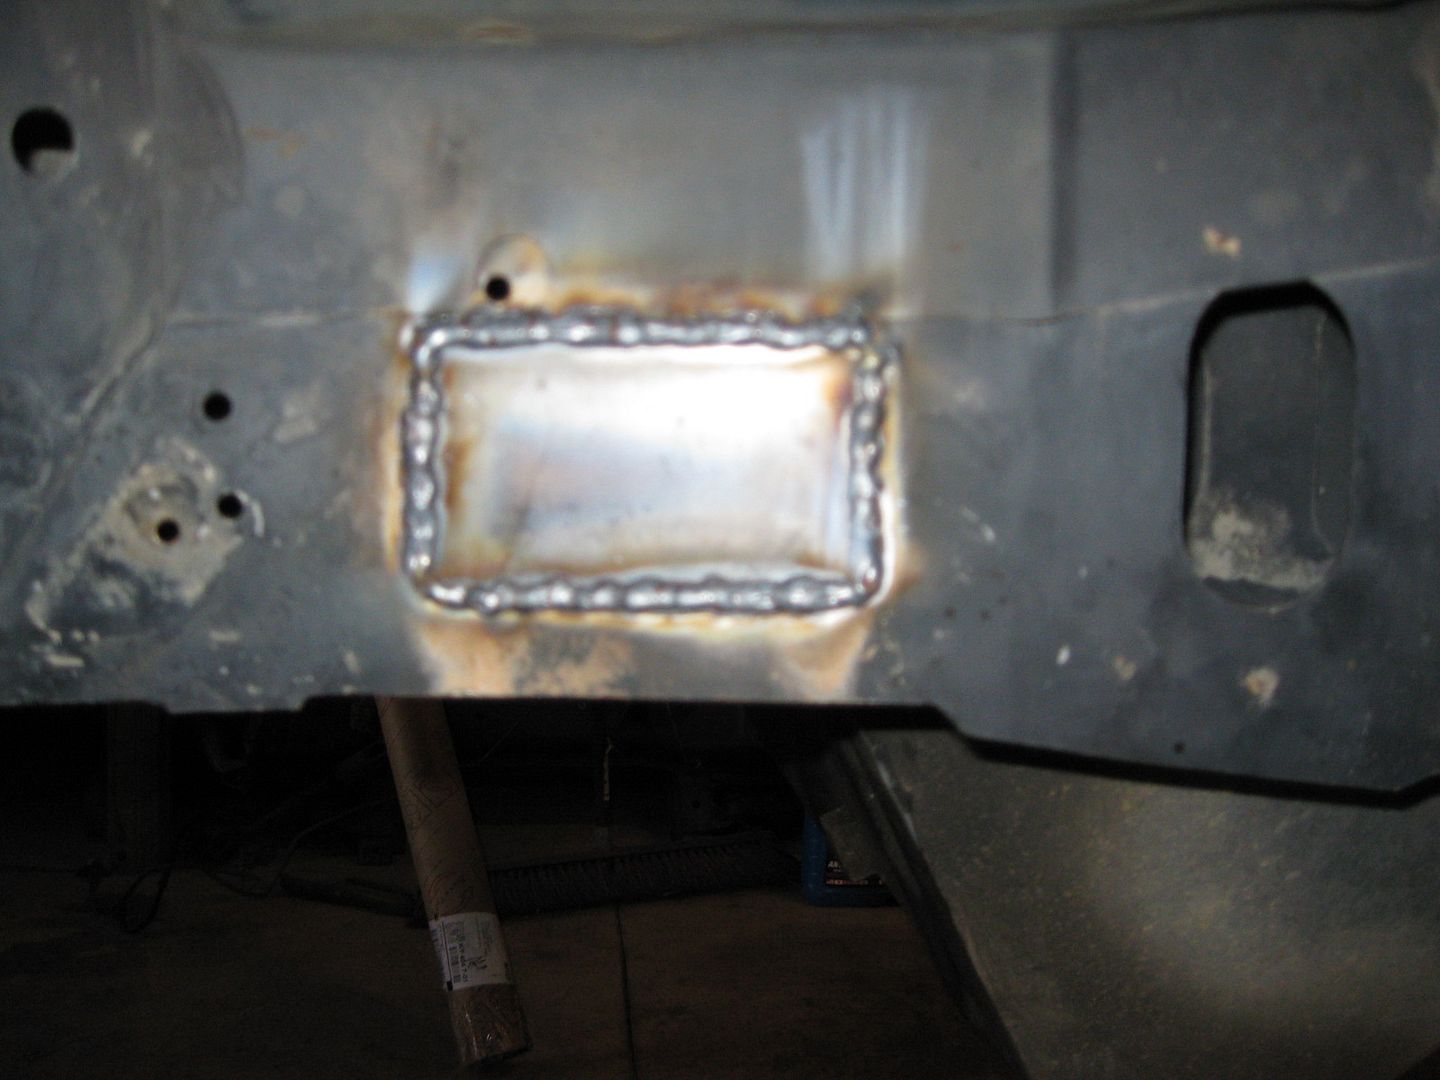
There was one place on the chassis that I really didn't like... where the previous owner or some shop cut into the side of the framerail to access the nut for the cradle bolt...
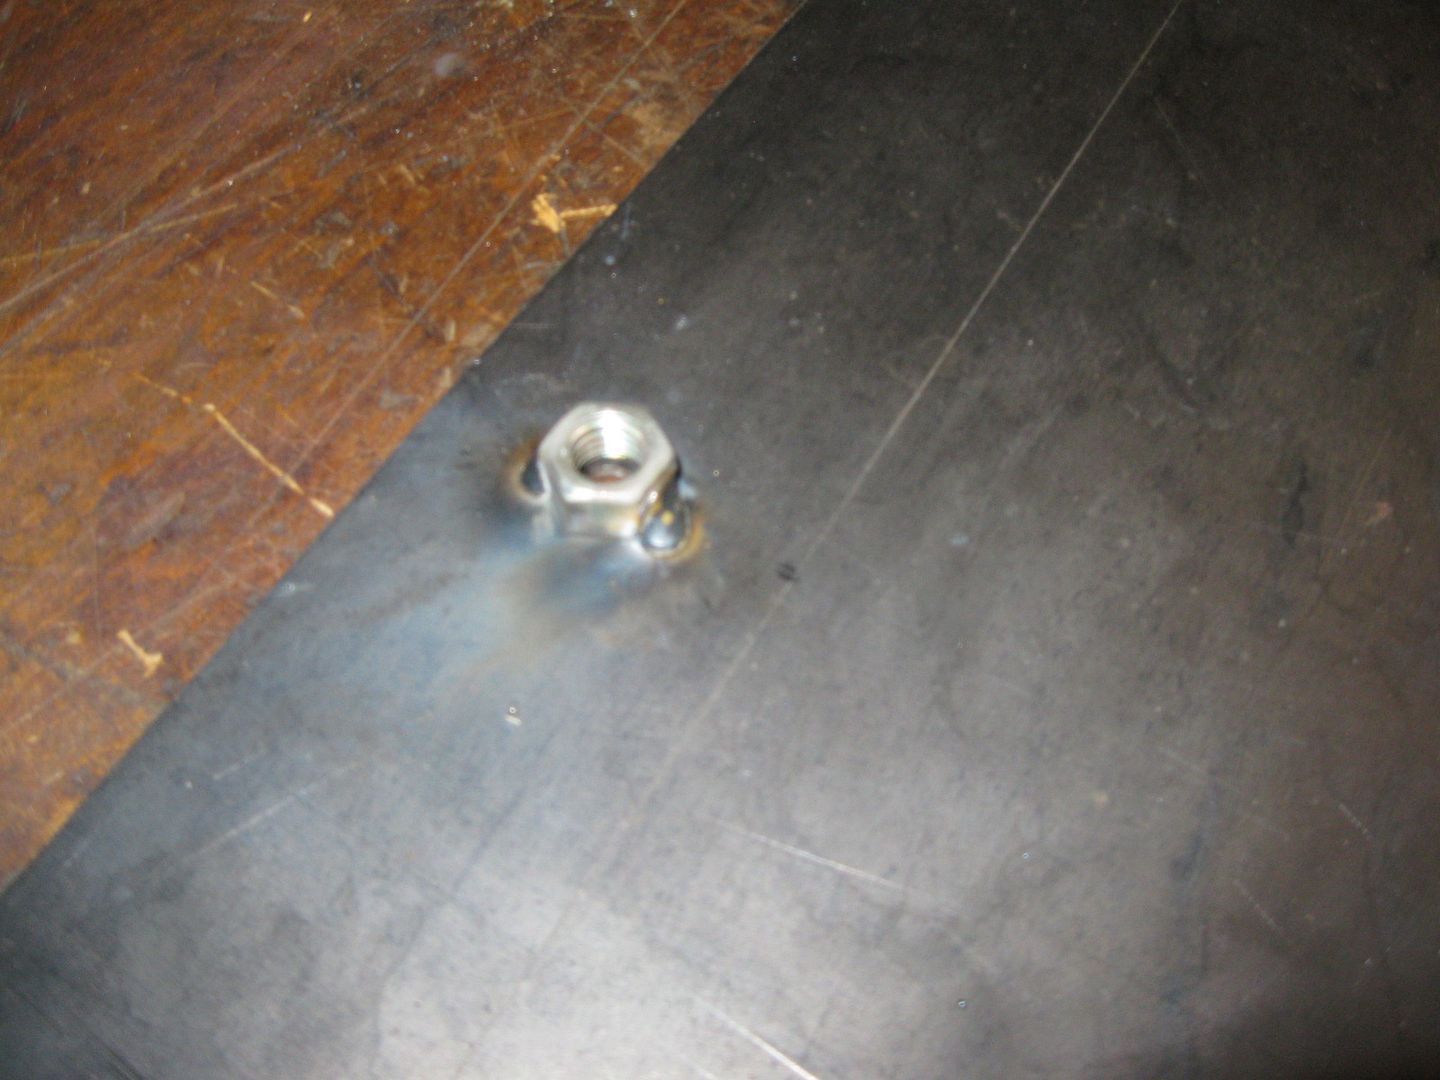
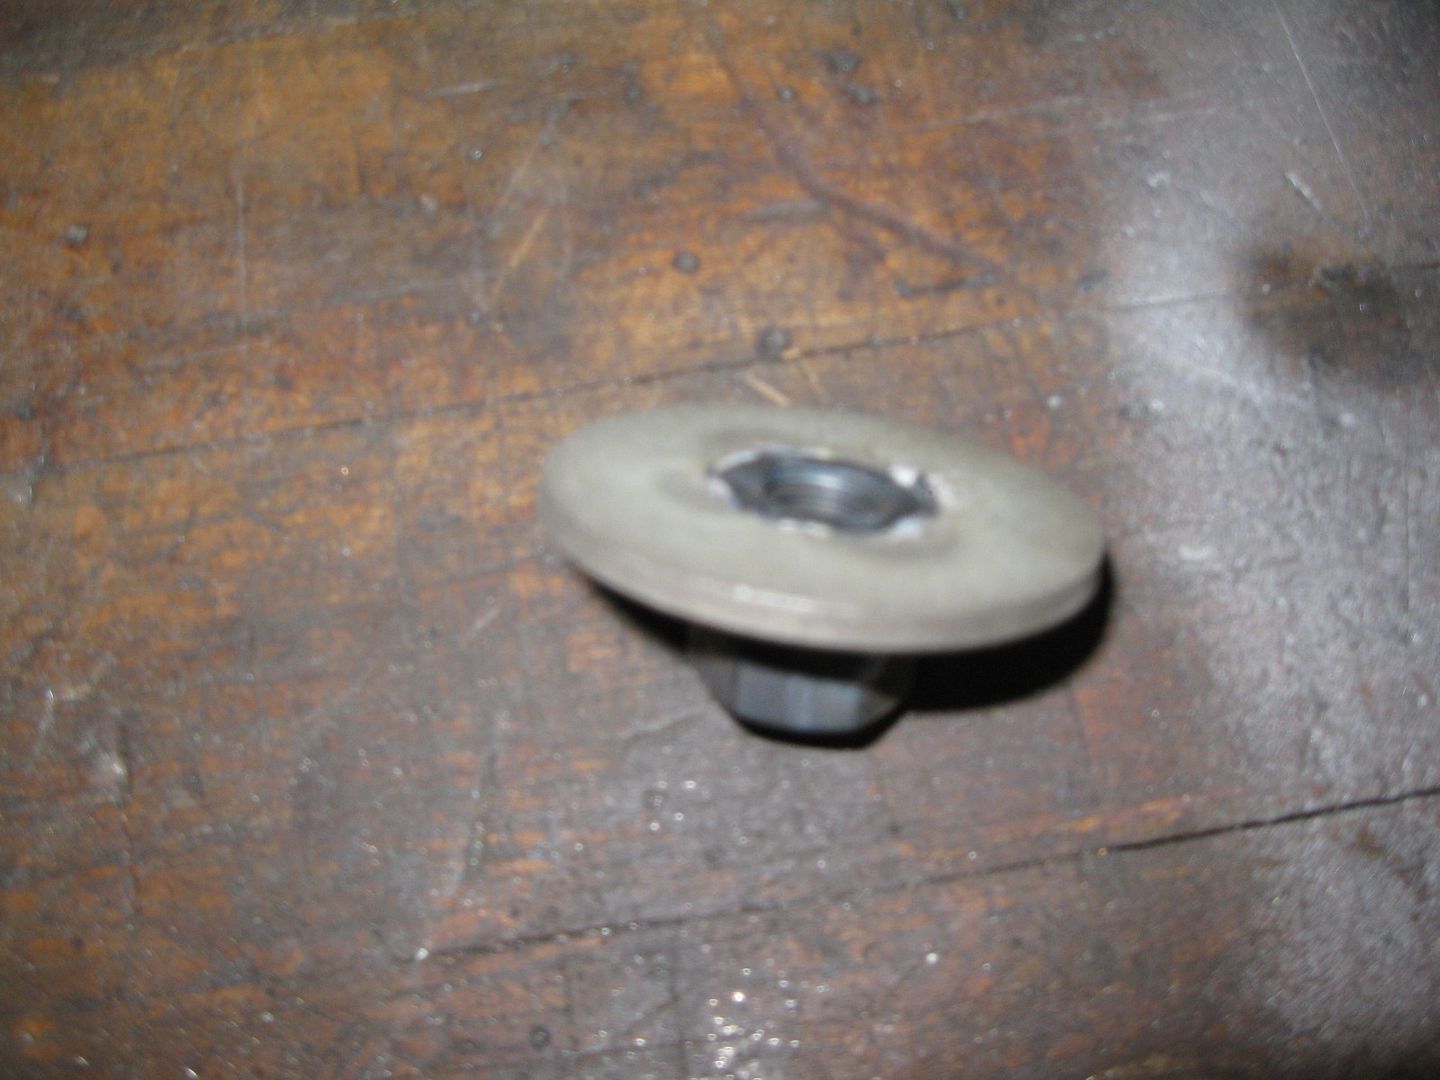
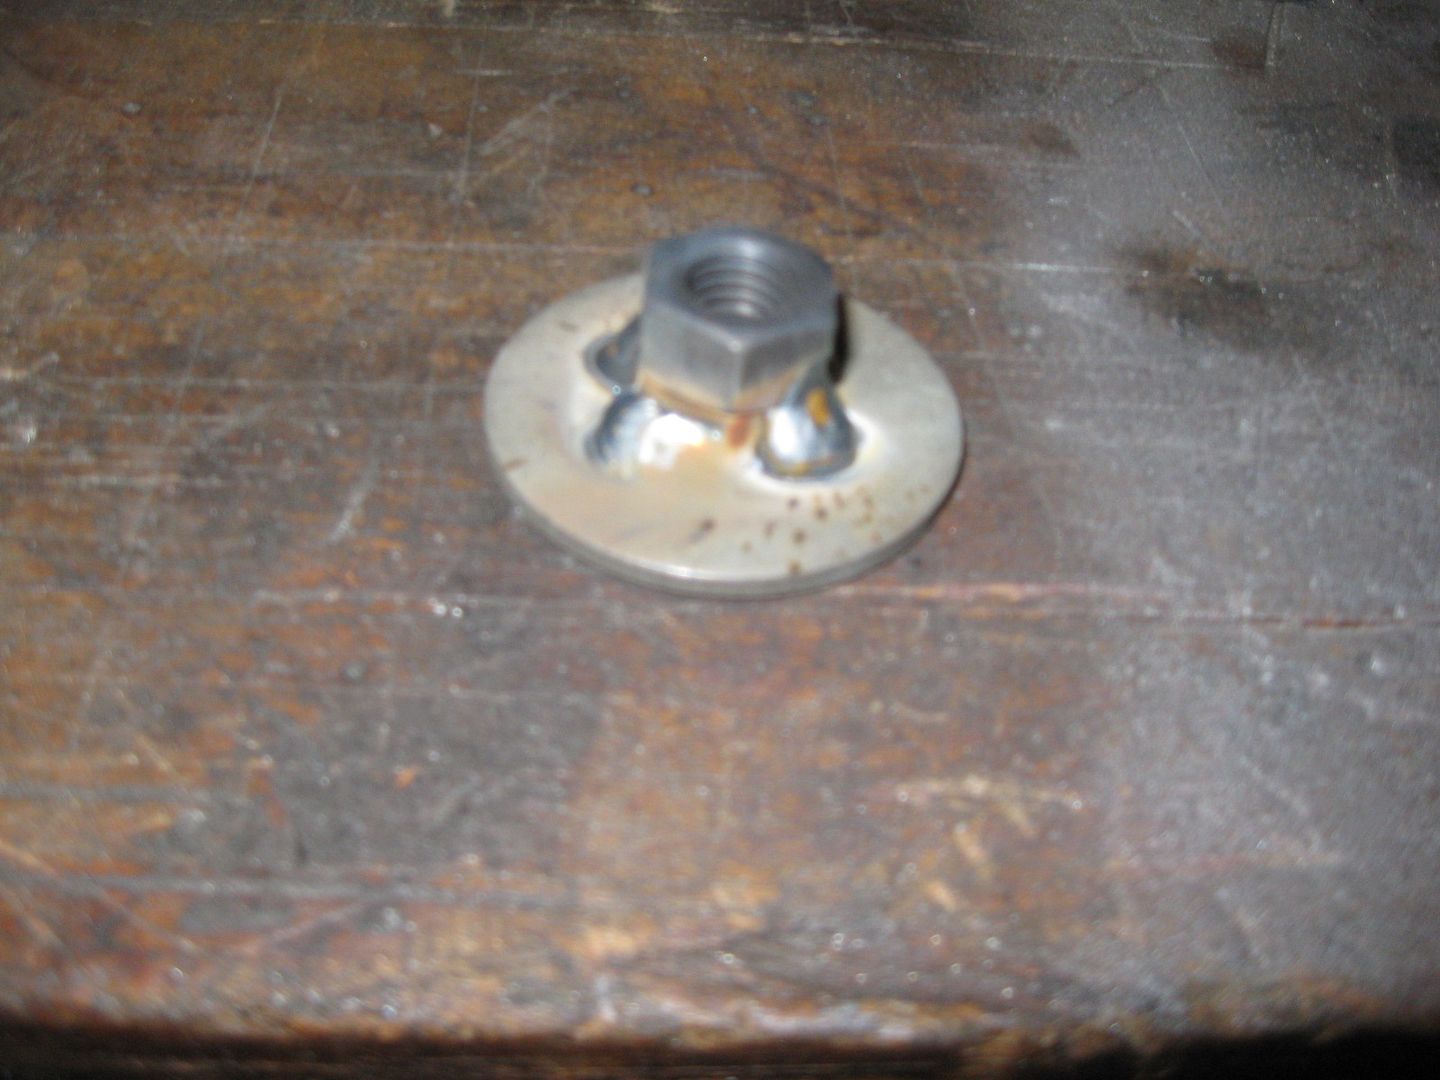
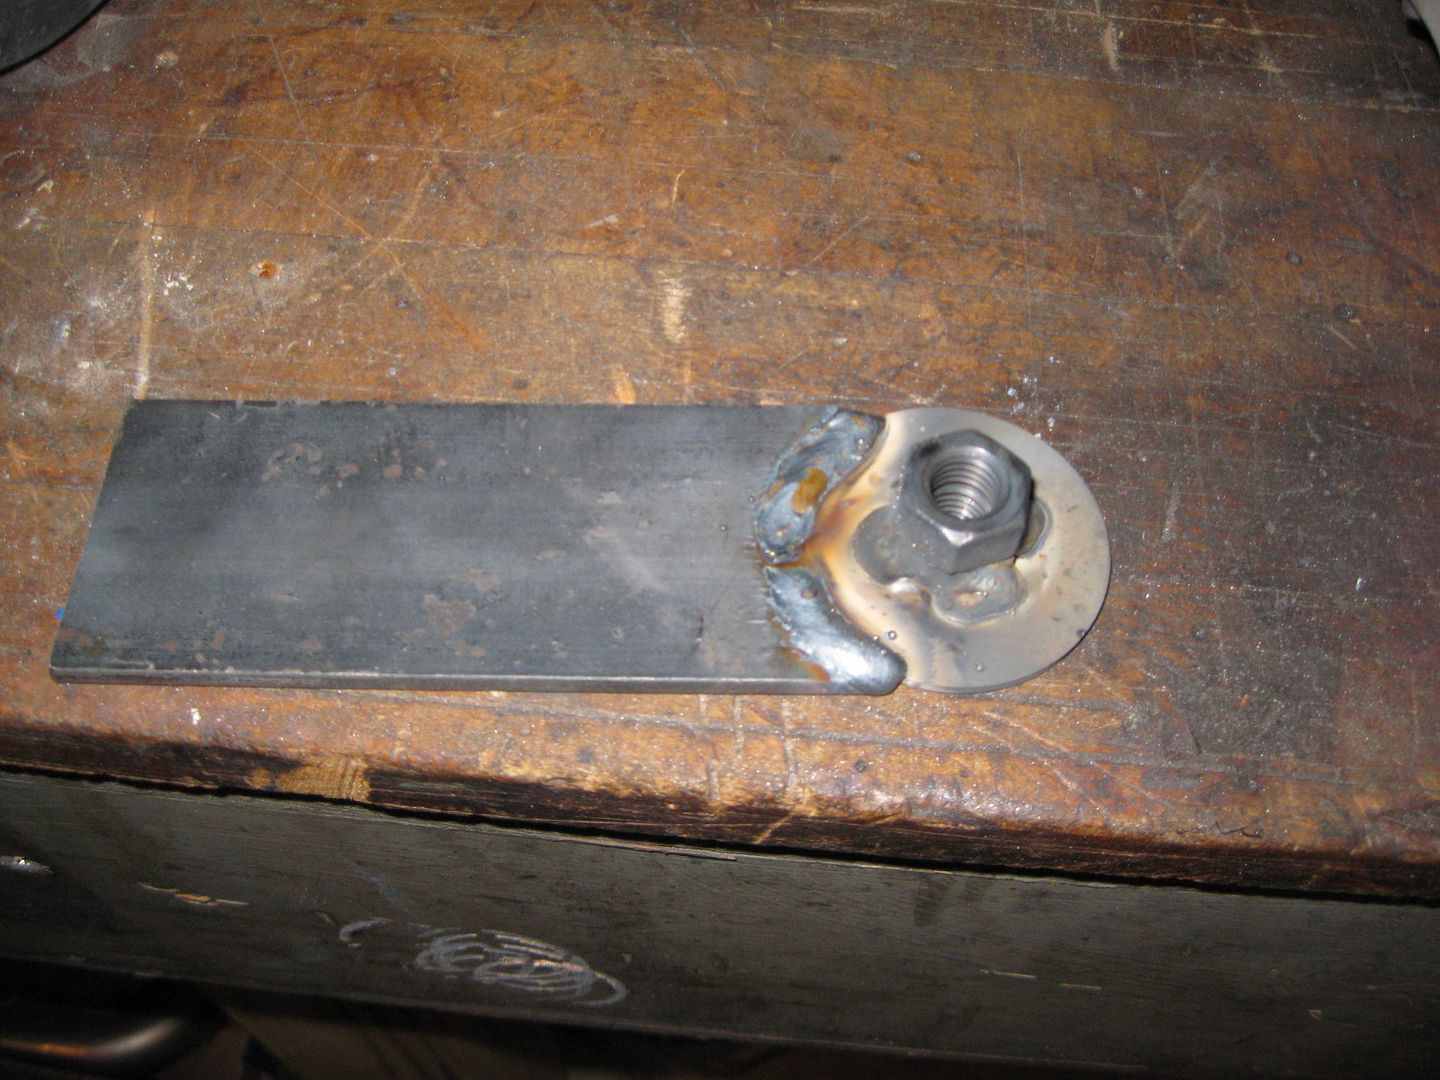
So the first thing I did was to make a new nut assy that will sit inside the frame rail, allow some general movement side/side and front/back but not allow the nut to spin. I used some M12-1.75 nuts, pressed one into a large washer, welded the nuts to the washer and added an arm to it to keep it from spinning:
With the nut taken care of, it was time to close the hole. I figured it would be easier to make a patch panel if I cleaned up the edges of the hole, so out came the cut off disk:
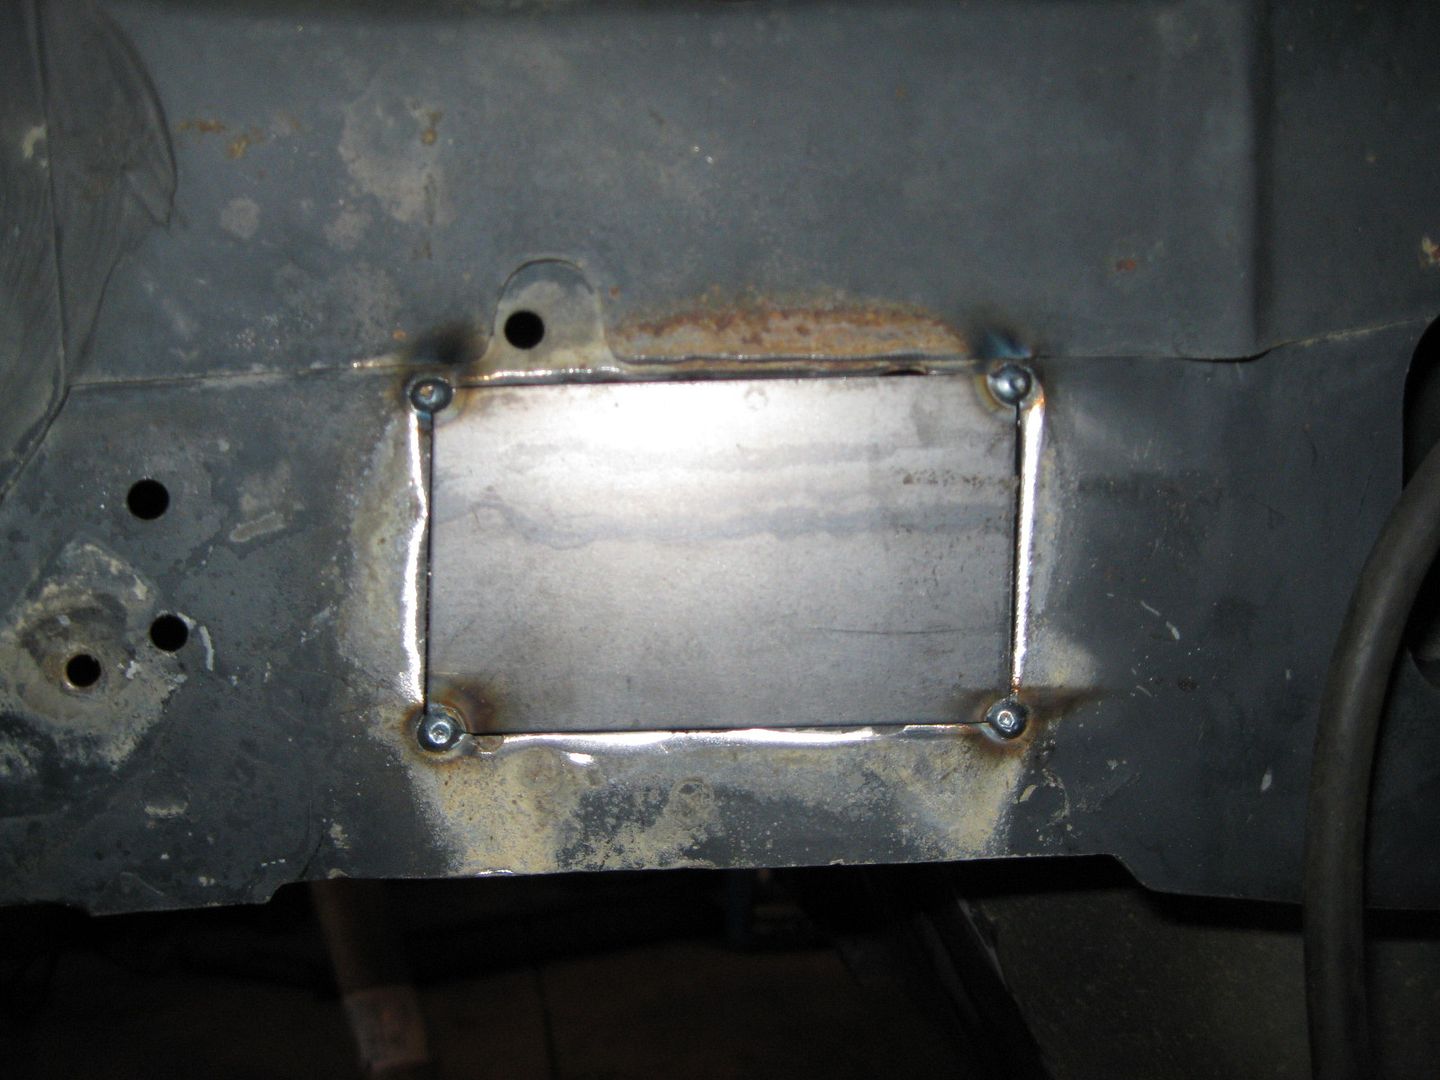
I used the carboard from a cereal box to make a template, transferred the pattern to some 16ga, sheared out the patch panel, and tacked it in place:
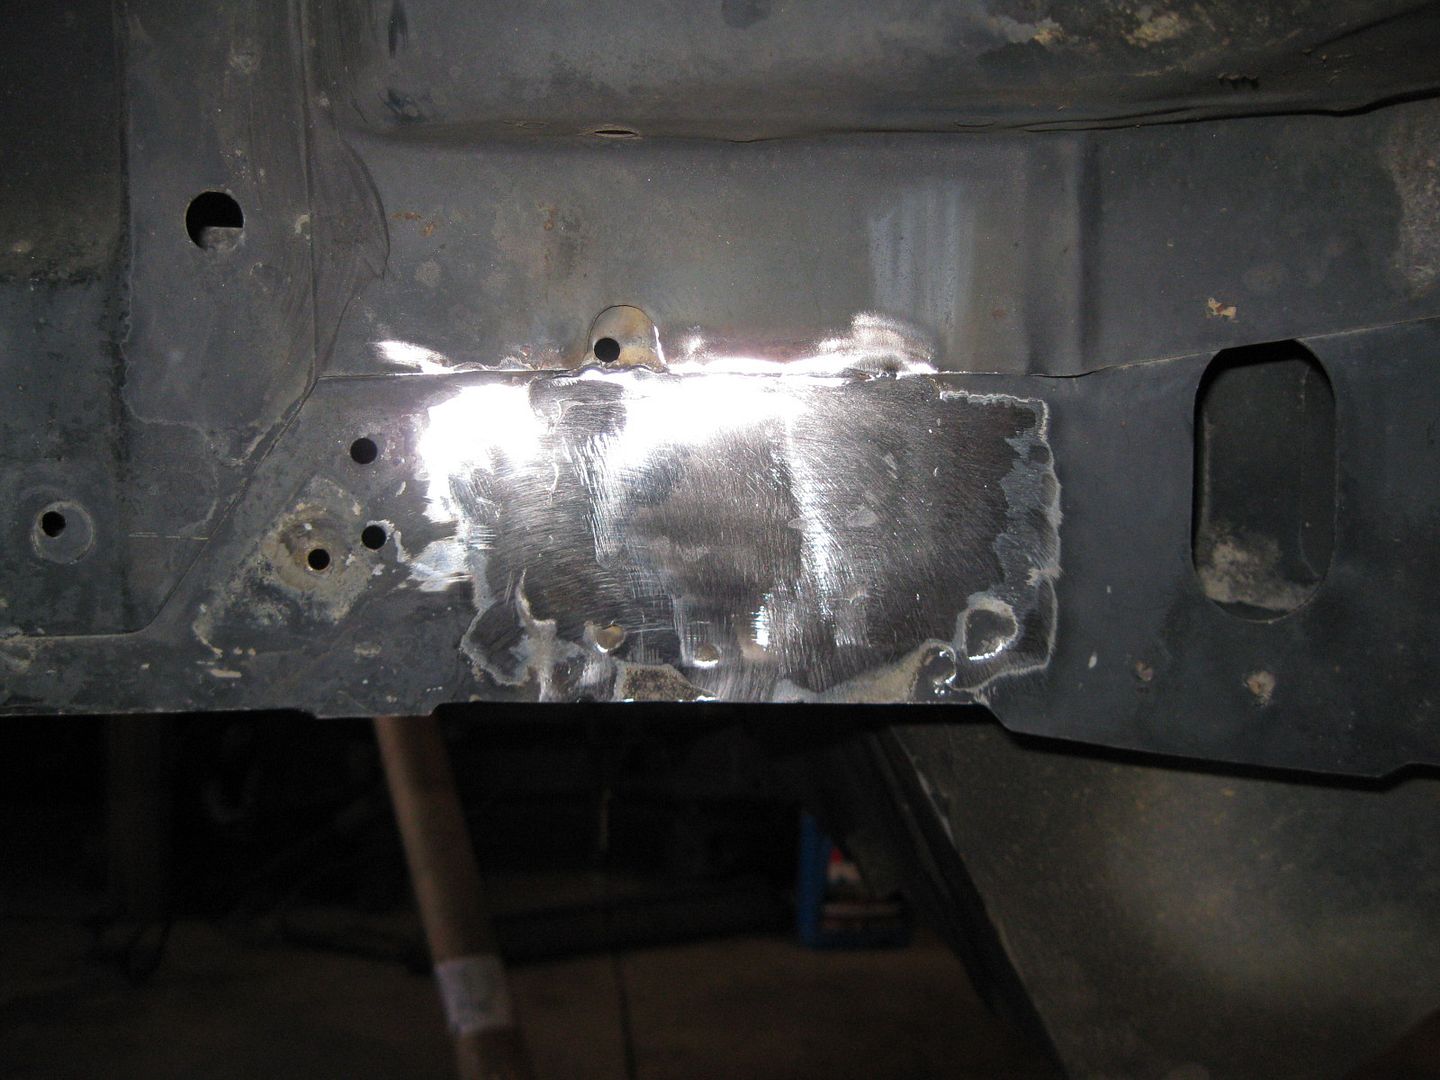
Patch fully welded:
Welds ground smooth:
The engine bay is waiting for paint, but it need to get another 5 degrees warmer in the garage first.
[This message has been edited by fieroguru (edited 12-29-2012).]
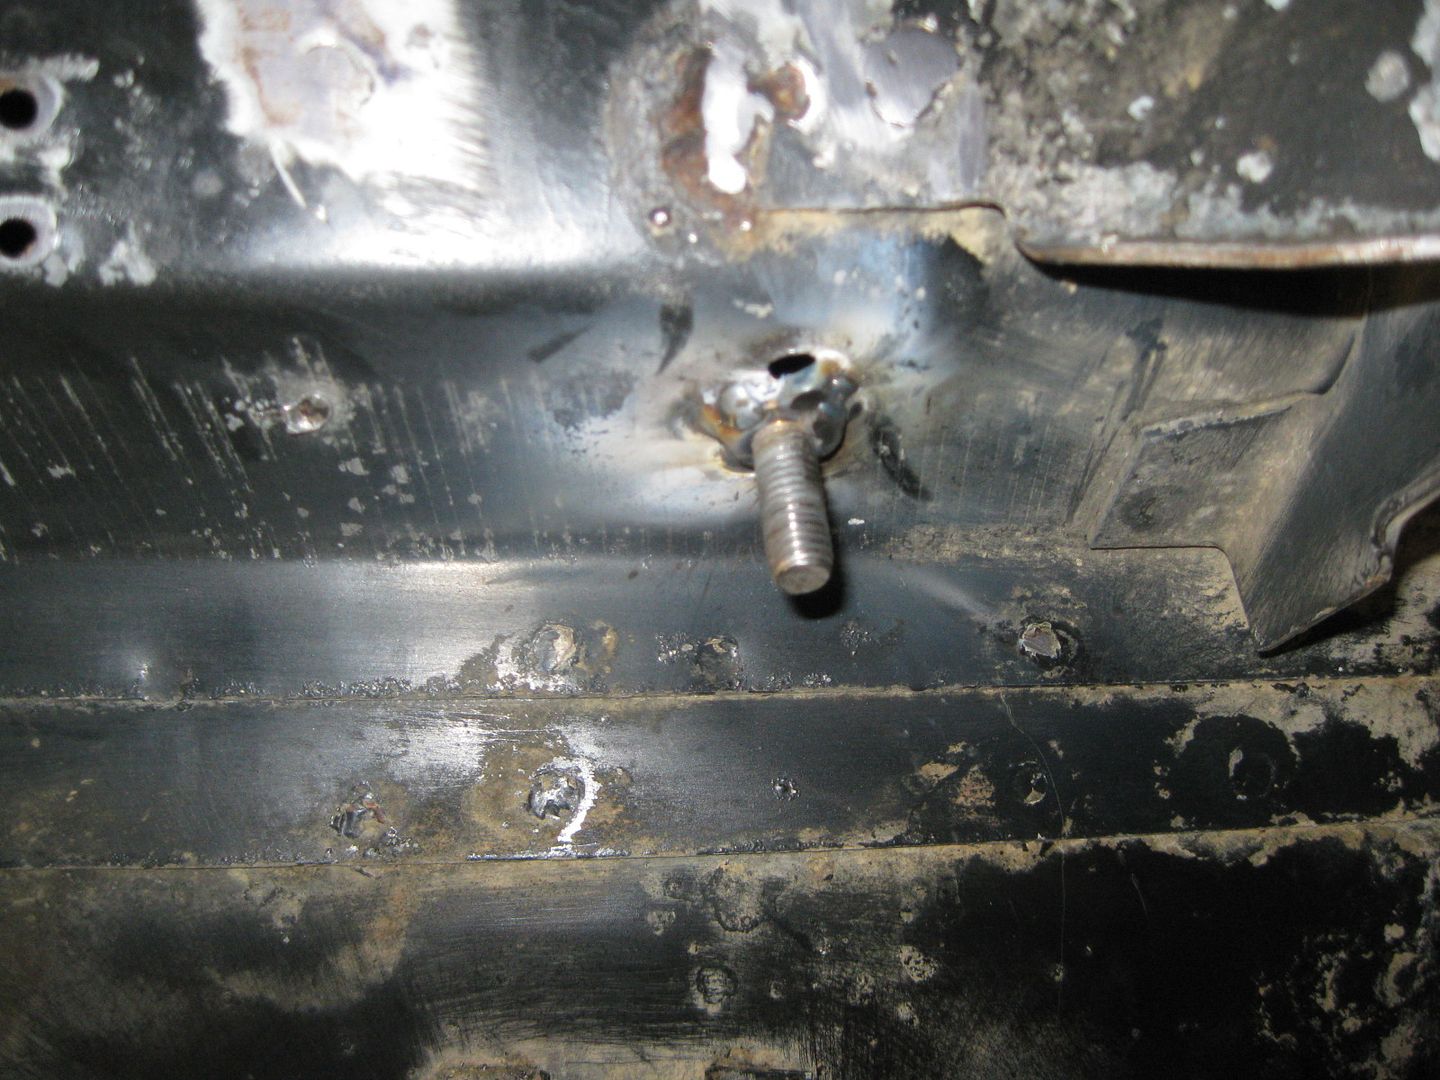
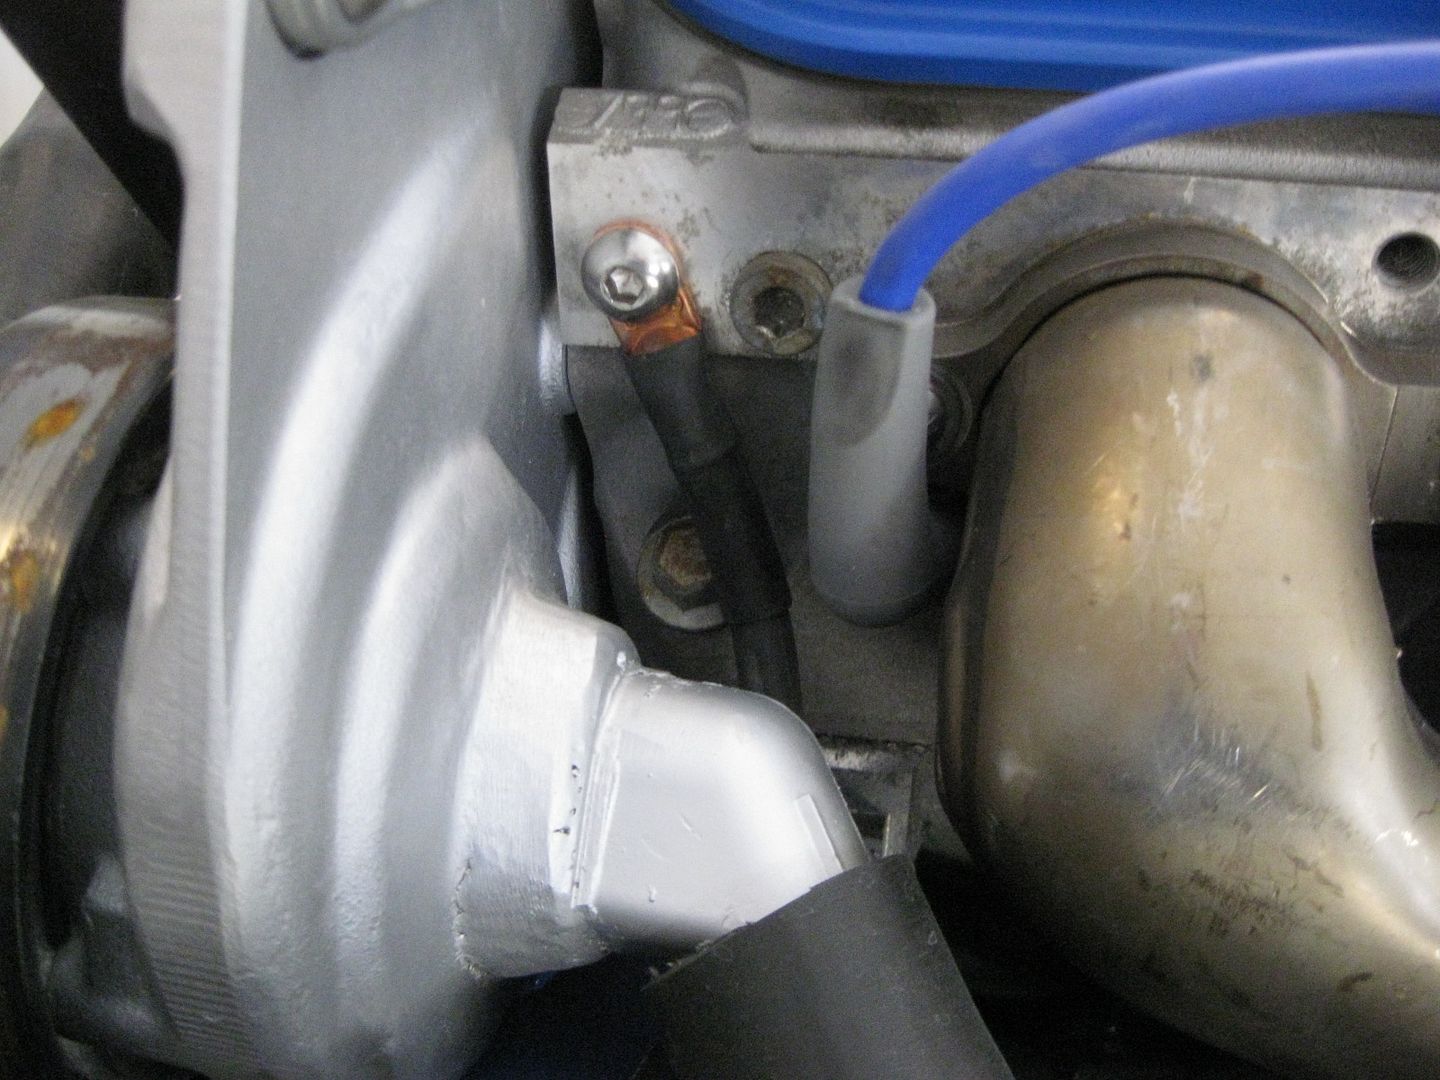
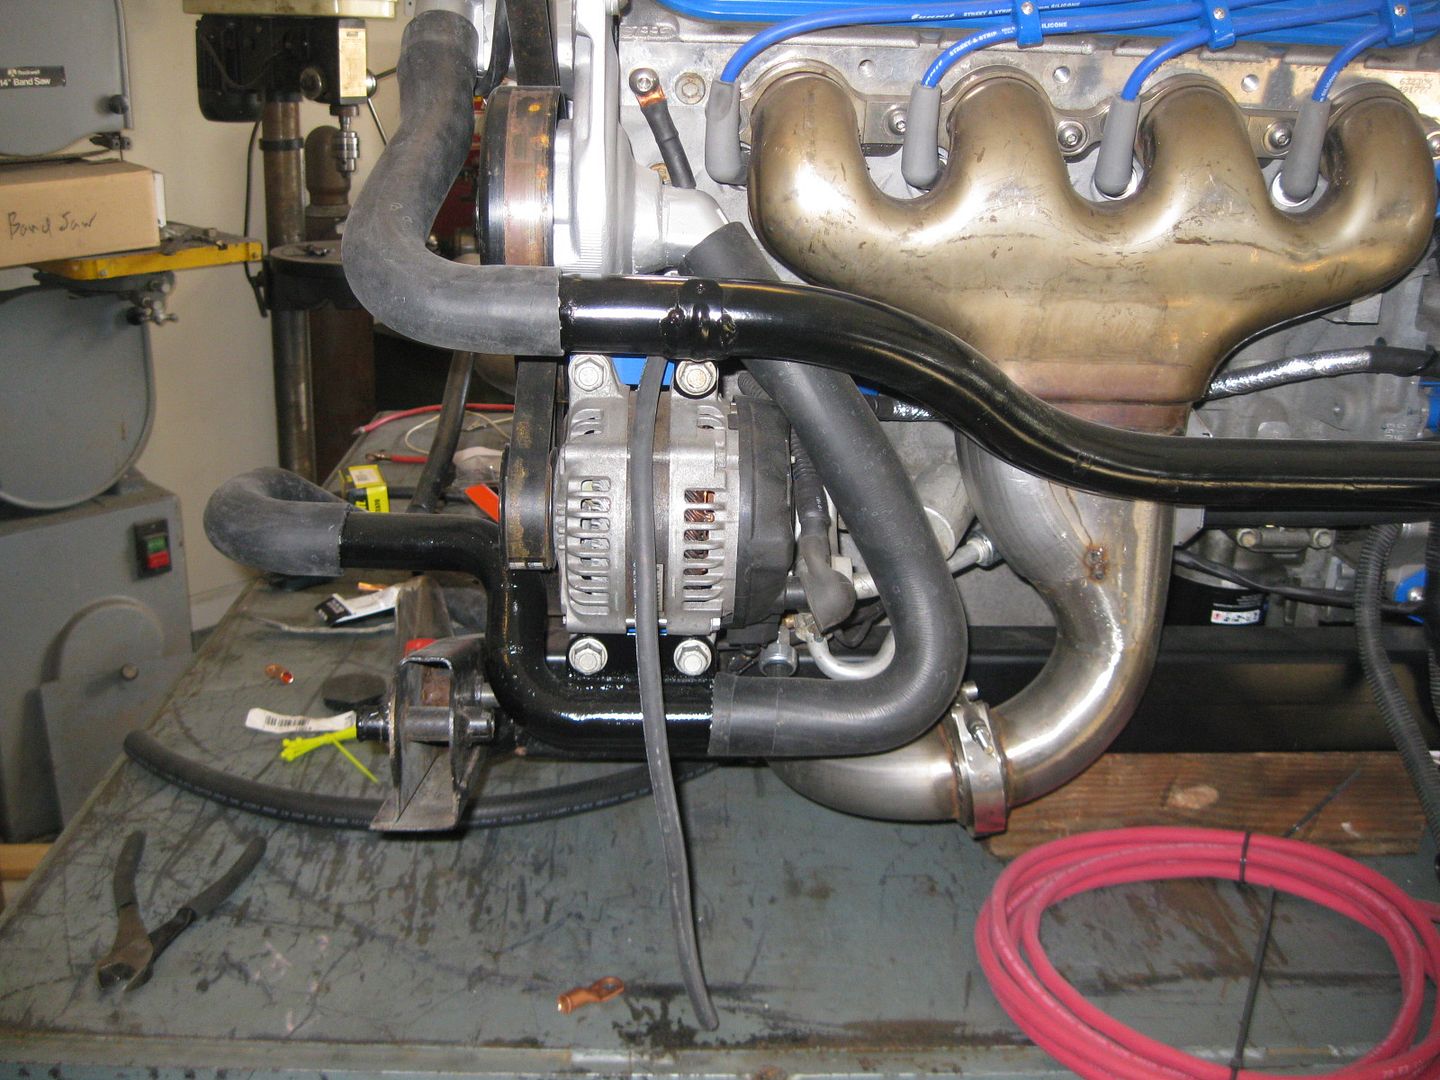
I forgot to post the pictures of the engine to chassis ground wire. Same 2ga wire used for the battery relocation and same soldered on ends. I weled a stainless steel bolt to the underside of the chassis for a solid, rust free grounding point.
There was an unused bolt hole on the head here, so I used it:
The cable snakes down behind the hoses and over the alternator:
The ground cable from the batter will also come back to the engine, so this is just a large engine/chassis ground.
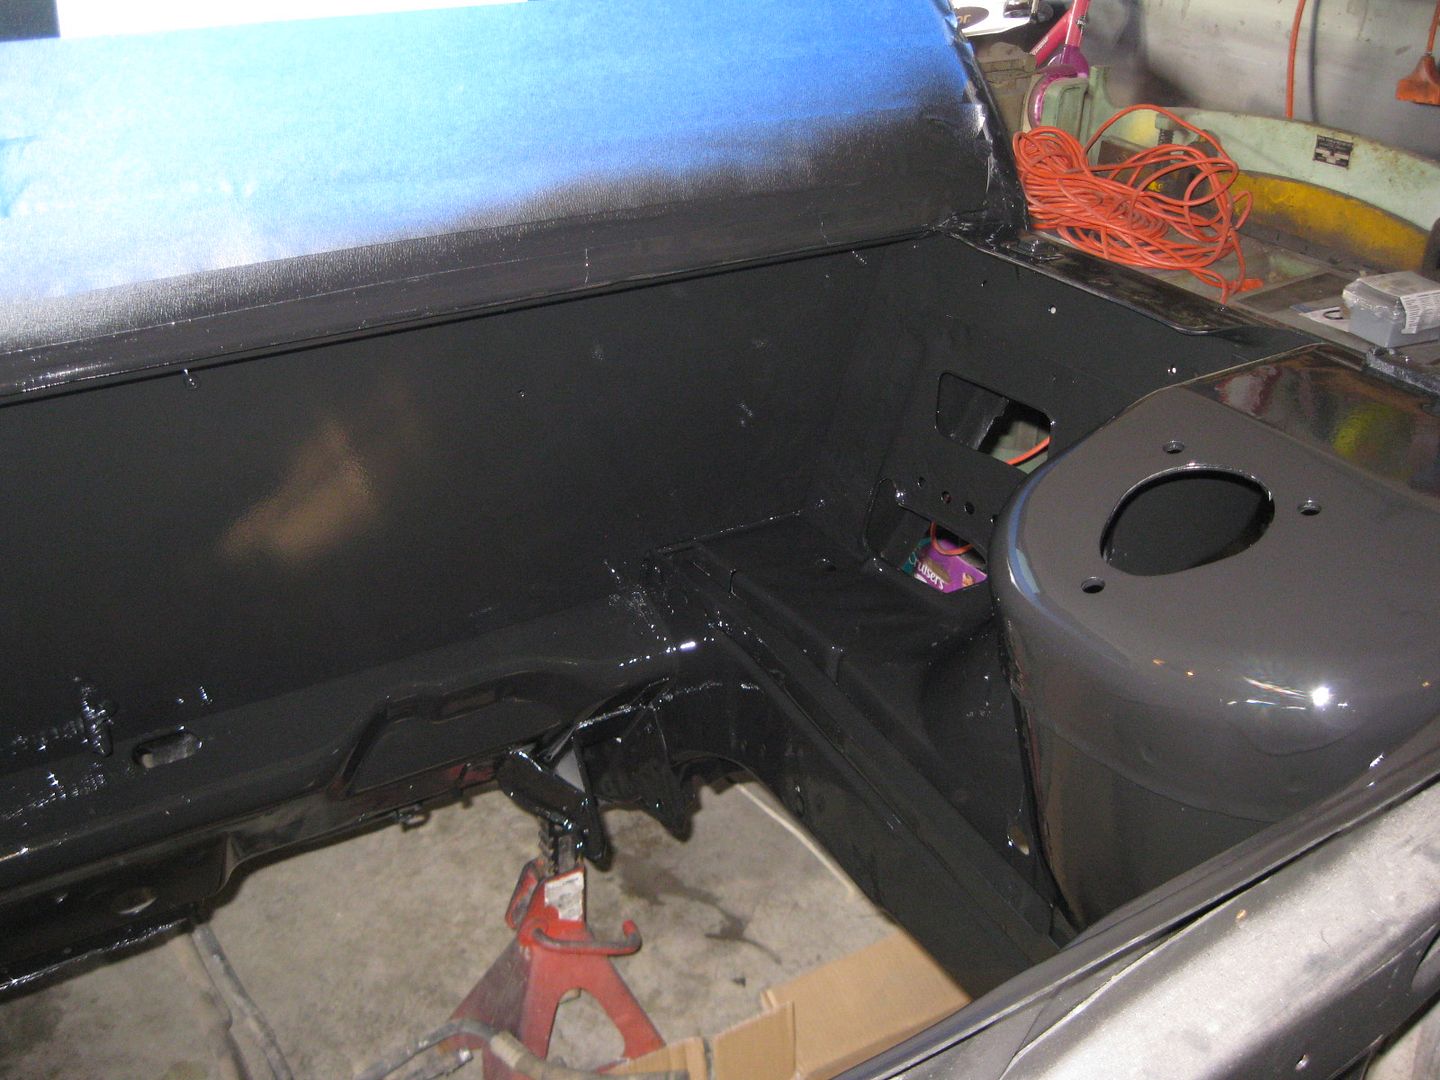
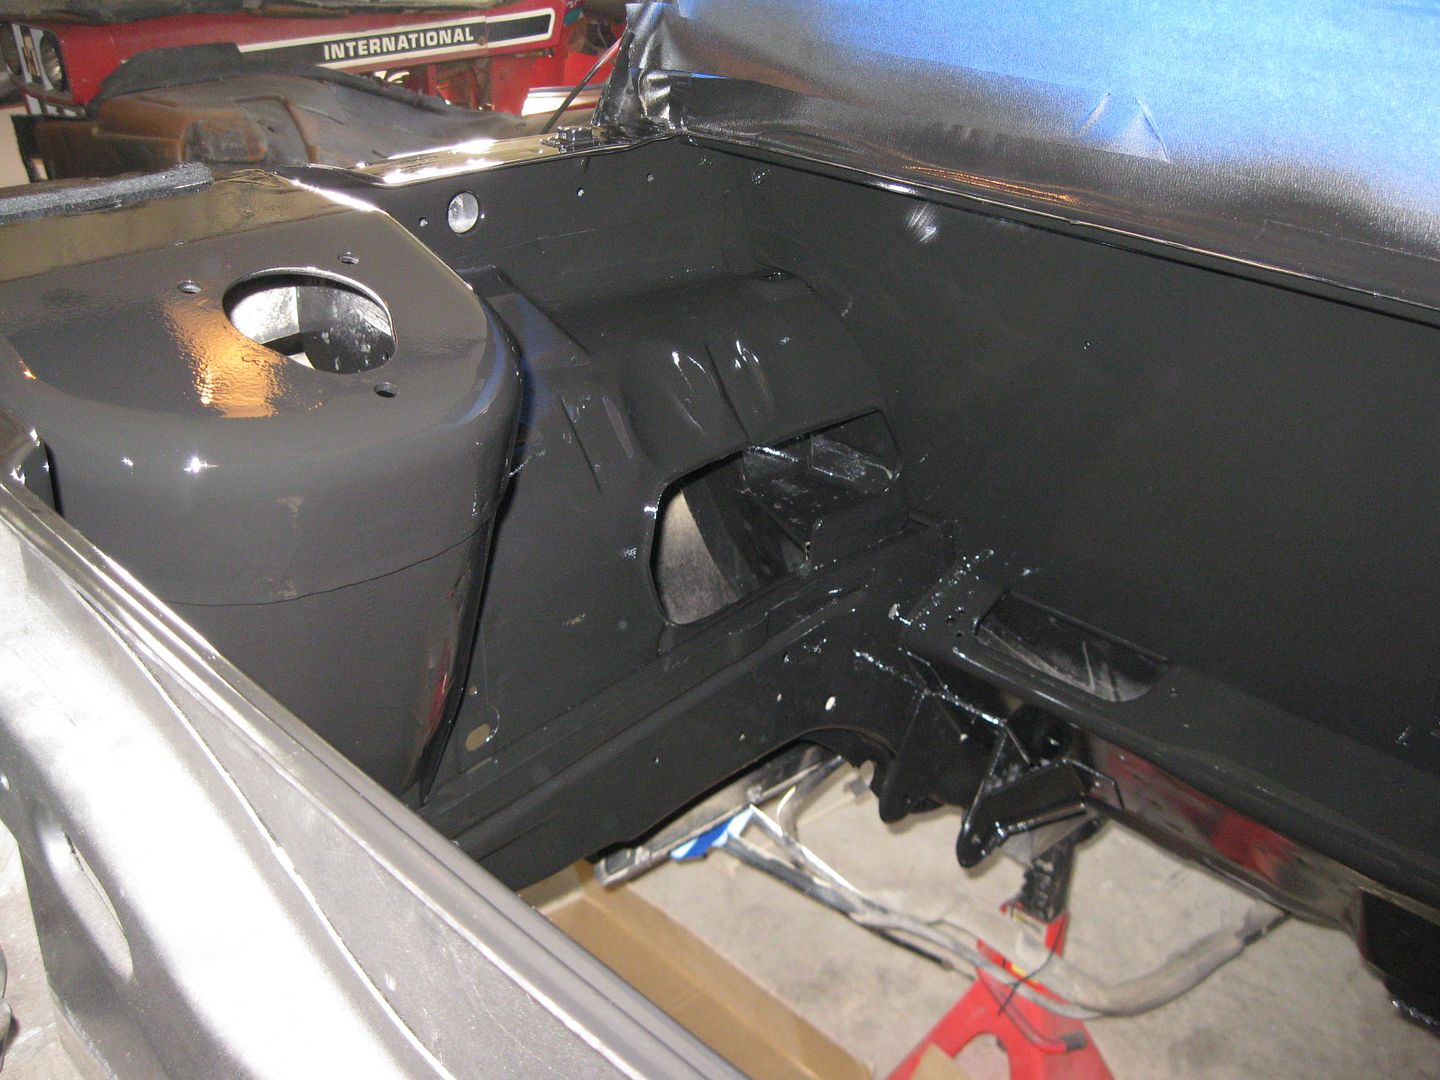
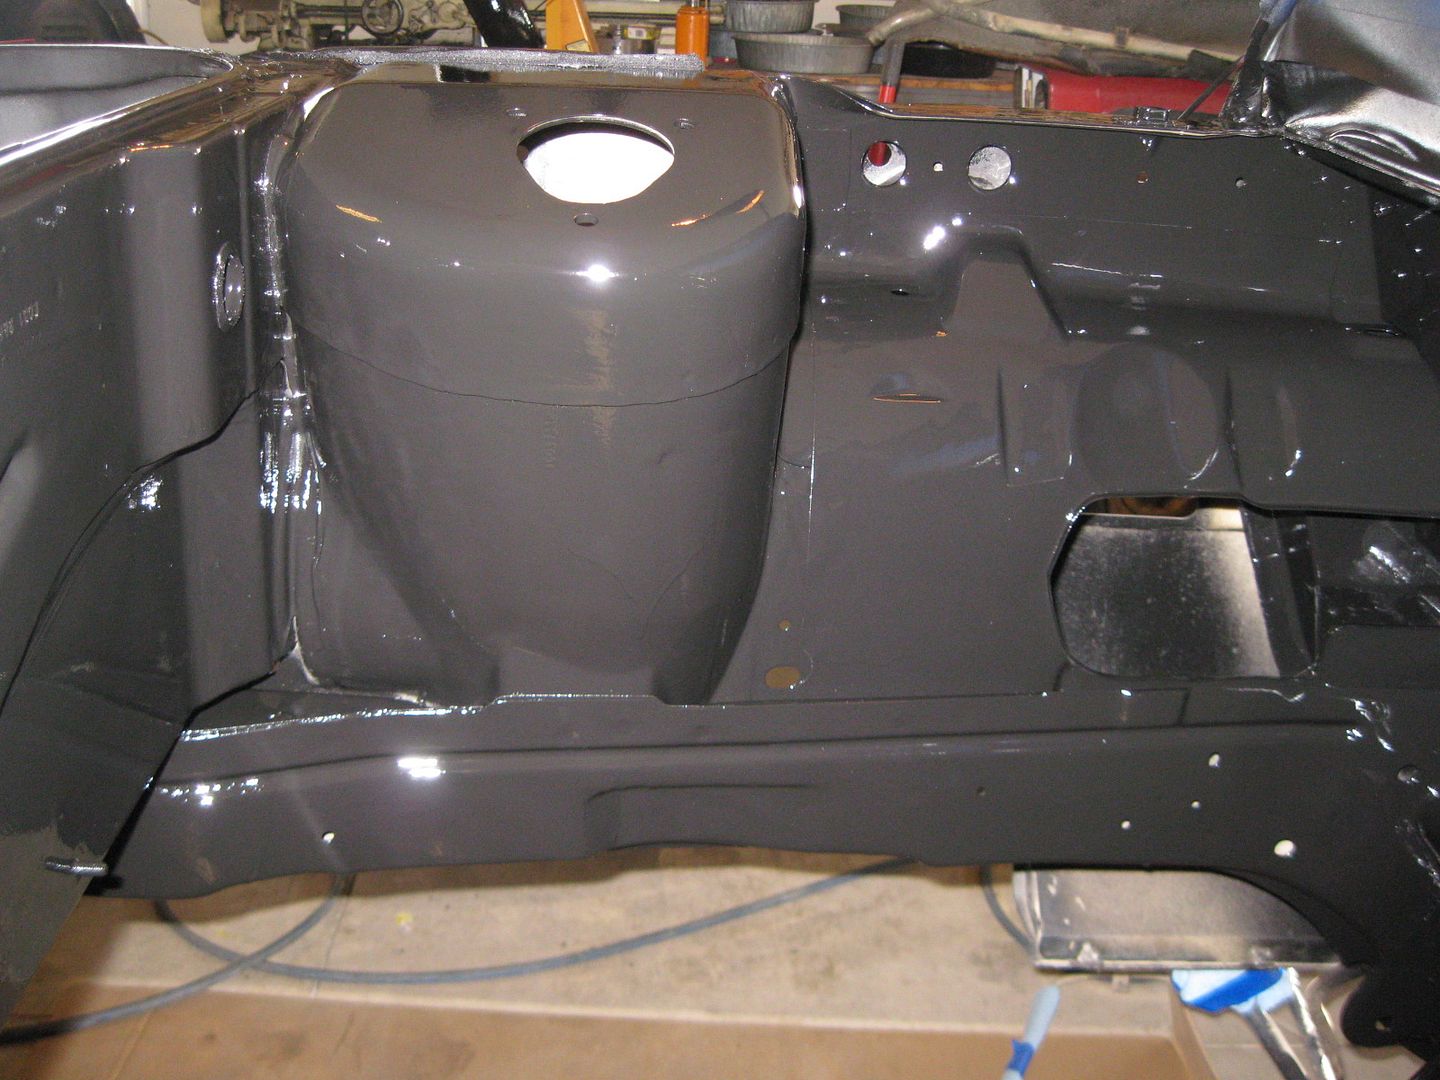
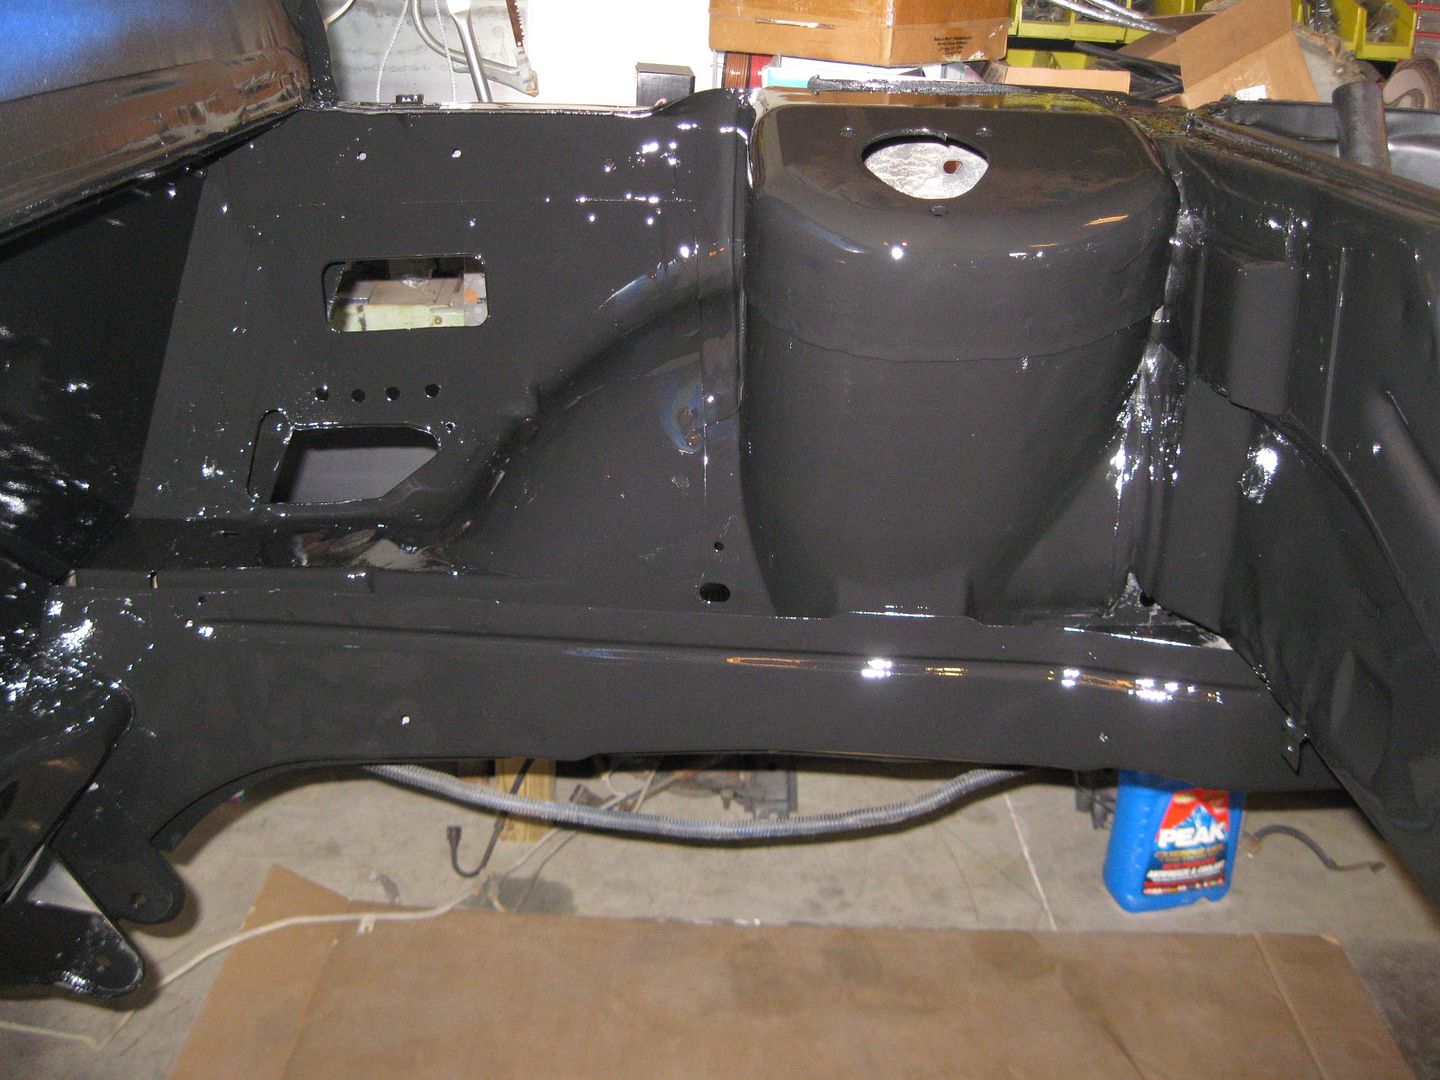
The engine bay is now painted! I painted the firewall and the backside of the smooth panel first, then once those were dry installed the smooth panel and finished painting the whole engine bay. It is a matte black finish, but is glossy in the pics because it is still wet.
Here is a pic with the engine bay paint dry and with a low gloss finish.
I still have a little bit more touch up work on the topside of the strut towers, but it will be a week or two till it is warm enough to do more painting,
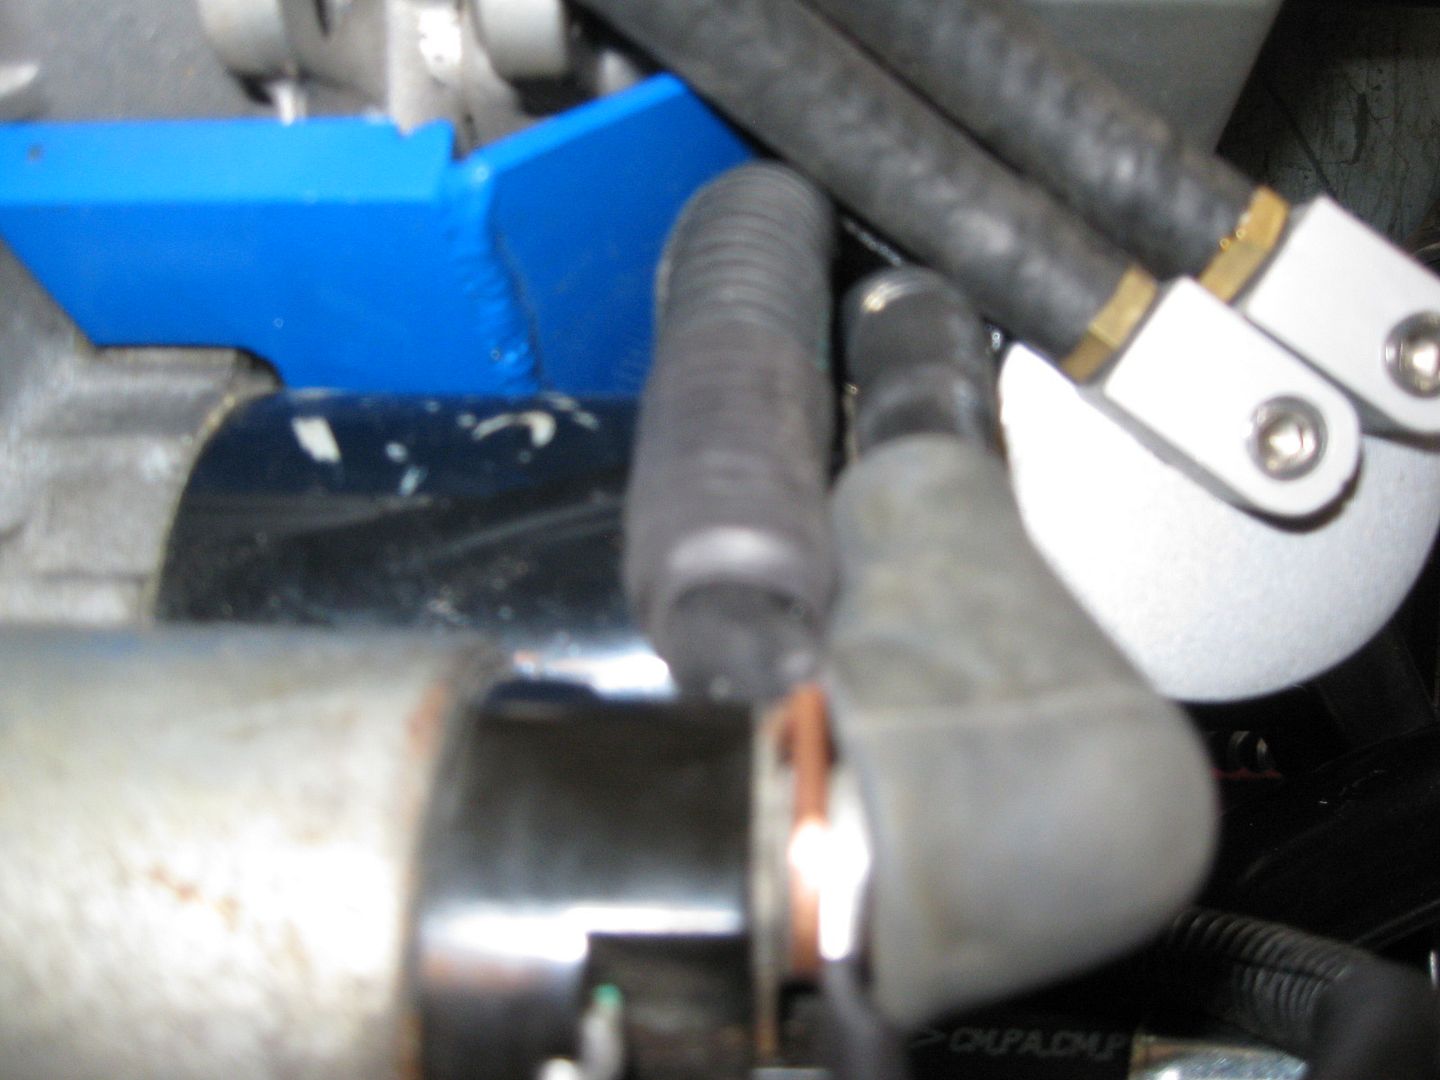
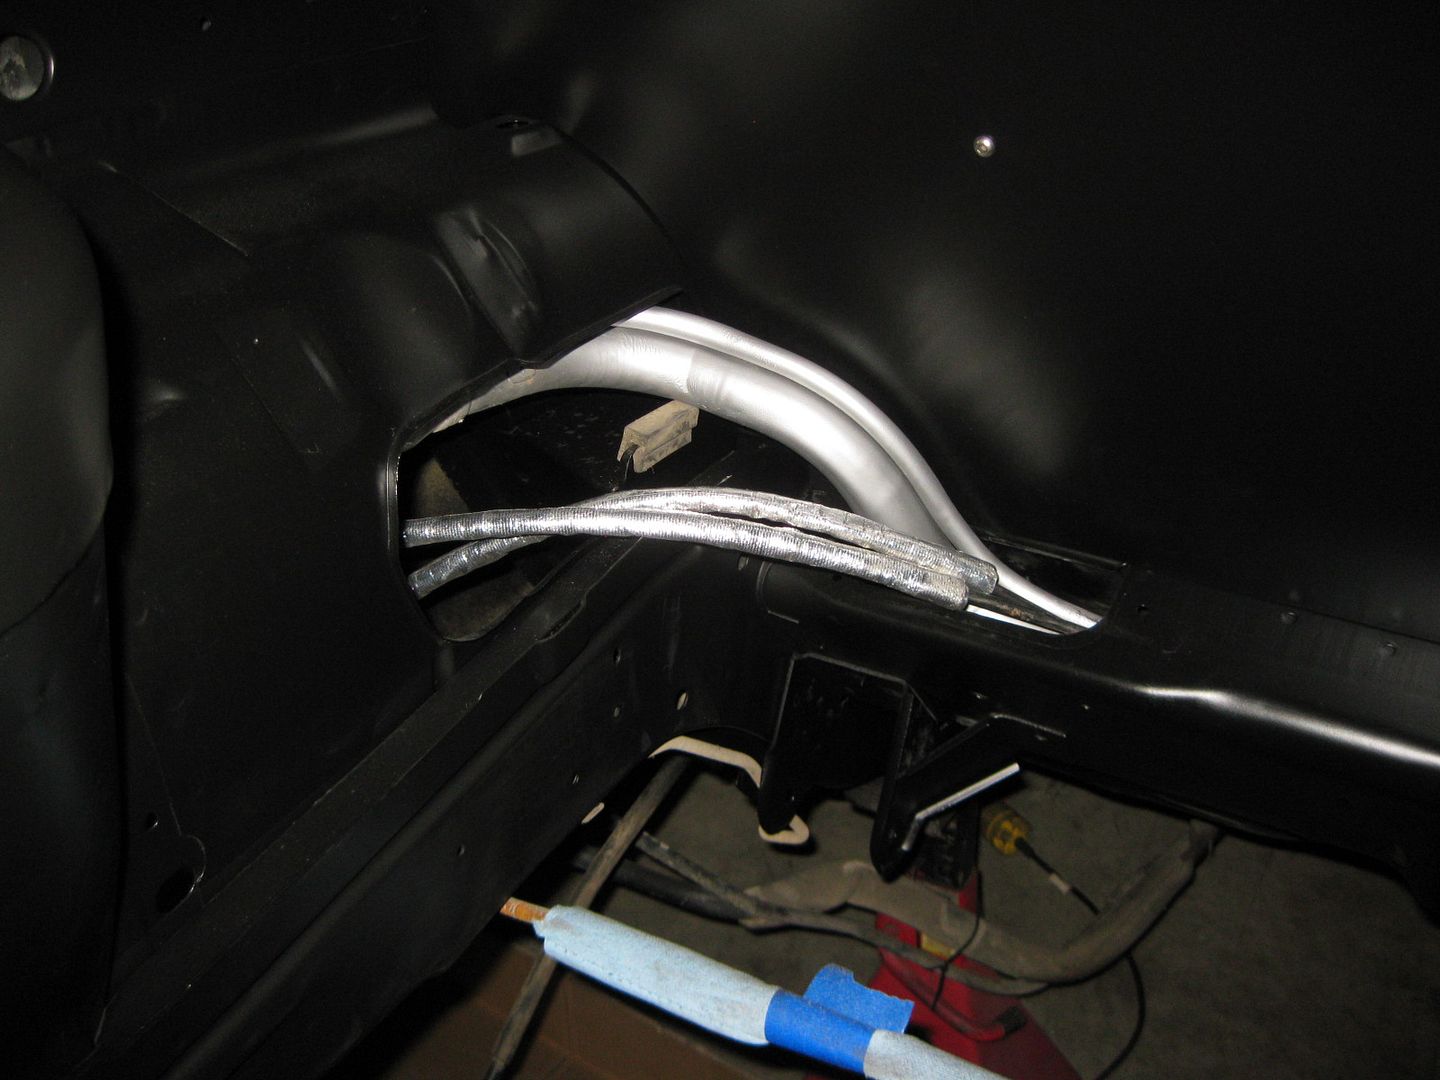
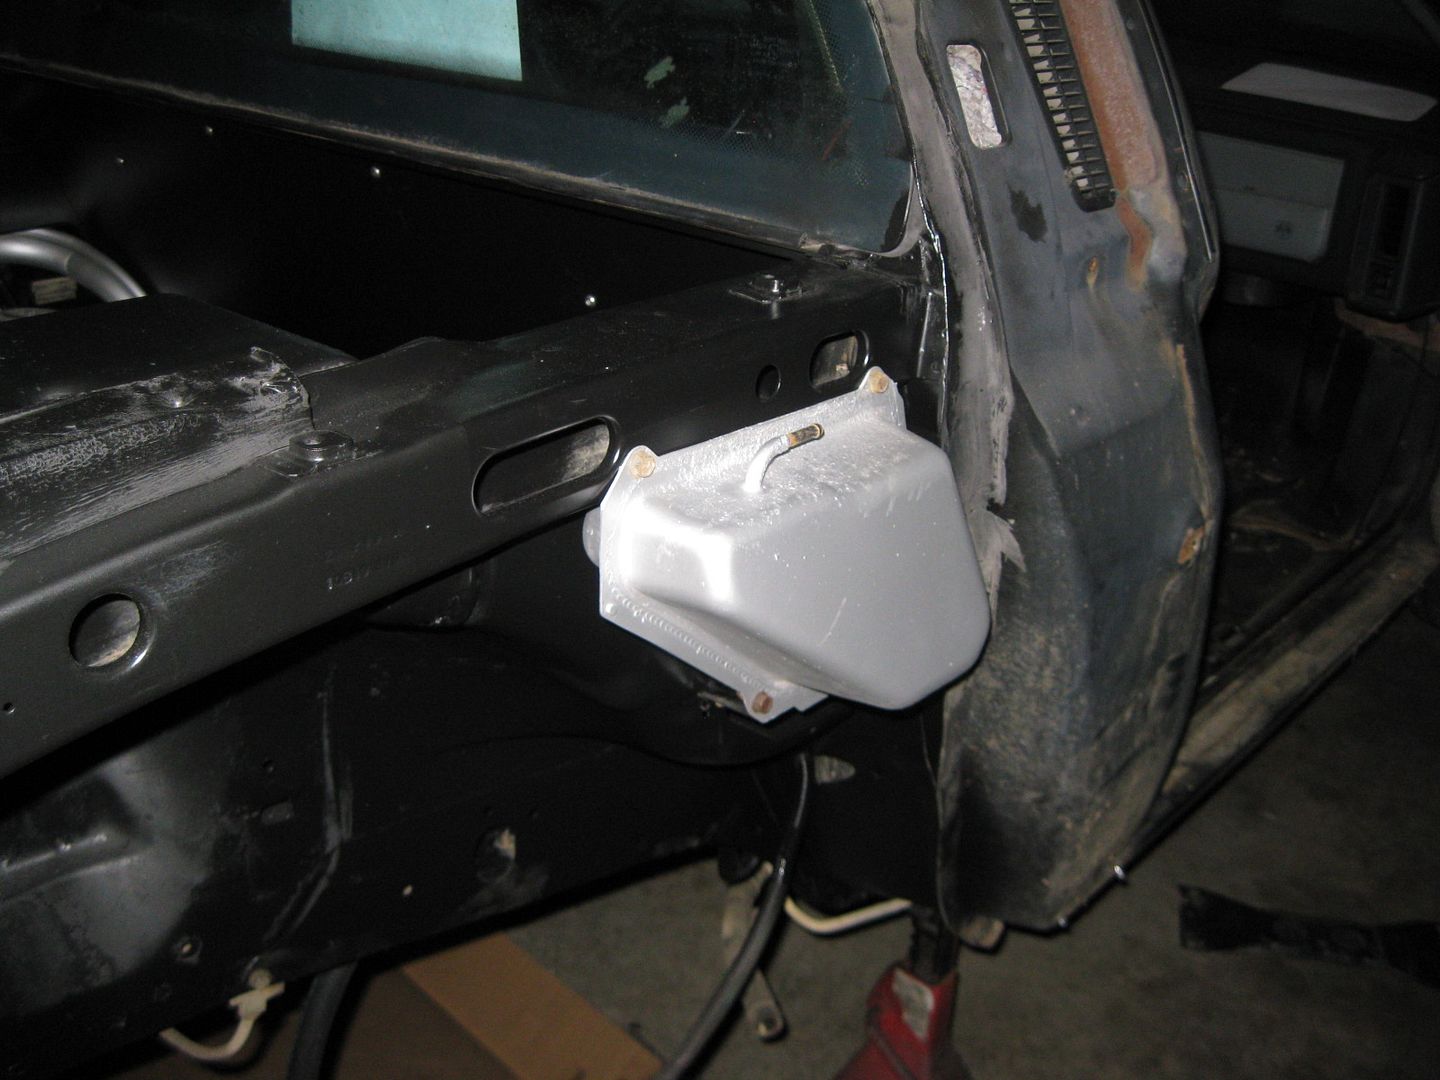
Today I swapped out the bolts in the firewall panel to stainless steel button heads, installed the fuel fill tube with a fresh coat of aluminum paint, installed the shifter cables, installed the expansion tank (with a fresh coat of aluminum paint), installed the brake and clutch lines, heater hose hard line, mounted all the hoses to the fuel tank and got it ready for installation. Here are some pics from today's work:
Maybe on Wednesday night I will get the fuel tank installed and the hoses cut to length and connected to the fuel filter/regulator and install the main coolant tubes (the ones on the car were kinked... but I have a kink-free set in the attic).
[This message has been edited by fieroguru (edited 01-01-2013).]
Were you contemplating at one time attempting to increase the operable volume of the fuel tank?
Nice work. I like the shift cable routing idea; is there any concern of them kinking, or did you enlarge the opening somewhat in the firewall (guessing here)?
Originally posted by kennn: Were you contemplating at one time attempting to increase the operable volume of the fuel tank?
Nice work. I like the shift cable routing idea; is there any concern of them kinking, or did you enlarge the opening somewhat in the firewall (guessing here)?
Ken
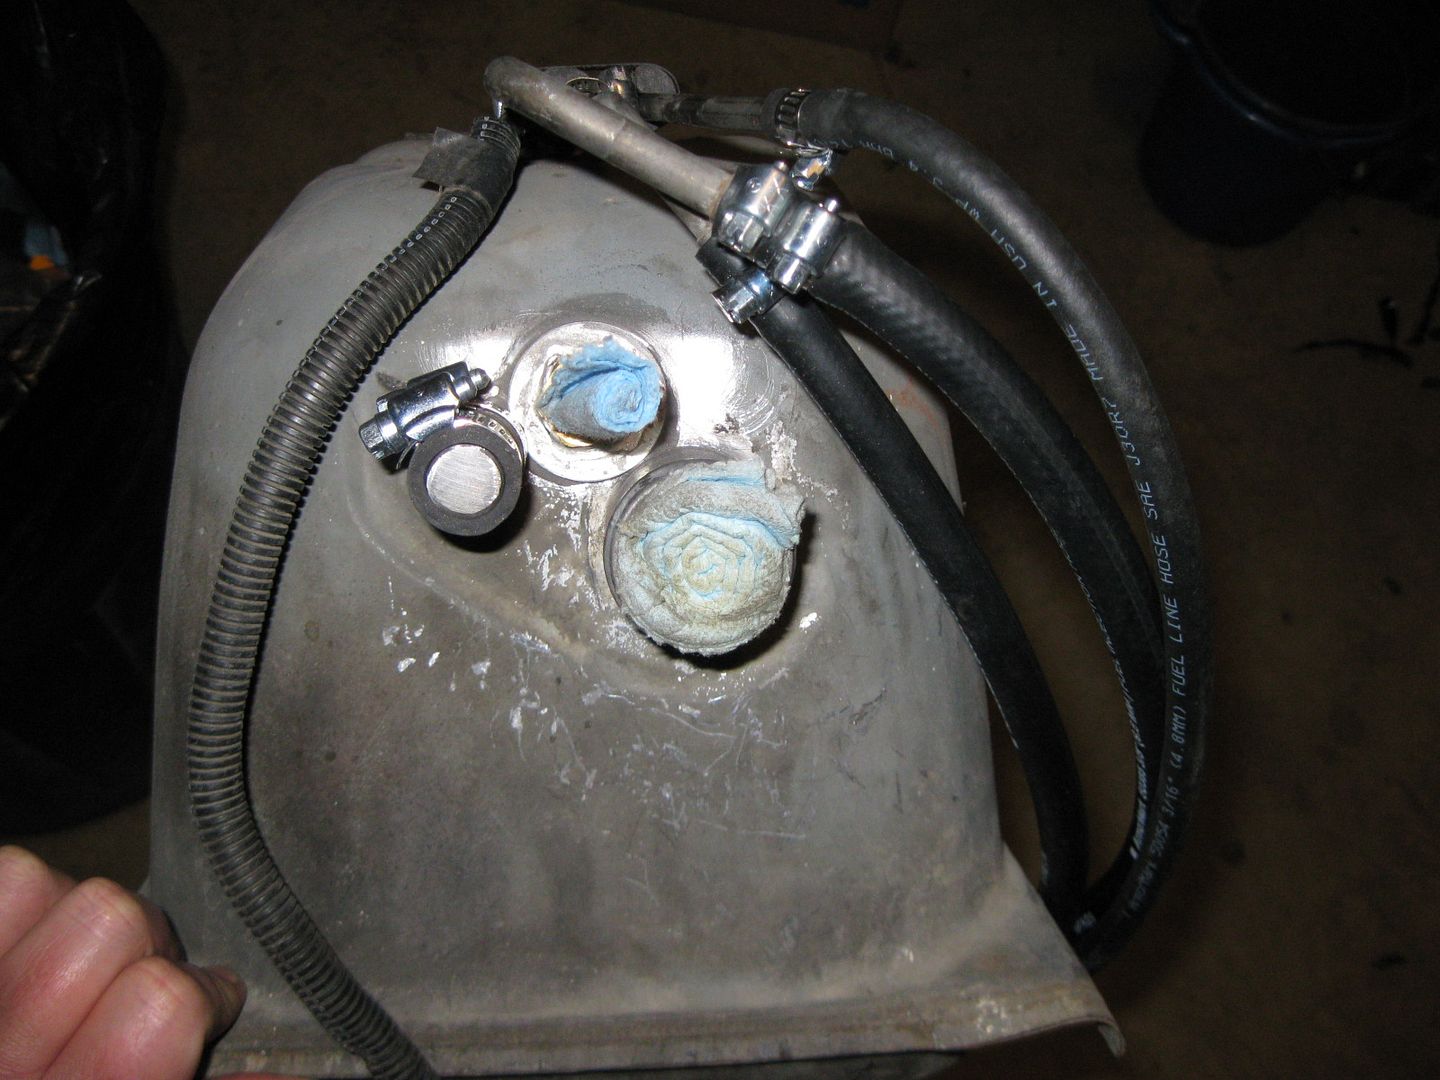
Yes, I raised the vent tube (added a 2nd vent port and capped the stock one) in the gas tank to gain some usable capacity. On my stock 88 I have 10.2+ usable gallons and with this mod I hope to have 11.0+. I have plans to build a completely new fuel tank to maximize fuel capacity, but that is on the back burner until I get this swap up and running. I have the fuel tank tunnel portion of a Fiero chassis in storage so I can build this tank without taking either of the fieros out of service.
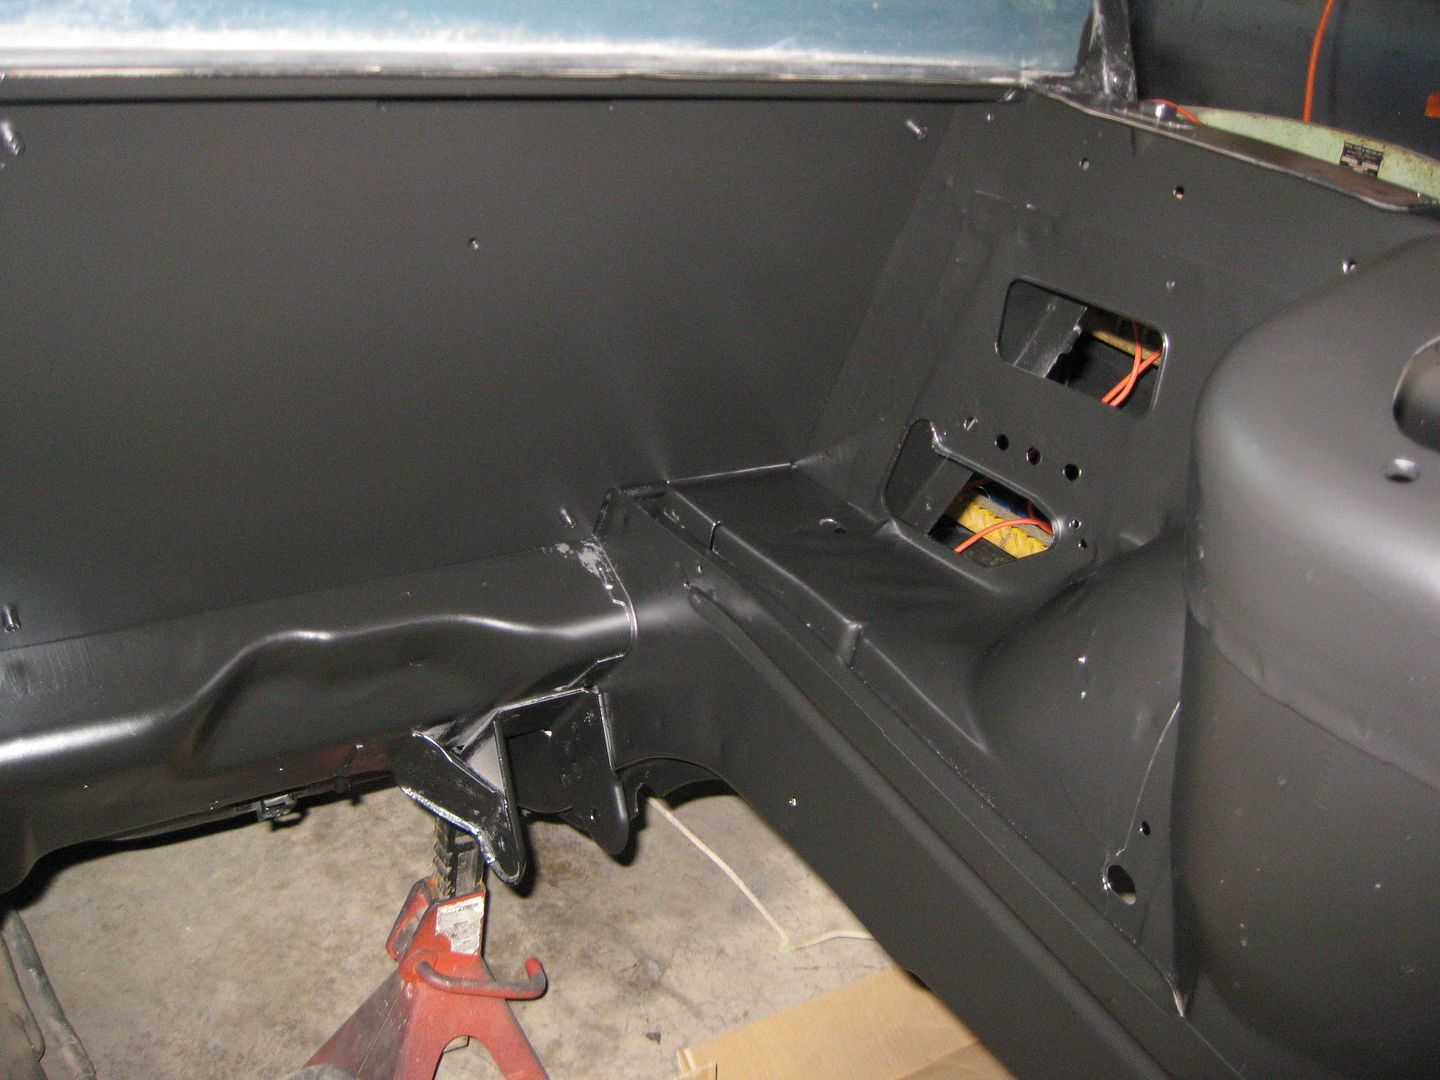
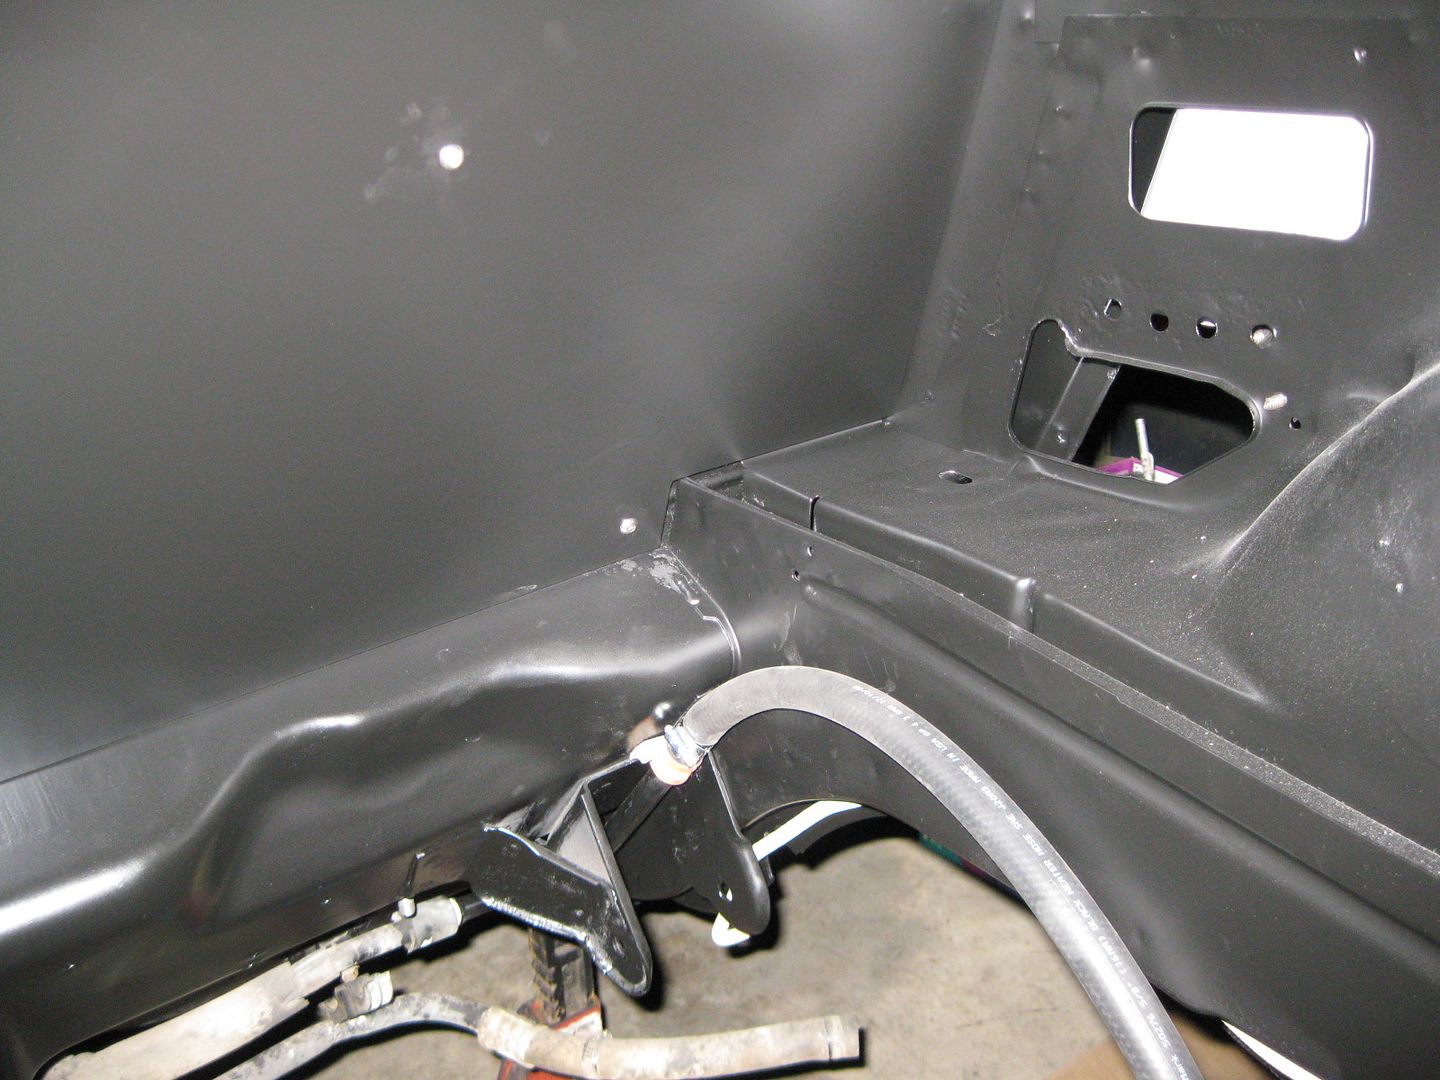
I got the idea of changing the cable routing from the Perfect Union. Its shift cables stay behind its smooth firewall and exit right under the driver side hinge box.
With the smooth firewall panel removed:
Since my smooth firewall is only 3/8" off the stock firewall, I had to go lower and through the stock double firewall panel along the fuel fill and exit the stock fuel fill hole. From the shifter, the cables shift to the passenger side of the console and have a nice radius bend as they turn the 90 degree turn and pass down through the hole in the console/fuel tank tunnel and enter the double firewall panel. As they come out the fuel fill tube, they again make a gradual turn. As they are routed, they are bind/kink free.
[This message has been edited by fieroguru (edited 01-05-2013).]
I broke my camera... it was on, lens extracted and took a tumble off the bench, jamming the lens/zoom mechanism and now it won't start. So I stole the wife's...
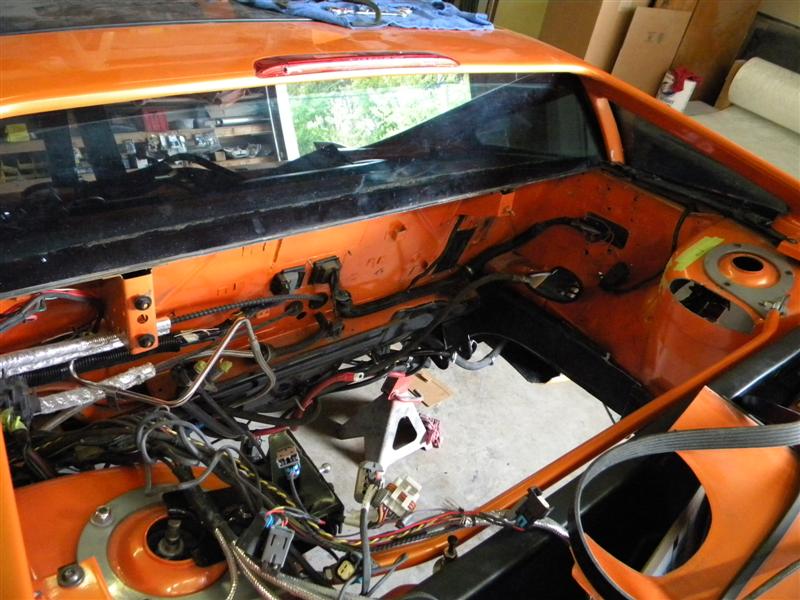
It took quite a bit longer to get the tops of the strut towers look good, but they are finally done!
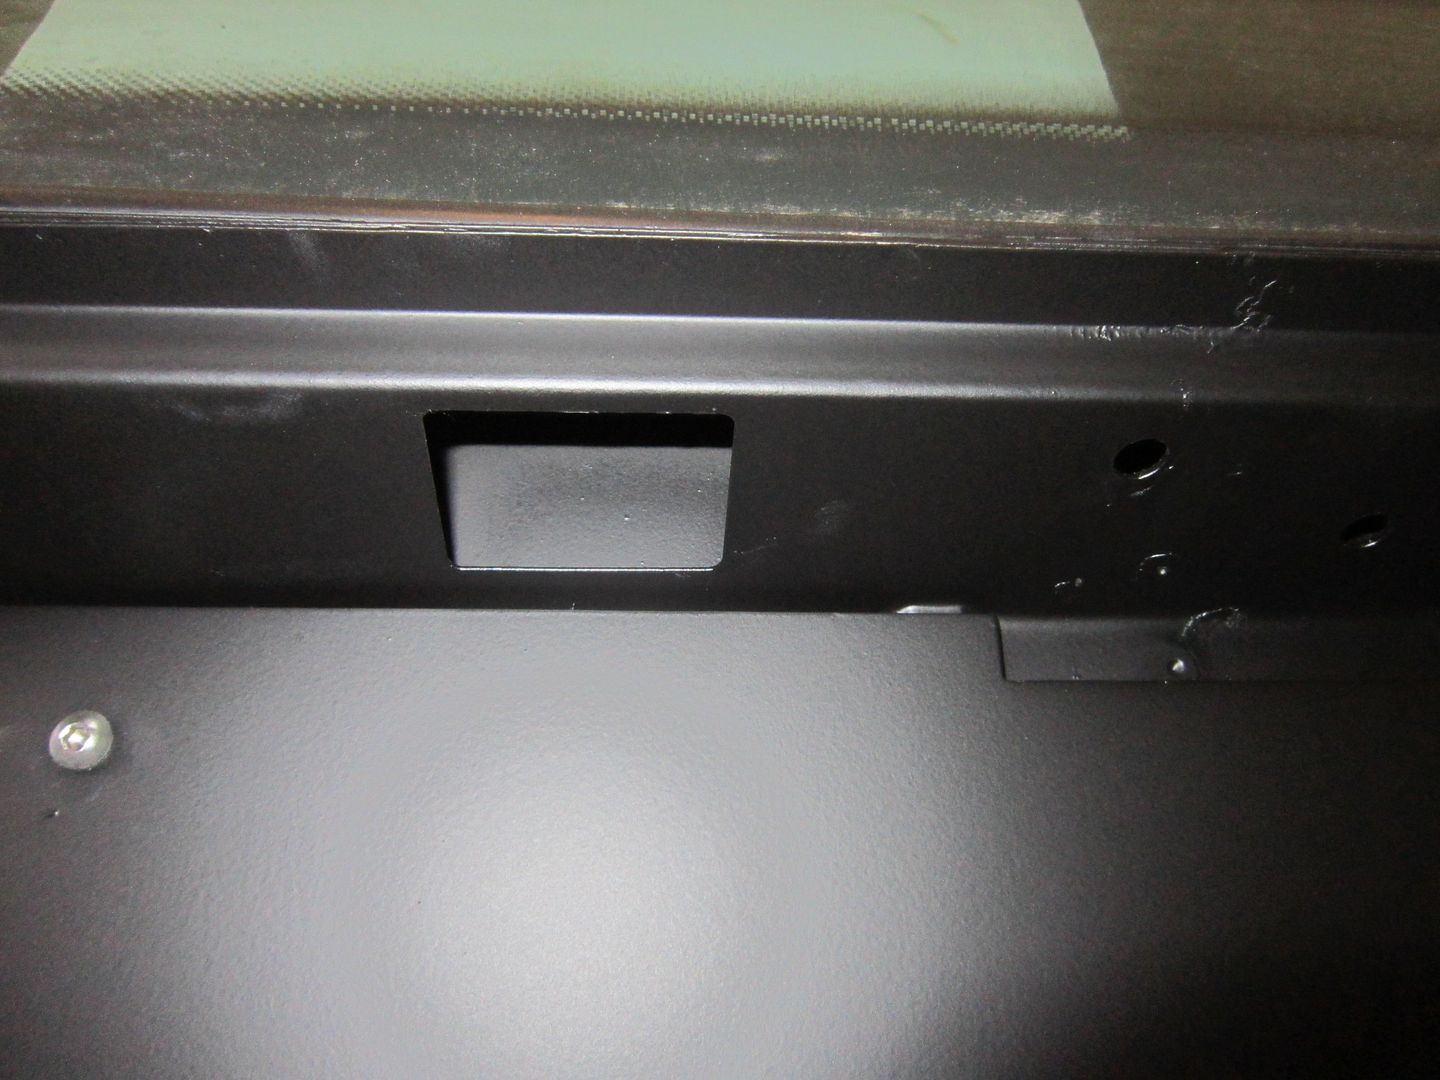
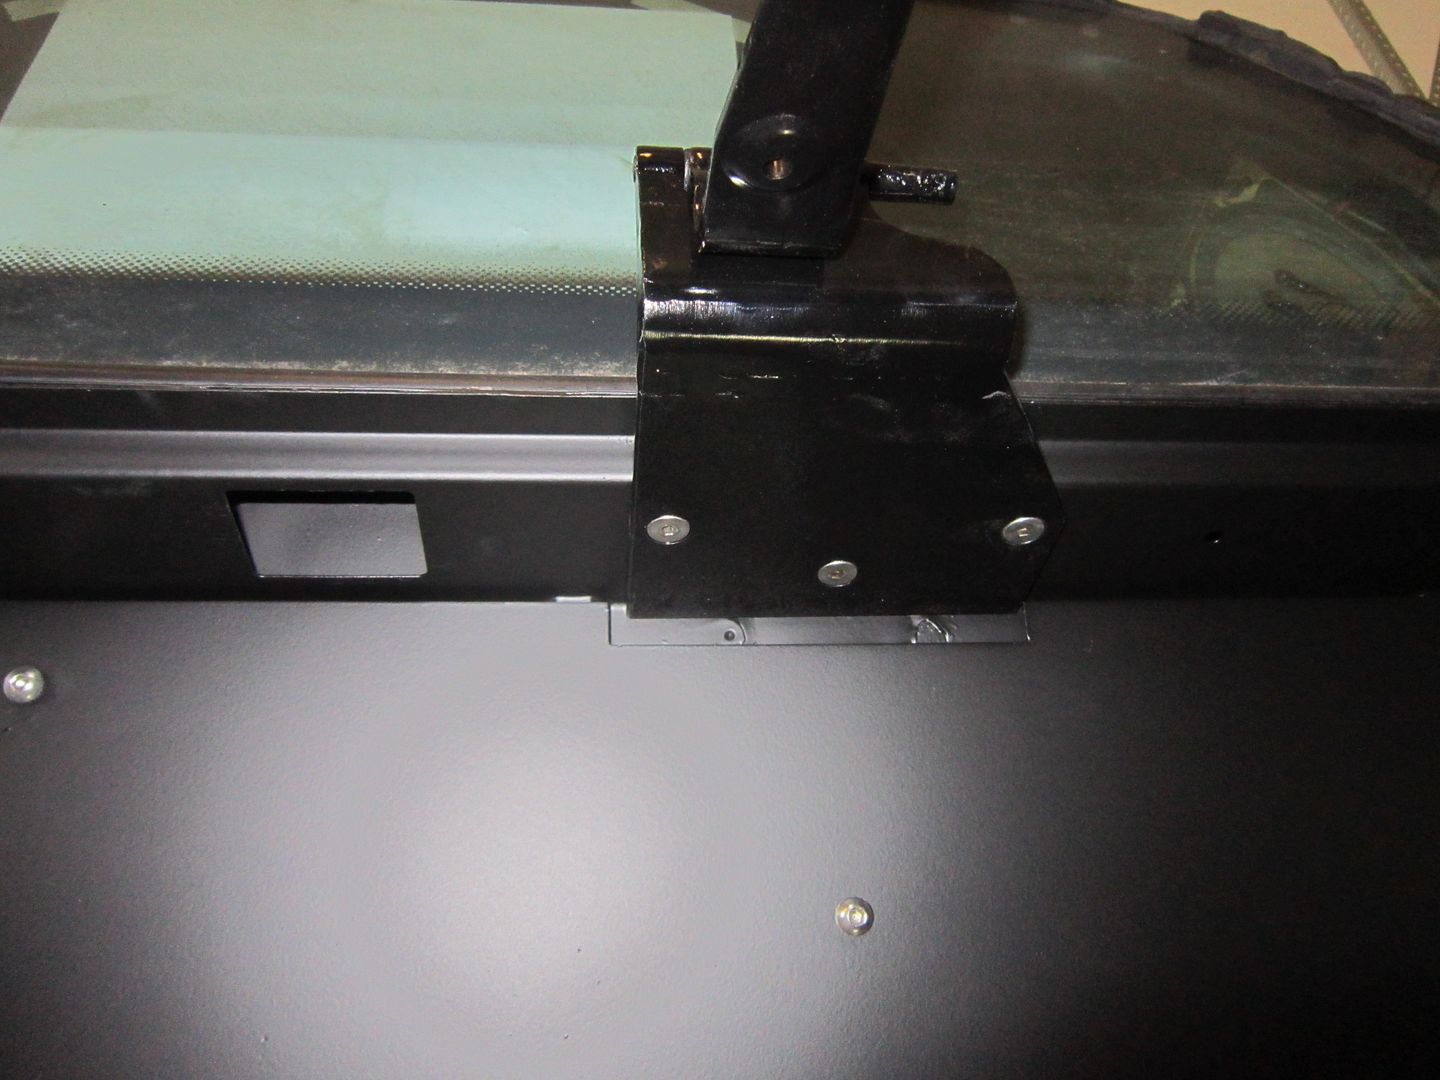
Also reinstalled the decklid hinges (need the engine out to line up the bolt holes in the top plate):
Factory Hole:
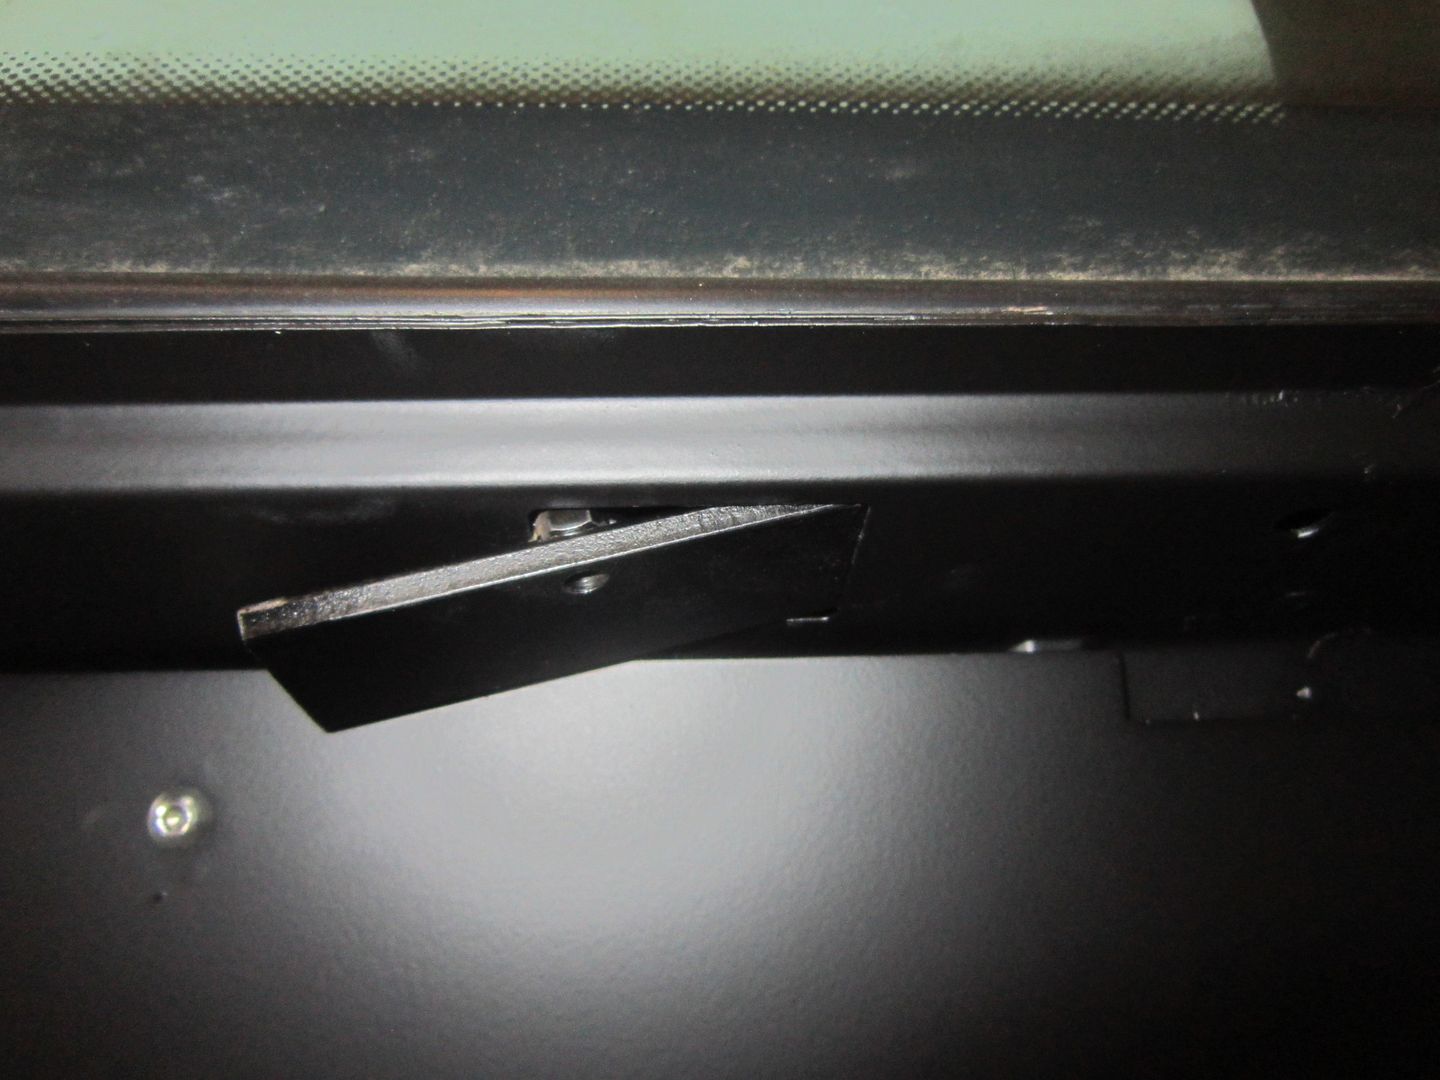
Top plate being slid into place:
Hinge installed:
Then it was time to install the fuel tank and filter assy. Since I wasn't using the GM quick disconnects, I put a little bubble at the end to help ensure the hoses stay put:
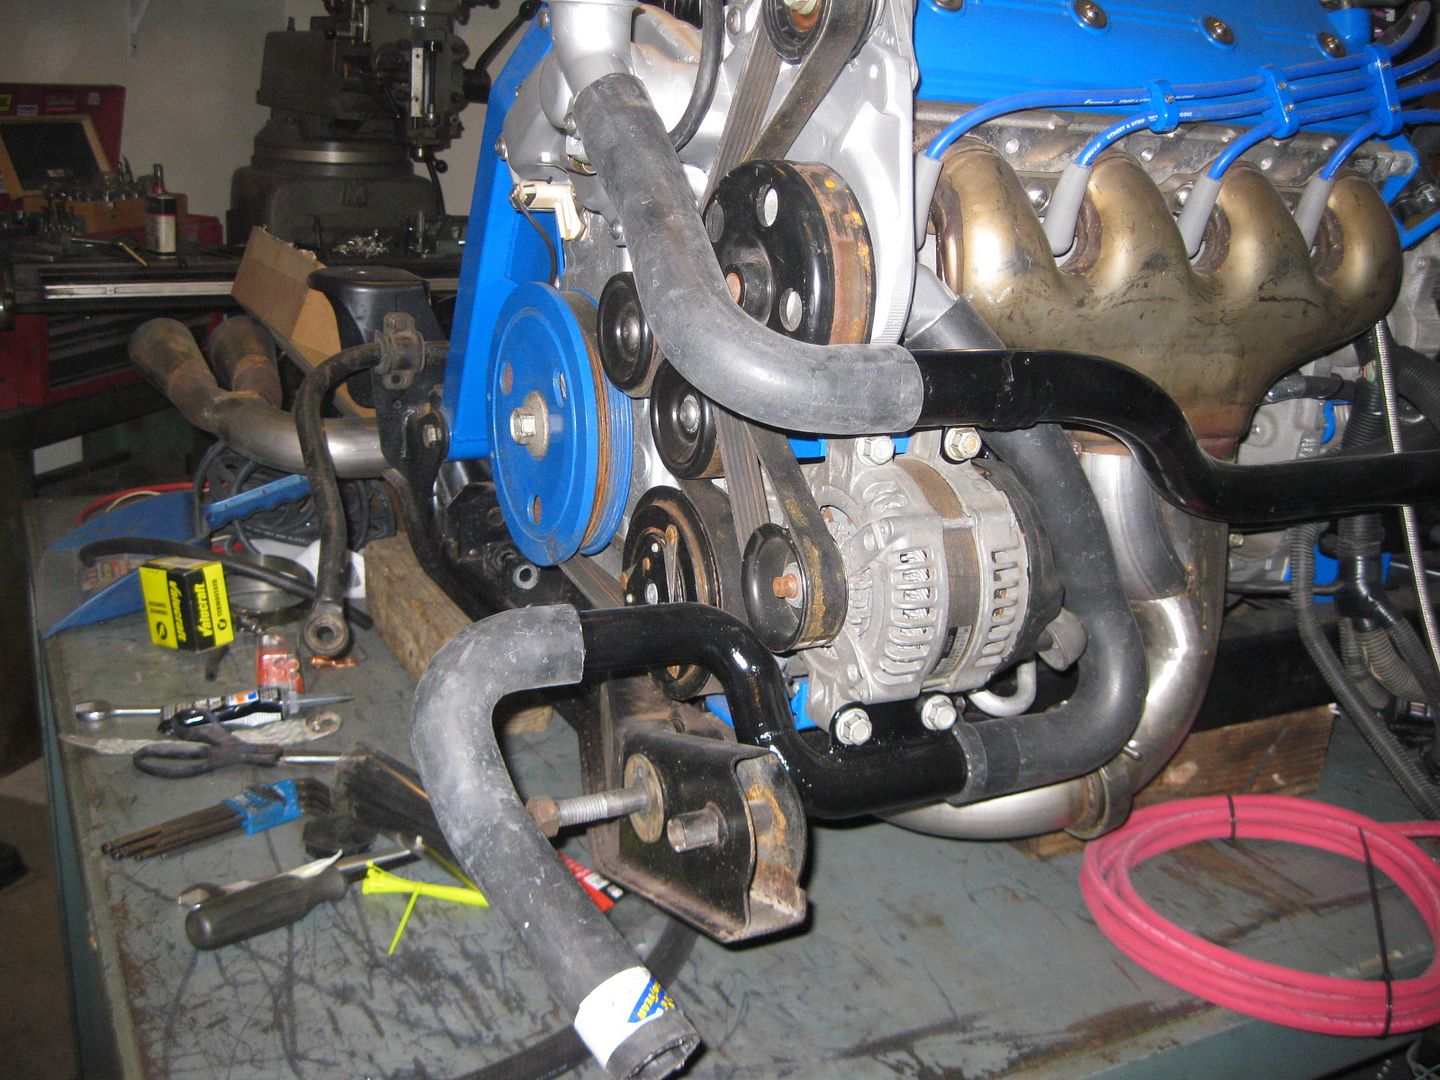
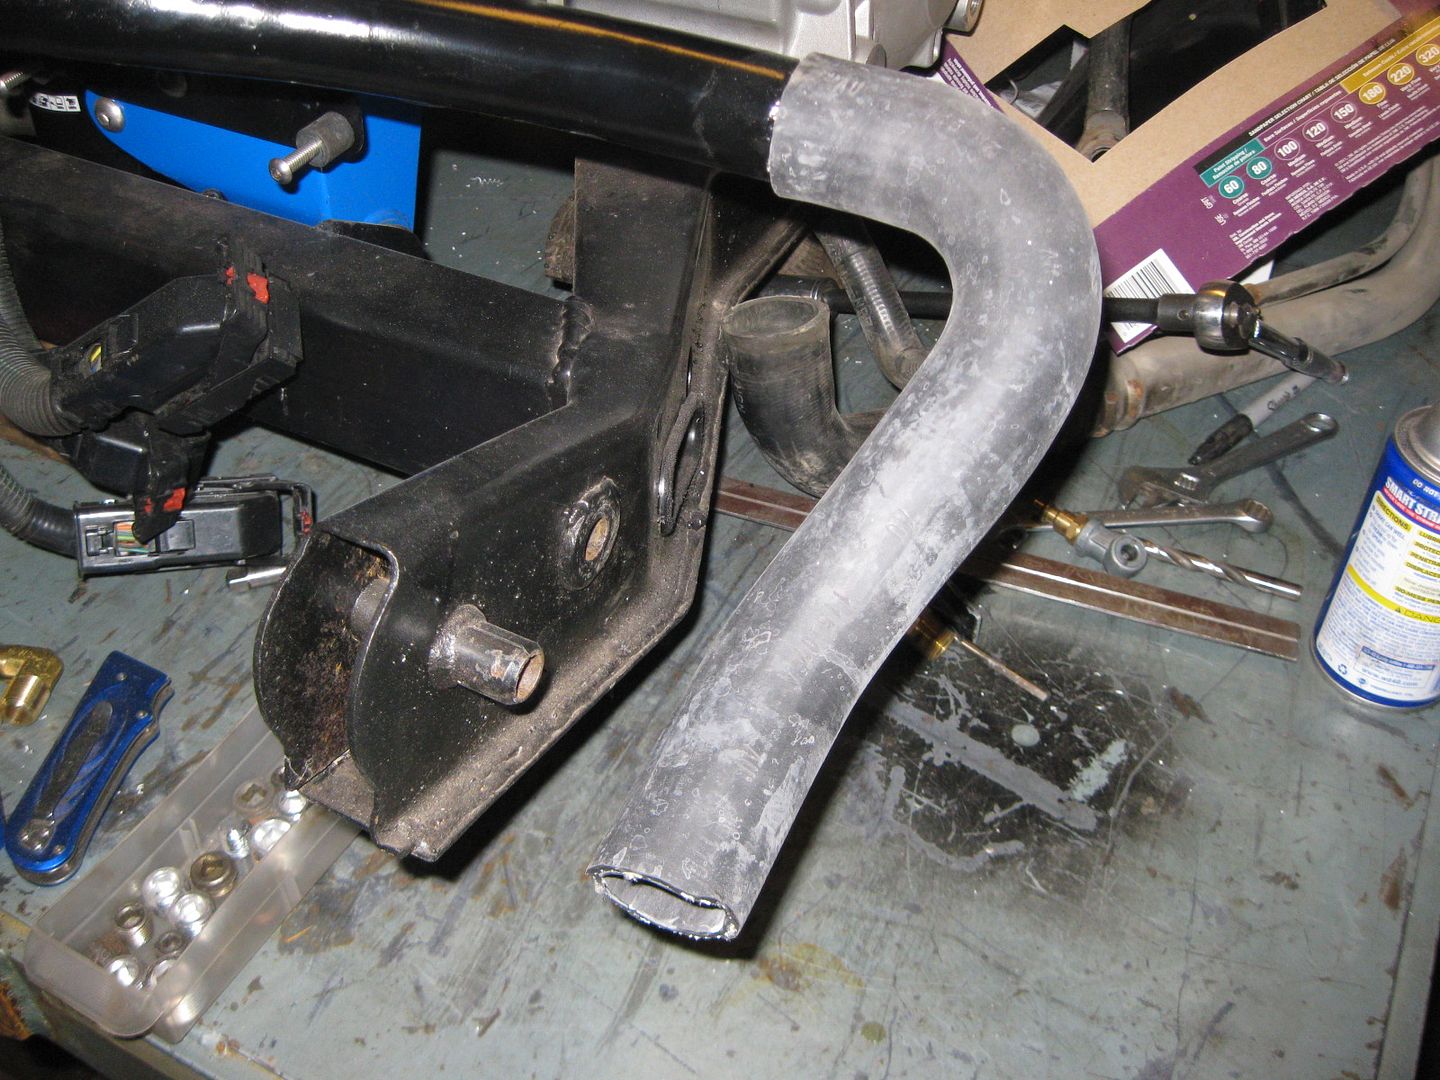
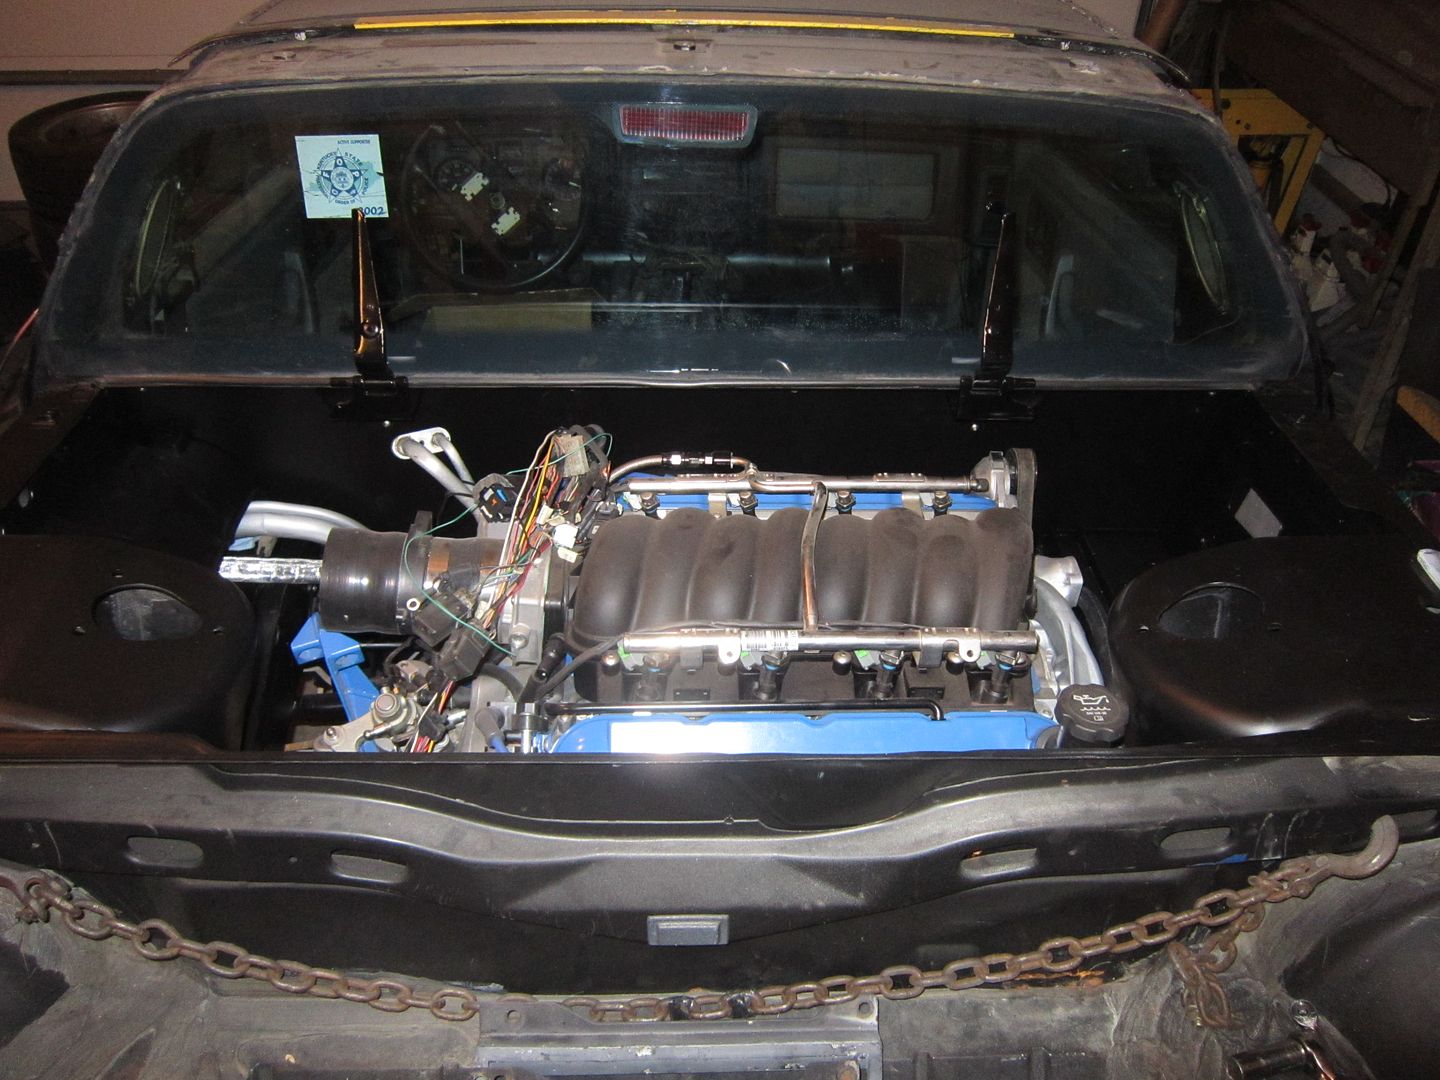
Then it was time to put the engine back in for what I thought was the final time... but alas the two coolant pipes didn't clear the chassis. The passenger side one is a simple fix (just need to remake the mounting tab to lower it and shift it about 1/2" to the DS (it hits the front cradle bolt bracket by about 1/4", and I am not cutting the bracket). The driver side one just needs a complete rework... I had it in and out about 5 times trimming it to fit, but now I think I will just make a new one. Besides the coolant tube issue, notice how much room there is between the firewall and the manifold (and it has a heat shield).
I will rework both coolant tubes with the cradle in the car so I will know the new ones will fit!
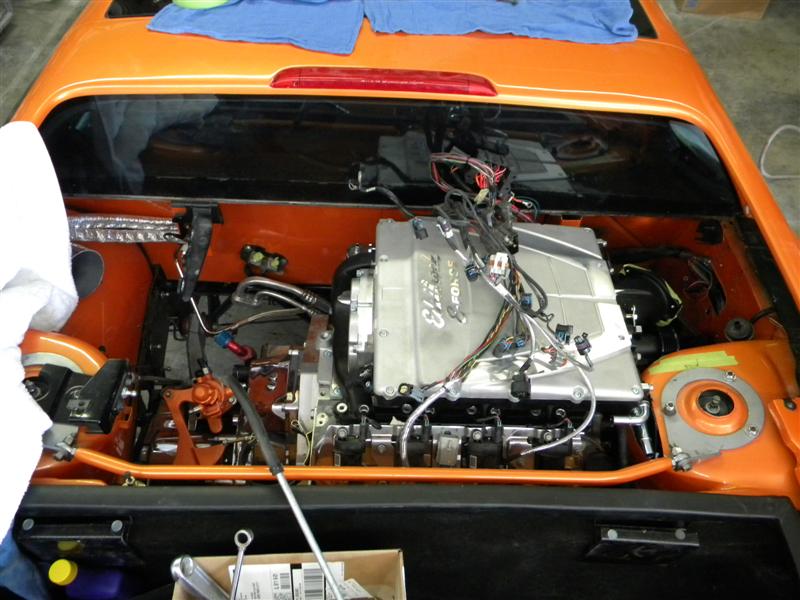
Here are some other general engine in bay pics (excuse the dust on the engine...):
Wow! I think, I have a new way to lift Fieros. I have been using the floor jack method and now that I have a Fiero with T-tops, I don't want to put any stress on the rivets. That method of lifting won't rip at the metal, in the trunk? No! I would never lift a Fiero by the deck lid, latch.
[This message has been edited by RumbleB (edited 01-16-2013).]
Do you think the Vett returnless filter can be used on a 3800 swap instead of Darths arrangement? I read somewhere that these filters are set to 58lb's - is that correct?
A lot of nice work. I like the detail and thanks for the nice pics of the fuel filter set up.
I totally agree! There are a lot of things that I am changing around, after viewing this thread. As for the fuel pump, I have been wondering that myself.
Do you think the Vett returnless filter can be used on a 3800 swap instead of Darths arrangement? I read somewhere that these filters are set to 58lb's - is that correct?
If the 3800's use a vacuum referenced FPR, then they probably can not use the Vette filter/regulator. If they are not vacuum referenced, then I see no reason that it wouldn't work. Yes, these filter/regulator assemblies are set for 58psi.