How are you regulating the fuel pressure Guru. The LS4 regulator is in the pump module but I can't find any on your posts
From the bottom of page 1:
quote
Originally posted by fieroguru: One last bit of info... the LS4 came with a return-less fuel system and I plan to keep it return less. The easiest and probably a cheapest way to accomplish this is with a factory fuel filter/regulator built into 1 for the Corvettes. In my best Mad Max Thunder Dome chant "2 lines enter, 1 line leaves, 2 lines enter, 1 line leaves..." I picked mine up for just over $40 shipped:
Eventually, I will post of a detailed parts list with part #'s and costs for every off-the-shelf part I used. I have it in an excel file, but it won't be complete until I have it running.
[This message has been edited by fieroguru (edited 11-16-2012).]
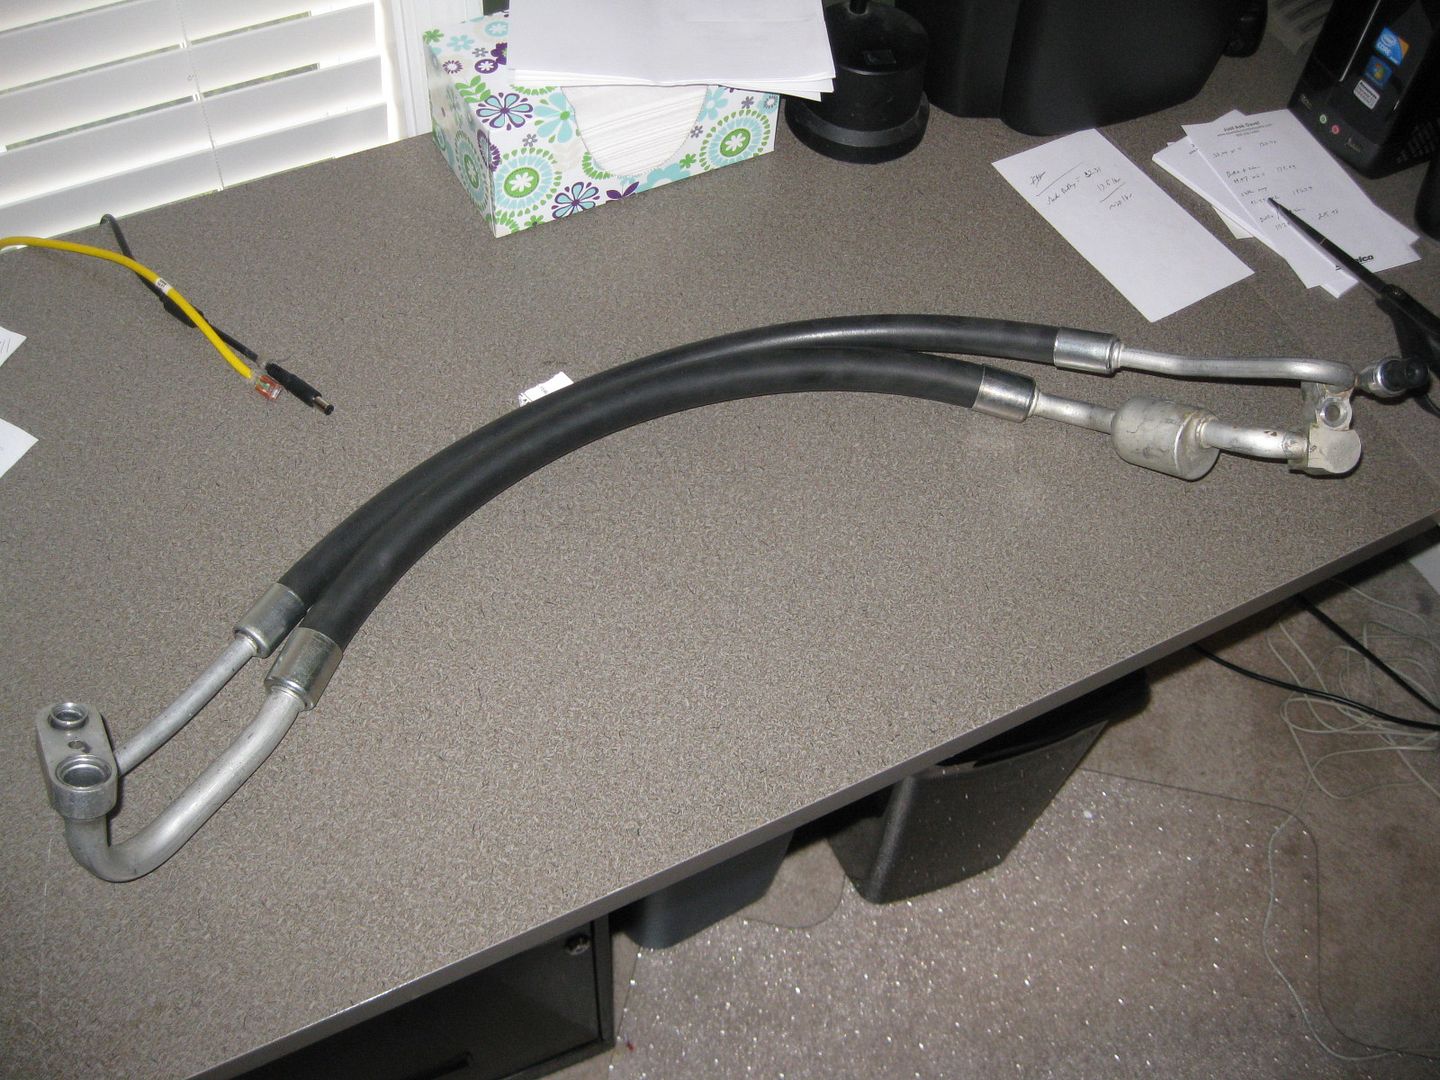
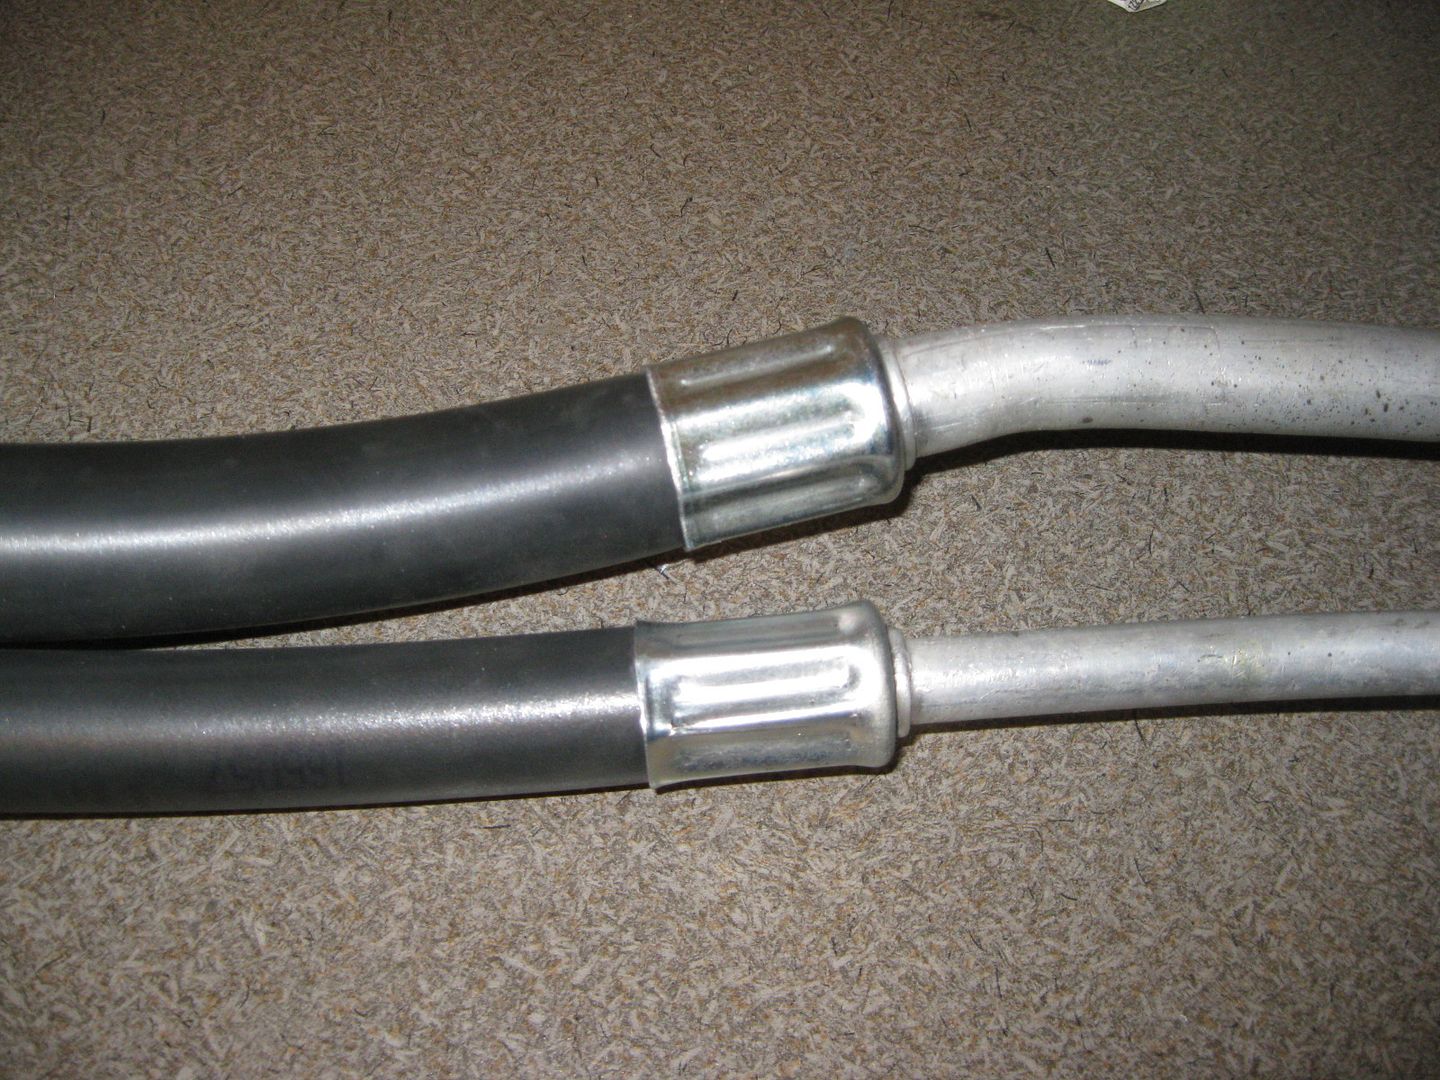
I used a cut off wheel to remove the oem crimped hose clamps from the LS4 compressor end as well as the Fiero chassis aluminum hose ends. Then It was a matter of cutting the new A/C barrier hose to the proper length. Here are some pictures of the test fit:
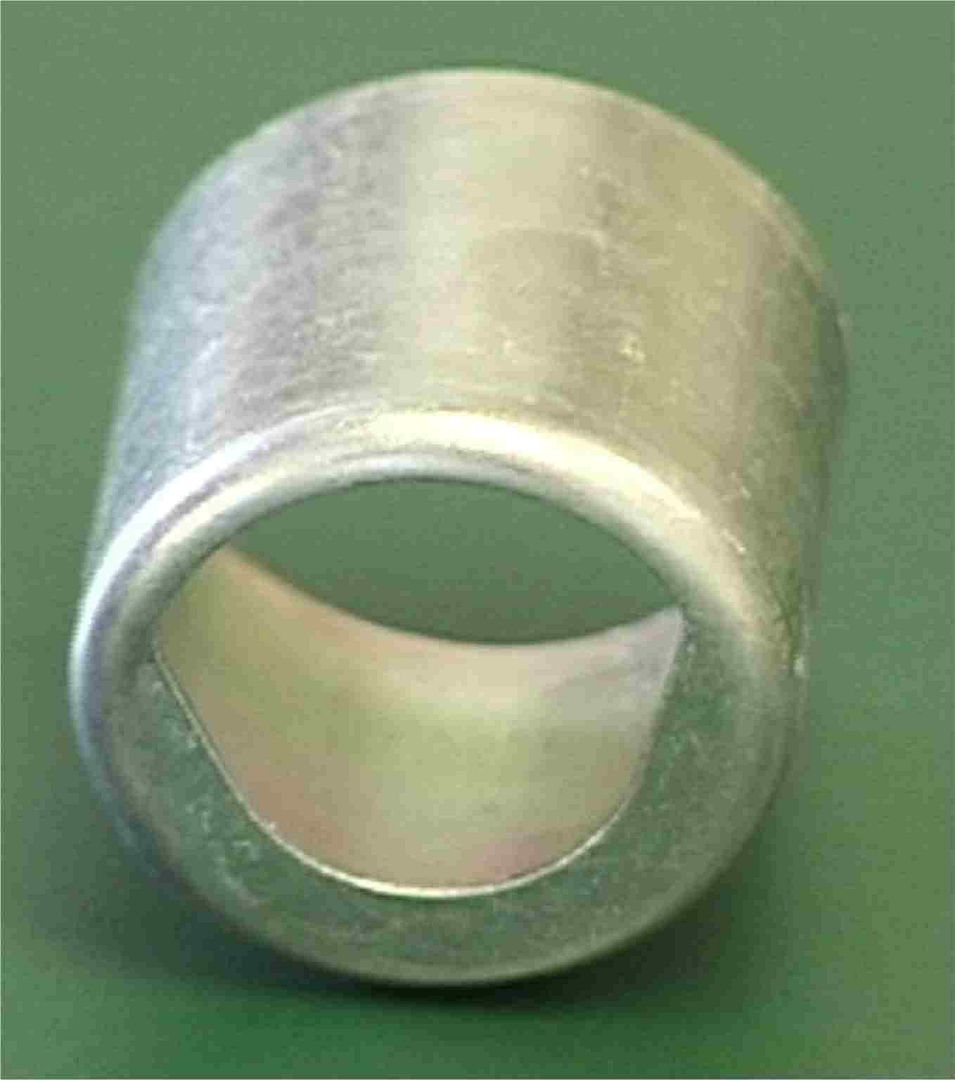
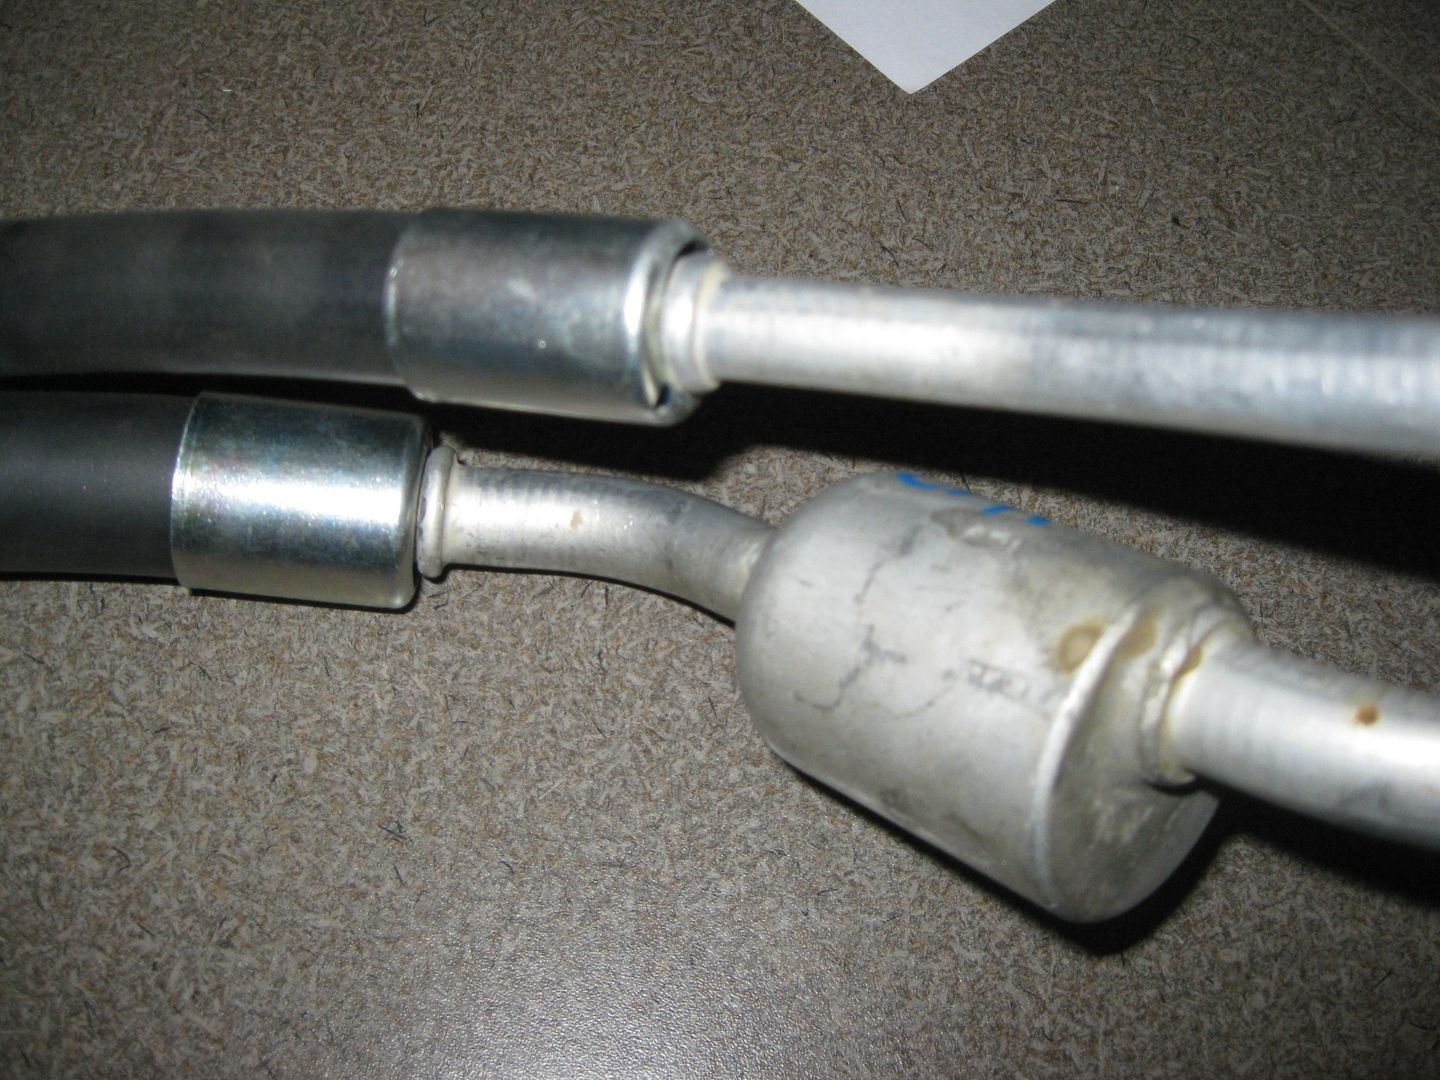
While searching for the ferrules for the ends I came across several types for the OEM bead lock (the ferrule is locked between two beads on the fitting) fittings. Most of them required a larrger hole in the ferrule so you could push the ferrule past the beads and use a c-clip to retain it. I am sure those would work, but I also found some that had the larger hole offset: http://www.mobileacproducts.com/ferrules.asp
So these just slide into place, fit in-between the beads, then when centered by the hose they are locked into place. Pretty slick setup, so that is what I am going with. You can buy the ferrules in packs of 25 for each size and they come to about $1 per ferrule. So I am buying 25 of the #8 and #10 and will likely sell the left overs in the mall.
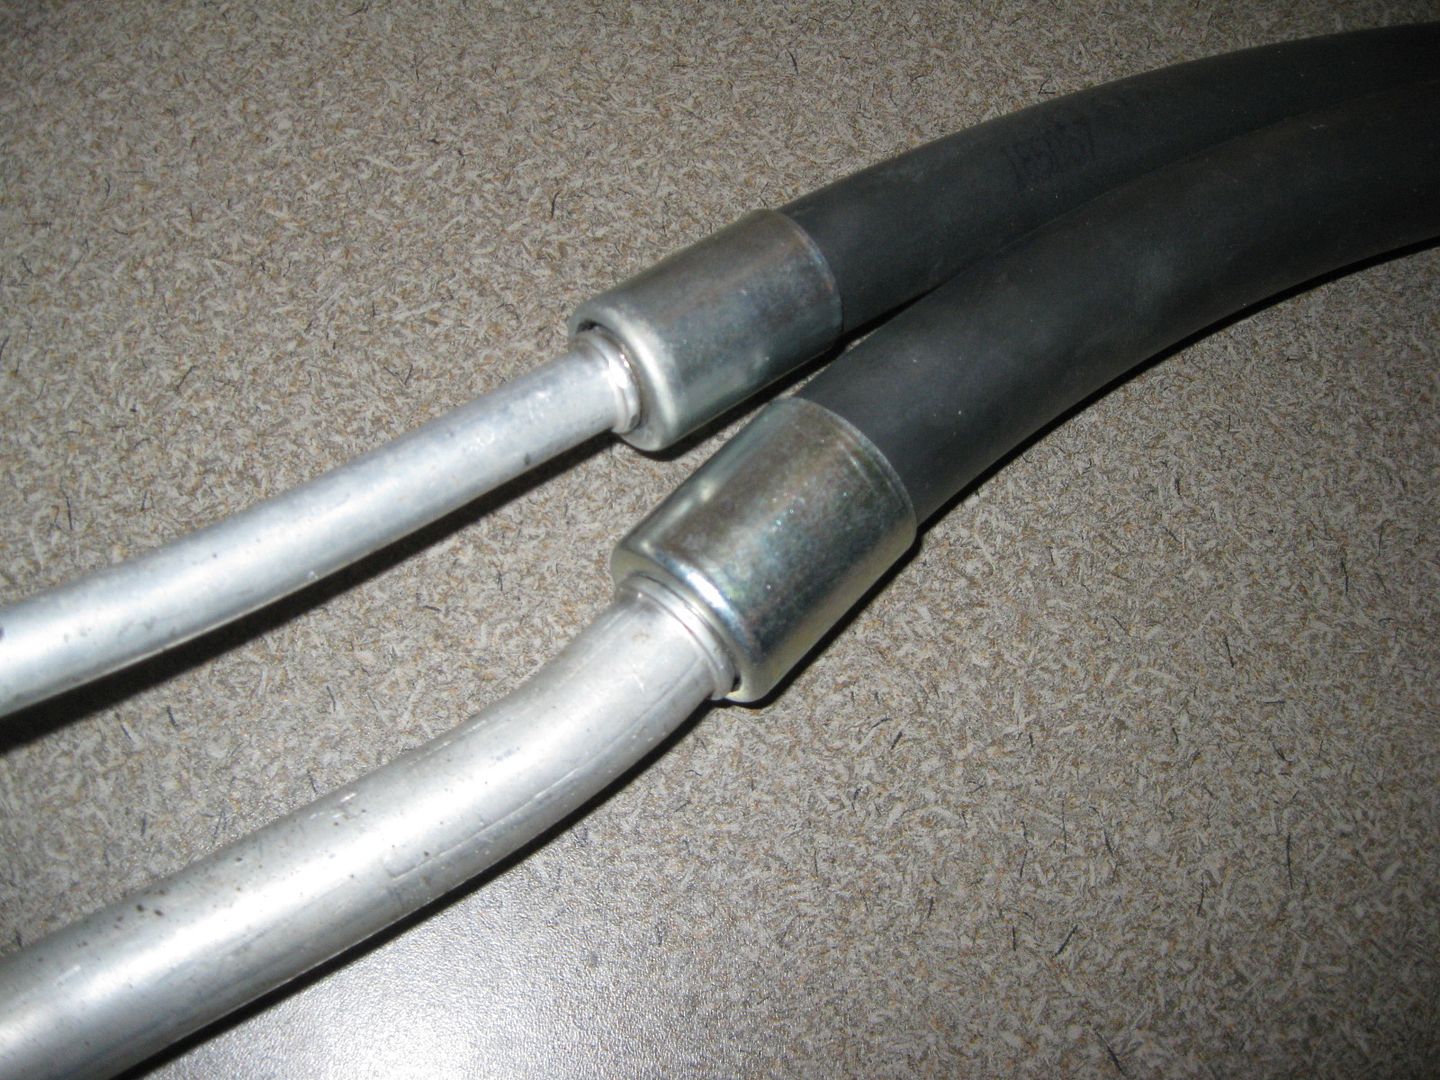
For crimping these, I am planning to just take the assembled hose with new ferrules to NAPA and have them crimp them for me. The other option is to buy a crimping tool... but they are about $150 for the cheapest one and I don't build A/C lines very often. One of the most compact crimpers I have found is the ATCO 3300 Handi-Clamp:
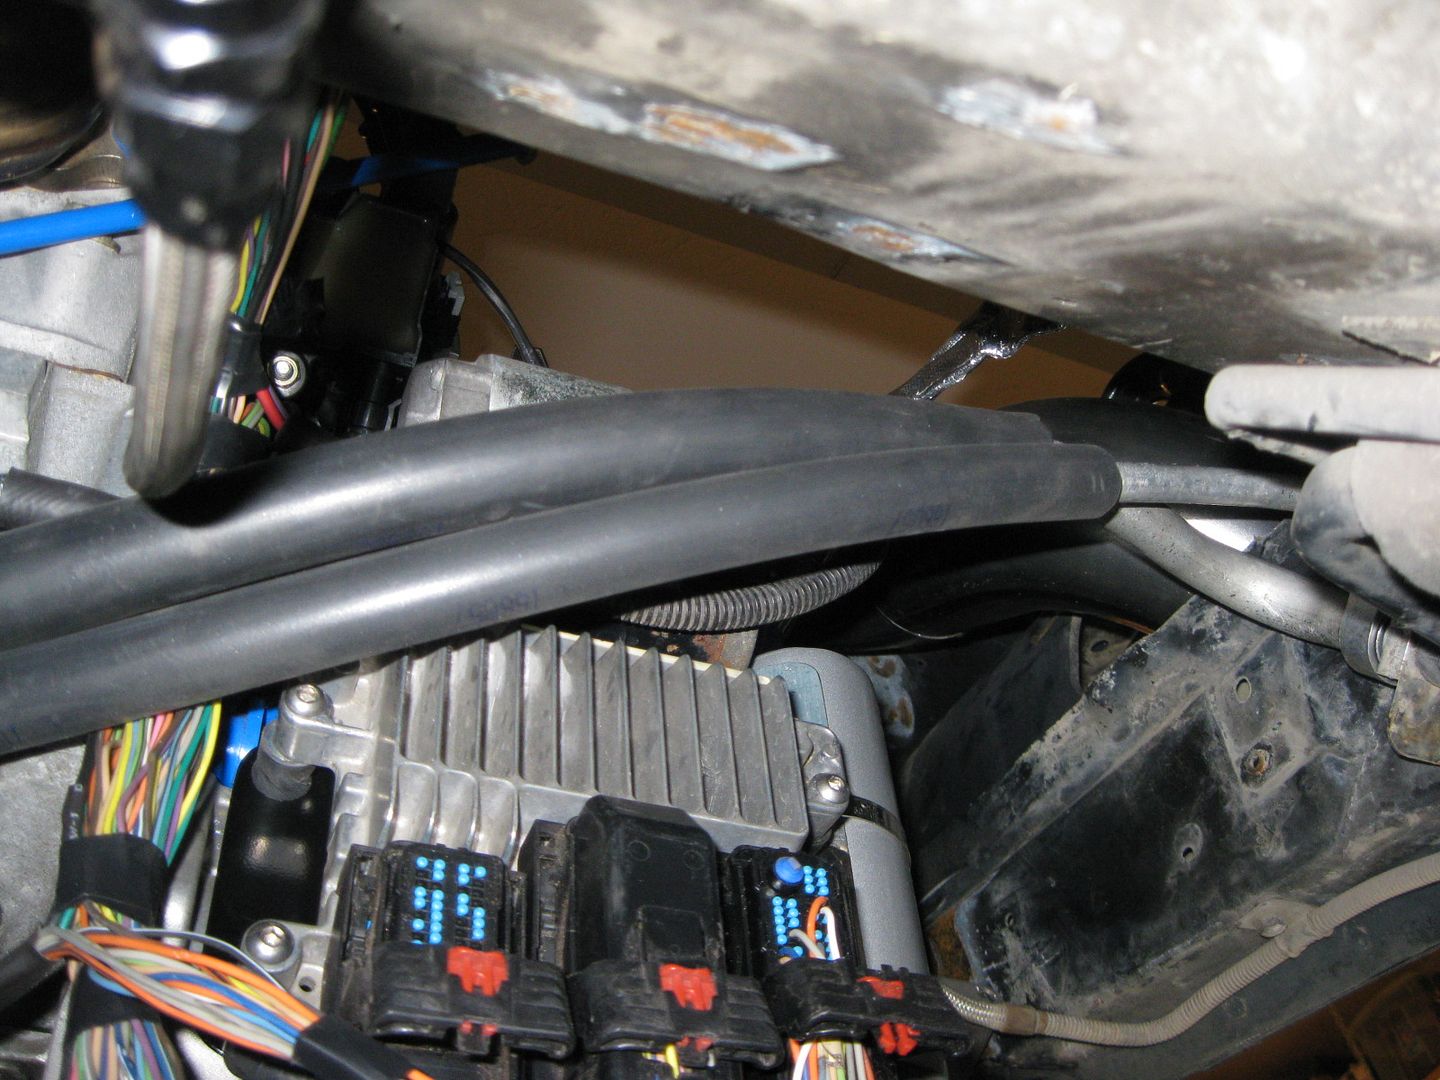
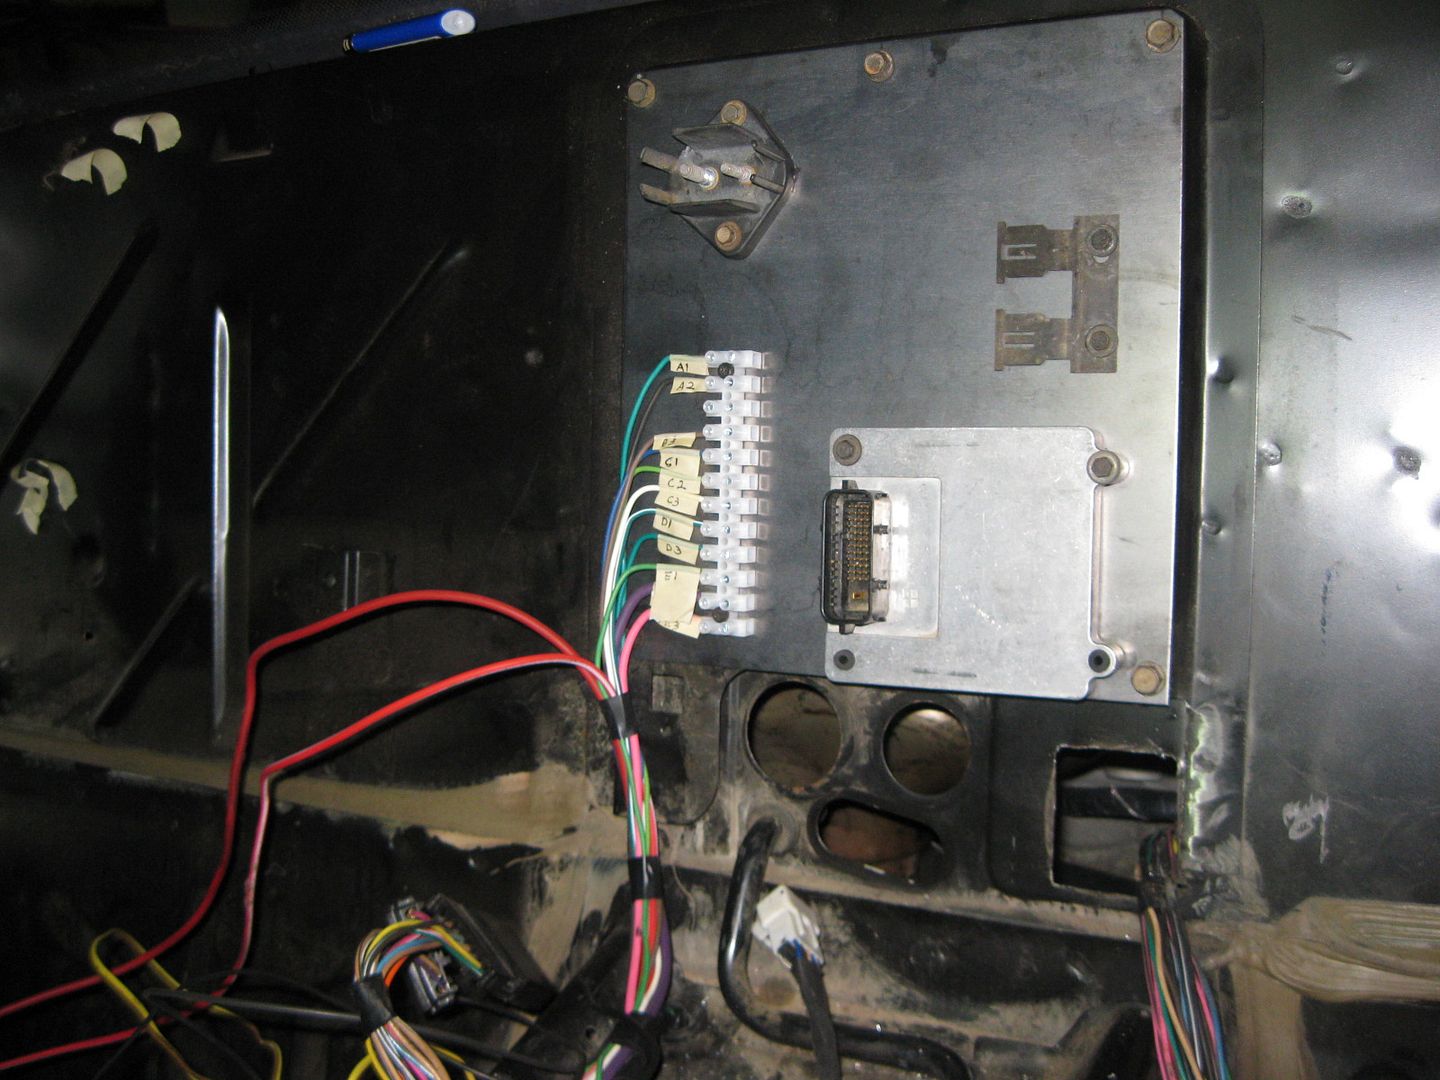
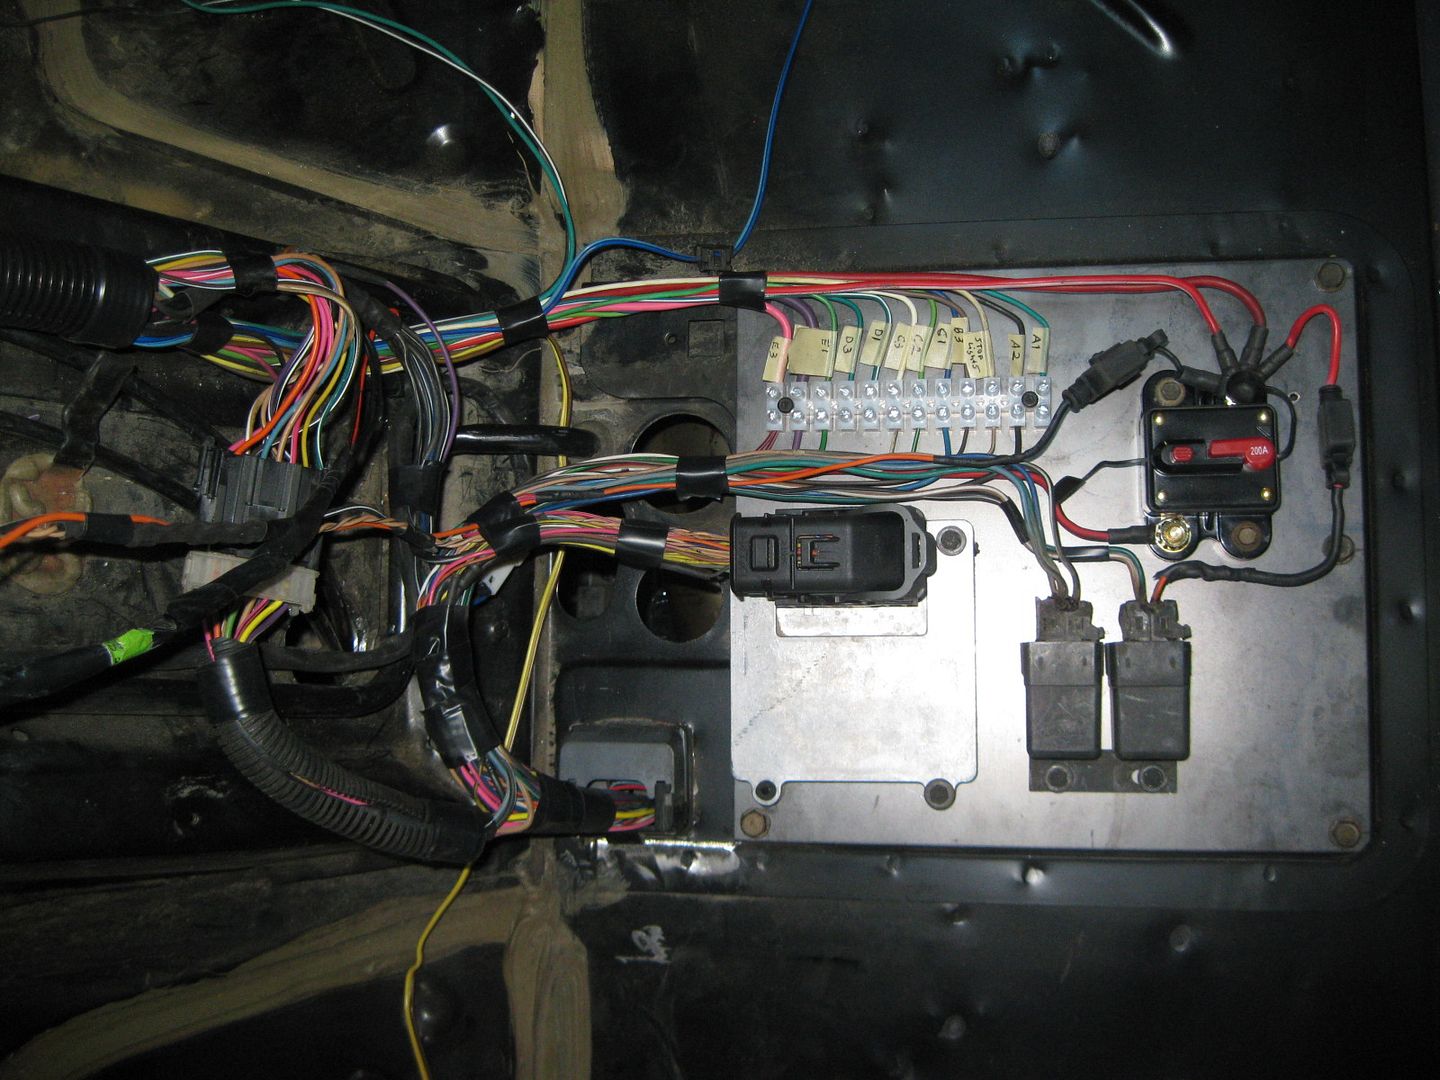
Didn't work much on the LS4 swap today... but I did make a new panel for the center console area and started to mount the components to it.
For mounting the TCM, I forced some vacuum lines through the mounting holes and cut them off with about 1/8" sticking through both sides. Then I could use typical fiero interior screws to bolt it down and keep it isolated. As I tightened the screw, the vacuum line mushroomed out some.
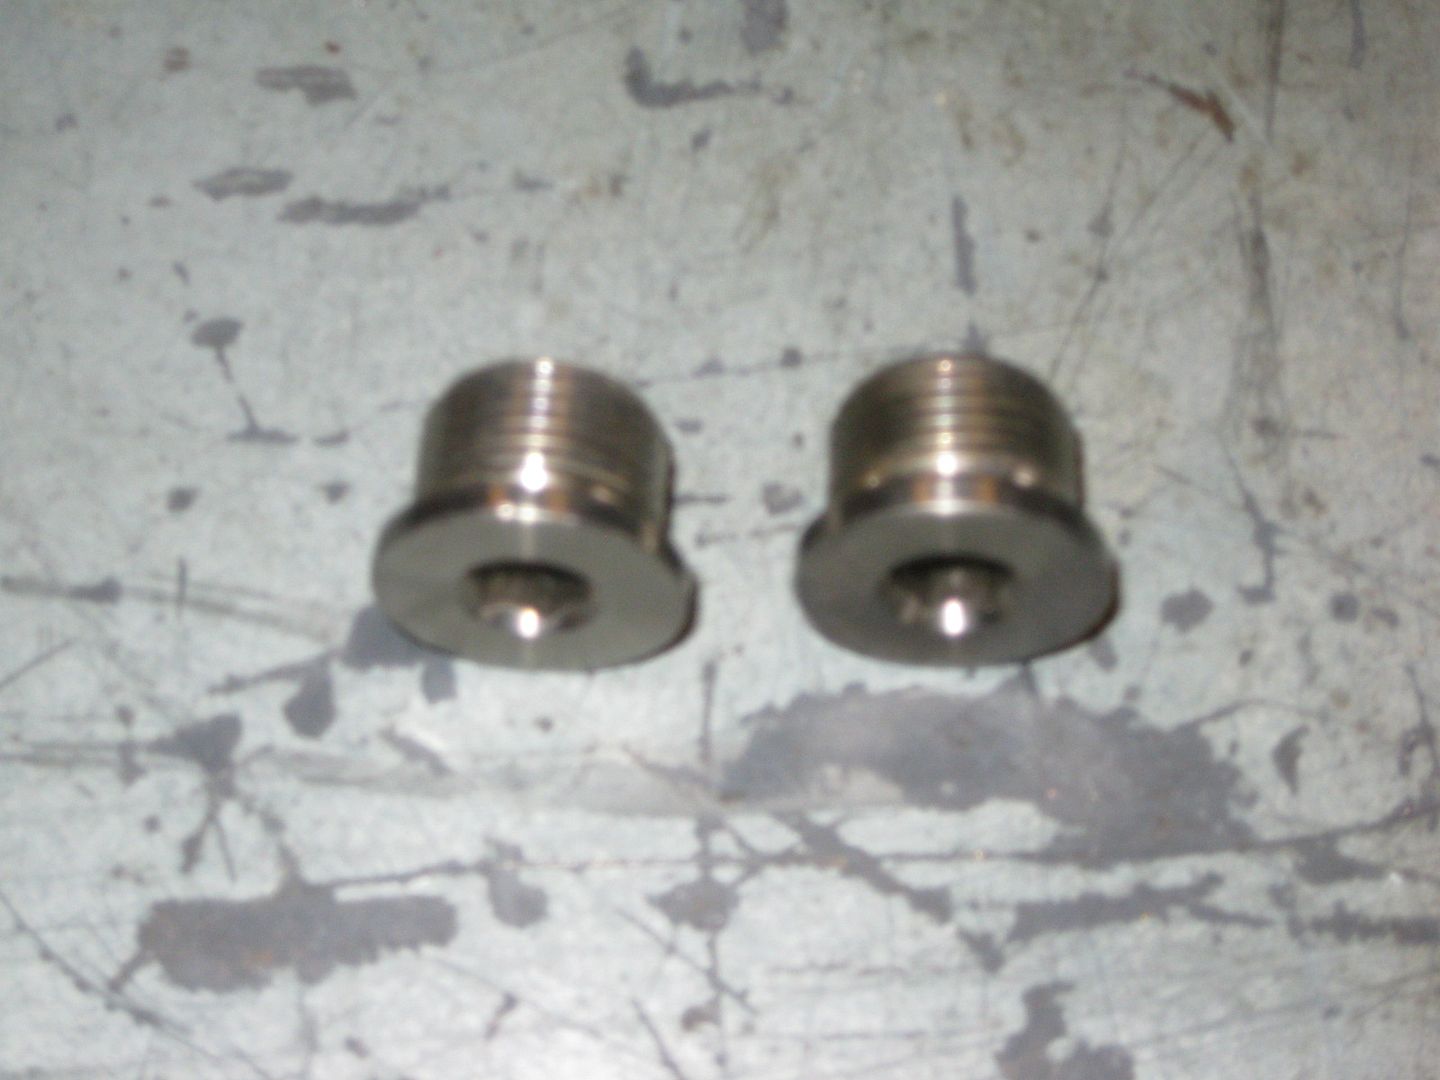
The "official" GM Transmission fluid plug arrived today and guess what? It looks just like the O2 sensor plug, but in a coated steel vs. stainless steel and it doesn't have an o-ring on it either.... go figure. The stainless O2 sensor plug looks much better, so that is what I am going to use.
The other silicone reducer came in today... looks much better than the electrical tape I have been using to hold it still. Once the swap is running and tuned, I will probably switch to the card style MAF and extend the tube. That will streamline the inlet tract and allow the MAF to be hidden and one of the couplers to go away.
[This message has been edited by fieroguru (edited 11-19-2012).]
Originally posted by fieroguru: Now when the engine comes out again I can finish the terminations at the last ECM plug (BLUE) and call the harness finished!!! I really hate wiring...
Though you do such an meticulous job with it! Out of the handful of people that have seen pics of your past work that I've spoken too, everyone of them said that your attention to detail, especially with the wiring, is what makes it so clean and gives it a "factory" look. Thanks for the update!
Though you do such an meticulous job with it! Out of the handful of people that have seen pics of your past work that I've spoken too, everyone of them said that your attention to detail, especially with the wiring, is what makes it so clean and gives it a "factory" look. Thanks for the update!
I would argue this. The factory tend to throw in the wiring and put an ugly plastic cover over things.
This is far better detail.
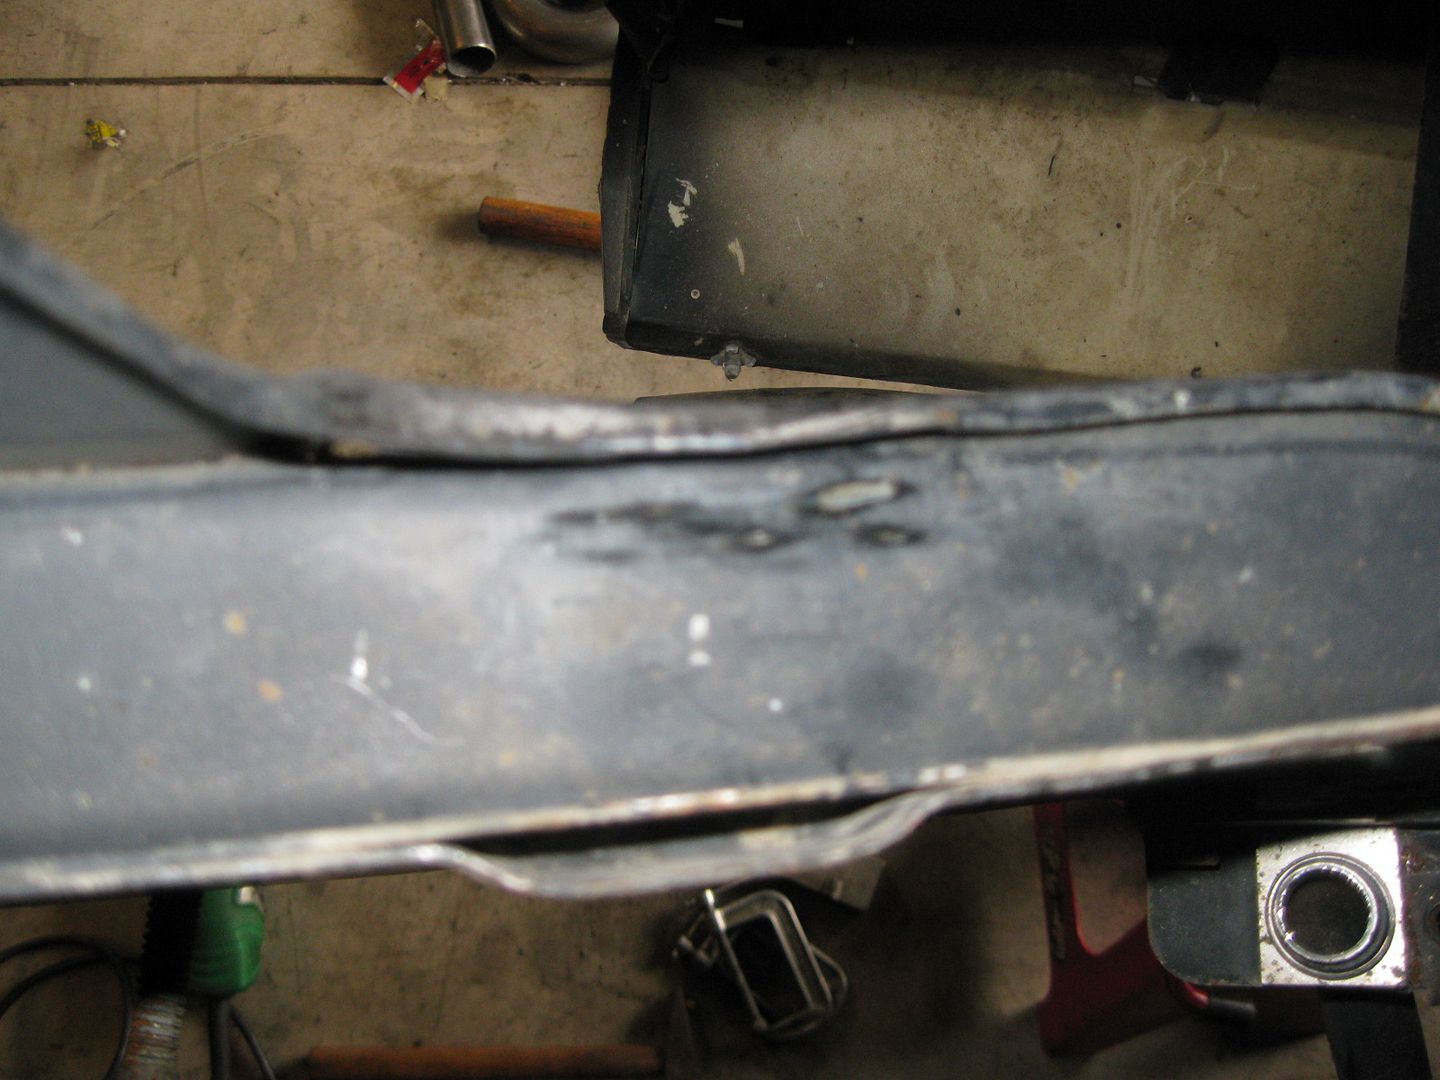
To me, things that look factory will not get noticed by most. For example, when this car is at a show, no one will know that the notch on the driver's side frame rail for the trans was moved to fit the F40.
That's just one example. I'm sure there are dozens more on this car.
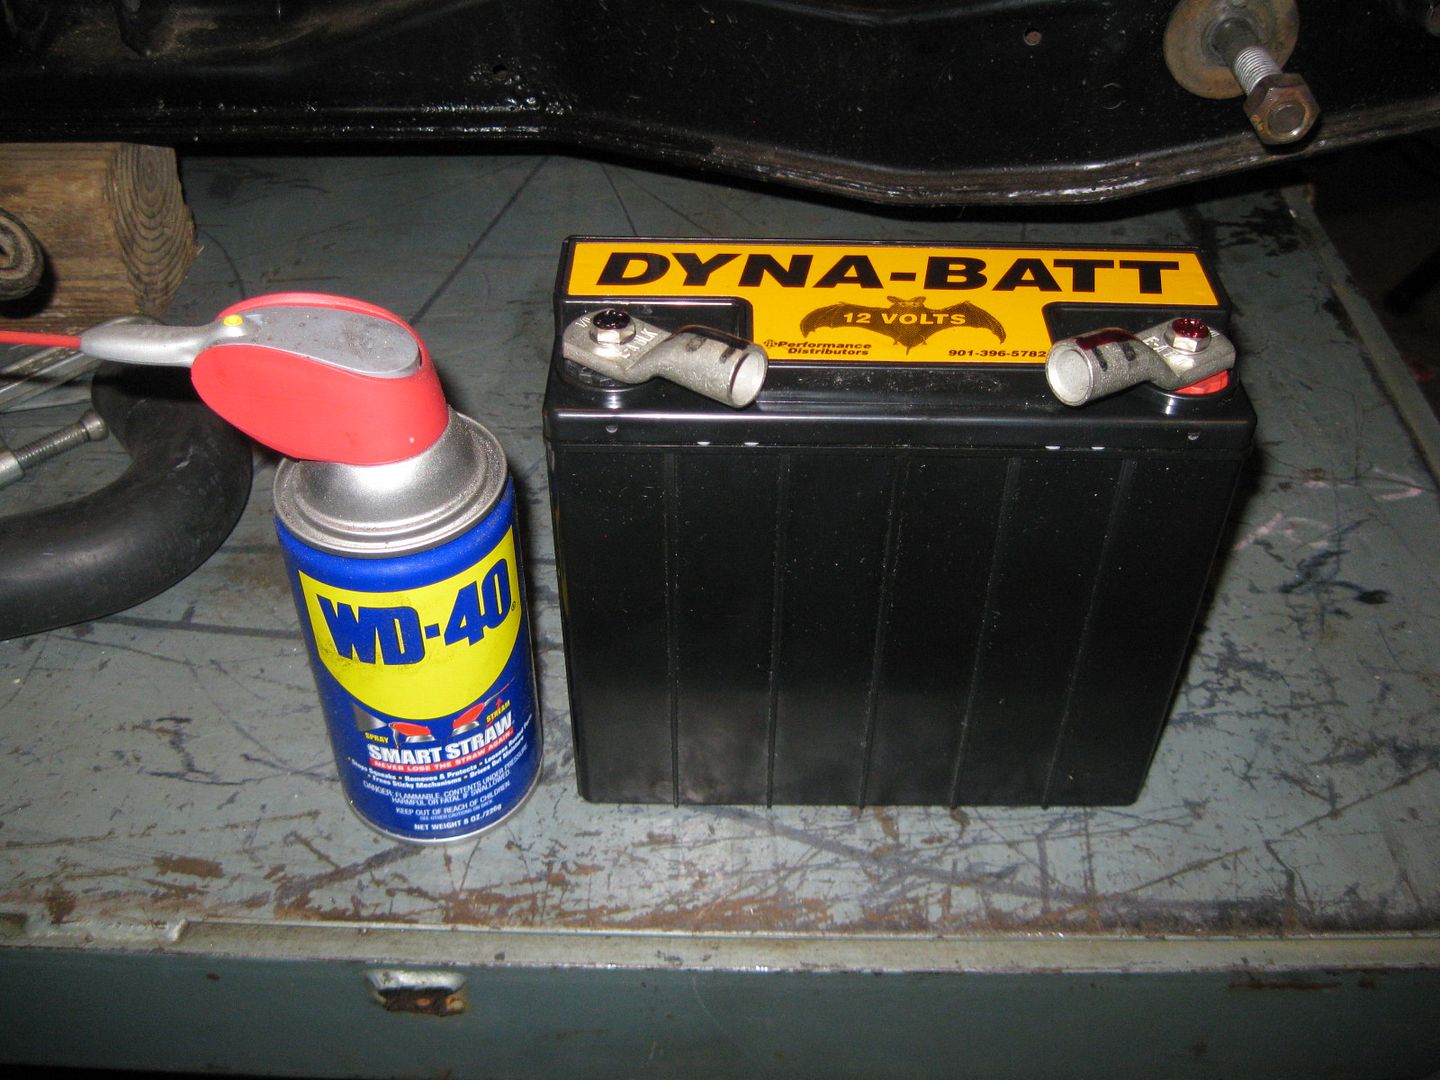
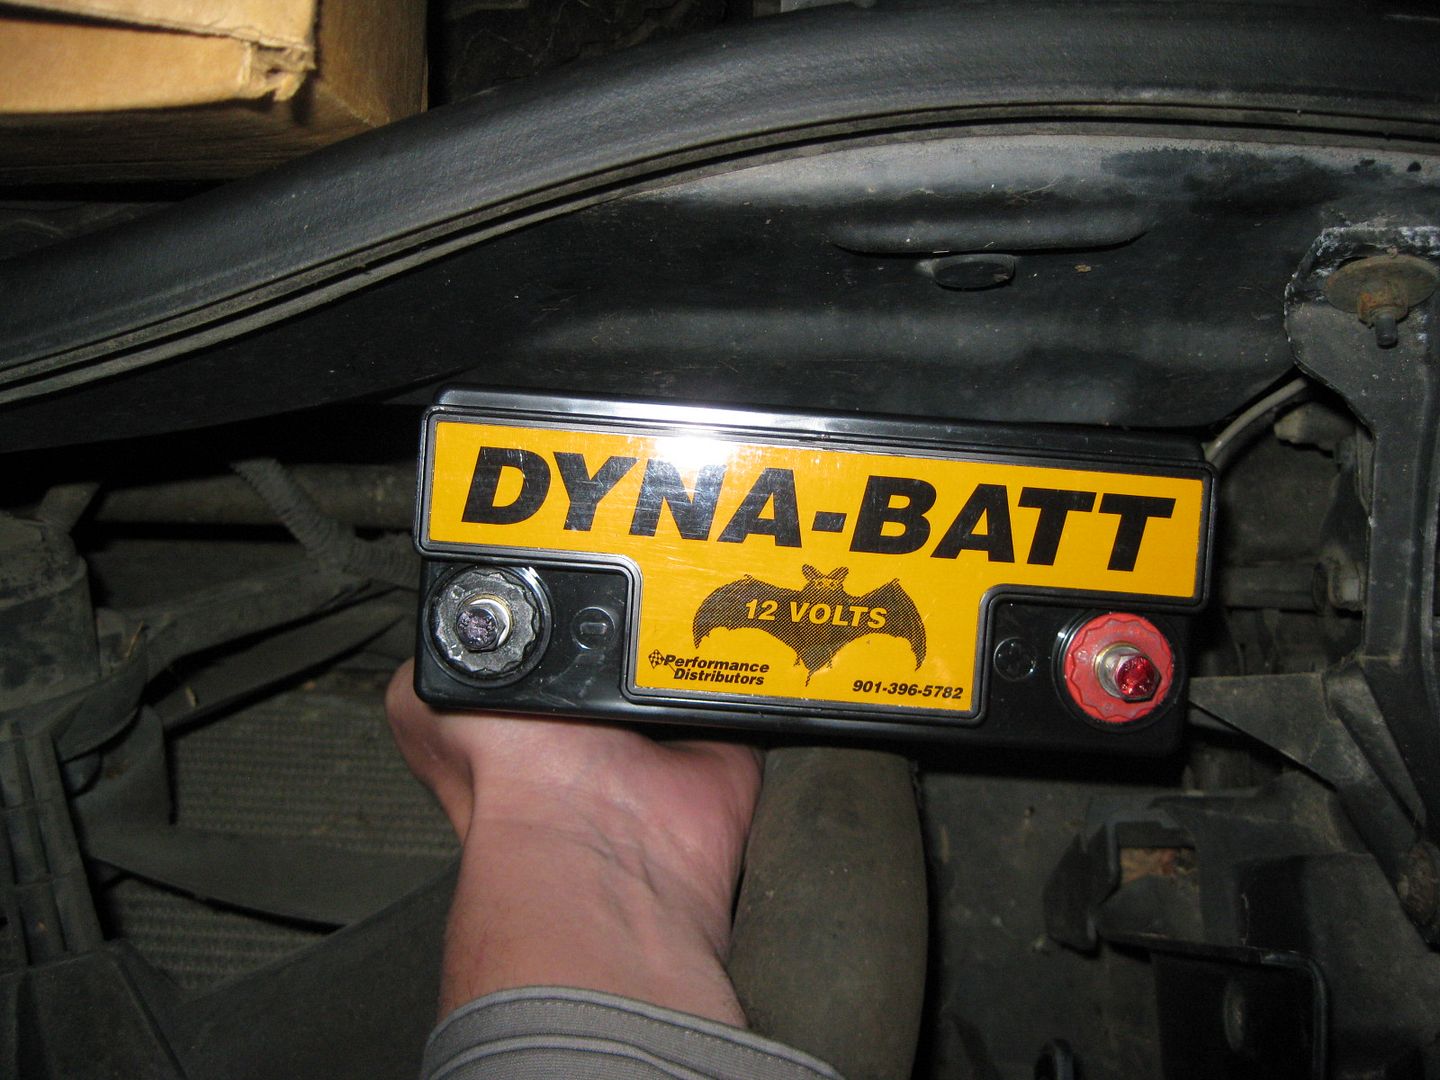
Since this is a non-aero notchie, I can't mount the battery under the headlight like I usually do. This swap also has me more weight conscious than normal and looking for ways to save weight vs. my old SBC/Getrag swap. So both of these items will have me experimenting with a Dyna-Batt battery. The battery has a 7 x 3 x 6.5 foot print and weights only 13.5 lbs... a 20 lb savings from a stock Fiero battery and its small size should allow it to be mounted between the spare tire tub and the radiator and not in the spare tire tub at all. This would provide access for jump starting and require just 4 mounting holes (after I fab up a bracket to hold it).
I might need to keep the blue dingy thing for my headlights because these small batteries don't last nearly as long as a stock sized battery.
Thats a cool battery. Never heard of a dry cell automotive starting battery. I wonder if it gives off fumes when charging like lead acid?
Battery relocation cables are on order. The A/C line ferrules arrived today so I put the A/C hose together. I did have to enlarge the offset hole in the ferrules to slide them over the factory ridges, but that wasn't much work for the die grinder.
On Thursday I will run to Napa over lunch and have then crimp the ferrules for me.
This weekend I need to finish up the coolant lines for the engine.
It's good to know Napa will crimp hoses. Our local industrial supplier has a sign on the front door, "If you didn't by our hose we don't crimp ."
Are you going 134a conversion or staying with R-12?
Thanks!
Our local Napa is rather large and offers more services than others I have been to. I had previously called them and they just wanted to know if I would be supplying the ferrules (which I said yes). The ones they have often needed to have the hole enlarged and it was more of a hassle than anything. The unknown at this time is how large their crimper is and will it fit around the close fitting A/C lines. If theirs doesn't fit, then I will purchase the dies for the #8 and #12 (about $20 each) and crimp them with my vice.
I used a cut off wheel to remove the oem crimped hose clamps from the LS4 compressor end as well as the Fiero chassis aluminum hose ends. Then It was a matter of cutting the new A/C barrier hose to the proper length. Here are some pictures of the test fit:
While searching for the ferrules for the ends I came across several types for the OEM bead lock (the ferrule is locked between two beads on the fitting) fittings. Most of them required a larrger hole in the ferrule so you could push the ferrule past the beads and use a c-clip to retain it. I am sure those would work, but I also found some that had the larger hole offset: http://www.mobileacproducts.com/ferrules.asp
So these just slide into place, fit in-between the beads, then when centered by the hose they are locked into place. Pretty slick setup, so that is what I am going with. You can buy the ferrules in packs of 25 for each size and they come to about $1 per ferrule. So I am buying 25 of the #8 and #10 and will likely sell the left overs in the mall.
For crimping these, I am planning to just take the assembled hose with new ferrules to NAPA and have them crimp them for me. The other option is to buy a crimping tool... but they are about $150 for the cheapest one and I don't build A/C lines very often. One of the most compact crimpers I have found is the ATCO 3300 Handi-Clamp:
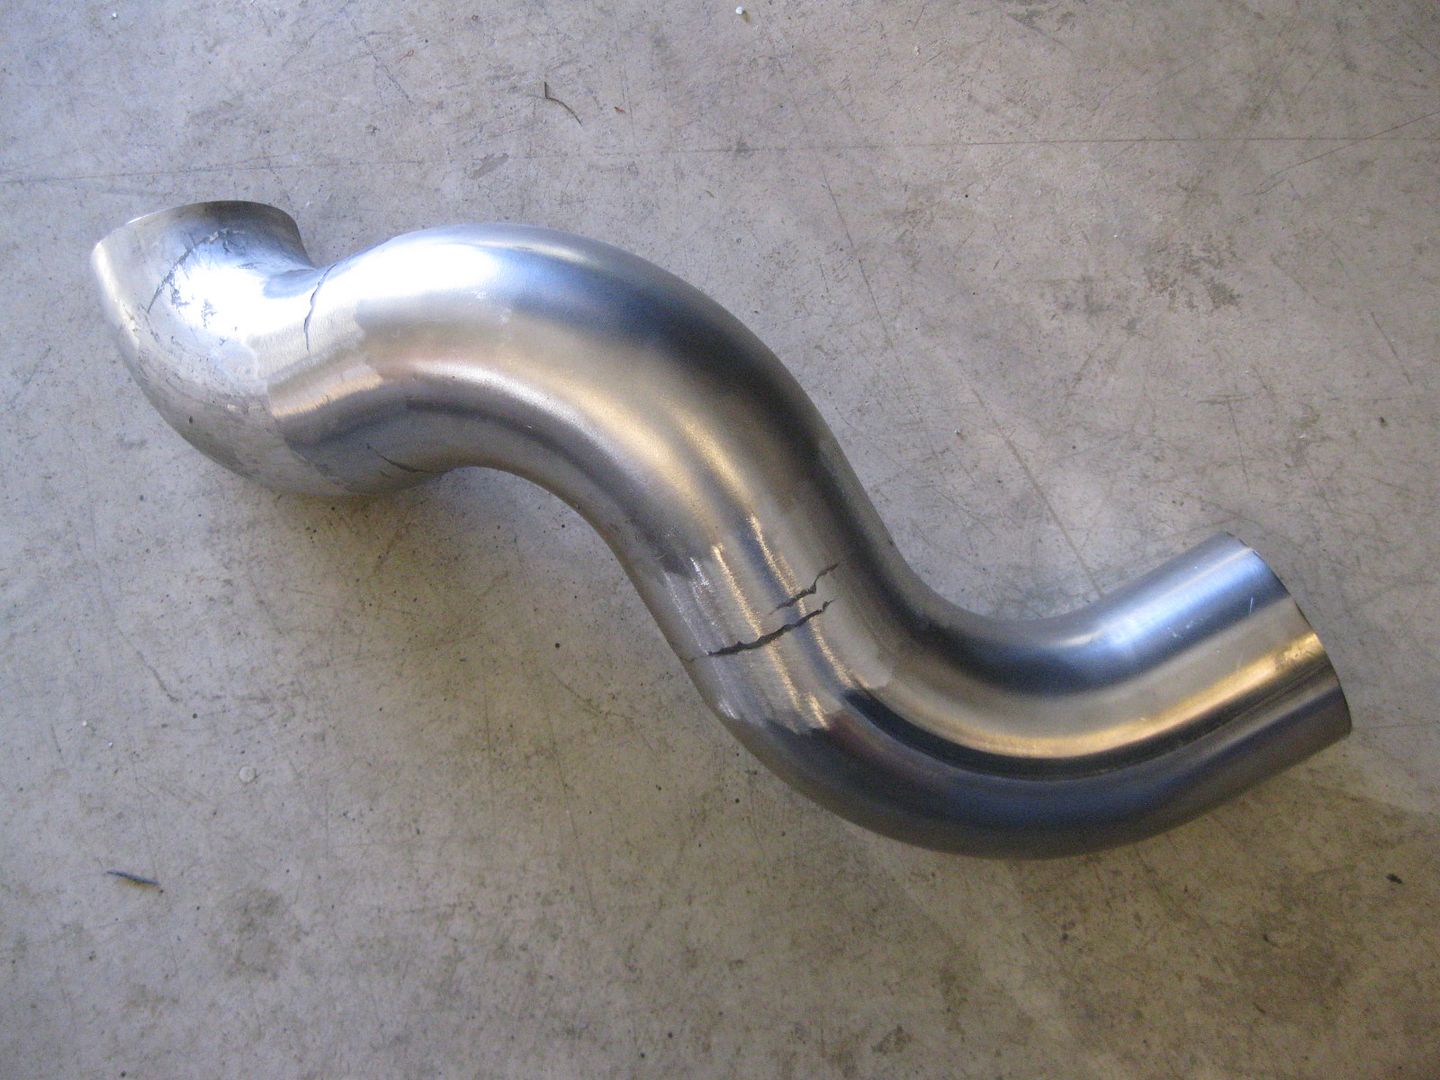
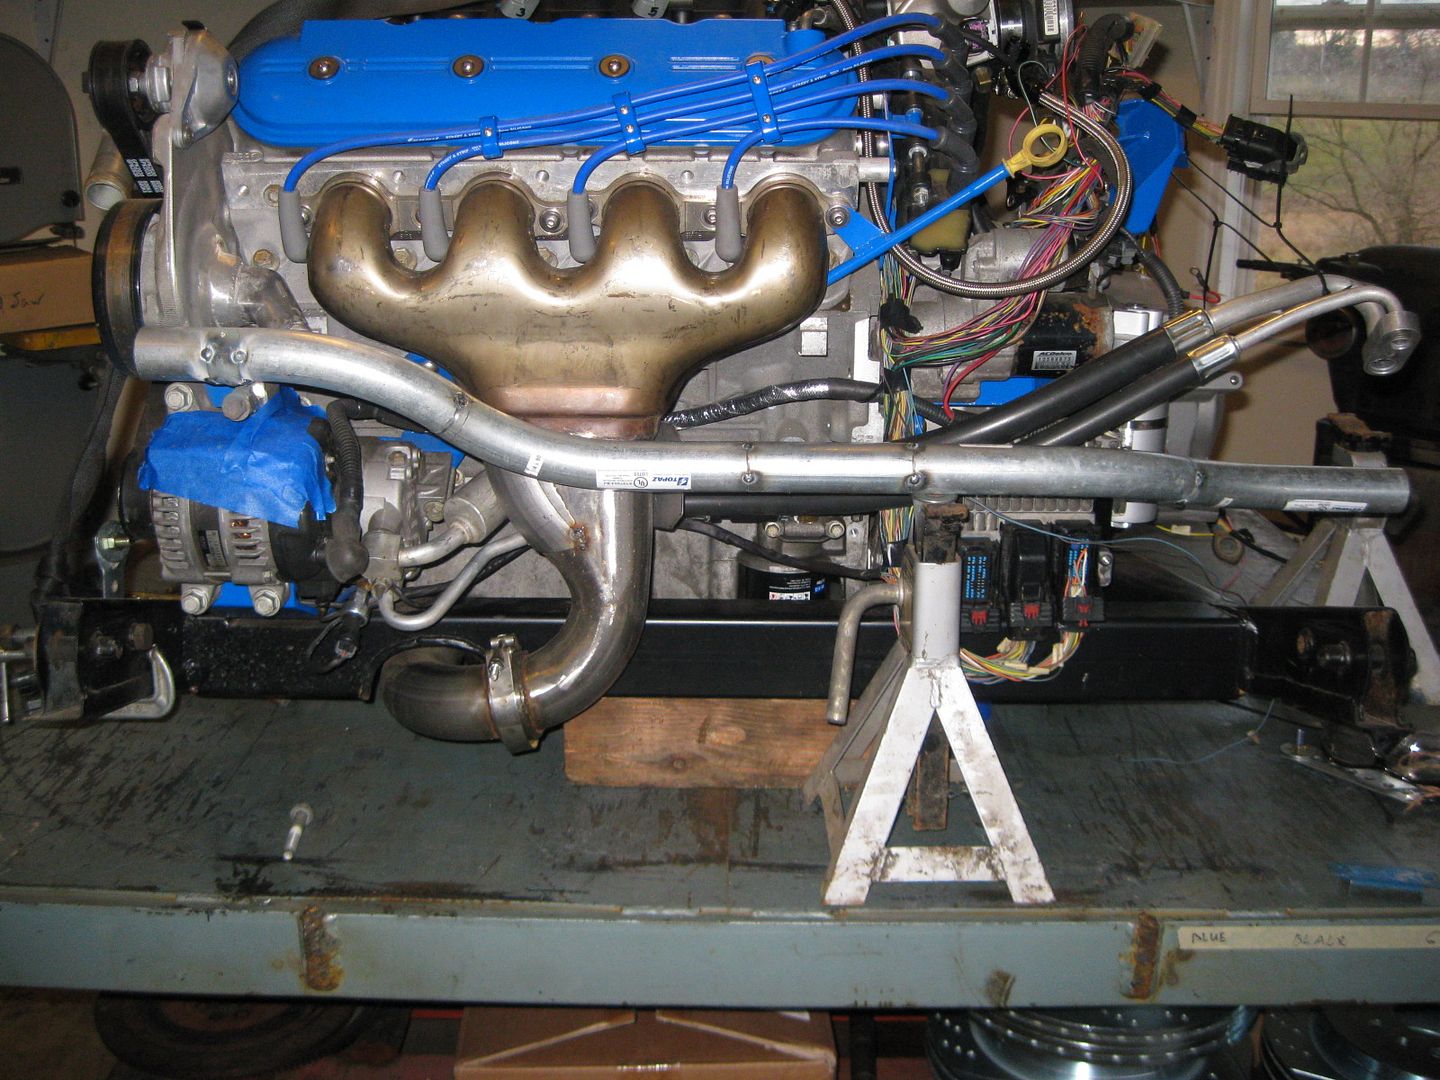
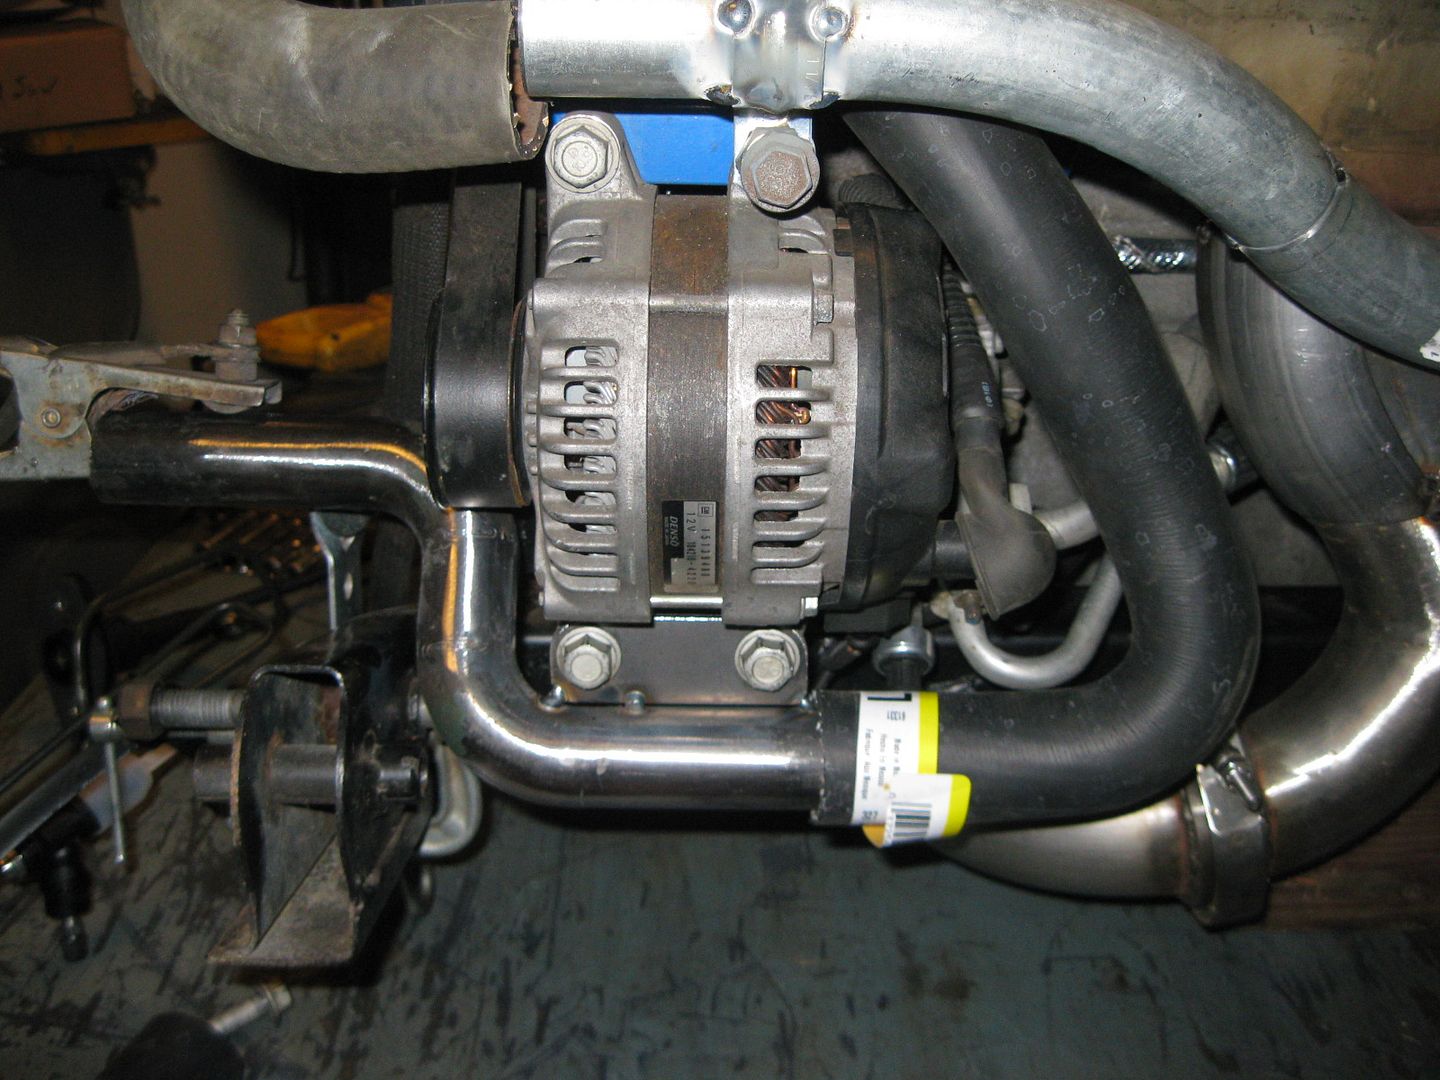
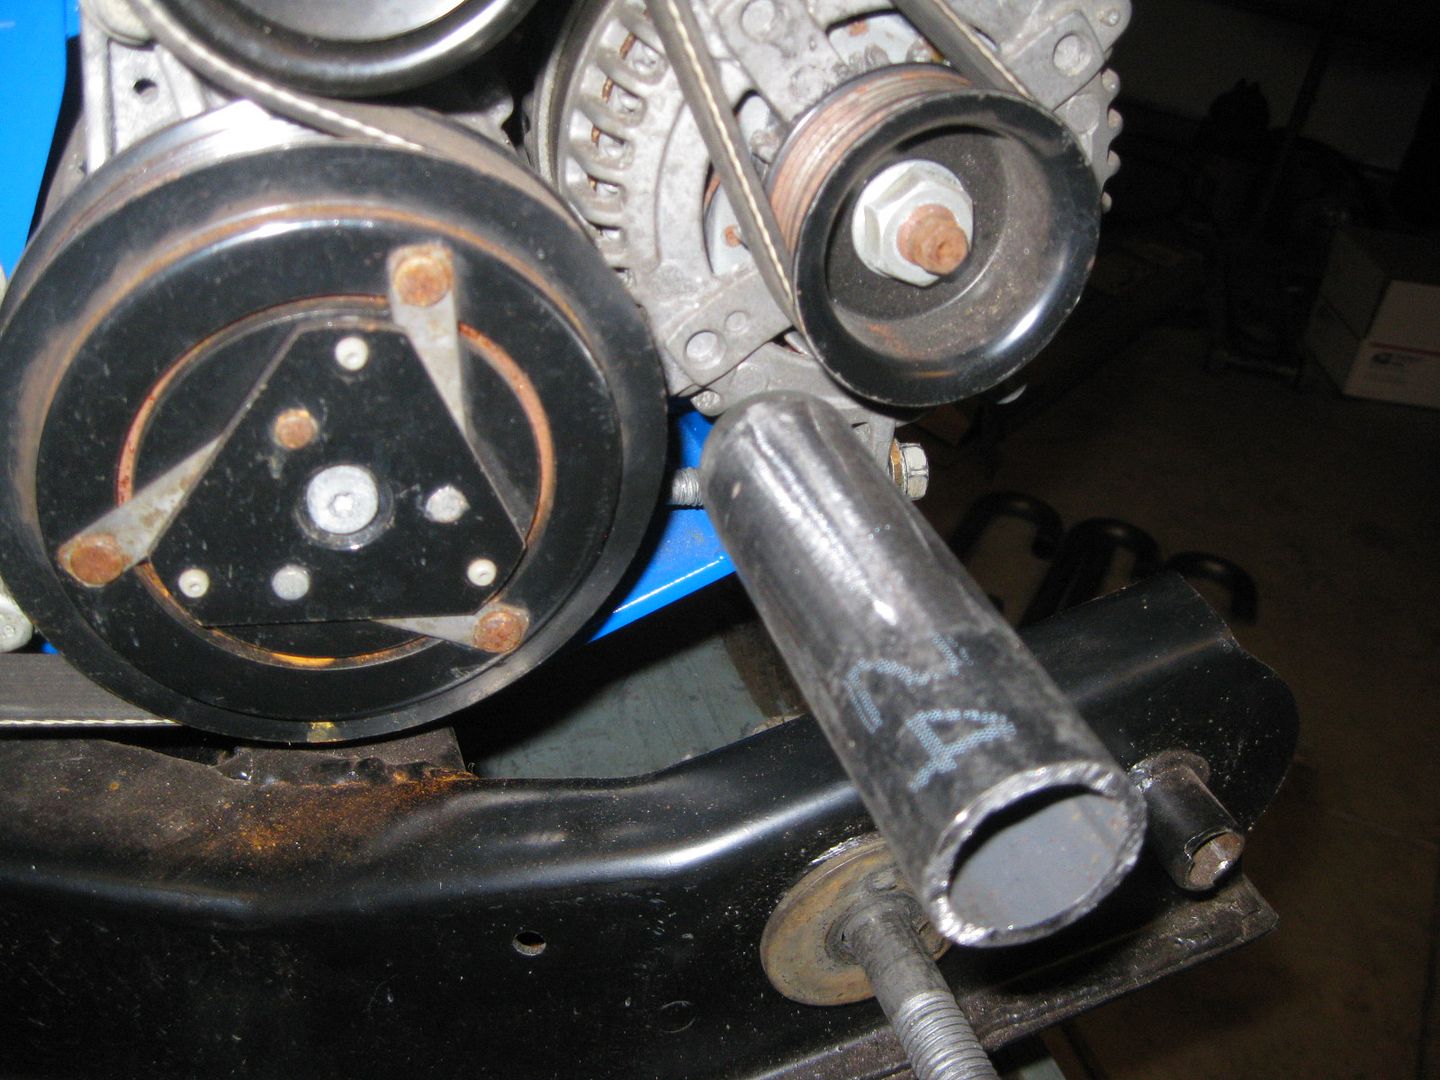
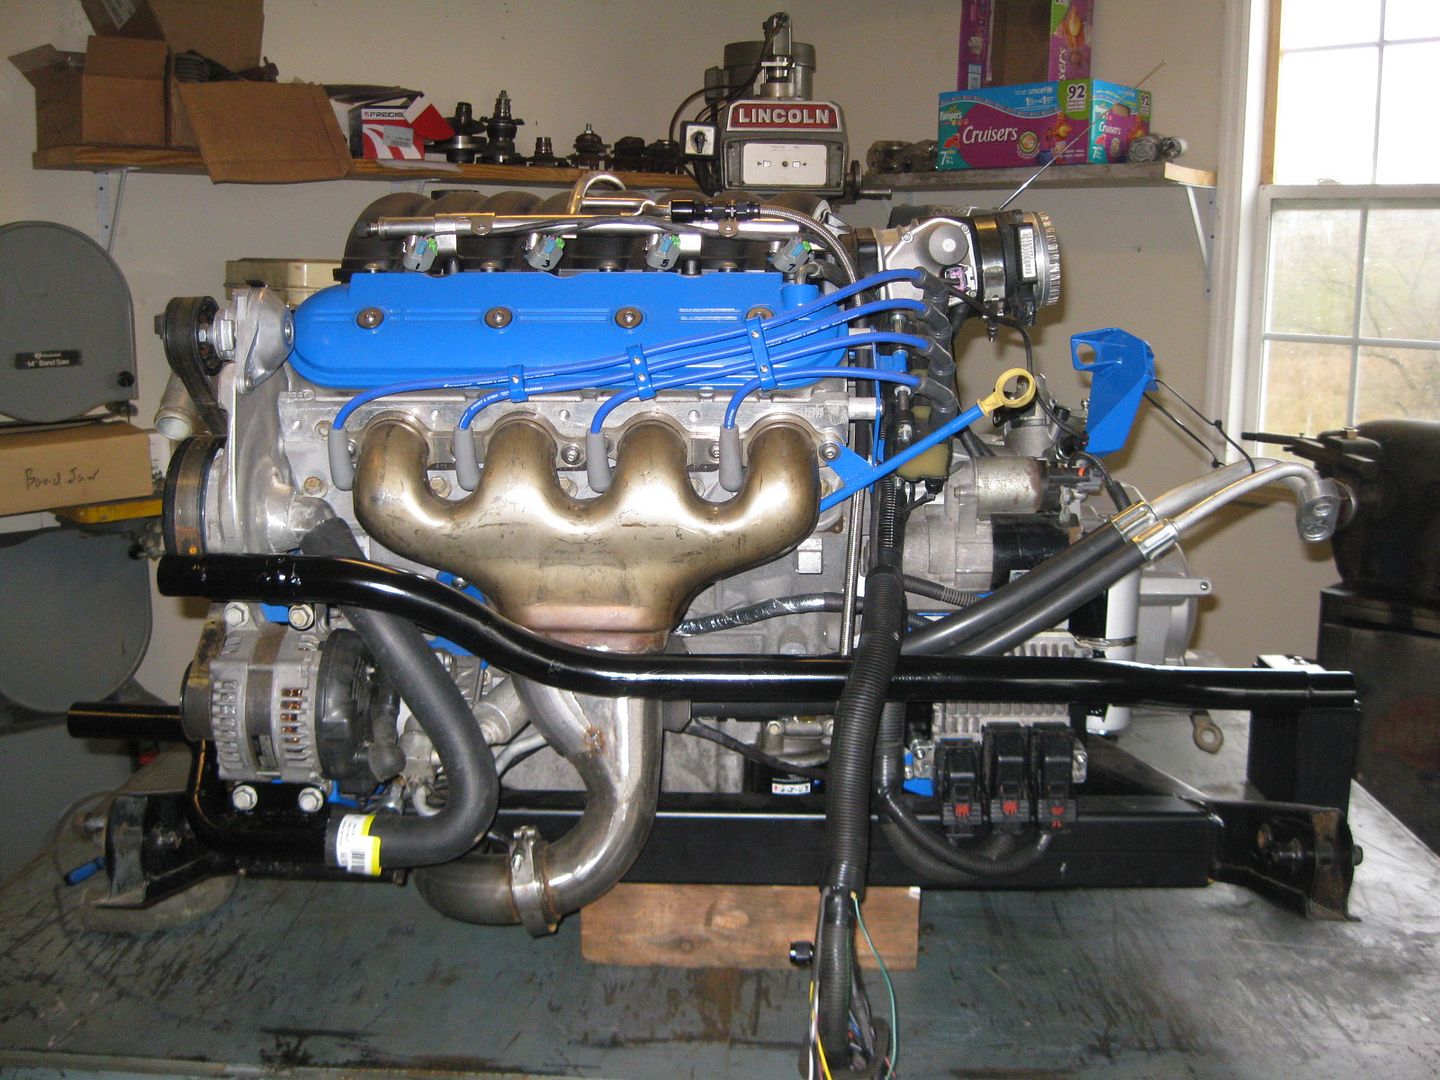
Everything is back on the bench and the crossover coolant tube is mocked up and tacked together:
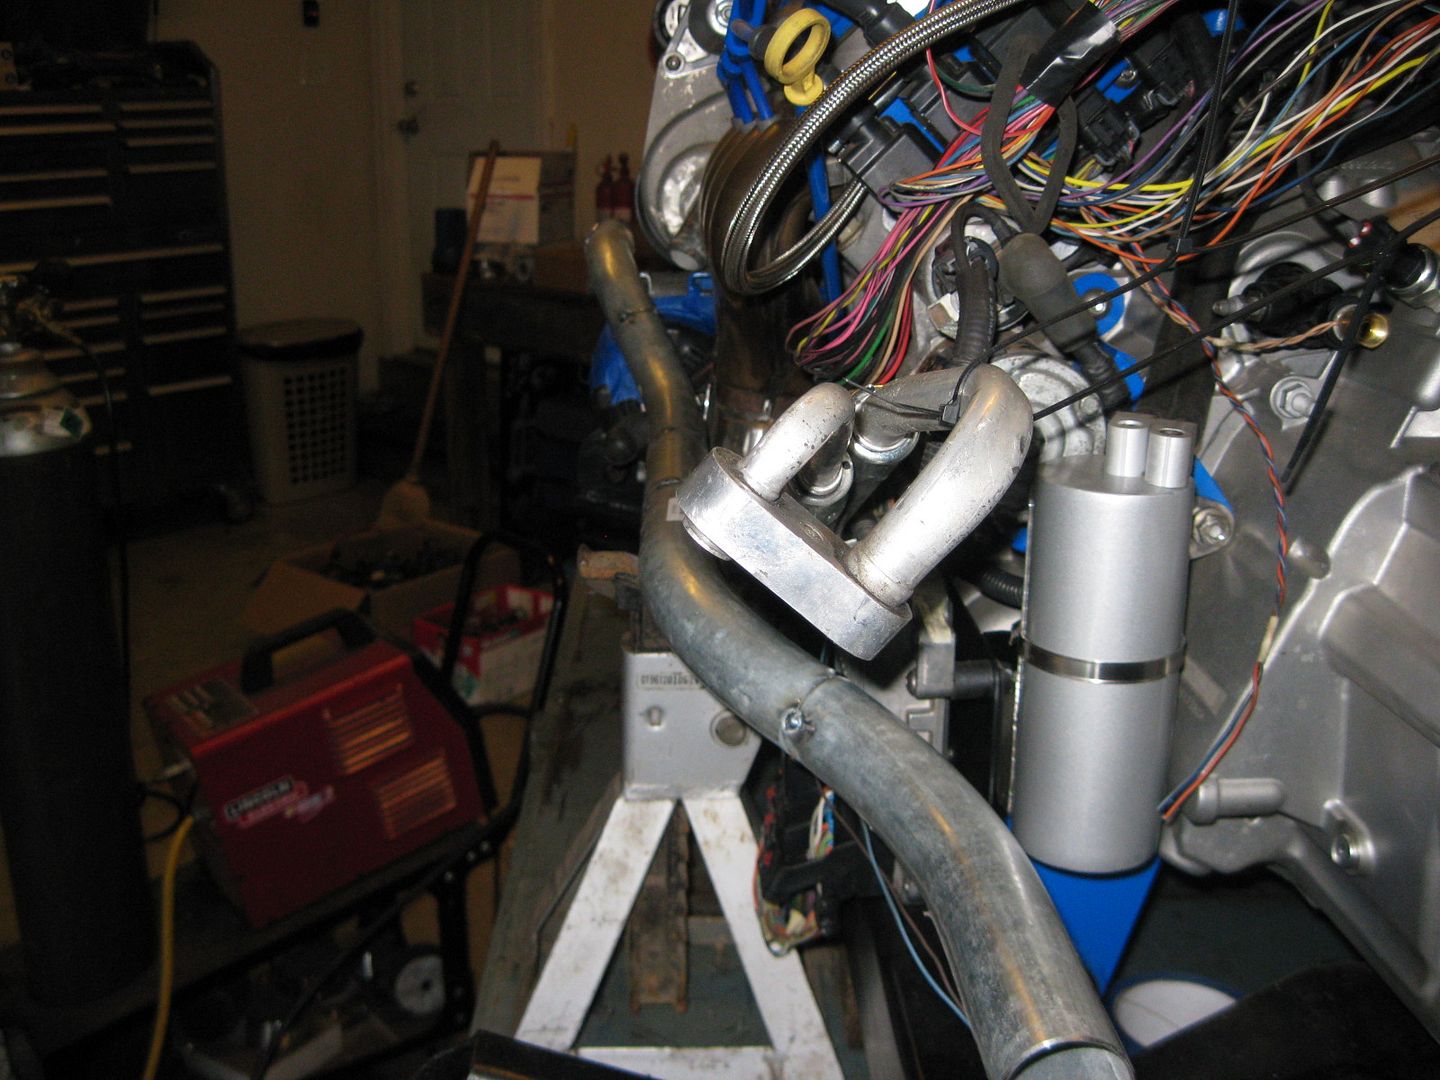
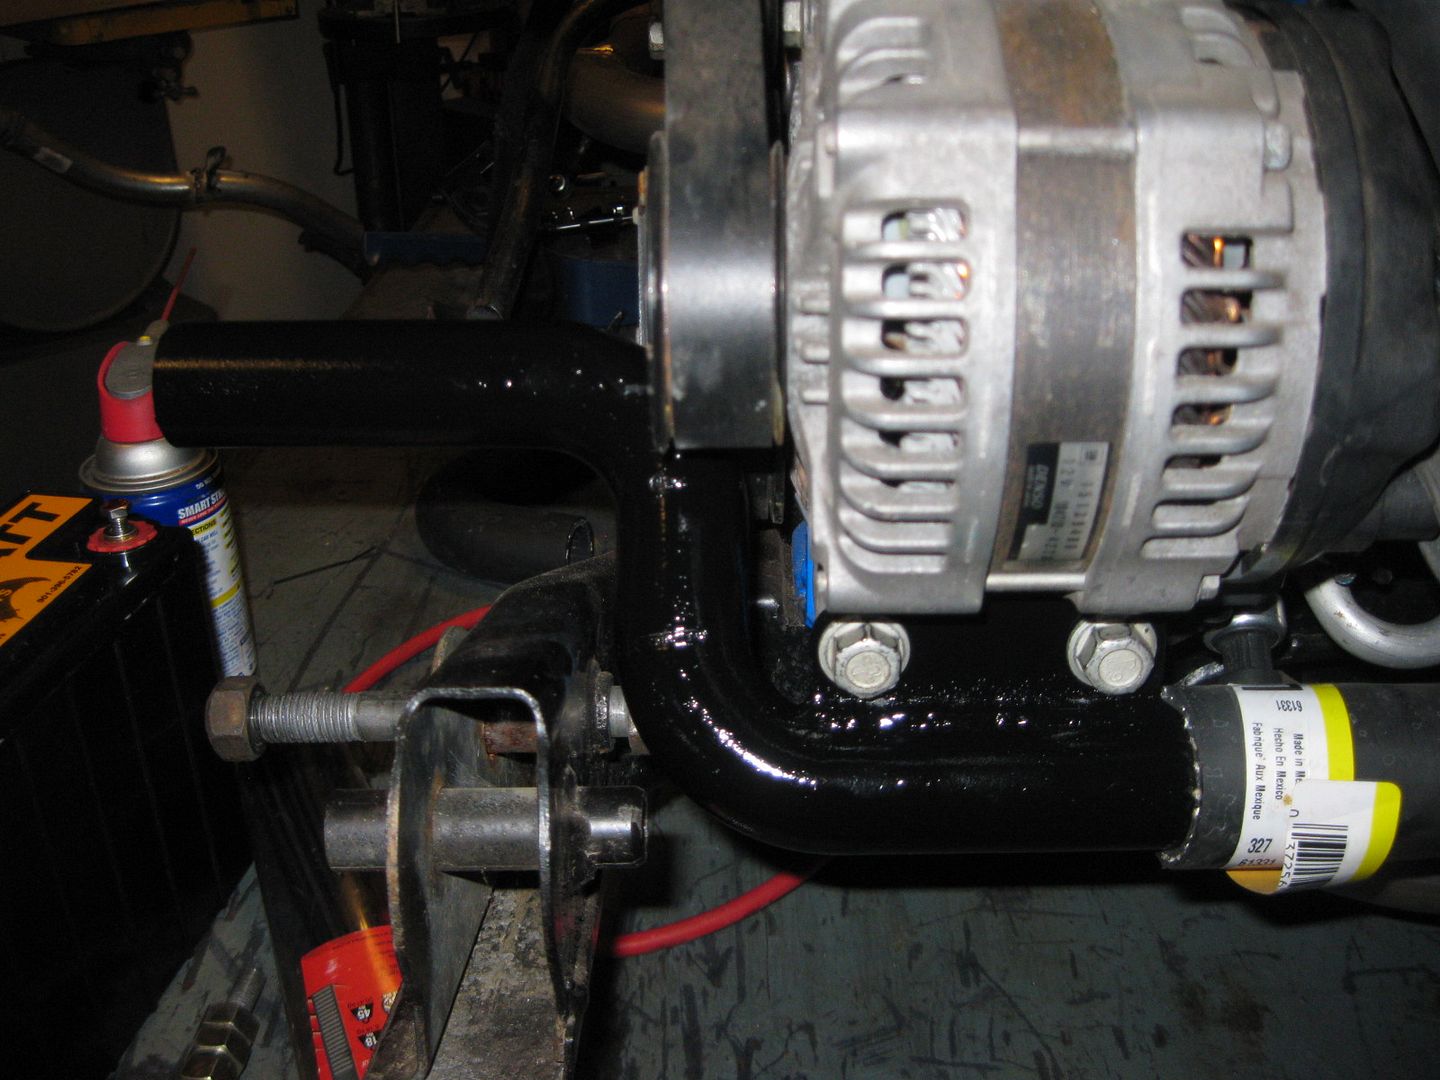
It is supported on the pulley side of the engine from a bracket off the alternator. I am fabbing up the bracket on the transmission side that will come off the catch can bracket.
This is the easy side... the other one is very tight with little room...
[This message has been edited by fieroguru (edited 12-02-2012).]
Originally posted by fieroguru: Napa crimped my A/C lines with the hand tool shown above. They charged me $5 to crimp all 4 ferrules, so that wasn't bad at all.
I never even knew those ferrules were available, much less crimpable at NAPA or even at home. Learn a new thing everyday.
Originally posted by Bloozberry: I never even knew those ferrules were available, much less crimpable at NAPA or even at home. Learn a new thing everyday.
Yeah, I didn't know they were available either until a few months ago. It was a fun search once I came across them to figure out what I wanted/needed and then how to get them crimped. Once this car is running and I have more available funds, I will buy the hand crimper and add it to the collection. Napa only charged me $5 to do all 4 crimps!
[This message has been edited by fieroguru (edited 12-05-2012).]
Here is one of the places I am thinking about mounting it. Easily accessible but out of the way. It is a dry cell battery, so I might be able to bolt it under the sheet metal and over the fascia edge below the passenger head light:
This weekend I will throw some cables together and try to crank over the engine. With it having a gear reduction starter, I don't think spinning the engine will be any issue, but it would be nice to "know" before I bolt the battery down.
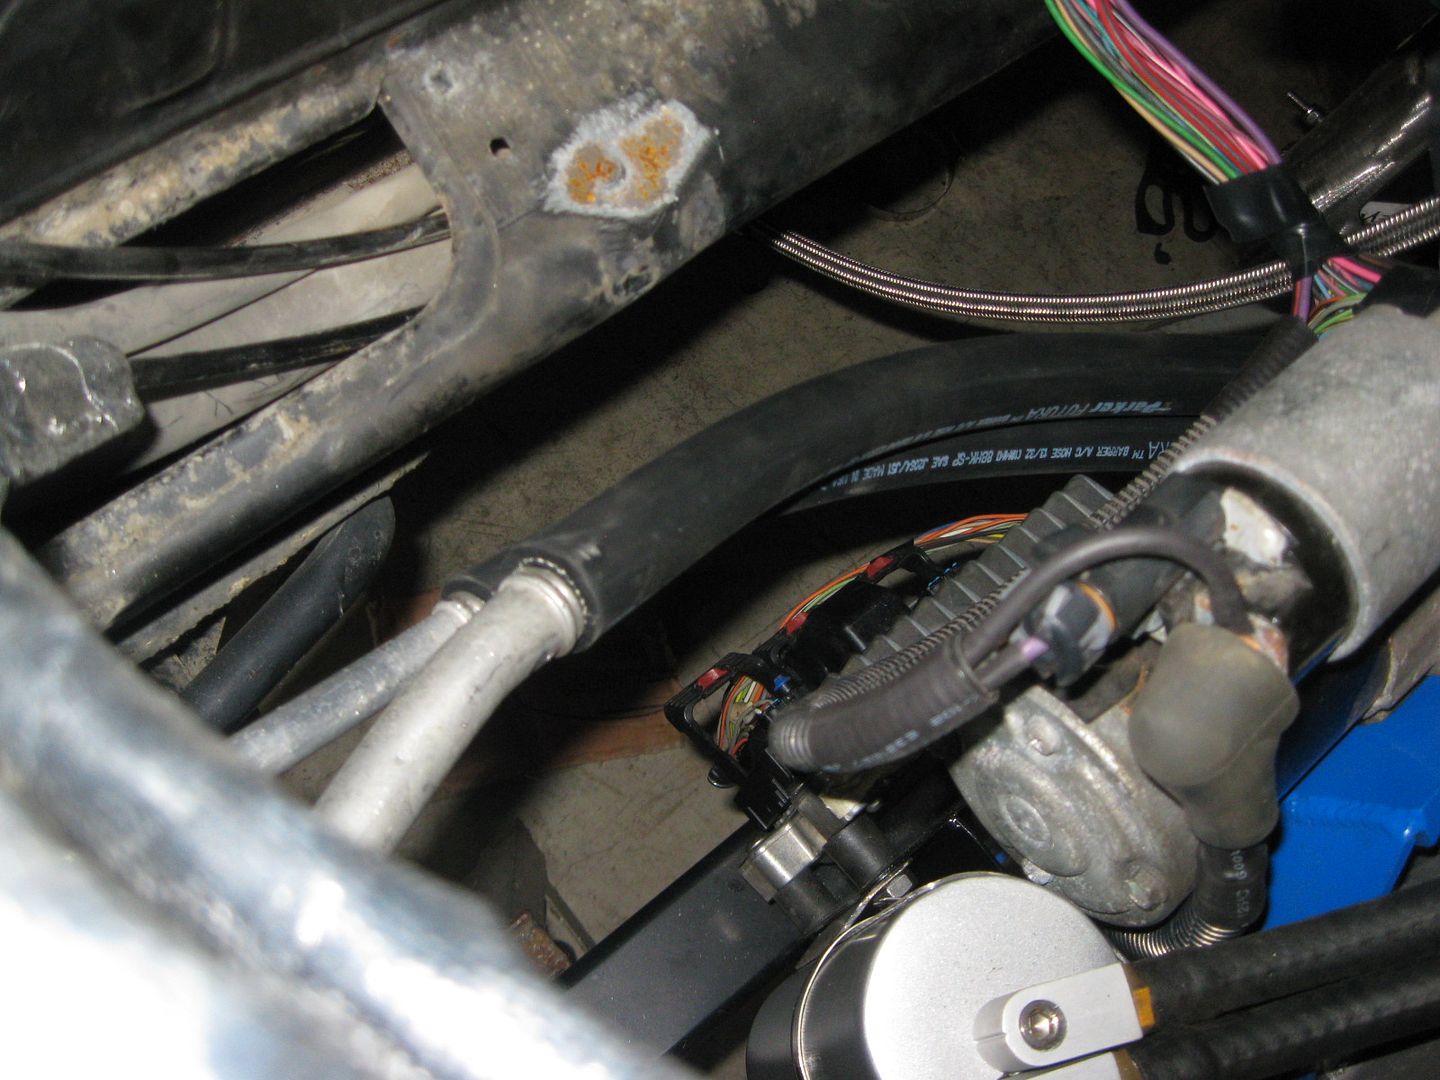
No picture but I also built a sub harness for the wideband. It runs in its own heat shrink loom from the sensor to the console area where the controller will be mounted. It follows the engine harness path and is wire tied to it to keep it mostly hidden from view. Keeping it separate will allow me to remove it at a later date if I wish to do so.
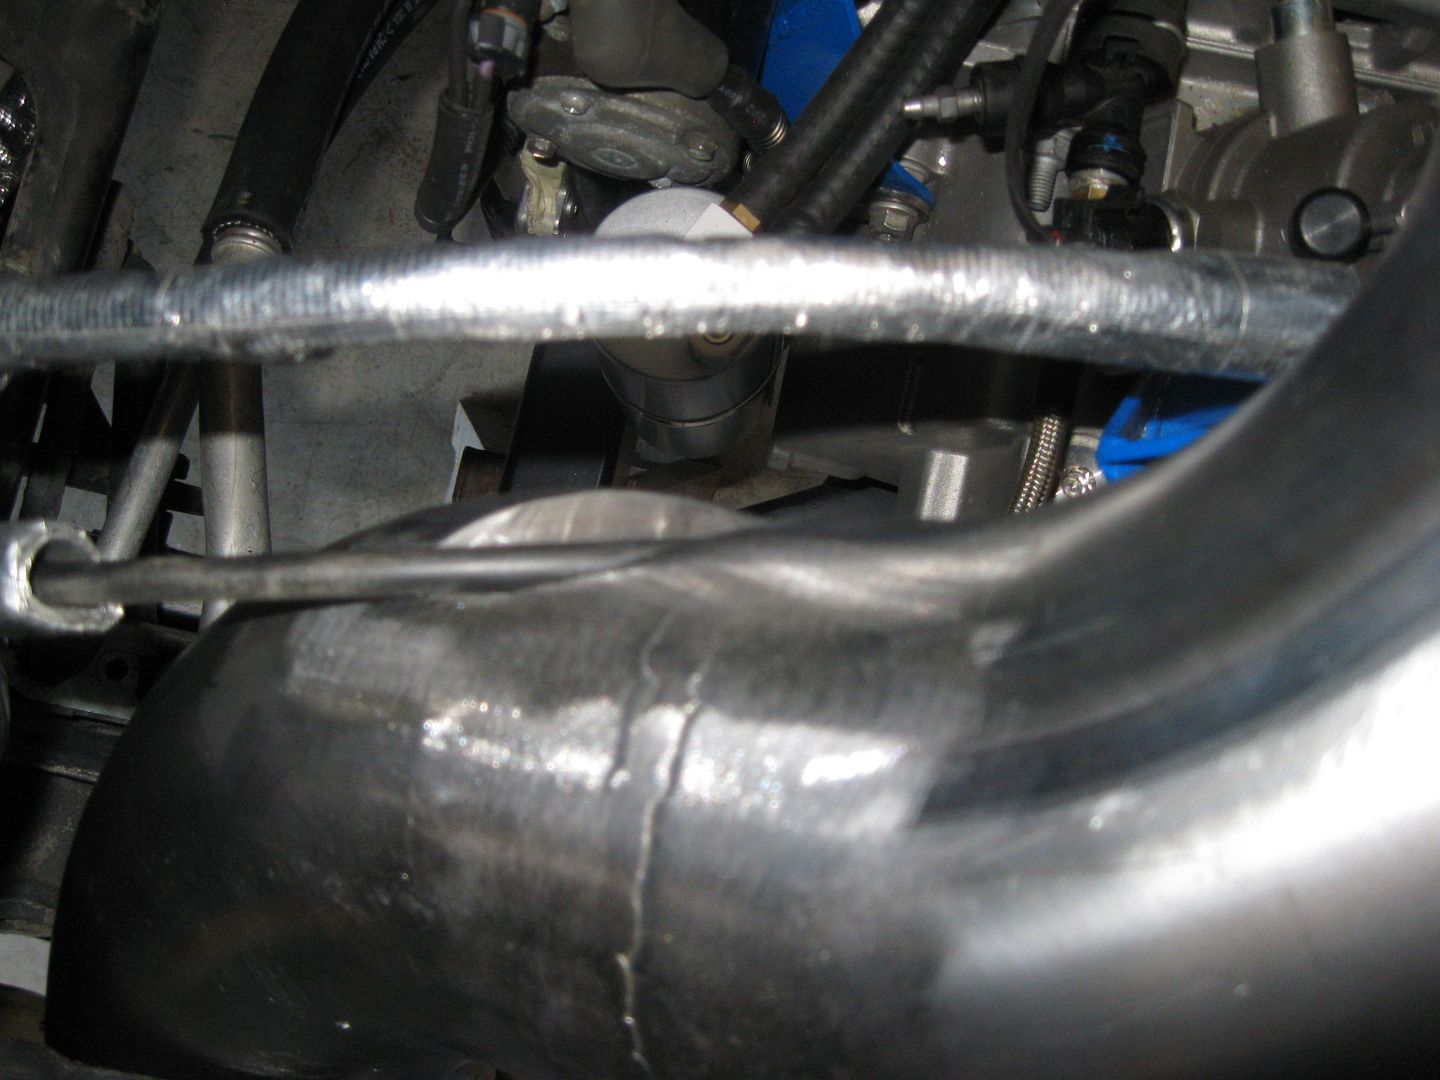
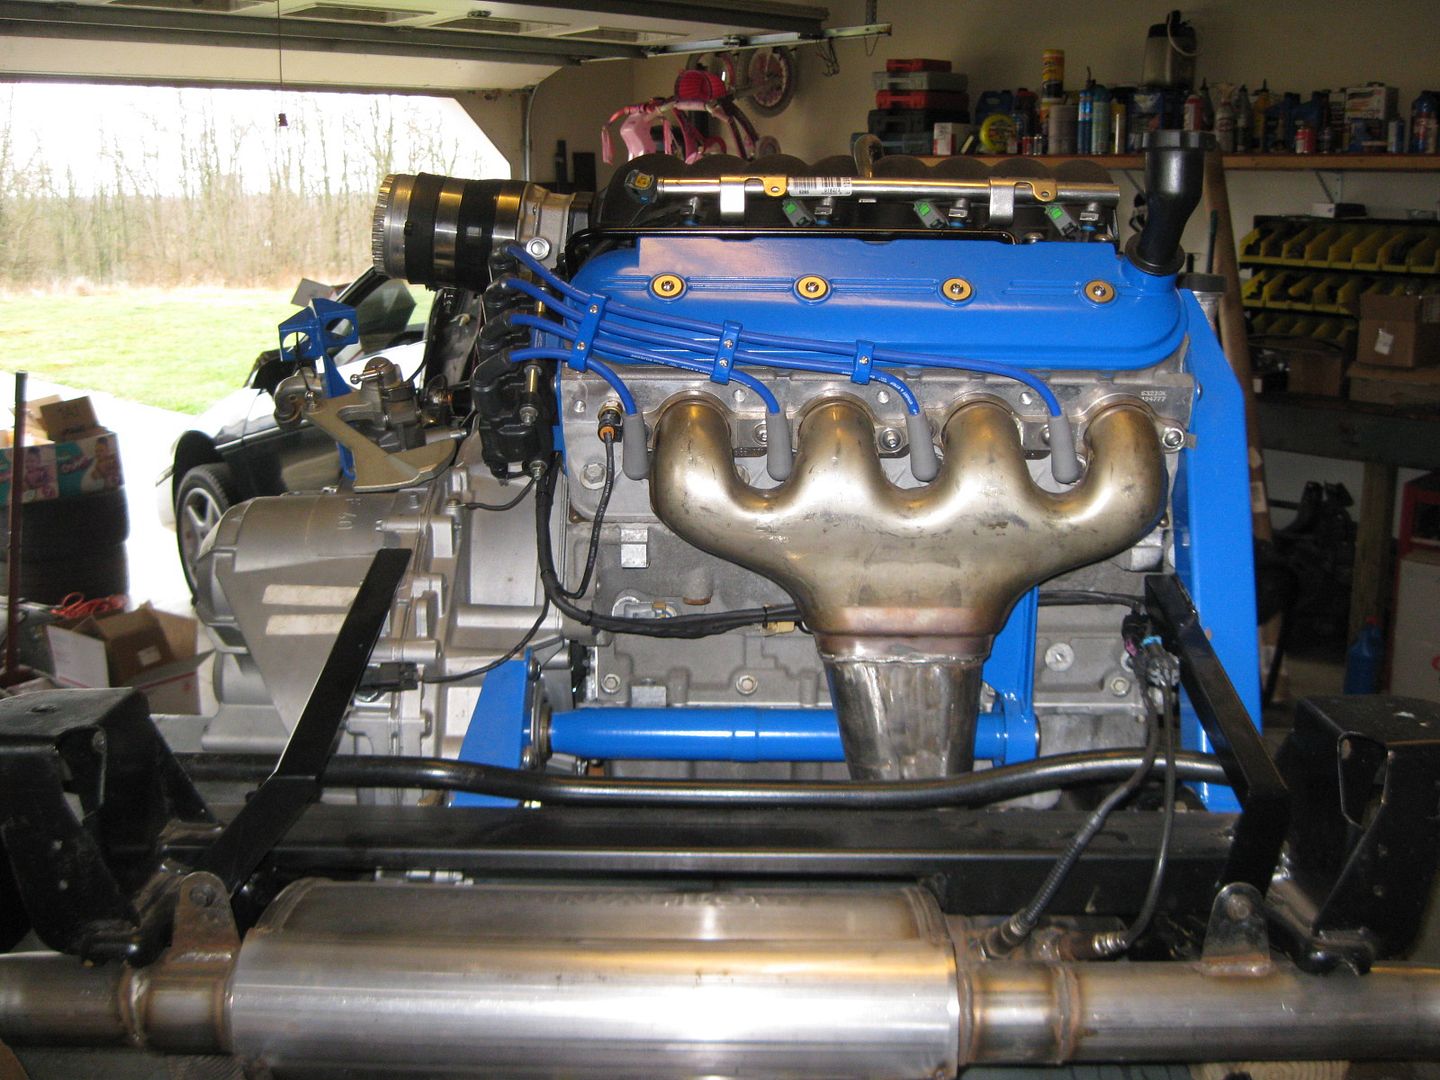
Also did the finish welding on the coolant tube tab that came off the catch can mount. Then I painted it satin black:
Finish welded the passenger side coolant tube hard line and painted it as well:
Painted the PCV hard line:
I also started welding up the long coolant tube. That should be finished, smoothed and painted on Sunday.
[This message has been edited by fieroguru (edited 12-08-2012).]
That's just so nice looking man... it's almost so nice looking that I'd never want to drive it. Just put it on a platform with some mirrors under there to show it off or something. lol
Thanks guys! I can't wait to have this thing running... but it will probably be sometime in January as there is still quite a bit to do.
I tested the DYNA-BATT battery today and it did spin the LS4/F40 combo, so I will proceed with mounting the battery. Here is a video of the test spin and a walk around the engine/tranny combo:
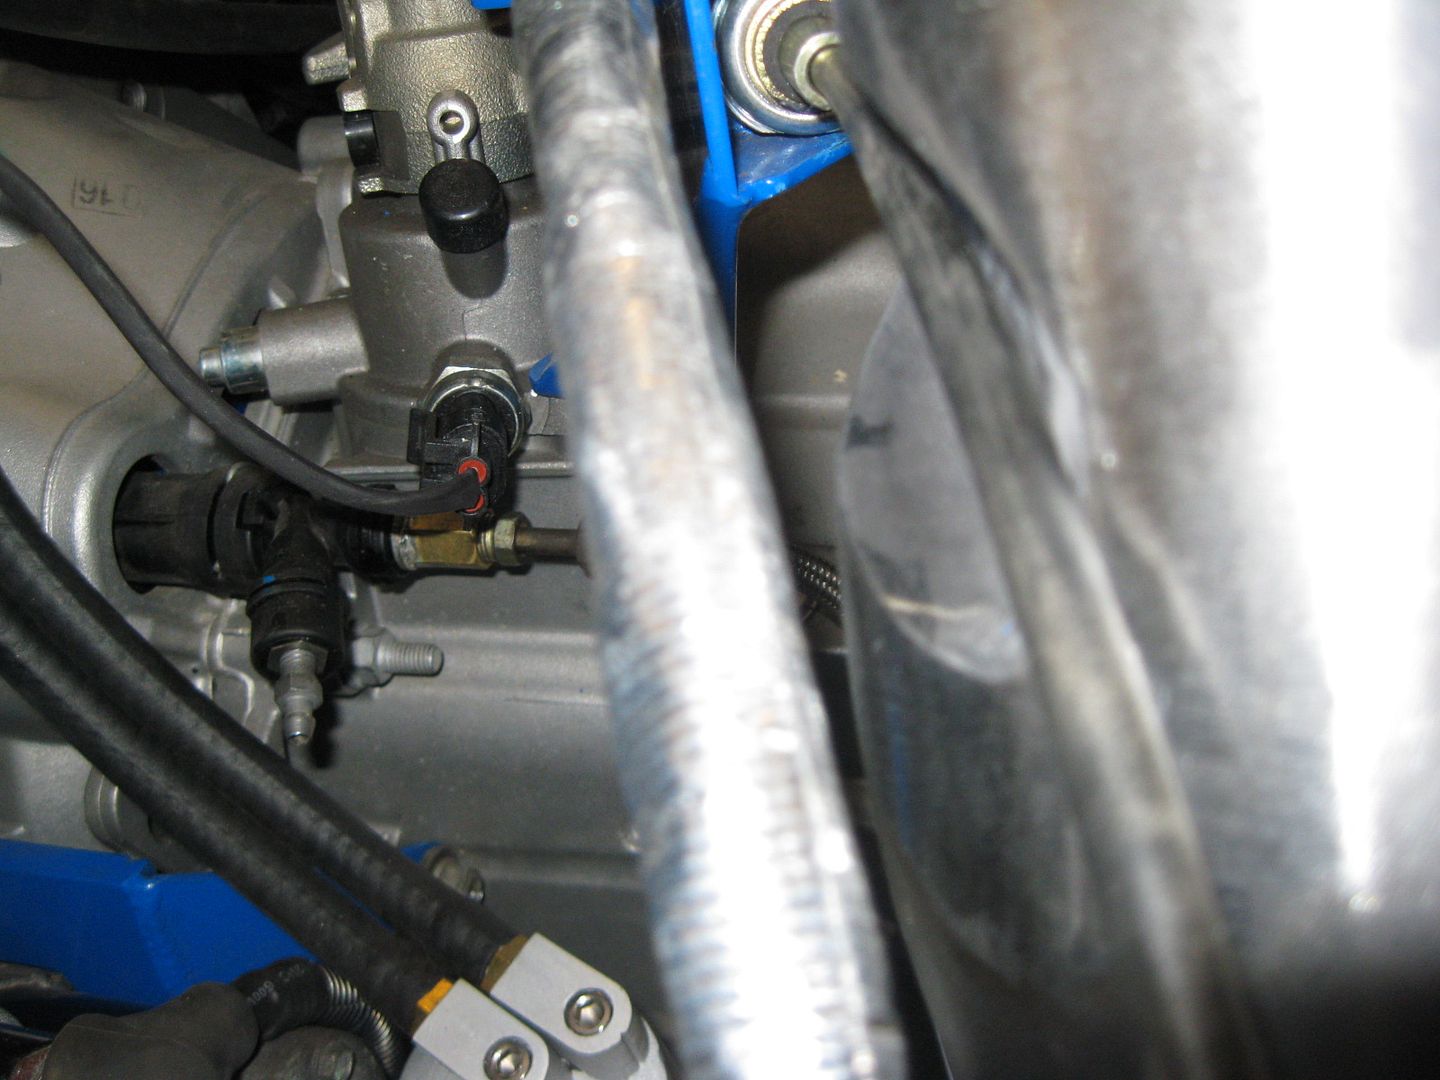
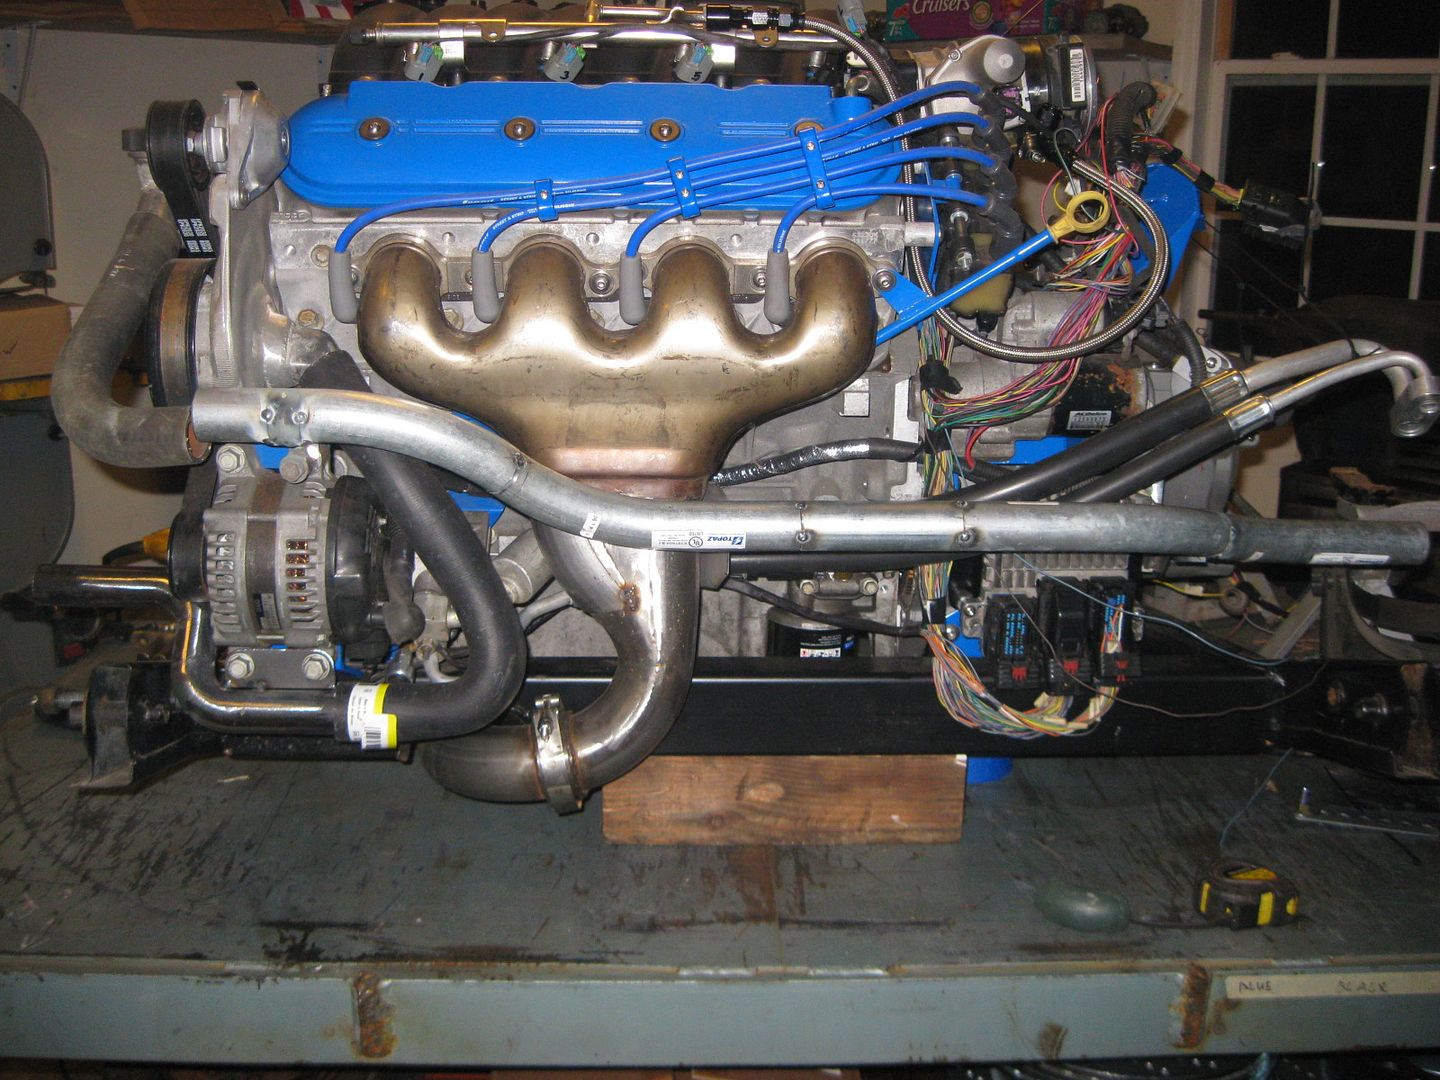
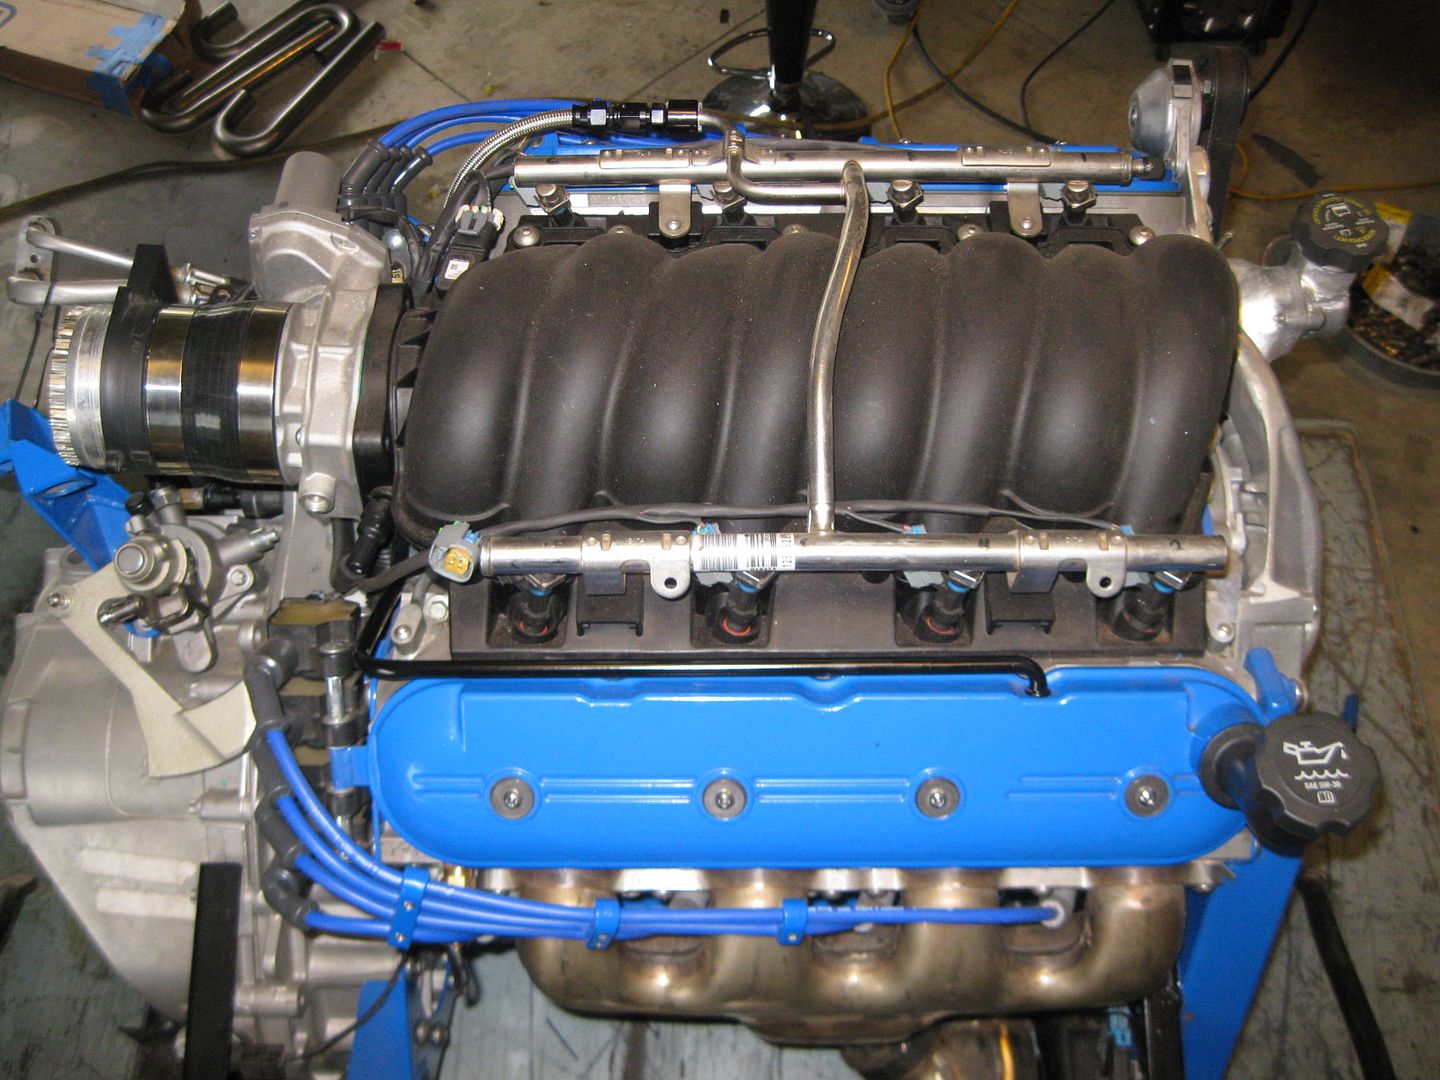
I finished the long coolant tube, painted and installed it. Also installed the painted PCV hard line and started reassembling everything I had taken apart. Once I install the last 3 hose nipples (heater hose, steam hose, brake booster hose) I think the work on the engine/transmission/cradle combo will be done (besides assembling the suspension, but I am not doing that until the engine runs in the chassis).
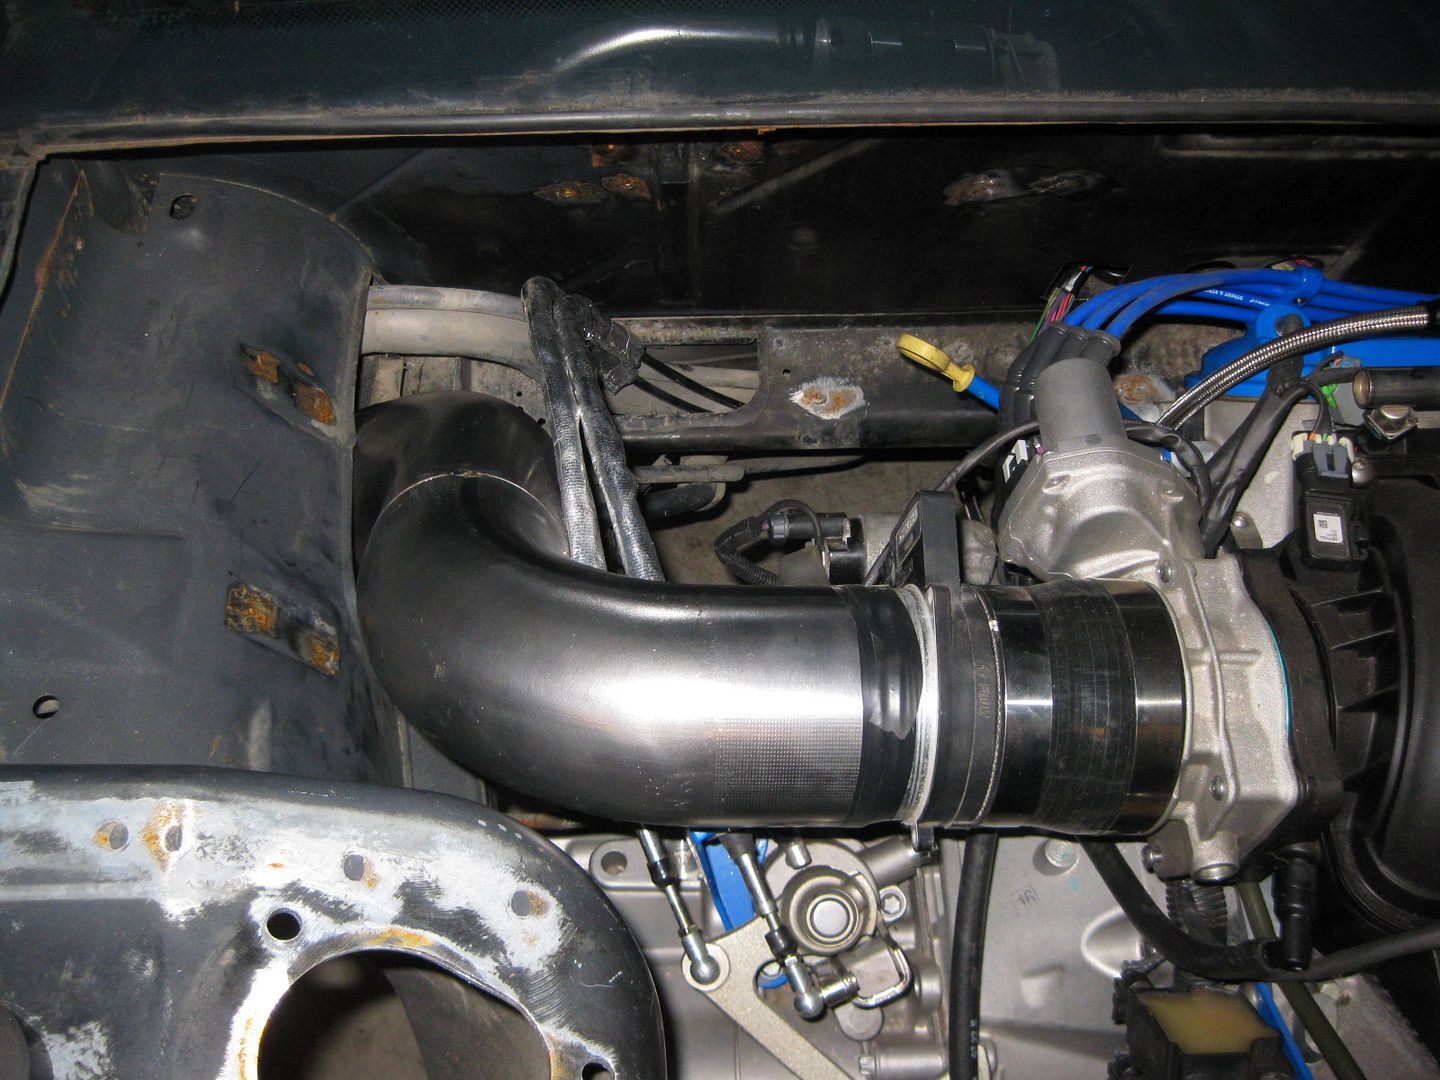
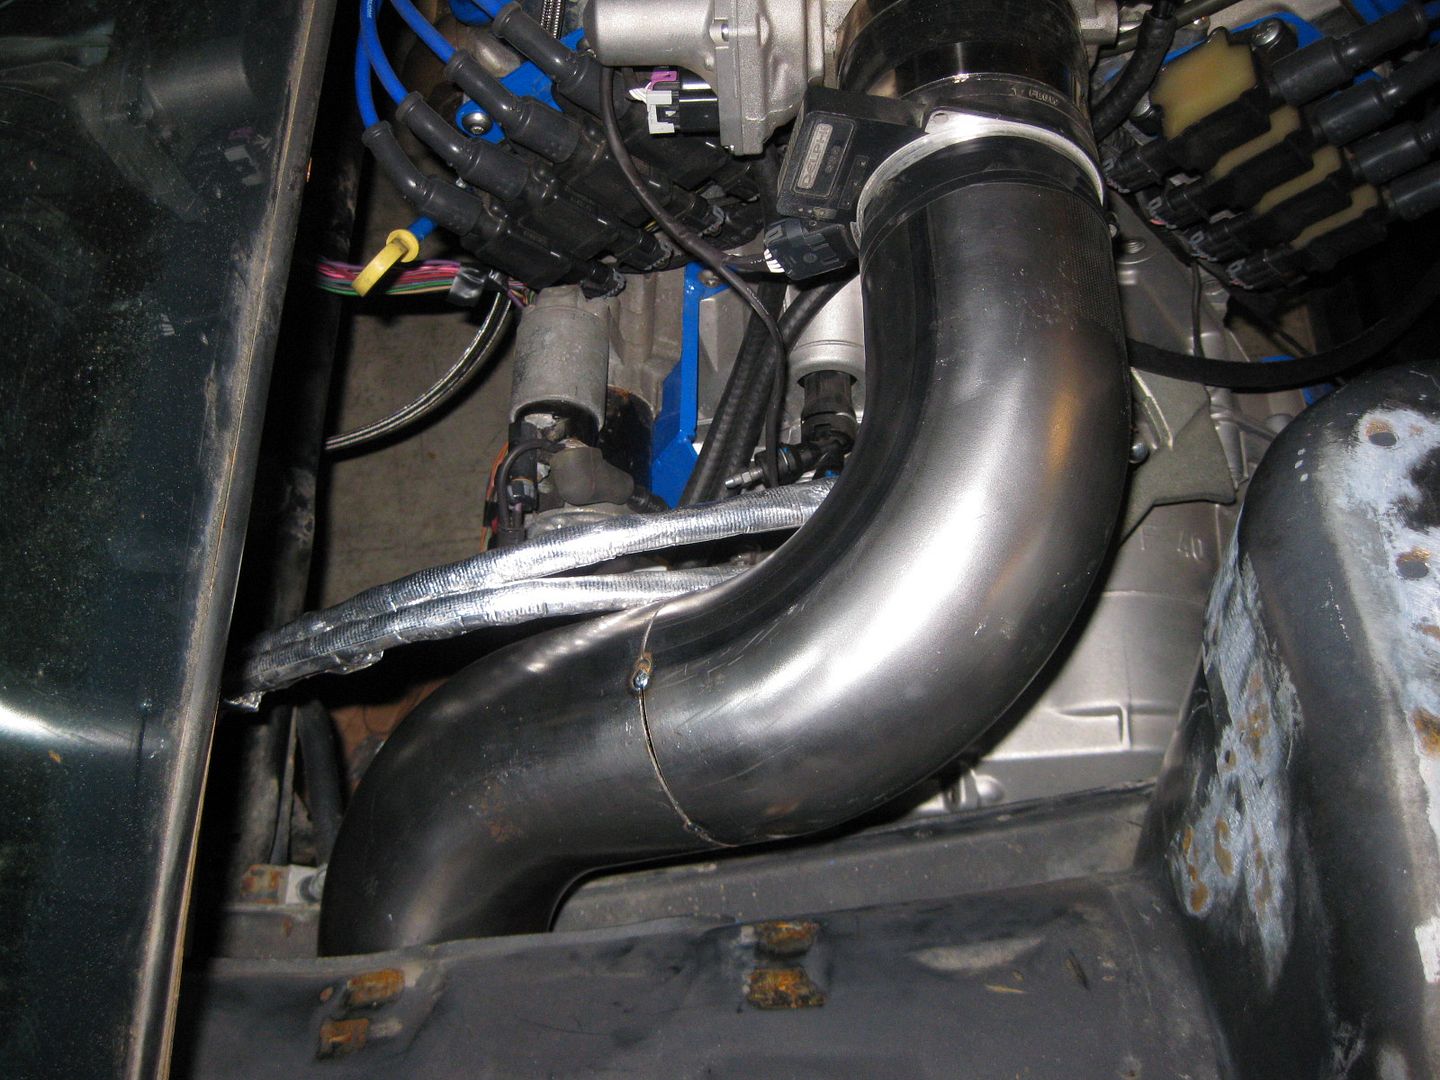
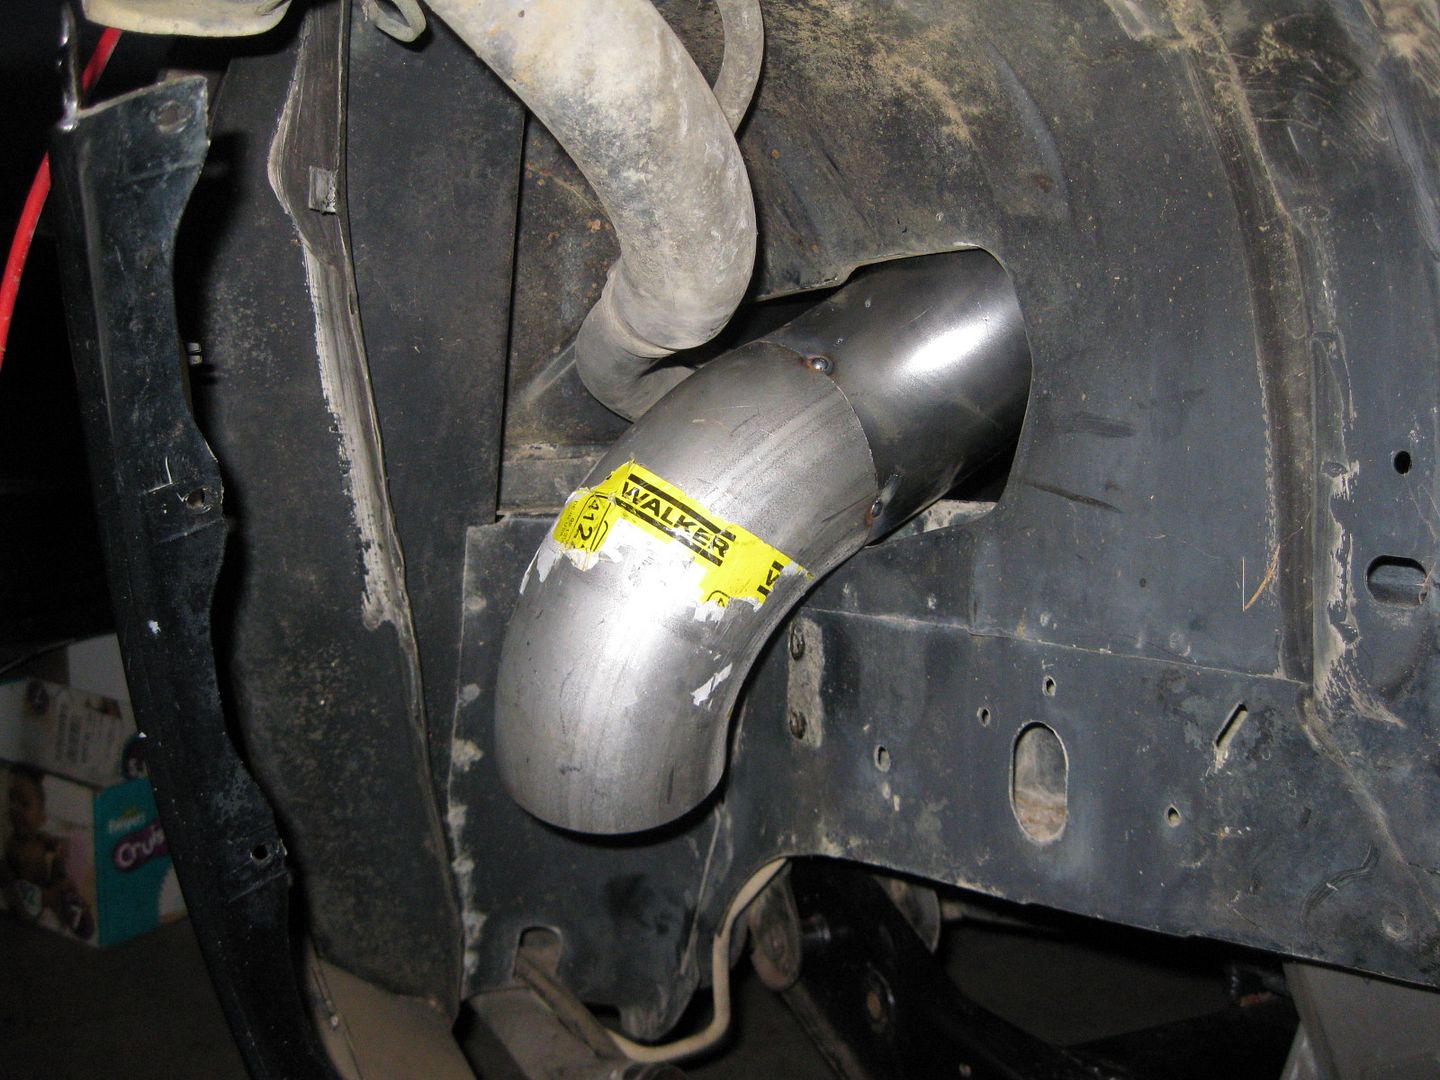
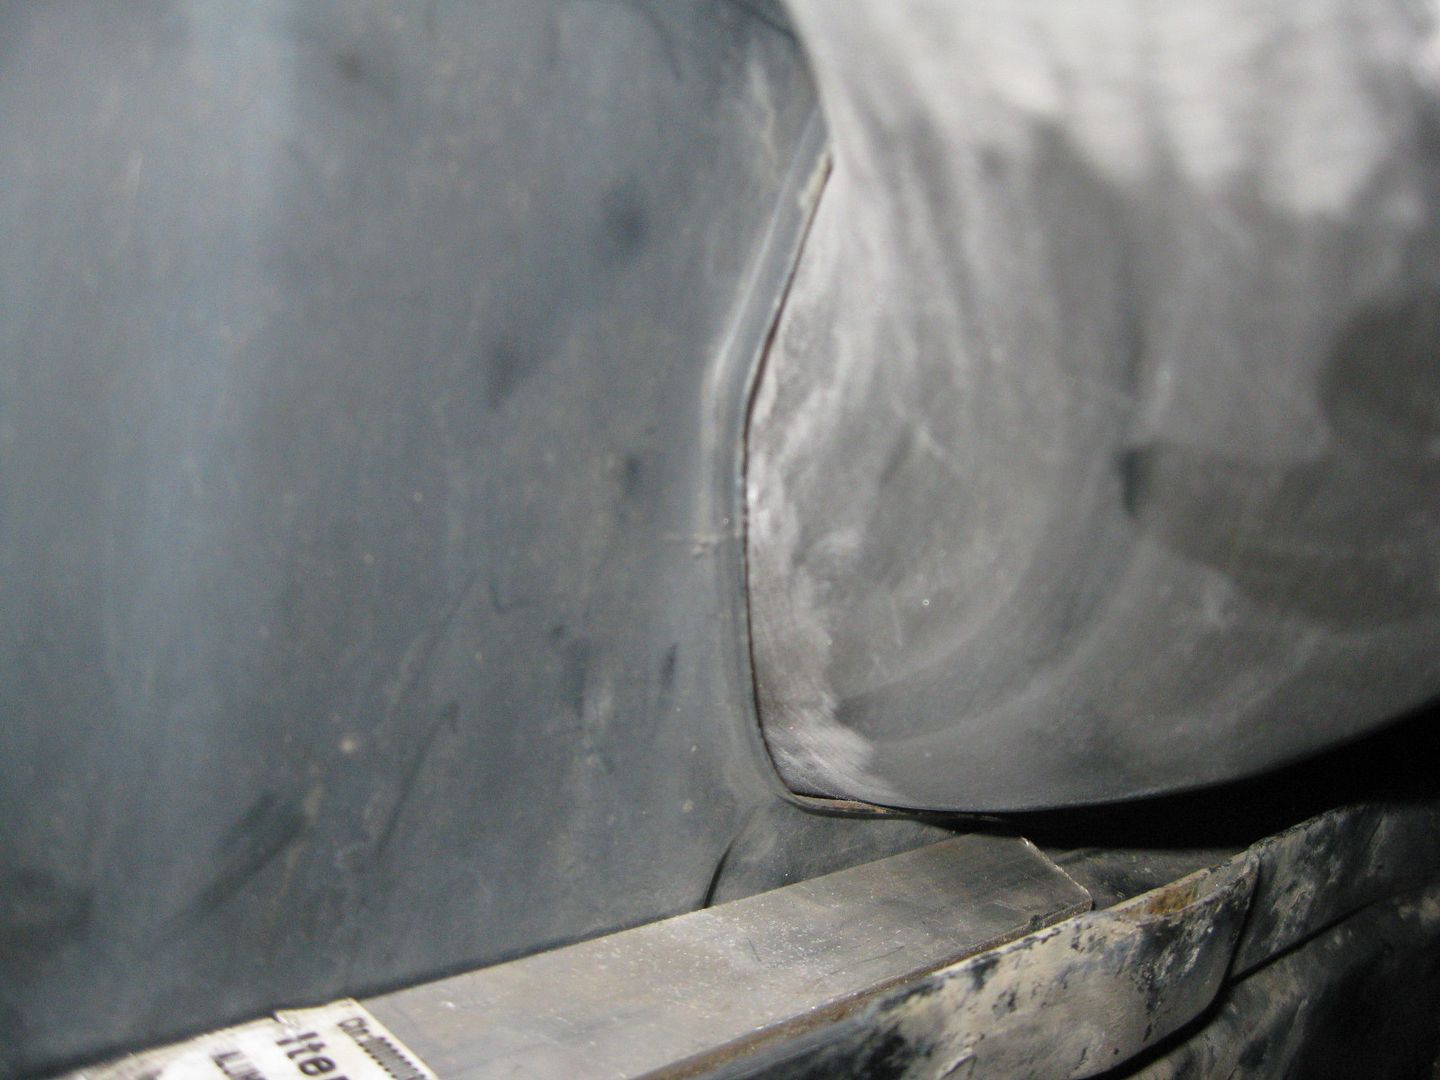
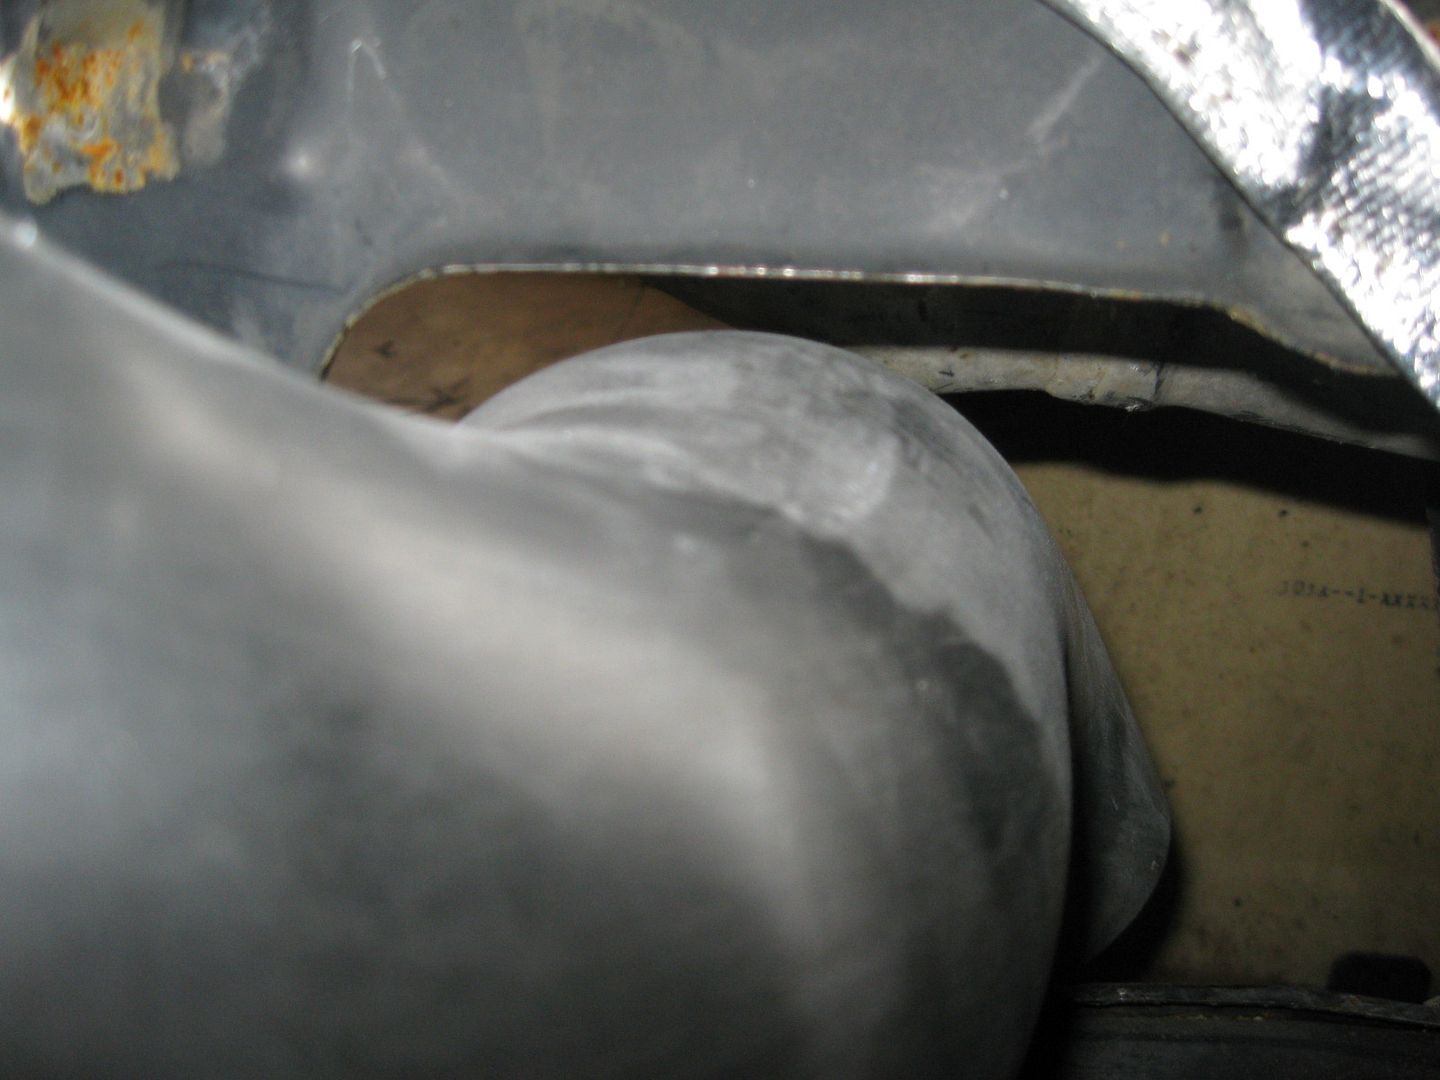
I sanded down the air intake tube for the coating in truck bed liner, but before coating it I needed to tweak the oem hole I am using for it. The intake is very tight with the factory hole and if I don't do something it will scratch when I reassemble it (and it is rather difficult to remove)... so here is how it fits the stock hole (notice it clears the frame rail, but sits on the sheet metal for the hole):
I am going to bend the sheet metal over to re-contour the hole. In the first pic you can see the piece of aluminum I clamped to the frame rail. It was 1/4" thick and very close to elevation of the stock flange at the front of the hole. You can see how much the sheet metal rises as it goes to the rear. With the aluminum there, I can hammer the sheet metal over onto the aluminum to make a new flange.
After some hammering:
Now there is a plenty of clearance around the air intake tube. This should help make removal much easier.
The finishing touch on this mod was to trim the flange back to the stock width.
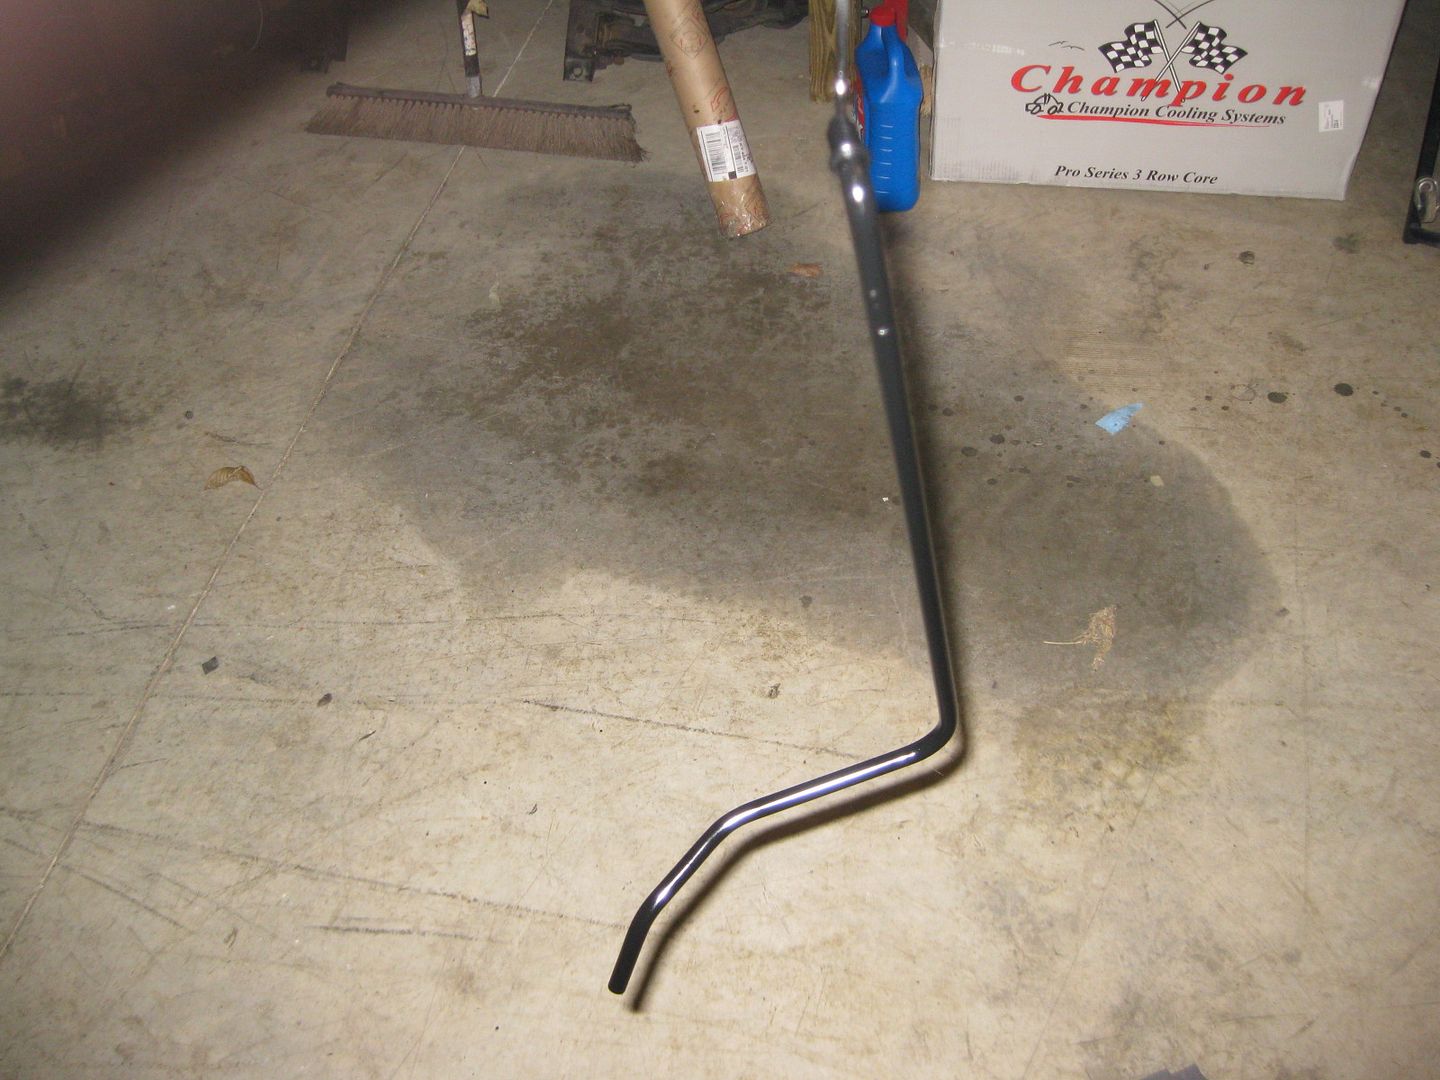
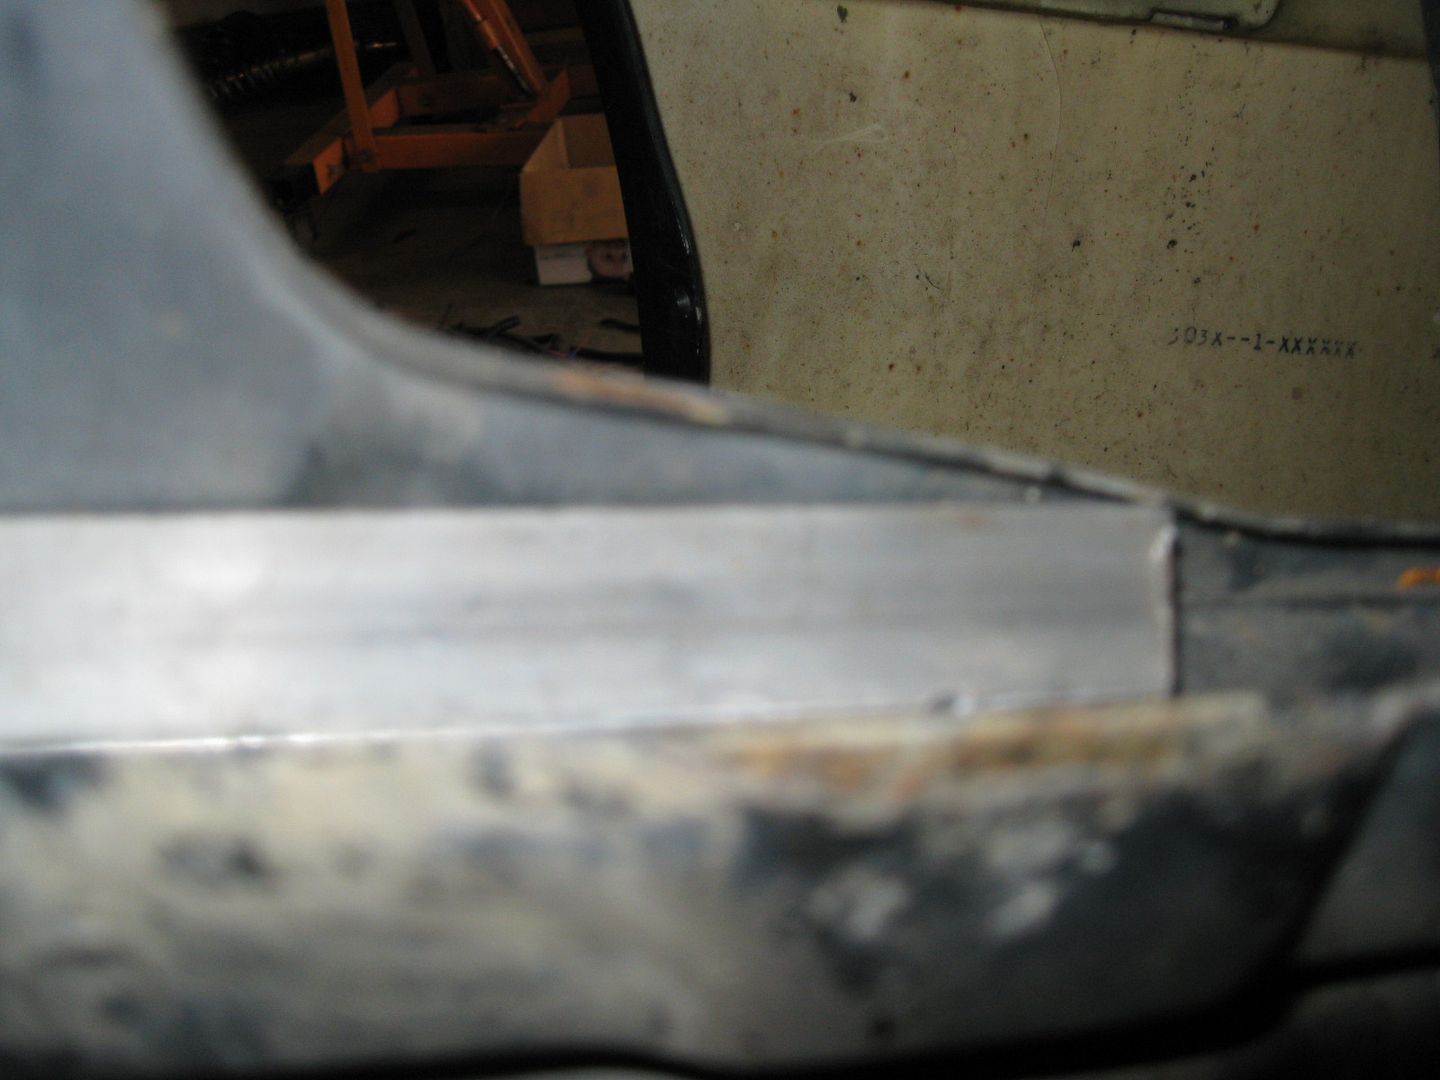
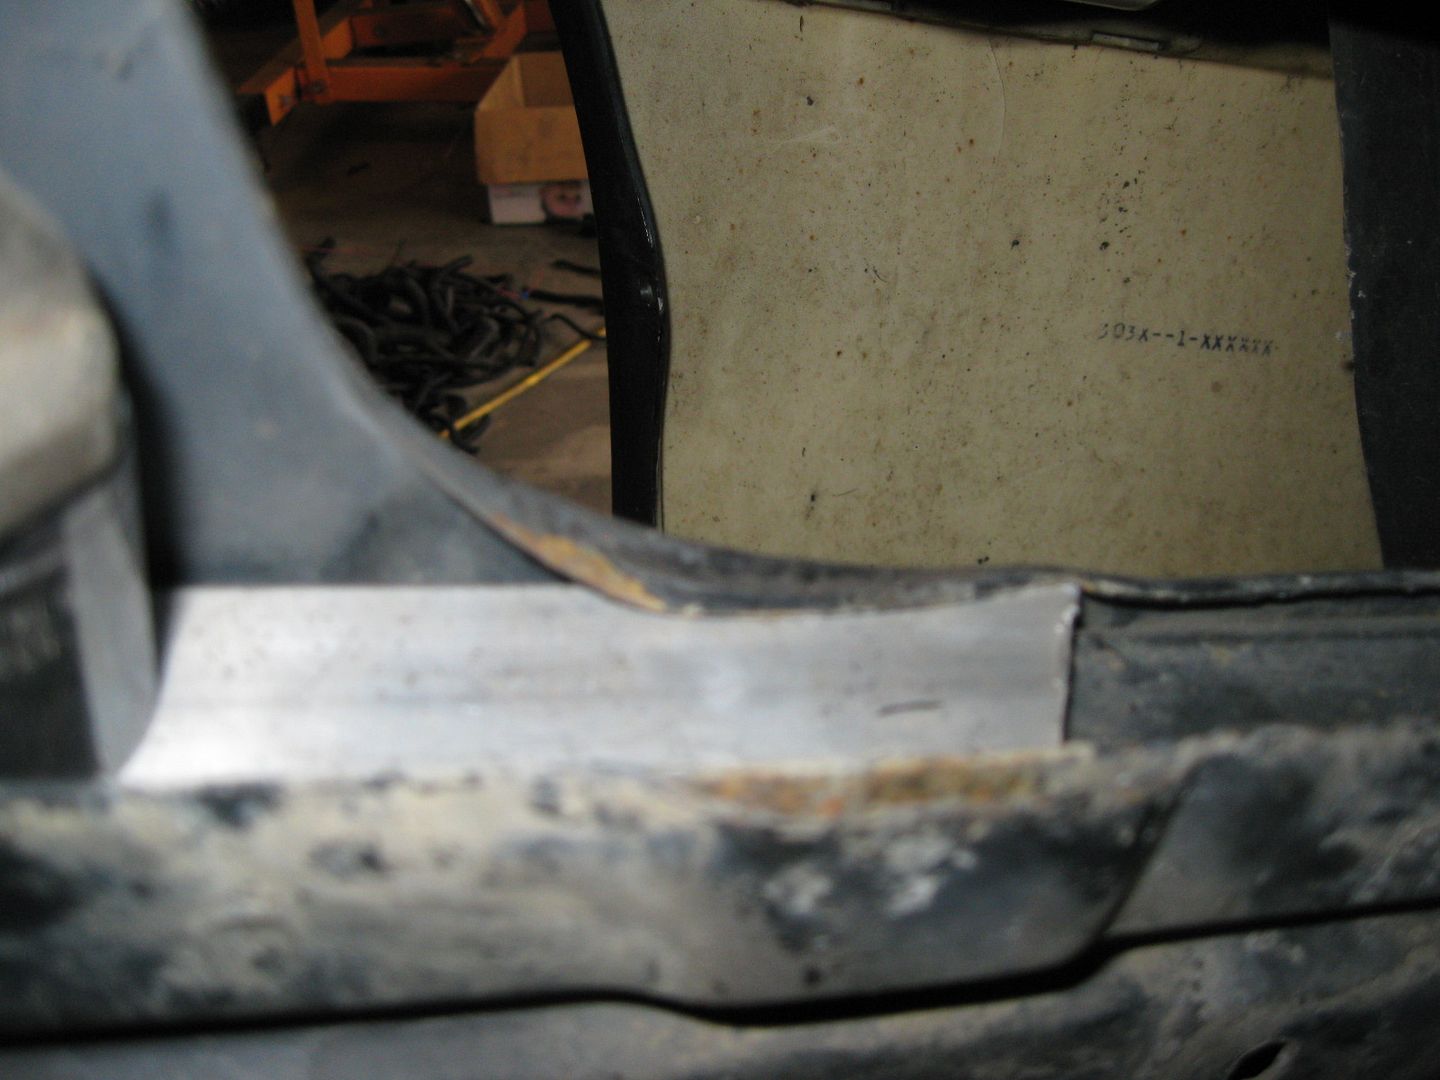
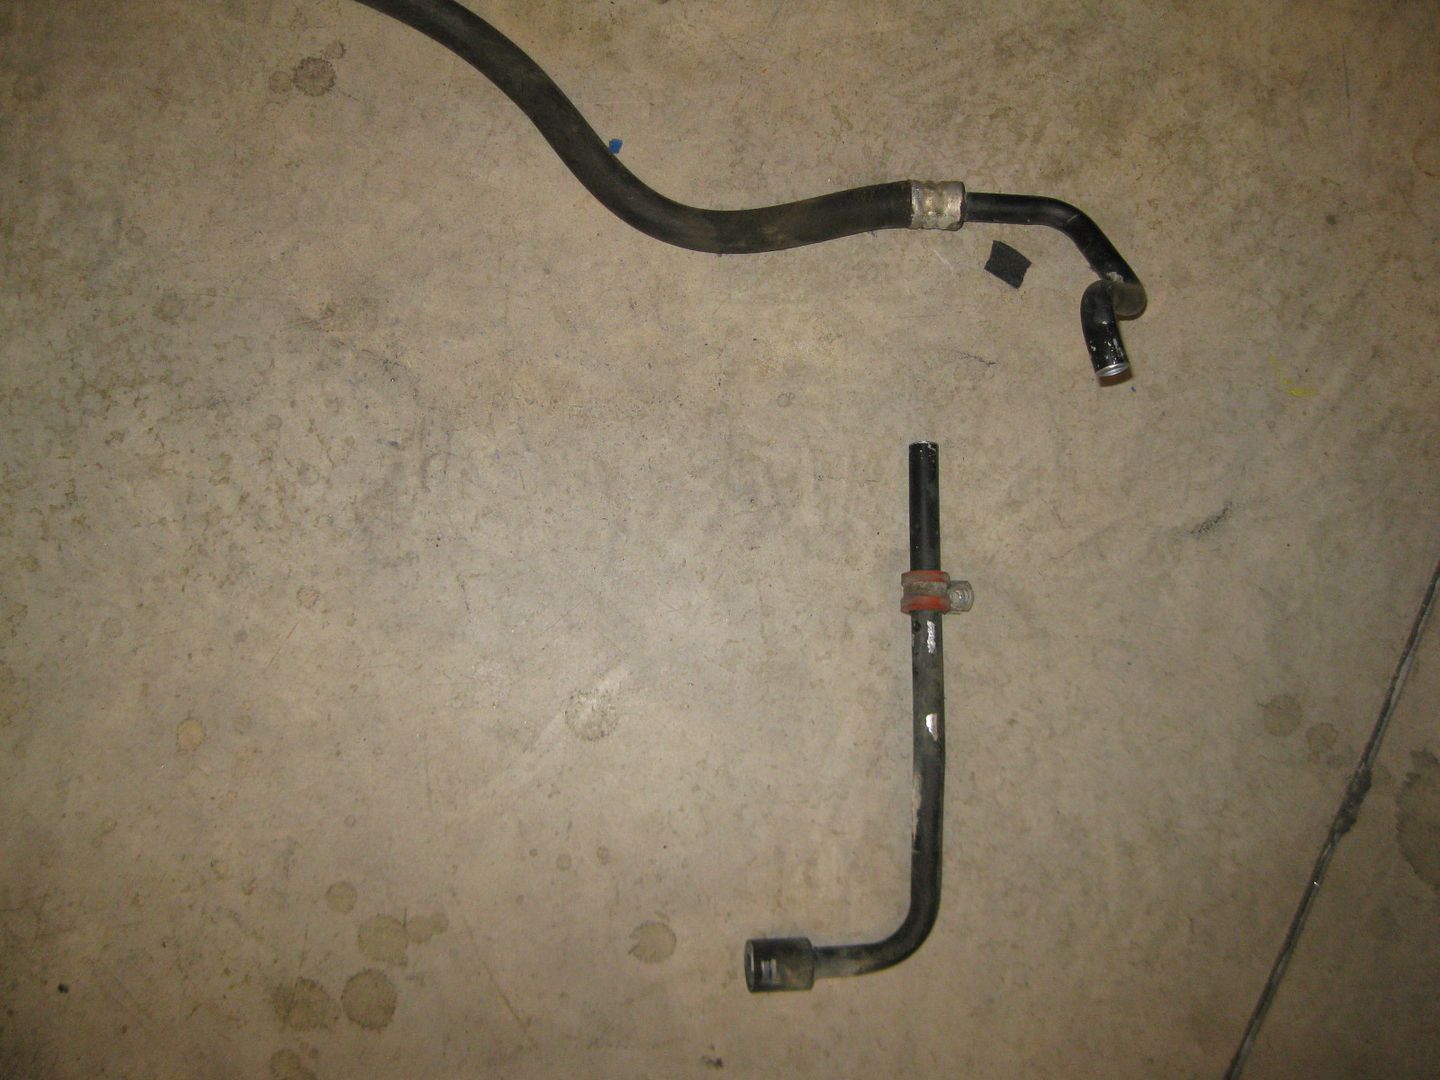
Also test fitted the stock heater hard line and determined where I would trim the hard line to have a direct shot to the front of the water pump:
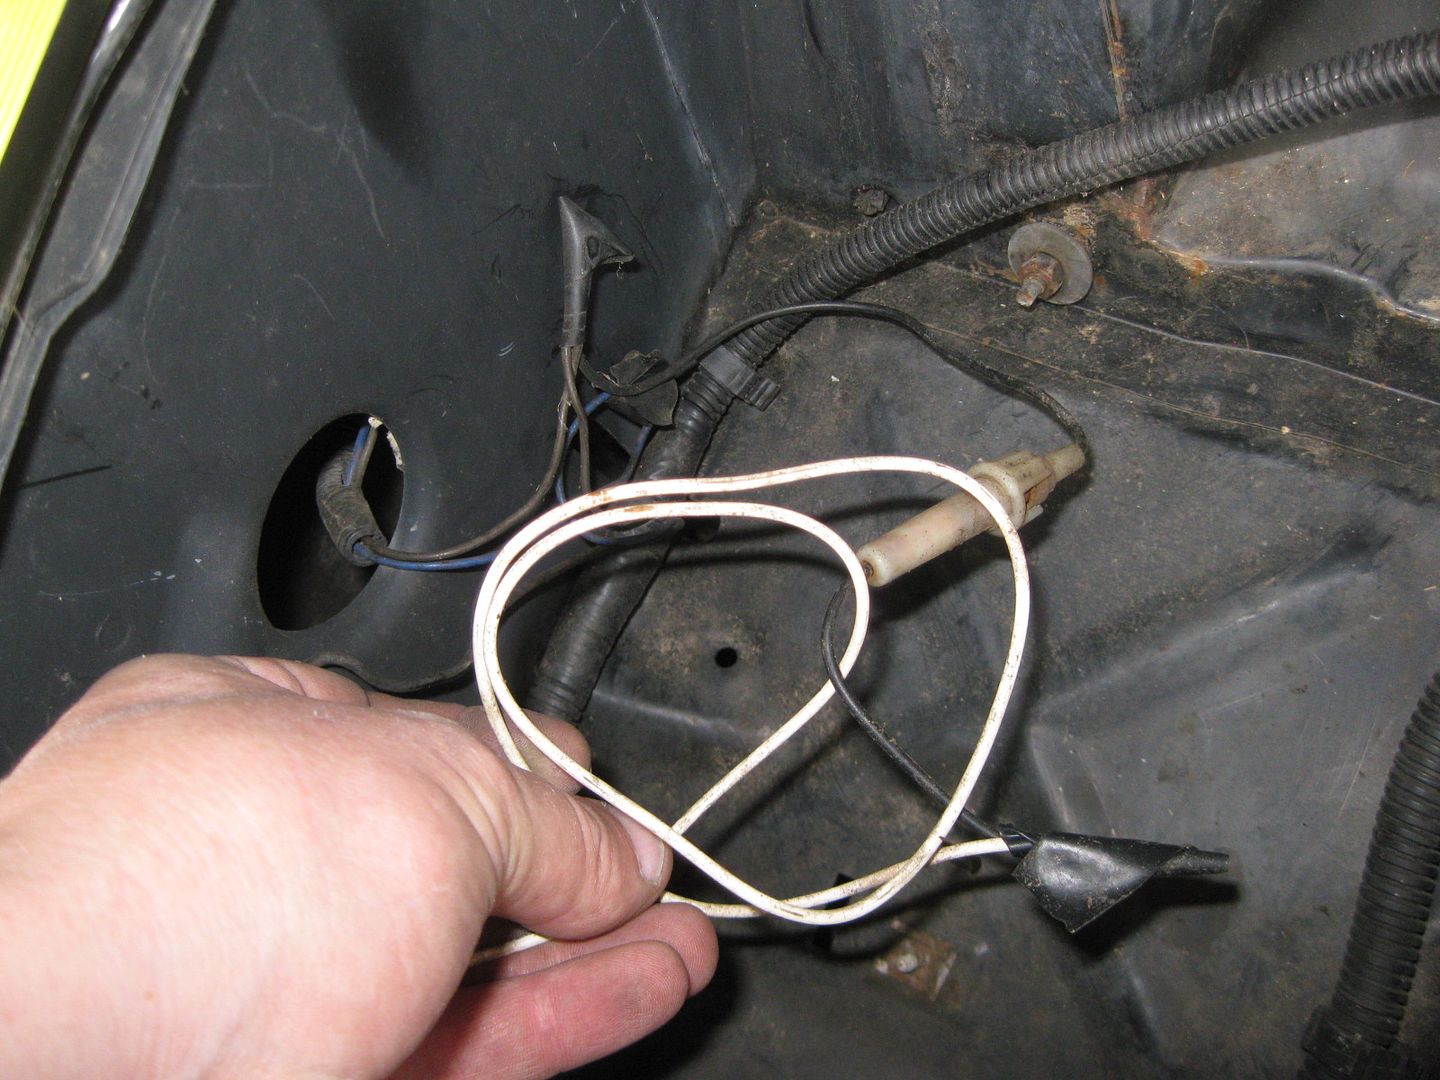
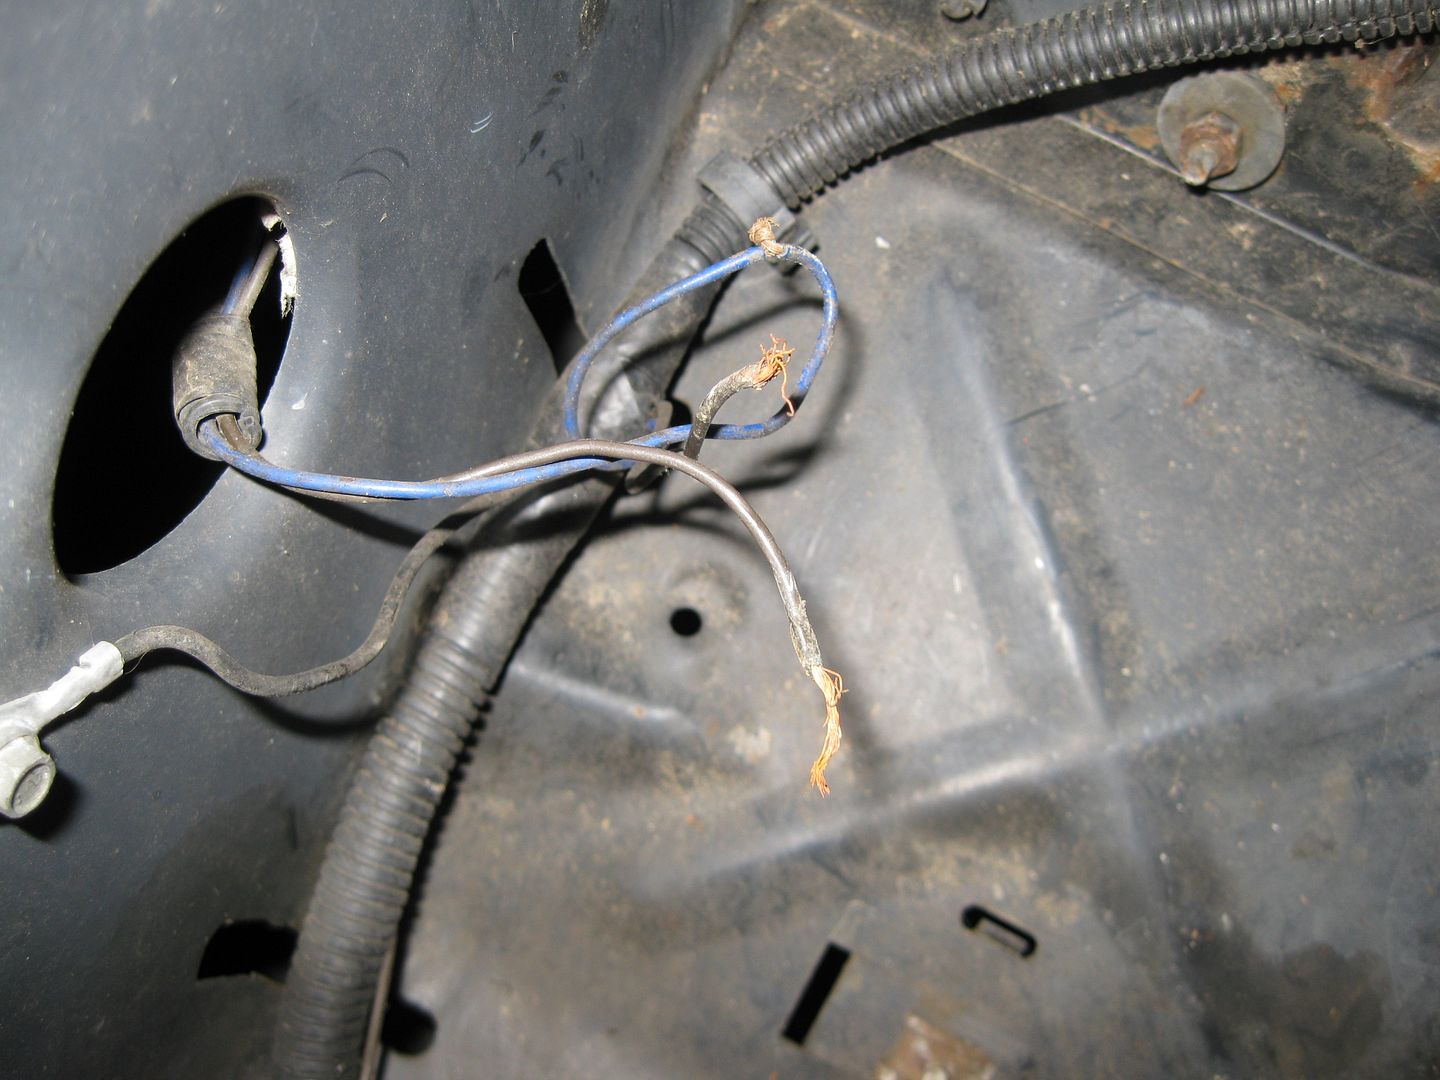
I moved to the front of the car and started to do some more work. First order of business was removing the head lights, glad I did as I found this special gift the previous owner left for me... It didn't go to anything anymore, just a bare end on the wire.
Upon further inspection, found he had cut the blue other wire too...
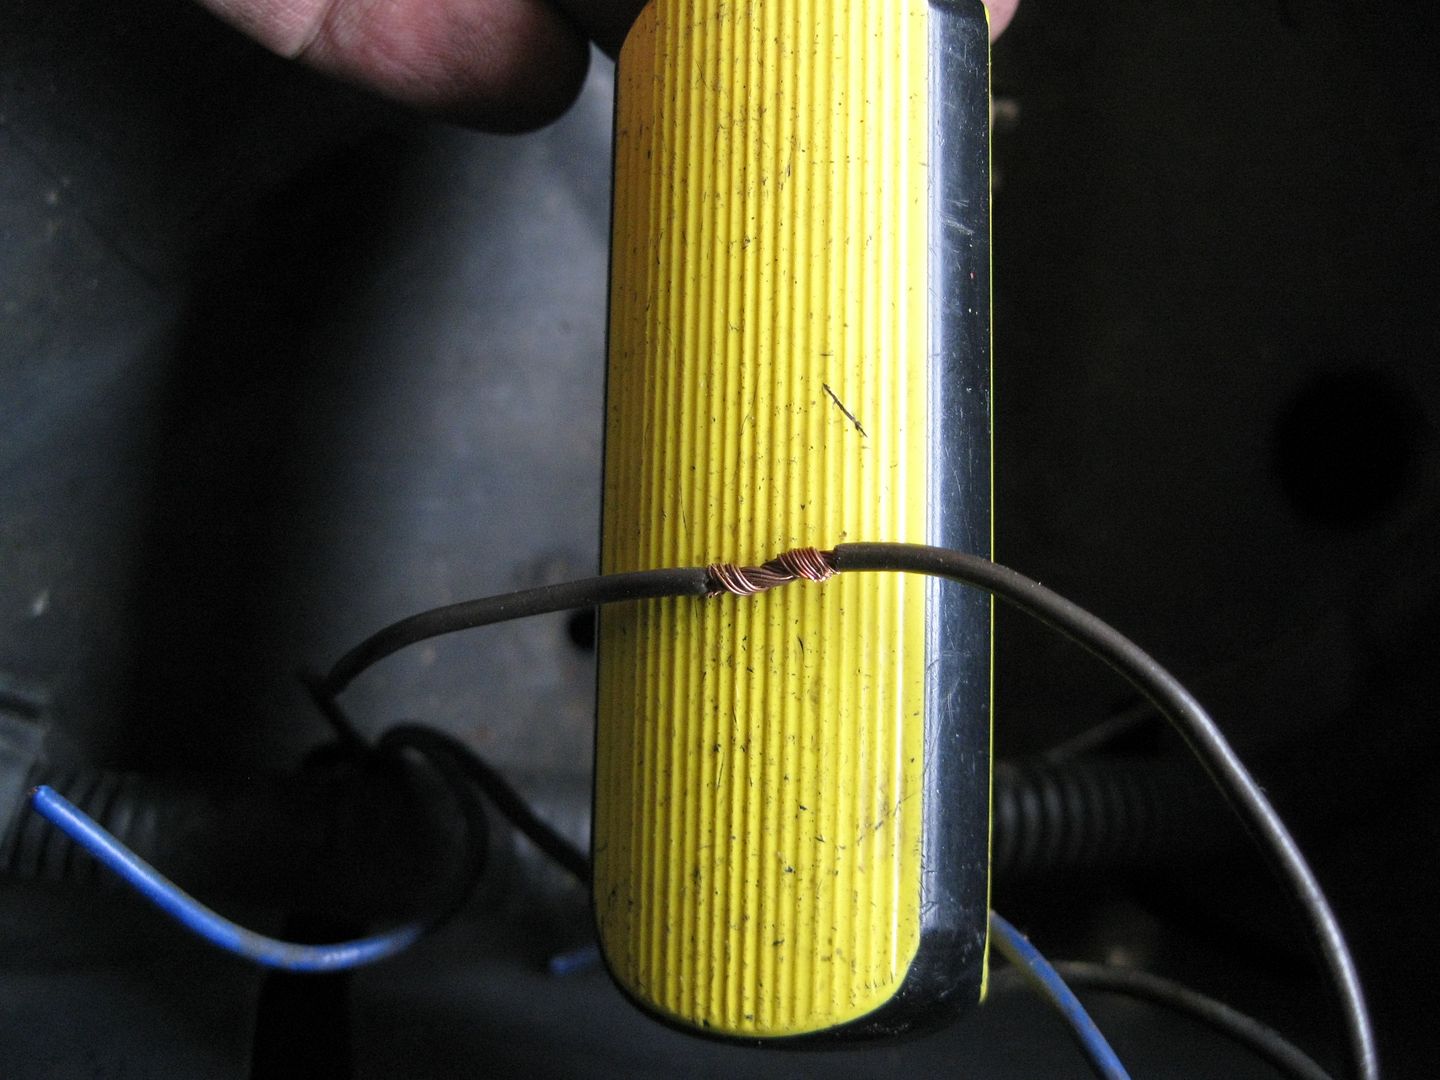
So I had to fix that mess... cut, strip, twist:
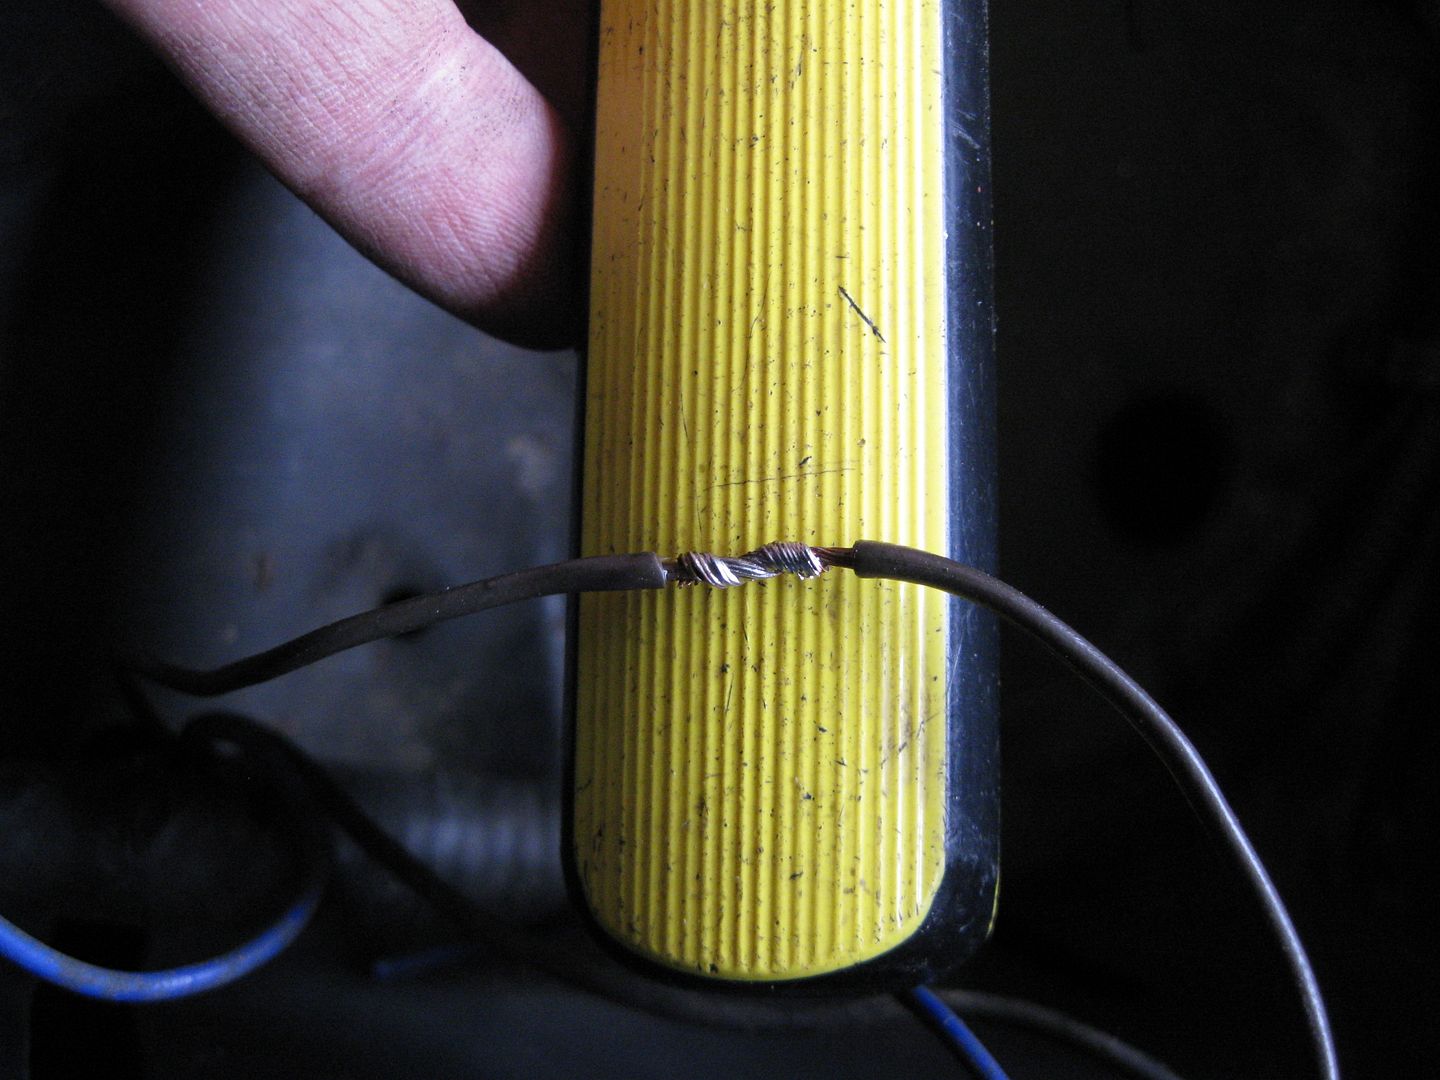
Solder:
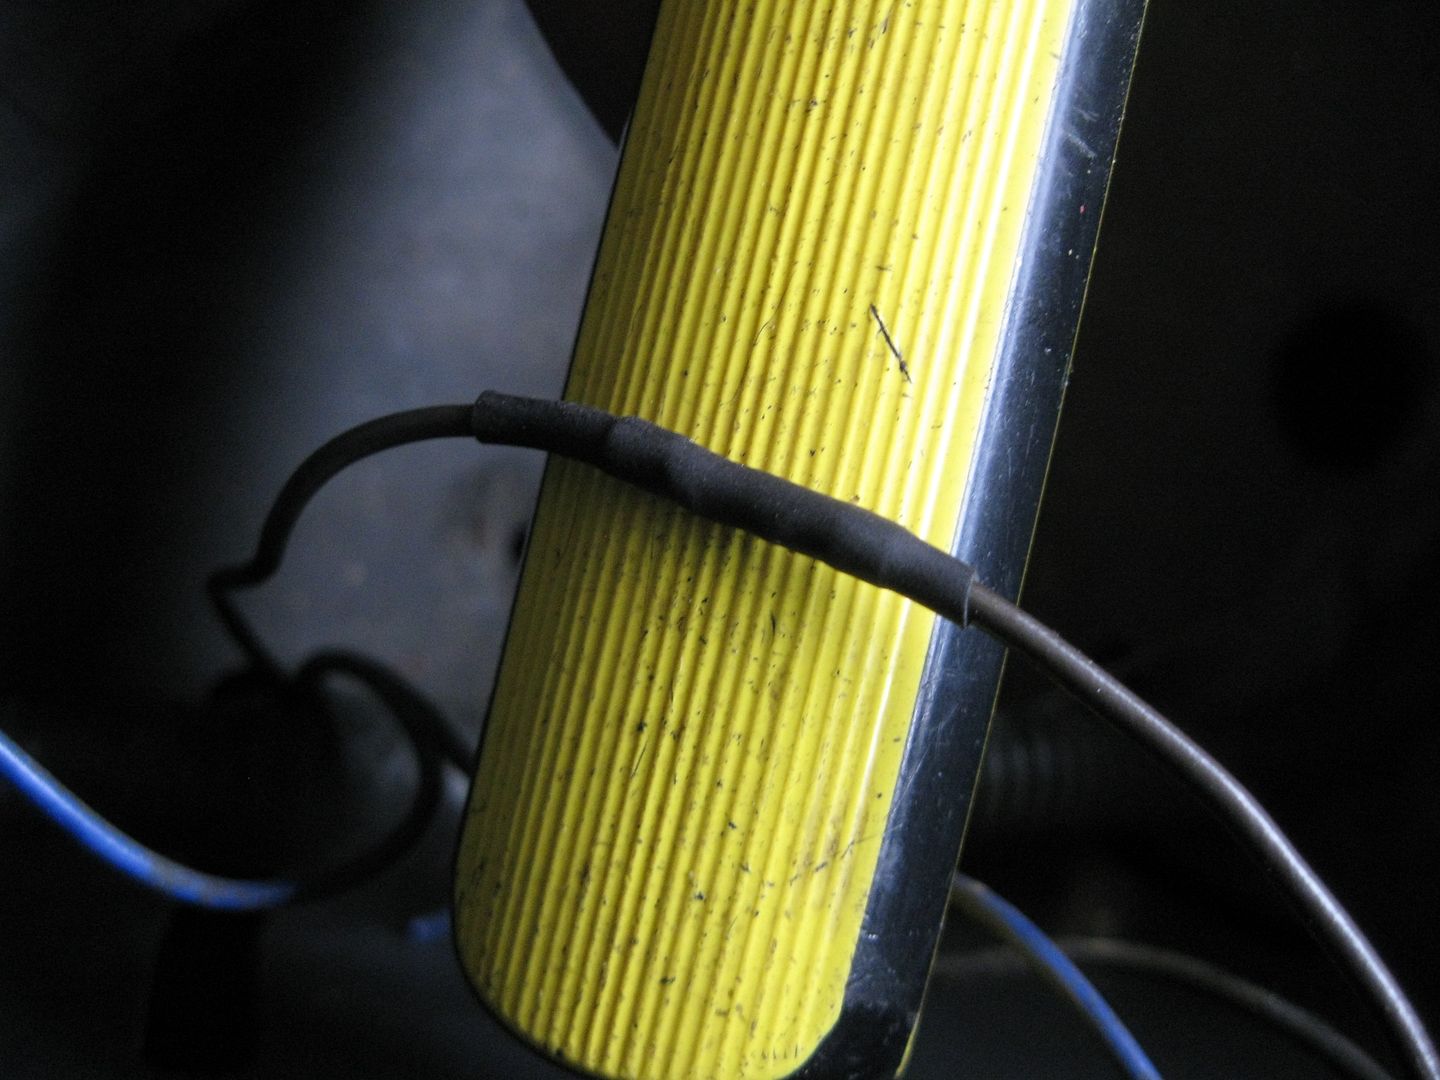
Double heat shrink:
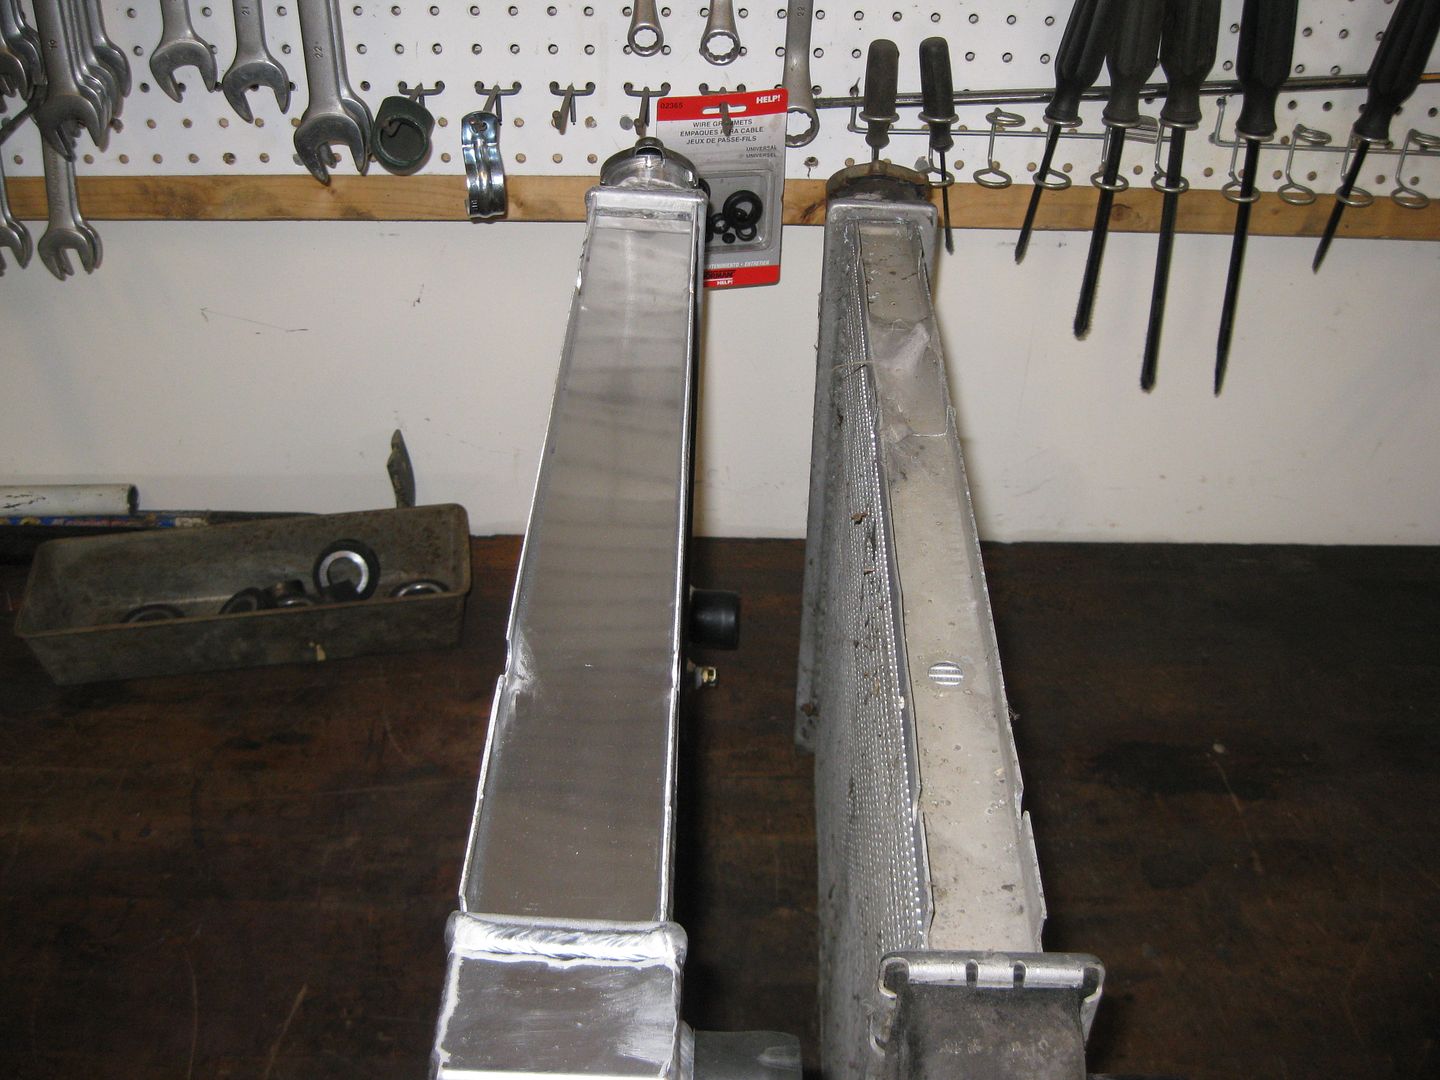
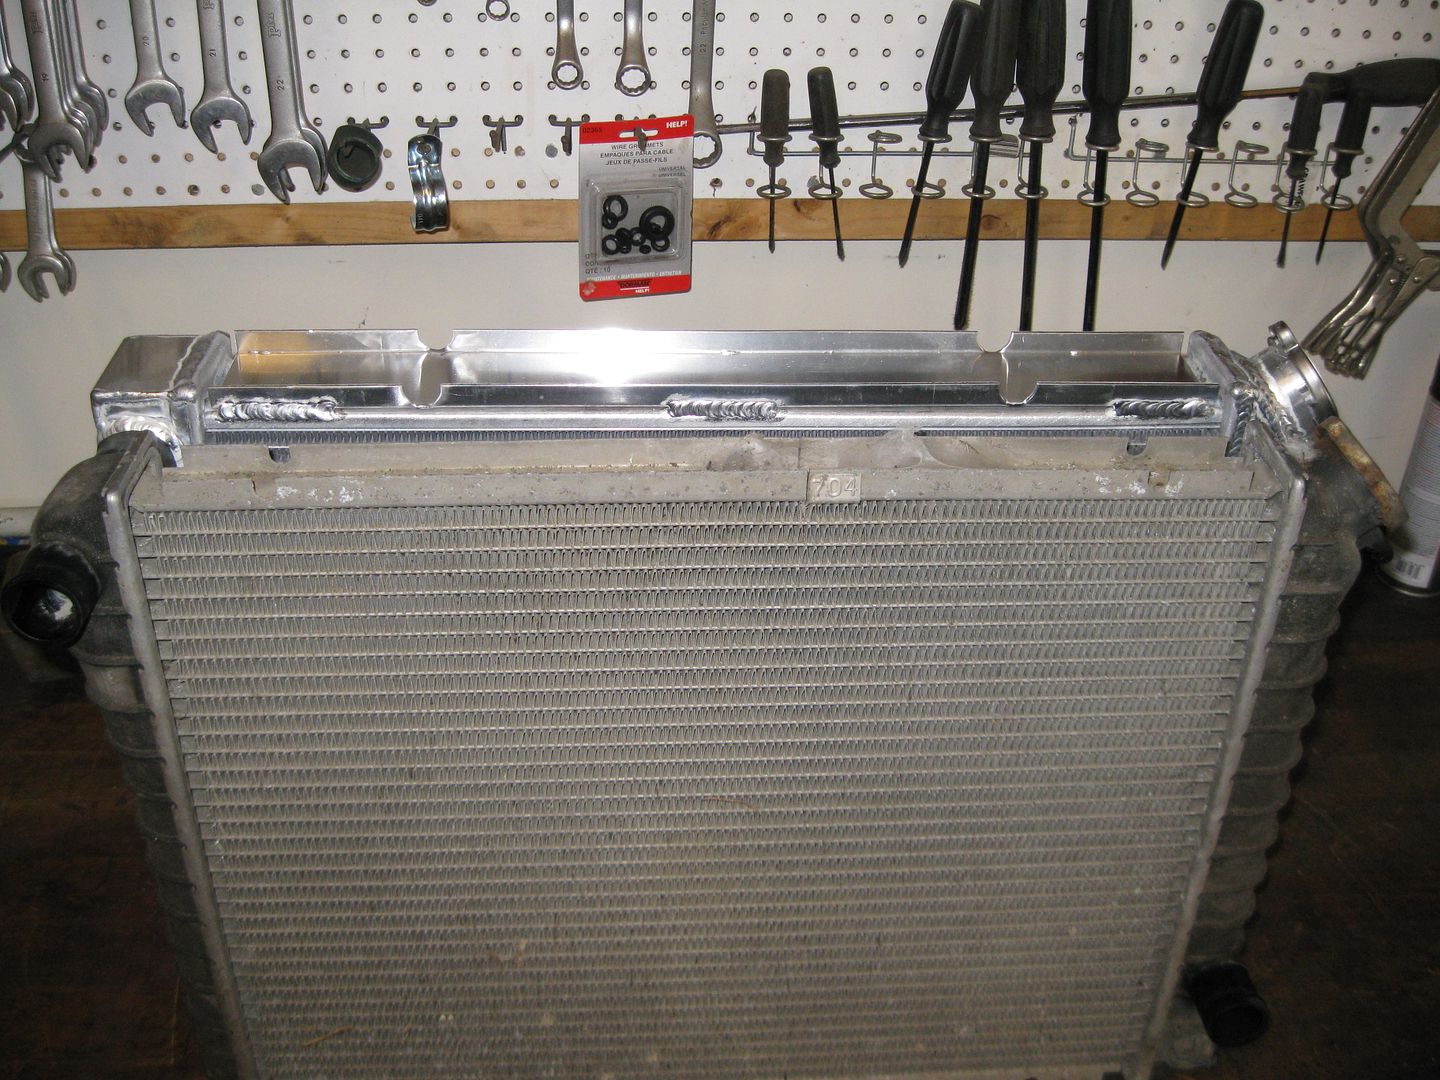
Then I moved on the the radiator upgrade. Here is the Champion one on the left and the stock V6 radiator on the right:
The overall external dimensions are pretty close:
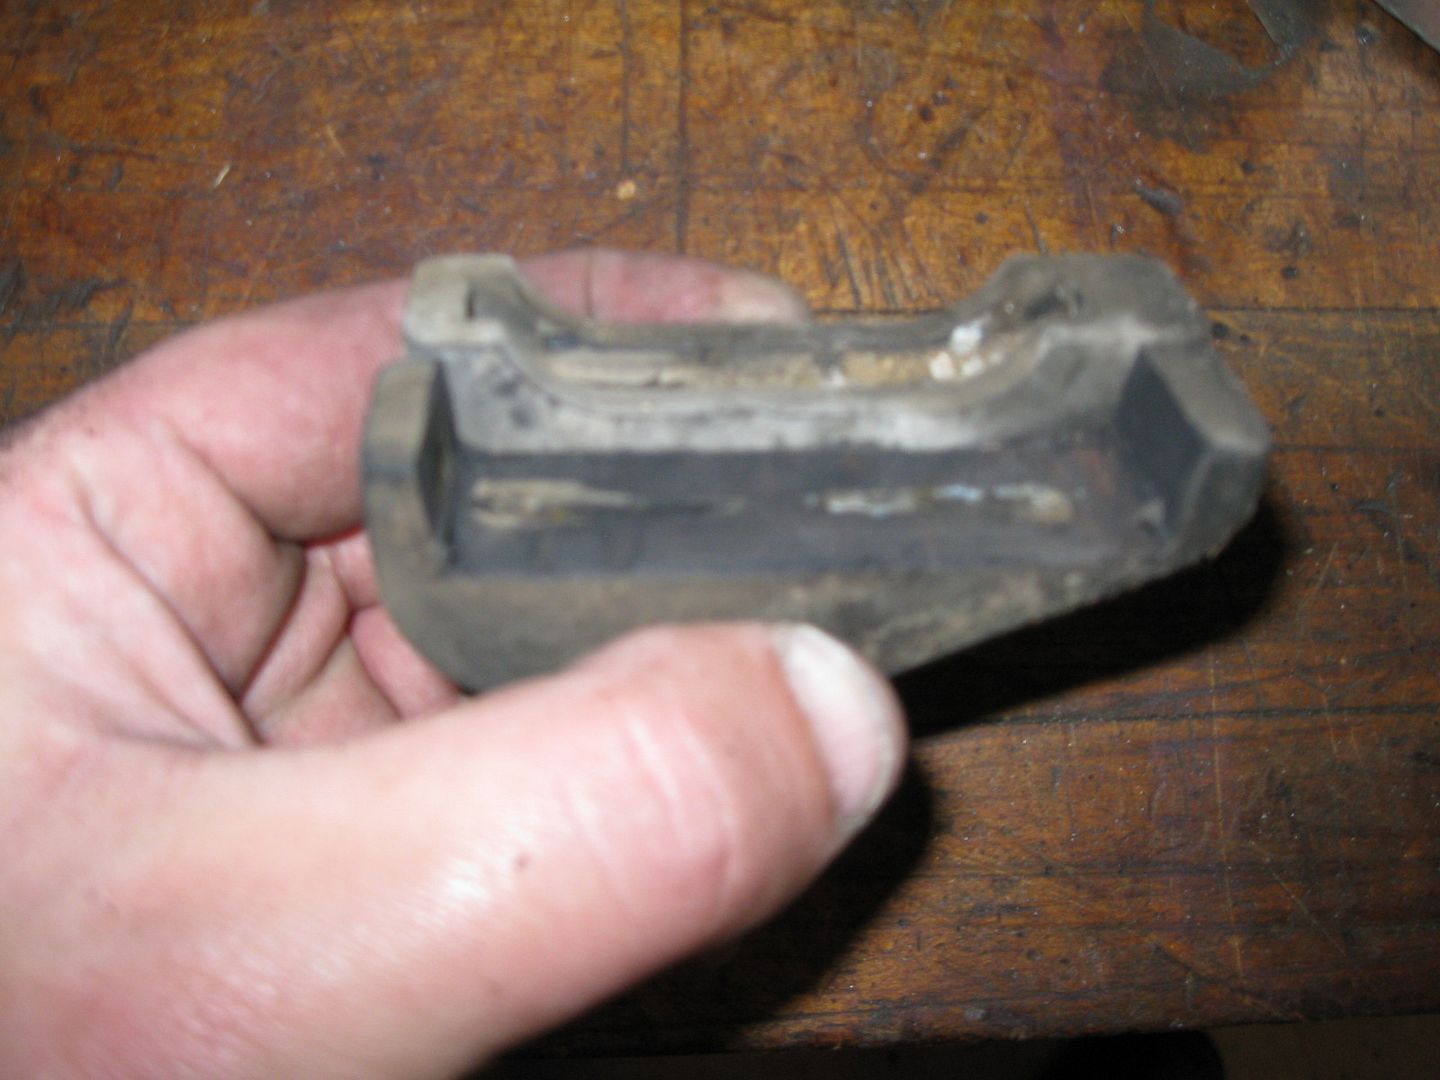
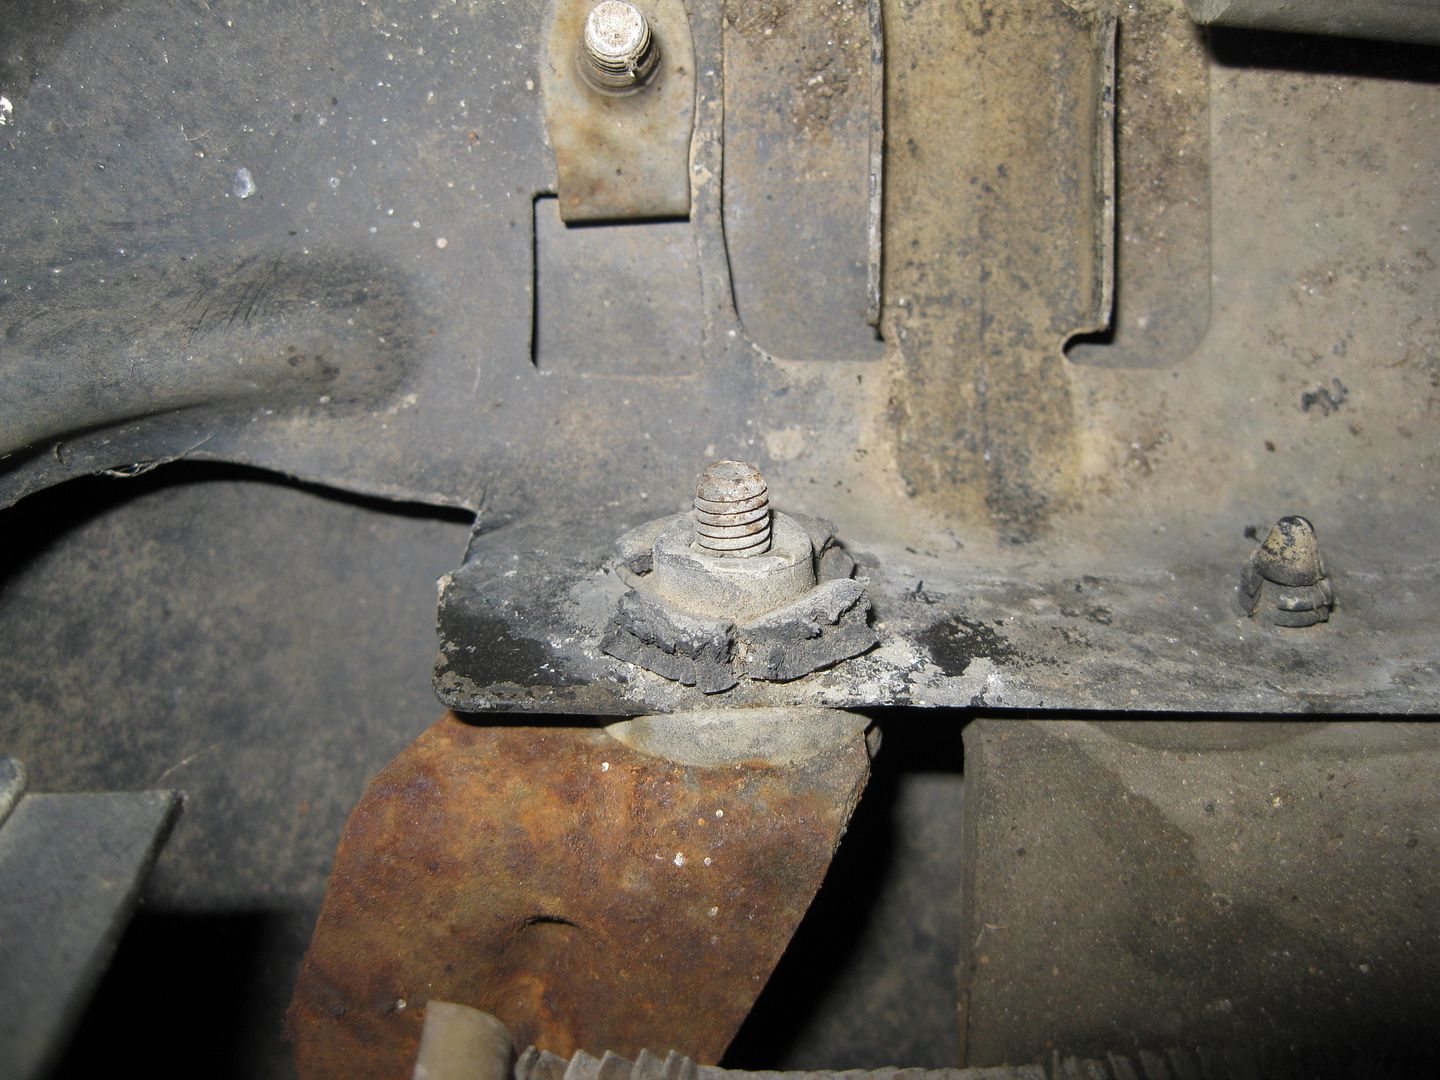
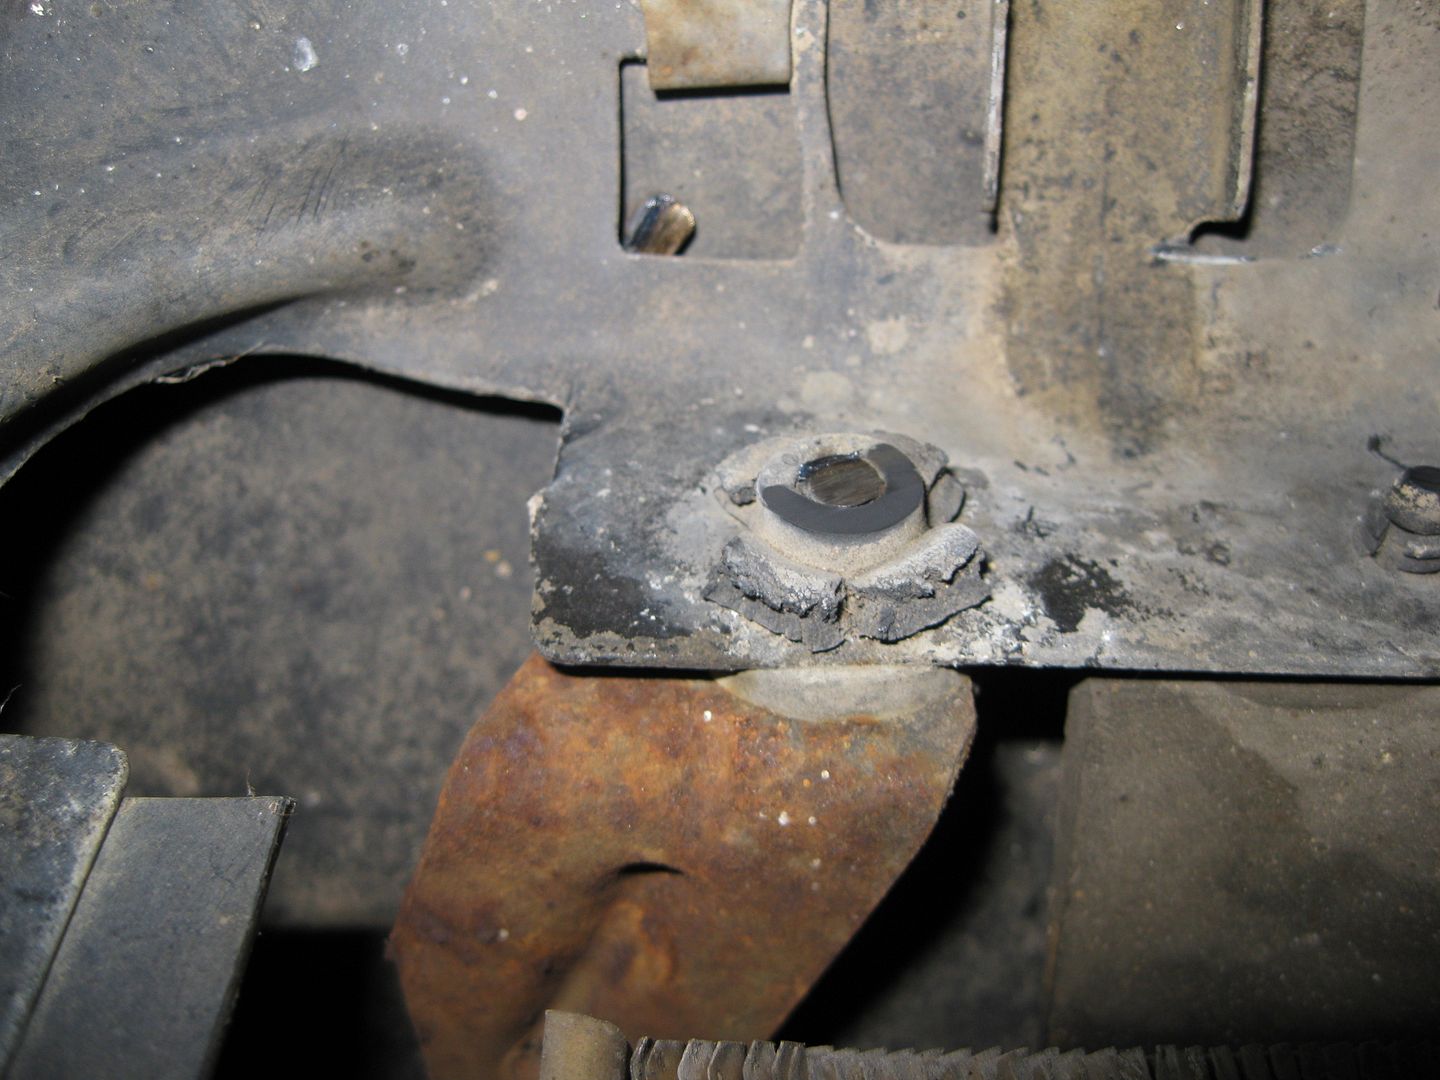
Starting the work on the rubber mounts. Here the stock lower rubber mount showing that the cut out is too small:
So I trimmed it up a bit. Trimmed one in front, stock one in the rear:
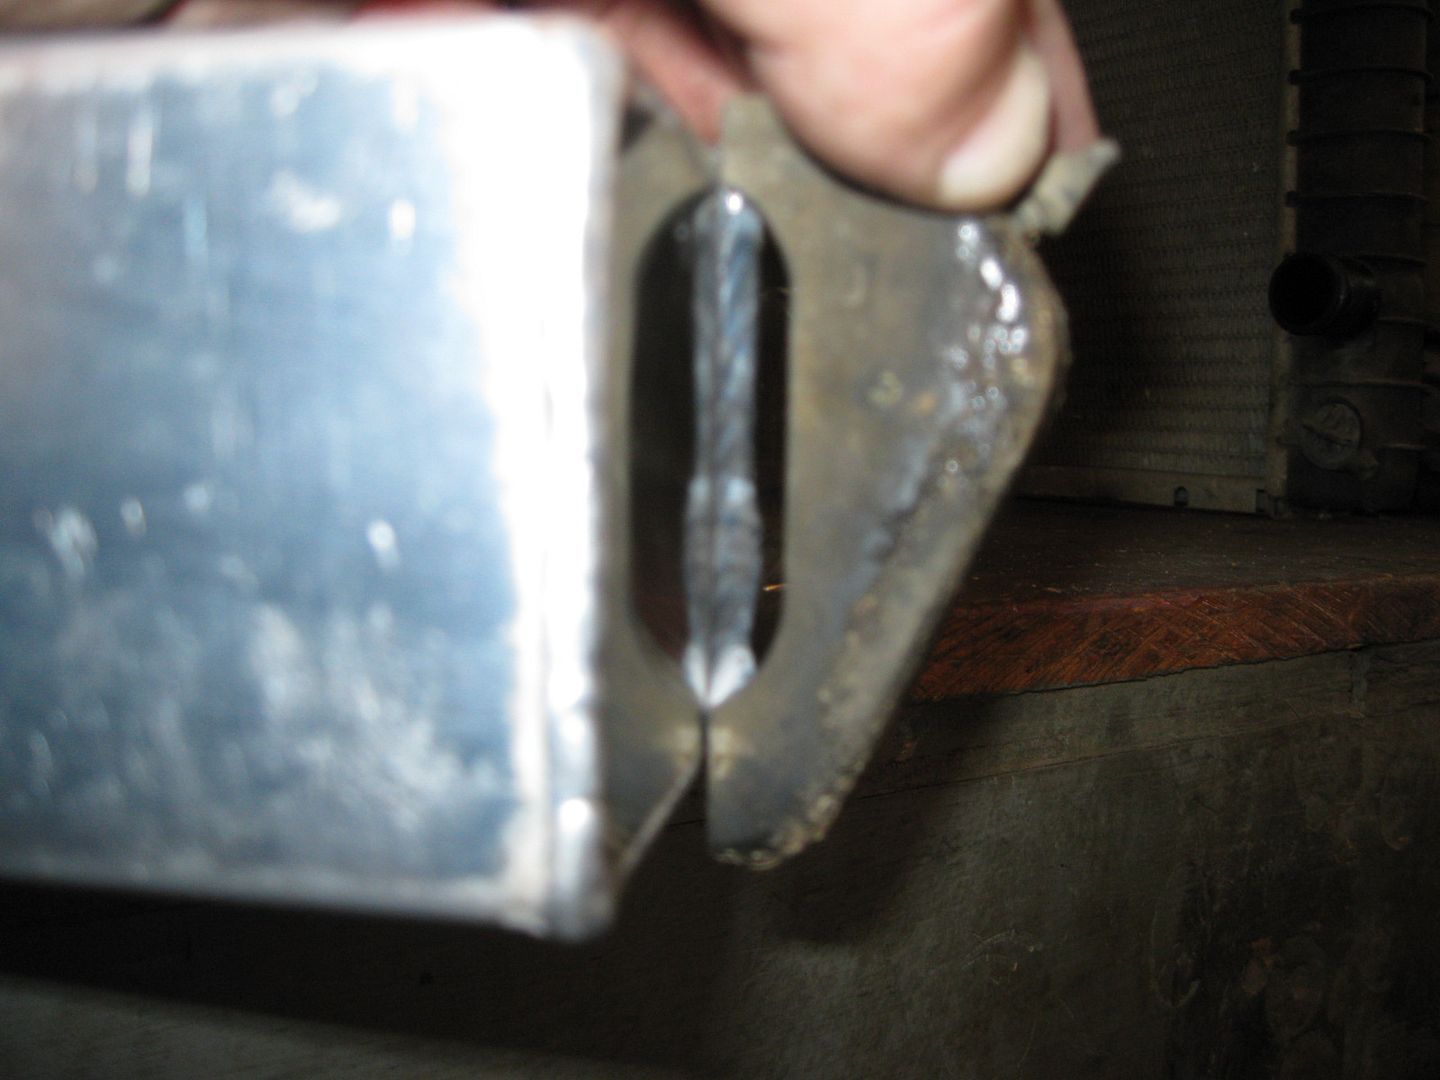
While test fitting the radiator in the modified lower mounts, I found a bolt the protruded enough to make contact with the side cap (the one near the center of the pic):
After a little work with the cutoff disk on the grinder:
Now the radiator sits in the lower base and it is time to start working on the top rubber mounts and top bracket... but ran out of day light (nose of the car is up against the door and the garage doesn't have any lights in the front half by the door...
Glad that you were able to figure out a way to get your rubber mounts to work. I had read the info from Archie on how to trim them up so it would fit... but never could. Wound up having to leave the rubber bumpers off entirely in order to bolt it all back into place.
Looking Great!! Interesting technique to spot your coolant hose locations.
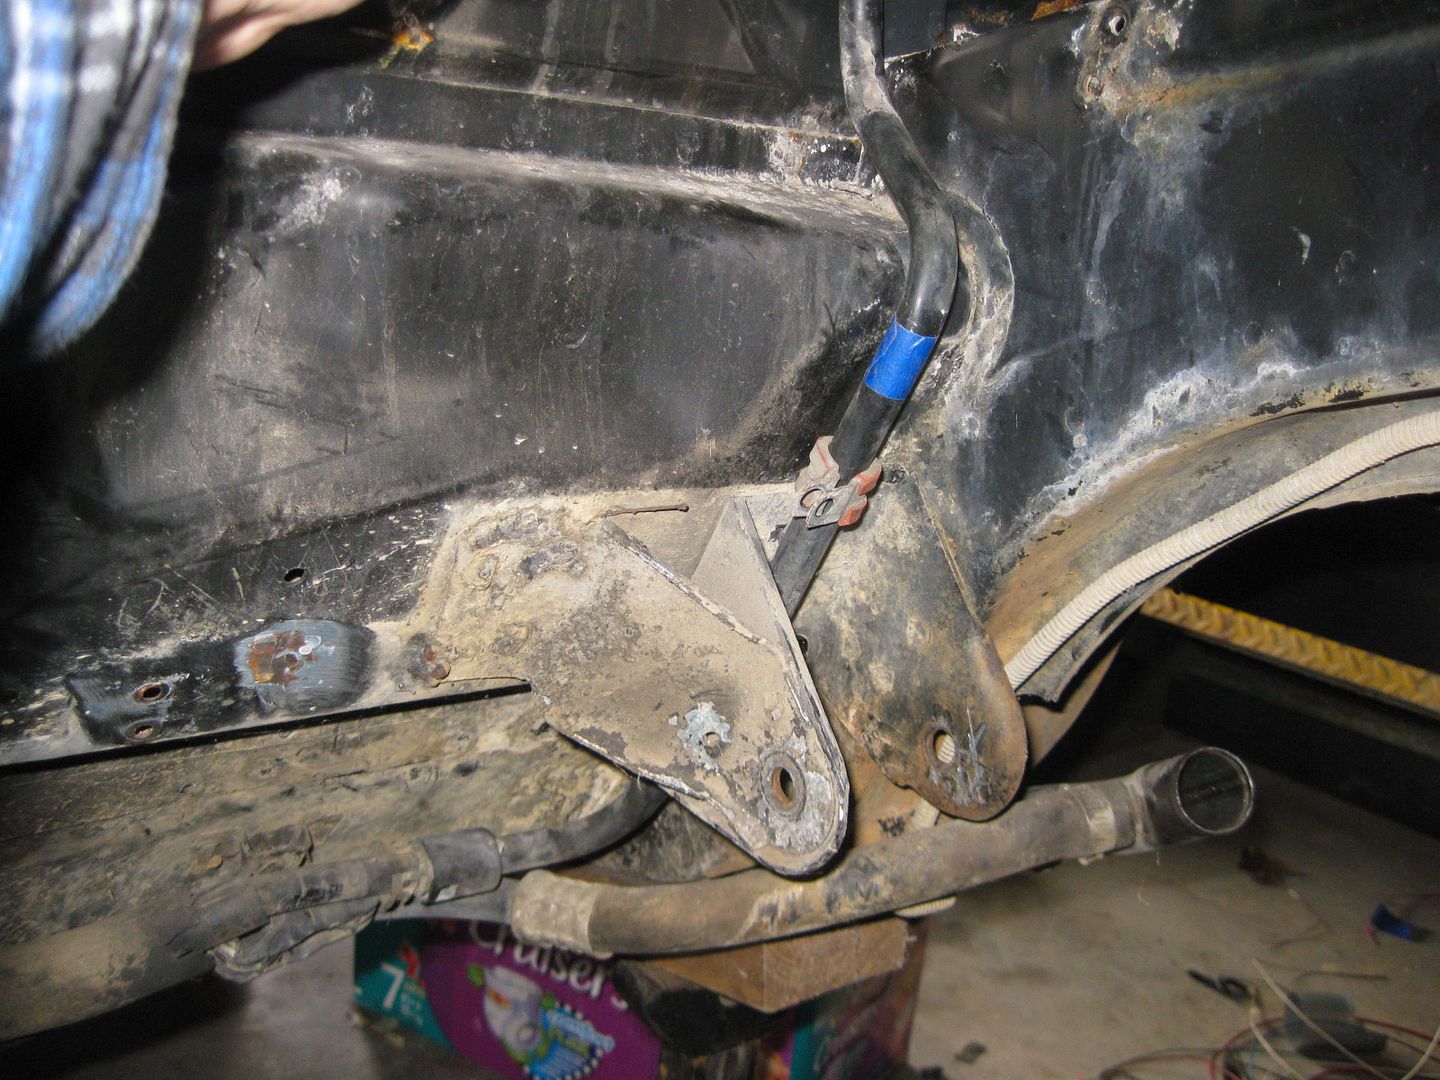
Quote: Also test fitted the stock heater hard line and determined where I would trim the hard line to have a direct shot to the front of the water pump
I was wondering; were you referring to the suction or discharge side of the water pump,to land the hard line?
Originally posted by Jims88: I was wondering; were you referring to the suction or discharge side of the water pump,to land the hard line?
Discharge side (pre-thermostat, so it functions as the coolant bypass and so the heater sees hot water as soon as possible).
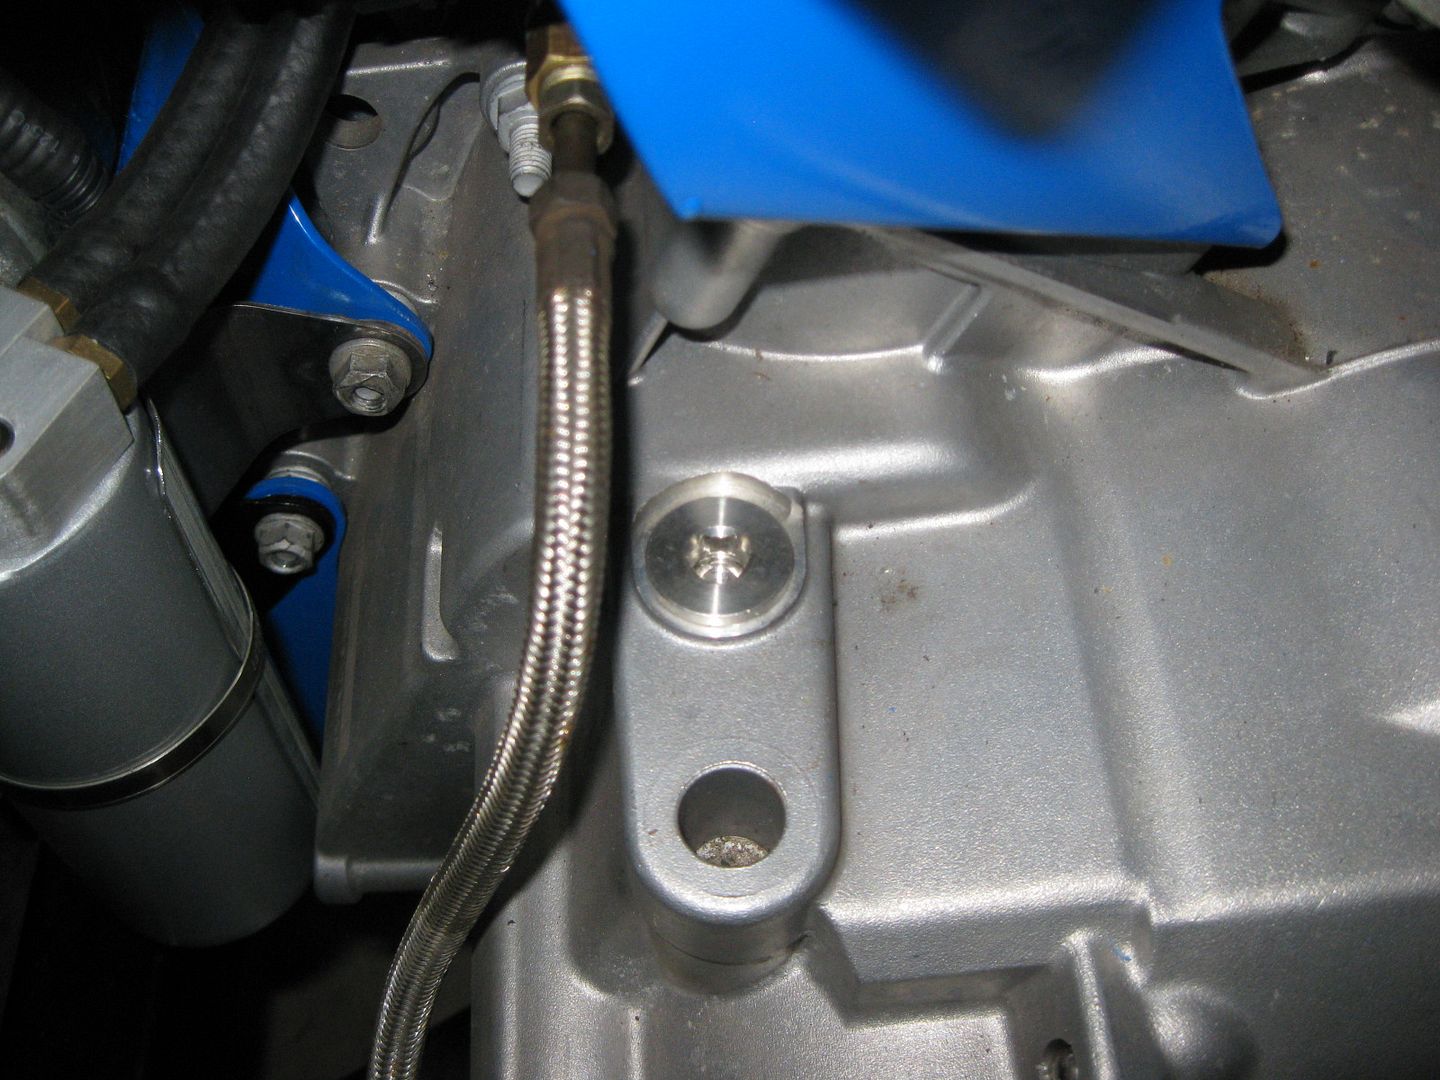
On the 88, the return from the heater core dumps into the passenger coolant tube before the water pump (suction side). The hardline I cut short is for the heater core supply and needs to come from a portion of the water pump before the thermostat. I am going to drill/tap and install a hose barb in the pump in the next few days.
[This message has been edited by fieroguru (edited 12-10-2012).]