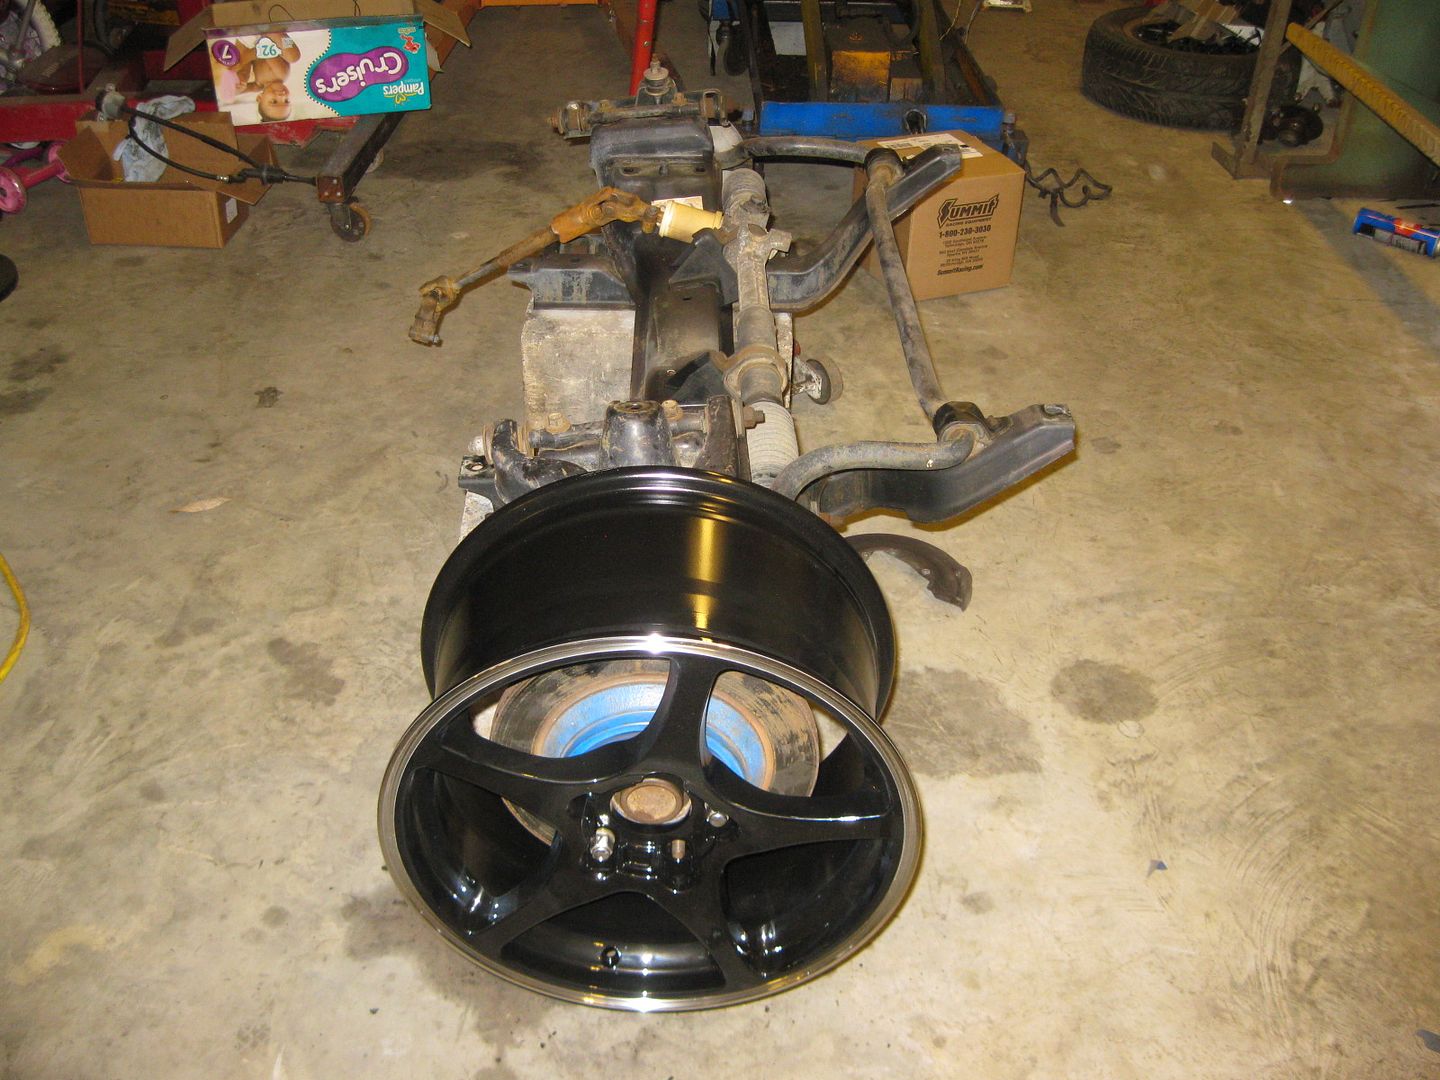
Ordered one 18 x 10.5 wheel for the back and one 17 x 8.5 wheel for the front. I will use these wheels to confirm fitment before I buy the other 2.
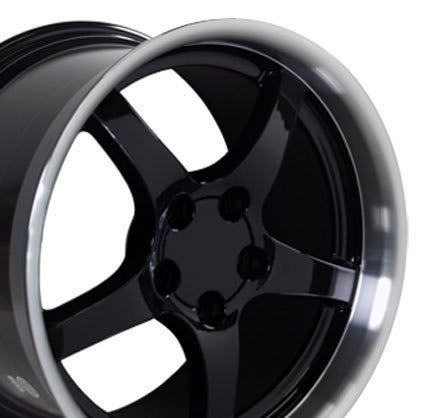
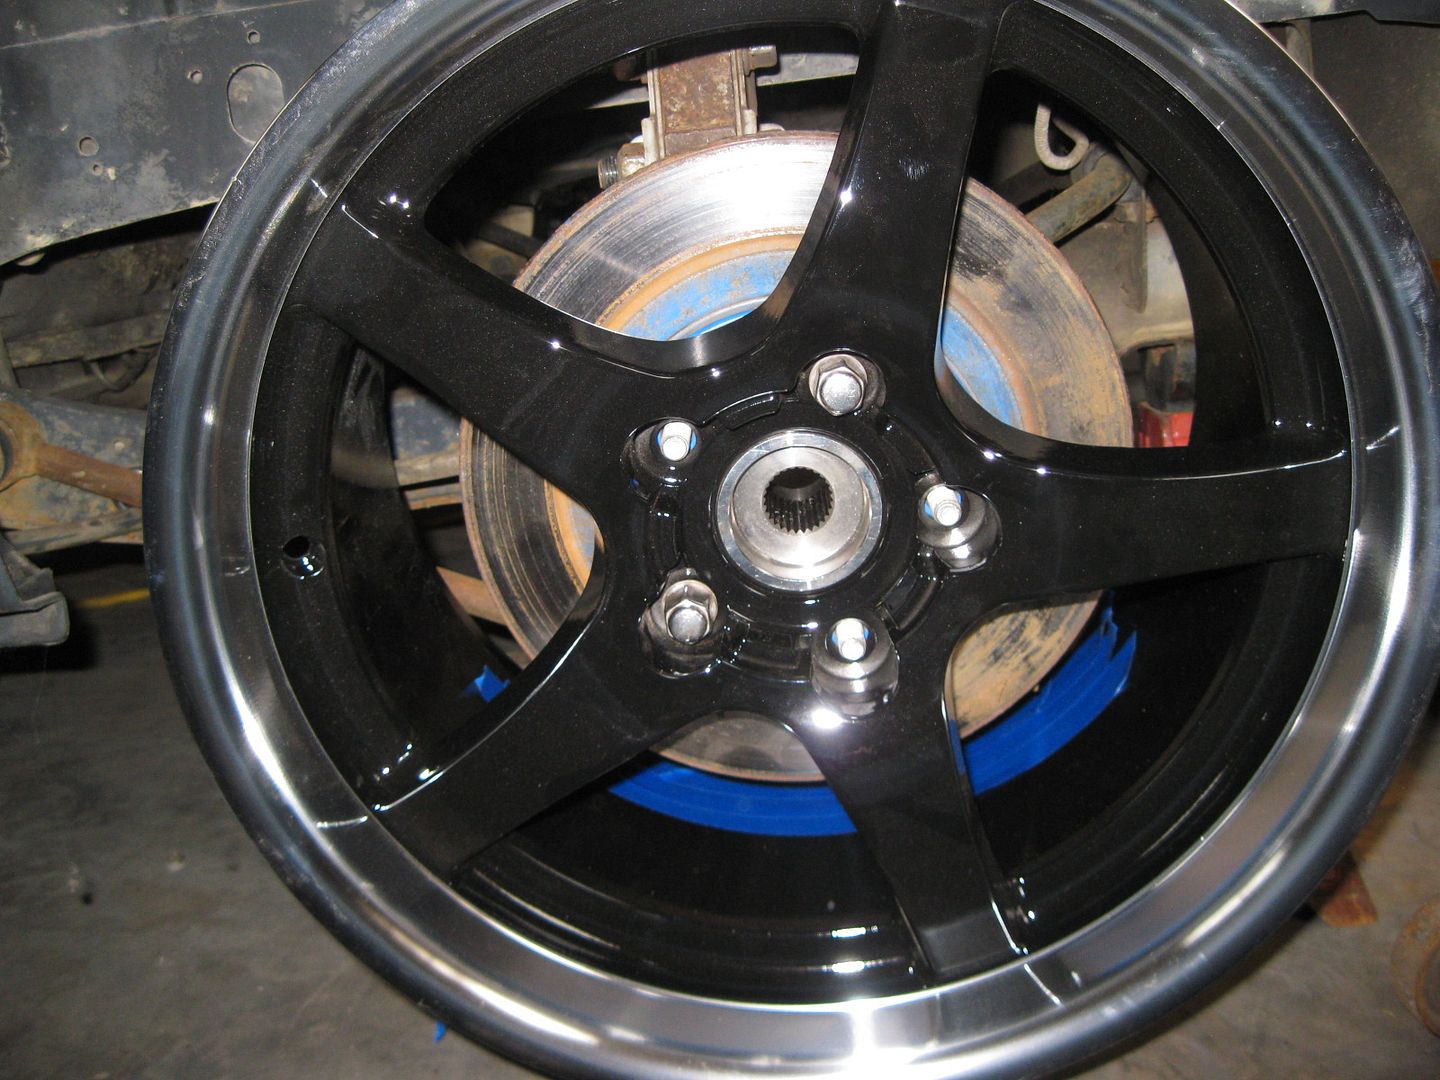
This is the rear wheel. I went with the polished lip and black powder coated center. The black color should allow the 13" rotors and by colored calipers to really stand out:
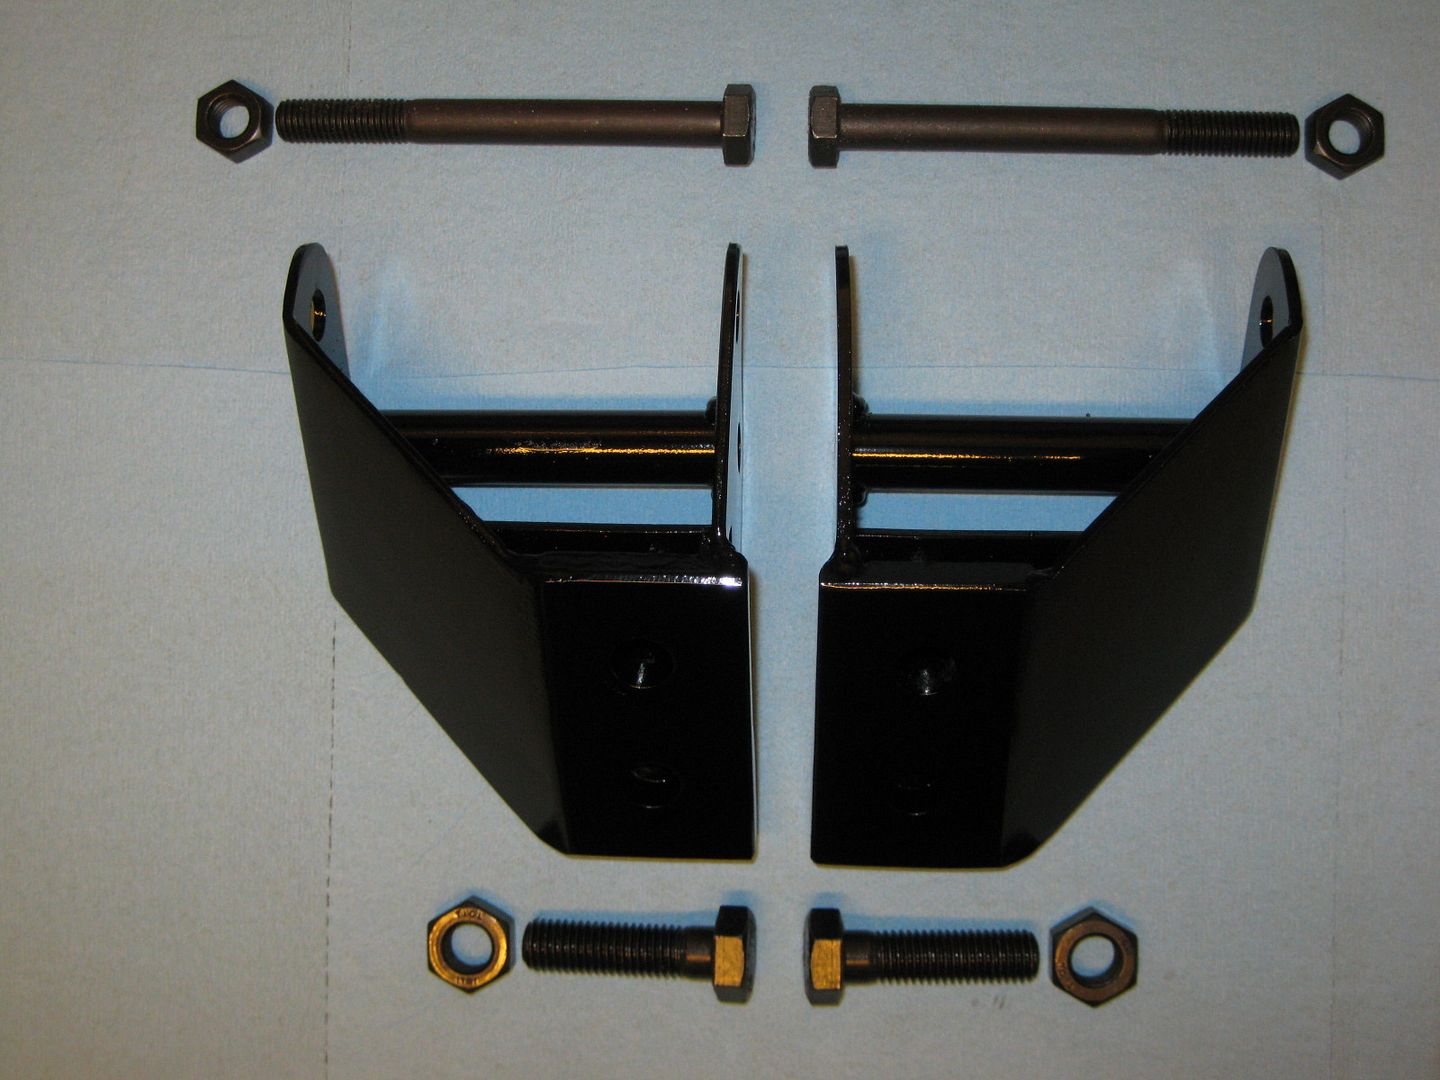
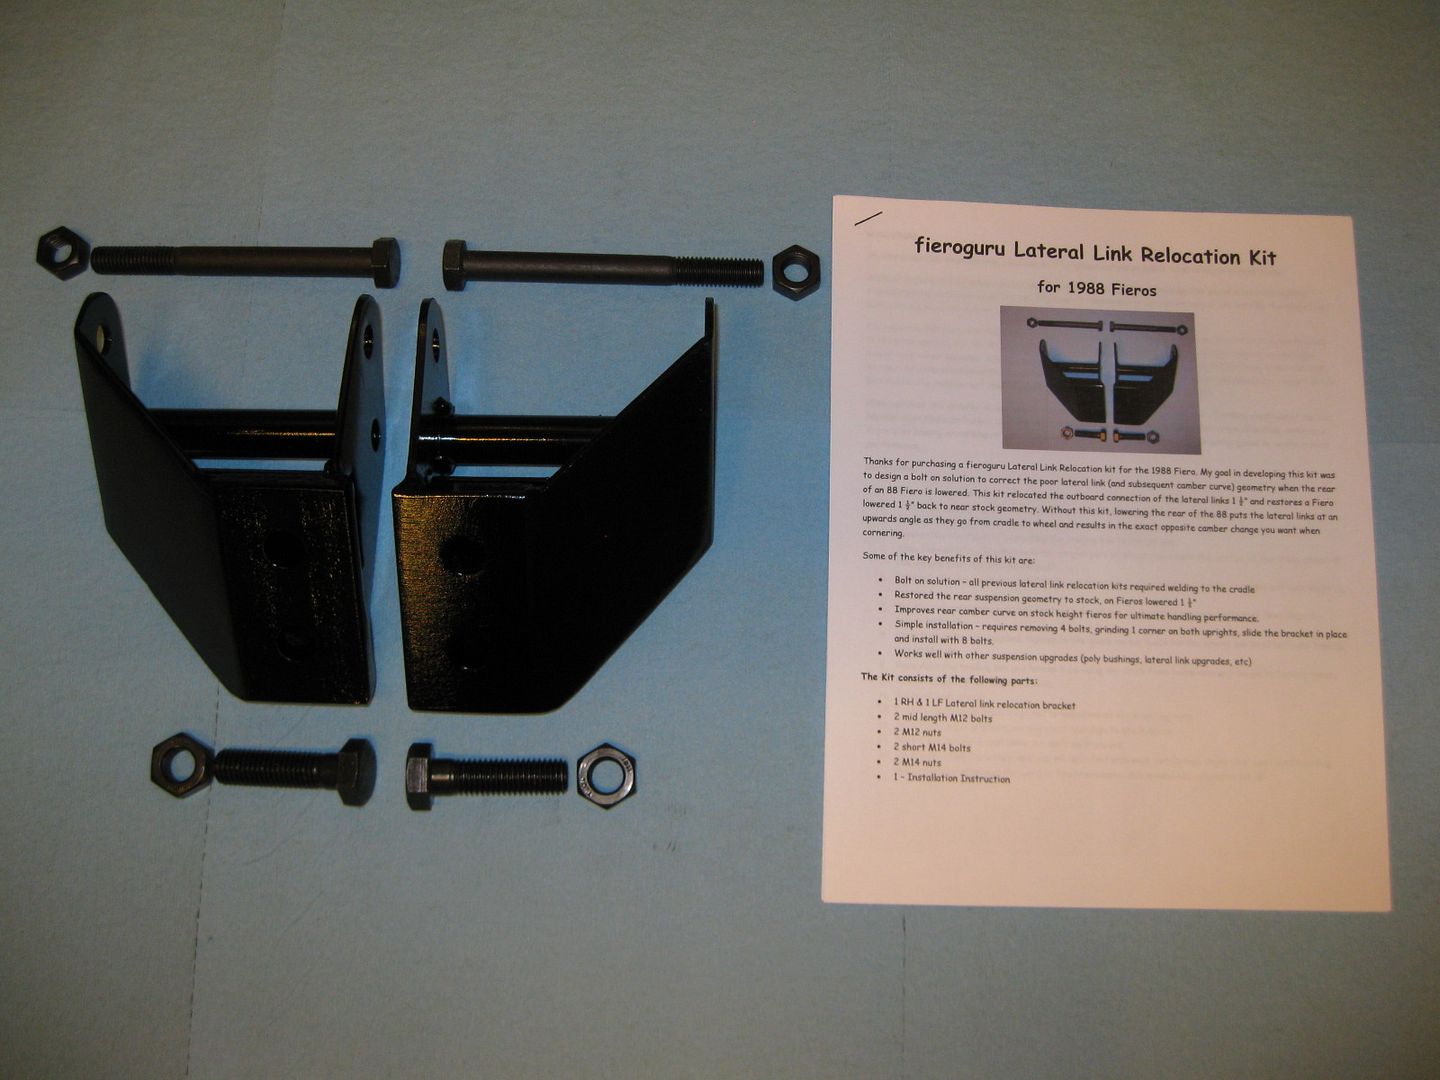
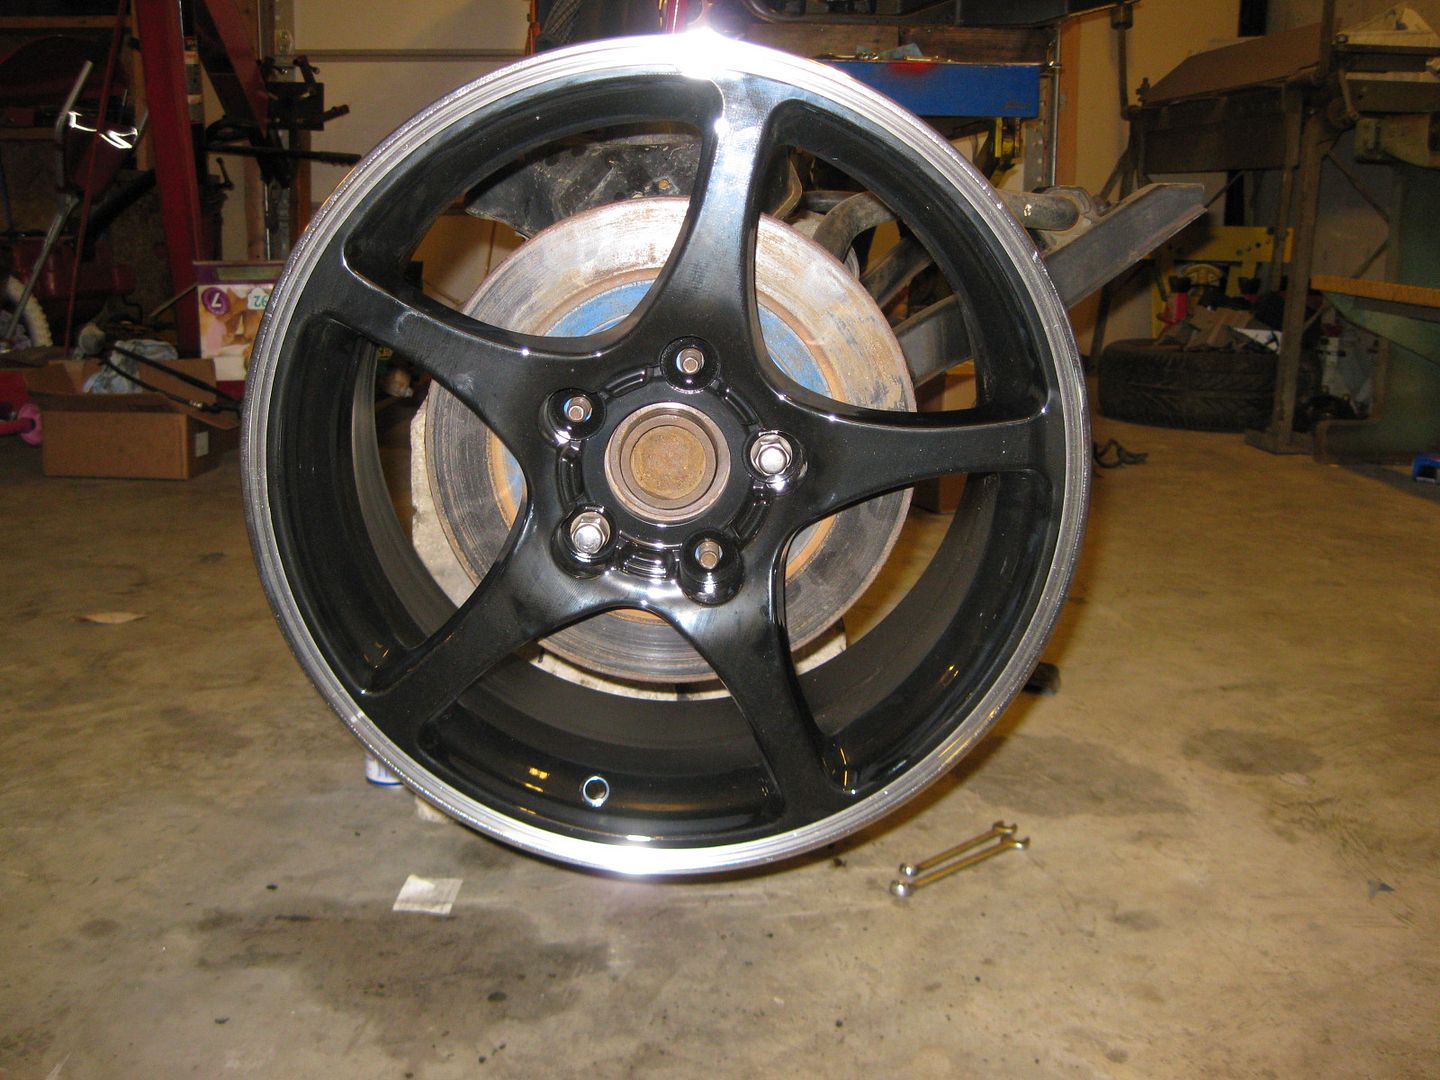
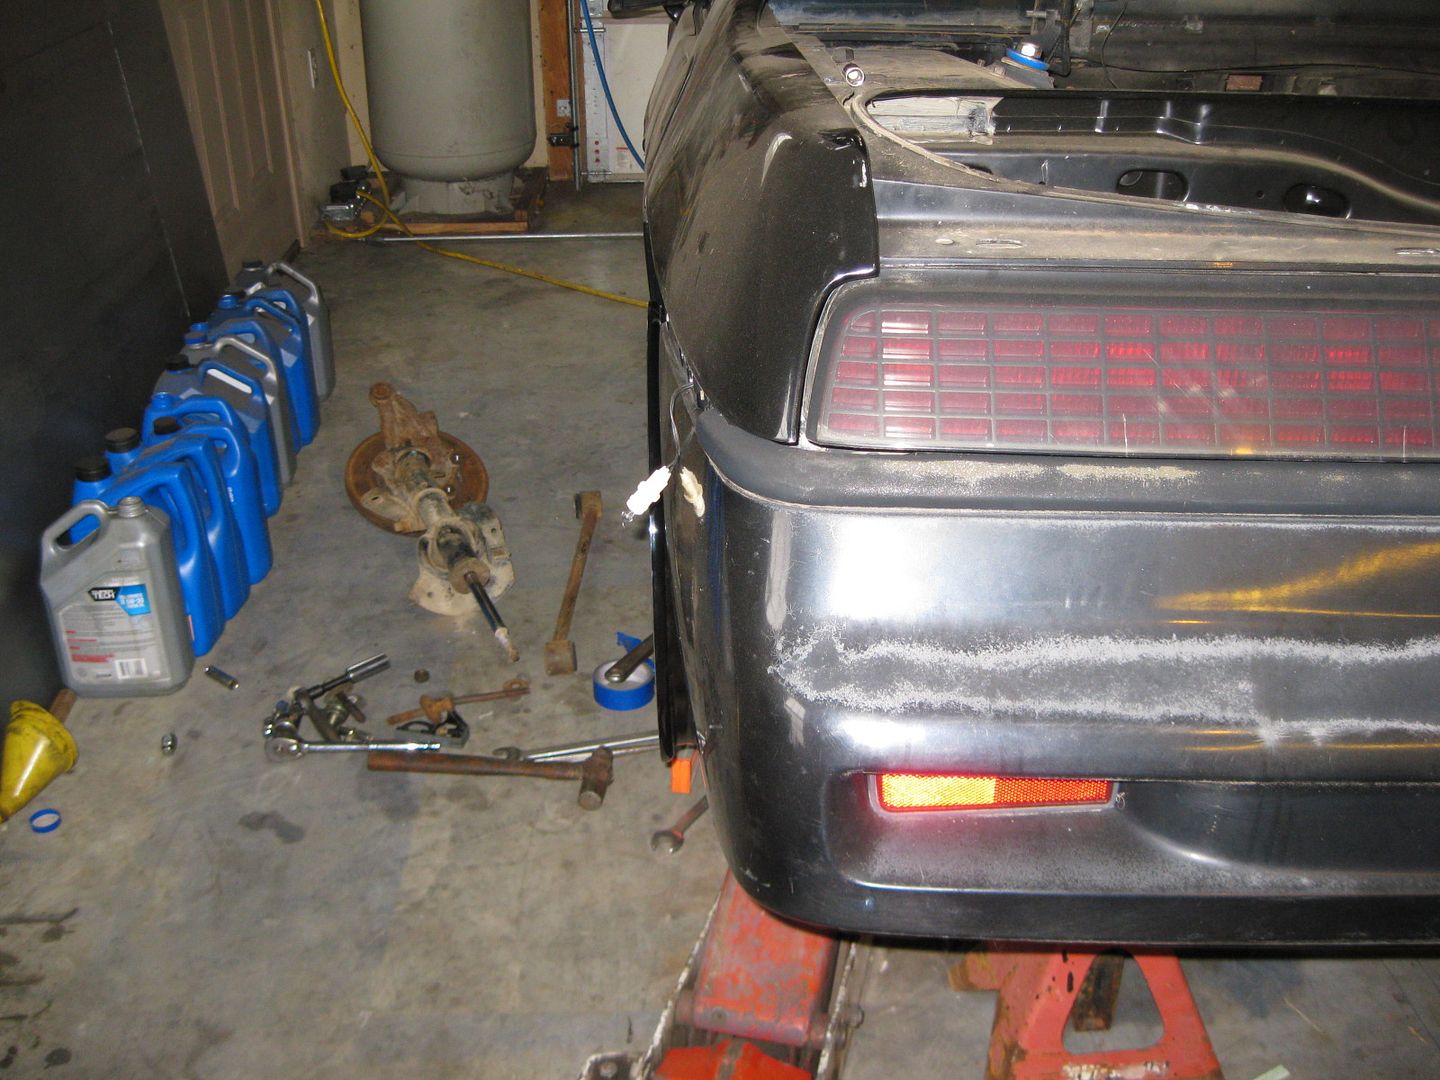
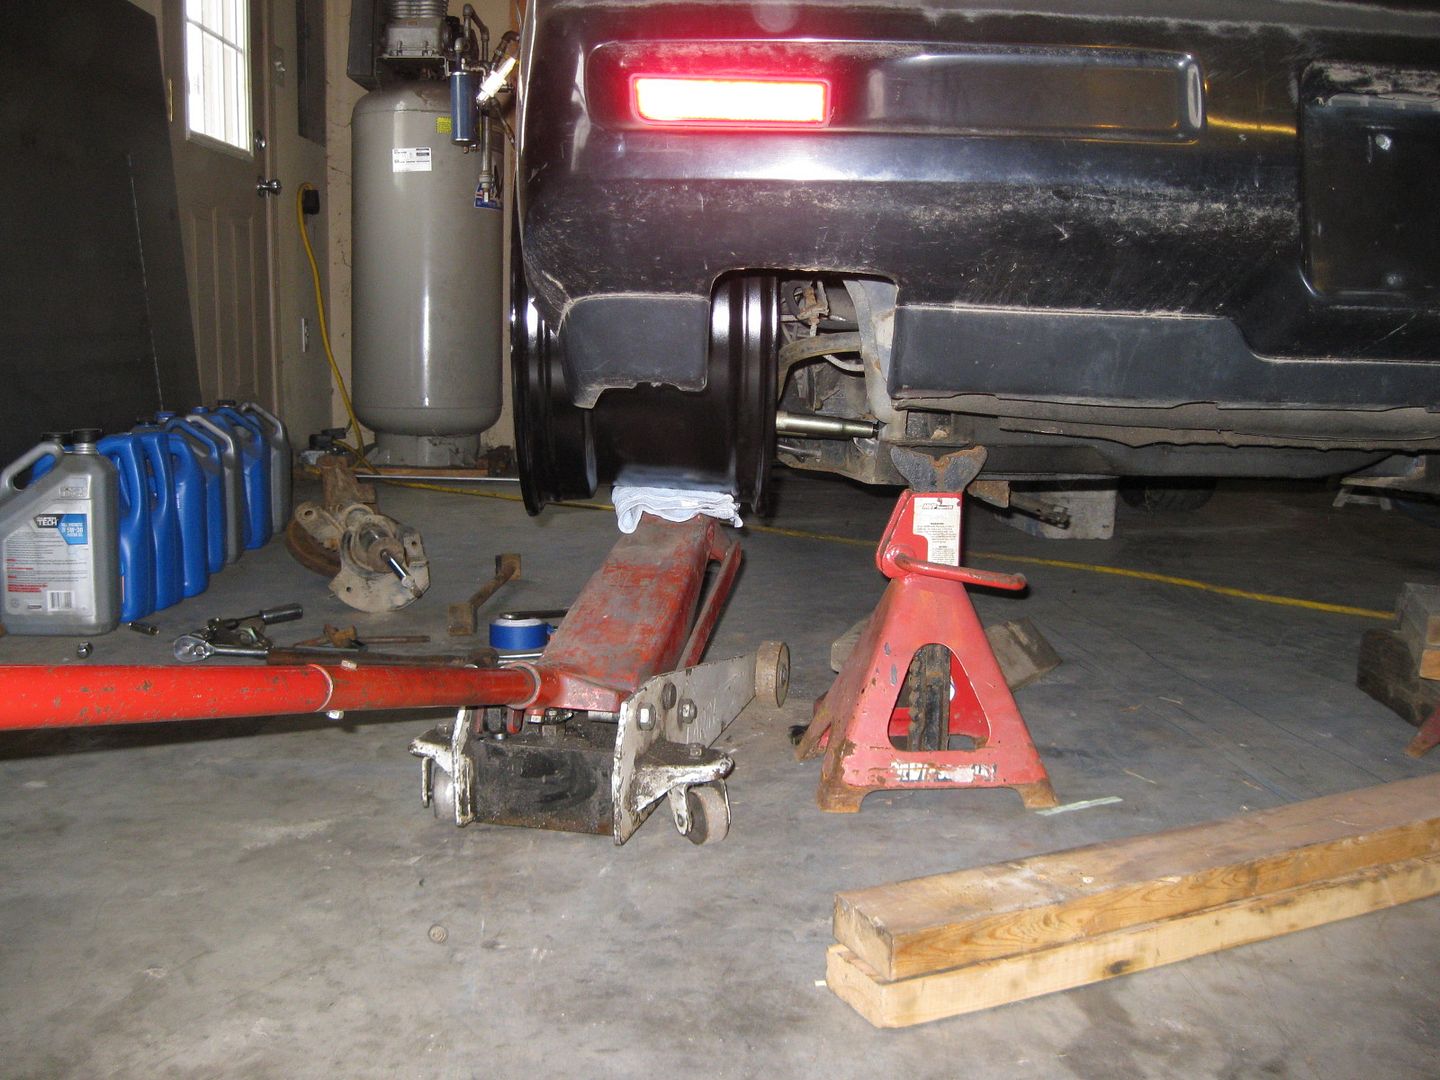
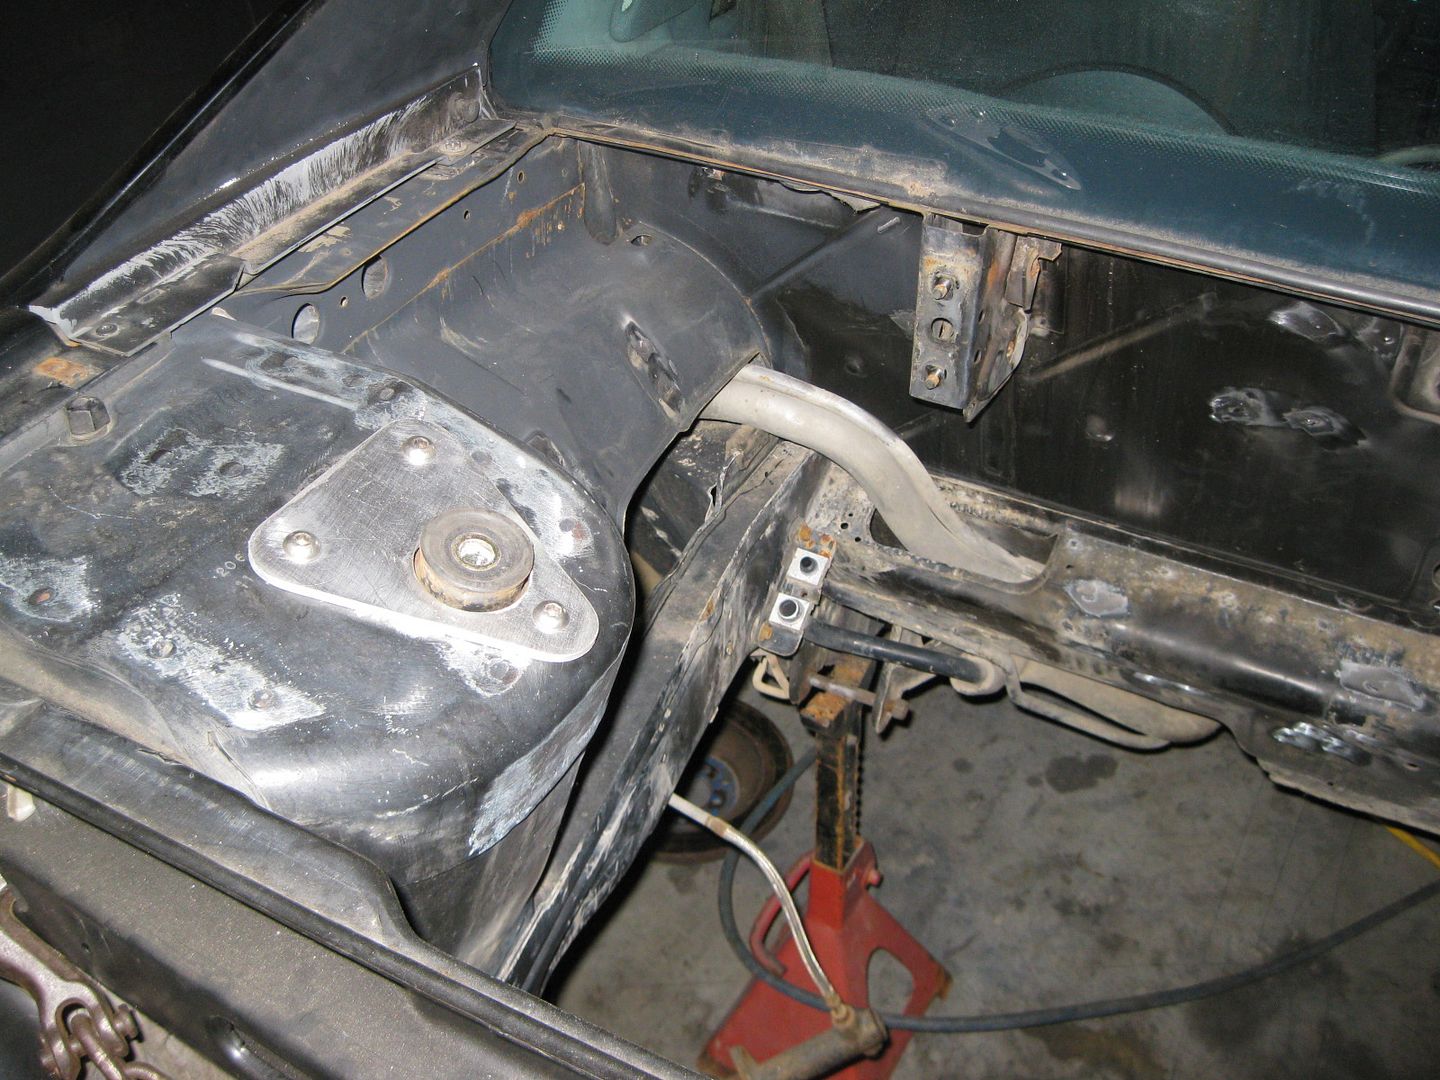
Started test fitting the wheels. The fronts will need some slight clearance work to the upper and lower a-arms to clear the 17x8.5 (ET 58). The rear will require about 1 5/8" shorter lateral links, a custom trailing link and most likely relocate the tops of the struts inboard 1 5/8" as well:
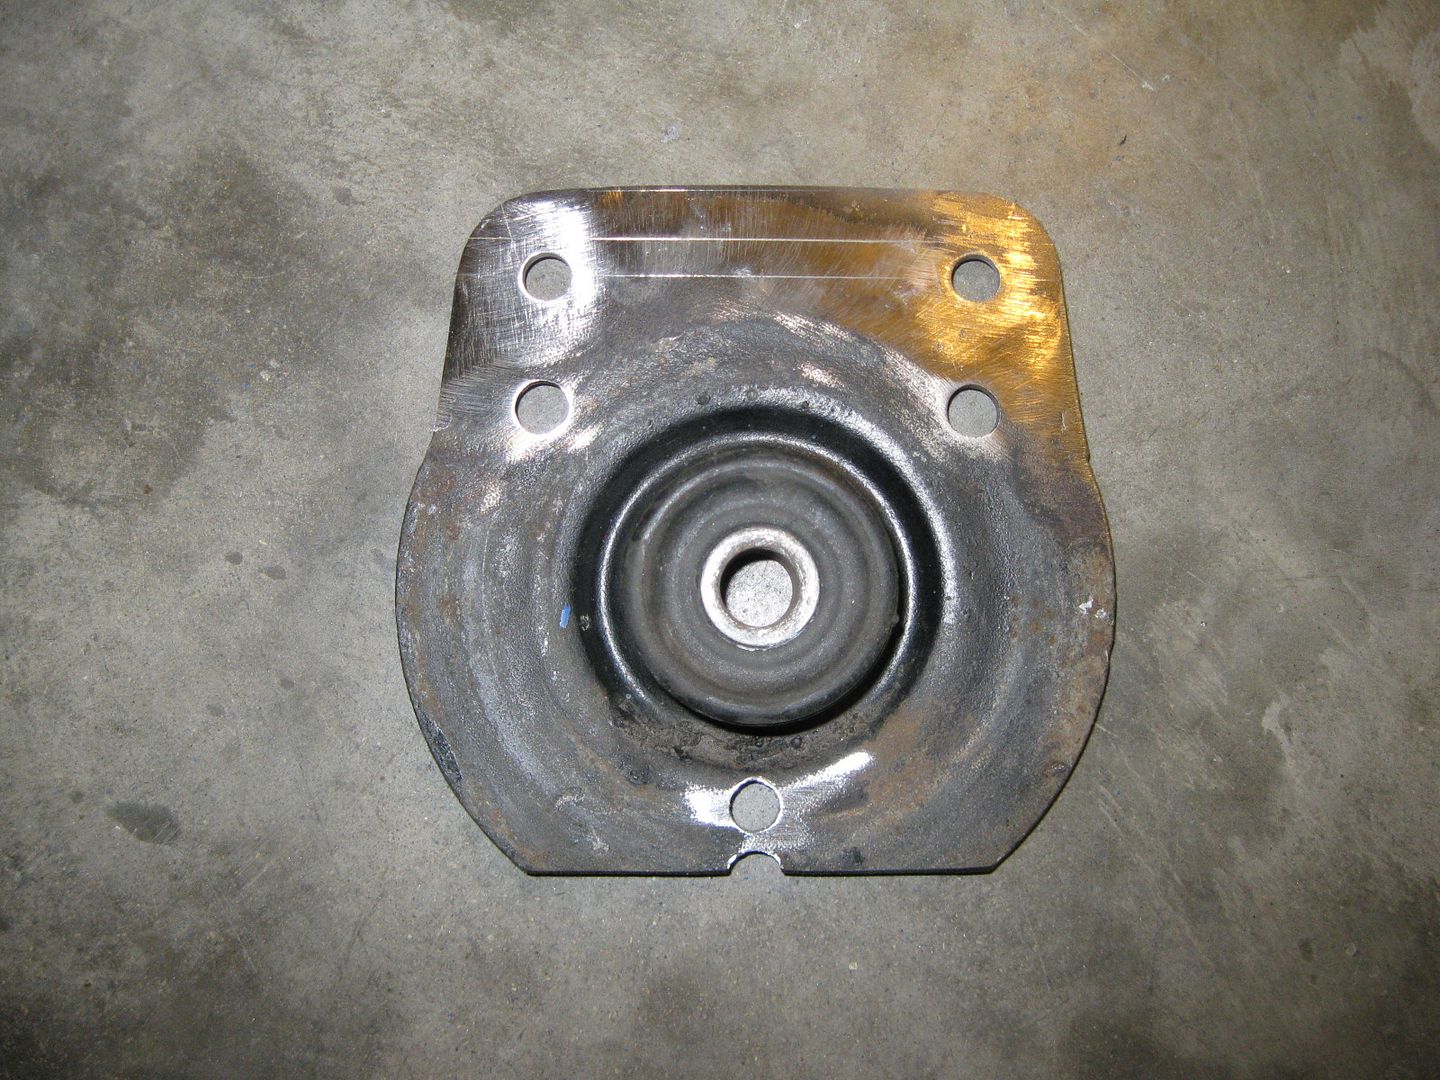
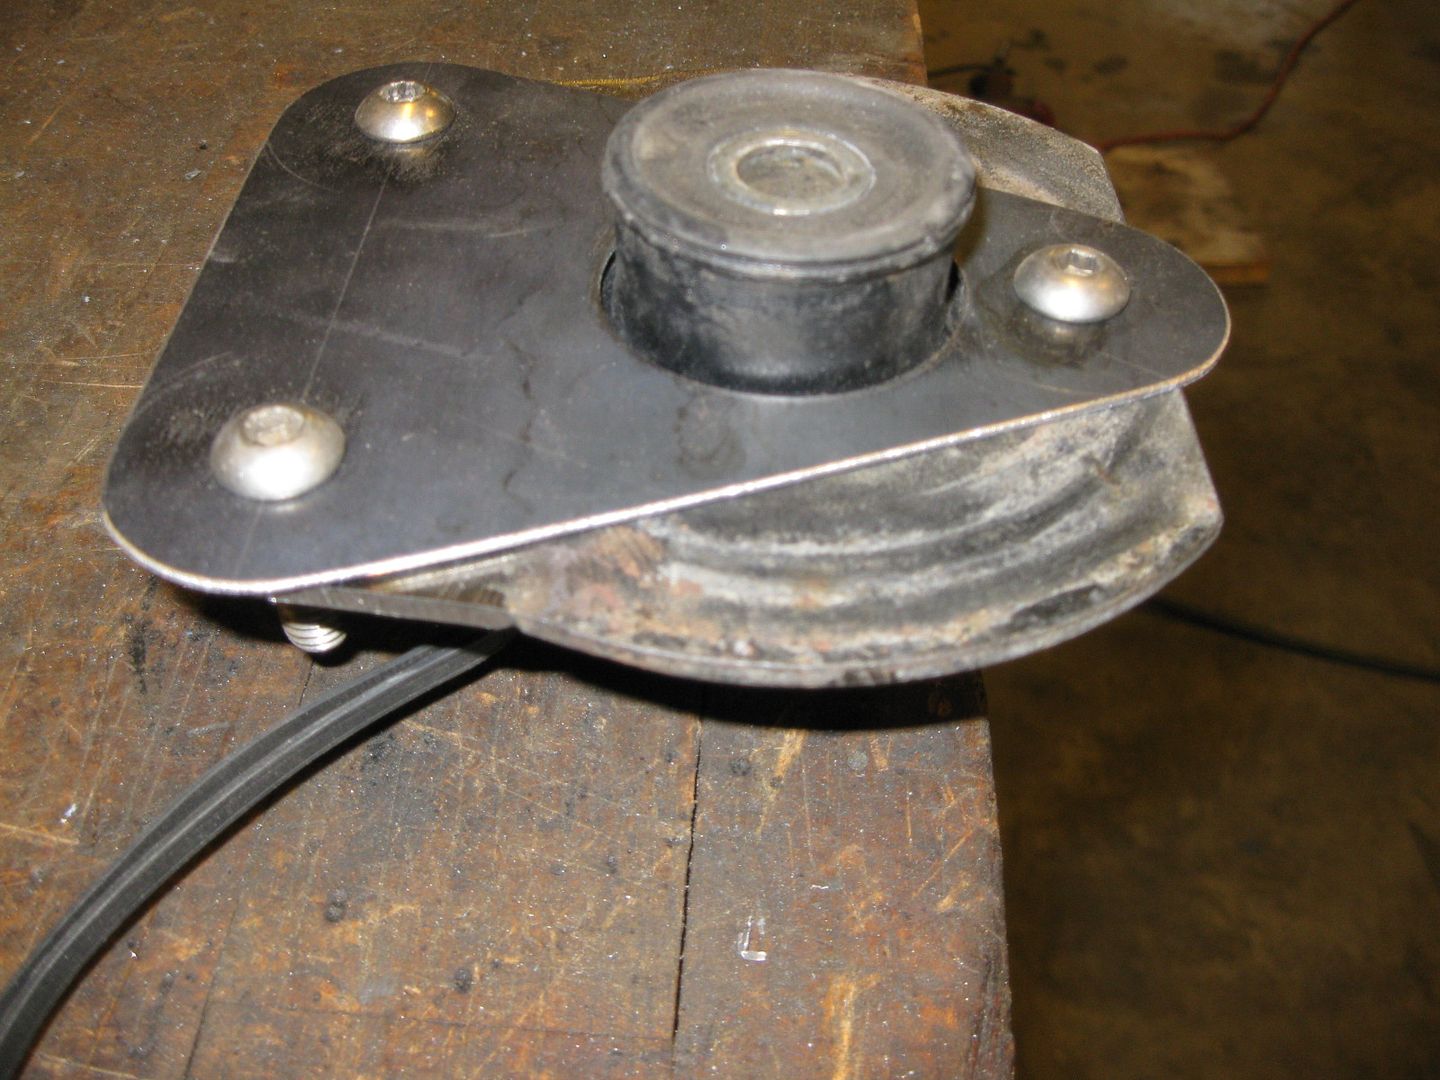
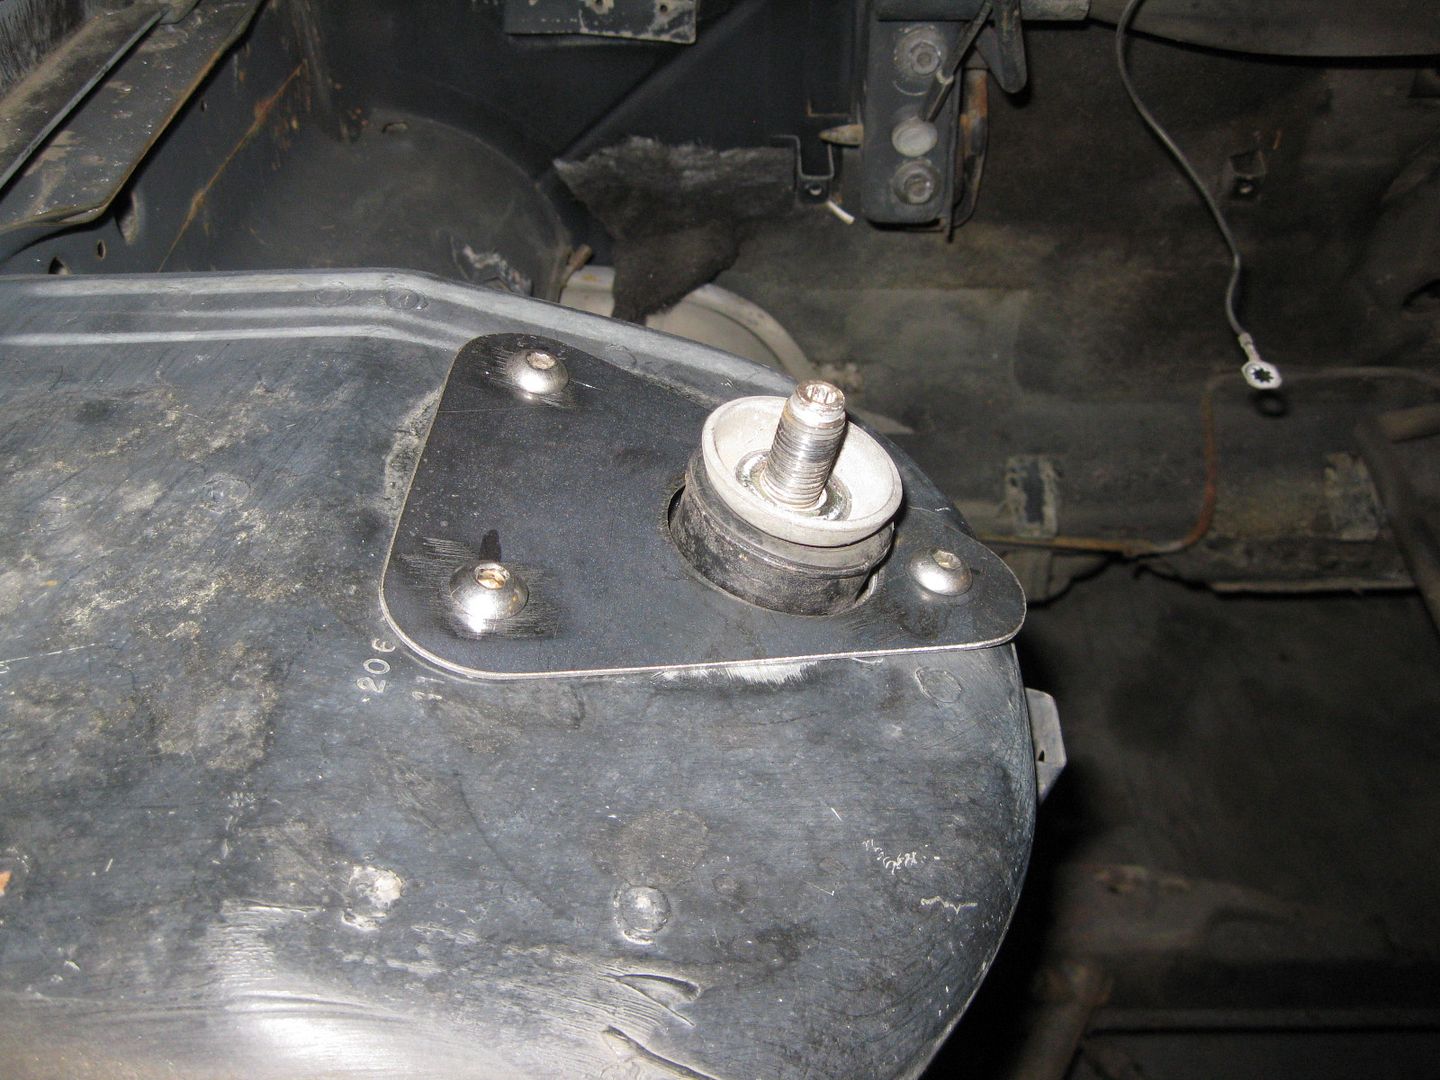
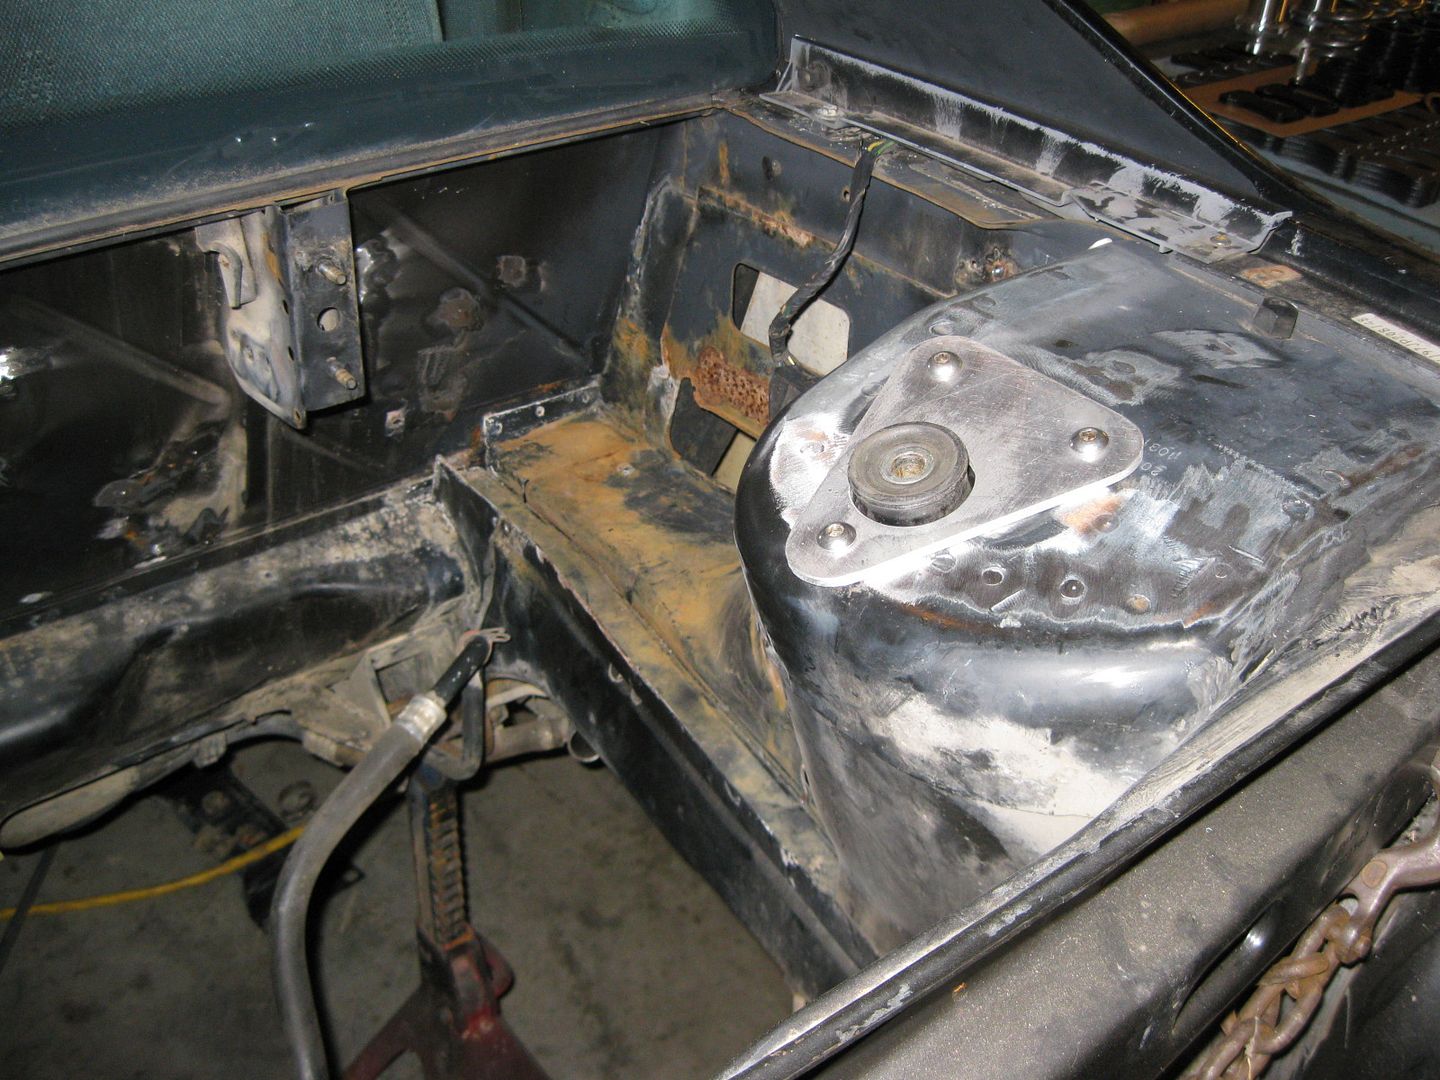
Since I pulled the bottom of the wheel in about 1 5/8" and ran out of needed adjustment to get the wheel back to zero camber, I needed to move the top of the strut inboard as well. Finally settled on moving it inboard 1" and the method was to modify the OEM spring hat. I welded some 1/8" to the side with the 2 bolts, relocated those holes 1" and then relocated the single hole on the other side 1/2".
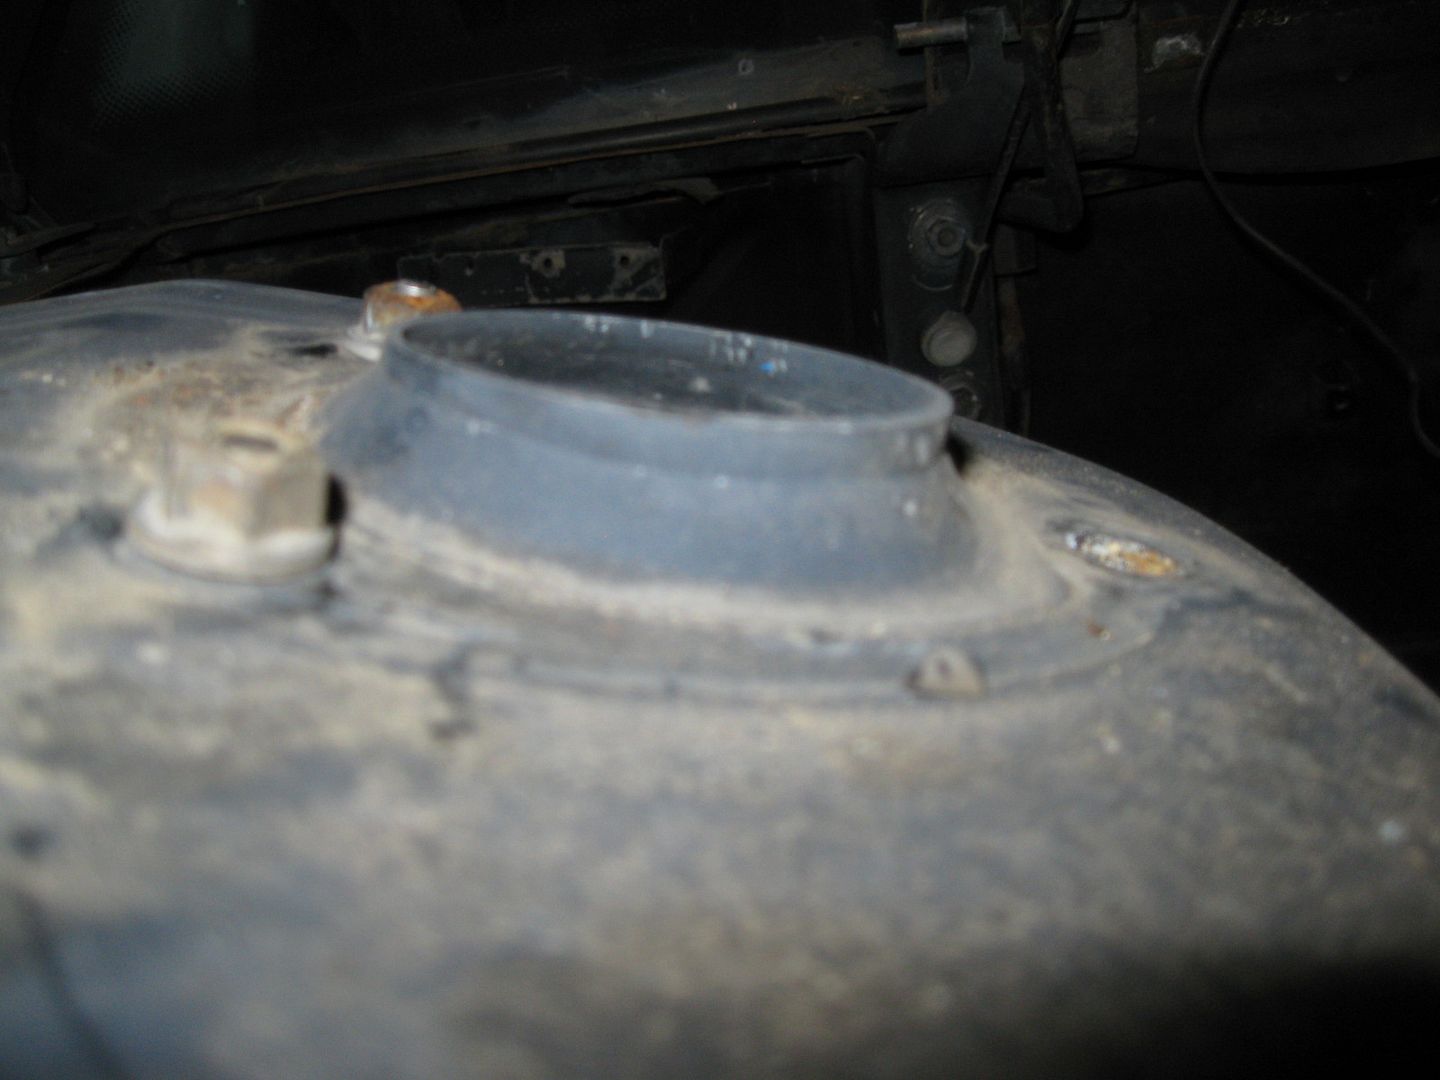
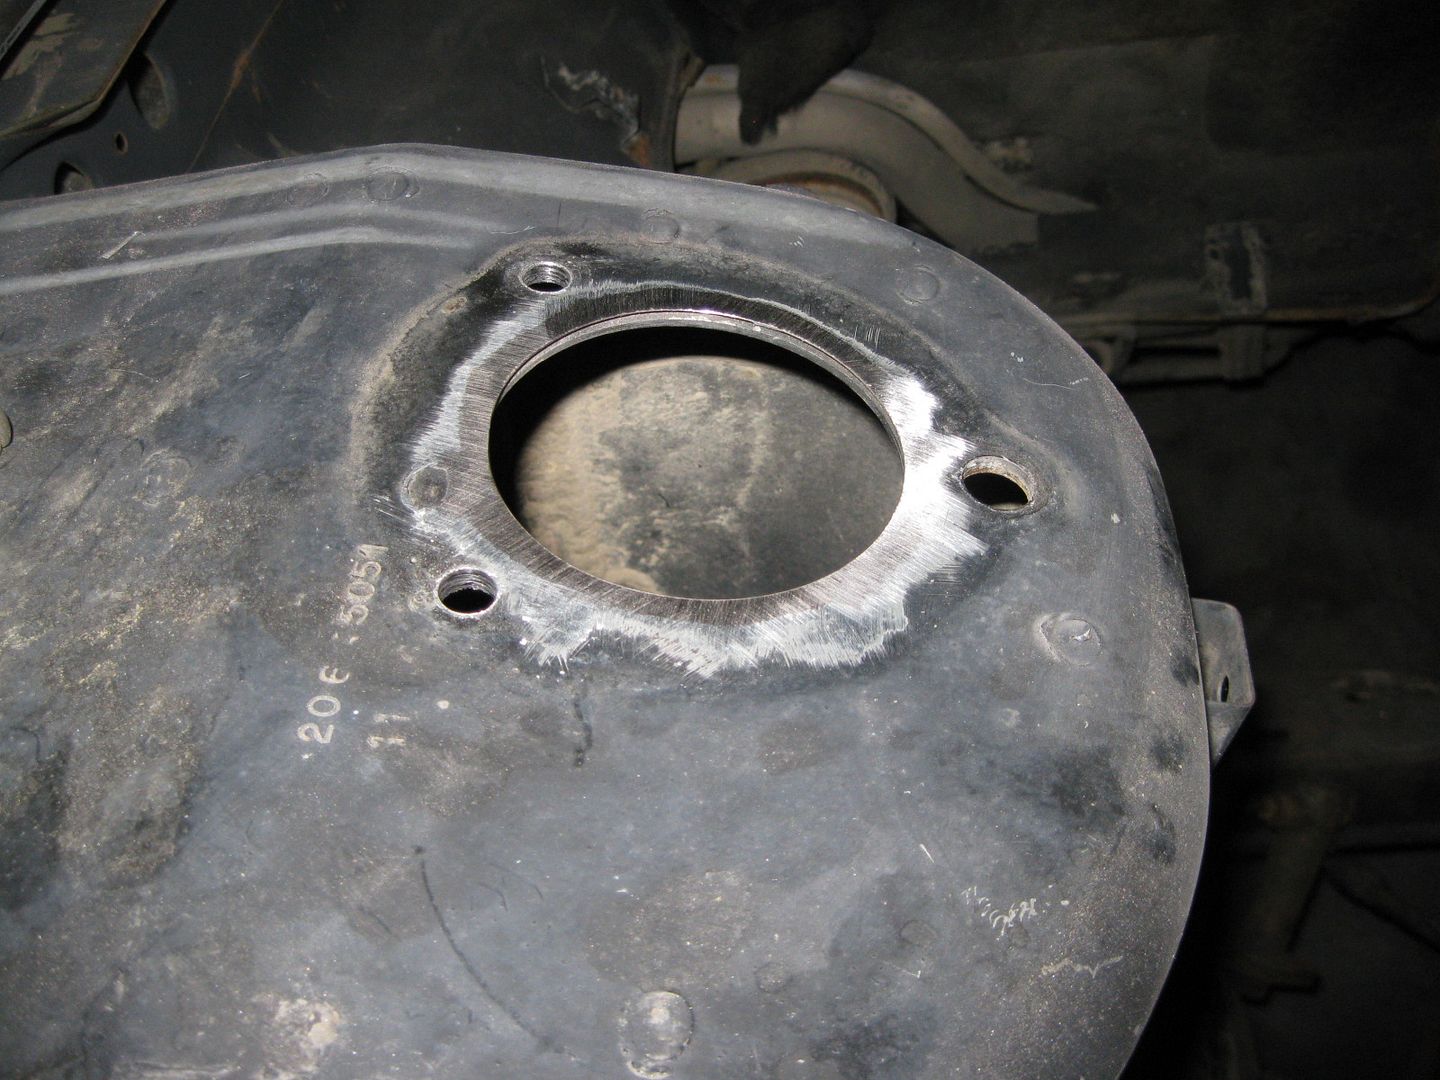
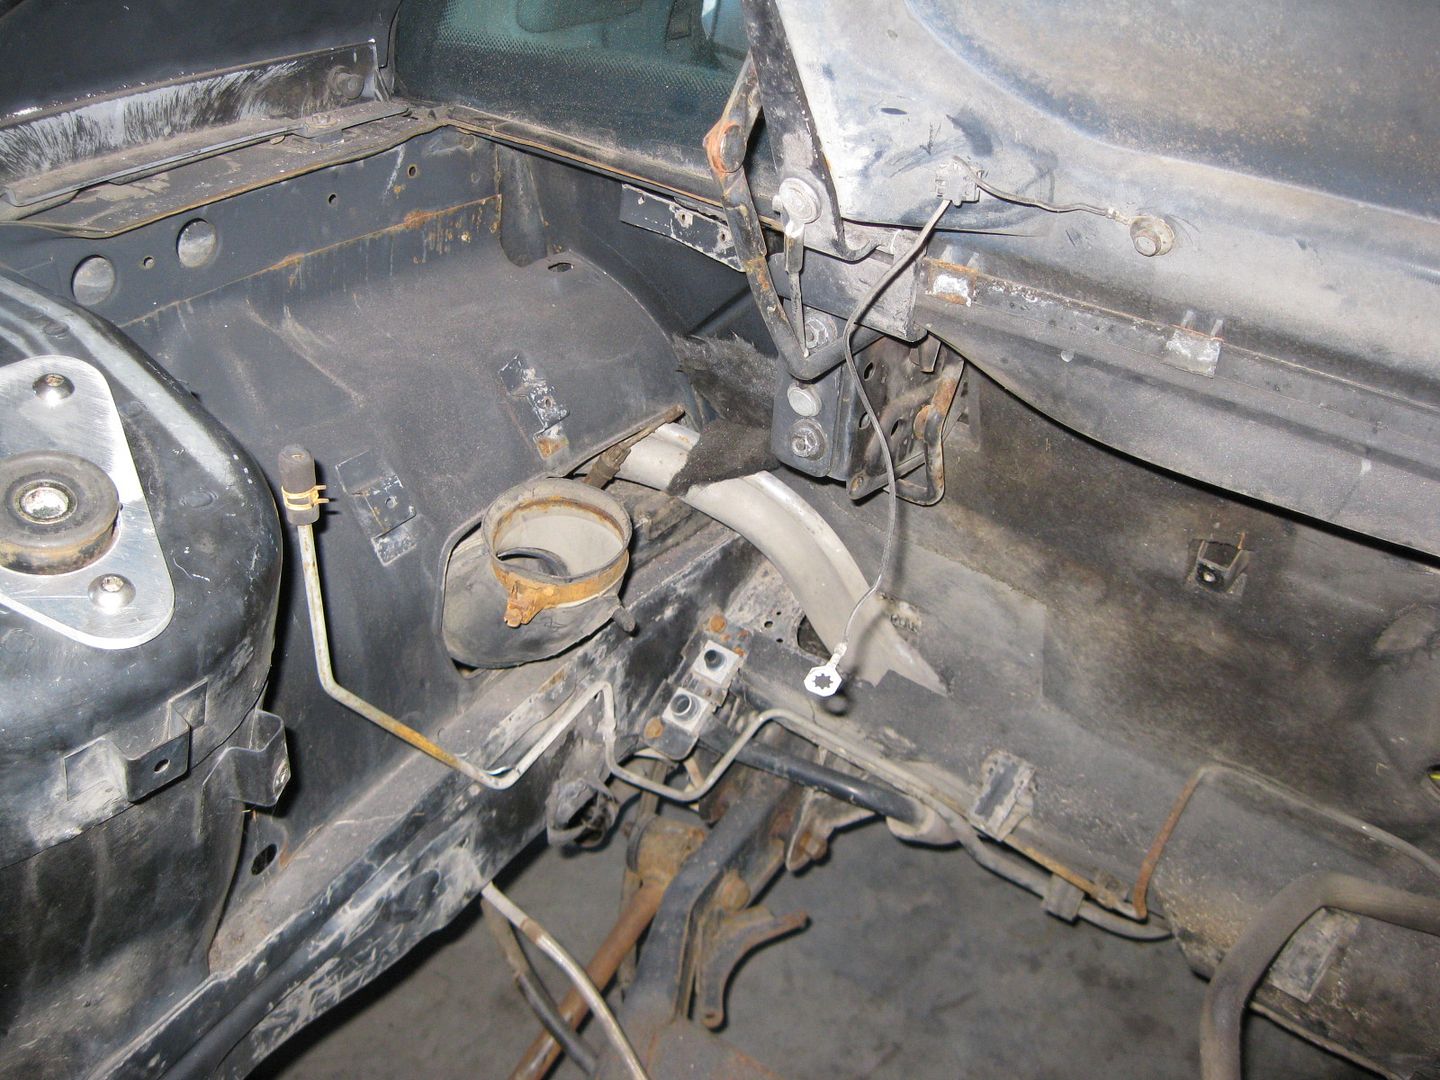
The plan is to remove the flange from the top of the strut tower (hole saw around the raised edge).
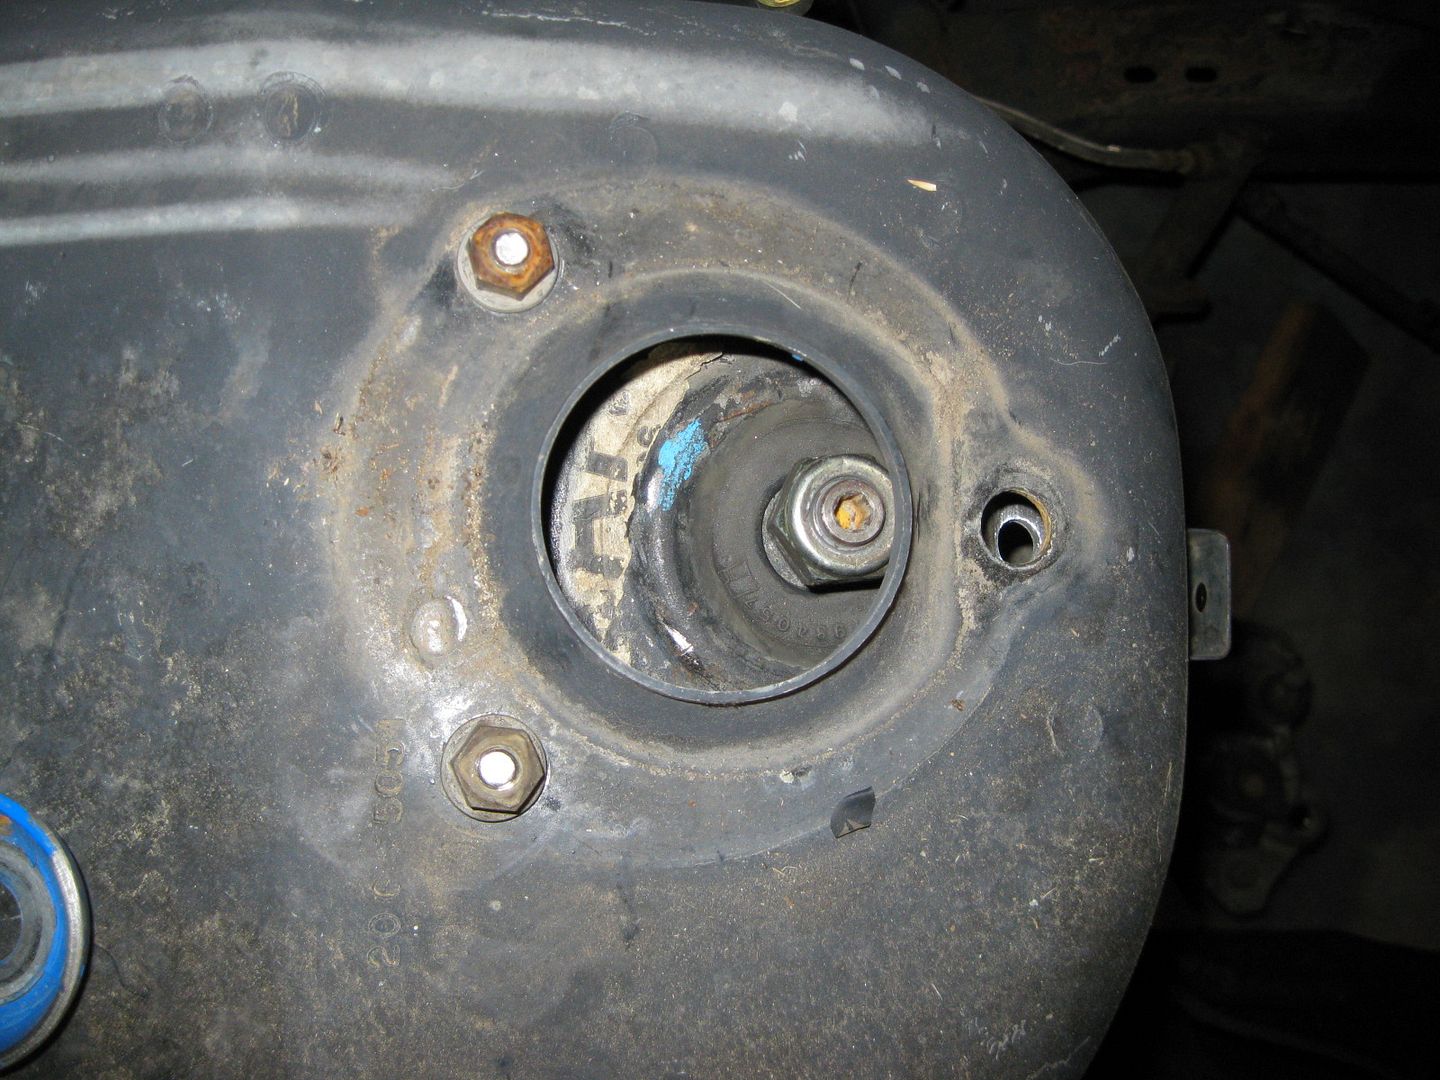
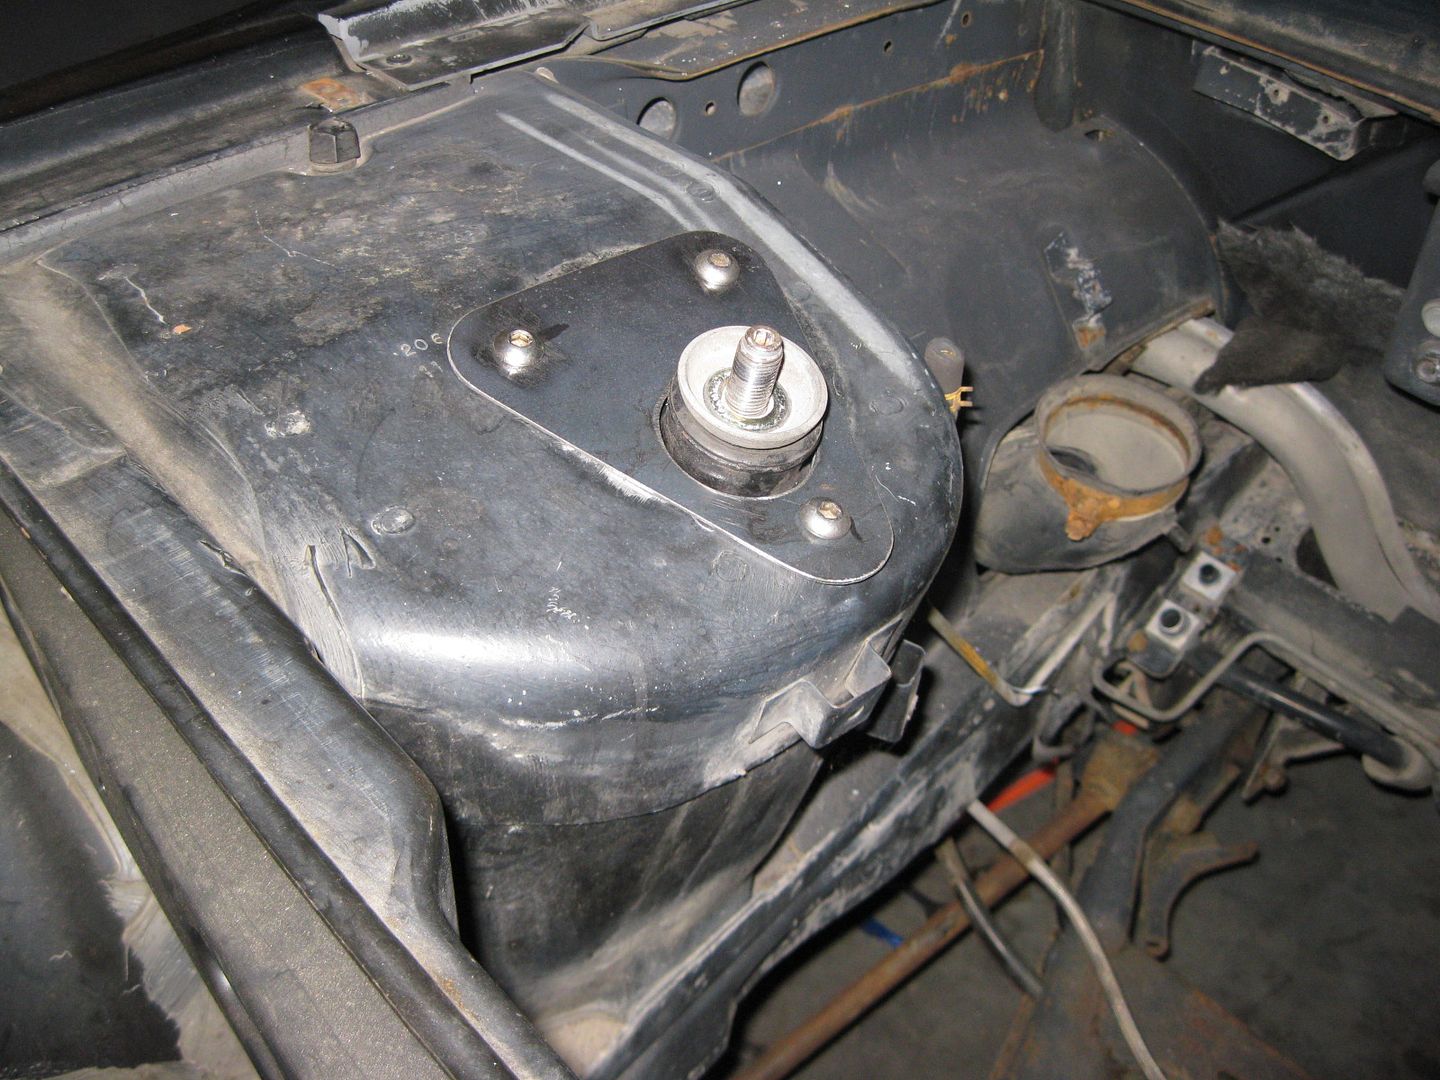
The inboard hole in the strut tower will need to be relocated 1/2" inboard as well and you can see in this picture where the top of the strut will need to pass through.
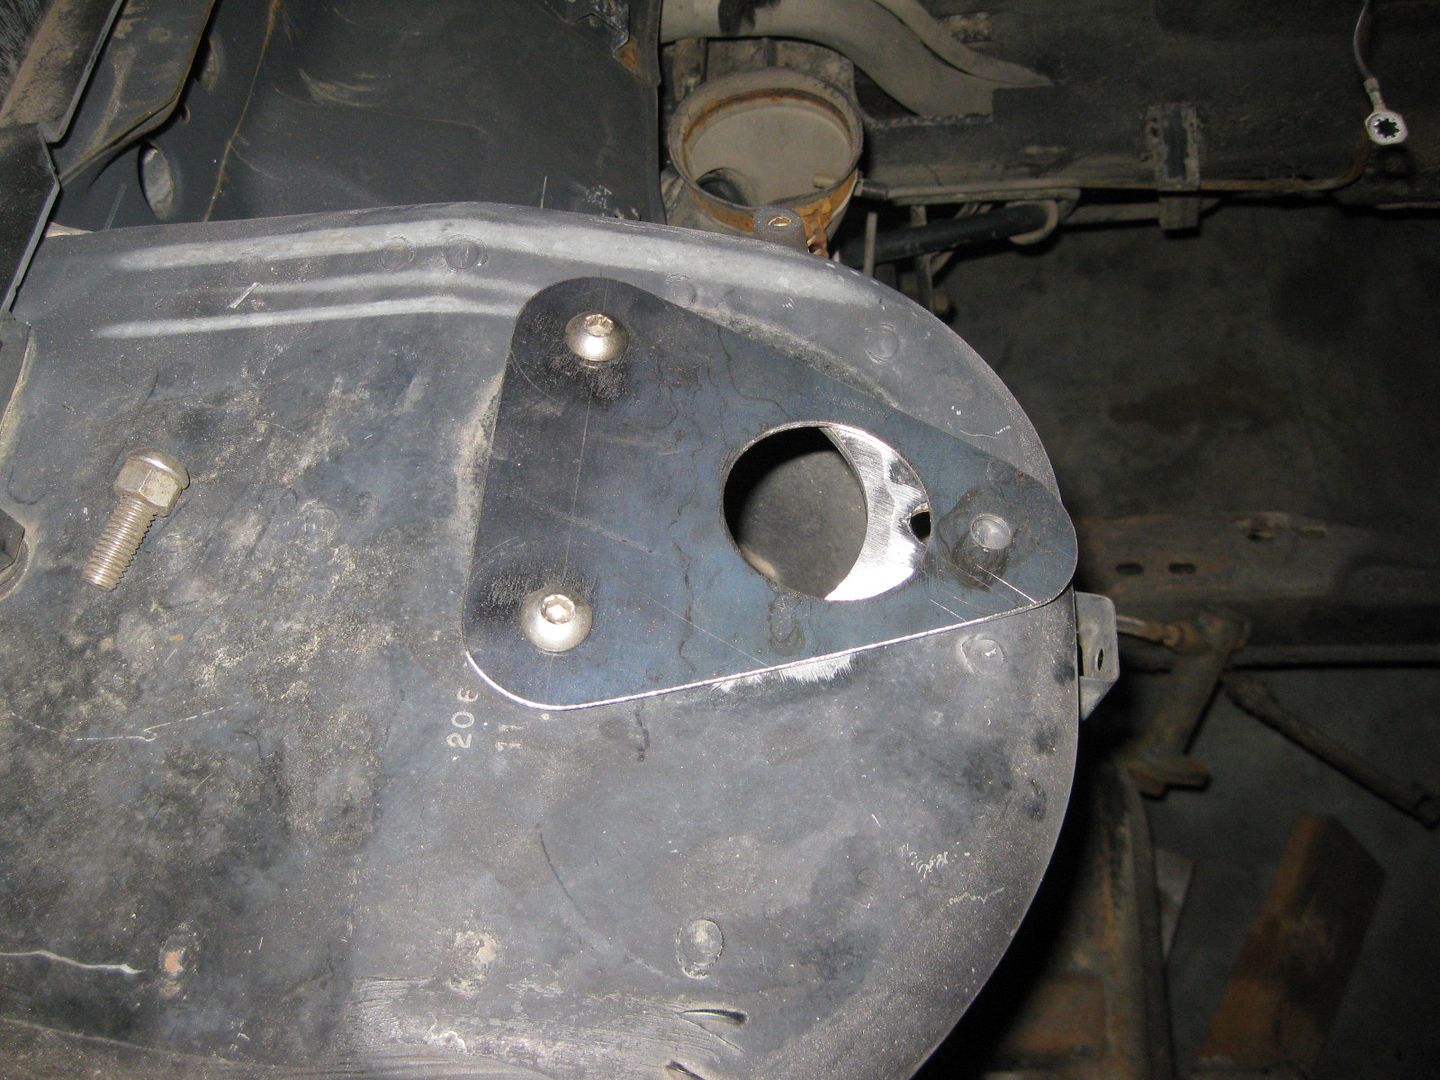
I do not want it to be obvious the strut top was relocated. By making the strut tower flat on top (removing the raised flange), I can make a flat triangular piece of aluminum with a single hole for the strut bushing (my bushing hat will be flipped) to clean up the look of the strut towers while hiding the modification.
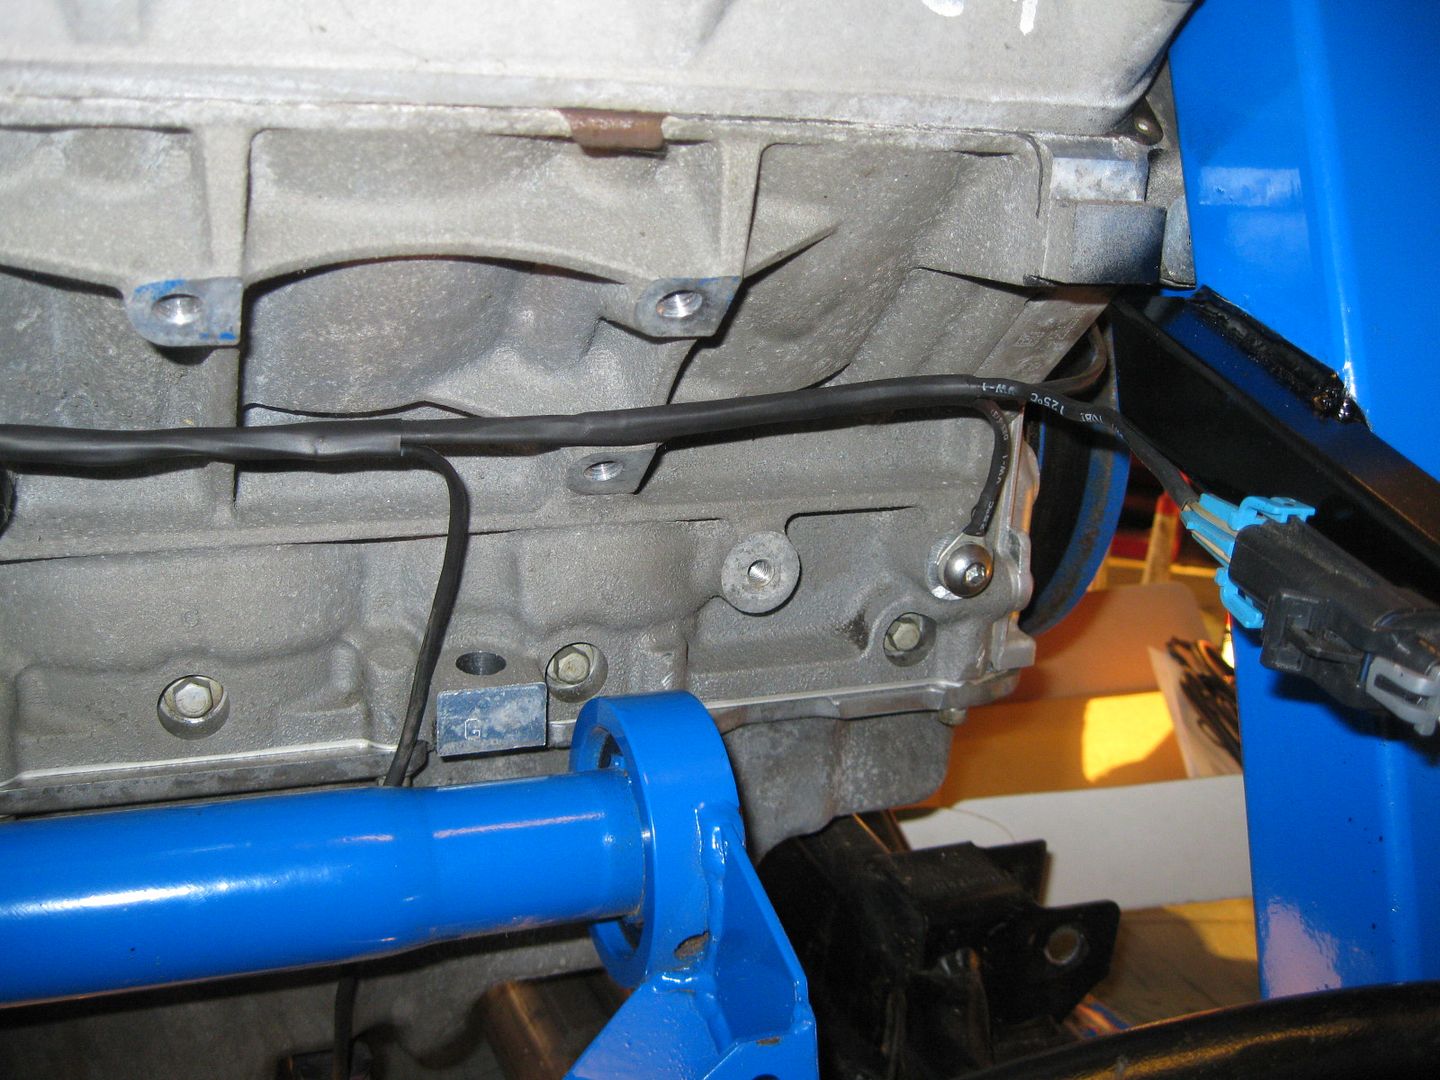
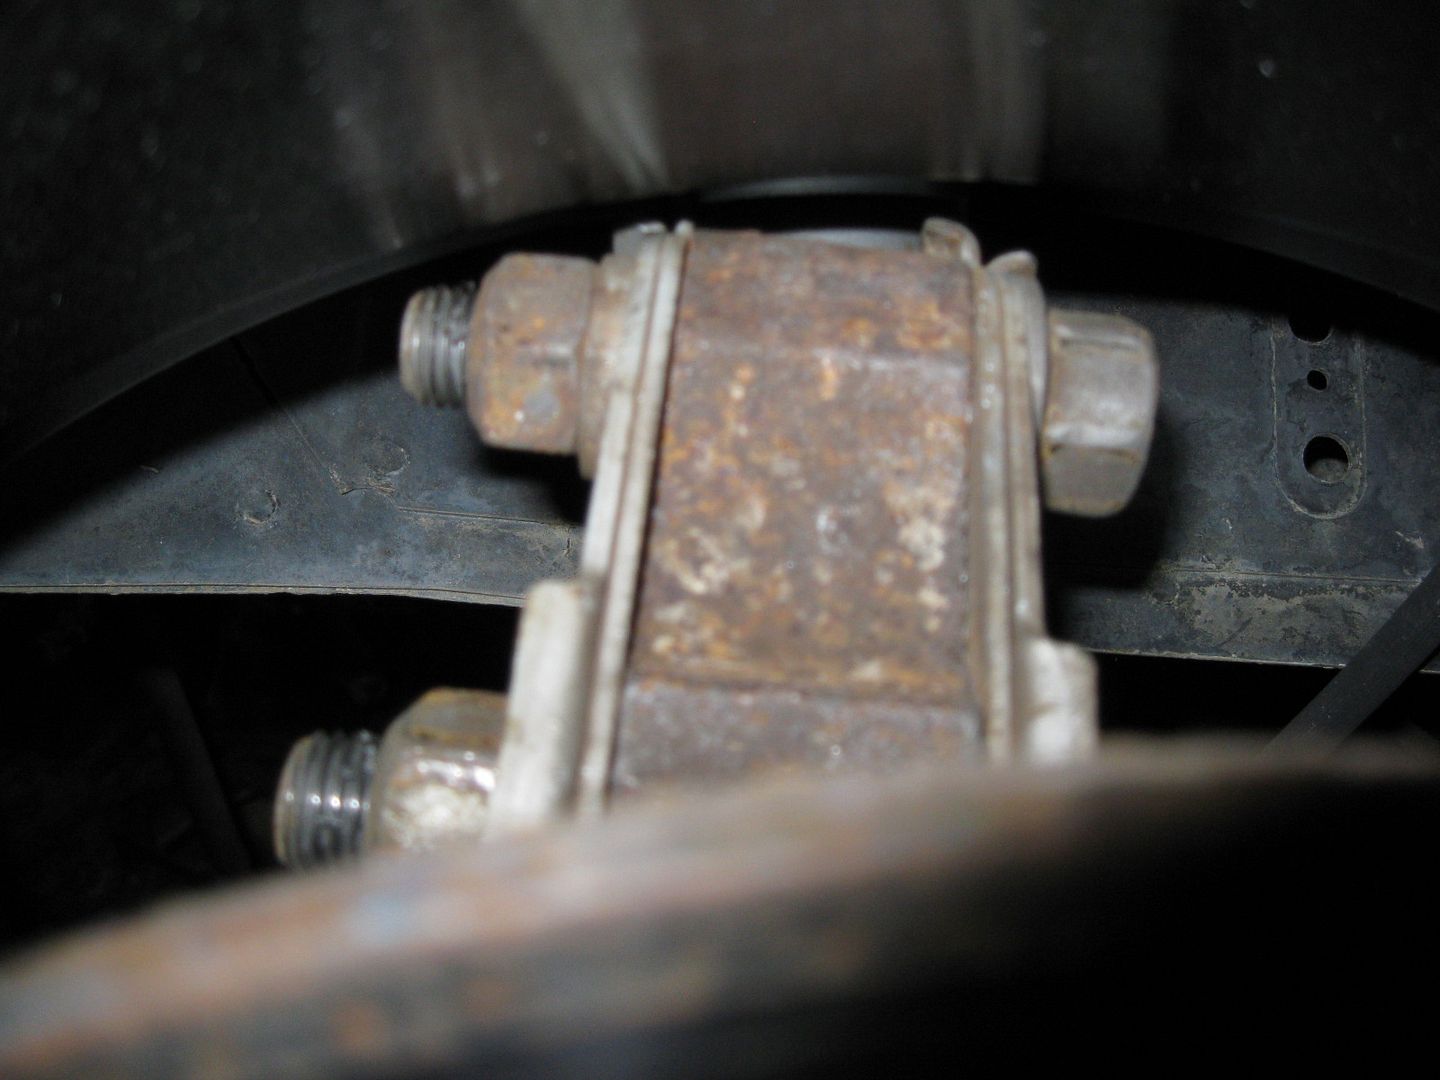
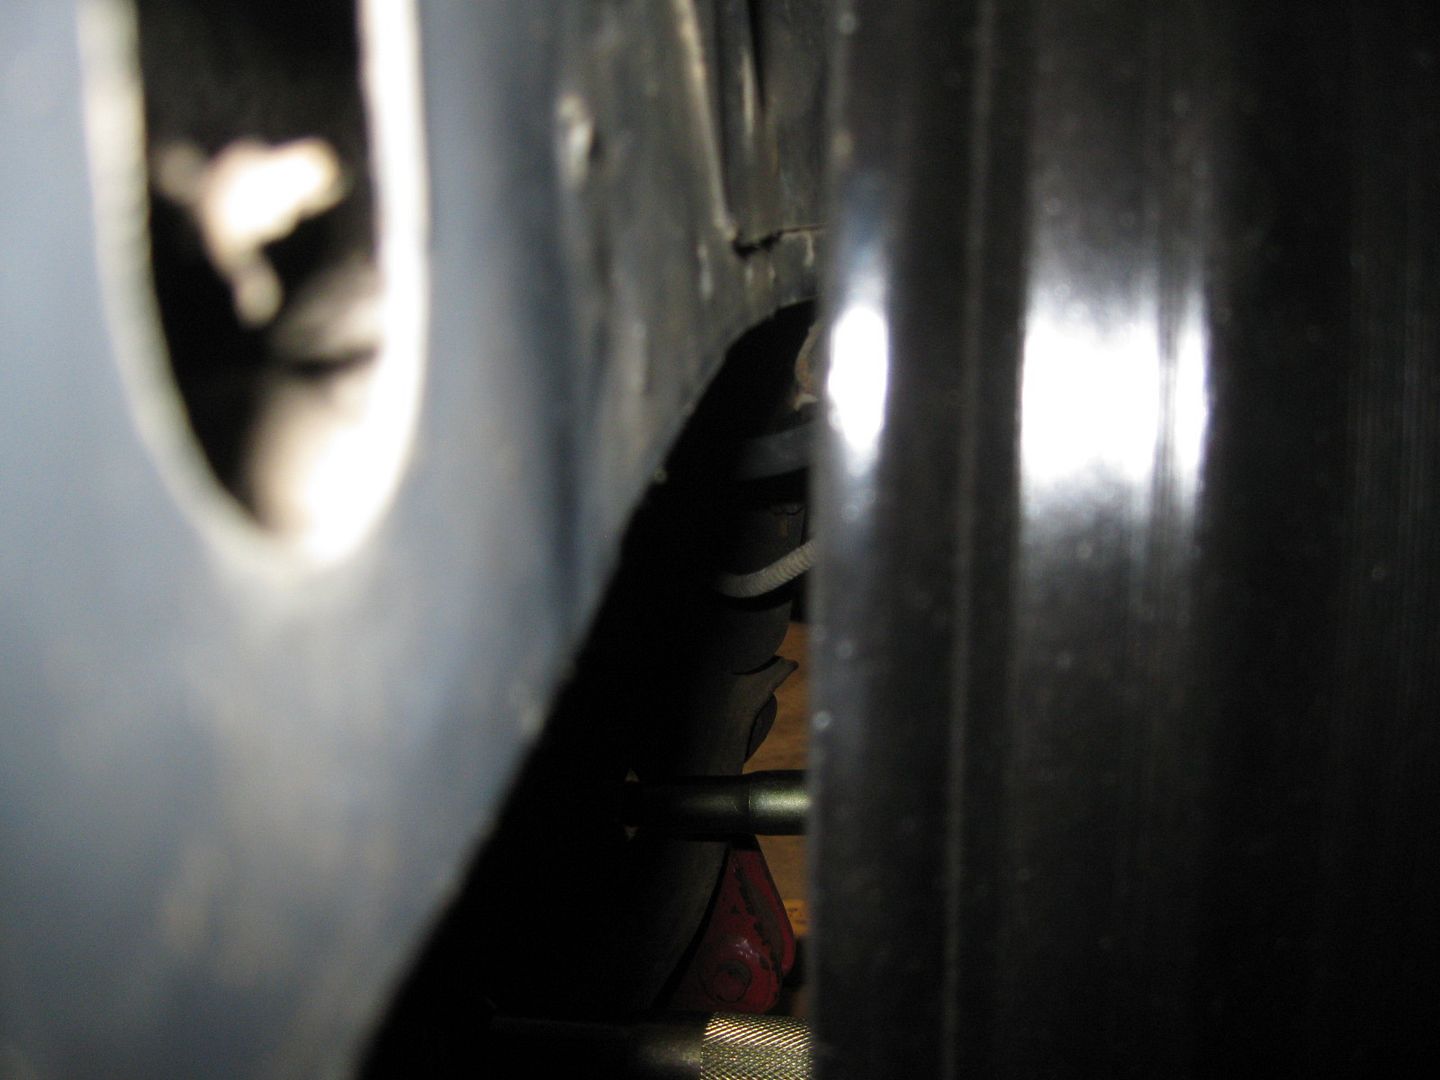
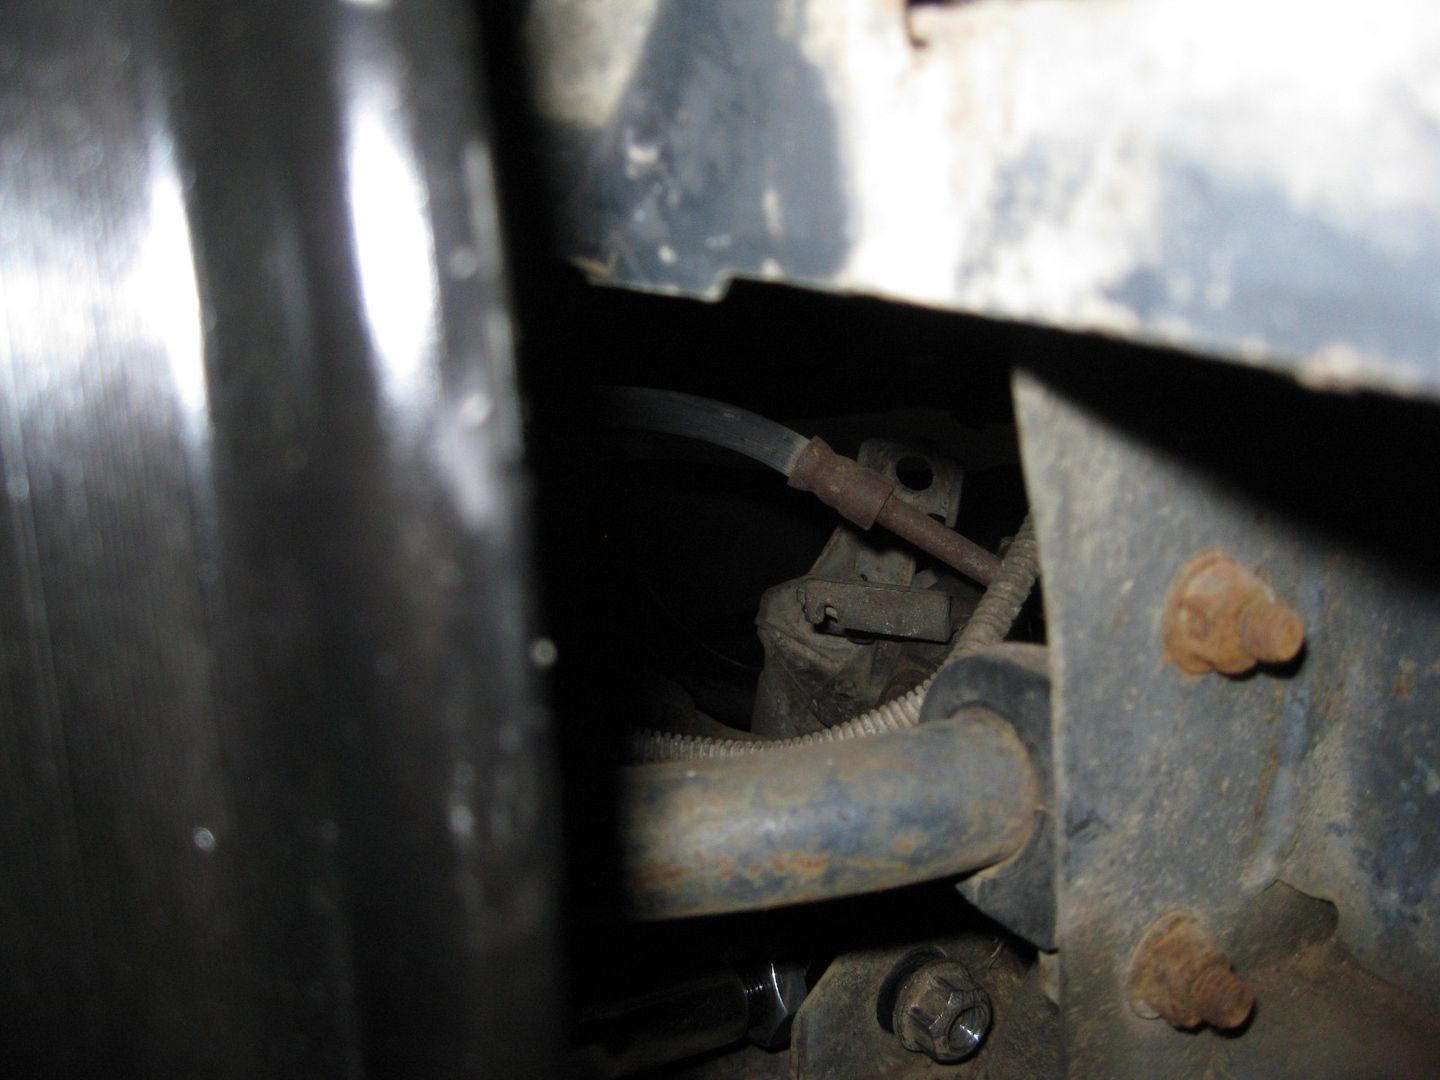
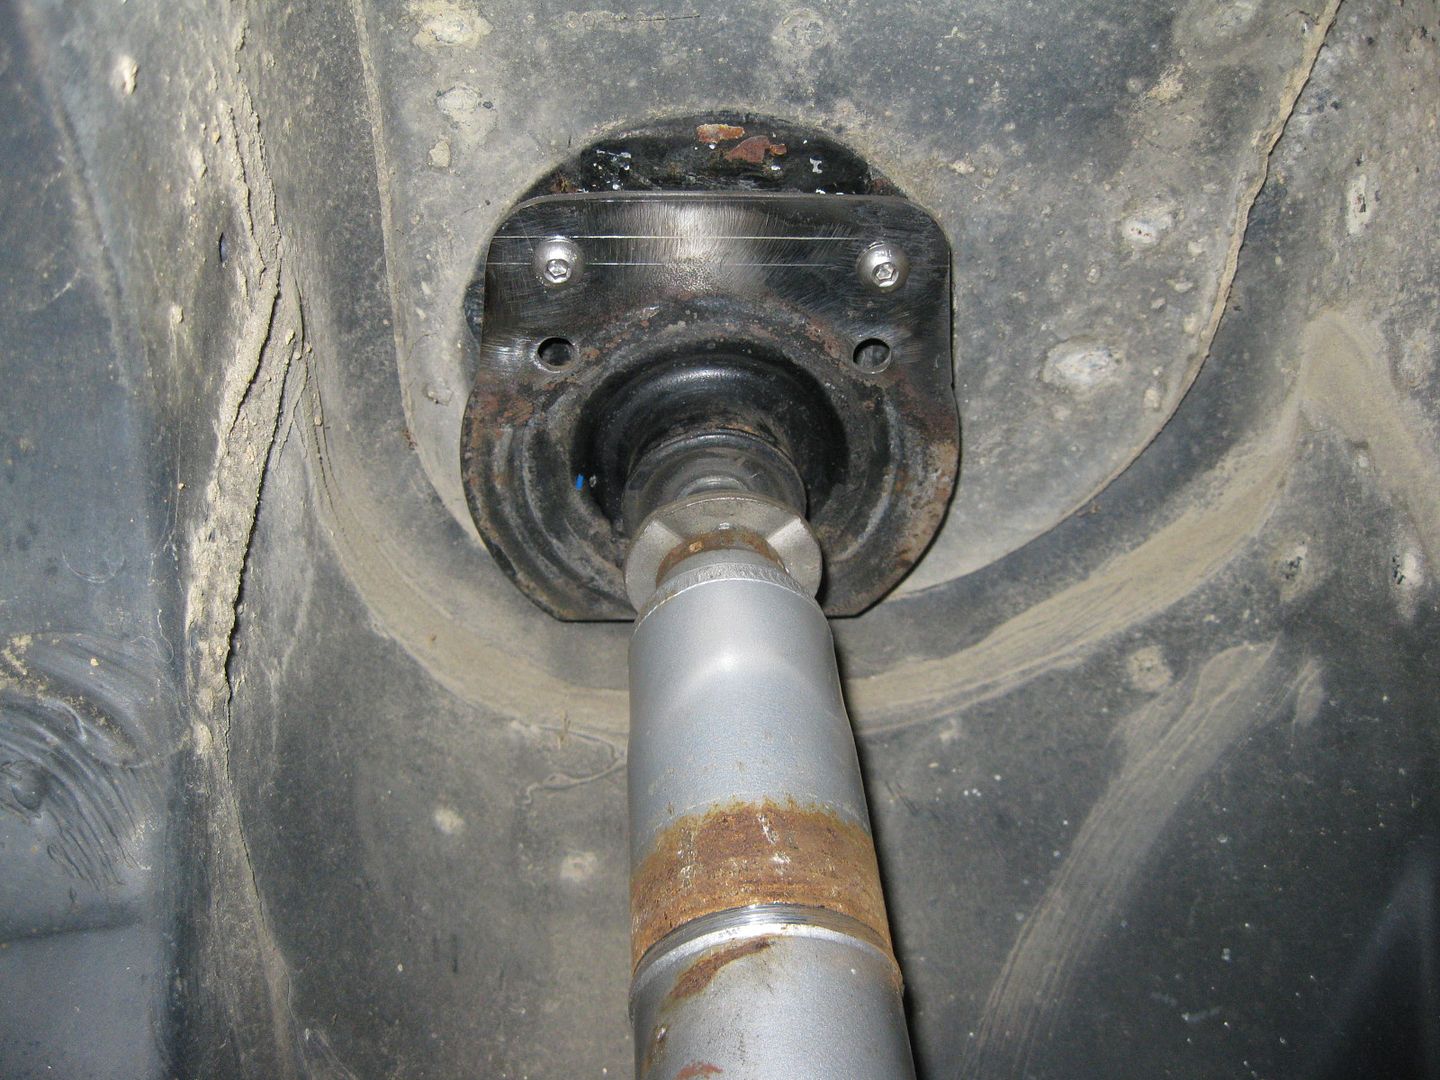
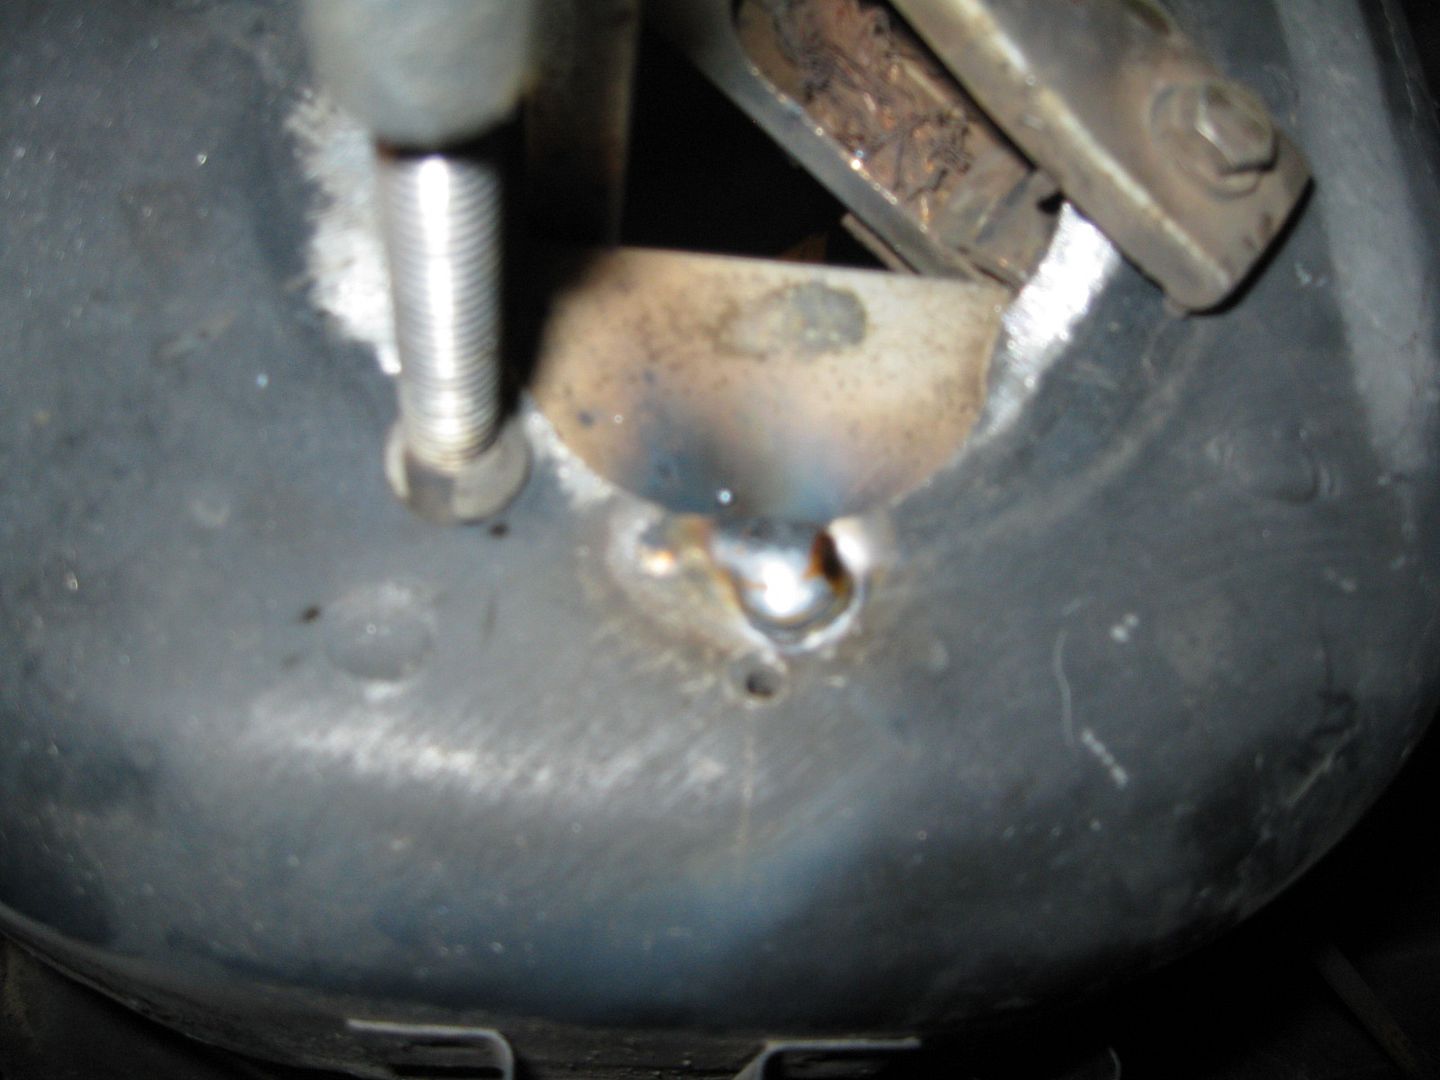
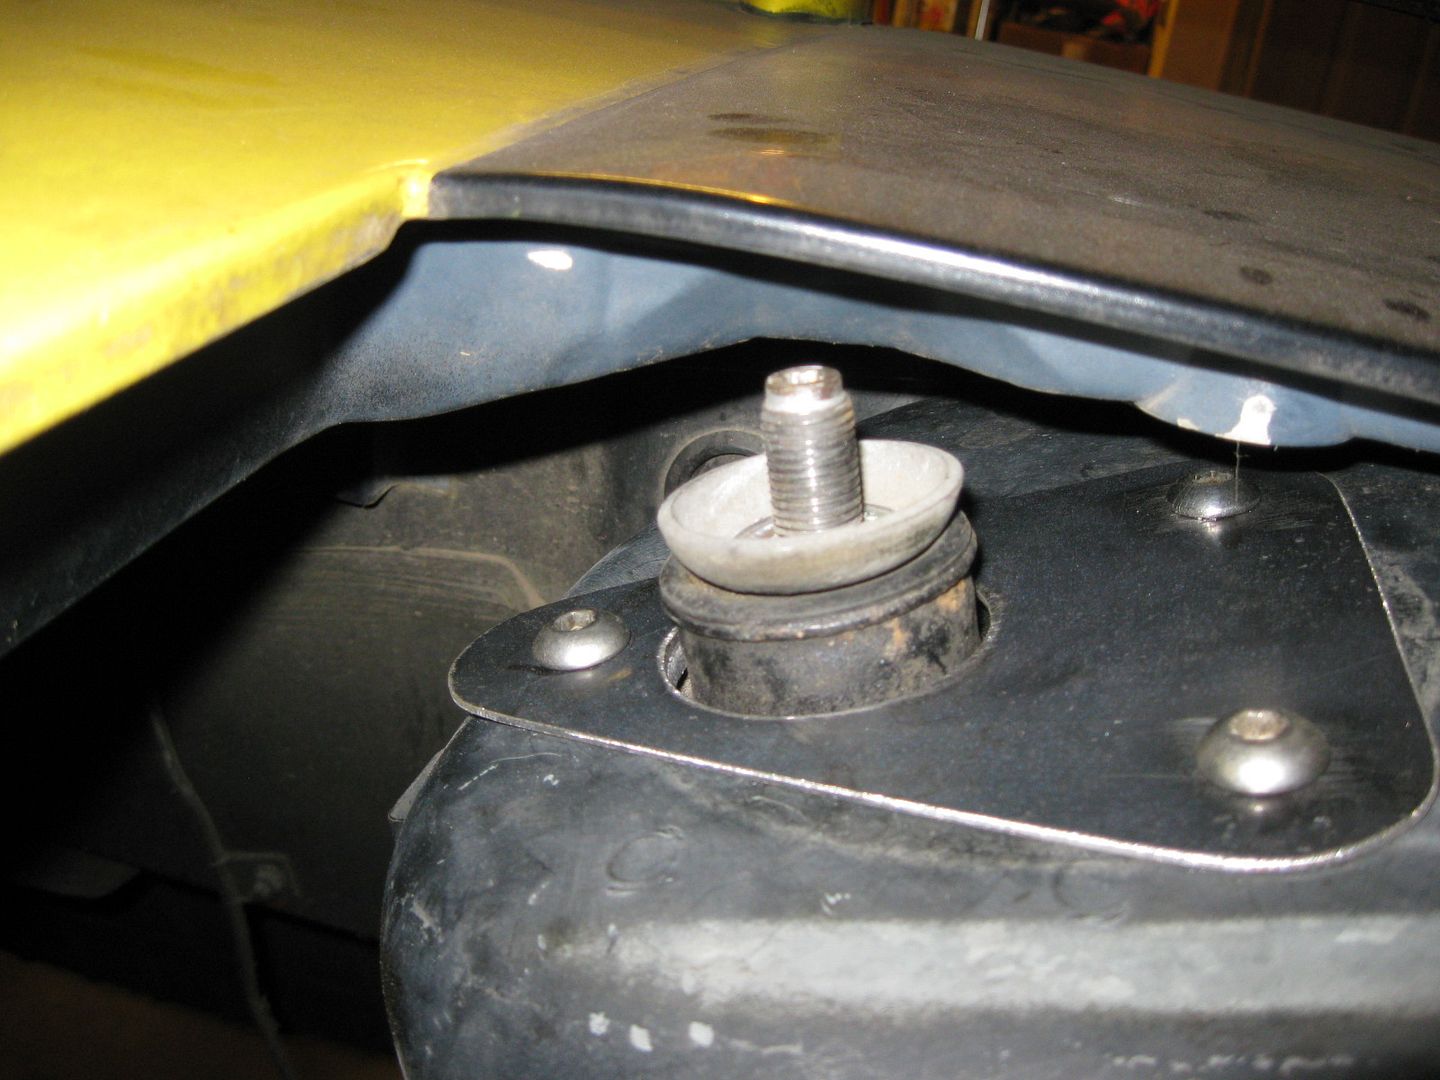
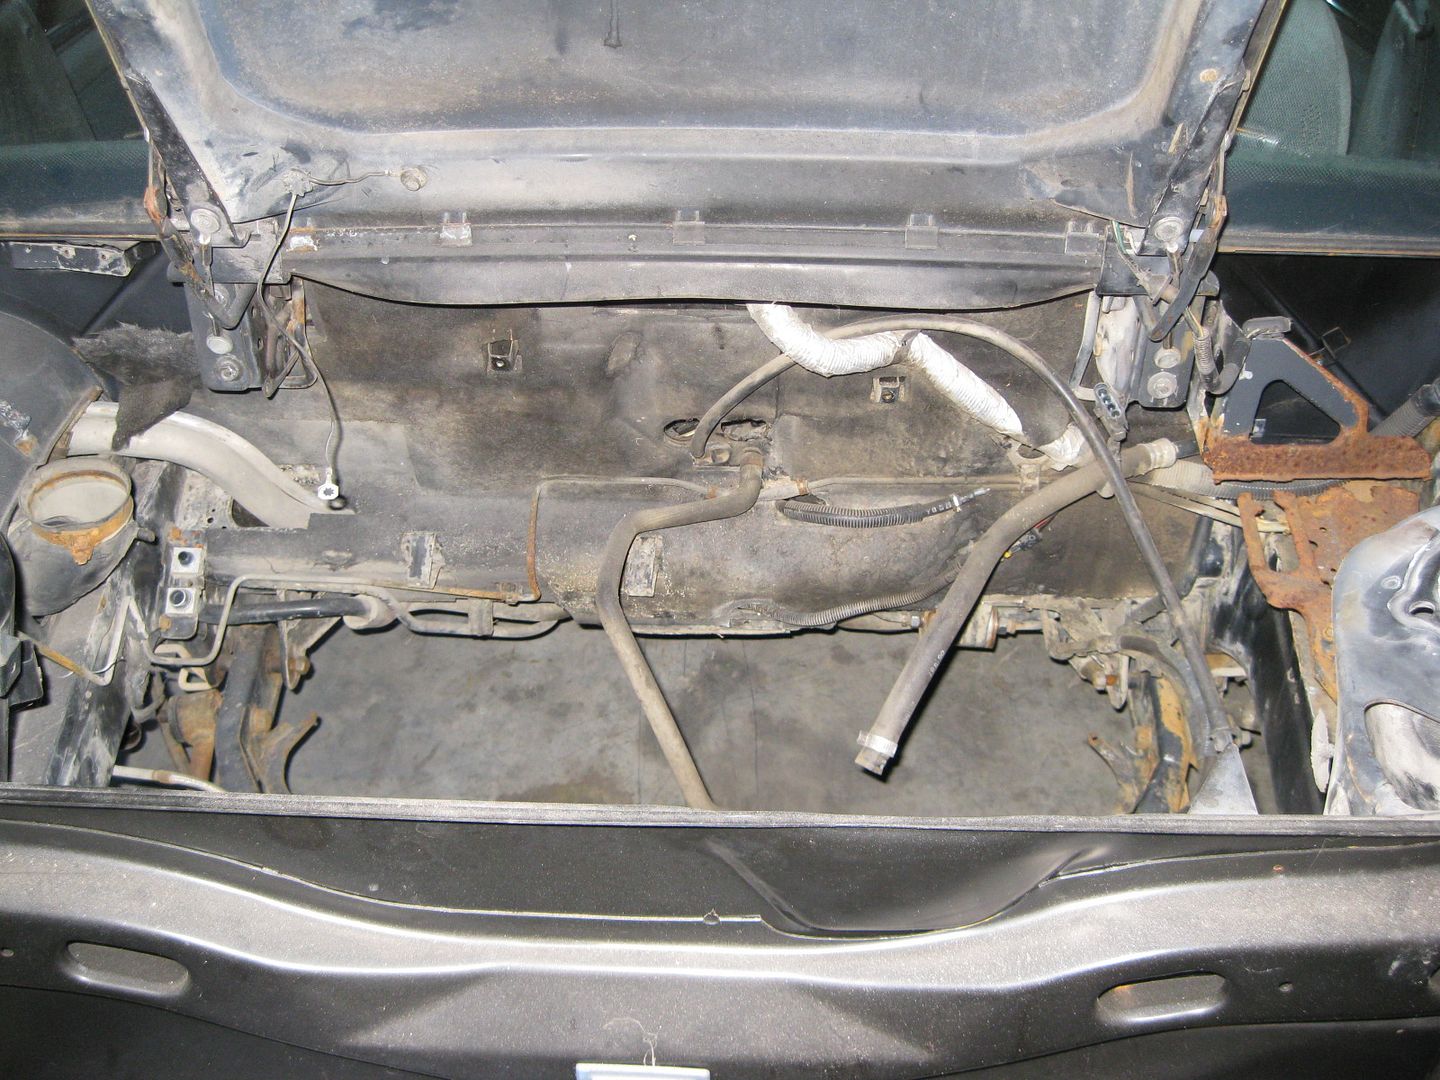
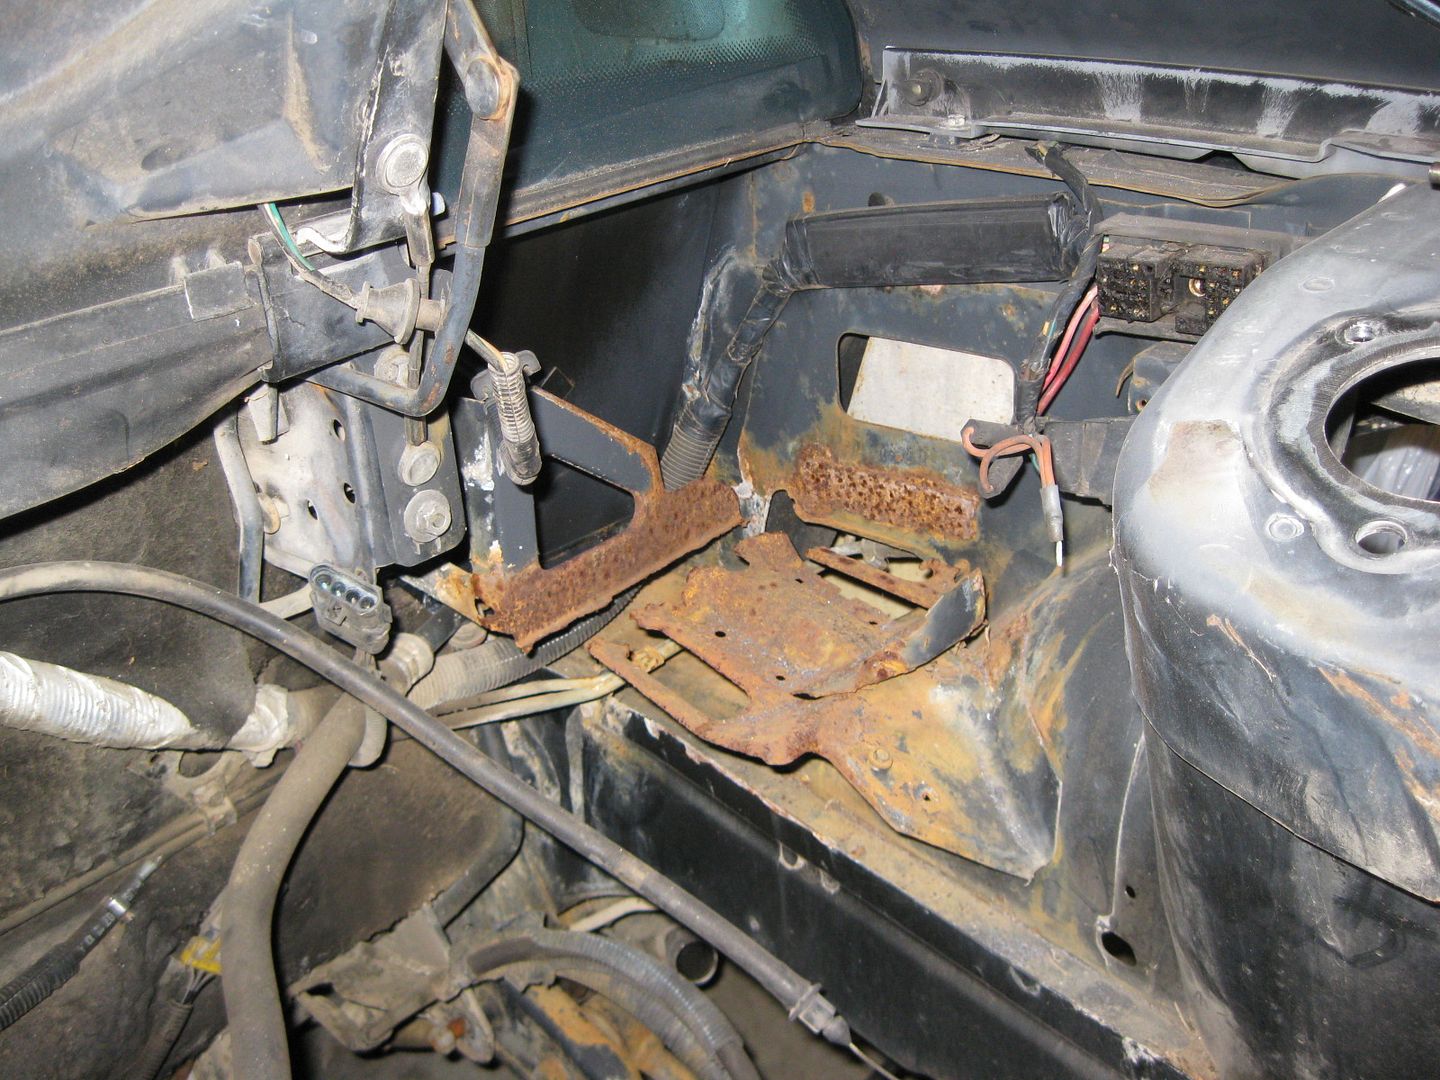
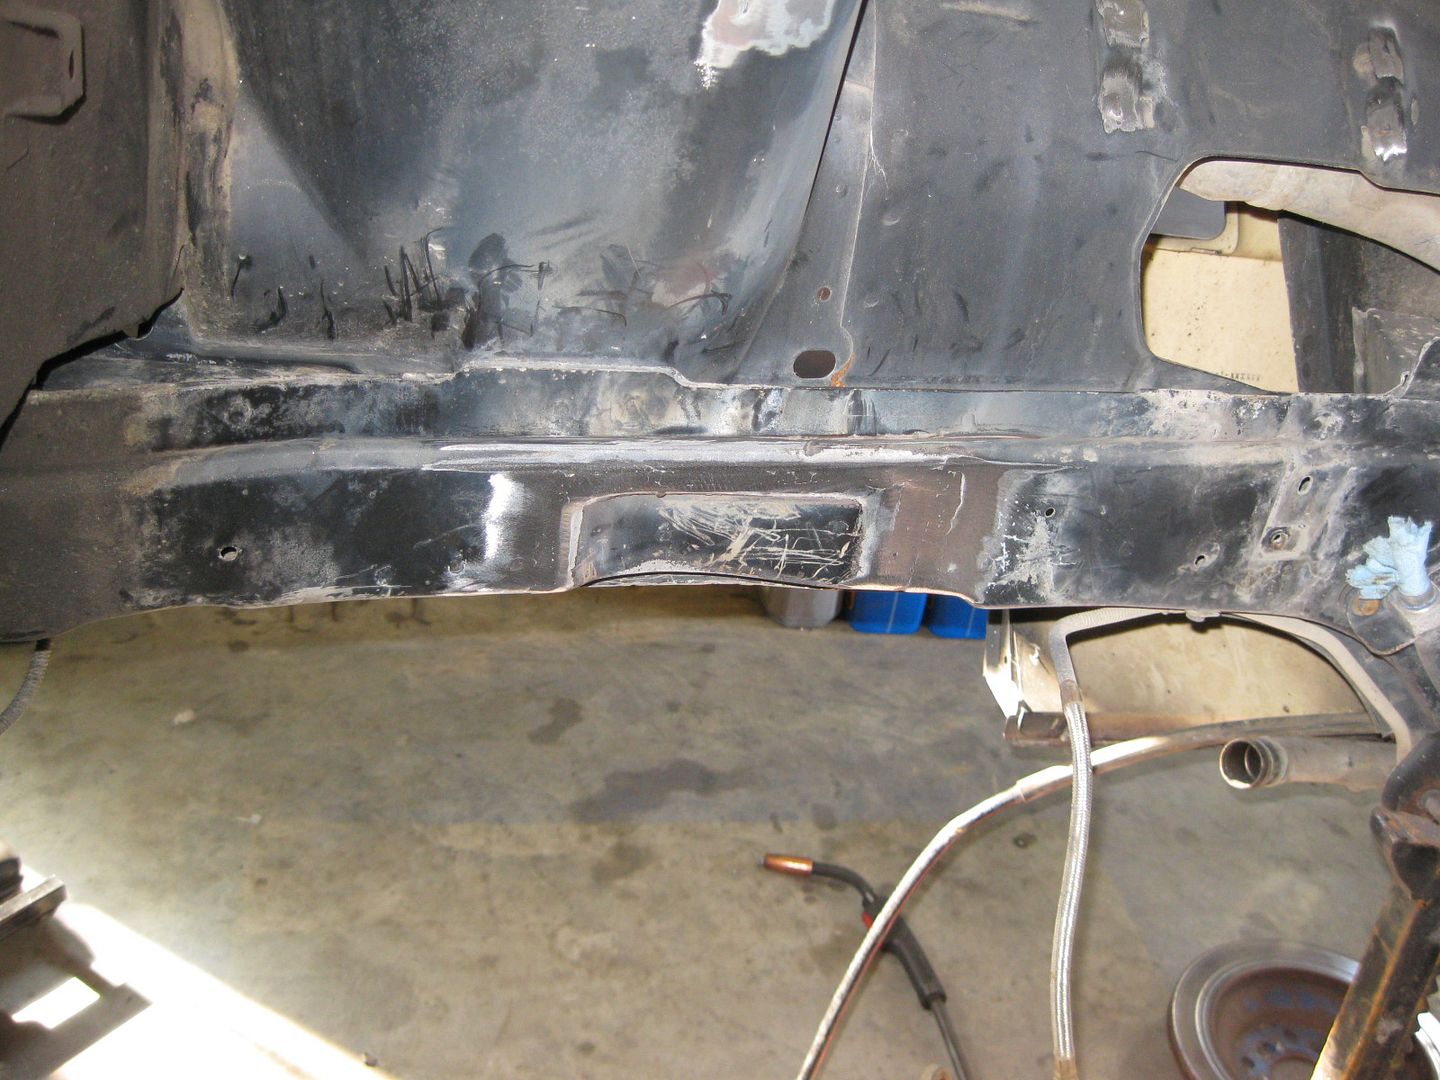
Here is an underside view:
With moving everything in, the back side of the strut has about 1/2" clearance to the frame rail at ride height. With the suspension at full droop, the strut will rub against the frame rails. I might use some 3" pipe to do a slight notch to the frame rails.
As if I need anything else to do on this car... I started drawing up some tubular upper and lower a-arms for the front. Not sure if I will make them, but they are designed to clear my front wheels and work with my coil over setup. I need to weigh the stock components to see if I can save any weight with the new ones. Might also look at redoing the whole front crossmember to save some weight as well. And thinking about making some 1 1/2" dropped spindles that could work with the S10 wheel bearing... too many ideas, not enough free time...
[This message has been edited by fieroguru (edited 02-23-2012).]
Once side of the strut relocation is nearly done (need to make the final beauty plate vs. the 16ga mockup template):
Fabbed up the beauty plate for the top side:
Flattened the top of the strut towers with a grinder. The strut tower is 2 layers of steel. After the top panel is flat, its hole matches that of the lower panel:
Still need to remove some more material:
The stock inboard bolt hole was quite larger and very close to where the new one needed to be, so I clamped some aluminum in place and welded up the original bolt hole:
Test fit:
On Saturday, I should be able to get the other side done and make both of the beauty panels for the top.
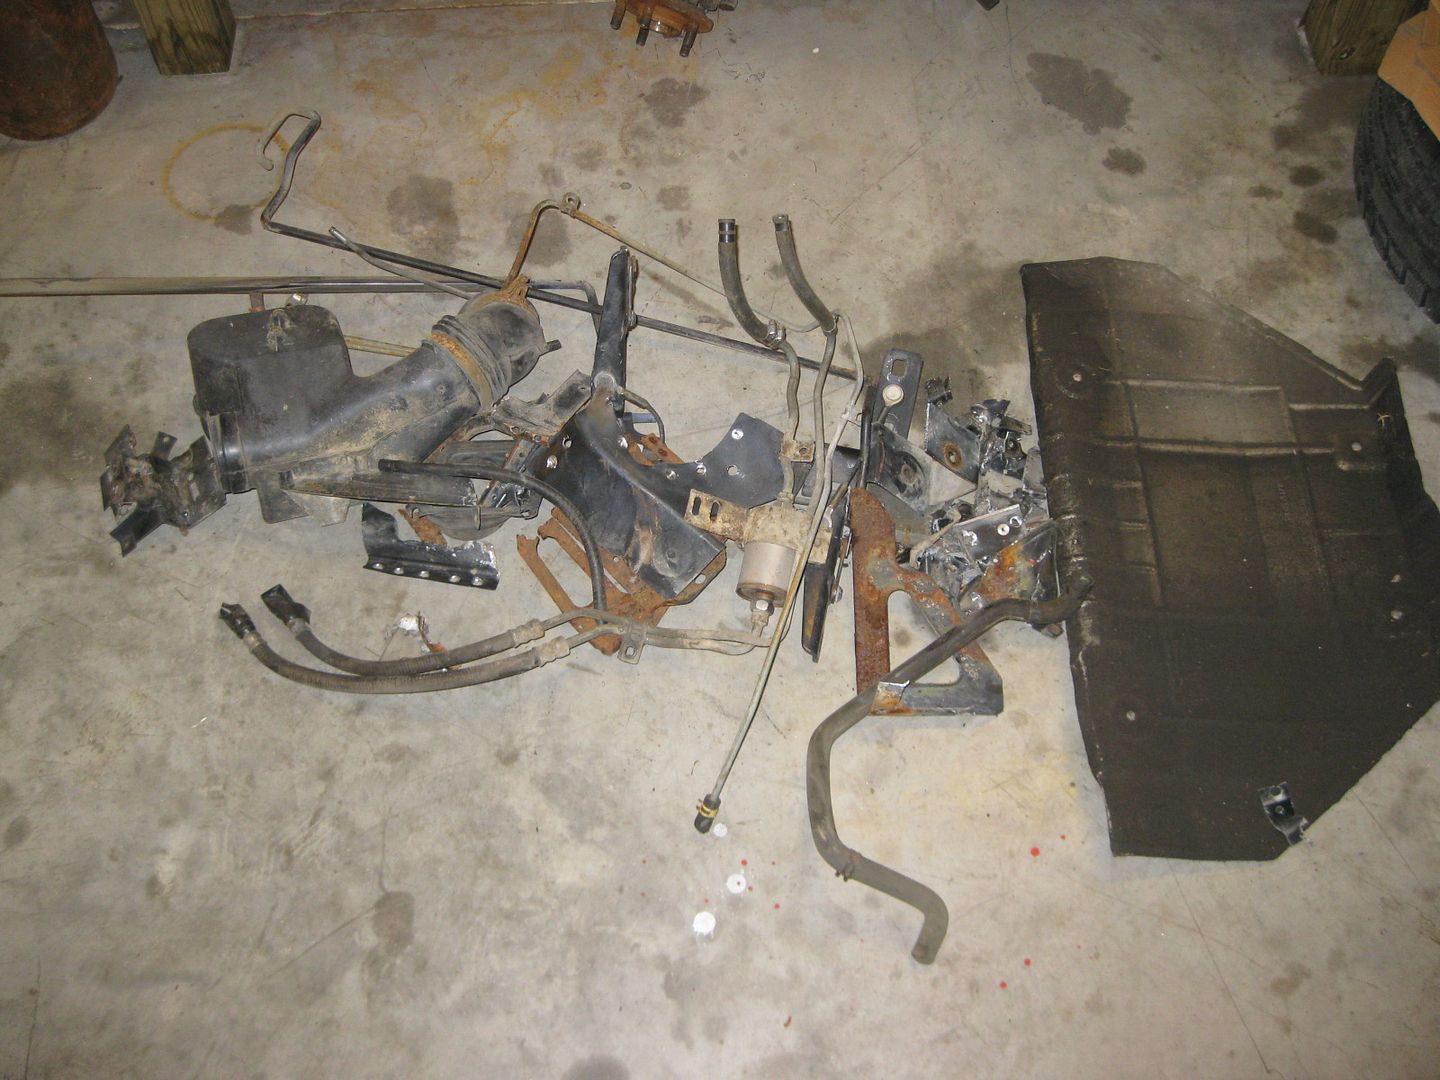
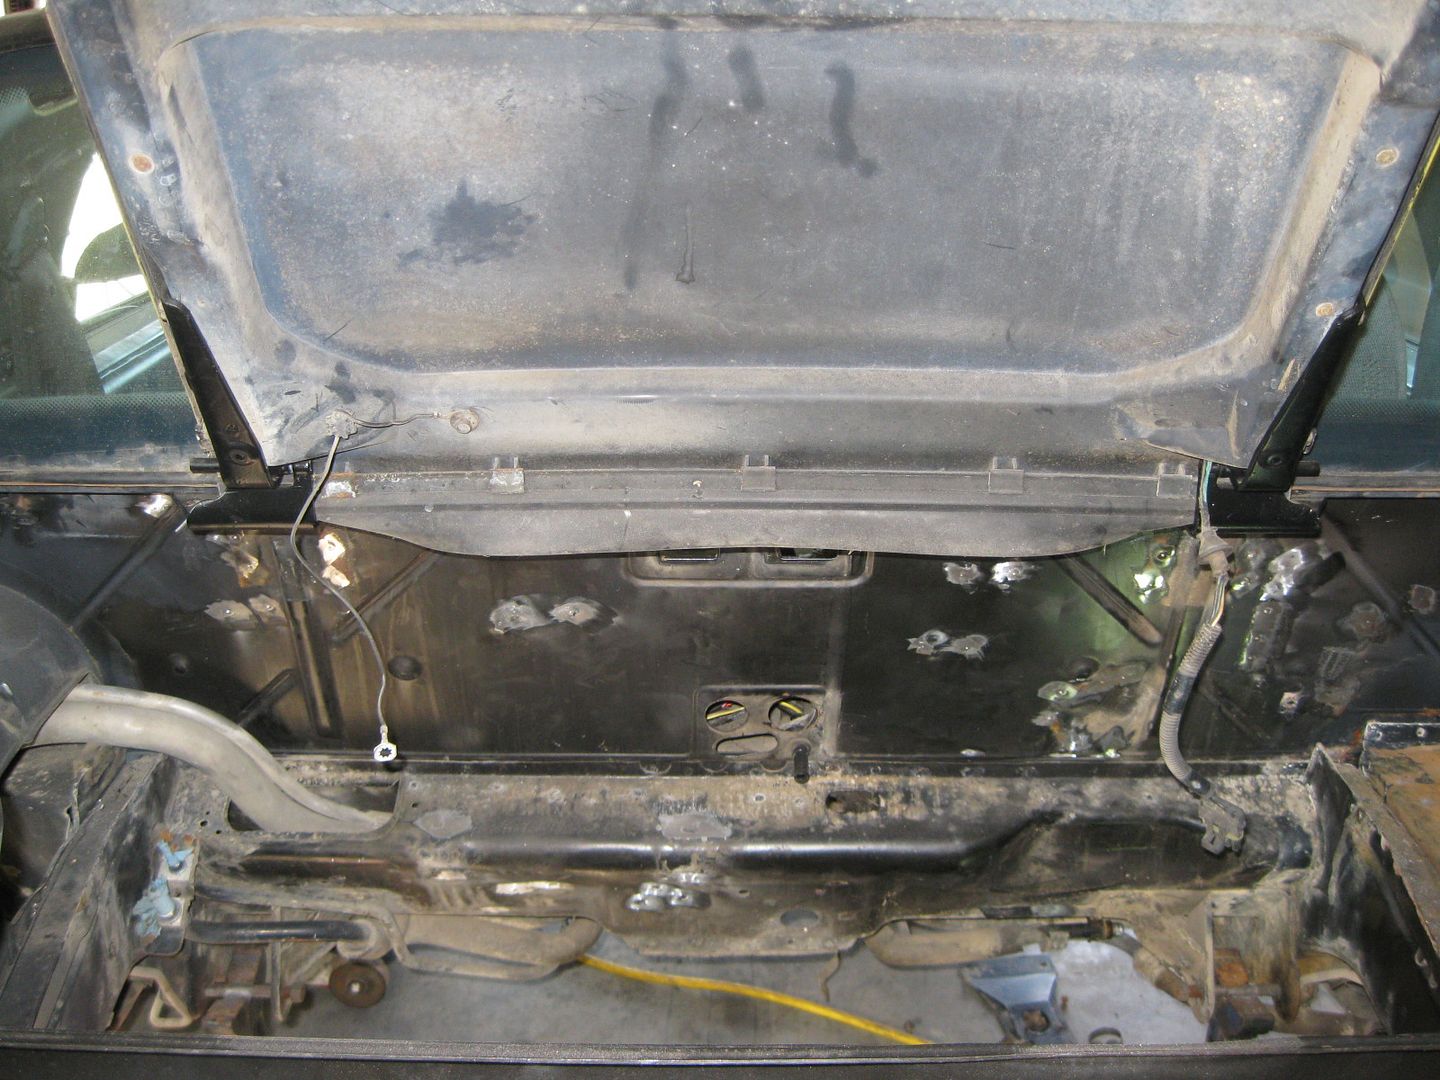
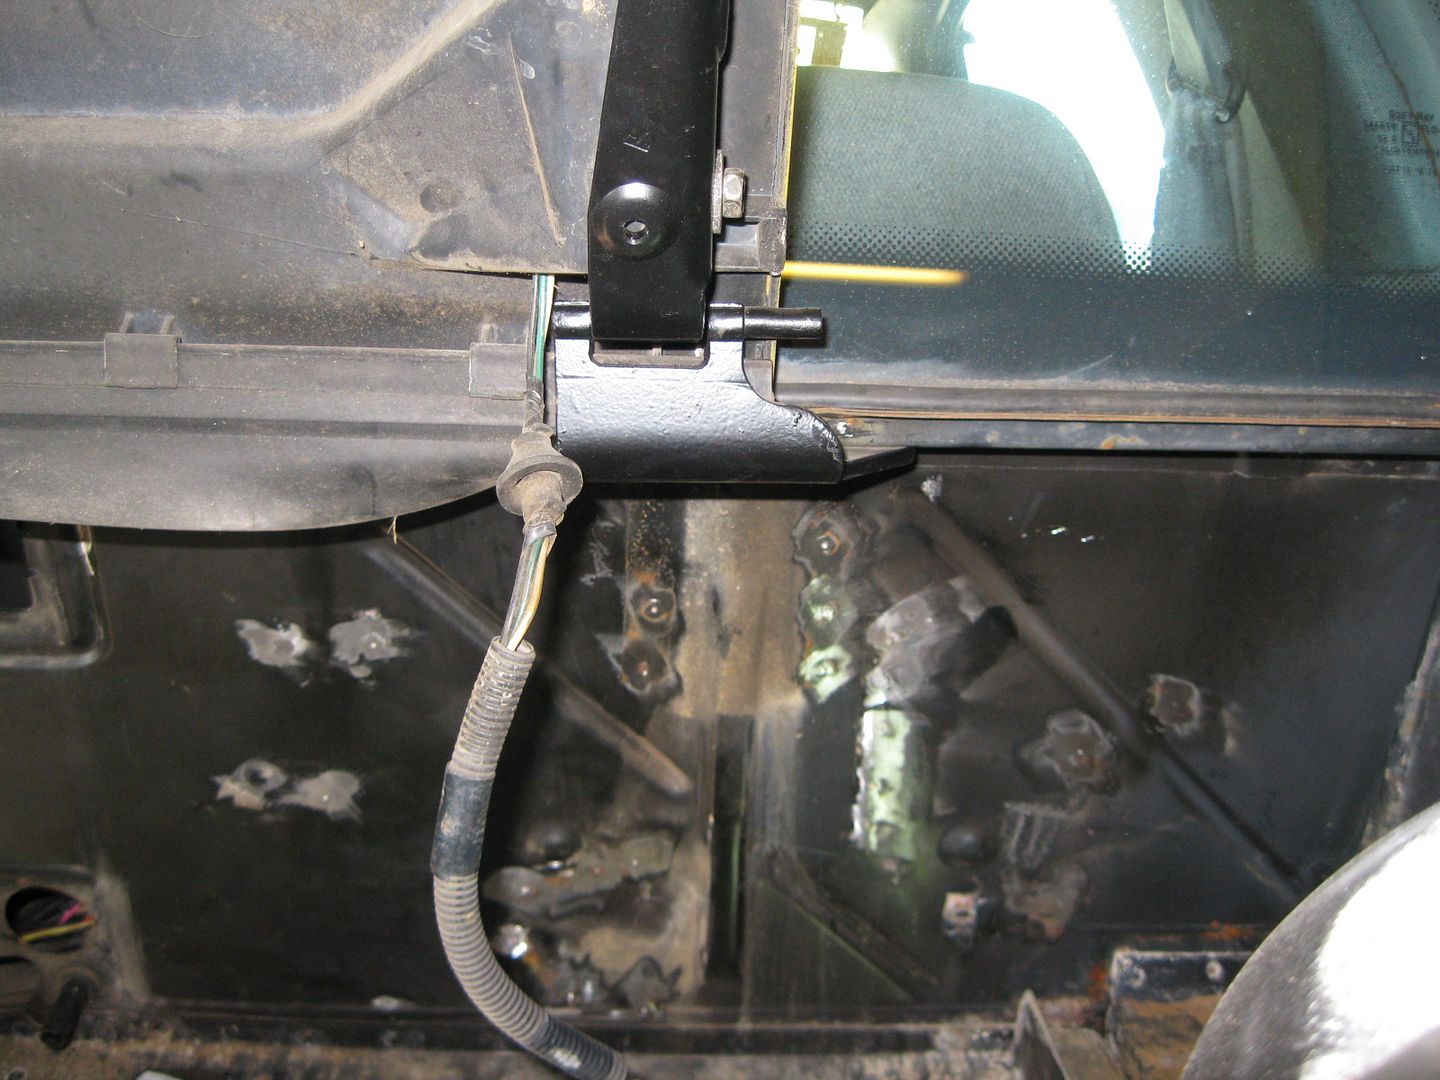
Finished cutting out the decklid hinge boxes and installing the new low profile hinges. Also moved the stock transmission bulge in the driver side frame rail 1/2" to the rear and smoothed out the welds... engine bay of this new car is getting ready for a test fit of the LS4/F40 (possible custom route for the shifter cables., then it will be time to paint this engine bay.
No progress this week. An 88 formula with 3.4TDC/getrag combo was dropped off with a miss (bad plug wire), so fixed that and now doing a Rodney S10 booster evaluation on this car. https://www.fiero.nl/forum/F...121747.html#lastpost After the booster swap, I am planning on weighting this car on the same scales as I weighed my 88 GT Clone with SBC/Getrag and 88 coupe with 4.3/4T60 to expand my 88 engine swap database.
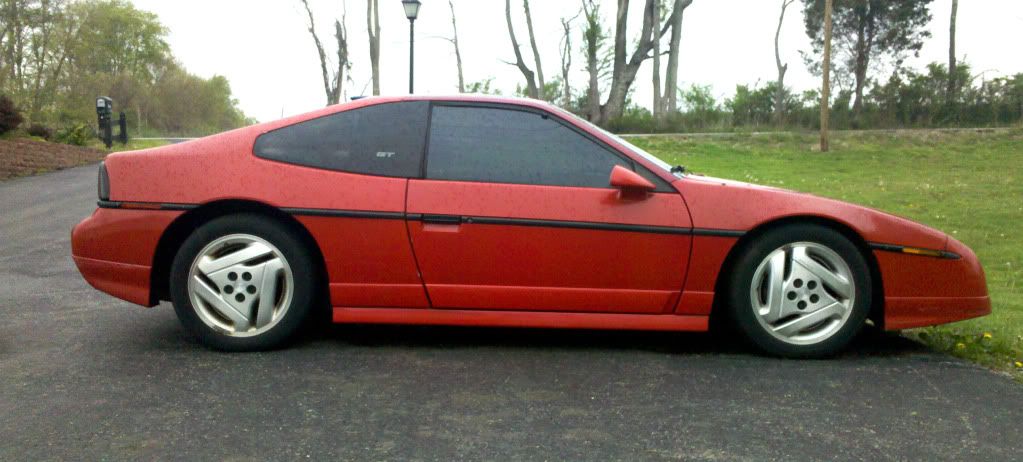
I also added another 88 to the personal fleet this weekend. I call it "4cyl fastback" because that is what it is. Started life as an 88 coupe 4cyl/auto and underwent a GT conversion except for the engine/tranny. This will be my daily driver shortly. I will get this one weighed as well, then eventually swap in an isuzu and reweigh it.
I should be back working on the LS4 engine bay and wiring here shortly. I would like to have this swap running this spring.
[This message has been edited by fieroguru (edited 03-25-2012).]
Ah. Didn't know you were moving. Congrats (I hope), and hope everything goes smooth with the move.
It wasn't really planned. Been leasing the current place for the last 3 years and the lease expires on June 30th. We approached the landlord a few weeks ago working to renew it early for another 18 months and were told the house is being sold...
It is difficult to find a rental with the needed room for my automotive/metal fabrication hobby, so we are just going to buy... Sold my last house back in 2006 and been waiting out the housing market for 6 years, it is a pretty good time to buy.
Been slacking... selling lots of spare parts in preparation of the move, selling quite a few brake kits, and making some decisions about the LS4/F40.
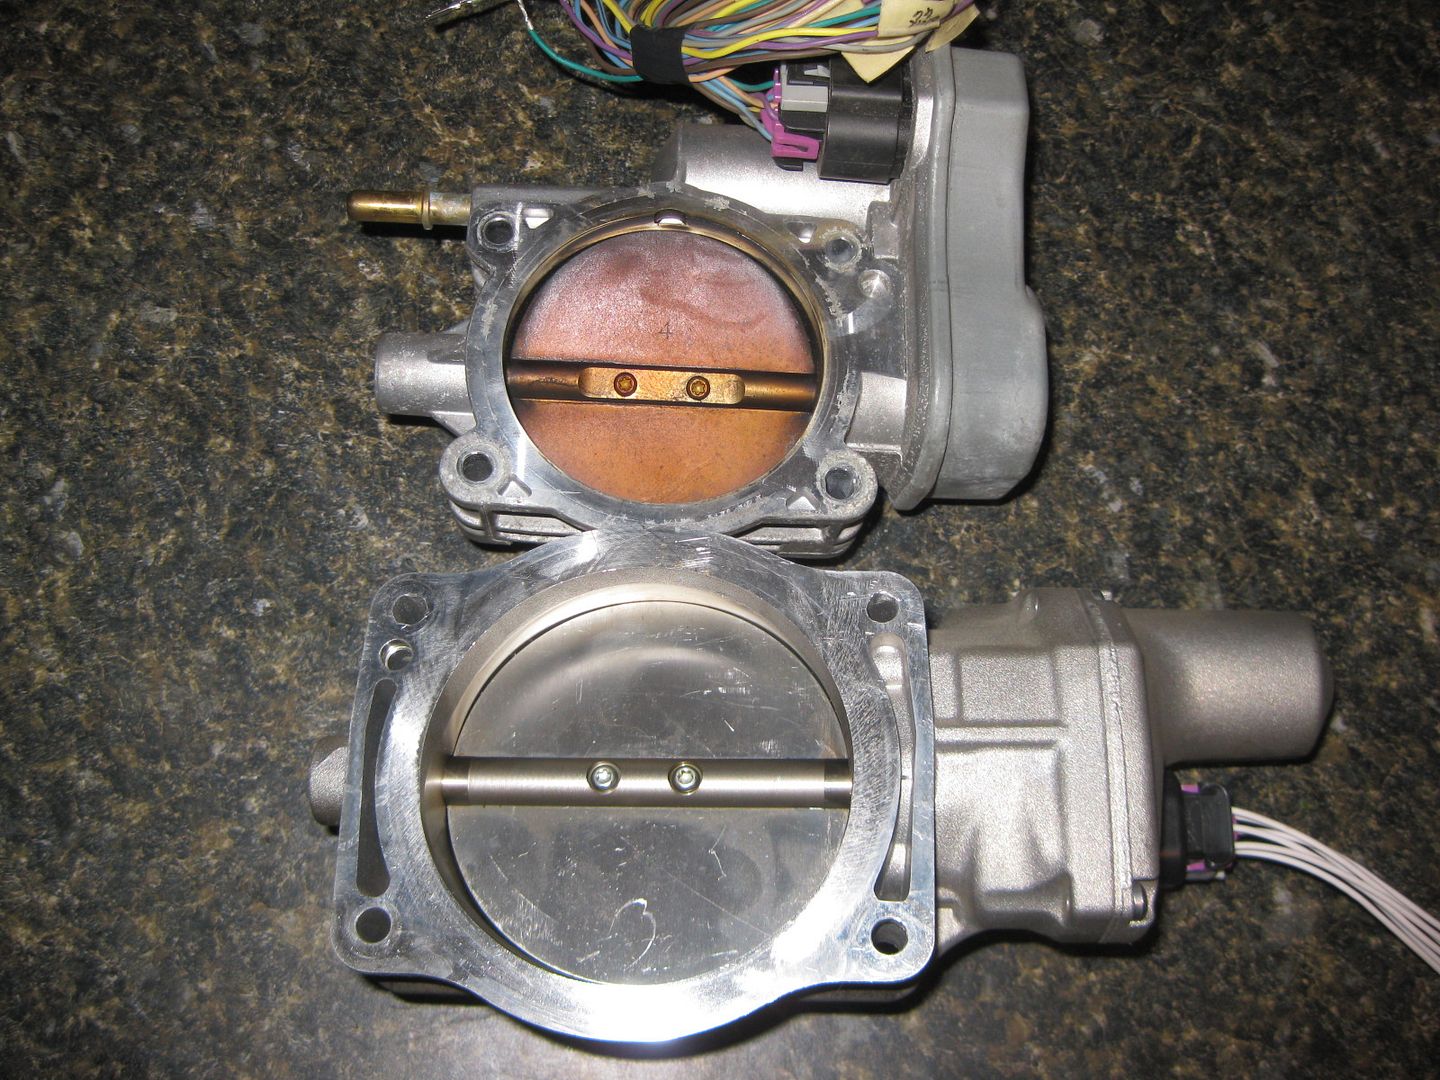
To get the engine running, I am going to install it with the stock LS4 MAF, LS4 Throttle body, and LS4 Injectors. This will simplify the initial startup tuning as the biggest change would be the Intake, Cam and LS7 manifolds (which is a significant change, but less than chaning the MAF, TB and Injectors at the same time as well). Once I have the car dialed in with those parts, then I can add the Injectors and tweaks the injector constants to dial it back in. Then add the throttle body and tweak. Then add the LS2 MAF and finish dialing it in with the MAF tables. Tuning this thing isn't going to be fun...
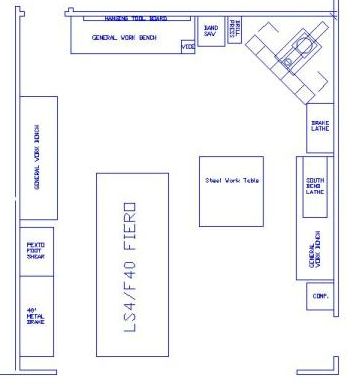
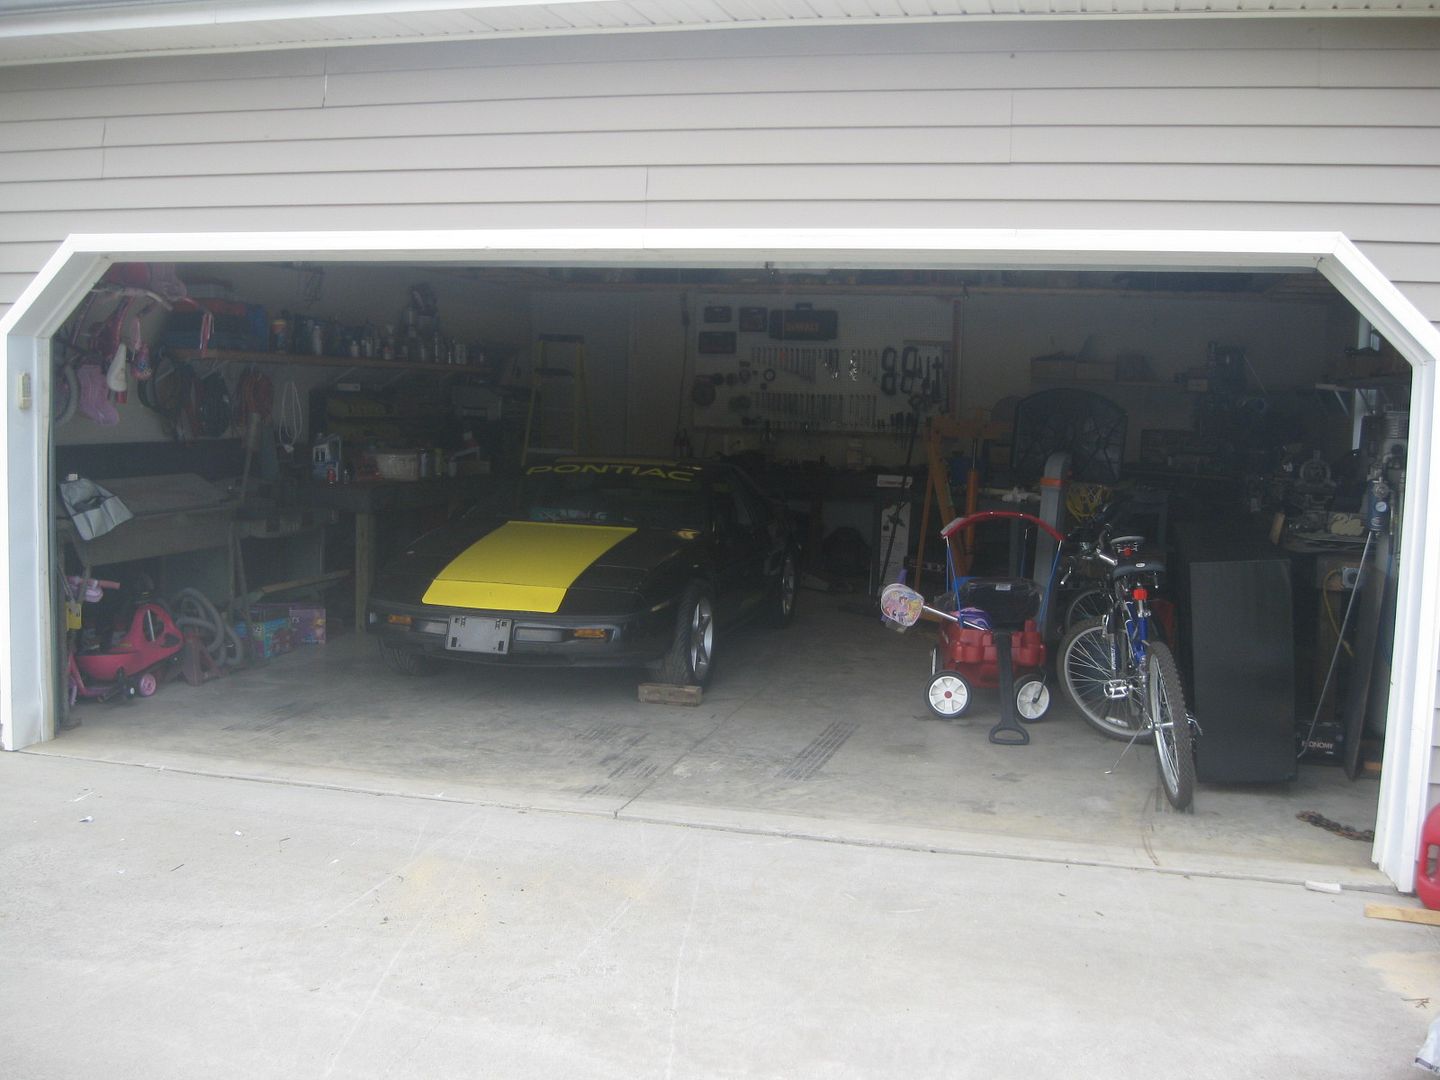
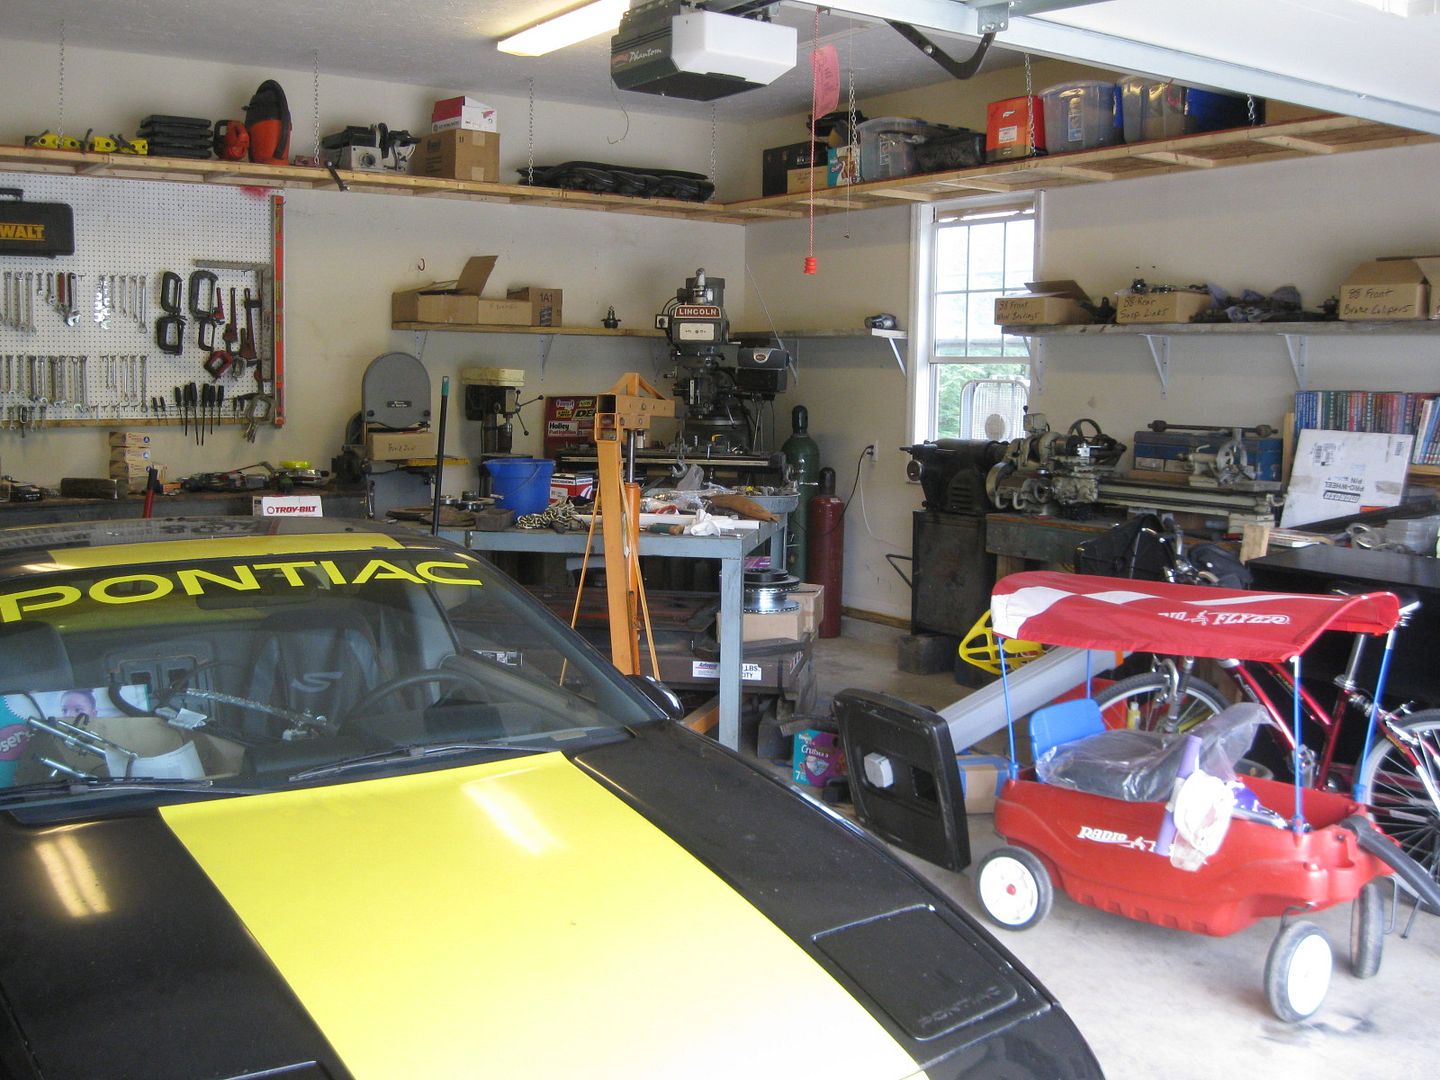
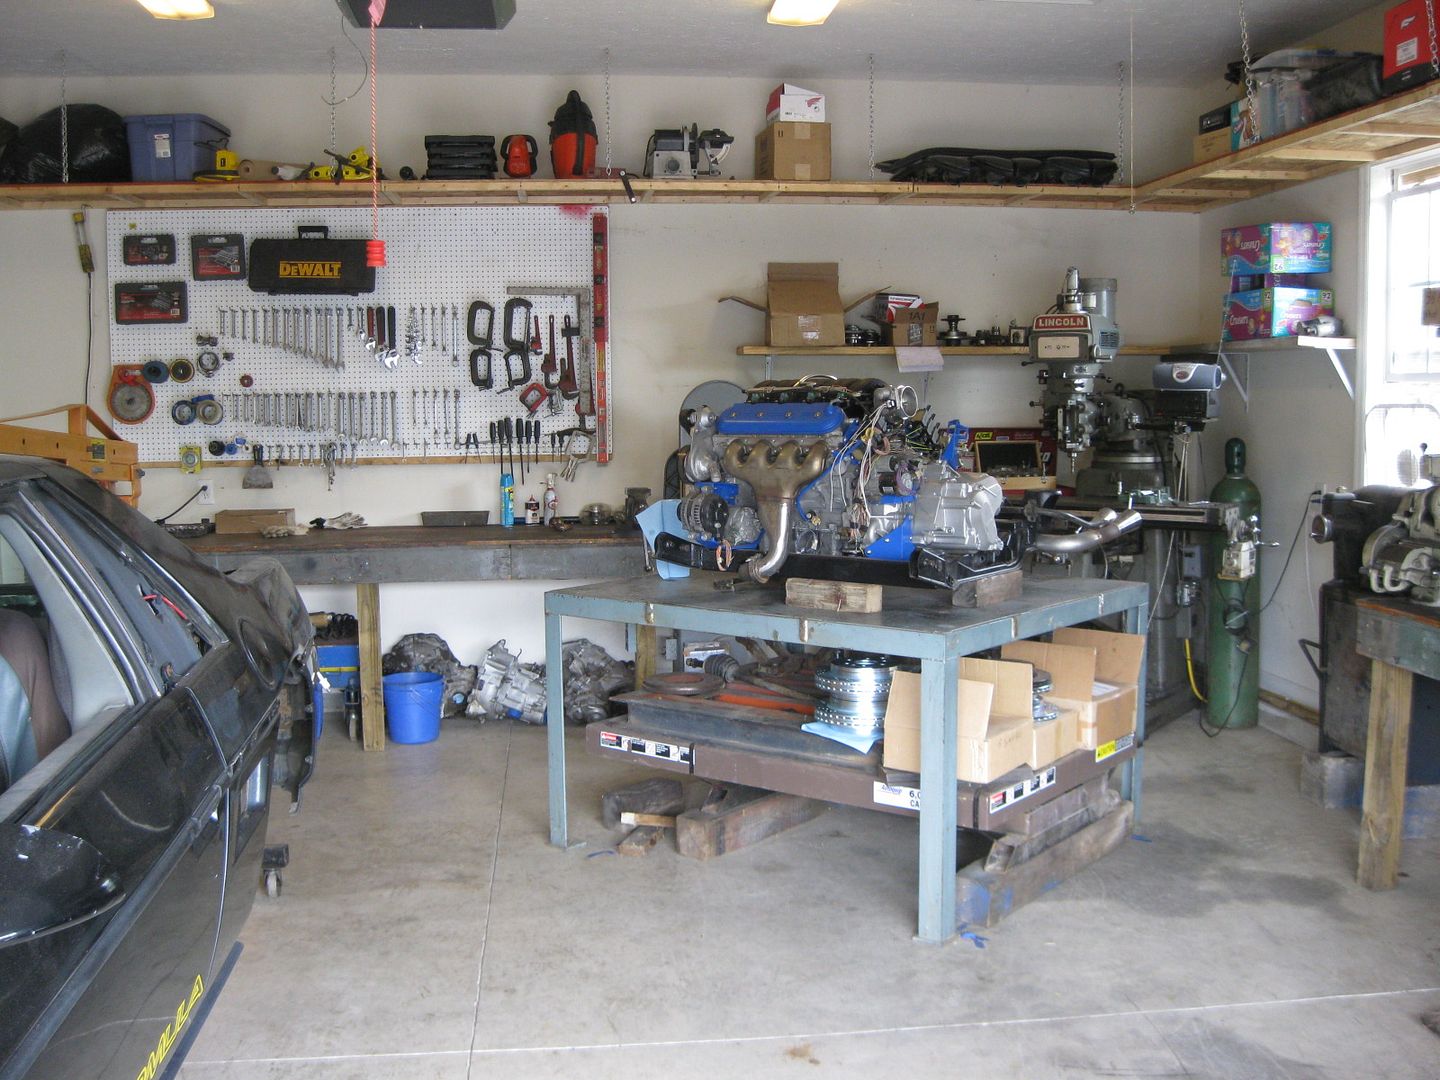
Found a house, offer was made and we have a purchase contract. Closing date is June 8th and I have to be fully moved by June 30th. My new garage is 5' narrower than my current one (larger one will be built in a year or two), so I had to figure out where everything goes in the new place. This is the general location, but subject to change:
[This message has been edited by fieroguru (edited 05-07-2012).]
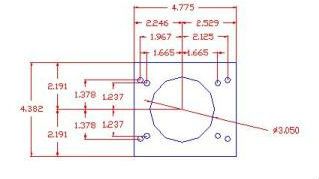
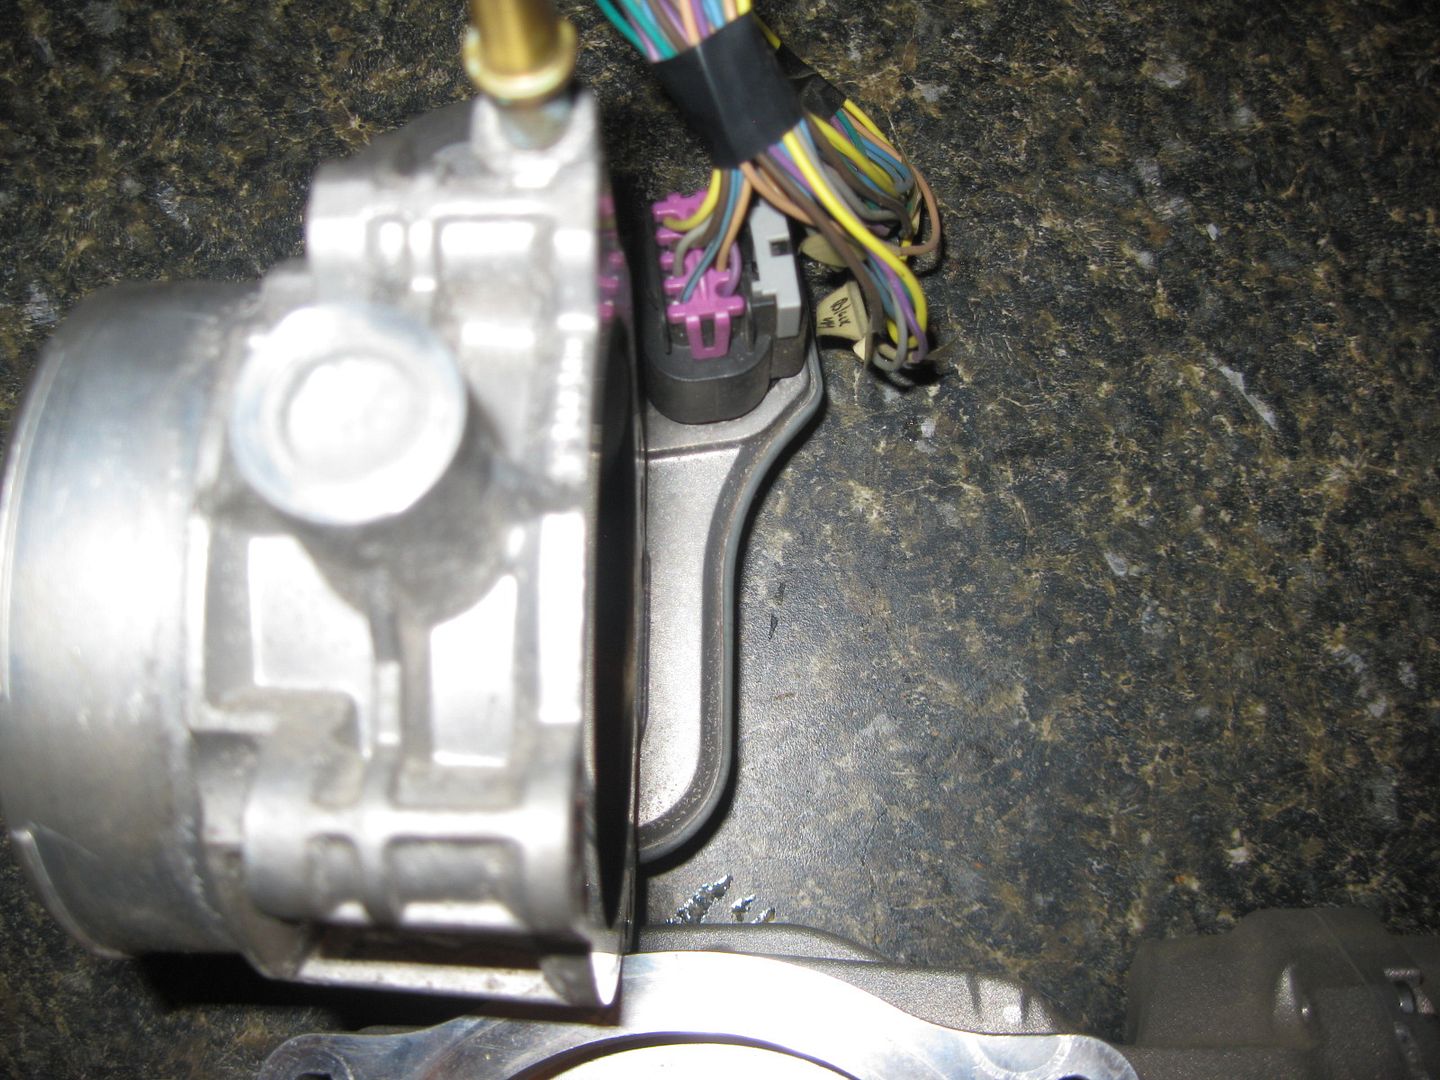
Here is a start on the adapter plate to bolt the LS4 throttle body to the LS2 intake manifold. It needs to be 3/4" thick to allow the throttle motor on the LS4 throttle body to clear the LS2 intake. It is also offset from center about 1/8" for the needed clearance. This adapter will be shaped on its perimeter to better match the LS2 intake flange vs. keeping it a simple rectangle.
[This message has been edited by fieroguru (edited 05-07-2012).]
You're aware that the LS4 injectors don't fit the LS2 intake, right? They're a smaller diameter than the LS2 intake and fuel rail accepts. And the LS4 rail won't fit over the LS2 intake either.
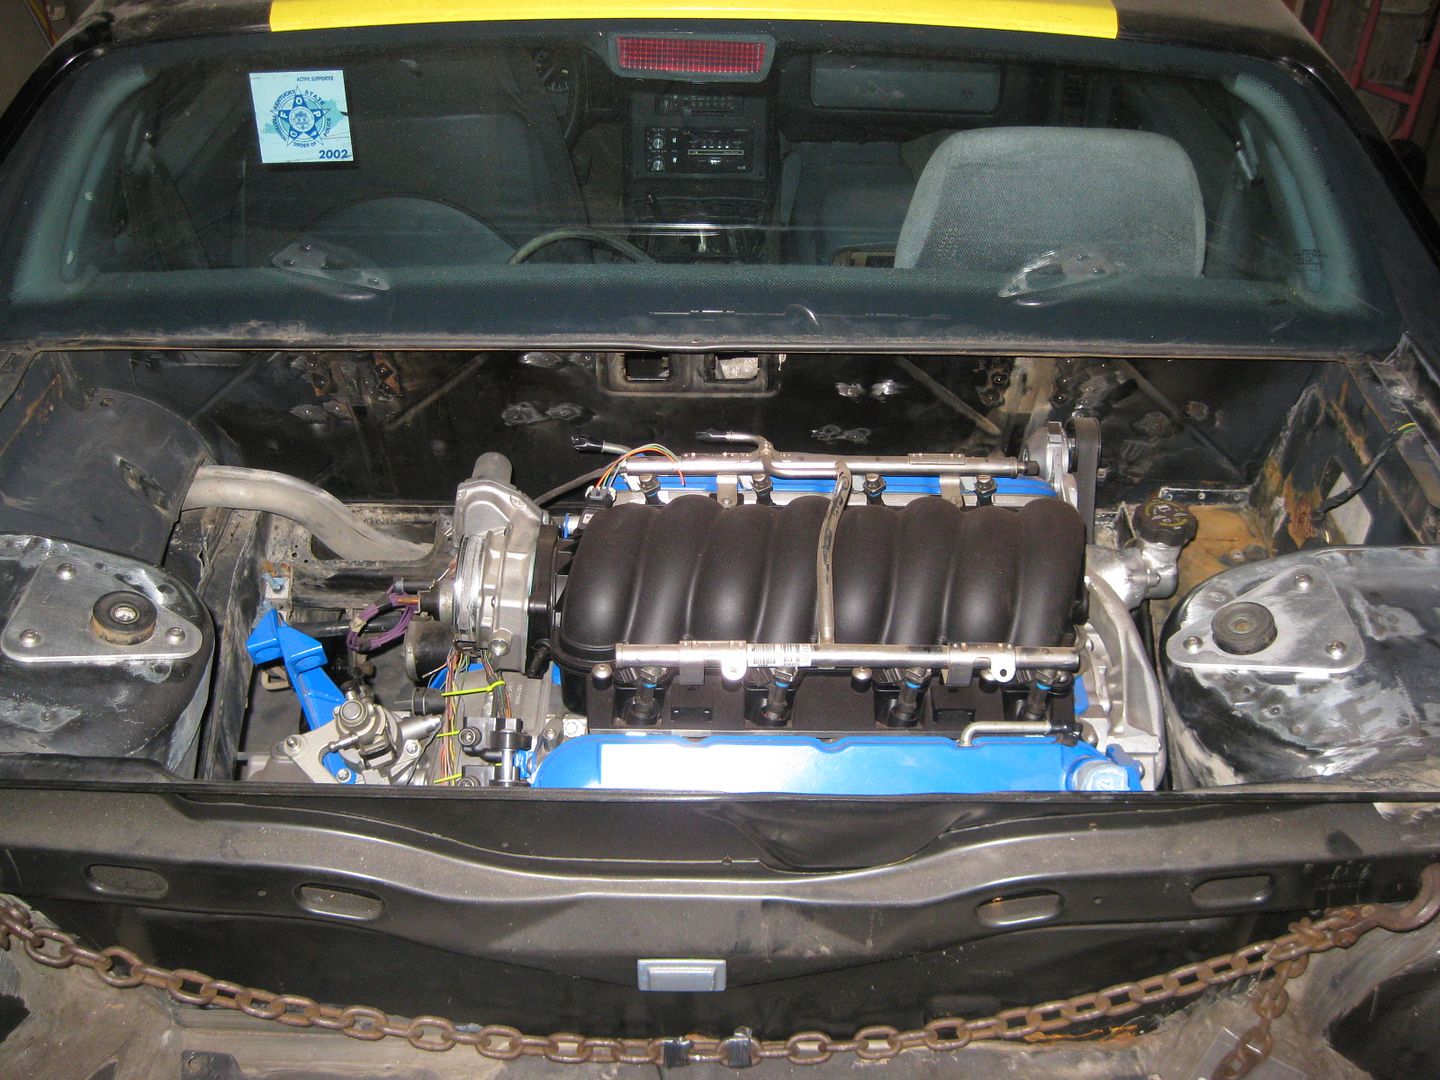
Spent most of the evening putting the black car back into rolling state with the LS4/F40 in the engine bay so I can dolly it to the new house. It will be early to mid July before I get my new garage in order to the point of finishing this swap. I still need to pack the interior with all the boxes of parts for this swap.
Owing a house again after 6.5 years renting is a good and bad thing... Good in that I will eventually be able to build a larger garage (had 4500+ sq ft of garage space in IL), bad in that my wife for the first time in 6.5 years can request changes/updates to the house. So I have been very busy with house stuff (alarming all windows, installing an 8 camera security system, cell phone booster, outdoor temp gizmo, no soliciting sign, power washing the exterior and the deck... it truly is an endless list that she adds to on a daily basis (this week it is porch swing and kids swingset/play house).
We also sold the commercial building back in IL last week which makes us very, very happy and should help enable a garage expansion in the next year or two.
I was able to get caught up on my current honey do list and worked on getting the LS4/F40 back out of the chassis so I can start working on it some more.
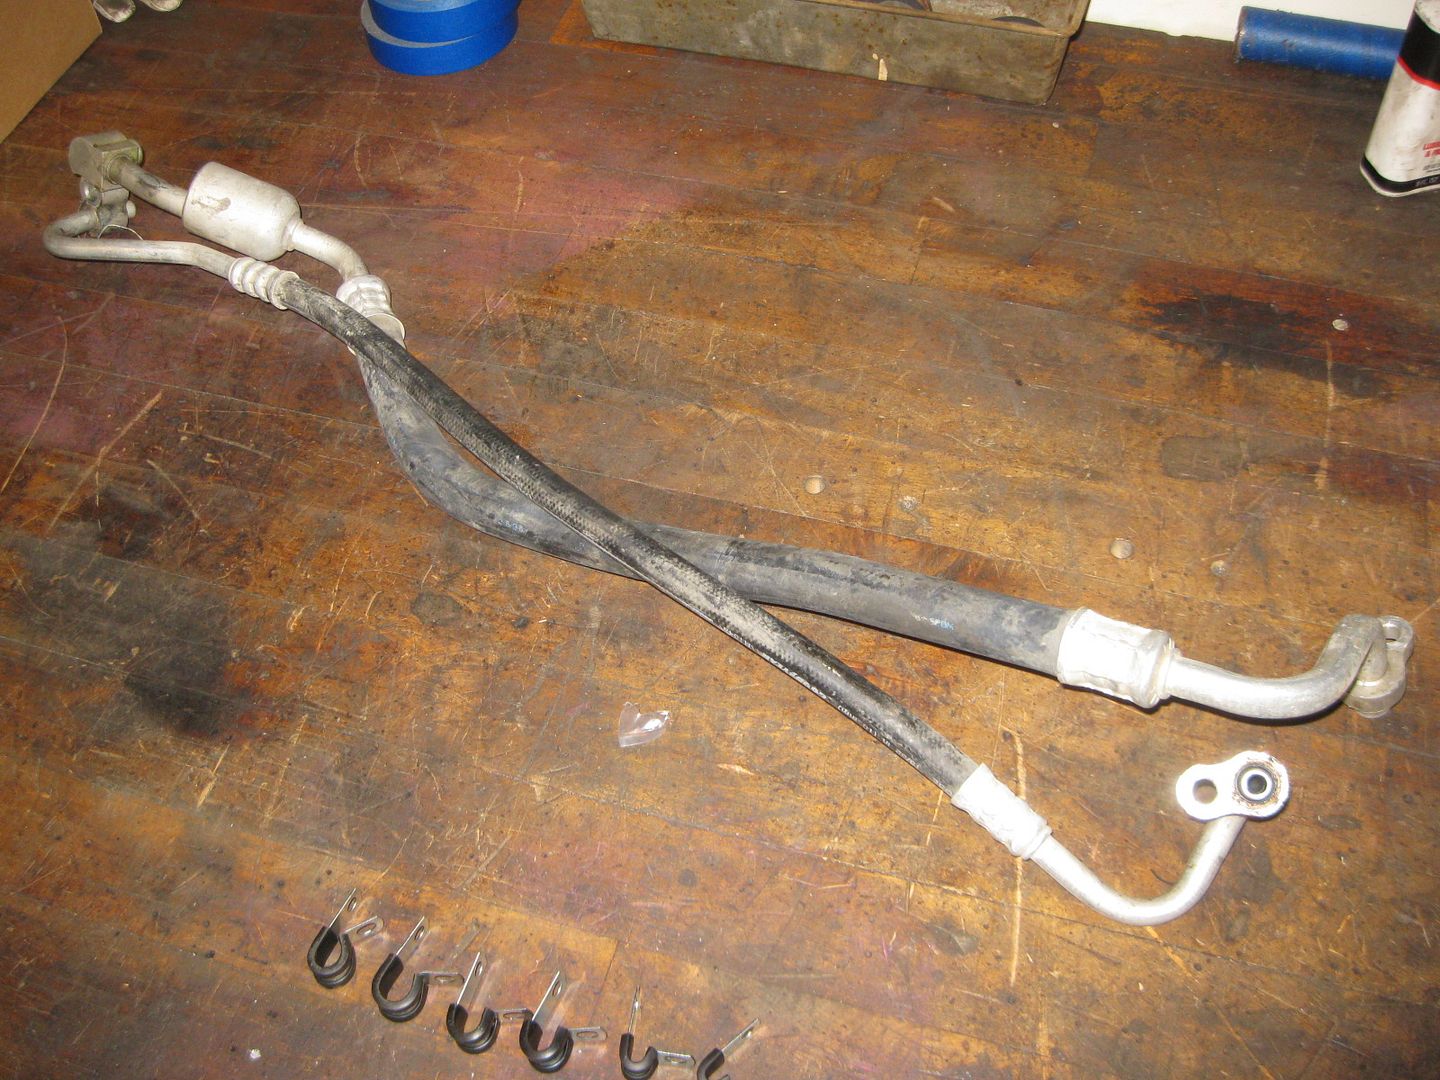
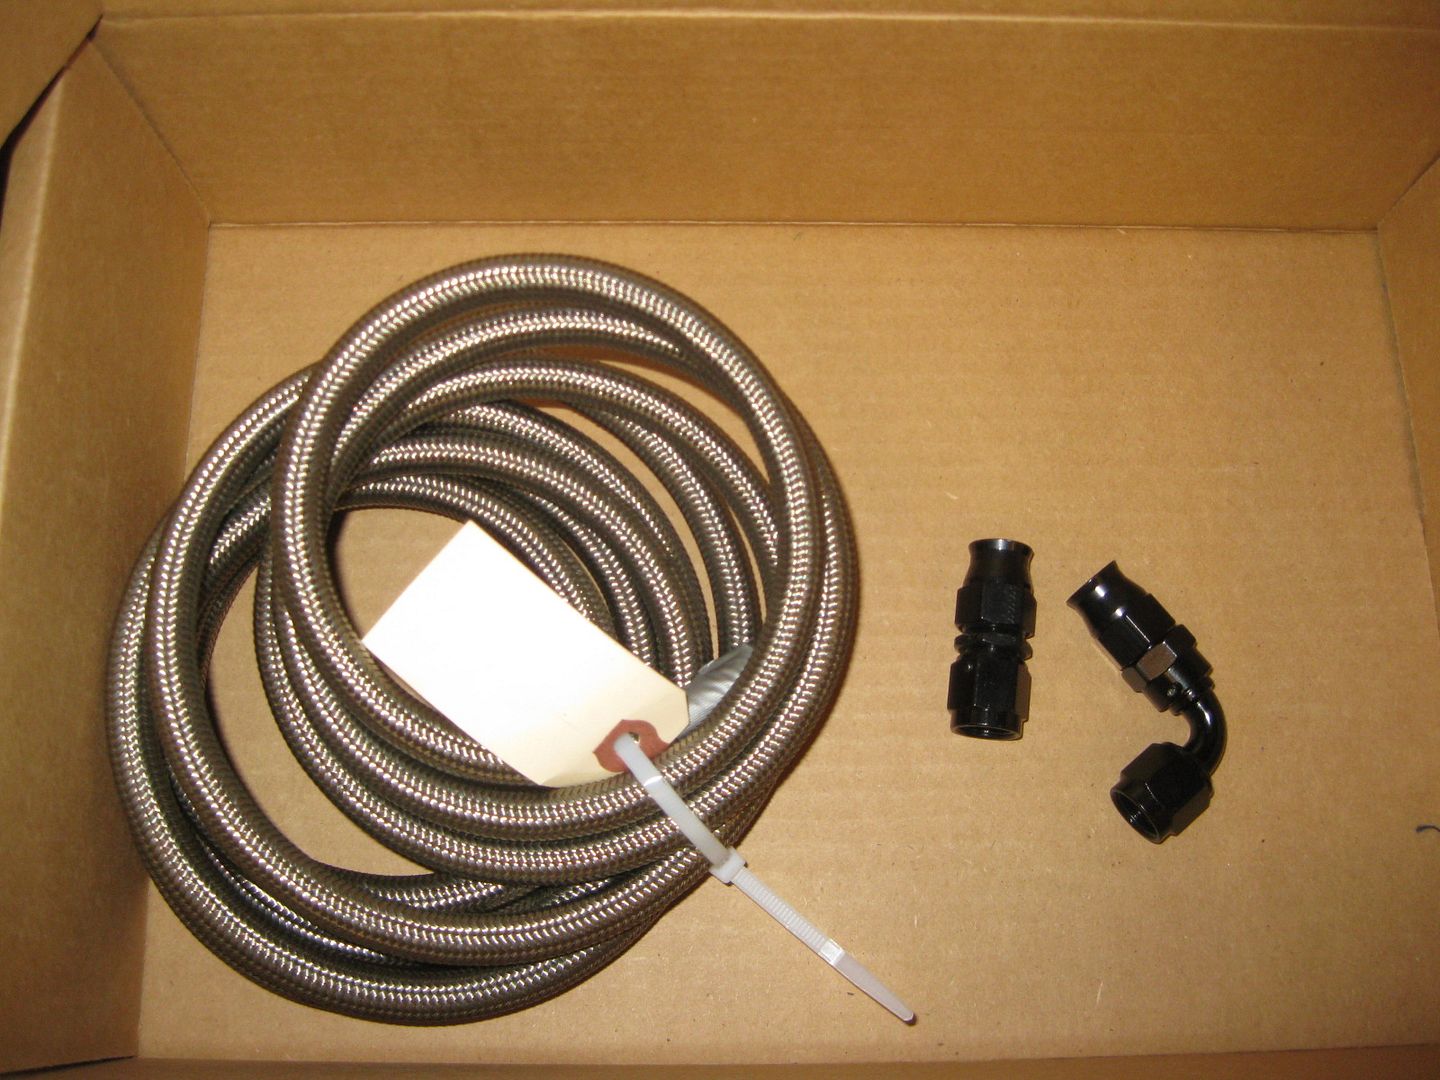
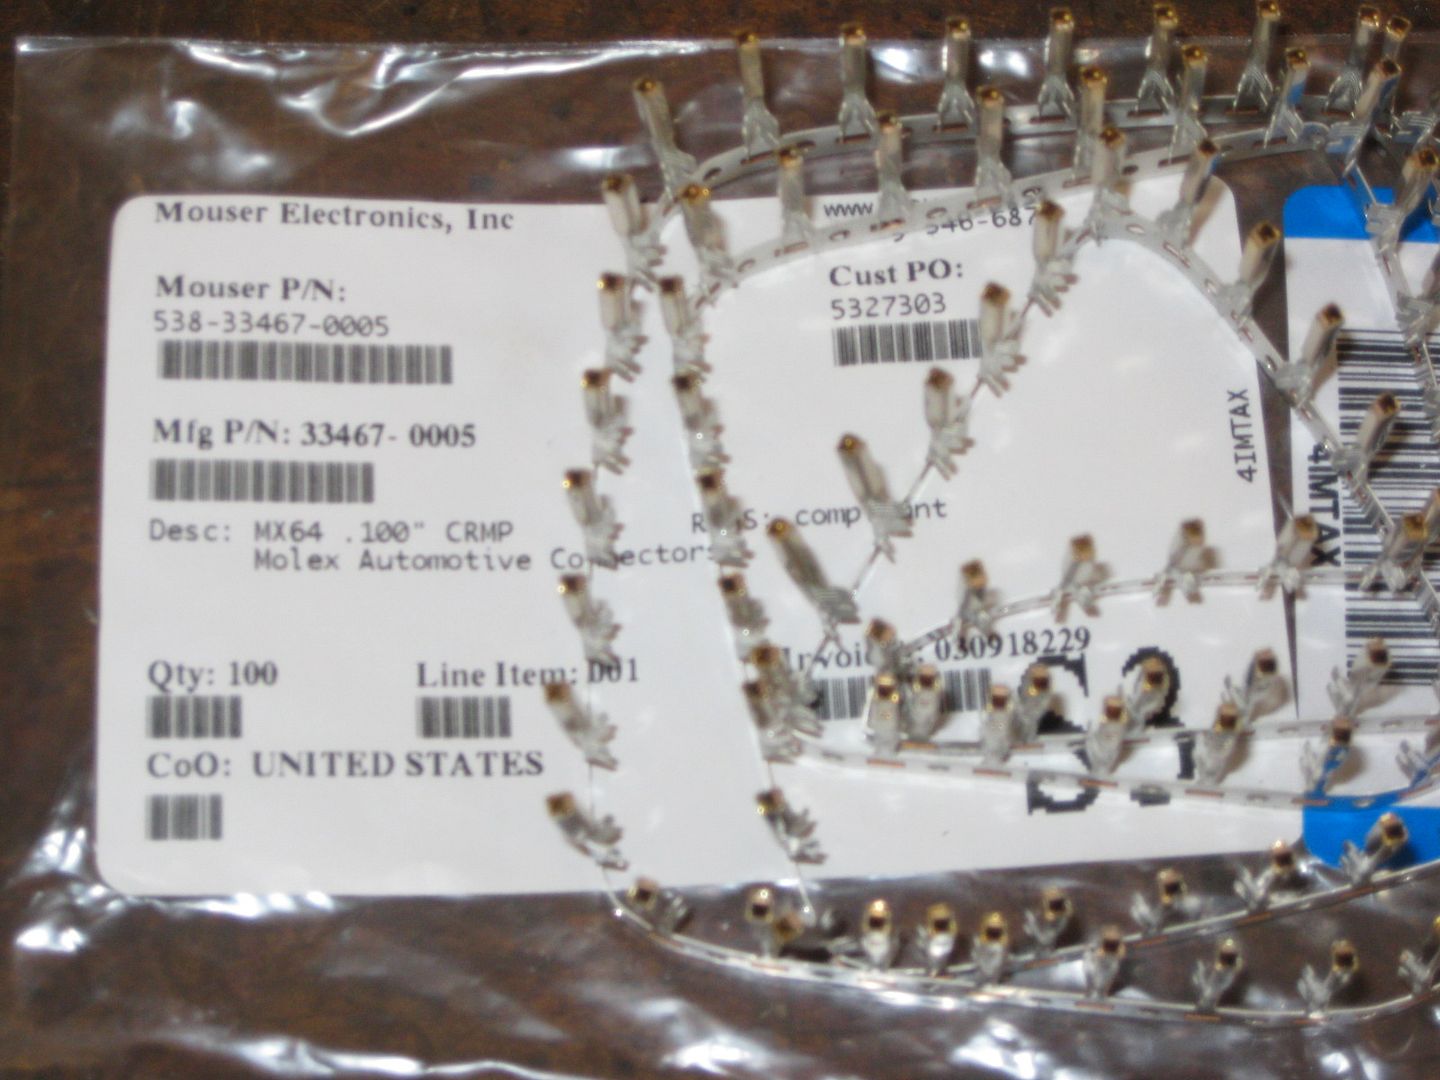
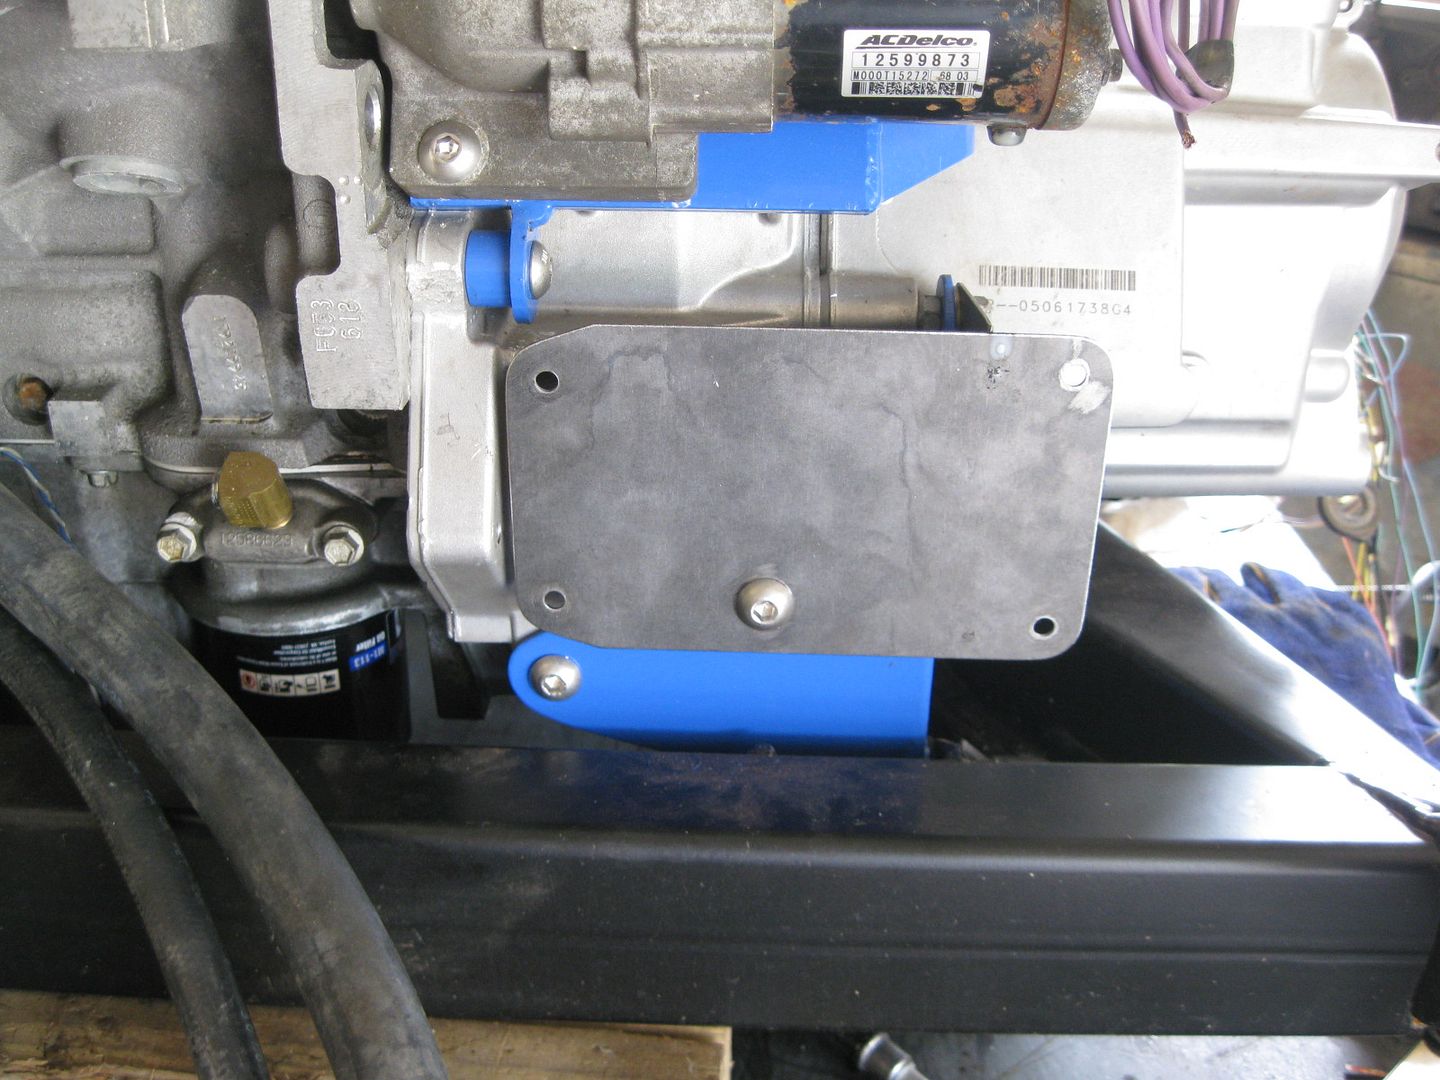
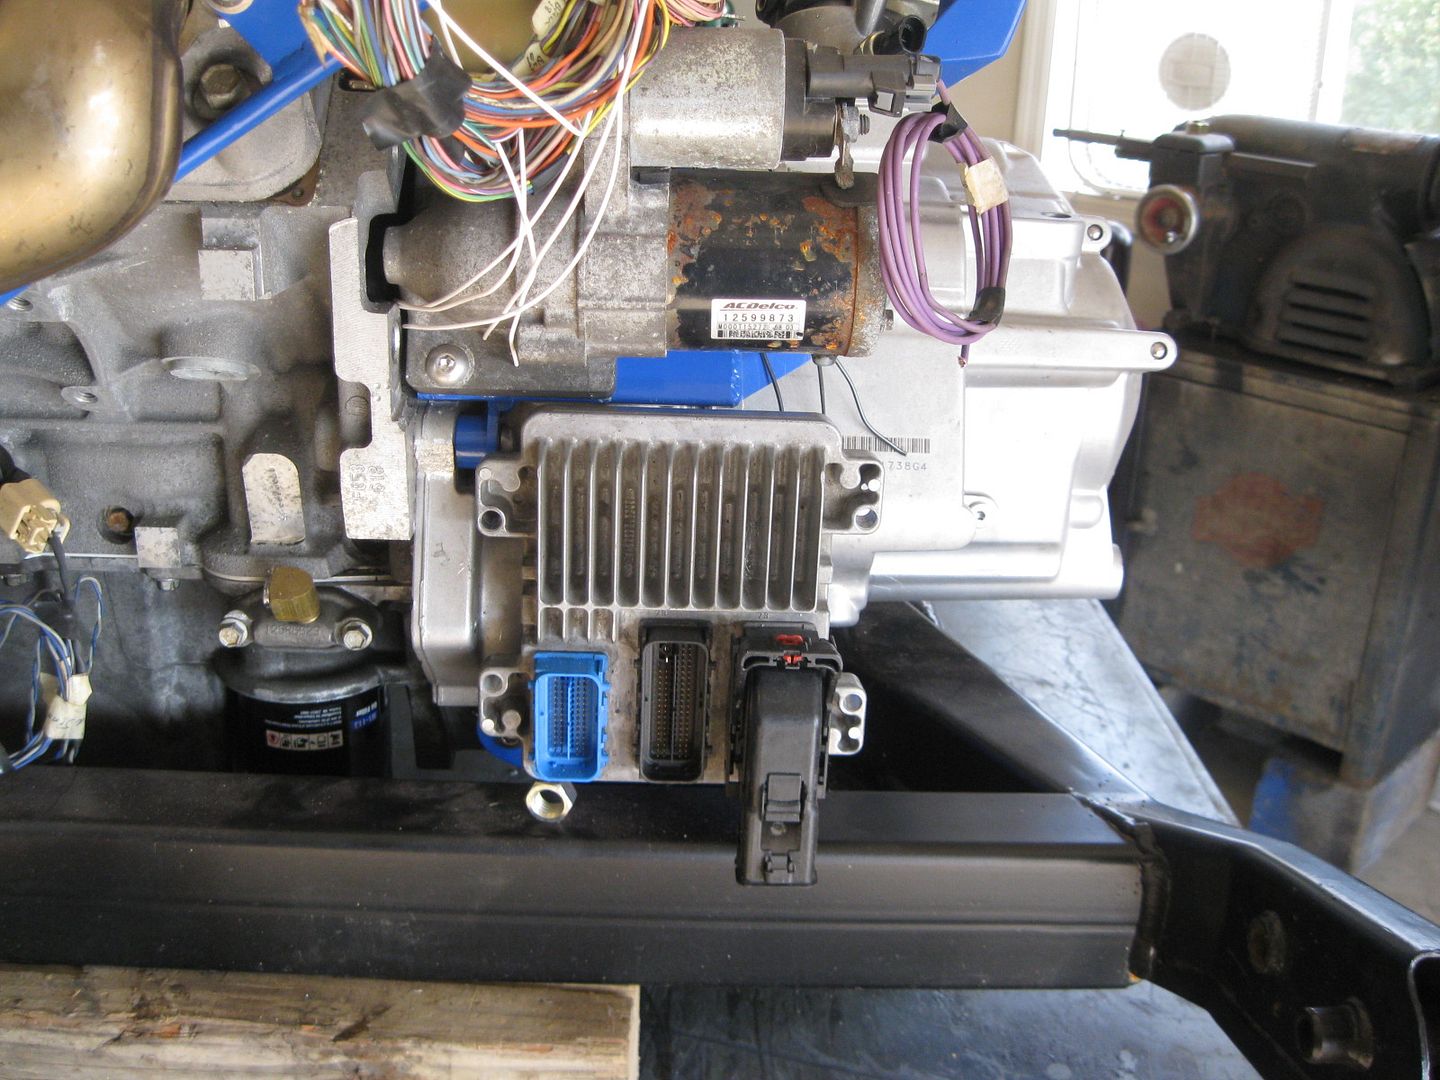
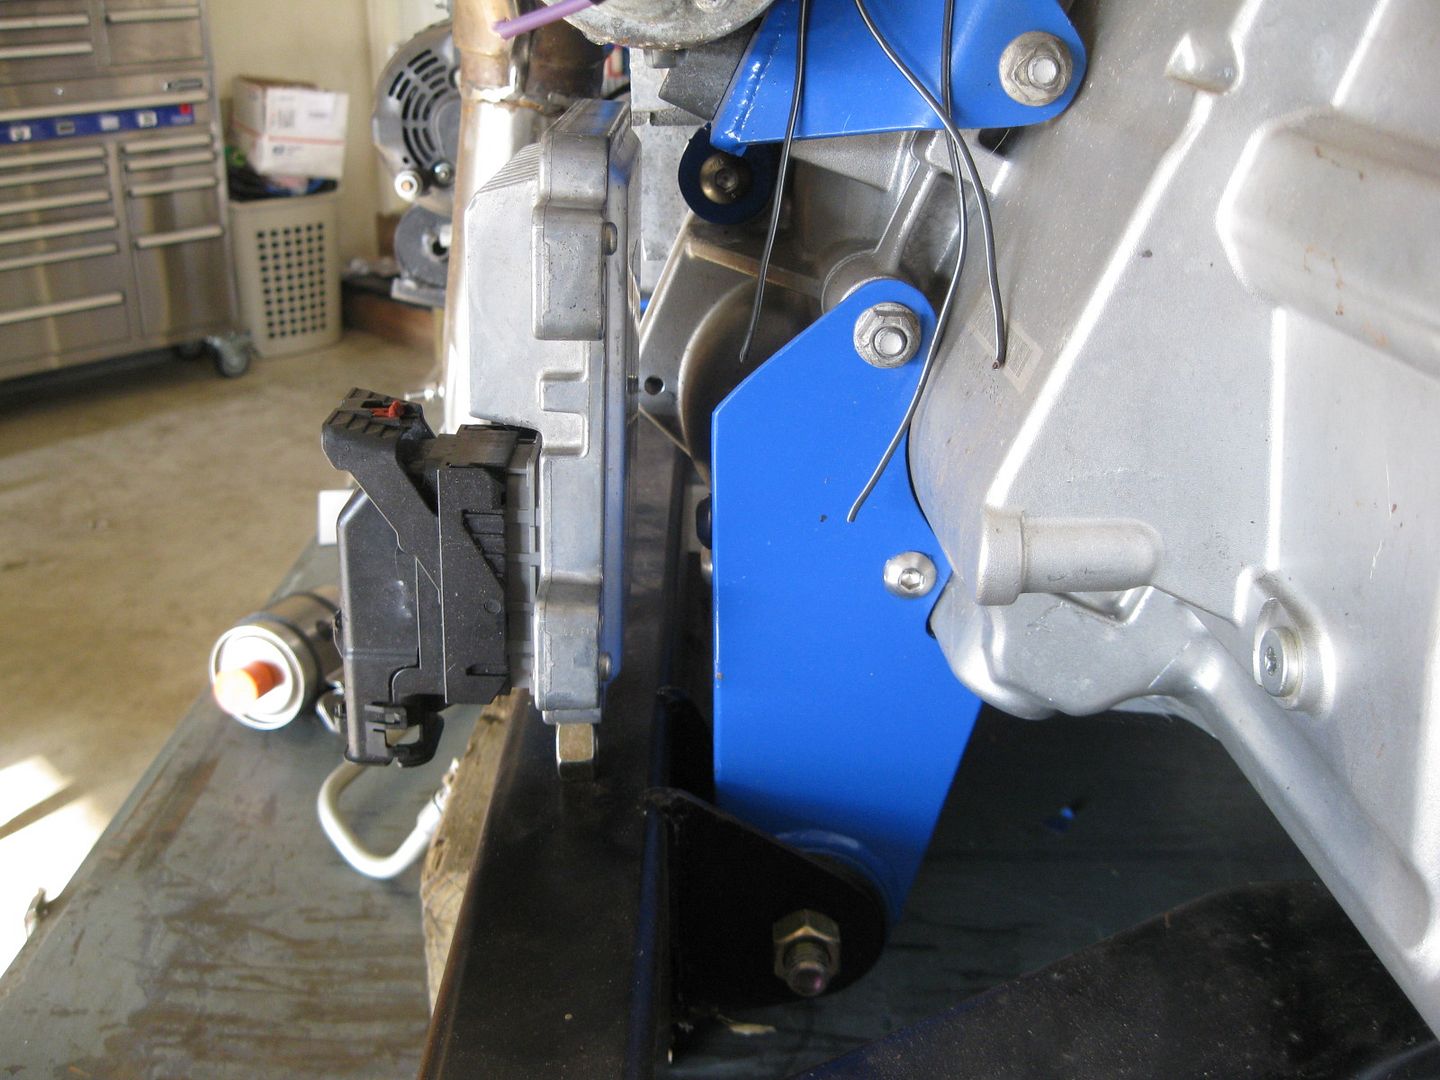
Today I ordered a bunch of needed parts: backup light pigtail, 100 ECM pins, AN fittings and PTFE braided hose for the fuel lines, replacement AC compressor hose, and rubber isolation mounts for the ecm. I think this is the place the ecm will be mounted. I just need to make a couple of brackets for it off the start mount and the front transmission mount.
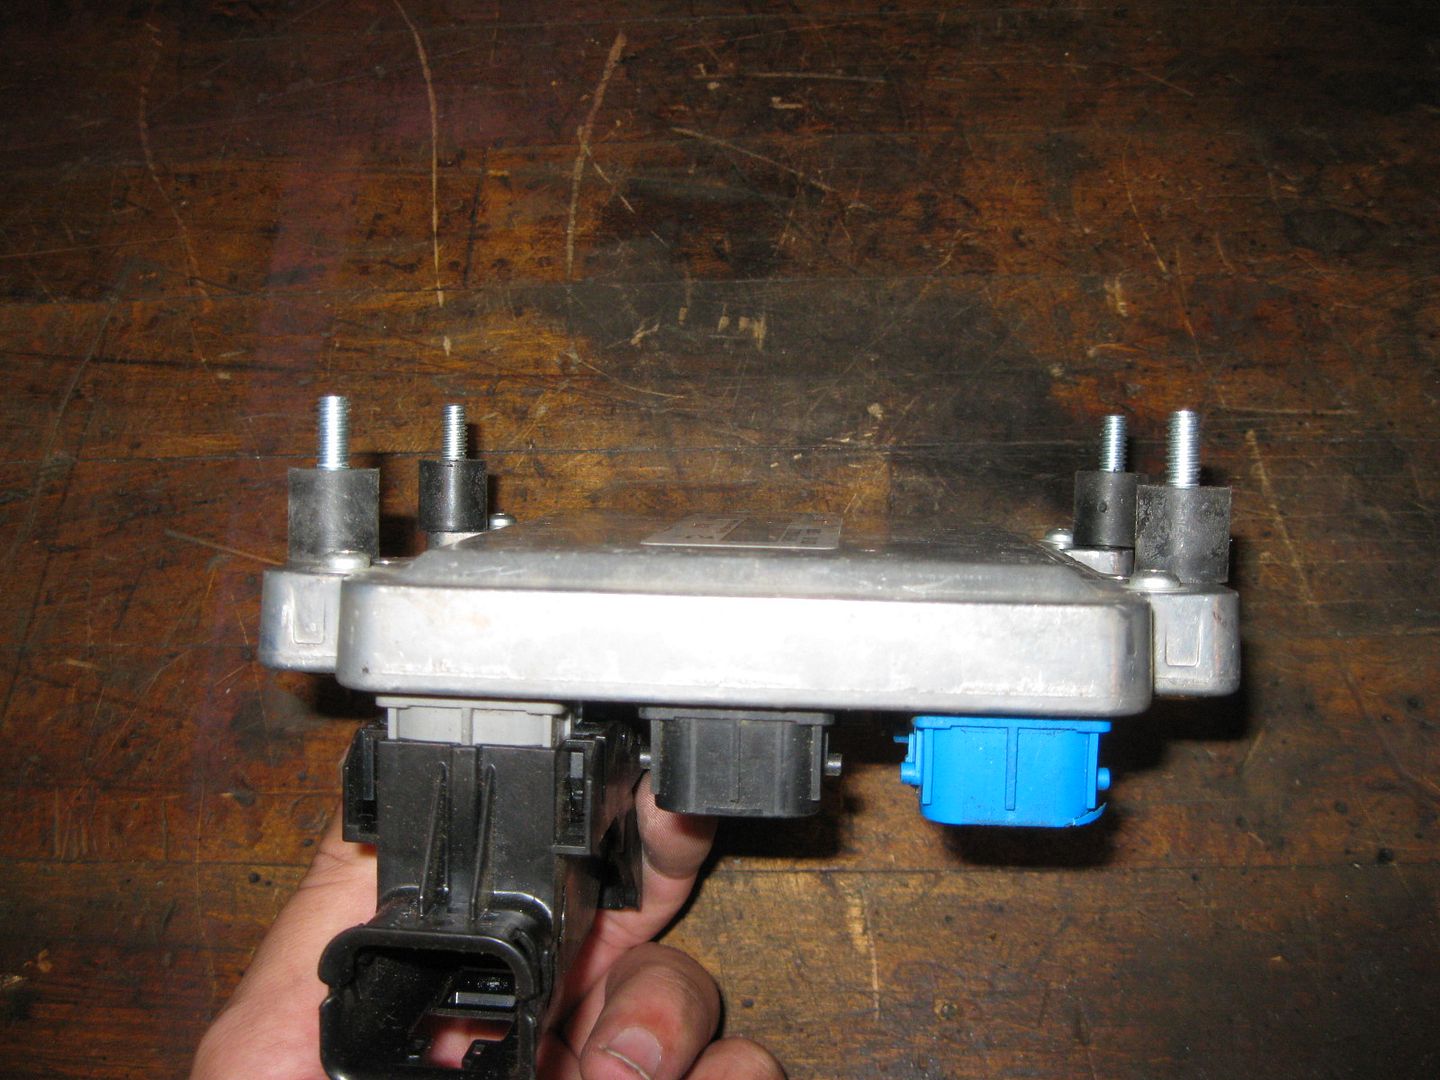
Don't know if you've thought about it much at all, but I noticed that my Avalanche has a bracket which mounts the ECM in a vertical position, and thought it might be possible to use it in a Fiero. I haven't looked into how it mounts up into detail yet though.
Don't know if you've thought about it much at all, but I noticed that my Avalanche has a bracket which mounts the ECM in a vertical position, and thought it might be possible to use it in a Fiero. I haven't looked into how it mounts up into detail yet though.
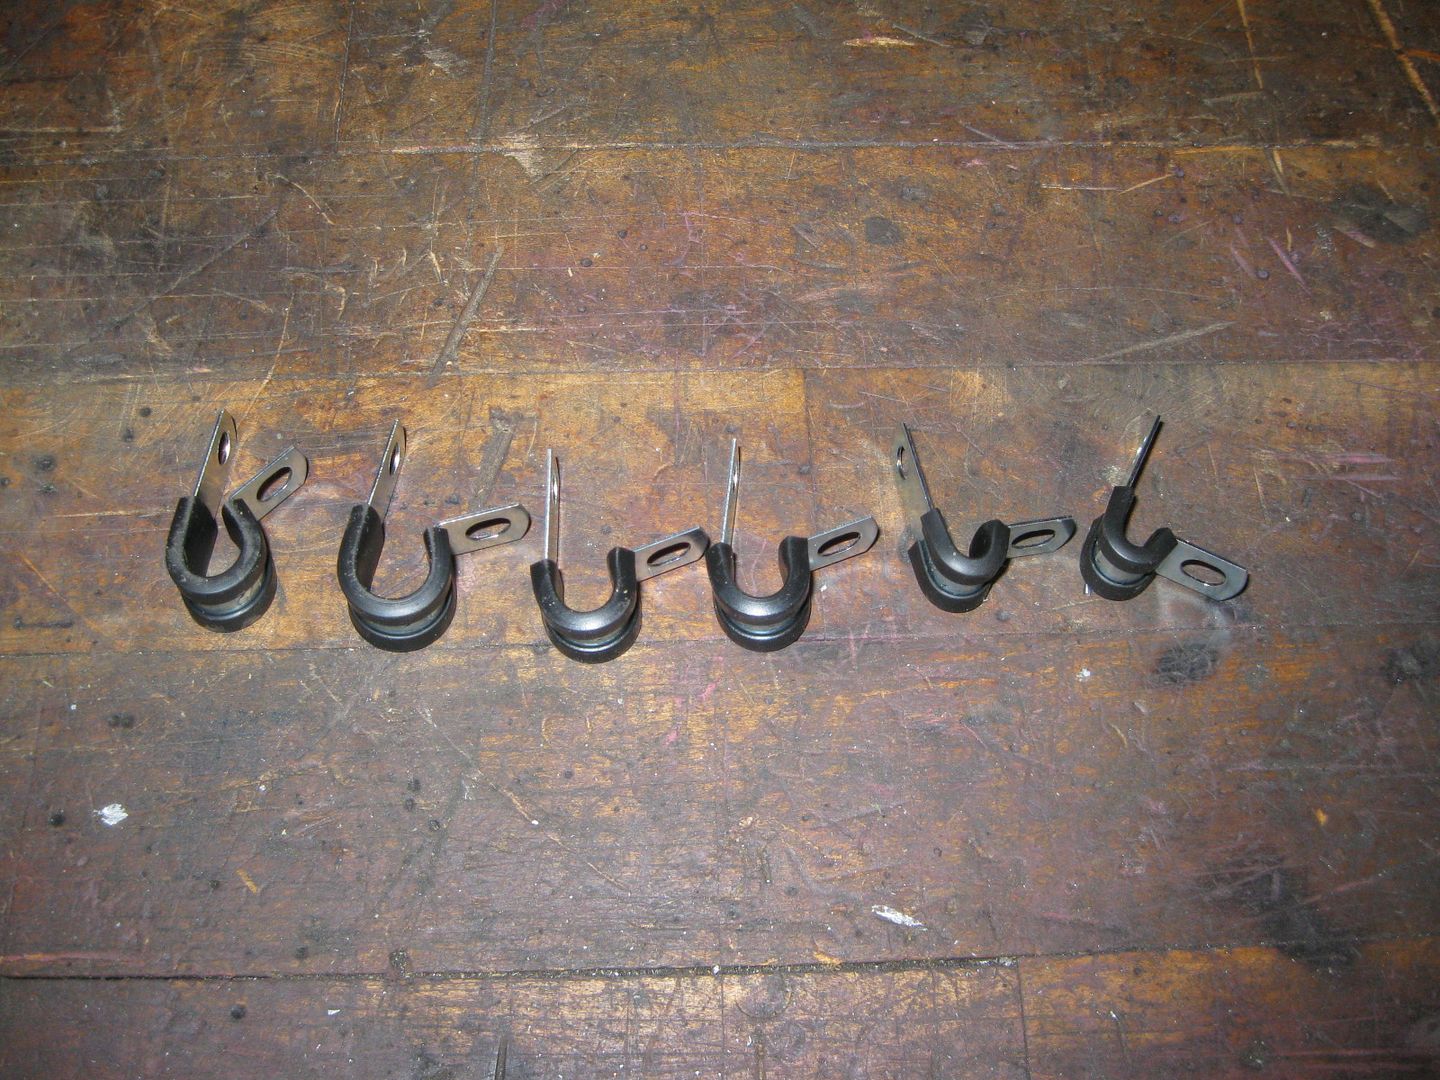
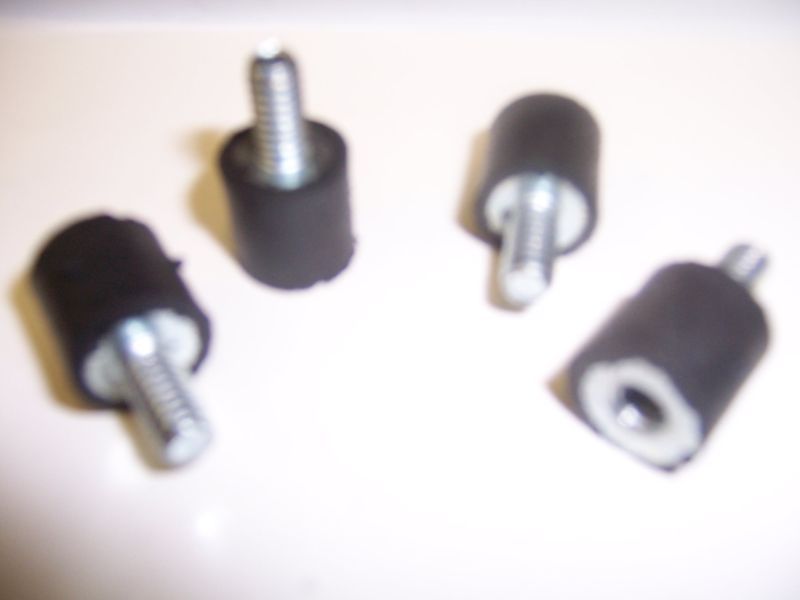
GM doesn't normally do a clean/space efficient job of mounting the ECM, so I just planned on using these rubber isolation feet bolted to a backing plate that bolts to the front transmission mount. The 4 feet were $12 shipped. Sorry for the crappy ebay pic.
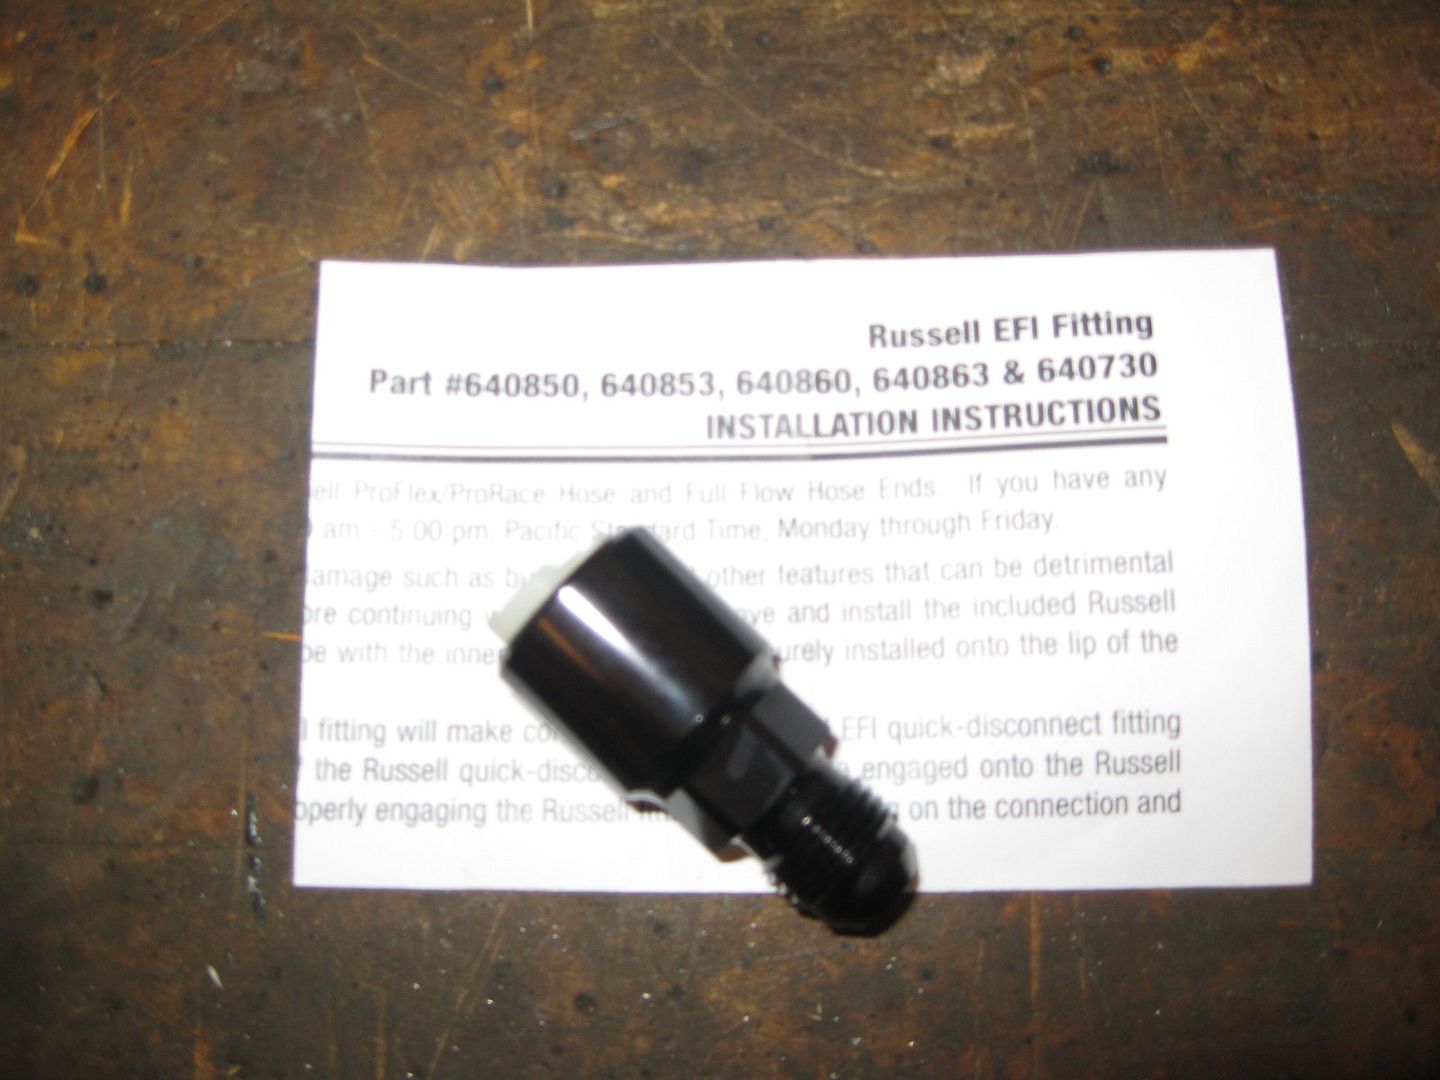
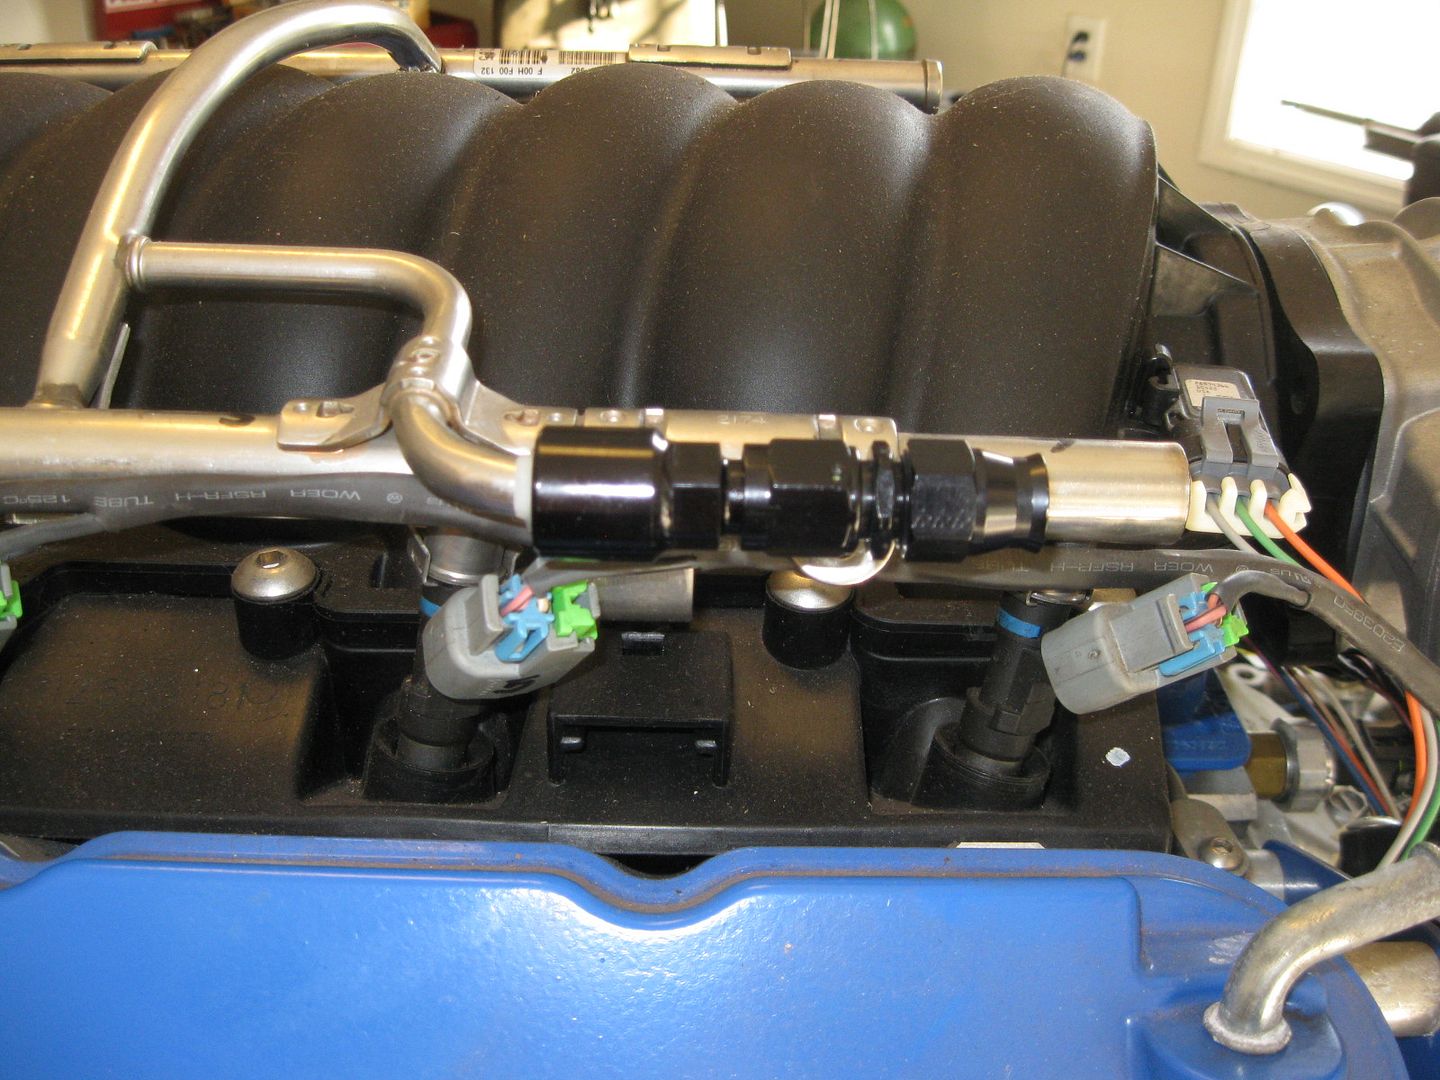
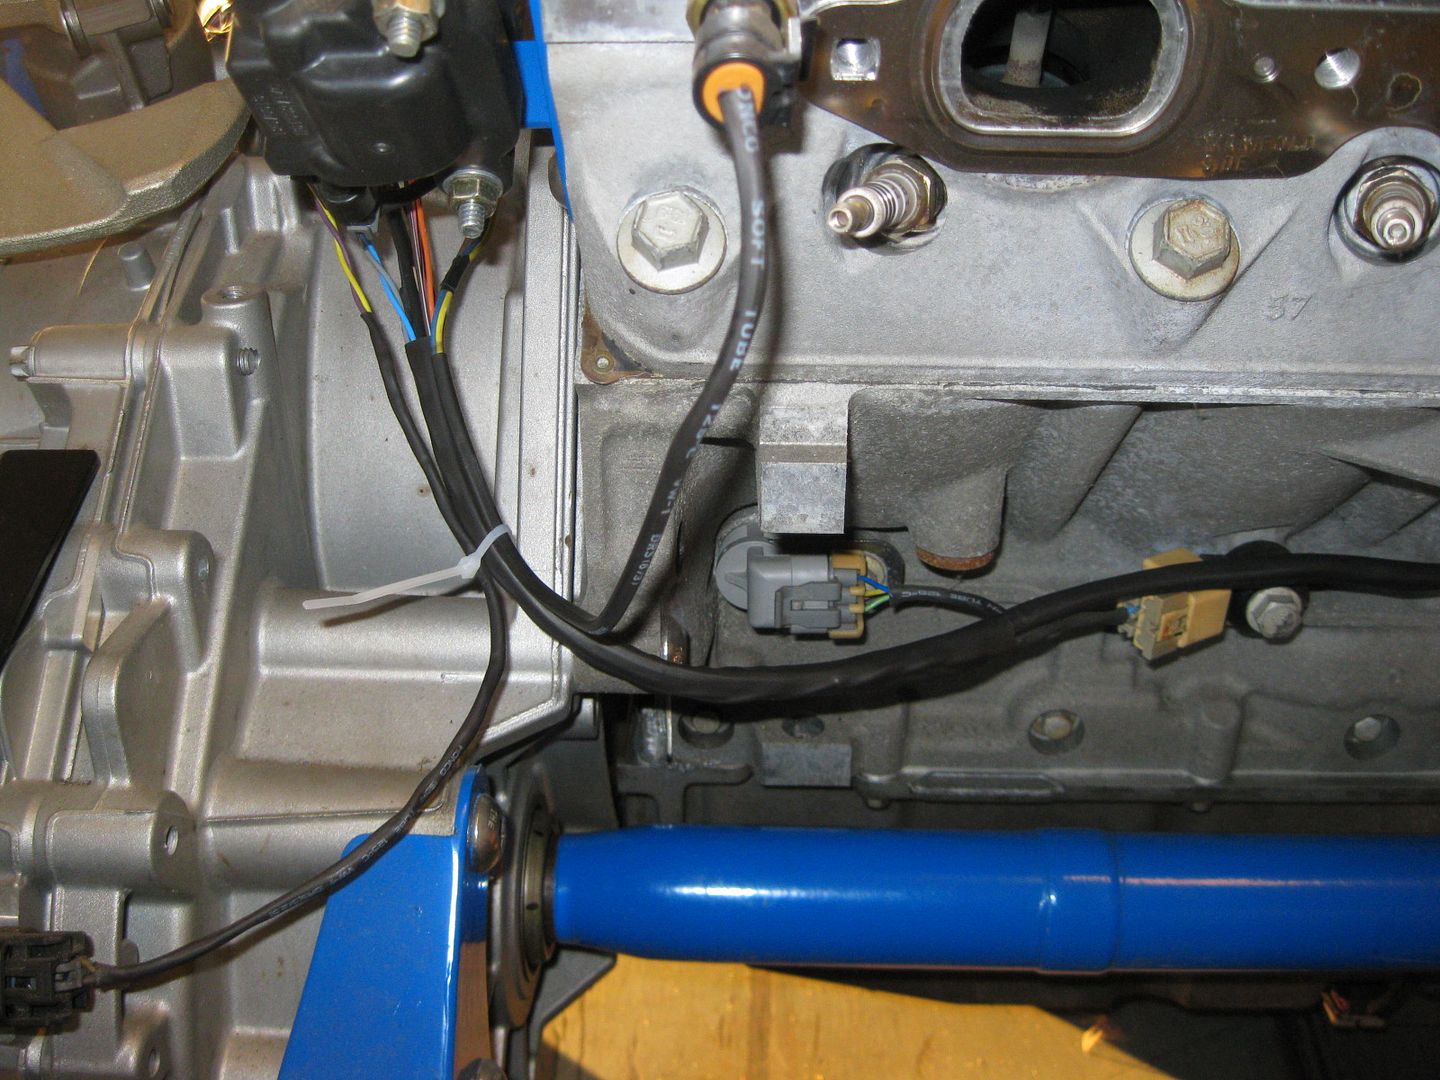
Connection at the fuel rail - GM quick disconnect to -6 AN (the 2nd picture also shows the -6 AN hose end installed):
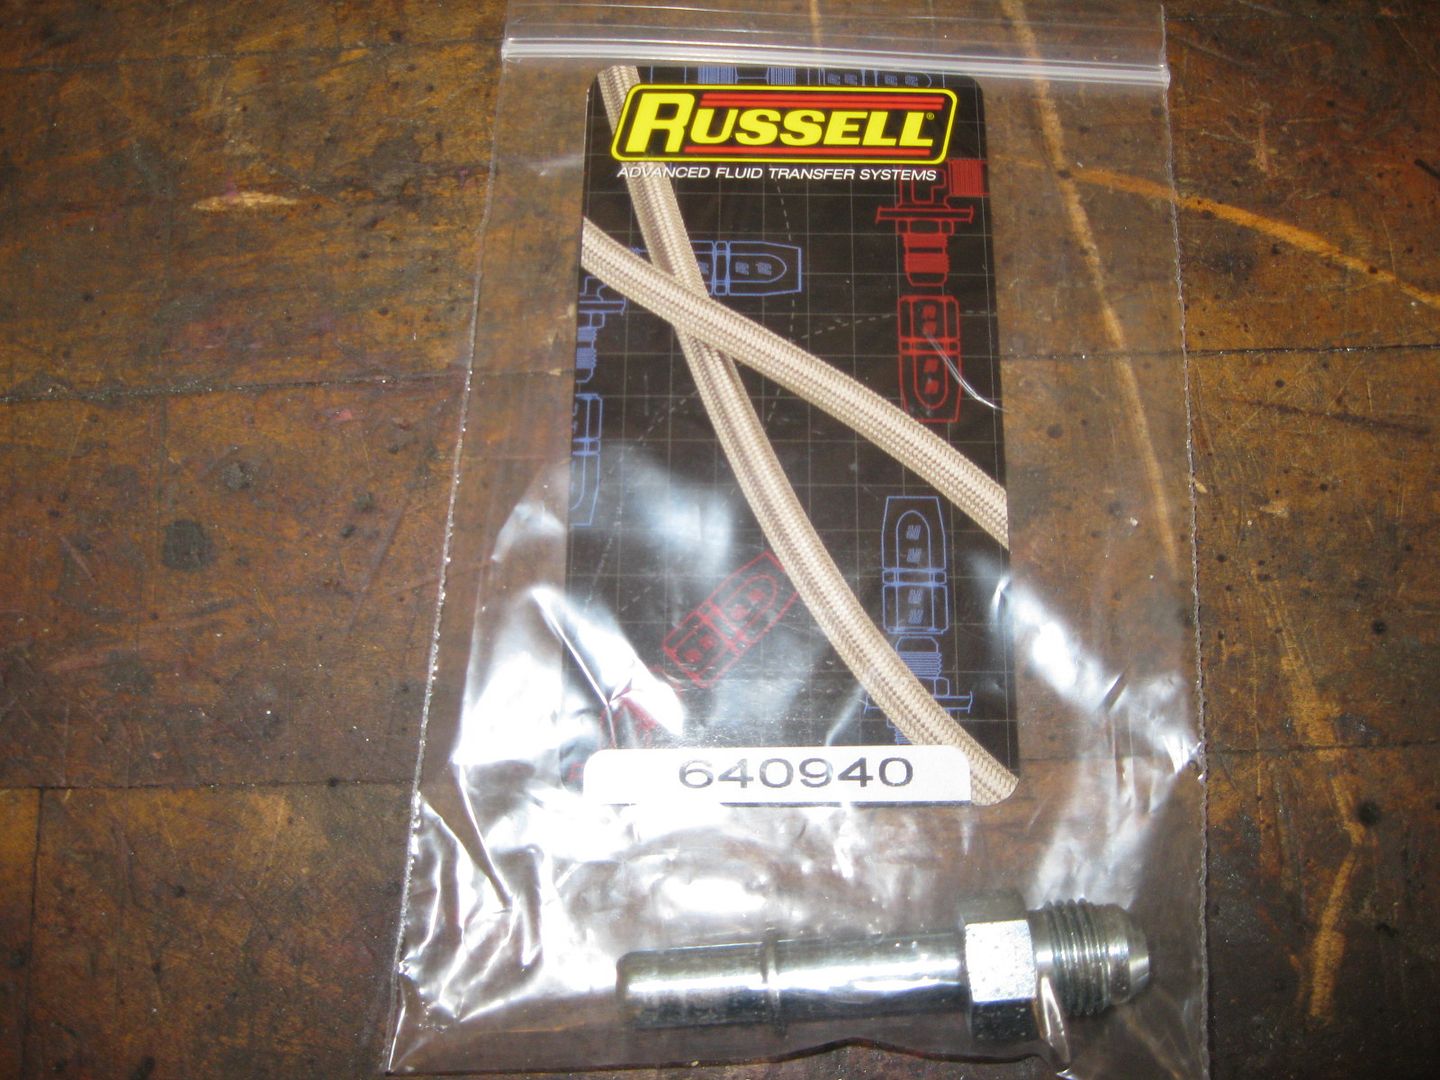
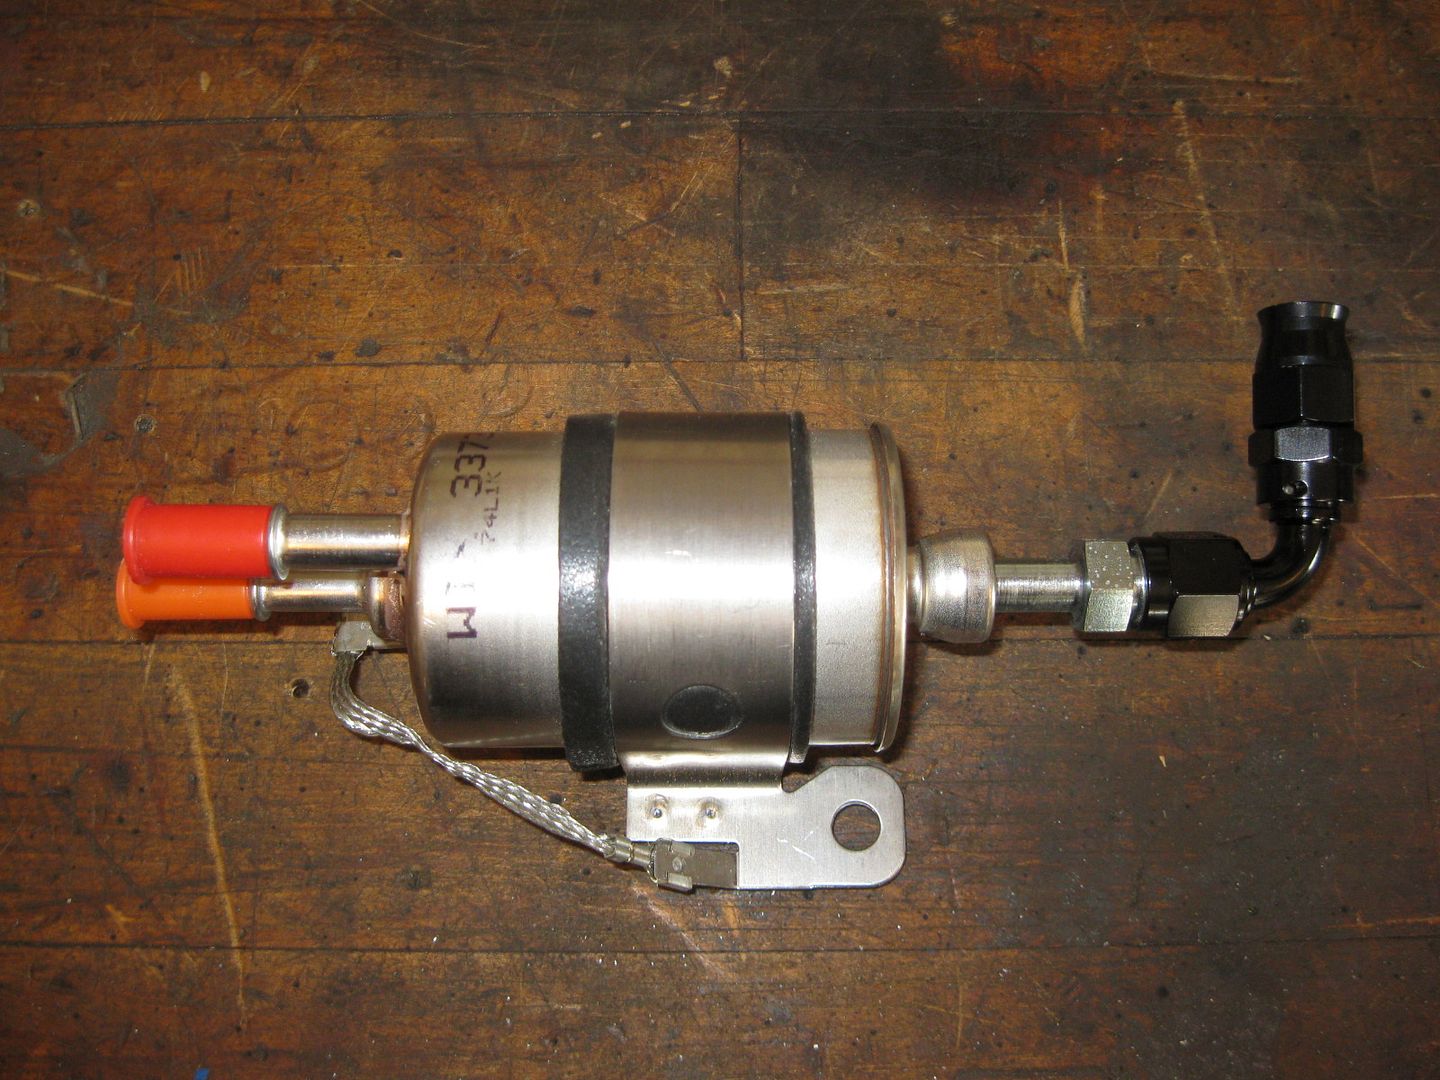
Connection to the LS2 Vette fuel pressure regulator - GM quick disconnect to -6 AN (the 2nd picture alsp shows the -6 AN 90 hose fitting and the LS2 Vette fuel filter/regulator):
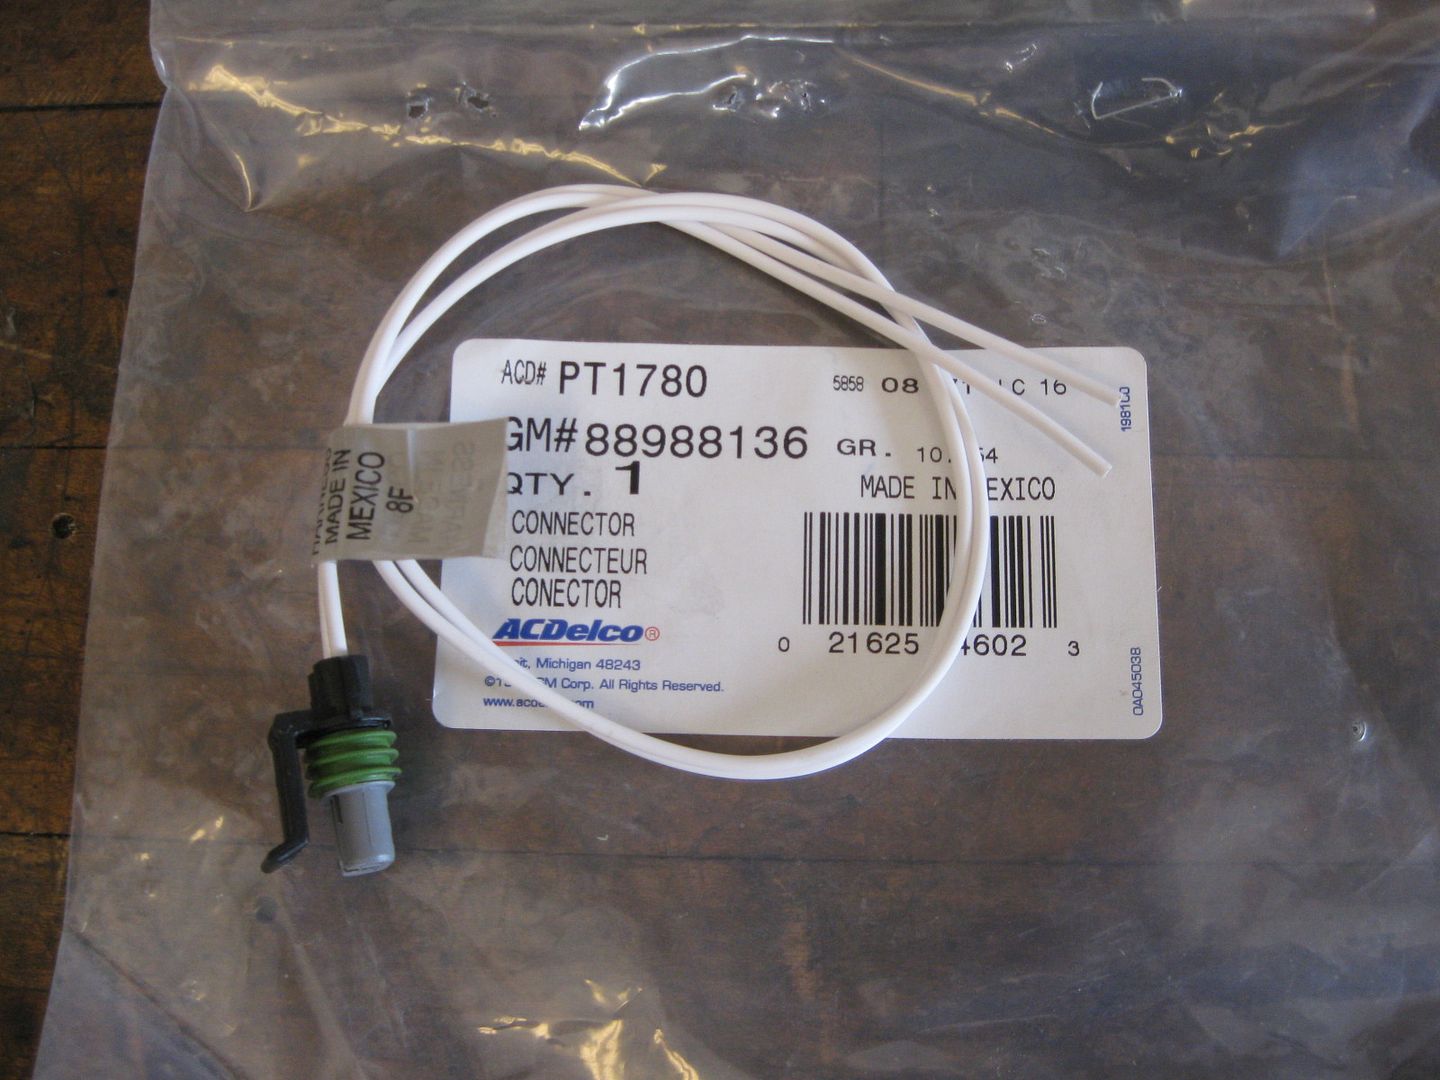
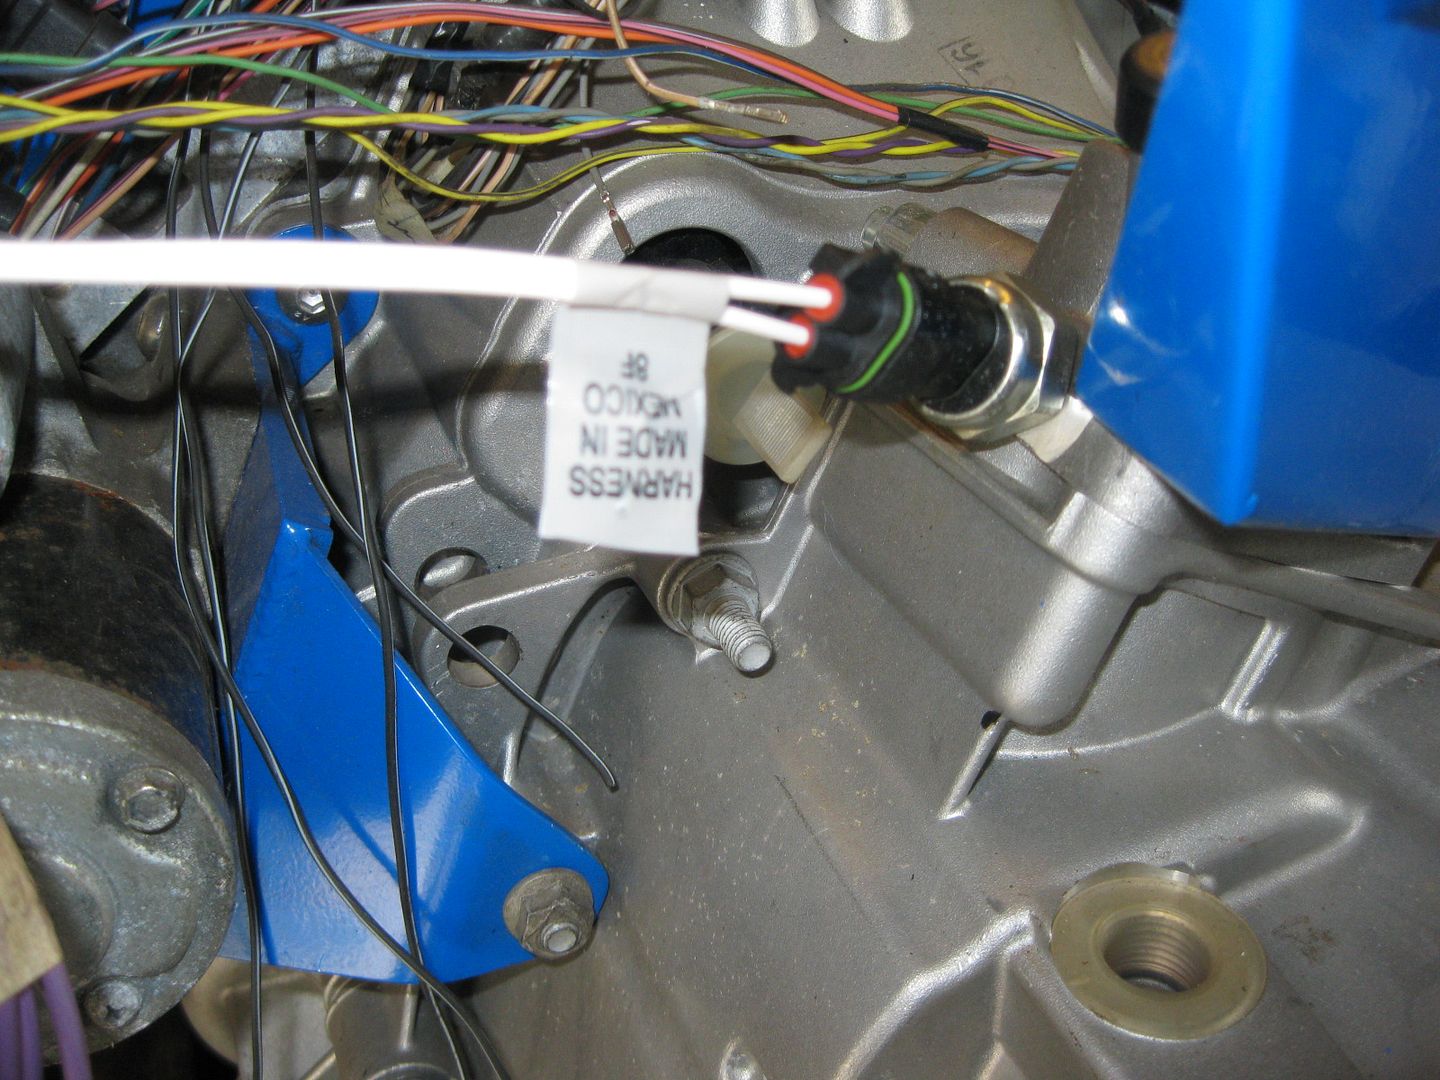
Pigtail for the reverse light switch on the F40 (spendy little thing at $40+):
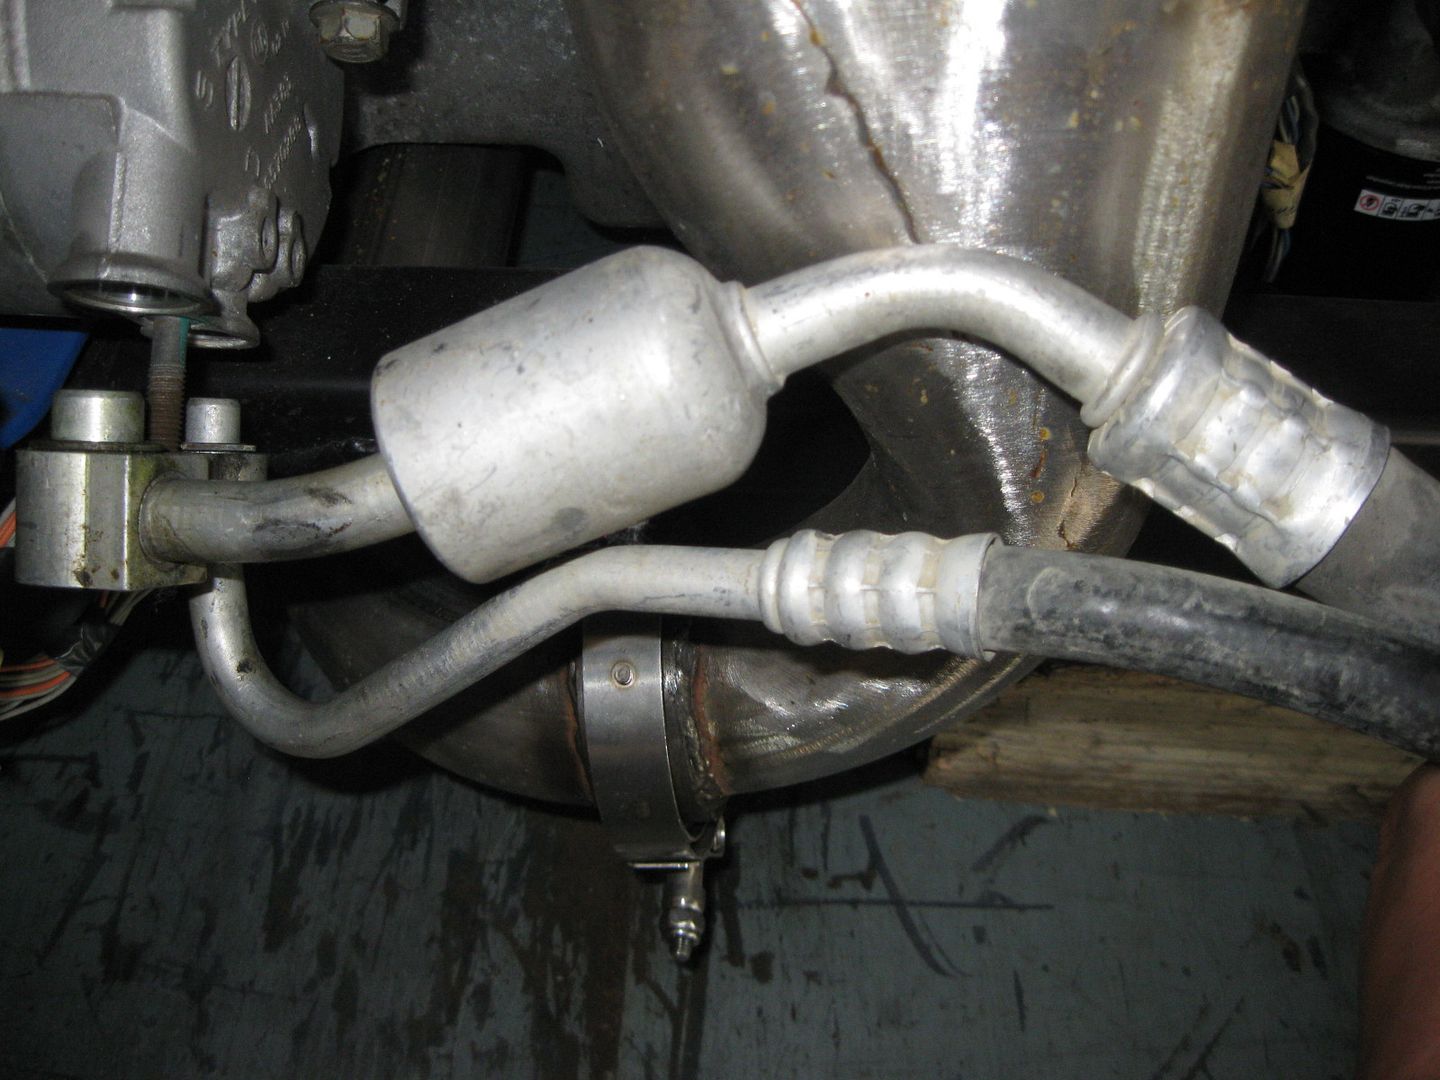
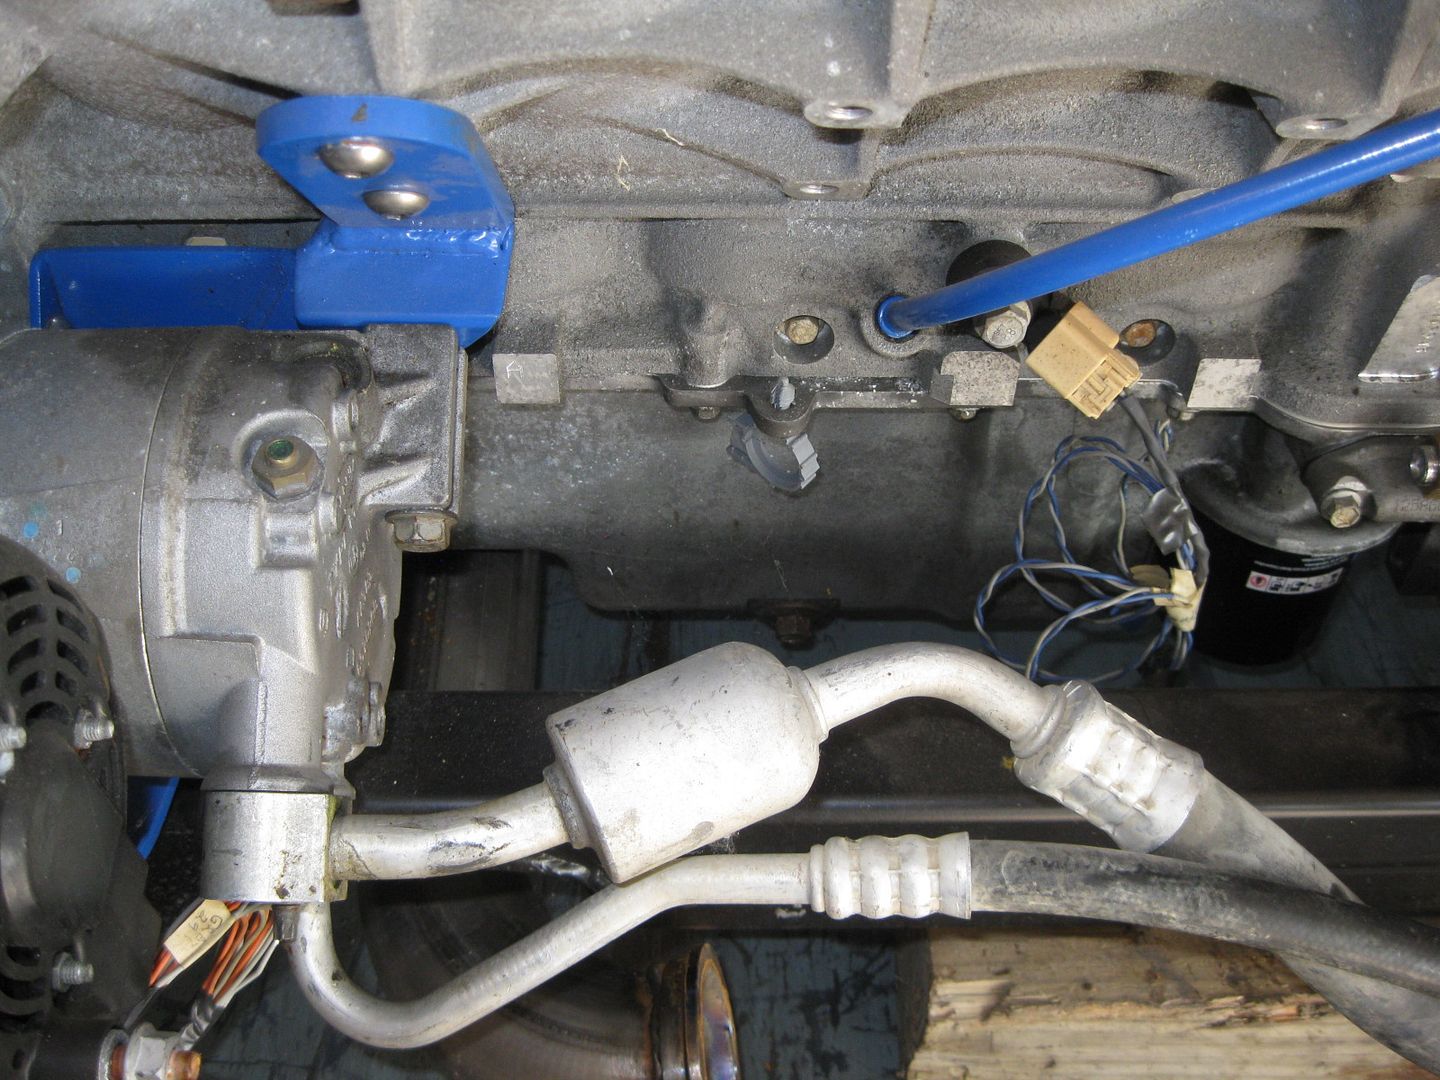
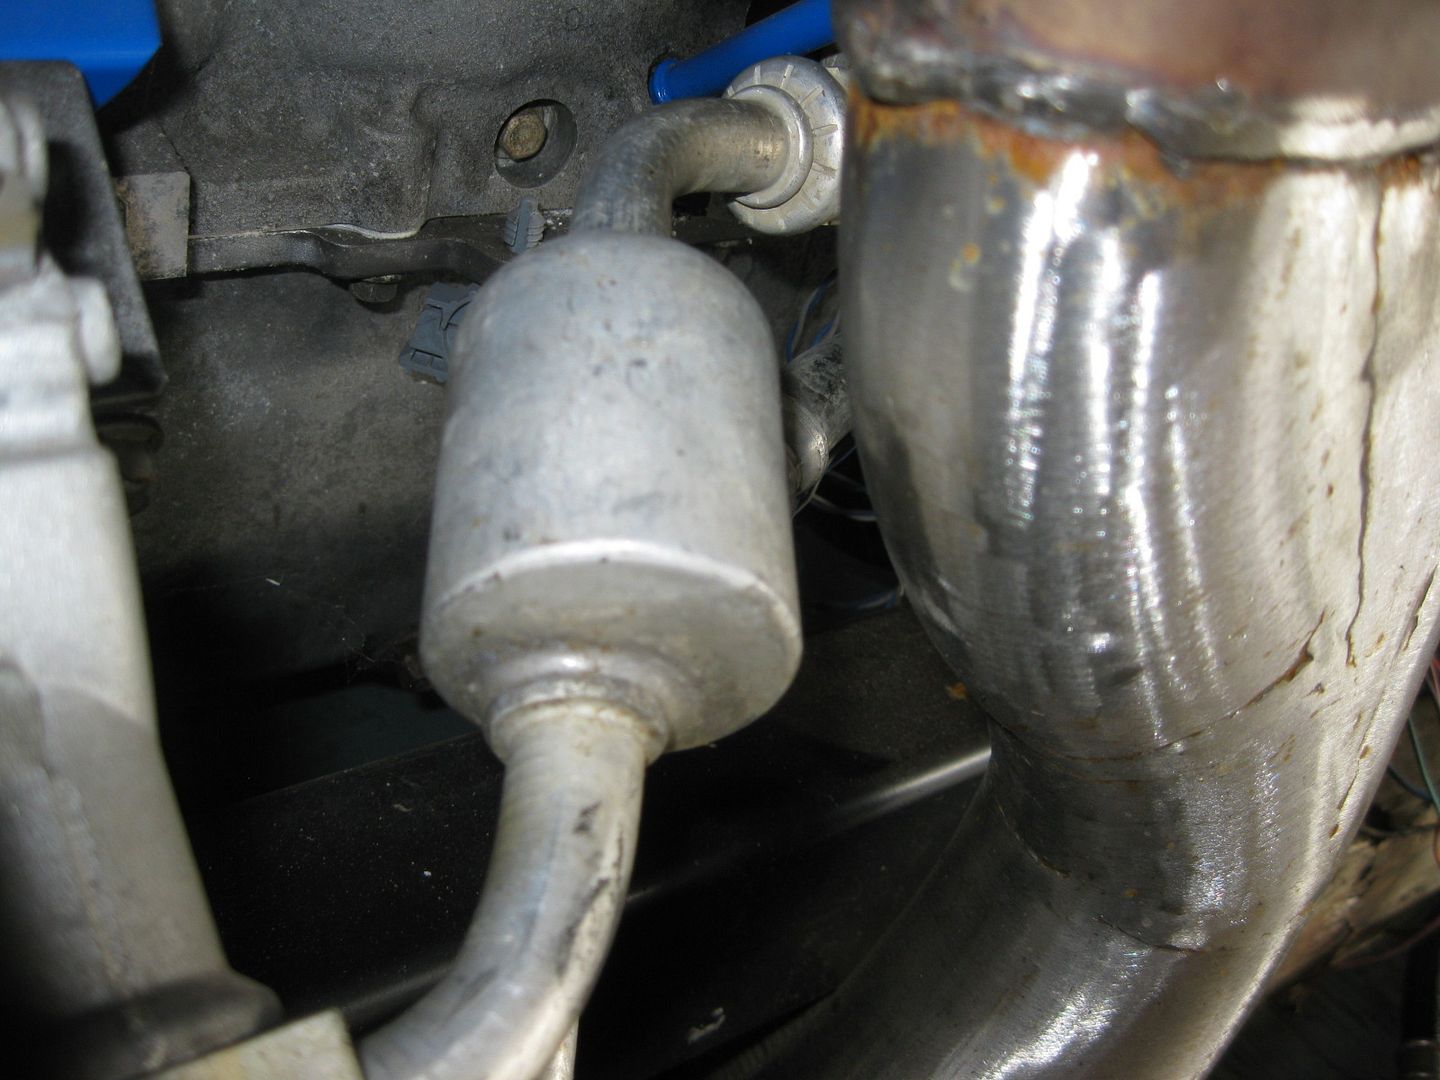
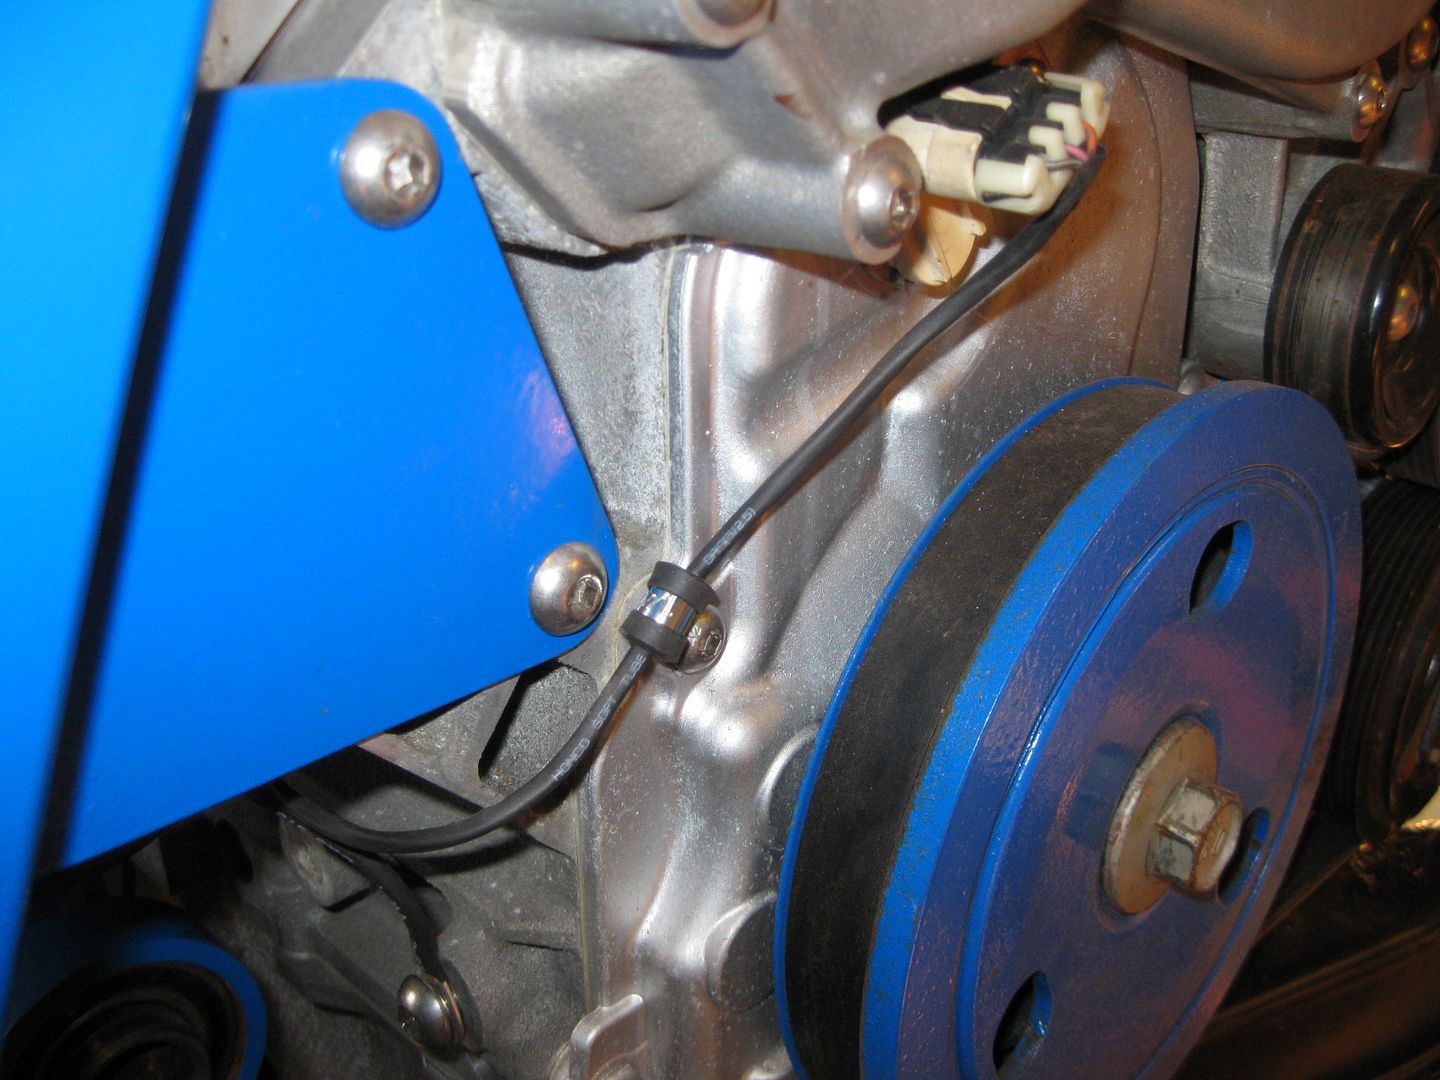
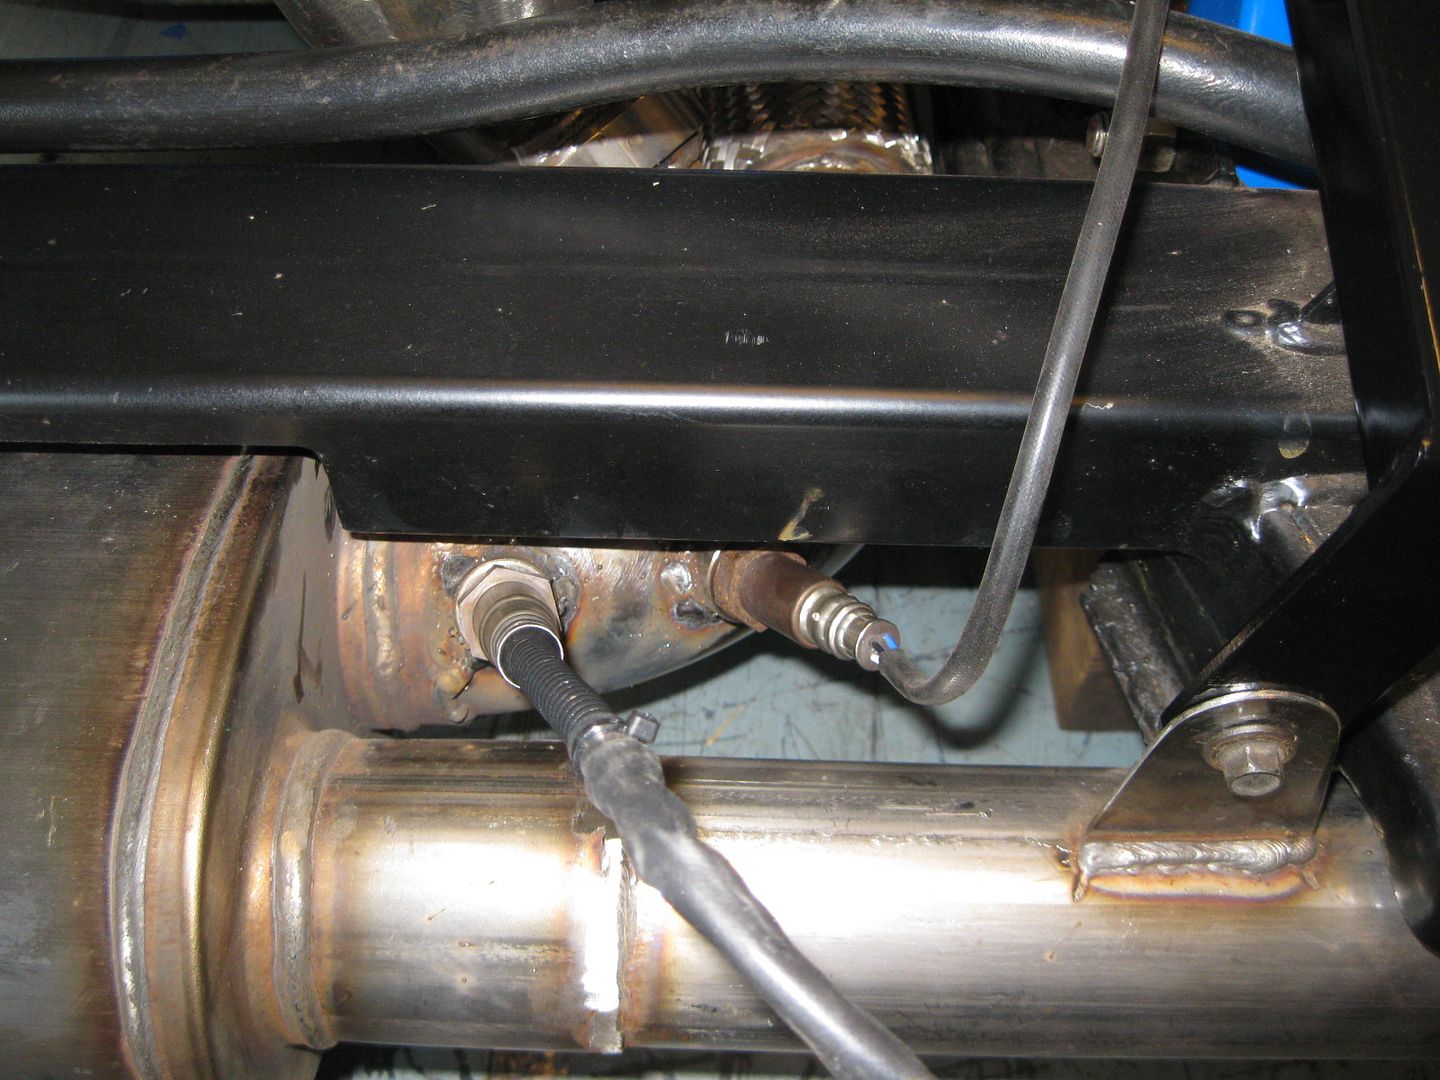
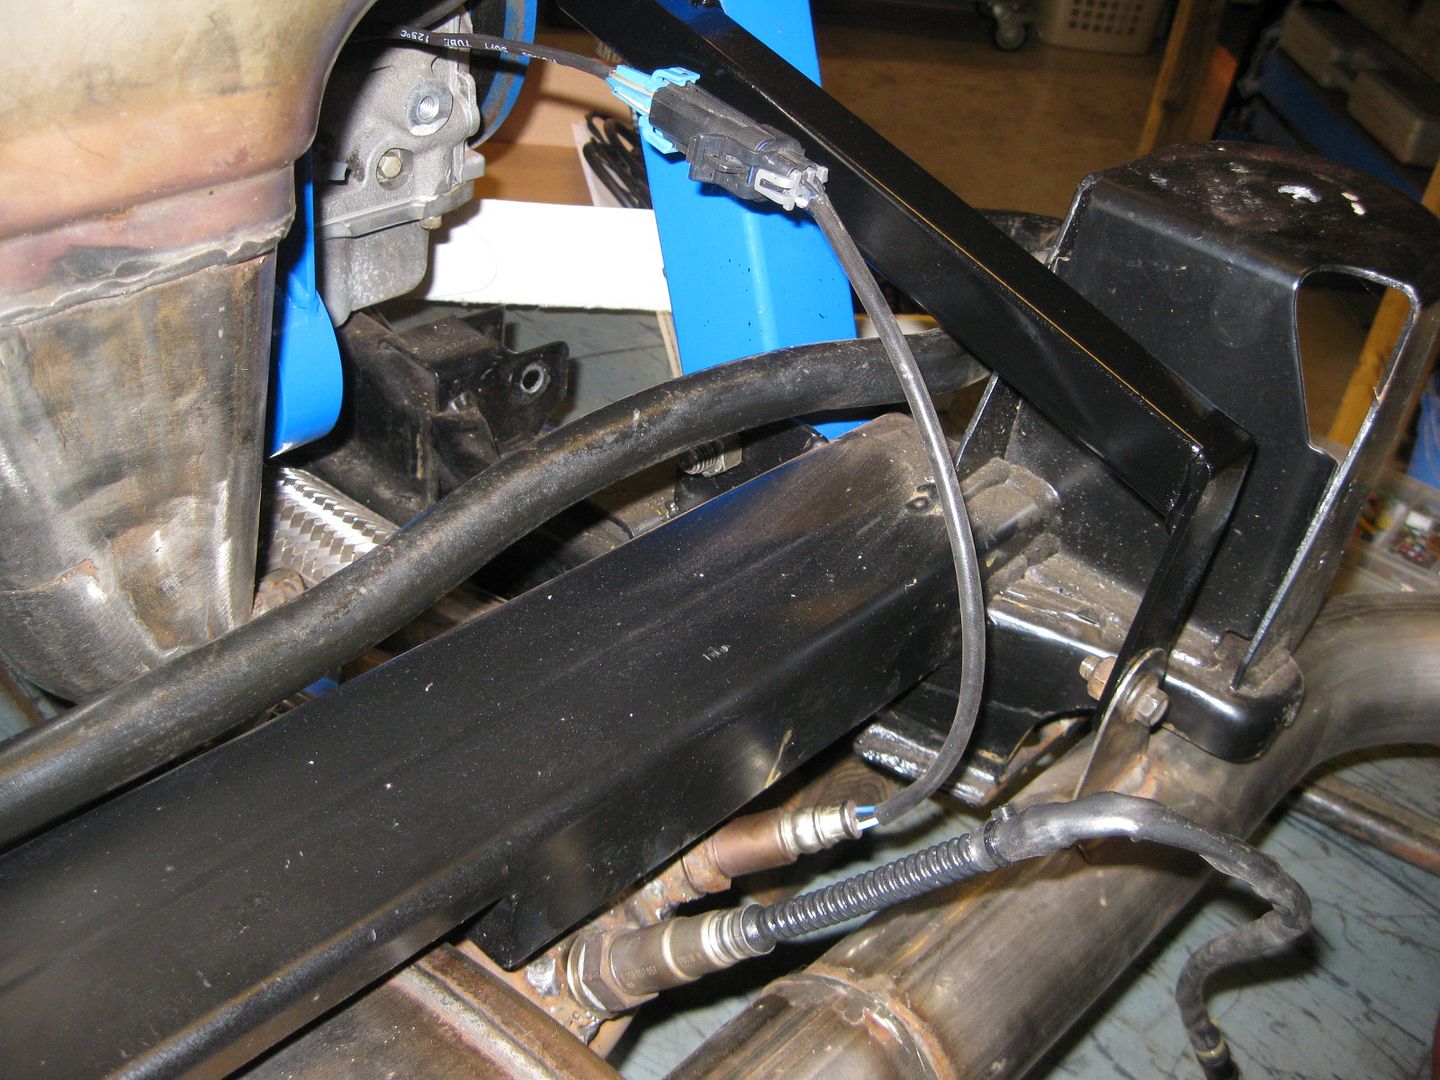
Then I started to play with the AC hose connection at the compressor. I knew it wouldn't clear the exhaust in stock form, but suspected that with some gentle massaging I could make it clear: Before:
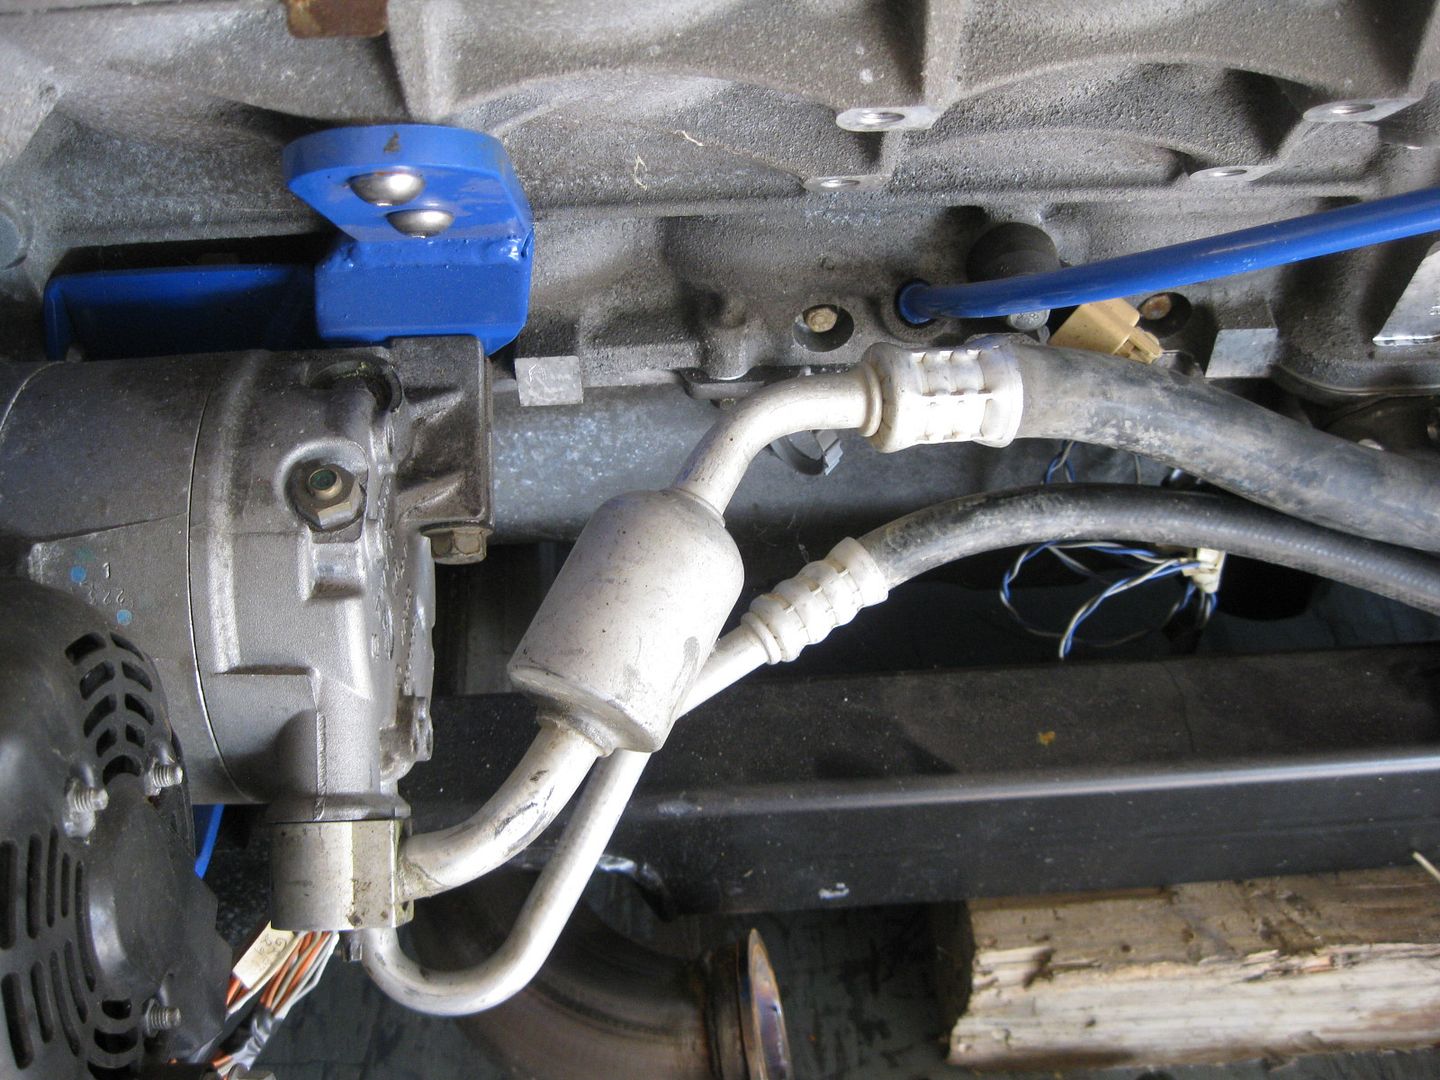
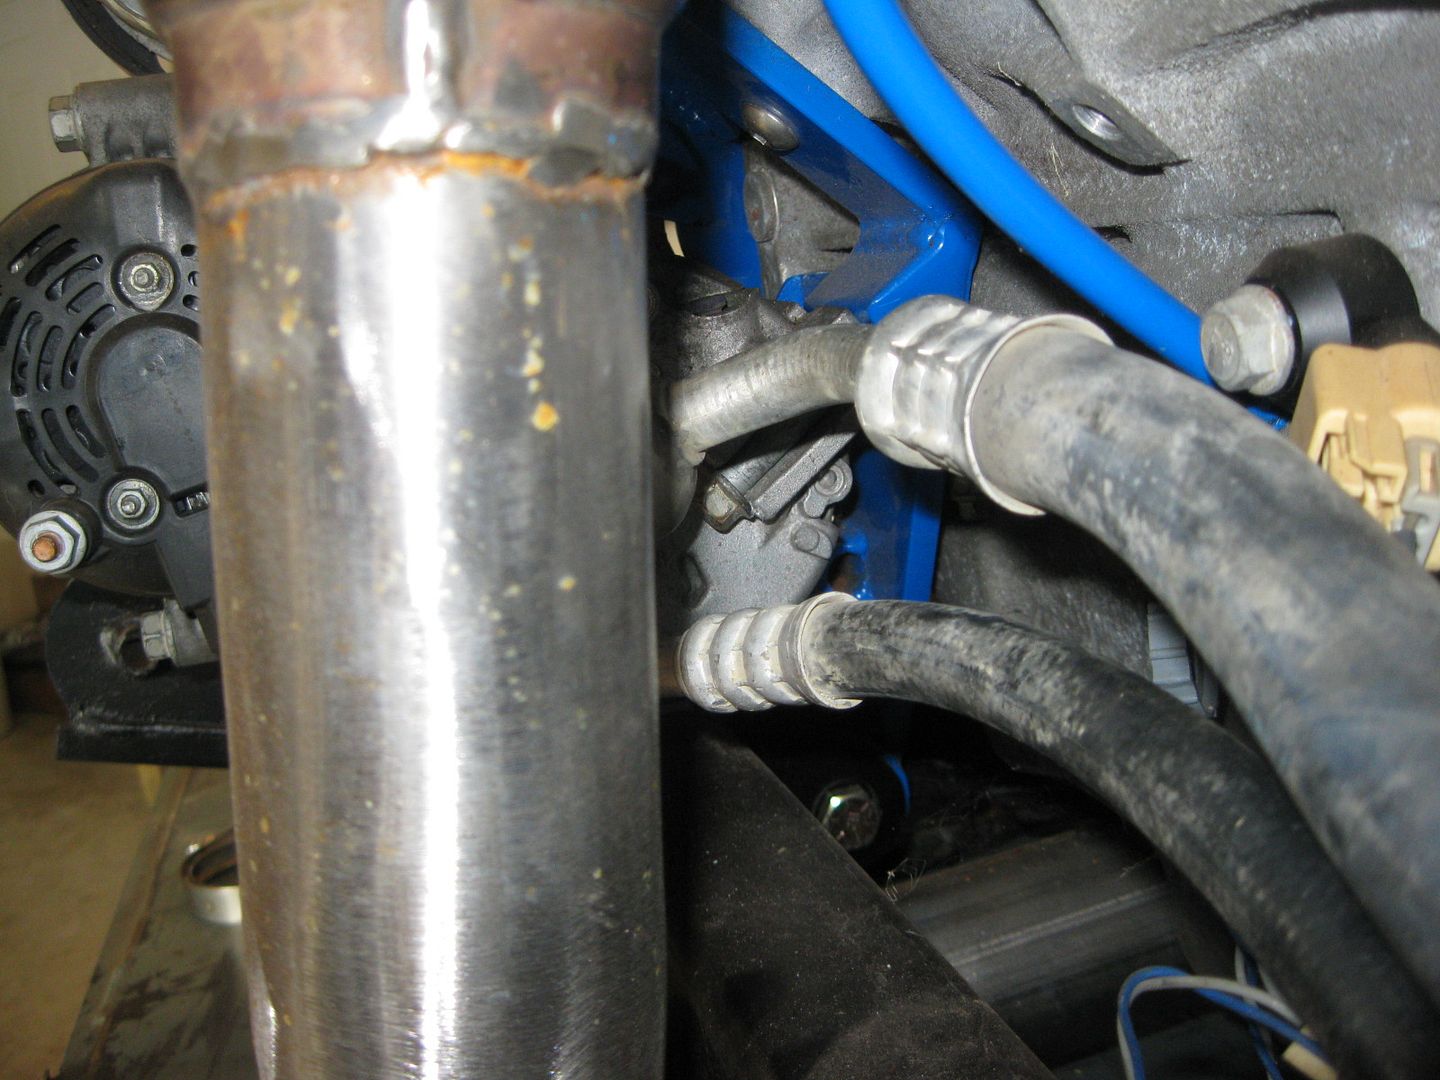
After:
I probably could have pulled it outward, but there was plenty of unused room behind it and with that routing it would leave me with room to get my hands up there to change the plugs some day. I already have some new AC hose in a box, so I will just cut the current hose off, install some new hose and cut it to fit with the stock fiero chassis ends.
I really hate wiring and am somewhat fanatical about how it looks. It should be hidden as much as possible, the harness should be as small & skinny as possible and there should be a logical flow for the wires that can be seen (and the ones that can't). So here is a peak at the start of the harness build:
So far the Cam Sensor, Common Ground, ECM O2 Sensor, Oil Level Sensor, B2 Knock, and Crankshaft sensor have been loomed in heat shrink with the VSS and Temp portions getting ready to joint the harness. Lots more to do and the wires will start being added like crazy with the 4 coils and 4 injectors being added before reaching the center of the engine. The the ECM Oil Pressure sensor, DOD connector, MAF, DBW throttle and reverse lights at the center of the engine, then 4 more injectors, 4 more coils, map sensor and starter down the other side, then to the oil pressure sender for the gauge cluster, B1 knock sensor, alternator, and AC compressor.
Right now I am planning to completely eliminate the 500 connector. The rear lights/body harness with be spliced in directly to the body harness and the wires ran down through the fuel tank tunnel, into the double firewall panel, then through a hole I will drill in the B-pillar base, then the harness will be in the passenger wheel well and continue the stock routing path. This setup is very similar to how I ran the harness on my Ramjet/Getrag swap. The engine side of the 500 will probably just be a terminal strip in the console where the ECM used to go. Plenty of room for it and this will keep the size of the harness that needs to pass through the firewall as small as possible.
[This message has been edited by fieroguru (edited 08-30-2012).]
One of the things I like the most about this thread is your high quality pictures. It can easily take as much time to set up, take, crop, resize, and post the pictures as it often does to actually work on the car, something that not many people are willing to do.
One of the things I like the most about this thread is your high quality pictures. It can easily take as much time to set up, take, crop, resize, and post the pictures as it often does to actually work on the car, something that not many people are willing to do.
Thanks! For me it is just part of the process of documenting so I have some references to go back to at a later date (especially part #'s for the components I used) and to help others follow along. My commentary also helps me remember what I was thinking at the time.
As for the time to get all the pictures... It took some trial and error, but now I have it setup were I literally shoot the pic, upload it (multiple at a time) and copy/paste the link without having to do any resizing/cropping/editing to the pics. I have a camera for car stuff and I set it to a lower resolution since they will be uploaded anyway (and I get more pictures capacity per SD card). Then I setup my photobucket account to auto convert every picture uploaded to a preset size. Once the upload is complete, it automatically gives me the link to the picture with the proper tags so it is a copy/paste.
I am sure I will get ragged on for not using PIP and hosting the pictures through PFF... but the issue is I share these pictures on multiple forums. The ones hosted on a PFF server are not allowed to be hotlinked from any other forum - they are for PFF only. If you try, you get this for all your pictures:
So to post the pictures anywhere else but PFF, I have to use something like photobucket and can't justify the extra effort to upload every picture to two separate servers.
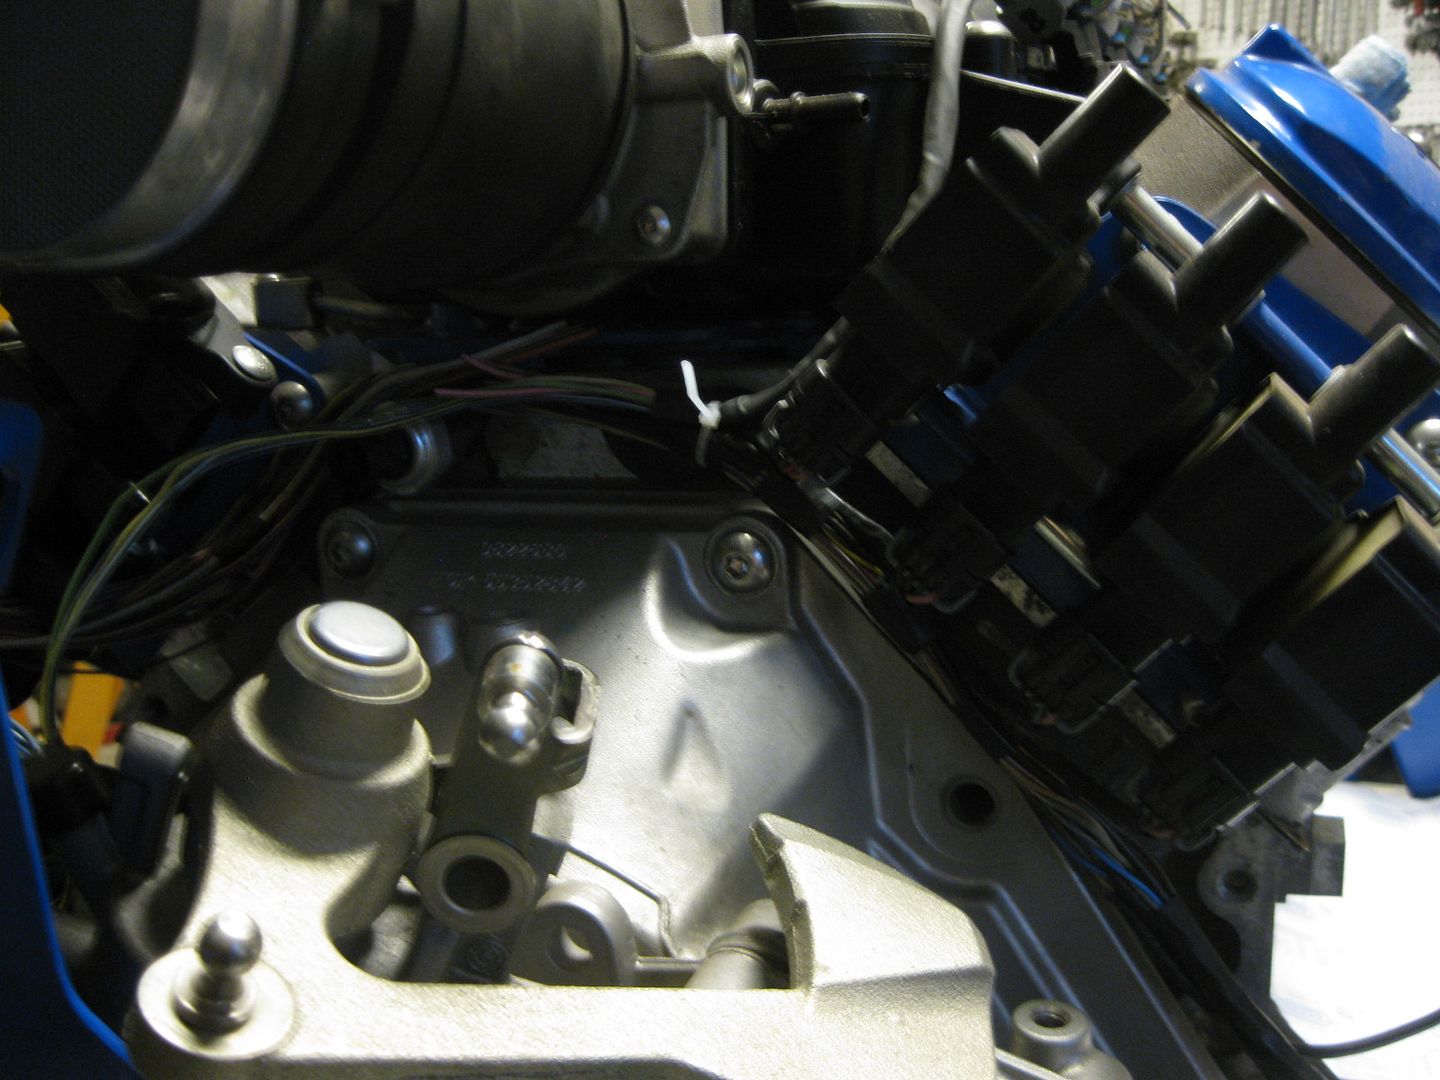
Made a little more progress with harness building and I am up to the point of the even # injectors joining the harness and you can see that I am trying to keep the harness tucked up close to the engine and hidden under the coils. This portion of the harness will be loomed in the normal automotive slip loom material.
I started the process of typing up all the terminations for the 3 connectors at the ecm and adding the termination point at the other side. Long tedius process but it lets be blow apart the harness and route it like I want it wire by wire. It also allows me to see what information I still need to track down... Like the Tach output for the E67 ecm I am using. The LS4 service manual does not list a specific tach output from the ECM as that signal is handled through the GMLAN. However, there were at least 3 other E67 applications that had a dedicated tach line from the ecm (GMPP crate motor ecm, TBSS and CTSV) - all of these have the tach wire installed at C1 Pin 25. Also, the VSS normally goes through the TCM, but the CTSV and TBSS had manual transmissions and connected the VSS directly to the E67 ECM at C3 Pin 66/67 with the output at C1 pin 39. Now I just have to figure out how to enable those functions w/o losing DoD...
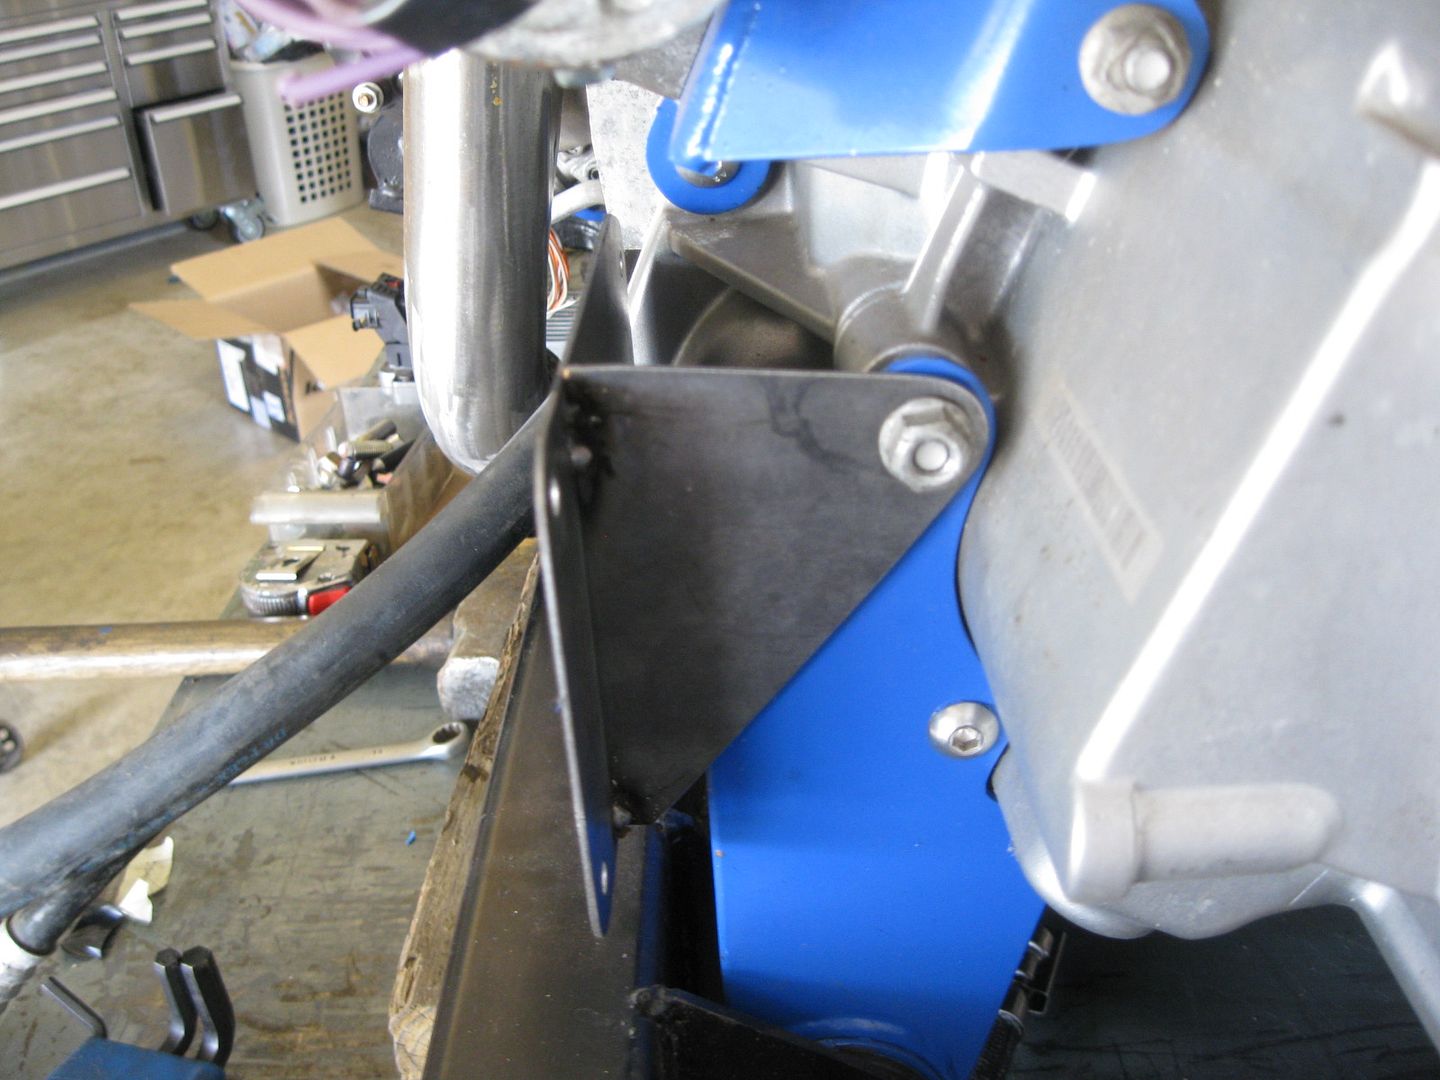
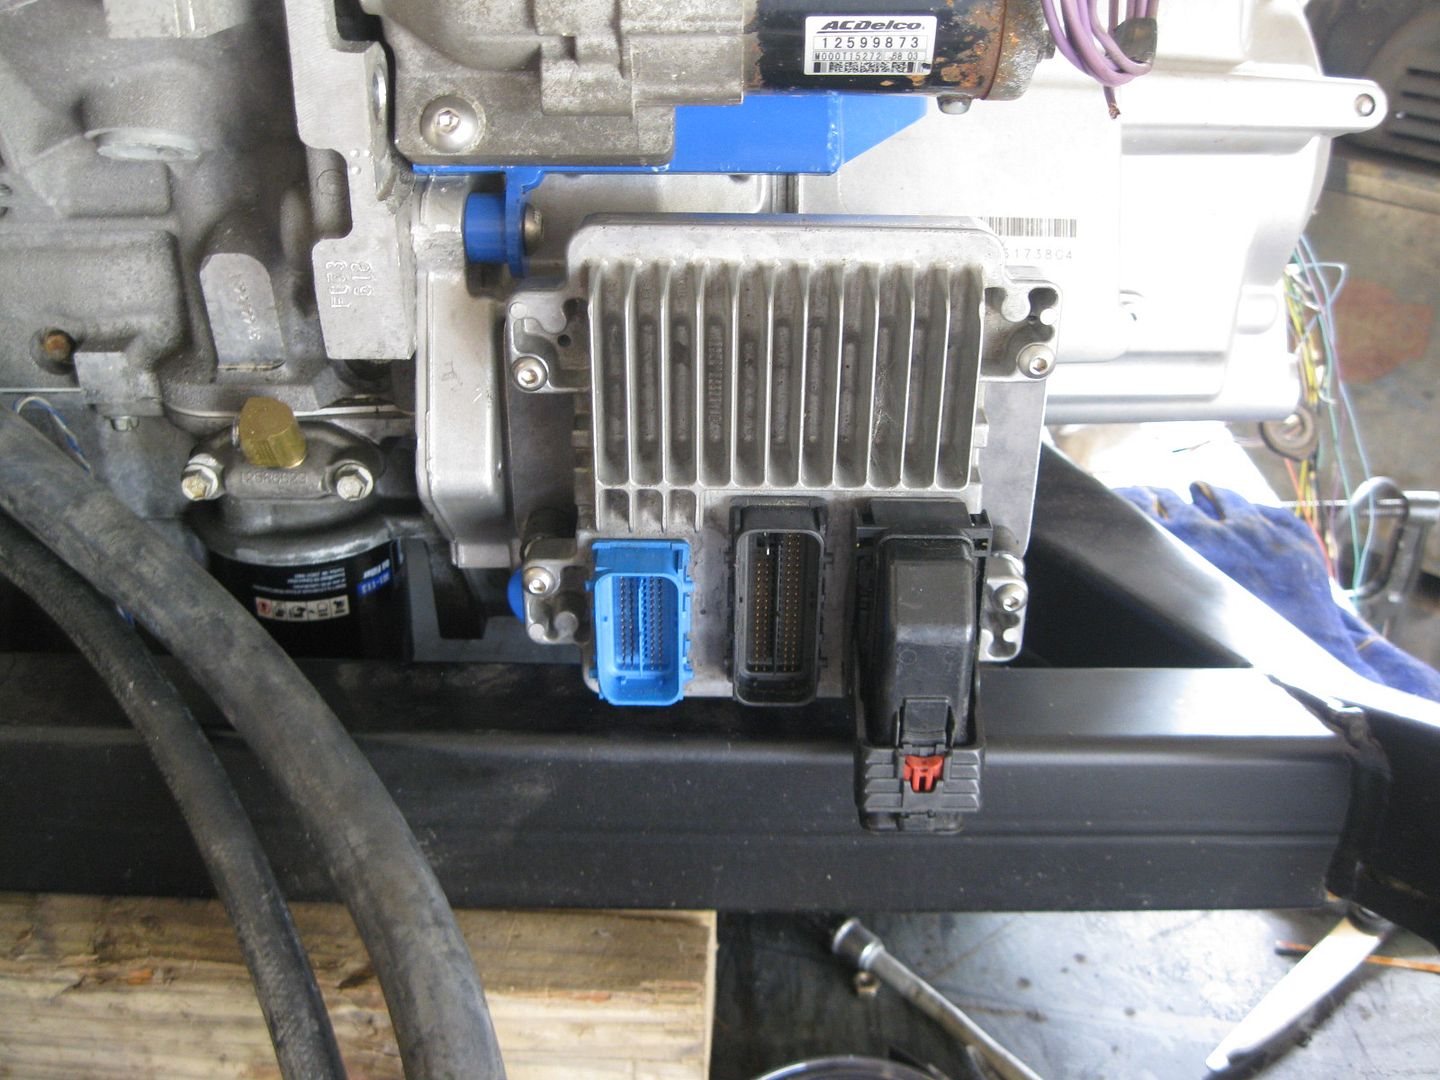
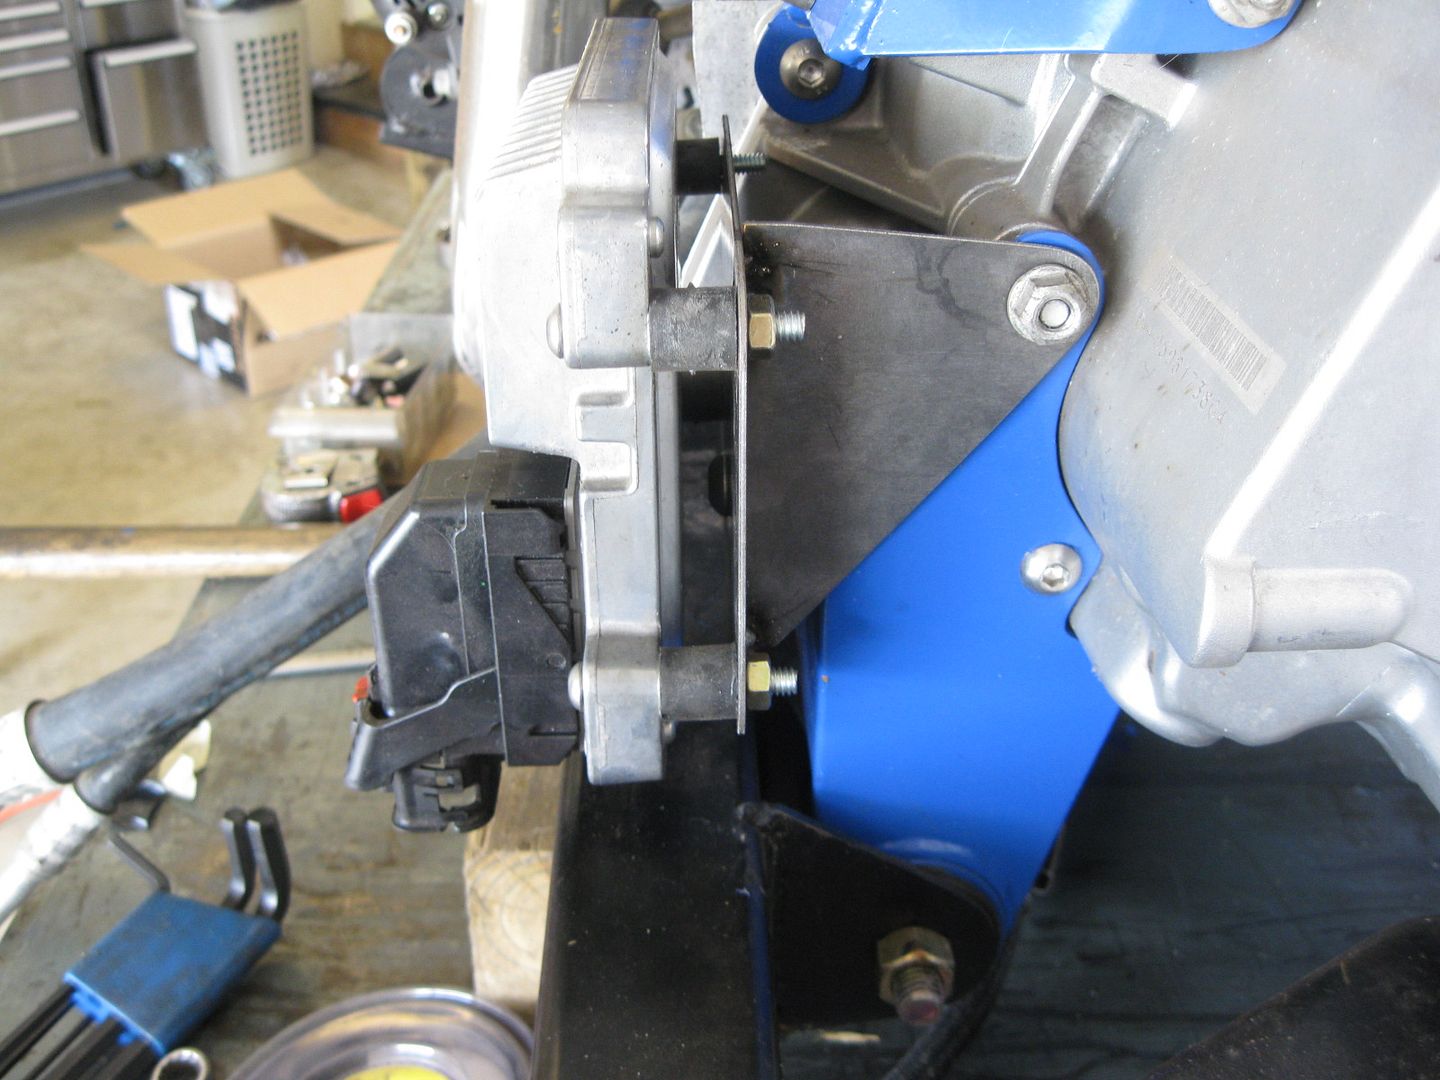
I was able to fab up the ecm mount today. It uses two of the front transmission mount bolts and has spacers between it and the blue transmission mount. The rear tab is just tack welded in the place for the pic:
Is that AC hose from the LS4? Does it fit the Fiero connection?
Yes, that is an OEM LS4 AC hose, no the other end will not fit the fiero chassis connection. I am planning to remove the hoses, install new ones with the needed fiero end.
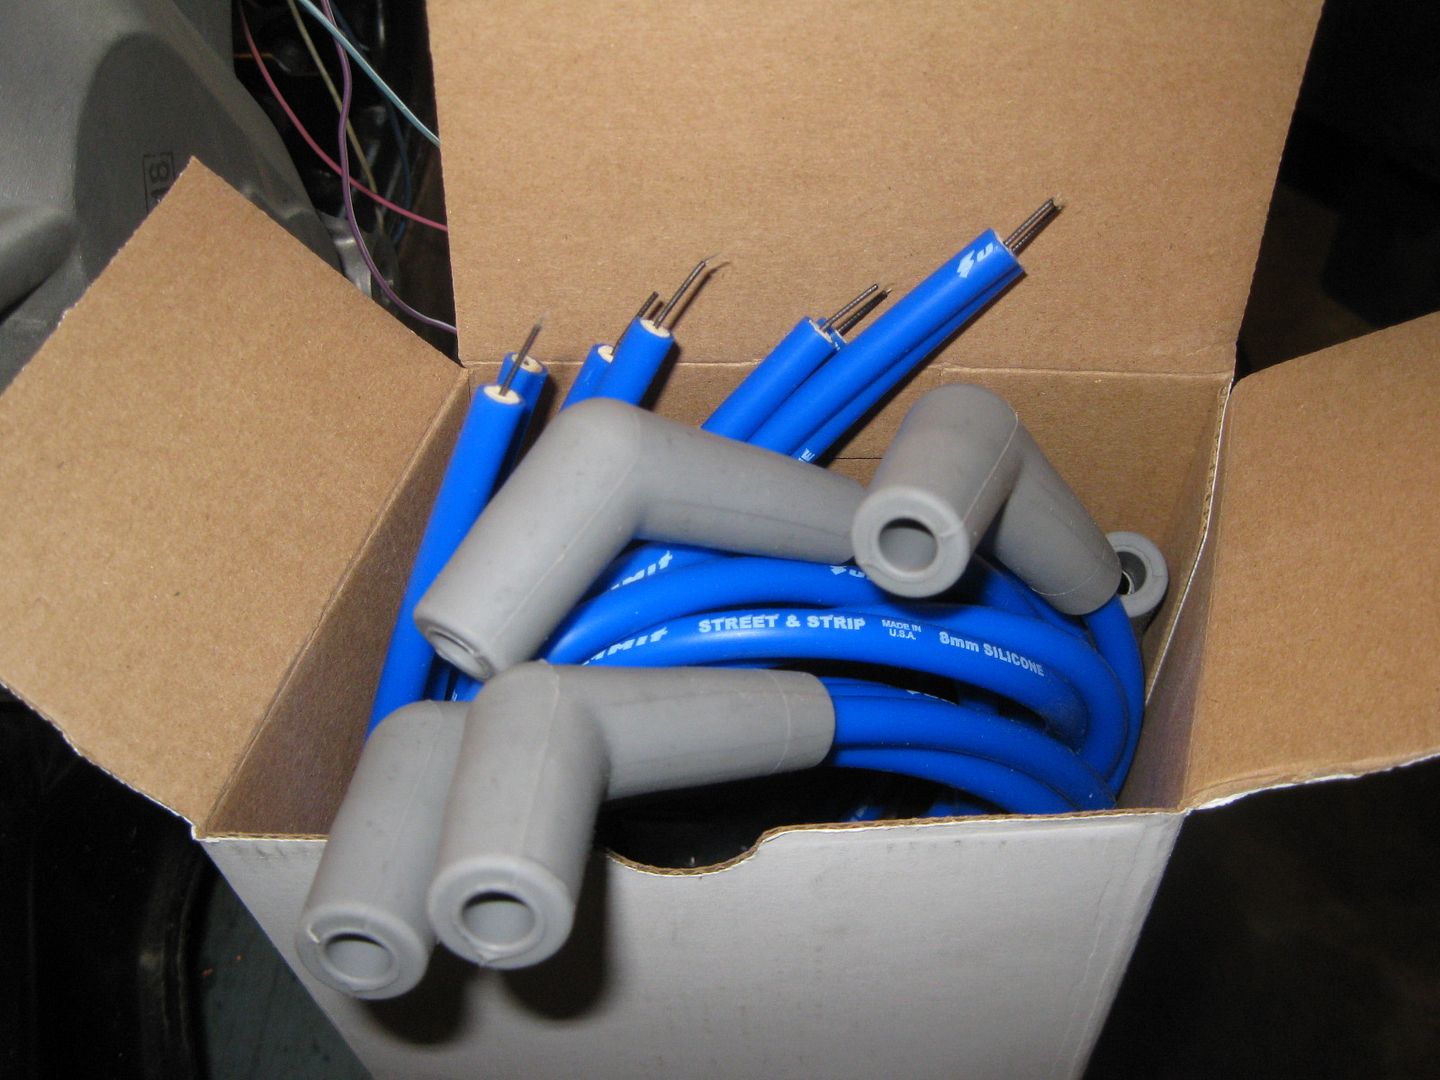
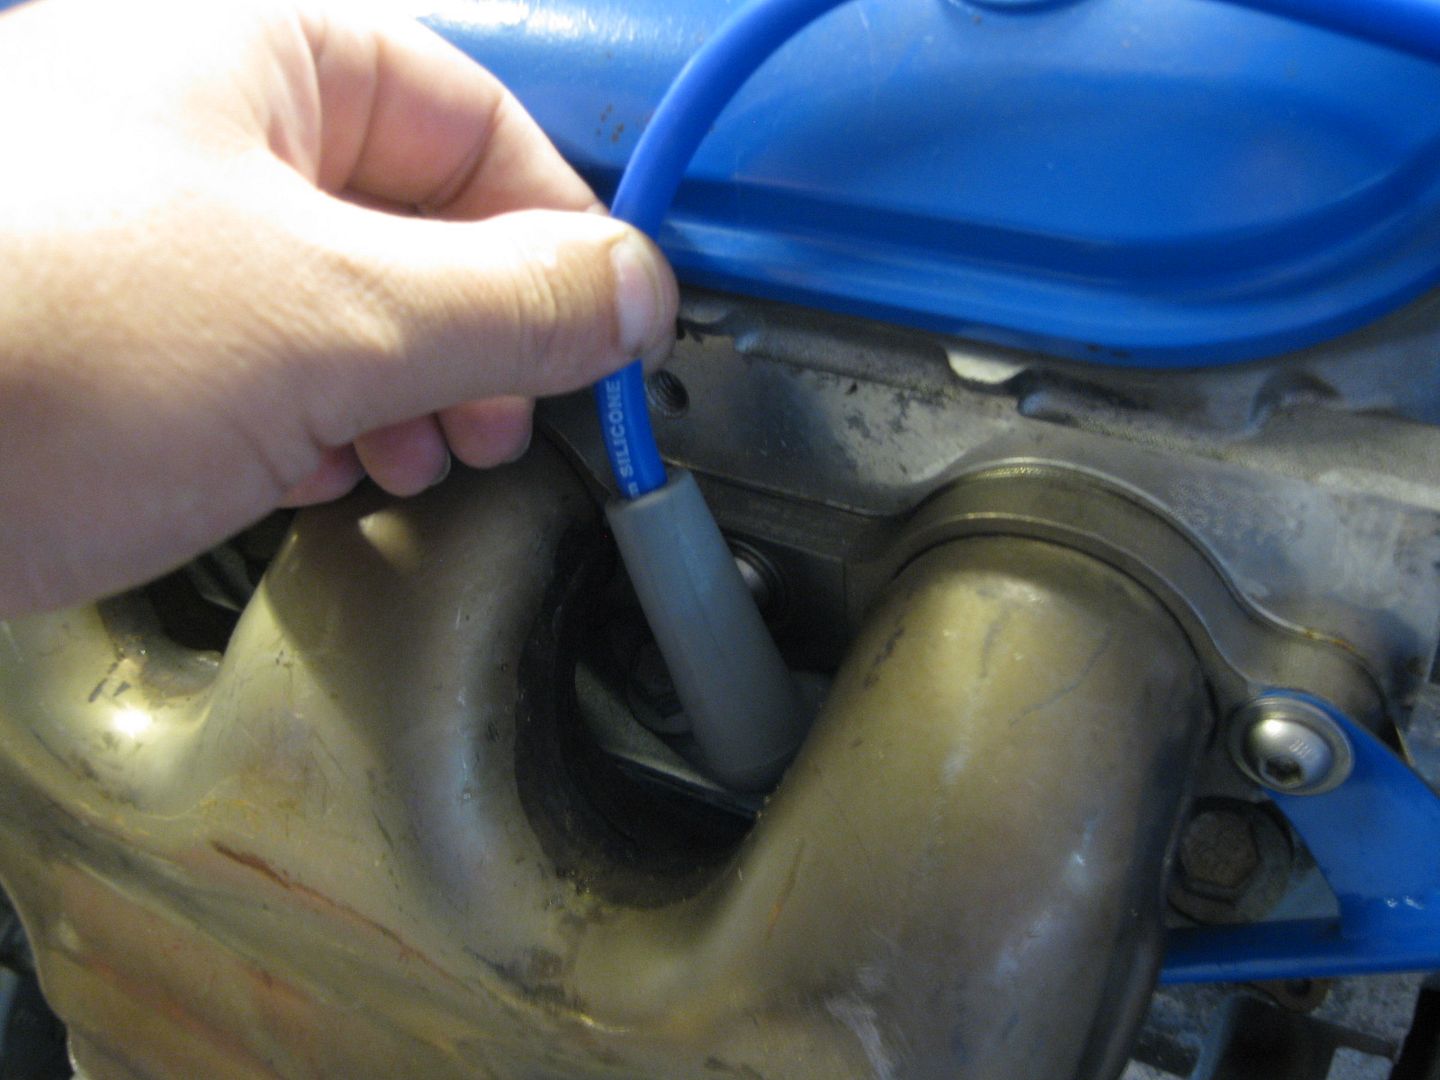
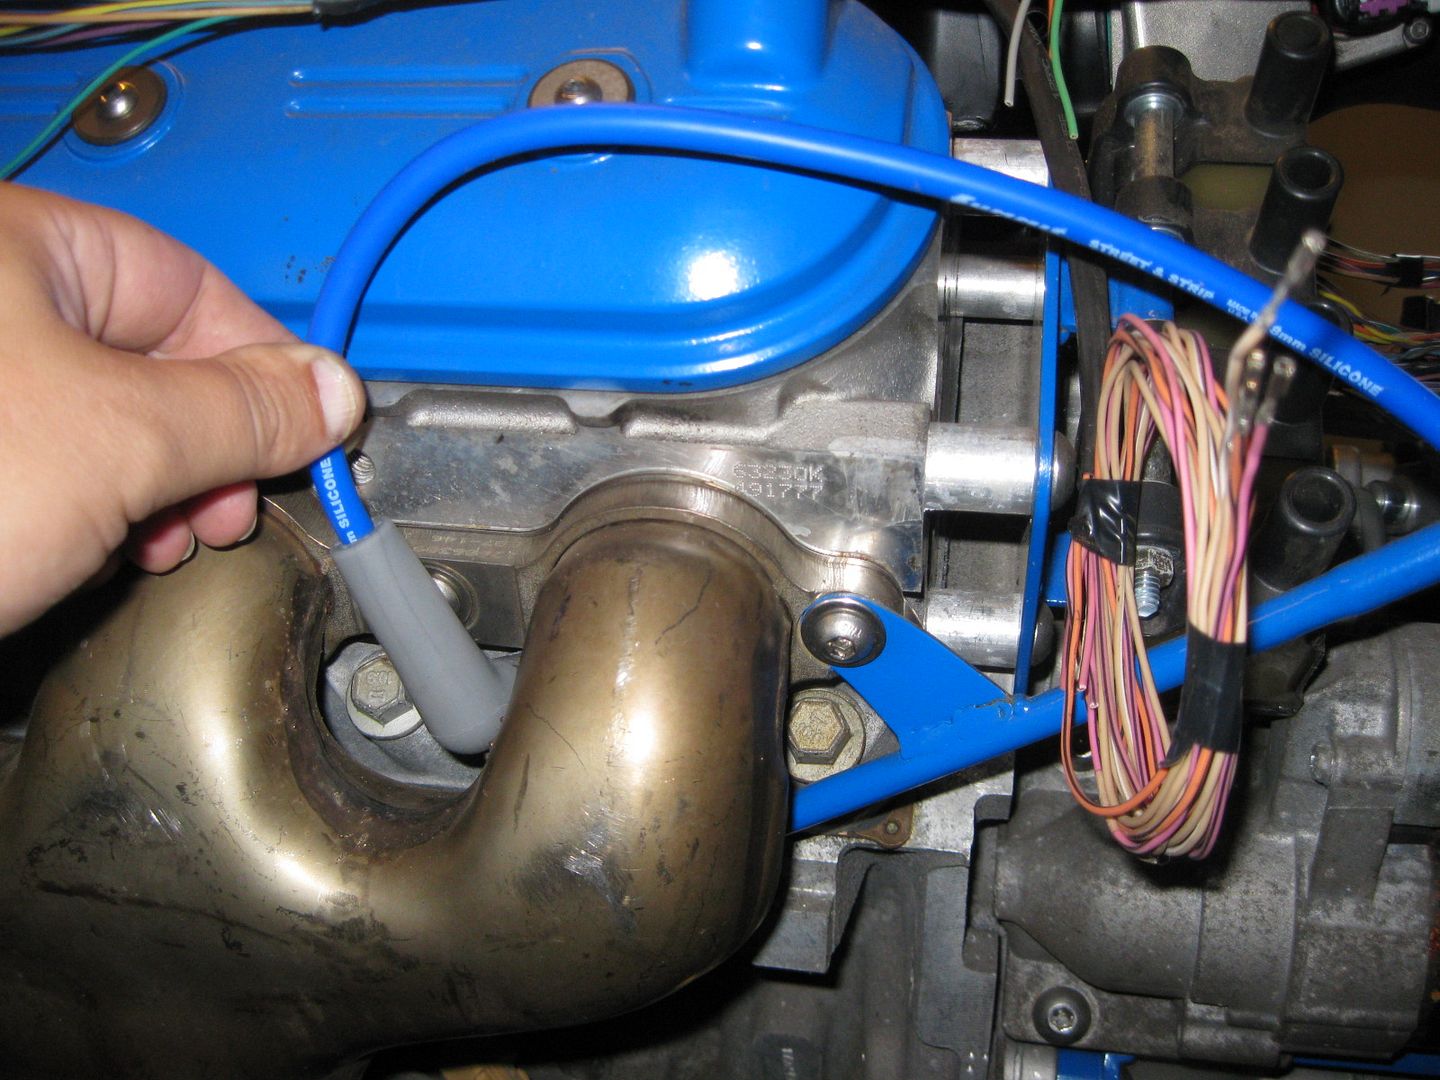
The plug wires arrived today. They are a universal cut-to-fit V8 set from Summit Racing with 45 degree boots at the plugs. Just need to cut them and add the MSD coil ends to them:
[This message has been edited by fieroguru (edited 09-11-2012).]


 The same two or three threads have dominated the top of the CZ long enough!