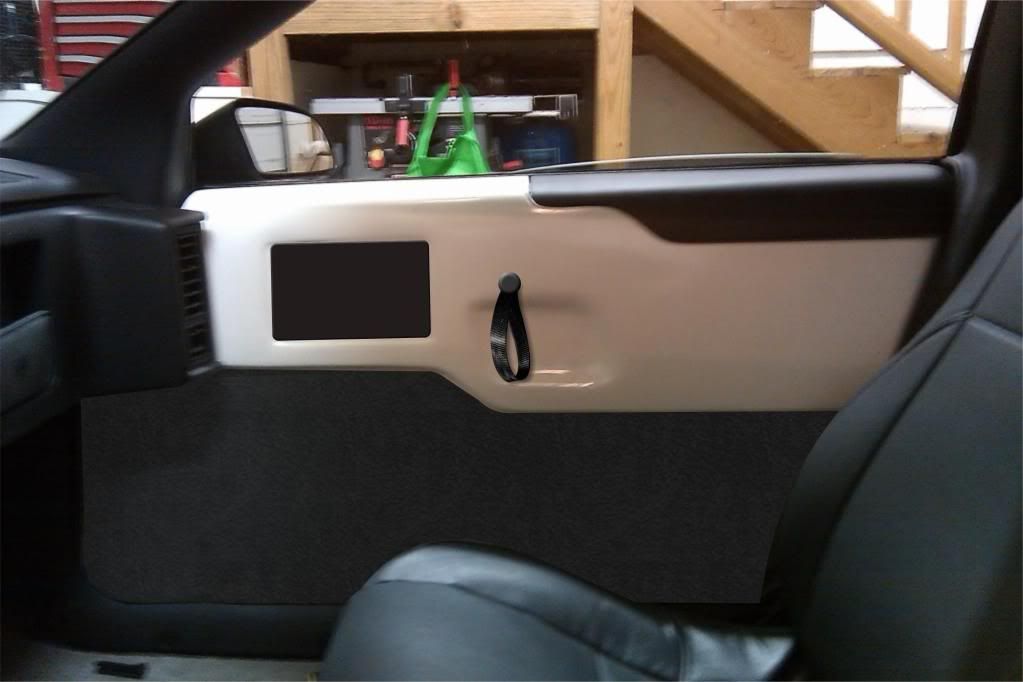
Man, that is sharp! I forgot all about those door panels you were working on. I like how the white part of the panel matches with the white paint of your car. Look's great! Keep it up.
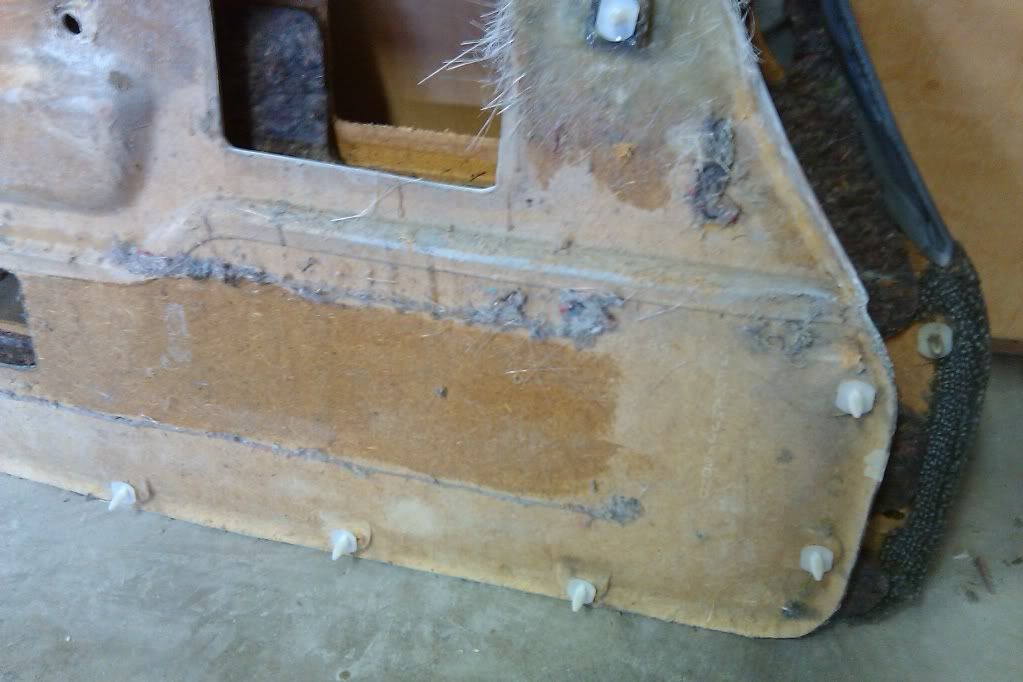
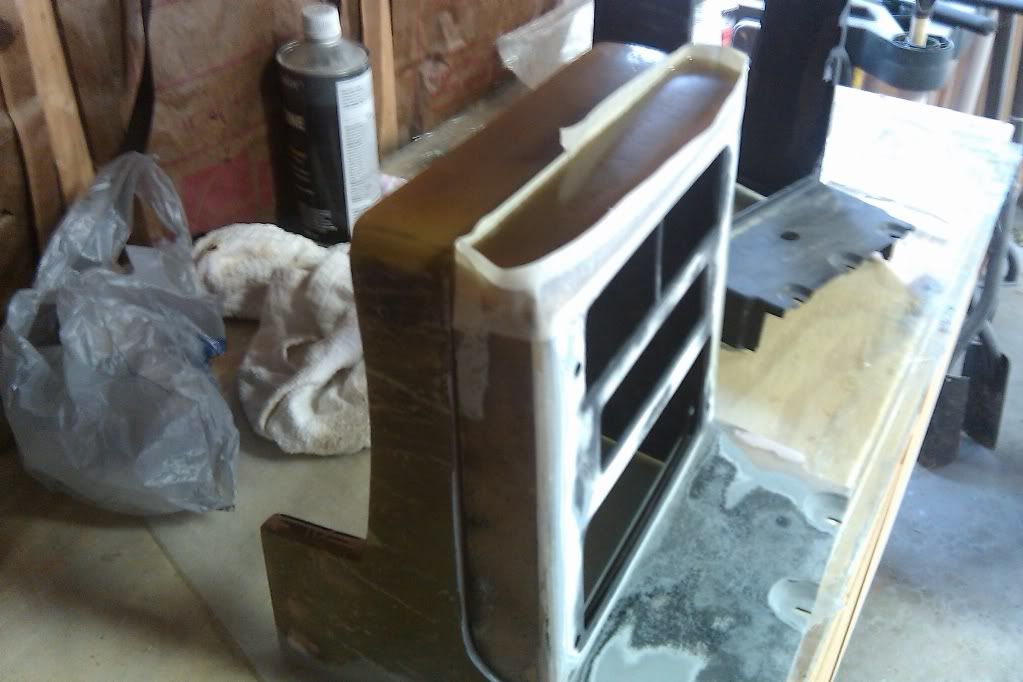
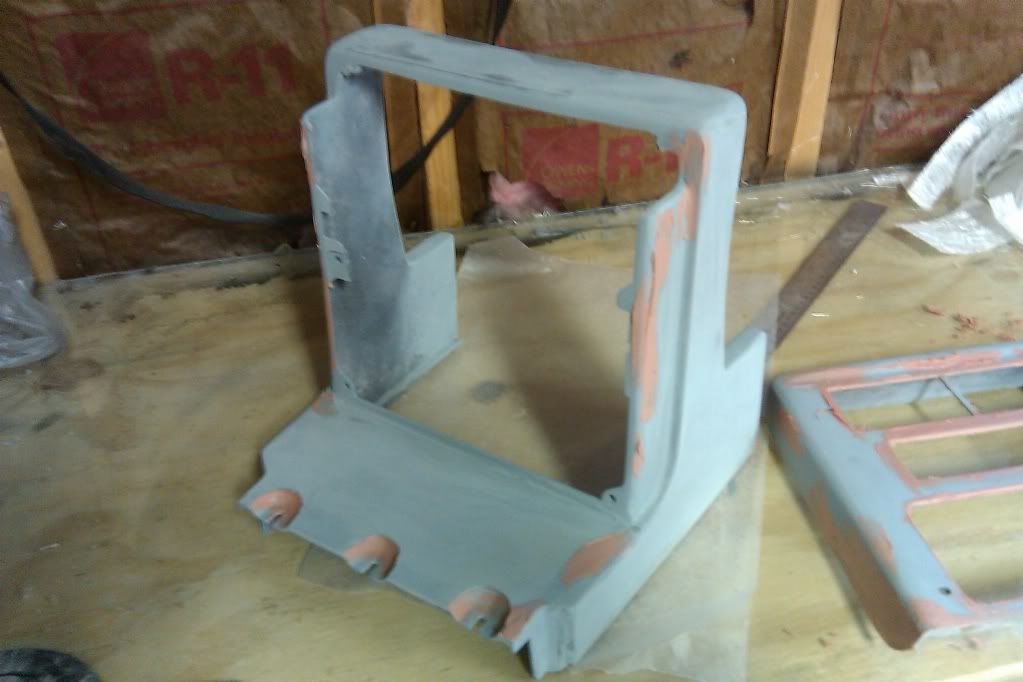
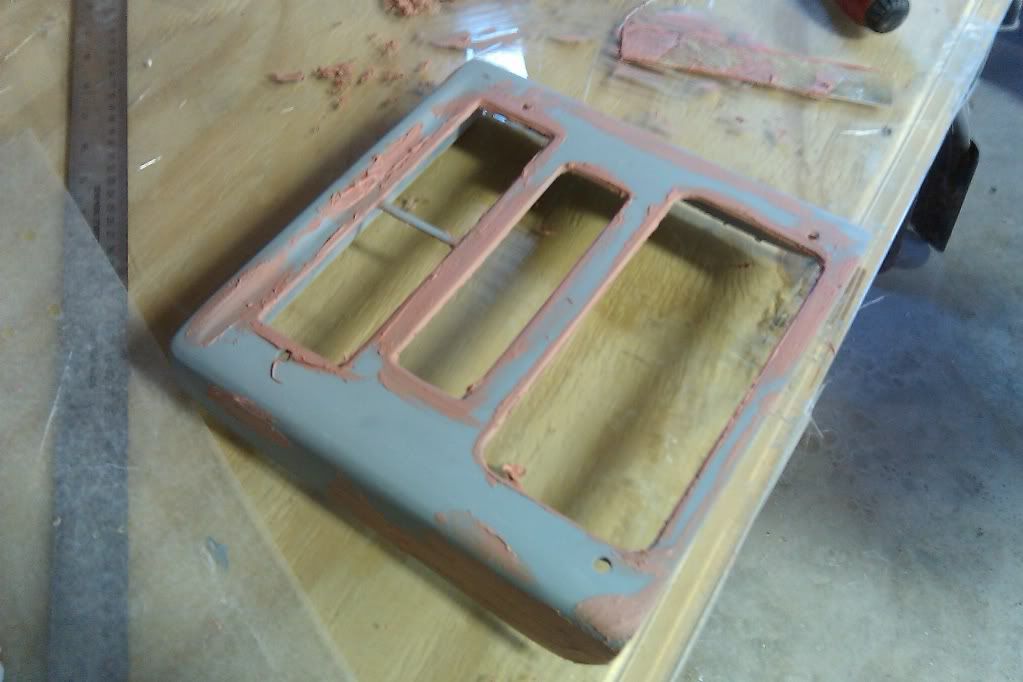
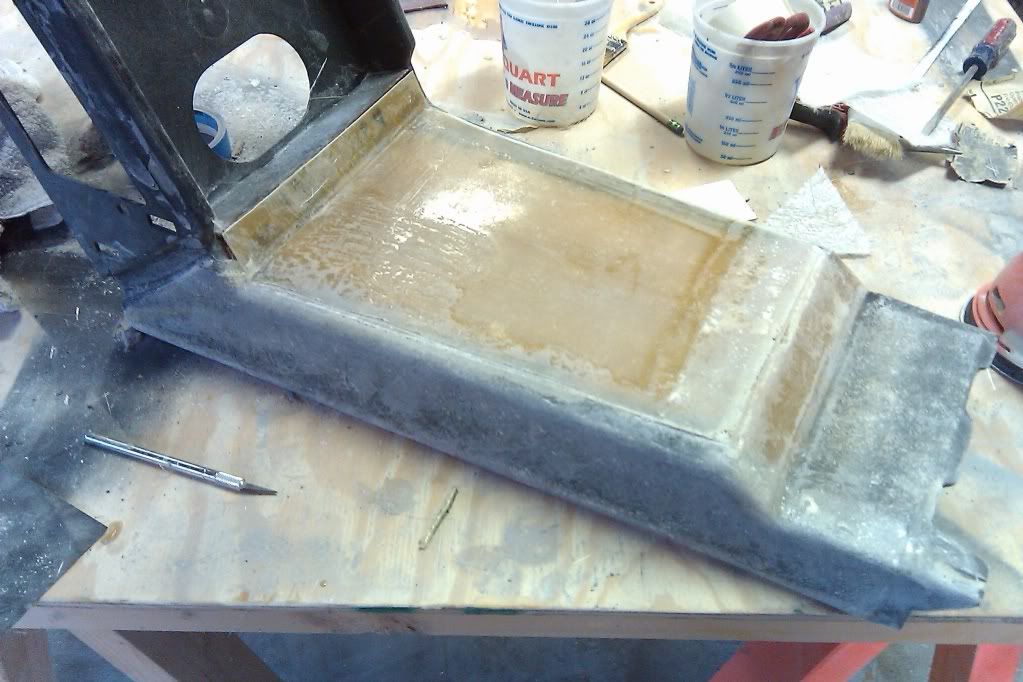
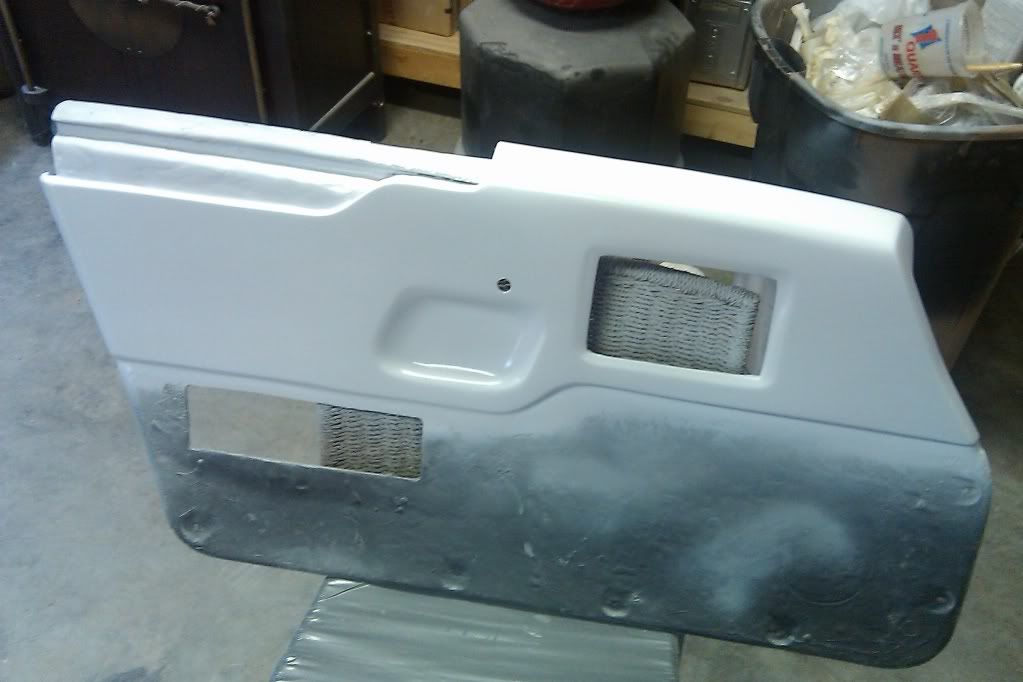
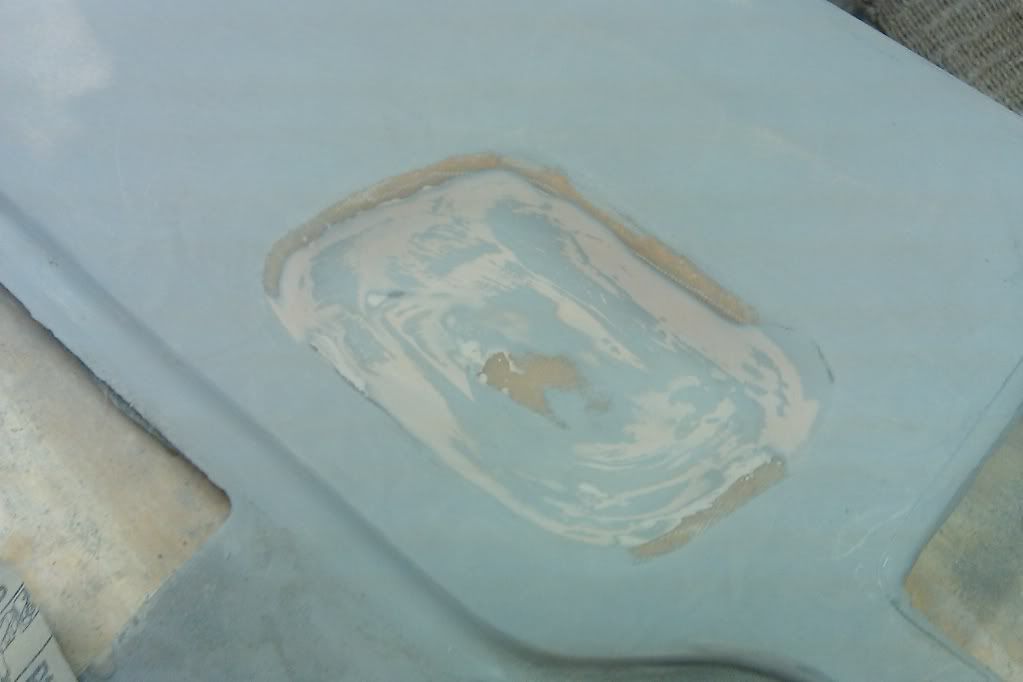
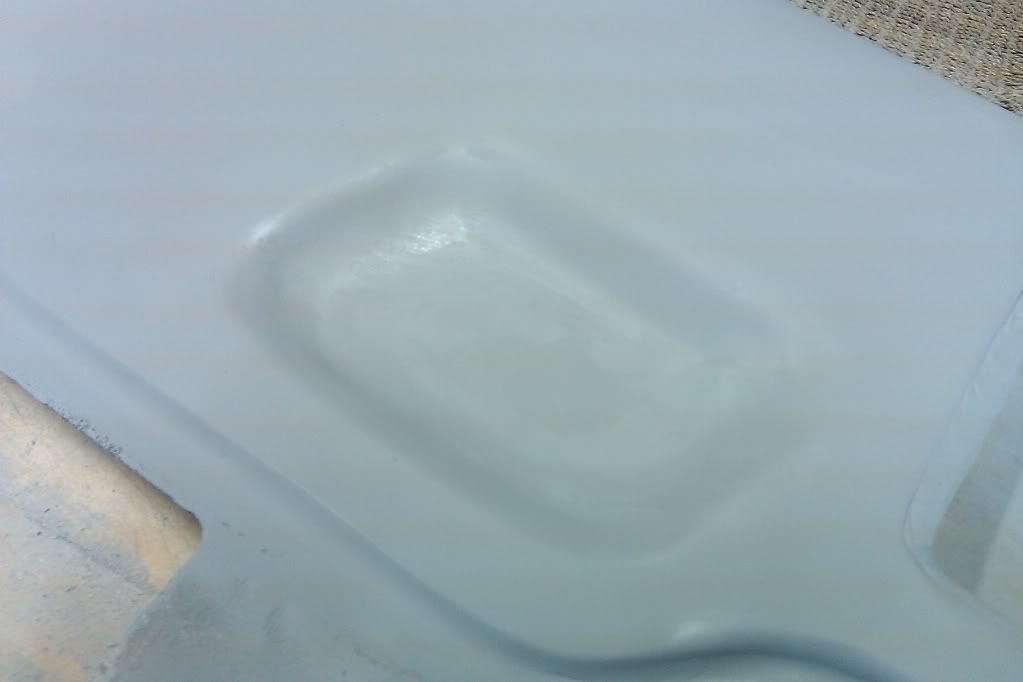
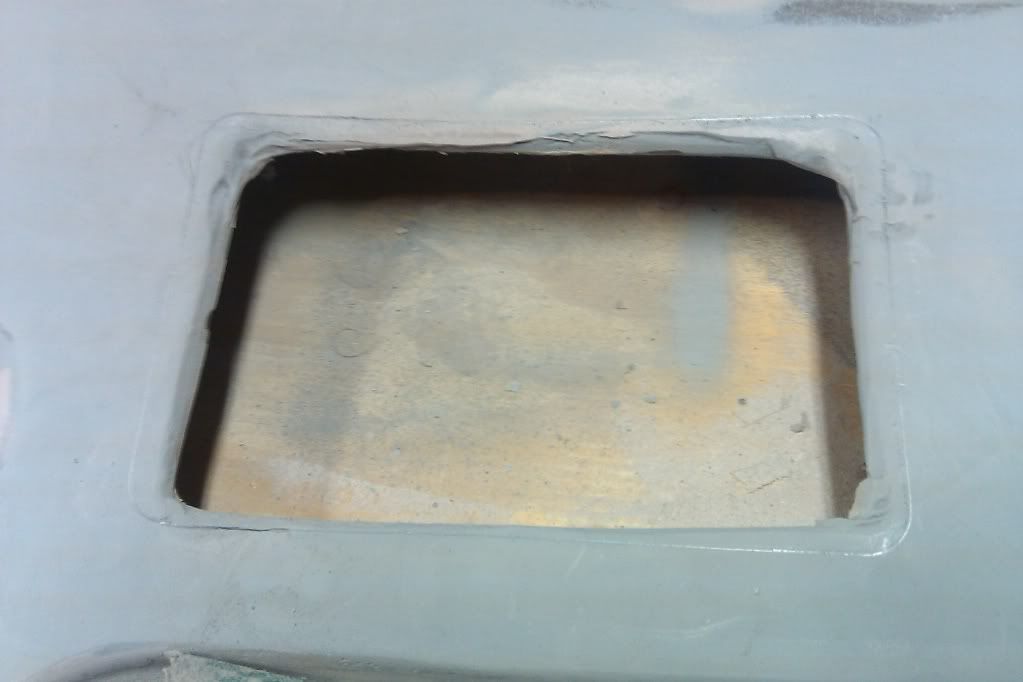
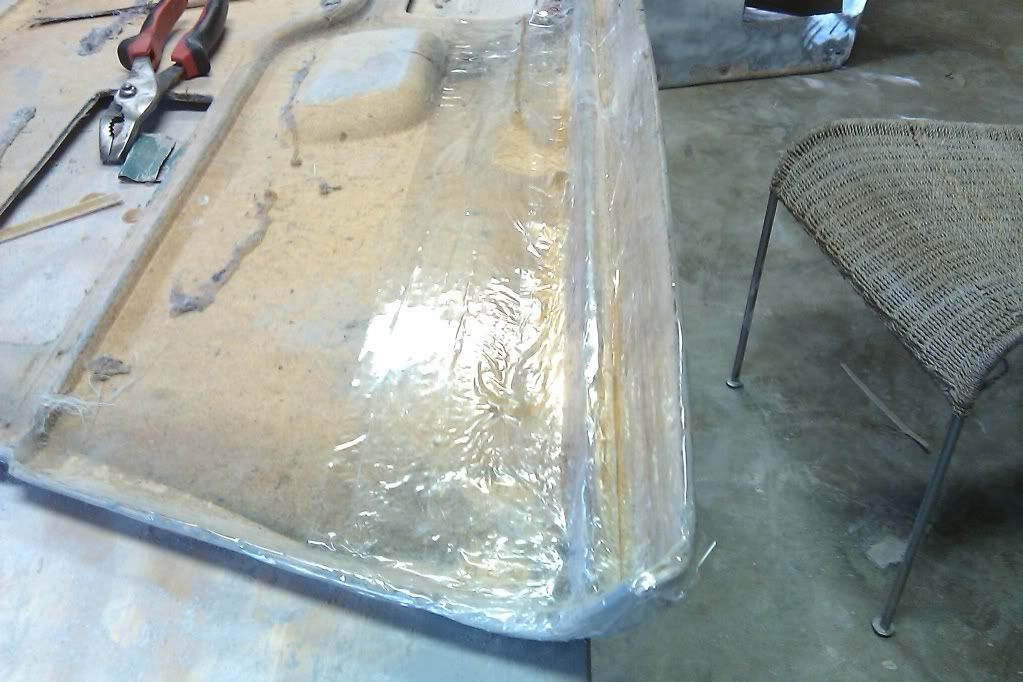
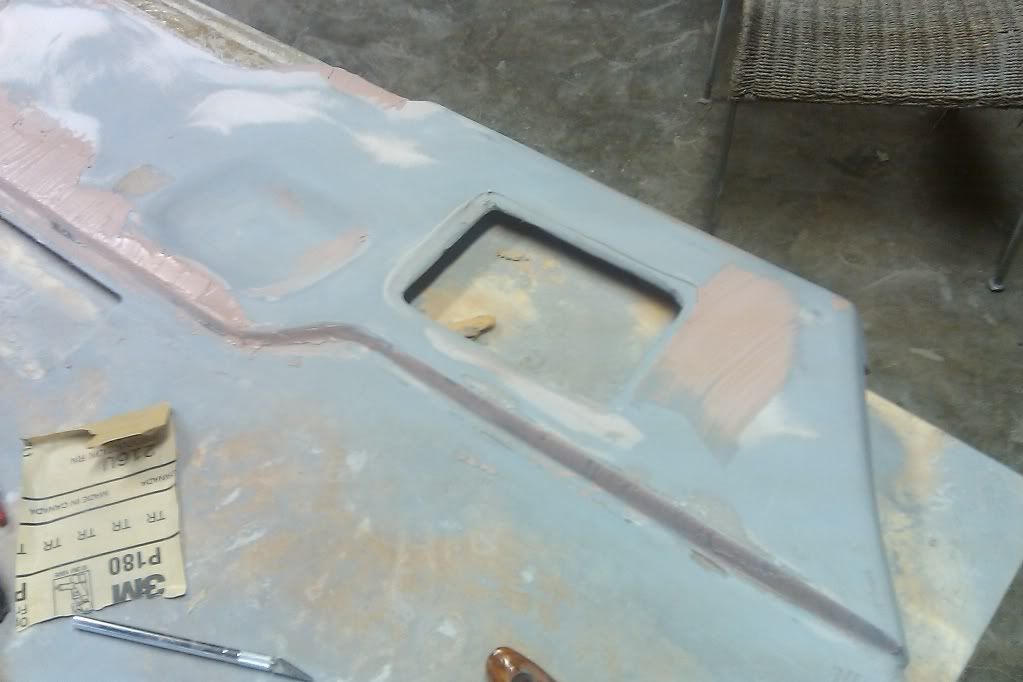
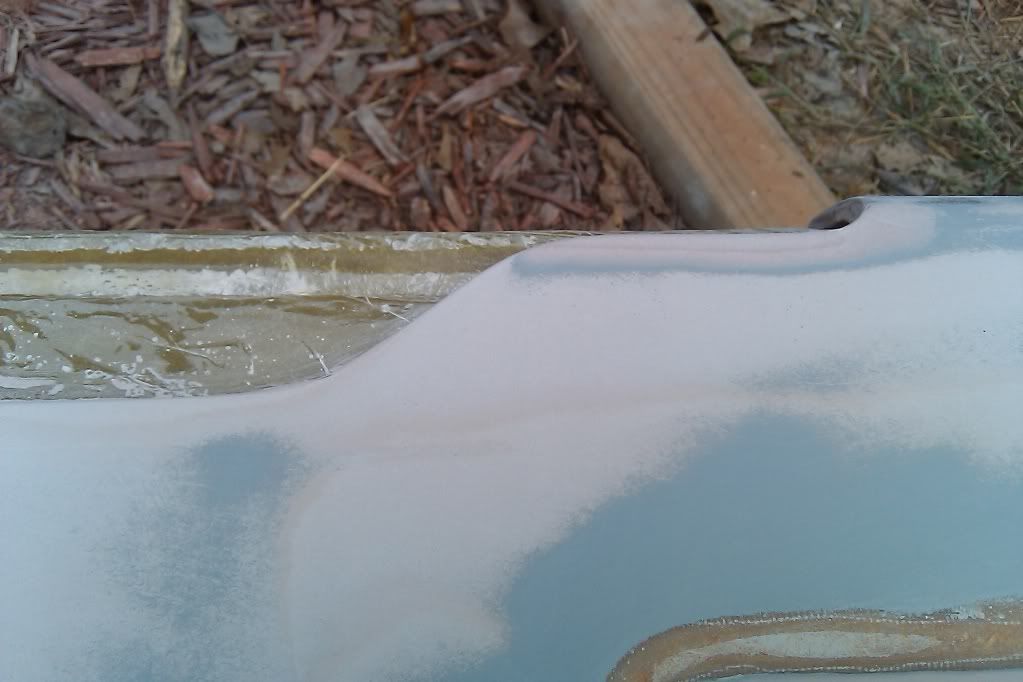
I spent the morning sanding down most of the filler around the door pull recessed area
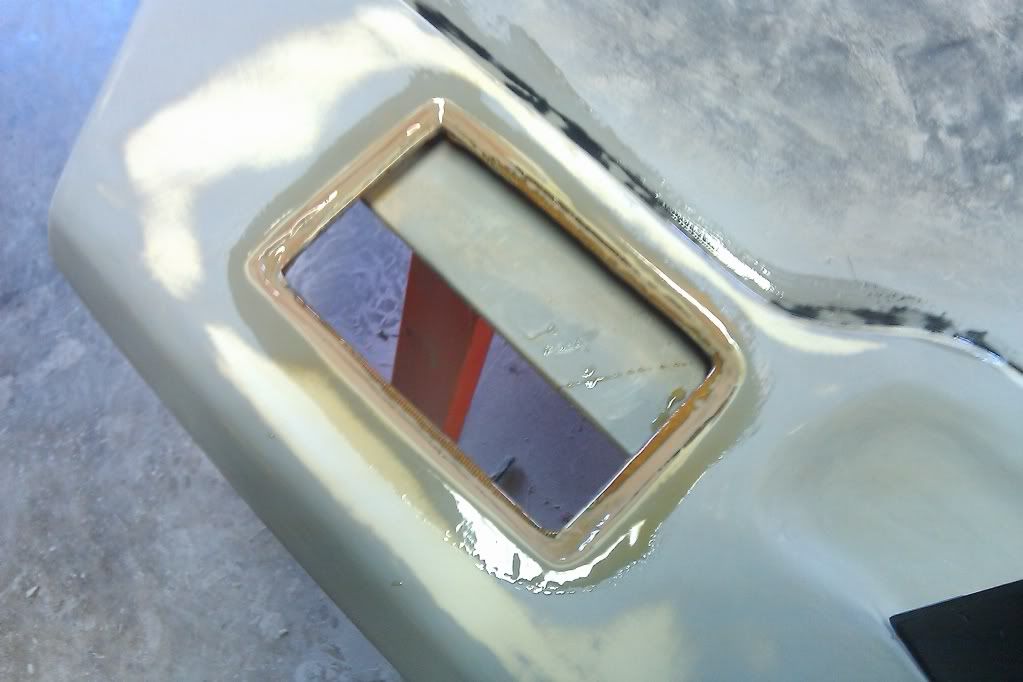
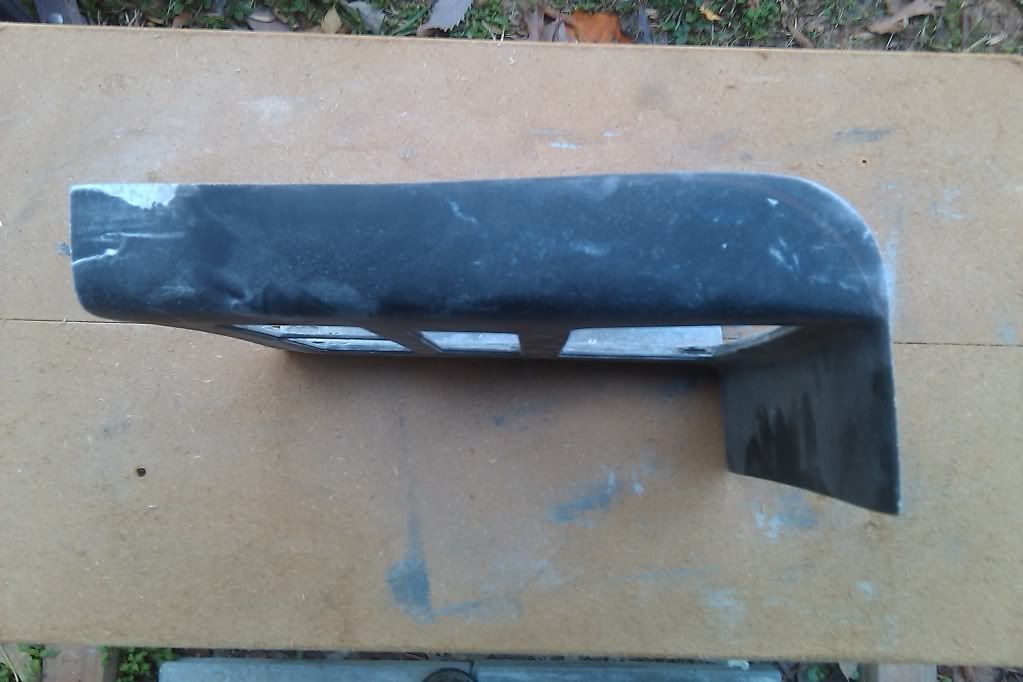
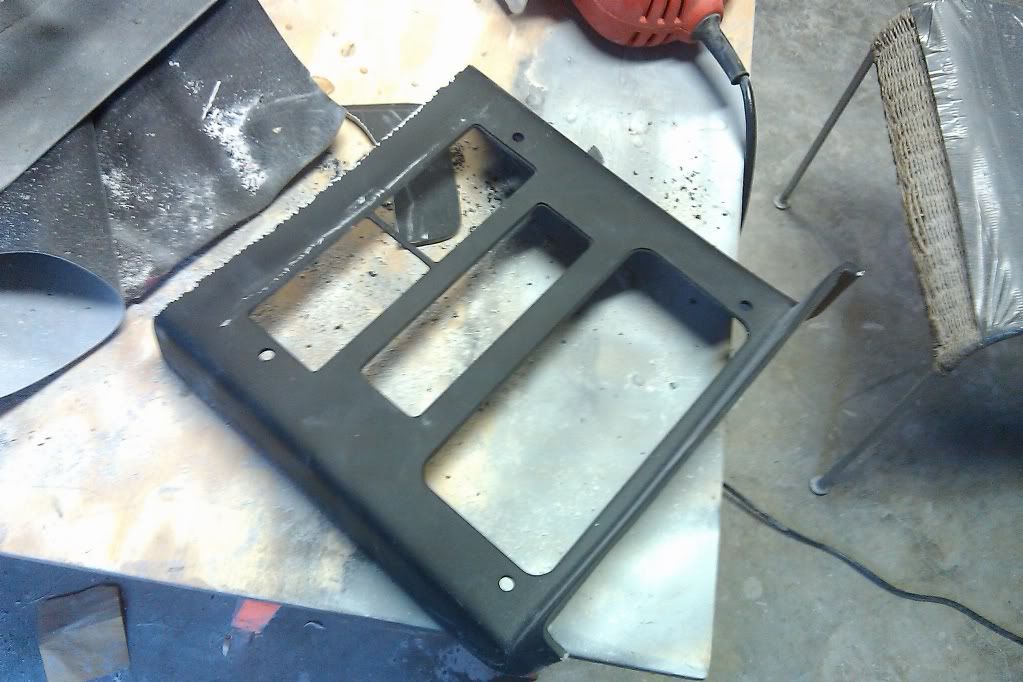
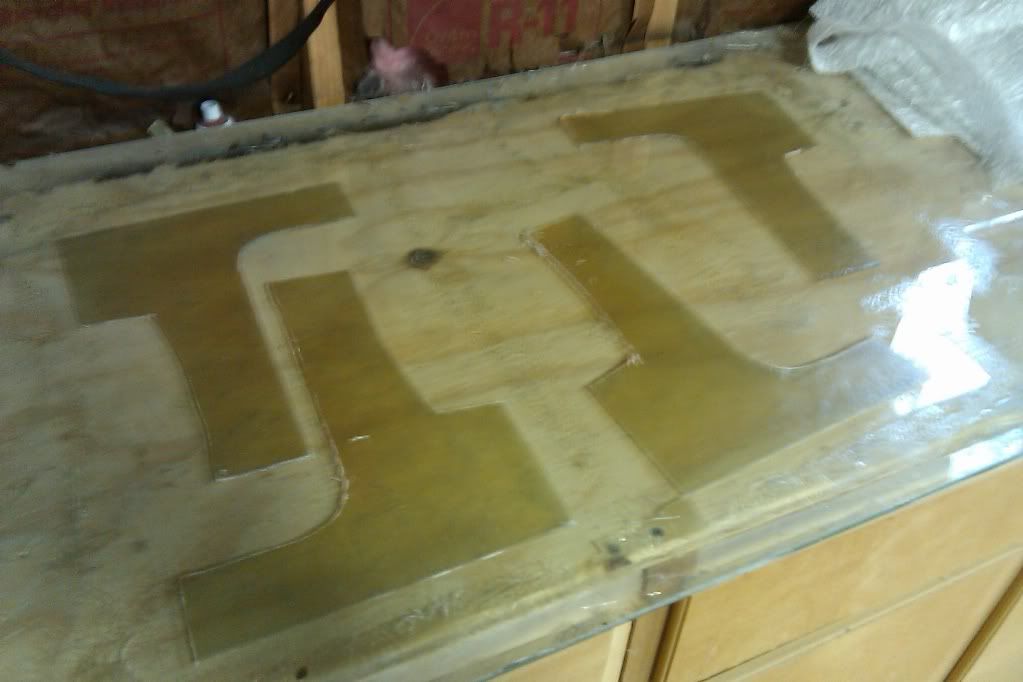
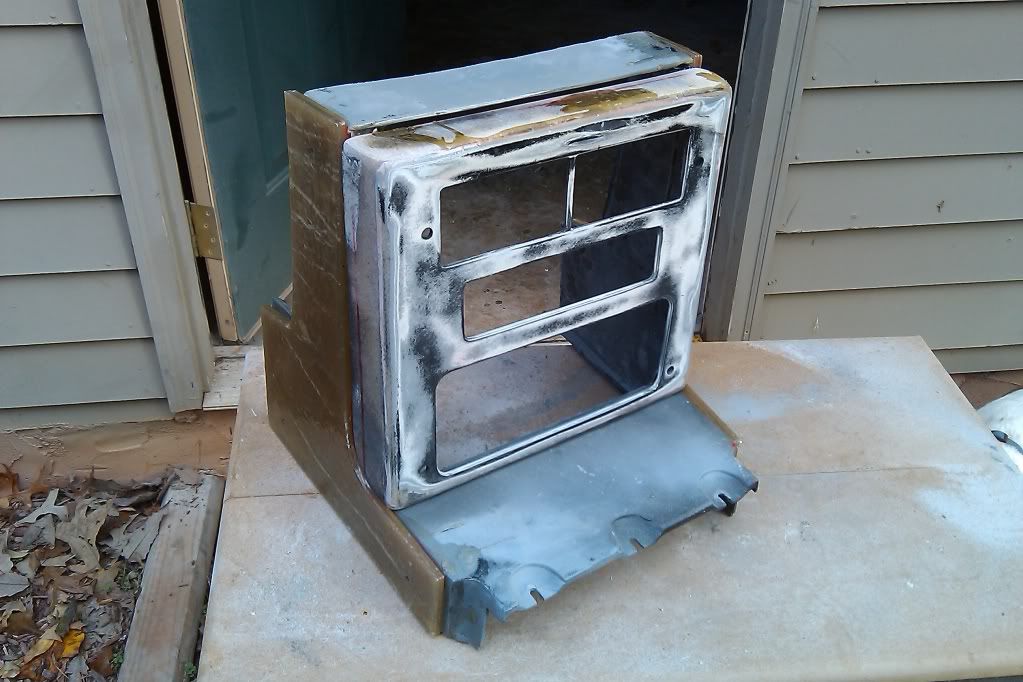
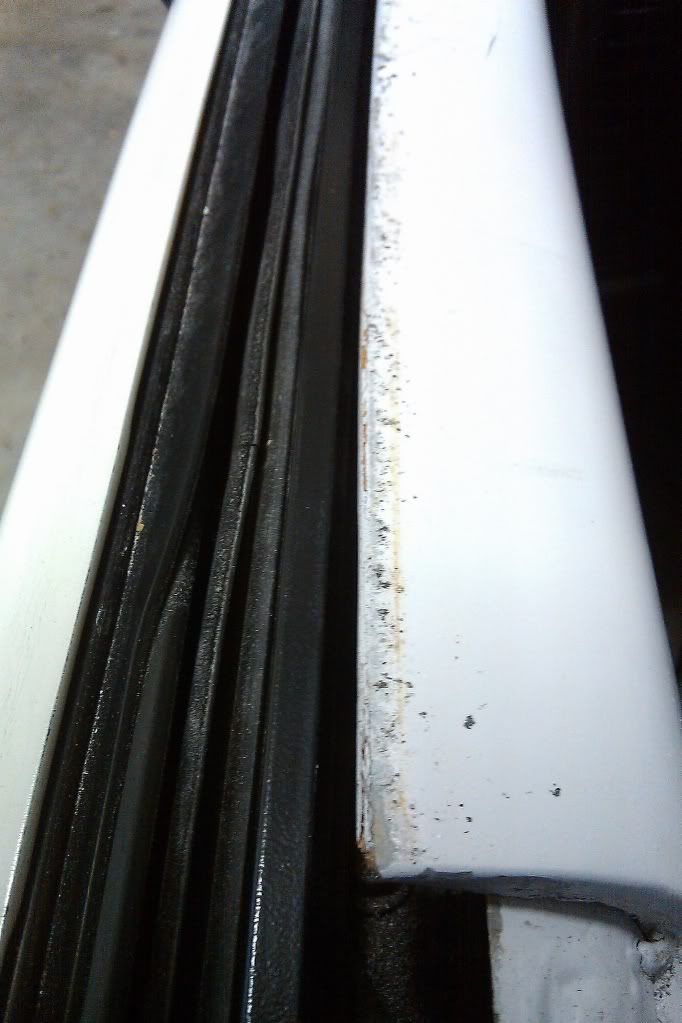
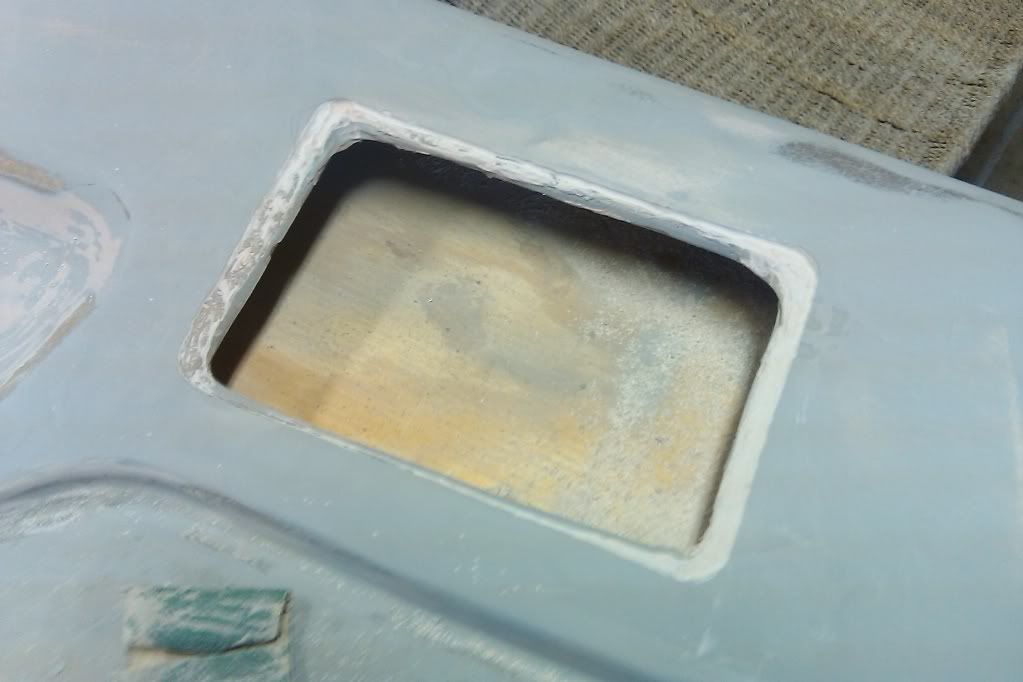
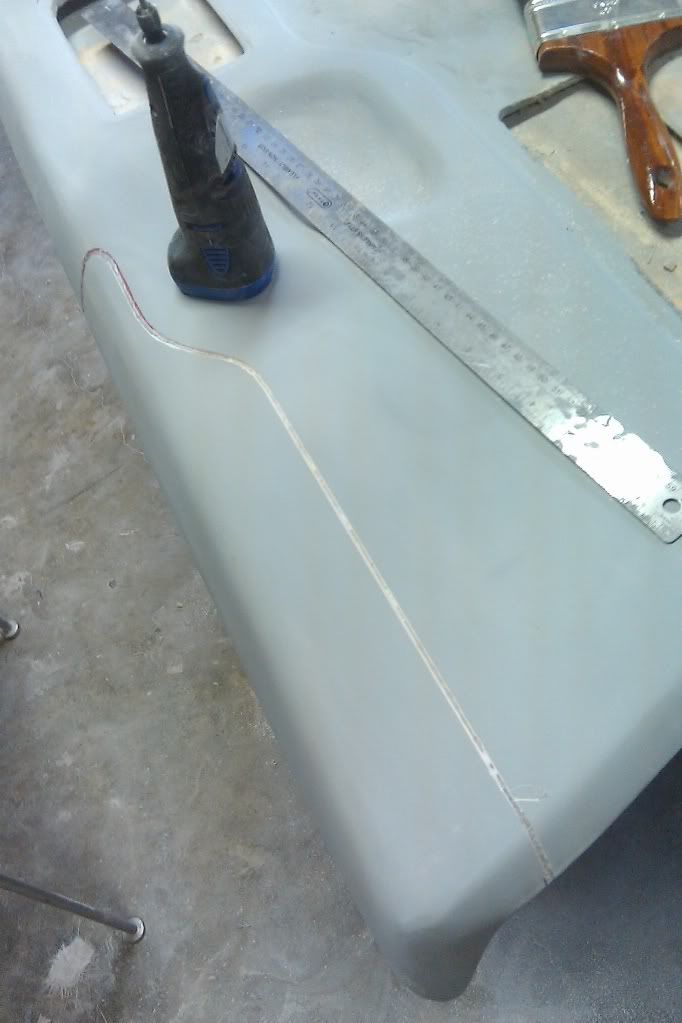
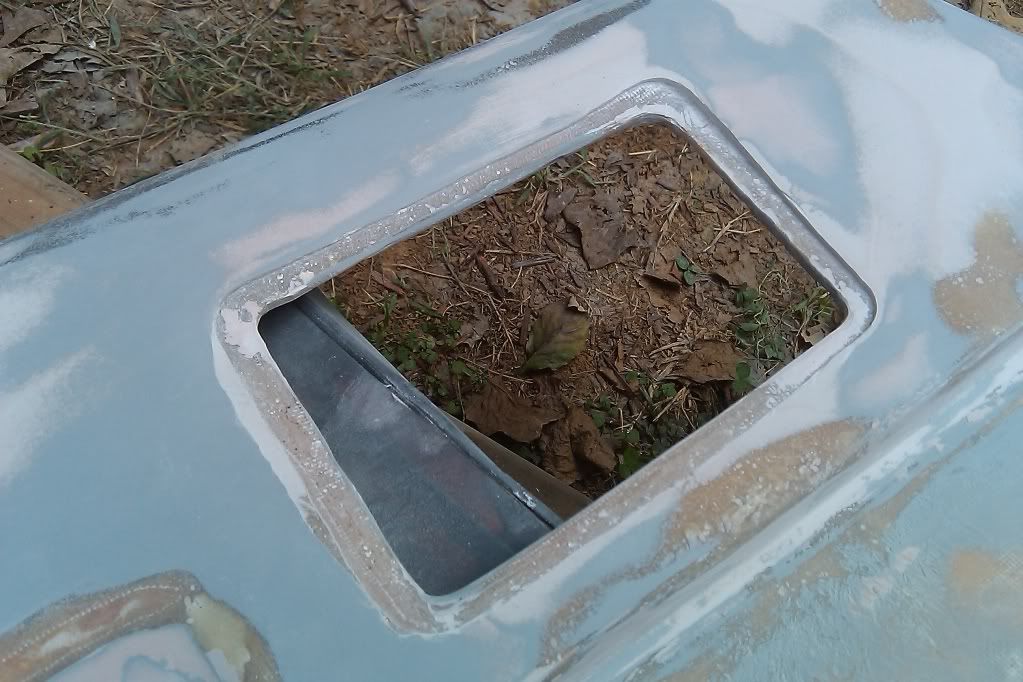
The door handle plate didn't exactly fit so I had to use the trusted Dremel - Before
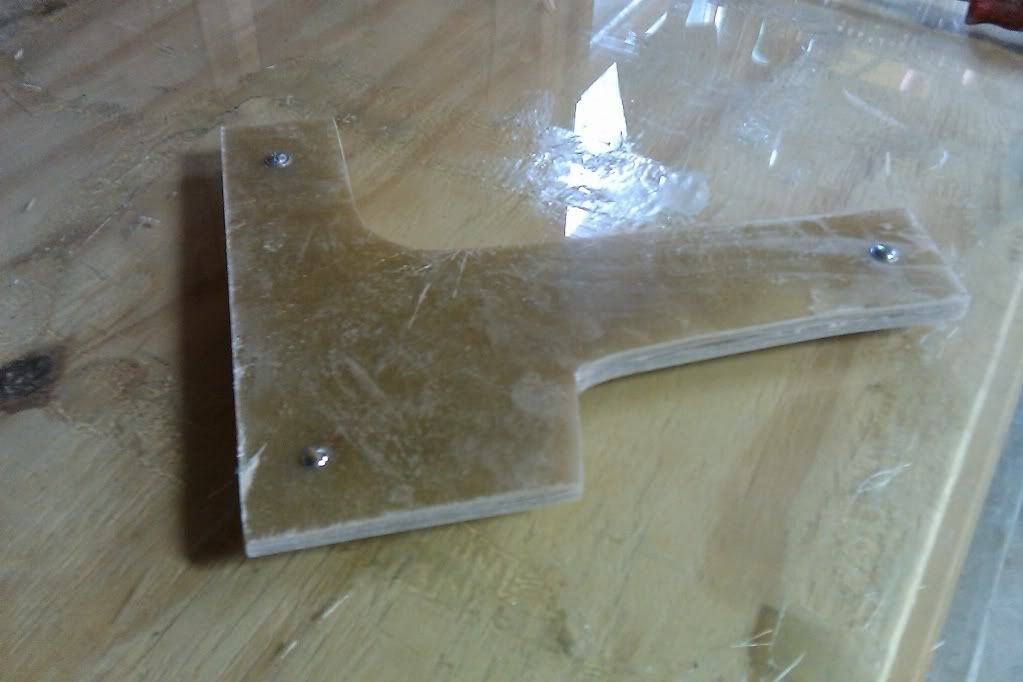
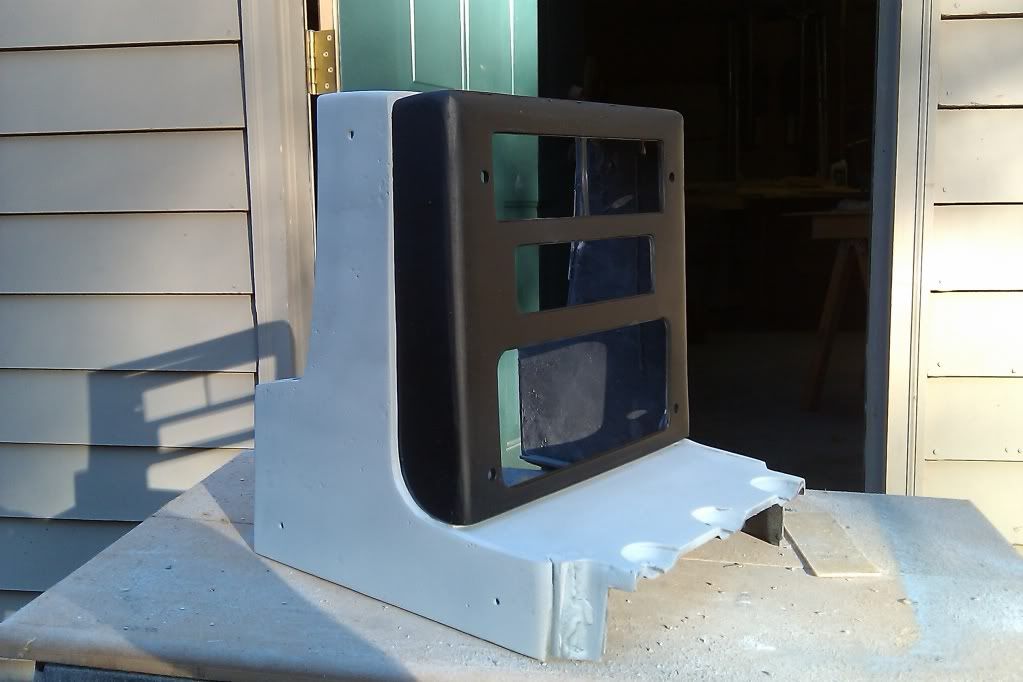
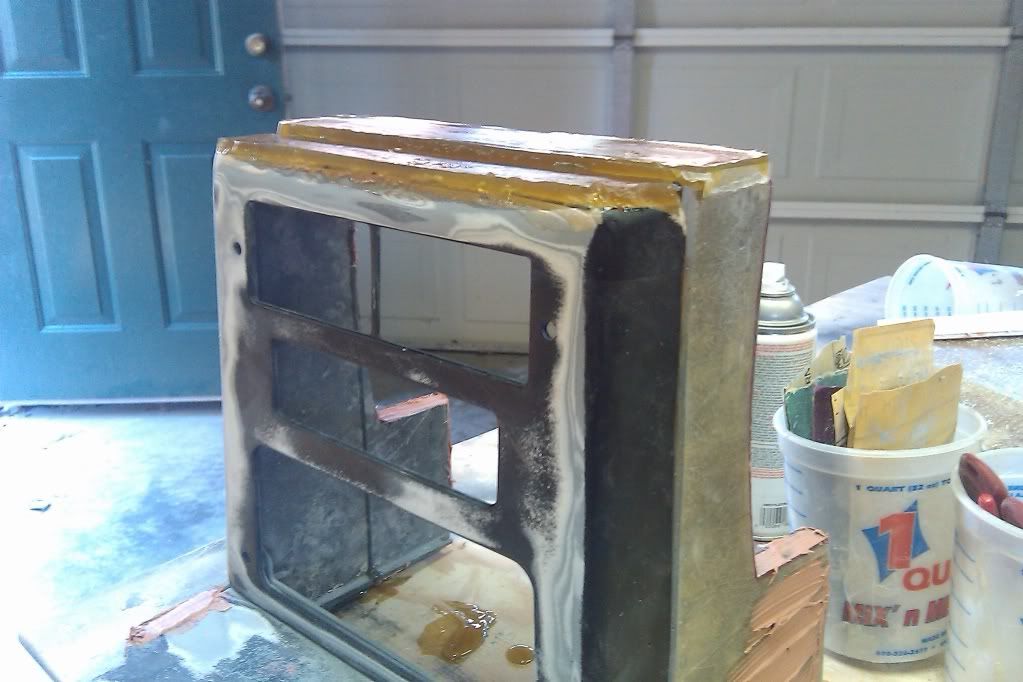
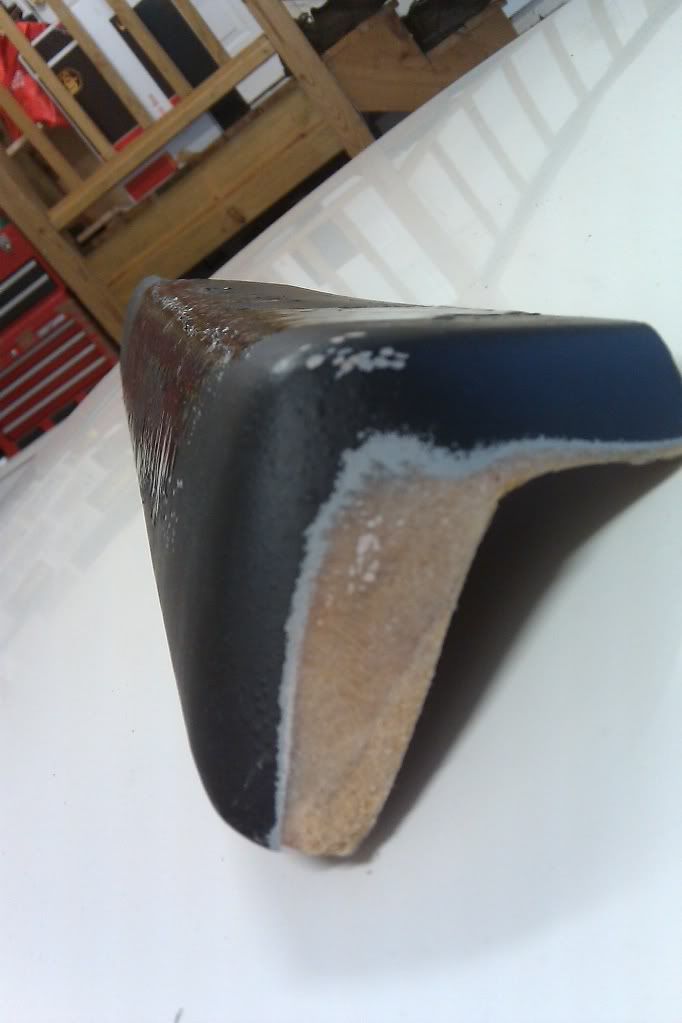
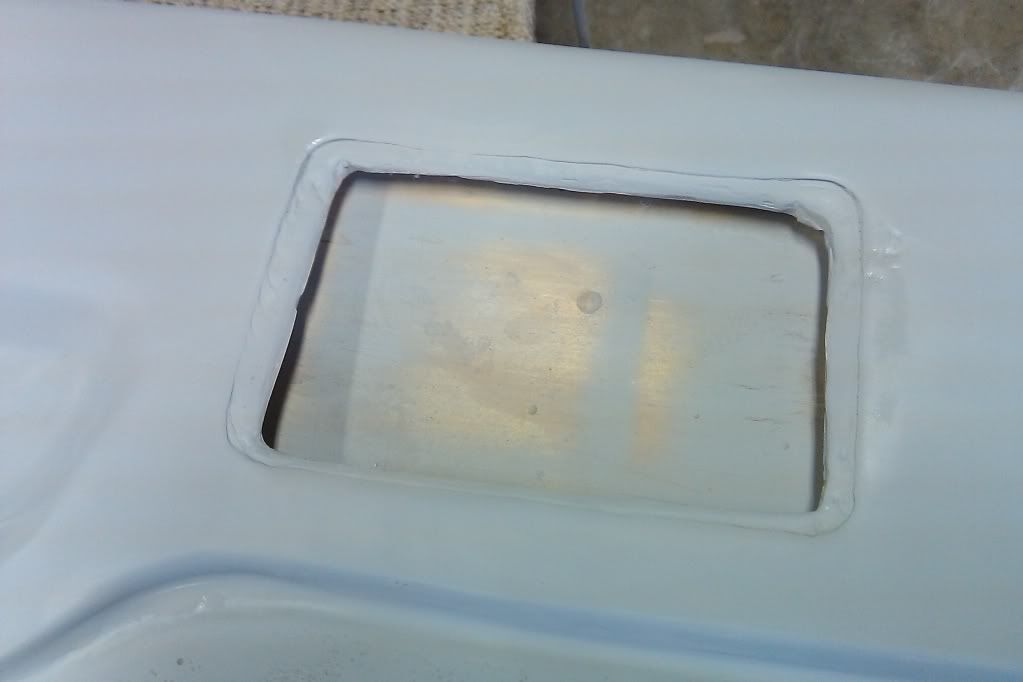
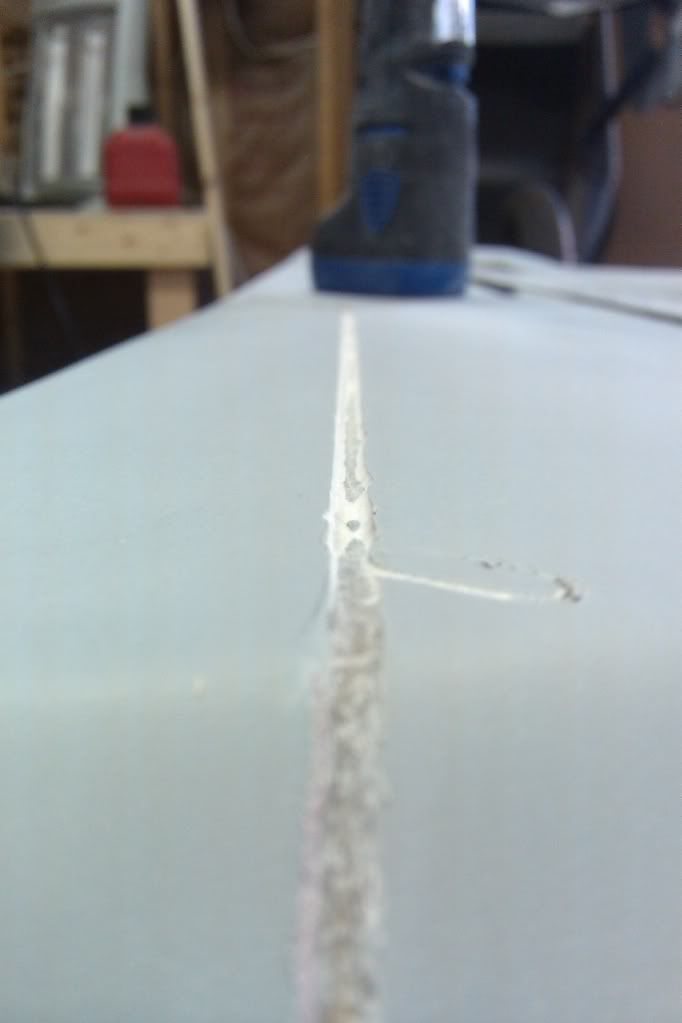
After
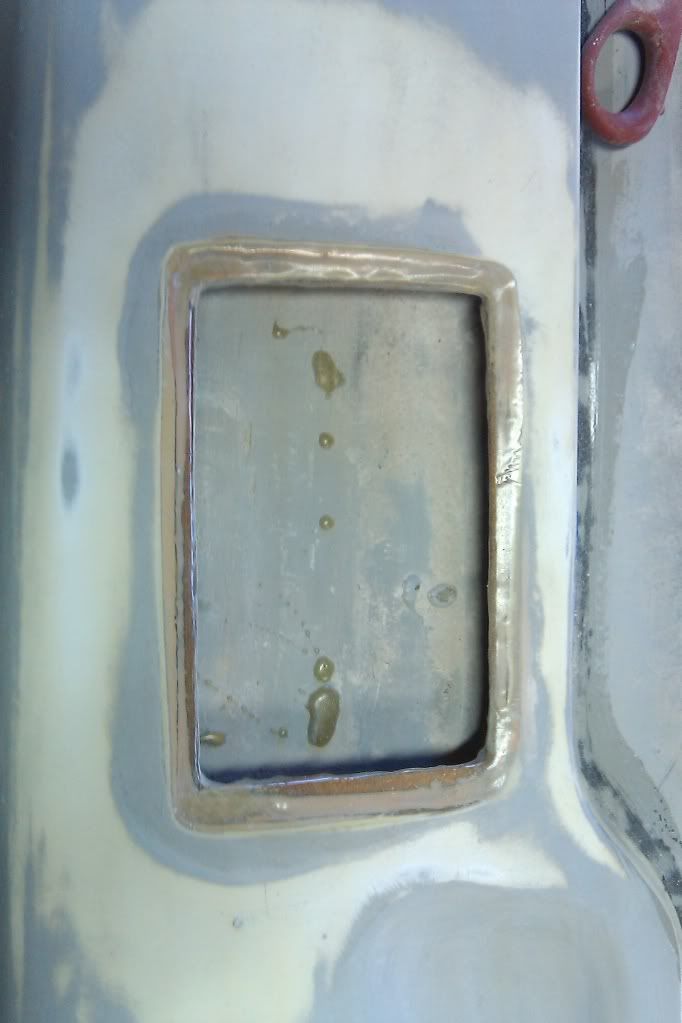
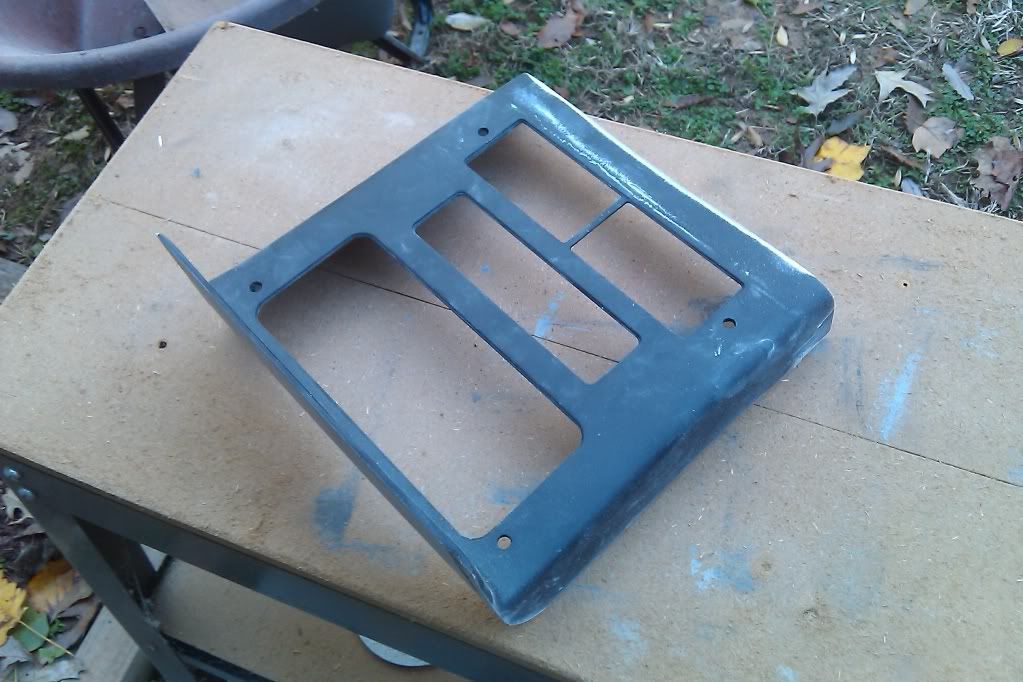
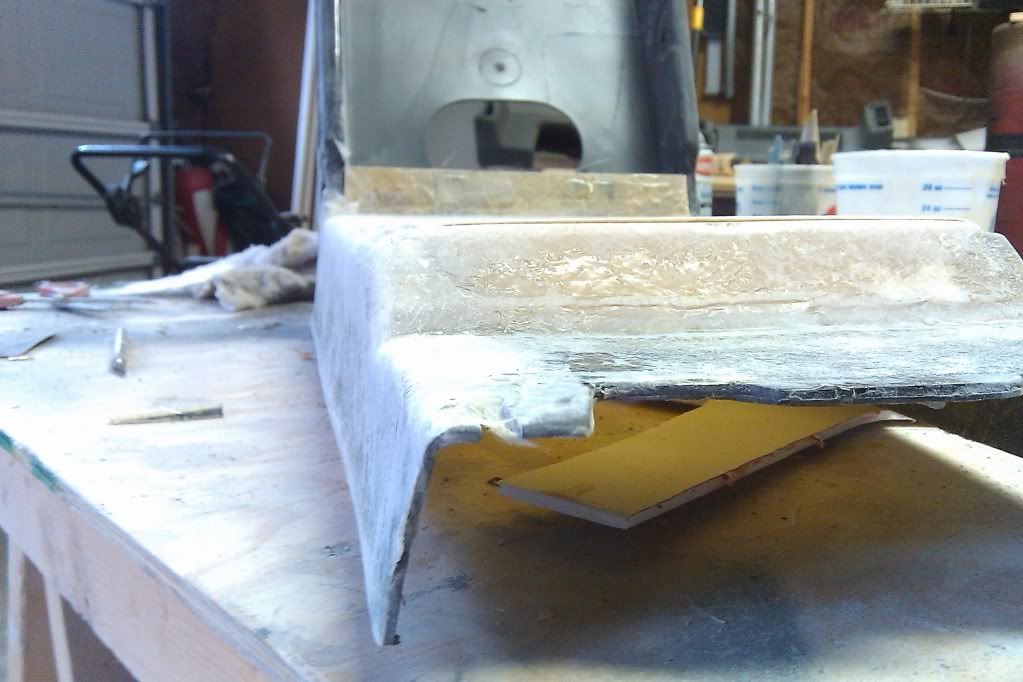
With primer / filler and awaiting more body filler to smooth and level out
Still more filling and a bit of sanding to do before any paint!
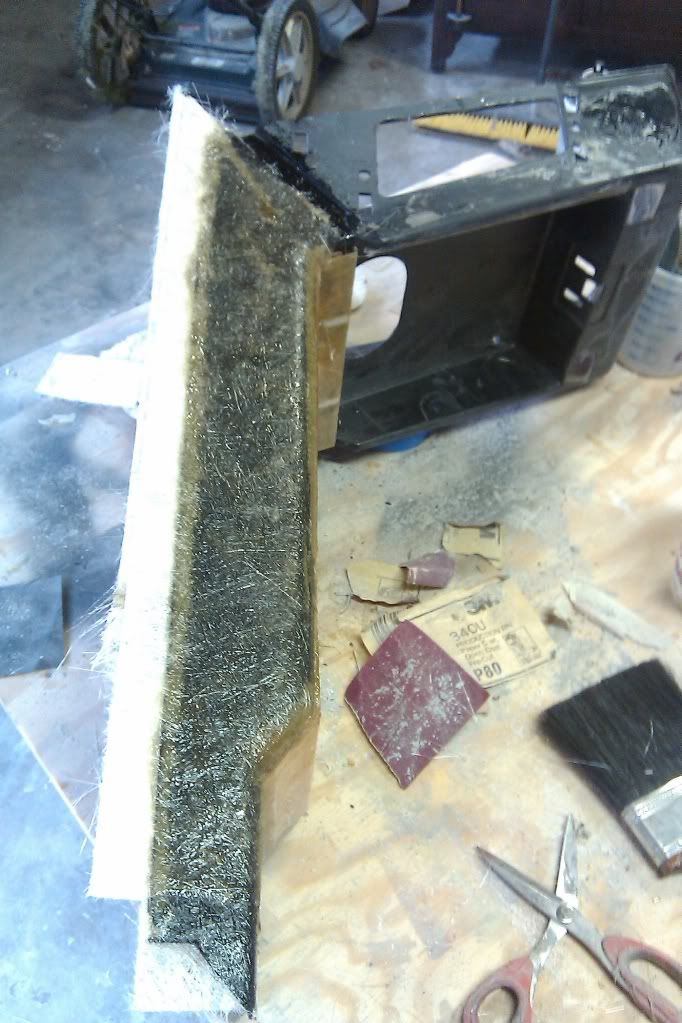
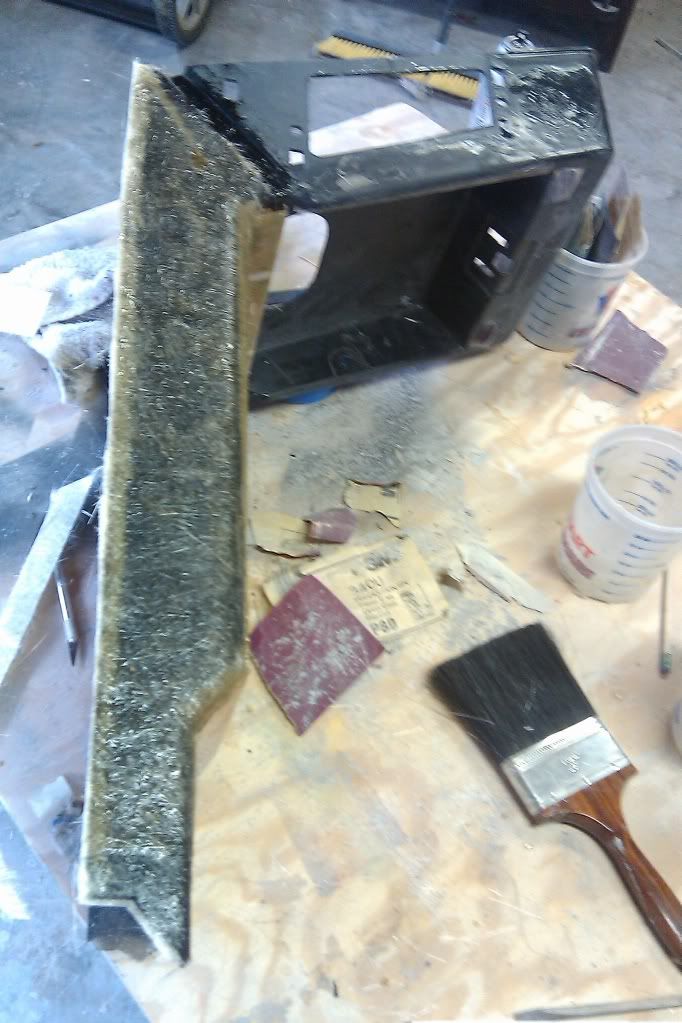
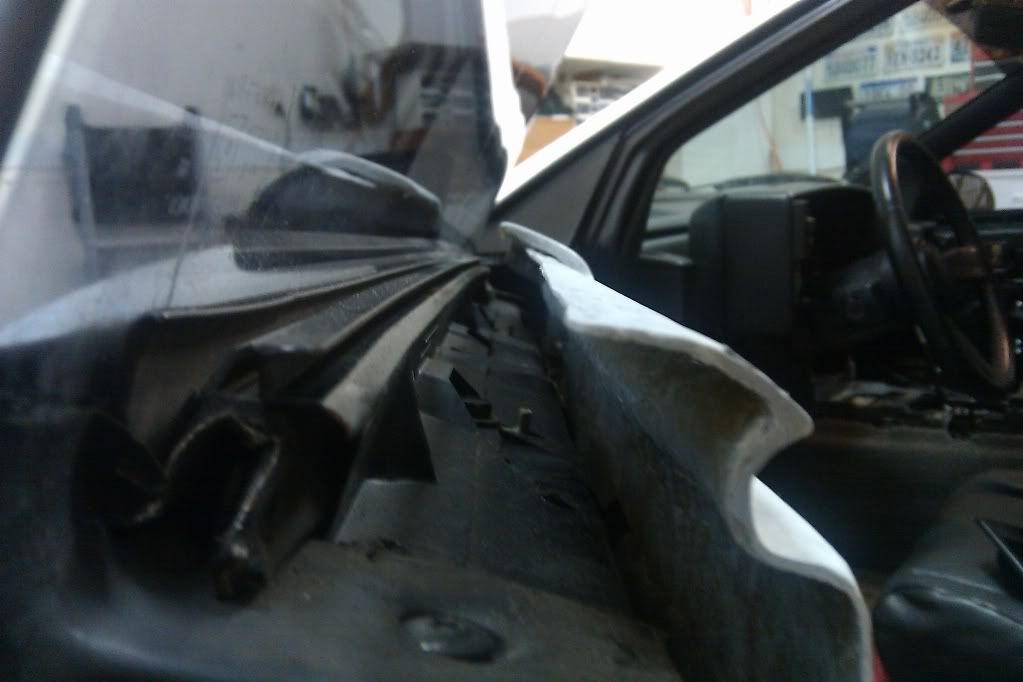
What's next? I need to create the fiberglass backing for the upper part of the door panel, cut / remove said upper part and work a few bad areas on the passenger side panel.
Everything is looking real good, I like how you did your door panels Keep us updated and keep up the good work, its going to look great when its complete!
------------------ Project "Devil Dog" - Special Thanks To Spoon, Shawnhalolush, MstangsBware 01 GTP 3800SC Series 2 "Rebuilding"
Everything is looking real good, I like how you did your door panels Keep us updated and keep up the good work, its going to look great when its complete!
Thanks for the kind words! I was hoping to be much further along by the end of the weekend... but... when you're trying to getting everything exact... it takes time. Here are the latest & greatest pics.
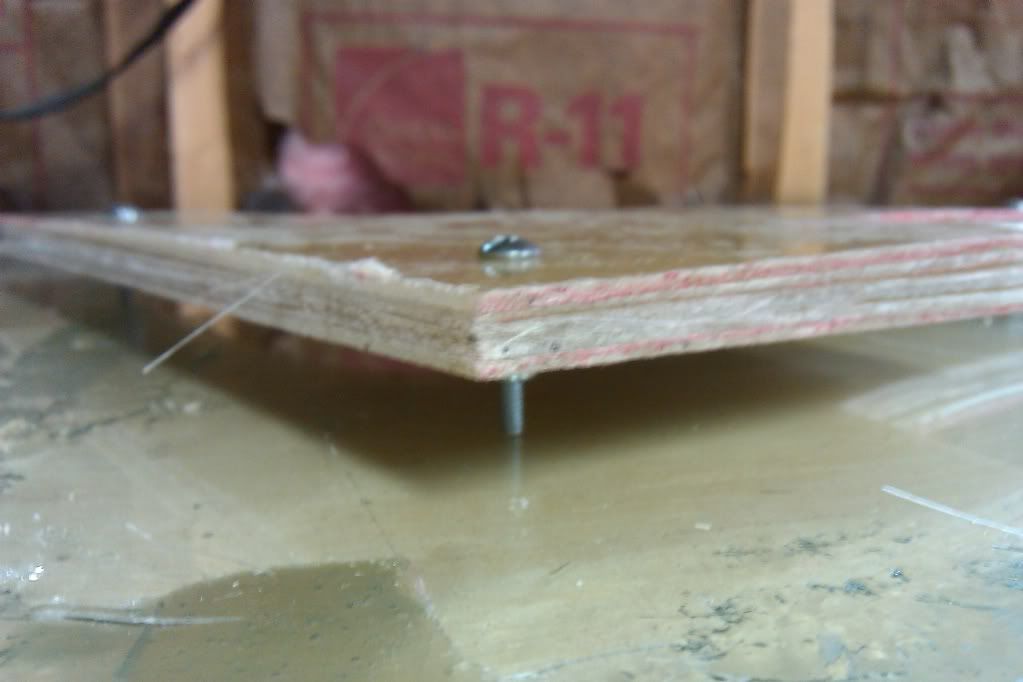
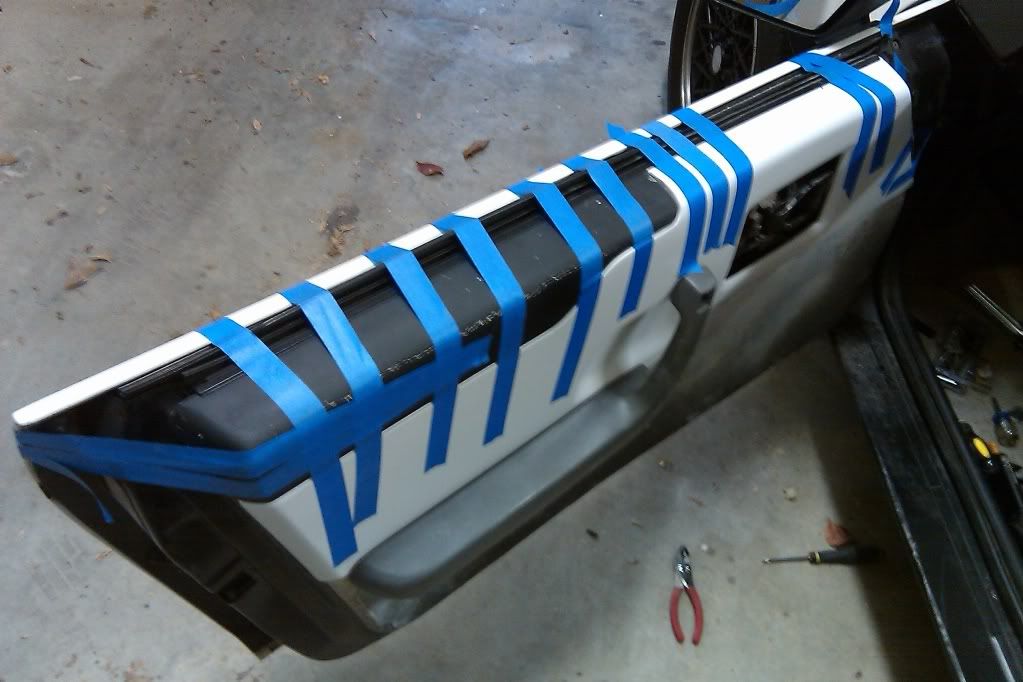
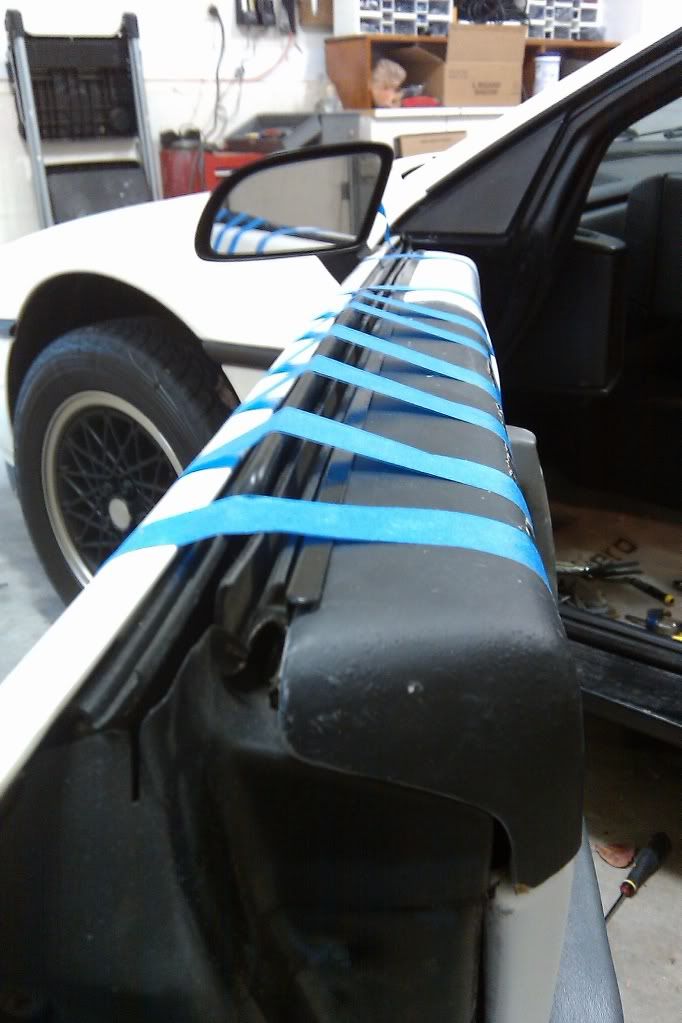
Overview shot - you can see the filler, primer and sanding already done. A lot more to go
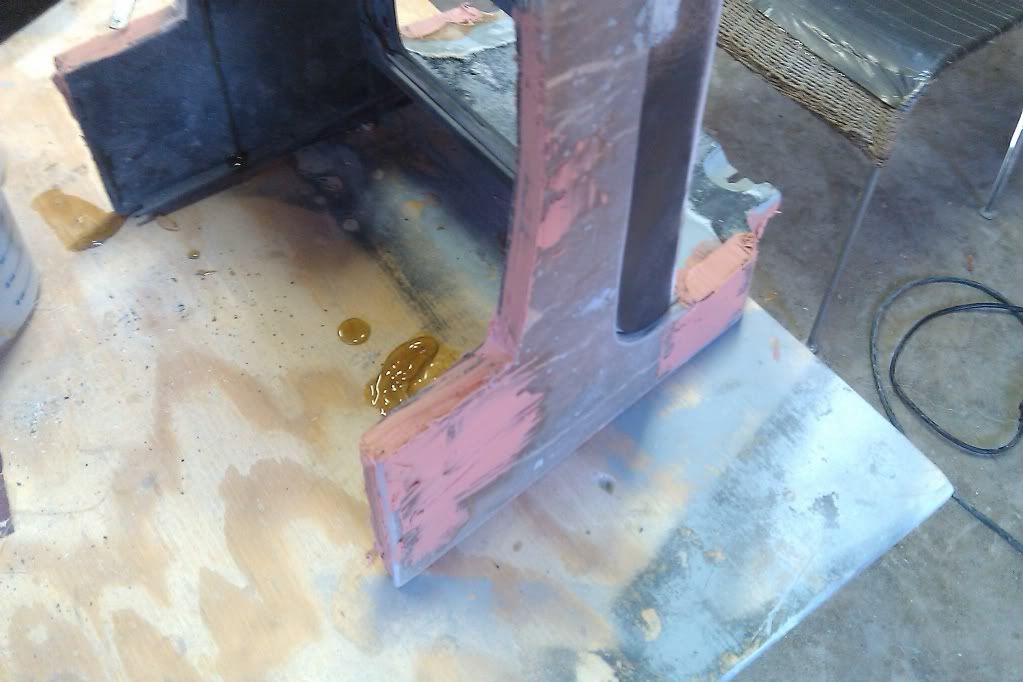
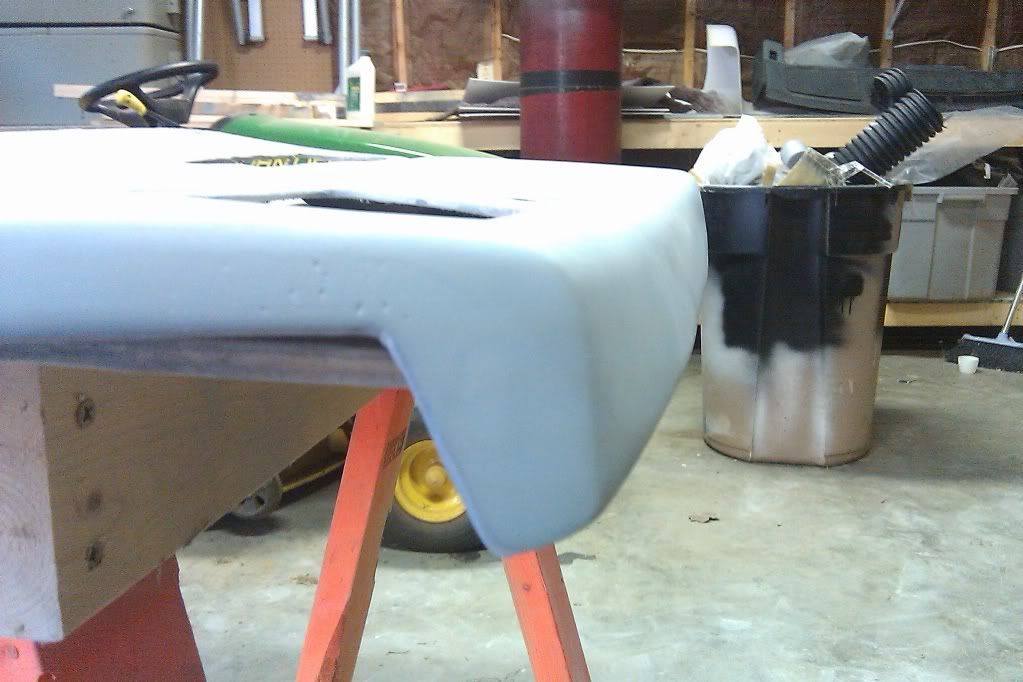
You can see the slight wave in the upper armrest - I am not too happy about this
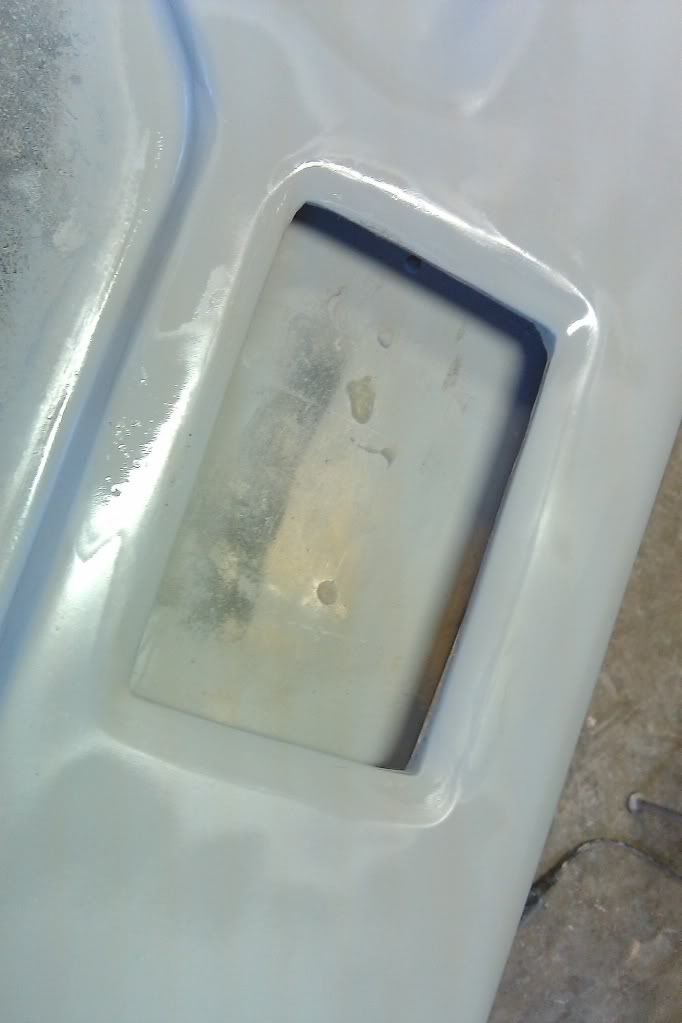
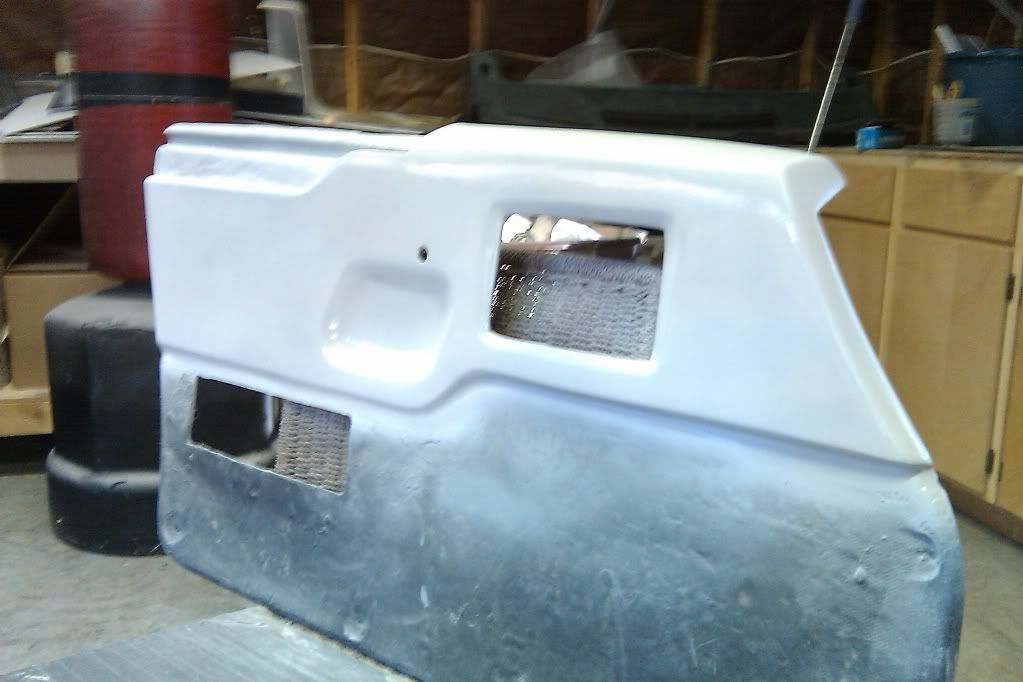
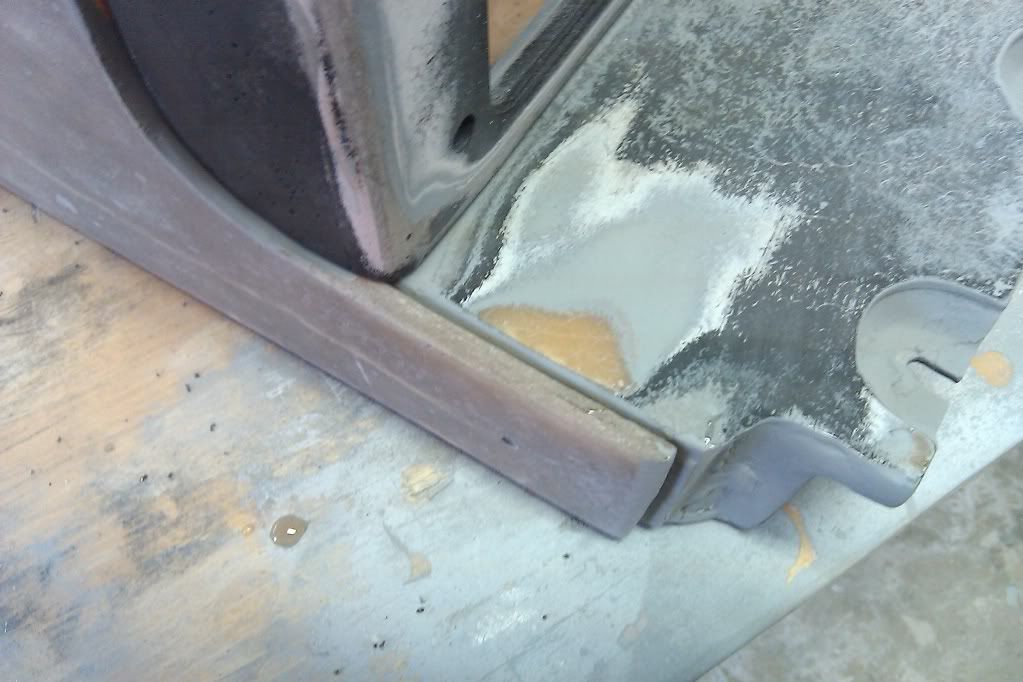
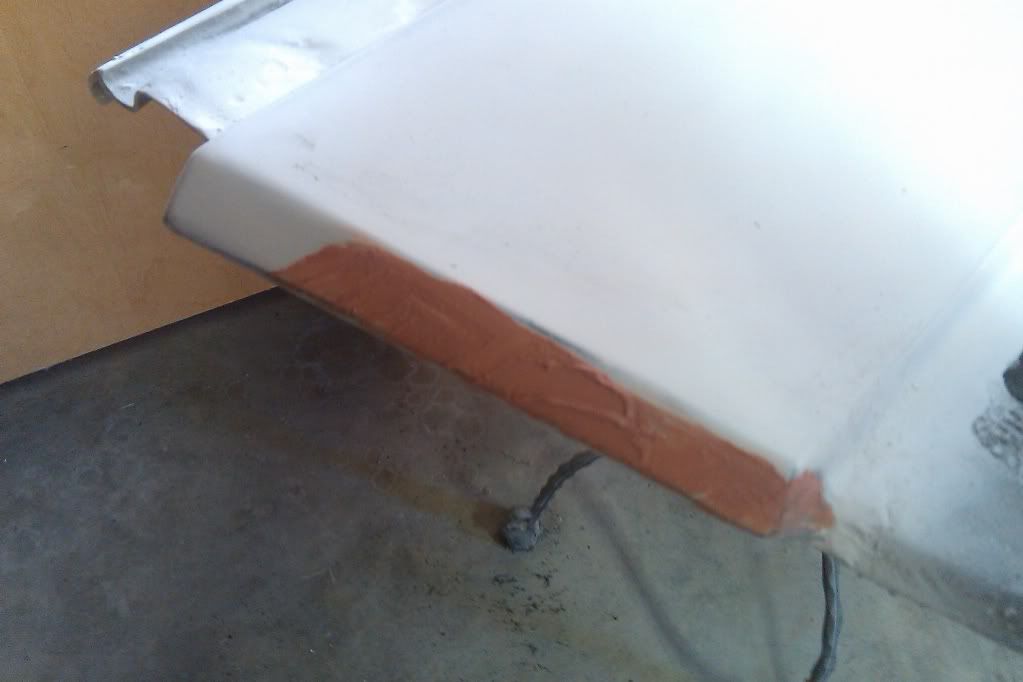
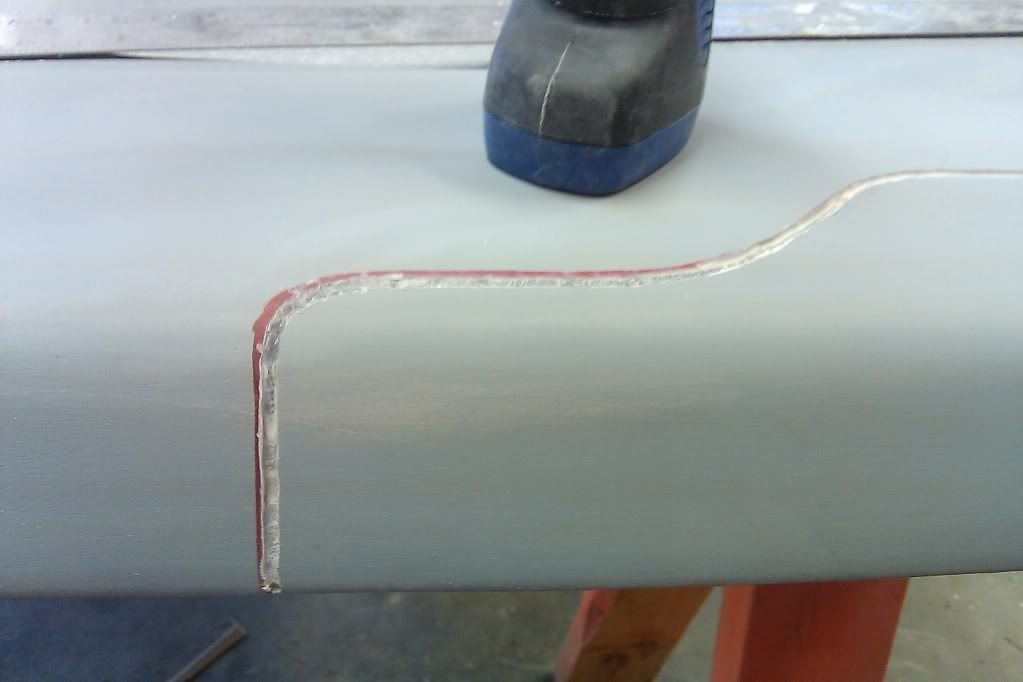
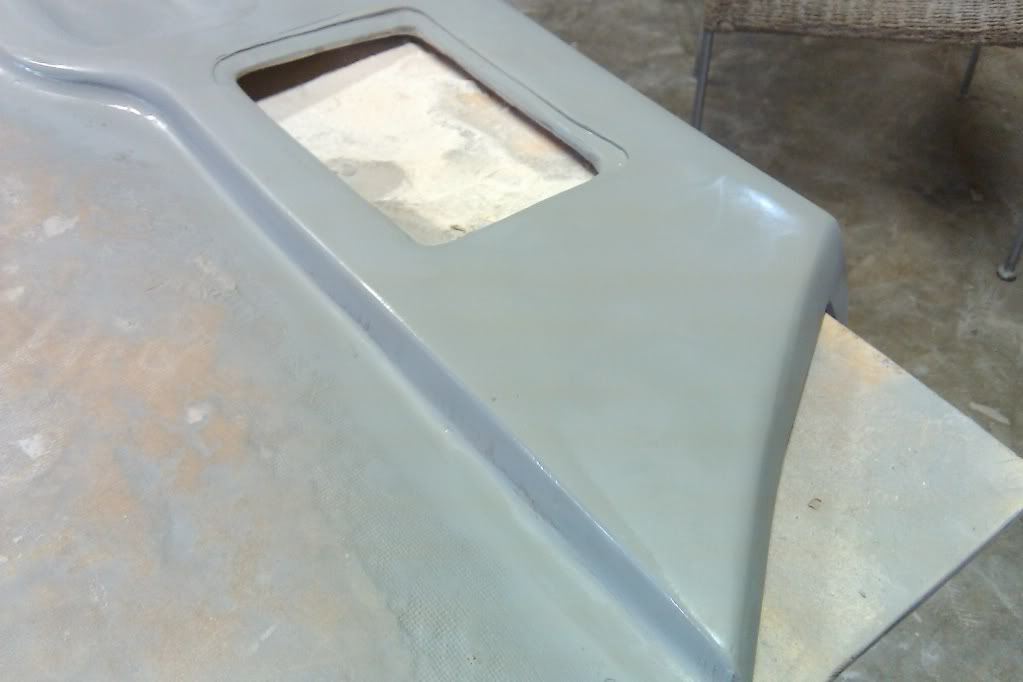
Nice smooth cut and overall look - this area required a lot of attention
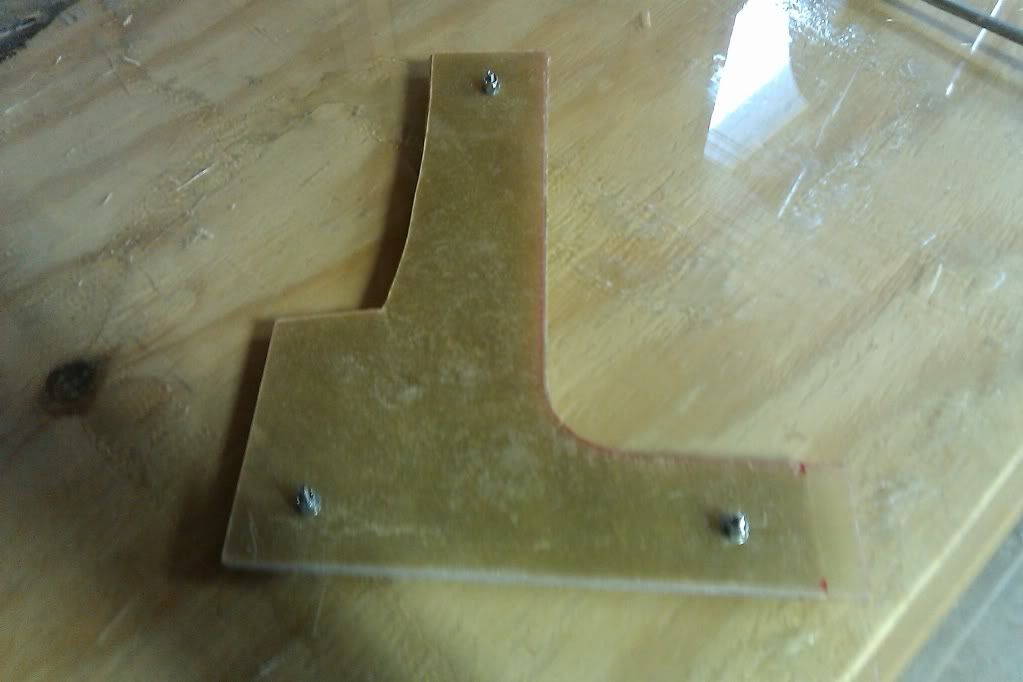
The door handle plate area has been a thorn in my butt - this area has to be near exact so the plate lays flat against the door panel
Again... more filler, primer, sanding, etc... Like I said, I was hoping to be much further along
Those door panels are looking great Greg! It's cooling off here in far West Texas so that means fiberglass time! Been gathering interior parts for the XTC's new interior. I'm going to try and pick up a "parts" car to use for mock up! I really just want a frame that I can sit on some stands that I can start building the dash and door panels! Ideally would like just the "cab" of the Fiero. That way I could get it inside my work shop and hide out in there all winter! I can't wait to get started.
What a week! Work has been taking up most of my time this past week. I wasn't able to do much over the weekend. I'll be on travel most of this week through the weekend... so the project will sit idle for a few days.
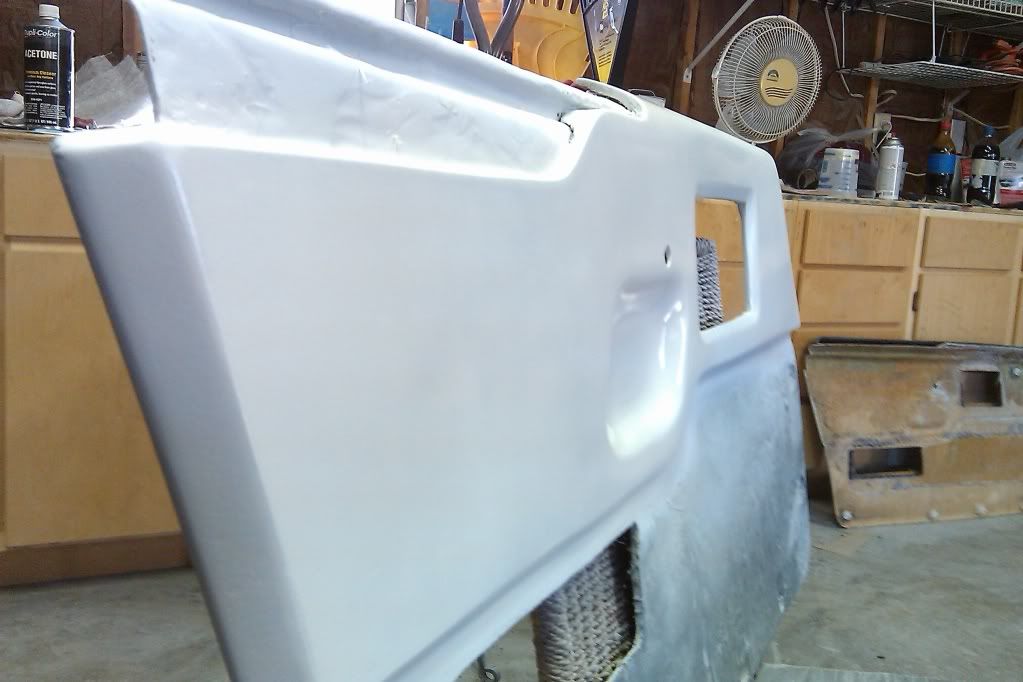
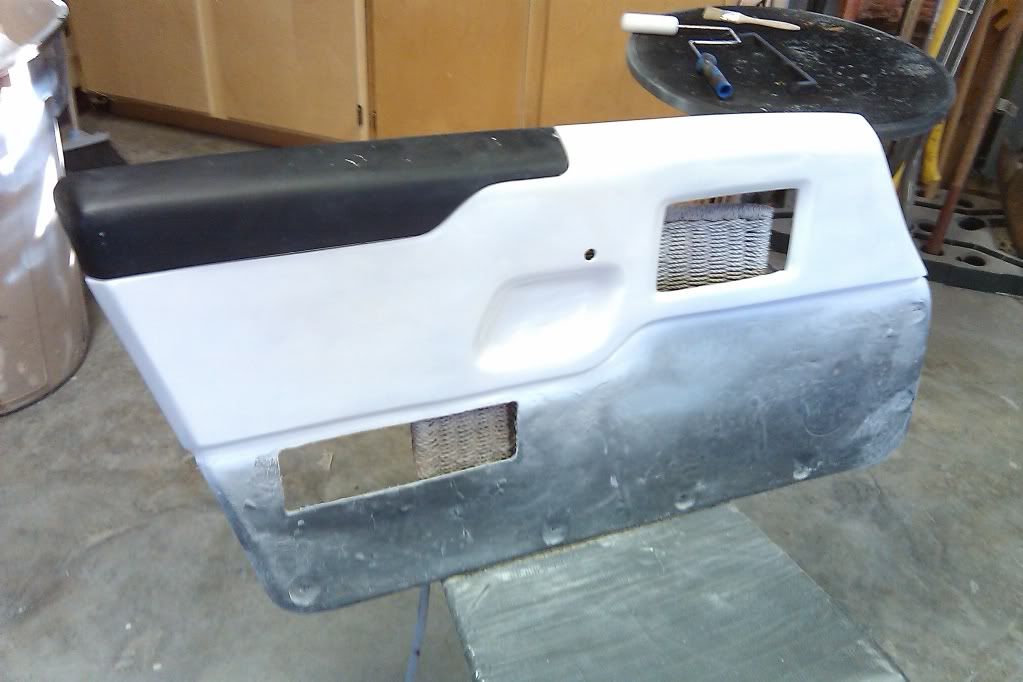
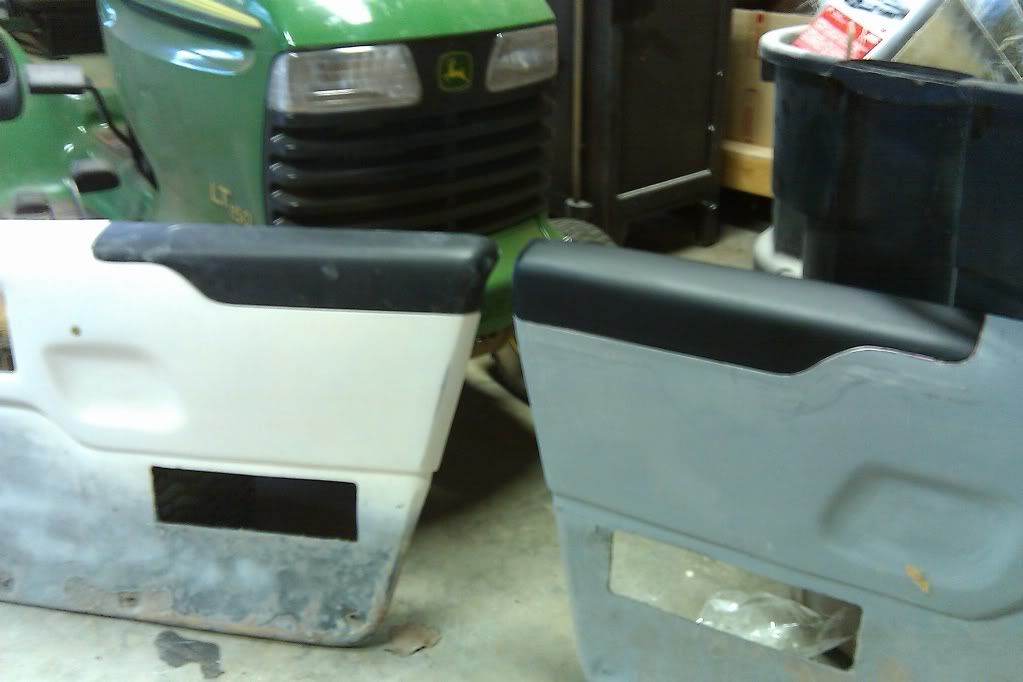
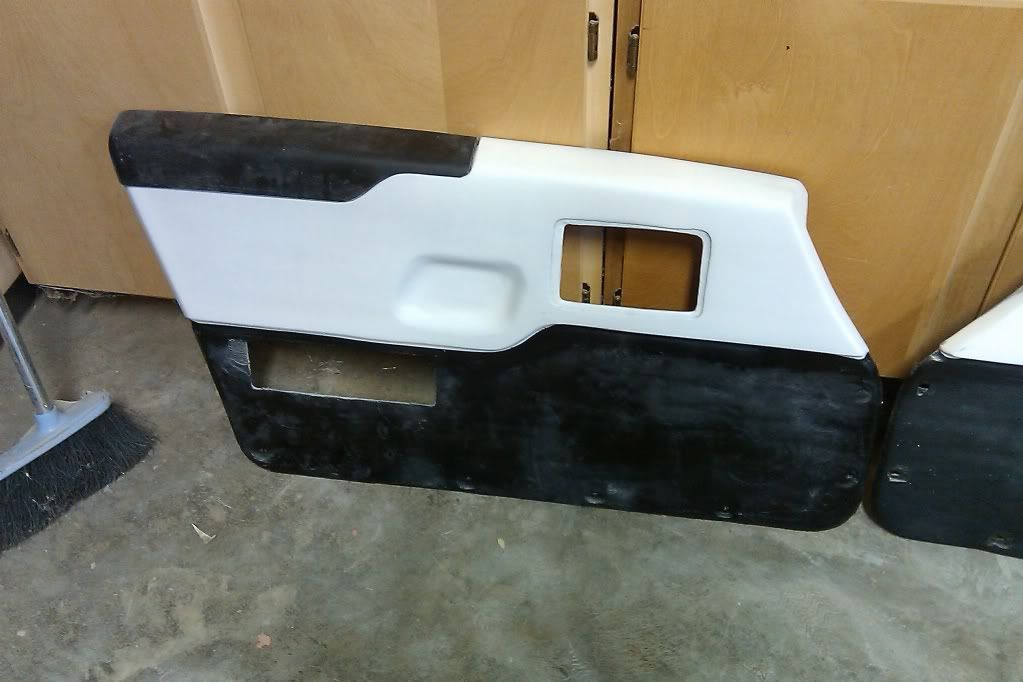
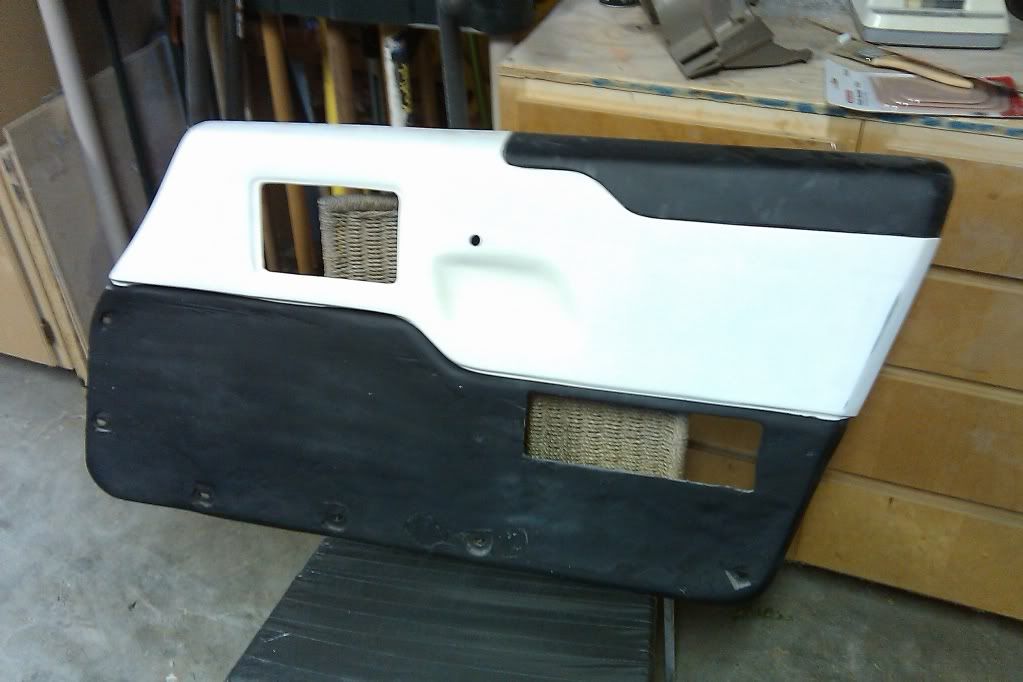
I was able to get a little bit done. I sanded a little bit more and painted both door panels to get an idea of how the panels will look once finished.
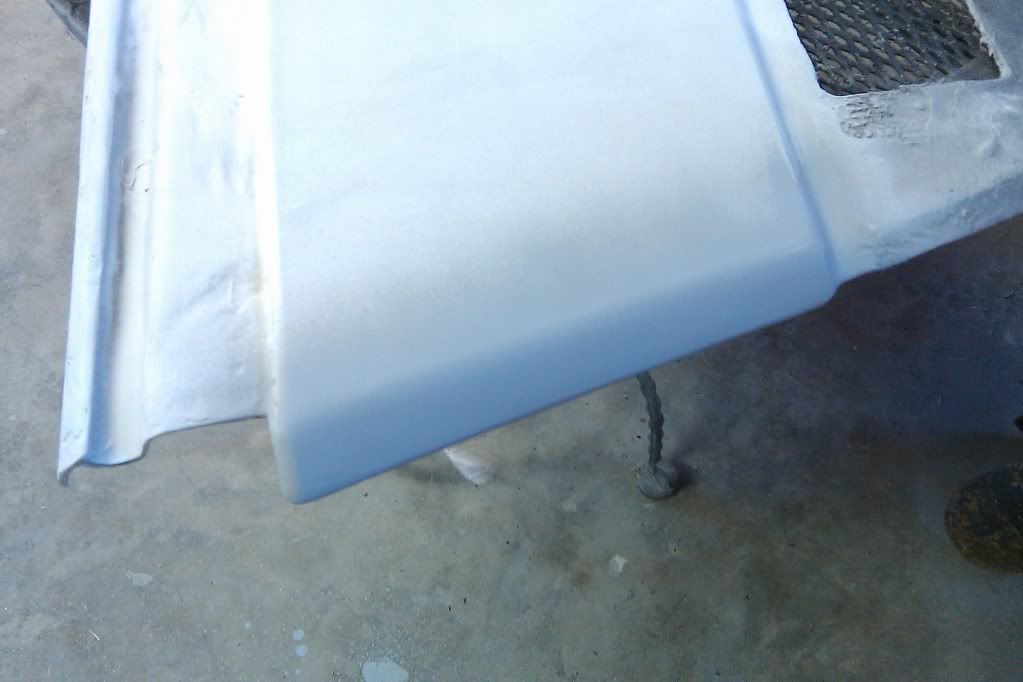
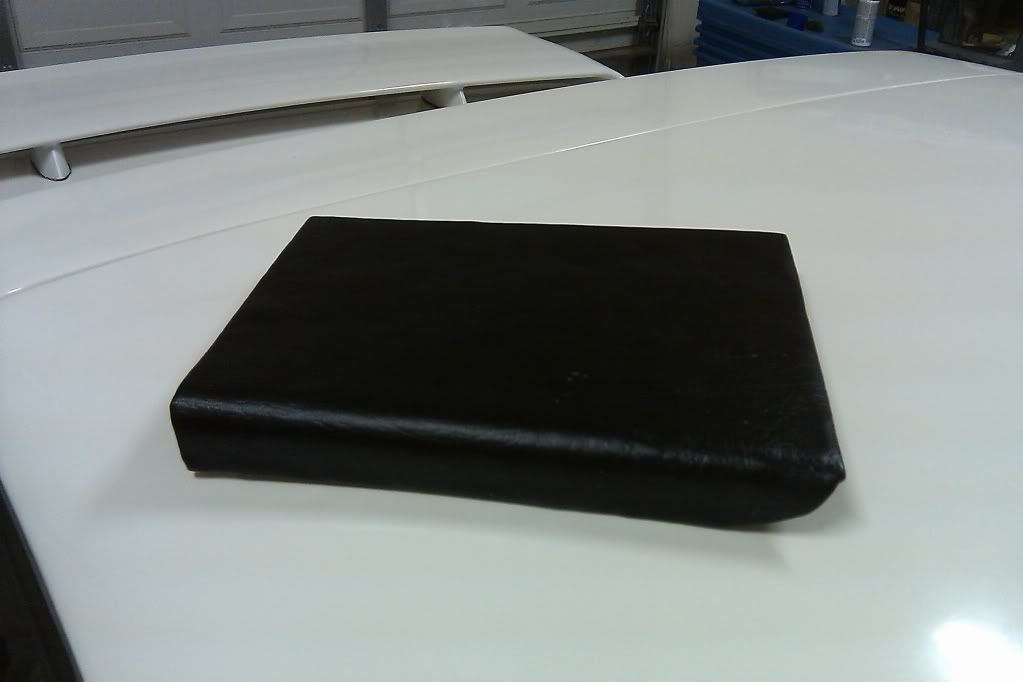
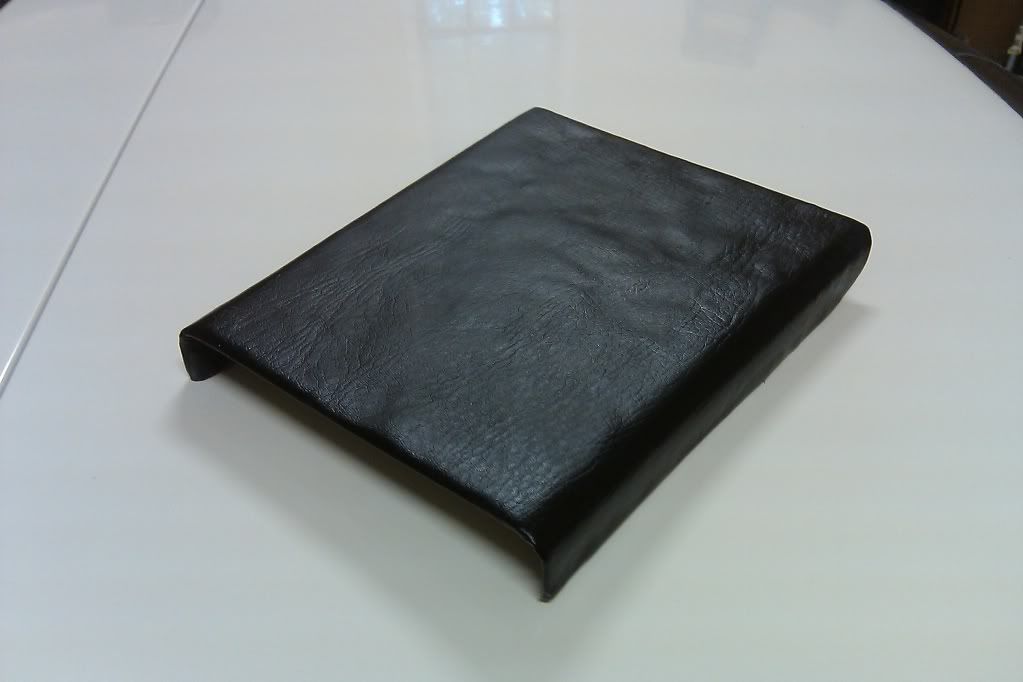
Drivers side - still have to fill and sand a bit more
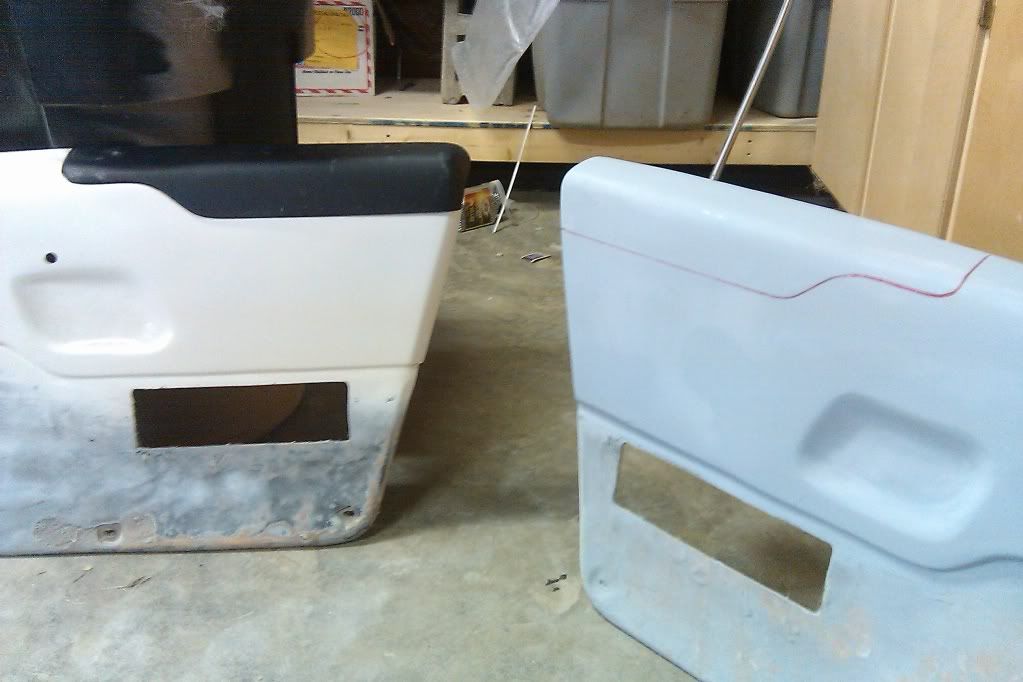
Passenger Side - this one is almost finished
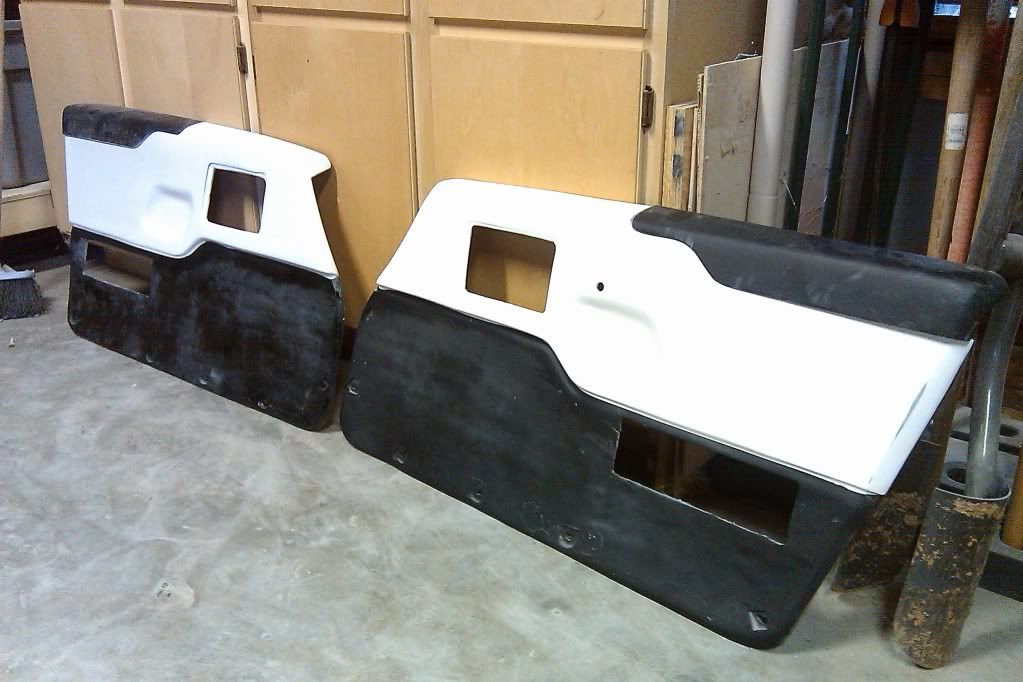
Side by Side
That's it for about a week - grrrr
[This message has been edited by Sofa King (edited 10-18-2010).]
Those door panels are looking great Greg! It's cooling off here in far West Texas so that means fiberglass time! Been gathering interior parts for the XTC's new interior. I'm going to try and pick up a "parts" car to use for mock up! I really just want a frame that I can sit on some stands that I can start building the dash and door panels! Ideally would like just the "cab" of the Fiero. That way I could get it inside my work shop and hide out in there all winter! I can't wait to get started.
Pat
Hey P,
Thanks! As usual, it's not going as fast as I would like. Sanding, filling, sanding, filling, etc... the cycle never ends.
Having a frame / cabin to work around is a great idea! Easy access and gives you time to sit and think and move about - wiggle your arms, etc... Too bad you don't live in Alabama. The Fiero Factory is right down the road from me!
I'm really excited for ya! Can't wait to see this project take off! Have you decided on interior colors?
Foaming... I get it! Unfortunately, I haven't had an opportunity to work with the foam yet - I want to save it for a BIG surprise!
I was on travel most of last weekend and then had to prep for a few social events to include Halloween so I wasn't able to do a whole lot. The work I was able to do I don't have pics. It's all the same sanding, prepping, glassing, etc... I didn't want to bore you guys. I did work on the drivers side door panel and that's 90% complete. I still need to work the area where the door handle trim plate goes. Once that's done the door panels are basically finished minus vinyl/carpet on the lower area and having the door pulls re-upholstered.
QUESTION: Should I reupholster the lower portion of the door panel with black vinyl/black piping or with black carpet - similar to the stock look of the original? What do you guys think?
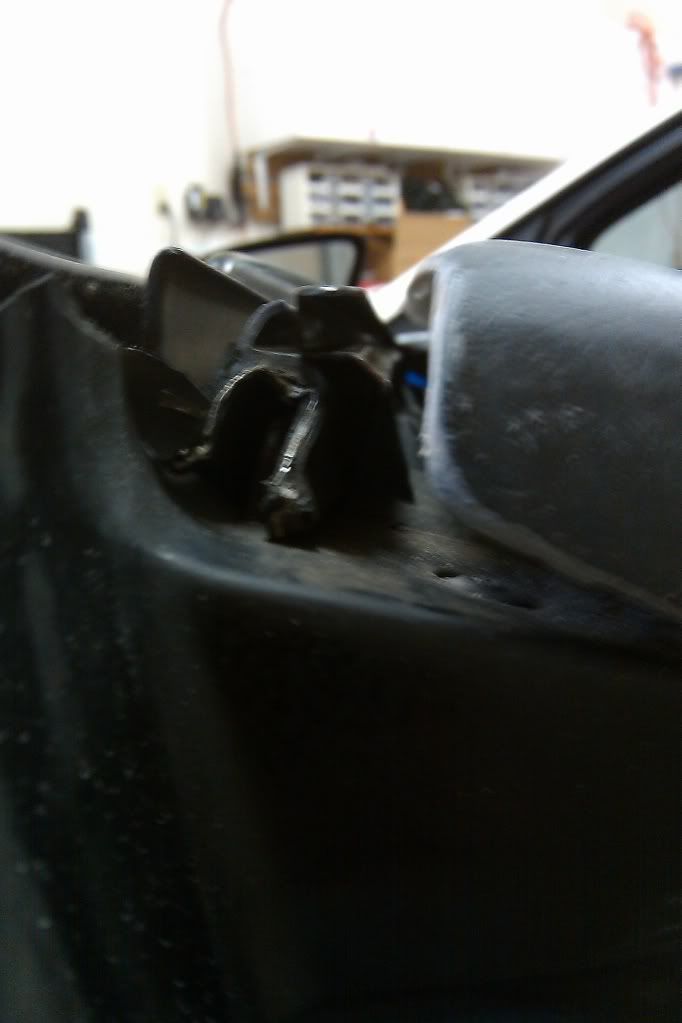
In other news... somewhat bad... I posted a thread describing a transaction I had with "Chump" (aka Cameron). I purchased used power mirrors from a him a few months ago and I have heard very little since sending the money - the mirrors still have not arrived. I don't want to say anything disparaging or negative because I know how busy people get and things to have tendency to fall through the cracks. But if ANYBODY knows Chump, any help or guidance would be appreciated. I have a feeling I can kiss my money good bye.
Lots of movement but no pics - they're all the same - sanding, priming, sanding, priming, a little more fiberglass, sanding, etc (no sense in eating up server space)... I have a 4 day weekend coming up and I should have the door panels finished (minis the vinyl / carpet).
I'm still not sure whether to do black carpet or vinyl. I think both would look sharp, but I think the carpet would hold up better. What do you guys think?
This is an image of what panel would look like with a carpet. Finally, I was watching TV over the weekend and flipped to "Back to the Future"... When MJ Fox's character "Marty" closed the door of the Delorean, he used a "Door Pull Strap". This gave me an idea. I "graphically" added a door pull strap instead of the armrest/door pull. What do you guys think?
This is an image of what panel would look like with a carpet. Finally, I was watching TV over the weekend and flipped to "Back to the Future"... When MJ Fox's character "Marty" closed the door of the Delorean, he used a "Door Pull Strap". This gave me an idea. I "graphically" added a door pull strap instead of the armrest/door pull. What do you guys think?
More to come!
I think the door pull strap would be kinda cheesy. Maybe cooler if your car has vertical doors? not sure if you do or not...
Finally, I was watching TV over the weekend and flipped to "Back to the Future"... When MJ Fox's character "Marty" closed the door of the Delorean, he used a "Door Pull Strap". This gave me an idea. I "graphically" added a door pull strap instead of the armrest/door pull. What do you guys think?
More to come!
No sir. it doesnt fit with the nice stylings you've done. And put my vote in for the carpet
Thanks for the kind words. Still not sure which direction to take re: the carpet or vinyl. My concern about the vinyl is that it will get scuffed up /ripped/torn. The carpet seems a better path to take. I will look at designing a new "map holder" cubby area for the door. Although I think the door pull straps would be kinda cool, I'll leave them to the VWs, Delorean's and Porsches. No sense in constatly changing the interior. I'm going to take the two extra door pulls to the local upholster and see what they will charge to cover them in vinyl with custom stitching.
Also, I'll be stopping by a salvage yard today with the hopes of finding a few knick knacks for the interior.
Finally... if anybody is parting out a car with power side mirrors - please let me know. Thanks
Keep thinking outside the box - I like the idea of "sans arm rests". Maybe just a simple handle to pull the door shut? I'm a big guy so the arm rest is just a pain in the side for me! You got me rethinking again. Looking good as usual.
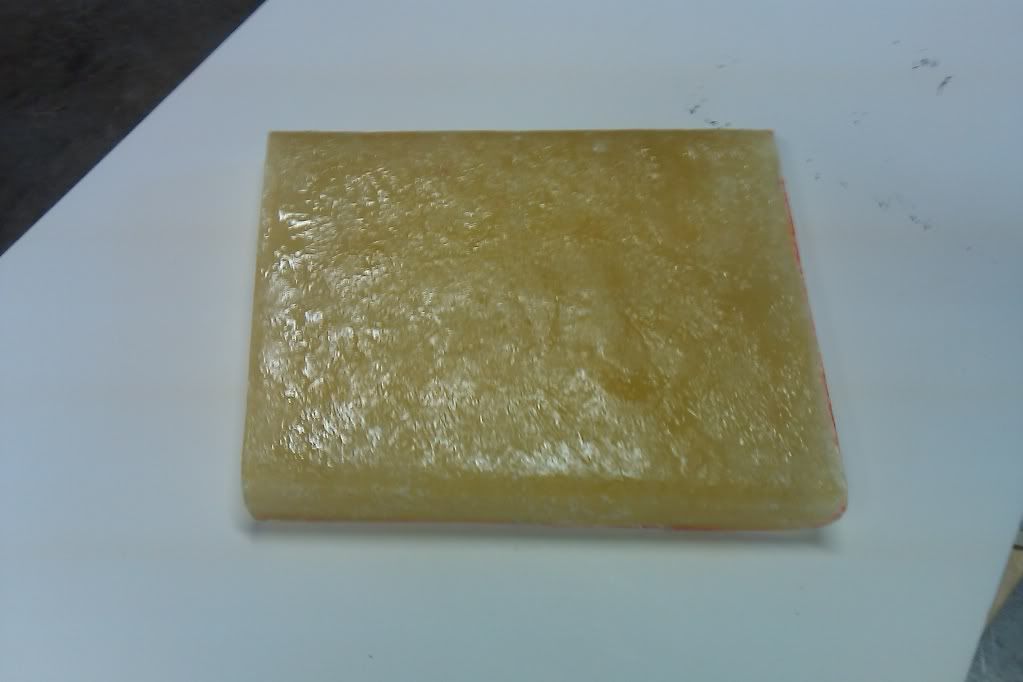
The door panels are 95% complete. A few more areas to sand then prime & paint! And... a nice little surprise...
This was the last areas of the drivers side door panel that needed work. WHAT A PAIN this has been! After all the snading was finished I found a few little holes and uneven areas. I mised some resin together and lightly spread over the working area. The nice thing about the resin is that it smooths out and creates a rock hard surface to work with. A few passes with the resin and I'm almost done!
With a shot of primer / filler. Just a quick addition of body filler, sanding and primer and she's all ready for paint
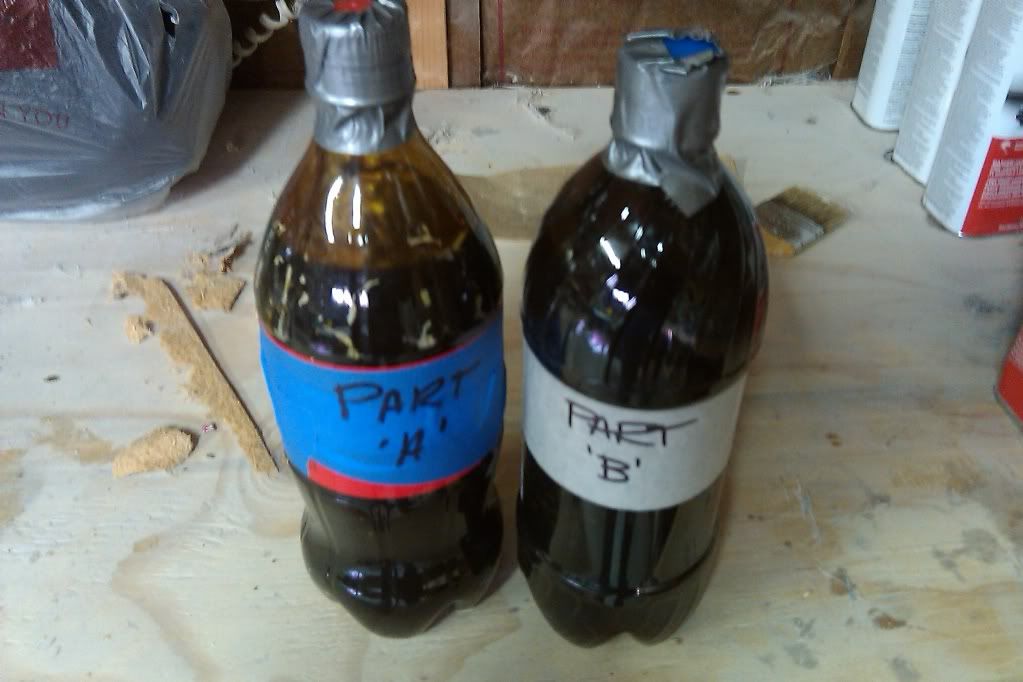
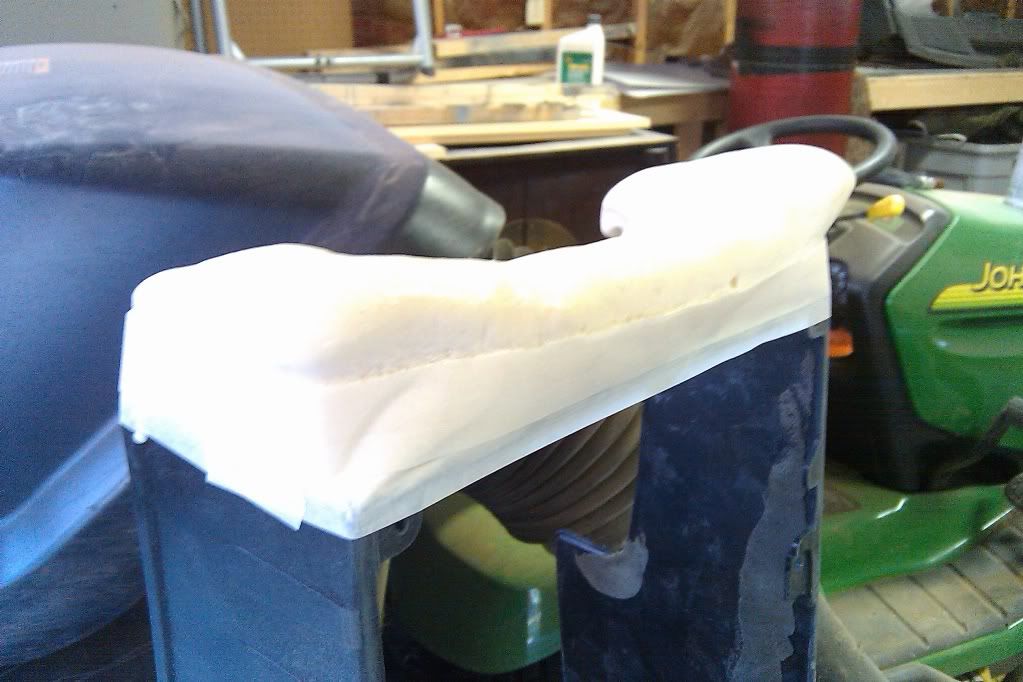
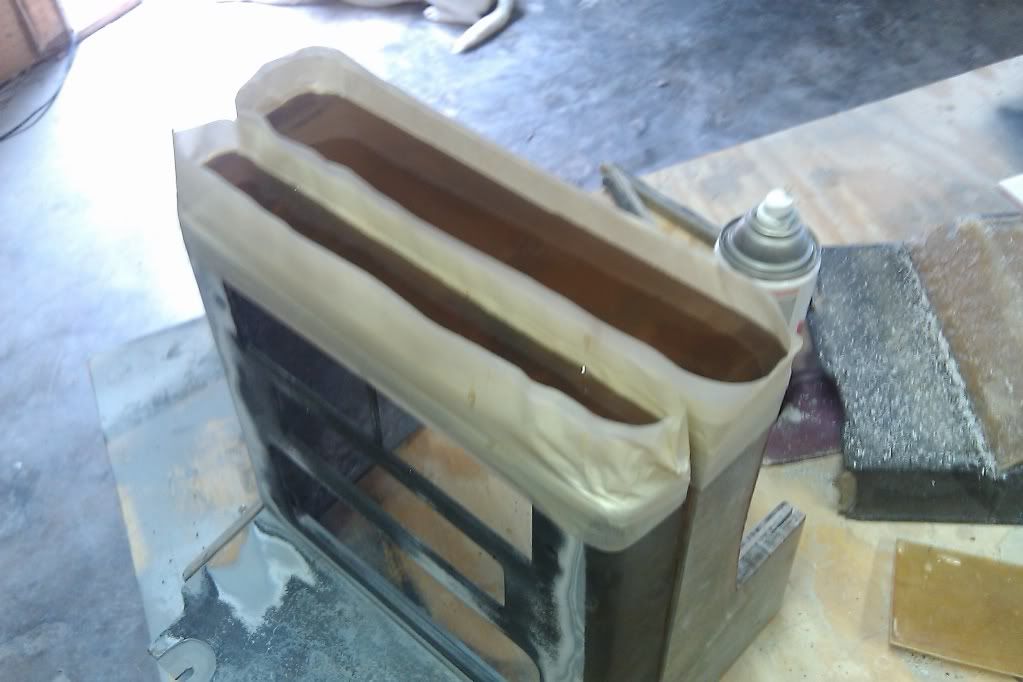
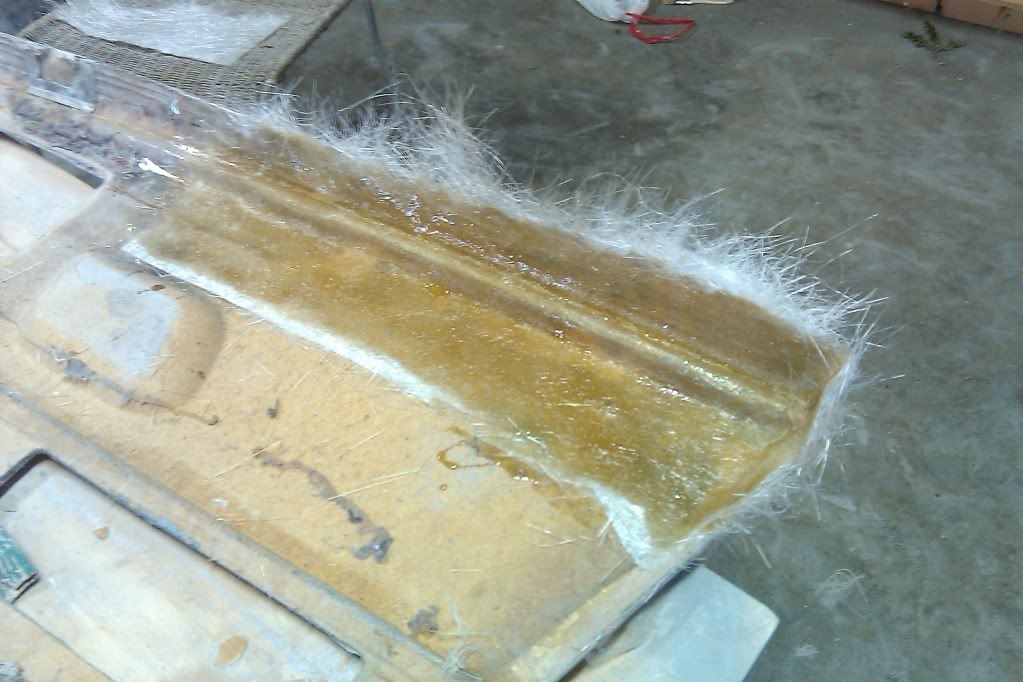
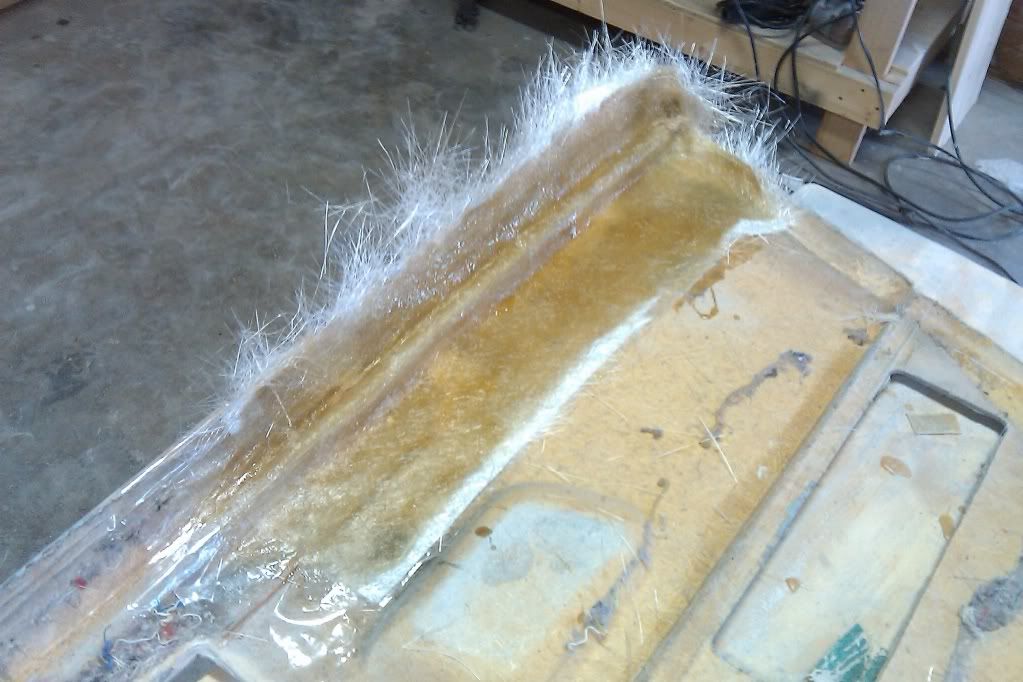
What's the surprise? Check this out! SourMug (aka Nolan) was kind enough to send me this...
No... it's not booze... Although I should definately send him some for his kindness and generosity. What is it? It's expanding foam The same stuff he used on his door panels and interior redesign!
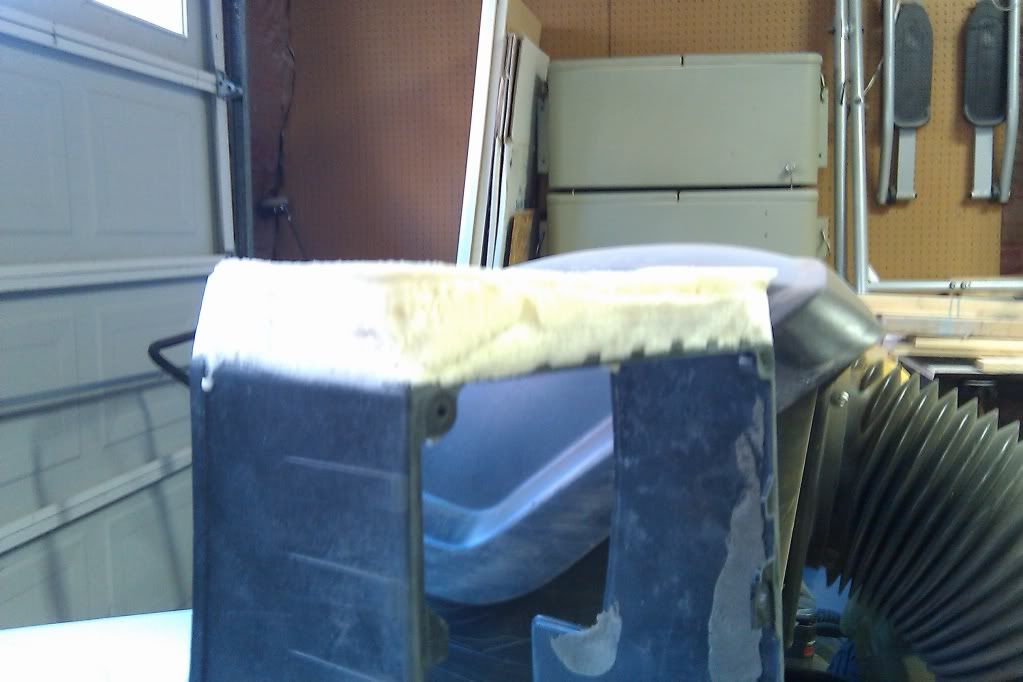
I decided to give it a go and start testing with it. I was very frugal. I remeber Nolan using it on his door panels and how the foam expanded and just kept on going and going and going...
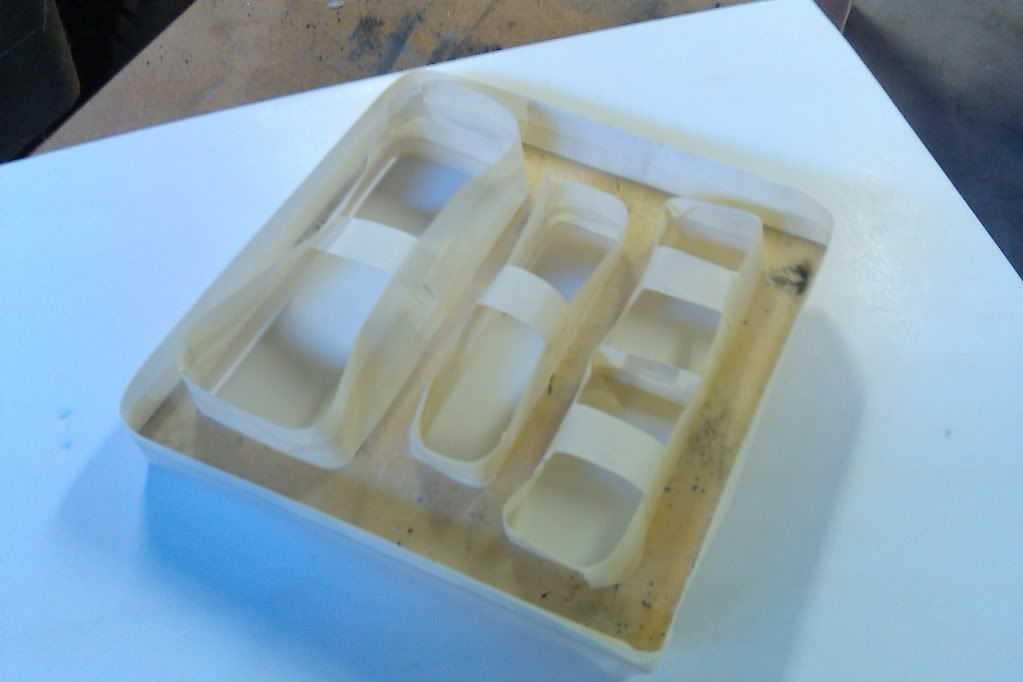
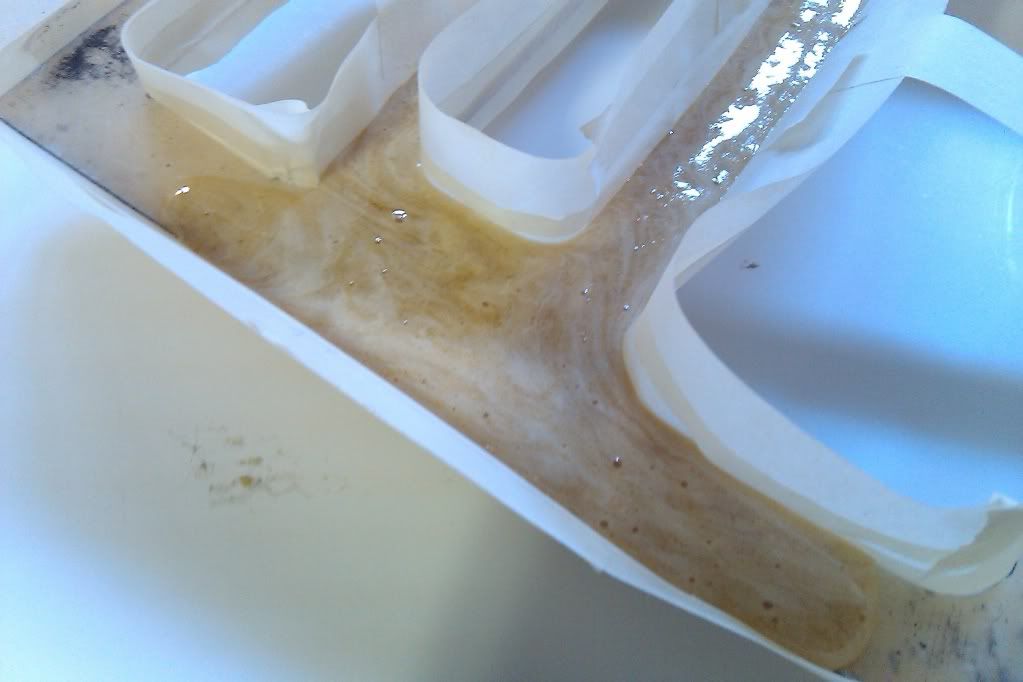
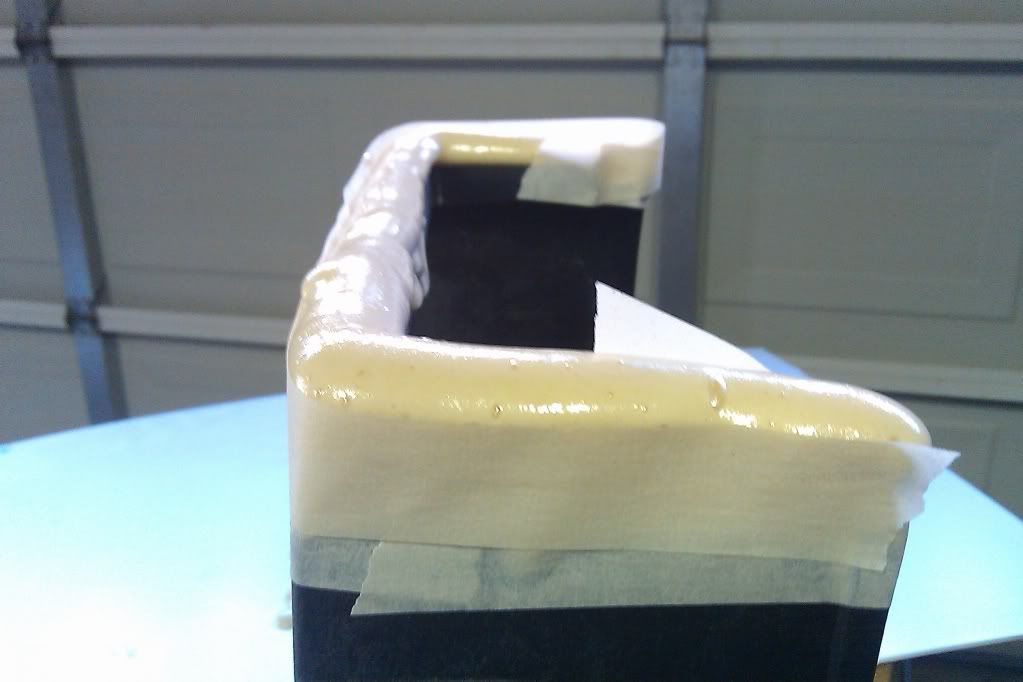
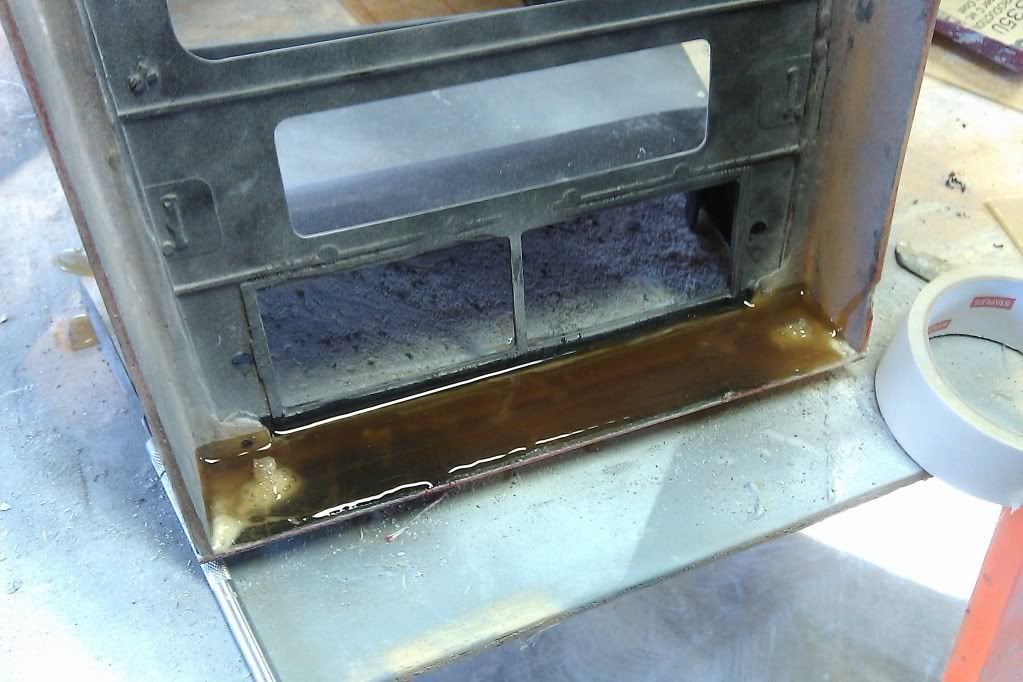
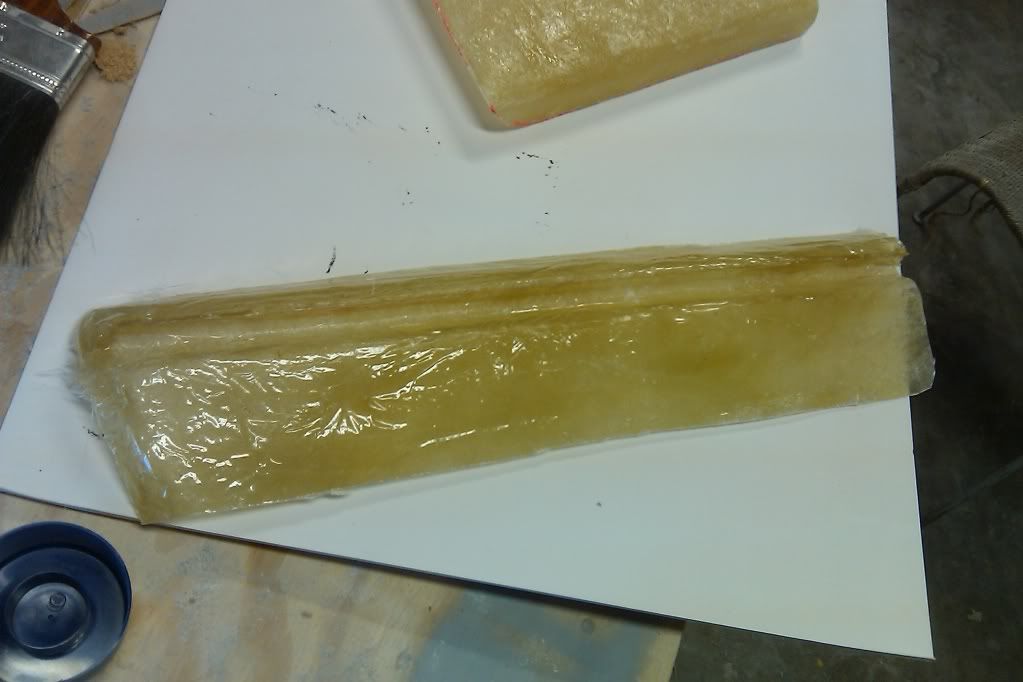
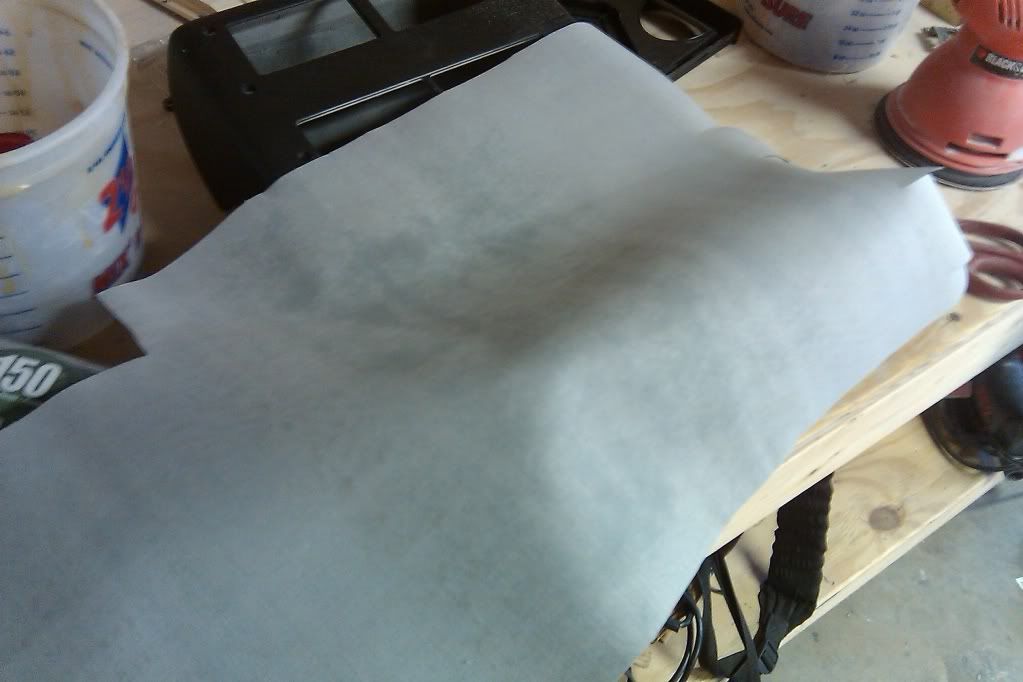
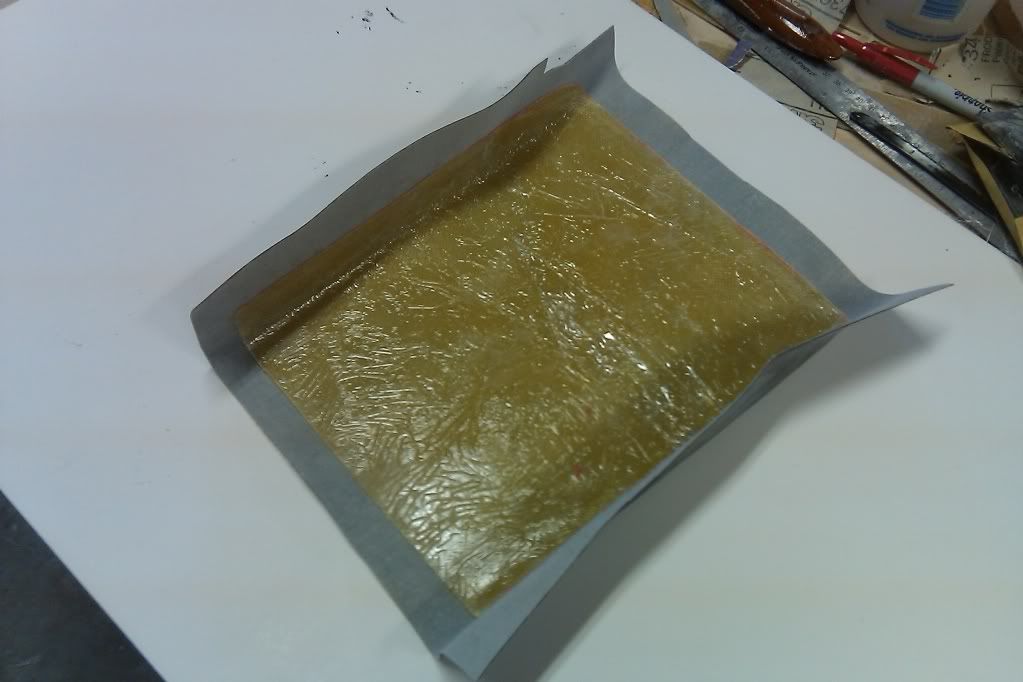
Using a piece of fiberglass I precut and sanded down... I masked off the edges with tape
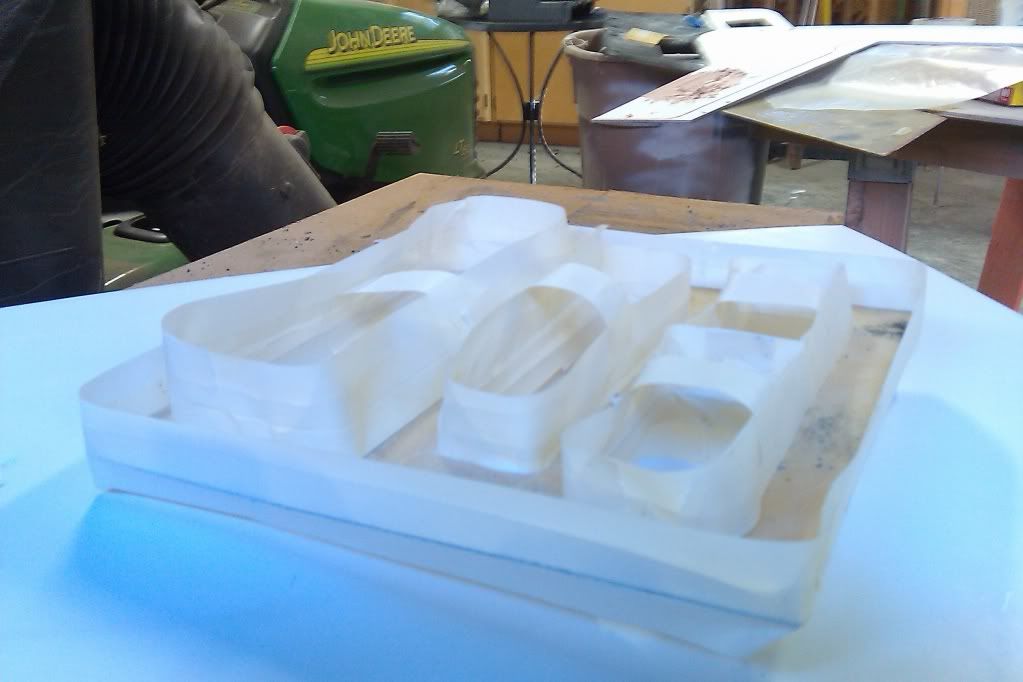
I then poured the foaming agent
Then sat back and watched the magic...
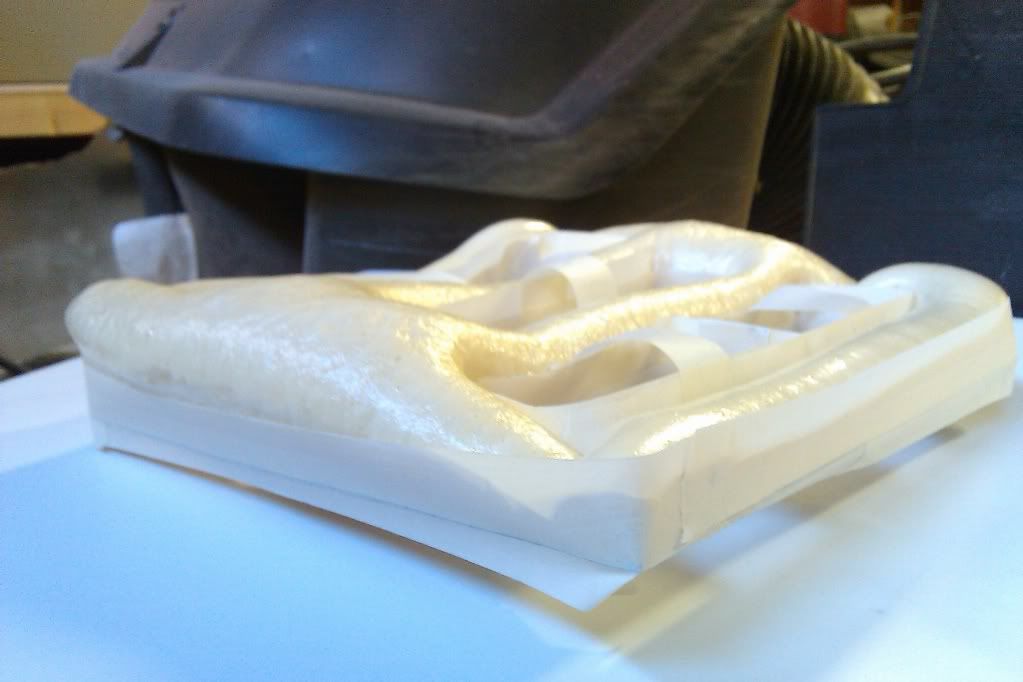
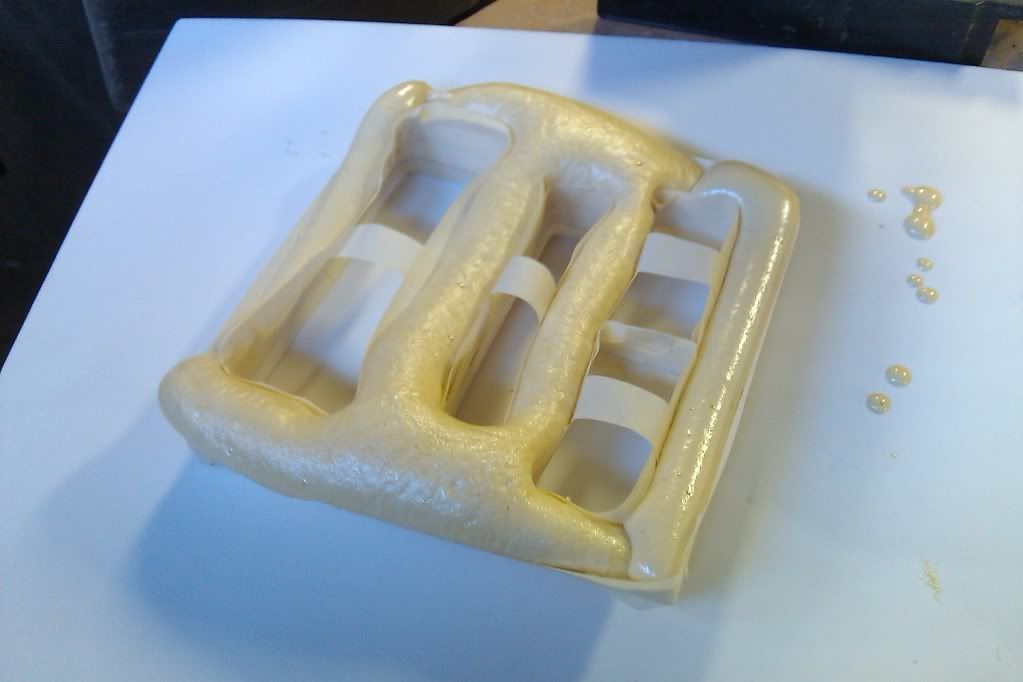
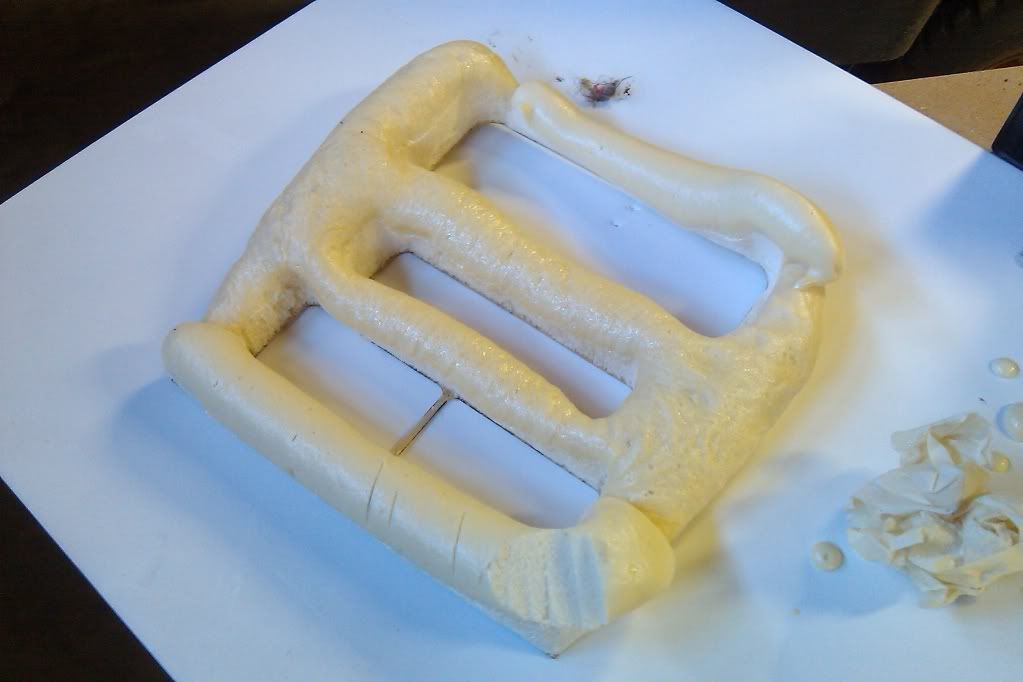
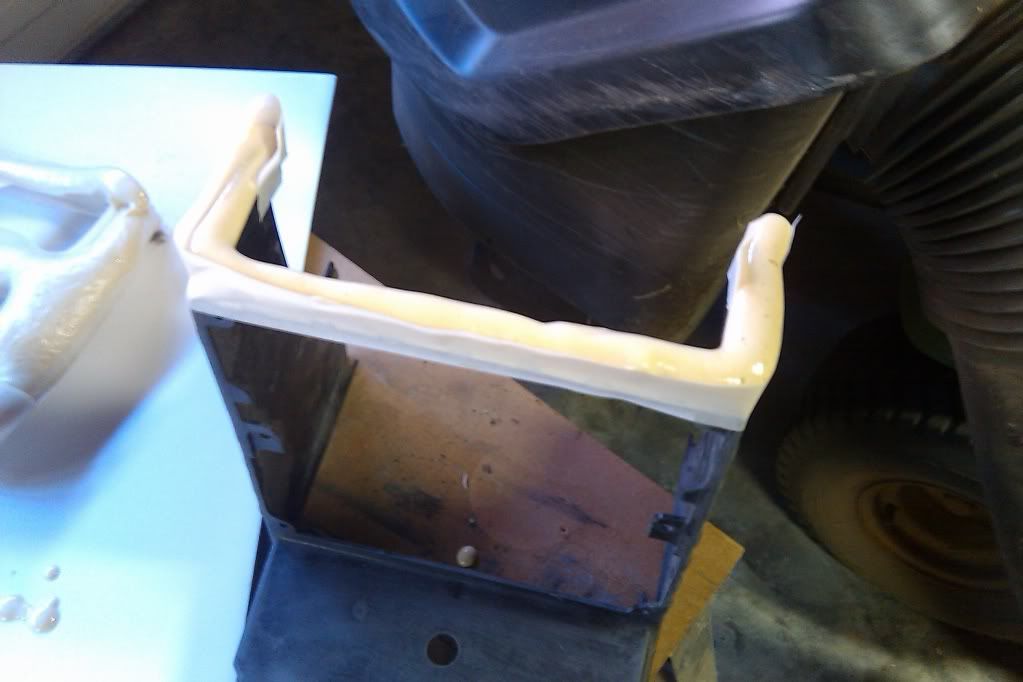
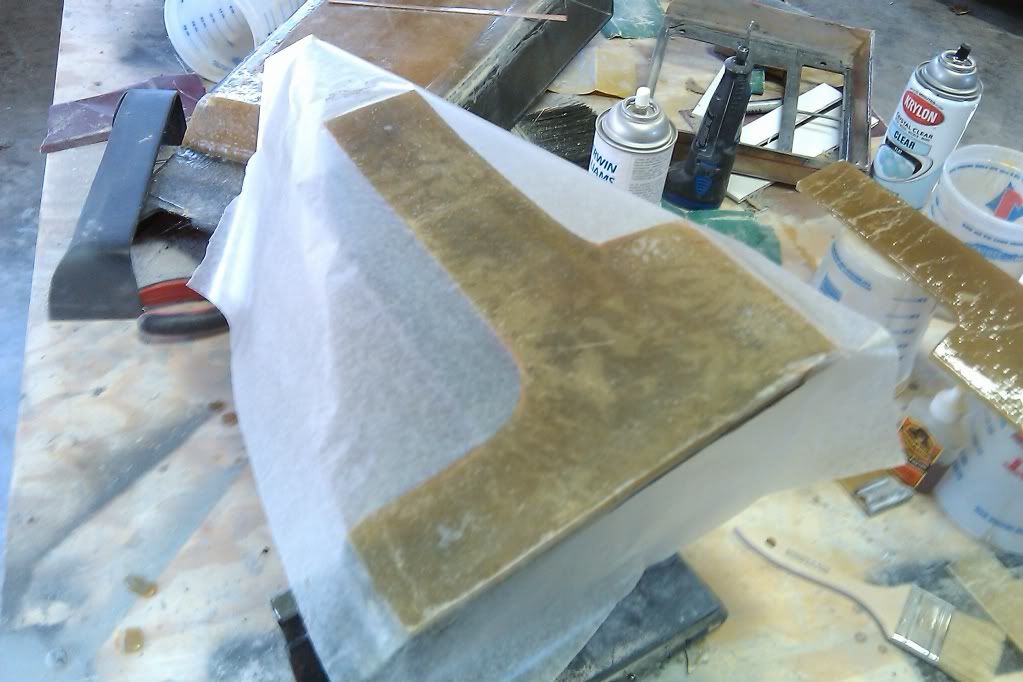
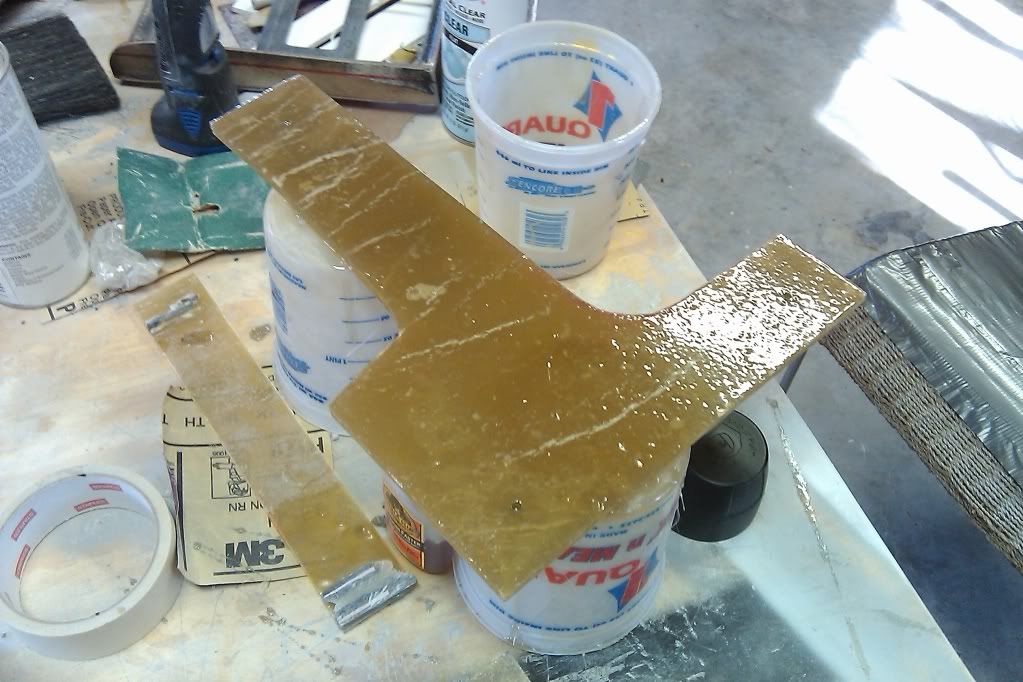
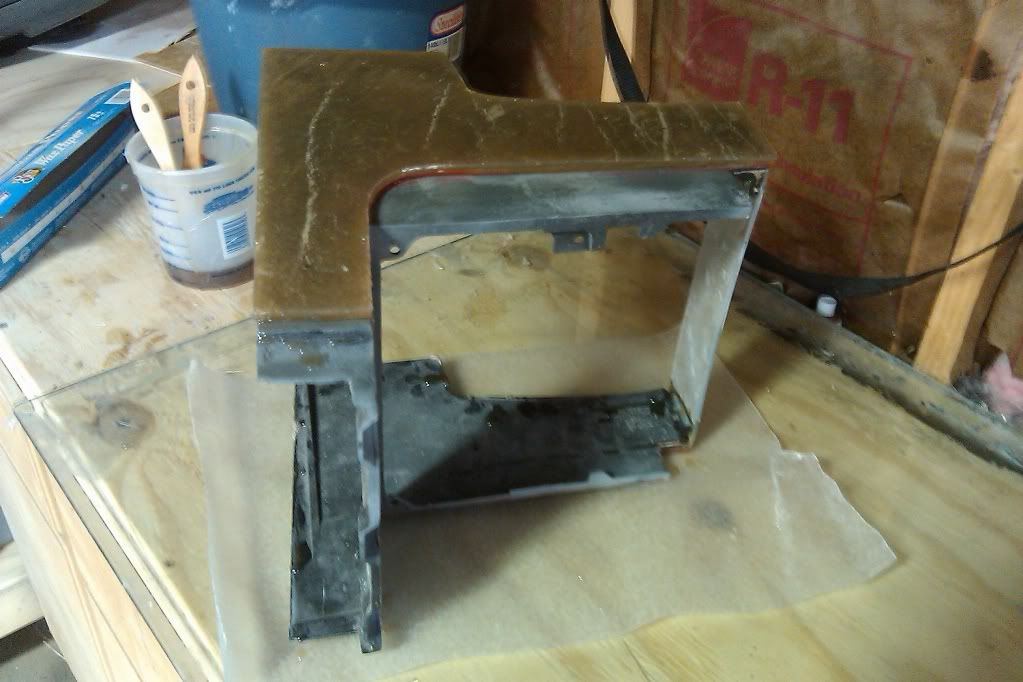
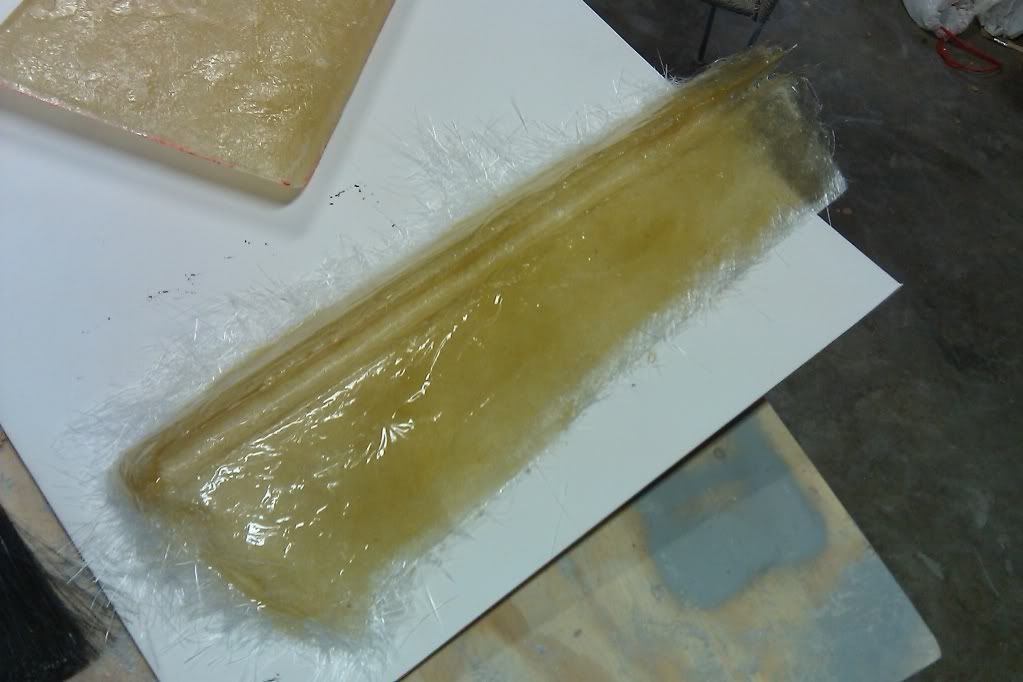
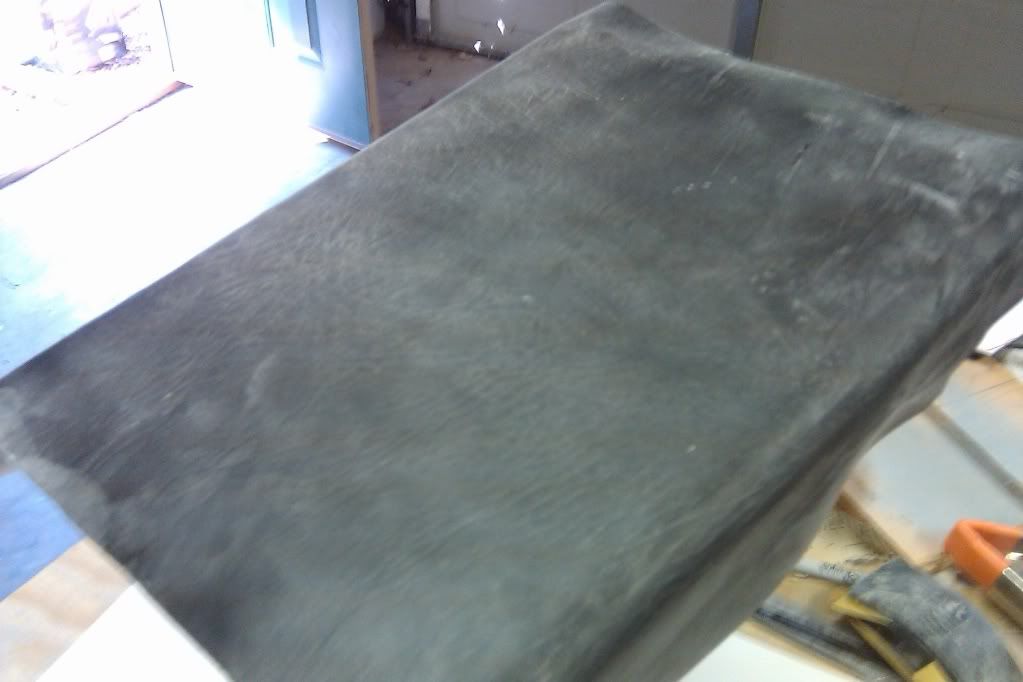
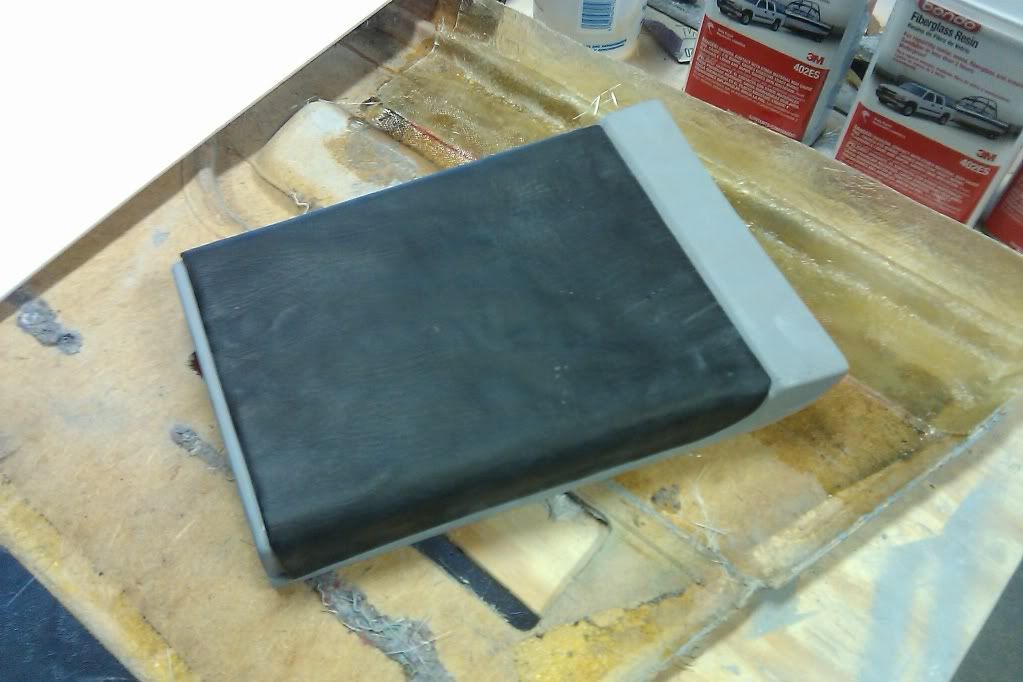
I did the same thing to the console skeleton(?)
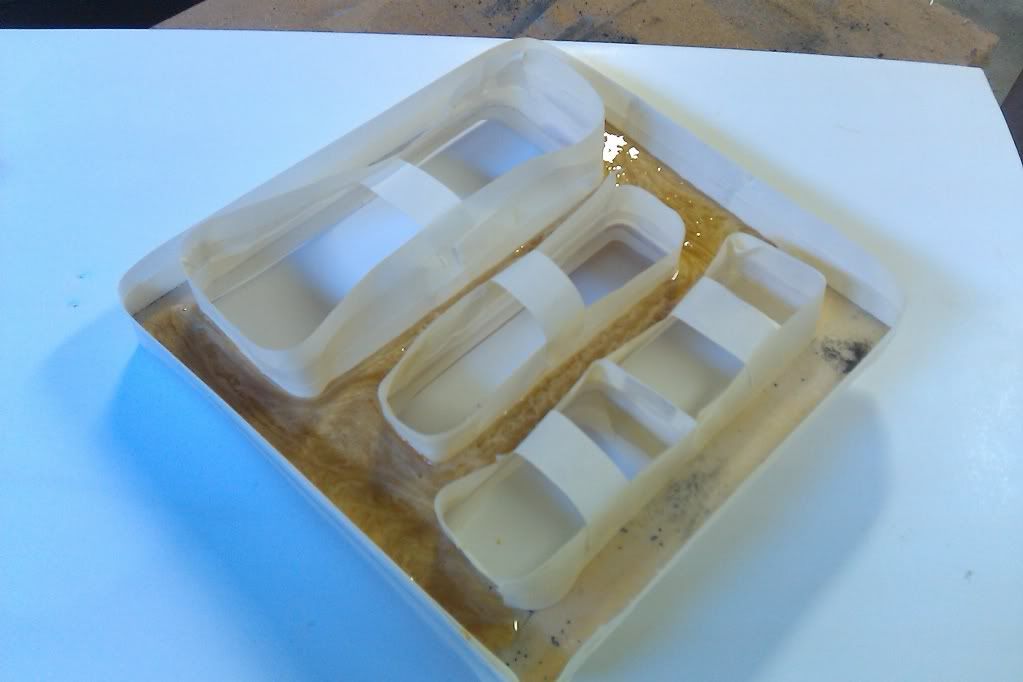
I then started forming the foam with a little saw and sandpaper - this was only a practice run. The foam is very easy to cut and sand. The best part (what Nolan told me) you can fiberglass over the foam and the resin will not eat away at the foam
Thanks again to Nolan for his generosity!
OK NOW!!!!! Where is a good place to get carpet pieces similar to the ones used on the stock door panels?
[This message has been edited by Sofa King (edited 11-15-2010).]
I stopped by the Fiero Factory last week to pick a few items and discuss a few things with Jeremy when I met a fellow Fiero Guy. We started chatting and had a great time waiting for Jeremy to come back to the shop. He had just returned from overseas and drove 6 hours to have his GT worked on - FANTASTIC looking car!
When all was said and done, I had to head out. But I never got his name...
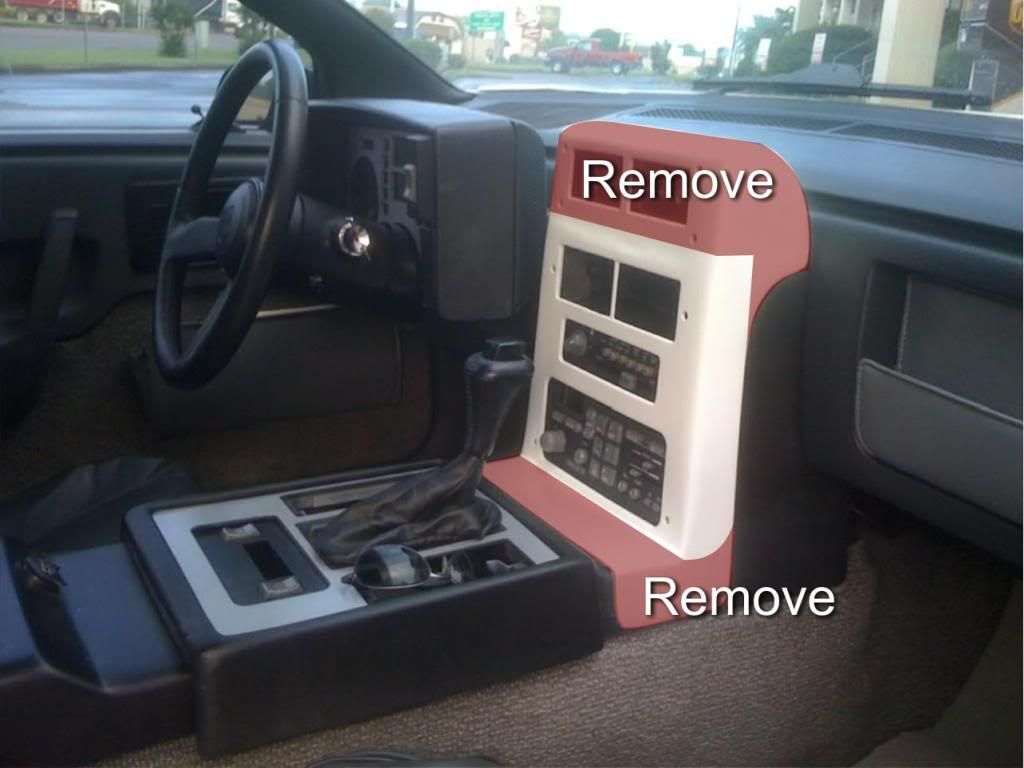
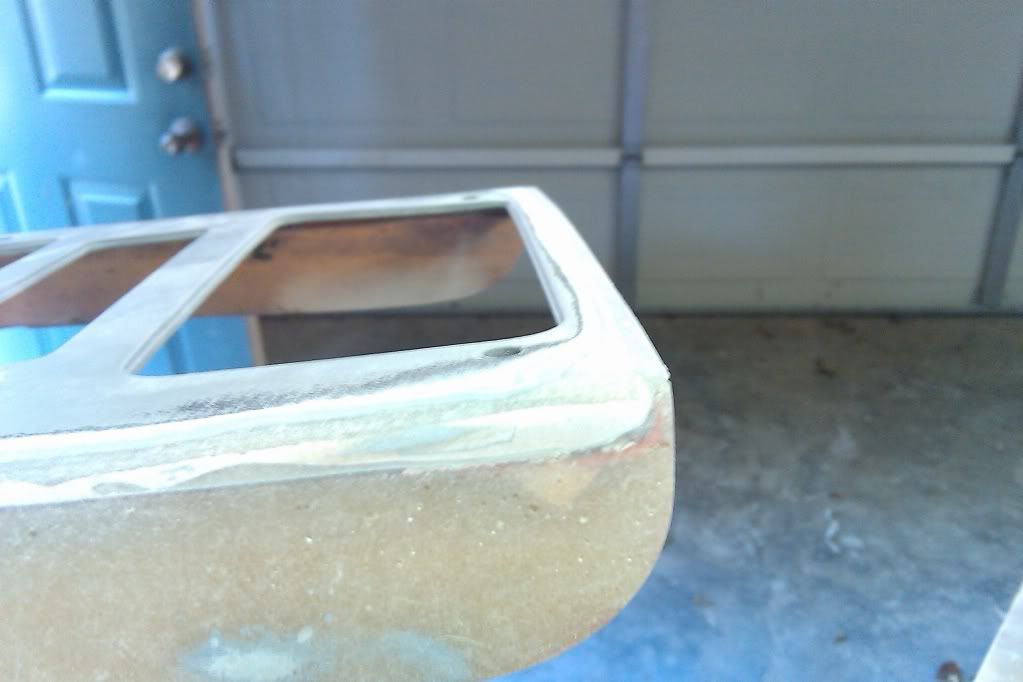
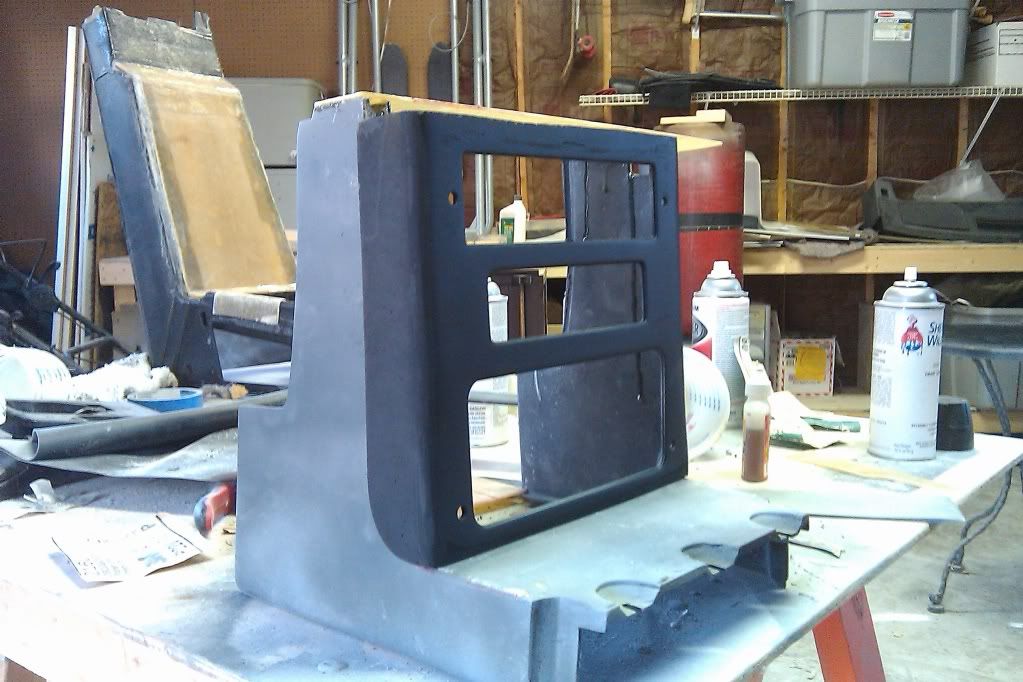
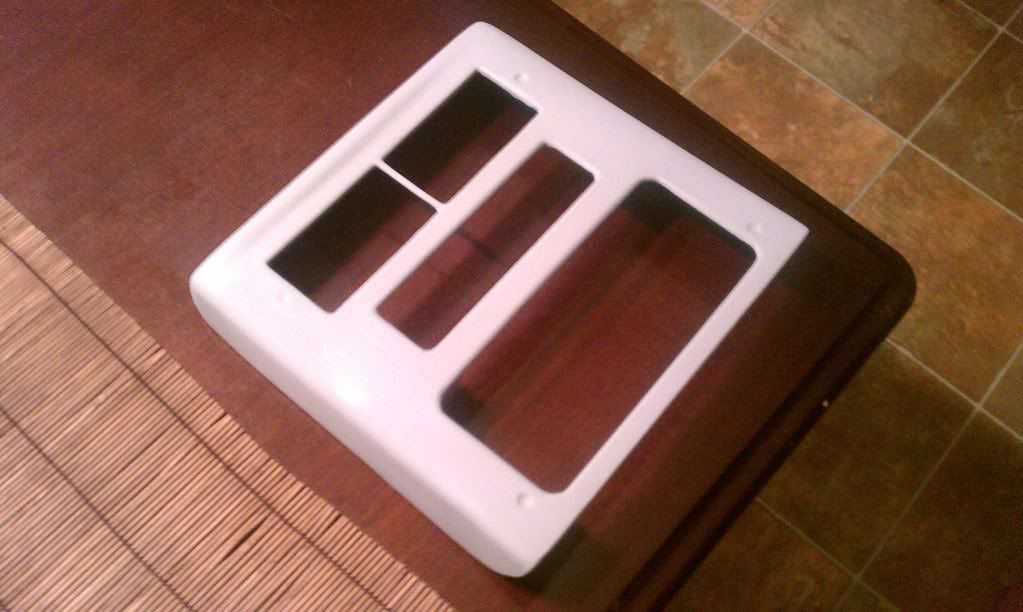
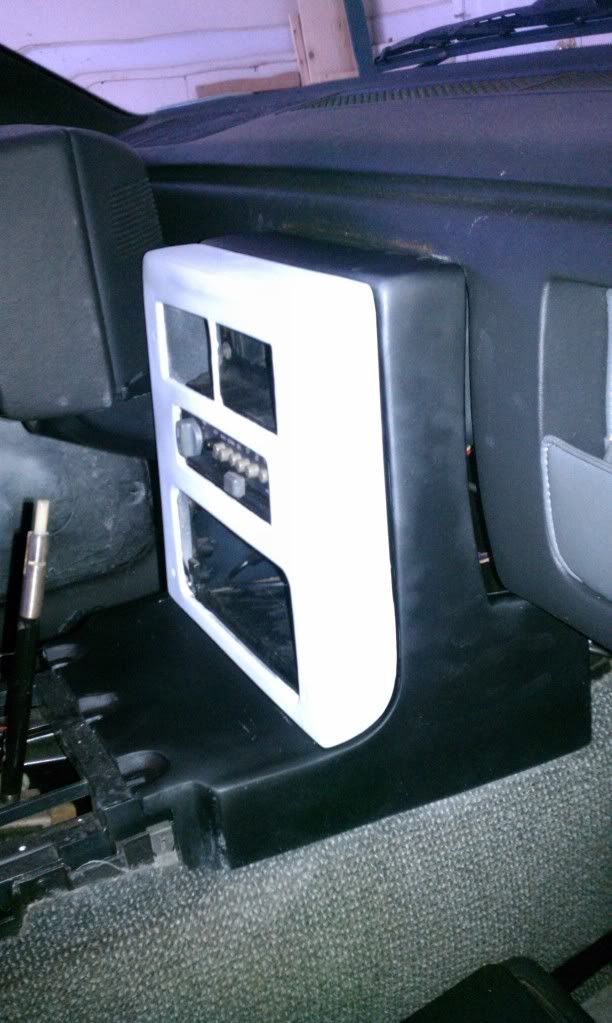
I started work on the radio cover. I used the exisiting radio cover I created. Since I'm working on installing a new gauge cluster that has both volts and oil pressure, I no longer need the aux stack.
Rounding out the edges
After
Looking good so far
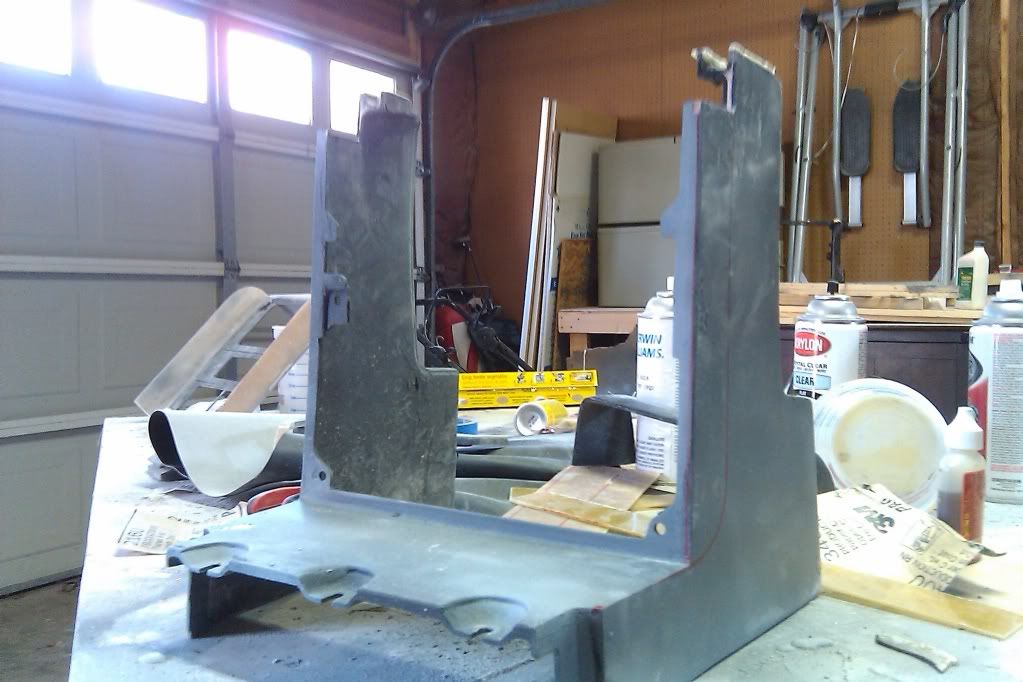
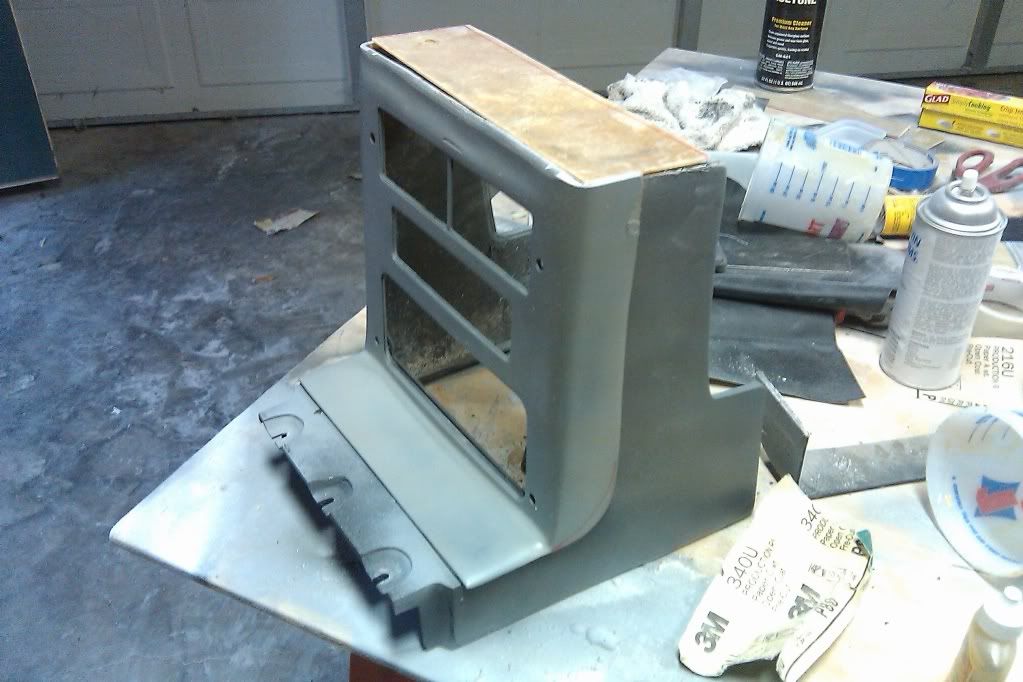
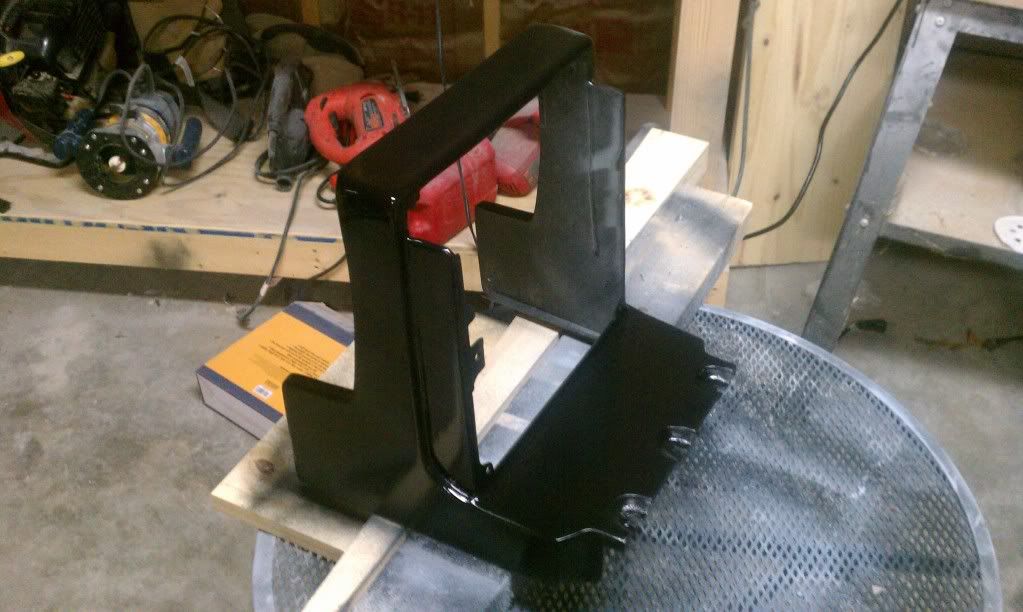
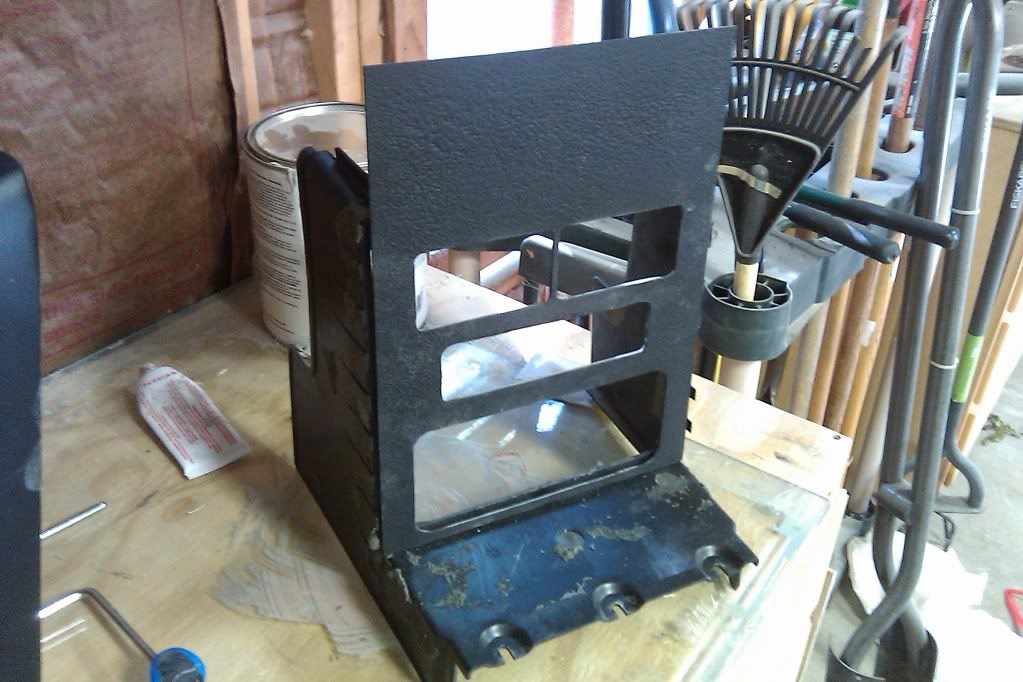
Starting work on the frame
OK... hmmm... how is this going to work?
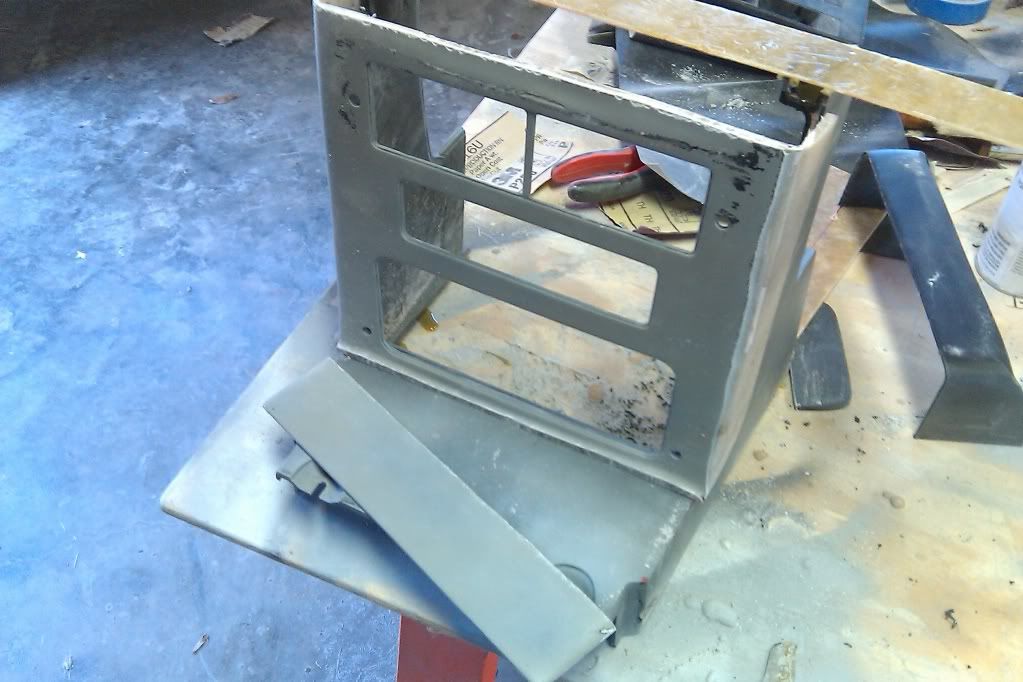
Removed the lower part of the radio cover
Rounding out some edges and getting a feel for what to do
Much better
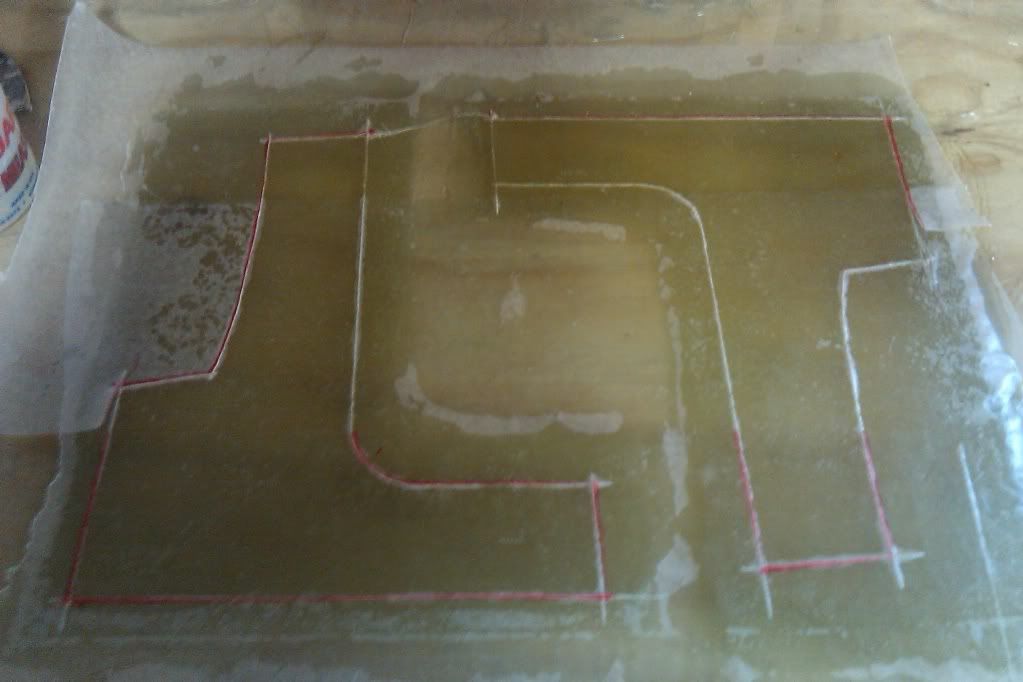
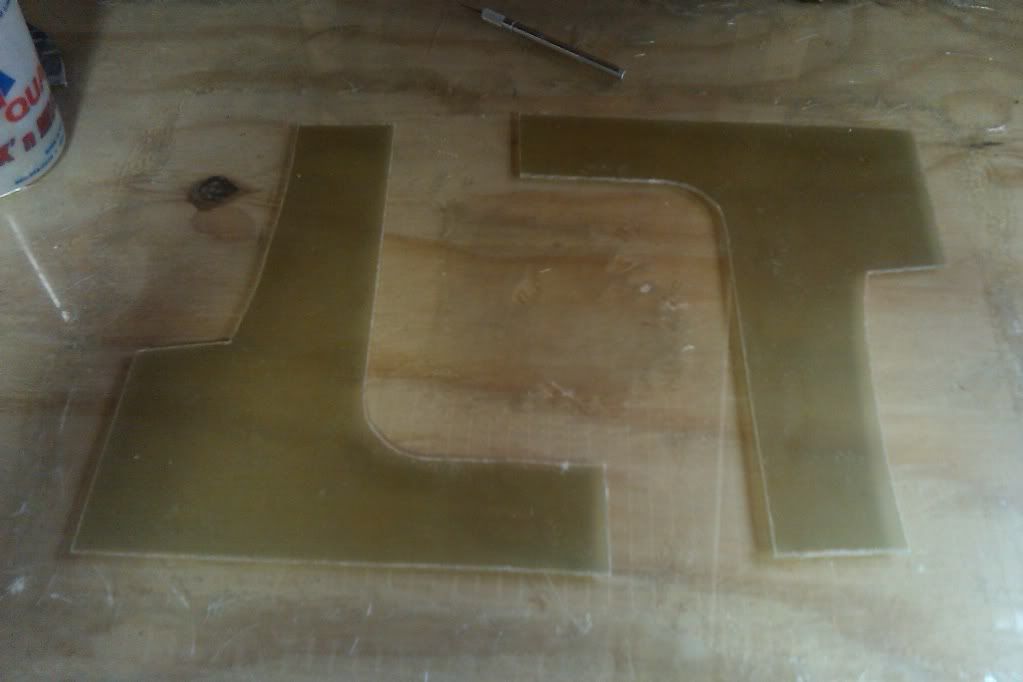
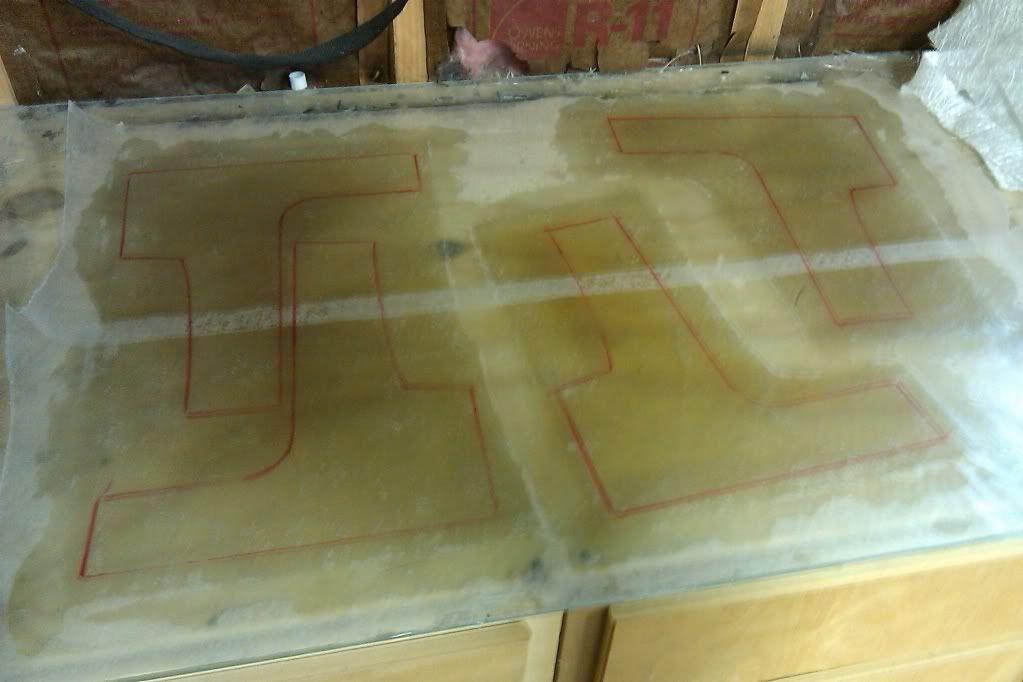
Creating new sides of the frame
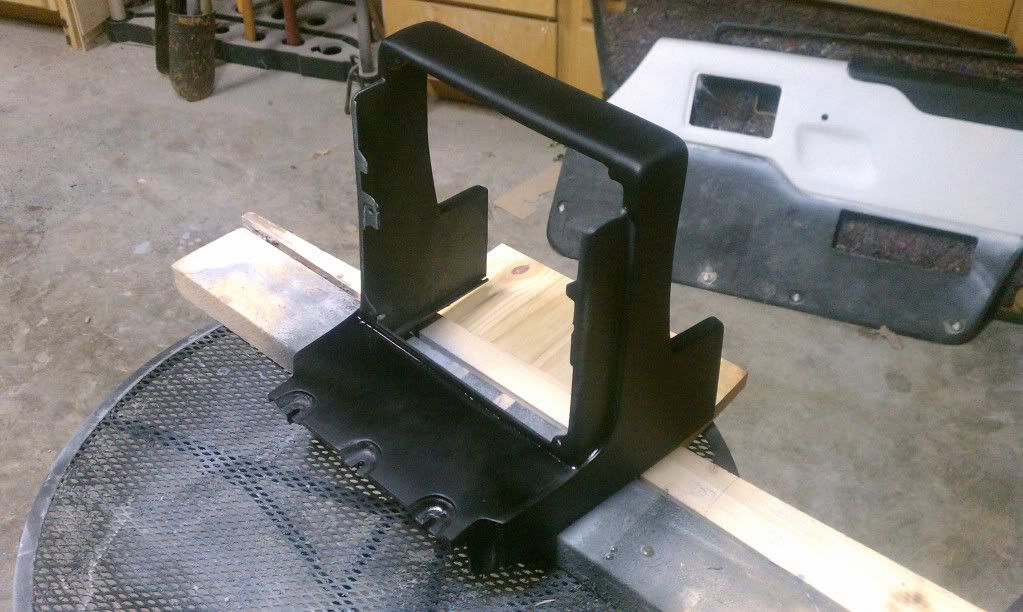
Once the sides were cut I bolted them together and sanded them down to ensure they were all the same
I had to back fill the radio cover with resin - this filled in any cracks
Covering the sides of the skeleton - I created 6 panels total - 3 on each side
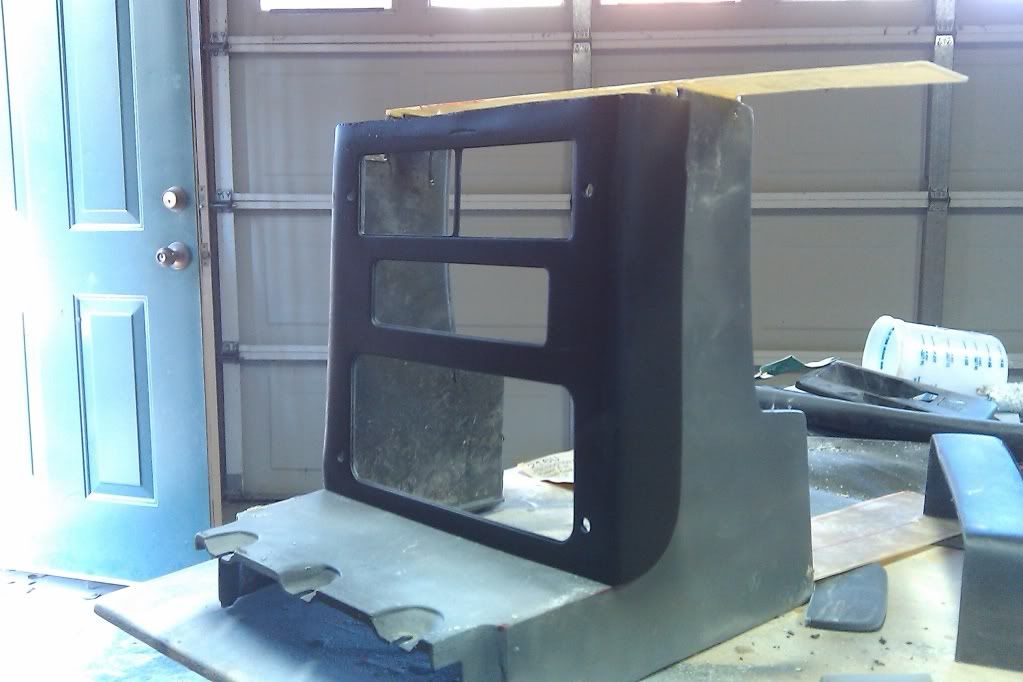
All dried and looking somewhat closer to a final product - it needs a little paint
Did you say paint? TaDa - Still lots of work to do. Gotta fill in all the holes and do a lot of sanding. I like the dull black, but I'm thinking about a high gloss finish on just this piece. What do you guys think?
Door panels are 95% finished. I just need carpet or vinyl cover and a final coat of paint / clear coat and they're ready for the their debut!
Getting closer and closer
I still have a bit of work to do on the radio cover. I need to build up the top of the cover and even out / roll the edges. I decided against adding the little lip that goes over the vents. Comparitively speaking - the radio cover is bigger than the stock 89 concept cover. The lip is just too bulky looking. I can always add it later, but I'm very happy with the progress made so far.
More to come!
[This message has been edited by Sofa King (edited 11-22-2010).]
Well... I didn't get as far as would have liked. I ran into several little problems that just refused to go away - sanding, priming, holes, glass & pladtic cracking, etc... But the good news... the door panels are finished and ready for final coat of paint, clear coat, carpet & vinyl! There was more sanding than anything else over the last 4 days. Very frustrating...
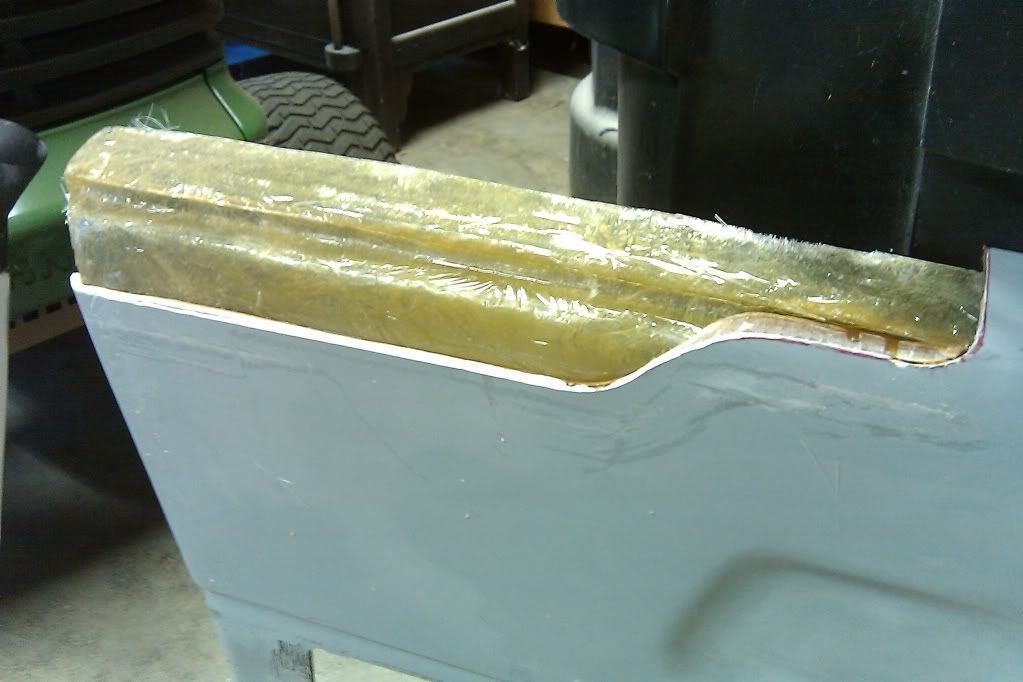
I had to add more resin to the tops to add height
When the resin cured I removed the tape and began sanding. As you can see, the resin formed a natural lip - I liked it so much I decided to leave it
There was also a lot of work to do on the frame - holes and gaps to fill, sanding, etc
I also decided to roll the openings on the radio bezel - this is closer to the 89 Concept
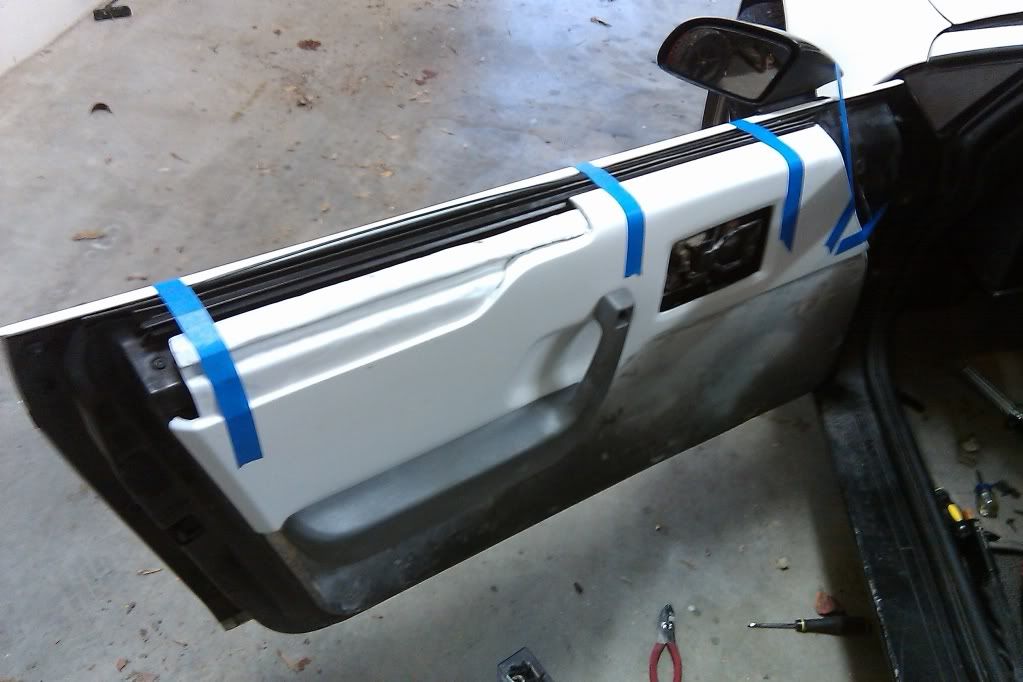
Well... I thought this was going to be the weekend both door panels get installed and fitted before final paint. WOW... was I wrong... Check out these pics! It was VERY frustrating!
This is where I was with the drivers side door panel - ALL ready for install
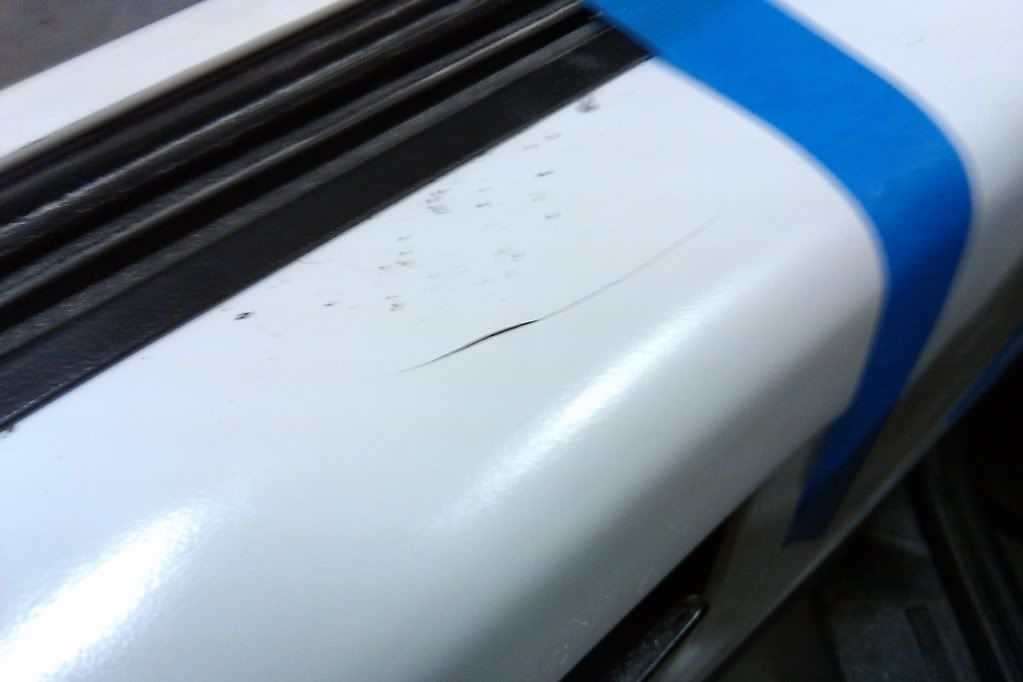
Before painting I decided to to test fit the panel - just in case... but what could possibly go wrong after the successful test of the passenger side panel? UGH - check out the gap and how warped the panel became
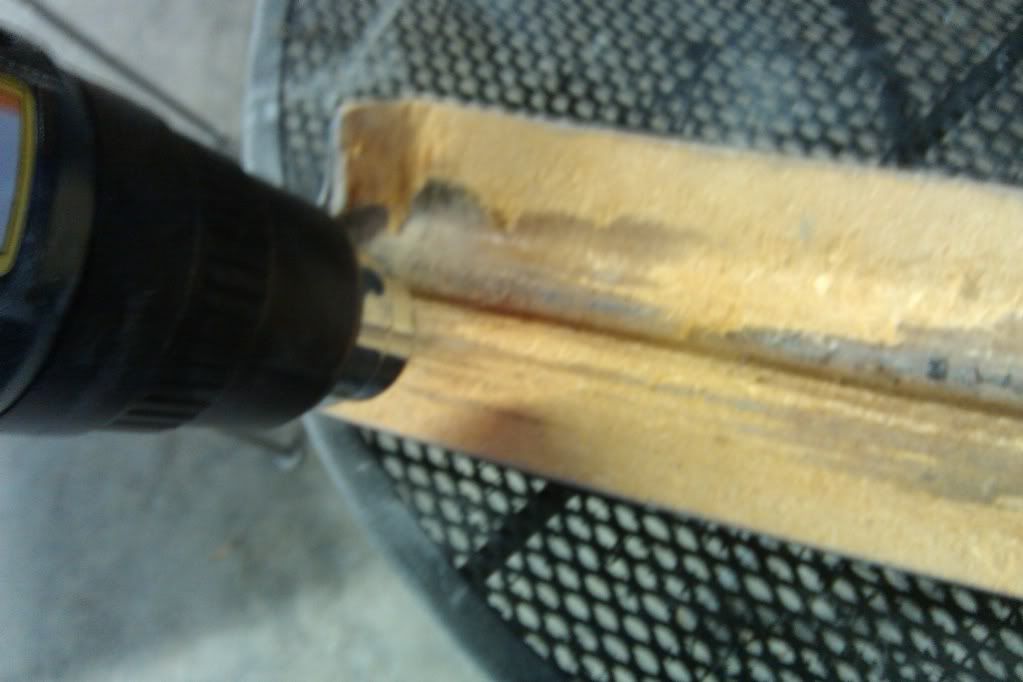
It was so badly warped I could barely push the piece into position... so... what to do? AH HA!
I sat with the heat gun for about 30 minutes and heated the areas in question. With the door panel turned upside down I applied my body weight to the bottom of the door panel slowly bending the heated fiberglass into place. There was some cracking. This process took about 2 hours. Once the fiberglass had become heated enough to bend, I reinstalled it to the door and taped into position. I hoped that when the fiberglass cooled it would retain its new shape. Cooldown took about an hour or so Some cracking did appear
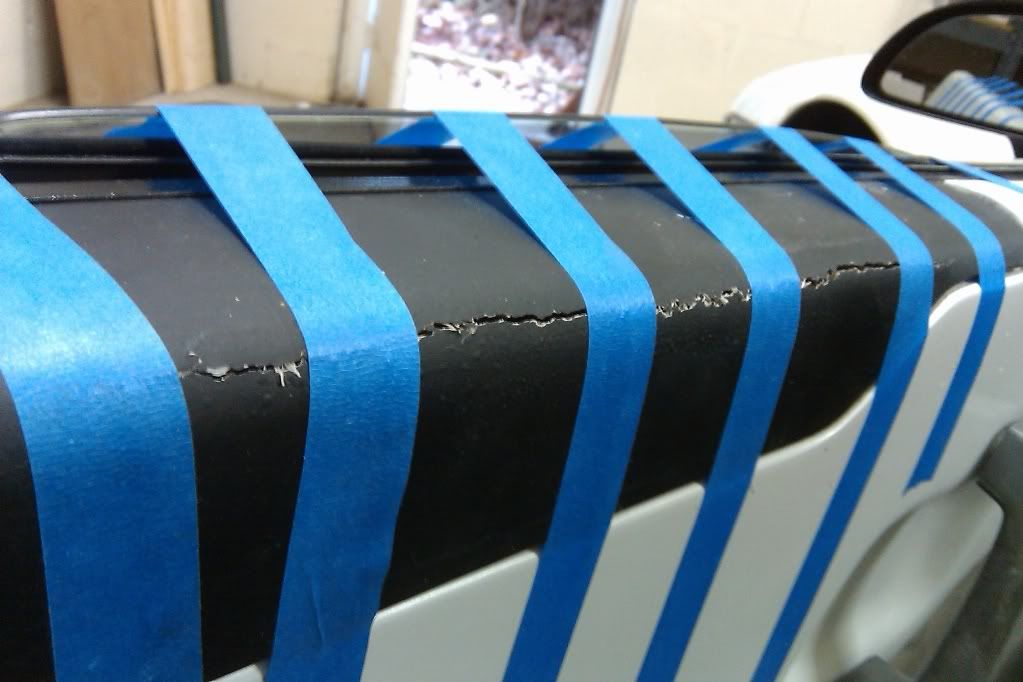
And then onto the other piece - the same process took place - but this piece cracked BIG TIME
When all was said and done the door panel is now about 90% fitted. I have to heat it one more time and do some more sanding to get a perfect fit I added resin to the cracked area. I guess this means more sanding and fitting? OH JOY!
What a nightmare
[This message has been edited by Sofa King (edited 12-10-2010).]
That can really get your shorts in a knot. Don't let it get you down though, the panels will be great once you get them finished. I had things like that happen in my build, the only thing I could do was look at it as a learning opportunity.
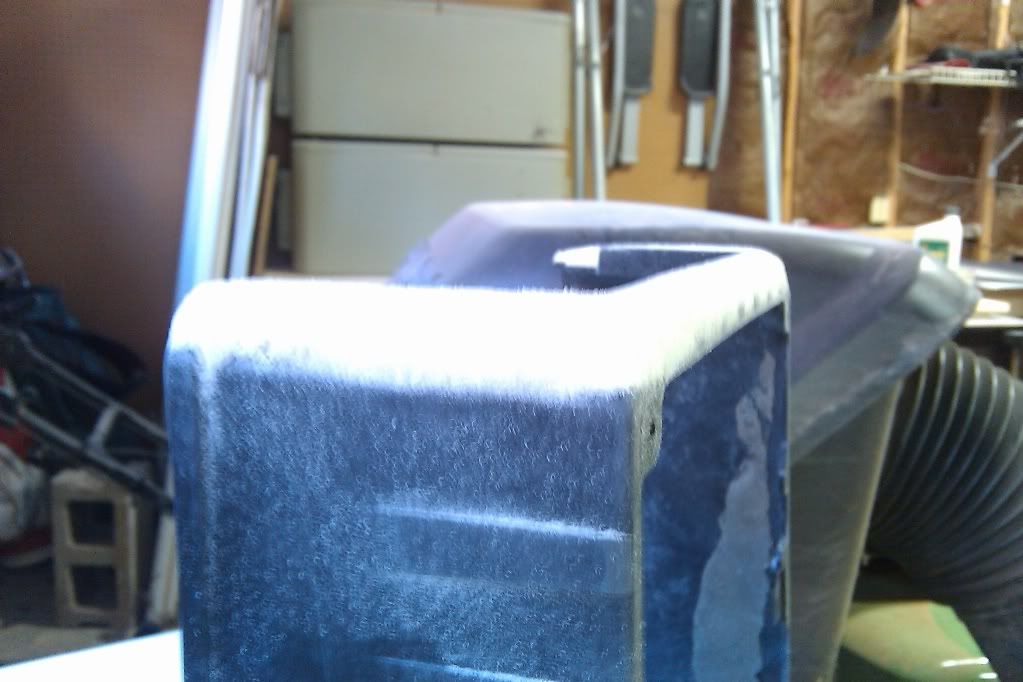
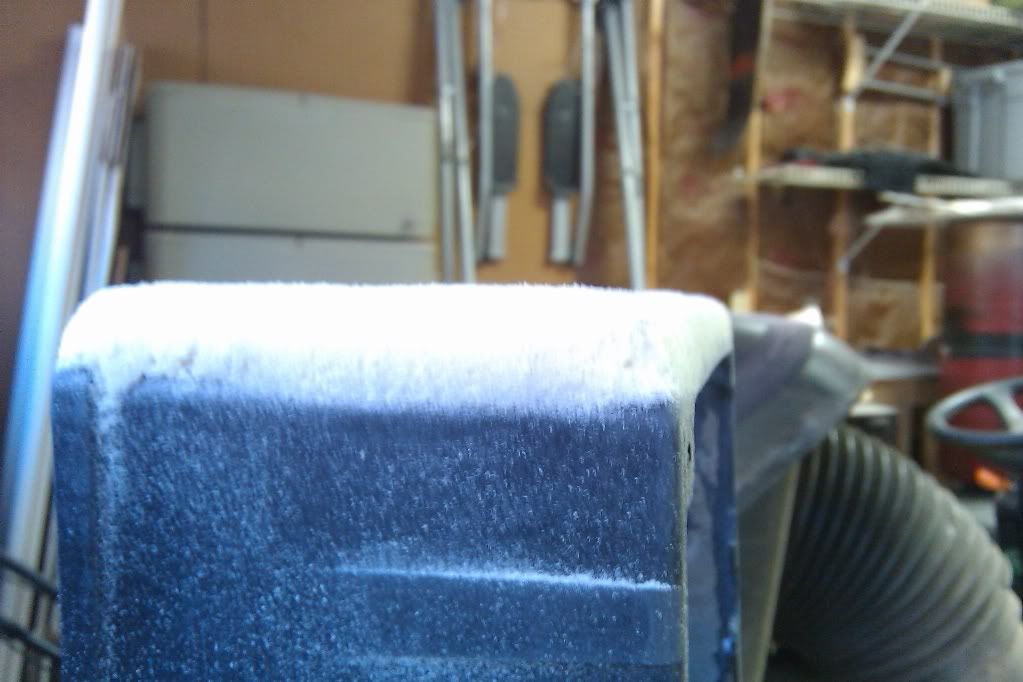
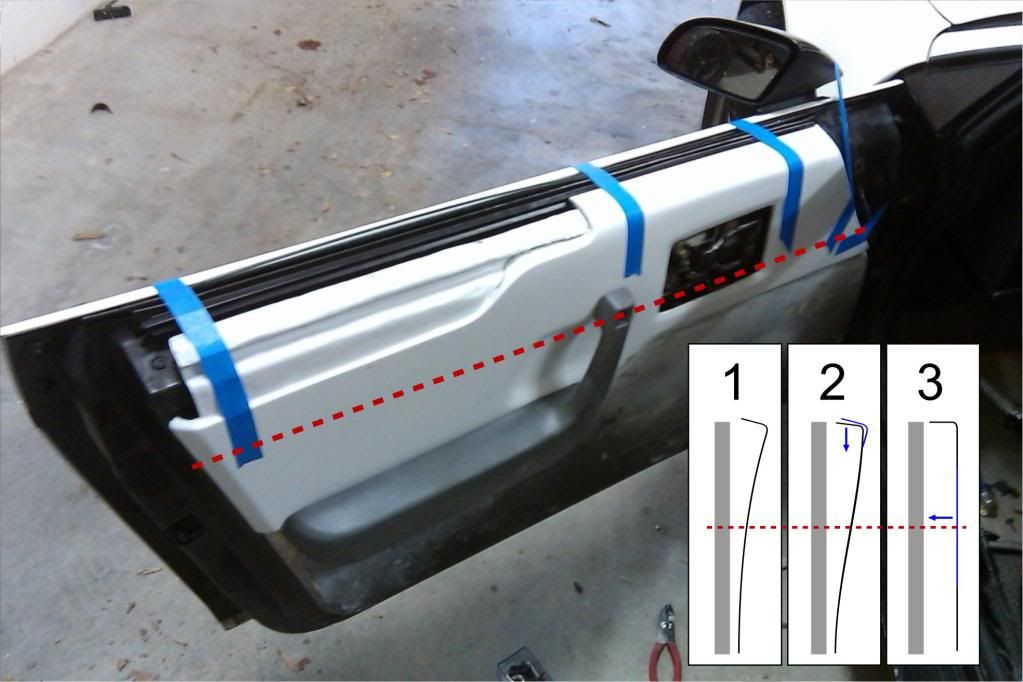
The pain was great... I found another "self inflicted" warping problem. It wasn't just the top that warped. The entire panel warped. The worst area is right where the top of the grab handle bolts to the door itself.
From this basic diagram you can see how the panel warped
1) Shows how badly the panel warped - the red line represents where the top of the grab handle bolts to the door.
2) Shows how I had to push the top part down - as you can see, when I heated the fiberglass and manipulated the glass to fit into place, I created a bowing effect at the red line where the grab handle is mounted.
3) Shows the area (in blue) where I have to heat the panel and try to manipulate back into its original position.
UGH... It's not getting me down. Just a few steps back... I'll catch up. Mostly...
The good news, the new 89 Concept radio bezel is coming along and almost ready for its debute
the problem you are having is caused by fiberglass resin shrinkage to avoid this bowm the pannel in the oposit direction when appling the fiber glass then as it shrinks it will straighten it self out to level ps dont use resin by its self to do repaires as it will srink even faster causing mor problems and with pin holes in the surface use gell coat to repair these areas as filler will not always penitrate the pin holes as gell coat does
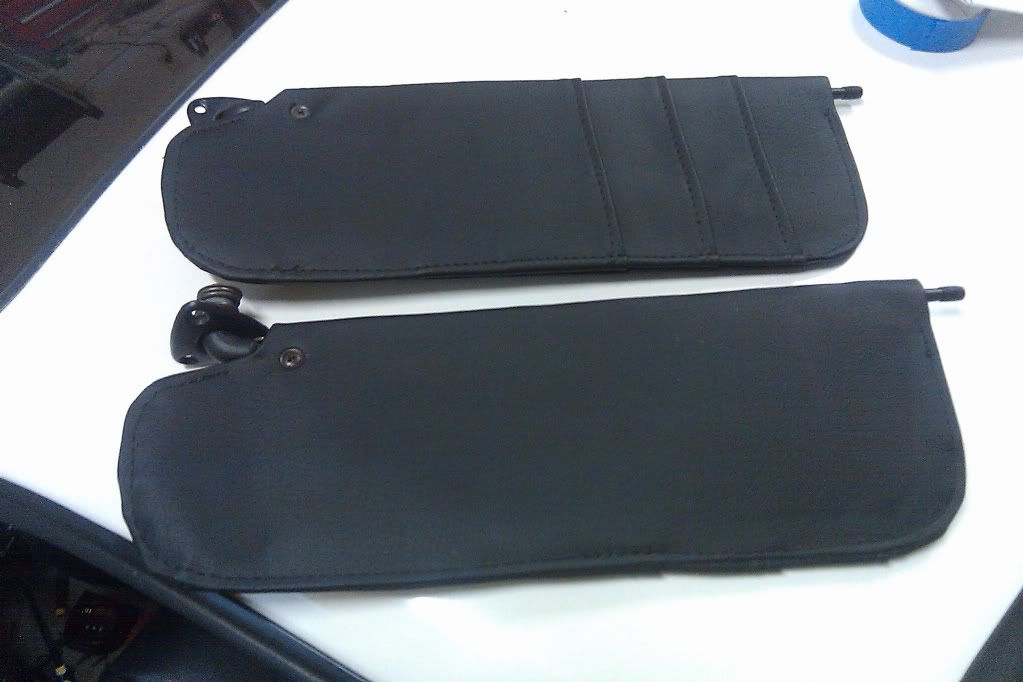
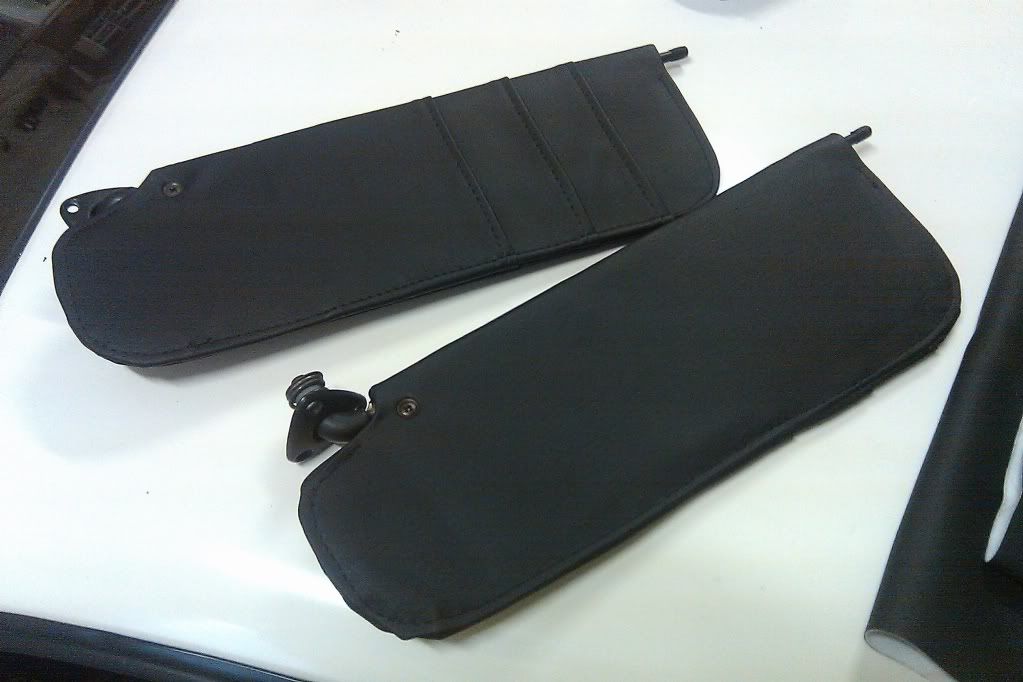
I completely forgot to post these pics of the newly upholstered sunvisors! I had 3 pockets stitched on each - you know me... you can have never enough places to store stuff! I think they turned out real sharp. The same shop will also upholster the door pulls.
The pain was great... I found another "self inflicted" warping problem. It wasn't just the top that warped. The entire panel warped. The worst area is right where the top of the grab handle bolts to the door itself.
From this basic diagram you can see how the panel warped
The good news, the new 89 Concept radio bezel is coming along and almost ready for its debute
I think the Brits have a sign for this type of situation...
Keep at it! Very excited seeing everything come together. Very nice sun visors BTW.
Just checking in. Had to catch up on your project. Bummer on the door panel warpage but the Console is looking real good. I think when I go to do my door panels, I'll do what Bubba suggested - take it a step further and build an "inner" form that bows the door panel the opposite direction - trick will be figuring out how much to bow it in? I remember when I built the center console piece for my V8 Coupe. The sides pulled in quite a bit after I removed it from the form. It actually worked out for the better made the piece fit tighter. Did you decide on carpet or vinyl for the door panels? I'm gathering materials for the XTC interior project. Should be starting it in the next month. I can't wait to get back into the glass work - of course I'll be cussing it once I get into it. Keep your chin up - it can all be fixed!
sofa king i've spent the last two evenings reading this entire thread. once you start you just can't stop. you've come up with some amazing designs and more amazing you've been able to bring the designs to life with excellent quailty. you've got tremendous patience and sticking with it powers. after reading your thread i just felt like i had to tell you your a great inspiration to fiero owners who just aren't sure if they should try some ideas on their own cars. as i was finishing the last page i noticed a shot of your radio/ac surround setting on what looked like the back door step. and i noticed that the new sides you put on where it comes down and then curves toward the front and comes out flush with the base in front of the radio. i was looking at it and wondered if you started the curve forward a little higher ( maybe a 1" or 2" ) and bring it on out , you could incorporate the sides into the sides of a coin tray. i've never done this kind of thing but that one picture just hit me with that image. keep up the great work
For those who have their heads and hands deep into their project cars... take a look around... the holidays are upon us. Can you believe it? Where did the year go? I'd like to wish everybody a very Merry Christmas and Happy New Year. I hope everybody spends time with family and friends and take the time to think about what's important. OK... Fiero's are important... but all the other little things. Be safe and Happy Holidays to all. I'll be headed to Vegas in a few days so the project will be on hold until I get back.
I also want to thank everybody for all the kind words and the encouragement. I'm still plugging away. It always seems the closer you get to finishing a certain or step to a project all those tiny details just kill ya and slow up the work. I spent a few hours sanding down the radio cover - it's about 90%. I rolled the edges where the bevels used to be and it's looking really good so far. I still need to add a little bid of filler. I'm also working on a latch system to keep the cover in place - more on that later. The door panel is almost fixed. That was another 2 hours of heating and reshaping with the heat gun. A lot of cracking happened so I'll have to sand and remove material around those areas and then build everything back up with resin, glue and filler. I could finish the passenger panel but Id rather do everything and then install it all at once.
Sorry... no pics. I didn't want to waste server space with the same ol thing.
sofa king i've spent the last two evenings reading this entire thread. once you start you just can't stop. you've come up with some amazing designs and more amazing you've been able to bring the designs to life with excellent quailty. you've got tremendous patience and sticking with it powers. after reading your thread i just felt like i had to tell you your a great inspiration to fiero owners who just aren't sure if they should try some ideas on their own cars. as i was finishing the last page i noticed a shot of your radio/ac surround setting on what looked like the back door step. and i noticed that the new sides you put on where it comes down and then curves toward the front and comes out flush with the base in front of the radio. i was looking at it and wondered if you started the curve forward a little higher ( maybe a 1" or 2" ) and bring it on out , you could incorporate the sides into the sides of a coin tray. i've never done this kind of thing but that one picture just hit me with that image. keep up the great work
Hey Old One,
WOW! Thanks so much. I really don't know what to say but thank you. You've just put a fire under my butt to get this project finished! One thing I have always said... if I can do this stuff (I was SO hesitant about working with fiberglass) ANYBODY can do it. But the key is to have patience and think your project through. But as Katatak will attest to... the project always changes, the design always changes and the ideas are always flowing! The joy of working on a project car. Because in the end - it's all yours!
In regards to the "Coin Tray" area that sits right in front of the radio, I still have not figured out what I'm going to do. I have to design it so the radio cover still comes off without issue. Whatever it is will more than likely be integrated into a new shifter surround but that concept/design is still bouncing around my head.
Again, thank you for the kind words. Hopefully you'll be working on something very soon? Have a wonderful holiday and safe New Year. Keep in touch!
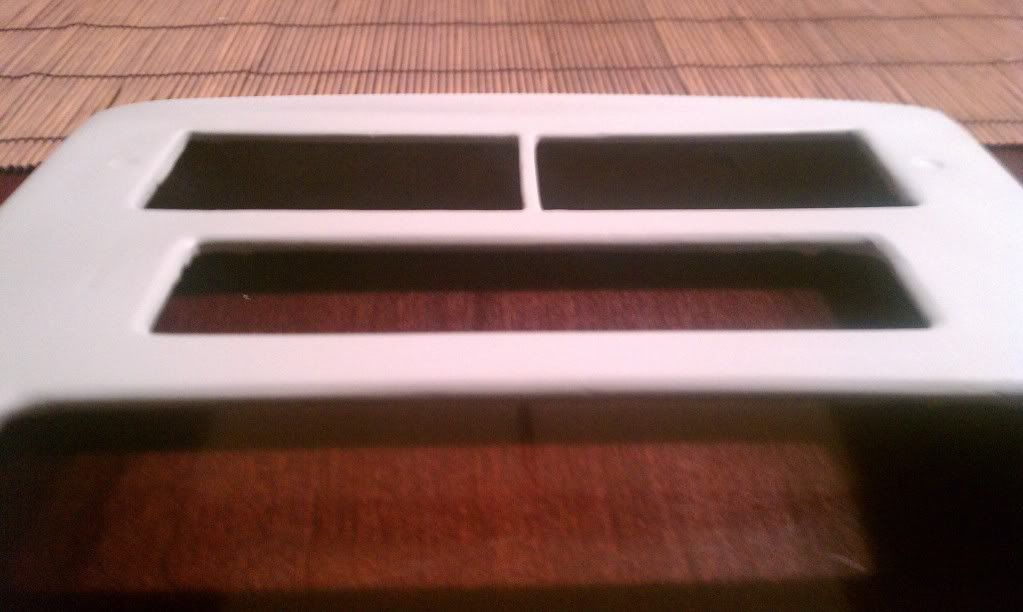
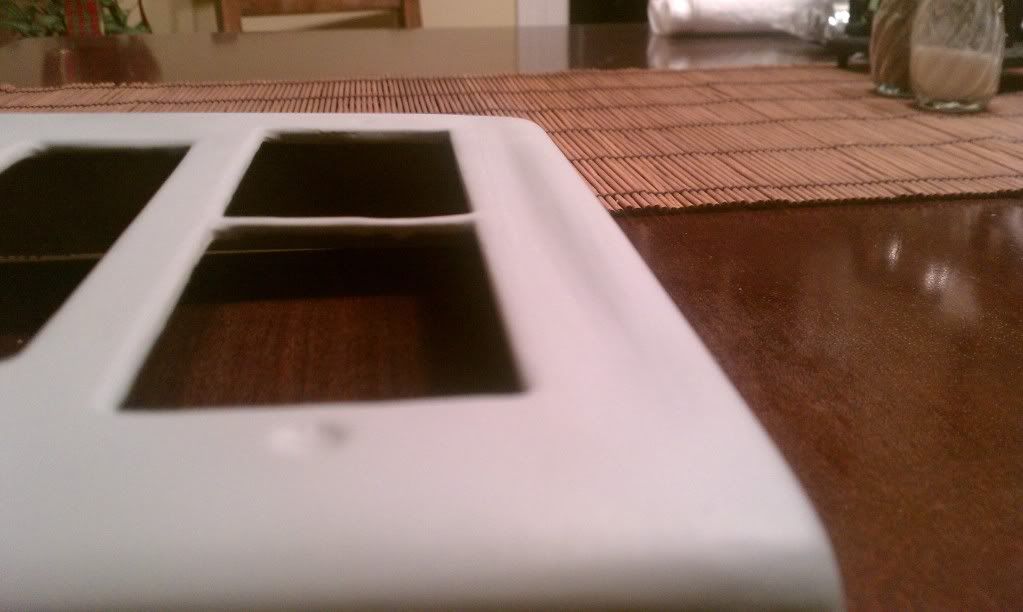
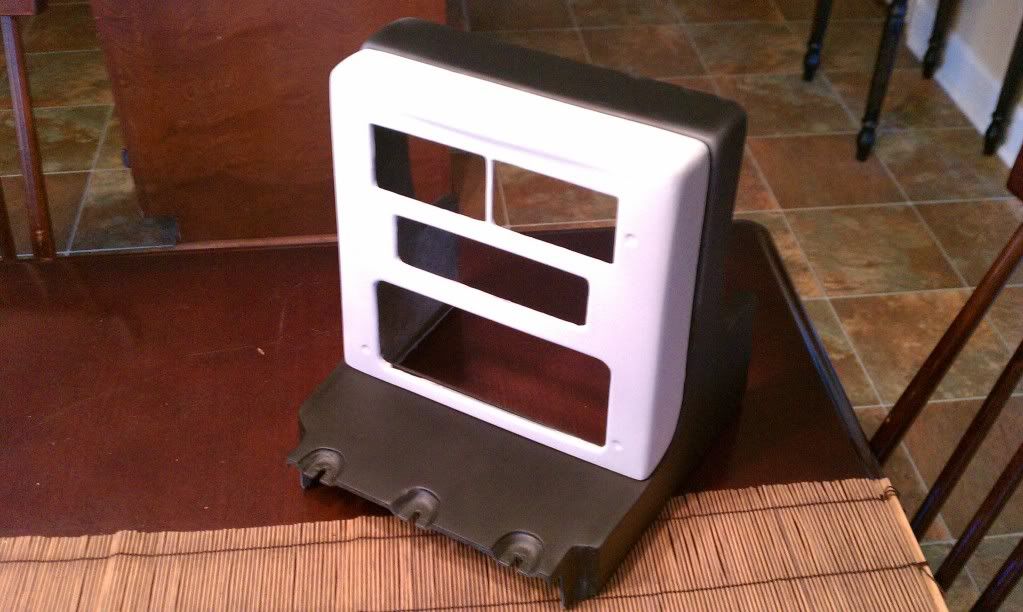
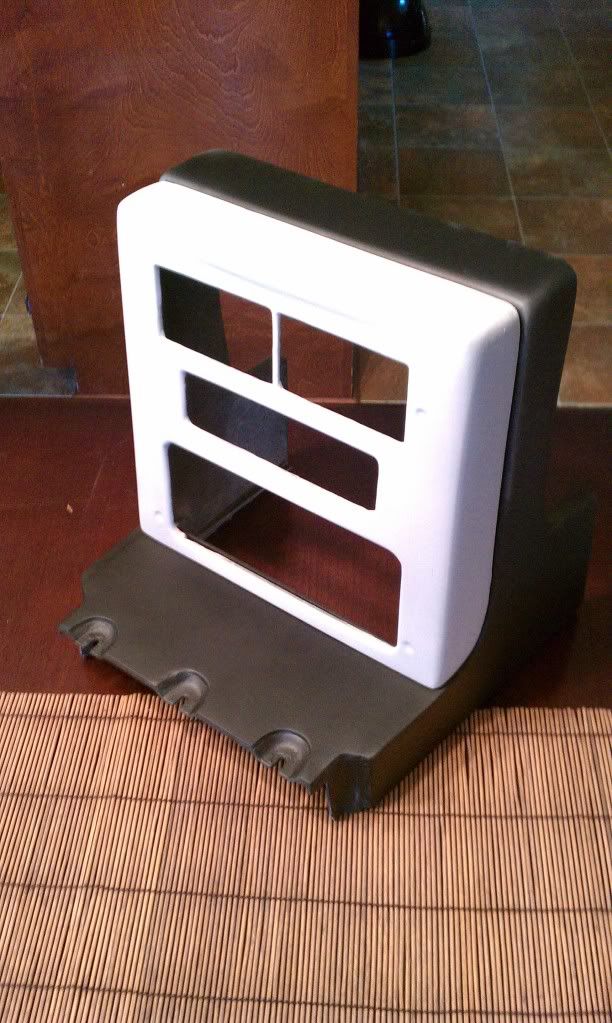
Here are a few updated pics that show the curvature of the openings in the radio cover...
Overview
You can how curved the edges are - still lots of work to do - especially on the back side
In this shot you can see the small lip over the top of the vents
I tossed on a quick layer of flat black just this morning before work
Another
Still a ways to go before I can declare this piece finished. While the bulk of the work in finished, it's the fine sanding and filling (as I always say) that get ya in the end...
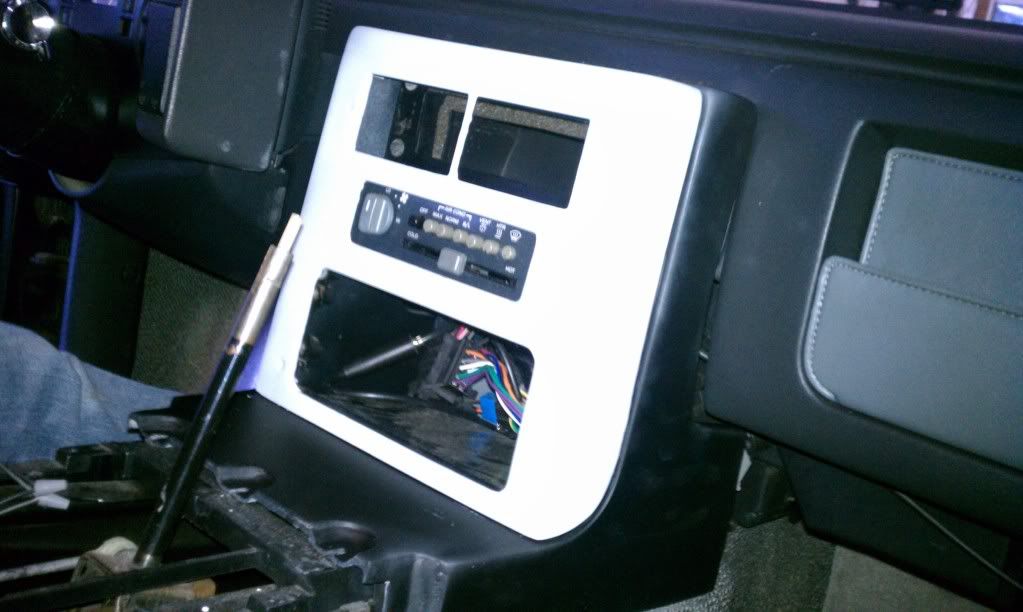
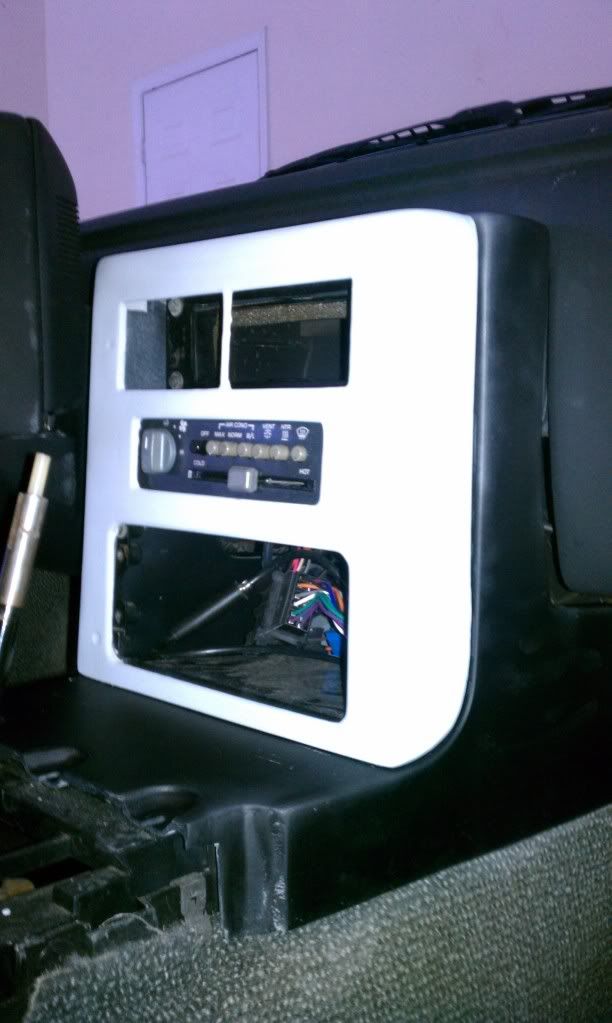
Here are a few updated images of the radio console. I have some tweaking to do on the back part that meets with the dash. Not a huge undertaking. But it's coming along!


 Keep us updated and keep up the good work, its going to look great when its complete!


 Unfortunately, I haven't had an opportunity to work with the foam yet - I want to save it for a BIG surprise!