I just want to take the time to thank everybody for the kind words and great ideas - keep them coming! No update pics but I am hoping to get a mock up of the glovebox this afternoon early evening.
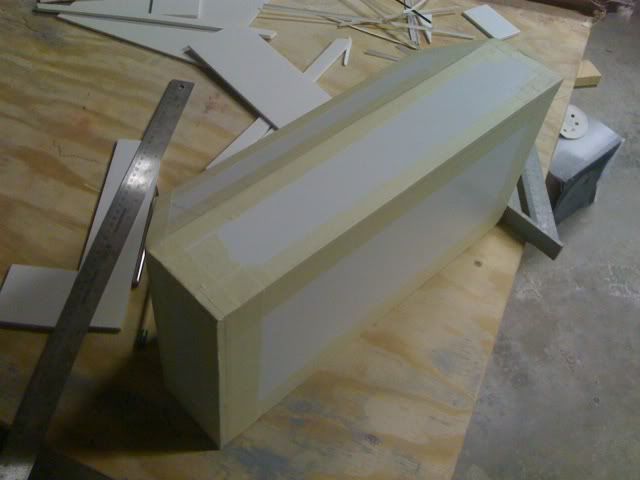
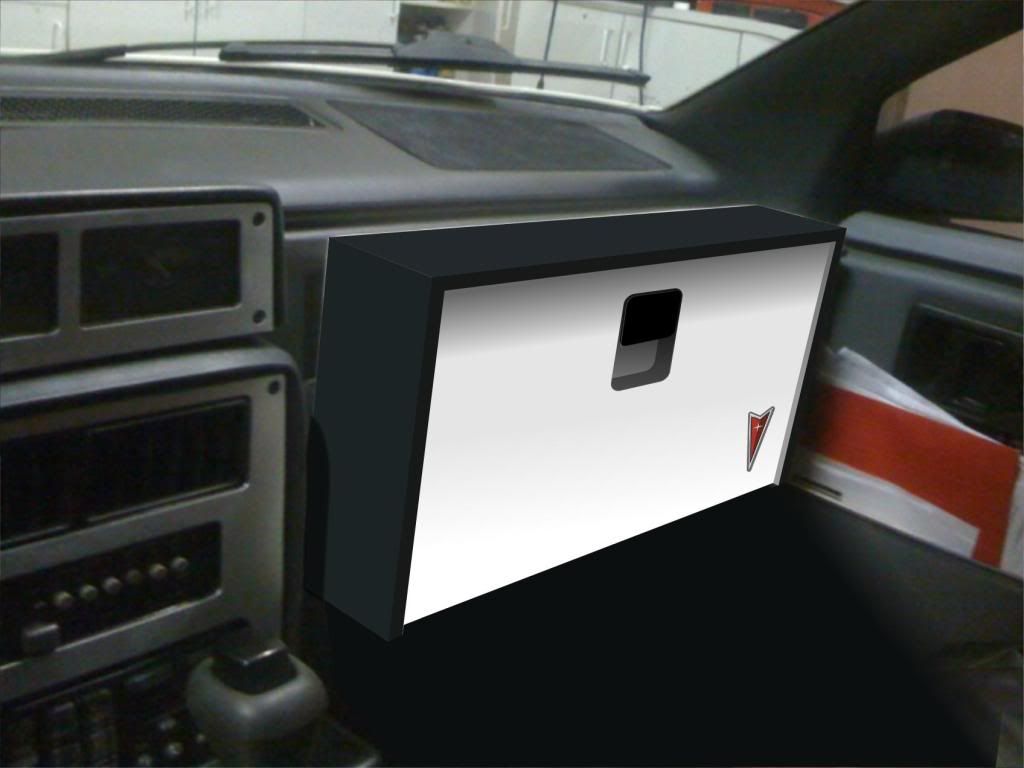
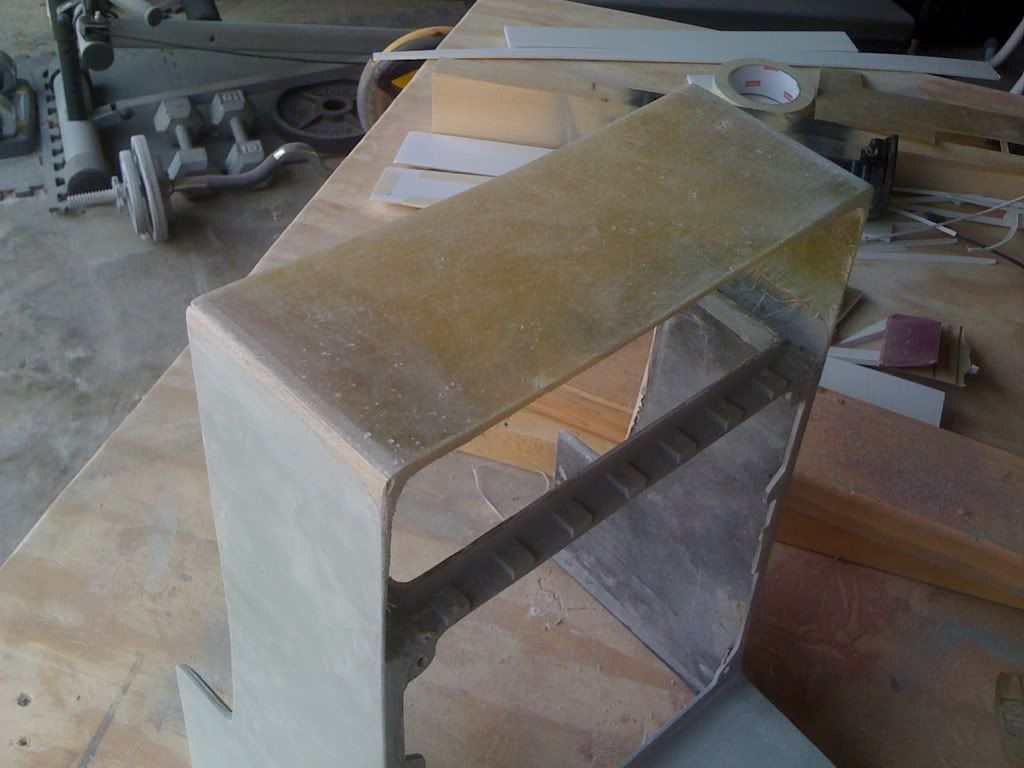
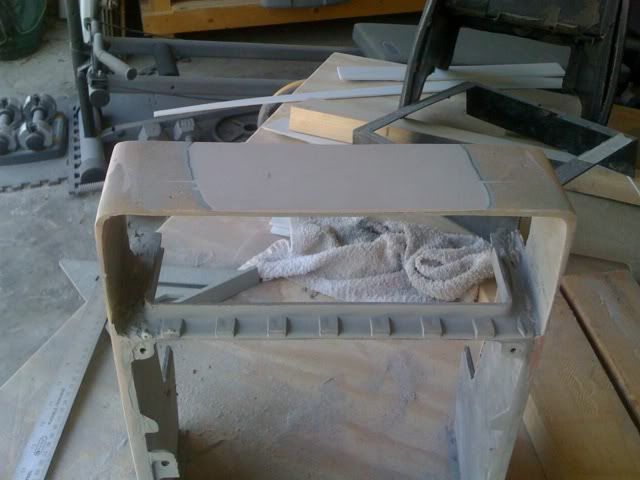
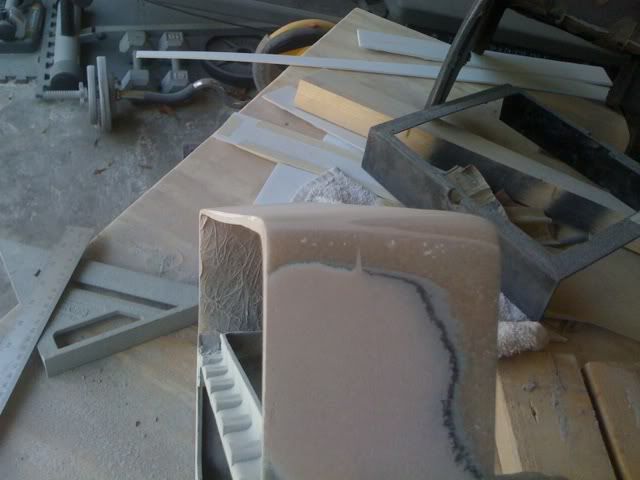
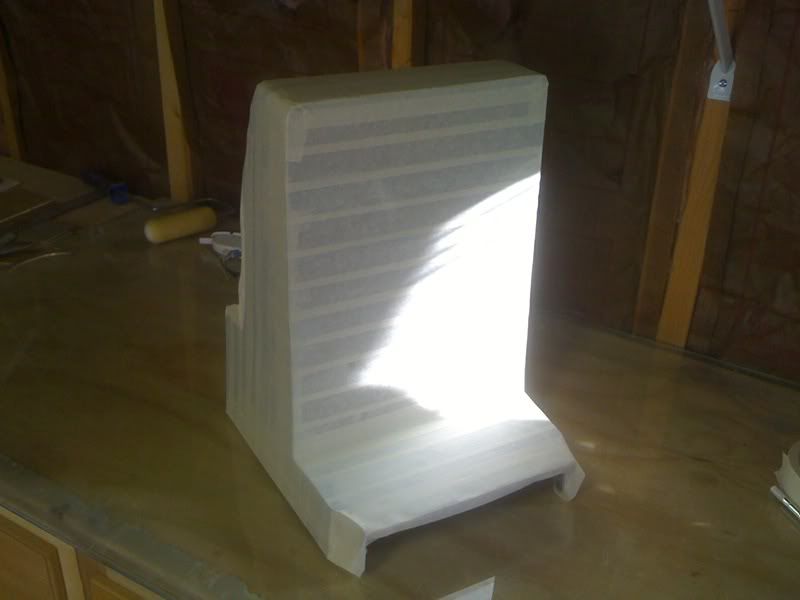
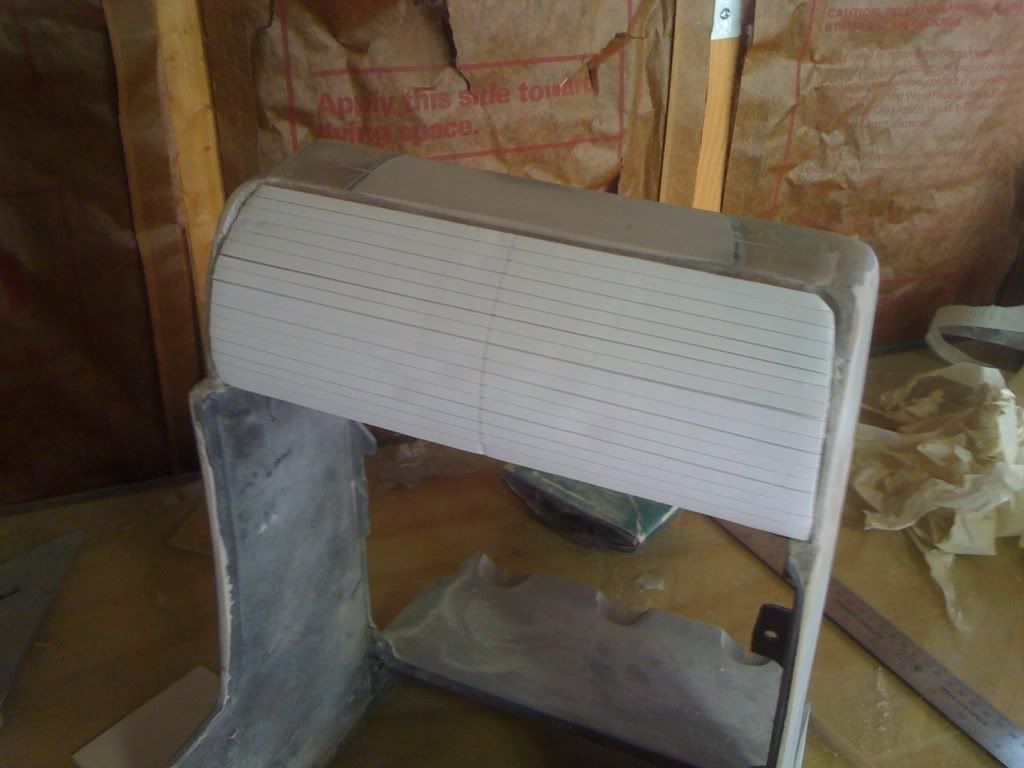
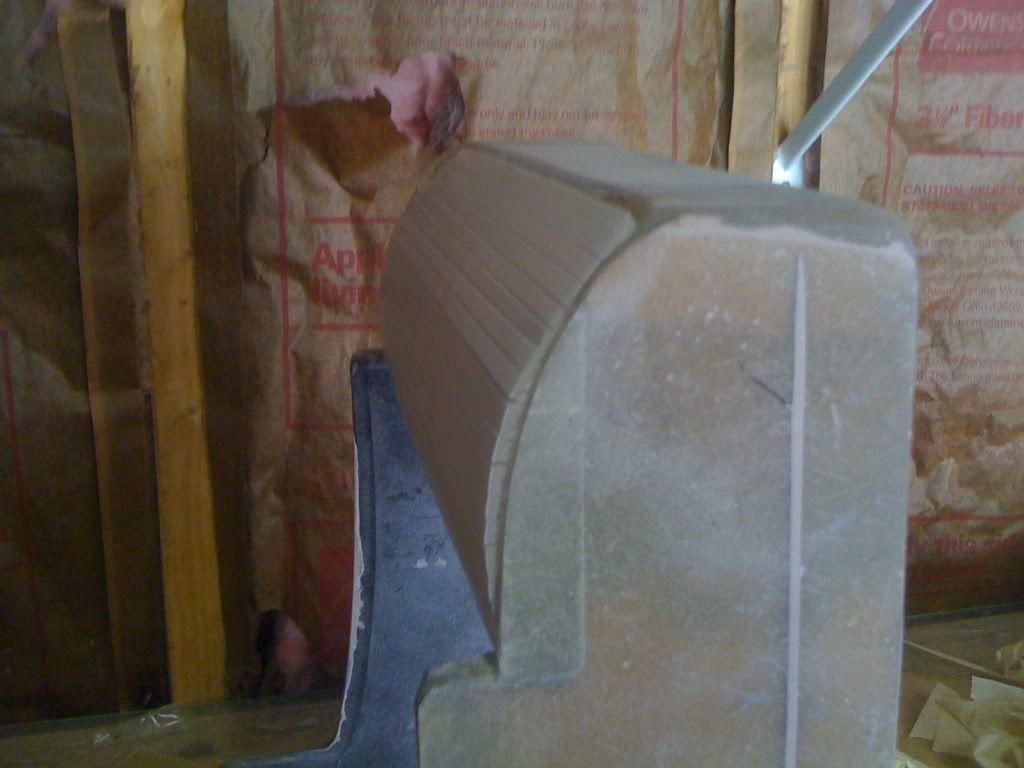
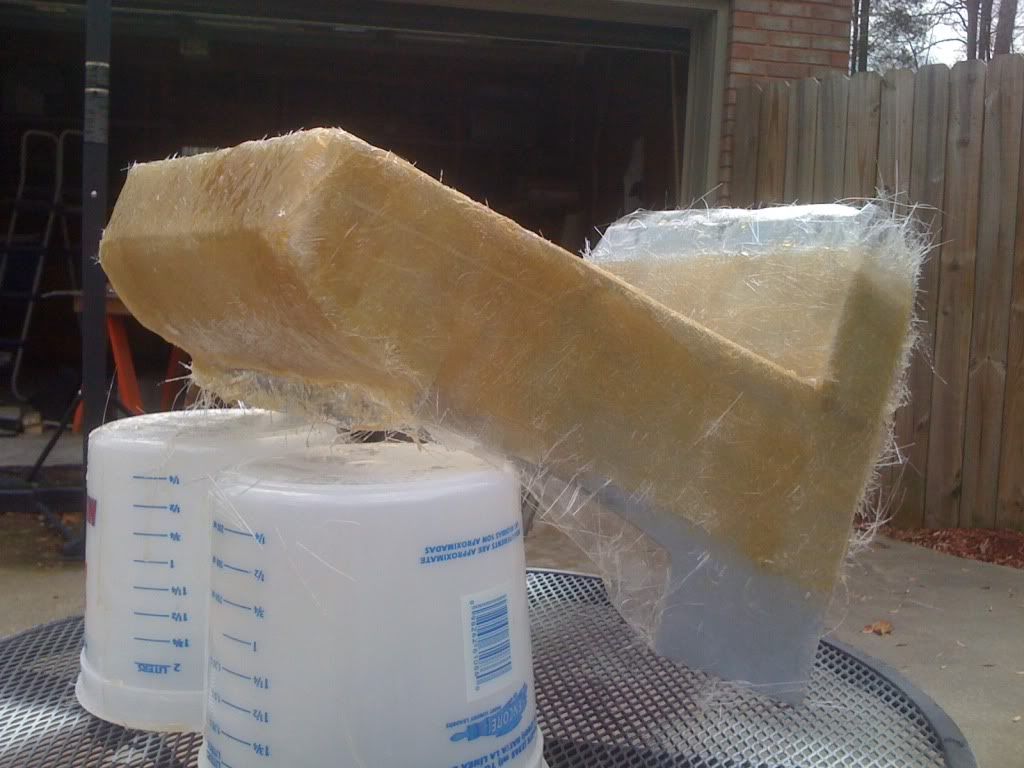
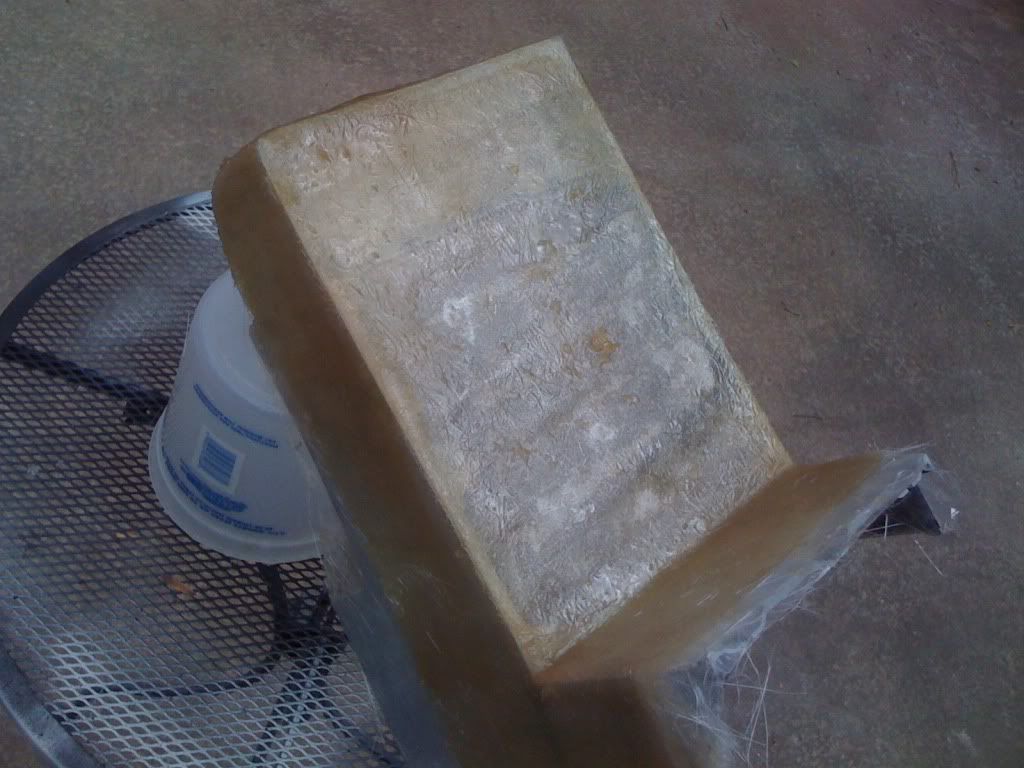
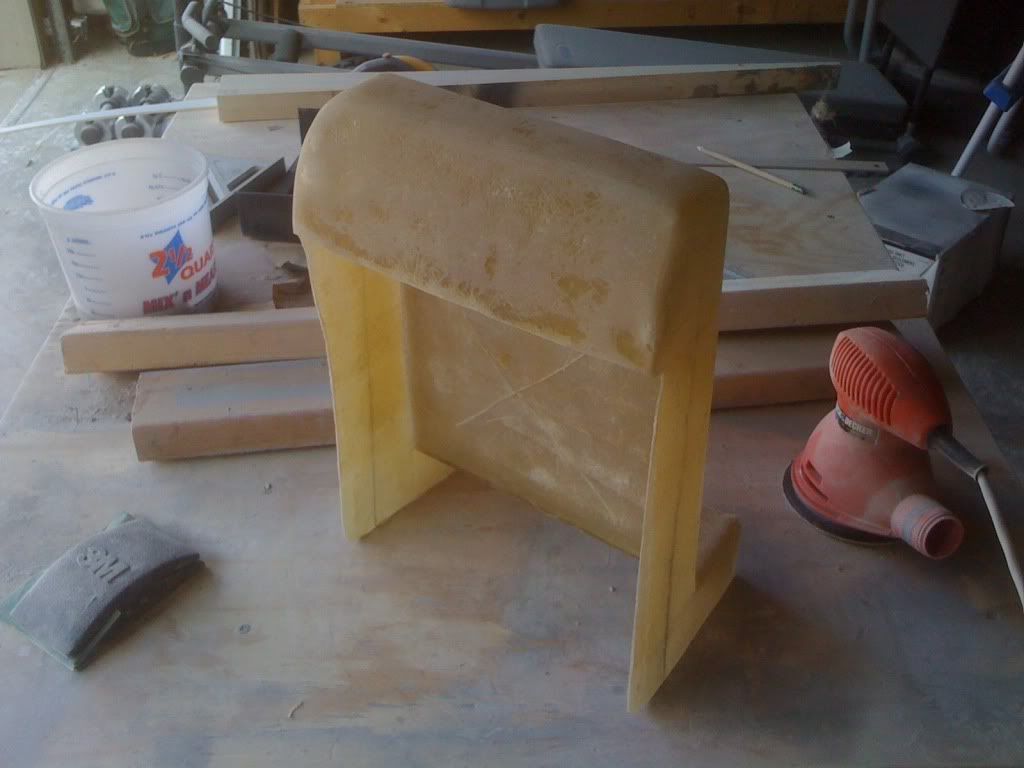
I created a foam core mock up of the glove box. I followed the same basic look and feel of the gauge pod but the shape might change. I still have a few minor modifications to do. What do you guys think if the basic shape?
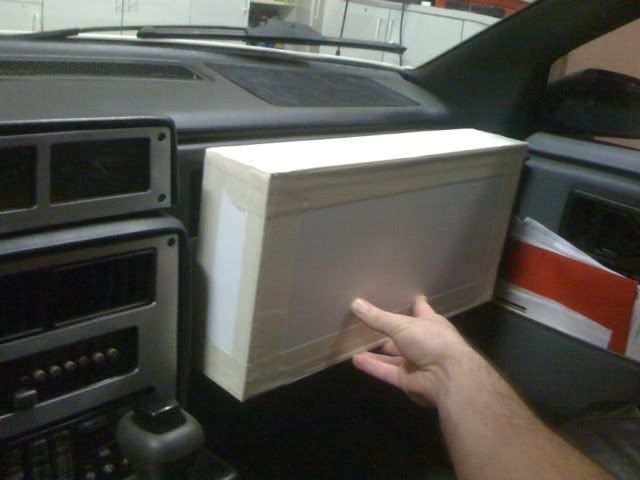
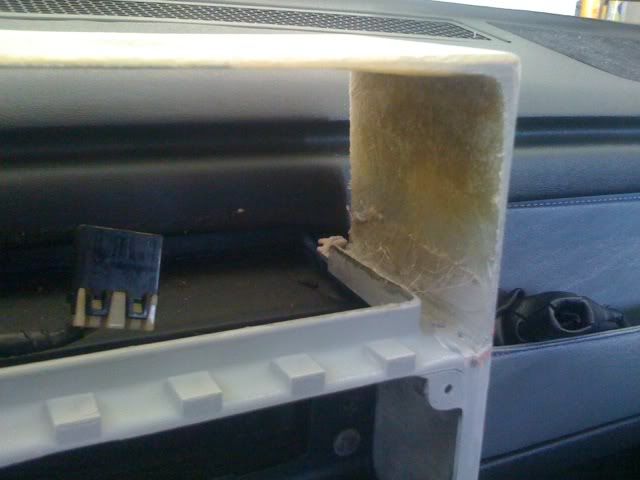
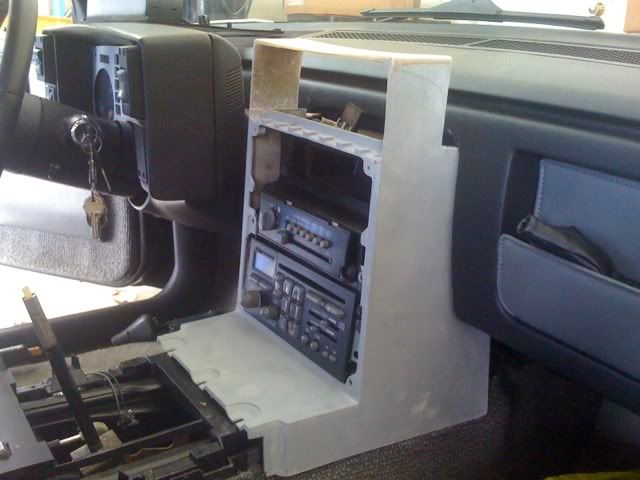
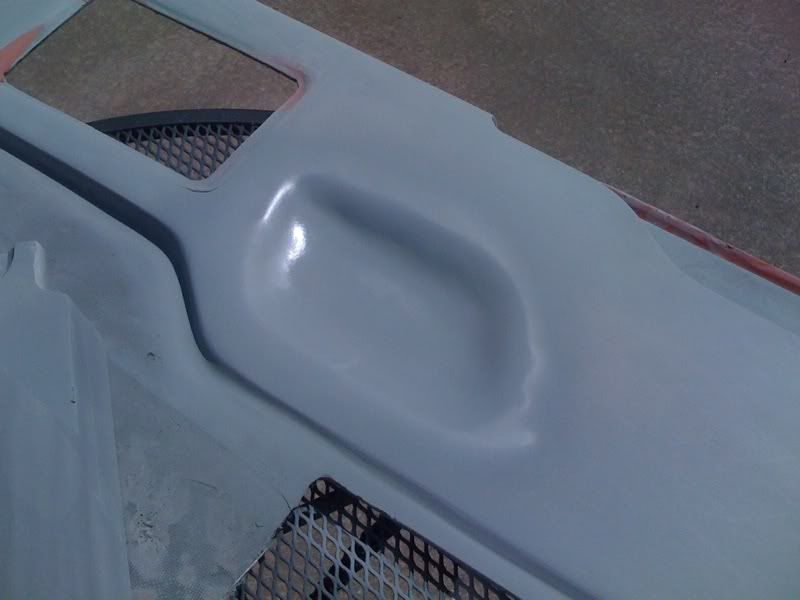
In the car... not a very good shot because of the tilt
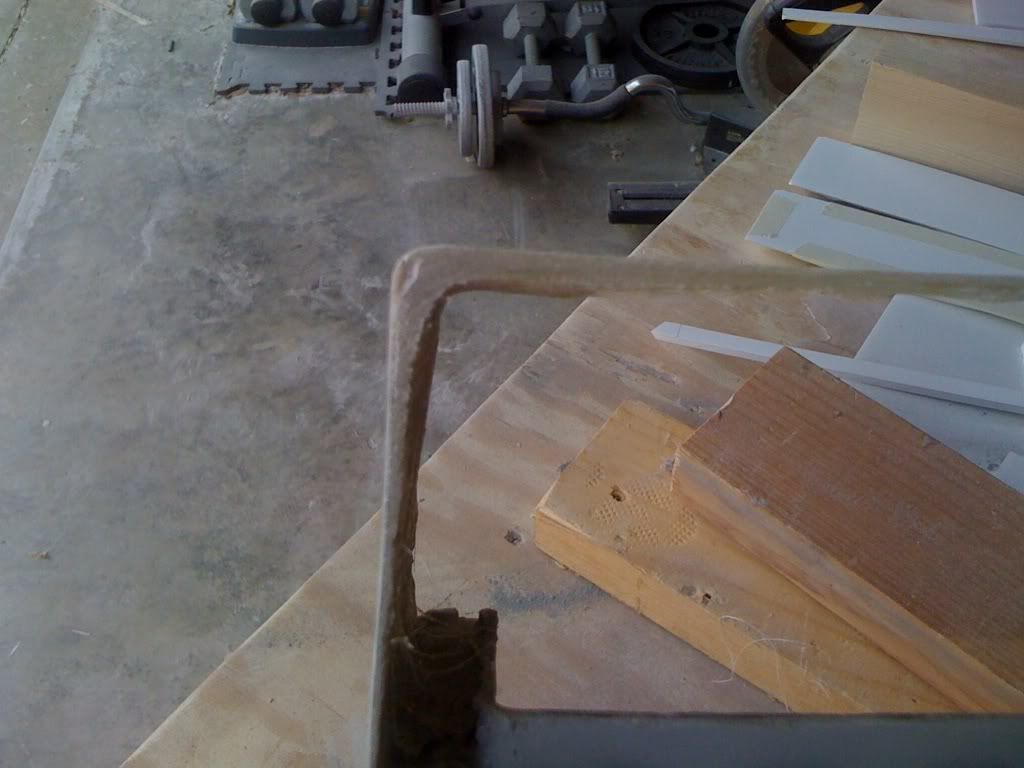
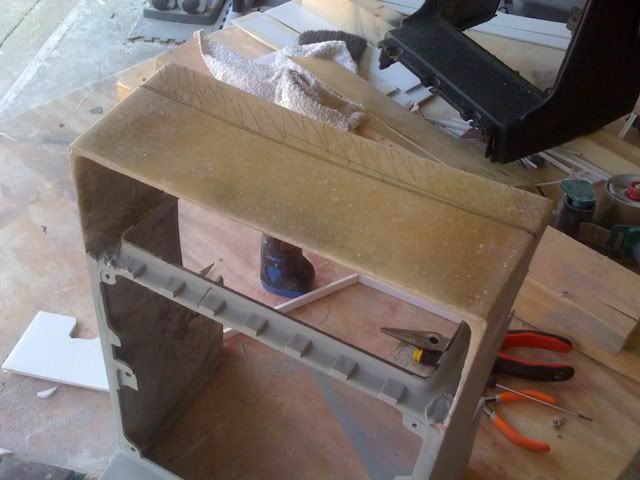
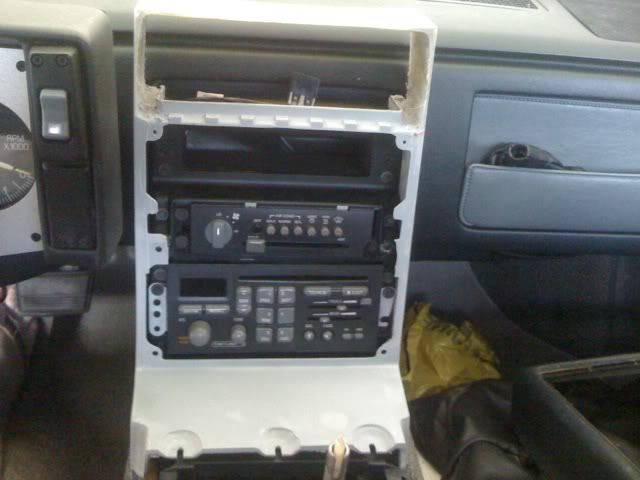
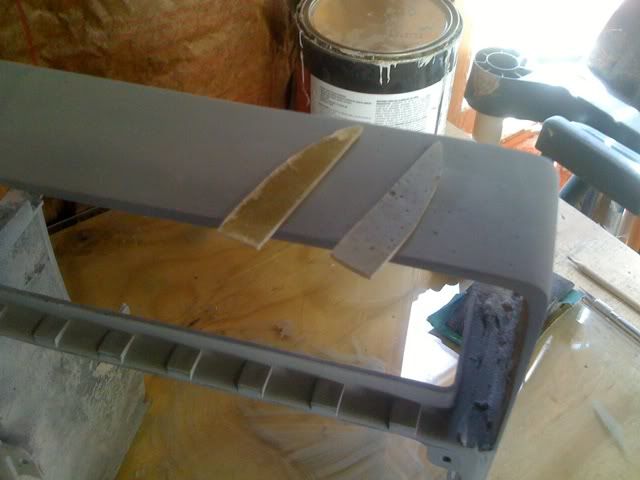
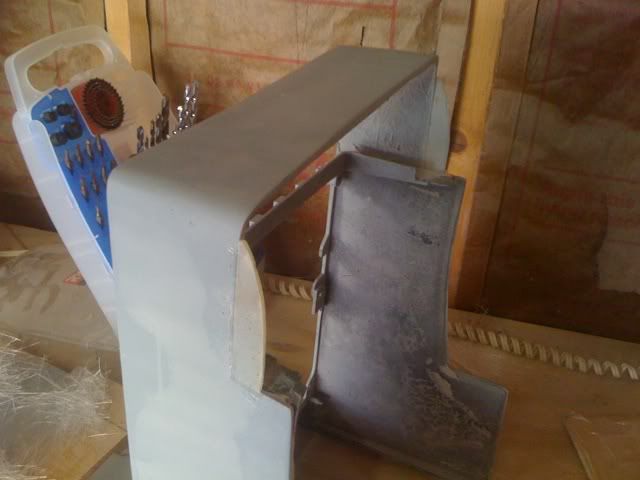
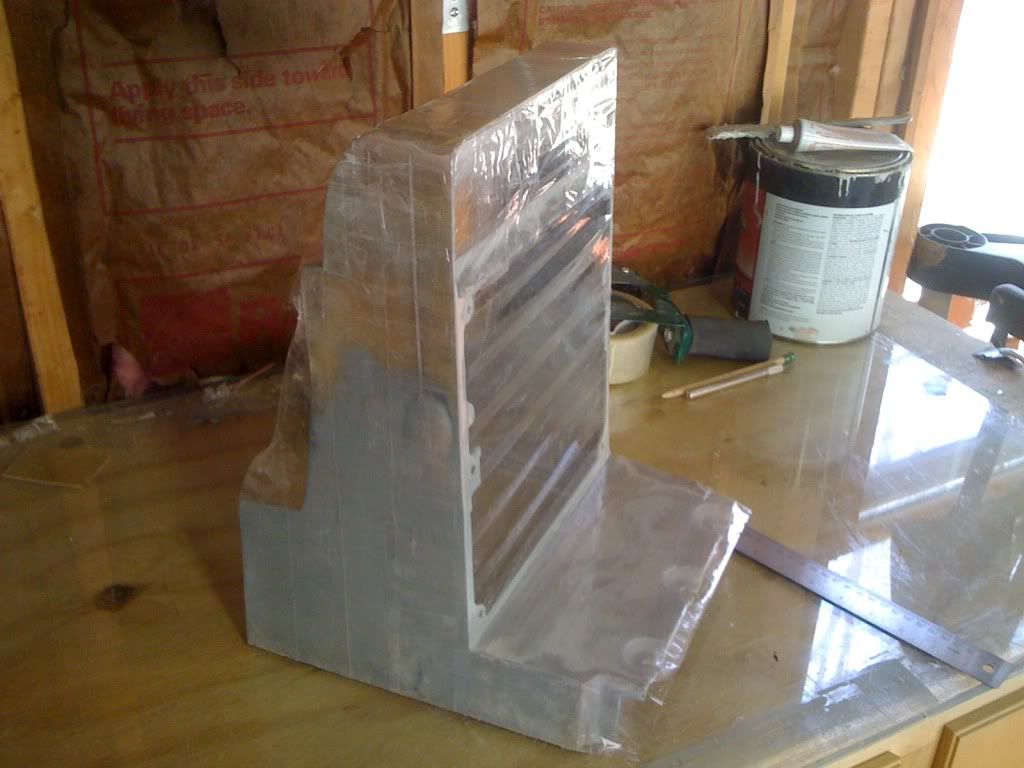
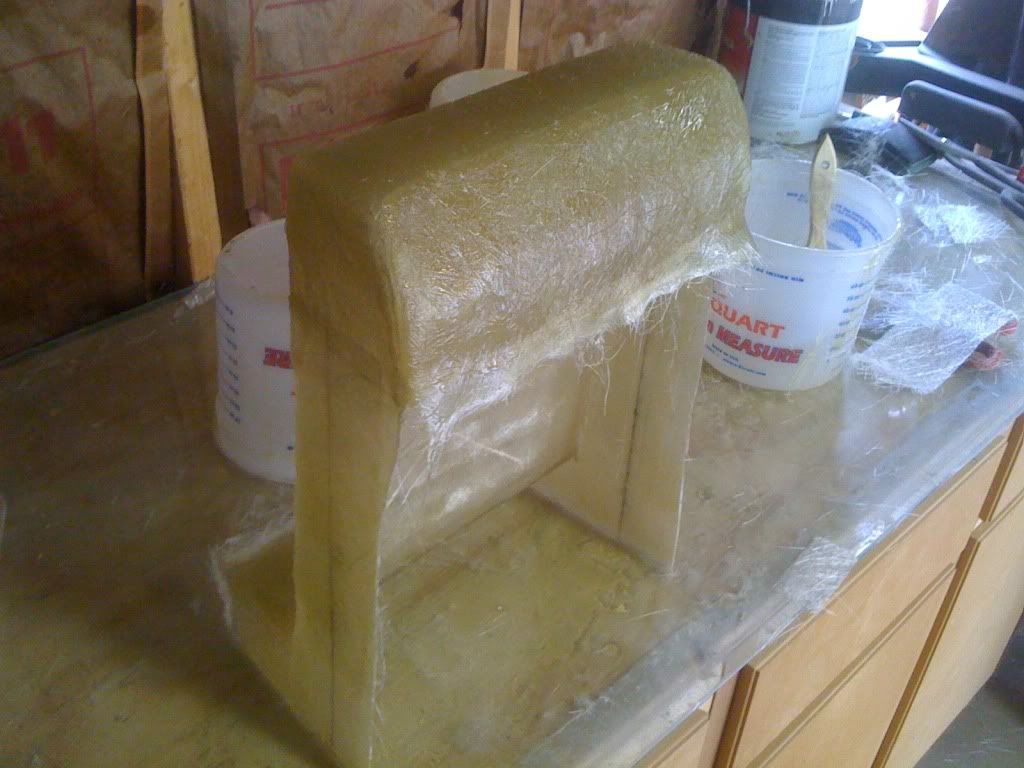
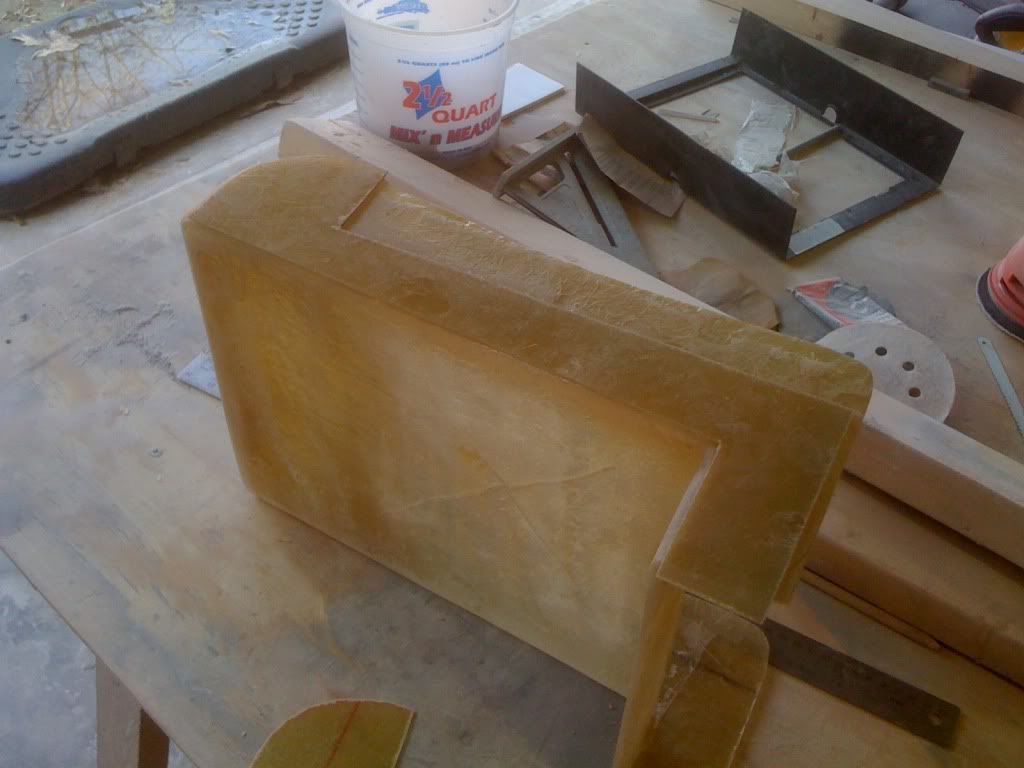
Modified
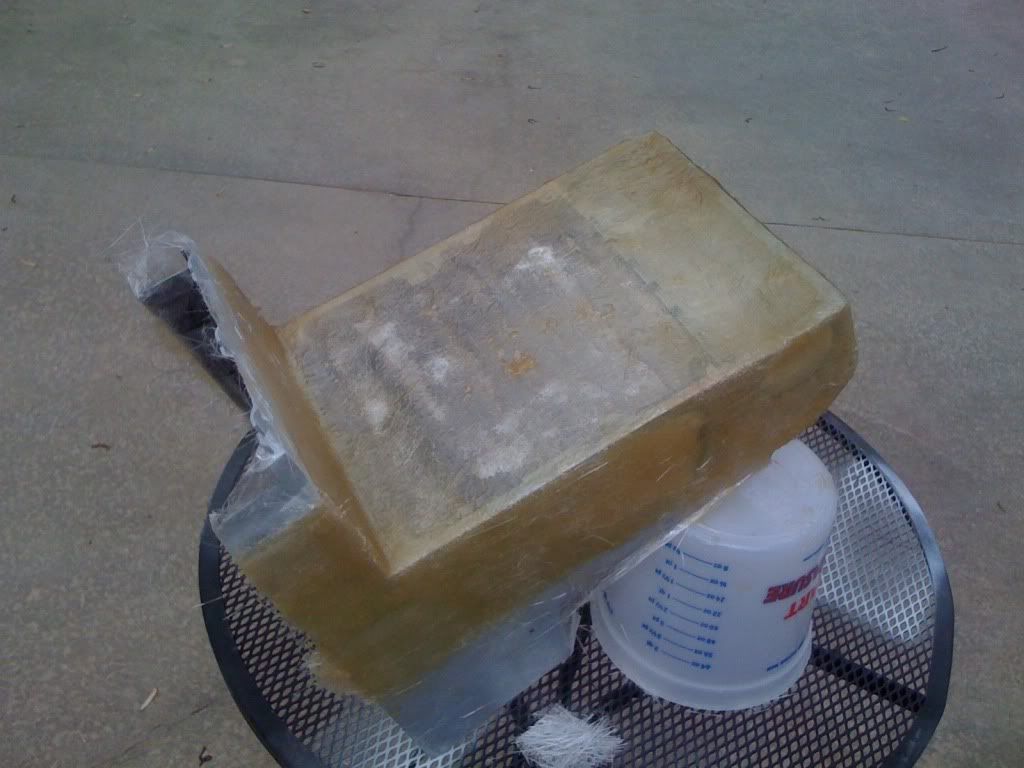
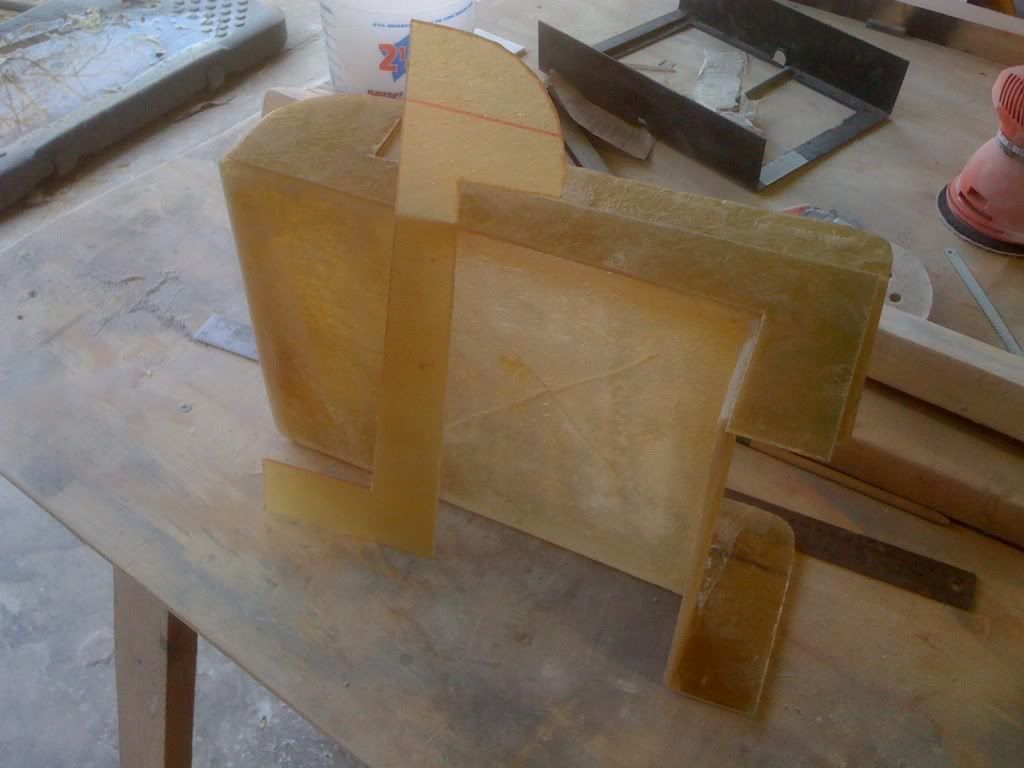
There is a lot of potential for a glove box. More to come
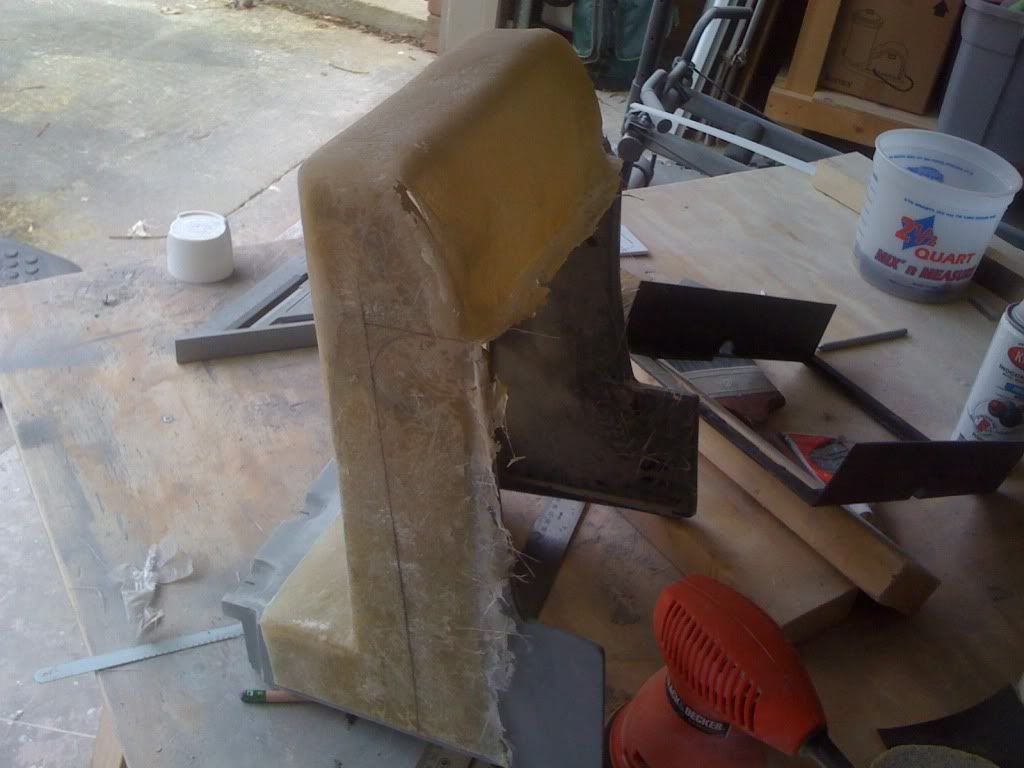
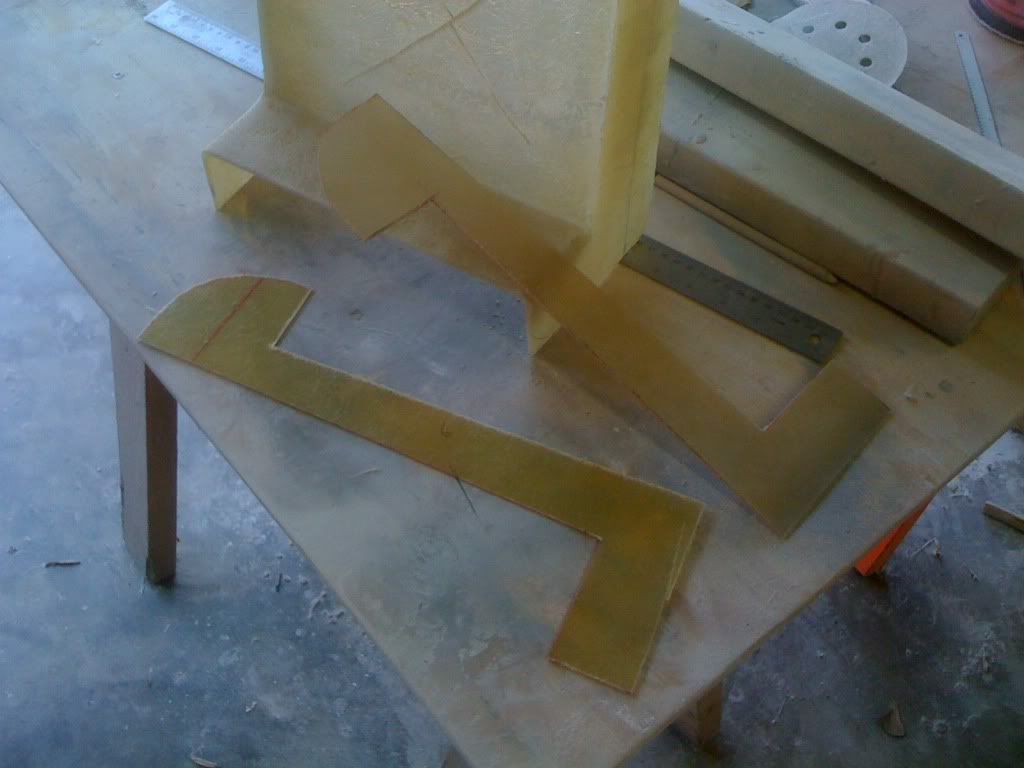
the large square won't hold much like that. where the "pocket" is now, you can knock that out and go for depth. I would think at least 10" back into the dash. mock up again
I just stumbled upon this thread, and WOW this is some great stuff! Your rear console piece looks outstanding. I'm sure the rest will be just as sweet.
I'm also gonna go look for one of those cupholders.
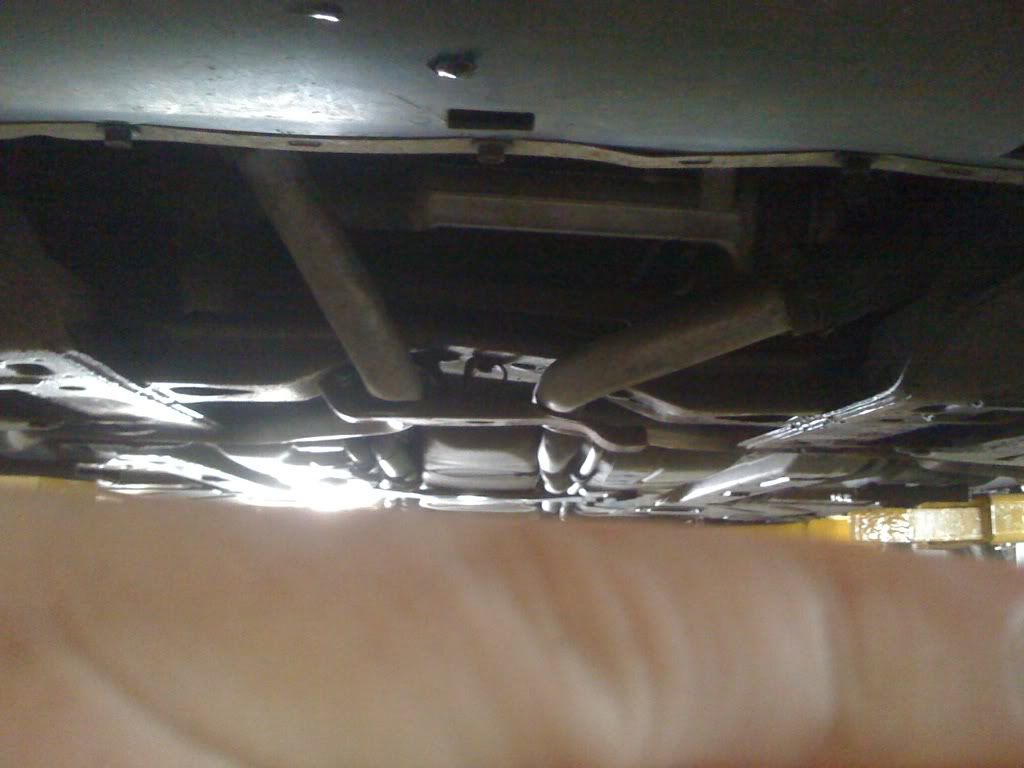
No updates today. I've spent the day at the shop getting the rear brakes looked at. Turns out the pass side rear caliper is shot and is not engaging the emergency brake. I also found out the emergency brake "warning dinger" is not working. ugh I also noticed something very interesting... Check this out. (I'm going to post this in the Technical Thread as well).
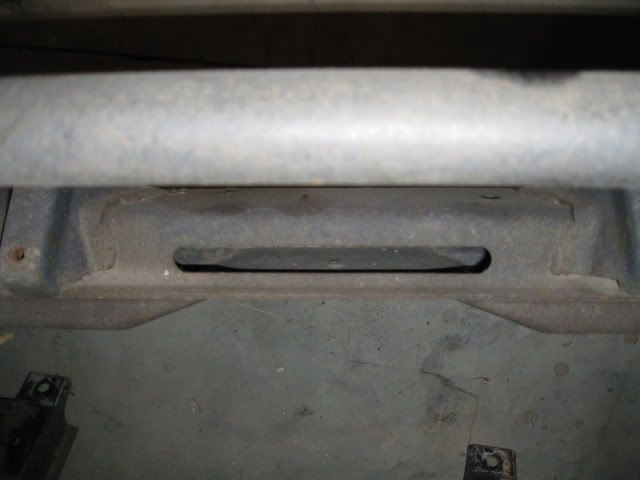
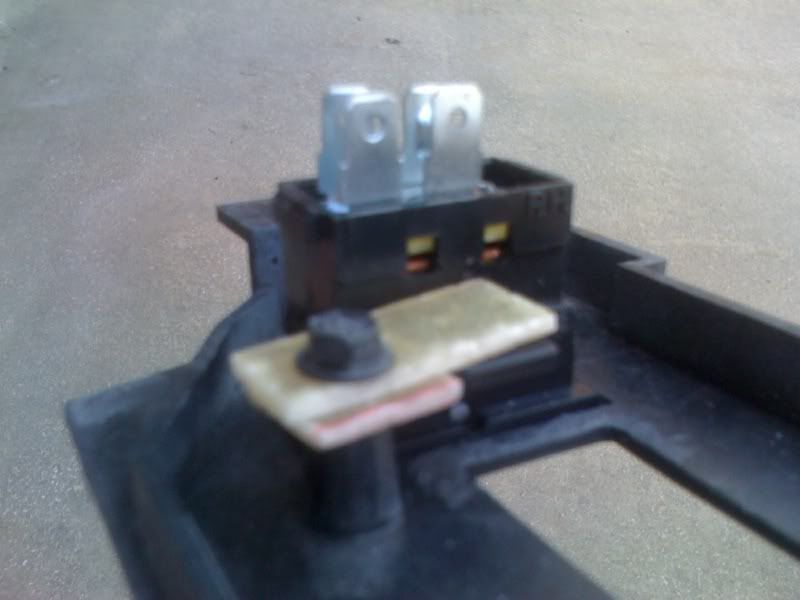
Looking across the underside of the car from the front to the back, I noticed a bracket was loose under the front cross member. Upon closer inspection you can not only see the bracket but it appears that the entire bottom of the cross member is bent. Am I looking at this wrong? This is supposed to be straight isn't it? That's my hand going across the bottom - the sun was reflecting off the wet ground and making it tough to take a pic
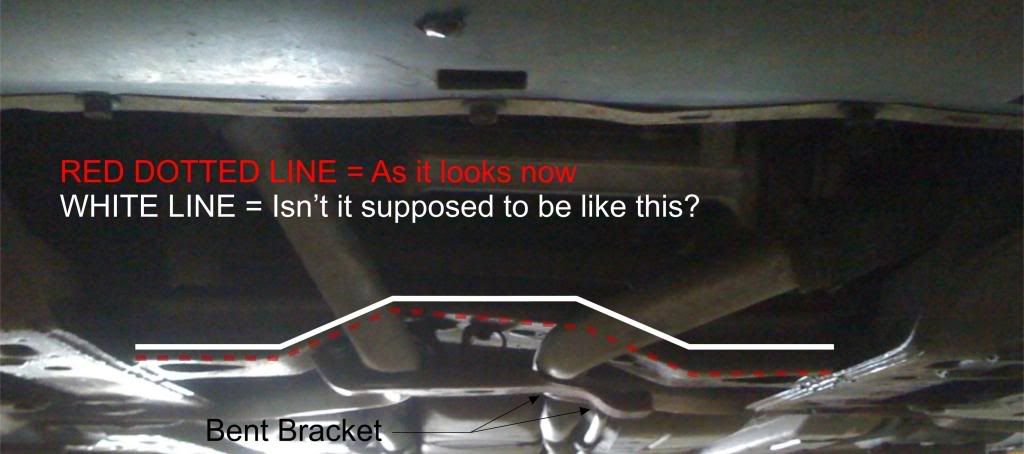
Another image with lines to help to see what I'm refering to - I tried to get the image as straight as possible
Can someone please let me know if the cross member is supposed to be bent or curved.
[This message has been edited by Sofa King (edited 03-13-2010).]
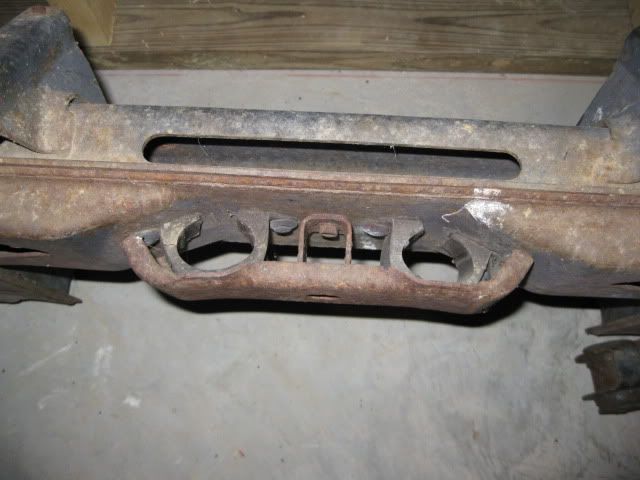
Here are a couple of 88 front crossmembers... It looks like at the very least the coolant tube bracket is mangled, but there is a chance that the oval slot between the lower and upper portions of the crossmember is also bent.
Sorry no updates. The weekend was cold and rainy. The weather is supposed to break today or tomorrow so I'm hoping to get back out there. I did however find that I will need to replace / repair:
Cross member Pass side rear caliper All 4 wheel bearings Rack & Pinion rebuild the steering column fix the heater
and a few other knick knacks...
In all about 1500-2000 dollars worth of repairs... ugh...
Just when you start having fun with the interior stuff, the mechanical gremlins rear thier ugly heads and tend to change your coarse. Stay focused............. Work through it and it will all be worth it. I have the interior bug once again......
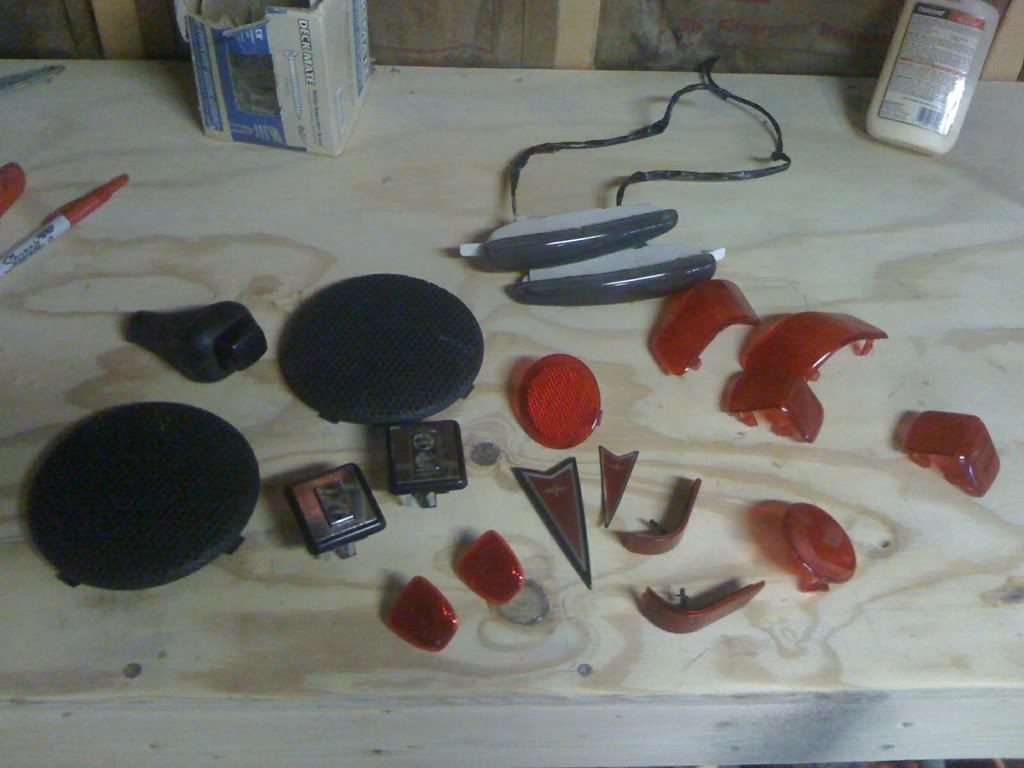
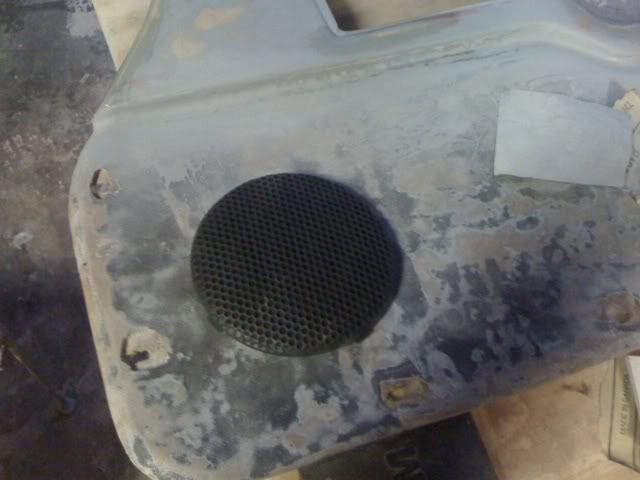
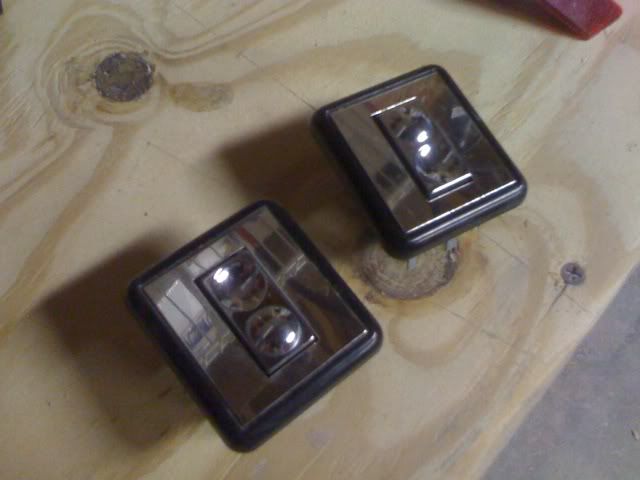
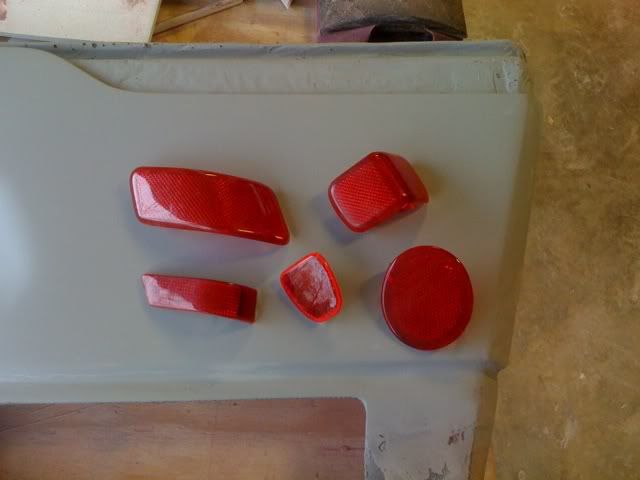
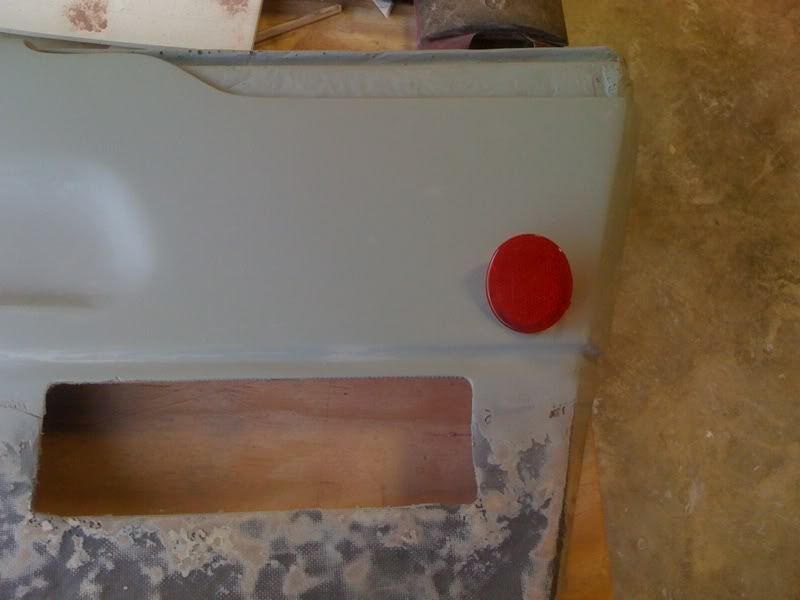
I got off work early today and shot over to the junk yard to find a few goodies for the door panel. Check it out:
Speaker grills, reflectors, door lights, emblems and some cool chrome switches
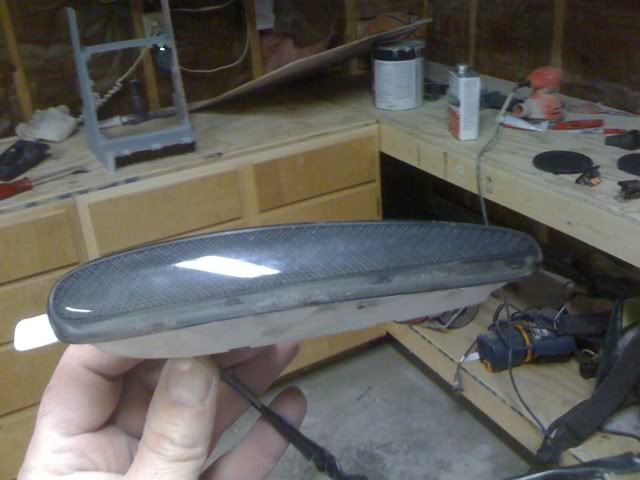
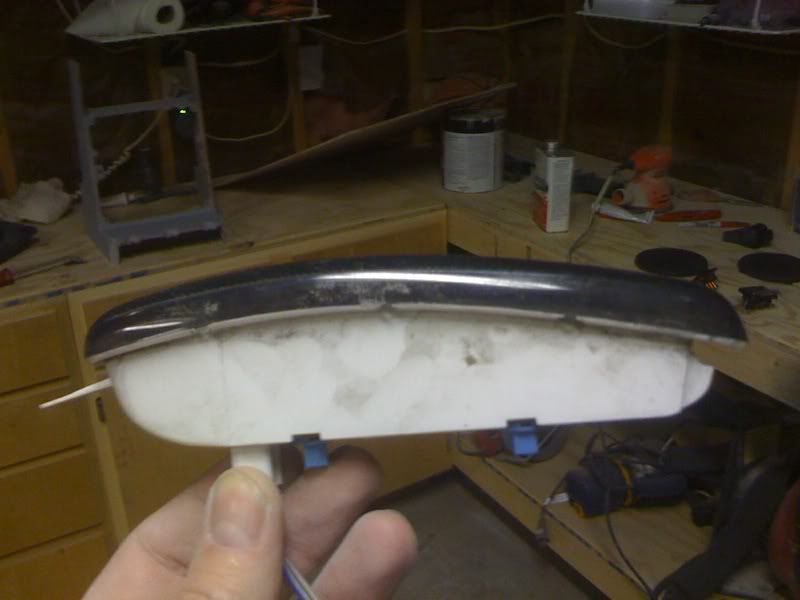
I was hoping to find use for these door lights but the curve might cause a problem
Door speaker
Chrome Switches from a Buick Regal or Riviera - I like these!
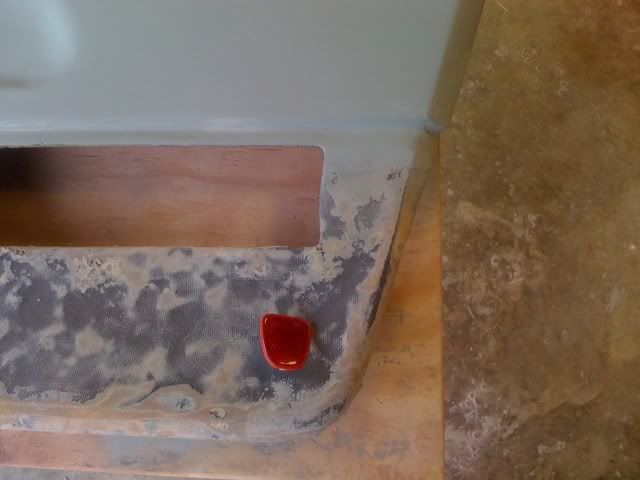
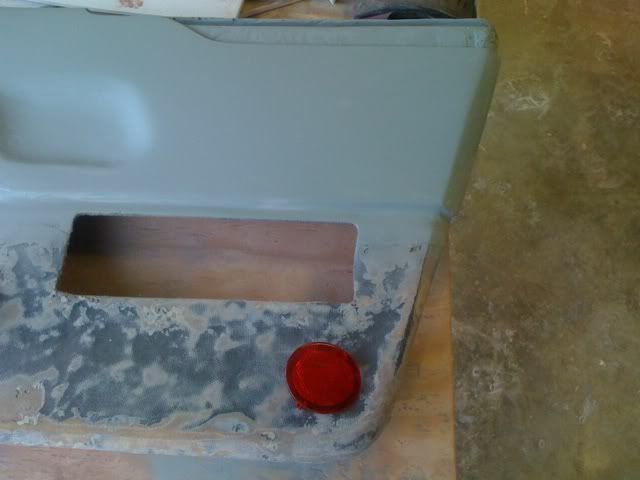
Different Door Reflectors
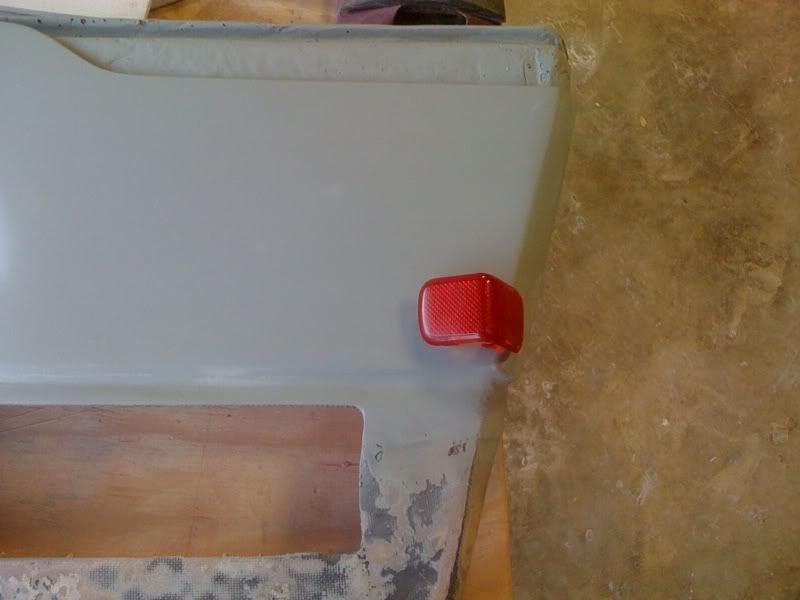
Different ones in different positions
I like this one best
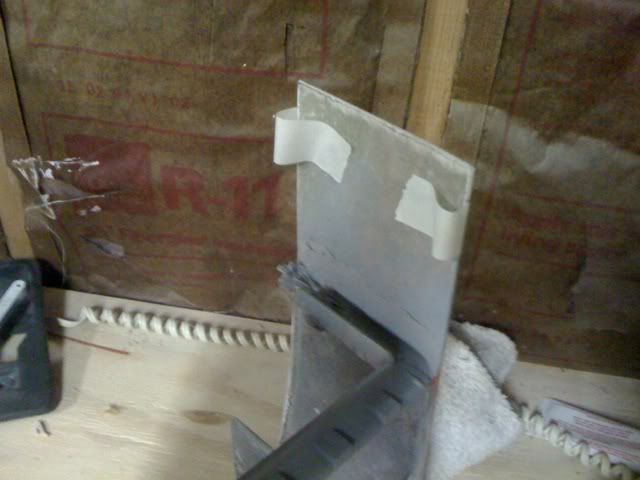
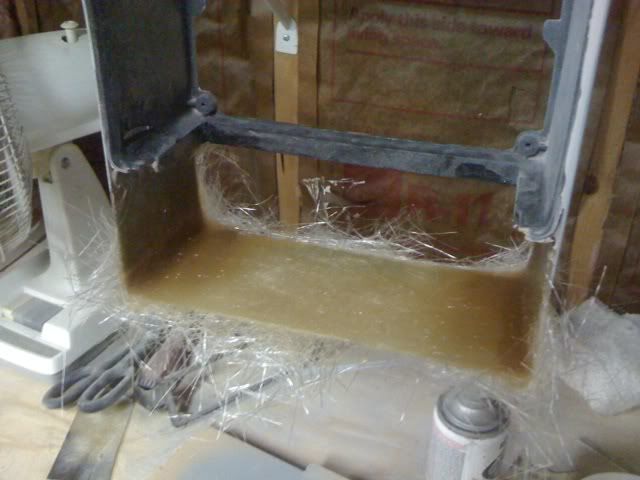
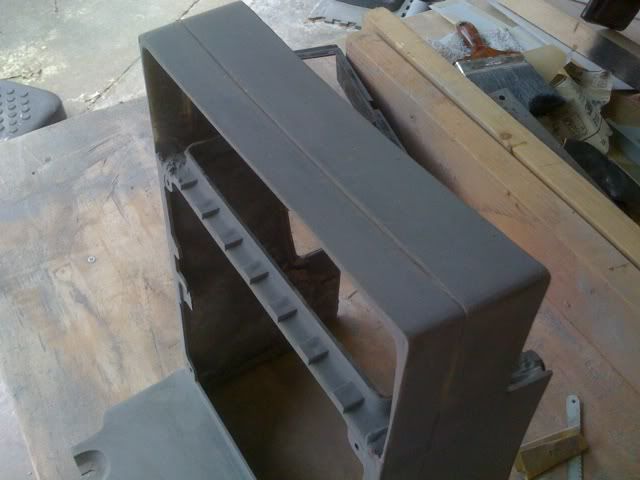
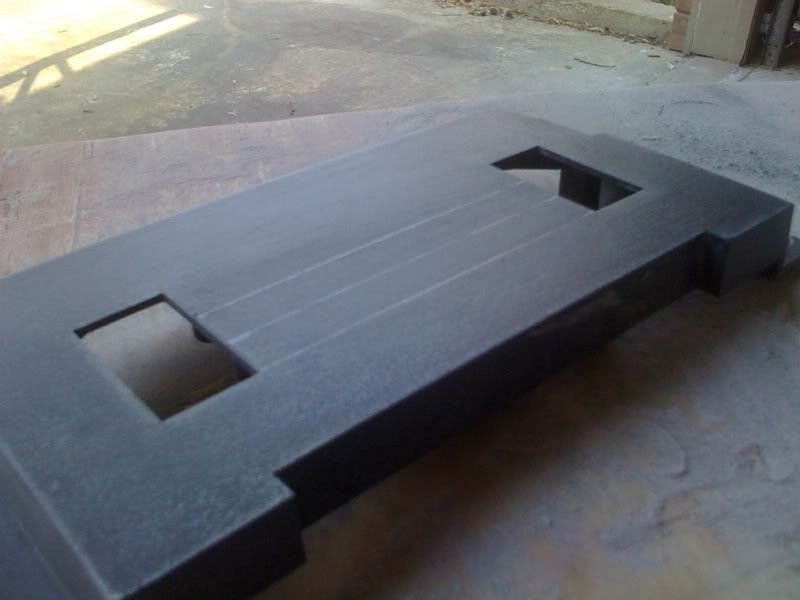
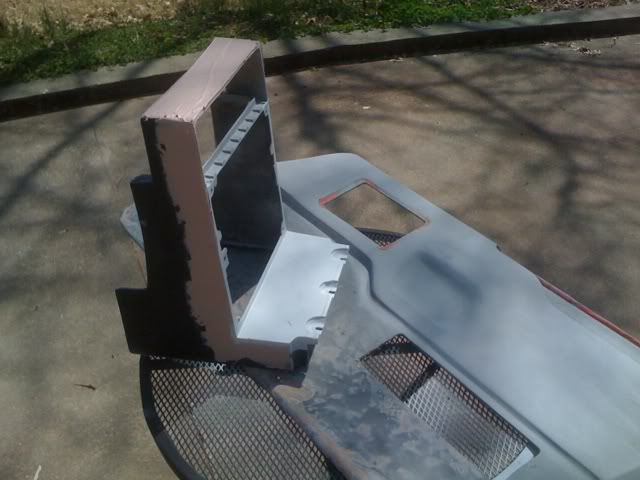
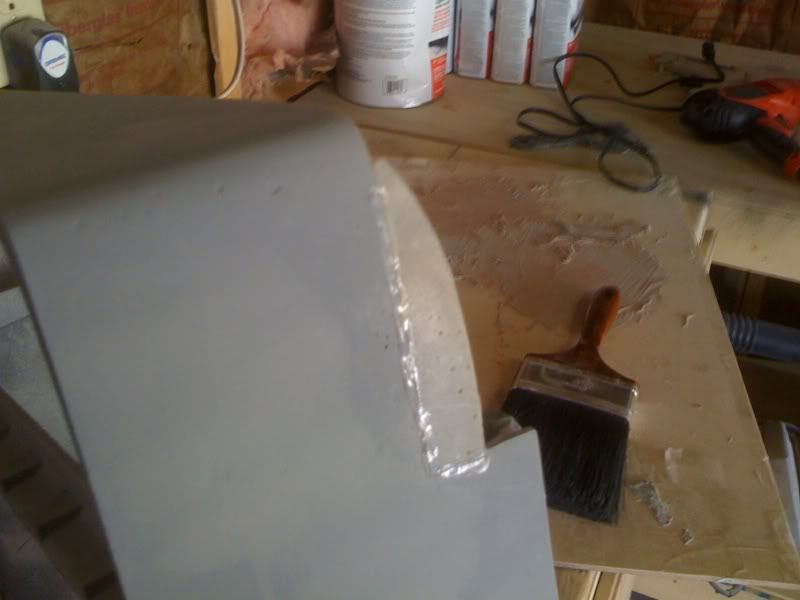
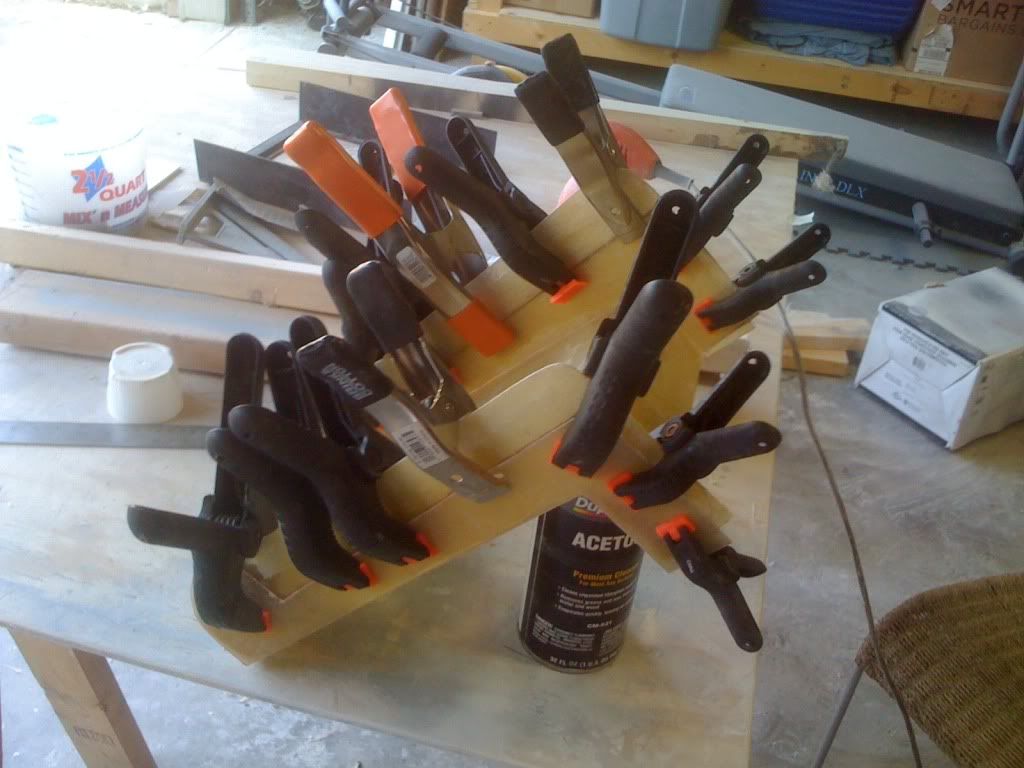
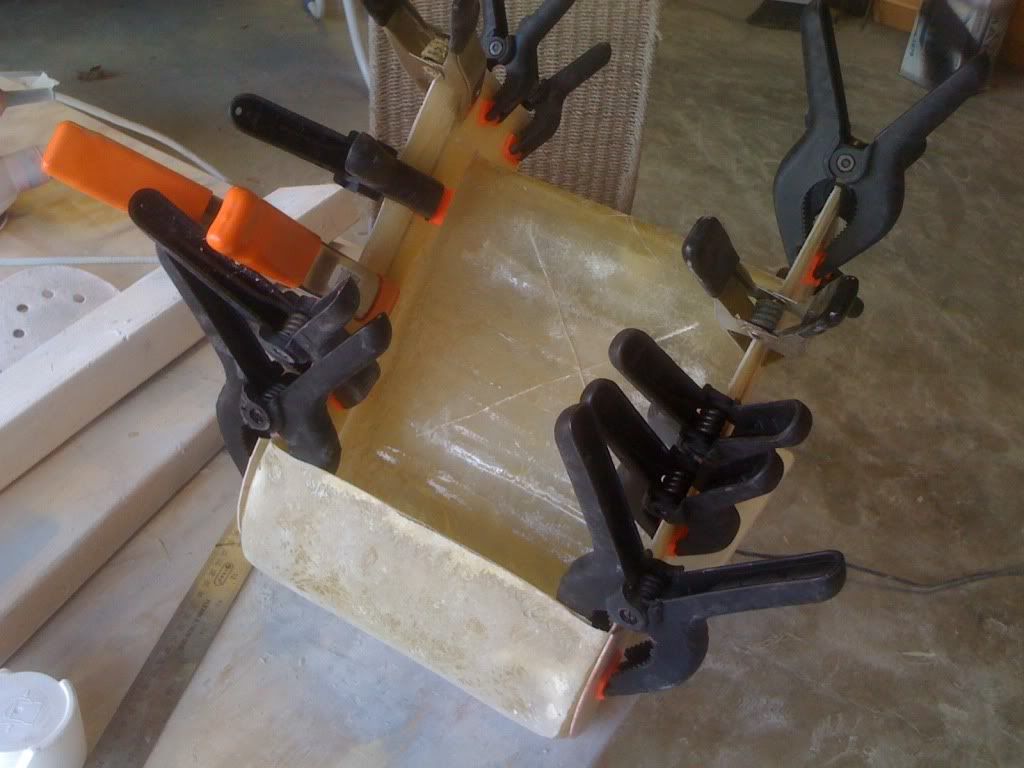
Now on to some fiberglass work! I started work on the radio console. I cut the top piece
Created a little support area with tape to sit so I could apply the hot glue
I then hot glued the piece in place from the top, let that sit and then mixed up a batch or filler and spread in on the inside
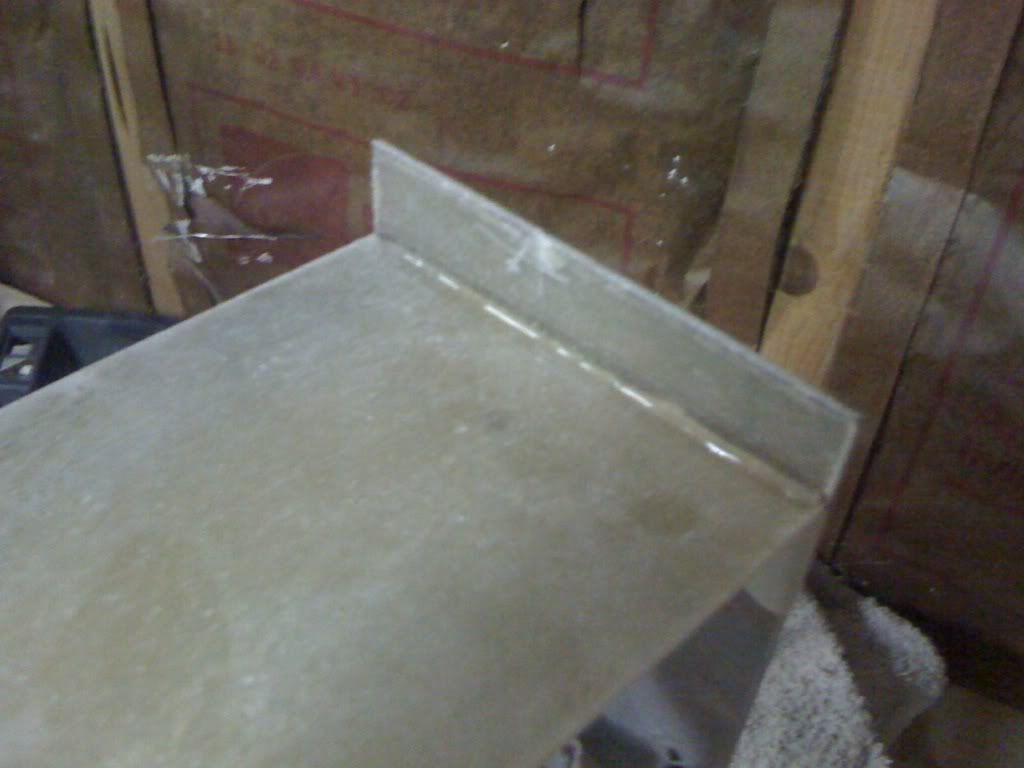
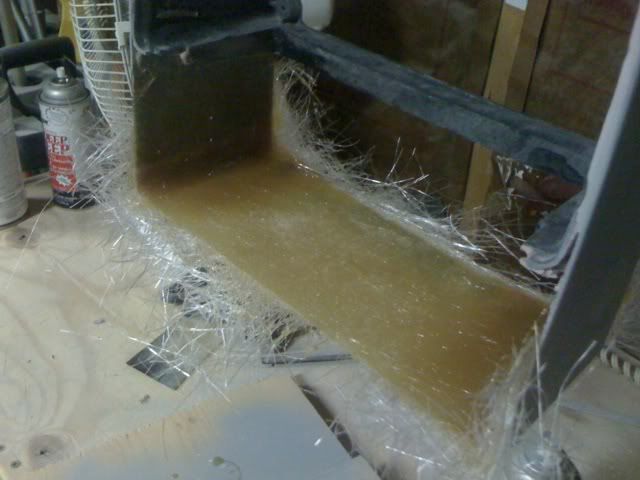
When the filler dried I then began the long process of sanding by hand - no machine tools here
I then flipped the console over, sanded the inside and laid up more fiberglass to give more structural support
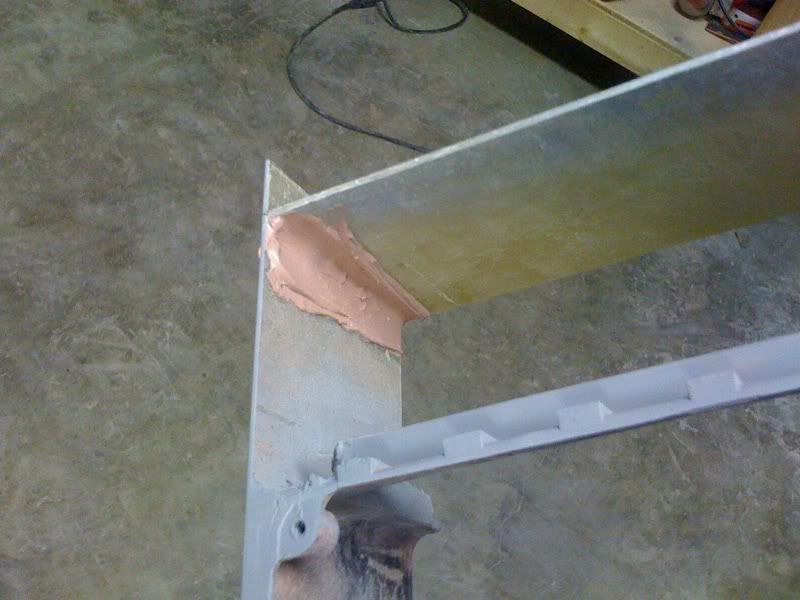
I'll remove the extra tomorrow morning and begin to create the front plate
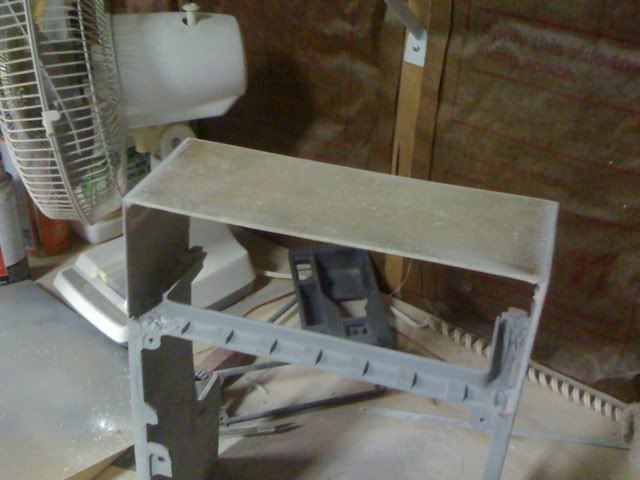
I'm hoping by the end of the weekend I'll have a functioning radio bezel - I'm hoping! I'm still not sure what to do about the shifter plate yet - whether to tie it together as one piece or keep it separate. And then it's onto the other door panel. I'm starting early tomorrow - it's supposed 70 degrees and SUNNY!
[This message has been edited by Sofa King (edited 03-19-2010).]
I see you have learned some new tricks.........I like the door panel lights - not sure how yu could make those curved ones work unless you form some contour into the door panel? Even if you made a little"bump" piece out of glass then mold the light into it? It might not look right with all the flat/angles of the door panel. Looking good as usual.
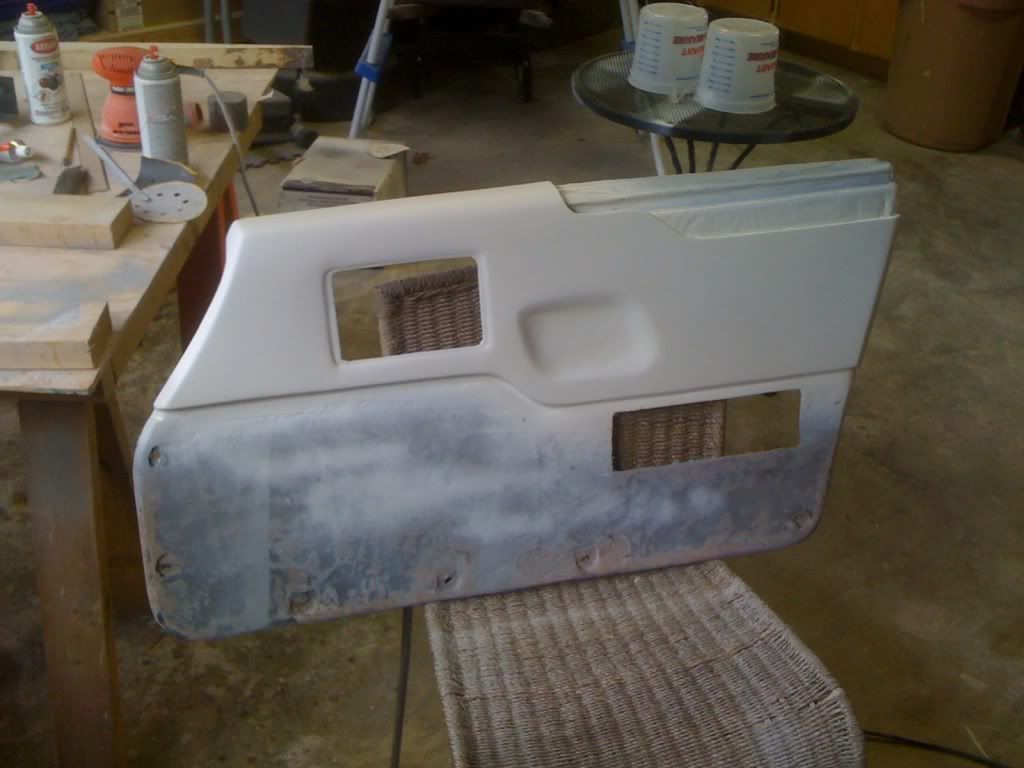
First... I did a tremendous amount of sanding on the door panel this morning. I used 150, 180, 220 and the 400 grit paper. The entire panel minus the concave area is smooth as glass and ready for paint. I just have to get this last area smooth. I'm also trying to work the area where the door handle plate goes - there is lots of warpage. Both door panels were warped when I got them so... Gotta work with what I have.
More filler
You can still see the slight bumps
Overview with a shot of primer
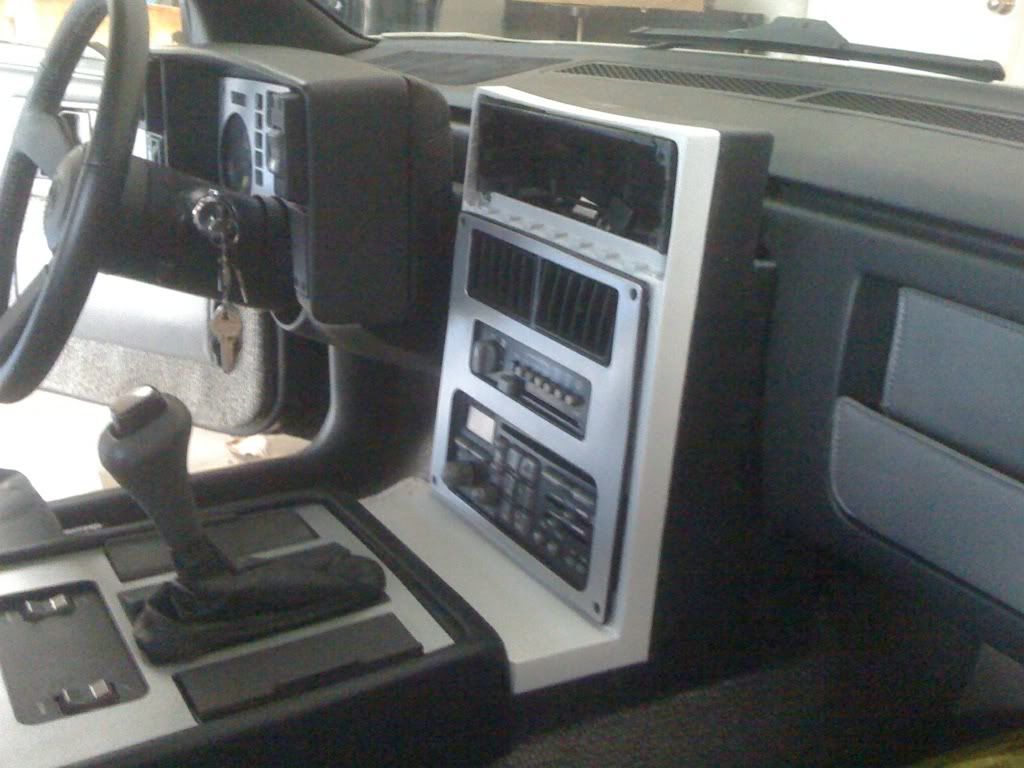
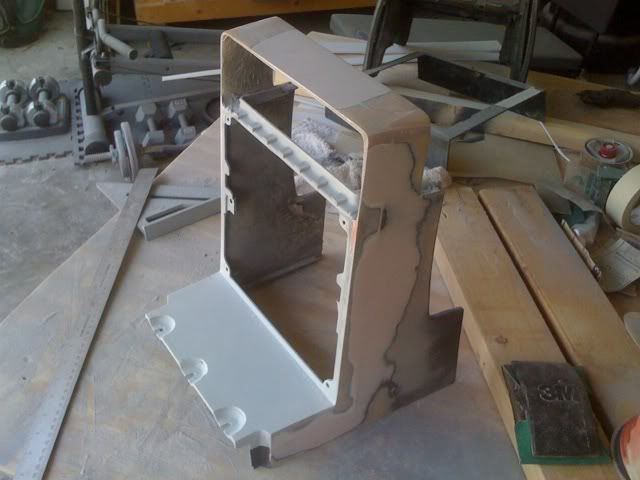
Radio Console - LOTS of work today... kinda
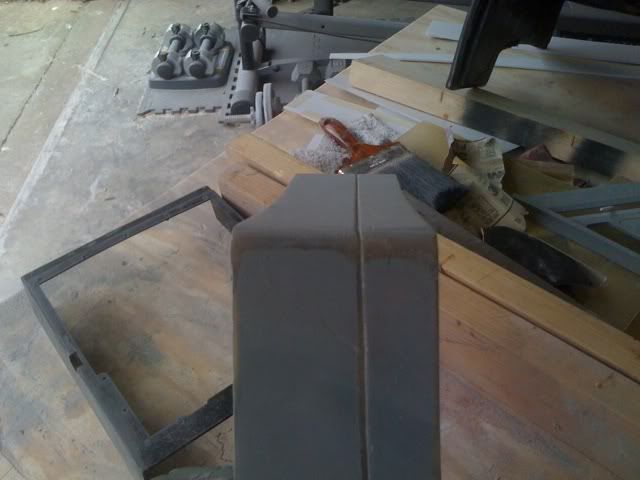
After the fliberglass and resin dried and removed the extra and sanded smooth
I then placed the console back into the car to get an idea of how much trimming I needed to do
After a few measurements I decided to removed a far amount leaving enough in the back to house the two gauges
After the cut
Another
Making the gauges fit - this was actually a real pain in the a$$. I had to removed 3/8" of the plastic holes where the gauge pod mounts to the metal bracket in order the pod to fit inside the console. Why? I found out very early on when doing the first console that fiberglass likes to warp, push and pull plastic. The stock plastic console was warped while the resin cured - you'll be able to see in later pics
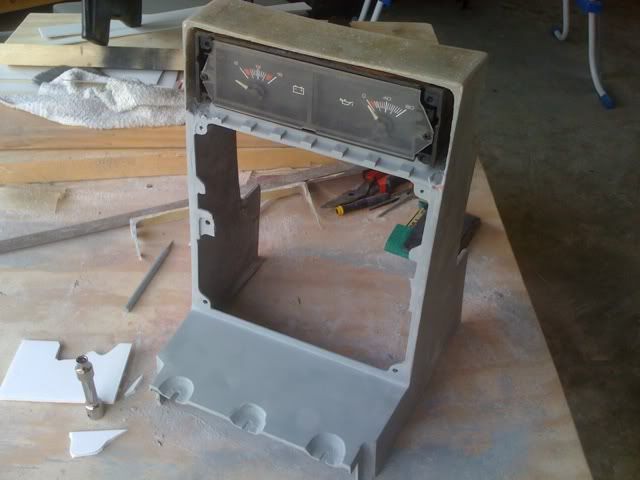
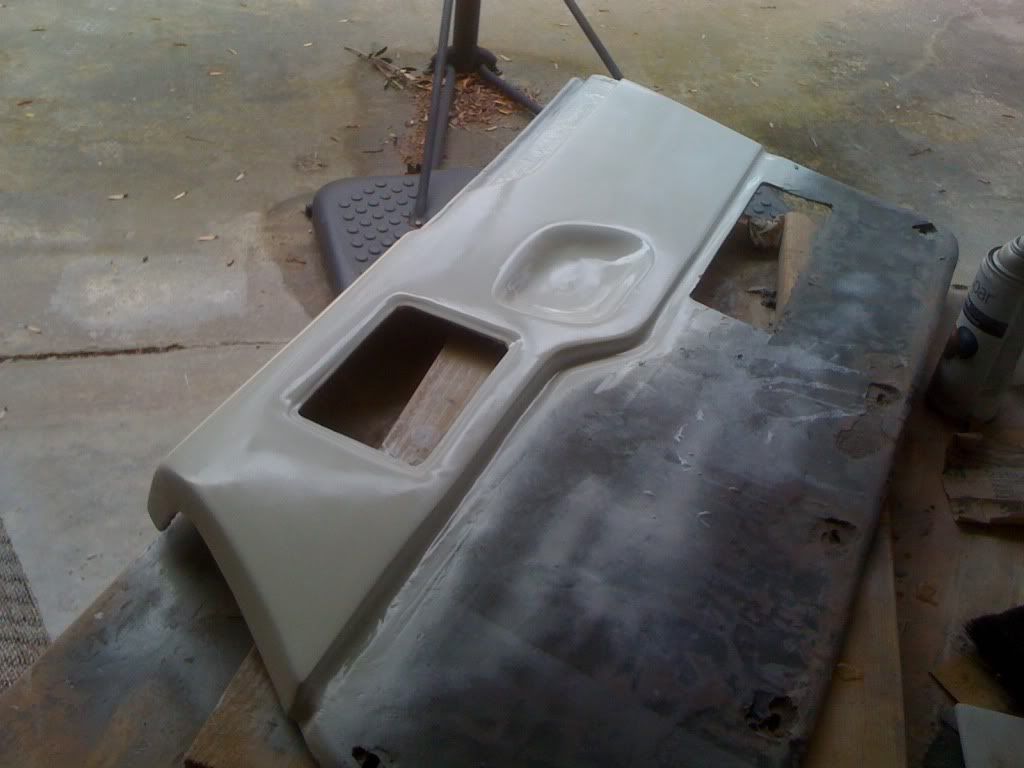
I then painted the console with white primer - doesn't look like much but it is getting there
Per my original idea I scribbed and cut line going around the edges
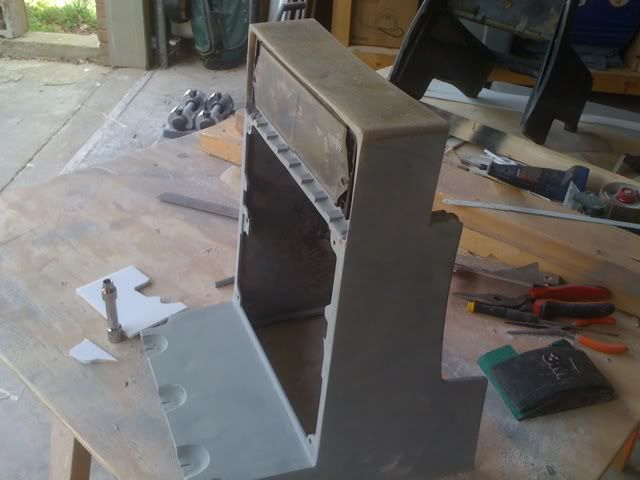
Another - you can see how warped the top is
One side with be painted gloss white and the other flat black
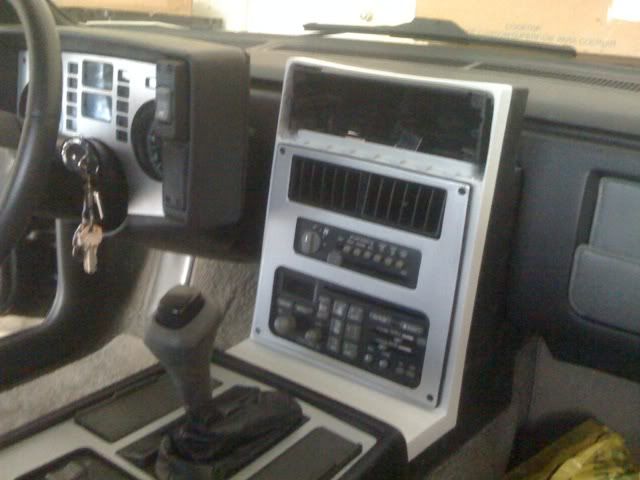
Installed with test paint - not to shabby but I think I'm going to paint the whole thing white with a little bit of black. What do you think?
Another - uh oh! It look like I removed too much material. You can see the back of the gauge pod sticking out. Looks like I either remove material from the pod or add material to the console. I'll have to look at different options
The beauty shot - I still haven't figured out what to do about getting access to the radio, A/C, etc... I'm considering using the stock front plate and permanently adhere it to the console. I would then sand, blend and paint it gloss white. If I do this it would save an incredible amount of time and glass and I retain the basic look. So then, the only way to access the radio is to remove the entire console. What do you think?
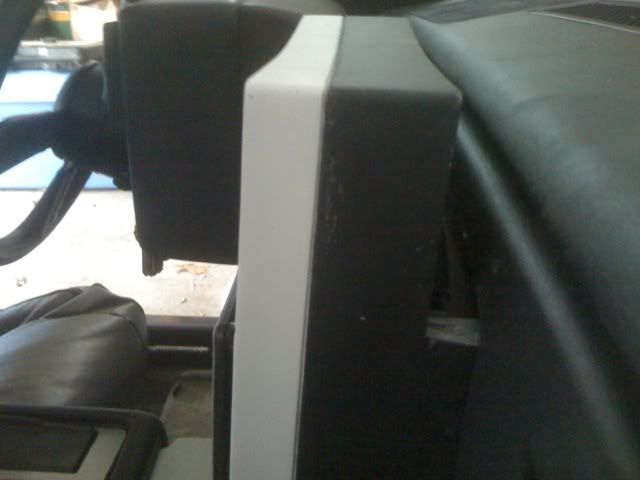
From afar looking down - it definately needs to be painted all white to match the larger armrest console
I am tired... I thought I took more photos than this... I guess all that sanding wore me out! That's it until tomorrow!
[This message has been edited by Sofa King (edited 03-20-2010).]
Nice work. Only thing that looks weird to me is how the bezel sticks out. Maybe if you could build walls up around it or something? I don't know. It's still sweet.
Looks awesome! very nice work funny thing is I was just thinking of redoing my console to add cup holders and since my ecm has been relocated to the engine bay, when i did my 3800 swap, i was thinking of making a bigger glove box and then i seen you thread. I just have to say thanks you have inspired me and given me some ideas.
Just my opinion Greg but I think it's too much white. Maybe find a dark grey/charcoal instead of the black like you had on the first version? Just a thought. I love your idea for the gauge pod. Are you planning on rounding the back off similar to the stock pod?
Once again, you have me rethinking my Coupe console. I am now thinking of copying your design for my gauge pod with a slight twist. I am thinking of taking back on top of the dash and building in another covey/glove box thingie - like you see in some of the newer cars. The big plus to this is that my 16 year old wants me to build another gauge pod like the one I built for the Coupe. I just can't see building another one. I'll just give him the one I have and hen build something new for me.... I think it will go better with the center piecs I built too. I'll have to send you some wannabe sketches and see what you can do with it.
You need to get busy on those door panels.........
I've been tinkering with different designs for the back of the gauge pod. How funny is it - we both thought the exact same thing to create a pocket / cubby up top behind the gauges. I went a little further a thought about a flip screen / GPS. I probably won't do it but it would be pretty cool.
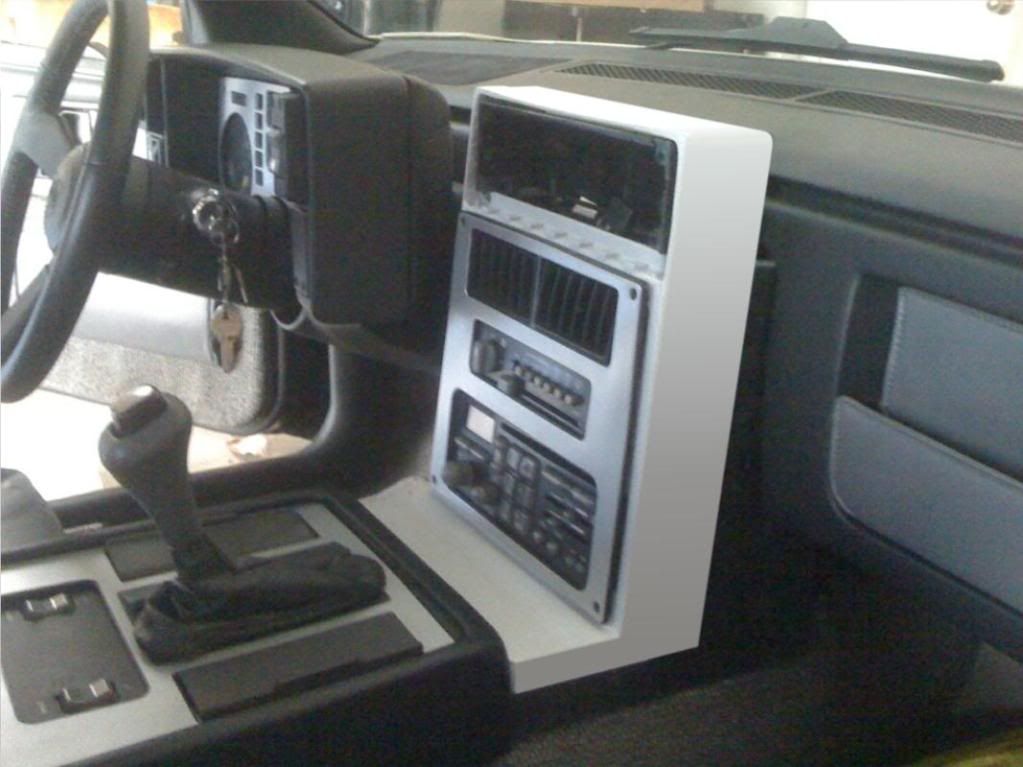
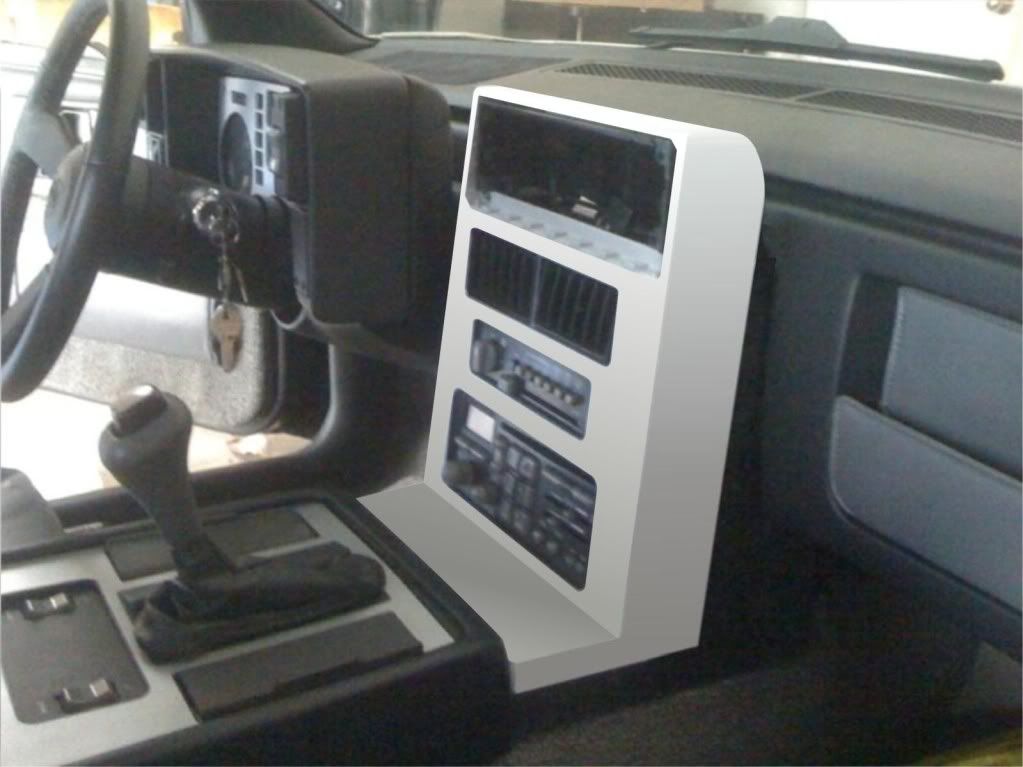
I am going to round out the top side of the gauge pod over toward the back and then round out the console sides under the dash itself. I'm also going to create a permanent cubby area in front of the radio. I'll then make the leap and permanently adhere the front radio and gauge faceplate to the console. I'll buy extras when i do this - I'm not ruining the originals. Why? Everything is perfectly lined up when the faceplates are bolted in - why not take advantage of this. I'll keep the bolt holes and nuts in place just to retain the look but sand smooth and paint everything to match. I think this is the way to go. Plus it frees up time from making a whole new panel from fiberglass.
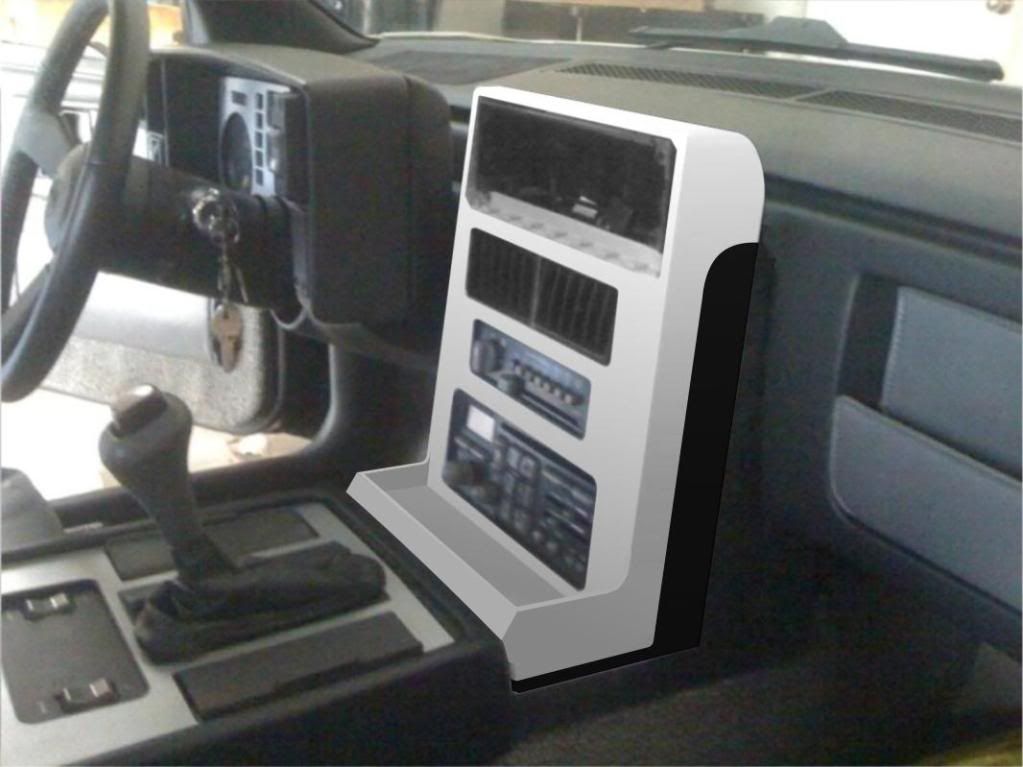
I'm hoping to create something like this:
It's going to be nice today so I should be out there working when I get home.
[This message has been edited by Sofa King (edited 03-23-2010).]
Great inds think alike Greg. I really like the flip up/down GPS idea. That would be too much hi tech stuff for my beater V8 Coupe though. But it might be something for the XTC? - Hmmm.... Thinking again!
I like the "one" piece look. Can't wait to see it done.
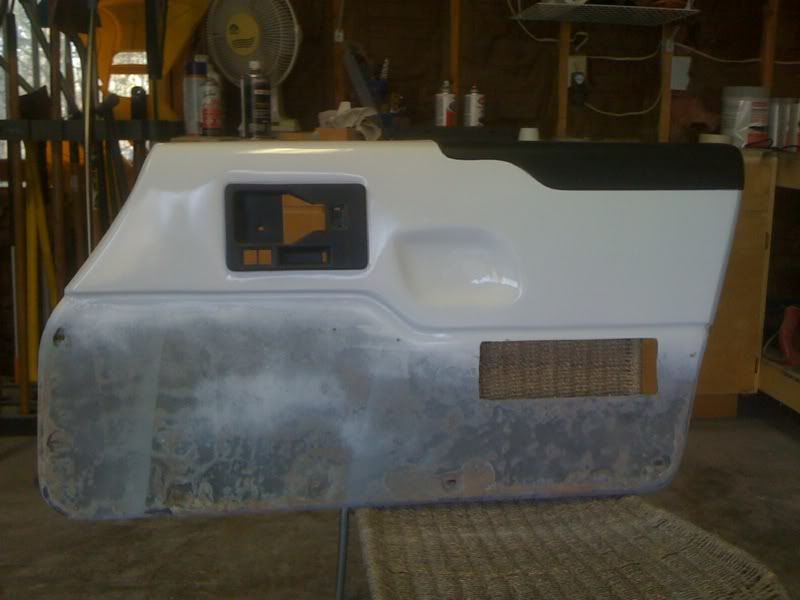
After counterless hours of sanding I finally sprayed the first layer of paint on the door panel
Final sand and primer
First few layers of paint - As you kknow this is the fun part. Paint, wet sand, paint, wet sand, high gloss clear coat, sand etc etc etc... I actually really enjoy this process.
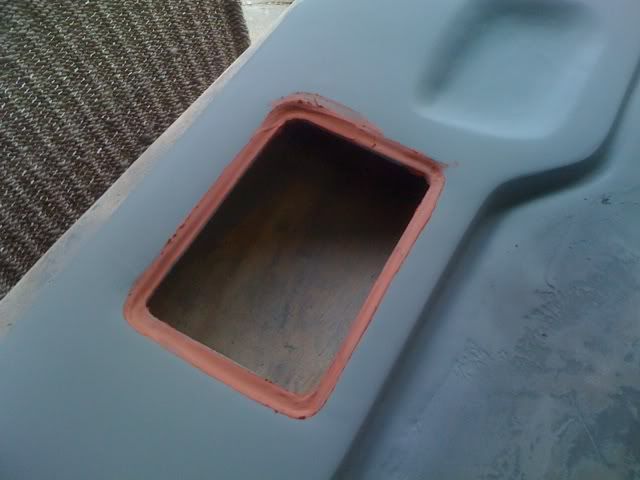
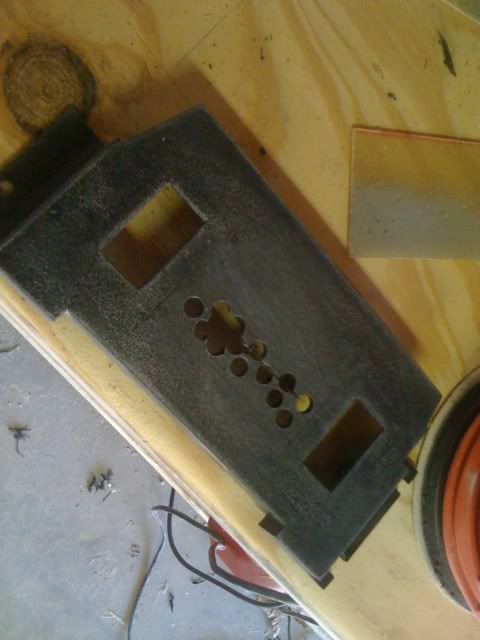
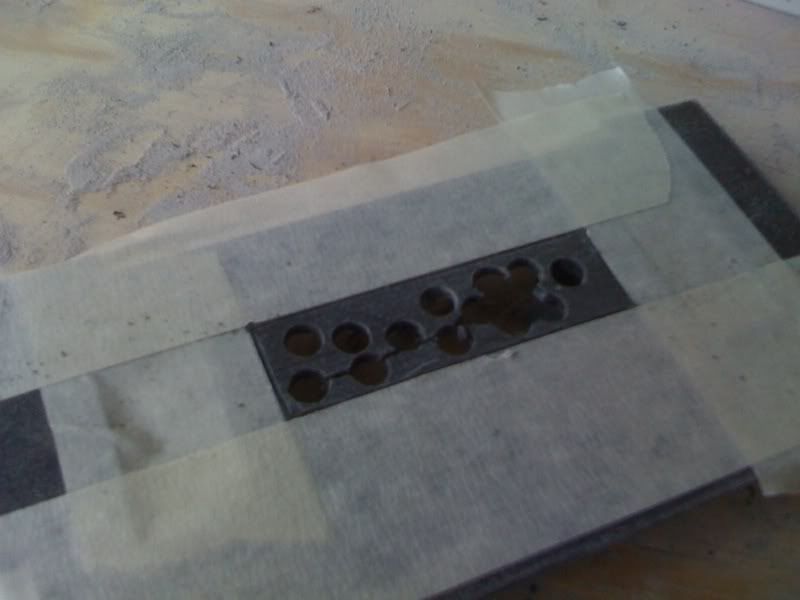
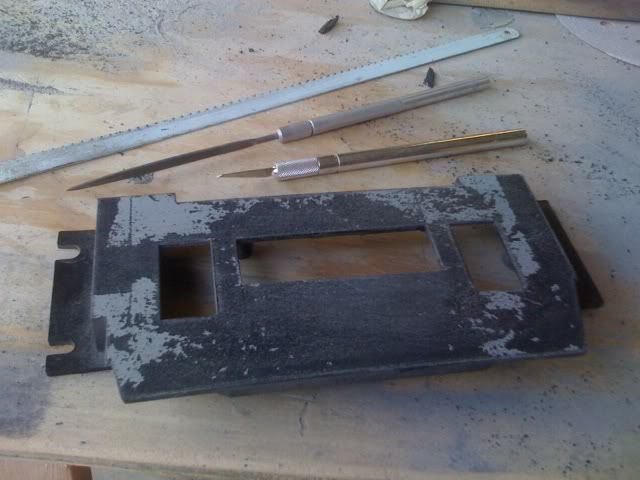
I had an extra window switch plate lying around and decided to cut the hole for the iPod - there's tons of room but I did have to remove one of the bolt holes
Measuring the lines
Drilled a few pilot holes
Taped out the area to cut - I used an X-Acto knife, modeling file and and saw blade and took my time - no need to rush
The process took about an hour from start to finish
Another
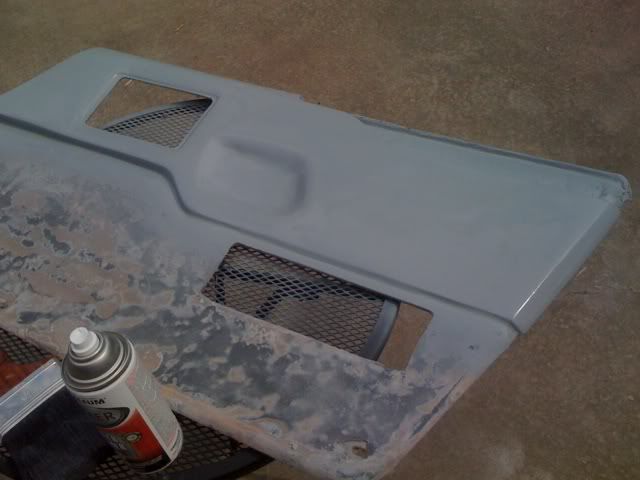
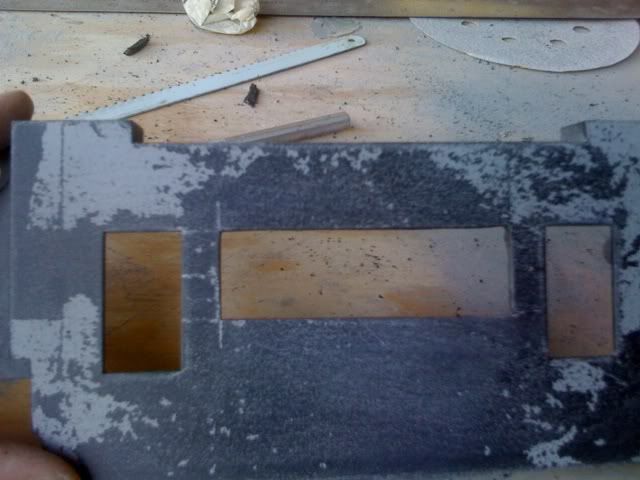
I then sprayed with primer & flat black
Because I removed one of the bolt holes I quickly fabricated a simple support when the button is pushed
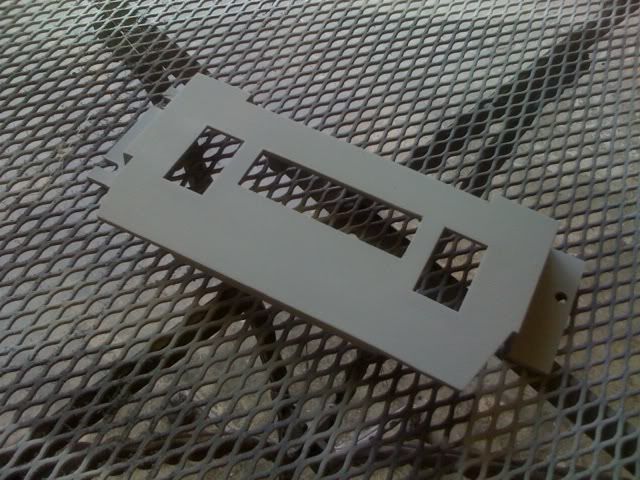
Installed - turned out really nice. All I need now is the iPod docking station and connector to the back of the stereo (but I think I need a new stereo as well... DANG IT - LOL)
On to the console. I ran into a wall on this project. As you know I have to find a way to cover the gauges up top. The idea was to create a nice rolled cover going down the back side of the console. However, this is impossible to do with the consoles current configuration / design. The horizontal piece of the "stock" console - where the upper gauges mount - is directly in the way when removing / installing the console. So.... I either remove the horizontal part of the structural or I create an entirely NEW piece that actually covers the console - kinda like a lid - GREAT... another lid... LOL
As I said in a previous post, I want to utilize the stock plate covers. However, I run into another problem. The A/C vent surround on the backside of the plate cover will have to be removed in order for me to successfully create a cover that can be removed / installed using the stock mounting hex locations. It's kinda confusing... I'll take more pics tomorrow
I added lots of filler to the console
Sanded smooth
No more sag in the middile
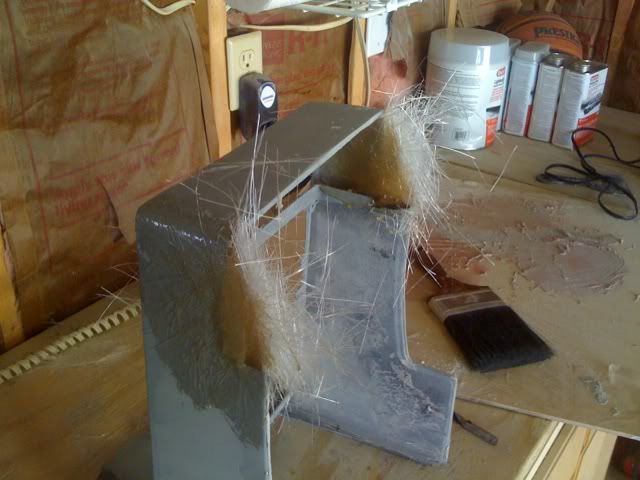
I then began the process of creating the back side of the console
Hot glued them into place
Another
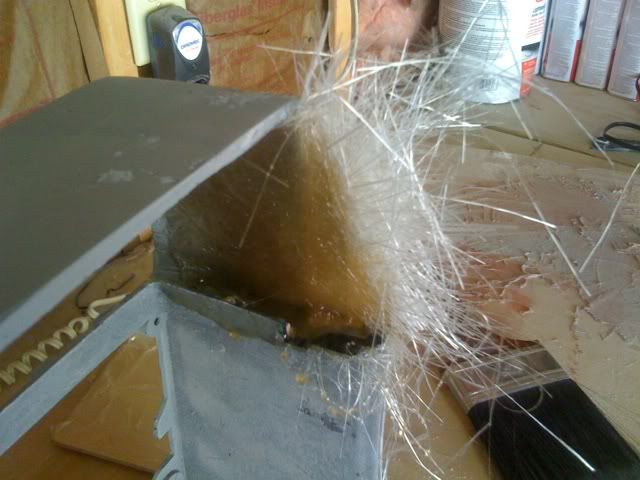
Then added fiberglass for strength
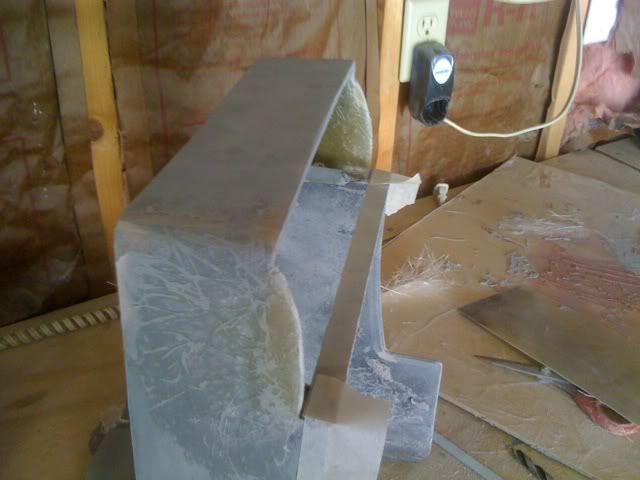
I then removed the excess and sanded smooth
Tomorrow I'm going to try to create a cover and see where that leads. I've begun the masking process
As I said, I hit a wall on the radio console. I have no doubt I can do it... it's just figuring out the correct steps. Until tomorrow
[This message has been edited by Sofa King (edited 03-27-2010).]
I just had an idea for the radio console lid/cover plate. I'm still going over it in my head but i think it's going to work. The white area is the new cover portion. It will add a little bulk to the console and I'll add some visual highlights as well. I'm still tinkering with the design.
[This message has been edited by Sofa King (edited 03-27-2010).]
Thanks guys! Here are a few more updates. I didn't get as far as I would like. I've had a terrible head ache ALL day and it finally went away.
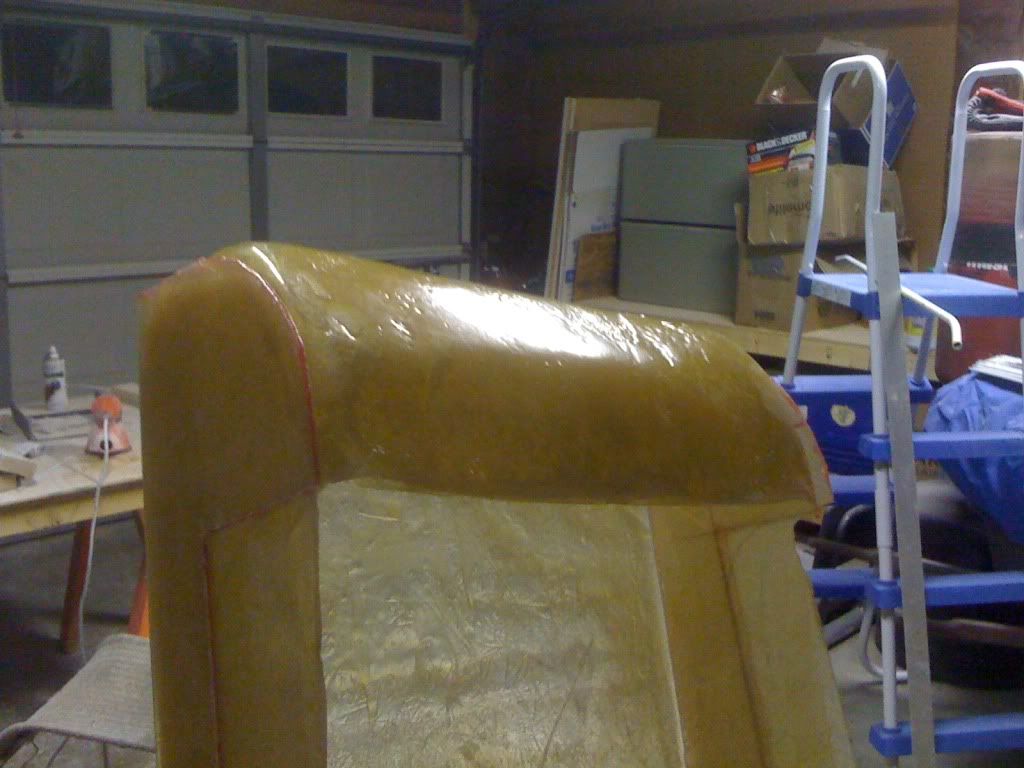
After tinkering with the console design I rounded out the back side of the "gauge pod" area
Using foam core I then created the curve to close the gap
I then covered the entire console with clear packing tape to prep for glass
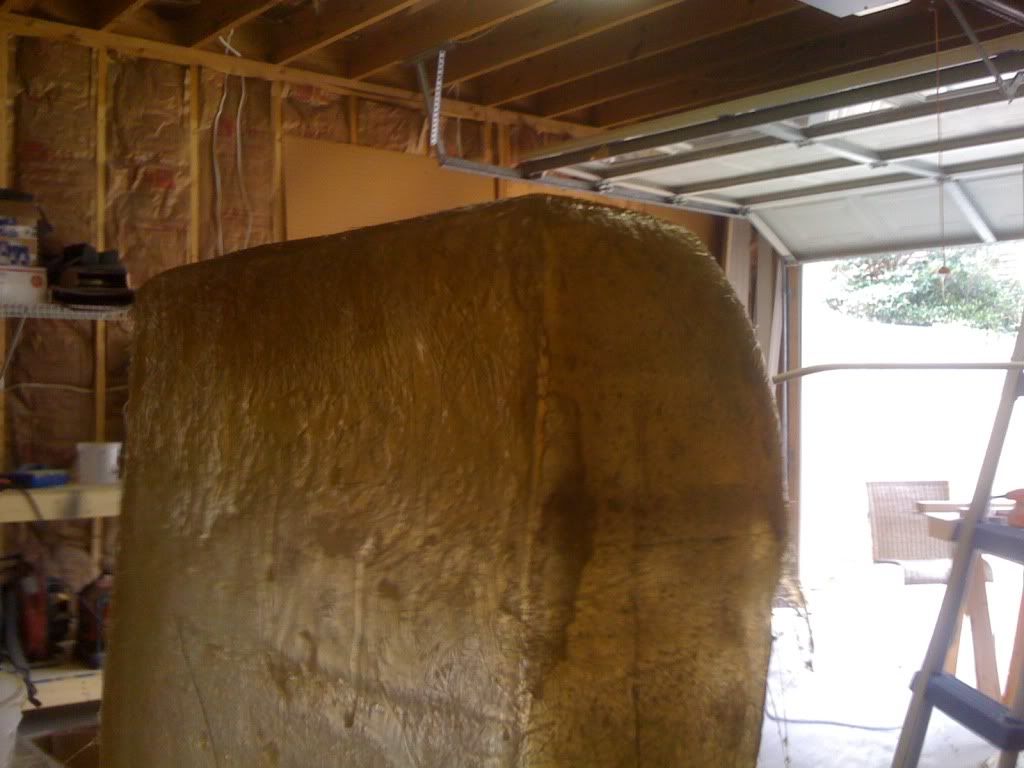
Covered with glass and tanning in the sun
I sanded the mold while it was still attached to the console. I then pulled it free
Adding more layers of glass to build up the thickness and fill in the holes
I also painted and wet sanded the door panel - I'm really happy with the way this is turning out.
That's it for tonight. The console will take several passes with filler and glass before it begins to really take shape - I think I've figured out the trim plates as well. I'm hoping to work on the console a little tomorrow after work.
[This message has been edited by Sofa King (edited 03-28-2010).]
And the bar goes up another notch.......... I got to get the XTC done so I can go back to work on the V8 Coupe - I am so far behind you now that I'll never get caught up. I love the AC surround and the door panels Greg - great ideas and great work!
And the bar goes up another notch.......... I got to get the XTC done so I can go back to work on the V8 Coupe - I am so far behind you now that I'll never get caught up. I love the AC surround and the door panels Greg - great ideas and great work!
Pat
Thanks man! It'll be nice to have ya working again. I missed your persistant nagging and nit picking. You know I kid! What's the plan for the Coupe?
just curious what cad program you used to do your computer designs? btw what you are doing is amazing.
Hey There,
Thanks for the compliments. I use a drawing program called XARA Xtreme - www.xara.com. It was originally part of the Corel Draw Drawing Suite many many years ago but branched off and became it's own entity. If you're not a Corel user you've probably never heard of it. It combines the best of Corel Draw, Adobe Illustrator and Photoshop and packages it into a well rounded and streamlined application that is not only faster than Illustrator but 100s of dollars cheaper.
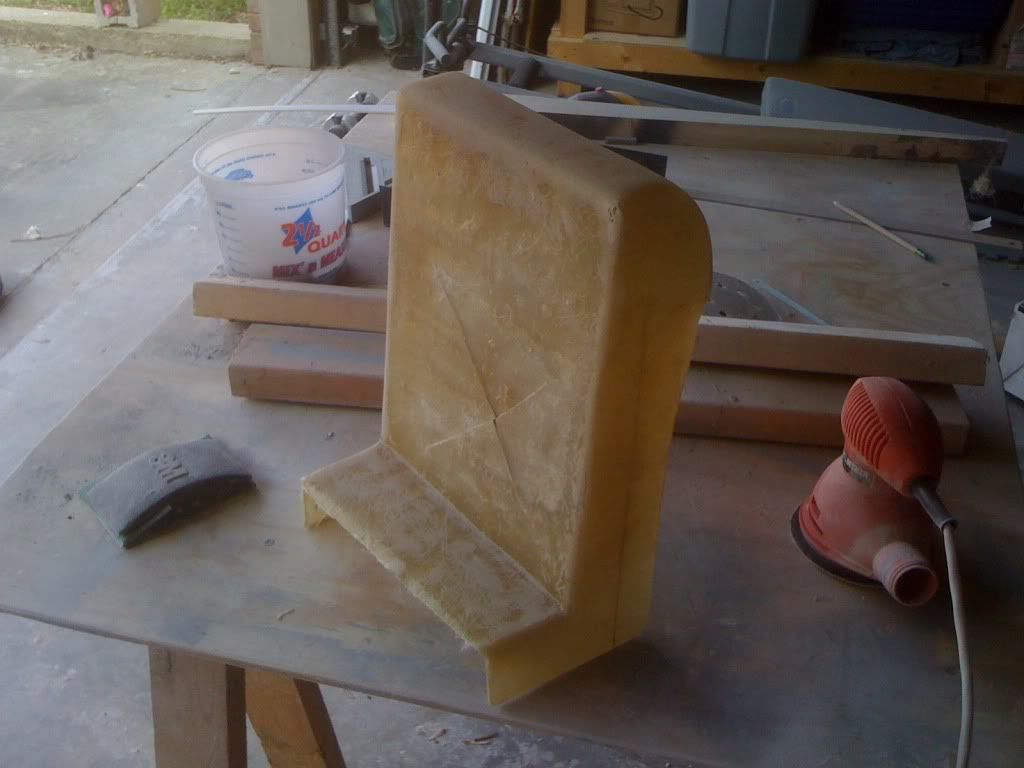
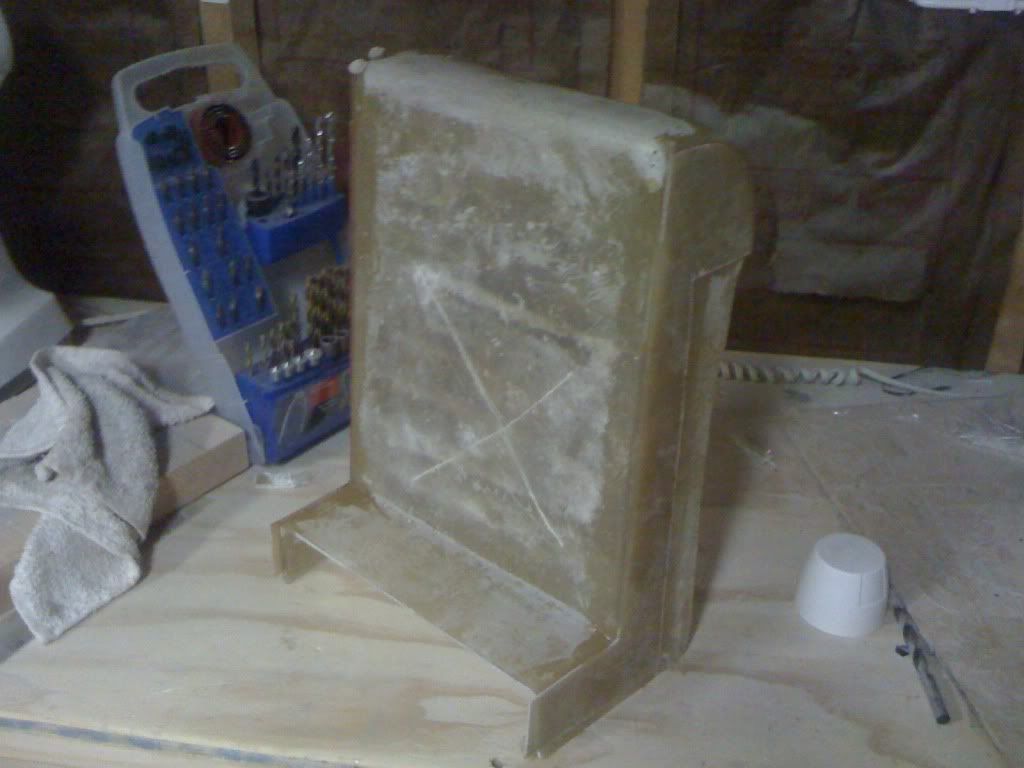
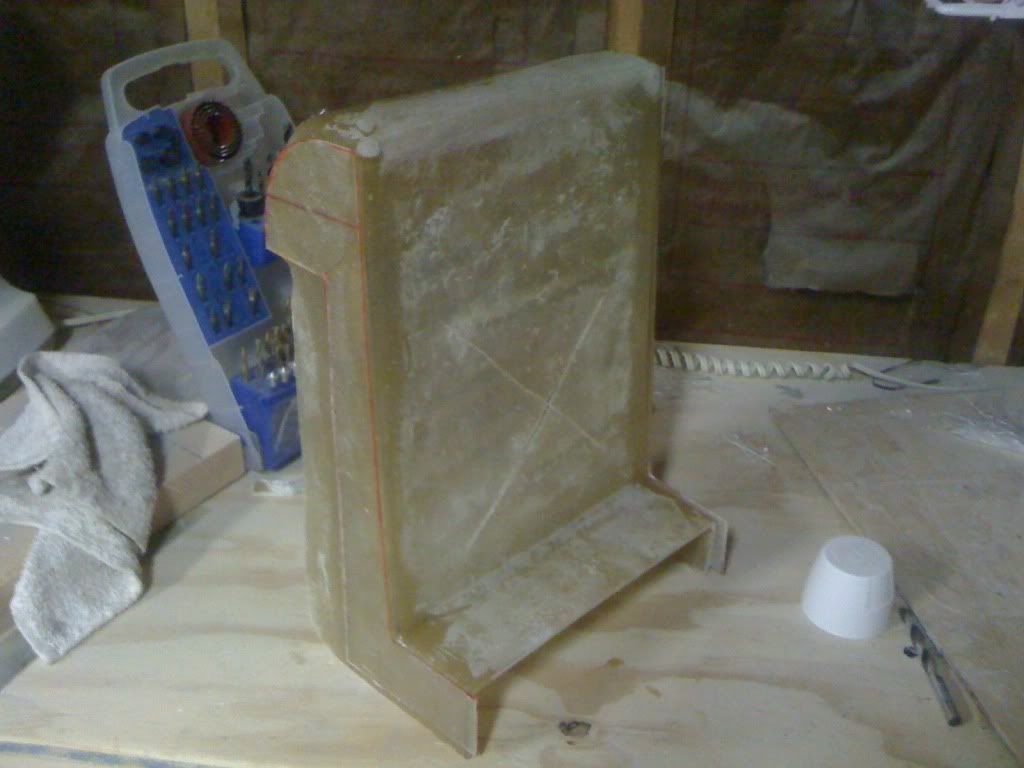
I sanded the console down a little more this afternoon and added more glass to the sides. Tomorrow I'll add more glass and body filler
Sanded down
The next step will be to remove the front flat area where the "X" has been cut. I will need to begin prepping to install the radio and upper gauge plates.
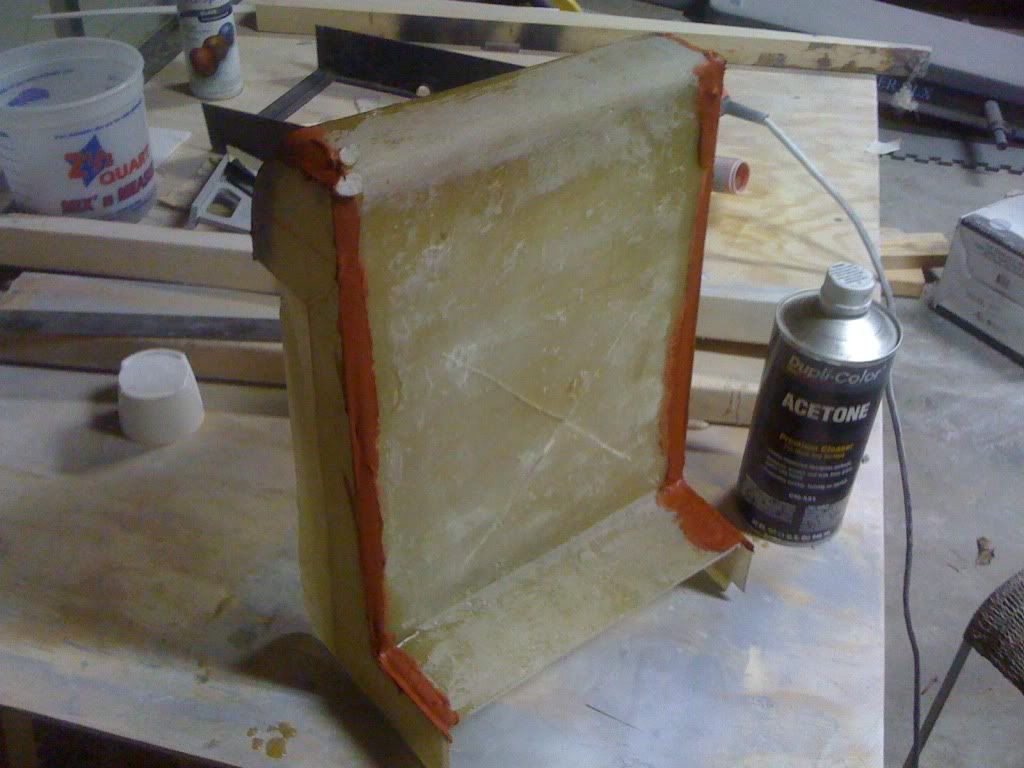
Pieces cut to fit the sides
I then heavily coated the sides with resin and clamped them in place - I'll go check it tomorrow
I got in the car this afternoon and saw this
I also wet sanded the door panel and painted but there was no reason to take pics - it's still looks the same. That's it for tonight
[This message has been edited by Sofa King (edited 03-29-2010).]
I do have a quick question for you guys and gals. The armrest lid is painted flat black and gloss white. The door panels will be black vinyl and gloss white. The radio console will be flat black and gloss white. My question is... what color should the instrument cluster plate and the side vents be? Right now the gauge plate is silver and the vents are still black. What do you think?
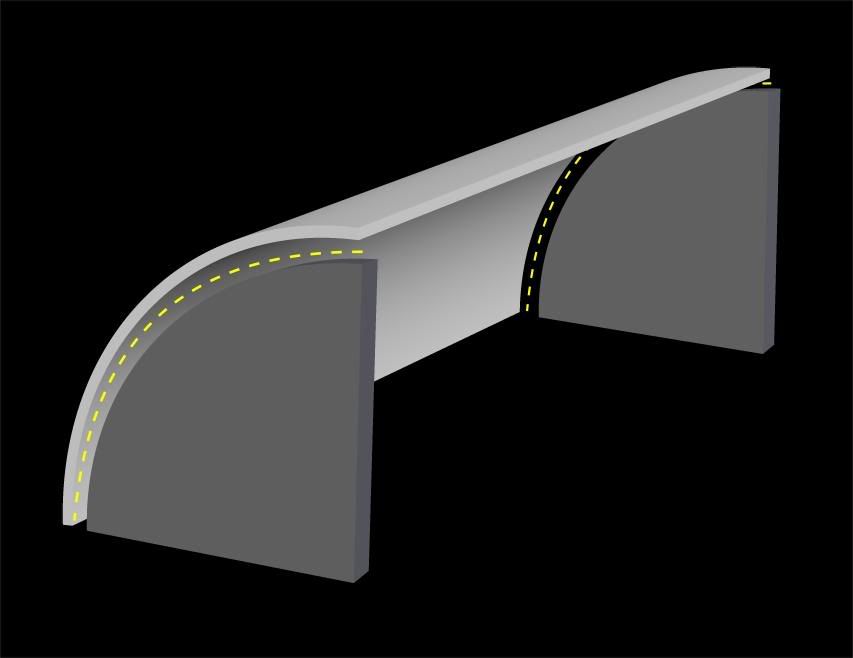
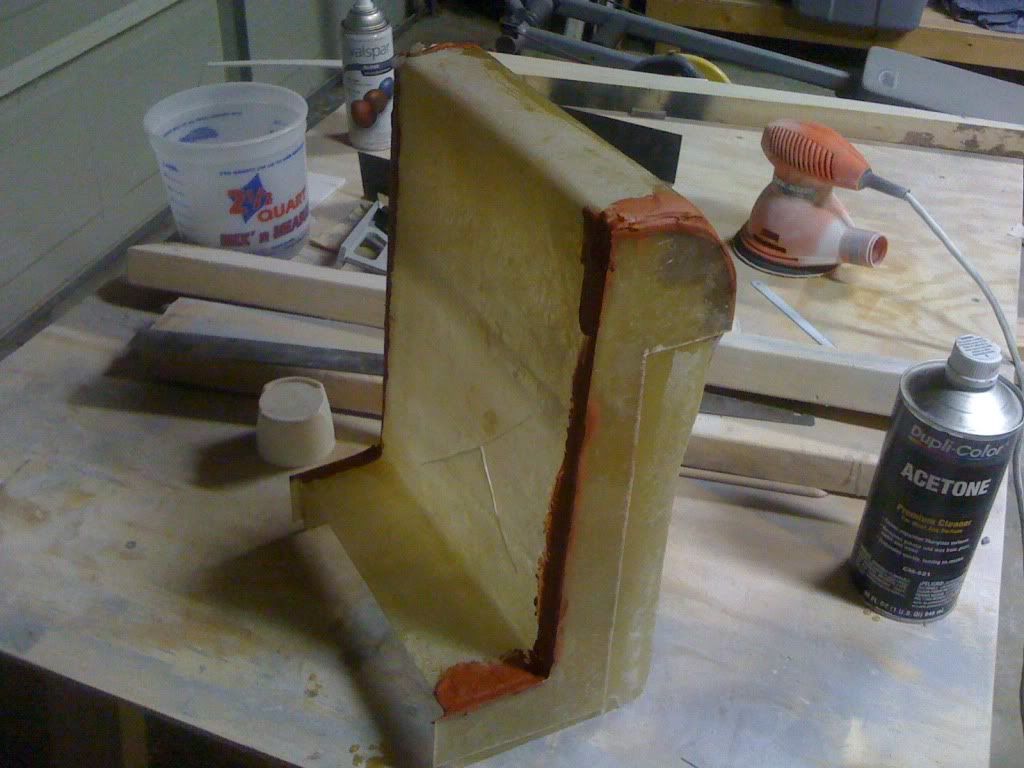
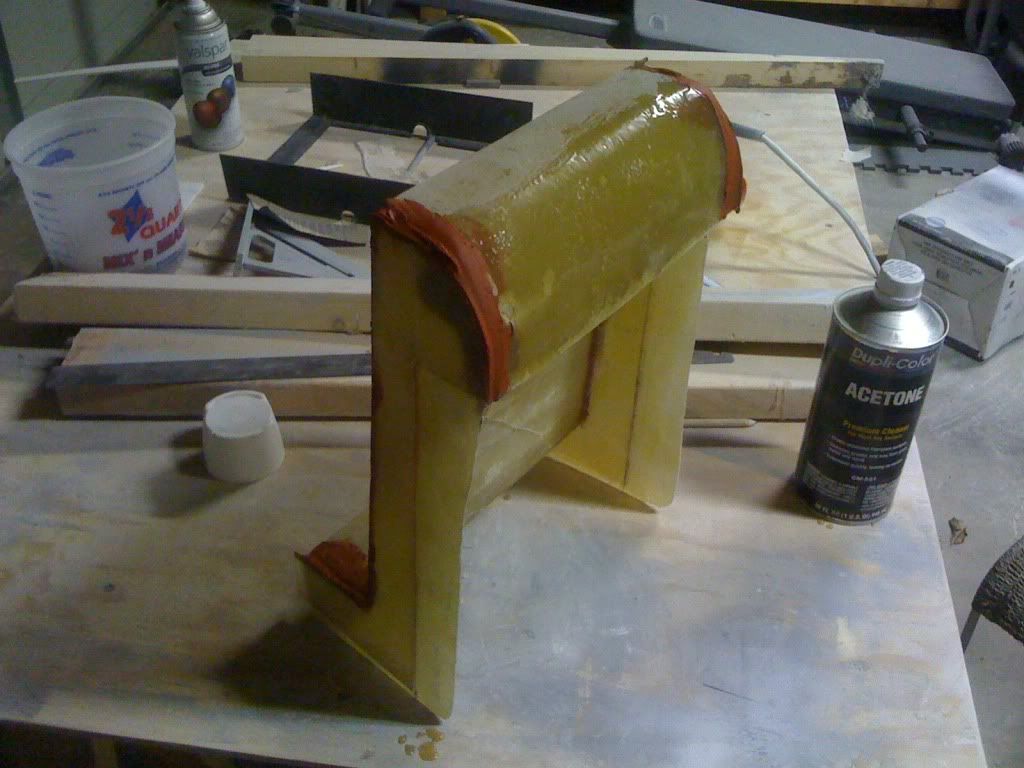
Hey Greg, I've got a quick question. I'm going to be glassing over the gauge pod with the temp and battery gauge, and I was wondering whether I should do the sides and top/ back in seperate sheets, or would I be able to shape one sheet of glass over the whole thing. What would you do?
hmmmmmmm... good question. First... if you glass over ANY object and use that, then the piece will actually be larger than the original because you're wrapping the original object and creating more layers - if that makes sense. I would probably create a new piece. If you can get some foam core or card board (similar to what's on the back of drawing tablet) and create a mock up to get precise measurements and everything else.
Once you have a good idea and understanding of your design then create your fiberglass panels. I would go 2-4 layers thick for the sides. And then use a hefty pair of tin snips to cut the fiberglass to your desired shape. And of course prepare for sanding... lots and lots of sanding. For the curve section I would create a panel with only two layers (use matte - NOT cloth). You want enough flexibility in the fiberglass to make the piece fit the curve but light enough to hold in place with either hot glue or tape. Once everything is in place use either resin and ONE layer of glass or body filler around the edges / side where the three pieces meet and let dry so you can then remove the tape / hot glue. You can then add additional layers of glass to the curve section if need be.
I created this graphic - the yellow dotted line shows where to hot glue / tape the pieces and then glass on the inside of the shape.
And then remember... lots and lots of sanding.
If you can, create your panels using a mirror or large piece of glass. The fiberglass doesn't stick (you can always wax it to make sure) and you get an incredibly smooth fiberglass surface to work with when the resin dries.
Does that make sense?
[This message has been edited by Sofa King (edited 03-29-2010).]
Thanks man! It'll be nice to have ya working again. I missed your persistant nagging and nit picking. You know I kid! What's the plan for the Coupe?
Hmmmm.... Plan for the Coupe - well no thanks to you, a complete redo........ I have had to rethink the whole thing. I'm still planning something up and over the dash from the AC surround. I want to incorporate a large tach with a shift light in the center of the dash as close to the windshield as I can get it. It will need to be "molded" into the ac surround along with the 3 gauges. I also want to work on the rear console some more - still not crazy about the way it tuned out. You got me thinking about door panels now...thanks a alot!
Thanks! However, when I glass over the plastic piece, the thickness will be compensating for the dreaded GM foam/ vinyl material (approx. 1/4 inch) I also thought that doing the sides seperate would be best. And your looking for the brushed aluminum plates, right? If so, I've got em, as I'm making my own (as shown in my center console thread ) if you just pay for shipping, I could get them to you. Can it wait a week or so though? I'm going to need them to trace the outline.