Sweet design on the gauges! I say use both. Integrate them into one and use the emblem on the top one for the actual pointer! If you could do that it would look killer!
Thanks for the compliments on the gauges. I had a little down time this morning and worked a few more ideas. I can't get too wrapped up in this project I still have the console to finish, another console to create, door panels and radio bezel to create... And I'm sure somewhere in there I'll be forced to clean the garage! Anywho...
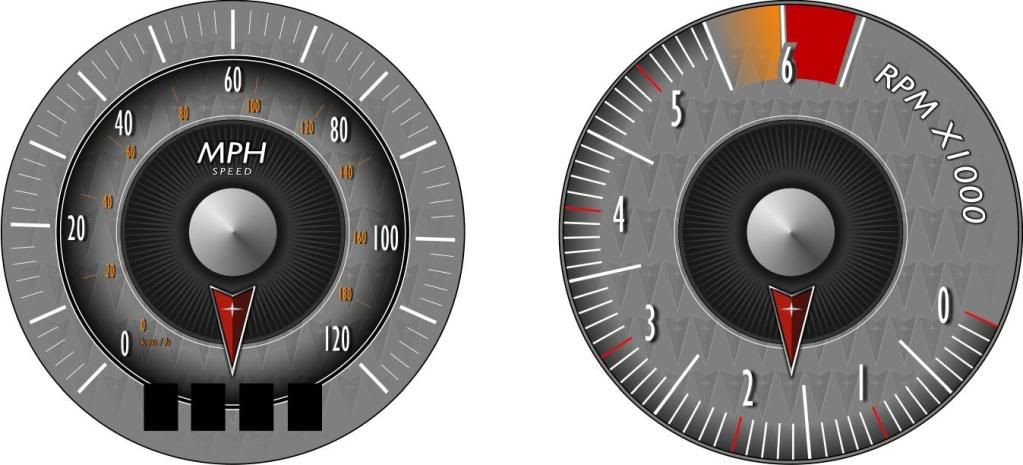
Here is another design. I combined the other designs into this. I'm not sure it matches the overall feel for the Fiero. It is very modern. What do you think?
And then I got to thinking how would the gauges look with a classic vintage design that showcased the old Pontiac Emblem? It might be a bit much, but it's only a concept - but I do love that emblem!
Well... gotta get back to work.
[This message has been edited by Sofa King (edited 01-29-2010).]
just by looking at the tape on versoin, I would say a nice 1/2 slit by 4" type of vents there would look cool.
here is some work for ya, make several molds of those little cute vents and glass them together in a slit formation . then you have the vent style you want and a more modern look to them. you know...kinda like strech them a bit longer.
Oh and what do you have that WILL do 180MPH???? looks nice though!!
By slits I mean in this fashion: ( yea still never figured out Xara)
// // // // //
Dang it Revin...
Why do you always force me to do a better job? UGH... What if I paint them white or black? Will that help?
I might go to the junk yard this weekend, depending on the weather, and see if I can find some other vents. Hey... you know what would work? The defrost vents in the upper part of the dash! The mesh would be perfect! It would have to be cut and shaped... but it just might work. UGH... we always get hung up on the details...
[This message has been edited by Sofa King (edited 01-29-2010).]
I like the white faced ones with the Pontiac head but it they would look better in a vintage Pontiac / rat rod. I really like the other ones without the "Red 55"....lol
Don't settle on those vents just yet. There is something better out there. I know no one will ever see them but you will now they are there. More importantly, Revin and I will know they are there. Don't take the easy way out.....lol!
Don't settle on those vents just yet... Revin and I will know they are there. Don't take the easy way out.....lol!
Pat
LOL! This is why I love you guys... You're honest and to the point... that you're annoying. LOL But... you're right...
We had freezing rain and sleet yesterday and into the morning so I can't go anywhere until this afternoon - it's supposed to warm up. I did buy something that will take place of the felt liner. The felt was too difficult to work with and I couldn't get the cuts right without pulling & stretching the material. The stuff I found is perfect - I'll post pics later today.
I have a few more layers of clear to shoot on to the lid and then I can call that part finished. It'll be cool to attach the Pontiac Logo that last and final time. I'm hoping to go out and find the wrinkle paint and test it on a few scraps pieces like you did.
I like the white faced ones with the Pontiac head but it they would look better in a vintage Pontiac / rat rod. I really like the other ones without the "Red 55"....lol
Don't settle on those vents just yet. There is something better out there. I know no one will ever see them but you will now they are there. More importantly, Revin and I will know they are there. Don't take the easy way out.....lol!
Pat
I agree with much of what Katatak says. I dislike the red 55 in my Fiero too, the vintage gauges are awesome but dont fit, and the vents may not work.
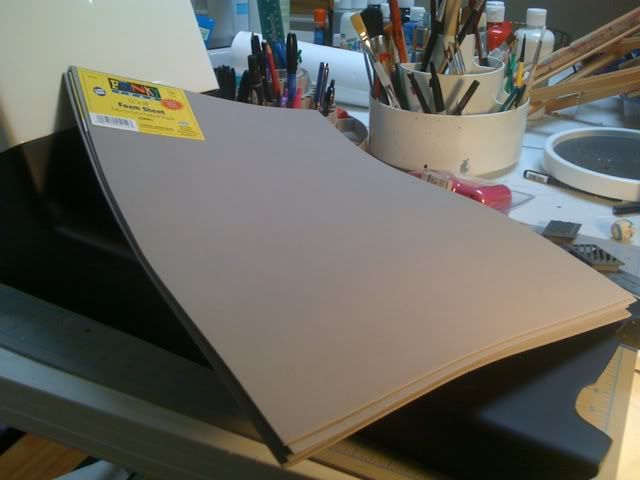
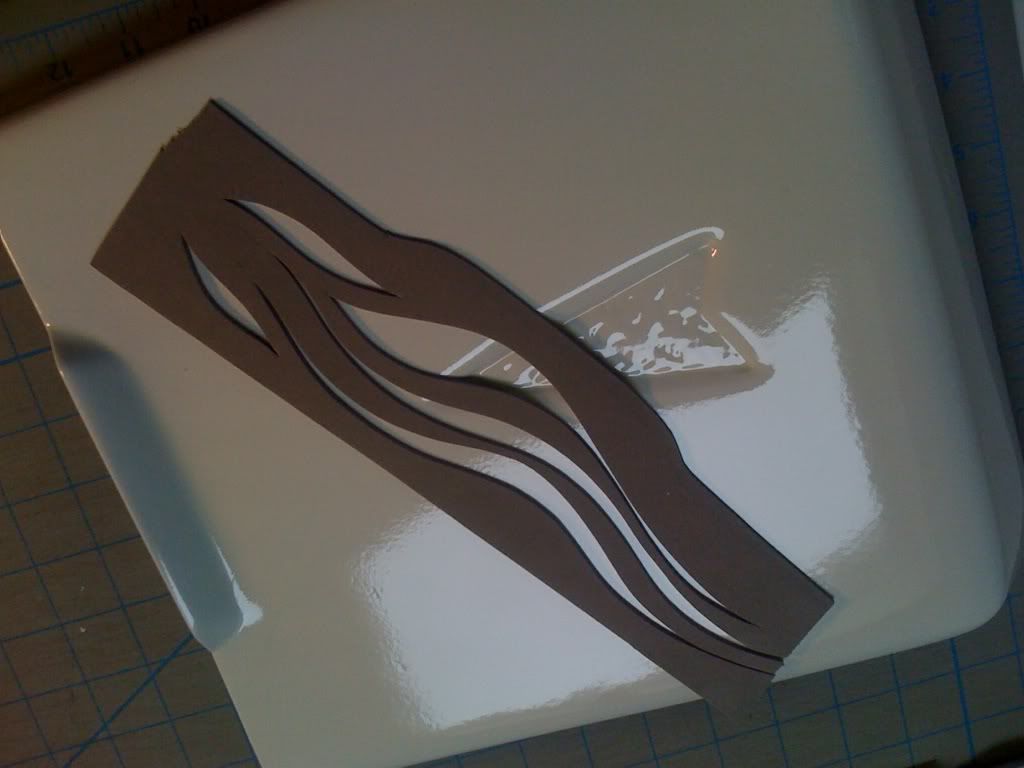
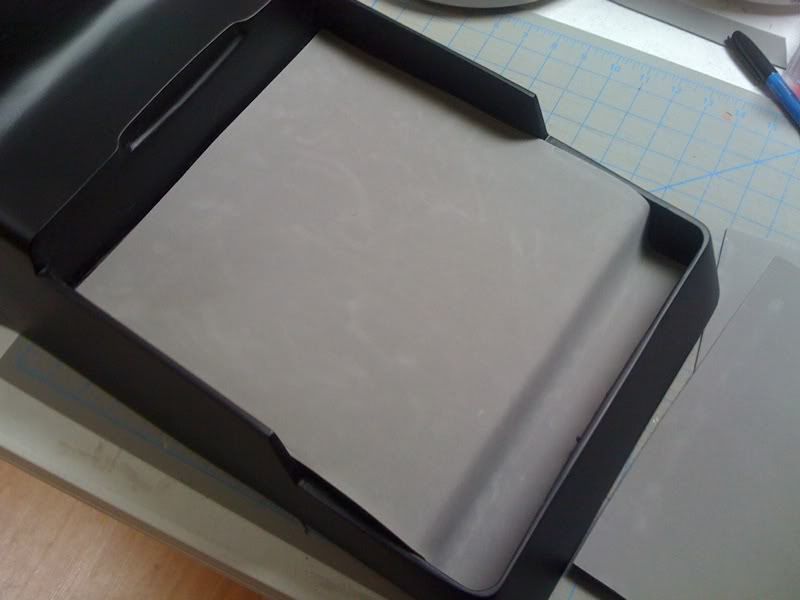
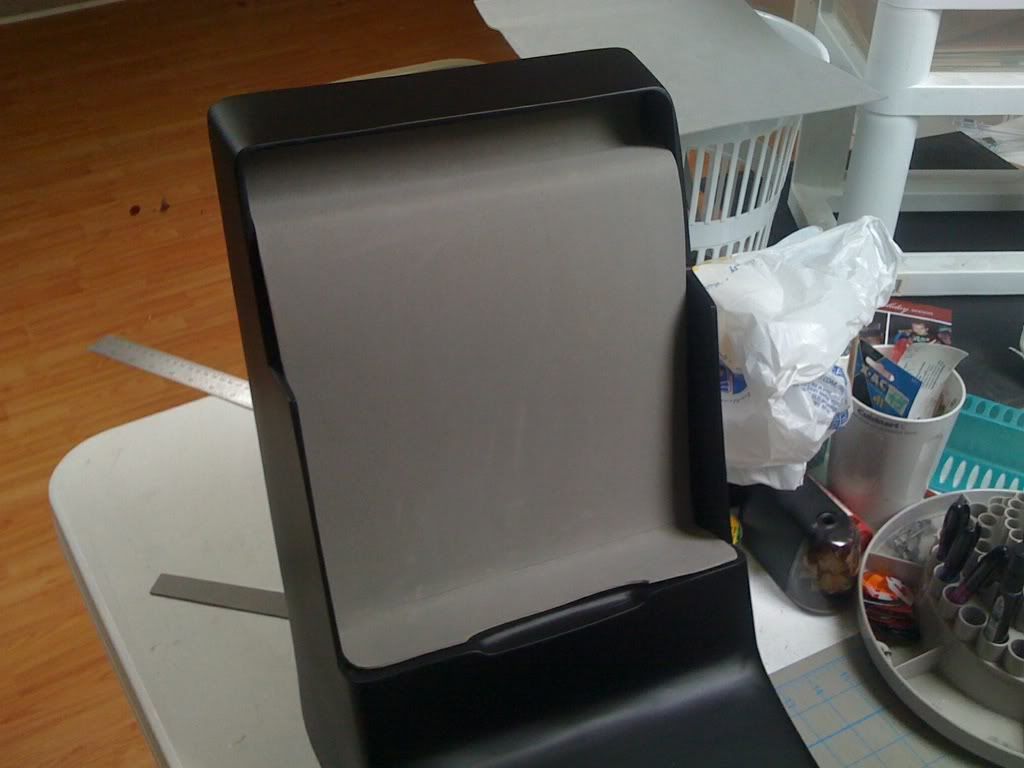
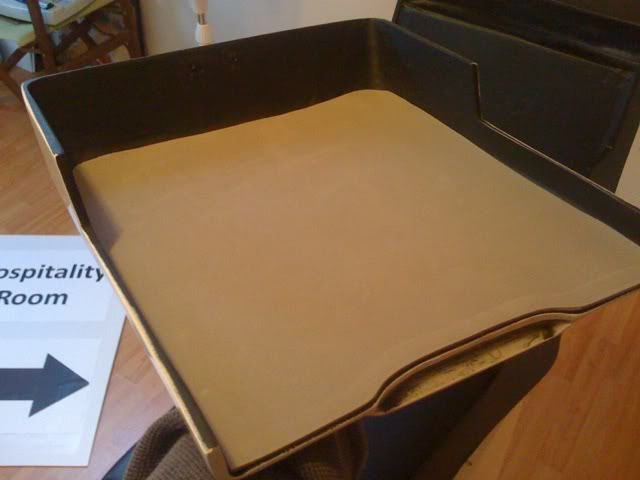
Here's the latest & greatest. As I mentioned I scraped the "felt" liner idea. I couldn't get clean enough cuts. So, I went back to the hobby store and found foam sheets. I could get them in various colors and sizes. I went ahead and got the grey. And at 79 cents - you can't beat that! And it's great for school projects!
The victim
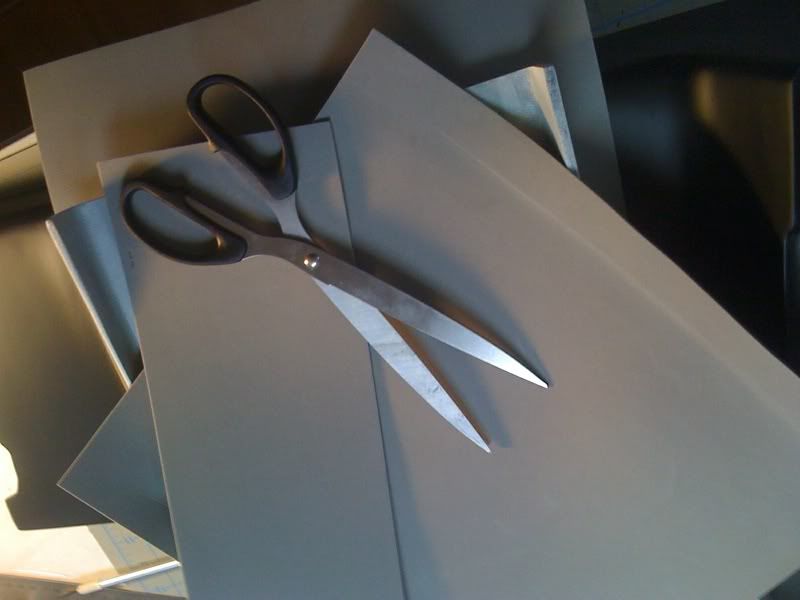
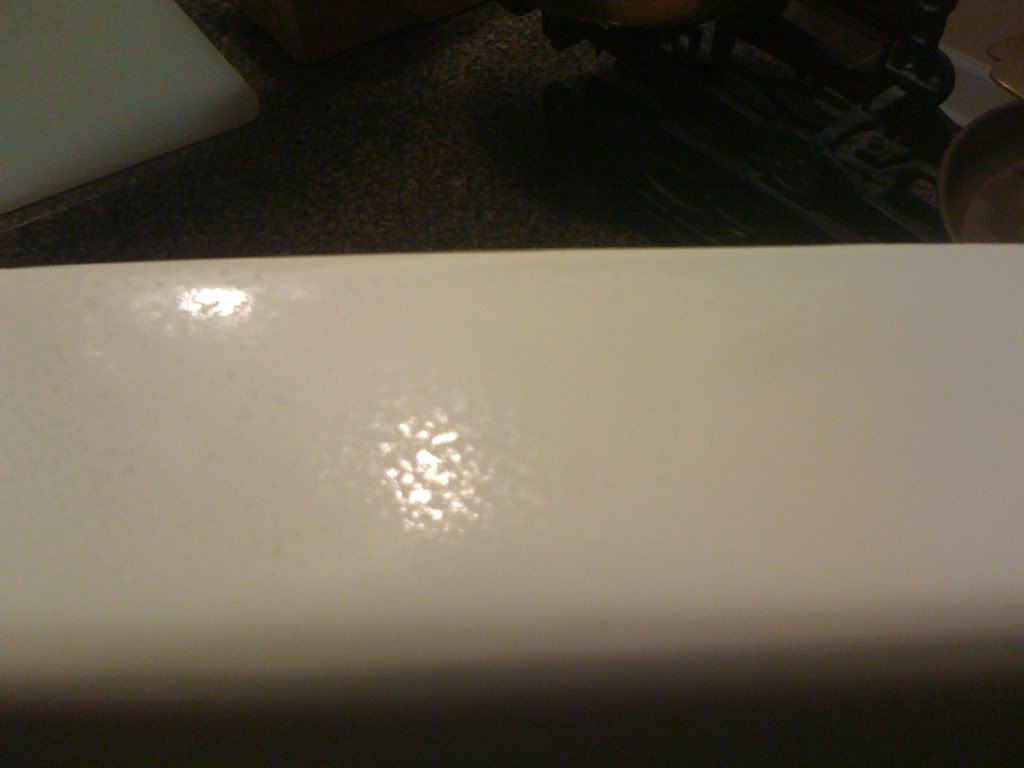
This stuff is so easy to cut whether it be scissors or an X-Acto
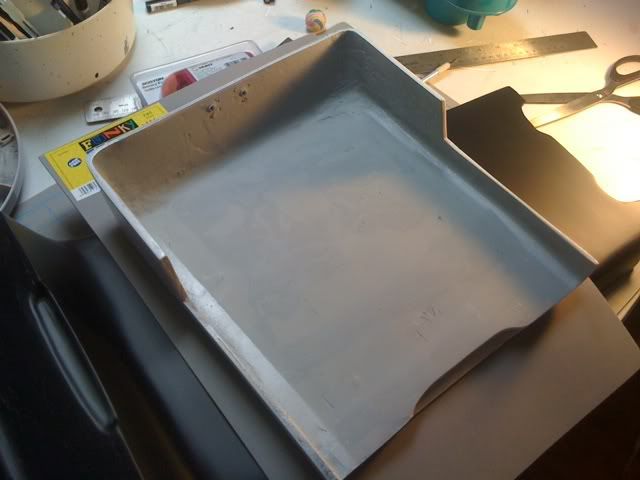
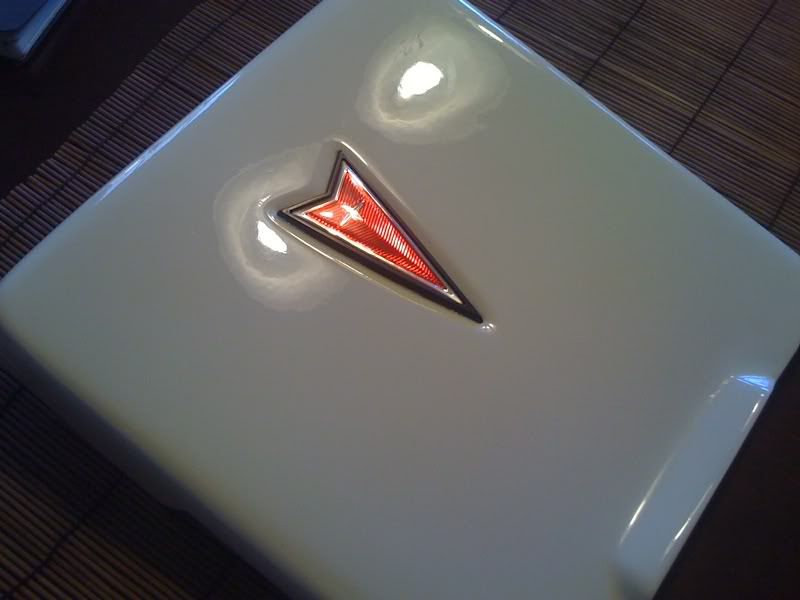
Sample cuts - look at the high gloss shine on the lid
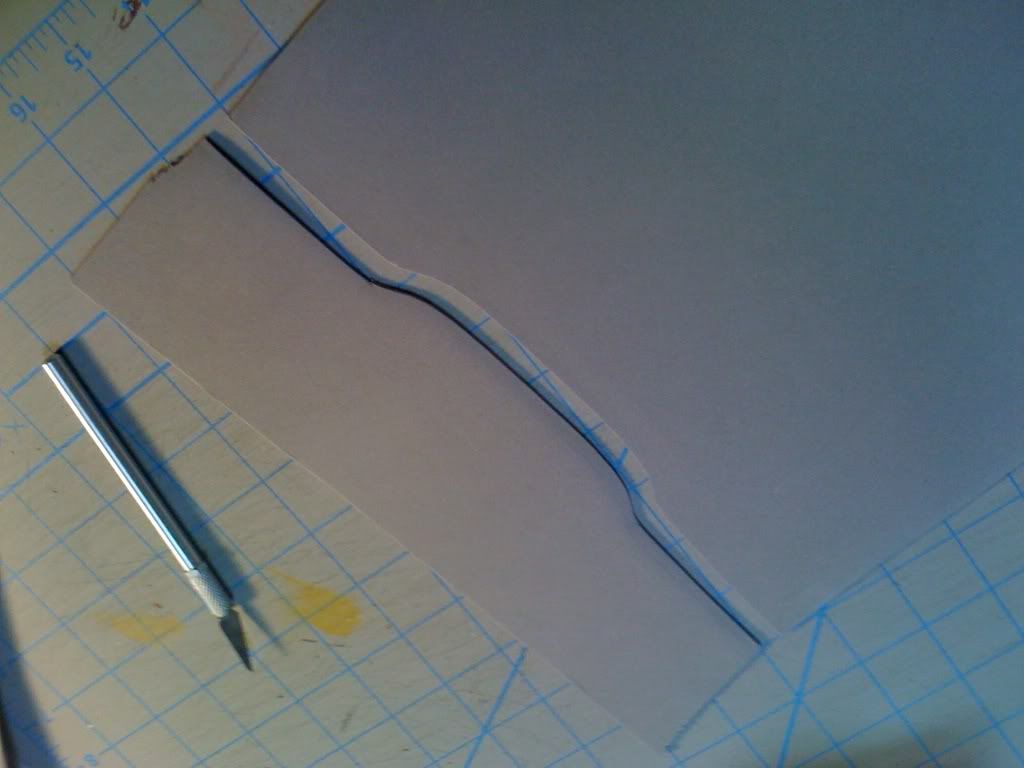
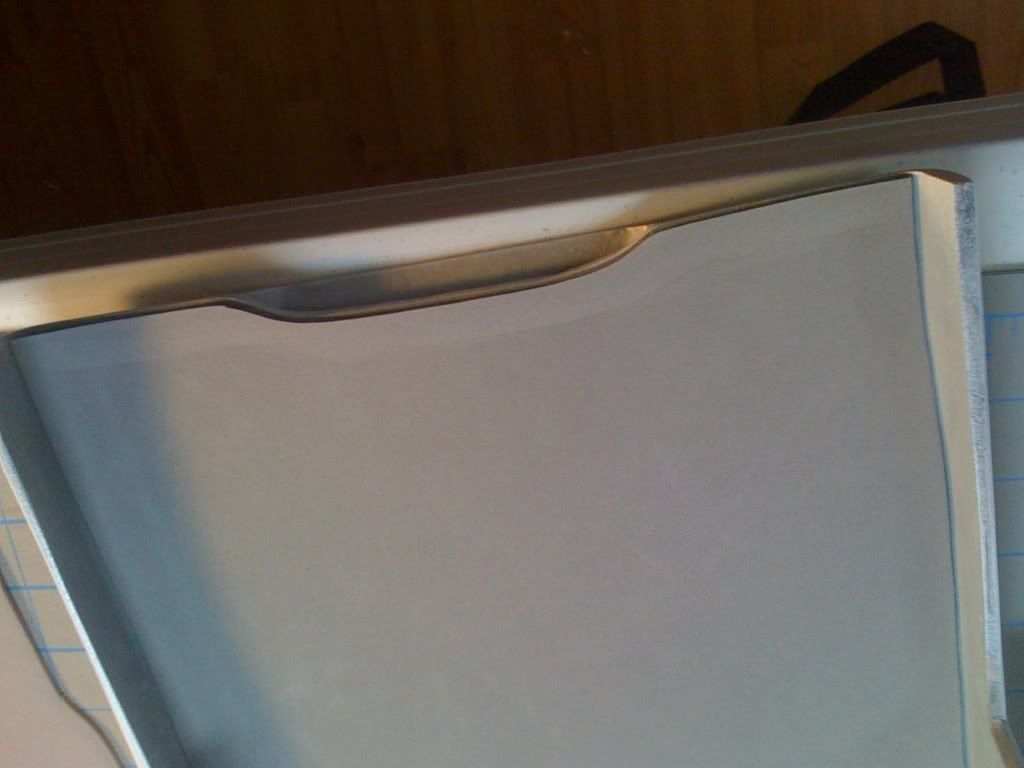
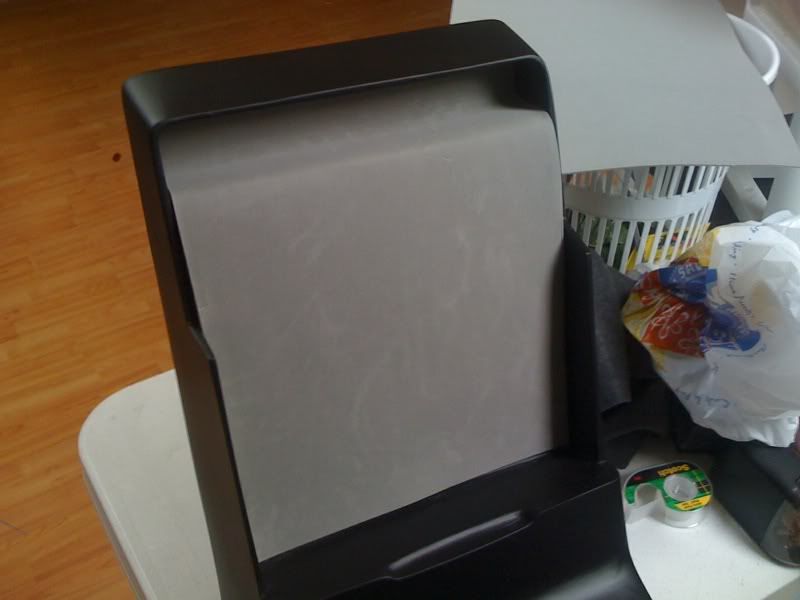
I got the basic shape of the lid by pressing the foam into the edges. The foam retained the shape and then I began to cut away the material until I got a nice snug fit
Nice smooth cut
First piece down...
Be back soon
[This message has been edited by Sofa King (edited 01-30-2010).]
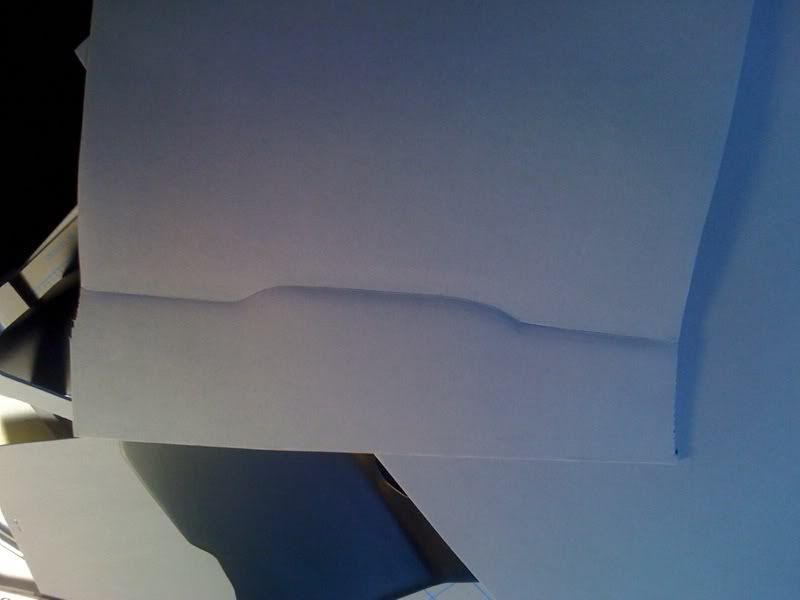
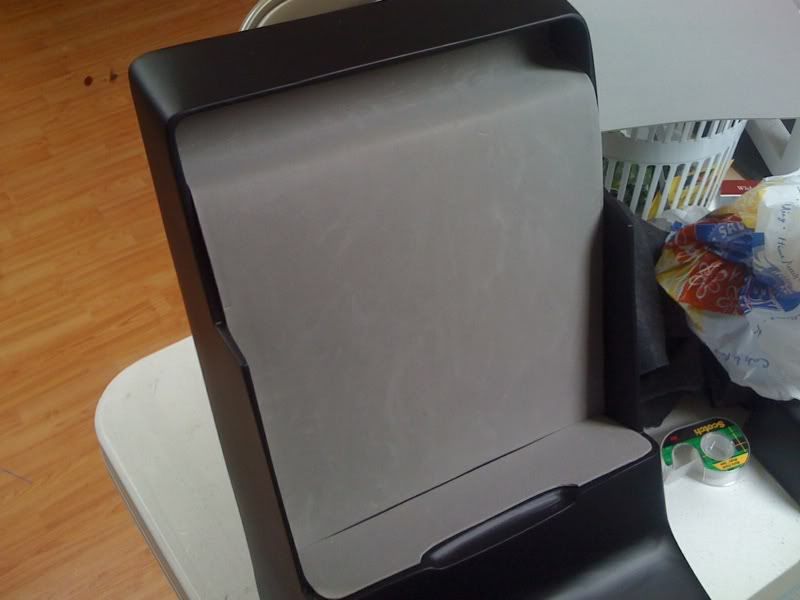
I was able to cut the foam for back back portion of the main console. This stuff is great! You can write on with pencil, fold it to find the creases, and strech it (just a little bit)
I pressed the foam into the console and then cut the basic shape. I then pressed the edges down to find the folds that go into the upper portion of the console
I have not adhered the foam yet so it's not exactly flat against the console
I then cut another piece to fit the lower portion of console where the lid "lift" is. Again, I used a pencil and pressed the to foam against the console to find the edges
TaDa!!!! If these turn out not to be perfect I can recut the foam using another piece. And at 79 cents... pfffffft. I can make LOTS of mistakes.
I'm debating whether to do the edges or not.
That's it for now. The weather is still bad out so I cant do any fiberglassing and it's really cold. I'm going to wet sand the lid and then get another layer of clear gloss. More pics coming. Can you feel the end coming? I can! But I still need to find vents for the side of the console. I thought I had found some. But NOOOOOOOOO... LOL
Quick Note: Looking at this console... I know there is nothing I can "realisitically" put into the glove box but it nice to finish off and make it look clean. I can create a little pocket similar to the stock unit - but why? Is it necessary? Afterall, this was my first attempt at fiberglassing and everything else involved. More attention will be put into Console Part II to include the armrest.
Ok... there's my disclaimer. LOL
[This message has been edited by Sofa King (edited 01-30-2010).]
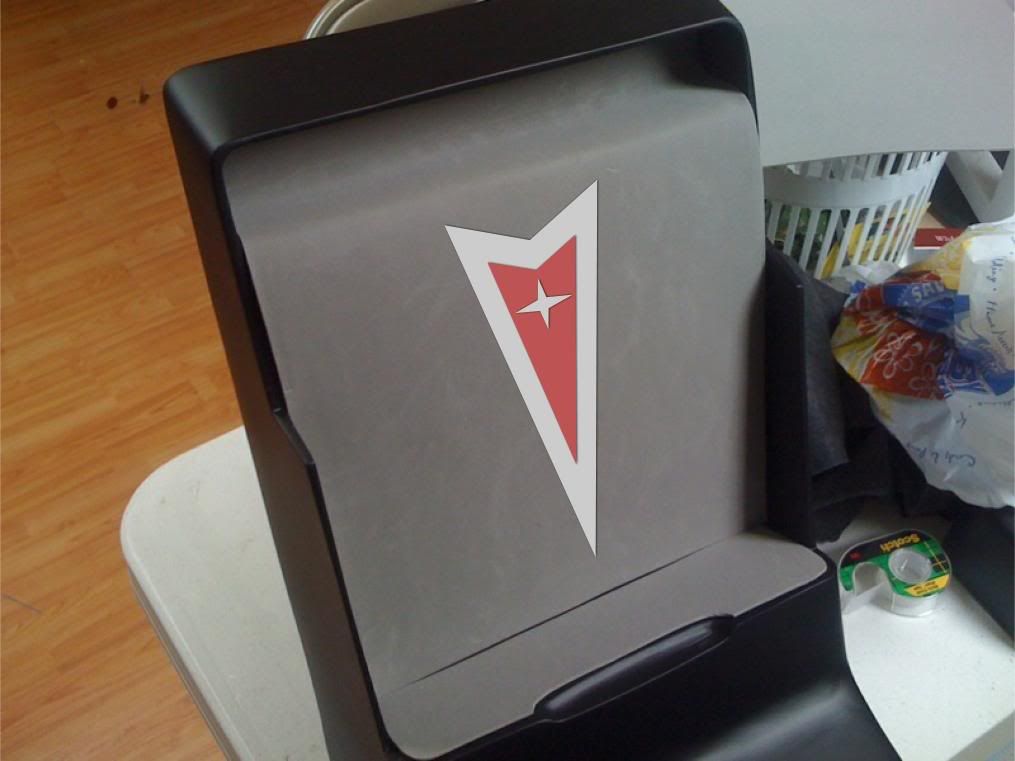
Another idea... Let me know what you think... this is kinda goofy... but.... hmmmmm? As I mentioned, the foam comes in various colors: red, blue, green, black, etc... and is REALLY easy to cut and work with. What if I cut, using red or white foam, the Pontiac Logo in the center?
I wet sanded the lid and gave it another coat of high gloss clear.
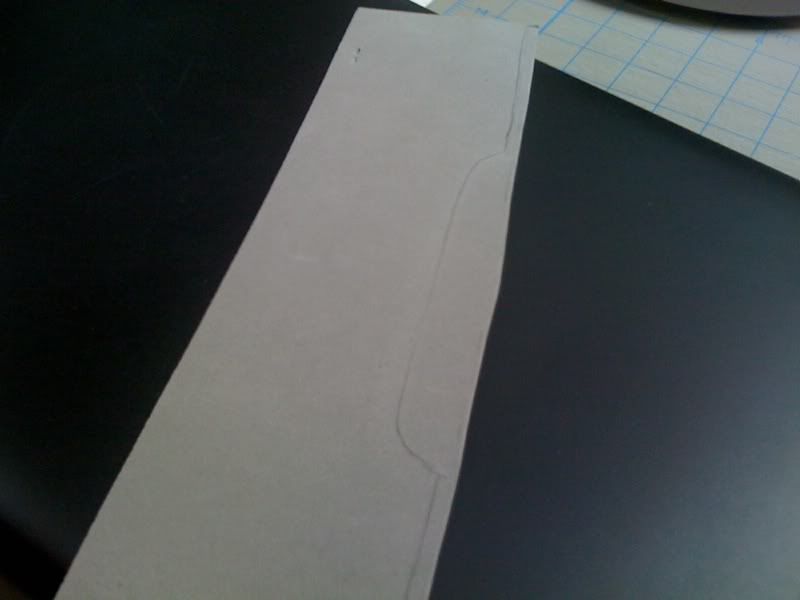
I also took the two pieces of foam I cut for the console and decided to create one piece instead. I just placed them end to end and then traced along the edges. You can see the pencil line near the bottom - I'm too thrilled about that and I might cut a new piece.
[This message has been edited by Sofa King (edited 01-30-2010).]
The painting of the lid is finished! However, I forgot to spray the inside of the lid black. No big deal. I'll mask off the outside and spray a quick layer and then lay the foam and then finally adhere the Pontiac Logo! So, the bulk of the work is finished. The lid will be done tomorrow. VERY COOL.
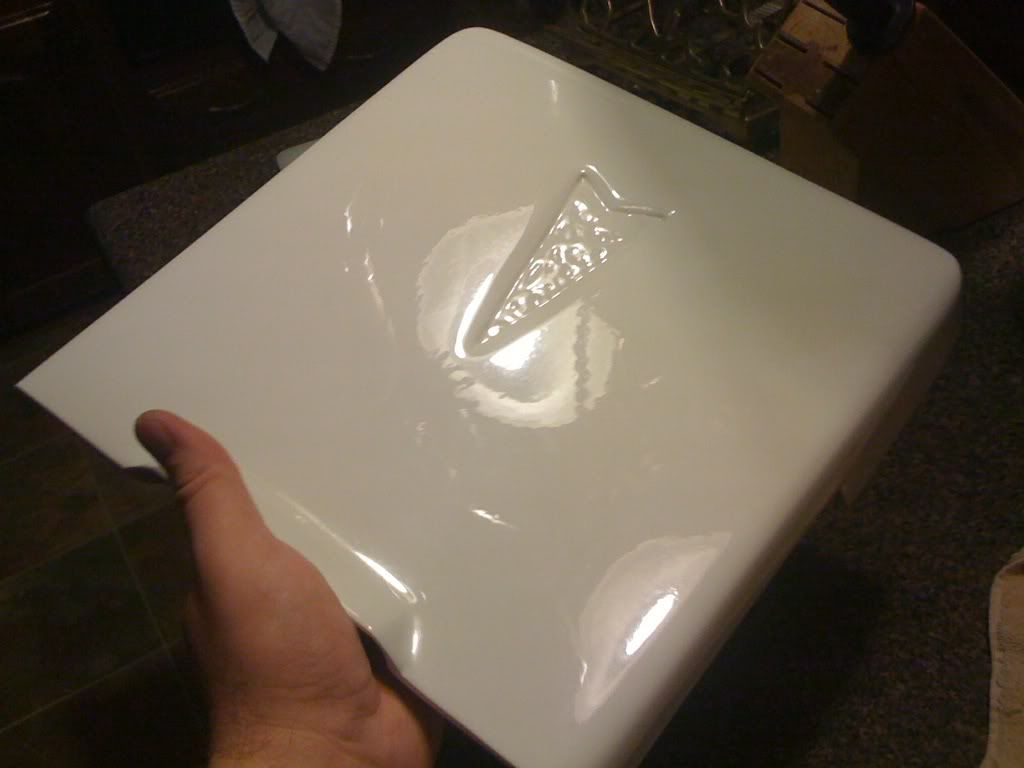
I spent the last hour wet sanding, polishing and the applying a nice layer of wax to the lid. I'm thrilled with the results.
Wet sanded
After Polishing
Final coat of Wax
[This message has been edited by Sofa King (edited 01-30-2010).]
See, if you put your mind to it, you can always come up with a better alternative. The foam sheet is 100 times better than the felt. I like the Pontiac arrow idea - maybe a little smaller though. As a side note.... The shot of the foam with the "flame" cuts! Fill the cut out with red or orange? Just a thought.
See, if you put your mind to it, you can always come up with a better alternative. The foam sheet is 100 times better than the felt. I like the Pontiac arrow idea - maybe a little smaller though. As a side note.... The shot of the foam with the "flame" cuts! Fill the cut out with red or orange? Just a thought.
Pat
The foam is so much easier to work with. I like the felt but as I mentioned - if you're trying to get perfect cuts the felt is just too difficult to work. The flame cuts on the foam, I thought the exact same thing after I cut them - great minds... I'll try getting some today if the hobby stores are open - we have 2 of them in town and I can never remember if they're open on Sunday. I'm also off to find the wrinkle paint.
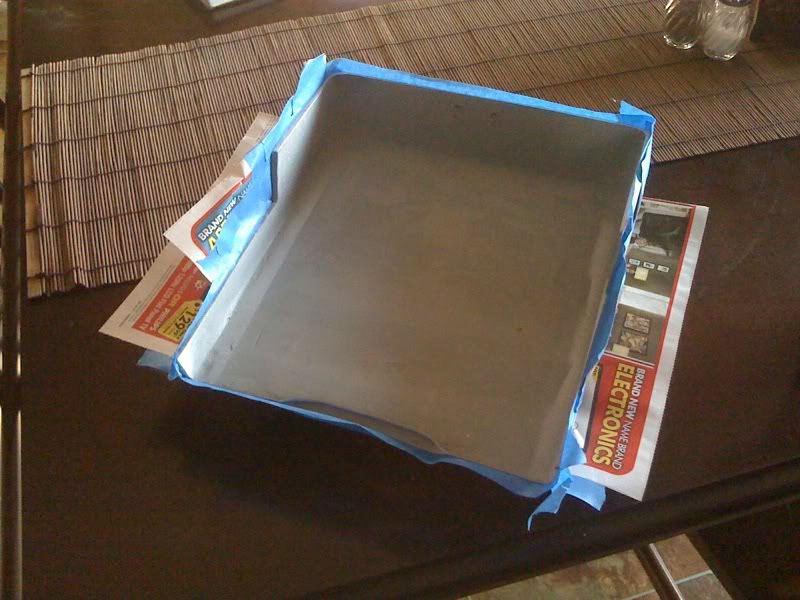
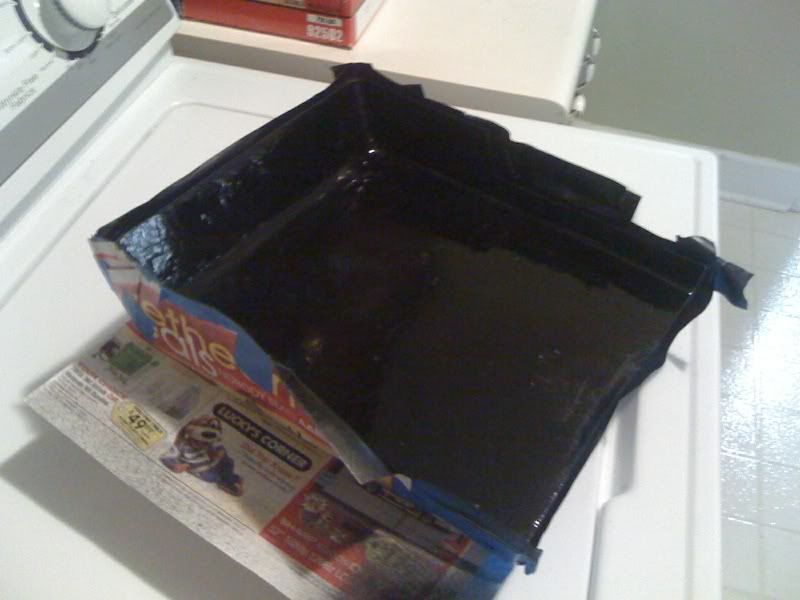
I masked off the lid this morning. I made sure to press down the tape along the edges so the black spray would not bleed over onto the white. It's not really a big deal if it does, I can always polish the paint off - that's why I waxed it. The wax creates a small barrier between the black spray paint and the clear coat on the lid. I then shot a quick layer of flat black paint. It should be ready to accept the foam and Pontiac Logo with I get back.
Masked off
Shot of black
That's it for now
[This message has been edited by Sofa King (edited 01-31-2010).]
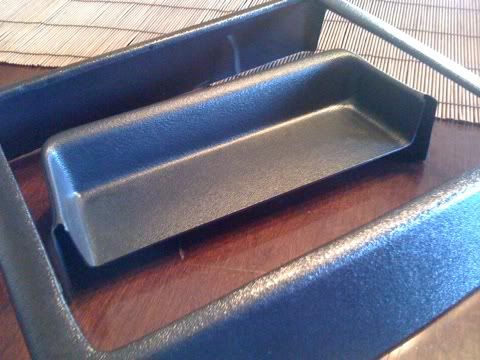
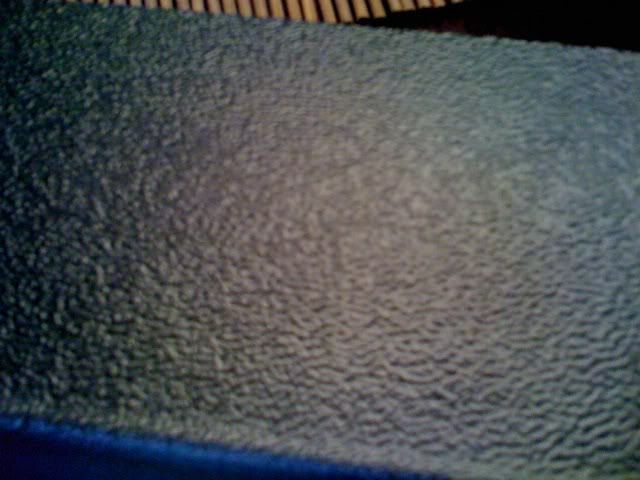
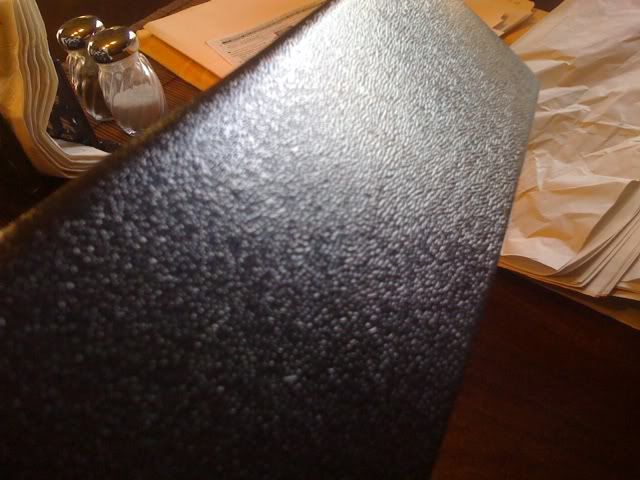
As you many of you know I have been planning to use the "Lunitec" Spray texture paint system from Germany. I think thats going to change. I took a long look at the interior and unfortunately there are no textures, other than the actual vinyl, in the car that simulate either leather or vinyl. The texture is in fact a wrinkle pattern. You can see the wrinkle pattern on the aftermarket parts I received from the Fiero Store - the cubby (sits in front of the radio) and the shifter surround. However, it is also visible on the dash, pillars, and any other plastic part of the interior.
Parts
Close up of texture
Another
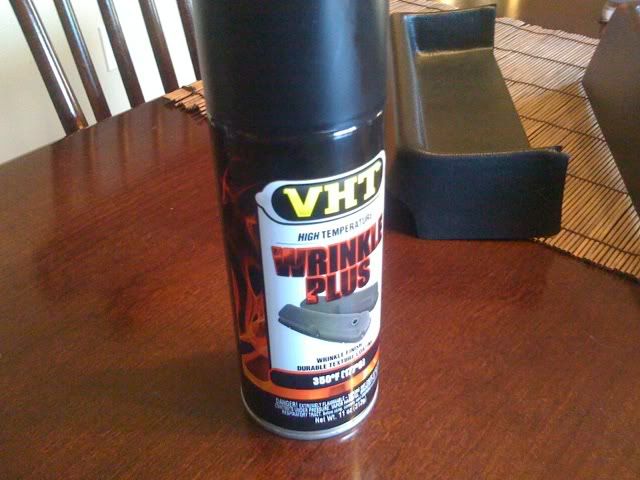
While this might seem like a set back... it's not. I love the look and possibilities of the Lunitec paint system but it would seem silly to have several competing textures throughout the interior. As you know I'm trying to achieve a stock look and feel throughout the car - plus I would be saving a couple hundred dollars. So, I did a little research and found the VHT Wrinkle Paint. It's used primarily for engines but several people have used this product for their interiors with complete success! It sprays glossy but a shot of flat clear coat would take care of that and add extra protection from wear & tear.
Paint
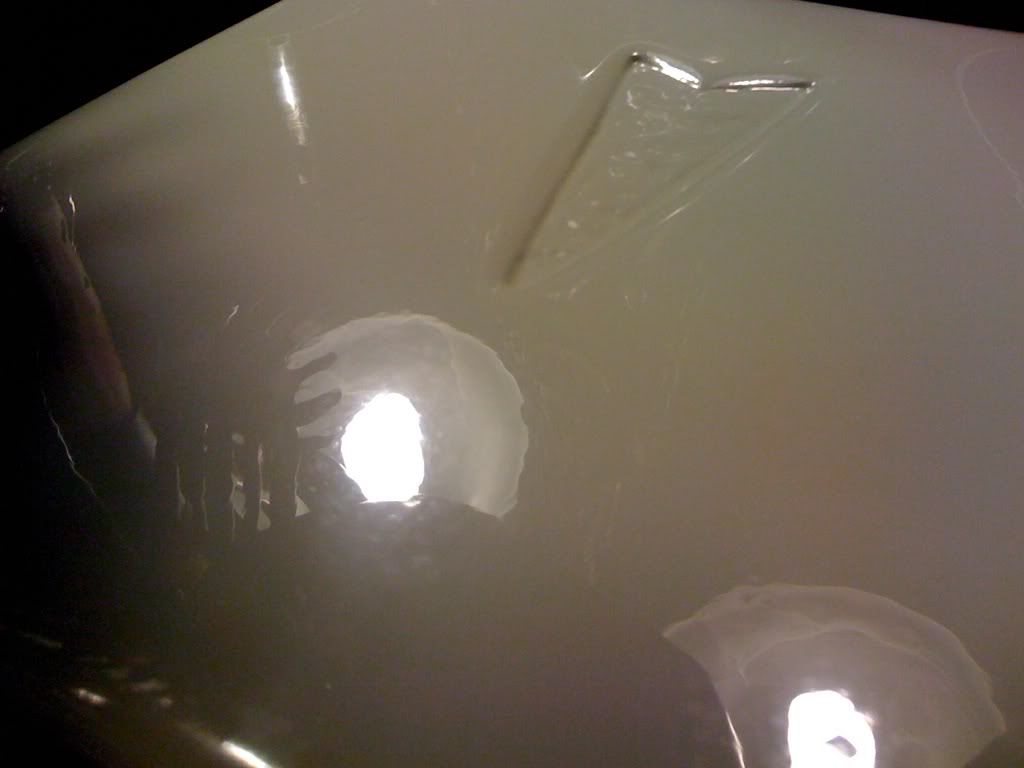
To say I'm nervous using this paint is an UNDERSTATEMENT! I've spent a lot of time on this console... the last thing i want to do is mess it up. So, I took two pieces of scrap glass and sprayed a quick layer on top - one smooth side and the other a rough side. The directions say to wait at least 2 hours before the texture appears - great!. For a thicker texture they suggest multiple layers.
Pieces of glass
So now we play the waiting game. Once it dries I will compare with the stock textures. This will tell me several things: 1) does the texture match 2) do I need to apply more layers of paint
That's it for now. OH! I'm still waiting for the paint to dry on the lid.
[This message has been edited by Sofa King (edited 01-31-2010).]
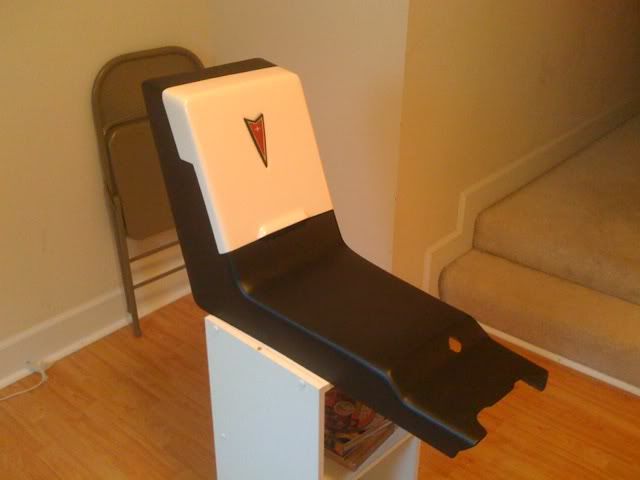
The Lid is FINISHED!!!! I just spray mounted the foam to the inside of the lid and used 3M double stick tape for the Pontiac Logo. Man-o-man... it looks really good! I never thought this day would come. One part down one to go... technically...
Lid with the newly spray mounted foam liner
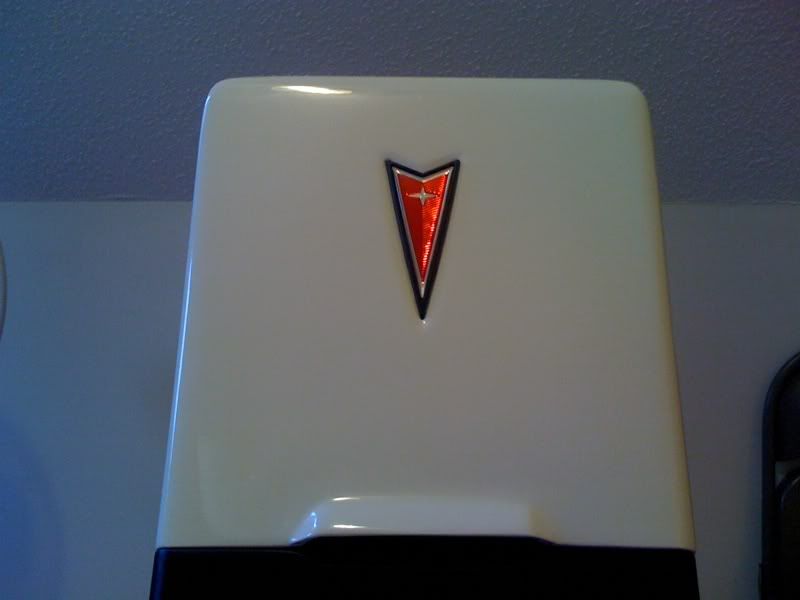
With the newly taped Pontiac Logo
Just waiting for the hinge and the final layers of paint
Man o man that looks SWEET!!!!( even without vents )
Just take what we say as a grain of fiberglass. This is YOURS and what you do for a final out come will be nothing less of stellar!
you do have some great talent there! maybe you should go into the console making job!
when do we get to see the"test fit" pics???
Hey R,
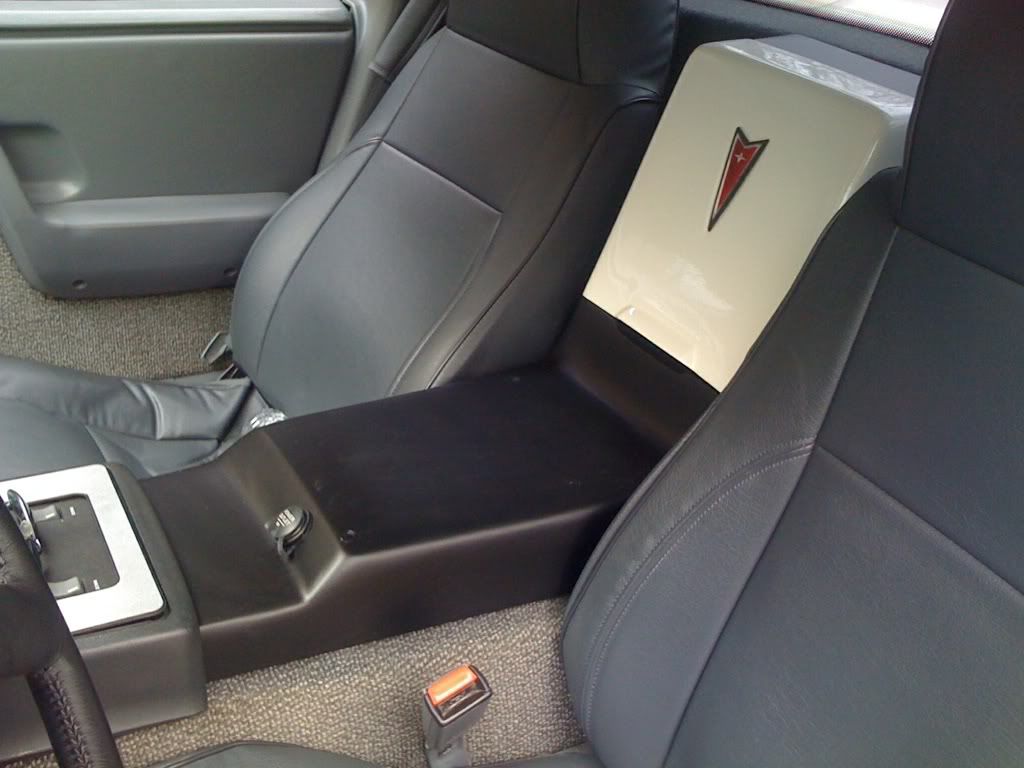
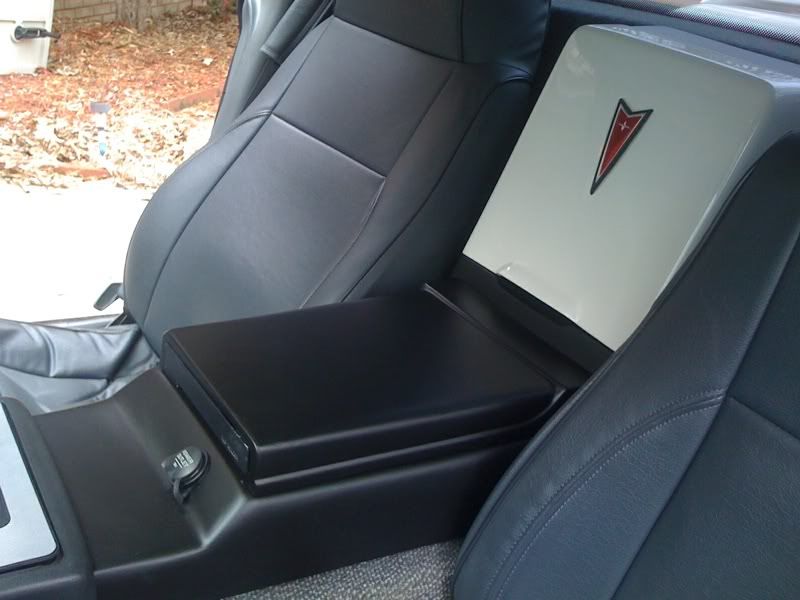
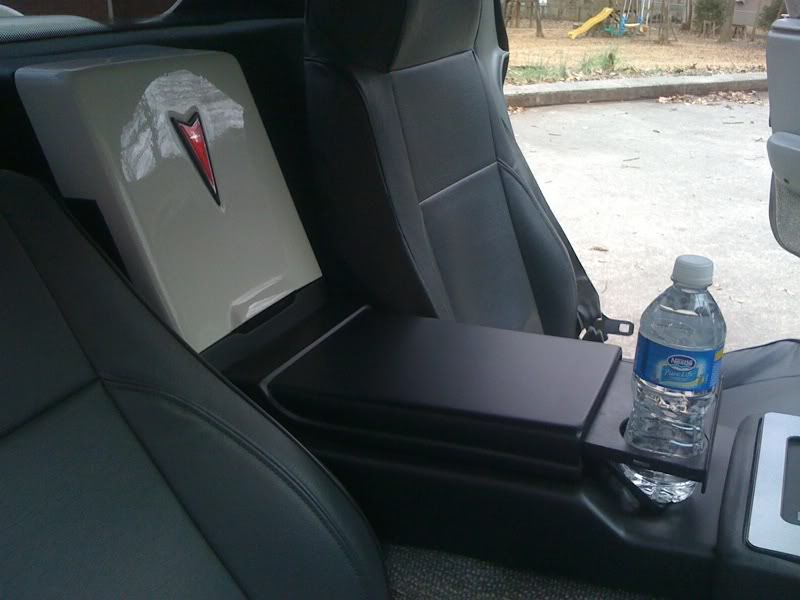
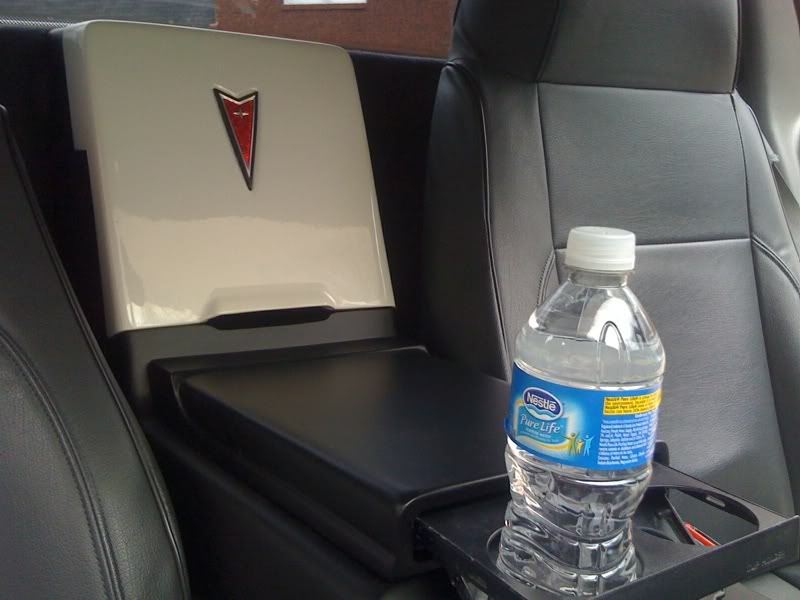
LOL!!! First and foremost. A big kudos to you for all the great advice you've given throughout this build. You made some great suggestions that really helped. And thanks for the kind words. I'm absolutely thrilled with the lid (and build) so far. I'm hoping when I test fit the cole everything looks good, fits, works, etc. I think I'm going to test fit the console this afternoon, get the bolts cut and the hinge mounted and apply some foam to areas that might rub. For all intent and purposes - I might "technically" be finished! As for a going into business? I have thought about it. I might put together a simple armrest with integrated cup holder for the stock console and I might reporoduce Console Part II depending how well that turns out. Lots of ideas!
But... I'm not "technically" done yet!
UPDATE!!!!
I'm still waiting to see how the texture paint turns out. I've had to spray 4 layers so far just to get the texture "activated" so I can see it. So far, I'm not impressed. I really don't know what to do if this texture doesn't work. I might go back to the Lunitec Paint System. I guess I could sand down all the surfaces of the dash, pillars, etc and then spray with the Lunitec? It's just an idea so far. I should know how the texture looks when I get home - let's hope for the best.
The guys that add texture in homes, spray the bumpity spackle on THEN with the float(or trowl) they kinds smash/ smooth out the large bumps and get that texture you see on walls.
Home depot sells some kind of texture paint. maybe you can test this theroy on a scrap piece?
you might want to try the sem texture spray or the bed liner spray.make sure you use the hercules and not rustolems. it is to thin and wont leave a texture. the sem is nice because you can wet sand it to get the right texture you desire.i final got emailed back on the leather spray from them.WOW shipping is a killer!! thanks for your info on it too!
you might want to try the sem texture spray or the bed liner spray.make sure you use the hercules and not rustolems. it is to thin and wont leave a texture. the sem is nice because you can wet sand it to get the right texture you desire.i final got emailed back on the leather spray from them.WOW shipping is a killer!! thanks for your info on it too!
John
Hey J,
Yeah... the tax is what stopped me and Katatak dead in our tracks. That's why we're hoping for a group buy? But he did say something about a distributor in Philly?
I've looked in the SEM paint but again, it's not quite the texture I want. I really like the Lunitec paint. We'll see what happens?
The guys that add texture in homes, spray the bumpity spackle on THEN with the float(or trowl) they kinds smash/ smooth out the large bumps and get that texture you see on walls.
Home depot sells some kind of texture paint. maybe you can test this theroy on a scrap piece?
Oh and don't rush the ART !!
Hey R,
Basically what that is like the "popcorn" texture they spray on the ceiling. The contractors just float a trowl over top to knock the high points off. It really wouldn't work. If would give the appearance of the part looking like stone. Also, it's very soft so it would require a "shellac" finish to it. I can exactly where you were headed. But I already looked at it. LOL
spray on the regular paint, then get some platic wrap and wad it up and set it on the fresh paint for a visual wrinkle finish? nah maybe not. too much work involved and to be consistant would be a bear....
Oh what about getting the dash mat off a old dash, lay down some fresh resin, add a release agent to the dash pad and set it in the resin?? when dry ,you pull the pad off and a copy of teh texture would be left behind!! No sanding
that is all for today......I will put my thinking cap back in a box and slide it under the bed for now.......
OK. Now for the bad news... The texture paint worked - but not as well as I would like. As Katatak would say "... it looks like caca..." For some reason this image is not posting the way its supposed to:
So. With the texture not working I have to go back to the drawing board. I am however going to add several more thick coats of clear to protect the console. I will also place foam on the bottom of the armrest as to not scratch the console. I then have to drill the holes to mount the actual armrest and that's going to be a buger! I'm not sure how I'm going to get my hand into armrest to tighten the bolts - maybe wing nuts? I'm still thinking and moving forward.
I have some personal things to take care of so I may not get the armrest mounted this evening. BAHHHH
[This message has been edited by Sofa King (edited 02-01-2010).]
I might have just found something but I'm not sure. It called Textured Contact Paper. The stuff I found is Black Faux Leather Contact Paper. Here's the link:
I still dont see why you dont just use vinyl. It would look nice, be easy to install/ fix, and its cheap.
Hey G,
I think the vinyl would be too thick and there are lots of compound curves - but you're right. Maybe I should drop by one of the local shops and see what they can do for me - at the very least! Looks like I have a field trip tomorrow.
[This message has been edited by Sofa King (edited 02-01-2010).]
I think the vinyl would be too thick and there are lots of compound curves - but you're right. Maybe I should drop by one of the local shops and see what they can do for me - at the very least! Looks like I have a field trip tomorrow.
Oh, I see what you mean. I didn't think about that. Well, no matter what, its gorgeous!
Looks great! 2 words for your fastner dilema! Well Nuts! If you are going to put a layer of foam on the bottom, you can "countersink" the head of the well nut into the foam and it will sit nice and level - Home Depot or Lowes has then in various sizes. Could also use fender "C" nuts. Bolts/screws come from the bottom side of the console??????? Get back to work!
Looks great! 2 words for your fastner dilema! Well Nuts! If you are going to put a layer of foam on the bottom, you can "countersink" the head of the well nut into the foam and it will sit nice and level - Home Depot or Lowes has then in various sizes. Could also use fender "C" nuts. Bolts/screws come from the bottom side of the console??????? Get back to work!
Check it out... I've started a new project! I know I know... I was supposed to bolt the armrest to the console. I need to get black foam before I do anything. I really want to protect the console from scratches.
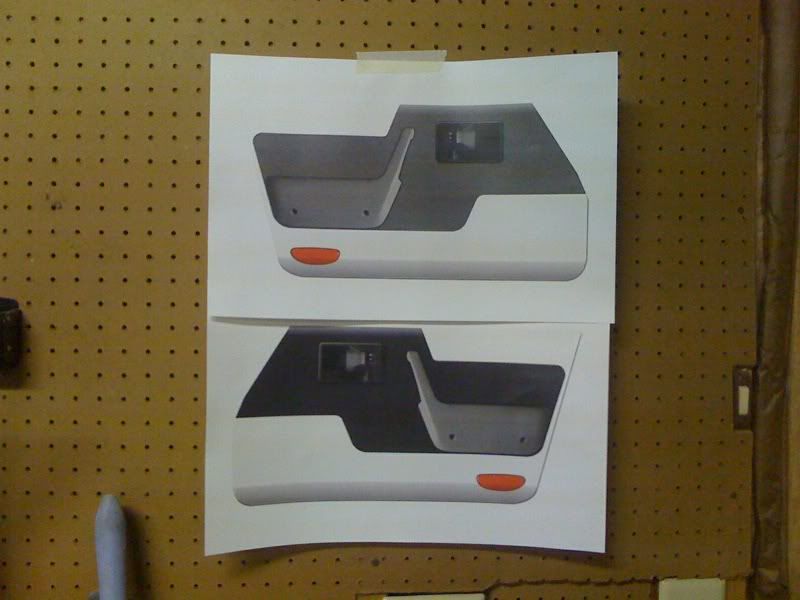
Visual Plans
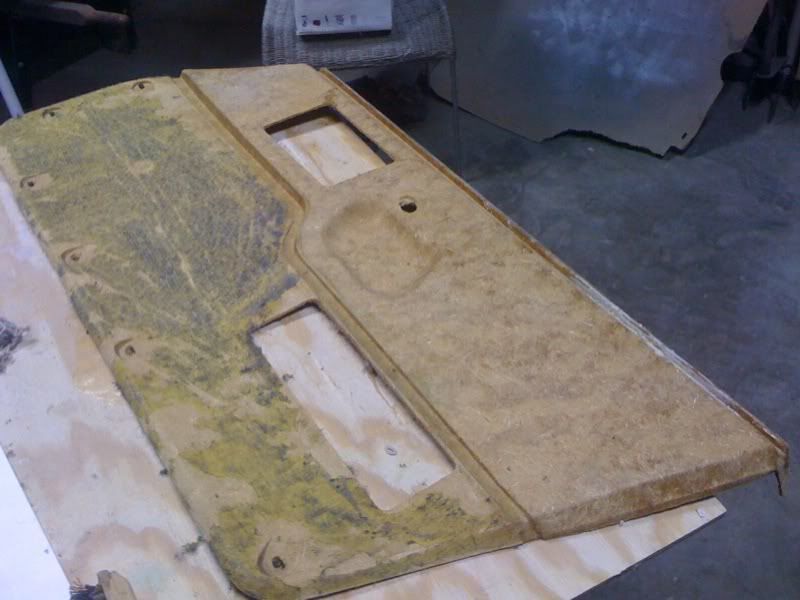
I spent a little time sanding the carpet remnants off
And then used wood glue in certain areas (I could have glassed but that's too much effort)
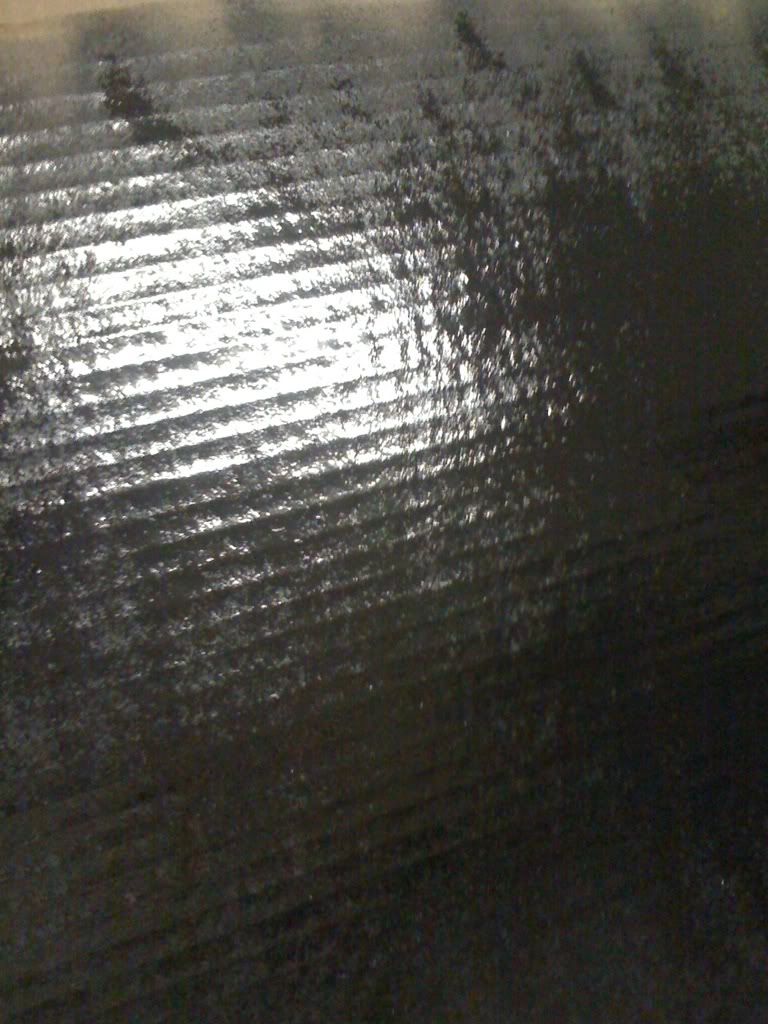
I'm also going to give this texture paint one more shot to see if it works
Not a huge major update but I have started on the door panels - yeaaa. I'm debating whether to just lay a thin layer of fiberglass over the entire outer structure. This will give it rigidity and set up for more glassing? I dunno... still thinking about it. If anybody has any suggestions on door panel fabrication - please let me know.
Here's the sad part... I really "do" have to clean the garage. LOL
[This message has been edited by Sofa King (edited 02-02-2010).]
I don't think you're going to find any type of spray that will match the existing plastic texture. Another option might be to spread silicone caulk over a coated example piece and use it as a mold. Put a thick layer of resin on the piece and slap the mold on top. See what comes of it.
------------------ Kendall (Icelander) Whitlatch '85 Fiero 2M4 - 5spd Isuzu '88 CJB - EcoTec - In progress '67 LeMans/GTO clone 6.5 litre TH400 - For Sale All the rest aren't Pontiacs, so what does it matter?
I don't think you're going to find any type of spray that will match the existing plastic texture. Another option might be to spread silicone caulk over a coated example piece and use it as a mold. Put a thick layer of resin on the piece and slap the mold on top. See what comes of it.
Hey Ice,
I was very unhappy with the last texture paint. I wasn't expecting much because it was originally designed for engines not for interior parts. I've decided to just leave the console flat black for right now until I have enough money to get the Lunitec Paint. When the time comes I'll remove all the interior parts and give them light sand and then spray them as well. It seems to be the only solution right now - but things might change.


 . then you have the vent style you want and a more modern look to them. you know...kinda like strech them a bit longer.
 looks nice though!!

 sorry.....


 I'm absolutely thrilled with the lid (and build) so far. I'm hoping when I test fit the cole everything looks good, fits, works, etc. I think I'm going to test fit the console this afternoon, get the bolts cut and the hinge mounted and apply some foam to areas that might rub. For all intent and purposes - I might "technically" be finished! As for a going into business? I have thought about it. I might put together a simple armrest with integrated cup holder for the stock console and I might reporoduce Console Part II depending how well that turns out. Lots of ideas!