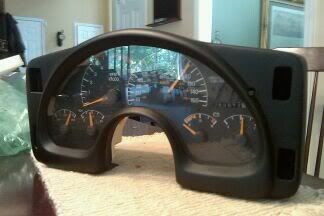
I'm sorry!!!!! I wasn't thinking! LOL I purchased the cluster from a fellow member Jason (aka Fierofreak00) I really lucked out on this purchase! Thanks J!!! I'm considering splashing molds of the housing but that's it. There is a method called vacu forming where a hot piece of plastic is placed over any object and the plastic is pulled down by a vacuum and takes the shape of whatever object you're taking a mold from - that's the simple explanation. Here's a link for a basic understanding: http://www.youtube.com/watc...DTUo&feature=related
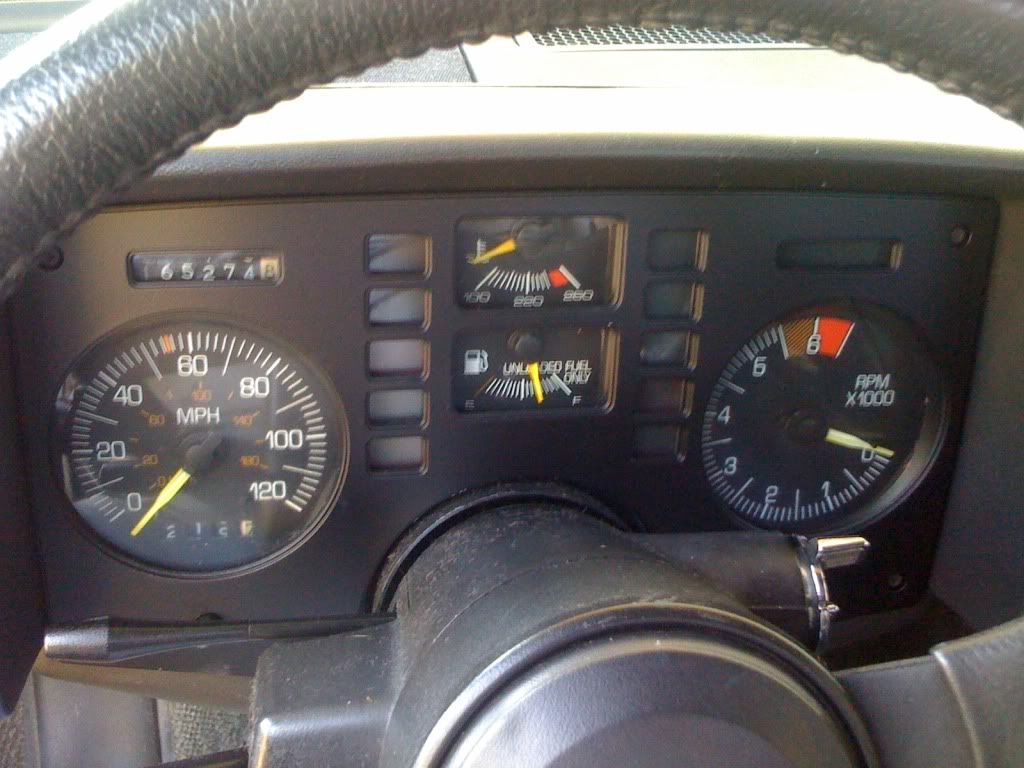
...ok, just so I am straight on this, is the gage housing a one off, or can more be gotten (please, please, please)? I don't need the gages, but the housing would work great for my future plans.
From what I know & understand, this is a one off. I am considering splashing molds of just the housing - I just have to think it through and find the best/easiest way to do it. I've made a little headway on the wiring, but no pics or anything like that. It's tough to take pics of email conversations.
...ok, just so I am straight on this, is the gage housing a one off, or can more be gotten (please, please, please)? I don't need the gages, but the housing would work great for my future plans.
This is a one off, no molds were made as it was a hand made prototype by a former member here. It was made with the idea to offer it up for sale but, those plans fell thru a few years ago. I was lucky enough to talk the former member into selling it to me. I made some modifications to it to make it more like the actual 90's cluster. I just lost interest in it as it really didn't fit the plans I had. So again, it's a one off, and the only one like it. -Jason
This is a one off, no molds were made as it was a hand made prototype by a former member here. It was made with the idea to offer it up for sale but, those plans fell thru a few years ago. I was lucky enough to talk the former member into selling it to me. I made some modifications to it to make it more like the actual 90's cluster. I just lost interest in it as it really didn't fit the plans I had. So again, it's a one off, and the only one like it. -Jason
I will make you proud! I've been in touch with a few guys who are looking into different wiring options - let's keep our fingers crossed.
GOOD NEWS! It's supposed to be really nice / near perfect temps this weekend! I am FINALLY getting back out to the garage and doing some design and glass work again!
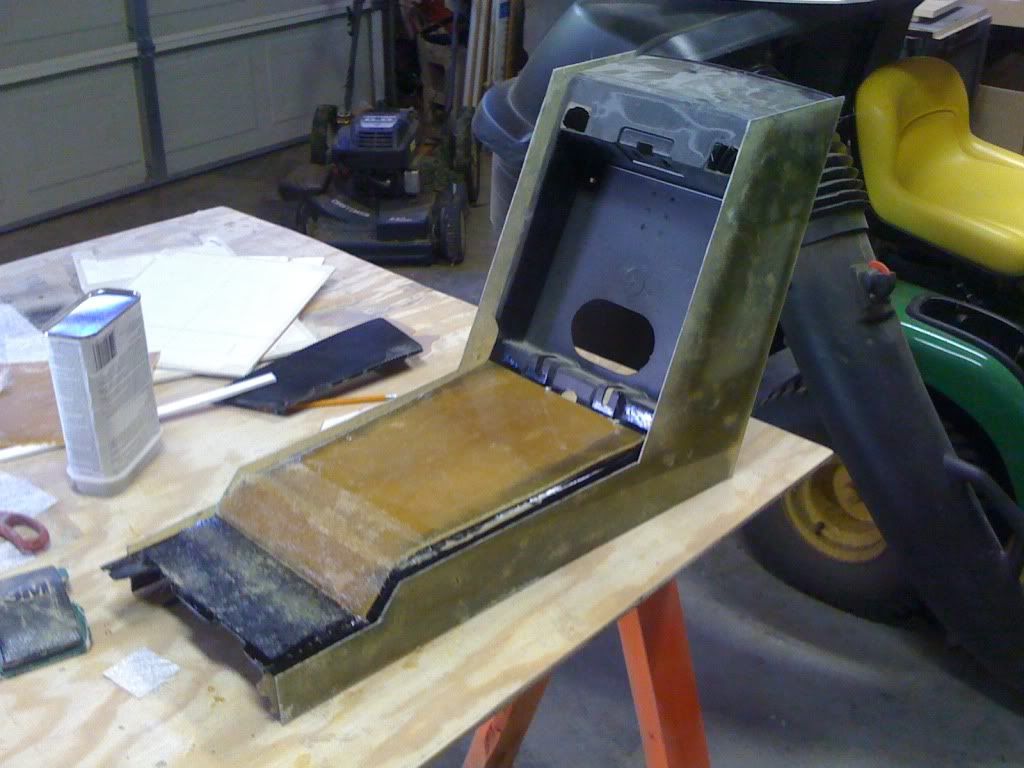
WOW! What a fantastic weekend! Perfect weather for working outside. I got started on the new console and was hoping to get most of it finished when a main pipe glogged up and flooded the guest bathroom. Anybody who has had a toilet overflow "kinda" knows what I'm talking about. A main pipe is FAR WORSE! But all is fixed now. The flood did bite into some precious glassing time but I was able to get a good start.
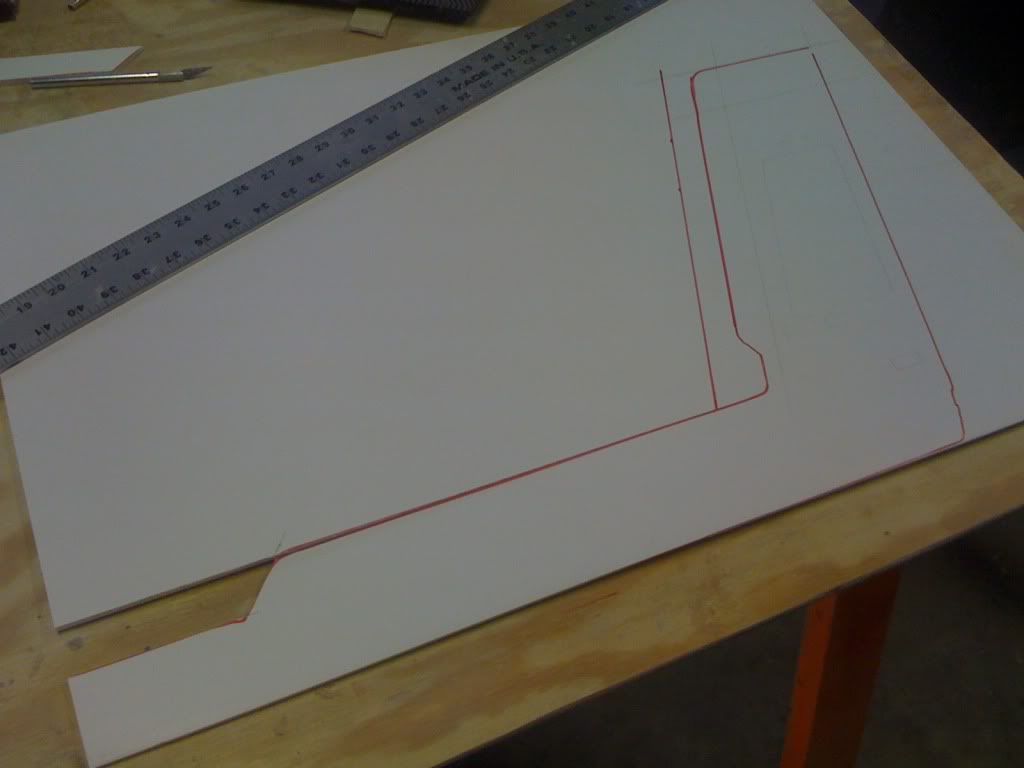
Marking out the new slides to the console
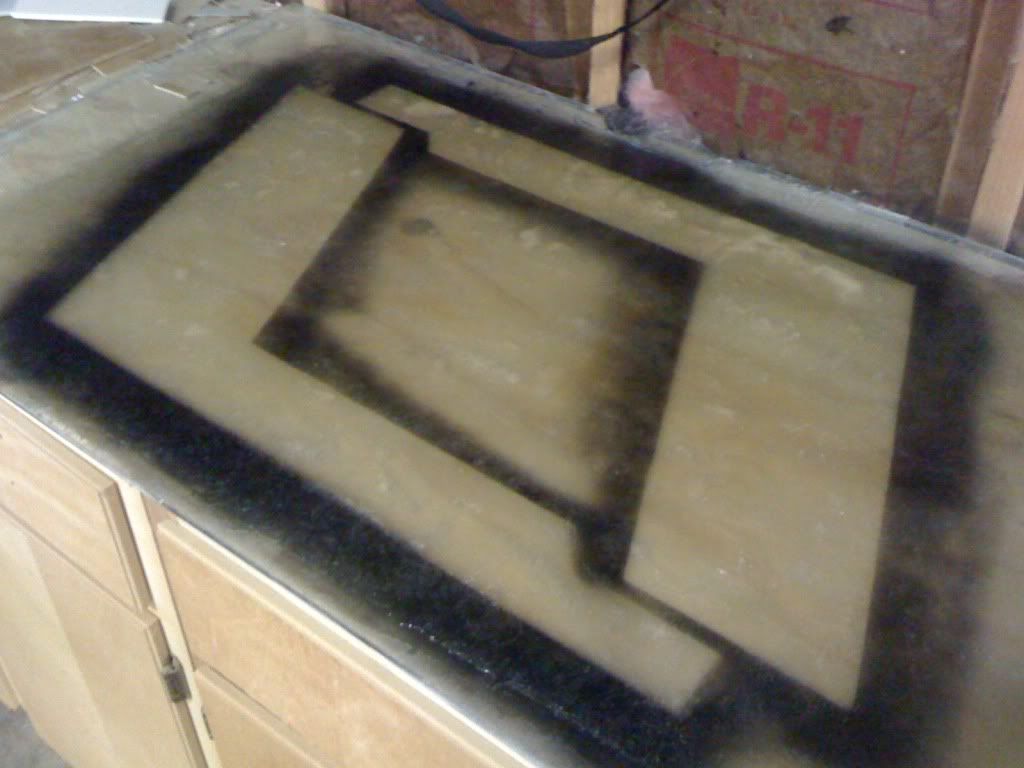
With glass laid, I then took the foam core cut outs and laid them across the drying the fiberglass. I then sprayed paint over the templates to get the outline needed to then cut the glass
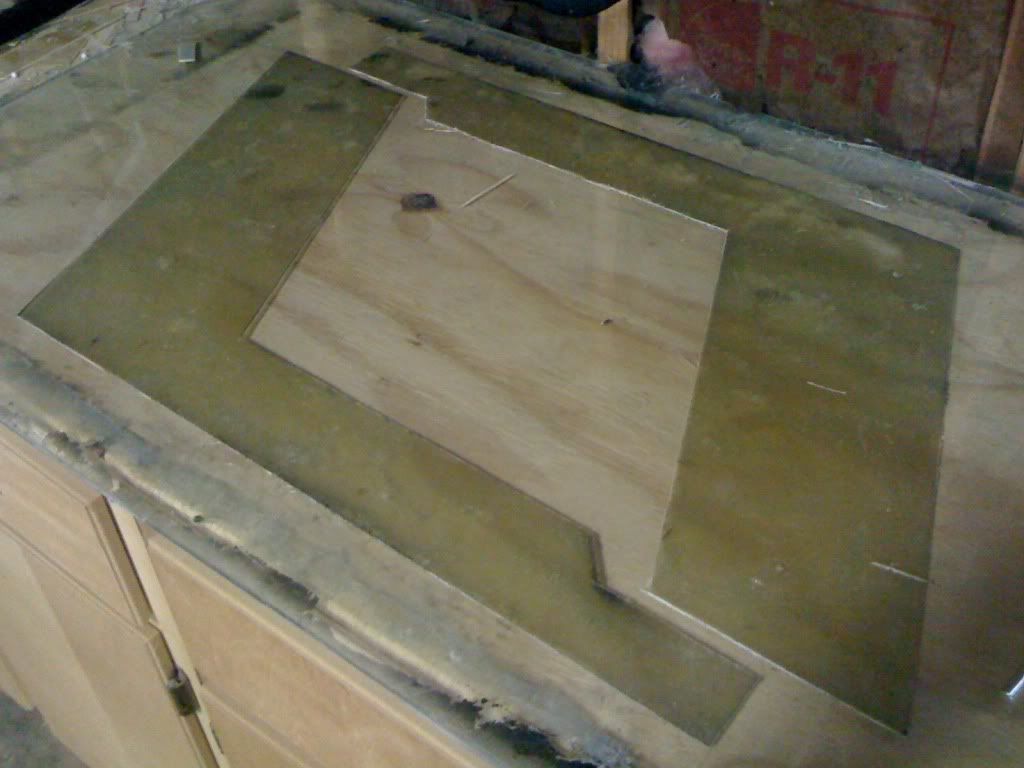
All done
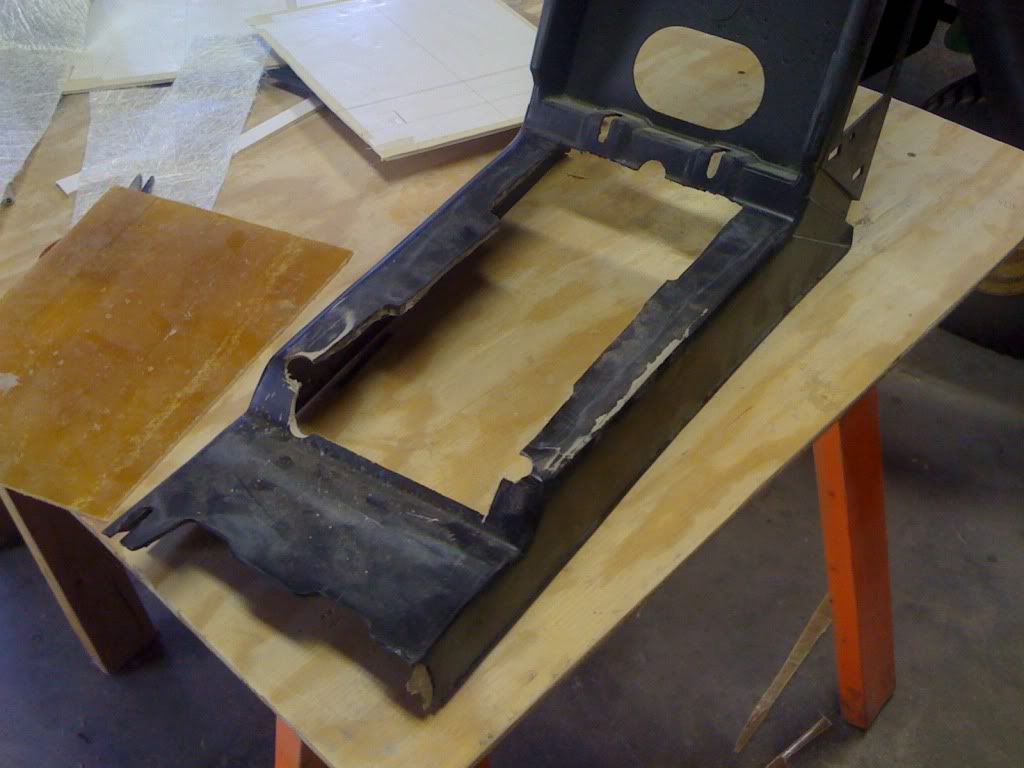
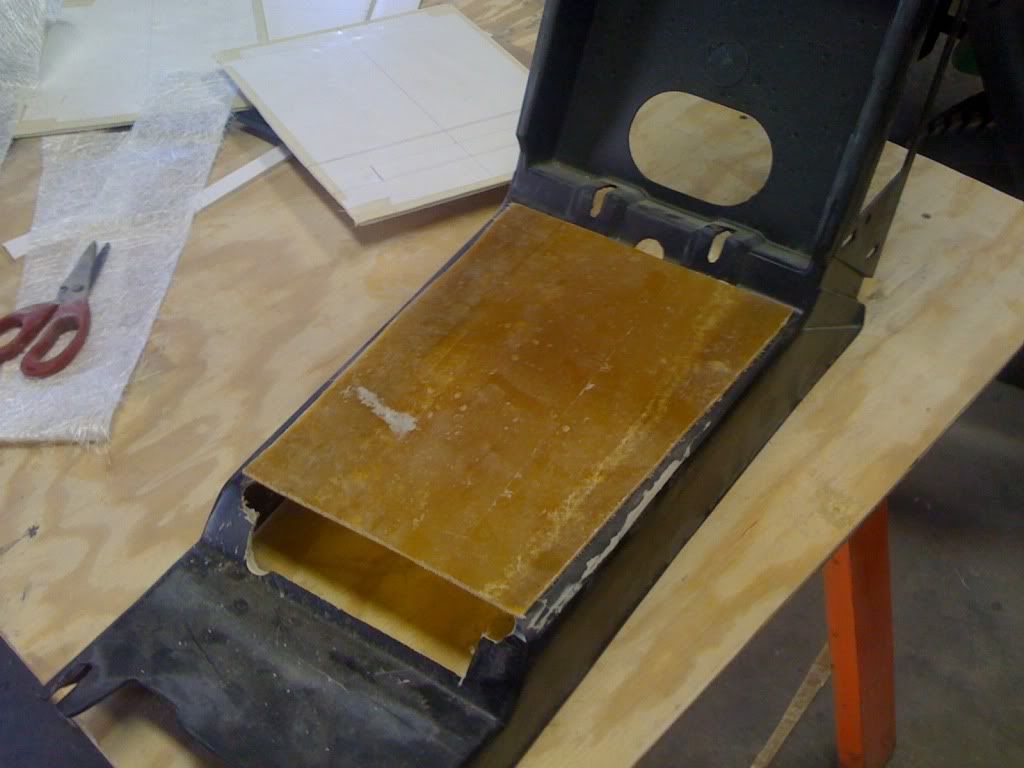
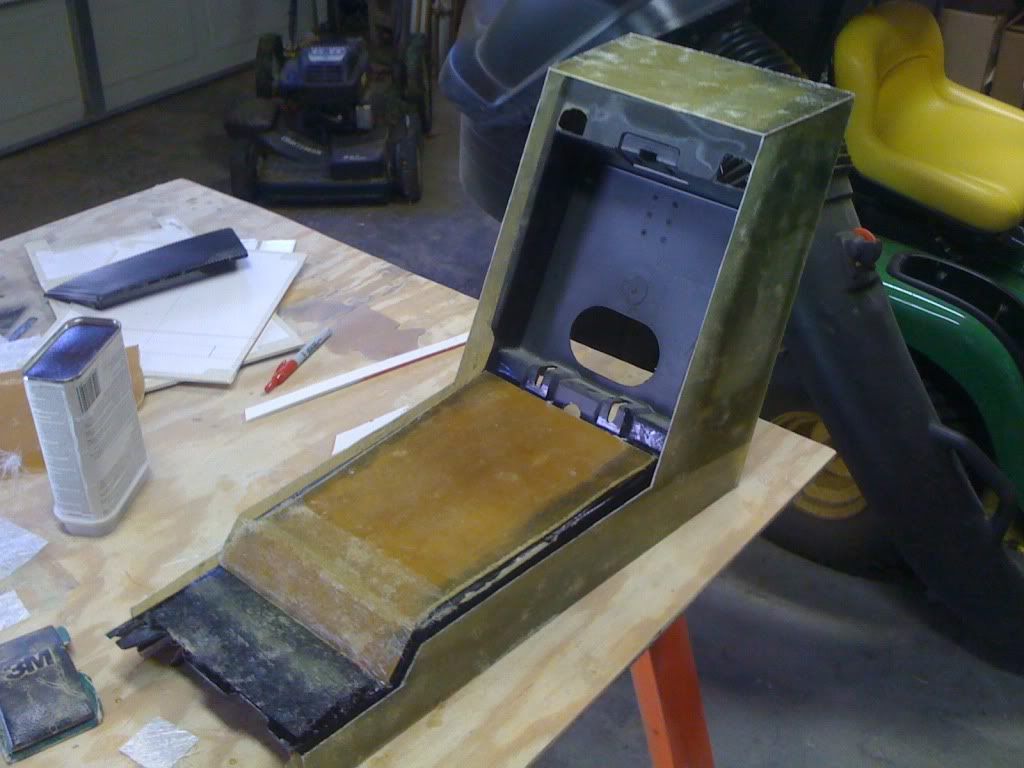
This was the original console I used. No sense in letting it go to waste. First thing... fix the hole
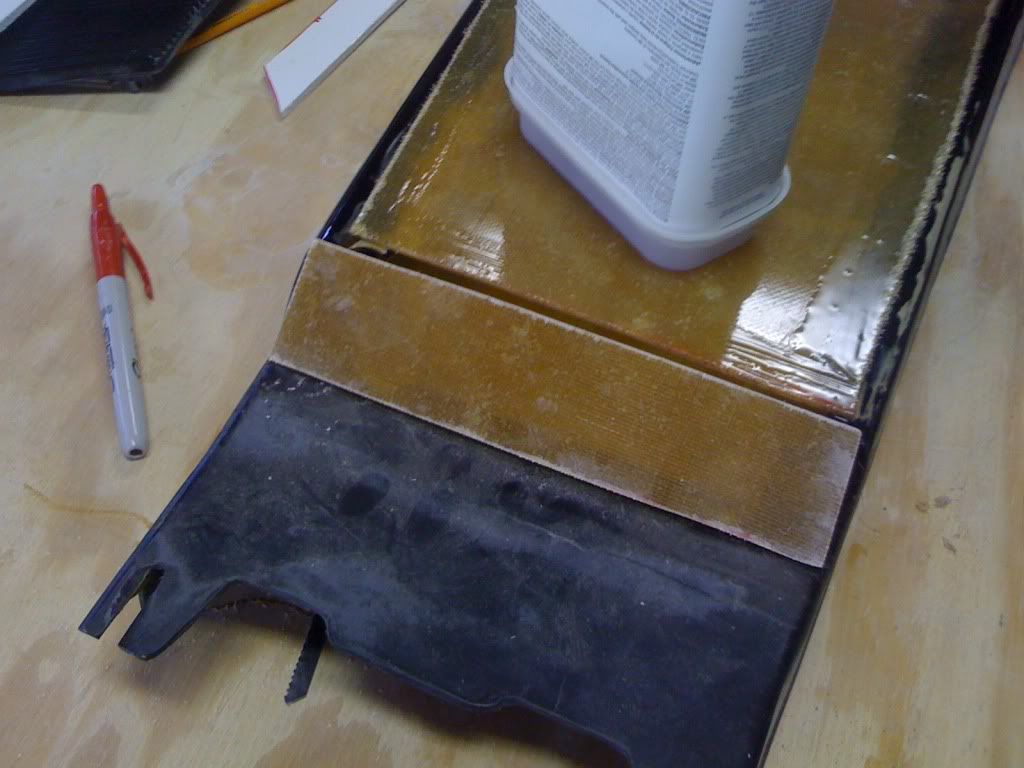
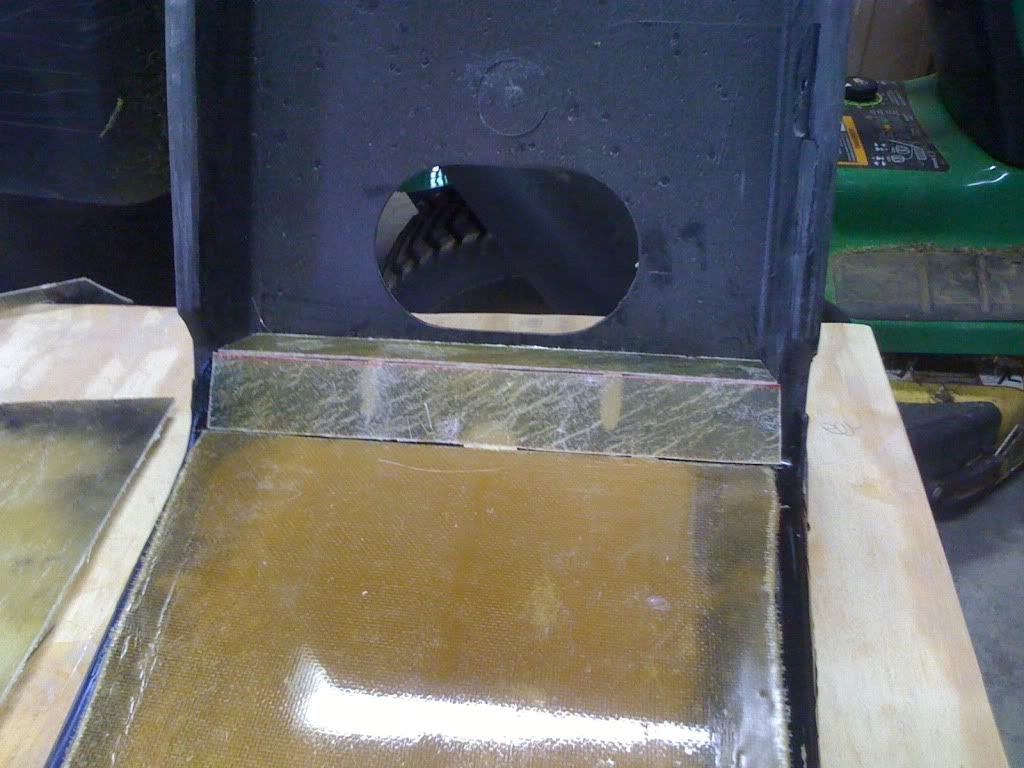
With the side pieces now dried, I peeled them from the piece of glass and placed them against the console for fitting
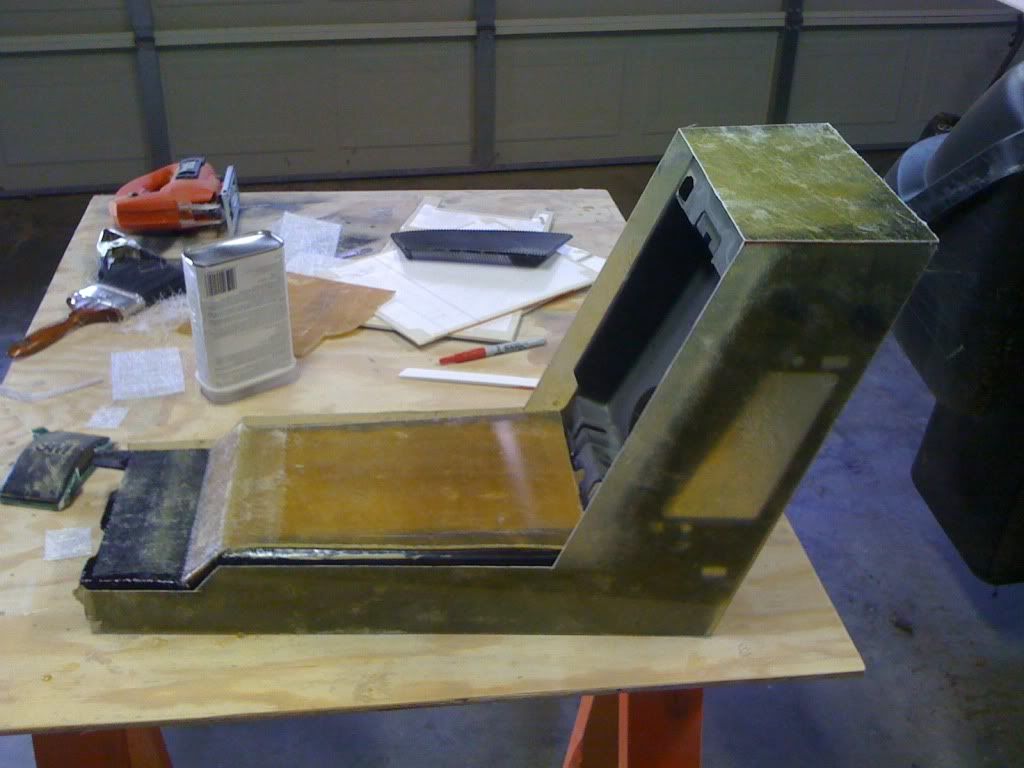
I will include the stock vents on this version. I have to get air to the ECM
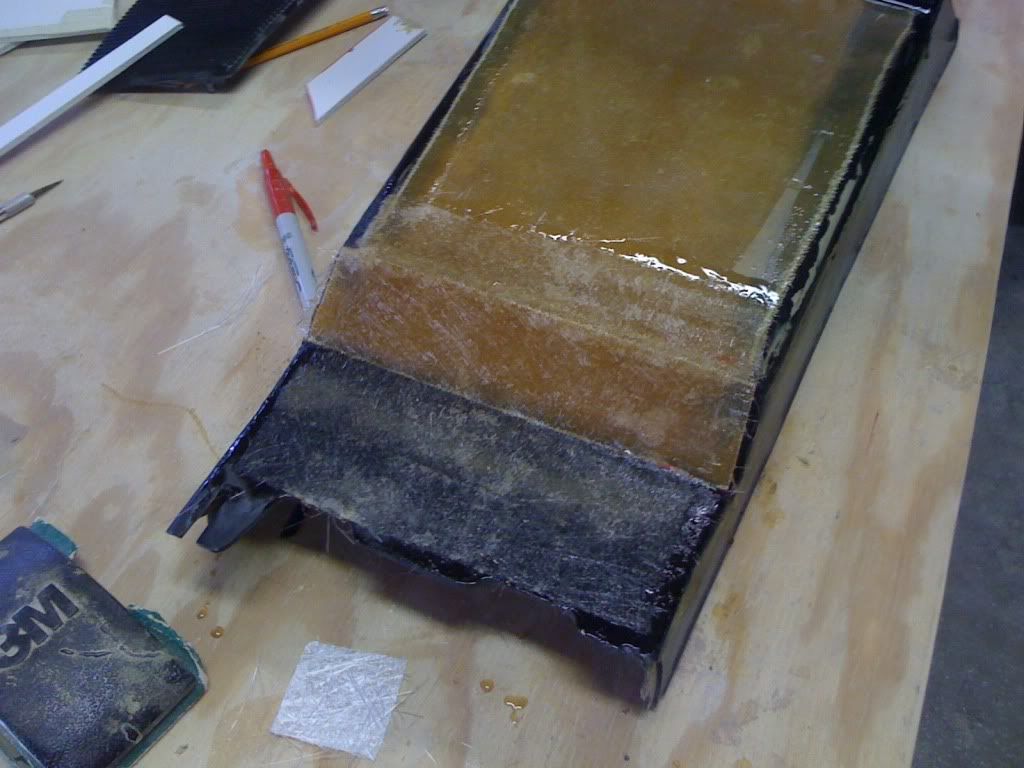
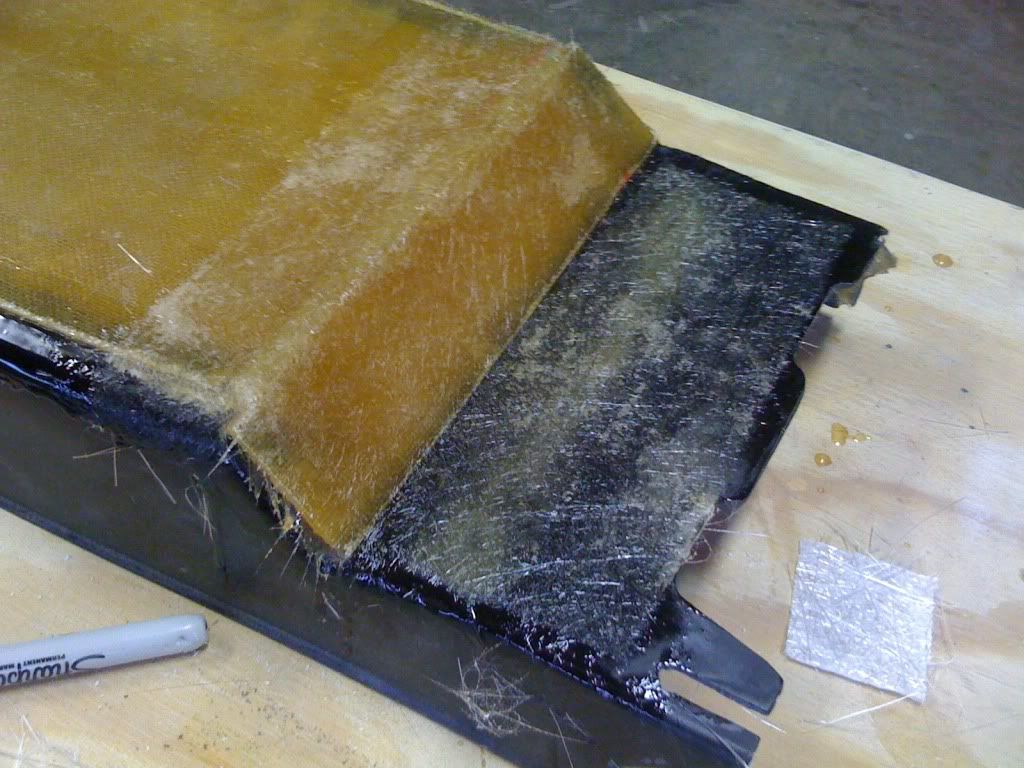
With a top
Working on the inside - I need to fill all the unwanted holes. I'm going to create a more functional storage area in this console.
That's all I was able to do. I was really bummed when the main pipe glogged up... I was really hoping to get more done. But with the weather changing... all is good!
[This message has been edited by Sofa King (edited 09-07-2010).]
YES - more glass work from the Sofa King! It is cooling off here too Greg! As soon as I can work in the shop out back without feeling like a Turkey in a fryer, I will be back into the glass as well. Going to start work on the custom XTC interior you rendered for me way back when! We are also planning on a huge body revamp on the XTC - it will take a lot of glass work and will take me to the brink of madness but it's a project we really want to do. I'll have some help on this one. One of my El Paso Fiero nuts has done a lot of body/glass work over the years. I hope to learn a lot. Plans are to start the body are sometime in December!
Your new console is looking great - nice and clean! Keep it coming.
It felt really good to be back out there! I missed the smell of the resin and the feel of fiberglass dust all over my arms and up my nose. The oven analogy works perfect but when you add 100% humidity... imagine standing in a sauna with all your clothes on... ugh...
I have some very definative ideas running through my head for this next design. I made the mistake of NOT using the stock console piece - I thought it was a good idea then... The design will be the same but I'm adding the side vents and maybe another little storage area within the armrest / cup holder. Then I move forward to the new radio design. That's going to be an interesting build... And of course... the door panels - I can't forget those guys!
You have really peaked my interest. I'm really looking forward to seeing your projects! Which XTC interior design did you decide on? Also, what type of body mods do you have planned?
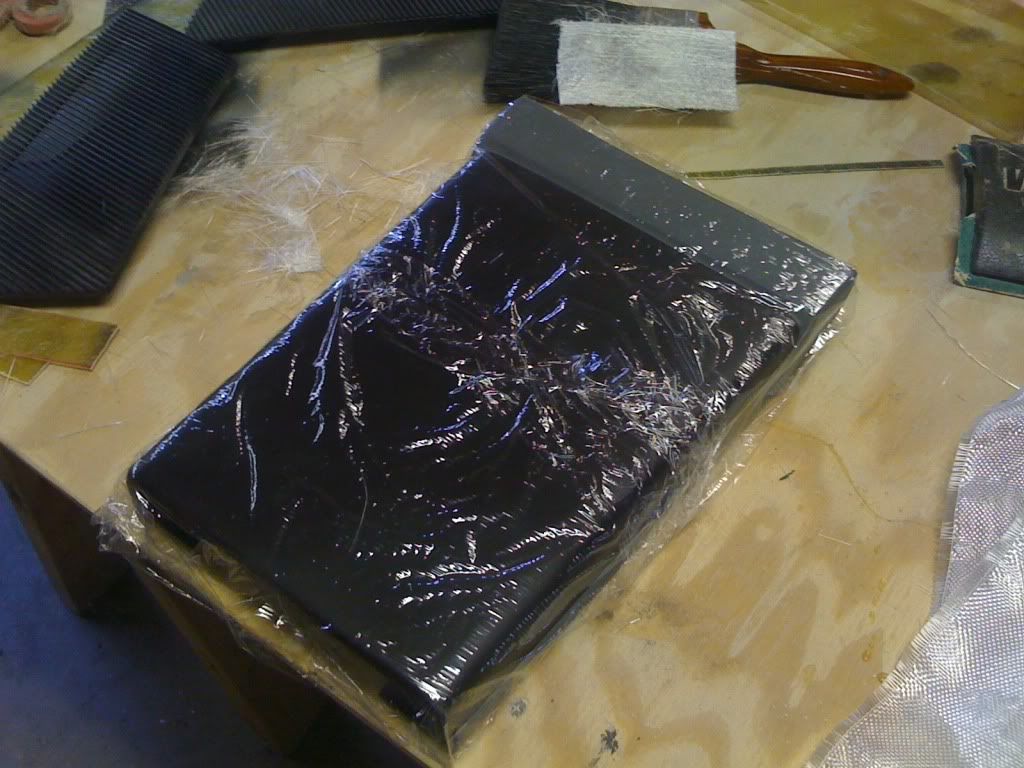
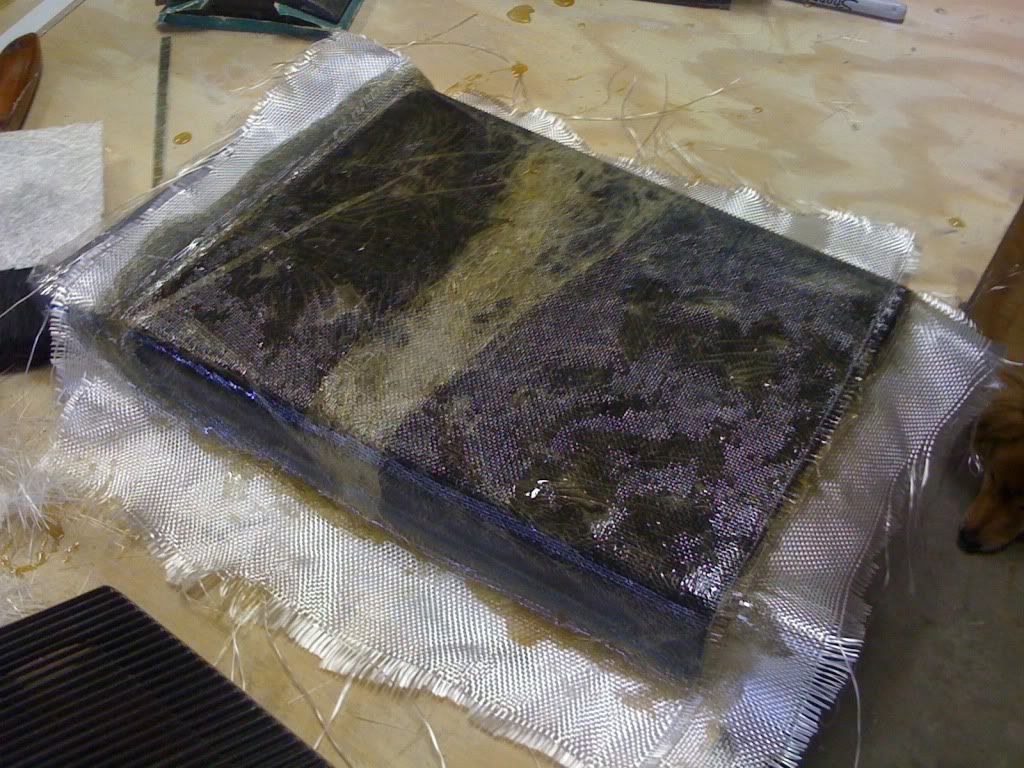
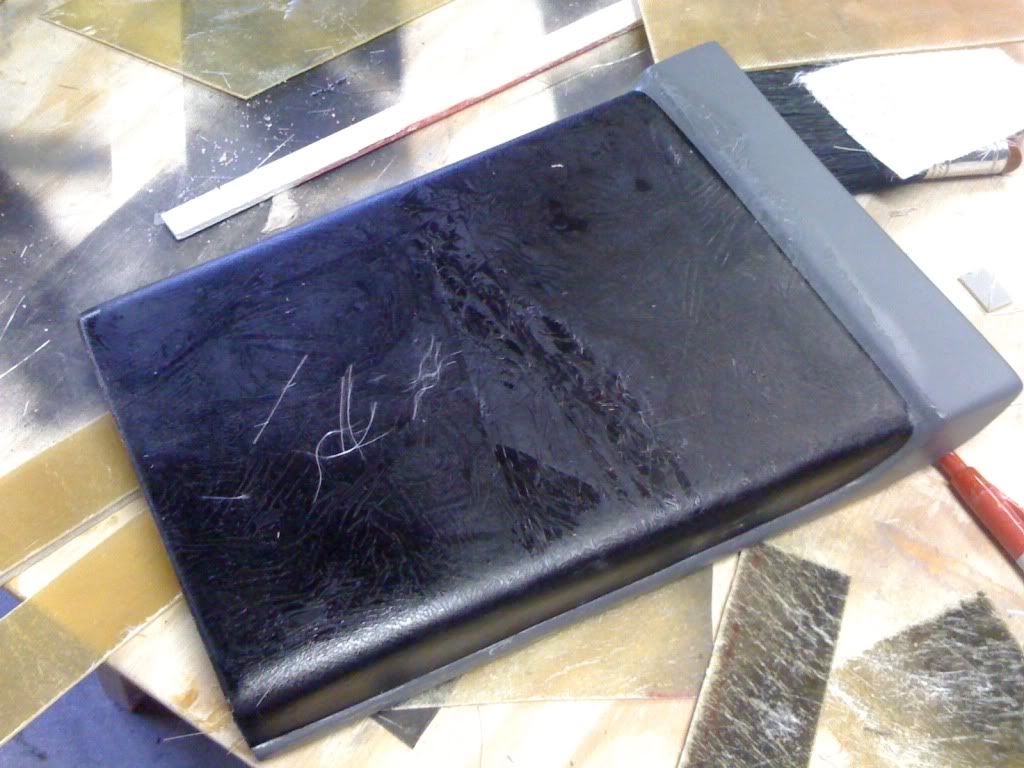
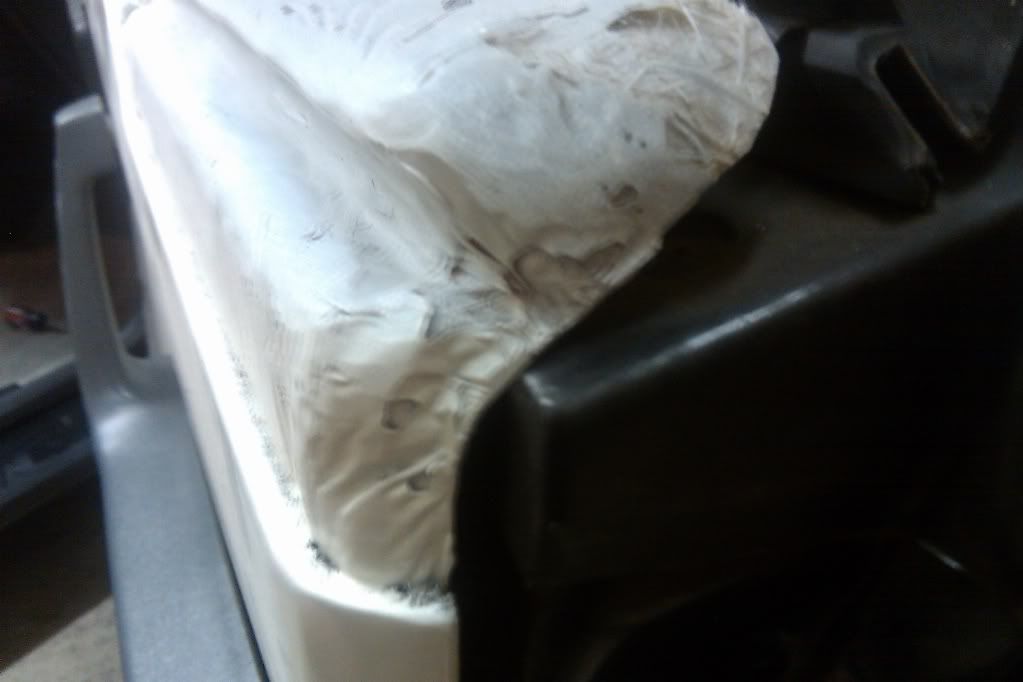
I am a little embarrassed to post these pics but it is an update. I worked a little more on the console and did create the beginnings of the center armrest pad that will fit over the cup holder. But I made a HUGE BOO BOO! I wrapped the armrest with seran wrap not thinking about how the heat from the resin might effect the wrap itself and well... ummmm... it melted... UGH... I wasn't able to get a lot done - had out of town guests.
Wrapping the armrest
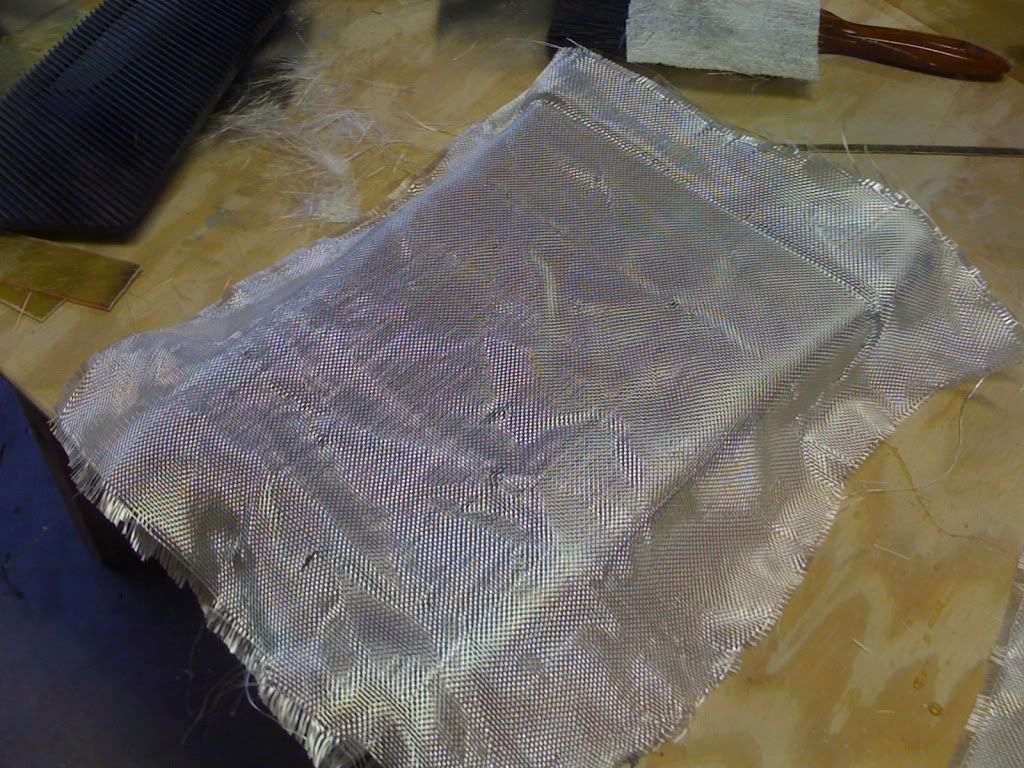
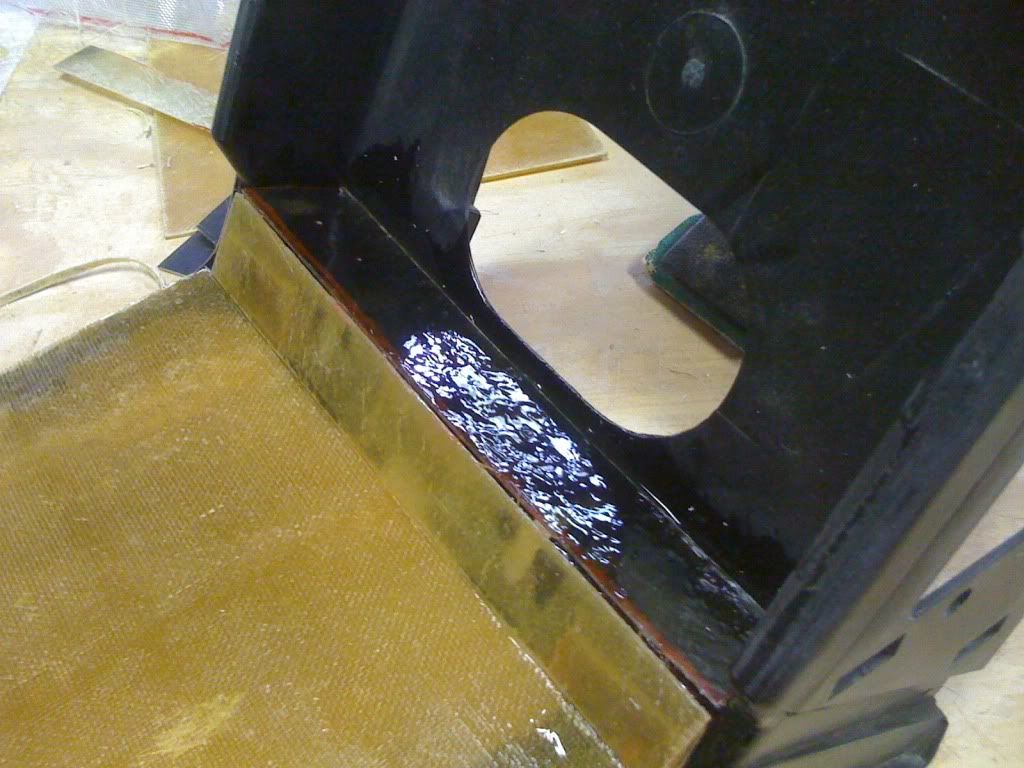
Laying the glass
Adding resin
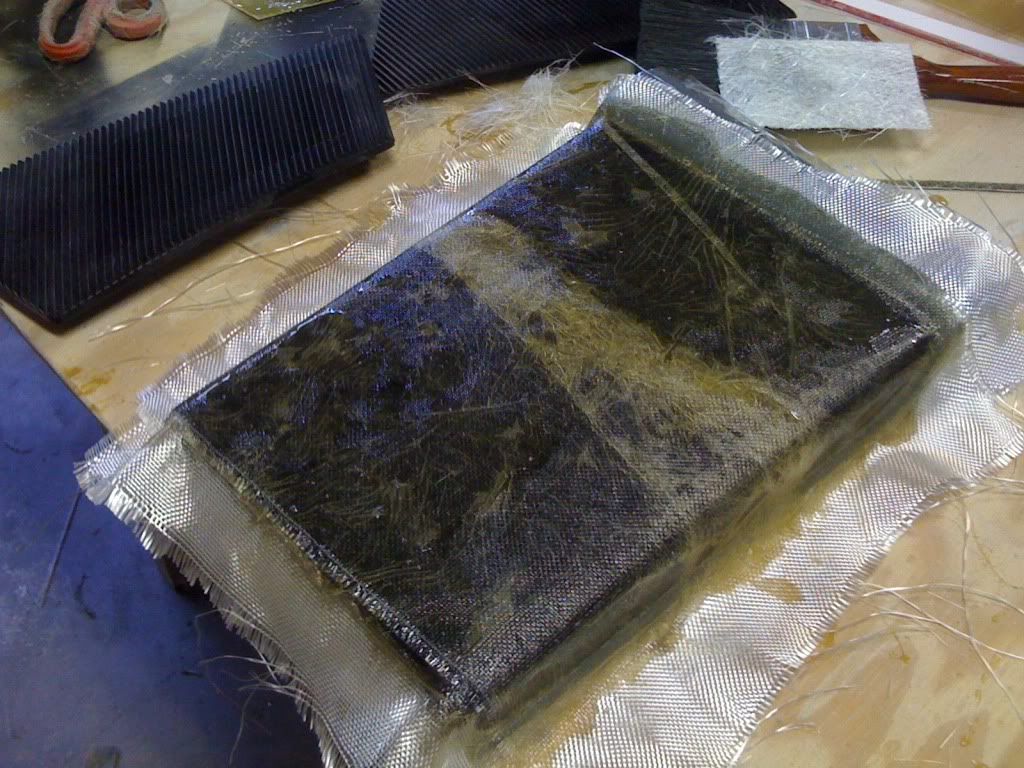
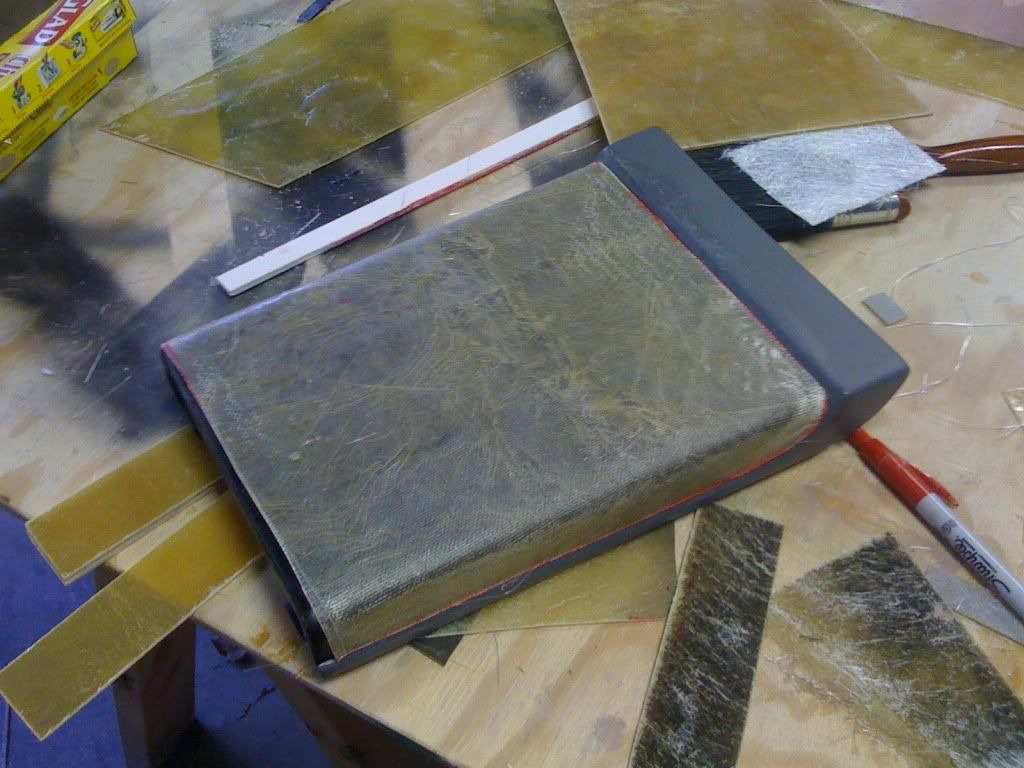
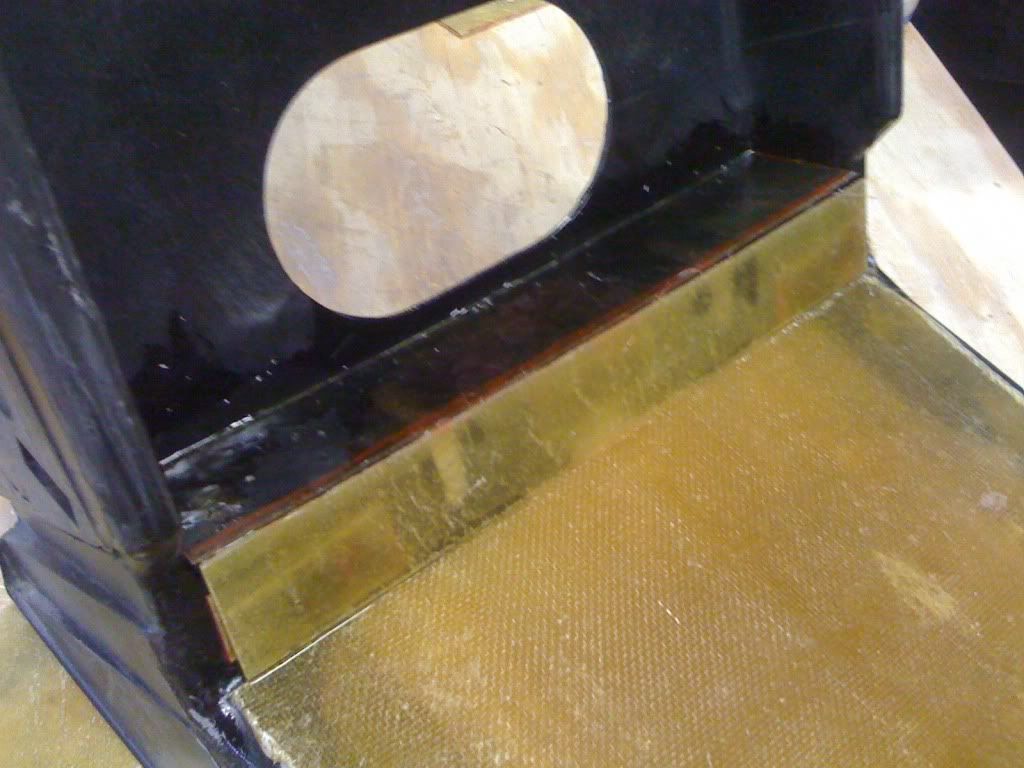
Second layer of glass
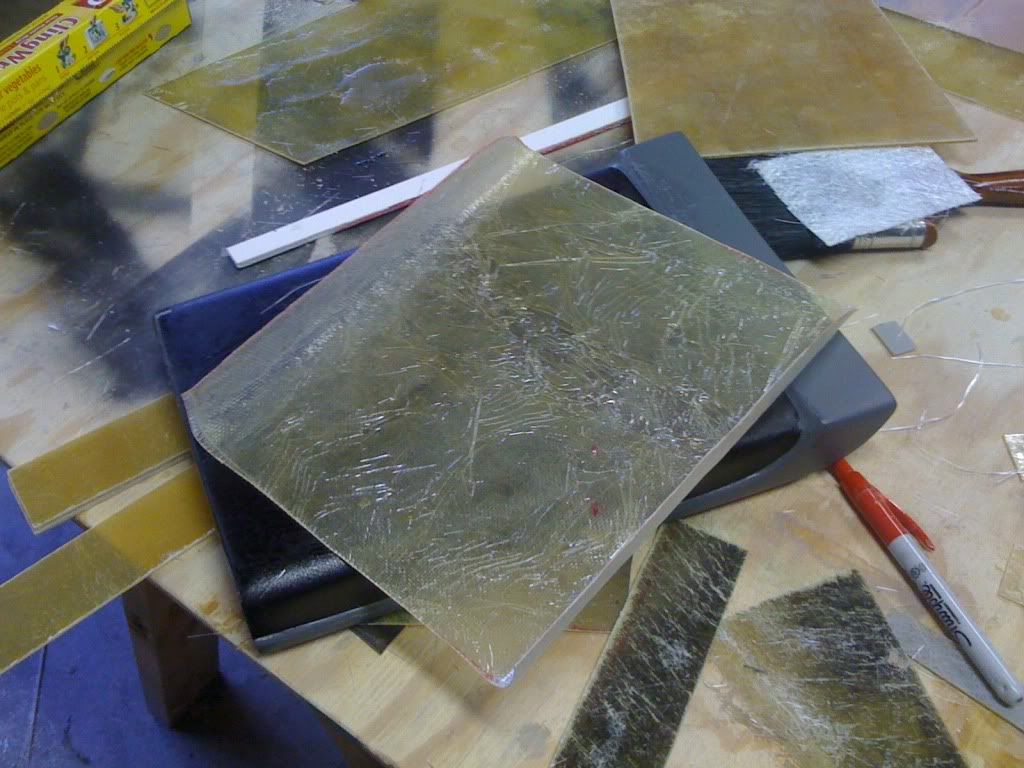
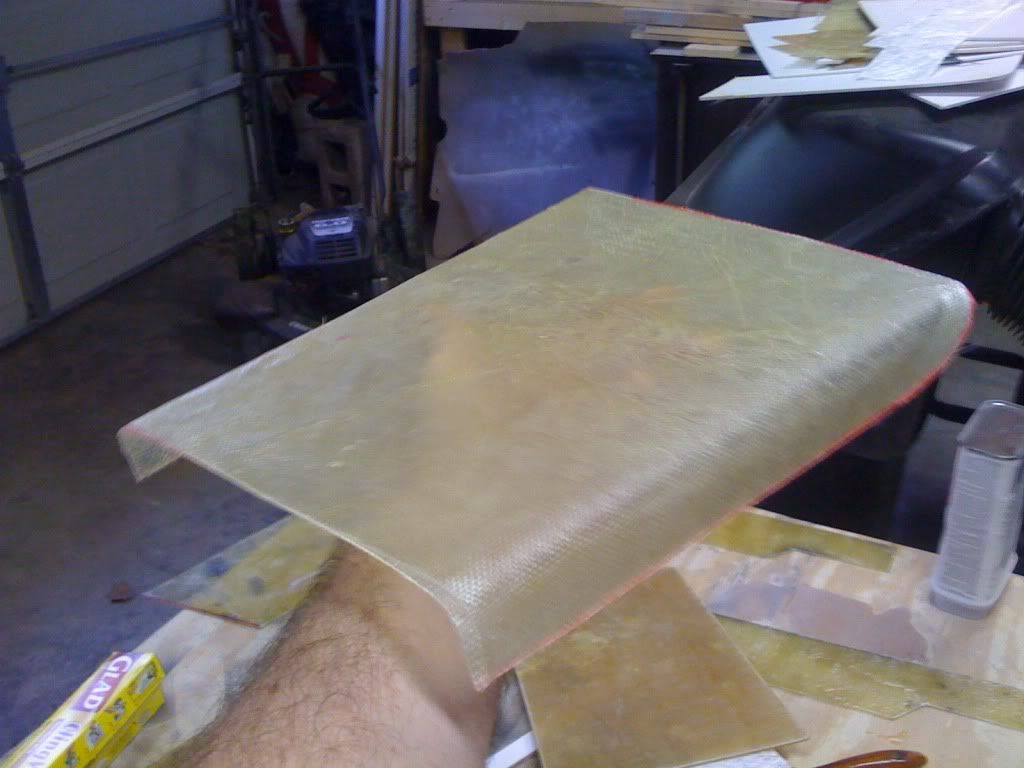
All dried, cut and fits perfectly
The plan is to build another layer of glass and then wrap this in the black vinyl material to match the door panels and sun visors - Thanks to Katatak for the great idea!
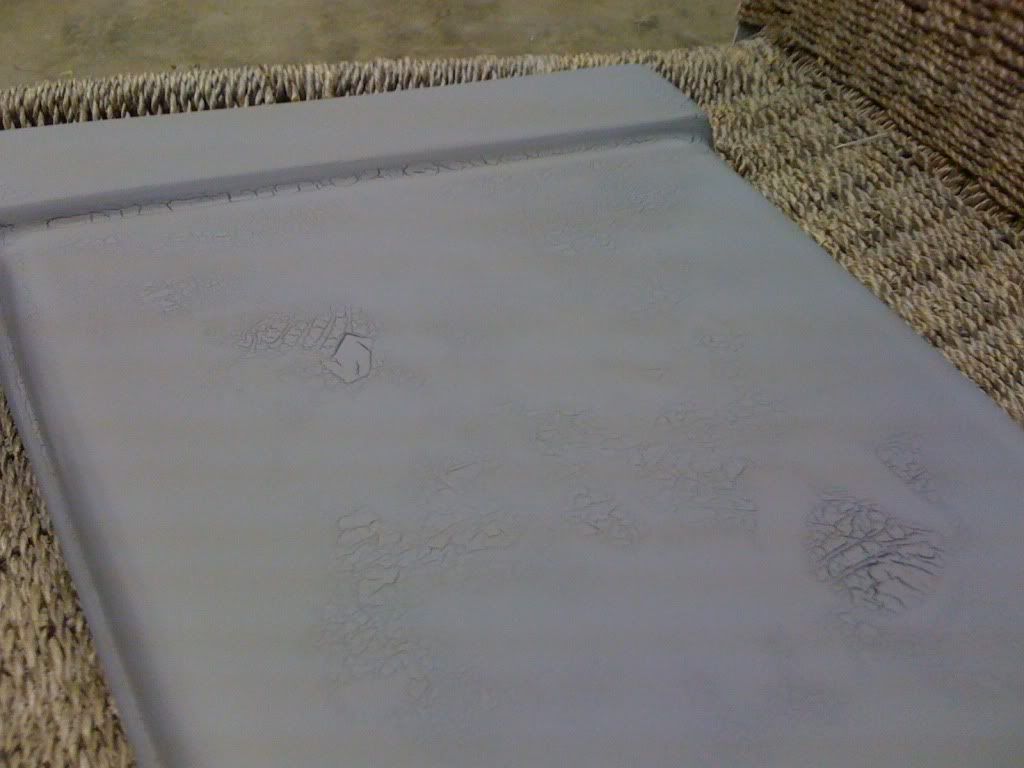
And now the disaster... I have to sand and repaint the entire cup holder
The console receiving a few little updates
That's it for now. I hope to have the new console at least fabricated by this weekend. I also have to get started on the radio console as well. I'm debating whether to use the existing piece I have. That would save time and I think I can manipulate the part into the shape I want. Note to Self: NO MORE SERAN WRAP!!!!
[This message has been edited by Sofa King (edited 09-13-2010).]
One step forward and 2 back Greg! You are getting pretty good at that sanding and painting thing. Your little boo boo should not take long to fix.
As for the XTC, we are basically going to "shorten" the rear end and the front end. Then make the entire frontend one piece - like a "flipper" with some molded in "flush" mount headlights and some electric actuators much like Madcurl's setup. The back end will get anagled off and then rounded at the bottom with maybe some difusers and a custom center exit exhaust. The last part will be to remove the "flare" around the bottom of the car and round the bottom under the car. It will be a big project but I am looking forward to it.
Now you know not to use it! XTC is looking like late December!
When I grabbed the wrap... my initial thought was I needed something that would conform and hug the shape of the cupholder so when I laid the glass I got a precise fit. Wax paper wouldn't do it and I certainly didn't want to use packing tape and wind up removing any paint. So... there was a little bit of sanity to my mistake?????? Not much... but a little bit? Right? Maybe?
December, huh? Well... I guess we can wait. OH!!!!!!!!!!!!!!!!!!!!!!!!!!!!!!!! Completely slipped my mind. I was chatting with a buddy of mine who has a 355 replica and has approached me to help with the all the fiberglass / body work. He's knows metal fabrication so he and I will be working together teaching and learning and building a 355 replica. We're still discussing it... but if we get started I'll post pics.
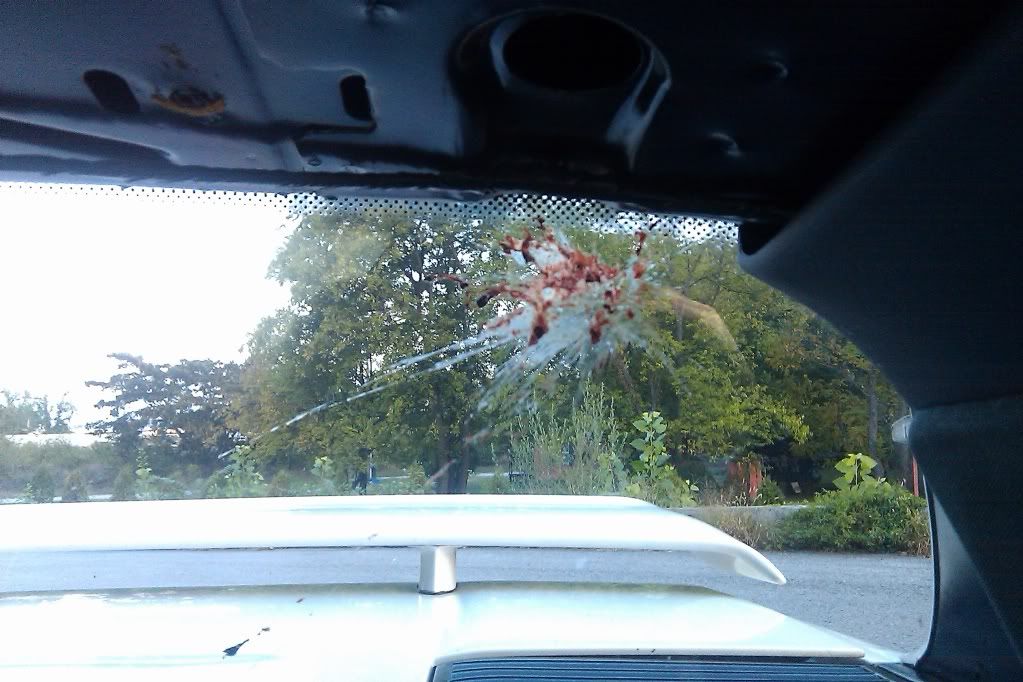
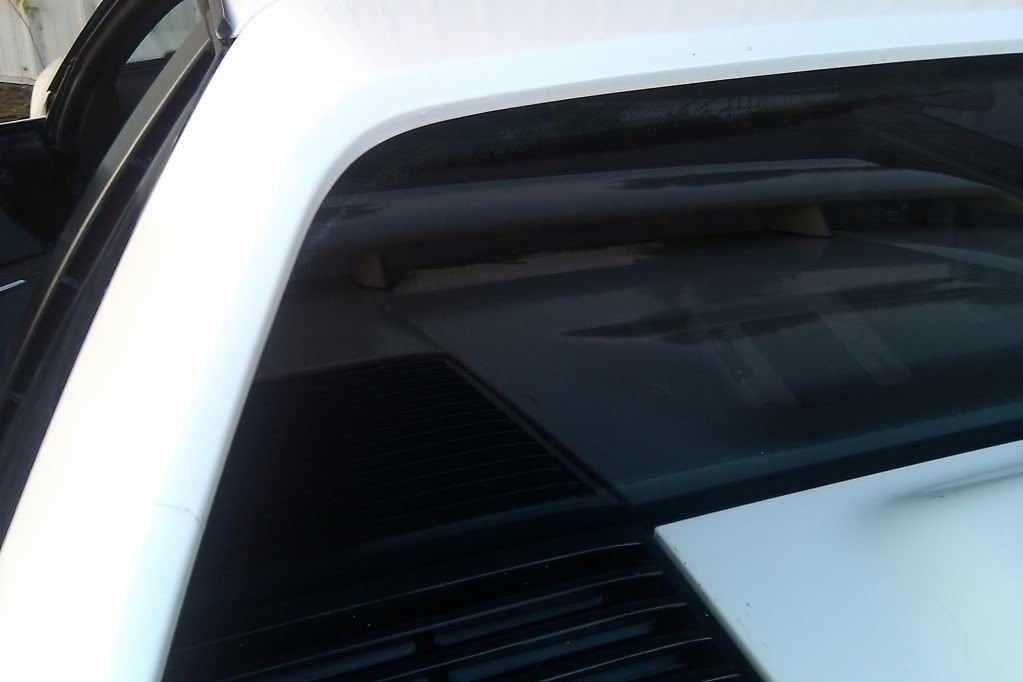
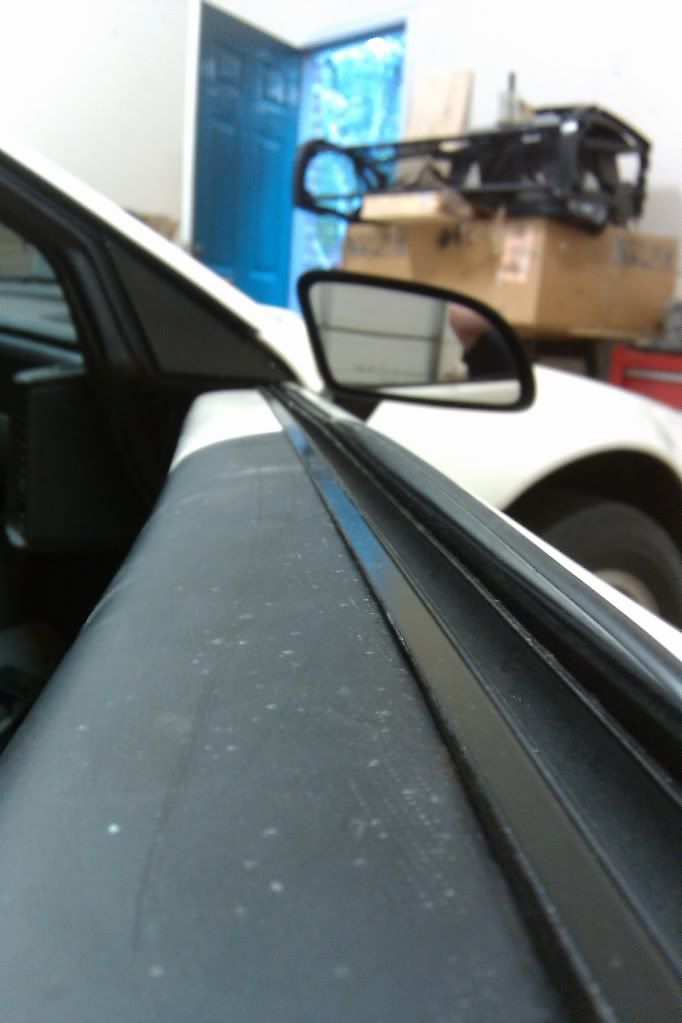
So I'm driving my car this morning when I looked in the rear view mirror and saw this splatter mark right behind my head...
My first thought... DANG IT! I just washed the car. So I got to work, grabbed a shop towel out of the trunk and began to clean the huge poop off the car when I then saw this...
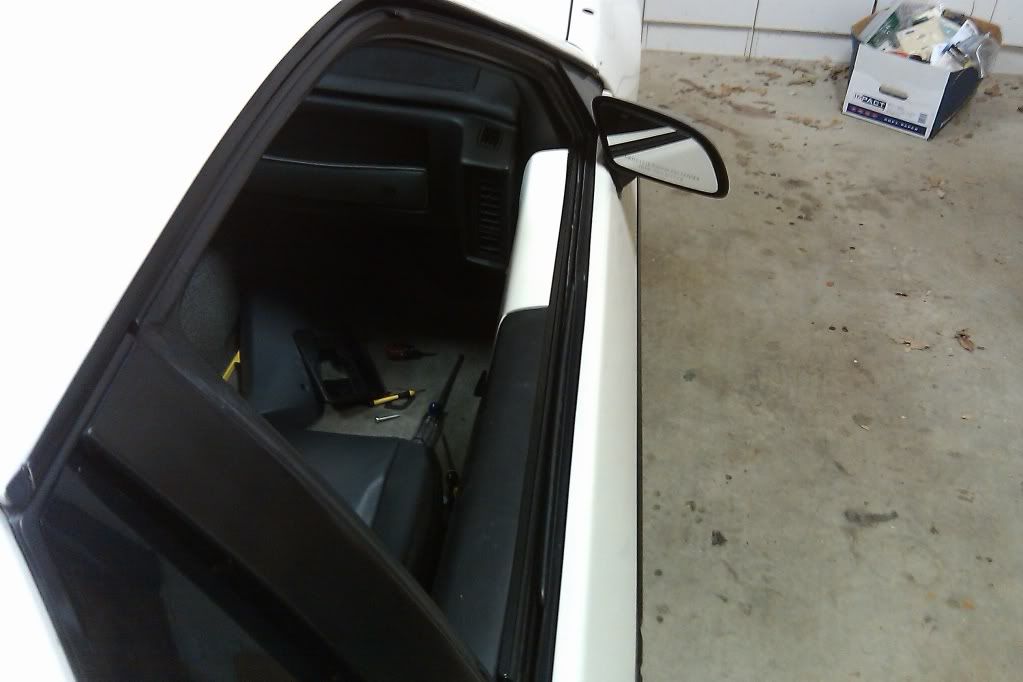
Wait a minute I said... ummmm... where did the poop go? I looked back in the car... I see it... but where is it on the outside... Then it hit me... That huge explosion of bird turd was INSIDE the car! I stood there with my mouth open... HOLY BIRD CRAP! That thing almost hit me! The first thing that ran through my mind was Oliver Stone's conspriacy movie called JFK. "...back and to the left... back and to the left... back and to the left..."
The temp shot back up to high 90's / low 100's. Summer is trying to hang on a little more... I figure a few more weeks and then fall will be here which means getting back to the fun stuff. I really want to get the door panels finished, upholstered and installed! Actually... I want to get everything finished!
I have a plan to create a vacuformer. I hoping I'll be able to create multiple dash pods for other members.
Have you thought about using the expanding foam at all for some of the areas of your build? I use the Urethane 2 part expanding foam as a base and cut the shape to close with an x-acto knife and other knives and then sand it down to a close fit and then lay the glass over that. The resin doesn't eat away at the foam and you can get some more complex shapes more easily than using the flat fiberglass panels you have been using so far. Doing a great job with the flat panels, don't get me wrong as I have enjoyed watching the build thread but if you are going into the more complex dash assembly you have pictured above, some expanding foam may be a good option for you.
Depending on what I needed to do, I would build a box more or less the size I wanted and pour the foam in and let it expand and harden and then pull the box sides and bottom off and start cutting and shaping. You can also fill in holes and indents such as the indents your did on the door panels with resin and it will do the same job but end up lighter in the end and just as strong with the glass mat layers over it.
You should be able to get the foam in the same place you are getting your resin and mat from.
Just a thought.
Please carry on as you are doing some interesting make overs on the interior.
Thanks for the great advice! I've been tinkering with the idea of using foam as the starting point for the new radio console. I've been wondering HOW I'm going to tackle the complex curves of the console without building up too much resin, glass, bondo, etc. I was considering using the flat panel insulation foam - you're talking about going in a completely different direction - the expanding foam!
Is this the same foam you can buy from any home improvement store? You have my interest peaked. Do you have any build pics or a link to any projects you've done?
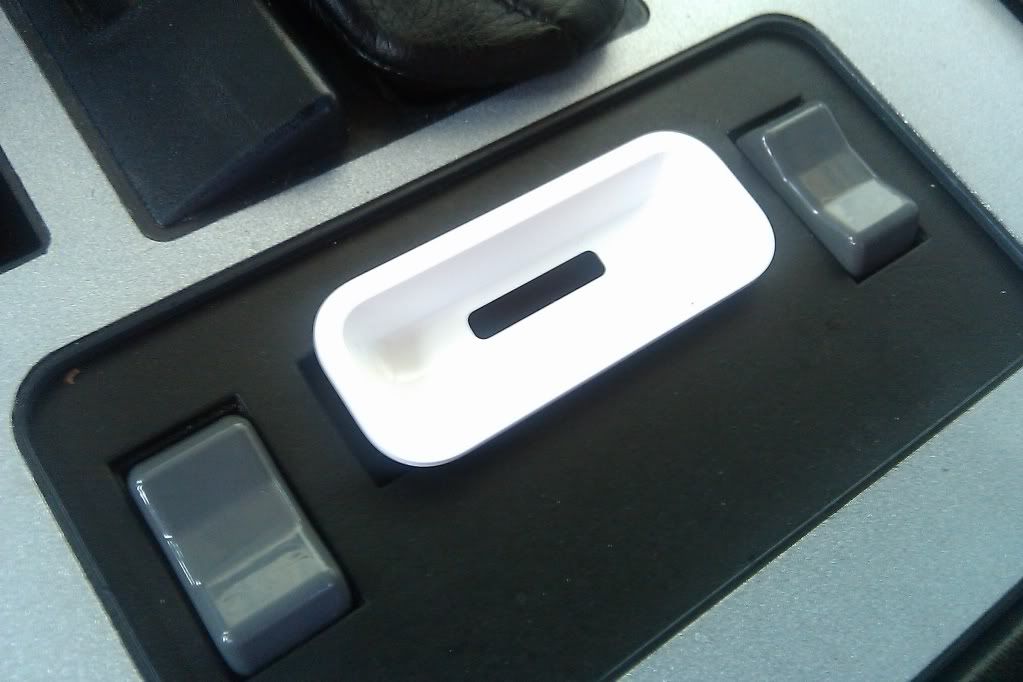
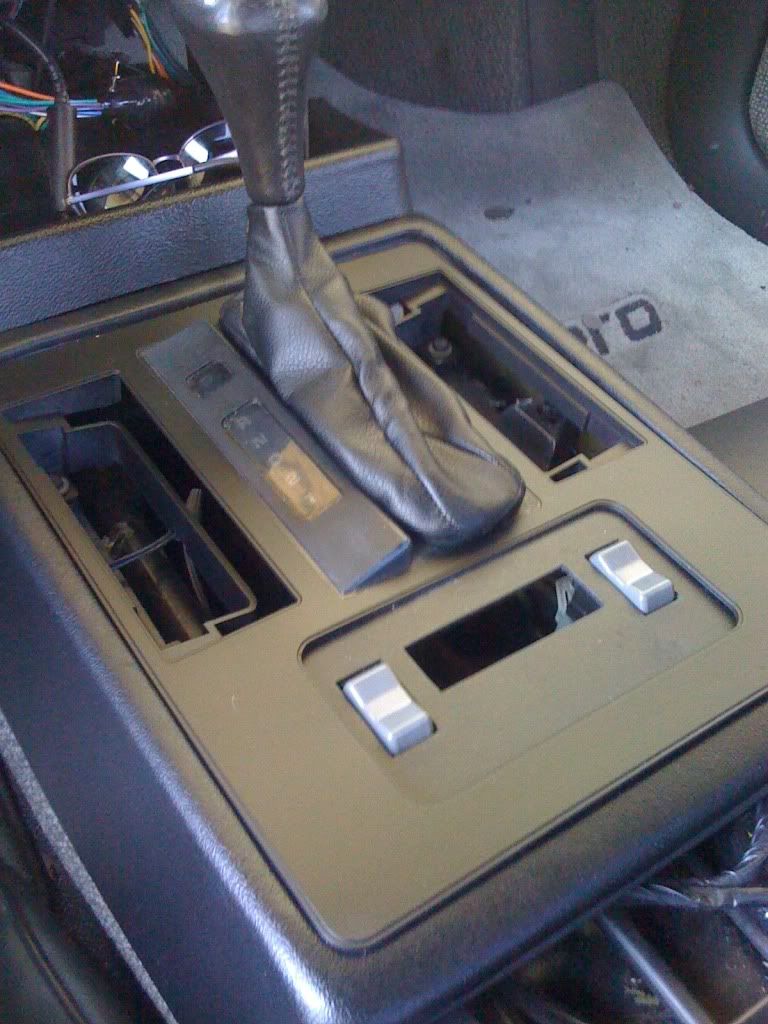
I searched the house HIGH and LOW for this plastic iPhone adapter - no really... I searched the entire house! Believe it or not... it was in the last place I looked.
I'm going to flush mount the adapter to the switch plate, sand it down and then paint it black. The connector, coming from the new Monsoon radio, will run up from the bottom - that's the next challenge. How do I attach the connector from the bottom?
Also, it looks like the weather is finally going to break!
Run a bead of P-Tex along the edges? JB Weld? Superglue? Fiberglass resin? I don't what would work the best, ha.
I'm not sure whether I'll cut the switch to fit the adapter or the adapter to fit the switch plate. Either way I'll use fiberglass / resin underneath and filler on top. Then sand and paint - shouldn't take too long. The other option is to have the ability to snap the adapter in place / remove when need be. Adhering the cable to the adapter will be the most difficult task. The cable must be strong enough to hold the iTouch/iPhone in place without it falling over. I'll probably need to resin the cable in place.
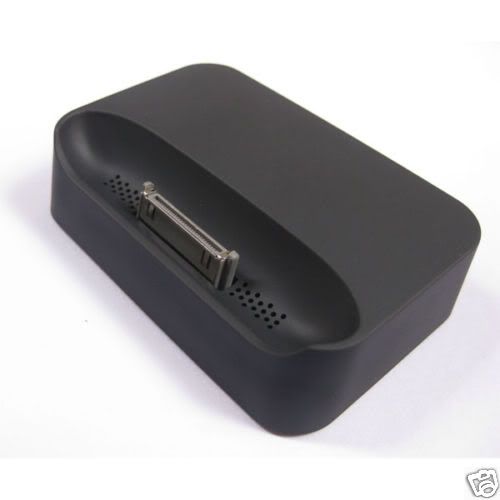
The other option is to purchase something similar to this docking station and mount the unit in the same way - the only problem is space under the switch plate and the connection to the Monsoon
[This message has been edited by Sofa King (edited 09-24-2010).]
L have built a LOT of my interior pieces using the foam method and then carving it down to take moulds and then pieces from the moulds.
I have a build thread over on Mad Mechanics for my Fiero to Ferrari 355 conversion.
Take a look on pages 8 and20 and you will see various pics of the work I did using foam to make the interior pieces. You can get much more complex shapes from the foam than with flat panels.
Yes, I have been building that darn car for way too long now. I bought a 308 replica and have been changing up the front clip to be more oem with a smaller trunk lid and fenders etc. and then I will get that out to paint and start back on the 355. I am so close to be done I just hate all the small stuff that takes so long. I enjoyed figuring out the interior for the 355. I really had fun trying to figure out how to make proper defroster vents that went into the front trunk area for the extended windshield and still get decent air flow to work. Works well so far though.
Keep going on the interior redesign. I am looking forward to seeing how the new gauge pod works out for you as it is much nicer than the older Fiero pods.
I bought a 308 replica and have been changing up the front clip to be more oem with a smaller trunk lid and fenders etc. and then I will get that out to paint and start back on the 355.
You've done a fantastic job so far! The work on the front clip is a huge undertaking, gutsy but also exciting to watch! Aren't cars fun?!
It would appear that weather FINALLY broke and will remain cool from now on. I'm hoping to get out this weekend and get the ball rolling.
The Weather FINALLY broke! It was a chilly 75 degrees - PERFECT!
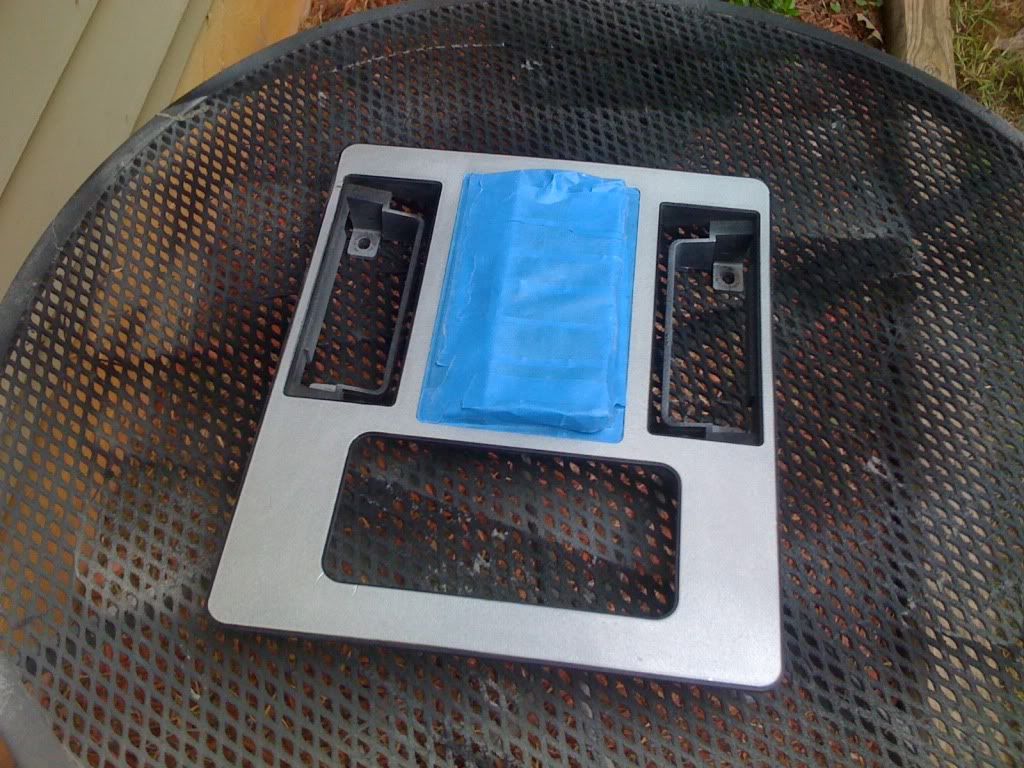
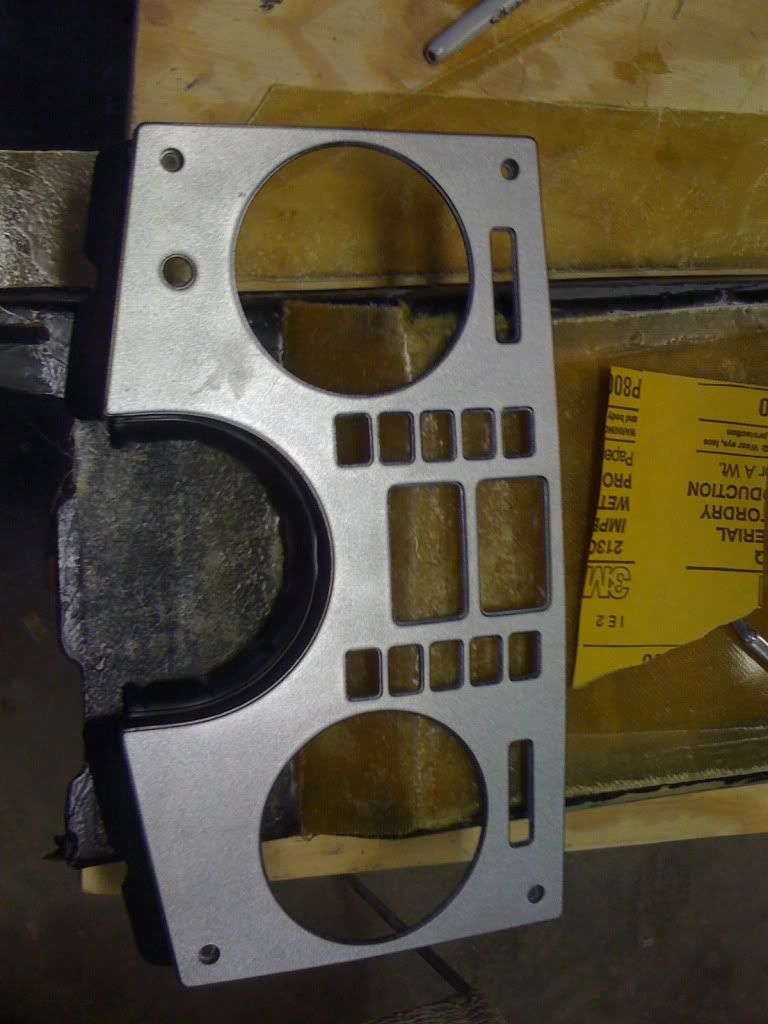
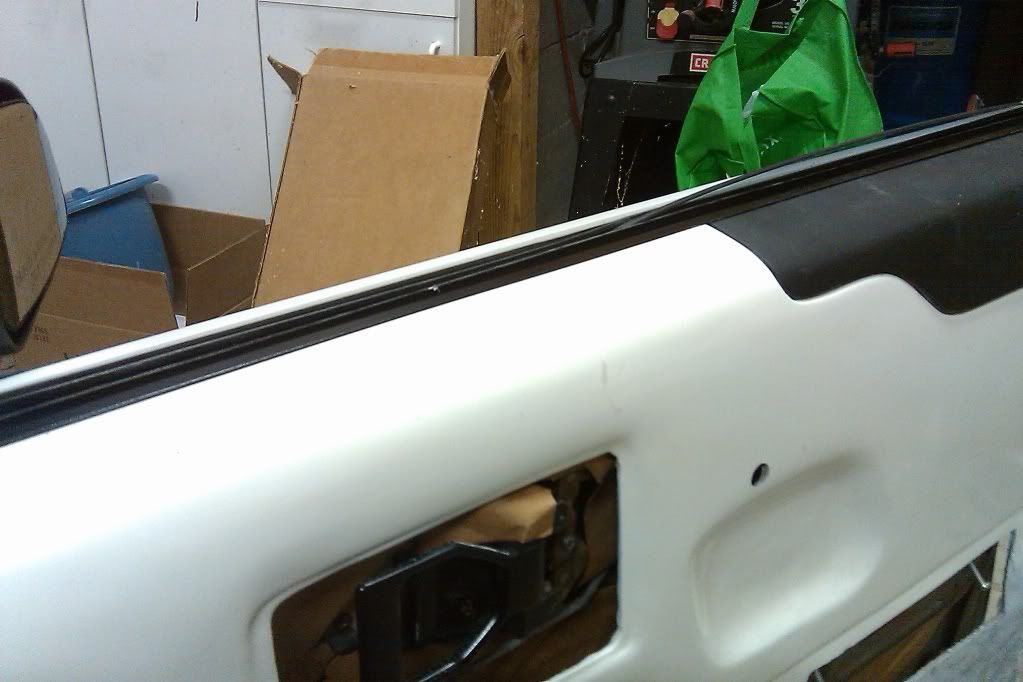
I got started on a few things last night. I've been a little tired of the silver trim pieces so I prepped and painted those. Worked on the armrest (and forgot about something - grrrr) and started fabricating the new armrest console.
Open Wide!!!
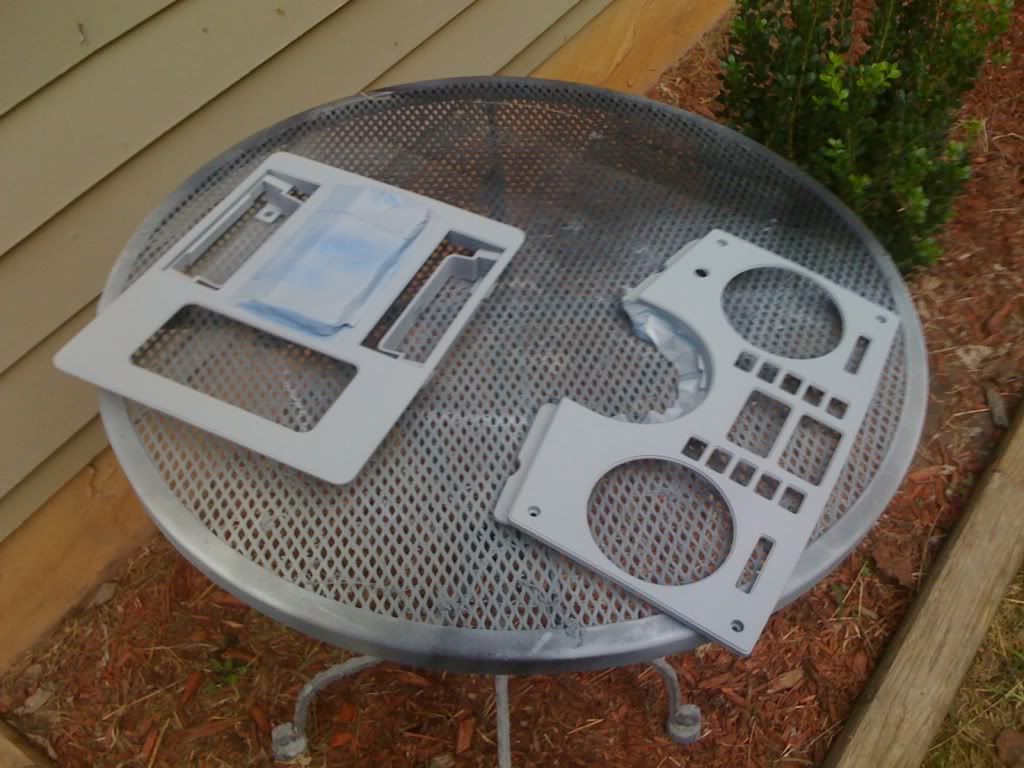
Prepping for black paint
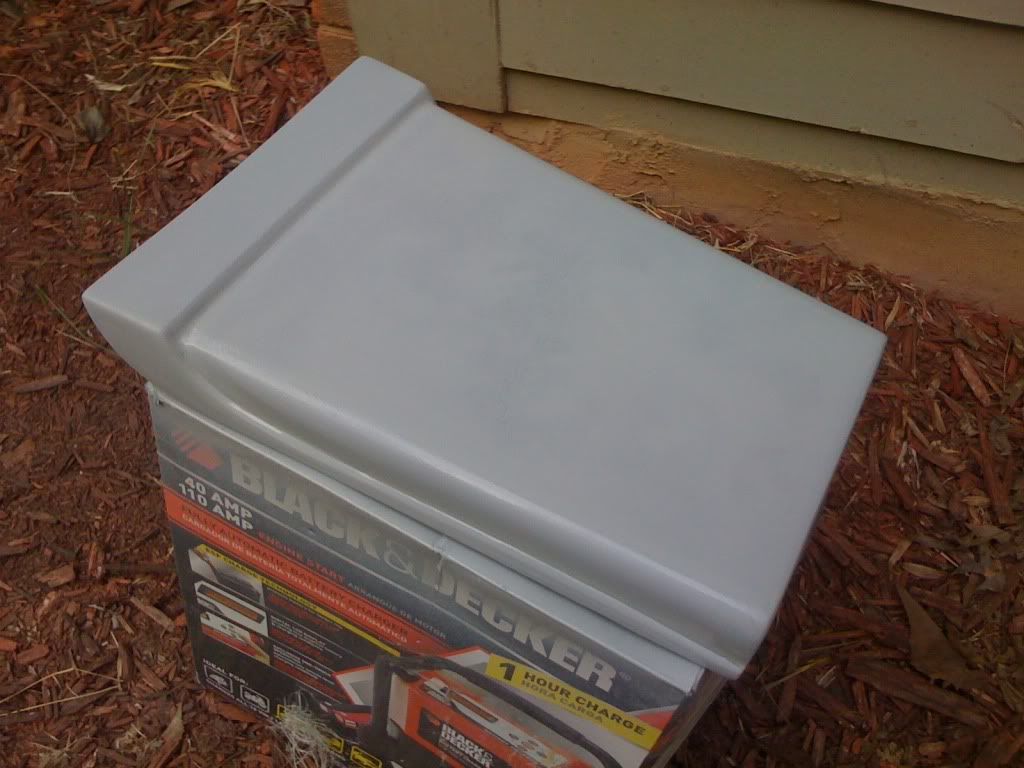
A little primer
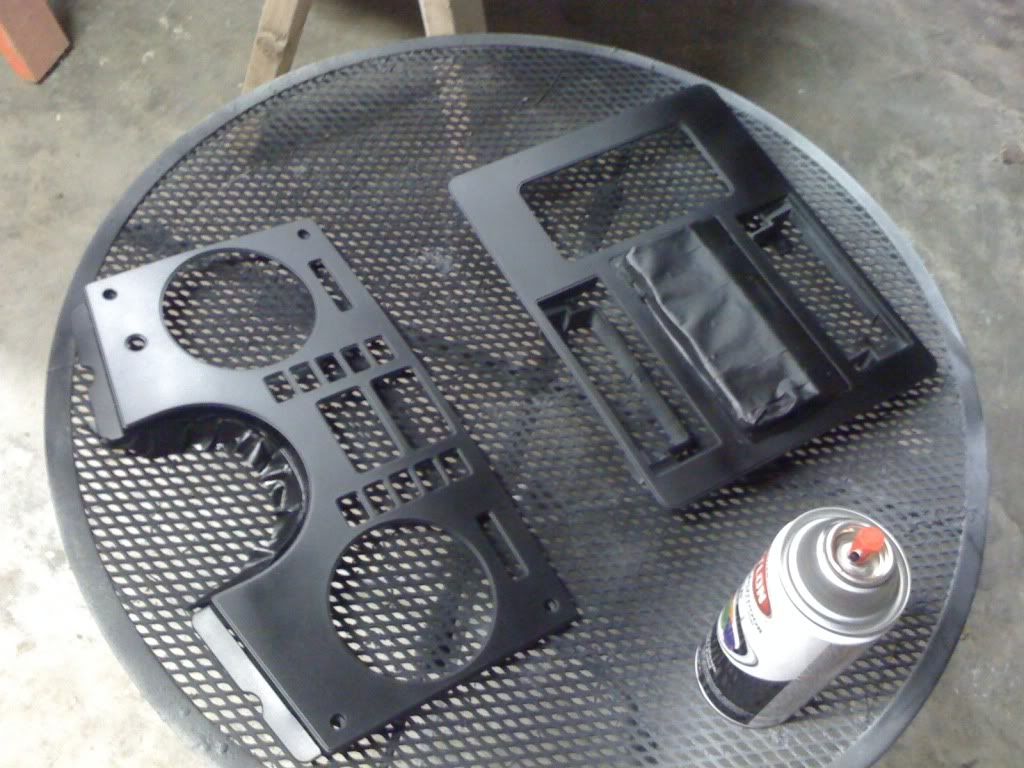
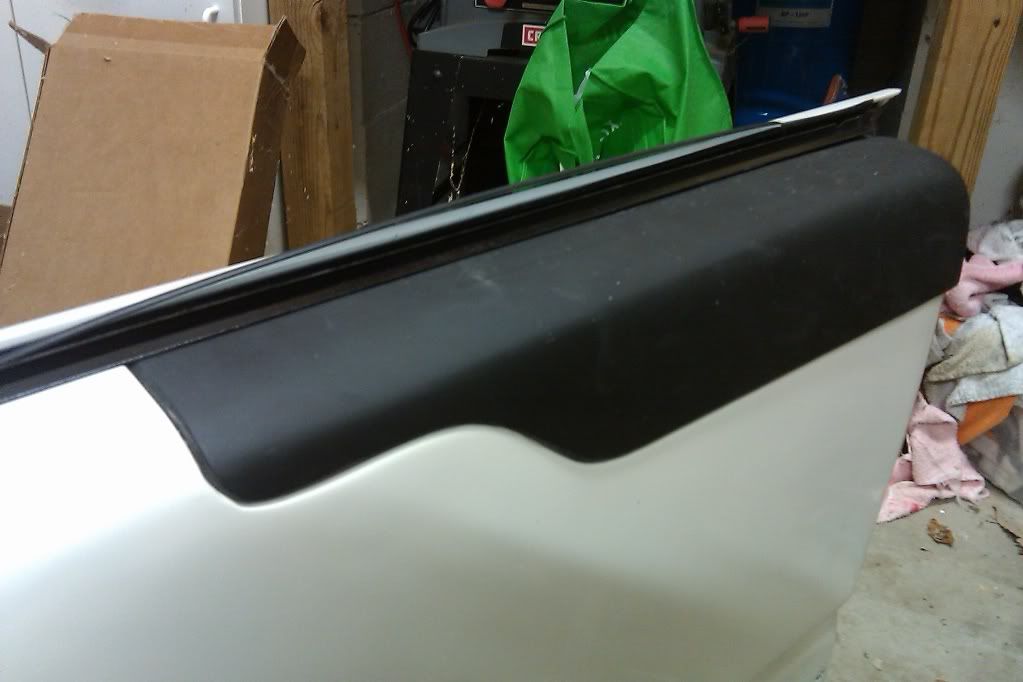
Some new clothes for the trim pieces
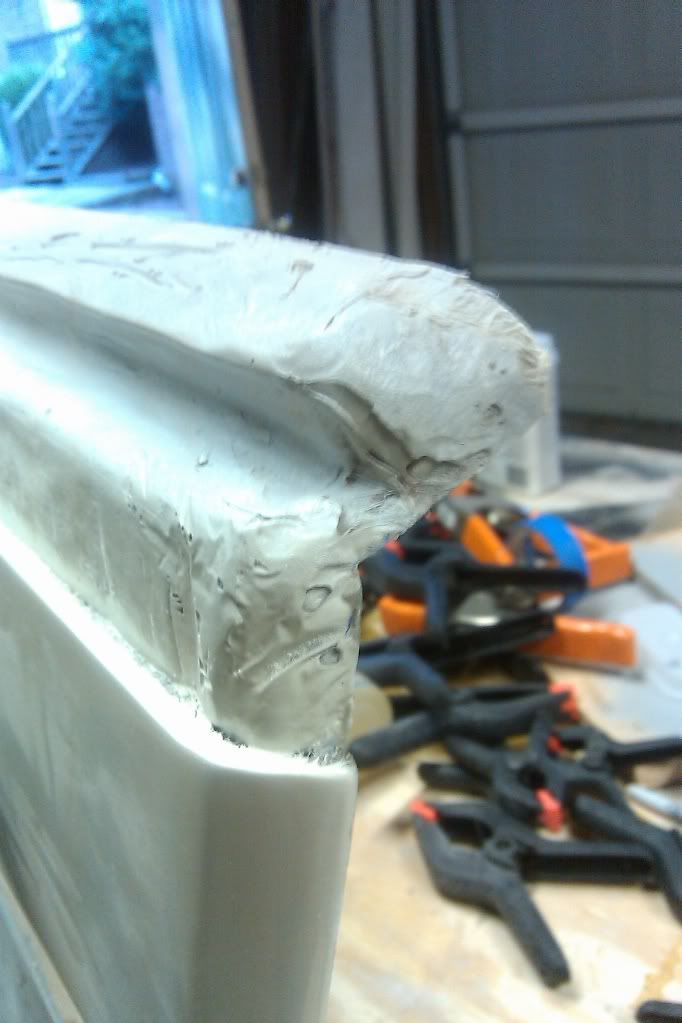
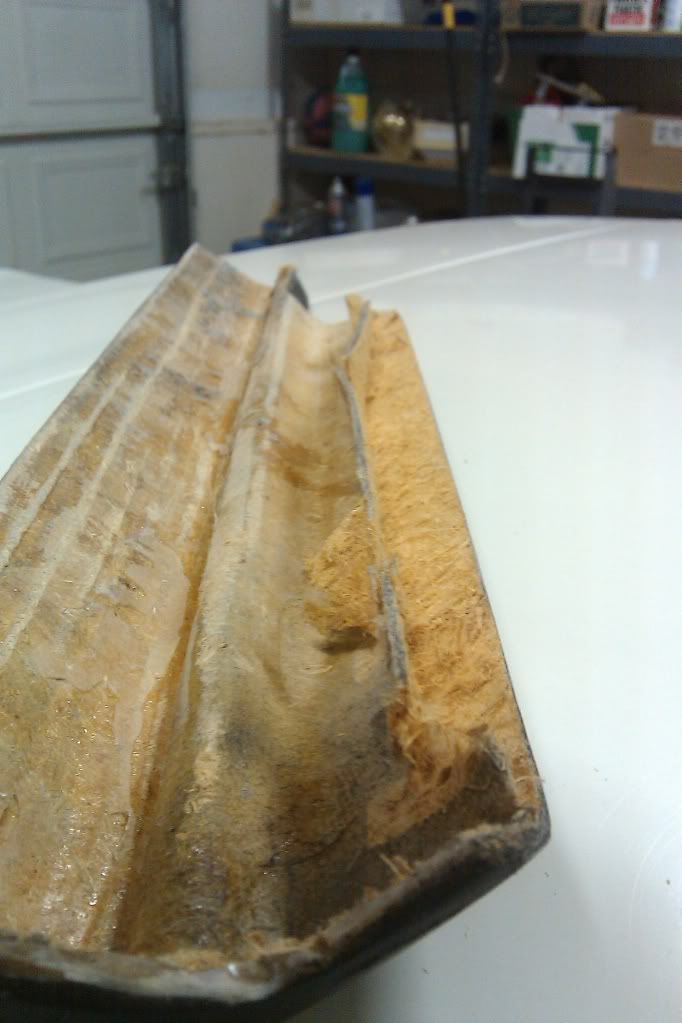
I added a few more layers to the armrest cover - this piece will be covered with vinyal and then wrap around the armrest/cup holder
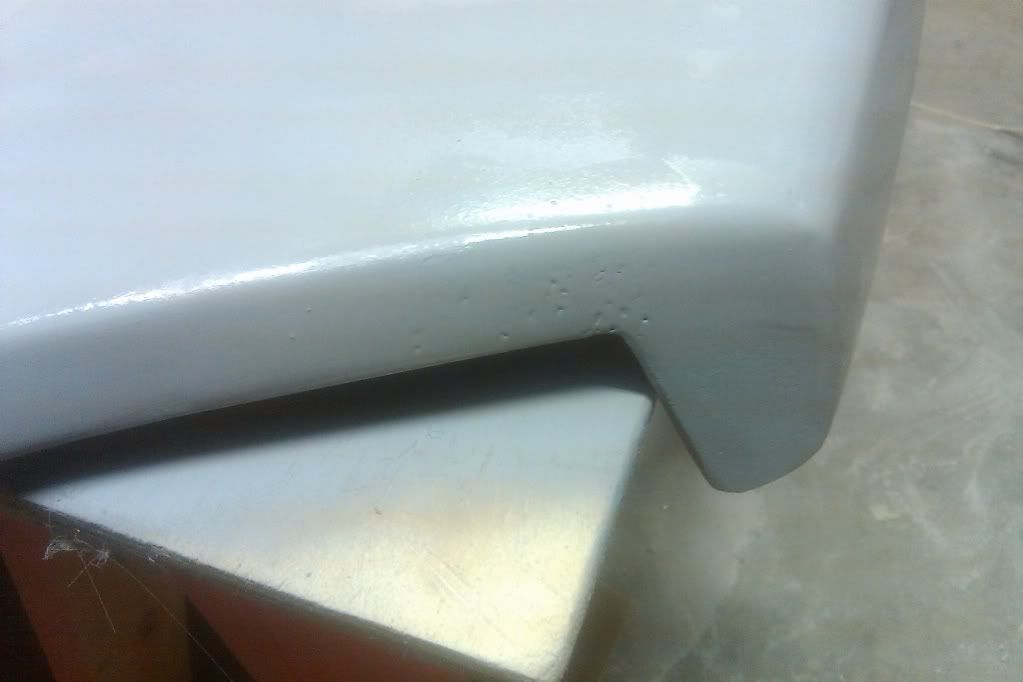
Speaking of cup holder... after my disasterous fail with seran wrap... I sanded the cup holder down
And forgot about... GRRRRRRRR
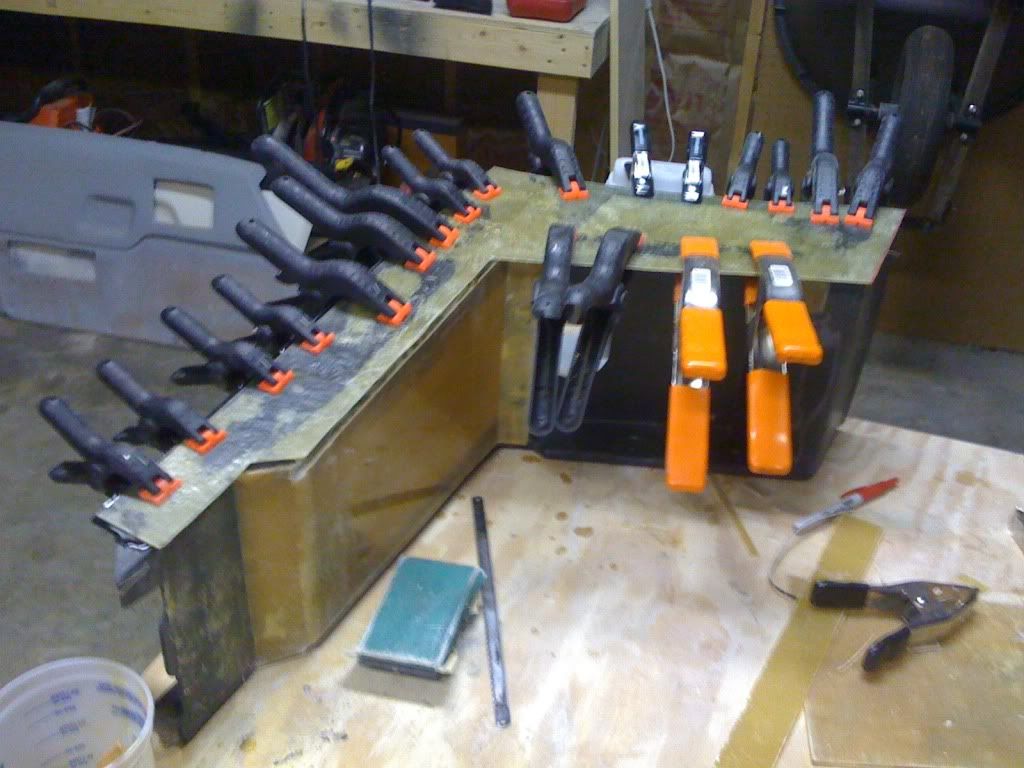
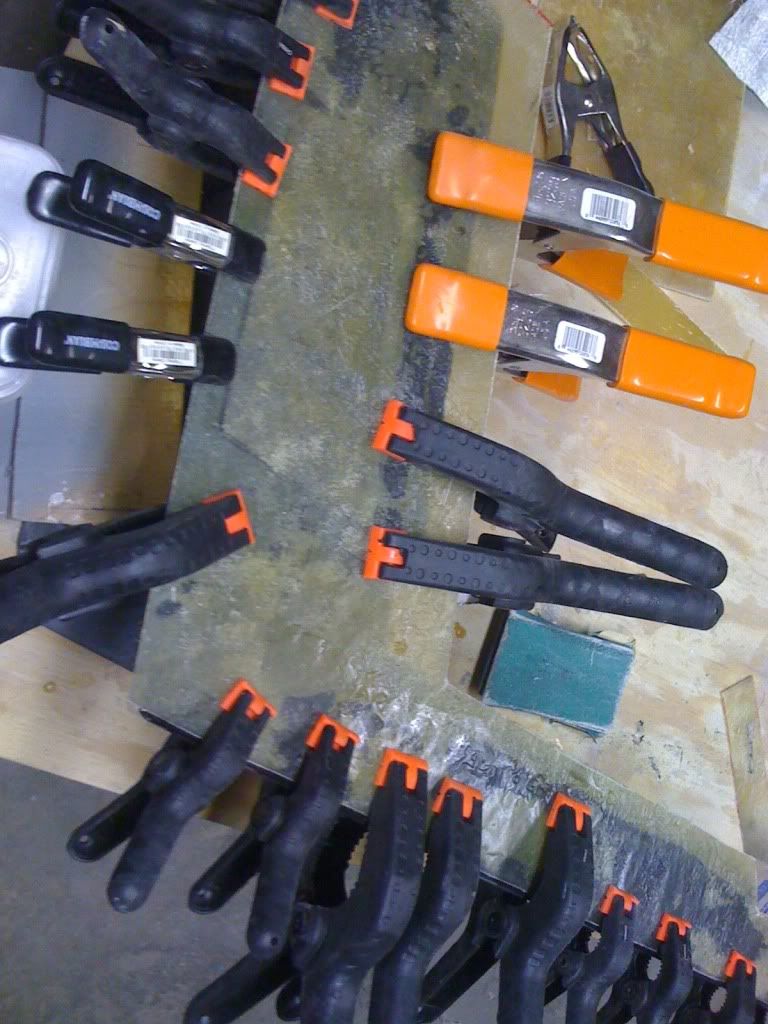
I then began working the new console. I used a couple (2 or 3) clamps to fit one fo the sides
More coming this weekend. I'm hoping to have my new sun visors and headliner all finished.
Sorry no updates - nothing worth posting. I helped a friend of mine close their pool and we ran into a few problem thus taking up the weekend. I did however, reinstall the recovered the headliner. Like I said... nothing worth posting. Hang in there.
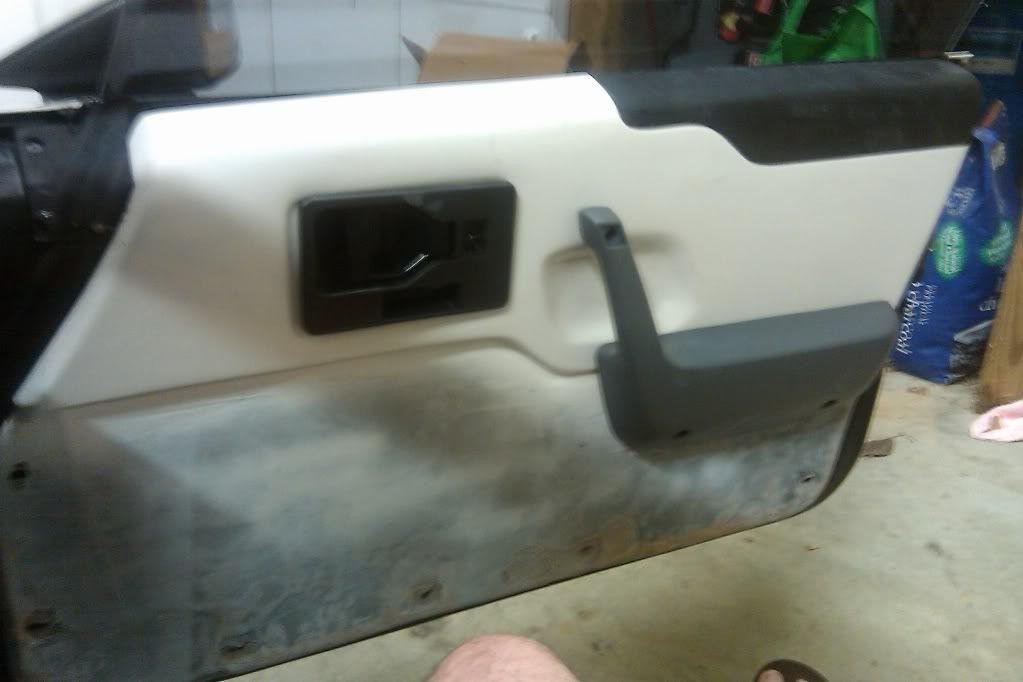
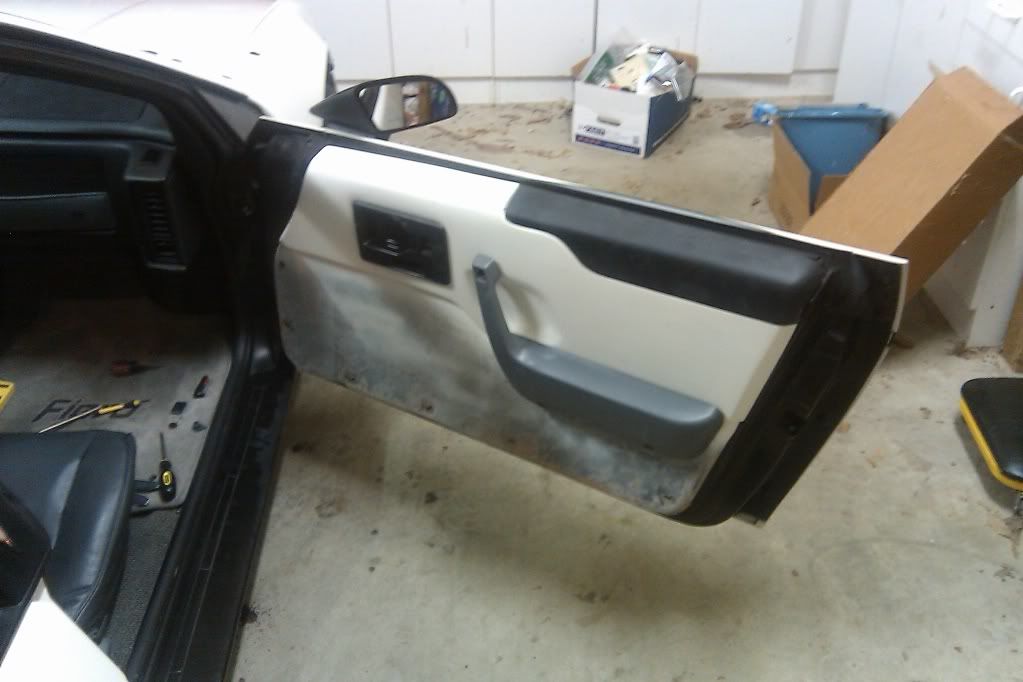
I spent a few hours fitting the passenger door panel. I had to make a few modifications, cuts, sanding, etc... but in all I'm really impressed!
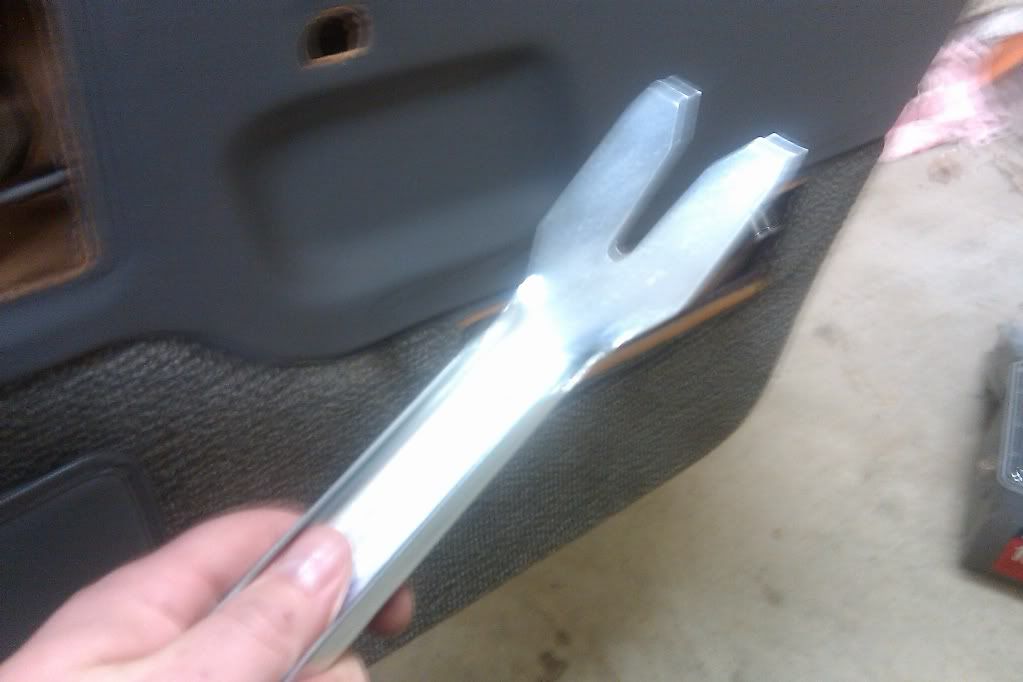
Grabbed my trusty door removal tool
And popped the panel off
I then did a basic dry fit. Not too shabby
Pretty good here
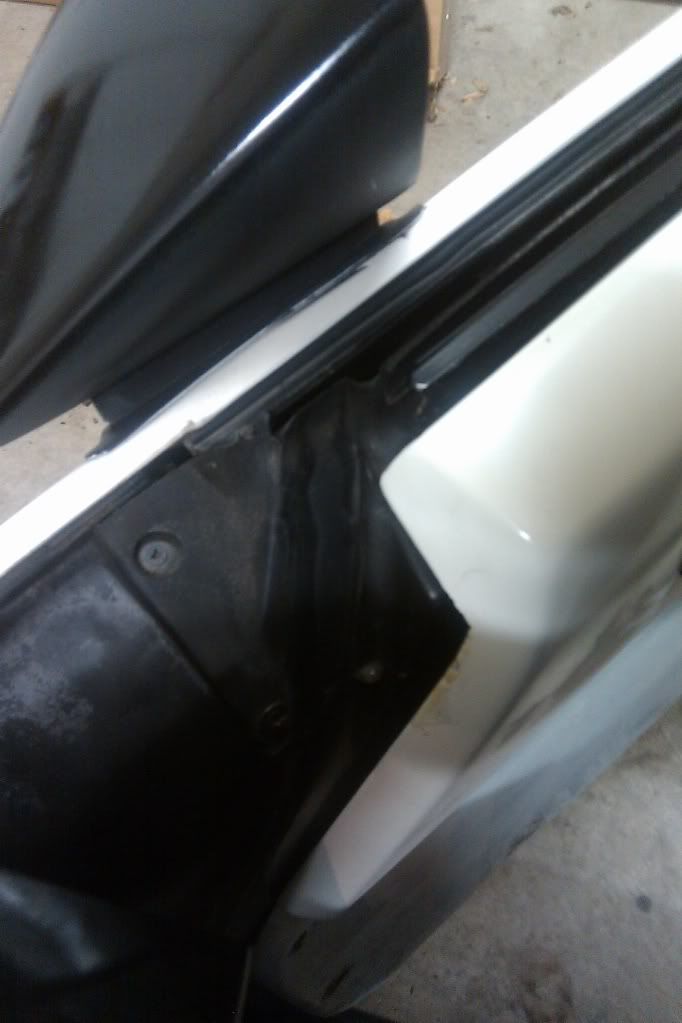
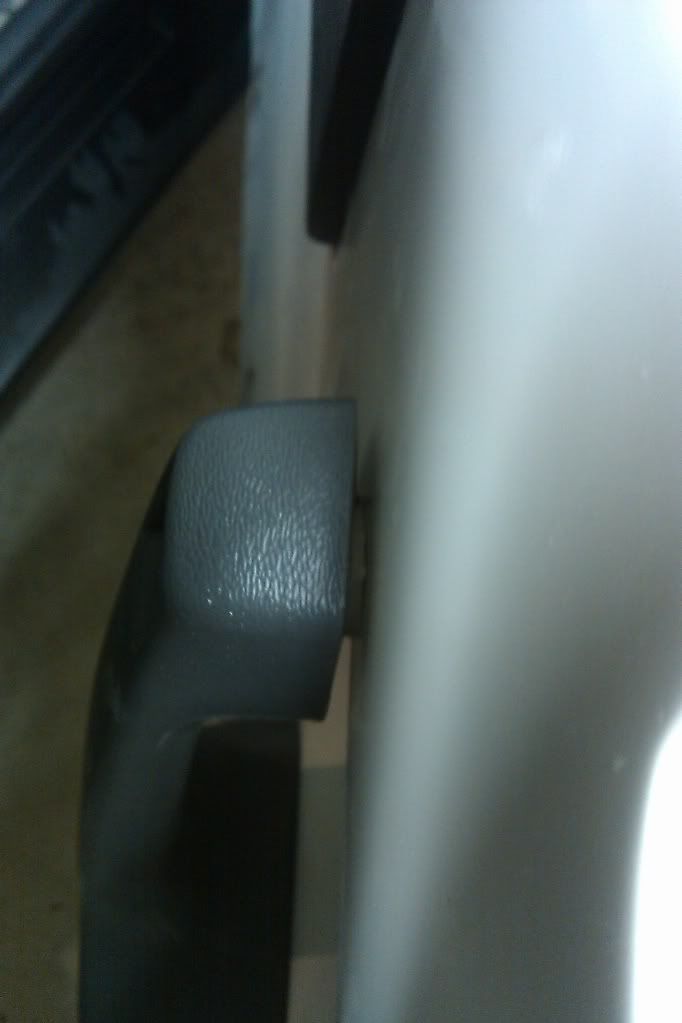
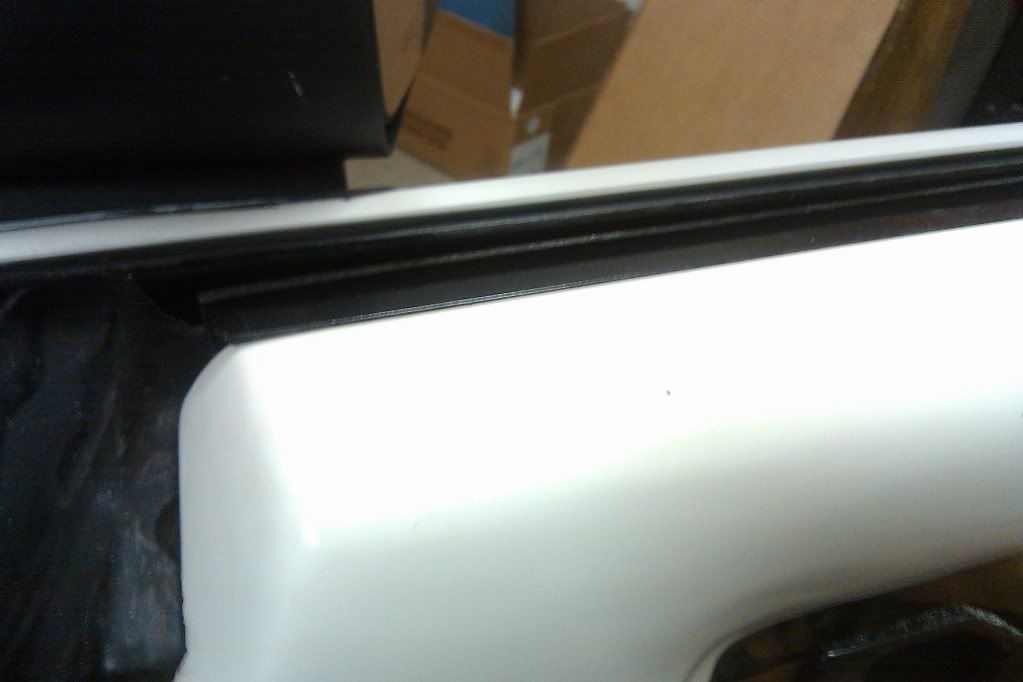
HMMMM... small little gap
Pretty good overall
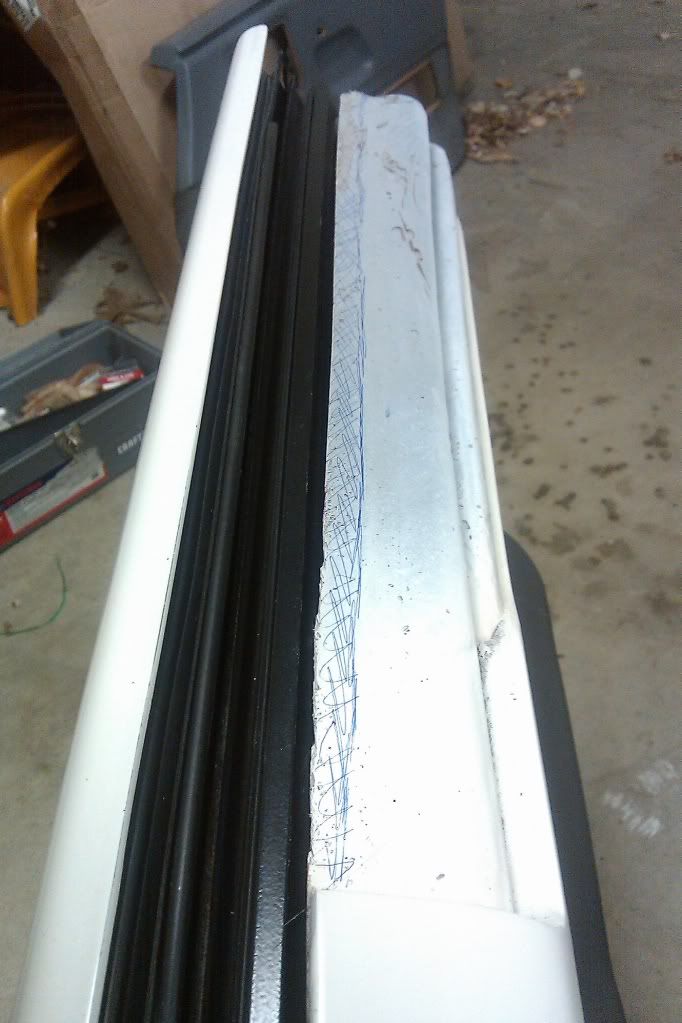
OK... where are the bad areas?
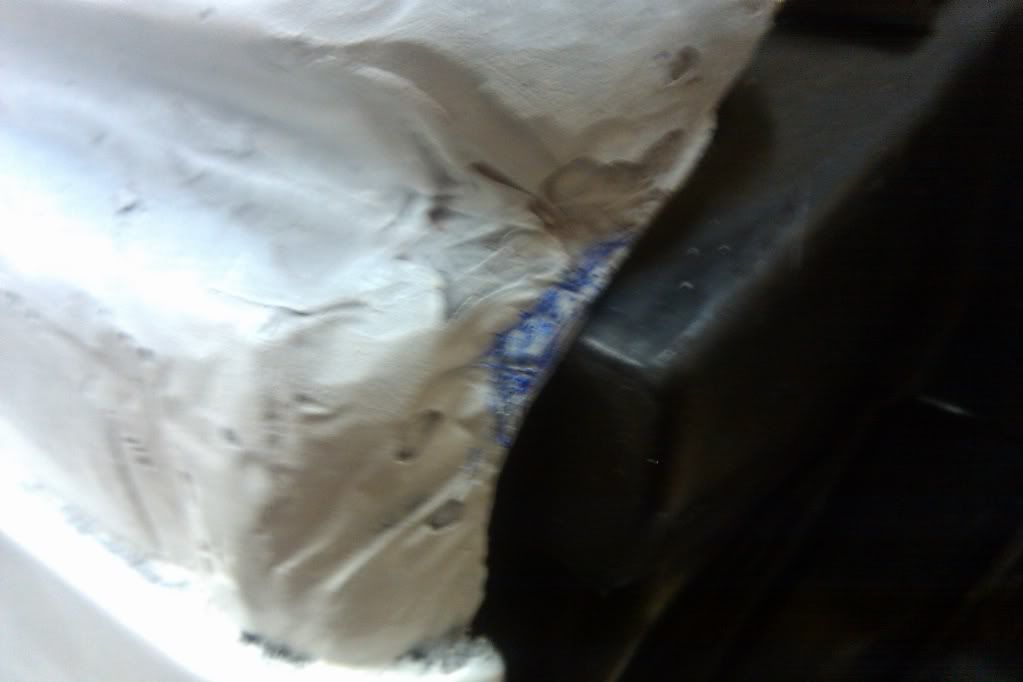
You can see here the gap - EWE
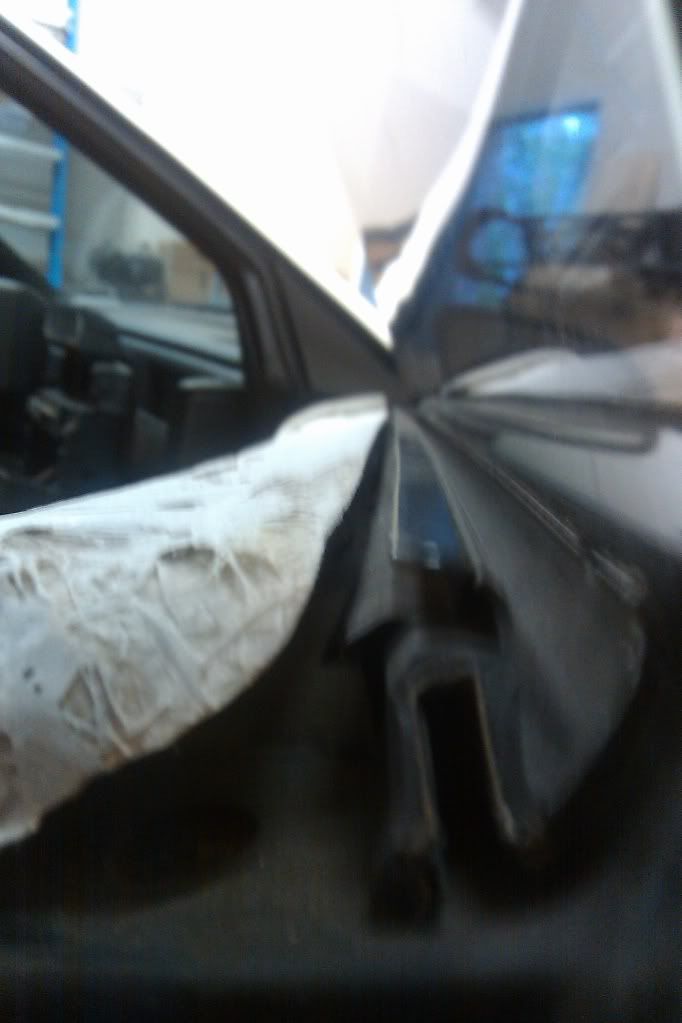
Need to remove some glass
Need to remove the blue - these areas are creating push back and not allowing the panel to fit into place
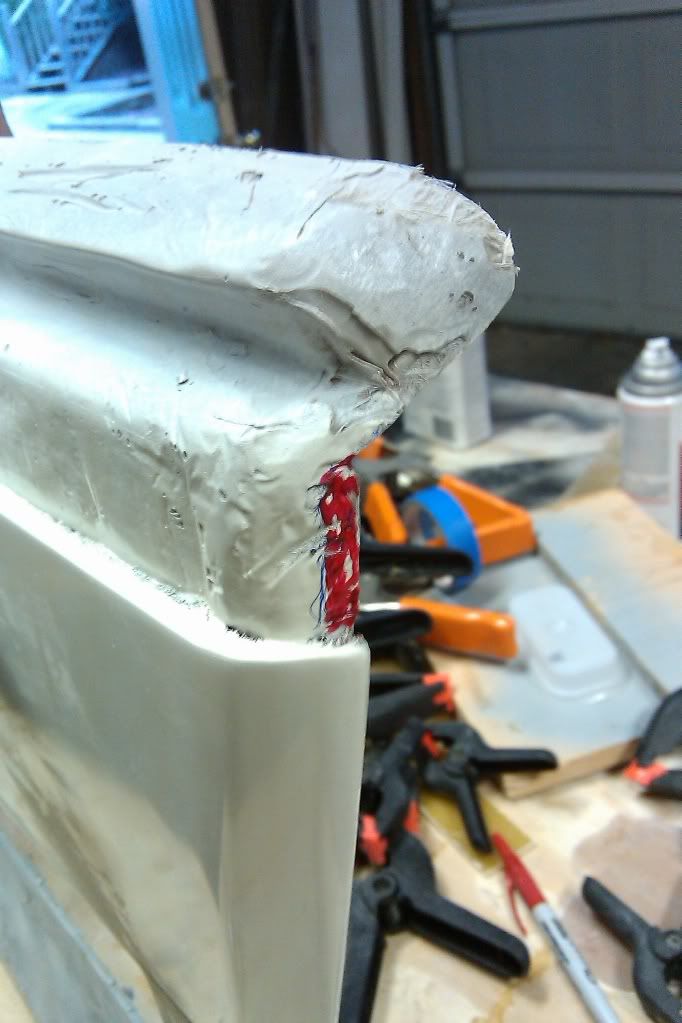
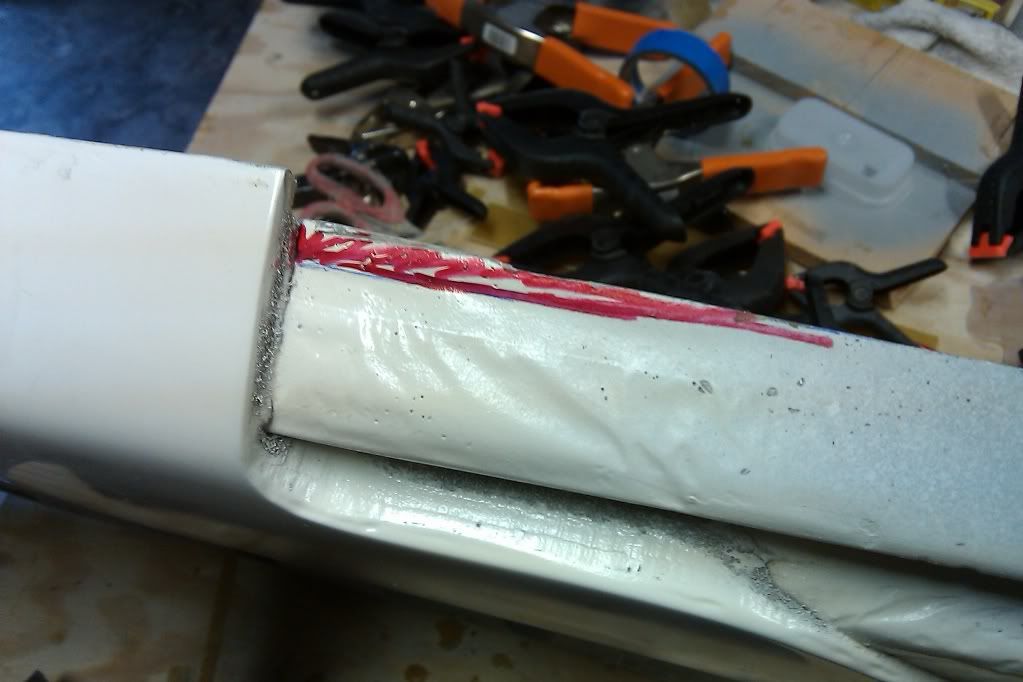
Remove the red areas
Removed
Removed material from the underside of the "armrest" portion of the door panel - since this piece will be covered with vinyl, I have to remove about half the material. Although the vinyl is thin, I still need enough room for the piece to slip into position
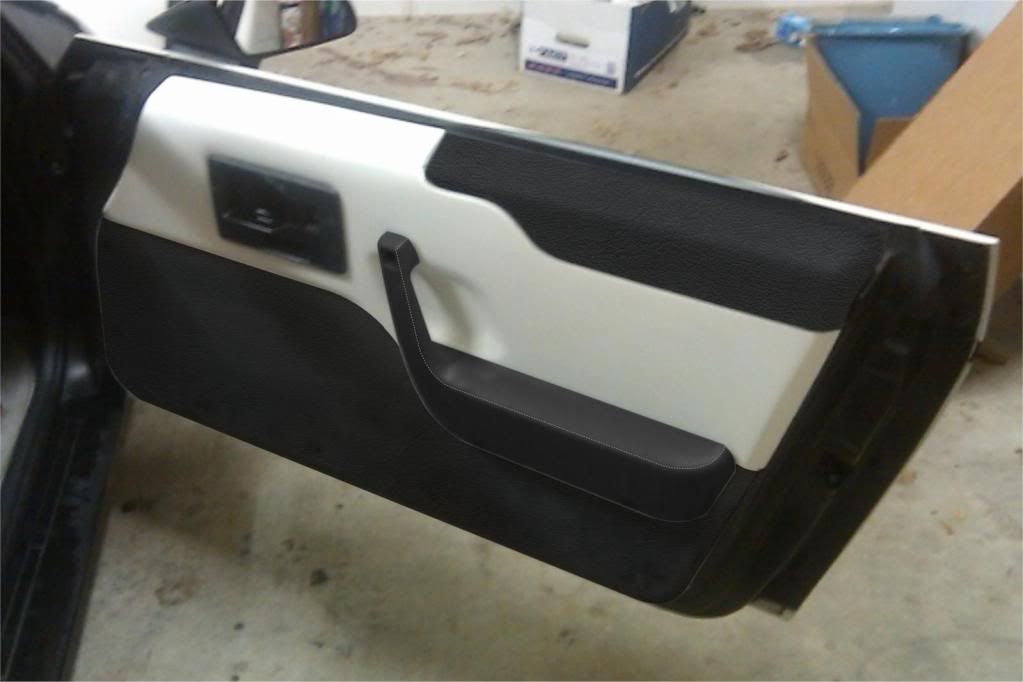
After a few "special modifications"... a nice snug fit
The Quasi-Beauty Shot
More to come! I have a 4 day weekend!!!!
[This message has been edited by Sofa King (edited 10-06-2010).]
The door pull will not remain grey. The plan is cover the door pull in the same material that will cover both the lower portion and the upper black piece of the door panel. I'm going to with a tight stitched look. Not really sure how it will turn out... If all else fails, I'll paint them black.
Thanks, T! I have to admit I was a little nervous taking the panels off. I wasn't sure whether the panel was going to fit at all. I have a lot of work to do around the door handle plate to get it to fit just right. I'm hoping to have both door panels done and installed this weekend - hoping... you know how my schedule has been these last few months.
[This message has been edited by Sofa King (edited 10-07-2010).]
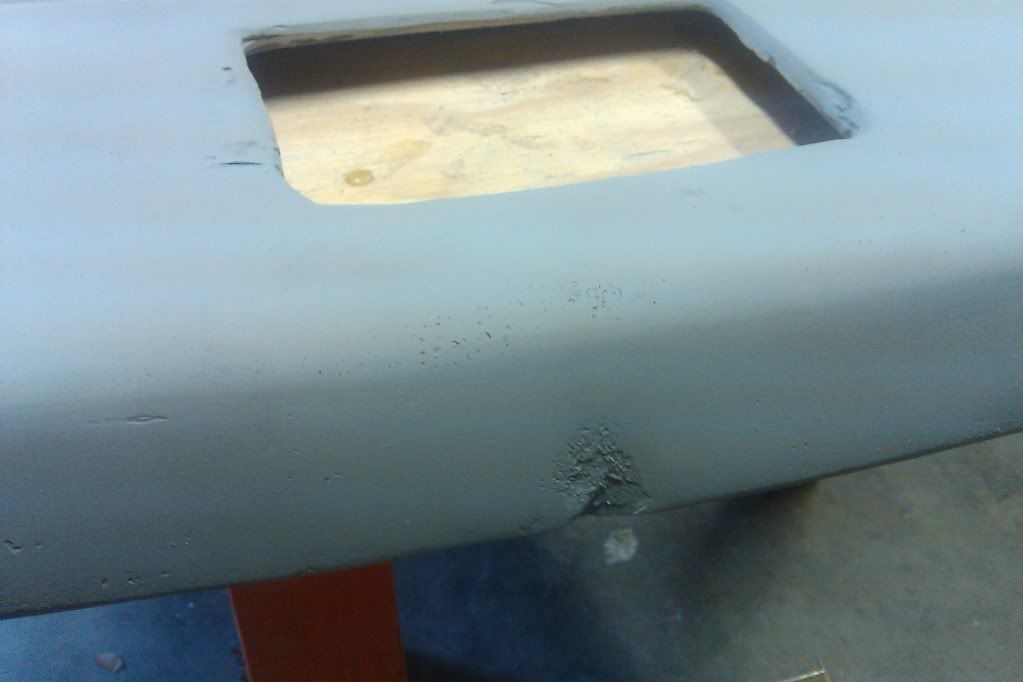
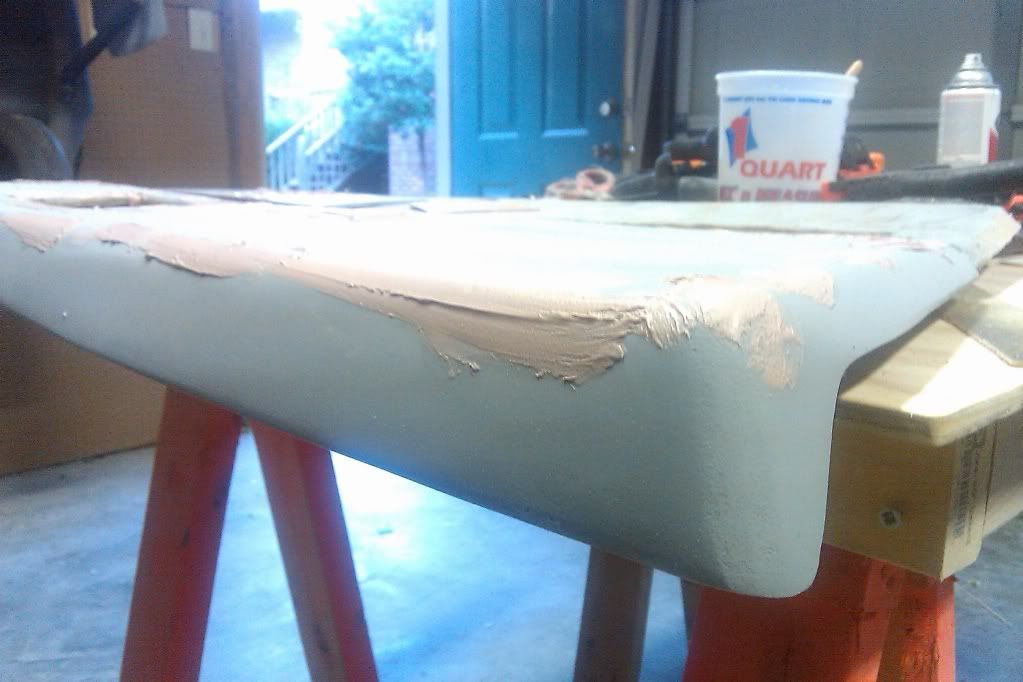
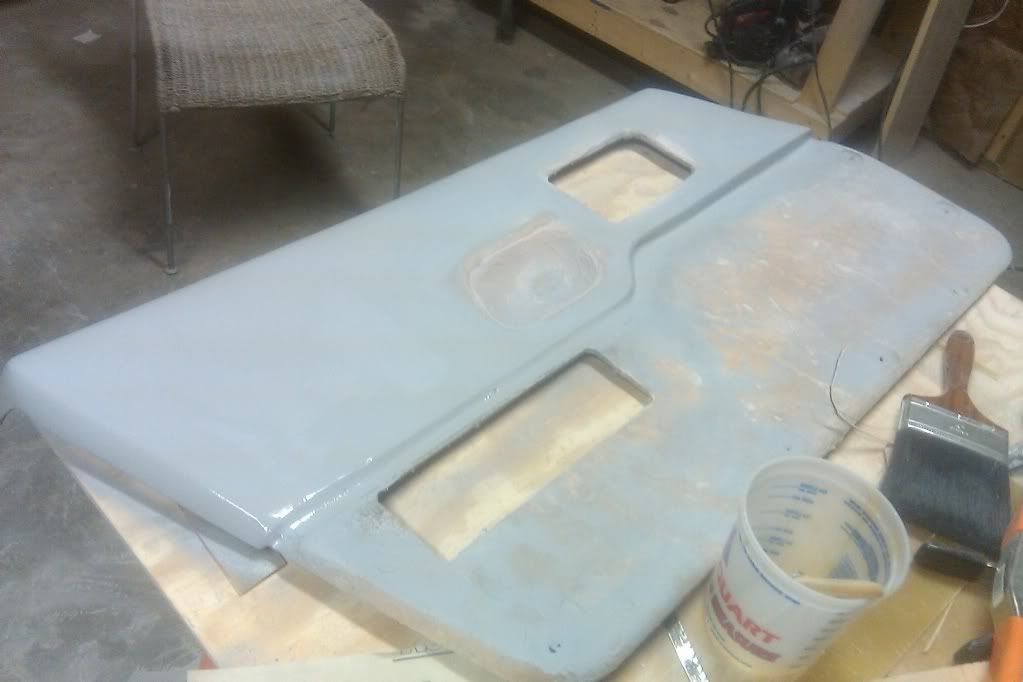
Got started working on the driver side door panel today.
As you can see I have a lot of filling and sanding to do from where I left off
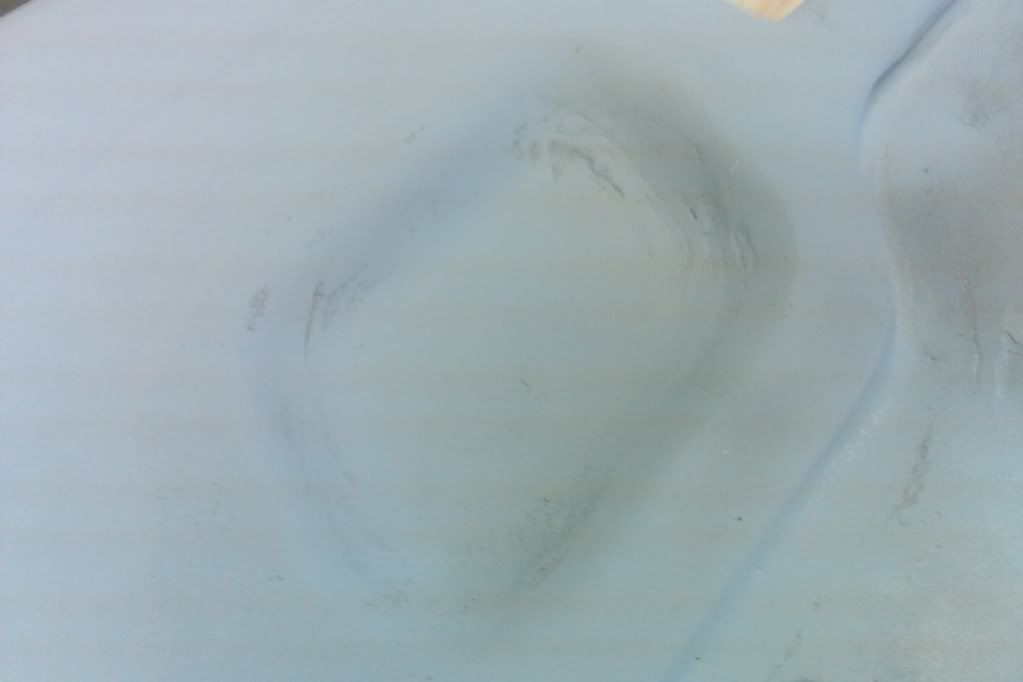
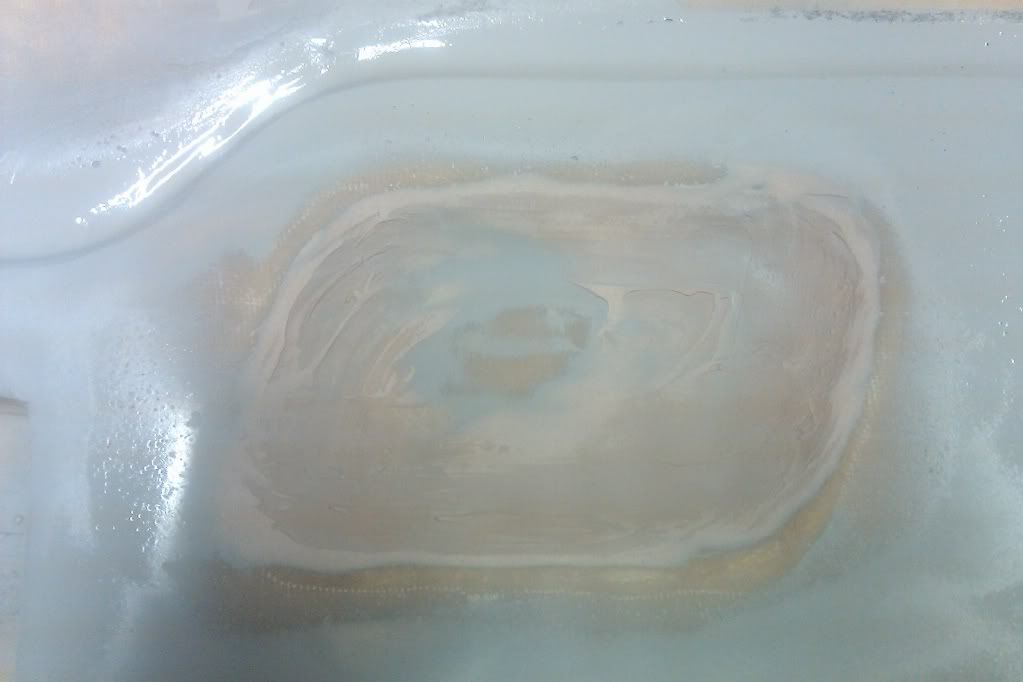
This is the indent where the door pull is located - lots of filling and sanding
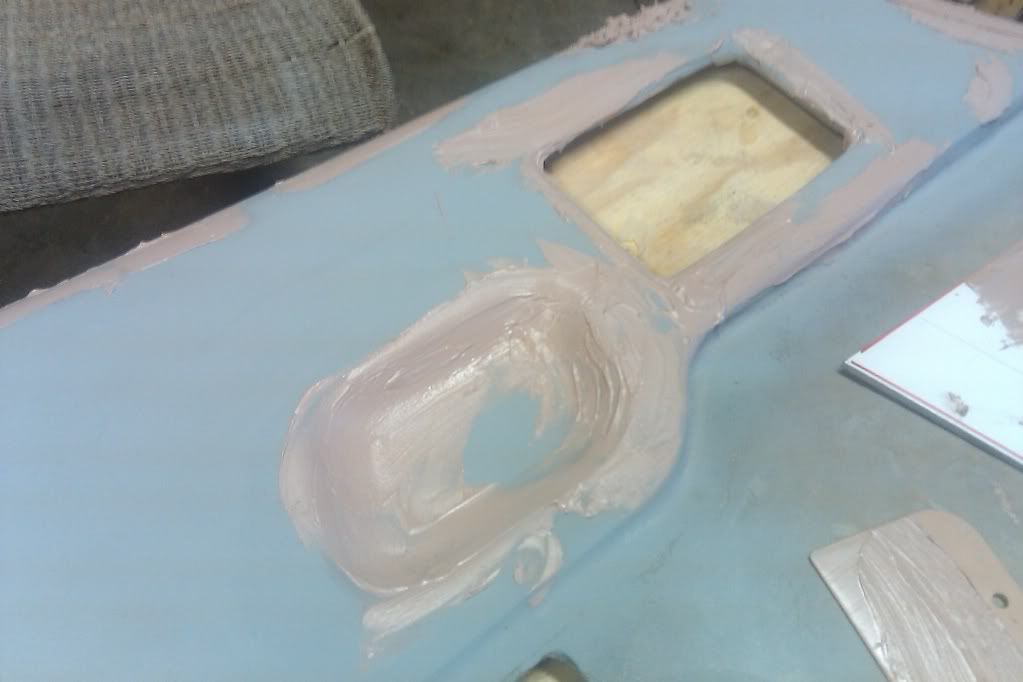
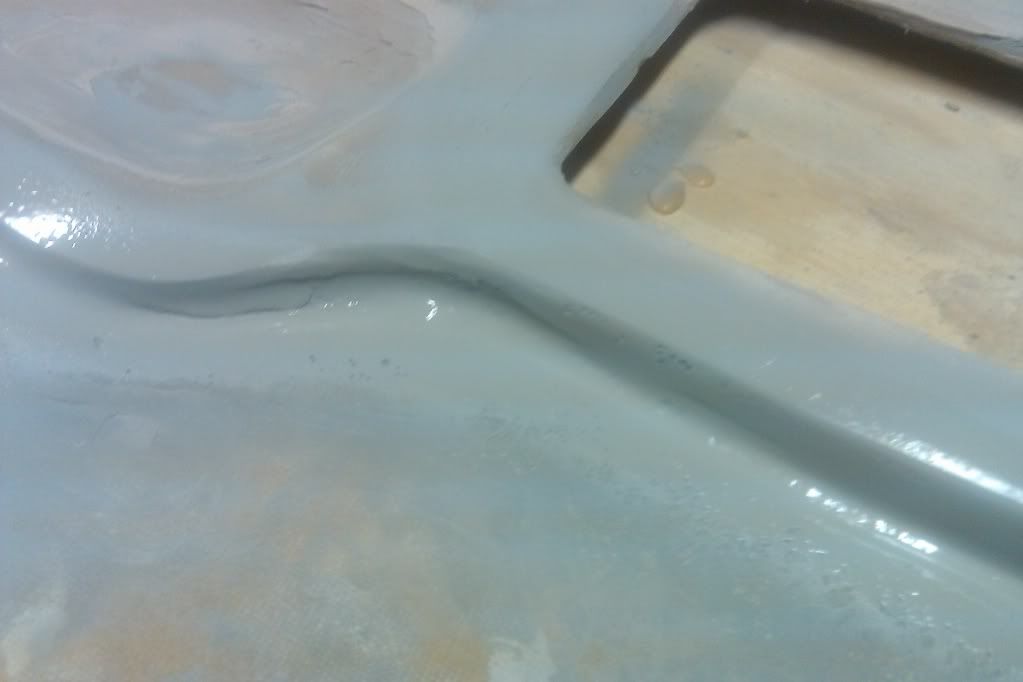
Adding filler
After some sanding
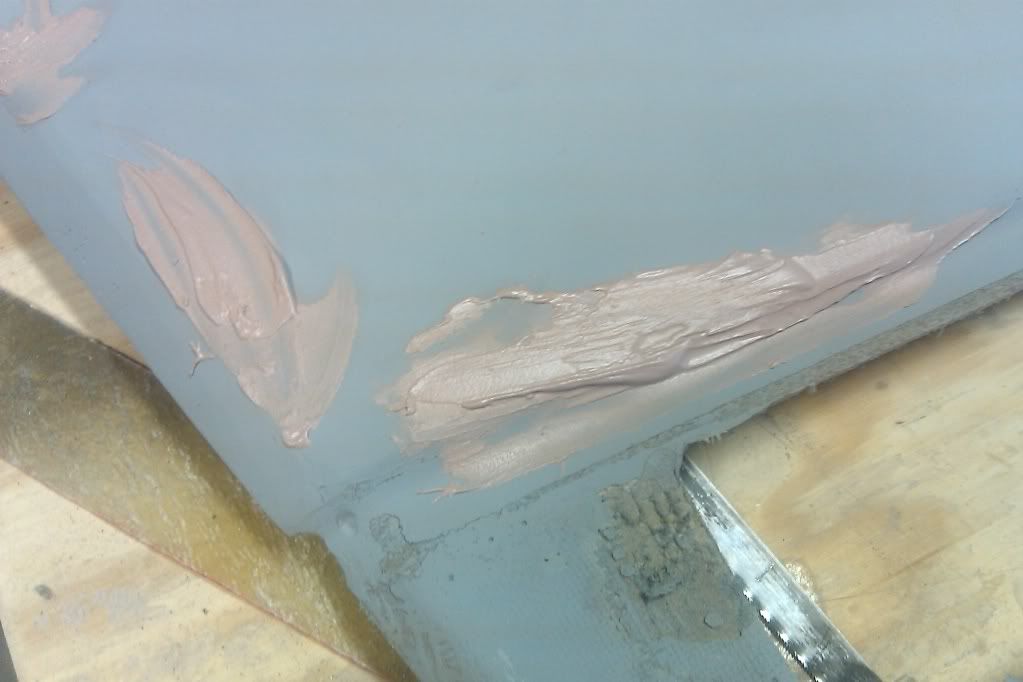
Spraying some primer/filler
I still have a lot of work ahead of me - but it's just sanding and filling... that's the easy part. And then comes the cutting of the upper armrest area.
More tomorrow!
[This message has been edited by Sofa King (edited 10-08-2010).]