WOAH! I didn't realize you were gonna permanently attach the plates??? Cool idea! Its gonna look really sleek! I feel so bad, you get so much done every day, and I, a 16 year old with no set job schedule, can hardly do anything in a whole week! How do you find so much time?!?!
EDIT: I own the 15th page!!!!
[This message has been edited by grkboy707 (edited 04-07-2010).]
WOAH! I didn't realize you were gonna permanently attach the plates??? Cool idea! Its gonna look really sleek! I feel so bad, you get so much done every day, and I, a 16 year old with no set job schedule, can hardly do anything in a whole week! How do you find so much time?!?!
EDIT: I own the 15th page!!!!
Thanks G! I was hoping to be much farther along that I am right now, but I should be able to play catch up this weekend and have something close to a finished product - it's always the details that get you bogged down.
LOL... when you're single and have no life... you kinda have too much time to play around. I have no real responsibilities other than my dogs and keeping the house paid for... So... I have time. Too much time... How sad is my life? LOL
Greg That sounds like me, except I don`t even have a dog. But, it seems by the time I get off work, get home and get to working on my project, it`s already getting into the evening. I hope to get further along on my project this weekend, even though I have to work Saturday.
Greg That sounds like me, except I don`t even have a dog. But, it seems by the time I get off work, get home and get to working on my project, it`s already getting into the evening. I hope to get further along on my project this weekend, even though I have to work Saturday.
LOL I'm sure there's a support group for us. I think it's called the "bar"?
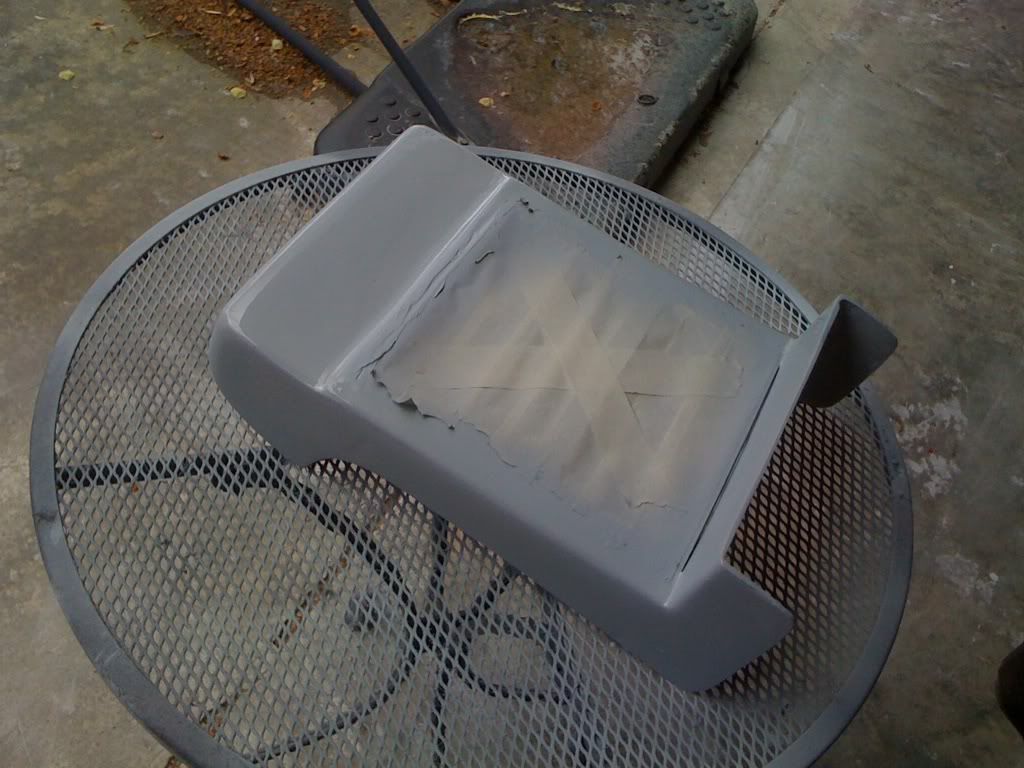
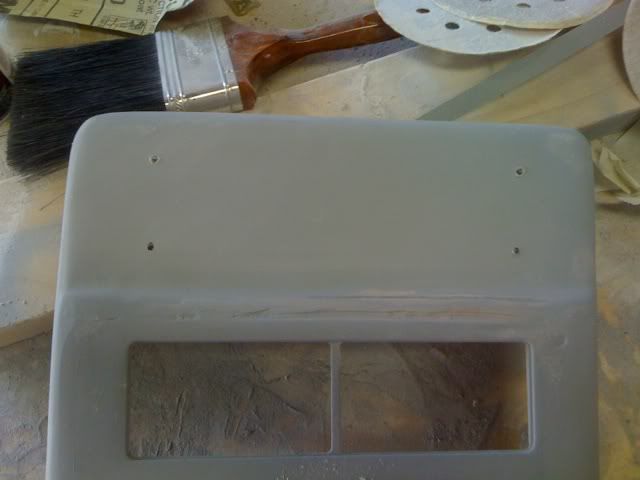
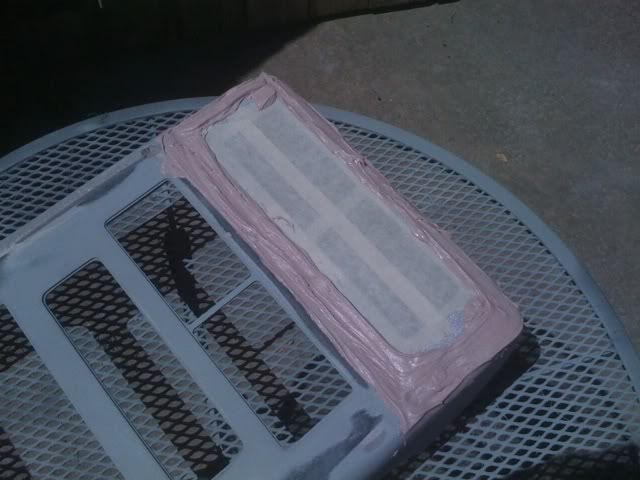
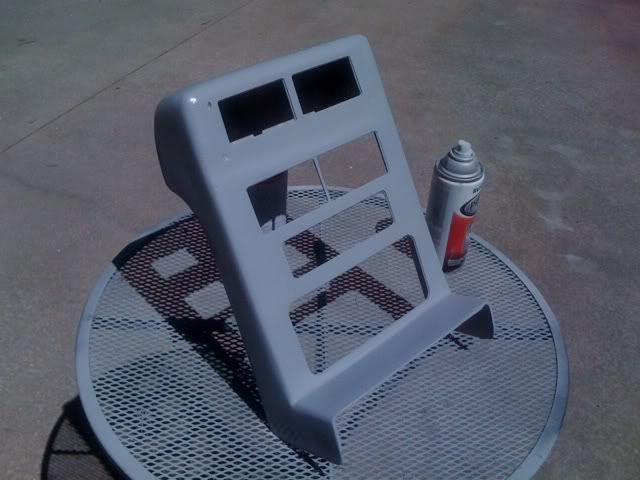
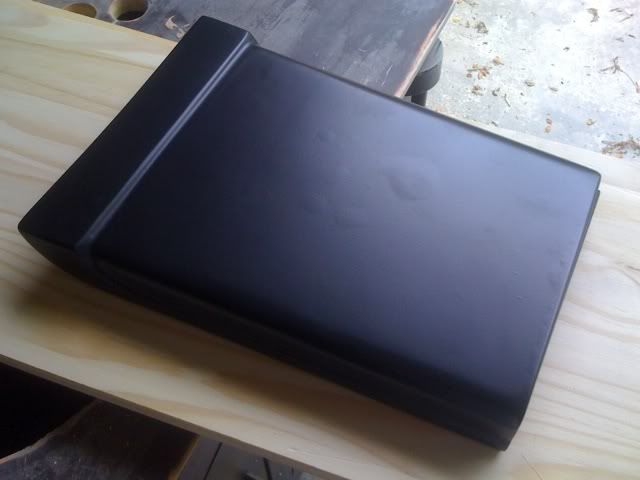
I continued to prep the radio cover and I added filler to the back side along the bottom to help secure the trim plate. I also created a few fiberglass pieces for the A/C vent lip and upper gauge lip - I'm still not sure whether to add these but I'll least get them fabricated and then see how they look. I used the method of cutting the fiberglass while it cured making the cutting process much easier - this saves so much time!
Radio cover primed awaiting more sanding
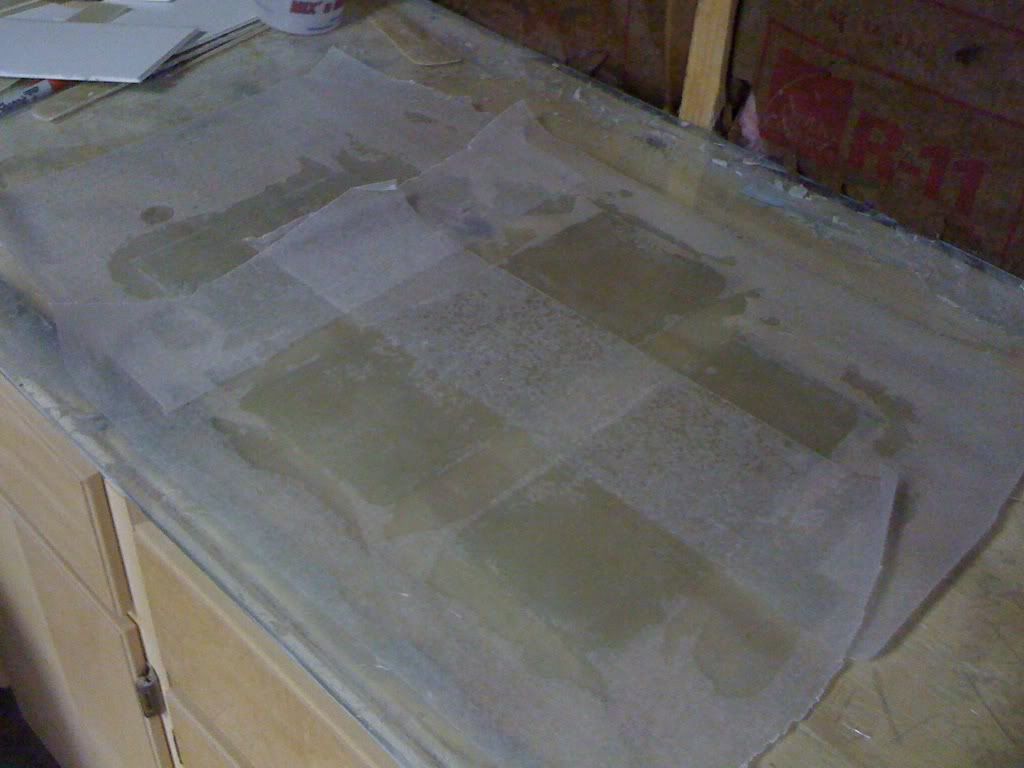
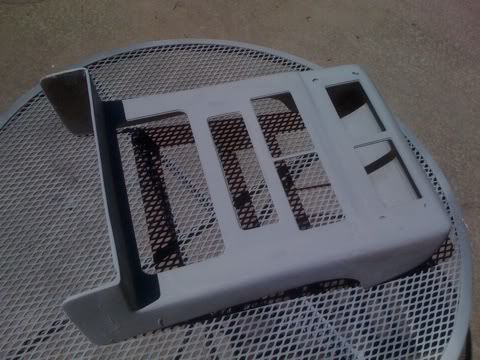
Prepping fiberglass
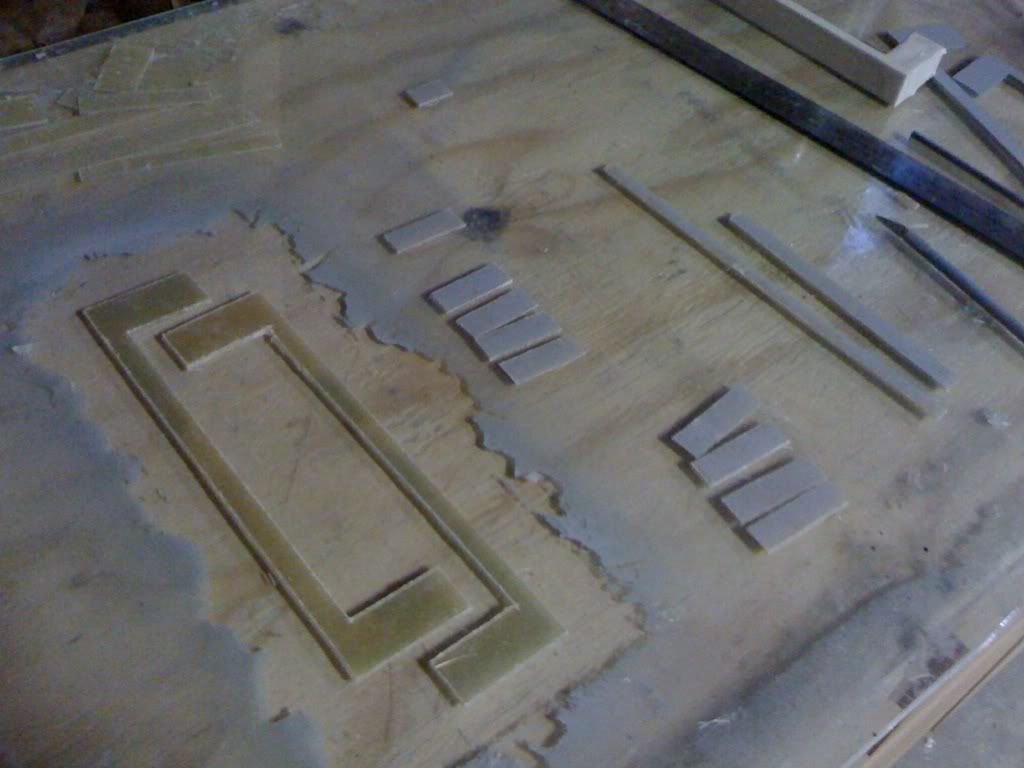
All the images cut to shape and ready for assembly - I'll connect the pieces using hot glue on the outside and then resin and glass on the inside
Like I said, very minor updates. I still didn't get around to cutting the hole in the radio cover for the upper gauges. Hopefully this weekend.
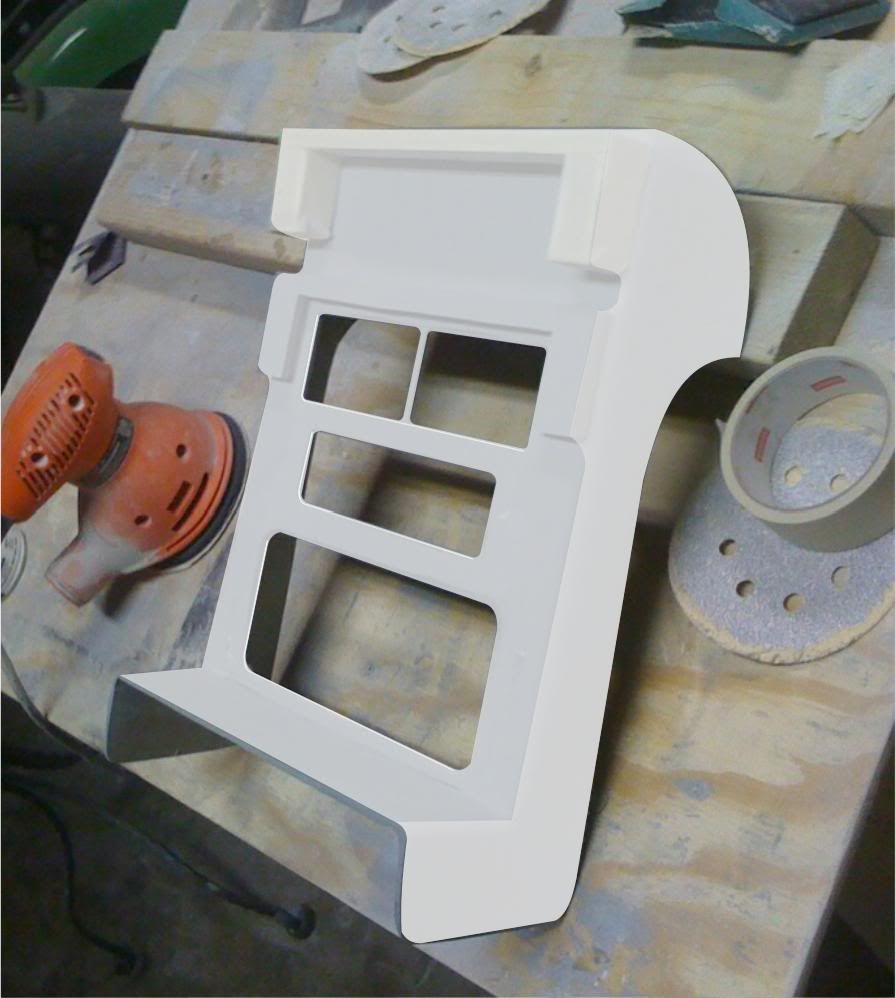
Once again I created a graphic of what the radio cover would look like with lips over both the A/C vents and the upper gauges. I don't think it works. It's too bulky and heavy looking. I like the single lip over the vents that I created earlier but not both. What do you think?
Larger lip over the gauges
Larger lip over the vents
That's it for now. I have a lot planned for this weekend! It's supposed to be nice so I should be able to get a lot done
I don't understand the lips. It looks very sleek without them, and this seems to take away from all that meticulous sanding/filing/repeating/repeating/repeating/repeating/repeating/repeating/repeating/repeating process you did so well. Just my .02
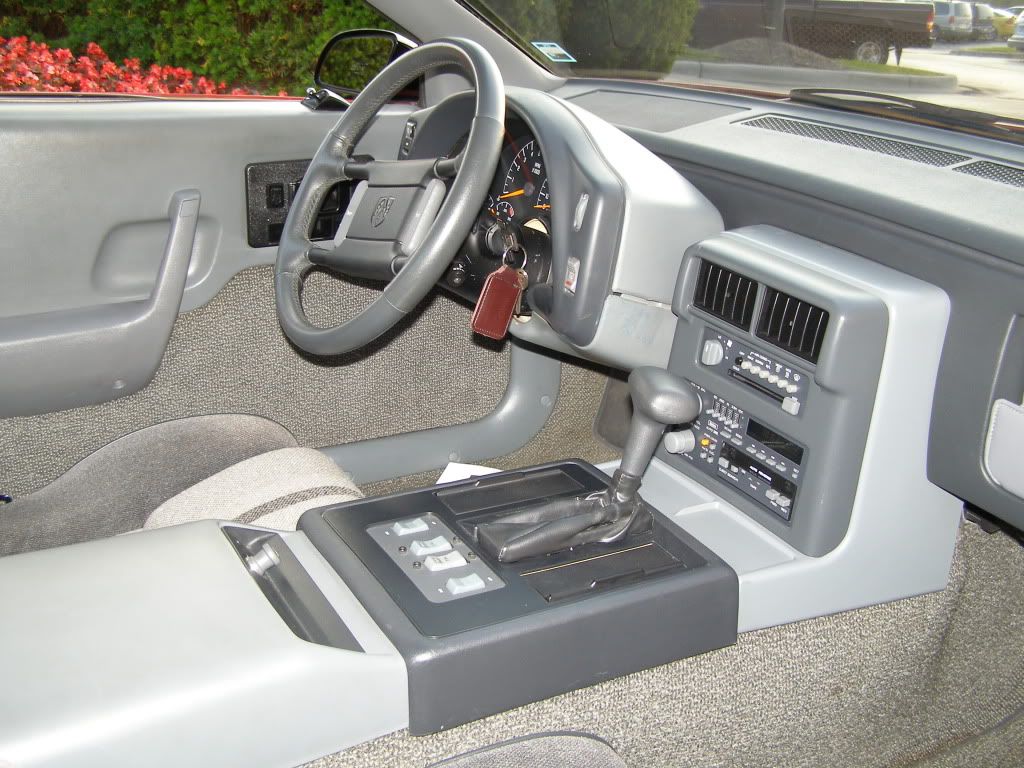
The lip over the A/C vent is supposed to resemble the lip over the 89 Prototype console. I really like the way that interior was designed so I thought to incorporate that one design element.
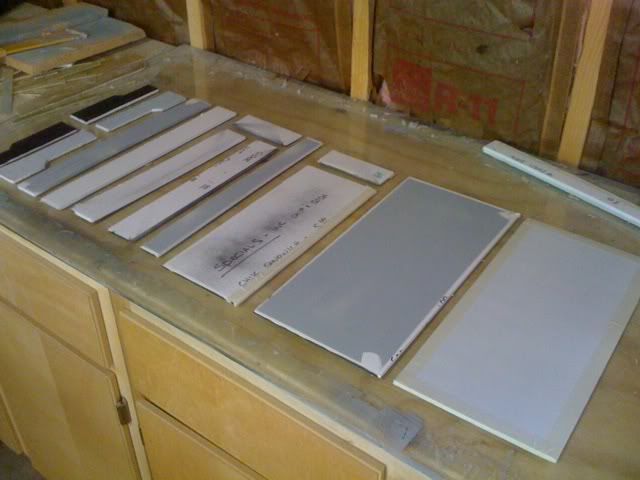
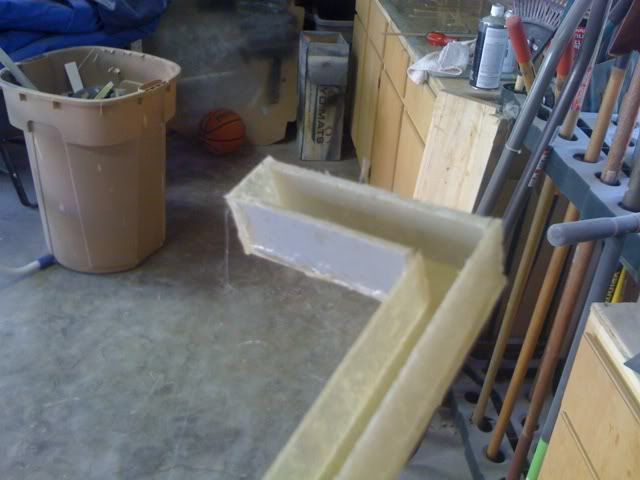
I deconstructed the glove box and laid out the foam core in prep for the fiberglass - I just hope I can figure out where it all goes...
I didn't get all the pieces cut but did get most
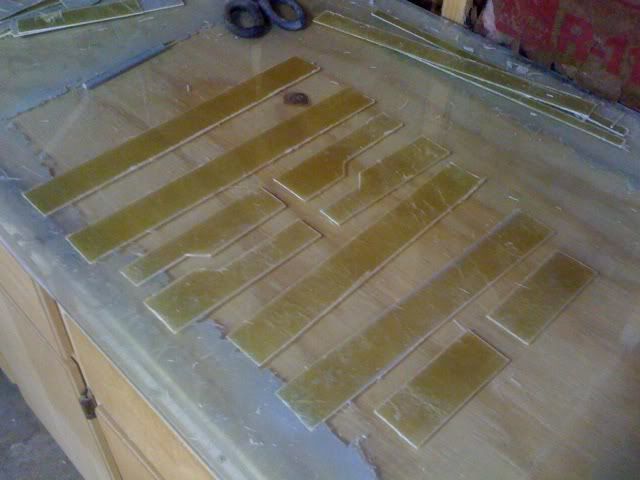
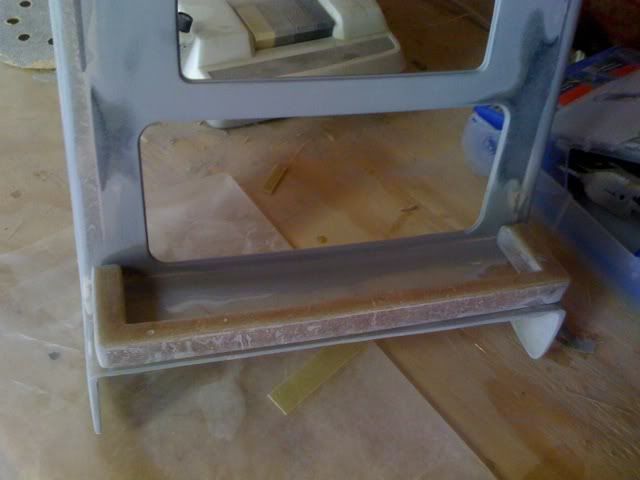
I took these pieces and began fabricating one of two "lips"
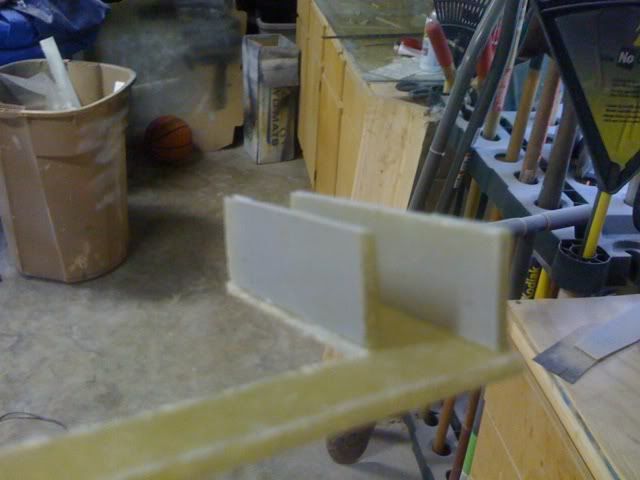
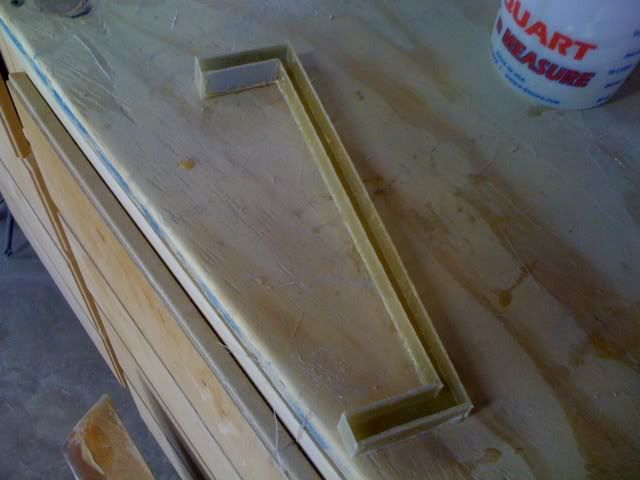
I used hot glue on the outside to adhere the pieces together
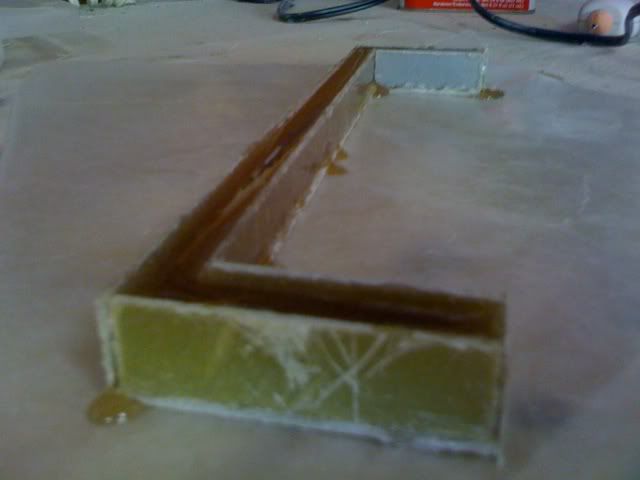
Once everything was closed off
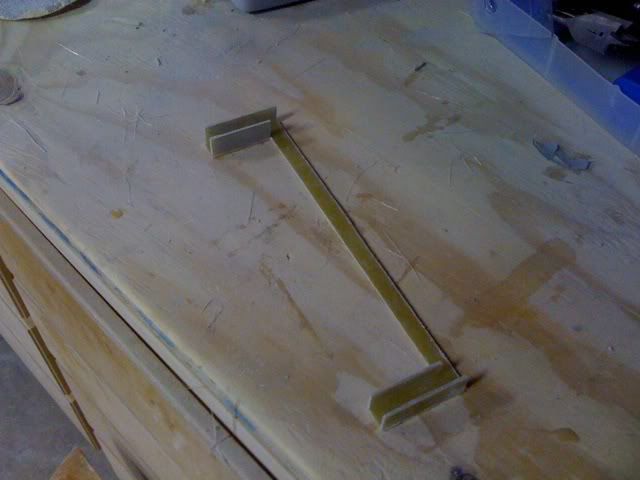
I then filled the shape with resin
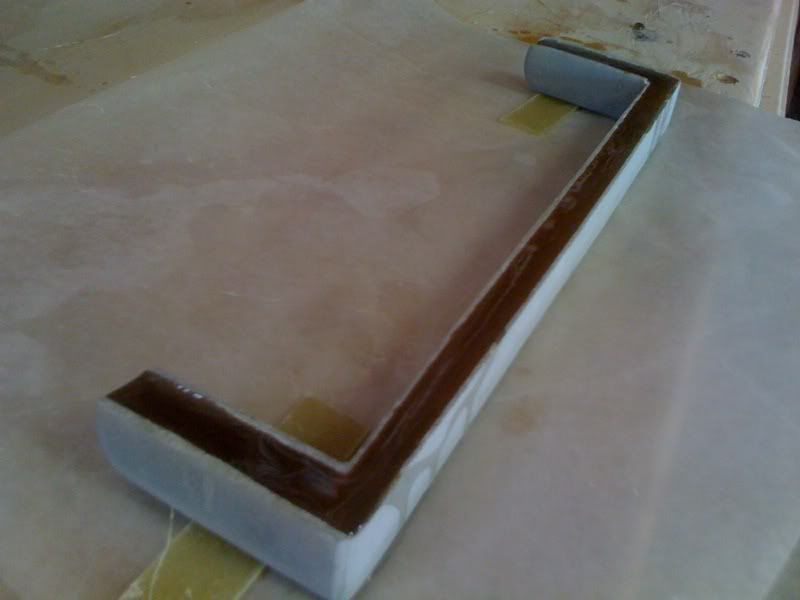
I then sanded smooth - I created two of these
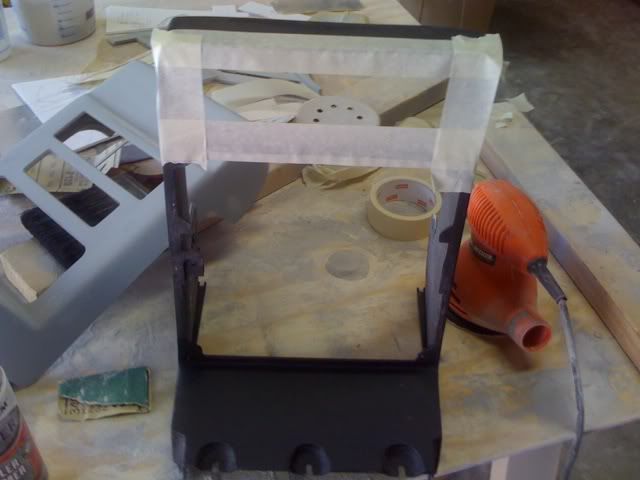
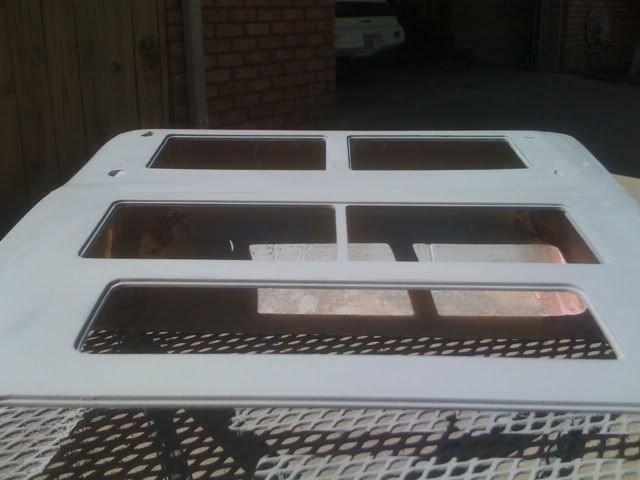
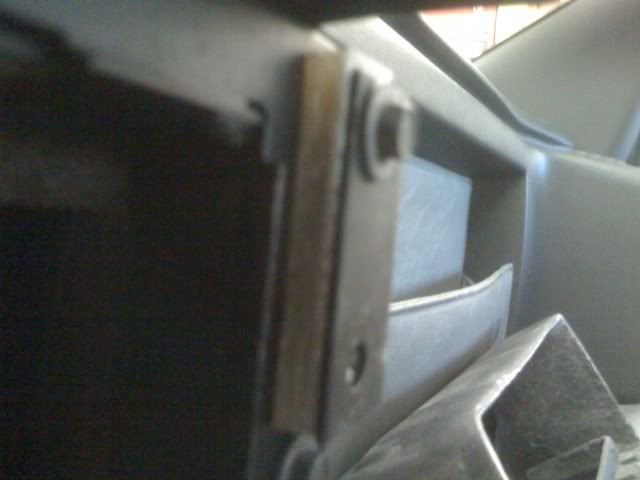
I put the main console back into the car and applied tape around the edges of the upper gauges - I used this as a template to get the basic hole cut in the radio cover
I put the cover back on and I could then see where the tape was
I took black paint and sprayed - this told me where to cut
I then drilled 4 holes - now just connect the dots and remove the waste
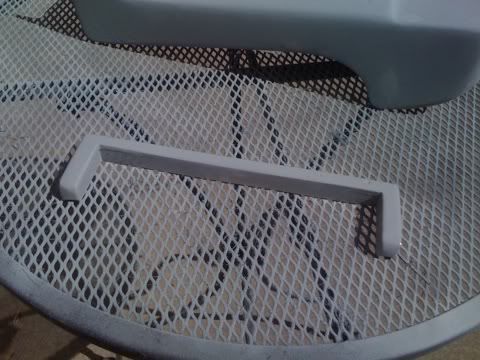
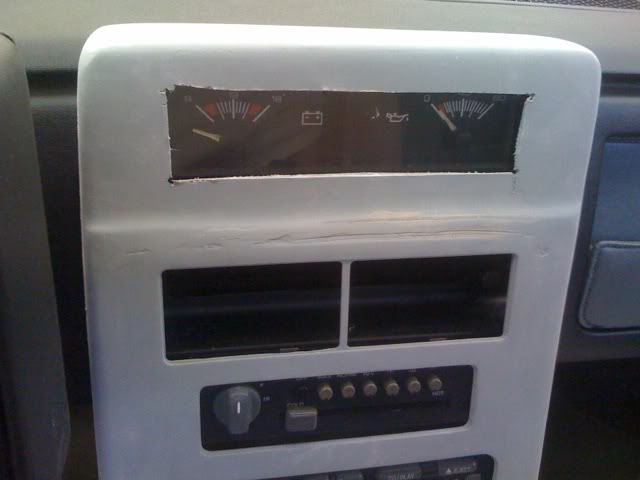
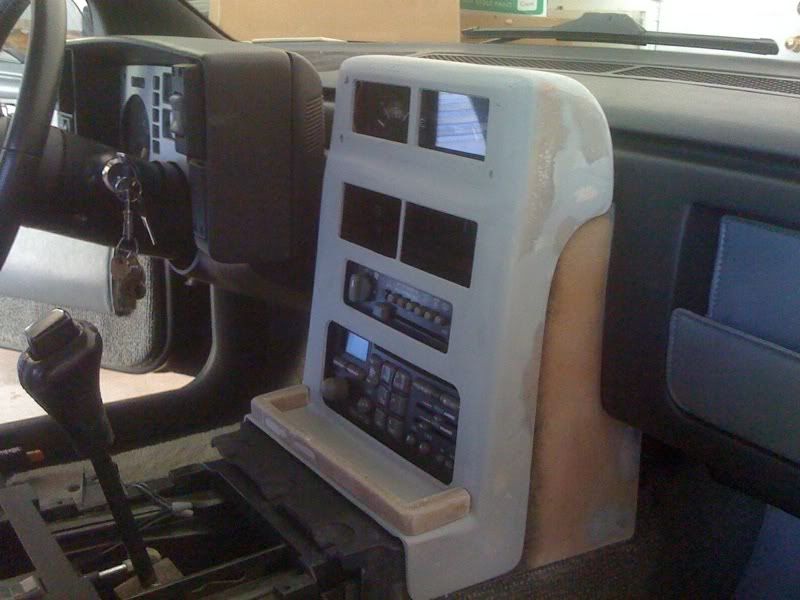
Basic hole cut and installed
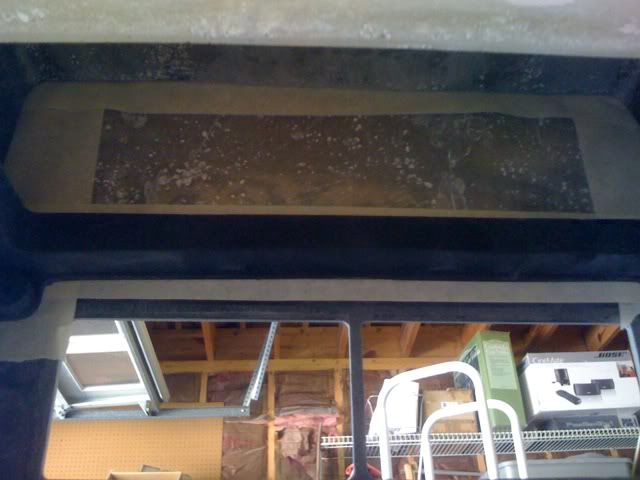
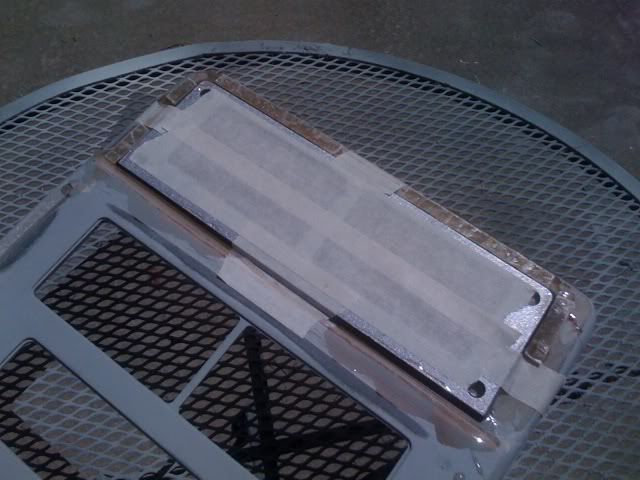
I then lined up the trim plate, taped it in place and applied resin and filler
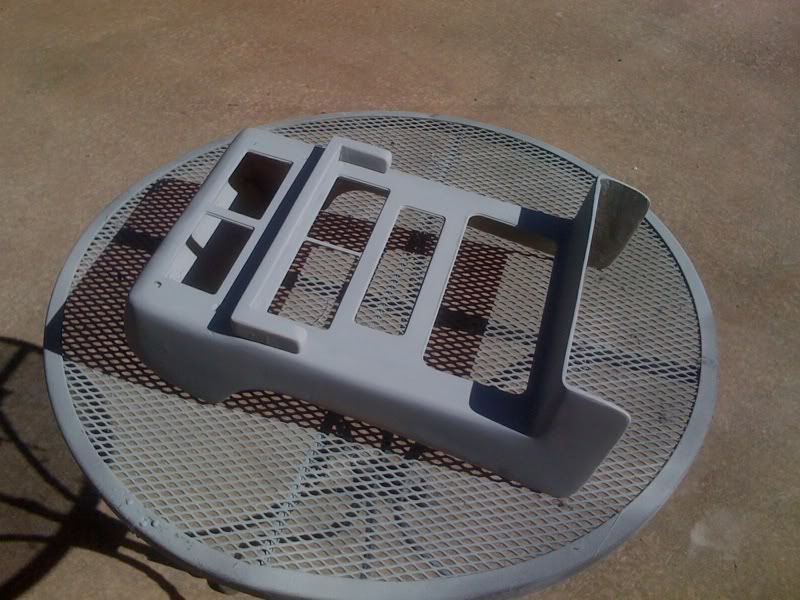
All primed up
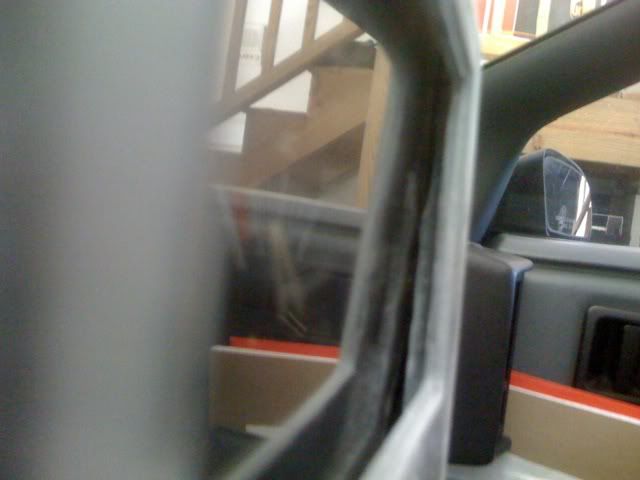
The only issue is the depth of the upper gauges - they are slightly recessed - you can see the gap
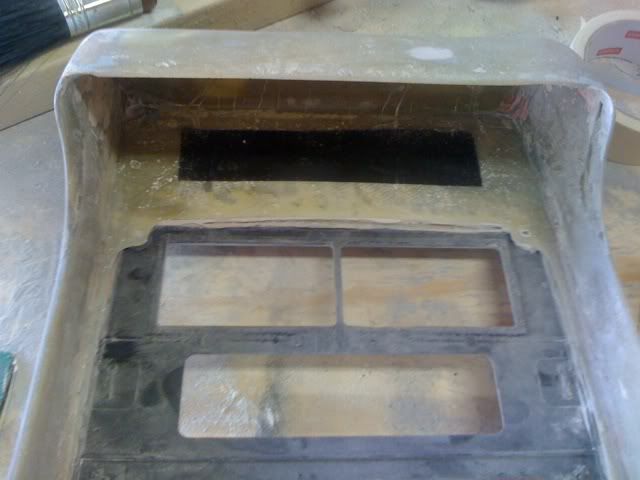
Notice the potential use of the second lip
Basic cover with lip set on top
OK... gotta get back to work
[This message has been edited by Sofa King (edited 04-10-2010).]
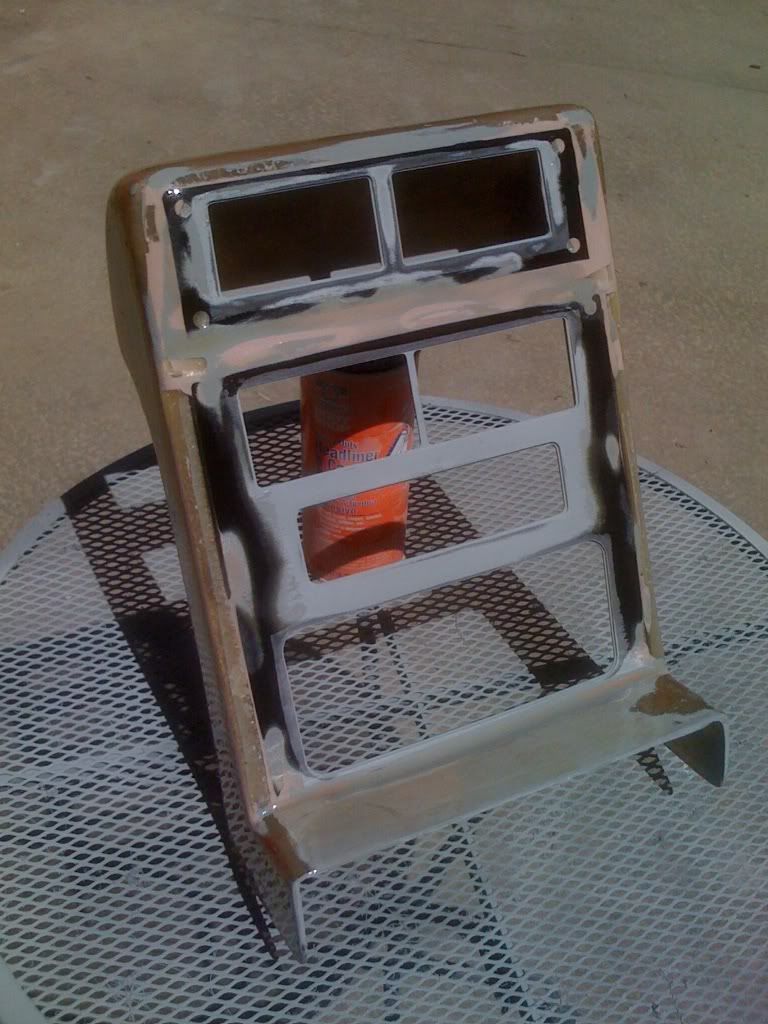
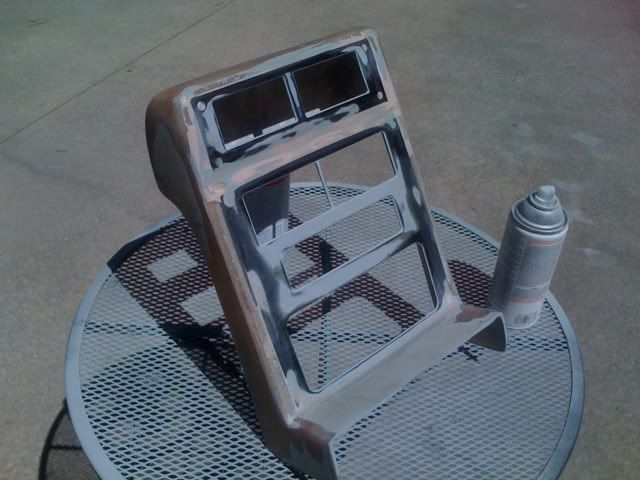
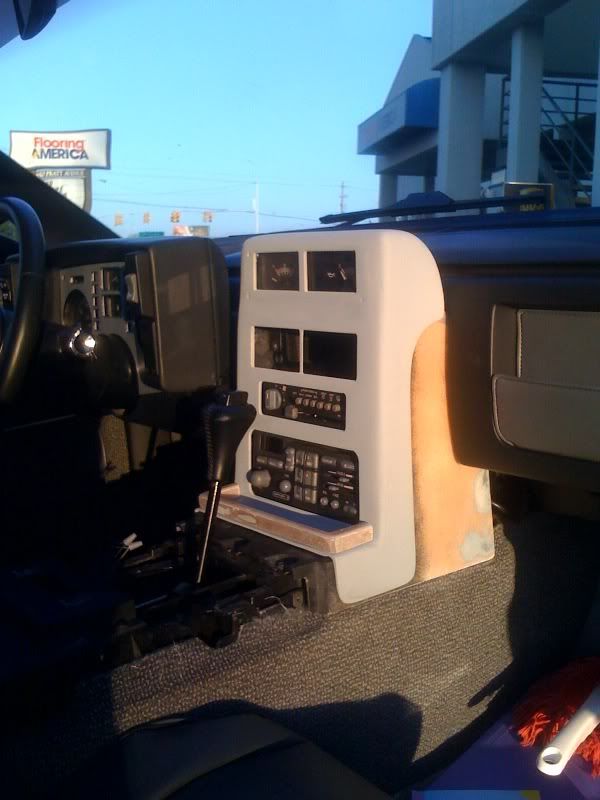
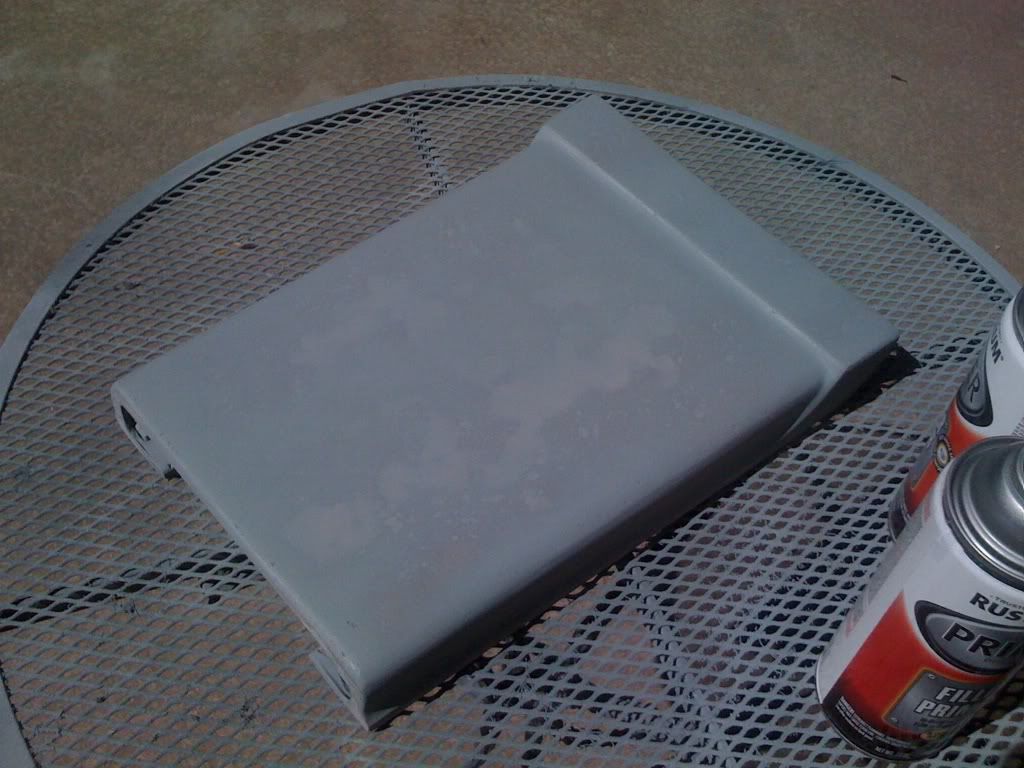
I just spent the last 4 hours working on the radio cover. I started by removing all the primer. I then spread a thin layer of resin over the entire outside and let it sit in the sun. When that dried I hand sanded the entire console smooth using about 220 grit paper. I then applied one of the LAST layers of primer before going final. I still have a few holes and low areas but we're getting very close
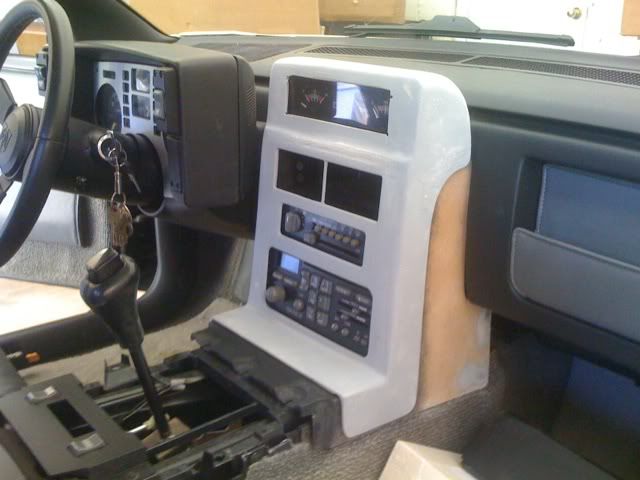
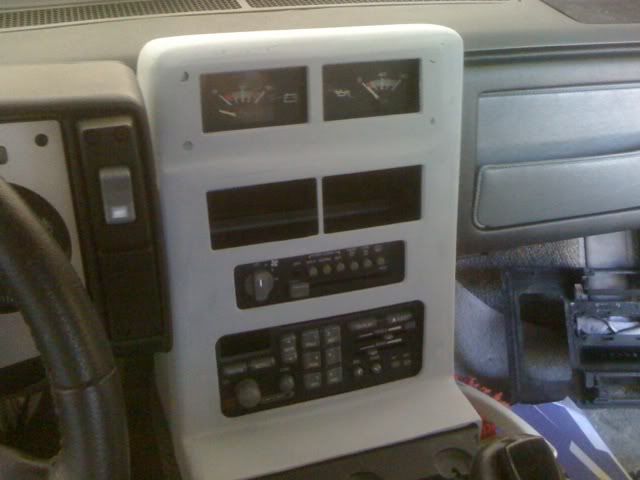
I installed the radio cover in the car and it looks fantastic! However... more sanding is required. UGH... It also squeaks like mad so I might line the inside with felt before final install. I do have to sand, paint and clear coat the actual radio console as well. Also, the design of the "tray" will also change as I need to take into account the shifter tray and everything else associated in that area.
Thanks! It's coming along. I did notice a little bit of gap between the radio and A/C controls and the radio cover. I'll do the same I did with the upper gauges - just create a spacer / washer to push both units out a little further to close up the gap. The sanding has become frustrating. I was hoping to be further along than I am.
I do have an extra center console sitting around. I'm tempted to see if I can copy the 89 prototype version
As I mentioned before - I'm about 95% sure I'll be creating the dash cluster as well!
So I got into my yesterday after a tough day at work when 3 teens riding their bikes approached the car. All the 3 of them stopped and said "whoa... cool car...".
Some nice work. Keep the pics coming. Have you tryed bonocell. Then you could make this peace in about 10 min. I use it a lot. Fast and easy to work with.
I spent the morning at a local service shop where they wanted almost 900 bucks to replace the axles and the rear wheel bearings - over the last few weeks the clanking and grinding has been getting really loud. They were going to charge me 220 per wheel bearing - not including labor. ummmm... yeah...
So, I went to the local auto parts store and bought the parts I needed for 370 bucks. After chatting with a good friend of mine at the parts store, she suggested I give a buddy of hers a call. I did and drove by his shop. He'll do the work for 250 bucks. SWEET!
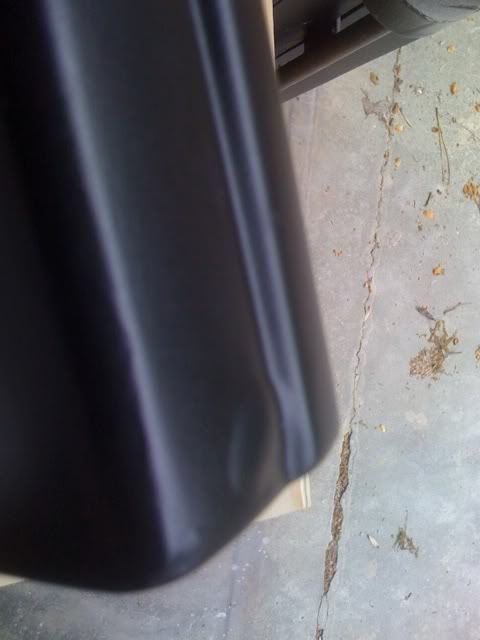
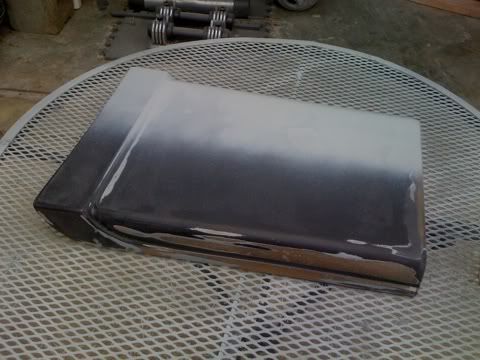
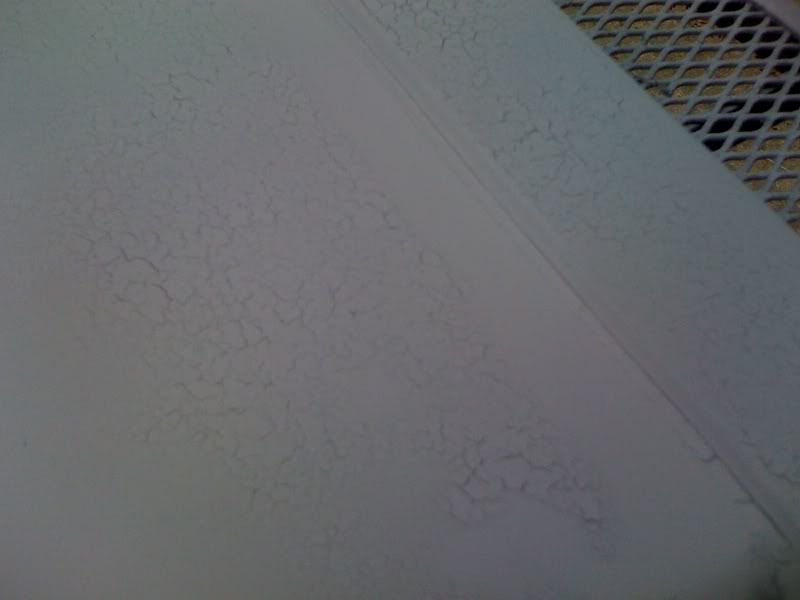
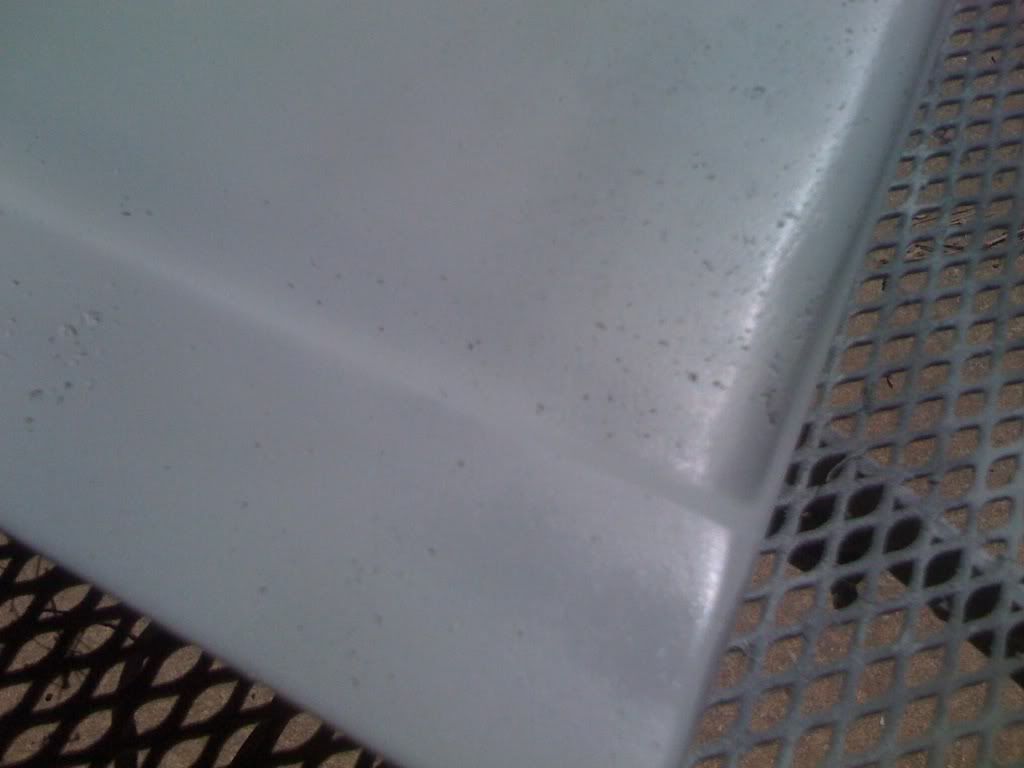
In the meantime. I pulled the center console out and removed the armrest / cup holder. I noticed some air bubbles forming so I decided to sand down the armrest and repaint - I'm actually going to give it a little flair. I'm thinking rainbows and lighting bolts. I have NO IDEA what's going on but the primer will not properly adhere to the fiberglass without cracking. I've done everything I know how to clean the surface of the fiberglass. I beginning to suspect it's the primer.
Bubble
Other areas in question
Sanded down and laying primer
WHAT THE HECK!!!??? It did this 4 times
That's it for today. I'm frustrated and it's starting to rain. I'll pick up tomorrow and try to get these pieces finished including the radio cover - that piece is beginning to aggrevate me! LOL
spray gell coat over raw fiberglass to get a smooth finish and make sure there is no paint under it as it will lift and cause bubbles and do not glass over paint as it will not adhear to the paint and cause bubbles to form as the paint hardens and srinks causing the glass resin to lift
I also read somewhere where rattle can primer is caca. For a high quality paint job, you need to use a spary gun with good quality primer. Thought I'd throw that out there for ya!
That first shop you went to was raping you! 250.00 for labor for all that work is not bad. Are you installing new axles? If so, be sure to put new seals in too! If we were closer, I'd do the work for free!
For the paint lifting and getting air bubbles, you most likely have a problem with the fiberglass not being sealed before painting the final black colour. Go to an automotive paint shop and get them to give you some of their high build primer and do all your work with that. Don't use the auto parts store paints if you can at all help it for primer or final colour paint.
Once you have your final product ready for painting, go to the same store and get their primer/sealer paint and the final colour you want to paint the console. Satin black I assume for your work here.
Paint the console with your primer/sealer and do your final scuff and then paint on the satin black. The auto paint stores can now put the automotive paint into spray bombs for you and the spray bombs usually have a bit if a European spray nozzle which gives a bit of a wider pattern than the North American spray bombs do. I used to have to get the paint mixed into pint cans and then fill up a small air sprayers that came with a pressure canister and a glass jar that you put the paint and reducer in etc. Their technology has come a long way in the past many years. I bought a high build primer and a primer/sealer and 2 cans of colour for one of my small projects for about $90.00 Canadian. I am sure it will be a lot less down in the States as everything else seems to be...
If you follow these directions you should not have any problems with your paint peeling or bubbling in the future.
The paints cost more but once you do the painting as above, you won't have to do it all over again as you are having to do now...... ;o)
I also read somewhere where rattle can primer is caca. For a high quality paint job, you need to use a spary gun with good quality primer. Thought I'd throw that out there for ya!
That first shop you went to was raping you! 250.00 for labor for all that work is not bad. Are you installing new axles? If so, be sure to put new seals in too! If we were closer, I'd do the work for free!
Pat
Thanks man! I appreciate that. I wish i could the work myself but I just have the time or, space or proper tools yet. DANG BILLS!
I'm having the shop install new axles and rear bearings. The clanking is getting REALLY bad. I picked up the parts this morning and I'll be dropping the car off Tuesday. I'm going to run by The Fiero Factory and pick up a used rear passenger side caliper - the emergency brake isn't engaging on that side so I'll need a new one.
Thanks for the info on the seals. I'll pick those up as well.
[This message has been edited by Sofa King (edited 04-18-2010).]
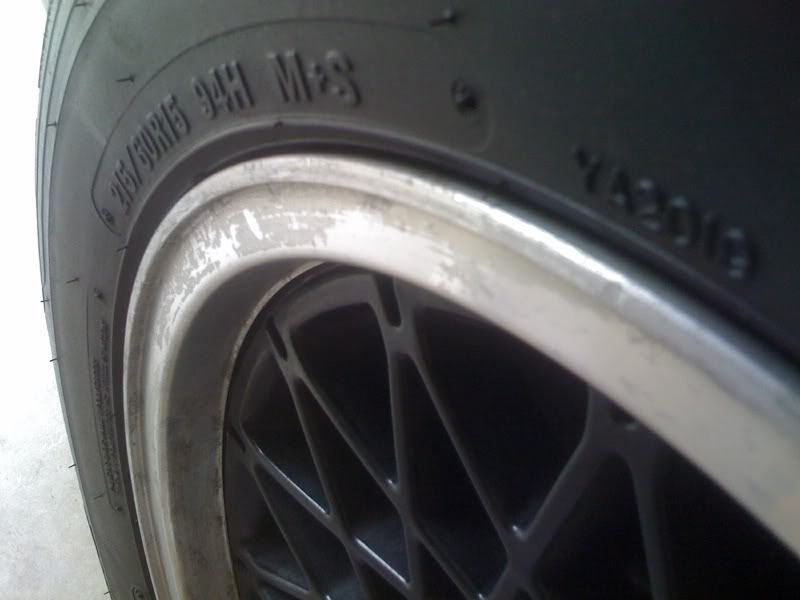
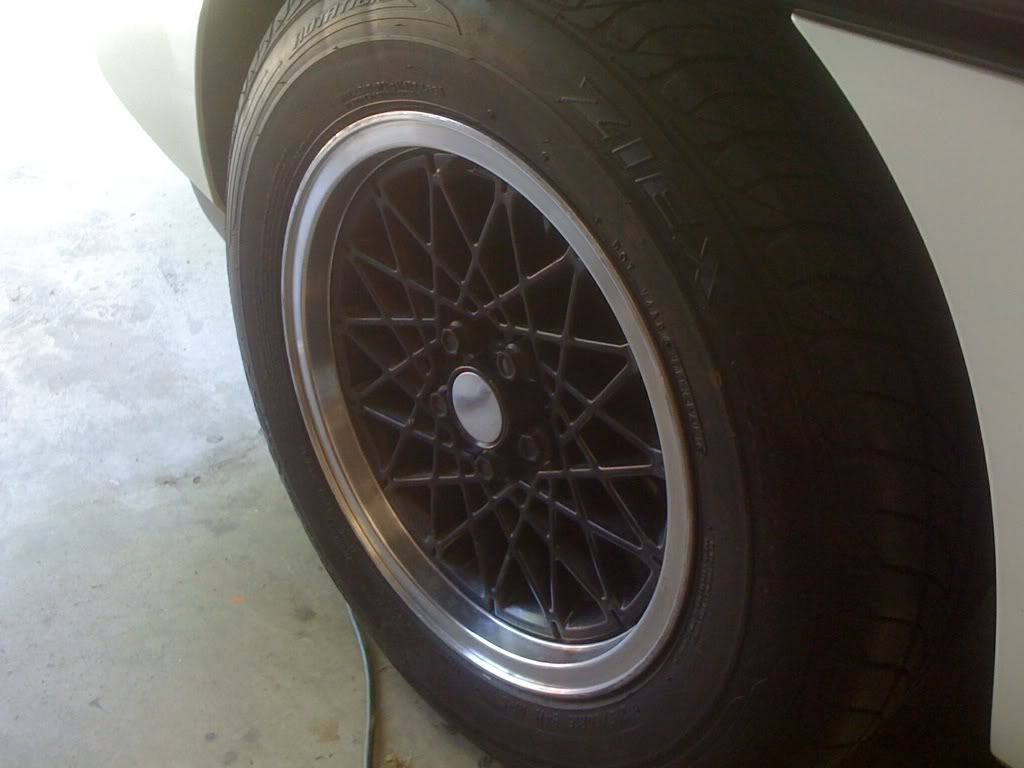
I spent the morning drving around town picking up replacement axles and bearings. I then came home and stripped the clearcoat off the rims - the chrome was in really bad shape. I also removed all the paint from the armrest. I now get to go back and FILL all the holes again for the 235th time. UGH... But it's so nice today... I don't mind.
Rims - Before
Rims - After
All sanded and prepped
AHHH... love those holes.
Sorry I'm not farther along...
[This message has been edited by Sofa King (edited 04-18-2010).]