It was a really good game and our boys played thier hearts out. Our defense was unbelieveable. Just could not get it done on the offense side. Not too bad for thier 5th year in existence.
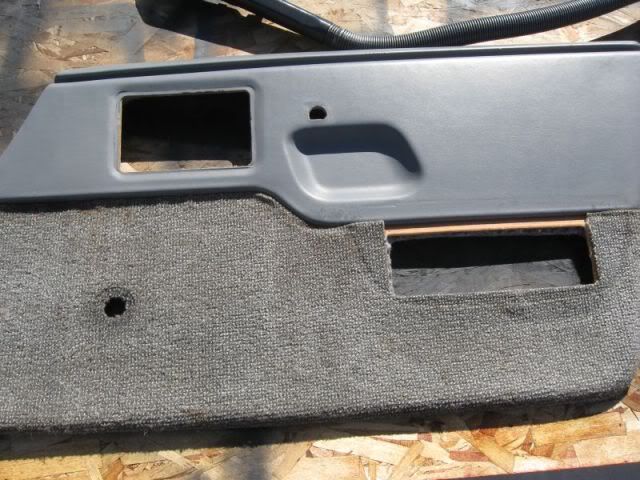
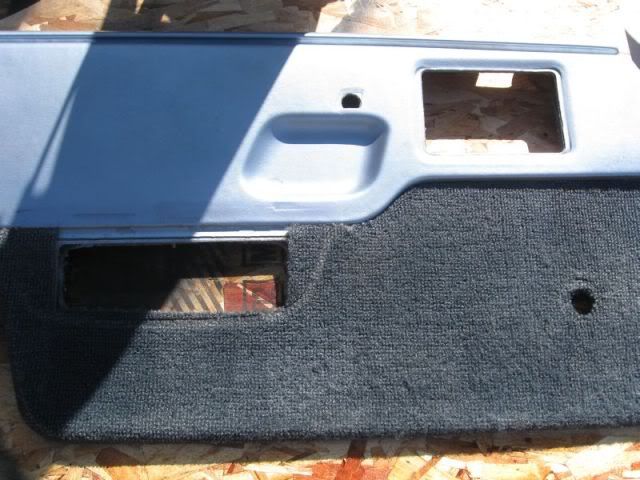
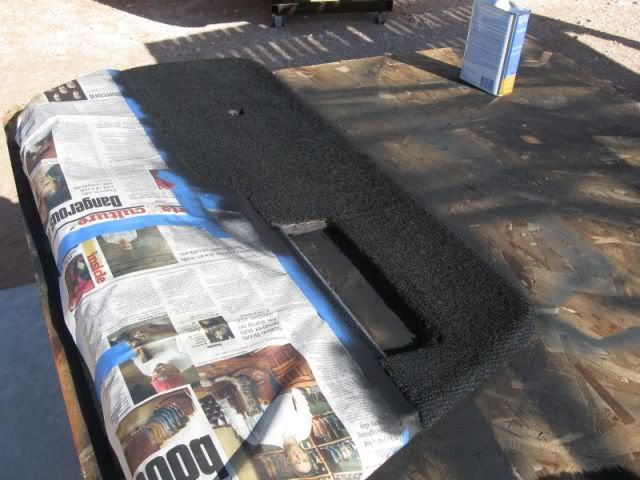
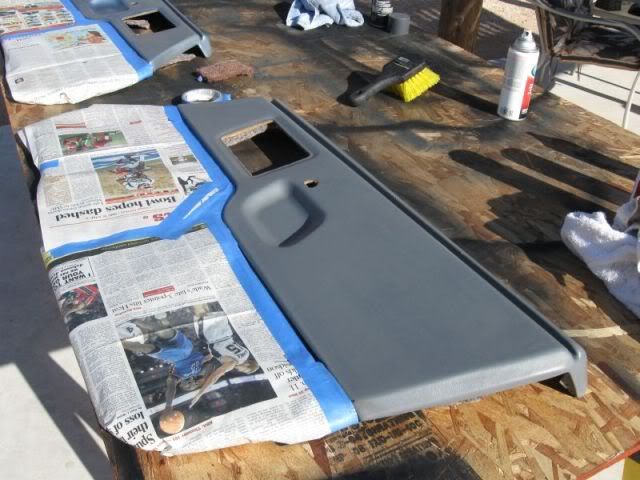
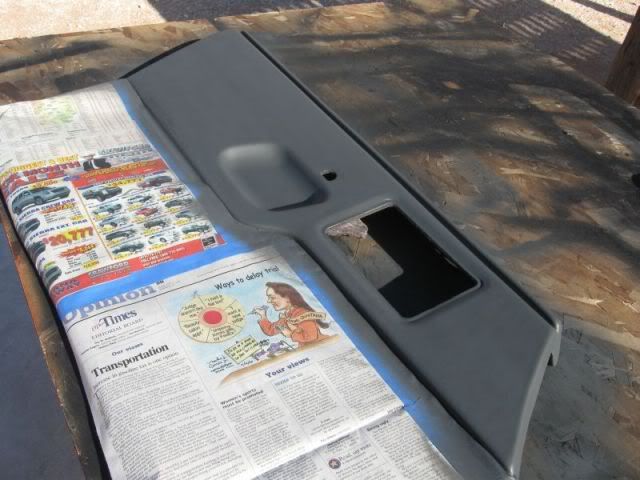
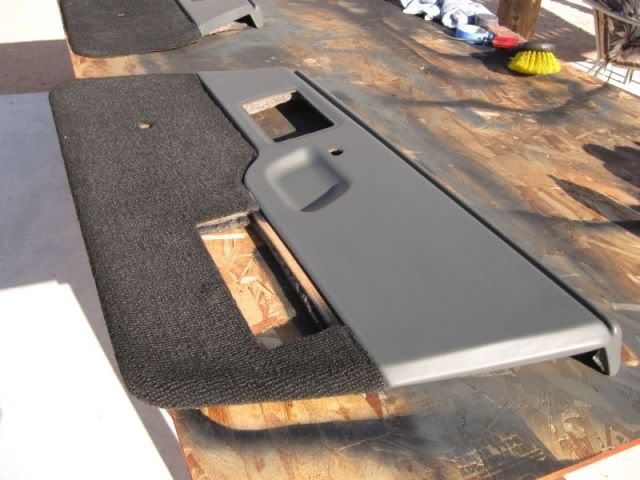
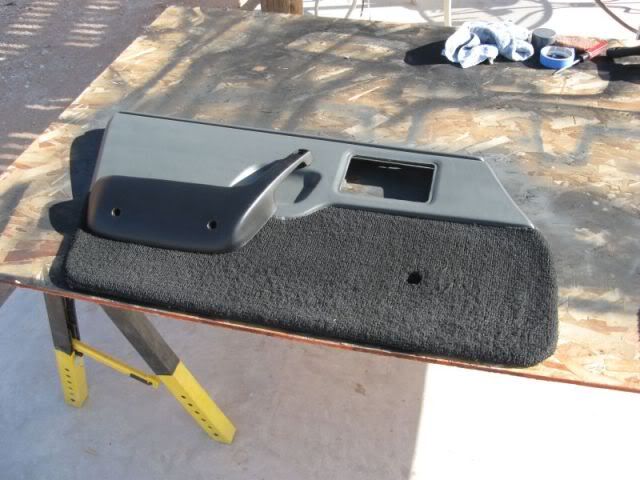
I got a lot done today! Started with cleaning the door panels and then shampooing the carpet on the panels. One was the stock grey and the other had the blue - silver paint on the vinyl and dark blue on the carpet.
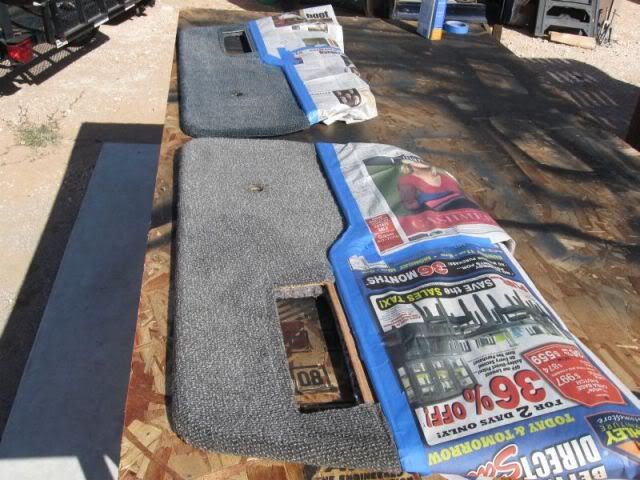
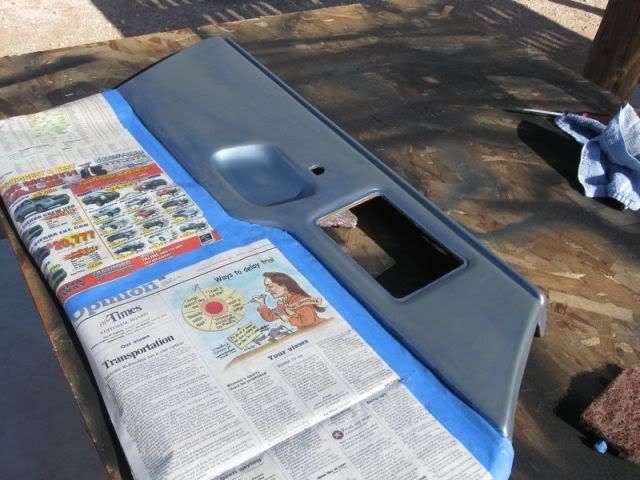
One I got em all cleaned up, I masked them off and used the Dupli Color Vinyl and Fabric paint. They turned out pretty good but I have to give the "blue" one another coat. The blue was bleeding thru.
I wiped the vinyl down with thinner. I'm glad I did because the silver - blue came off. What a mess.
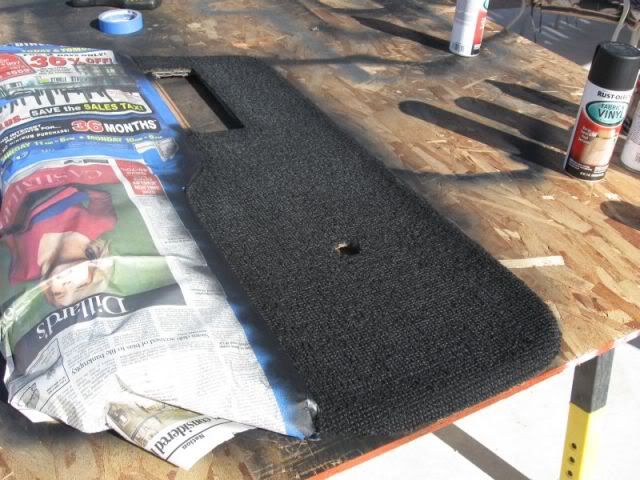
Once that was cleaned up, I shot them with a few light coats then a third.
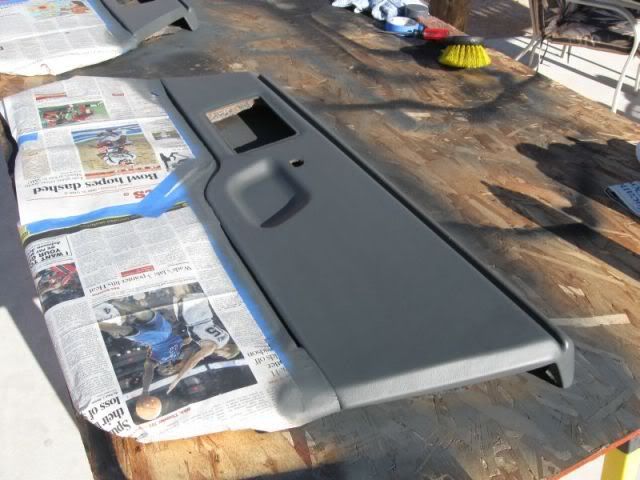
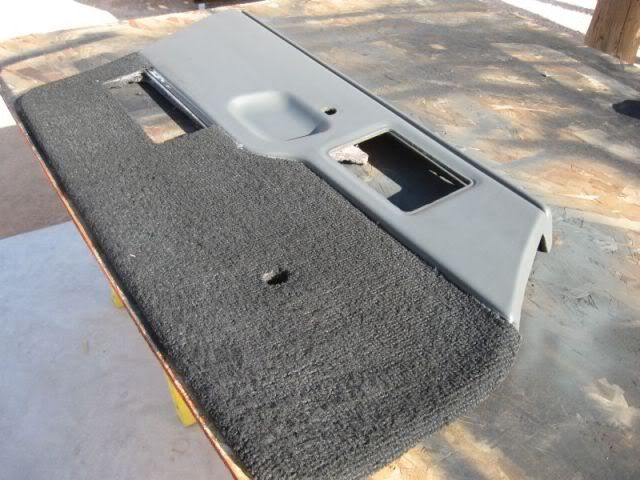
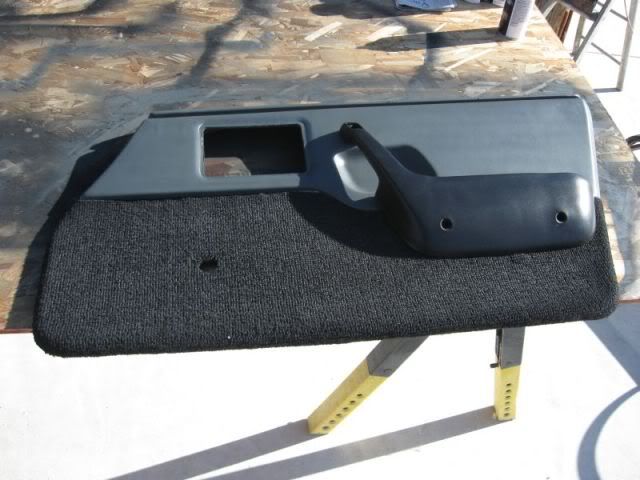
Looking pretty good.
Tada!
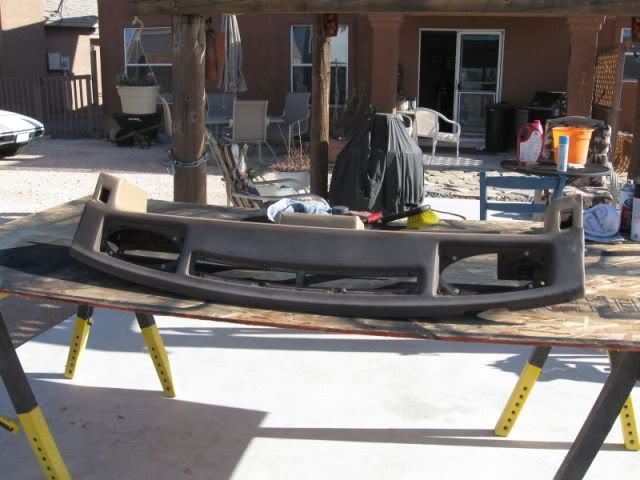
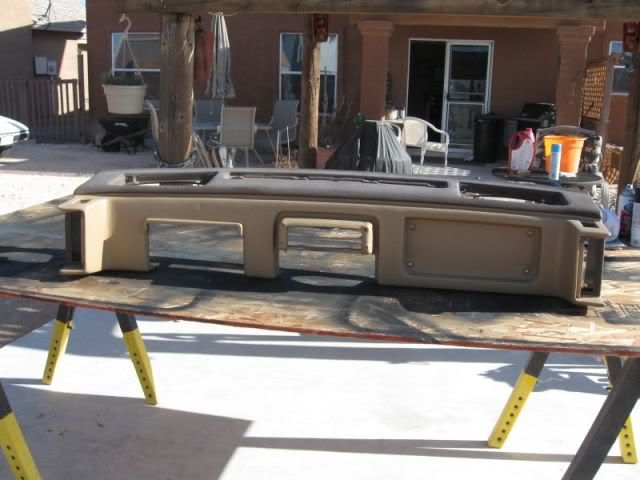
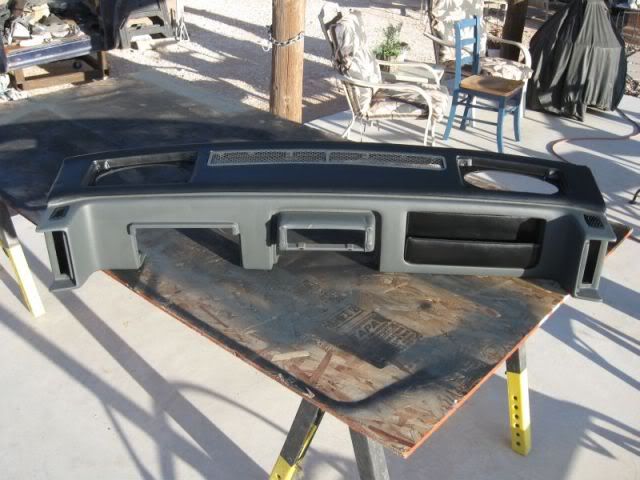
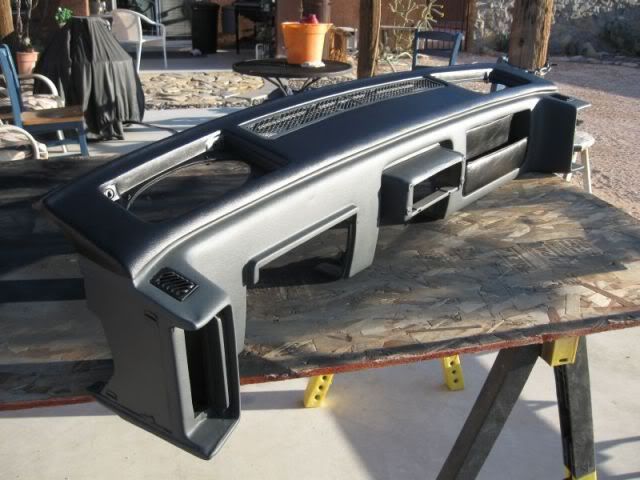
Next on the list was the dash.
I cheaped out and had a couple cans of the Rustoleum Vinyl & Fabric paint left so I thought I would use it on the black part of the dash. Big mistake. Even after completely cleaning the dash and wiping it down with laquer thinner, it "fish-eyed" like crazy. after wiping it down, light sanding/scuffing with a scotch brite pad and wiping down again, I went and got a can of the Dupli Color. Problem solved. I think that the Rustoleum is simply not as good as the Dupli Color.
Good time to mount the 6x9's Pat.....you can guinea pig the operation for me LOL. Seriously....the Pyle 4x10's ain't bad for what they are, but some 6x9's would be better.
Just read through the post. I love the work you're doing on the interior. The door panels, dash, carpet, etc. look great! The grey really turned out nice. Keep up the great work and keep those pics coming.
Thanks for the words of encouragement. It's a lot more work than I was thinking it would be but it's turning out better than I thought so I guess it balance's out. I am going to put 6X9's in the dash Dan but it will be easy for me - no AC duct work to mess with. But, just for you, when I get the speakers, I'll make em fit on the AC dash I have and then when you are ready to do yours, we can just transfer the AC ducts from the "mock" up dash to yours. I will probaly "steal" the new Alpine sustem I just put in the Monte for the V8 car as I want to go to a "factory" looking setup in the Monte. Plus I'd rather have the good tunes in the Fiero.
So this afternoon, I decided to try a headliner recover. I have been putting this off for some time now as I have needed to do one for the XTC. So I dug in and did it. I was worried for no reason. It was fairly easy to do and only took me about 2 hours start to finish and this inculede running to AZ right in the middle cause I ran out of glue. I went to the local fabric stroe a few weeks ago looking for headliner material. This was before I learned that I could go to Pep Boys and buy a "kit" with the correct headliner material for 30.00. Anyway, I bought a yard of material and it cost $8.79. I bought 2 cans of the "Permatex" headliner adhesive at AZ. $10.00 a can. So for under $30.00, I got it done and it truned out way better than I was hoping for. I did not use the traditional headliner material. It is a black faux leather and at first I was not sure if it would look good but I was willing to give it a shot.
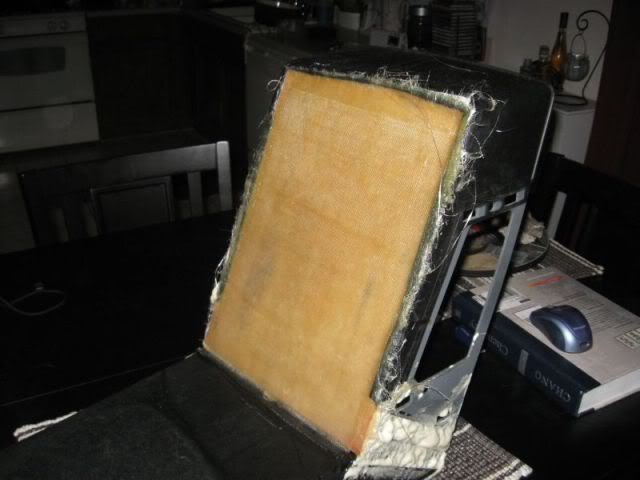
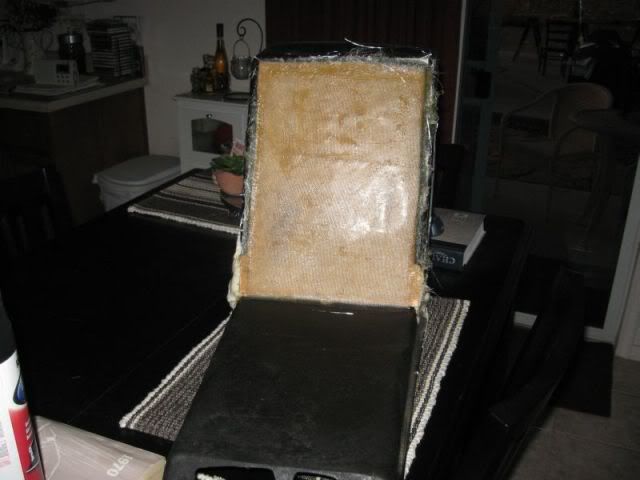
I have to do a little "glass" work on the back side at the sunvisor mount locations. When I pulled the old material off the headliner board, it pulled a triangle shaped piece of the board with it. I will just cover the back side of the area with a layer of glass to give it some strength and keep the sunvisor mount from pulling clear through. It will be a good practice run on my fiberglass project.
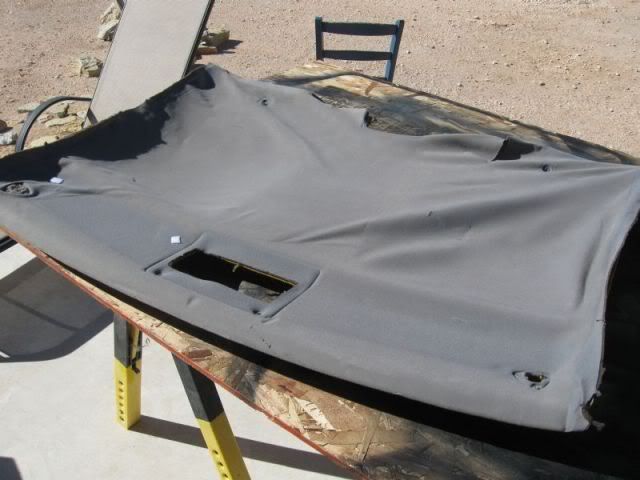
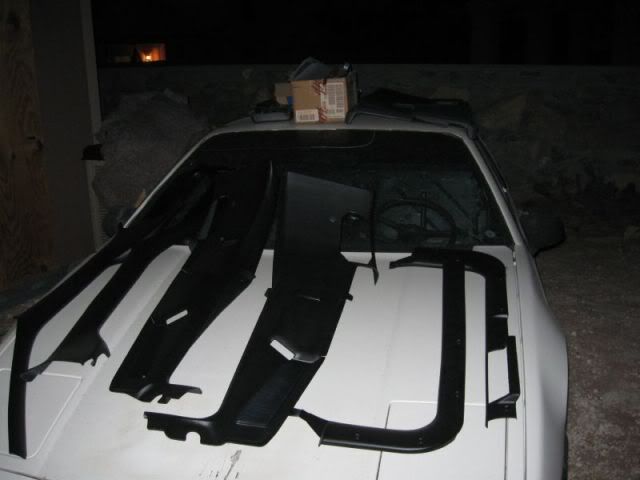
Here's what the headliner looked like right out of the car:
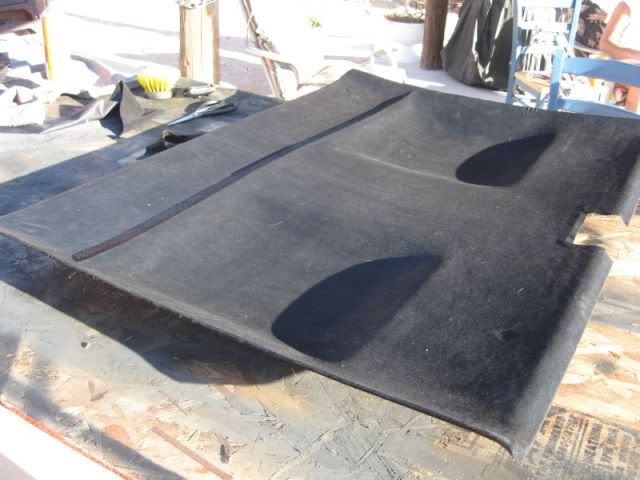
I got so involved in the headliner project that I forgot to take progress pics. So all I have is the before and after. One thing that I think is important and I have read several threads that state this is to make sure that all the old foam backing form the old headliner material is off of the board. I used a stiff nylon brush and basically buffed/scrubbed the old foam off. I did find that if you brush too hard, you will peel out chunks of the board itself. I layed the material over the dry board and centered it then folded it half way over to one side. Sparyed the glue on the board and the back side of the material and let it sit. After a few minutes, I sprayed on another coat in the opposite direction and let it sit for a few then sprayed on a third coat and let it sit for 5 minutes. Working from the center out, I started smoothing out the material. All was great until I hit the head recessions. Those little bowls gave me fits trying to keep the material from getting wrinkles in it. It took some patience but it worked out.
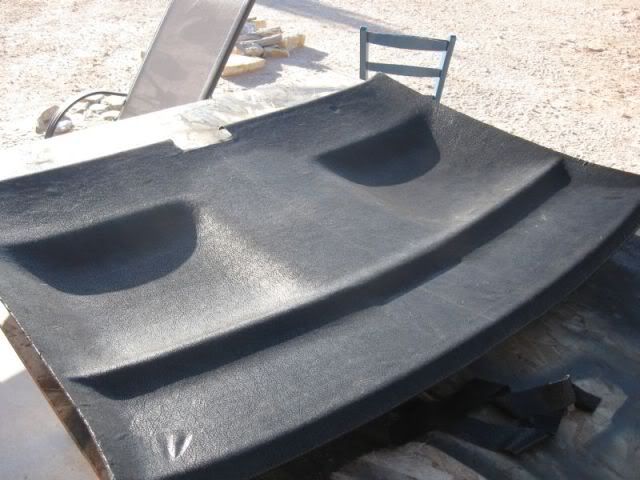
New material on. I just have to trim out the dome light hole, cut slits for the hanger hooks and hoes for the sunvisors plus reinforce the back side of the sunvisor mounts and it is done.
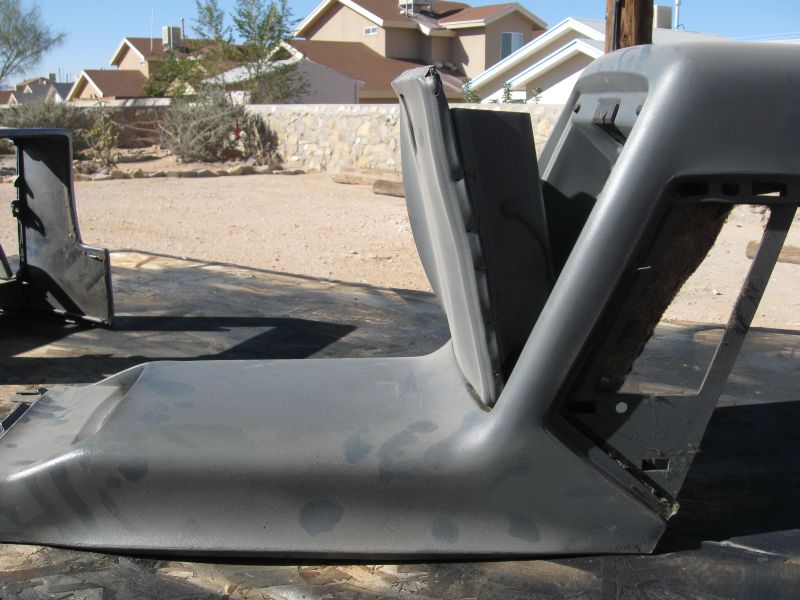
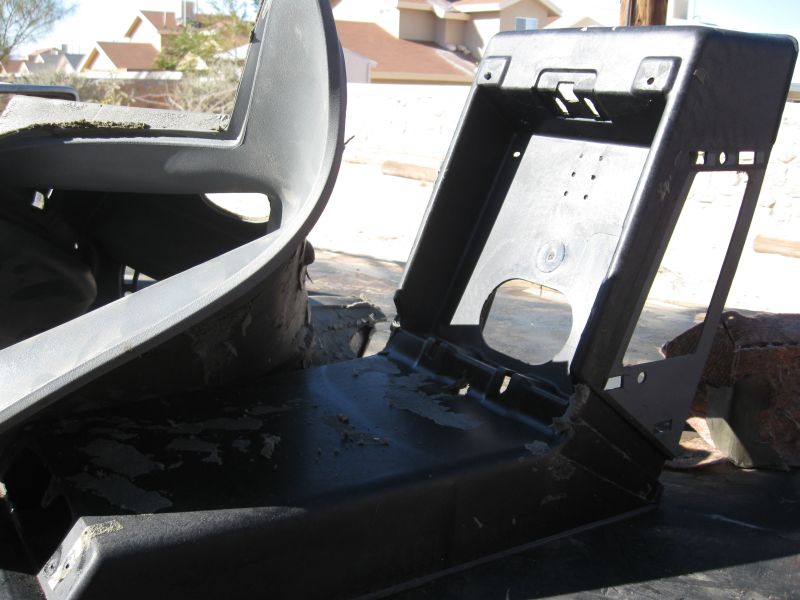
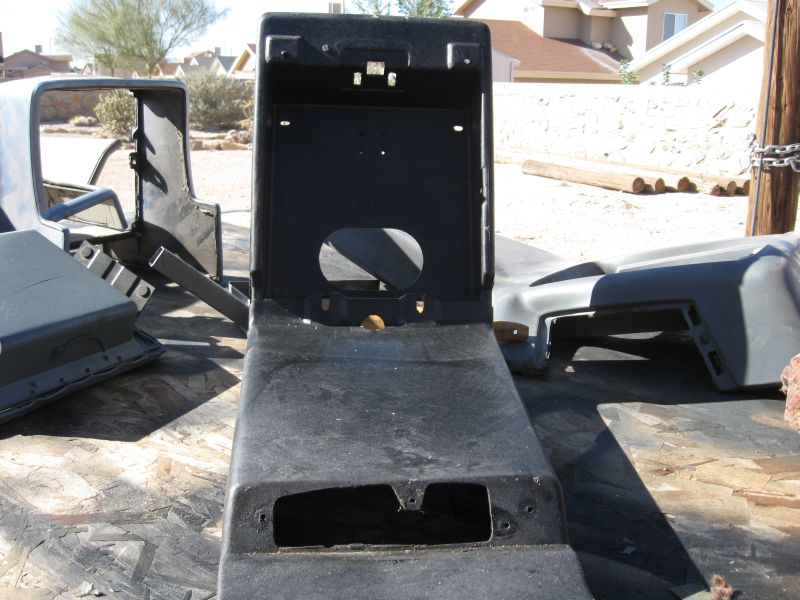
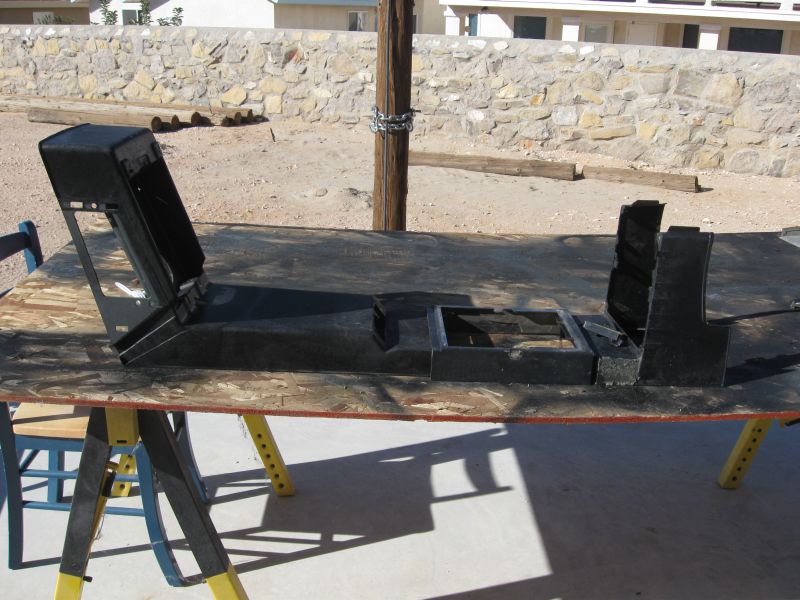
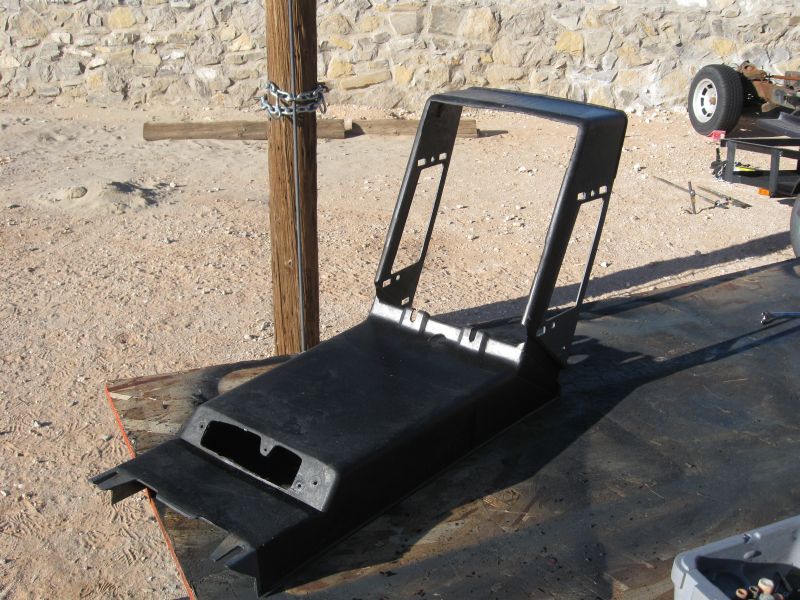
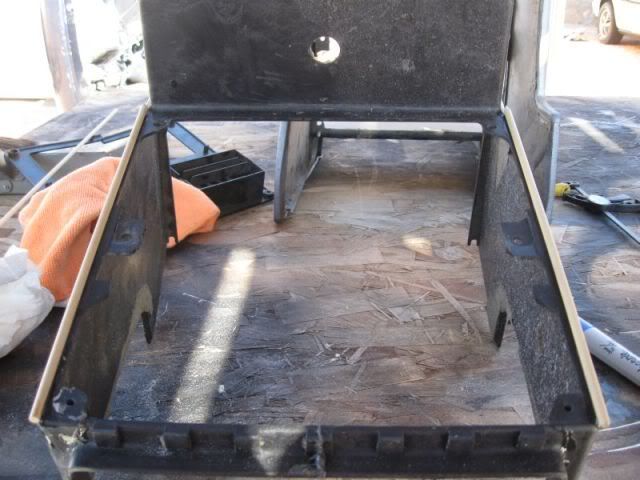
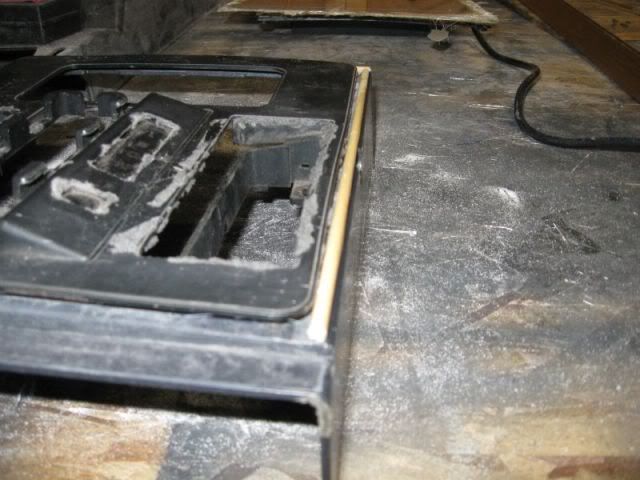
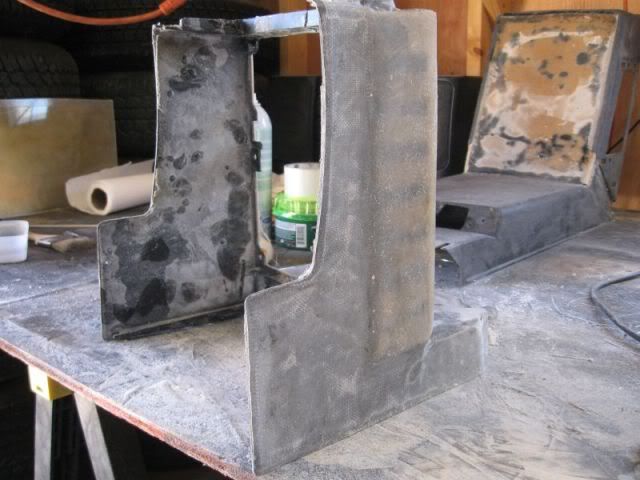
Started working on the Console project this evening. The pieces I have are a little broke up so I will have to do some repair work first, First things first was to strip the covers off and clean off all the glue and foam. Then I epoxy'd a few of the broken pieces. I cut the original glove box out of the rear piece and will fill this hole with a thin piece of wood. Once the glass work is done, I will fit an 8"sub in this space.
The donor: Taking off the Cover: Stripped: The line up: Cleaned up and trimmed:
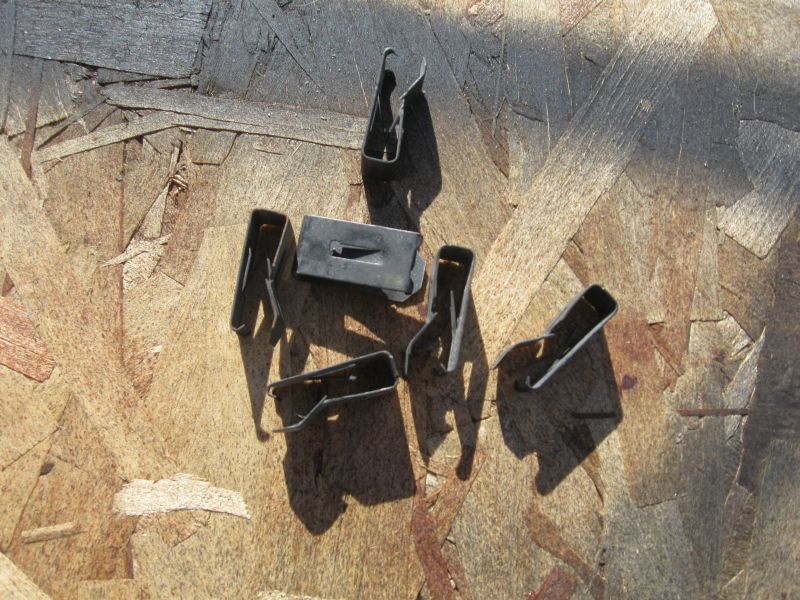
I was looking for some carpet clips that hold the carpet to the skeleton. I posted over in the Mall looking for some and had one guy say that he had them and I never heard back from him. While I was rummaging through my shed this afternoon, Yahtzee! I found about 20 of them. I really need to go through this stuff and make a list of what I have. I could probably build a complete car if I had a frame.
Here's the little buggers:
Off to Lowes for some inspriation/ideas/supplies.... That's funny. I have to go to Lowes to get ideas how to build my console. I'm sick I tell ya....Sick!
Pat
[This message has been edited by katatak (edited 11-17-2009).]
Just looking over the build. You're doing the entire console not just the armrest area? WOW Great start so far! Now it only gets harder and more fun so HANG ON!
My console was so banged up and cracked I had no idea what it actually looked like intact. The entire front piece where the lighter mounts was broken and a good portion of both sides were cracked and / or missing.
Do you have any sketches of your ideas or are you just gonna wing it? Do you have a general idea, theme or layout you'd like to achieve?
PS - the headliner looks fantastic!
[This message has been edited by Sofa King (edited 11-18-2009).]
Thanks for stopping by. My plan is to basically cover all the console pieces with glass to make them smooth and uniform. After a bunch of prep and putty, I'll give them some kind of paint, coating, etc. I have not got that far yet but I would like to do that Lunitec stuff for the entire console in dark grey or black. No sketches - just a "look" in my head that I want. Which is a stock look but smooth/seemless.
I attempted my first bit of glass today. I got so wound up in it that I did not bother to take any pics. That glass work is a lot harder than I was thinking it would be. It's a good thing I can grind it back off if I have to.....I spent about 4 hours last night watching "how to" videos on You Tube. I though it was going to be easy. I had more resin and hairy fiber glass all over the place than I had on the part.
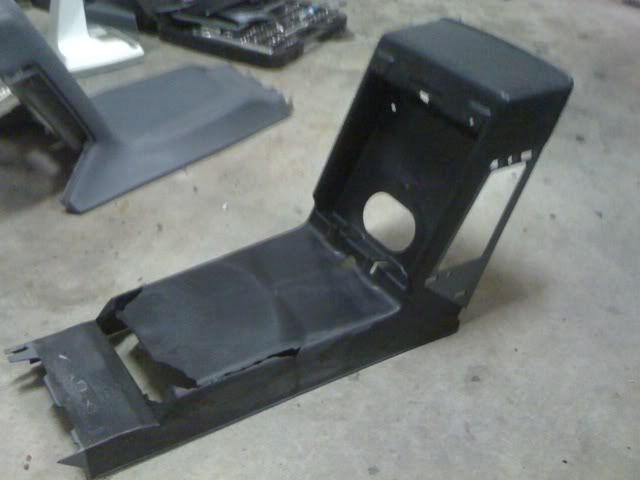
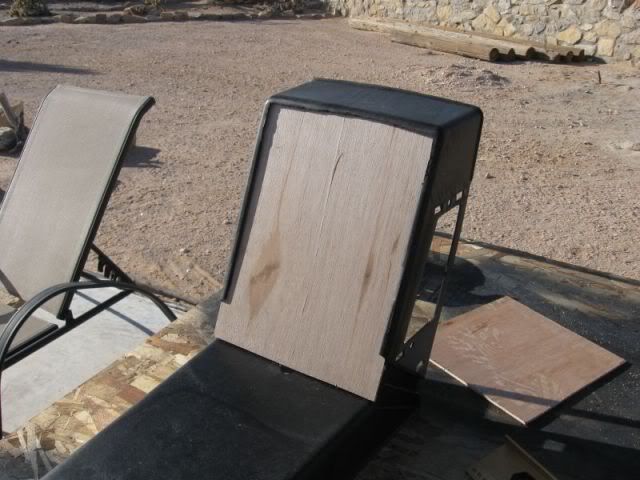
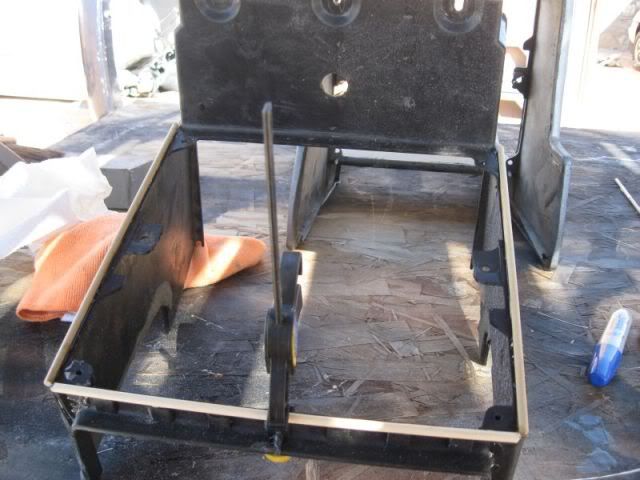
After I cut the inner part of the glove box out, I cut a piece of thin plywood to fit in the hole. Once I had it in place, I had a little "dish" in the face of the console. I decided that I would "build" up the dish and level it out with some glass plus I want this area to be fairly ridgid for the Sub mount if I ever do decide to mount a sub there. I went to Home Depot and bought some general purpose resin and a package of cloth and a package of mat. I cut 3 pieces of the cloth and 2 pieces of the mat to fit the face of the console. It took a lot more resin that I thought it would to "wet" in all those layers and when I was done, I only made up about half the thickness I needed. After it cures and drys, I will sand her real good and maybe add a few more layers. I do not want it to weigh a ton but it is what it is.
There is also a depression on each side in the back at the bottom. I was scratching my head trying to figure out a way to fill these spots so that I woud have a smooth flat side to glass over. Not sure if this will work but I had a can of "great stuff" so I filled each sopt with foam. I will let it set then file it down to where I want it. I did not want to try and build it up with filler. We will see how it works. I only took one pic today:
More later.
Pat
[This message has been edited by katatak (edited 11-18-2009).]
Just went out to the shop to check on the drying of the glass. It's dry!!!!!! Wow, I thought it would take overnight to dry. I brought it in the house cause it's supposed to get down to 30 tonight. I was not sure I wanted to continue down the fiberglass path. I do not think I have the patience to do a good job but now that I have started it, i will have to finish it. After it has dired and I can see the "progress", I have decided that it is not that bad after all. Looking forward to laying on some more glass tomorrow. Still not sure if the foam is going to work. I'll have a better idea tomorrow.
Great job on the headliner! Have fun on the cruise. I would have liked to go but we had reservations at a B&B in Santa Fe this weekend. I think you will be much warmer than we will.
I attempted my first bit of glass today. I got so wound up in it that I did not bother to take any pics. That glass work is a lot harder than I was thinking it would be. It's a good thing I can grind it back off if I have to.....
Fantastic! Congratulations on your first steps. These first few steps are the hardest and will get easier as you go along. Just remember to spread the resin on the surface before you lay the fiberlgass - gives the glass something to grab onto and then use the brushes to help move the glass around. Taking pics during the process is next to impossible because you only have so much time before the resin dries - unless you have a helper?
quote
I though it was going to be easy. I had more resin and hairy fiber glass all over the place than I had on the part.
LOL! I can't help but laugh, because I think your first attempt was a better success than mine. I found resin on the walls 10 ft away. I found fiberglass cloth under the cars. Don't ask me how. And yes, the glass gets ALL over the place. As I mentioned, it gets easier.
When sanding use 40-80 grit on the high surfaces of the fiberglass and then switch to a higher grit paper as to not remove too much of the stock console. The fiberglass just sands away - OH use a mask.
Question: Are you going to leave the "vents" intact or cover those holes as well? I think the foam will work but you might have to glass over it or at the very least spread some resin into the foam areas to help seal it and then you can sand the area down. The glass cures in a matter of hours - even sooner if it's in direct sunlight. That's another reason why I've been having so much fun. The process just keeps moving forward with those quick drying times.
Again, congratulations on those first steps. I'm really excited for you and I'm looking forward to seeing your ideas become a reality. Take it slow, keep up the great work and lot's of pics.
G (SK)
[This message has been edited by Sofa King (edited 11-19-2009).]
Well I changed direction a little today. after reading more threads - and watching aome more you tube videos, I dediced that the foam "filler" was not the direction I want ed to go. So I tore all the foam out and will be making some "panels" out of glass to cover/buld up voids and low spots on the console. I have a new direction/idea that I think will look much better when finished.
Greg,
Yes I am going to cover the vent areas. Once installed , they can't really be seen and I do not need the "vent" for the ECM heat. If later I decide to build this into a sub box, I will want them plugged anyway. I wish I was good at photo shop and drawing. I have a few ideas that I would like to see in a pic before I dive in. I kind of like some of the Pisa dash's with the AC vent, radio and A/C control angled toward the driver. I also like the one with the "divider" on the passenger side. I will most likely stay with the clean seemless "stock" look as I want the interior to maintain the stock look with some modern features. This car will not have AC or Heat so I am thinking about moving the stereo up to the A/C vent - below that a sort of storage box thingie? I will put the Aux gauge pod on top with aftermarket gauges. I still have not decided how to make the shifter cover.
Just read your post. I've looked at the PISA dash and I'm pretty sure I know which one you're referring to. That design was based on the C4 Corvette interior - particularly the 1991 Corvette Dash (always go to Google and type in "1991 Corvette Interior")
Another option is to look at the Corvette Interiors of the same year(s) as the Fiero. The interiors were so similar, not just in design, that they used similar parts from the standard GM parts bin - always trying to save a buck.
I have a good idea of where you're headed and I can try sketching out some designs for you. Just shoot me a PM listing "all" the things you would want to include any design elements (tilted dash, cup holders, cubbie, etc...) Keeping the dash looking stock is the biggest challenge. For example, I have an idea for the Fiero door panels - similar to the center console in appearance. What I do is start looking at Pontiac cars from that time frame - Grand Am, Grand Prix, Firebird, etc... I then venture out to other brands; Chevy, Buick, Olds, etc. and then ultimately to foreign cars. Most times I'll find several design elements from several sources and then work those elements into a single working design that, in the end, looks stock but updates the basic Pontiac design and adds more function. For example: reflectors in the door, power mirror switch in the door instead on the center console, a cubby in the door instead of a vinyl pocket.
I'm kinda rambling I know... Again, I think I know where you're headed and keeping it stock looking is going to be the toughest part. I'll be more than happy to help if you would like.
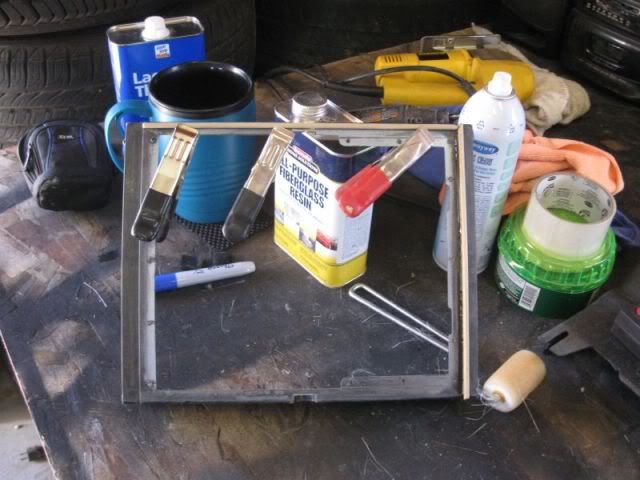
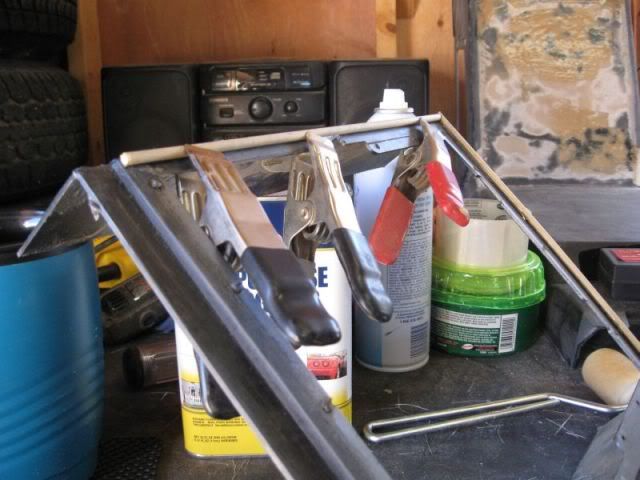
More glass work today. I learned a lot today. I am pretty sure that I have been using too much hardner. The resin turns to jelly in under 10 minutes. I think I punched to big a hole in the hardner tube and the drops are probably twice as big as they are supposed to be. Nobody warned me that after sanding fiberglass, I would itch like a madman. It was only afterward that I learned that I should be wearing a long sleve shirt. Someone also suggested that I cover my exposed skin with baby powder or talc powder so that the little glass fibers will not get in my pores. When using general purpose resin, it has a wax in it. As it cures, the wax makes a film on the exposed surface. Before you go to put on more glass and resin, you have to sand the wax film off. I suppose you could wipe it off with some kind of solvent, thinner, etc.?
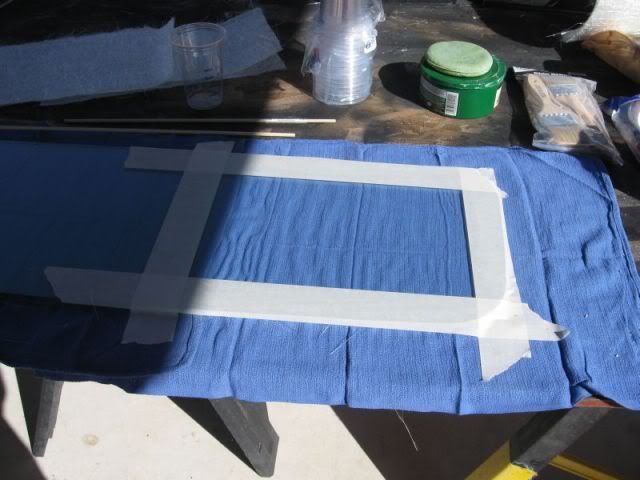
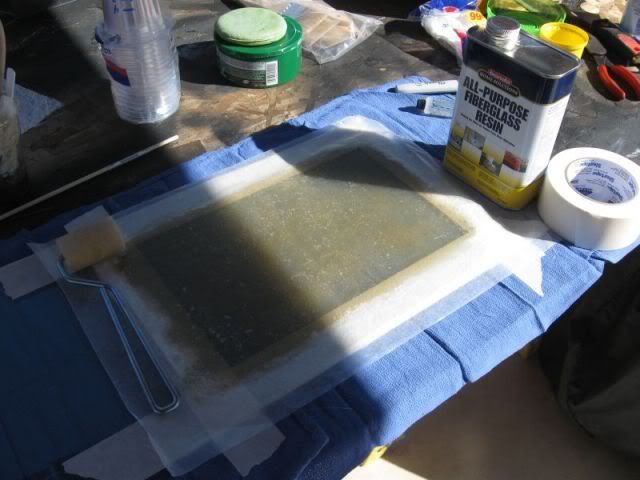
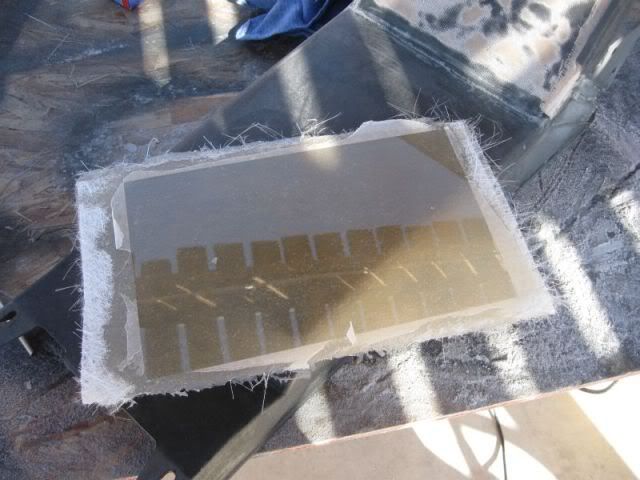
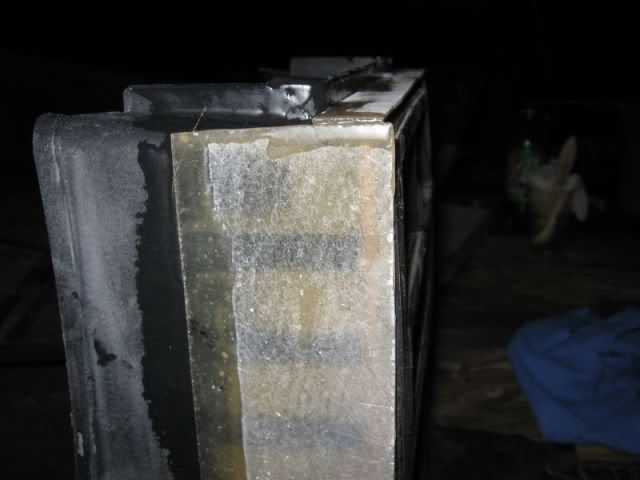
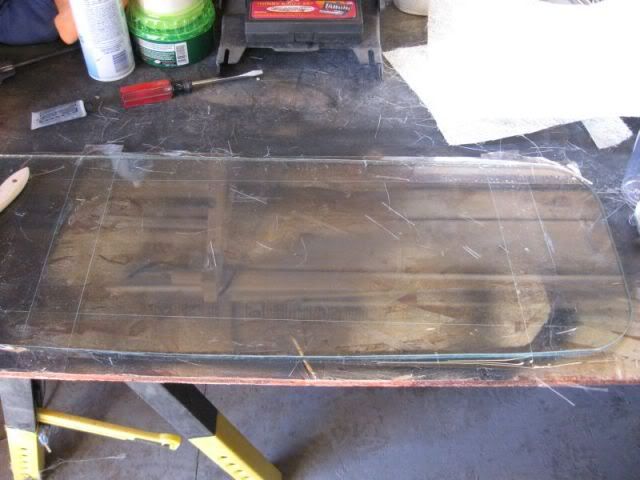
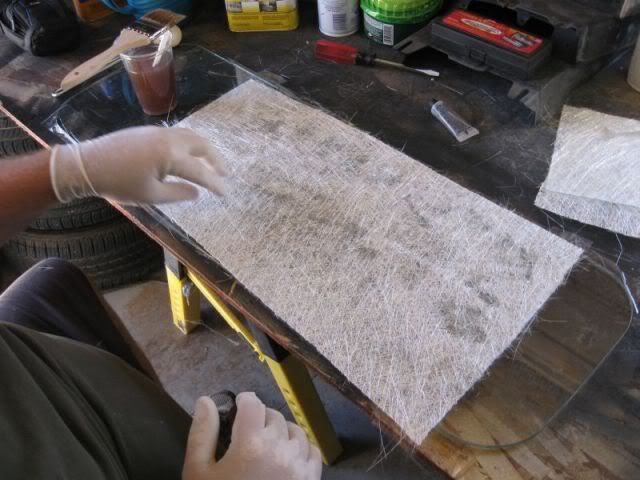
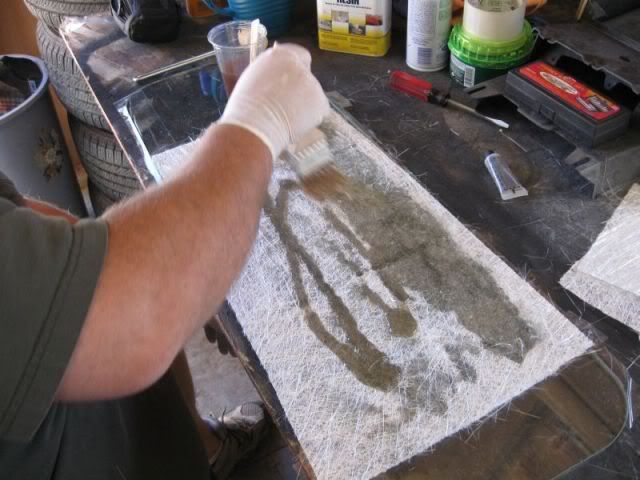
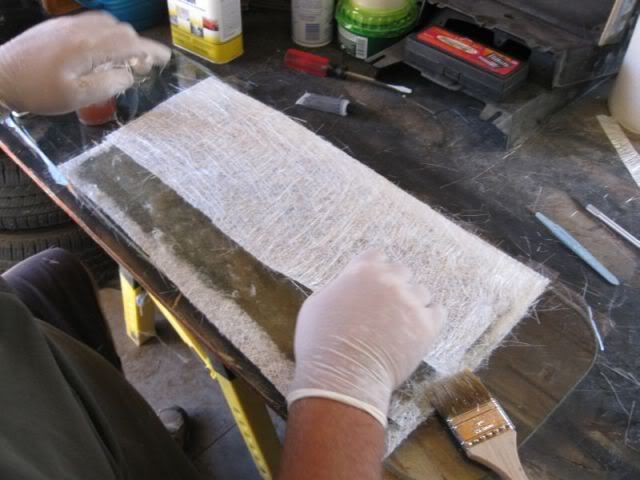
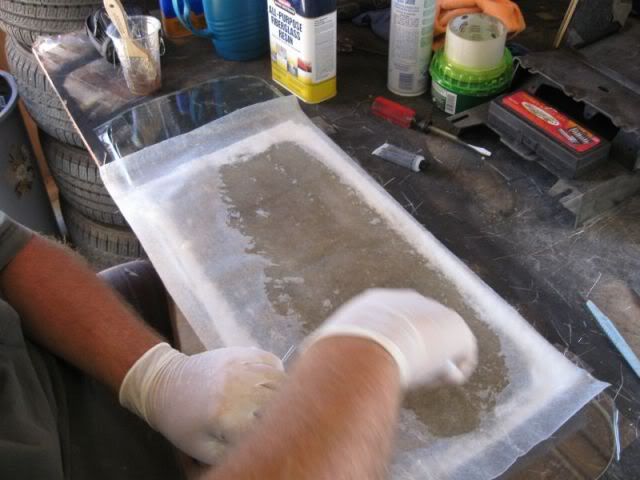
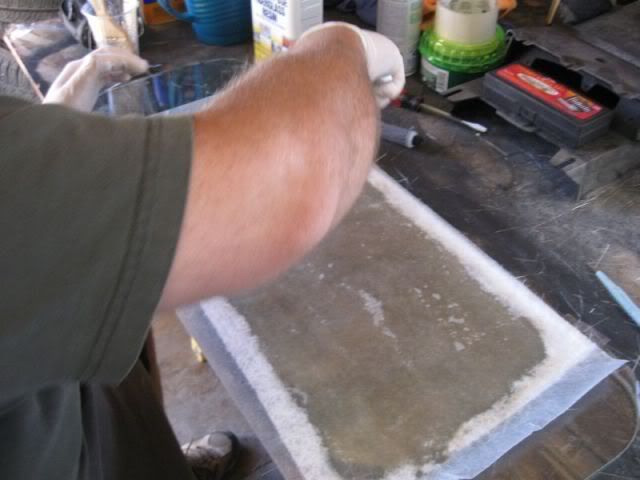
First thing I did was to make some "fill" panels. I used the old rear glass out of my 47 Chevy Truck, cleaned the glass real good then waxed the glass - I had measured all the little pieces I needed and came up with the size of panel to make. I wanted to see If I could minimize the waste. I used all but about a 1/2" wide by 10" long strip and I am sure I will find a use for the left over piece. Onse it was cured, the Wax paper peeled off very easy and then the panel released from the glass easy. I learned that instead of using masking tape to use packing tape of duct tape. The resin penetrates the masking tape and makes a mess of the glass when you take the panel off. Nothing a little goof off wont fix.
The Glass: Waxed and masked: Three layers of mat, rolled out with wax paper on top: Through the magic of film, a couple hours later:
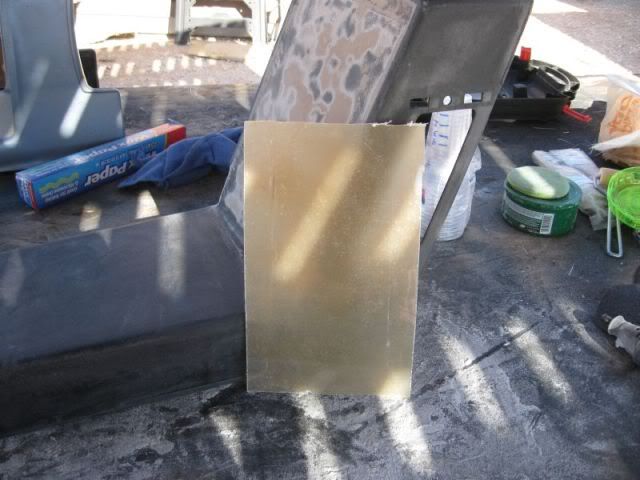
I will trim this up into various pieces I need for the ned phase.
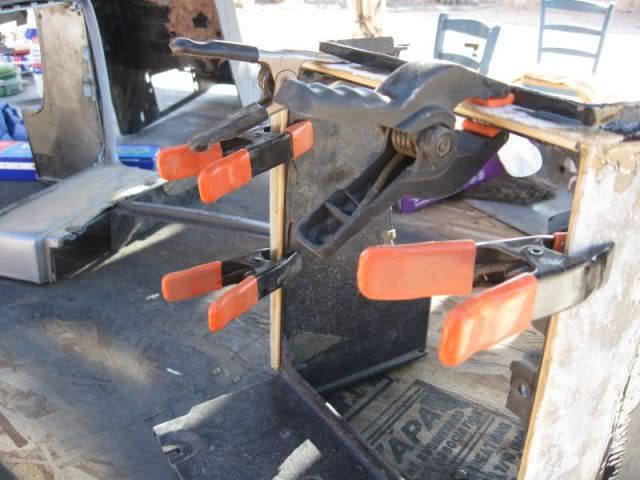
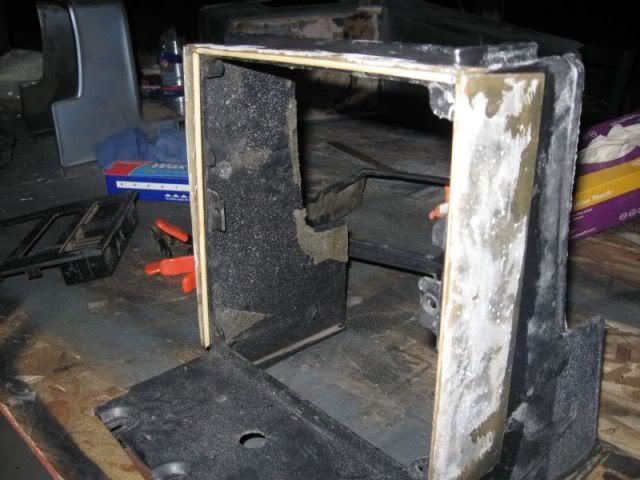
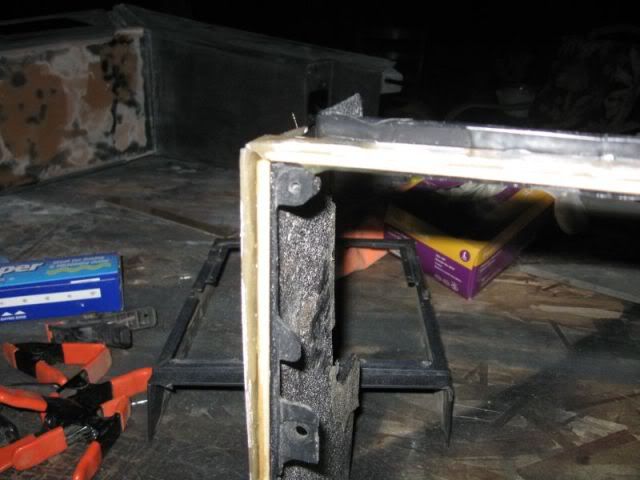
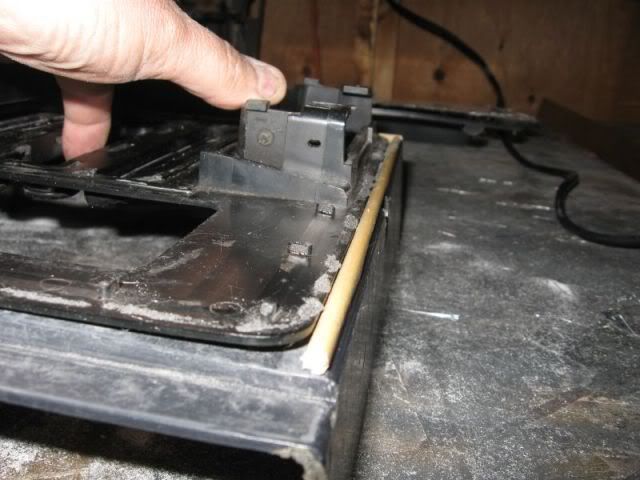
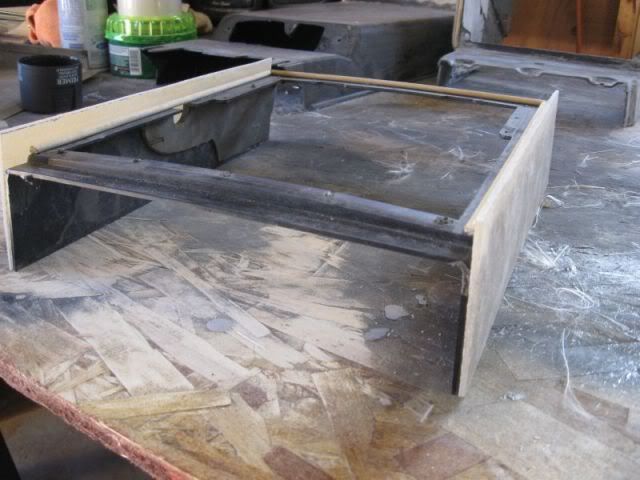
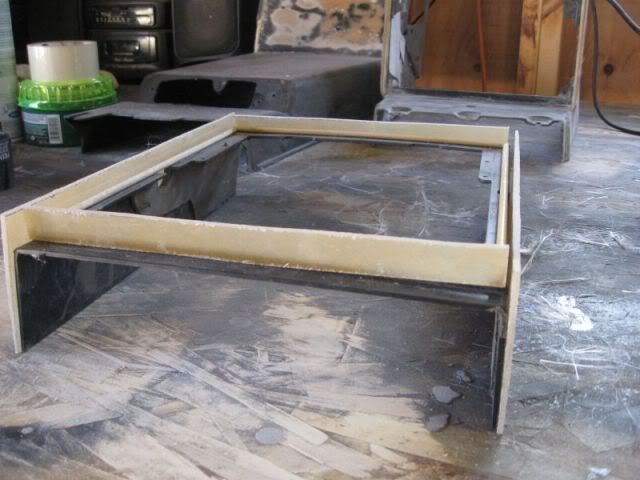
Once I trimmed up the panel, I went to work on the AC surround. I wanted to build a "lip" around the outer edge so that the trim bezel will fit flush when it's all finished. At first, I was going to build the panel with some dowel rod down one edge. As I was trying to get the mat and resin to conform to the dowel rod, the dowel rod kept slipping out of place. I just pulled the dowel out and would worry about it later.
While the panel was curing, I cut some pieces of dowel rod to fit the outer edge of the AC surround. I Gorilla Glued the dowel in place. After I cut the panel into pieces, I positioned the pieces around the AC surround and checked for fit. Once I was happy with the way it was going, I mixed up some resin and mounted the panel pieces to the AC surround. Something to remember here is to lightly sand both sides of the panel - need to remove the wax film and rough it up a little.
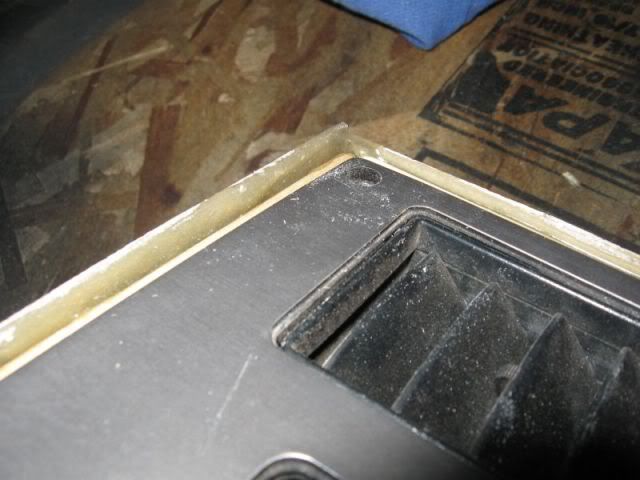
Trimmed the edge of the panel and ready to cut the indivdual pieces I need to form the lip: Forming the inner lip structure: The last piece: More of the lip structure in place: Just needs to cure: Clamps off: Can you see the lip? You may have to use your imagination a little: One more:
Can you see where I'm going now? As I add more mat and resin to the rest of the AC surround, I will build up the lip area. I will use my dremel to shape the lip and opening so that the trim panel will fit into the lip area - flush with face of the AC surround. There may be an easier way to have done this but it's what I have to work with - both tools and experience. What is cool about this is that I am learning a lot about glass and that's what keeps it interesting. More to come.
Pat
[This message has been edited by katatak (edited 11-20-2009).]
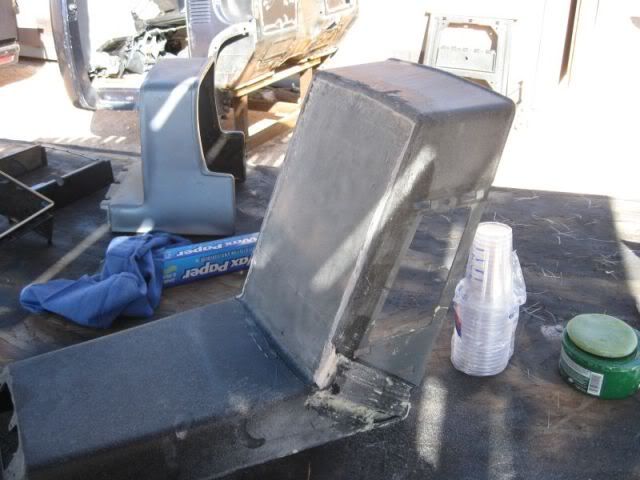
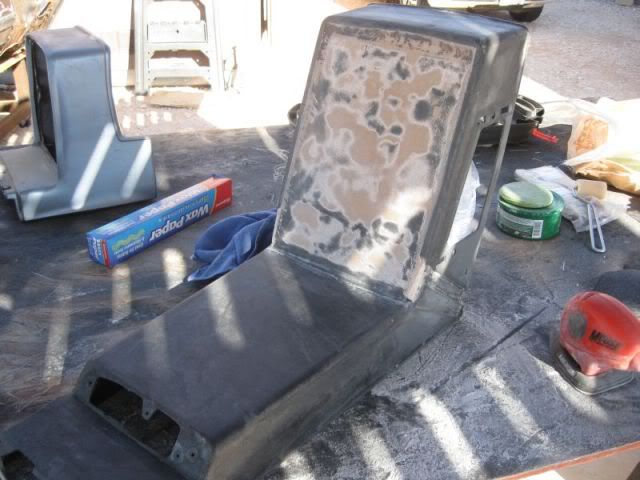
One other thing I did today was to trim up the glass work I did the other day on the back console. I sanded is with 50 grit and my mouse sander. I have a lot of low spots and some areas to fill but i am happy with it so far. I used the left over resin I had mixed for the AC suround so I sued it to "fill" in some low spots. Still a long way to go.
Trimmed the edges: Lots O Sanding: Fillin in the low's:
It got dark so I had to quit. More tomorrow after I clean out my work shop so I can move the operation indoors - it will give me more time to work on the parts plus my shop is a huge mess and needs cleaned up. Lots of Fiero parts to go through. Maybe I'll find some treasures I forgot I had........
Fantastic work. Now I understand what you meant about the lip. The dowls were a perfect solution. Keep up the great work! And if I haven't mentioned, wear a mask! Having fiberglass dust on your skin is one thing, but breathing this stuff in? oh man! I'm really looking forward to seeing this build. Keep up the great work! Now get back to work!
Big plans today....But went in a different direction. Some may know but I am also rebuilding a 70 Chevy Monte Carlo. I am in the process of putting the front end back together - have the whole front clip off and the motor out. Anyway, I was just going to reseal the motor and stuff it back in but I decided to rebuild it. In the mean time, I have a freshly rebuilt 383 Stroker Motor that I was going to put in another one of my projects - my 47 Chevy Rat Truck. Well my local Fiero buddies have talked me into putting the 383 in the Monte. So this morning after I finished work, I went to the storage garage to get the motor. After 2 hours of digging, I was still 10 feet away from the motor. I got more junk than any 5 men should be allowed to have. So I loaded a bunch of Fiero parts in the truck and decided to call it a day at the storage garage. About that time, The Far West Texas Fiero guys called to invite me on a field trip and lunch.
We go to lunch then head over to a shop where one of the guys has a Vette in the middle of a rebuild (thats' a whole nother story). Anyway, this shop happens to be "Don Davis'" shop. If you know anything about NHRA Pro Gas drag racing, you have most likely heard the name. He builds high end custom chassis for the Pro Drag Race community. They have also branched out into custom street rods and altering street rods and drag cars. They also build complete fiberglass bodies for race cars and street rods. Mostly Corvette bodies but I believe thay will do anything for a price. Needless to say, if you are a hot rodder, drag racer or a car fanatic, this place was like a candy store. Carbon fiber parts laying around, custom brakets, body parts, ect. etc. We spent a couple hours there drooling and wandering around in a car induced coma. It was great. I had vision of stretched tube chassis Fiero Super Cars, custom fiberglass body panels and carbon fiber interior pieces. It was the biggest project booster I could ask for. Thanks to Jeff, Jan, Dan and Reggie for dragging me along.
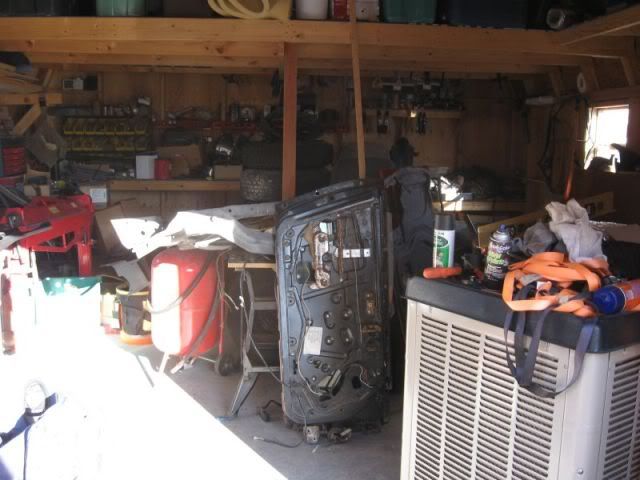
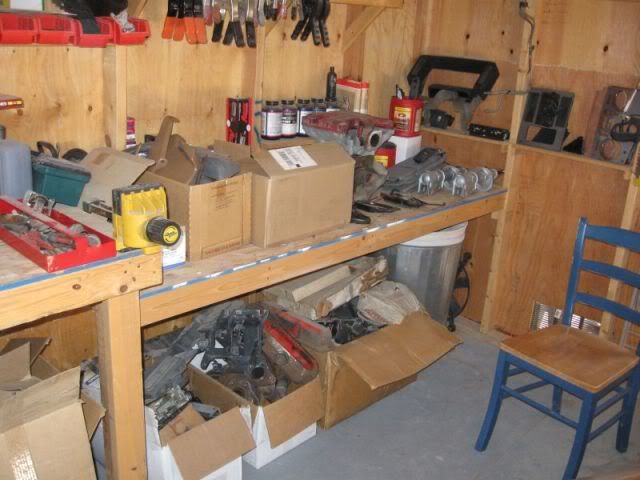
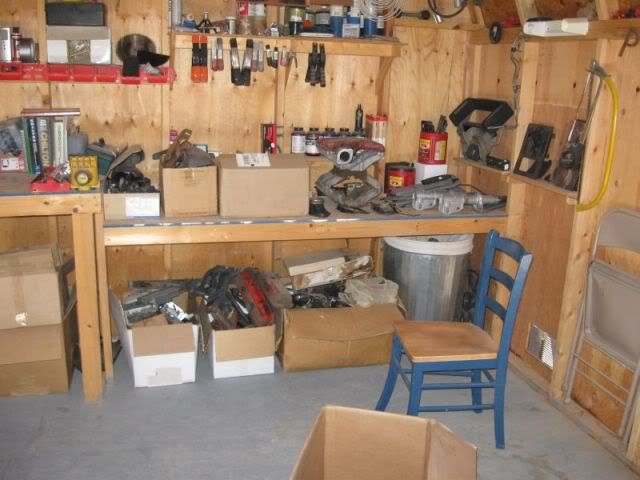
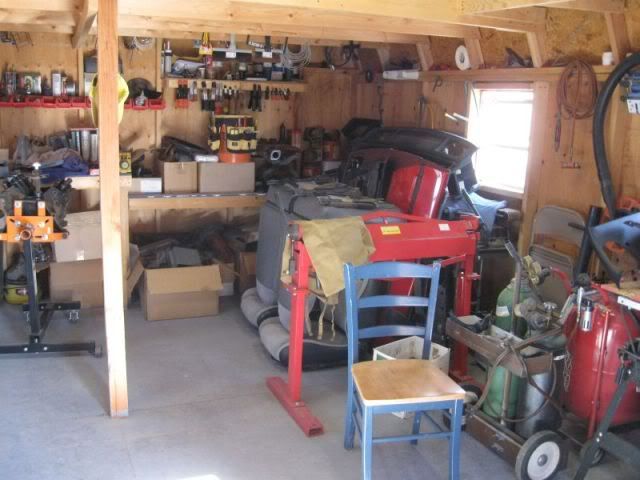
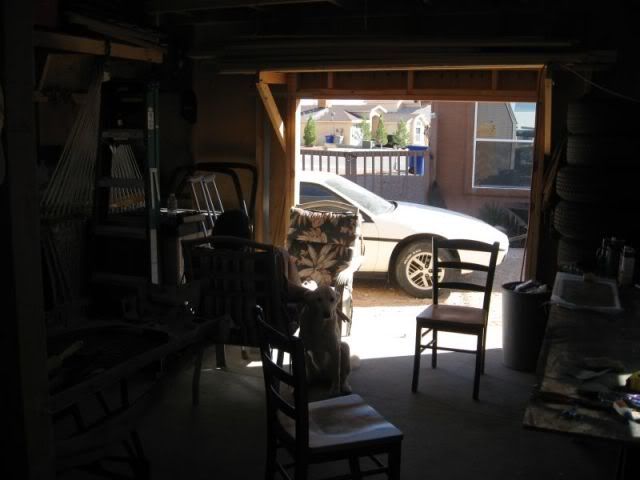
When I got home, it was time to get busy and clean up the shop so I could really get busy on the interior project. So here's what I did this afternoon until I ran out of gas about a half hour ago.
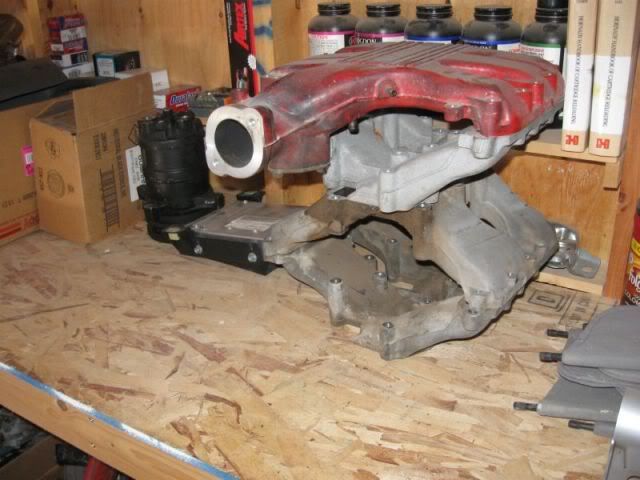
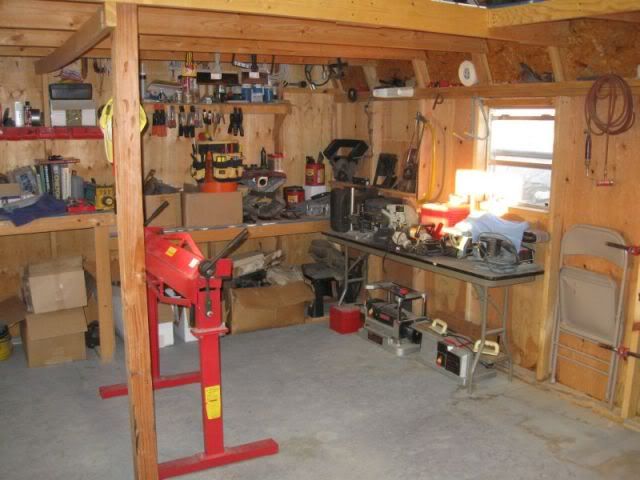
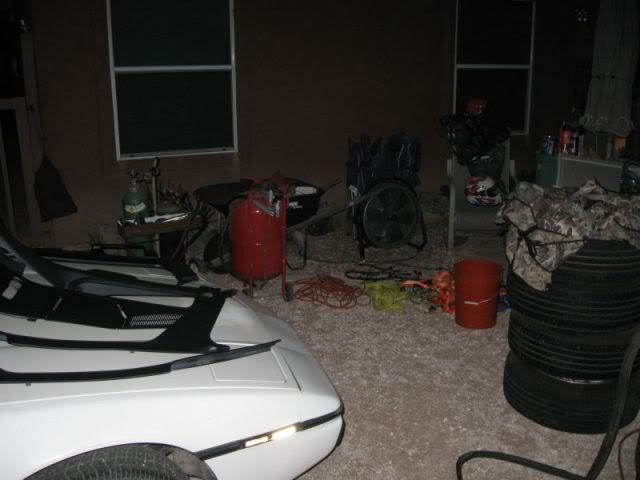
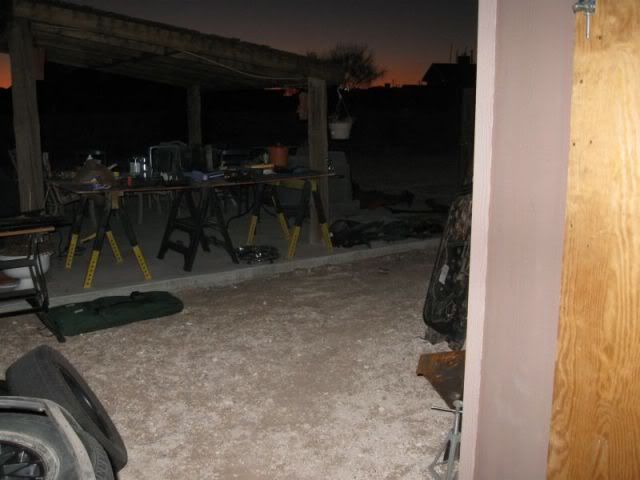
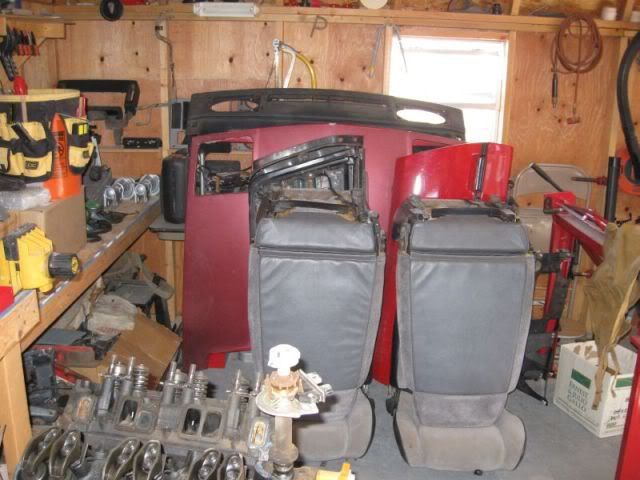
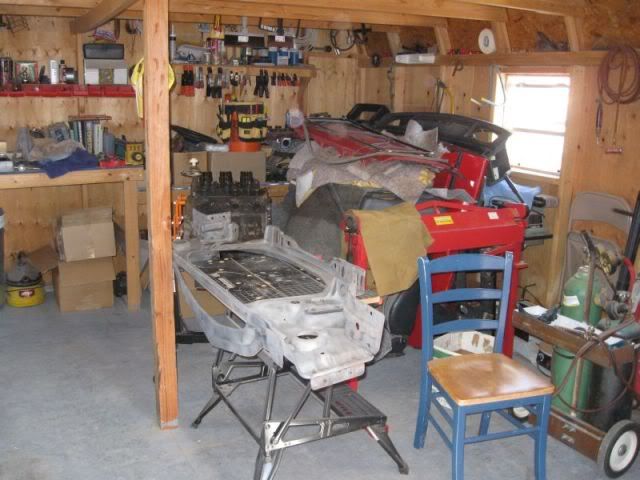
The Mess: Barely enogh room to walk in the door. I took everything out and then started organizing: After digging through all the boxes of Fiero parts, I ran across this top secret Fiero Tunnel Ram Proto Type: Getting cleaner: My shop blew up: V8 Coupe with some of it's new interior pieces: And this where I left it for the night:
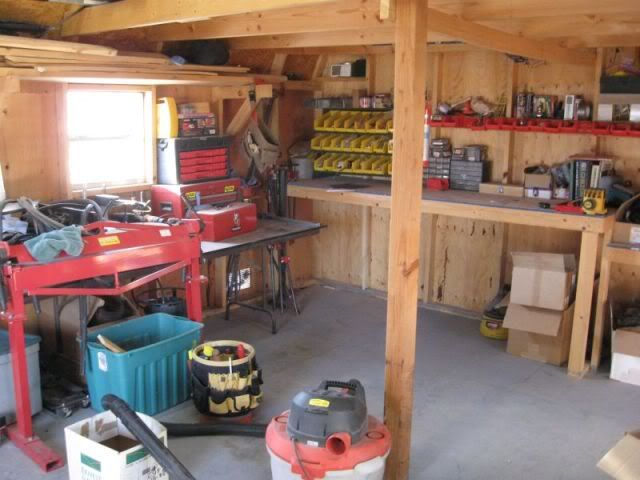
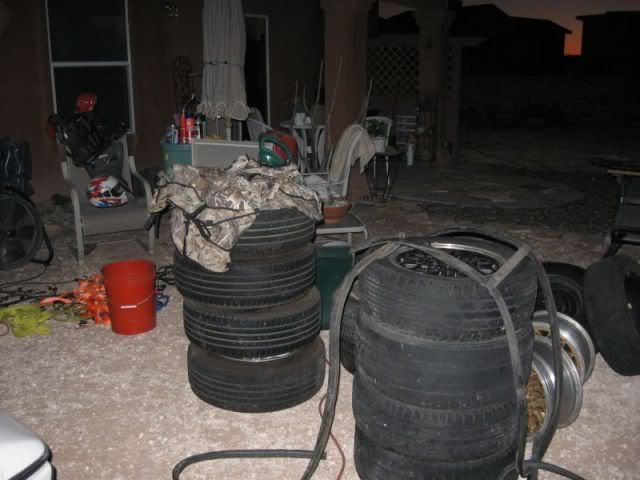
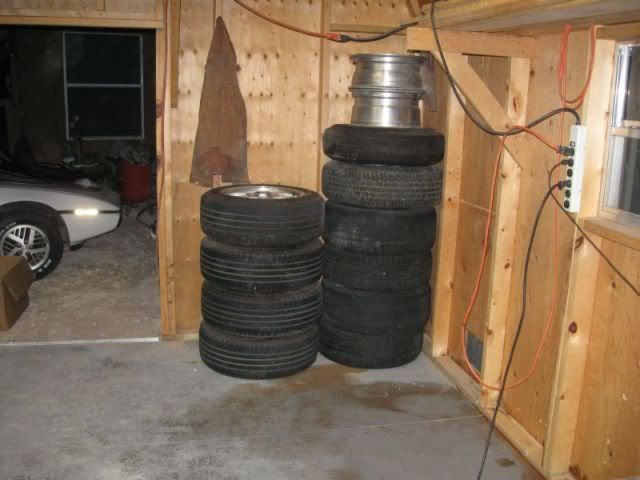
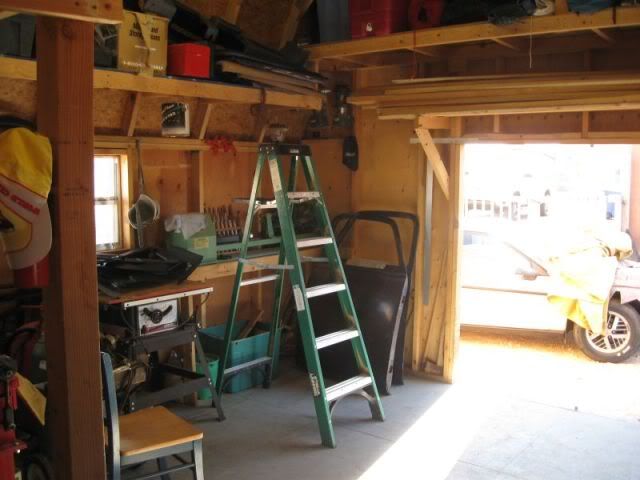
Well I was up till 5 am watching the Tyler build. Completely overwhelmed by that. I was glad I got to be a part of it. Anyway, No sleep so when the sun came up, I went out to finsh the shop clean up. Man I got a lot of junk. I can't bring myself to toss it though. So I had to "stack" it. I got all the Fiero stuff out of storage snd into the shop - at least now I know what I have - kinda! Onto the Interior Work.
The stack begins: Fiero parts everywhere Running out of room And my new work area for the console project:
Lots of progess today. First off, I needed to make another "parts" panel. The first one I made, I used masking tape on the glass and the resin soaked through the tape and made a mess. This time I used packing tape and then put a coat of wax on the tape and glass. It worked out pretty good this time.
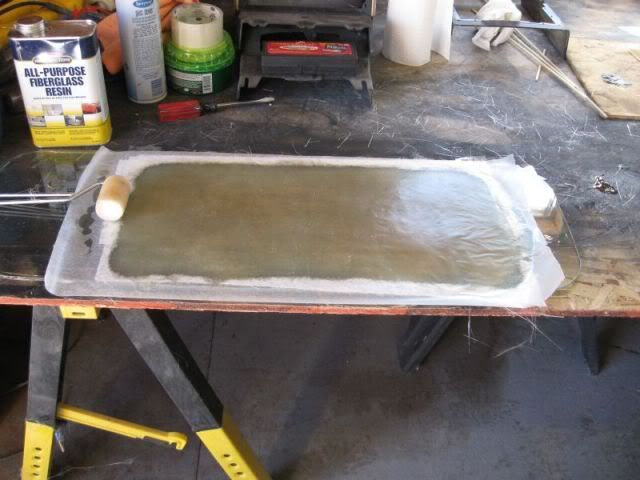
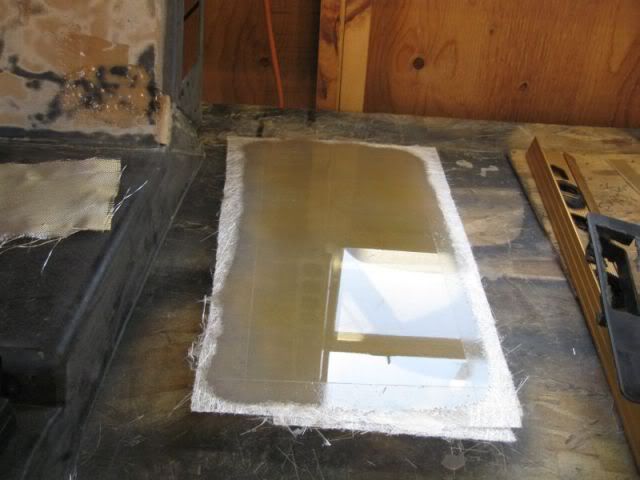
Glass is prepped and ready for glass: First mat layer: Fun with resin: Second mat layer: Third mat layer: Lay on some wax paper and roll away the air bubbles: Roll, roll, roll your resin....... A couple hours later and presto: Smooth as "Glass":
Now if you noticed that each layer I layed was a little smaller than the previous one, there is a reason. I need a strip of glass that is tapered so each layer of mat is a few inch's shorter than the last. When cut to size, the part will be "wedge" shaped. I love this stuff!
Next in the line up today was to start the "lip" on the shift cover console. Again, the "lip" is so that the shifter cover plate will sit in a recessed area just like the original setup. I used the samll dowel rod again and will builb up layers of glass untill I get it where I want it then sand and sculpt to the perfect fit. The "parts" panel I made earlier today will be used in the making of the lip just like the one I did for the AC surround. With each piece, I learn a little bit more about this glass stuff.
Here's my "Girls with Fiero's" submission. Both my girls hangin out in the shop today! Gluing the dowel in place: Test fitting: After some addition of some more glass, this lip will be tall enough to scuplt into a nice even lip for the shifter cover to sit inside of. I know it does not look like much now and it may be hard to "see" where I'm going but I think it will work out good. Keep in mind that I have absoluely no clue of what I am doing. This is truly shooting from the hip here but I'm having a blast.
More to come!
Pat
[This message has been edited by katatak (edited 11-22-2009).]
Alright....Last installment of the day. The other day, I started the lip on the AC surround. I made a "parts" panel and cut it up to make parts for the lip. Once that was done, I had a problem. The side of the AC surround was not flat. I had to build up the rest of the side area. If I had a little "vision", I would have made these parts the same shape as the side of the AC surround. Then I would not have had this "step". After sitting and looking at it for a long time, the idea of the "tapered" part came to me. If I had made these parts for the AC surround in a wedge shape like I did with the panel today, I would not have this problem either.
I still had this step problem. I could tear it apart and start over or I could "fix" what I had. Here's what I did. Now again, before you start telling me what a goof I am, remember that I do not know what I am doing here. The only reason why I am even attempting this is due to some "inspiration" I got from "Sofa King". I started reading his interior thread and was pretty impressed with what his vision was and how he was getting it done. While reading his thread, I gained more inspiration from "Revin" and "Archie's" Miura build. There is truly some incredible glass work going into that build.
So anyway, to fix my problem was simple - just build up the low area and blend it all together. I cut 2 pieces of cloth and 1 piece of mat for each side in the same shape as the low area on each side. I prepped the plastic and glass with some 50 grit. I layed a layer of cloth, a layer of mat and then a layer of cloth. Then I layed a sheet of wax paper on top and rolled out the air bubbles. After it setup but was still a little soft, I pulled off the wax paper and with a razor knife, trimmed the edges. No dust this way! And the other side. There are a few "low" spots still but nothing I can't fill with some more resin and glass. Once the sides are leveled and smoothed out, I will put 2 more layers of cloth over the entire surround and build up the lip some more. Then smooth it out, fill the little holes and ?????
Keep in mind that I have absoluely no clue of what I am doing.
P,
LMAO! I want to thank you for making me spit my drink all over the monitor and keyboard. That was too funny. As we work our projects at the same time, most of what you're posting, the trials and tribulations, are mirroring my own efforts. I too have no idea what I'm doing and just praying to god everything works out.
On a different note, I found a huge piece of glass in the attic over the weekend and I'll be using it to create panels - similar to what you're doing. In the past I've been putting waxpaper on the smooth garage floor but the glass makes so much more sense.
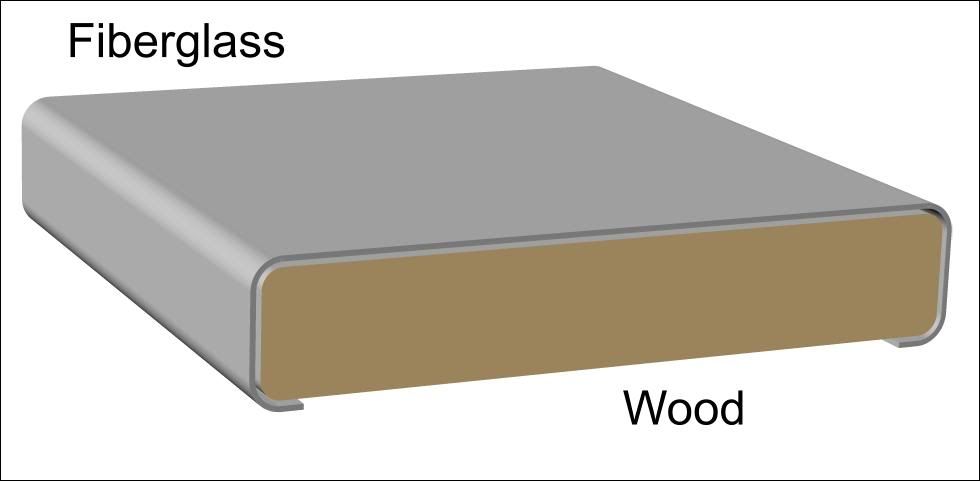
I'm still tossing ideas around for the glove box. My idea for the armrest still remains the same. I think I'm going to create the armrest from wood first. I'm going to get a 2" x 8" and maybe a 1" or 1/2" panel and glue them together (the height will depend on the cup holder). I'll then cut the basic shape of the armrest to match the console and then route the edges with a roundover bit . I'll sand down smooth, cover with waxpaper and then take a mold of the armrest.
If I plan this right... I can wrap the piece of wood all the way around creating a "sleeve" where, once the glass dried, I should be able to slide the fiberglass piece off because the shape of the console tapers at one end. This shape then will give me the edges I want and have the edges curl under the armrest where I can then attach the armrest through the top of the console.
Your console is looking great! Nice smooth edges and fantastic work. Keep going. Did you think anymore about those grab handles?
[This message has been edited by Sofa King (edited 11-24-2009).]
Now again, before you start telling me what a goof I am, remember that I do not know what I am doing here. The only reason why I am even attempting this is due to some "inspiration" I got from "Sofa King".
Wait a minute!!!! Everybody is going to blame me! LOL
Wait a minute!!!! Everybody is going to blame me! LOL
It is your fault Greg. I may have to "borrow" that arm rest idea....I like that one! Nothing done today - I was supposed to be off work but spent the day creating worthless charts and graphs for my boss........ Boo hiss..... work.... I have fiberglass work to do.
I was supposed to be off work but spent the day creating worthless charts and graphs for my boss........ Boo hiss..... work.... I have fiberglass work to do.
Tell me you're not a PowerPoint Ranger...
[This message has been edited by Sofa King (edited 11-24-2009).]
Well that's not what I aspire to be but my boss thinks I make great charts and graphs and the company I work for is run on charts and graphs so.....It all pays the same but like I said - I believe them to be worthless. I mean you can manipulate them to tell what ever story you want!!!!!! I just make the charts and graphs, he builds the PP presentations...... I got fiberglass work to do!
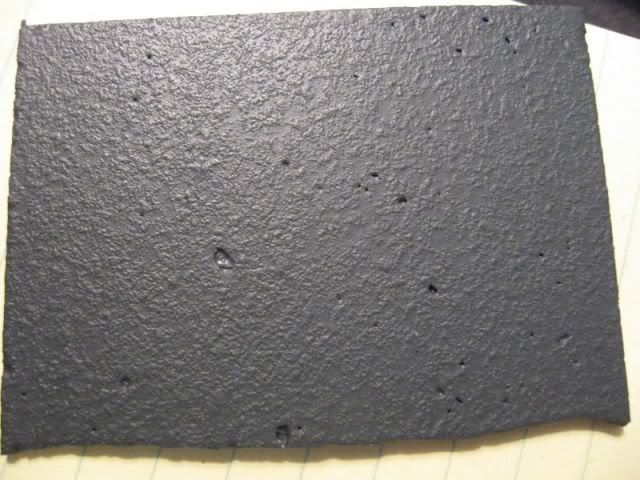
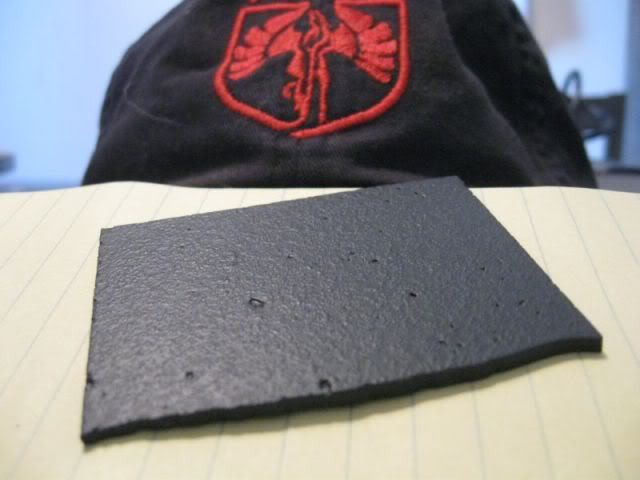
Here is the first one. We will call this: Sample "A"!
This is on a piece of fiberglass. Look past the "air bubble holes" as I did no prep to the fiberglass. I just scuffed it and sprayed on the coating. This is Rustoleum spary on bed liner. As it was drying, I did not like the texture so I used a small paint brush and "dabbed" the end of it all around the piece. After it dried, I sprayed a coat of dark grey paint. Because the bed liner is black, it makes the dark grey paint nearly black. It is a garker grey than the dash so I will have to get some lighter grey and experiment. I like this texture but I have a few other methods to try before I decide whch way to go.
When it looks that good I think the "never done this before" line can stop! lol You have the basic steps, work involved and so on.
With all that work, you could have just made a blank by laying the glass around all that shifter and console stuff. At least you would have had a "base" to work off of. BUT you are doing fine!
Are you making everything out of glass? like a whole new dash??
Thanks Revin,
At first I was going to try and make a "mold" but I was scared so I started small. I'll do things a little different next time. As for the dash, I want to build a new one but that will be later - much later on. My plan for than is to build a plug, then a mold and when I go to do the part, I want to try to do gelcoat, etc. The dash project will be for the XTC so that will be a completely different project. Right now, I am just experimenting - seeing what I can and can't do kind of thing. I know now that I have created more work that I need to but I guess that's how we learn. I appreciate your comments and anything that makes it easier to d0, I am all for. Thanks gain.
Some more glass work this afternoon. I cut all the parts to start the "lip" part of the shifter cover. I am realizing now that there is most likely an easier way to do this but now that I have started, i will see it thtough. I'll do things a littl different next time around. After I cut the parts out of the panel I made the other day, I trimmed up the AC Surround and got it ready for another couple layers of glass then sanded to smooth it out. It is starting to take shape.
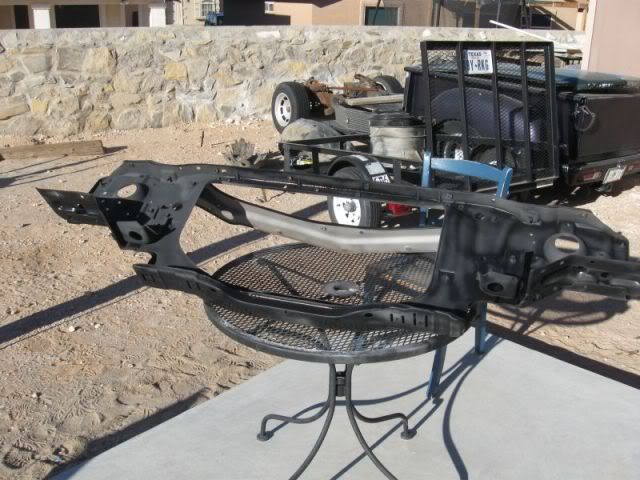
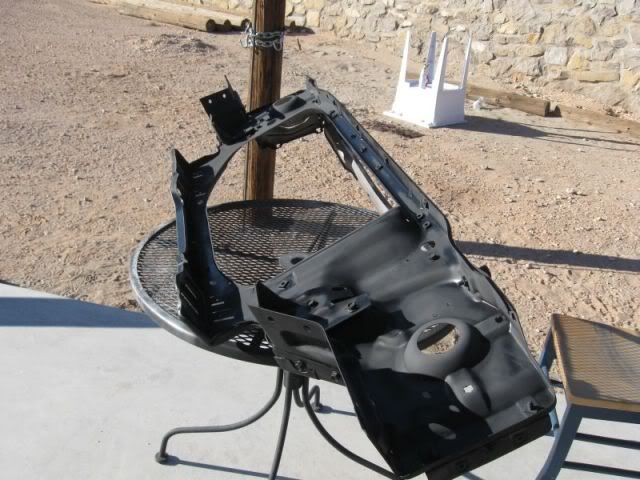
The AC Suround: Fitting up the Shifter: And some non related Fiero work - I primed the front Rad support for my Monte


 Can't wait to see the finished product. Now we just need to find us a shop to rent so we can start doing some serious stuff.


