I am just guessing here but I think the CSI/CSR remote pump has one inlet and one outlet so I do not see why it could not be mounted "in Line" up front. I have yet to "plumb" mine yet but I could see it being a problem with the Meziere remote. I would think on the SBC, you would have to run both block hoses into a Y then connect to the coolant tube. I wonder what these pumps are rated at for "pulling" vs " pushing"? I really do not have an answer but am now wondering why too!
Mounting the water pump in the front also eliminates the need for 1 of the heater hoses running under the car, that would leave a nice empty tube for battery cables. I've been wanting to mount it in the front since I decided to go with a remote pump.
[This message has been edited by jmbishop (edited 01-11-2011).]
I am just guessing here but I think the CSI/CSR remote pump has one inlet and one outlet so I do not see why it could not be mounted "in Line" up front. I have yet to "plumb" mine yet but I could see it being a problem with the Meziere remote. I would think on the SBC, you would have to run both block hoses into a Y then connect to the coolant tube. I wonder what these pumps are rated at for "pulling" vs " pushing"? I really do not have an answer but am now wondering why too!
The CSI & Mez pumps are both a single inlet & dual outlet.
The idea is that.....
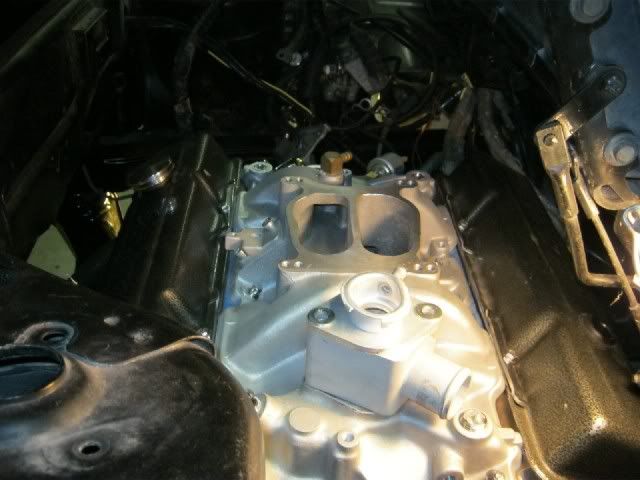
The 2 W/P connections on the front of the engine are for coolant coming into the engine & do not connect directly to a single water pipe. The 2 outlets from the pump are ment to be connected to the 2 inlets on the enigne.
The CSI & Mez pumps are both a single inlet & dual outlet.
The idea is that.....
The 2 W/P connections on the front of the engine are for coolant coming into the engine & do not connect directly to a single water pipe. The 2 outlets from the pump are ment to be connected to the 2 inlets on the enigne.
Archie
Thanks Archie - I was not sure on the CSI/CSR if it had 1 or 2 outlets. My plan is to follow your lead on the mount and plumbing. I guess if you wanted to mount the pump up front, you could plug one of the outlets? I woud think that by plugging one, it would reduce the volume/flow? This is all new to me! Thanks again for oyur help.
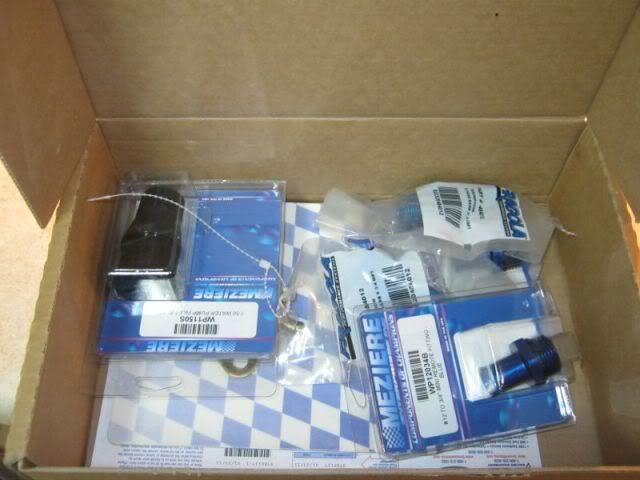
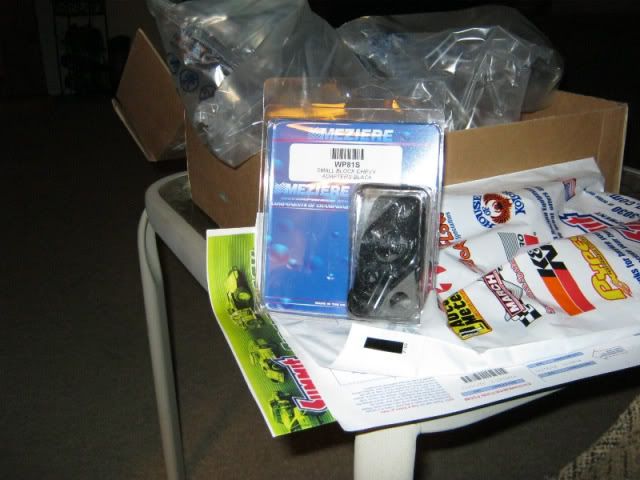
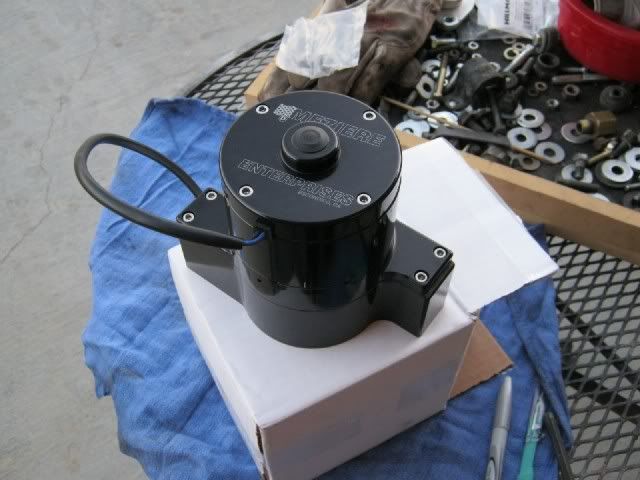
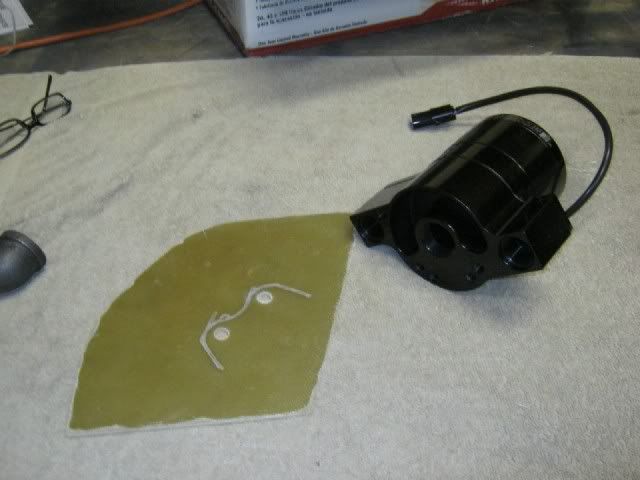
Got a little package in the mail today! Can you guess what it was?
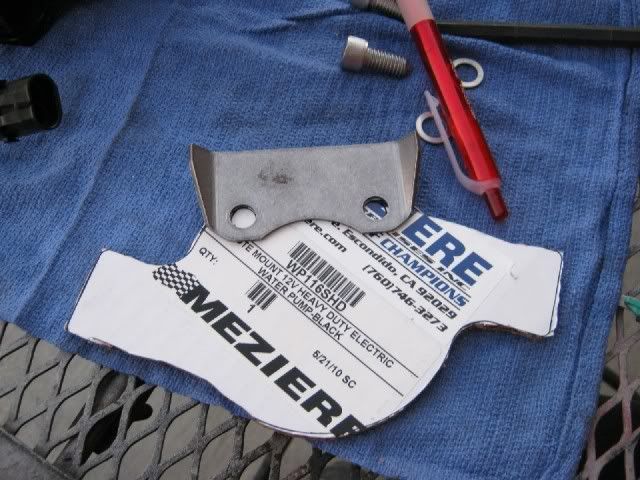
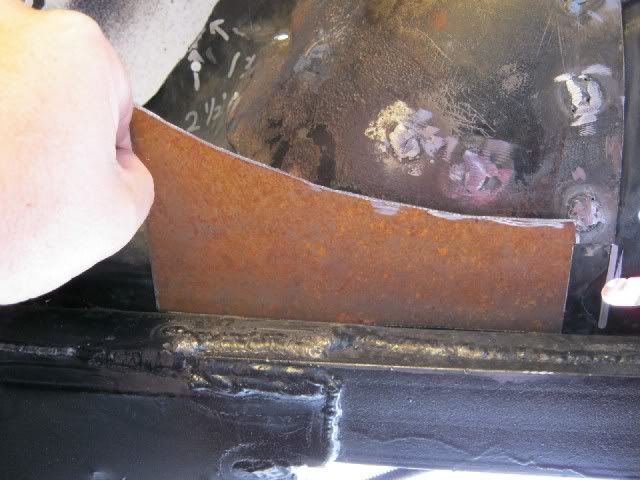
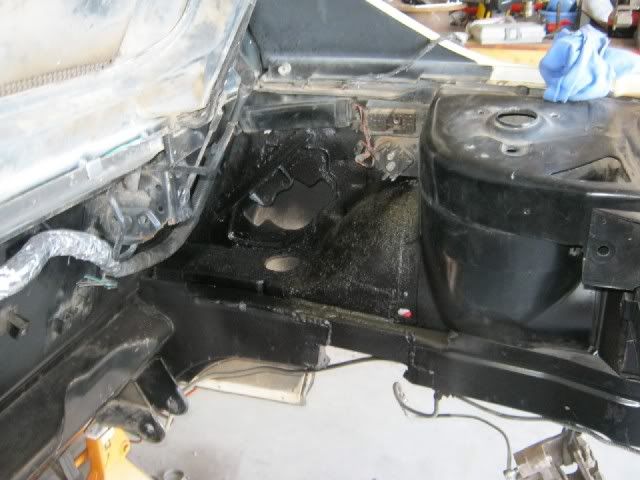
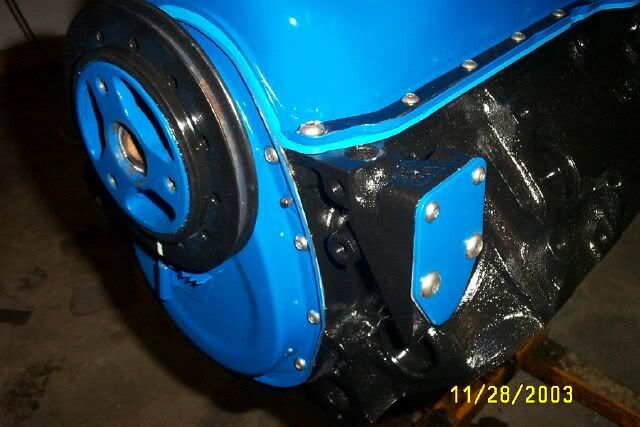
So I went to work making a template so I could devise a mount for it. The PO had hacked up the sidewall pretty bad so I had to trim it up. In Archie's pics, it appears that they made a monut plate - mounted the pump to the plate and the plate to the side wall. My original plan was to do the same but I did not have any sheet metal that I felt was thick enough to make the plate. I went to a few steel shops but none had what I was looking for - either too thin 16 gauge or too thick - 1/4". So I improvised and built my own version of a pump mount then welded it to the side wall. A little grinding and buttering then some paint and it will be perfect.
I made a carboard template of the pump so I could hold it in place on the sidewall to check for clearance and position:
Cut it out:
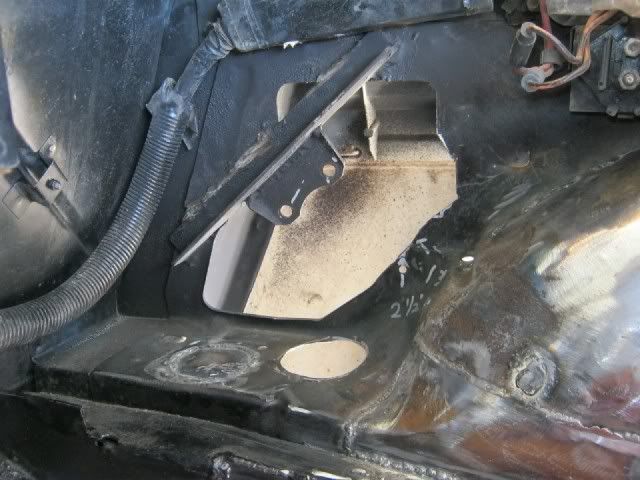
Then with some hot glue, stuck on the included mount bracket:
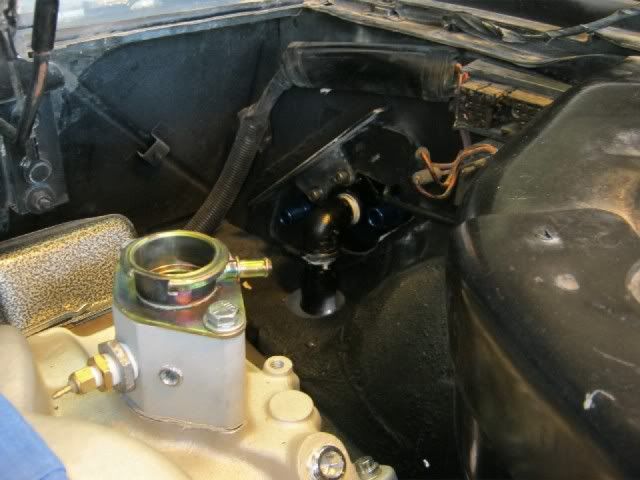
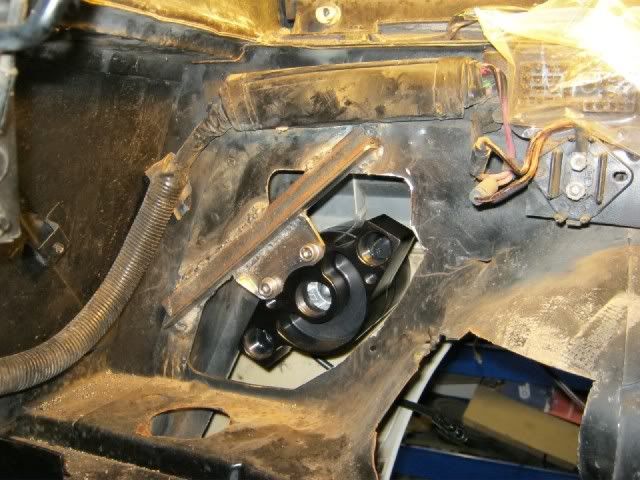
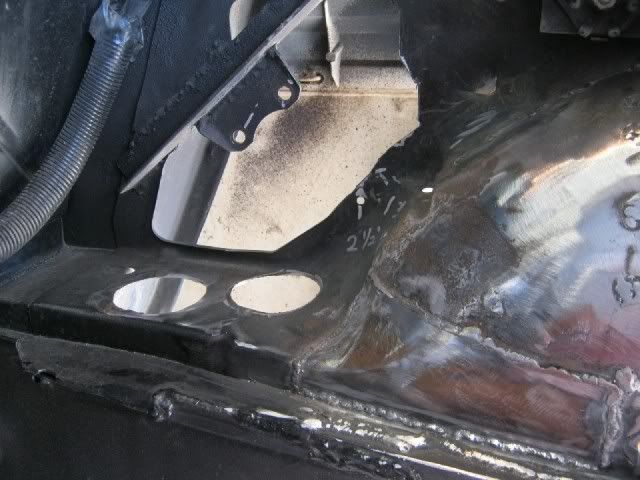
After trimming the sidewall and fabbing the bracket, I used a C clamp to hold the bracket in place and mounted the pump to check the position and clearance again. All was good so I went to welding. I really have to go get some more MIG wire and get my bottle refilled because I can not weld with flux core - I just make a mess. With the bracket welded in, I mounted the pump.
Now I just have to clean it up and paint it. There is a section of the fenderwell that was chopped out for the original H2O pump pulley. I will go to the yard tomorrow and cut a section out of a donor car then fit and weld it in the Coupe.
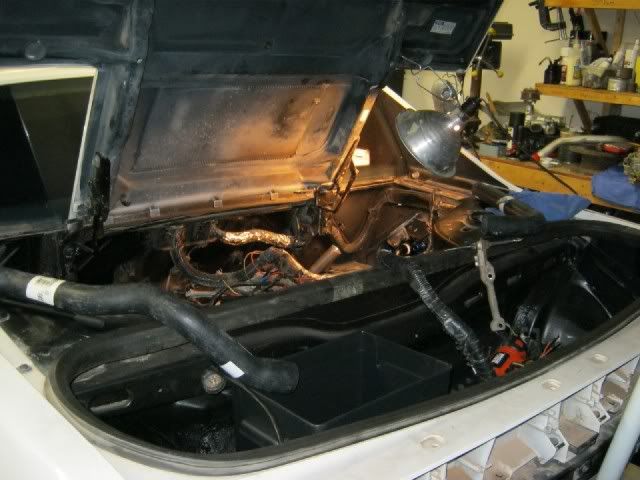
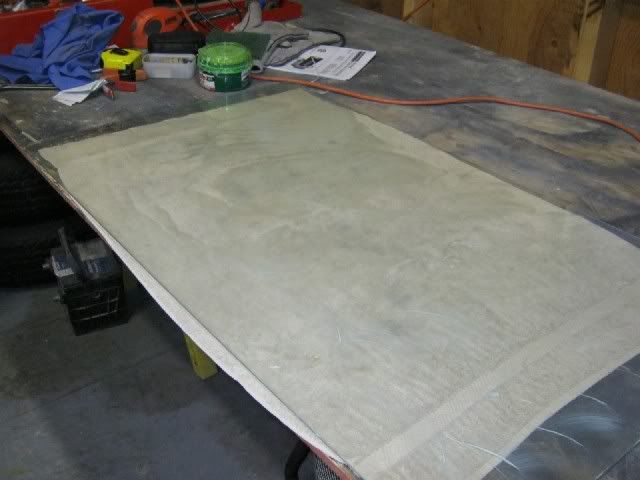
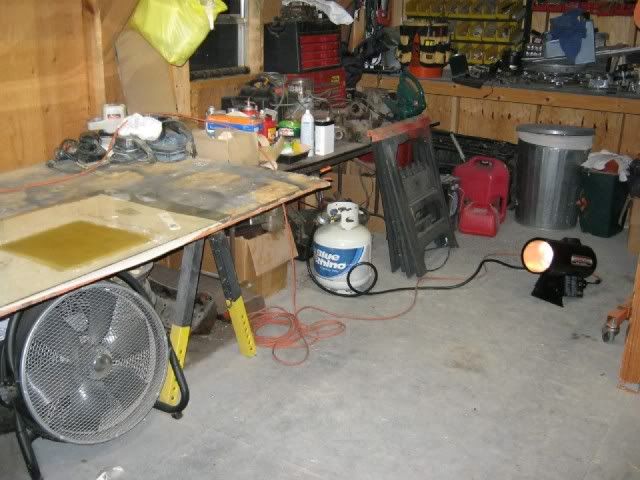
I spent most the day working so I did not get to the yard for some patch panels. After looking at it, I did not like the big ugly hole in the side wall so I decided to fab up a "trim" panel. A few days ago, my neighbors were moving and had left a large glass table top out for the trash man. I snagged it to use it for laying up fiberglass panels and today I gave it a workout. My trim panel is made of fiberglass and once I get it mounted and sealed to the inner side panel then painted, it will look way better.
My new fiberglass work top:
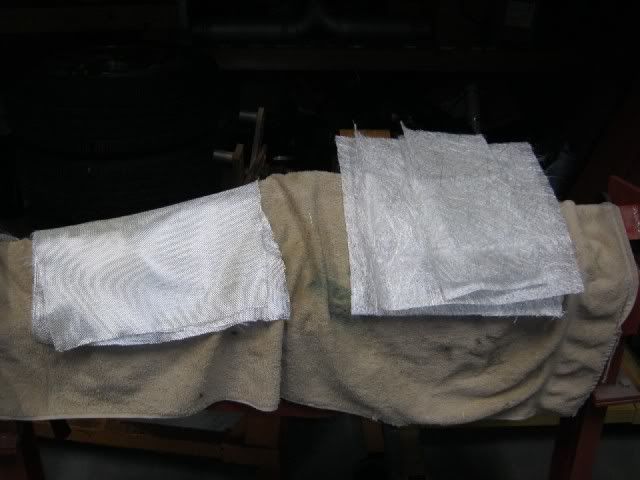
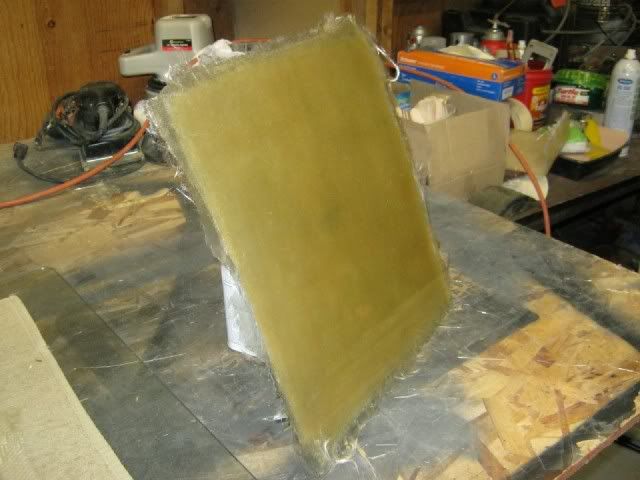
I cut out all my glass - 4 layers of cloth and 3 layers of mat - I wanted a nice solid piece of glass to work with.
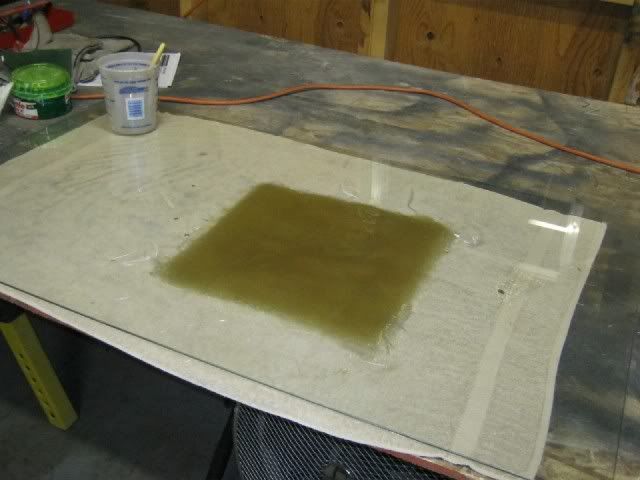
Waiting for it to cure!
Add some heat!
Pop it loose:
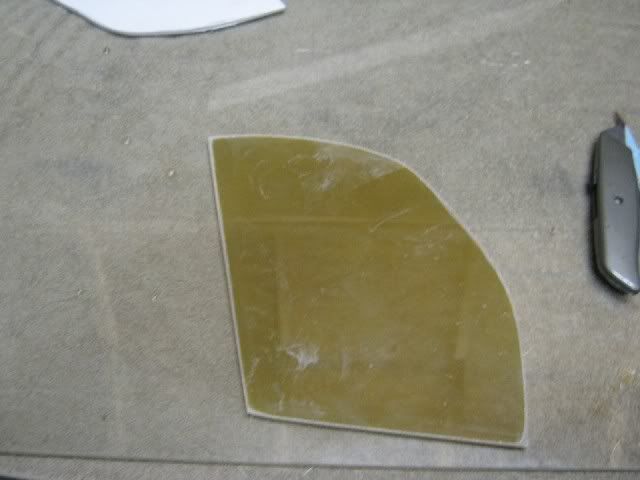
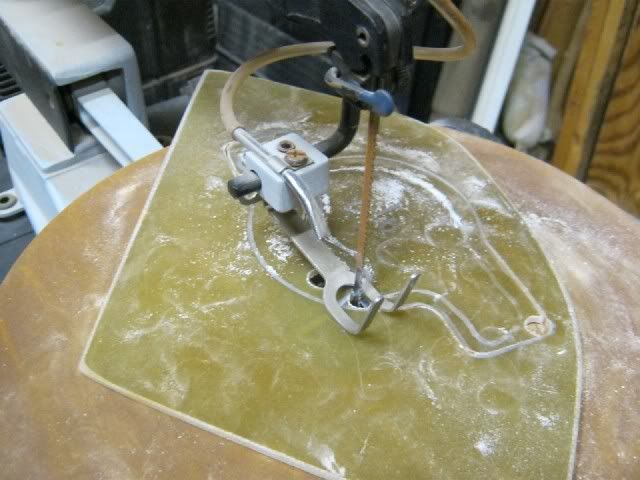
Then I went to the garage and made a quick template out of foam core then transfered to the fiberglass panel:
Back to the garage for a test fit on the car and trace the mount:
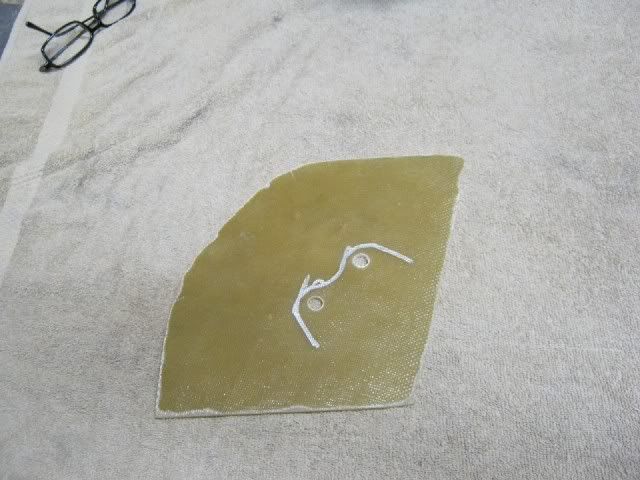
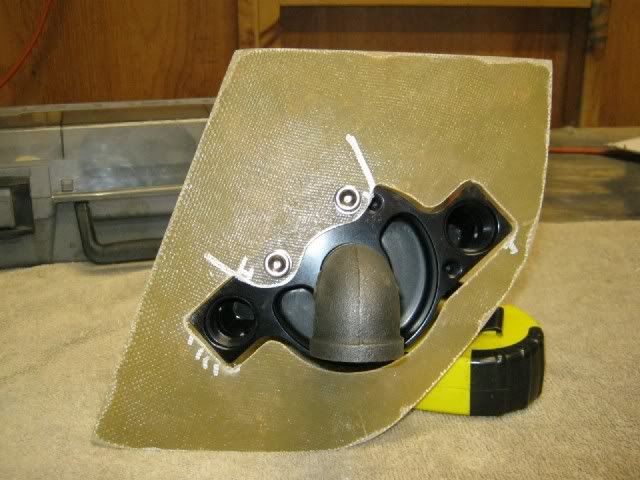
Bolt up the pump and trace the pump on the panel:
My trusty but rusty scroll saw gets some use!
Getting closer:
A little trimming with the dremel and another test fit:
Back to the garage for another test fit:
I guess I could have done this with a piece of sheet metal and use some spot welds and seam sealer. I just had a urge to play with some fiberglass. I think that having the fiberglass panel sandwiched between the pump and the body may add some "insulation". Then again, it may not matter. I have to fab up one more small "tab" type bracket for the bottom side of the pump - once that's done and I get the patch panel welded and sealed, it should be ready for a motor stuff.
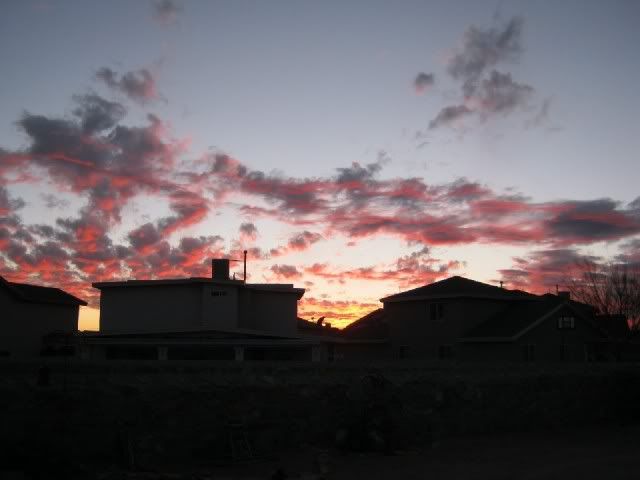
And for your viewing enjoyment, we had another great Far West Texas Winter Sunset so I snapped a few shots from the backyard. I love the desert!
We goofed off all day yesterday so I had to make up for it today. I was up at 5am - had to take my oldest son to the Airport - he was headed to Chicago to start his new career on the CNRR - WaHooooooooo! Anyway, I was going to go back to bed after the airport but I decided to jump in on the Coupe and get the water pump, fenderwell, frame reinforcement completed. After drilling out the spot welds on my patch panel and drilling a few more holes for new spot welds, it was time to climb back in and start the fitup and welding.
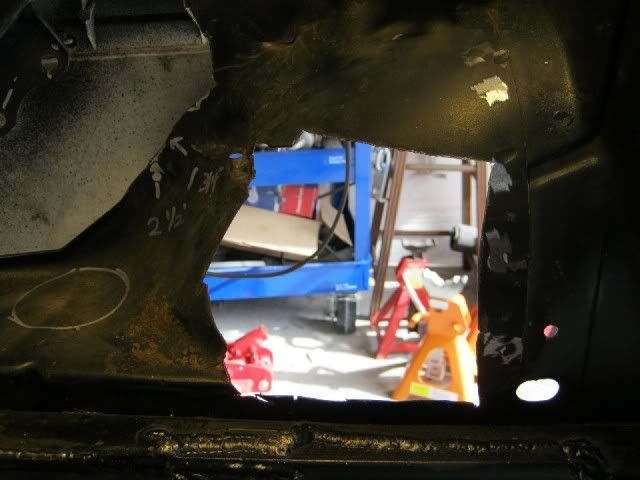
The hole to fill:
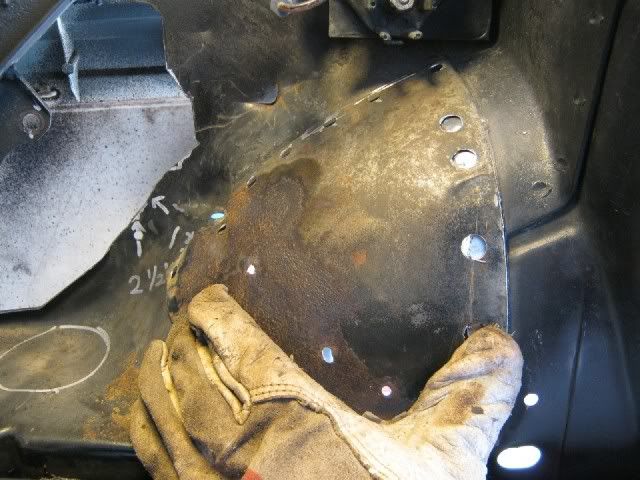
Setting the panel in place for the spot welds:
Now here's the problem - I did not cut the patch panel big enough to fit the entire hole:
So I hand to try my hand at some "free" form metal work!
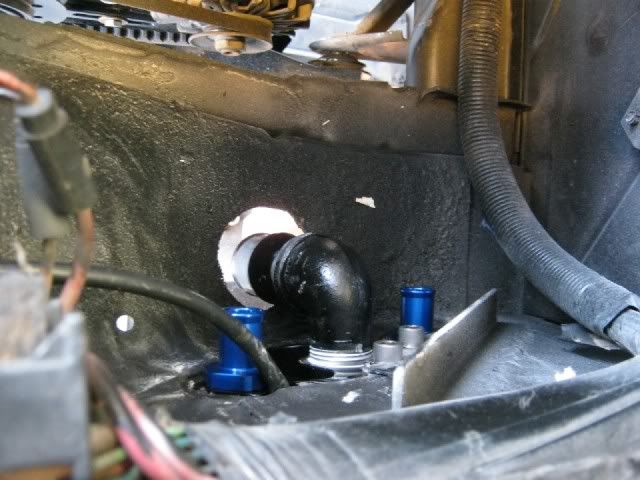
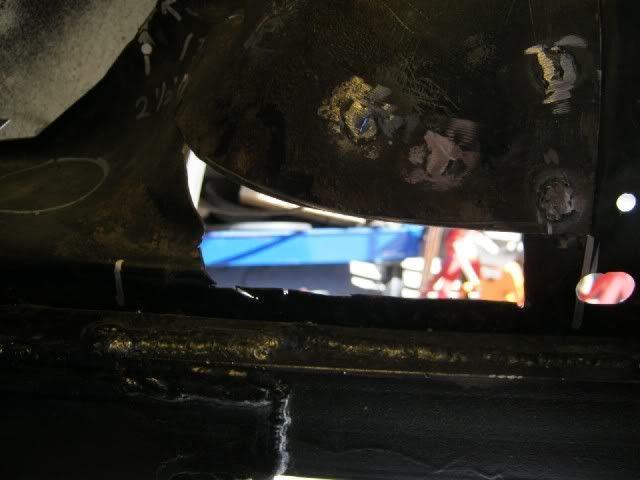
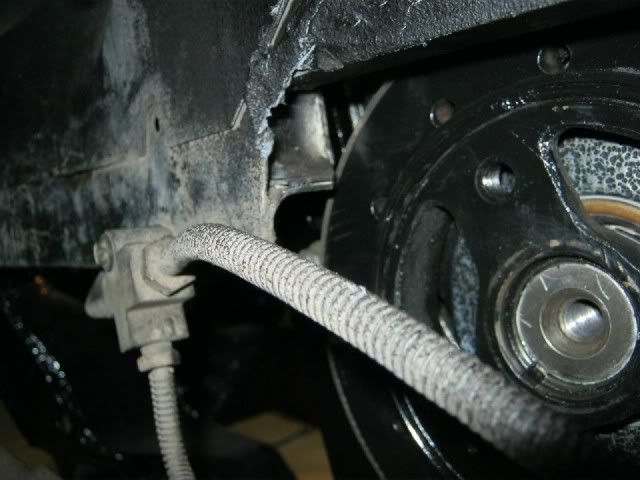
Don't look too clse at those welds - they are fugly - I hate flux core wire - and half way through my project toady, I ran out of wire! You can also see that I cut out the new hole for the hose.
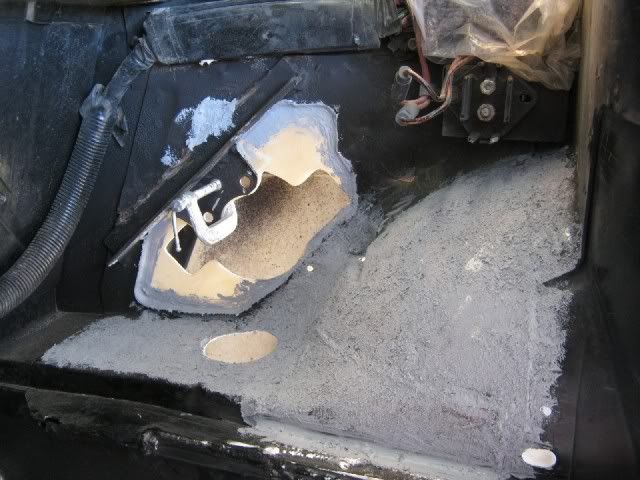
Then is was time to "fill" the old hose hole:
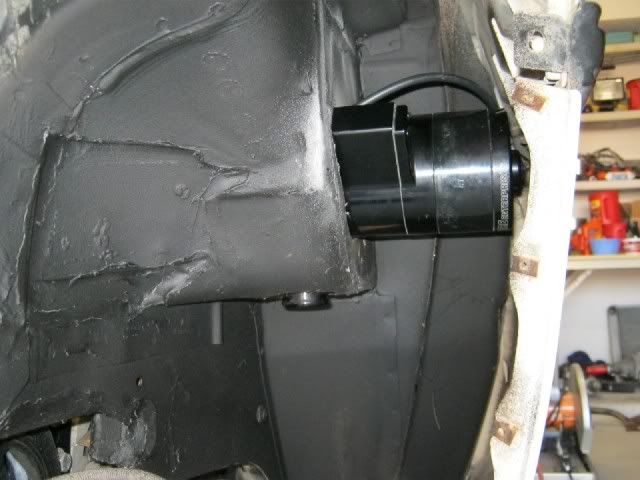
Now with all the welding and grinding and hammering done, I wanted to use seam sealer on all the seams. By the time I got everything covered, well the entire area was covered with seam sealer so I decided to use a paint brish and give it a little texture - it's rougher than I wanted but I can knock it down with some sand paper after it cures.
A layer of "rubberiszed" undercoating and it's near completion - still too rough on the texture but it will do.
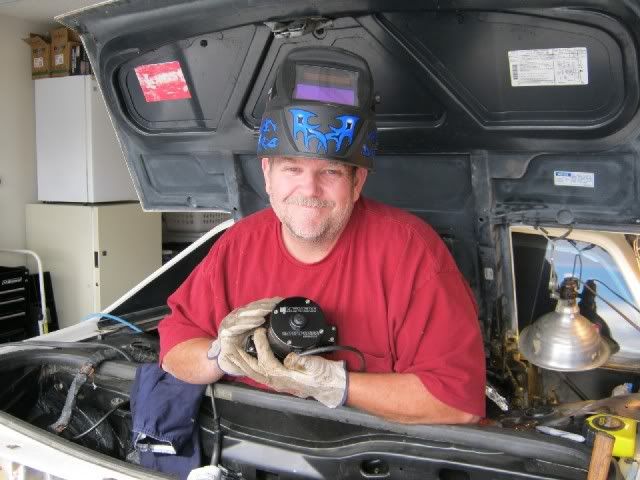
My wife decided that it was high time I posted a picture of "me" in my engine bay. I believe this is the only picture on PFF of me - and I am working - or at least admiring my new Meziere Electric Water Pump!
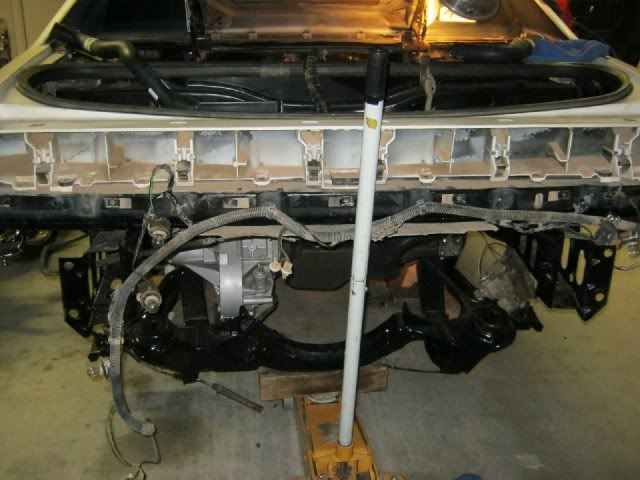
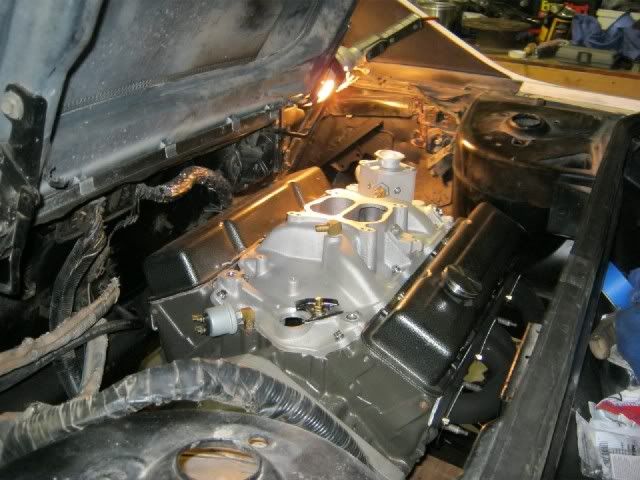
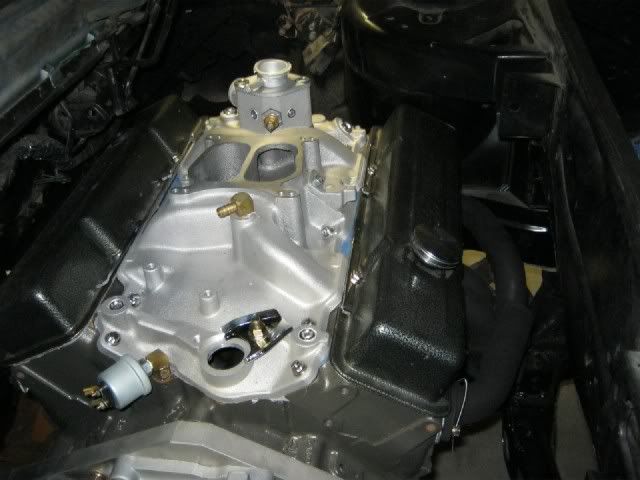
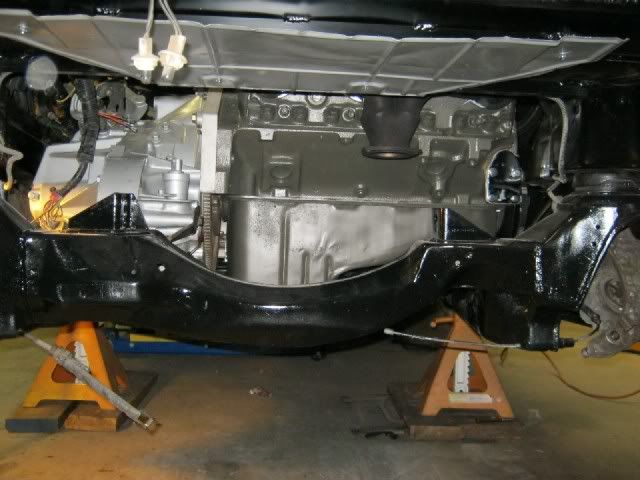
Well after some boring football, I went back out to the garage and stuffed the motor in the car - hopefully for the last time! I will have to lower the rear of the cradles and do a little more clearance work for the balancer! I have yet to figure out why it is so close - it dod not have this problem with the other motor. Maybe I do not have the balance pulled all the way onto the crank? I'm not sure how much farther I can pull it onto the crank - looking like some clearance problem with the timing cover if I do? I'll deal with that later this week. I might try and do a little slotting on the trans mounts - IIf I could slide the motor 1/4" to the driver side, I could move the front motor mount to the back side of the welded cradle mount and gains some much needed clearance - I'll still have to "carve" a little more off the frame rail.
Wishful thinking! I torqued the four cradle bolts:
Hard to see in these picks but there is about 1/8" clearance - I need more!
Plenty of room for some custom exhaust work!
The other side of my rebuilt fenderwell / water pump mount.
More later!
Pat
[This message has been edited by katatak (edited 01-16-2011).]
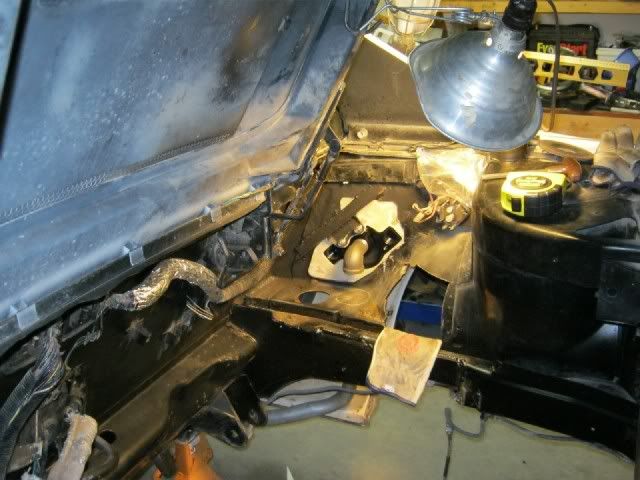
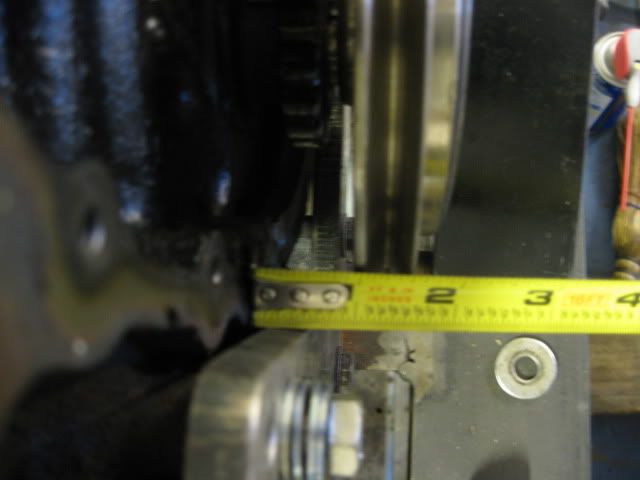
Your balancer isn't fully seated... The back side of the balancer should just barely clear the timing cover. From the face of the block to the outer edge of the V-belt groove should be just under 1 1/2" for your vintage SBC with a metal timig cover (the L31 plastic timing cover is different). If you look close at this pic, you can see it is at 1 1/2" and still has about 1/16" of clearance between the balancer and the timing gear.
Another way to check is to remove the balancer bolt and look at the end of the crankshaft. It should be about 1/8 to 3/16" below the recessed portion of the balancer... very similar to this pic:
Just make sure you check for rubbing on the back side...
It also appears that you did not shift the tranny mounts over about 1/2 - 3/4" or your engine/tranny is mounted too far to the rear of the chassis. An Archie SBC/Getrag (or isuzu/4 speed) will fit w/o any need to modify the frame rails. It is just a matter of properly positioning it and getting the balancer as tight to the engine as possible. I have even made an L31 timing with its protruding cranks sensor work w/o modification to the rails (but it requires some clearancing work to the balancer).
[This message has been edited by fieroguru (edited 01-17-2011).]
My wife decided that it was high time I posted a picture of "me" in my engine bay. I believe this is the only picture on PFF of me -
Pat
There he is!
That car is coming along great. Some nice detail work, and an awesome writeup. I can tell that you really enjoy being out in the garage. And you must have a wonderful woman at your side for dealing with the obsession. (Do they ever get the recognition that many deserve for putting up with us? I think not.)
Your balancer isn't fully seated... The back side of the balancer should just barely clear the timing cover. From the face of the block to the outer edge of the V-belt groove should be just under 1 1/2" for your vintage SBC with a metal timig cover (the L31 plastic timing cover is different). If you look close at this pic, you can see it is at 1 1/2" and still has about 1/16" of clearance between the balancer and the timing gear.
Another way to check is to remove the balancer bolt and look at the end of the crankshaft. It should be about 1/8 to 3/16" below the recessed portion of the balancer... very similar to this pic:
Just make sure you check for rubbing on the back side...
It also appears that you did not shift the tranny mounts over about 1/2 - 3/4" or your engine/tranny is mounted too far to the rear of the chassis. An Archie SBC/Getrag (or isuzu/4 speed) will fit w/o any need to modify the frame rails. It is just a matter of properly positioning it and getting the balancer as tight to the engine as possible. I have even made an L31 timing with its protruding cranks sensor work w/o modification to the rails (but it requires some clearancing work to the balancer).
Thanks Guru! - I'll take some measurements this evening and see where I am at. I suspect the balancer is not "seated". Whaer I have some confusion is that this car had a SBC in it when I got it and there were no clearance issues with it although the frame rail had been "poorly" hacked up. I added some reinforcement but did not come out past the frame rail to the inside at all. I'll have to look at it a little closer but I think I can slot the trans mounts and move the motor 1/4 to 3/8" towards the driver side. I just can't find the difference between this motor and the one that was in it. Hope it's the balancer but clearnace behind it and the timing coever is looking pretty tight. Thanks again for the reply and tips.
That car is coming along great. Some nice detail work, and an awesome writeup. I can tell that you really enjoy being out in the garage. And you must have a wonderful woman at your side for dealing with the obsession. (Do they ever get the recognition that many deserve for putting up with us? I think not.)
Tony
Yes Tony, She is a saint! But actually I think she prefers that I "hang out" in the garage and tinker with my cars - that way, I am not in her way and she always knows where to find me should she need the pickle jar opened and the leaky faucet fixed!
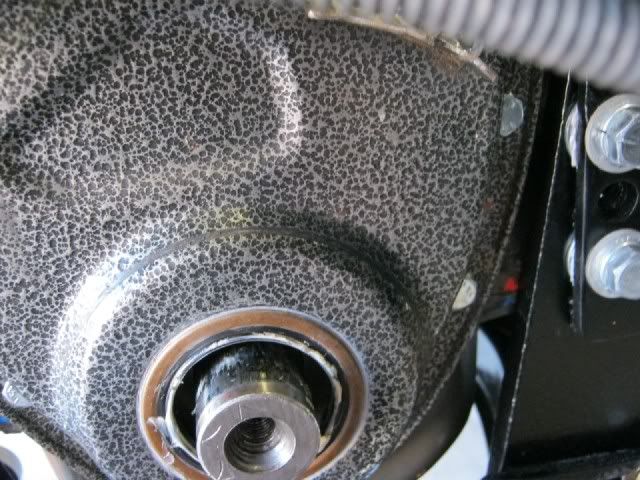
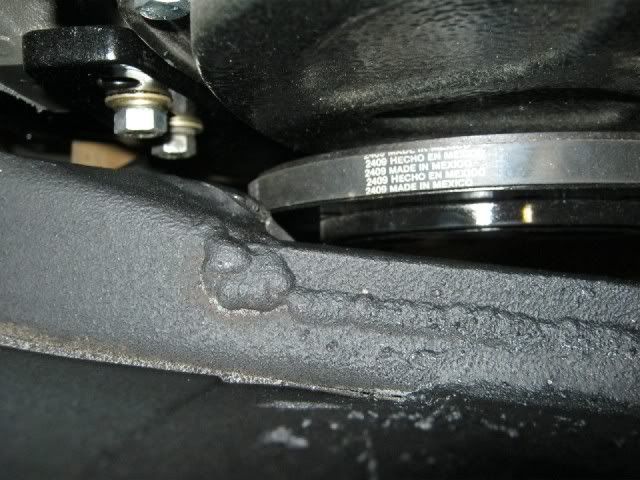
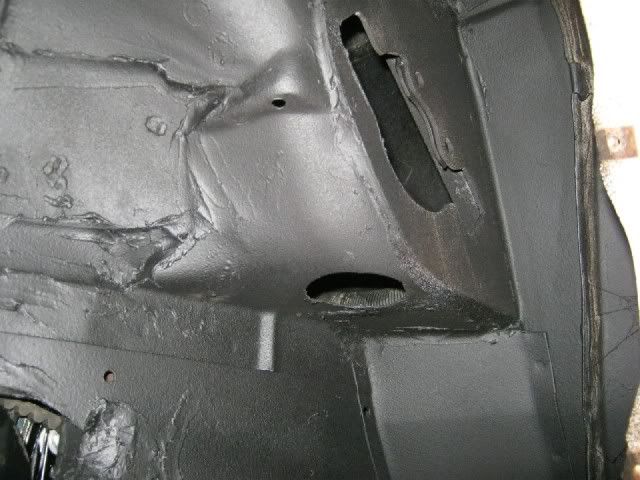
Fieroguru was right on the money. I was able to pull the balancer in further but I did have interference with the aftermarket timing cover. I dropped the rear of the cradle and pulled the balancer - it was not hitting hard - but enough to scrap the paint on the cover. I gave it a little "lite" adjustment with a watch hammer and reinstalled the balancer. Pulled it back down on the crank and all is good - I have plenty of frame clearance now!
Thanks Guru for your help!
You can see where the balancer was rubbing the cover!
More later!
Pat
[This message has been edited by katatak (edited 01-17-2011).]
Pat....I have the balancer install tool if you need it. Let me know.
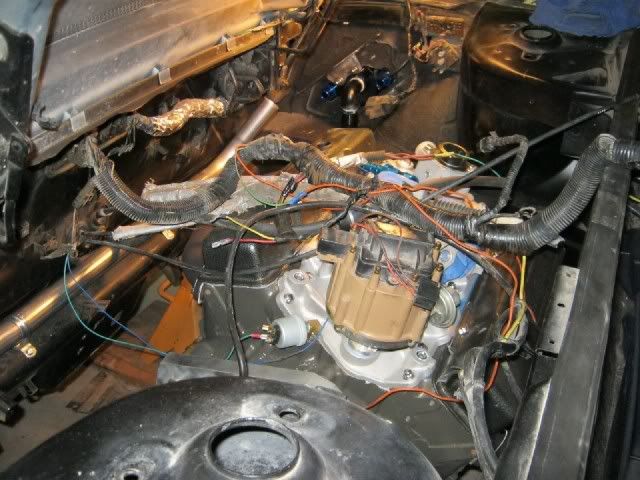
Thanks Dan! Already have it back on. Just waiting for Summit to deliver some fittings for the pump. Still have a mix up on my order - should know more tomorrow! Motor is in, OP primed, Dizzy is in. Wired up, clutch master is back on with shift linkage. Just need to fab a crossover coolant tube and plumb it and she will be rady to fire. It's getting very close now. Thinking I'll take a couple vaca days when/if my pump fittings show up. Going to try and get the suspension/axles, etc reinstalled by tomorrow night.
Yep - I'll be here! You would think that something that weighs so little would not cost so much - Aluminum - the new Gold! I was hoping to fire it up this weekend but it won't happen now till the BO's parts come in. I'll have it already though!
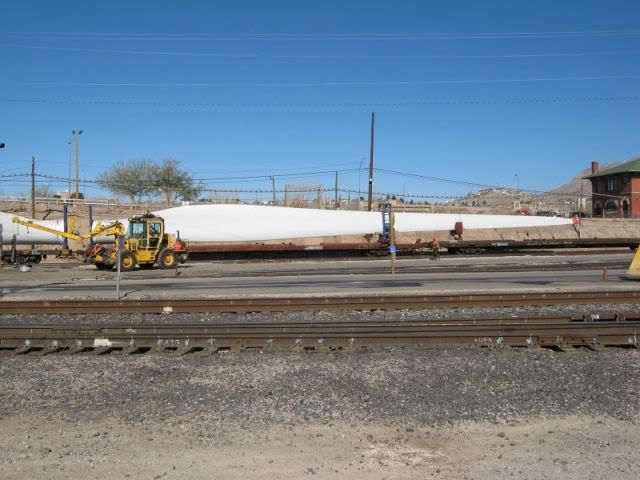
Can you say "Propeller"?
More later!
Pat
[This message has been edited by katatak (edited 01-27-2011).]
I just had a customer that installs, and repairs those things. He works inside, outside, and hangs off them. Can you say acrophobia? Too high for me!
Me too Rick! Heights don't bother me too much but I don't see me climbing up and out onto one of these monsters! Crazy!
Working on the Coupe this afternoon and weekend. Should have the water pump installed this evening - suspension and axles tomorrow then I'll be waiting for the block adapters to finish the plumbing and crank her up! So close - yet so far away!
Thanks Rick, Jake for the comments. Kind of sad huh RIck - 500.00 water pump - hidden! Thanks to Archie for sharing his water pump install and part numbers.
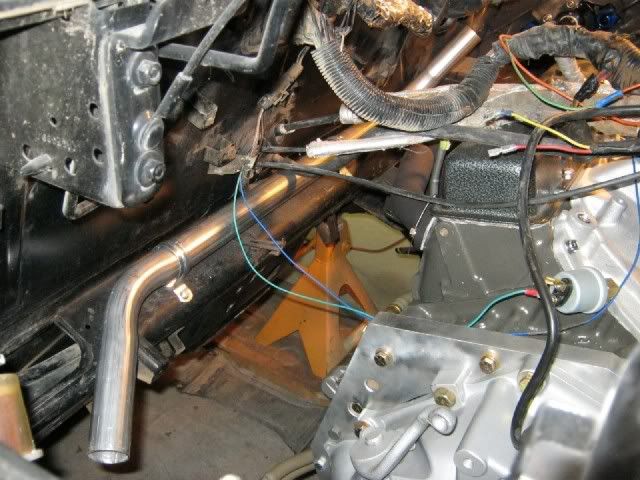
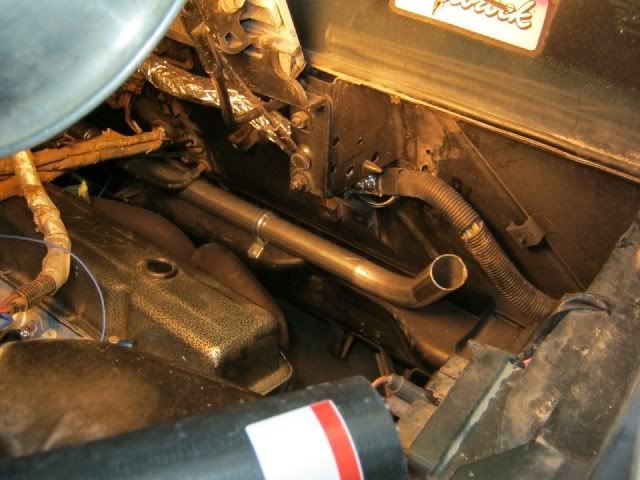
I had big plans today - but it was my B - Day and I had zero wrenching ambition! Went to Logans Roadhouse for lunch with Jeff and Dan. Then went to a muffler shop to get some 1.5" pipe for my coolant crossover. Had the guy there make a few bends and took it home. Got a little ambition and set the crossover in place. Had to drop the rear of the cradle to get the coolant pipe where I wanted it. Found that the bend on the passenger side was not enough so I ran back to the muffler shop and tweaked it a little. Managed to get it mounted to the firewall and went to Autozone for some hoses. Managed to find the "right" hoses. All in all a good day and actually got more doen thatn I thought I would. Glad I did not get the suspension in before I found out that I had to drop the motor to get that crossover piep in! Going to dive into the siring harness tomorrow - it's just too cobbled up to leave it as is.
Wind turbine blades! That is what I was installing in Texas, Pat! It's hard to believe a piece of fiberglass can weigh up to 26000 lbs! Now, imagine three of them spinning at 200MPH, 300 feet in the air.........
------------------ 88 GT "The Stray" 4.9L 86 GT 2.8L 4 speed 07 Solstice GXP 2.0L turbo 08 GMC Sierra 3500 Duramax Dually. 05 Tahoe on 20's (Kid hauler)
quote
Originally posted by pontiackid86: i'm sure i could fly a plane no problem.
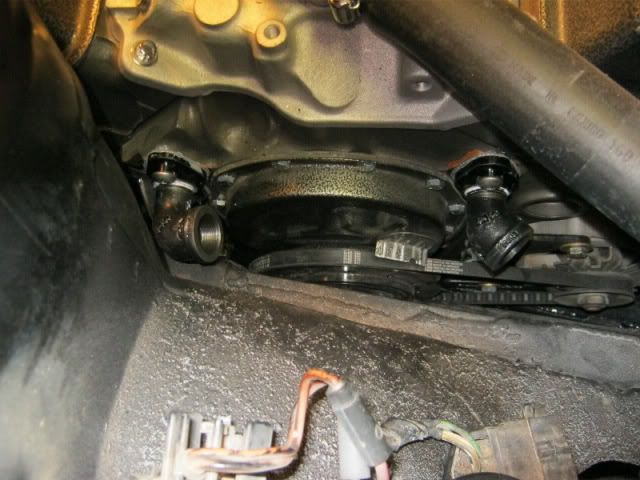
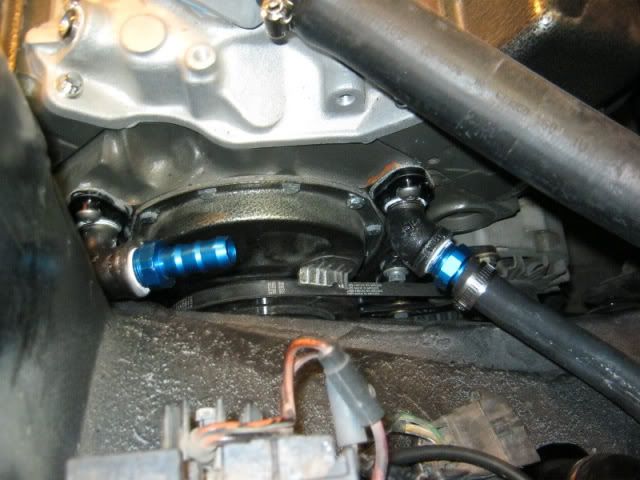
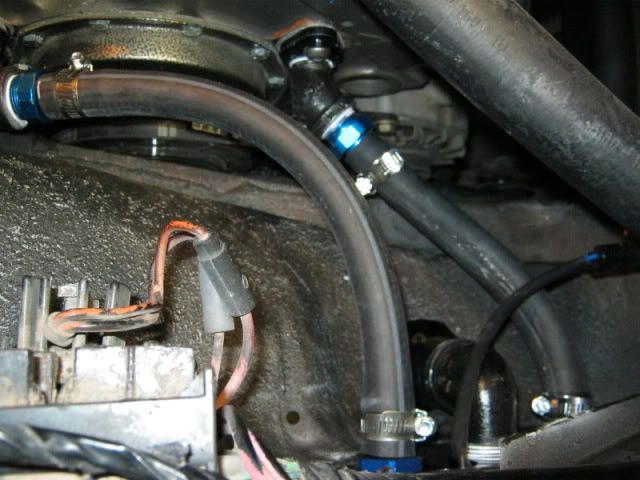
Got a little done this evening. Installed the block adapters - What a pain in the butt! I used a 90 street L on the trunk side - due to the limited space, I had to install the L in the adapter plate before I could install it on the block. The lower bolt was not fun to install! I spent more than an hour getting the trunk side installed. I used a 45 street L on the passenger side. It was a little easier to install. Then I got the 2 - 3/4" block to pump hoses installed. Just have the pump to coolant tube hose left. After going through this excercise this evening, I have decided that I will do it a little differently next time. If this setup leaks at all, the next time will be - well the next thing I do! I will order the block adapters that have the #12 AN - male built in and then get the same fittings for the pump then get some custom hoses with female #12 AN fittings - I think it will seal better and definitely will be easier to remove/install.
Thank you sir! Hope you guys are stayong warm down there! It was 70 here yesterday - barely made it above 32 today. This rollercoaster weather is going to make me ill.
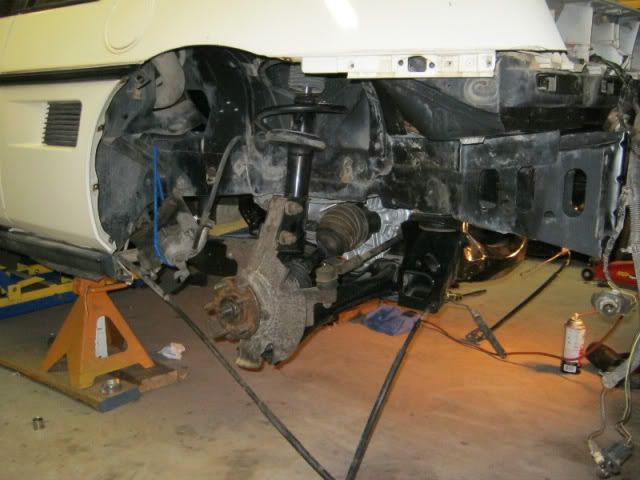
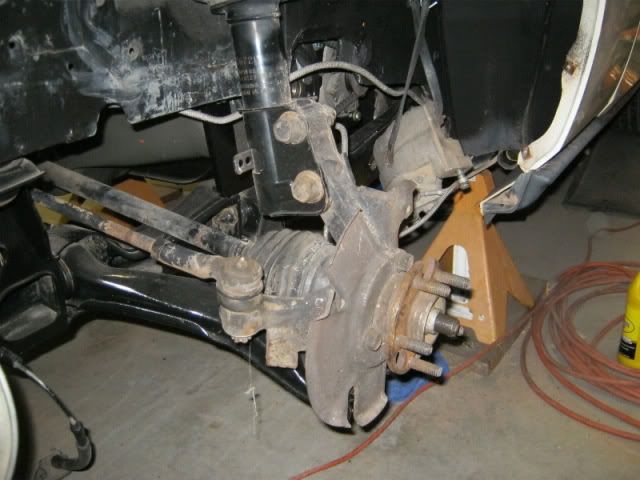
Got a little more done this evening. Wanted to work out in the garage but it's just to cold out there. I can only take so much sitting on the concrete. Managed to get the axles and suspension bolted back in. I'll wait to do the brakes and little pieces till after I fire it up and breal in the cam. Hope to get a lot done tomorrow!
Suspenders in!
And yes, I will detail the dirty rusty pieces and clean it all up. I will eventually install new rotors and rebuild the calipers. I just wanted the axles in place so I can fire it up and greak in the cam - plus I want to make sure the clustch is working correctly - I am not real happy with the way it went together - I have a little worry that it's not right!
Thanks Tim - it was a lot of work and money but I think it will be worth it in the long run. How's that 4.9 treating you?
Very well, thanks. I'm enjoying the Fiero a lot more than I expected to. I don't know if I'd ever want a stock one, but having one with a V8 is a blast.
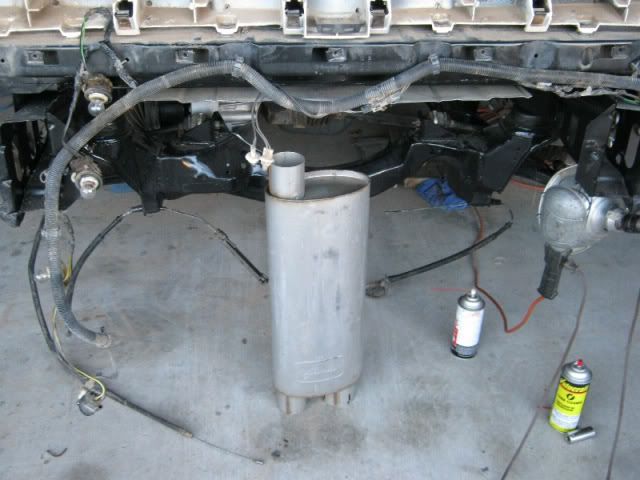
Got this off of Ebay for 25.00! 3" in and 2.5 out - it's for a Camaro and it will be perfect in my V8 Car! If it's too loud, I will add some resonator tips!
More later!
Pat
[This message has been edited by katatak (edited 02-10-2011).]


 Some nice detail work, and an awesome writeup. I can tell that you really enjoy being out in the garage. And you must have a wonderful woman at your side for dealing with the obsession.
  (Do they ever get the recognition that many deserve for putting up with us? I think not.)