Hey if you want a HID bulb/projetor lens as well as the high beam bulb and lens out of a 2006 SRX lmk. I have them at work and are free if it helps. Will we see you at the Moose on Sunday?
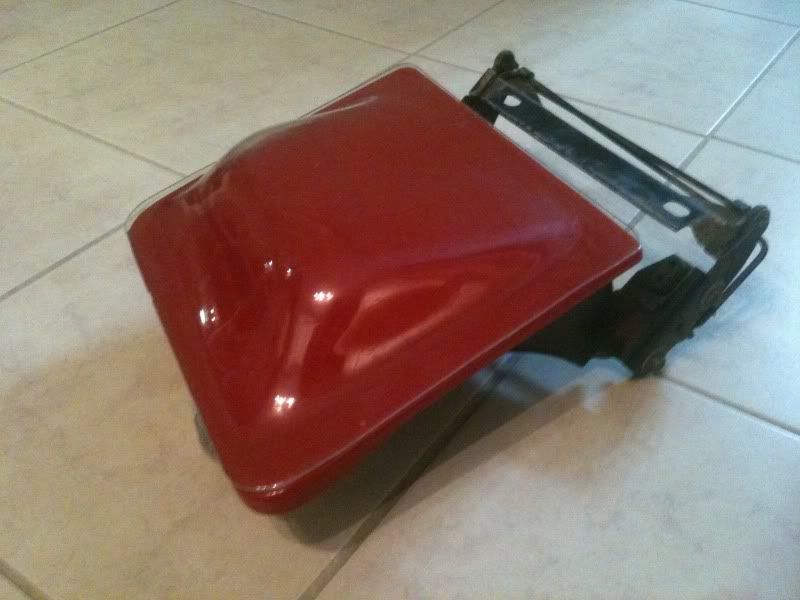
I have a vacuum forming machine built, got some lenses pulled from it and they look good.
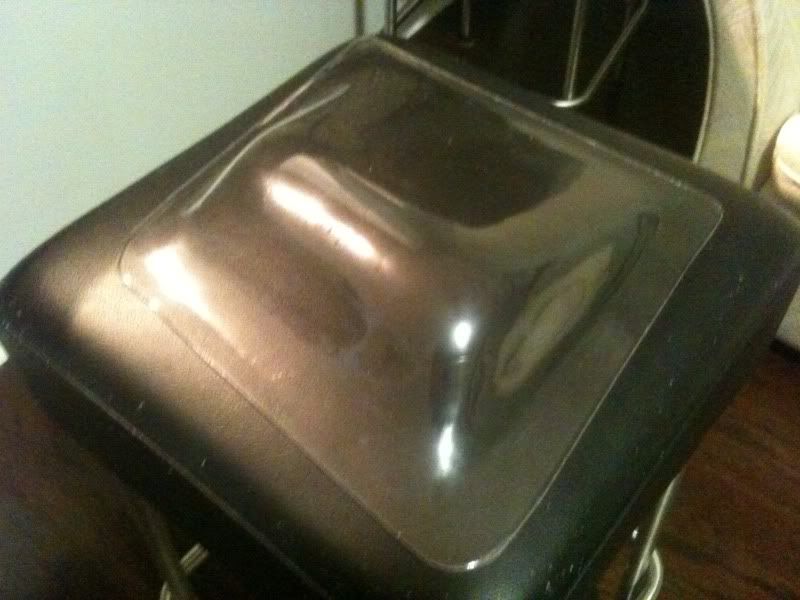
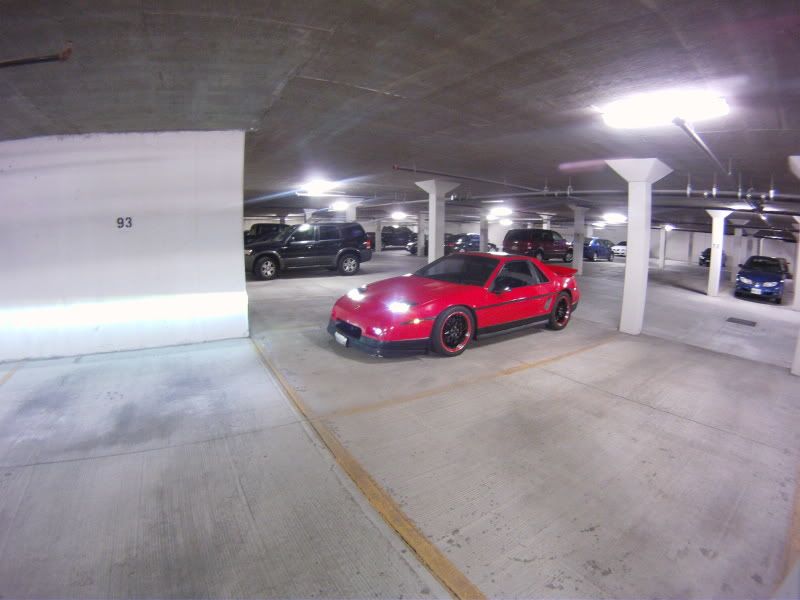
I chopped up the extra hood I have today... but I didn't get to take the Fiero out. Turned into one cold rainy day!
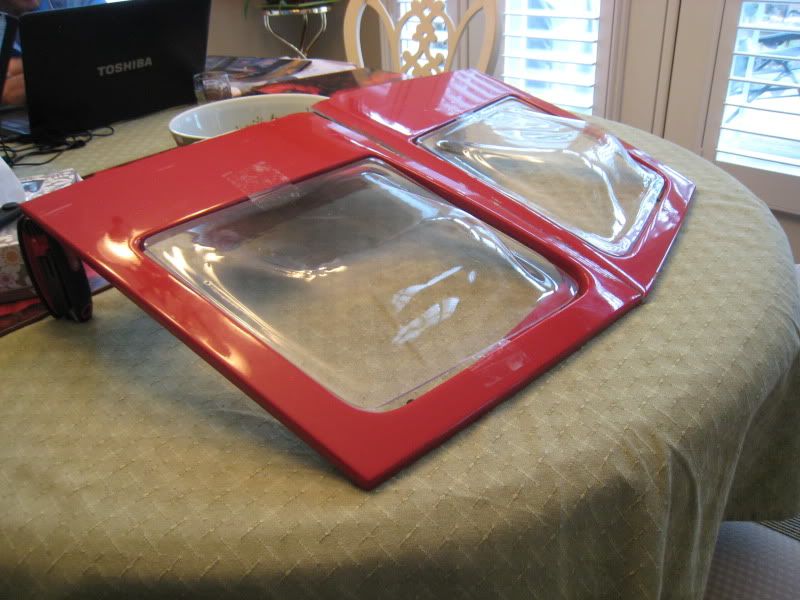
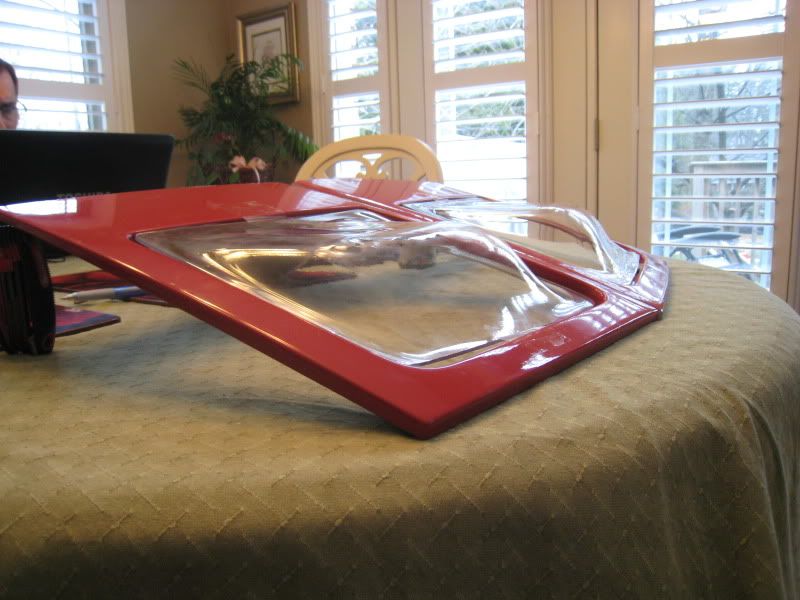
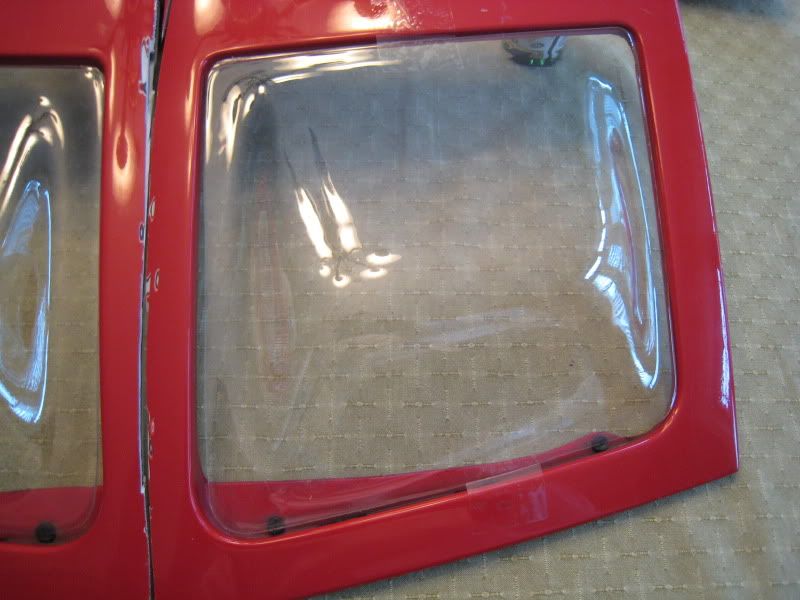
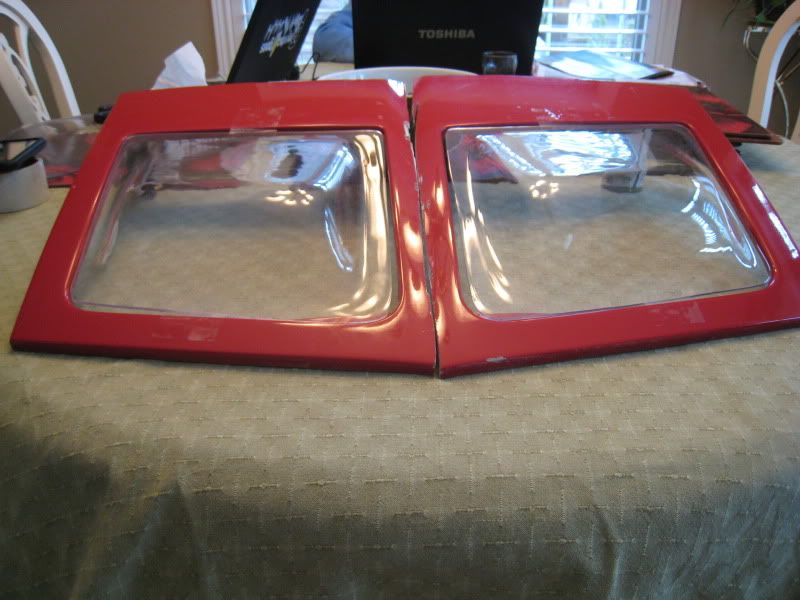
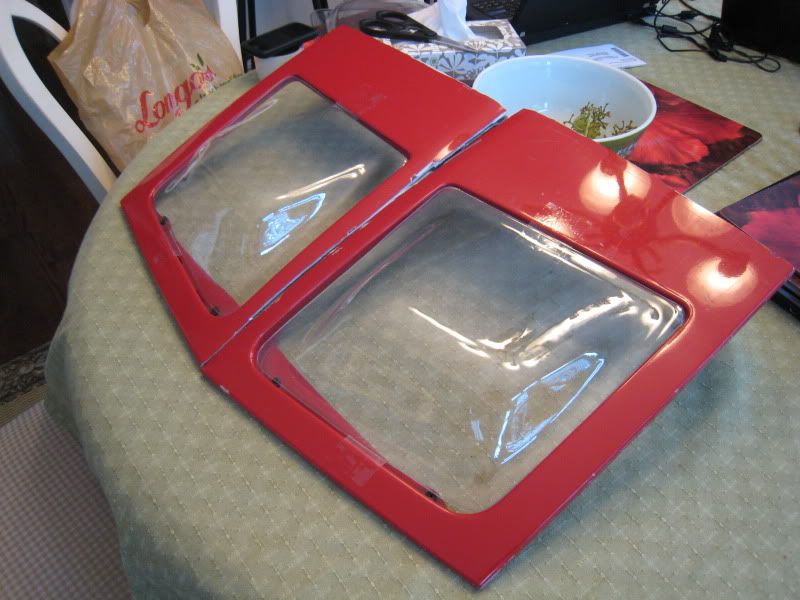
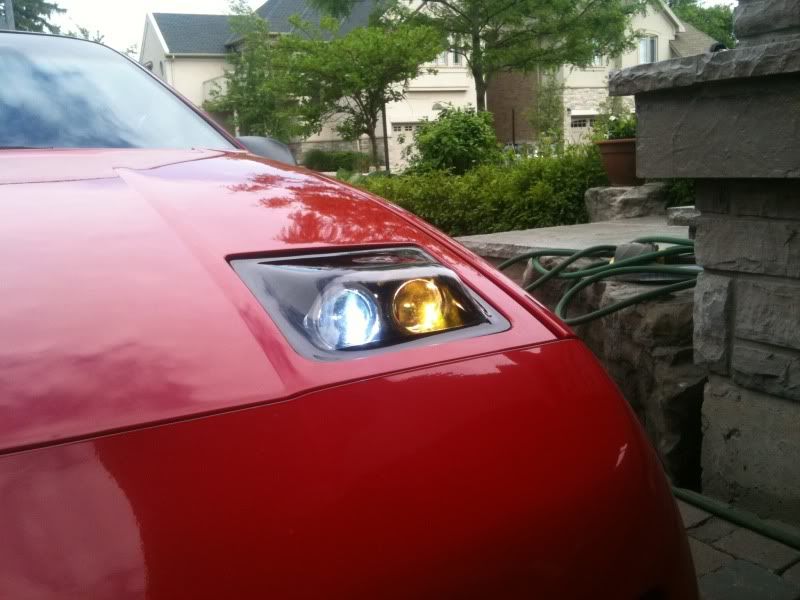
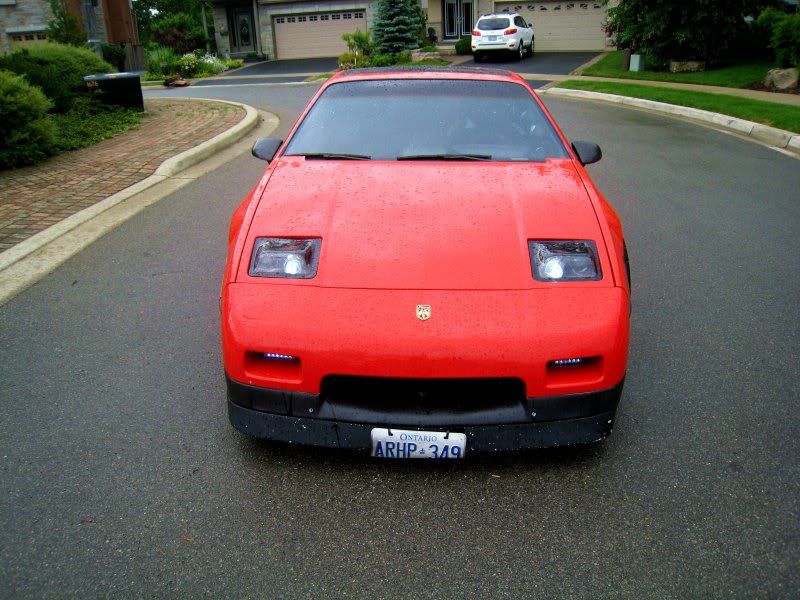
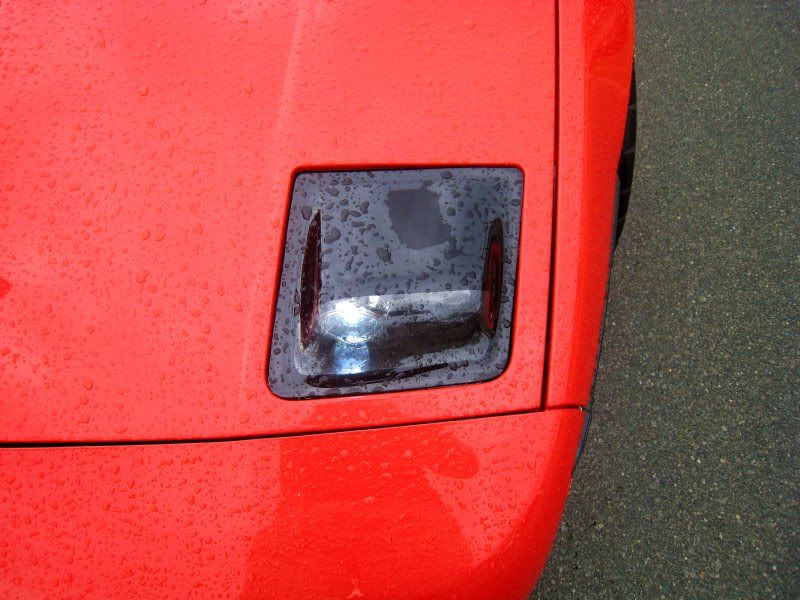
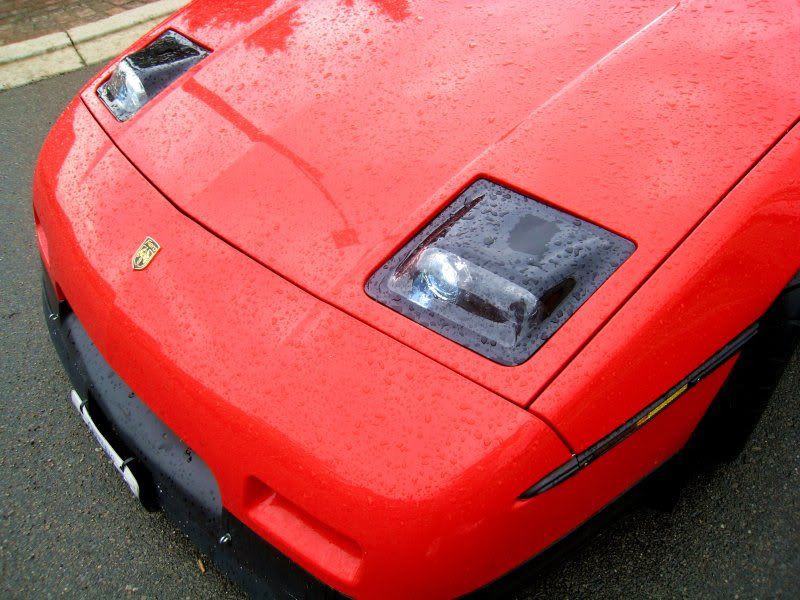
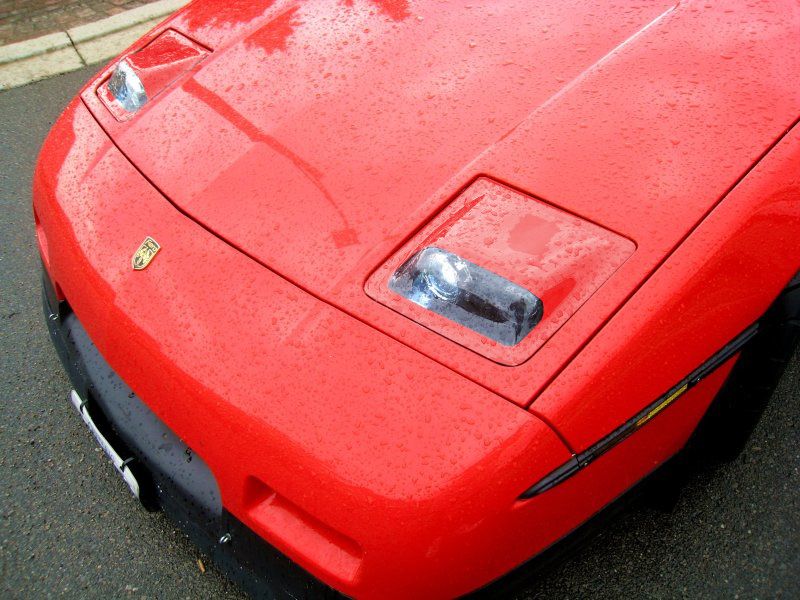
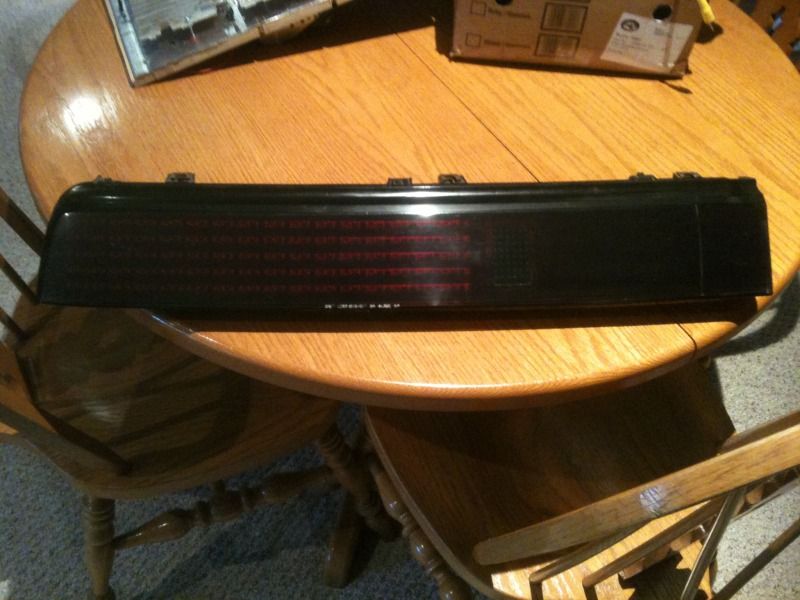
Here are some pictures of the trimmed lenses in the headlight holes. They fit really well! You'll have to imagine the lights and buckets underneath until I get a chance to make/mount those. Keep in mind the lenses are just taped in place right now so some of the edges may not be sitting flush with the hood.
This week I'll make more progress on the buckets underneath.
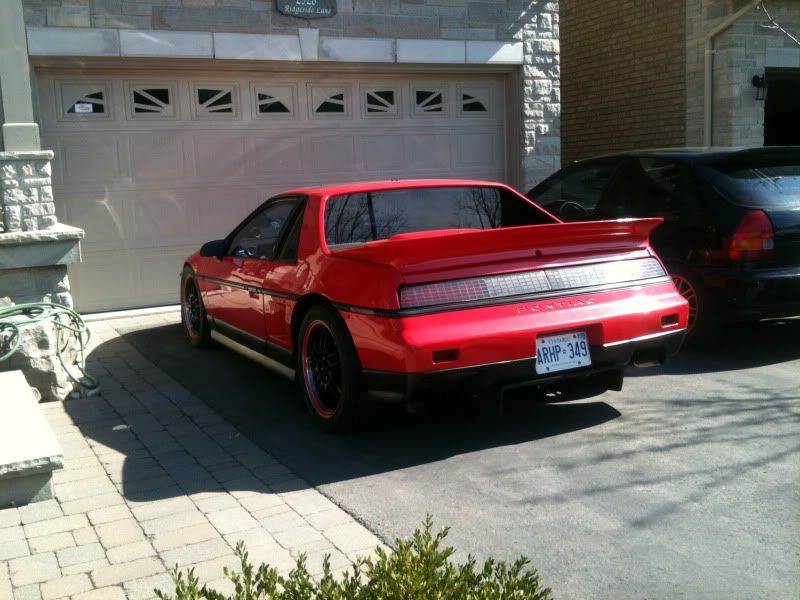
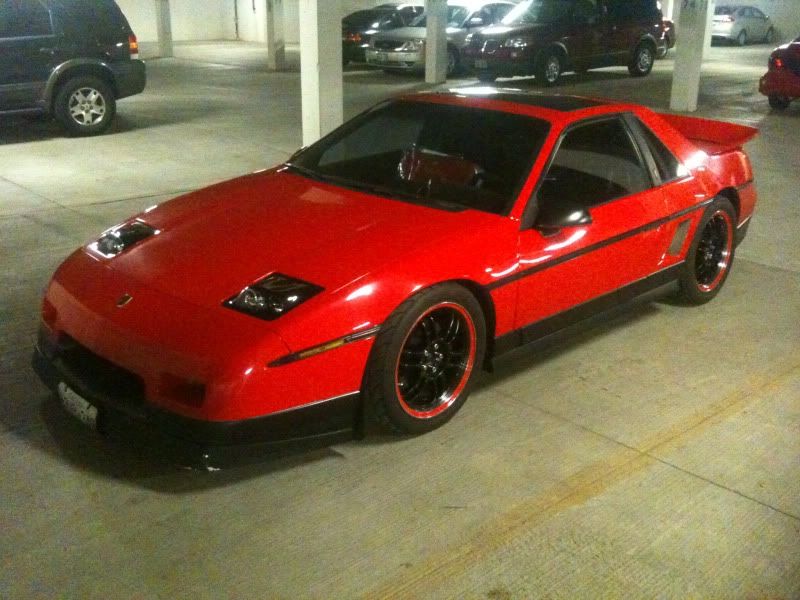
Today I got the car out again for the 2012 season! Pretty excited about it
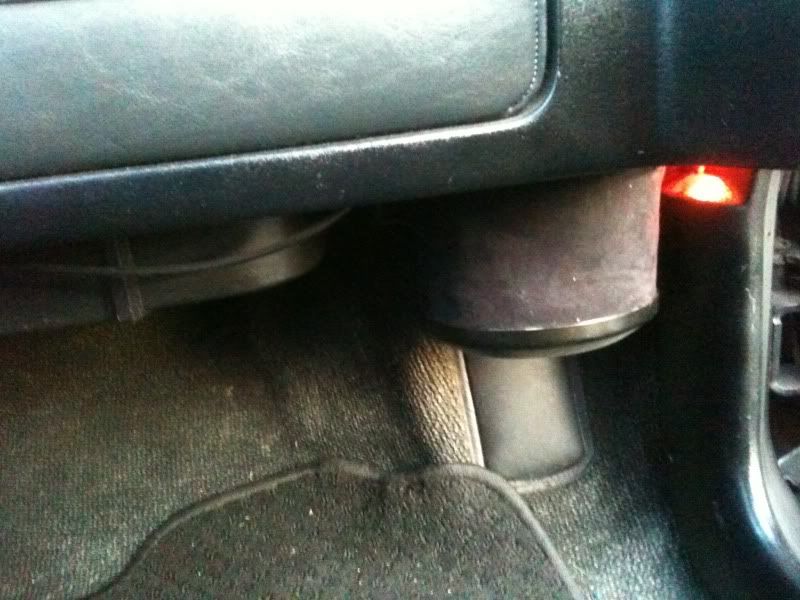
Also picked up a stock sub box the other day with an aftermarket speaker. Also came with an aftermarket amp. Wired them up today and installed it:
The sub box is covered in black suede, it looks pretty good in there. The sound is better than it was before too. Just a little more bass but not deafening.
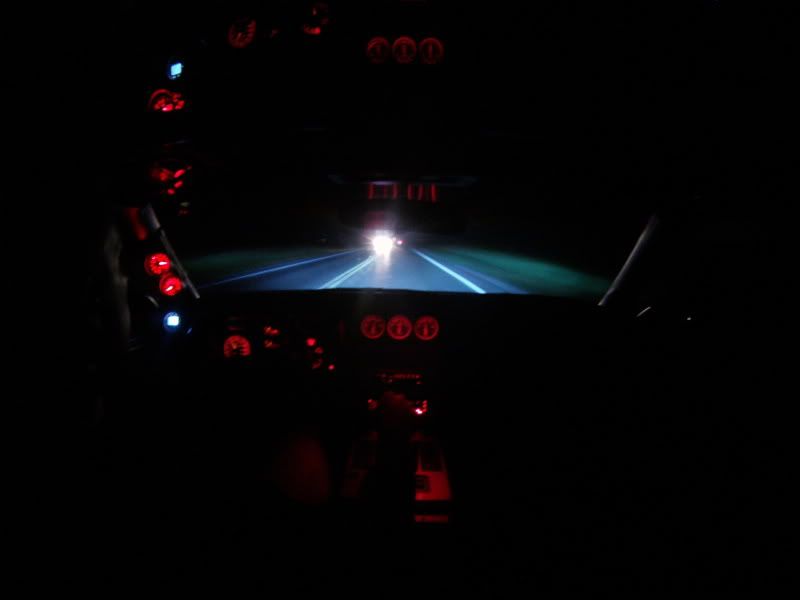
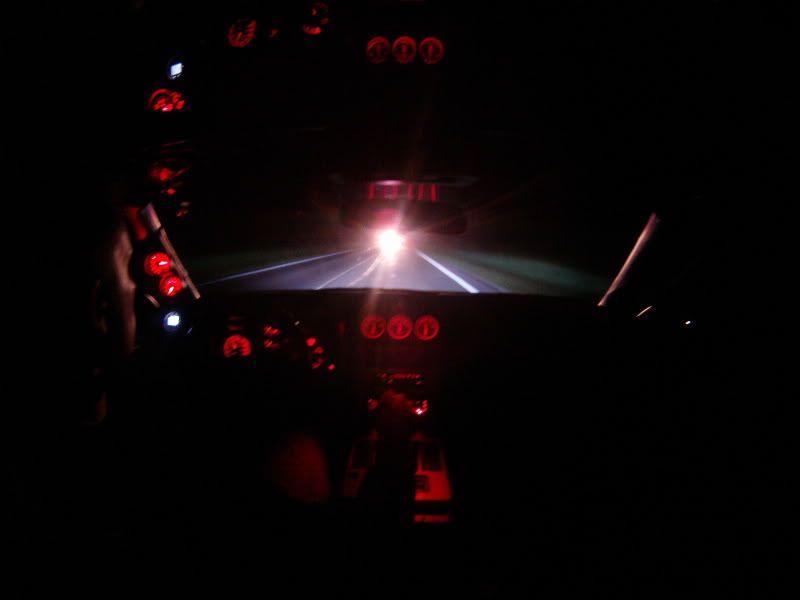
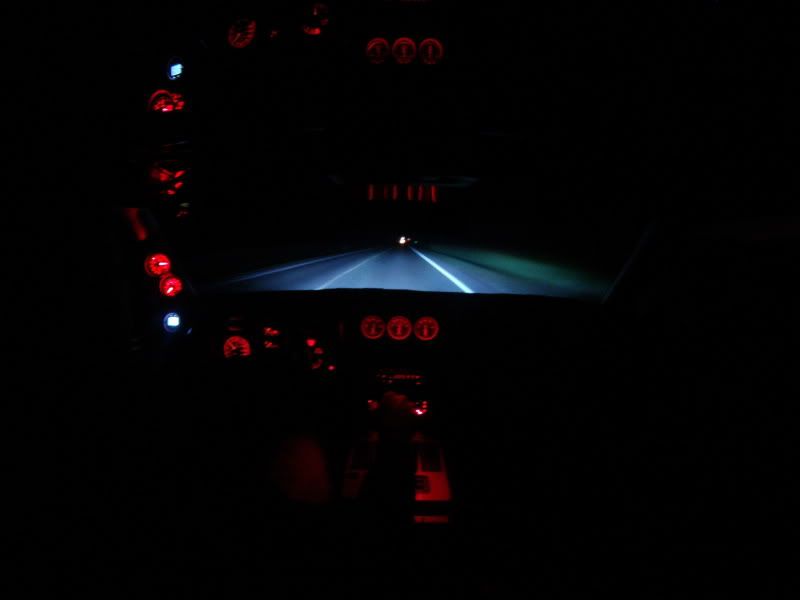
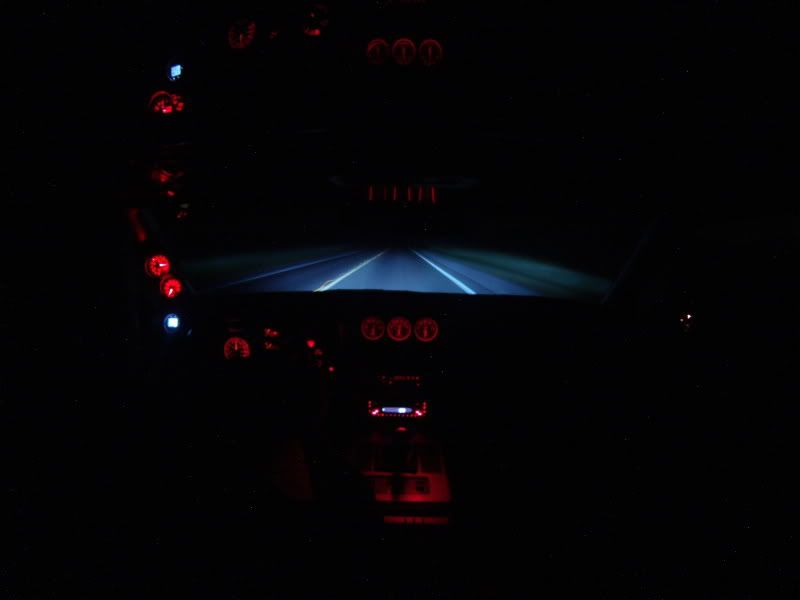
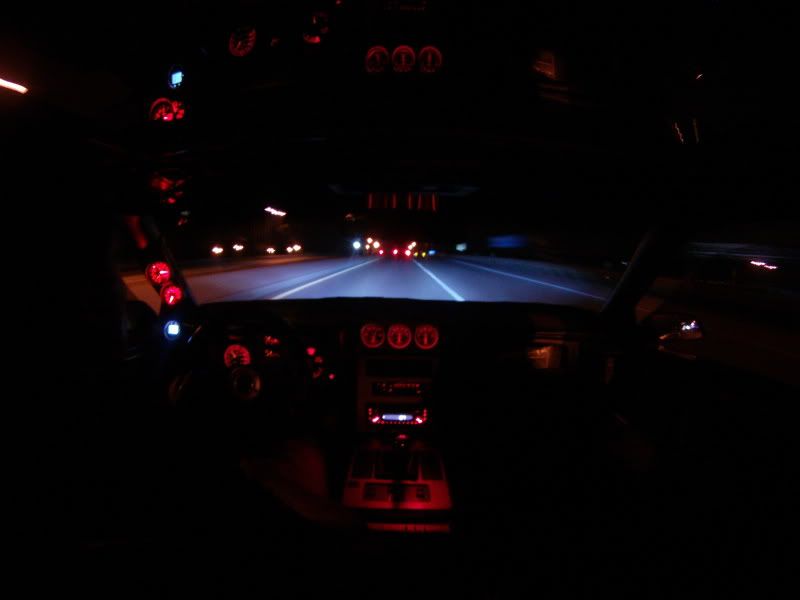
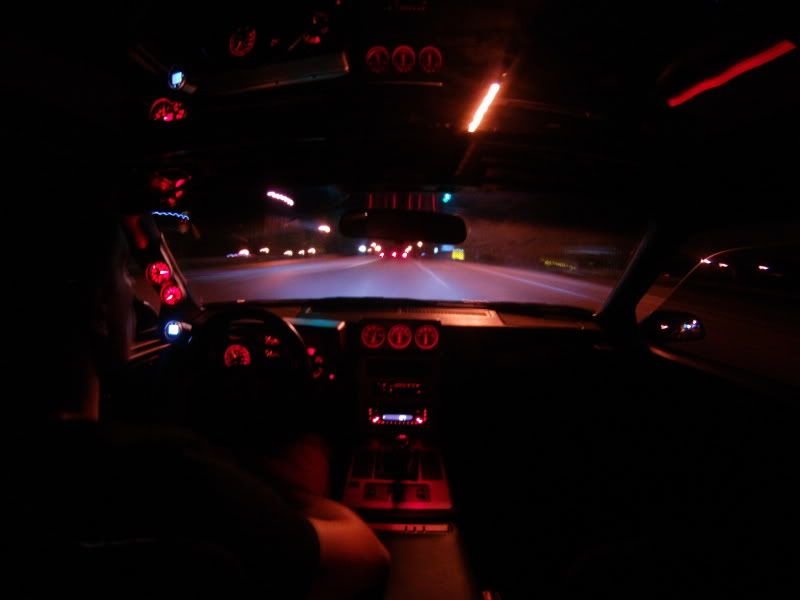
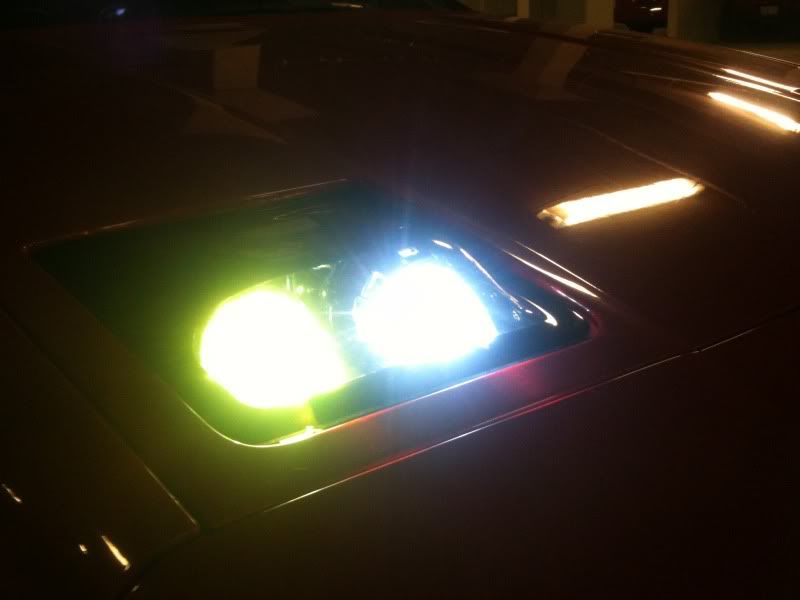
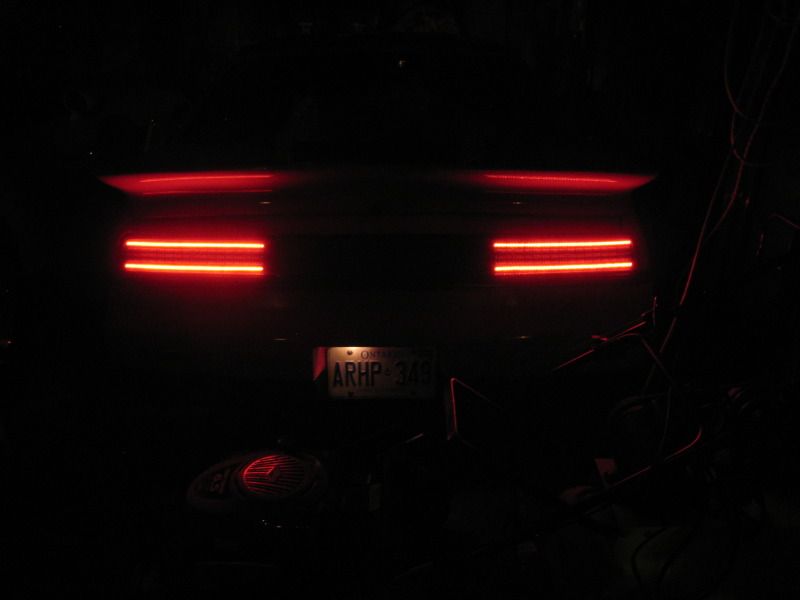
Just to reiterate, this is with only a single pair of projectors on, 35W bulbs, and 8000K temp bulbs (6000K are the brightest). These were all shot with low beam only!
[This message has been edited by doublec4 (edited 07-01-2012).]
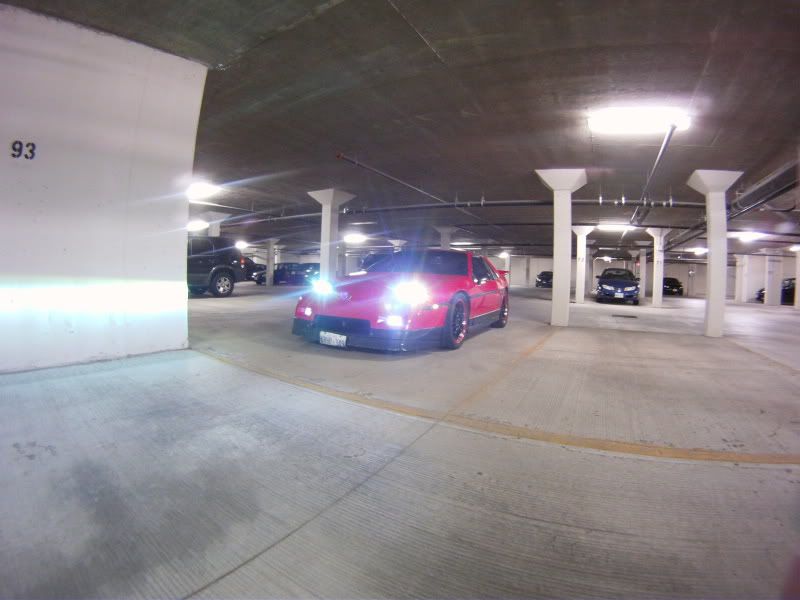
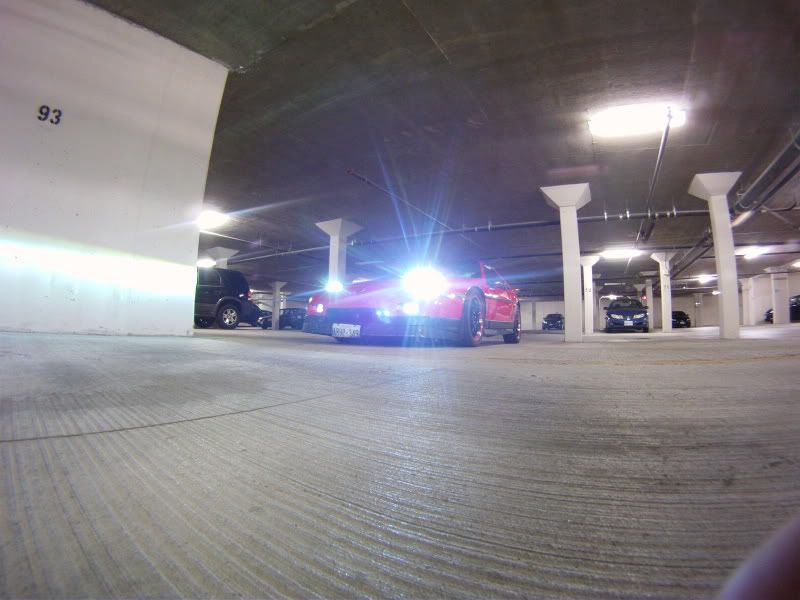
Got my harnesses in from ebay. Hooked them up and its really easy to get all 4 headlights on at the same time:
Its hard to see the separate lights in the pictures, but in person you can easily identify that 4 lights are on. You can also see that the cut off is sharp against the wall.
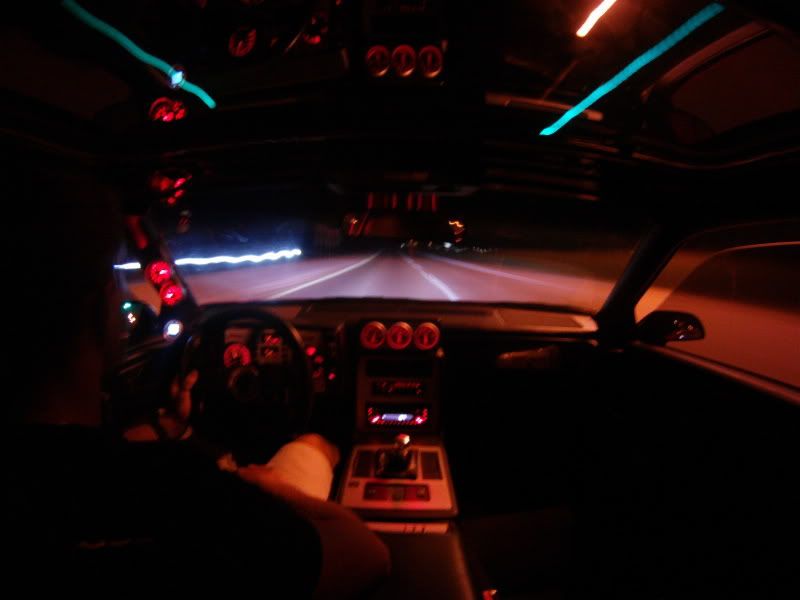
Tonight I'll see if I can snap more pictures while driving. I can't wait to see how 4 lights function! Should be super bright!
I don't think they'll ever be a need for high beams with this set up, but the lights do have the high beam function for those who want to go from BRIGHT to the power of a thousand suns, lol...
Looks awesome, has anyone tried painting the lenses the color of the car yet?
Thanks for the photoshop! Nicely done.
I haven't seen anyone paint them body color yet, however, Vendetta just bought a set of spare lenses and he plans on painting them body color. He or I can post pictures when they're complete
Assuming the heavy mech for the factory headlights can be removed? Seems to me the weight savings is a bonus to an already cool upgrade!
Yes, all of the stock headlight gear is removed. No more motors, brackets, etc. I never did weigh the stock assembly. My lights aren't exactly featherweight either, but there should be some weight loss over stock. Thanks!
Curious, do we know how long the lenses will stay clear without clouding or yellowing? WHat do you recommend to keep this from happening, and will you sell replacement lenses cheaper for people if they need them?
Curious, do we know how long the lenses will stay clear without clouding or yellowing? WHat do you recommend to keep this from happening, and will you sell replacement lenses cheaper for people if they need them?
I think that will depend a lot on the conditions that the lenses are exposed to. I am using a brand name and apparently "UV resistant" PETG plastic to make the lenses, so they should hold up to weathering quite well. Unfortunately, I do not have a R&D department behind me that can estimate exactly how long they will last out in the sun. I do currently sell replacement lenses if people need them. I have been offering them for $60 a pair which is pretty cheap in my opinion considering the time it takes to make them. Thanks for the question!
If you have a junk one maybe it would be beneficial to leave it outside, on your roof or somewhere with lots of direct sunlight. Just to see what happens.
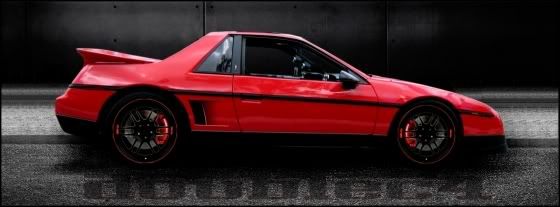
The lights are awesome, your car is awesome. I'm exited to see what you come up with this year
If you have a junk one maybe it would be beneficial to leave it outside, on your roof or somewhere with lots of direct sunlight. Just to see what happens.
The lights are awesome, your car is awesome. I'm exited to see what you come up with this year
Thanks, I'll definitely give that a try. I have a few spares with defects that will make good test pieces sitting outside.
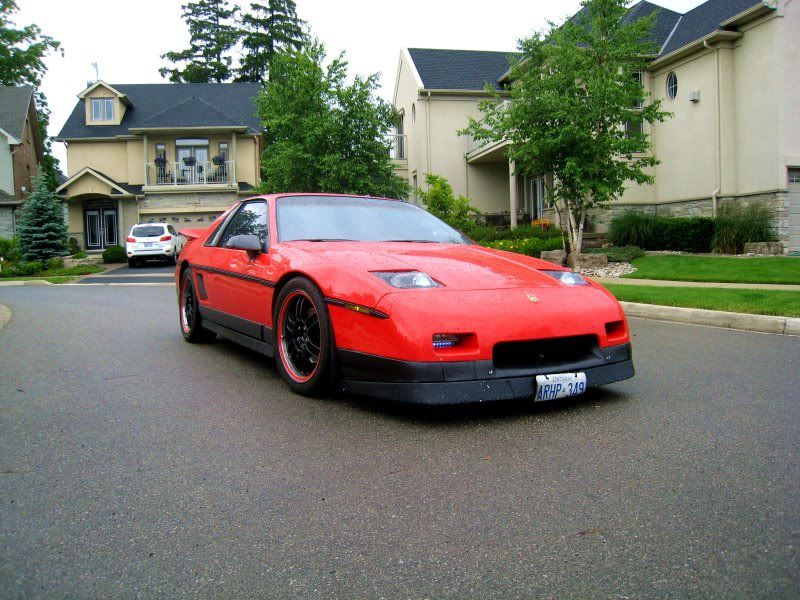
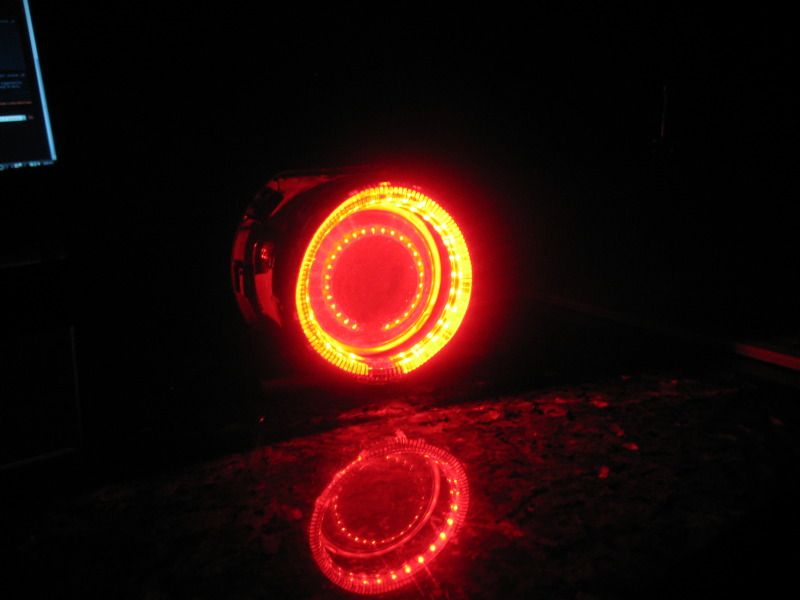
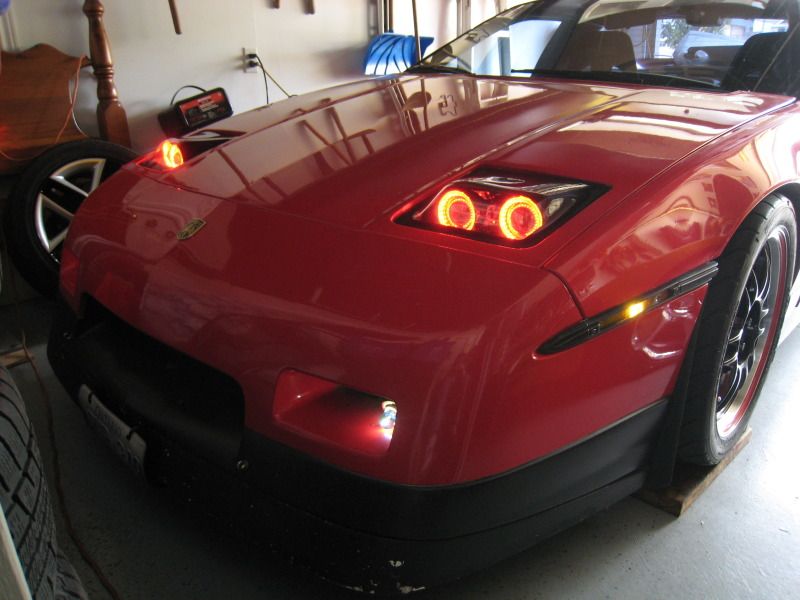
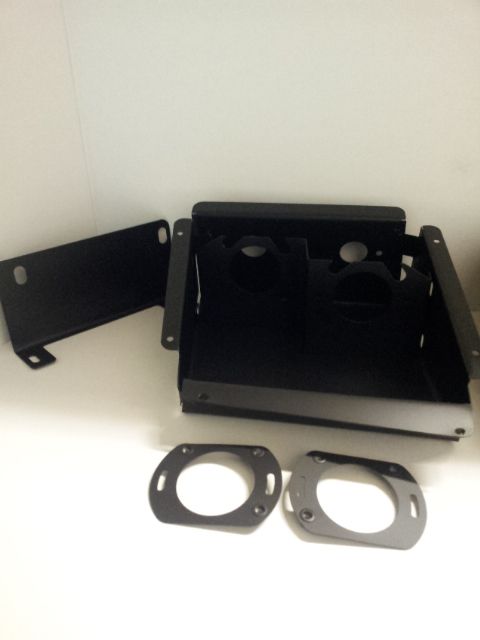
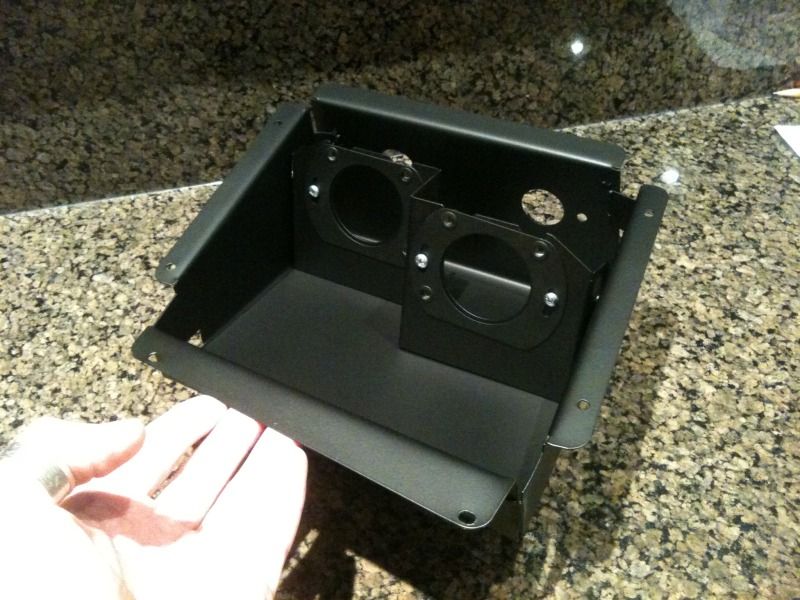
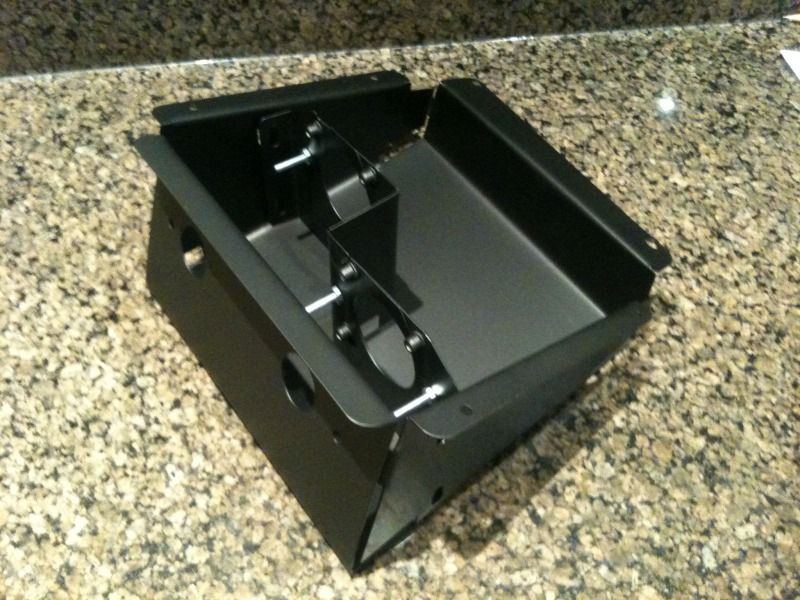
Since the lights in my car were prototypes, I'm putting together another kit for myself that better represents the newest REV2 version of these lights.
Just got the buckets and brackets powder coated by a member on here, OneQuickGT, and they look awesome! I would definitely recommend powder coating the buckets and brackets for the best results and a durable coating.
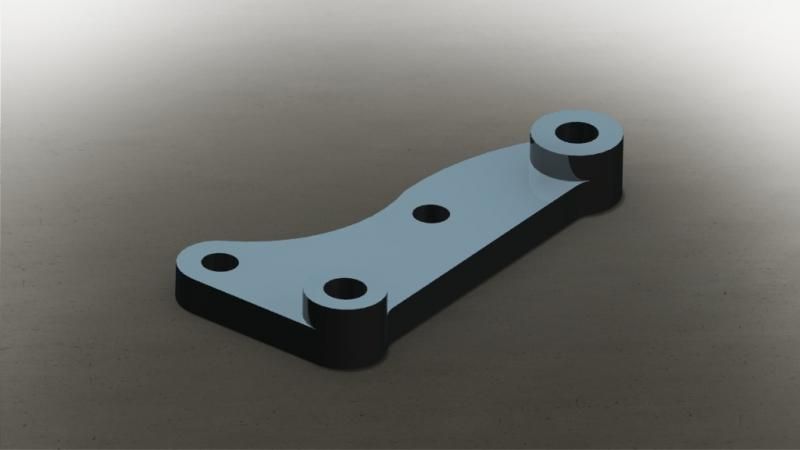
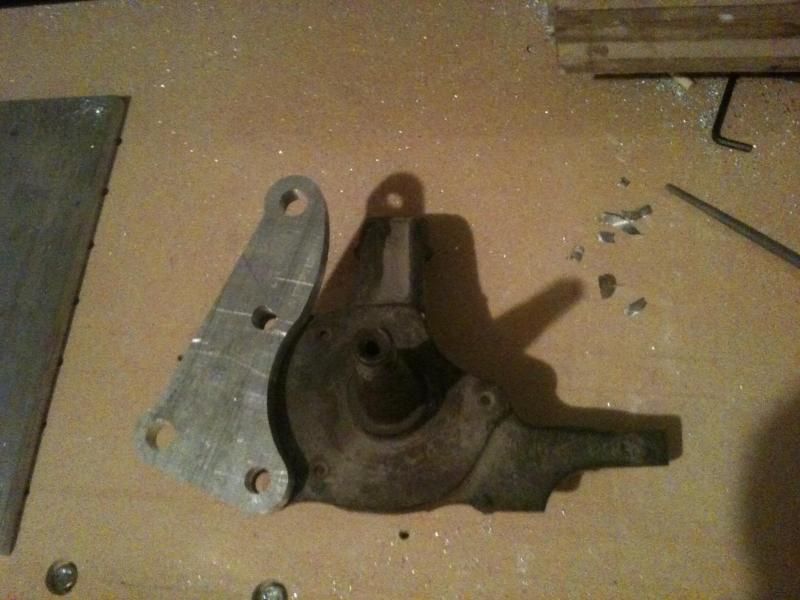
Also, I designed some brackets to put C5 Corvette front calipers on the front of my Fiero. I will be switching my Lebaron fronts to the rear and installing a proportioning valve. I've done a few calculations and I may not need to adjust the bias but we'll see with some testing.
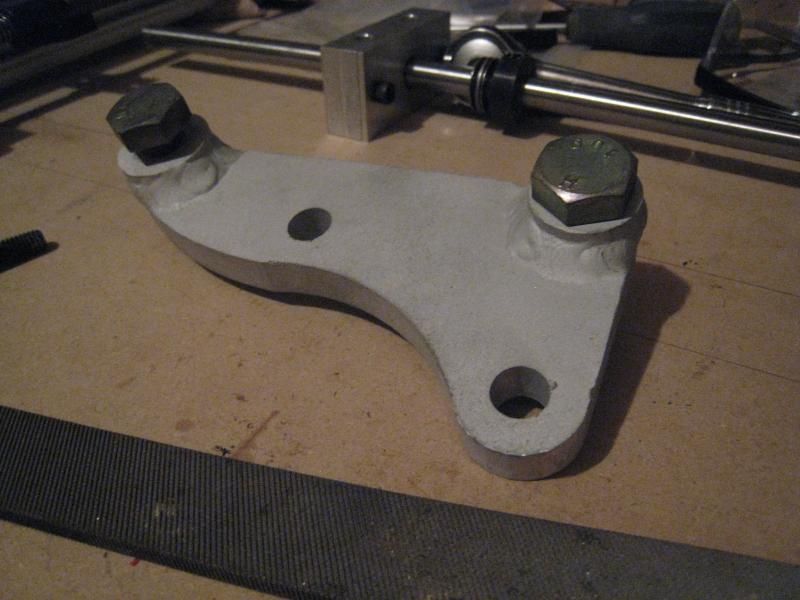
This is what the bracket will look like:
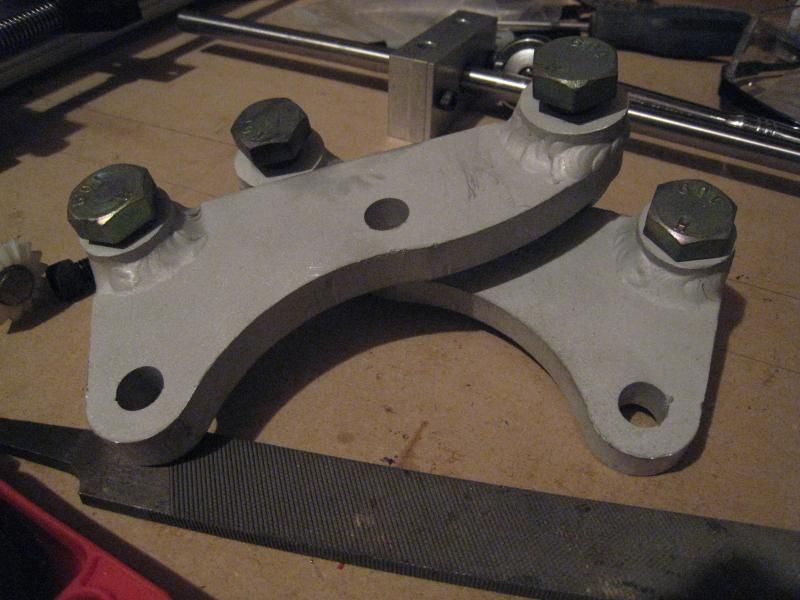
Here is one of them cut. I also cut the stand offs (not pictured). I'm considering having them welded to the main bracket but I would have to take it somewhere for that (6061 aluminum)
This is my CNC machine cutting them:
If I had to do it again, I wouldn't machine them on my machine. It's actually a CNC Router not a mill. For one offs it worked well though.
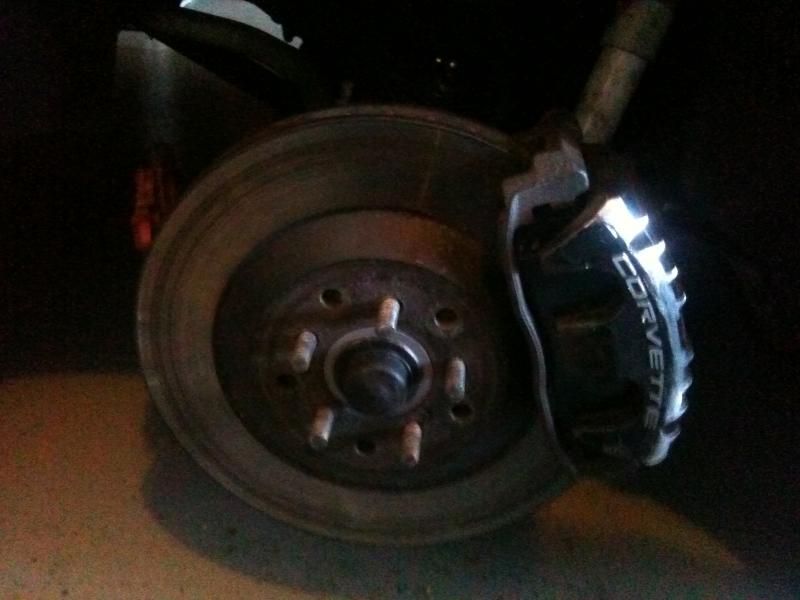
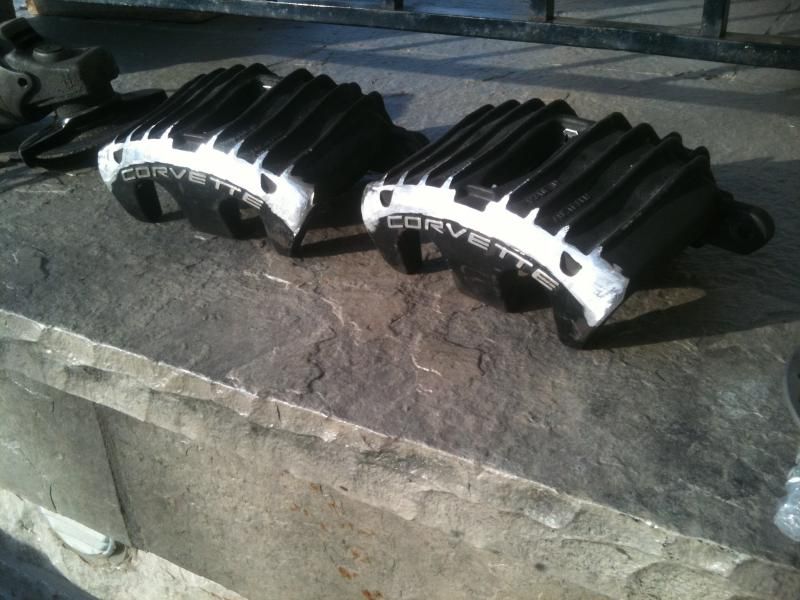
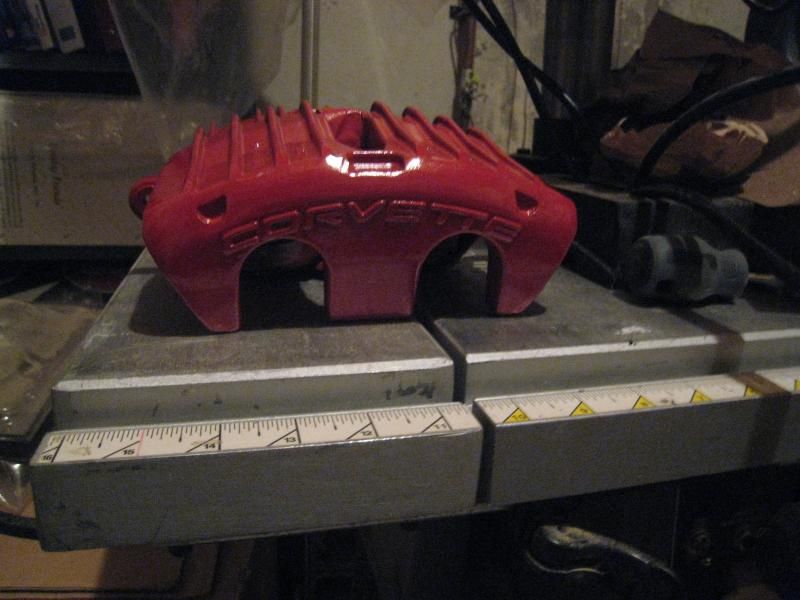
Got my Corvette front brake brackets blasted and then TIG welded. Tomorrow I'm going to paint them and then hopefully get them on the car this weekend!
Just have to grind off some of the front of the caliper to clear my wheels. The shape of my spokes is causing the issue, not the actual inner diameter of the wheel. Maybe it's time for some new wheels soon
Calipers after grinding (obviously going to repaint before final install)
Just a foreword to this post. If you're thinking about doing this brake swap, every application is different. Some may be very straightforward, and with others you may need to get creative. I really like my wheels (which are causing the fitment issues with the brakes) so I'm coming up with a few work arounds (ie. caliper grinding, the following adapters)....
So I took an adequate amount of material off the caliper but I just wasn't comfortable with only being able to slide a business card between the caliper and wheel. I've seen plenty of cars come that way from the factory, but I'd rather not chance it.
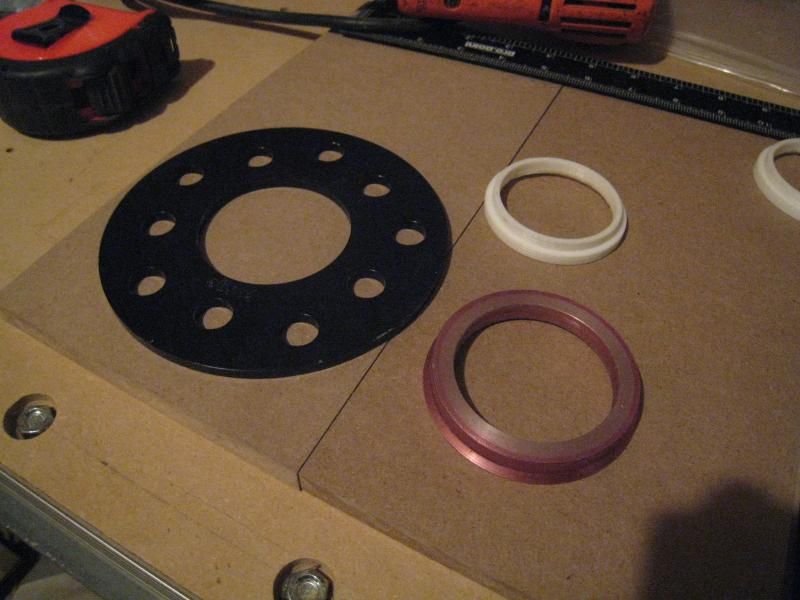
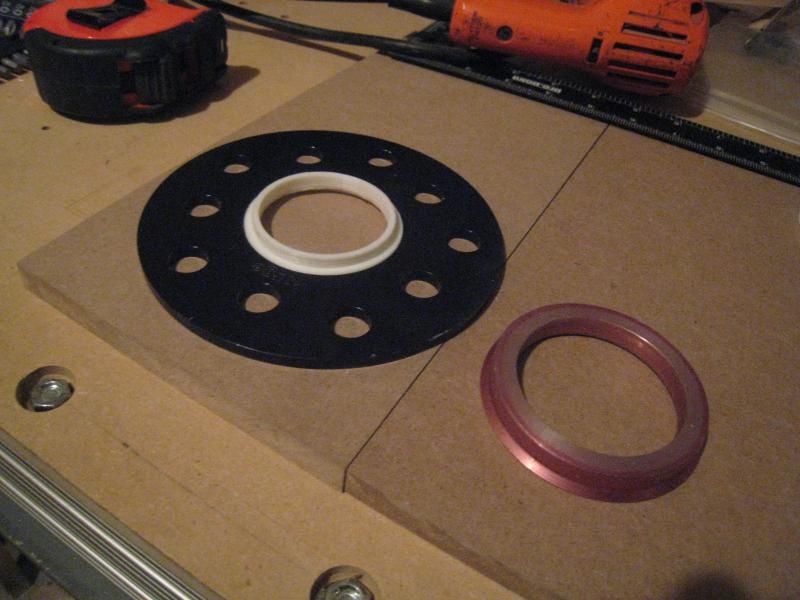
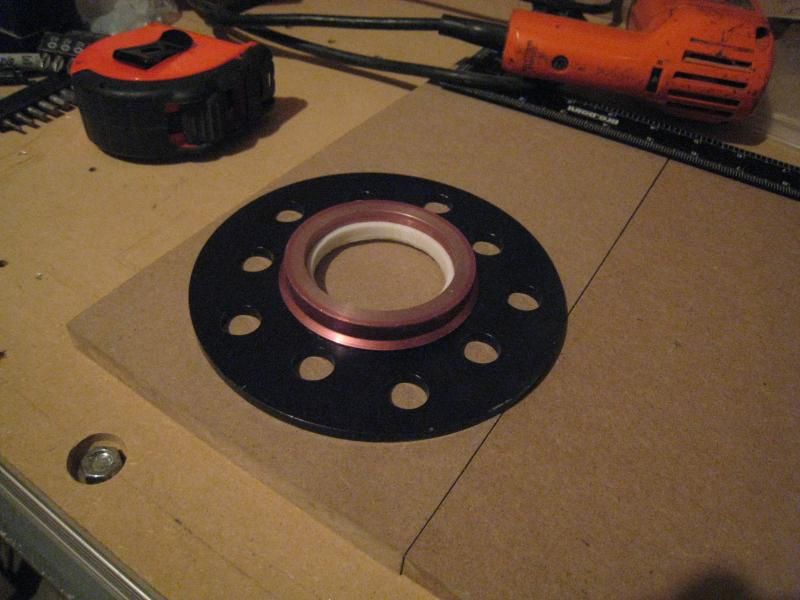
Ended up buying a pair of 5mm wheel spacers. Since I previously did the Lebaron swap, I have longer wheel studs up front anyways.
The problem I ran into was that with the thick rotors + the wheel spacers, my wheel rings no longer contacted the center bore of the hub. The outer diameter is too large to fit inside of the spacer, and even if it could, it would still not sit inside the wheel properly (too recessed). I still wanted to have the wheel nice and centered while I torqued the lugs down so I had to come up with another adapter ring that my wheel rings could snap onto.
In the following pictures you can see the wheel spacer (black), the wheel centering ring (red) and the adapter I designed. Think of the adapter as an extension of the center bore on the hub. It has a recess on the inside that snaps onto the center bore. Looking at it now, it will actually serve two purposes. It will center my wheel and the spacer. Another 3D printed part to the rescue!
Painted the new calipers today. They look nice in red, and I have to say that I did a really nice job with the angle grinder. With paint on there, you can't even tell material was taken off.
The ironic thing is that after reading your posts, I bought some salvage yard wheels to get the car rolling. They hit my calipers, like yours. I'm running a 13" rotor, using LS Camaro calipers.
I will be getting spacers to get it rolling again.
The ironic thing is that after reading your posts, I bought some salvage yard wheels to get the car rolling. They hit my calipers, like yours. I'm running a 13" rotor, using LS Camaro calipers.
I will be getting spacers to get it rolling again.
Bob
Spacers are definitely quick and easy. Grinding the calipers can work depending on how much contact there is.
It's an 84, with 88 front suspension. As it turns out, my calipers need to be tucked in closer to the hub. I'll have to remake my brackets and add about an 1/8" spacer to the wheel hub.