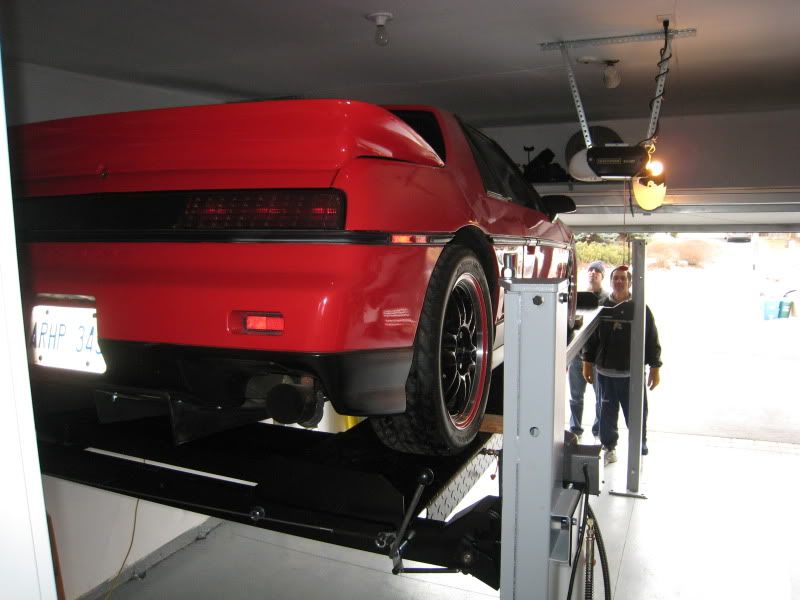
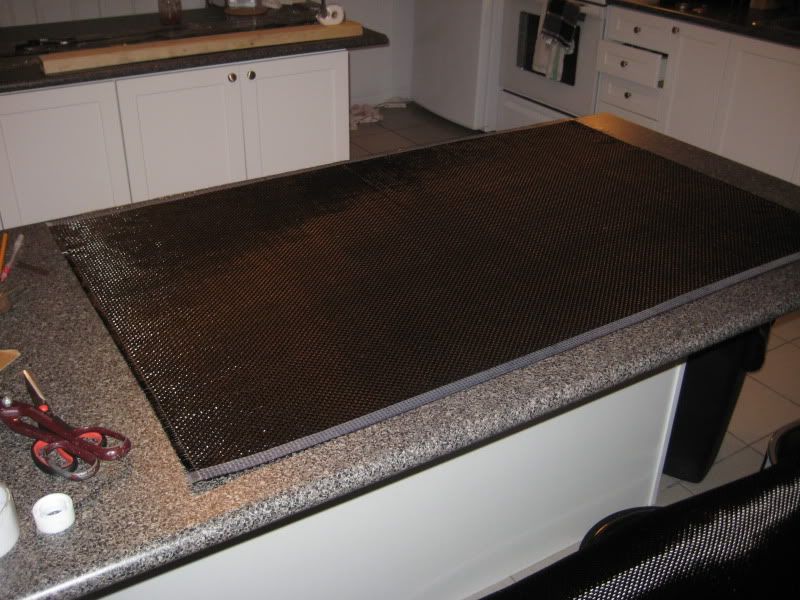
We looked into raising the runners for the garage door, but it was an expense/project that we didn't want to take on just yet. Currently we can fit two sports cars, one on top of the other, with the garage door open. Also, with the garage door open and the fiero in the air, I can comfortably get underneath. I can't stand straight up, but I'm only slightly crouching.
Take a look:
By reversing the car onto the lift, the low nose of the fiero allows clearance for the garage door
Sweet! I talked to a dealer at SEMA a couple of years back and was going to get one for my garage. Oh well, things happen. What's the height for the for main legs? 9-feet? The guy told me his would fit if I back the car in so that the nose would clear the door. From viewing your pic-I guess he was right.
The fit is moderate to snug in an average two car garage, but since you own all those chop tops, it should give you a couple of inches extra clearance height-wise. The price was really reasonable too, and for this particular company all of the components are North American made (supposedly). The main feet are around 8ft tall I think. All the dimensions of the lift can be found here:
I'm out of town right now until Friday. I'll snap a picture for you when I get back home. I currently have the fiero up unnecessarily high so it will look like there is minimal clearance.
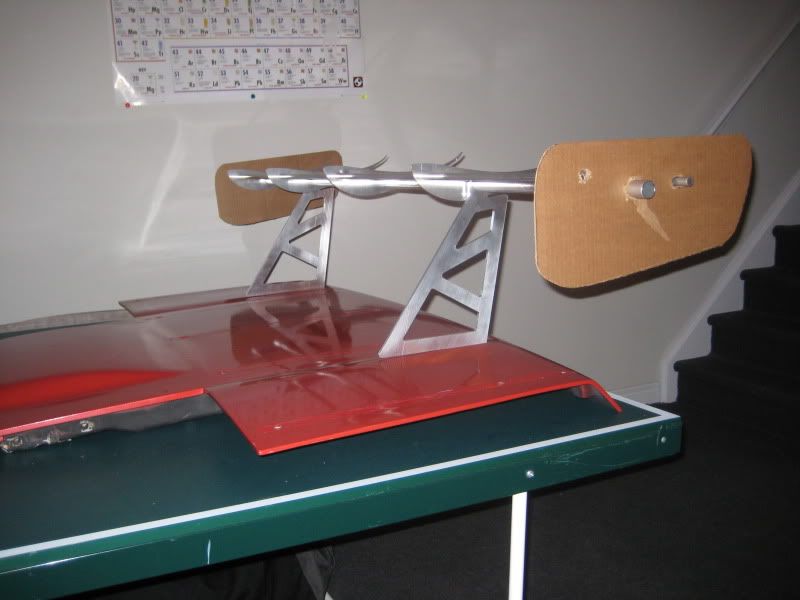
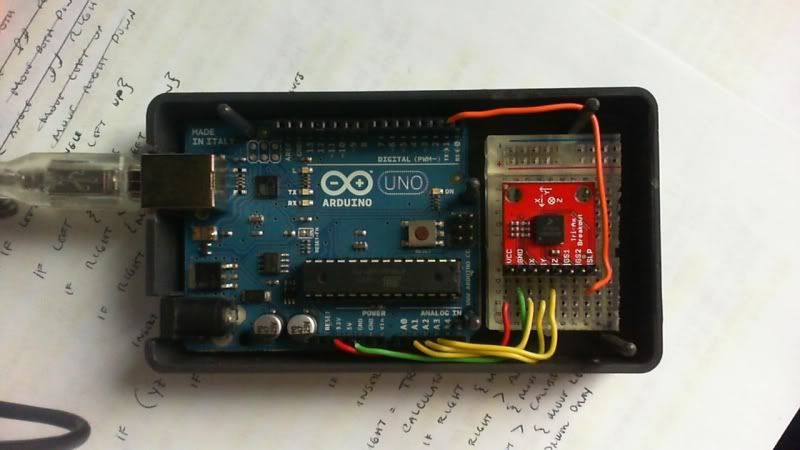
Tony pm'ed me with the right answer, it will be an adjustible wing for the track. Those things I put a picture up of are linear stepper motors. I'll post more as I go along
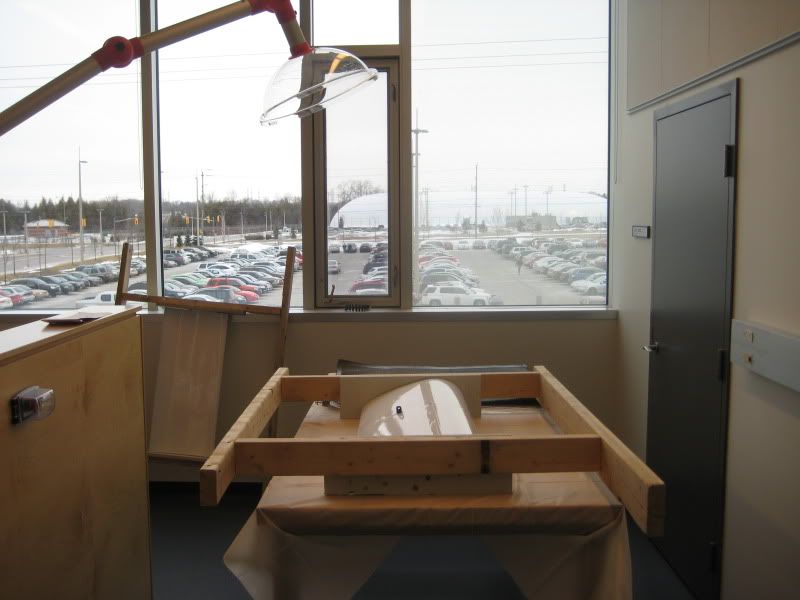
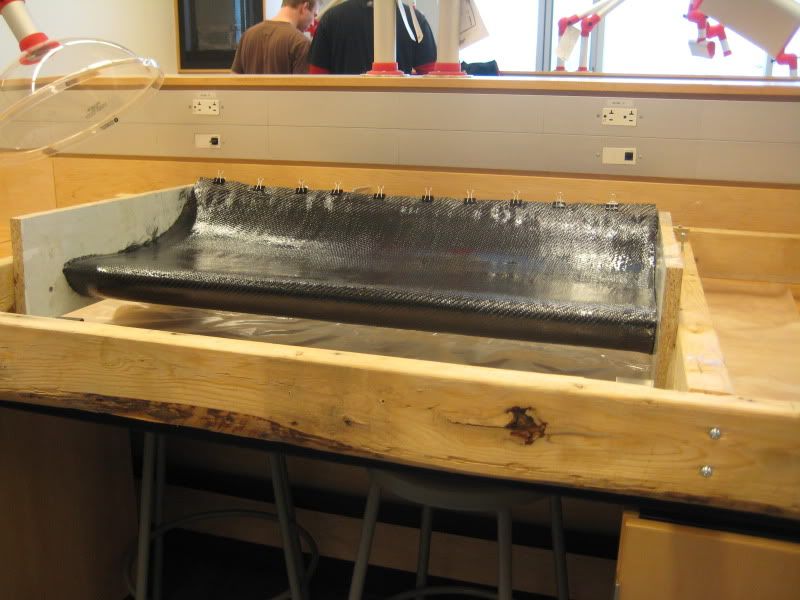
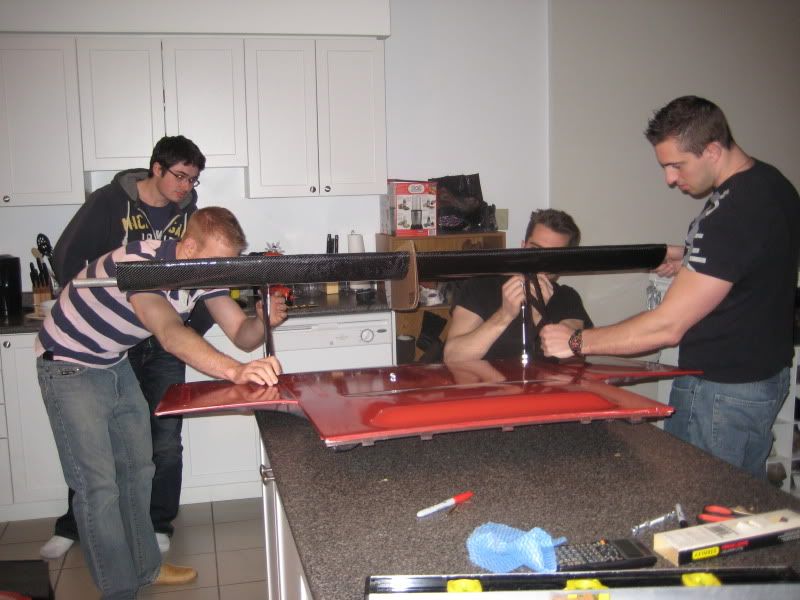
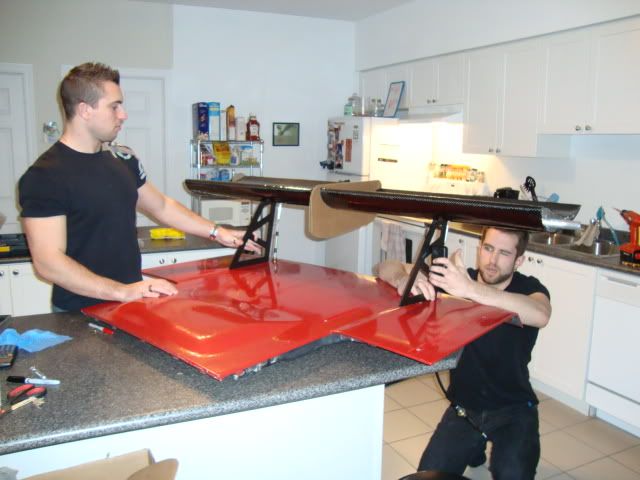
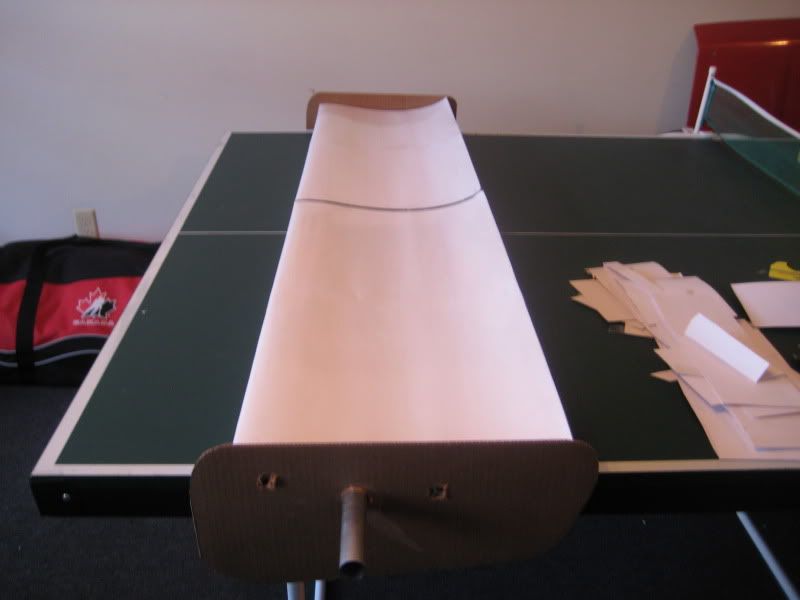
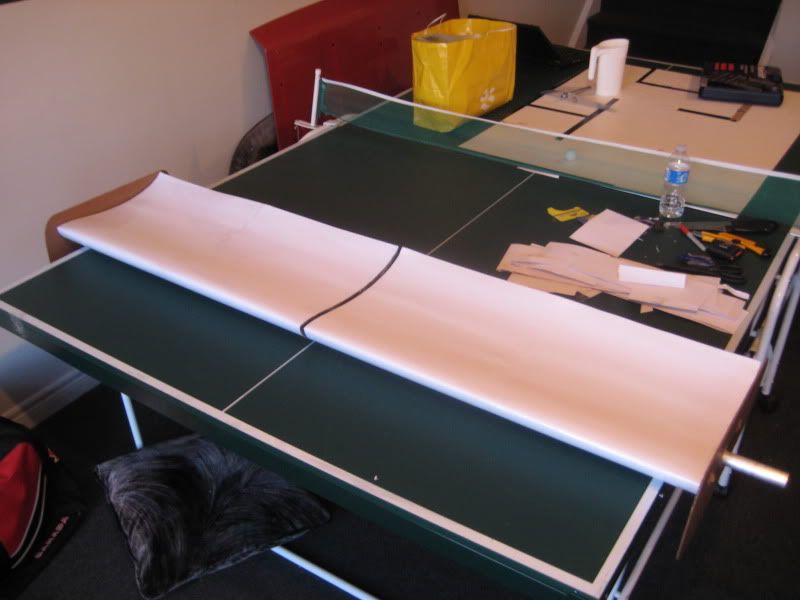
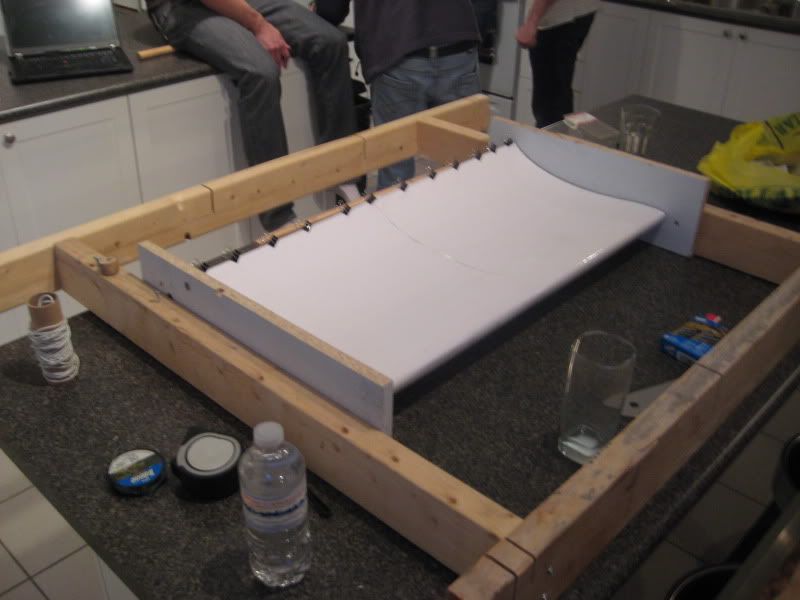
Got the other half bonded up... did another little mock up for fun... top layer of CNC foam is on there. Disregard how its flopping around at the trailing edge. Going to need something else to hold it in place while "carbon-fibering"
Lookin good there doublec4 (well, the wing is... I'm not so sure about you! ) I have a quick question for you though... is the resin you use basically just a regular polyester resin or is it something special for the carbon fiber?
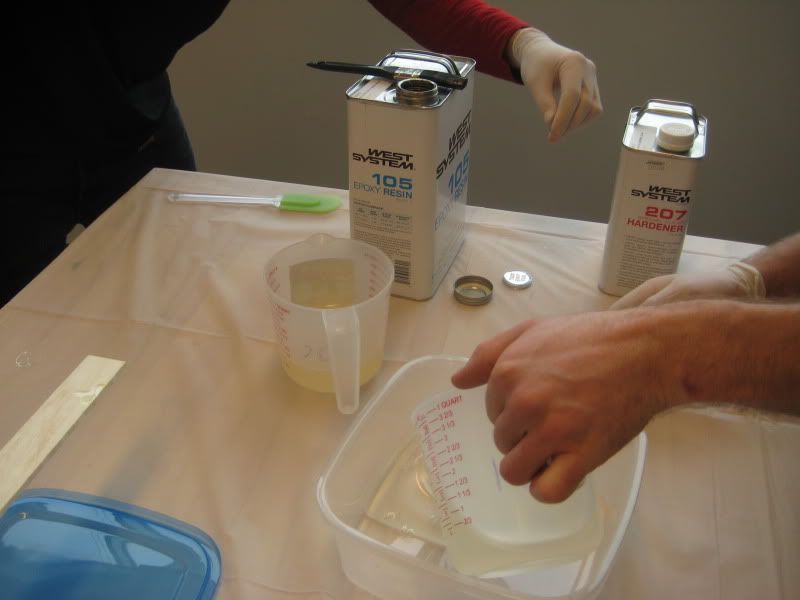
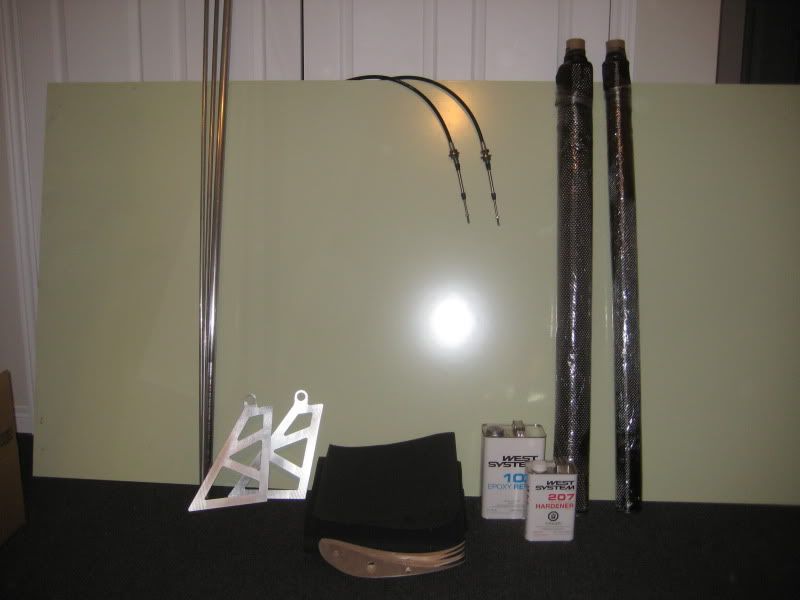
Using an epoxy resin from them, and a slow hardener. It will be our (myself and a few other guys) first time working with carbon fiber. Sort of an ambitious project to start out with!
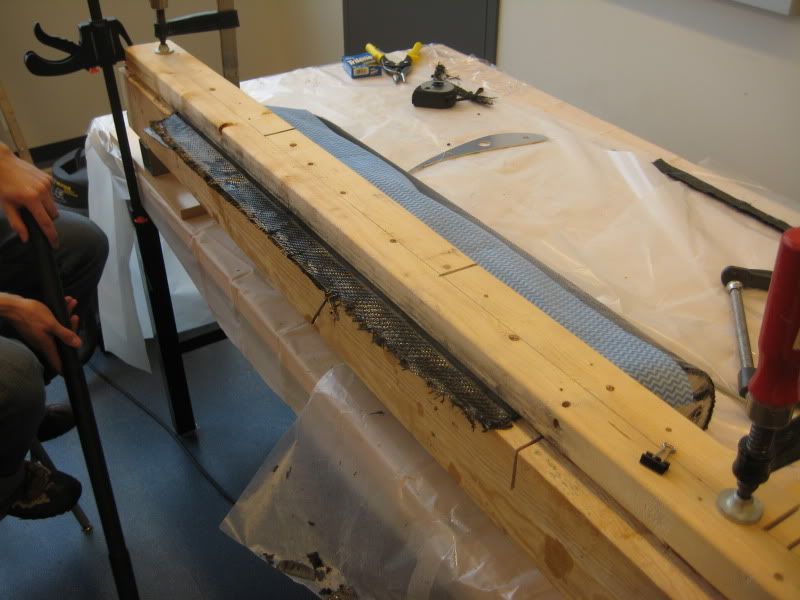
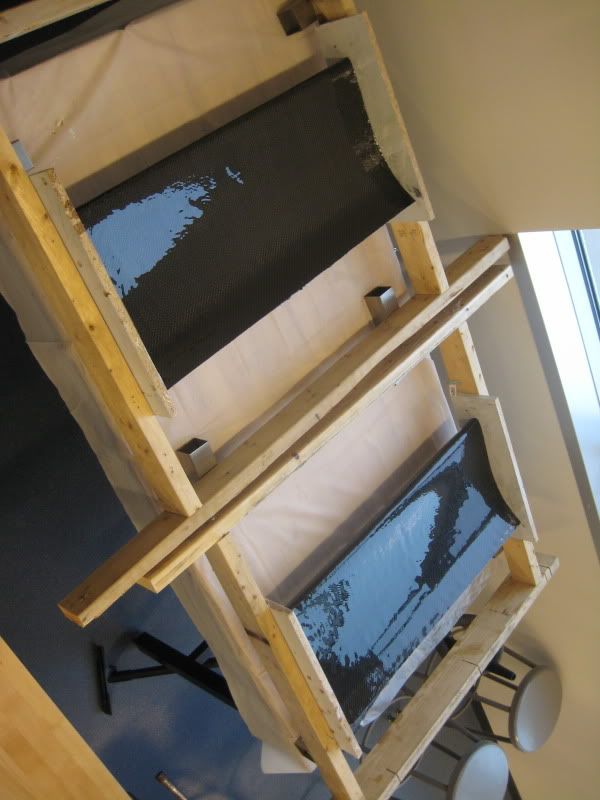
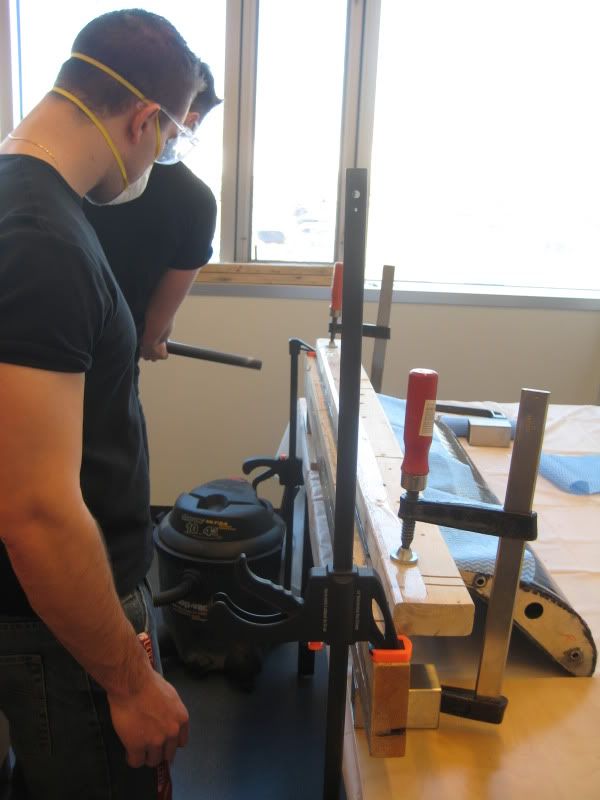
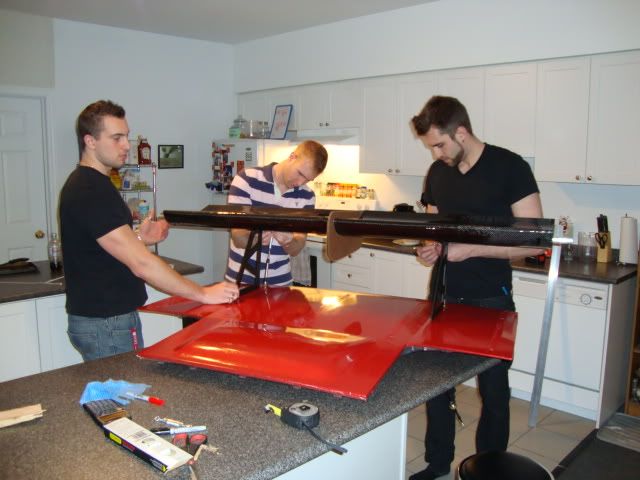
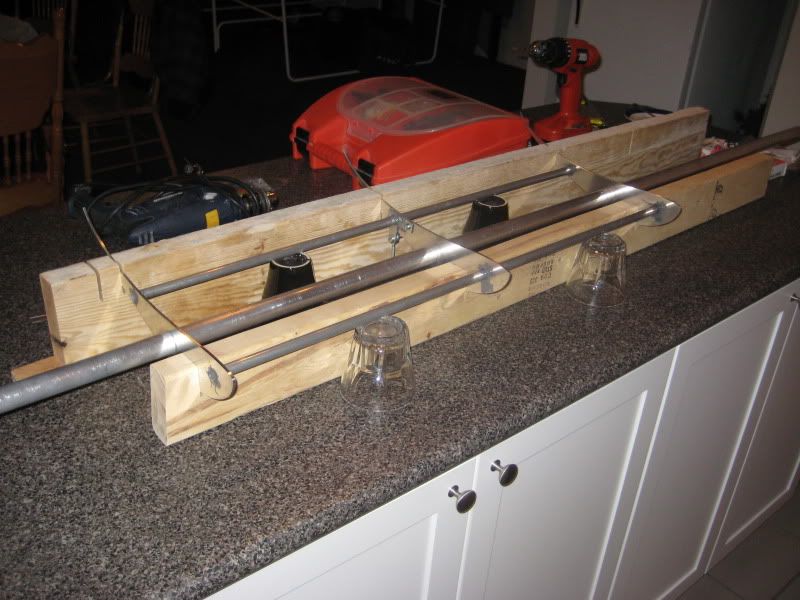
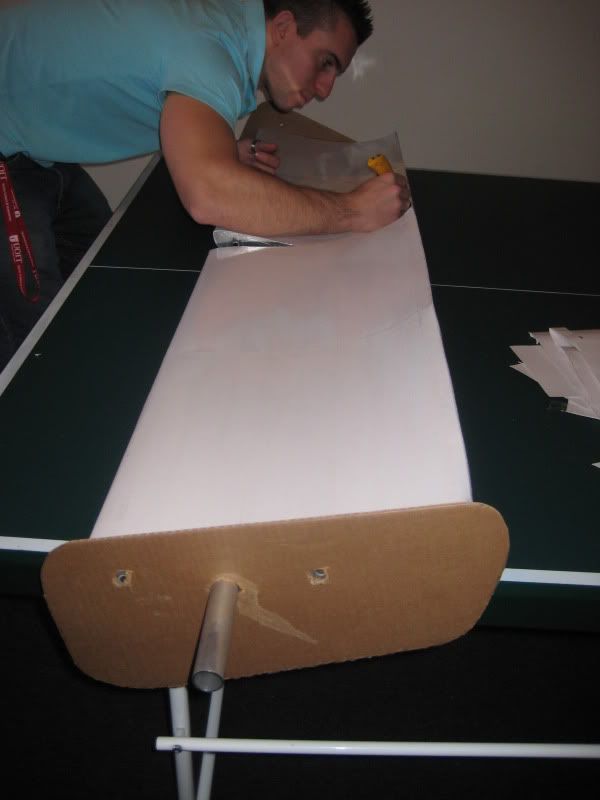
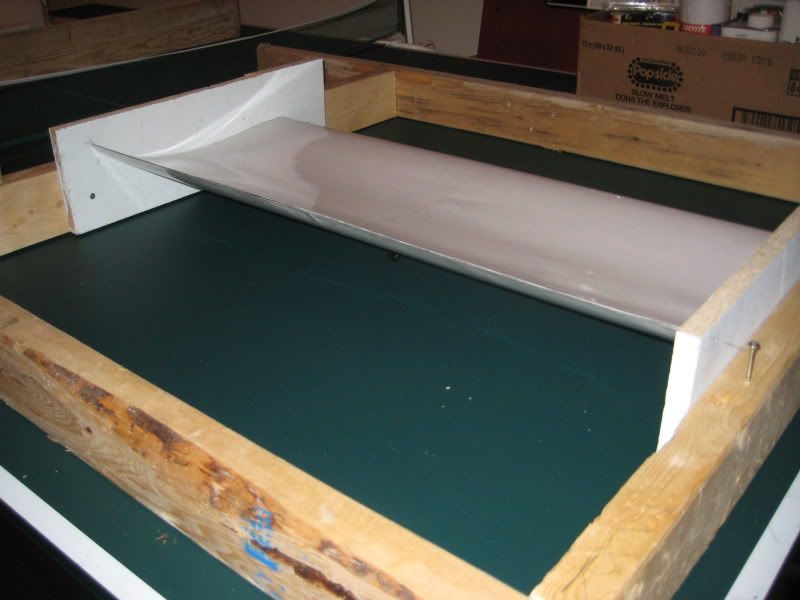
Made another jig for holding the airfoils while we carbon fiber. Also, it is used to hold the trailing edge up nice and straight. No drooping.
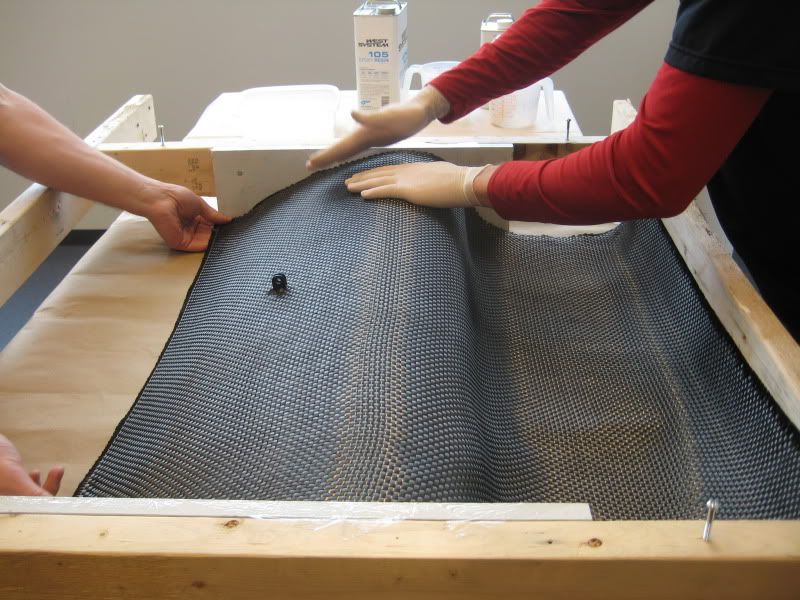
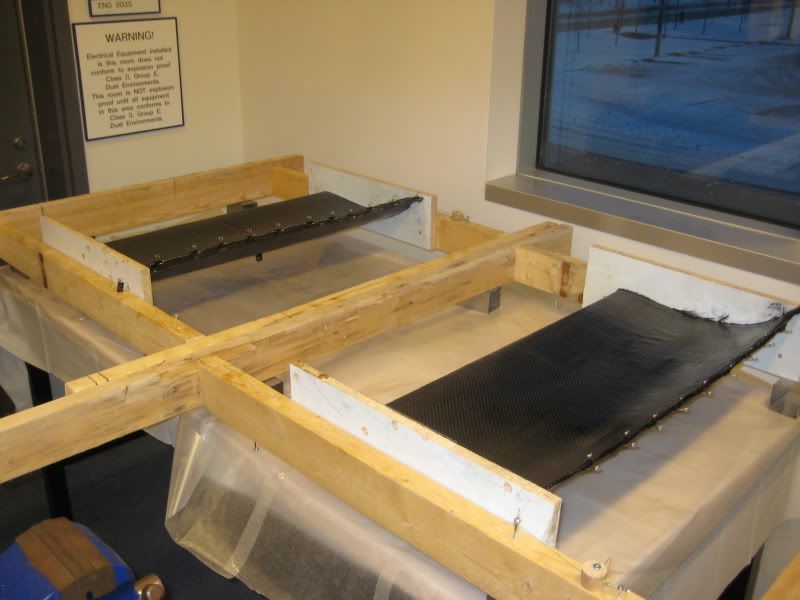
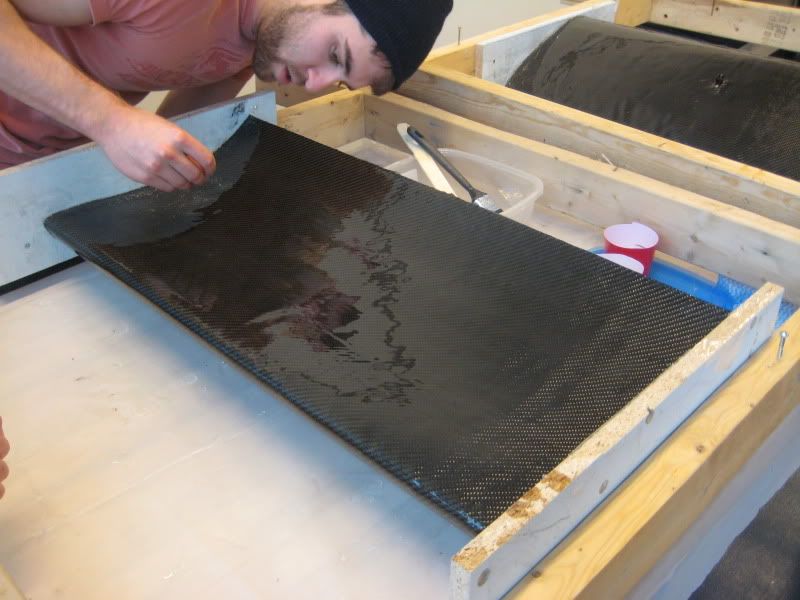
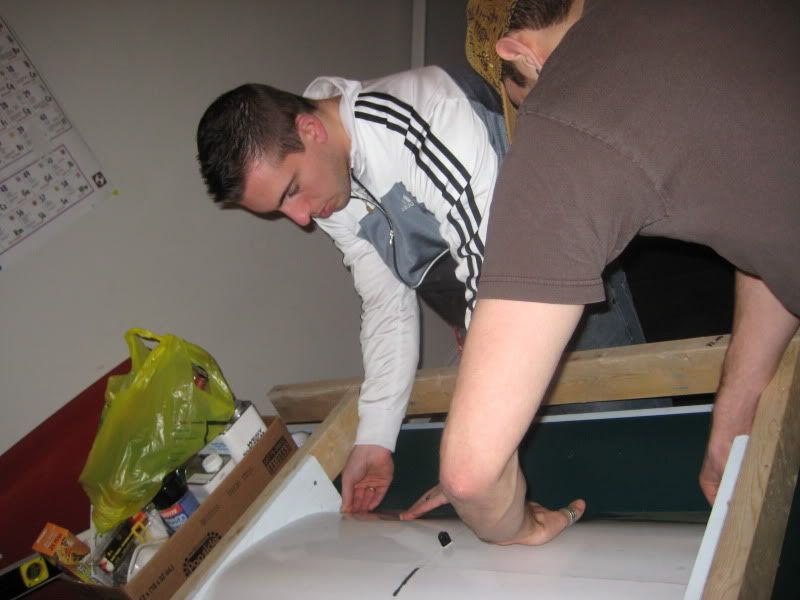
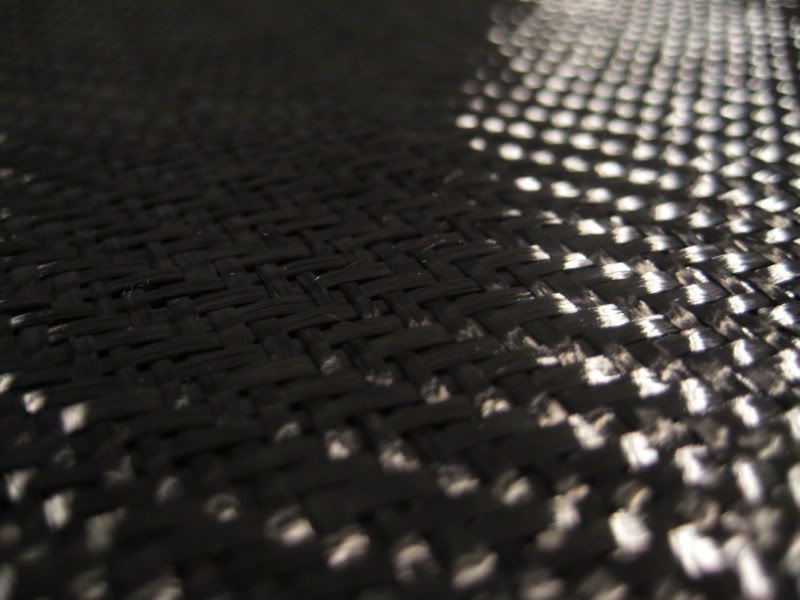
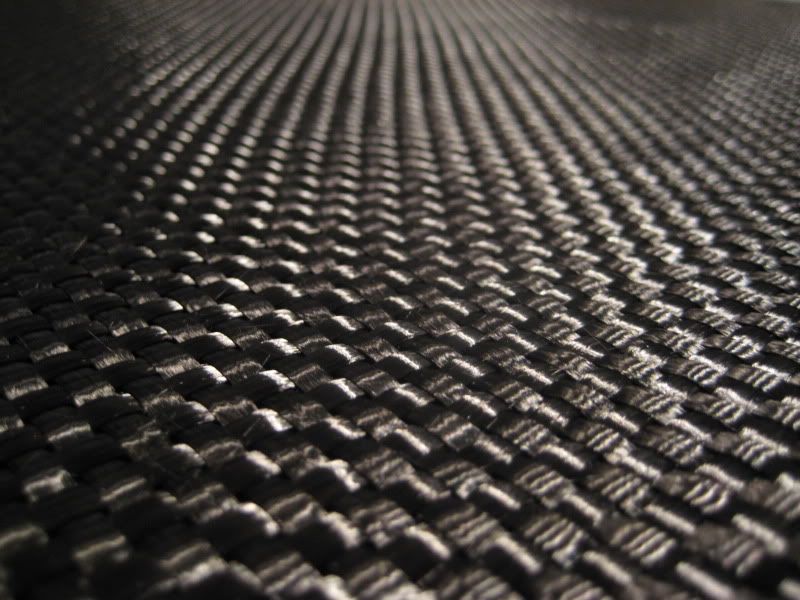
Then we broke out the carbon fiber and started cutting up sheets so we'd be ready to put the resin on tomorrow. Using a heavy plain weave for the bottom, and a 2x2 twill for the good looking layer on top:
Thanks buddy, I wish this was all I did at school, but unfortunately theres more to it than building this wing!
I'm in automotive engineering so you can see how this is relevent for a project.
I'll have my car here at the school with the final product on it so you'll have to come by and see it.
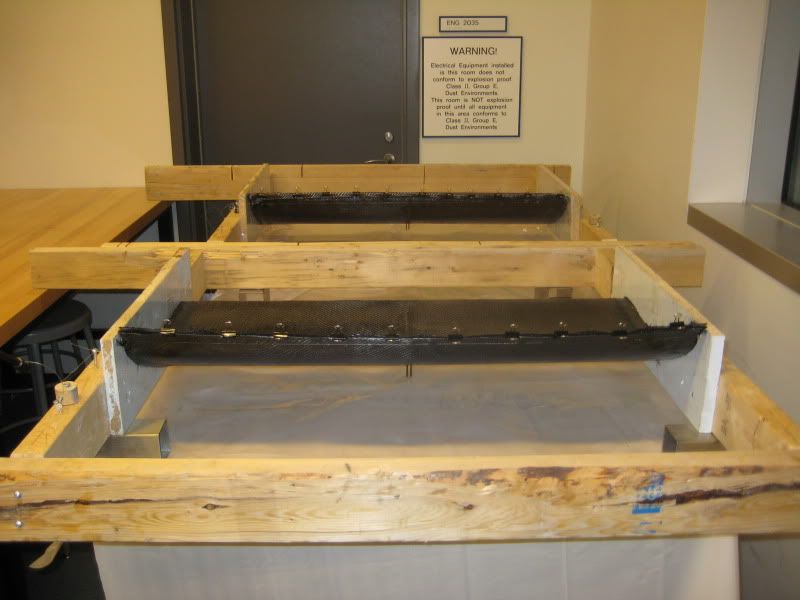
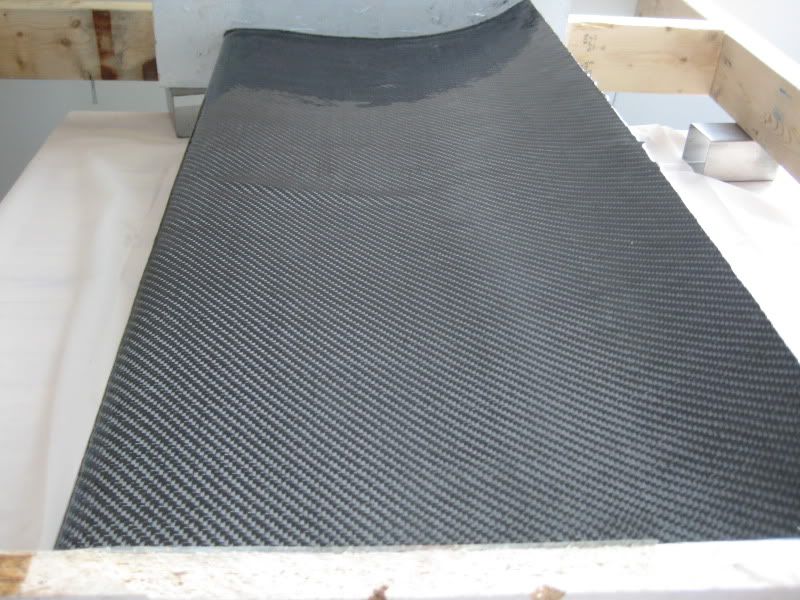
Continuing on with the tedious build...
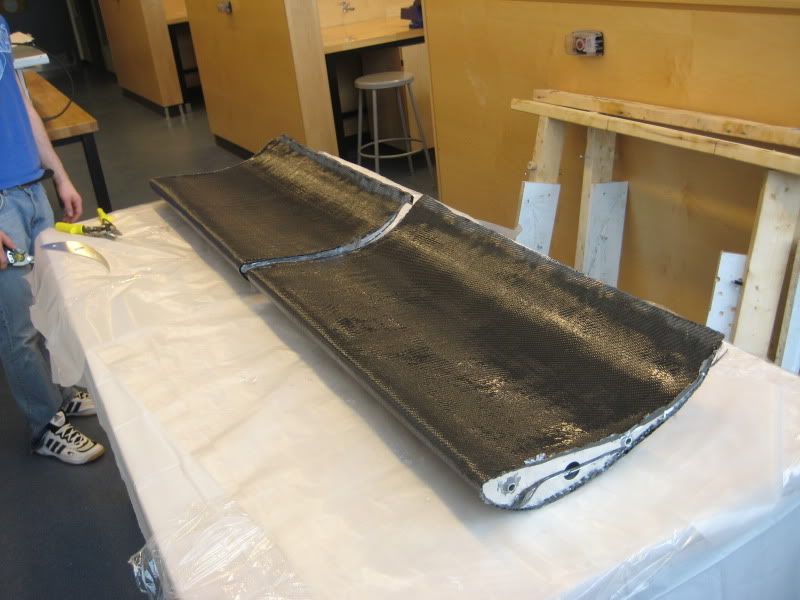
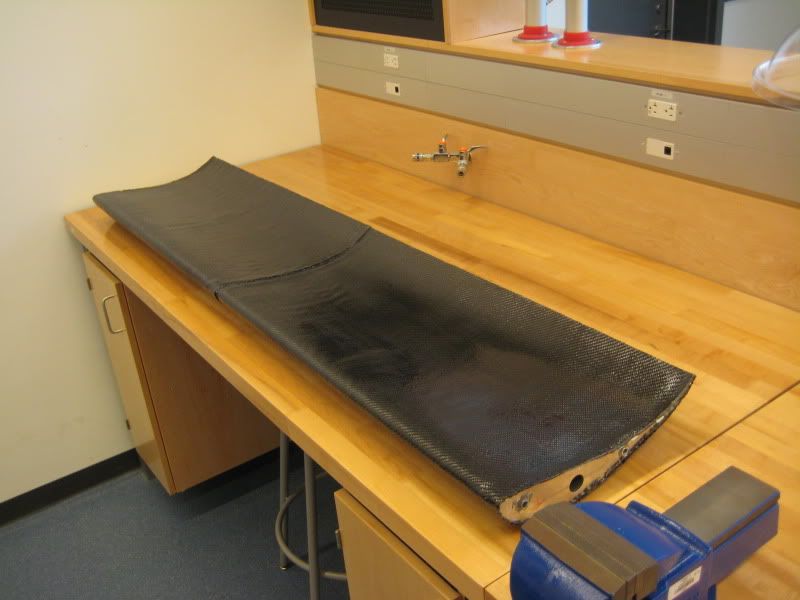
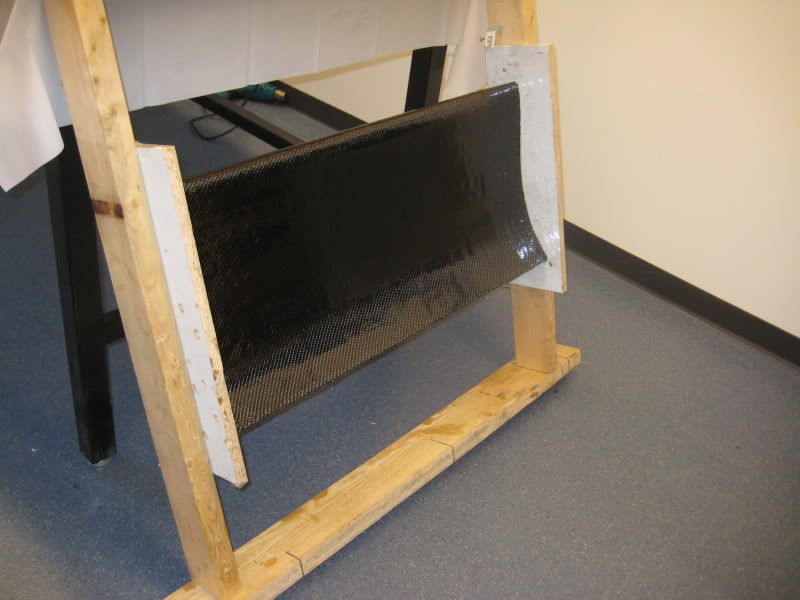
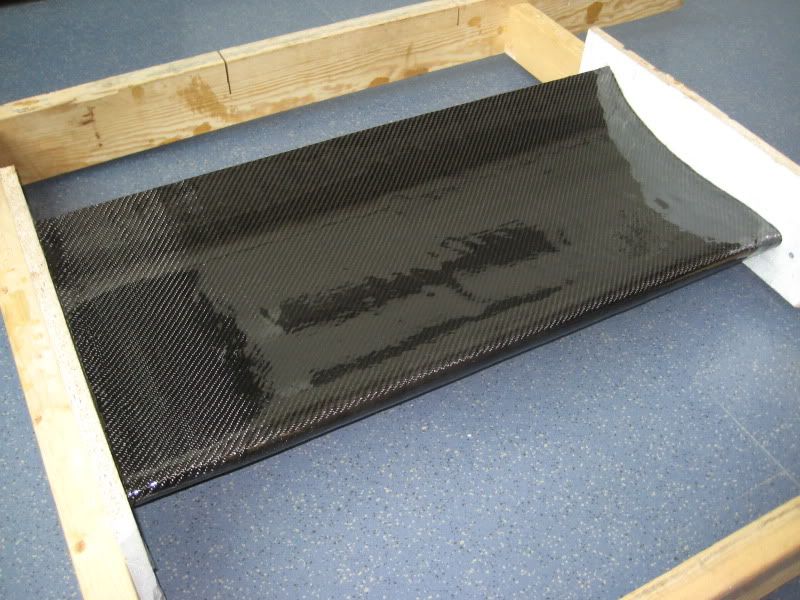
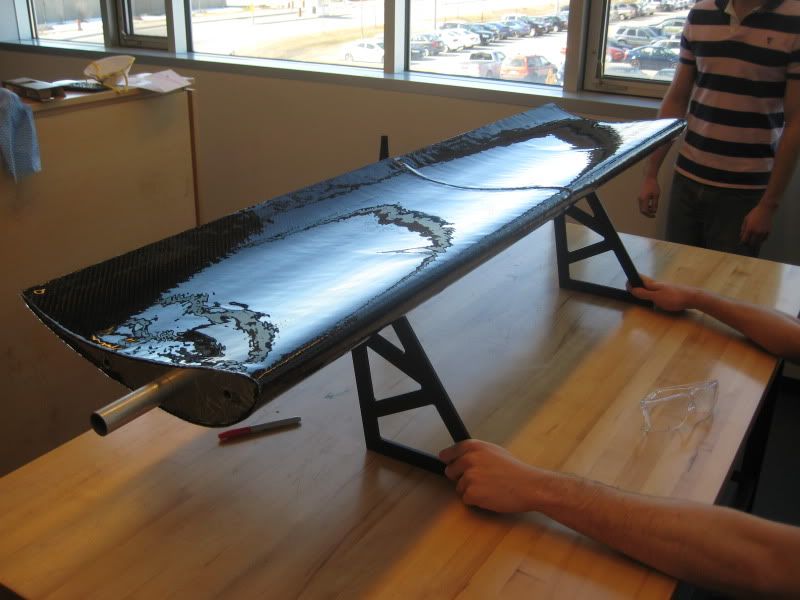
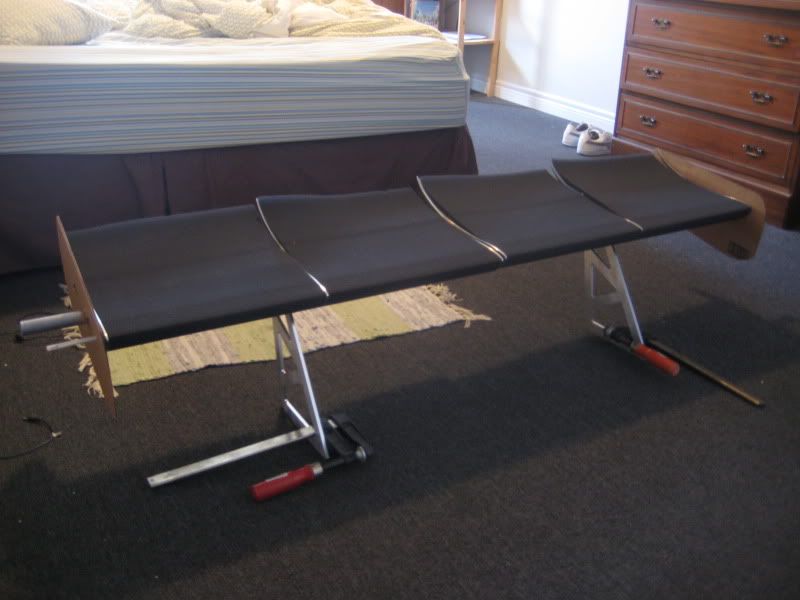
The airfoils were removed from the clamping system in the last update. The trailing edge turned out beautifully. A lot better than we expected. I didn't get a picture of when we first removed it, but I have some later on.
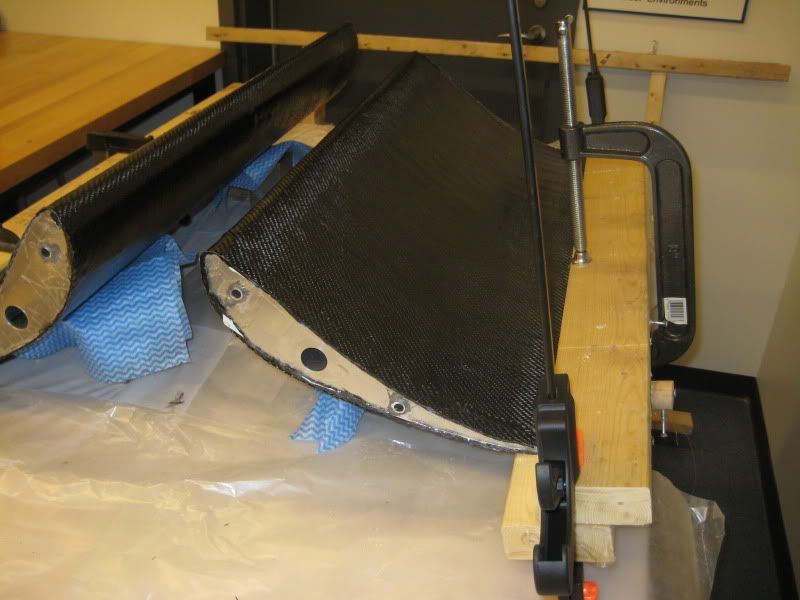
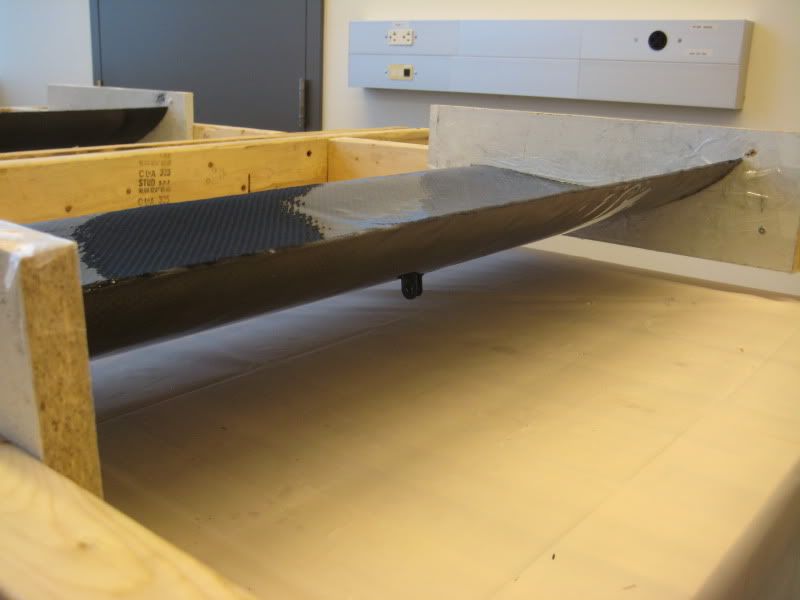
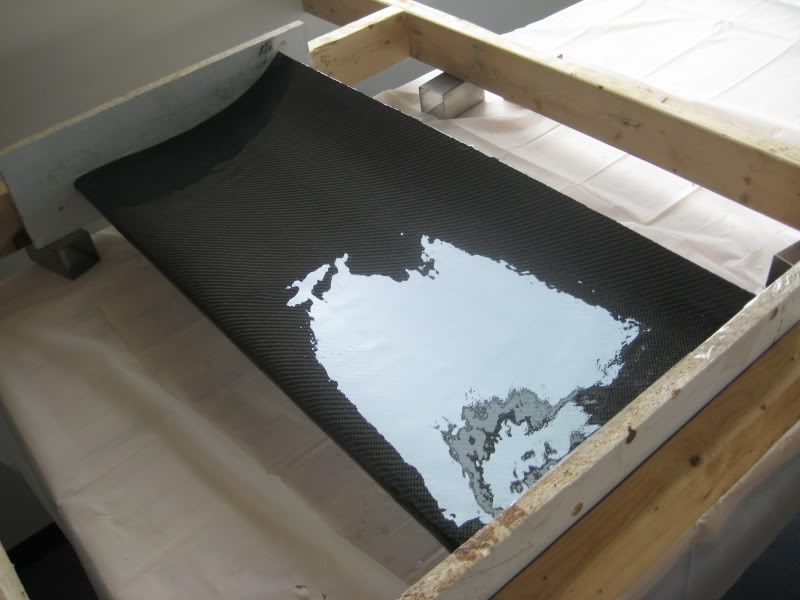
We then flipped the airfoils and this is what we started with:
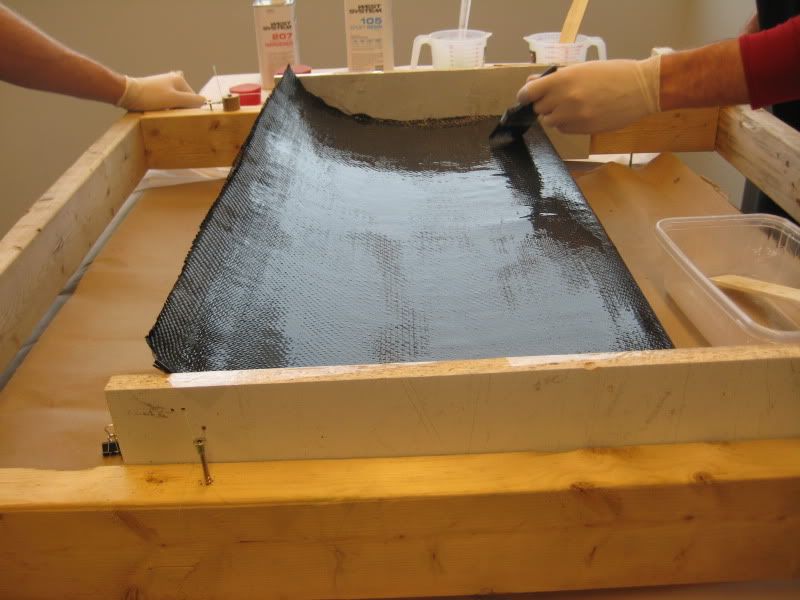
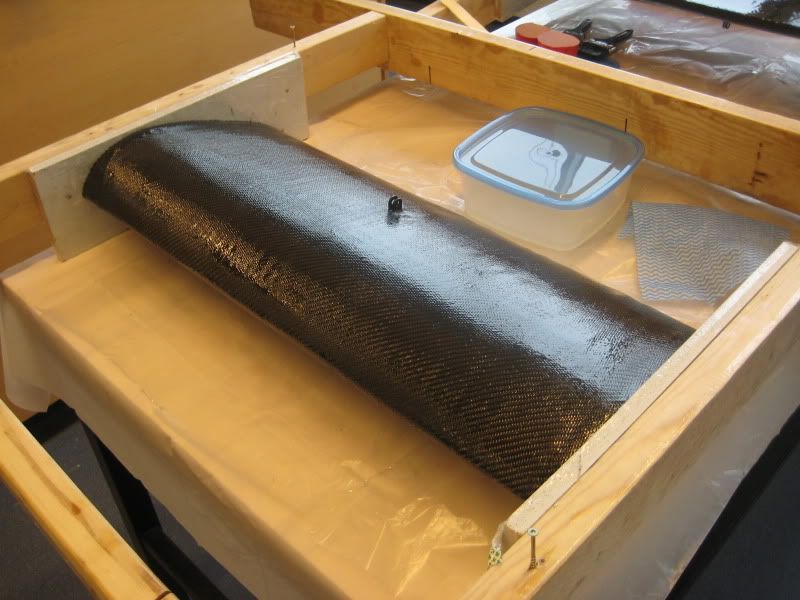
Then we mixed up more resin and went to apply another coat for that deep glossy finish:
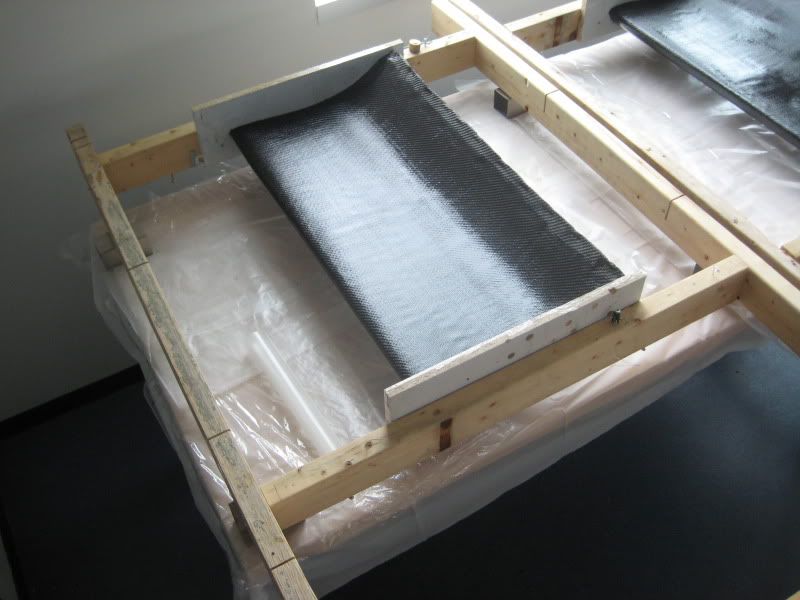
We proceeded to cover the whole thing, top and bottom. Had to constantly rotate the pieces to make sure there were no runs. Used a heat gun to pop any small bubbles.
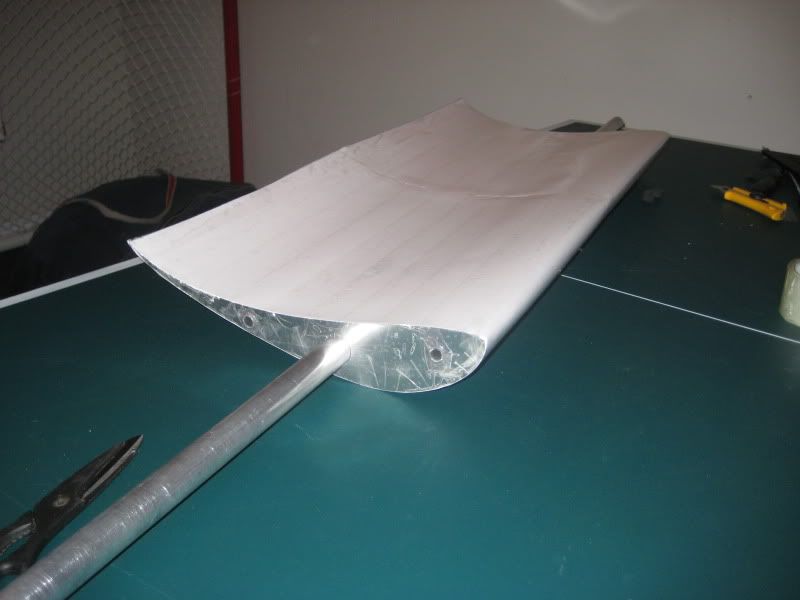
The trailing edge looks nice and straight. It will need one more trim to get rid of excess resin:
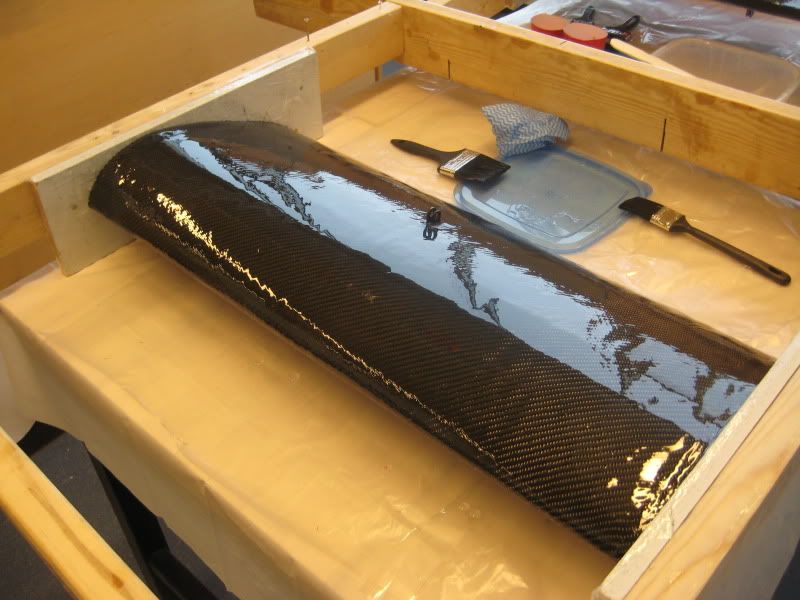
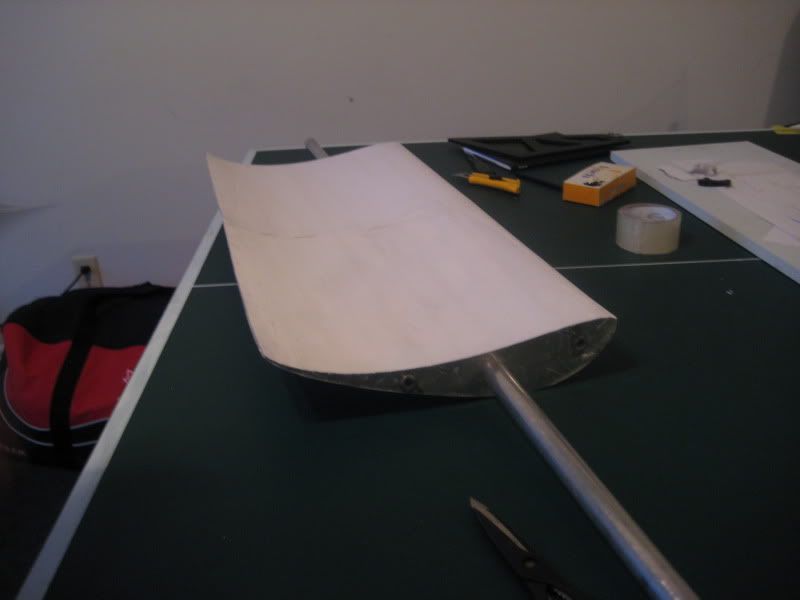
Its really starting to look like a finished product!
Hope you guys are enjoying this build. We've been learning a lot.
[This message has been edited by doublec4 (edited 03-11-2011).]
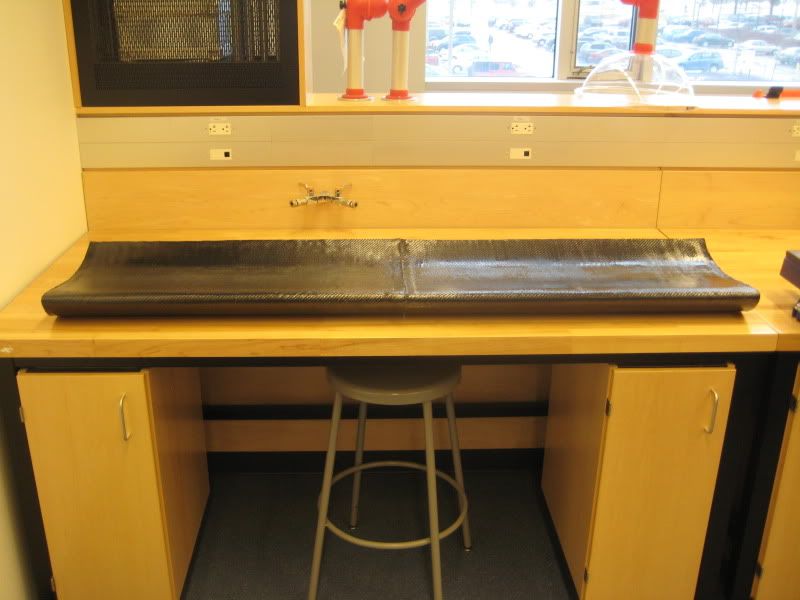
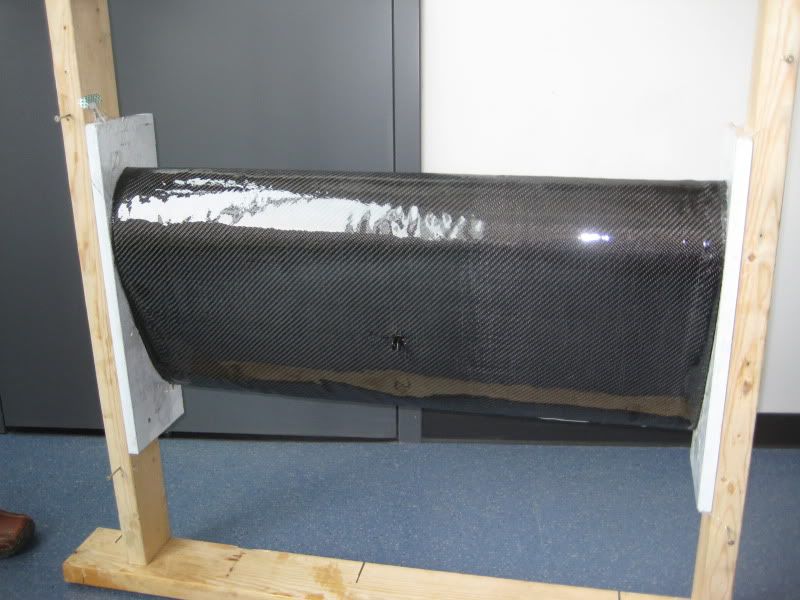
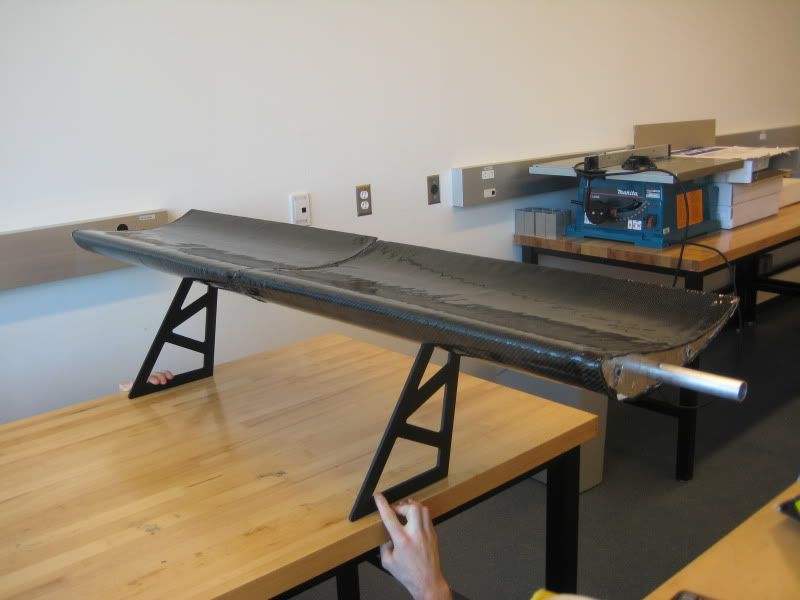
Managed to snap a few more pictures today of the whole thing. It's successfully cured with no runs in the resin and we're happy with the result. We still might wet sand and buff it. Definitely have to trim the excess resin from the trailing edge again.
Managed to snap a few more pictures today of the whole thing. It's successfully cured with no runs in the resin and we're happy with the result. We still might wet sand and buff it. Definitely have to trim the excess resin from the trailing edge again. Here are some pictures!
Check out that gloss
Nice. Will the buffing remove and smooth out the somewhat wavy surface?
The sanding and buffing will probably remove some of it. I don't think it will ever be perfect considering it was hand laid carbon fiber and the resin was done by hand. Some imperfections can't be fixed but its more of a test piece / prototype.
It looks nice as is from 5-10 feet away. We're hoping to cut that down with the sanding and buffing so that its more of a 2-3 footer lol.
Its also meant to be a track wing so looks aren't paramount.
All part of the difficulties with working with carbon fiber!
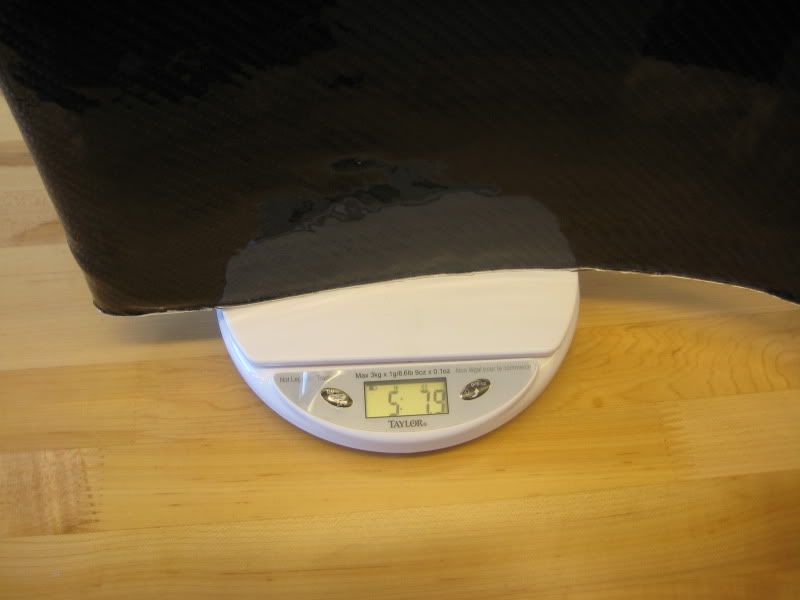
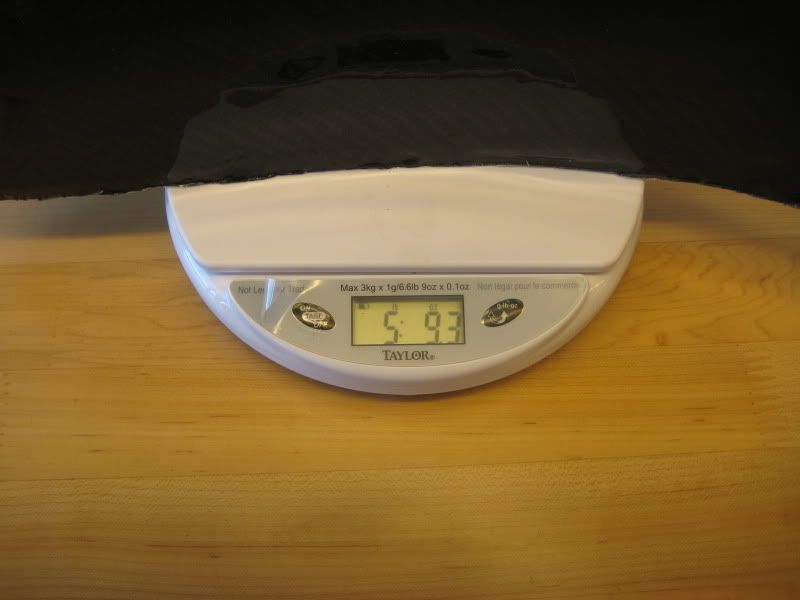
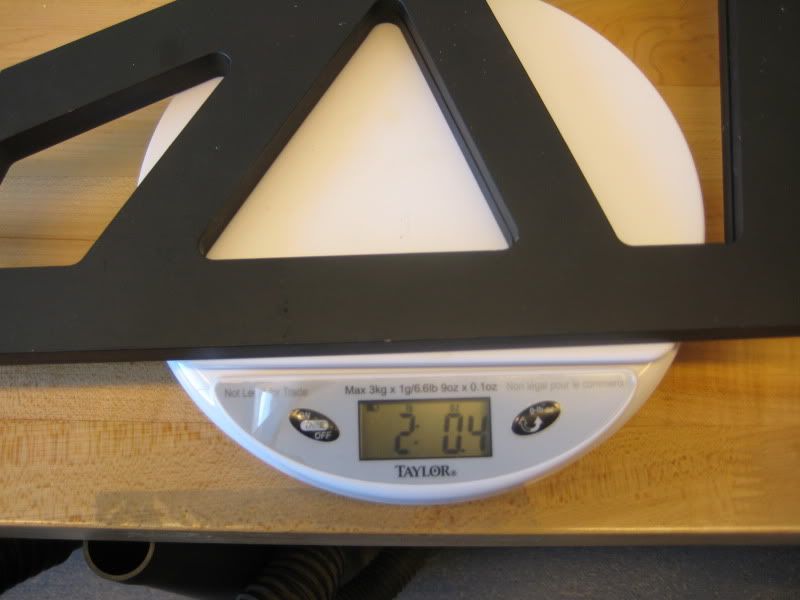
I'll try and weigh them soon. When I picked them up before the second coat of resin, I would guess no more than a couple of pounds each.
The extra resin will add some weight, but I'm not that concerned. There are better ways to saturate the fiber with resin than this, however, they require vacuum pumps etc. This was done with brushes.
It will be a 65 inch wing span. I can't see the carbon fiber section weighing more than 10 lbs total. I feel like thats a very generous estimate.
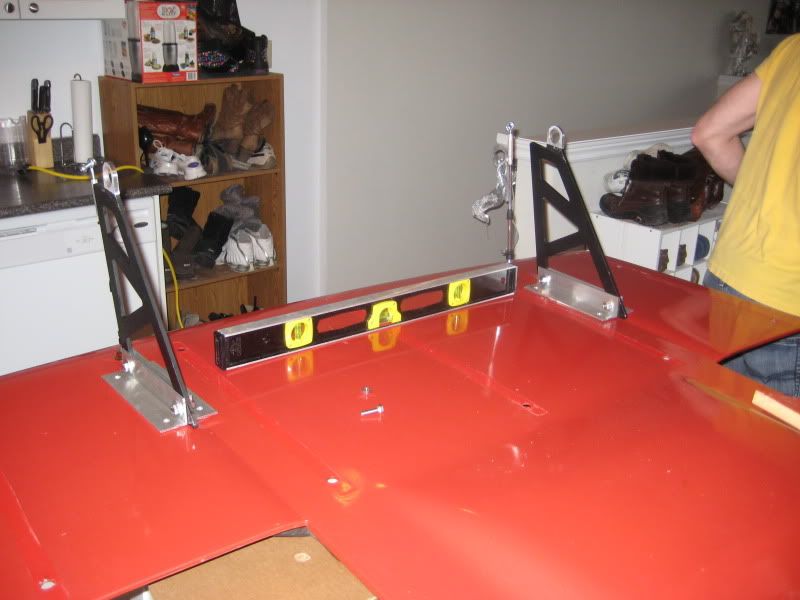
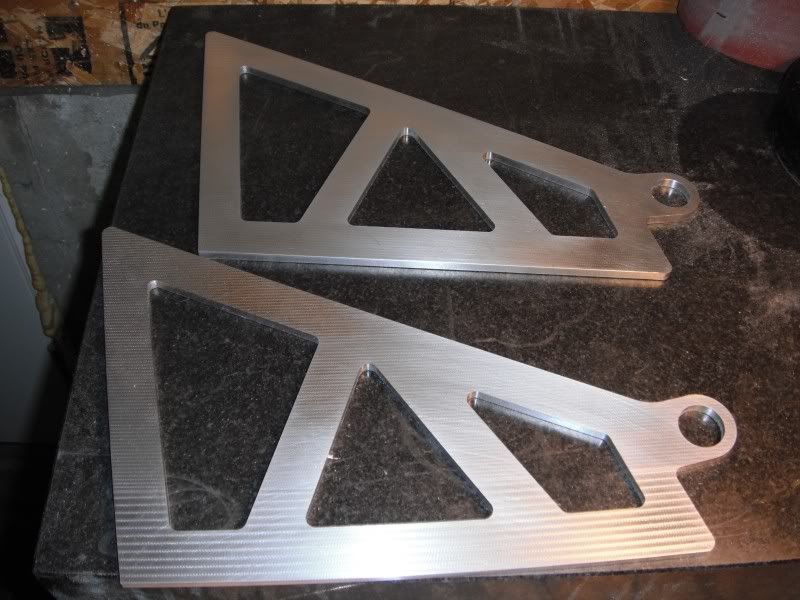
Did some more work today. Got the wing stand feet finished up. Cut them shorter on top to match the profile of the wing stand, and rounded the corners off. Unfortunately didn't get a picture of them.
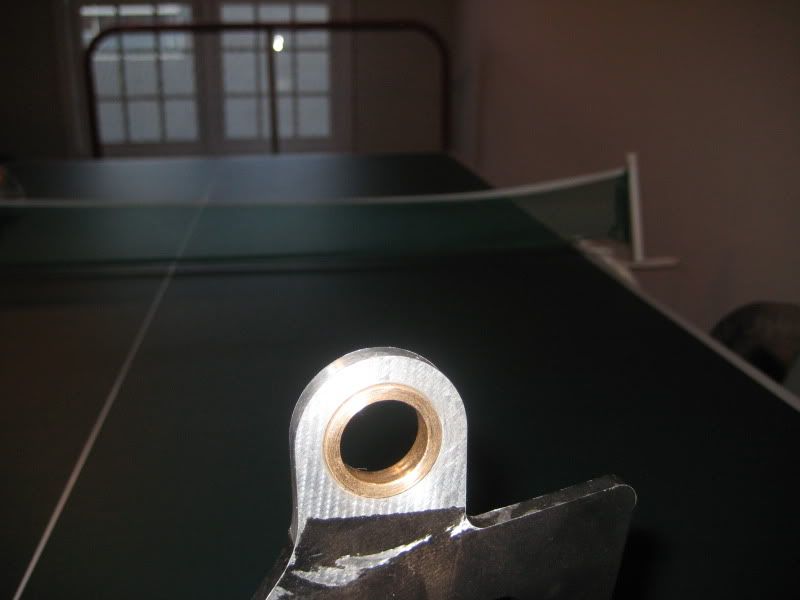
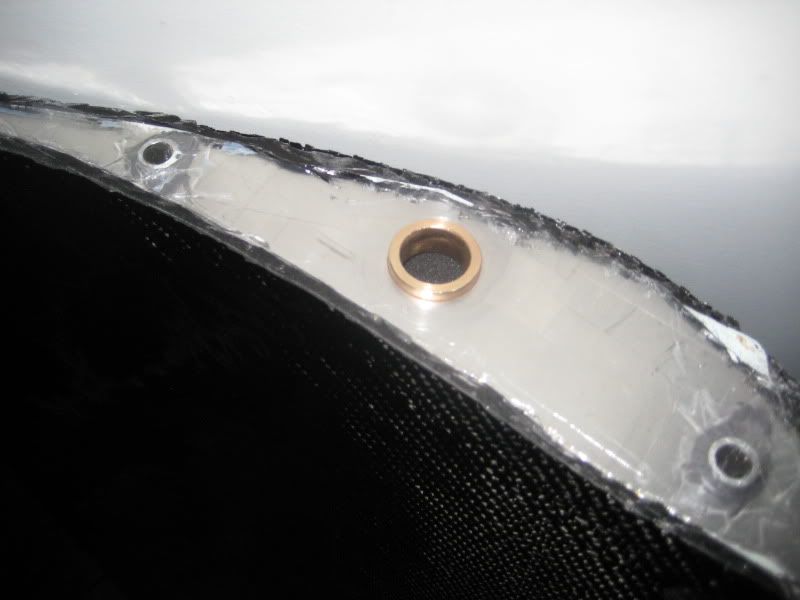
There was a slight change in design as well. We decided to go with bronze bushings and hone them out for more clearance:
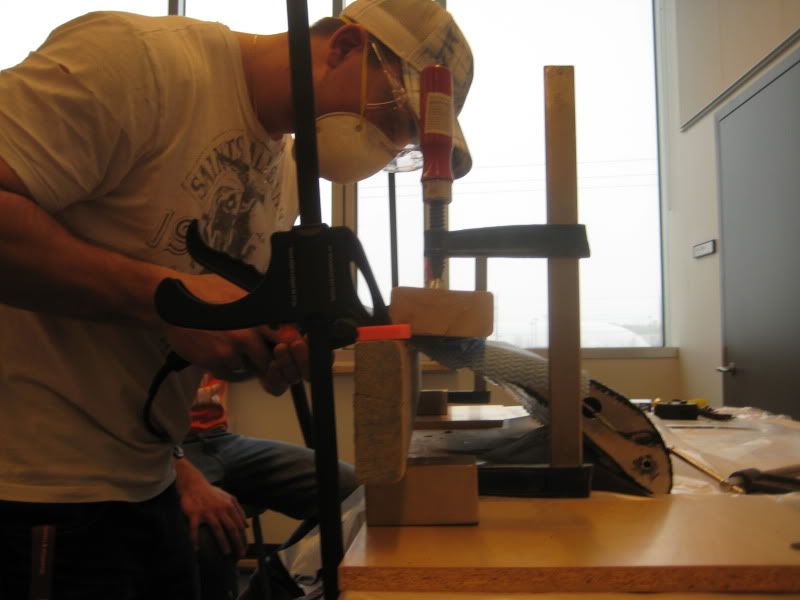
Safety first... this is our honing contraption.. don't ask...
This is the bronze bushing pressed into the wing stand. The stands need a repaint.
Here are the bushings pressed into the airfoils:
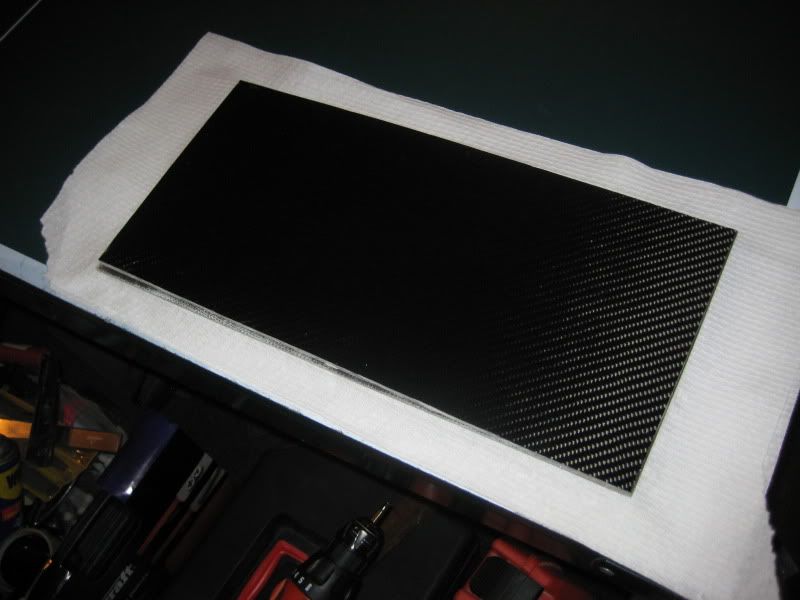
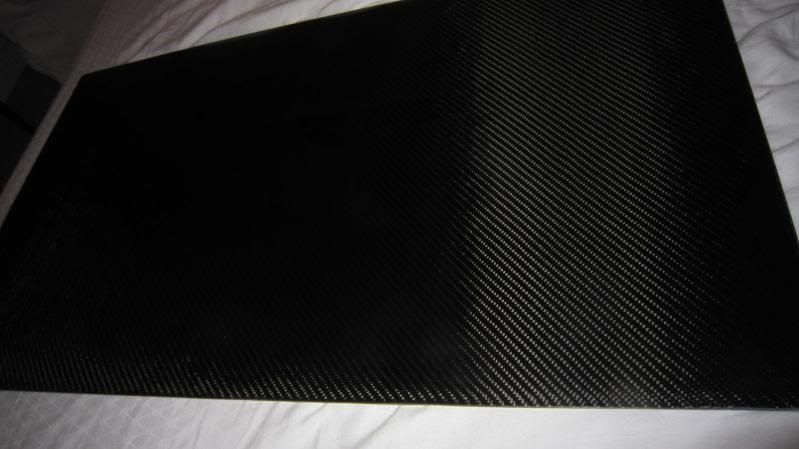
Also started cutting out the end plates from a flat sheet of carbon fiber. They won't be rectangles. Just some simple cuts for today:


 ) I have a quick question for you though... is the resin you use basically just a regular polyester resin or is it something special for the carbon fiber?
 Continue on...