I get no squirt on the rear and about 1 foot squirt on the front two calipers. I just checked the good bleeder screw on the rear, and ran a drill bit in it and shined a light in the bottom so I could see into it and it was nice and clean. I am by myself now, so I can't mess with the brakes too much, but 300zxmaster will come by Tuesday and I will have tapped the other caliper by then, and we can see If we can get any fluid to come out the bleeder. :/
IP: Logged
05:46 PM
86FIFI Member
Posts: 749 From: Statesboro, GA Registered: Aug 2010
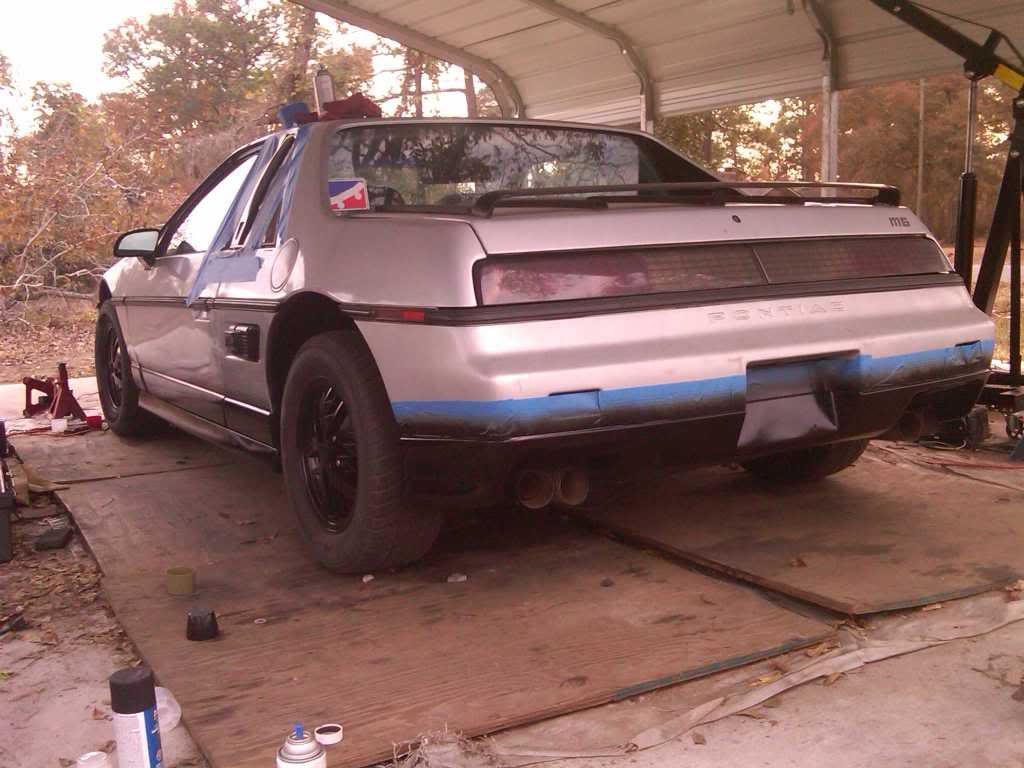
Well, here is what I did accomplish today. I got the rear bumper painted. Still needs a couple more coats of clear, but I have a couple coats on there. Quick question, how do you remove the entire sail panel? I have a good one to replace driver side, and dont know how to take it off correctly. I got the passenger side off, but I dont think it was the correct way, seeing as It doesnt sit back on the car correctly when I put it back on.
IP: Logged
05:53 PM
phonedawgz Member
Posts: 17108 From: Green Bay, WI USA Registered: Dec 2009
I read that sight quite a few times, but it seems like its telling you how to remove the shiny plastice from the sail panel, and why would removing something as simple as the sail panel be so complicated?
IP: Logged
06:02 PM
phonedawgz Member
Posts: 17108 From: Green Bay, WI USA Registered: Dec 2009
The whole quarter piece. The black shiny piece along with the piece it sits on. That goes all the way to the driver door, and has a vent in it. Thats what I got when I asked a forum member for their set. The whole piece.
IP: Logged
06:17 PM
86FIFI Member
Posts: 749 From: Statesboro, GA Registered: Aug 2010
The picture below shows the stamped steel nut that goes onto the screw post. I've placed it on the foam tape next to the screw post. Use some form of adhesive inside your socket to keep that nut from dropping into the body panel. Sometimes that foam rubber is adhered to the body. A good gasket scraper or putty knife can help in loosening it. Try to separate it from the body without destroying it. It acts as a vibration dampener and also eliminates some wind noise. The pins on the trailing edge of the panel in this picture are for 84/85 sail panels. Yours will have the plastic pins shown in your link. As you loosen the retainer nut, press inward on your ratchet while lightly pulling outward on the bottom of the sail panel. That way you'll know when the nut comes loose and you can EASE your socket out. Careful because the nut and socket have some of the VSS gear properties. It can be pulled off as you come through the hole and it falls into never never land.
Once you have the lower front loose, tip it outward and upward. You can see the plastic pins and their expander wings. If you have a pair of those VERY long needle nose pliers, it will aid in squeezing those expander wings.
Brakes:
If you're loosening the banjo bolt, it's unlikely that you will be able to bleed all the air out of the piston. The bleeder screw is positioned at the top of the cavity since air rises to the top of a liquid. The banjo bolt isn't high enough to remove all the air. If the parking brake rod just spins round and round, then probably someone has pressed the pistons back in rather than rotating them in. That generally strips the threads.
IP: Logged
09:29 PM
86FIFI Member
Posts: 749 From: Statesboro, GA Registered: Aug 2010
Thanks for the sail panel info fierofool. And for the brake problem. Not sure what you mean, but I know the actuator screw would twist about one turn in one direction or the other depending on whether it is in or out. Idk if that has anything to do with what your saying. Also, my parking brake light stays on, and I'm not sure if my parking brake works. Haven't tried it since I tightened up the cable.
IP: Logged
09:43 PM
phonedawgz Member
Posts: 17108 From: Green Bay, WI USA Registered: Dec 2009
So if your brake light stays on, and you get very little fluid through to the rear brakes, you have a problem with the proportioning valve being stuck all the way to one side.
When stuck all the way to one side it will block the flow of fluid to the other side.
Your brake light can be turned on by either the switch for the parking brake or the switch for the proportioning valve. If you unplug the wire going to the valve and the light goes out, then it is the valve that is turning it on.
If it stays on well then you know the parking brake is turning it on. The proportioning valve could also be turned on also, or perhaps not.
Either switch can turn on the light. Both have to be off to turn off the light.
IP: Logged
10:42 PM
PFF
System Bot
86FIFI Member
Posts: 749 From: Statesboro, GA Registered: Aug 2010
Well, I shall look into this a little further. This might be able to point me in the right direction, but I will say, that on both sides of the rear, I am getting fluid to the caliper, just not very much.
Edit: Also, if the proportioning valve is closed, could that explain why when I press the brakes, air is pushed into the master cylinder? When I press my brakes you can air being forced into the master cylinder causing lots of bubbles to form.
[This message has been edited by 86FIFI (edited 11-20-2010).]
IP: Logged
10:57 PM
phonedawgz Member
Posts: 17108 From: Green Bay, WI USA Registered: Dec 2009
When you push the brake pedal, vacuum assists your foot pressure. That vacuum sounds like rushing air. Right after turning off the car you have 3-4 pumps of vacuum assist left in the vacuum resivour. After that the pedal gets stiff and higher. That noise isn't air going into the fluid.
IP: Logged
11:12 PM
86FIFI Member
Posts: 749 From: Statesboro, GA Registered: Aug 2010
I read the link you sent me, and understand the proportioning valve now, I just dont really see how it could cause my problem, or how to fix it. Or how to unplug it to check it or anything. I am sure I can figure it out in the Haynes, but i am just saying as if I were to try do it and fix it now.
EDIT: I located the proportioning/ combination valve, and unplugged it from the electrical connection on the top, and the brake light stayed on. There was brake fluid around the electrical connection on it as well, IDK if this is normal or not, I'm just throwing that one out there.
Also, I tried engaging and disengaging the parking brake, but I dont think its functioning properly, and the light did not go off.
[This message has been edited by 86FIFI (edited 11-20-2010).]
IP: Logged
11:12 PM
86FIFI Member
Posts: 749 From: Statesboro, GA Registered: Aug 2010
Also, just a clarification, my brake lights on the rear of the car come on and go off when I brake like they should, and the "brake" light on the dash is what stay on all the time. Just to make sure we are on the same page.
IP: Logged
11:18 PM
Nov 21st, 2010
fierofool Member
Posts: 13014 From: Auburn, Georgia USA Registered: Jan 2002
If you're getting bubbles coming back into the reservoir, you still have air in the system. You should only get a squirt of fluid. As for the brake light, judging by phonedawgz's info, your proportioning valve isn't the culprit., Since you tightened the brake cable, go back and loosen it. You may have tightened it too much, which would keep the parking brake switch activated.
Rear brake calipers aren't like the front. You can use a C clamp to retract the pistons for the front brakes. The rear ones must be screwed in using a special brake tool. Each side turns in a different direction. You must also remove the lever from the back of the caliper before turning them back. Using a C clamp to press the rear pistons back into the bore will strip the threads inside. These are the threads that the emergency brake lever use to apply the brakes.
IP: Logged
07:11 AM
86FIFI Member
Posts: 749 From: Statesboro, GA Registered: Aug 2010
I know the brakes have to be rotated in, I have the special tool to do it. They are both compressed. Also I doubt I tightened the cable too much, since I got the car the parking brake hasn't worked right. When I pull it to engage it, it pulls the cable forward, but when I try and disengage it, the cable tangles under the handle, and I have to go to the cable in the back of the car to pull the cable back and disengage it. How can I test and see if the light is on becvause of the parking brake with the parking brake not working? Is there a fuse I can pull, or switch It uses I can possibly switch?
IP: Logged
11:33 AM
phonedawgz Member
Posts: 17108 From: Green Bay, WI USA Registered: Dec 2009
On the parking brake lever base there is a wire that connects to it. It's really low to the floor and hard to get to. I'm not sure if it can be unplugged with the driver's seat still installed.
Easier is to have someone pull on the parking brake cable while you go through the motions of releasing the parking brake. (Lift handle all the way and then push the button and while still holding the button lower the handle) Unplug the wire from the proportioning valve first so if that one is on also you can see the light go out.
[This message has been edited by phonedawgz (edited 11-21-2010).]
IP: Logged
03:15 PM
86FIFI Member
Posts: 749 From: Statesboro, GA Registered: Aug 2010
Ok, tuesday when 300zxmaster comes over we will try this. Would it hurt anything to pull the combination/proportioning valve out, and clean it out with brake parts cleaner? Also, how would I center it, or know if it is centered?
IP: Logged
08:25 PM
Nov 22nd, 2010
phonedawgz Member
Posts: 17108 From: Green Bay, WI USA Registered: Dec 2009
You can check to see if the pin on the proportioning valve is grounded. That is how the proportioning valve turns the light on. If the pin isn't grounded, then the proportioning valve can't be blocking fluid flow.
You can crack a line at the proportioning valve to see if you have pressure there. It should squirt with force from an opened line. You have to see where the pressure is, and is not.
IP: Logged
10:12 AM
86FIFI Member
Posts: 749 From: Statesboro, GA Registered: Aug 2010
I figured that would be the simplest way to see if fluid is getting blocked or not. But is there any harm in taking the whole thing off and cleaning the insides with brake parts cleaner?
IP: Logged
12:30 PM
PFF
System Bot
phonedawgz Member
Posts: 17108 From: Green Bay, WI USA Registered: Dec 2009
My little brother came over this afternoon, so I got him to help me by pushing the brakes, and releasing the parking brake lever. So he pulled the parking brake, and released it while I pulled the cable in the rear of the car while the proportioning valve was unplugged, and this is what happened.....
The brake light went off!
So I plugged the proportioning valve back up, and the light stayed off. Before trying the parking brake thing, I took the lines ott the master cylinder, and fluid shot out both sides when the brake was pressed. So I connected the lines back to the proportioning valve and loosened the bottom of the rear line, and fluid squirted out of there when the brake was pressed, so I am getting good pressure through there, and the proportioning valve is not my problem. So I got him to pump the brake while I tried to bleed the driver side rear caliper, and after about 10 min of him and me pumping we got no fluid out of the bleeder screw. Occassionally you would hear a slight bit of air come out the screw, but that was rare.
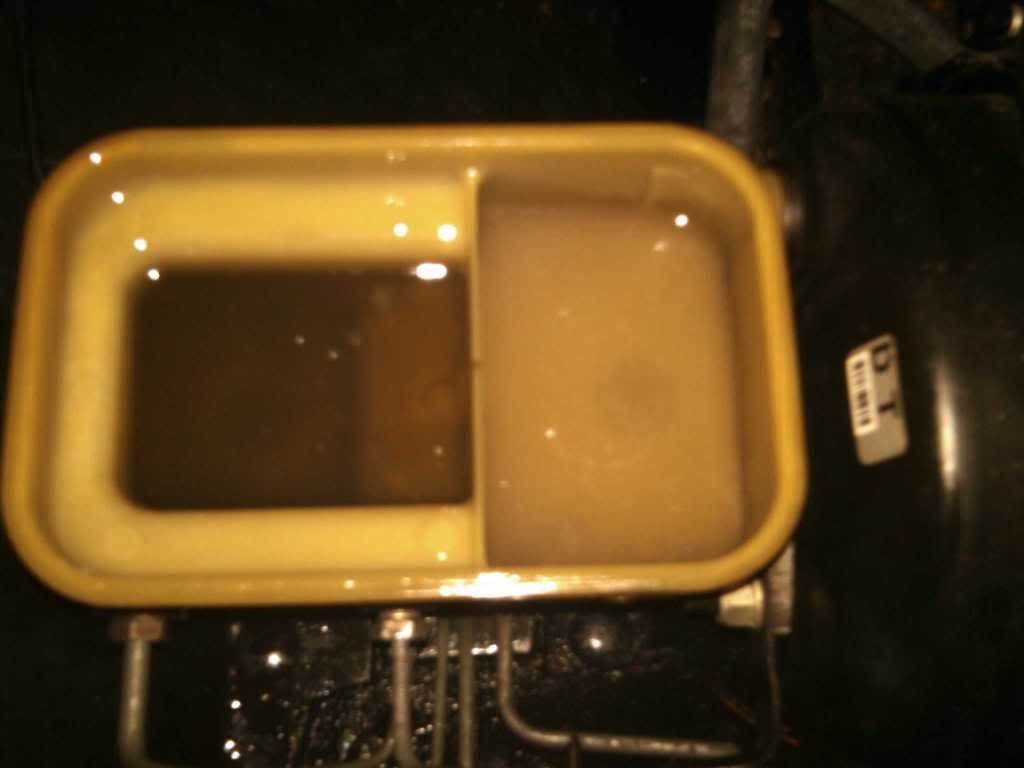
When pumping the brake, the pedal is very stiff, and has only an inch or two of movement, and when the rear bleeder screw is cracked, the pedal does not fall at all. After pumping for a while I took a pic of what the fluid looks like in the master cylinder just to kind of show you what I mean by air going into the cylinder when I pump the pedal.
So now I am at a loss, and have no Idea where to go from here,
I would loosen both ends of the brake line(s) going to the rear, & blow it out with compressed air. Don't recall if you replaced the rear hoses, but do that too. ~ Paul aka "Tha Driver"
IP: Logged
03:46 AM
86FIFI Member
Posts: 749 From: Statesboro, GA Registered: Aug 2010
I will give that a try, I will probably wait to replace the hoses until after christmas, because I want to do SS hoses at all 4 corners. Would it hurt pulling the hoses I have now off and possibly blowing them out with compressed air? Also where should I blow from? The rear brake line coming out the bottom of the proportioning valve?
IP: Logged
07:11 AM
phonedawgz Member
Posts: 17108 From: Green Bay, WI USA Registered: Dec 2009
So I plugged the proportioning valve back up, and the light stayed off. Before trying the parking brake thing, I took the lines ott the master cylinder, and fluid shot out both sides when the brake was pressed. So I connected the lines back to the proportioning valve and loosened the bottom of the rear line, and fluid squirted out of there when the brake was pressed, so I am getting good pressure through there, and the proportioning valve is not my problem. So I got him to pump the brake while I tried to bleed the driver side rear caliper, and after about 10 min of him and me pumping we got no fluid out of the bleeder screw. Occassionally you would hear a slight bit of air come out the screw, but that was rare."
So the clog is between the line from the bottom of the valve and the caliper. Not sure if that's what you meant, I was just trying to clarify.
IP: Logged
10:38 AM
86FIFI Member
Posts: 749 From: Statesboro, GA Registered: Aug 2010
I have not replaced the front yet, but they are functioning properly. I ordered the rears. The passenger side hose came off easy, but the driver side rounded the brake line off, so I have to replace the line that runs from the hose on the driver side caliper, to the piece that splits the lines on the passenger side. Any idea where to buy just that line?
IP: Logged
07:28 PM
PFF
System Bot
phonedawgz Member
Posts: 17108 From: Green Bay, WI USA Registered: Dec 2009
Well I would rather just buy the whole piece and not bend it myself to be safe. Not having much luck with things. While trying to get the messed up line off, I'm not having much luck getting the line disconnected from the T piece on the passenger side. Rusted soft nuts and lines suck!!!!
IP: Logged
07:59 PM
phonedawgz Member
Posts: 17108 From: Green Bay, WI USA Registered: Dec 2009
Don't be surprised if you break the break lines near the T. The line you are removing is rusted to the point of breaking. The other lines prob are close to the same. When you start working near them they crack and break. You really need to be ready to go back to good line as far as needed.
It's part of working on rusted brake line.
If the line was good, unrusted it wouldn't break.
IP: Logged
08:34 PM
phonedawgz Member
Posts: 17108 From: Green Bay, WI USA Registered: Dec 2009
I really don't like working on rusted brake line. I just figure when it starts to leak, replace enough that there is not much rust on what is left.
When you re-assemble the brake components - you need to do it counter-intuitive. Don't bolt down the T or the backet that holds the metal line at the wheel untill after you have threaded the connectors together. It's much easier to get them started with the parts flopping around. Mounting the parts after you have snugged the nuts down is relatively easy. Trying to start the line nuts with the tubeing in place is very hard.
IP: Logged
08:40 PM
86FIFI Member
Posts: 749 From: Statesboro, GA Registered: Aug 2010
Thanks for the info, luckily I got it off at the T without messing anything up. I may try and flare the part I broke off, and thread a piece into it so I can use it without replacing the line for now. I will buy the whole set from fiero store eventually, but like I've said, I am trying to save money for christmas presents. I didn't wanna have to buy the hoses until after christmas, but I want to drive the car and stop effectively.
IP: Logged
10:30 PM
Nov 28th, 2010
86FIFI Member
Posts: 749 From: Statesboro, GA Registered: Aug 2010
Just a little update after the Thanksgiving Holiday, Before I start, I hope you guys had a good Thanksgiving. I havent touched the car since last Wednesday. Well this Wednesday, I will pick up my brake hoses, as well as a brake line flare tool, and the nut to connect to the brake hose. Last Wednesday after running into this problem, I started destroying the disgusting speaker boxes built into the car by the previous owner behind the driver and passenger seats. It made it not possible to get the sail panels off, took up the little room I had behind the seat, and attracted bugs because the idiot used plywood instead of MDF. I got the driver side half out, but the box went across the whole back wall of the car, and wouldnt allow the center console to sit like its supposed to, and the bottom half of the carpet behind the seat was cut out. I think once I can get it all cleaned out and cleaned up good, it wont look that bad. Just really upsets me that someone would do that to their vehicle. It didnt look bad the way it was, but like I said I couldnt get the trim piece around the seatbelt column off or the center console to sit flush with it in there, so I had fun with a small black and decker saw and cut away at it. Once I get it all out and cleaned up a little I will remove the seat covers, and take some interior pics.
IP: Logged
10:57 PM
Nov 29th, 2010
86FIFI Member
Posts: 749 From: Statesboro, GA Registered: Aug 2010
Went to a junk yard this afternoon, They had 2 fiero's, one 85 GT they used as their sign, and one 84 SE they just got last week. I will post pics later. I gpt the horn button, some relays and extra fuses, the coolant cap, the Map sensor, and the cigarette lighter insert piece. They said they would sell the car with the title for $600, kinda high in my opinion. Seats weren't bad, I like the fact that they had speakers in the head rest. I am going back this weekend to get the radio, radio surround, sunroof glass, and glass sail panels. Anyone need something?
IP: Logged
06:33 PM
fierofool Member
Posts: 13014 From: Auburn, Georgia USA Registered: Jan 2002
If they say GT on the sail panels, they aren't glass. Those were only available in 84. You can wire the headrest speakers into your present system and give yourself an 8 speaker setup. Replace the covers with a set of Mr. Mike's. Since you're getting things like relays, be sure you get the one on the left driver's fender well. You have to remove the headlight assembly to get to it. That relay isn't available any more and it's the main relay for the 2 headlight motors. I'd also get the headlight motors, and possibly the complete headlight assemblies.
Marker lights, TPS, IAC, IAT and filter canister, Cruise canister and purge relay, Cruise dashpot and cable, shifter cables, distributor, brake calipers, all are good backup pieces to have. Even the front and rear fascias. That is, if you're talking about the 85GT. Lots of the 84 stuff is common only to the 84.


.JPG)