When you put back together anything on the bottom use a lock washer and "never seize" or something like it ( when I did mine I just coated the nut & bolt inside the hole with grease before sealing it up) same for the front cradle bolts. Seems to be the cradle always has to come out again for "something".
ya i am gonna use anti-seize on everything. I don't want to have this trouble again. I hope i don't have to remove it for engine problems any time soon.
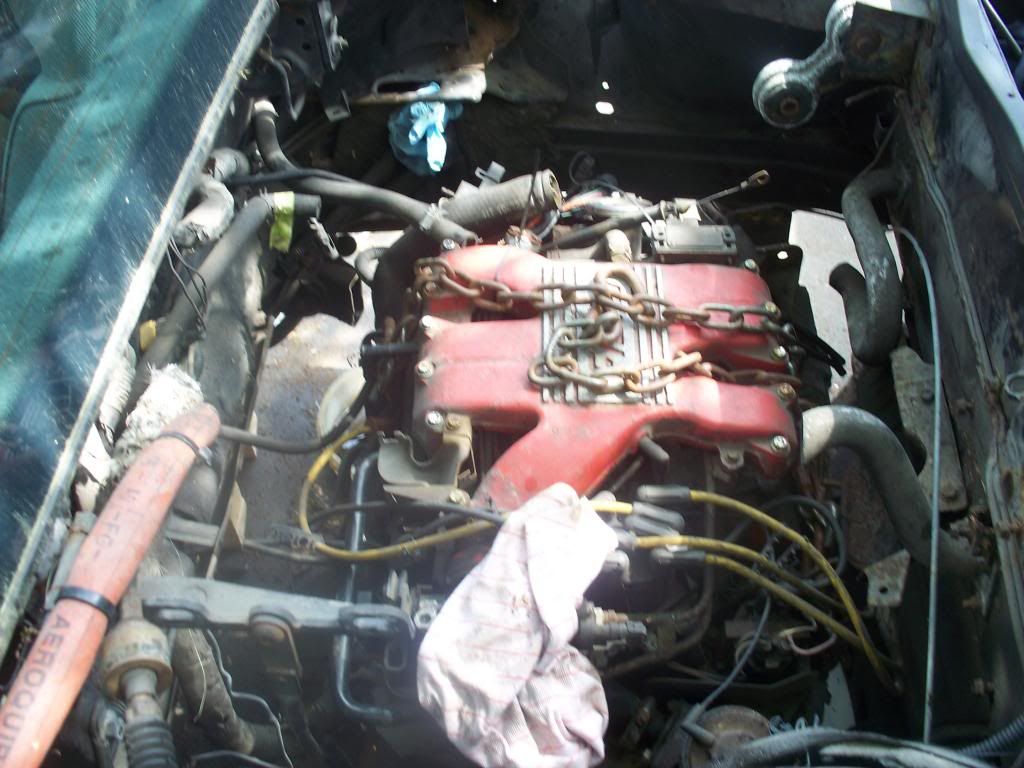
got the engine lowered onto my cart. [/URL] [/URL] yay it's finally out! Even the wife had to get in on the action(really she just like to have her pic taken ). [/URL] [/URL]
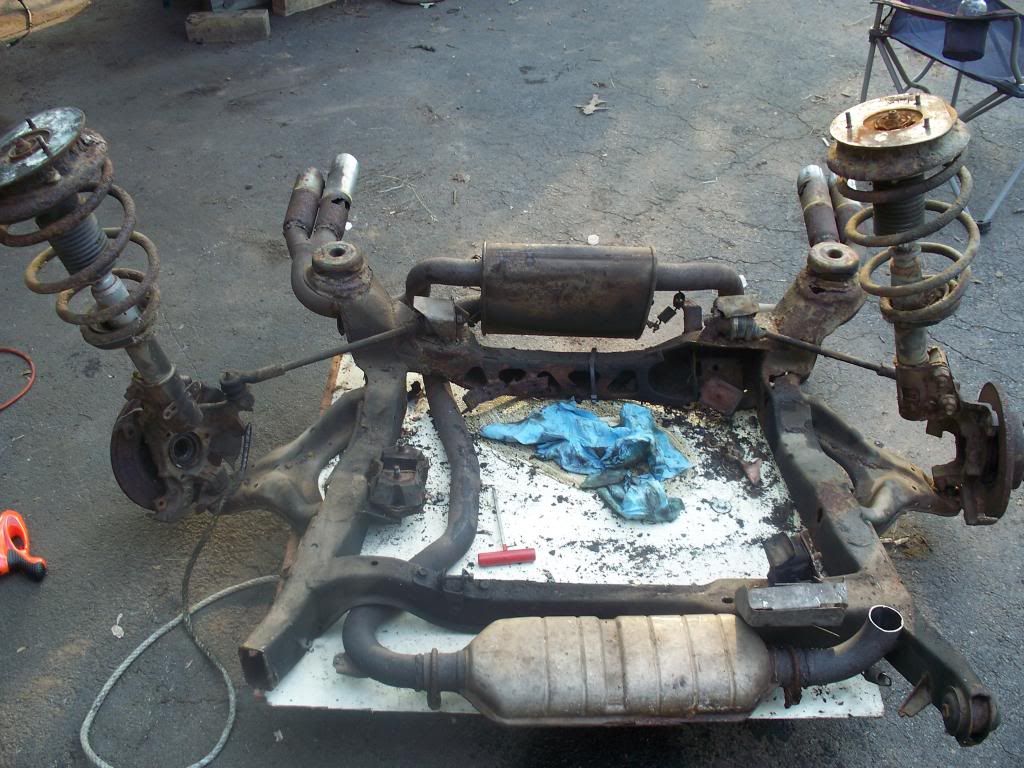
Poor cradle has seen the last of it's useful life. Luckily, I have another in excellent shape to use. I got the engine and tranny off the cradle, and the engine was sold to a guy yesterday. Trying to decide if i want to bother selling the getrag... [/URL] I got one of the a arm/strut assy's off. I was surprised how easily it came off, given the look of everything. The other side is going to be a bit more of a challenge unfortunately. [/URL] I noticed a ball joint boot is ripped on the left side a arm that i need to use. Hopefully these are not going to be hard to find.
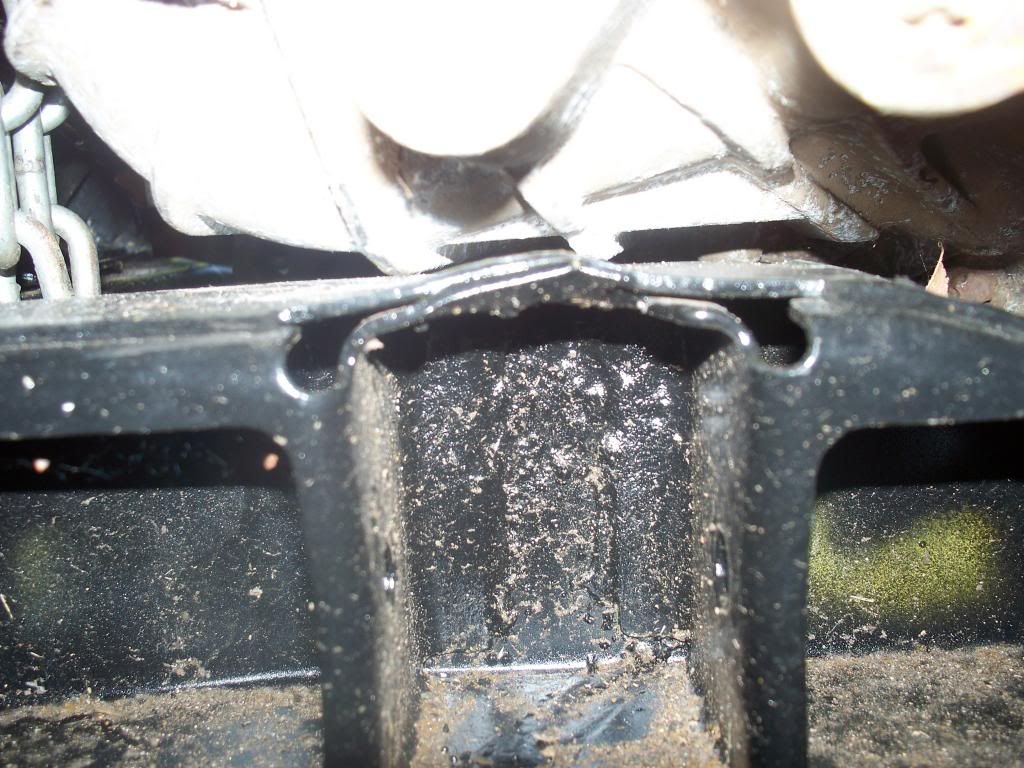
so i modified my rear trans mount to work with the cradle. Had some clearance issues between it and the cradle. It should be good now. [/URL] [/URL] Just need to test fit the engine and tranny on the cradle and then I can remove the tranny from the engine and install the flywheel, htob and spacer, and clutch. I will then be able to throw some paint on the tranny and bolt her back up and put it on the cradle for the final time. Then i can get to work on the dual exhaust...hmmm...side exit or rear???? Then harness and computer and i will be getting close!
The bracket fit the tranny, but would not clear the rear of the cradle to allow it to seat against the mount. I just cut the rearmost piece of the bracket off on each side, and re braced it differently. Now seems like it is going to fit on the cradle fine, but the true test will come when i set it on the cradle again all together. I'm crossing my fingers lol
As for the shifter, i am getting him to modify it to use 2 select cables and make the tranny bracket to match.....rather than the setup i was going to use with the pivot point incorporated into it.
Originally posted by MazdaManiac: Once you really sit down and do the math, it just doesn't make sense to start with the 2.8.
Except I have a brand new one that I built spending around 100 hours on that I got real good deals on all the parts so my cammed and ported brand new 2.8 only cost $650... then it becomes a bigger dilemma... If you want to convince me in one way or another, I am trying to use this thread to help decide what I should do, I don't want to take this thread off topic!
the 3800 is a good choice i think, but everyone has "their own thing". I think if i were to do another one, it would be a V8. I picked the 3800 over the V8 cuz i figured it would be easier to get power out of, and i also figured it would be cheaper over the V8 by the time it was finished. Now i am not so sure. I have close to 2500$ in the engine alone, and all i did was tear it down, install new gaskets and seals, rings, a cam, springs and retainers, valves, timing set, and some new bolts. troy
I would tend to think the same thing. when I started, I already Had a 383 (fresh) hanging on a "stand", but the $1000 for adapters/mounts scared me away. but by the time you do whats needed to a 3800sc AFTER buying it, theres ALOT you never think of ! But the same it true with the V8, It's nice not to have to deal with the wiring and computer, (A carb and a distributor is VERY attractive), but you still have to make a cooling system/ exhaust, not even sure if you can run AC, Anyone "contemplating either of them needs to really "do your homework FIRST".
started work on my dual exhaust setup tonight, i'll get a few pics tomorrow. Using the 3.8 mustang manifold for the left side, and cutting the crossover out and welding the opening over on the right side manifold. Getting rid of the EGR as well
started work on my dual exhaust setup tonight, i'll get a few pics tomorrow. Using the 3.8 mustang manifold for the left side, and cutting the crossover out and welding the opening over on the right side manifold. Getting rid of the EGR as well
I like the idea of a dual exhaust but am stuck on how one would incorporate the 3800s single oxygen sensor into the system as you really want it to see all cylinders. Have you thought about this and if so, where are you planning to mount yours?
------------------ 84 NB, 3800SC, E-85, VS Cam, 3.0 Pulley, 4T65E-HD, HP Tuners, AEM Wideband, Regal GS Gauges, S-10 Brake Booster. 1/4 mile -12.05 at 111.7mph
I like the idea of a dual exhaust but am stuck on how one would incorporate the 3800s single oxygen sensor into the system as you really want it to see all cylinders. Have you thought about this and if so, where are you planning to mount yours?
I haven't gave it a whole lot of thought at this point really. I was going to mount it where it is normally on the rear bank. I have seen a few builds set up this way, but have not really seen any builds with it done another way. I am definitely open to suggestions for sure. If you have an idea or thought, definitely post it. I have been toying with the idea of a dual side exit exhaust as well. I can't seem to find any threads on here where someone has documented doing it though. I think personally that it would be a neat idea, albeit noisy. lol At this point with the 3.8 mustang header, i have to oblong the mounting holes and cut down through the 3 primary tubes. Then I can bend the opening together and weld it back up. This should allow the needed clearance for the starter and the block.
Like to see the Pics of the "Dual Exhaust". Was just thinking about doing mine yesterday. (on mine the rear manifold points UP at the dump, where it really should point down)
Like to see the Pics of the "Dual Exhaust". Was just thinking about doing mine yesterday. (on mine the rear manifold points UP at the dump, where it really should point down)
progress has been slow on that. I have basically pretty much got the mounting holes oblonged on the 3.8 mustang manifold to the point where it will match the gasket properly and bolt up when the time comes. But i have to bolt the manifold down to a thick flat piece of steel and then "section" the primary tubes...this is so i can then bend it outward to the point where the gap i made by cutting closes up. This is for clearance of the starter and block. The welding will have to be done at a welding shop unfortunately since it will need to be welded with stainless tig wire. Then i still have to cut end off the rear stock manifold that is not needed (no crossover or egr being used) and weld it over on the end. I will post some pics of the setup as i make progress on it.
So you are planning on doing duals as well? What do you have for a front manifold?(one that points up)
[This message has been edited by fieroaddicted (edited 08-10-2013).]
new low alt setup and modified stock mount in place. [/URL] [/URL] [/URL] It seems my little helper has had enough work on the car for today I think someone wants to go for a ride. [/URL]
dogbone will bolt to the two threaded holes on the top of the original bracket. I just have to build it once the engine is in the car to make sure it will fit properly.
looks like the next step is to take it back off the cradle and clean up the tranny and paint. Have to install the clutch and htob with spacer and then button everything up for good.
when installing the oil pressure sensor, First, install a "T" , that way you can hook in BOTH, your sender and a Mechanical Gauge also. It fits fine, that's the way I did it (I don't trust the electronic gauges)
yes i think i will run an analog pressure gauge as well. I always liked the dial gauges. I can't wait to get the boost gauge hooked up and working. Gotta have the toys and gadgets.
Make sure you use copper line for the boost gauge as the plastic stuff most boost gauges come with will not give you accurate readings. Also before purchasing a boost gauge always look at it first to make sure it is reading zero as I have seen quite a few read off by a few lbs right out of the box. Dan
Make sure you use copper line for the boost gauge as the plastic stuff most boost gauges come with will not give you accurate readings. Also before purchasing a boost gauge always look at it first to make sure it is reading zero as I have seen quite a few read off by a few lbs right out of the box. Dan
Really? good to know. I would imagine it would be quite easy to kink the copper being that small in size. Mine is an Equuis Gauge that reads boost/vacuum...prob not the best. It does read at zero right now when i look at it in the box. I want to gear up a case for my phone as well so i can scan while driving full time without it just sliding around on the passengers seat..
The 1/8" copper line is Very tough stuff (You CAN kink it if you try, but it won't do it by itself) I've had the nylon get brittle and break and squirt oil all over my legs. WHERE do you hook a boost gauge to ?
The 1/8" copper line is Very tough stuff (You CAN kink it if you try, but it won't do it by itself) I've had the nylon get brittle and break and squirt oil all over my legs. WHERE do you hook a boost gauge to ?
i am hooking up mine to the port coming off the intake plenum located right below the s/c snout.
Actually, not sure if yours has this or not, but mine has a metal "tree" on the side of the blower (apparently that tree was deleted on later models. Mine is a 97). It sees vac and boost so I actually decided to run the boost/vac gauge off it, and reserve the larger one under the snout for the MAP and fuel pressure reg.
not much going on lately with the build. Been working on other projects for the last little while. Trying to get motivated to get back at it. I'd love to get most of it finished up this winter, so i can be driving it in the spring if all goes well. I have to get the garage cleaned up today so i can get it inside for the winter soon. Still need to buy my harness and pcm, cradle bushings, finish my exhaust, and countless other things i am sure i am forgetting.


 [/URL]
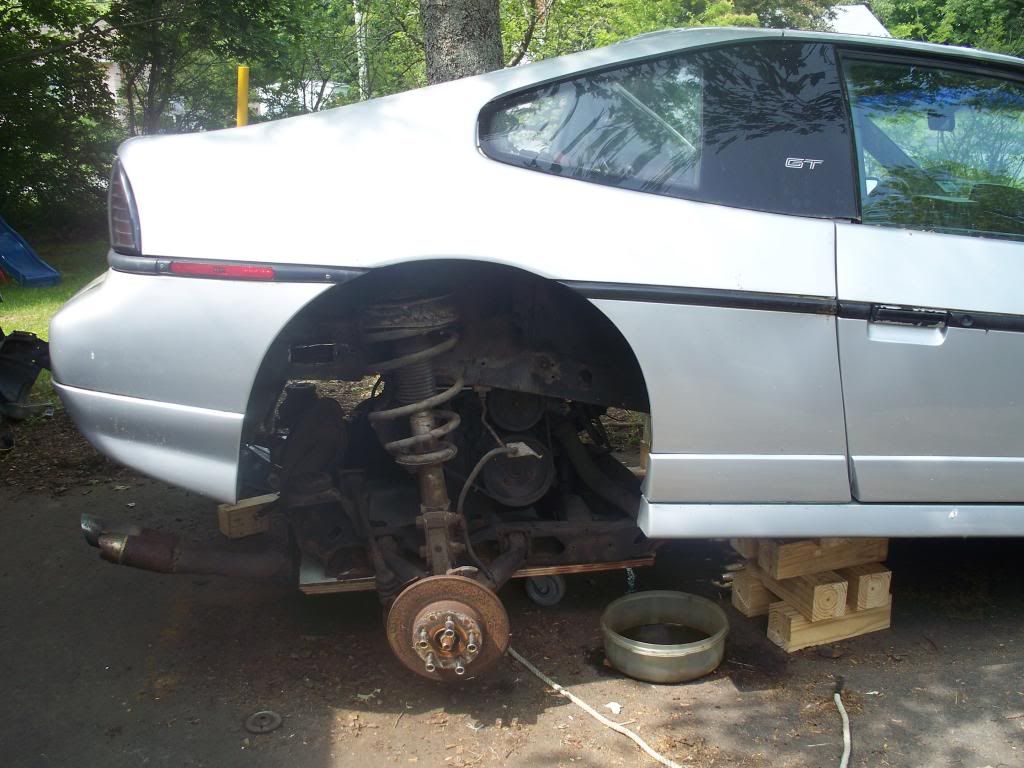 [/URL]
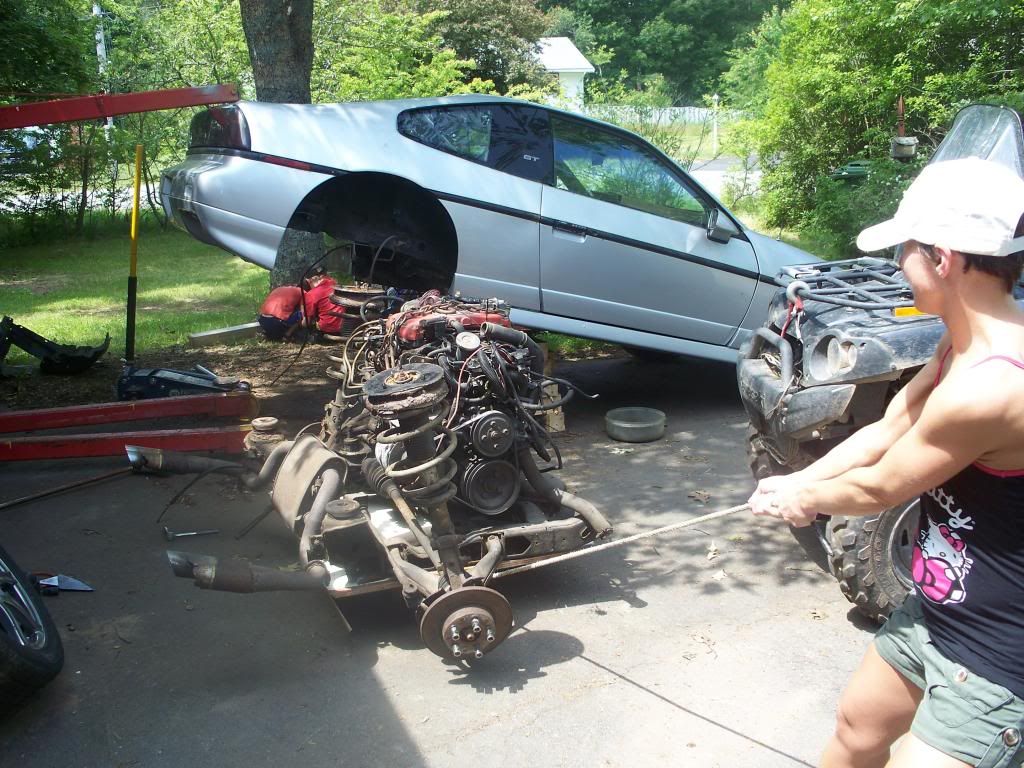 [/URL]
 [/URL]
 [/URL]
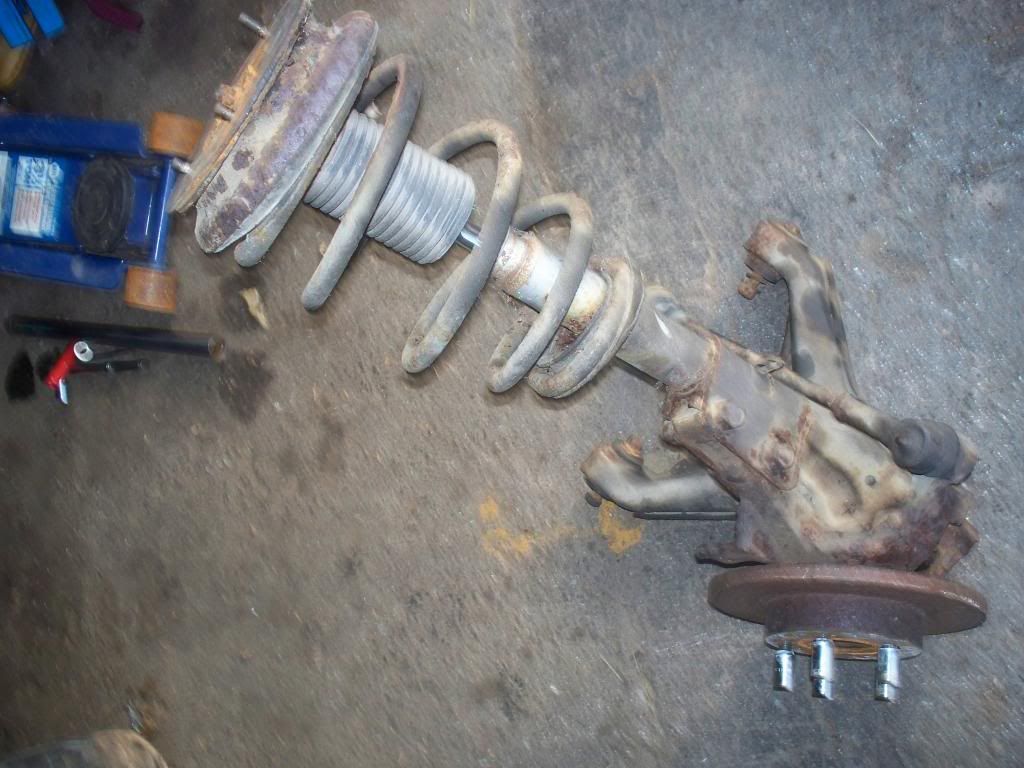 [/URL]
 [/URL]
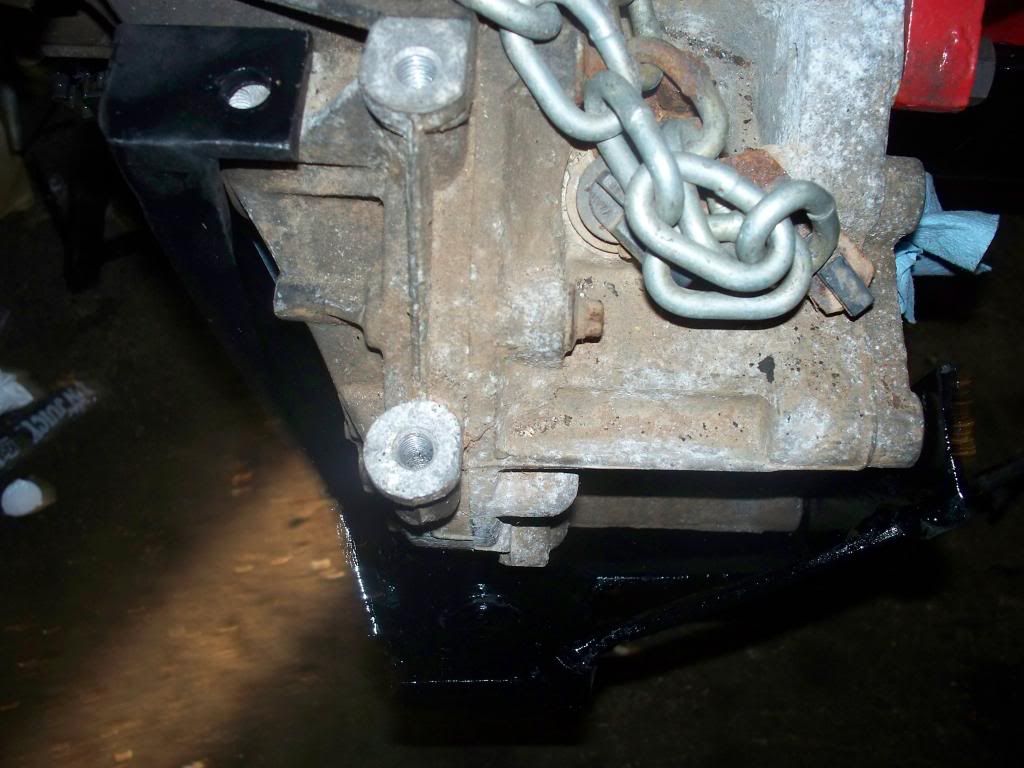 [/URL]


 [/right]
 [/URL]
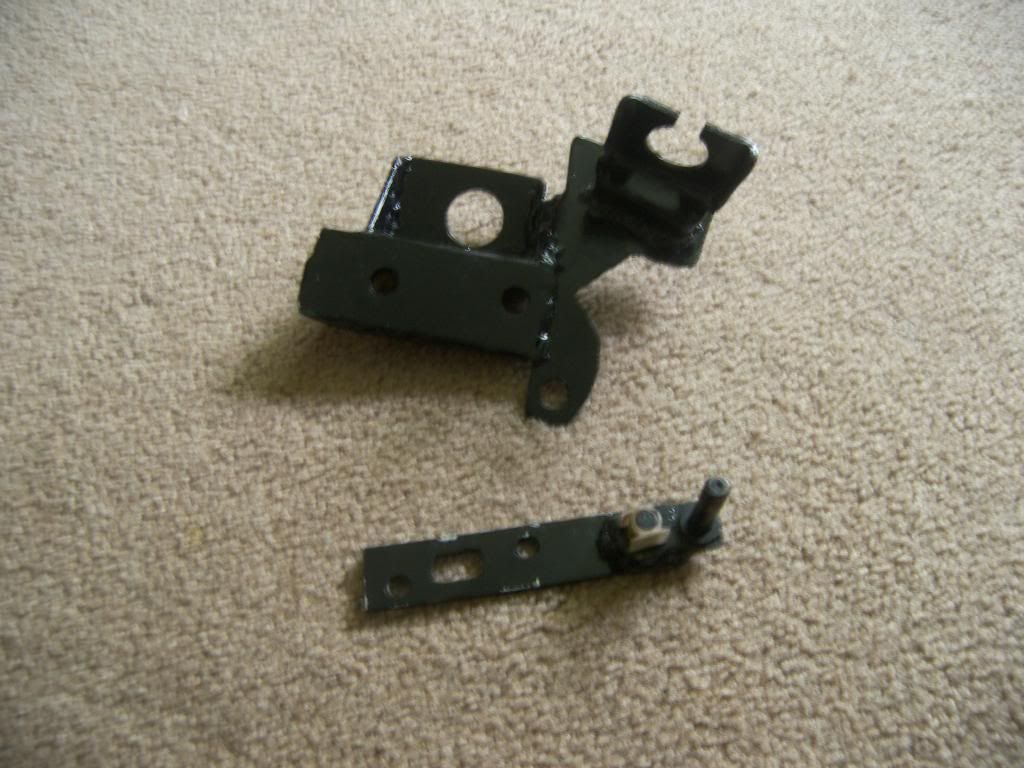 [/URL]
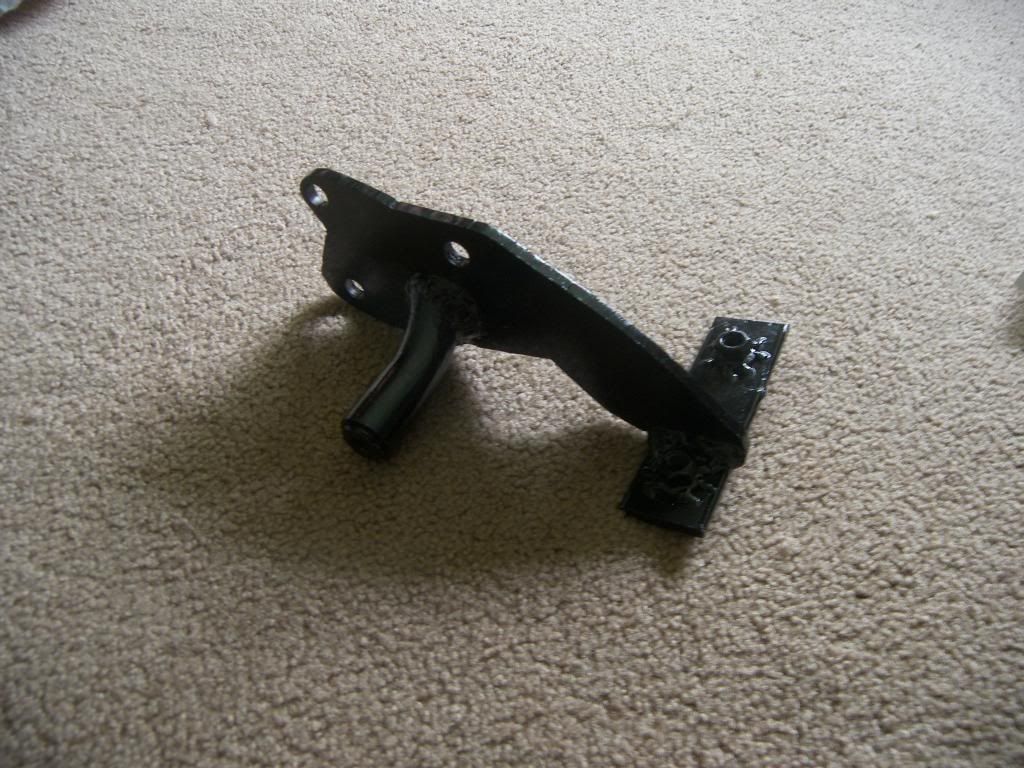 [/URL]
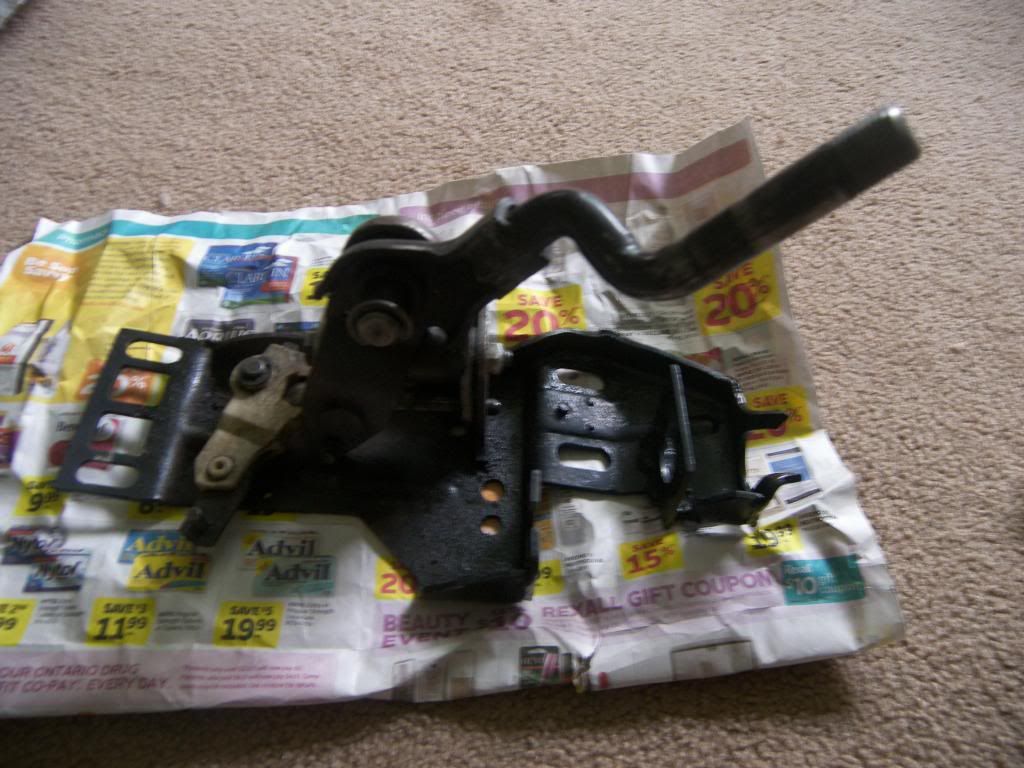 [/URL]
 [/URL]
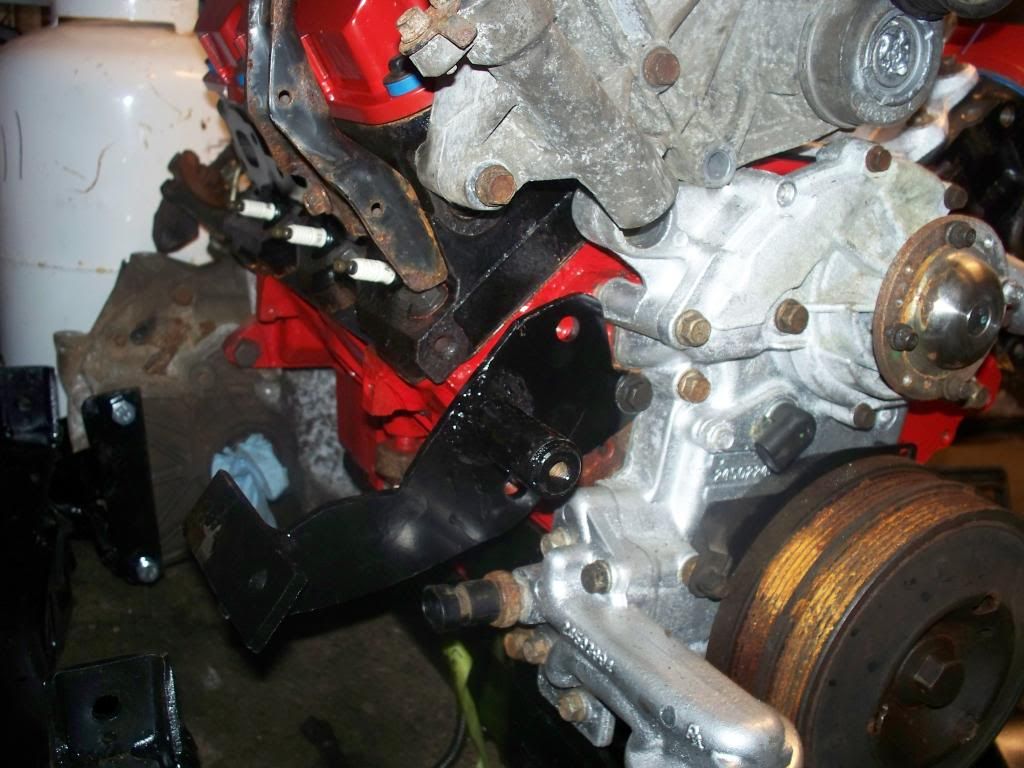 [/URL]
 [/URL]
 [/URL]


 Actually, not sure if yours has this or not, but mine has a metal "tree" on the side of the blower (apparently that tree was deleted on later models. Mine is a 97). It sees vac and boost so I actually decided to run the boost/vac gauge off it, and reserve the larger one under the snout for the MAP and fuel pressure reg.


