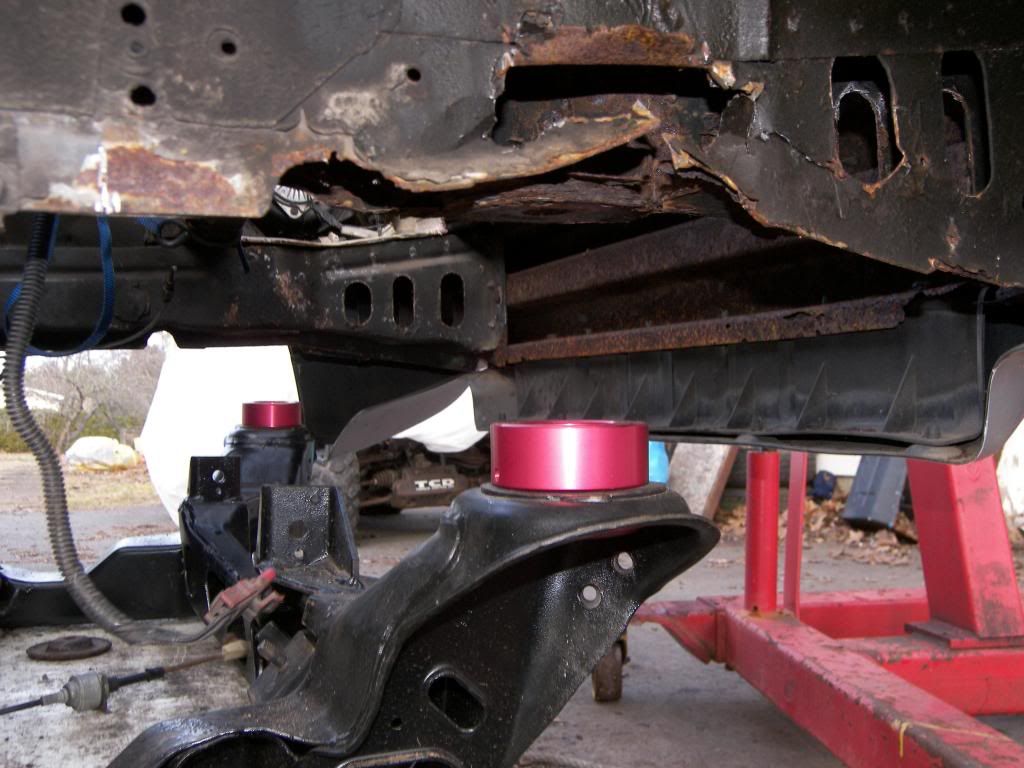
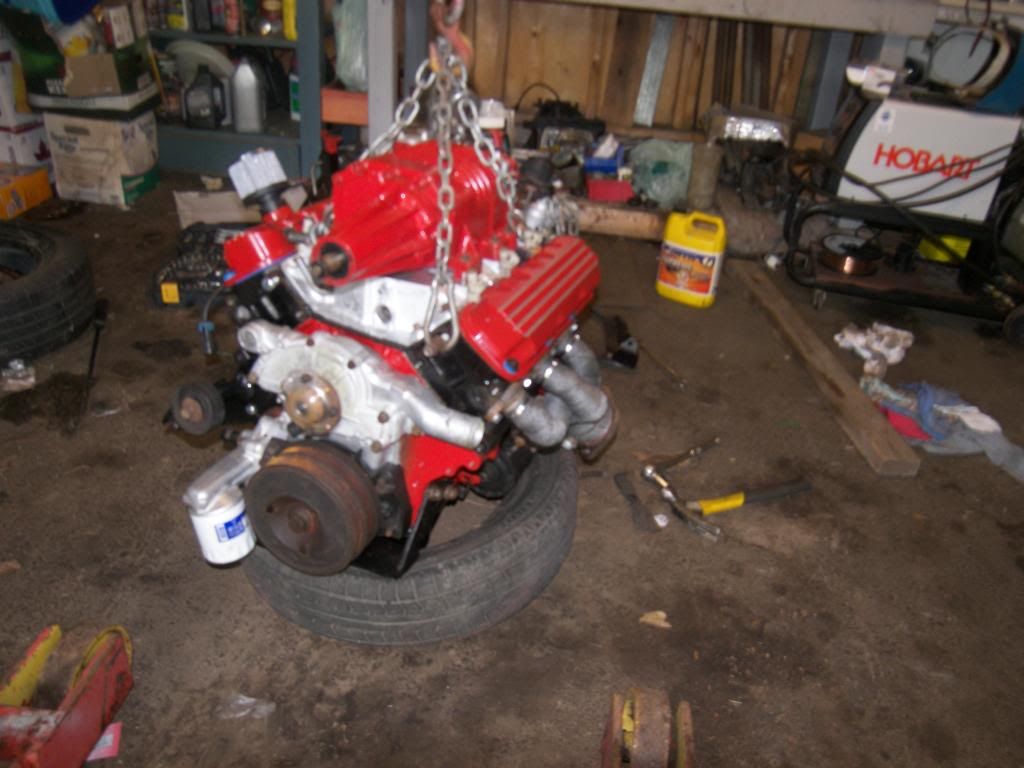
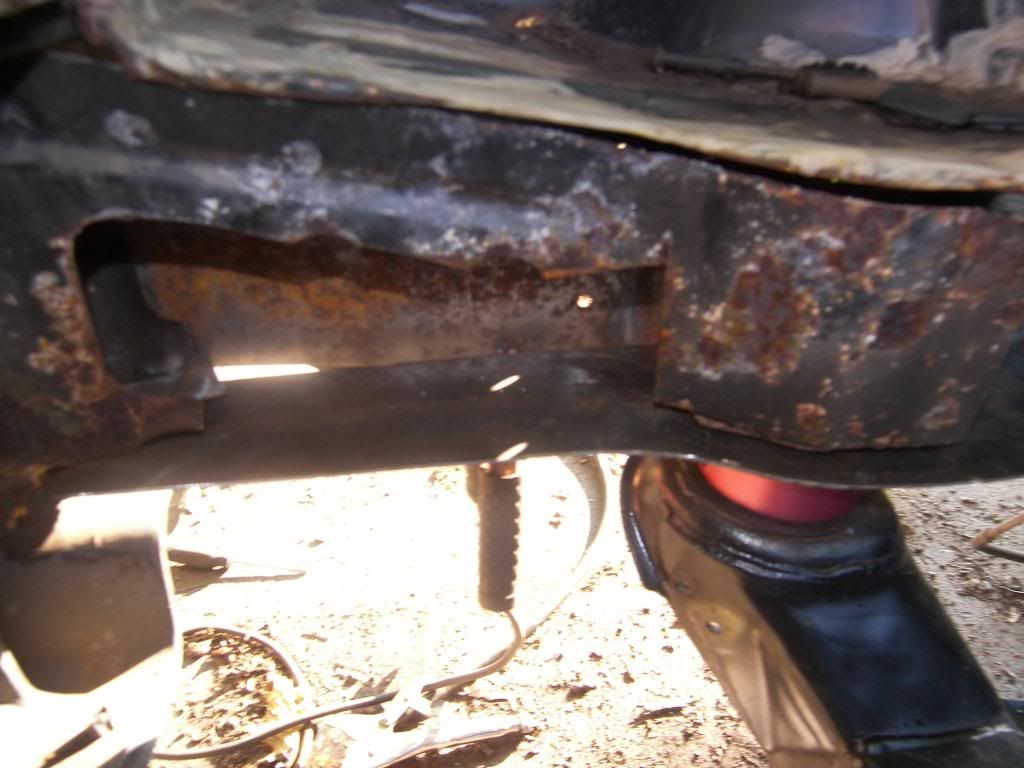
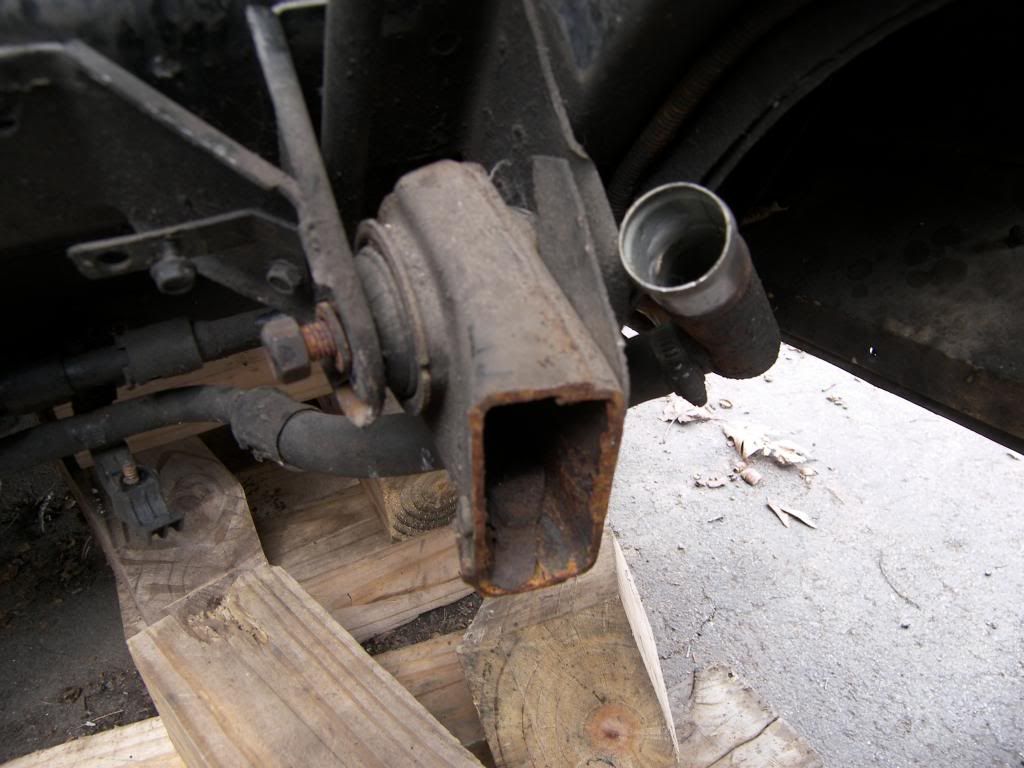
this is my next adventure before installing the cradle so i can fix the left side frame.
Picked up a couple metal blades for my recip saw today. Figured it would be too easy to cut through both sides of the bushing and drop it out. Not so much. New blade didn't even touch it really. Must be harder than i thought.
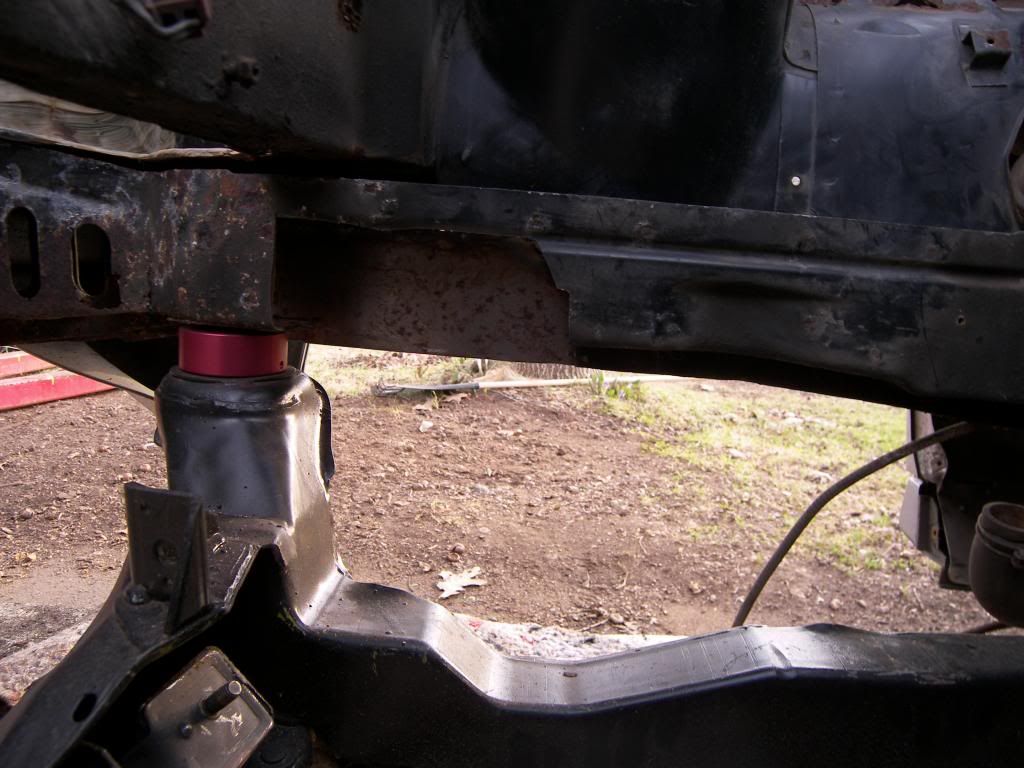
Pretty much need a grinder to cut the sleeves those bolts go through to get them out. if you pry the sides over a little a grinding disc will go in deep enough to cut through or as I like to do cut so far turn the bolt and cut more.
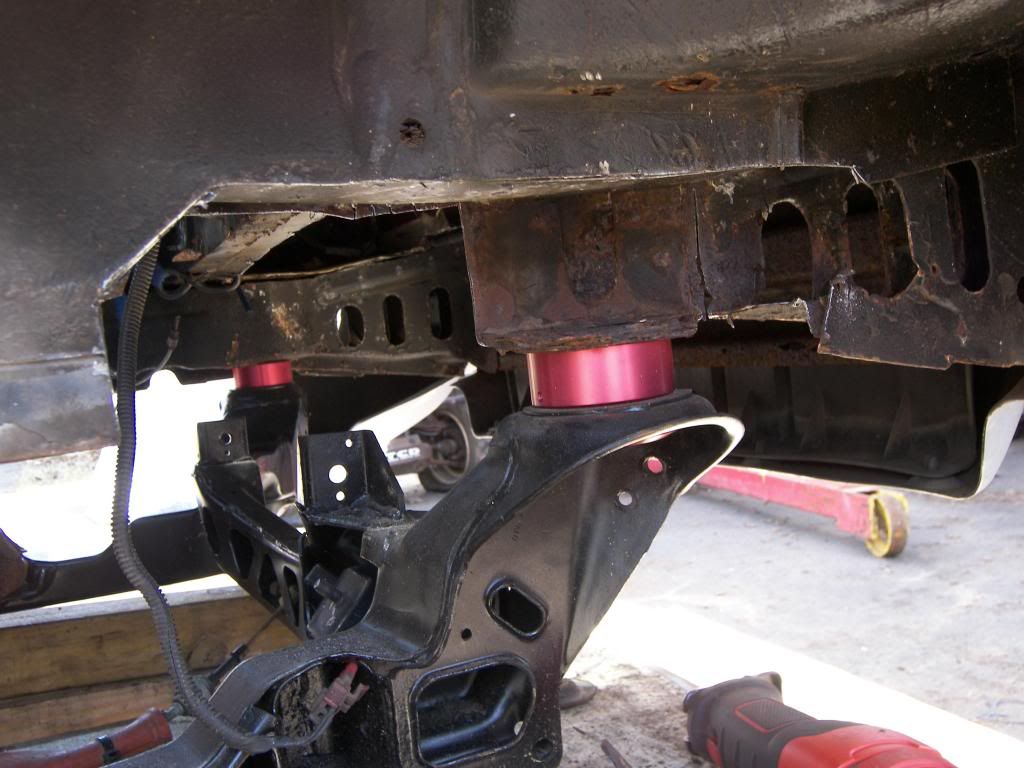
managed to get at the bolt on the thread side between the mount and the collar and cut it off, but of course, the collar is tight to the opposite side mount and there is no clearance between the collar and mount to get at the bolt. Will have to use the grinder for that end i guess.
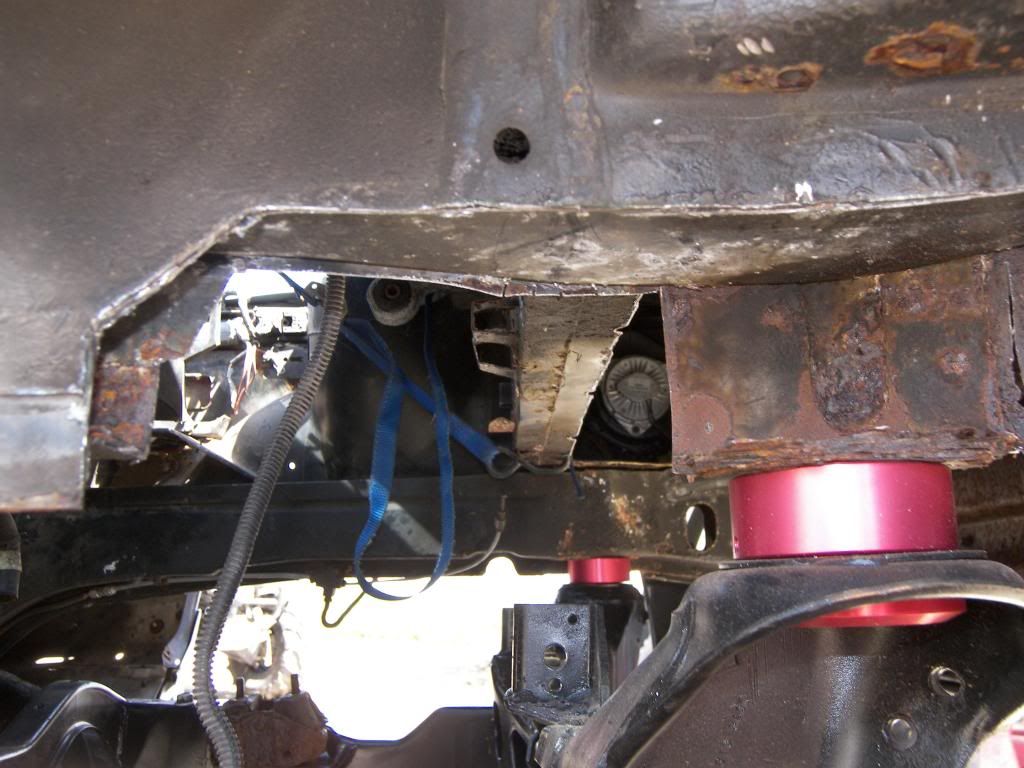
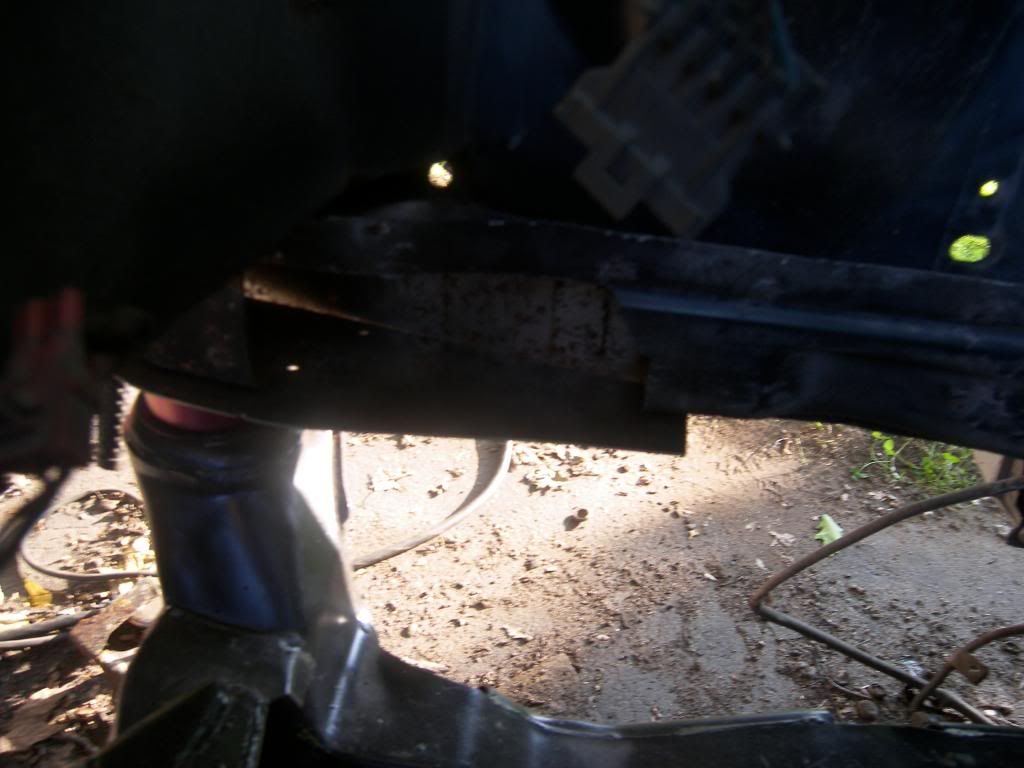
Remove the heater hose from the coolant tune and the clamps to lower the coolant tube down and out of the way and then carefully grind the head off the seized bolt.
Remove the heater hose from the coolant tune and the clamps to lower the coolant tube down and out of the way and then carefully grind the head off the seized bolt.
Yes this is what i will have to do i guess. Wanted to stay away from having to remove the coolant tube, but I should probably have done it anyway. the clamps that hold it up look like they need to have something done with them anyways. Have to see if i can get a chance to play with it after work tomorrow night
Can't you just "Torch off" both ends of the bolt (Flush), spread the ears a little and pry out the frame ear ?
yes but i have no torches here right now. I have managed to cut one side off with the recip saw, but will have to use the grinder on the other side. gonna work at it tonight a bit.
Success! Managed to get the mini grinder up in there and slowly grind down the head of the bolt. I could only get it ground down so far due to the size of the grinder and the lack of room, so i finished it off with my big die grinder
Now, about the rest of the frame....... any new pics?
nothing yet. Gotta get at it soon tho now. I needed to get that piece off so I can install the new cradle to get a good reference as to where the mounting spot needs to be. The idea is to bolt the cradle in at three points and then built the frame for the forth mounting spot while it is in there...tack it together, and then remove the cradle to finish welding. Should be some coming soon...
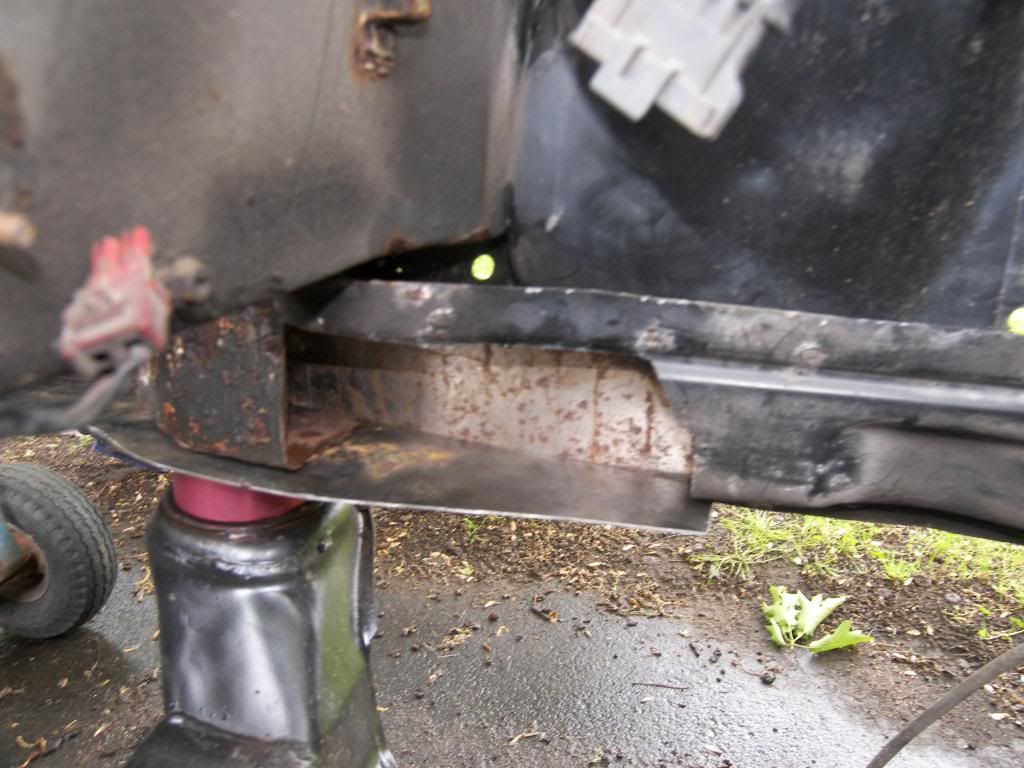
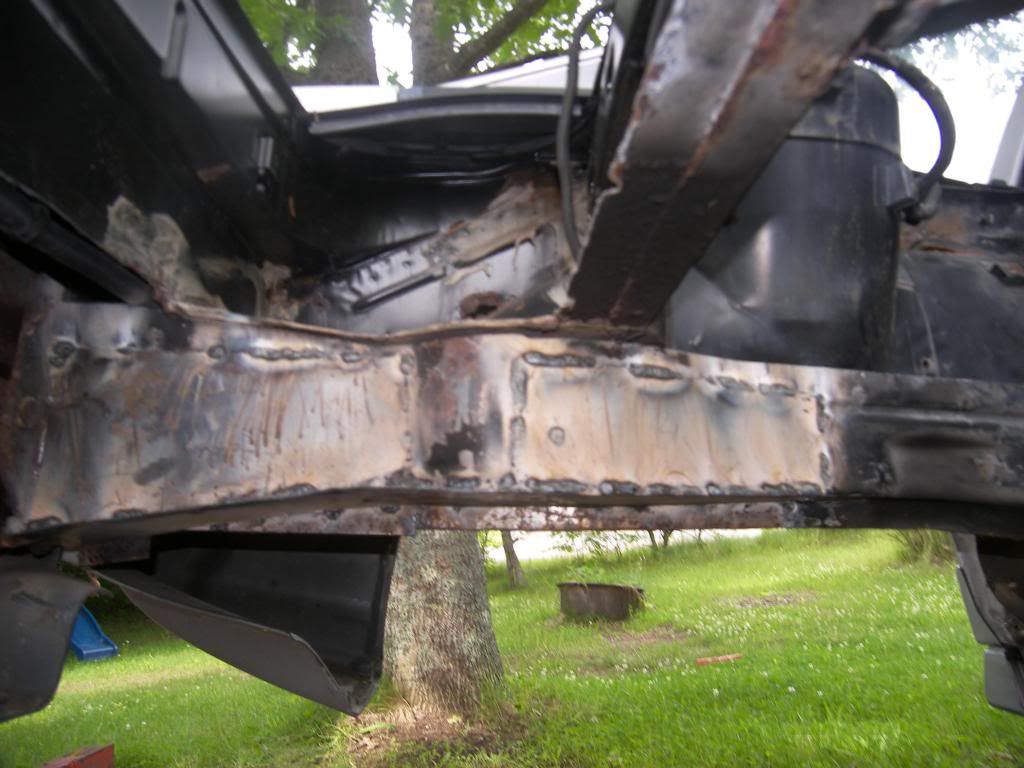
Anything it fixable ! but, you have to wonder, "If that's What you Can SEE, what is there that you CANNOT SEE ? if it's that bad in Back, whats it look like in the front where the cross member Bolts on ? I'm originally from the mountains of NY, so I Do know about the rust belt) Still might be cheaper and easier to get a Solid, shell. (people are "giving them" away all the time, you might get one just for the shipping) I was a bodyman for 35 years, and I can tell you there's nothing worse than Rust ! (Except maybe BENT rust) LOL I am also VERY stubborn, tell me "You can't fix that" and I surely Will !
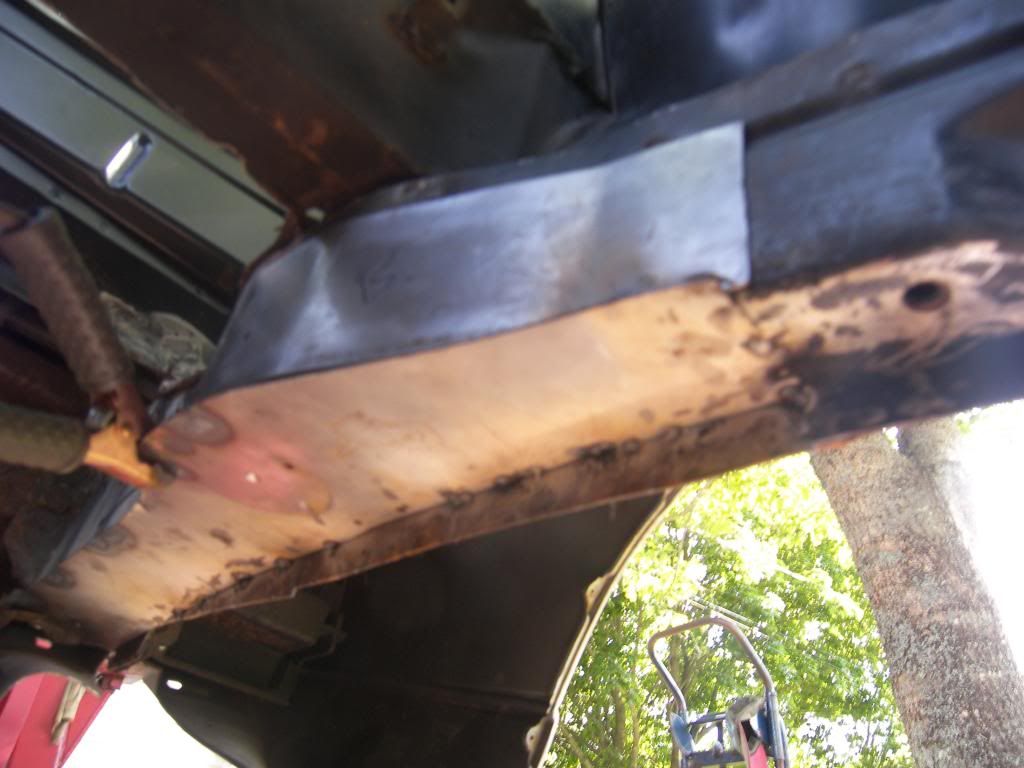
I can certainly fix it. Just gonna take some time to get it right. Looks like the front is pretty good. I mean, there is rust, but nothing that is in danger of huting anything I don't think. Also, it is 27 years old and look where i live...I'm surrounded by salt lol Just would have been nice to get one that has been stored and well looked after is all. I'll get it sorted out eventually.
How is the other side (the drivers Rail), I'm Seeing what looks like Soft spots in the picture.
The bad side is the drivers side. The passenger side is good actually. Only thing i have to do really is to weld the flap back together that i cut for access to the rear cradle nut on that side.
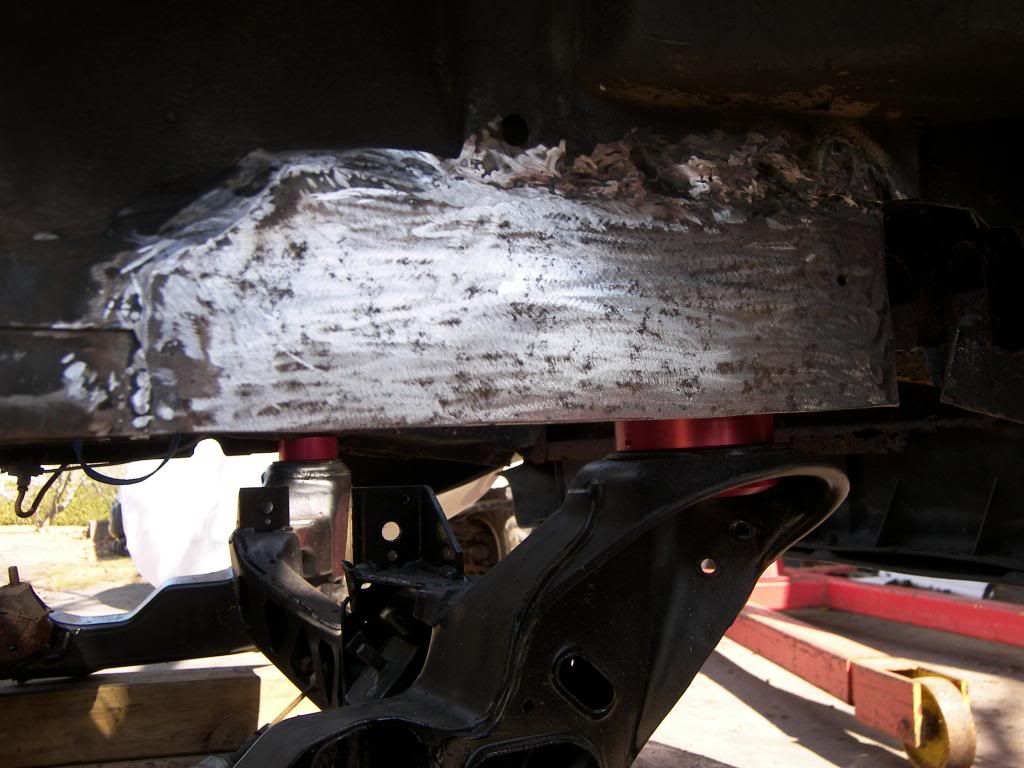
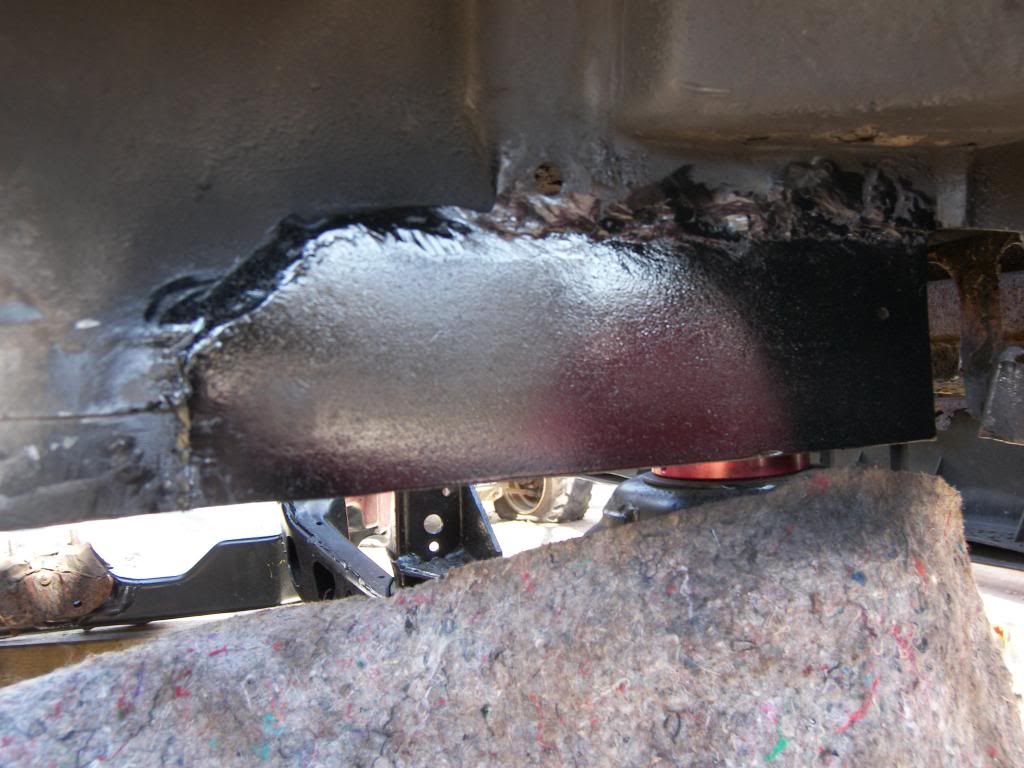
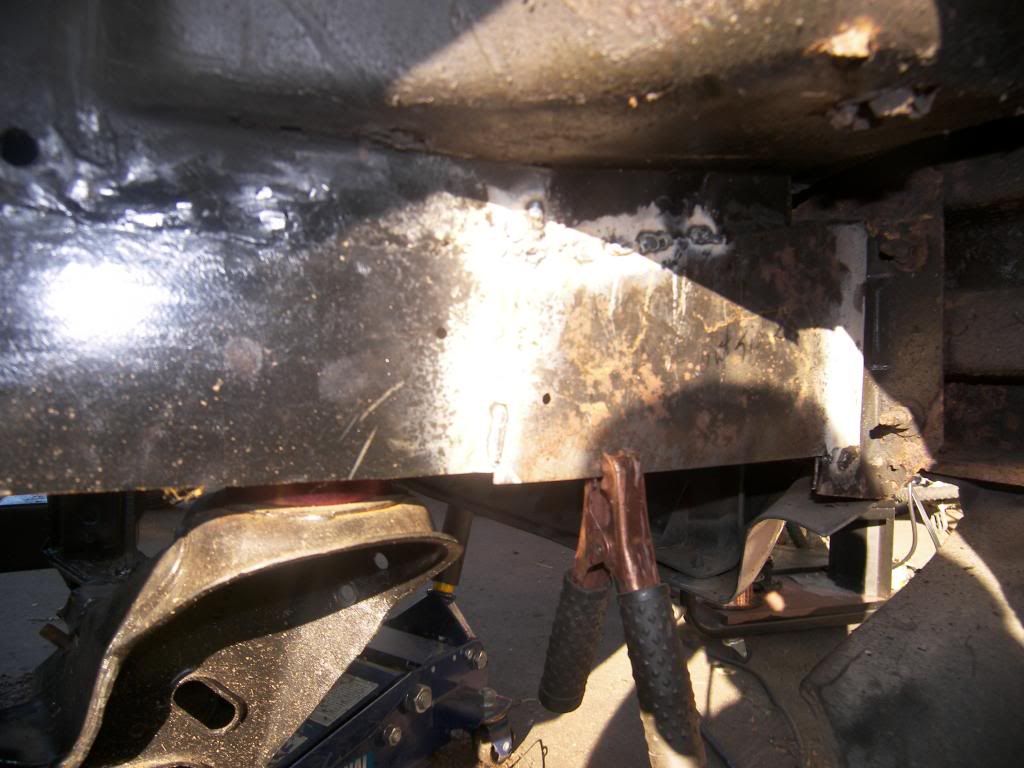
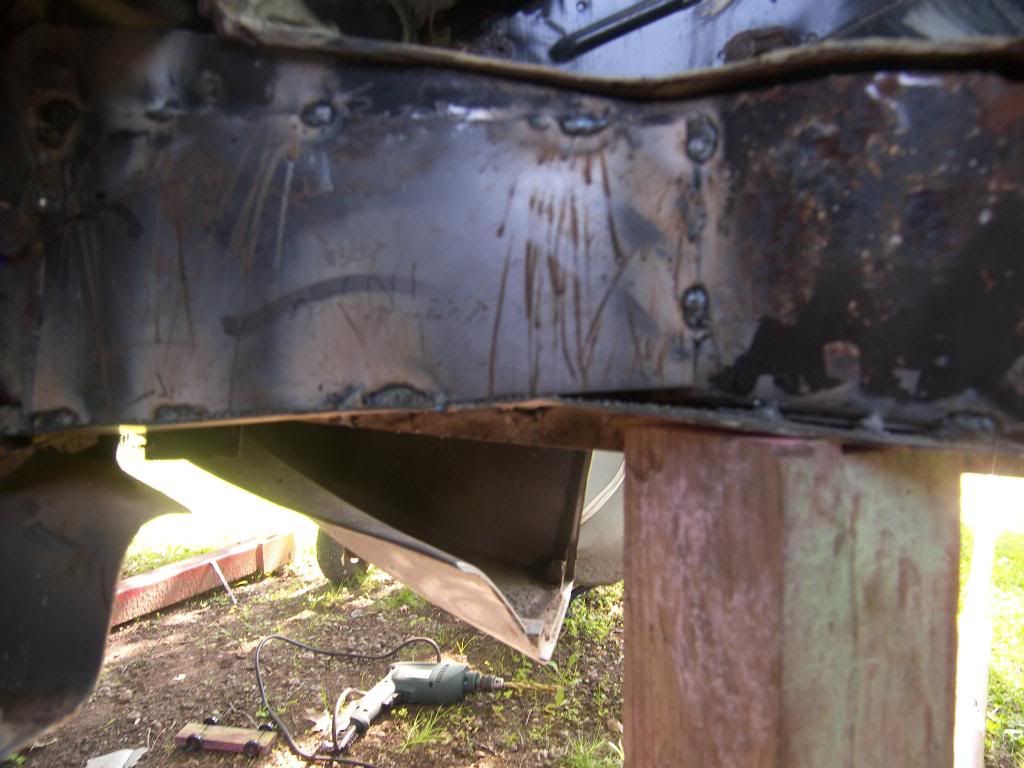
I started to work at the drivers side a bit this afternoon...
Thanks Lou. Considering i am definitely no metal worker, I am happy with it so far. Gonna pick up some wire for the mig tomorrow and tack it in place and move on to the next piece.
[This message has been edited by fieroaddicted (edited 04-18-2014).]
Plastic panels hide most of it so strength is more important then looks in this case.
ya it is definitely going to be strong. It welded nice, although i had to play with the heat setting on the welder a bit which caused me to make a bit of a mess of it at first. The welder is new to me and this is the first time i have welded with this machine so the grinder is getting a good workout. You know what they say...... lol
put a little time in tonight getting some measurements for new metal pieces. It's easier to cut the pieces to a rough size at work and then fine tune the size here at home if they are a bit large.
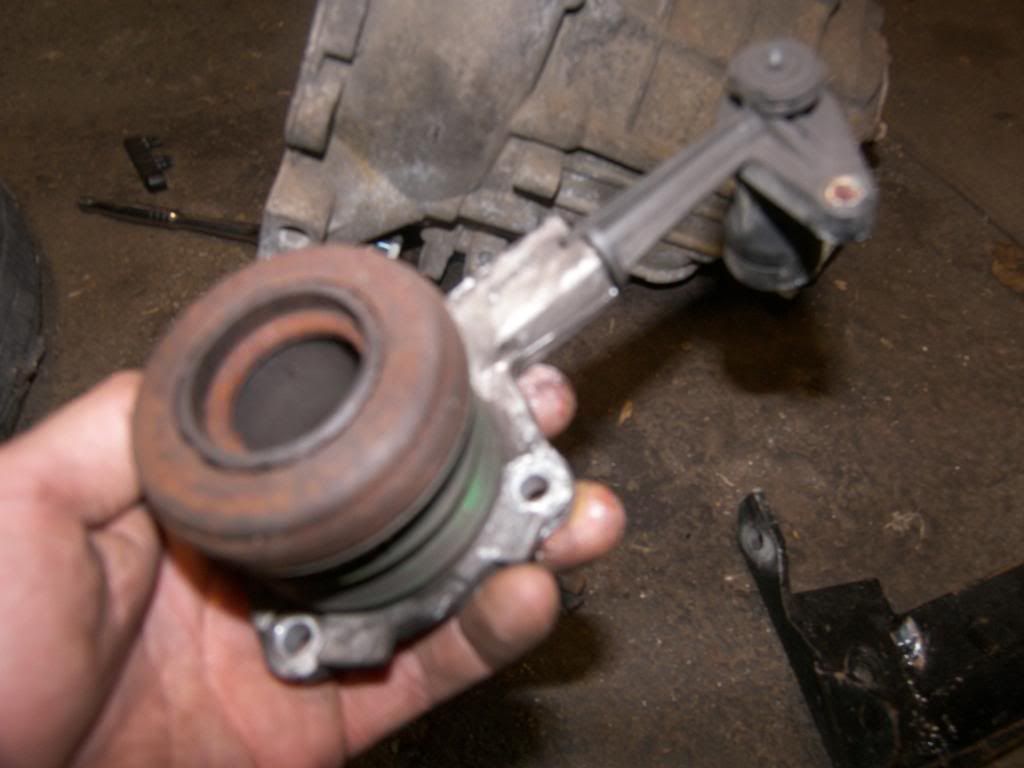
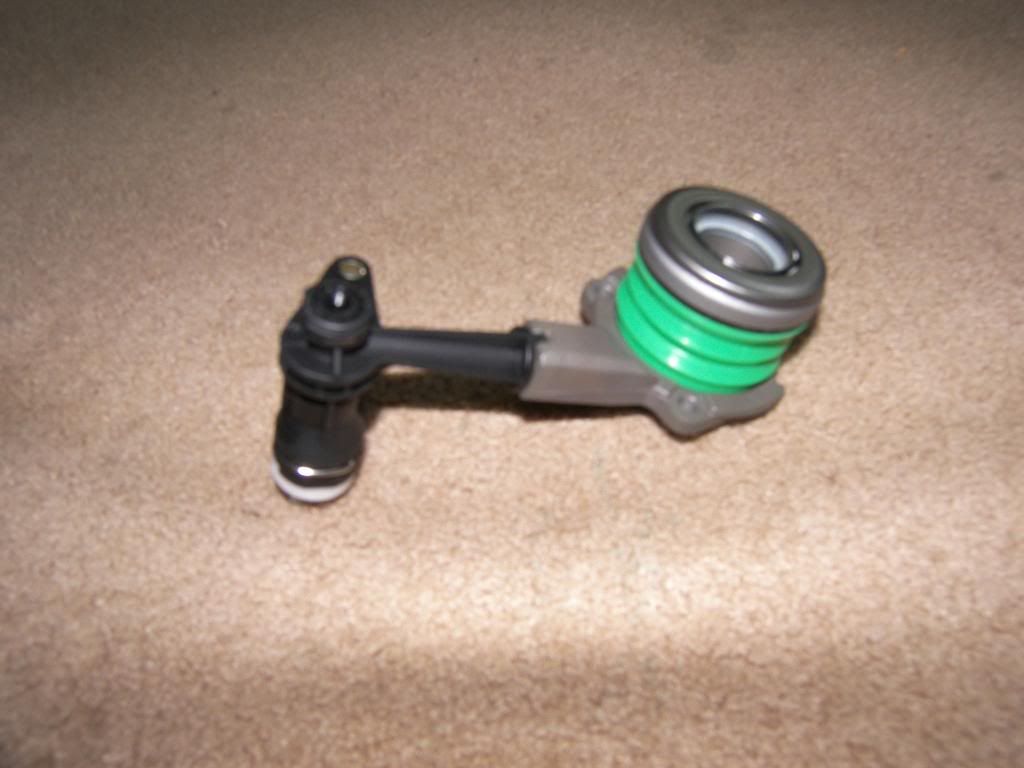
So i need a little advice on determining need for htob spacer....I am making my own, so i can make it whatever thickness i want. Here are a few measurements i took. I assume we want the htob to be basically bottomed out when it is all assembled?? I left everything in 16th's of an inch so it is easier to make sense::
DISTANCE FROM FACE OF TRANNY TO HTOB BOTTOMED OUT = 2 10/16" DISTANCE FROM FACE OF BLOCK TO THE TIP OF THE CLUTCH FINGERS = 2 3/16"
SO... 2 10/16 - 2 3/16 = 7/16
To me, this means that the htob is basically roughly 7/16" short of bottomed out when all is assembled?? correct? So a 1/4 or 5/16 spacer is plenty? or does it even need one?
When everything is together, the clutch fingers put preload on the htob and push it in. If i were to put it together the way it is, the htob will be 7/16 short of being bottomed out. So, with a .250" spacer added in, the htob will be now 3/16" short of being bottomed. Not sure how far the htob travels when the pedal is pushed. I'm gonna get the spacer or make my own anyways just for insurance purposes. I wrote spec the other day, and they actually got back to me this time with a part # and price for the spacer they make, so it may be just as easy to just buy one from them
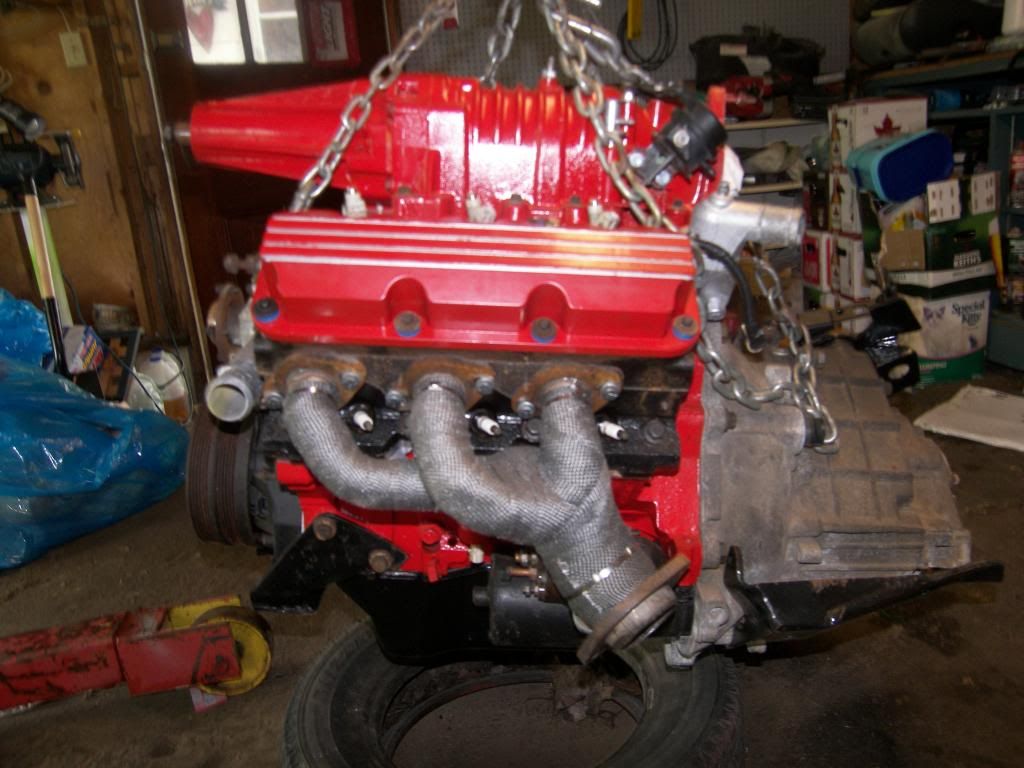
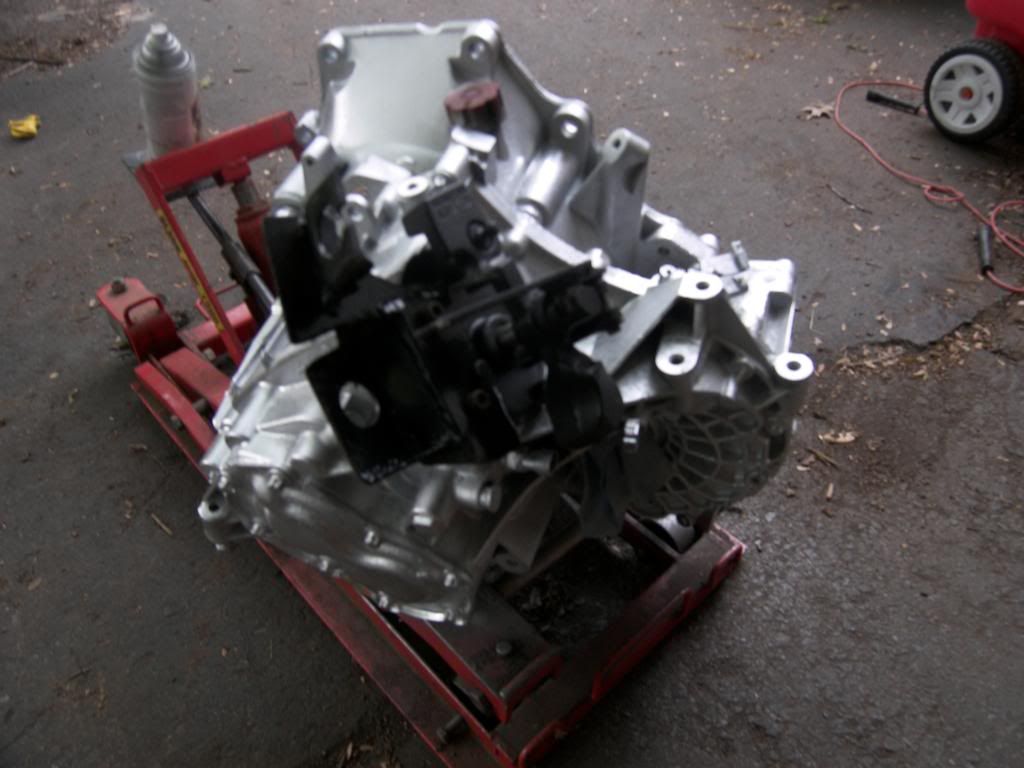
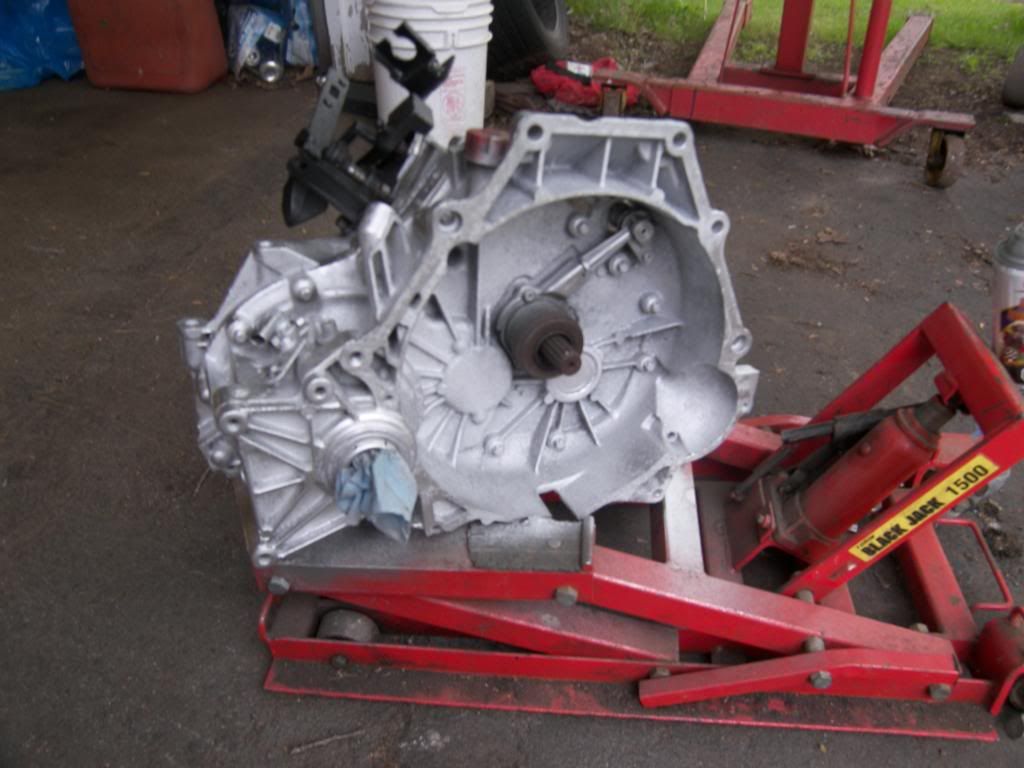
Thanks guys! Hope to get the htob spacer made up on the lathe tomorrow morning and get the f23 mated to the engine for good finally. Hopefully more pics to come soon. troy
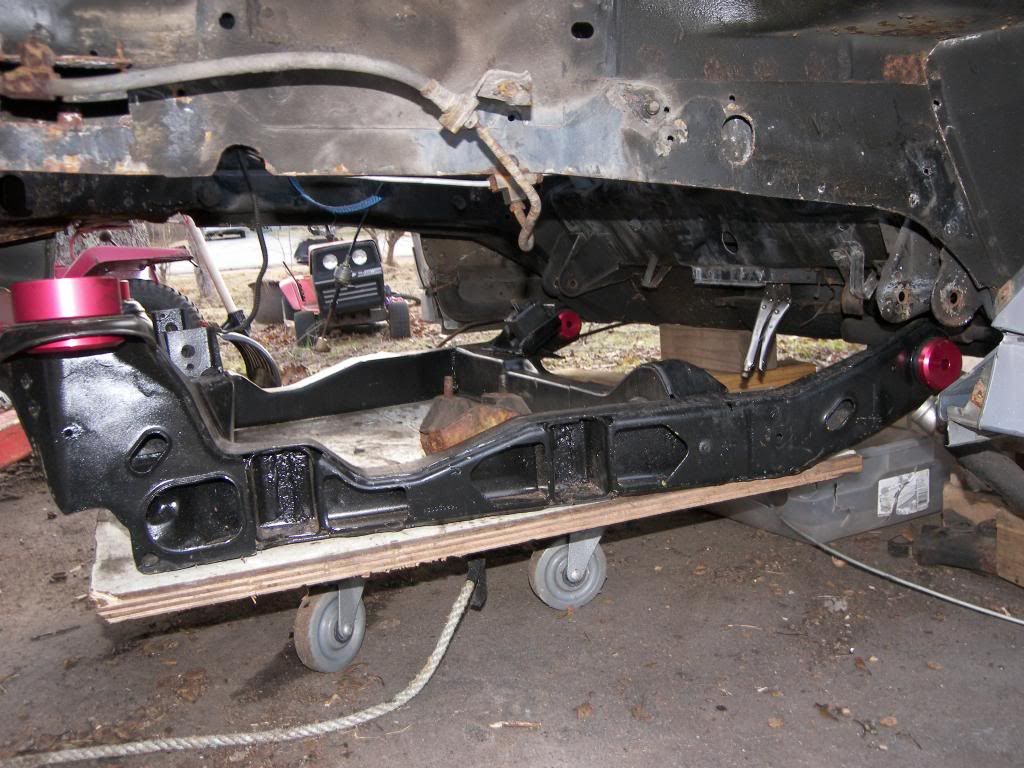
well got the engine and tranny off the cradle tonight and slid the cradle under the car.
Im still trying to figure out this swap, so sorry about my ignorance but what cradle do people use for this swap? It seems like they are using a reinforced cradle for this but most of the time it looks the same as the fiero's. Anyone able to give me the run down as far as like why it's needed? Do they sell this 'special' cradle's for people that don't know how to weld?
Im still trying to figure out this swap, so sorry about my ignorance but what cradle do people use for this swap? It seems like they are using a reinforced cradle for this but most of the time it looks the same as the fiero's. Anyone able to give me the run down as far as like why it's needed? Do they sell this 'special' cradle's for people that don't know how to weld?
What year is your car? 88 is it's own thing, while years 84 to 87 can be interchanged i believe. All I did is buy a good one from a guy over the internet. I sandblasted and painted it, and installed the aluminum cradle bushings. As far as some "special" reinforced cradle goes, i have no idea myself. As long as you have a good stock cradle that fits your car, i think you are golden for the most part. Not sure if that helps or not. troy
Originally posted by zzzhuh: Im still trying to figure out this swap, so sorry about my ignorance but what cradle do people use for this swap? It seems like they are using a reinforced cradle for this but most of the time it looks the same as the fiero's. Anyone able to give me the run down as far as like why it's needed? Do they sell this 'special' cradle's for people that don't know how to weld?
So this looks like just 1/8" plate? I have some here, so I should probably do this to my cradle before it goes in the car. Cool idea, i had never seen this before. Thanks for adding the link. troy
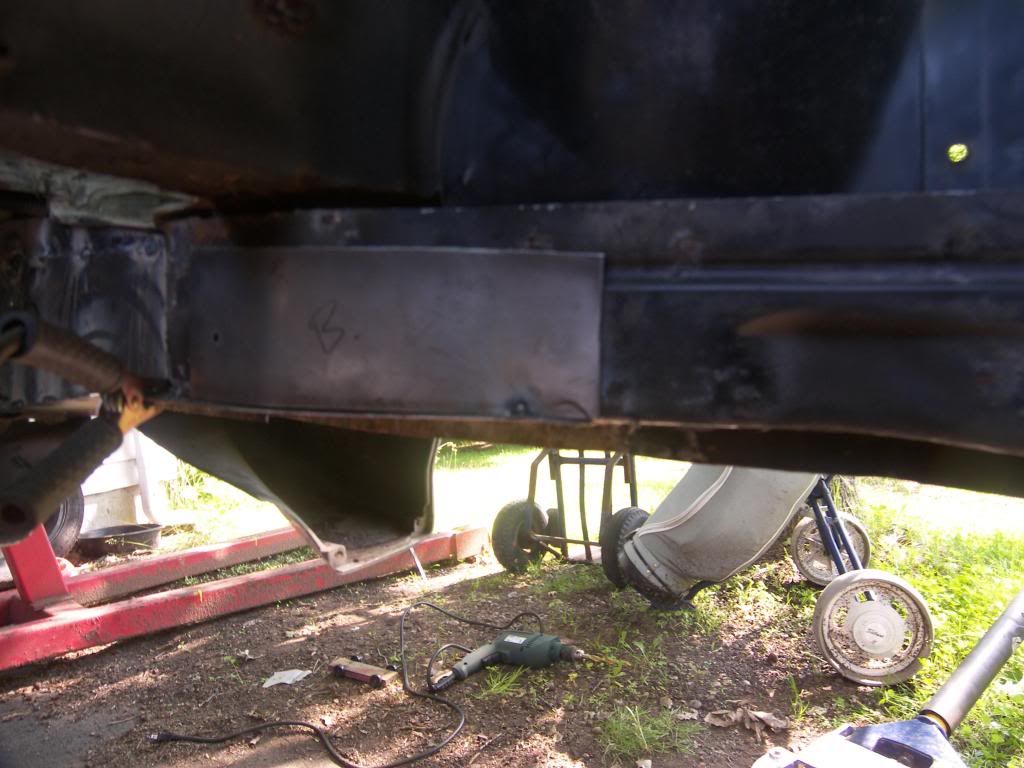
piece in the following pic marked "b" just tacked in place for time being to get an idea of how it will look. It has to come back off so i can weld the cradle nut back in place and finish drilling the hole for the cradle bolt.
[This message has been edited by fieroaddicted (edited 06-29-2014).]


 Would have been easier to just start with a car in better shape, but guess it will have to do.