I saw some papers floating around there with some highlighting - was tracing things to rewire a tremendous hassle? I think I had seen all the tracing/crossing work you had to do on your swap, so I was just hoping this was not that intense.
Thank you for the great tutorial. I really like the solution came up with for the ECM!
Glad you like it!
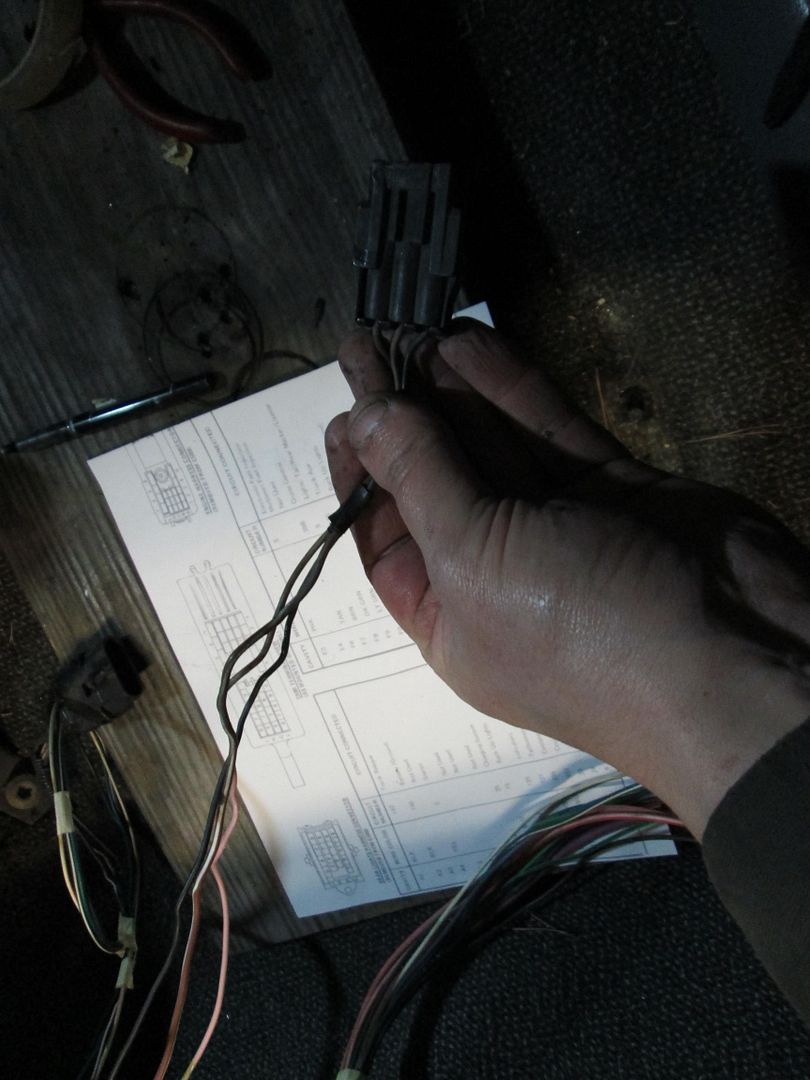
I make an excel spreadsheet for the wiring on all my swaps. I start with the full factory pinout from the service manual, then delete (highlight in grey) the items not needed. If I swap in any different component vs. what came with the ecm, then I have to double check the wiring between multiple manuals (F23 vss, TPI IAC & TPS, LT1 knock sensors, EFI connection CAM & Crank Sensors, 3 wire temp sender, wideband signal in place of fuel tank pressure) and make sure the ecm ends have the right pin locations. Something special for this swap is the firing order between the SBC and LS1 are different, so the ecm connections for 4 cylinders and 4 coils needed to be swapped to match the right firing order (green). As I connect the wires, I use a sharpie to mark the connection on the far left of the sheet, then once done I go back through verifying all the empty cavities are supposed to be empty.
Wiring is just a slow tedious process with custom swaps like these, but the more precise I am on the front end, the fewer delays with wiring issues once the engine is in the car and I am trying to get it to start.
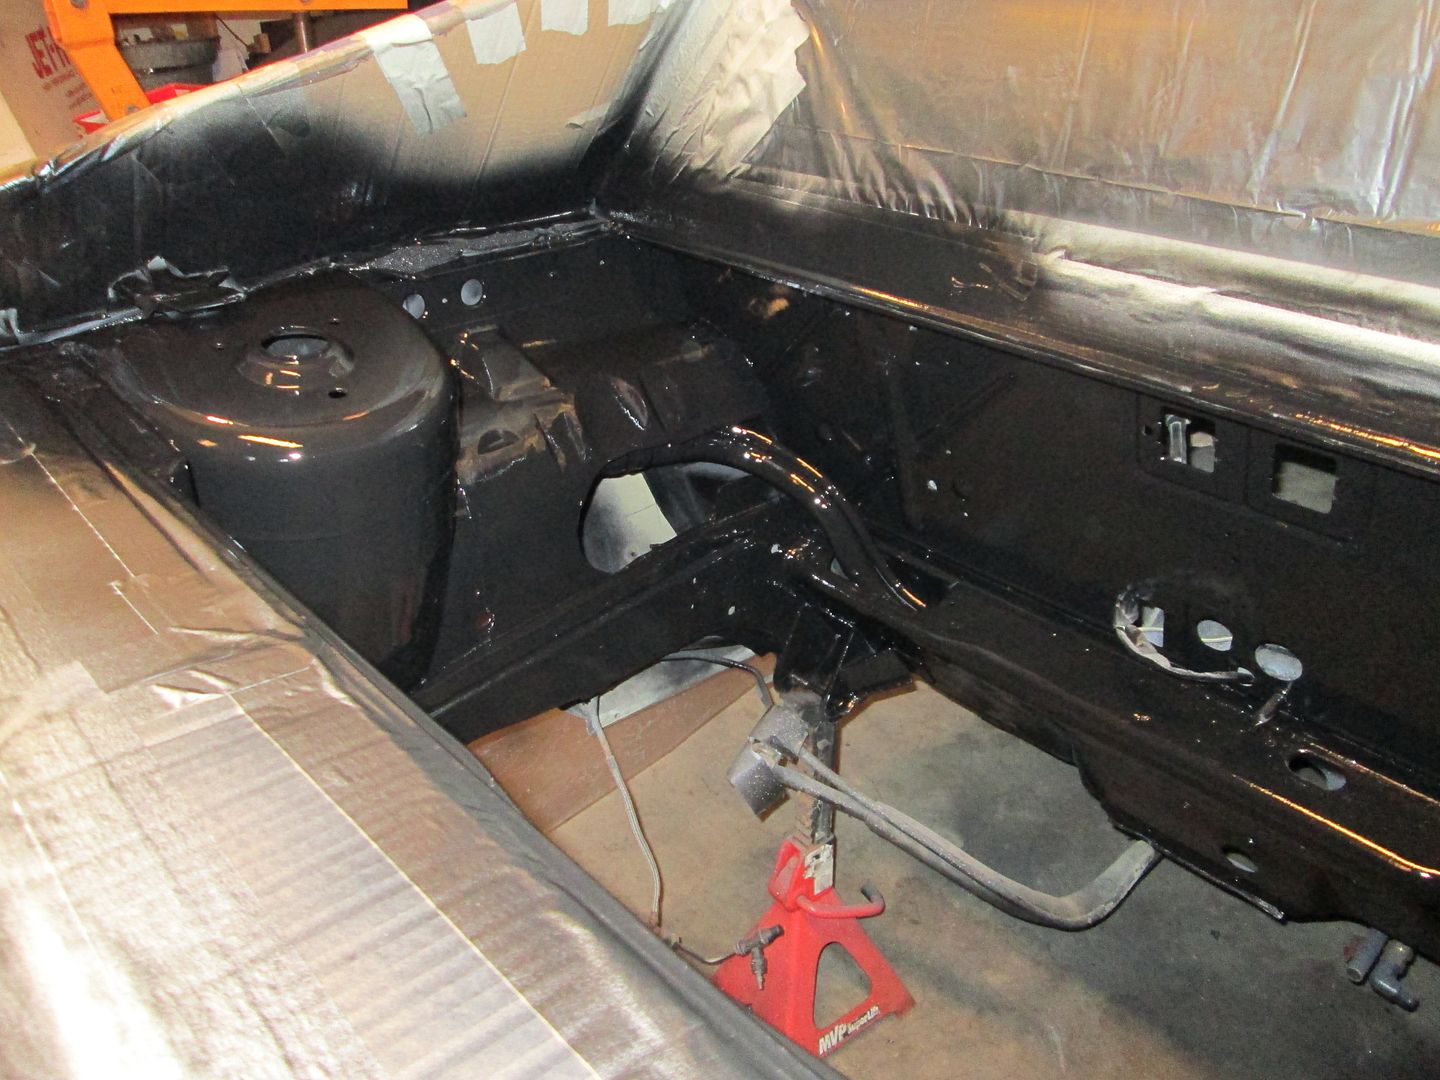
Today, I was able to get everything ready to start the engine bay work.
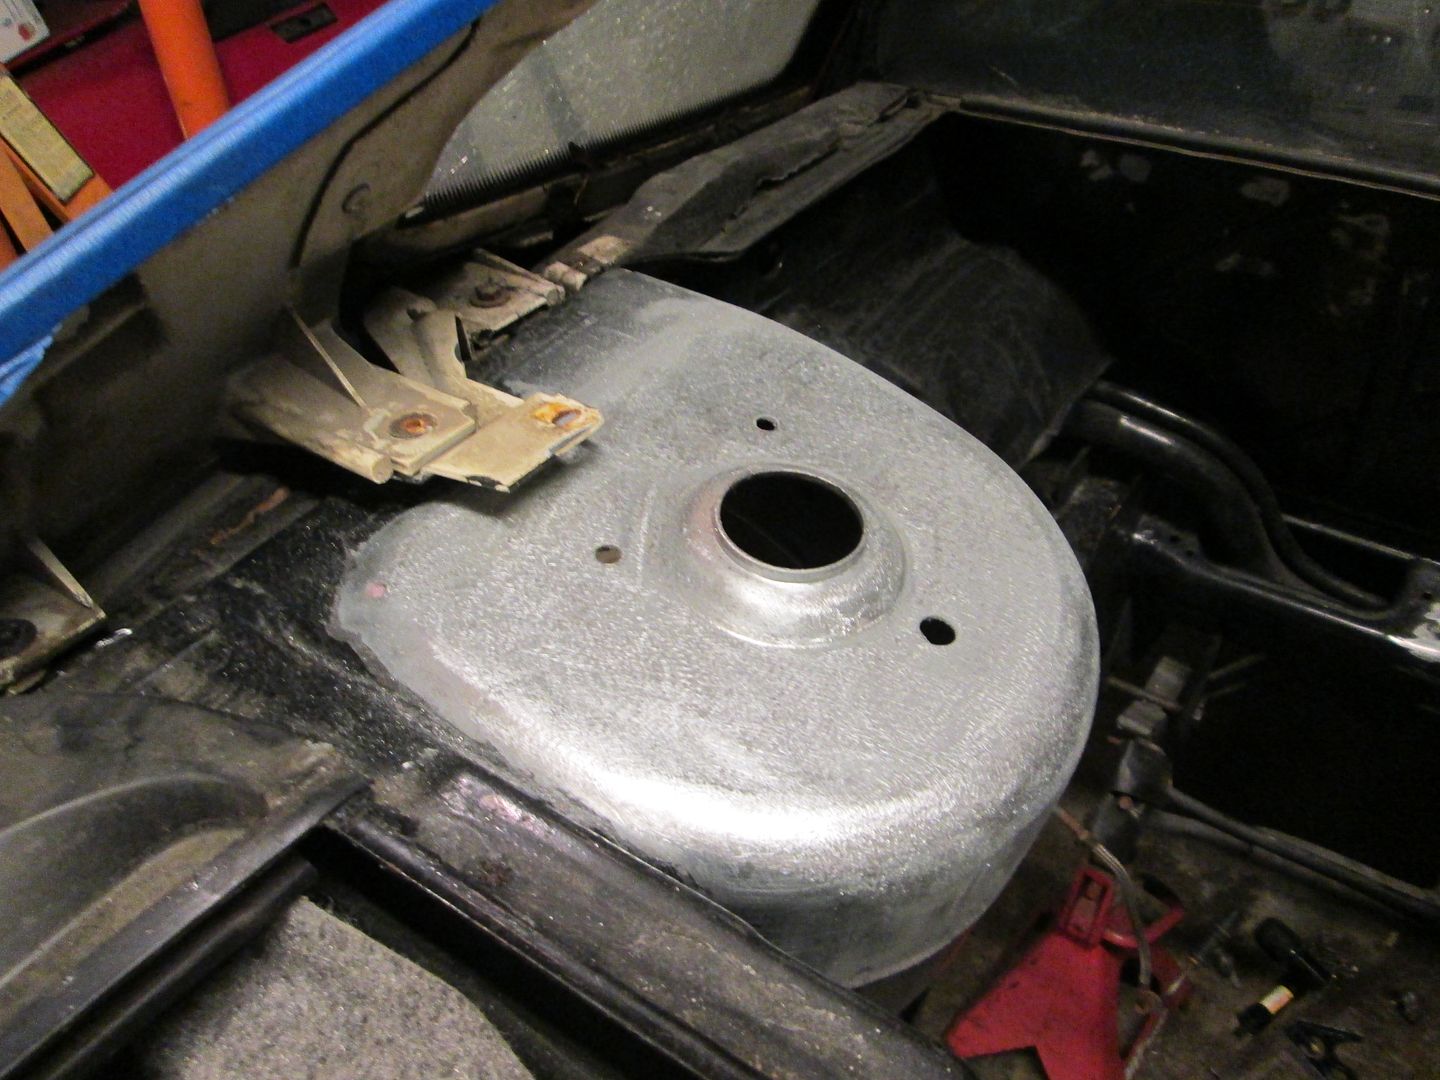
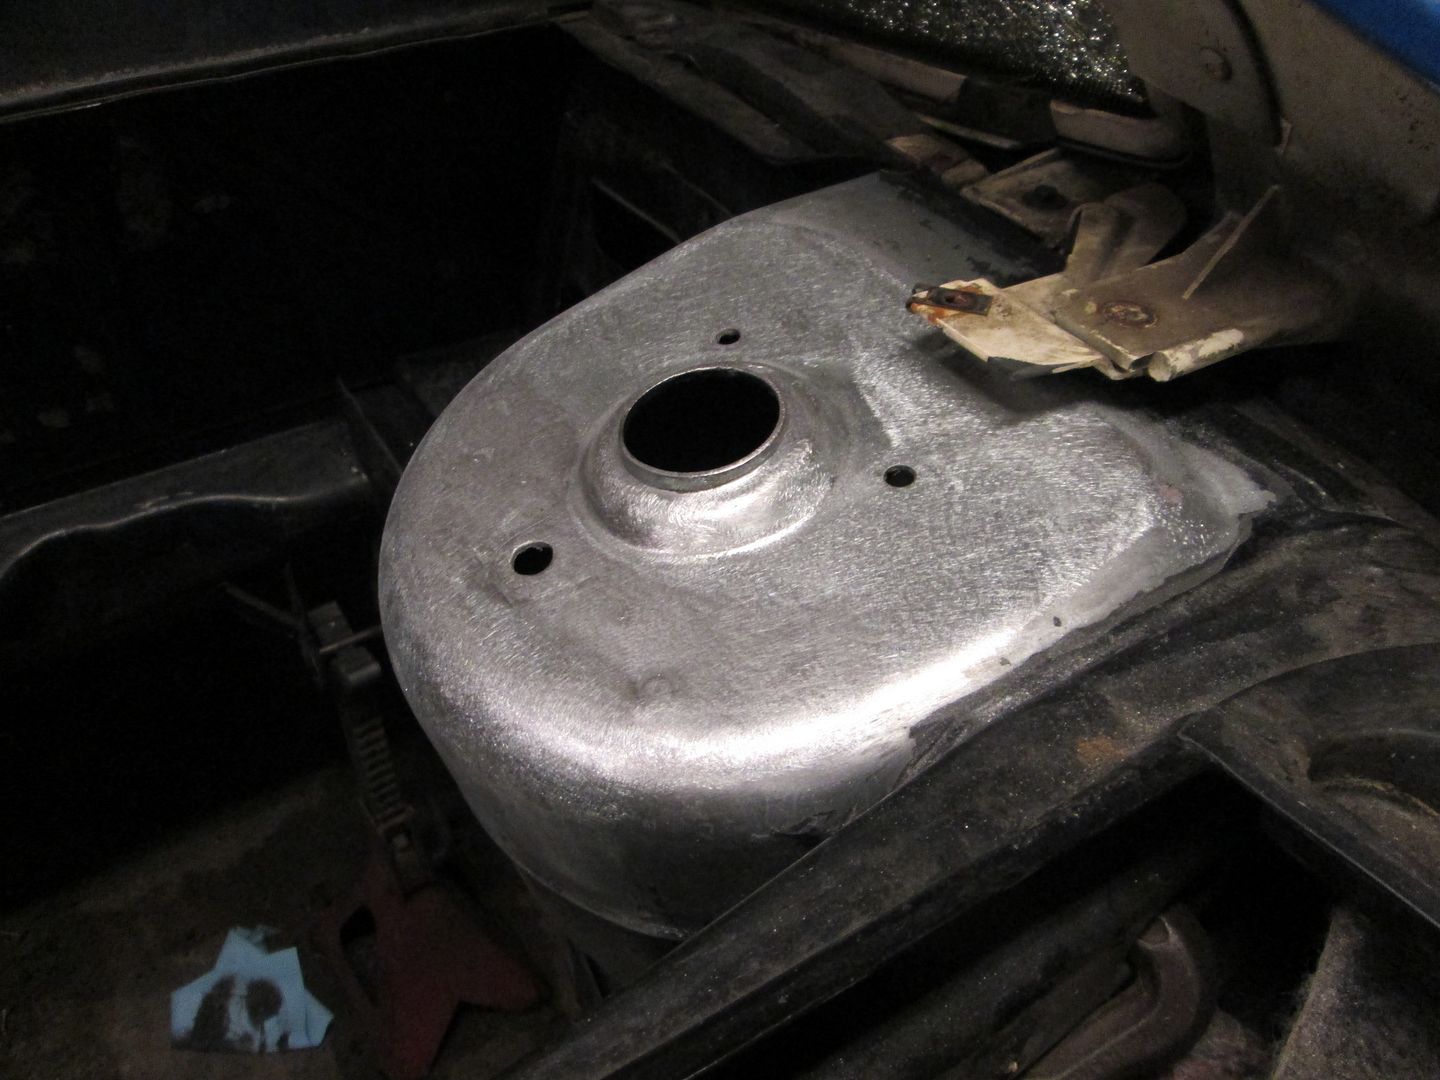
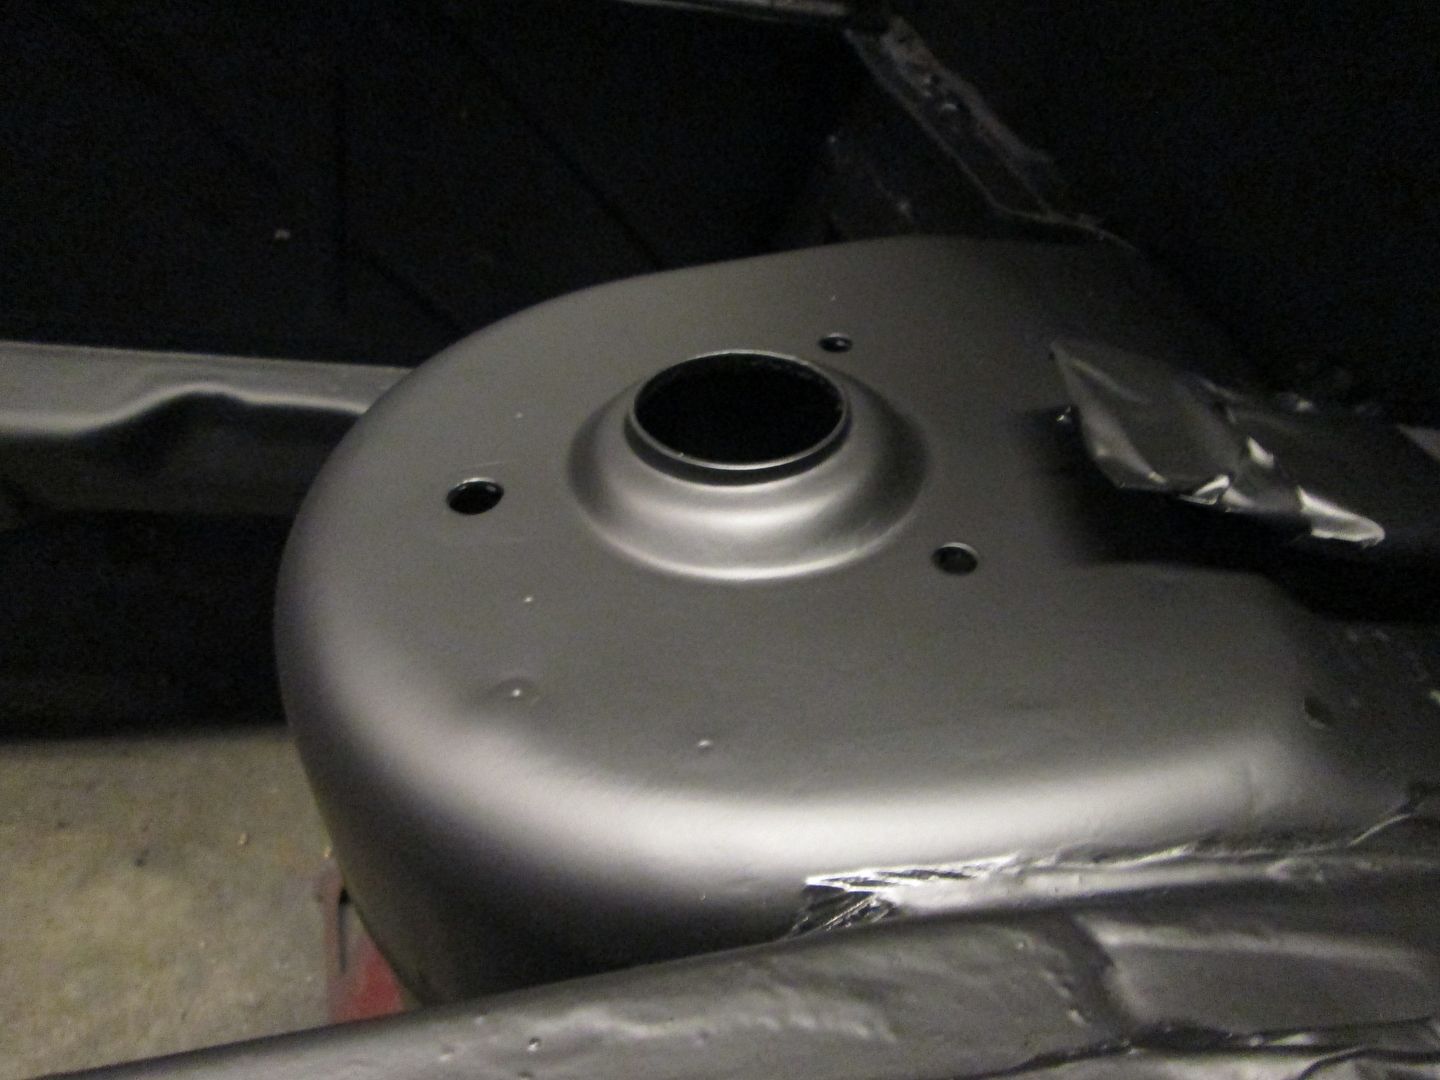
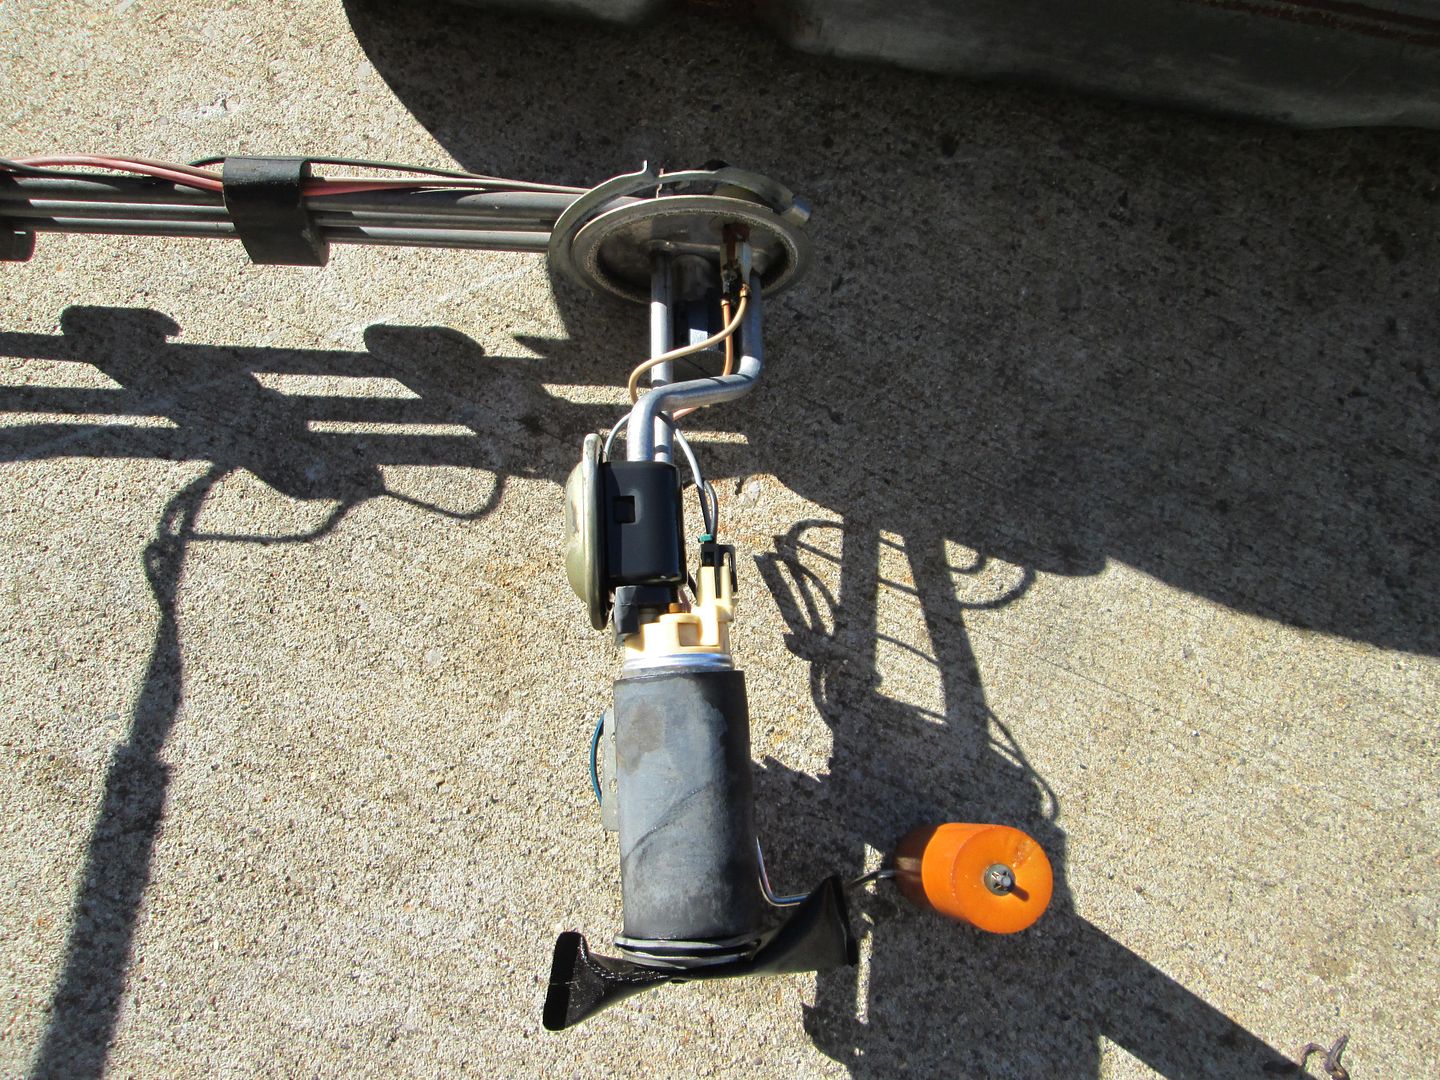
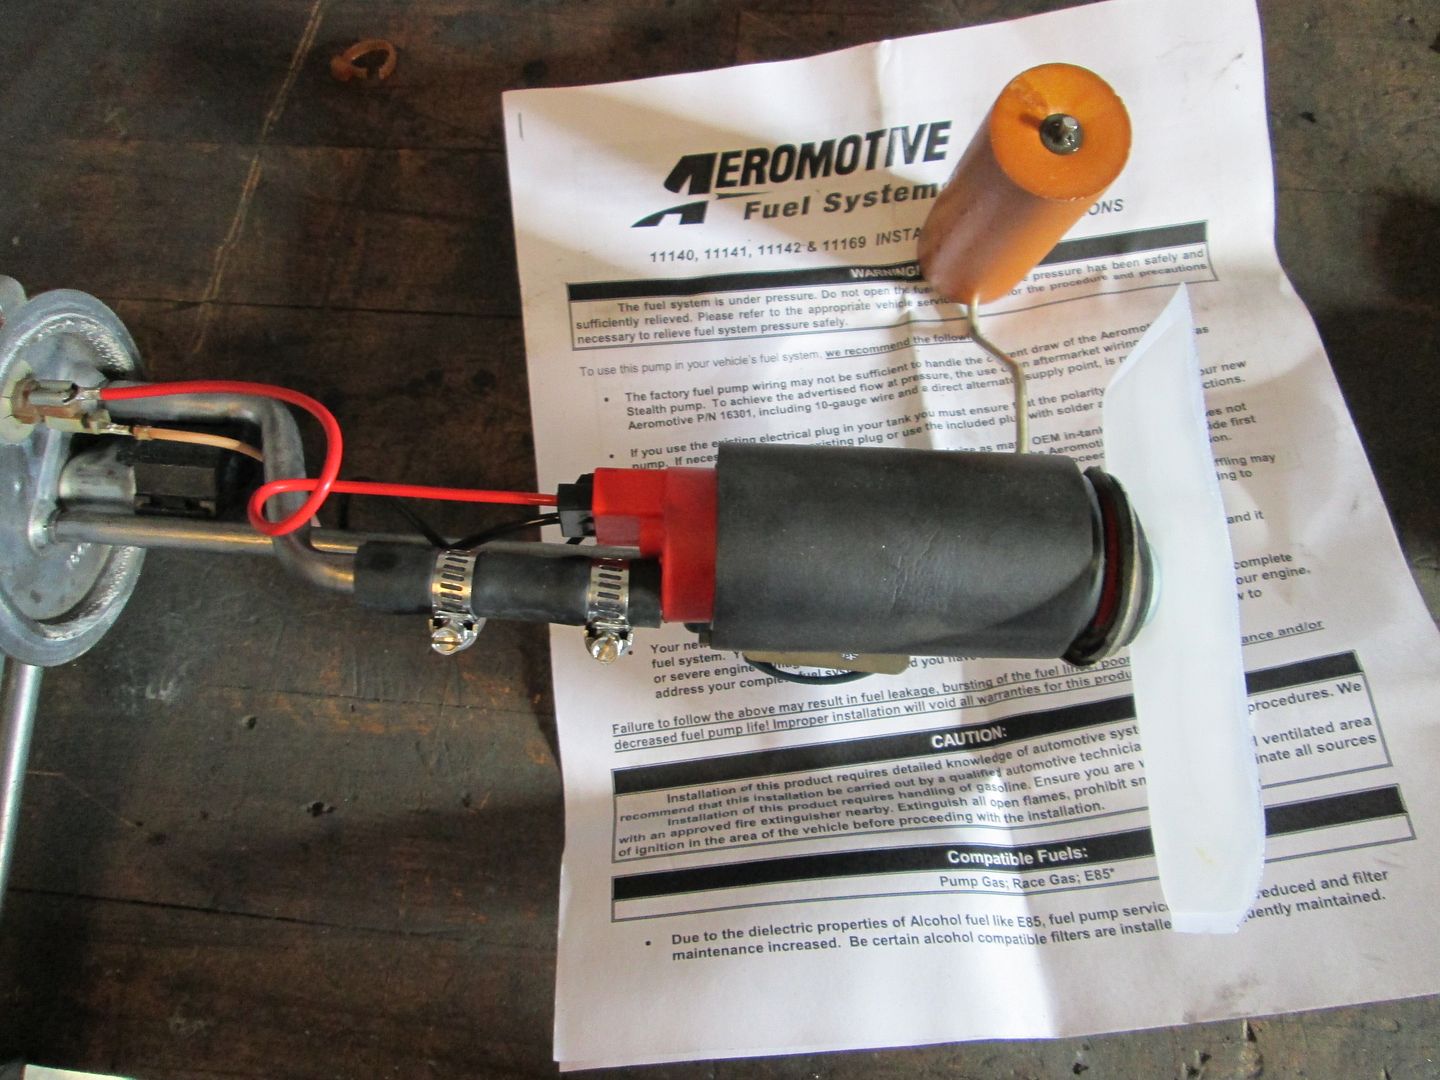
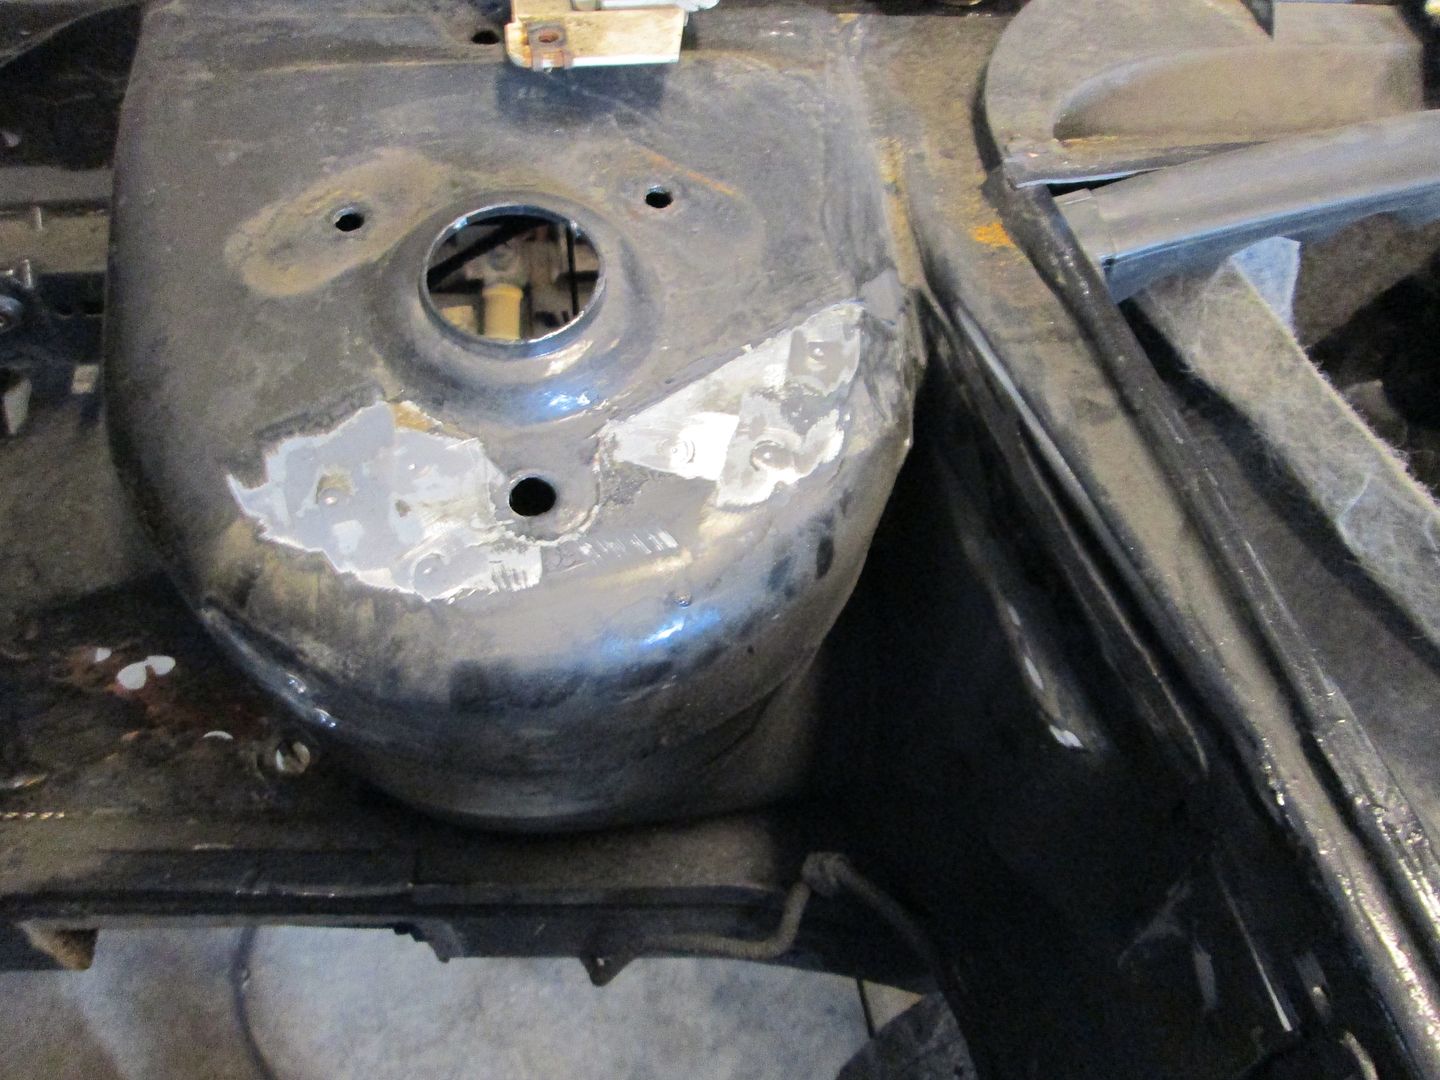
Dropped the fuel tank (both t-bolts snapped off) and swapped out the fuel pump. Old pump:
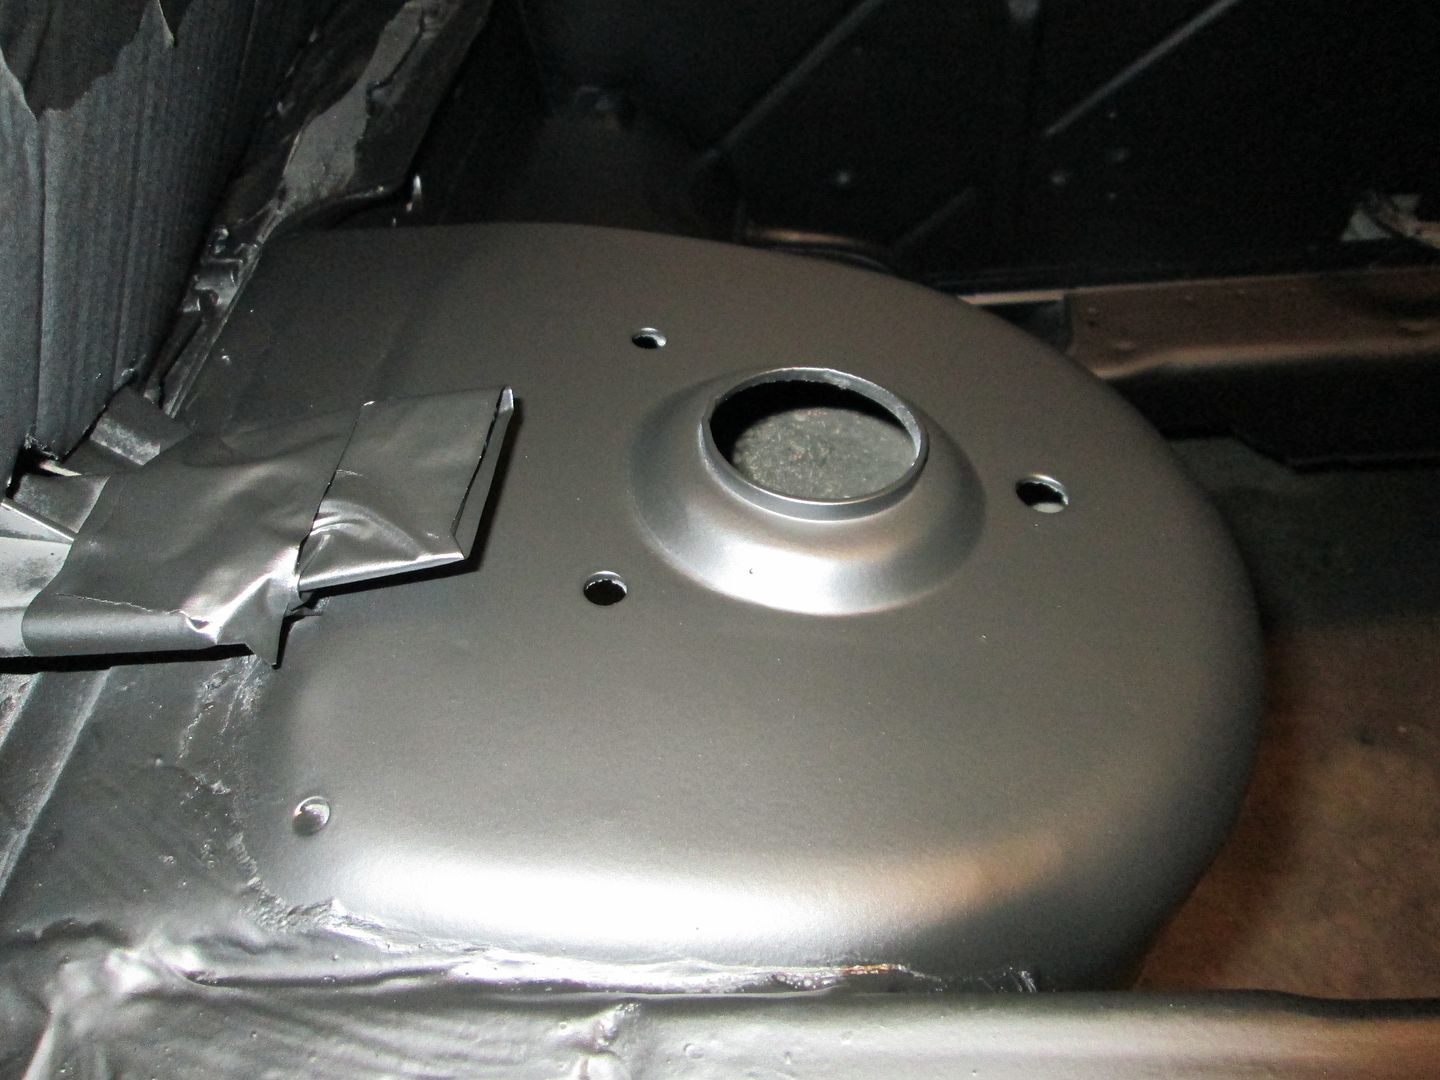
New pump:
New pump installed with the new wiring supplied with the pump. Its also back in the tank and all the ports are plugged. The tank won't be installed until all the work in the engine bay is done:
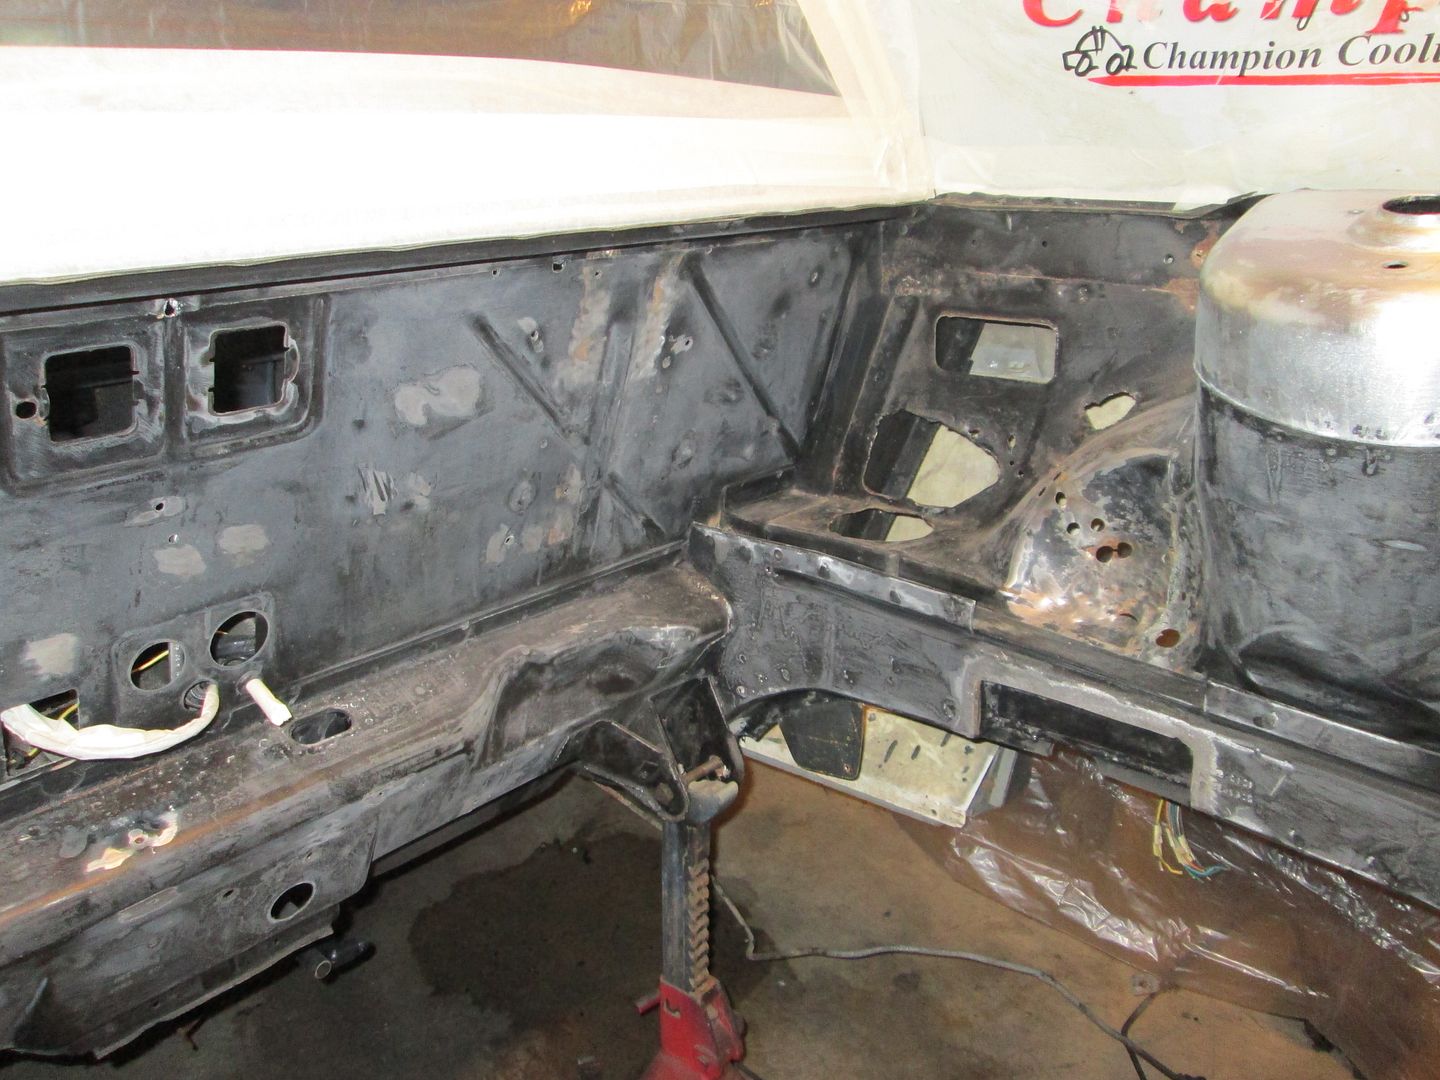
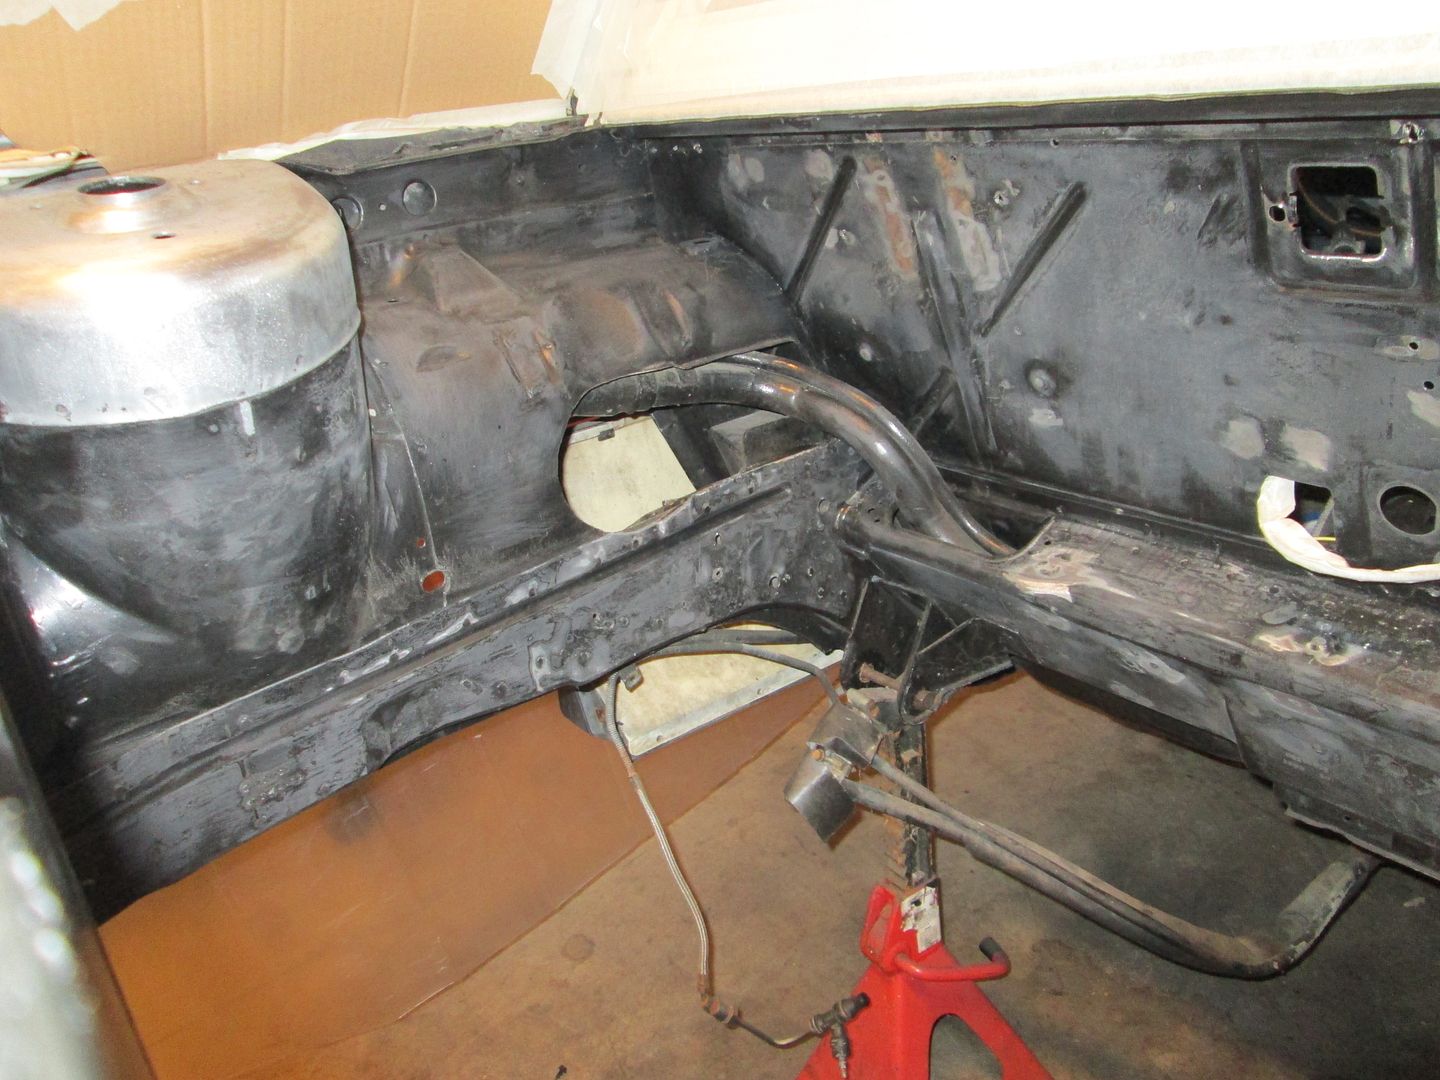
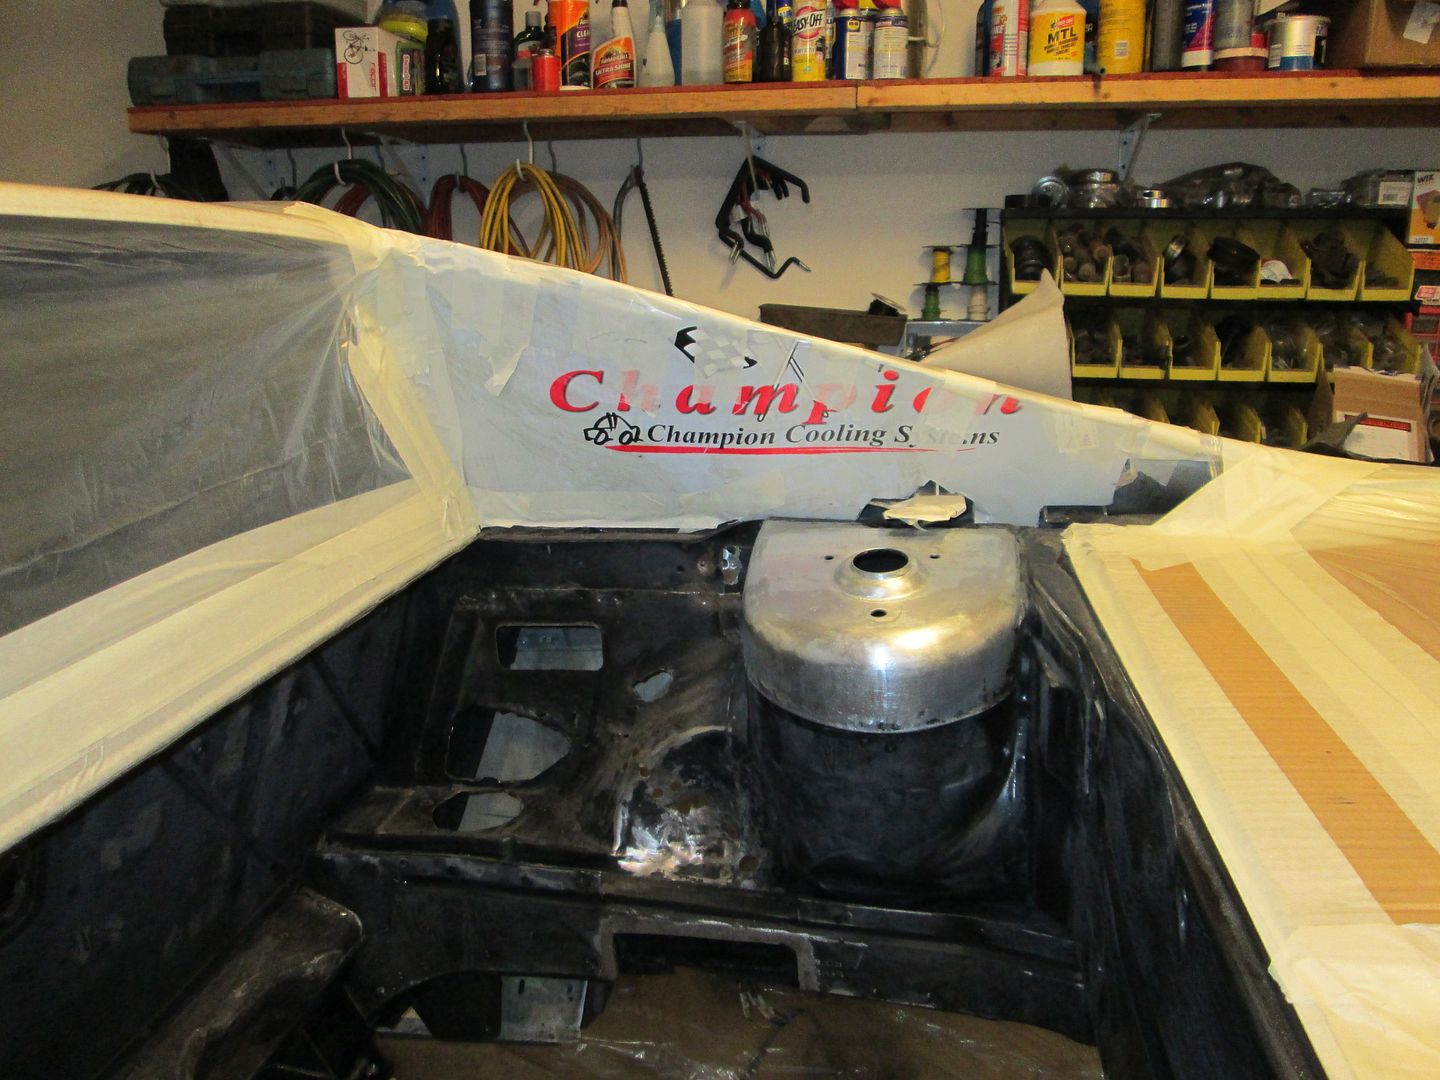
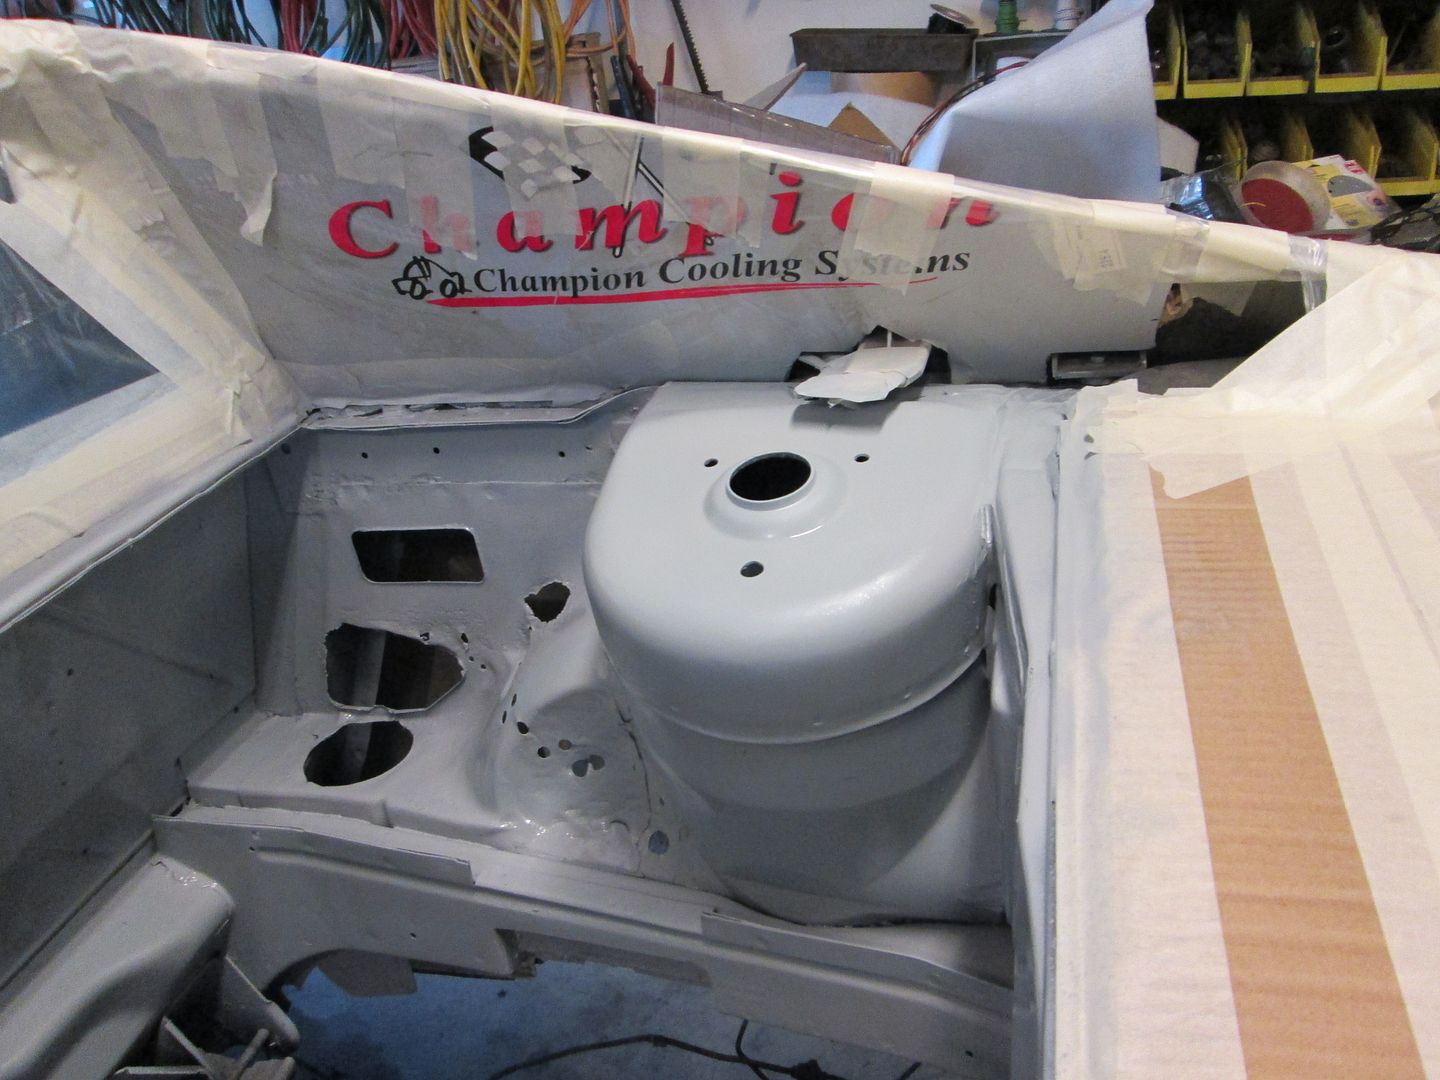
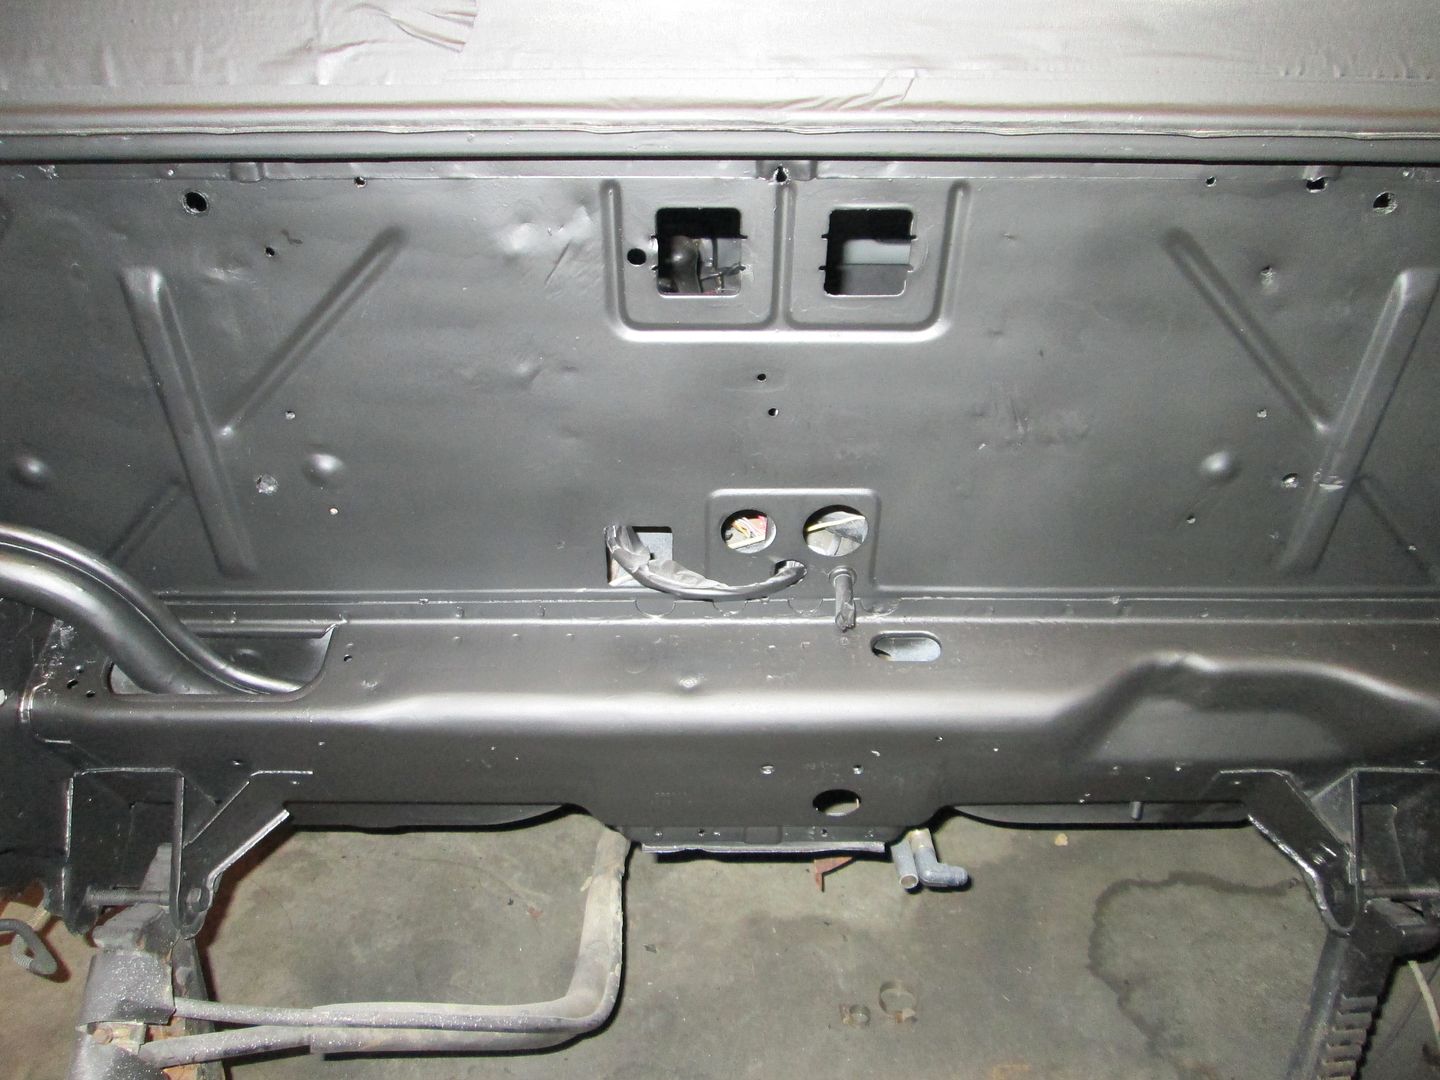
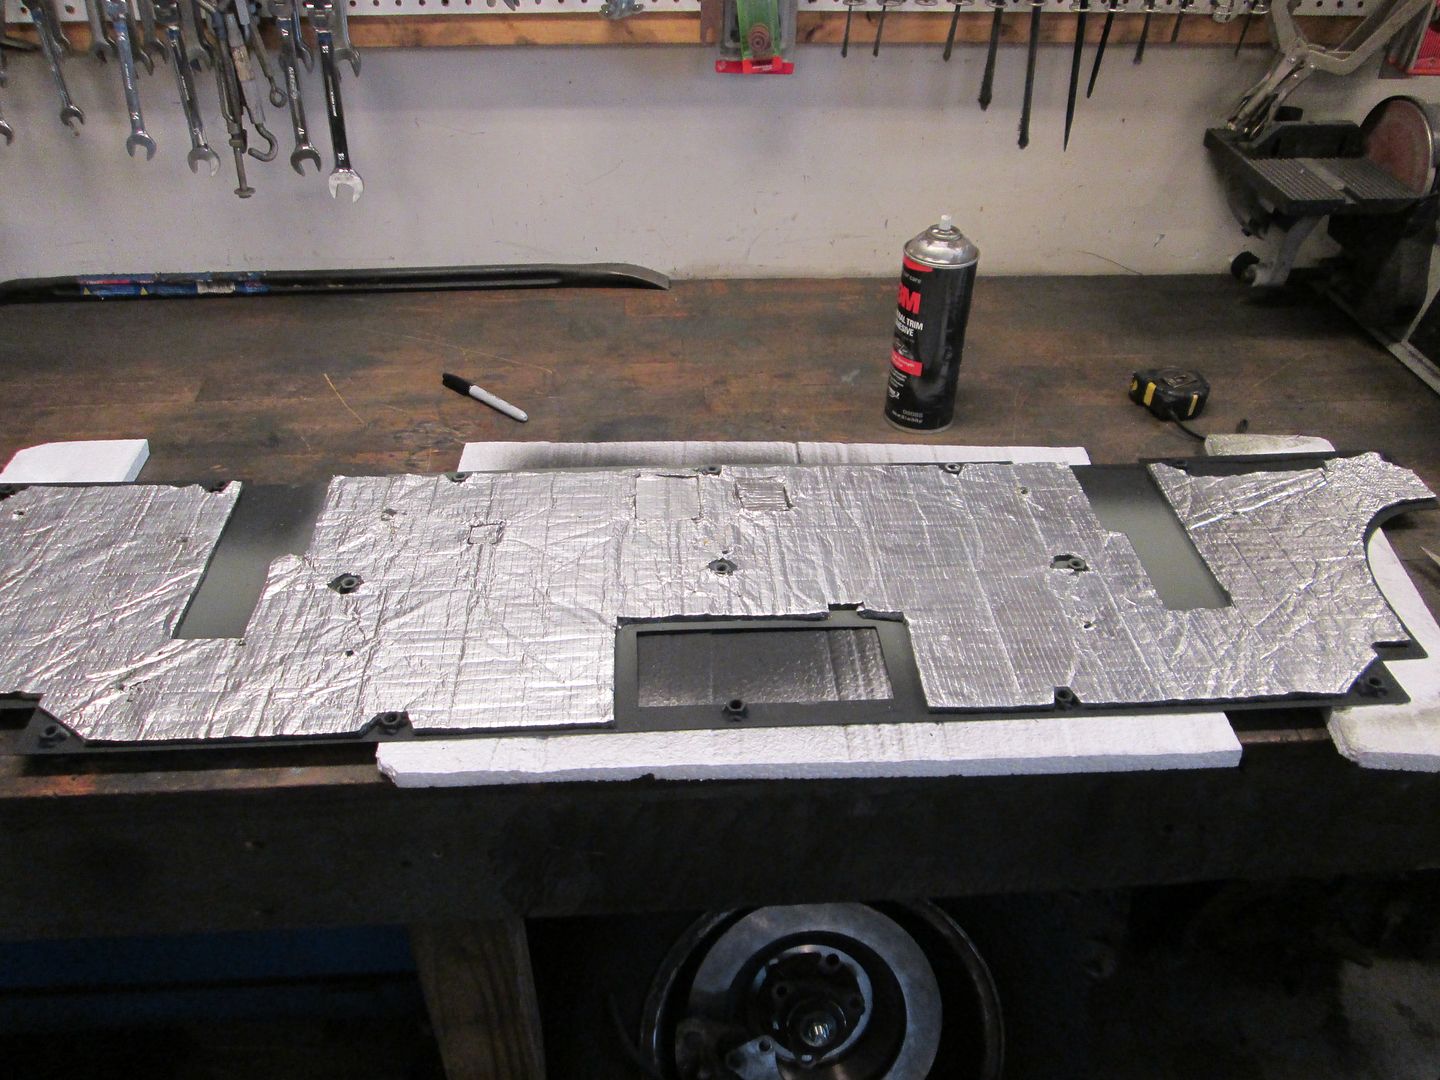
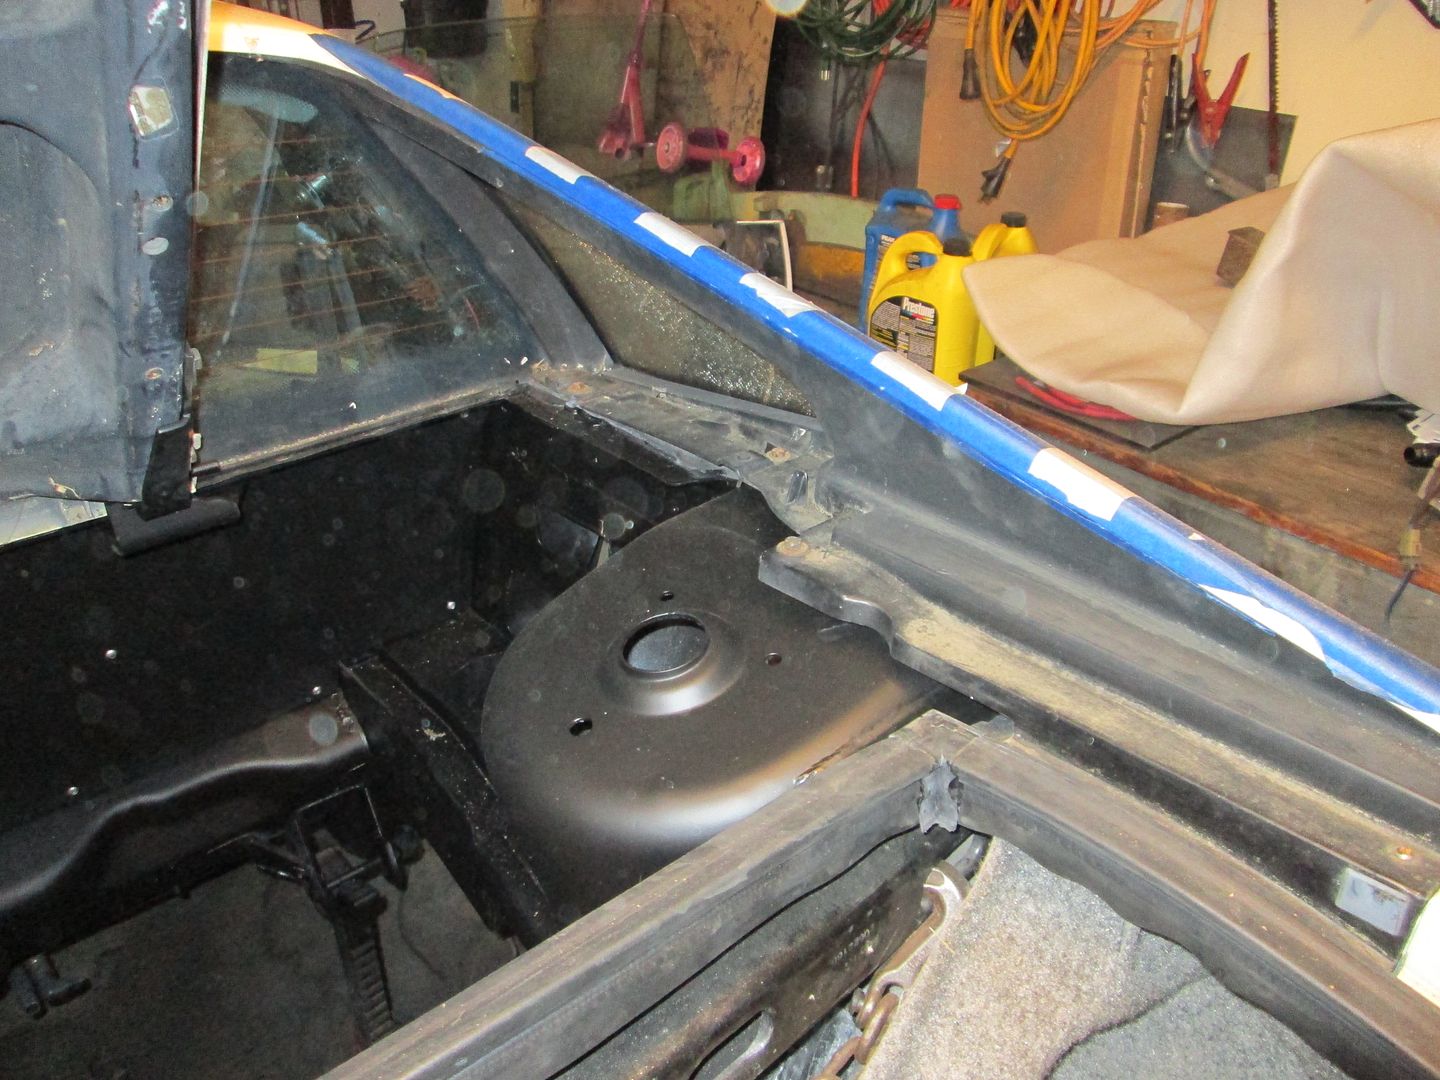
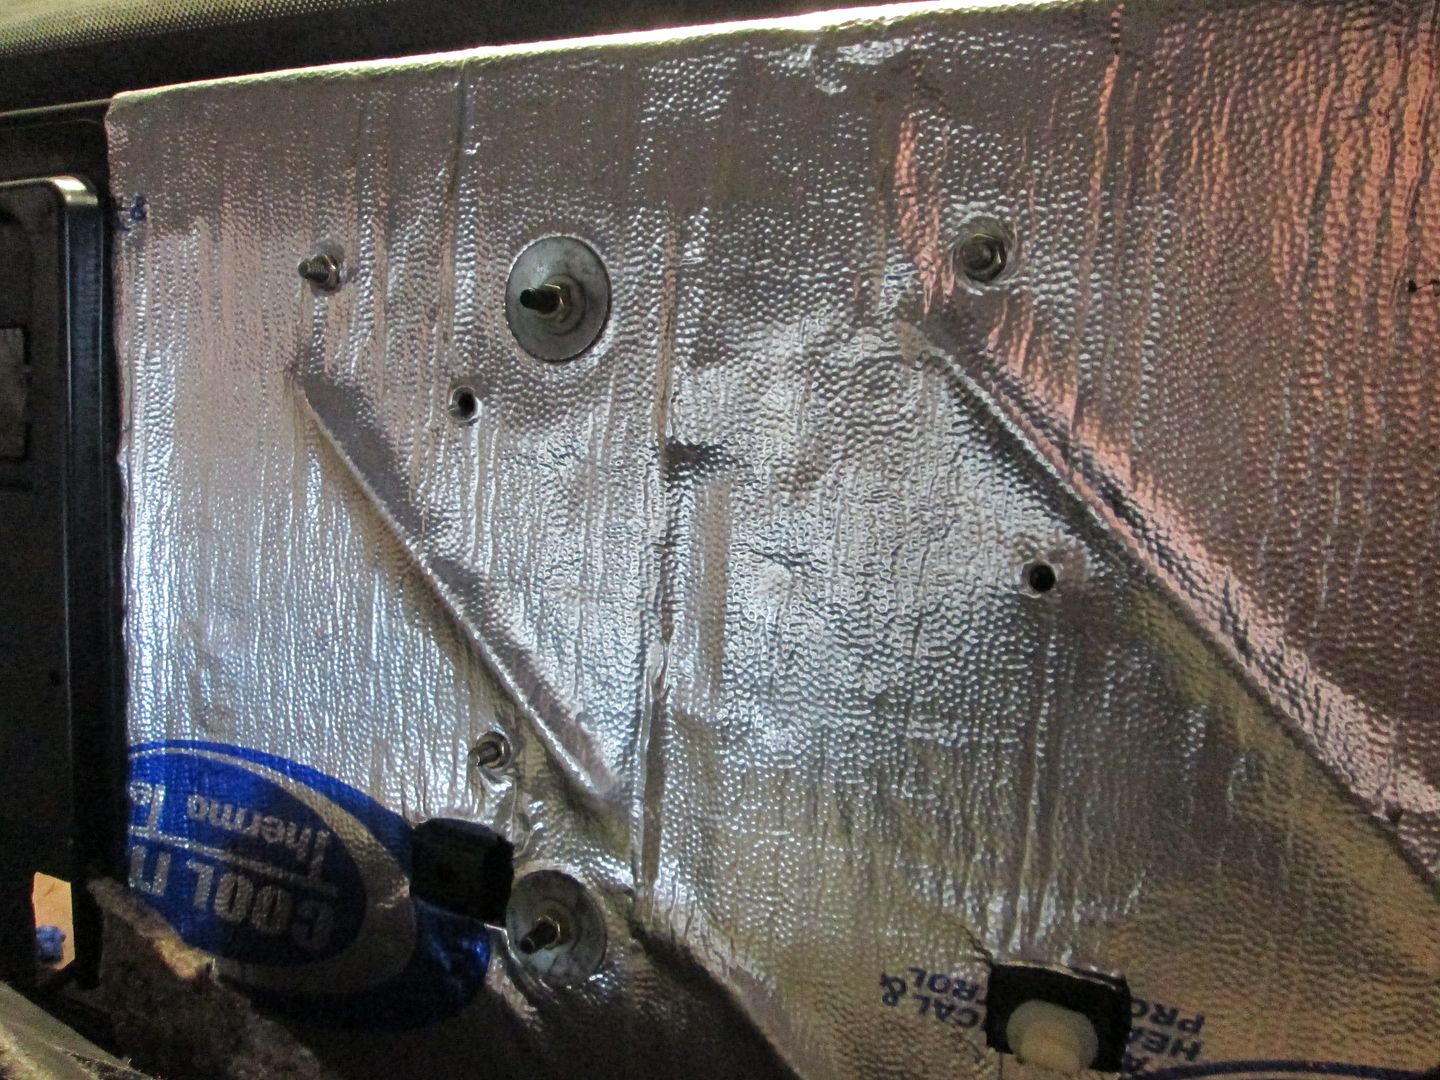
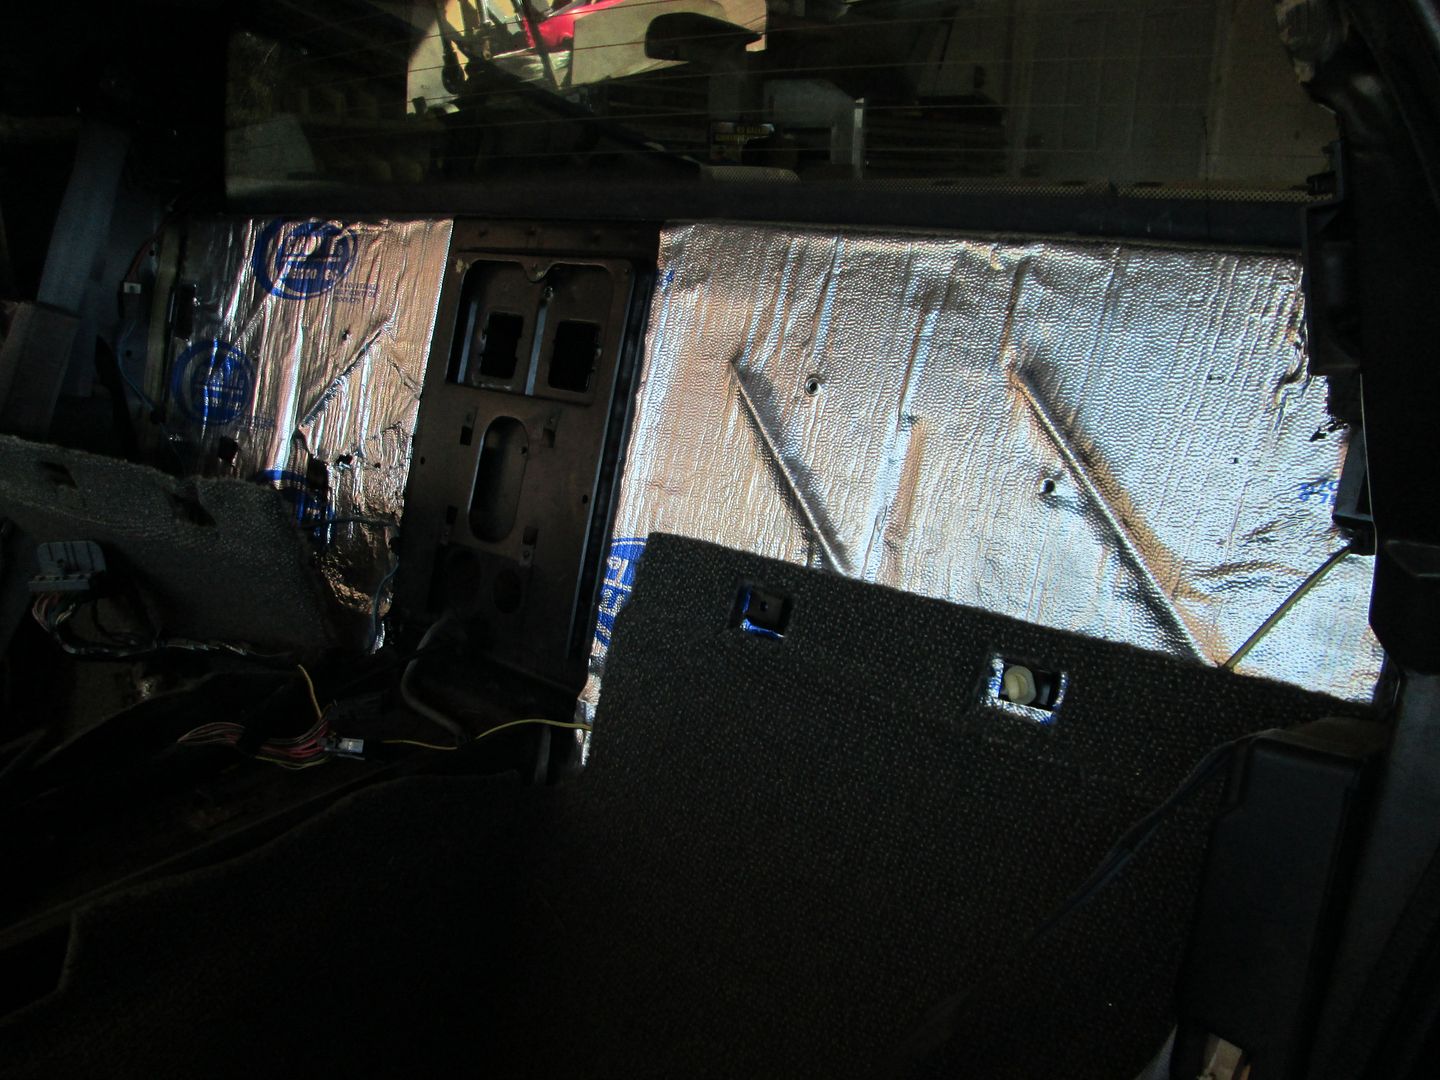
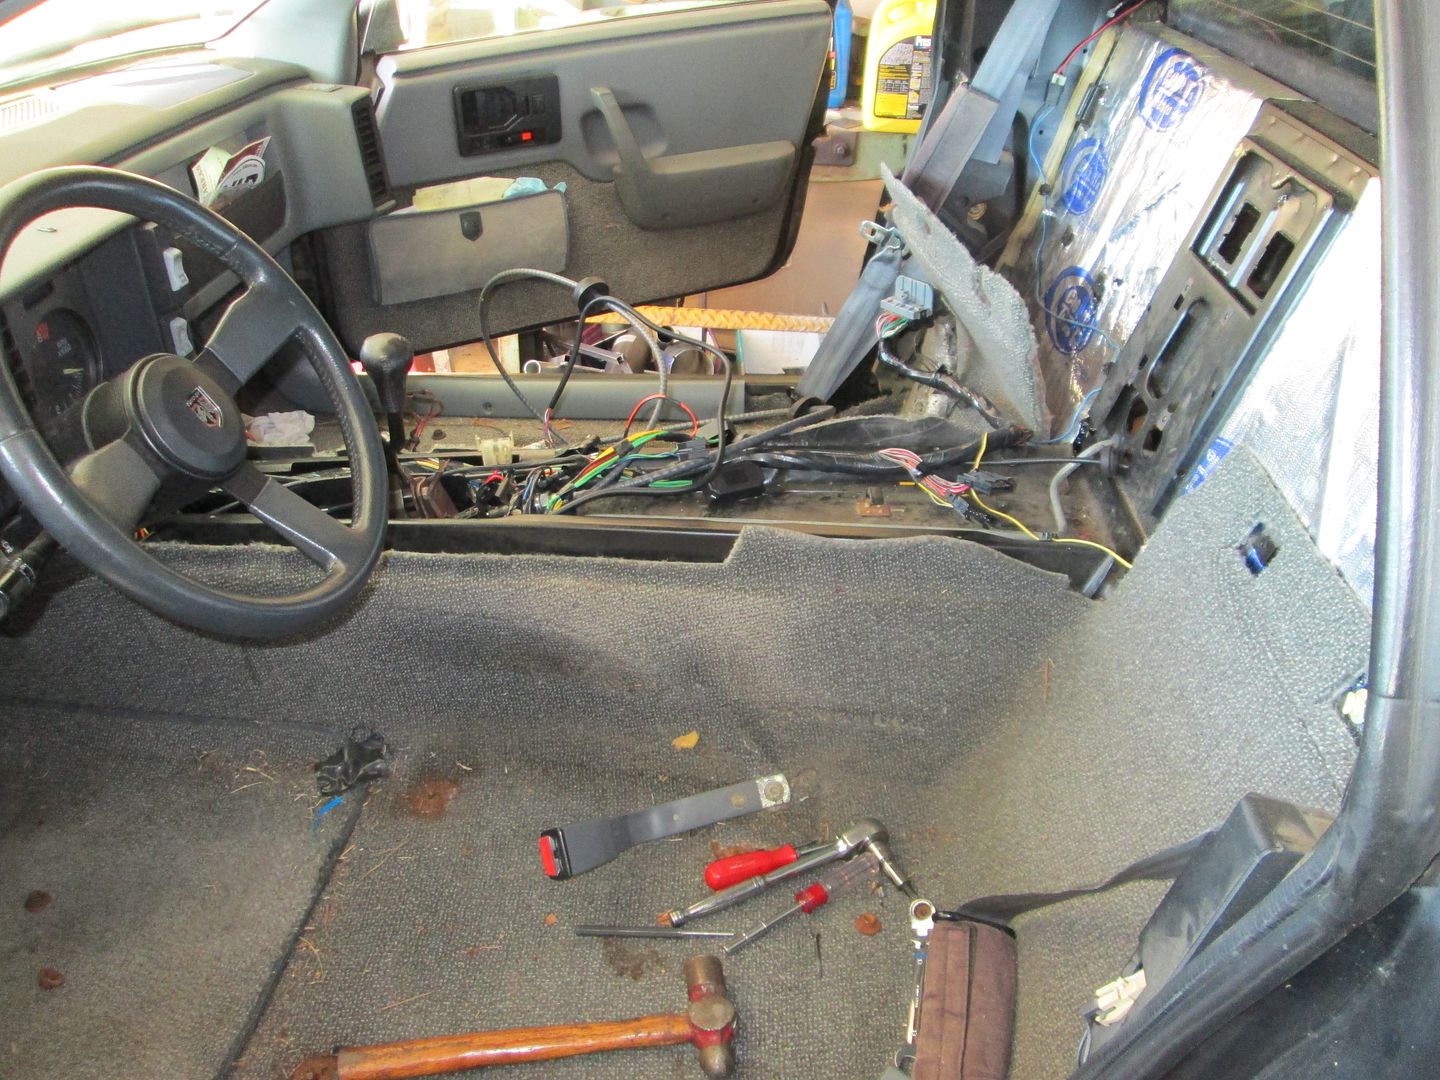
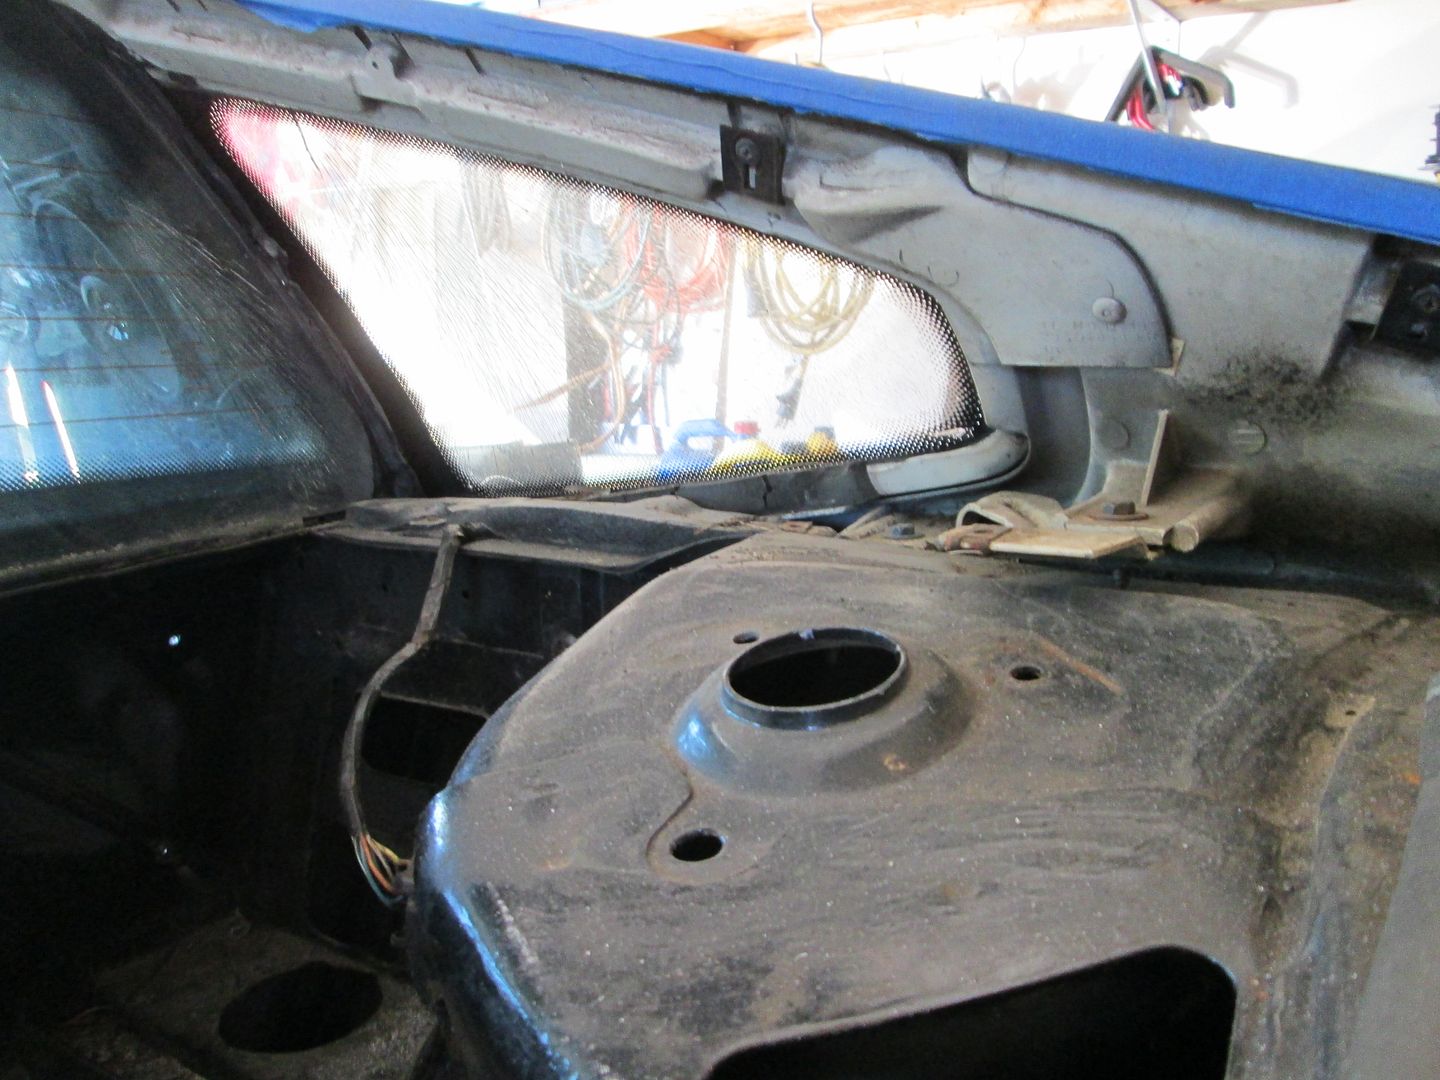
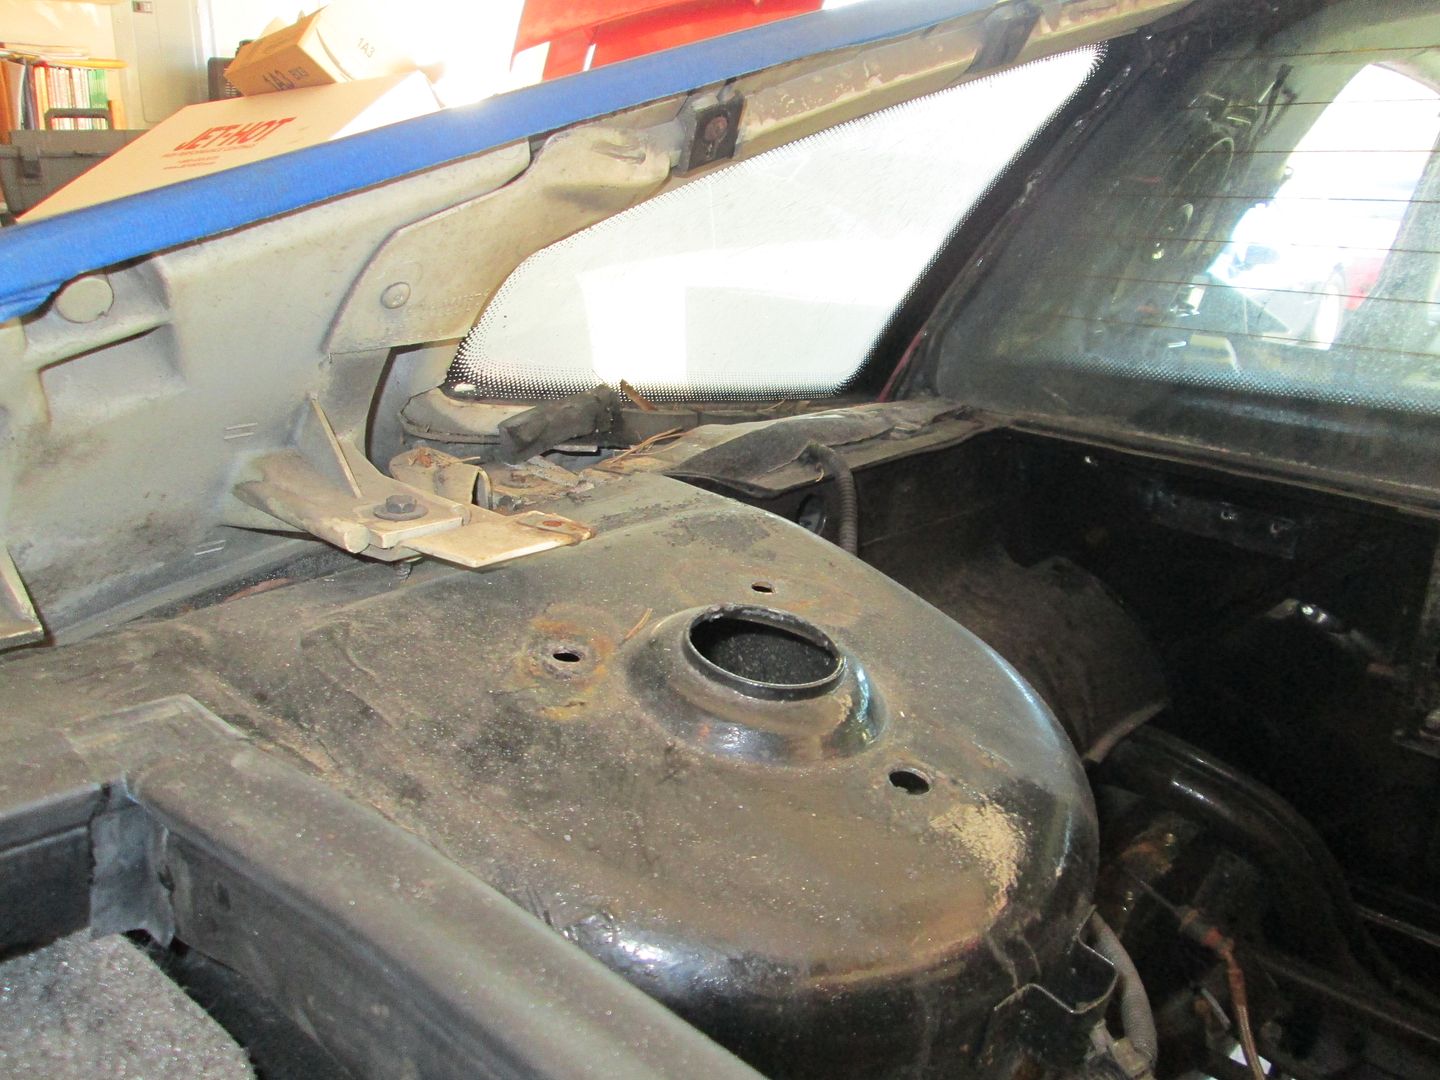
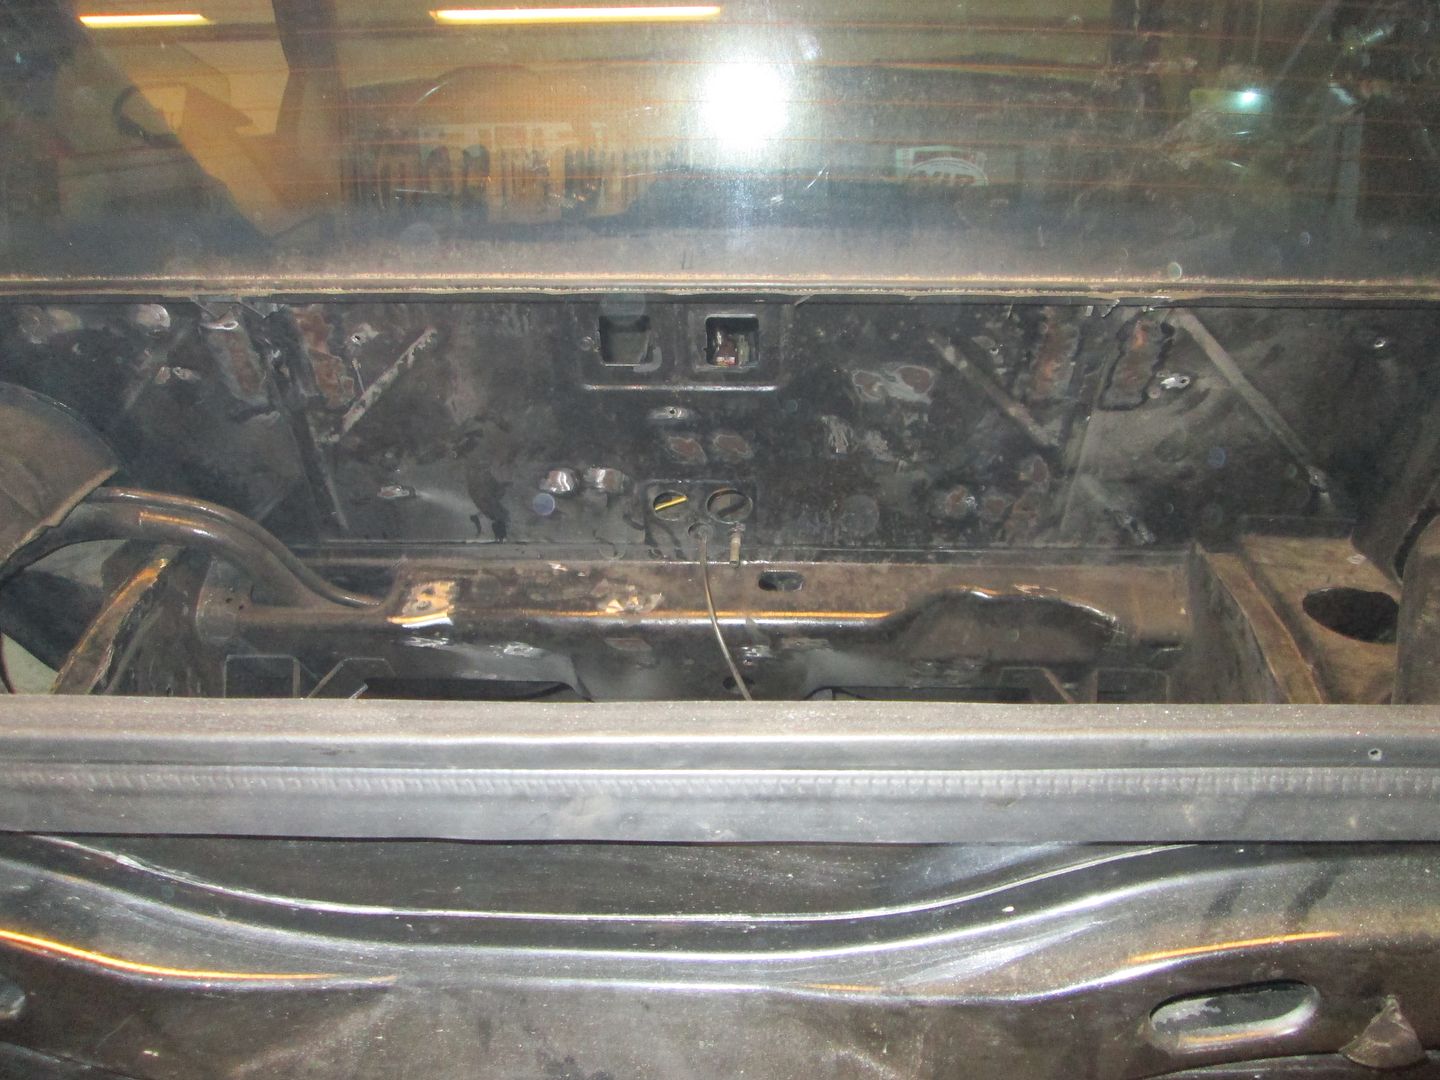
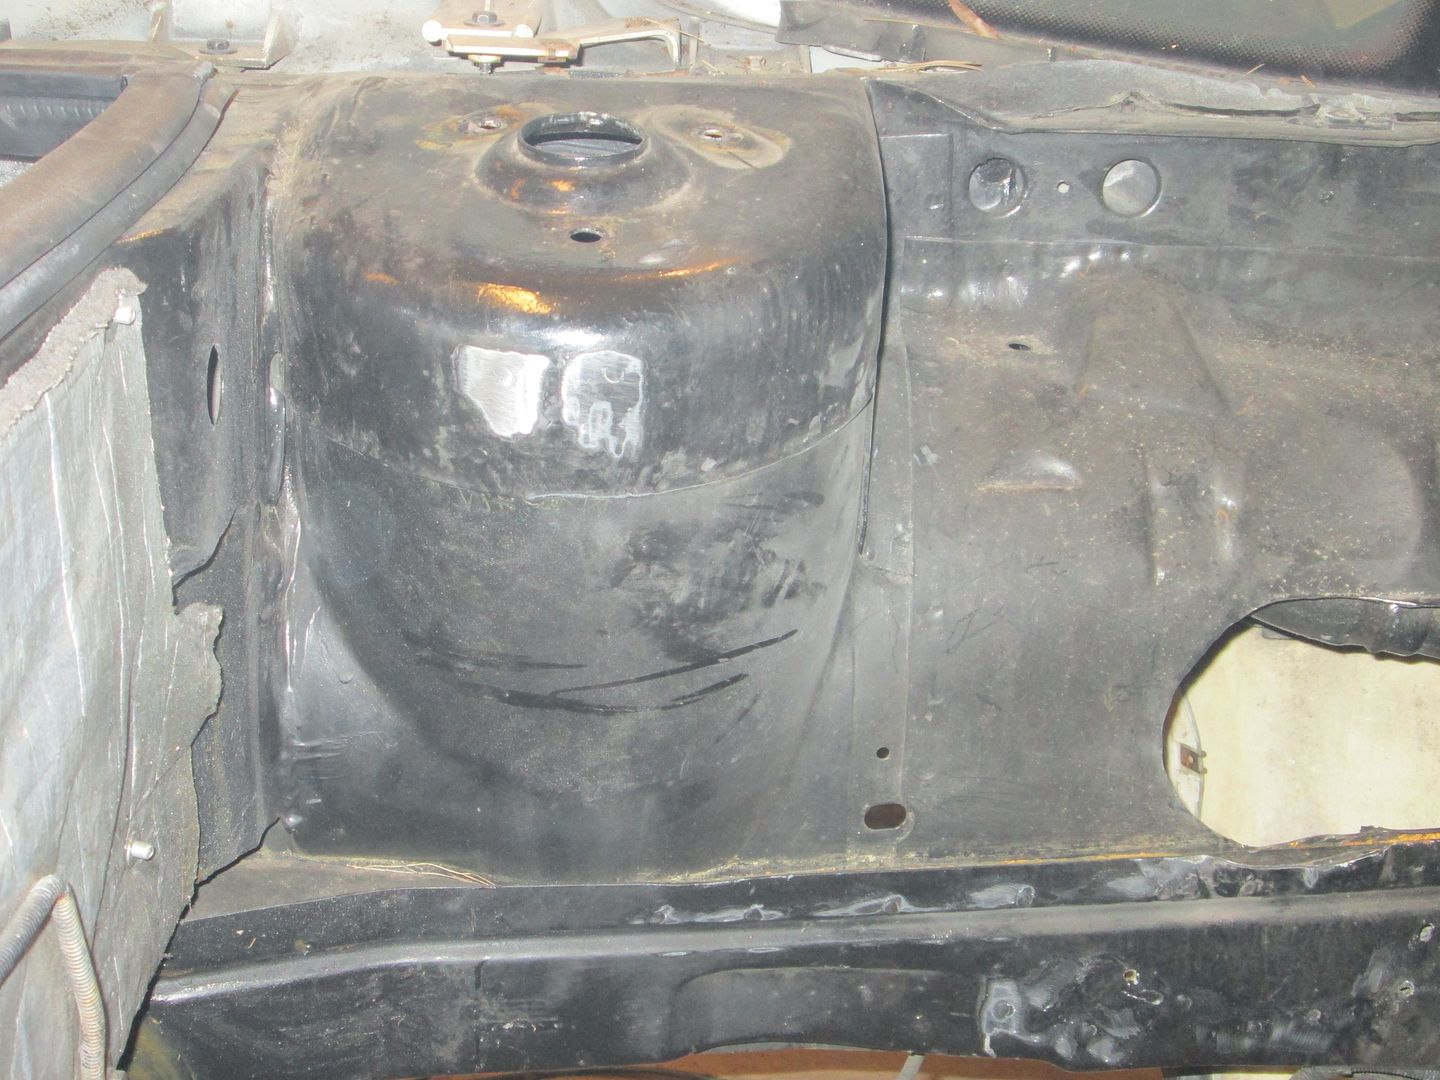
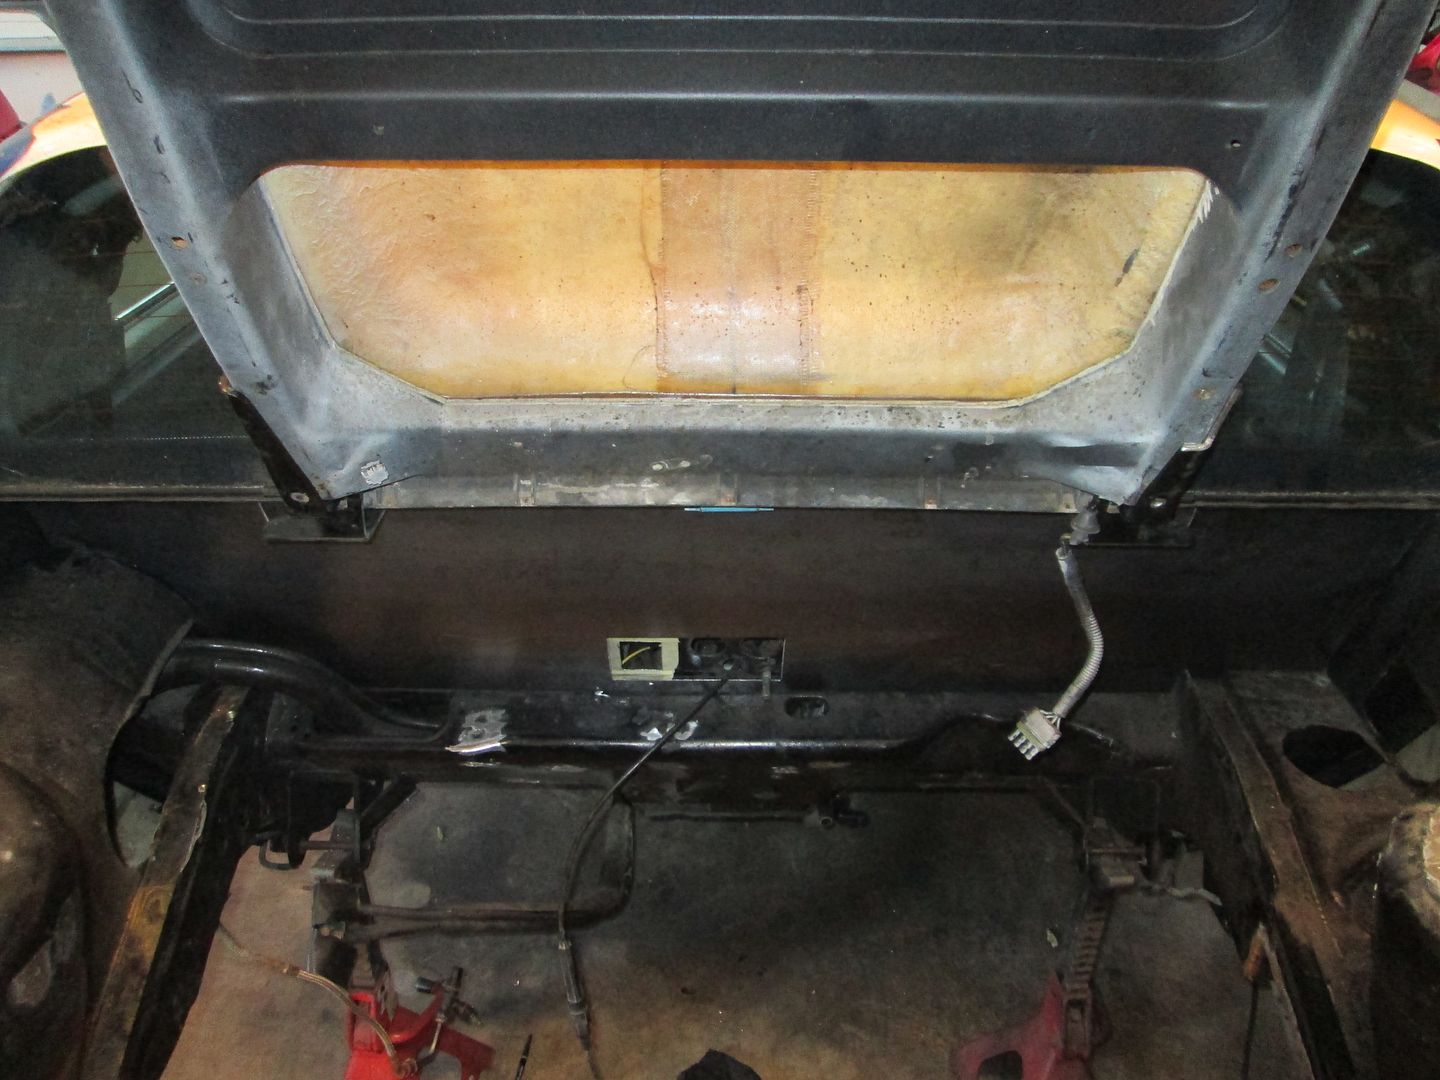
Then I took out the rest of the interior so I could drill out the rivets holding the insulation to the firewall in the engine bay:
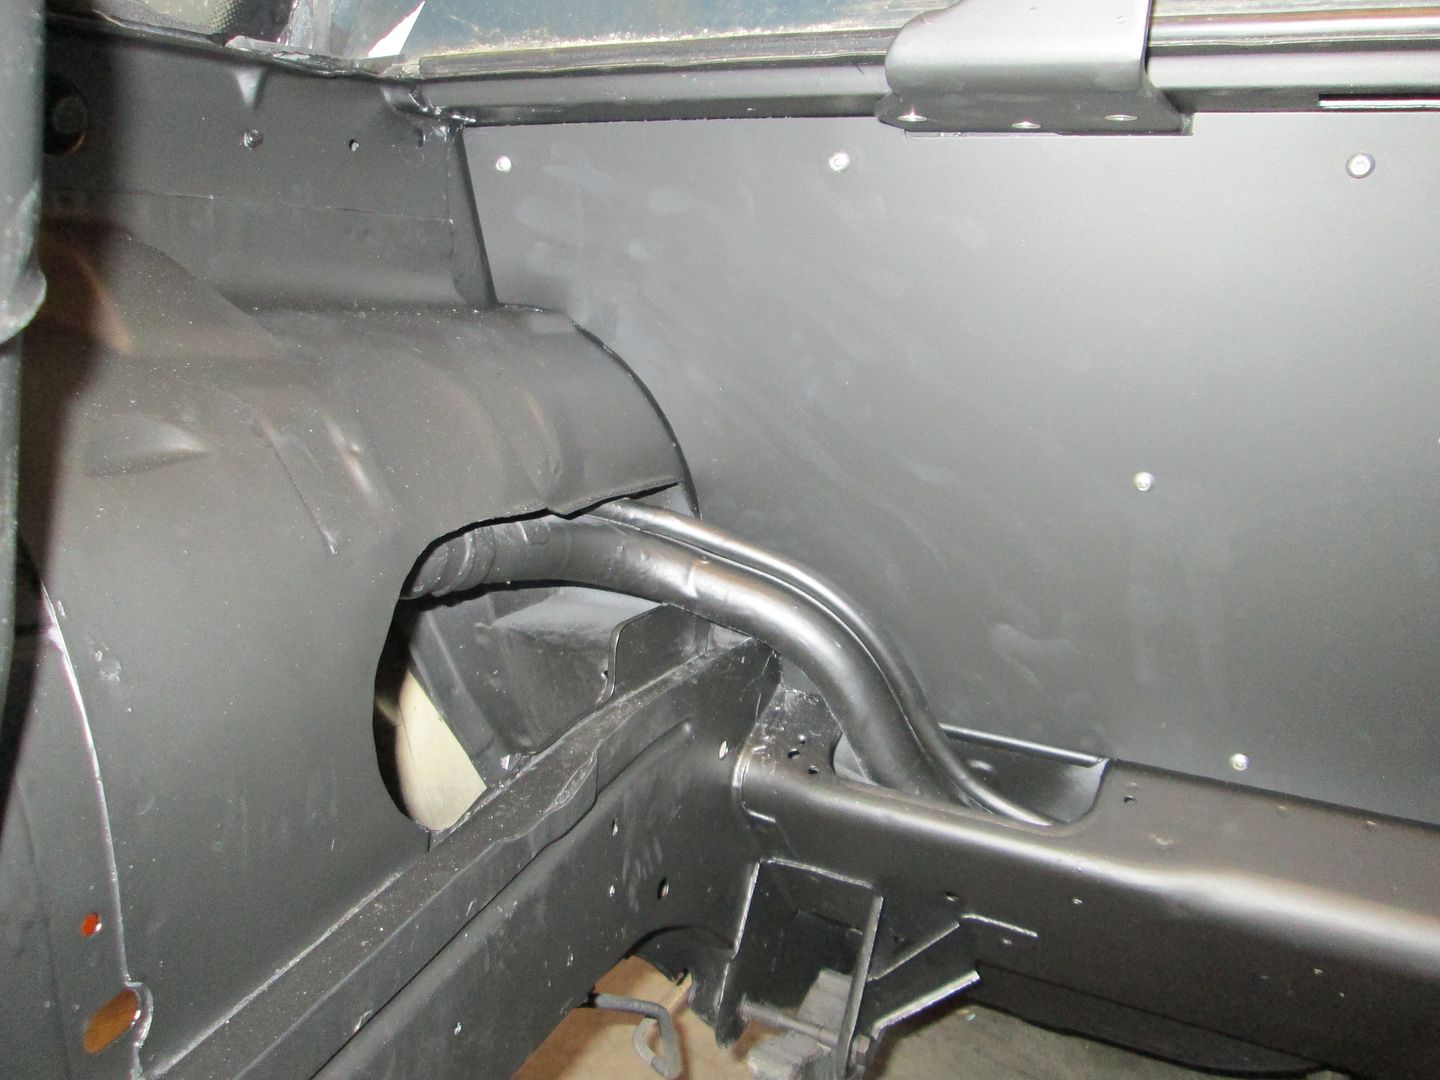
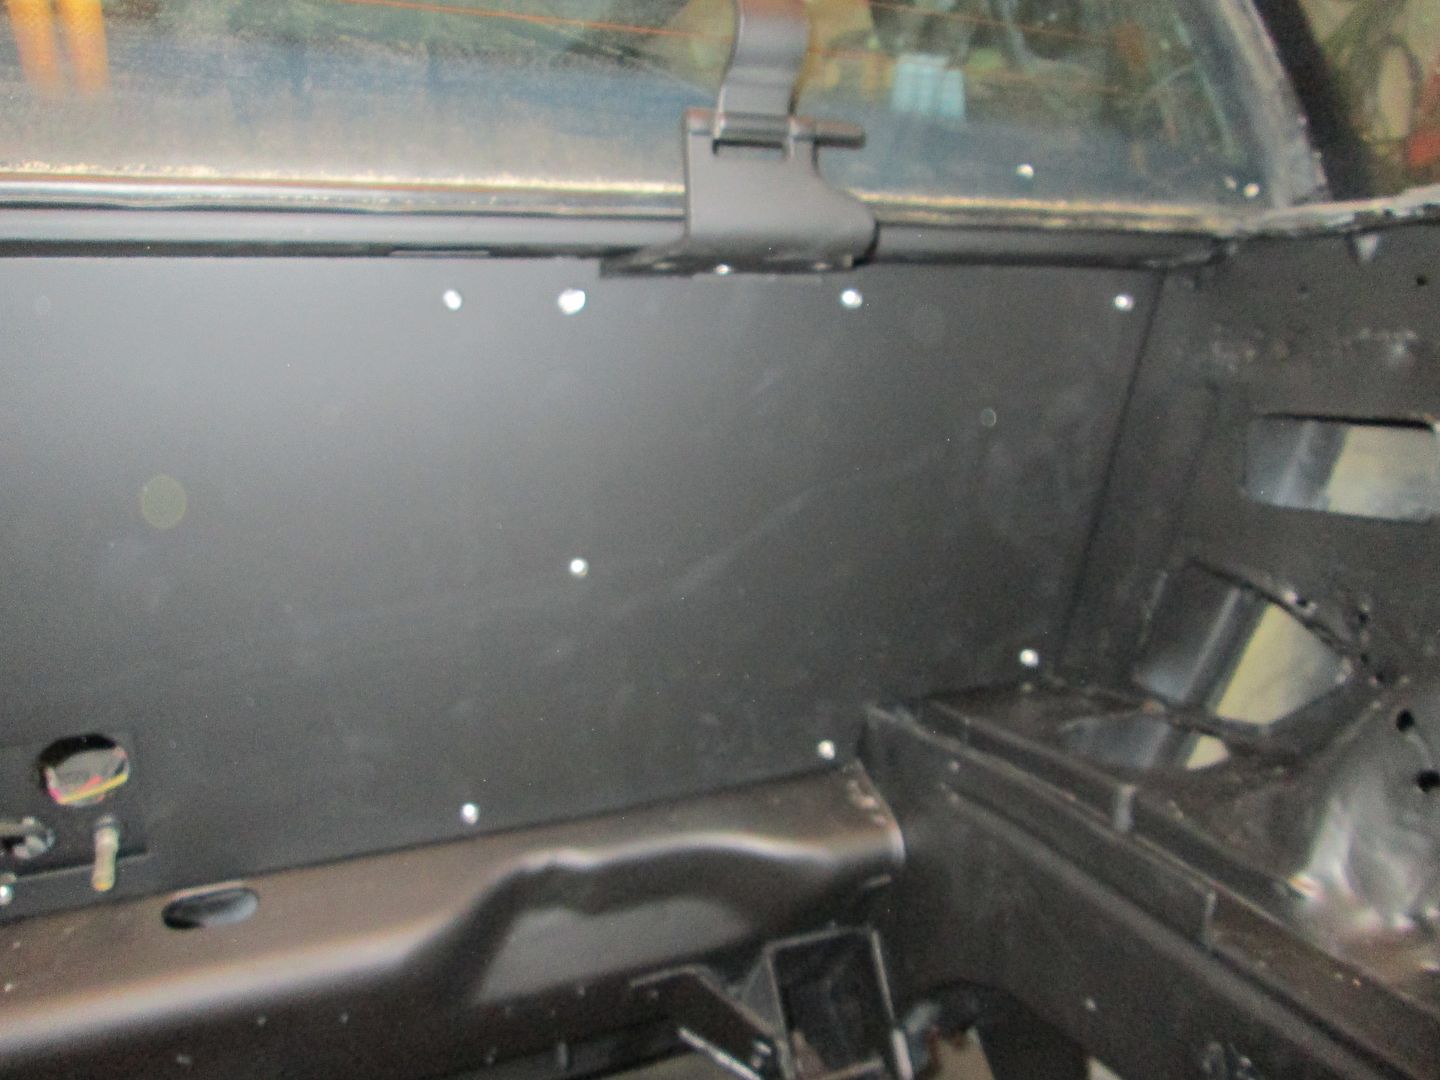
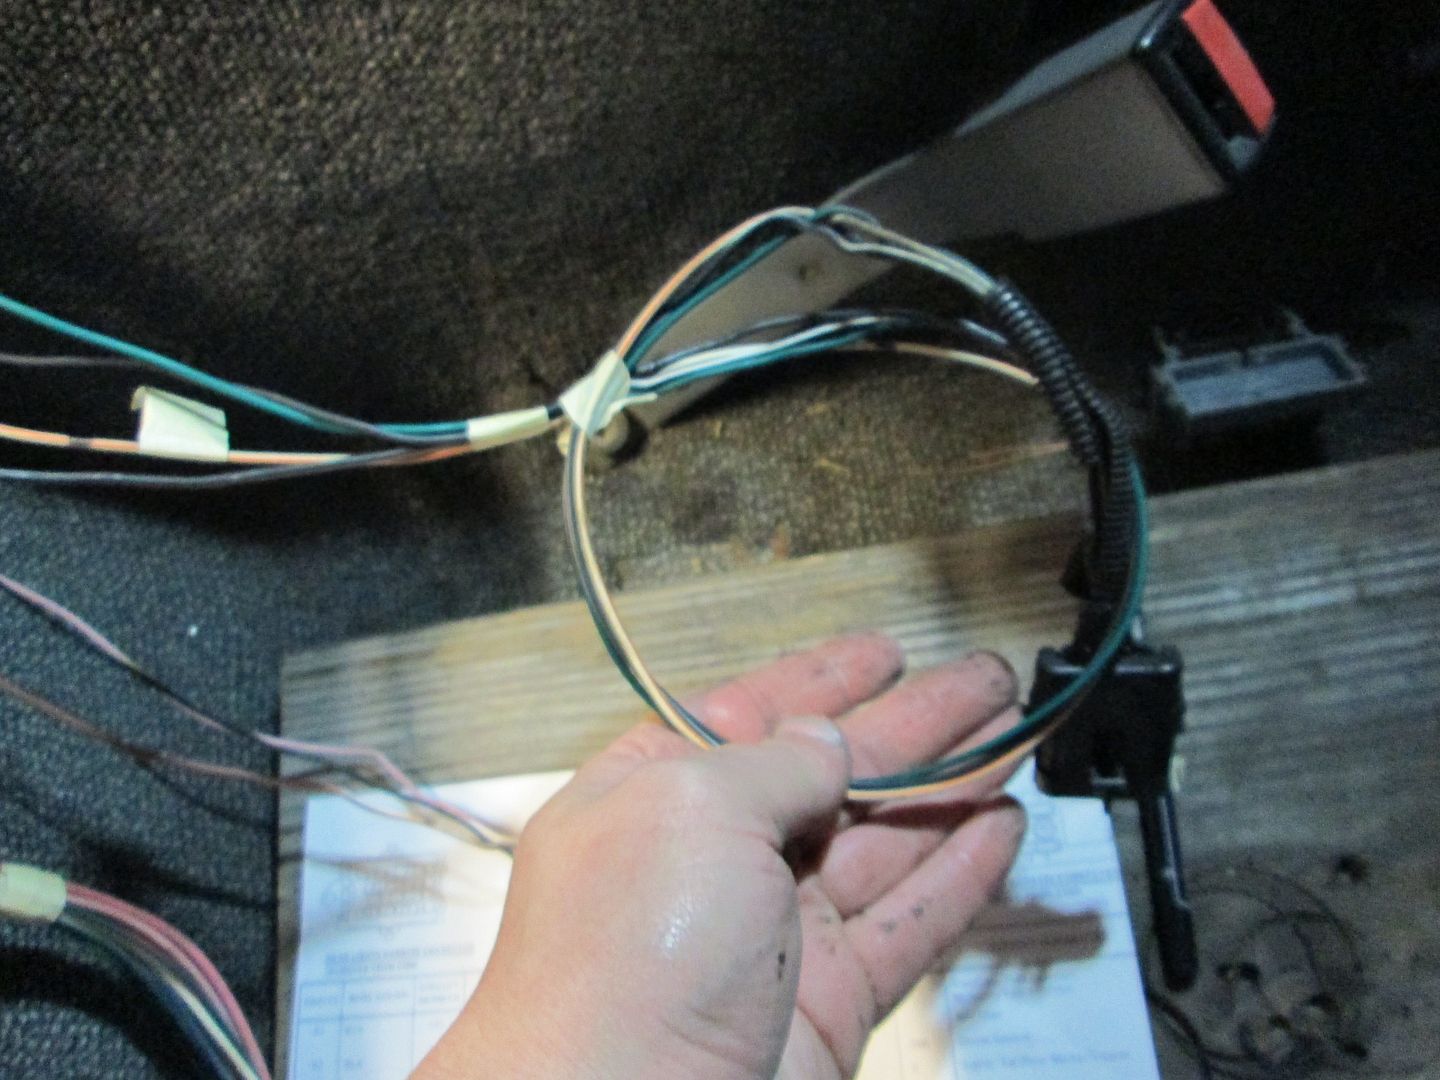
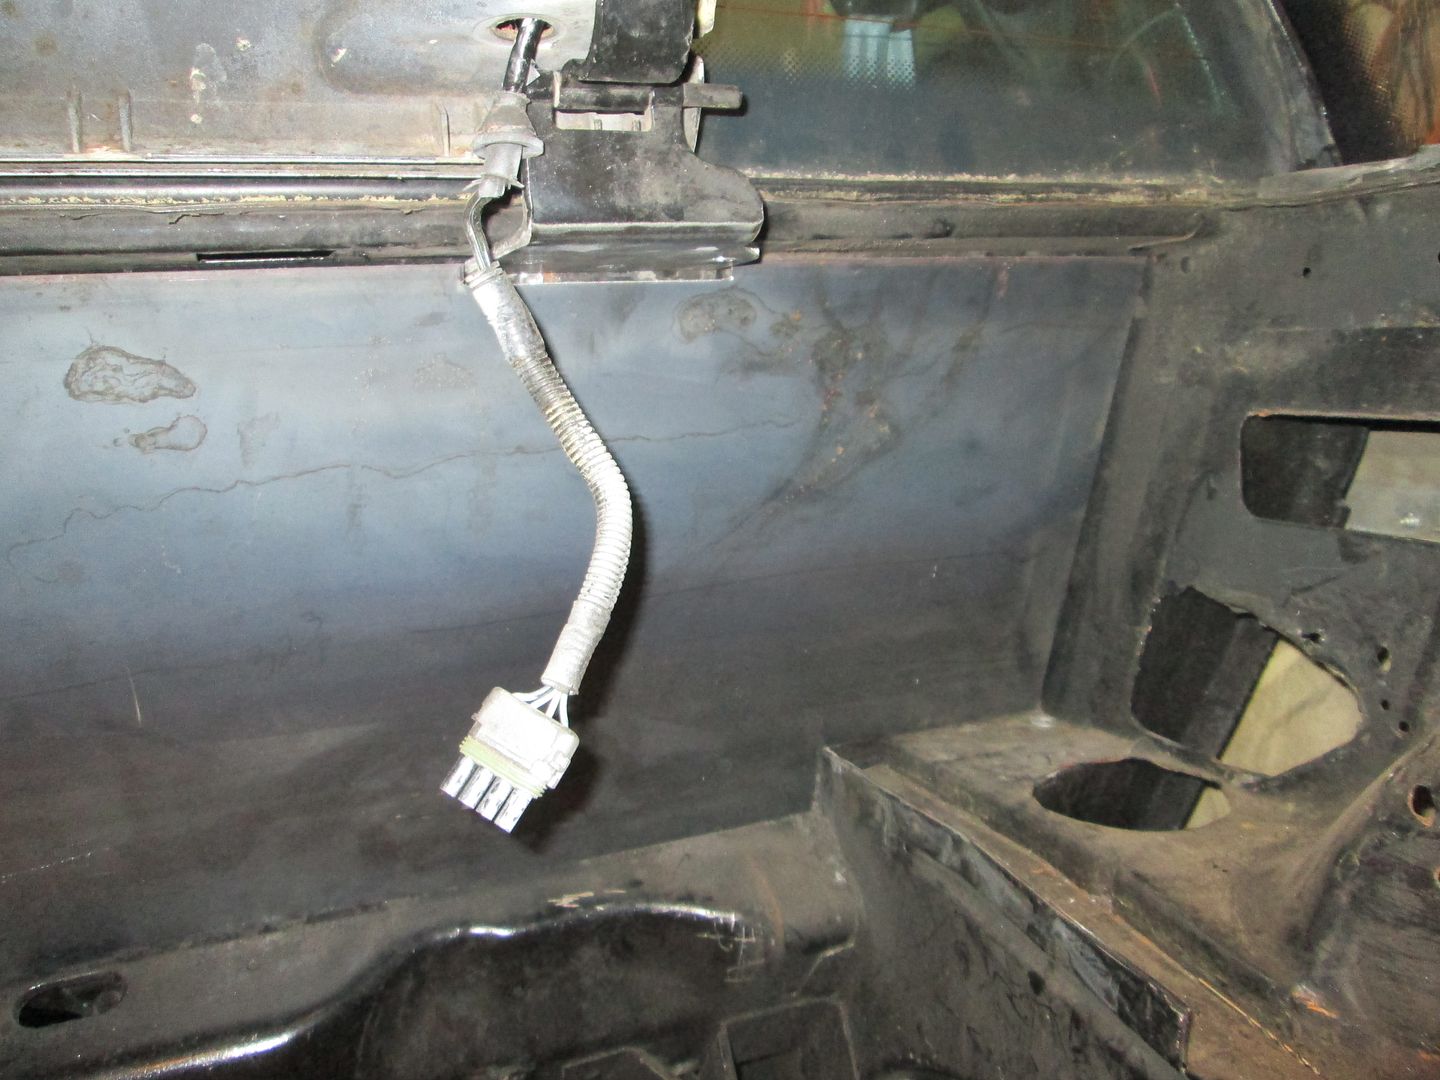
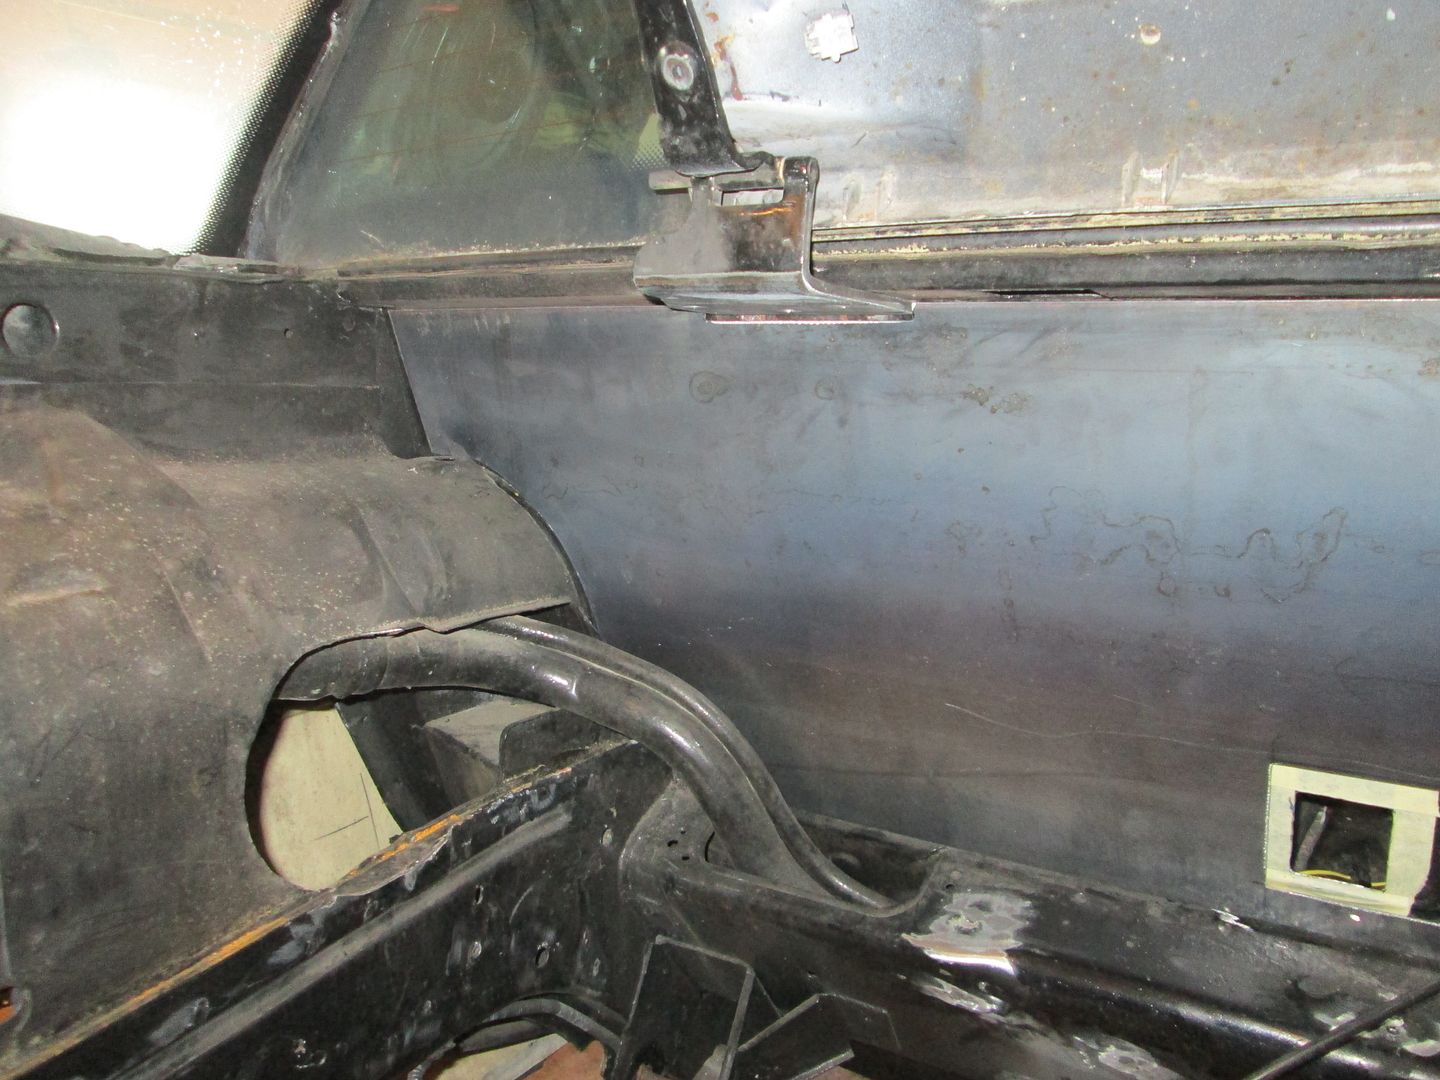
Took off the inner fastback panels so I can fish the wiring to the new route. This will also better allow me to sand and paint the tops of the strut towers:
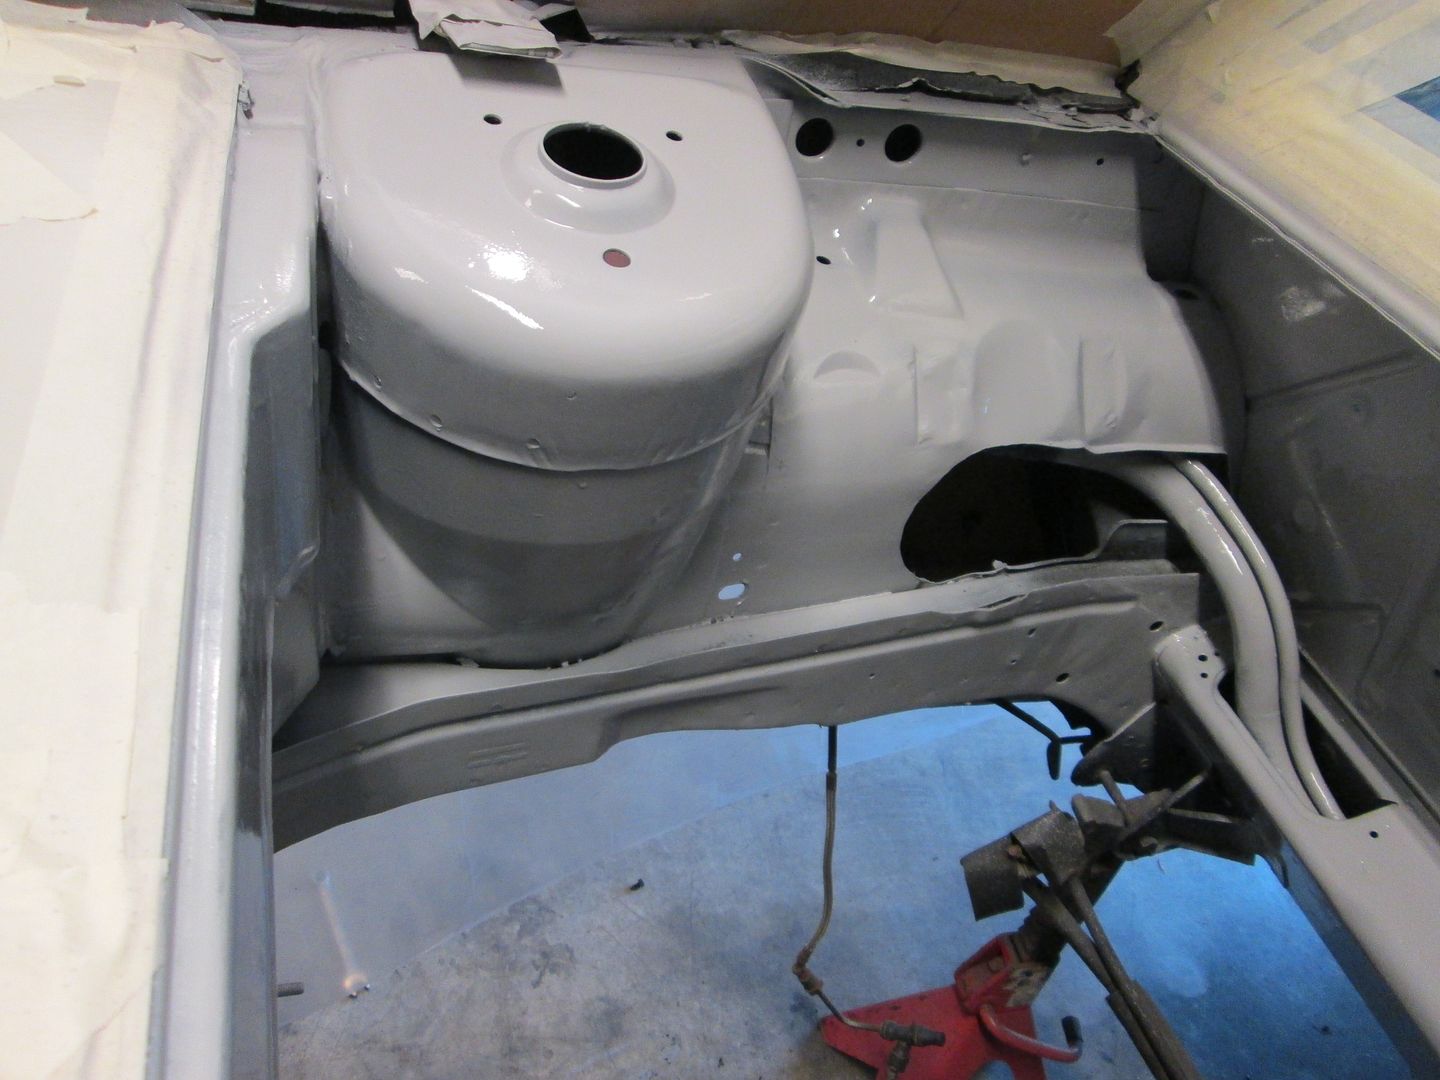
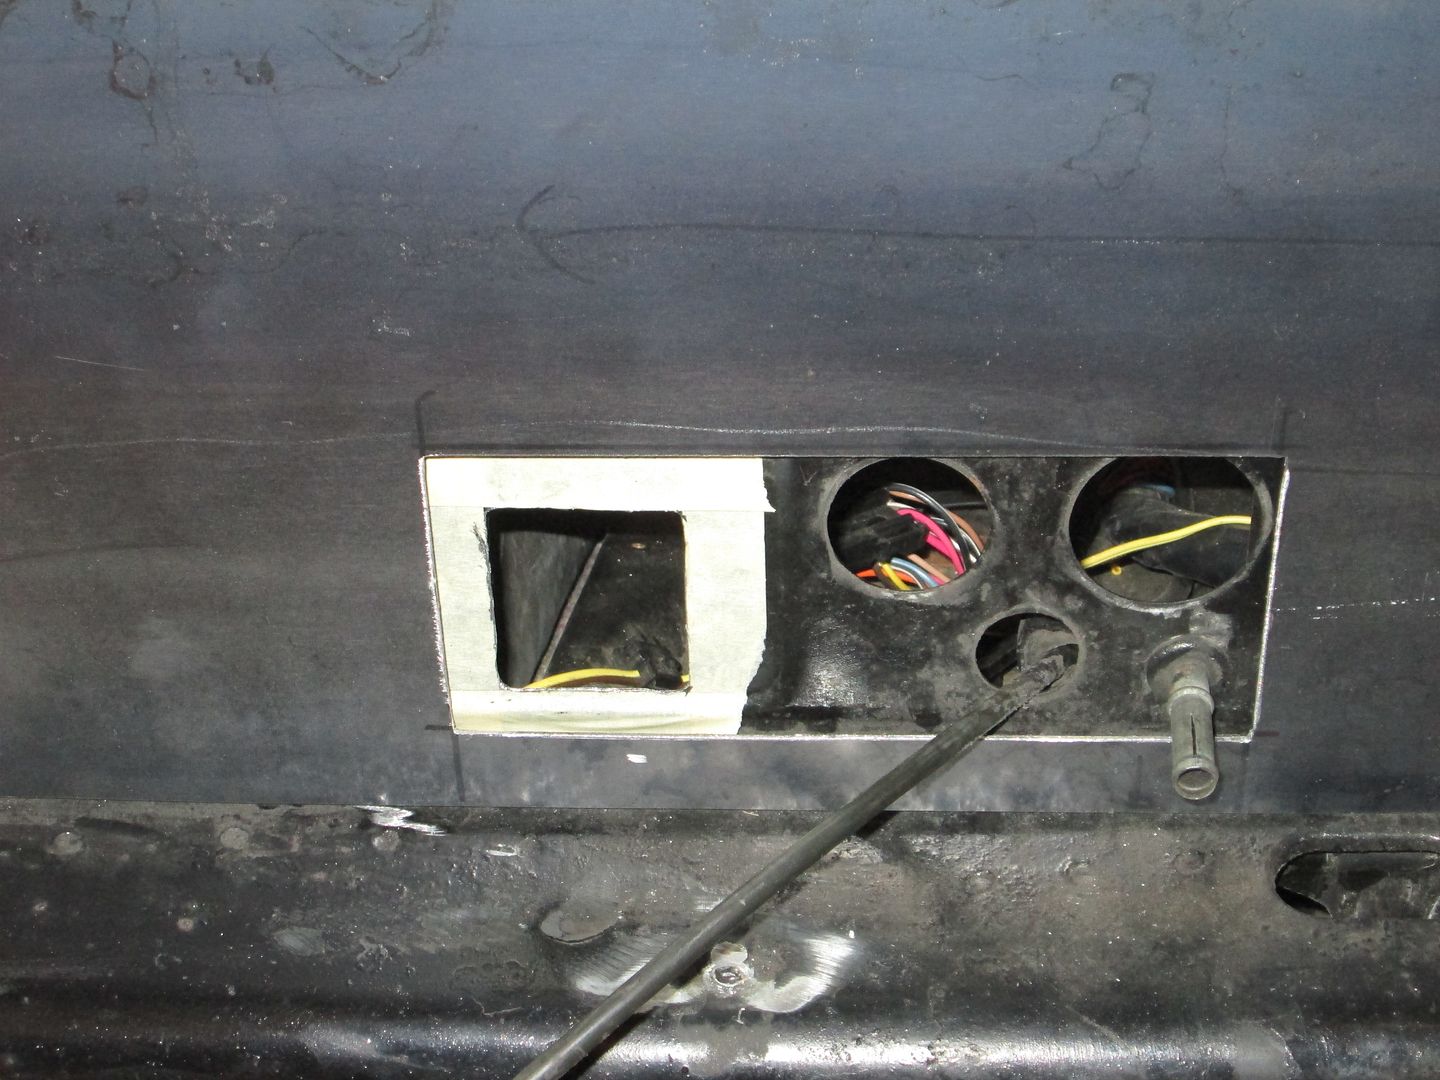
Hopefully this week I will get the rest of the metal tabs removed, the decklid hinge boxes removed and the dogbone bracket removed. Then I have to weld up the new hinge brackets, fill in a portion of the frame notch, cut out the new location for the wiring pass through (down low by the shifter cables), cut the smooth firewall panel, sand the engine bay and paint it...
Once the engine bay is ready, I can put the engine in and finish the interior connections for the harness, fab up the post header exhaust, and then get it to make noise again.... still quite a bit of work to do, but on the downward slide.
[This message has been edited by fieroguru (edited 01-12-2014).]
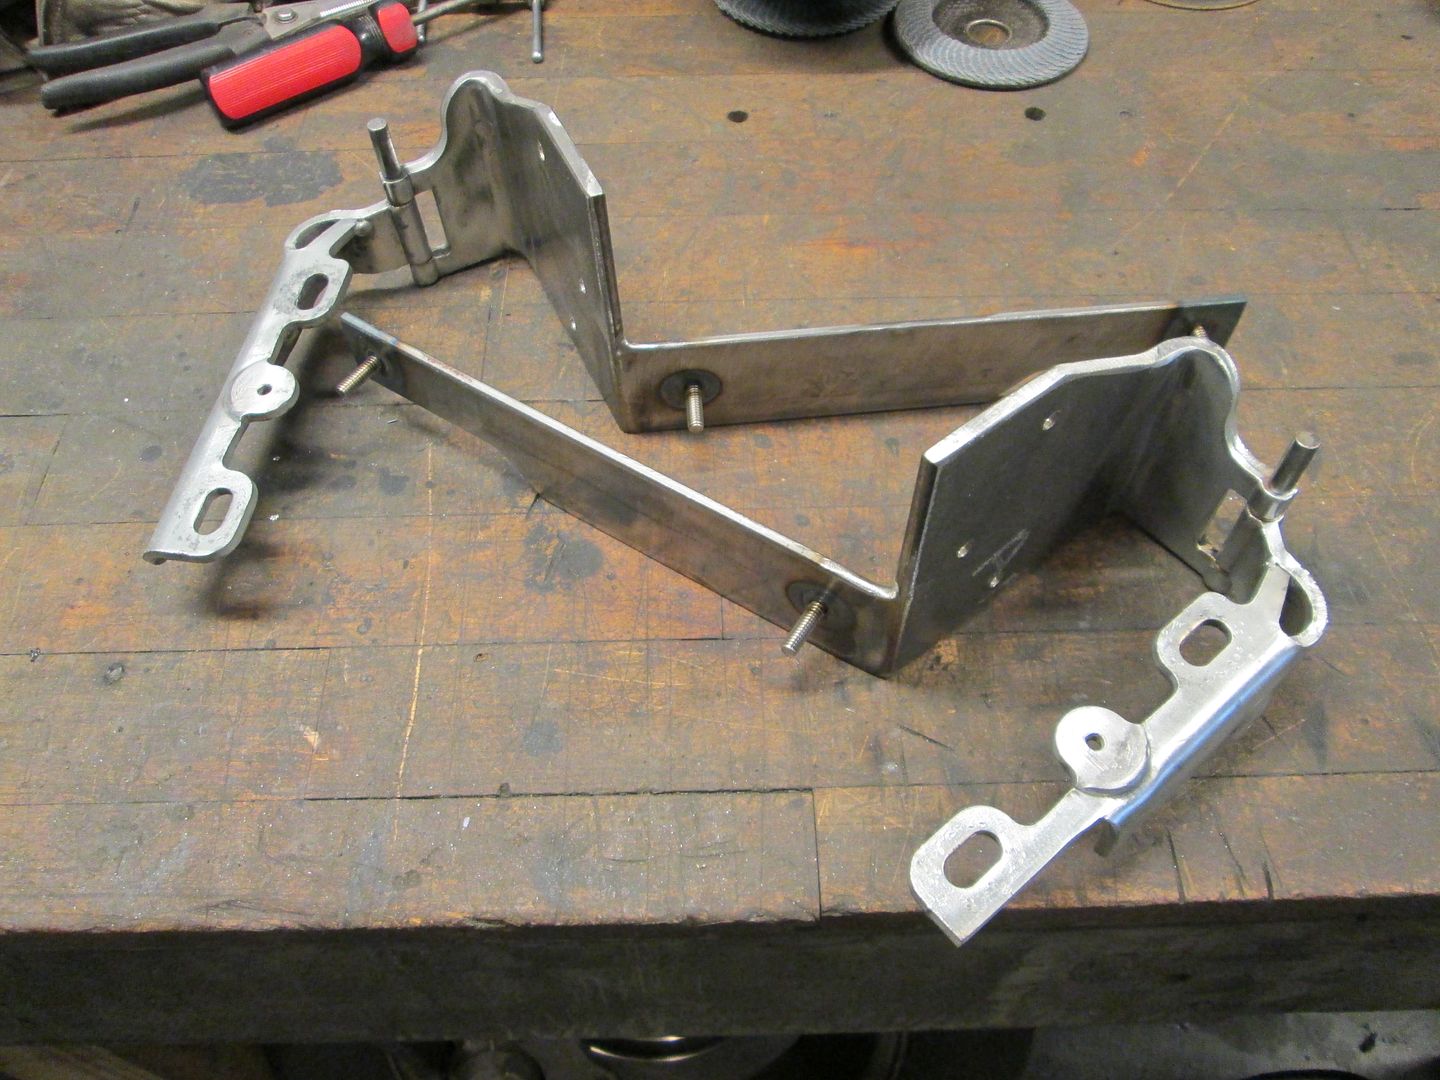
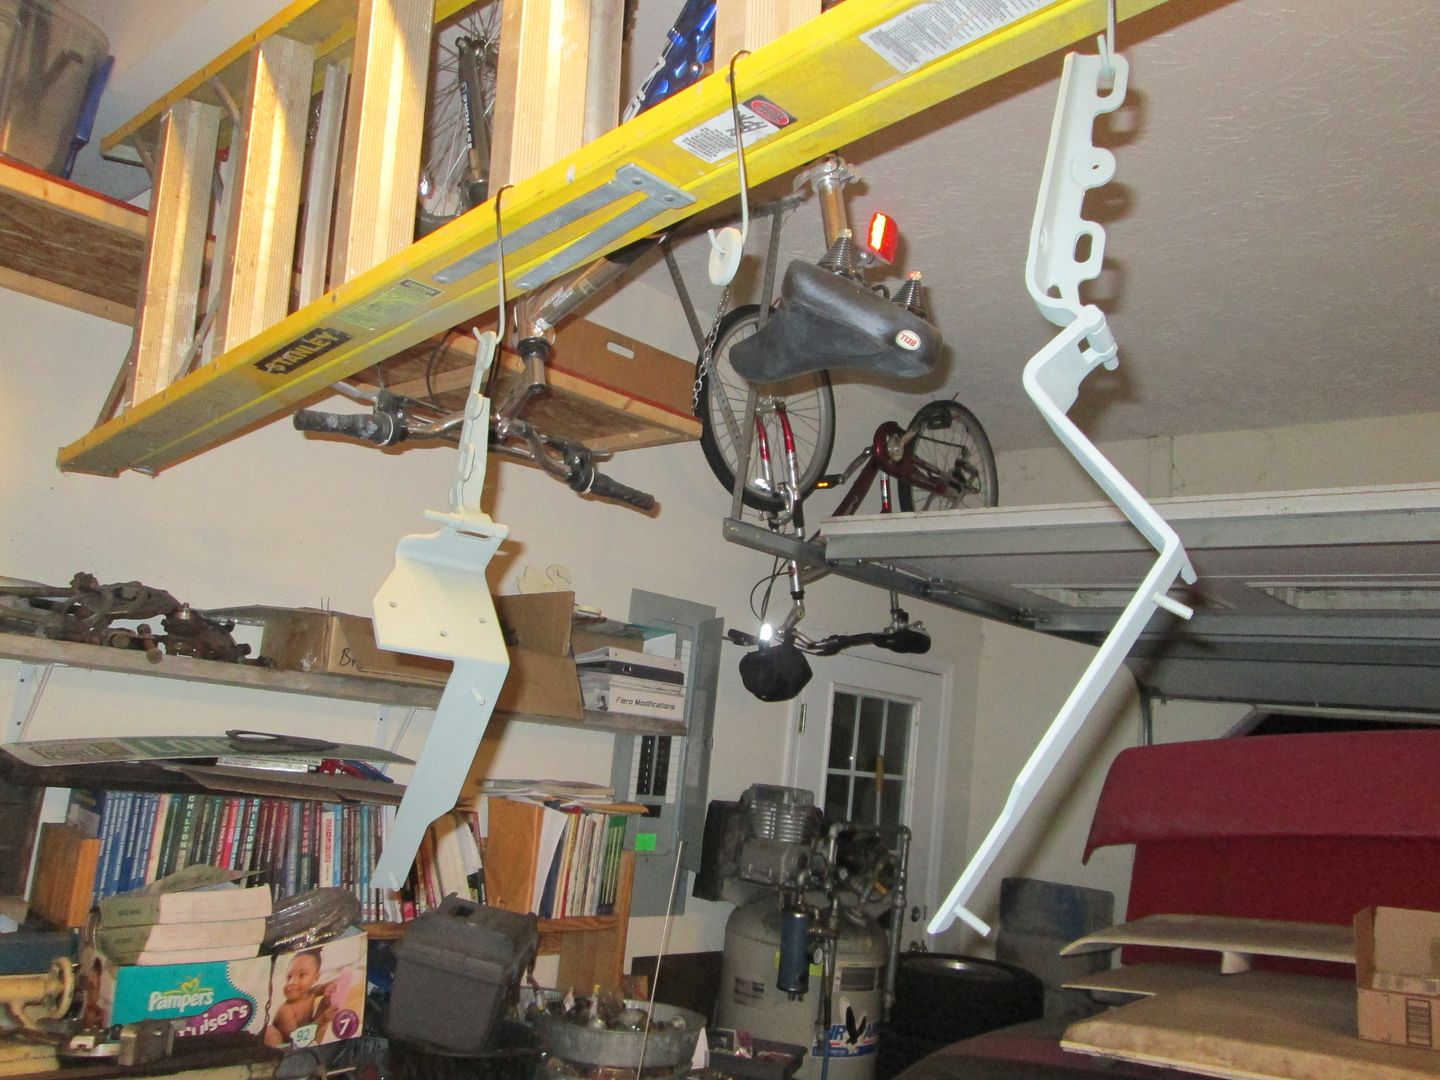
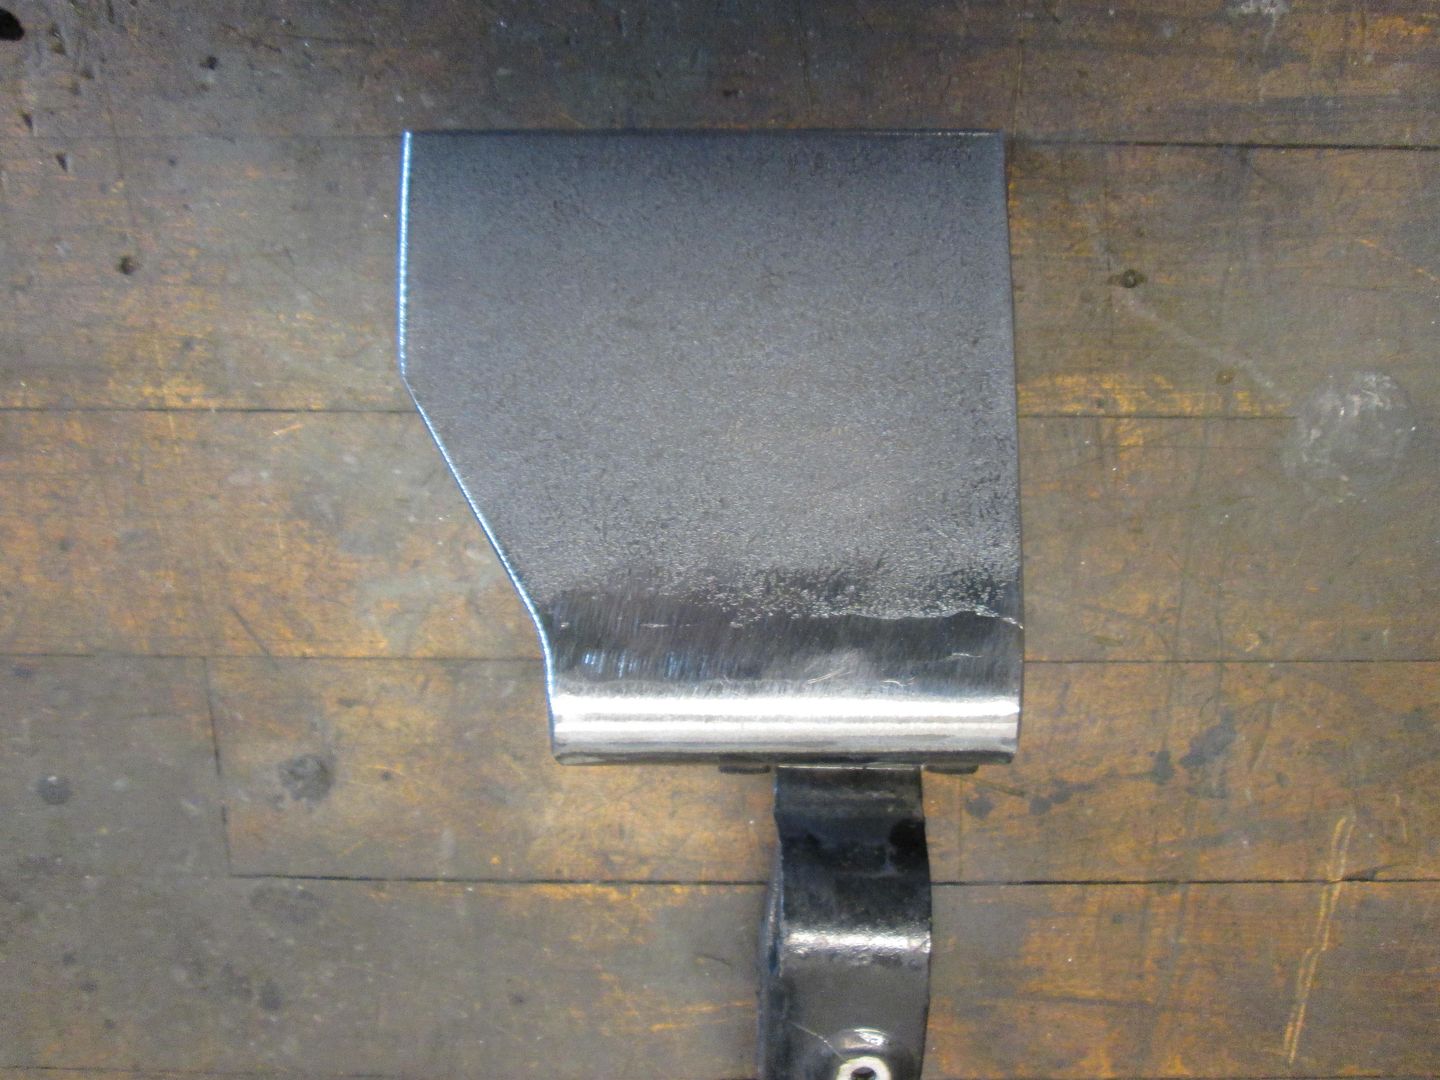
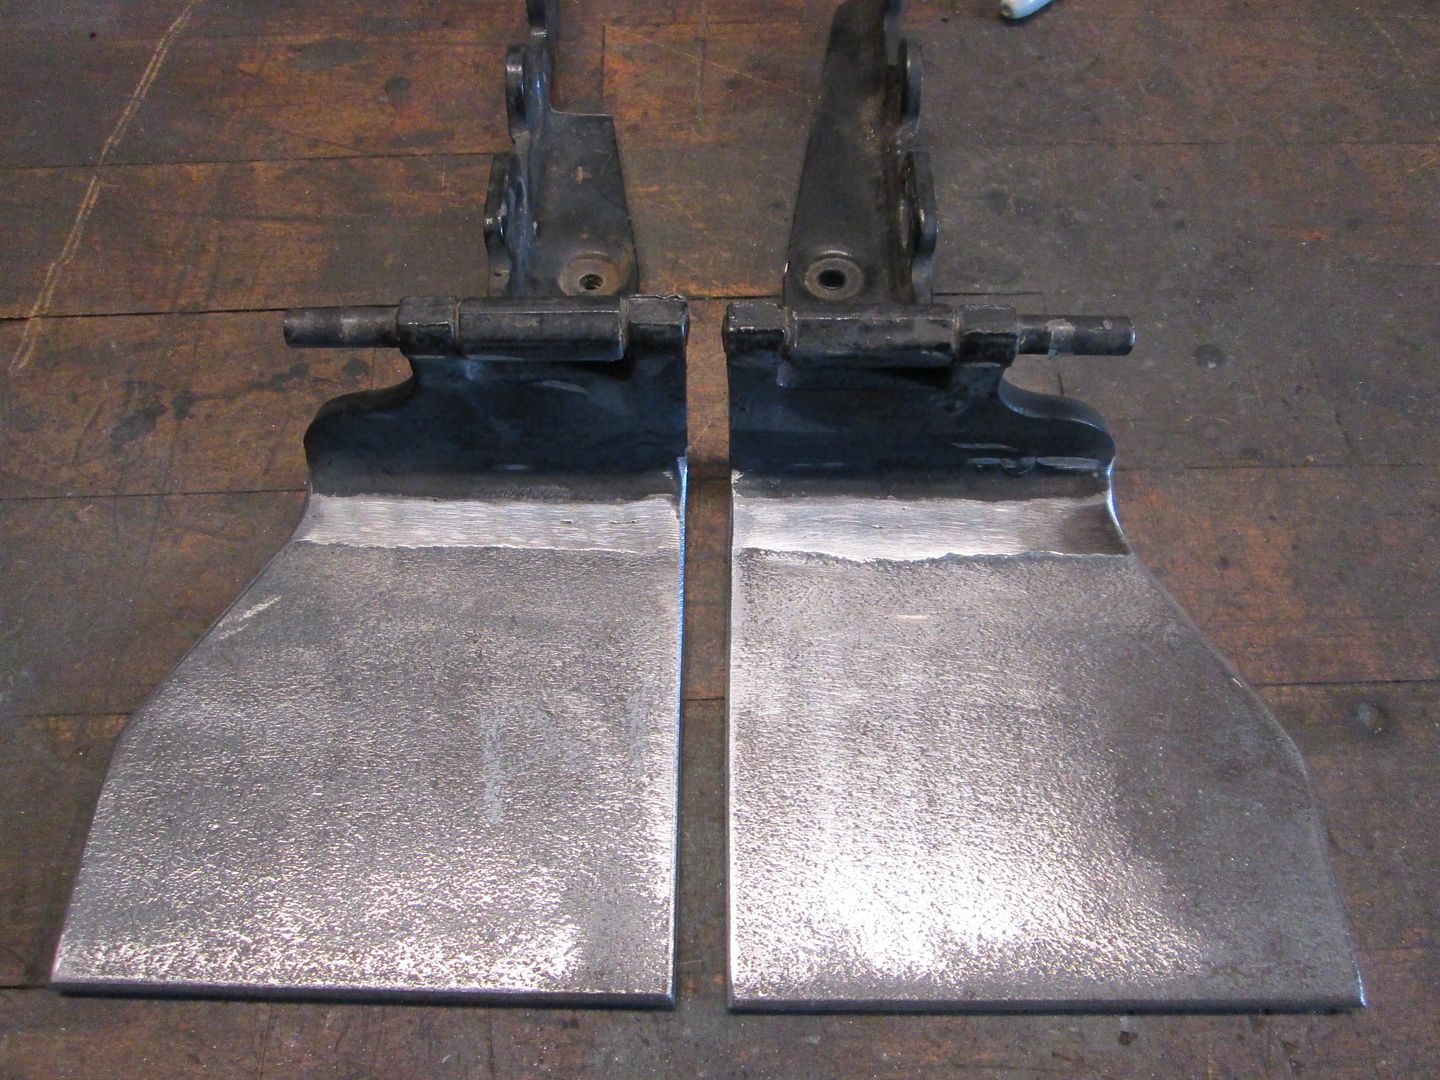
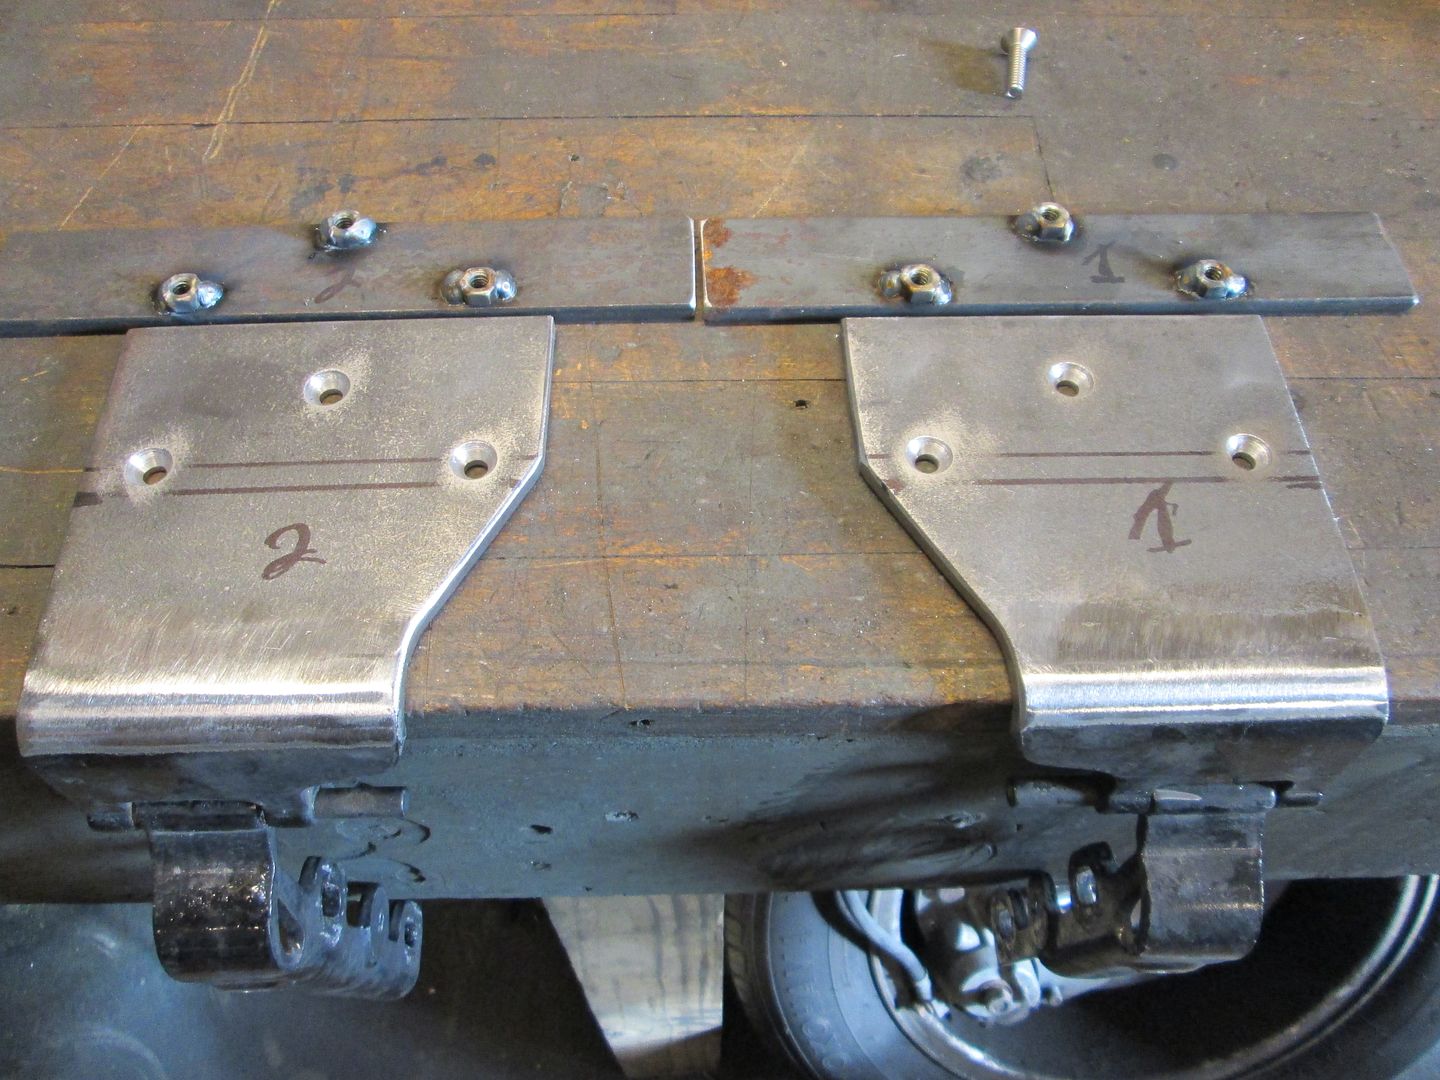
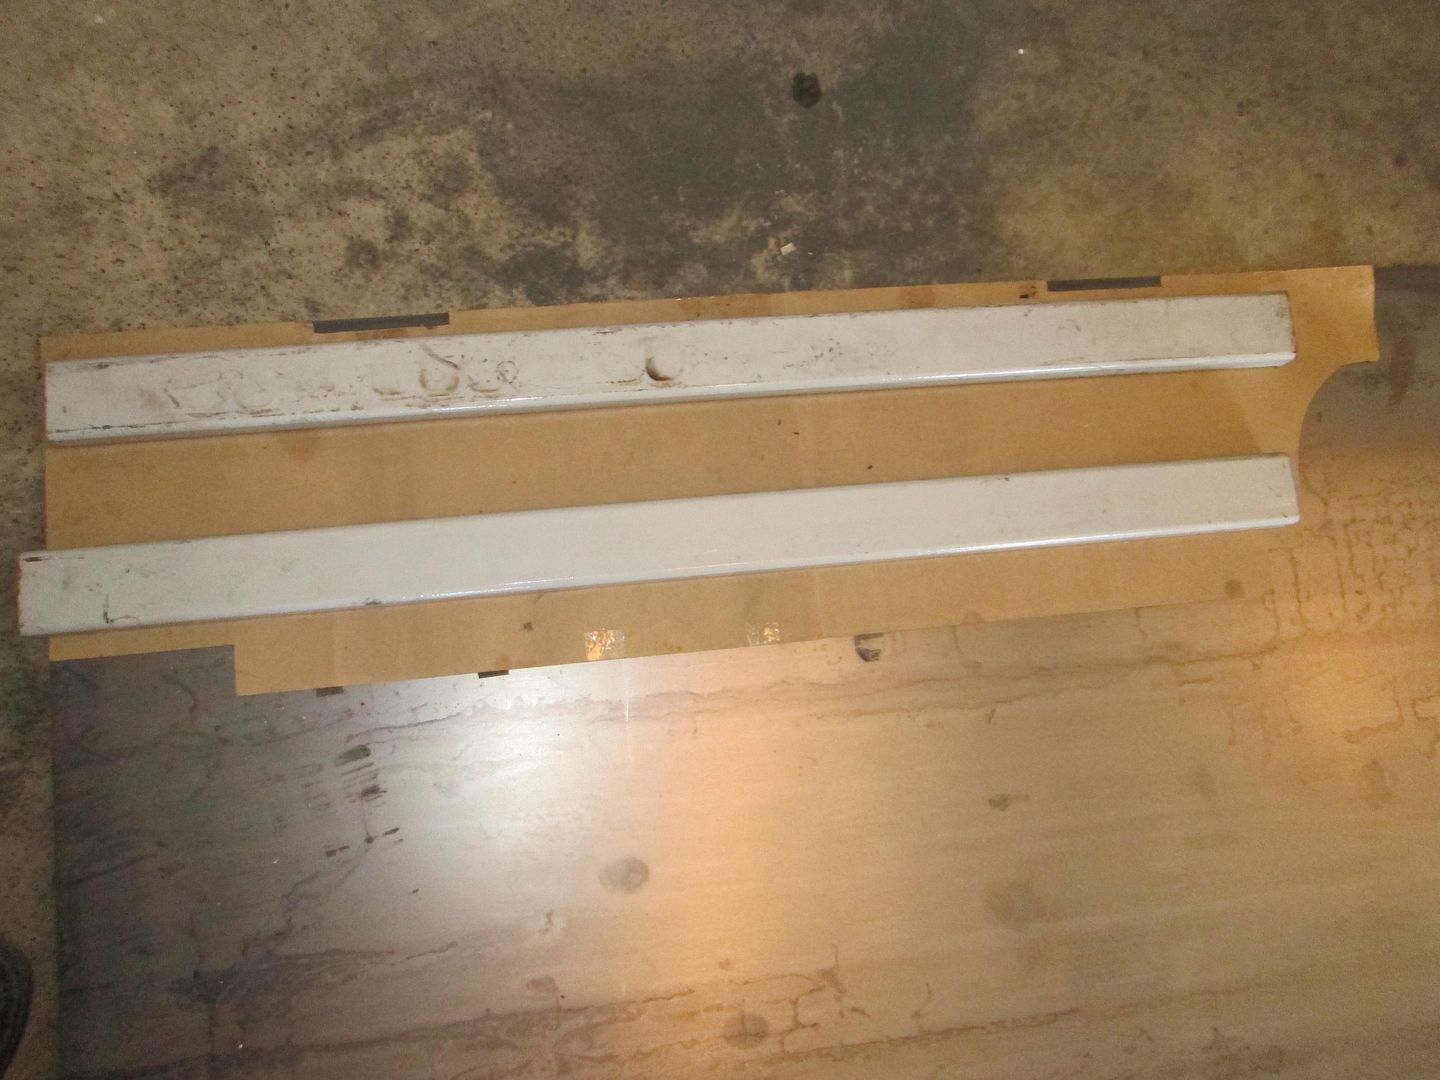
Modified the stock hinges with a new mounting plate:
Set the decklid on so I could transfer the holes to the chassis, squared it up, and used some 70lb blocks to hold it flat and in place:
Centered the hinges in the decklid holes:
Drilled the new holes over sized (1/2" for a 1/4" bolt) so there is some adjustment. The rectangular hole on the right of the picture is where the spreader bar will slide up into the tube.
Just waiting for the primer to dry on the spreader bars that will slide into that tube.
Once the primer is dry, I can install them and bolt up the hinges and raise the decklid again:
[This message has been edited by fieroguru (edited 01-18-2014).]
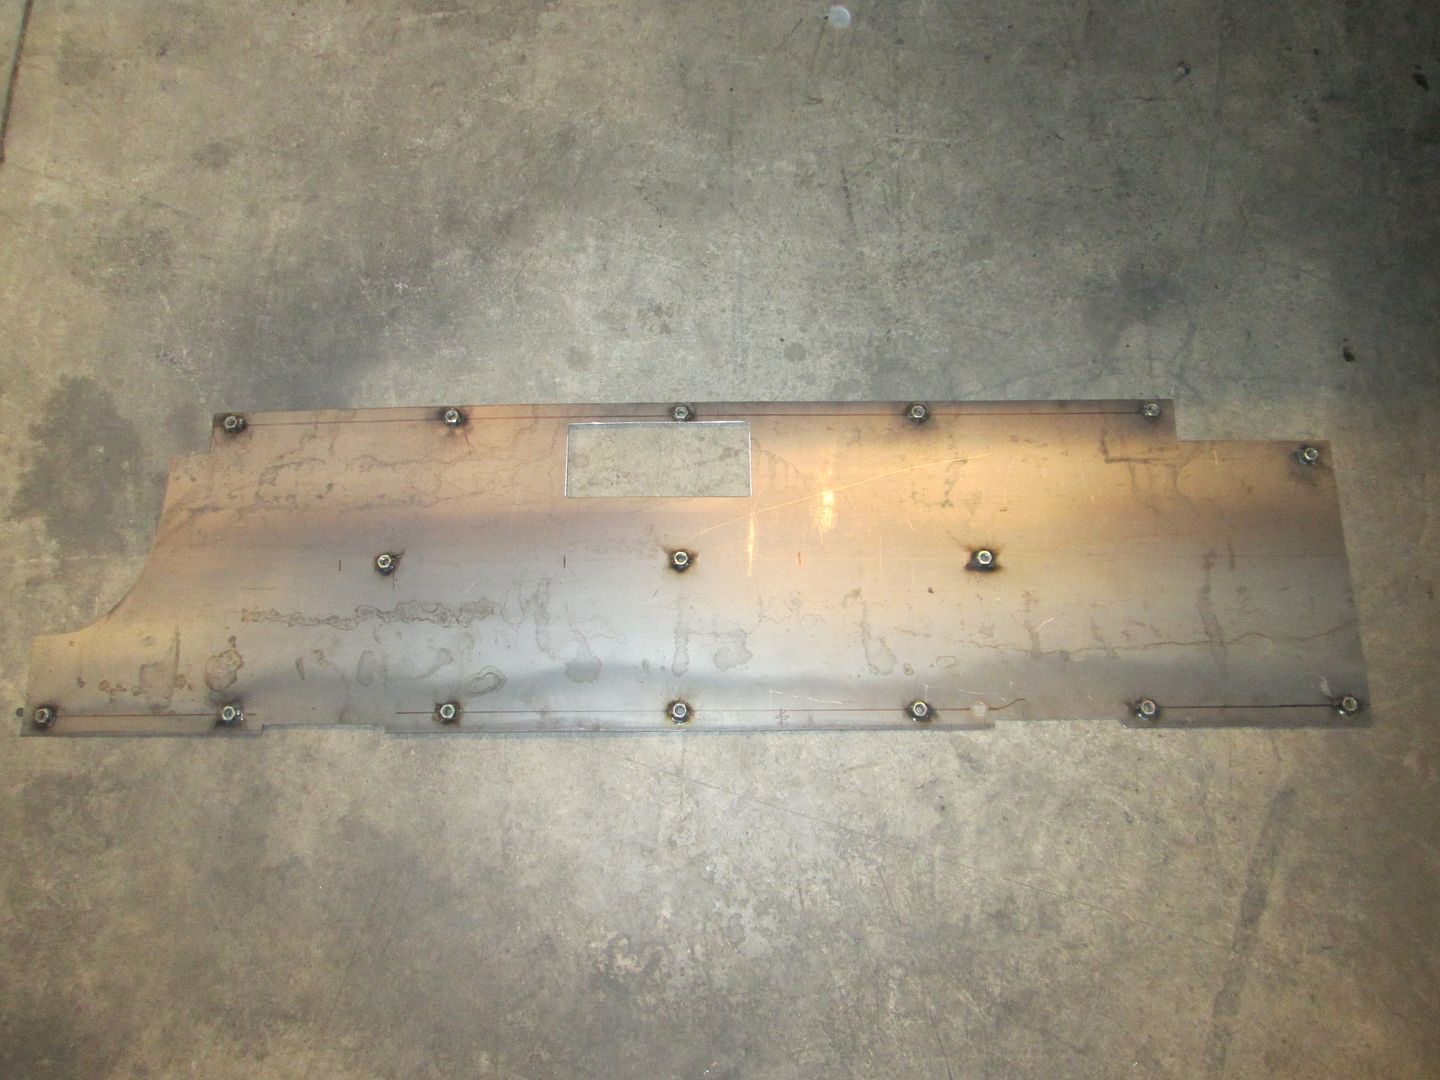
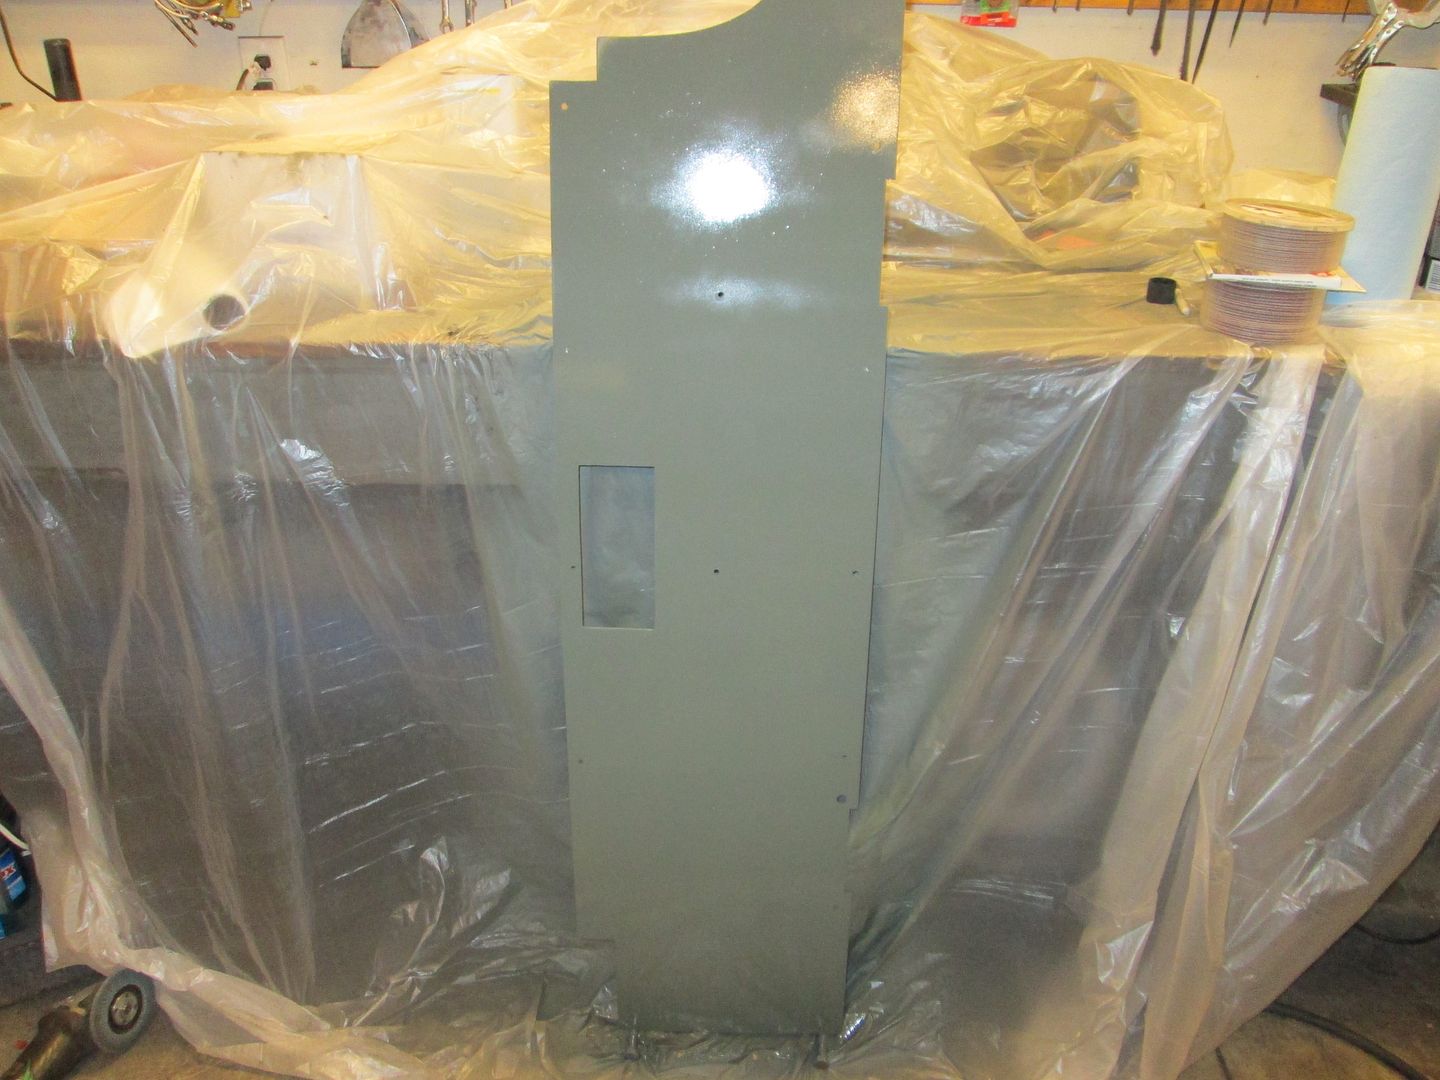
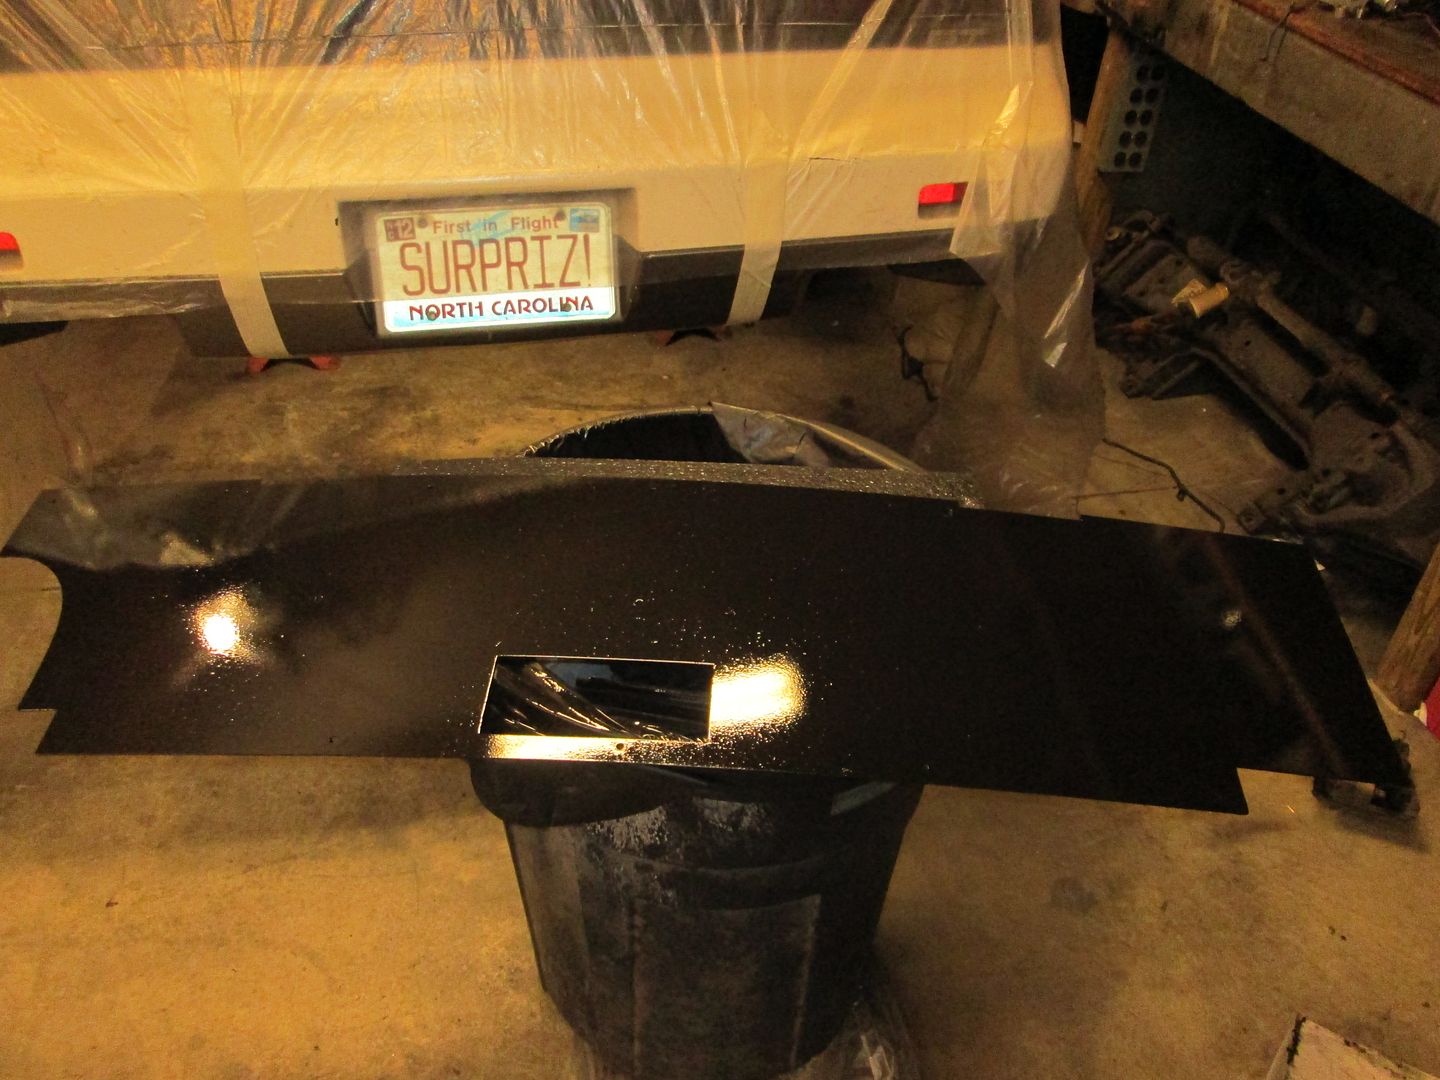
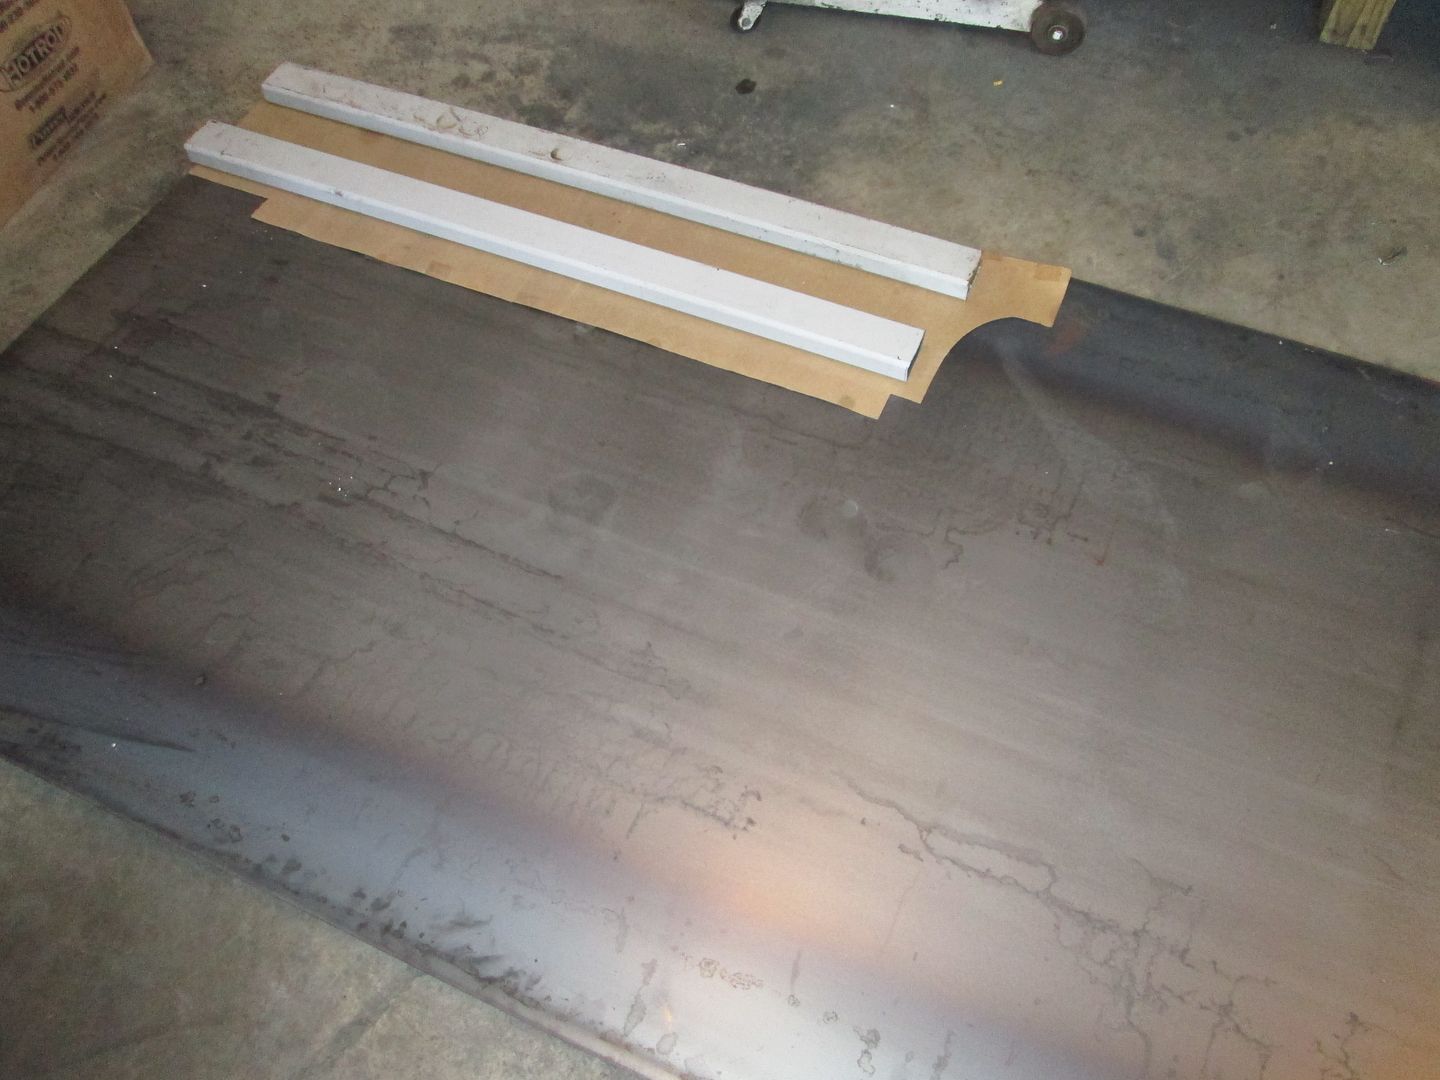
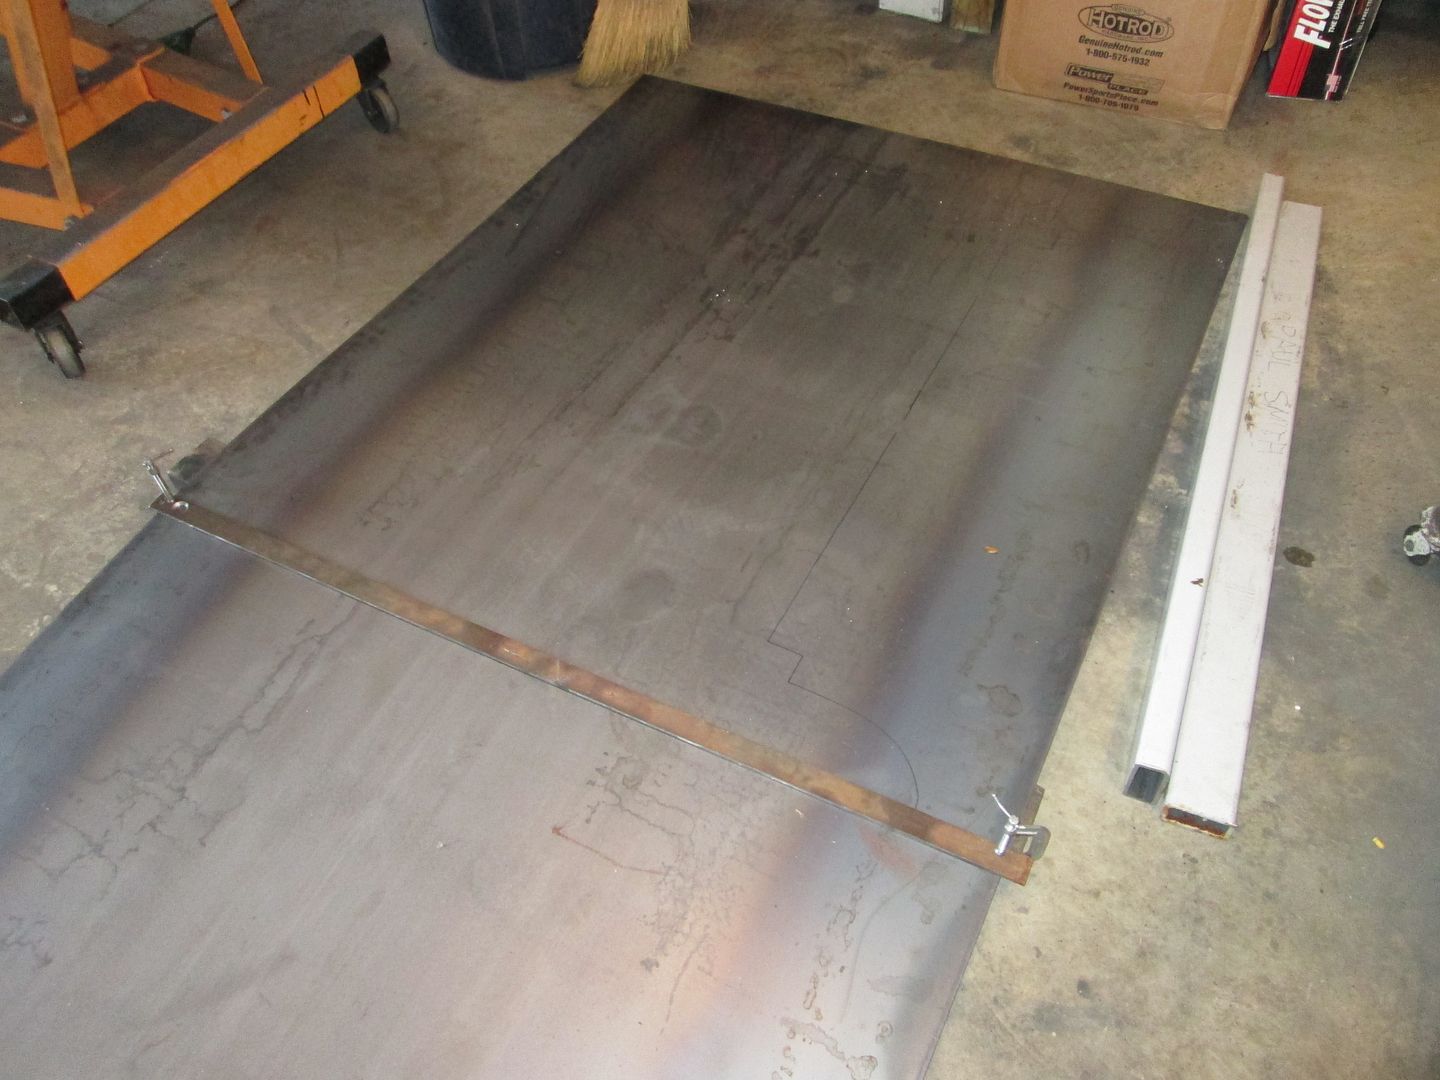
Smooth firewall panel has been cut to shape and test fitted. Now I need to weld on the spacers on the back side. Started with a full 4x8 sheet of 16 ga and the card board template I made a few years ago:
I use a long piece of steel to help ensure I make straight cuts:
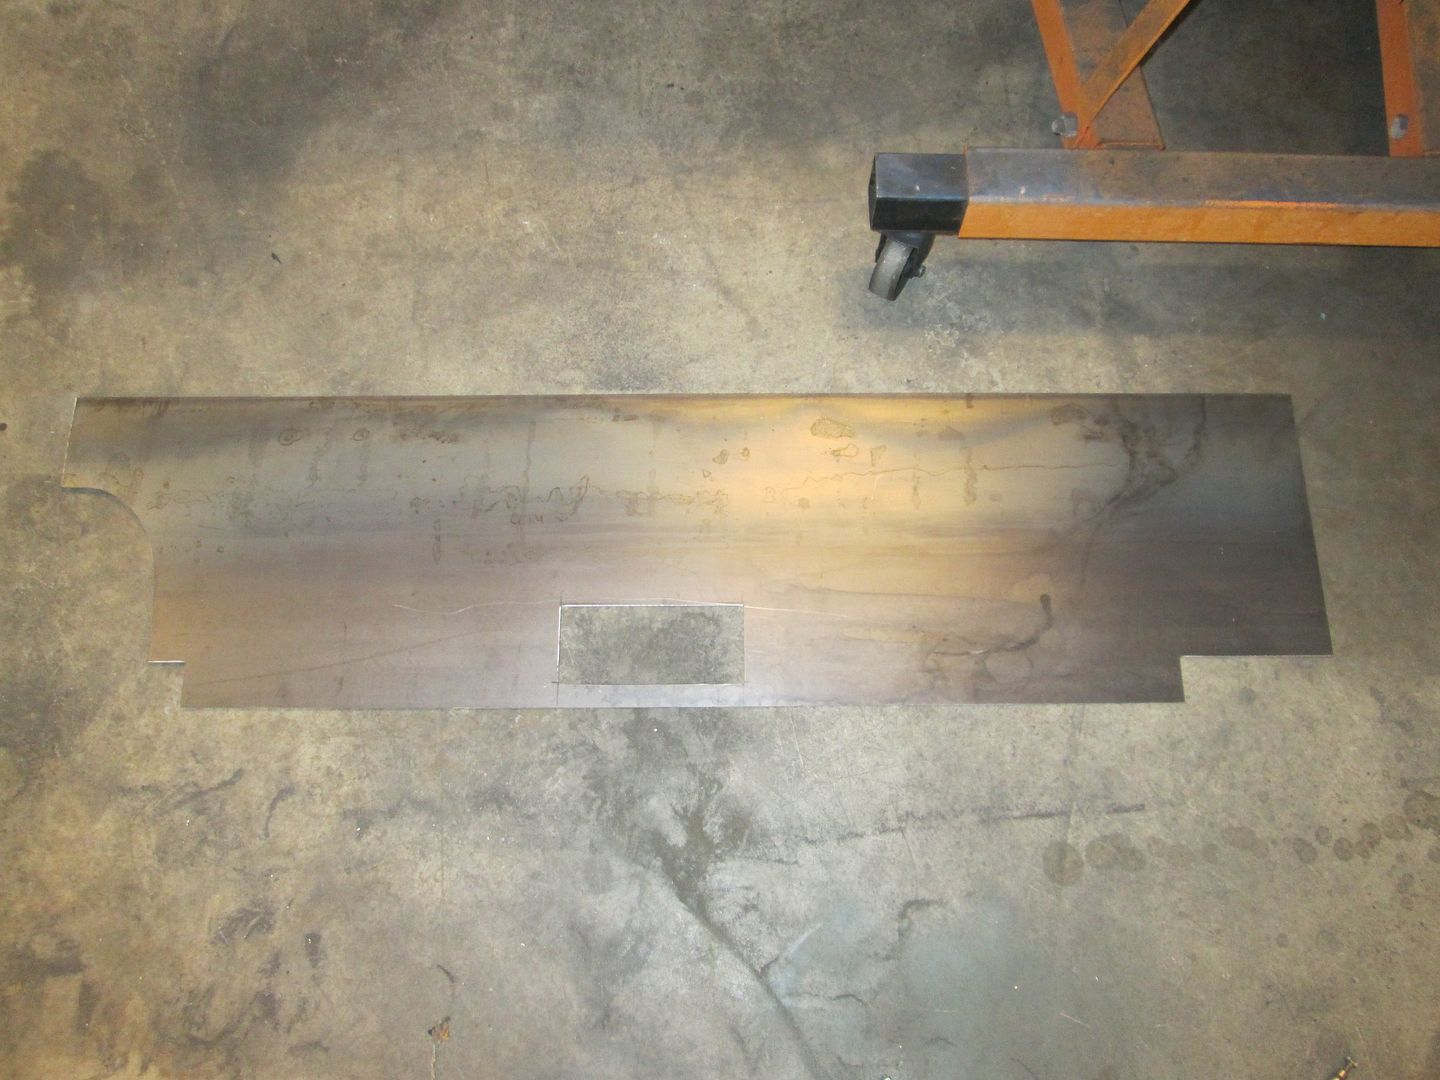
Trimmed (except for the small cut outs for the hinges, I wanted to test fit it so I know exactly where they are):
Test fitted. The 16 ga is flexible enough to slide behind the fuel fill tube and slide into place:
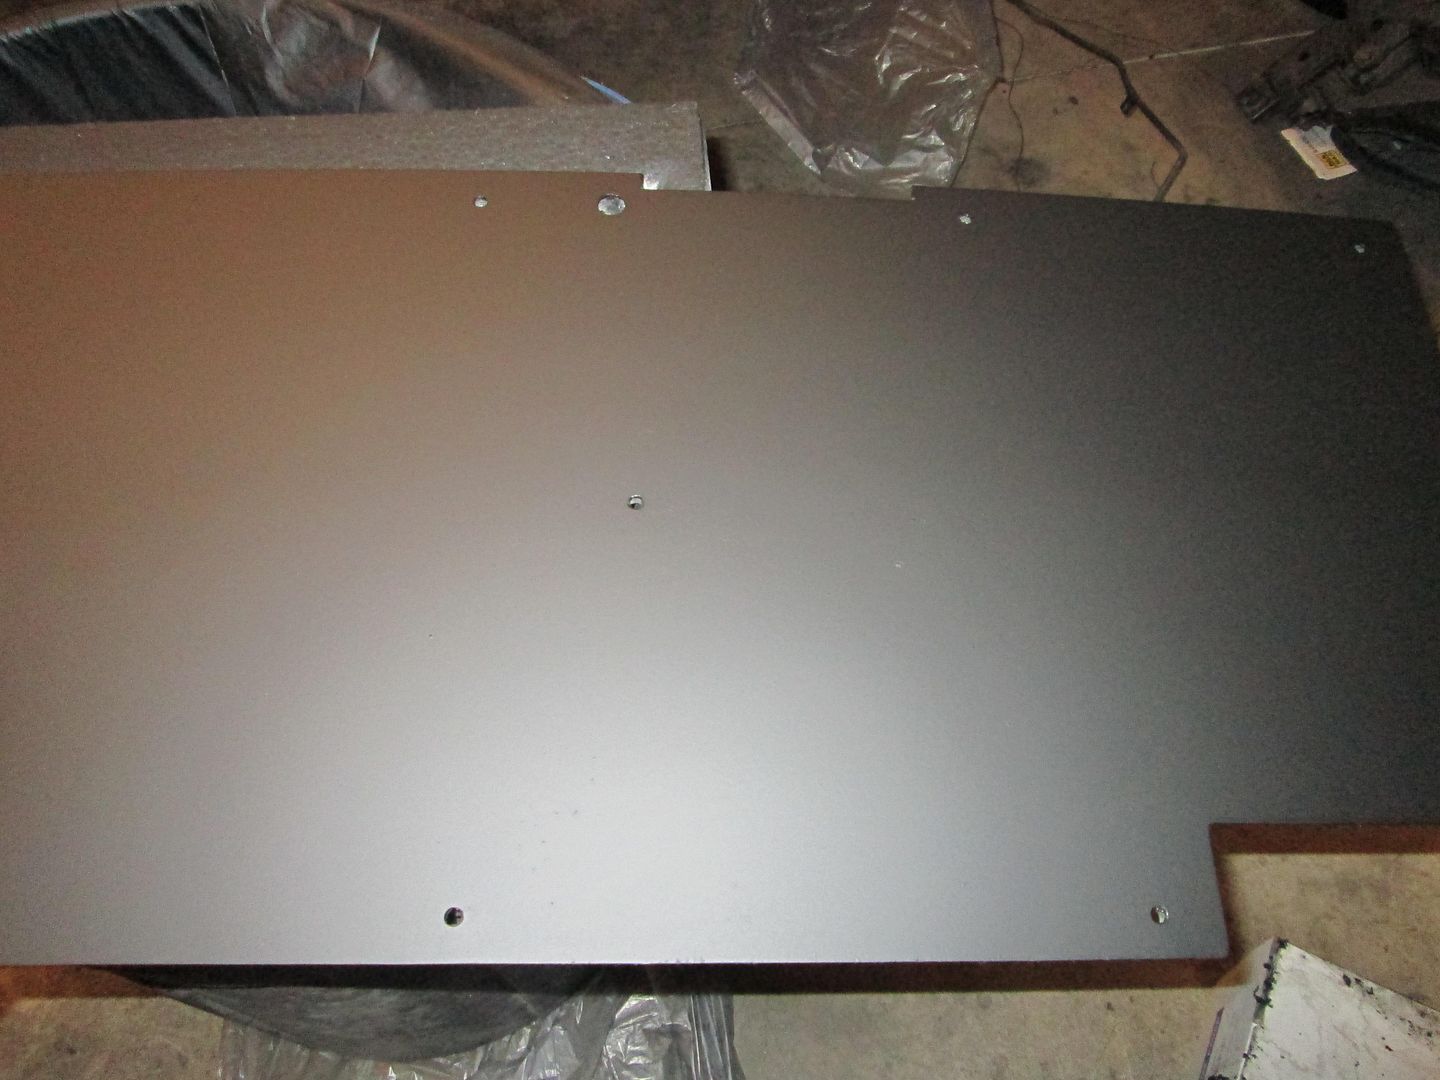
Now I need to mark the mounting holes, drill them, and weld on the spacers... then the firewall panel will be ready for sanding and paint.
Very nice! The fit on that is really impressive, especially with the curves and tight spaces. Emc209i and I and a lot of "fun" making a cardboard template for the thermal stuff we had riveted on there, and that stuff was way more forgiving for error!
I'm a little confused. With how smooth you made the firewall to begin with, what are the spacers needed for? Is it just for a method of mounting the panel, or is there more to it than that?
I'm a little confused. With how smooth you made the firewall to begin with, what are the spacers needed for? Is it just for a method of mounting the panel, or is there more to it than that?
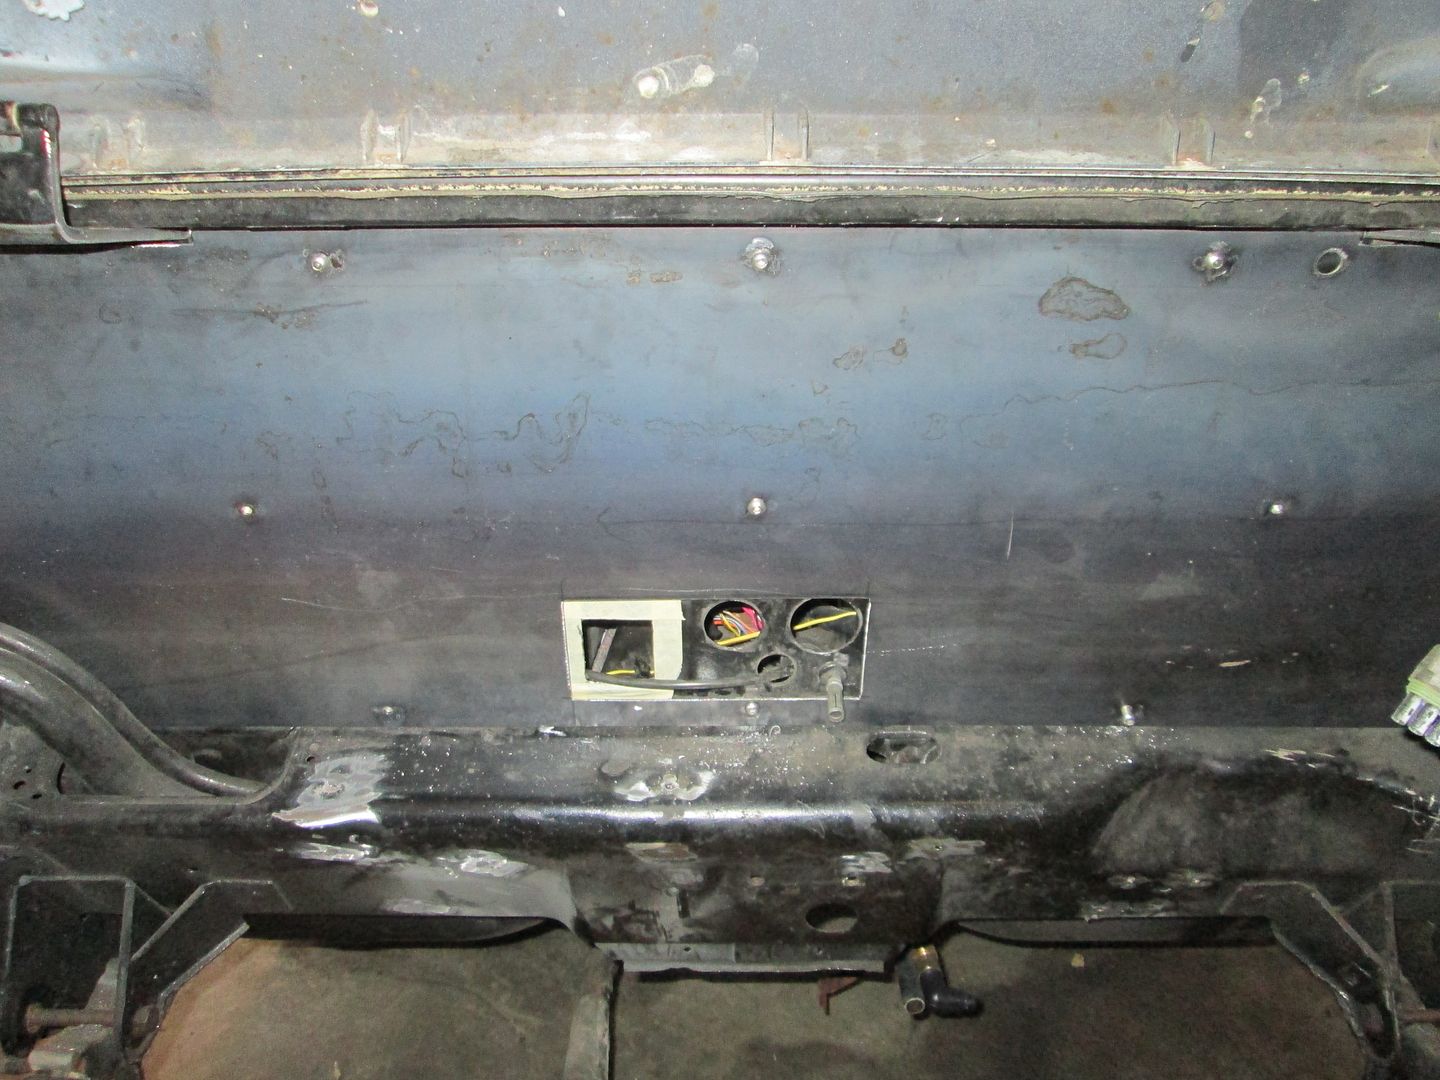
The stock firewall has reinforcing ribs that protrude into the engine bay by about 3/16 to 1/4". So I use spacers between the two panels in the flat sections to make sure the new panel doesn't touch the raised portions and isn't wavy when installed. The spacers also allow a gap for insulation to go between the two panels.
So I've looked through the 2 most recent pages, and gotta say your work appears to be top notch, my applause! I hope to do a nice, clean, proper swap in mine one day.
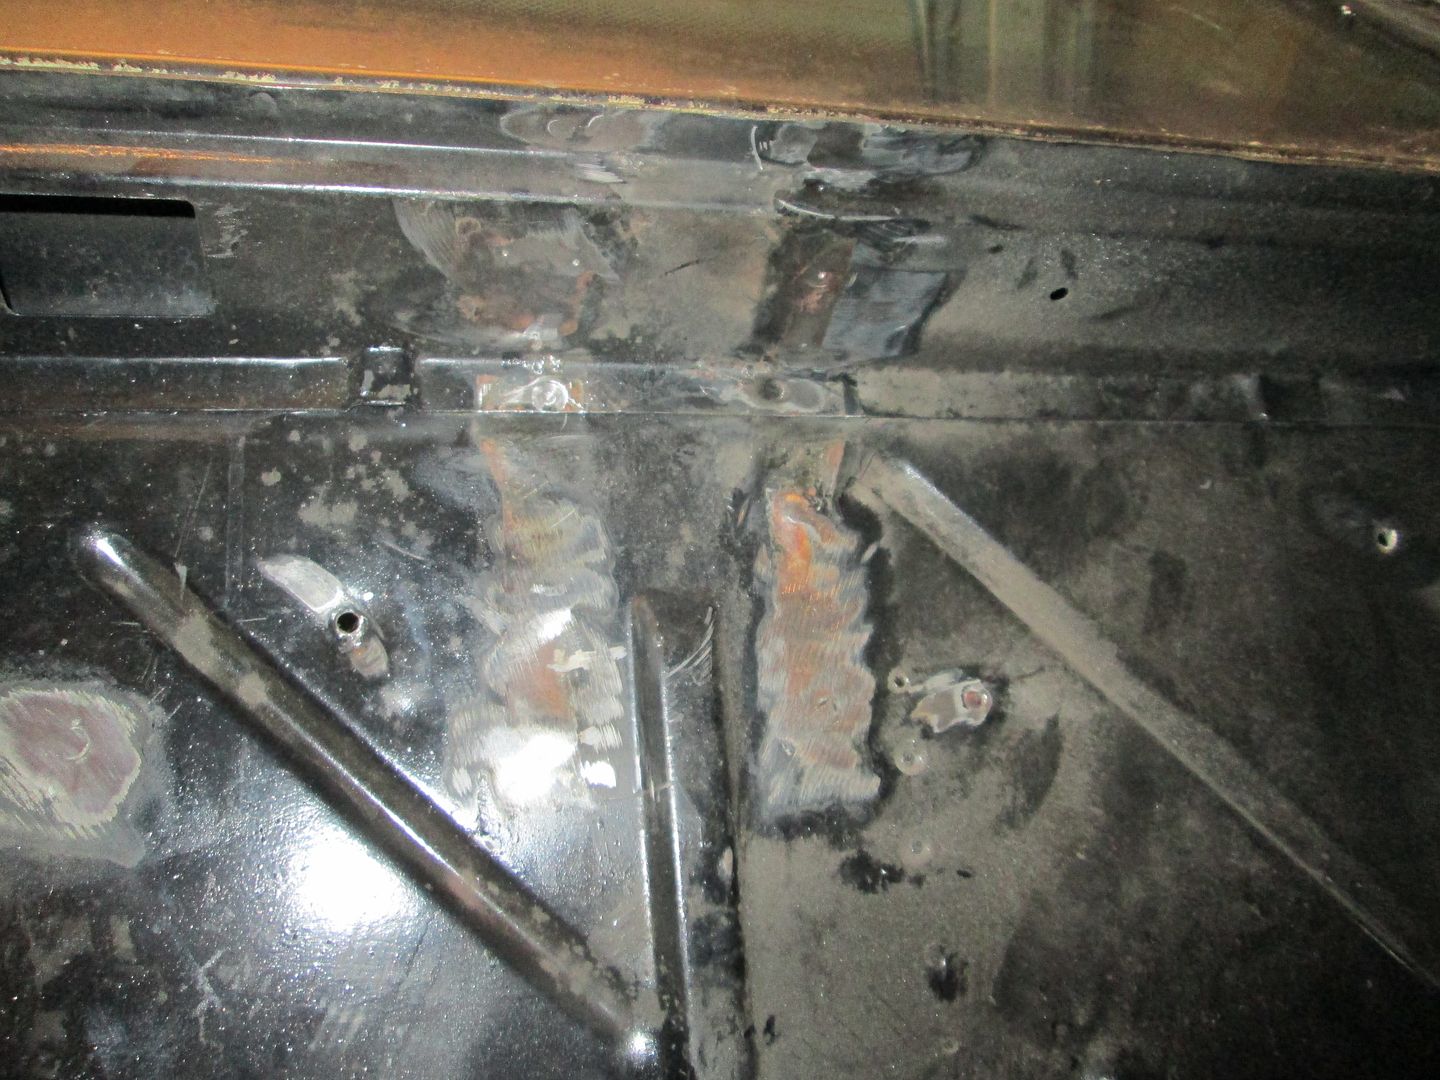
It was a balmy 35 degrees in the garage today, but I was able to get all the spacers welded to the firewall plate and start drilling the holes in the actual firewall.
On Sunday I should have all the holes drilled and remove the smooth panel again for cleaning/sanding. I will also start cleaning the engine bay in preparation for sanding and painting.
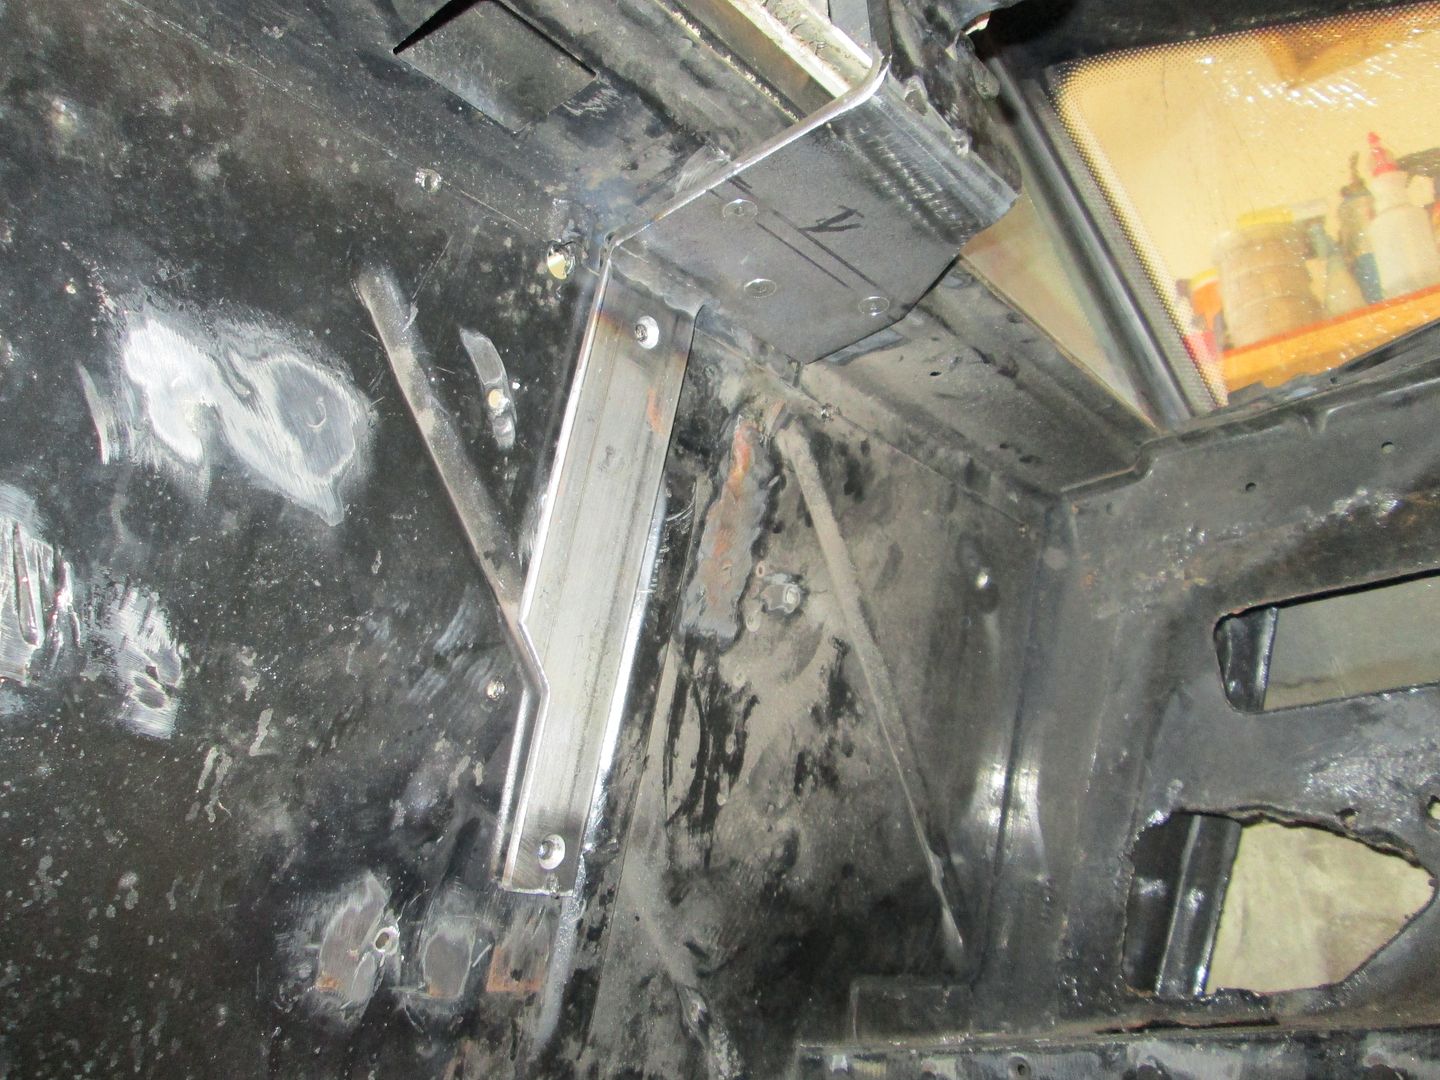
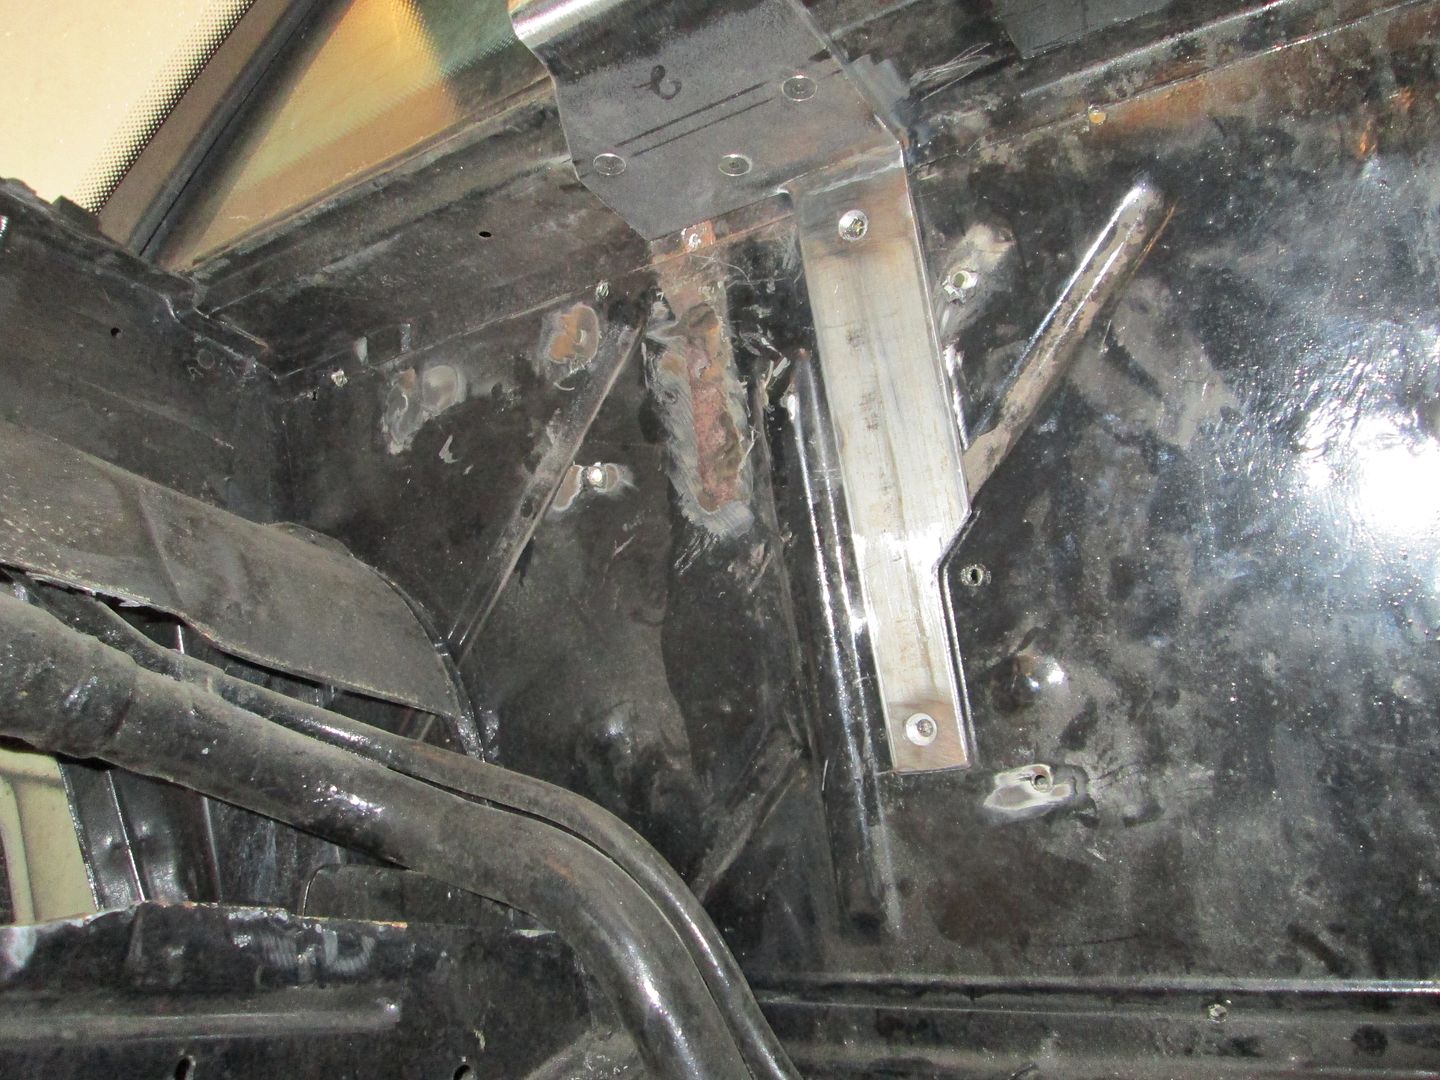
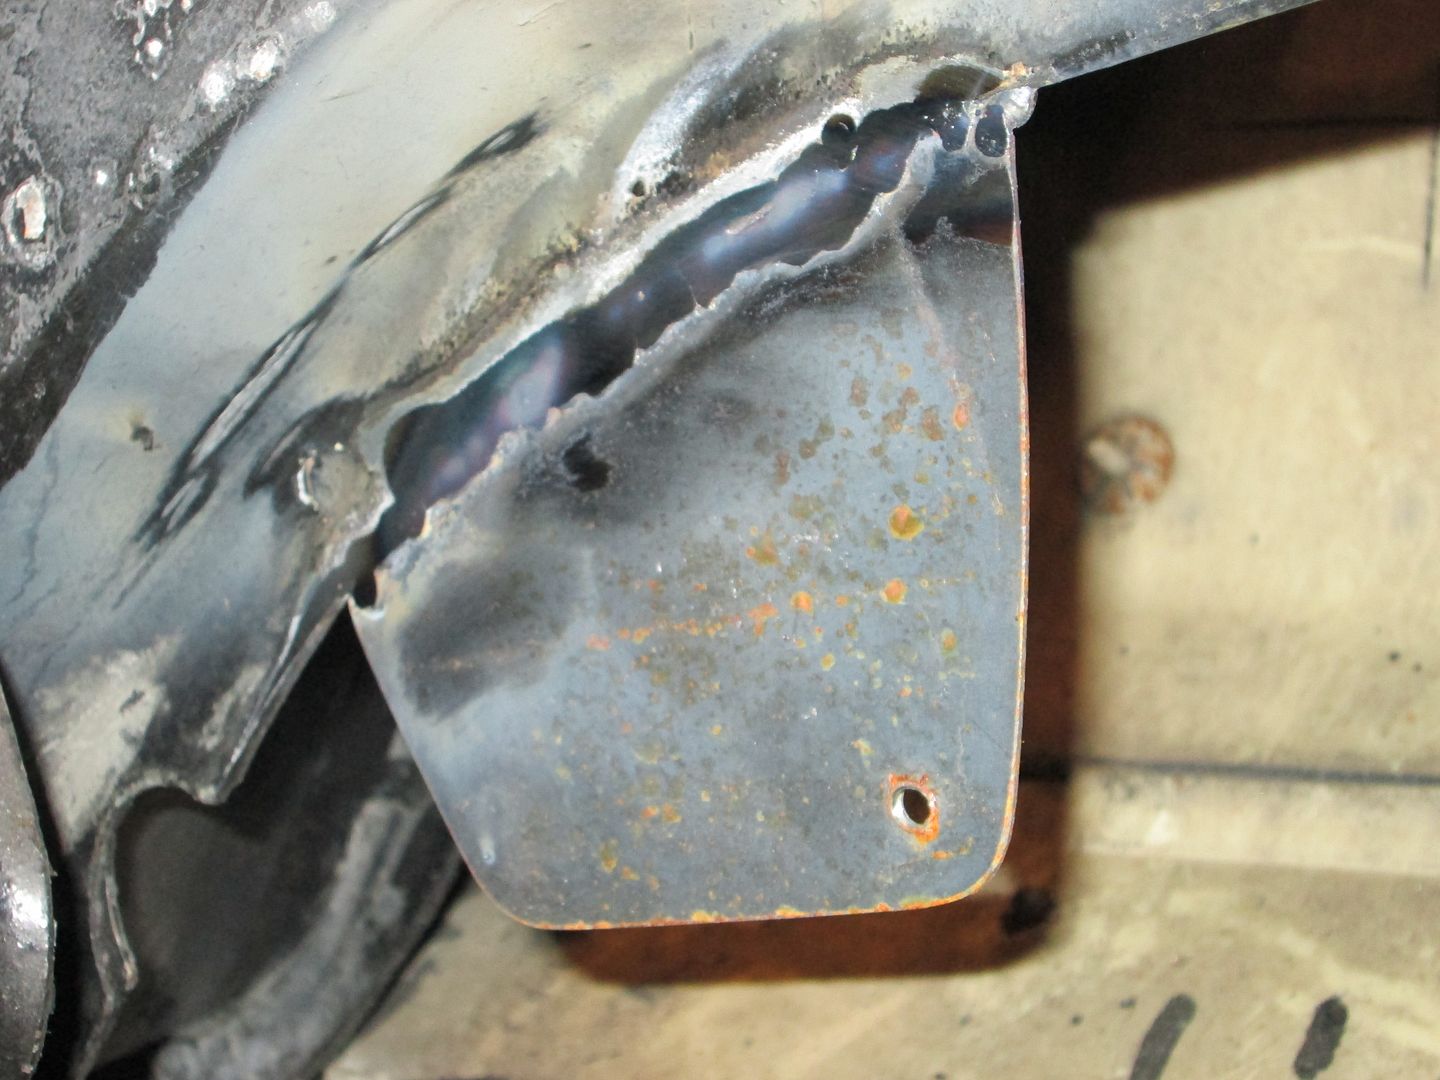
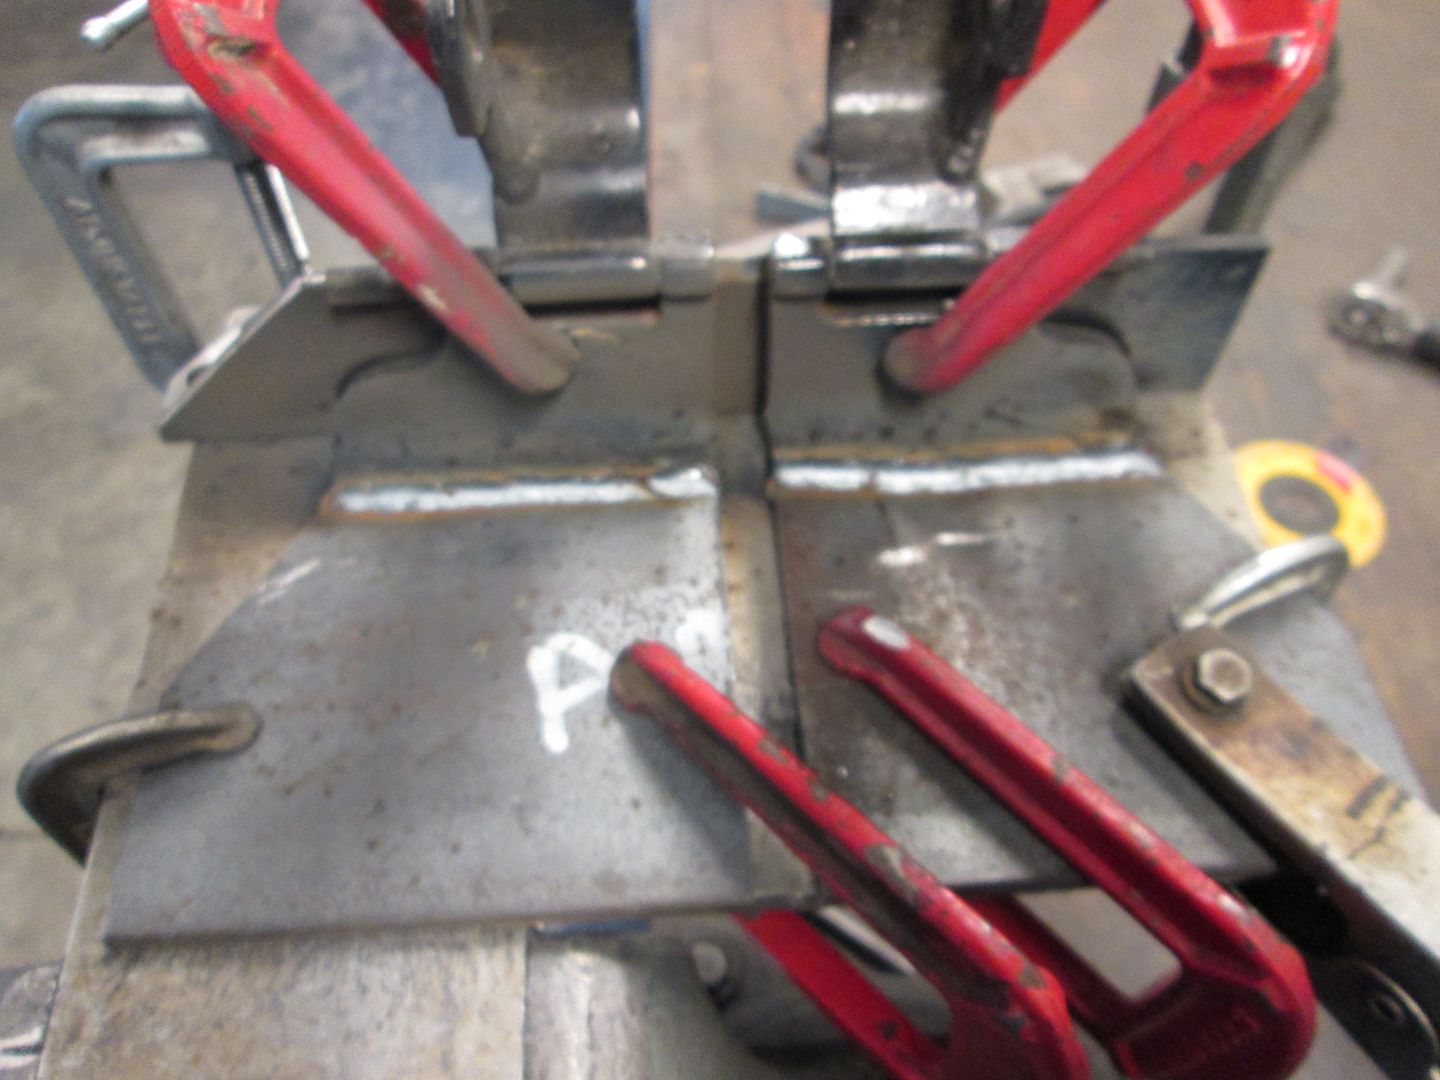
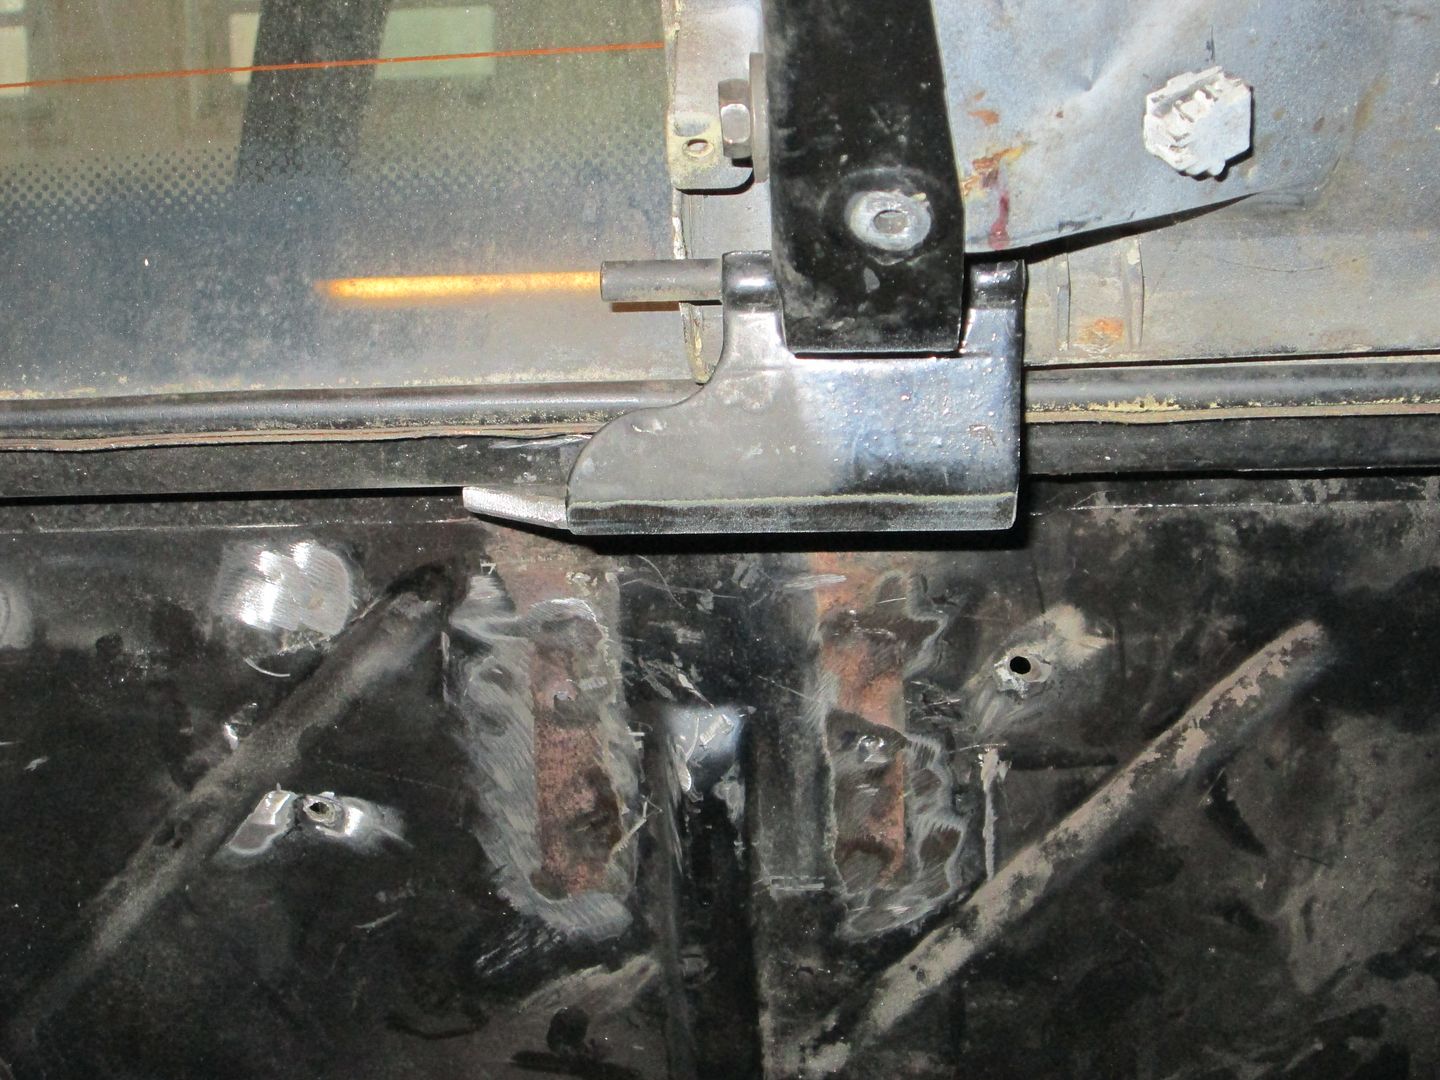
Good news is that it has warmed up and I am back working on this swap. During the weather break, a member PM'd me about the hinge mod and said they flex too much when used with lift cylinders. Since this car will use a lift cylinder, I went ahead and added a reinforcing bar that goes down the majority of the firewall. These reinforcing bars were part of the original discussions when this mod was developed, but I haven't ever needed them since I don't use the lift cylinders. Here are the hinges again with the reinforcing bars (these will be hidden behind the smooth firewall panel:
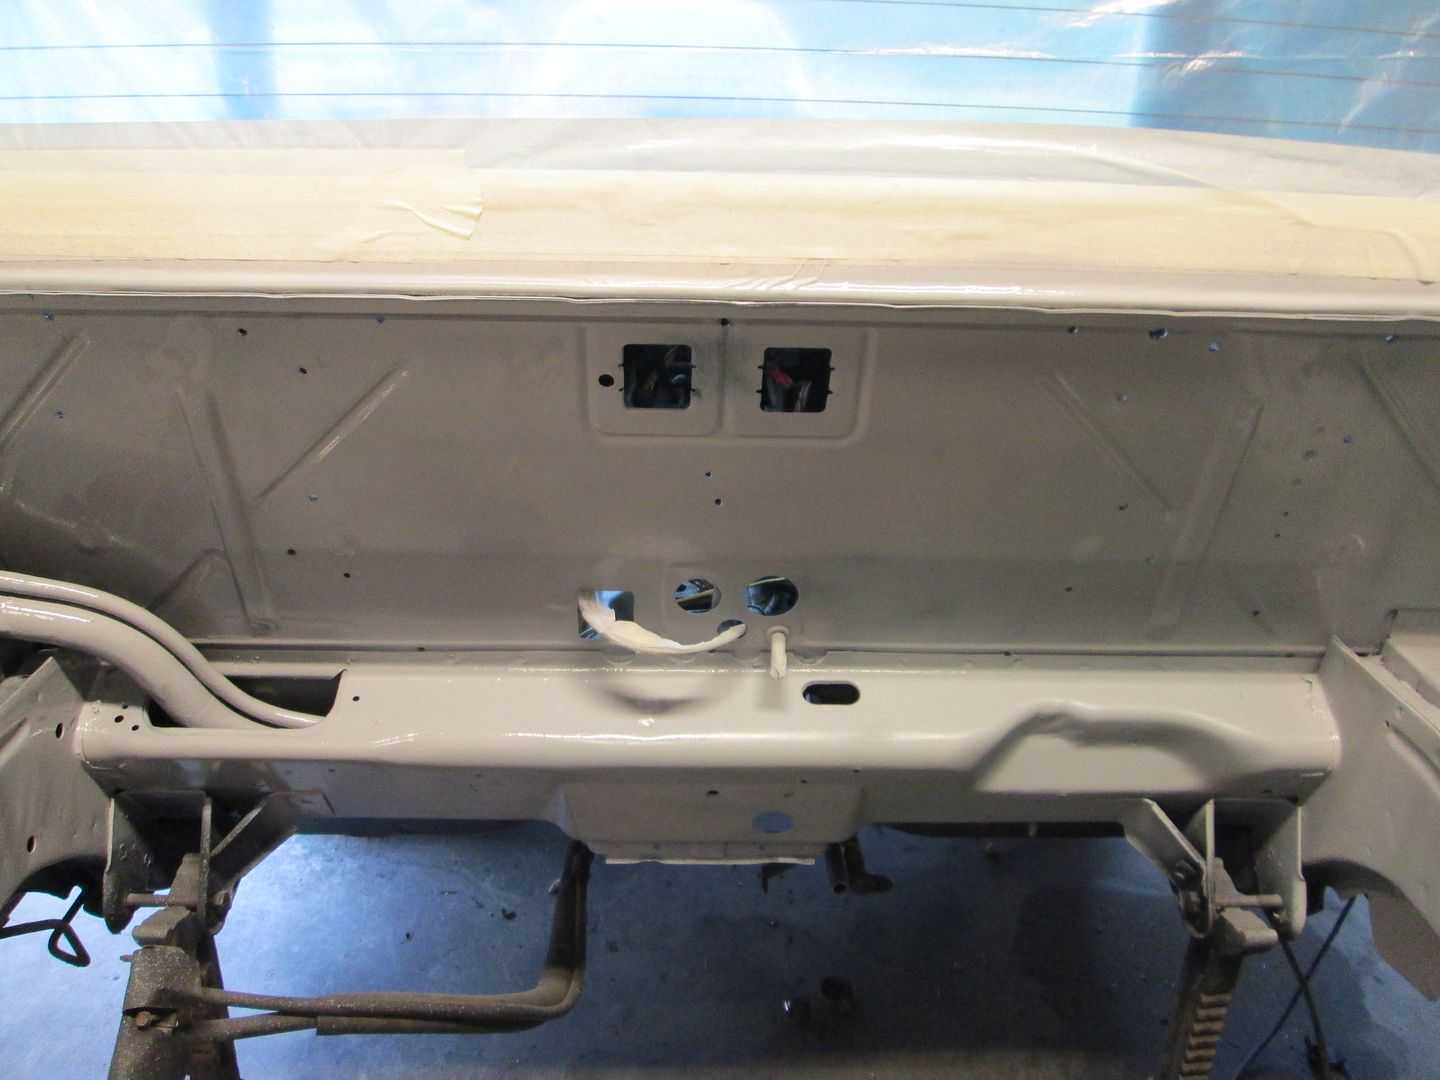
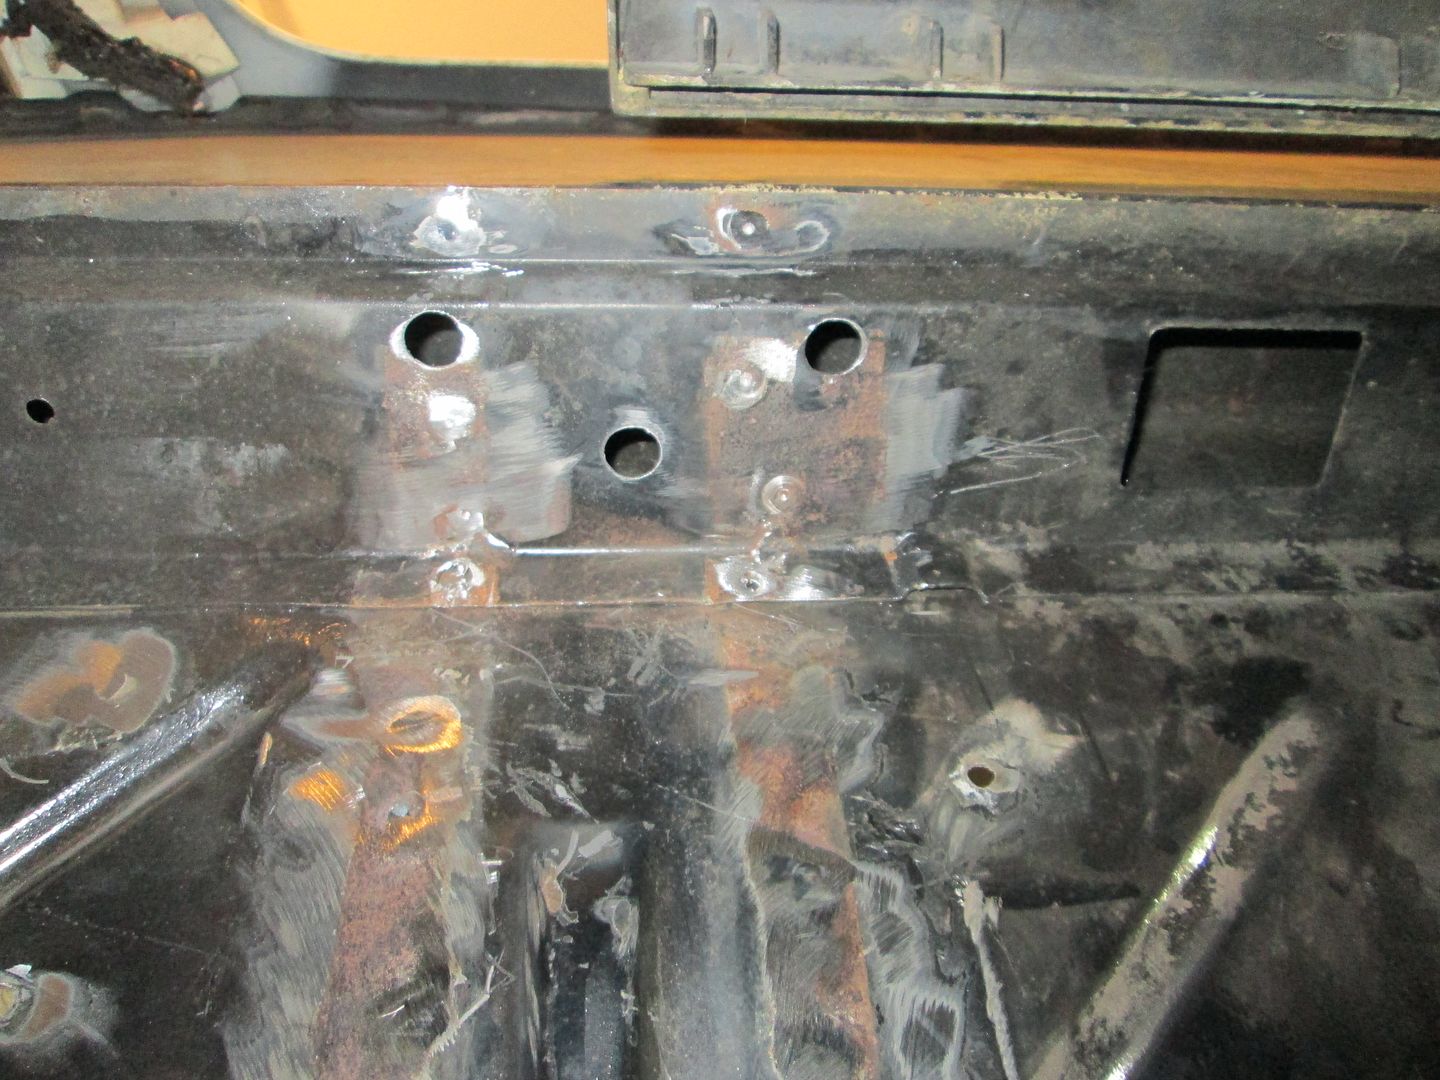
All the holes needed to secure the smooth firewall panel have also been drilled.
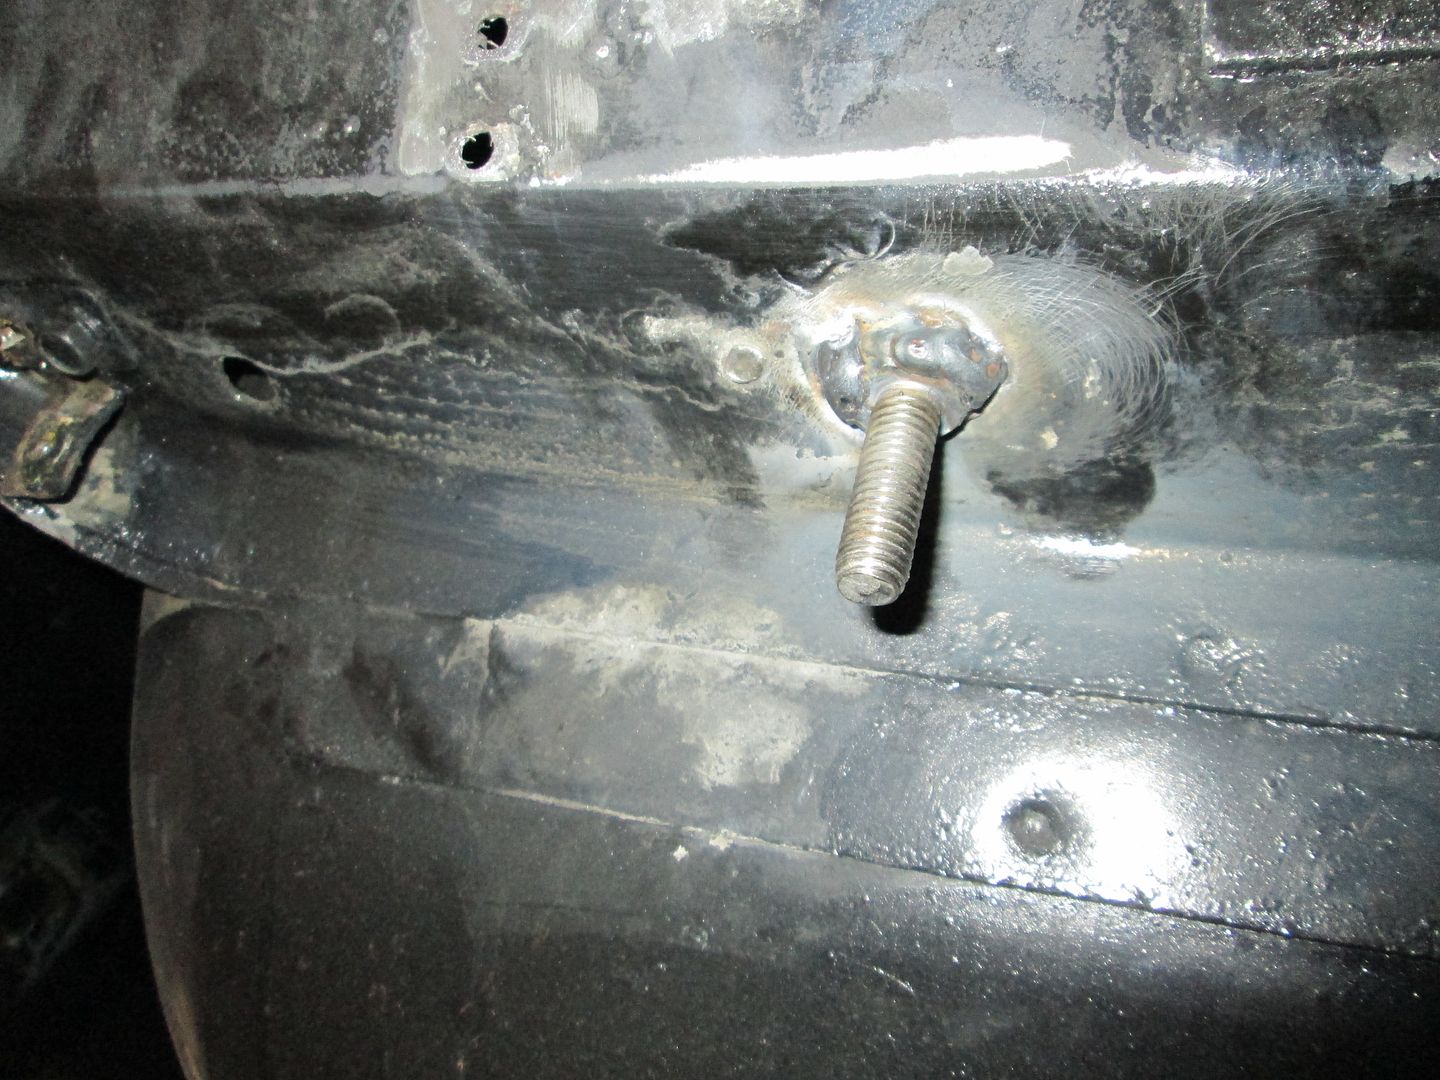
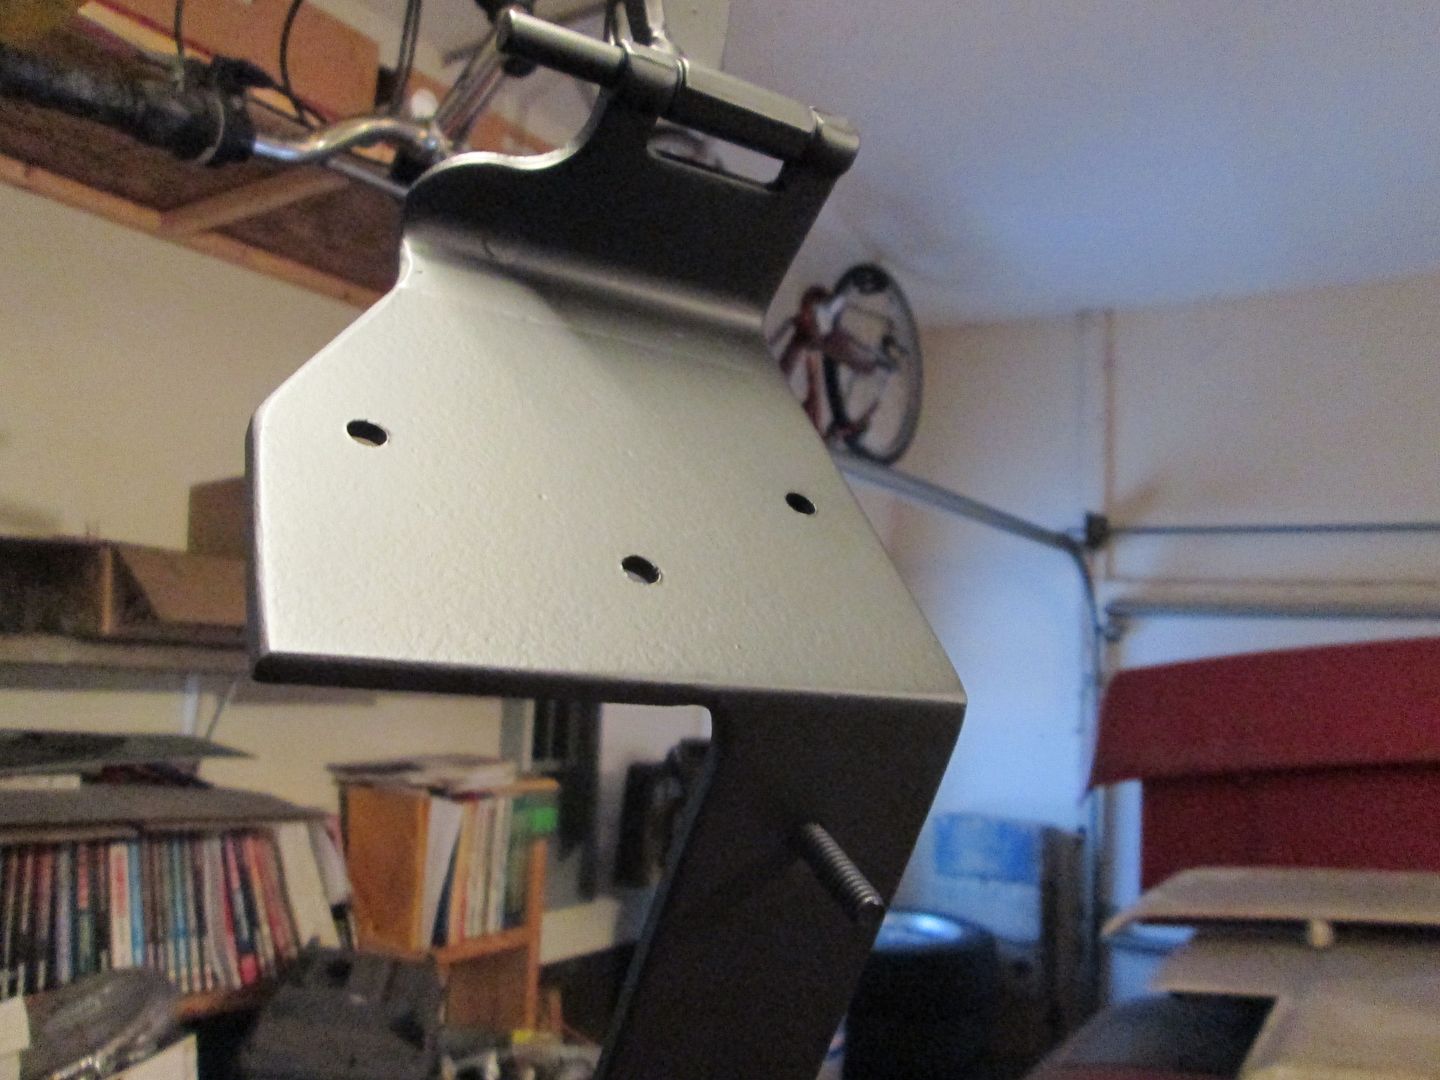
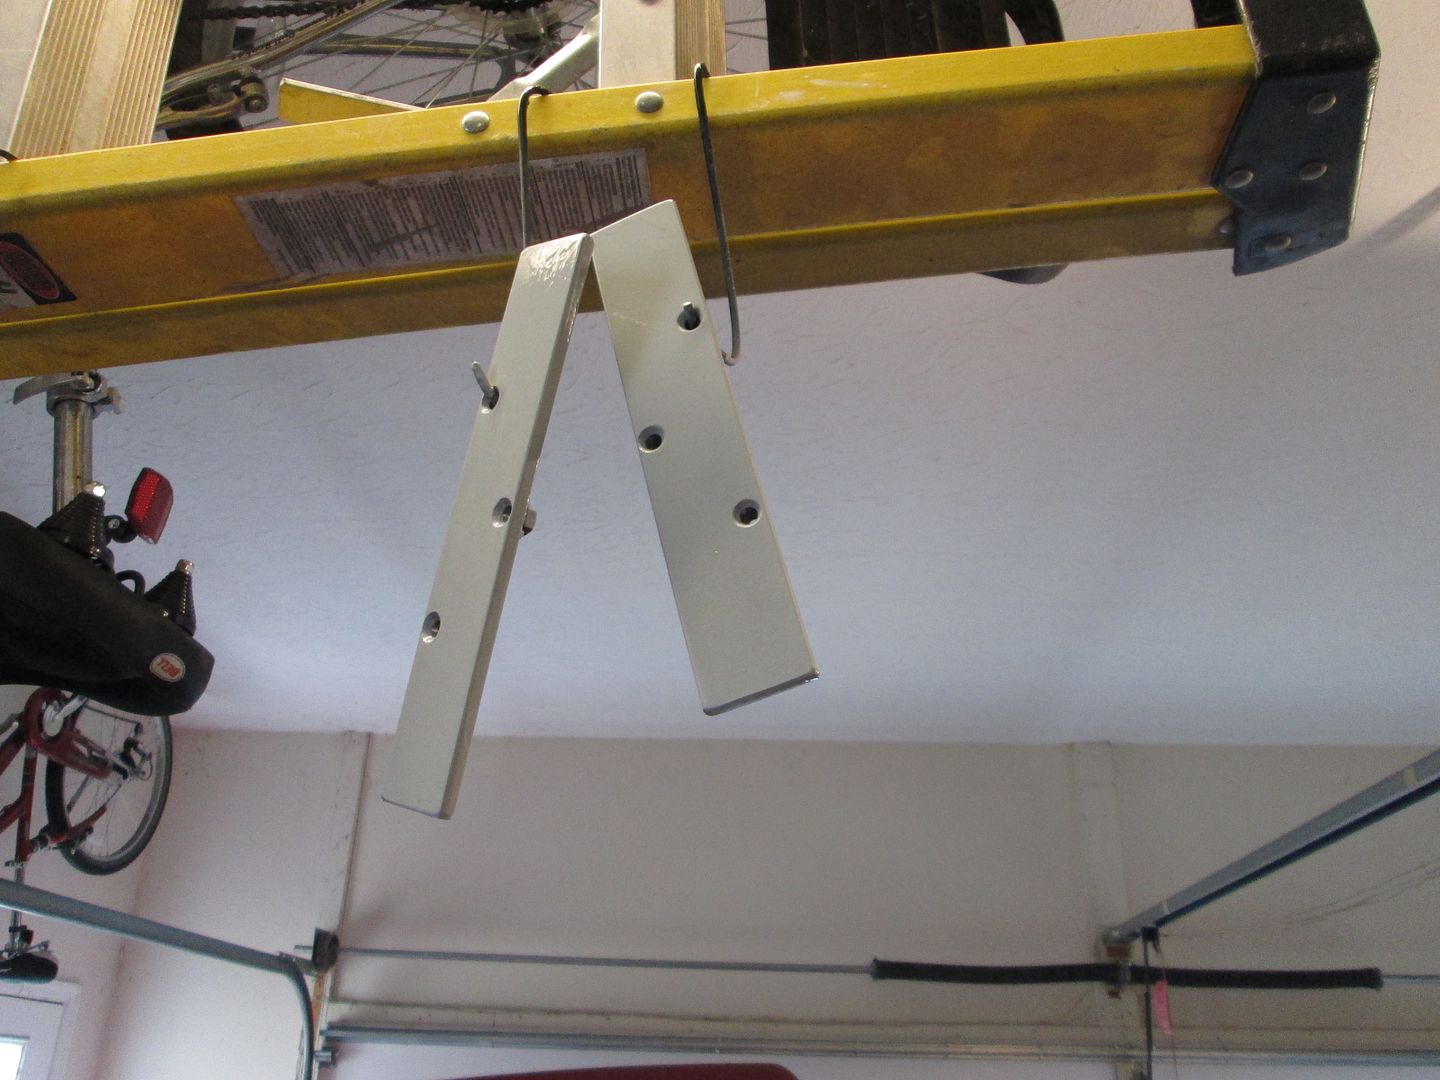
I welded countersunk bolts to the bottom braces of the hinges, wired wheeled all the paint/por15 off them, then used some self etching primer on them:
Used a coarse scotchbrite and a bucket of hot soapy water and gave the engine bay its first 2 wash downs to remove most of the grease and grime. I changed out the water and cleaned the scotchbrite pad between the baths. I will do it one last time in the morning. Also DA'd the top of the strut towers to remove all the old POR15 and paint.
Also DA'd the firewall panel and used some self etching primer front/back on it as well.
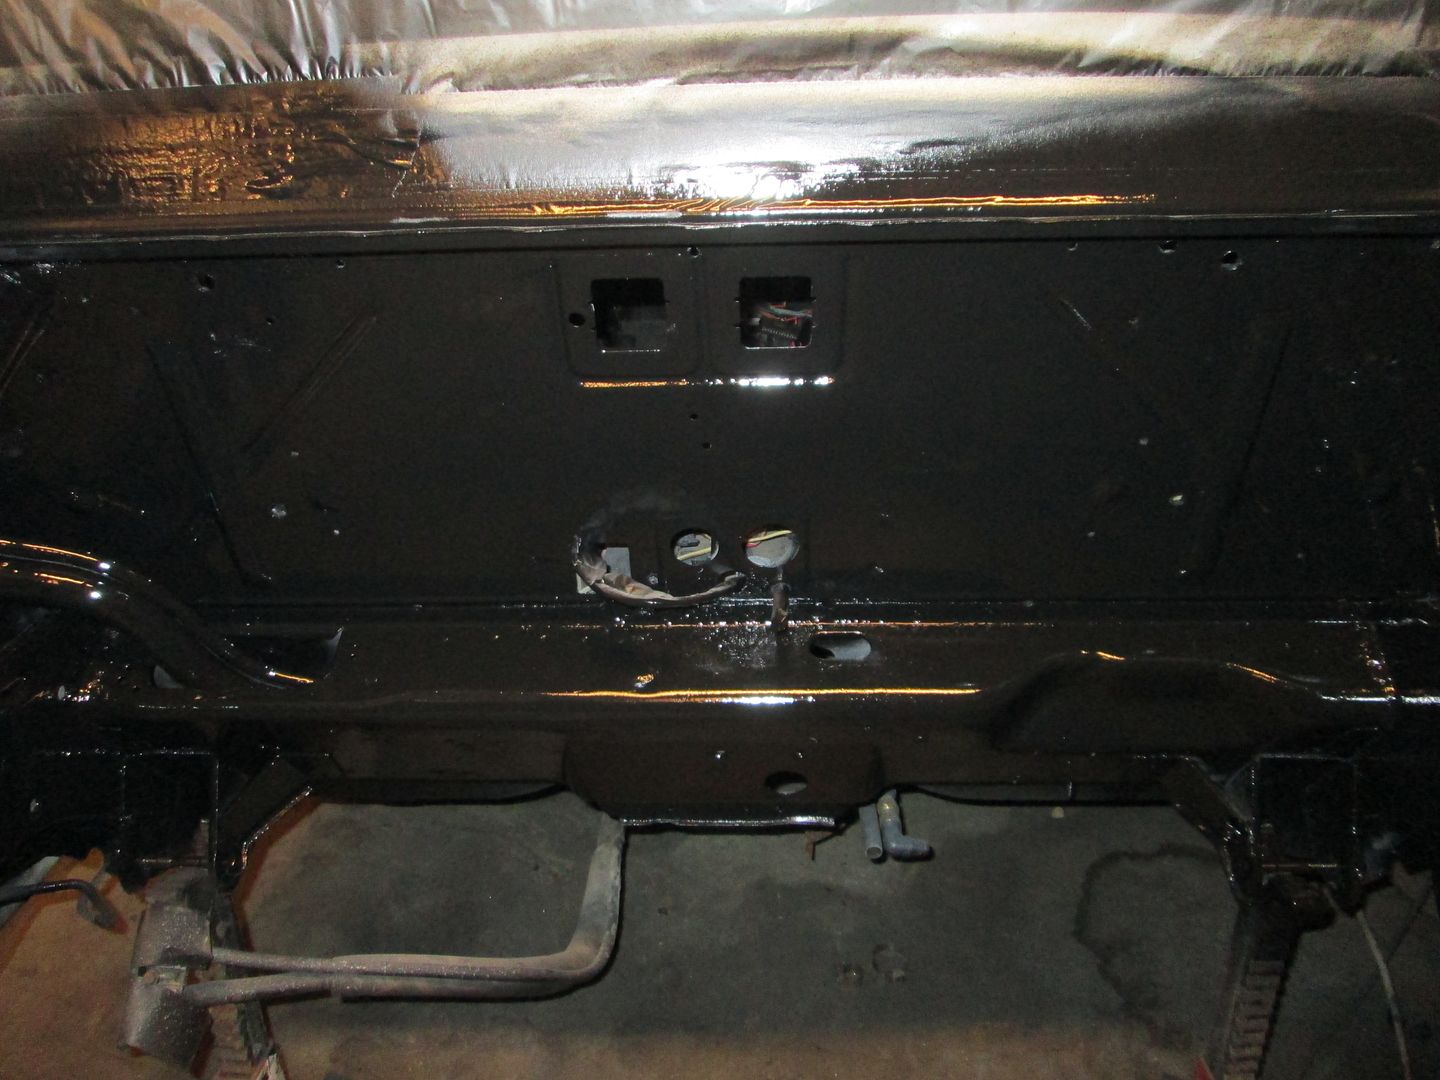
On Sunday I should be able to paint the hinges, firewall panel and give the engine bay its first coat of black paint...
If I knew it wouldn't be such a pain to keep clean, I'd be like "That white looks pretty sharp..." lol But that's one of the reasons I like black - hides dirt better!
Originally posted by fieroguru: Since this car will use a lift cylinder, I went ahead and added a reinforcing bar that goes down the majority of the firewall. These reinforcing bars were part of the original discussions when this mod was developed, but I haven't ever needed them since I don't use the lift cylinders. Here are the hinges again with the reinforcing bars (these will be hidden behind the smooth firewall panel:
This spring, I'm going to pull out the 3800 from my 88 GT and incorporate a few of these "Guru" mods. I love the hinge delete, the firewall smooth, the harness mods (lower, remove, relocate) and I also like the shift cable mod (2" hole in the floorboard to bring it up out of the gas filler spot). For the hinge delete, I understand the flex issue, but do you offer the hing mod as something for sale? I can do my own support bracket, unless you plan to add that stiffener to the part?
also, I just found this thread, and I'm loving that I get to see a hole bunch of "guru magic". You making LS Fest this year?
Originally posted by Trinten: If I knew it wouldn't be such a pain to keep clean, I'd be like "That white looks pretty sharp..." lol But that's one of the reasons I like black - hides dirt better!
Yes...learn from my mistakes with the convertible....you DON'T want white.
This spring, I'm going to pull out the 3800 from my 88 GT and incorporate a few of these "Guru" mods. I love the hinge delete, the firewall smooth, the harness mods (lower, remove, relocate) and I also like the shift cable mod (2" hole in the floorboard to bring it up out of the gas filler spot). For the hinge delete, I understand the flex issue, but do you offer the hing mod as something for sale? I can do my own support bracket, unless you plan to add that stiffener to the part?
also, I just found this thread, and I'm loving that I get to see a hole bunch of "guru magic". You making LS Fest this year?
Rob
Glad to see you think some of these mods are worth the effort! I think they really clean up the overall look of the engine bay.
Yes, I can supply the modified hinges with or without the reinforcing leg. I do have a few spare sets of hinges, so I just need to decide how much to charge for them and build the instruction sheet.
Yes, I will be at LS Fest again this year... I will probably make it an annual thing!
Between work being busy and 3 power outages this week due to weather, I didn't make much progress until today.
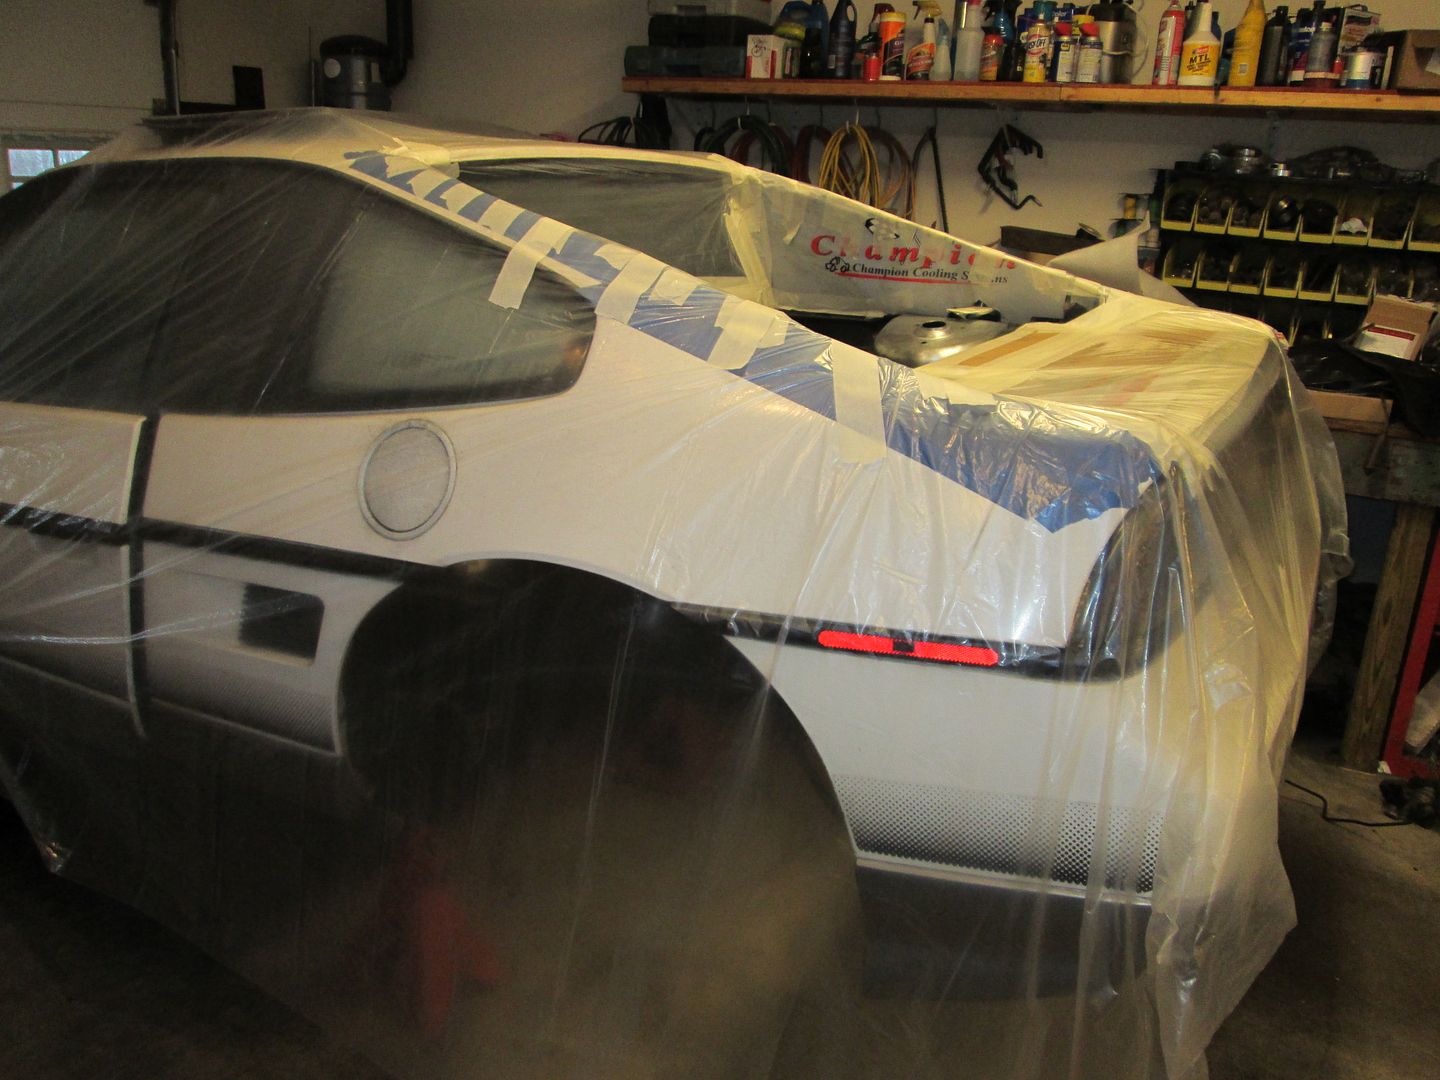
The hinges, firewall panel, decklid, inner sail window trim and truck weather stripping were installed. Prior to installing the firewall panel, I re-purposed the sound deadening material that was originally on the firewall and used some spray adhesive on the backside of the panel to hold it in place. The material was also trimmed to clear the hinge extensions as well.
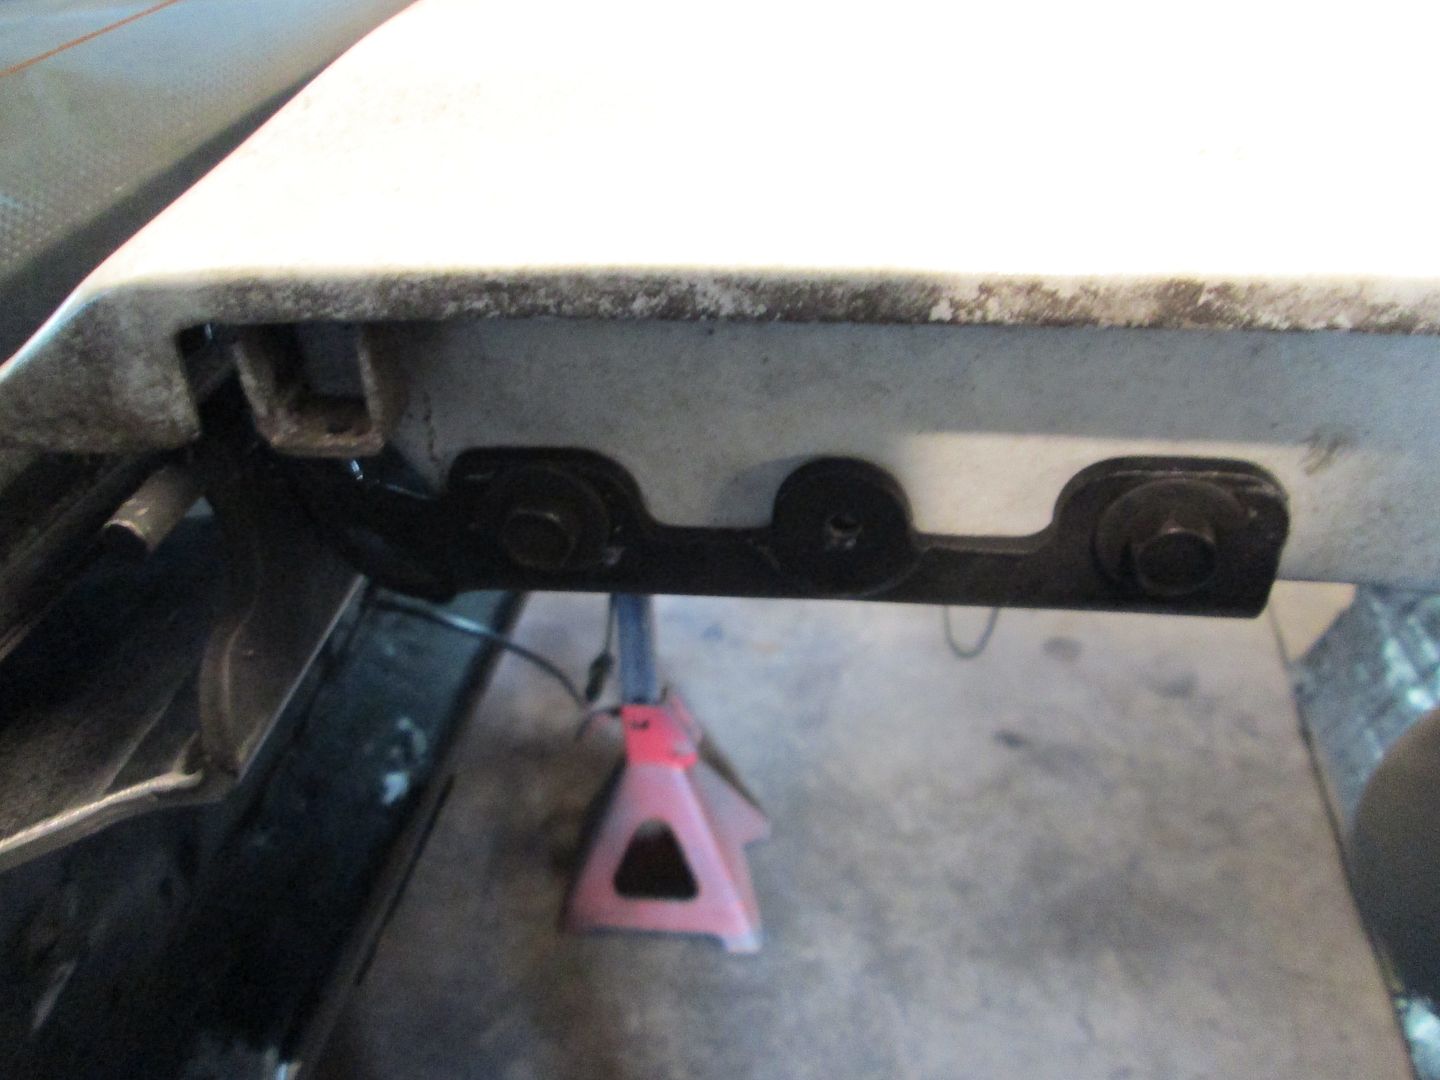
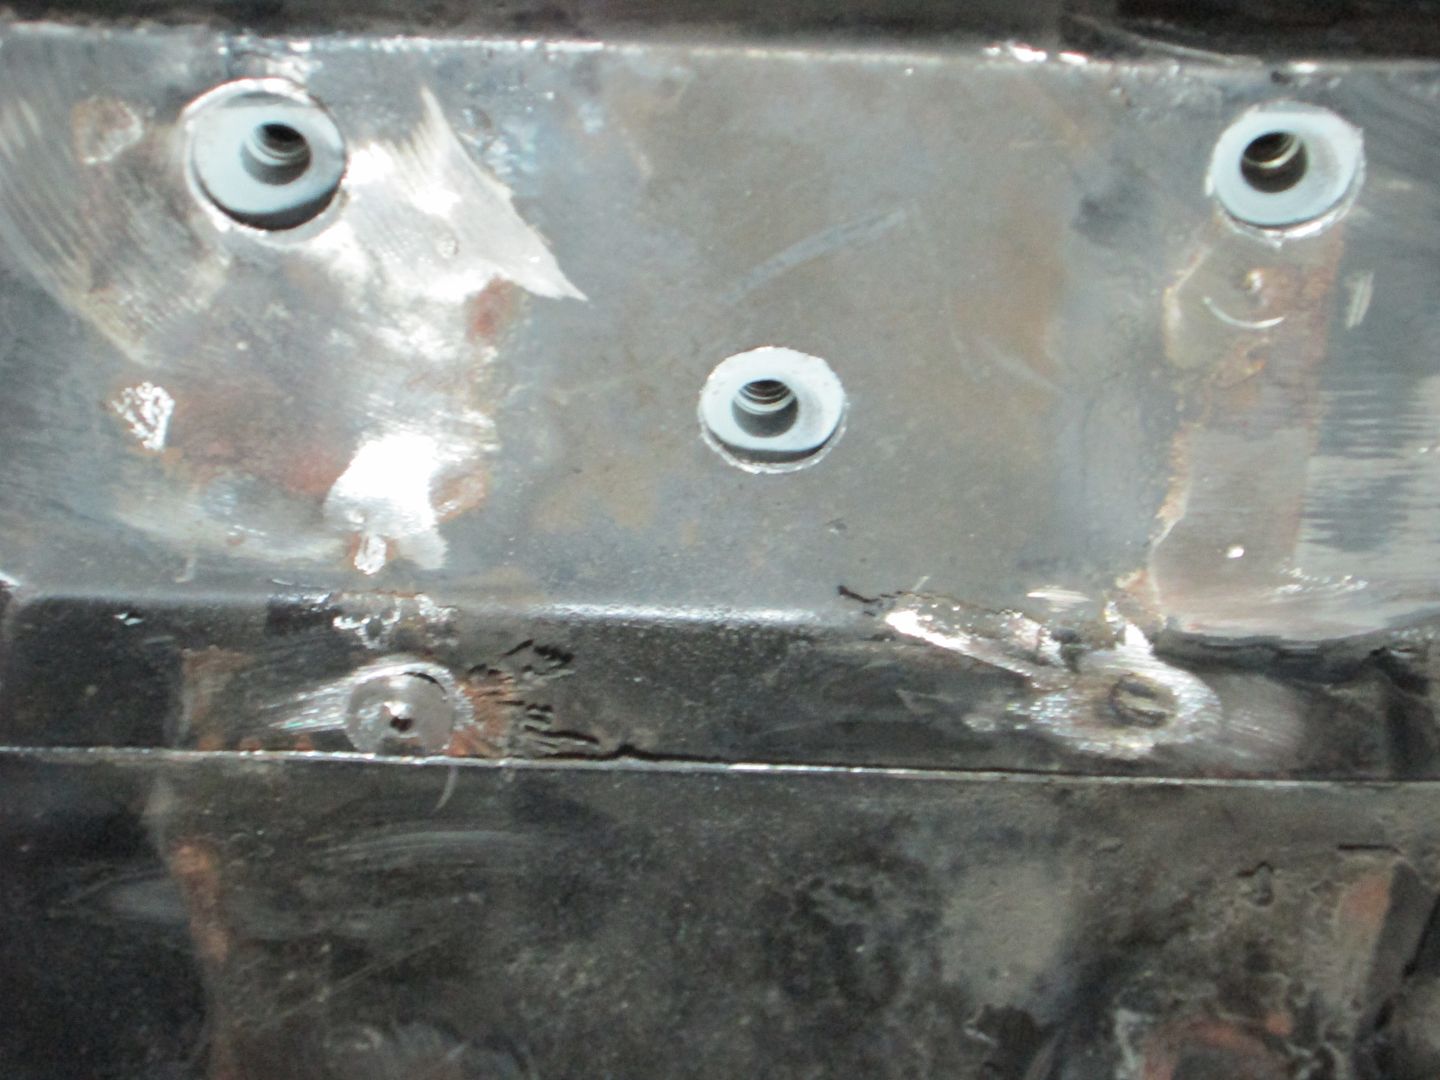
The nuts on the inside of the firewall panel. The ones with the large washer are for the hinge support:
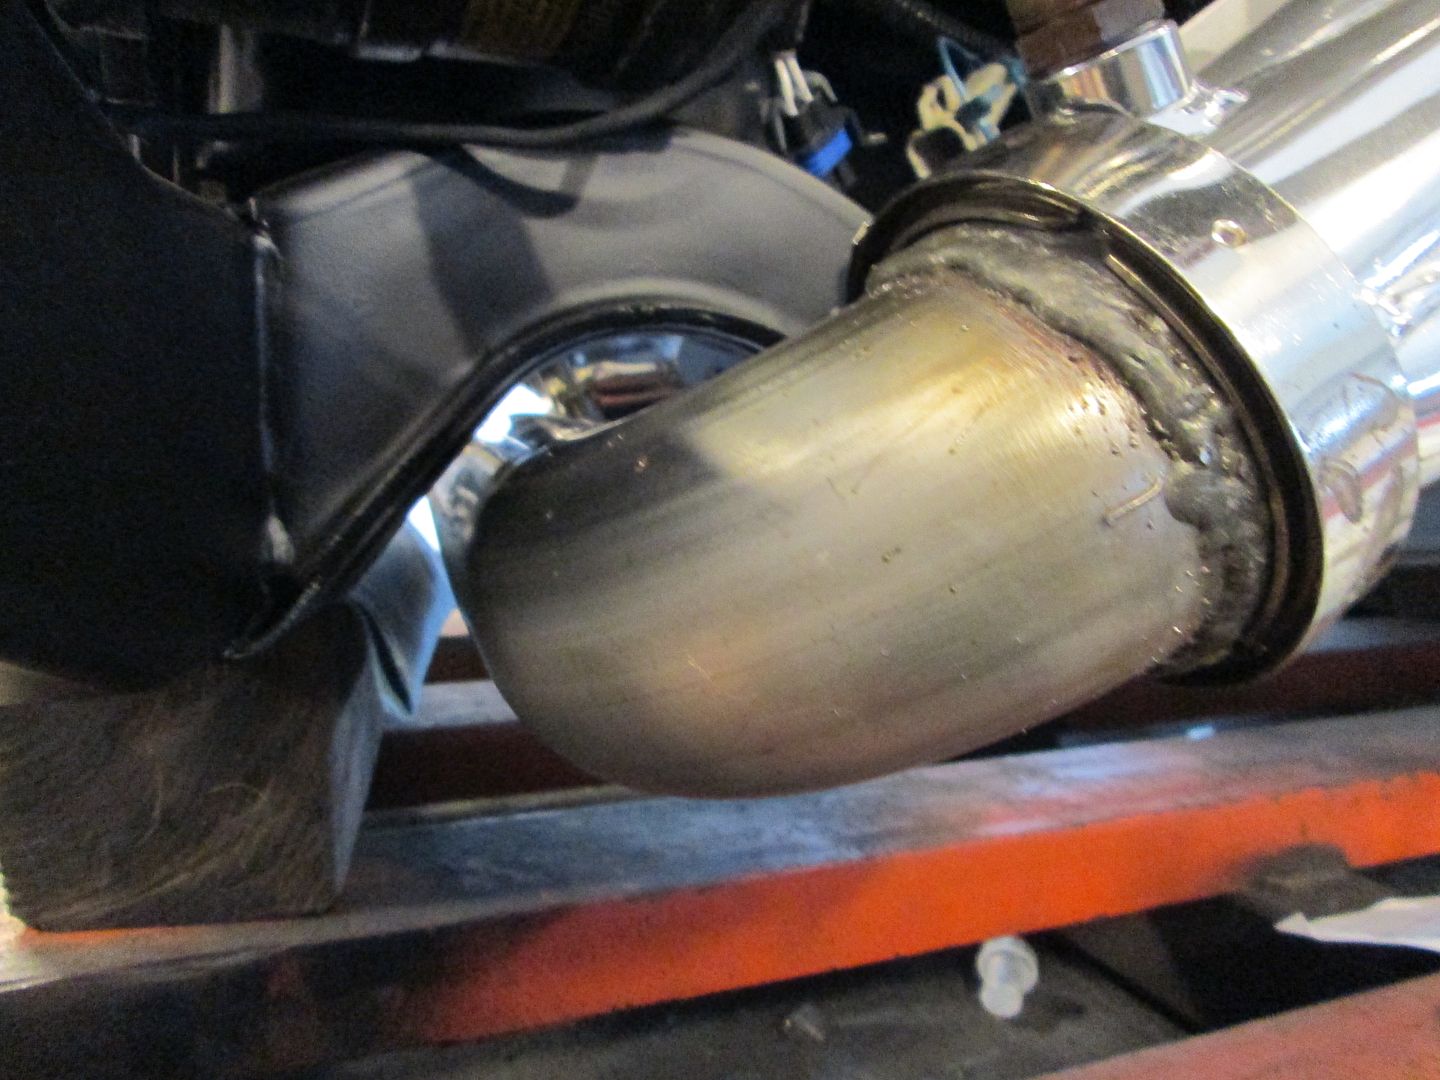
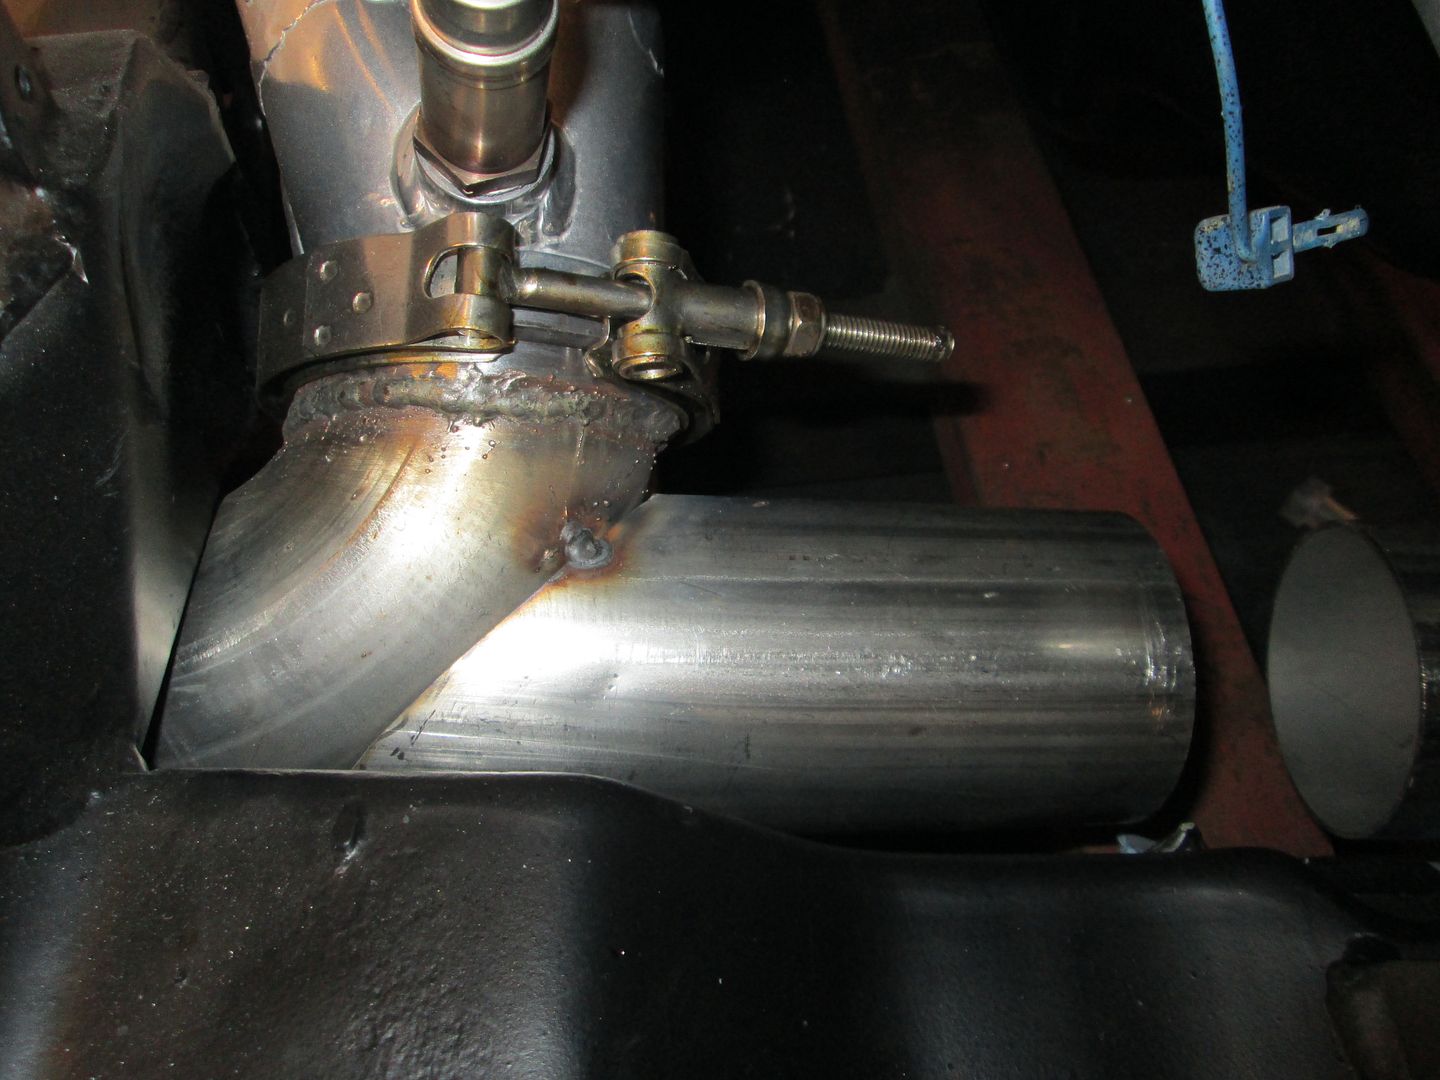
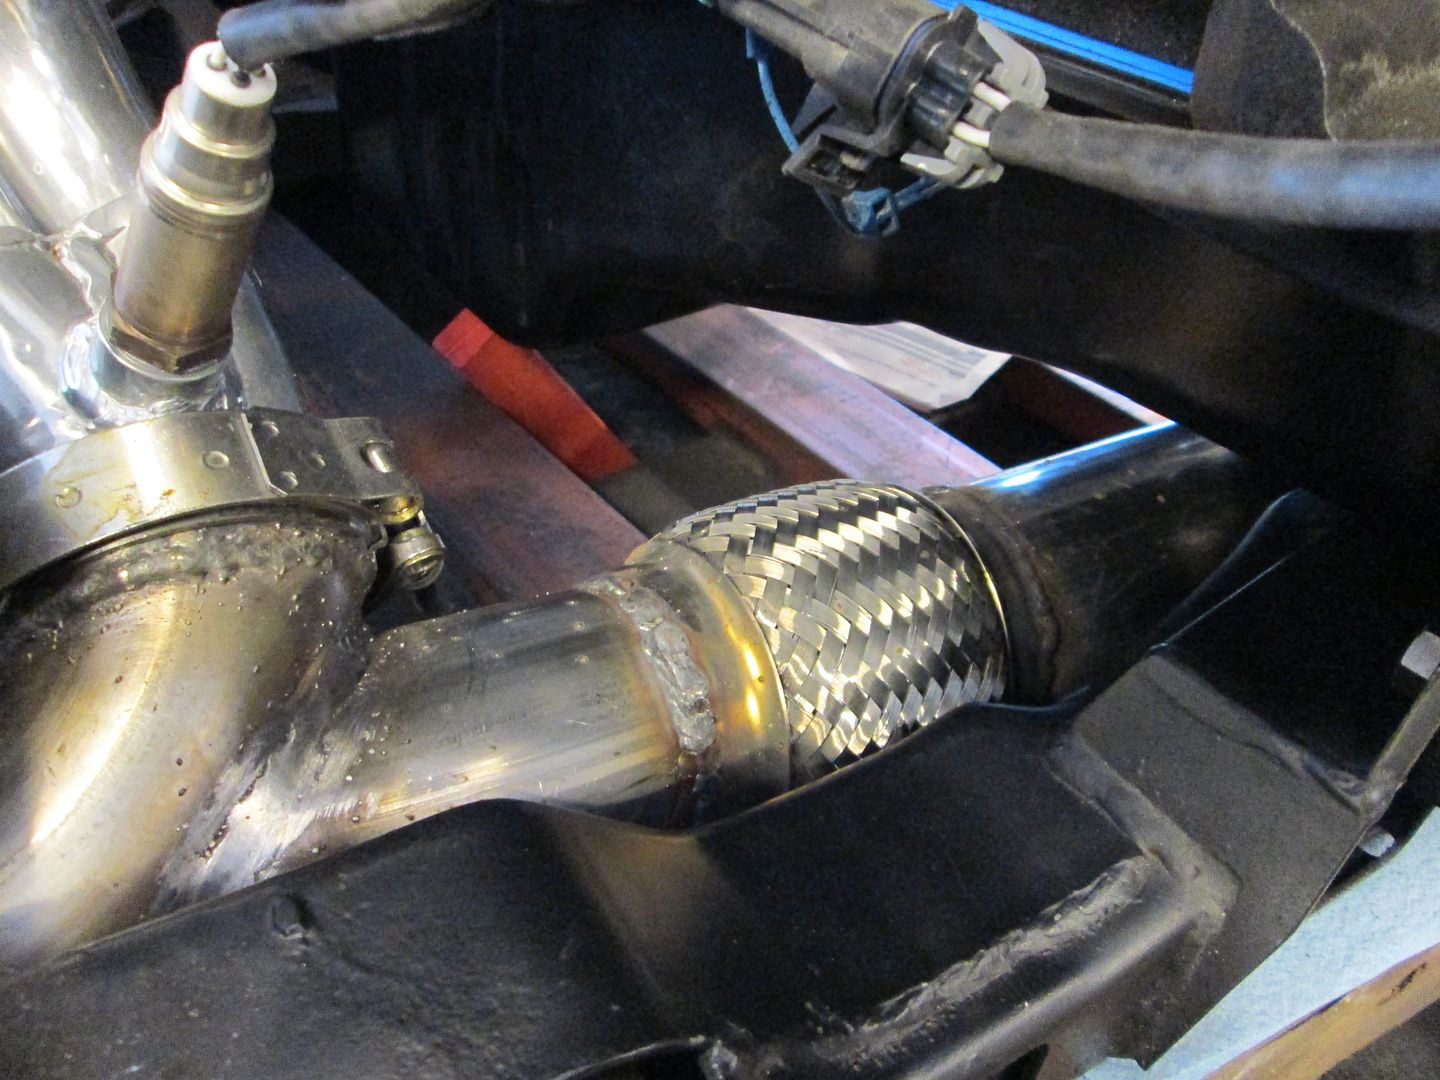
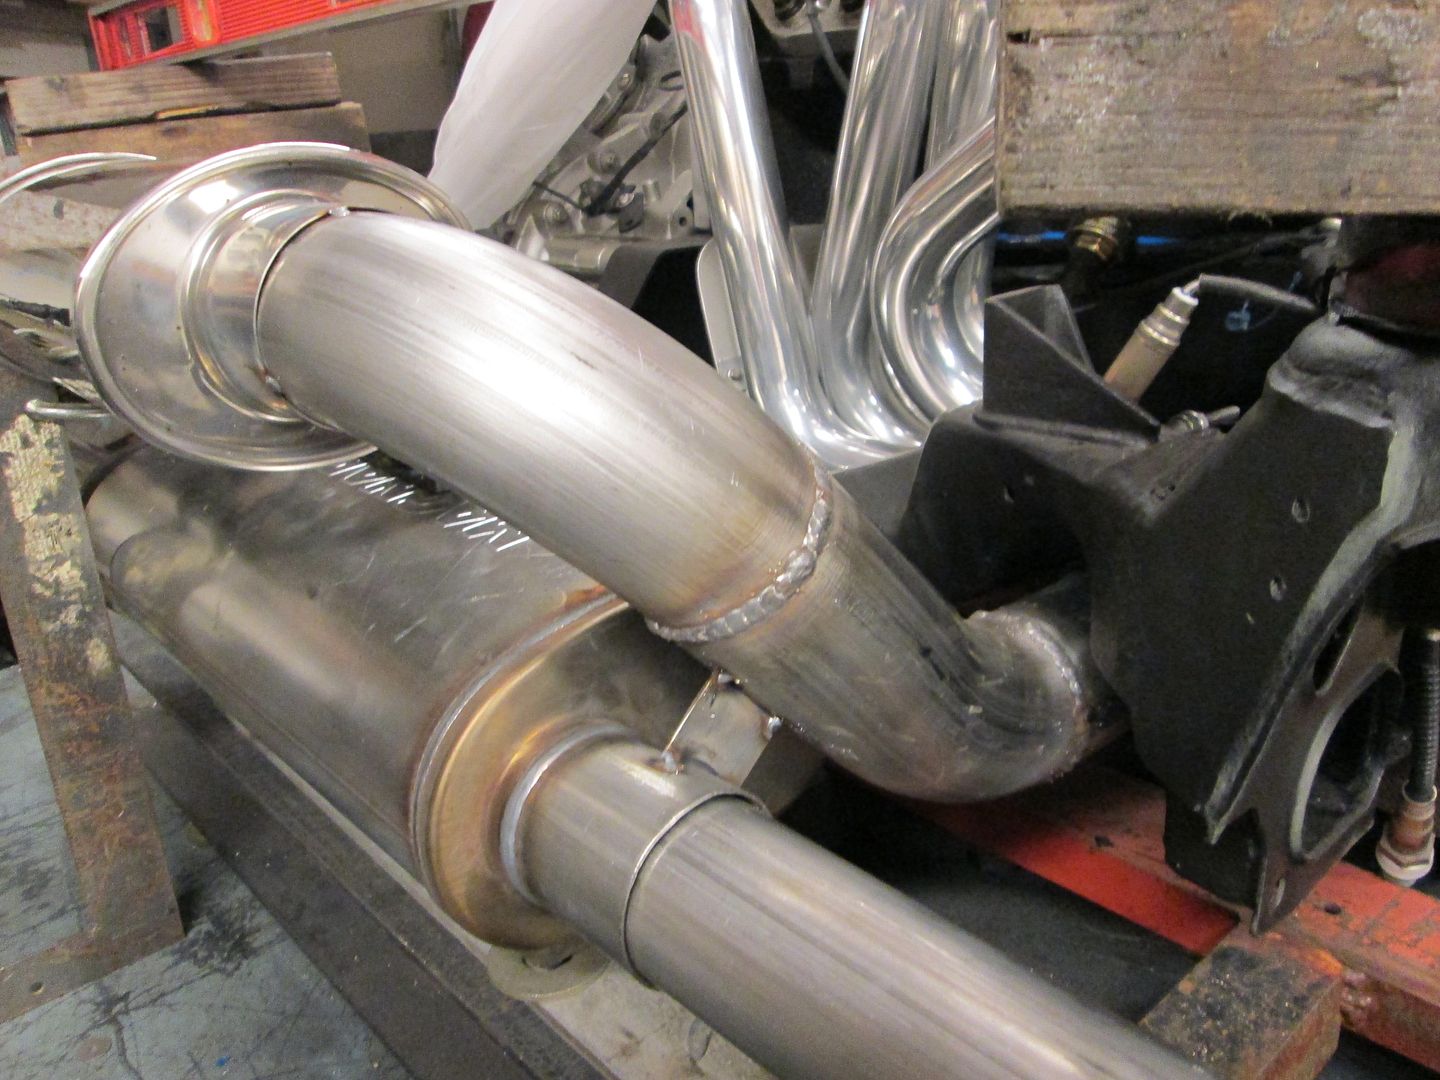
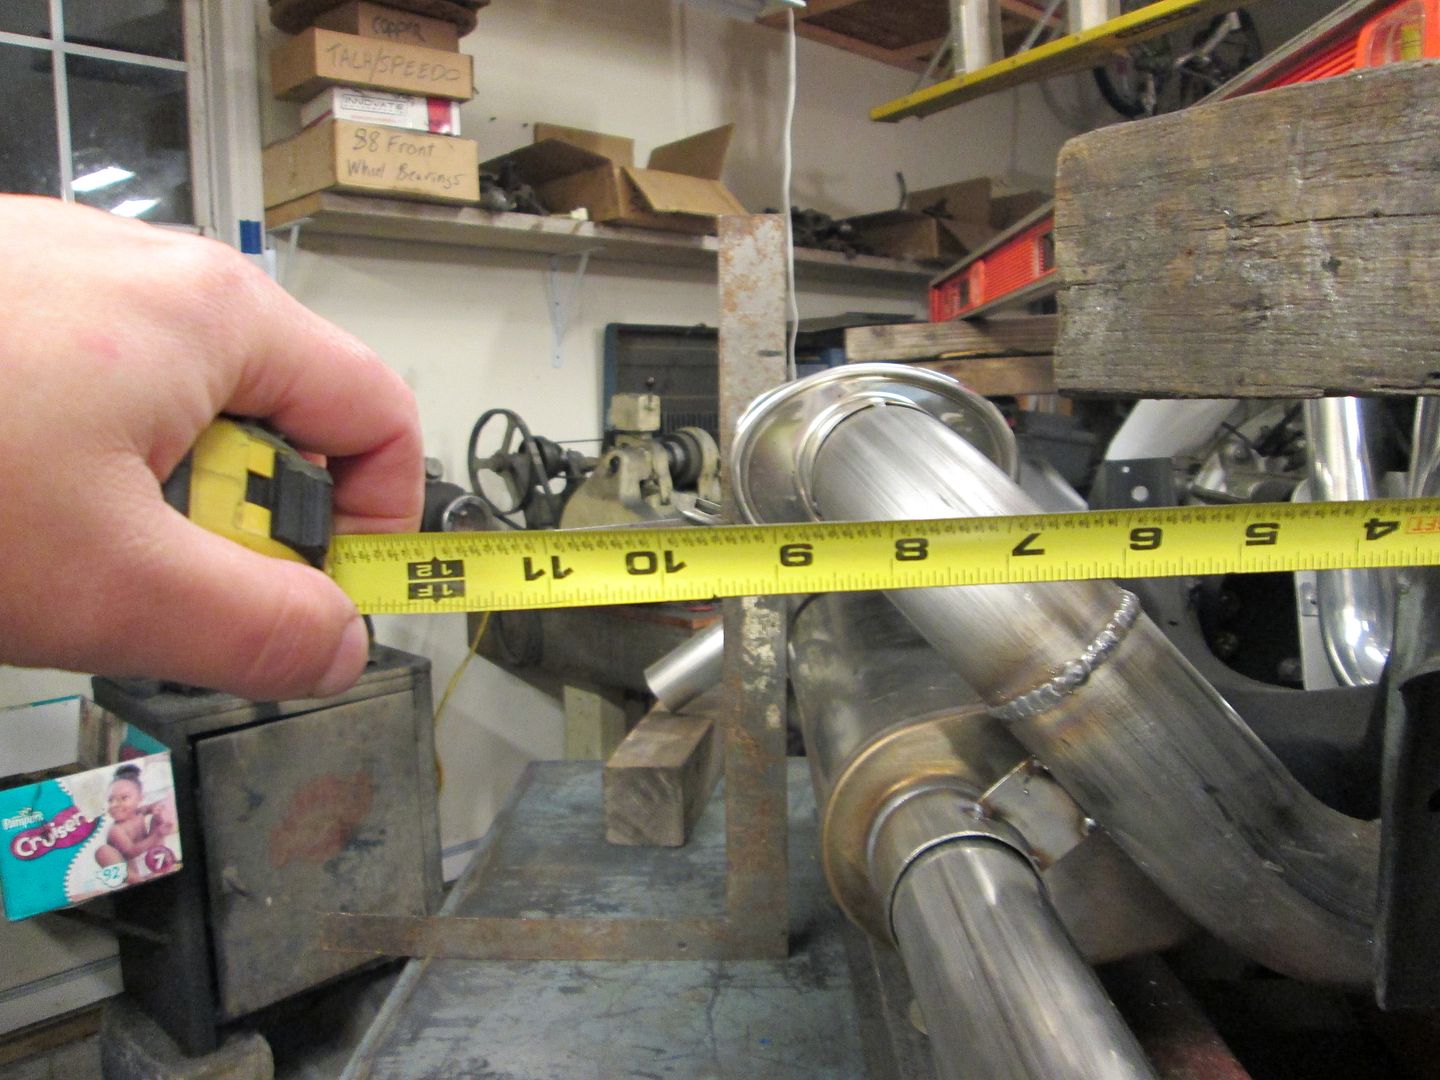
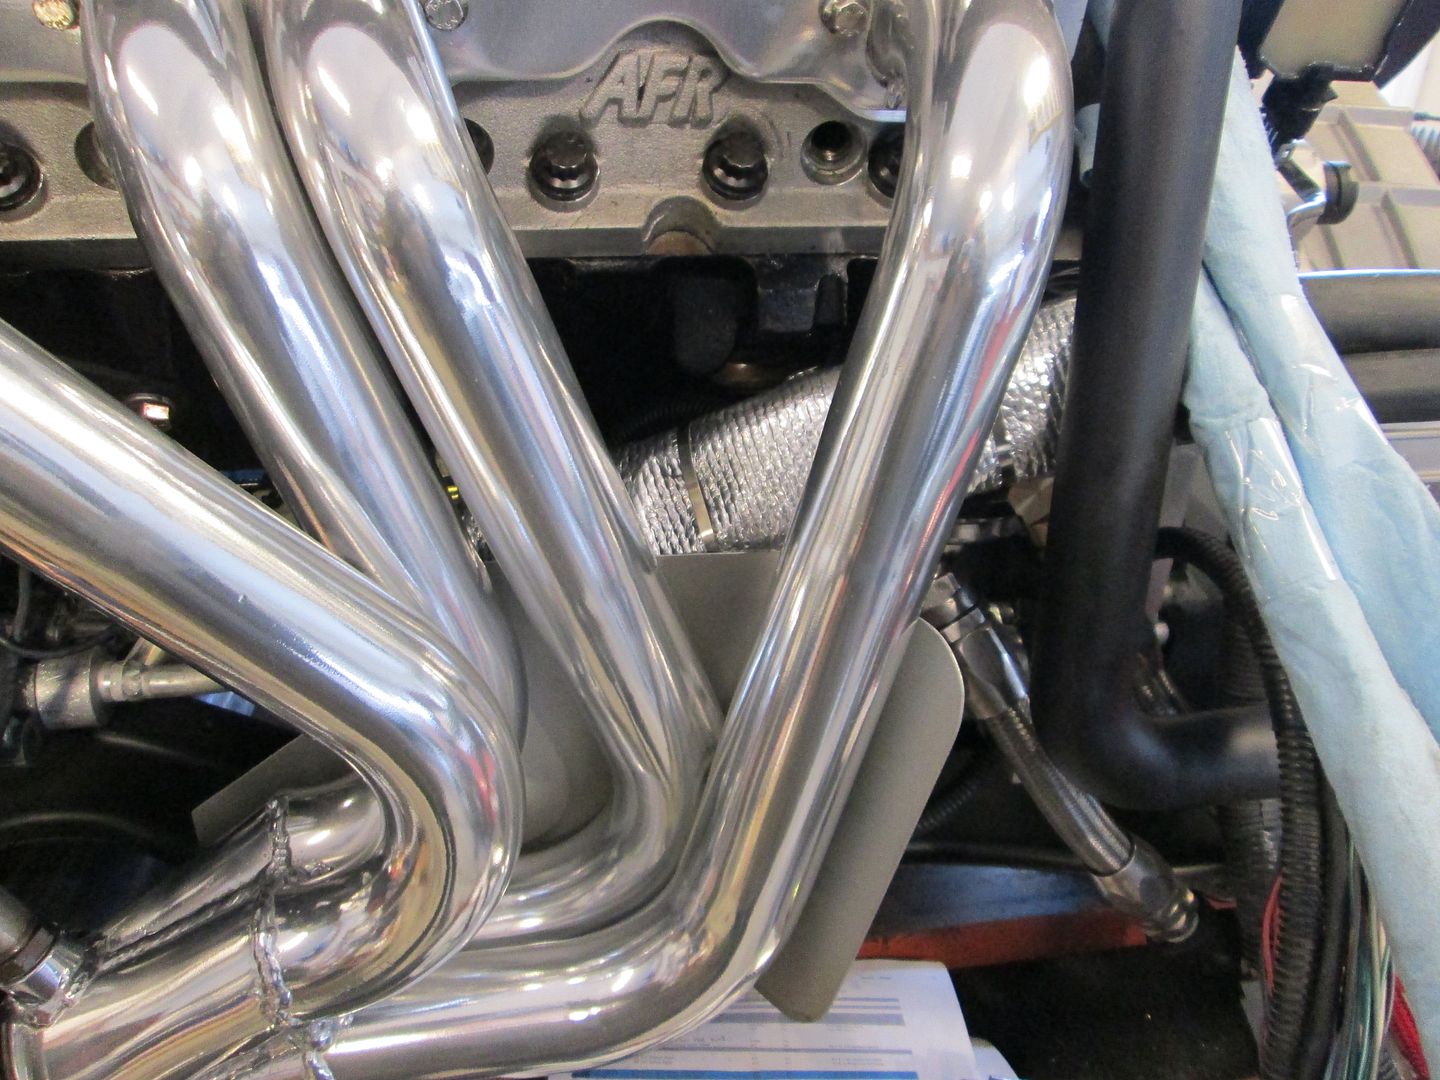
Then it was time to switch the welder over to stainless wire and tri-mix gas and do some work on the exhaust. I started with the front collector and trimmed the 3" mandrel bend to the right angle and then welded it to the V-band:
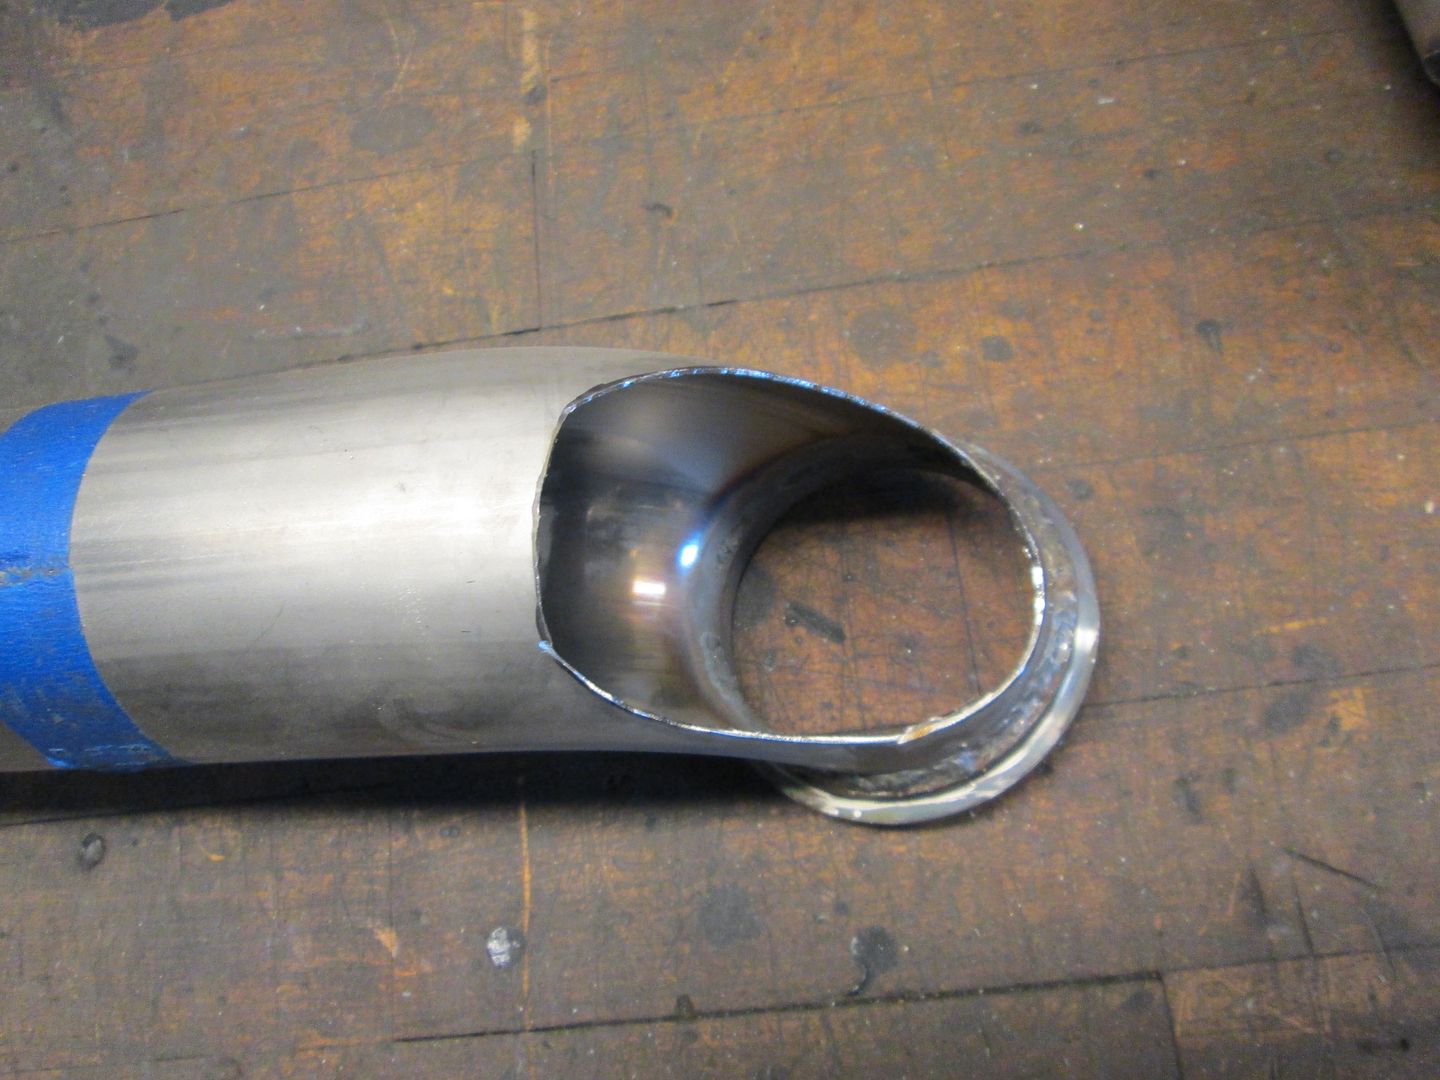
Then I did the same for the rear collector and started to shape the other section of pipe that will join up with the front collector. Lots of cutting/fitting/shaping:
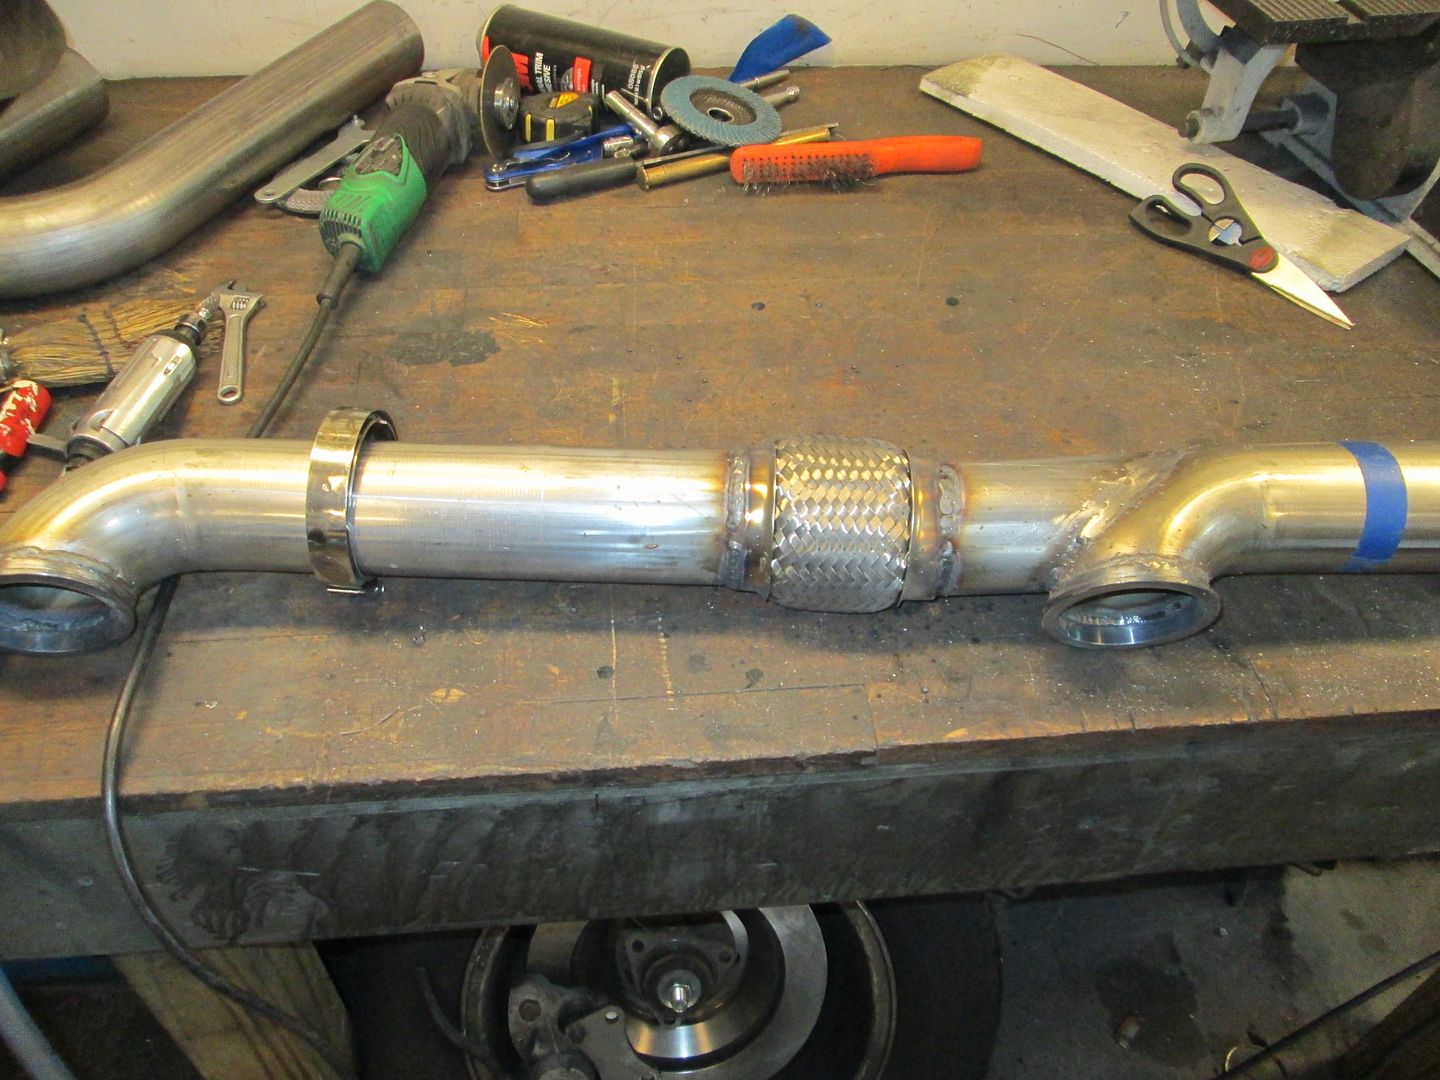
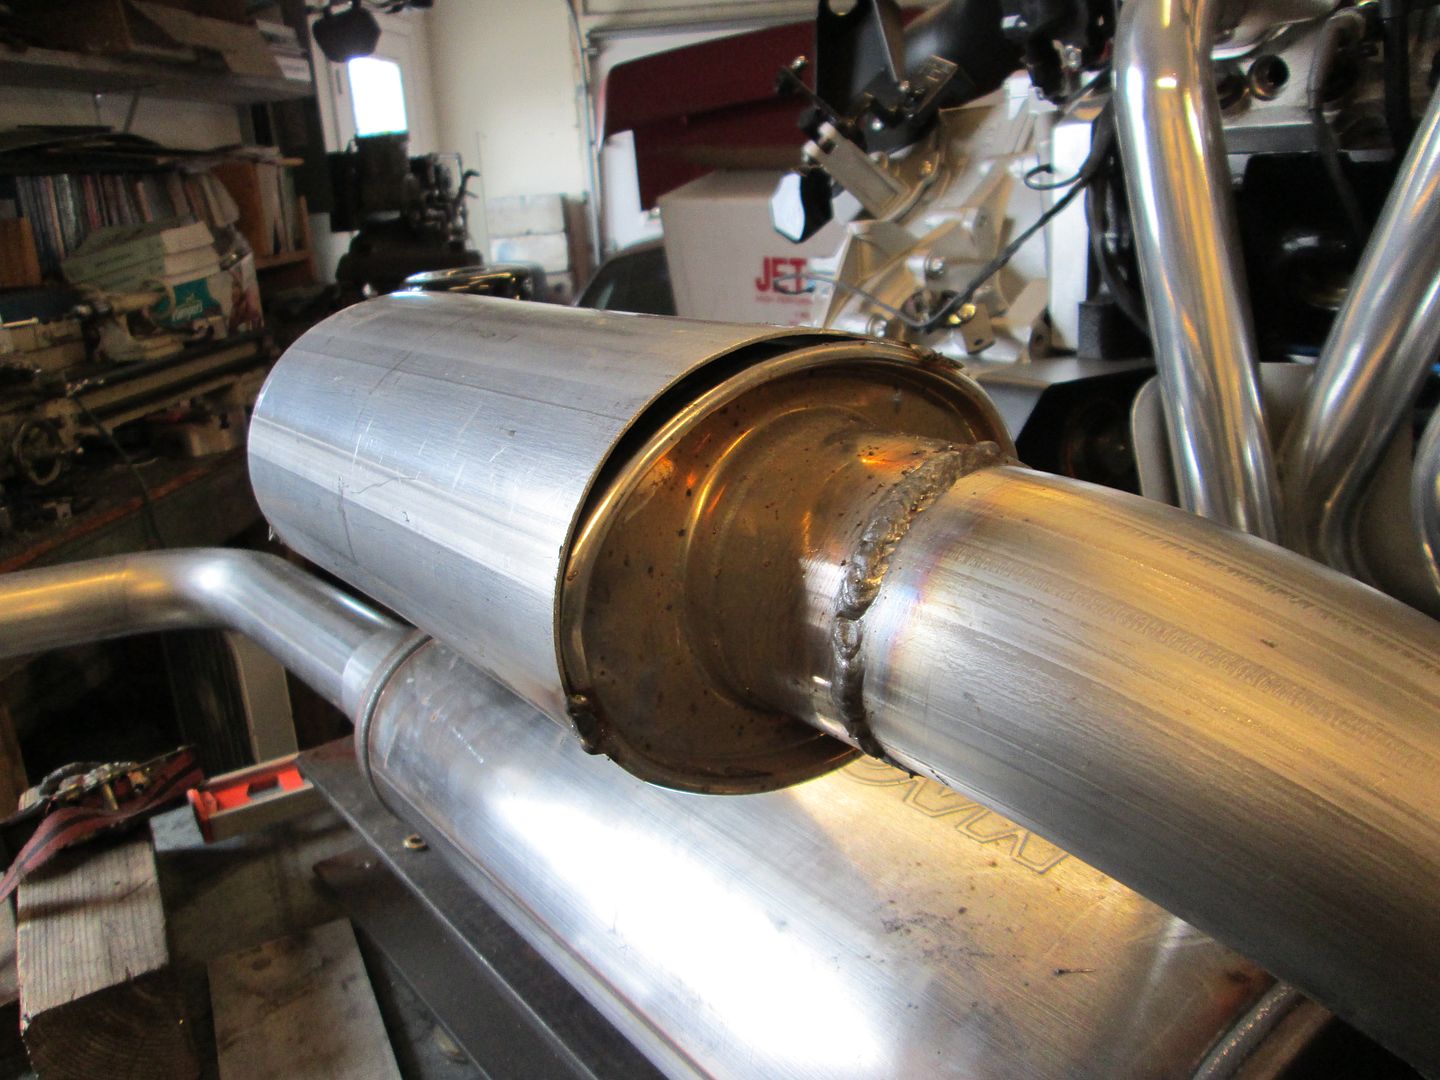
Then I welded in a flex section to connect to two pipes:
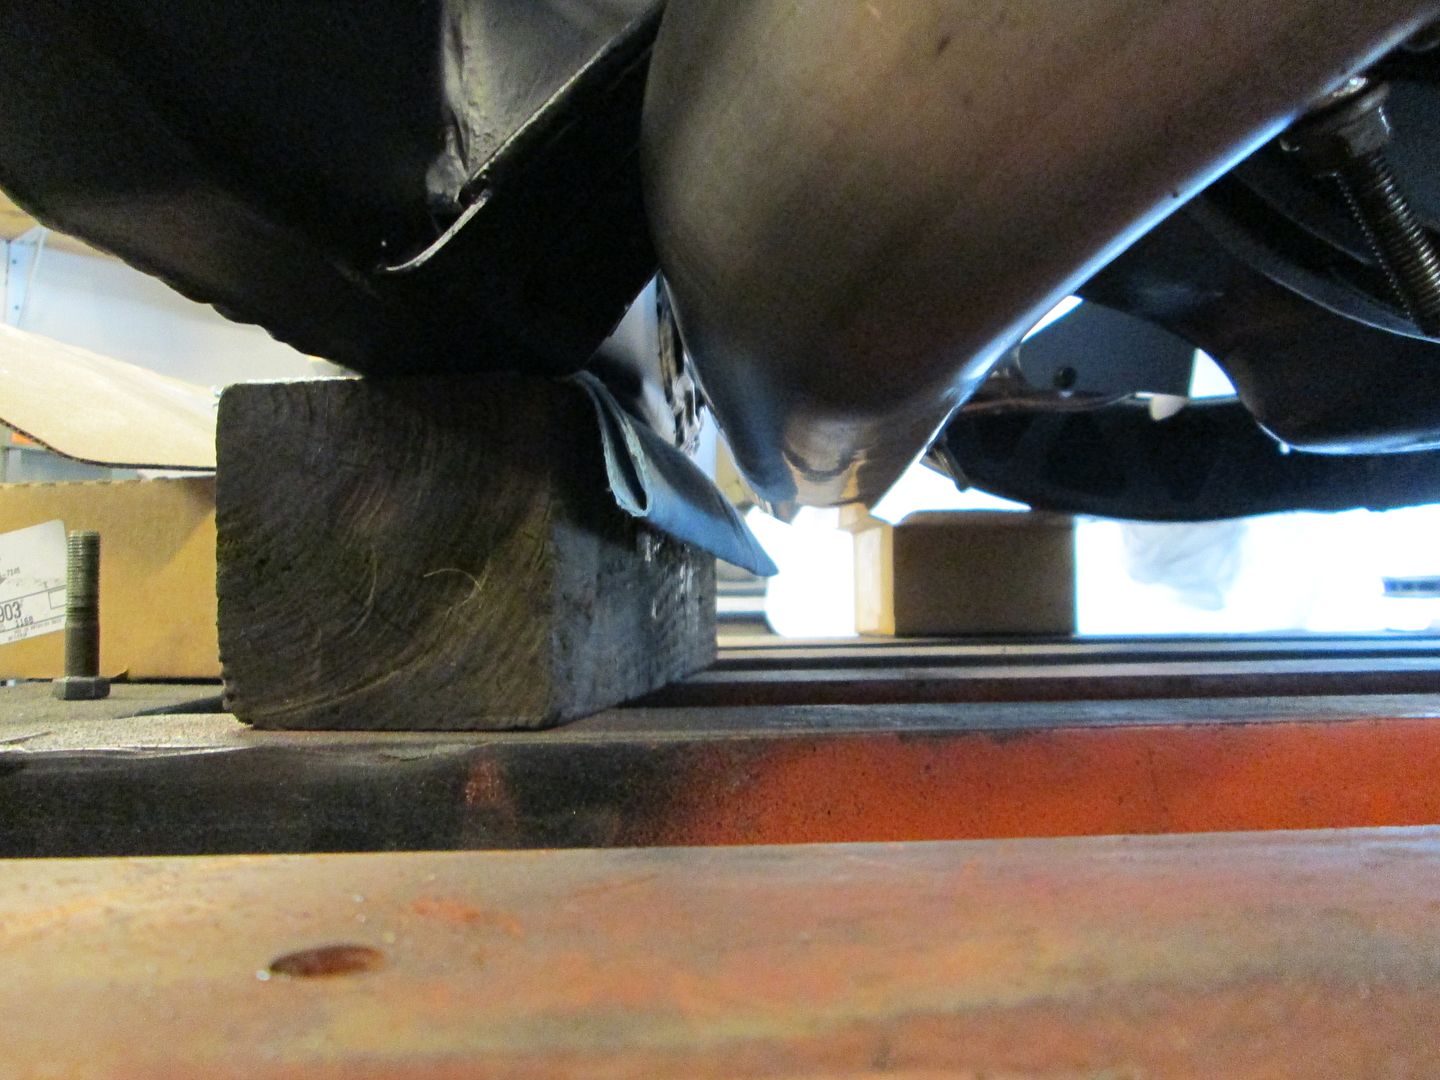
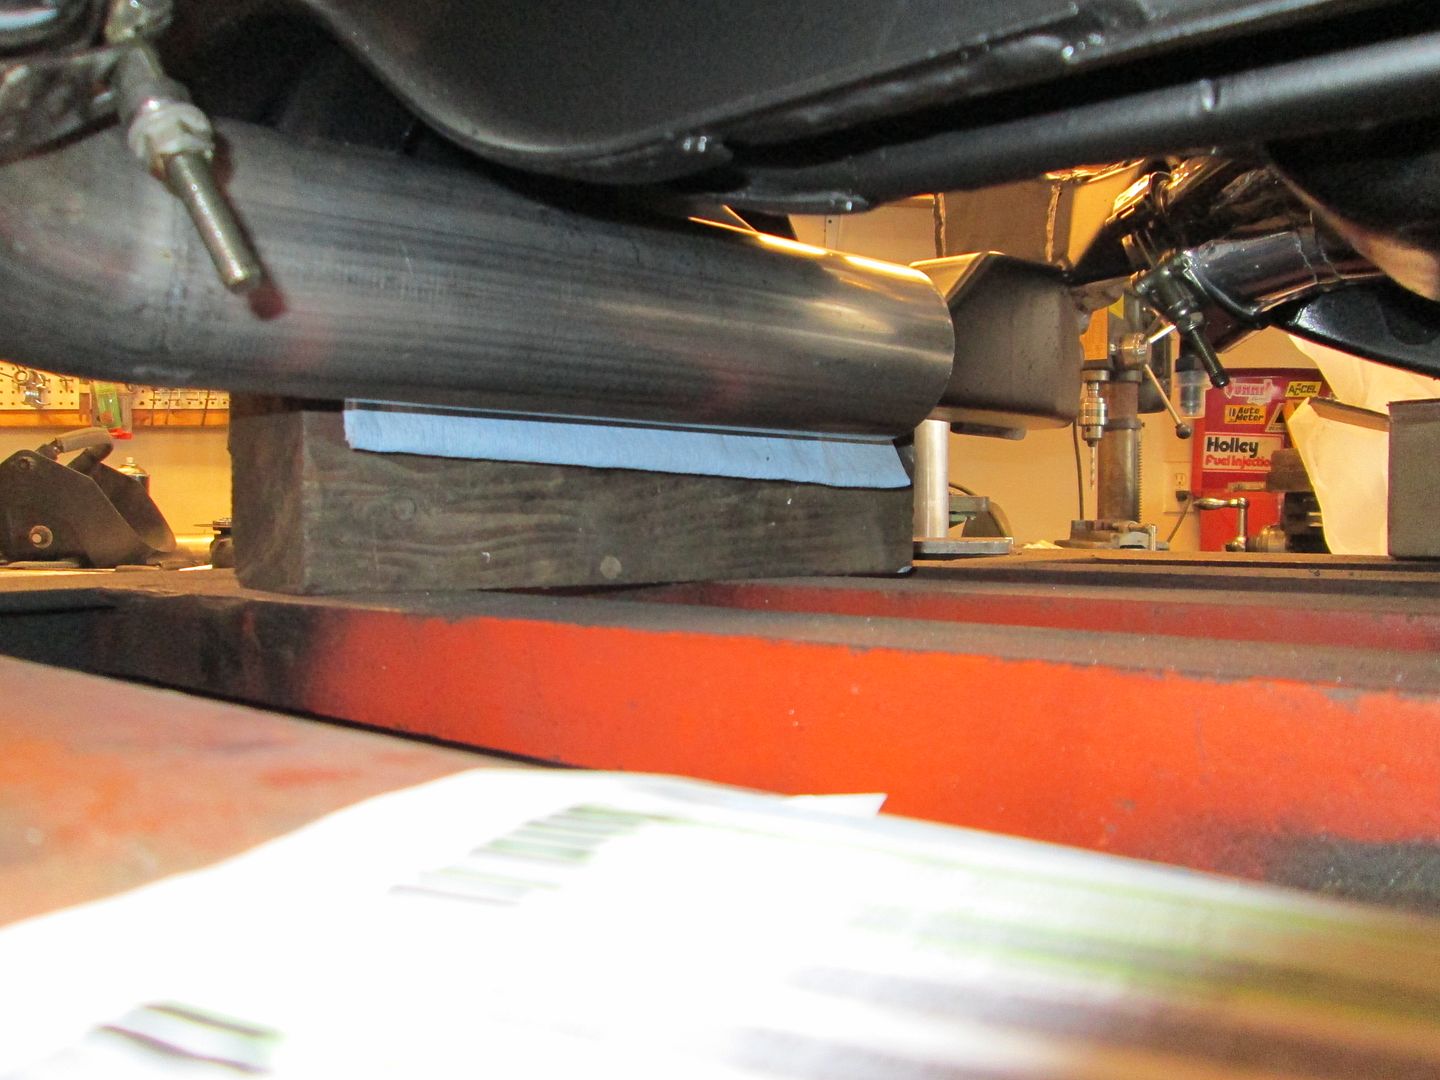
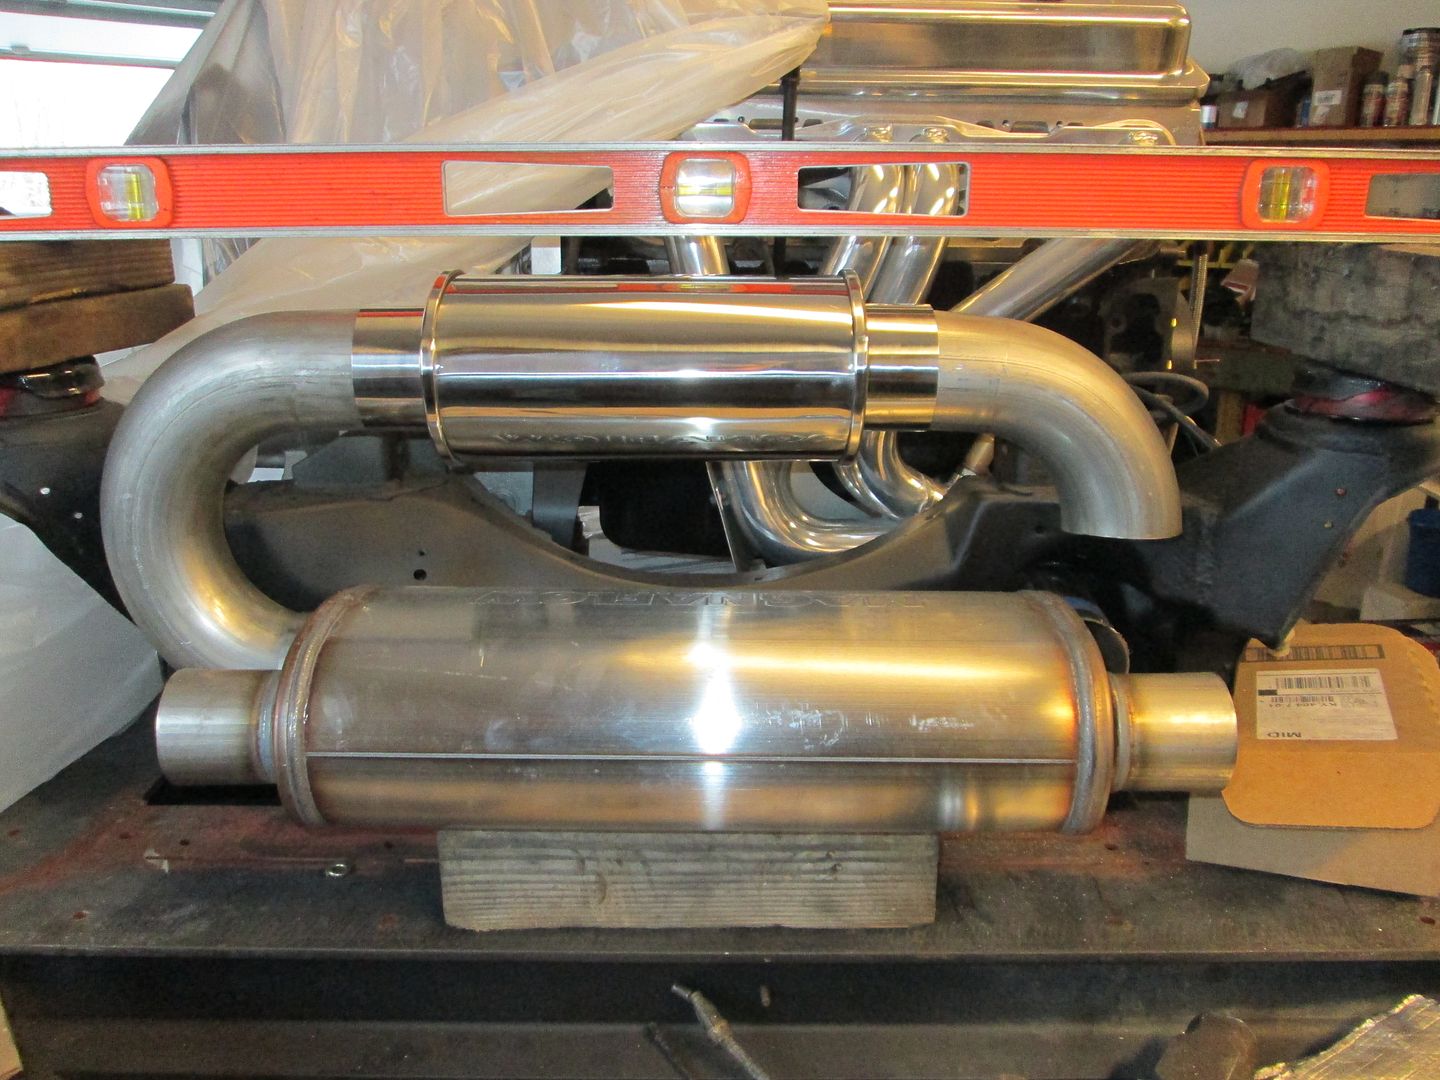
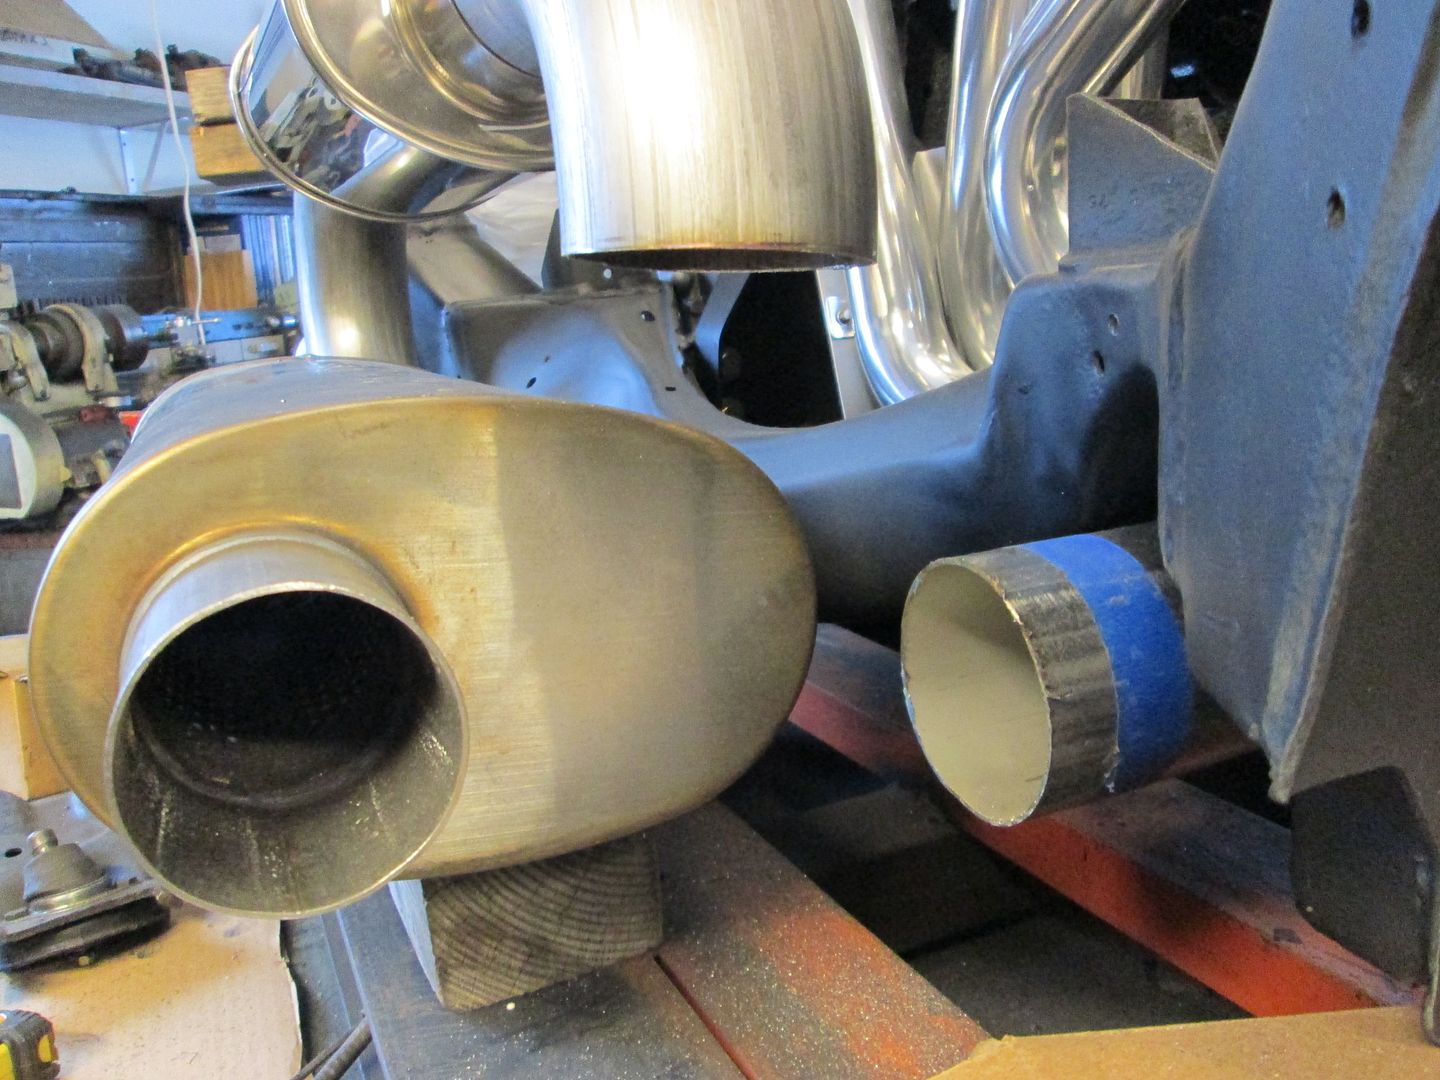
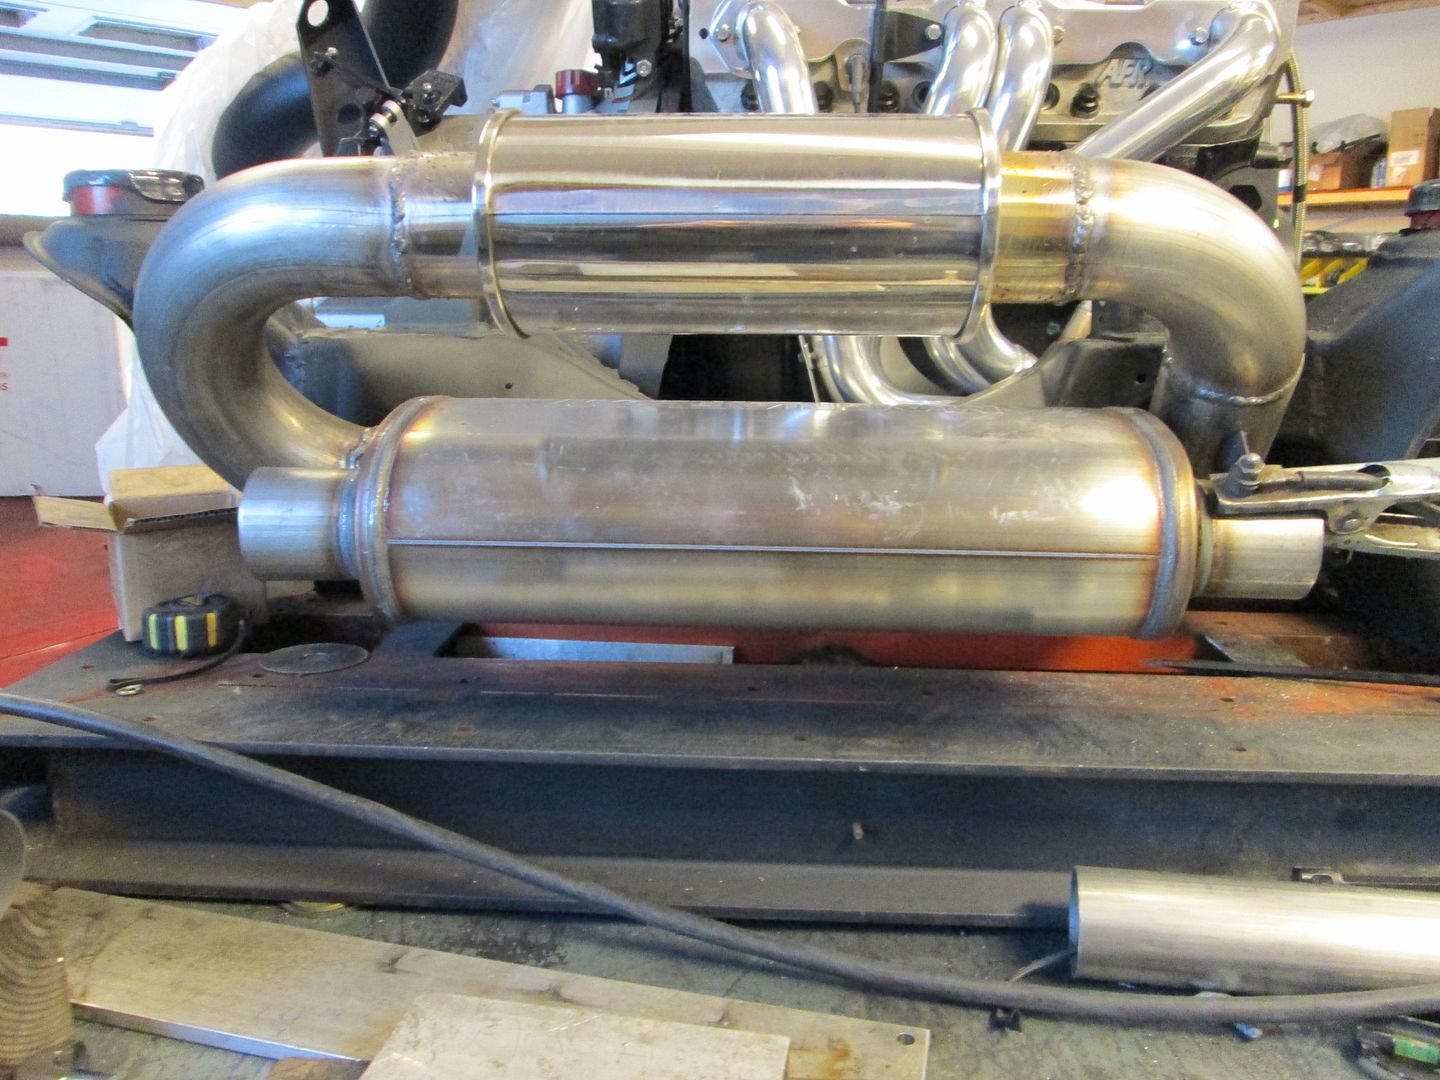
Then I started to mock up the muffler system. The trunk on this Fiero is gone, so the bottom of the trunk is 4 1/4" from the top of the rear cradle mounts. So I used some 4x4's on the rear cradle mount and placed the level across the top to get an idea of the vertical room I had to play with. The pipe coming from the collectors was trimmed back some (needs trimmed a little more) and then I placed the muffler and resonator in place:
Still more work to fit up everything on the muffler system, but it is coming along...
[This message has been edited by fieroguru (edited 02-09-2014).]
And with those flexible pieces, the exhaust shouldn't rattle itself apart like it was before (I can't tell you how many nuts and bolts I replaced, hell, it even wiggled out of one of the donut hangers!)
I was thinking that since the engine was lowered some to clear the intake under the original decklid, when it all goes back together, should we take advantage of the adjustable shocks and raise the car up a bit? I know it'll look a little silly with the bigger gap above the rear tires, but it'll give more ground clearance for things? Or am I overlooking something critical?
Did the bolts holding the headers to the heads ever work loose. I am using the same ARP fasteners and don't want anything to work loose. The V-bands shouldn't work loose.
As for the ground clearance, only the pipe connecting the two headers is below the cradle. If it was in the center of the car, then there might be some concern about hitting it on a high crowned road. With it being as far to the side as it is, I doubt it will ever hit anything. My LS4 exhaust hangs down the same way.
Glad to see you think some of these mods are worth the effort! I think they really clean up the overall look of the engine bay.
Yes, I can supply the modified hinges with or without the reinforcing leg. I do have a few spare sets of hinges, so I just need to decide how much to charge for them and build the instruction sheet.
Did the bolts holding the headers to the heads ever work loose. I am using the same ARP fasteners and don't want anything to work loose. The V-bands shouldn't work loose.
As for the ground clearance, only the pipe connecting the two headers is below the cradle. If it was in the center of the car, then there might be some concern about hitting it on a high crowned road. With it being as far to the side as it is, I doubt it will ever hit anything. My LS4 exhaust hangs down the same way.
Nope! Those header bolts were awesome! Those things were always snug - the guy guaranteed they wouldn't work themselves loose or need to be retorqued, and he was right! Everything that came loose started at the collectors and further on back.
With the model/design/install of my strut, the decklid actually would not automatically rise on it's own, unfortunately. The strut was too horizontal. Sorta made the electric trunk popper useless. I was planning on boring out one of the rubber stoppers and putting a spring in there, to add a little upwards tension so the popper cooperates with the strut.
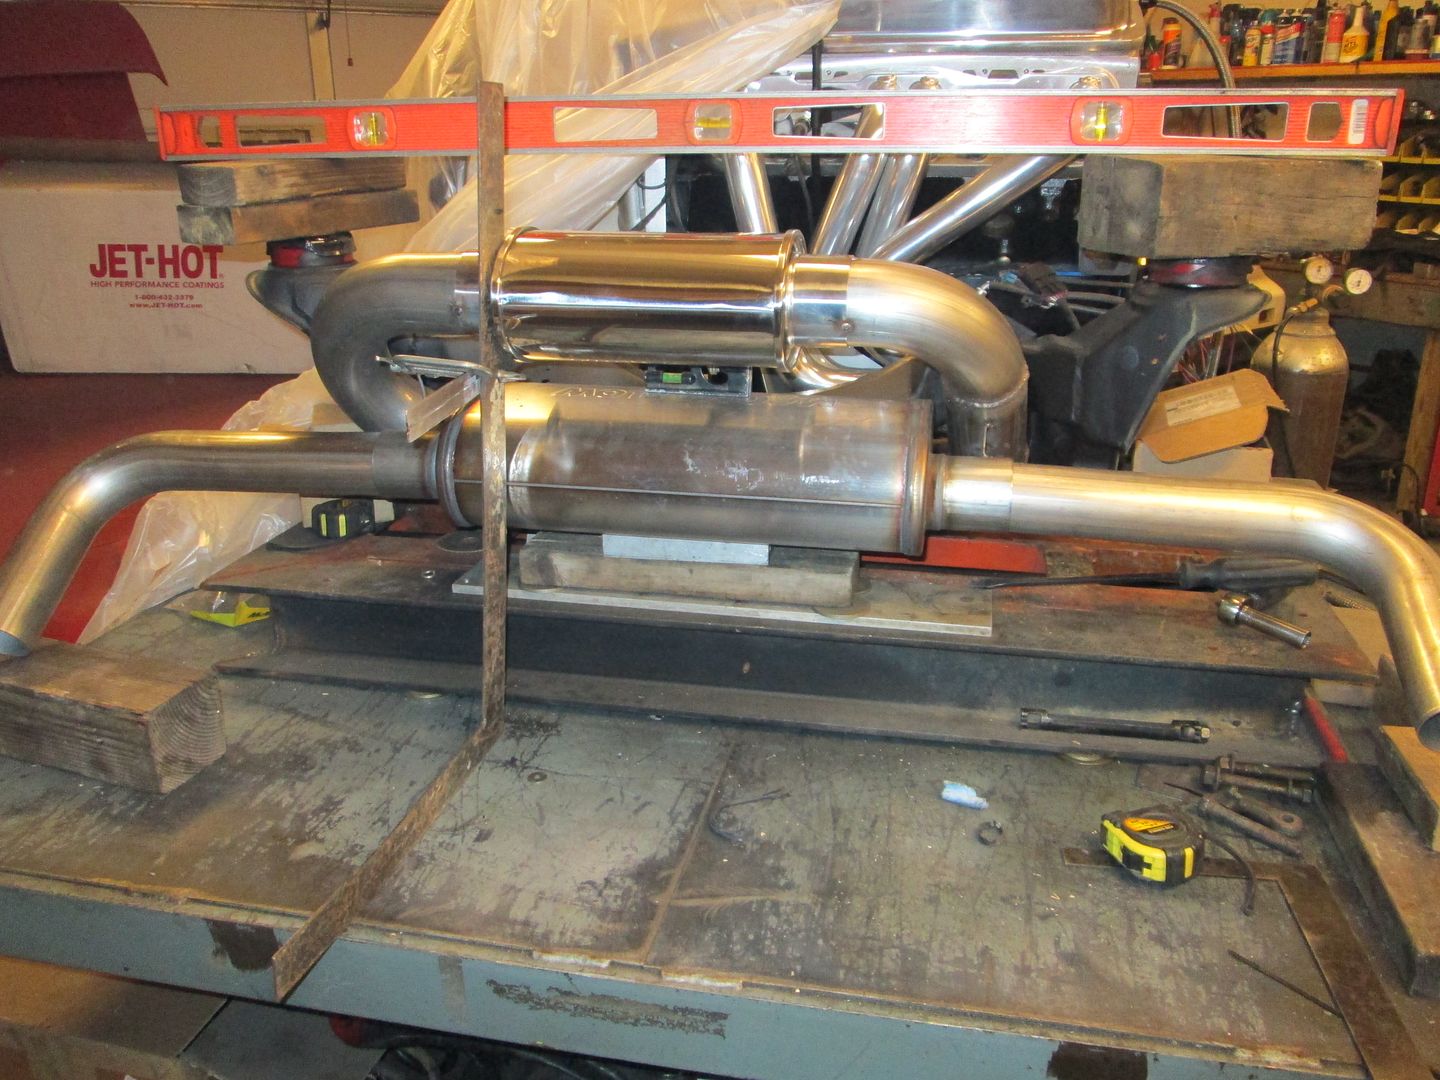
Little more progress on the exhaust. The upturn section was welded up and then the resonator was leveled and squared and tacked into place. Then the u bend and muffler were set into position and leveled and squared and tack welded in place too. Now I need to pull it all back out and weld it up solid. I still need to drill the hole for the wide band and fab up some exhaust hangers using the factory exhaust hanger bolt holes in the cradle.
The rear bumper is about 14" behind the rear cradle bolts and the bottom of the level is the approximate bottom of the trunk floor, so there is plenty of room in all directions for this to slide up into place.
This exhaust is about 3-4 feet longer than the one on my LS4 swap and it has an additional resonator. The extra length and the resonator will help quiet it down some without being a restriction.
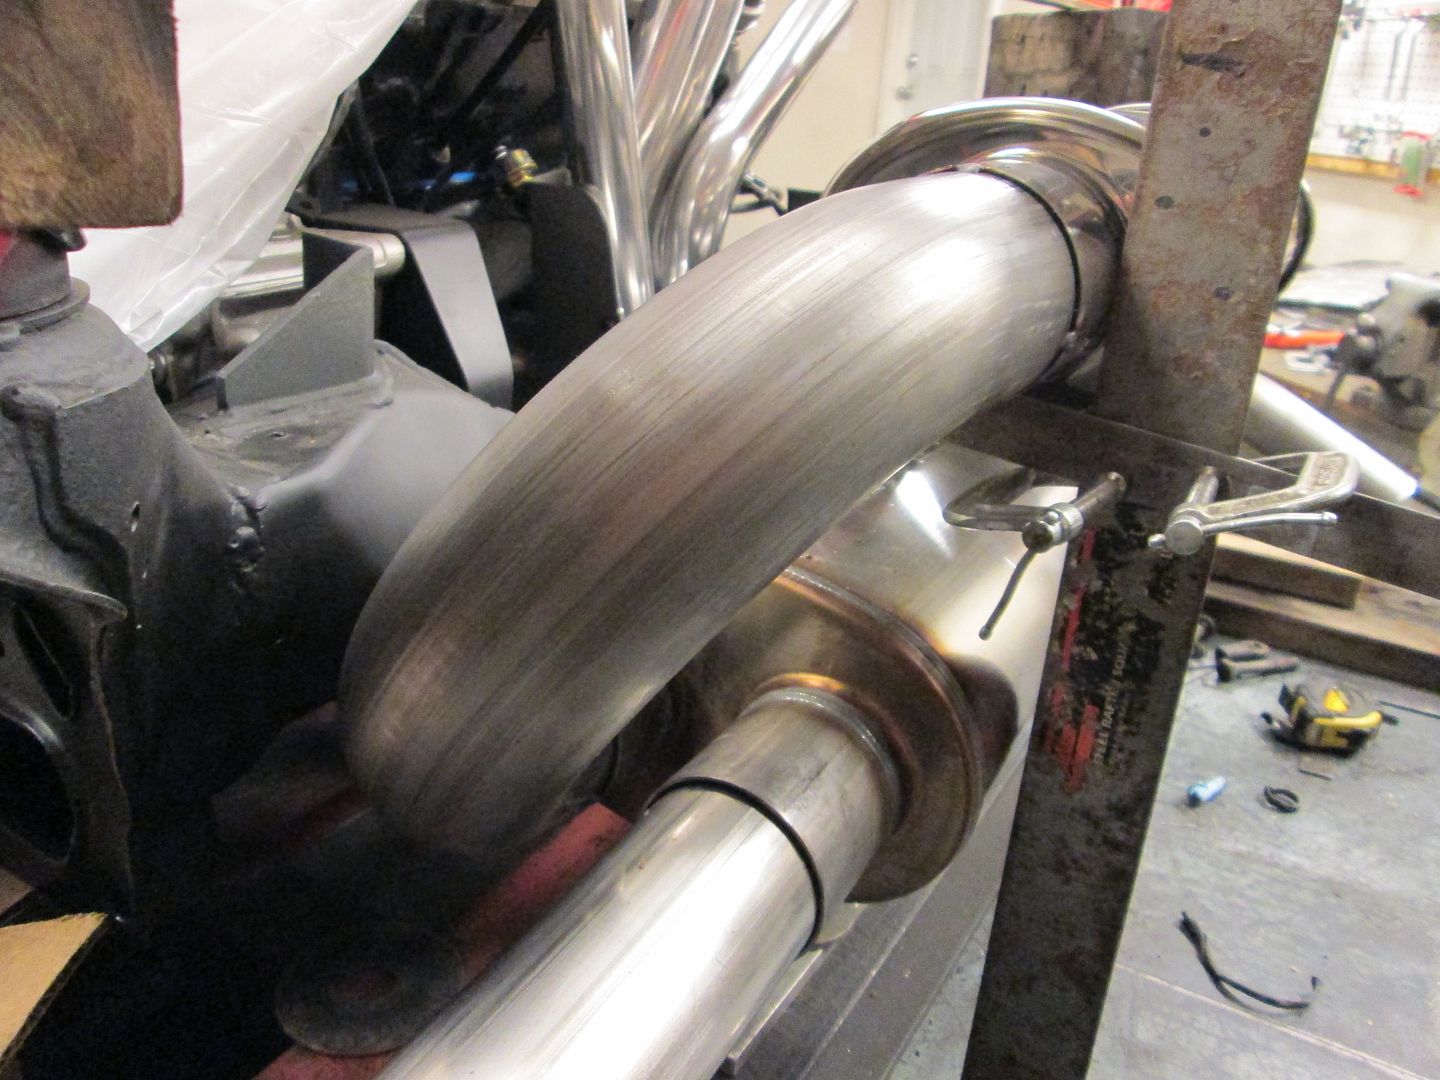
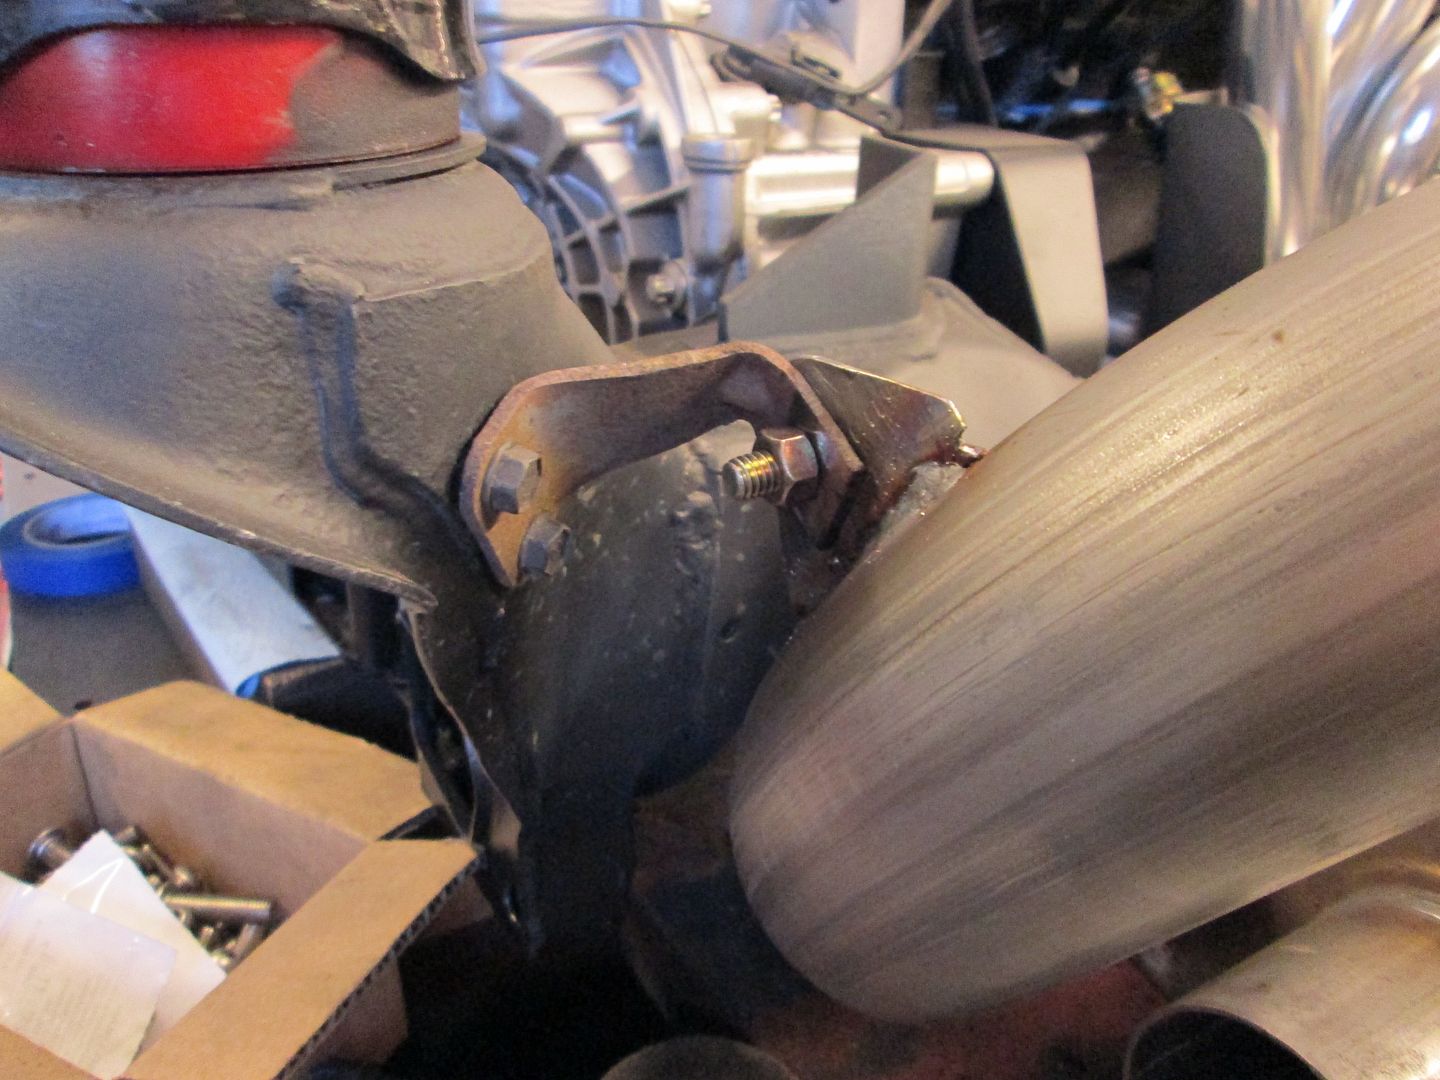
Its almost time to put the drivetrain back into the engine bay. I finished welding up the exhaust except for the 2 1/2" pipes that go to the tips - I need it in the chassis to center and level the pipes to the body:
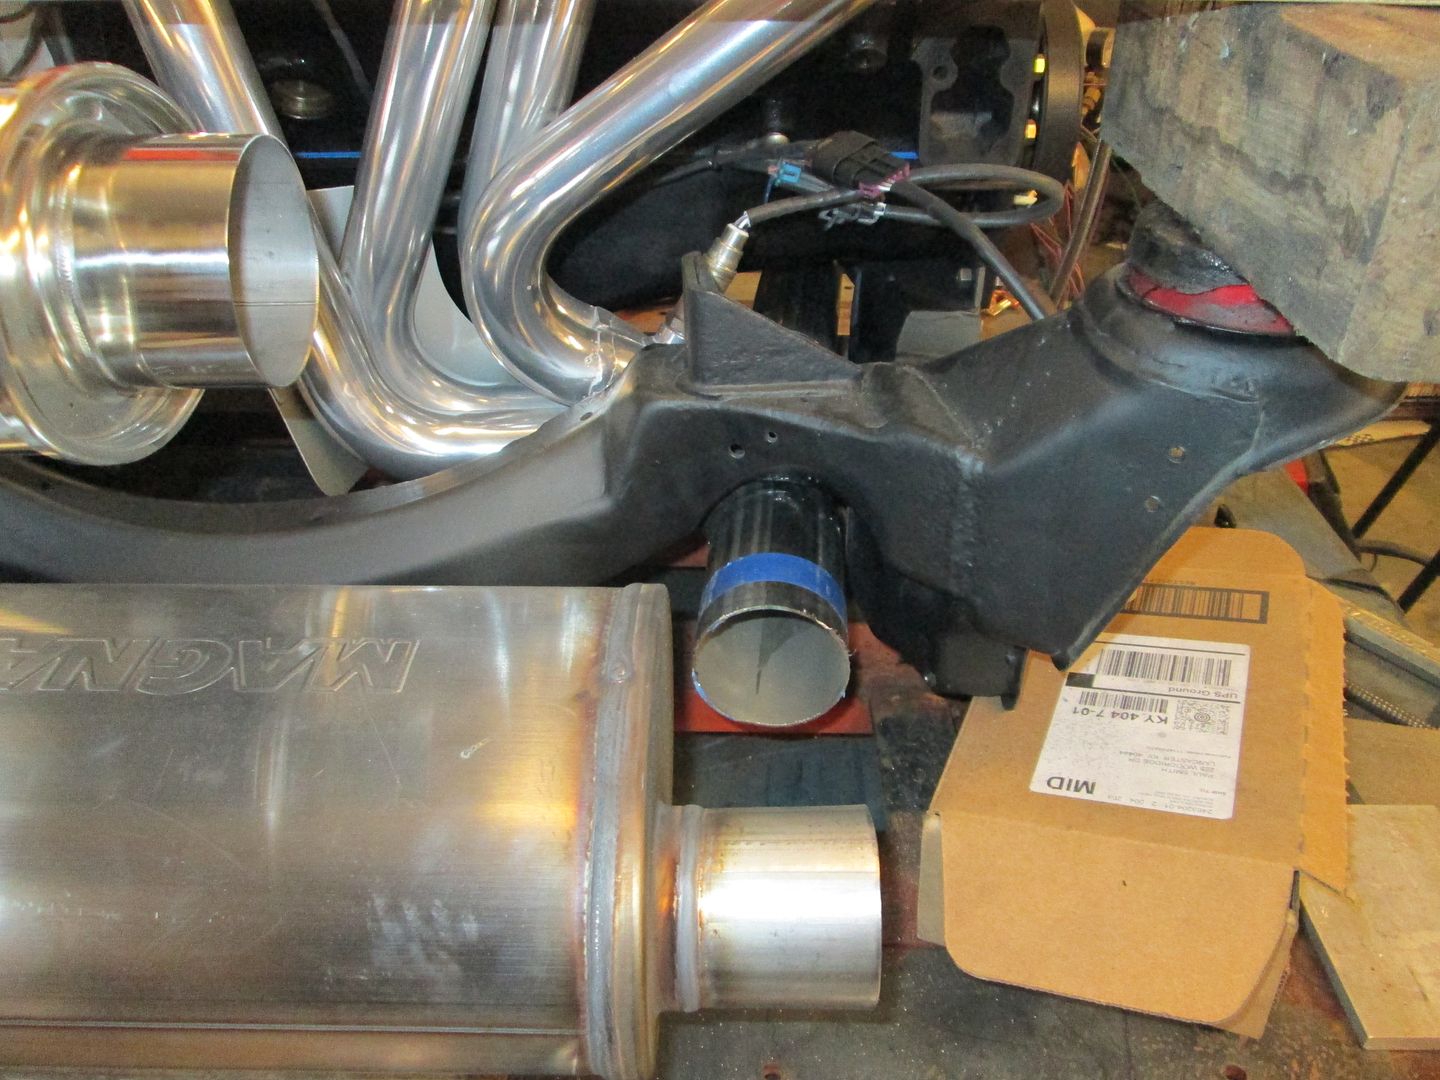
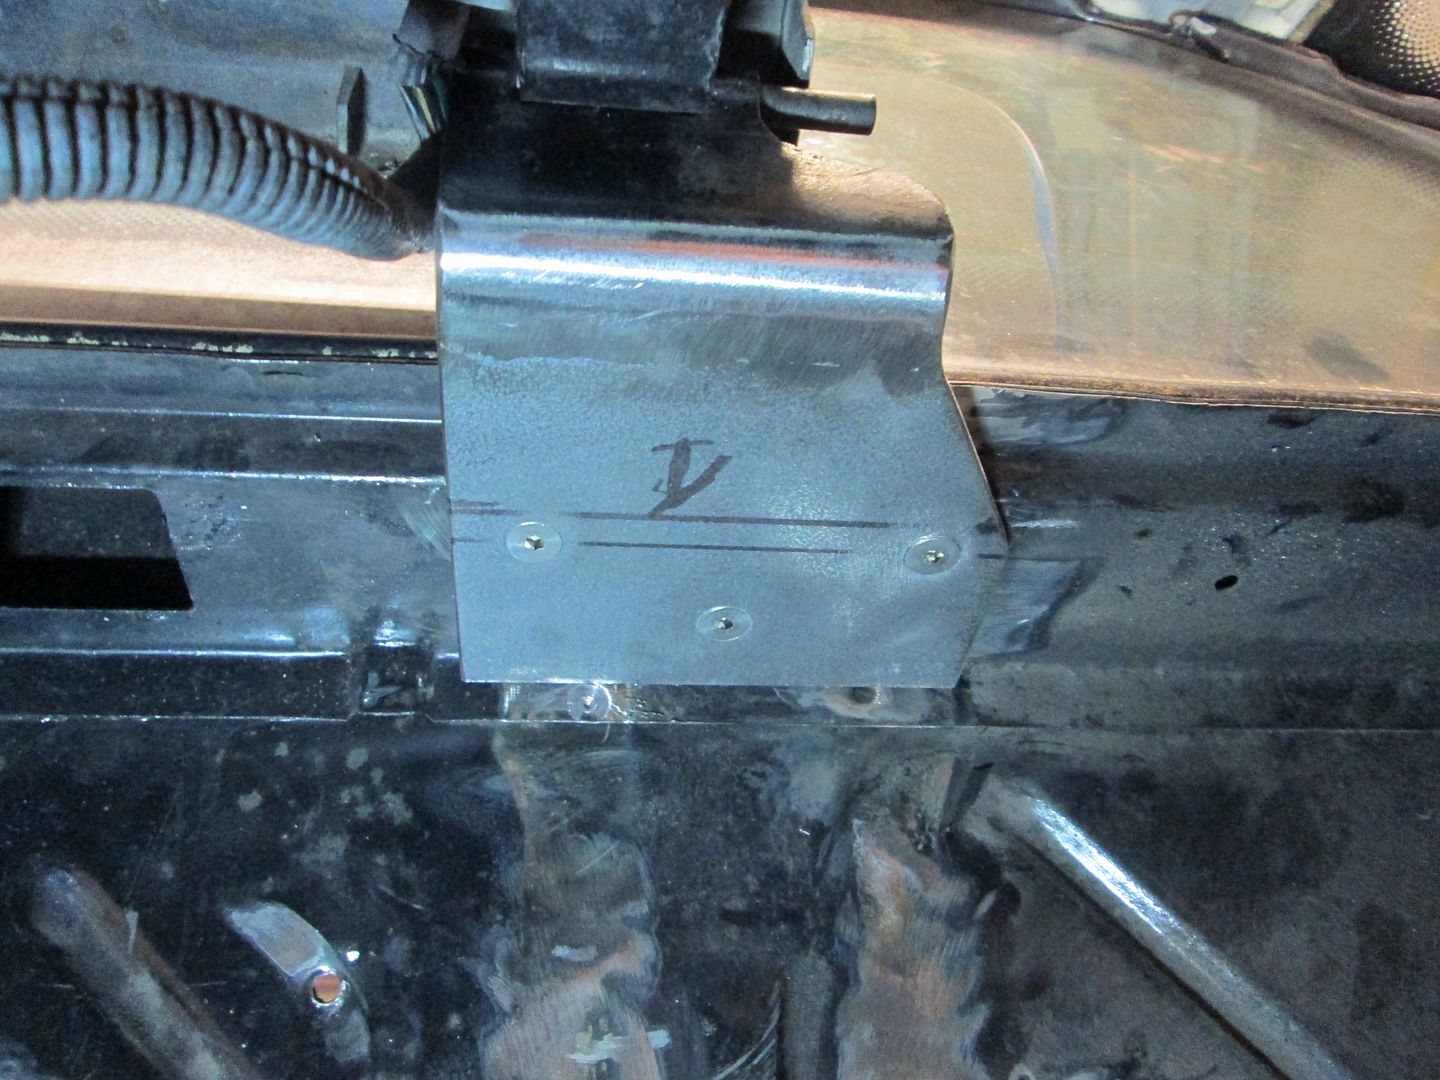
Here is the driver side hanger (I need to sand it down and paint the bolt on bracket):
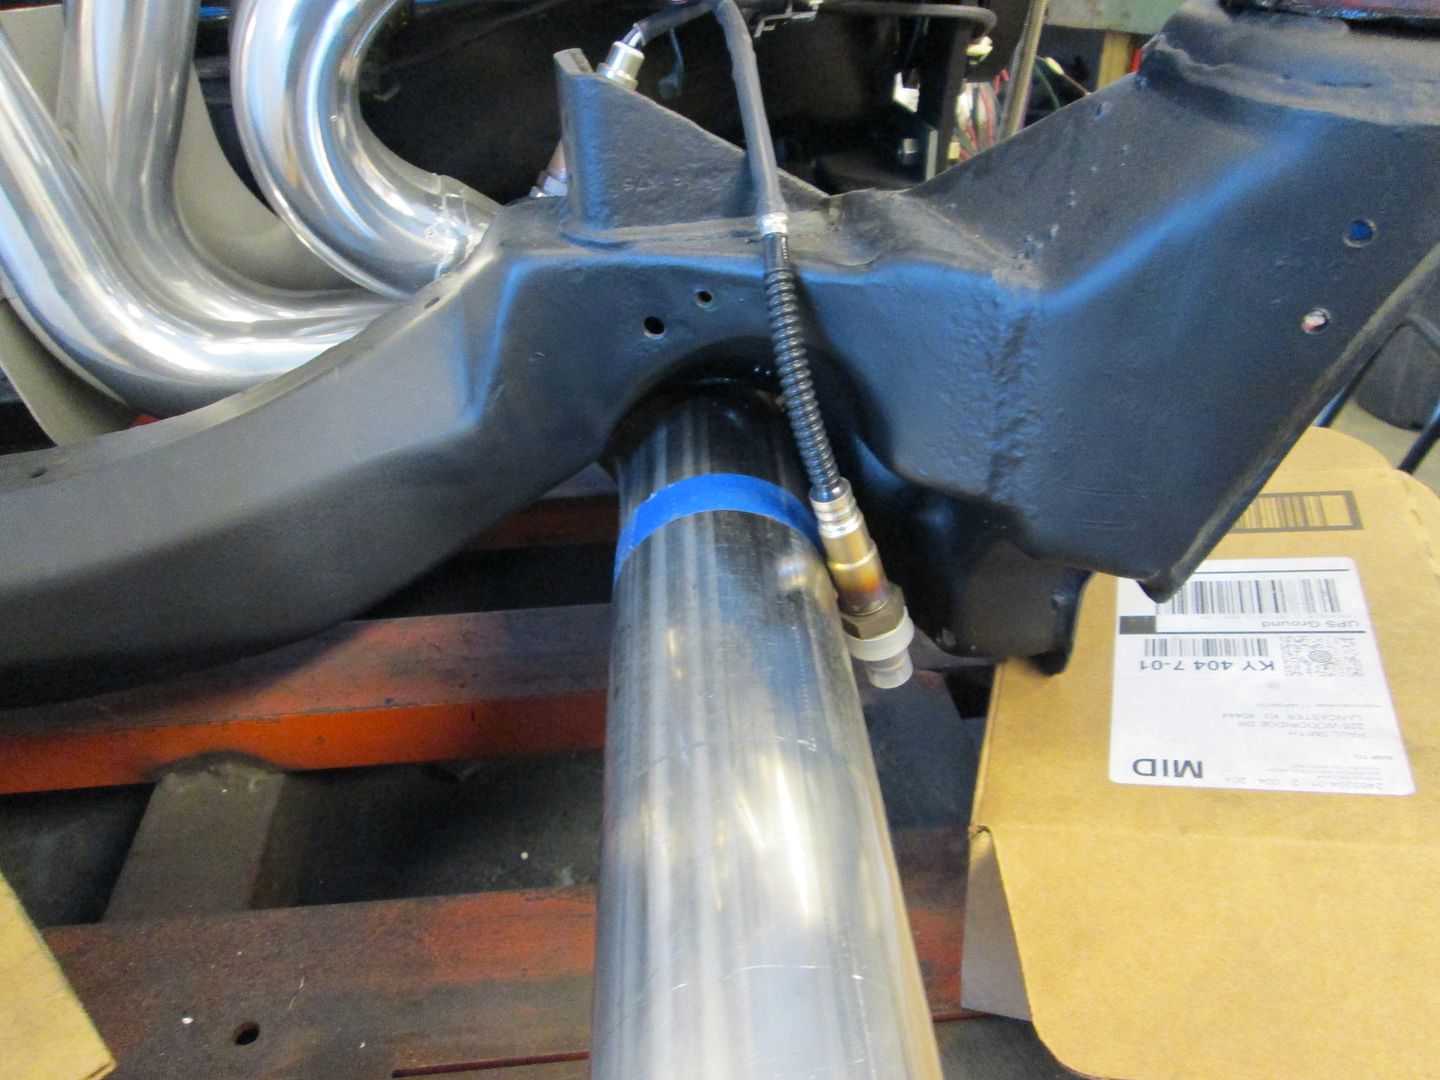
Here is the passenger side. It will have a hole drilled for a strap that will go down and be attached to the 2 1/2" exhaust pipe on the passenger side. I didn't take a good picture of it, but the wideband O2 sensor bung was also welded on:
Heat shield for the resonator to help keep the heat off the tail light harness and the bottom of the trunk (already has insulation on it):
Installed the A/C hoses and added 2oz of oil to the compressor:
Installed the oil filter, painted the ECM bracket, installed the brake lines, reattached the A/C bracket to the frame rail, tried to remove the kink the clutch line at the fitting and snapped it off - ordered replacement from Rodney... no pictures.
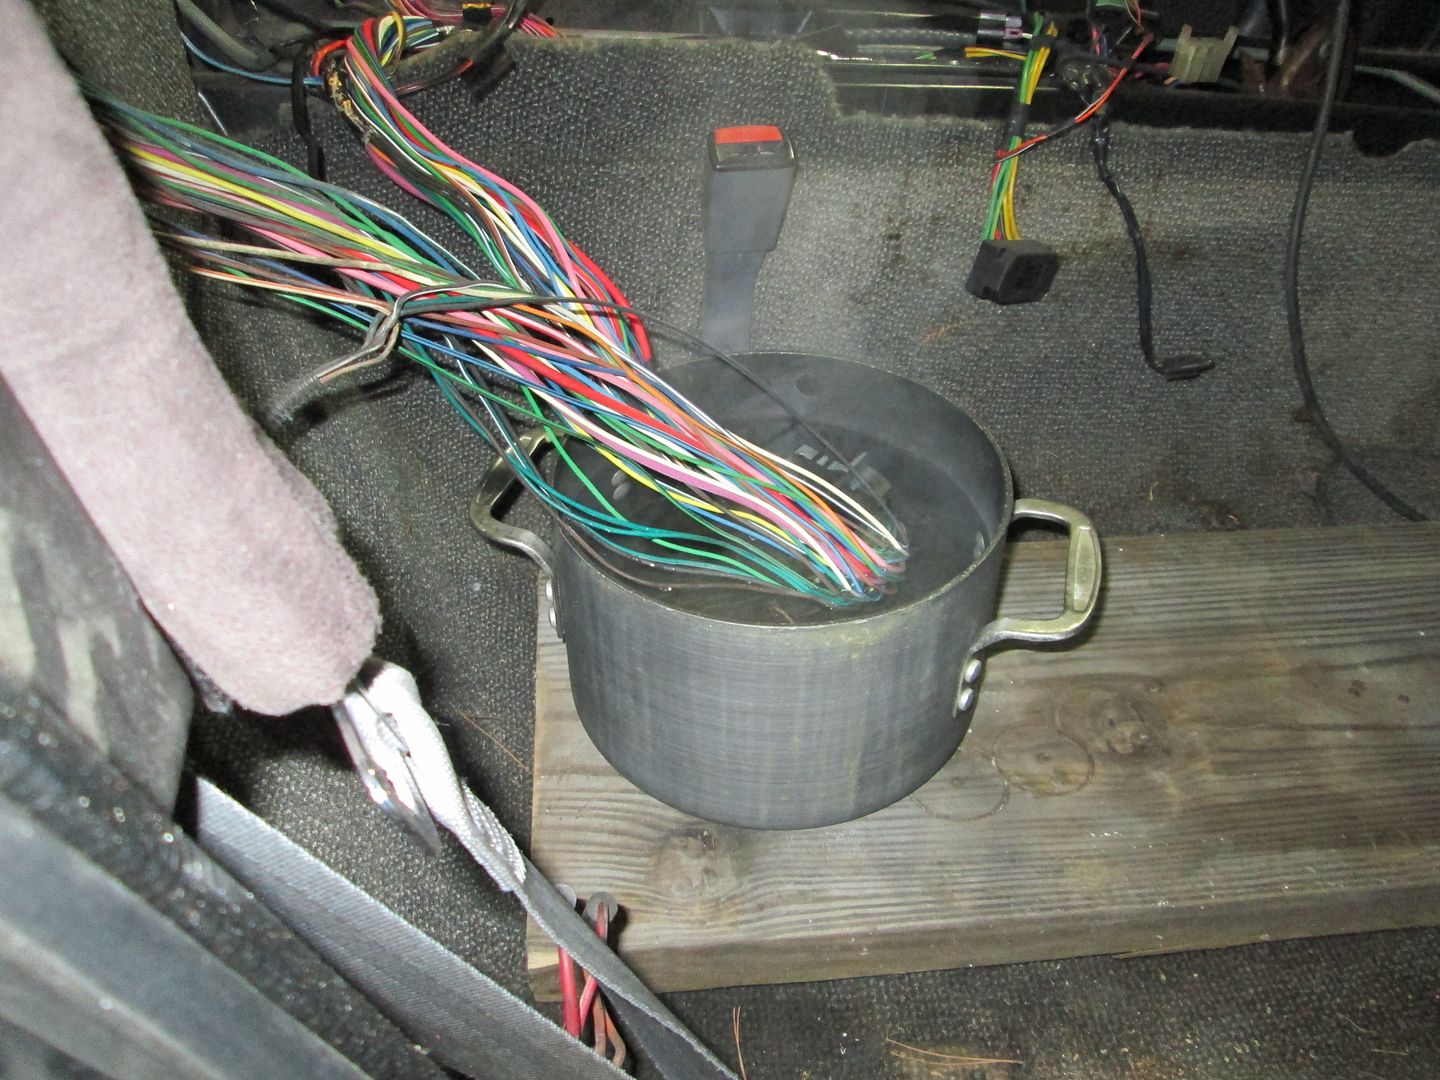
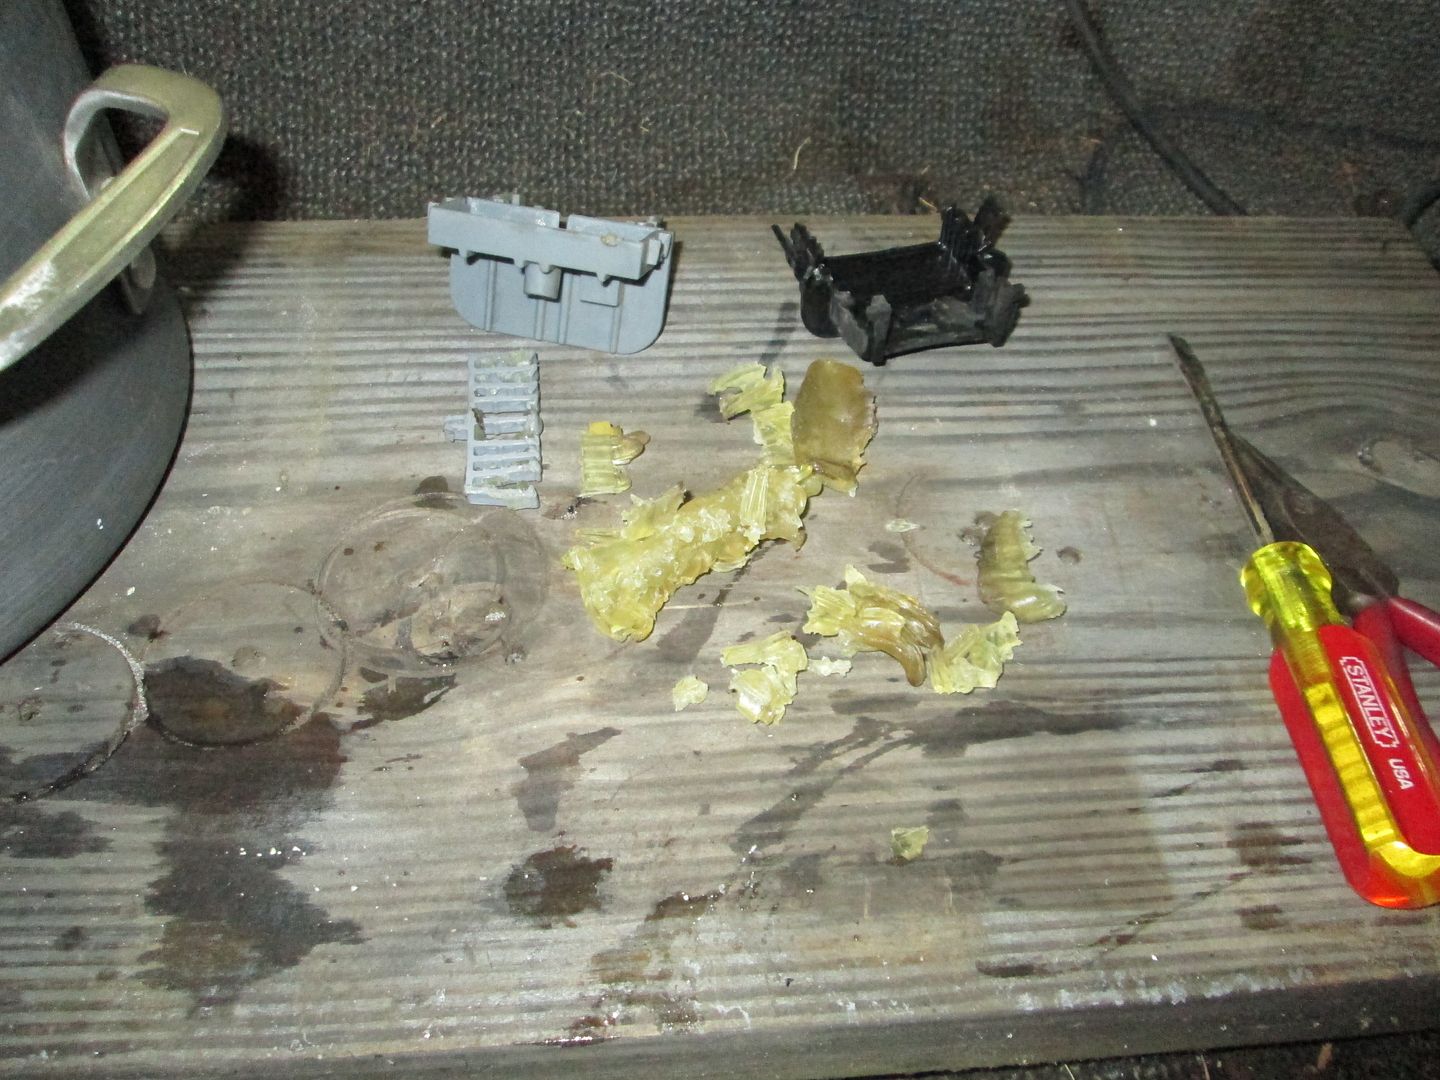
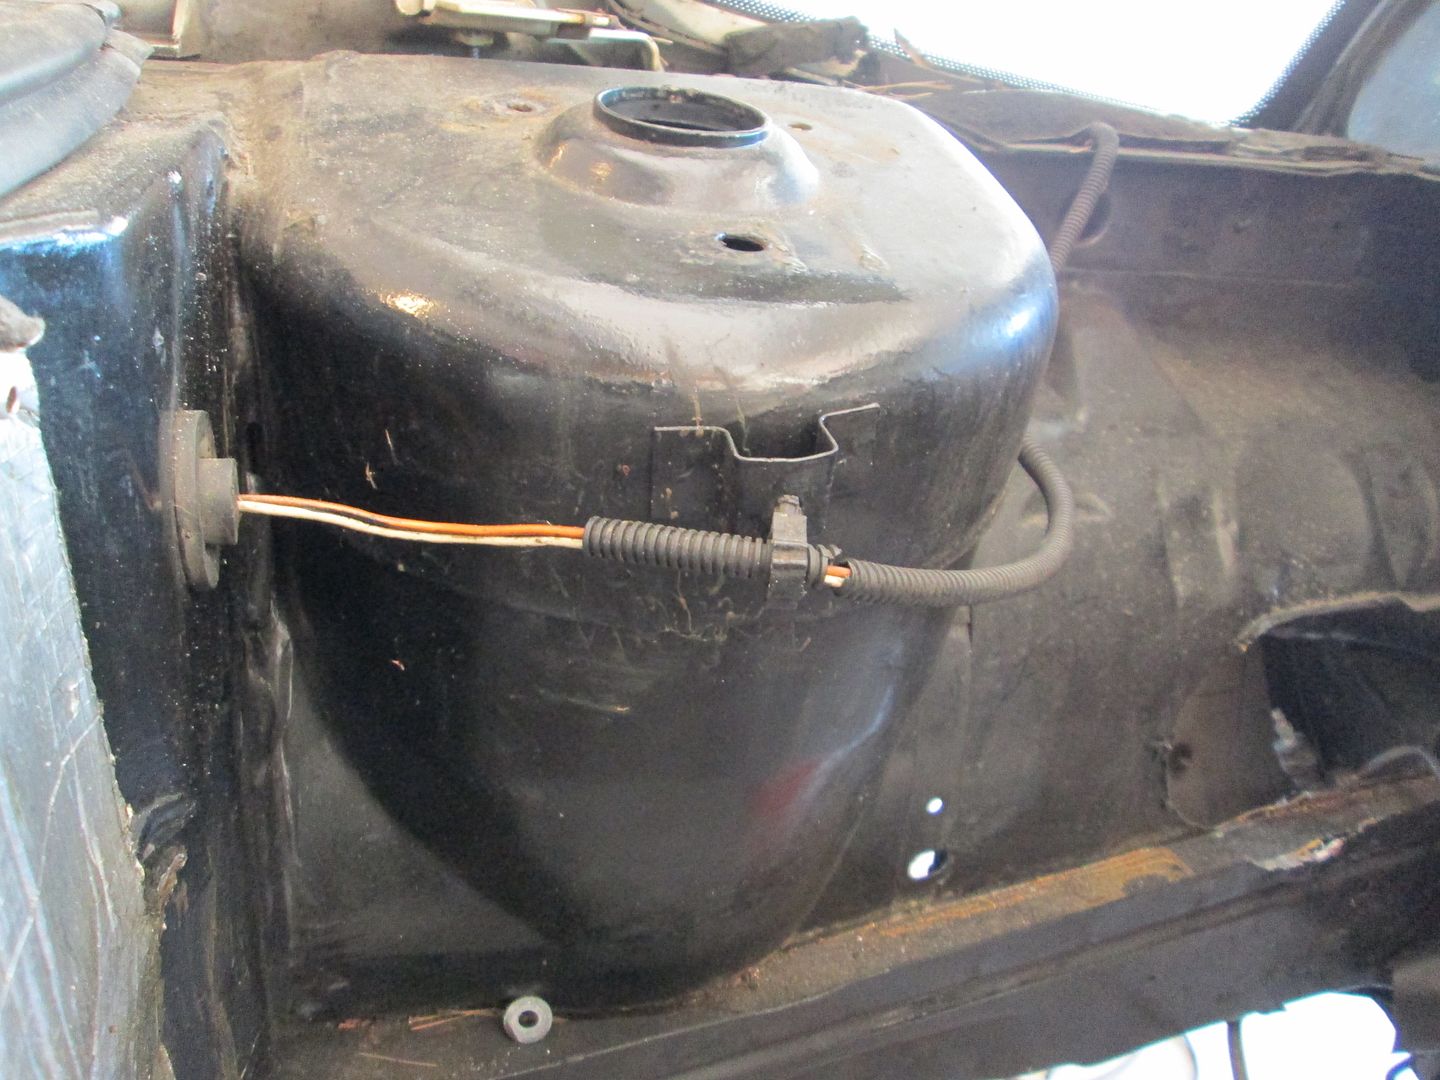
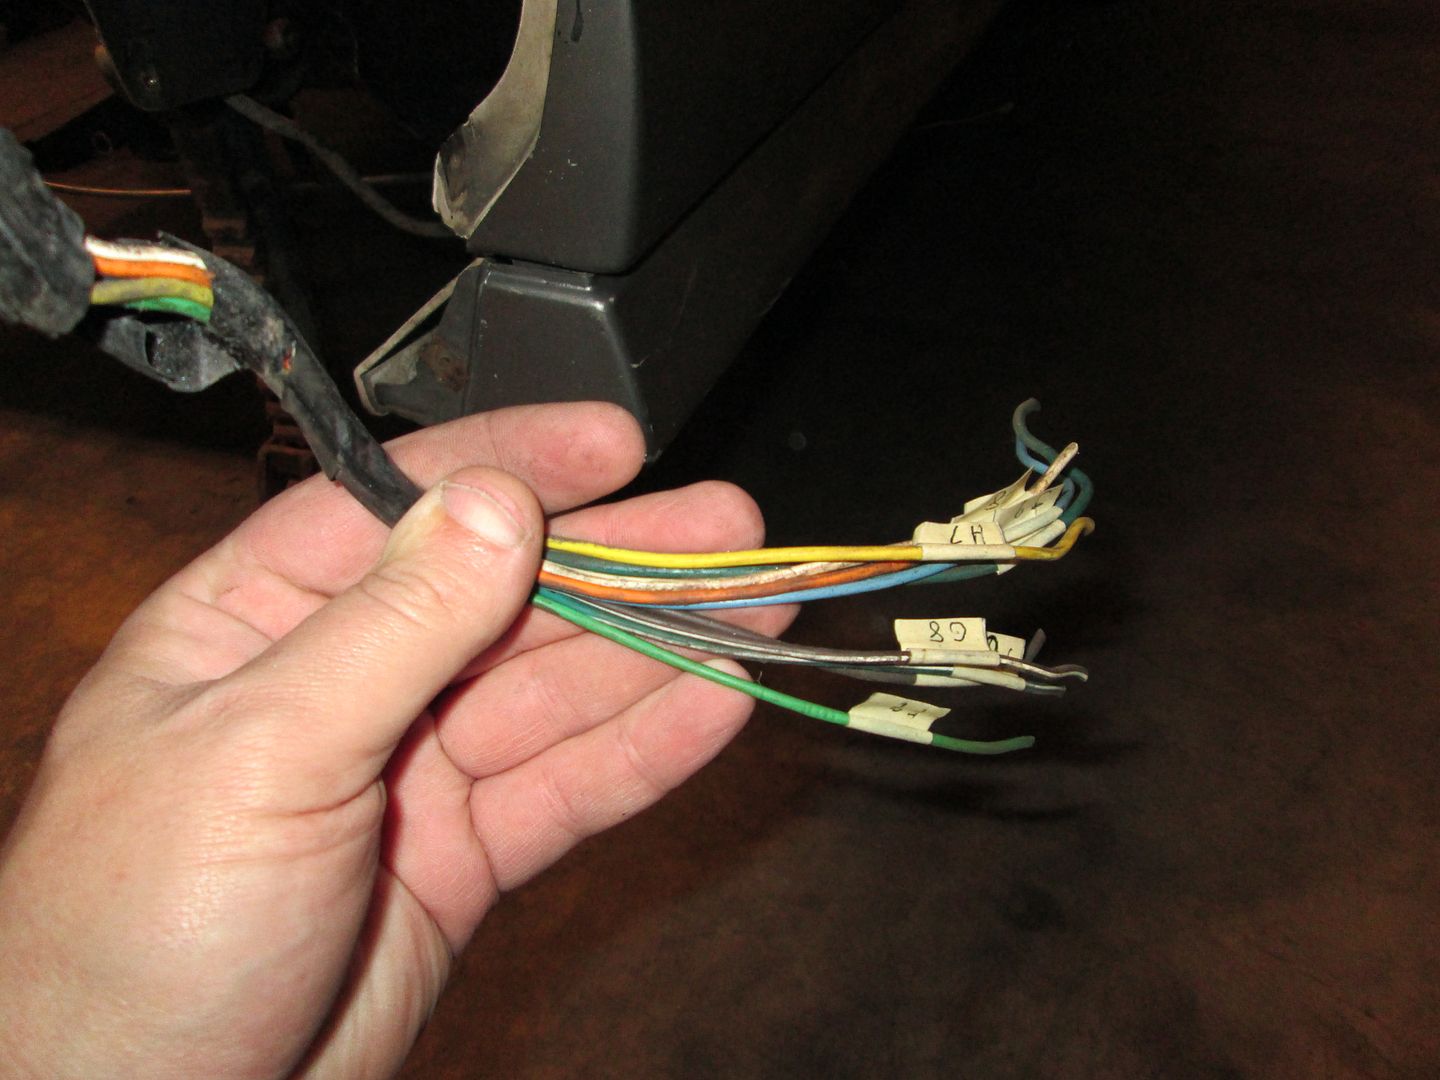
Used some hot water to remove the bulkhead pass through connector on the 500 harness:
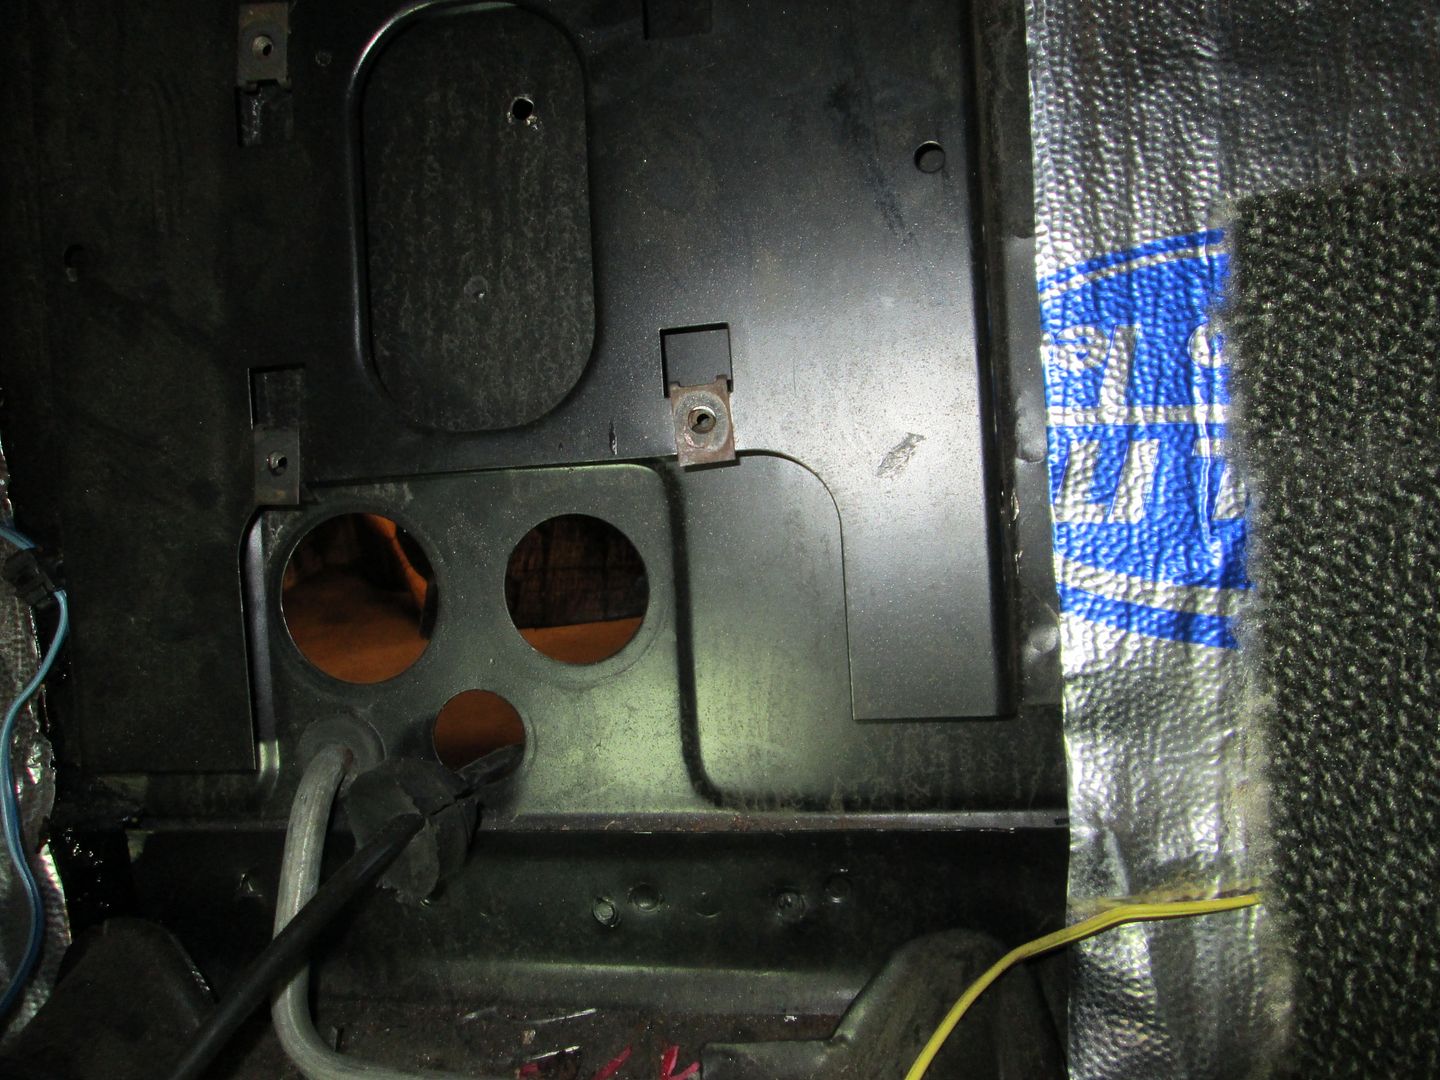
Labeled every wire at the 500 connector and cut the wires from the connector. Then I separated the harness into 4 parts. Tail light/cruise portion (will go down into the fuel tank area, through the double firewall section and out the passenger wheel well.
Engine portion - these will go to a terminal strip for the connections to the engine harness:
Fuel pump: this will also pass down into the fuel tank area:
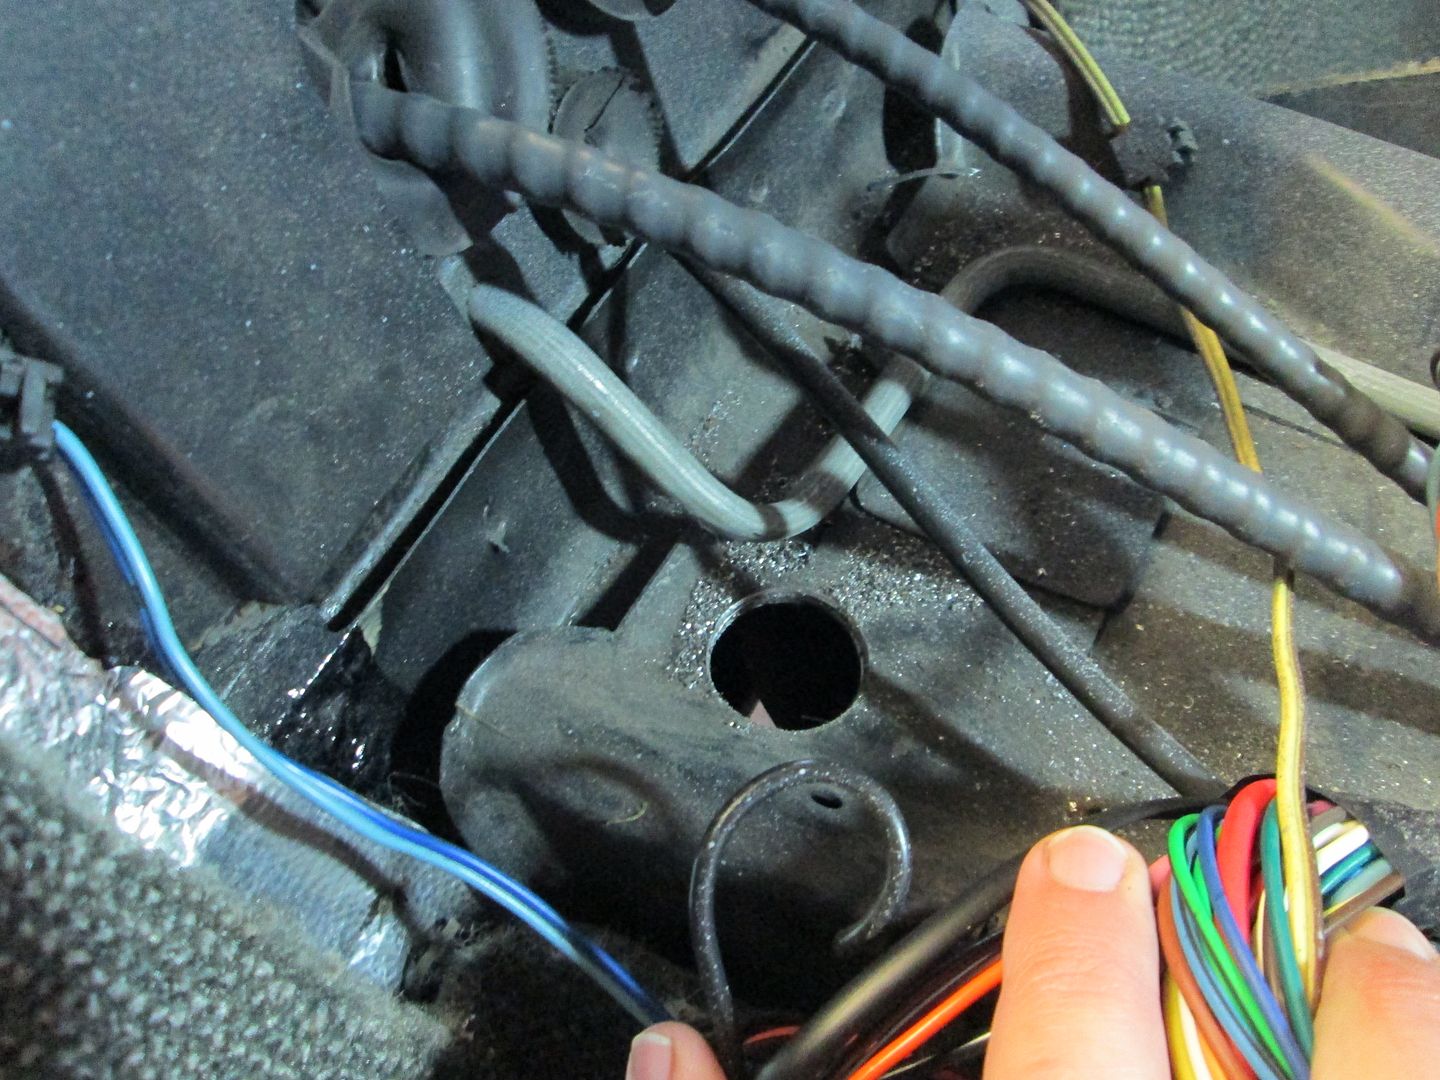
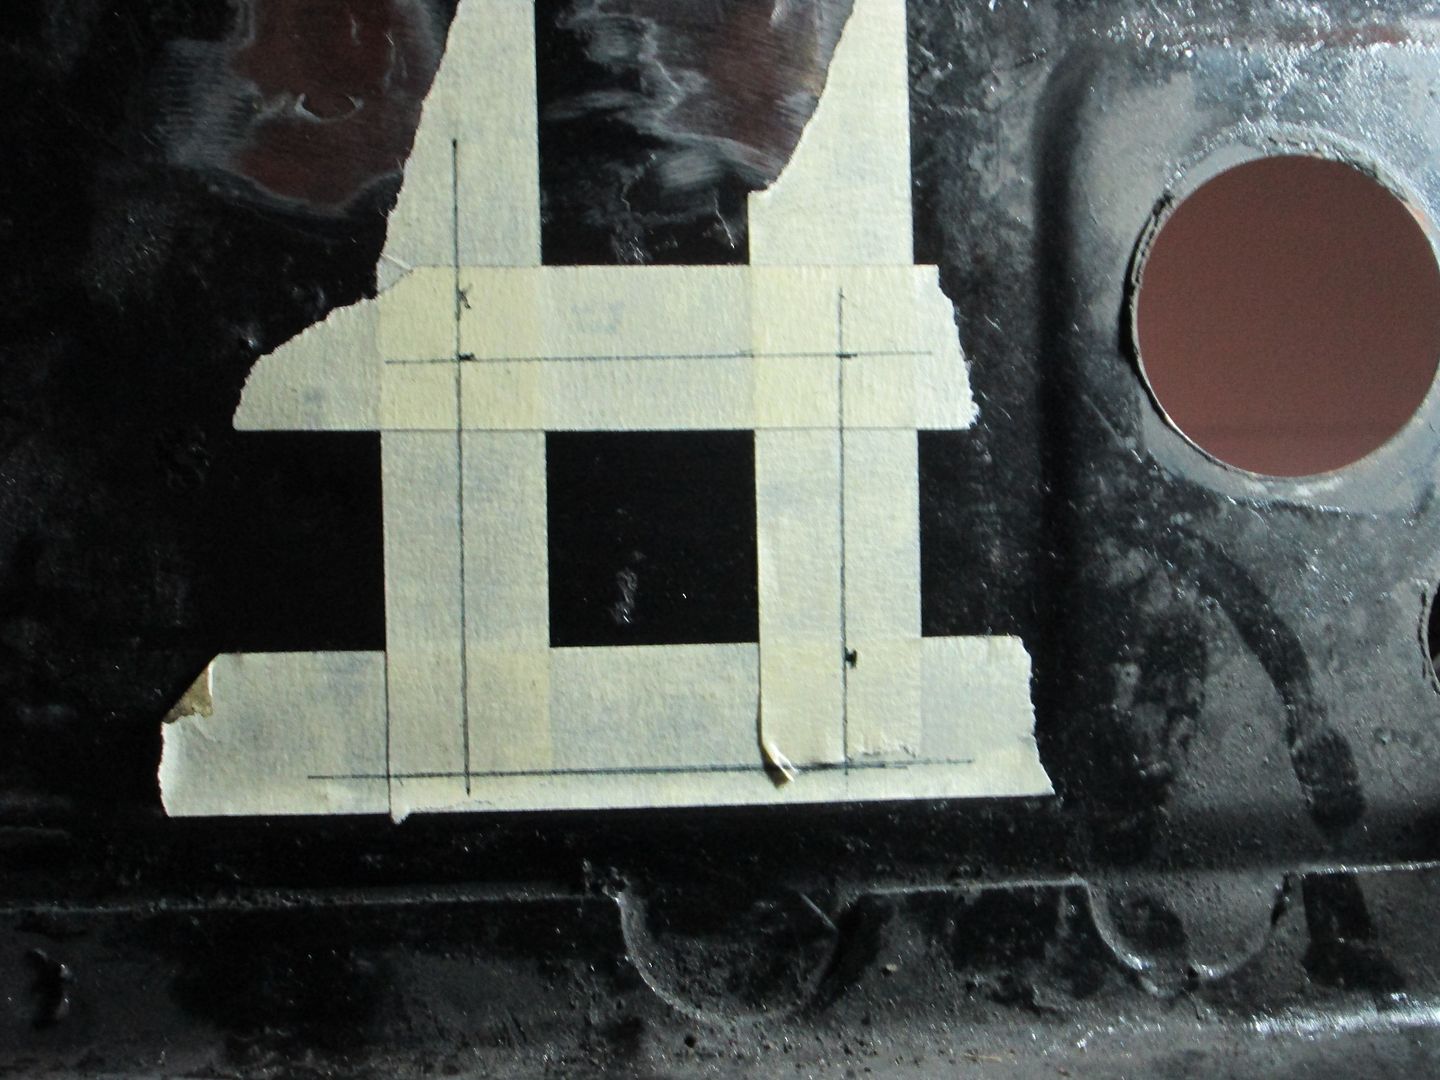
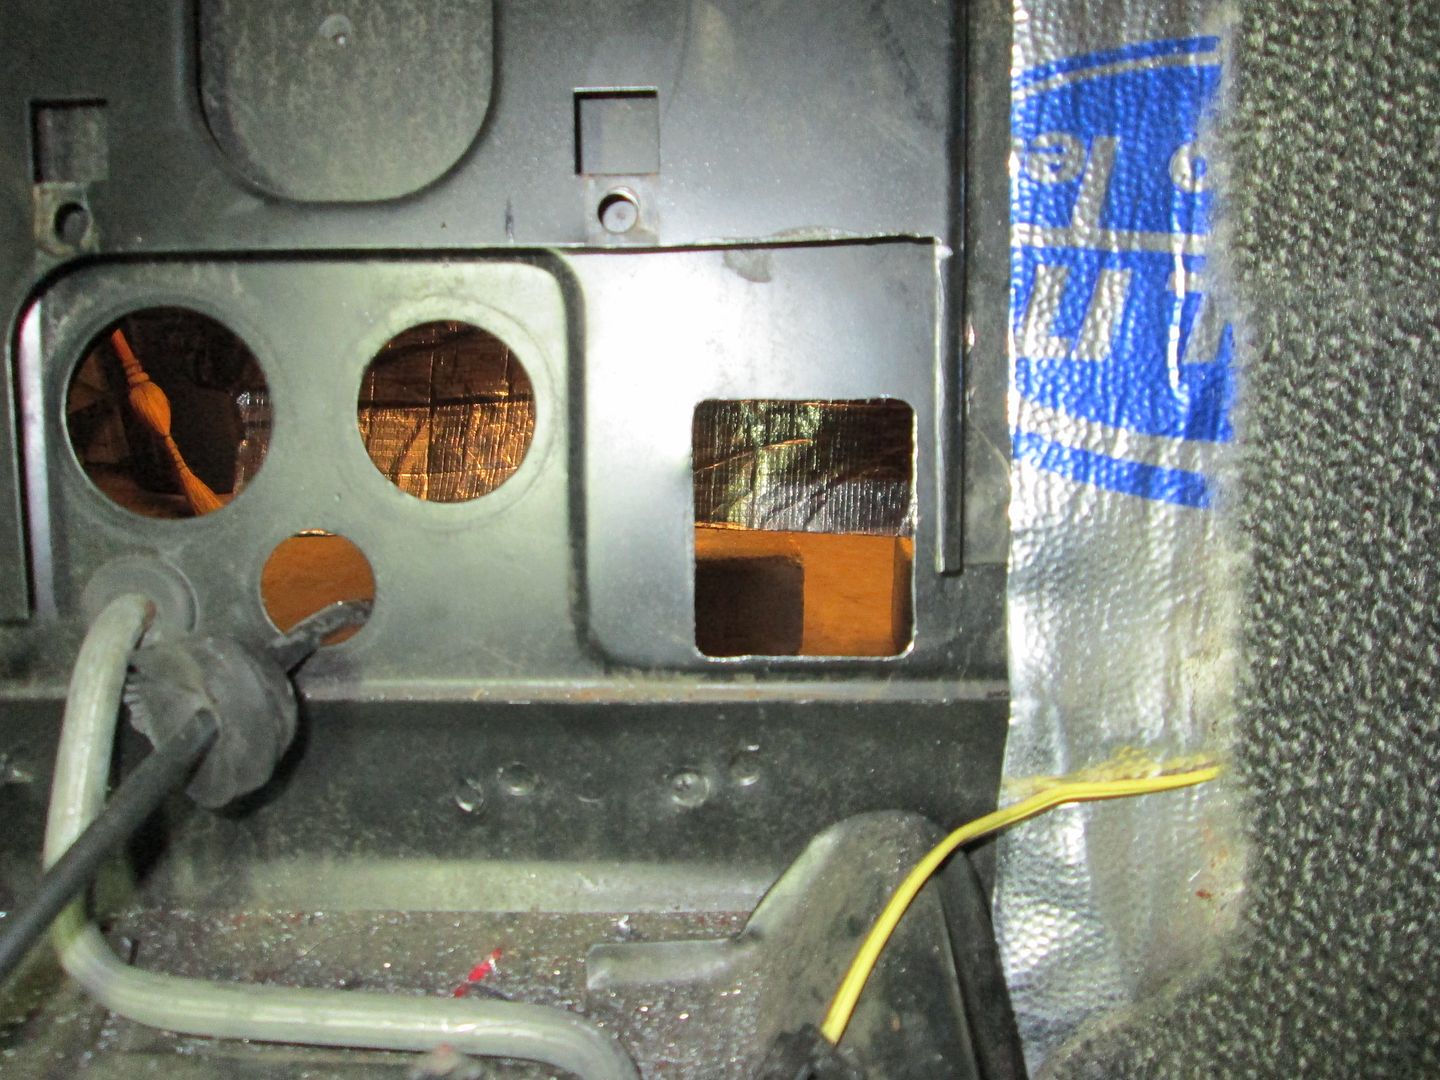
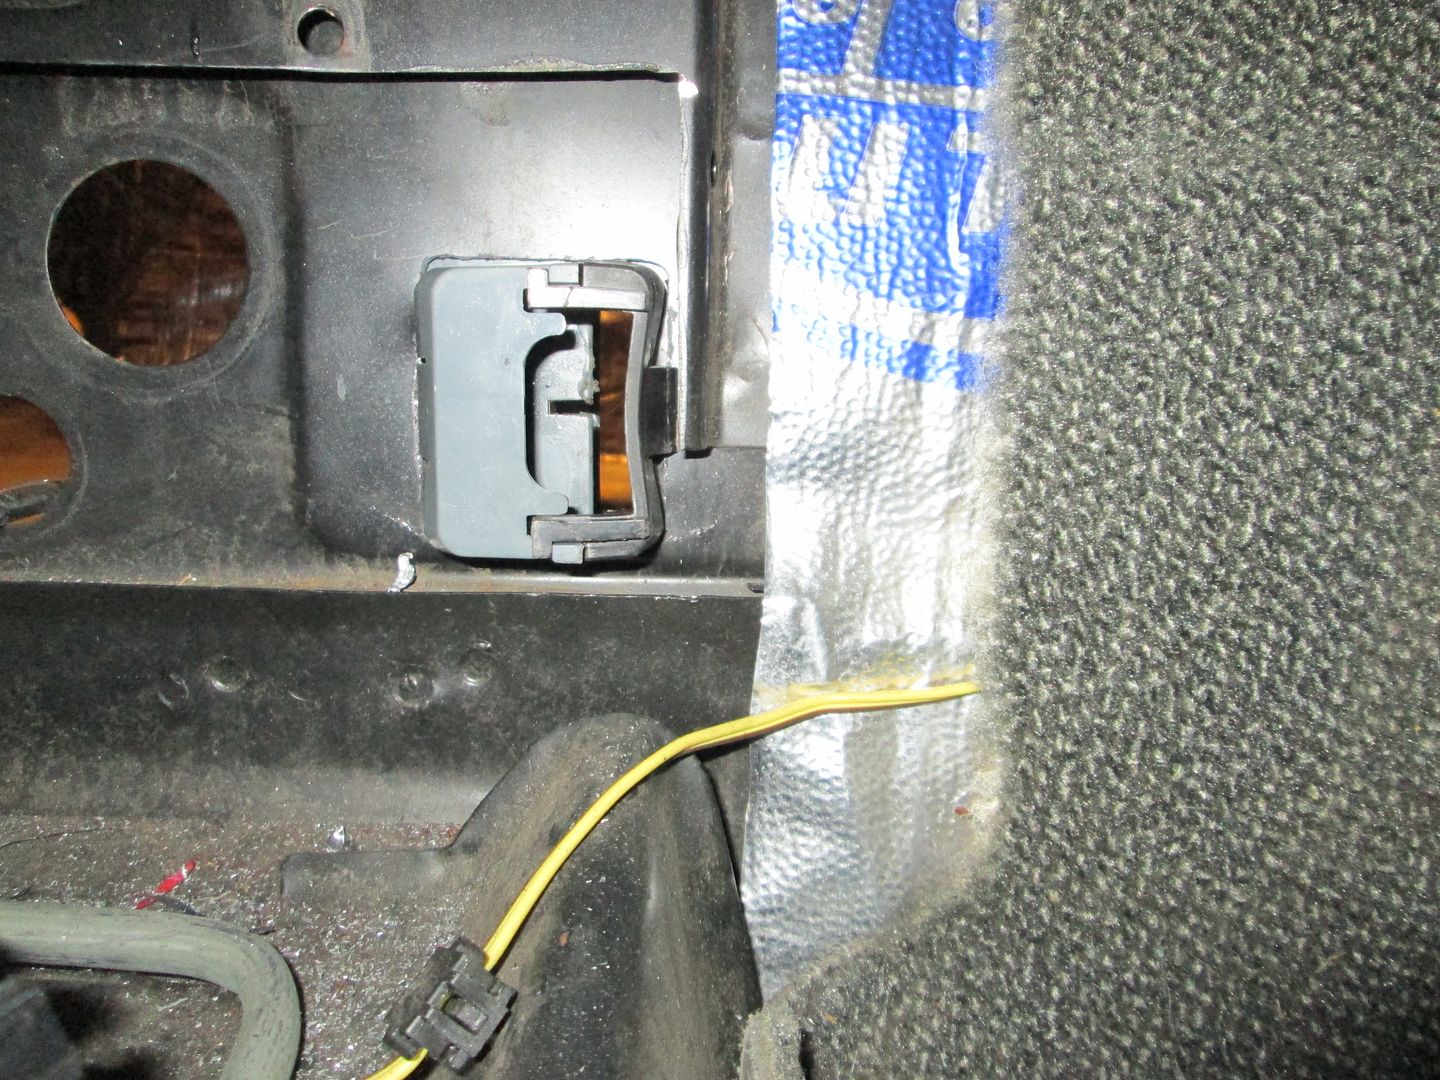
Trunk Release: This will pass through the firewall and smooth panel right under the passenger hinge (I drilled a 1/2" hole for this harness before the smooth panel was painted):
[This message has been edited by fieroguru (edited 02-15-2014).]
Originally posted by Trinten: I hope you guys are getting some better weather out there than we're seeing this way. Stay warm!
Its been cold (single digit lows most of last week) with a couple of inches of snow here and there, but nothing like what you guys where getting. Today was 39 and the start of our heat wave. The highs this next week are all above 49 degrees until next Sunday when it drops to 41.
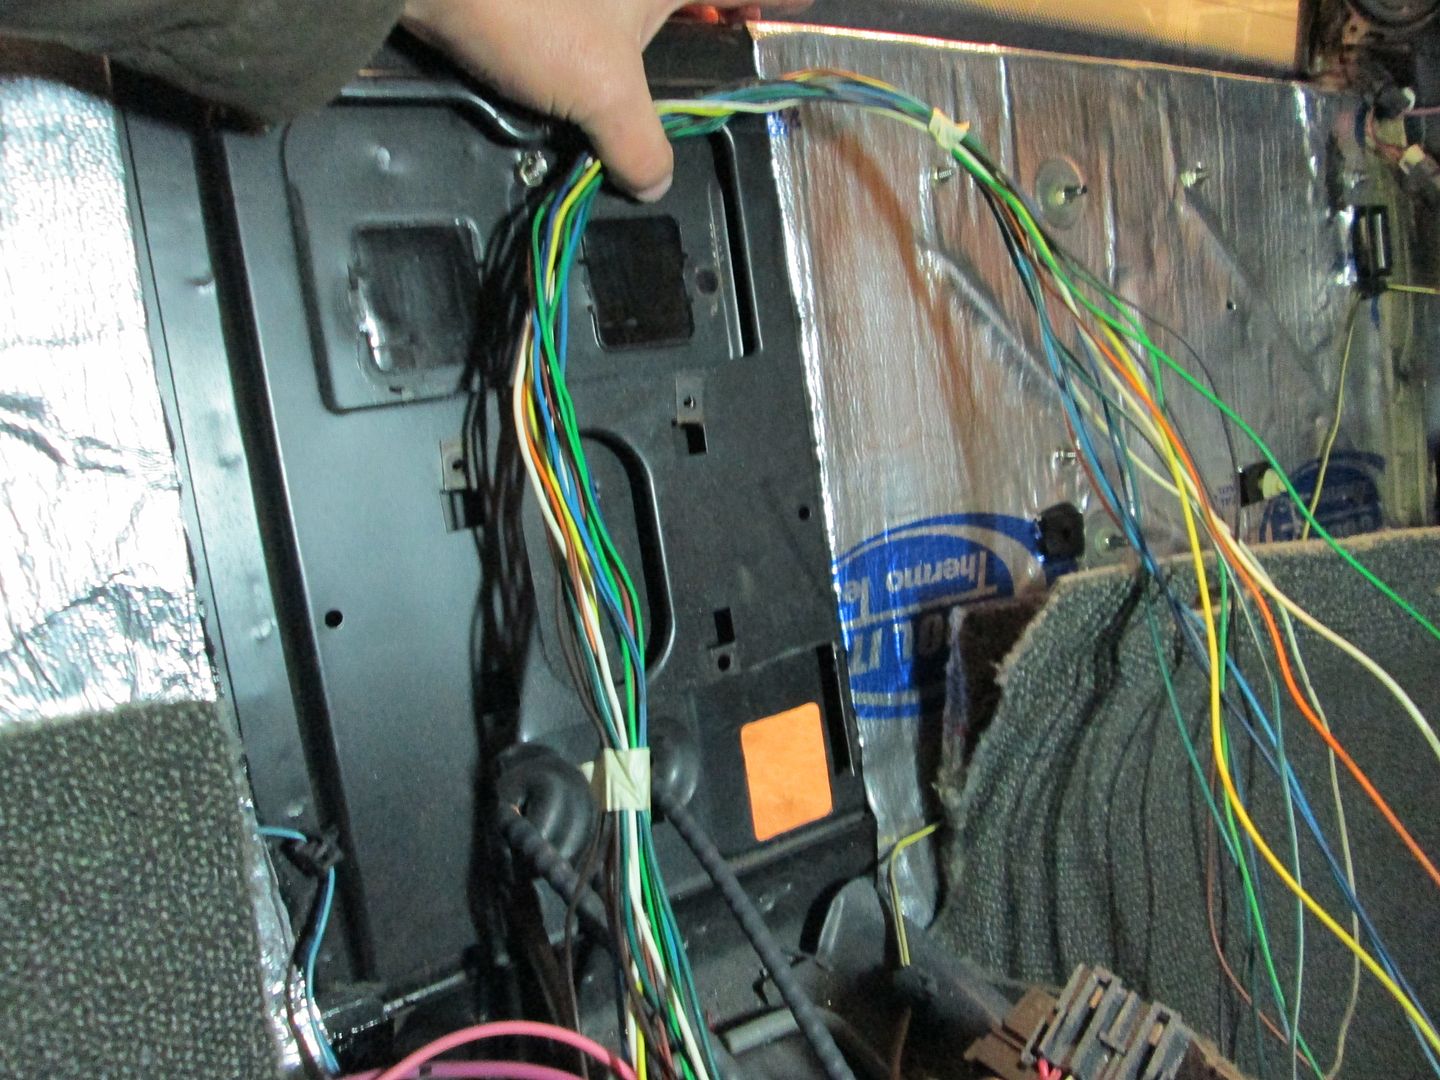
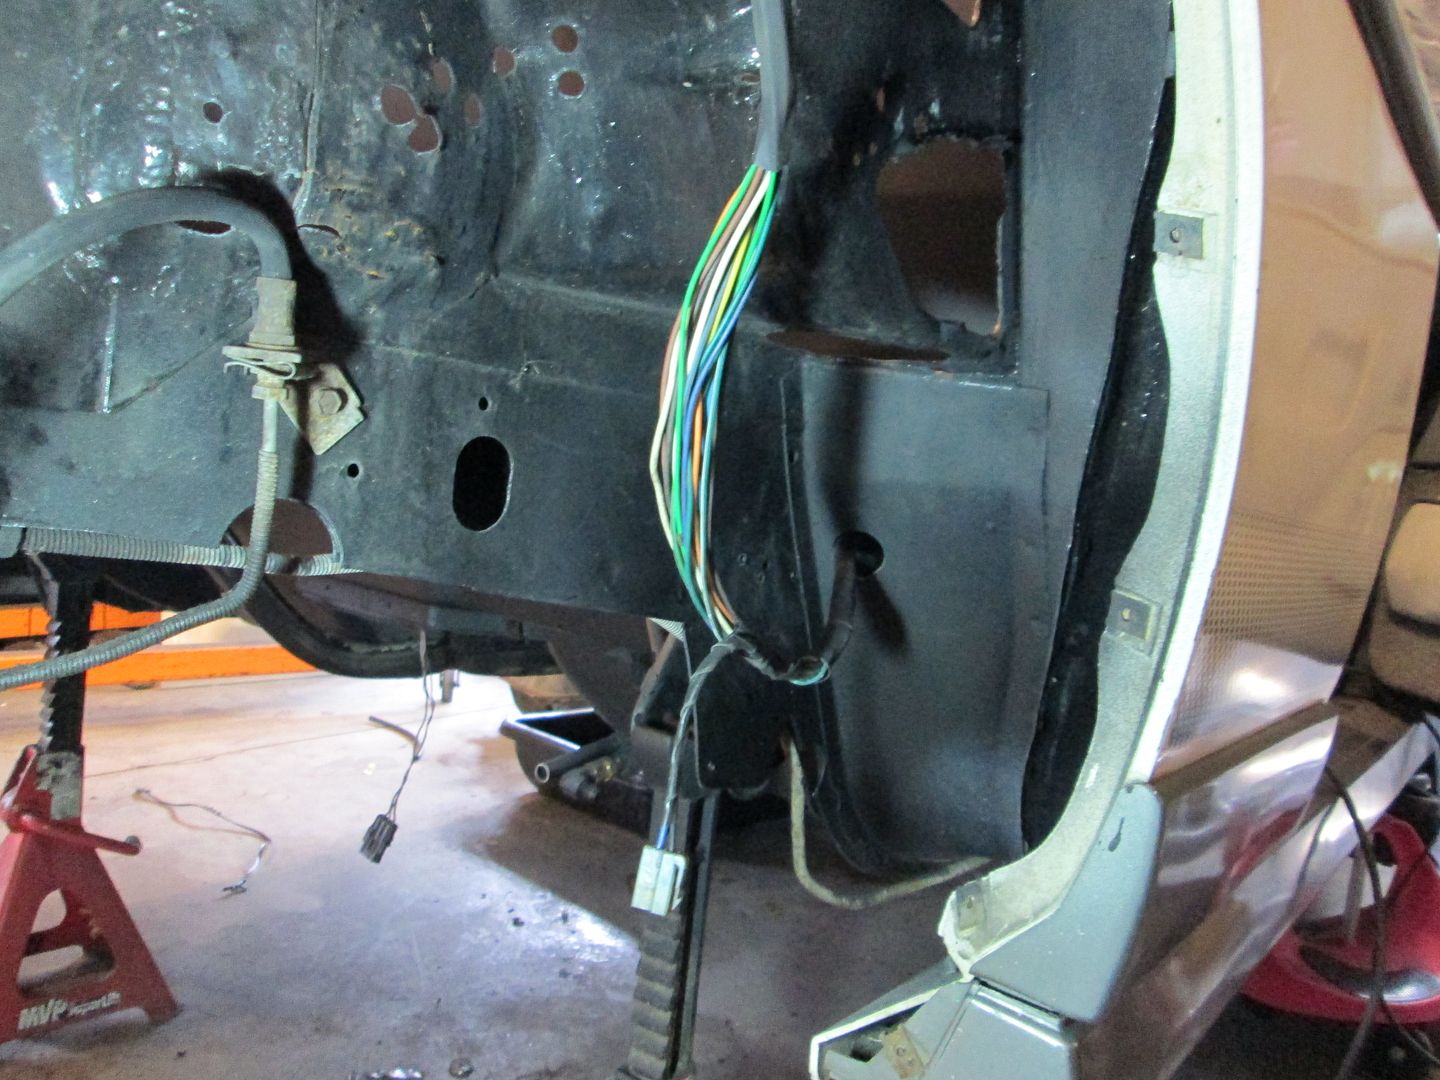
Today wasn't as productive as I would have liked, but the rear chassis harness work is done.
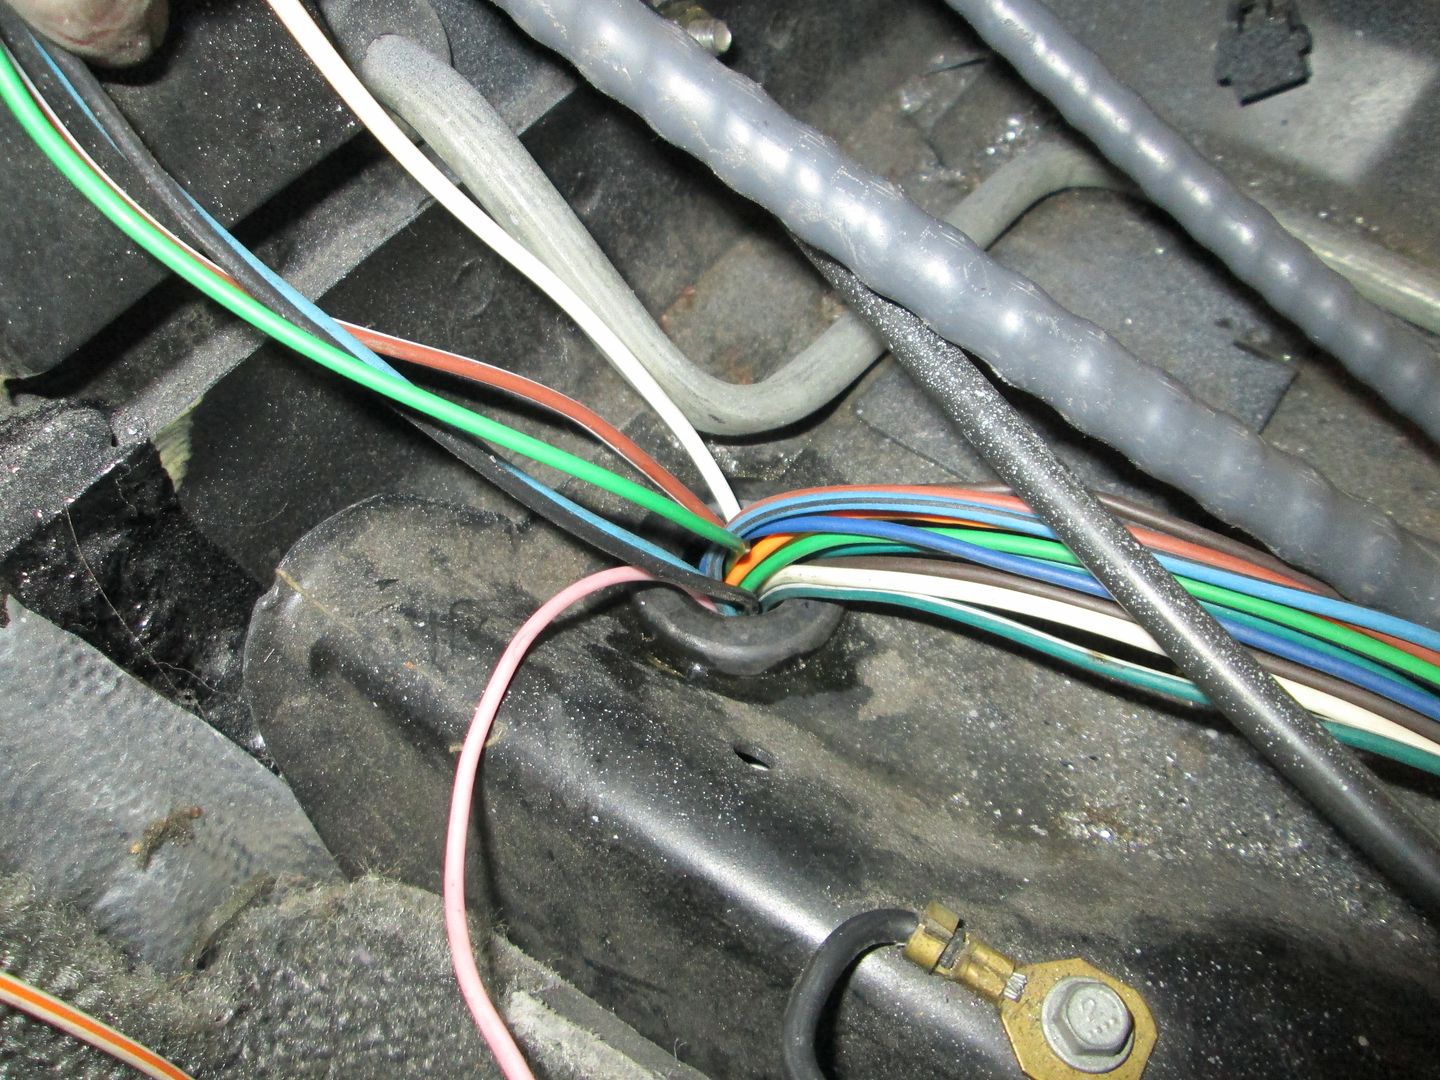
Drilled the access hole in the center console as well as in the side of the chassis to access the double firewall section. De-pinned the fuel pump connector and the trunk release connector so I could pass the wires through the holes, then reinstalled the connector pins. Passed the rear harness (including the 2 wires for the water pump) down into the fuel tank area, then installed 2 layers of heat shrink to protect the wires. Snaked a piece of rod through the double firewall section, tapped the harness to it and pulled it through. Once that was done I was able to reconnect the two sections of wired with western union splices, soldered, heat shrinked over the splice, then heat shrink over the entire spliced area. When splicing the harness, I stagger the spliced every 3/4" so there won't be two splices right next to each other that could allow them to run through. It also keeps the harness from being bulky in the spliced area.
I need to steal the fuel pump connector off the parts car's fuel tank so I can replace the melted one. Once that is done, the fuel tank can be installed along with the fuel filter/regulator. Then the engine/transmission will go back in.
With the weather being nice this week and since I will be traveling for work the week of Feb 24, I plan to put in some decent hours in the evenings this coming week. I would like to hear it make noise before I leave for my trip, but there is still a bunch of work that needs to be done.


 I hope to do a nice, clean, proper swap in mine one day.