I've got the same situation with my thermo. I was told it "had" to be used with the chip from stickpony (which I'm no longer using )With the 180 therm the car does not heat fully up on my commute. Figured I'd pick up a 195 this weekend. Just out of curosity, did you have the second fan switch setup also on yours? My second PCM fan output is setup 10 degrees higher. I think I'll wire in a winter/summer switch for easy changes between the 2 outputs.
Yeah, I have the lower temp fan switch. I'm changing everything back to 195 though. It's what the ECM and engine were designed to run at. Here in WA, not an issue anyway summer or winter.
I got four injectors in the mail today. It's just to nasty, (33* outside), to go out and check them out. I remove the old screen filters before I put them into the Ultrasonic cleaner. I have 25% chance of having at least one good one in that box. One will do!!!!!!. If I can get this going I'll add the fuel rail and throttle body back to the engine Sunday or Monday. Its supposed to be in the 50's again by Sunday afternoon. Joe
[This message has been edited by josef644 (edited 12-12-2009).]
I was able to test these injectors today. 3 were working wonderfully. One was off a small bit, it didn't spray as good as the others. I plan on getting this back on the car tomorrow or Monday, and see if she will fire up and run off of the injectors. I am gonna clean two of these in the Ultrasonic cleaner for two hours tomorrow before re-assembly.
I removed an outter CV shaft for V8 Archie a while ago. I have two of the injectors that tested best in hot water now , inside the Ultrasonic cleaner. I am going to clean them for about two hours, then blow them off . Tomorrow I will replace the injectors and rails on the engine. We are having a tropical heat wave here today. Supposed to get up to 45.
It isn't getting above freezing this week up here.
Keep us posted!
I popped in my 195 T-stat yesterday, ah, much better, I have cabin heat again.
I'm finally getting to my thermostat today. The car never heated above 165 degrees F. I froze on the way to work today and the gas mileage sucks without closed loop..
Its not suppose to get this cold here this early in the season. High of 36 yesterday with 20-40mph winds. Looks like we may be in for a winter like last year. Now I remember why I get so much done on the fiero over the winter.
I went outside and checked all 8 of the injectors I was planning on using. One of the two new ones that I had cleaned up yesterday evening would only back flush. It would not work top to bottom. I had to replace that one with a different one. I ran it threw the cleaner for an hour before installing it in the fuel rails. Oh, and I did trest it again before install. Do not assume the injectors will work. Always test before installing
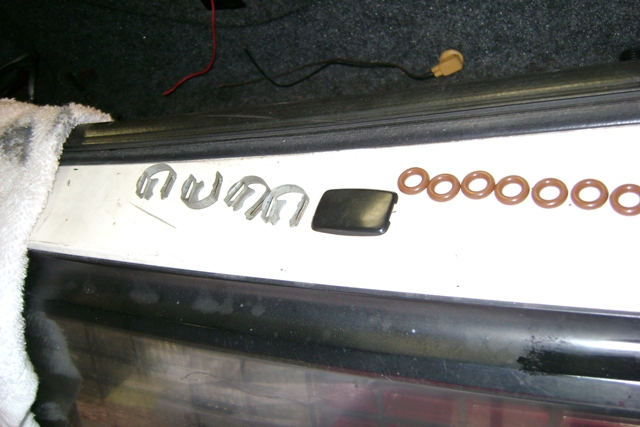
I replaced the injectors and the fuel rails today. Cleaned the clips and lined up the O rings. I used 5W 20 motor oil on the O rings, and in the intake holes where the injectors go.
O rings and clips on the injectors, and on the rails. Index the connectors to where you want them pointing before torquing down the six hold down bolts
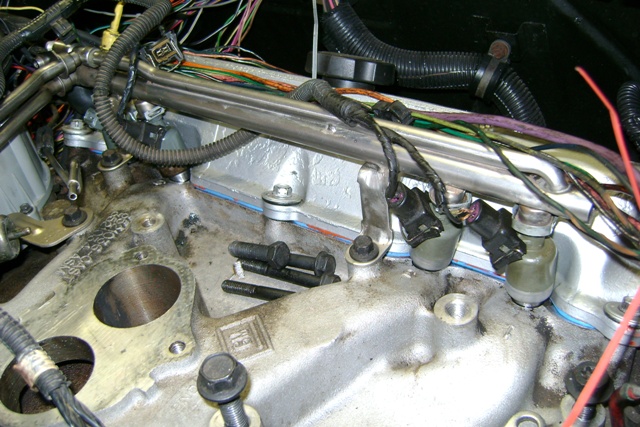
And back on the intake. It only took half of the effort to seat the injectors as it did to pull them up. Real easy to do
Spent a while cleaning up my TB for instalation tomorrow.
I had to order a new throttle body gasket, so I won't try to fire it up untill tomorrow morning. No use putting the TB on, and having to remove it again tomorrow.
I added this same information on my 4.9 injector servicing thread.
[This message has been edited by josef644 (edited 12-07-2009).]
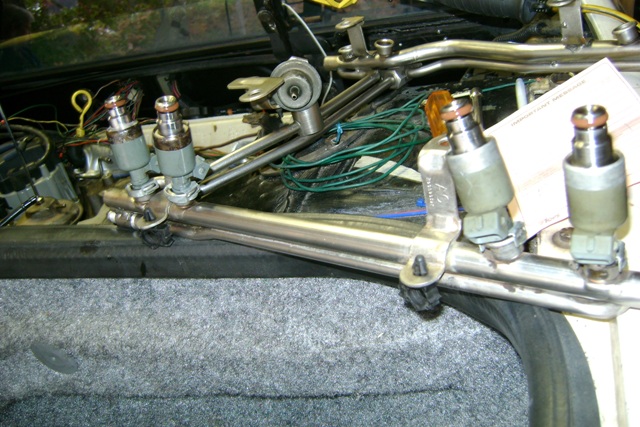
In the center picture, the two injectors on the far left are two that Dean sent me. The metal band was made out of a different metal than the rest of all the injectors I had here. They didn't shine up like the rest did. They did spray real nicely though. Joe
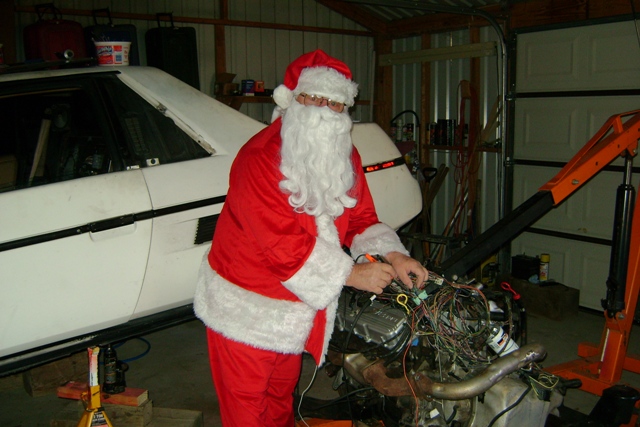
Well I turned the key switch two times to pressurize the fuel rails. I turned the key and it fired up with the first crank. I didn't even need to try it a second time. My neighbor heard the exhaust and came over to see what the noise was. I got my camera and took a 15 second movie of the fire off. It is running so smooth the engine didn't evan shake. I had the muffler off of the exhaust for this little clip. I am going to send it to Fieroseverywhere to post it up for me.
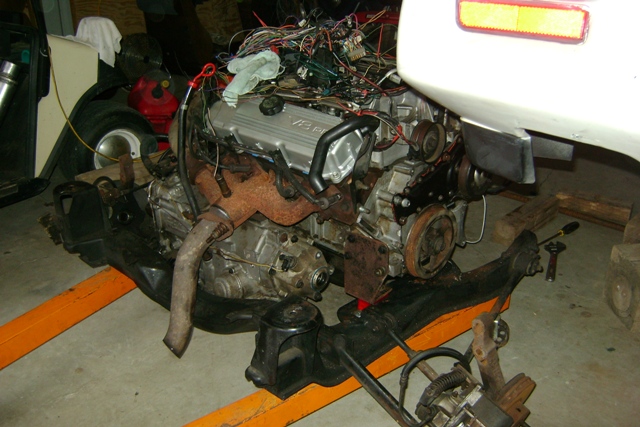
I don't have coolant, or the exhaust hooked up so that is all for now. I will start removing the cradle from the car so I can install the new water pump inlet, and finish up with the belt ideler and that stuff. I am going to change up some of my mounting brackets while it is out. We will add the exhaust on also.
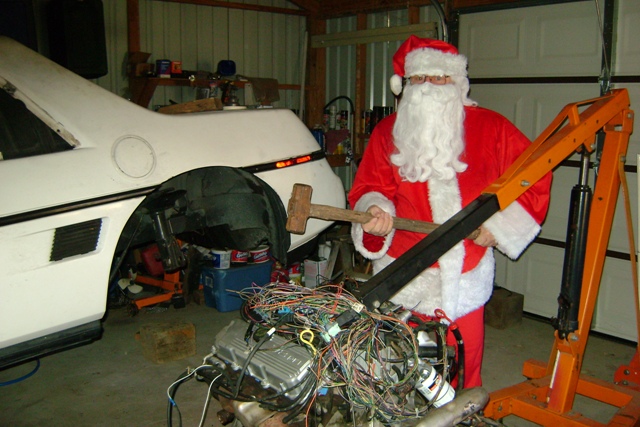
IT'S ALIVE
[This message has been edited by josef644 (edited 12-25-2009).]
This is the best I can do. I don't know how to do the embedded viedo on here. When Fieroseveerywhere gets home he can pull this up and do the embedded thing.
Congrats on getting it running! I guess we are going to have to arrange the swap out of parts so you can take care of all the little things. I know you must be feeling good about getting it running. Next is the spinning of wheels! Be sure to get pics of first burn out!
------------------ When life gives you lemons, thank them for the Fiero.
I ordered the gasket set for the timing cover and waterpump inlet. Also ordered the 1 1/4" coolant filler neck from Jegs E Bay site. I took the new waterpump inlet to the welding shop to have the heater hose barb removed and welded up.
29* this morning at 630am here. I did nothing in the garage. Gotta go to work now.
Great to see the progress! You're gonna love it when it's done. I took my 4.9 out for a little 100 mile Christmas shopping excursion today and had a ball.
Picked up my water inlet housing at the welding shosp, and the gasket set for installing these. My coolant inline filler is gonna be here Monday. I am off tomorrow and plan on finishing the cradle drop so I can get started on the install of the new parts.
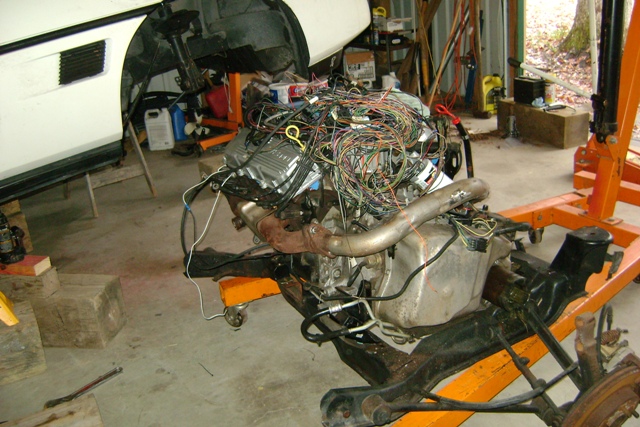
Its down and out for finishing up of things that need to finished out of the body.
I will start on the water pump inlet tomorrow after work. It' supposed to be in the 70's here tomorrow so I should be able to be a lot done before it gets dark the next few days.
[This message has been edited by josef644 (edited 12-12-2009).]
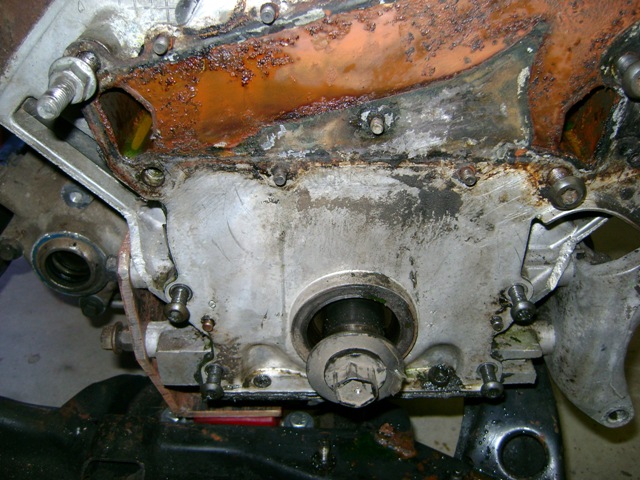
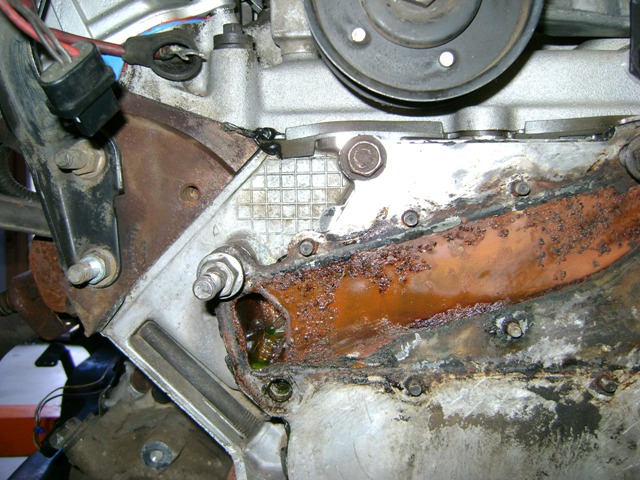
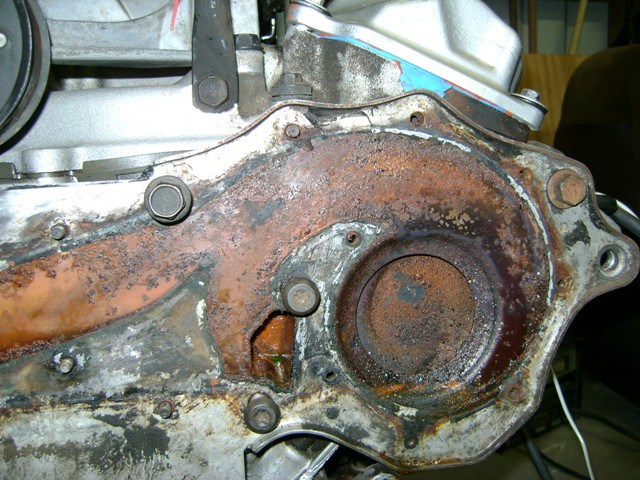
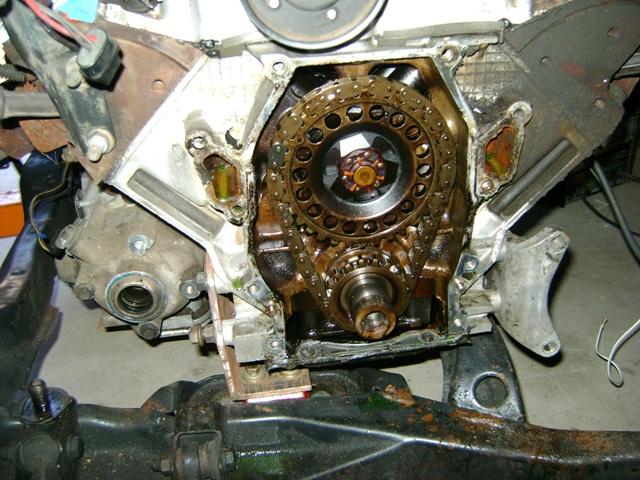
Removed the water pump,balancer and the timing cover today so I can install the new water pump inlet housing. I'll post some photos later tonight. Wasn't to bad at all. I had to find a small balancer remover as mine was to large to work. My block still had pretty green anti freeze in it.
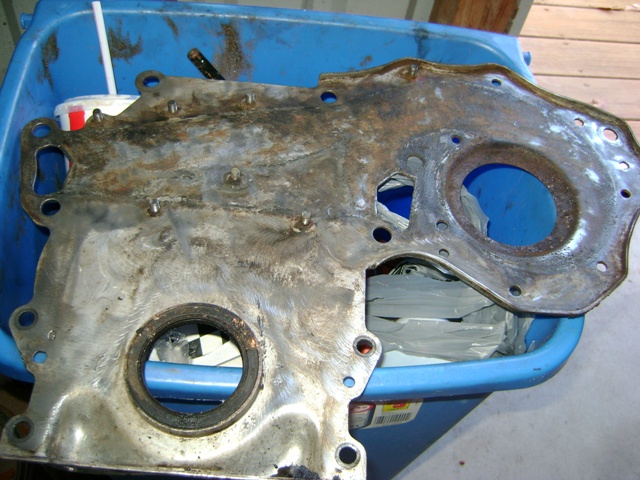
There are 4 or 5 different size fasteners that hold this all togeather. I took a photo of the way it is so I could get it all back togeather the way it was: Left side Right side Timing Cover removed Water pump side of the timing cover
[This message has been edited by josef644 (edited 01-02-2010).]
I'd spend the money and get the lifetime warranty water pump, as you can see its not that fun to do. Also using some brush on gasket sealer helps so the water pump doesnt leak. This keeps the gasket in place better too.
I'd spend the money and get the lifetime warranty water pump, as you can see its not that fun to do. Also using some brush on gasket sealer helps so the water pump doesnt leak. This keeps the gasket in place better too.
Whats the best way to do this? Timing cover on the engine first, then the water pump, and lastly the inlet housing. Or inlet and waterpump on the timing cover , then all of that on the engine?
That's good progress Josef. I did all the same with mine while the engine was out. I would recomend the new lifetime water pump as well. It's really nice to see the whole front of the engine look new. Also did the oil pan gasket, front and rear main seals and anything else I could buy a new seal for.
I went and picked up my new water pump this morning NAPA lifetime warranty. $58.00 more in the 'Kitty'. Its 32* in my garage right now. I have no heater so I am gonna stay inside for the next few days. We are gonna have a cold snap here for the next 6 days. Lows in the low 20's with wind chill factor of 13* for two nights. Might not get anything done here this week.
Whats the best way to do this? Timing cover on the engine first, then the water pump, and lastly the inlet housing. Or inlet and waterpump on the timing cover , then all of that on the engine?
I don't really remember what order they go on. I've always done the waterpump last. I believe there is only one way to do it though
Whats the best way to do this? Timing cover on the engine first, then the water pump, and lastly the inlet housing. Or inlet and waterpump on the timing cover , then all of that on the engine?
I put them on the car as a complete unit. Tightening all bolts that don't go into the block. 10mm ones only get 5 ft/lbs (this is very important!!!). Everything that goes into the block gets 29 ft/lbs. Allen heads go under the waterpump pully. Use silicone or equivelant on both sides of all three gaskets. While you have it out make sure none the studs in the timing cover have pulled out. The timing cover should be completely flat everywhere, including where the studs go through. If they were ever over-tightened it will need straightening.
Trust me on this you don't want to have to do it again... especially in the car. Over-do it the first time and you should be safe.
Read the whole thread-super work by everyone-was not aware of so many fieros getting a new lease on life. Because I'm not too well versed in auto electronics, I went the easy way & bought Ed Parks complete 4.9 install kit. I've not done it yet, too many other things get ahead of the swap. Have one?? I plan to use an 88 rear set up in an 86 , & Mr. Parks had mentioned that the 88 cradle has/had? a weak place--not seen this issue addressed here. NOT saying it does-just wondering if any of you folks are aware or fixed it??
Played w/# just for fun: 92 eldo, 4.9(300 cubes), 200 h.p., 275 lb/ft of torque, weight-3,604 lbs ea. h.p. carries 18.02 lbs., ea. lb/ft of torque carries 13.01 lbs. ea., 100 h.p. makes 137.5 lb/ft of torque.
same h.p. & torque values in a fiero(I used 2450 lbs); ea. h.p. carries 12.25 lbs., ea. lb/ft of torque carries 8.9 lbs. It seems ea.h.p. carries 3/4 of a lb. "less" weight & ea. lb/ft of torque carries 5.75 lbs of "less" weight in a fiero compared to a 92 eldo. No wonder our little cars light up when fired up!!
Seems weird; a 1972 eldo w/500 c.i., 400 h.p., 550 lb/ft of torque, weighting 4, 682 lbs & ea. h.p. carried 11.705 lbs & ea. lb/ft of torque carried 8.5 lbs. and it still took 100 h.p. to make the same 137.5 lb/ft of torque. One element not figured in is the RPM's @ which all of these figures accured. Again--super work by all--Rick
The rear section where it meets the driver side welds break and need reinforcement welding. It is addressed somewhere here. I even asked this question in Tech once because I had forgotten where it tended to break loose.
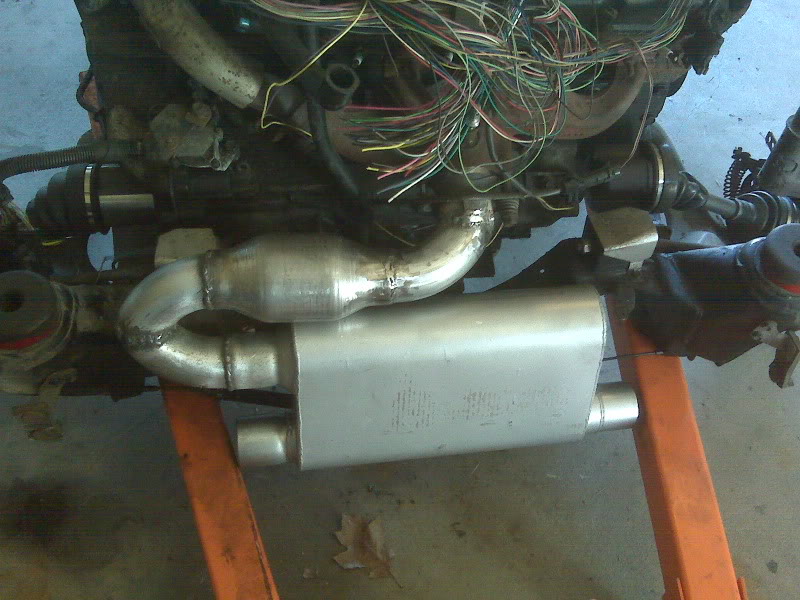
Worked on exhaust today some. I have the first 90* bend made and ready to put on. This is the one that comes out of the rear manifold. I am gonna do mine sorta like this one below:
[This message has been edited by josef644 (edited 01-05-2010).]
Got into it with NAPA today. The timing cover gasket set says on the box it includes the crankshaft seal, but it wasn't in the box. Their website showes it in the image, but it isn't listed in 'THEIR' included list. It says on the box non returnable after opening. You don't know its missing until you open it. Then it's to late. $8.00 more in the kitty on the first page
[This message has been edited by josef644 (edited 01-07-2010).]
Worked on the water pump/timing cover plate today cleaning it up and installing the new crankshaft seal. Cleanded all of the bolts up and have them ready to go back togeather
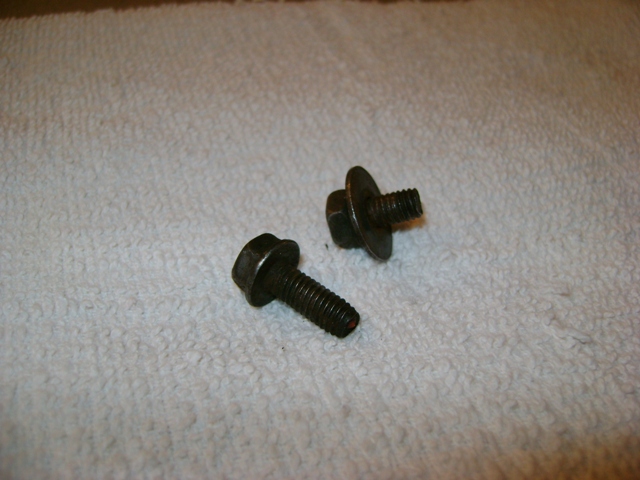
Ran across this bolt while cleaning and I am not sure there is a specific hole for this shorter one of the two.
Really nice work you're doing here Josef. I am at about the same stage with my SBC swap. I had my engine running in the car a couple weeks ago, but could not get the clutch to operate. So I've pulled everything out to fix that issue, plus all the little cleanup stuff while it's out. I hope to get mine back into the car before the weekend.
quote
Originally posted by josef644:
The rear section where it meets the driver side welds break and need reinforcement welding. It is addressed somewhere here. I even asked this question in Tech once because I had forgotten where it tended to break loose.


 )With the 180 therm the car does not heat fully up on my commute. Figured I'd pick up a 195 this weekend. Just out of curosity, did you have the second fan switch setup also on yours? My second PCM fan output is setup 10 degrees higher. I think I'll wire in a winter/summer switch for easy changes between the 2 outputs.