That would be a good swap. Do you follow Bob Pease on YouTube or Facebook? His YouTube handle is LD9user. He’s been racing LD9s for years, but recently started building them for customers. Dude knows everything there is to know about Quads/LD9s and is willing to share his knowledge with everyone.
That would be a good swap. Do you follow Bob Pease on YouTube or Facebook? His YouTube handle is LD9user. He’s been racing LD9s for years, but recently started building them for customers. Dude knows everything there is to know about Quads/LD9s and is willing to share his knowledge with everyone.
Yeah, I've always been a big fan of that motor. Thanks for letting me know, I just subscribed to his channel!
It’s been an interesting three weeks. I’ve made zero progress on the Fiero because a side project took over my life.
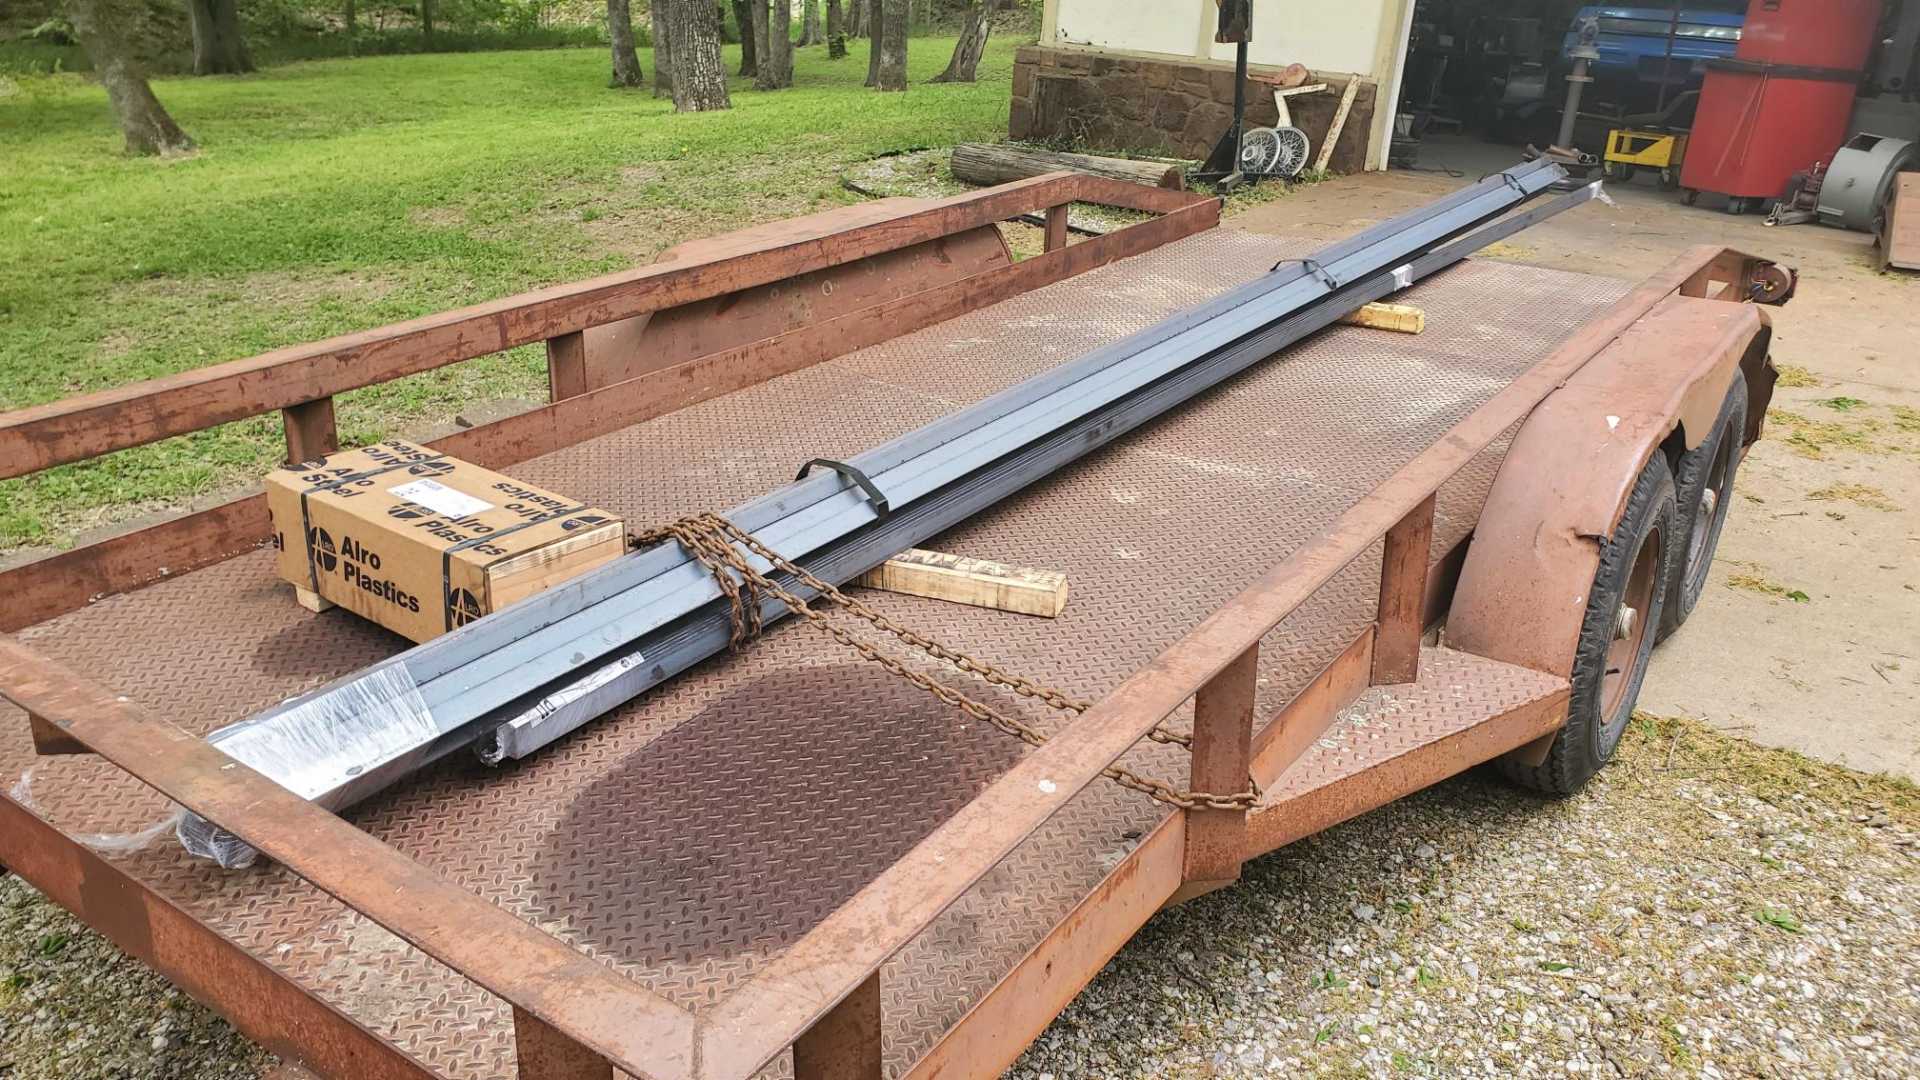
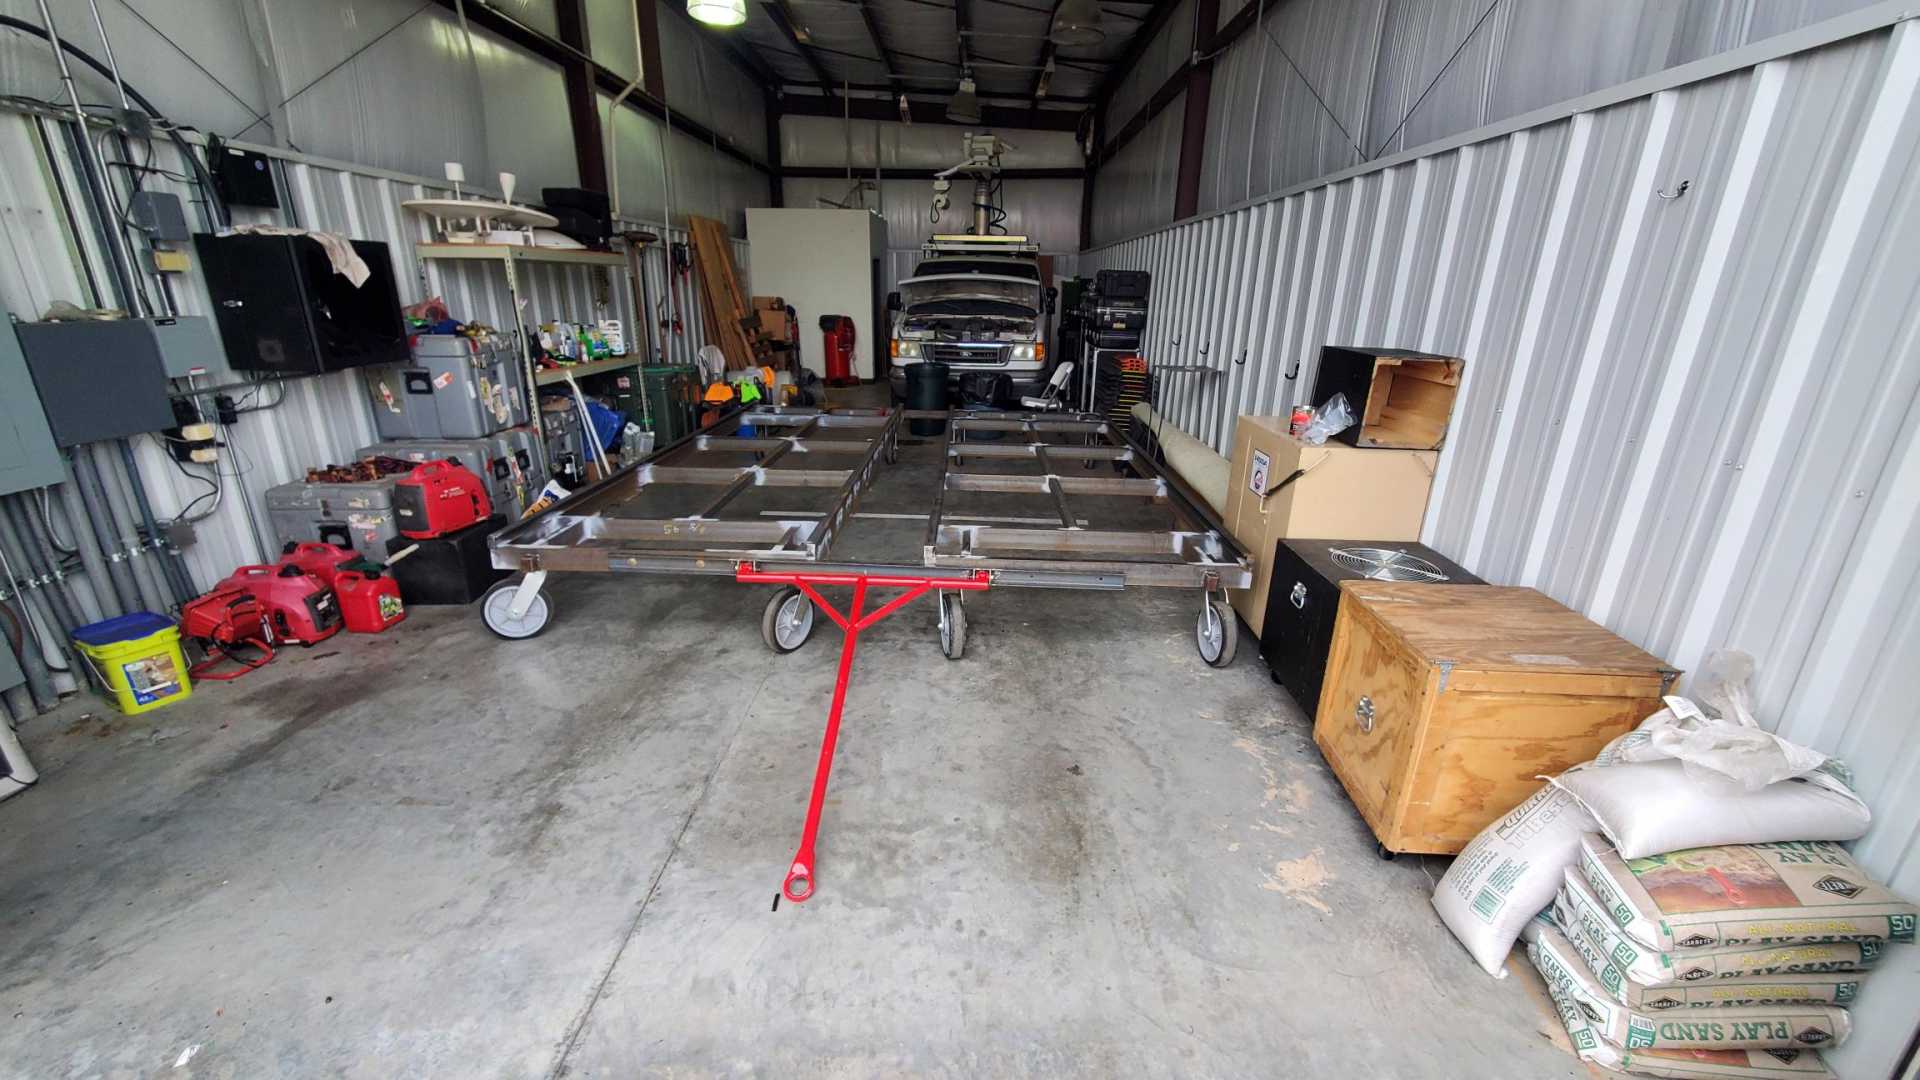
The company I work for owns a couple helicopters. One’s a Bell 206, the other’s a Bell 407. My branch of the company uses the 206 while the other branch uses the 407. A couple months ago we had to swap the choppers and that was a problem for us because the dolly we use for the 206 is too small for the 407. Made getting the 407 in and out of the hangar a challenge.
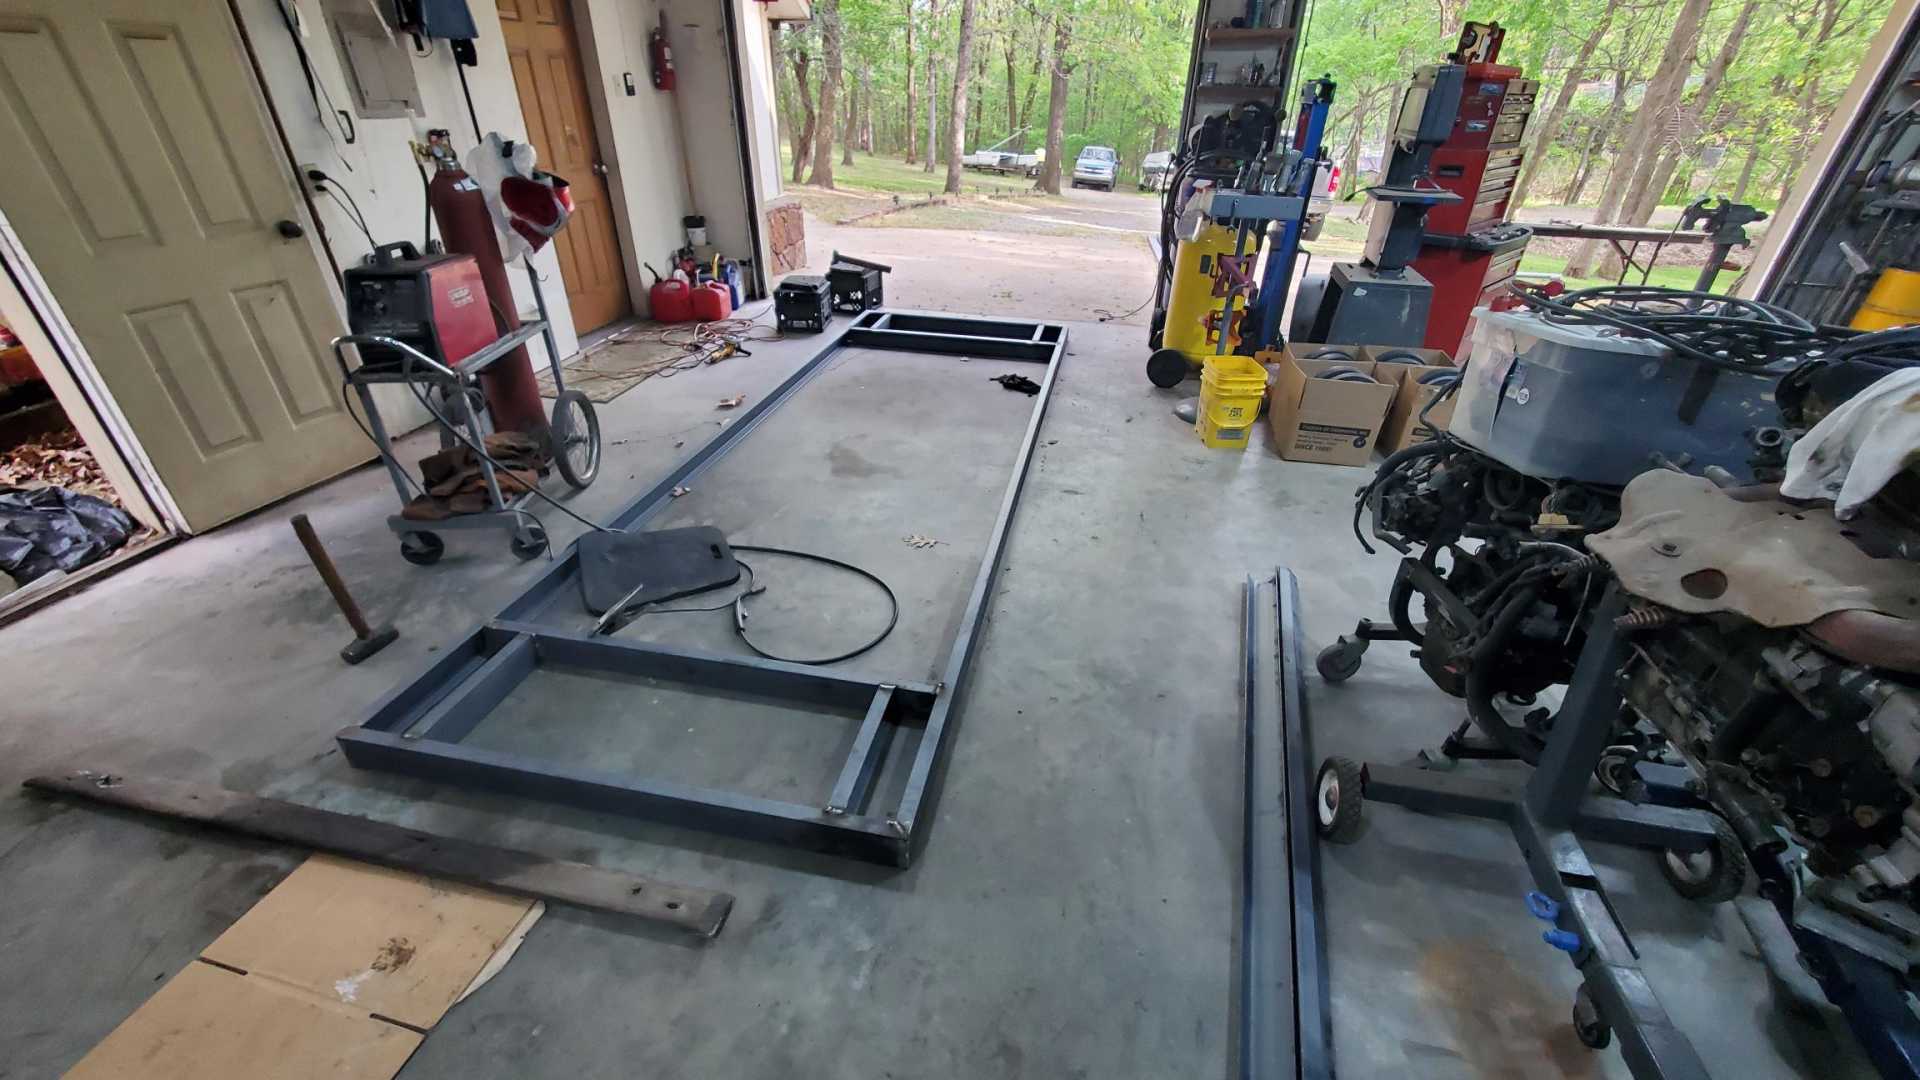
As our pilot was describing the problem to me, I realized I had the capability to build a bigger, better dolly. I got a promotion a month ago and this kind of thing doesn’t fall under my new responsibilities, but I had a week’s vacation coming up. We convinced the boss to buy the materials and I built the dolly on my vacation and on the weekends.
We modeled it after the dolly we use for the 407, which is actually two carts bolted together.
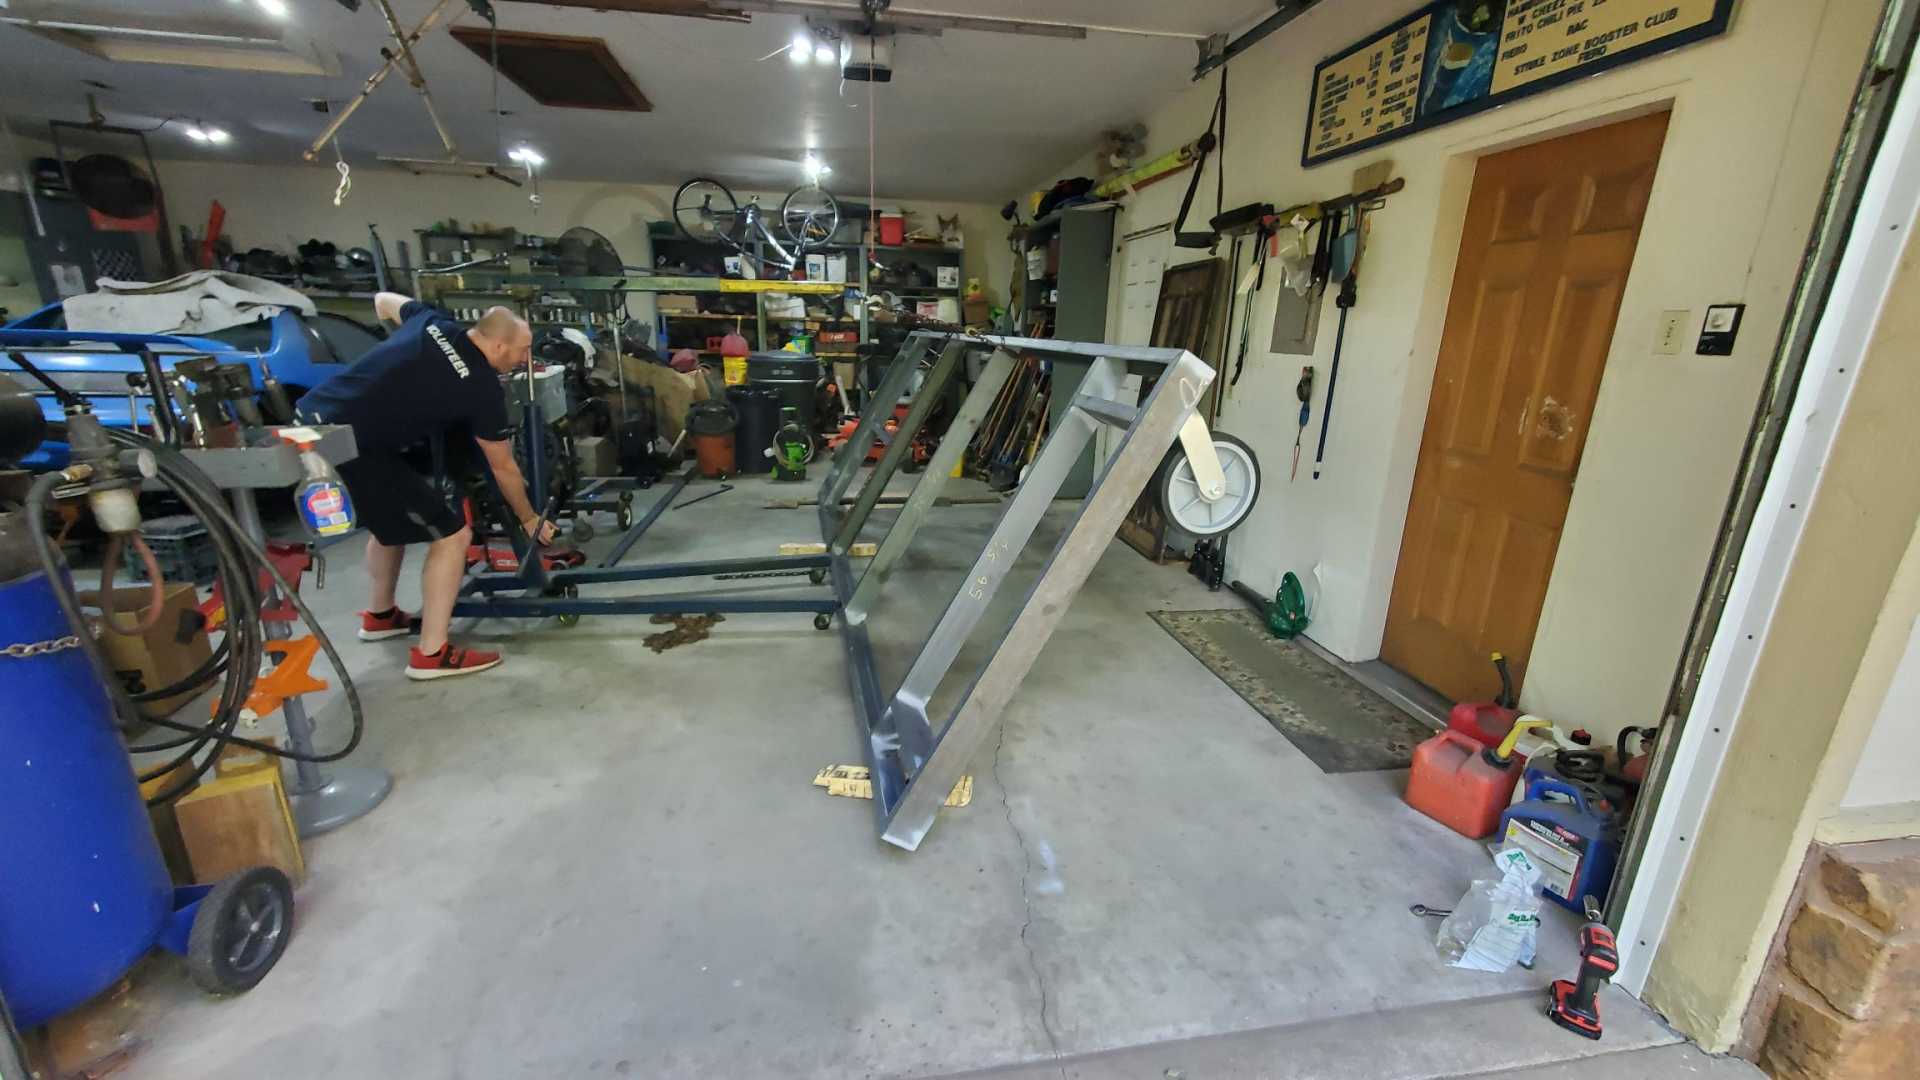
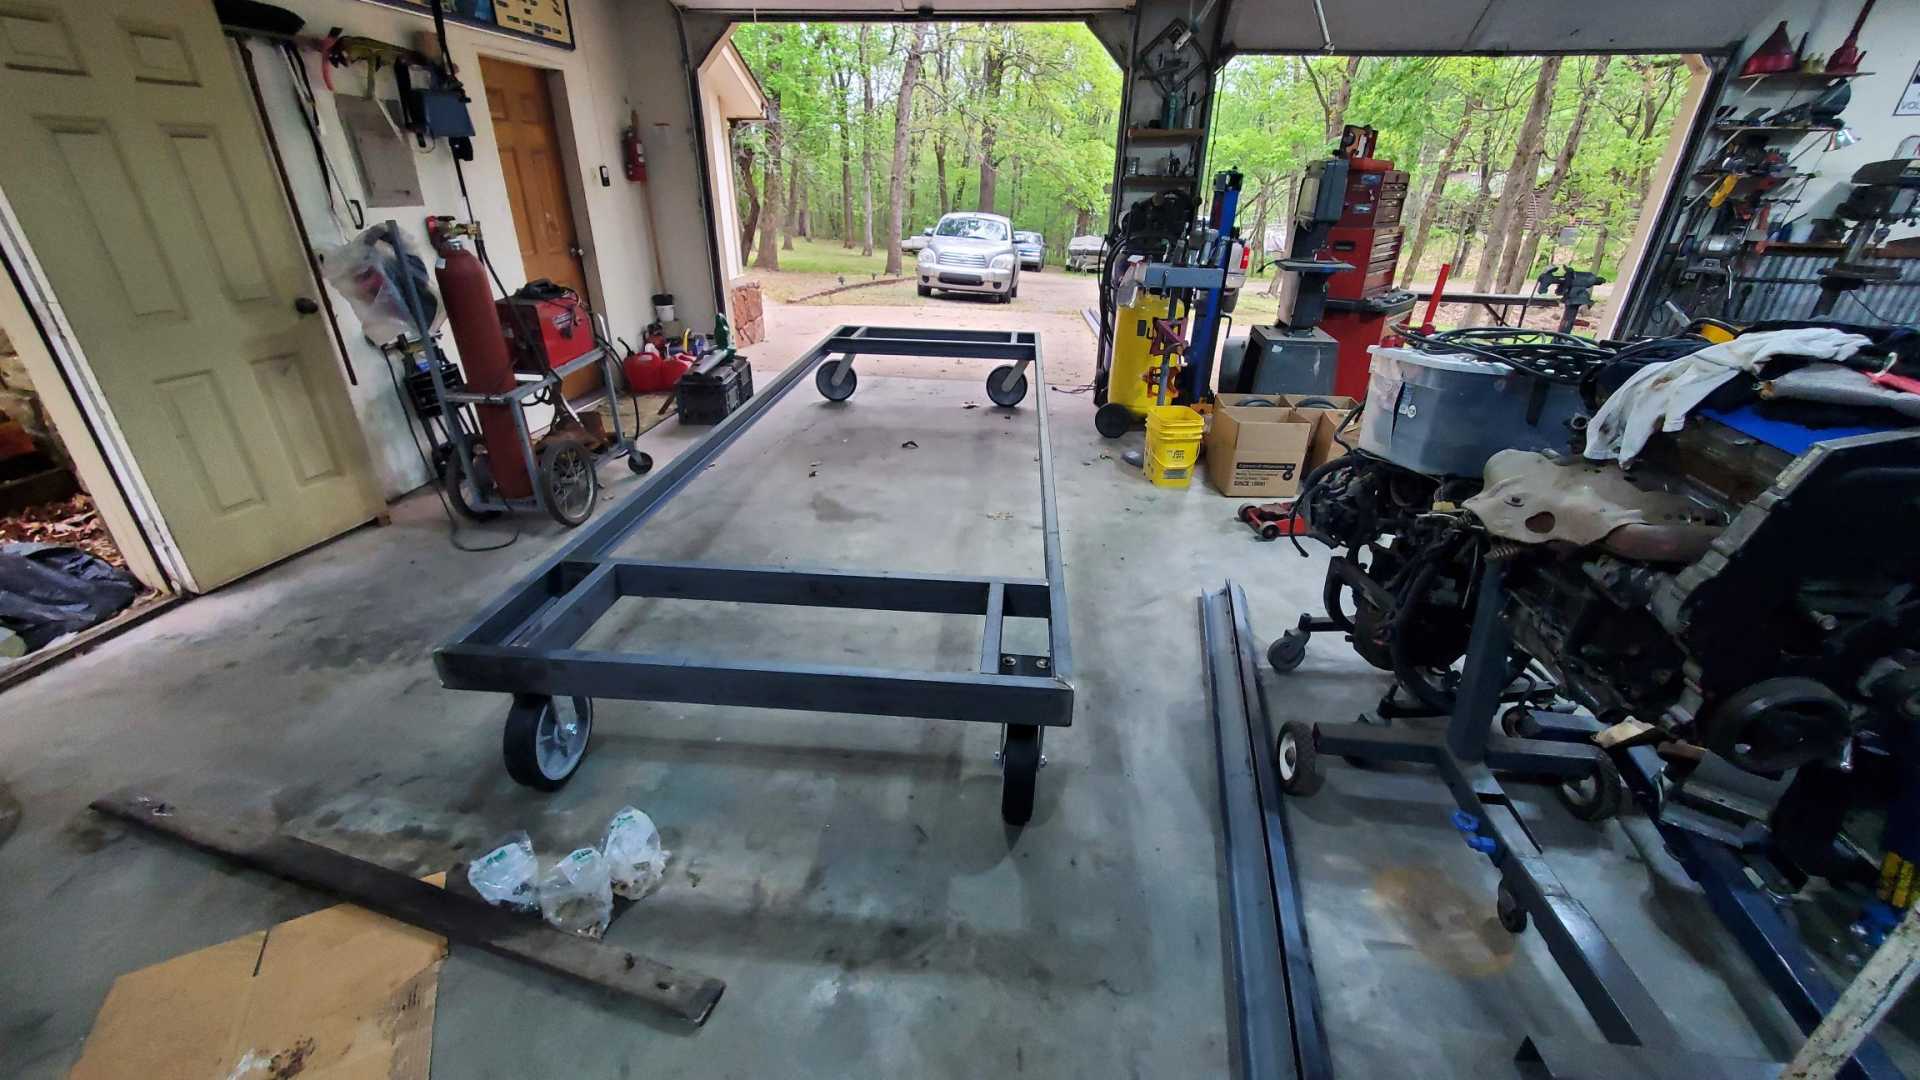
It was too big to completely assemble in the shop, so that had to wait until I hauled it to work.
We still have to paint it and add the wooden planks, but that’s the easy part.
Now that that’s over, I’ll get back to working on the Fiero. Aside from the engine wiring harness, the only tasks left to do are small ones.
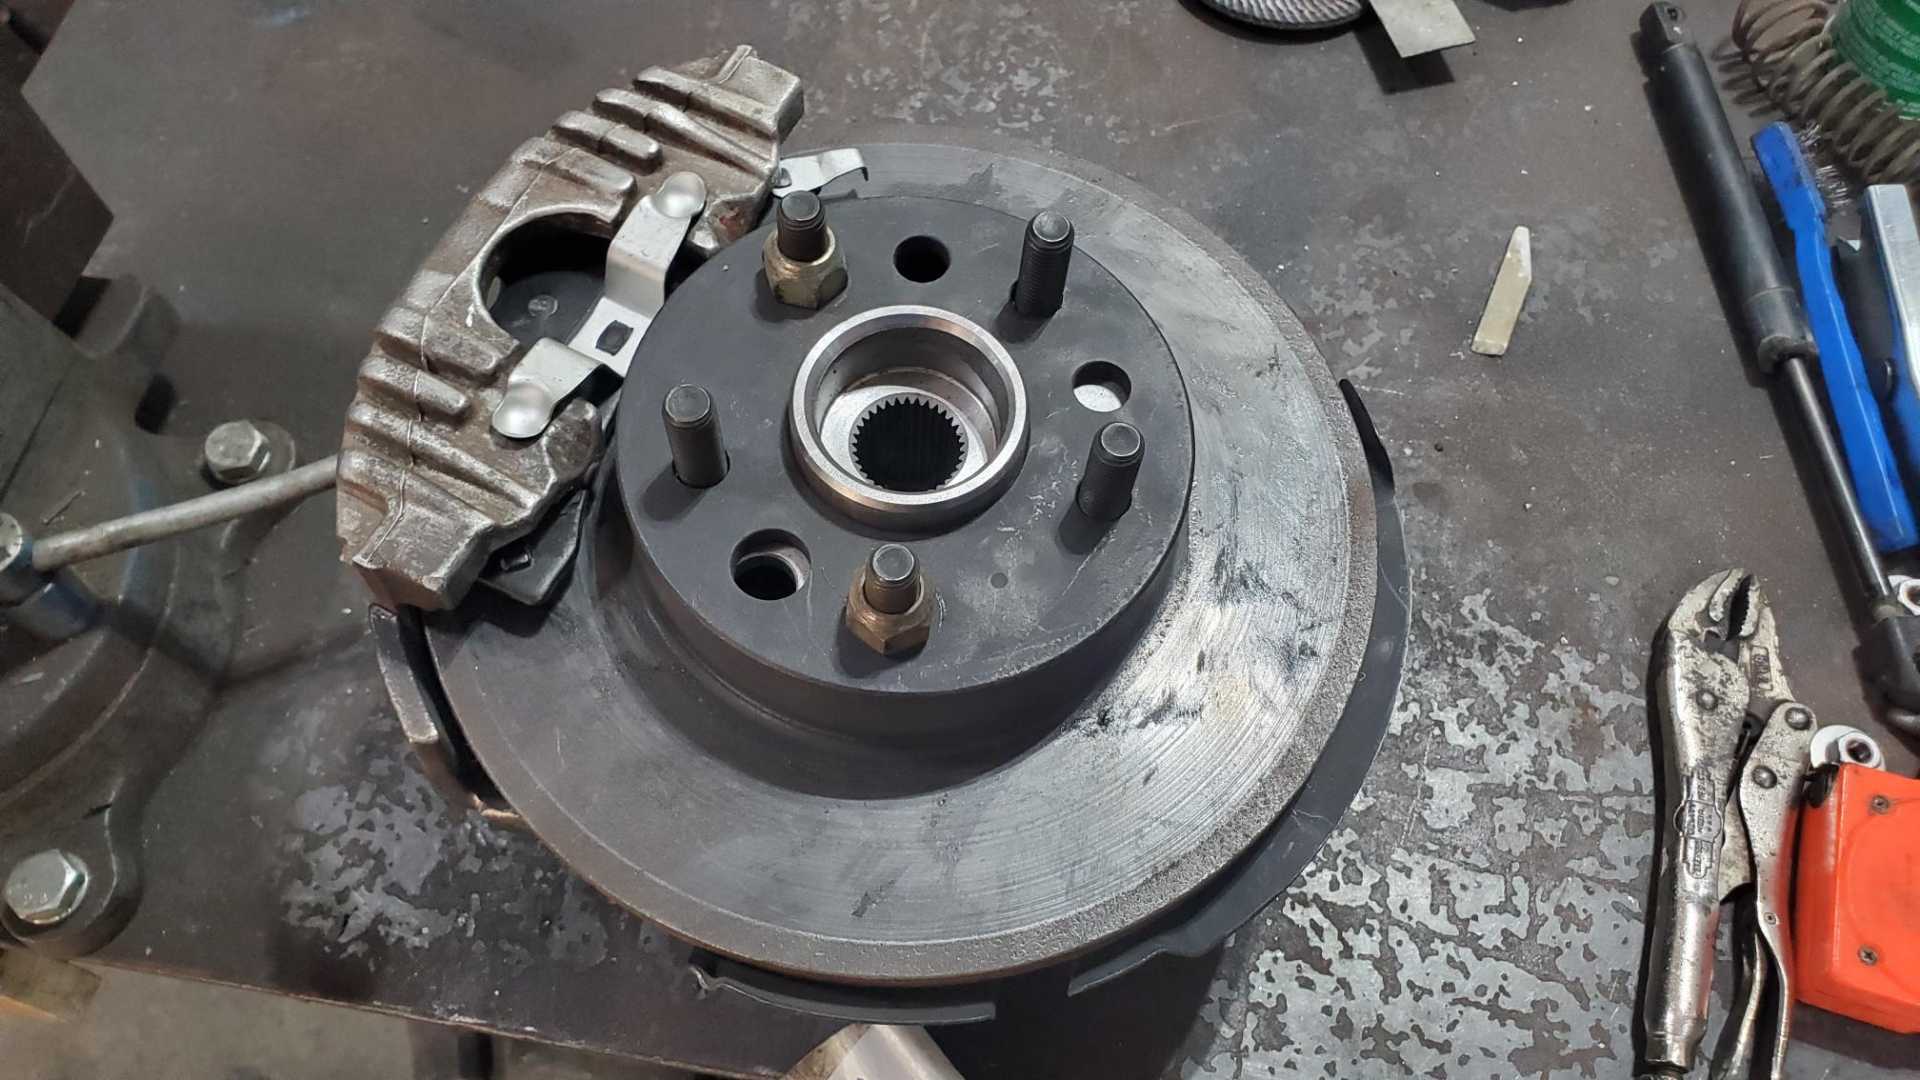
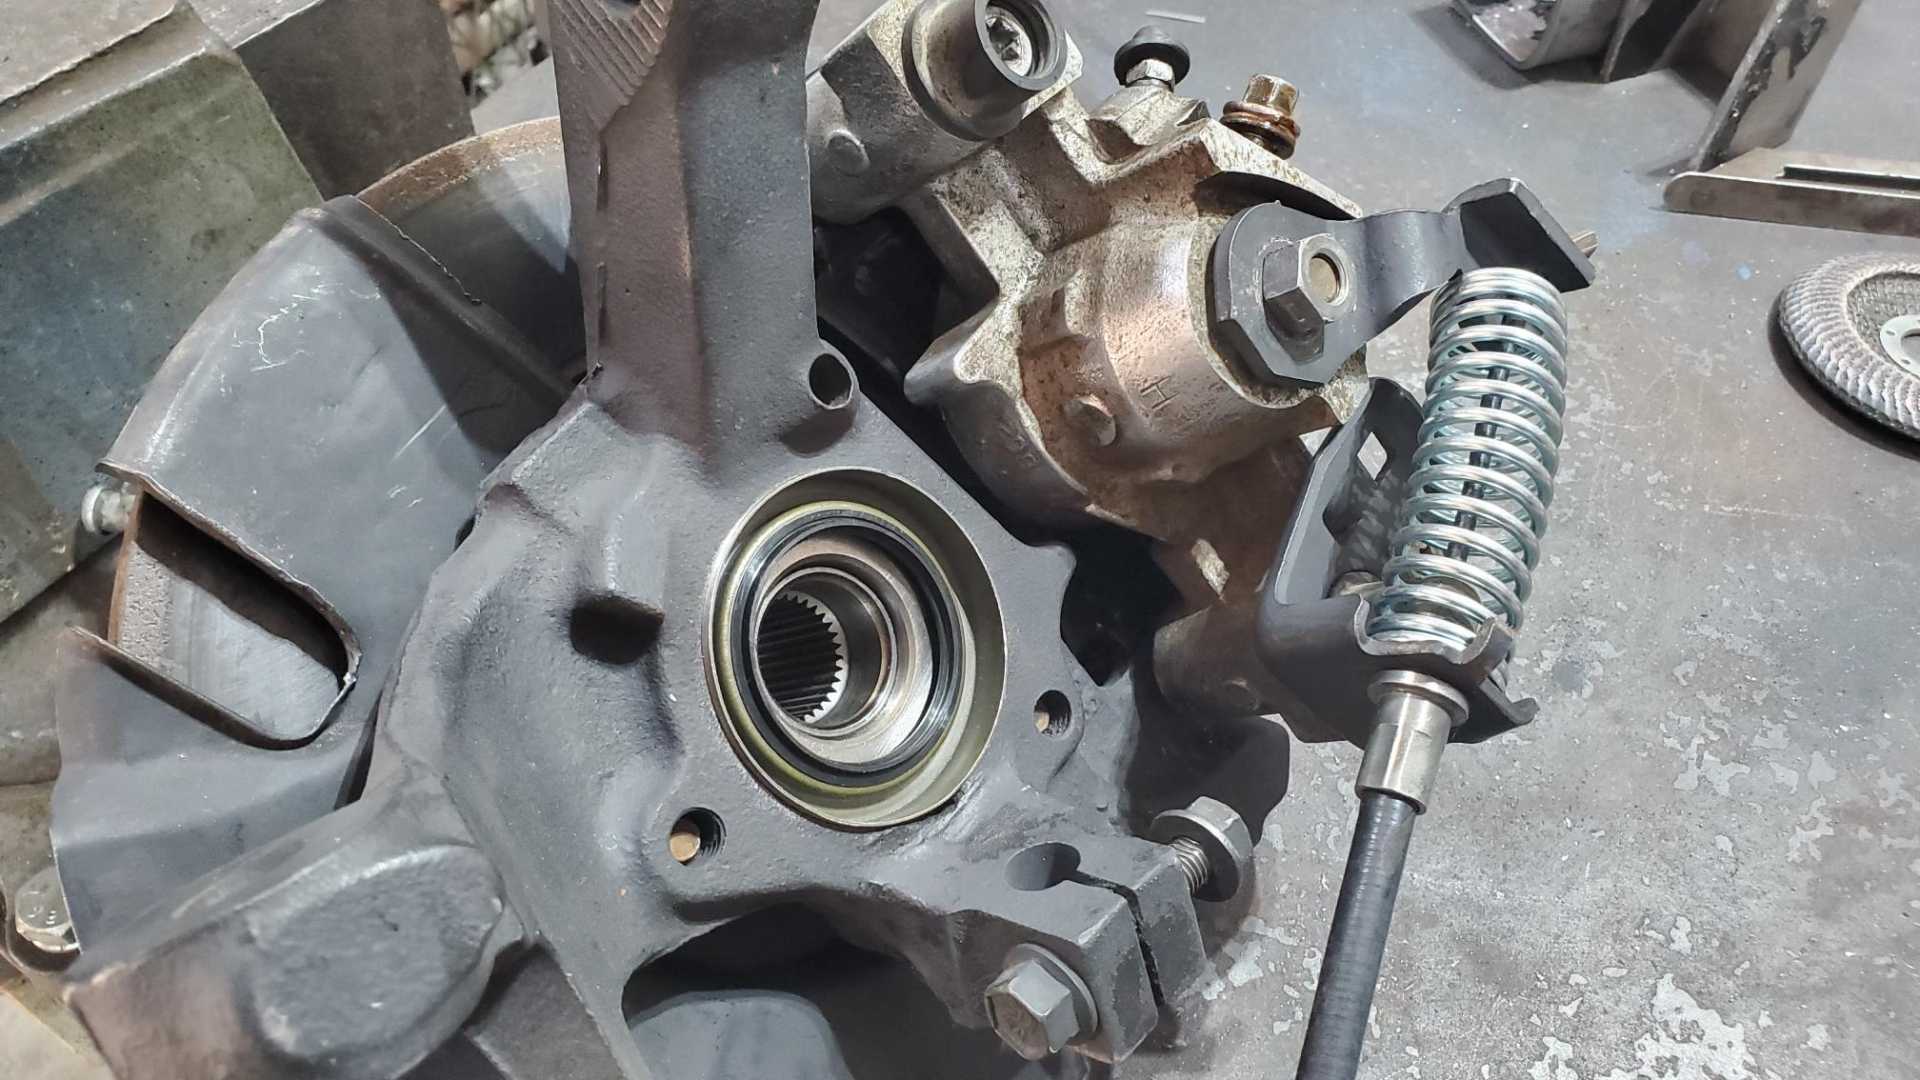
Slight progress this week. I installed new rear hubs and brake pads, cleaned up the rear calipers and had to get one new spring.
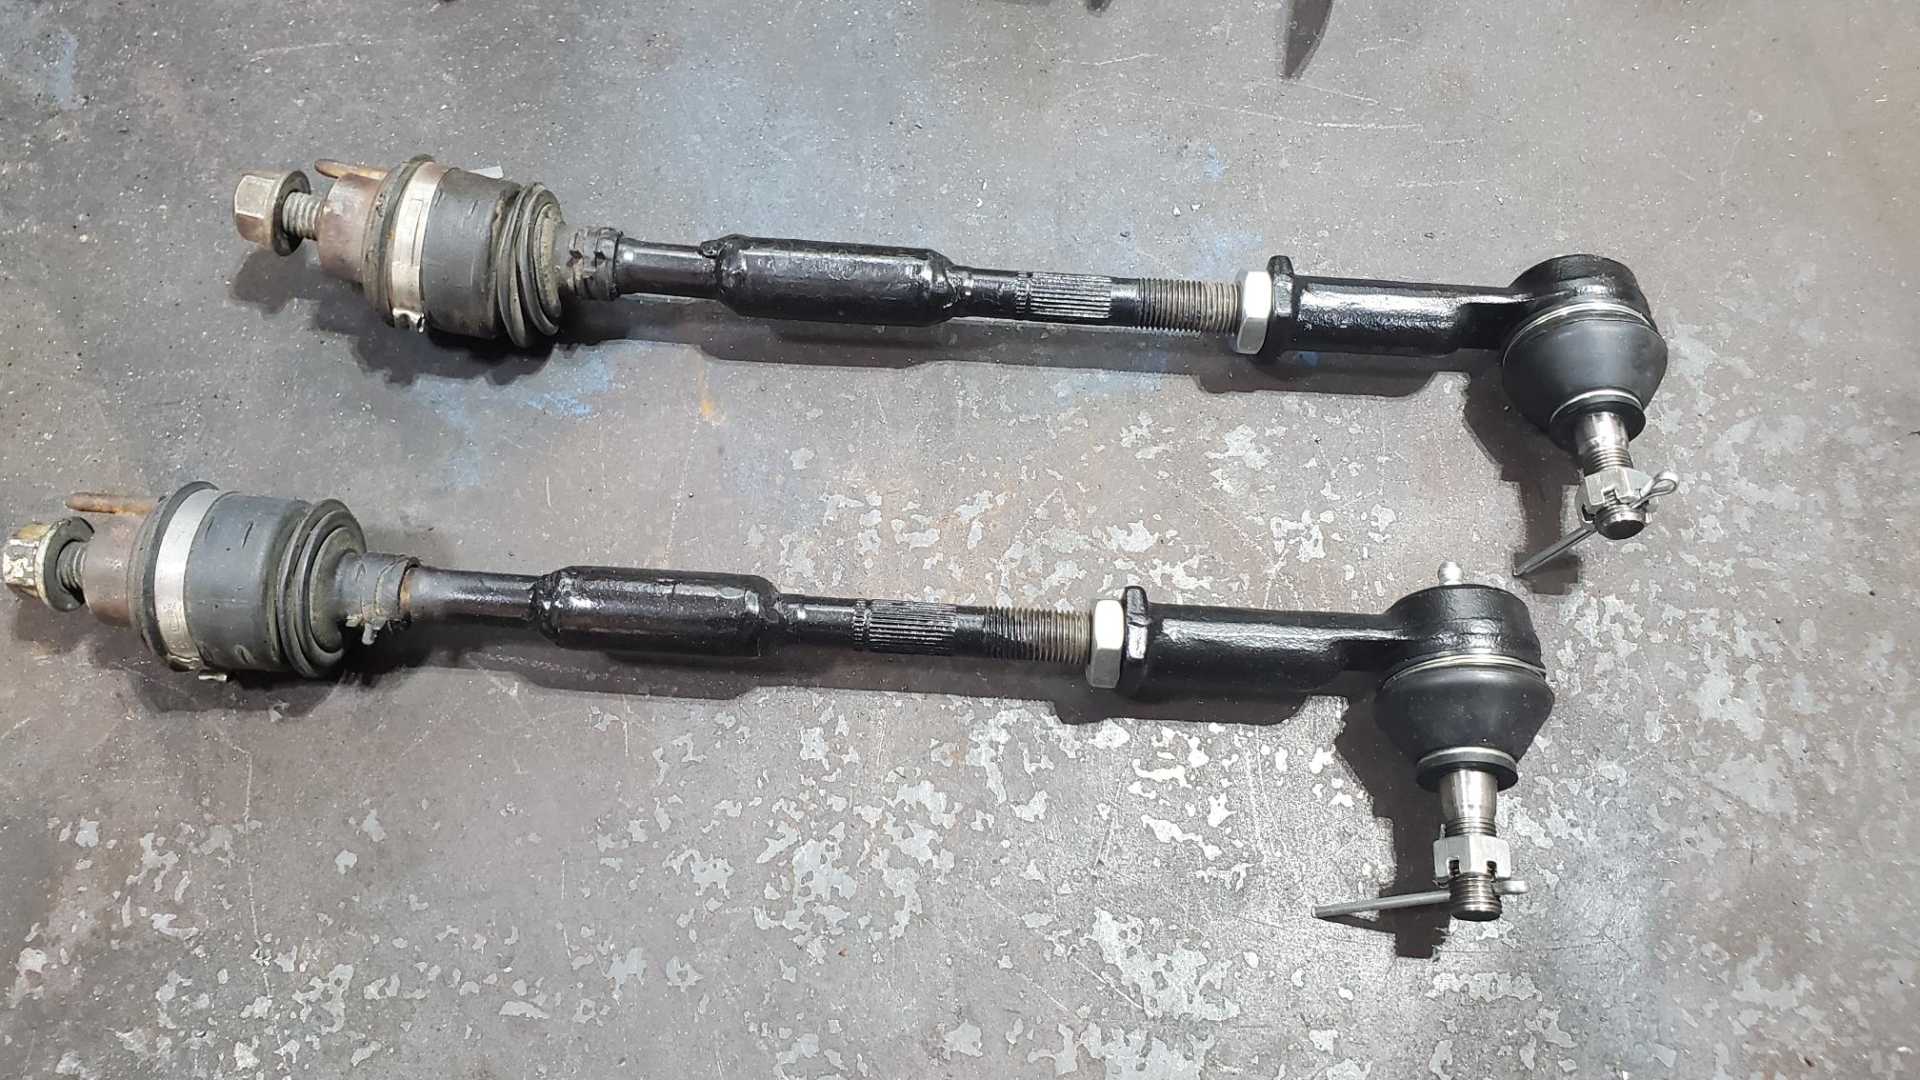
Also bought some cheap outer tie rod ends for the rear end. These are not as beefy as the set that was on the car.
I’ve been thinking about Sardonyx’s suggestion about mounting the inner end to the A frame. Sure seems like a good idea, but I’m scared to try it myself. Maybe after I get the car on the road.
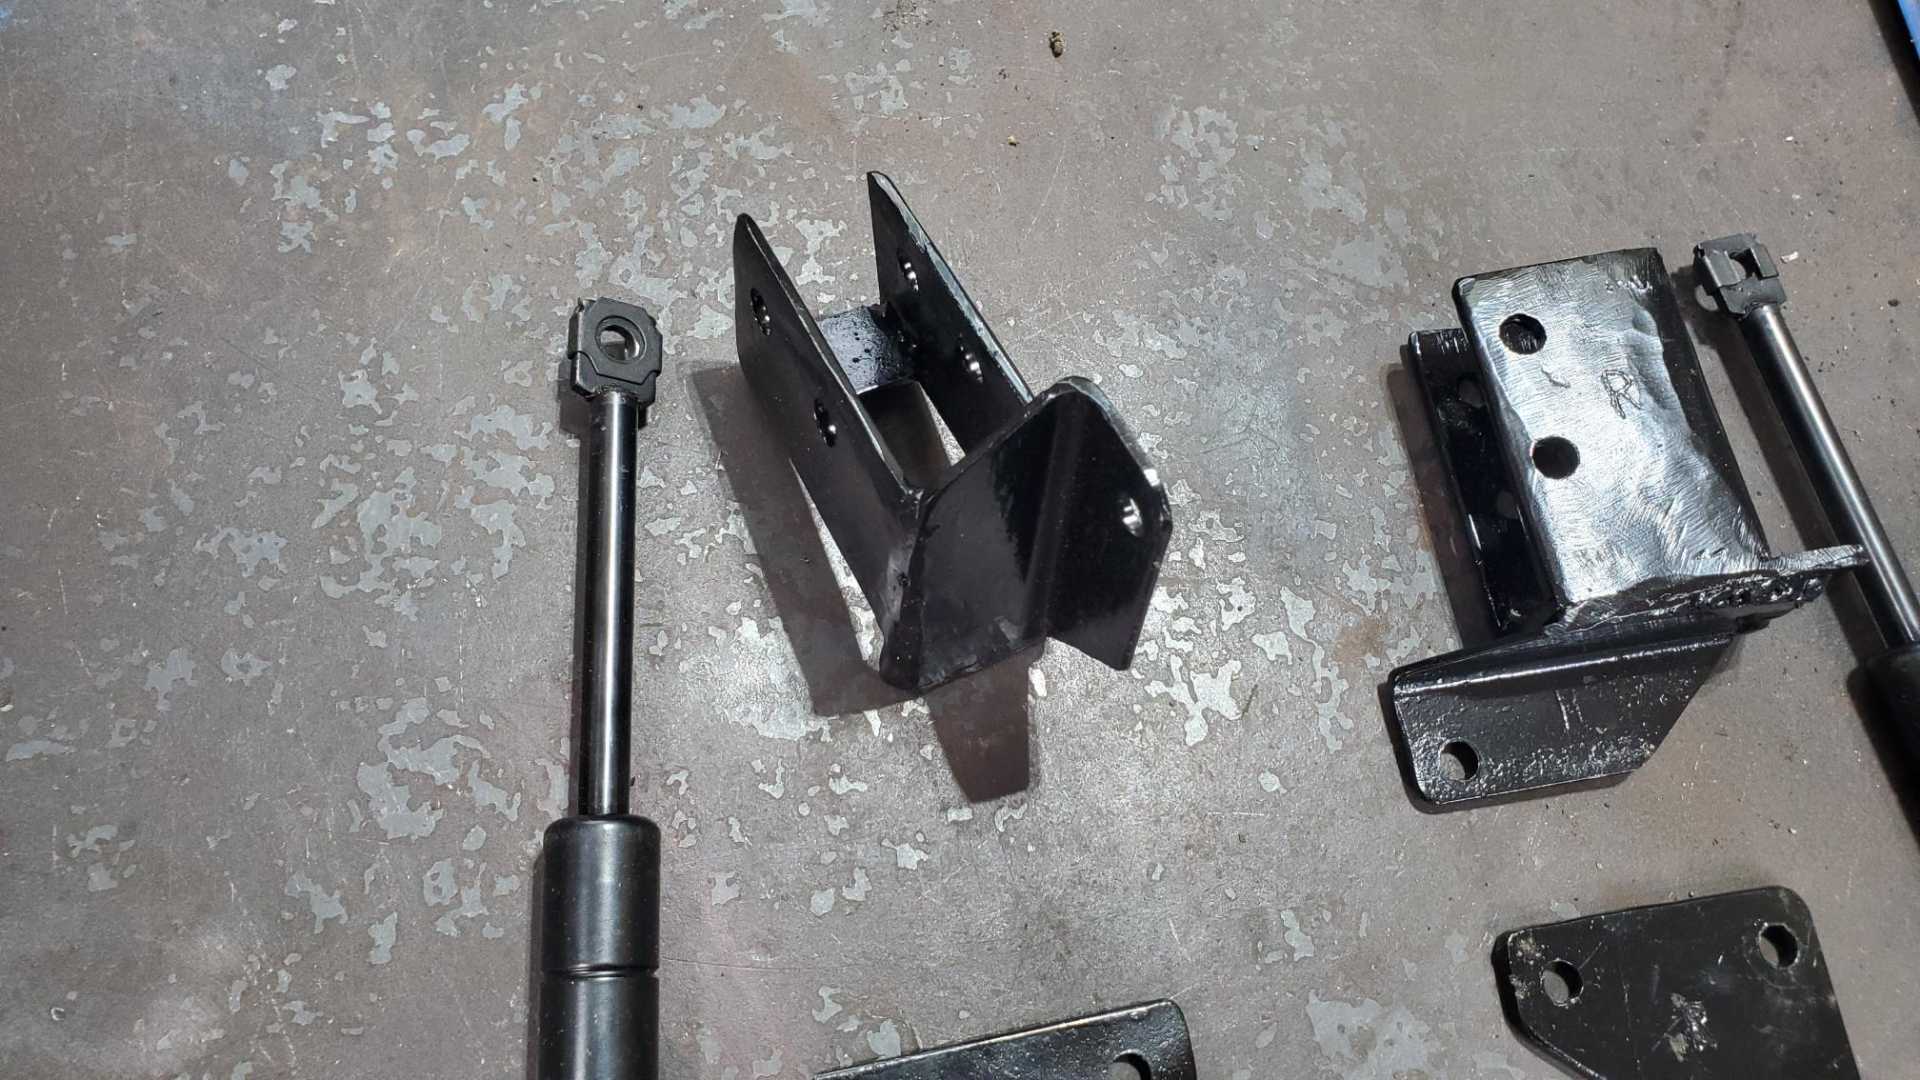
Still working on the mounts for the deck lids struts. I put these together and immediately hated them.
Now I’m working on mounts that fit up inside the deck lid hinge mounts. More photos when I have more progress to report.
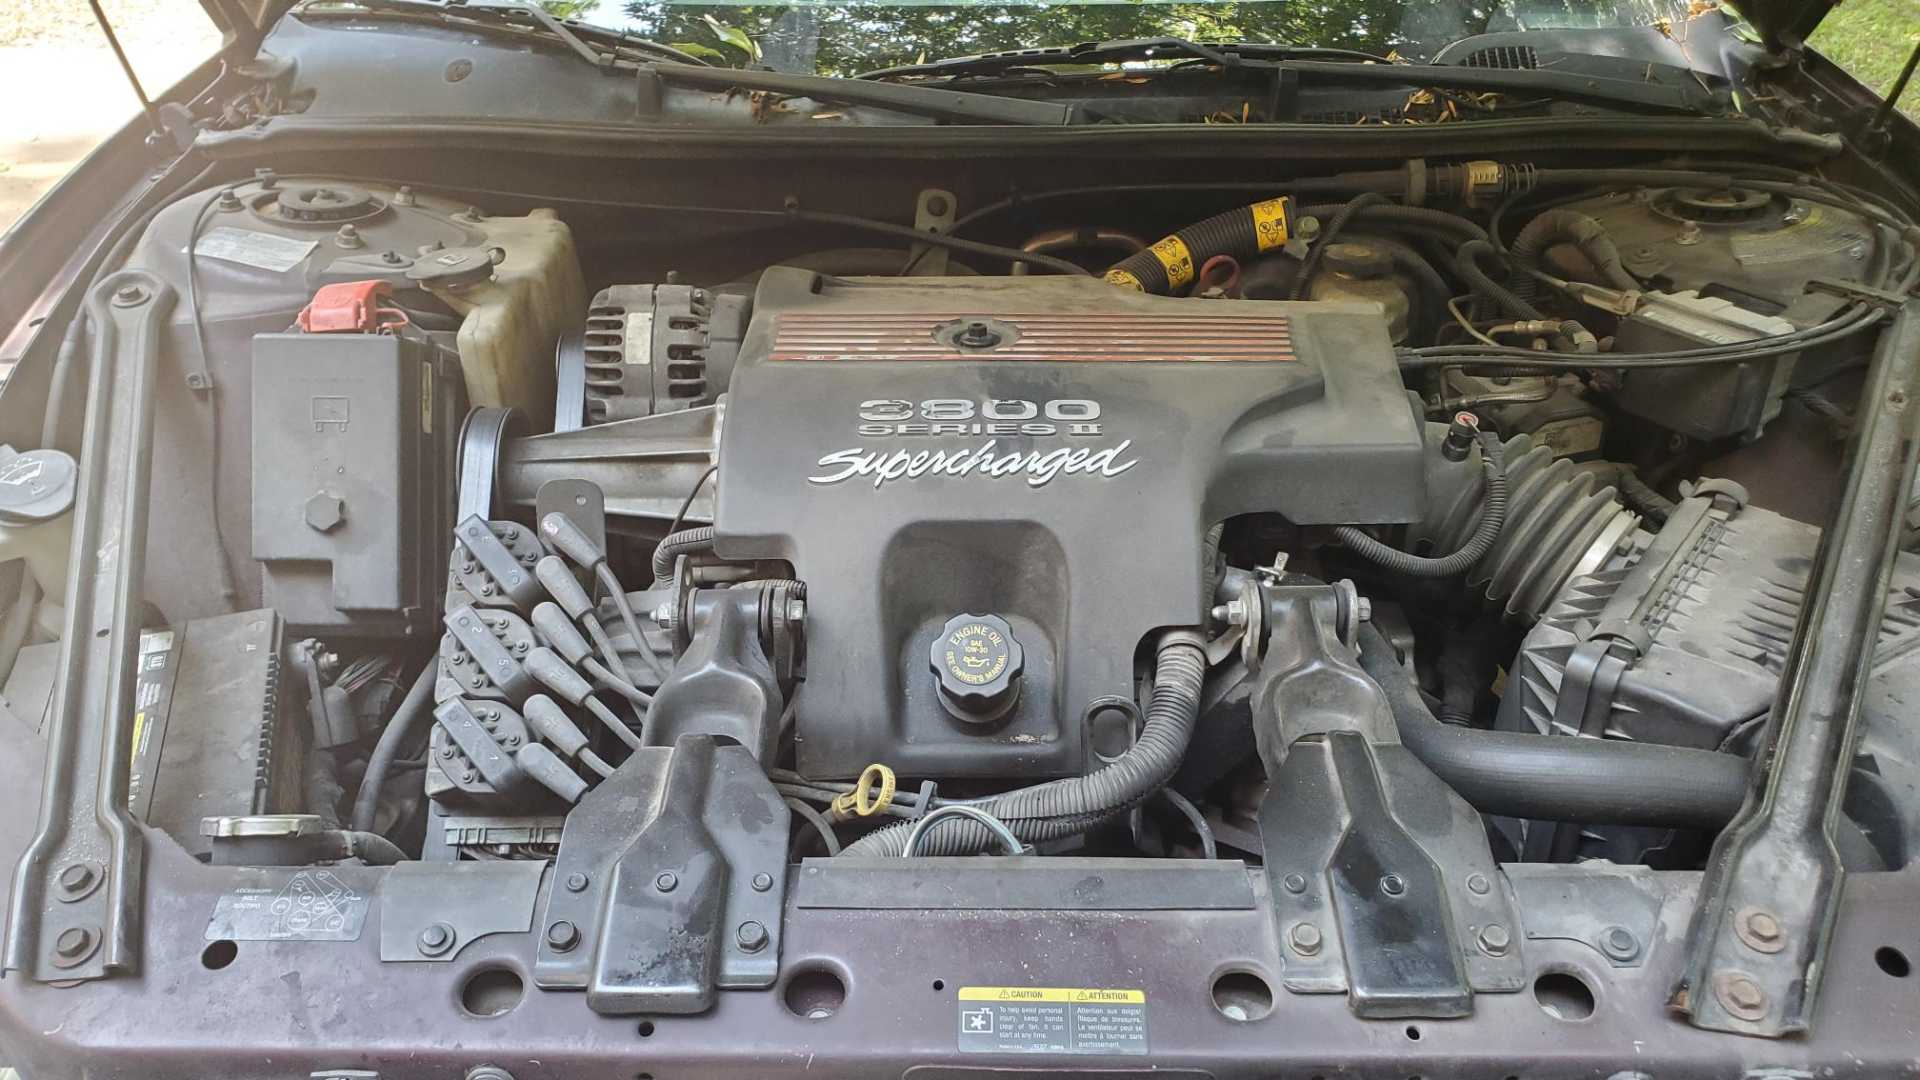
My son bought a truck this weekend, so we can retire the 2002 Grand Prix GTP he’s been driving that was a hand-me-down from my wife. The car is a 40th anniversary edition, but it was hit by deer three separate times so the body is pretty bad. It broke its steering rack mounts, so I replaced the rack and that one broke, too. I had to make a pretty redneck setup to hold the rack in place, so that’s another reason to retire it.
It has close to 280,000 miles on it but still runs great. I’ll save the engine, trans and computer, and maybe the heads up display, too. About the only other part that would be worth anything is the rear wing.
I have until August to get this Fiero running before I lose access to the garage, so now I have a deadline.
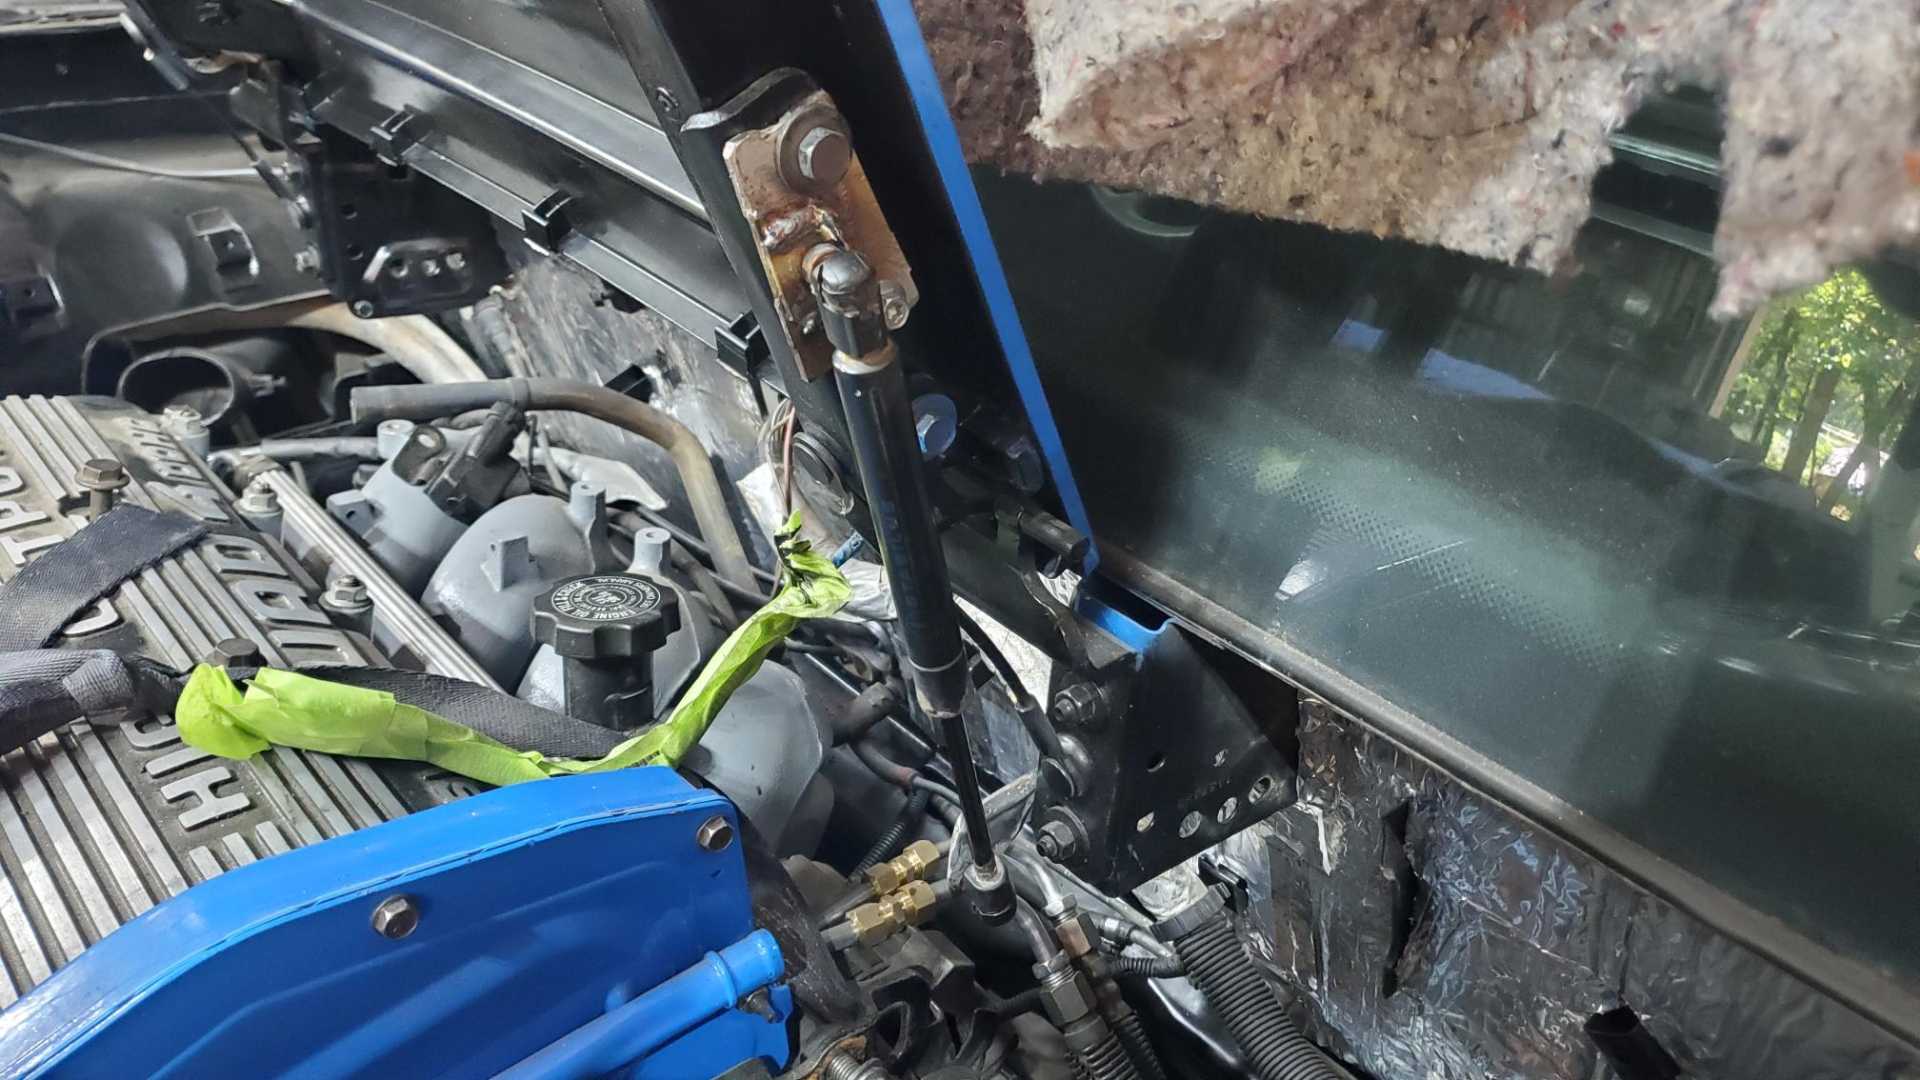
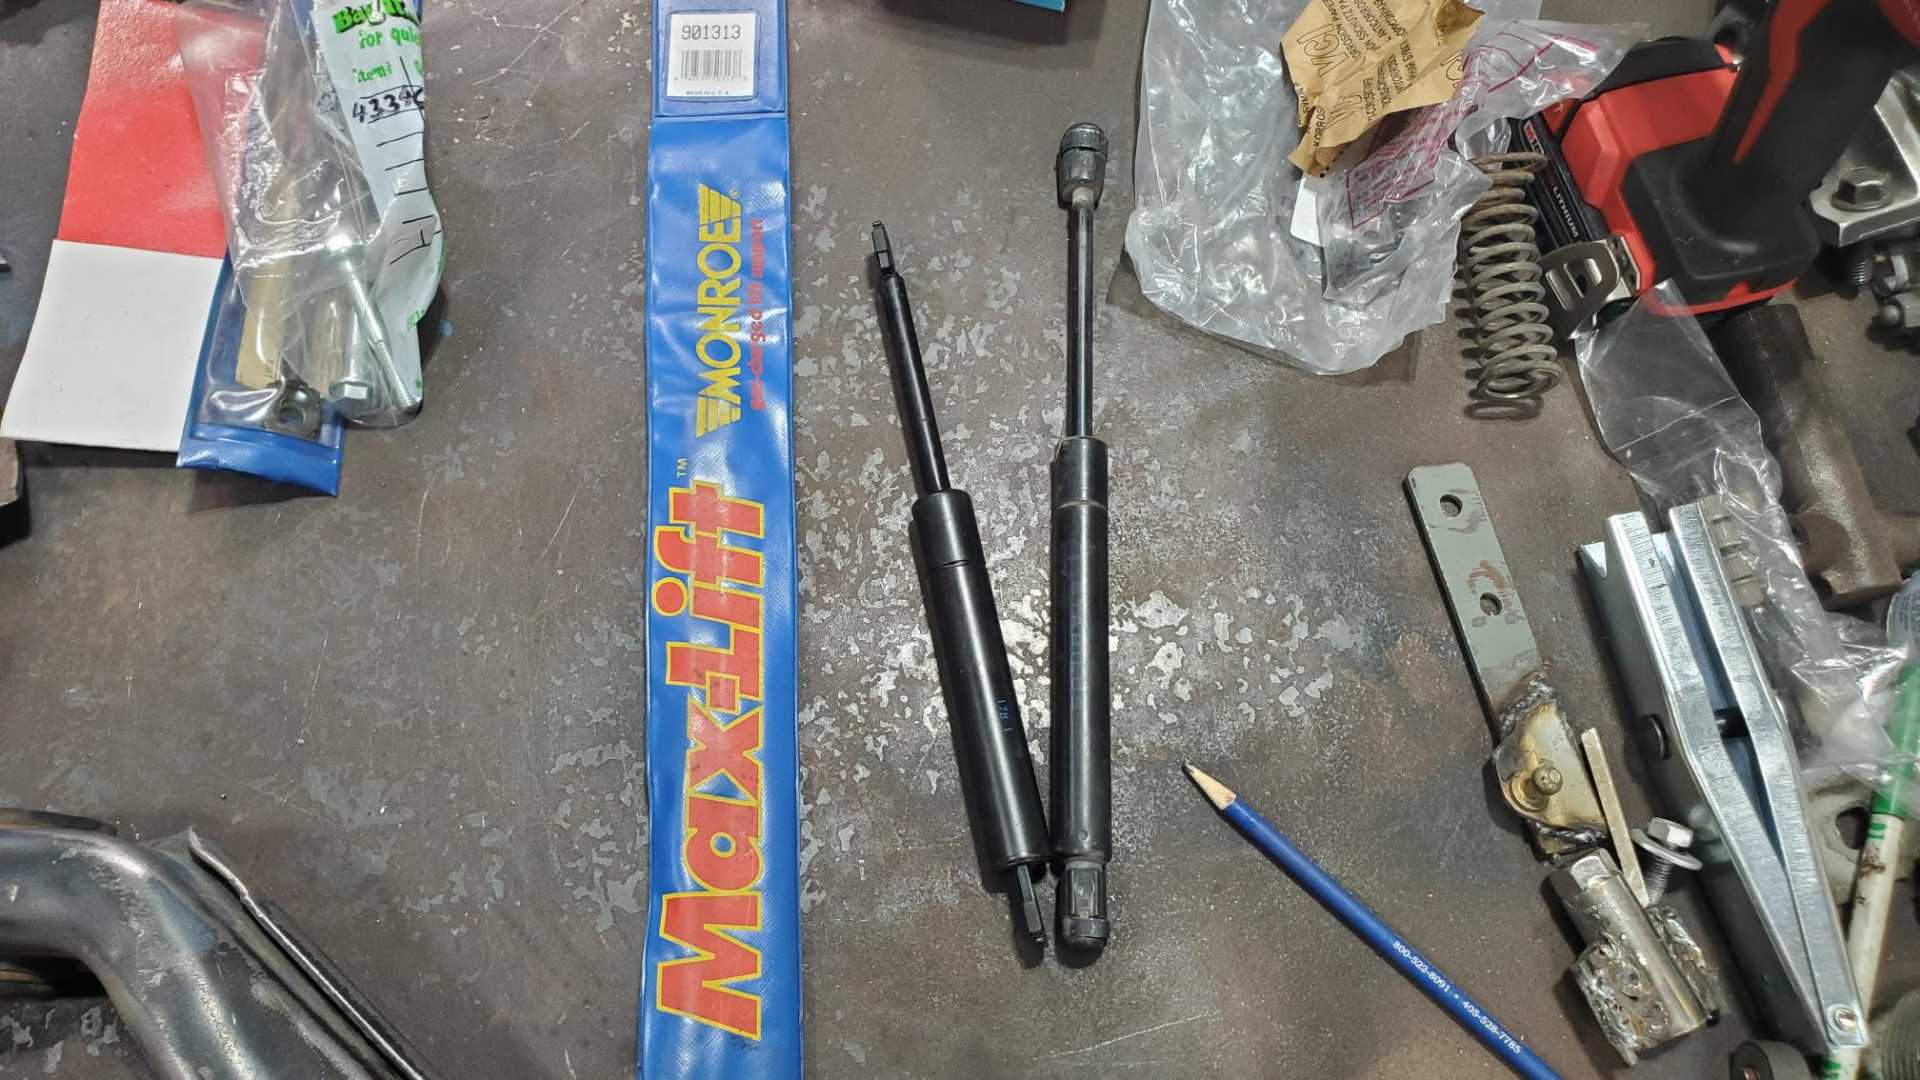
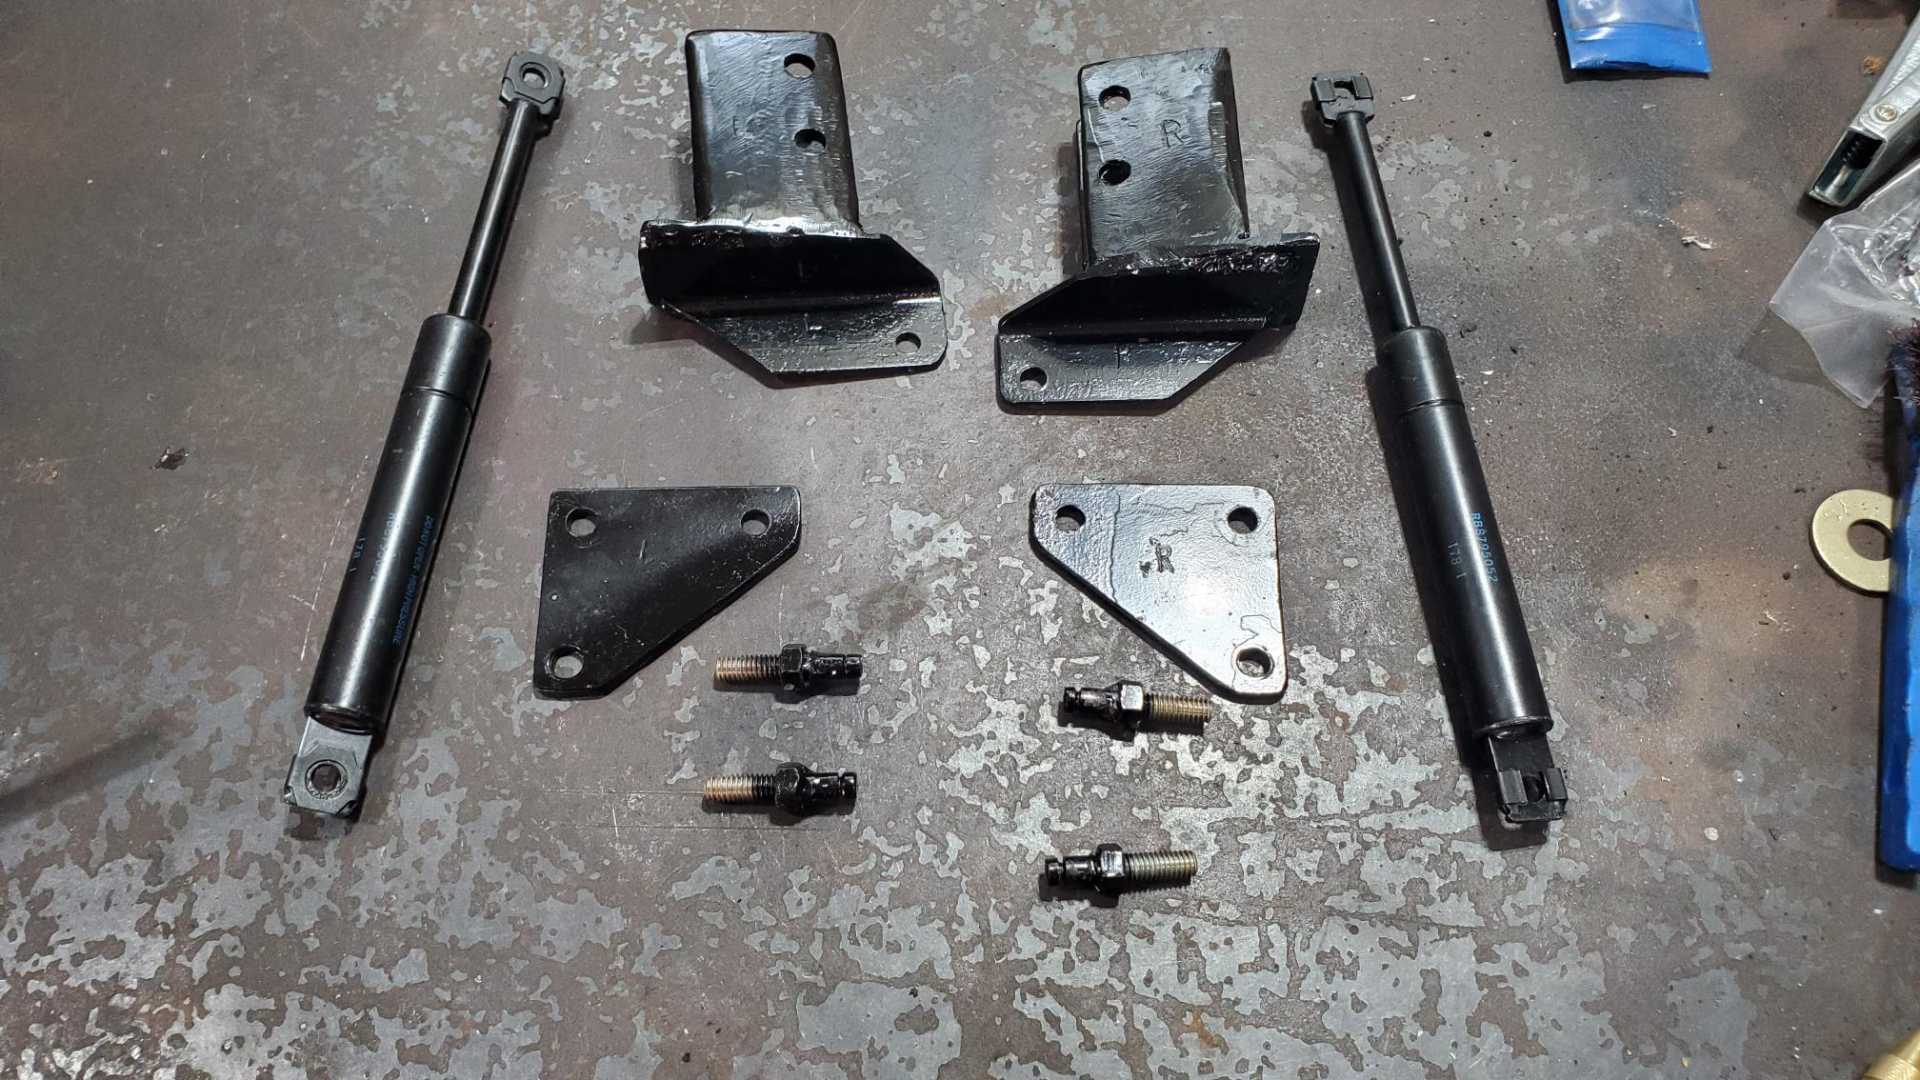
Been trying to get back in the groove of working on the Fiero. The 2002 Buick Century deck lid struts I got at the salvage are so worn out they won’t support the deck lid, but I didn’t want to risk buying new ones and have them still not work. Looking through old forum threads about struts, I saw that mid-80s Buicks had small but powerful struts on their hoods. Can’t find them at parts stores anymore, but I found a pair on eBay.
These things are about an inch shorter than the Century deck lids ones, but they’re so stiff I can’t retract them by hand. I’m thinking just one may be enough to raise the Fiero deck lid.
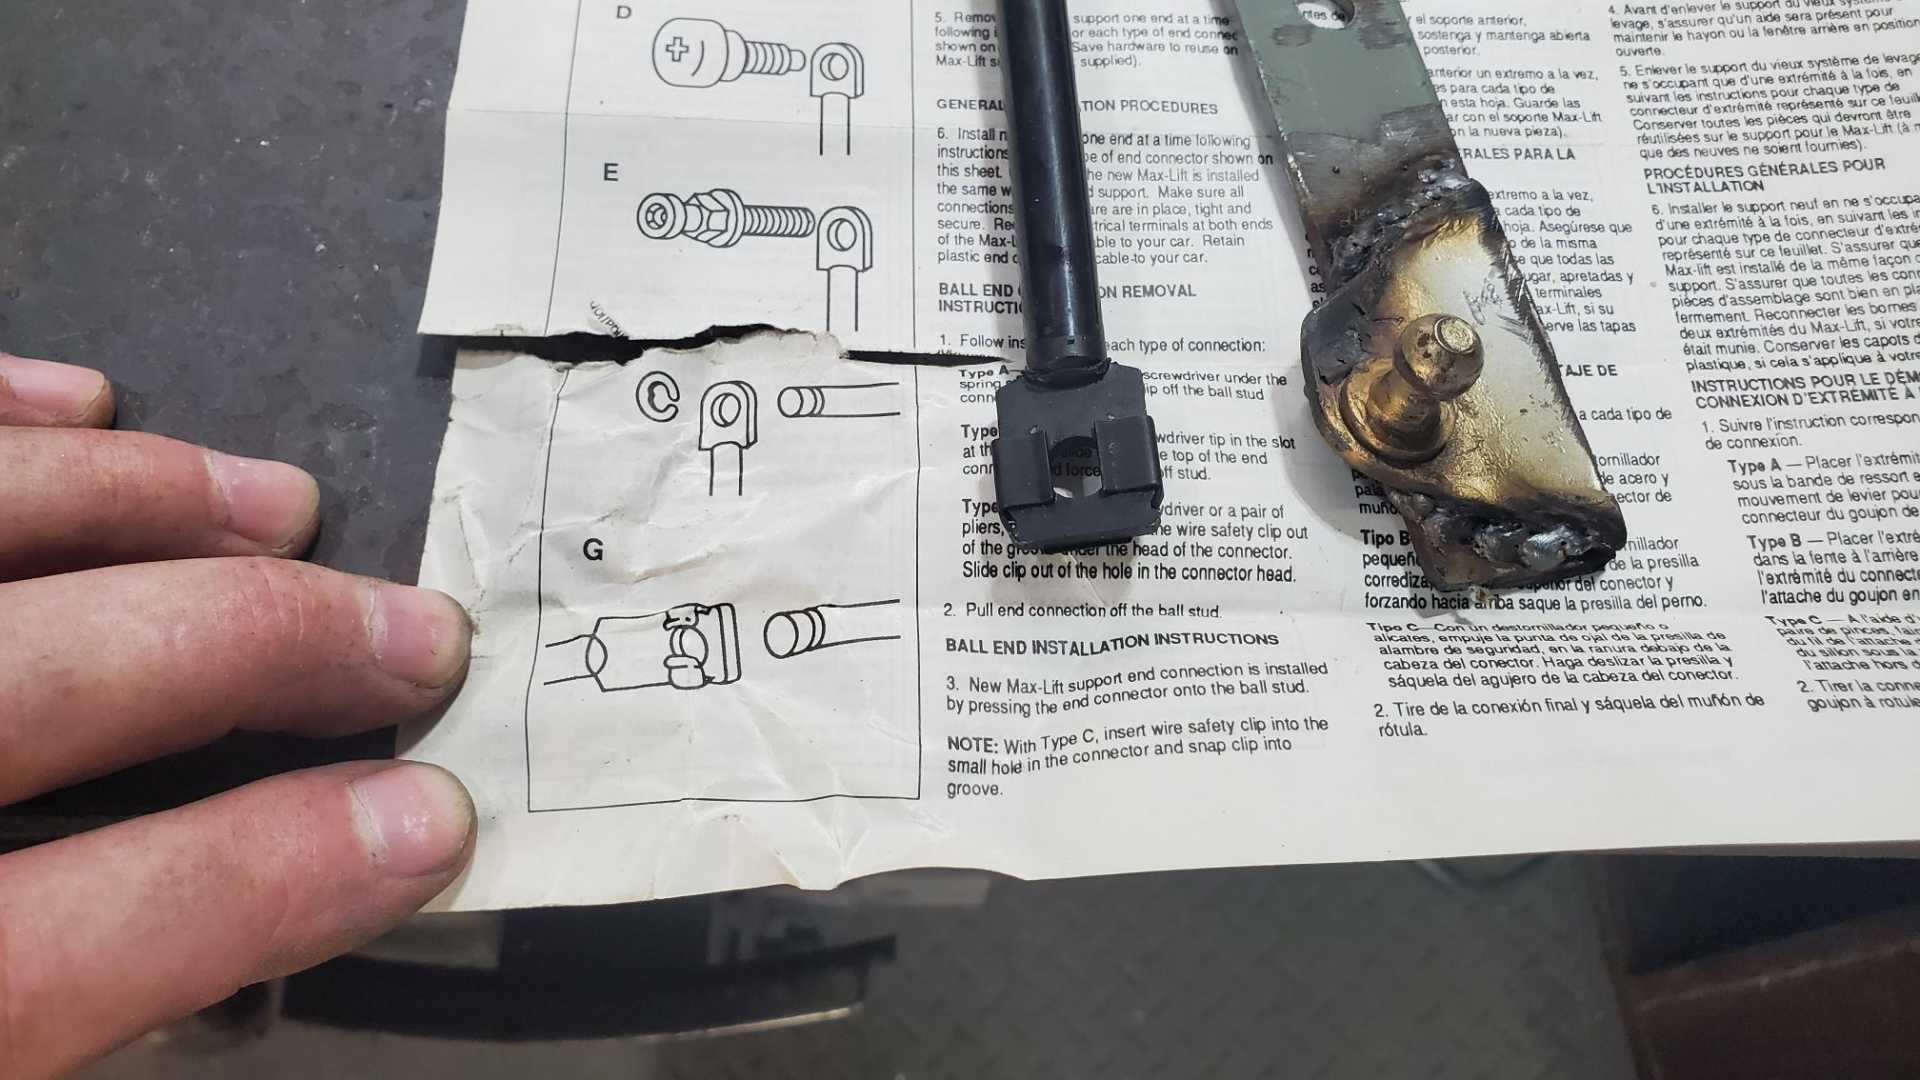
Now the issue is the mounts. These struts don’t use a ball, they use a rod with a slot machined in it.
I think I can make my own using the drill press and the Dremel to alter a bolt.
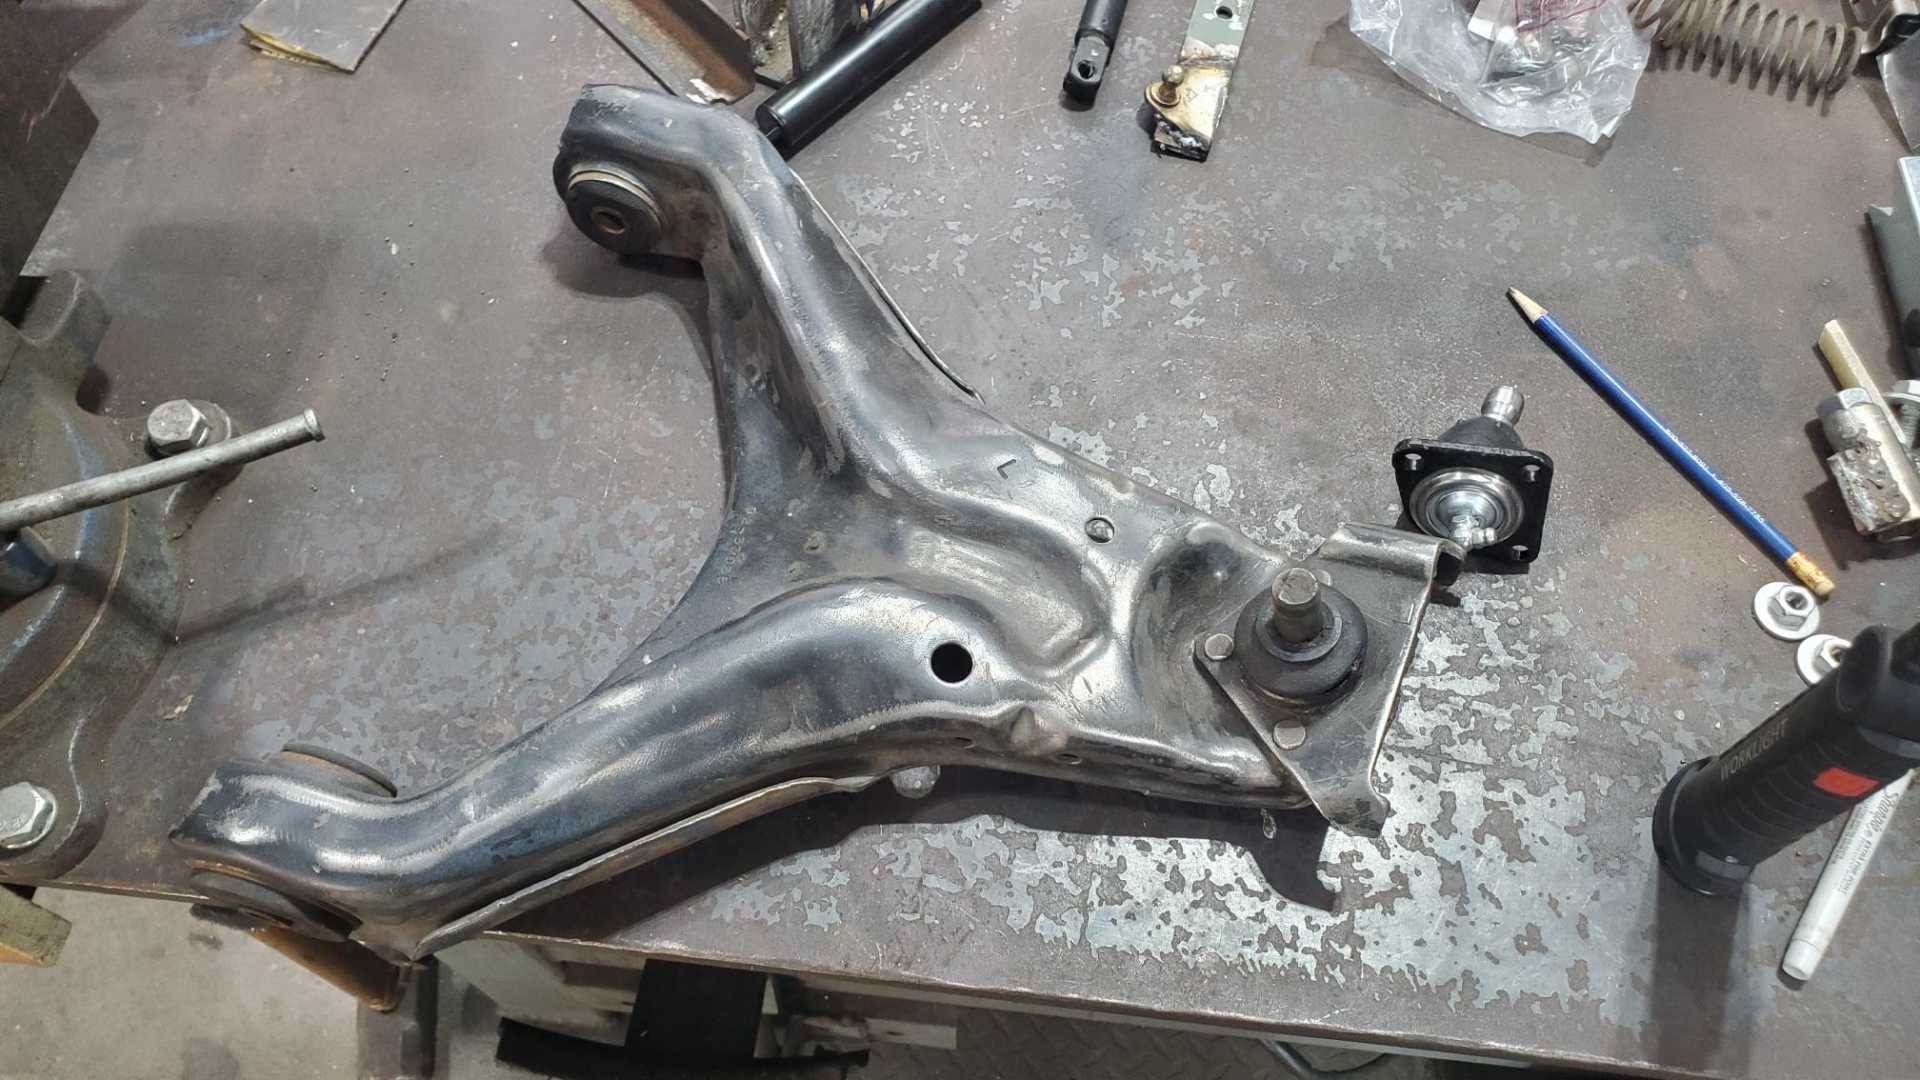
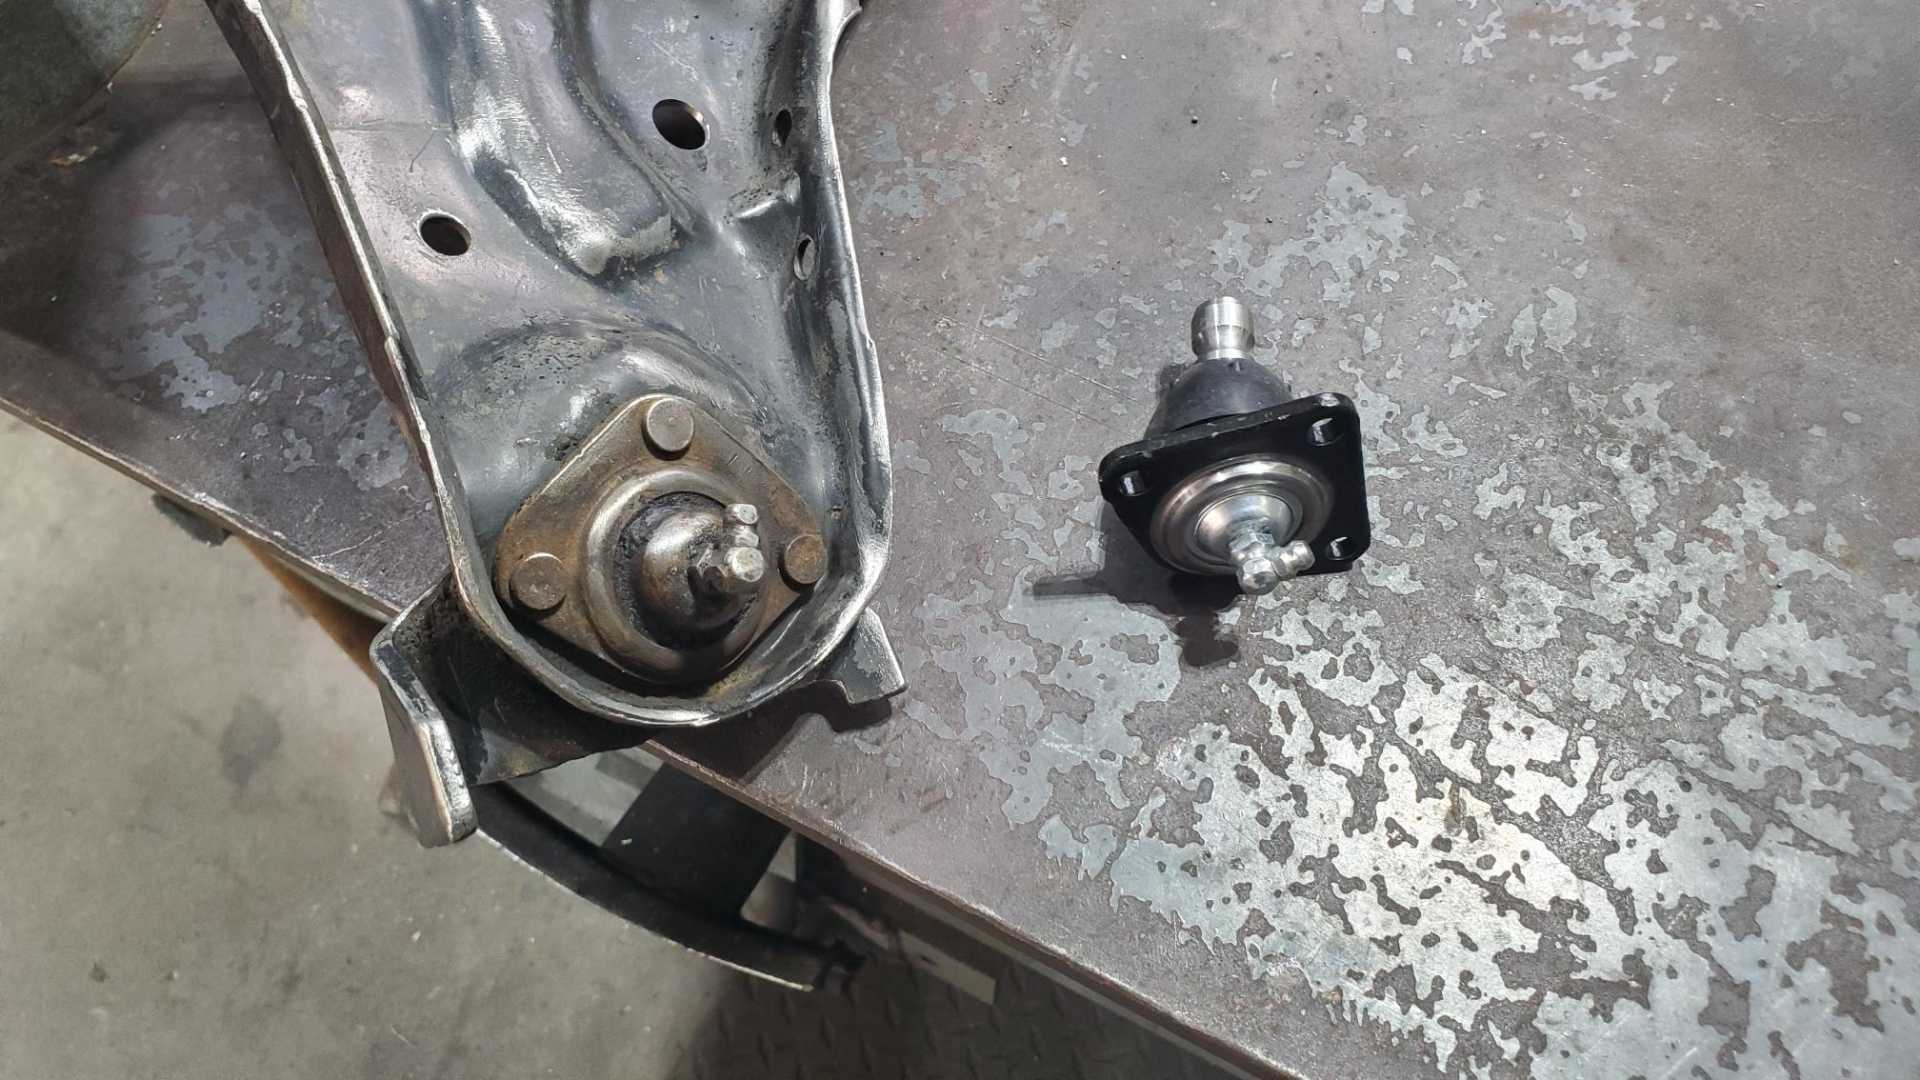
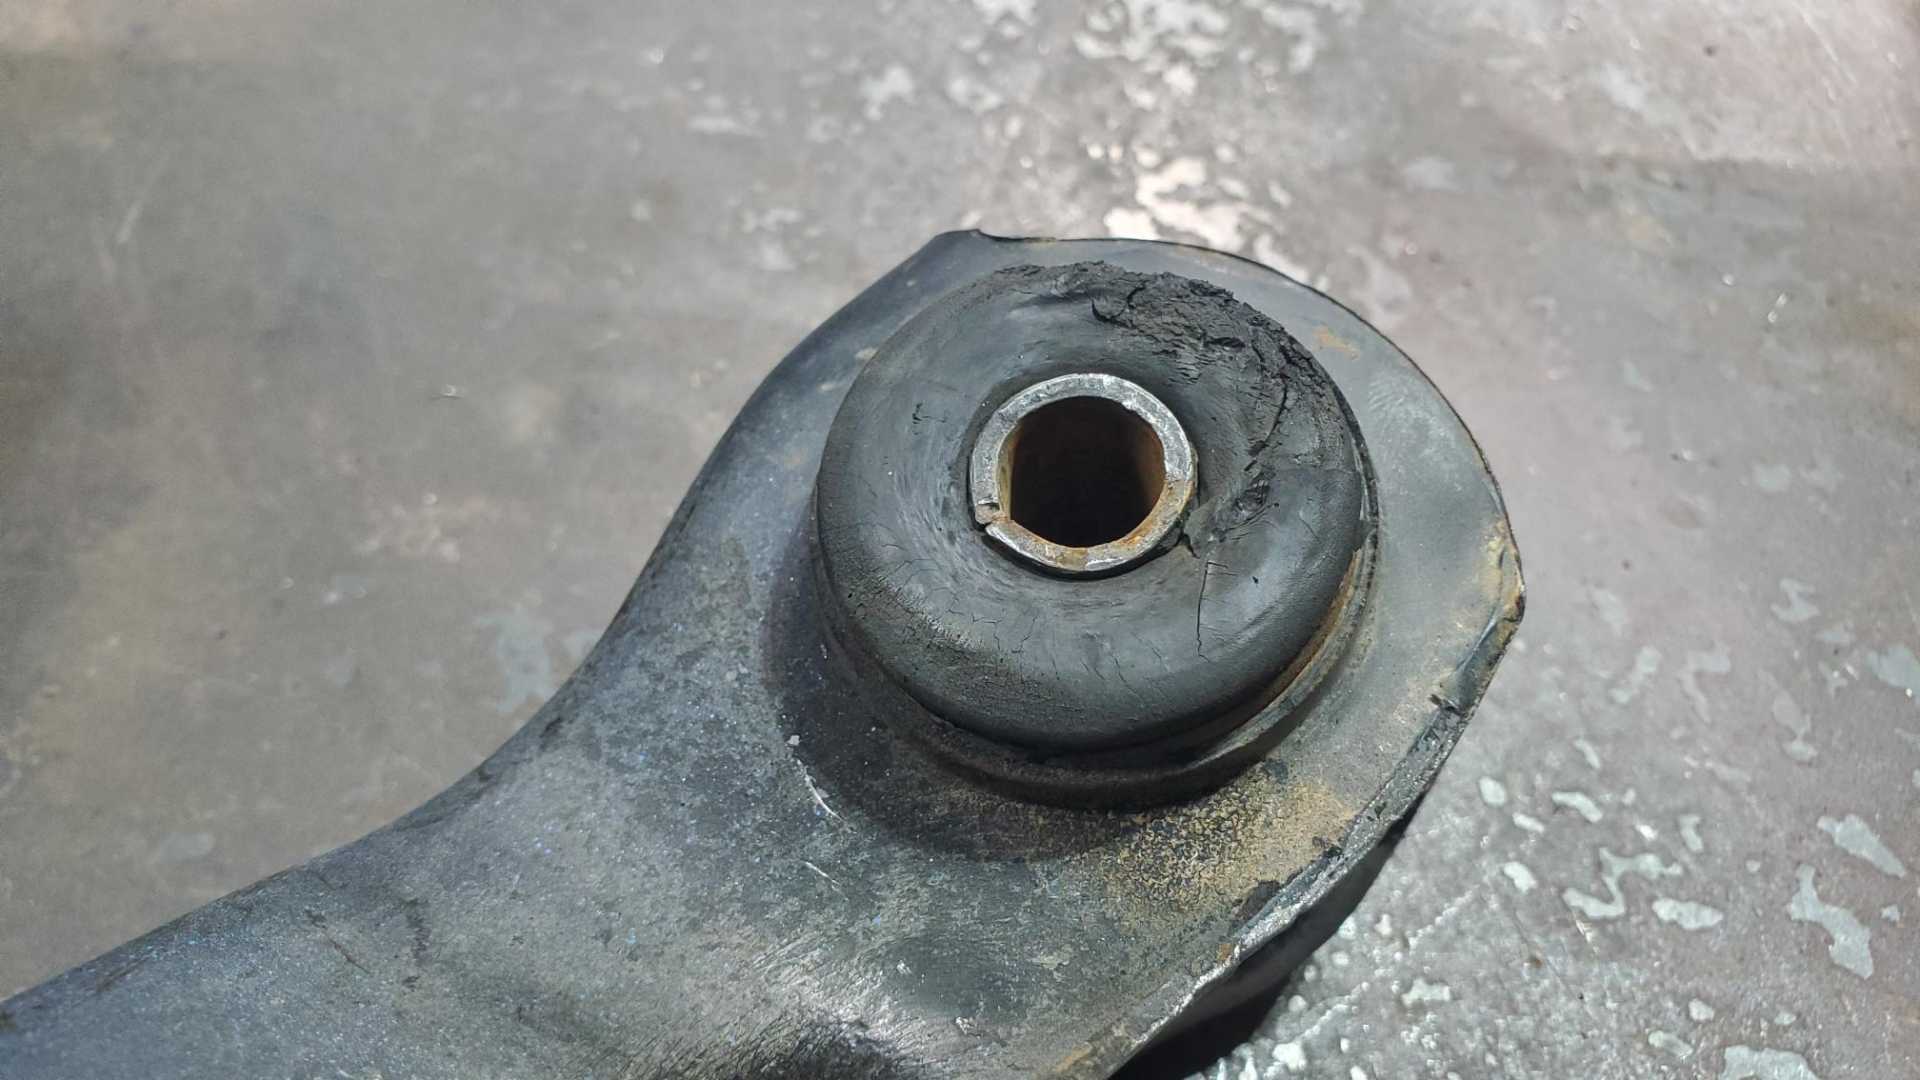
I’d been on the fence about whether the bushings needed to be replaced on the rear A frames, but today confirmed that the rubber is disintegrating. I’ll be ordering poly bushings as soon as possible.
I know the front suspension needs work, too, but that can wait until the car is on the road. It makes sense to address the rear suspension now because it’s disassembled. Probably need new struts on the rear end, too, but they can wait.
Been crazy busy at work over the last couple of months, including a couple of stretches where I worked both weekend days. Things should calm down now, but Oklahoma’s ridiculous summer heat is here and that really slows me down,
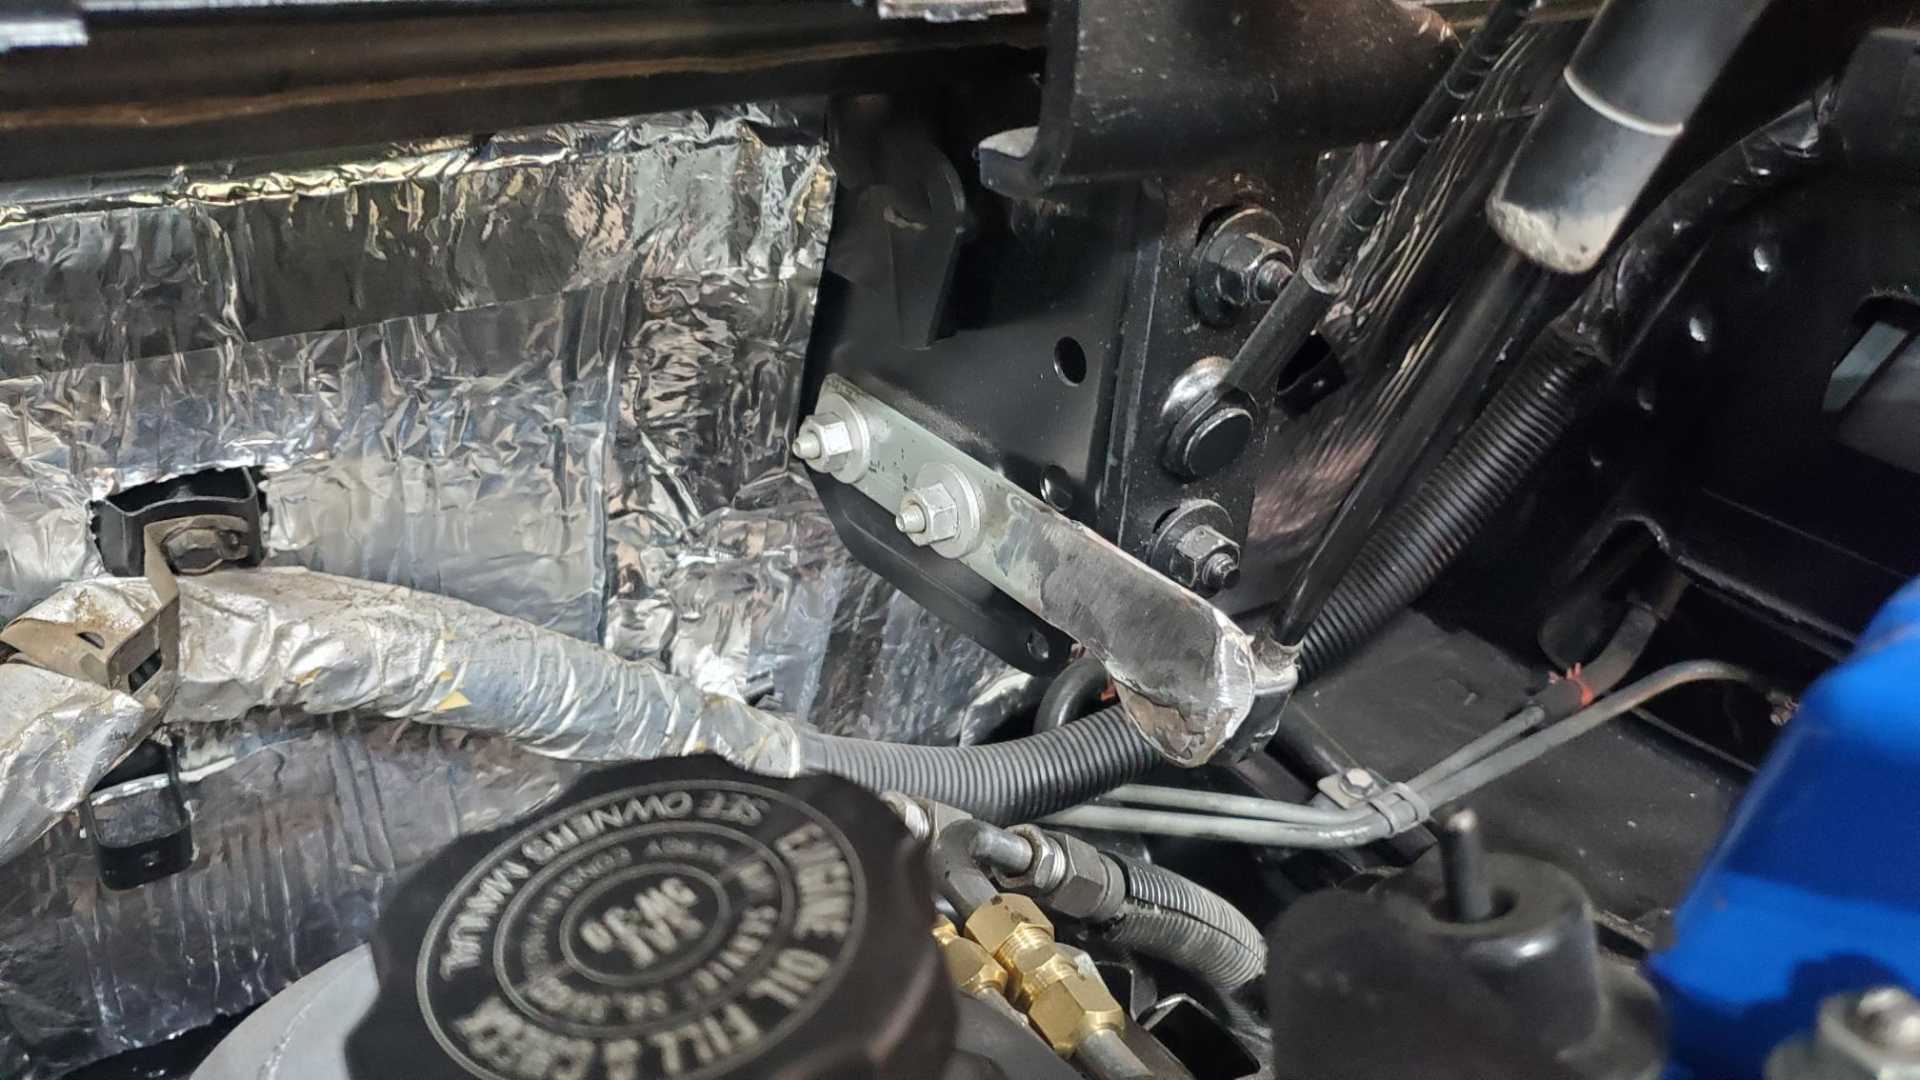
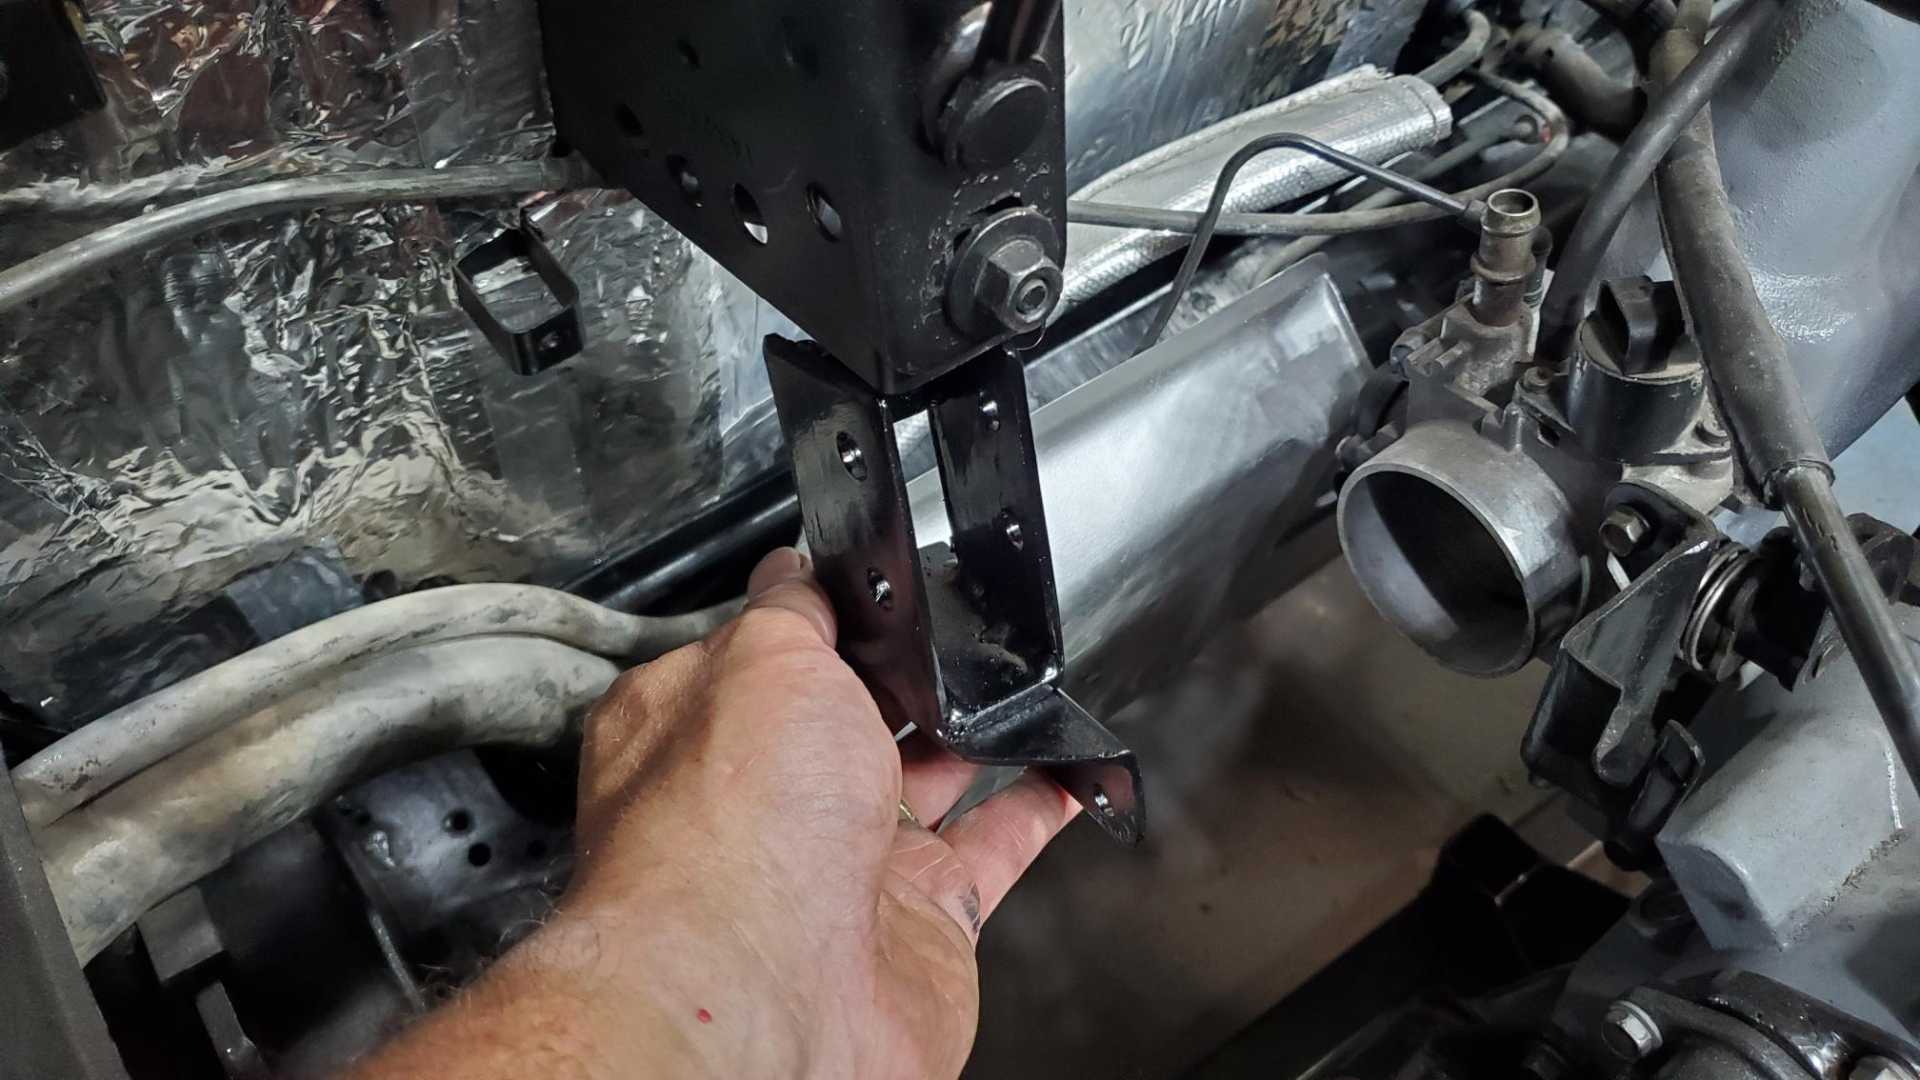
Finally figured out the deck lid strut mounts. I wanted them to be as unobtrusive as possible, so I made a piece that fits inside the hinge mount and is held in place by bolts that go through the holes that originally held the pins for the torsion springs.
I made pins for the struts by grinding the heads off four bolts and using a Dremel to machine a groove near the end.
It took some trial and error to find the spot where the strut would allow the deck lid to close all the way, while still allowing it to open to near its fullest extent.
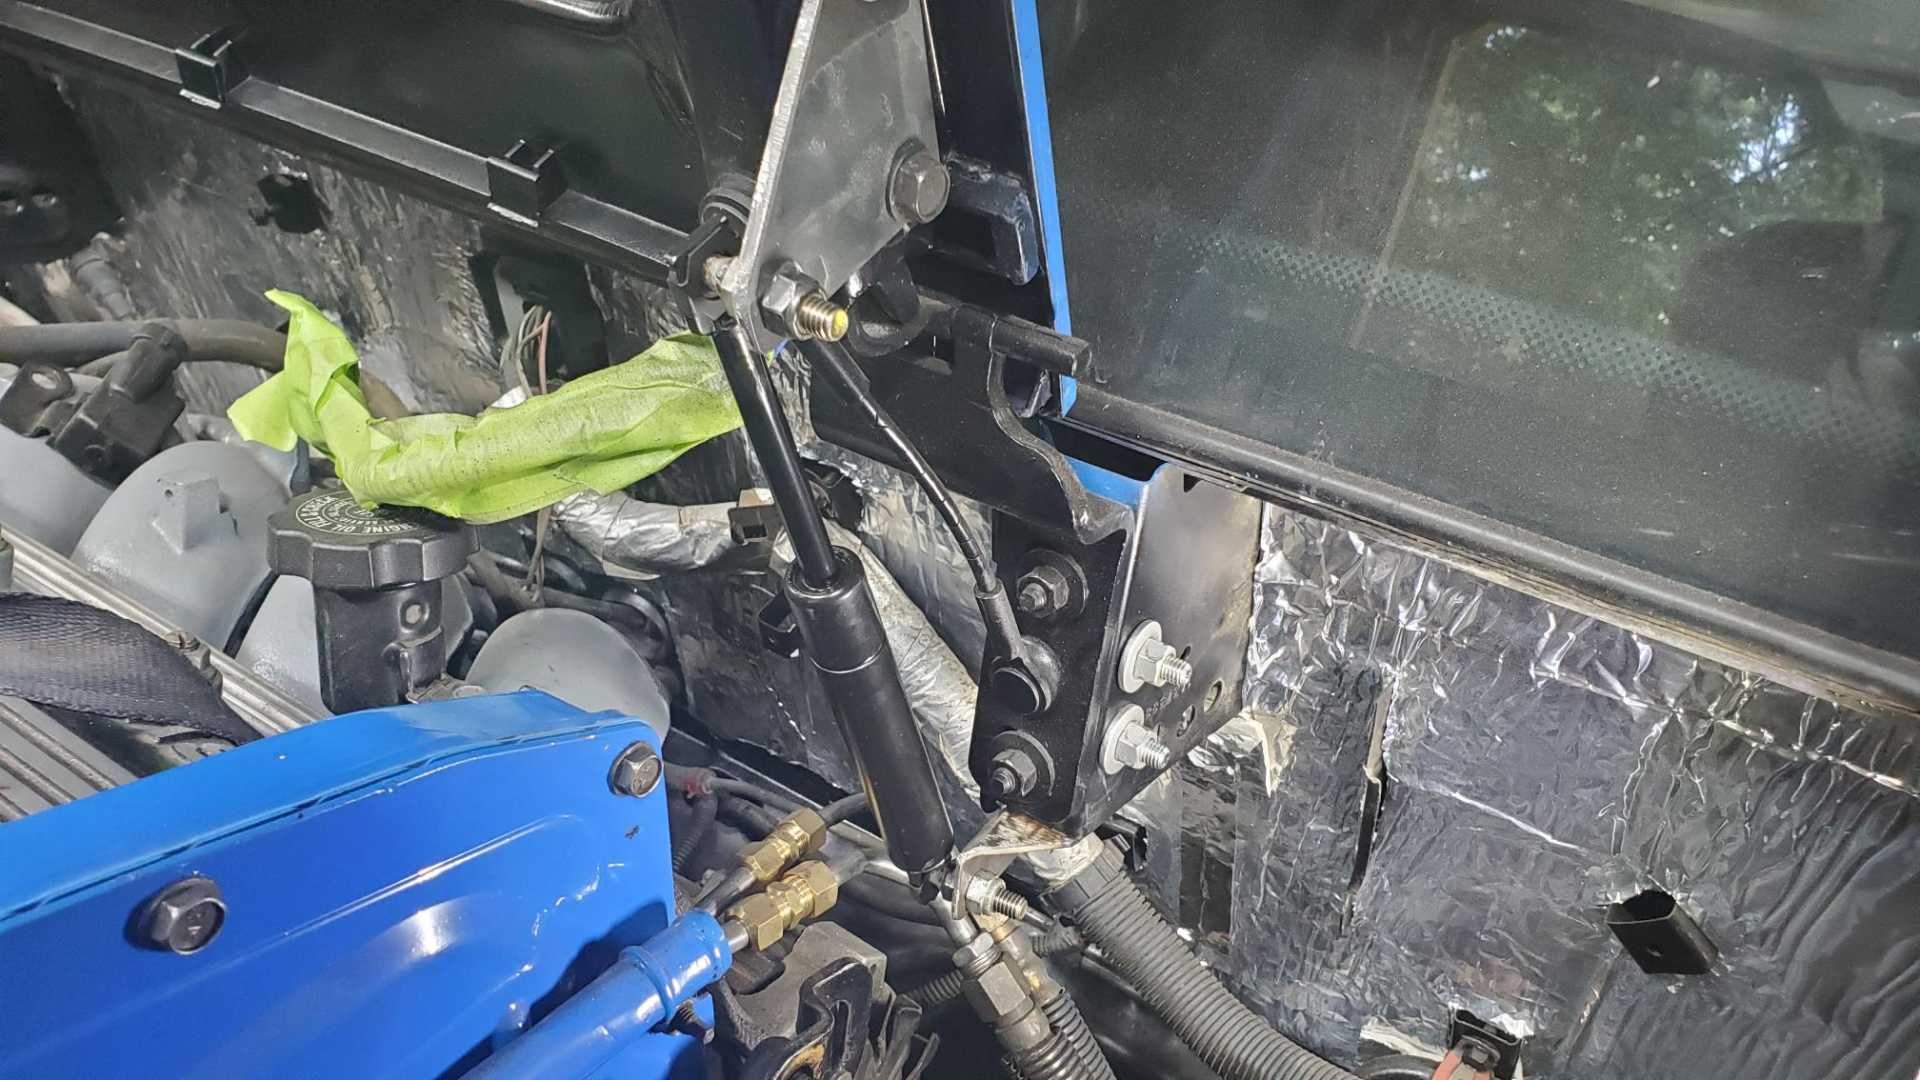
The deck lid flange attaches using one deck lid bolt and then a bolt where the end of the torsion spring mounted.
These struts are just about perfect. They don’t take up much room and when I turn the key in the lock, the deck lid pops up about 4 inches, then slowly rises all the way open.
[This message has been edited by Quadfather (edited 07-17-2023).]
Minor progress to report. I've just been so busy with work and other parts of life. I retired from refereeing youth soccer, so my weekends should free up.
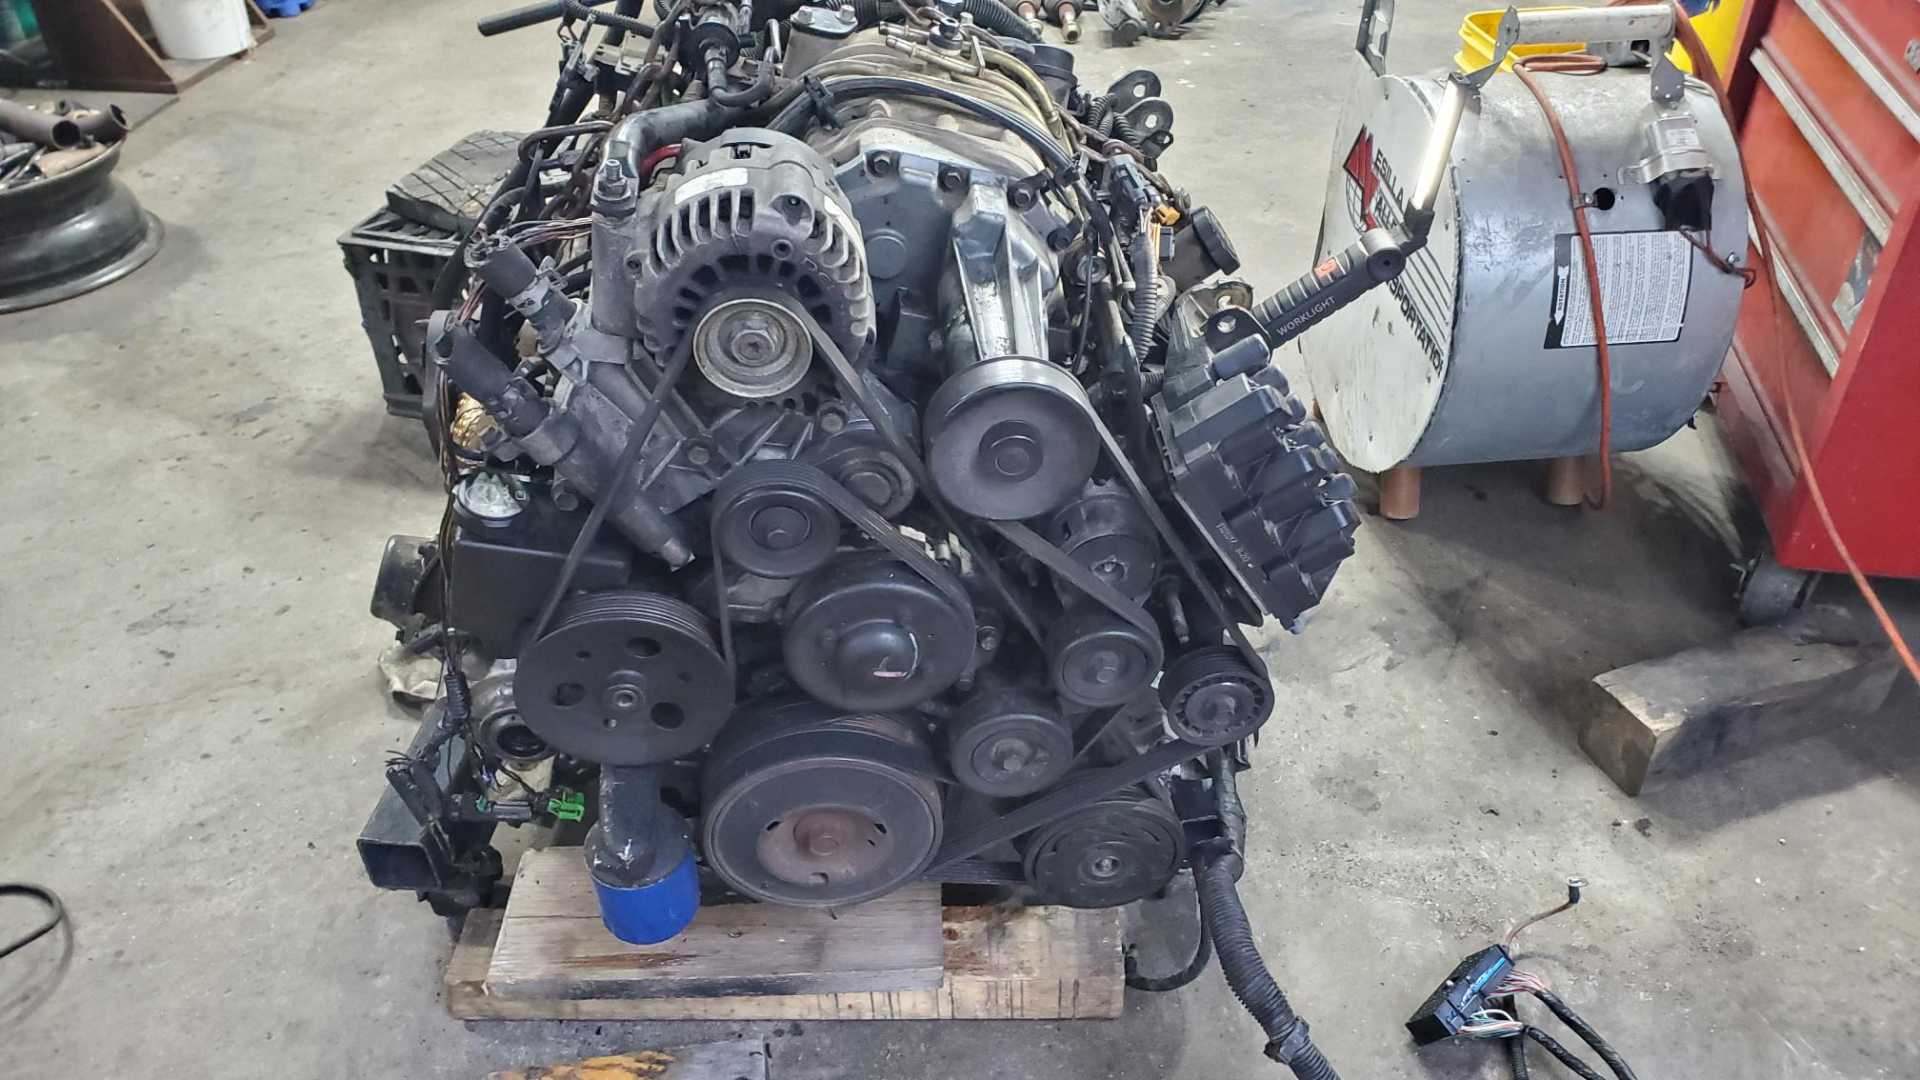
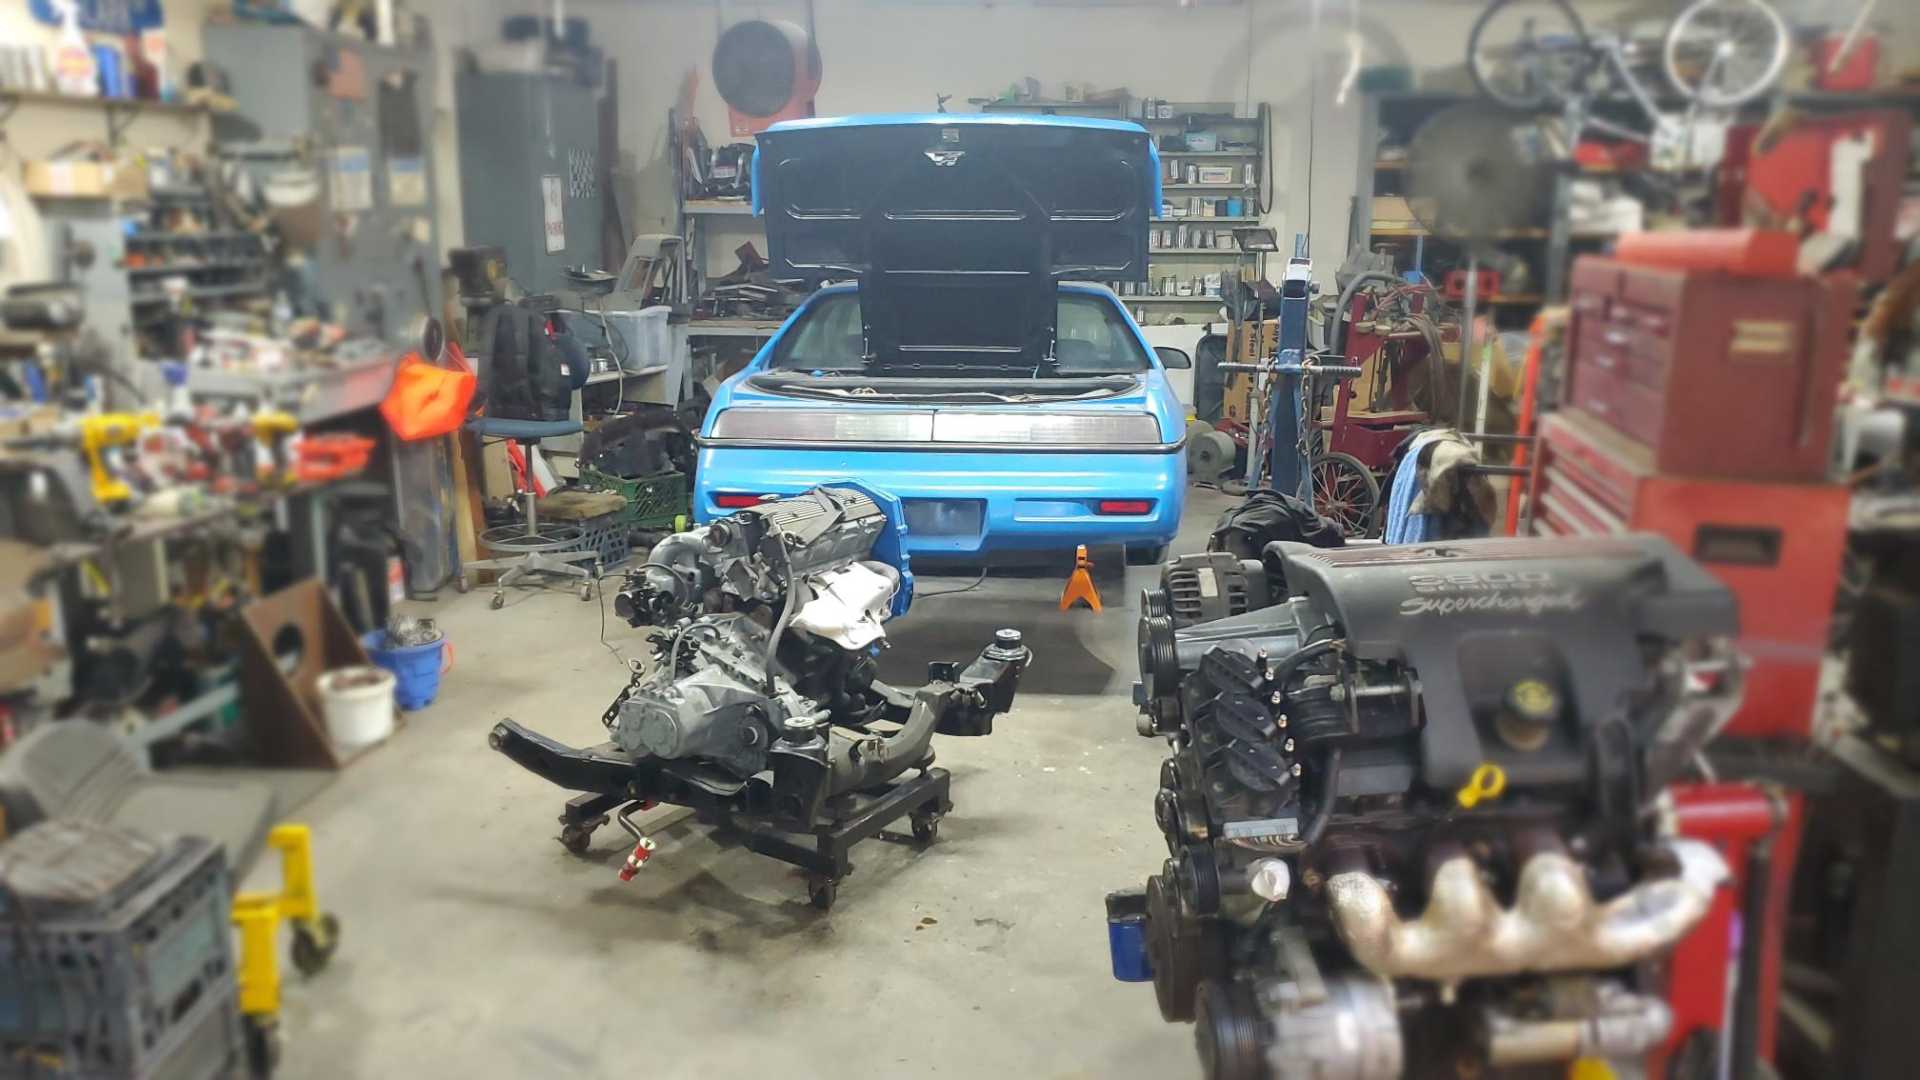
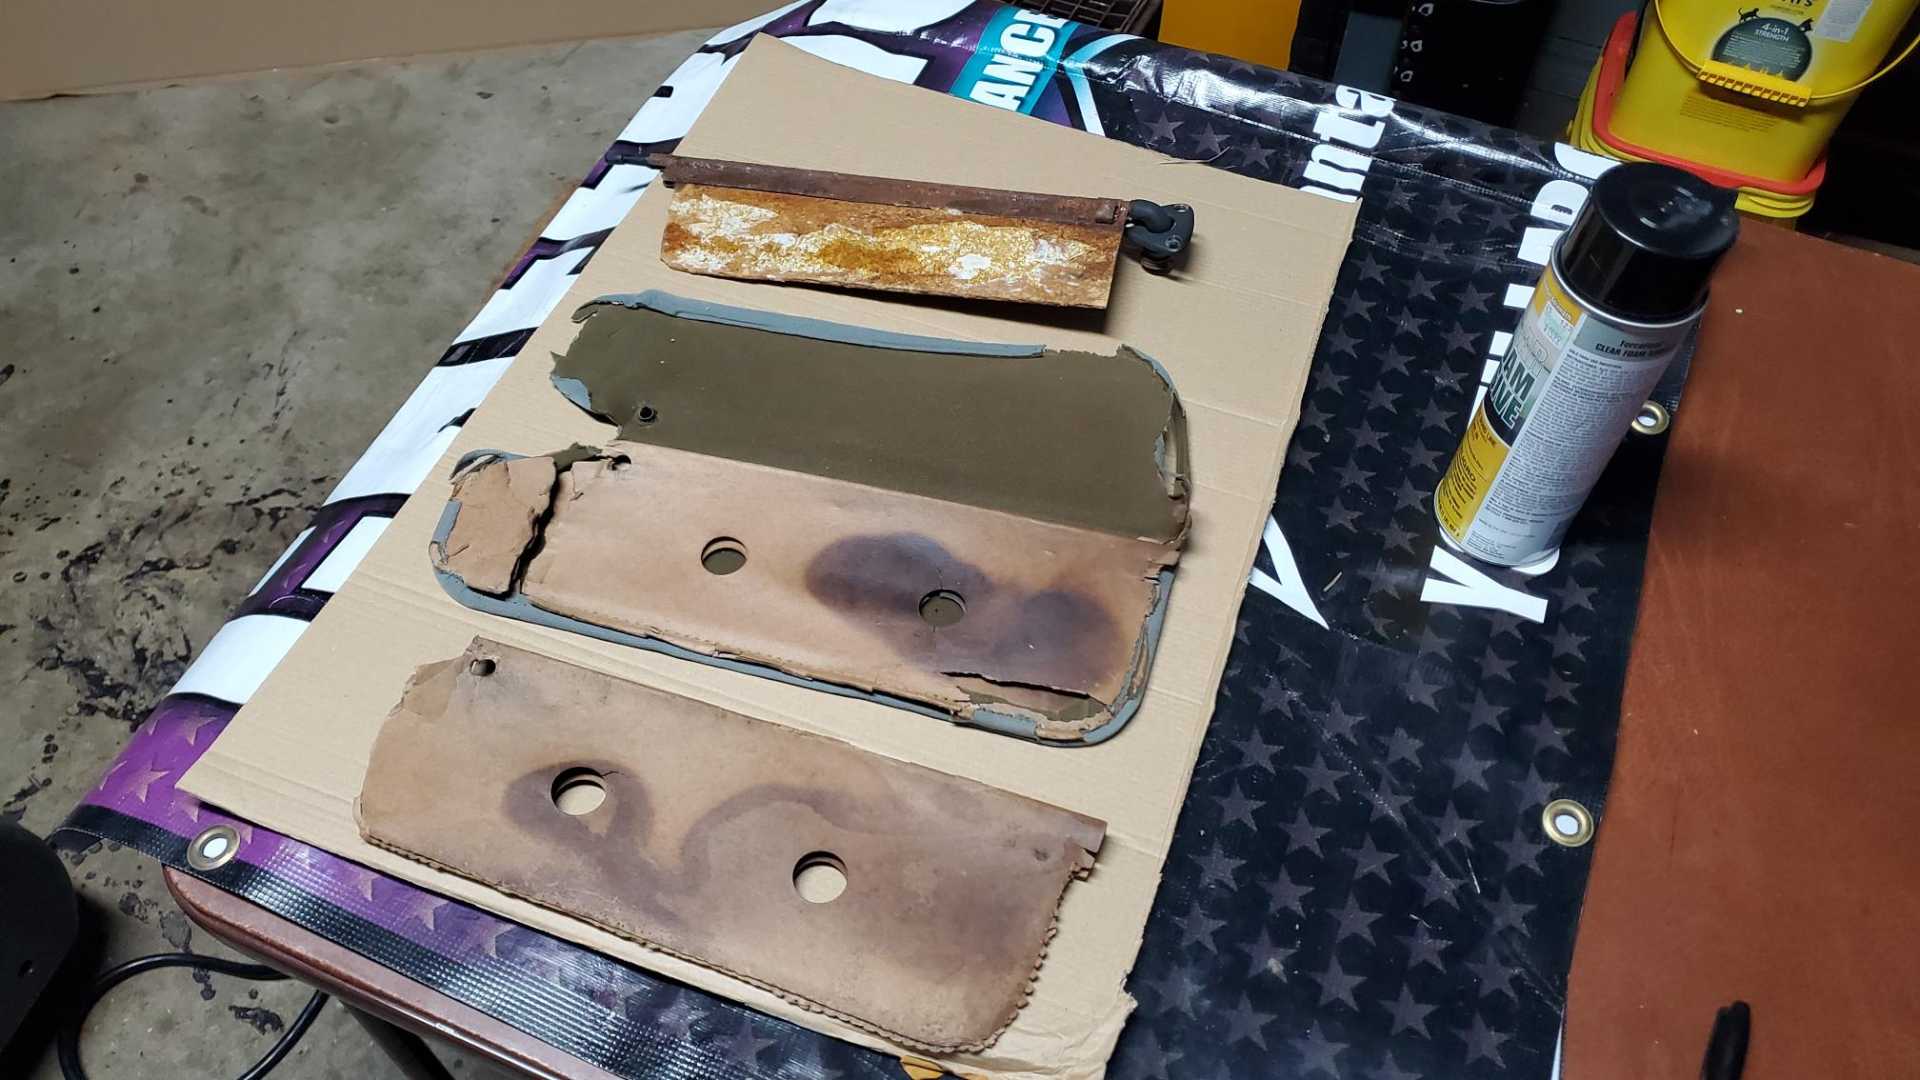
My son and I pulled the supercharged 3.8 out of our old Grand Prix and I spent a couple of weeks cleaning up the engine and transmission and preparing them for storage. Turns out the transmission was a replacement unit, not the original. The engine had a serious oil leak around the front valve cover so I wanted to pressure wash all the oily grit off before I haul the engine to the storage unit. I need to weld up a couple carts, as soon as I find more castors.
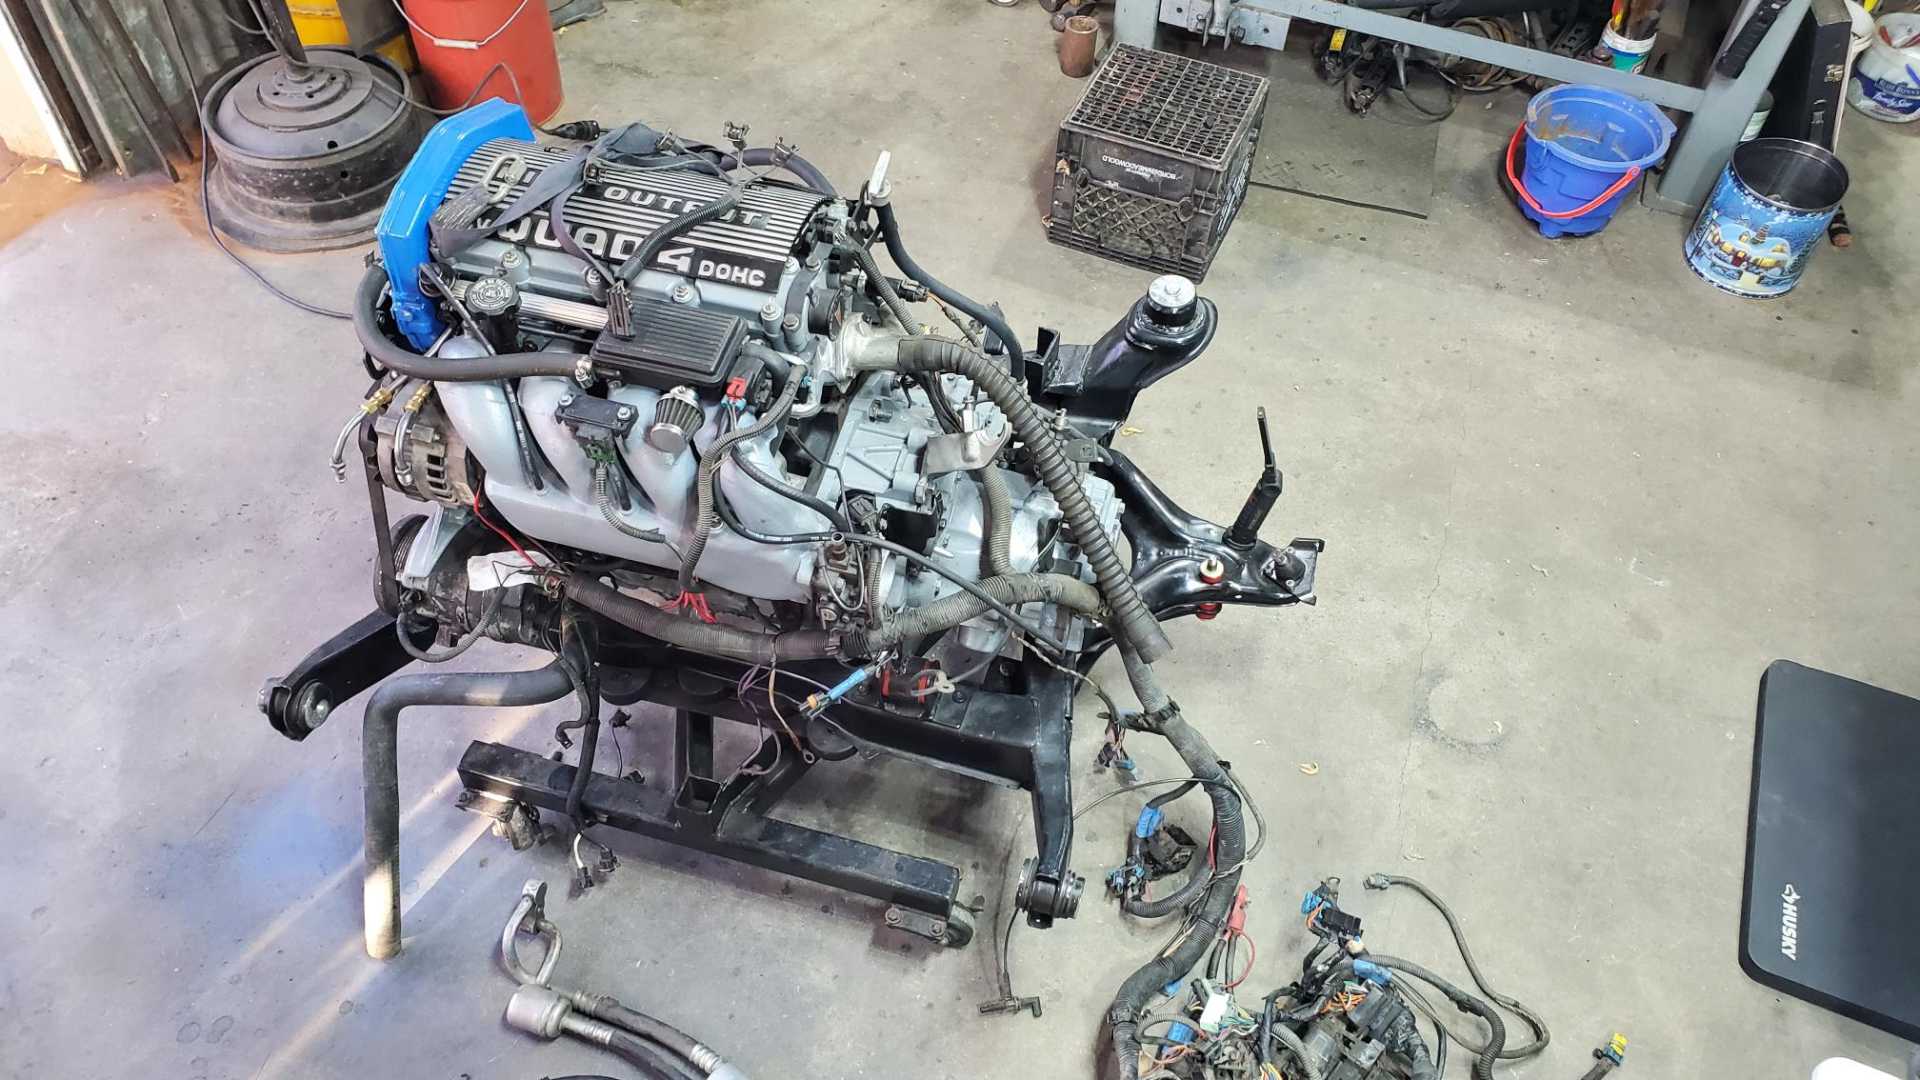
Between disassembling and hauling off the Grand Prix, trying to track down a weird suspension clunk in my wife's Impala, trying to rehab an old chain saw, working a lot of hours and dealing with the ridiculous heat and humidity, I've tinkered with the Fiero just a little bit over the last couple of months. The only milestone this time was removing the engine and cradle from the car to prepare for the wiring harness work. I also got the poly bushings installed in the rear A arms and bolted on.
It's really hard to get a big chunk of free time to spend in the shop and make significant progress. I'll keep trying.
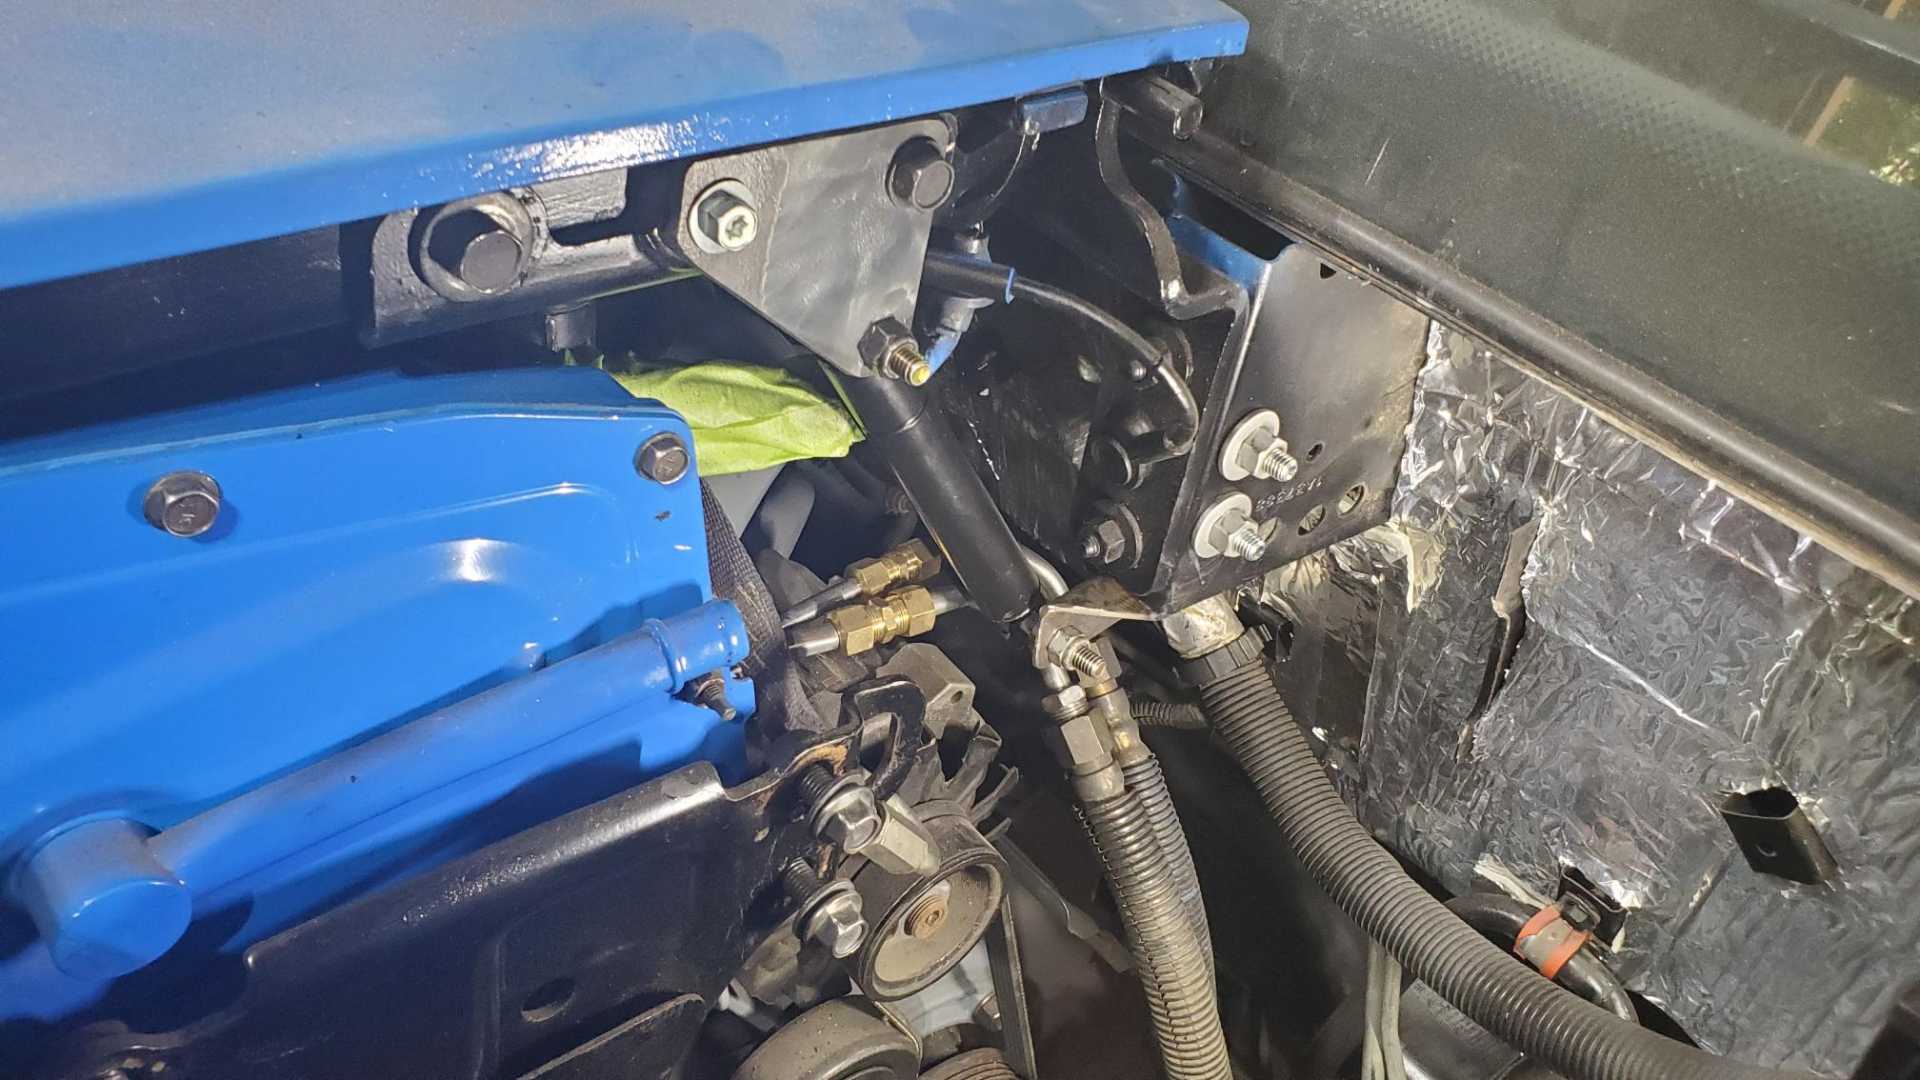
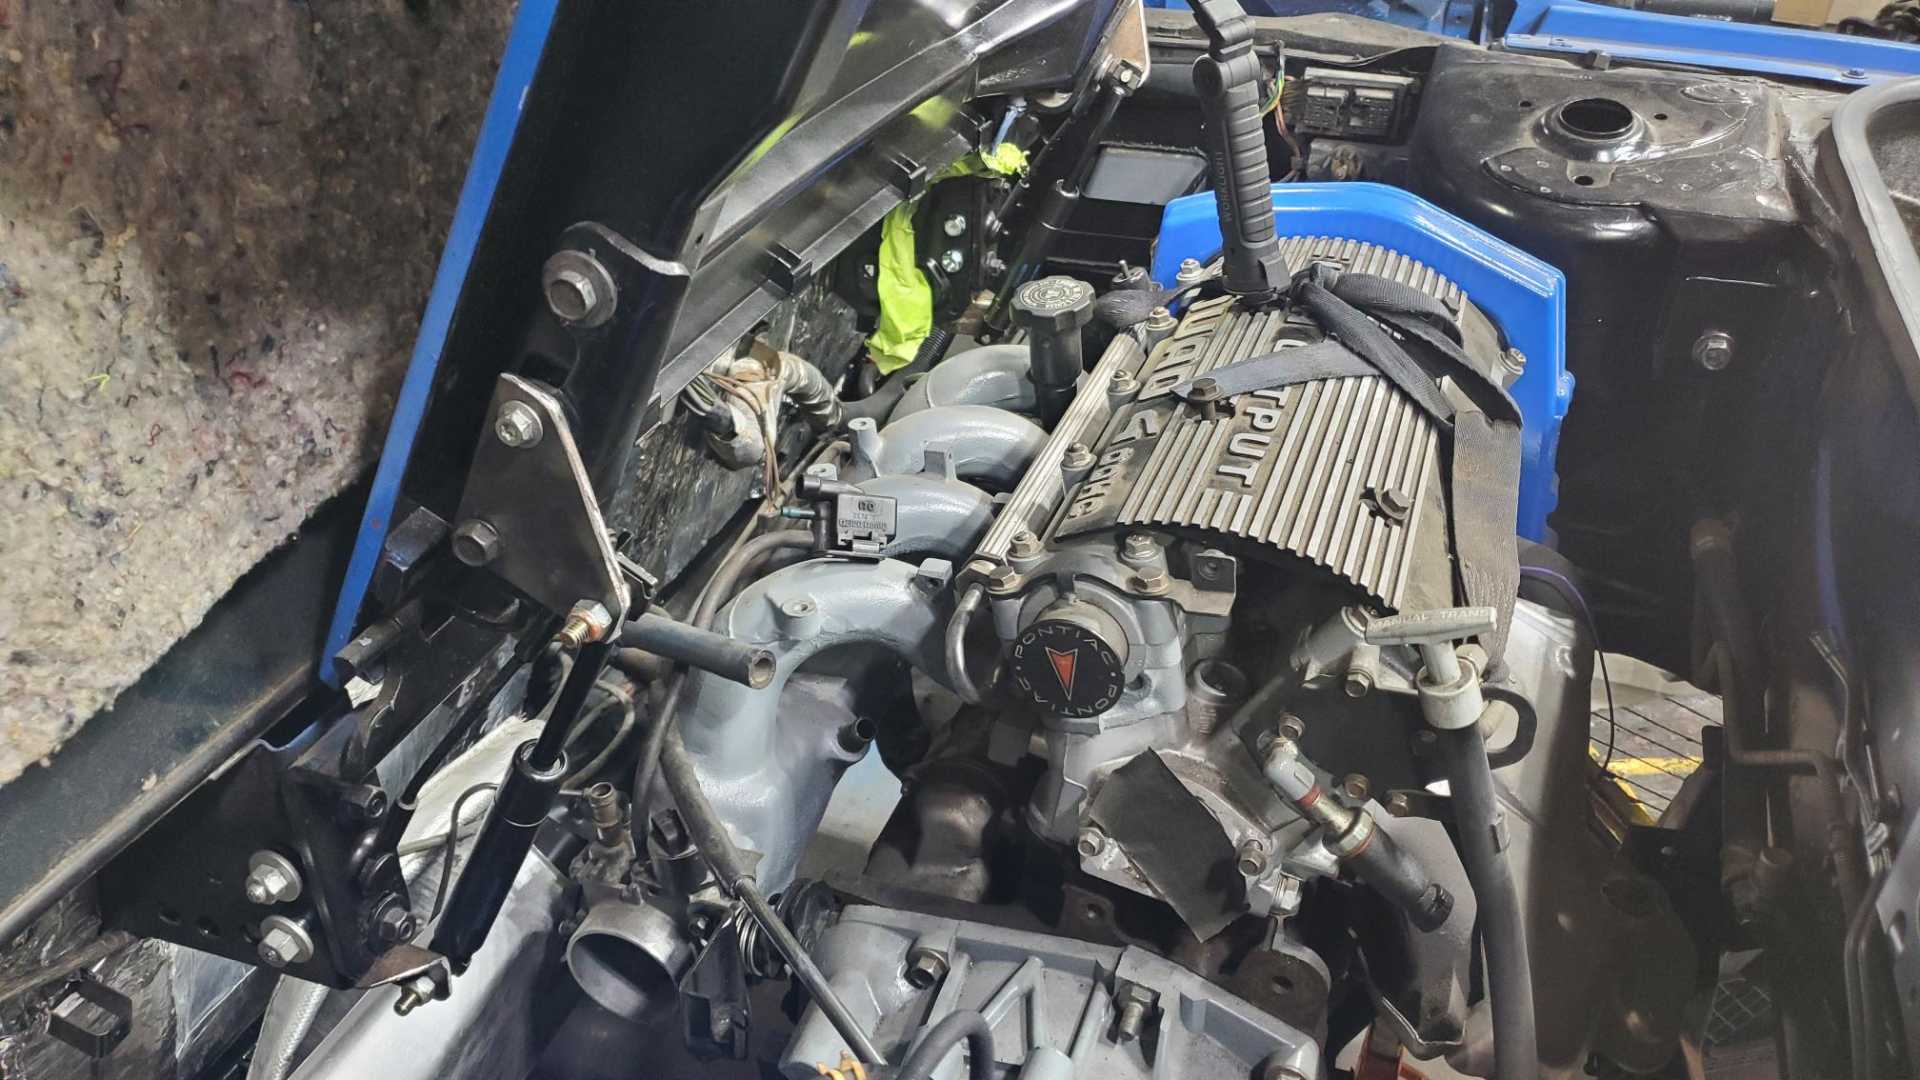
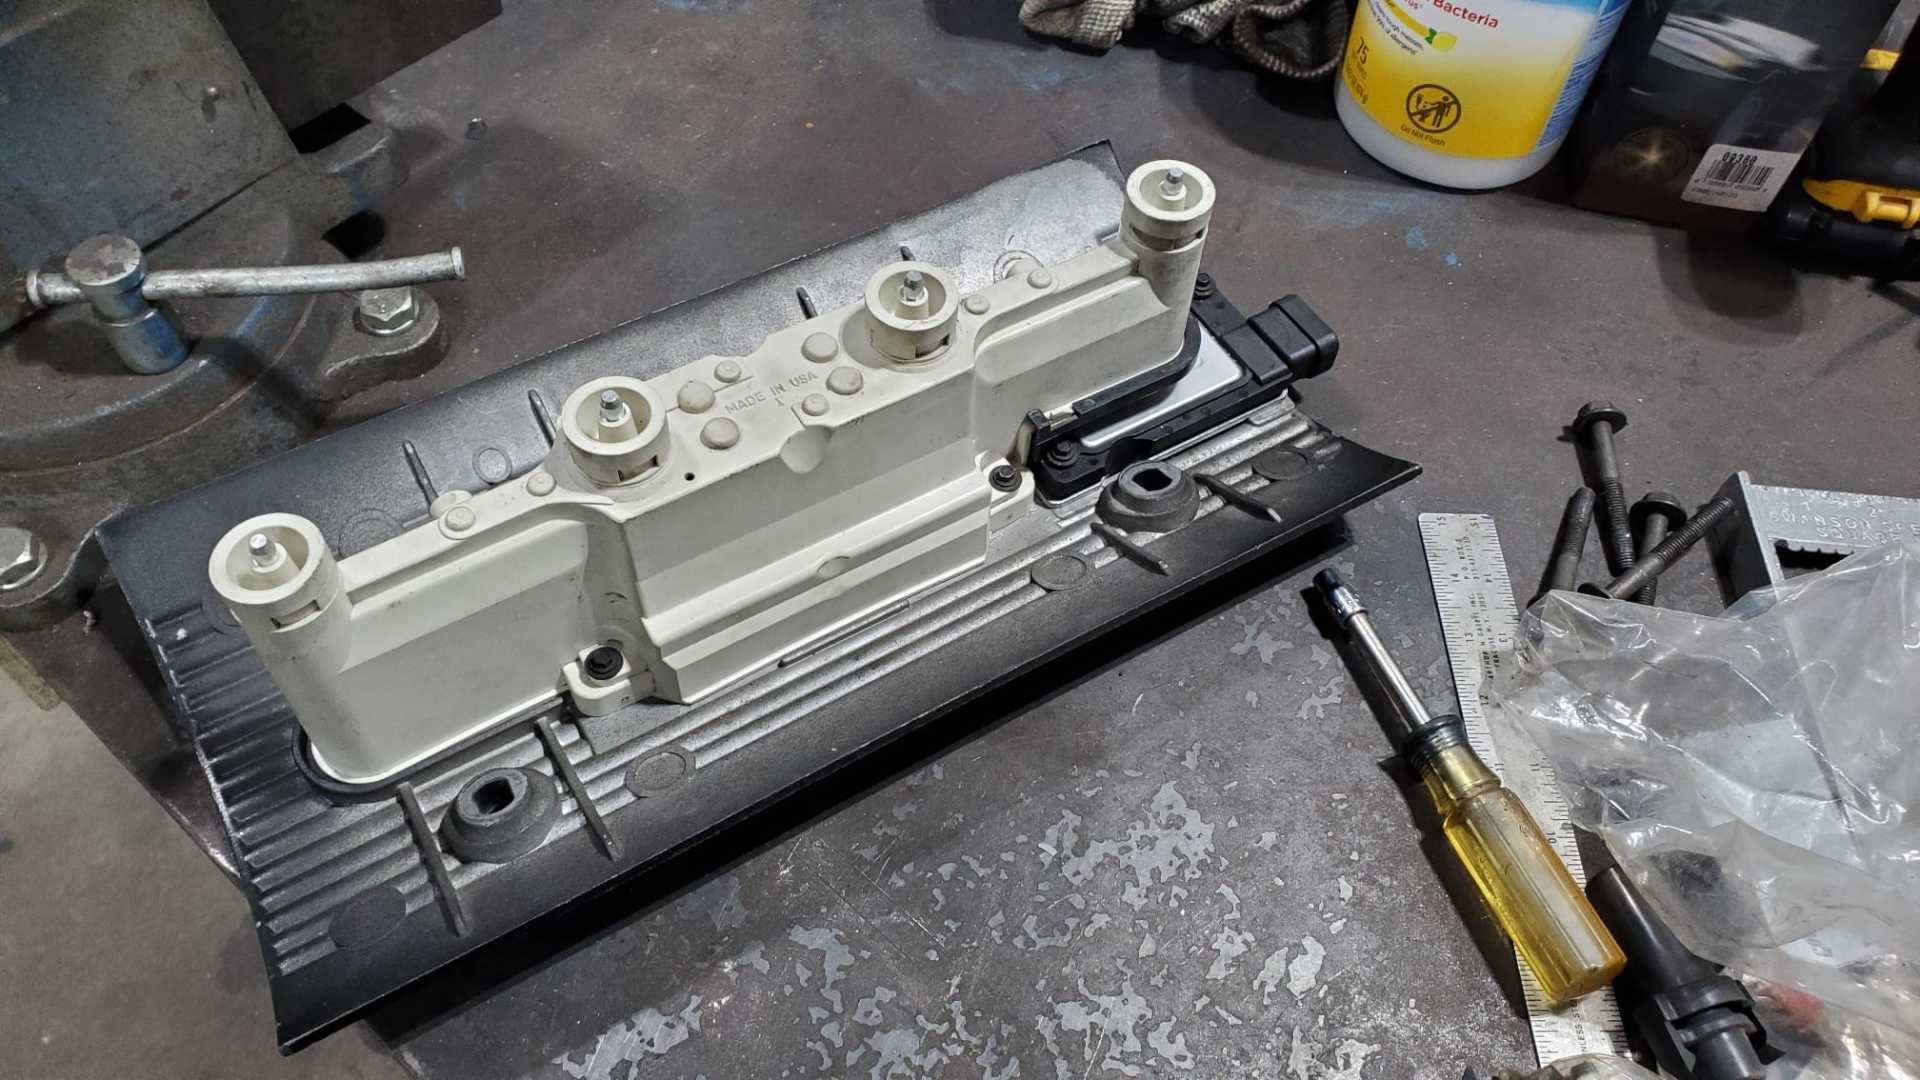
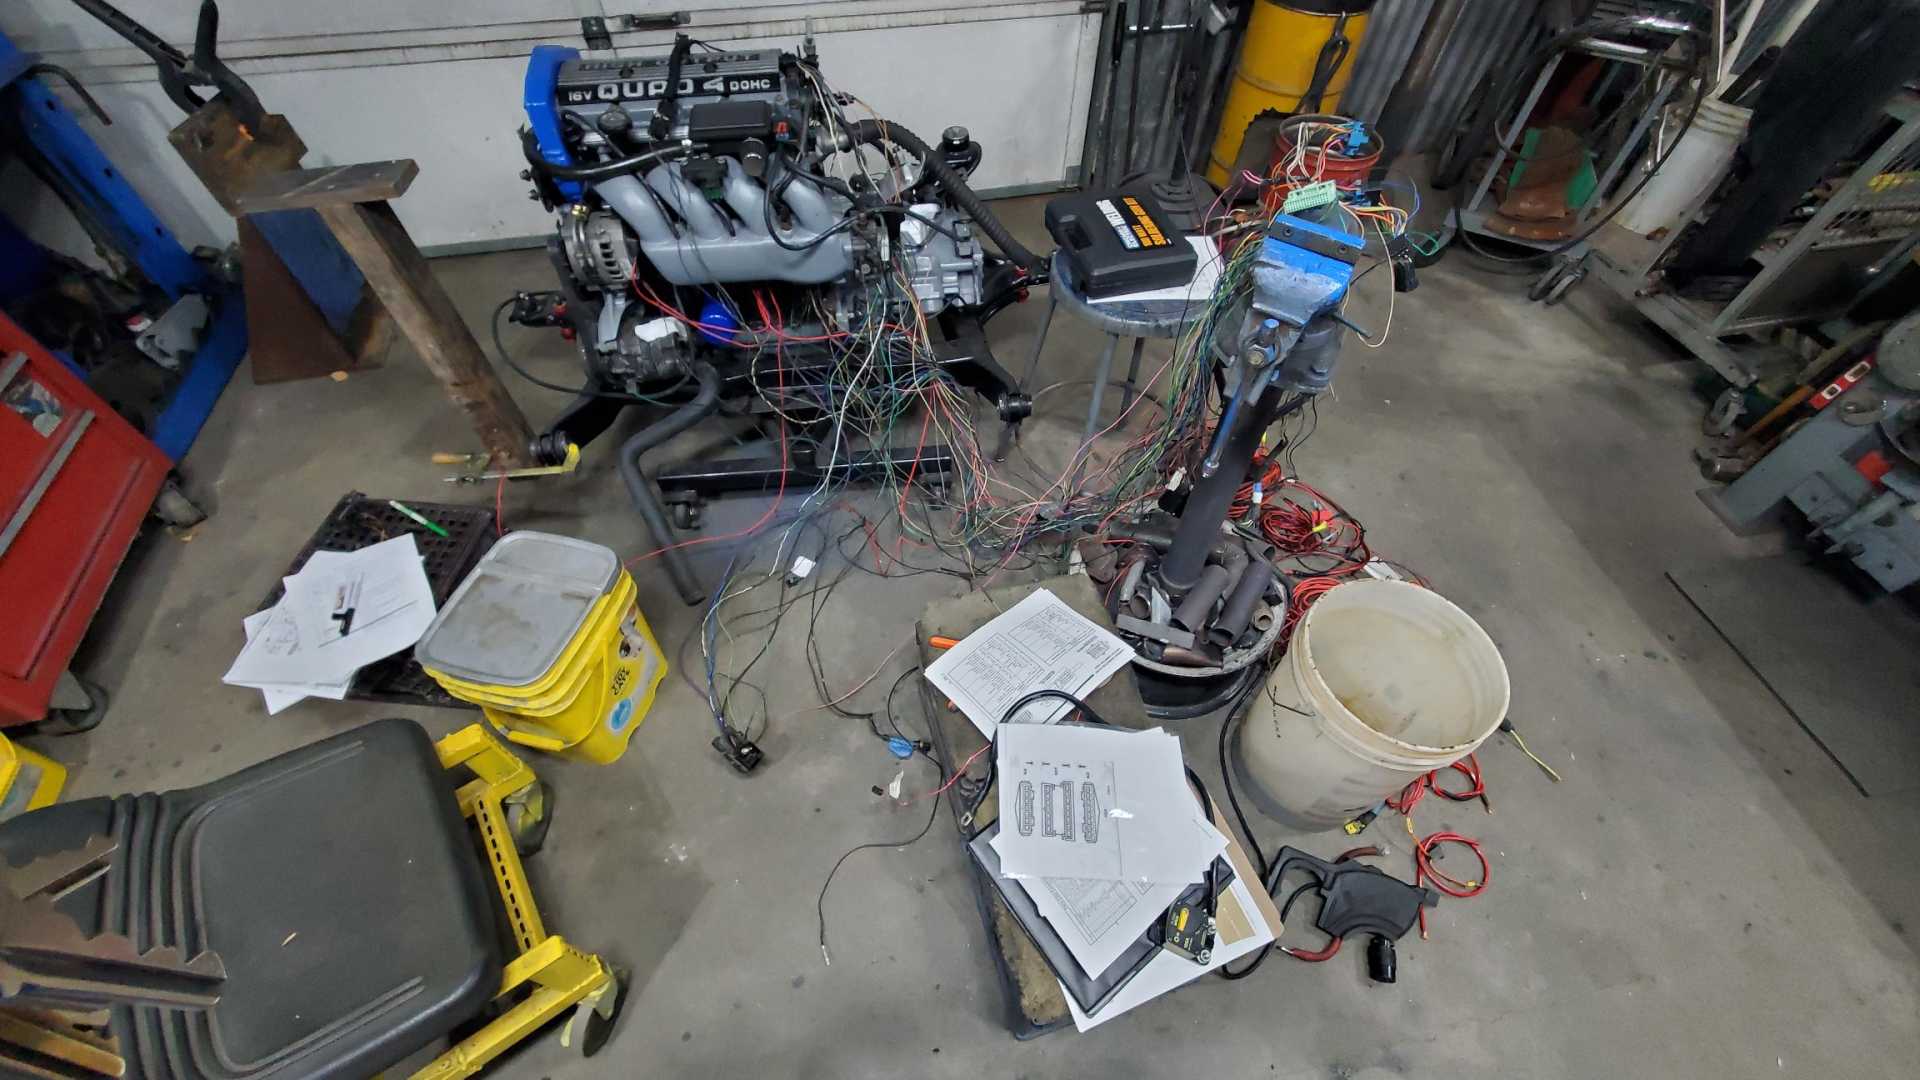
Started work on the engine wiring harness today, after reinstalling the last few parts of the engine. I don't remember how long it's been since I disassemble the IDI cover and related ignition pieces. Several years, at least. The Quad uses two coils that are held by a plastic housing attached to the underside of the IDI cover, with the ICM bolted under one end.
All the plugs on the Quad's harness were pretty dirty so it was time consuming to try to clean them before attaching the harness to the engine.
I labeled all the plugs when I removed this engine from my old GTZ in 2012, but in a couple cases I couldn't read my own writing and in others the labels either fell off or I missed a couple plugs.
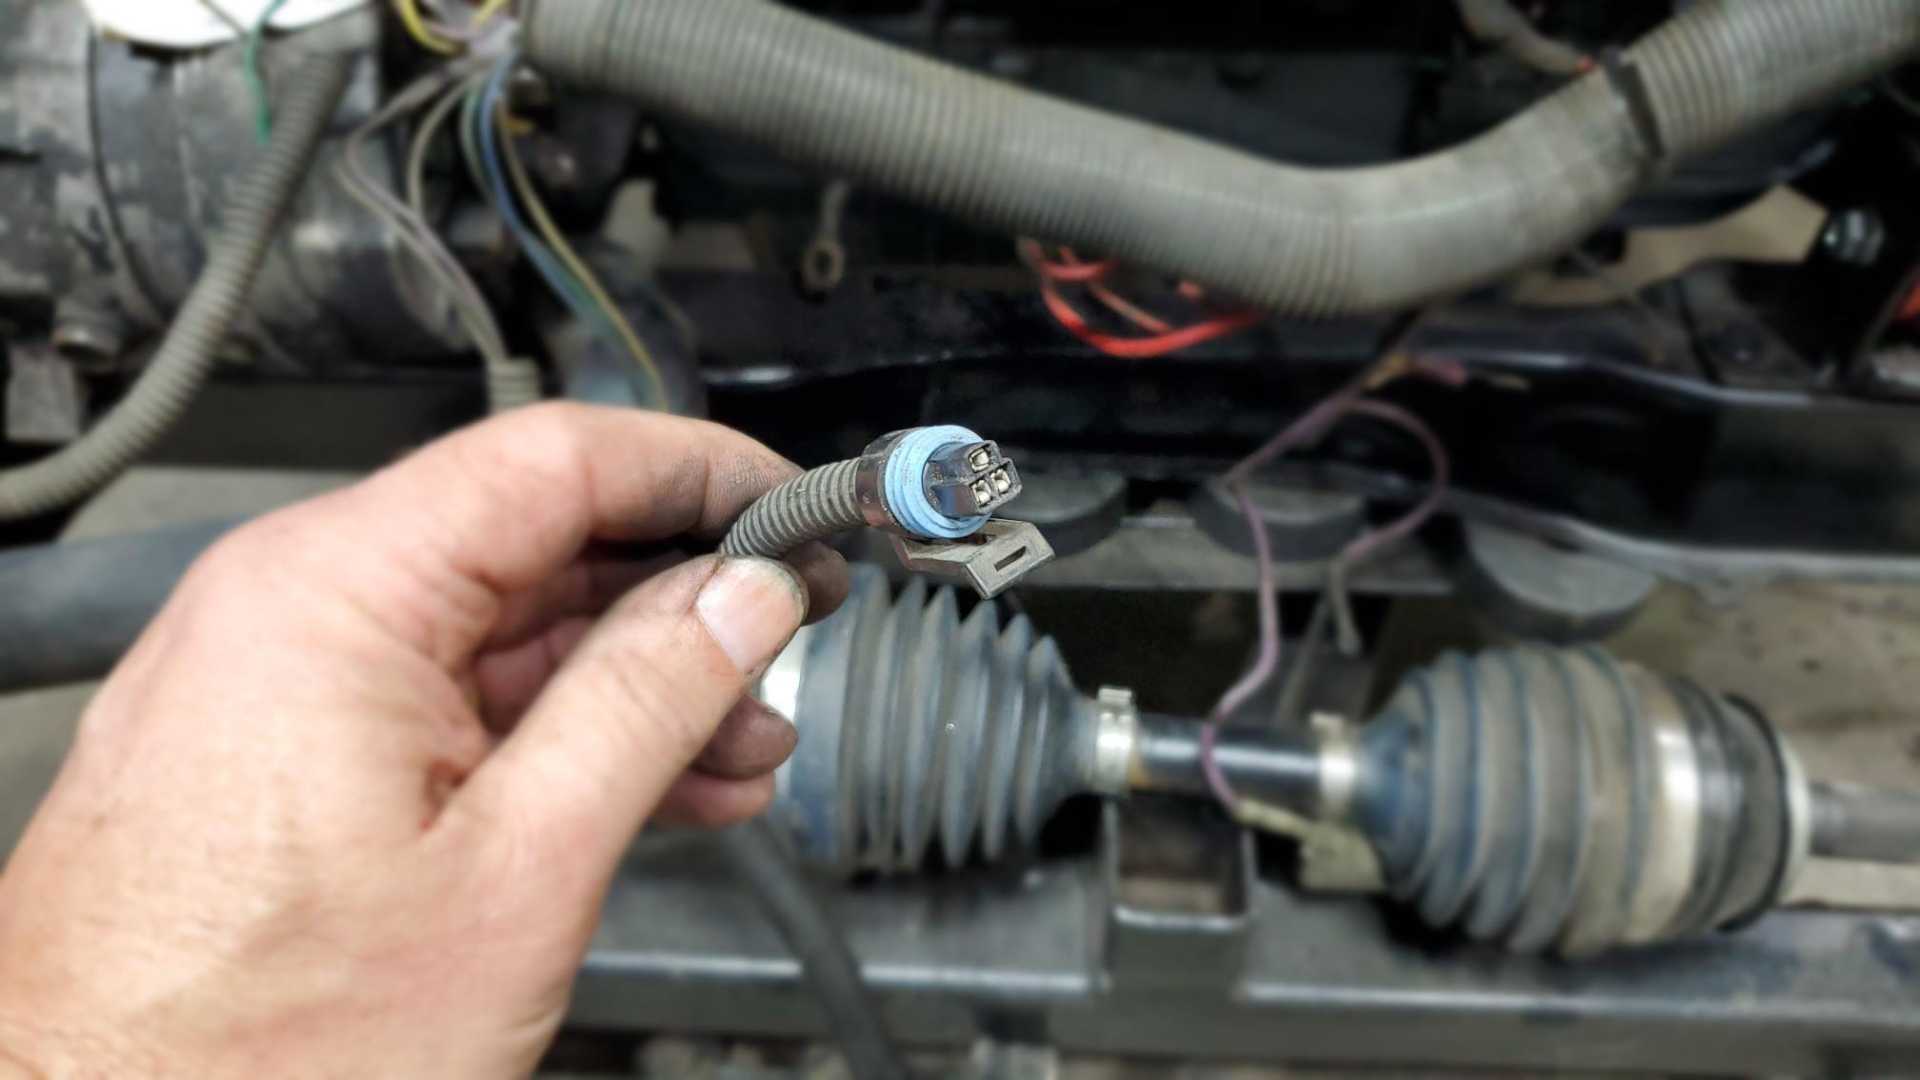
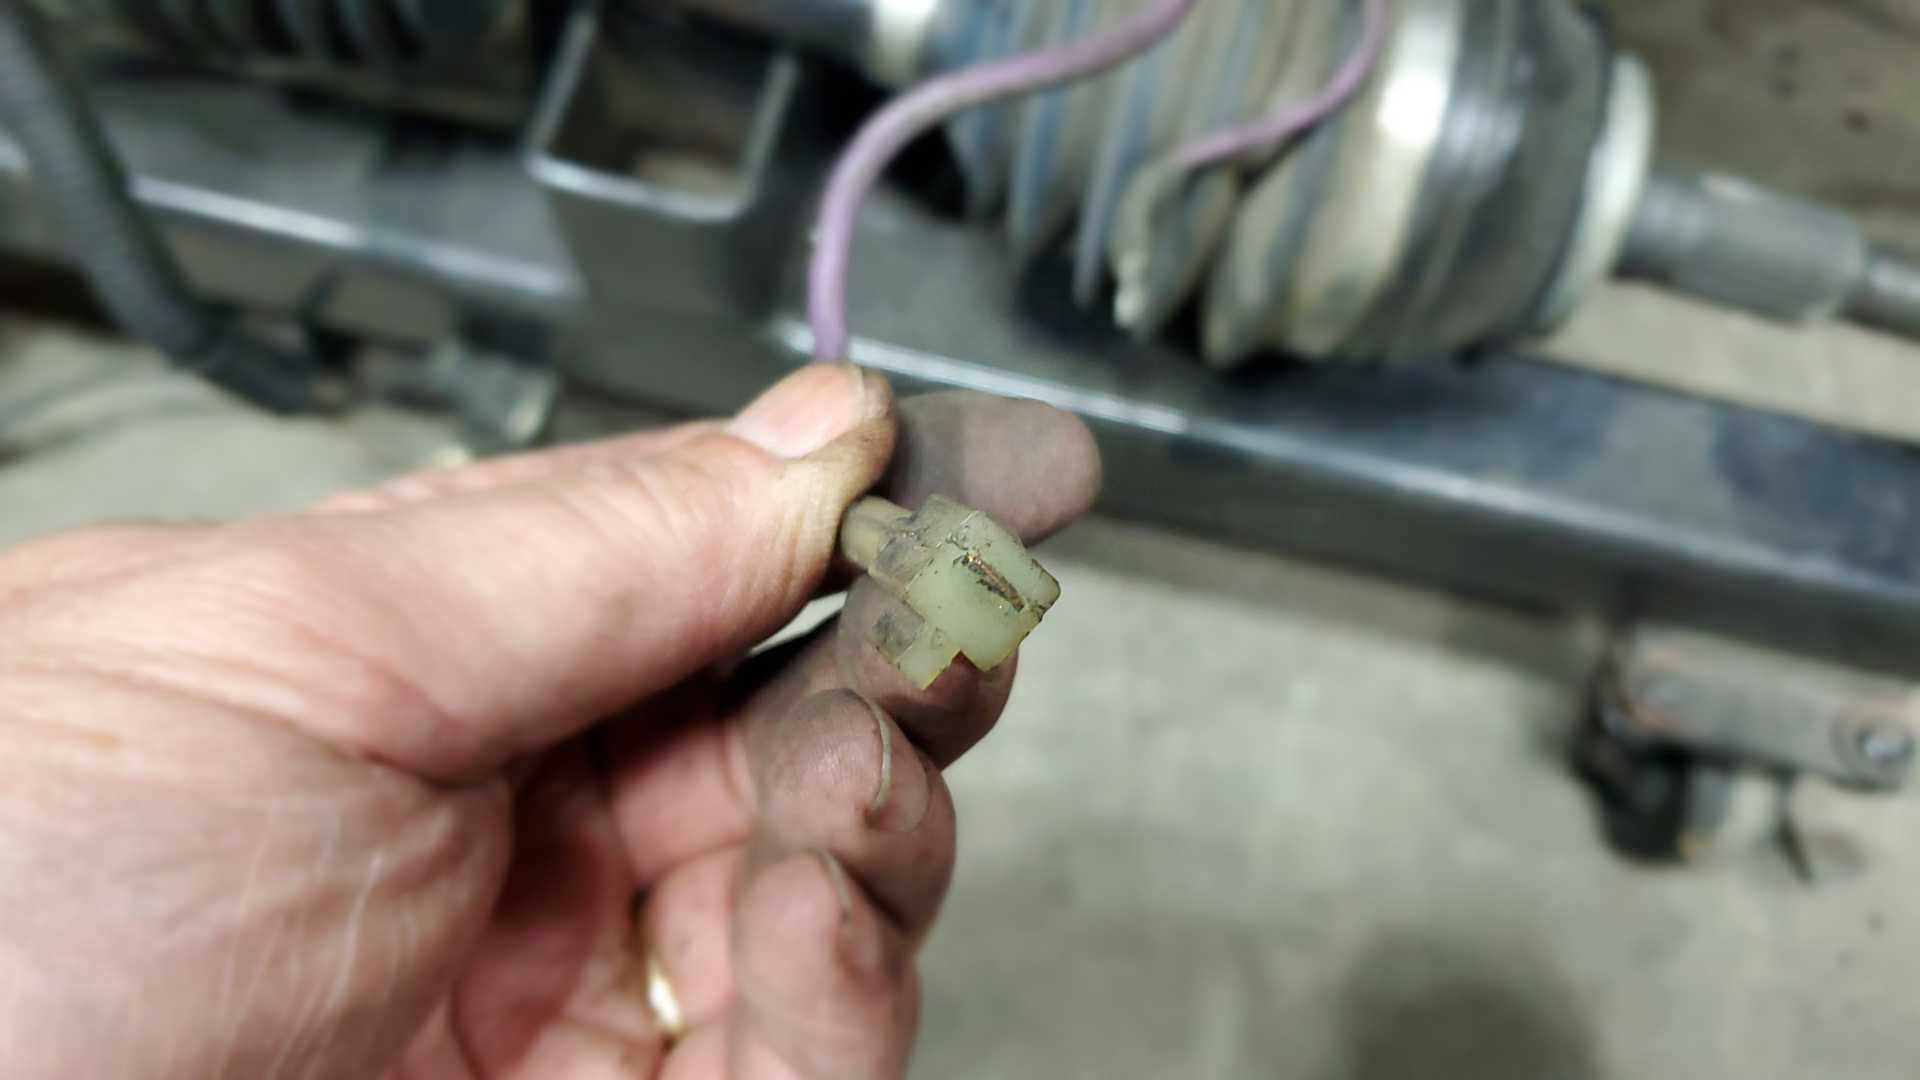
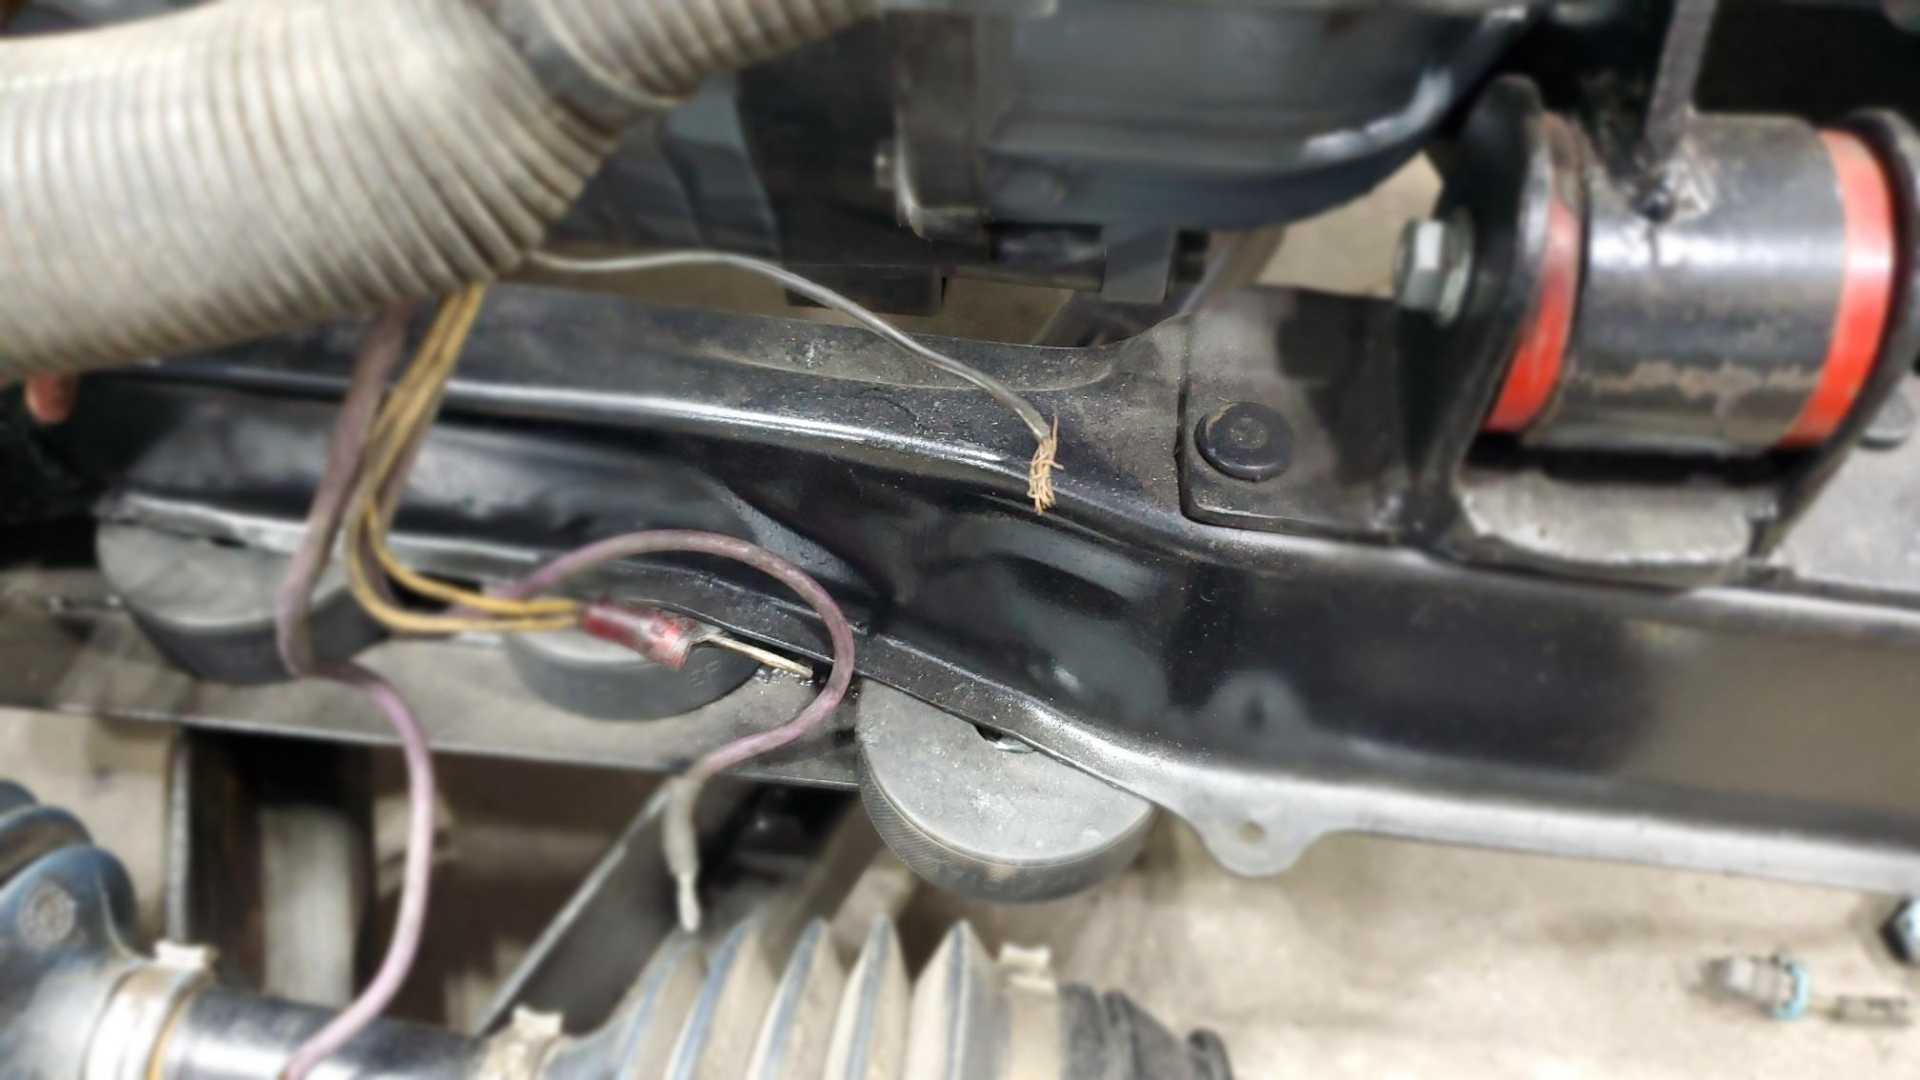
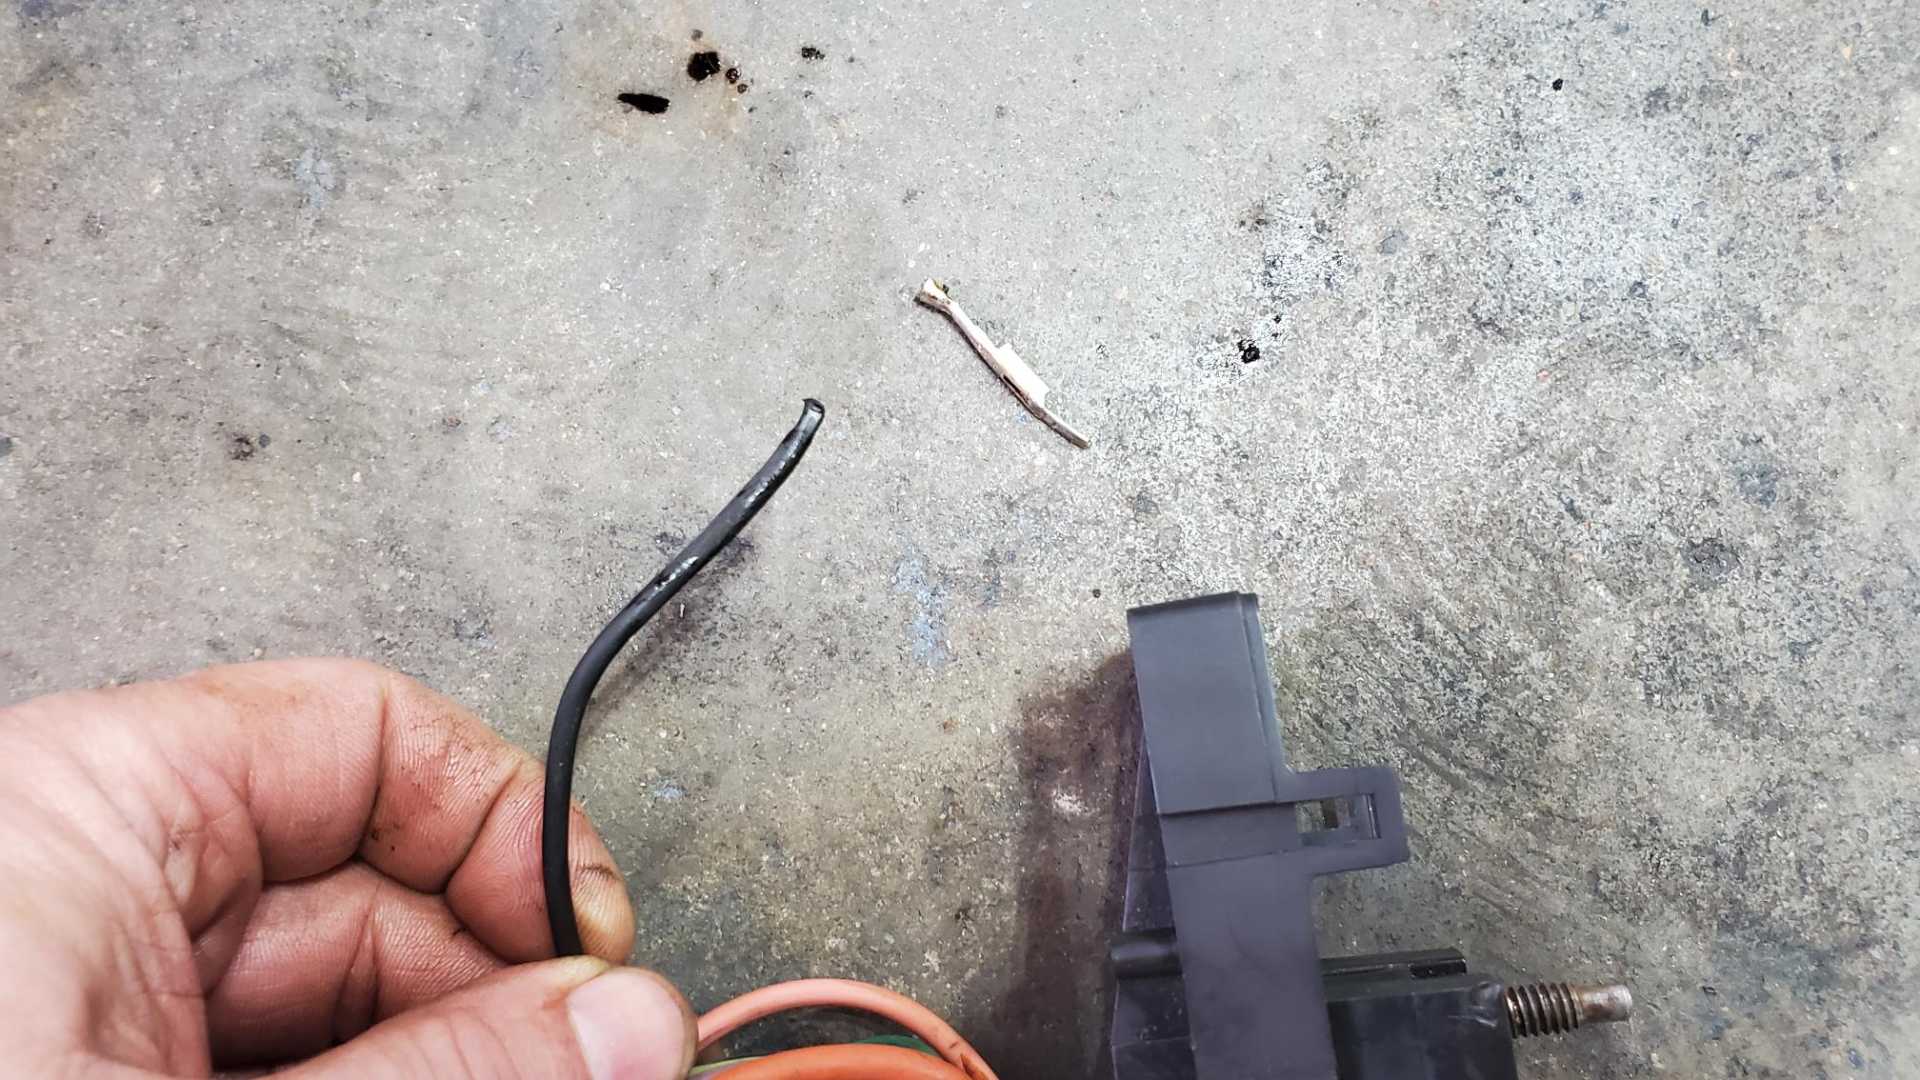
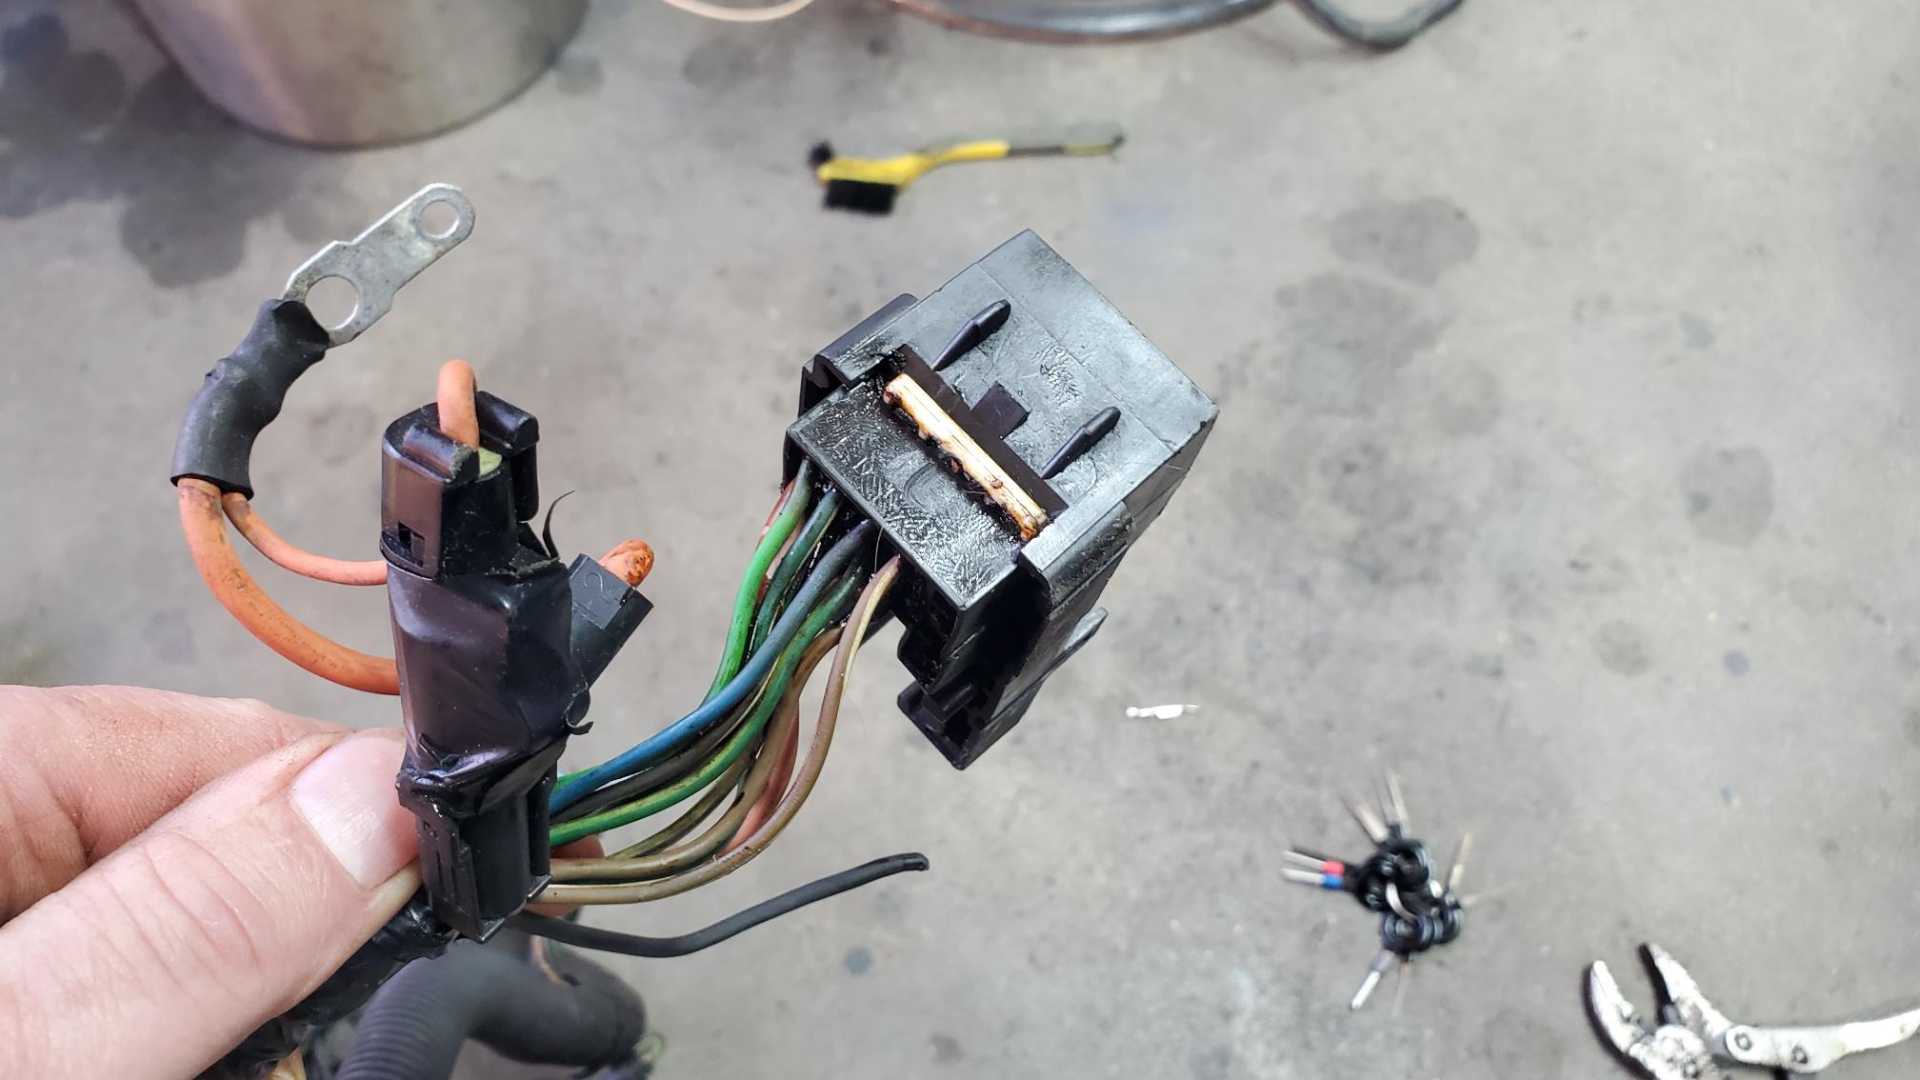
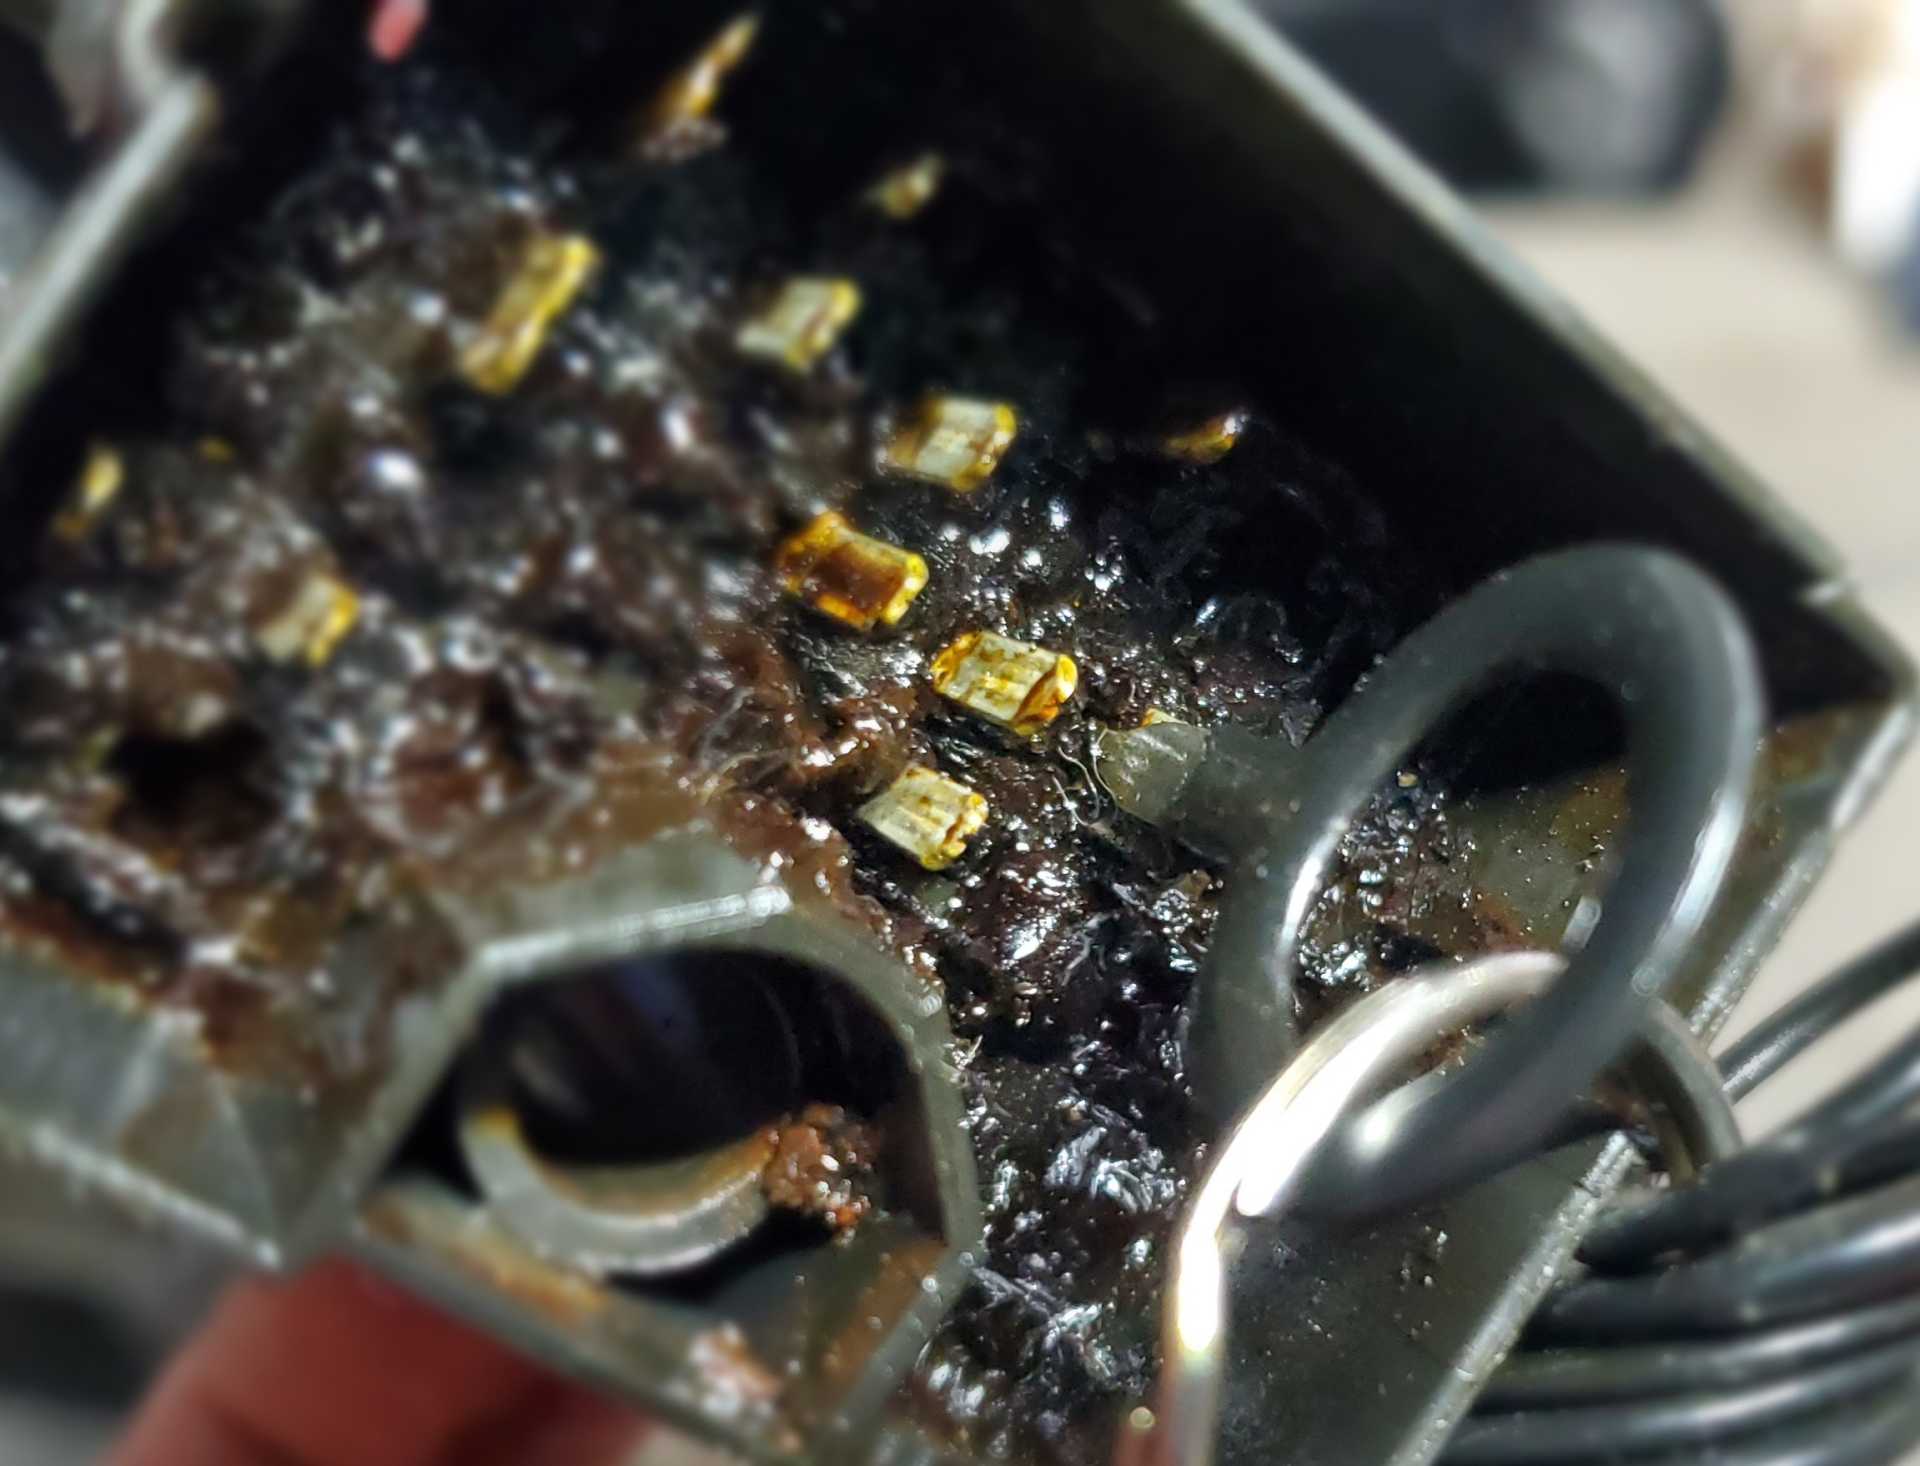
This plug looks like it has a broken tang stuck in it.
This wire looks like it was pulled loose.
I'll dig out the wiring diagrams to identify these wires.
Trying to figure out this wiring. Out of desperation I went to Facebook and asked for help from the Quad 4 group. Some of those folks know Quads as well as some of the people here know Fieros.
I trust most of this won’t be needed.
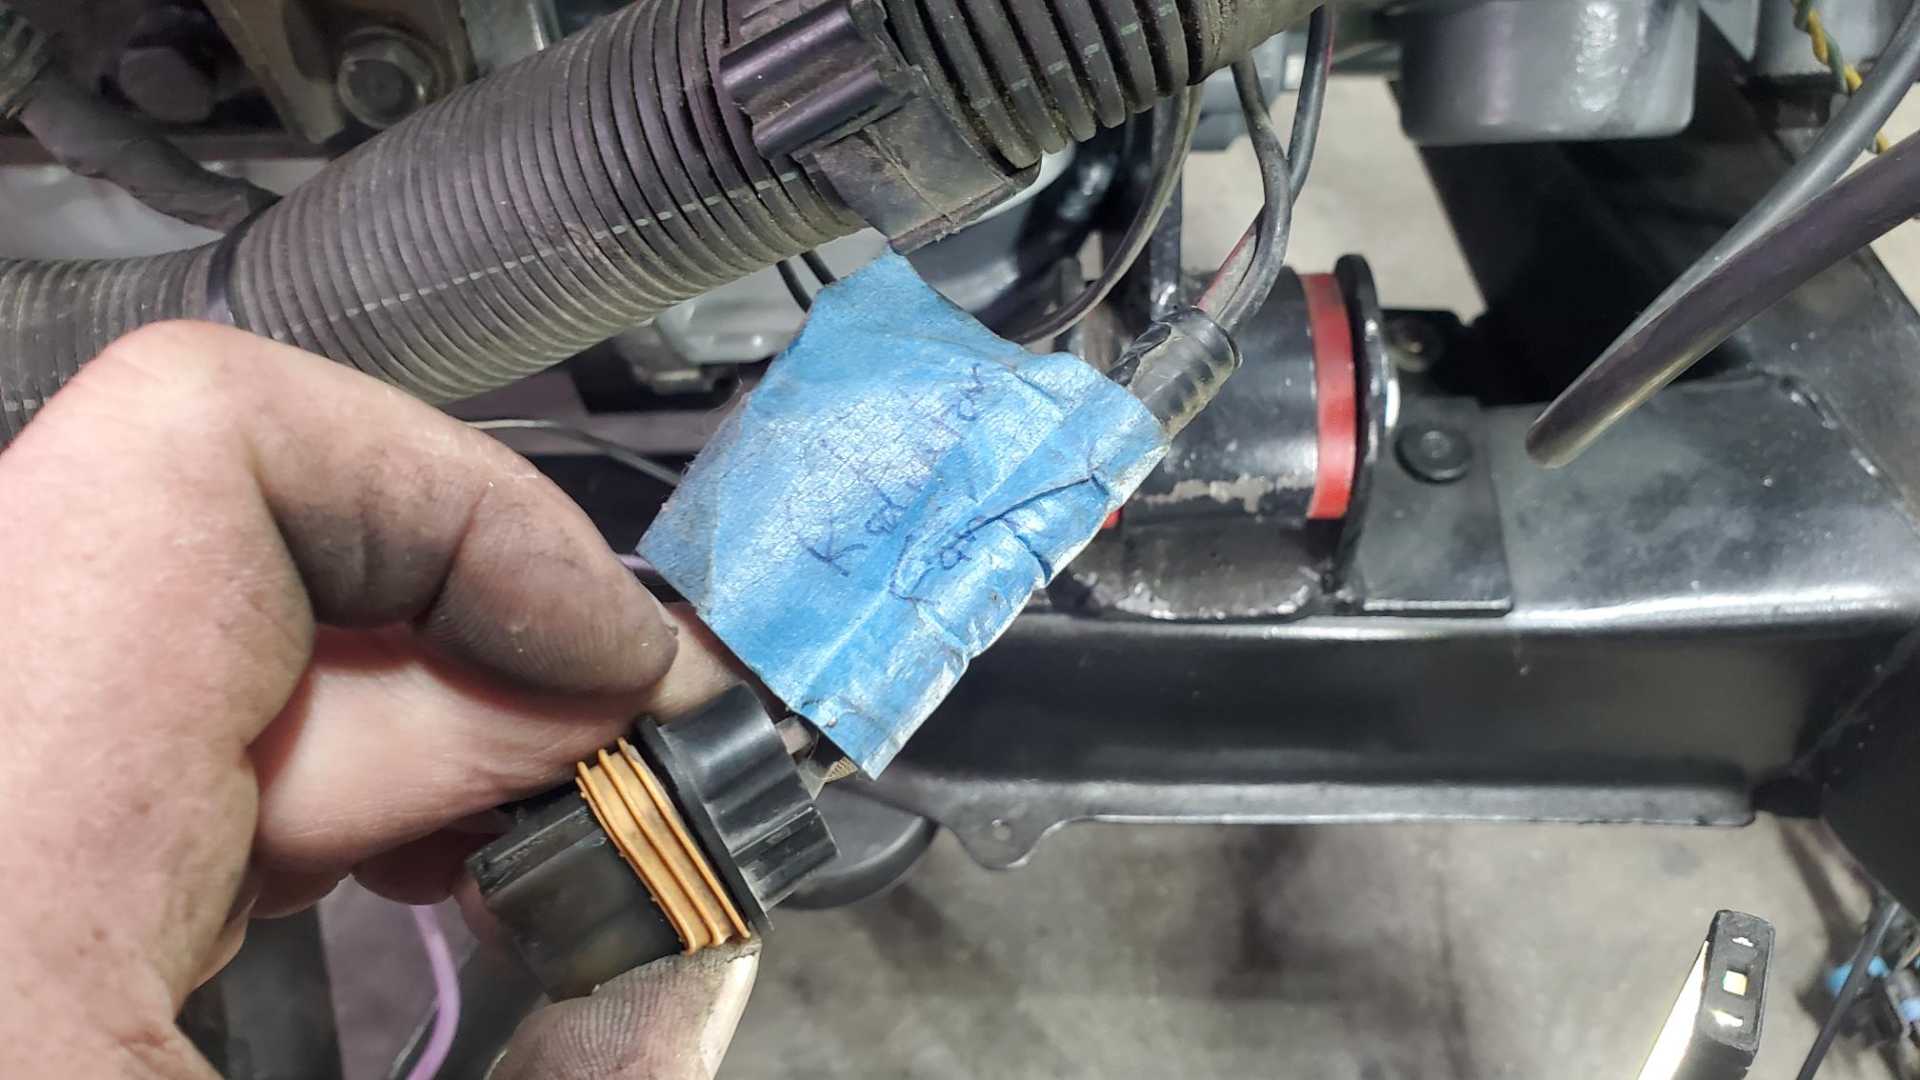
Most of my labels are good, while a few were either faded or stained so badly I can’t read them.
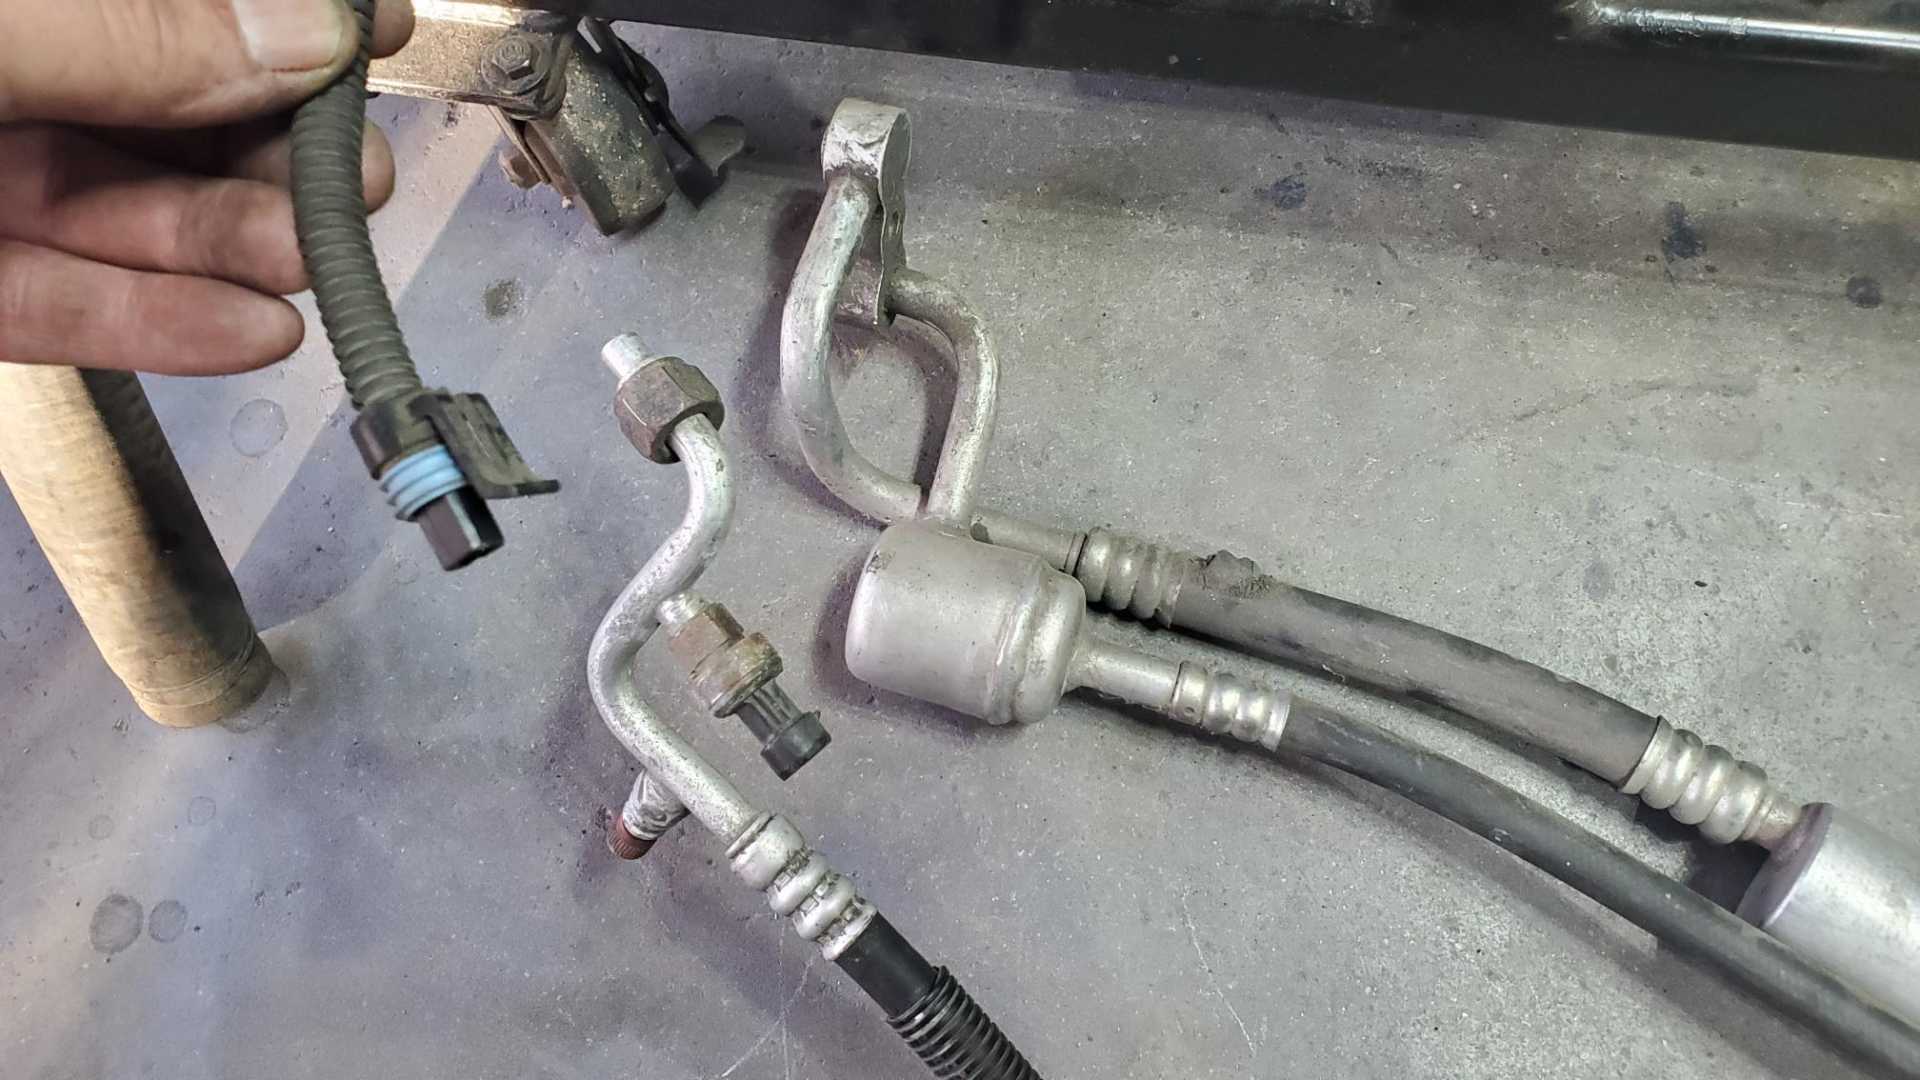
When I pulled the engine out of the GTZ in 2012, I didn’t label connectors I thought were obvious. The moral of the story is, label every connector. Figured out this one goes to the high pressure switch in the Quad’s AC line, which the Fiero doesn’t have.
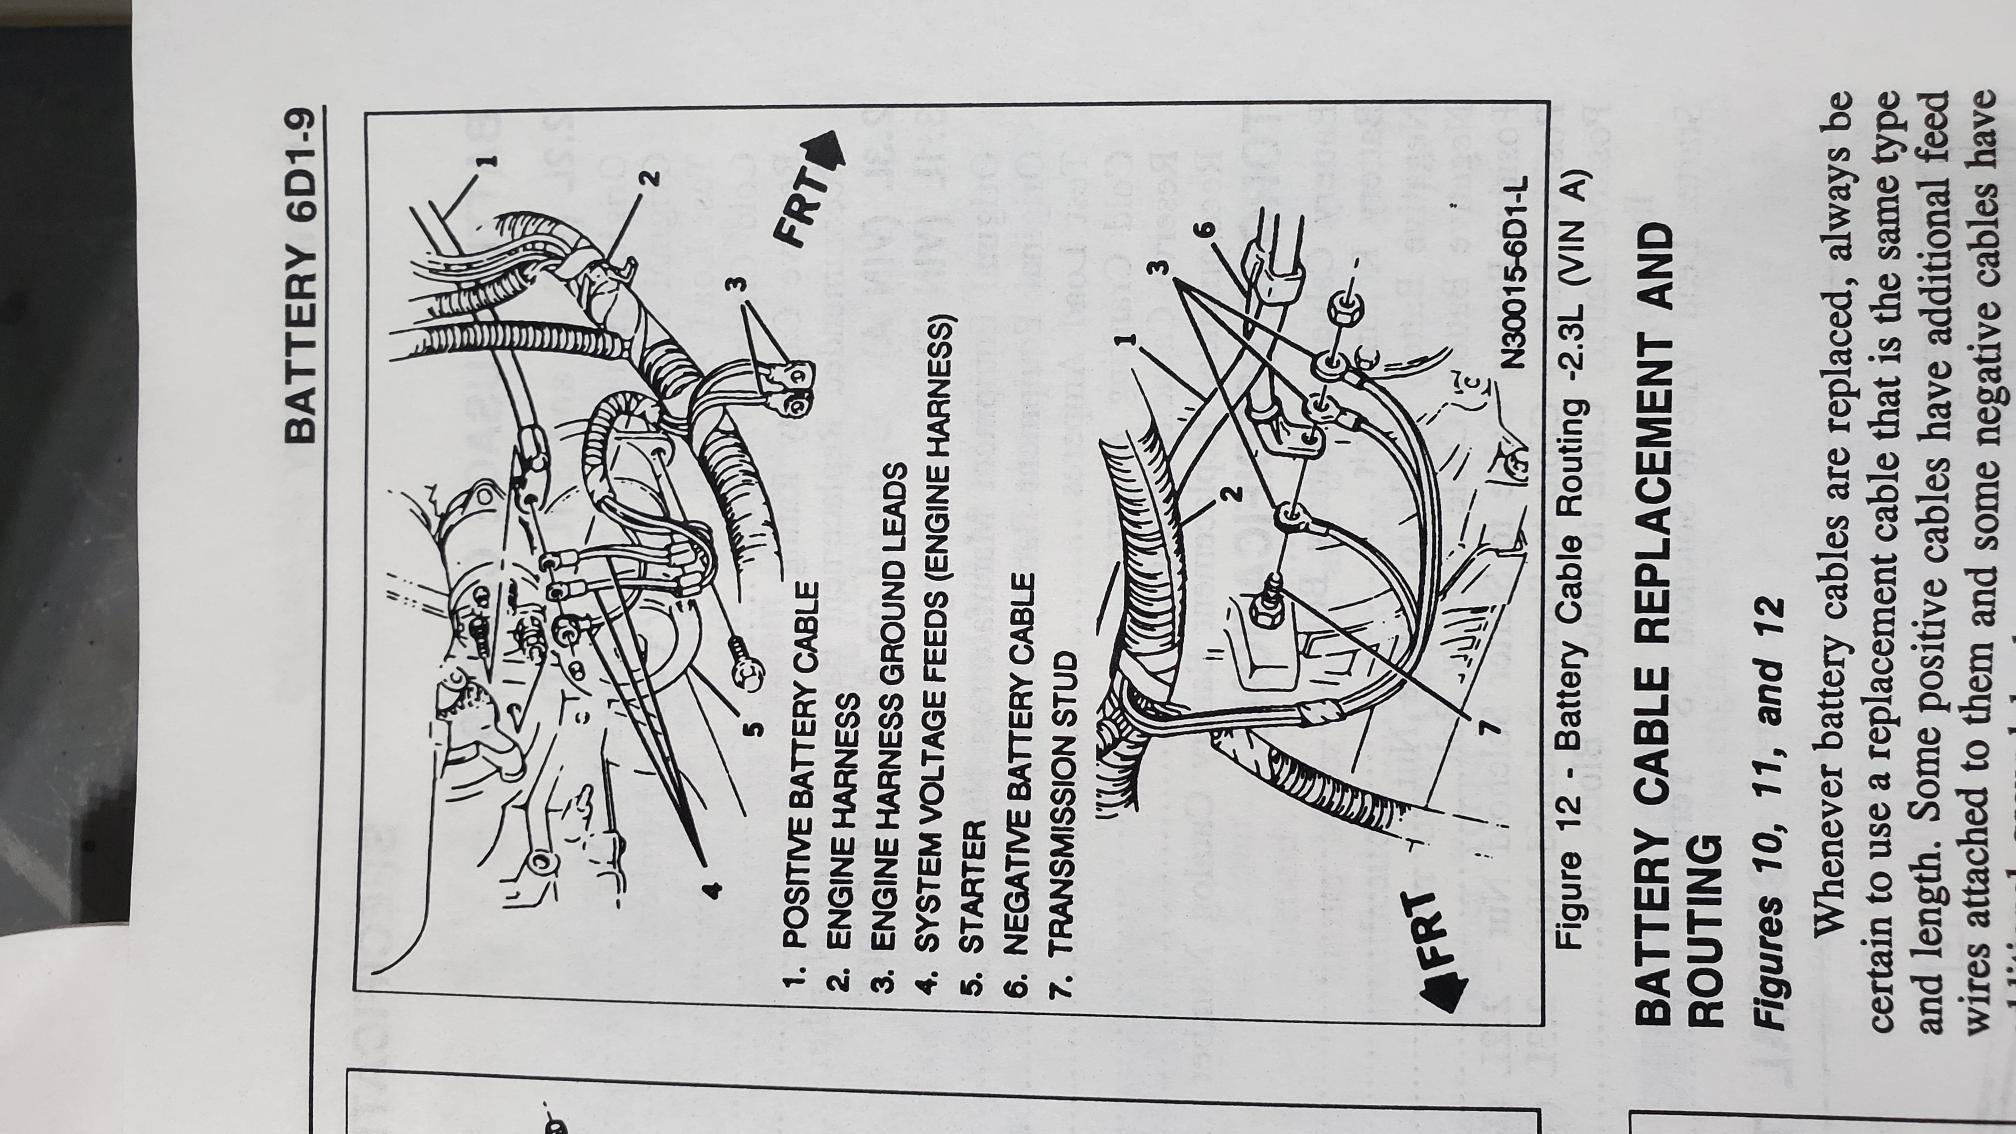
The FSM is a big help. It doesn’t show quite enough detail to my liking, but it’s still helpful.
I’ve been cleaning the connectors with Clorox wipes to get the old oil and dirt off of everything. Next up I need to buy a bunch of loom of various diameters to replace this old stuff that’s dirty and brittle.
Also need to figure out radiator hoses, oil filter, and should probably buy new pigtails for the injectors. All three sets I have are worn out.
[This message has been edited by Quadfather (edited 11-18-2023).]
Woke up to a dream that I got my Fiero running and my wife and I jumped in and went on a long trip. The car was running great, but somehow it was the original maroon color. Just as I started thinking I needed to post about it here, I woke up.
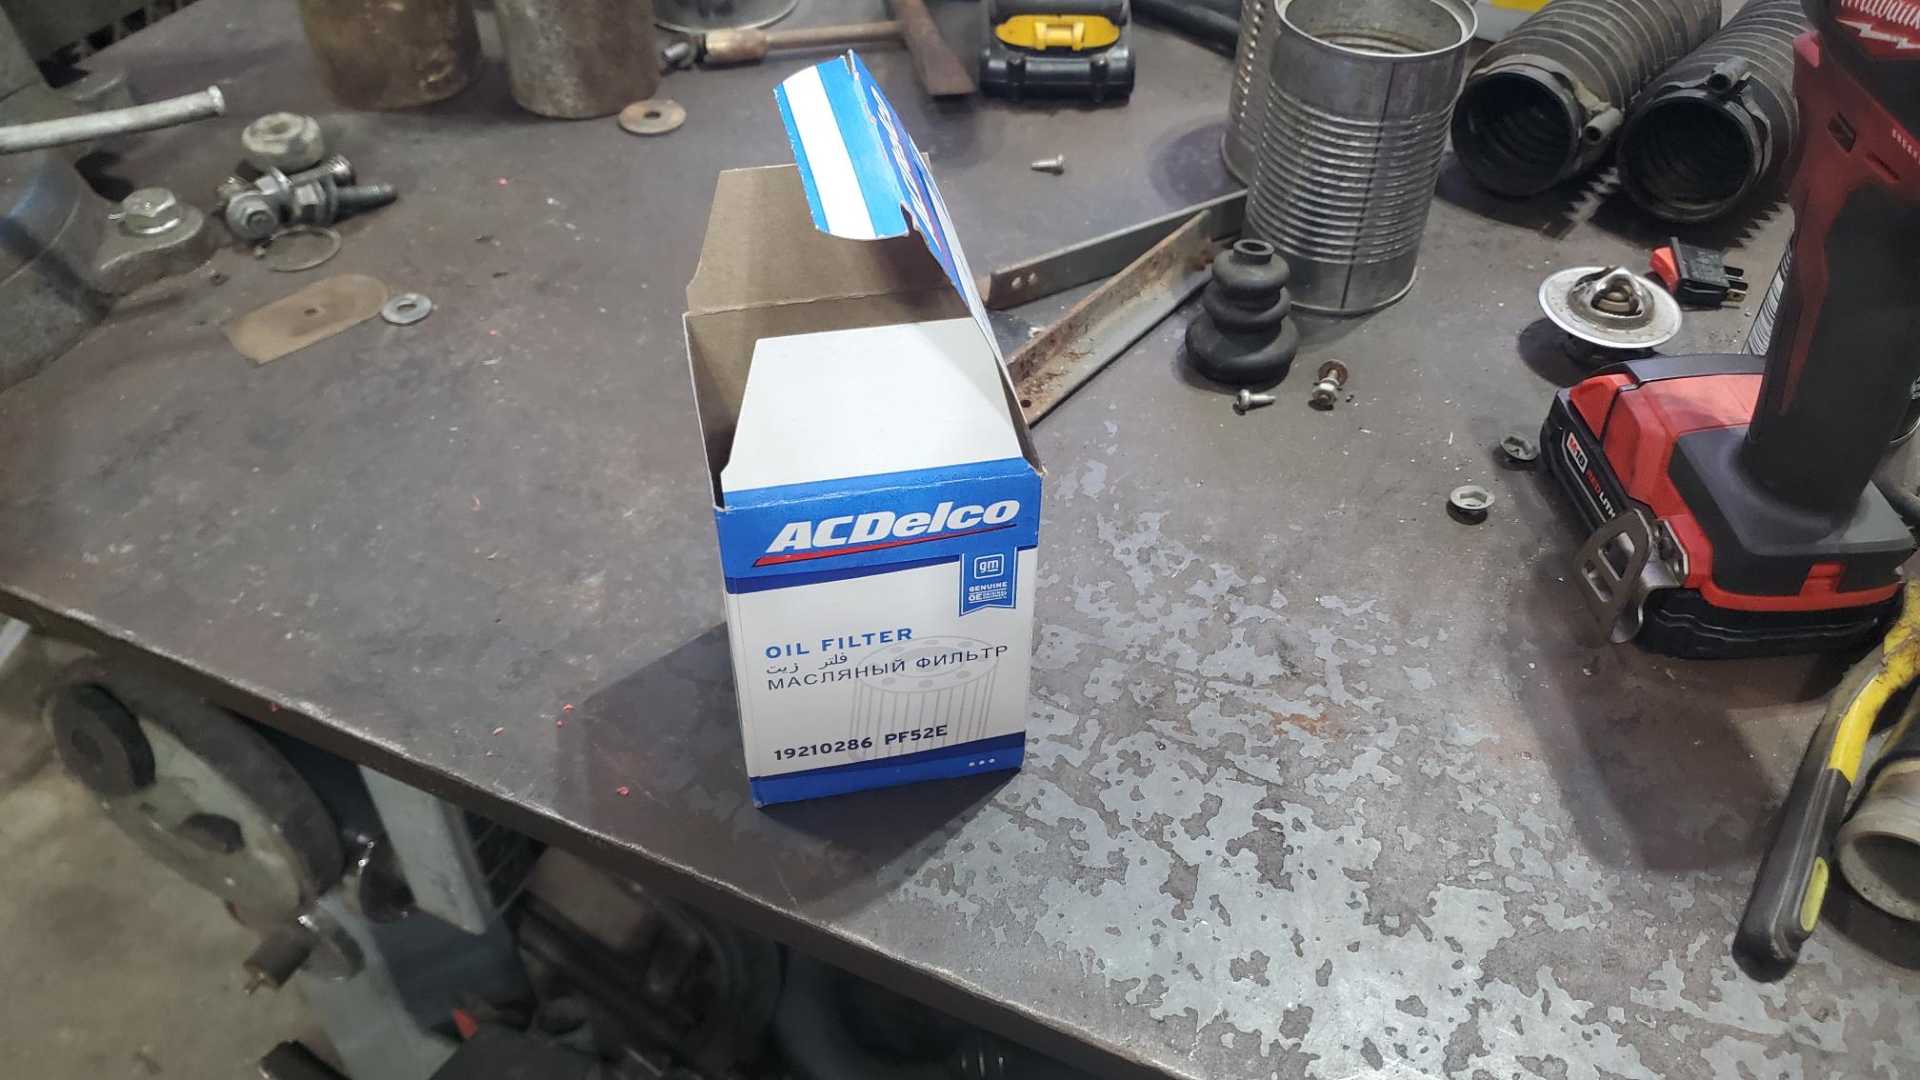
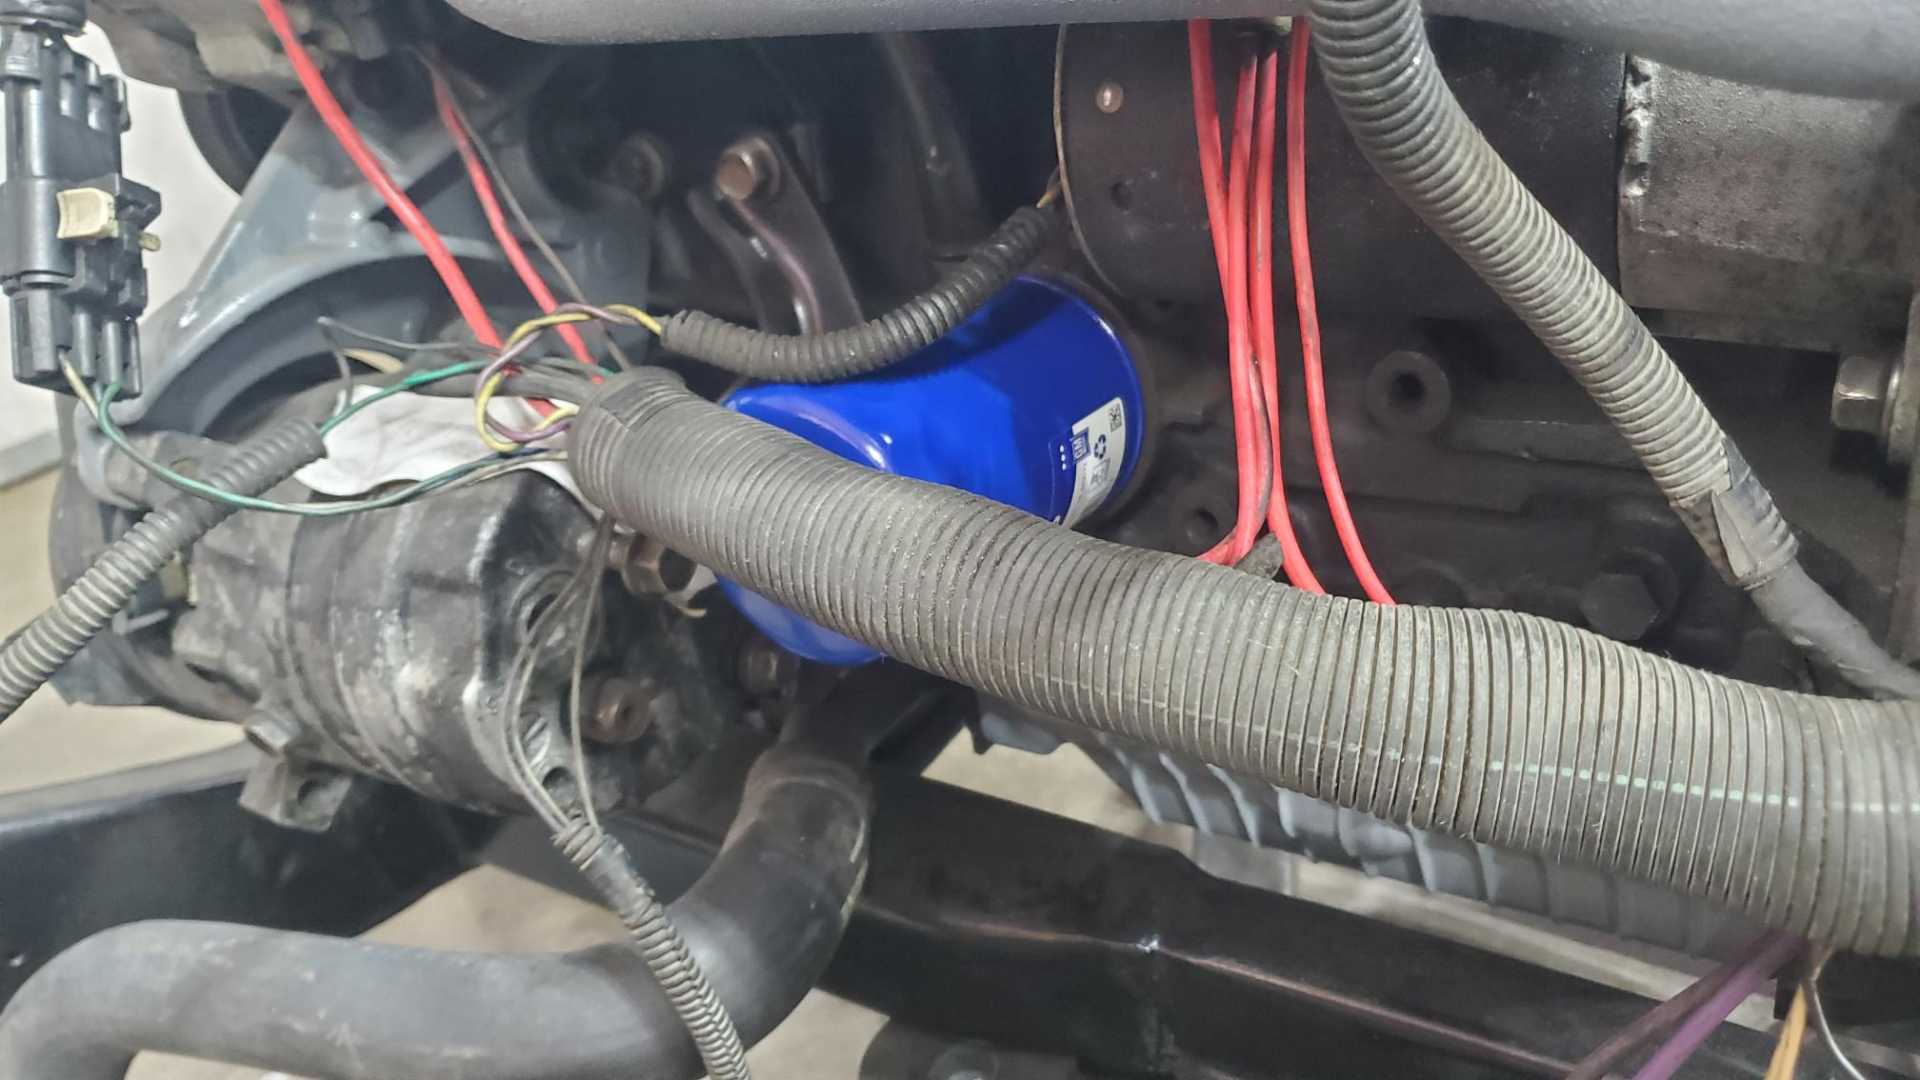
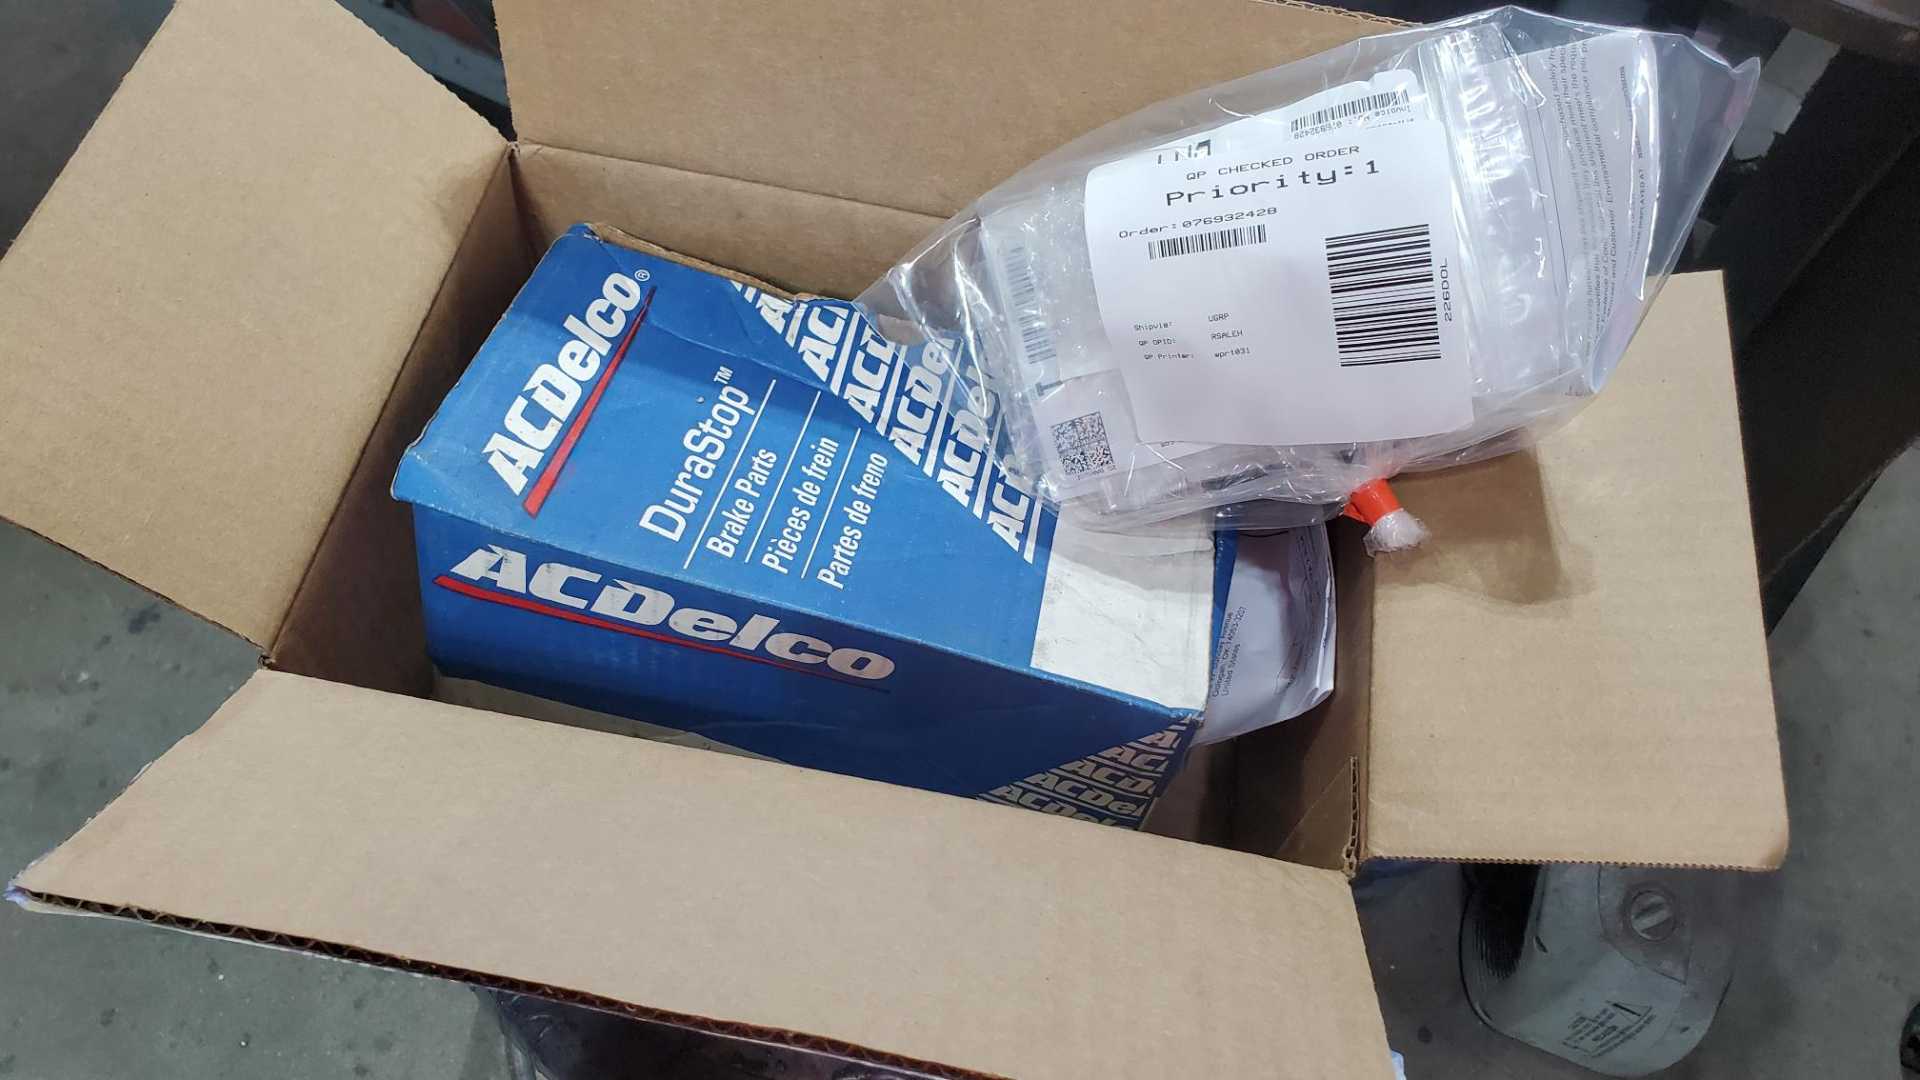
More progress. My new oil filter came yesterday. Funny how a simple thing like this can get you excited about a project again.
This is one of the long ones Bob Pease recommends.
[This message has been edited by Quadfather (edited 11-26-2023).]
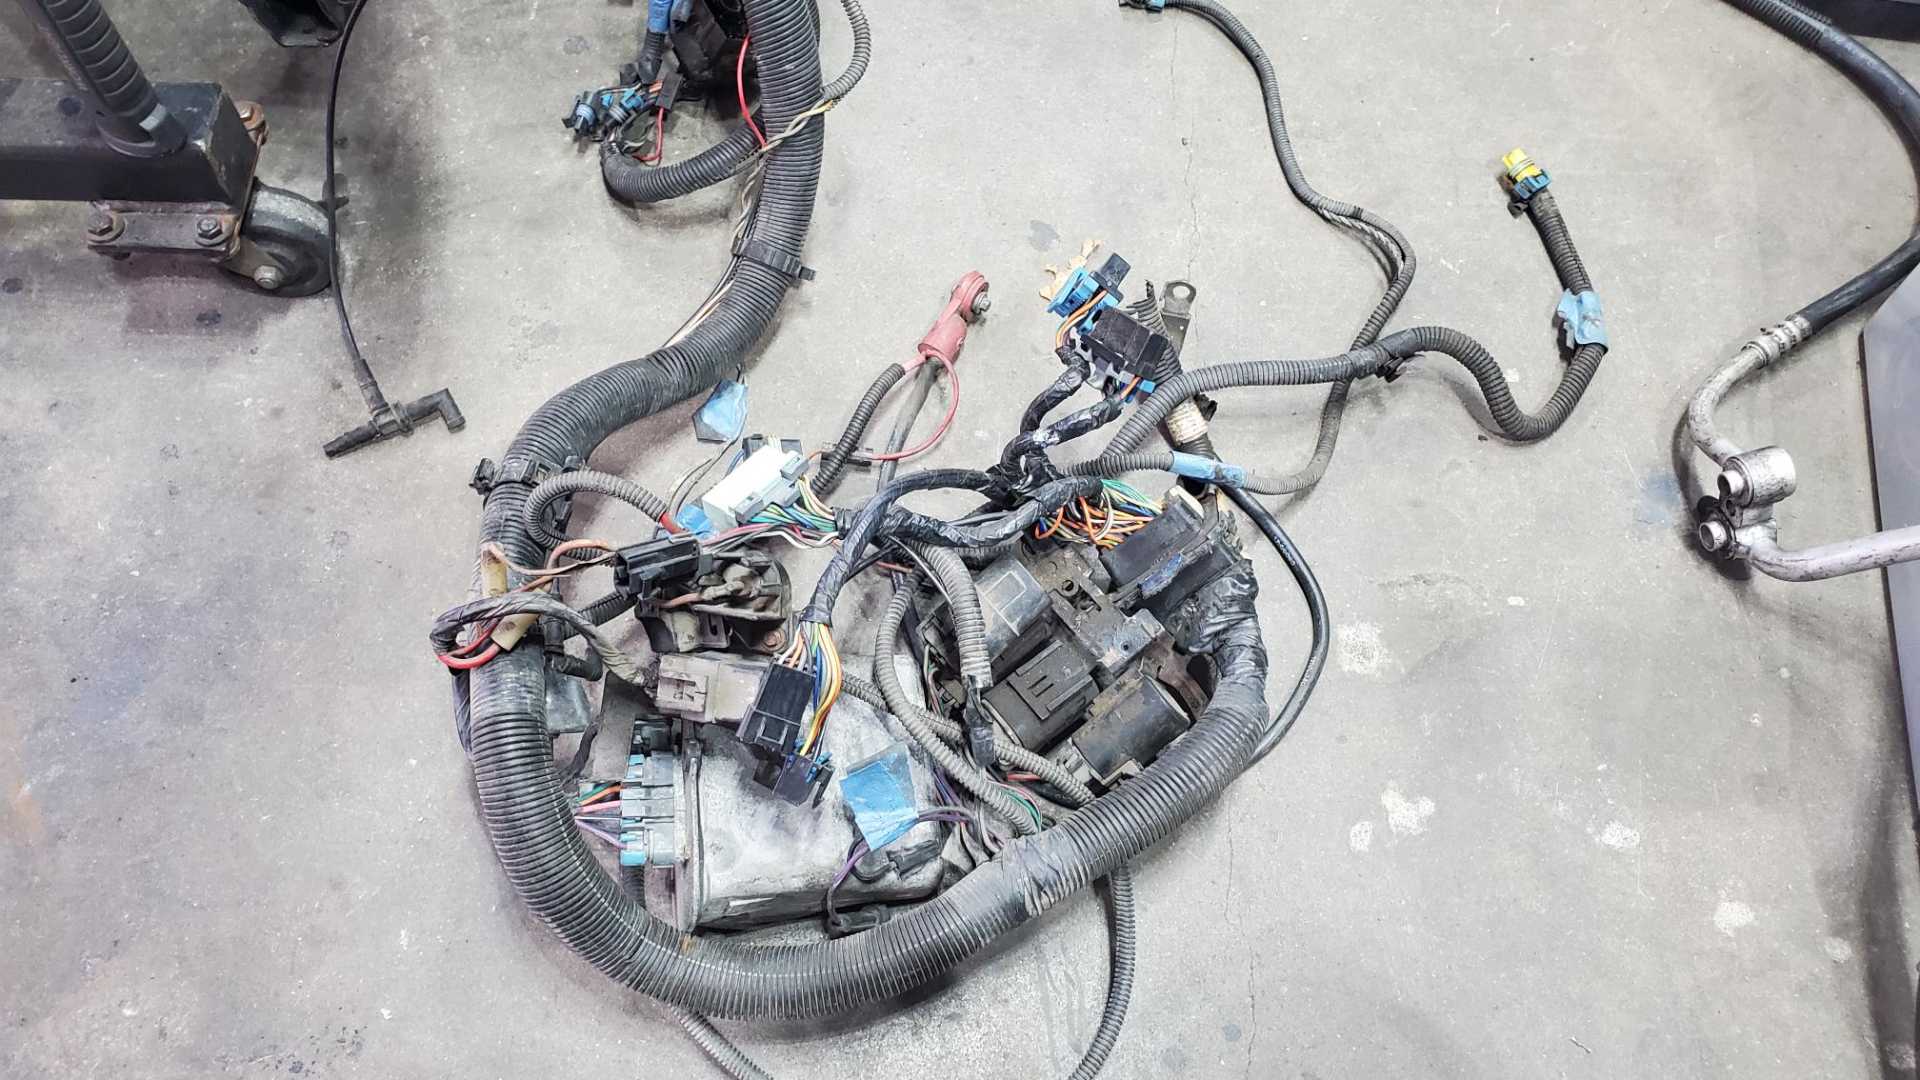
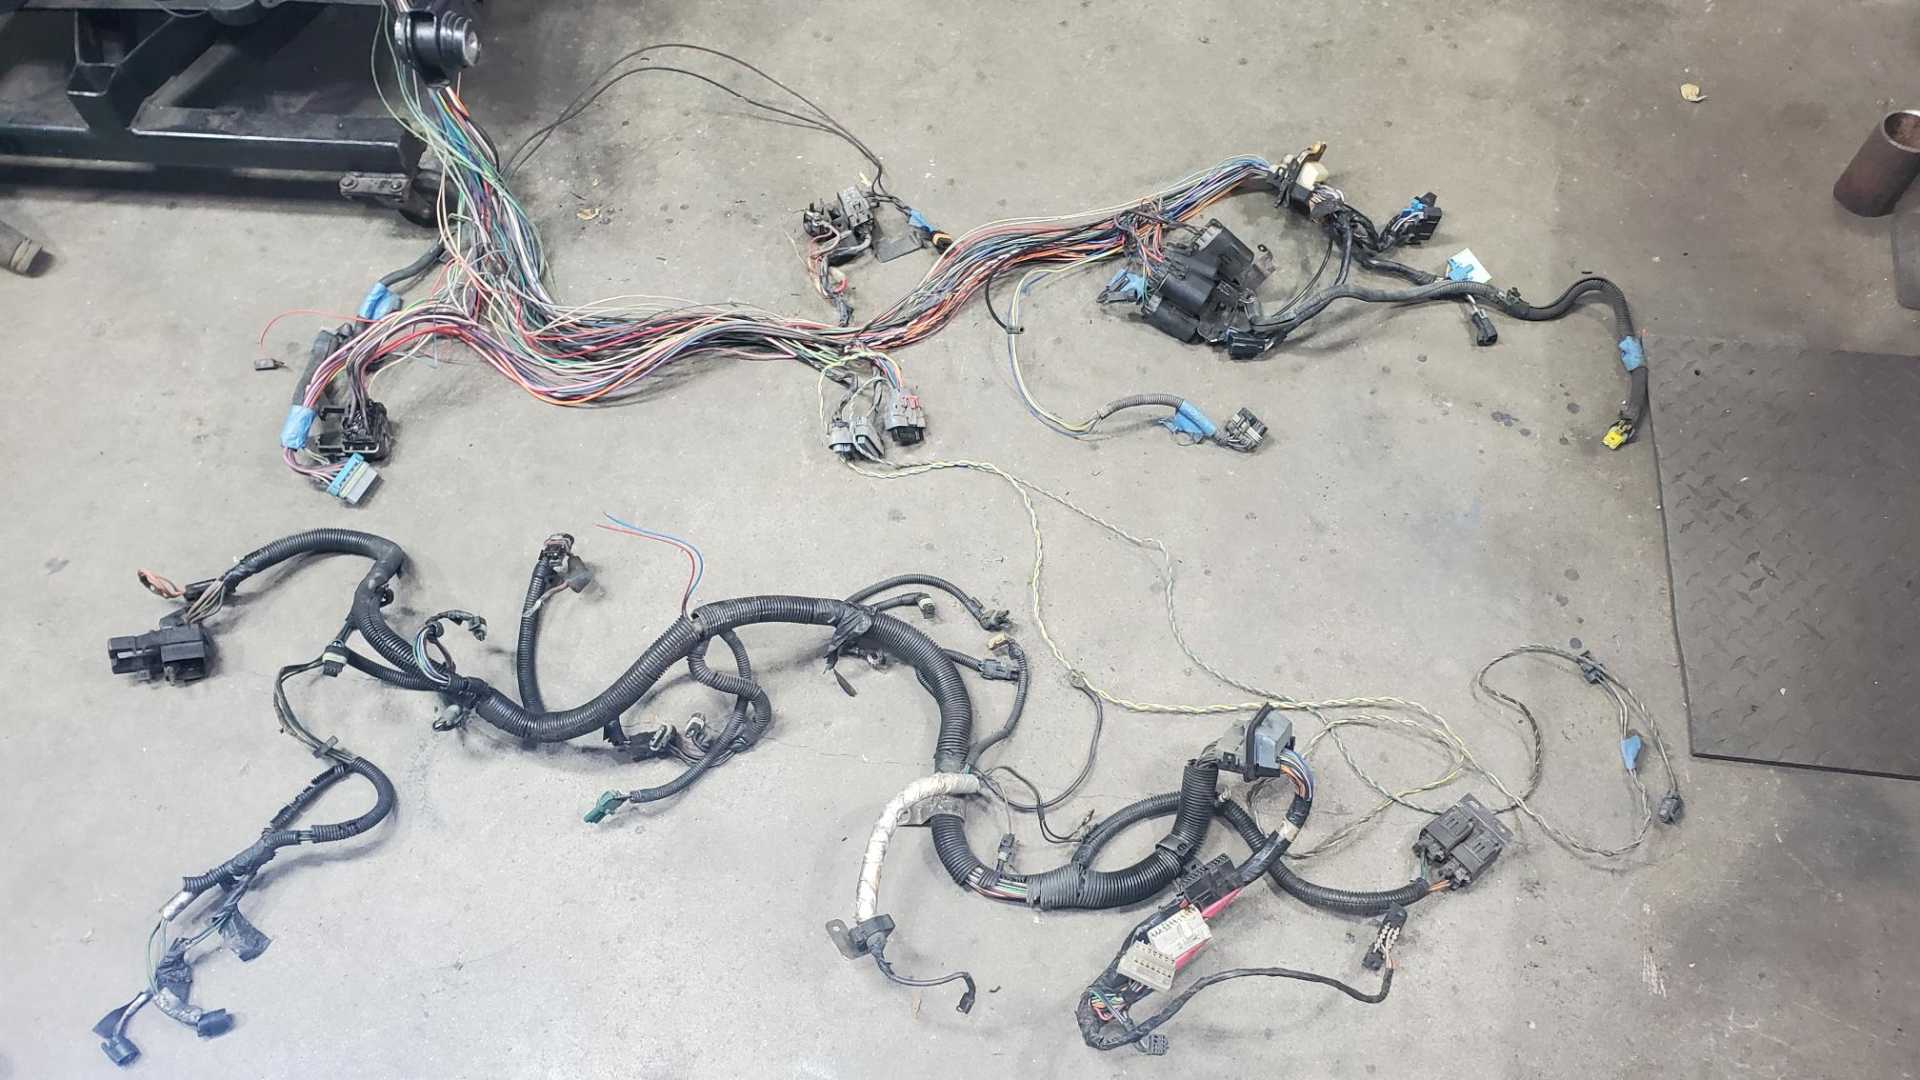
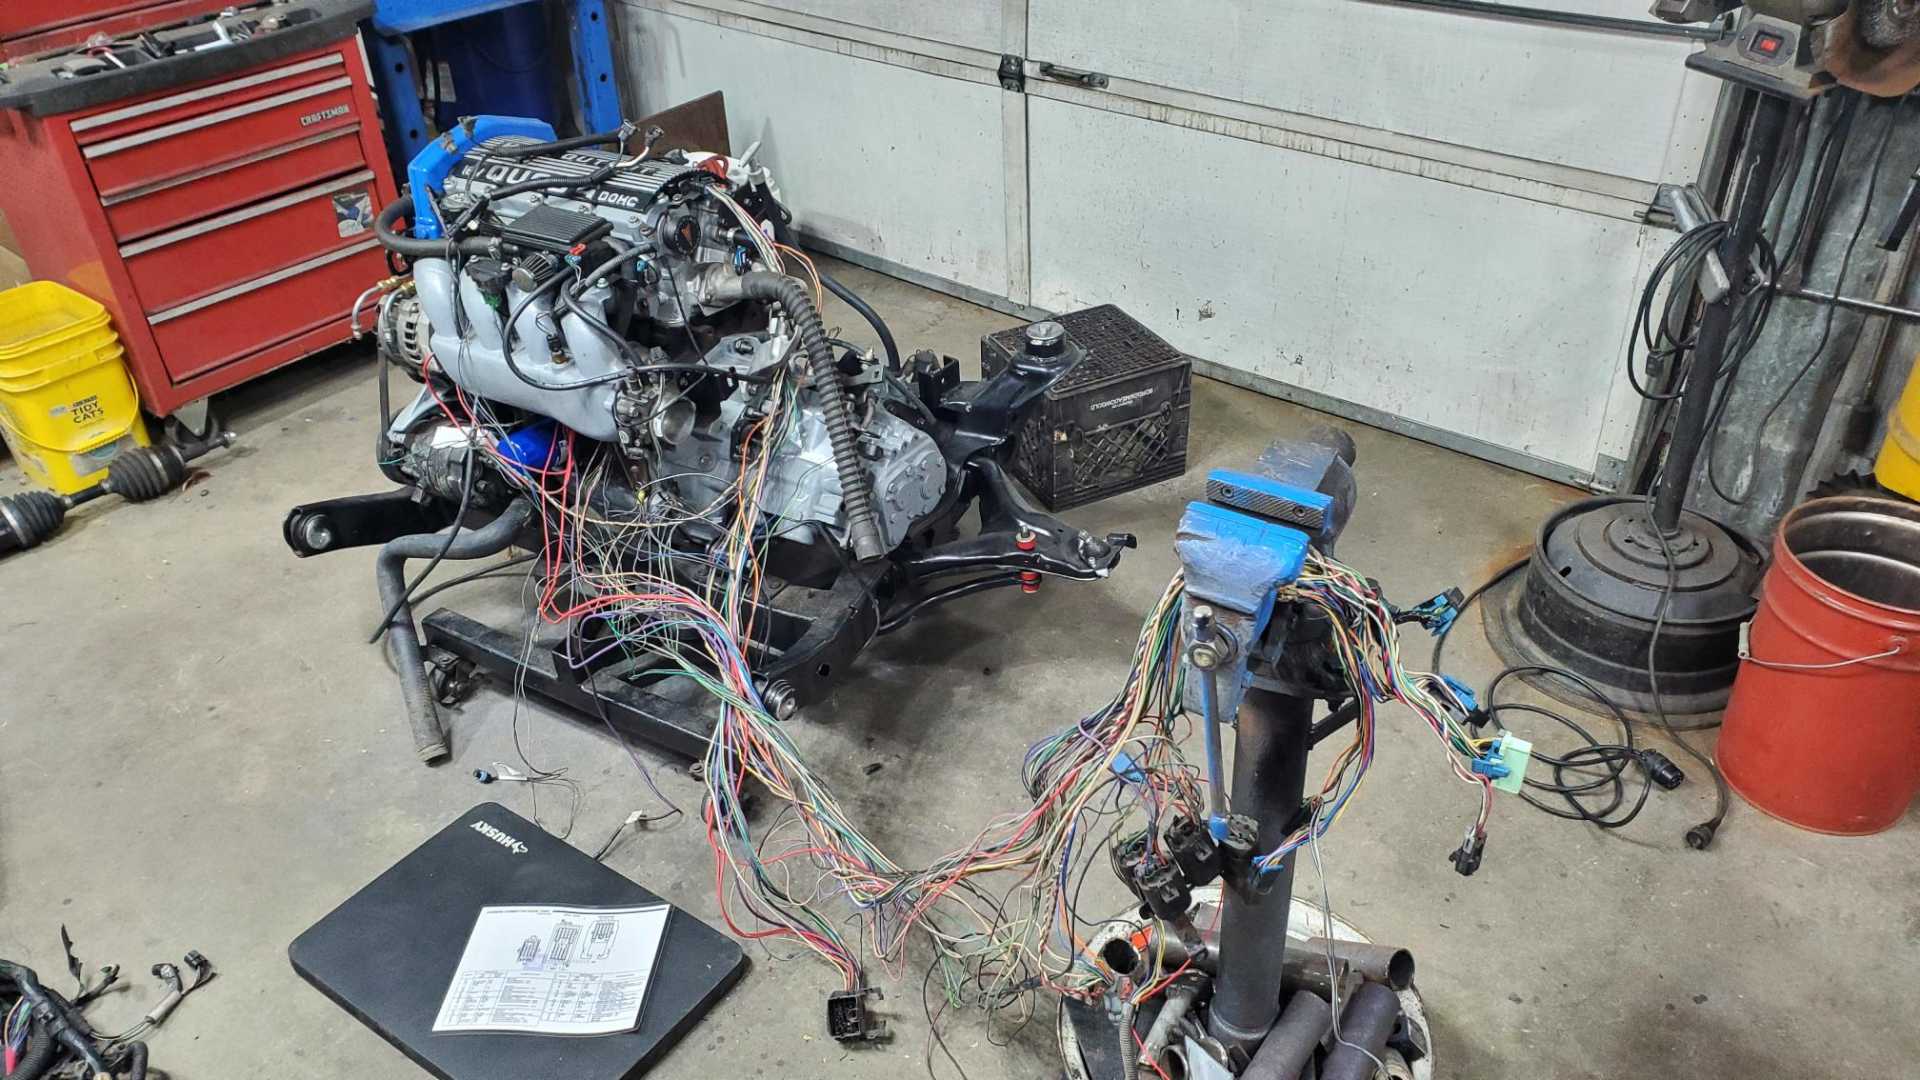
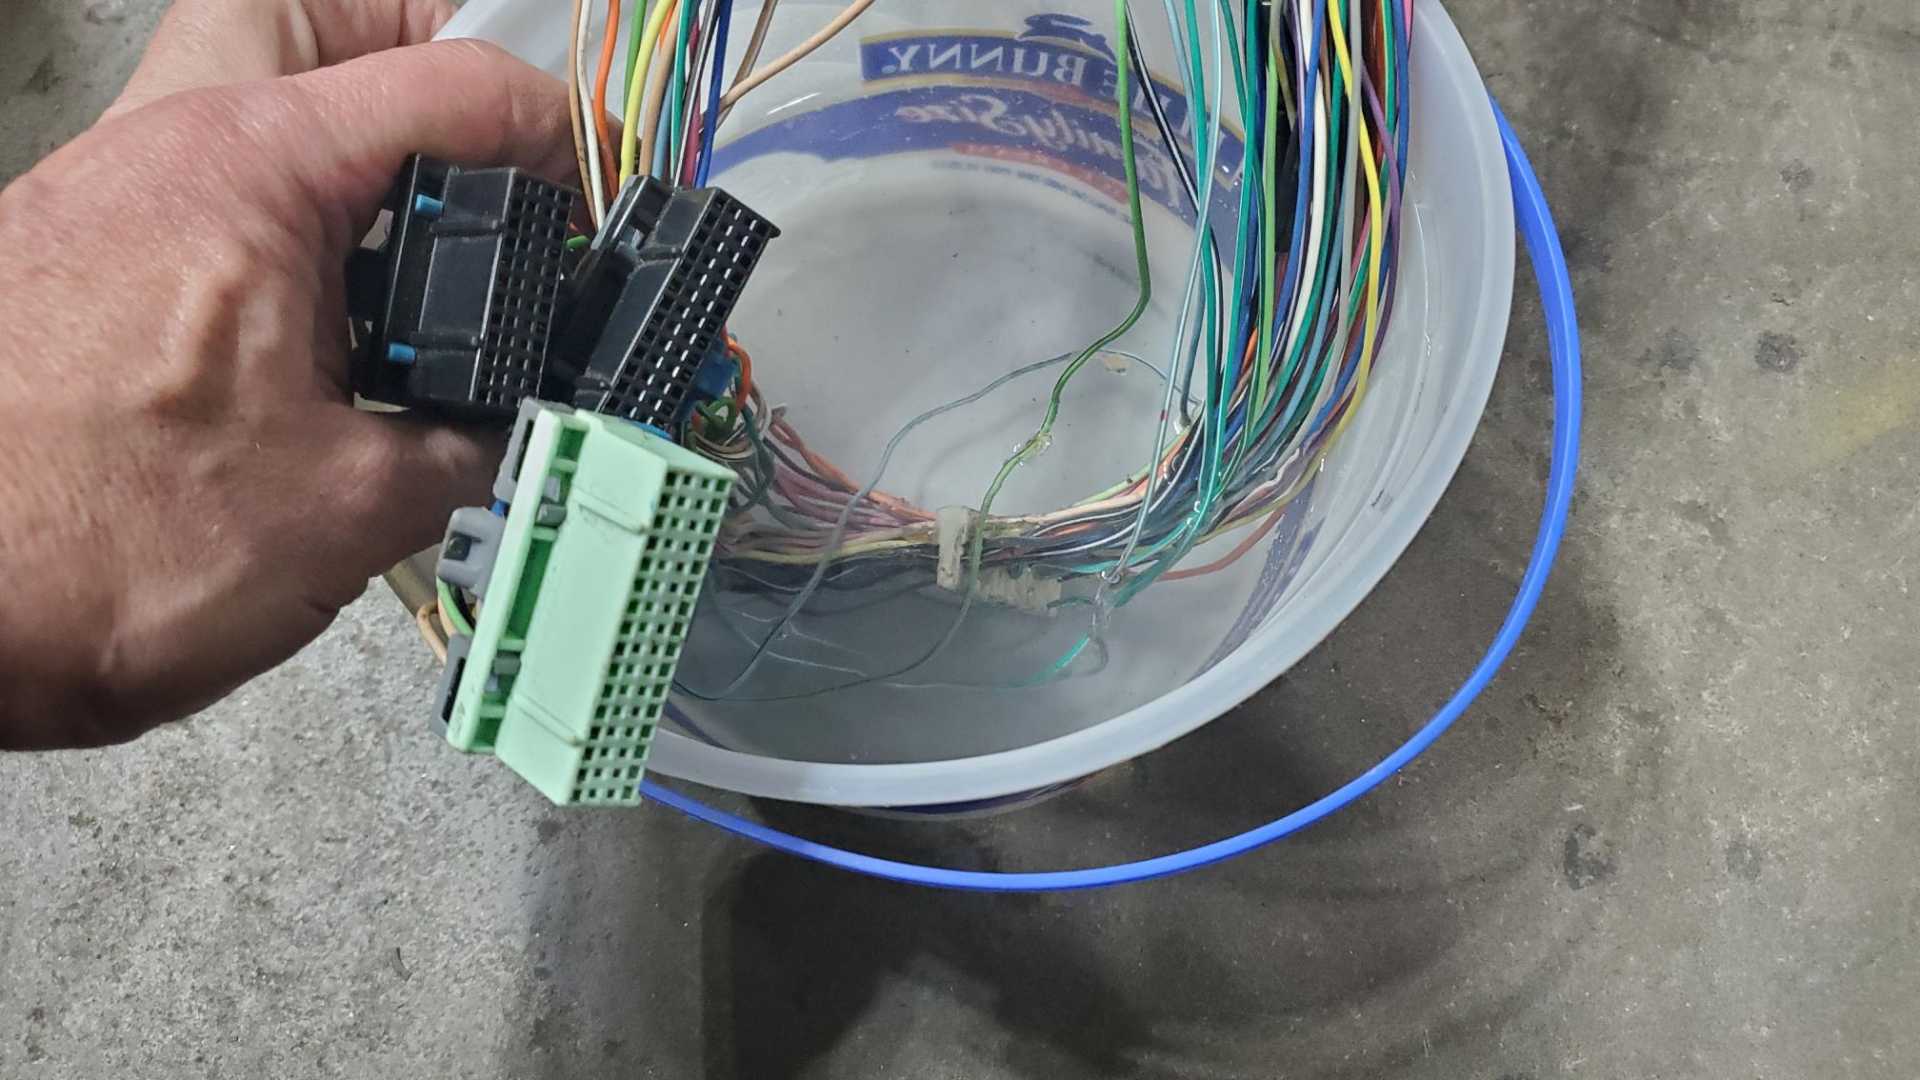
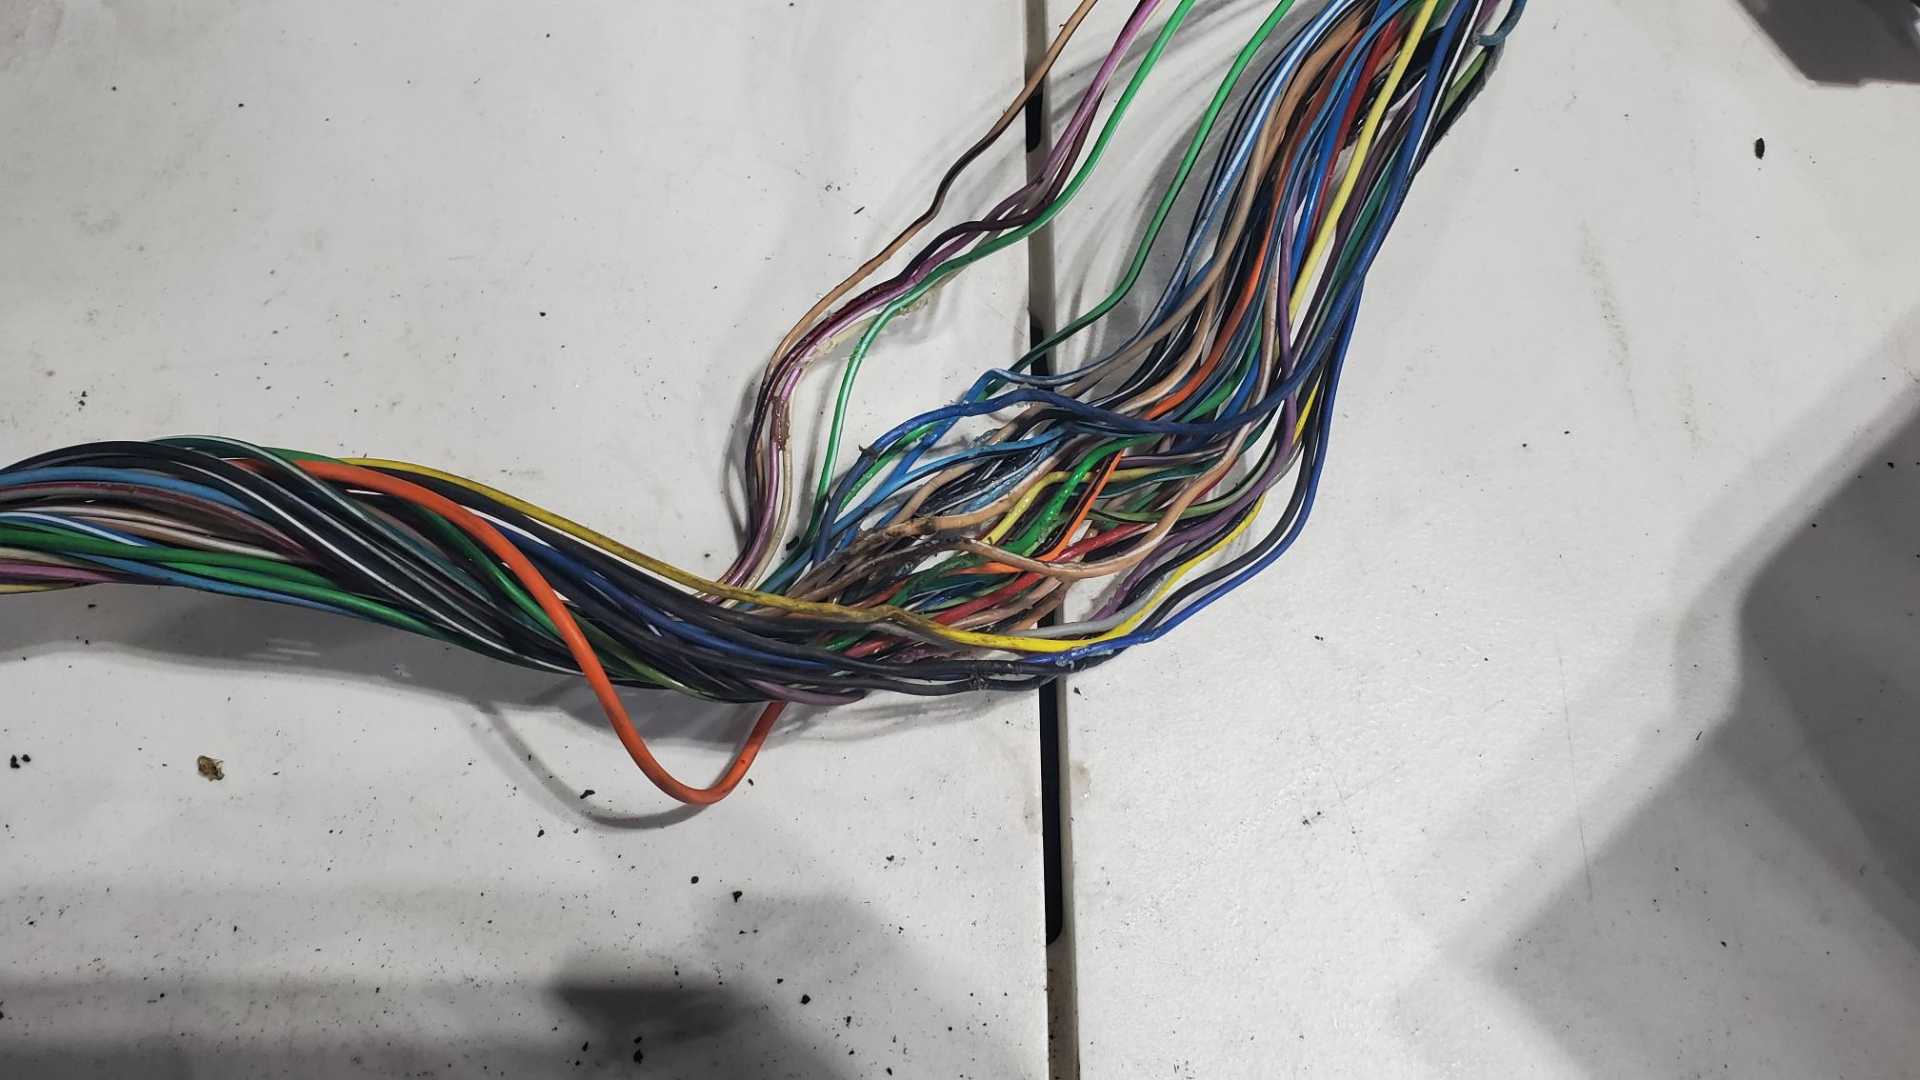
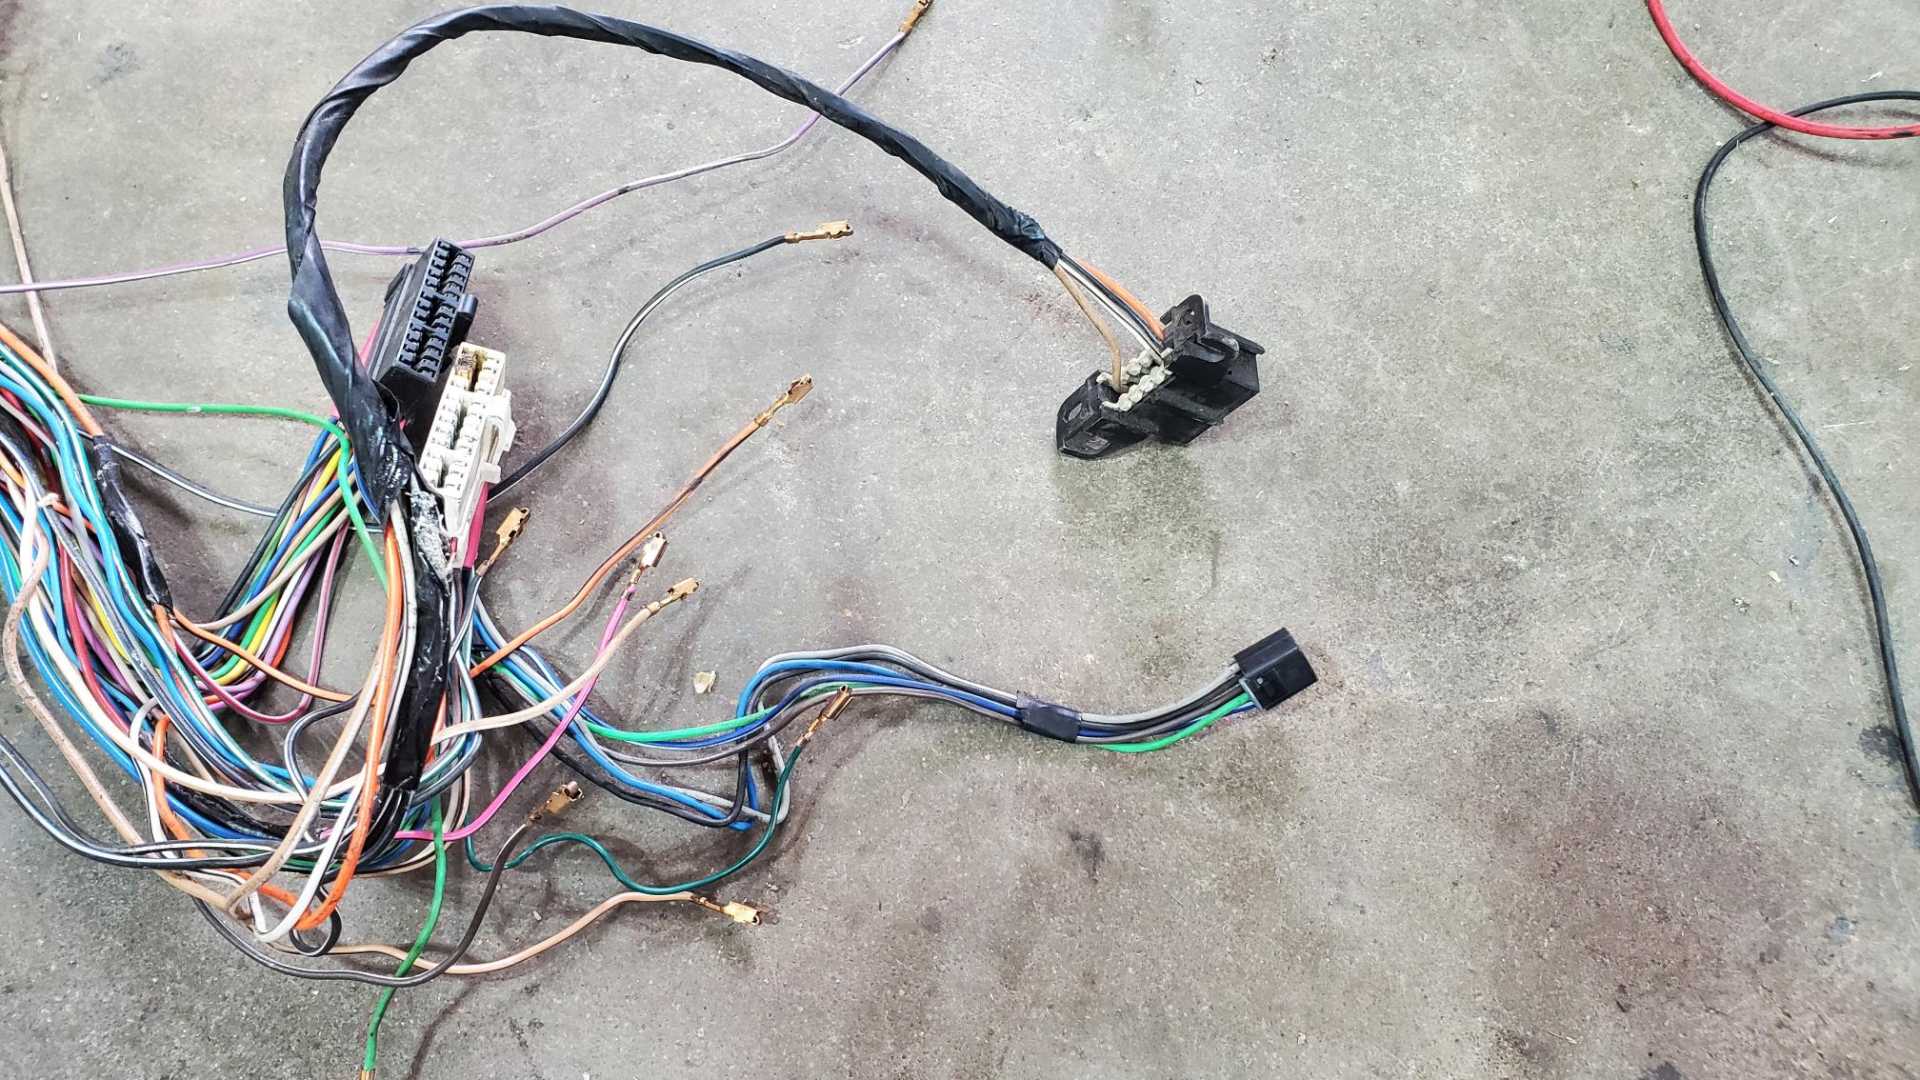
I've been spending a lot of time just sitting in the shop looking at the wiring harness (Beretta harness at the top of this photo, Fiero at the bottom):
Since I first began considering a Quad-to-Fiero swap more than a decade ago, I've been looking for step-by-step instructions for how to mate the Quad's computer and harness to the harness from the Fiero, but I haven't found one. Wiring is far outside my comfort zone so I have very basic questions.
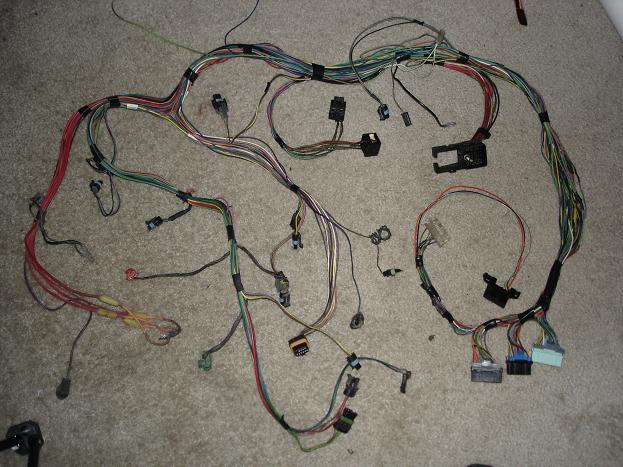
I've read other swap threads many times, including those by Sardonyx247 and Fierobsessed. Many of the photos on Sardonyx's thread have disappeared, but the photo of Fierobsessed's finished harness is still there.
Fierobsessed described a bit of his process, so I'm trying to follow what I can. I'm just afraid of cutting or removing wires that I'll end up needing.
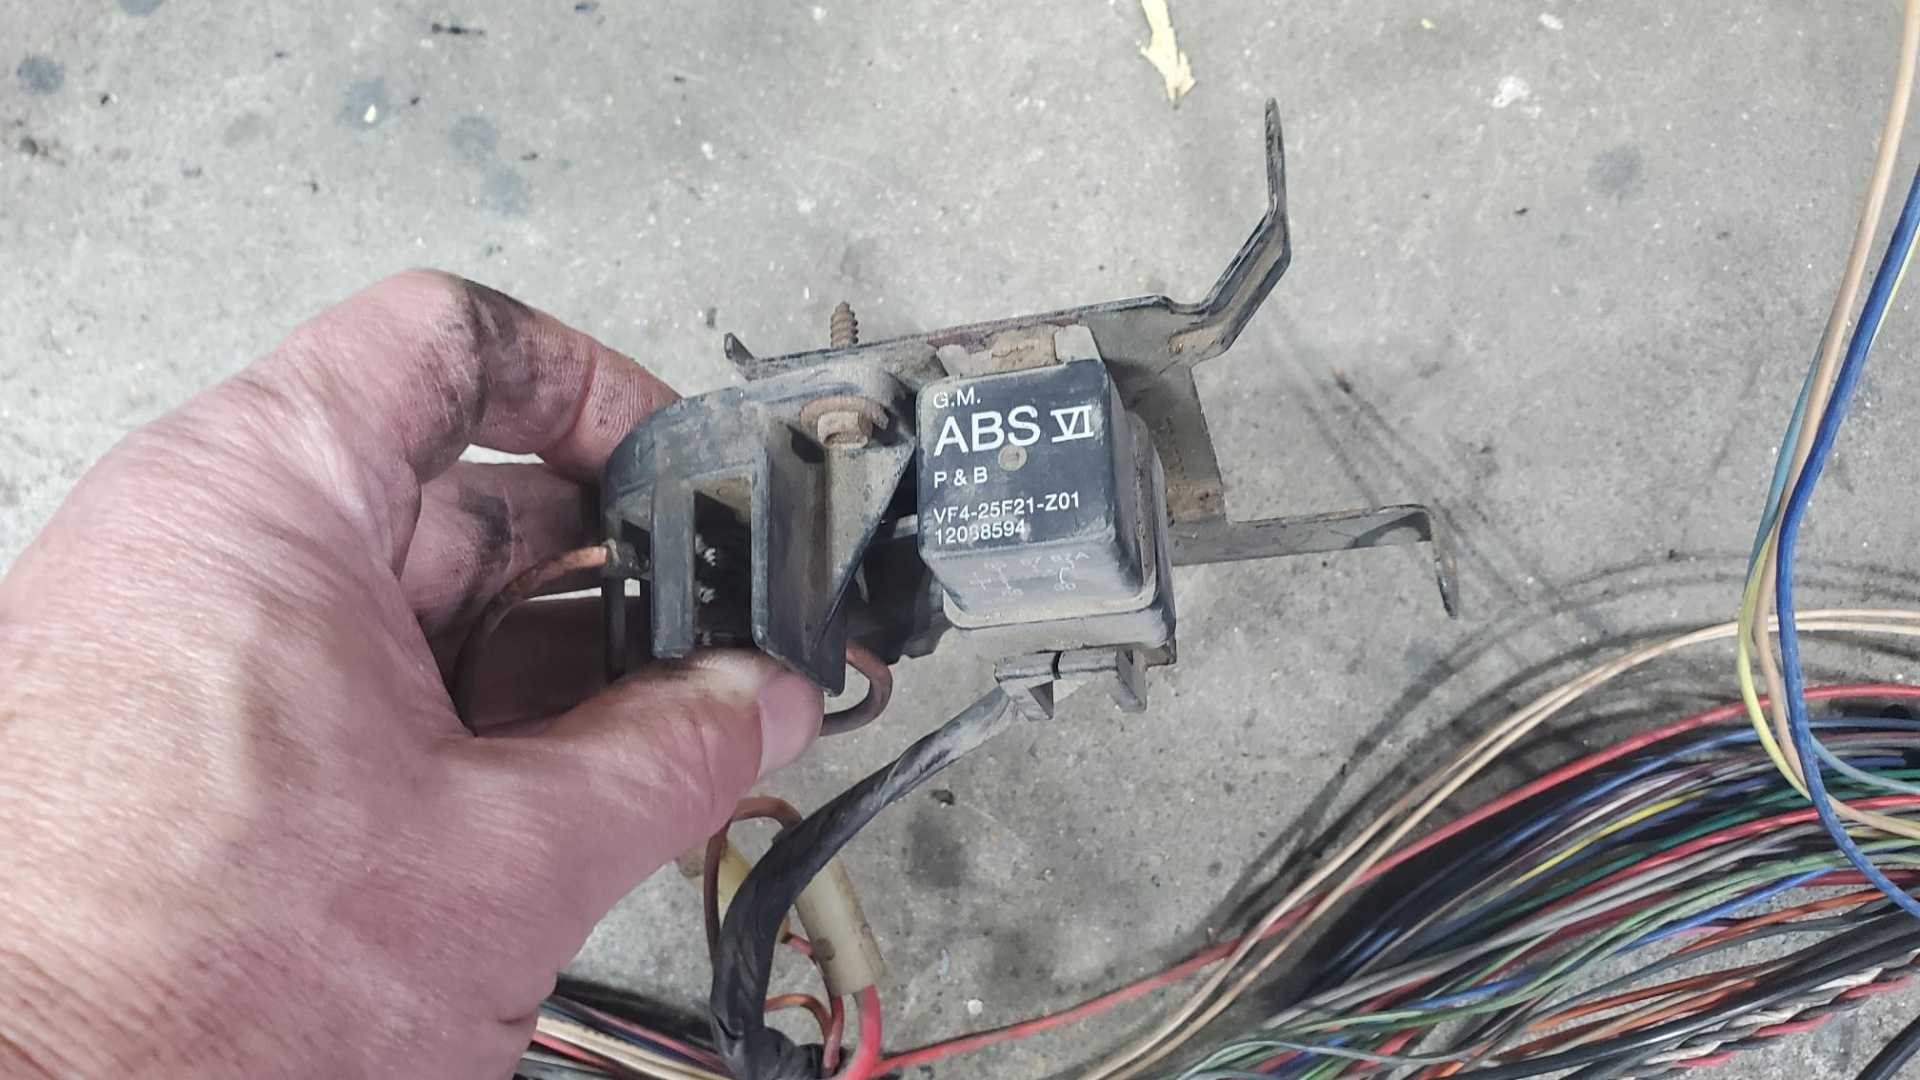
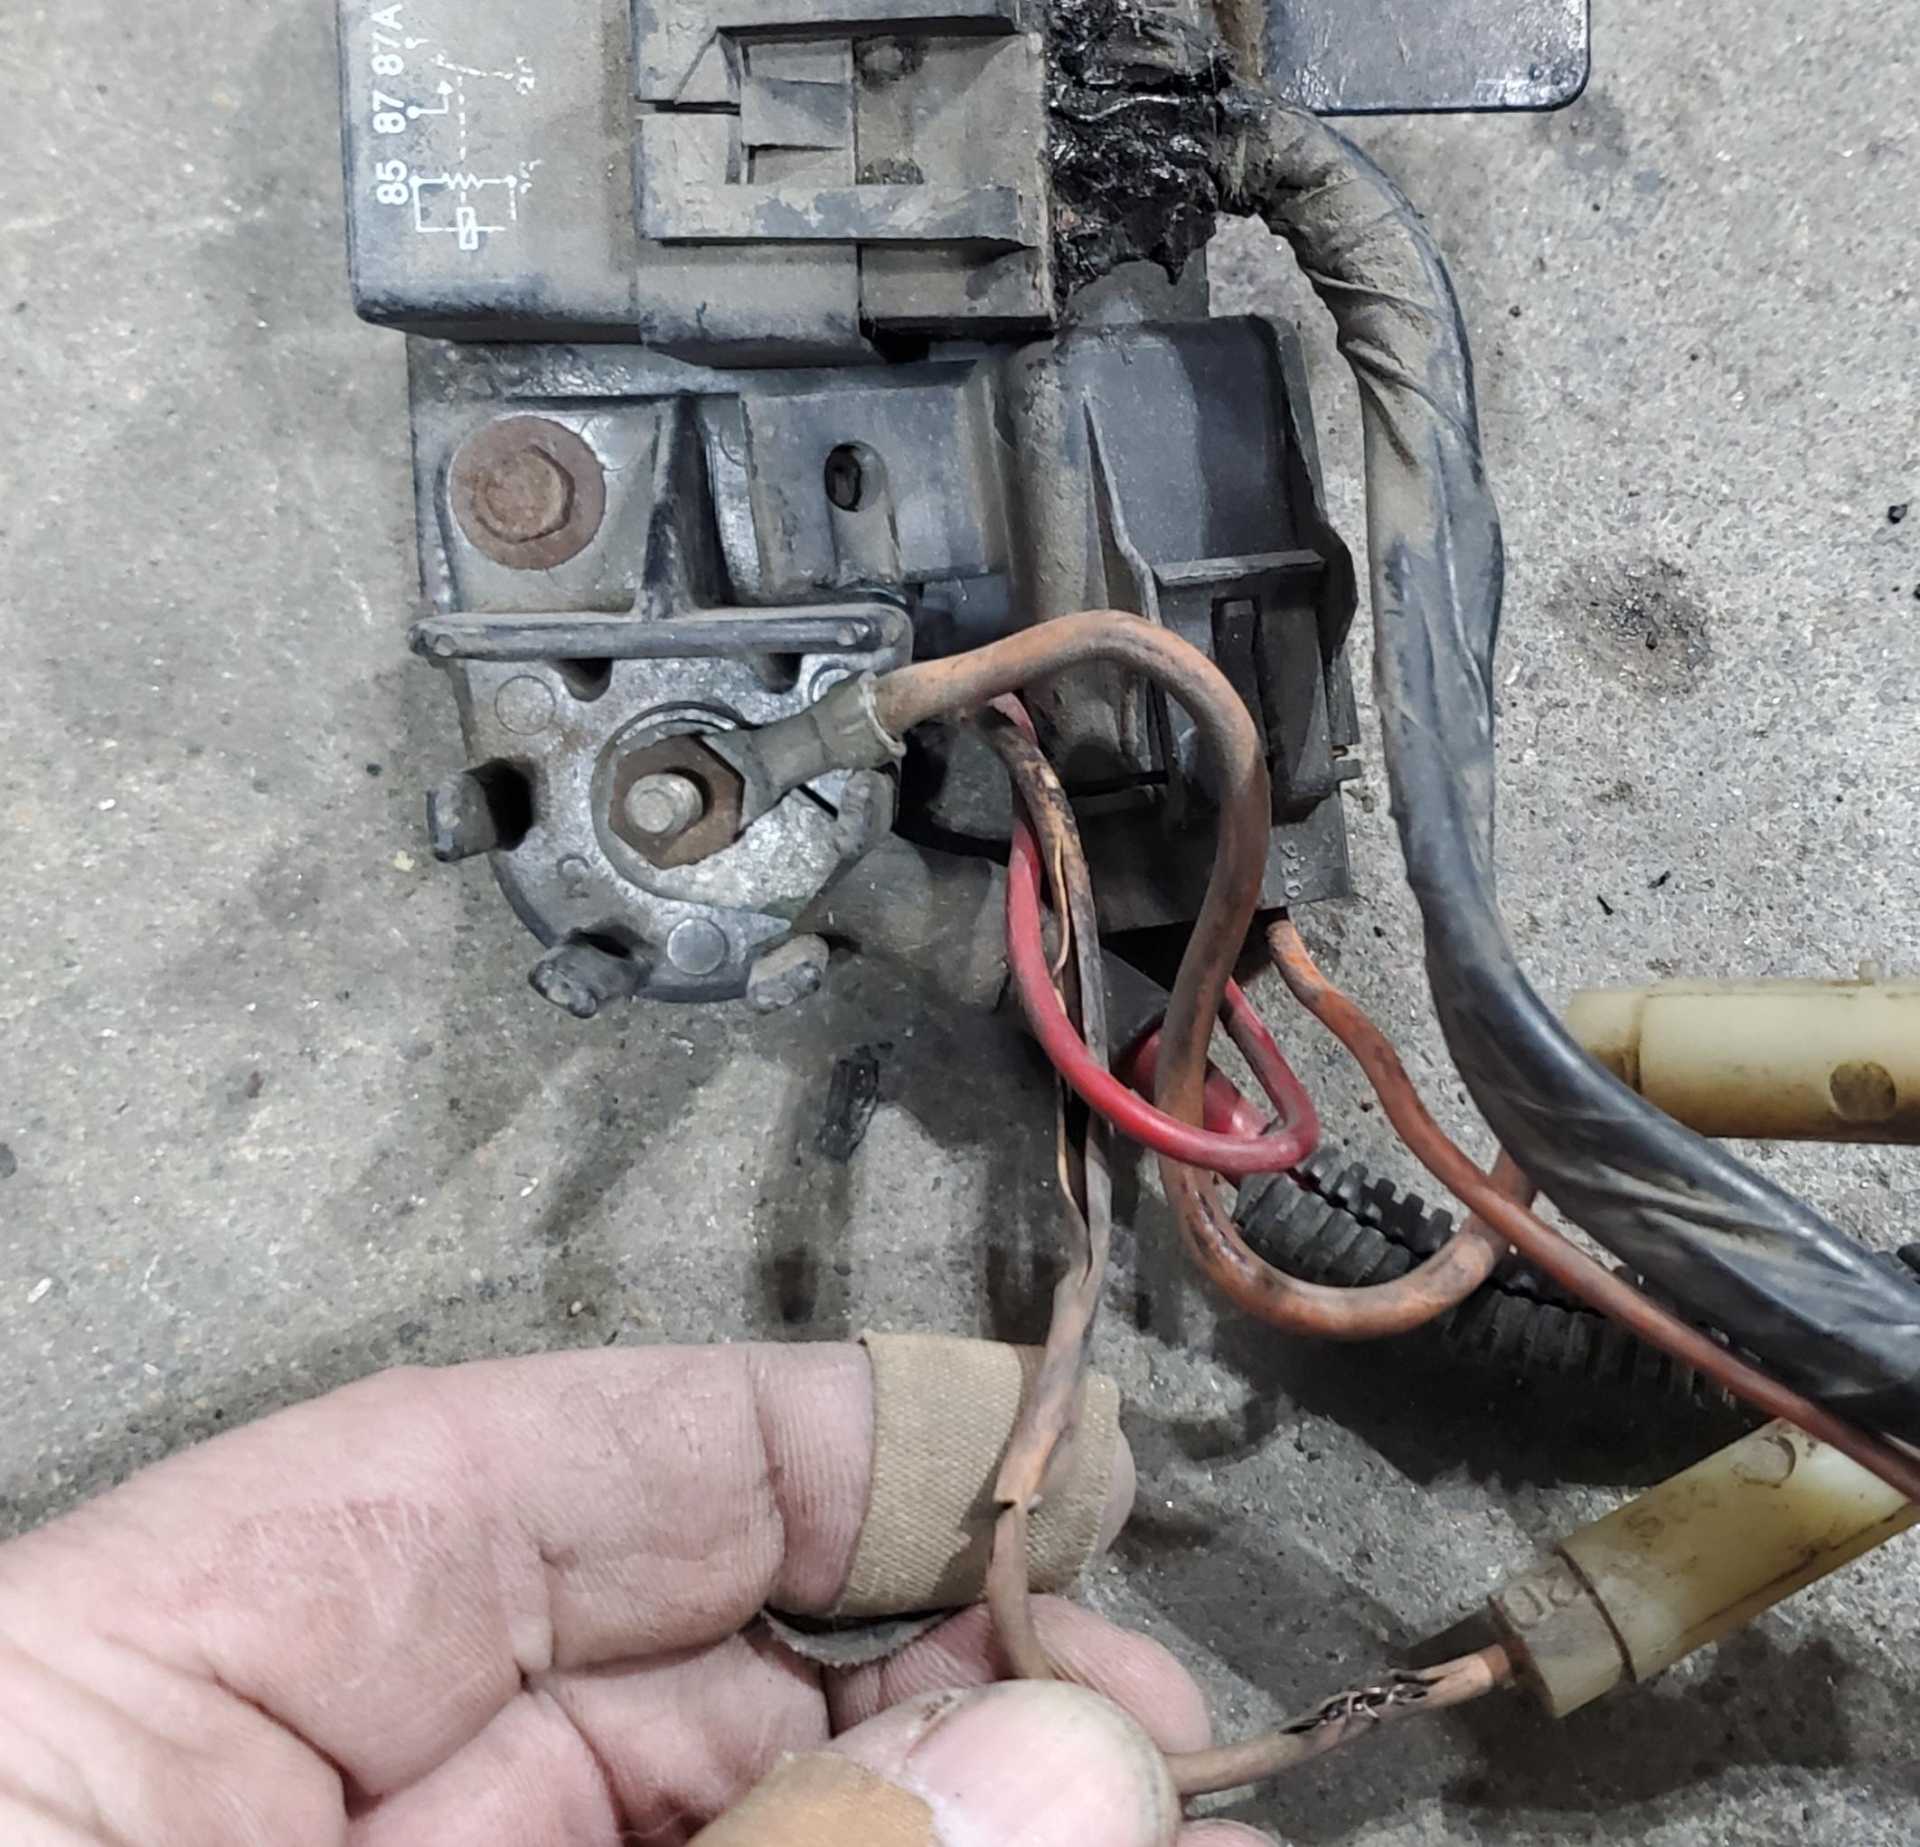
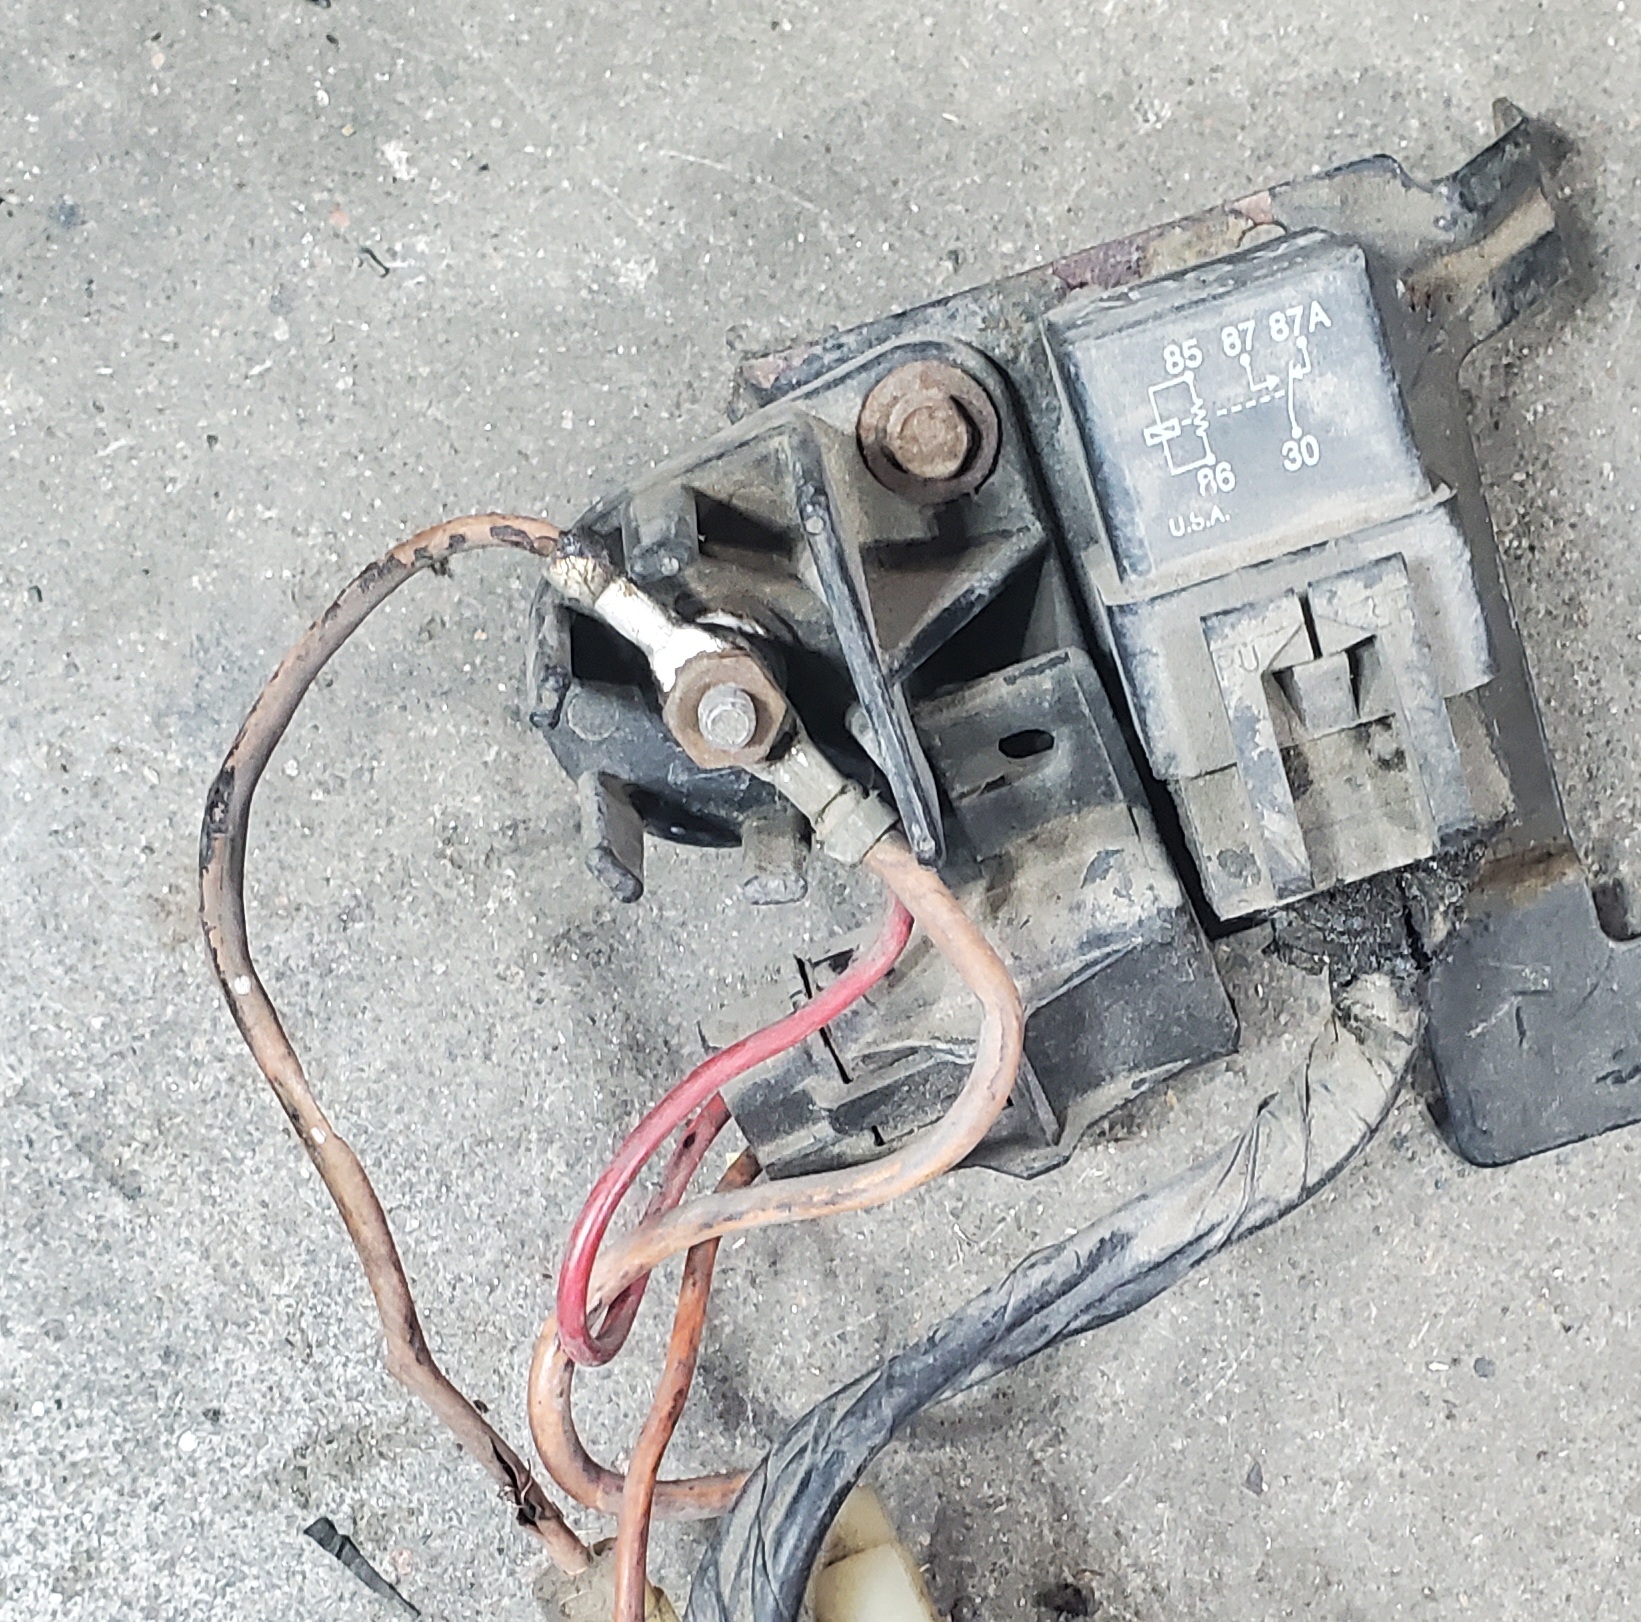
On the other hand, some of the choices ARE obvious, like the Beretta's ABS wires, relay and control unit.
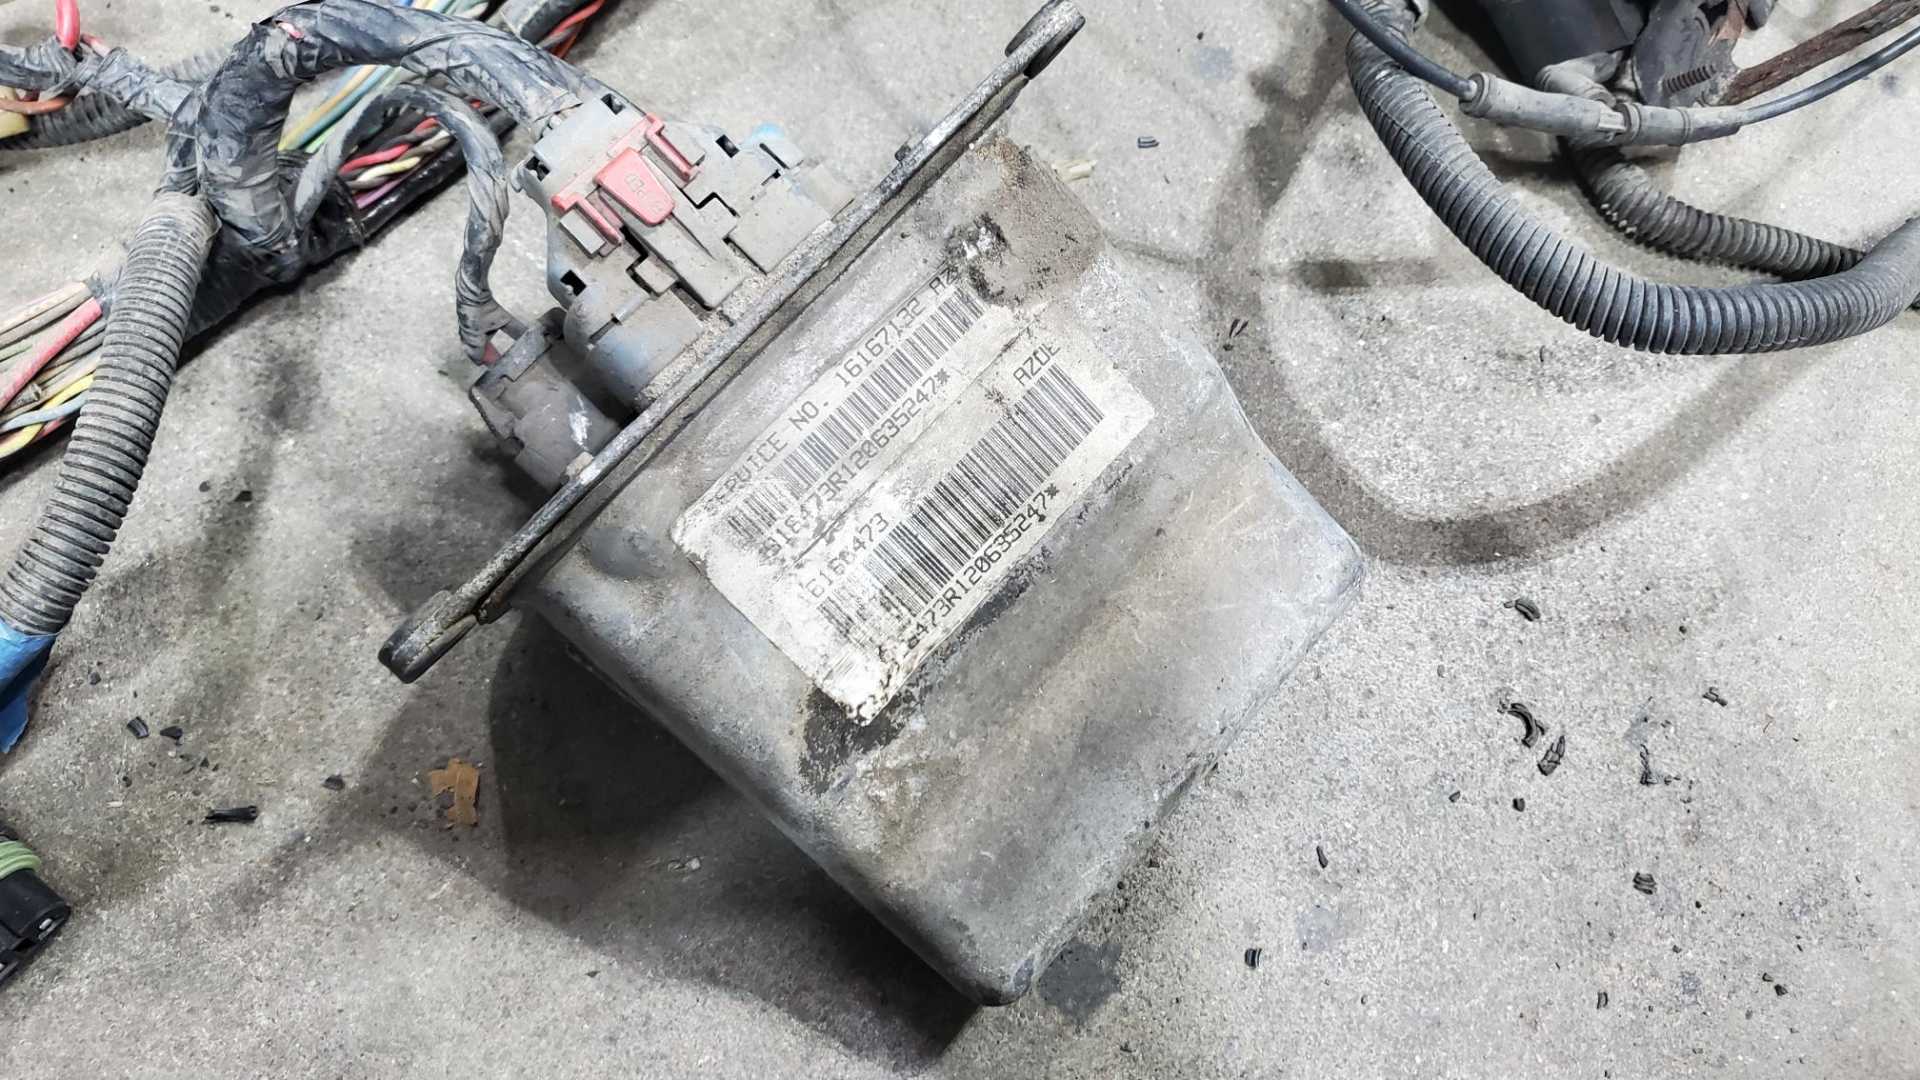
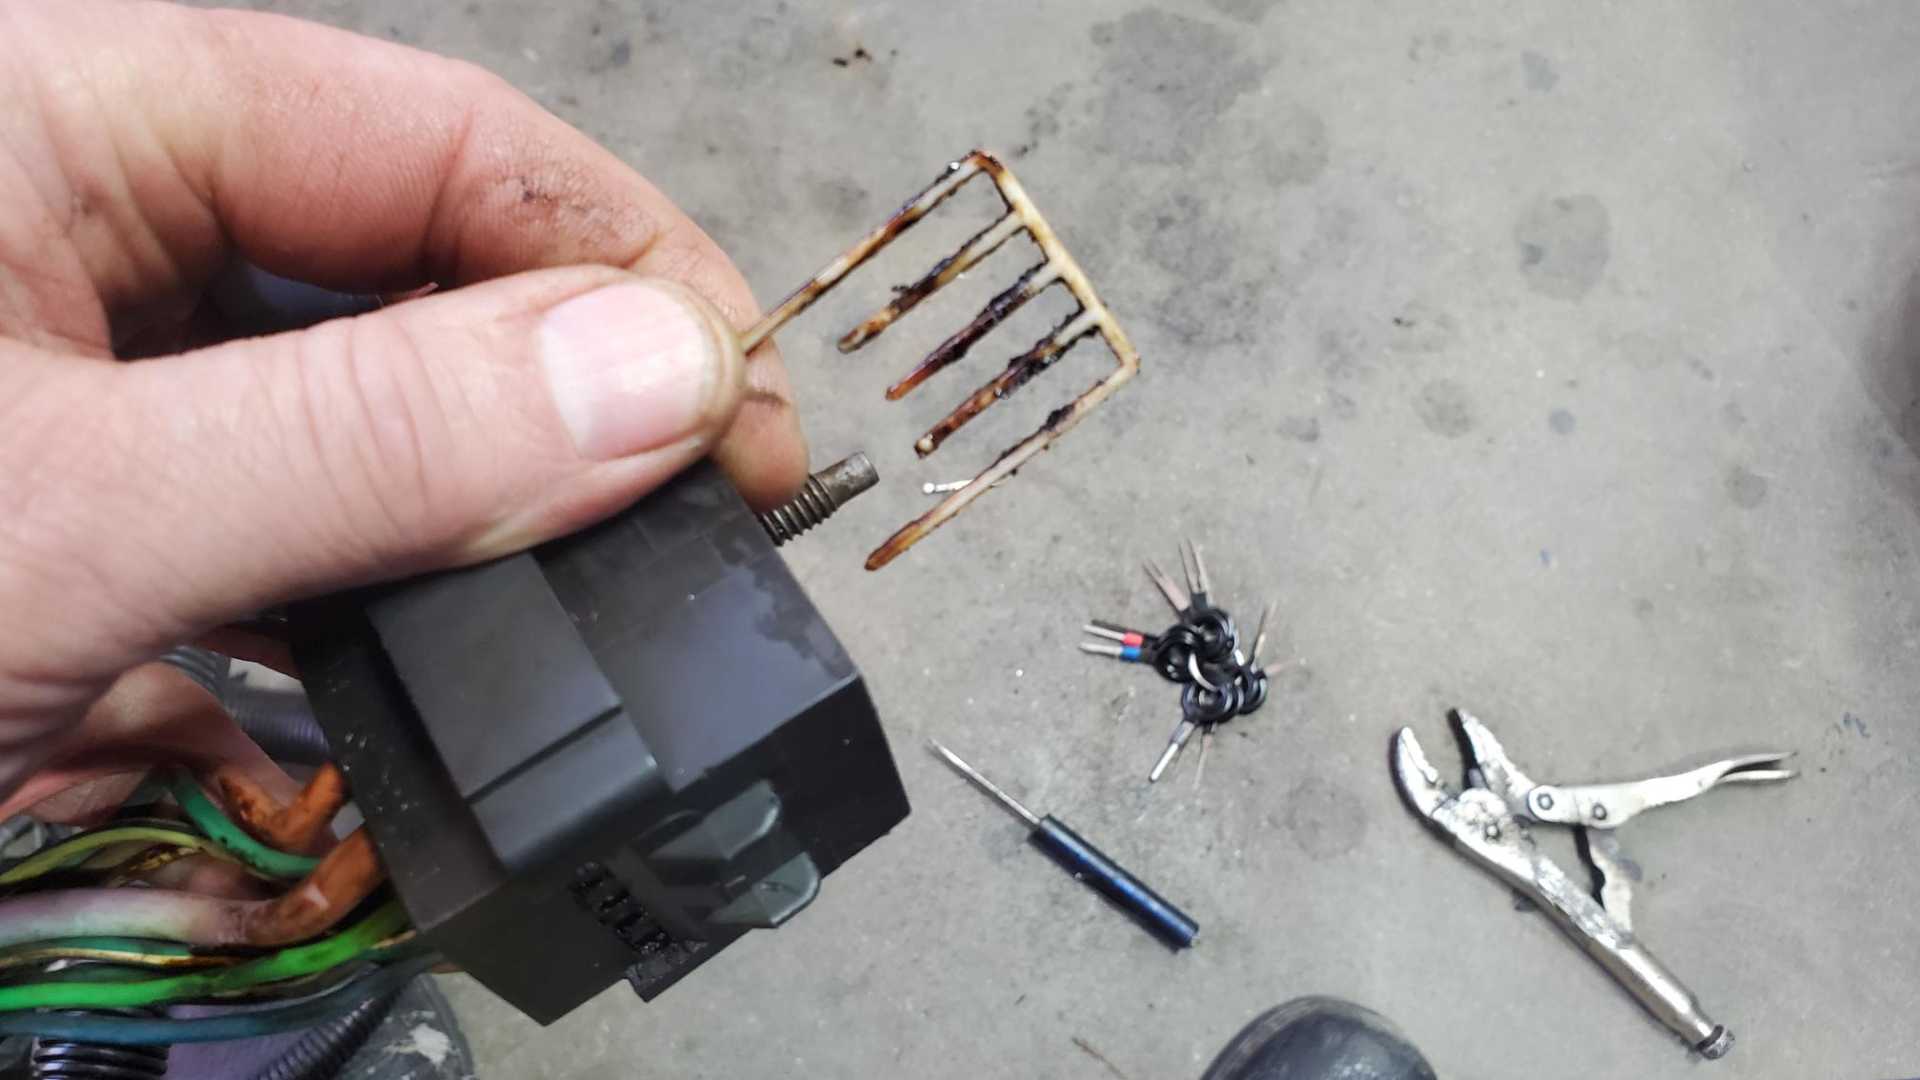
Turns out one of the fusible links attached to the Beretta's junction block is toast.
It's been more than ten years since I last drove the Beretta and I don't remember having any electrical problem with the engine. I'll dig through the manuals to see what this one powered.
[This message has been edited by Quadfather (edited 11-26-2023).]
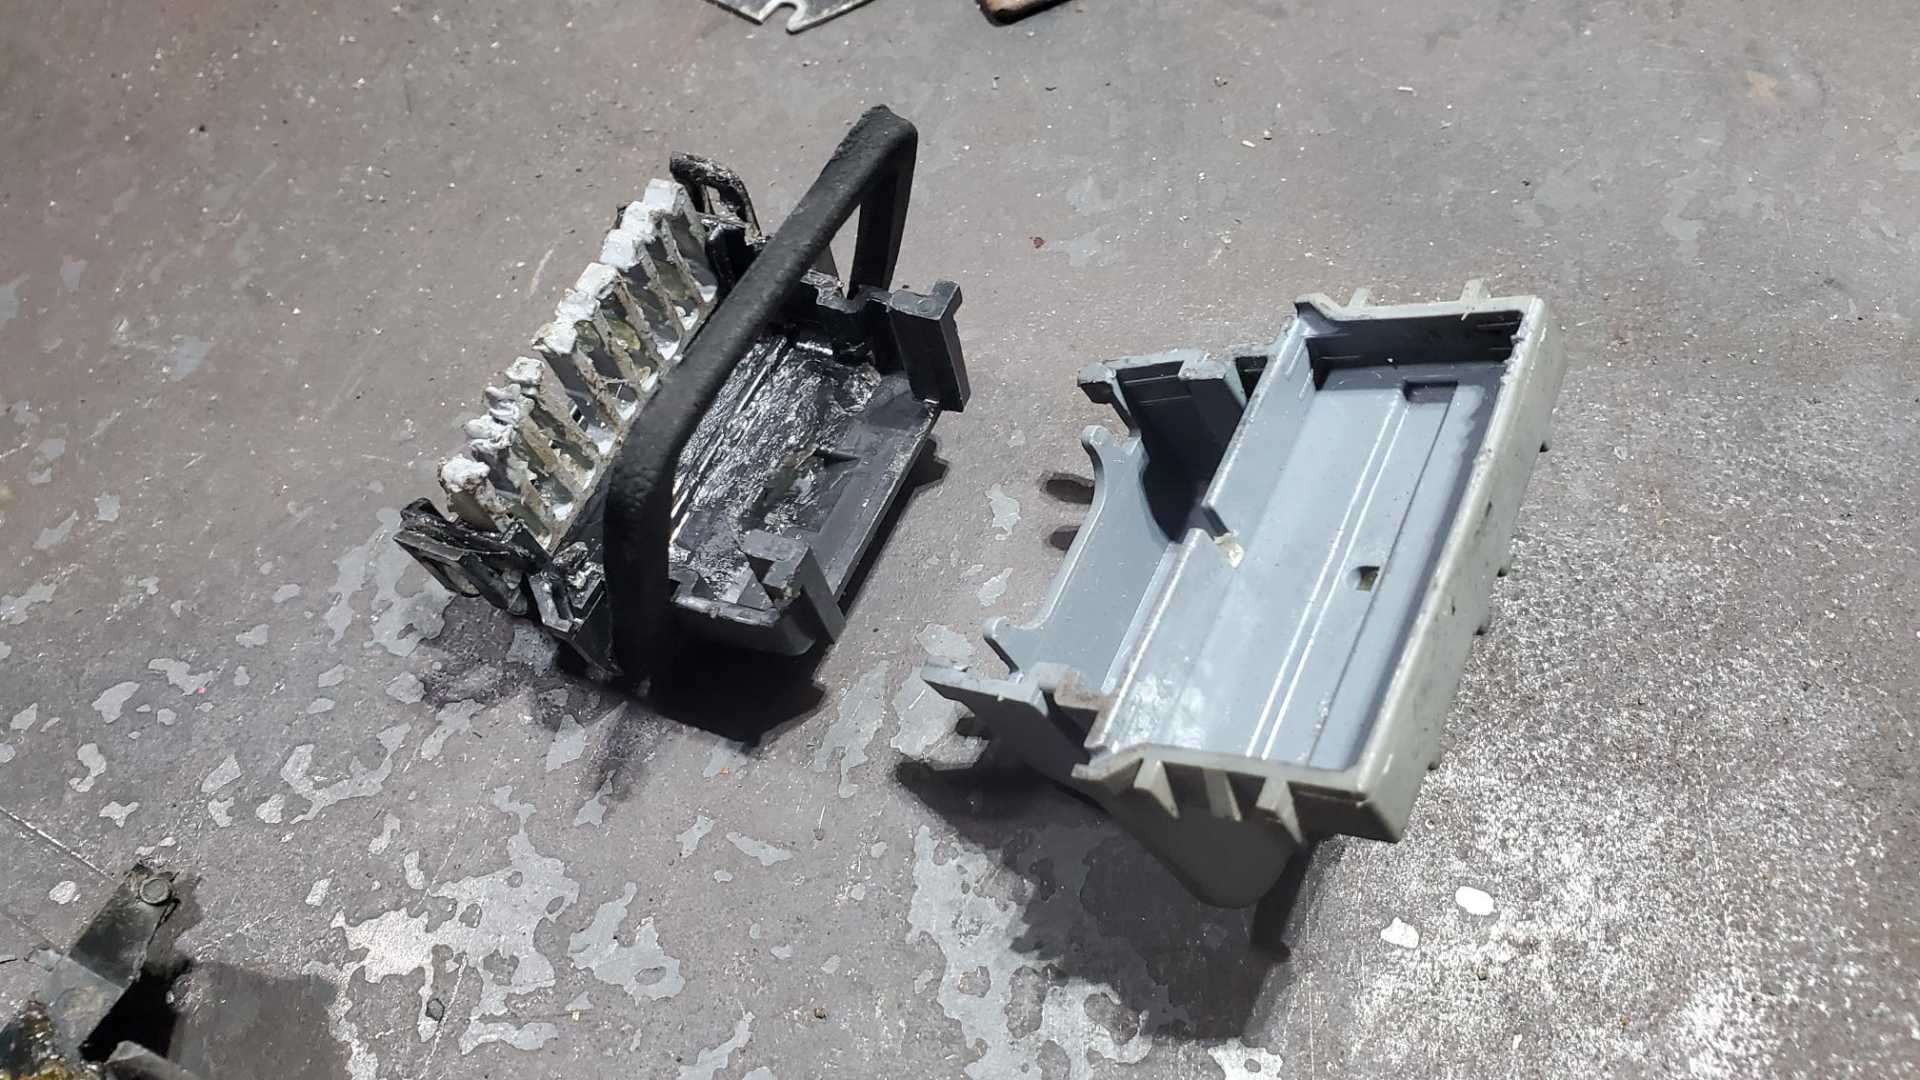
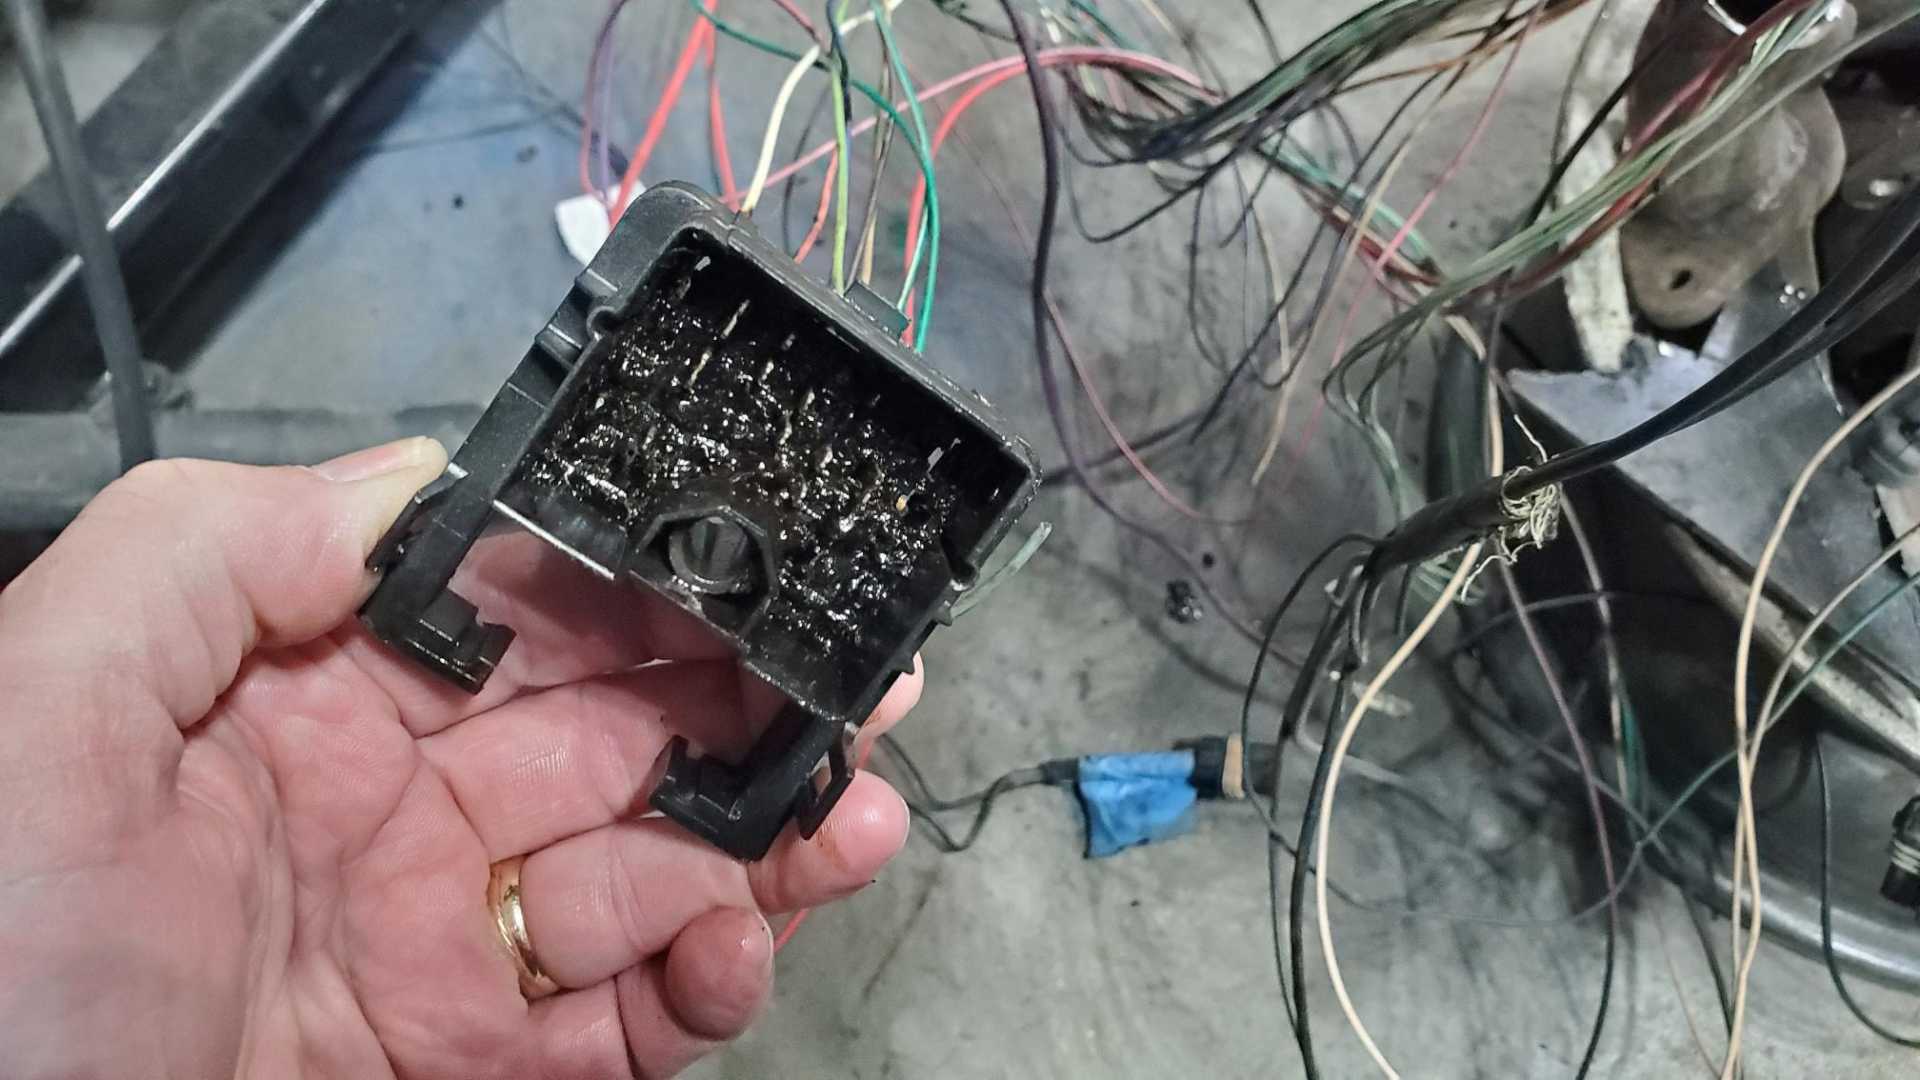
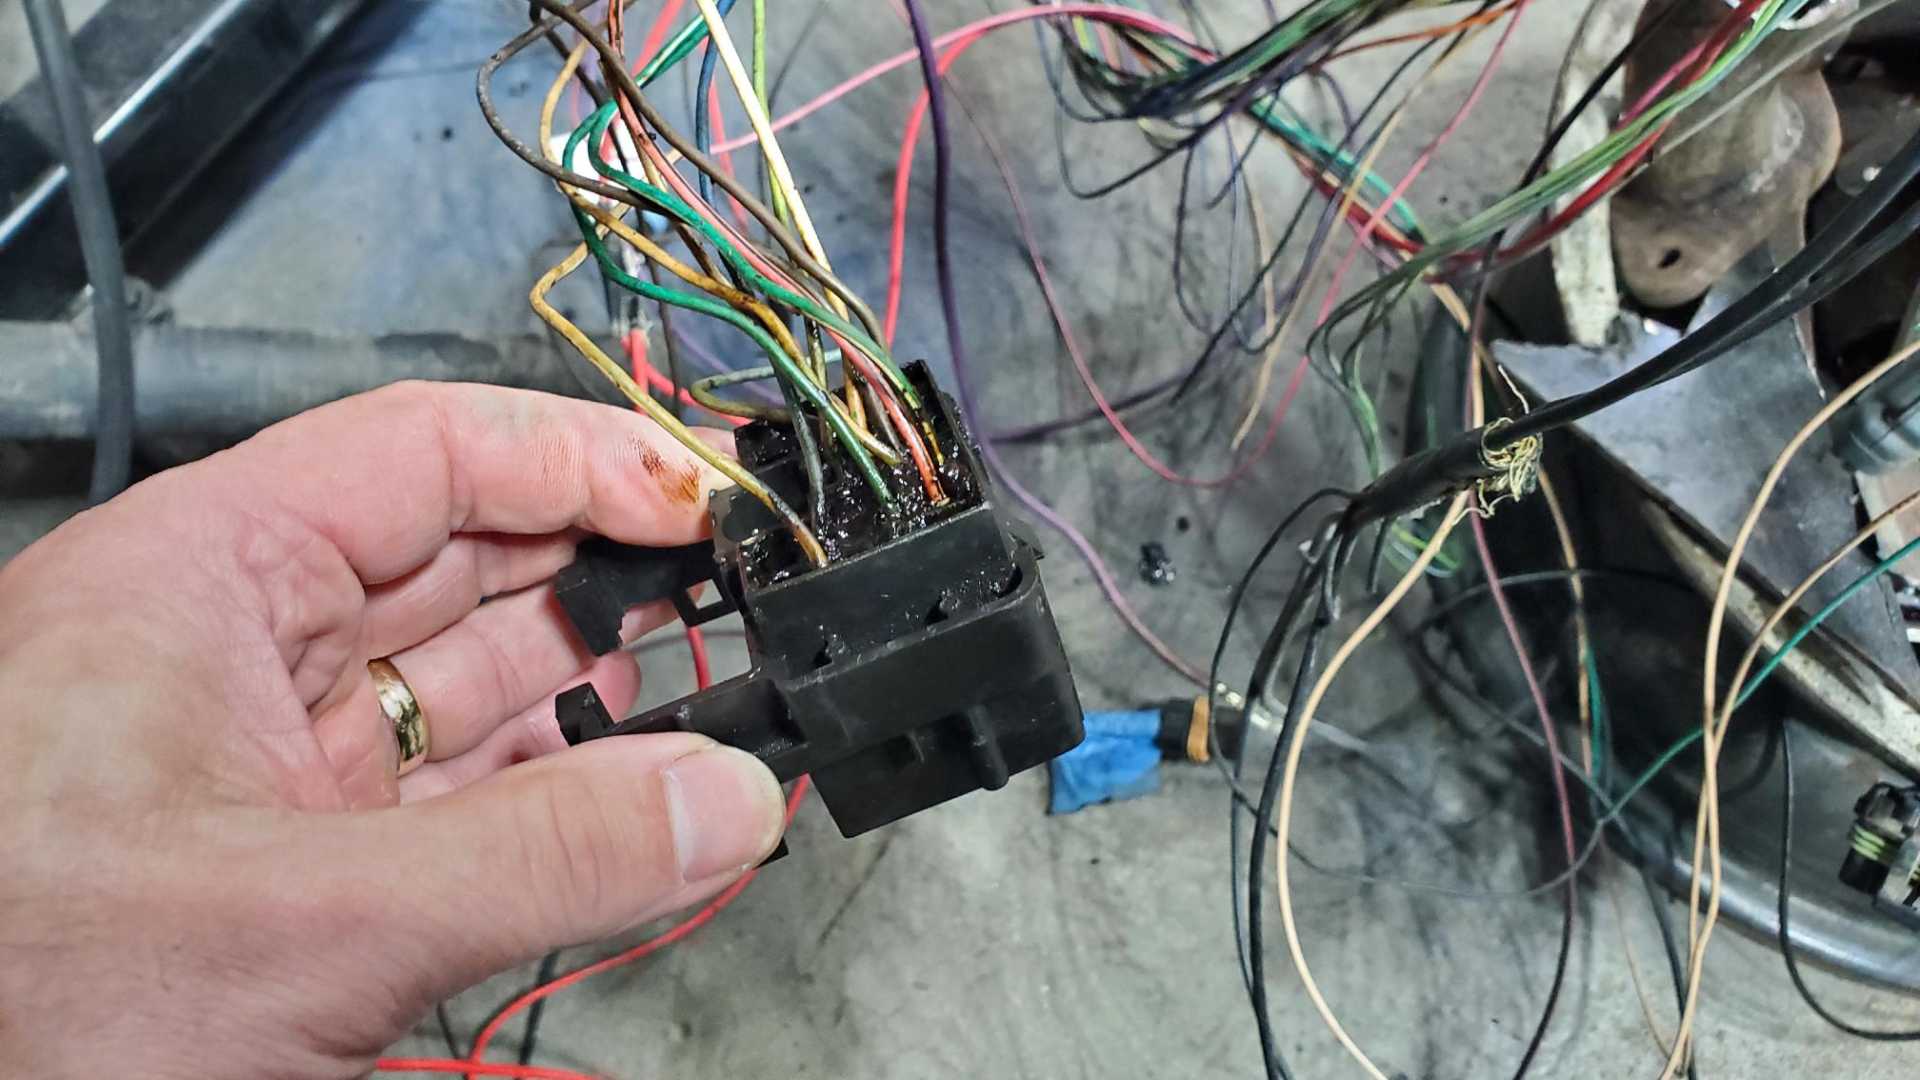
I realized I need the plastic organizer/insulator that holds the harness where it passes through the firewall. Had to use the heat gun to melt the sealant. Should’ve experimented on the Beretta’s first, but finally got both of them apart without too much damage.
Fiero unit is at the top, Beretta is at the bottom. The Beretta unit is about half an inch wider than the Fiero’s. Each one has a plastic “comb” to hold the wires.
The heat was hard on the Fiero’s comb, but it will still work
[This message has been edited by Quadfather (edited 12-03-2023).]
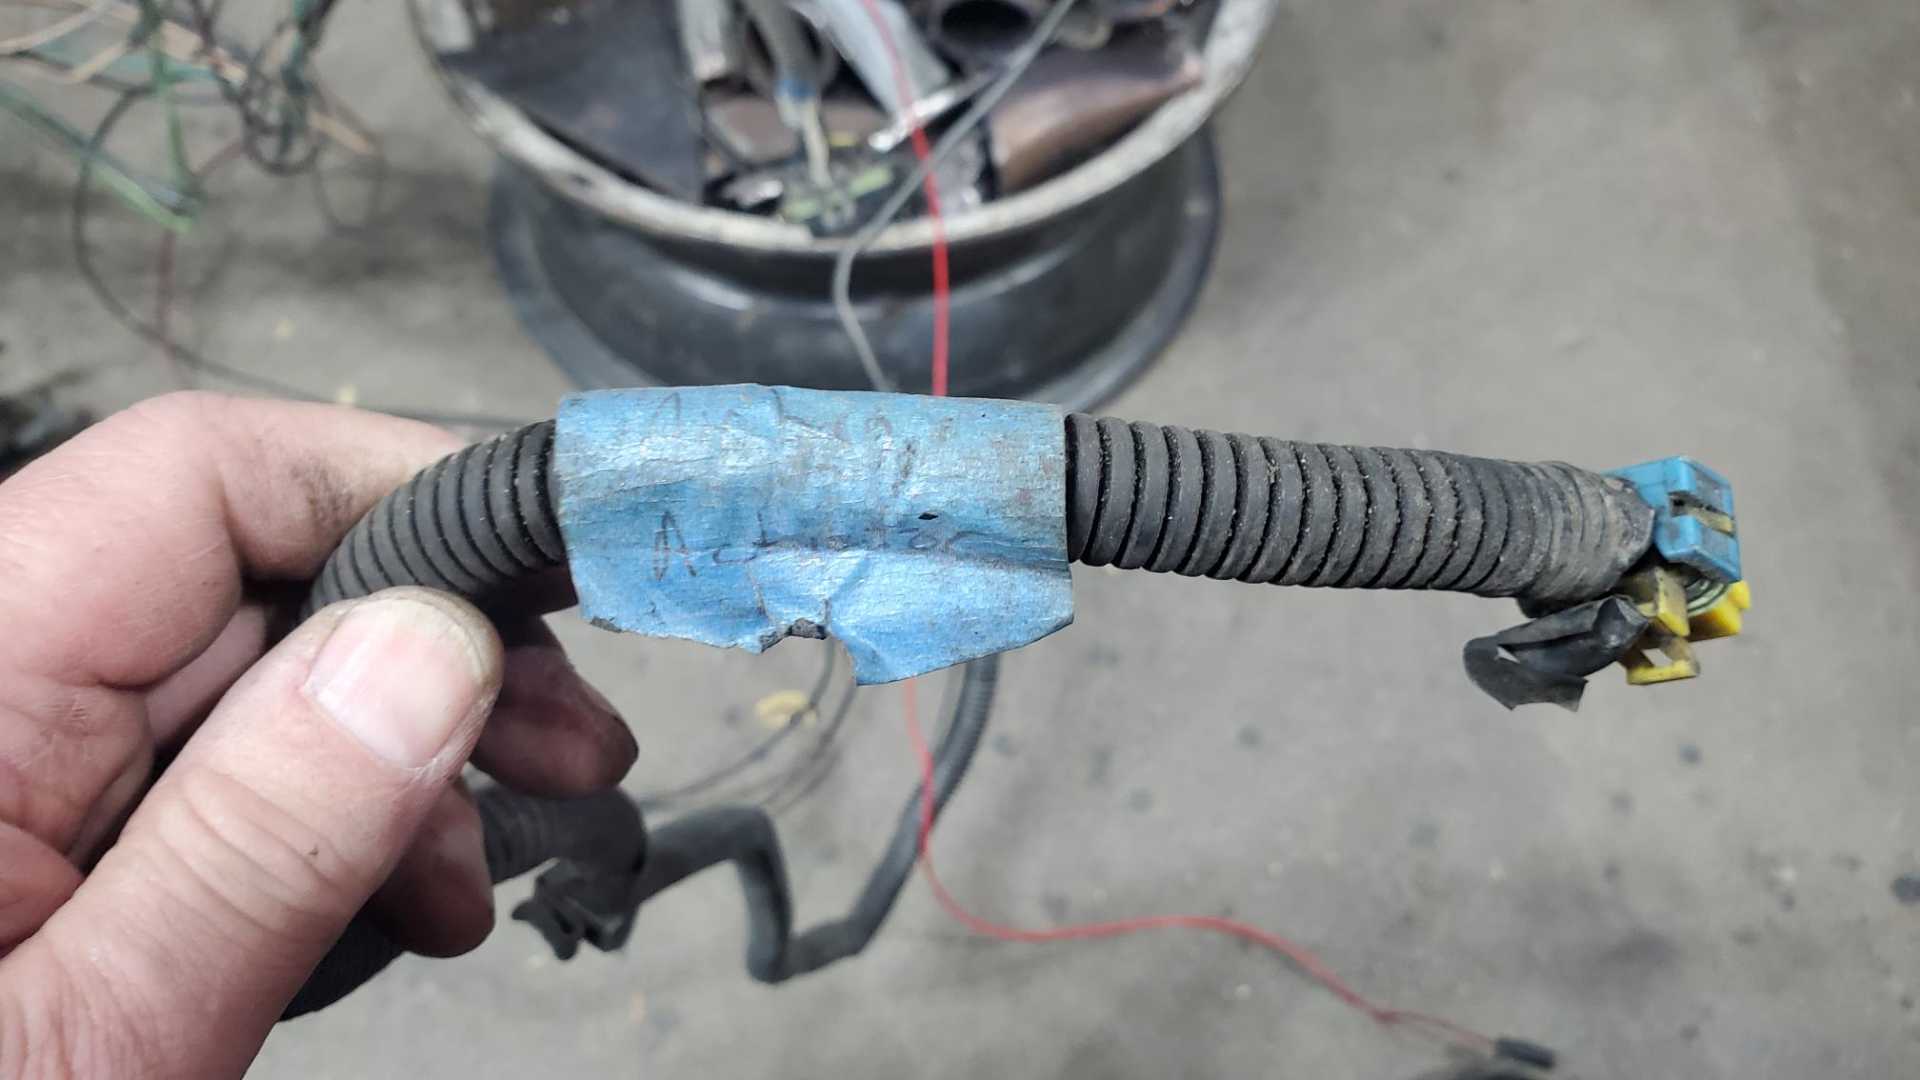
I found a wiring diagram manual on eBay so while I wait for it to arrive I’m eliminating wiring from the Beretta harness that I’m 100% sure isn’t needed for the Fiero, like ABS brakes and airbags. In case you can’t read my writing that says “airbag actuator”.
[This message has been edited by Quadfather (edited 12-03-2023).]
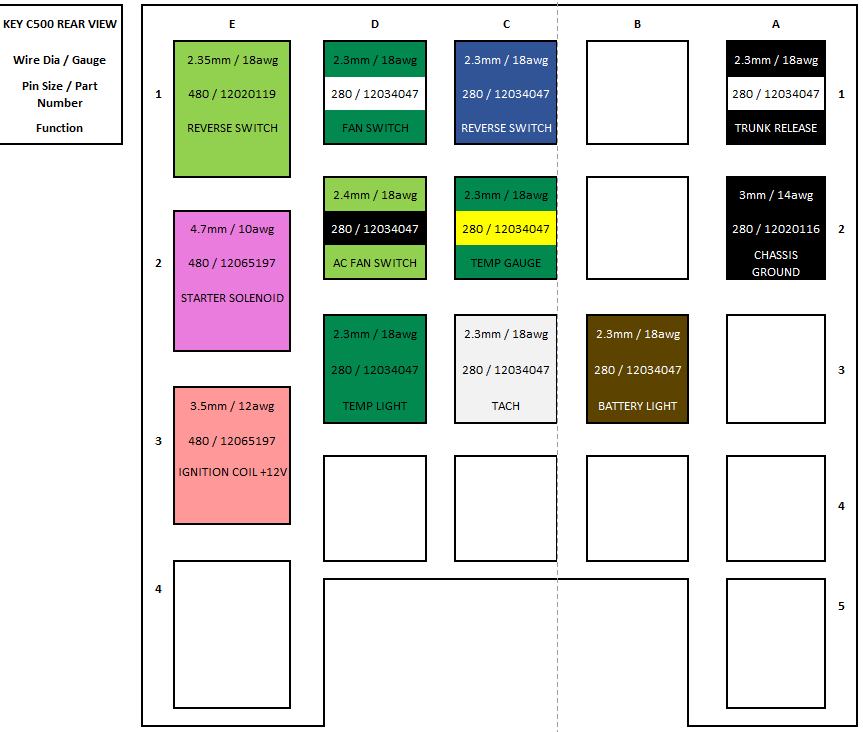
BEWARE the "terminal position assurance" (TPA) pieces on the C500s!
I’m pretty sure I’ve read every Quad 4 swap thread on this forum, as well as many other swaps involving other engines, but until today I’ve never known about the terminal position assurance pieces on the C500. I spent a good 45 minutes struggling to get any of the pins out of the Fiero’s C500, until one pin came out after its wire broke.
I did a Google search for “Fiero C500 removal problems” and finally learned of the existence of the terminal position assurance (TPA) pieces. Ought to be called PITA assurance pieces.
I feel as though I’ve passed some kind of initiation test, like I’m in the TPA piece gang now.
Nice progress, good to know about the TPA piece as I will be repinning some C500 pins myself.
For the passthrough, you can actually stick them in a pot of boiling water and they will come apart very easily without any damage, did it recently-ish. Can't take credit for the idea though, Fieroguru had a nice writeup.
Didn’t get back to the shop until today, so not much progress to report. I left the C500 connectors from both the Fiero and the Beretta soaking in Jet A all week. It helped, but that GM sealant wasn’t giving up without a fight.
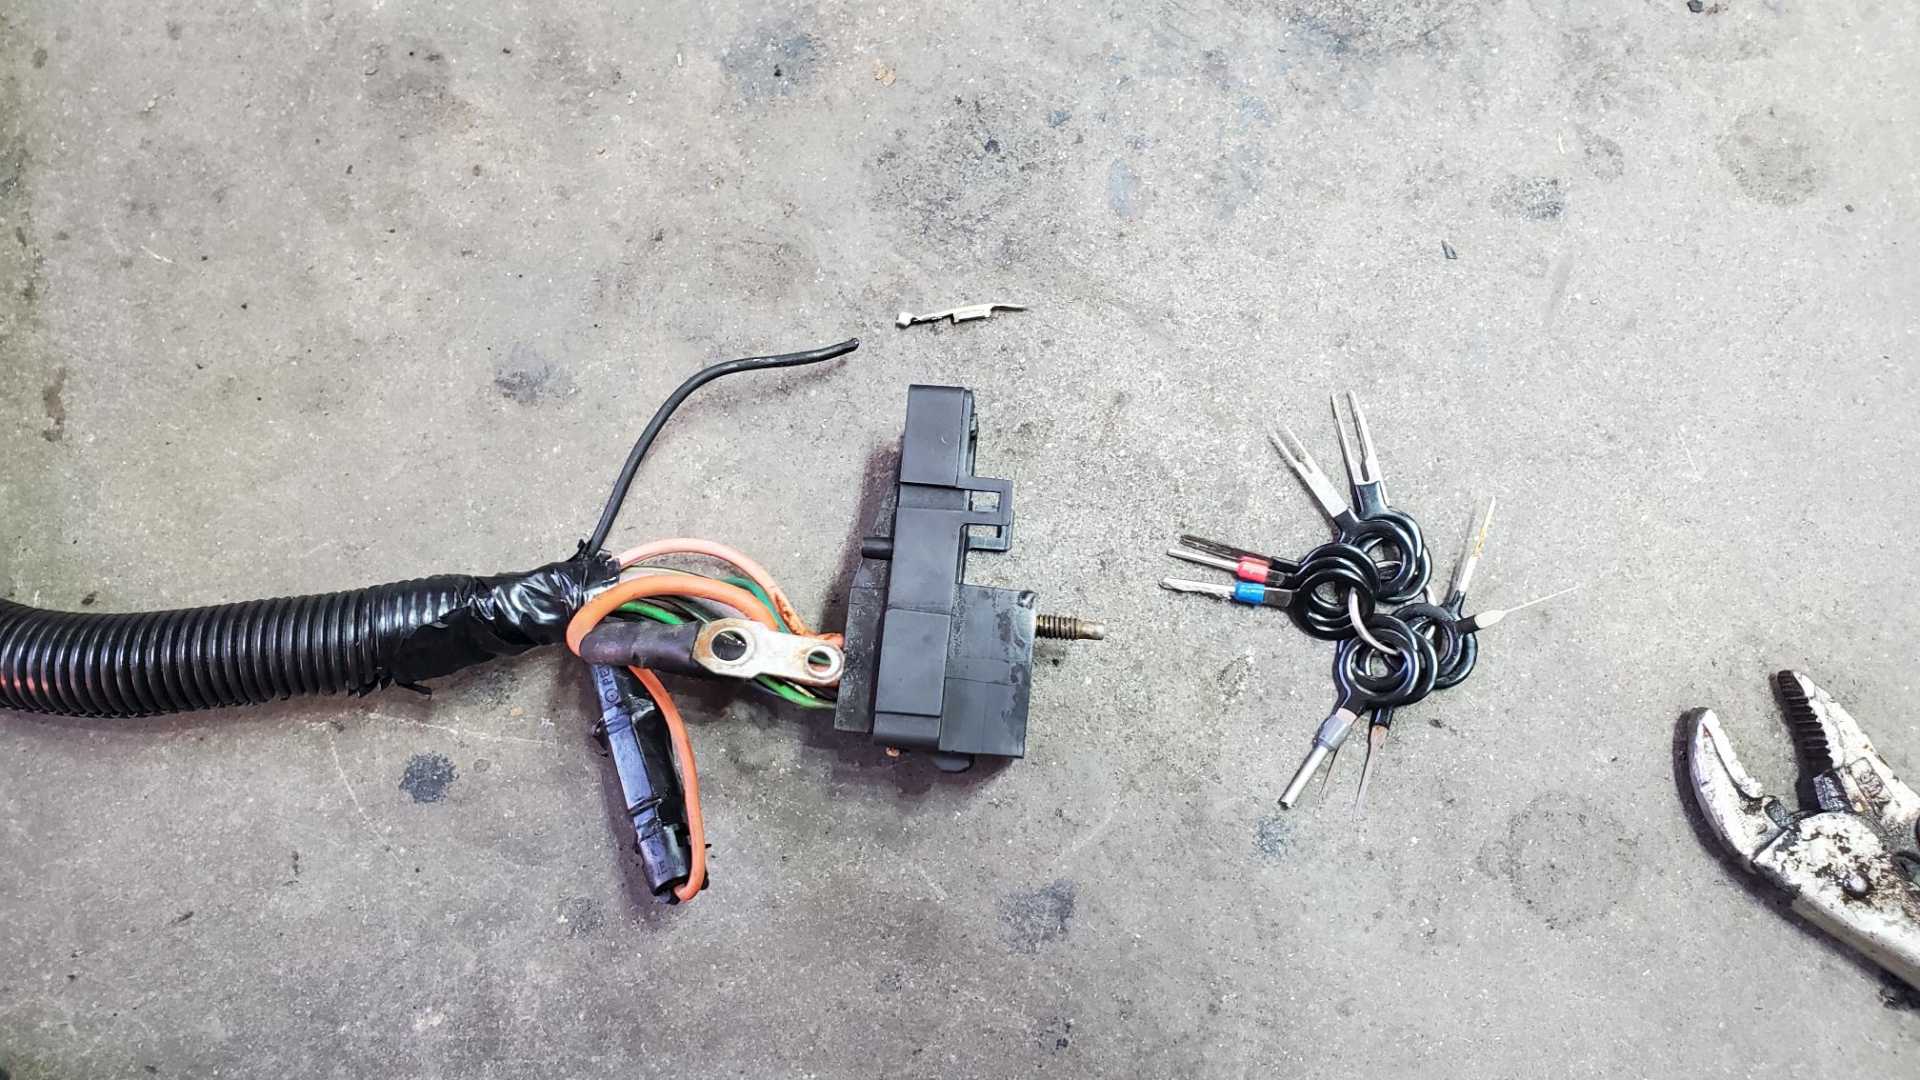
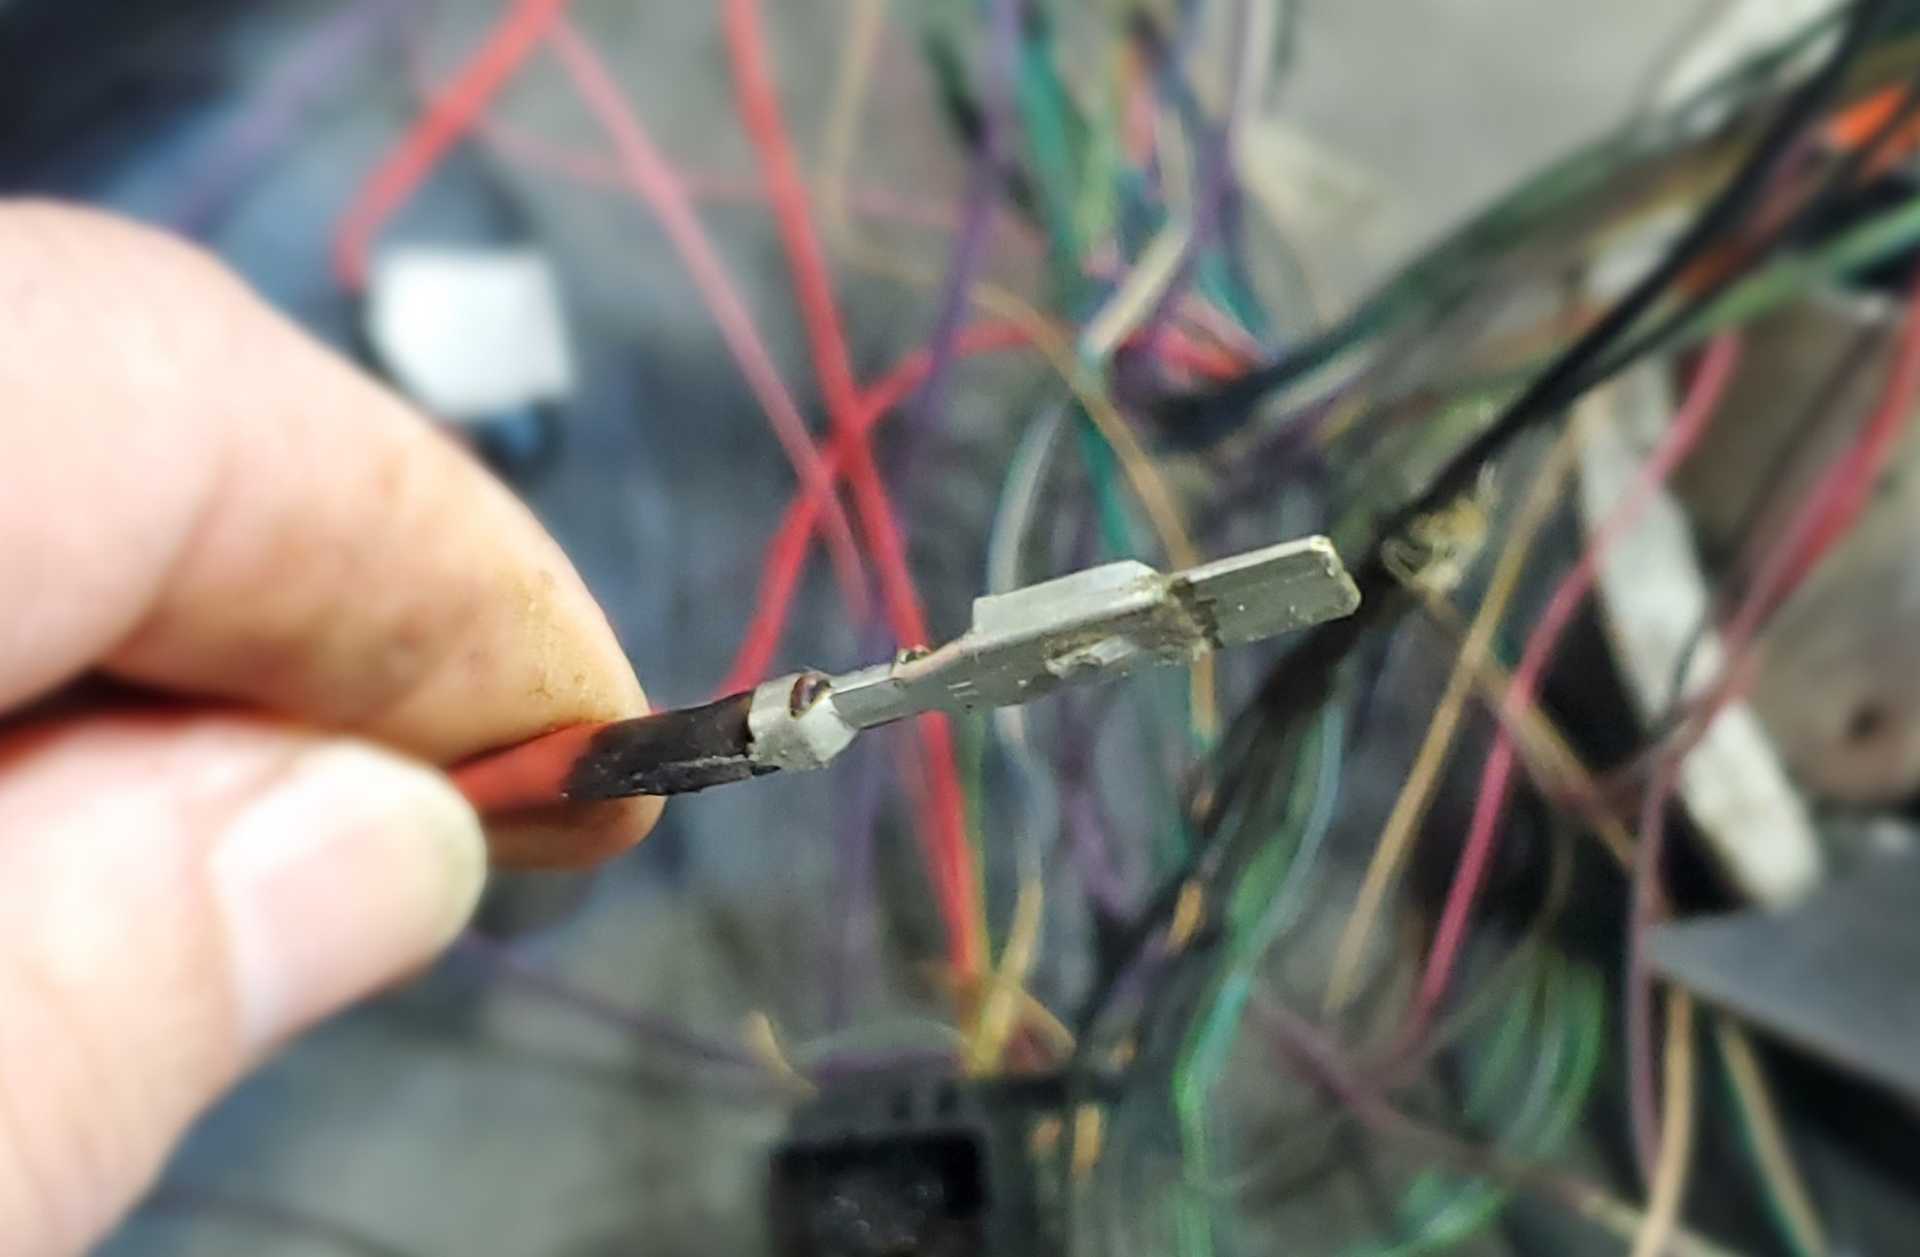
Here are photos of using the special unpinning tool to remove the wires from the Beretta connector (I did the Fiero C500 last week):
Not sure if the tool or something else caused it, but the tang on just about every pin was mangled. Cleaning off the sealant and then straightening the tangs and repositioning them was very tedious and very difficult to photograph.
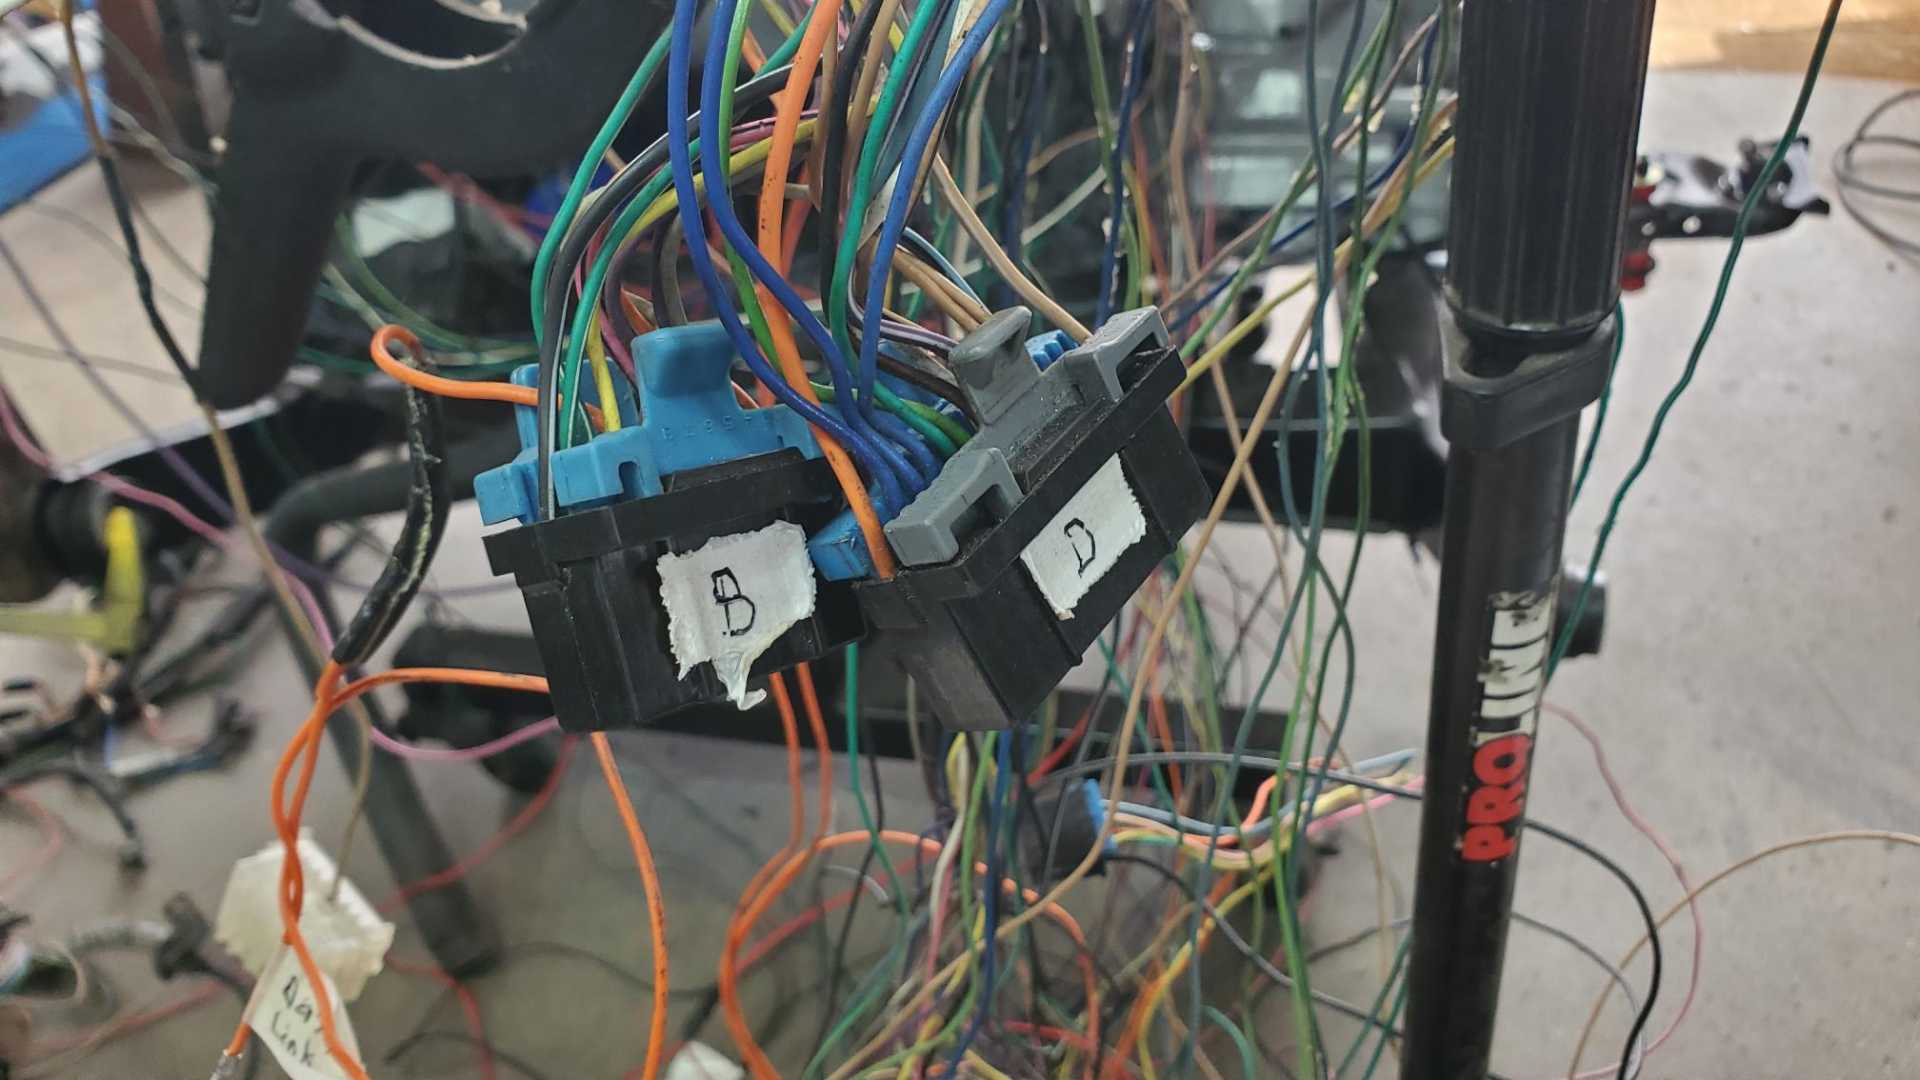
When I started the process of plugging Beretta wires into the Fiero C500, I wasn’t sure which way the connector was supposed to be oriented. Then I discovered the connector is labeled.
I managed to get two wires installed in the connector, then was stumped because the connector on the wire is too big for the hole.
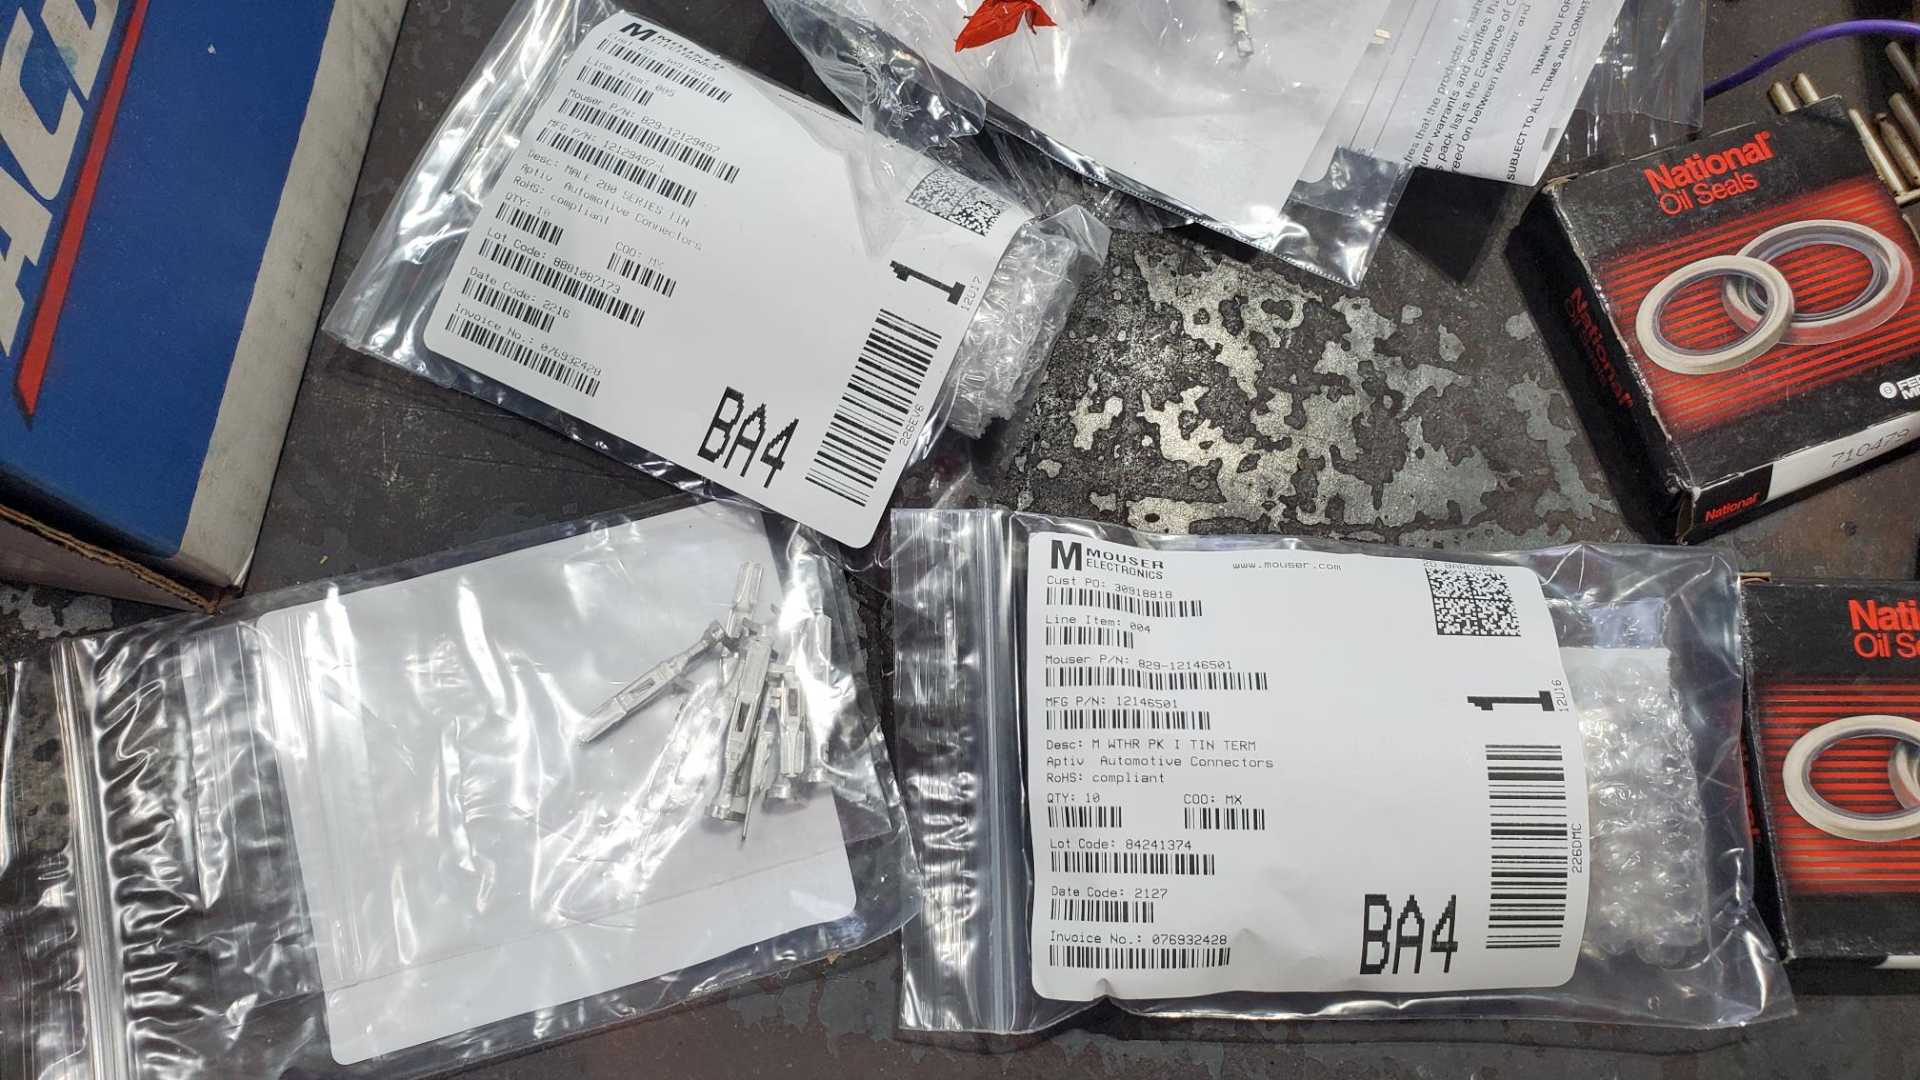
I finally realized I'll need to install new pins on some of the wires, so ordered three sizes from Mouser. They were a little pricey but they arrived the next day.
Now I'm waiting for the crimper I ordered to show up.
In the meantime I got an email alert from rockauto.com about some manufacturer closeout deals on some Beretta parts, including the O2 sensor plug, a couple transaxle seals and even a clutch slave cylinder.
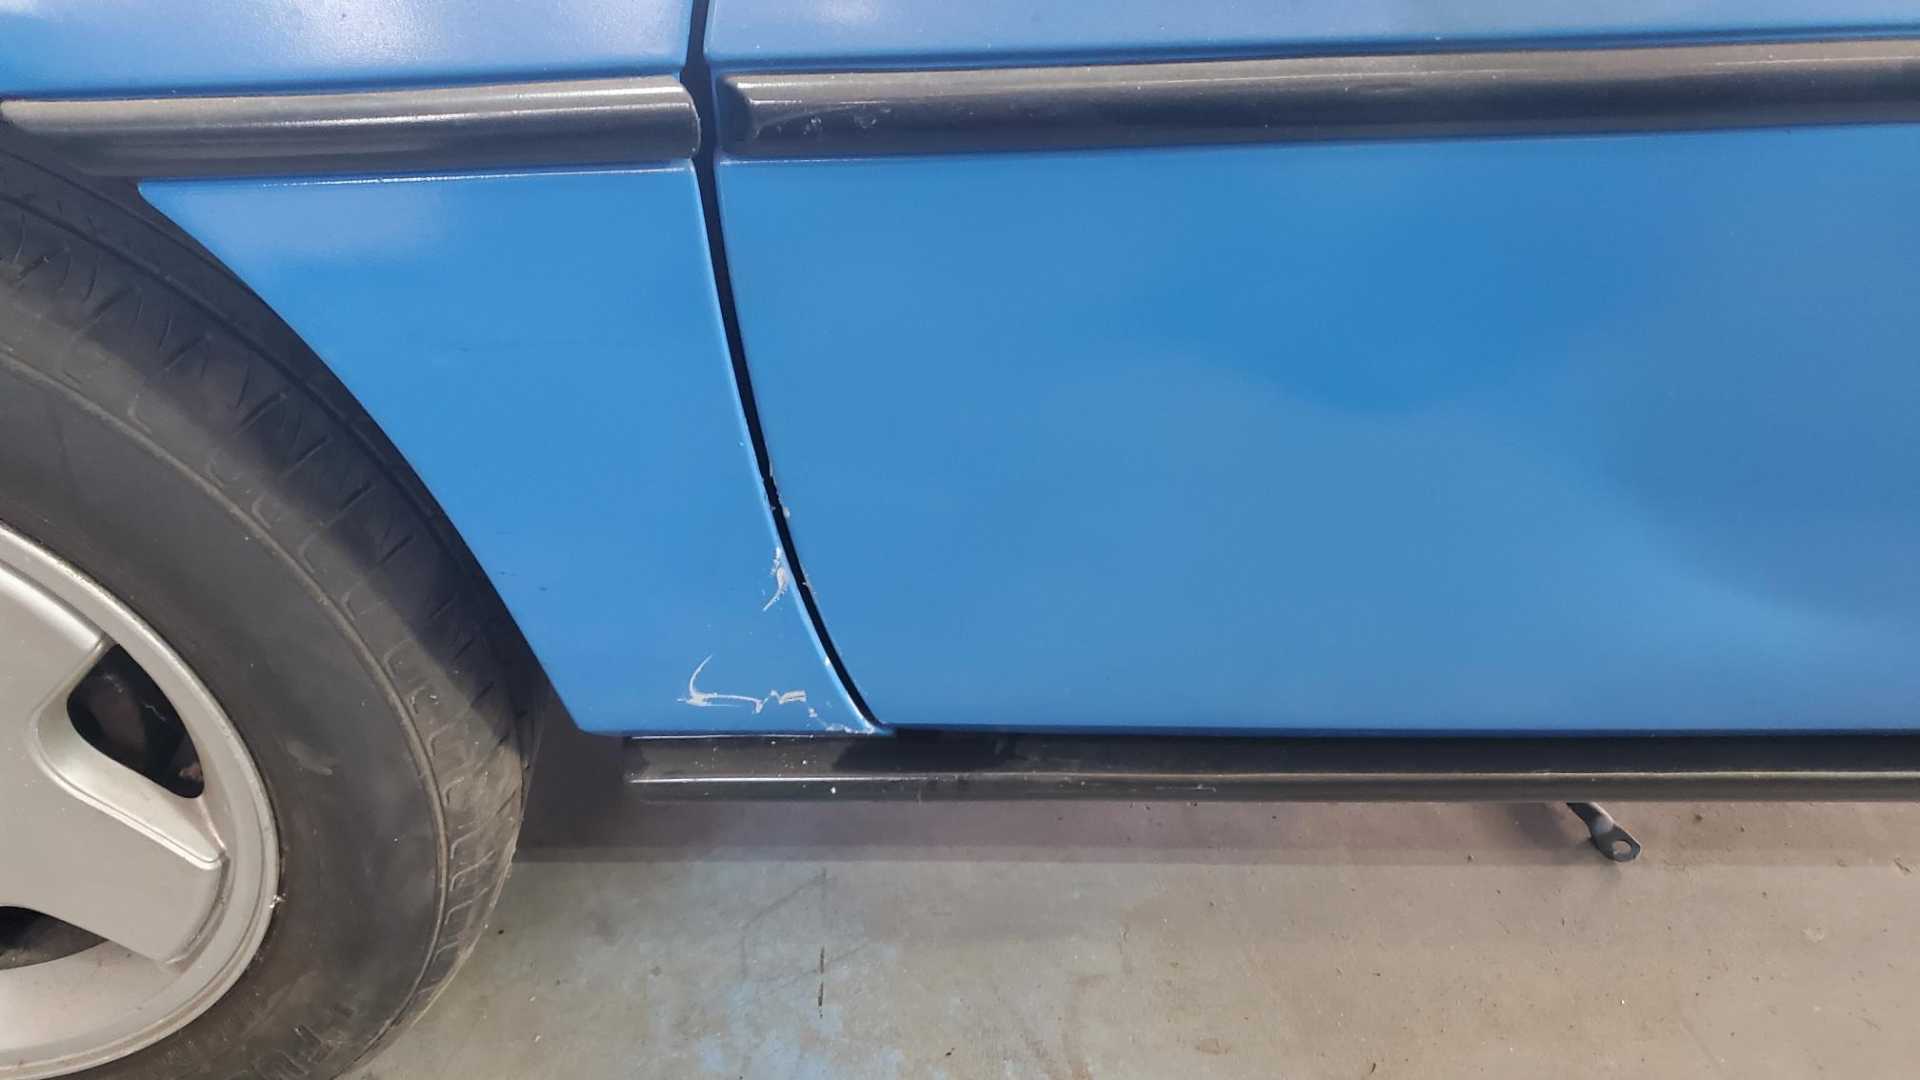
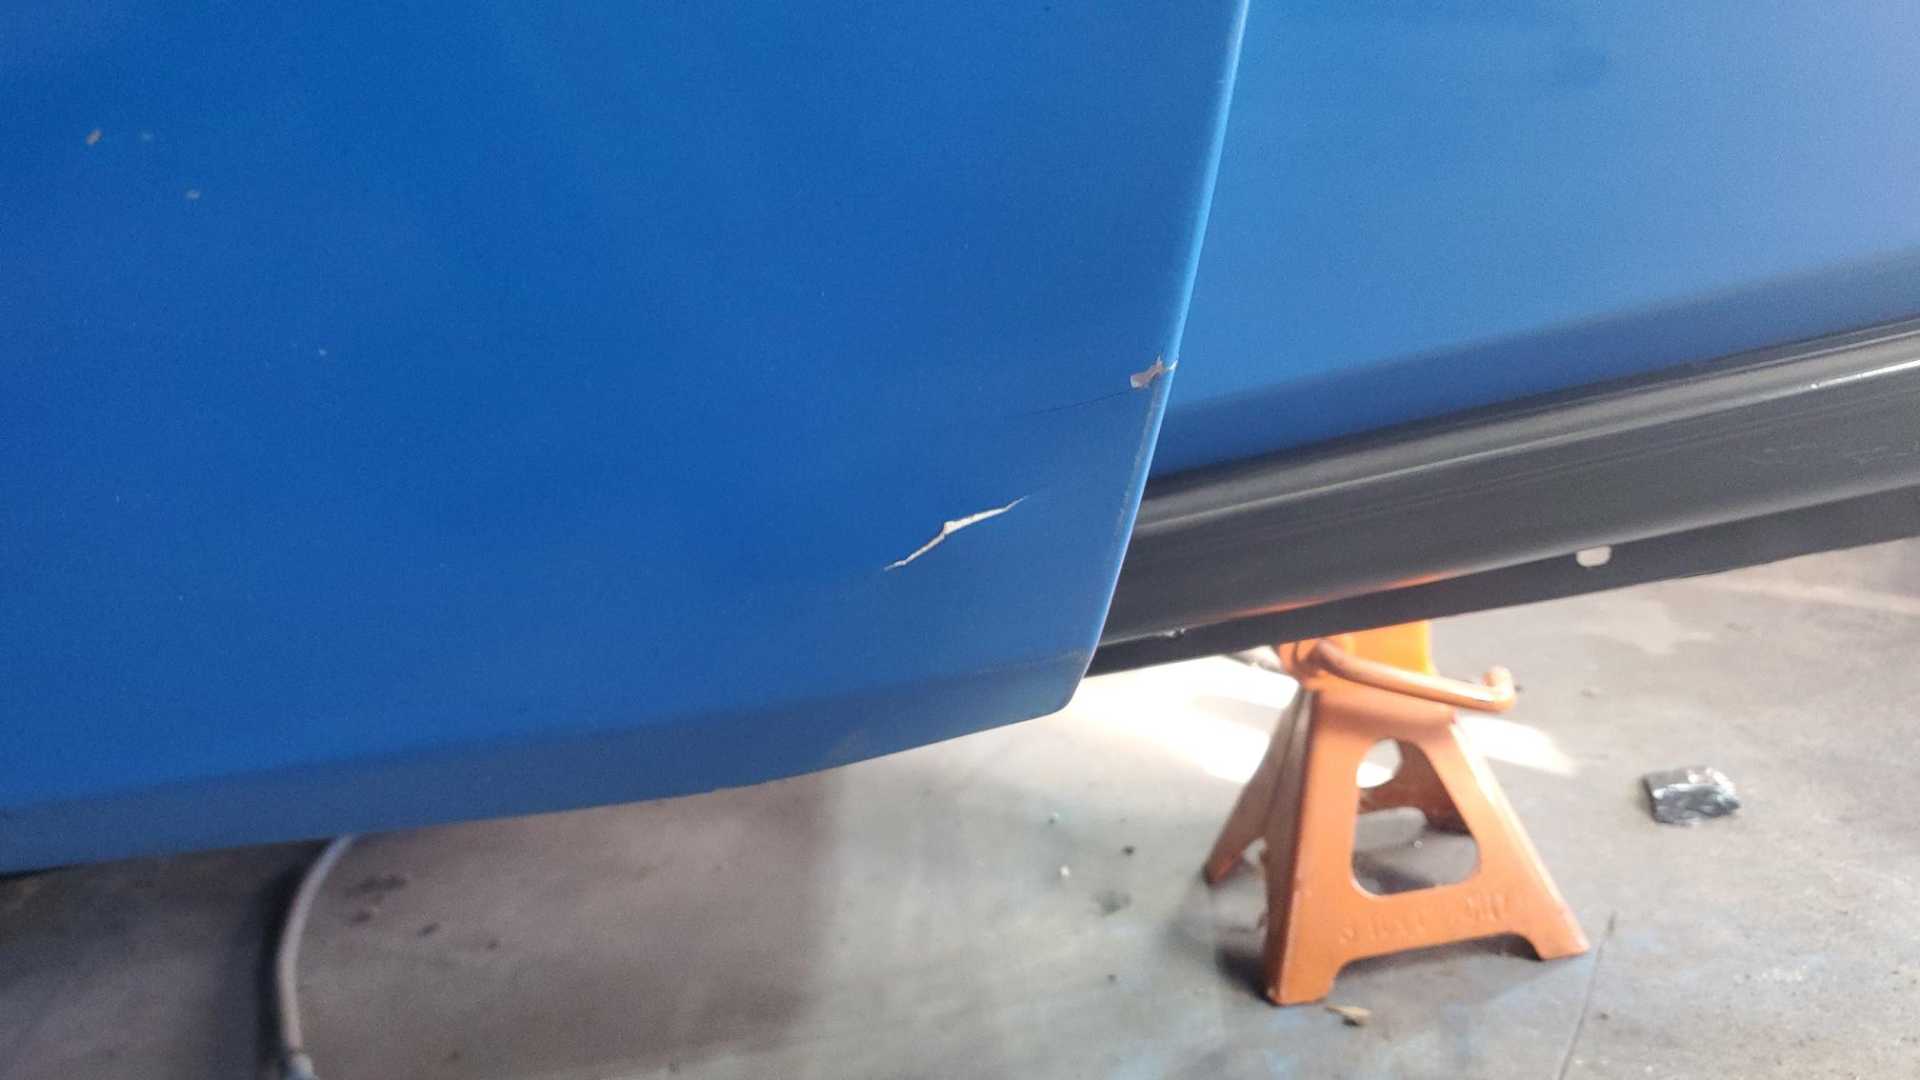
In keeping with the theme of this swap, one step forward and two steps back. While waiting for the crimper to arrive so I can continue working on the wiring harness, I figured I'd replace the door hinge pins. I was just about finished with the driver's side door when it fell off the jack. Put a big scrape on the fender and cracked the rear corner of the door skin.
The car has so many scrapes and dings now it almost needs a whole new paint job.
[This message has been edited by Quadfather (edited 12-18-2023).]
I've been on PTO this week so I've spent a lot of time in the shop working on the wiring harness and I think I have the C500 connector sorted out. I clamped a piece of wood onto the cradle to simulate the location of the C500 on the side of the engine compartment.
The last wire to figure out for the C500 is the radiator fan feed from the ECM.
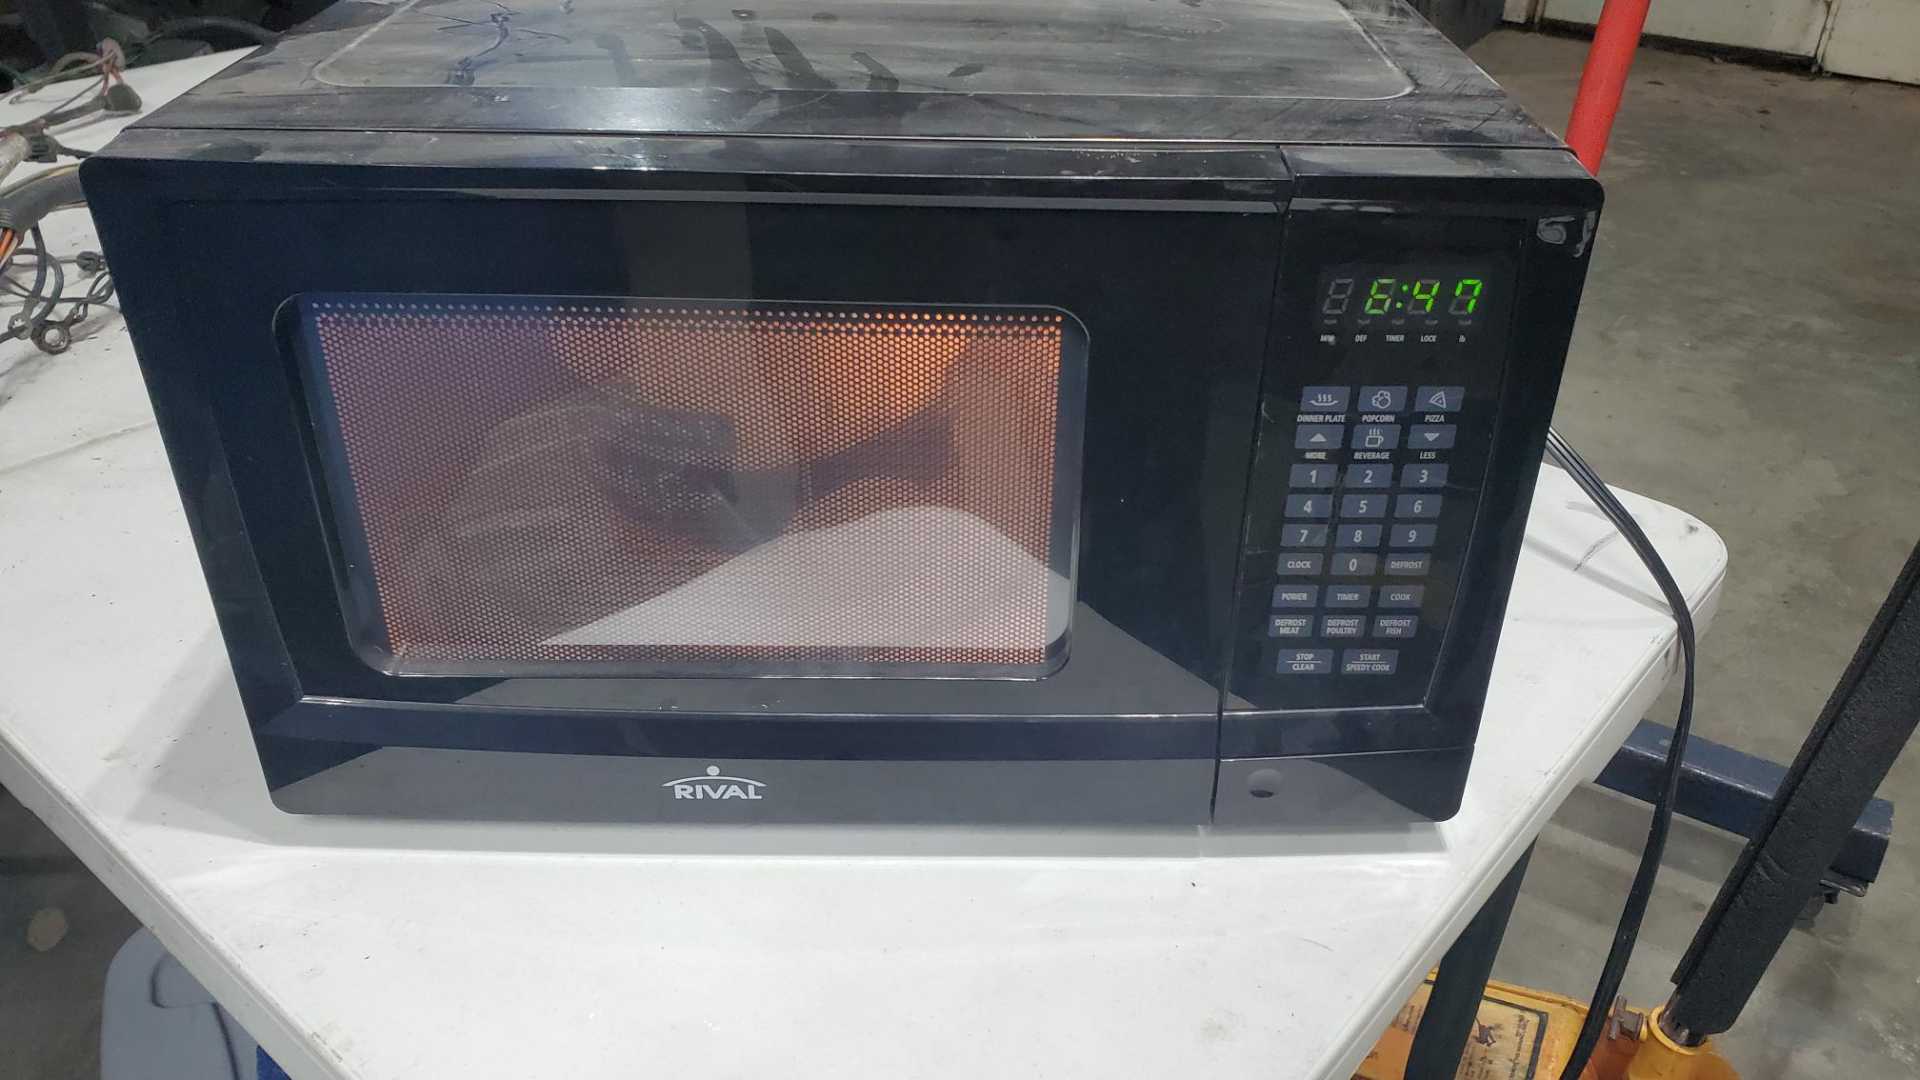
Also used the boiling water process to remove the sealant from the bulkhead connectors. I didn't have a hot plate but I did have an old microwave oven in my storage unit. The long range plan is to use this microwave to build a spot welder.
[This message has been edited by Quadfather (edited 09-22-2024).]
It would be even more helpful if it really spelled out every step. I know a lot of you Fiero owners can do this wiring stuff without having to think about it, but it's a struggle for people like me.
Not much progress to report for a variety of reasons. Number one, it's been too freaking cold for a couple of weeks to work in the shop. To finish the harness, I need about a day's worth of time with no other commitments and above-freezing weather in order to immerse myself in the schematics and sort out the plugs, pins and wires. Maybe that will happen this weekend.
While I wait for the magical combination of time, desire and parts, I wanted to do something, anything, here at home to further the project. I dug out the old sewing machine a friend gave me with the goal of re-upholstering a set of sun visors. As usual, this quick little side project got out of control. The sewing machine needed new belts which took a week to find. Then I was so busy at work I just didn't have time or desire to work on the car. Today I finally tried installing one of the visor sets and discovered a problem with the headliner.
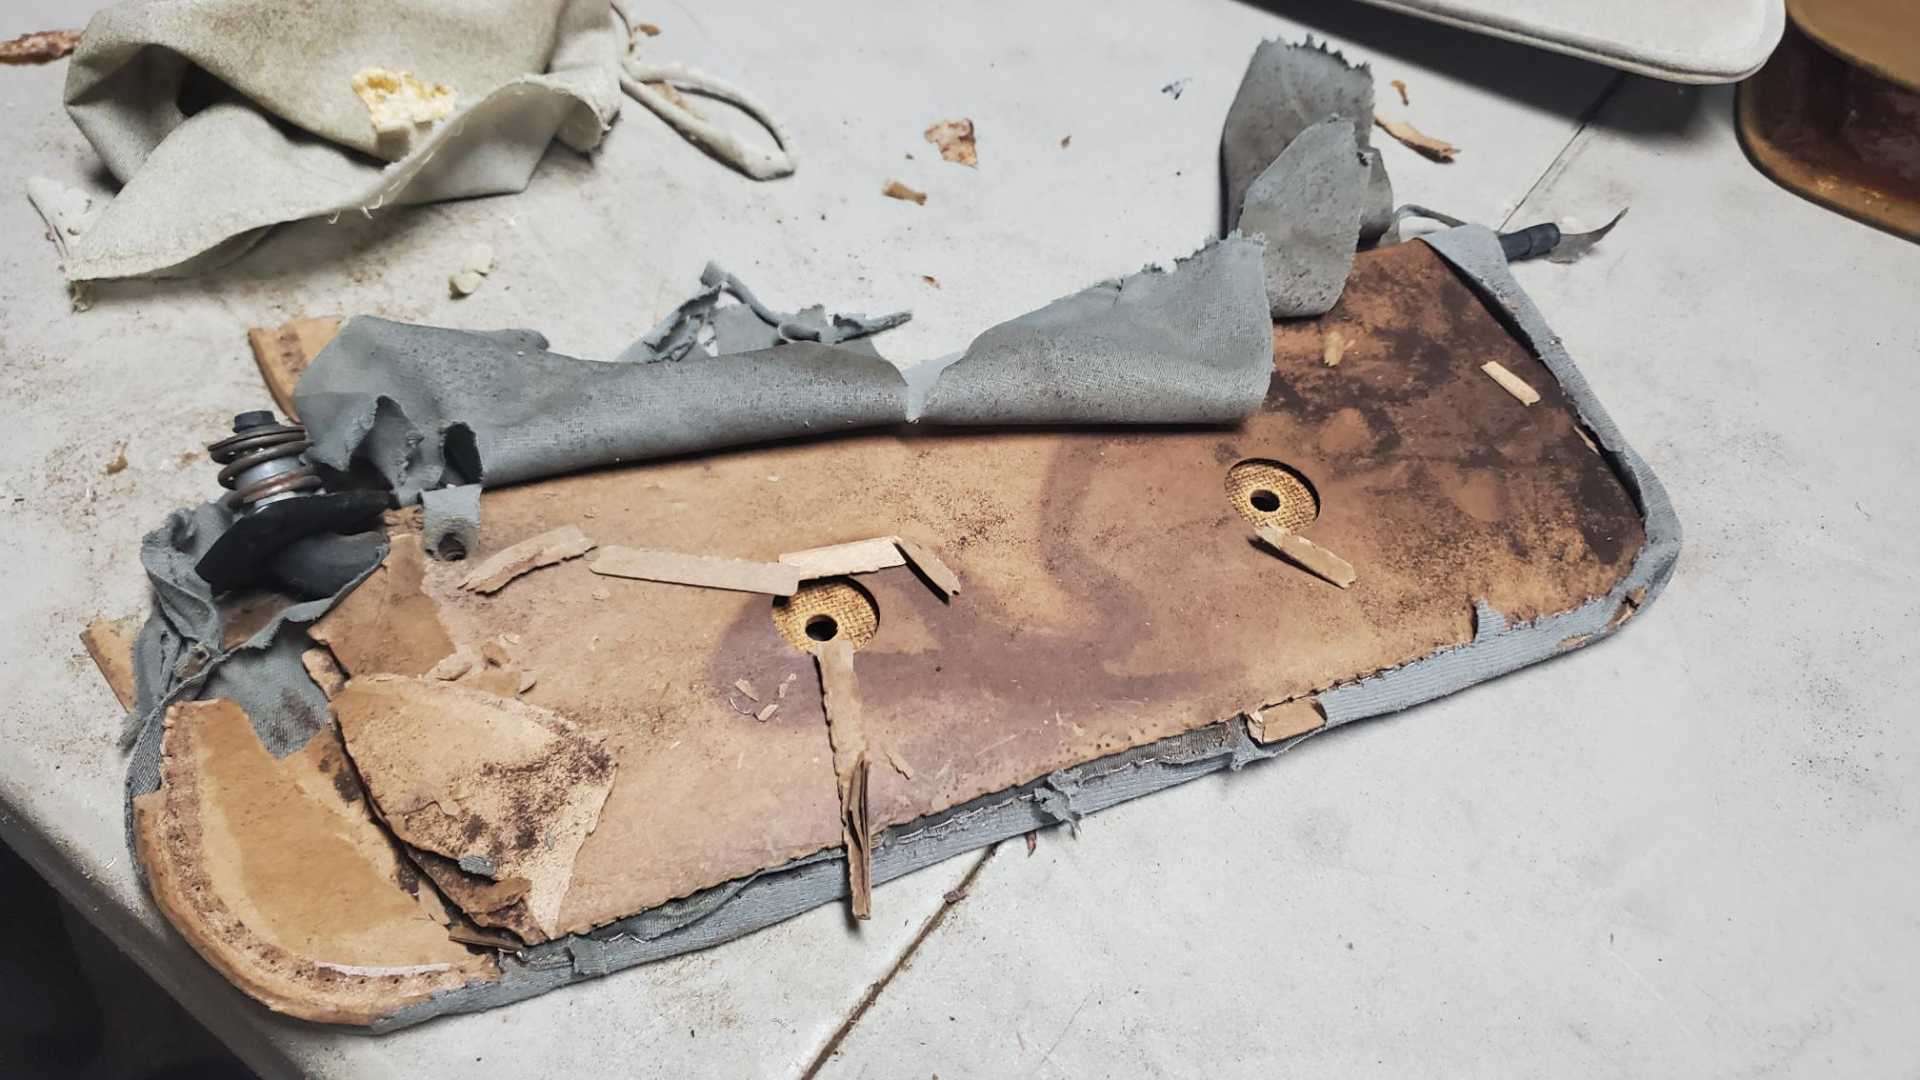
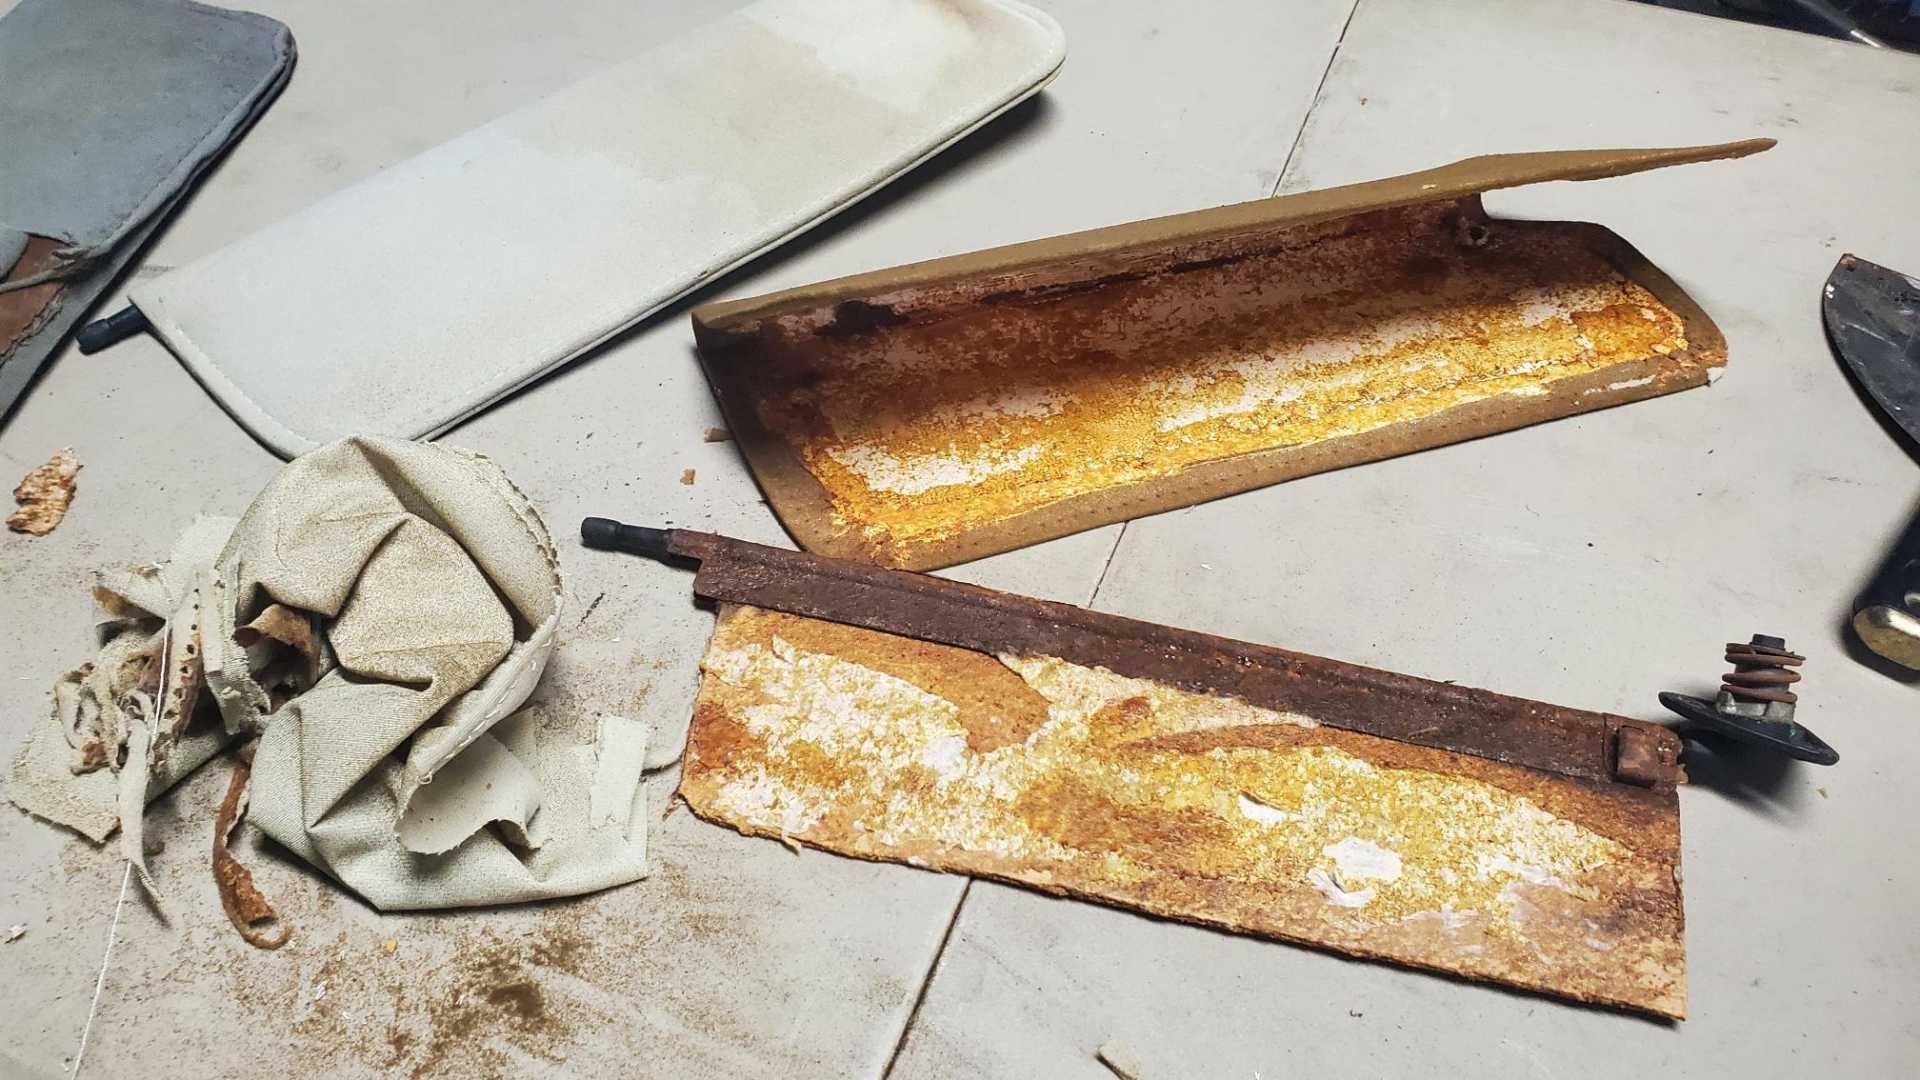
I have collected so many sets of visors I don't remember which one came with the car. One set I opened up was either aftermarket or had been rebuilt by someone who knew what he was doing. Another set I opened looked like it had been assembled in a third world country then left in a desert for a decade.
While checking YouTube and the rest of the internet to learn how to re-cover visors, I noticed most modern visors aren't sewn together, they're just glued. My sewing machine works now, but I haven't sewn anything in years so I'm hesitant to use a set of visors to re-learn the skill, so I used glue only on this set, with material left over from the headliner.
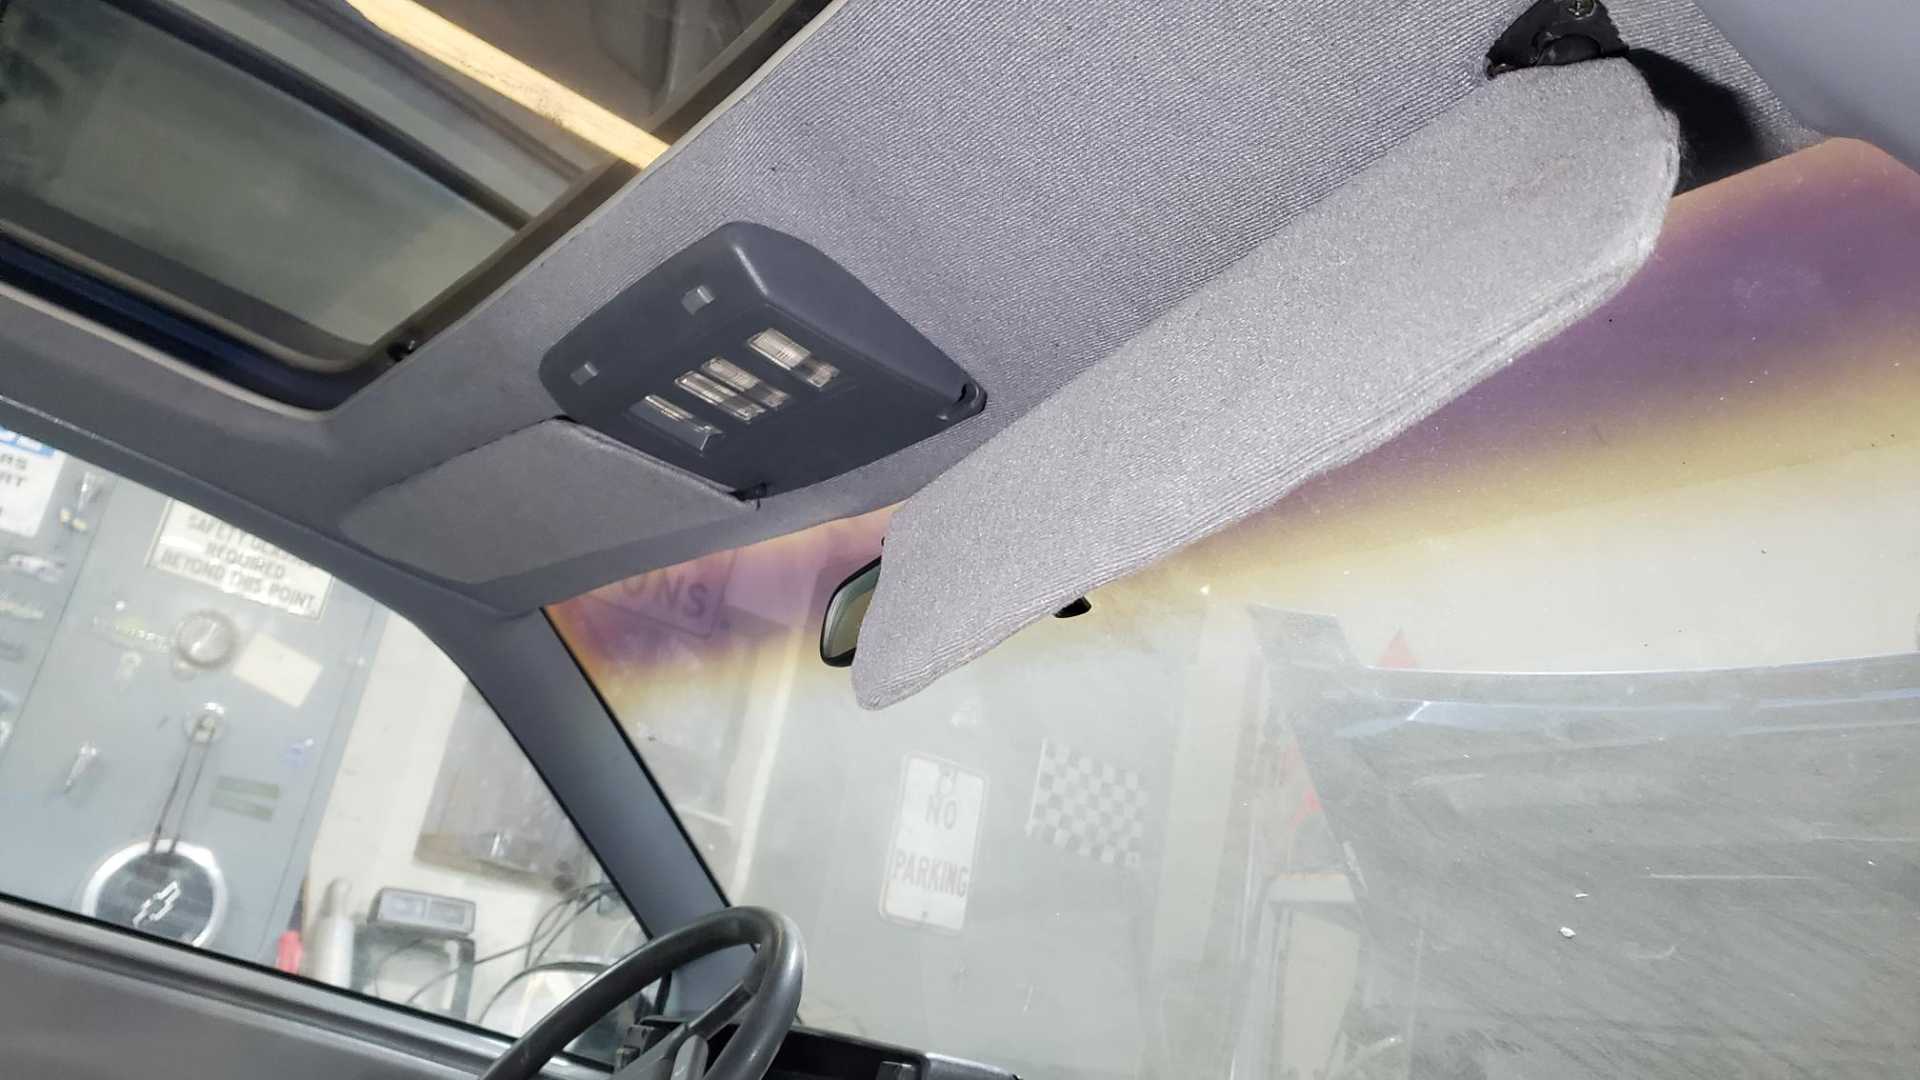
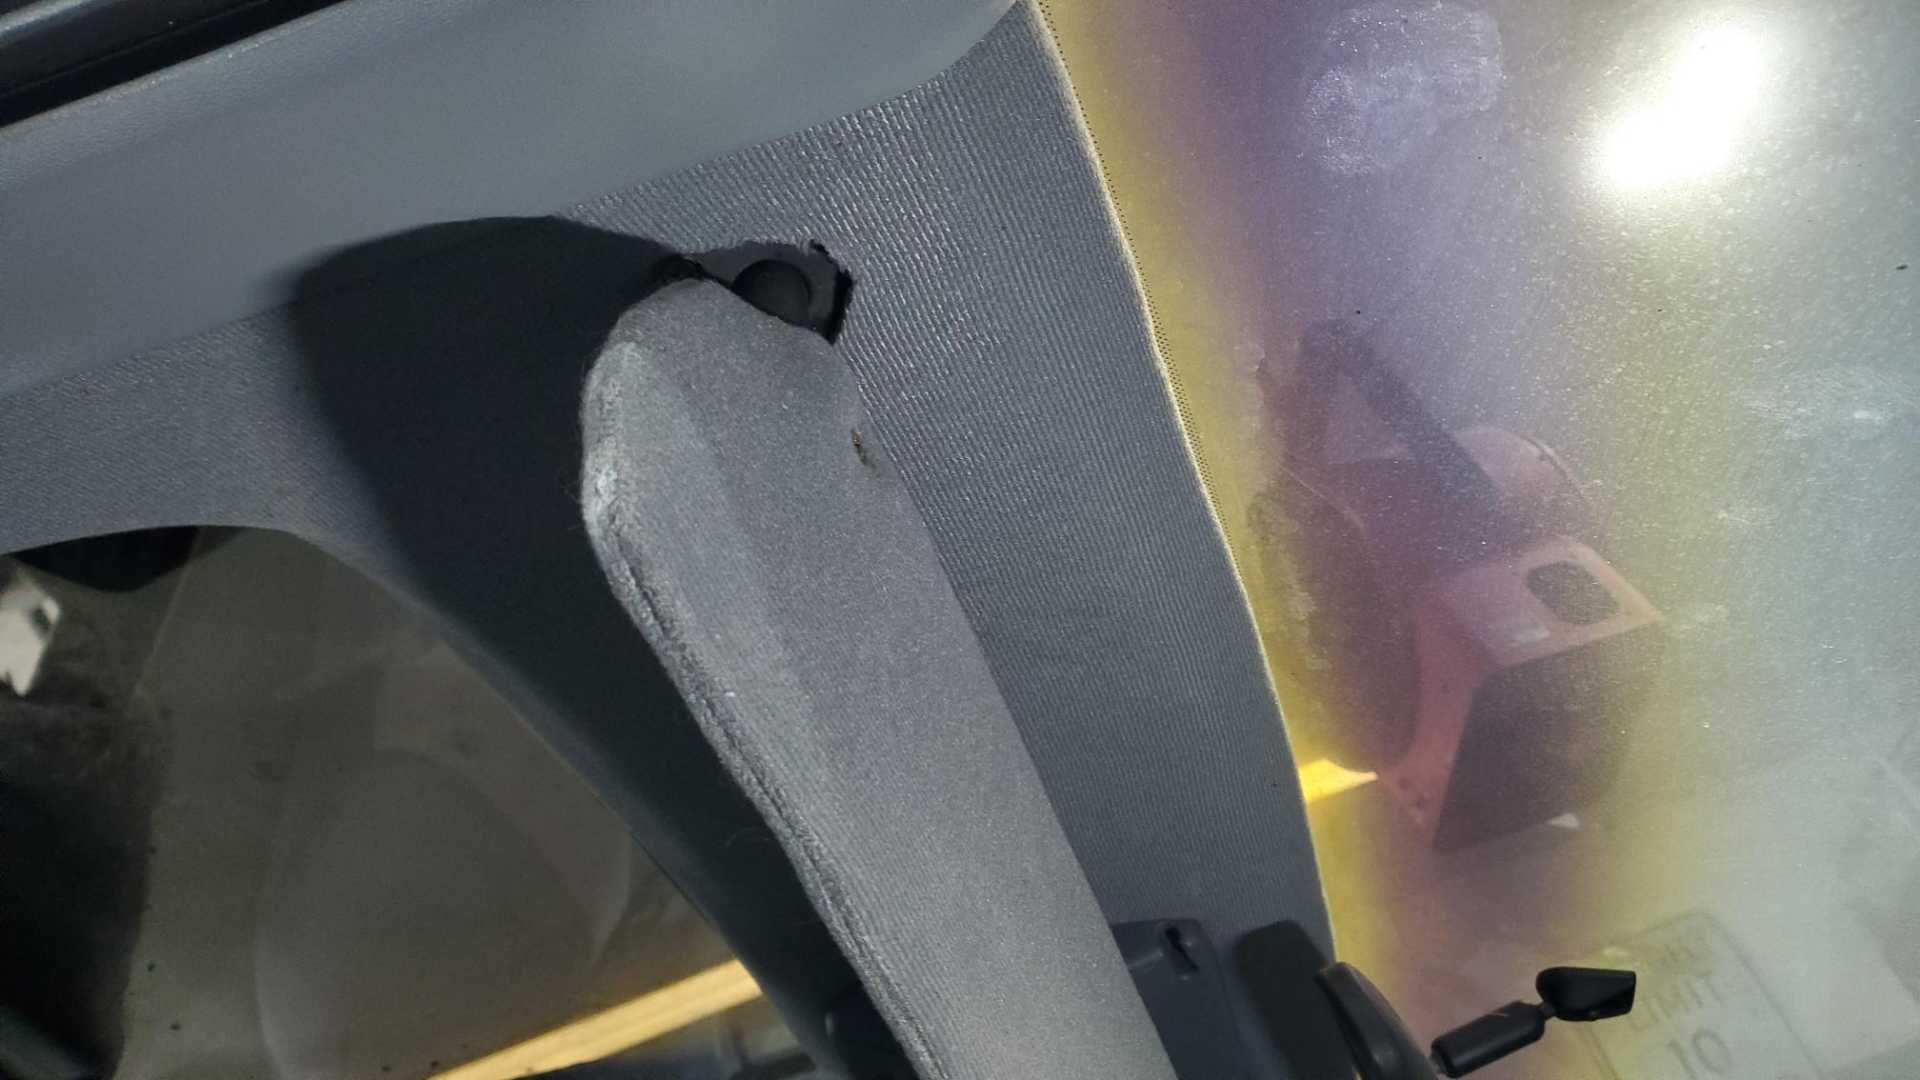
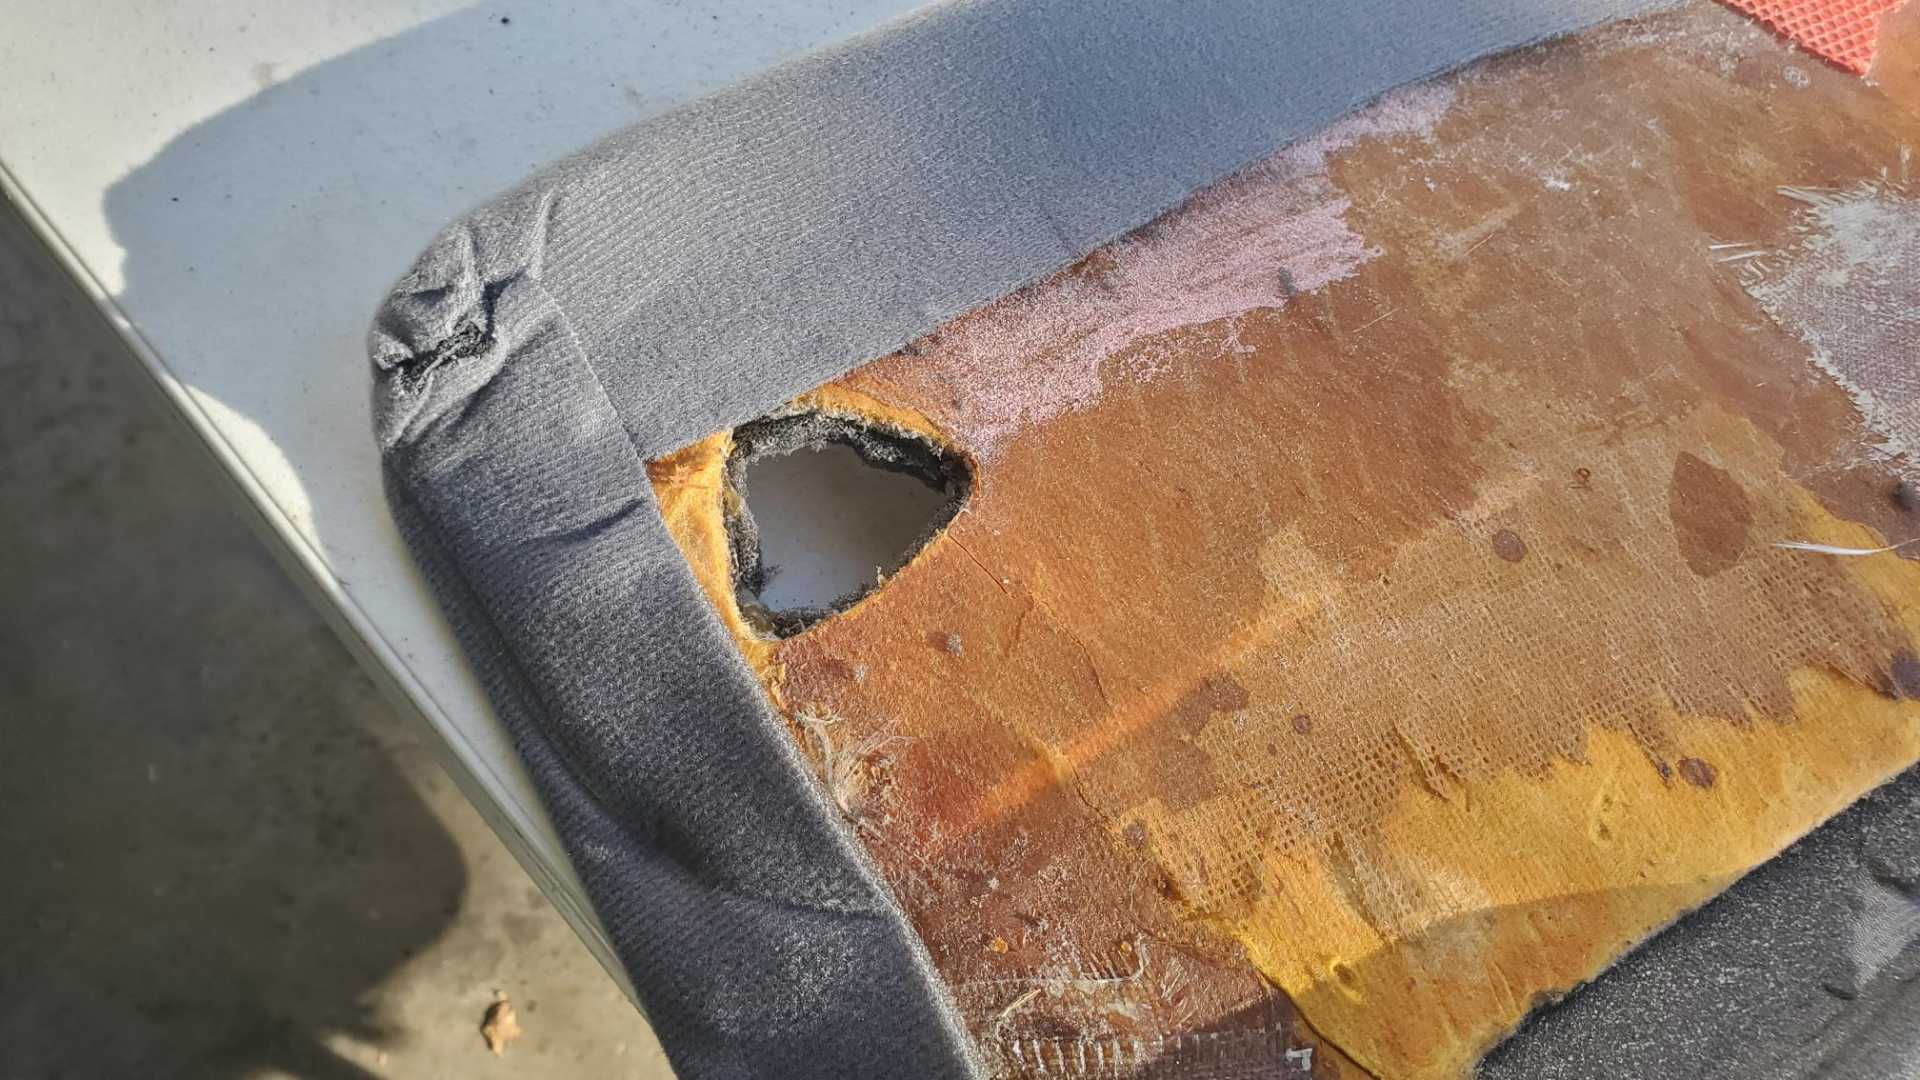
Turns out I cut the visor hole too big on the passenger side of the headliner. Might be hard to see in the photo, but the flange doesn't cover the hole and there's also not enough backer material to keep the visor in the right orientation.
I have to decide whether to pull the interior out and redo the headliner now, or finish the engine harness and then redo the headliner later.
I was making good progress on the harness a month ago and felt like I was on the verge of unlocking the mystery, when the work/cold weather continuum took over.
On January 1st this project passed the 13-year mark. A couple days later was the 5th anniversary of me painting the car. Unbelievable.
More progress. My new oil filter came yesterday. Funny how a simple thing like this can get you excited about a project again.
This is one of the long ones Bob Pease recommends.
I know that filter well, as I have used it on several vehicles since the 80's. The PF52 is a longer version of the PF47. For future reference don't use AC Delco filters, get the WIX 51036. That is the WIX equivalent of the PF52 and is a far superior filter.
This was the problem with the holes for the sun visors.
Ended up pulling out the headliner and re-covering it, this time with black material. I glued in some small pieces of foam to make a foundation for the sun visor flange and mounted the original worn out visors to see how it worked.
Haven't decided yet if I'll re-cover a set of sun visors in black material or use the gray material, but still have to learn how to use my sewing machine again.
I know that filter well, as I have used it on several vehicles since the 80's. The PF52 is a longer version of the PF47. For future reference don't use AC Delco filters, get the WIX 51036. That is the WIX equivalent of the PF52 and is a far superior filter.
Thanks. I figure if PF52 is good enough for Bob Pease, it's good enough for me.
Once I get all the pinouts done, I'll try to photograph each wire showing how it attaches at each end (the plug and the engine) and write a description explaining them. Would've really helped me to have had something like that.
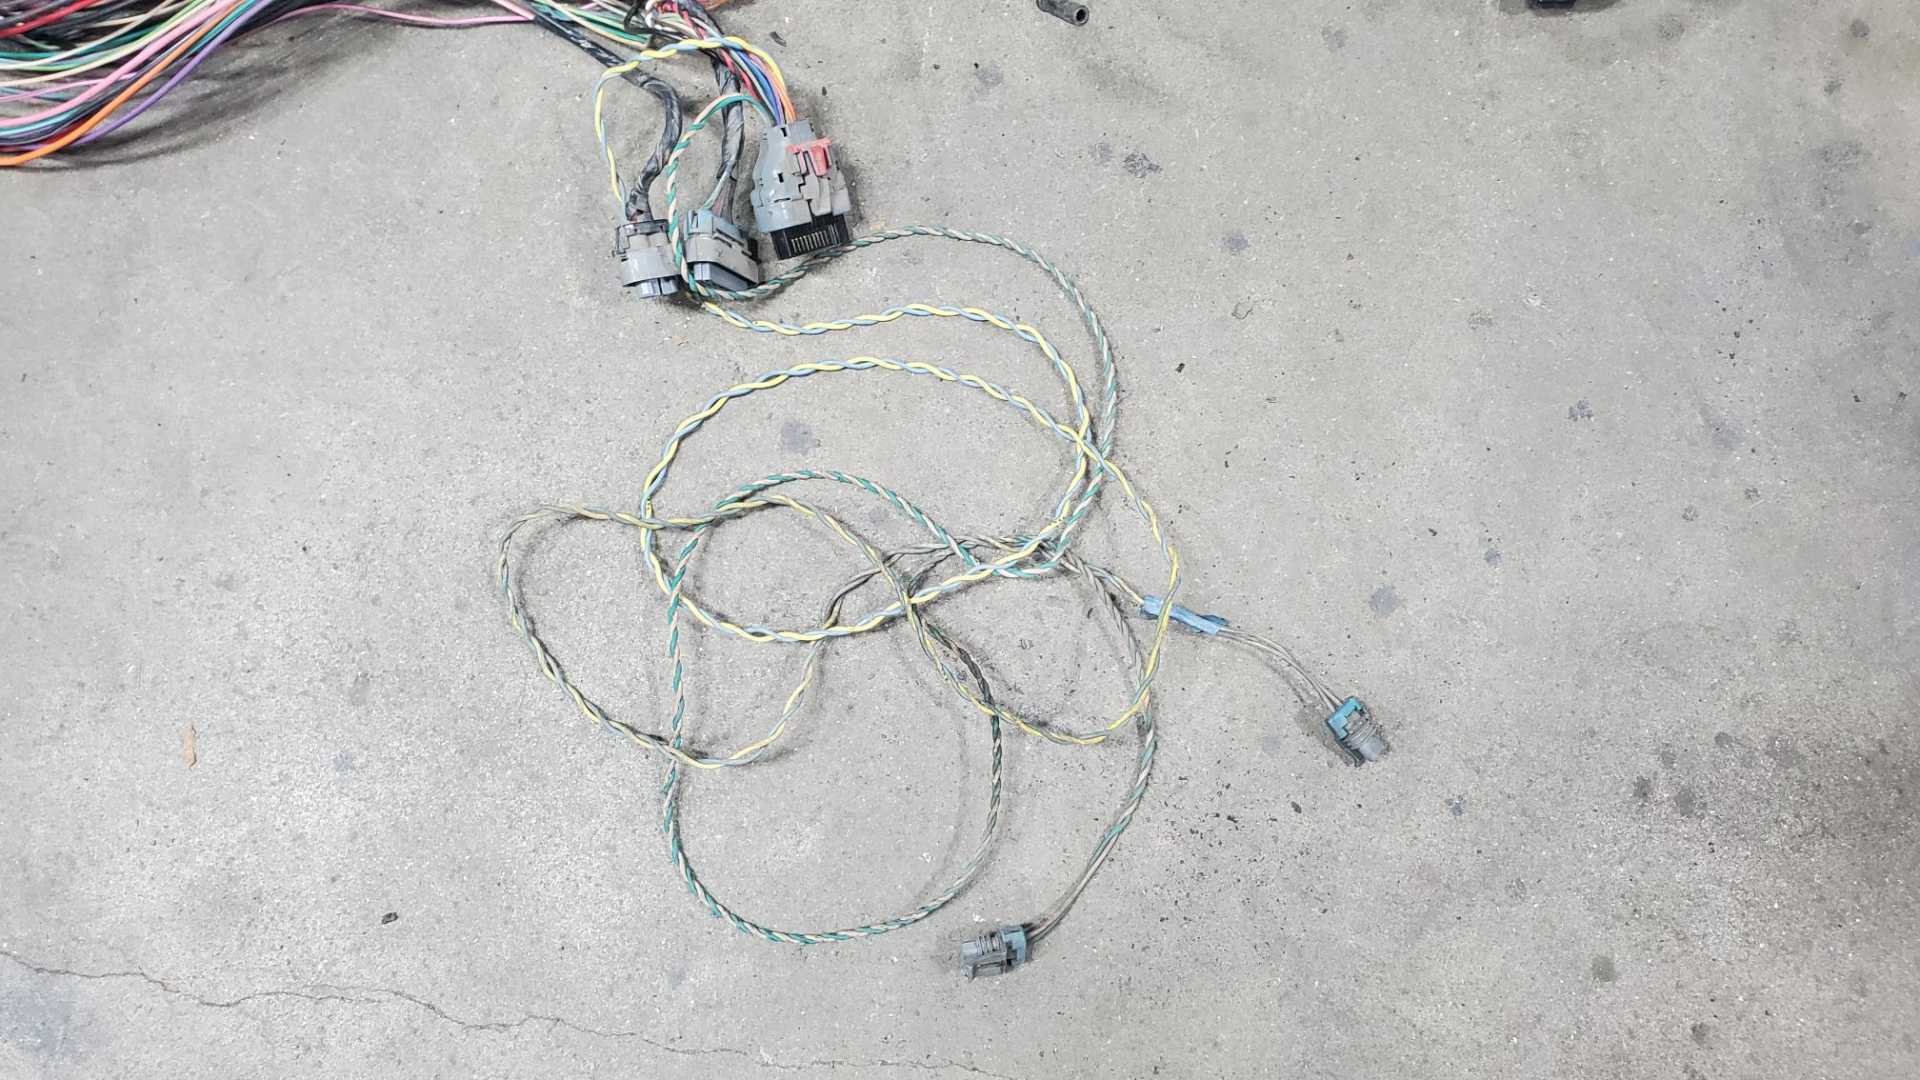
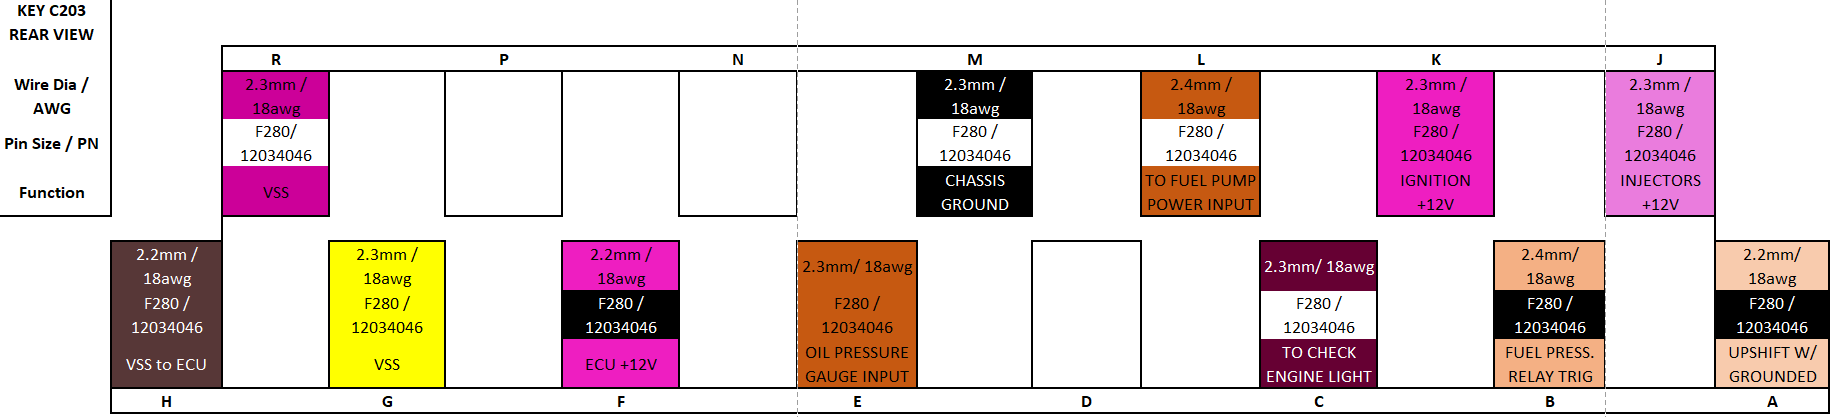
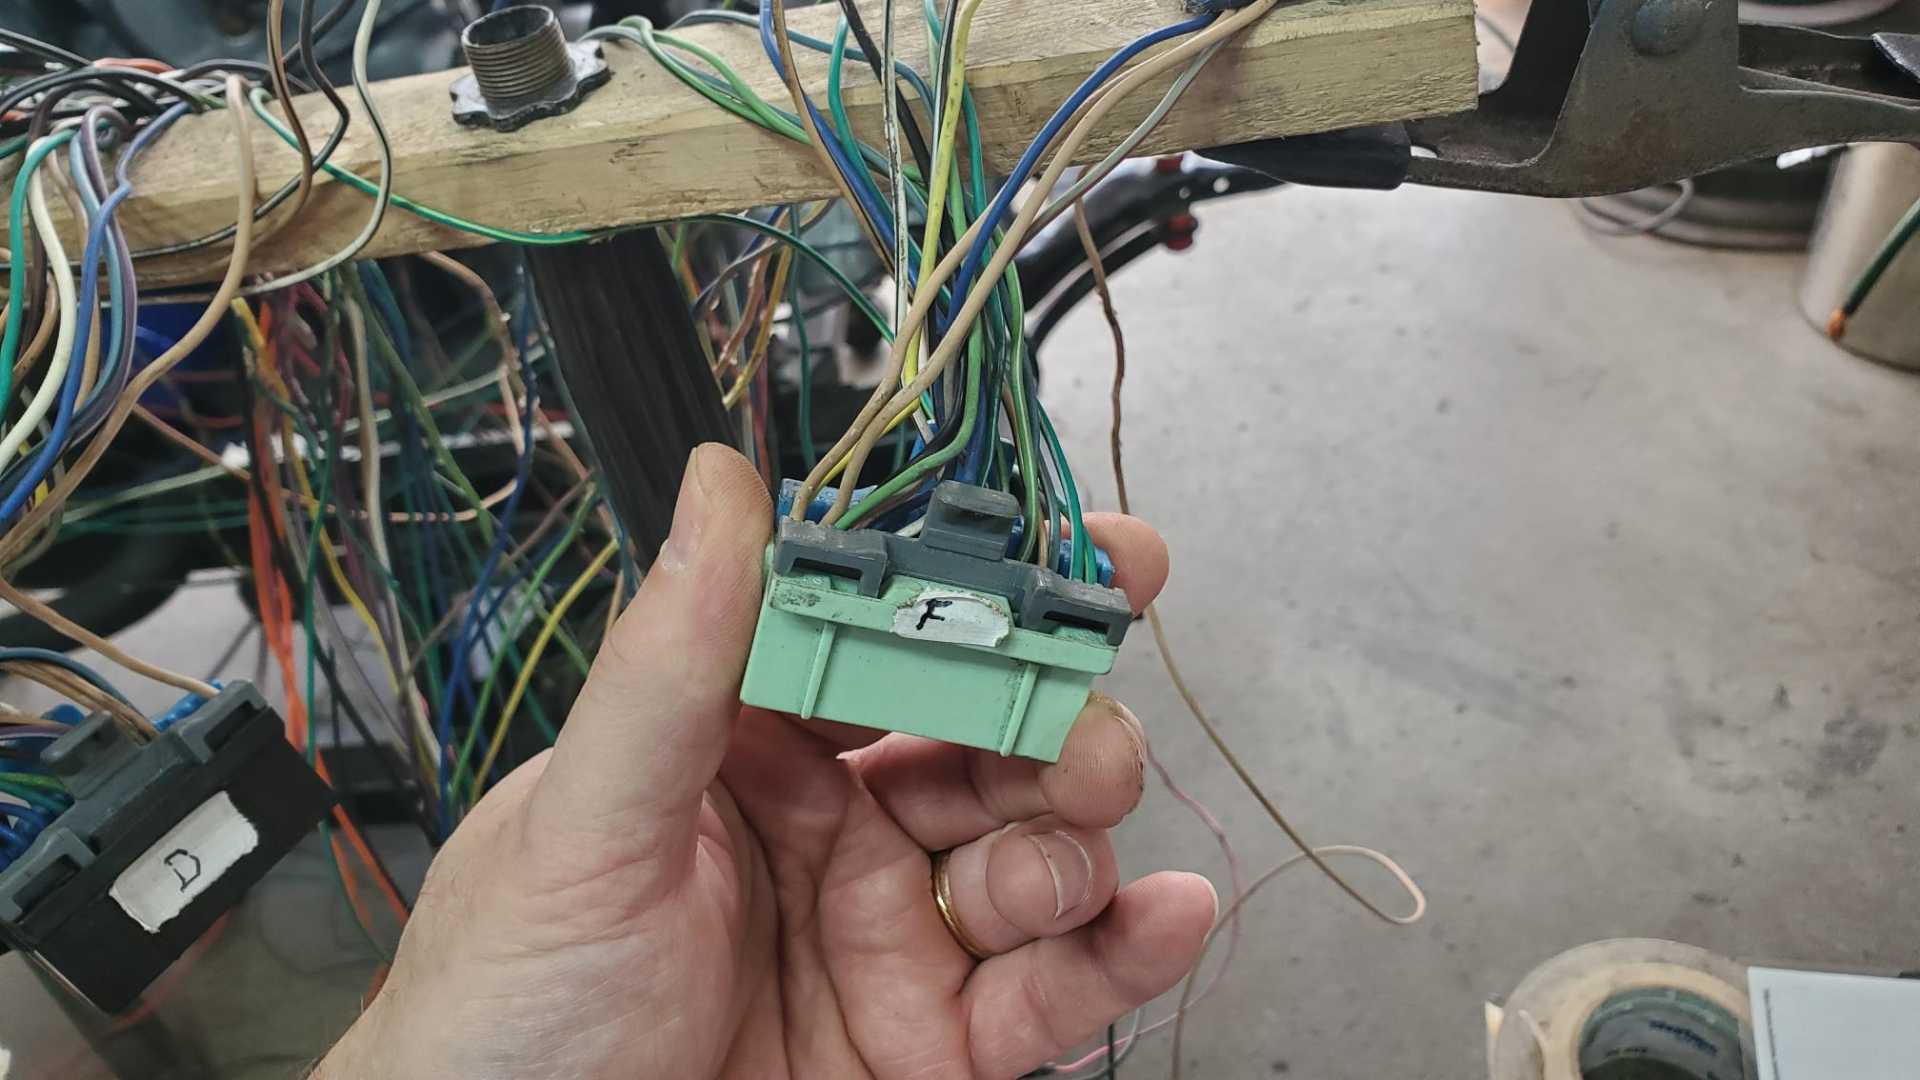
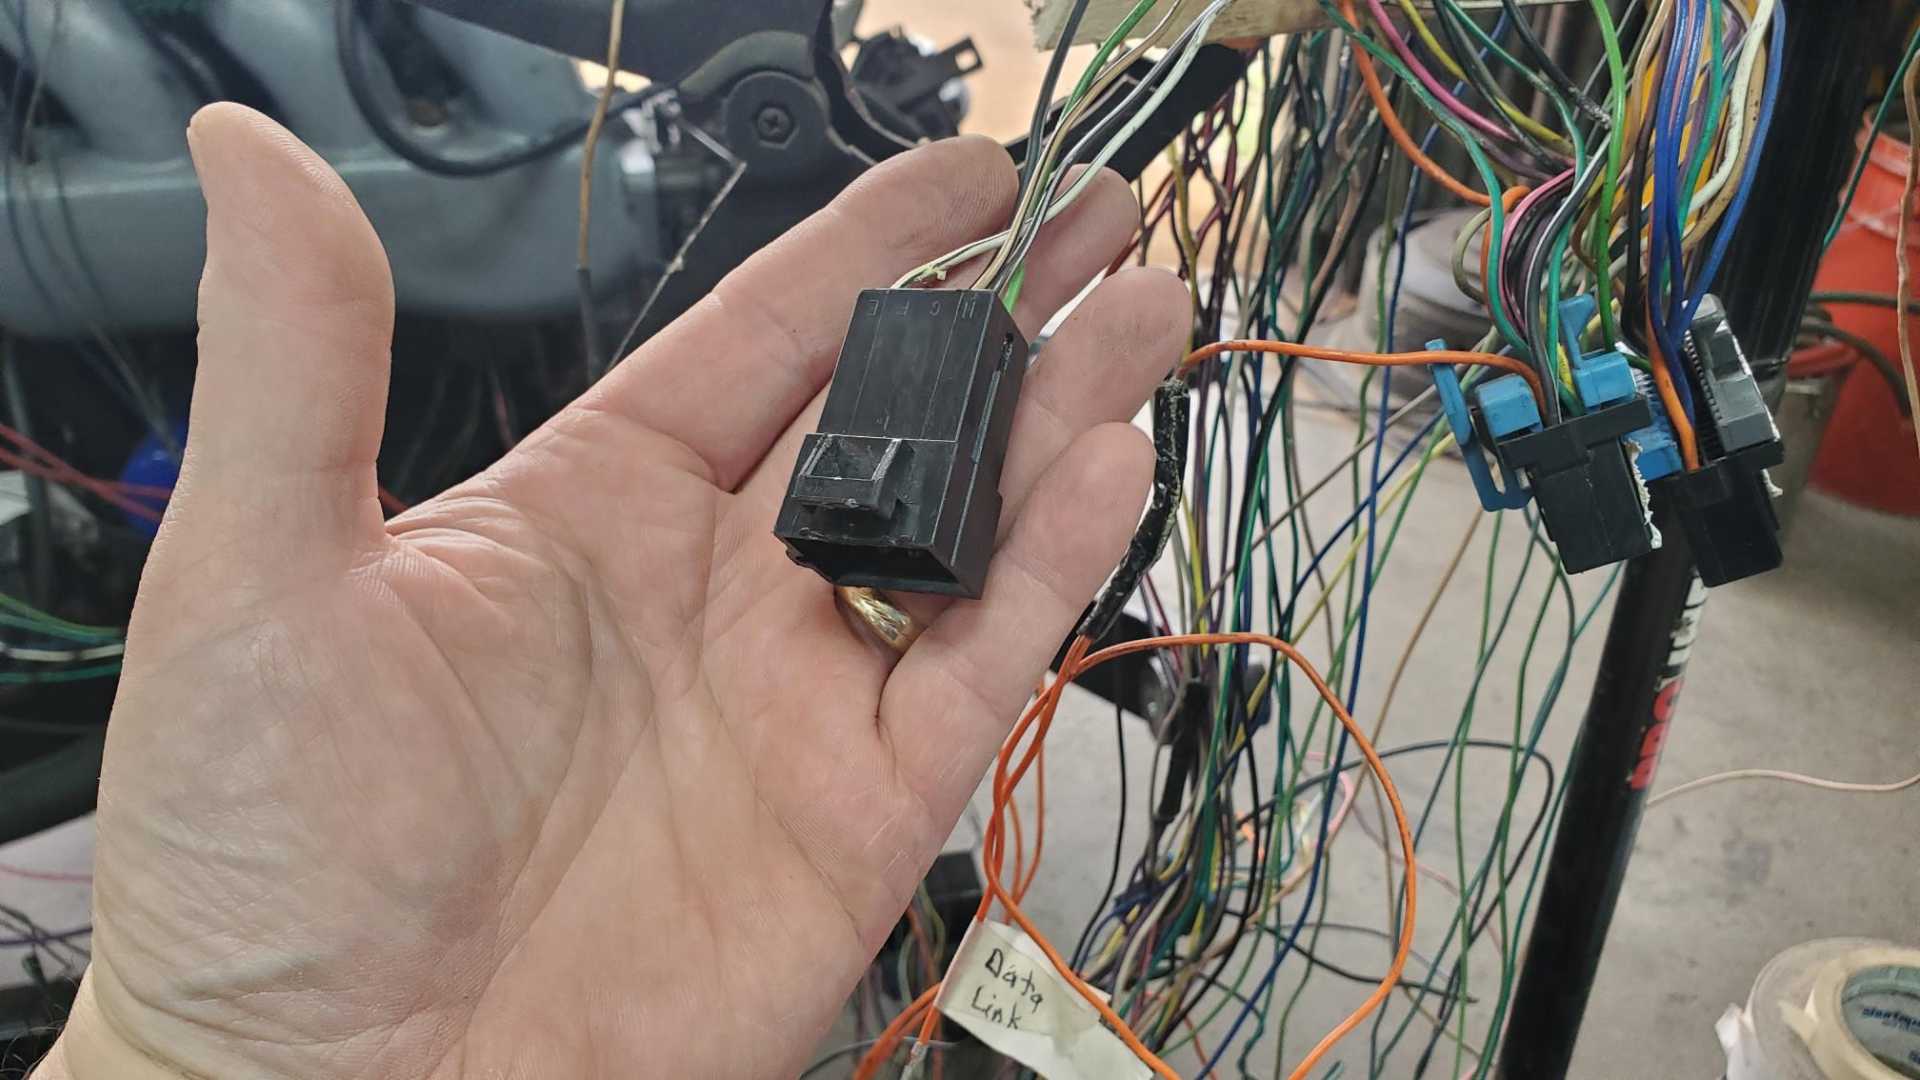
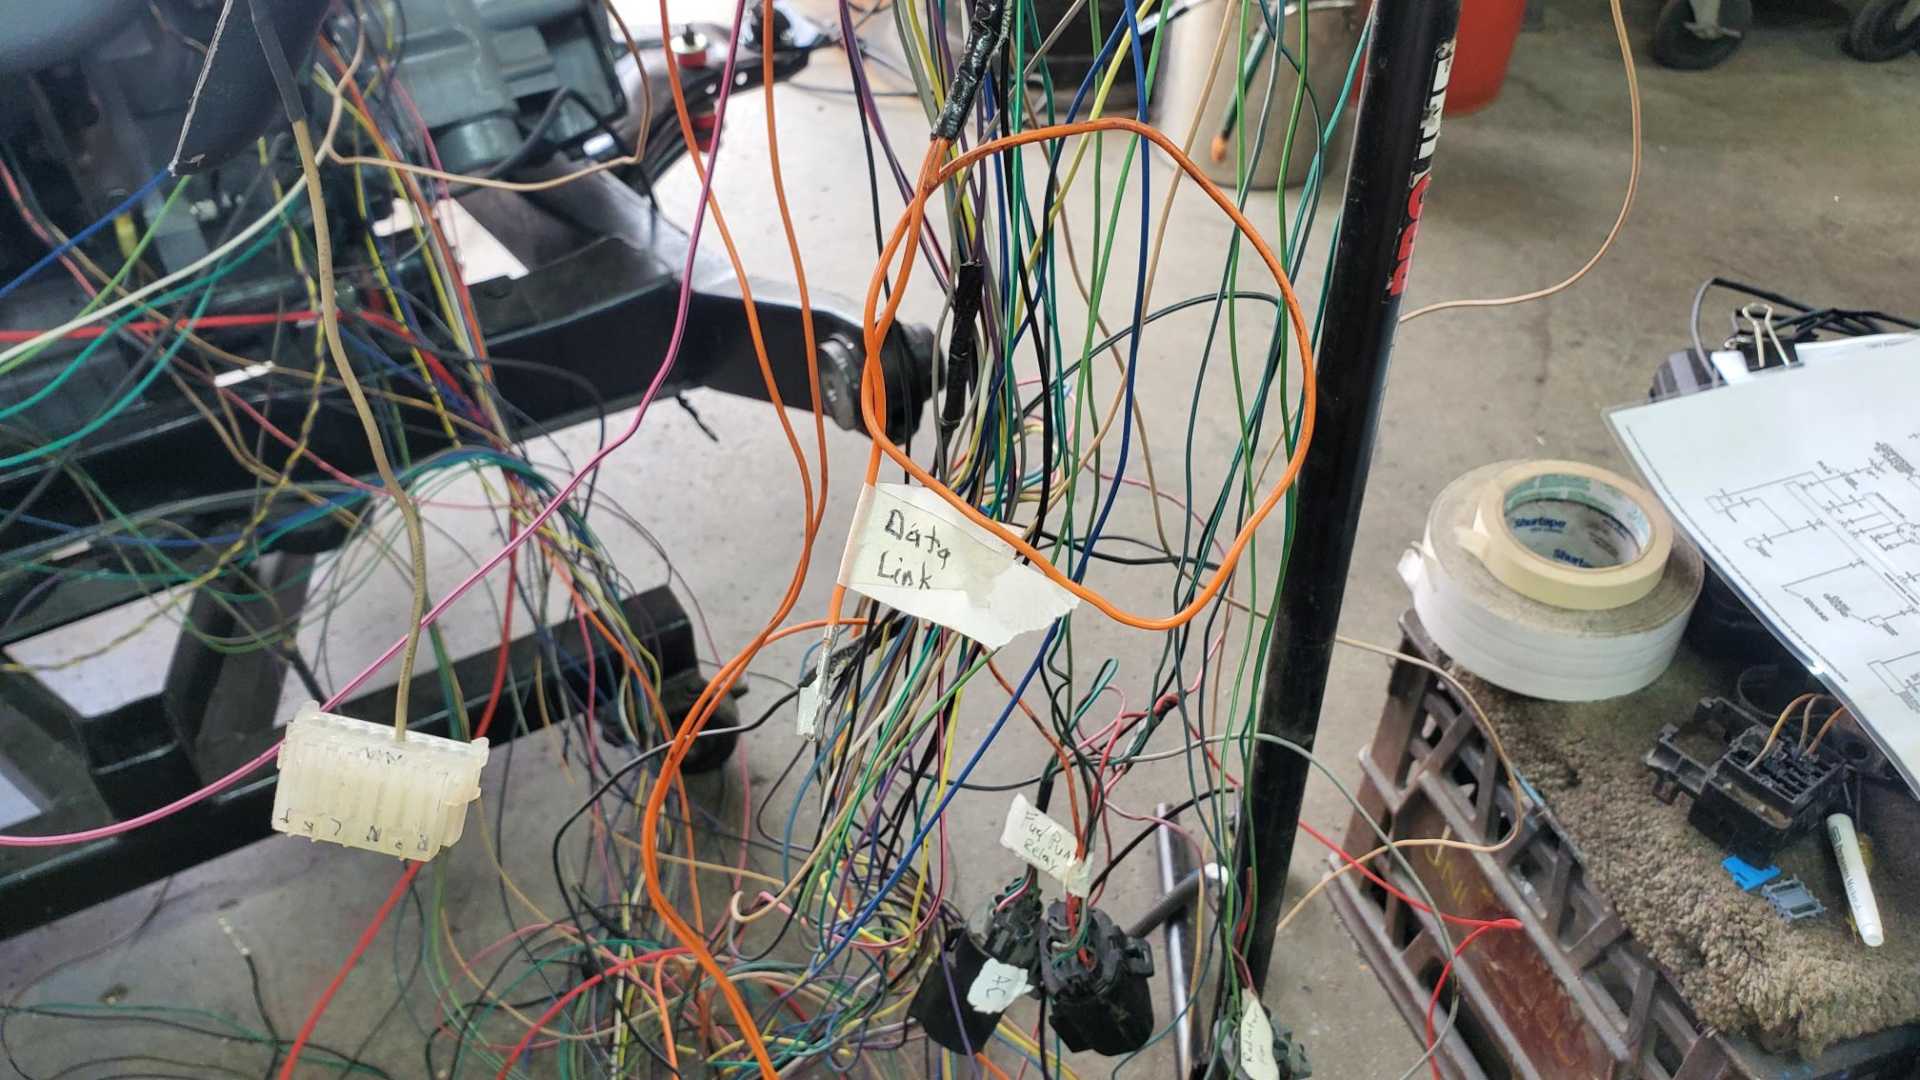
Spent a couple of hours yesterday working on the harness and finally got all but one of the GTZ plugs identified and labeled and went over the wires I've already attached to the C500 and the C203.
These are the GTZ relays.
The last GTZ plug to figure out is this one.
Seems as though it serves a similar function to the small plug that accompanies the Fiero's C203.
I mistakenly had this wire going to the C203
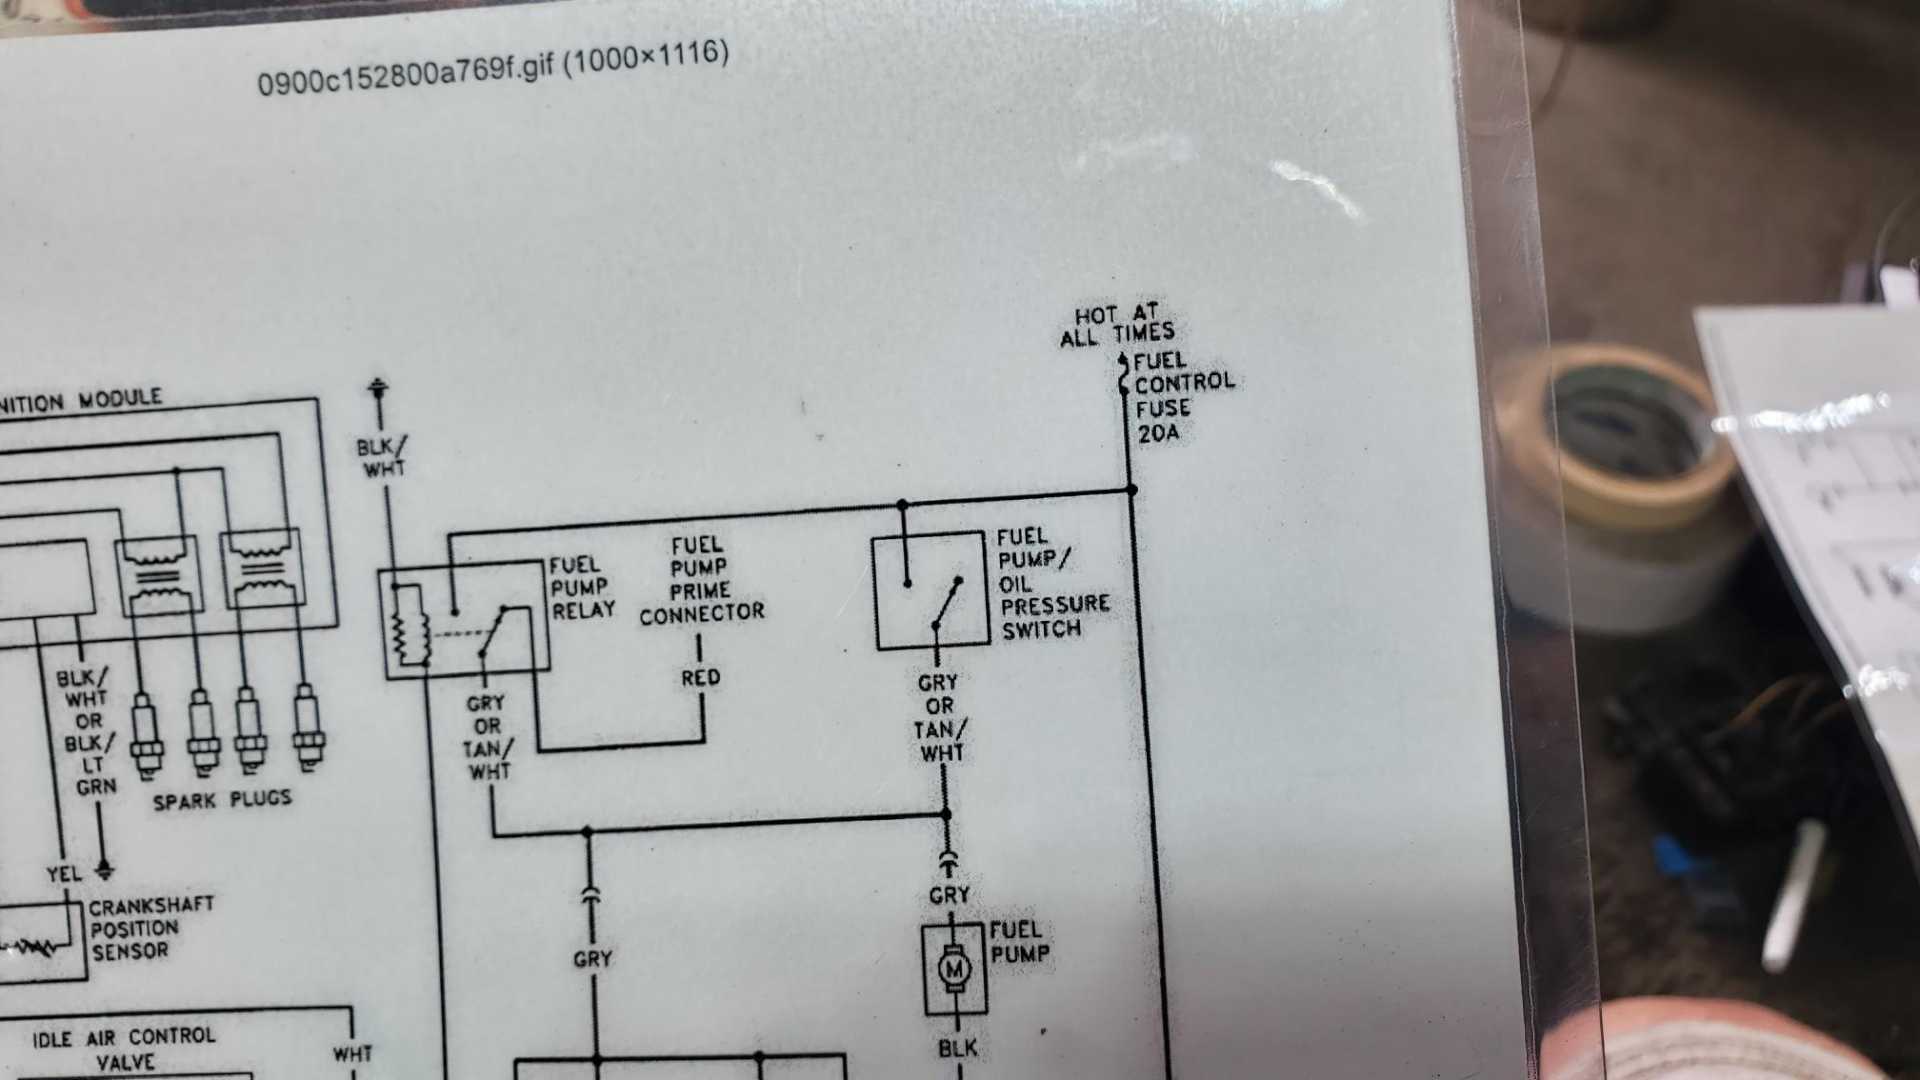
These schematics from Autozone have been very helpful, I just have to figure out how to actually attach the wires that need a "hot at all times" source. Maybe to the stud on the C500 block?
[This message has been edited by Quadfather (edited 09-22-2024).]
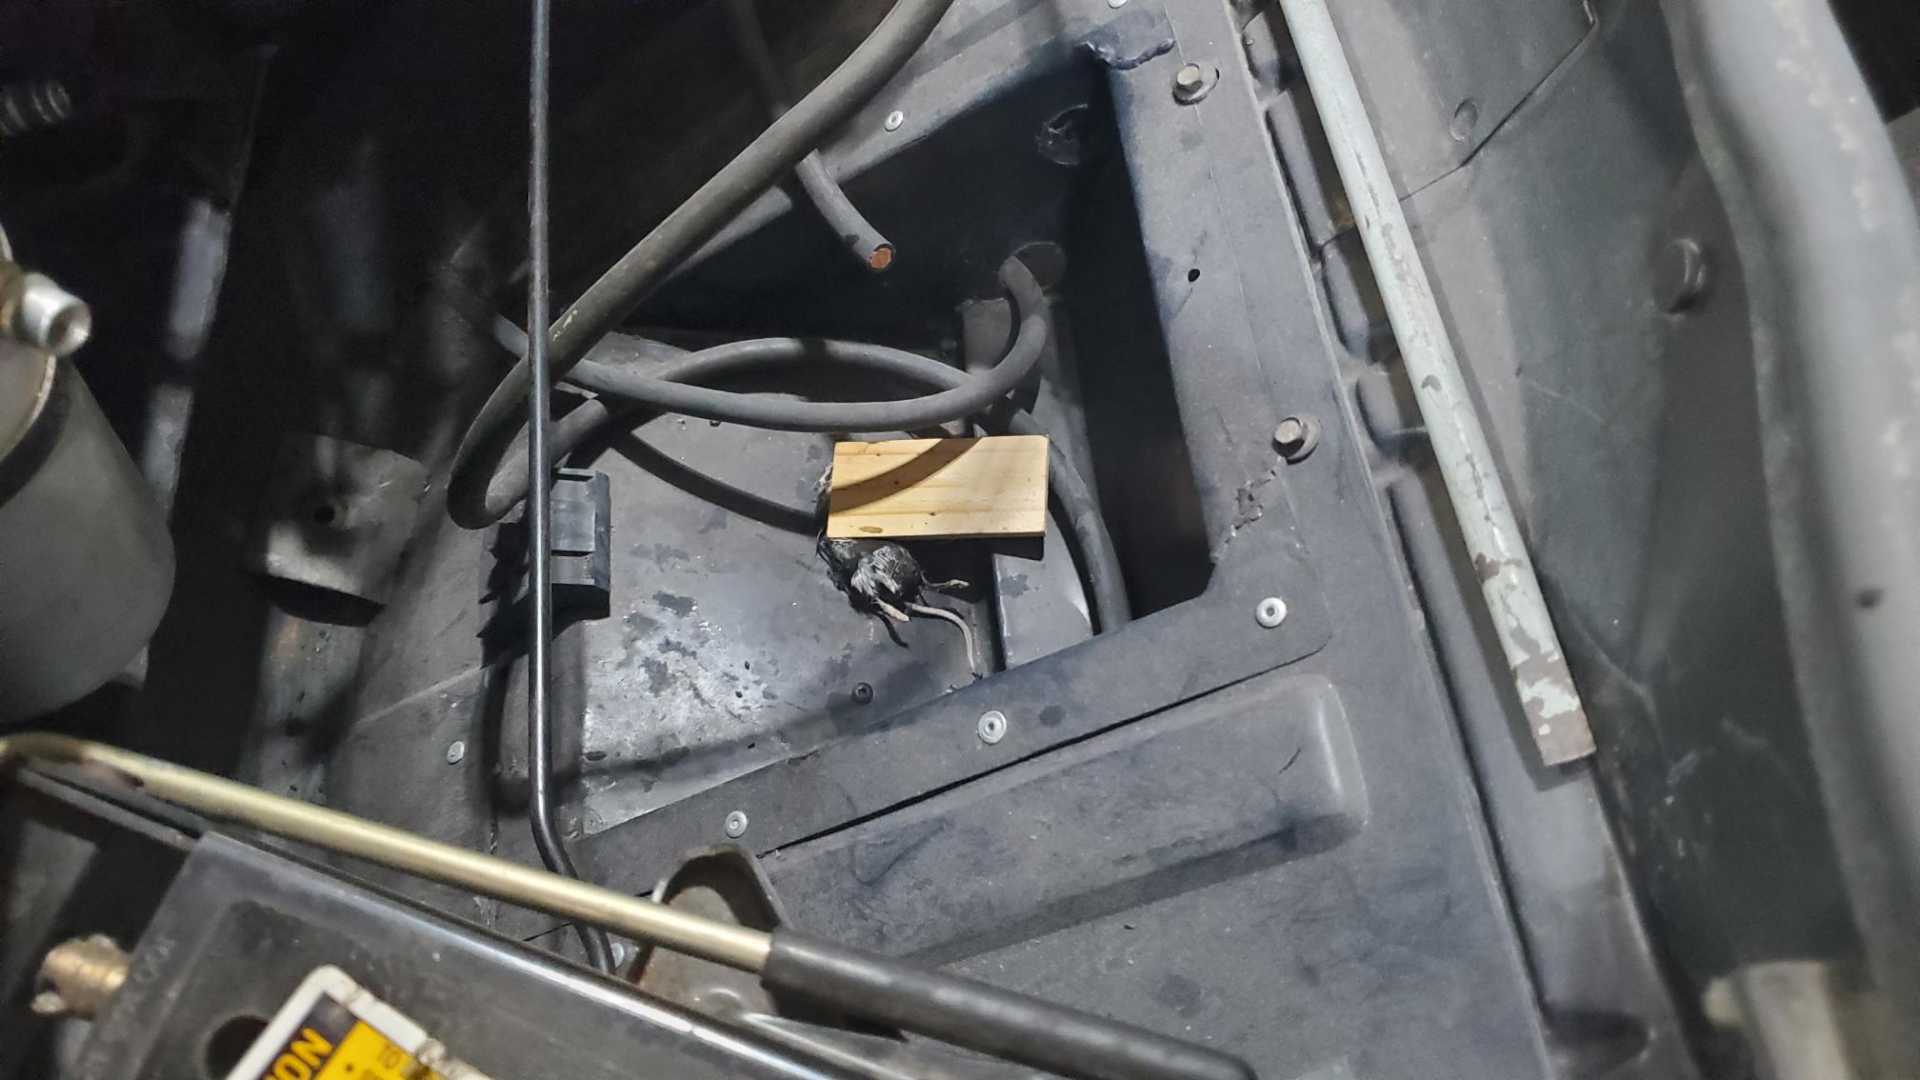
Zero progress to report. Been too busy with work, problems with major appliances and other issues. I have been accumulating more tools and supplies, and trying to rid the car of mice.
It's immensely frustrating to be at this point in the project and not be able to make progress, but I'll keep working on it.
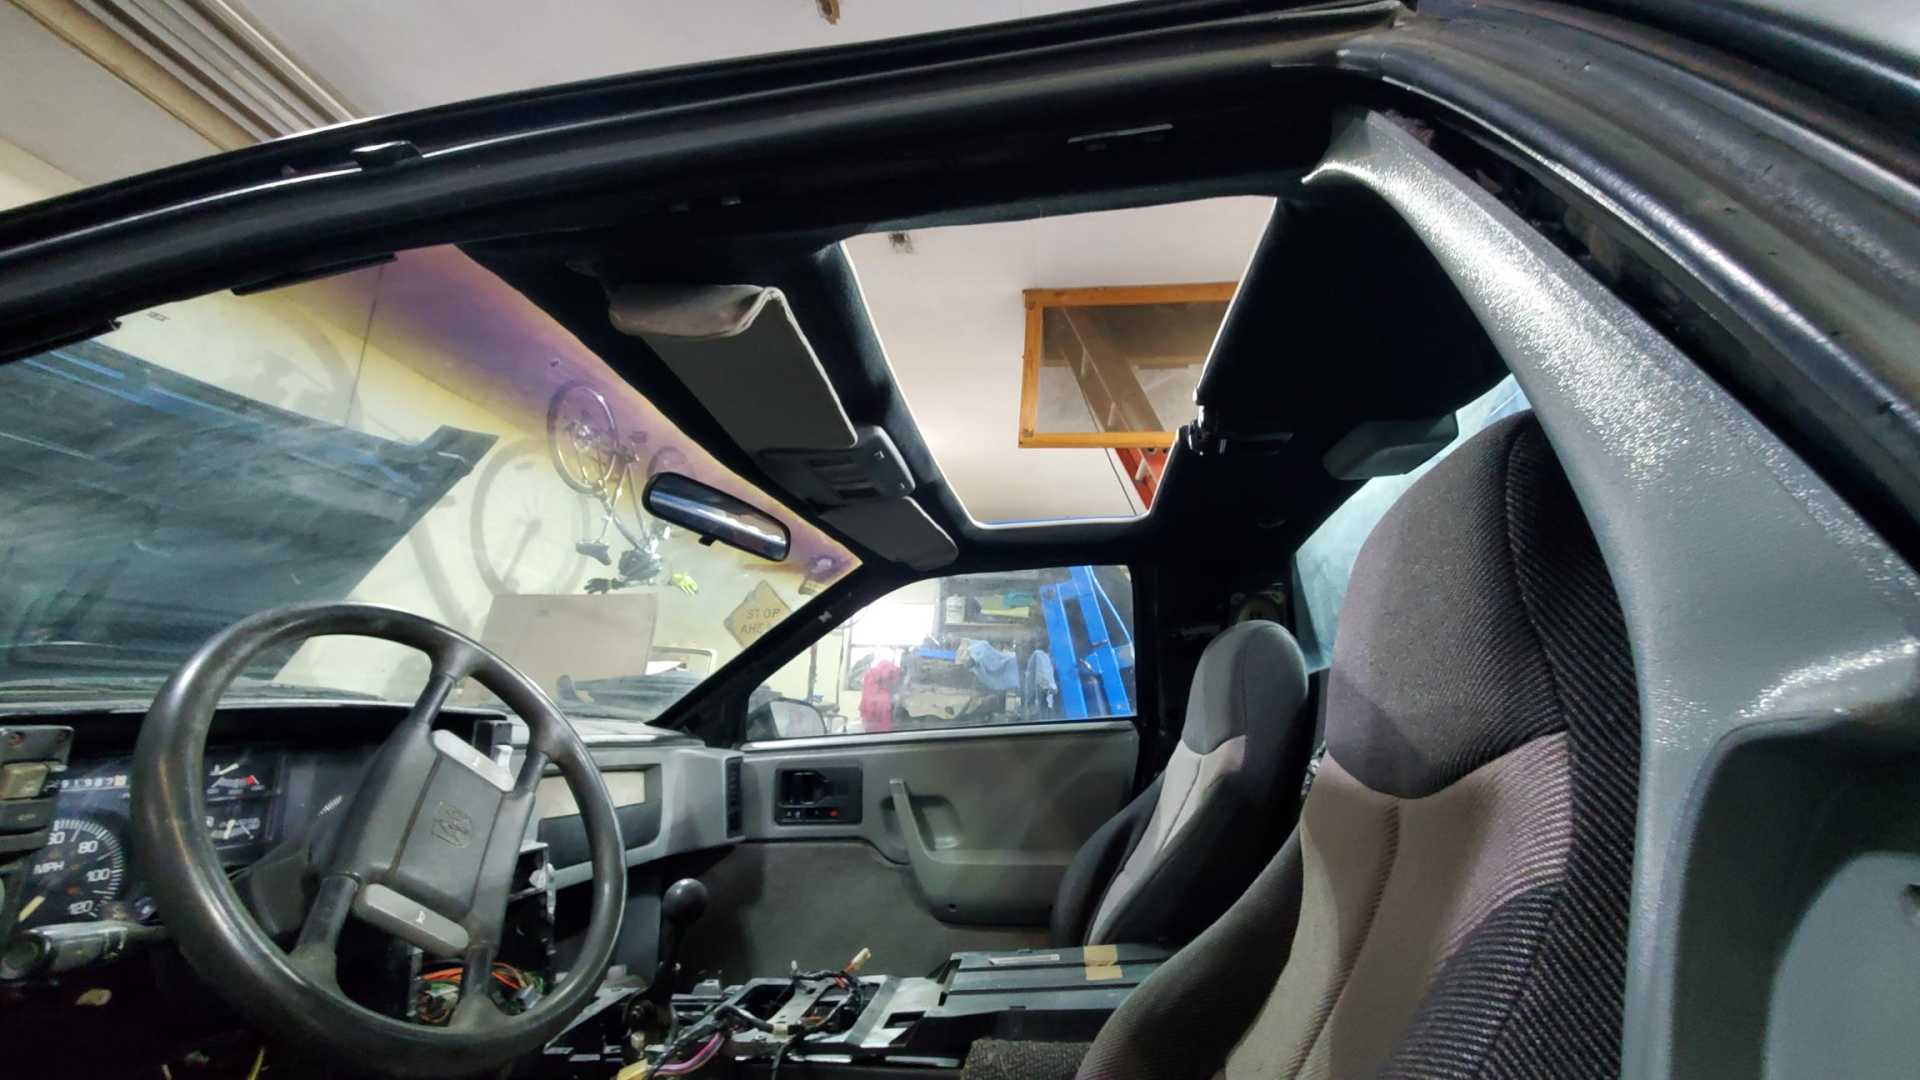
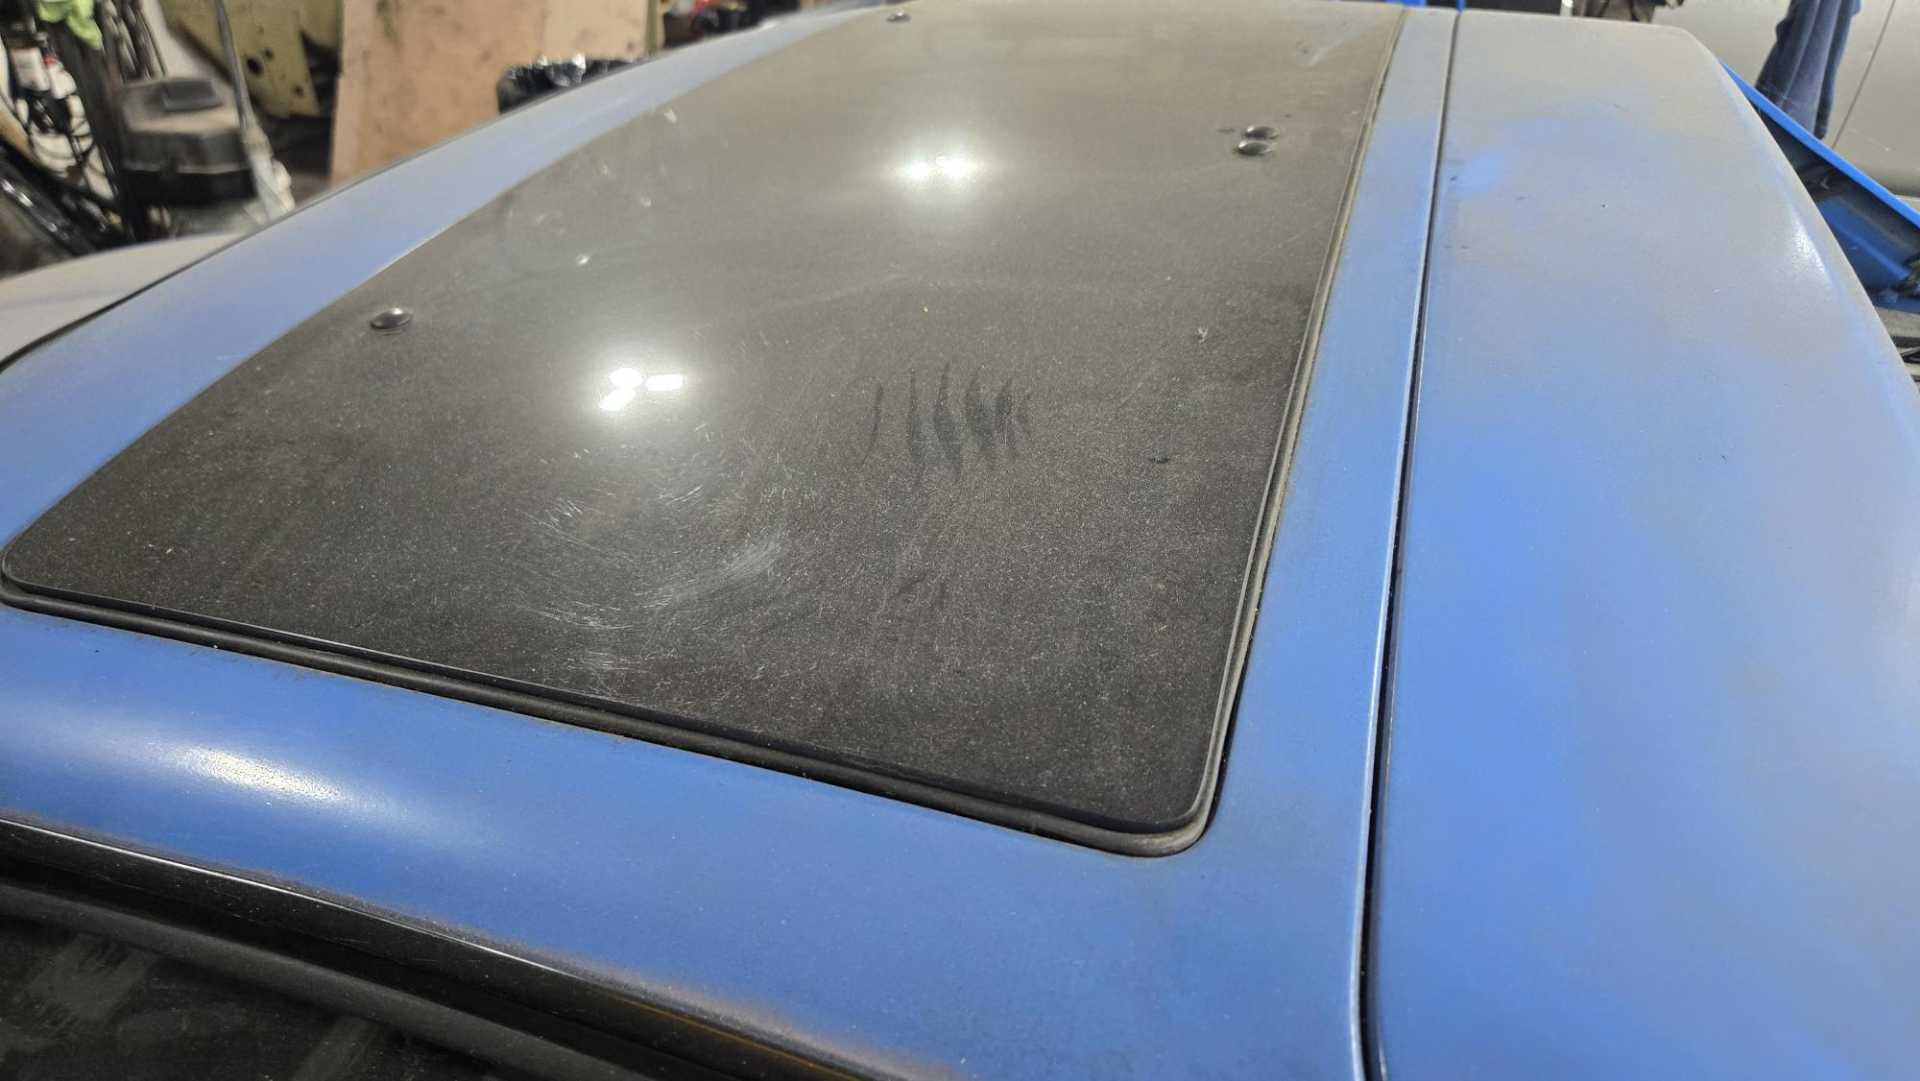
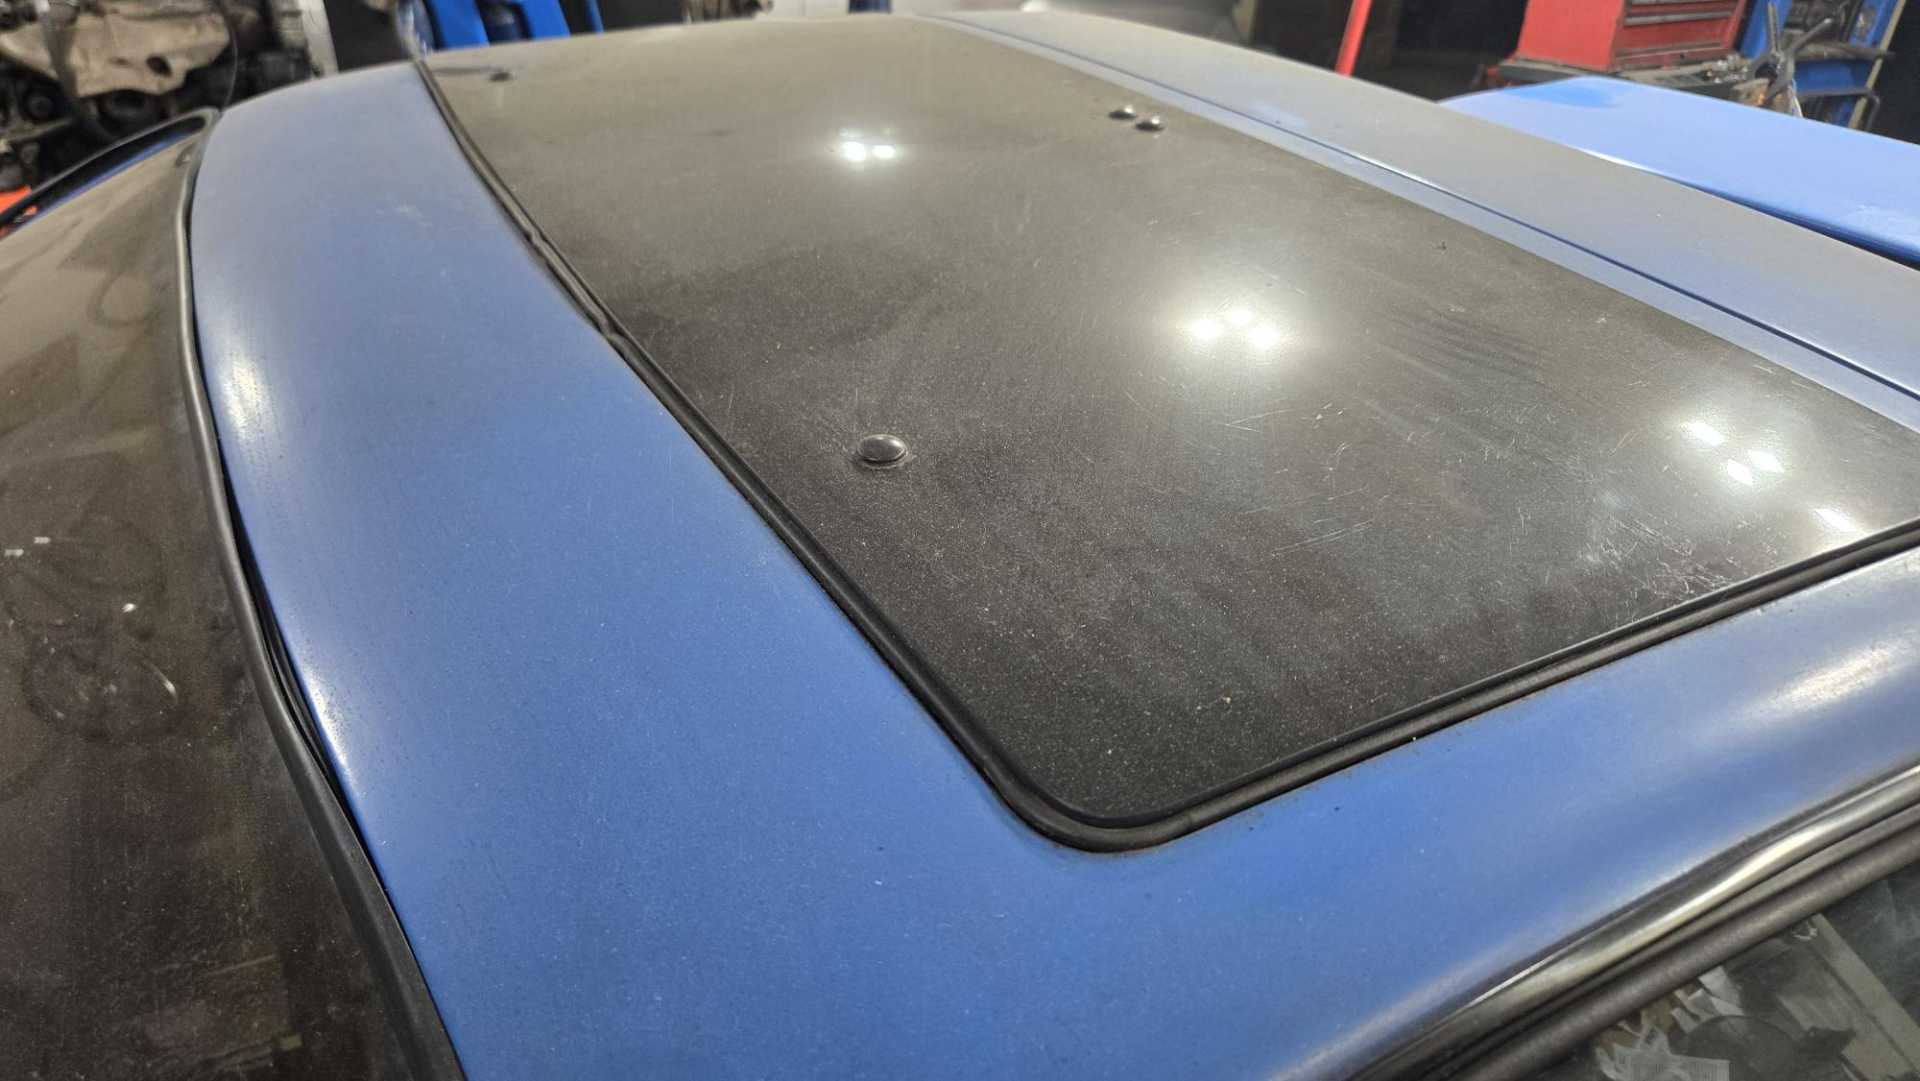
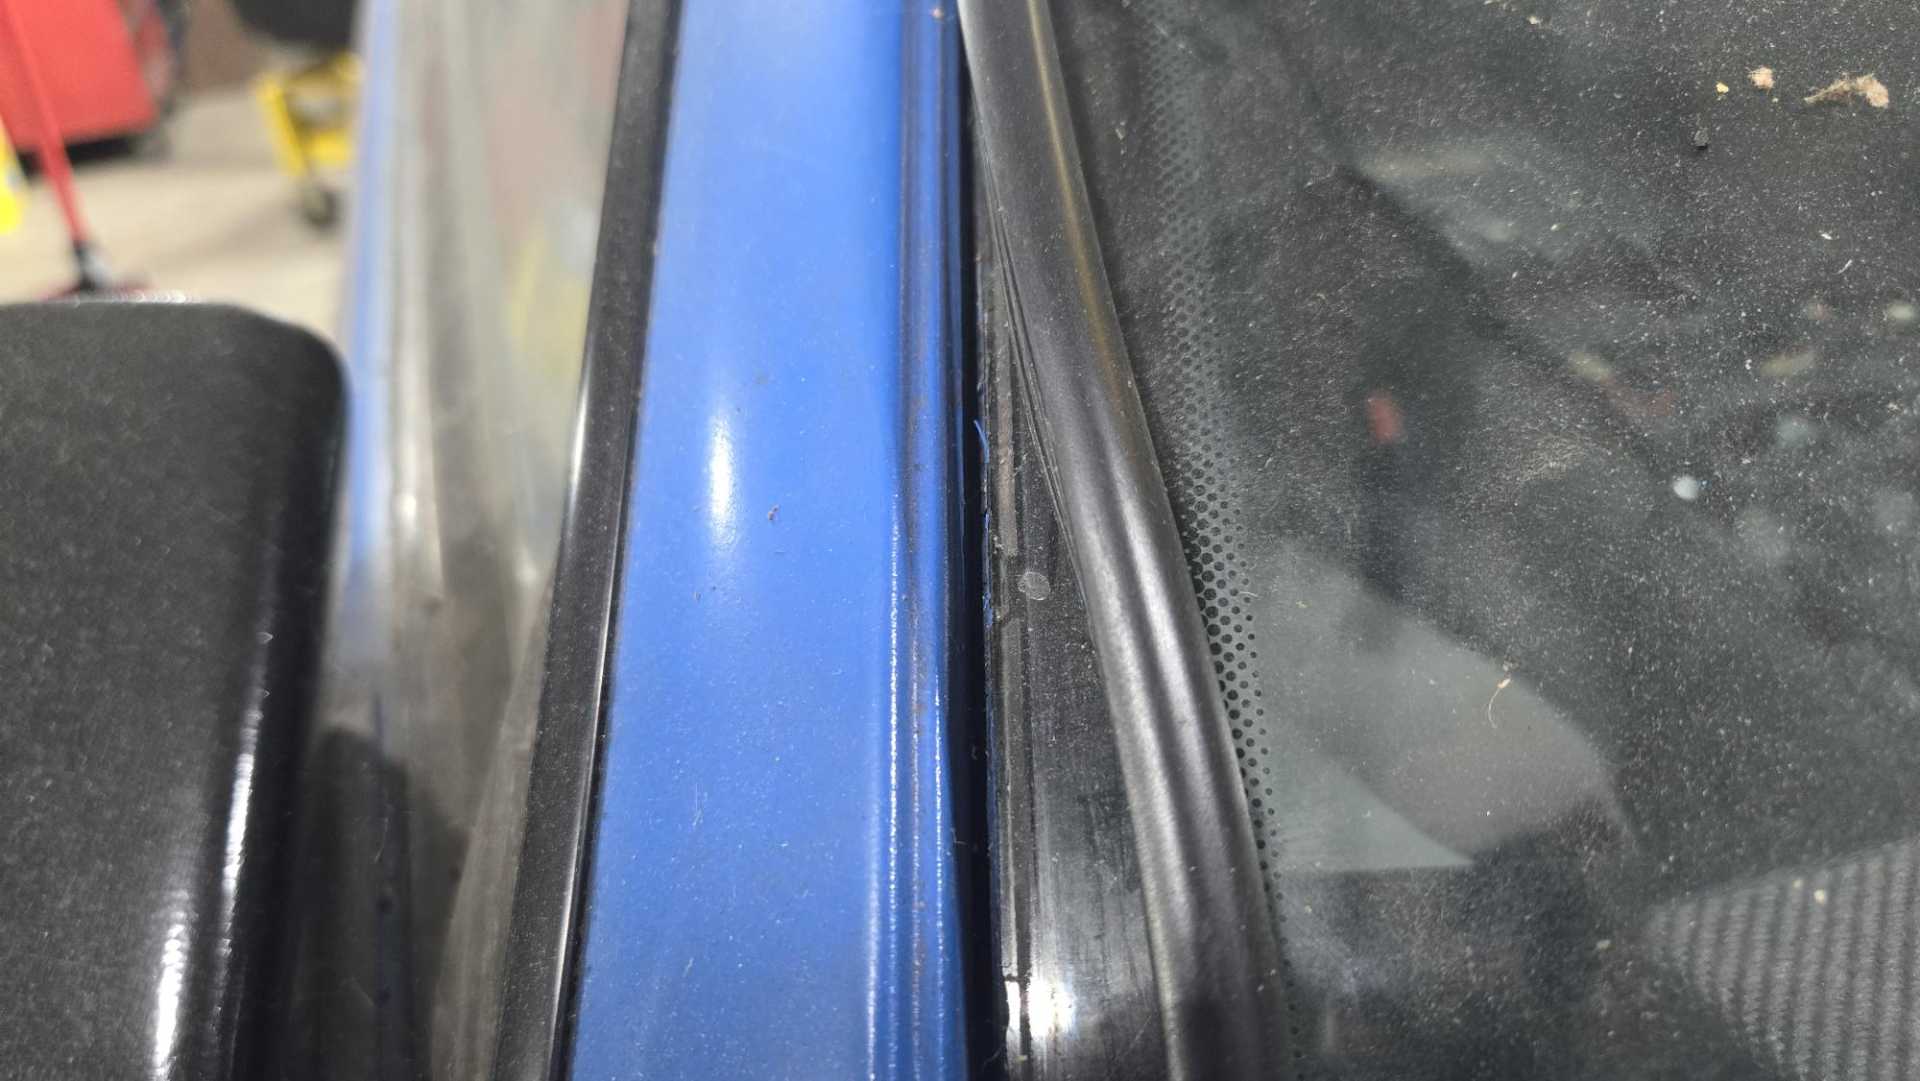
Zero progress on the wiring harness, other than buying some more tools. Just too busy. While passing through the shop I took a look at a couple of long-term problems: the sun roof gasket and the windshield trim. It's been a few years since I installed the new sunroof seal and I hoped by now the weight of the glass would've compressed it more.
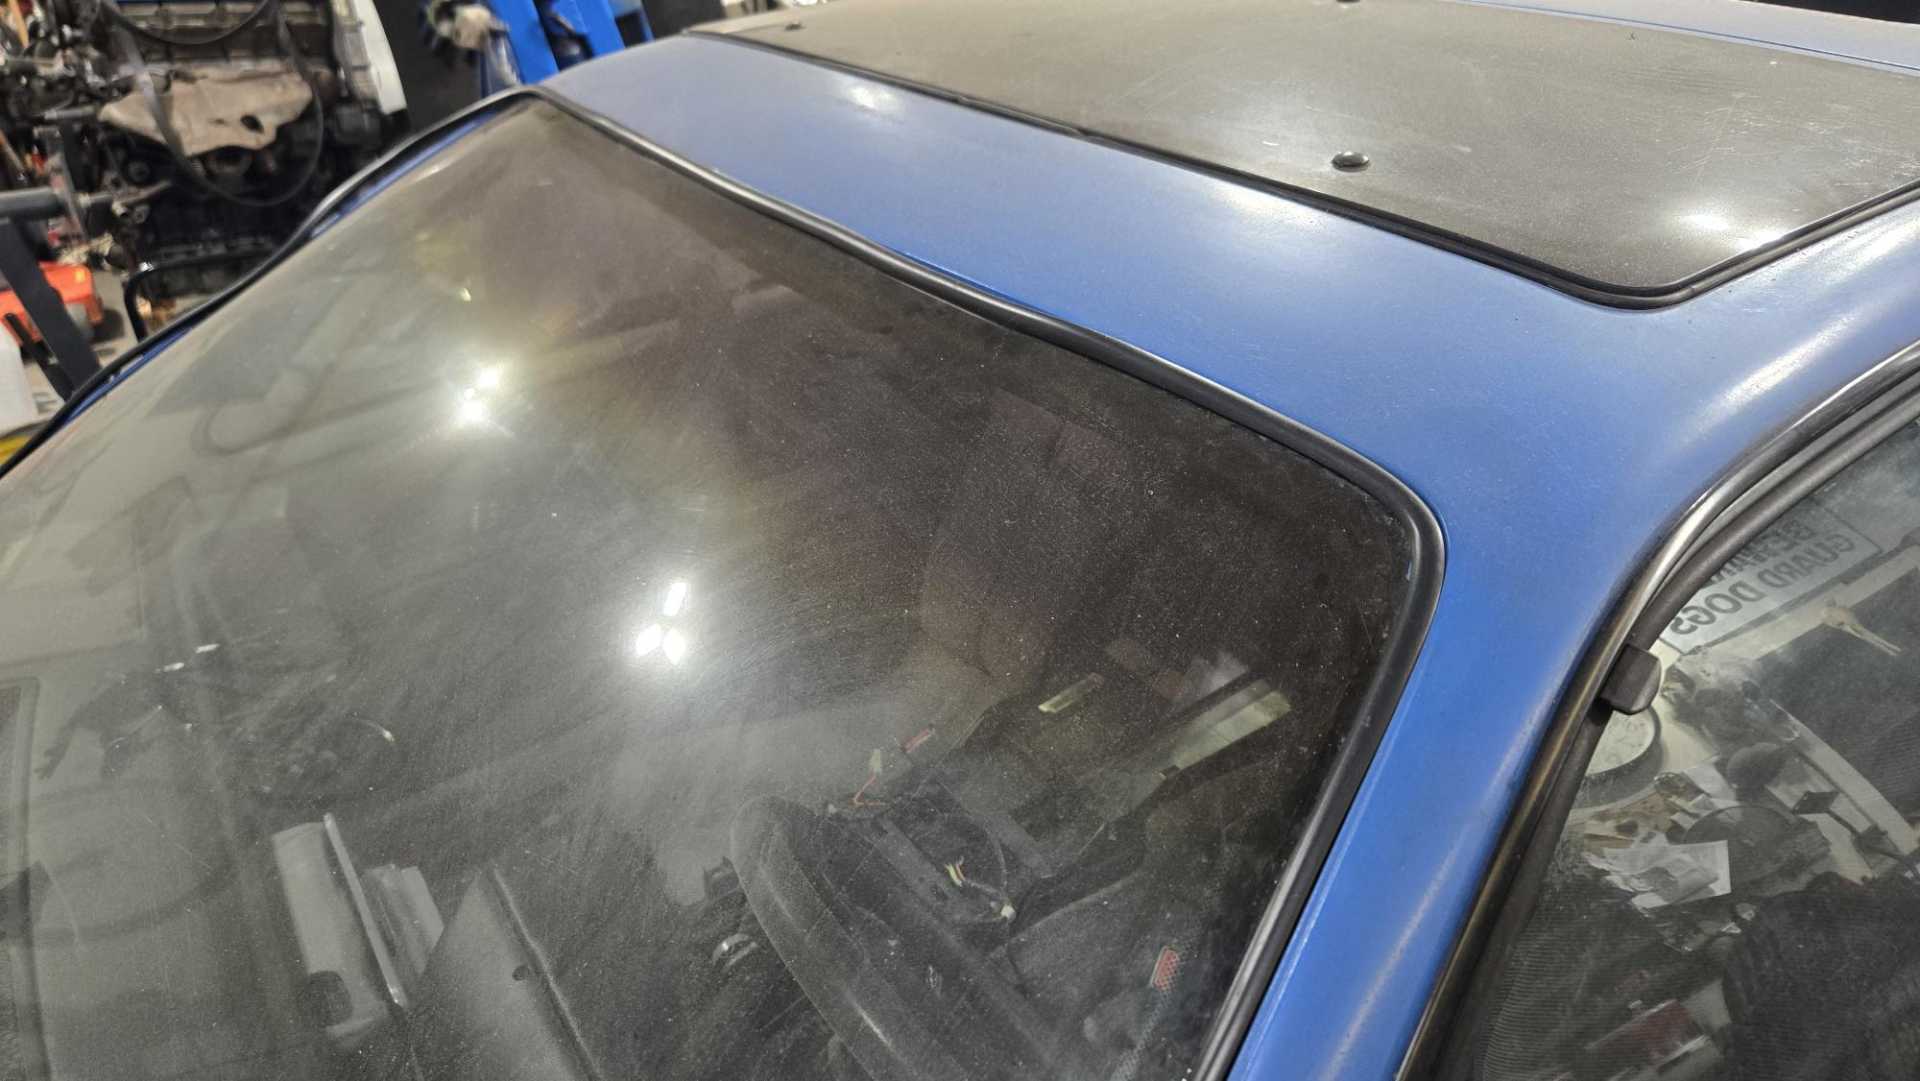
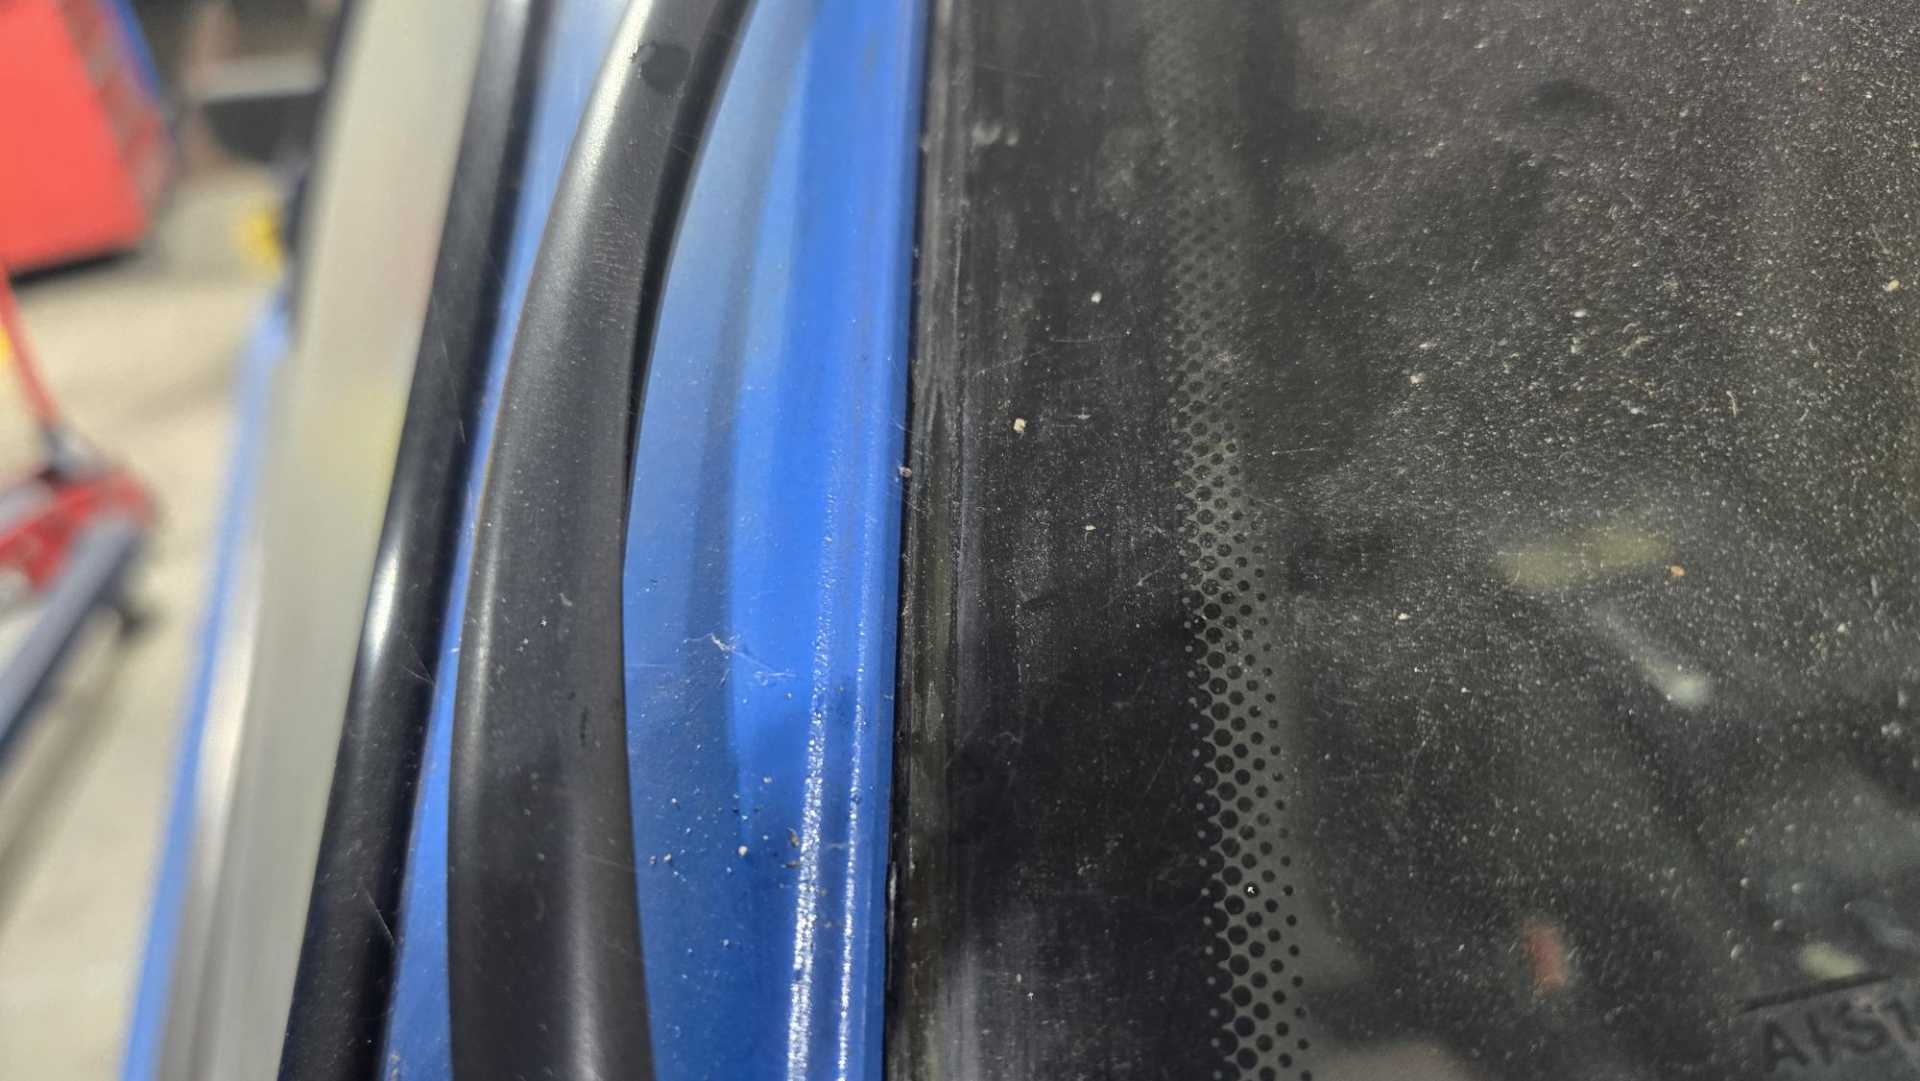
Also having trouble with the new windshield trim. When I installed the sunroof panel I didn't think to check the clearance between the glass and the A pillar. In some areas there's enough room for the trim to fit, but in others it's pretty tight. Don't know what to do about this.
The car could really use a new windshield, so maybe I'll see what a professional can do with this.
I'm scheduled to have major surgery on Monday so there will be absolutely zero progress for a couple months.
If the tight gap is just excess windshield sealant, you can run a razor blade down the glass and remove the excess. That might get you the needed clearance.
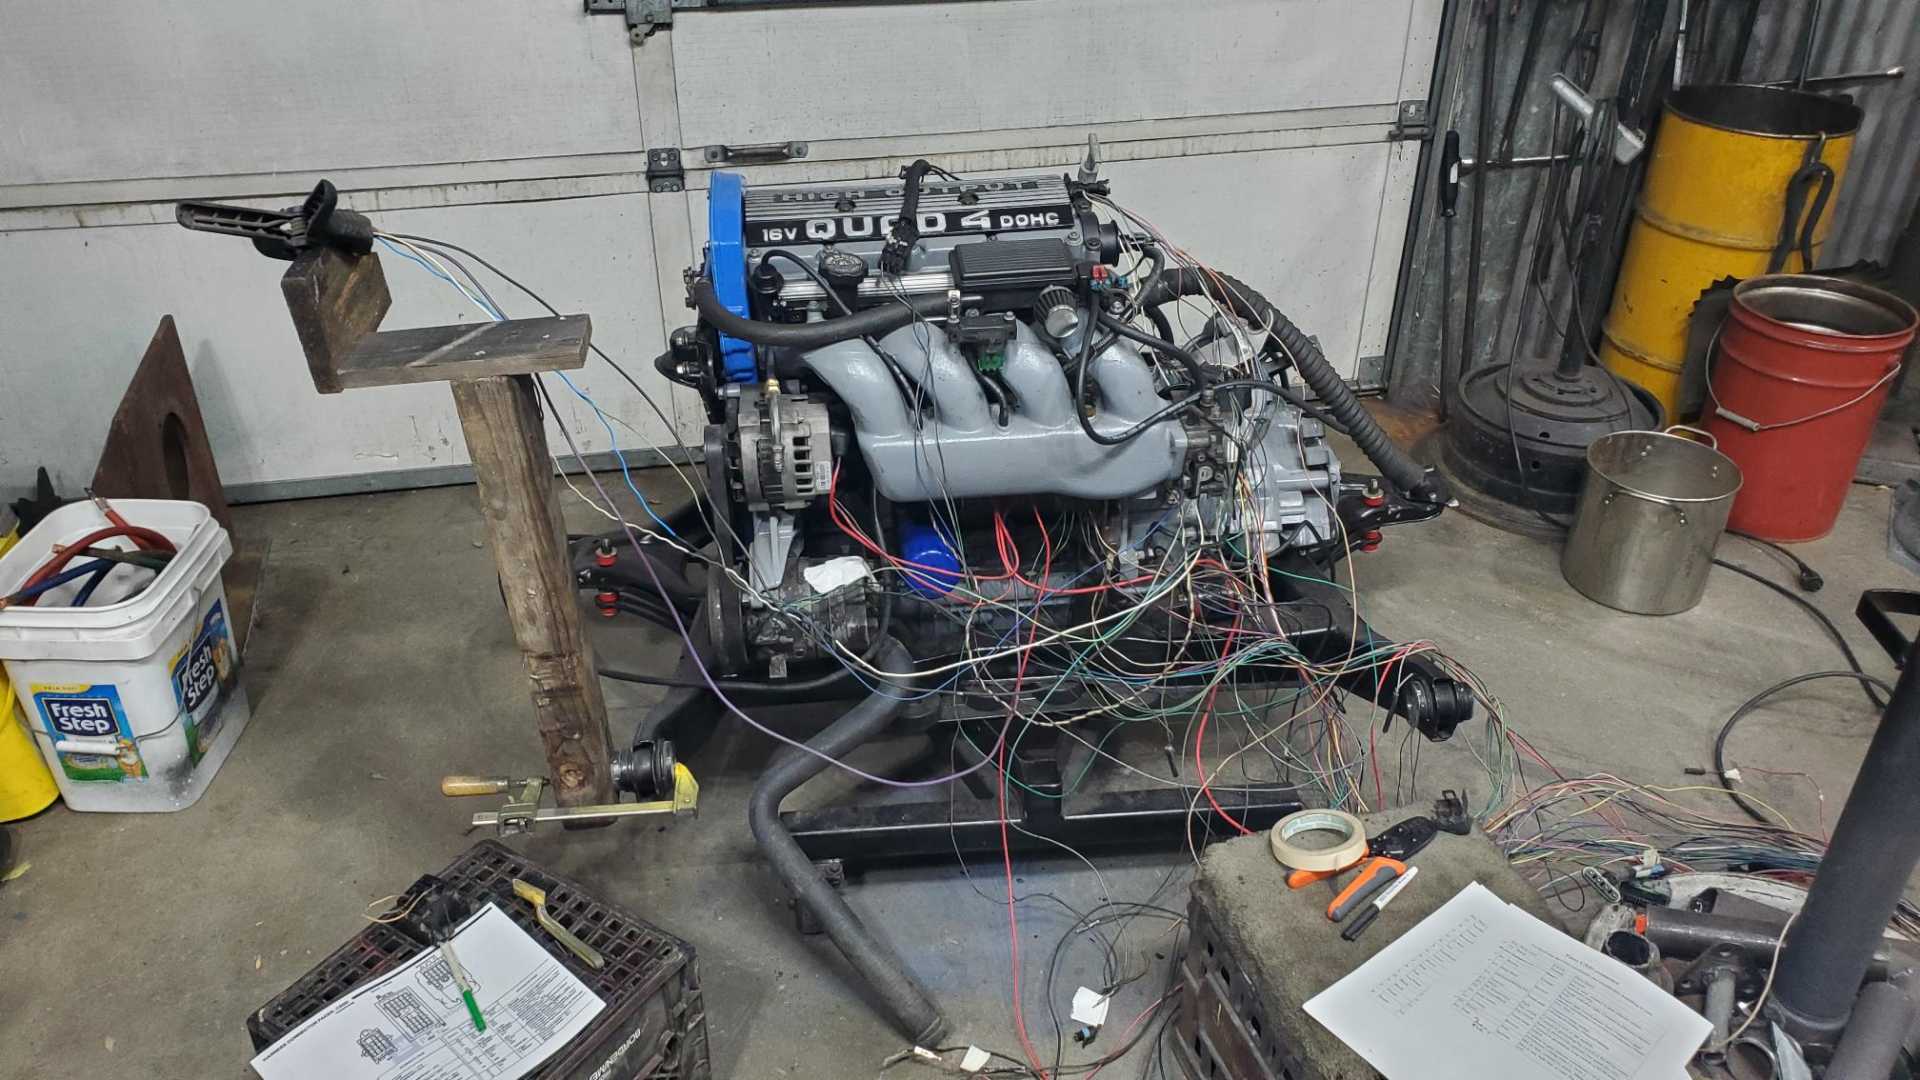
Looking at pictures of your Quad-4, I realize how similar, if not almost identical that engine is to the LD9 TwinCam that was in all the GrandAms, Aleros, and Cavalier/Sunfires. I think the LD9 was just the newer version of the Quad-4... supposedly a hair more reliable, slightly less powerful, and supposed to be smoother with the counter-balance shafts.
Looking at pictures of your Quad-4, I realize how similar, if not almost identical that engine is to the LD9 TwinCam that was in all the GrandAms, Aleros, and Cavalier/Sunfires. I think the LD9 was just the newer version of the Quad-4... supposedly a hair more reliable, slightly less powerful, and supposed to be smoother with the counter-balance shafts.
Yup. The LD9 was an updated version of the Quad 4.
Oh hell no. I found one of those in my house in San Antonio in the early days when I had first started renovating it. I never want to see anything like that in my house ever again.
Just learned that Sardonyx247 passed away. I don't know that I would have attempted my Quad swap without his thread on his own Q4 swap. His thread was full of great information and more importantly lots of photos. RIP, sir.
I had coronary bypass surgery on August 5th (the same kind of surgery my dad had twice). I'm feeling good but still am not allowed to use my arms for more than just simple things.
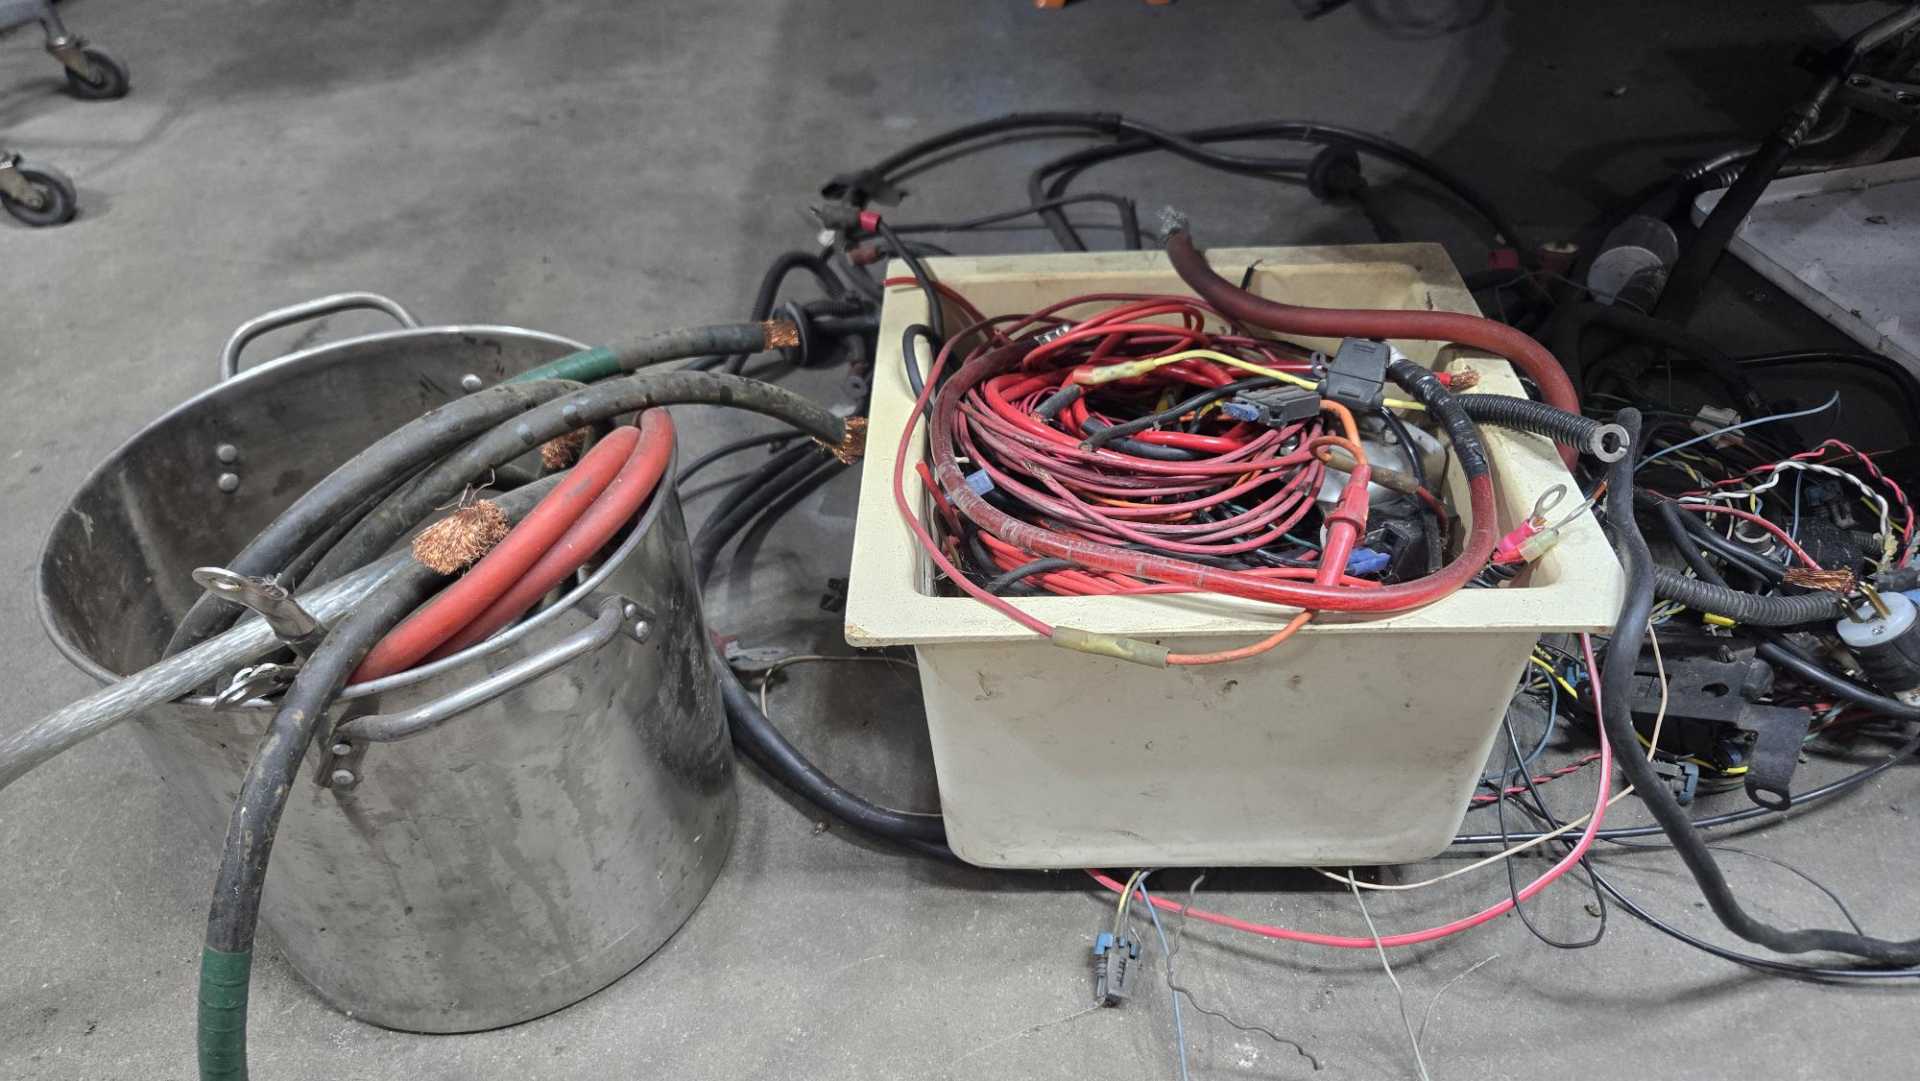
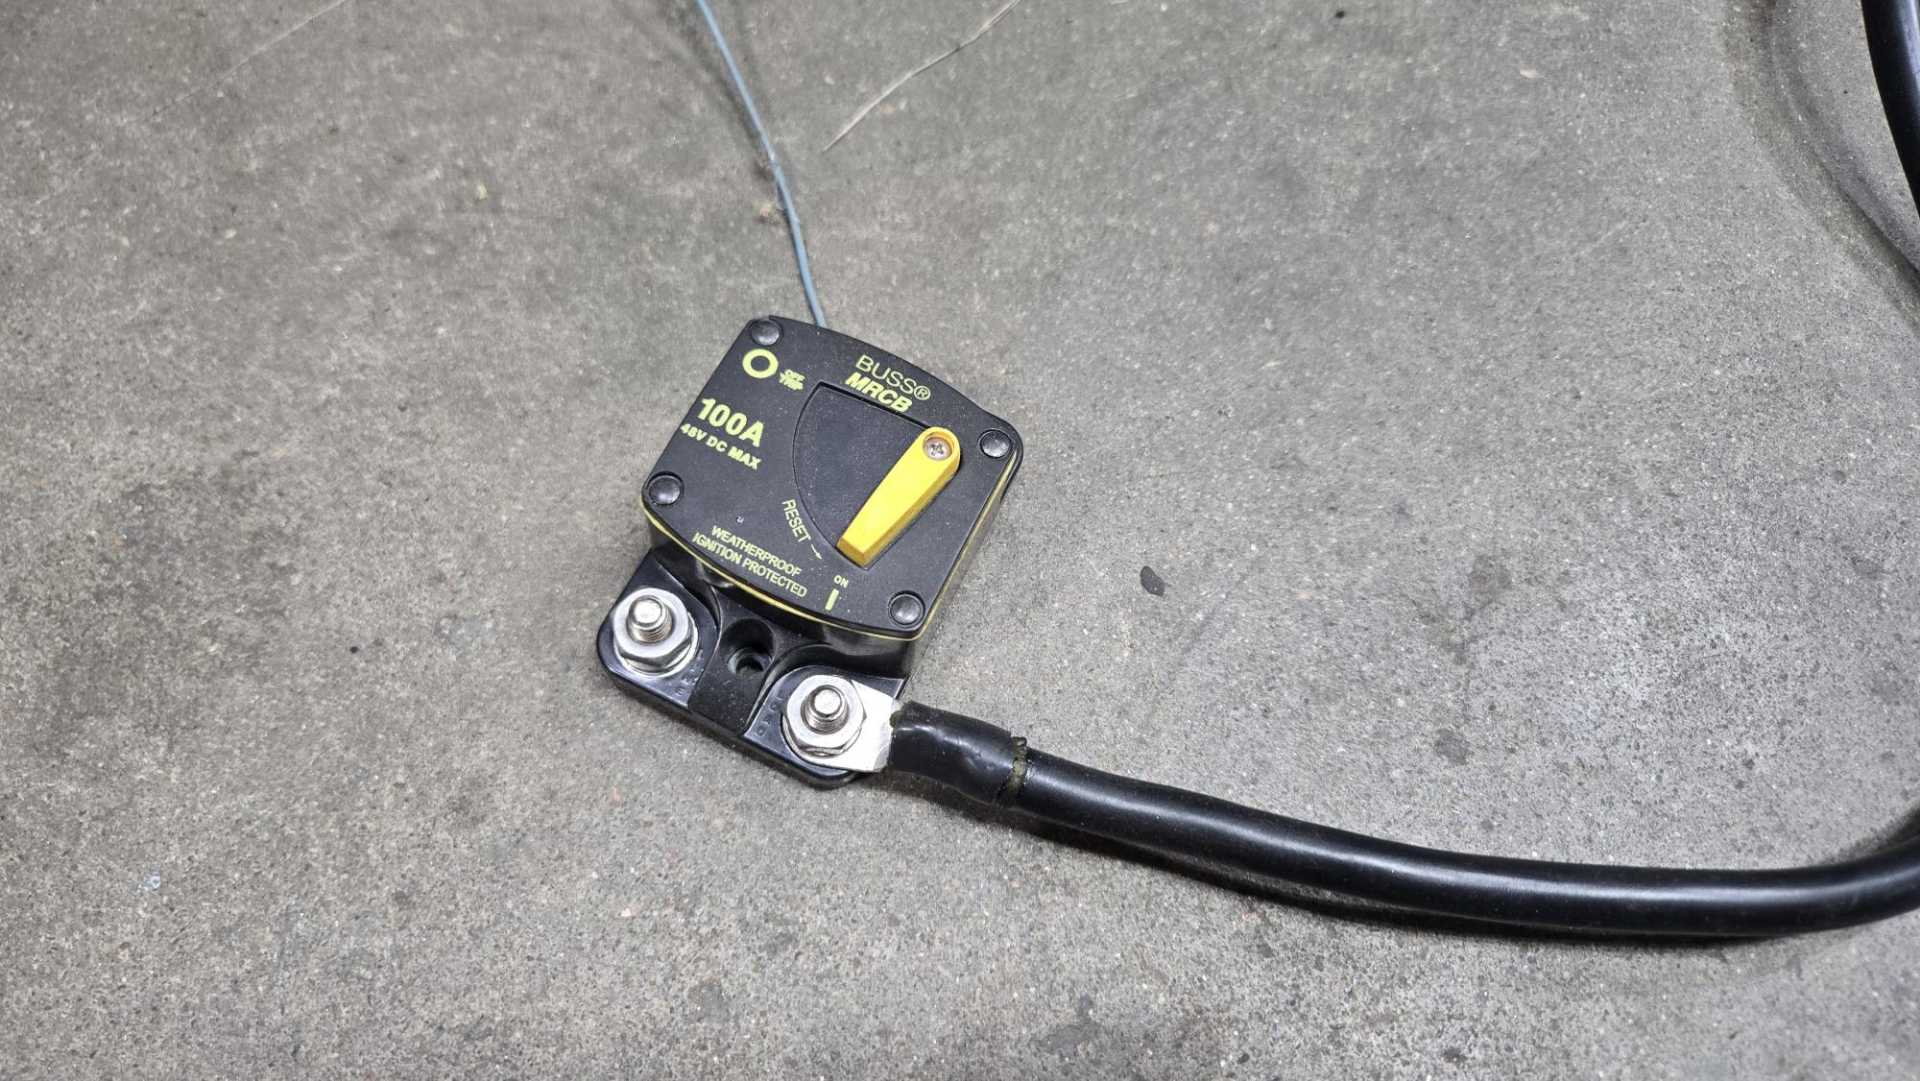
For the first time since the surgery I got over to the shop this morning. I've been thinking a lot about the project over the last couple of weeks, including how I'll handle the battery cables. I got a pile of cables and switches from work several months ago and I think I'll use some of them.
I may switch out my homemade metal battery box for a fiberglass one, too. I have one more week off work so I hope to spend some time on the wiring harness next week. Really want to get this car on the road, especially now that the weather has cooled off.