Next up was installing the sunroof latch. I looked all over the shop for the two special bolts but couldn't find them, so I used a couple carriage bolts to make my own.
About two minutes after I finished installing the latch, I was cleaning up and found the factory bolts on one of my extra latches.
I decided to use my homemade bolts and save these factory ones in case I ever do this again.
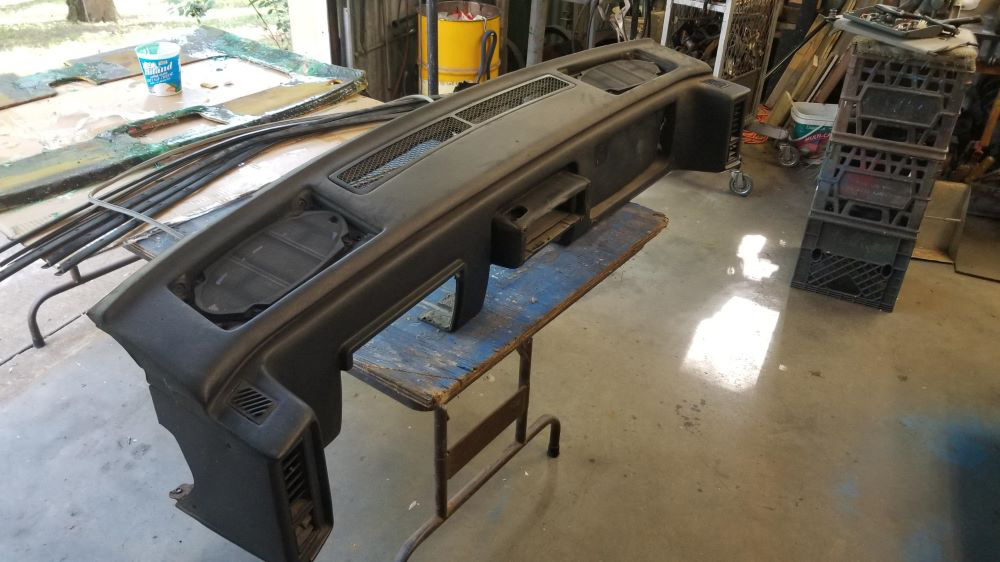
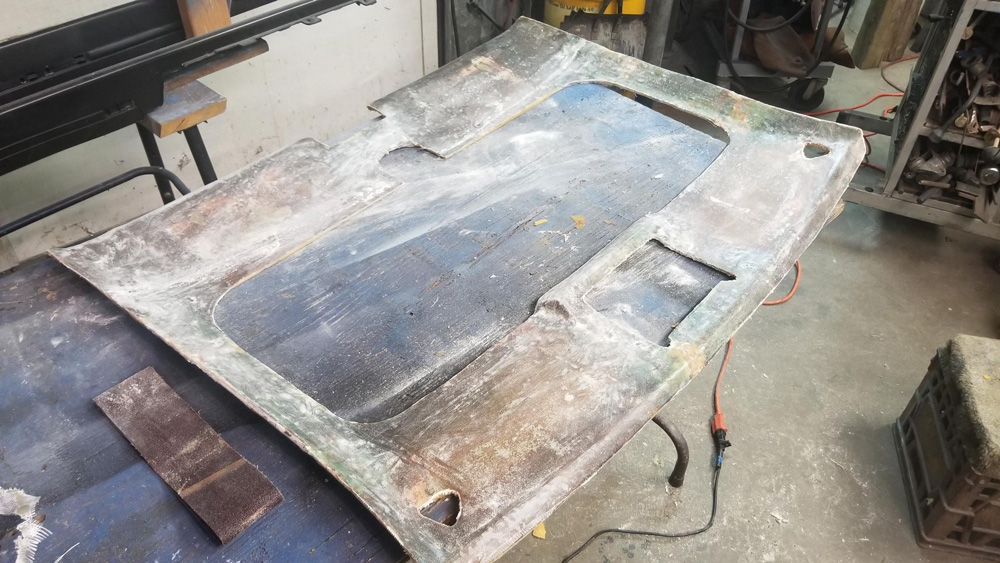
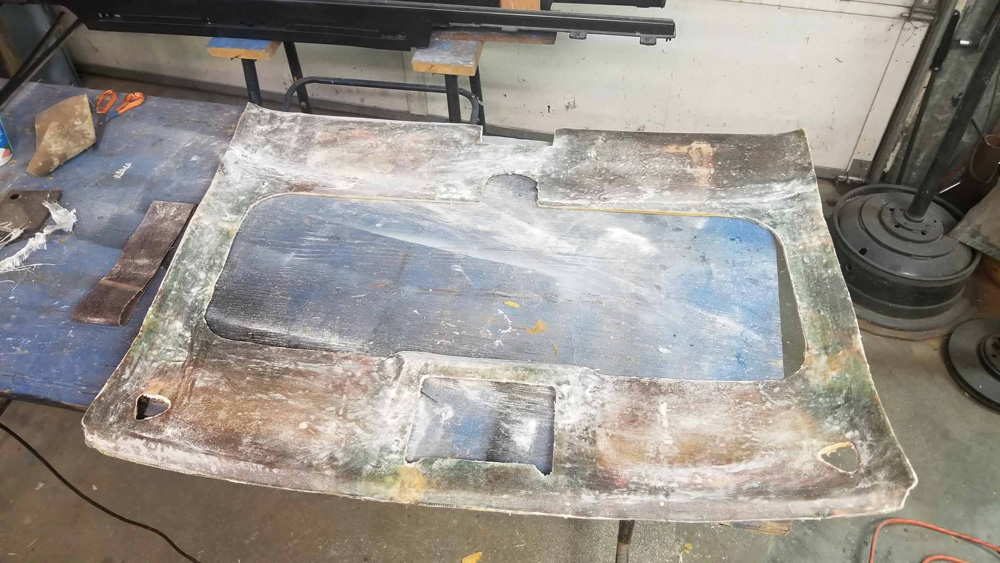
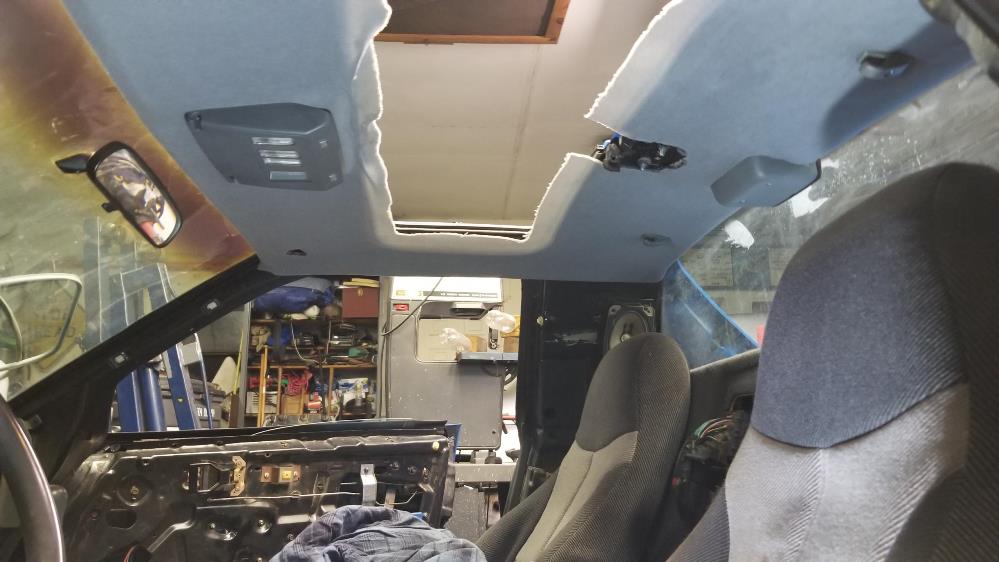
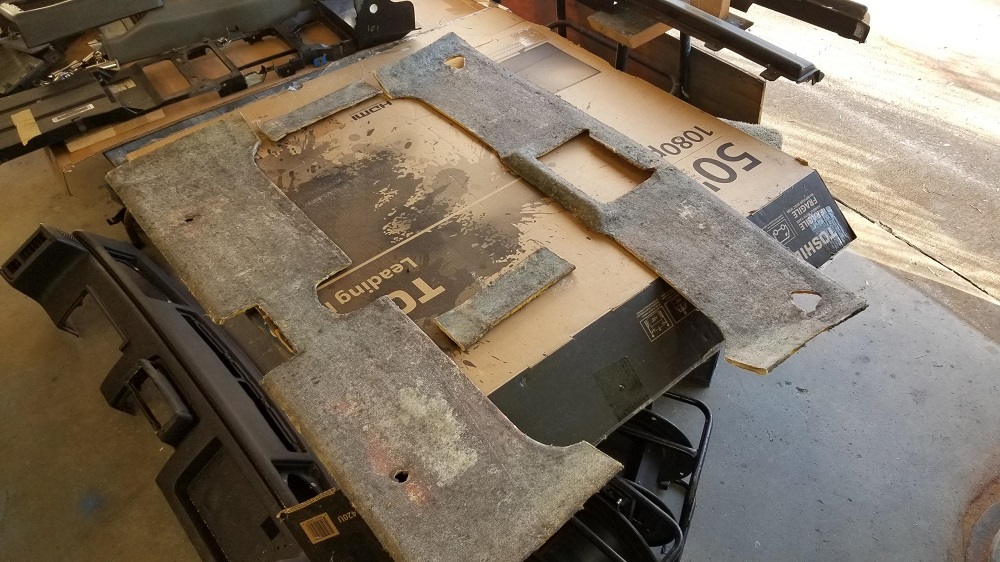
With the sunroof installed, the next big step is installing the headliner. The problem is I don't have a decent backer board for a sunroof car. I ended up piecing together one from parts of three broken ones I picked up at the salvage over the years. Just like everything else, it's turned out to be much more work than I planned. I tried fiberglassing just the joints, but have since decided to fiberglass the whole thing. I haven't had a chance to buy more resin and fabric.
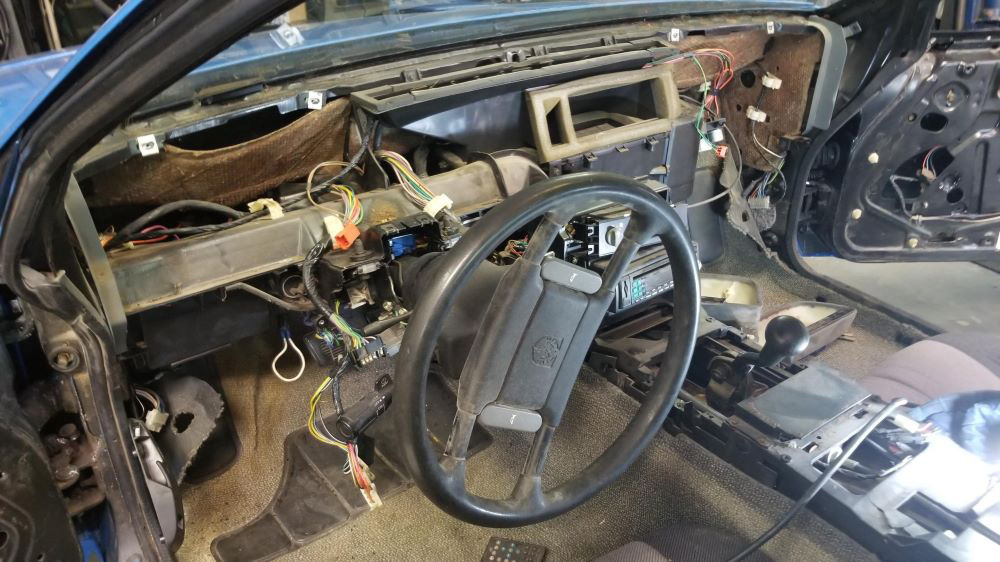
In the meantime, I also removed the dash to install the wiring harness for the power windows/locks/mirrors and to clean up the dash and fabricate a glove box/drink holders.
This procedure was pretty easy, thanks to the instructions on this forum and the fact that I've removed a couple dashes from salvage yard cars. My dash is actually in pretty good shape. It has some small cracks in the bottom corners but is mostly just dirty.
You can see my Frankensteined headliner board in the background.
[This message has been edited by Quadfather (edited 09-19-2019).]
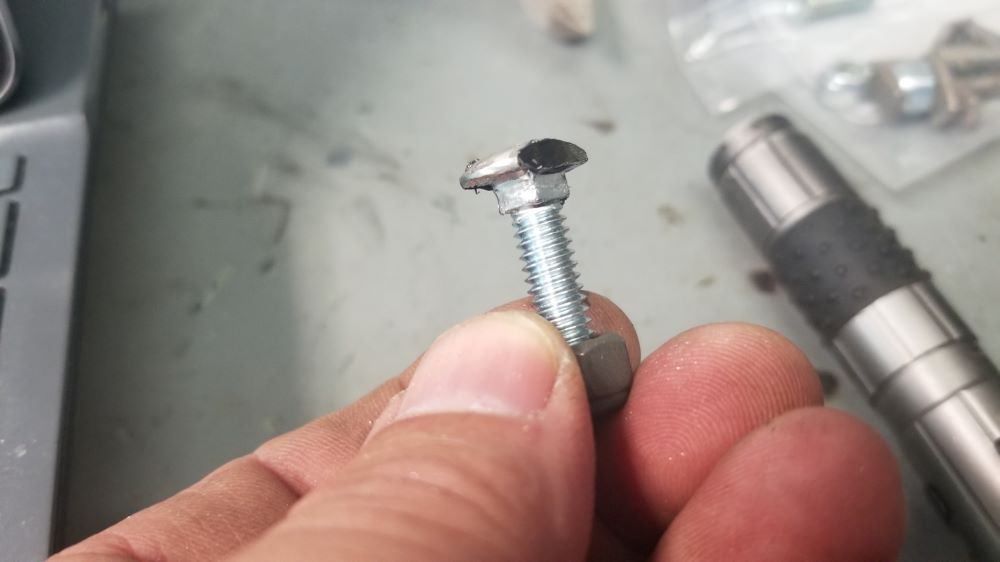
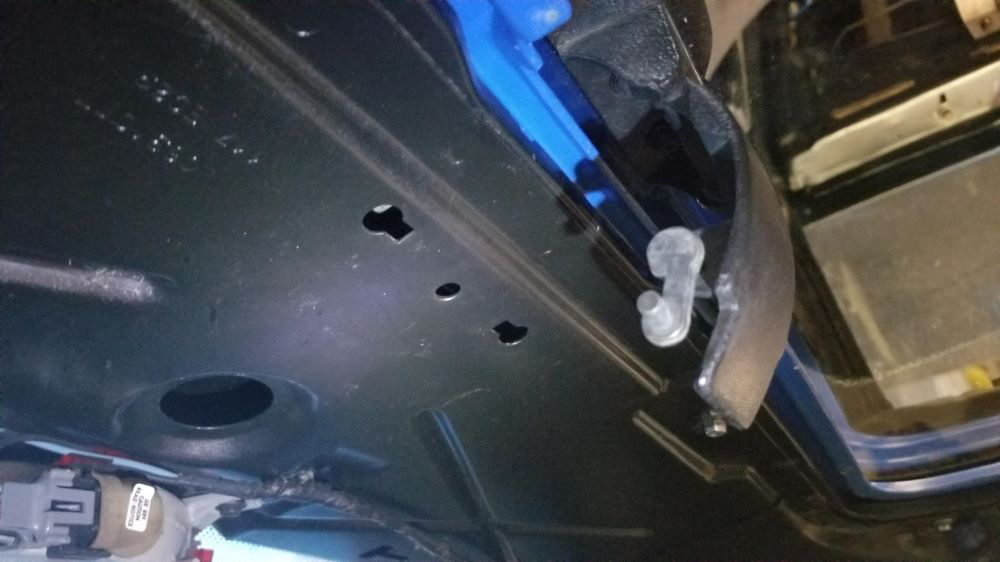
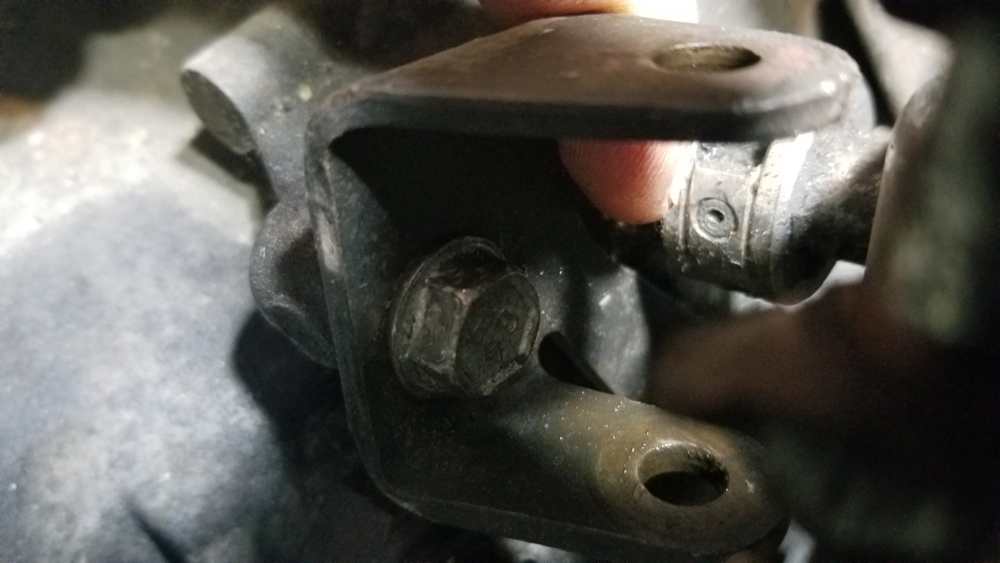
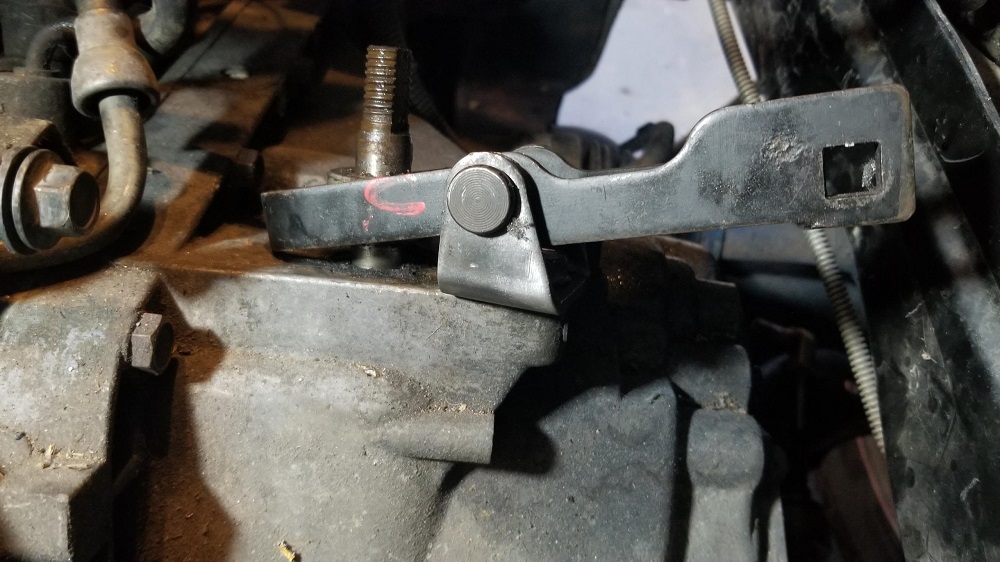
Here's more information about the mount for the sunroof latch.
The bolts have square heads and are attached to thin pieces of steel that fit into the holes in the roof.
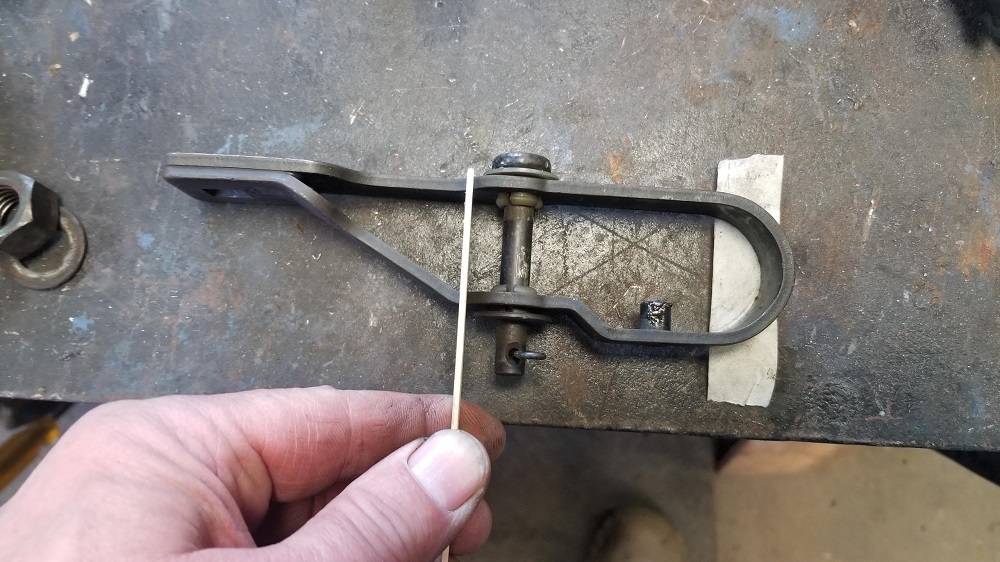
I bought some small carriage bolts and ground down the heads far enough so that they'd fit through the holes. I used nylock nuts to bolt on the latch. I'd spent a lot of time over a couple of days looking around the shop trying to find the factory bolts. When I finally finished installing my homemade ones, I found the two factory bolts in my box of extra latches.
I thought about replacing the homemade ones with these factory bolts, but the homemade ones worked fine and I like the idea of having some spares for whatever reason, so I packed these away.
[This message has been edited by Quadfather (edited 09-19-2019).]
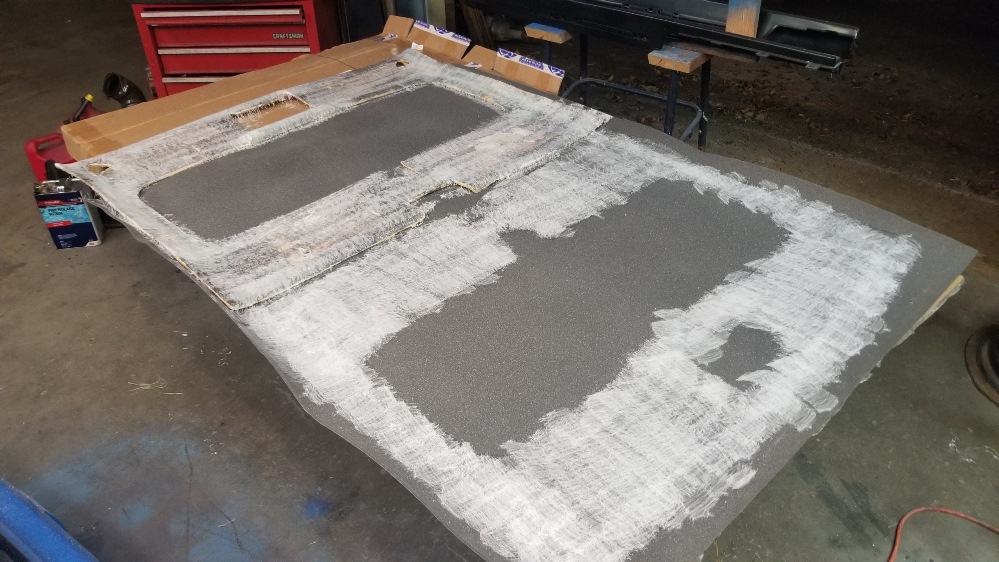
Haven't had much time to work on the car, but I did fiberglass the headliner last weekend. Tuesday night I spent some time trimming the excess cloth and sanding the surface smooth. I didn't have a section of cloth large enough to cover the whole board, so I had to make a seam along the surface near the back edge. That led to a rough spot that needed to be sanded down.
It looks rough but it's actually fairly smooth. I found headliner material on sale at Hobby Lobby and bought a big chunk for $11. I'm hoping the foam on the back of it will hide all of the imperfections.
I hope to get time in the next couple of days to glue the fabric to the board and then install the board.
[This message has been edited by Quadfather (edited 09-26-2019).]
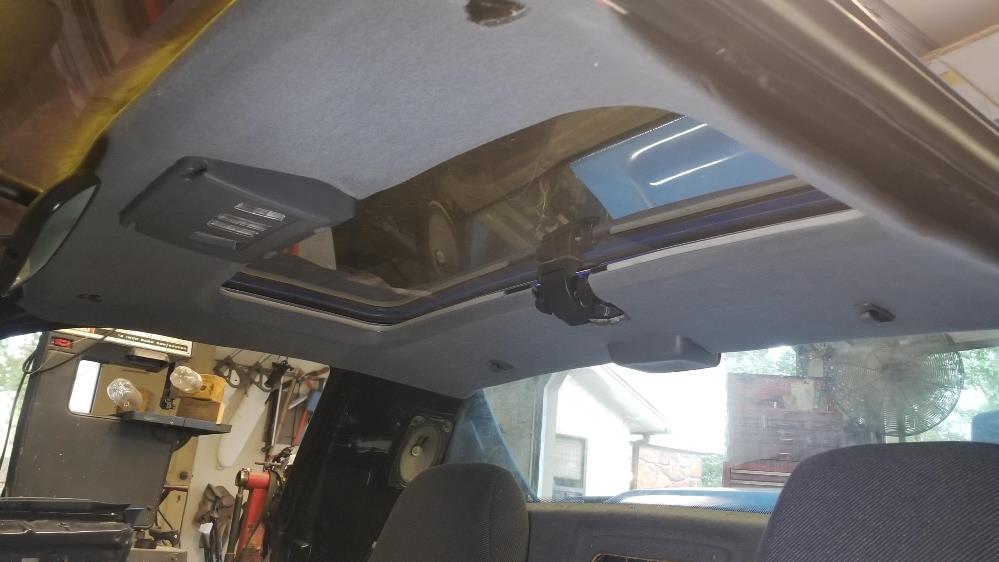
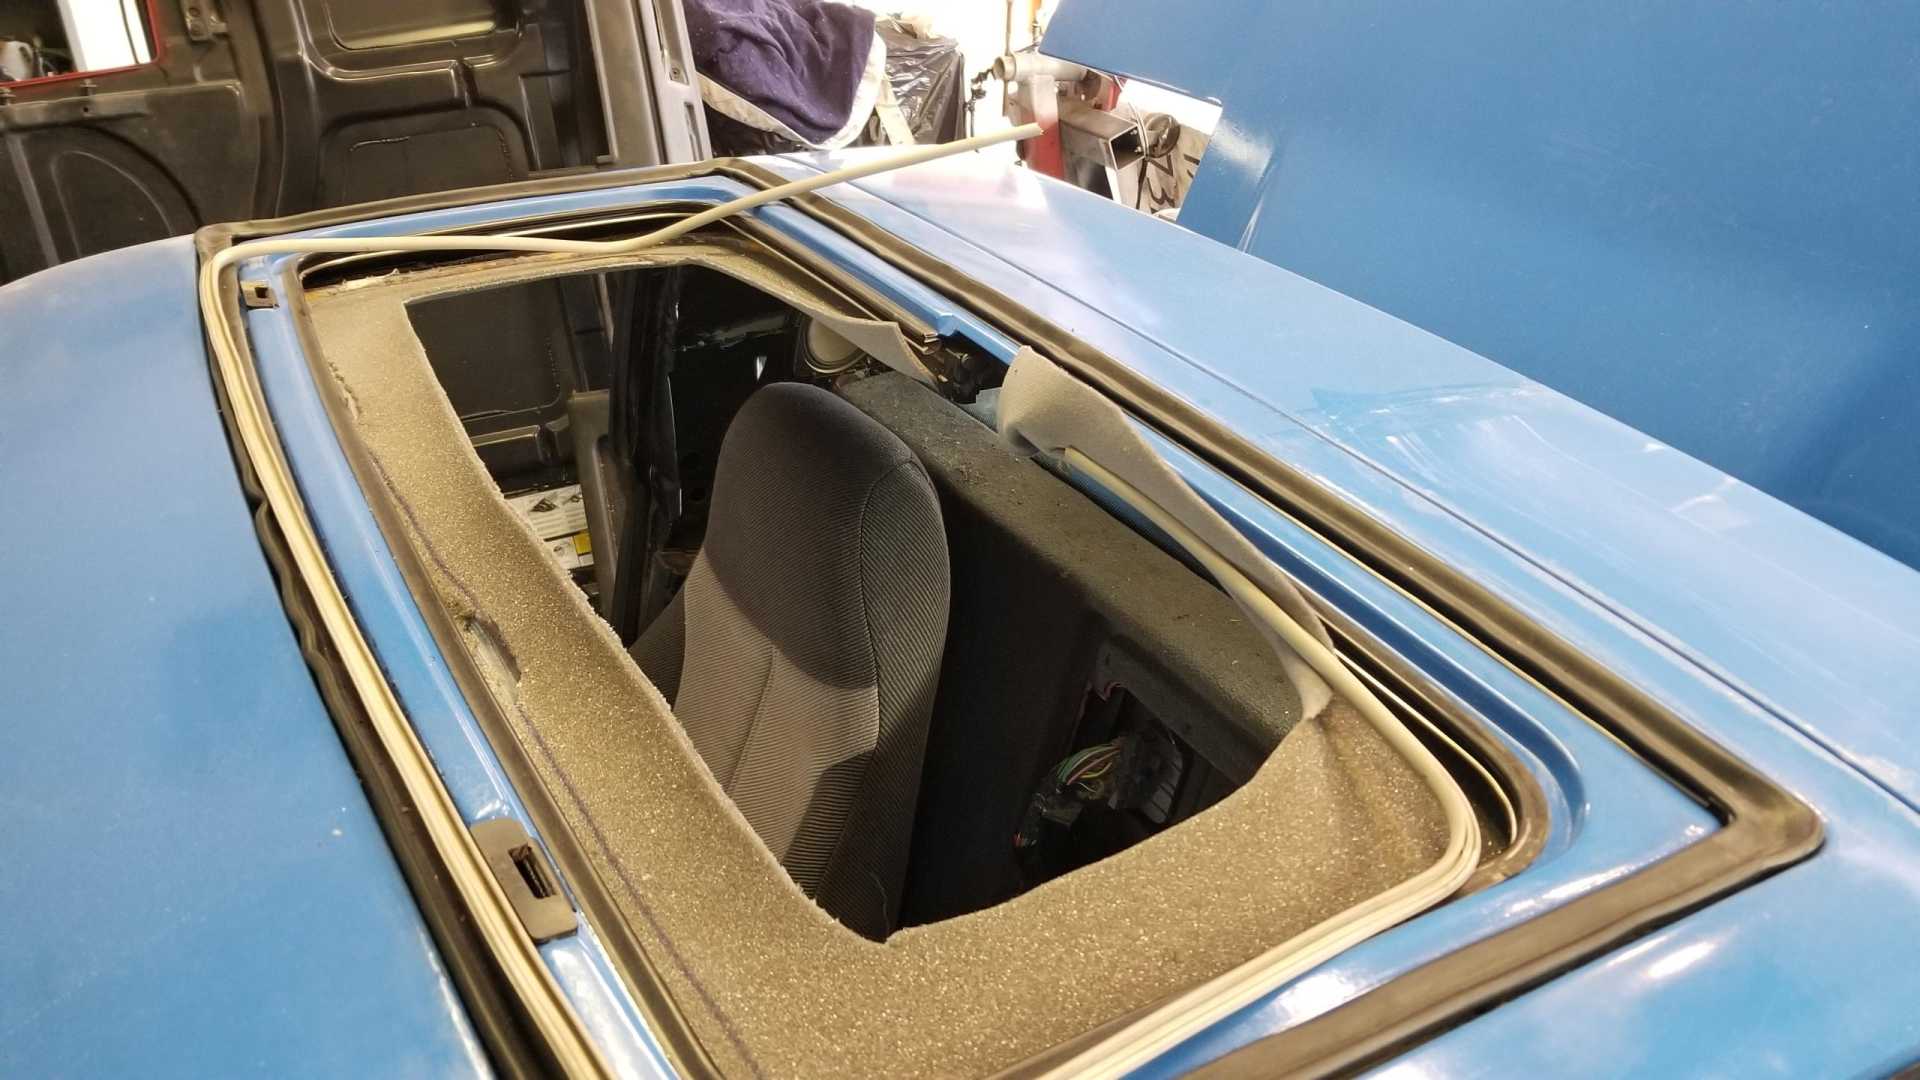
Headliner installed, sort of. I was looking around the internet a couple of weeks ago and came across this video on YouTube, which I found very helpful:
The best tip in the video is using the backer board as a pattern to mark the areas on the fabric where adhesive should be sprayed. I used Permatex headliner adhesive.
I couldn't tell from the video how much extra material to leave in the sunroof opening so I went with about 2".
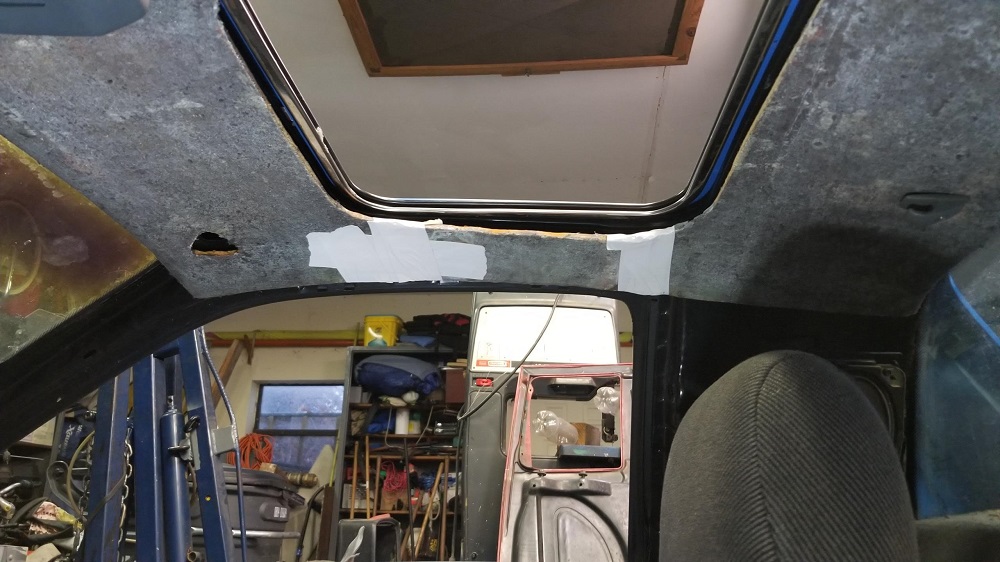
My Frankesteined backer board gave me problems along the edges of the sunroof opening. I guess when I fiberglassed the pieces together I didn't get enough arch in them, so that part of the backer board sits too low once it's installed in the car.
I also couldn't figure out how to work the corners of the sunroof opening. You can't cut them, so it takes some work to get the fabric to stretch to be pushed into the gap and the plastic trim/holder pressed into place. I ended up using a rubber hammer to seat the plastic.
It's not perfect but I'm satisfied for now. I could see taking it apart at some point and making a backer board from scratch that will fit perfectly.
[This message has been edited by Quadfather (edited 09-30-2019).]
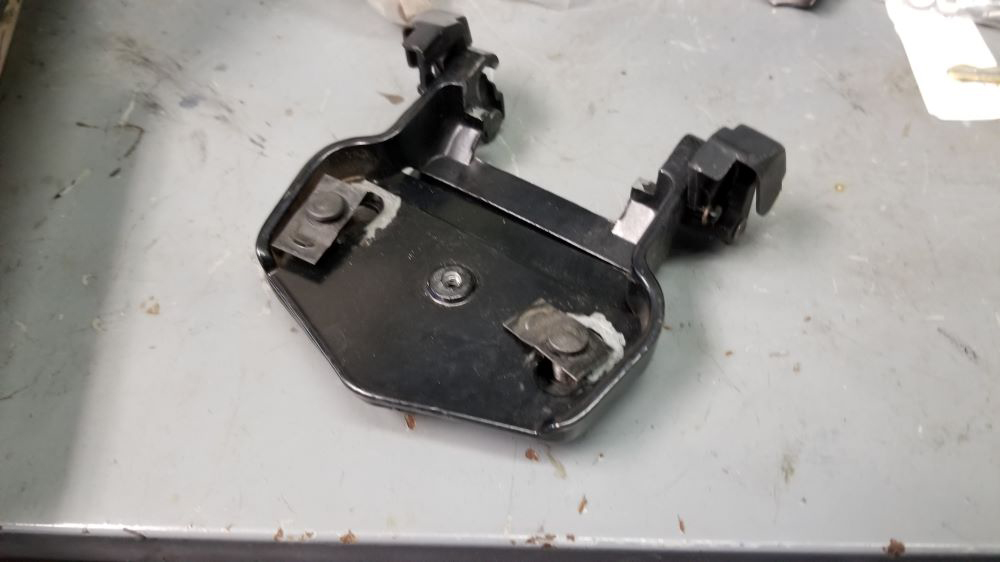
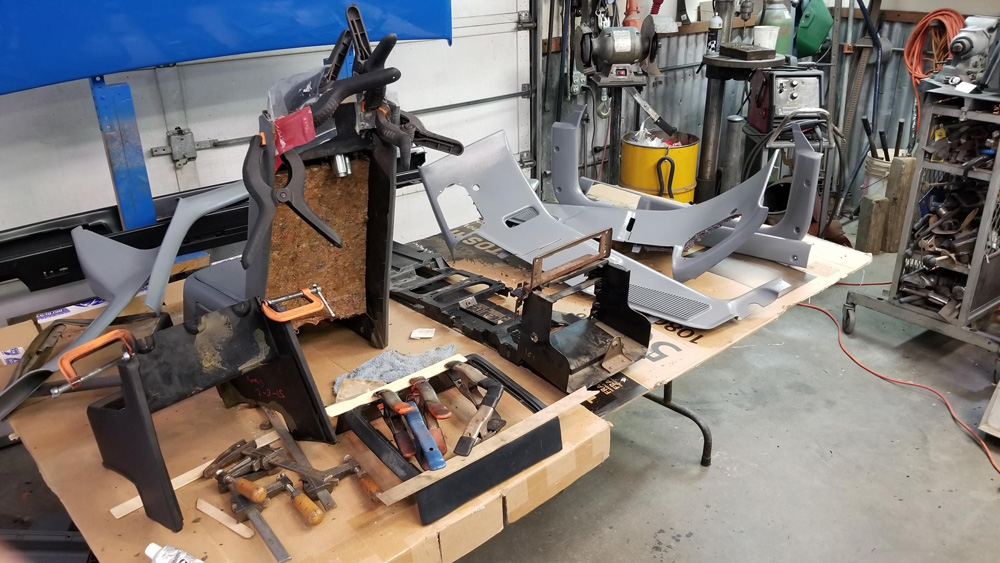
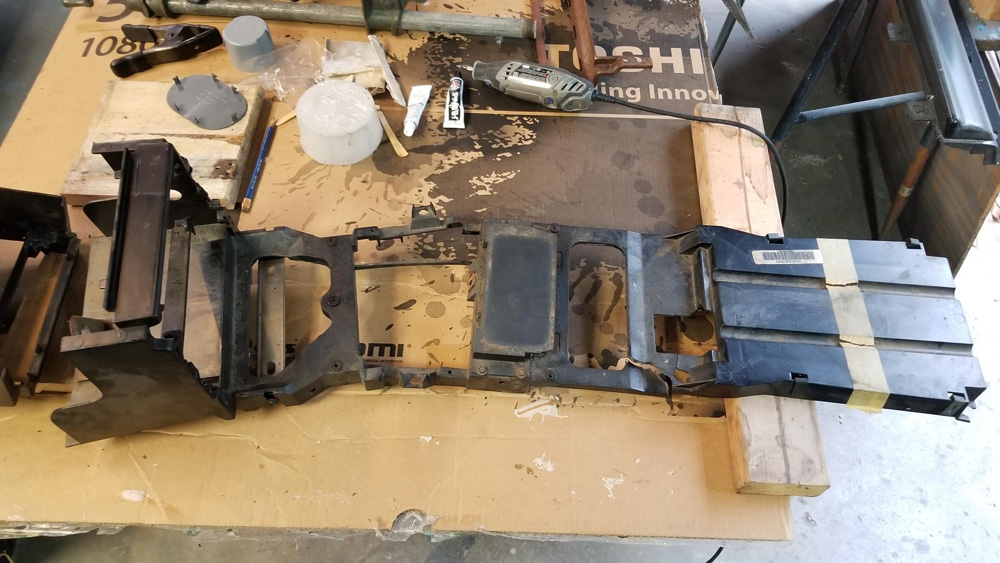
I really need to pull the console skeleton out to rebuild it, but it's so dirty and broken I'm having trouble getting motivated. I did dig out the other interior parts from the shelf. They're worse than I remember them, especially the console door. About half the vinyl has pulled apart from the plastic, so I began the process of gluing it back, one edge at a time. I'm also gluing the door arm rests and the center console upright.
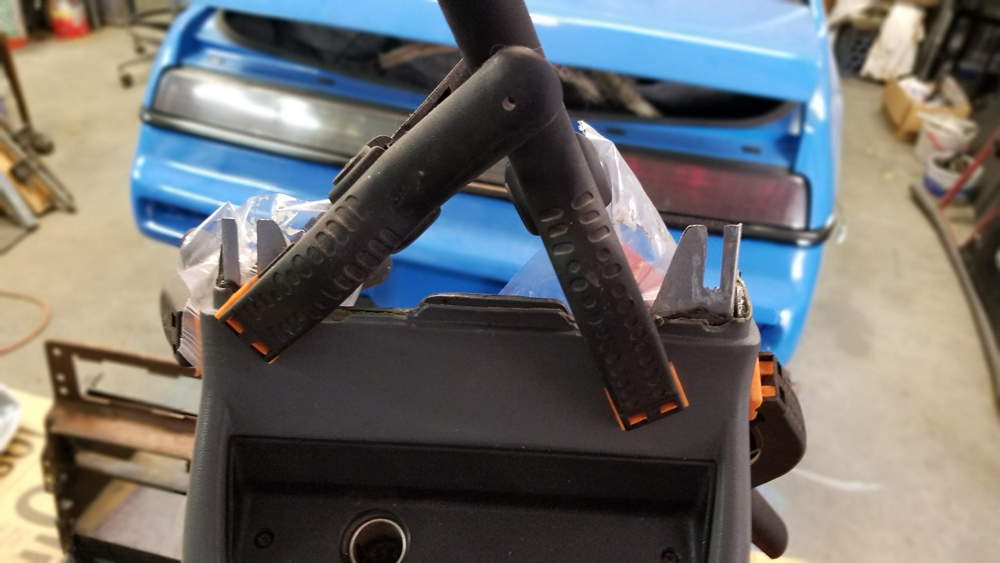
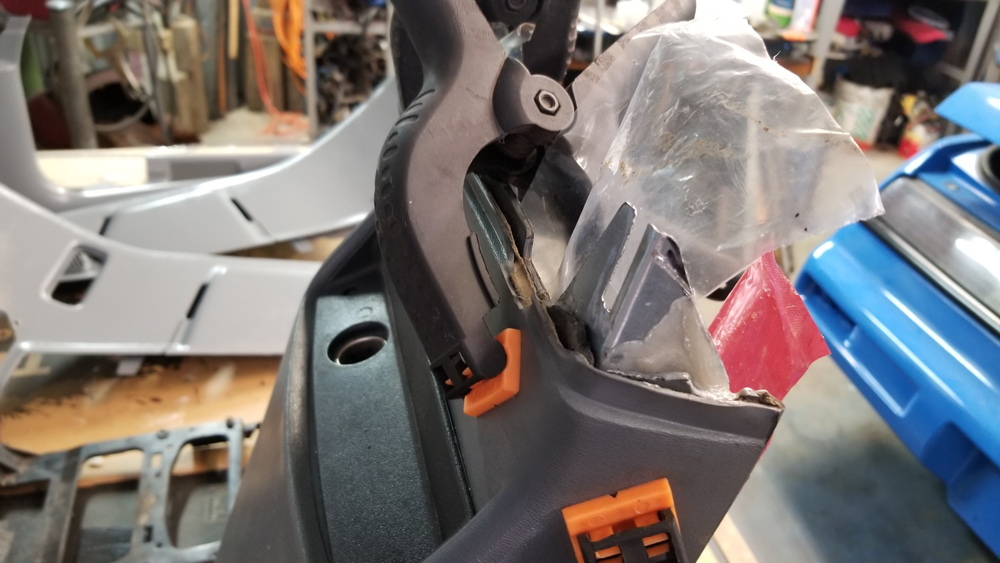
The plastic tabs on the inside of the A pillar trim pieces broke off, so I'm gluing the steel clips to the inside. I managed to get three of the four plastic clips out of the holes without breaking them. Guess an order from the Fiero Store will be happening soon.
(sorry for the blurry photo but I was in a hurry to close up the shop and go home)
[This message has been edited by Quadfather (edited 10-08-2019).]
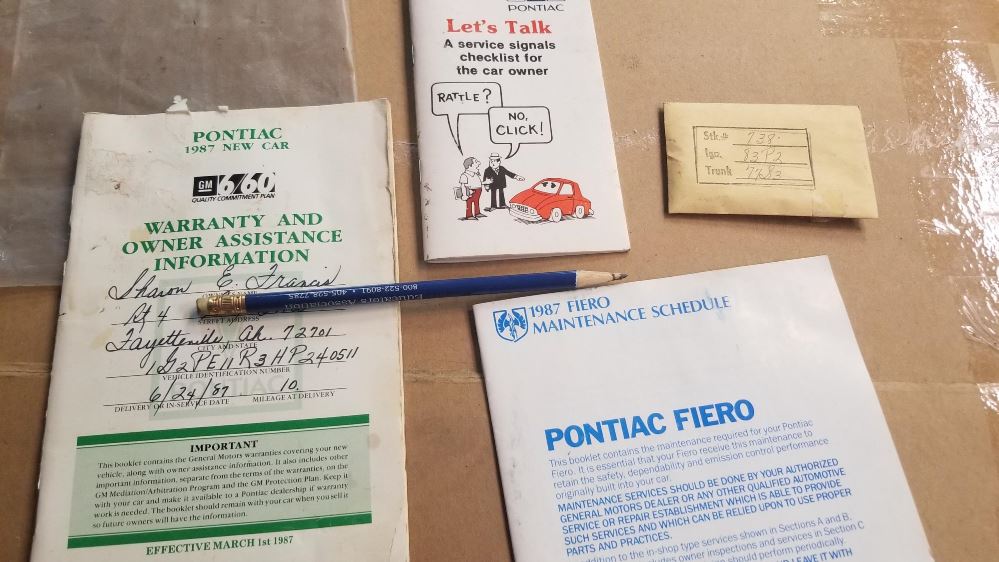
Here's a pleasant surprise from the console box. It's some of the original paperwork from the previous owner, who bought the car new in June of 1987.
When she took delivery on 6/24/1987, the car had 10 miles on it. Included with the paperwork are the knockouts from the keys, in case I ever need to order replacements.
Working on the interior pieces. It's a very slow process. On some pieces it's only possible to glue one edge at a time, so I decided to clean and paint the trim. I'm using Rust-oleum Smoke Gray, which I think looks great. We'll see how it looks once the parts are back in the car.
My console and skeleton were in bad shape, so I'm using parts I got out of an '88 in the salvage in Wichita. I was on vacation last week, so I had time to make the 3-hour drive over there. Just like my original console, the mounting ears were broken off on the salvage yard one, so I made replacements out of some thin sheet metal.
I finally did remove the skeleton and it was in even worse shape than I thought. Don't know why GM used such brittle plastic for this part.
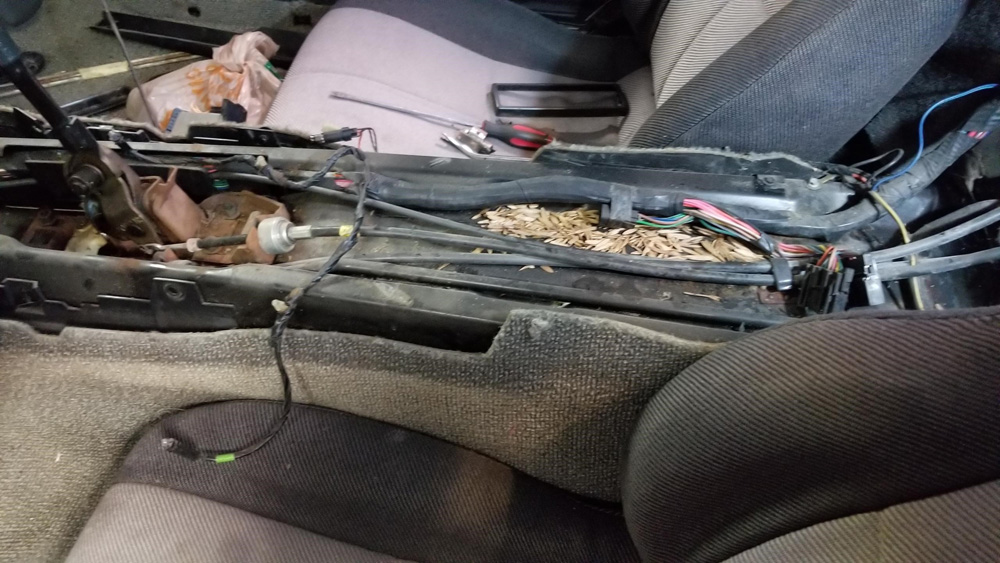
There were some surprises underneath:
No idea how seeds could get up inside there. Maybe mice left them. Notice how much the carpets have faded. I hadn't looked closely at them since I had them out of the car to pressure wash them five or six years ago. They'll be coming out again in the next few days so I can finish cleaning up the interior, but I can't afford to replace them just yet.
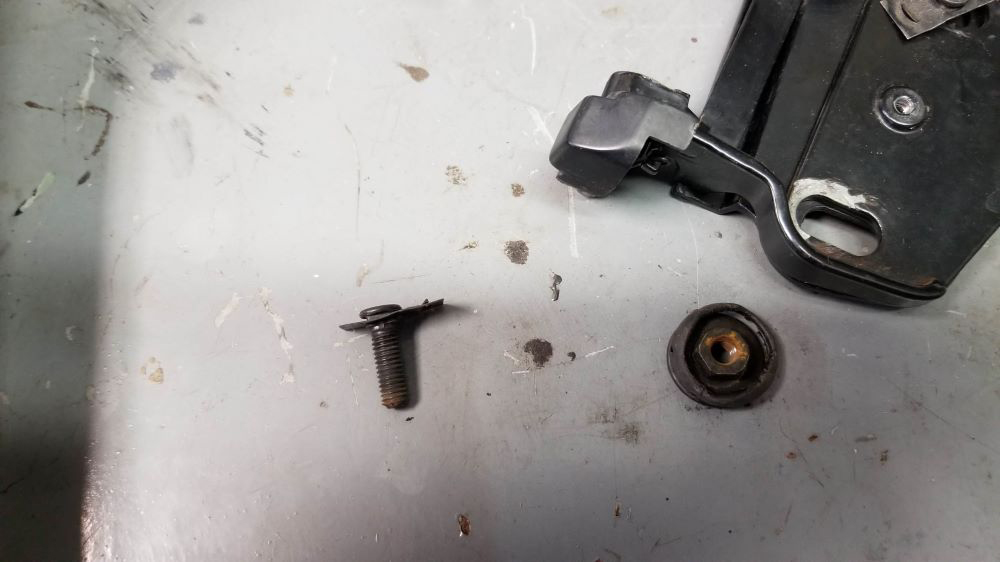
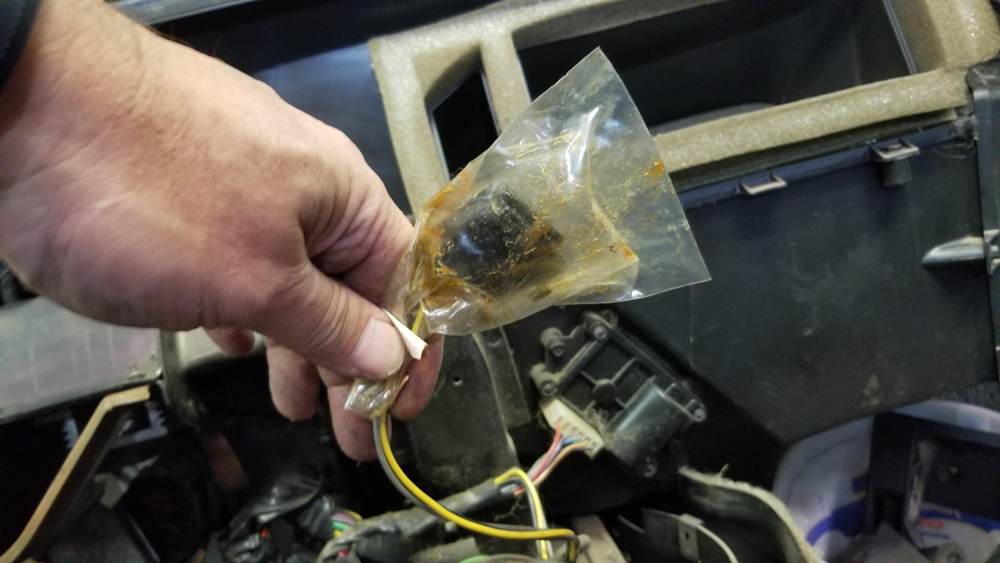
Then found this plug pushed down under the right side of the console toward the front of the car. Covered in grease and taped inside a plastic bag.
Haven't had the chance to look over the area to see what it plugs into, but Facebook says it's for the door buzzer.
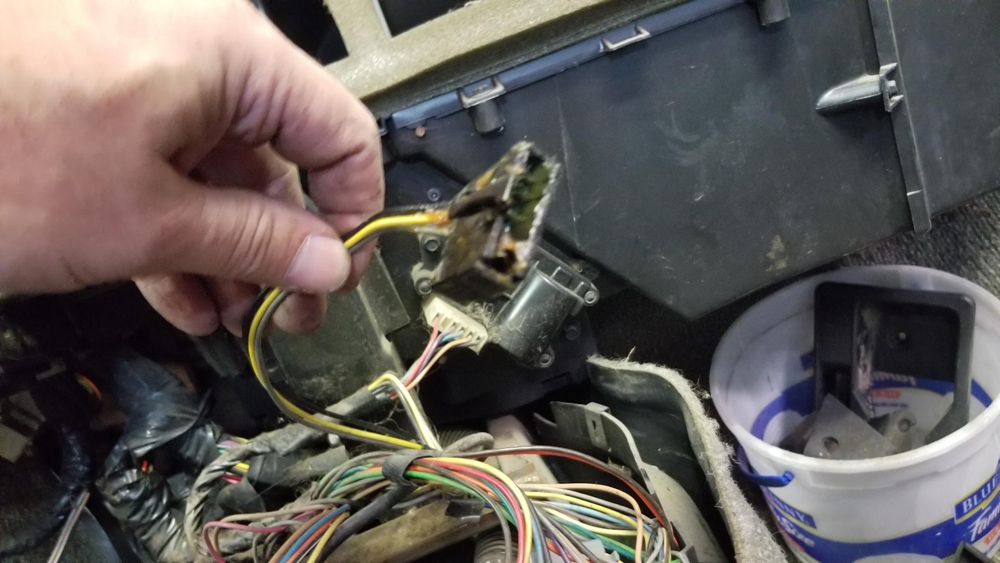
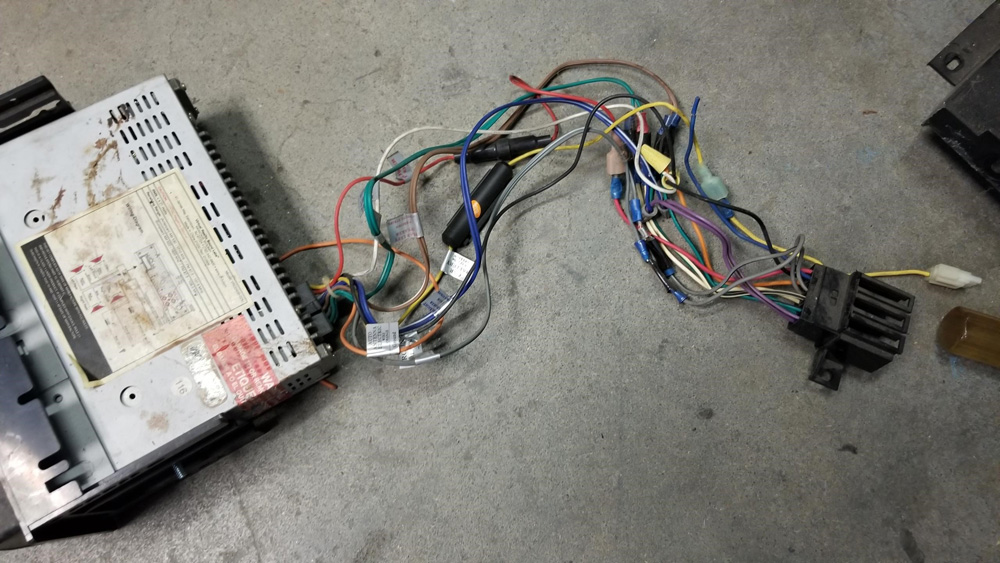
As expected, the wiring for the aftermarket radio is pretty messy.
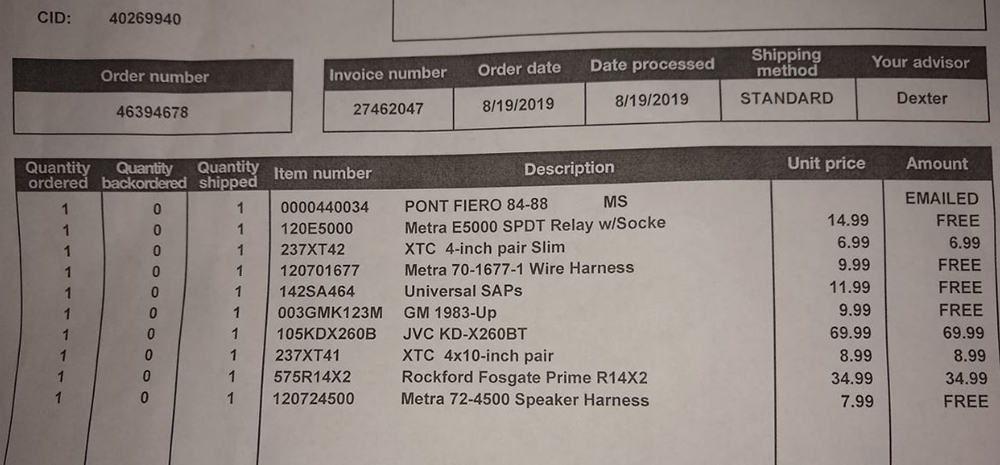
I checked this radio to make sure it worked before pulling the duke and associated wiring out of the car. It has an auxiliary jack and a remote, but I'm leaning toward replacing it with a new one that's got bluetooth. I saw somebody post this Crutchfield parts list on Facebook and I may use the same one.
[This message has been edited by Quadfather (edited 10-08-2019).]
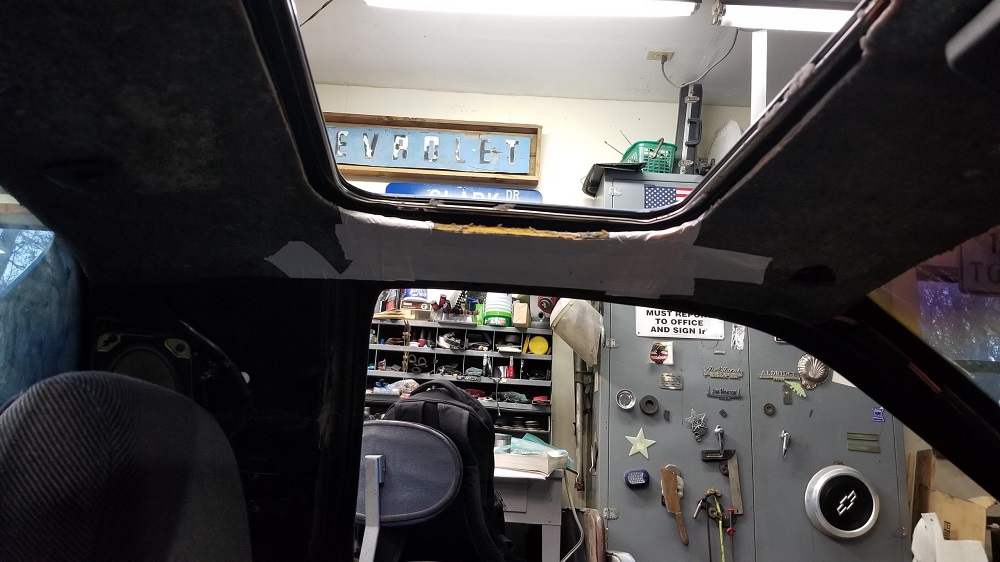
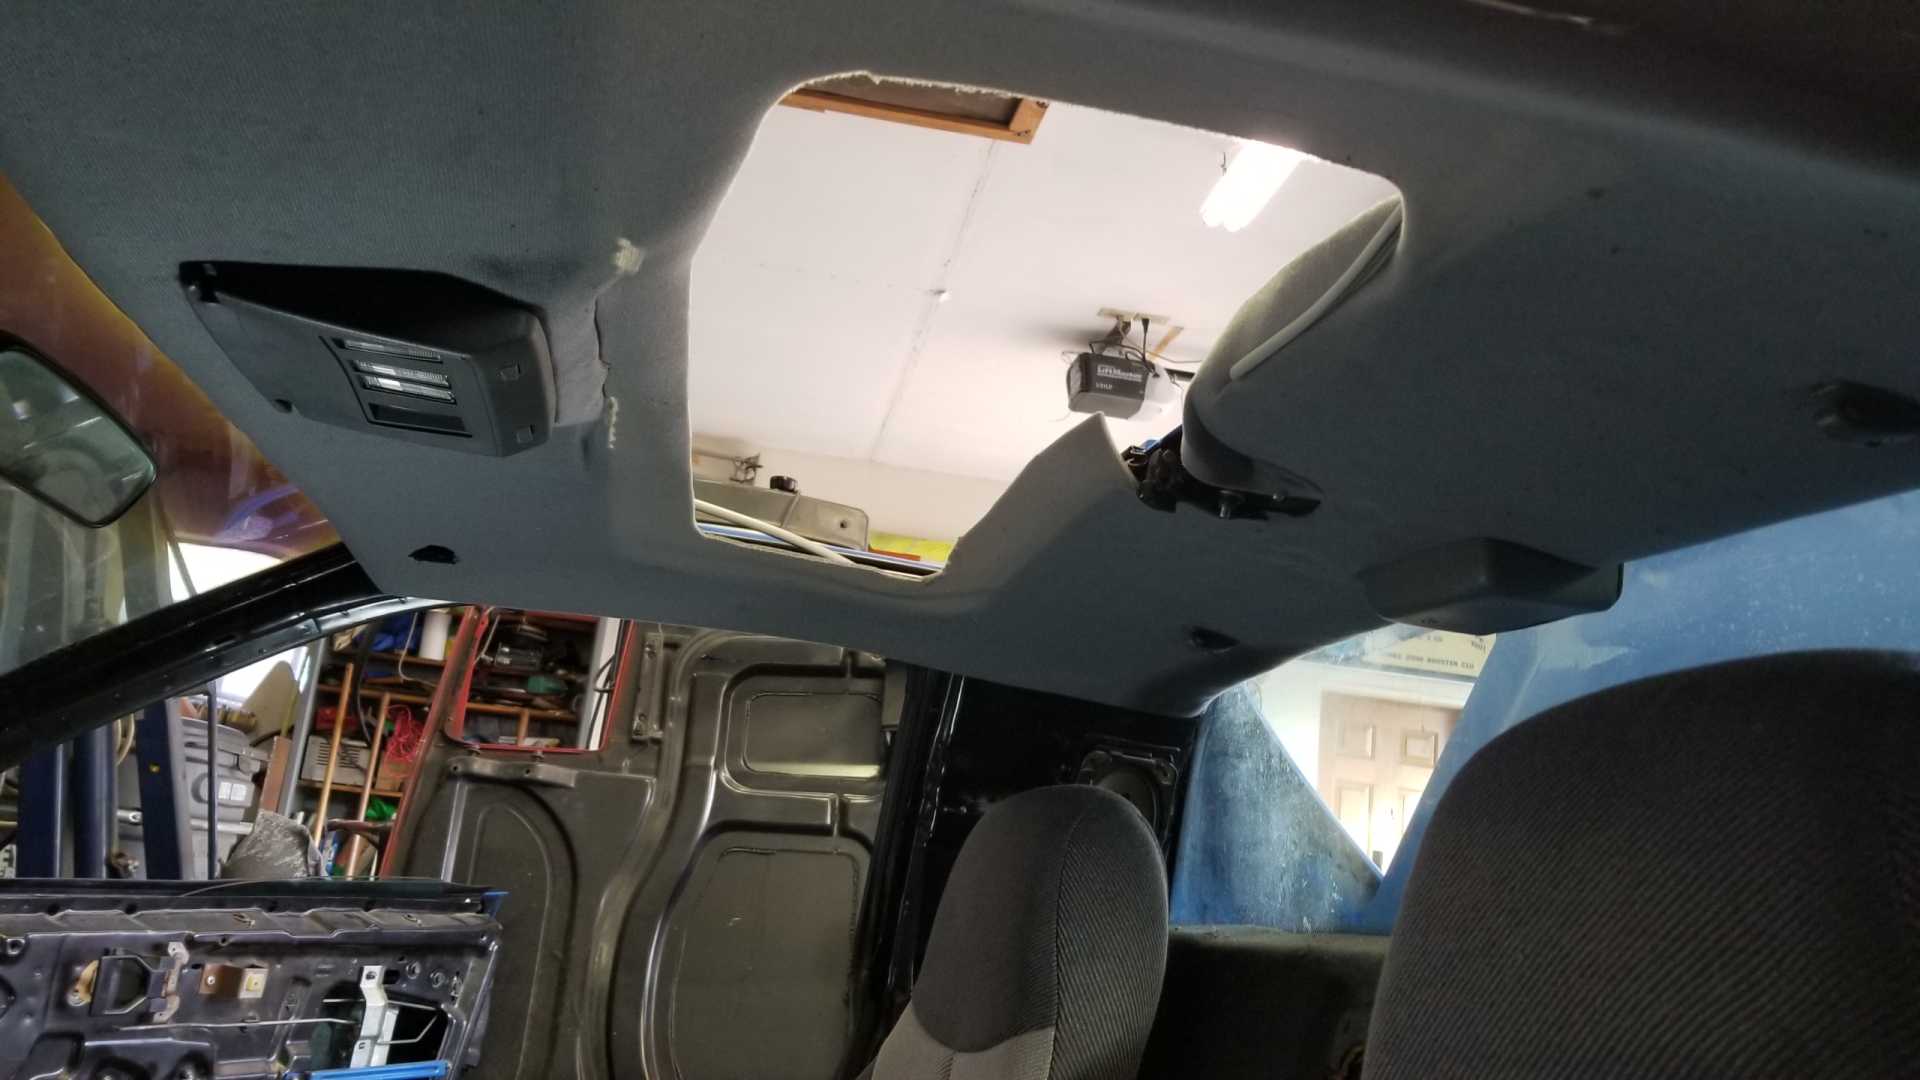
Working on the area under the console gave me some time to just sit in the car and look at the headliner. It just doesn't fit as well as I want it to, so I will pull it out and do it over again.
quote
Originally posted by Quadfather:
The opening for the sunroof is about 3/4" too big and the sides don't have the proper curvature to fit the inside of the roof. I also cut the latch opening too big.
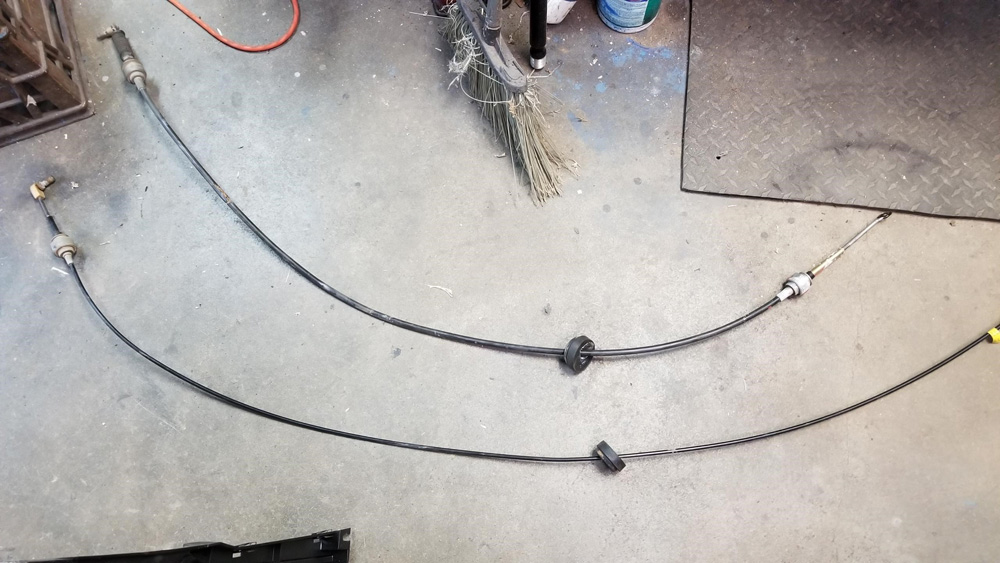
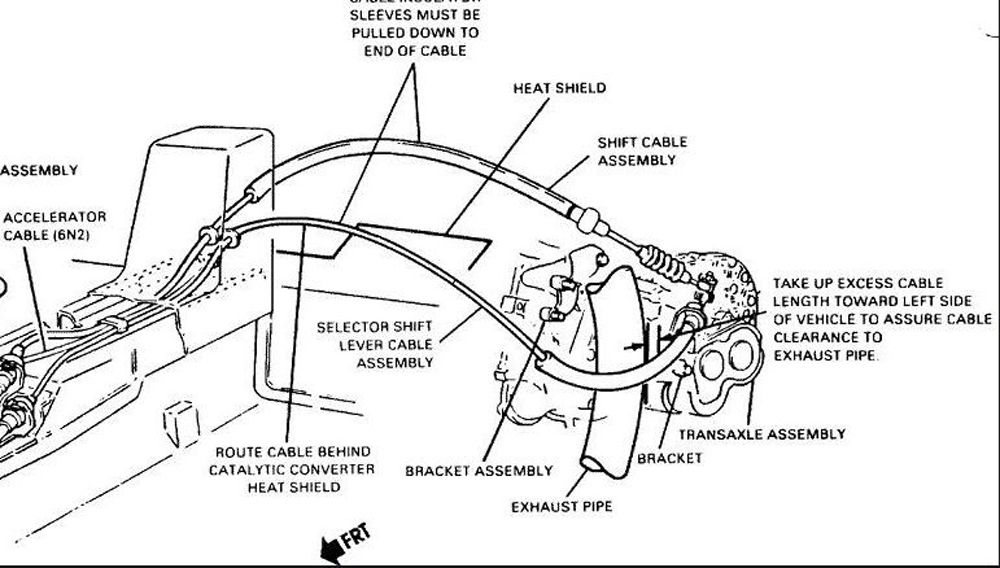
Since the interior is out of the car, I'll be replacing the stock shifter cables with a set I got out of a V6/5-speed car in the salvage five years ago. I didn't mark the cables when I pulled them out of the donor car, so I don't know which one is which. The original cables are covered by rubber hoses in the engine compartment. These V6 cables had some worn out heat shields so I just cut them off.
I did notice the grommet is bigger on one of the salvage yard cables, same goes for the cable in the car.
The exhaust manifold faces the back of the car on the Quad, so the shifter cables will be fine unshielded.
It's been a few years since I tinkered with the shifter cables and related hardware so I don't remember all the details. I was in the middle of fabricating my own shifter cable brackets for my GTZ Getrag when a V6/5-speed Fiero showed up in one of my local salvage yards so I grabbed these cables.
I don't know how anyone else's brain works in a project like this, but for me it's like spinning plates. I study up on each phase, then start the work. If too much time passes between the studying and the work, I have to do the studying all over again because some of the plates have fallen off the sticks.
The good news, since I'm now dealing with shifter cables it means working on the Quad and finishing the swap is getting nearer.
[This message has been edited by Quadfather (edited 10-08-2019).]
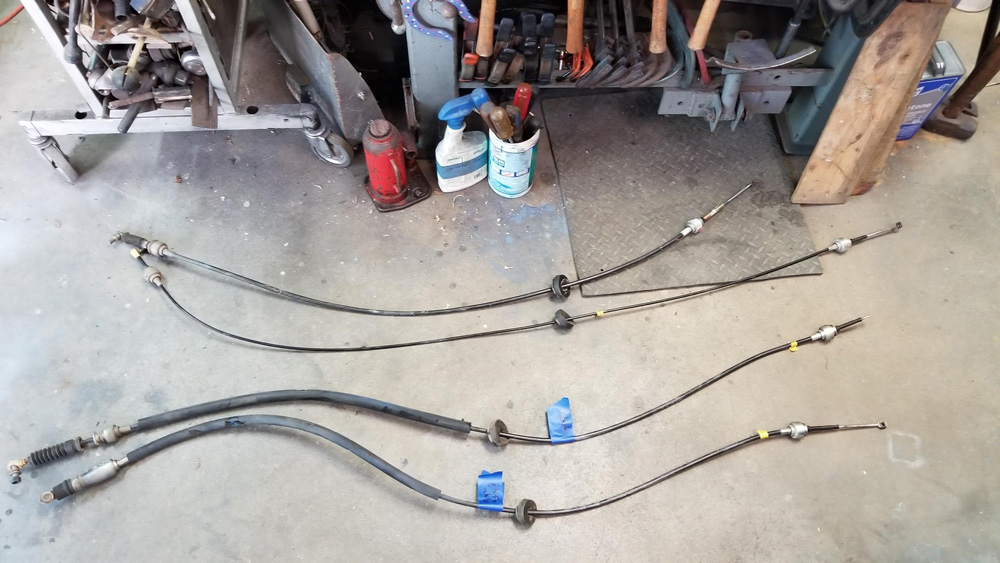
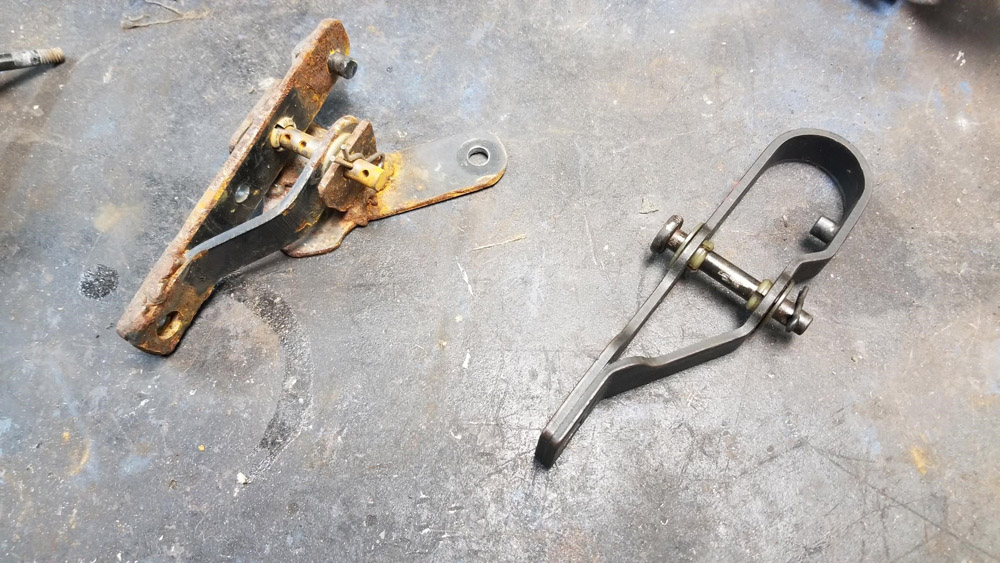
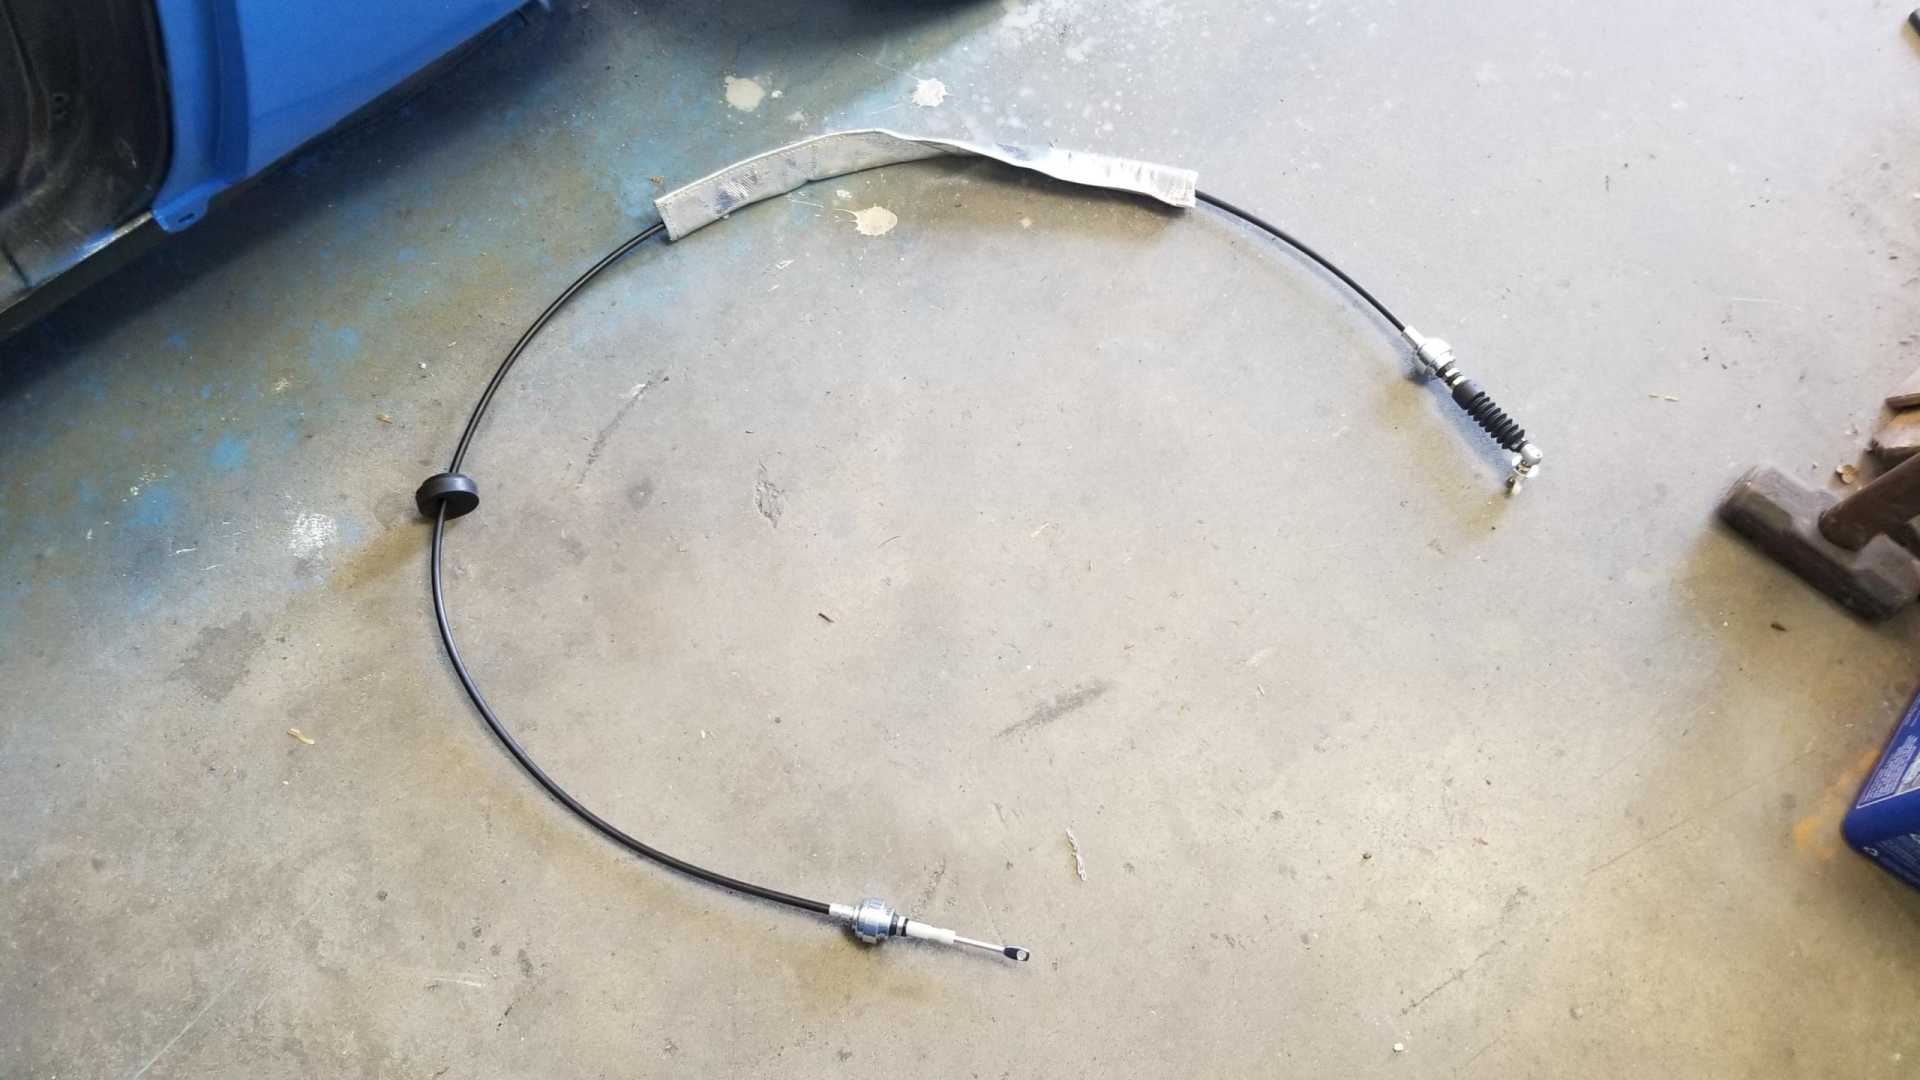
Only had a little time over the weekend to work on the car, so I spent most of it epoxying the console skeleton. While the epoxy was curing, I pulled the stock shifter cables out to compare them to the salvage yard set. In this photo the stock Isuzu cables are on the bottom. They're quite a bit longer than the V-6 Getrag cables.
The shift select cable attaches much lower on the Getrag than the Isuzu cable does, so it has to make a sharp 90-degree turn, which requires it to be much longer than the shift cable.
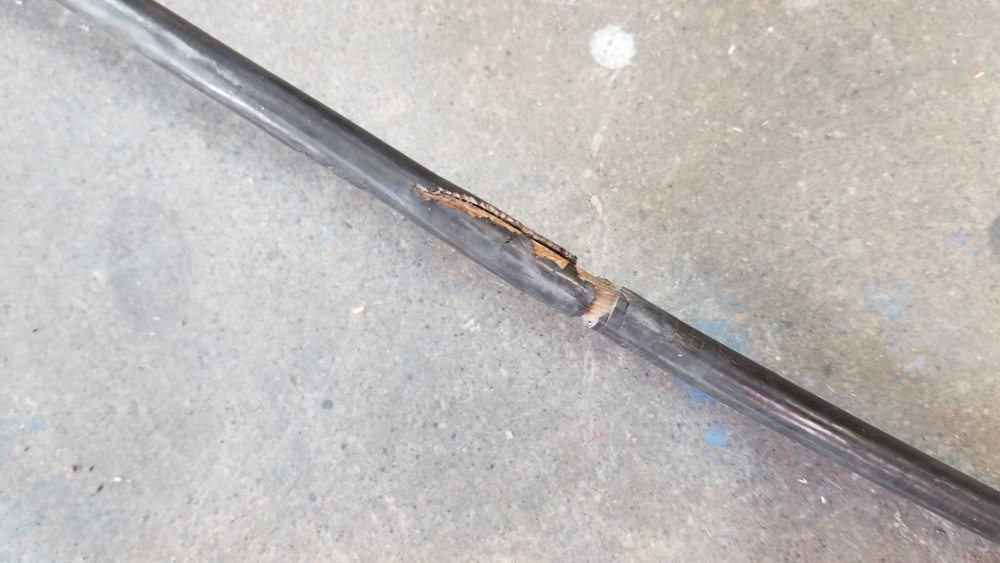
Disappointed to find some damage to the casing in the select cable I bought from the salvage yard.
Haven't decided what to do about it yet. Rodney Dickman sells some nice ones, but at 140 bucks a pop they're pricey. I'll see if I can clean this one up and replace the damaged casing with something.
I also removed my newly reupholstered headliner and ripped the fabric off. Once I scrape and vacuum the foam off, I'll set about cutting it up and making sure it's the right size and shape. I bought more headliner material but had to get black because Hobby Lobby was out of gray.
[This message has been edited by Quadfather (edited 11-26-2019).]
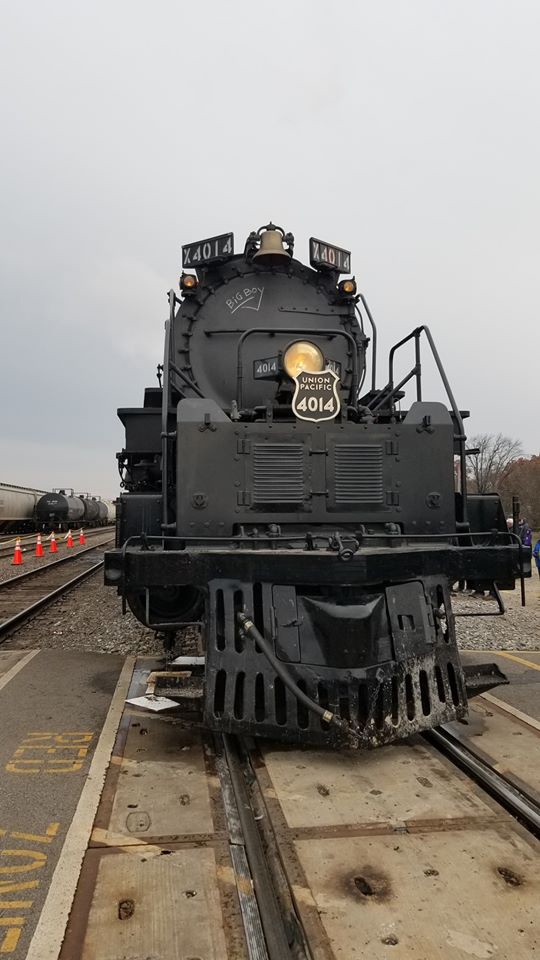
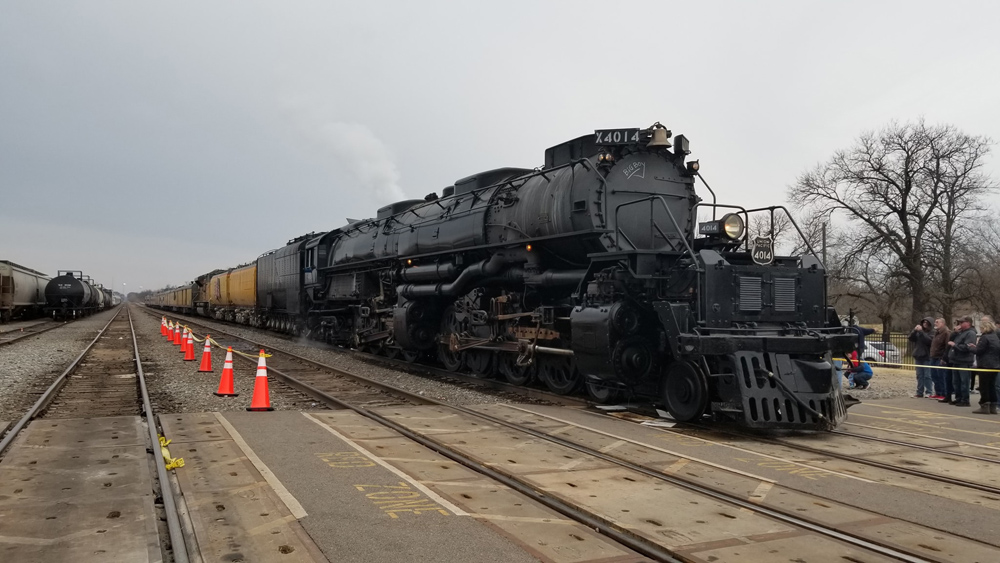
Well, a month has gone by with hardly any progress. I’ve been busy with family events and refereeing soccer games. Over the weekend the Union Pacific #4014 Big Boy steam locomotive came through Oologah and spent the night just up the highway in Coffeyville, so we took advantage of the historic tour.
I did fix the damaged shifter cable and also bought some more tools, but haven’t spent any time on the car. Soccer season is over so I have my weekends back.
[This message has been edited by Quadfather (edited 11-25-2019).]
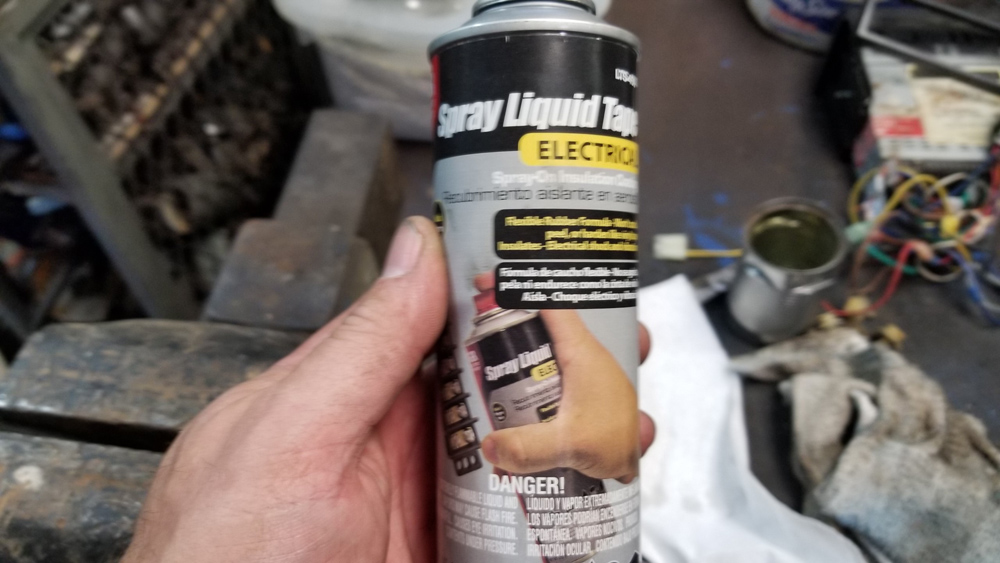
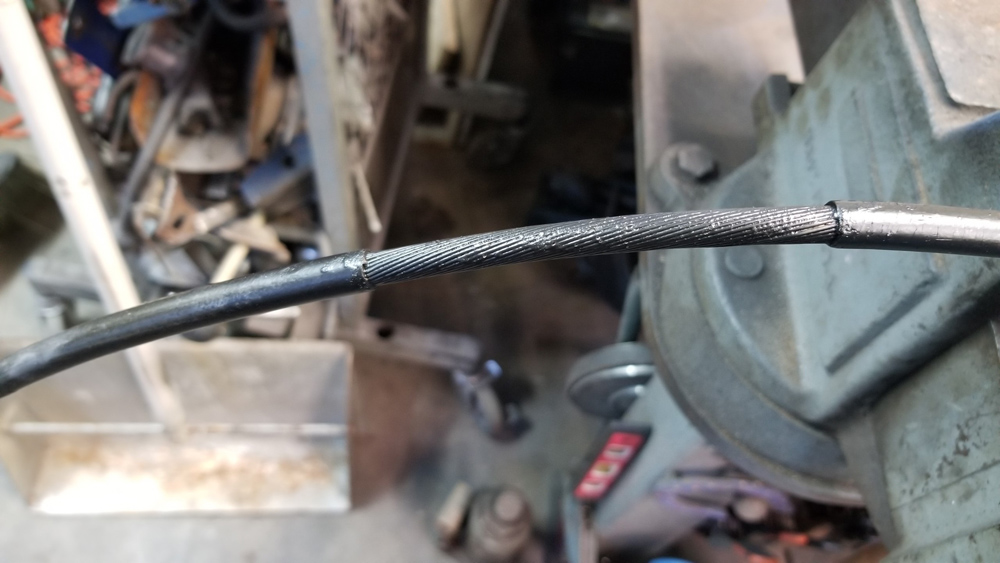
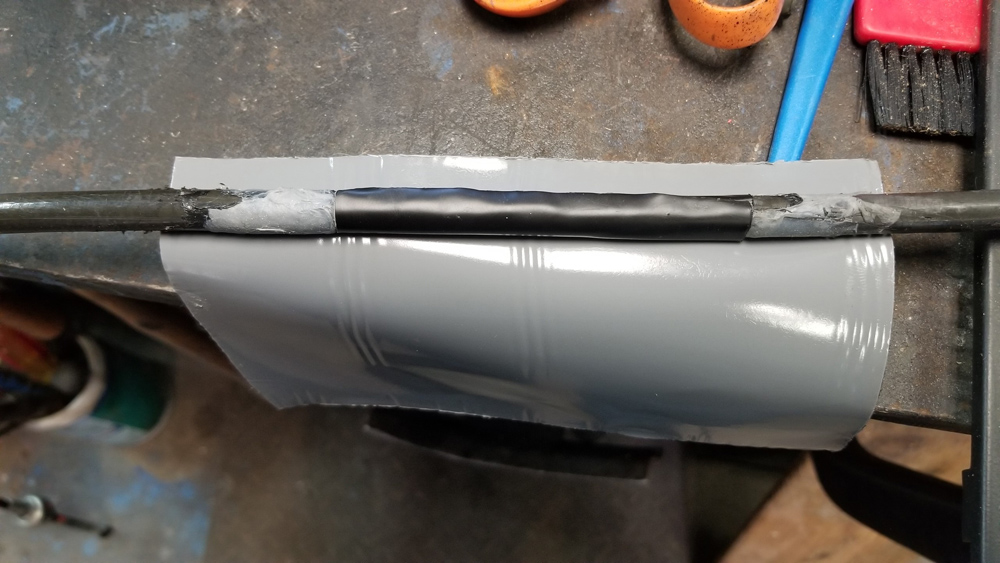
Got some time in the shop last night. Spent most of the time figuring out where I'd left off in October. Here's how I fixed the broken cover on the shift cable. First, I cut off the broken plastic, then wired brushed the steel braid, then sprayed the braid with this stuff.
Then I wrapped the steel with a layer of this sealing tape, then wrapped the repair with a wider piece. The gray stuff on the cable is residue from my first failed attempt.
I don't remember what this tape is called, but it works great. Getting the tape off after deciding I didn't like the first try was really tough.
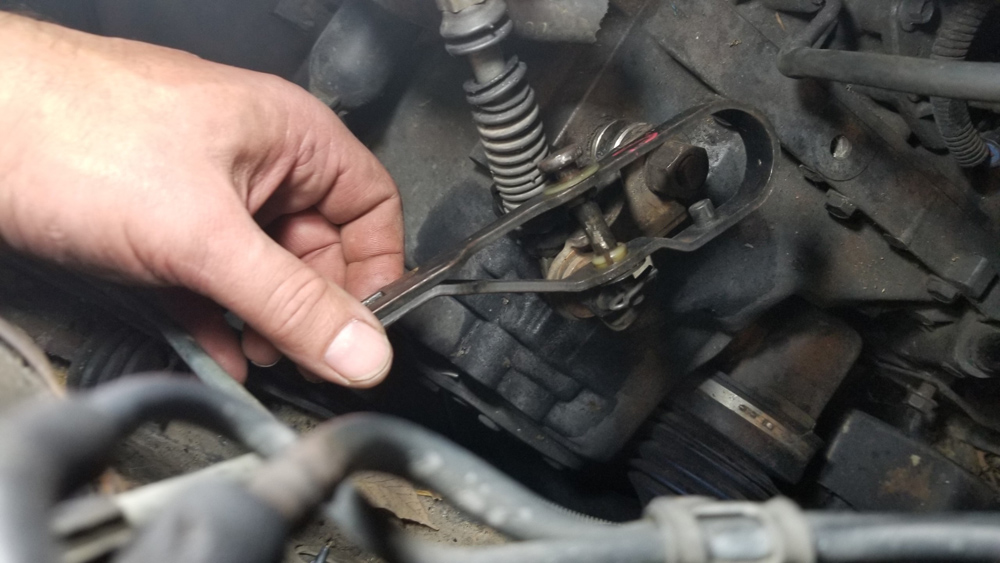
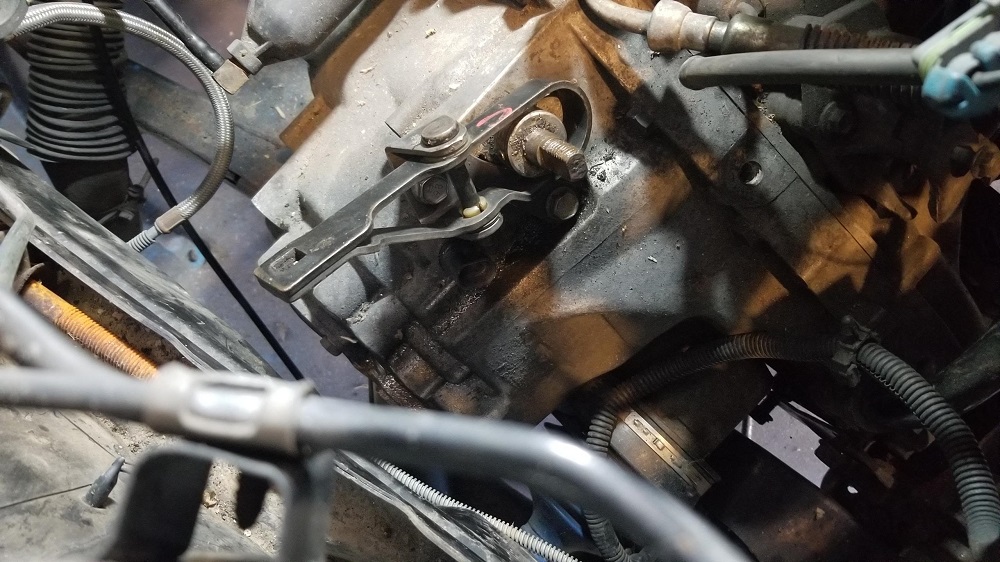
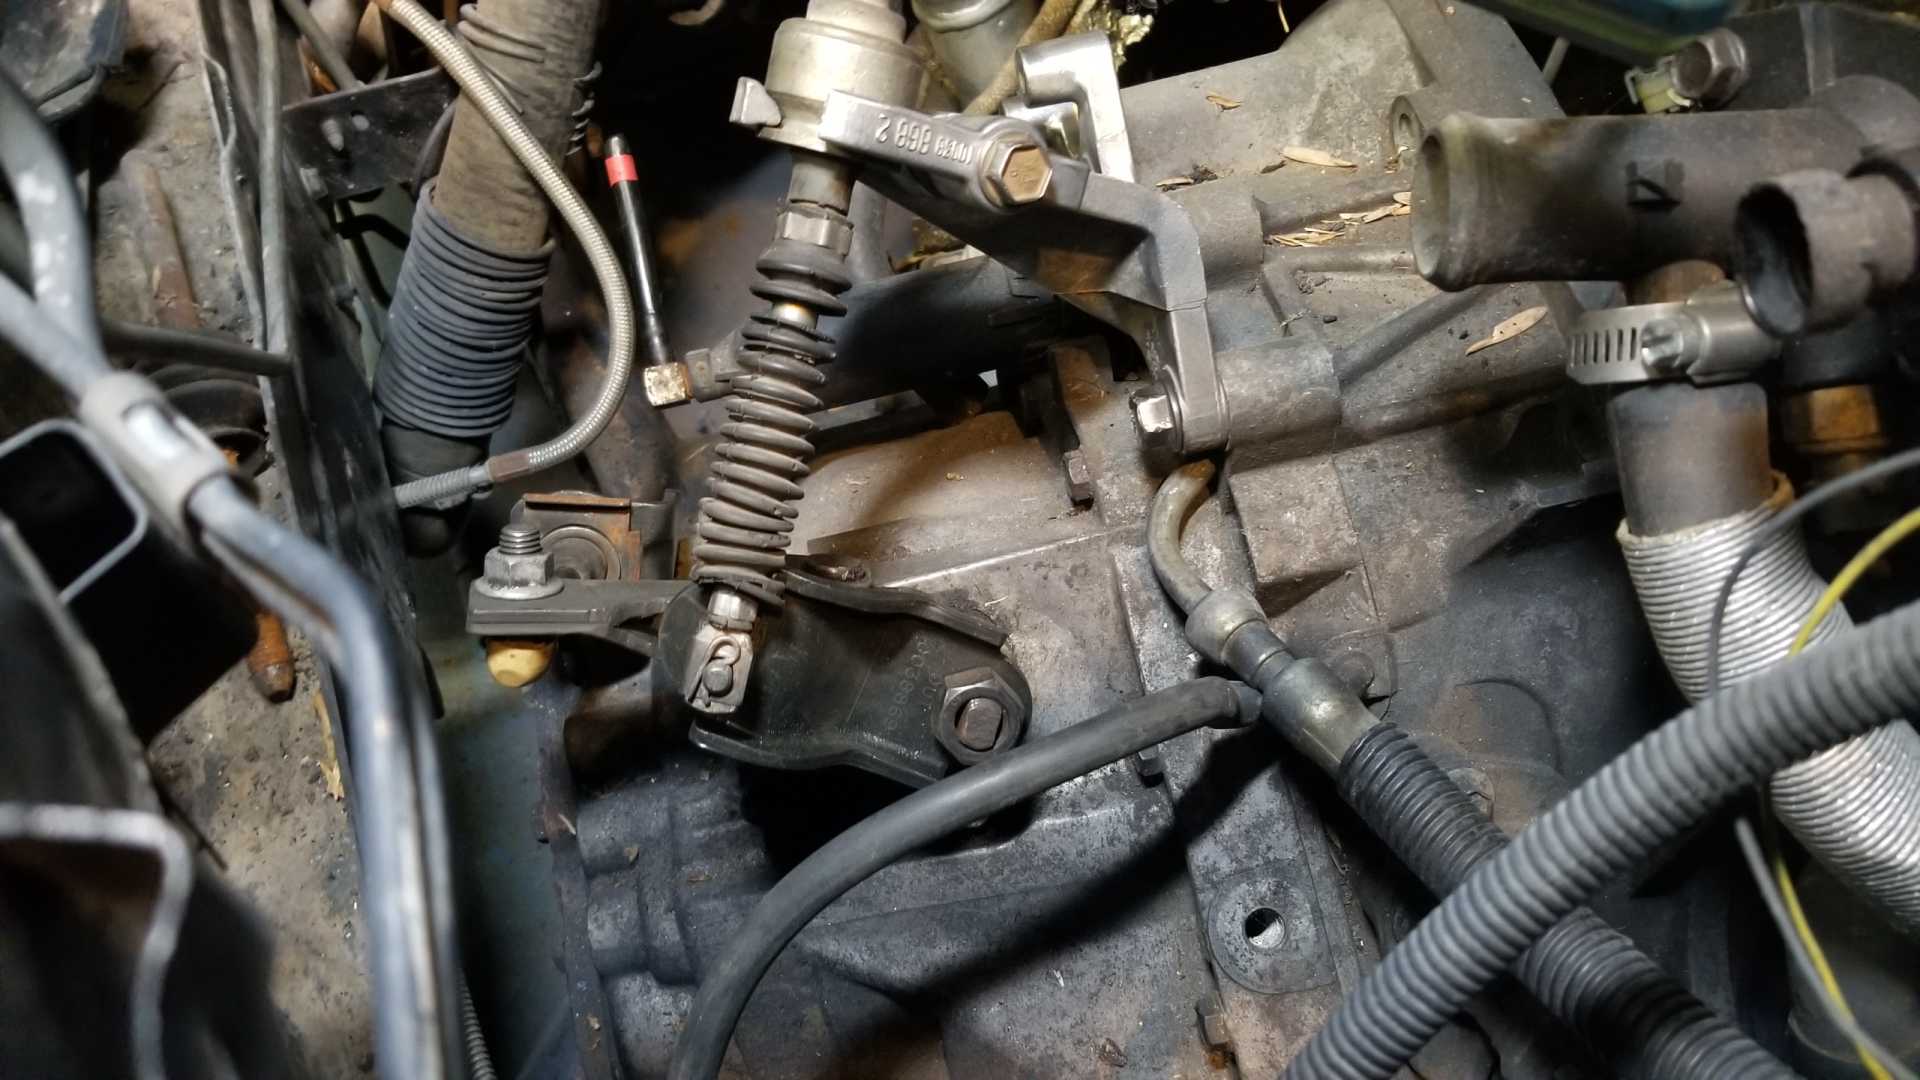
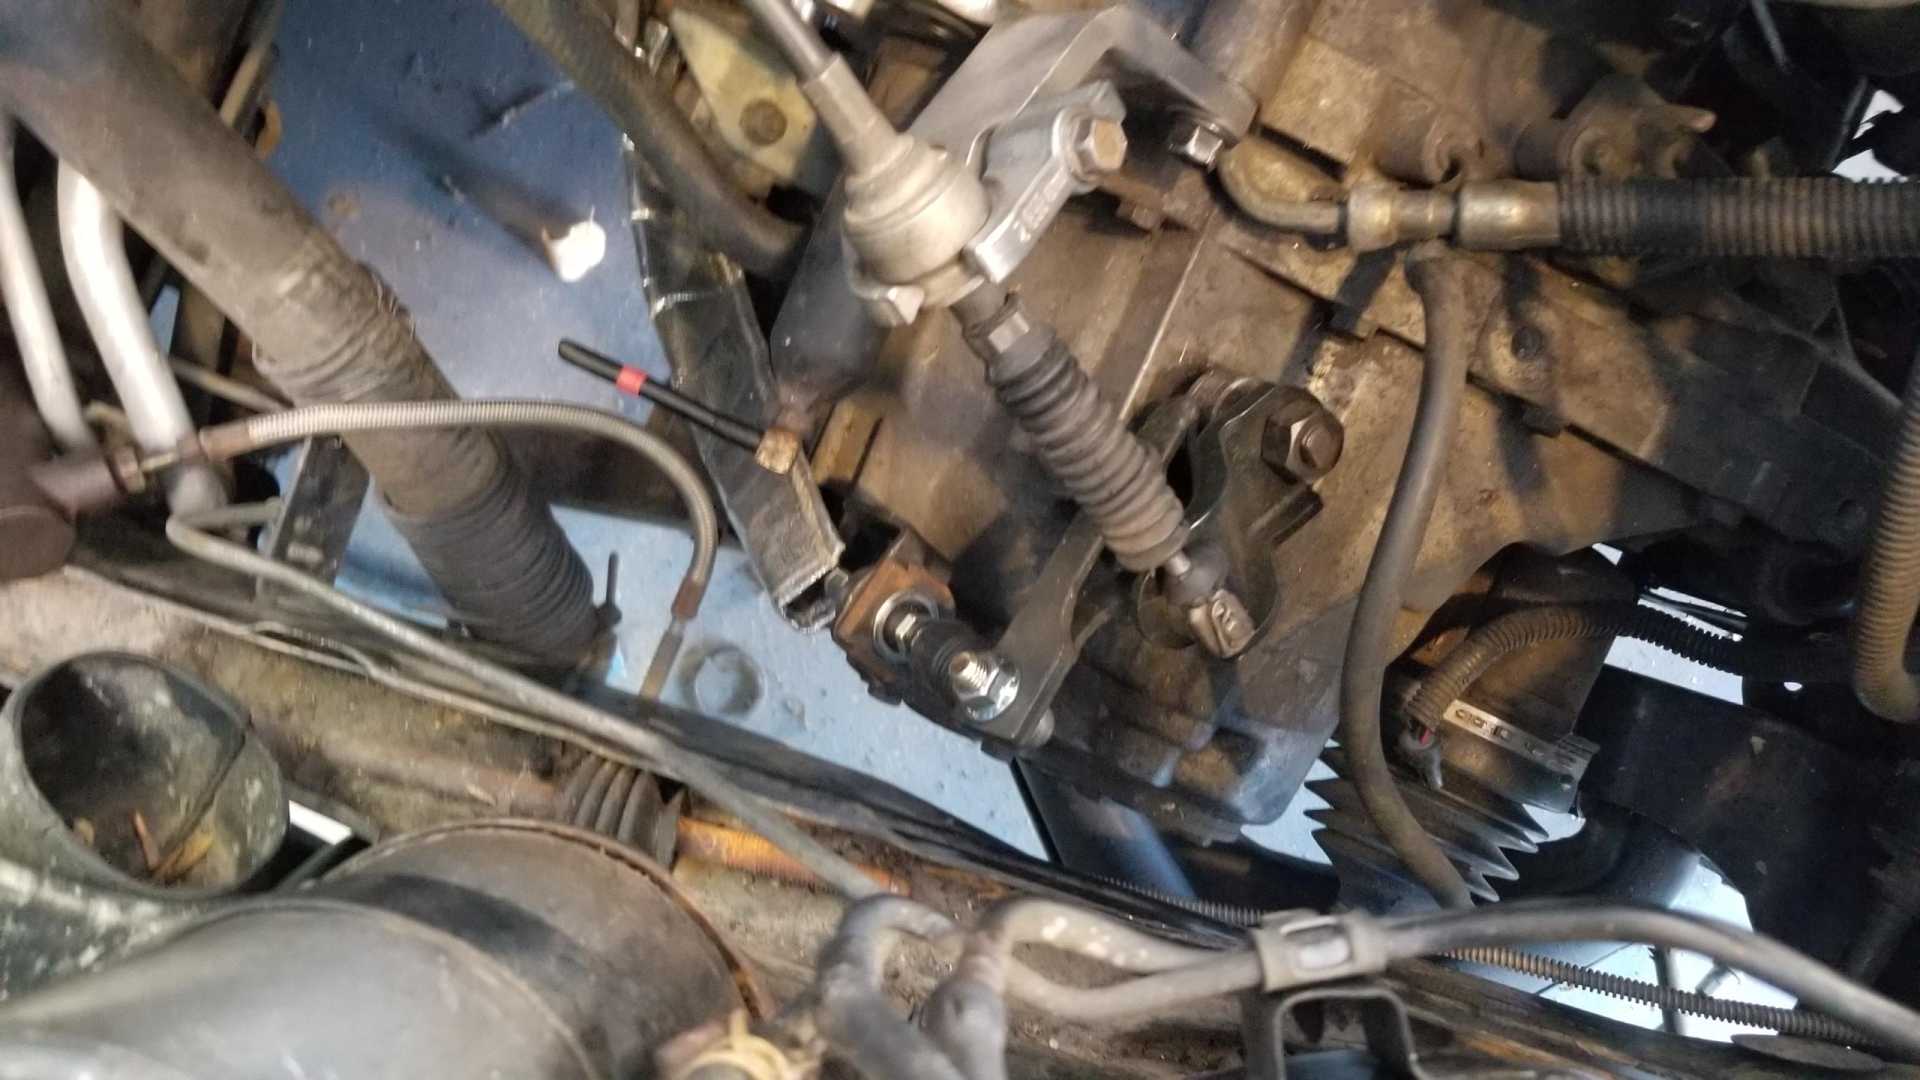
The shift cable has to be routed over the intake manifold and then down to the shift lever.
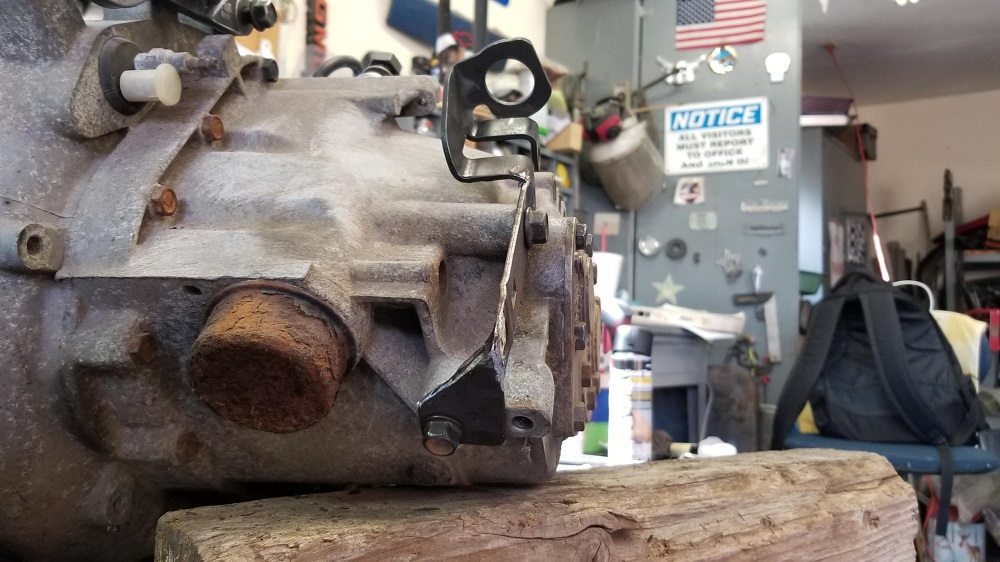
The V6 shift cable bracket has to be tweaked. One bolt hole will work, but the second hole on the GTZ Getrag doesn't line up with the one on the bracket. Plus, the mounting holes for the slave cylinder aren't needed. I'll fix this later when I have the engine cradle out of the car.
The V6 select cable linkage requires a change to the collar on the lever. The collar needs to be rotated 180 degrees so the slot faces the rear of the car.
I think I can drive this pin out, turn the collar and reinstall, but it will have to wait until I have the cradle out of the car again.
As you can see, the pin that rides in the slot is on the side facing the back of the car. The slot on the GTZ transmission faces the front.
I had fabricated my own shift select bracket a few years ago when I found a V6 manual car in the salvage yard. You can see the difference in the pin location.
[This message has been edited by Quadfather (edited 11-20-2019).]
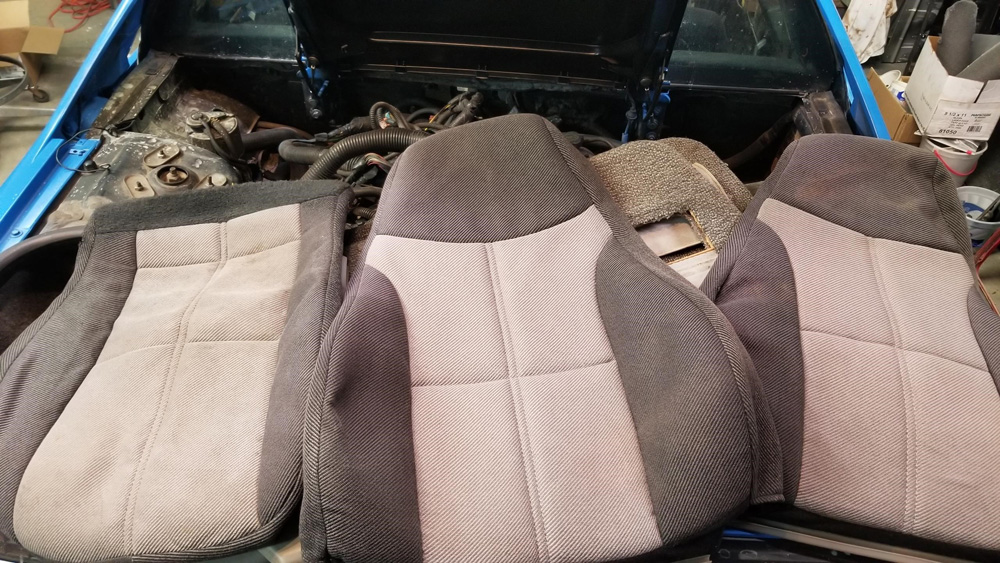
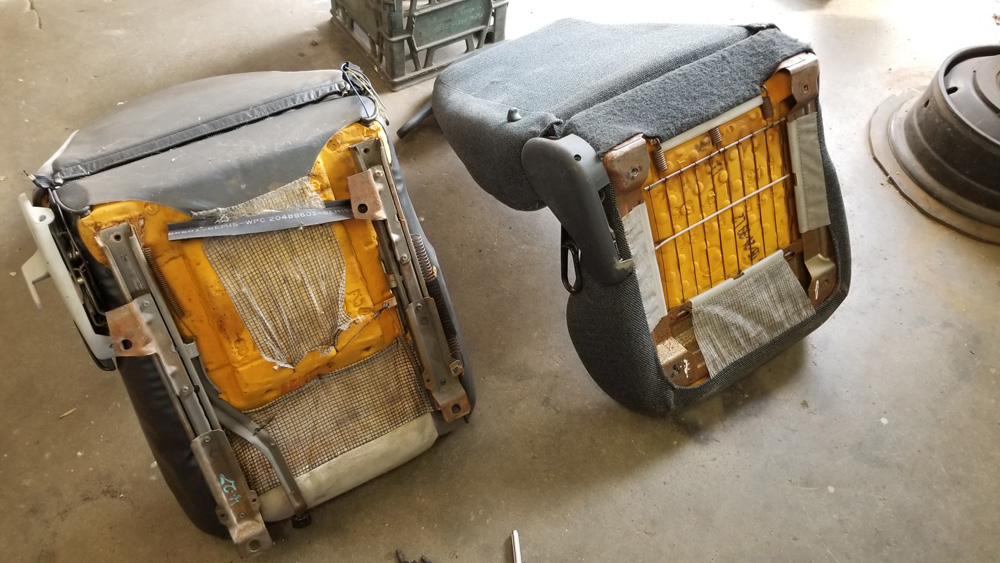
I did my yearly physical provided by my company, which means an excuse to visit the LKQ yard in Oklahoma City. I found 4th-generation Camaro seat covers in better condition than the ones I've already installed.
I'll probably wait to install them until I'm done with the interior, so as not to stain or damage them.
Here's the reason I didn't get any work done last weekend. The Union Pacific locomotive #4014 Big Boy came through my hometown, then spent the night just up the road in Coffeyville, Kansas. I'd seen it in Nebraska in August and it was worth seeing it again.
It's now headed across Kansas into Colorado as it wraps up this tour. You should see it if you can.
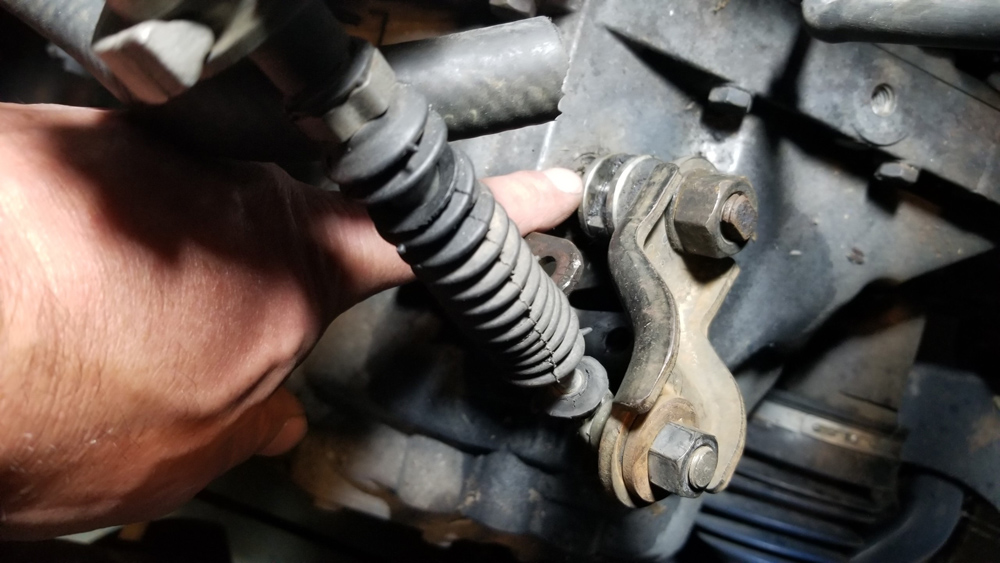
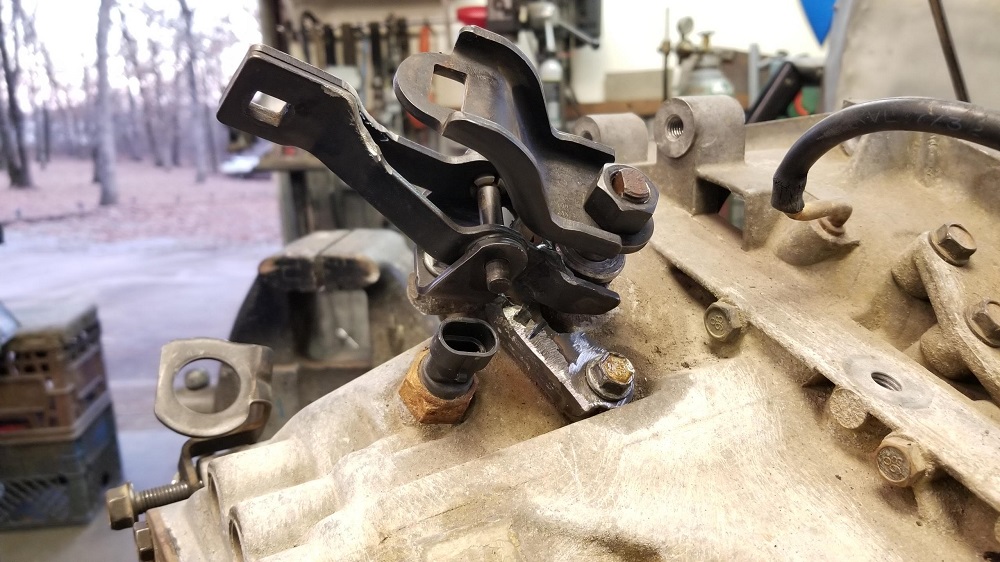
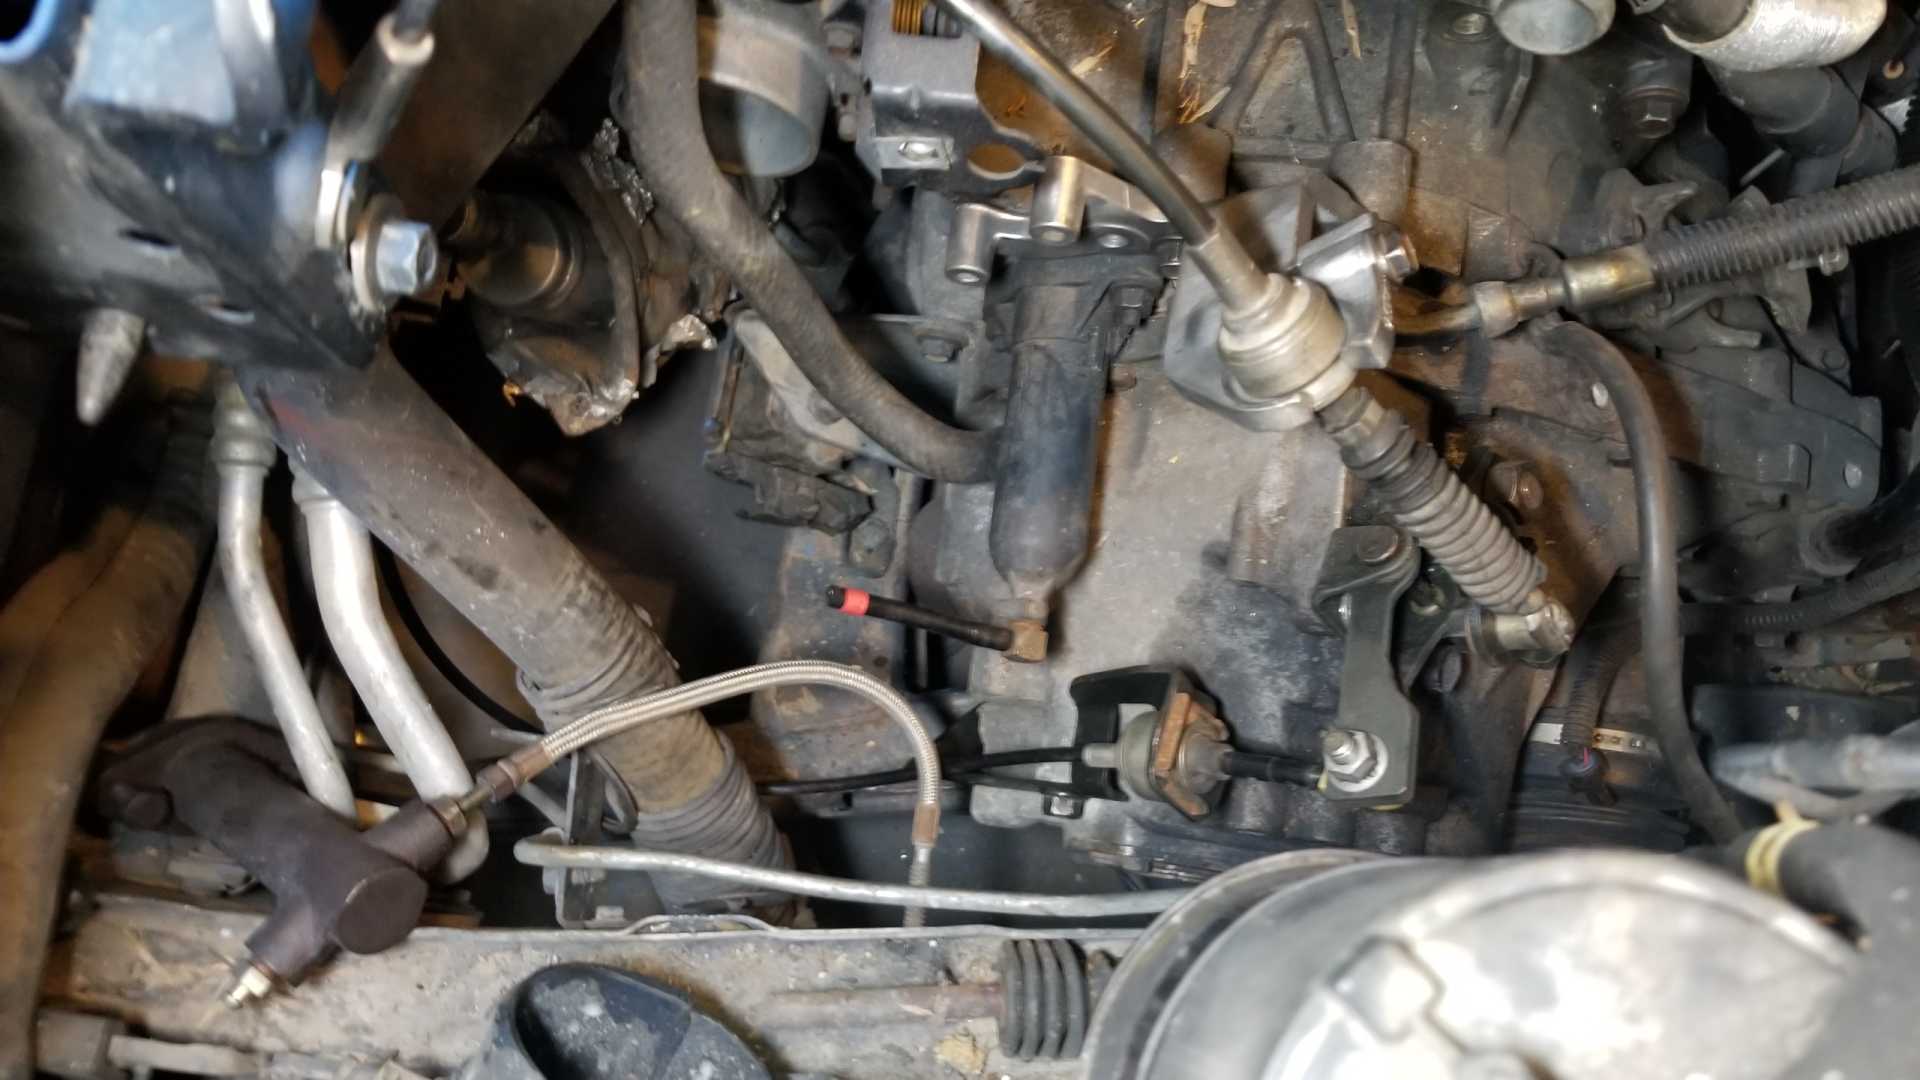
Spent some time in the shop yesterday trying to sort out the shift linkage. I used a spare FWD Getrag to test removing the pin from the shift collar, then decided to try it on the transmission that's in the Fiero. The roll pin is a tight fit.
I had to move stuff out of the way to be able to swing the hammer to hit the punch, but it worked. When I installed the select linkage, I discovered a problem.
The loop on the engine side of the shift select lever hits the tranmission case, preventing the lever from moving the rod in.
I'm considering cutting off the loop, where the tape is in this photo, and welding in a piece of metal where the piece of wood is, or maybe on the other side of the hinge, closer to the shift rod.
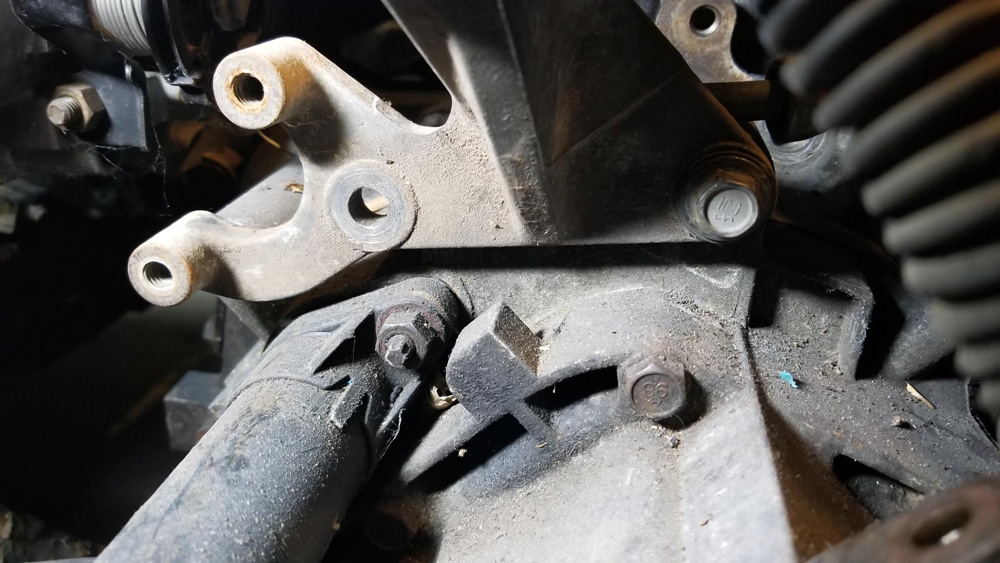
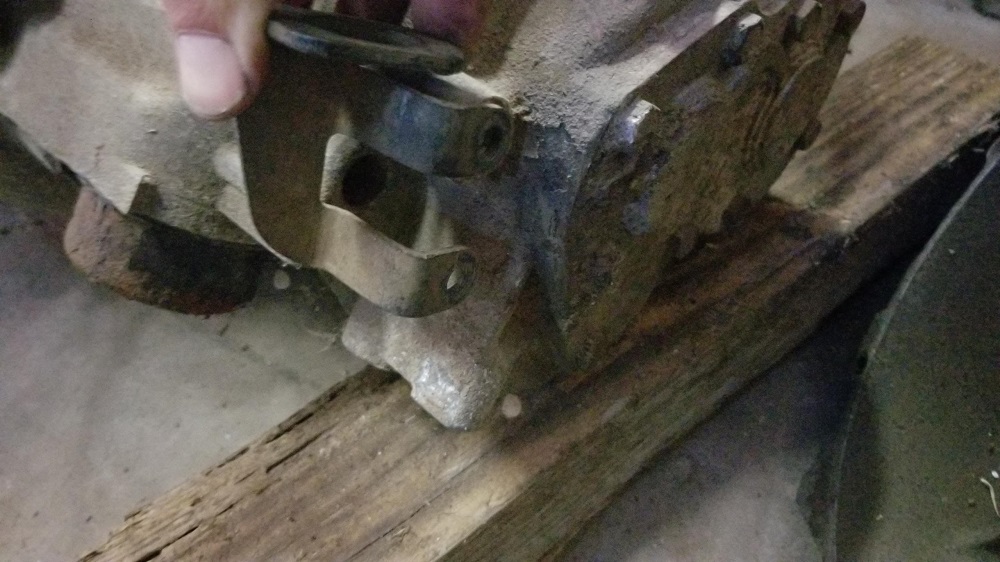
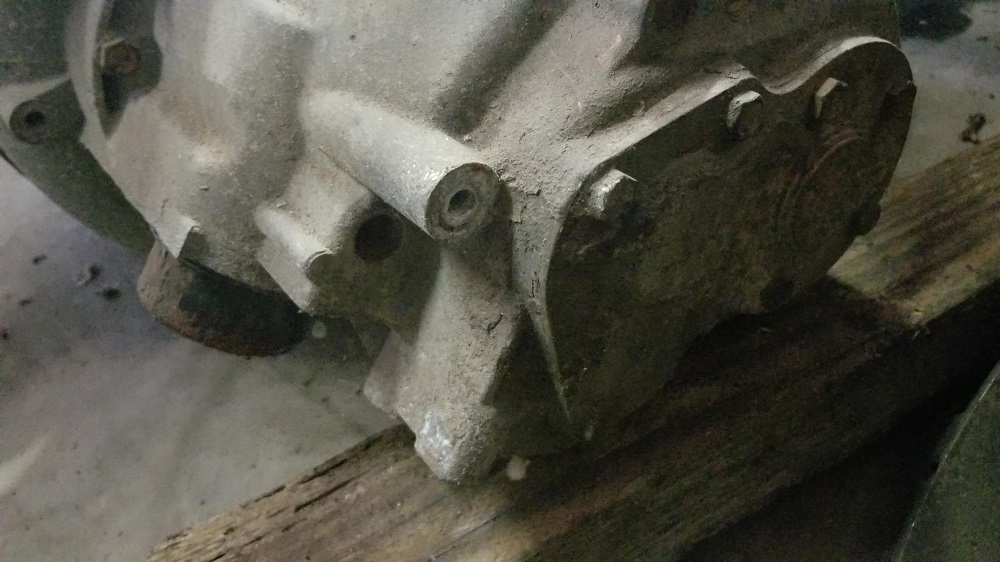
The other issue to address is mounting the bracket for the select cable. The GTZ Getrag only has one boss and bolt hole where the Fiero Getrag has two. These photos are from a spare Quad 4 transmission sitting on the floor in the shop.
I know I've seen photos of how others have solved this, but I'll have to look around the internet to refresh my memory. IIRC, the process involves welding a flange onto the bracket that will allow it to use one of the bolts for the inspection cover on the end of the transmission.
SIDE NOTE: This transmission came from a Quad 4 enthusiast in New Mexico. Five or six years ago I saw a post on the Quad 4 forum from him, saying he didn't need this transmission anymore and wanted it to go to a good home, for free. One of my brothers was about to take a trip out west, including a drive through New Mexico, so we worked it out for him to bring it back for me. Unfortunately, we made all the arrangements via the Quad 4 forum, which is no longer accessible, so I don't remember what vehicle the transmission came out of or even his name. I'm pretty sure it came out of a 442. I'm not planning to use it in this swap, but that may change. In the very least, it's helpful to have a second transmission that's out of a car to use as a model.
[This message has been edited by Quadfather (edited 11-24-2019).]
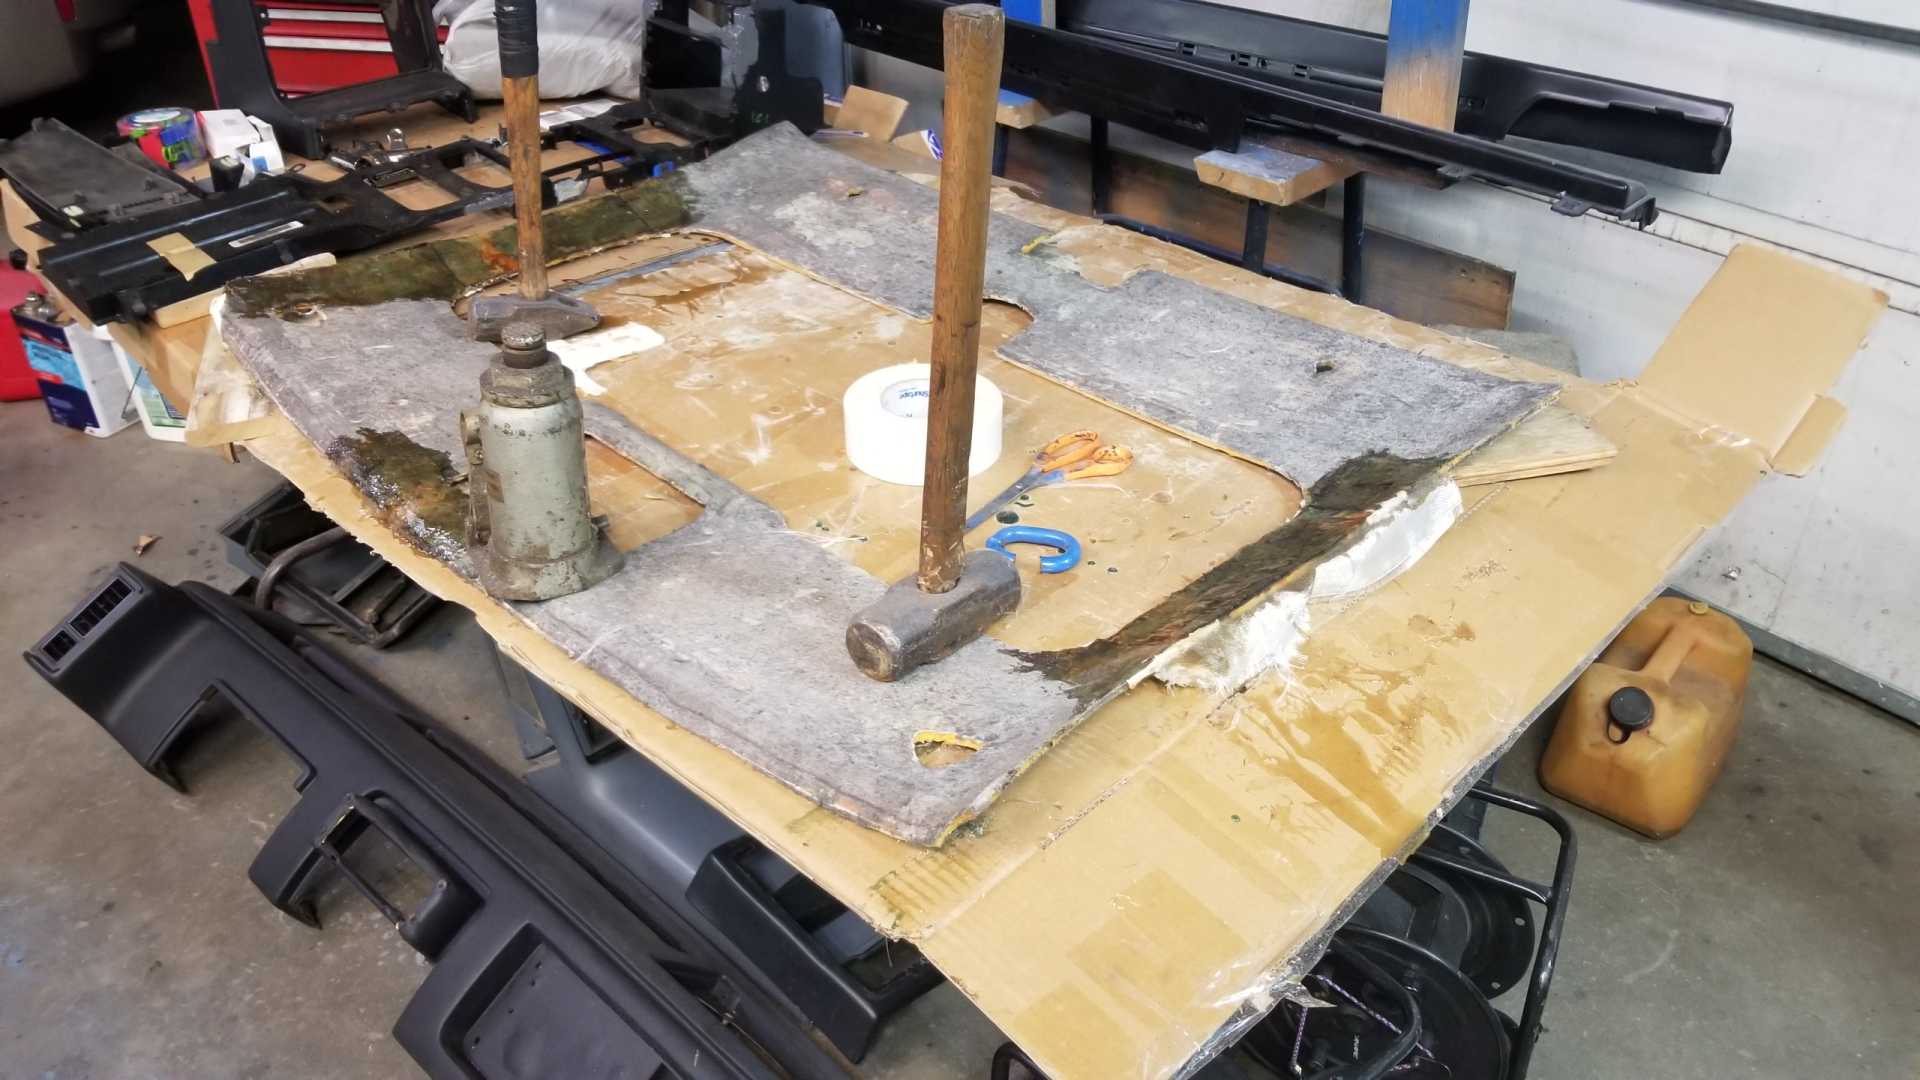
I also scraped the foam from my first attempt at upholstering my Frankenstein headliner backer board. What a mess.
As I mentioned, I pieced this backer board together from parts of three salvage yard boards. I didn't get the dimensions just right, but I also didn't get the shape and curvature right, either. You can see one of the problems in this photo.
I'll be working on this today. I'm on vacation this week and the weather looks good, so I'm hoping to make good progress on the interior.
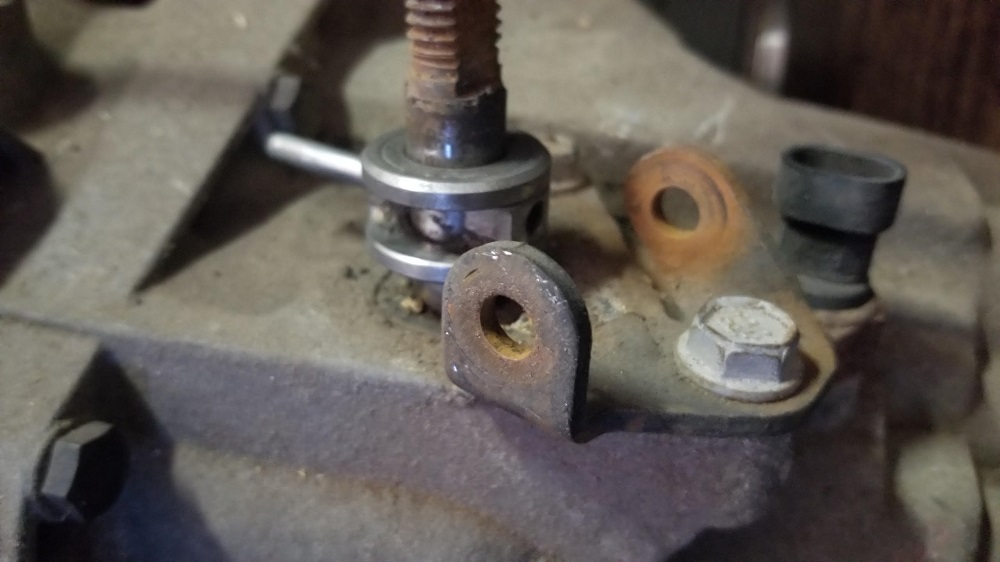
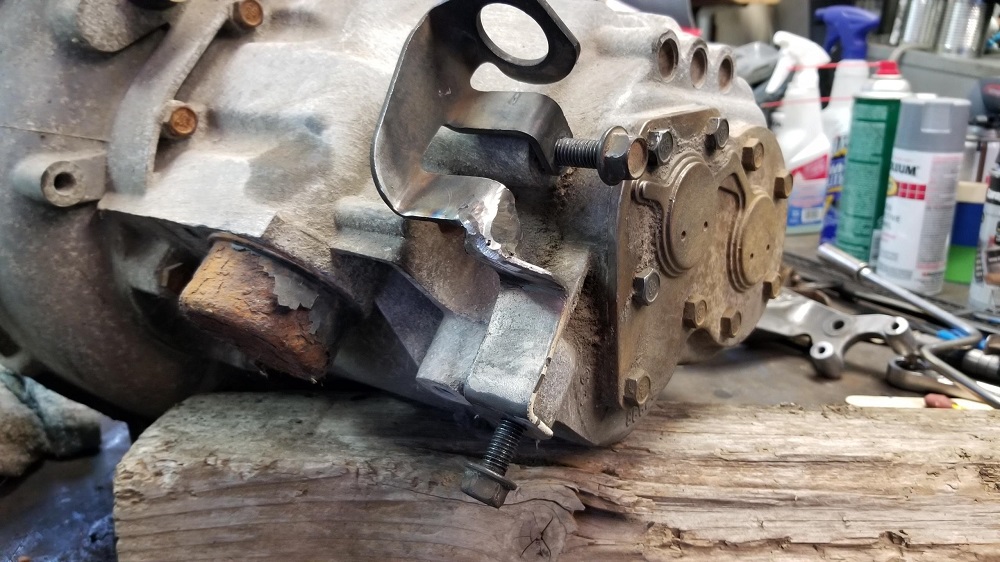
When I checked the fit, I found a new problem. The lever hit the mounting flange, so I cut out a section of the flange then welded a small piece of metal down its length to reinforce what was left.
I modified the select cable bracket to fit the GTZ Getrag.
When I installed everything on the transmission, I discovered a problem. The mount put the select cable end about 2" too short of the select lever.
The reason for this was something very obvious that I'd just missed. The GTZ transmission only has one boss for a bracket. Years ago I'd seen how Sardonyx had handled this in his thread. His Quad Getrag has the same two bosses as the Fiero, they just needed to be tapped:
quote
Originally posted by sardonyx247:
For the side bracket the holes are there, but not tapped out, They have to be drilled out a little and then tapped. Make sure to use a good quality tap, like Craftsman, the cheap Harbor Freight taps make the hole a bit bigger and then the bolts are loose.
The lower side bracket on.
[This message has been edited by Quadfather (edited 11-27-2019).]
I guess GM used some different Getrag cases with Quad engines over the years. To fix this, I changed the size and shape of the extra metal I welded to the bracket. To get the right mounting position, I moved the linkage from the engine side while watching the shifter through the back window.
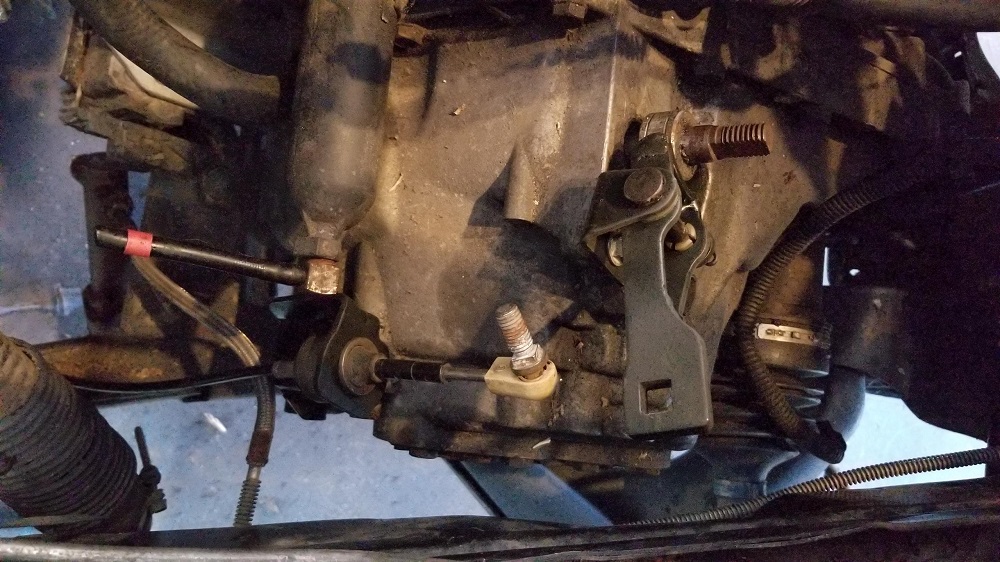
With everything installed, I sat in the seat and shifted the transmission. The select cable side of it felt pretty stiff so I will likely replace it with a Rodney Dickman cable. The shift cable side worked perfectly.
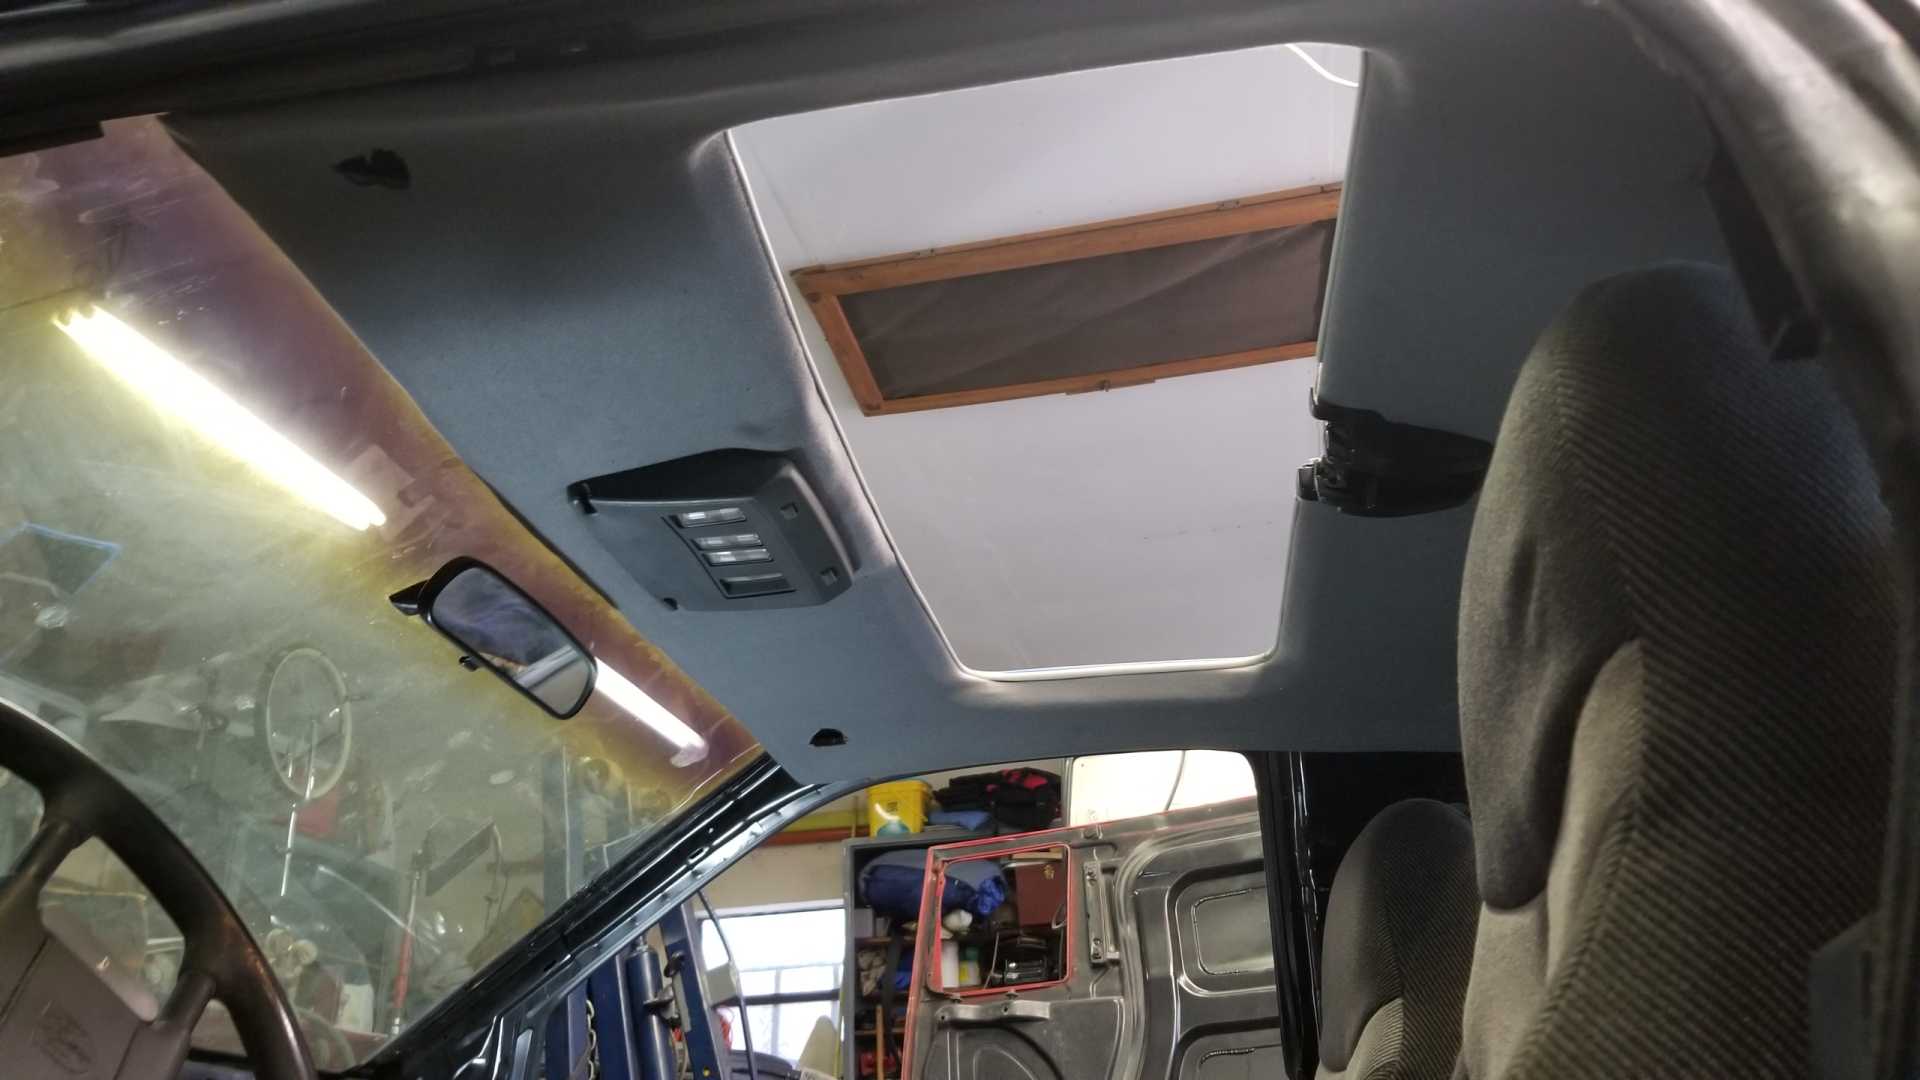
Then I moved back to the headliner. After careful consideration, I decided the best way to fix it was to cut the side pieces off.
I mounted the front and rear pieces in the car, then trimmed the side pieces to fit. I discovered the right side was about a half-inch longer than the driver's side, which was also about an eighth of an inch too long. To put them back together I used some duct tape that I found at work. Somehow it's even stickier than regular duct tape.
I also ground down the joints I'd fiberglassed together, and added some curvature.
When I get over to the shop this morning, I will either duct tape the whole backer board or get out the fiberglass resin again. Either way, I want to reupholster it and get it back in the car today.
I sanded and shaped the backer board to get it ready for the fabric. While attaching the fabric I made a big wrinkle, so I just ripped it all off and will have to get more tomorrow.
On the shift linkage front, here's what it looks like installed.
[This message has been edited by Quadfather (edited 12-01-2019).]
I’m having trouble logging in on my Android phone, so I’ve switched to the iPad.
I ordered a new select cable from Rodney and installed it today. Shifting through the gears is much easier now (of course, it’s without the clutch pedal hooked up to the slave cylinder).
[This message has been edited by Quadfather (edited 12-13-2019).]
I tried gluing a new section of headliner material onto the backer board and screwed it up yet again. I’ll get some more material tomorrow. I figured out what I was doing wrong.
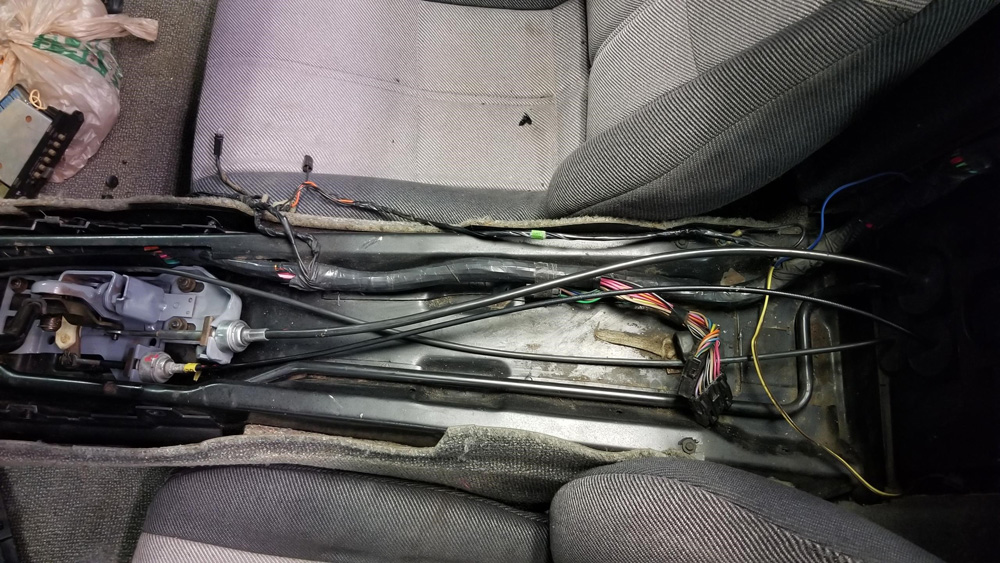
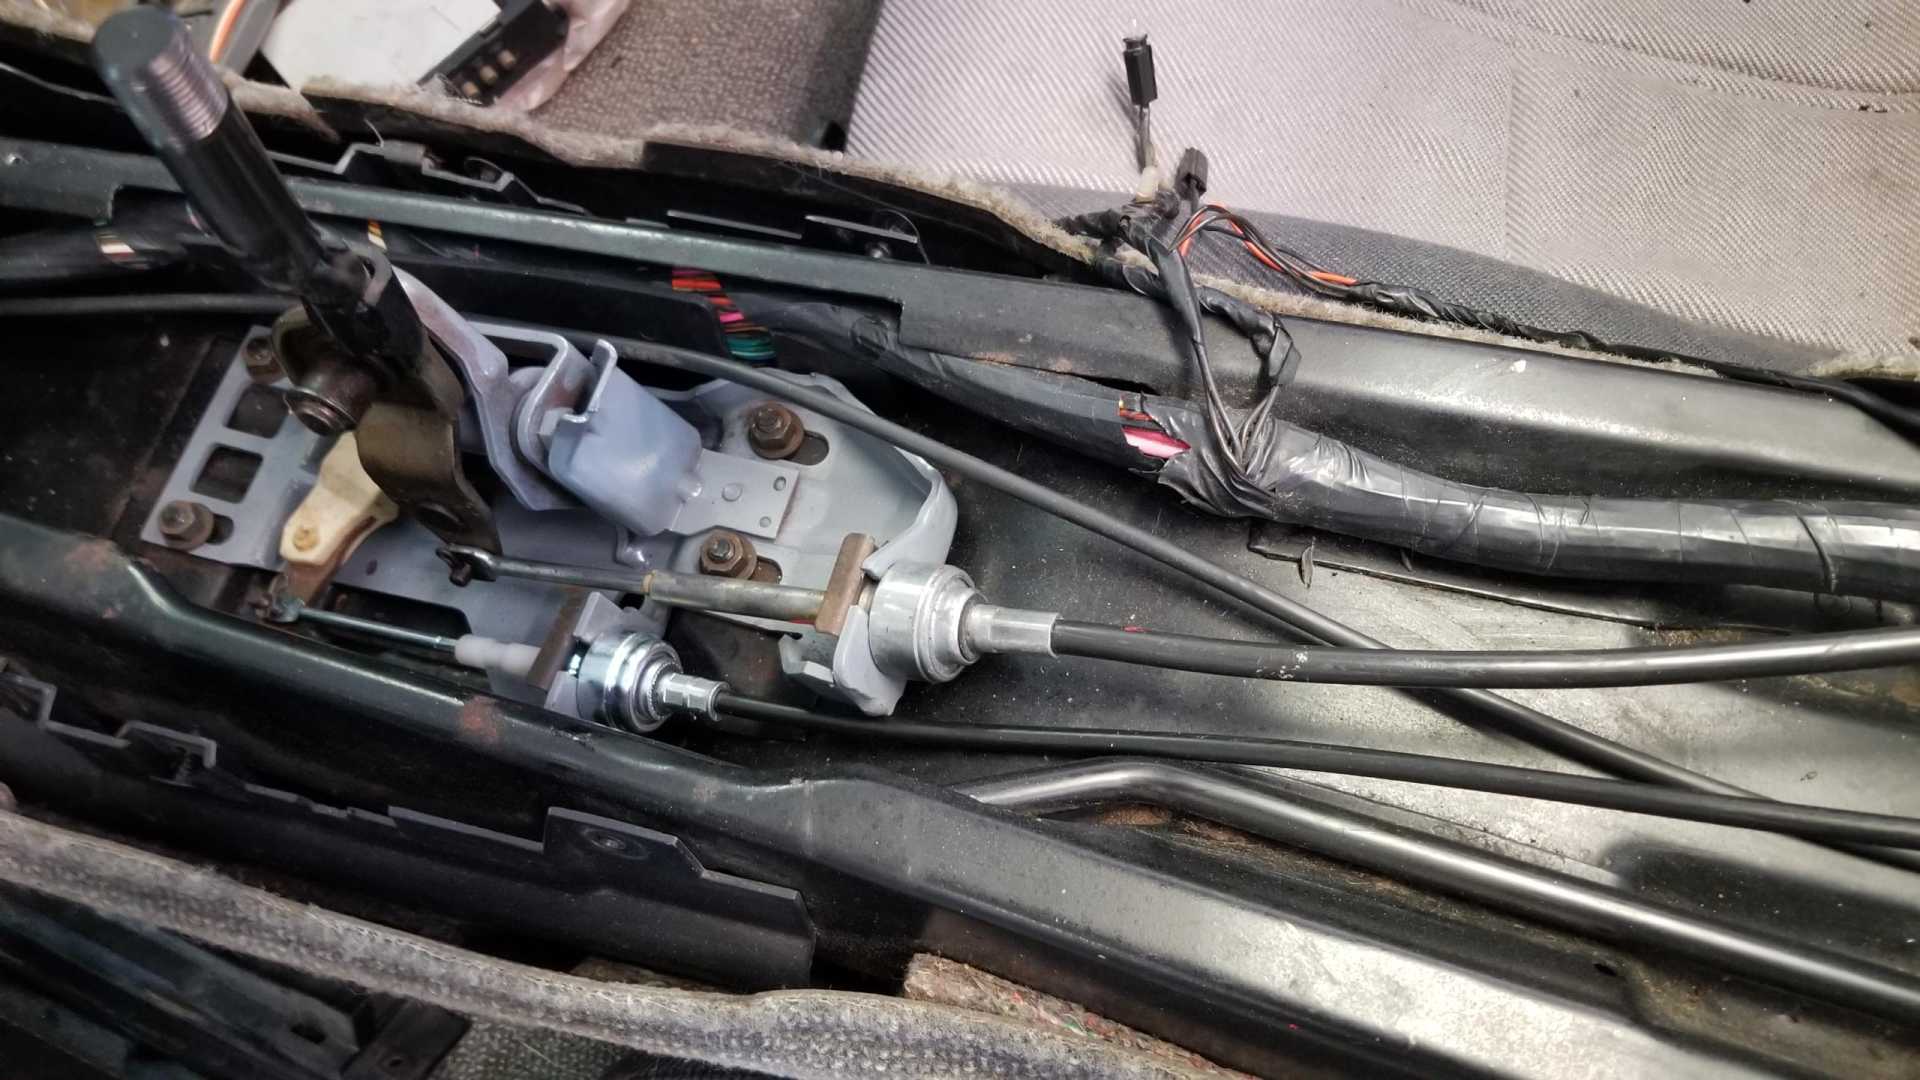
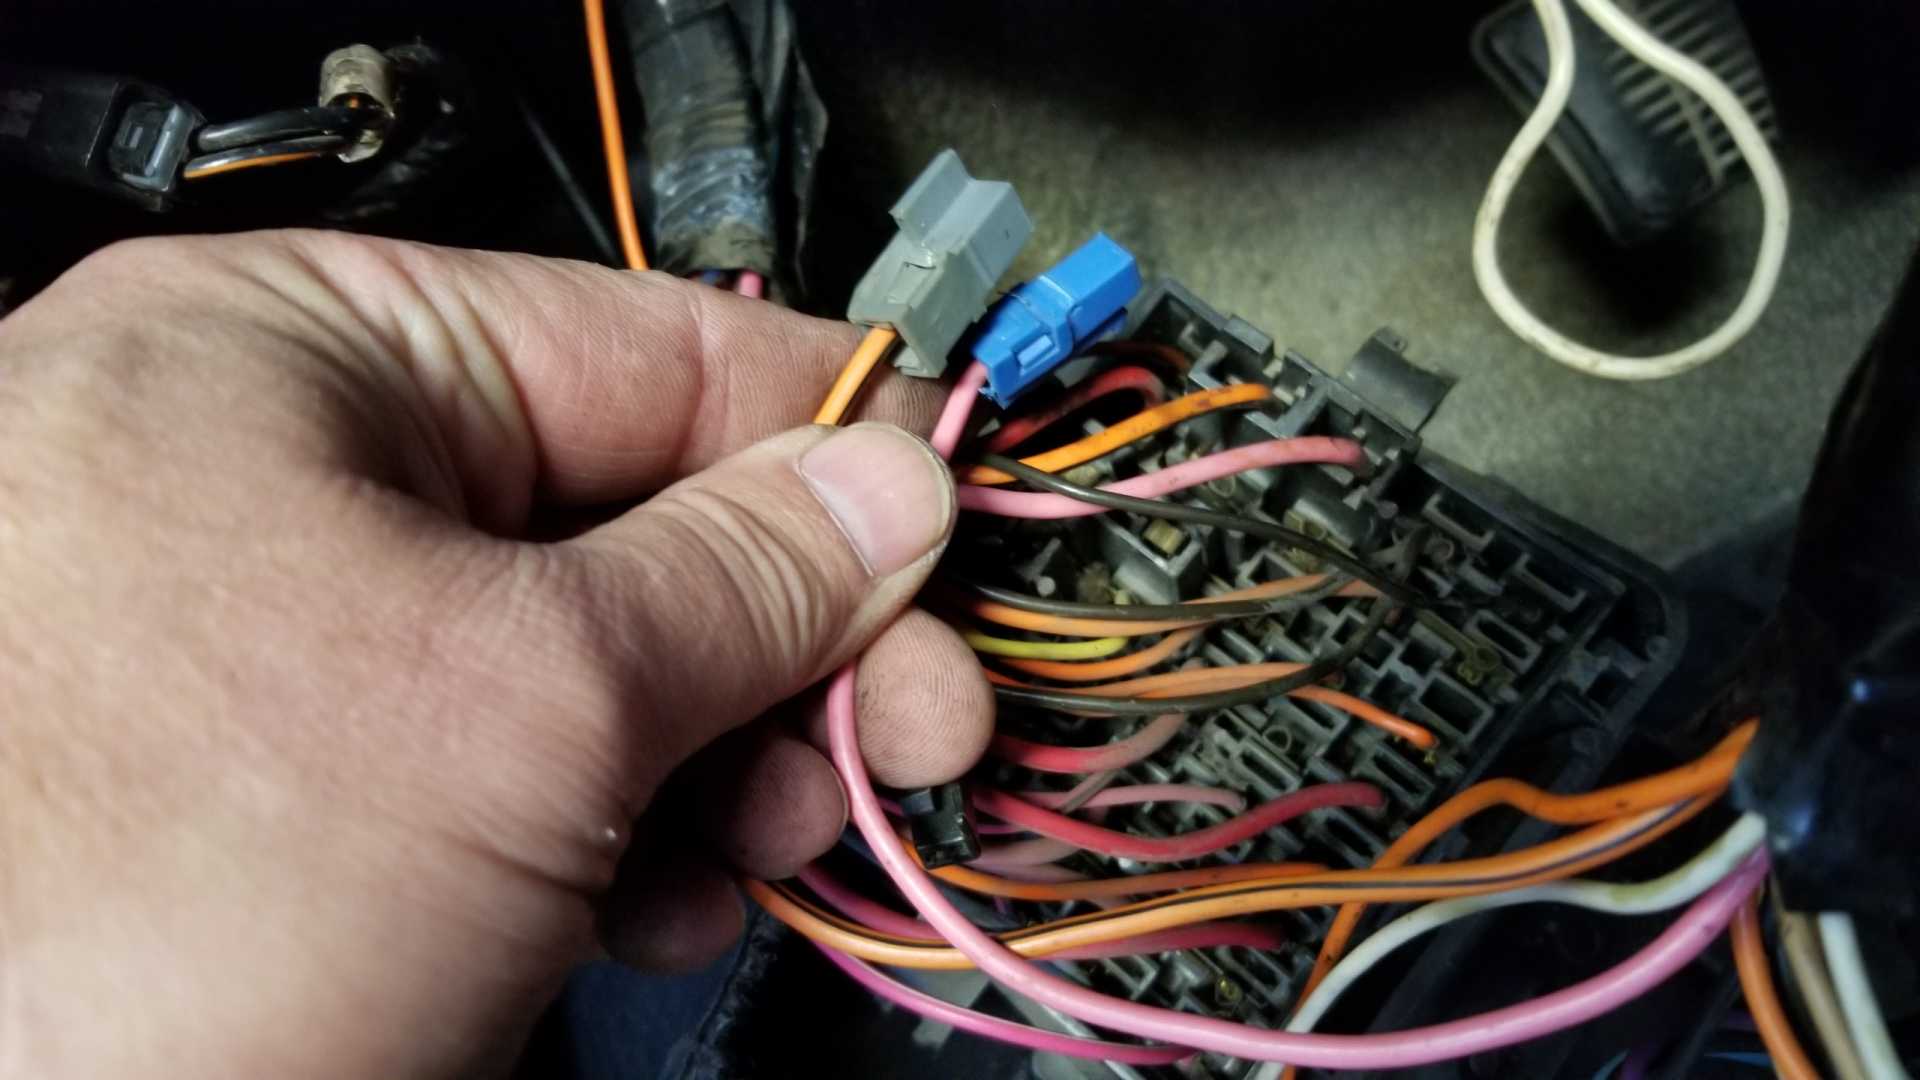
I’ve been working on installing the wiring harnesses for the power windows, locks and mirrors. Here’s a separate thread I started about connecting the harnesses to power:
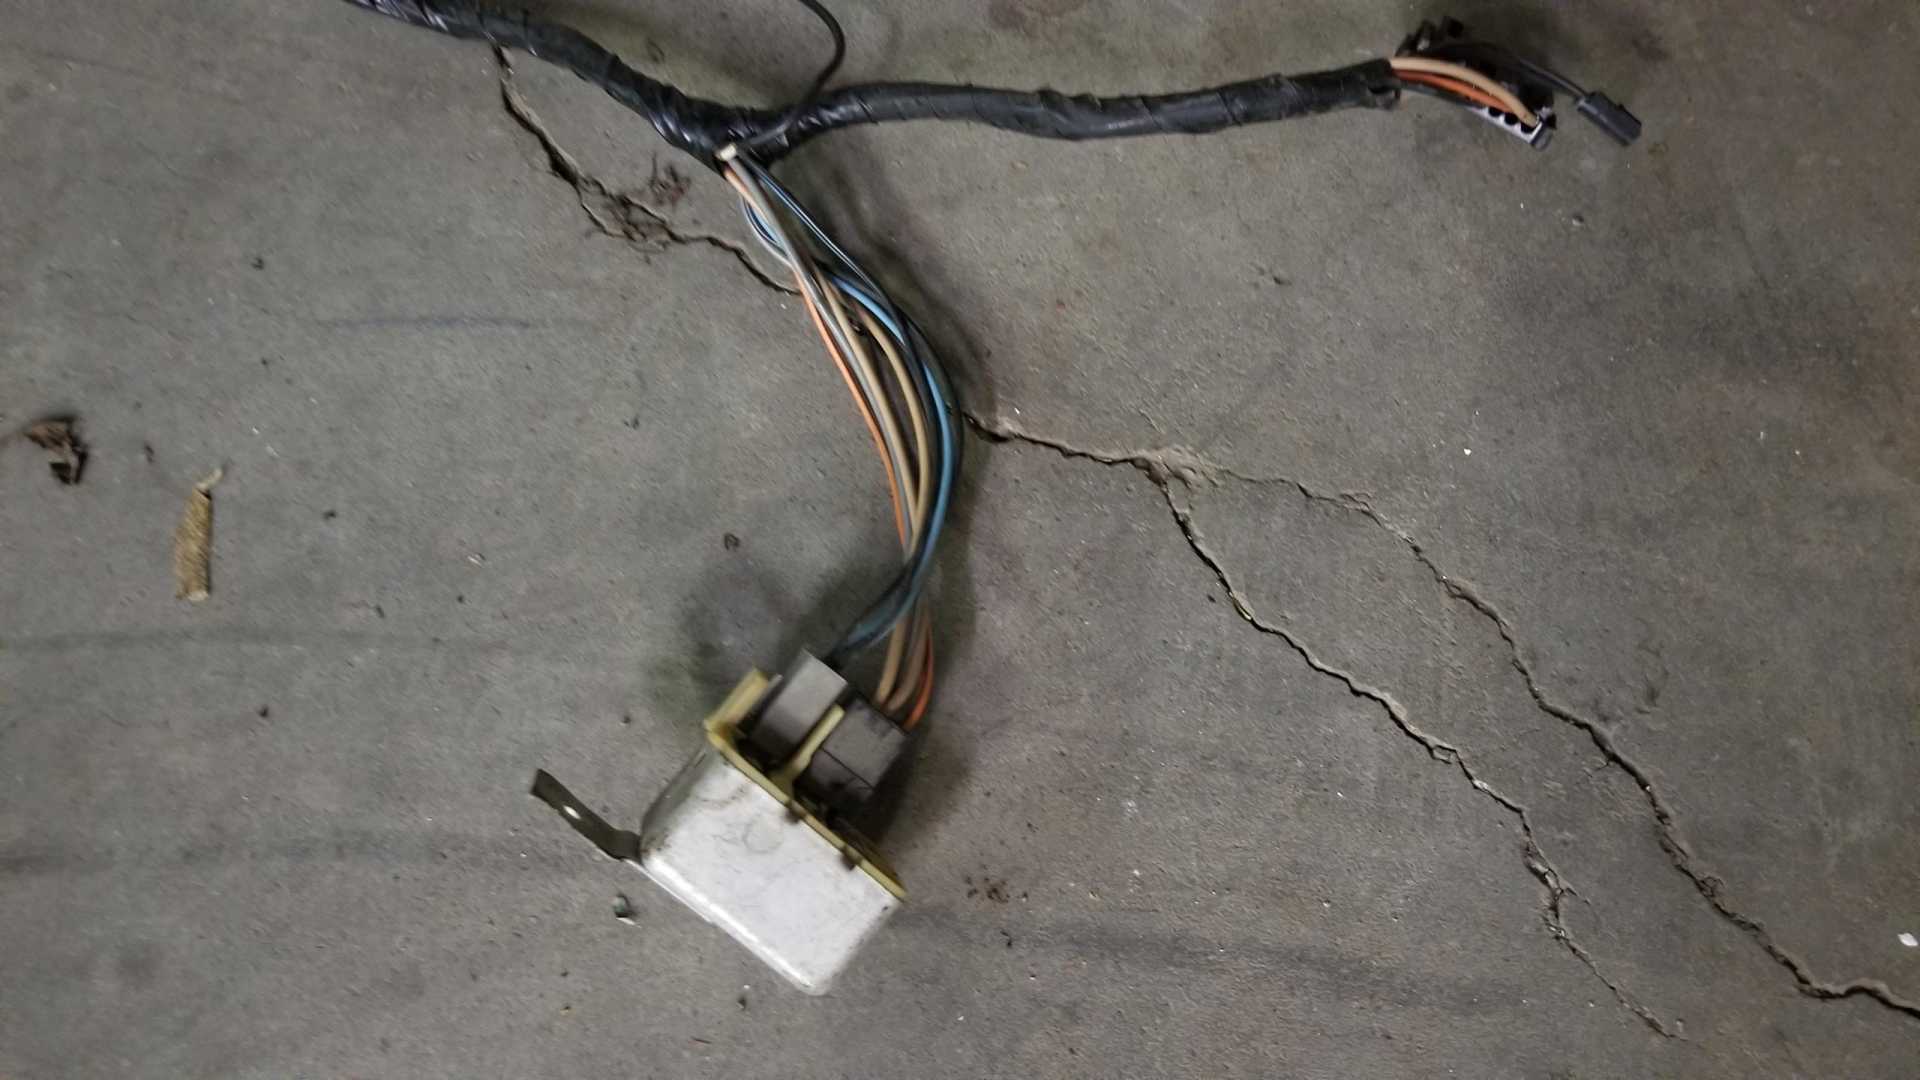
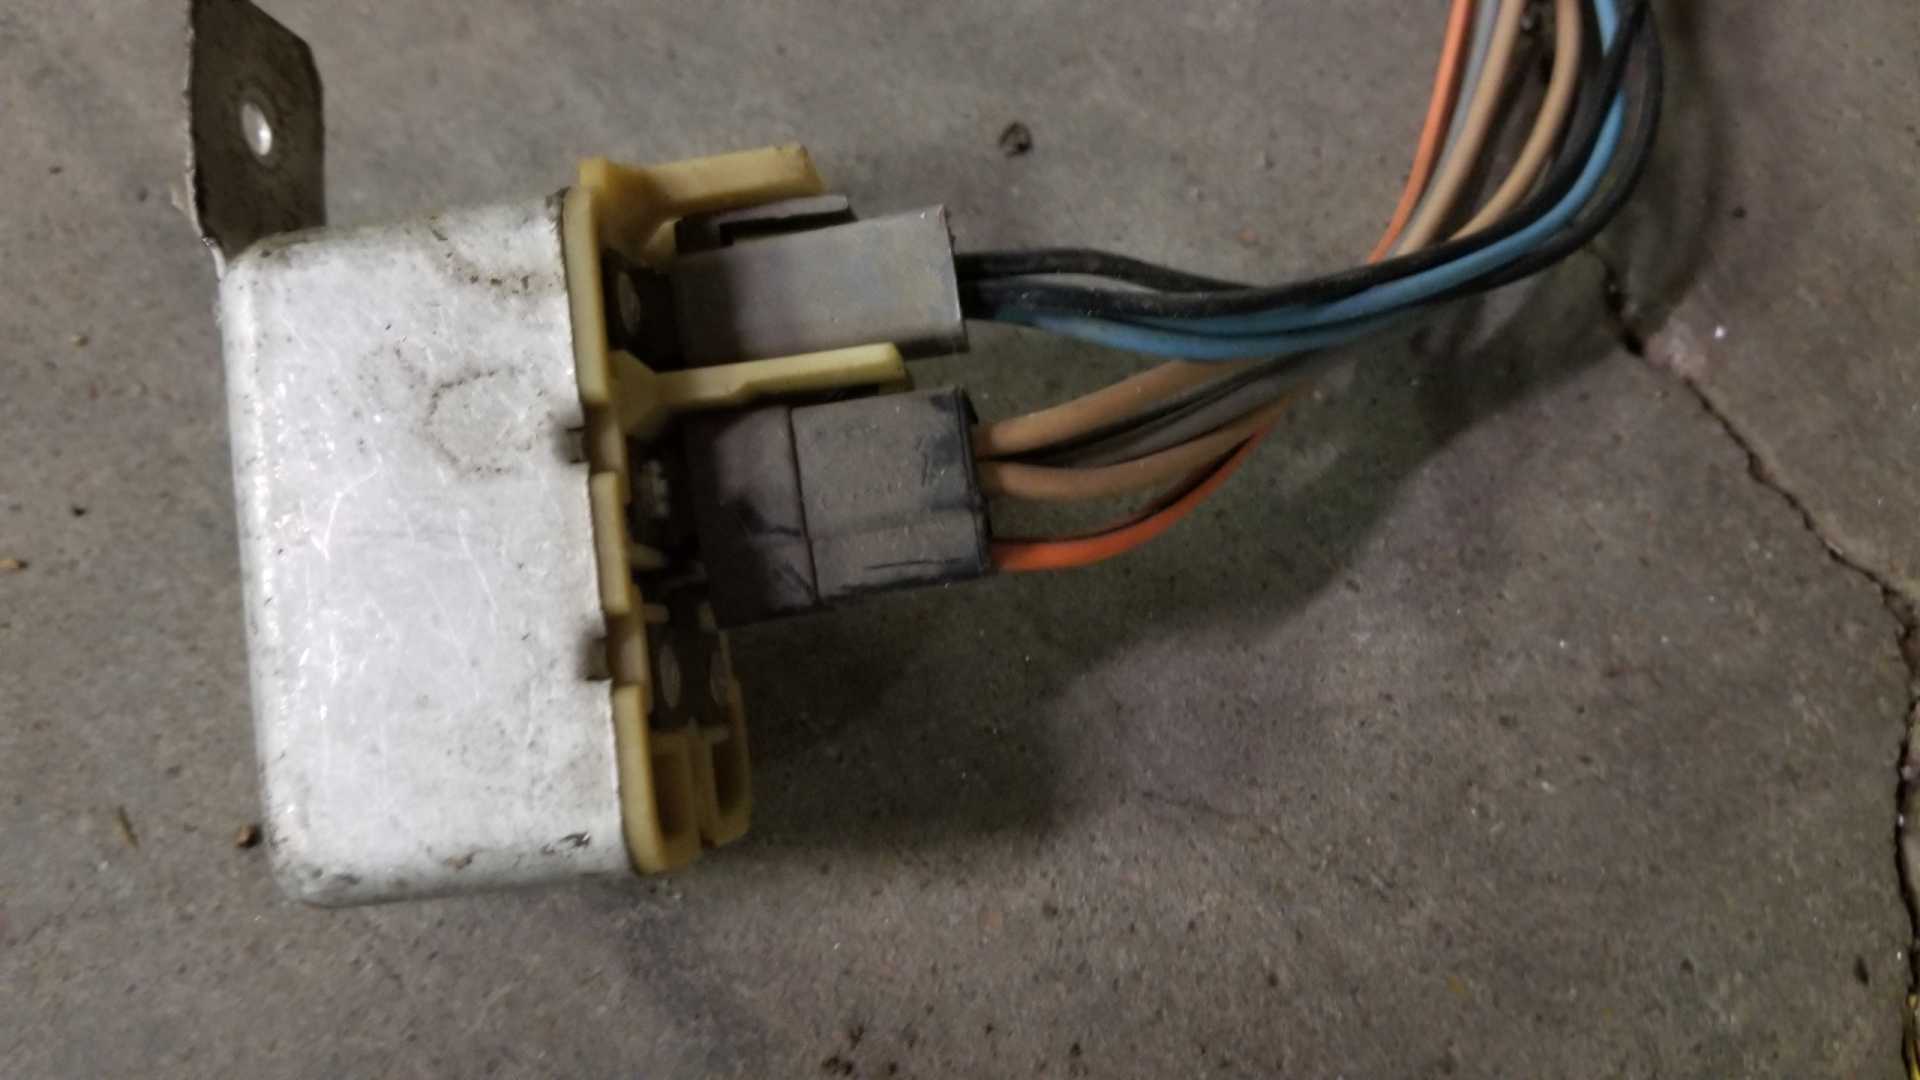
I finally figured out that I need to connect the two wires I’m holding here to the similarly colored wires attached to the fuse block. I already added the 30 amp breakers to the fuse block years ago, when I first bought the power doors and wiring harnesses from a salvage yard car.
[This message has been edited by Quadfather (edited 12-23-2019).]
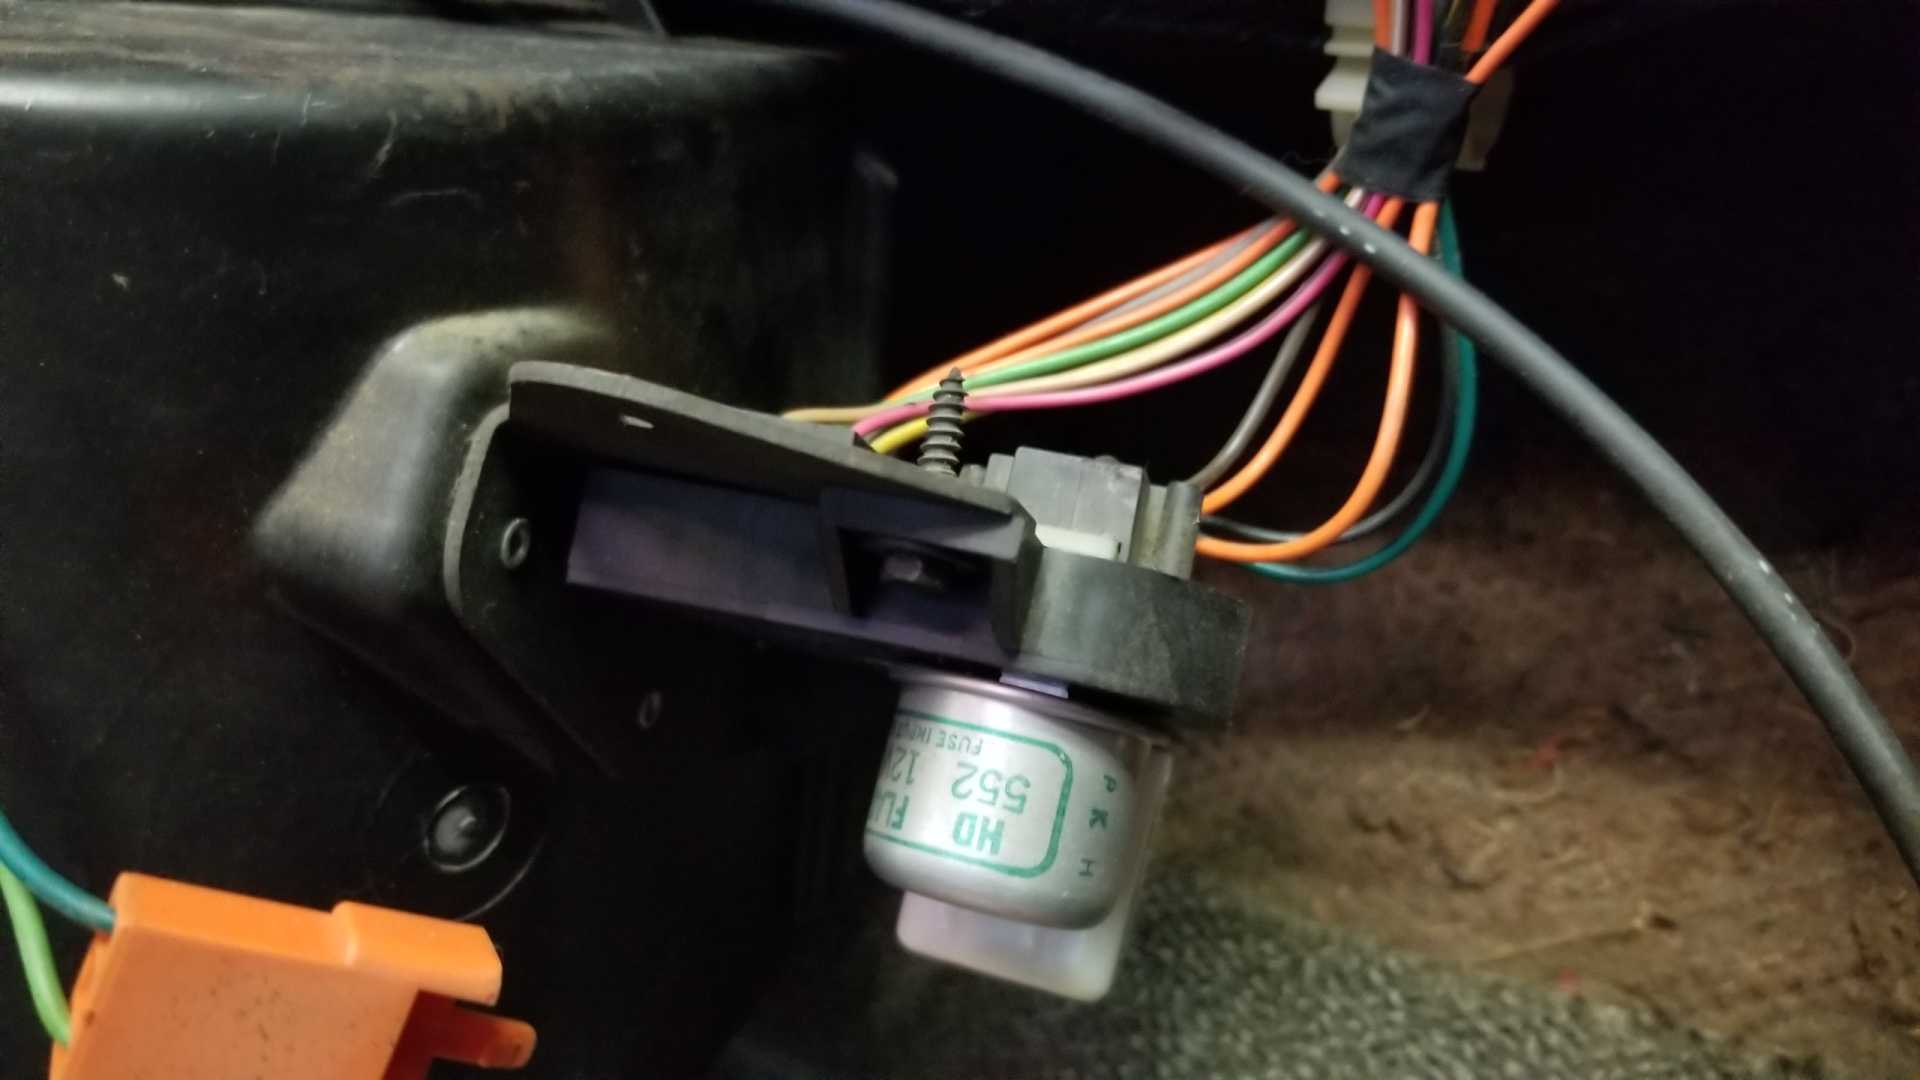
The passenger side installation was even easier. There’s a circle cut in the sound insulation and a screw hole drilled in the space frame to mount the junction block at the other end of the harness.
While I was in there I saw that my car doesn’t have a blue dingy thingy.
I’m also considering taking the shroud off to look at the heater core. Wouldn’t hurt to replace it while I have the dash out.
[This message has been edited by Quadfather (edited 12-23-2019).]
Great thread! You are doing a fantastic job and that's going to be a really fun car when you are done!
Just curious, why did you decide to go with the Camaro seats over the Cavalier seats? Also, do you remember what year the Cav seats were?
That is really nice of you to say. Thank you.
I like the Camaro seats better than the Cavalier seats because the Camaro seats are almost exactly the same dimensions as the Fiero seats. The Cavalier seat bases are wider but not as deep as the Camaro seats, so I didn’t like how they fit in the car and they didn’t support my legs very well. I don’t remember what year the car was that I removed them from, but I think ‘96 or ‘97. I was looking at a lot of different types of seats back then and they all run together.
EDIT: They were out of a ‘99 Cavalier.
Fiero seat on the left, Cavalier on the right:
[This message has been edited by Quadfather (edited 12-24-2019).]
I am certain the Quad 4 will be GREAT in the Fiero. When my GTZ was still on the road, I had a different job at my company which had me attending a meeting at another location every two weeks. Driving back to work from that meeting involved using one particular highway on-ramp to get back to the office. I’d start up that on-ramp at about 15 mph and by the time I was ready to merge a few seconds later I’d be doing 75. Every, single, time.
My responsibilities at work changed and I didn’t have to go to that meeting again. After 10 years and another job title change, I had the occasion to take that same on-ramp about a month ago. I was in a company vehicle, but those GTZ/Quad 4 memories came rushing back. Made me want to finish this swap/restoration even more.
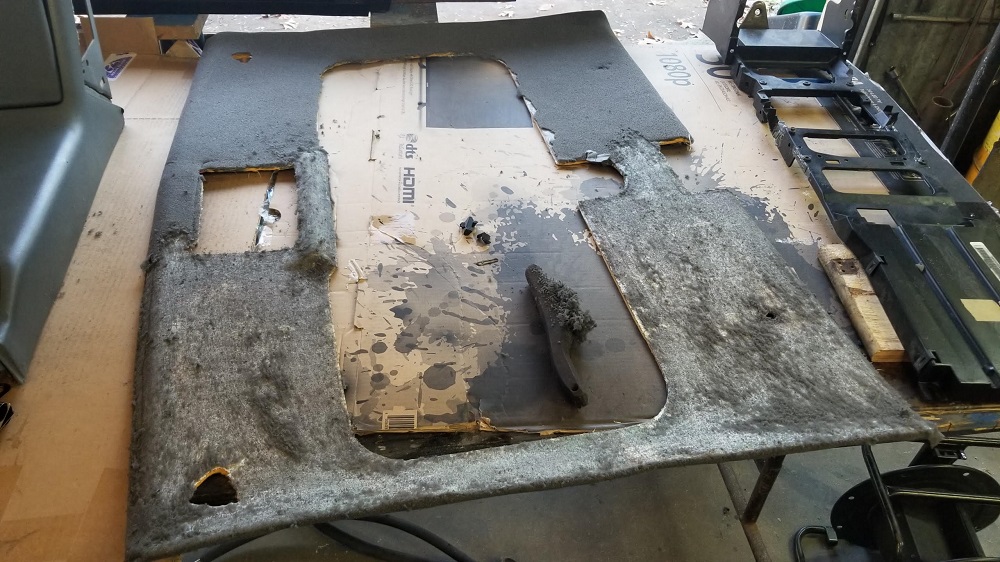
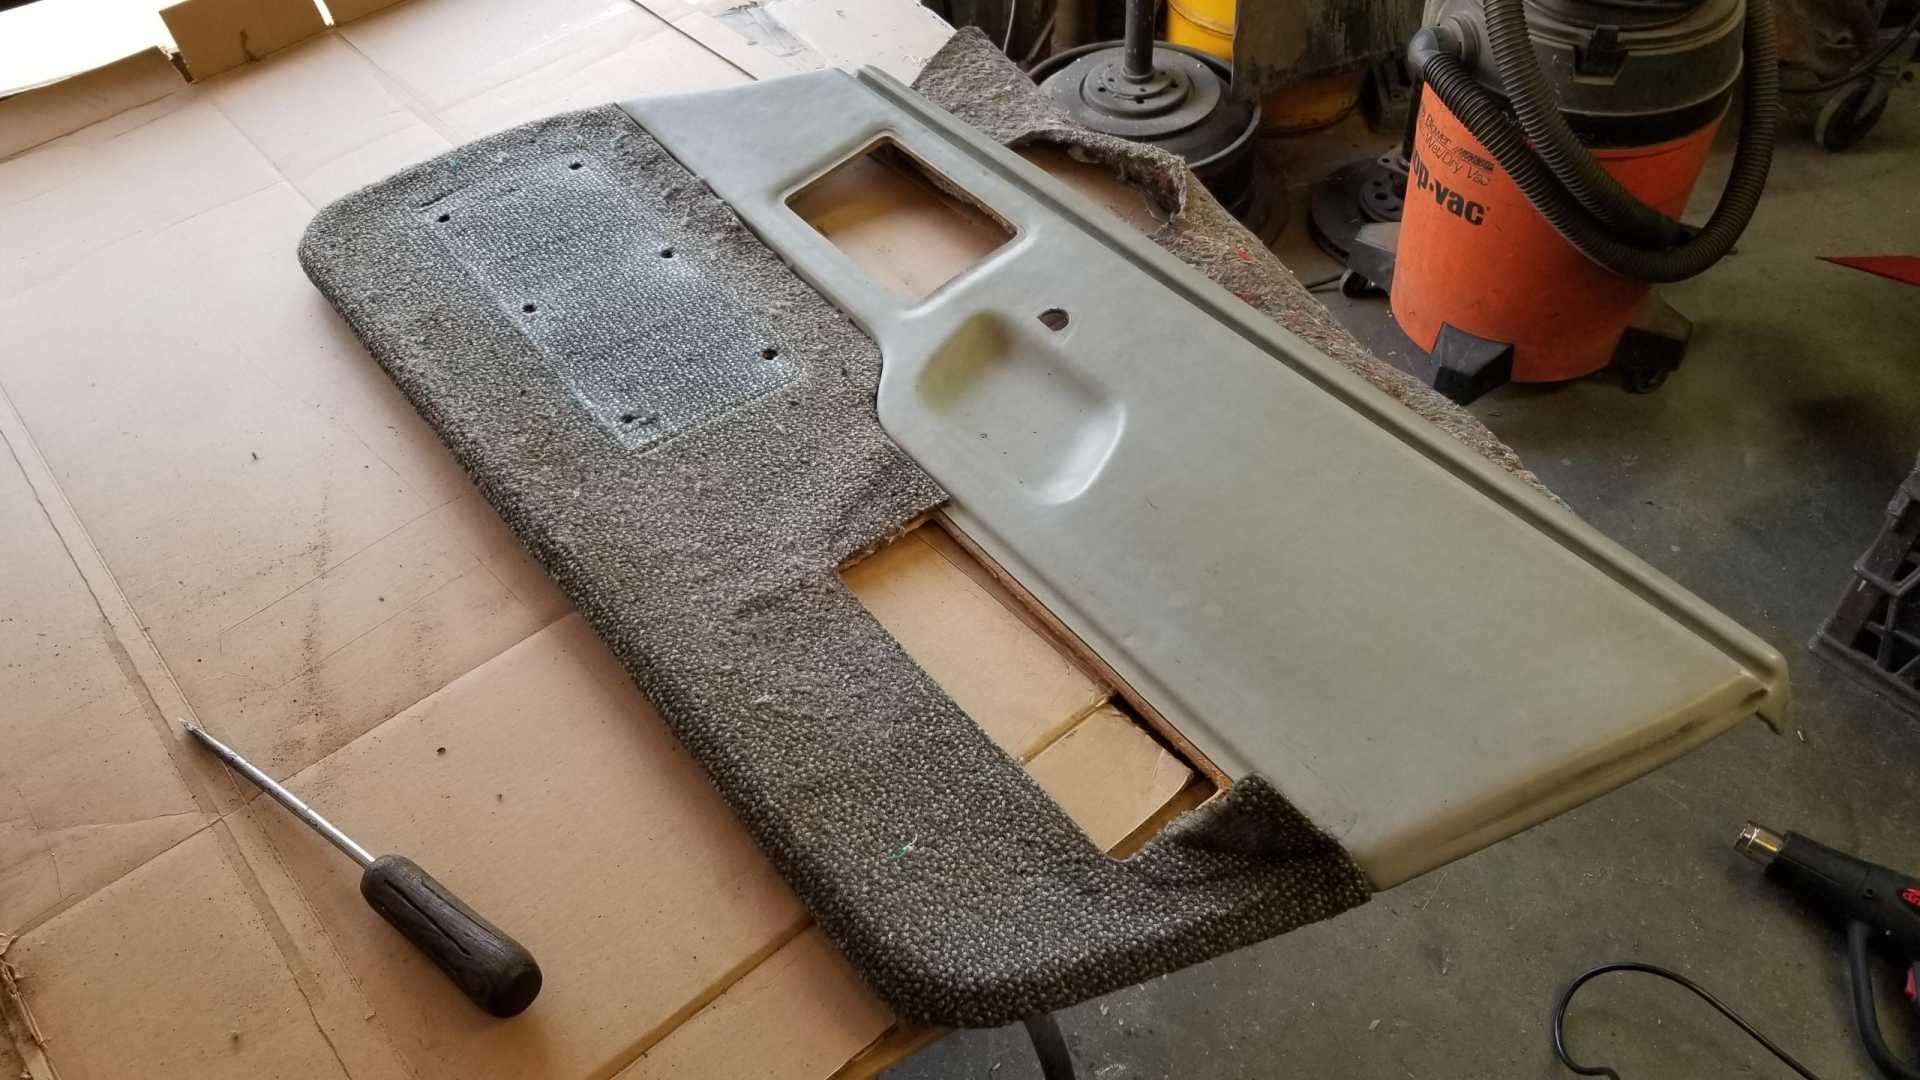
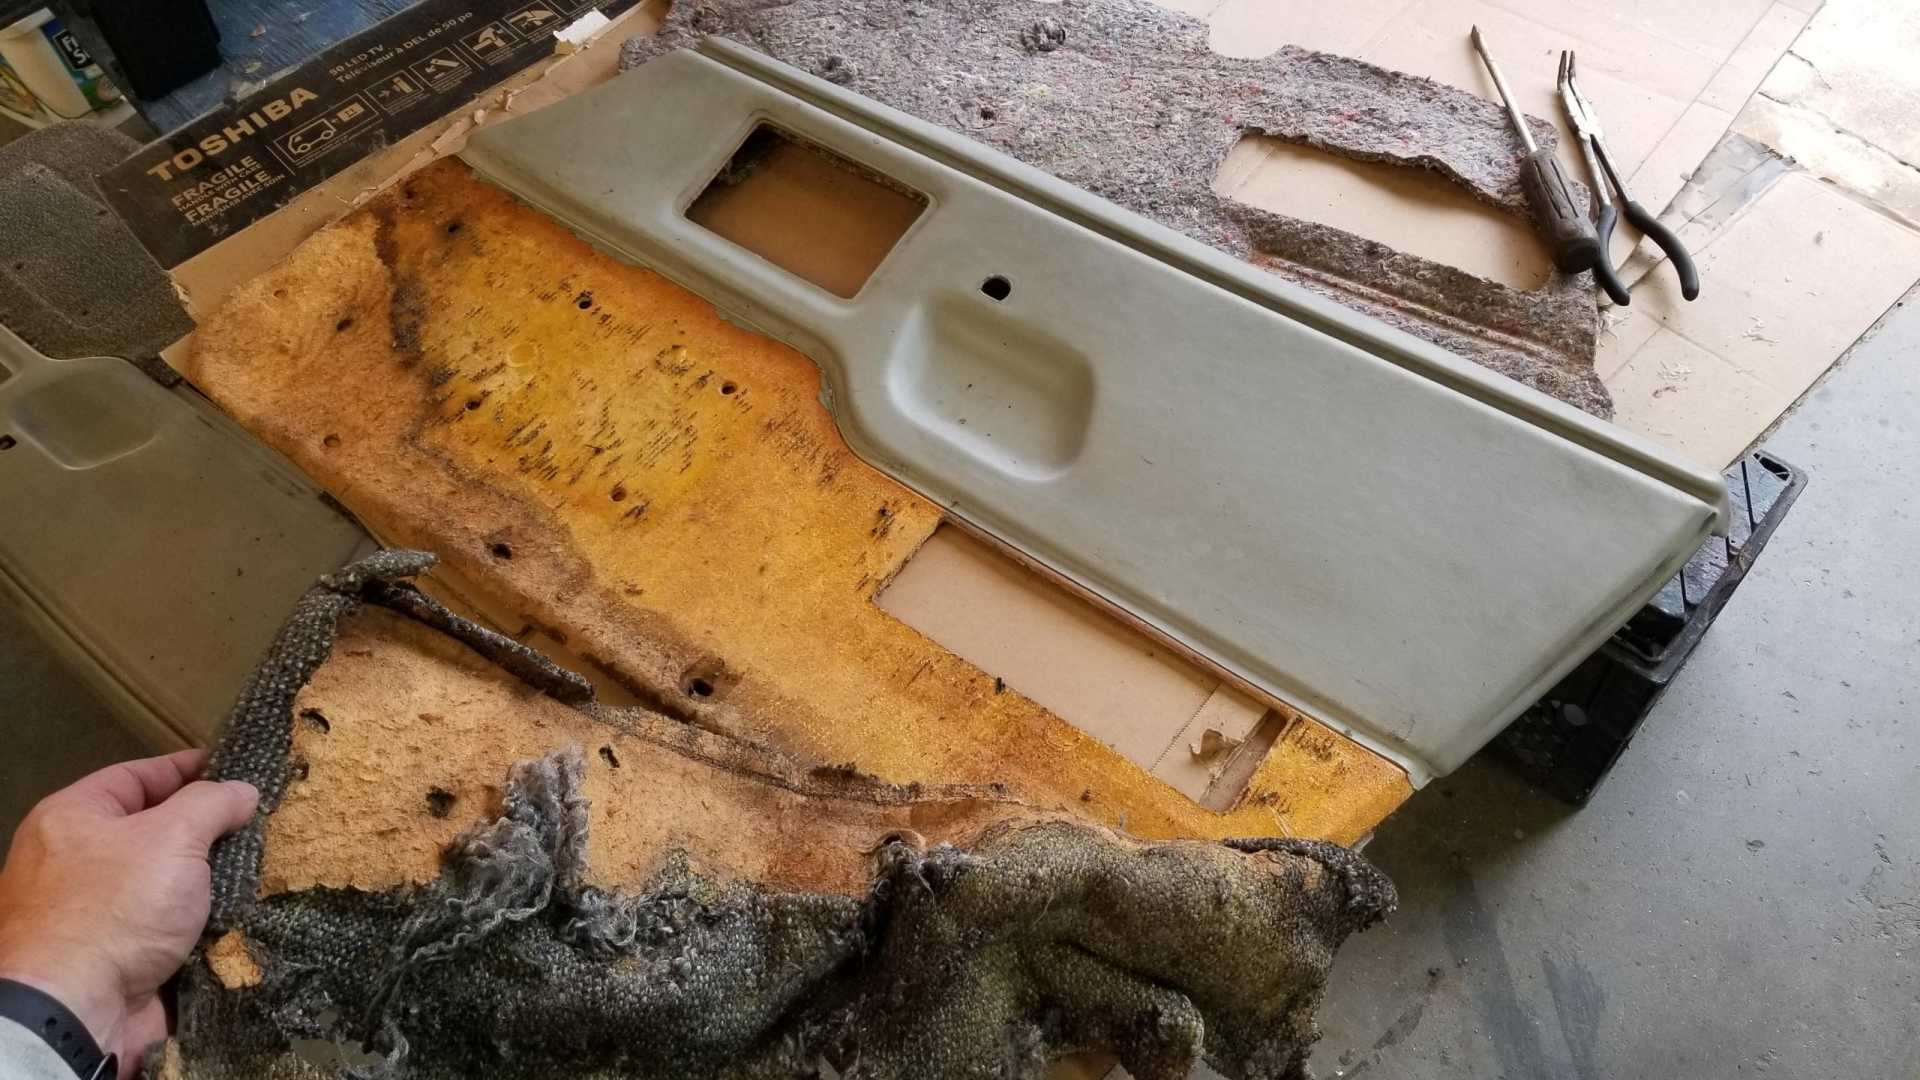
I’ve set the wiring issue aside for now, mostly because I’m hesitant to hack into the car’s original wiring. Instead, I started work on the door panels. I bought a set of power window door panels from a salvage yard car a few years ago. As usual, they’re in worse shape than I thought when I bought them.
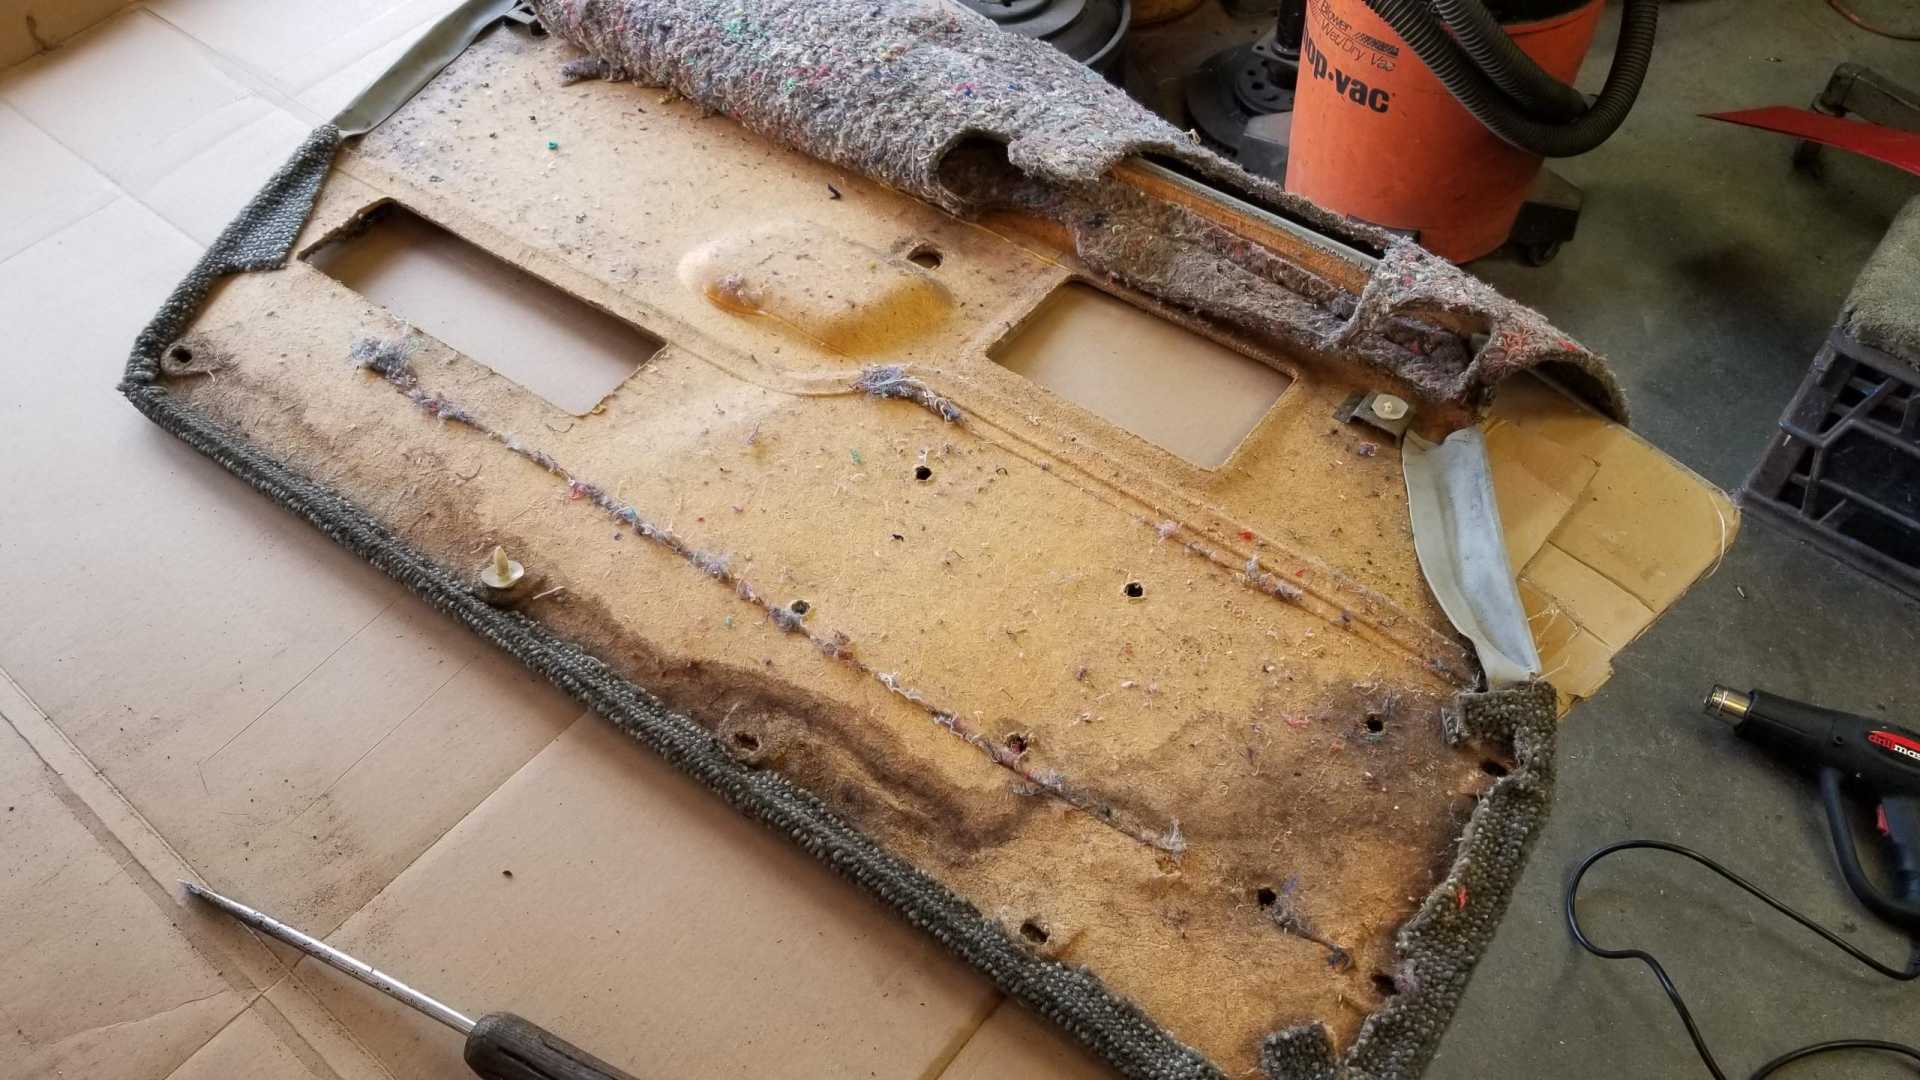
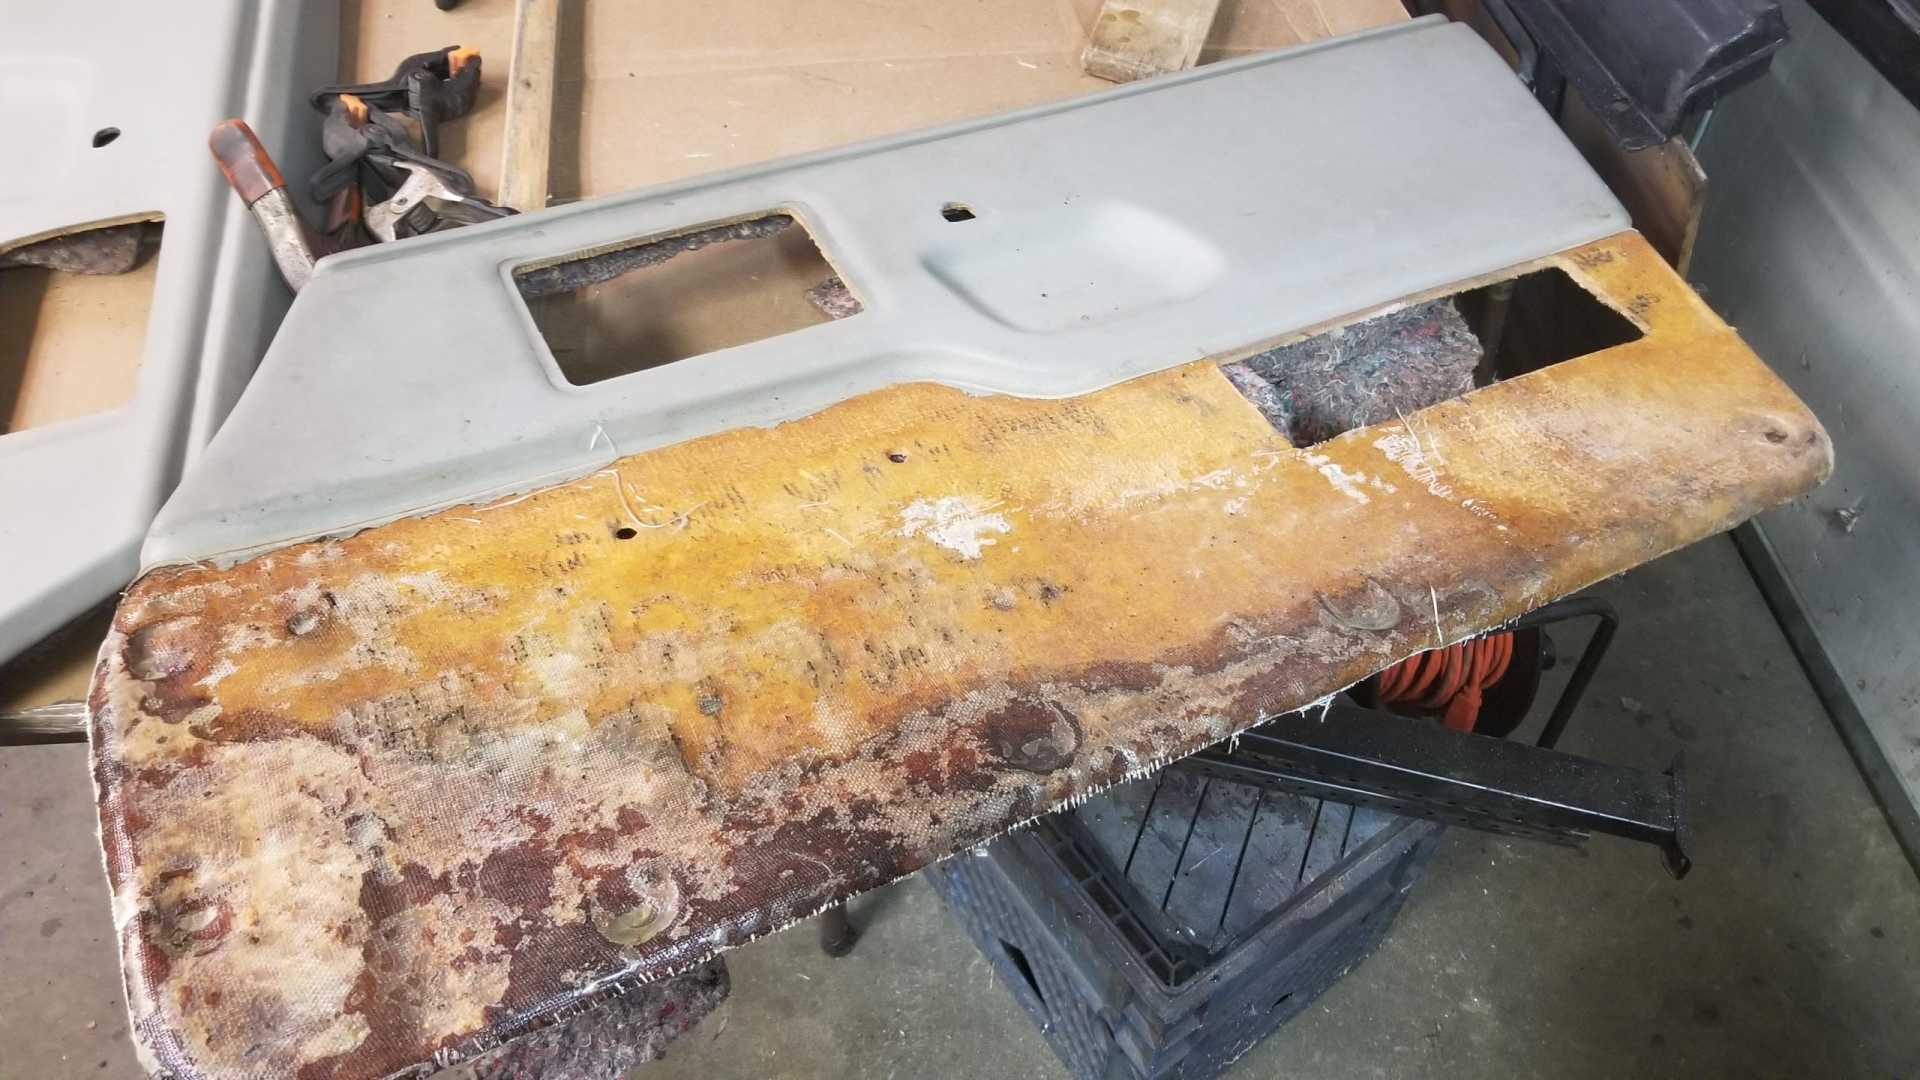
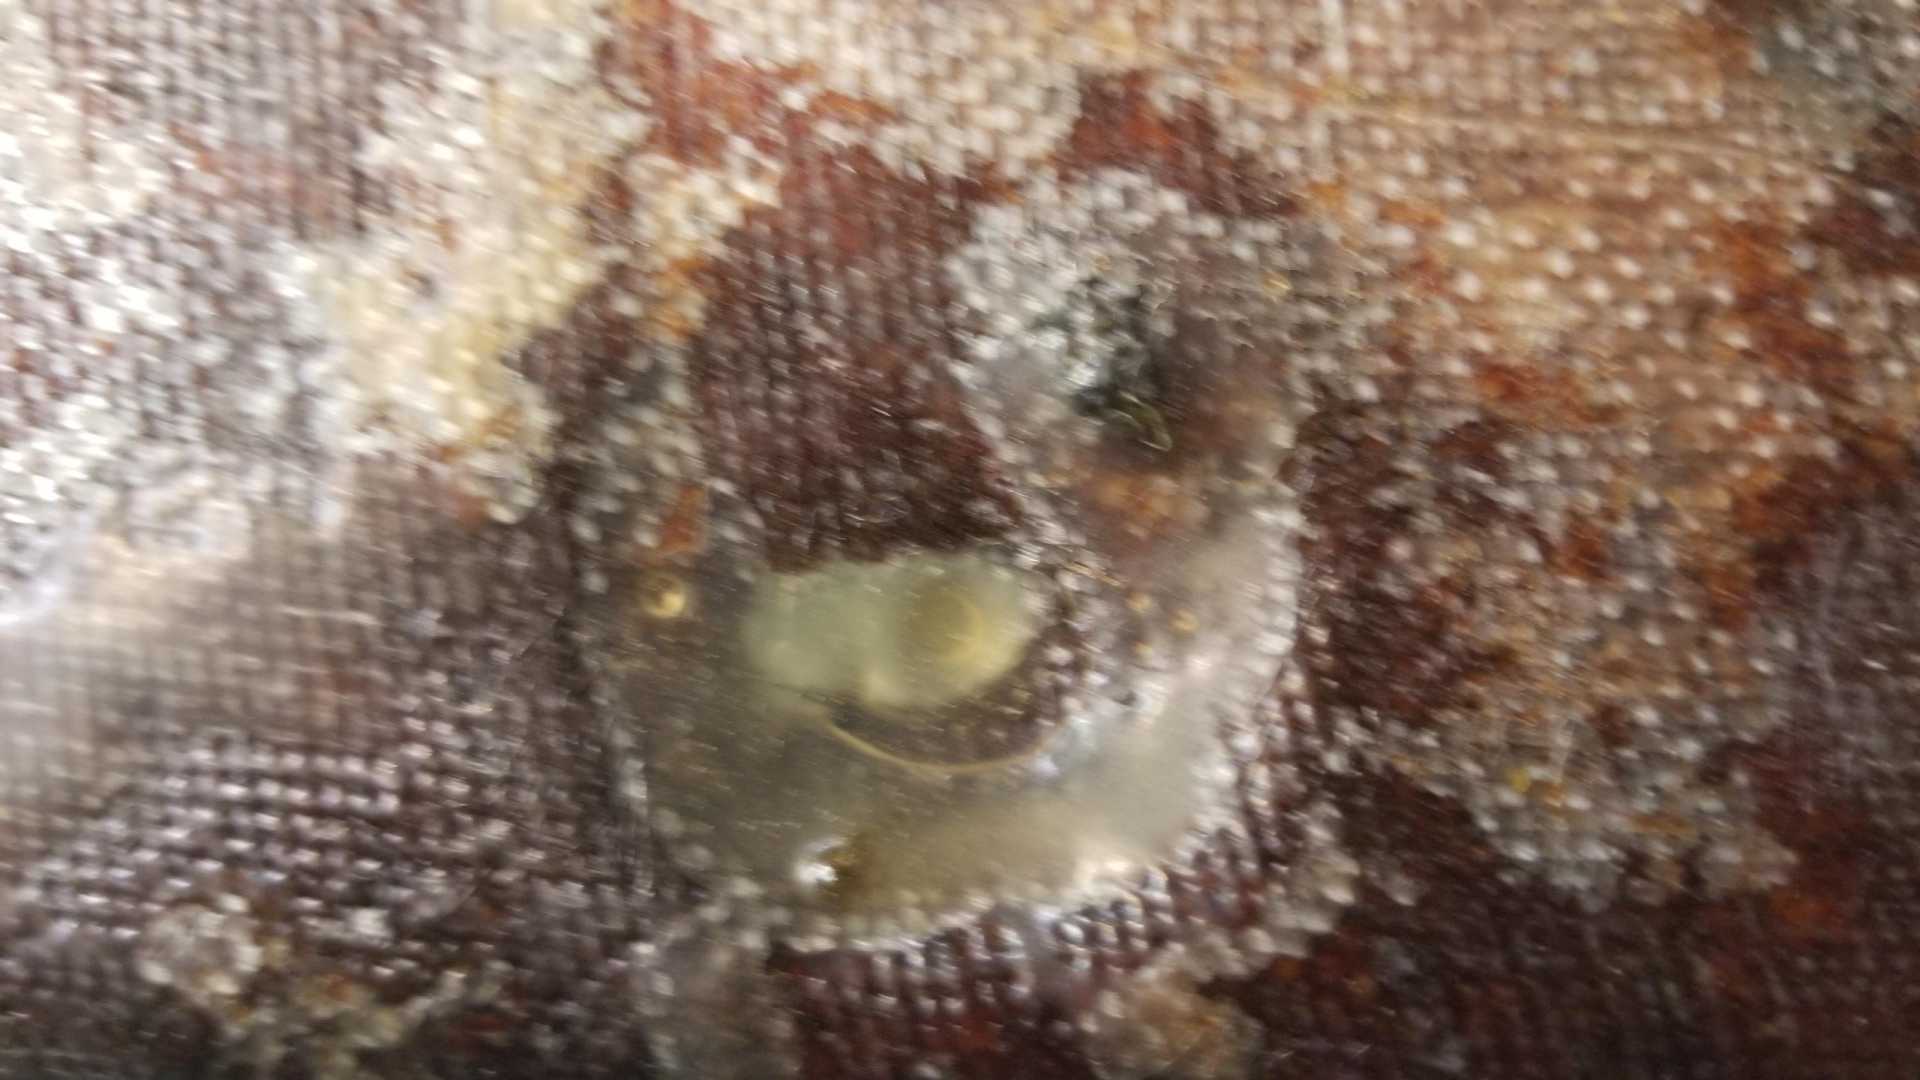
It appears the passenger side one got wet, so the bottom part of the backer board is very flimsy. I saw someone else’s post about removing the carpet using a heat gun and elbow grease, so that’s what I did.
Took at least 30 minutes to heat the carpet and pry it off while doing as little damage to the backer as possible.
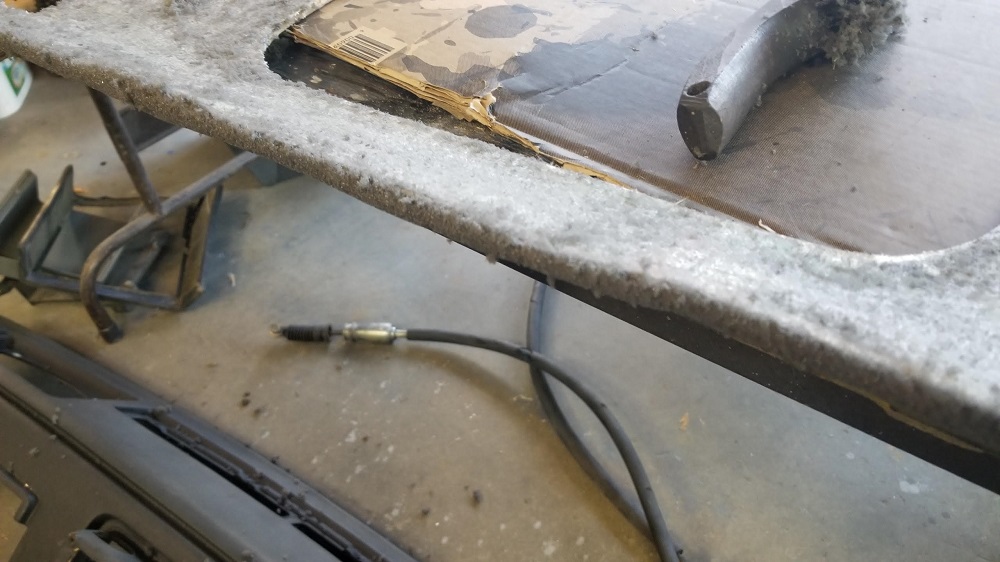
I then put a layer of fiberglass cloth across the bottom 5 inches of the back side and glued it on. We’ll see how it looks tomorrow.
While Christmas shopping for my wife at Hobby Lobby today, I bought some black vinyl material that I plan to use to replace the carpet. More to come.
[This message has been edited by Quadfather (edited 12-24-2019).]
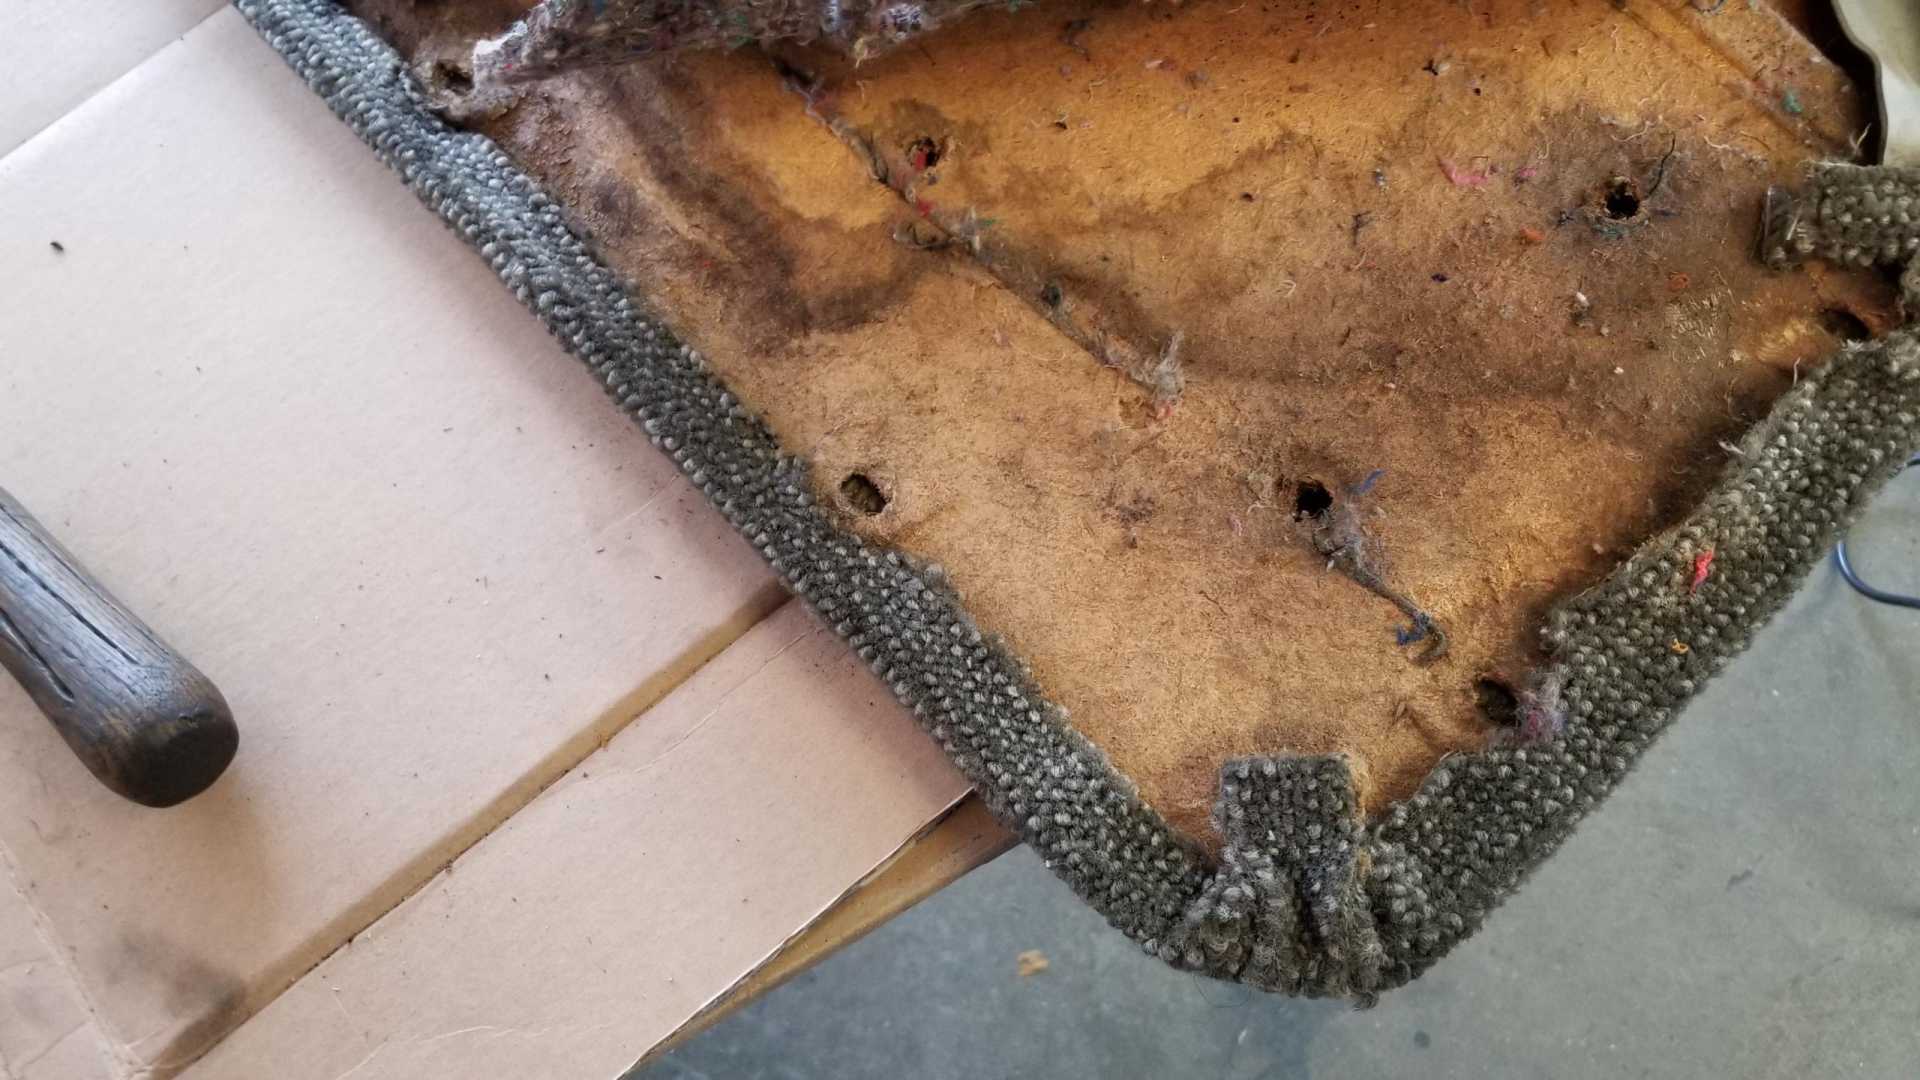
More progress on the door panels. One needed a lot of fiberglass because of water damage, the other one needed some help around the mounting holes for the plastic clips that hold it to the door. I cut small pieces of fiberglass cloth for each one. A Dremel made quick work of opening up all the holes once the resin cured.
[This message has been edited by Quadfather (edited 12-28-2019).]