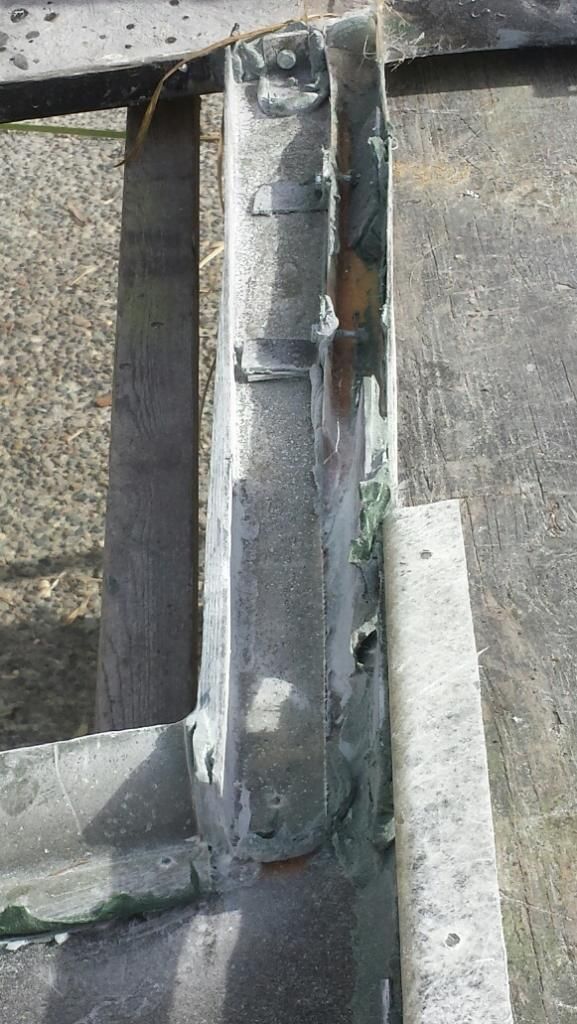
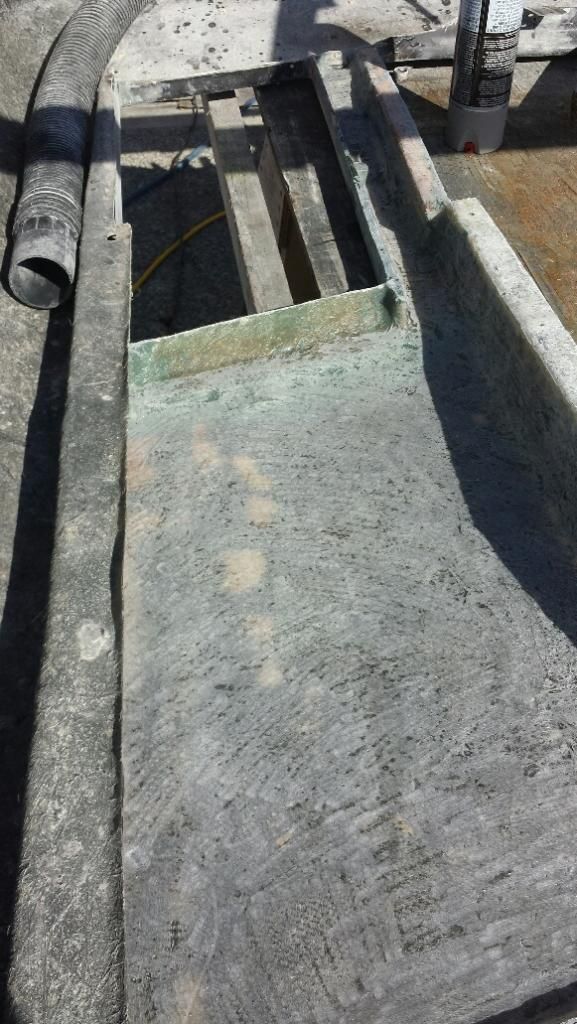
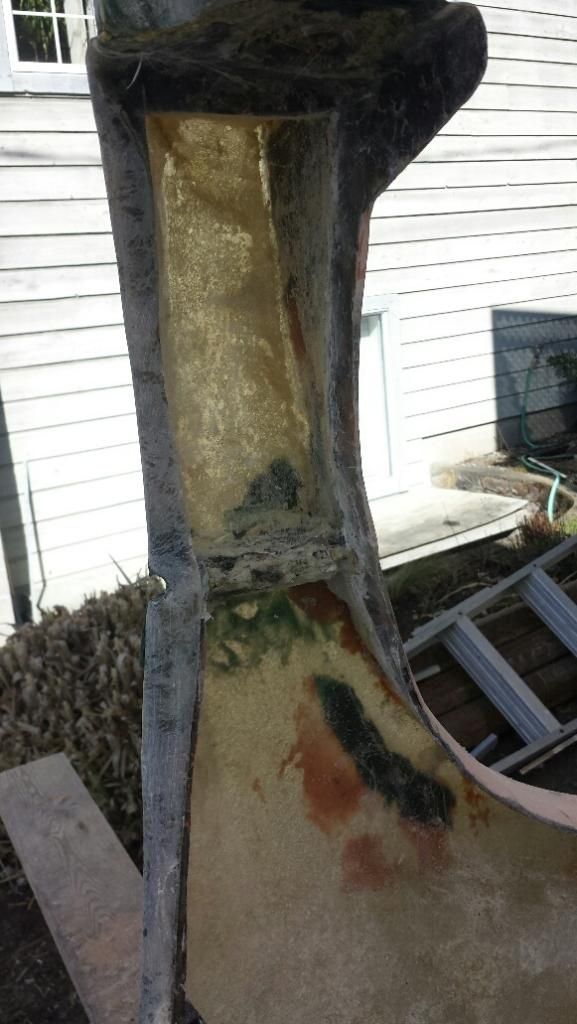
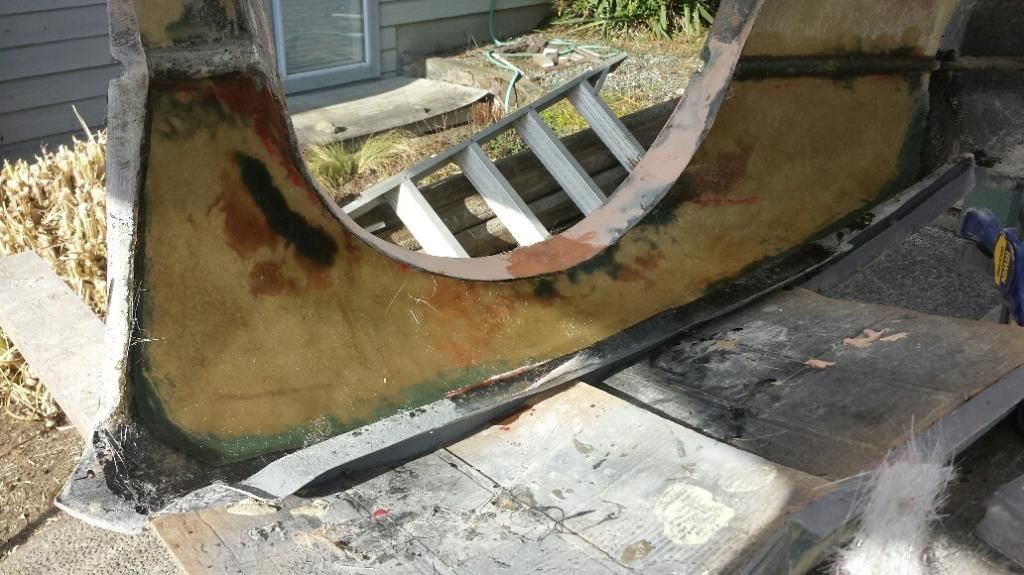
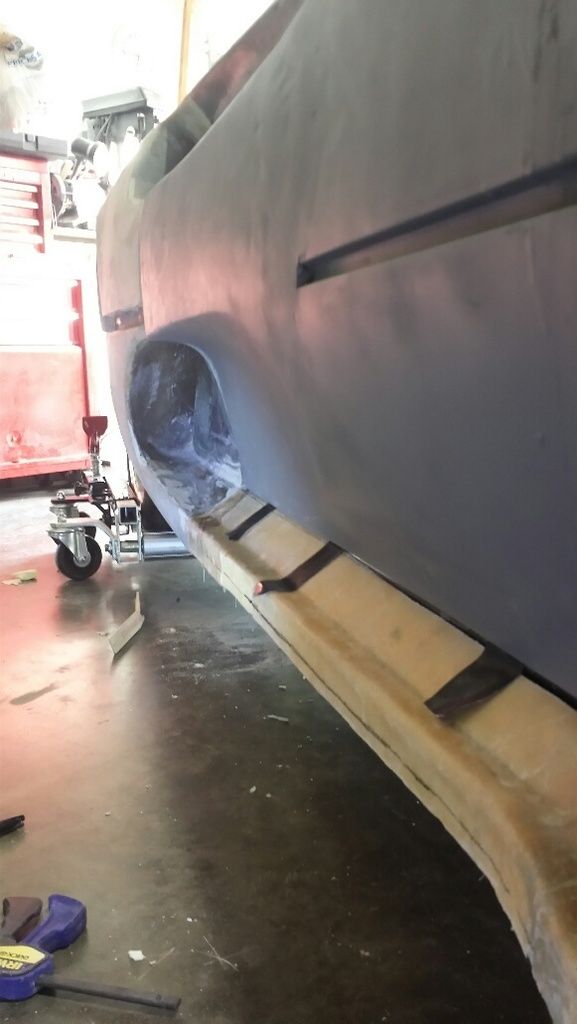
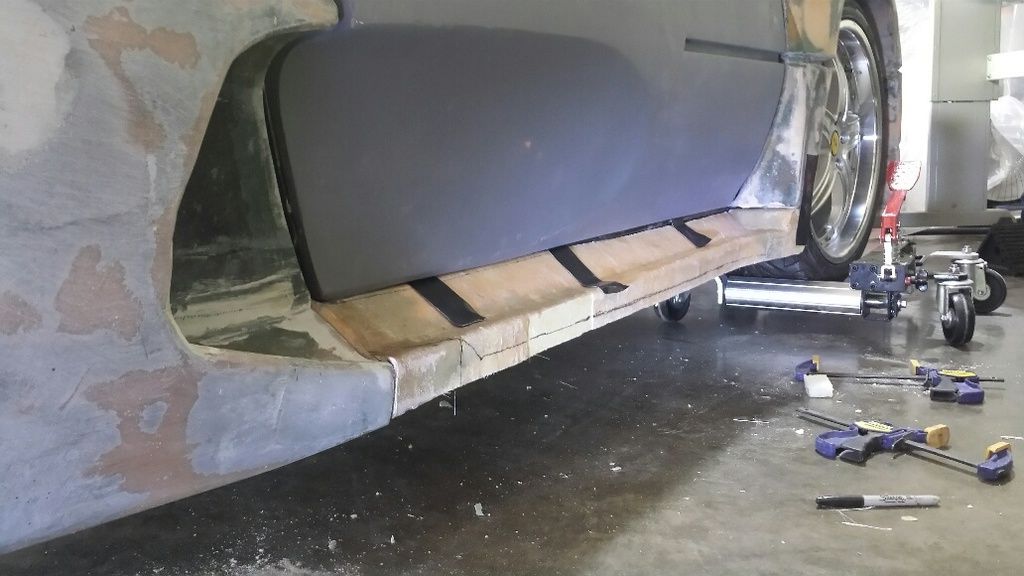
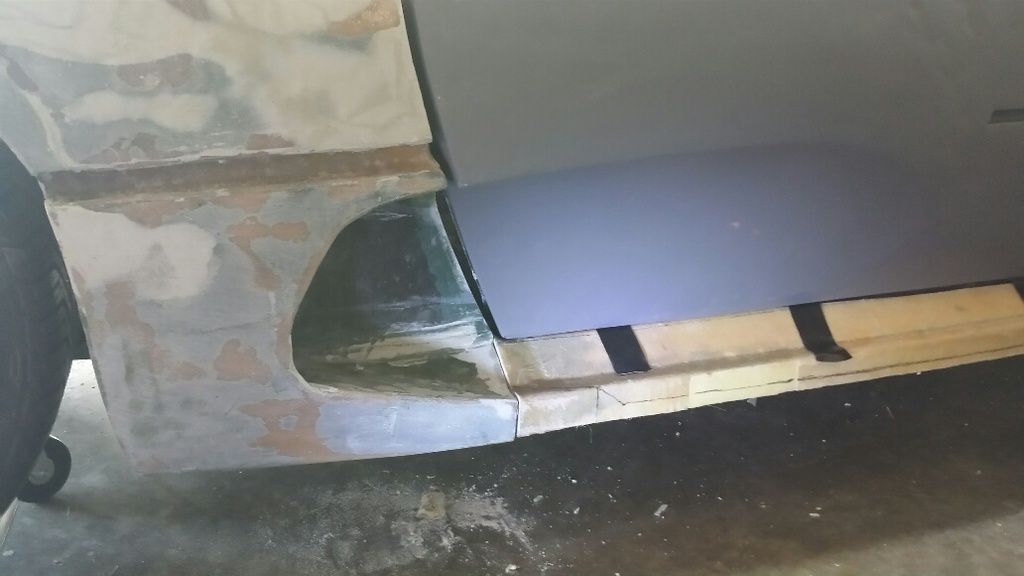
I was busy this week cleaning up the underside of front clip. Adding all the fiberglass fill to modify the head light area, as well as the inside of the fenders that secure to the bars I had added to form the new front trunk seal. This made for some ugliness on the underside you can't really see what your doing from the top when your adding pieces, but cleaning it up and adding a layer of glass gives some added strength to the whole mod.
I added the wood for fill and added some added strength to the edge
I also added some fill extensions to the the fender edges
[This message has been edited by dobie1 (edited 03-08-2015).]
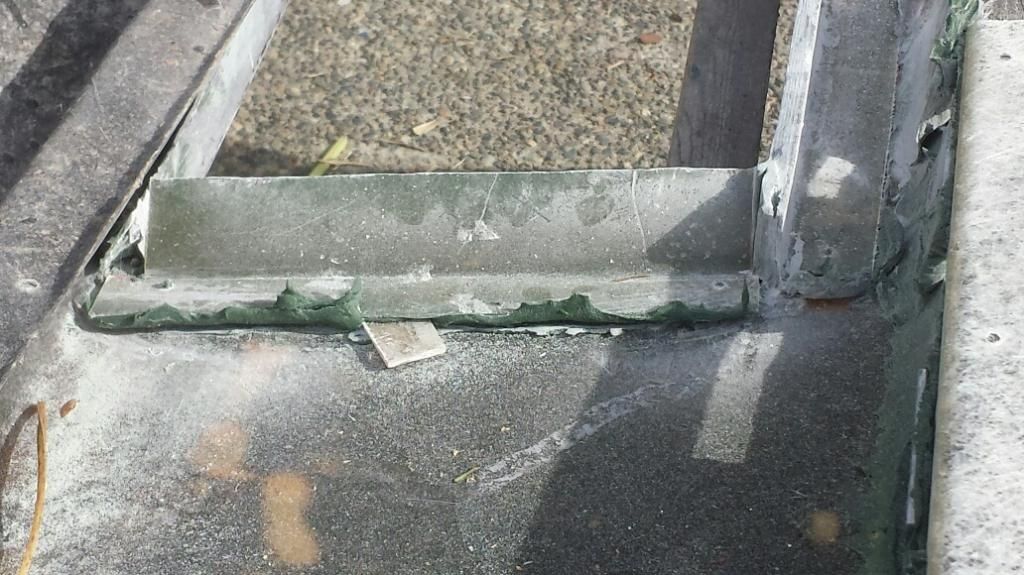
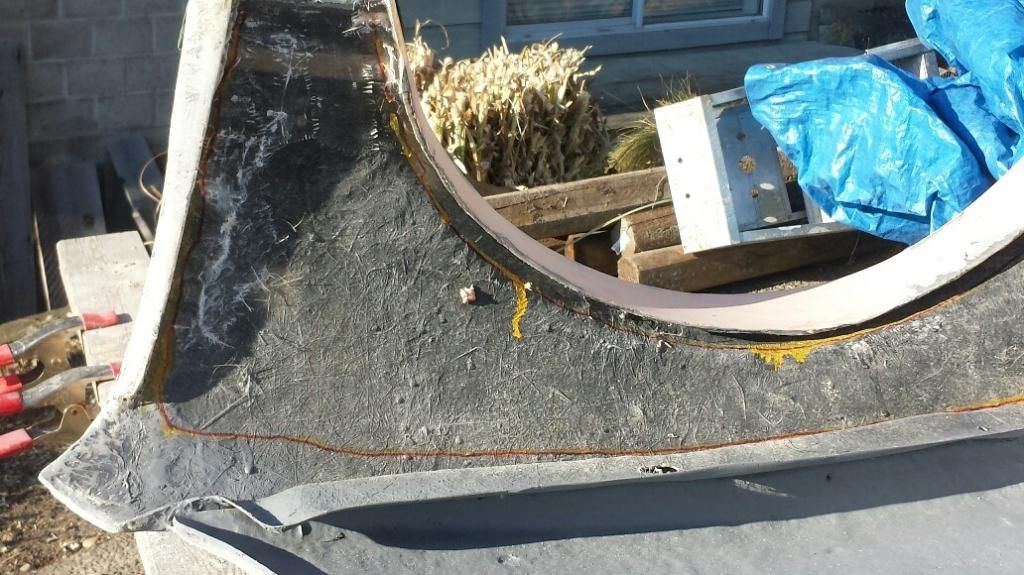
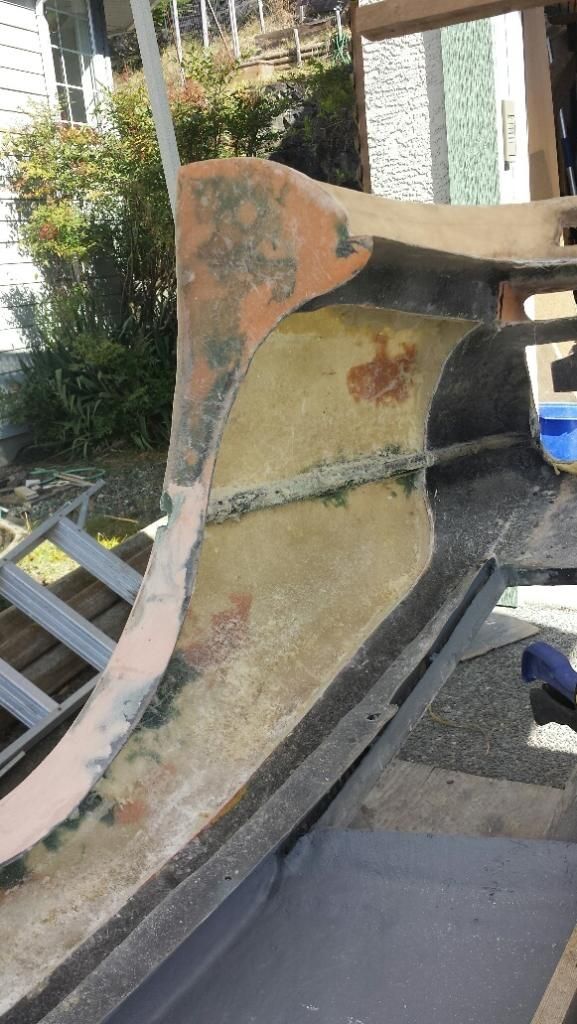
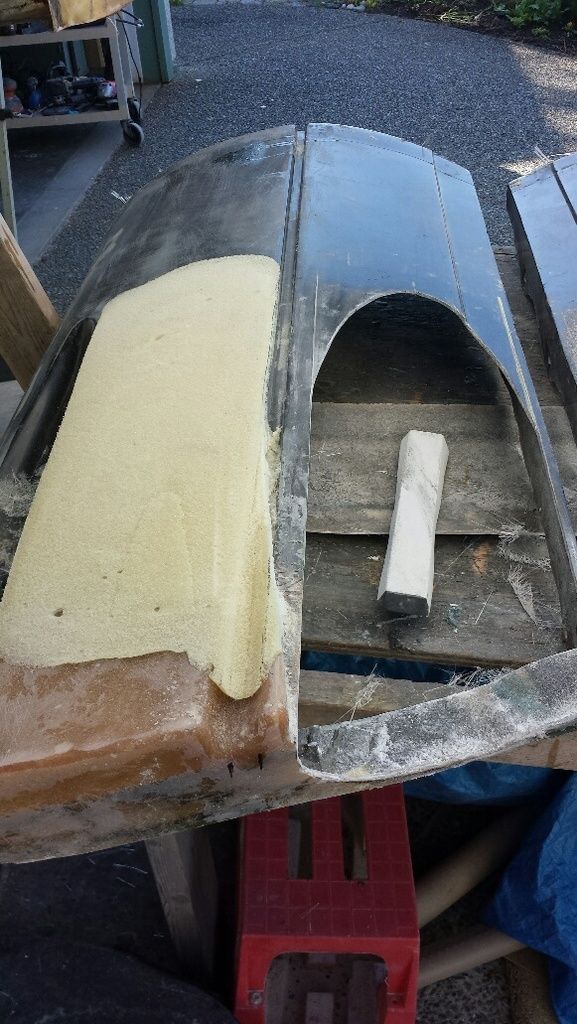
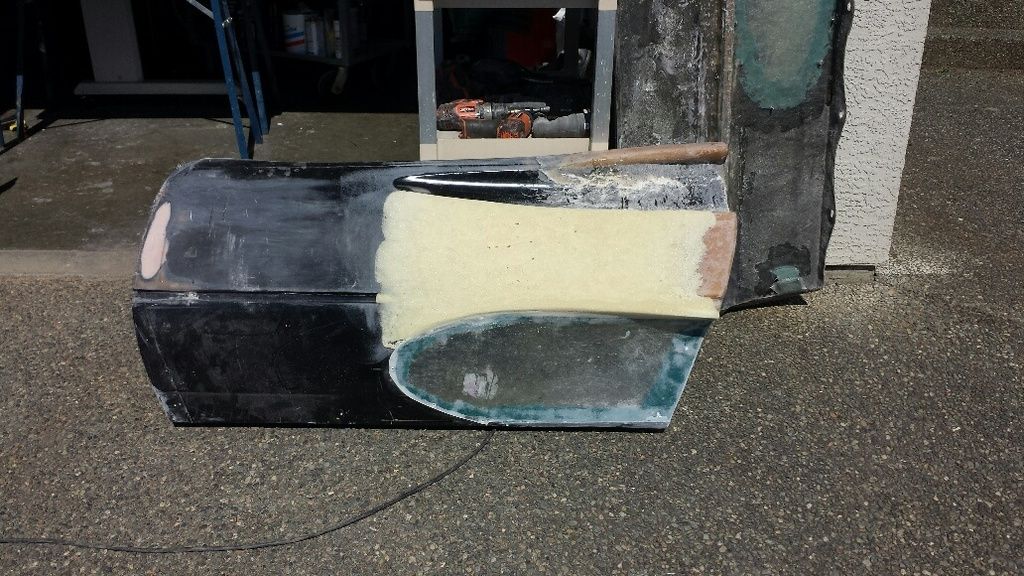
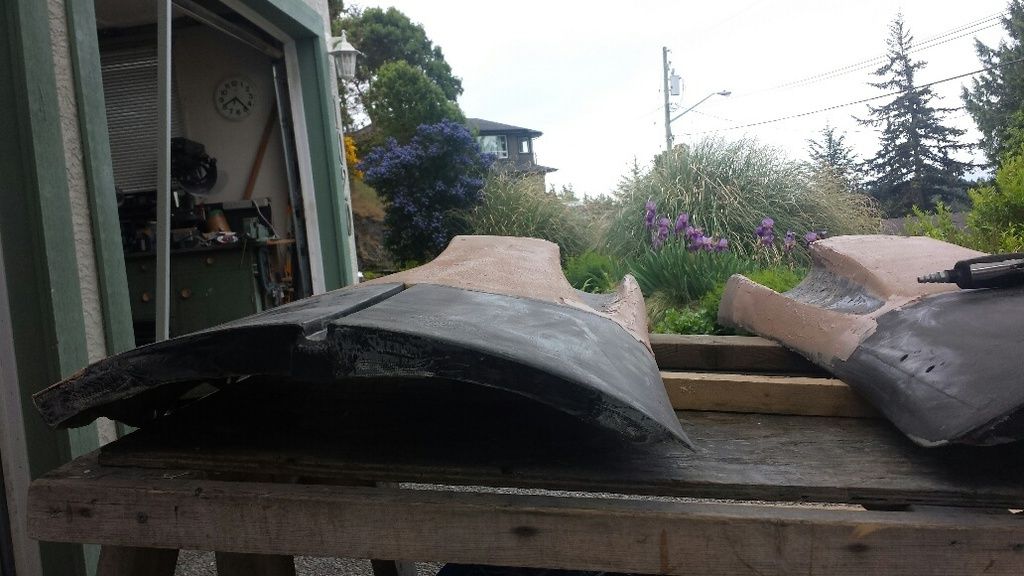
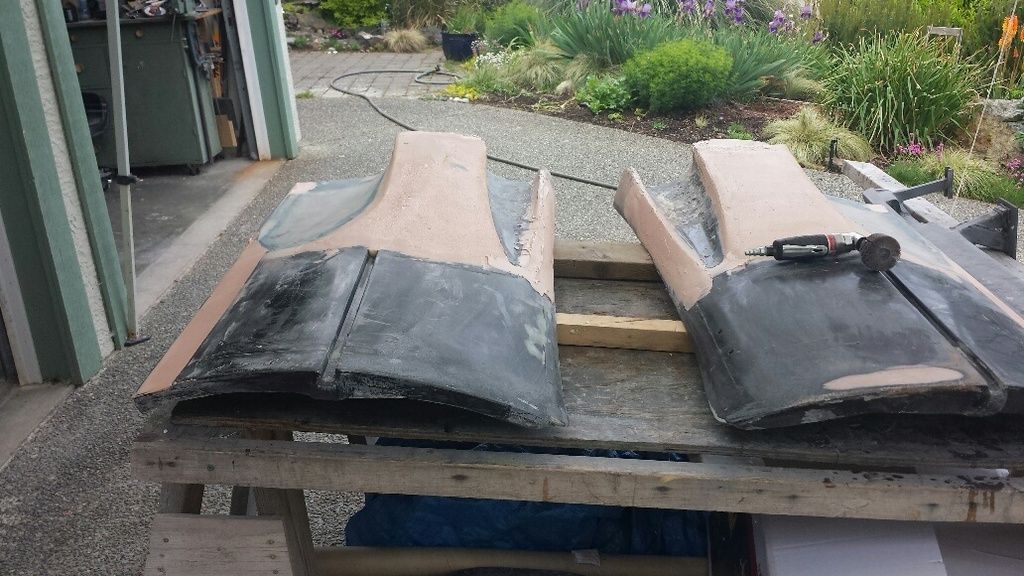
Thanks Sage (Bob), much appreciated!! I was busy today prepping to cutout the old fibreglass to access the foam for removal.
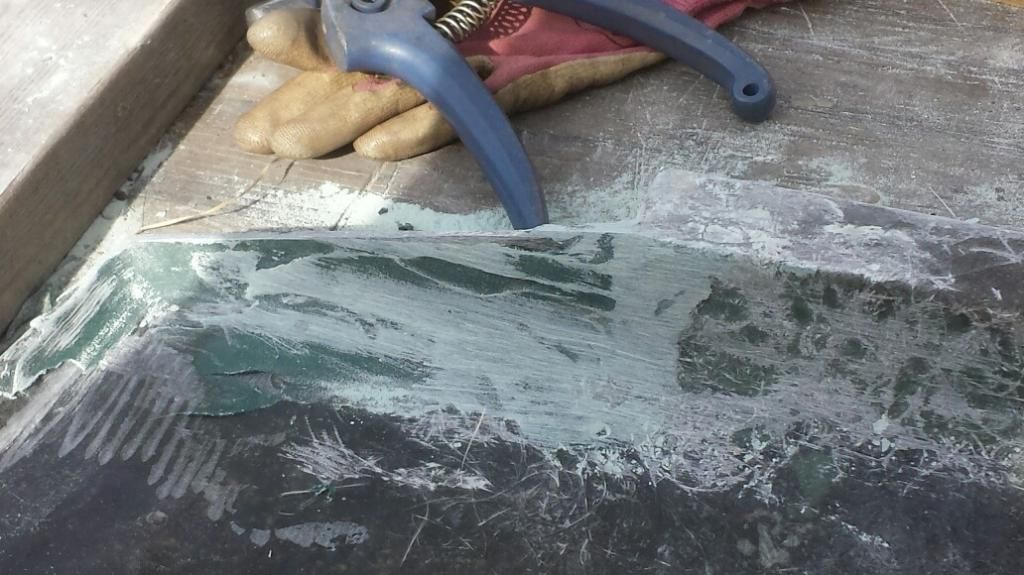
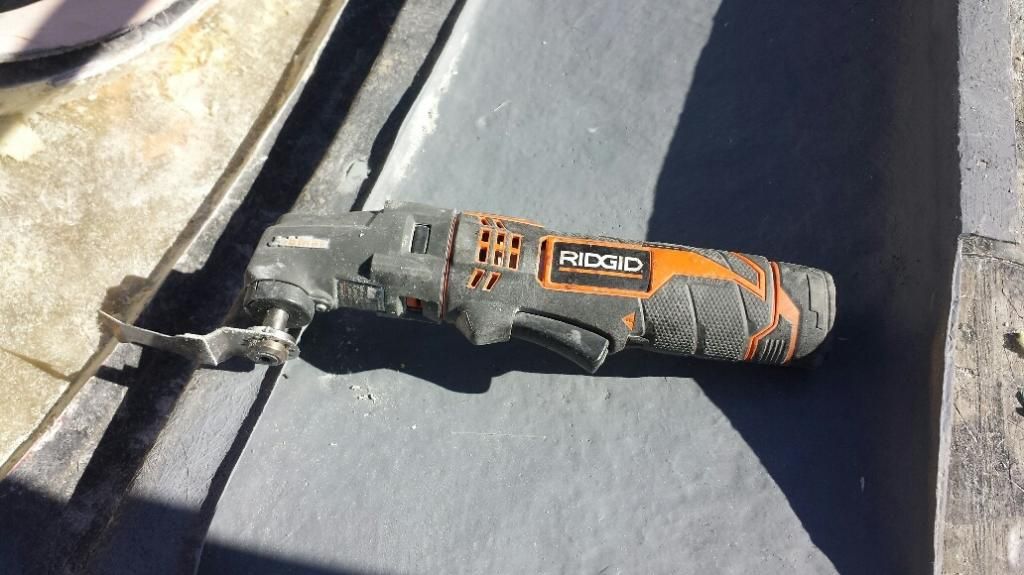
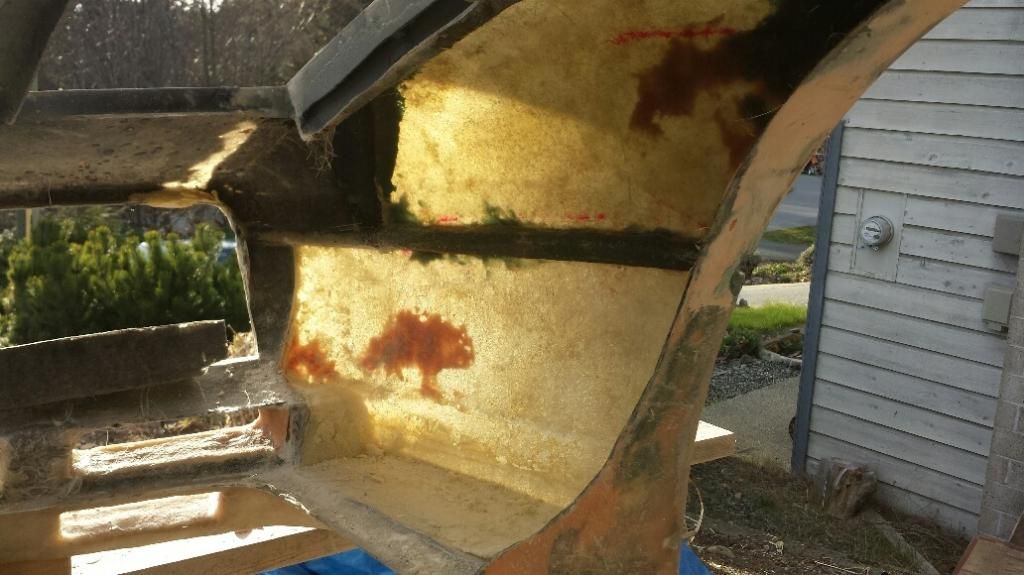
My favourite tool for working with glass , using the metal cutting blade you are able to be very precise on the cut. It took only 1 hour to cut the glass and remove the foam from the marked are. I've worn out only 2 blades so far on this entire build.
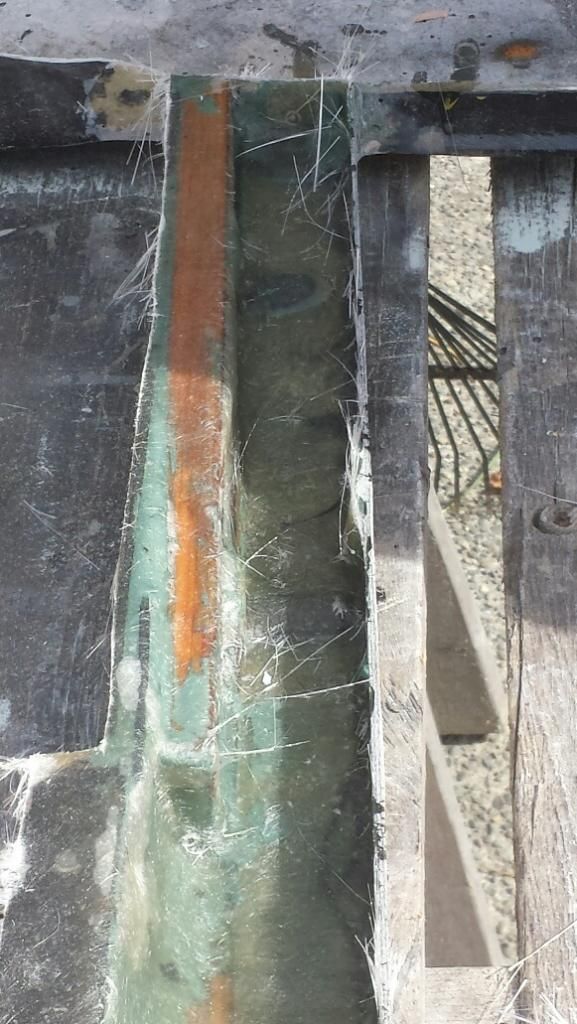
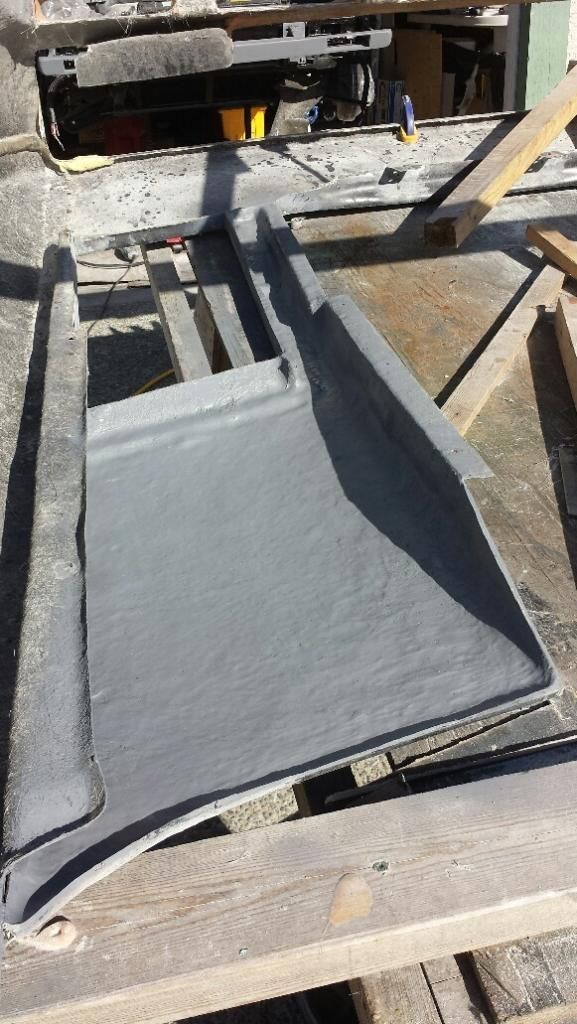
I cleaned up the edges of all the cuts took the wire wheel on the drill to remove the foam then took bondo to smooth out the edge transition. I then precut the glass and glassed from the belt line up to the top of the fender. Two layers 1 1/2 oz matt added for a total of 4 layer. lots of strength!!
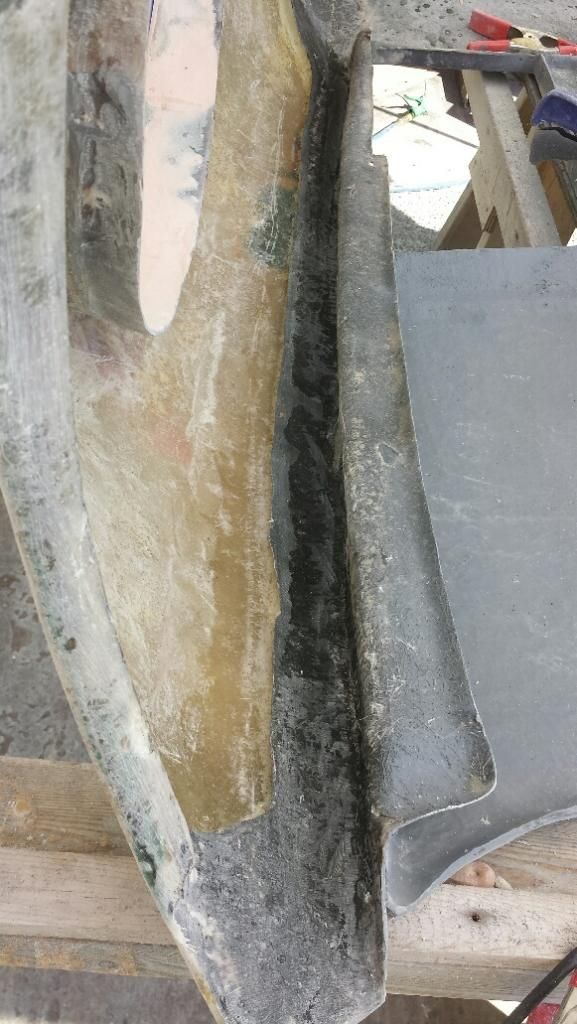
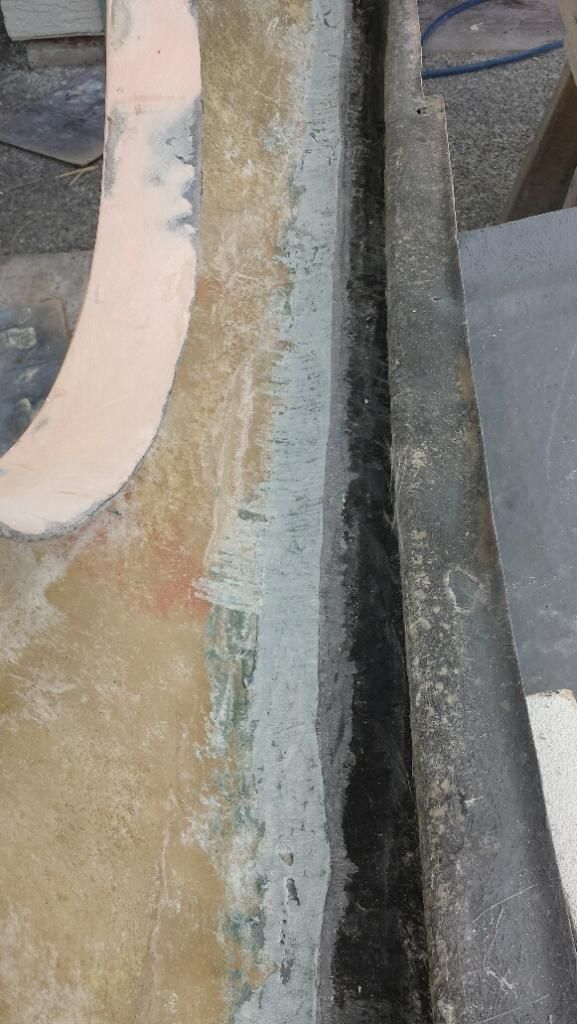
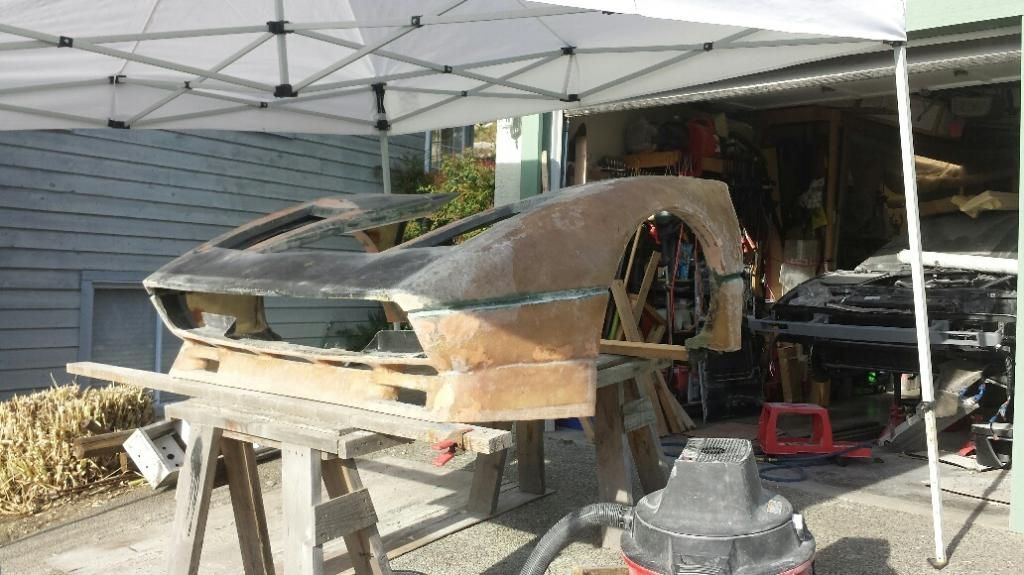
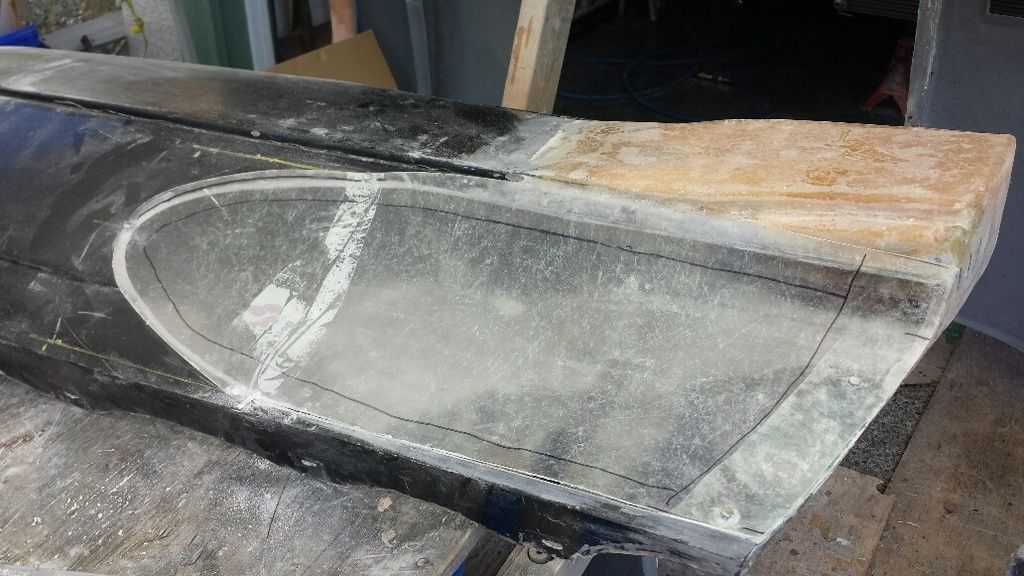
I flipped the clip over to allow for glassing the lower half of the fender, I decided to cut out some more of the front fender section and lower spoiler. I will finish prepping it tomorrow and then glass it.
[This message has been edited by dobie1 (edited 03-08-2015).]
Are you starting to get an idea of why the "accepted" method is to finsh your plug, make a mold, then take your finished piece from the mold? Sounds like allot of work, and it IS, but so is doing it the way you are proceeding.
You are doing a great job of it though, it will be hard to tell the difference between what you end up with and having done it the plug/mold/part method.
Everybody has a different goal in mind for their own projects. If you wanted to reproduce the body you are making, the only way to do it is to make molds. If you are just doing a one-of, what you are doing might be the easier route, and if done correctly, will produce nearly the same result. Kind of a toss up as to which is more work.
Anyway, keep up the great work, continue posting progress pics/reports, always inspiring to see what others are accomplishing, while some of us just watch and wish!
Hi Sage sorry about that, yes I do know that RCR is Bob but I believe Don told me your name was Bob obviously I misunderstood.
I made the decision not to do a buck and mold when I made the decision to build the lower duct into my build. I figured that anyone that wanted a 288 GTO wouldn't want the duct. It is a lot of work I'm really learning alot having never fibreglassed or welded before, I have done ground up resto's on a couple collector cars. Who knows I may do another build with the frame stretch and longitudinal V8/trany having watch builds like Bloozberry and other builds I'm intrigued!! But I need to finish this one first LOL I don't want to be one of these builds that never get completed. In the end it will be my custom one off. Wayne
[This message has been edited by dobie1 (edited 03-09-2015).]
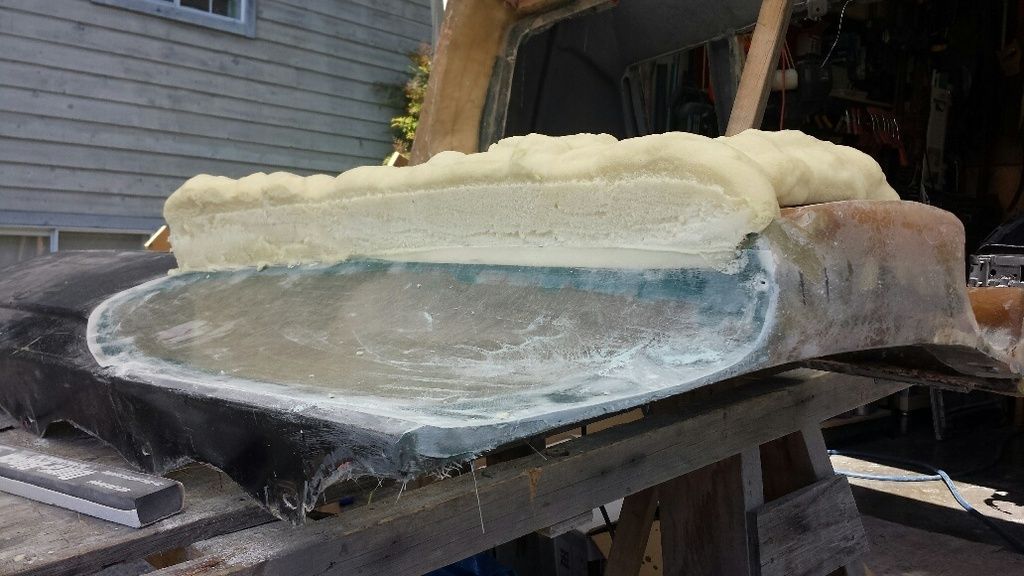
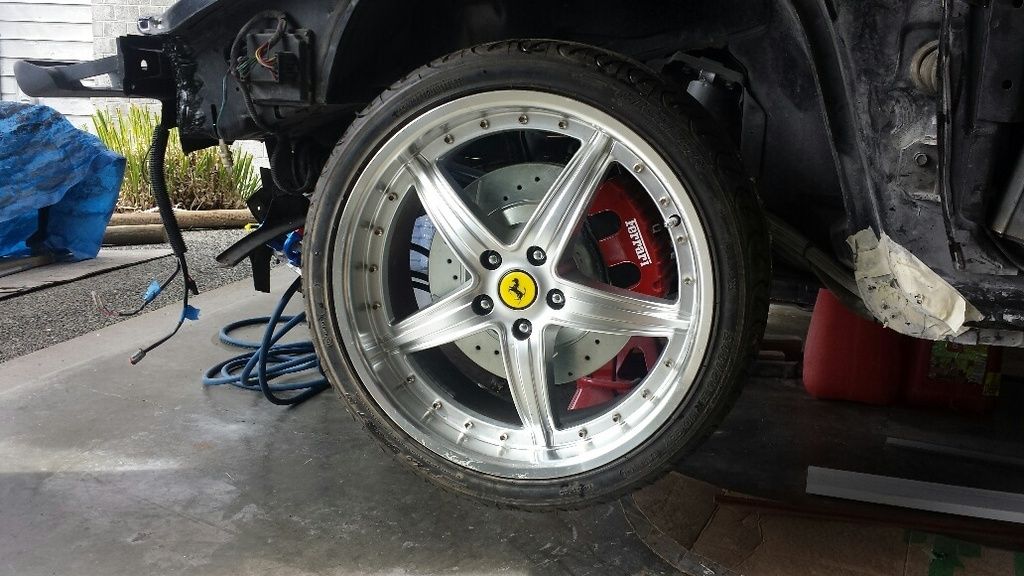
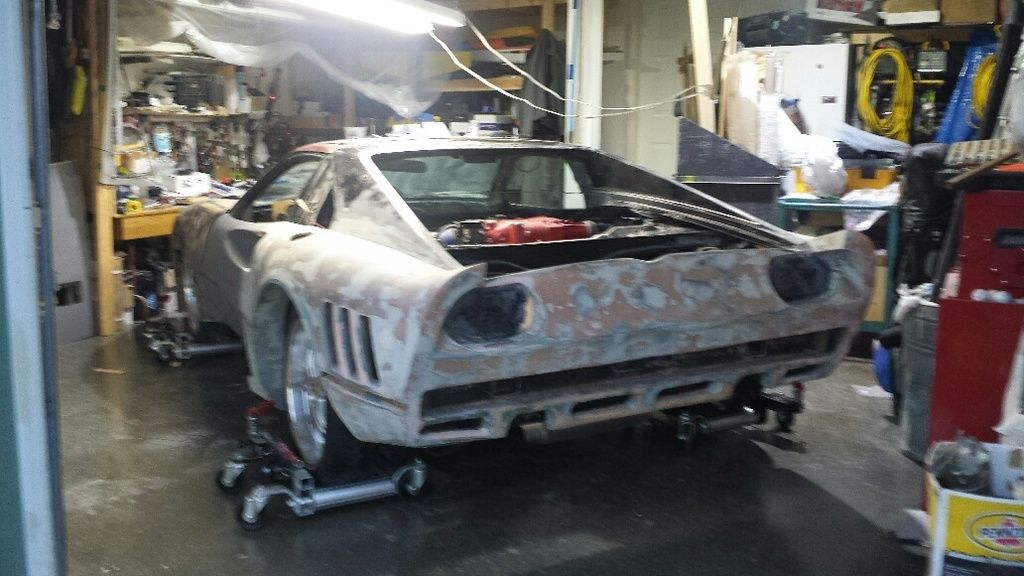
It's been awhile but I have been busy. I finished the front clip it's now ready to do a mold I plan to have it completed by the end of June. The last few days I have been working on the modifications to the door panel to incorporate the lower scoop into the doors. The pictures do not show them finished and it is hard to visualize the cut unless you look and the rear clip. I also didn't like the hip transitions into the door so more expanding foam and sanding but I got the look. Today I skim coated all the foam with some light bondo and will clean everything up tomorrow for a layer of satin cloth over the whole door to finish it for Primer. I also added 3 brackets to the front edge of both doors panels to make a more secure attachment to the doors. I'm heading to Vegas on Sunday for a few days, next week hopefully Don and I will bring the rear clip back so I can put the whole body on for the first time" I'm looking forward to this it's been a lot of work but I'm confident it will worth the wait" I installed one of my new mags and tires for a quick look enjoy.
Adding the foam to make a smother transition from the rear clip
sanded to shape the the upper part of the door still needs to be foamed and sanded.
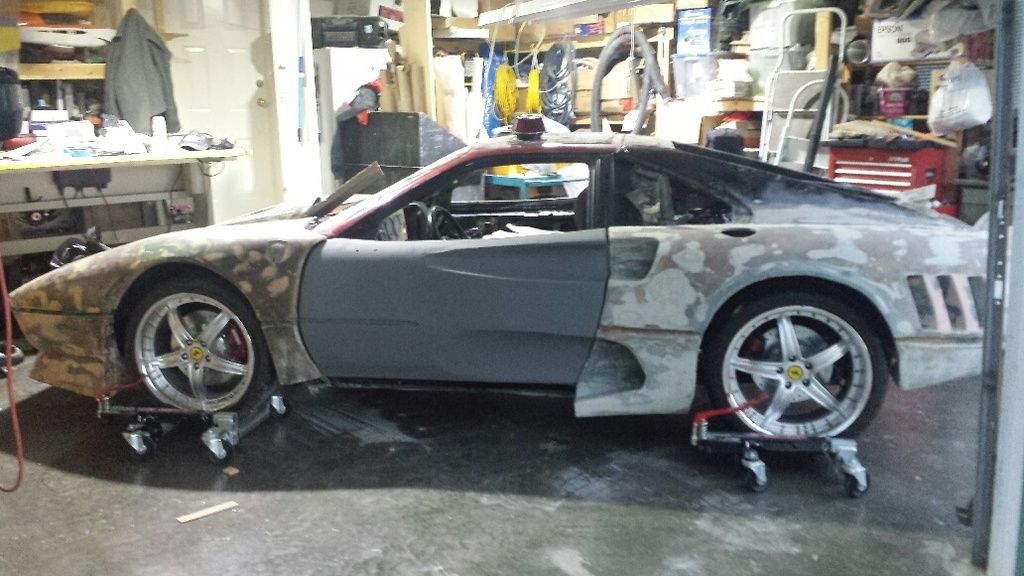
These are the 19"Ferrari wheels I will be using
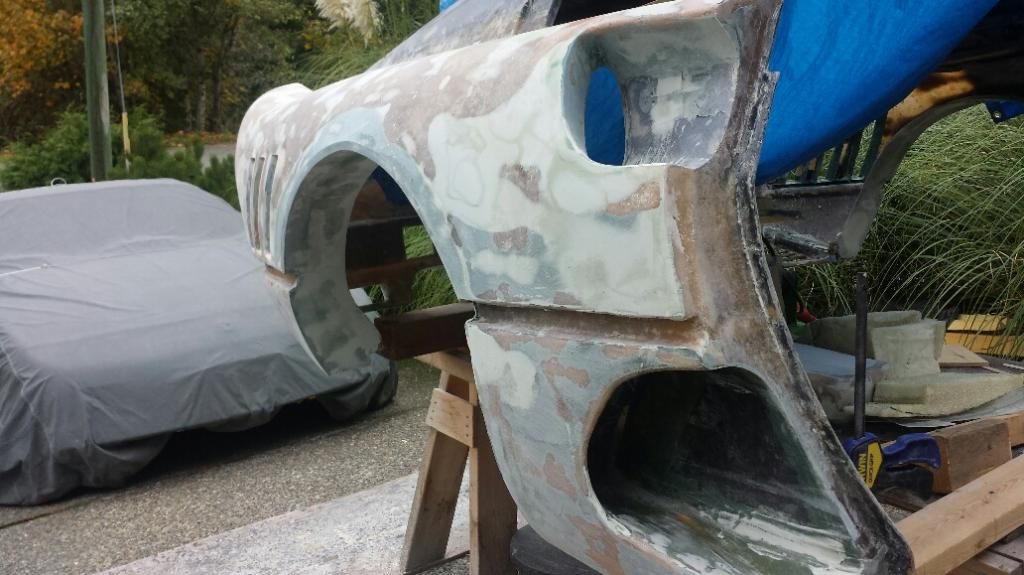
This is a picture of the rear clip with the lower scoop
[This message has been edited by dobie1 (edited 05-23-2015).]
Thanks for looking it is a labor of love!! I painted to door panels one color to give me a better view of how the mod flows into the door, I think it will work. I need to do some more sanding and filling to complete it then I'll lay 1 layer of Satin S cloth over the entire door to seal the foam and light bondo I used to seal the 2 part foam. I plan on mounting all the panels for the first time since I started the build next week for the final alignment before I secure everything. I'll cut the belt line in once it is mounted.
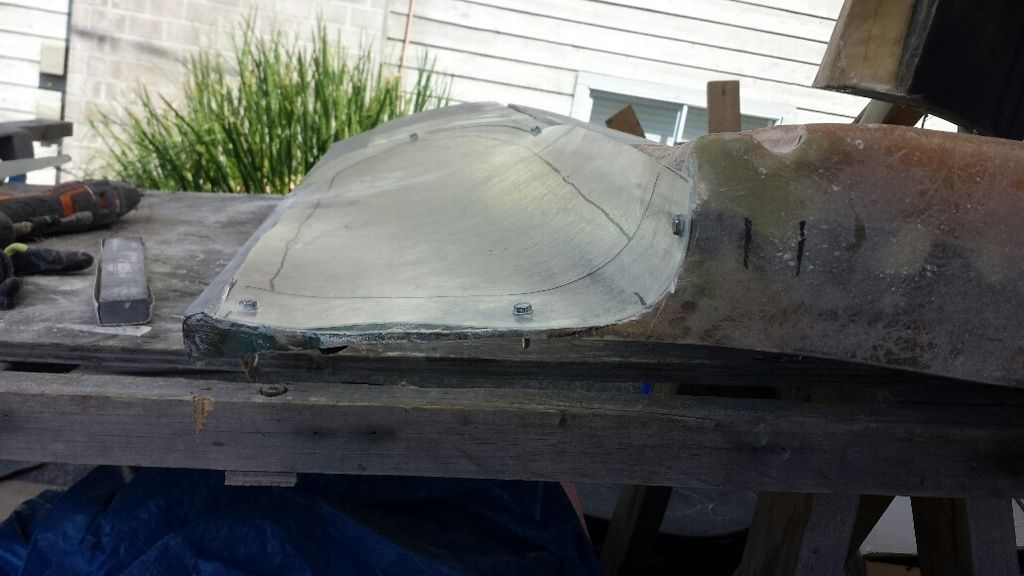
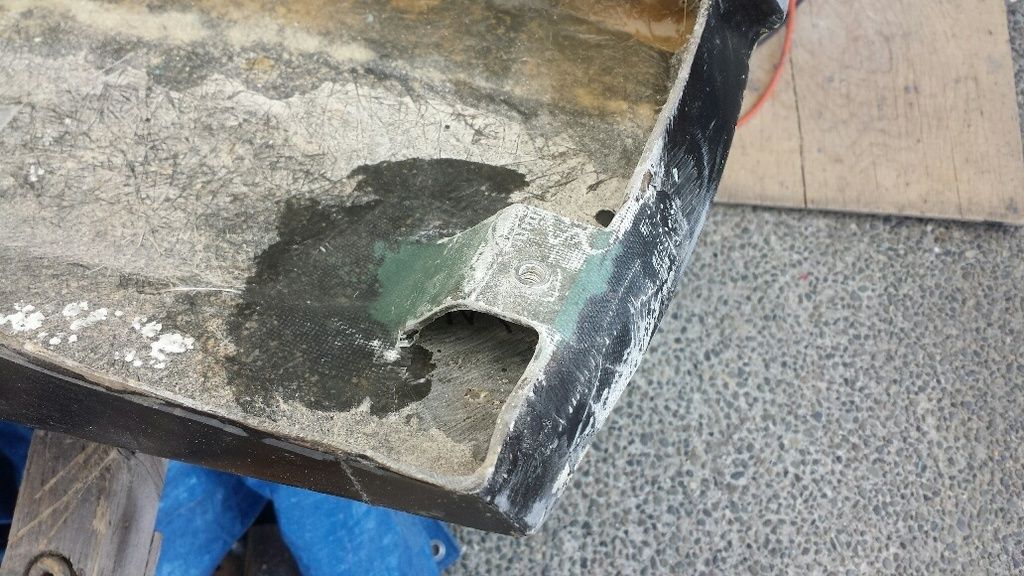
I completed the door panel front attachment points, I used aluminum nut-certs worked perfectly.
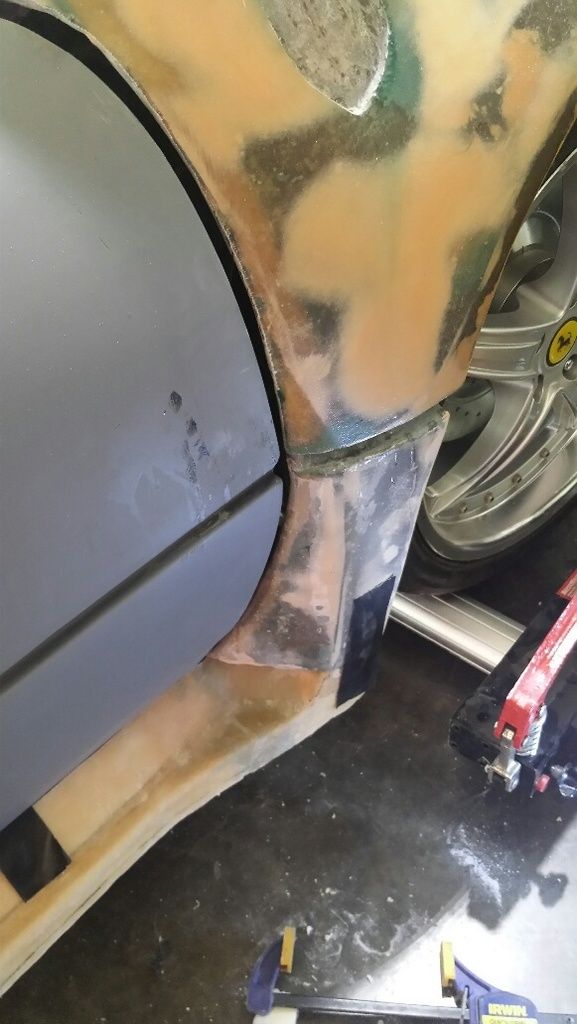
a couple of shots with the light bondo sanded to form the transition into the door
After the gray primer was added it really showed up the imperfections that need to be filled and sanded before I glass the entire door panels. But it really shows the scoop into the rear clip I can't wait to get the rear clip mounted again.
Thanks for looking , I can't take any credit for the landscaping though i'm more the guy that (honey I need a hole dug here and can you dig up this and move it here) gardener!! LOL
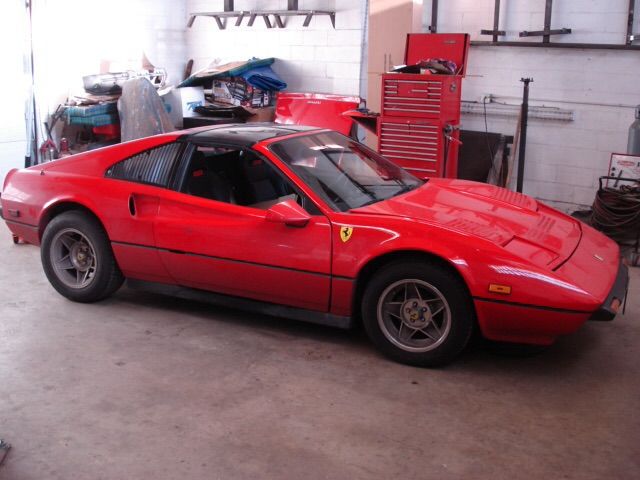
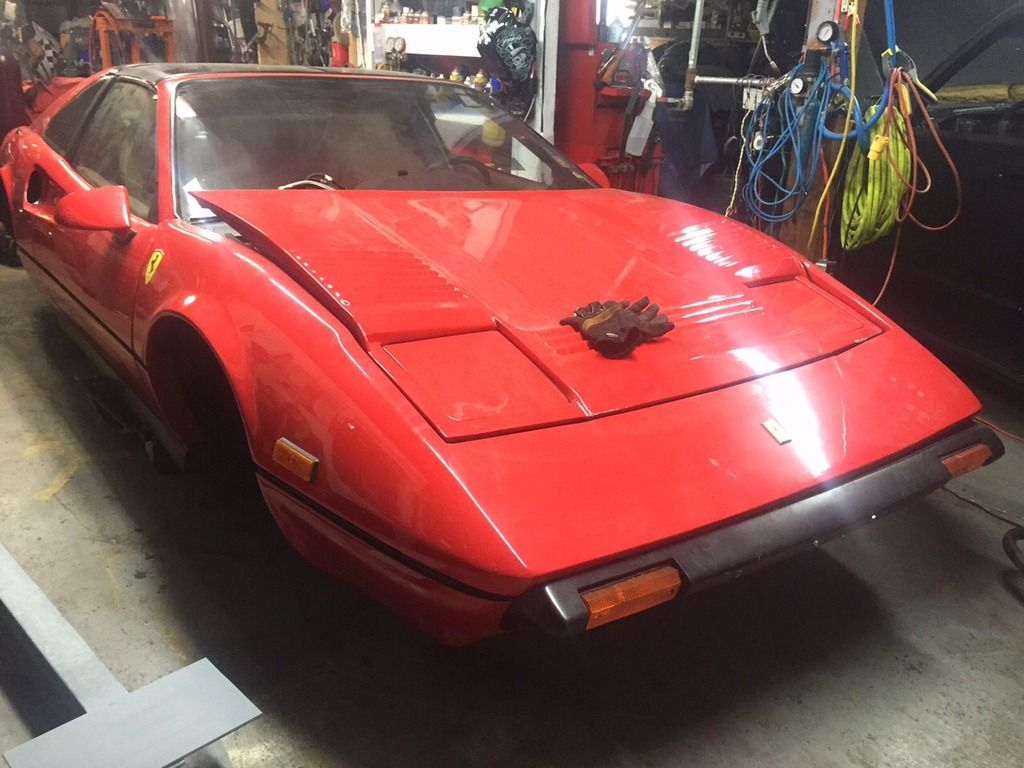
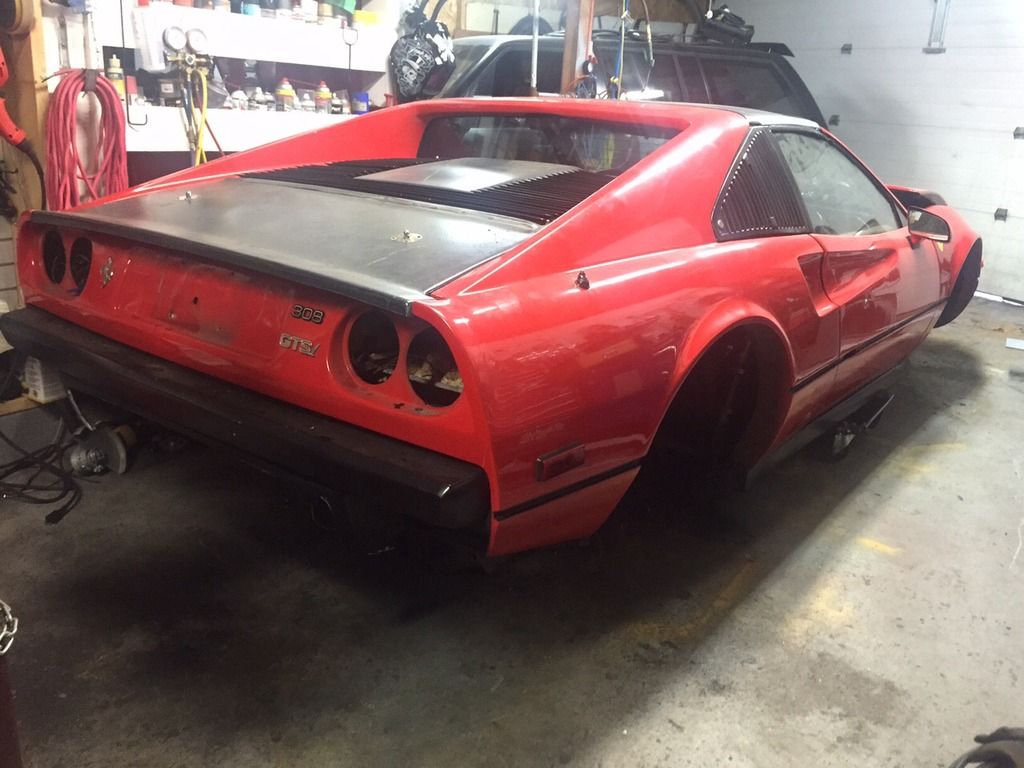
I picked up another car on the weekend the car was in rough shape with no suspension and the interior picked apart "but it had C&C T-Top's installed", I'm not sure if it was a factory install or after but they are in great shape so I am going to take a sideways step on my build and R&R them in to my build. I was planning on removing my sun roof anyway and going hardtop but this will be a nice addition to "My custom 288 build" . Don't worry the donor will be safe as I"m giving the rest of the car to a buddy, he will get my sunroof cut out and will rebuild the car doing his own mods. Here are a few pics of the donor before it was striped
First glimpse of what my custom 288 is going look like
Thanks Don for the help tonight getting it back together. Still lots of work but I'm excited and even more pumped than ever at getting it done. I still need to build and finish the lower rocker panels but I think everyone will get the idea. One set back though after rebuilding the suspension looks like the new wheel and offsets are going to require widening everything by at least 2". I'm looking at doing a front and back Helg suspension build in the not too distance future.
[This message has been edited by dobie1 (edited 06-04-2015).]
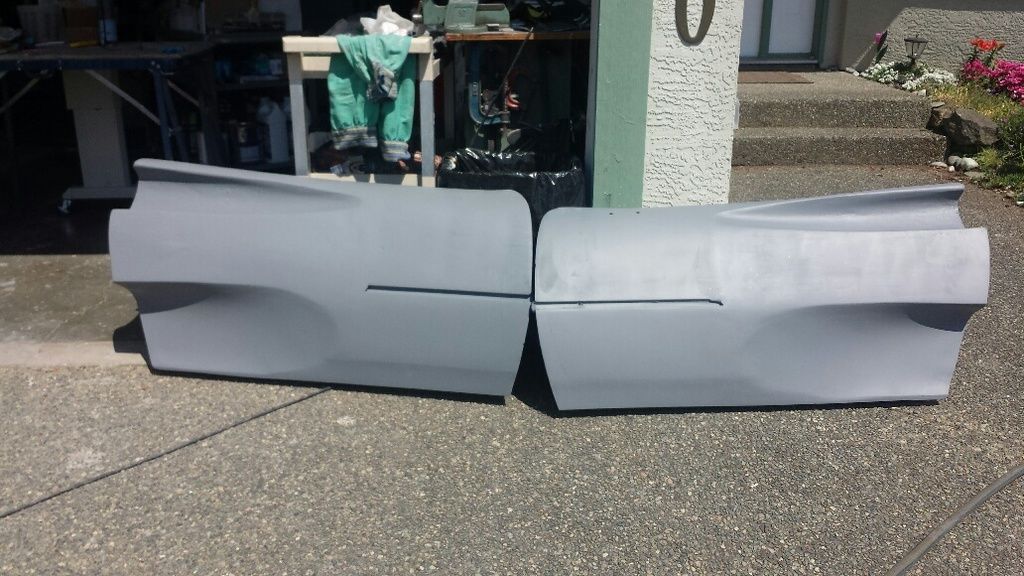
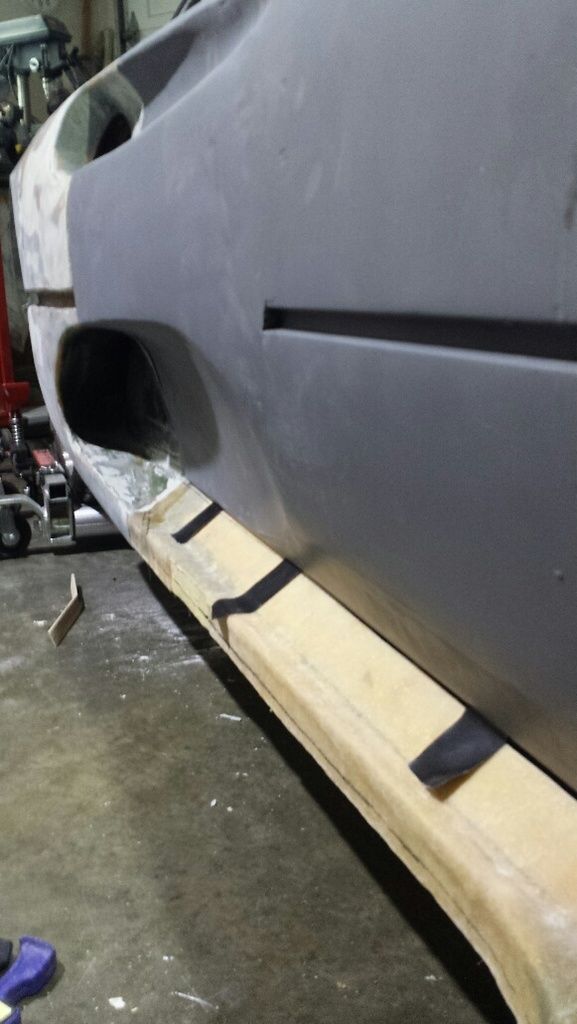
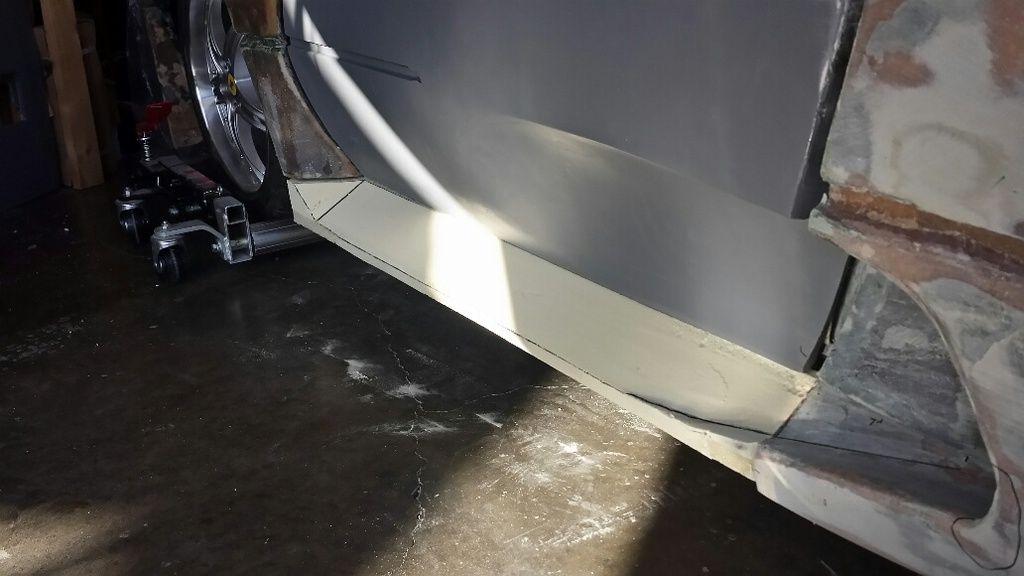
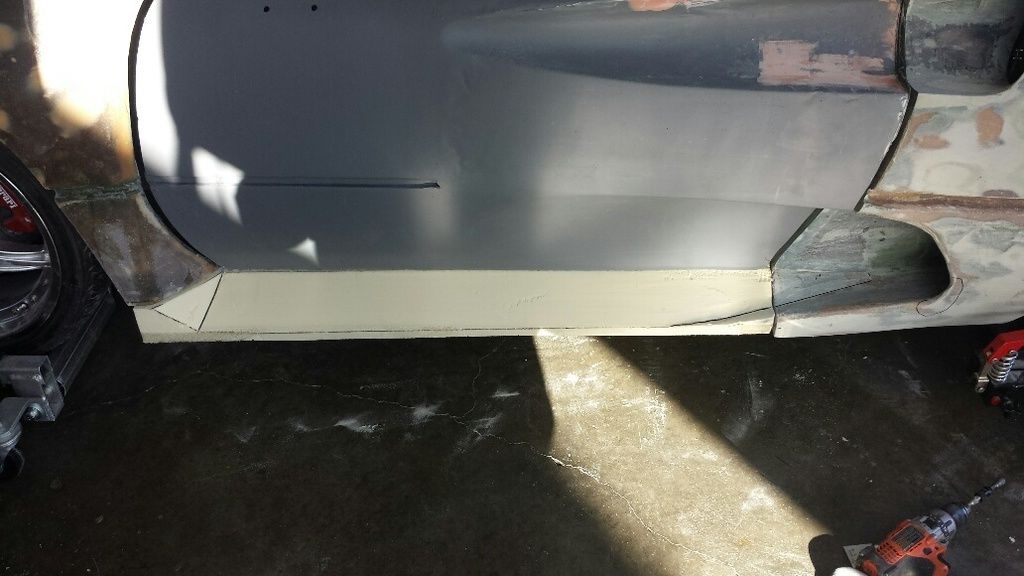
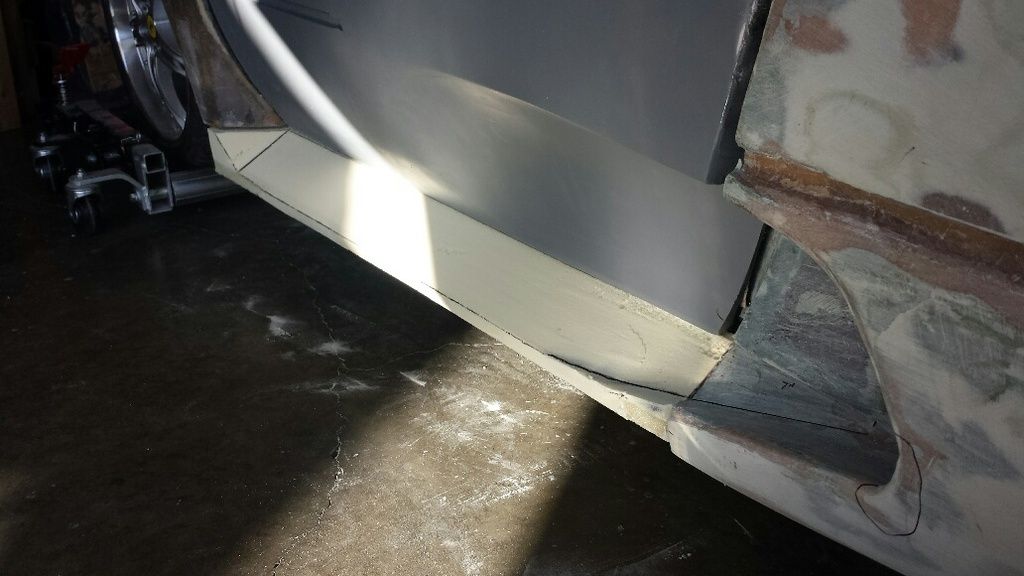
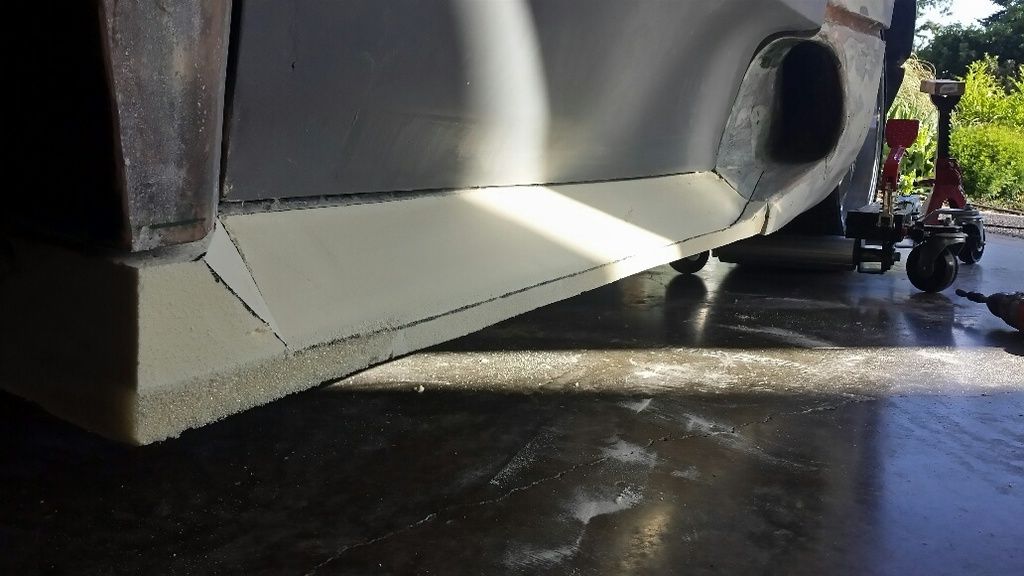
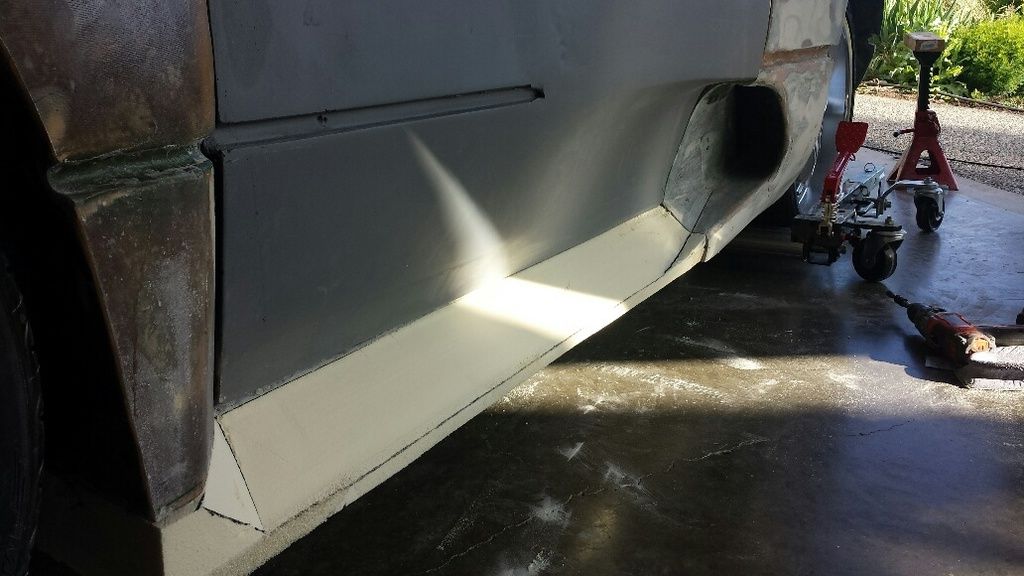
Ok guys for those of you that read my build I need your help. I've built the second lower rocker and would like to get everyones choice as to which one looks the best. The first series of pics is the original design when I envisioned the lower duct , the second is fashioned after the Koenig 308. I really appreciate any help everyone can give me.
I agree that the new one is better, but not sure that I like the straight cut angles on the front of it. The lines of the car are curved and fluid, I think the front of the rocker should reflect that too. Great build!
Thanks for the votes everyone that was what I was hoping for!!! Yes a full side shot would be nice but due to the design of my two door garage it is impossible to get a full on side view without an obstruction in the frame. I may fire it up and pull it outside for some full side shots.
Thanks for the input on the forward rocker panel angles / verses rounding the design!
Bob you will always count as two!!! I am still really torn on both, the count right now from both forums as well as others I have asked is 8 for the new and 5 for the original design.
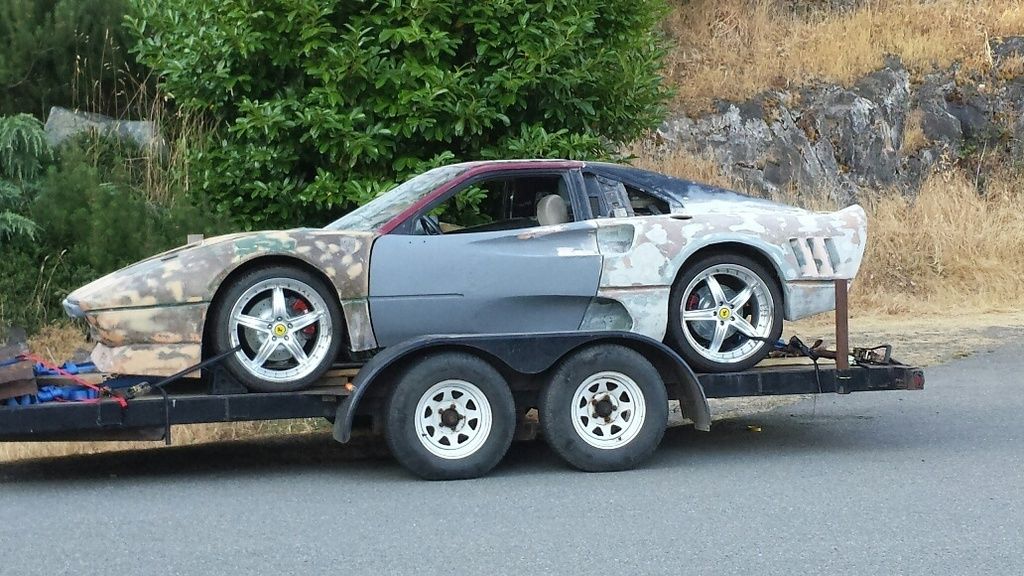
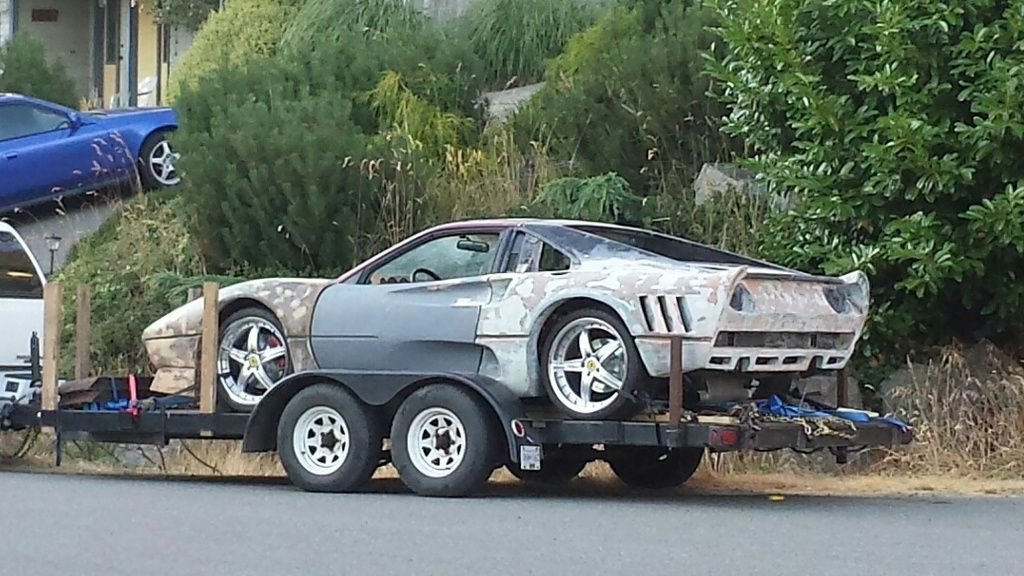
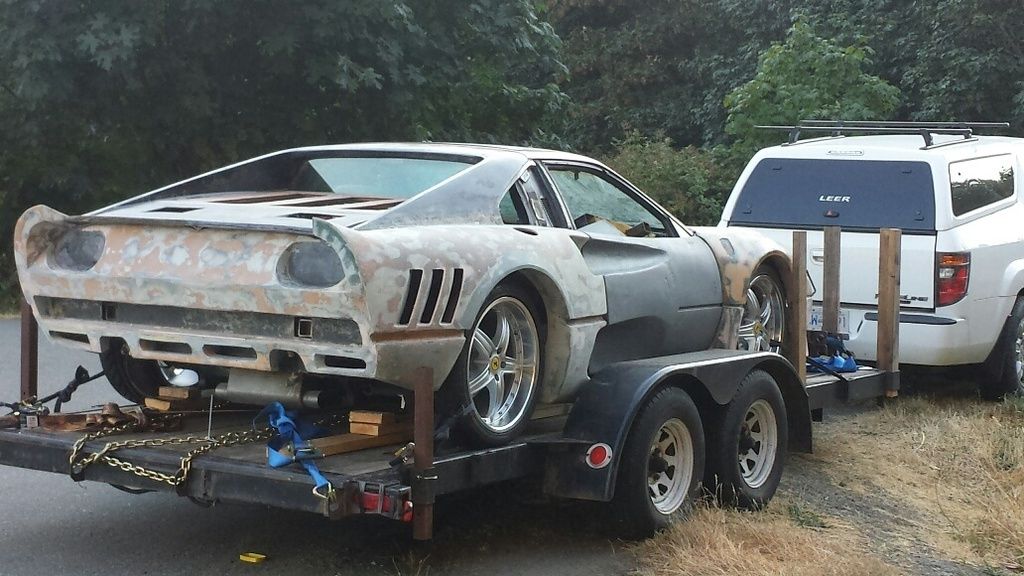
Well due to fumes getting into food (bread and cookies)in the freezer which is located in the work shop nothing has been getting done. The wife shut me down so the project is being moved to another shop until we sell and and move to a new house. Here are a couple shots of the car all loaded up and ready to go. There won't be to many updates in the next while as the car gets molded, before it goes for final finish, sanding and paint. TTYS Wayne
[This message has been edited by dobie1 (edited 07-17-2015).]
Ok guys for those of you that read my build I need your help. I've built the second lower rocker and would like to get everyones choice as to which one looks the best. The first series of pics is the original design when I envisioned the lower duct , the second is fashioned after the Koenig 308. I really appreciate any help everyone can give me.
The new design - looks like the first one has a "trough" design where water and dirt will accumulate.
Fantastic work. MUCH better than the Alden Thomas design. I hope you're gonna make body panels available
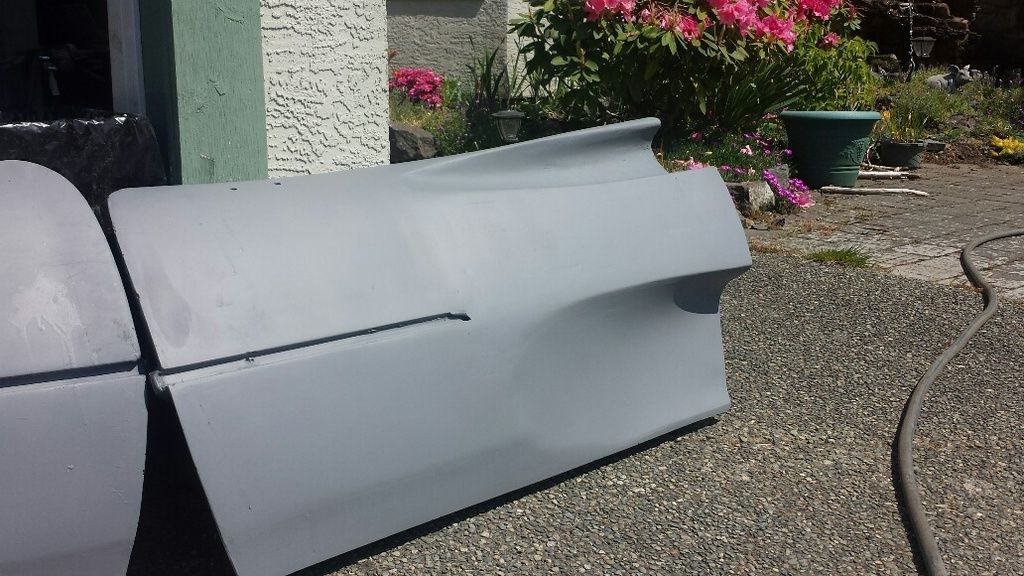
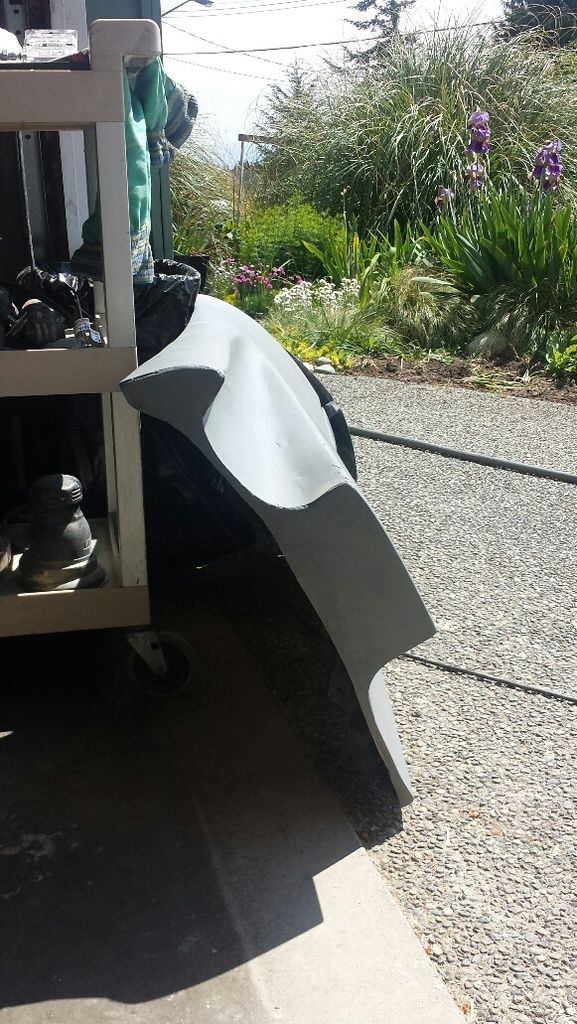
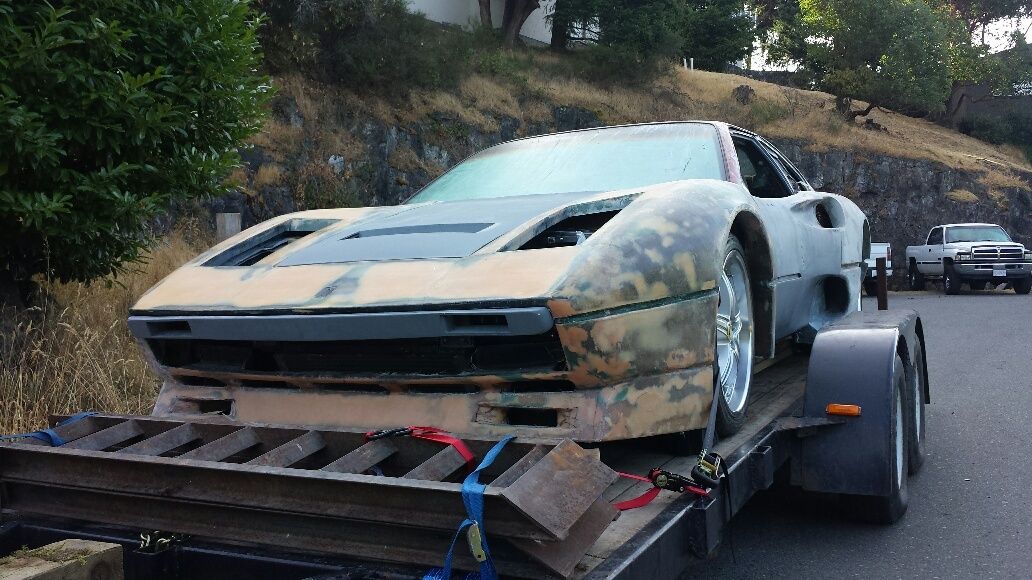
Thanks everyone for the positive comments , and yes a complete body kit will be available for those that might be interested. Here is the last pic taken of the front views, it gives a good view of just how wide the rear hips are but the lower rockers are off for the loading on the trailer!!!I plus I only had 3/4" clearance on each side of the trailers fenders, I had to climb out through the windows to get out. LOL
[This message has been edited by dobie1 (edited 07-16-2015).]
Thanks everyone for the positive comments , and yes a complete body kit will be available for those that might be interested. Here are the last pic taken of the front views, it gives a good view of just how wide the rear hips are but the lower rockers are off for the loading on the trailer!!!I plus I only had 3/4" clearance on each side of the trailers fenders, I had to climb out through the windows to get out. LOL
Dobie1...looks amazing...might just have to get one of those kits eventually. And for the trailer...i have lost count on how many times...for long hauls...I have climbed out of the sunroof and put the sunroof back in from the outside.
Hi everyone Work is still progressing on the molds for the kit and should be completed by the end of the year, the first one is already spoken for, PM me if anyone is interested!!
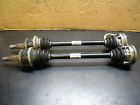
On a side note due to the fact I have to widen the stock fiero suspension anyway, I be decided to eliminate the spacer/ adapters and go with Ferrari hub and spindles front and back with a custom suspension. I thought about keeping the Corvette rotor and brake upgrade I did as my friend that is doing the custom suspension says that he can adapt them. But the new rear spindle and hubs have a intrigrated park brake so I ve decided to go with Ferrari rotors and Brembo calipers.
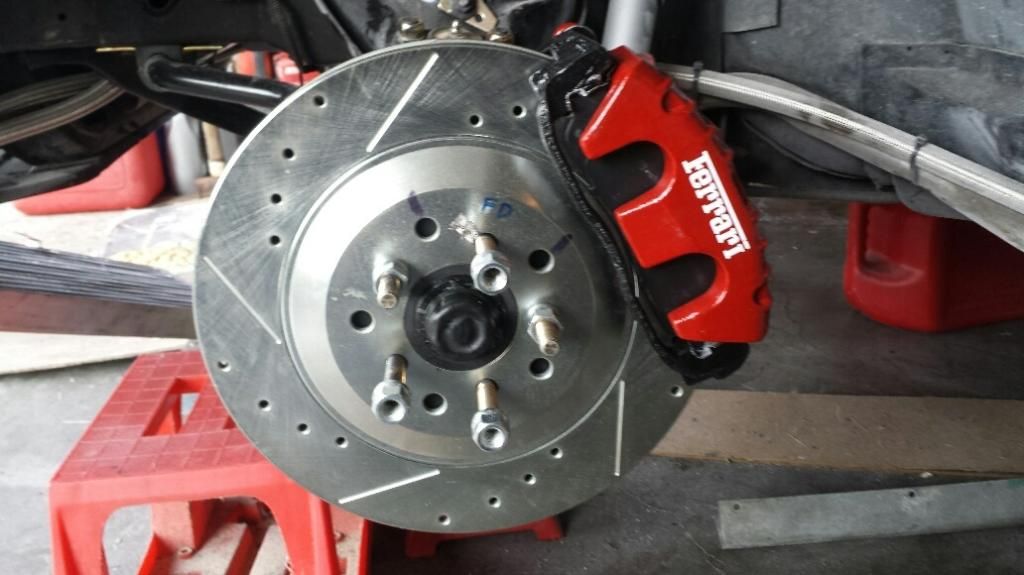
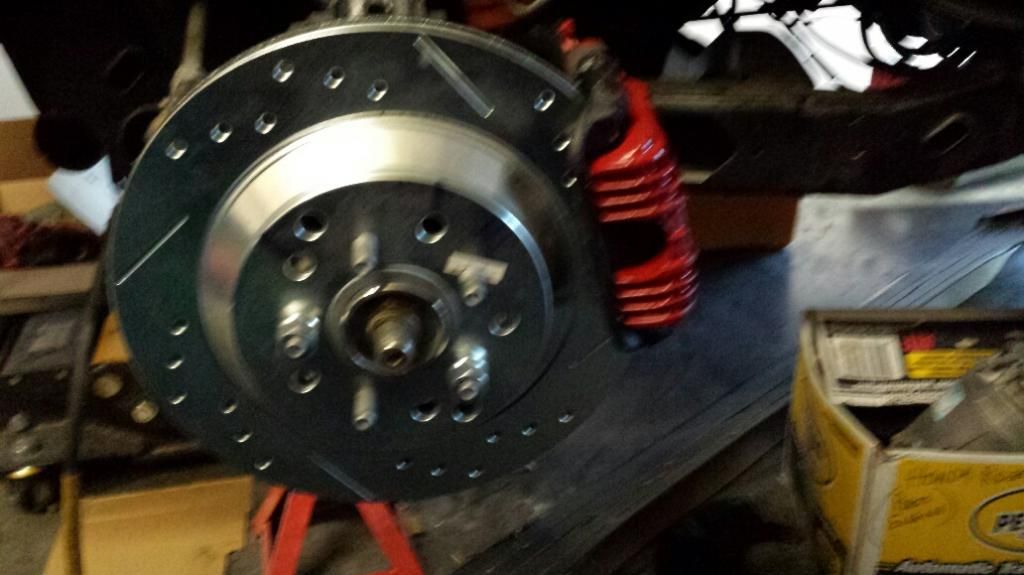
If anyone is interested in a complete Fiero brake upgrade 13" front with new C5 calipers and pads plus adapters and 12" C4 rear with front and rear adapters with NIB Parking brake cables. Check back a page and you can see the brakes installed on my car. PM me and we can work out a price.
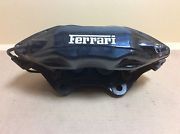
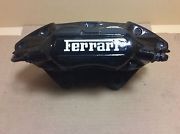
Here are a few pics of the brake package that I would like to sell what you can't see are the adapter brackets that I got from doulblec4 along with the bolts required which are also included. The Ferrari lettering is just a sticker!! Fronts
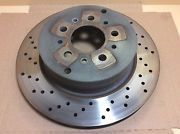
Rears sorry for the crappy picture. I would take another but the car is not here.
Hi Bob Yes you guessed it. As you probably saw on the pics I posted of the car on the trailer I need to extend the front and rear suspensions by 11/2" each side on the front ,and 3" each side on the rear. And that still has a 2" spacer adapters on the rear and 1.25" on the front. A freind of Don and mine a "mechanical engineer" and a fellow builder has offered to build me a new suspension using real Ferrari spindles and hubs and upper and lower control arms using Ferrari's design specs. He said he could use the Corvette rotors and calipers but I decided I might as well go all the way and use ferrari rotors and their Brembo brakes. The front hubs setup is from a 348 and the rears are from a 550 with the front and rear rotor brakes from a 550. The PBrake will use the 550 system. the final width of the suspension based on my body is 79" rear and the front is 73" Computer selectable Adjusting Coilovers front and rear will control the ride. He will cut and spice the axels to go from Ferrari to GM It should be a one of a kind suspension for the car. We will not start the build though until the molds are built as I am supplying a member with a front and rear clip. If your interested in the brake package let me know and we can work something out.
Wayne
[This message has been edited by dobie1 (edited 08-15-2015).]