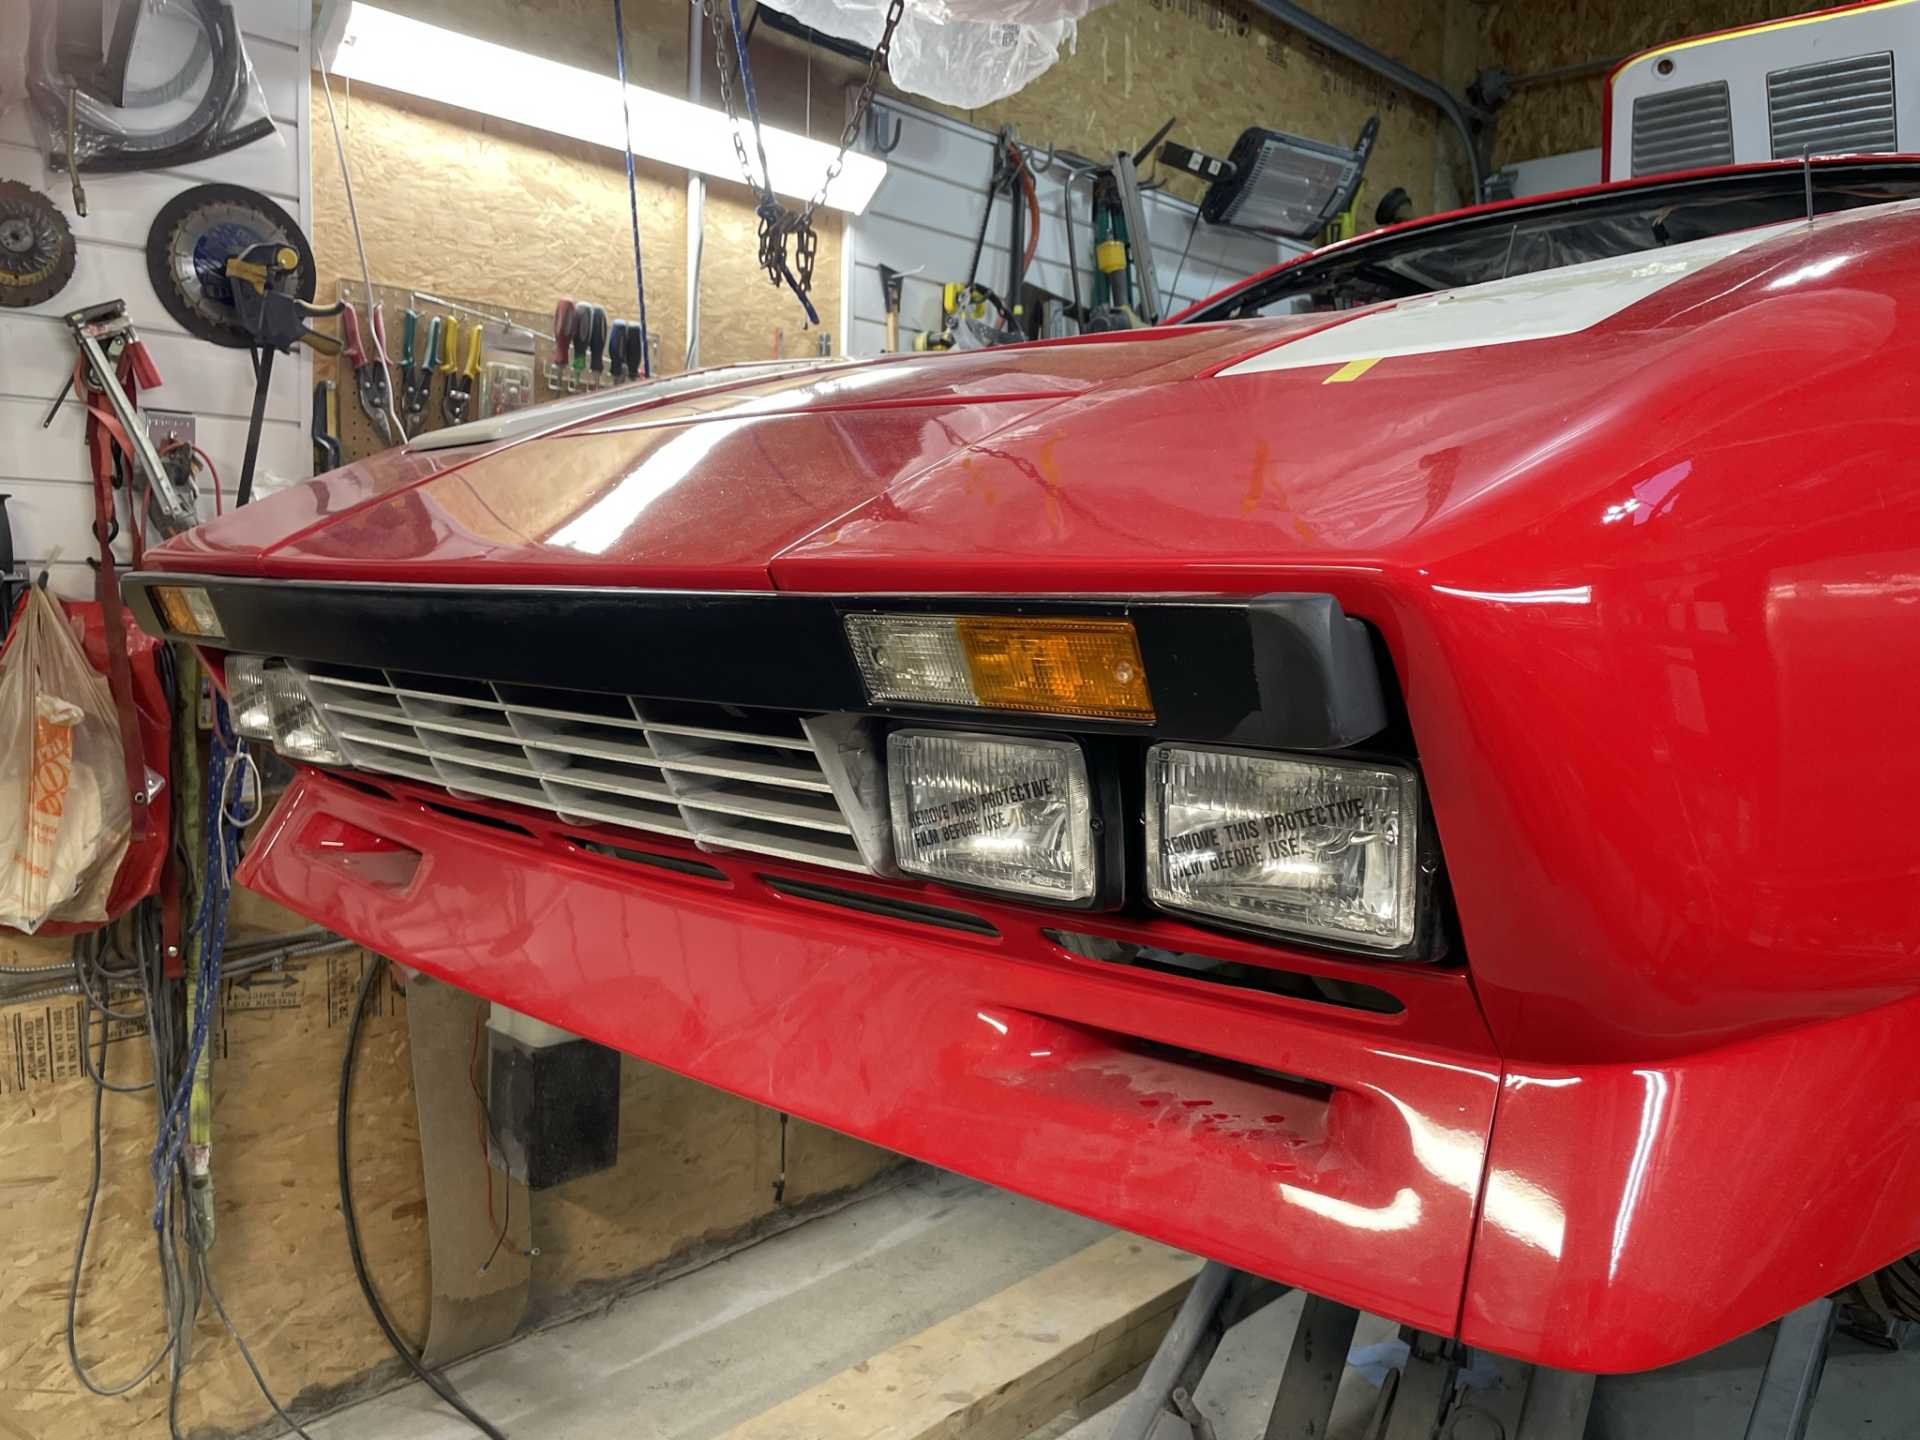
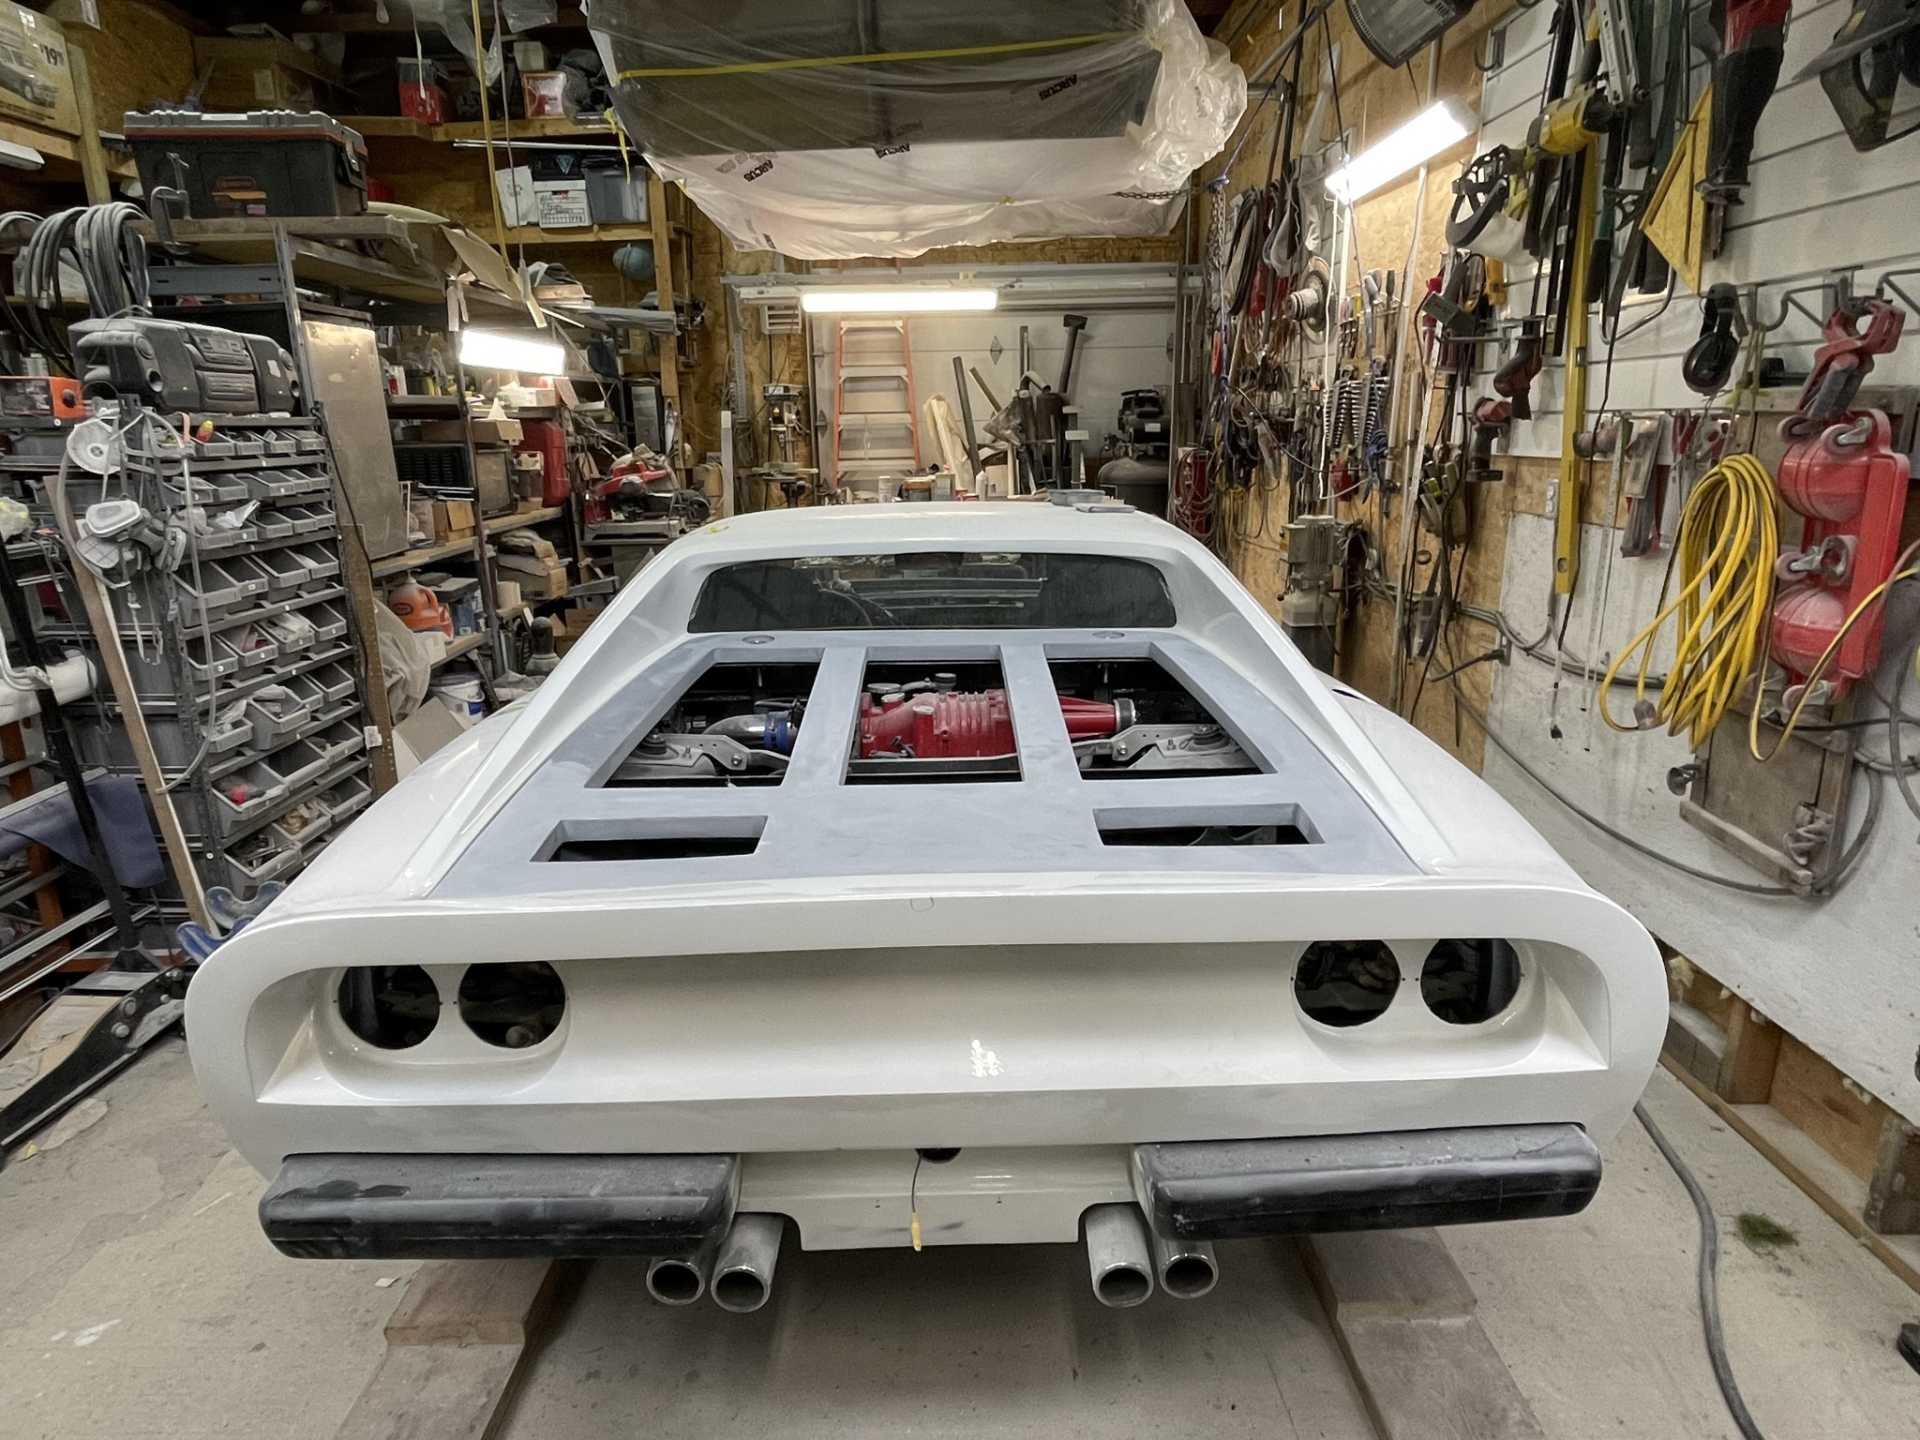
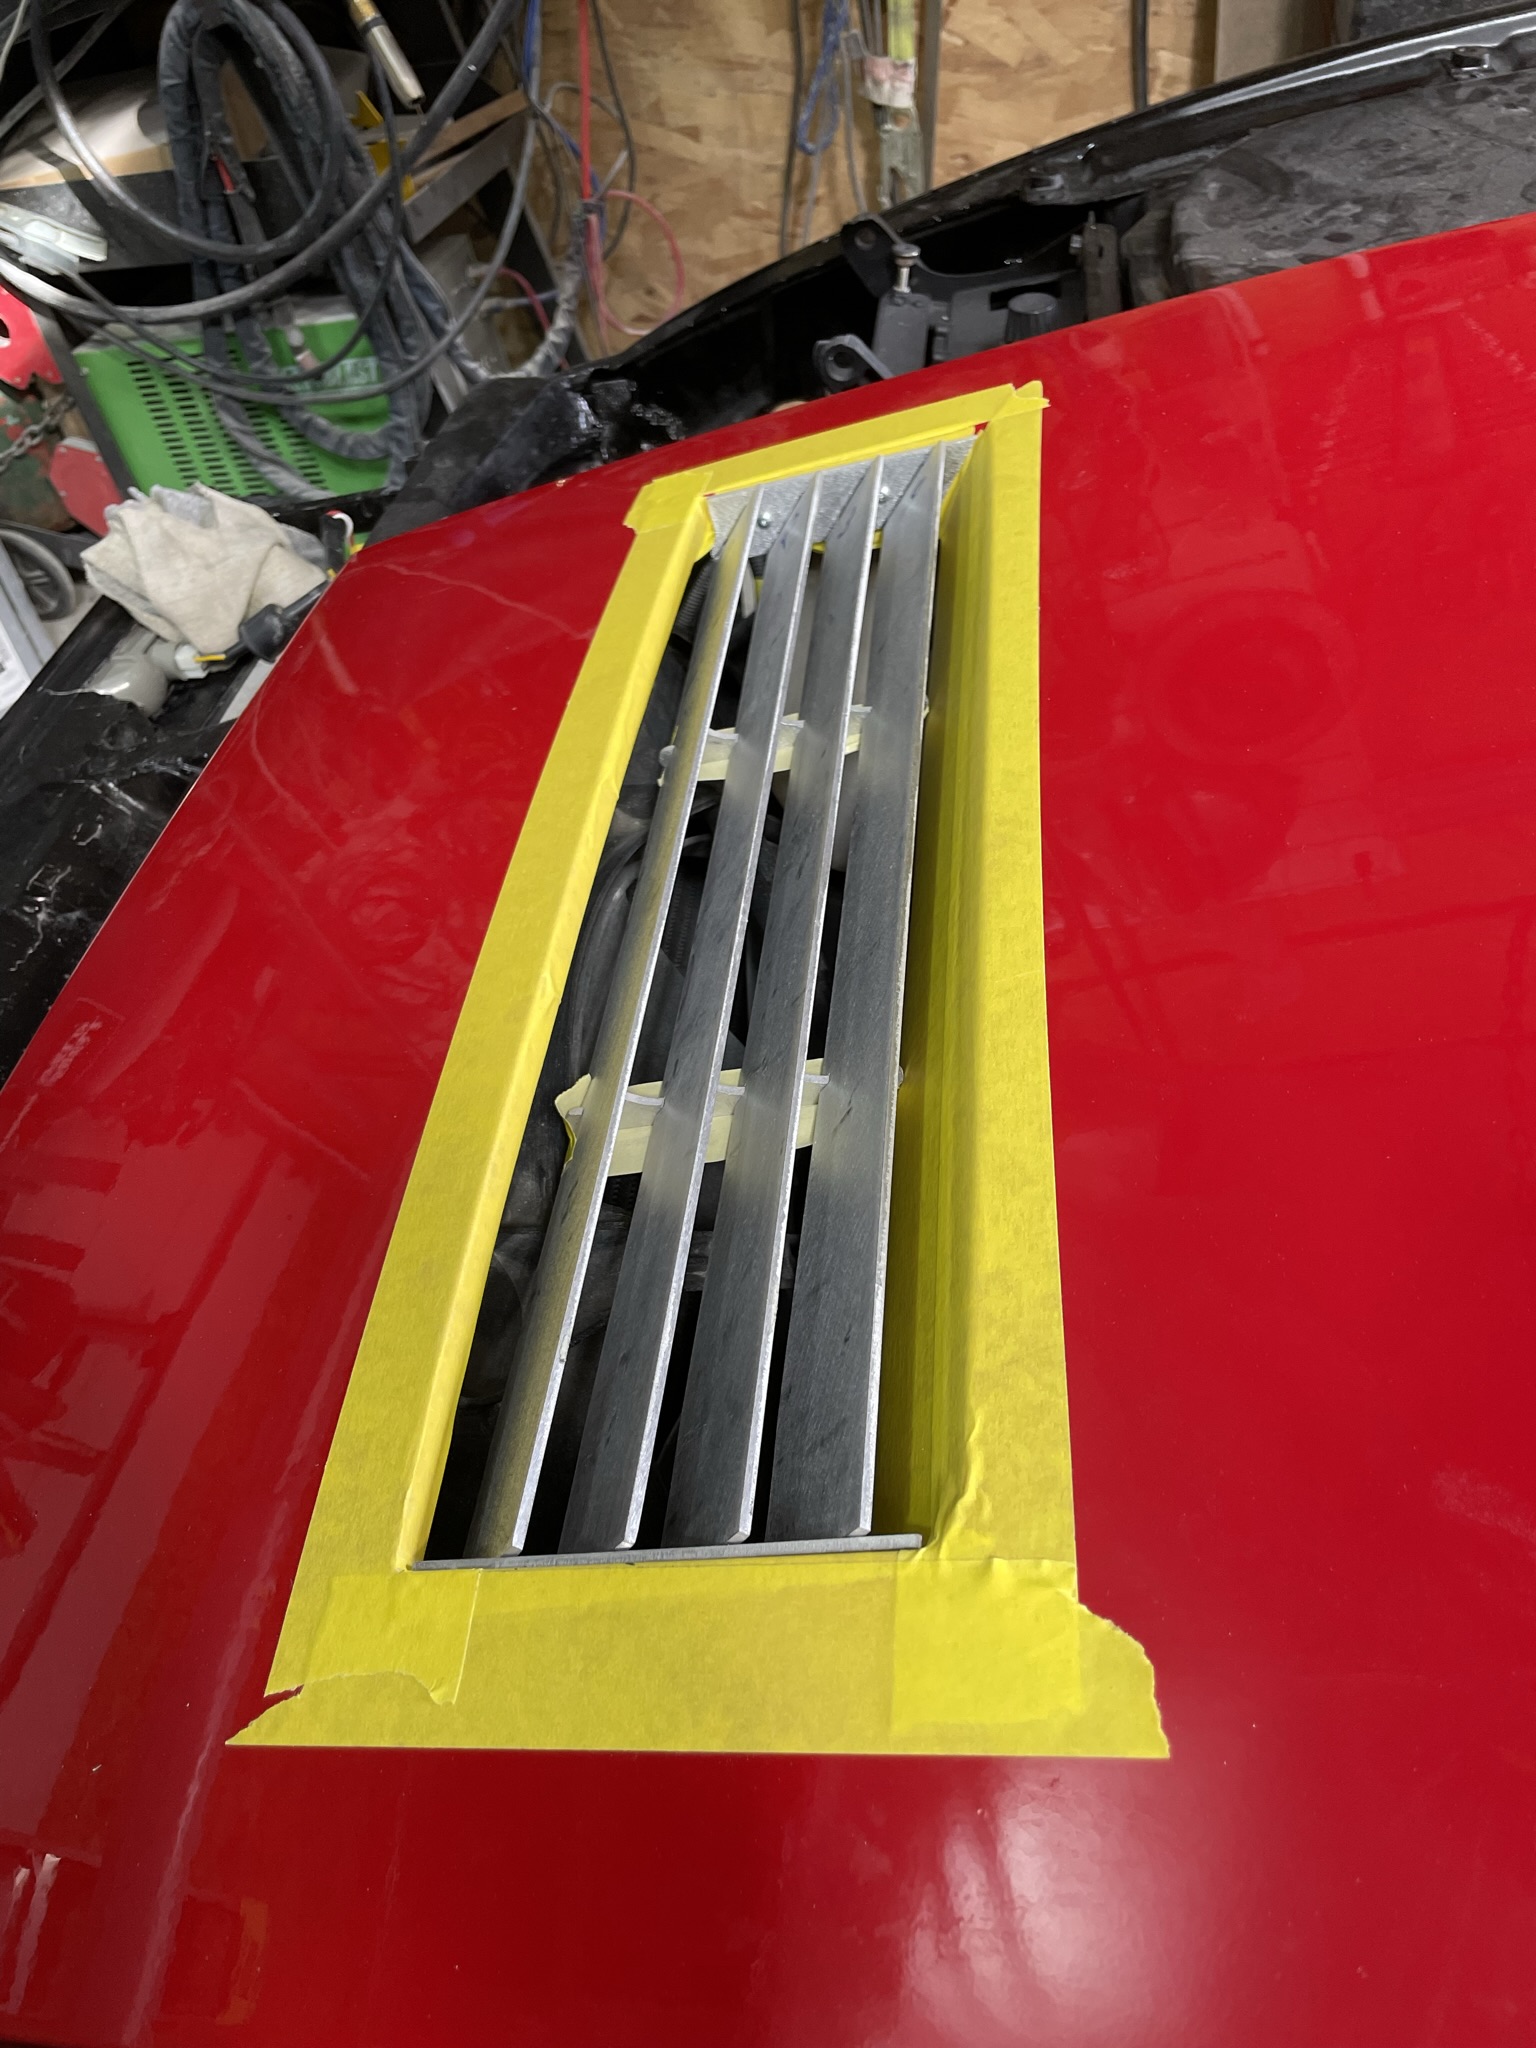
Well I’m down to the finish line finally, everything is block sanded to 320 and ready for paint. I decided to test fit my front grill that I got from the Water Jet company, they did a awesome job. Everything fit like a glove!!! I need to make up four brackets that will attach to the back of the grill and then to the car to hold in place.
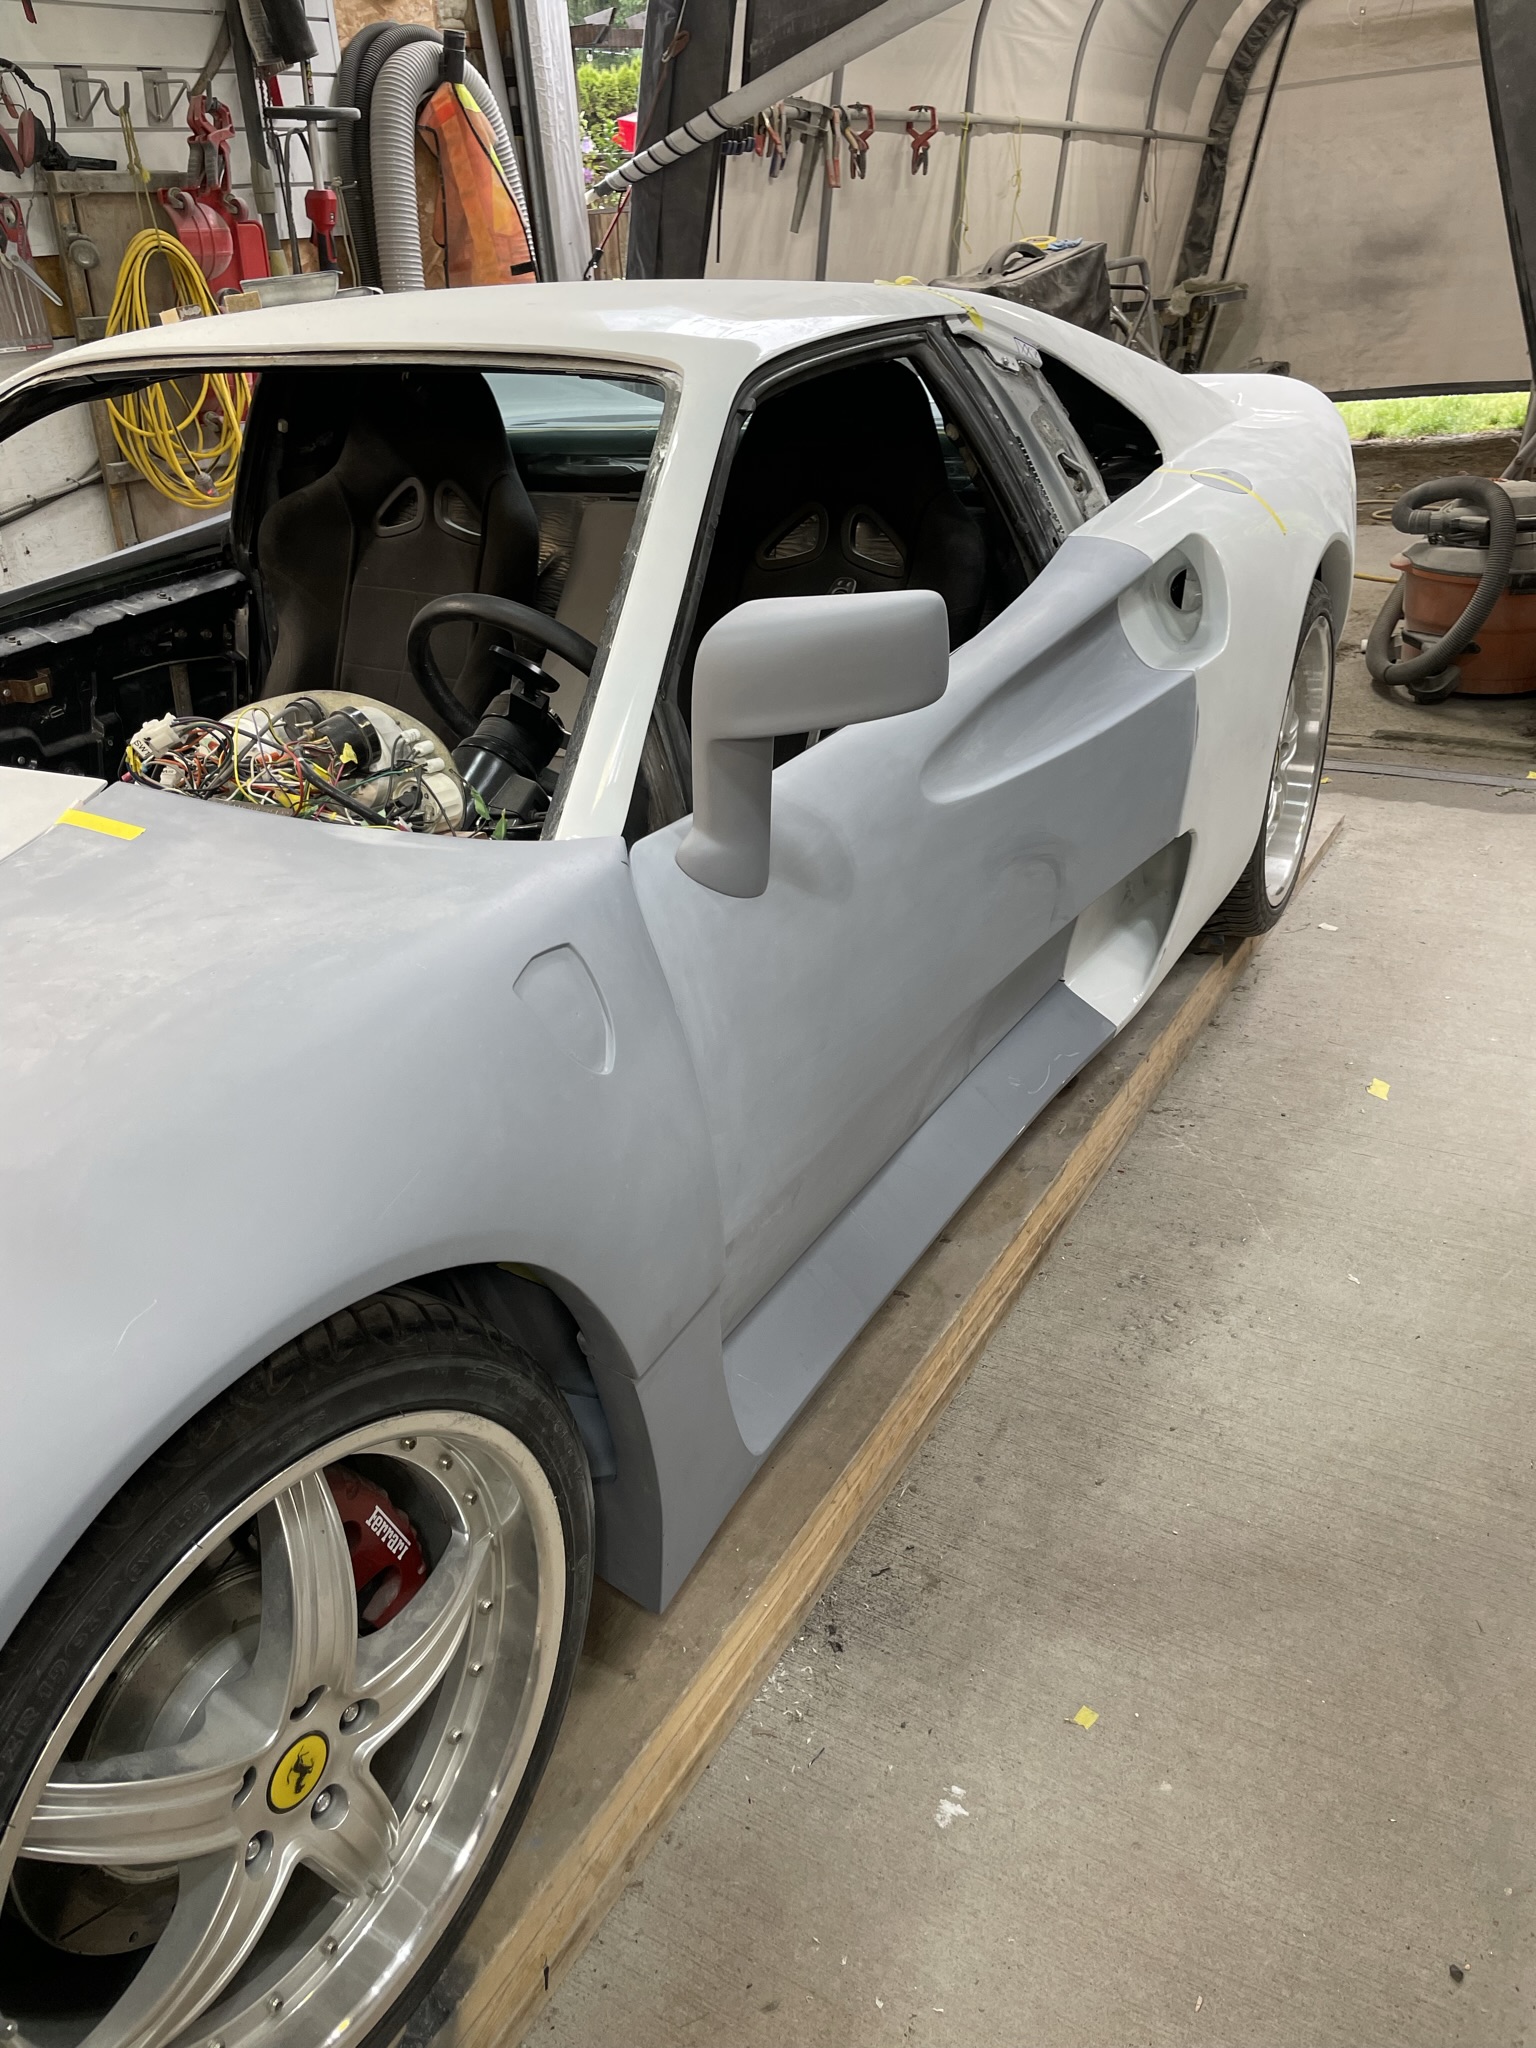
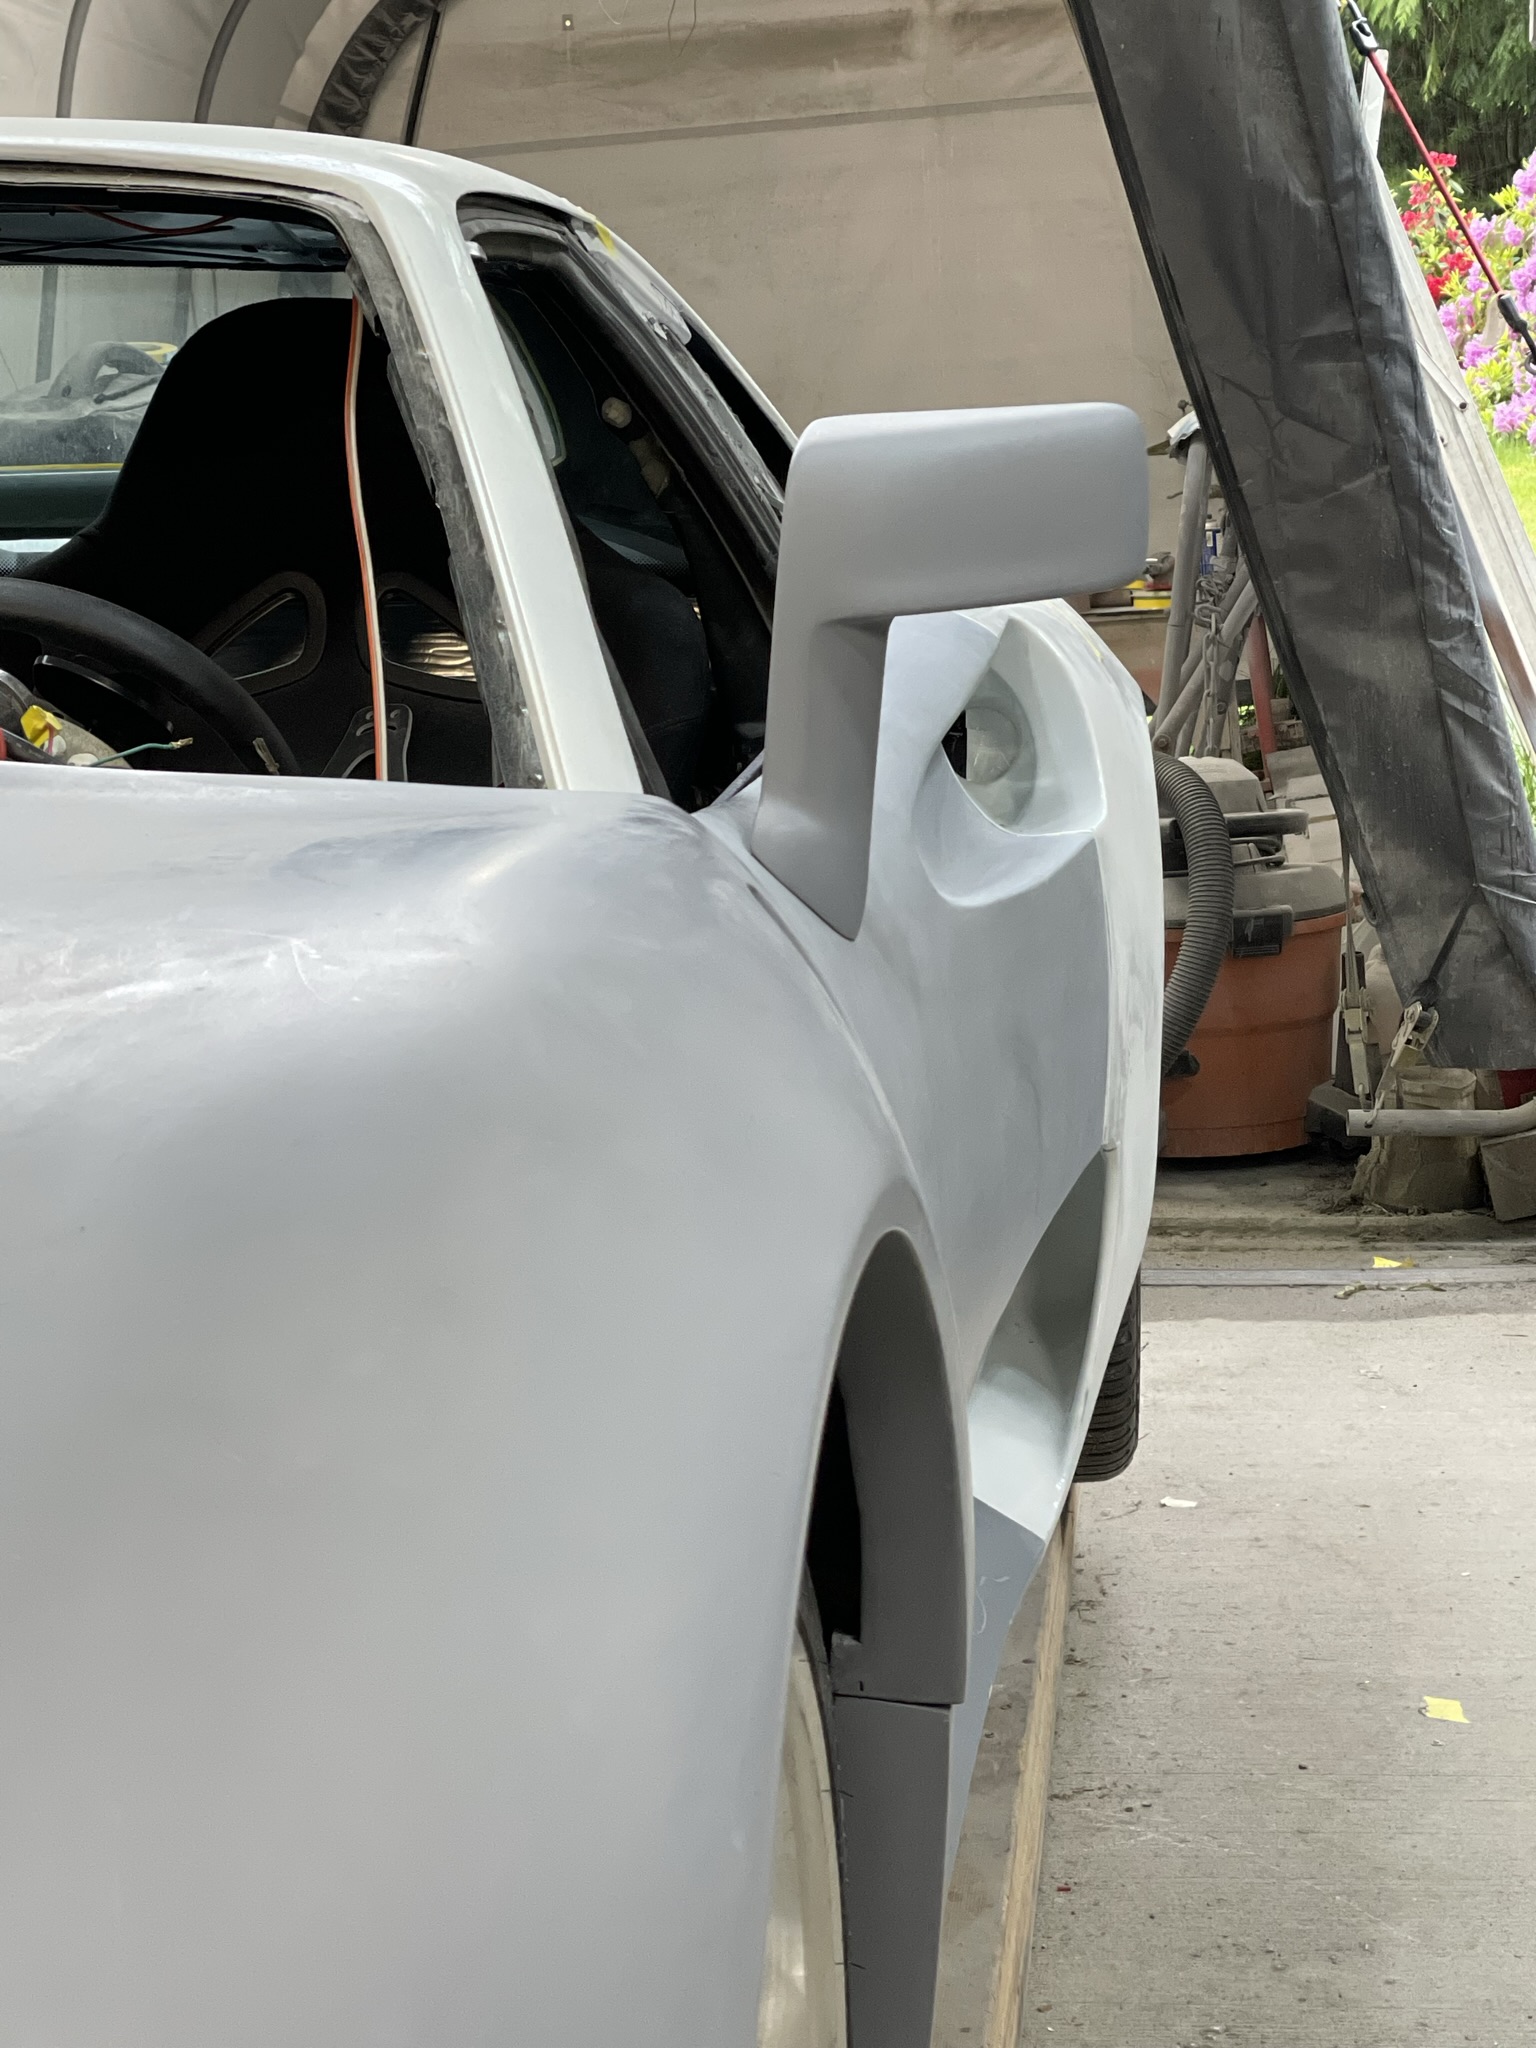
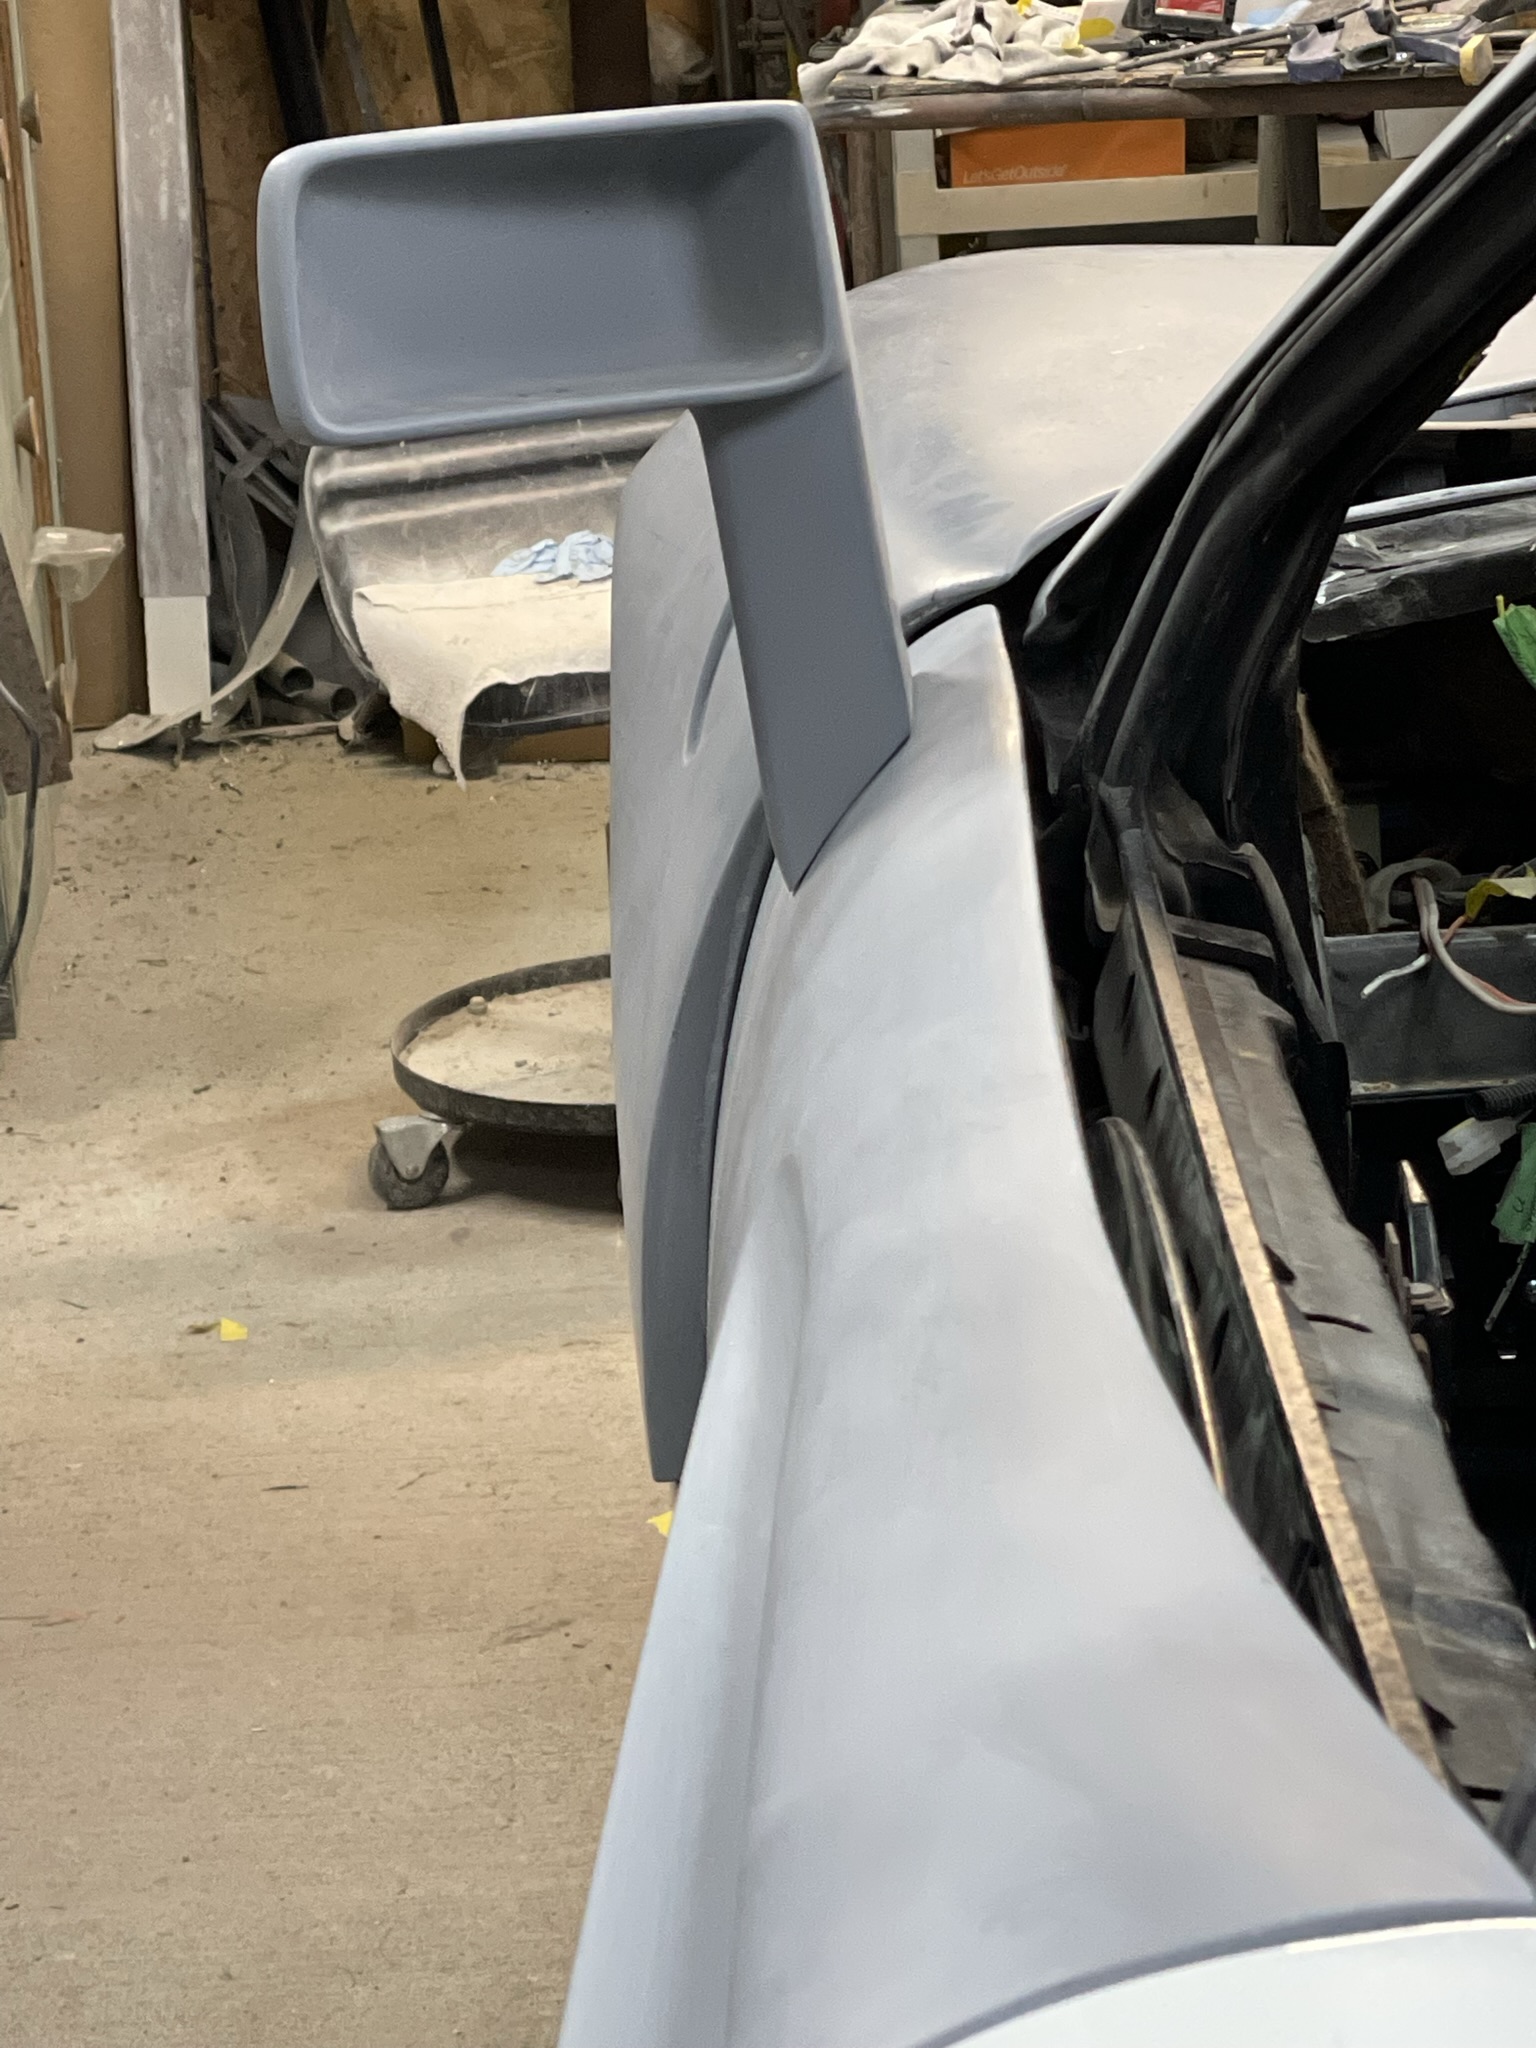
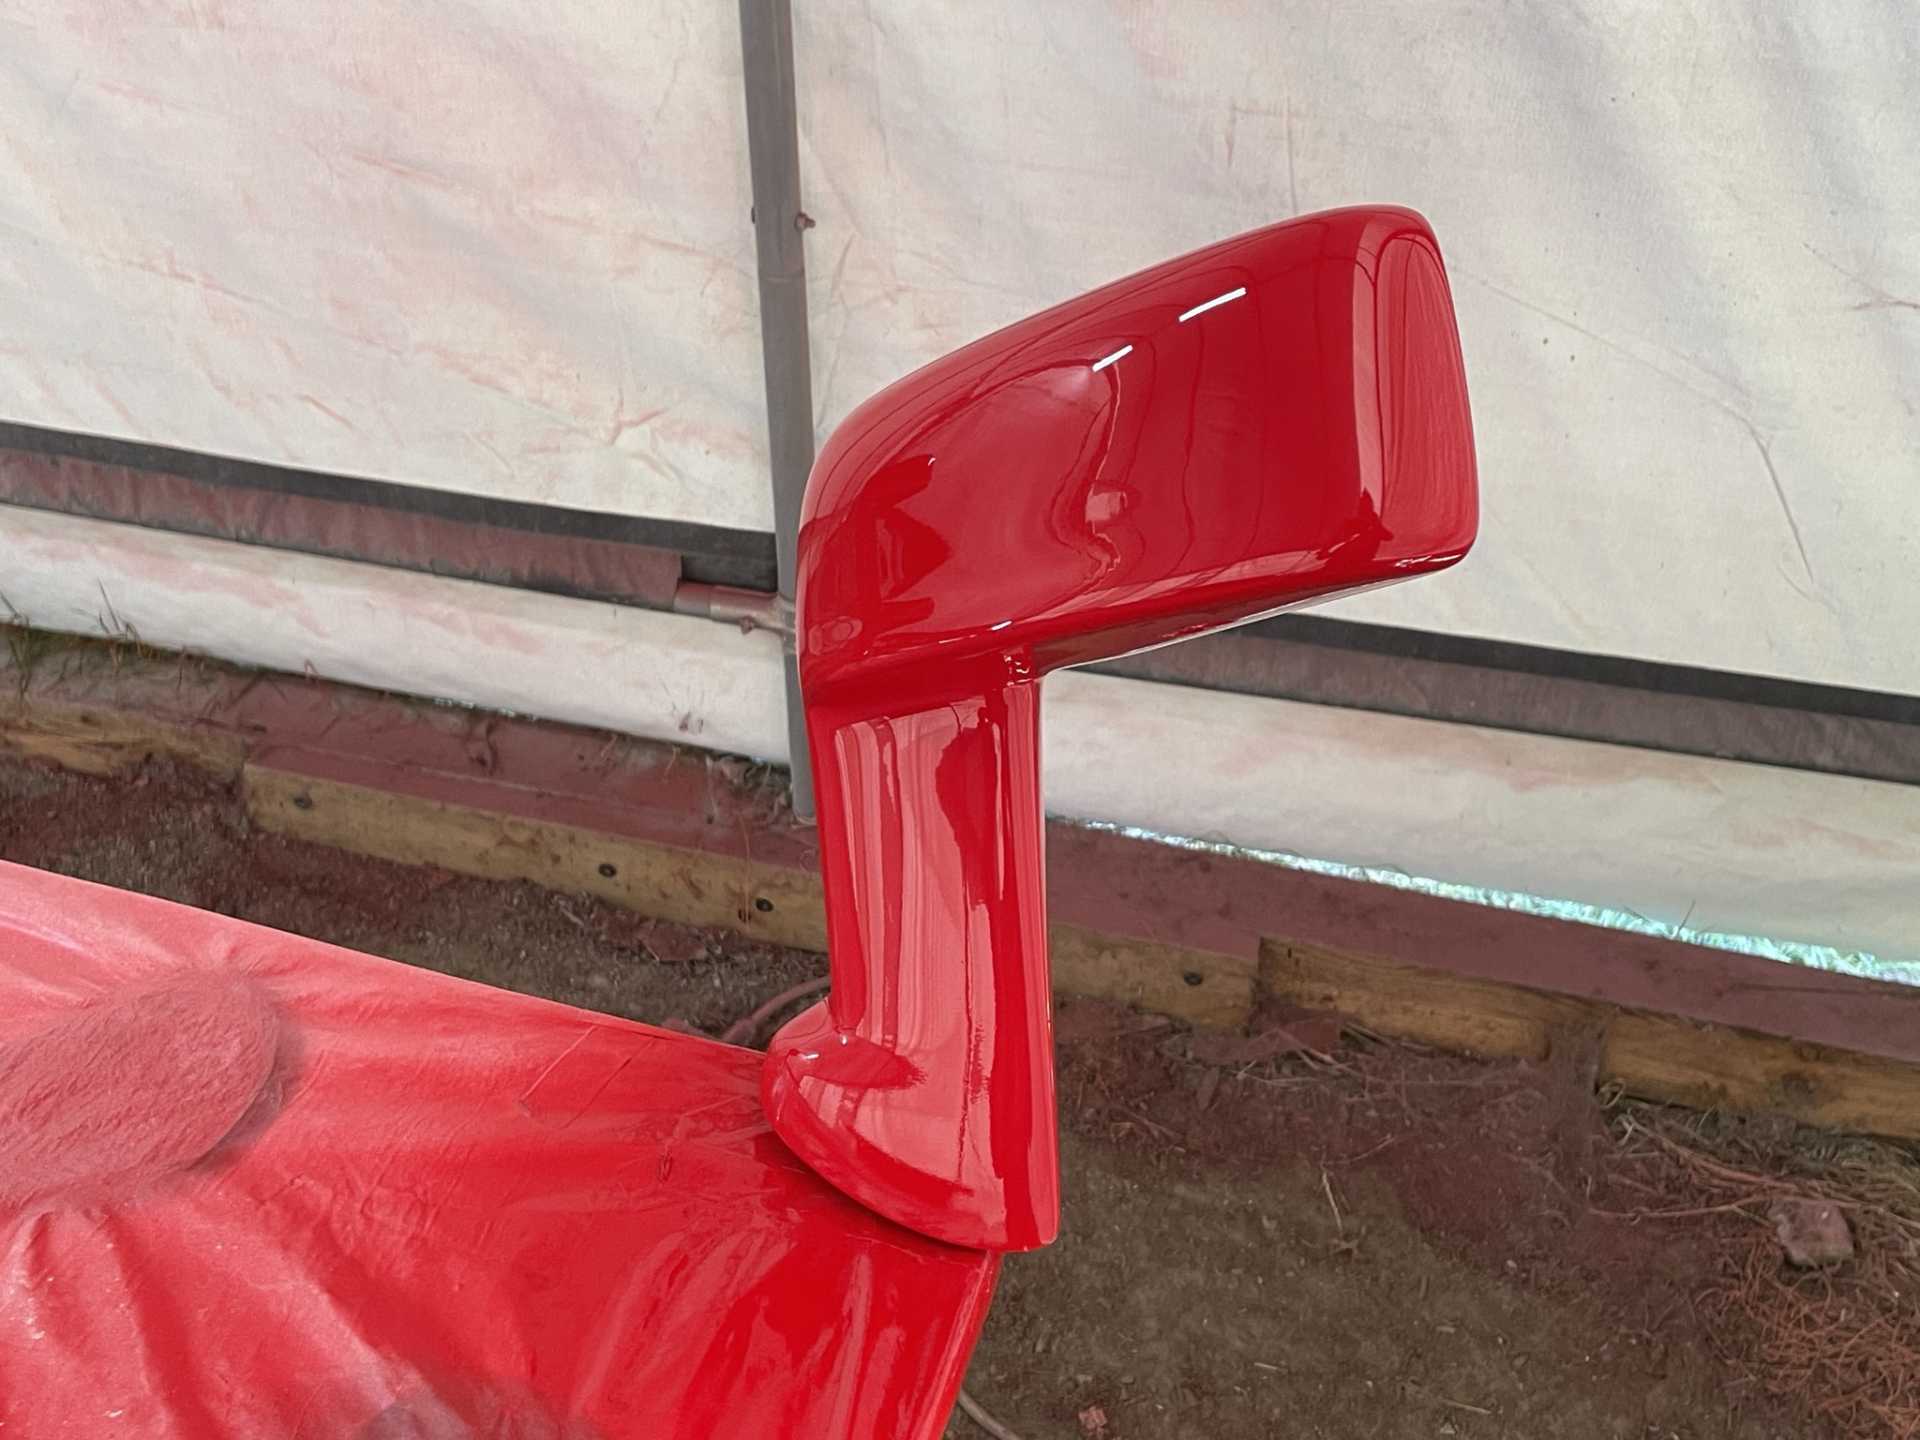
I also decided to check the figment for the mirrors with all the bodywork now totally finished. and checked the rear deck, everything still fits gaps are still there I’m ready to paint . Time to blow out the shop again, need to wait a day with no rain.
The next pics the car will be all in white!!!
Stay safe Wayne
[This message has been edited by dobie1 (edited 06-09-2022).]
I'm sorry if I missed it somewhere -- your mirrors, are those 3D printed? Are they modeled after the actual Ferrari mirrors? That part at the bottom is that an aftermarket adapter?
.... so, yeah, basically all the info on the mirrors. If you posted about it, can you kick out a link to the post? Thank you!
Hi Trinten I picked up a set of mirrors from Nick M. He sells GTO rebody kits for 308 Ferrari’s on EBay. He is located in California. Nice guy ! I did contact him recently and he didn’t have any at the moment but now requires 3 sets to be purchased at a cost of $900 per set. The set I got from Nick didn’t actually fit my car door as received I had to modify them. Nick informed when I originally spoke to him that They are molded off a set of real GTO mirrors so they are correct.
When I was planning on and selling kits of my car I did contact a 3D printer locally about scanning and printing them for the kits The 3D printed versions printed from my car are $900 Canadian about $700 USD.
I hope that helps. If you go to page 3 there are a couple pics of them before the modifications I had to make.
I've been struggling to find side mirrors that I can either modify to have the features I want or are very close to bolt on (as in make an intermediate bracket). I haven't had much luck yet. A few more production mirrors on the list that I'm watching for on ebay, trying to find ones that are non-working so they are cheaper and can do test fits.
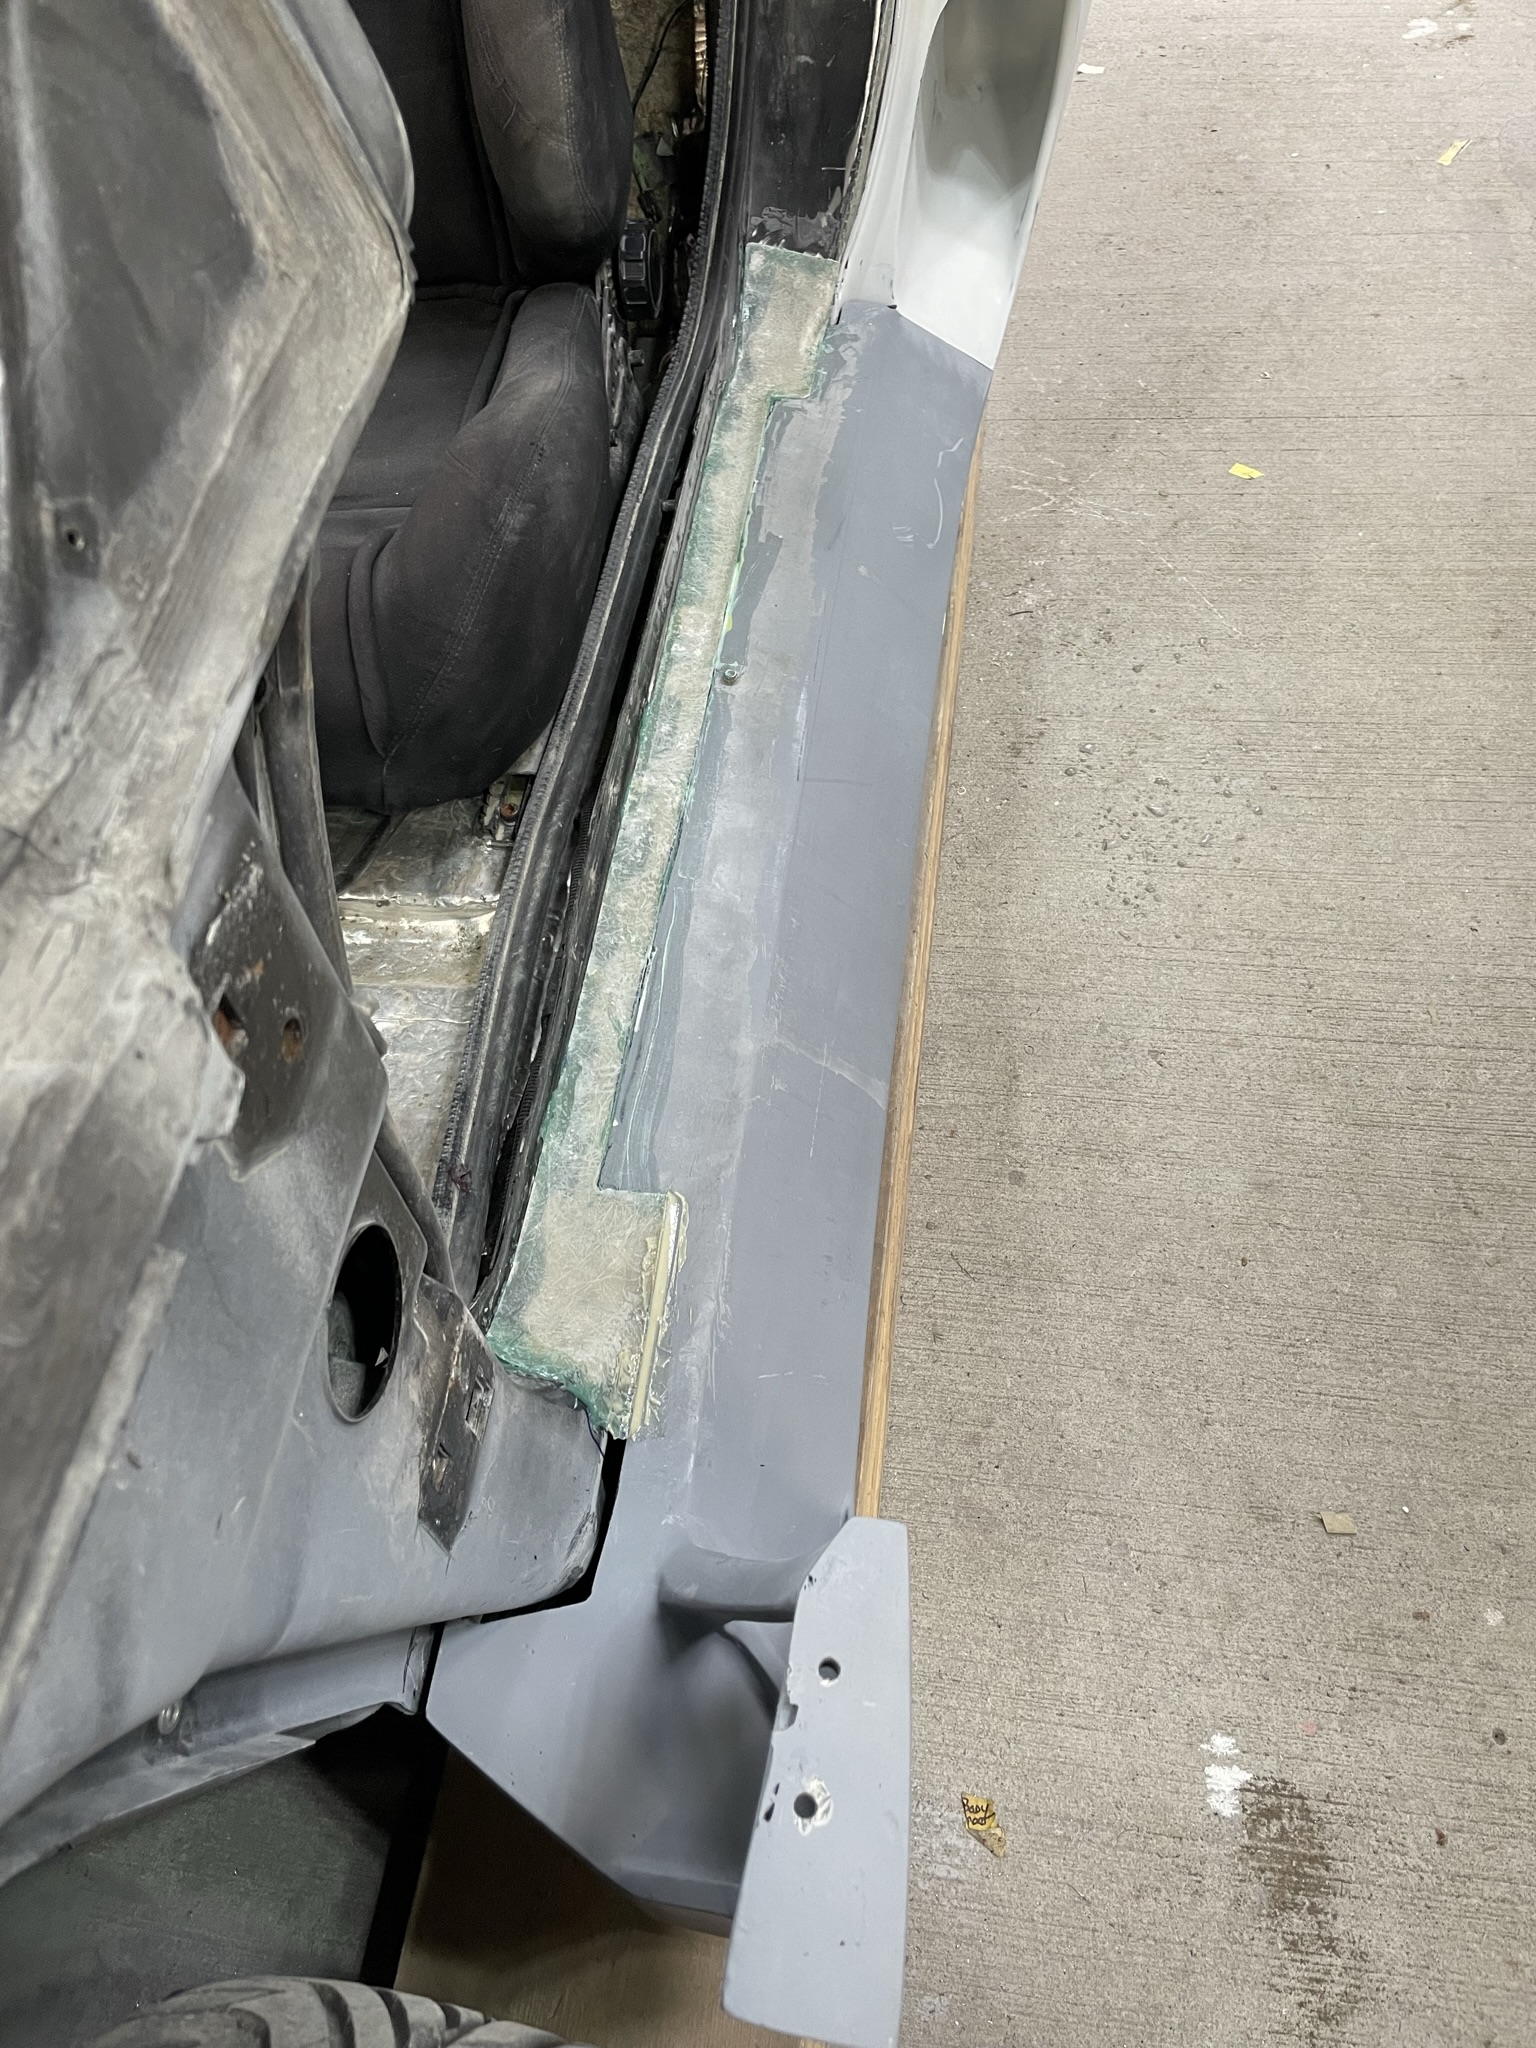
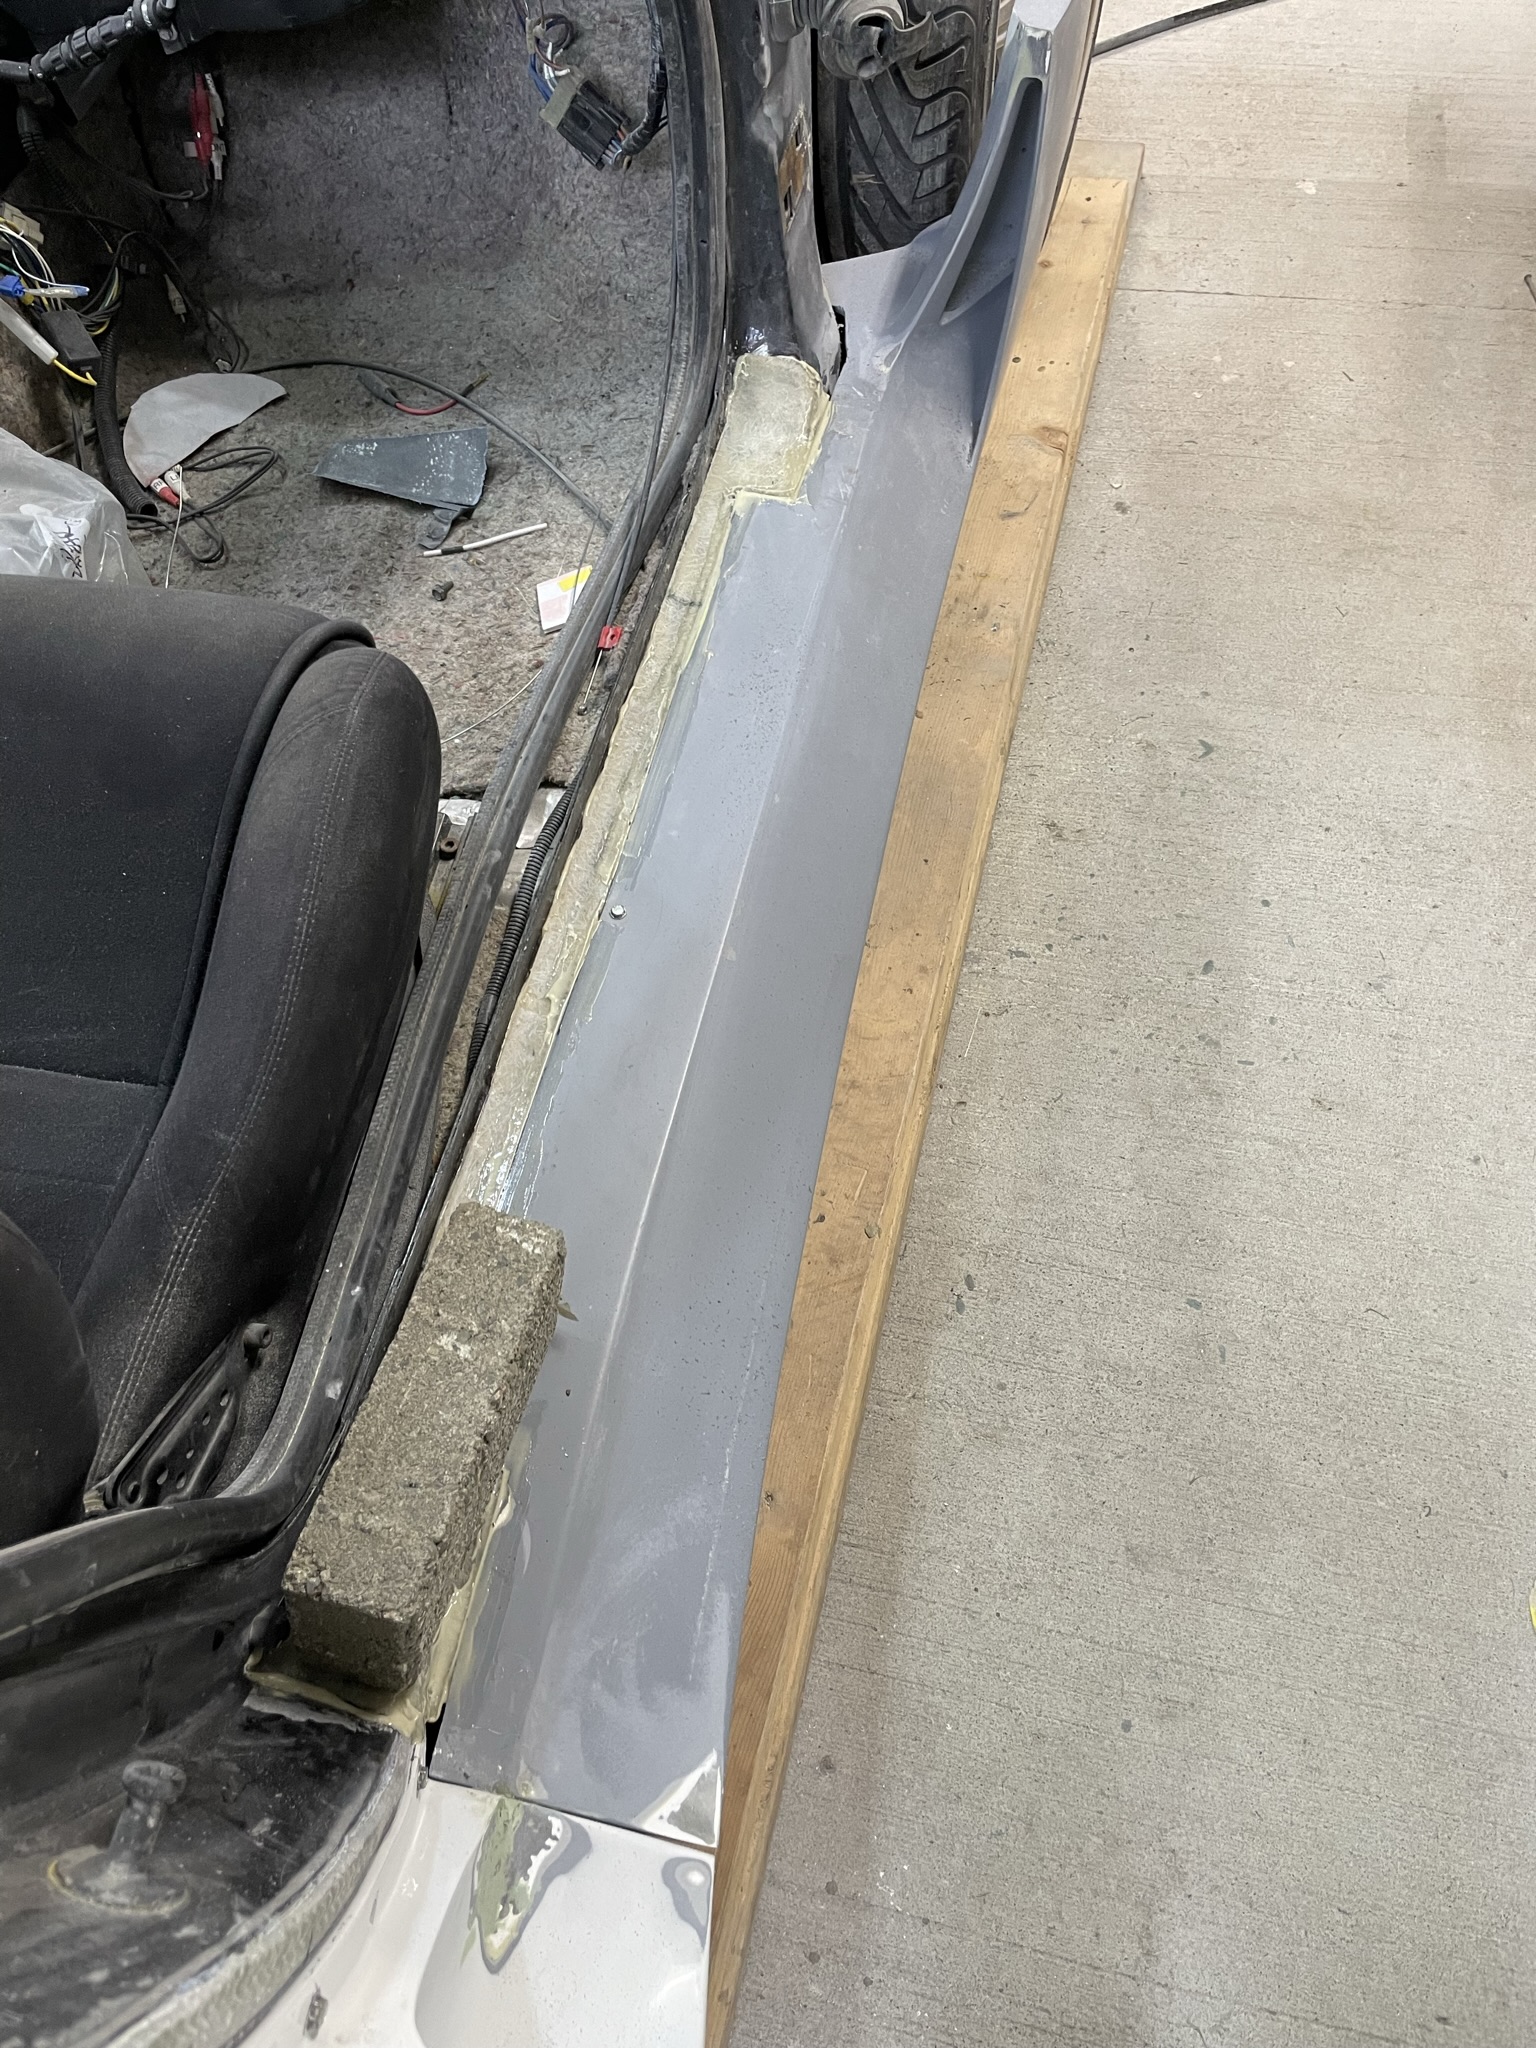
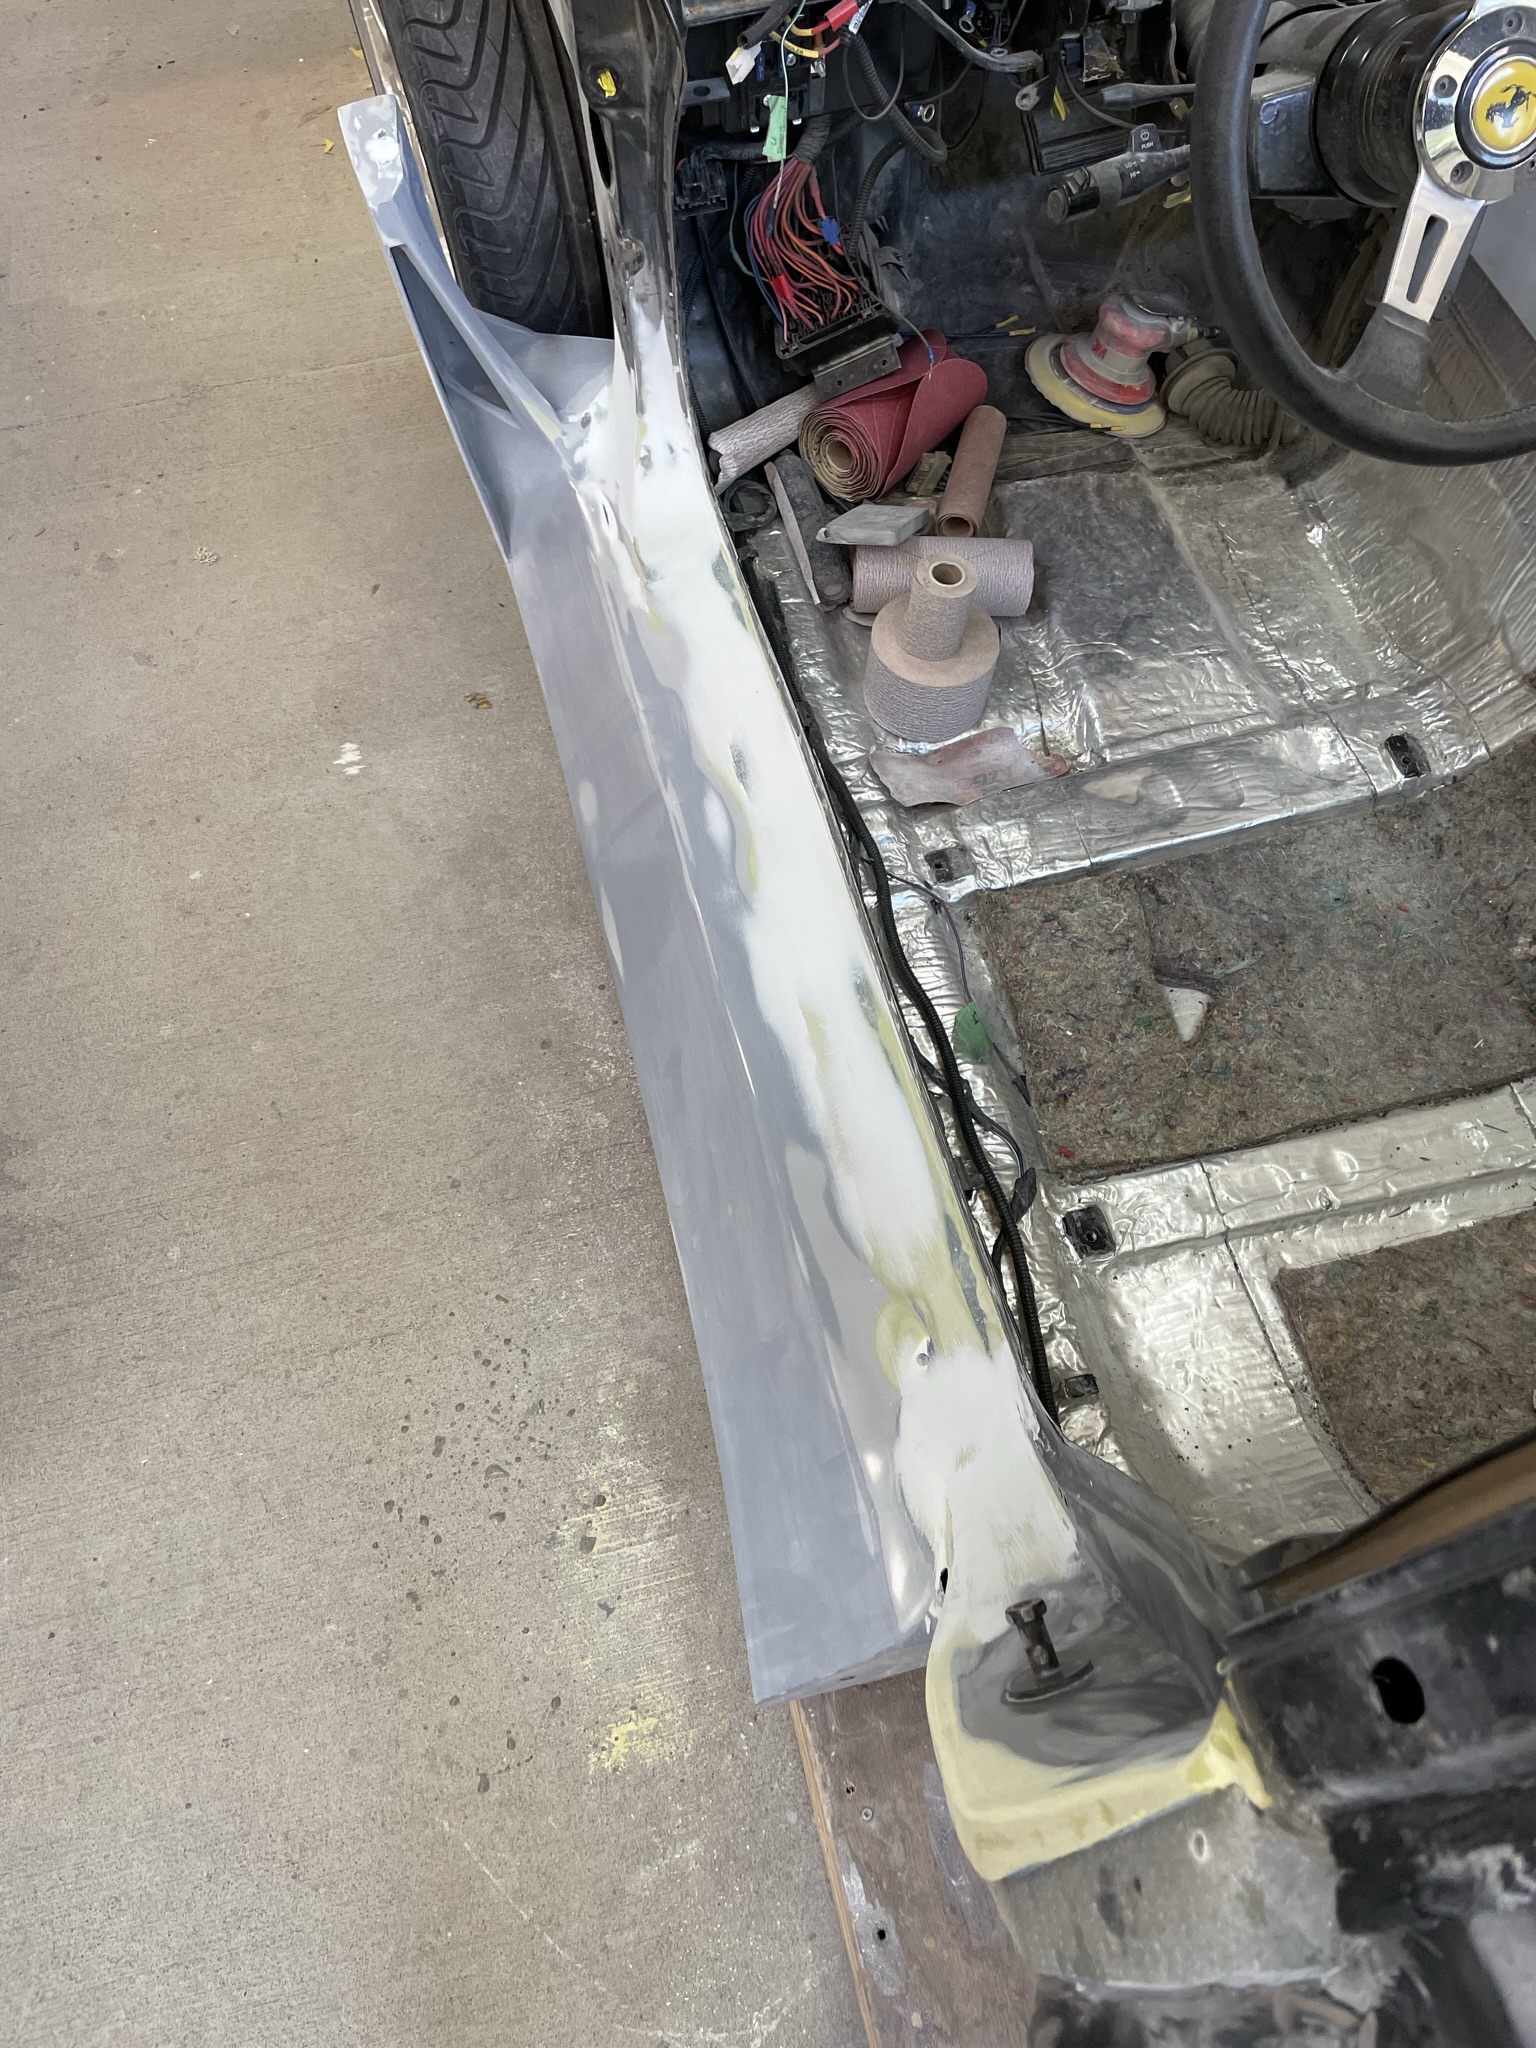
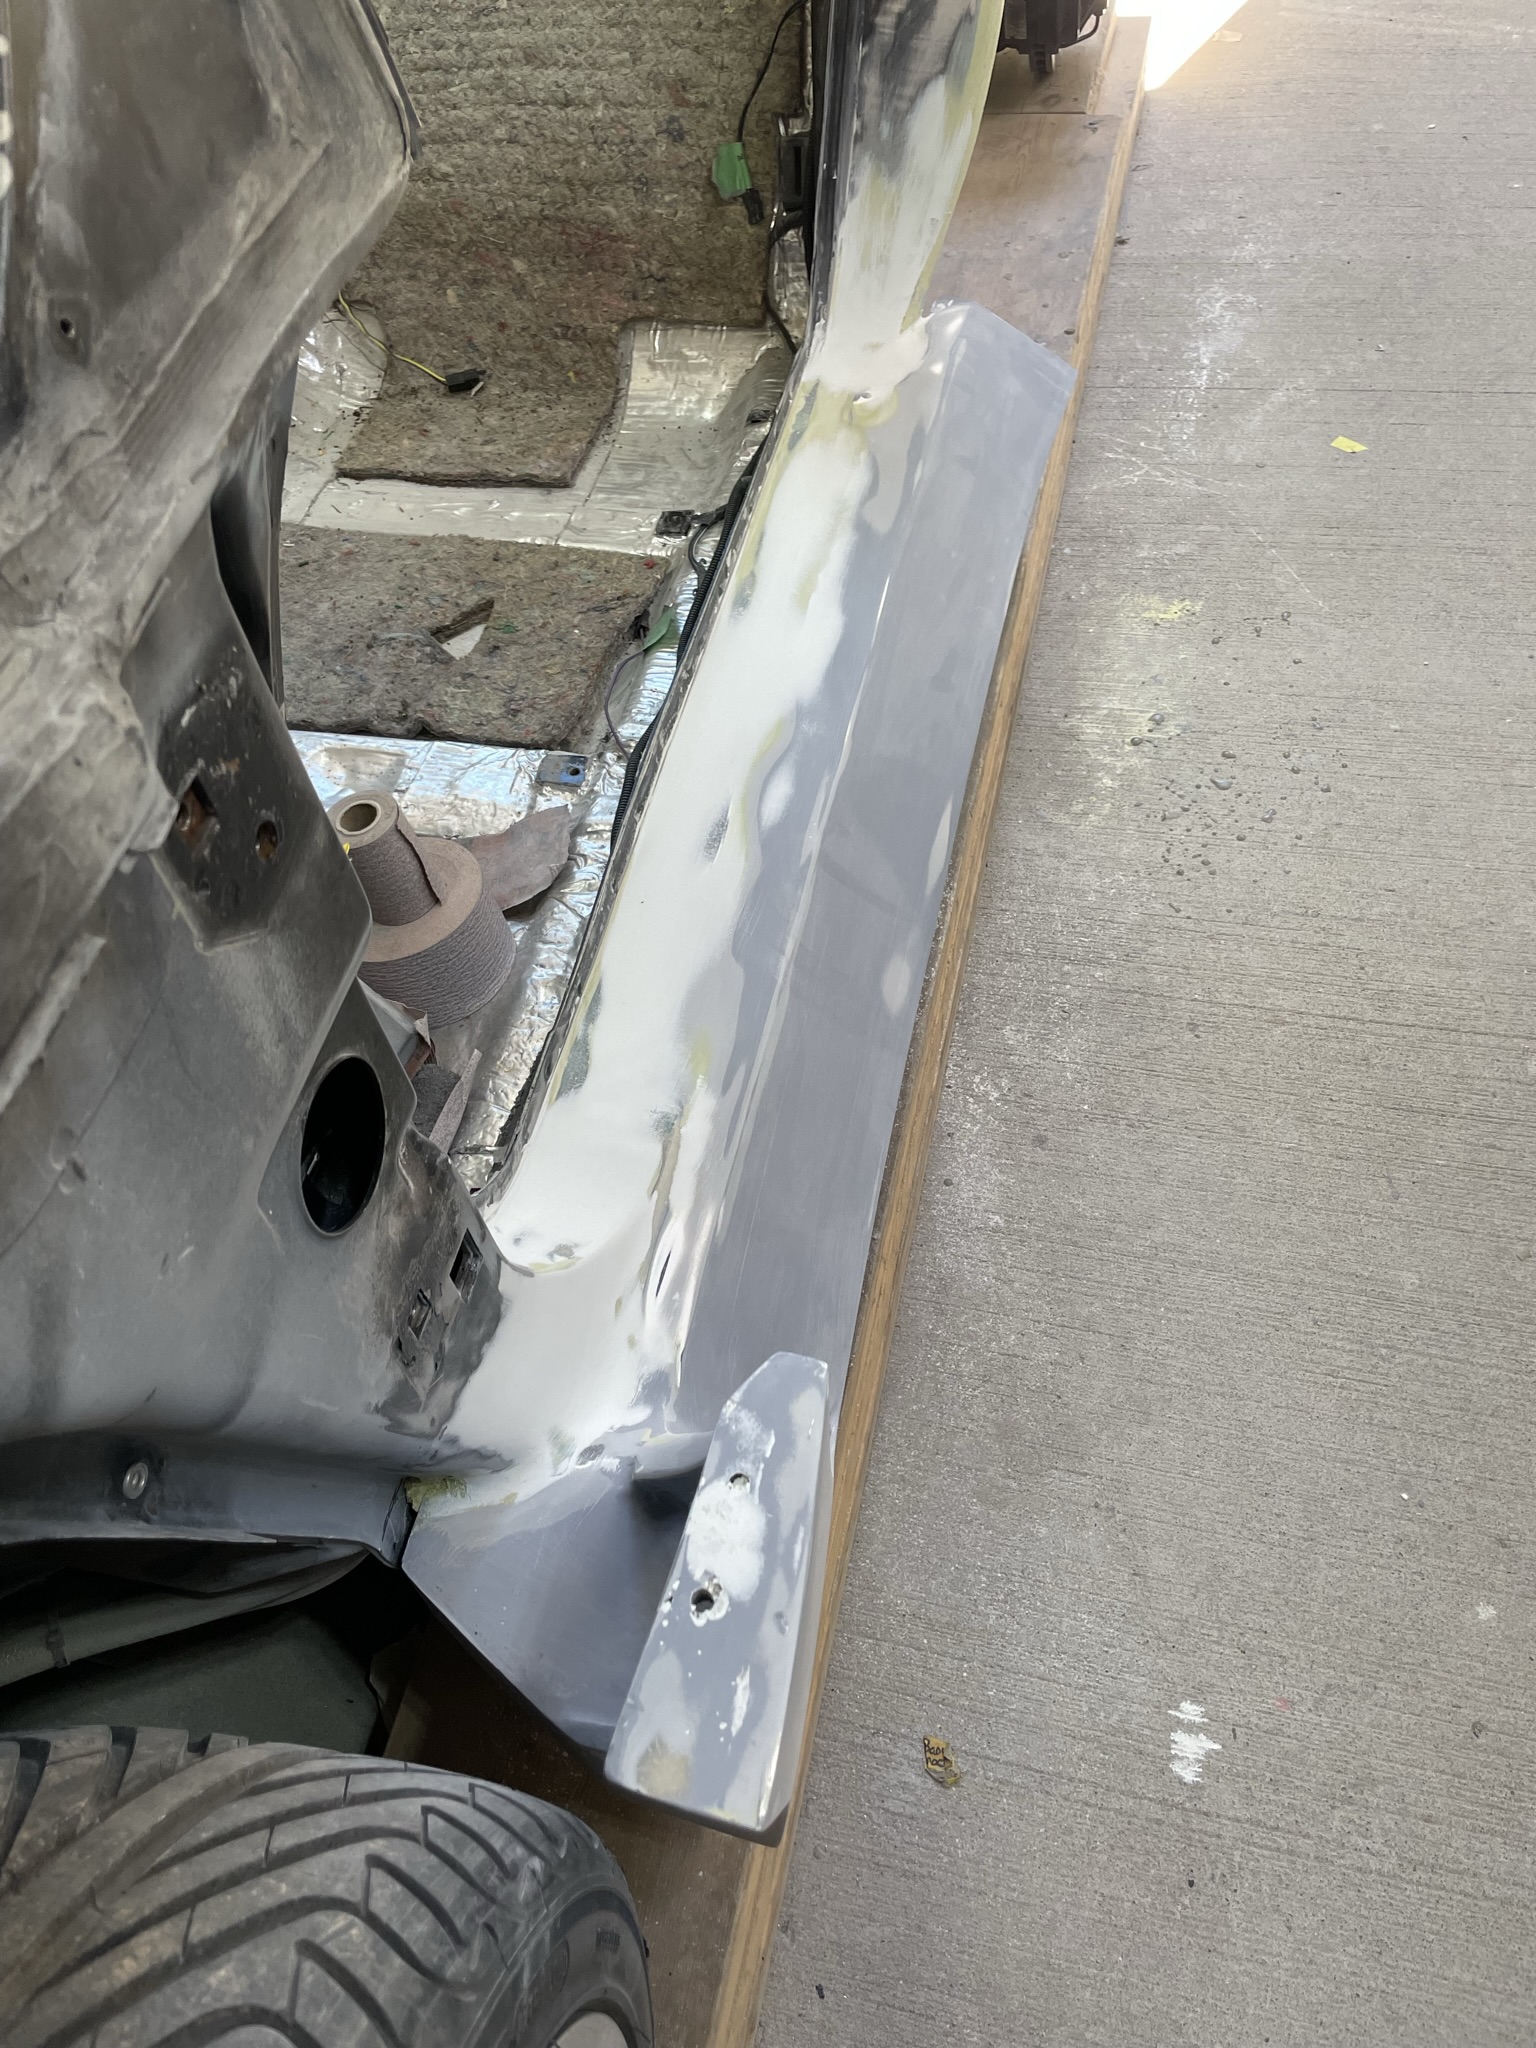
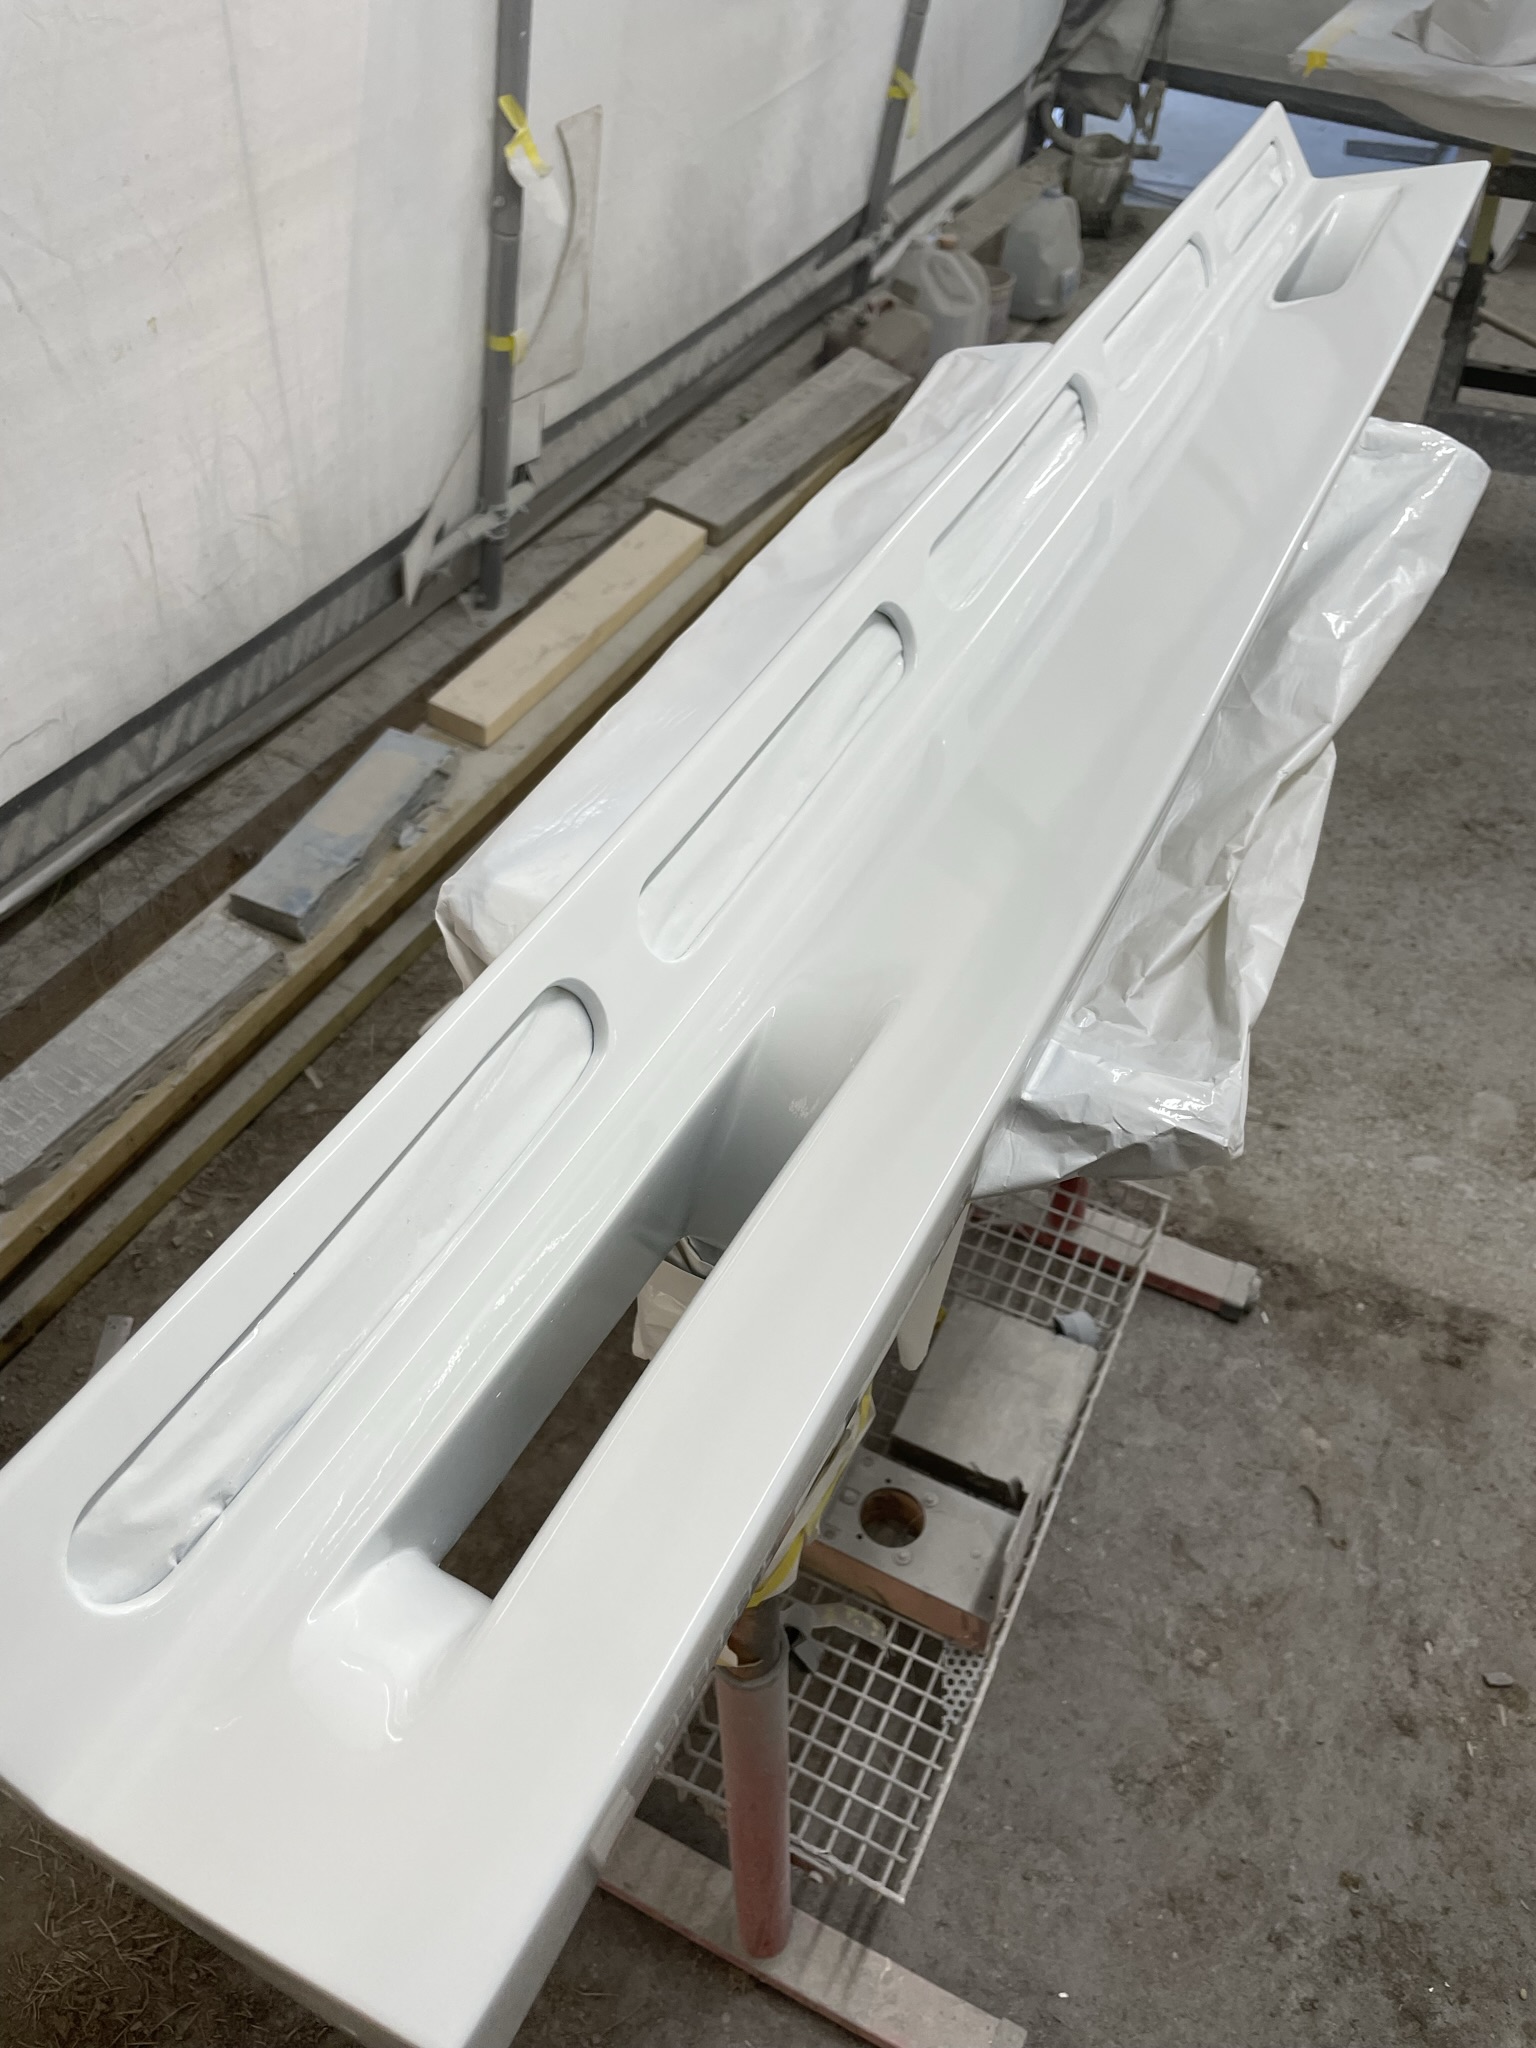
Well lots going on with the build while the body is off for the last time before being bonded to the chassis. Where to start? Ok the running boards will when finished start at the door seals outwards to the edge of the running board. Rather than just using a bunch of bondo I made a small fiberglass part that fills the area and is bonded along with the running board.
Once the piece was made and attached I body worked them and the the running boards into the chassis. [img]https://images.fiero.nl/userimages/dobie1/31DB94CE-1C73-424B-82 F7-736B9DE8FF71.jpeg[/img]
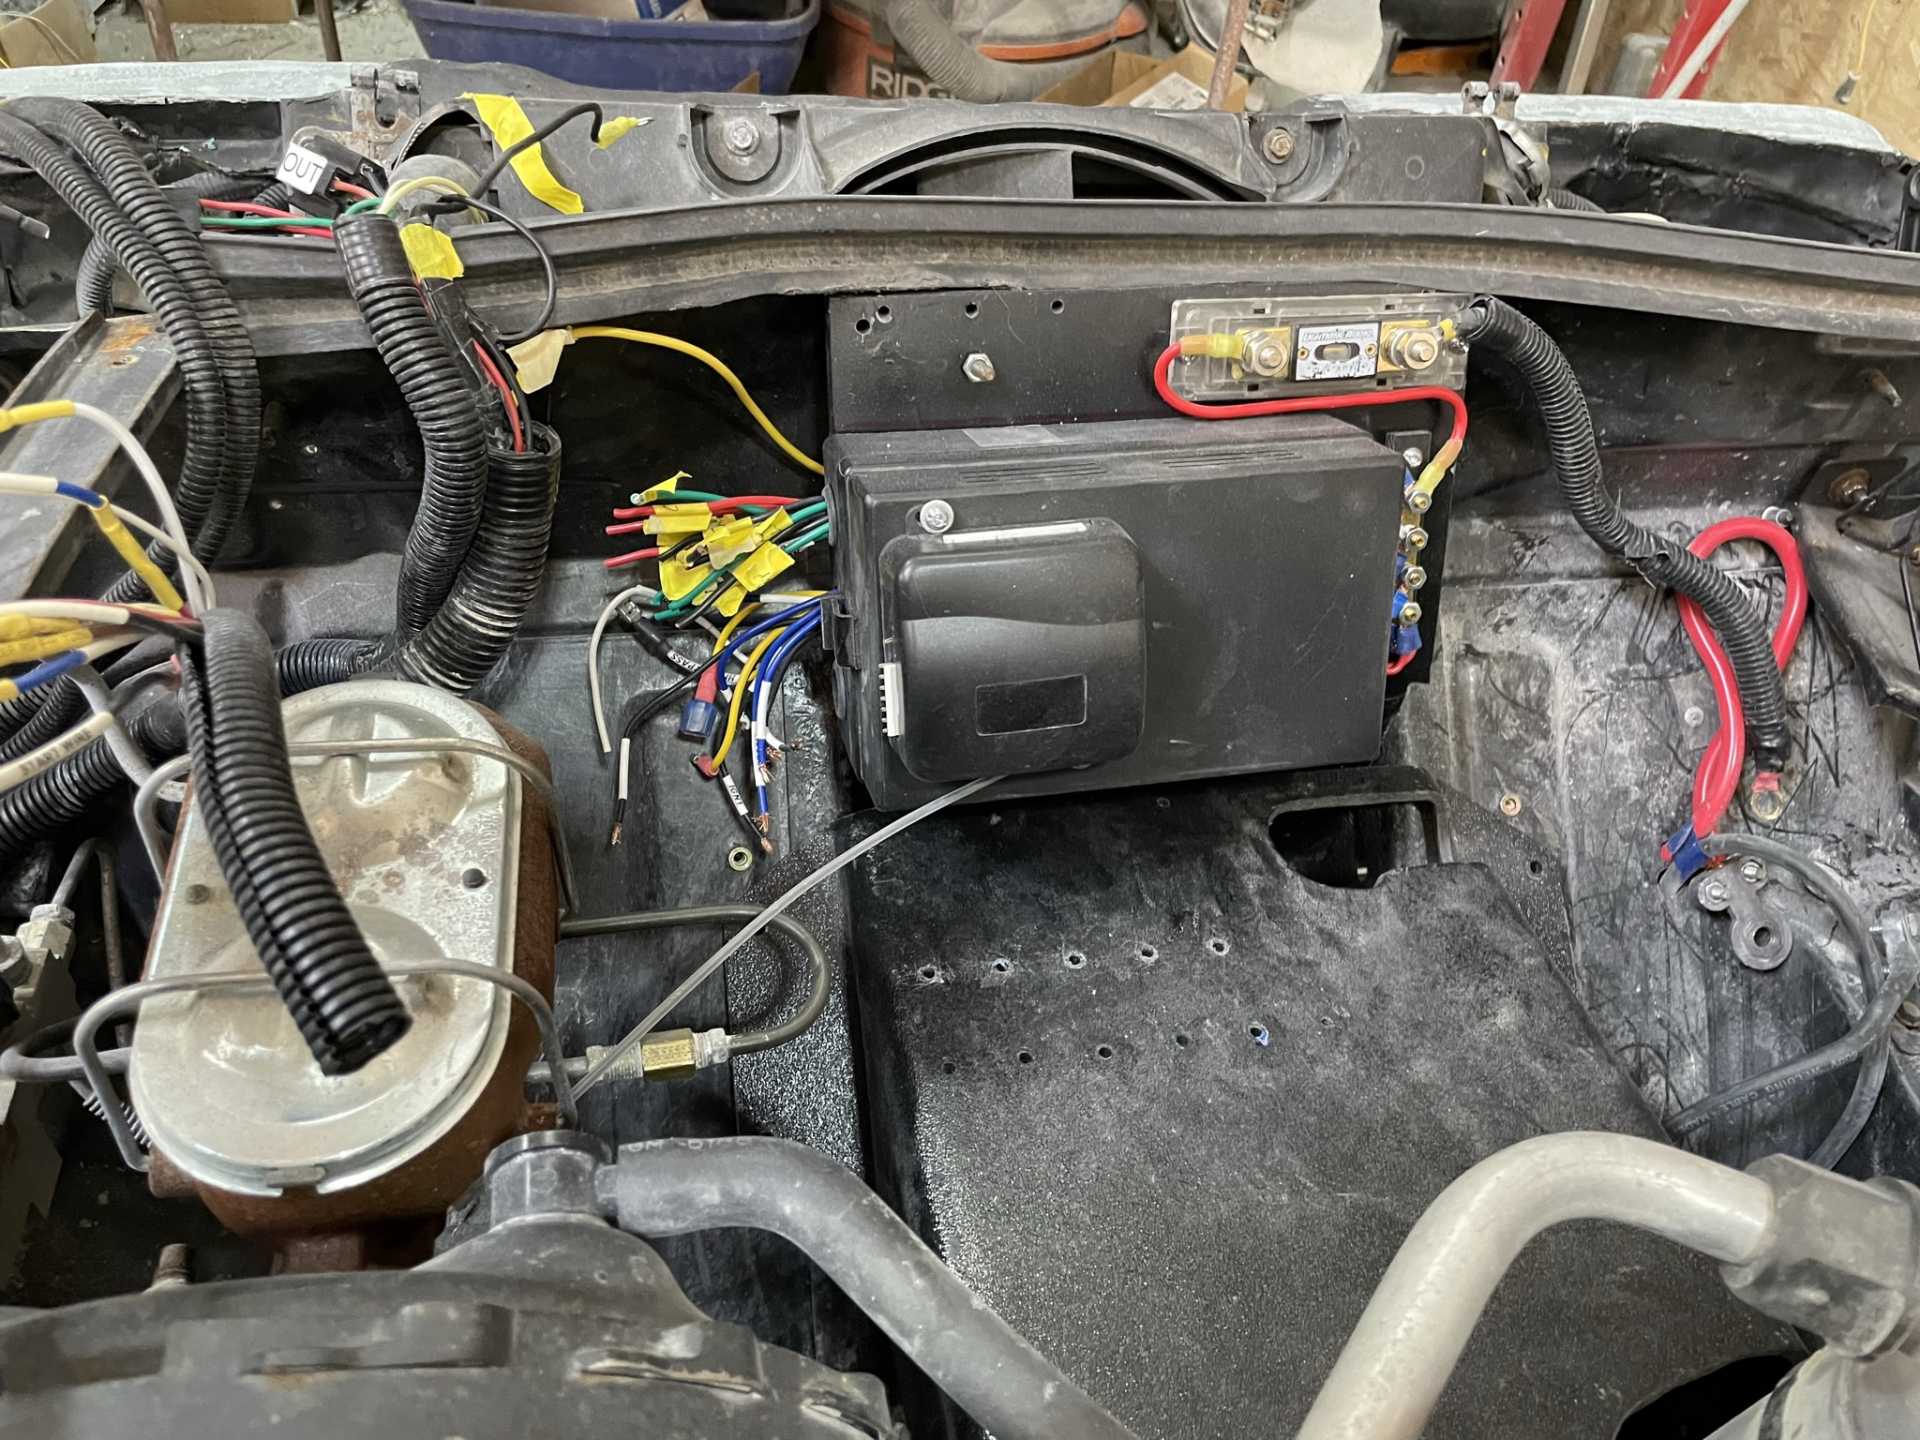
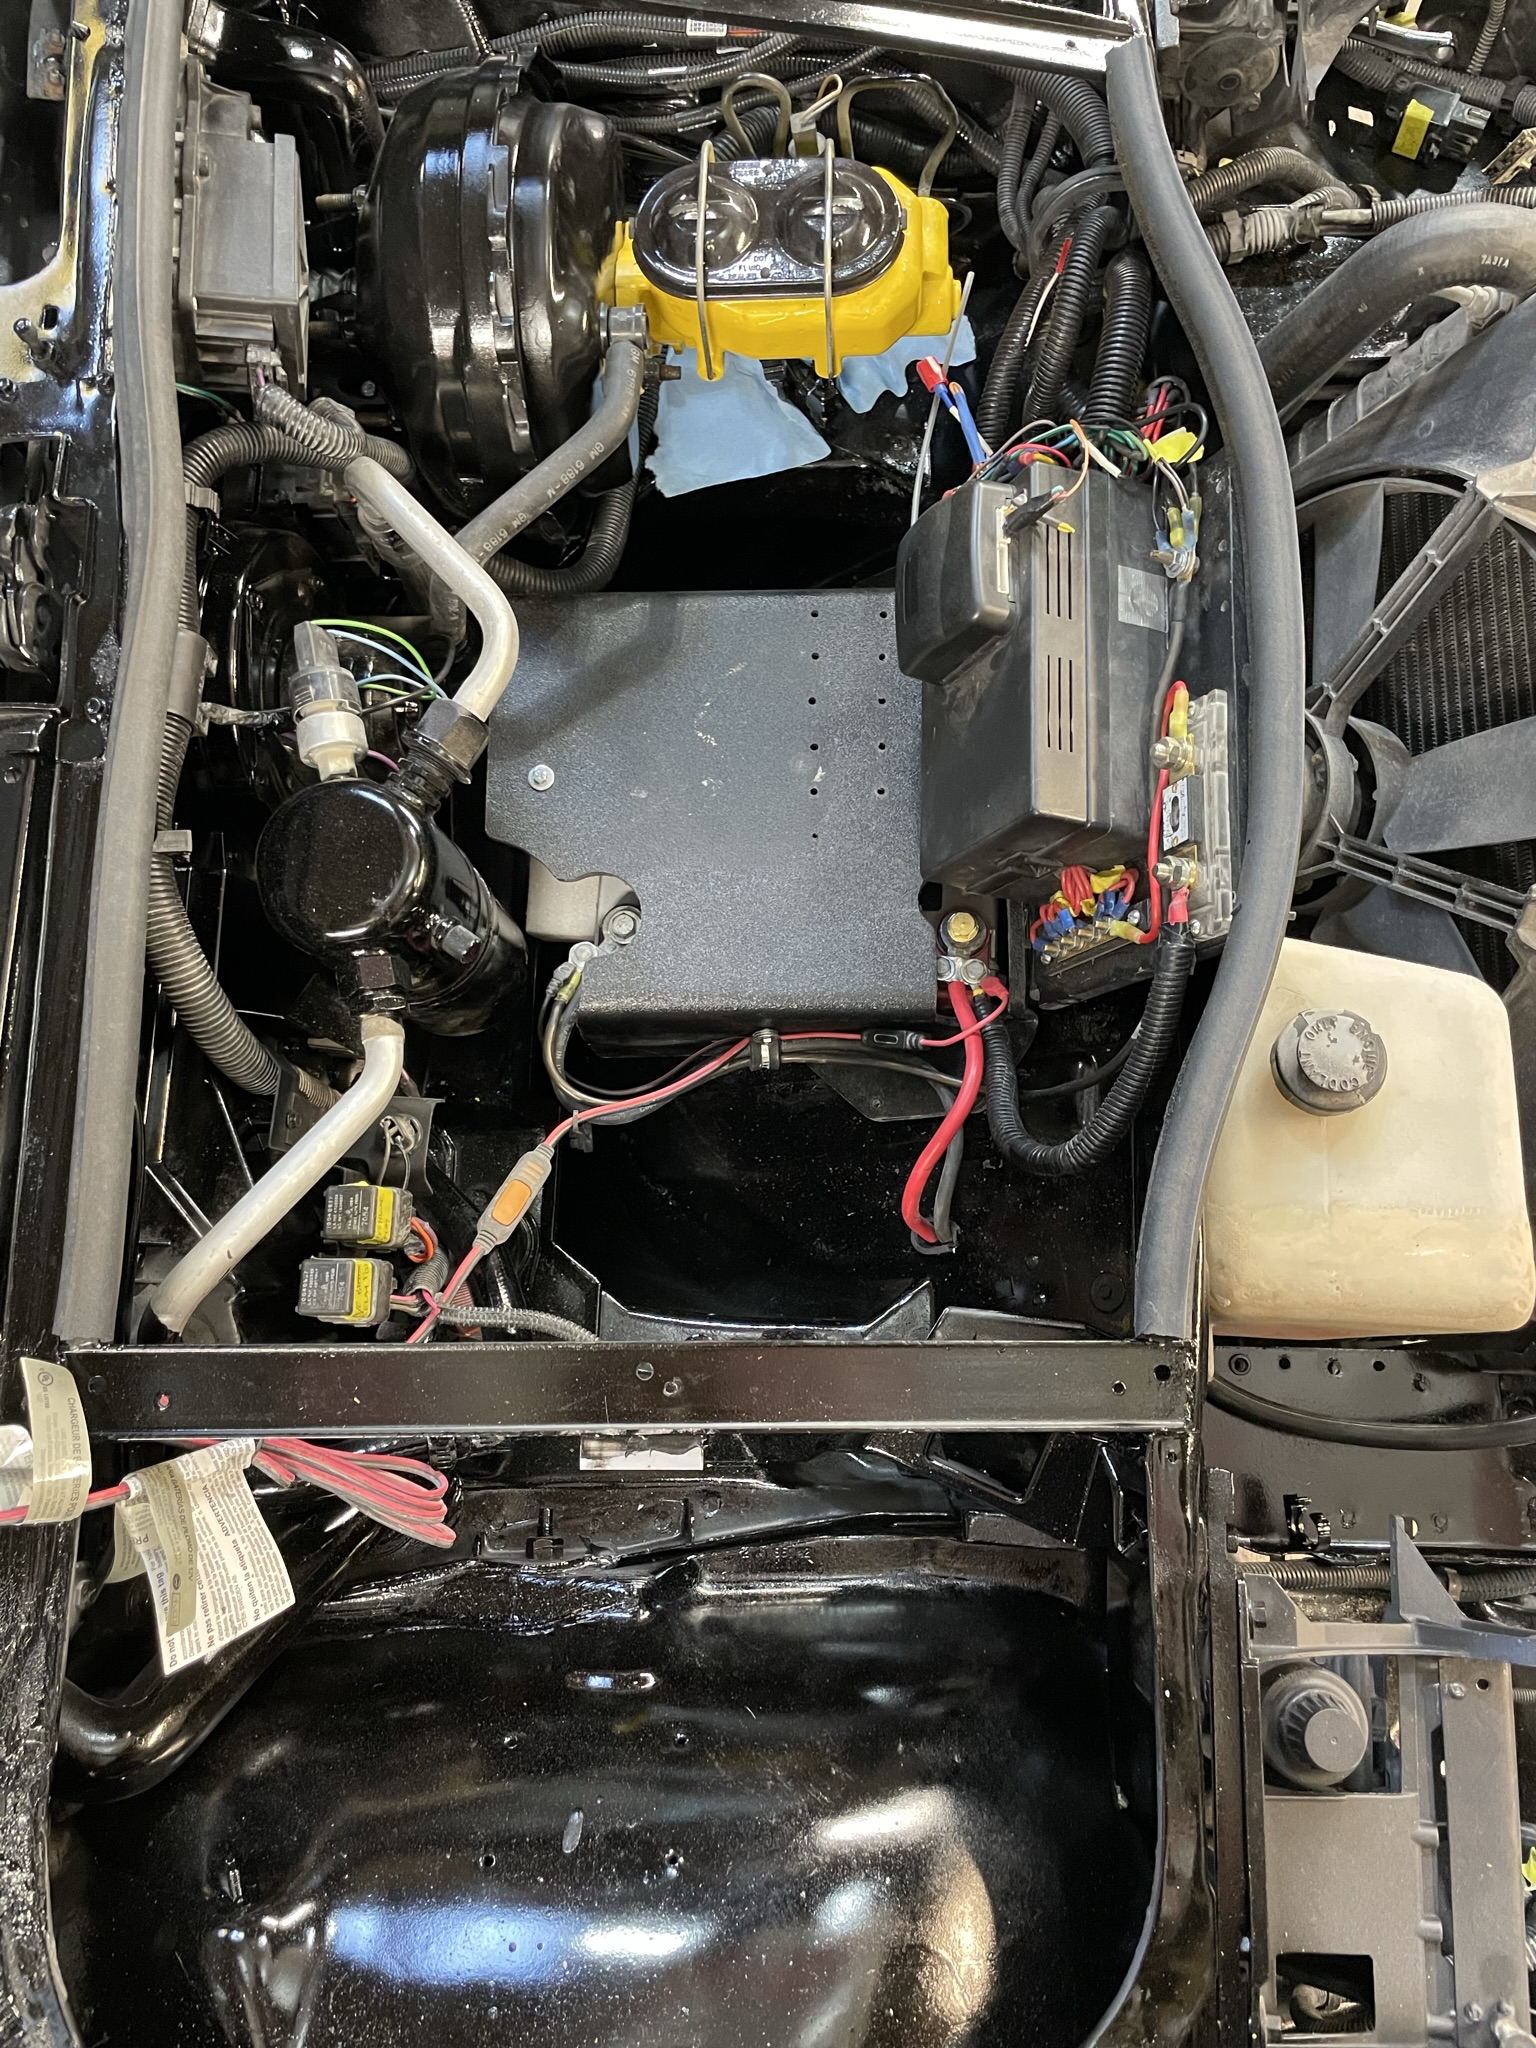
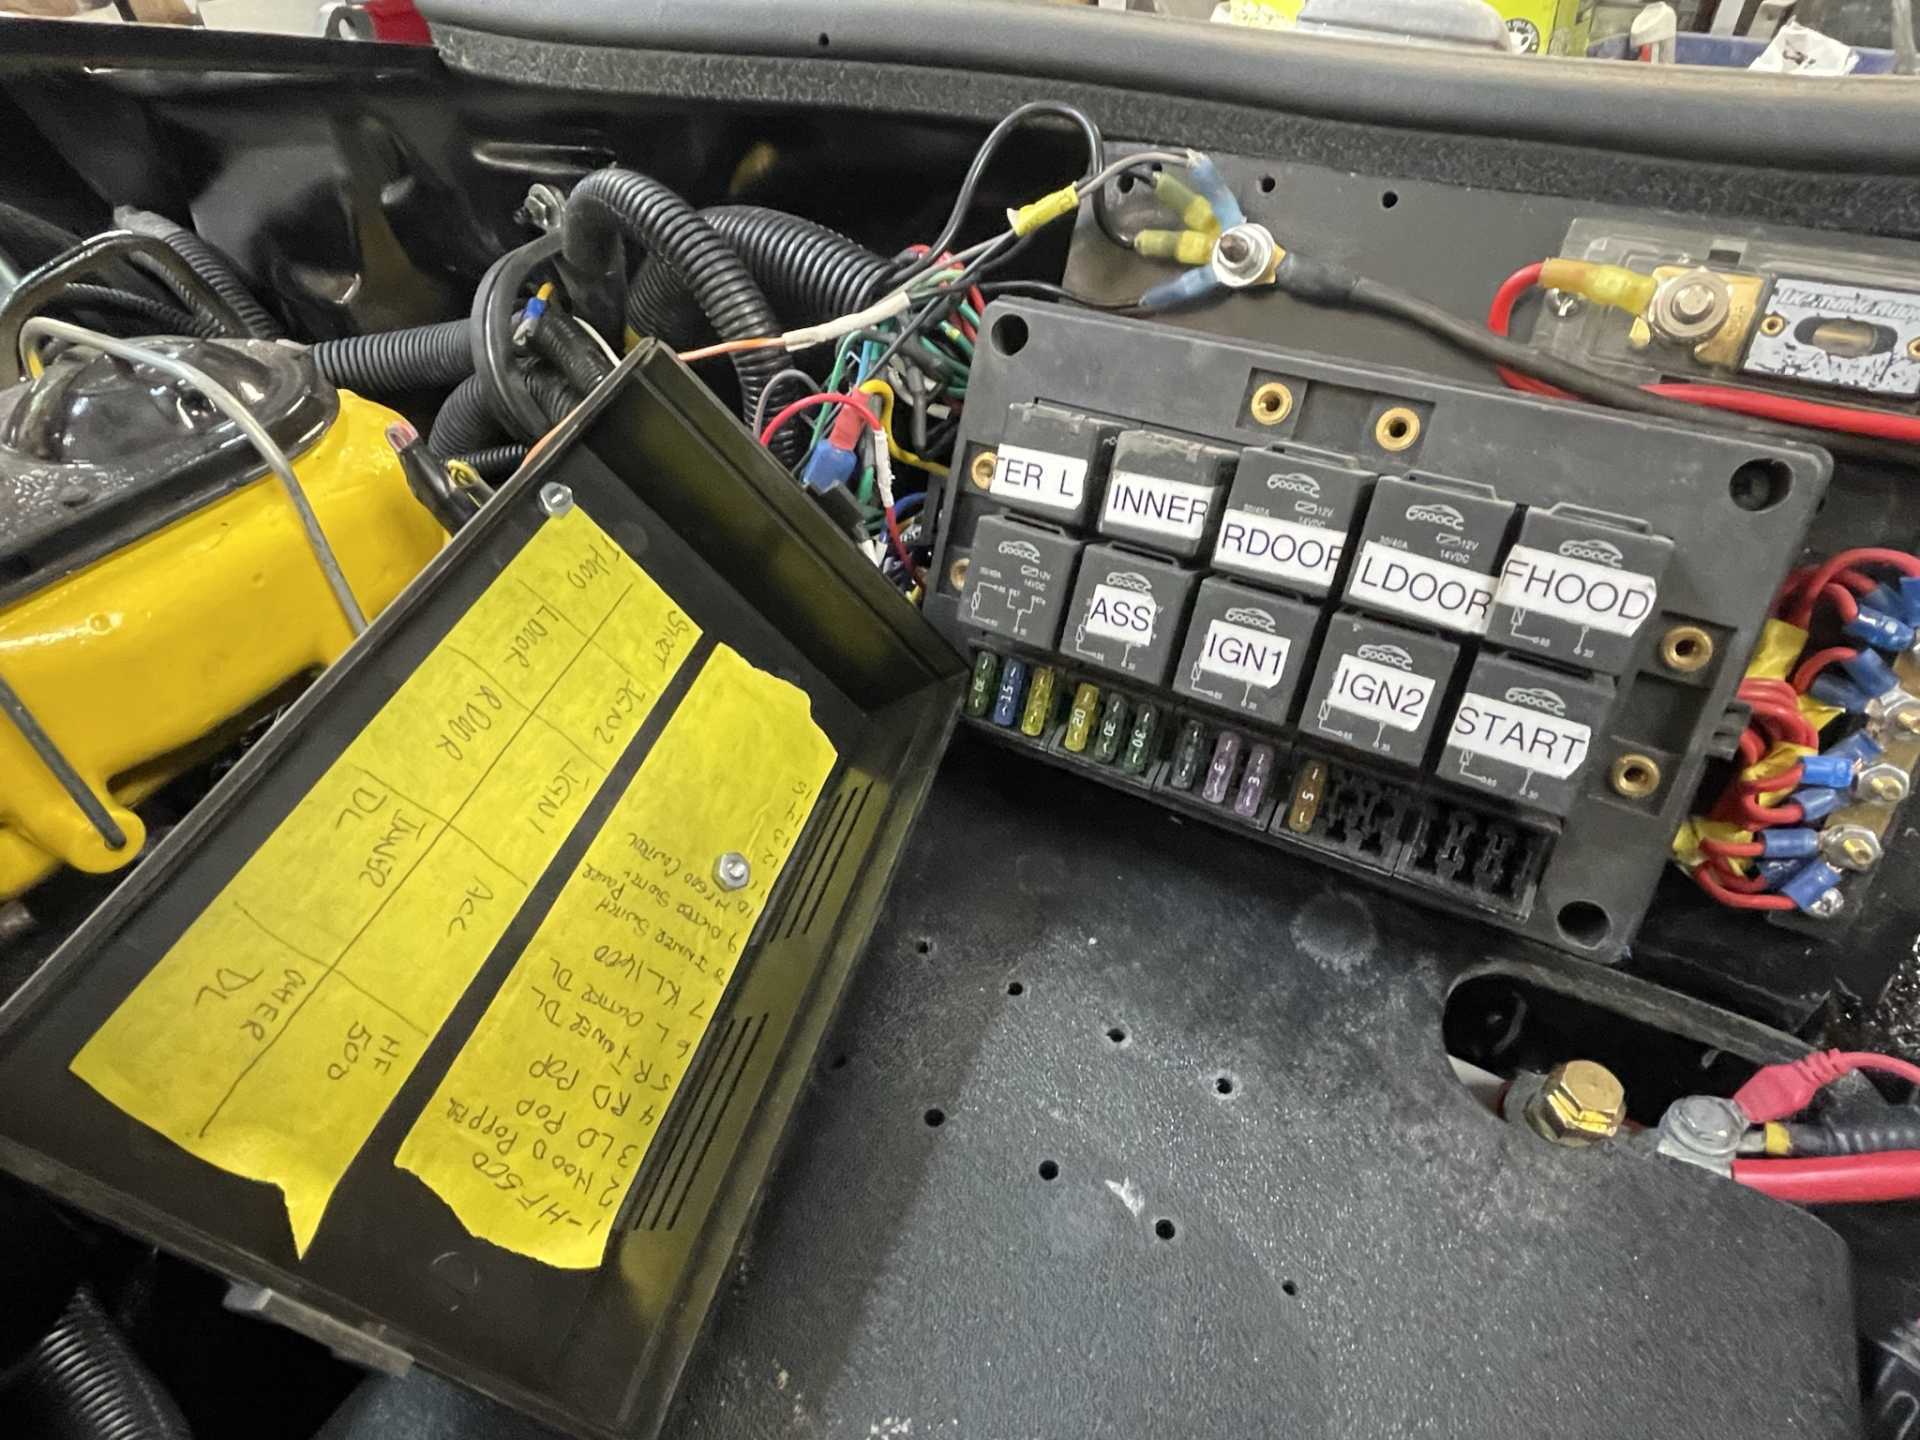
With the body off I was also able to do some wiring in the front trunk area, although the wiring all worked before it looked ugly and wasn’t water resistant So all 10 relays and 15 fuses are redone into a compact box. This is for the 2 sets of driving lights,2 door poppers, 1 Front hood popper, And the (5) push button start relays
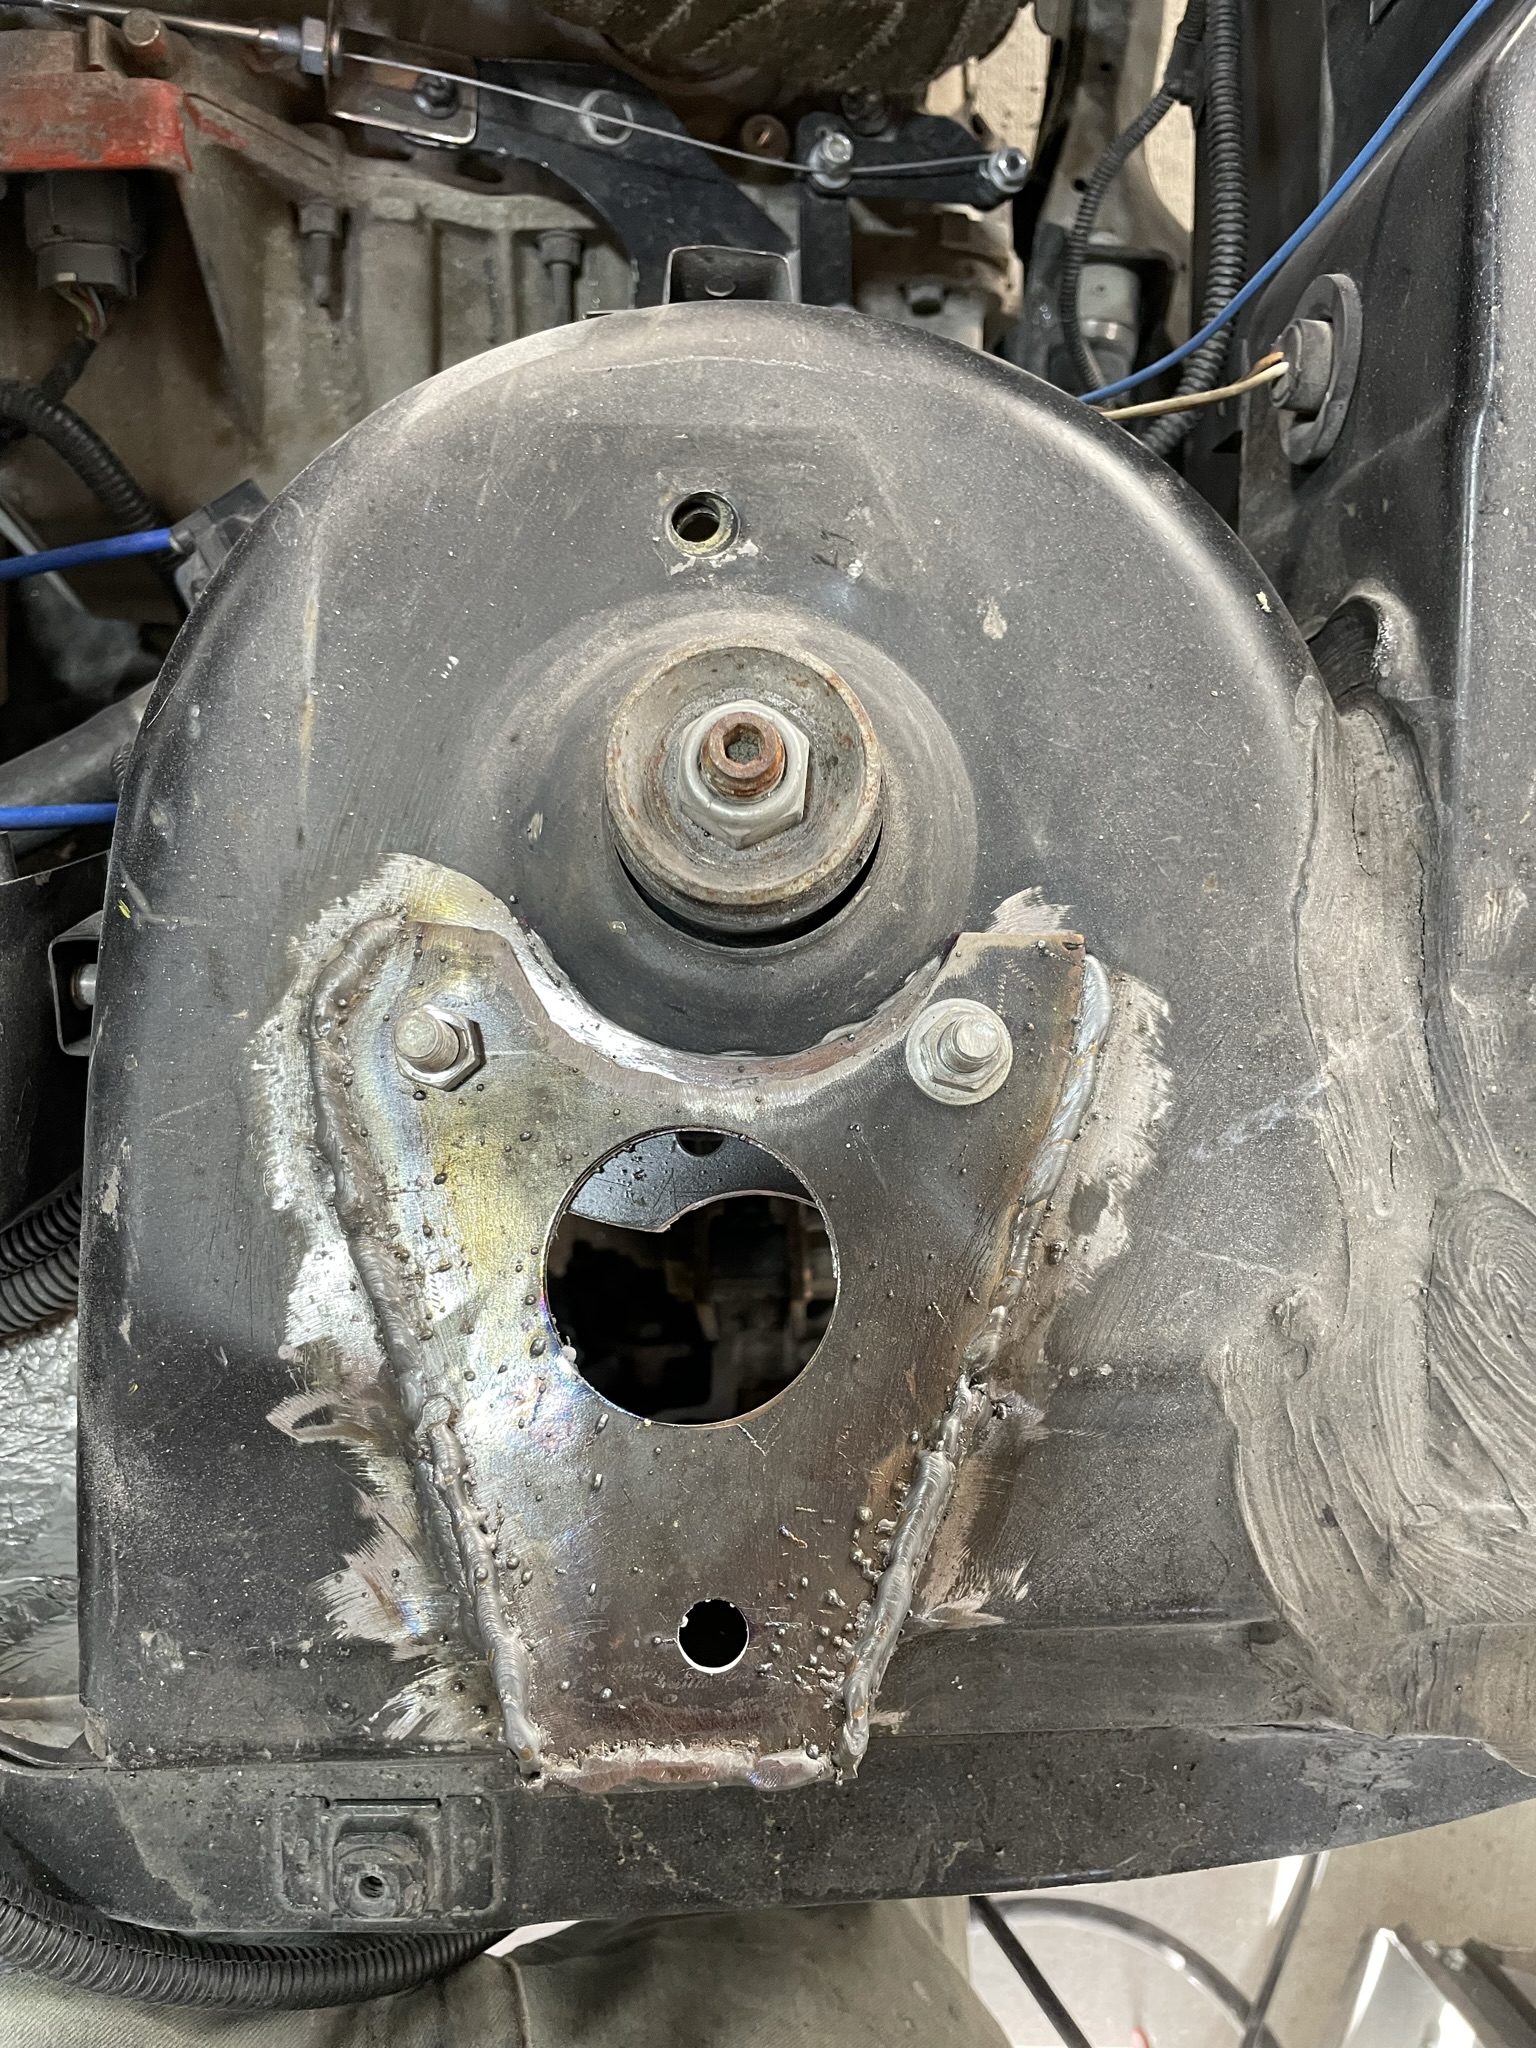
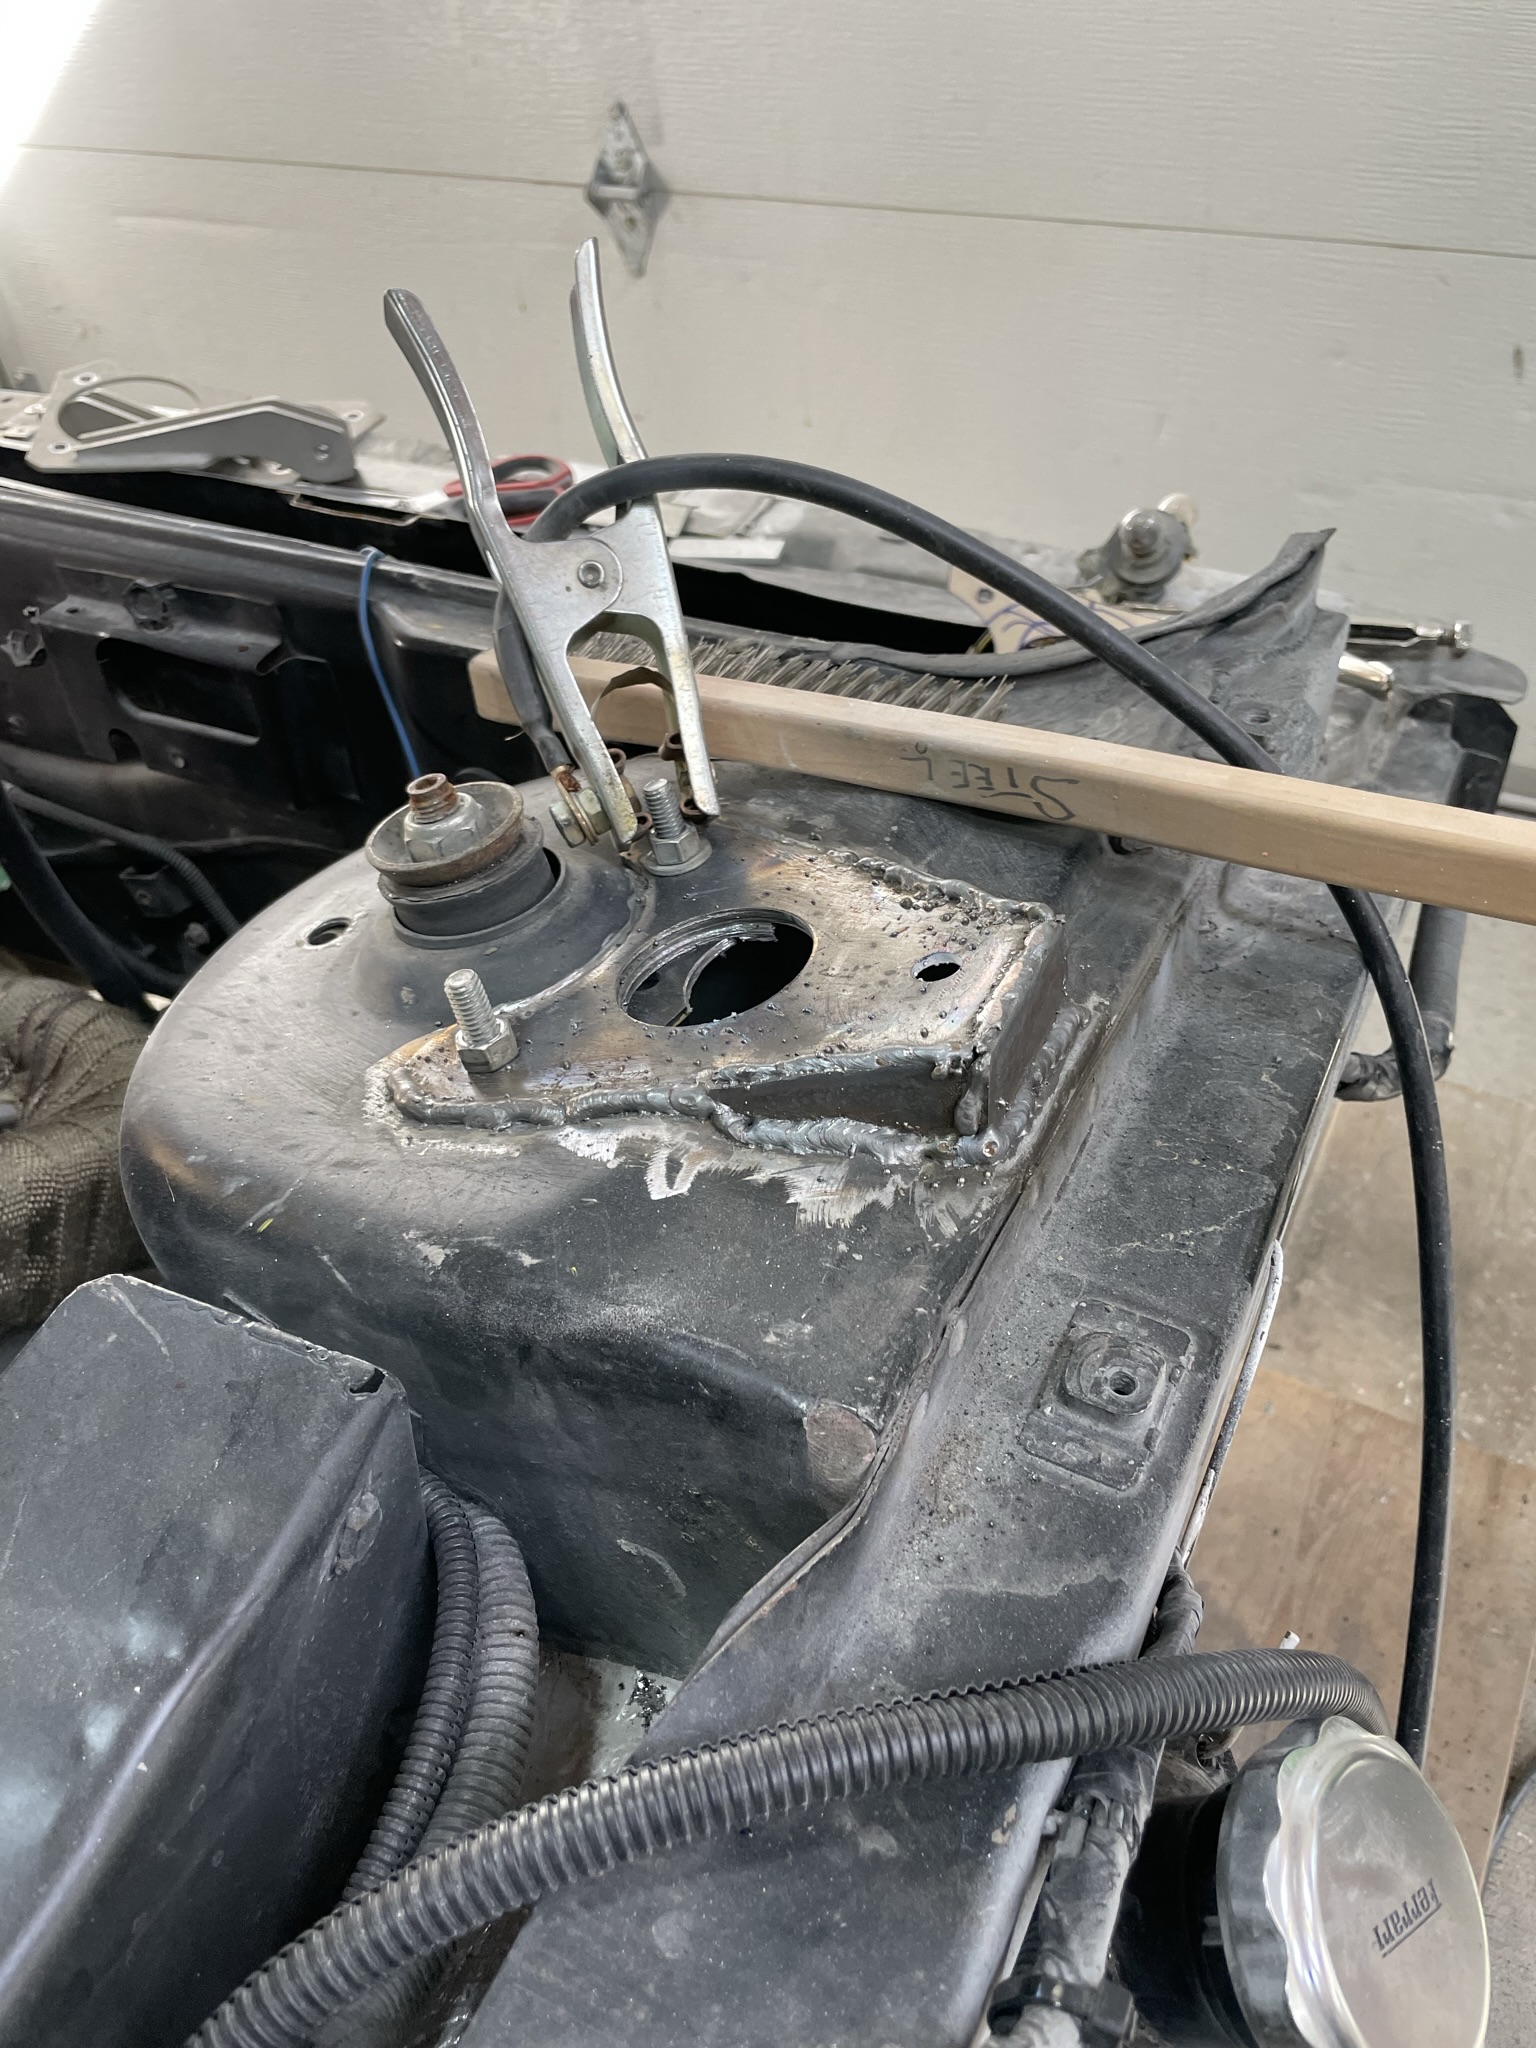
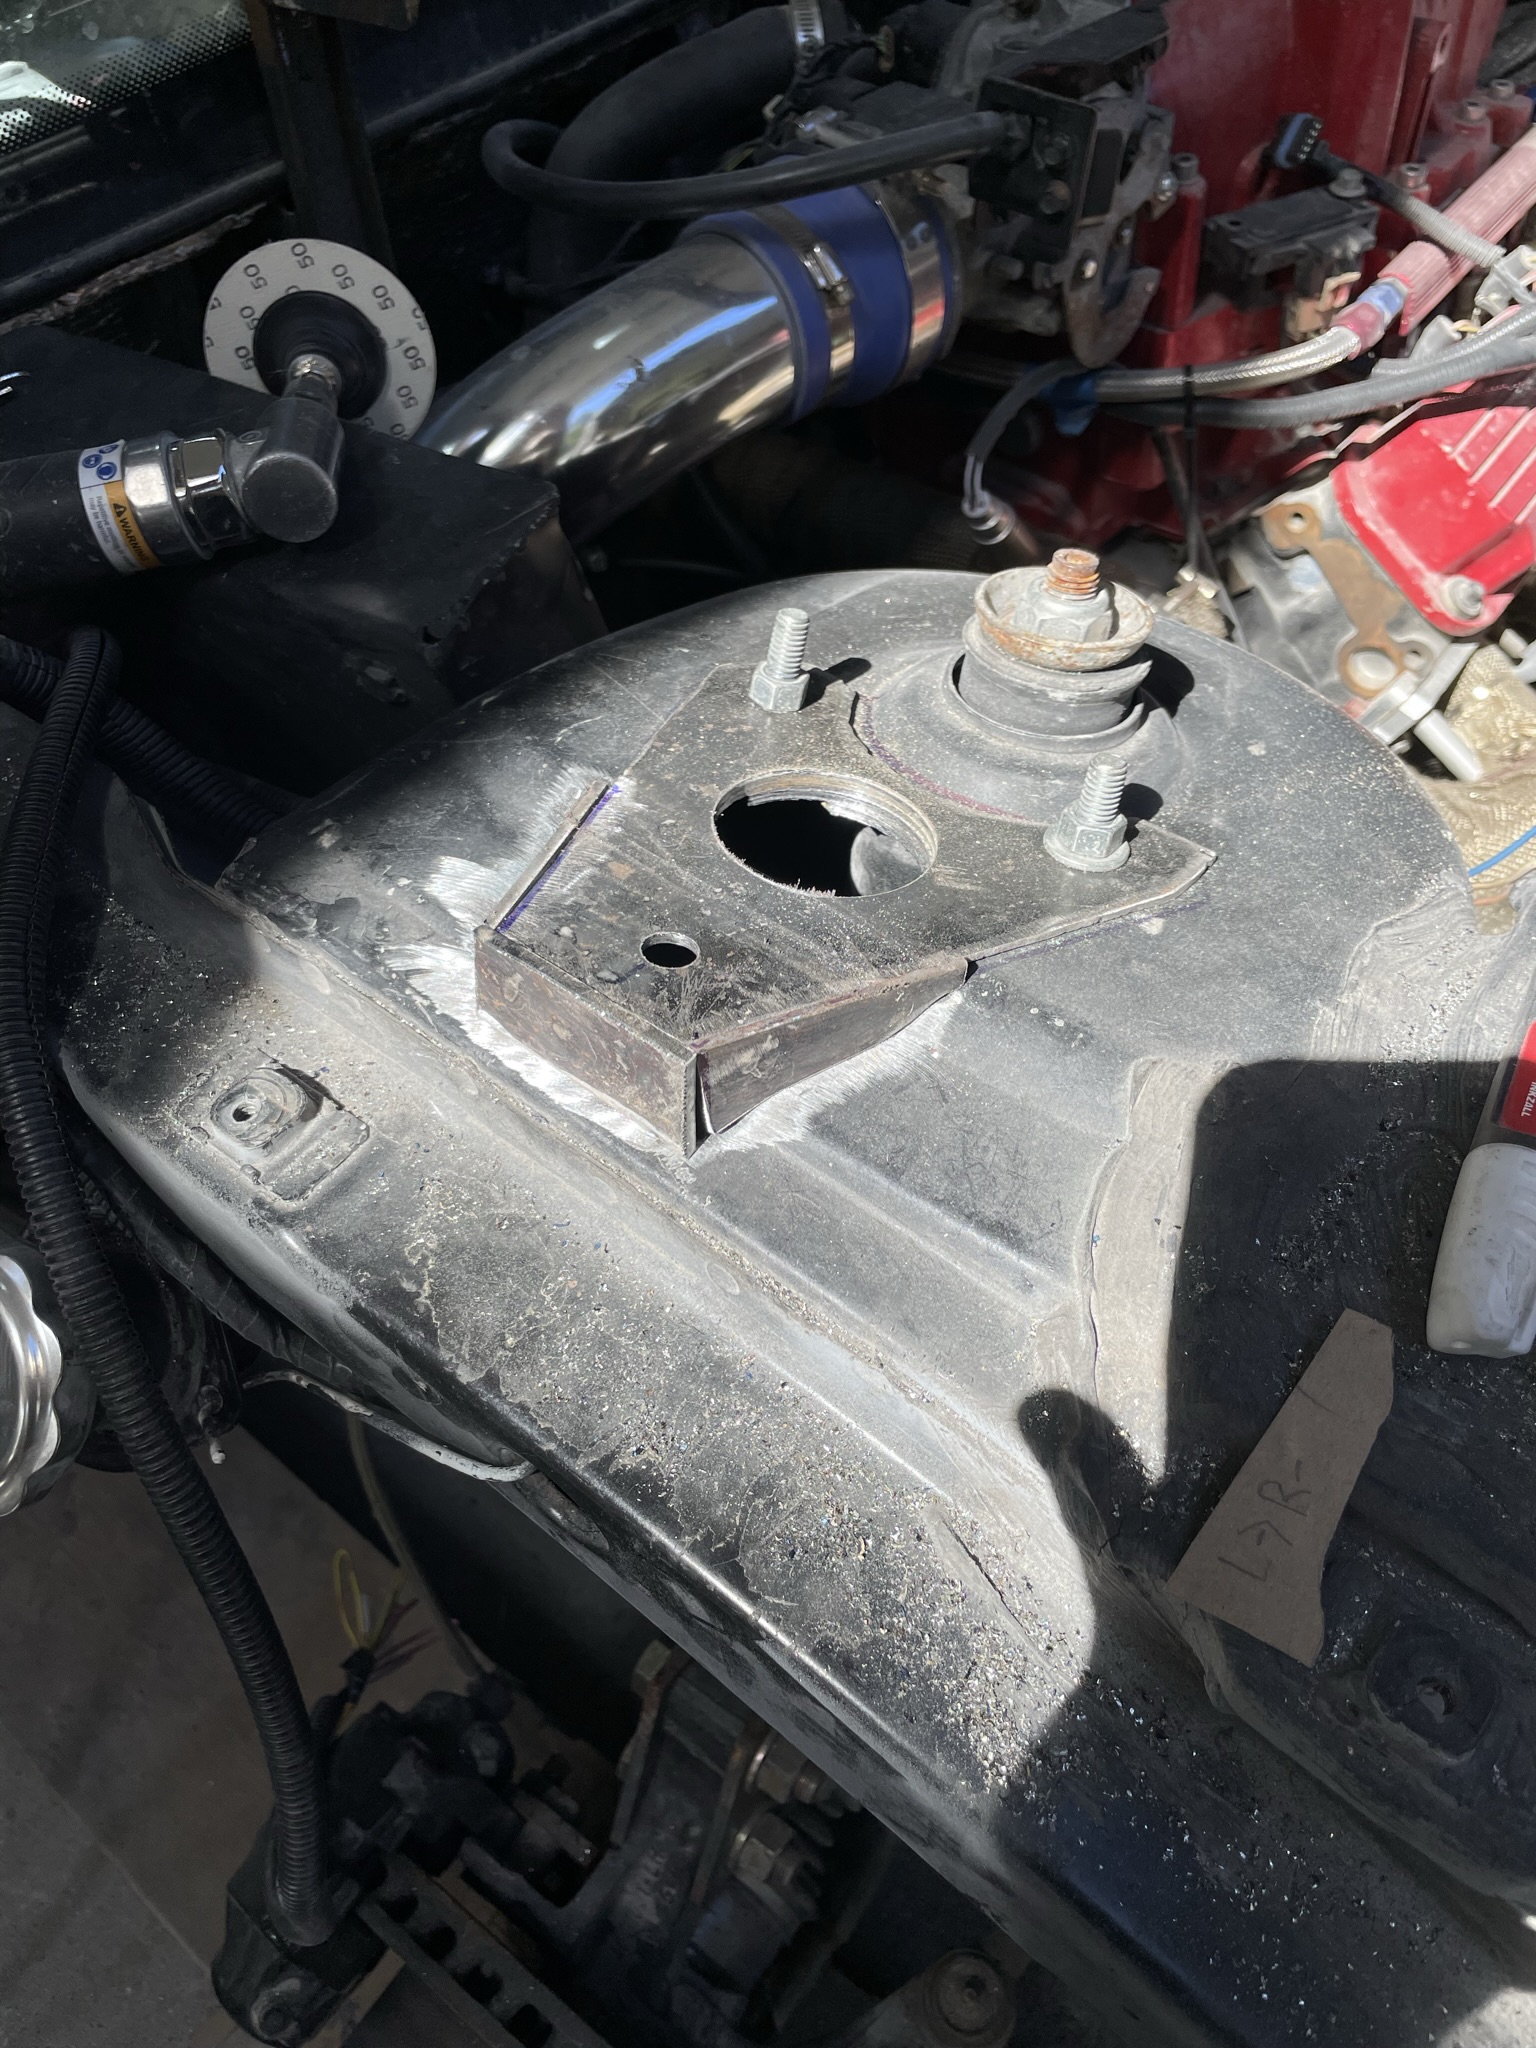
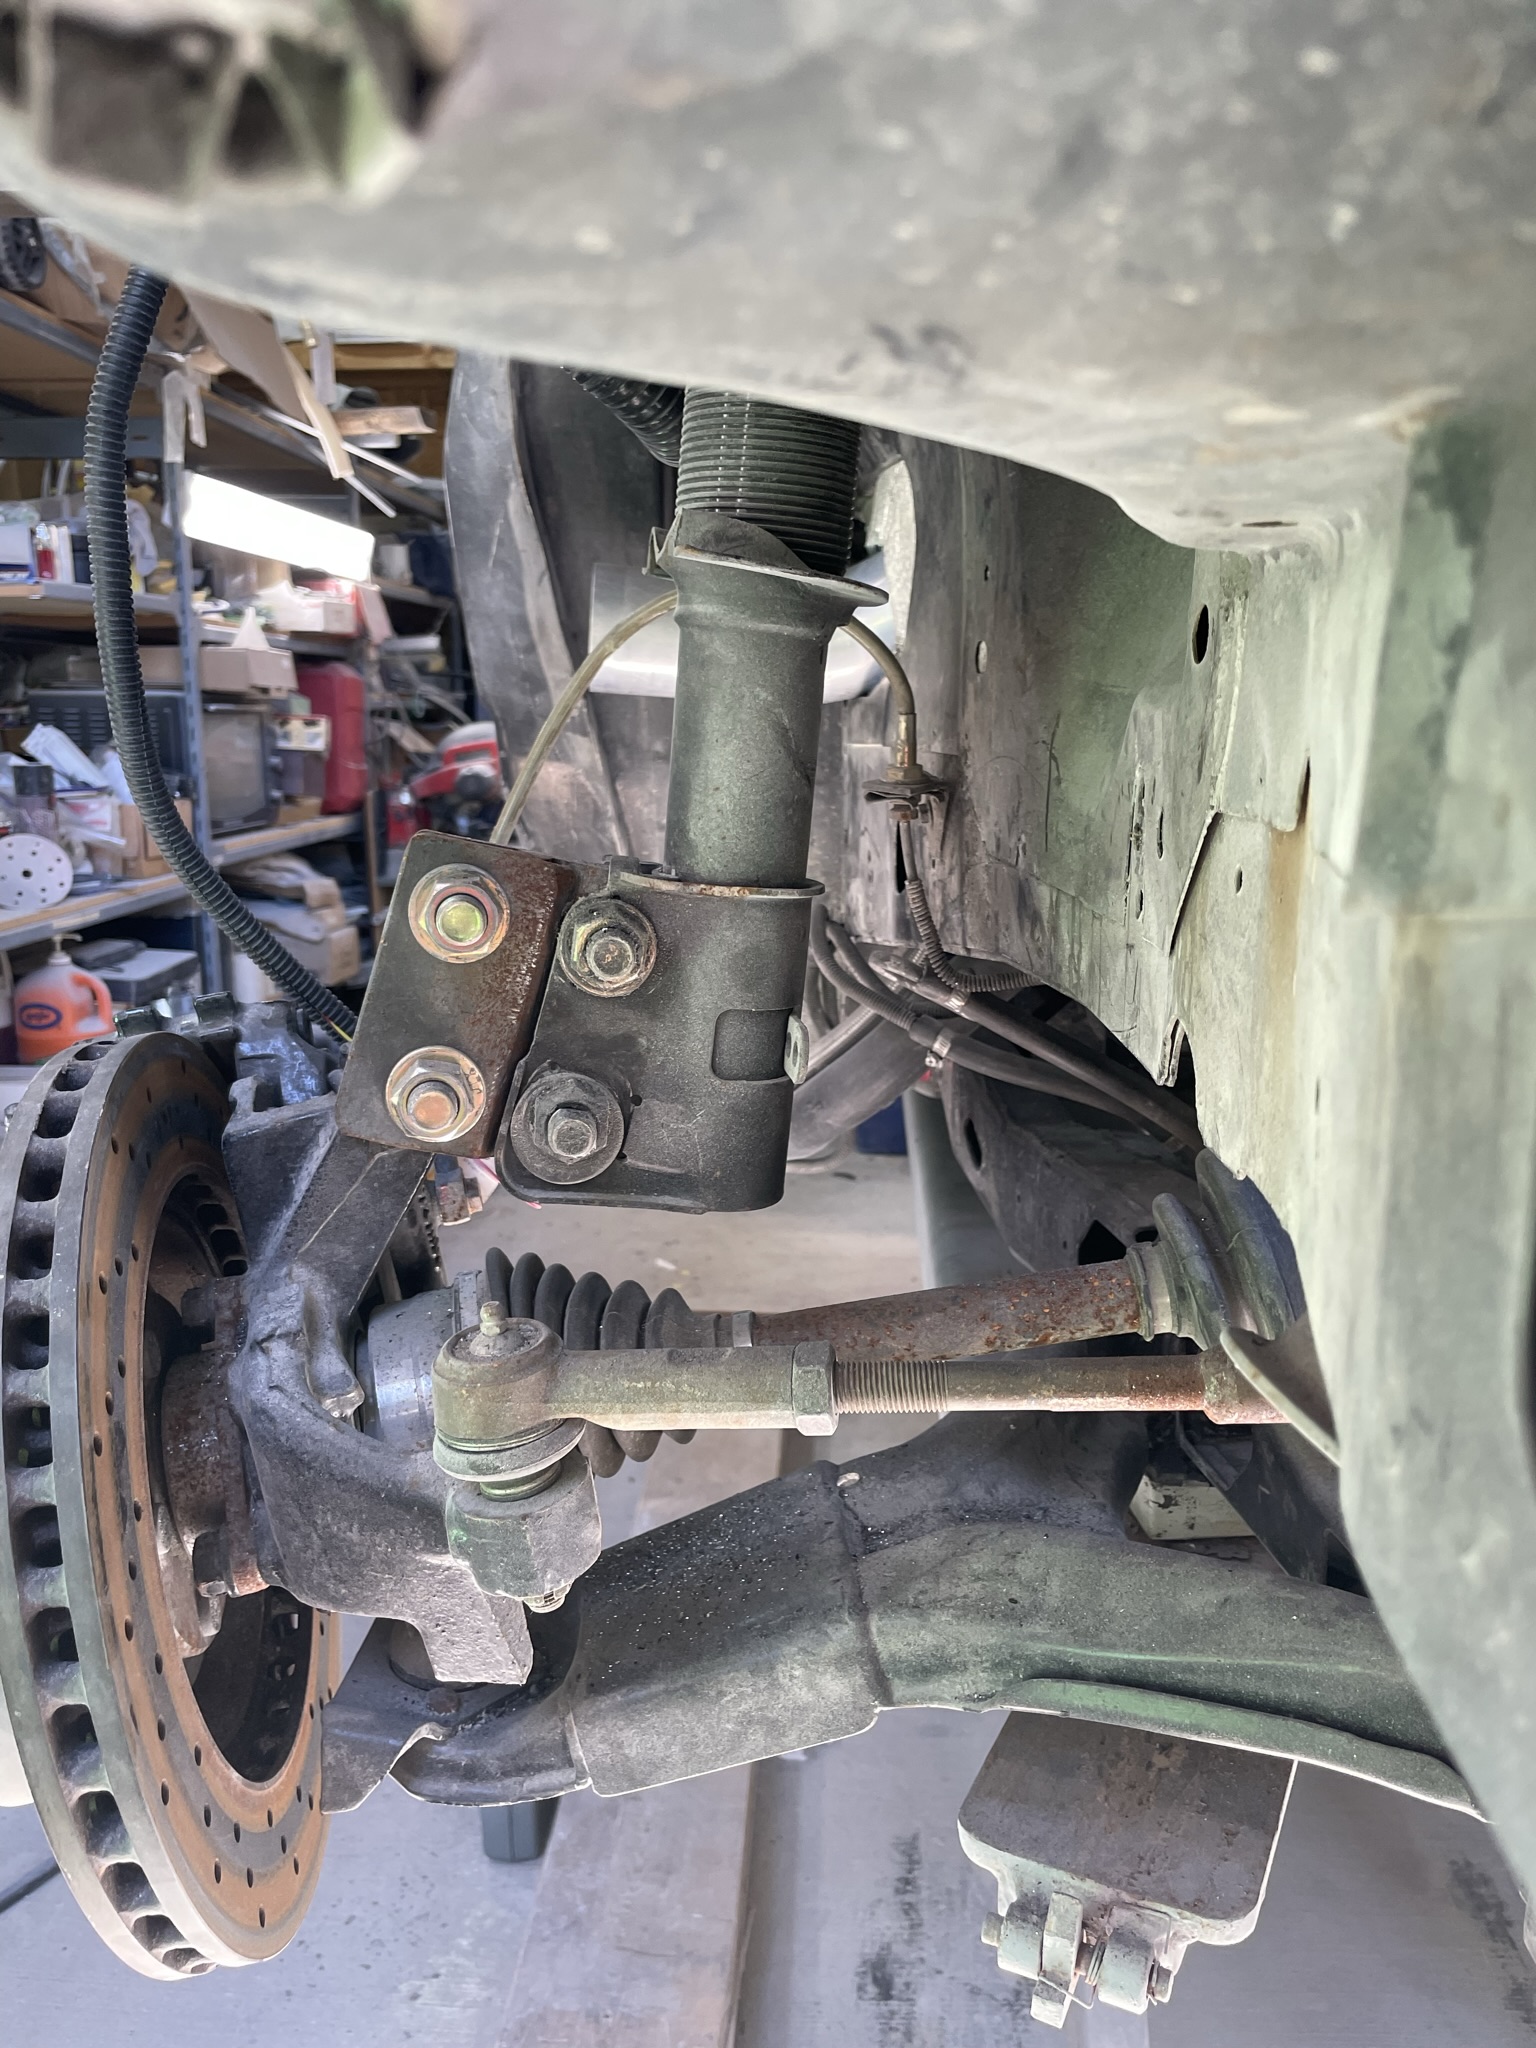
Next I needed to modify my shock strut top mount, while the rear is off. My buddy Don O. And I’ll be modifying and widening my suspension So this needed to be done now as once the body is installed it would be all but impossible. This mod moves the shock top over 4”s But still on the same plane. [IMG]https://images.fiero.nl/userimages/dobie1/22299292-638E-4EE6-BB 18-E8B428E2EEC2.jpeg[/IMG][IMG]https://images.fiero.nl/userimages/do bie1/C871C34D-6195-47F4-9A34-E8A03B766E3D.jpeg[/IMG]
These two pics show how once the modifications are done it moves the shock to a more vertical position allowing for a further extension Outwards of the lower control arms , which you can see were done but need to move out another 2”s.
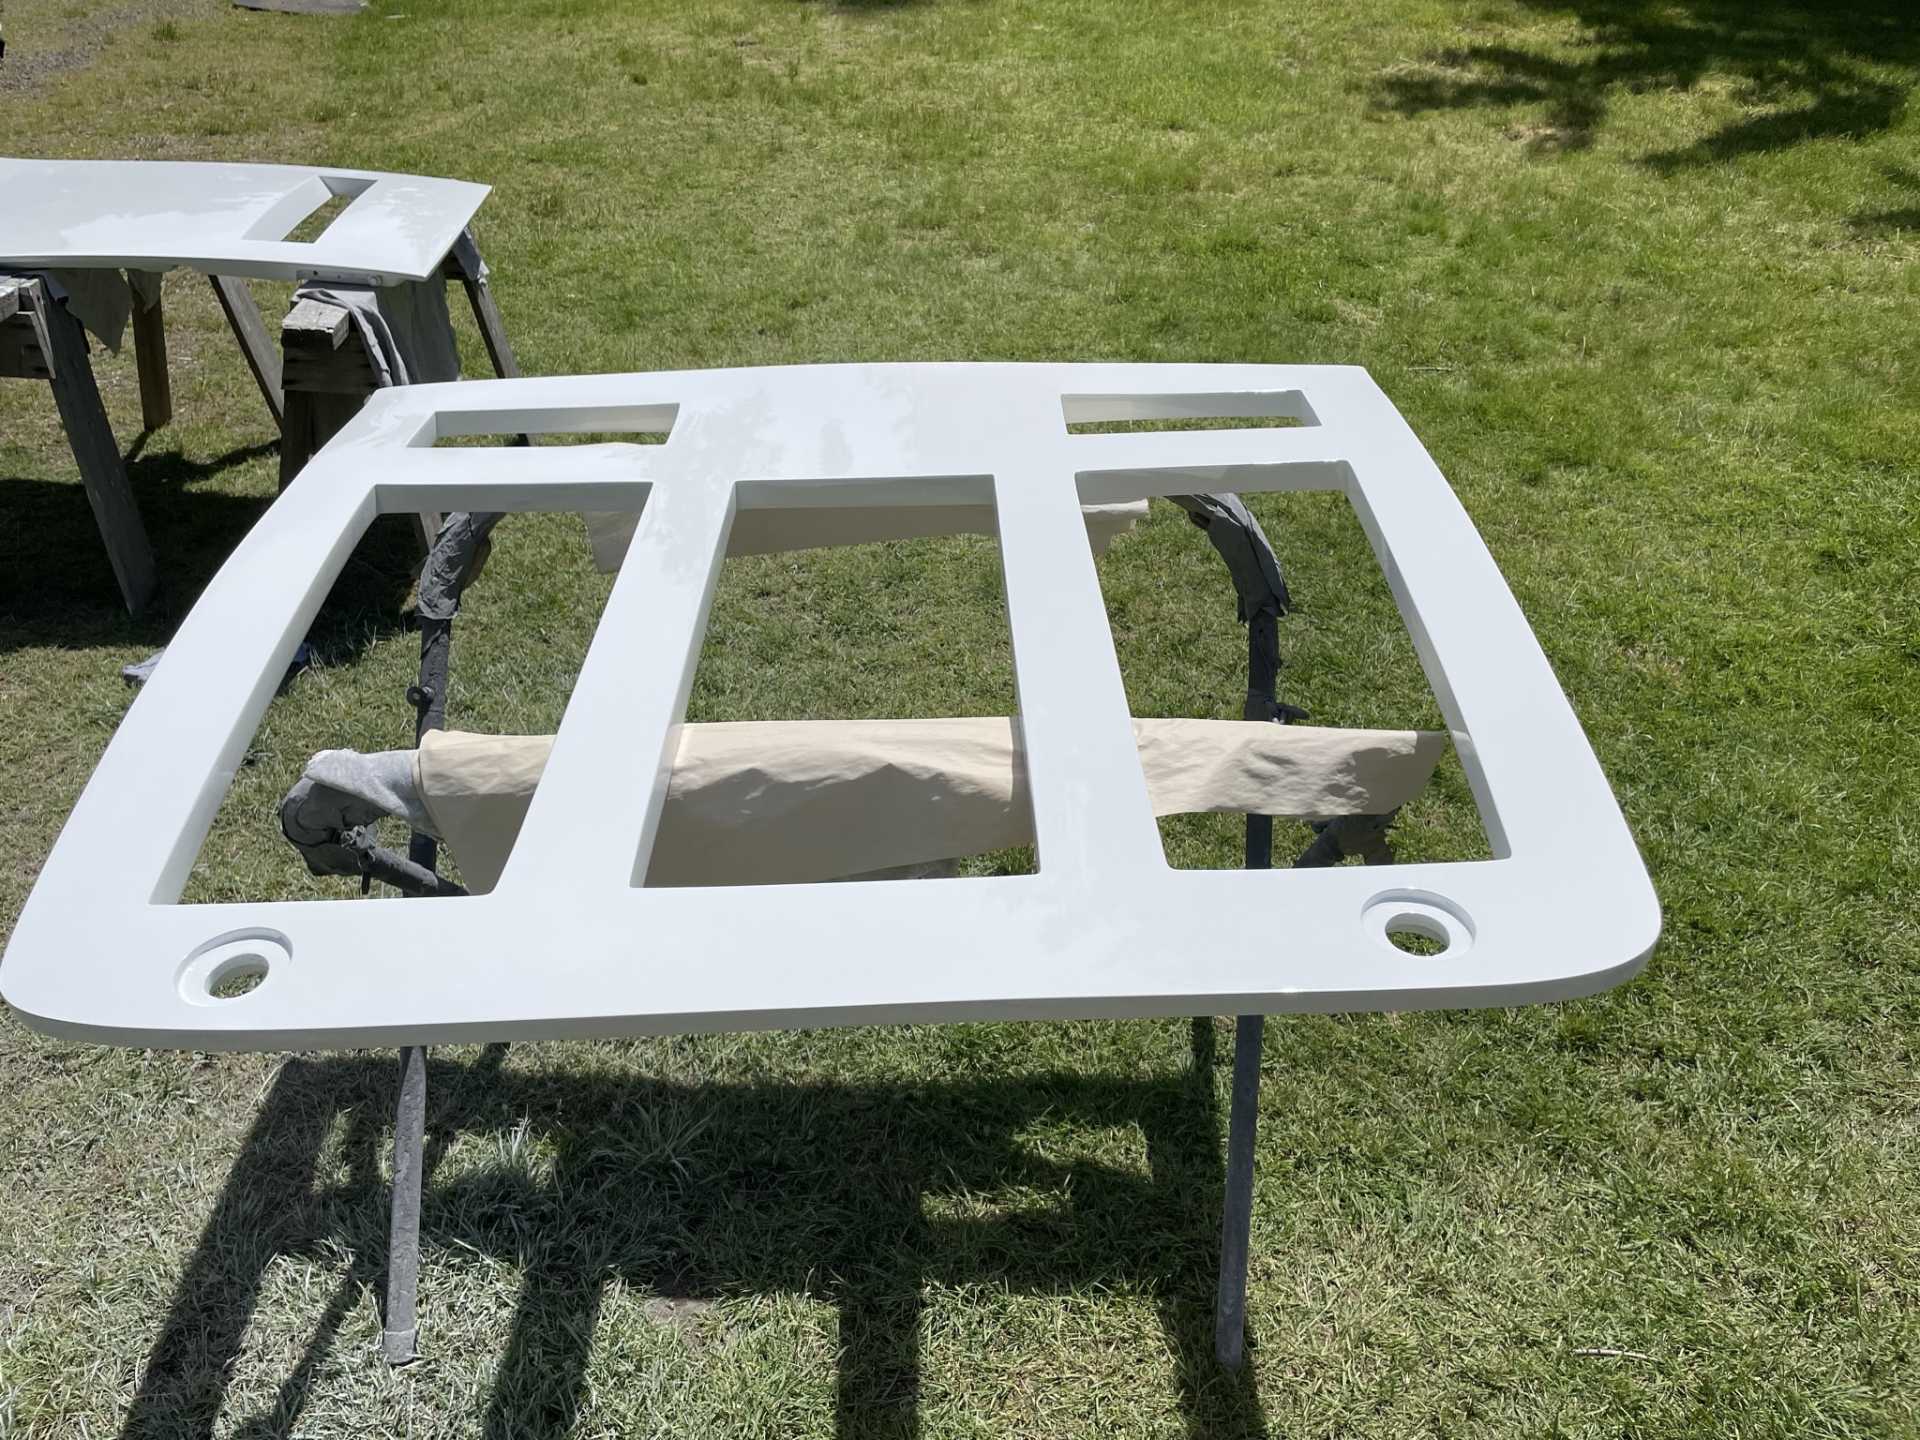
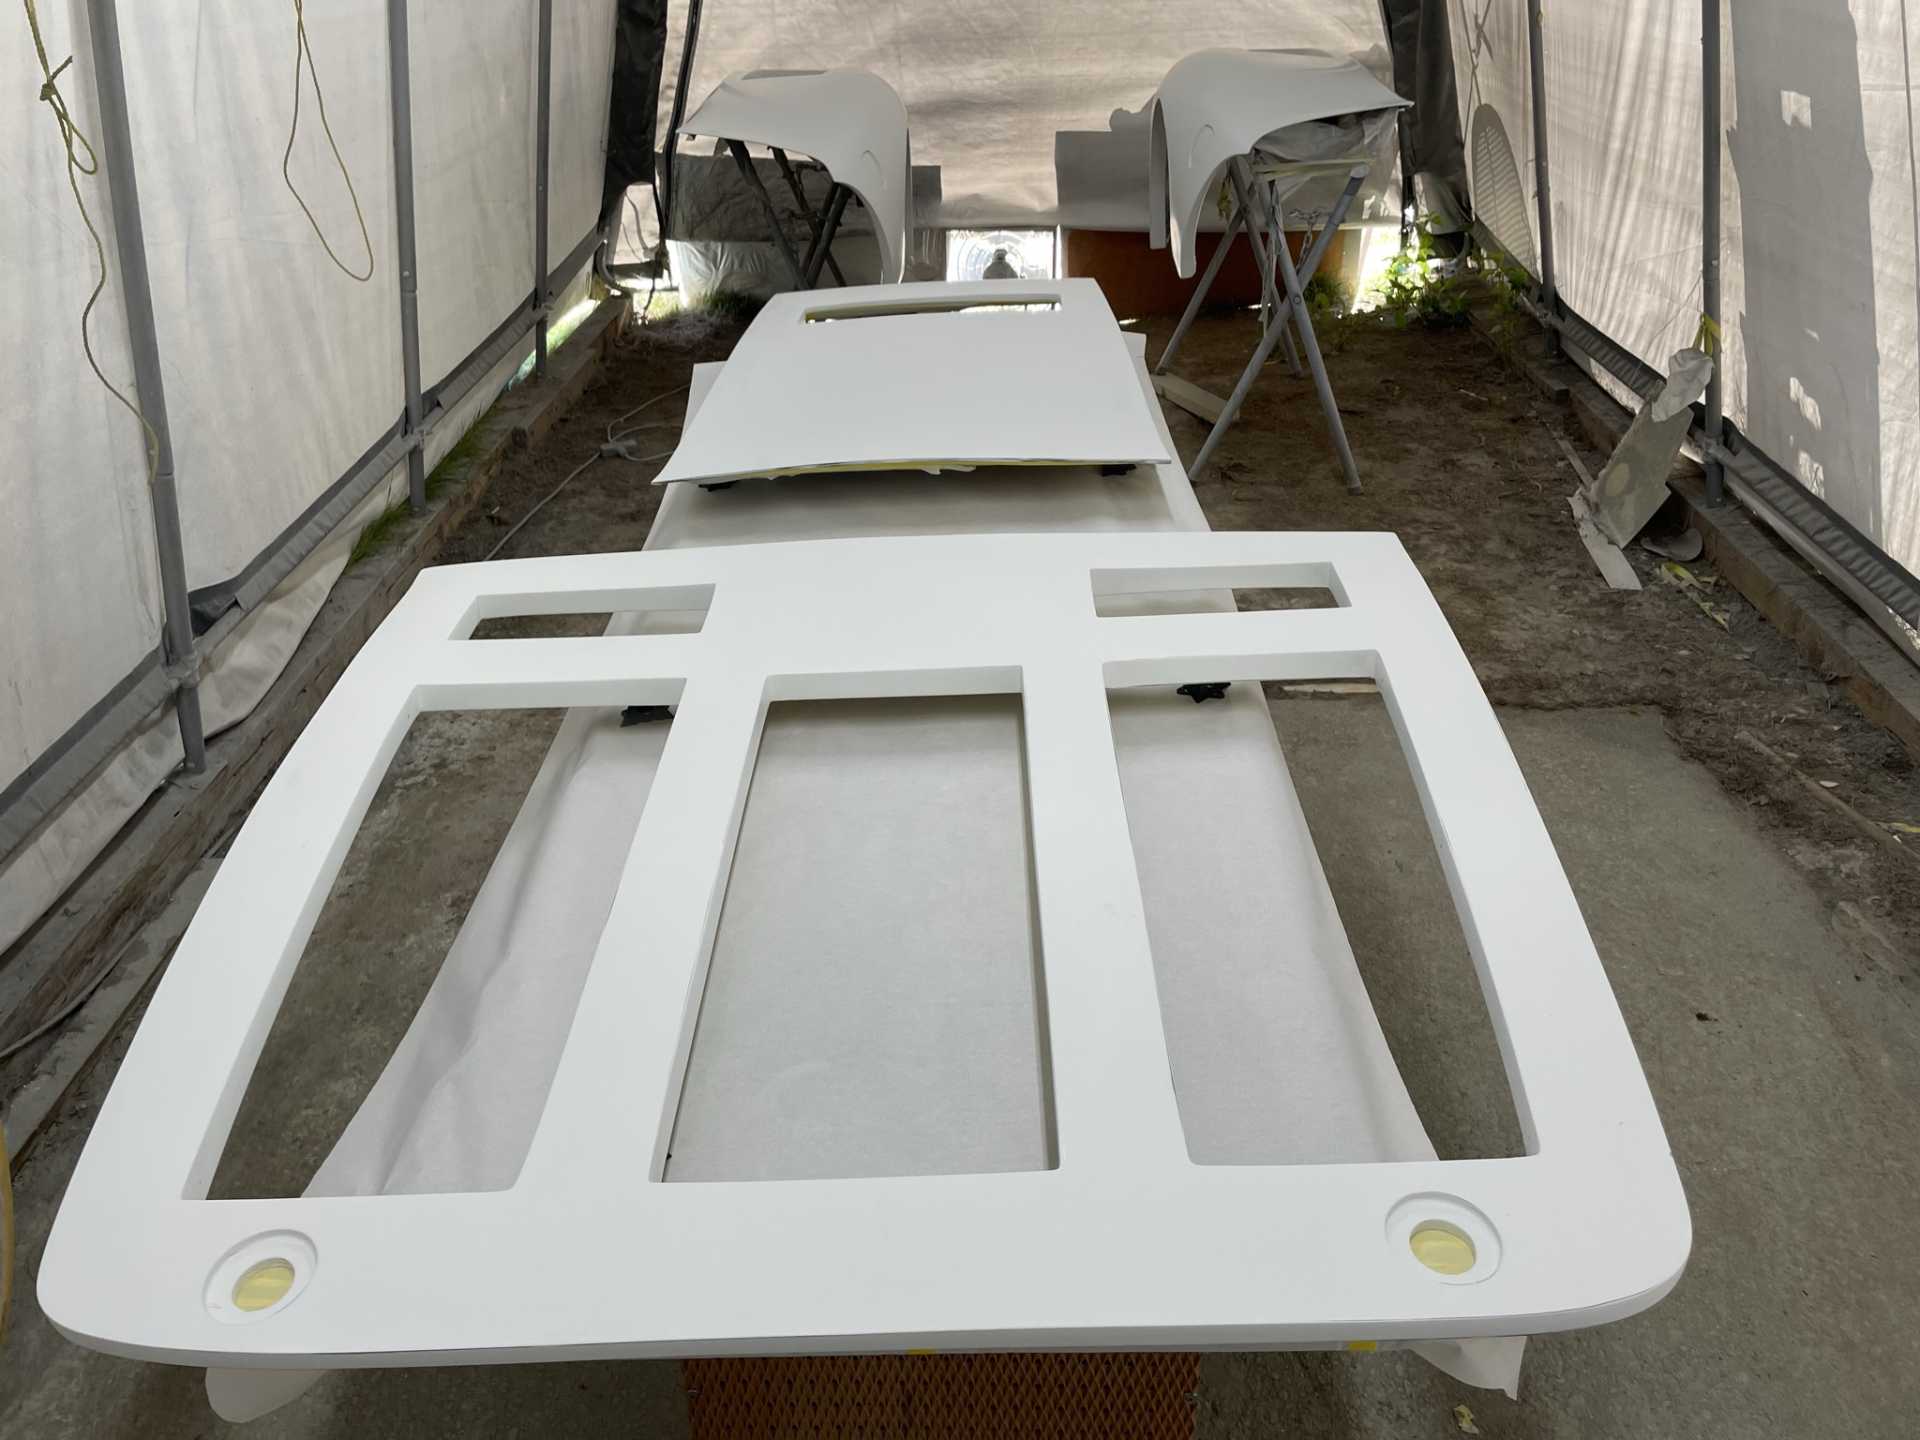
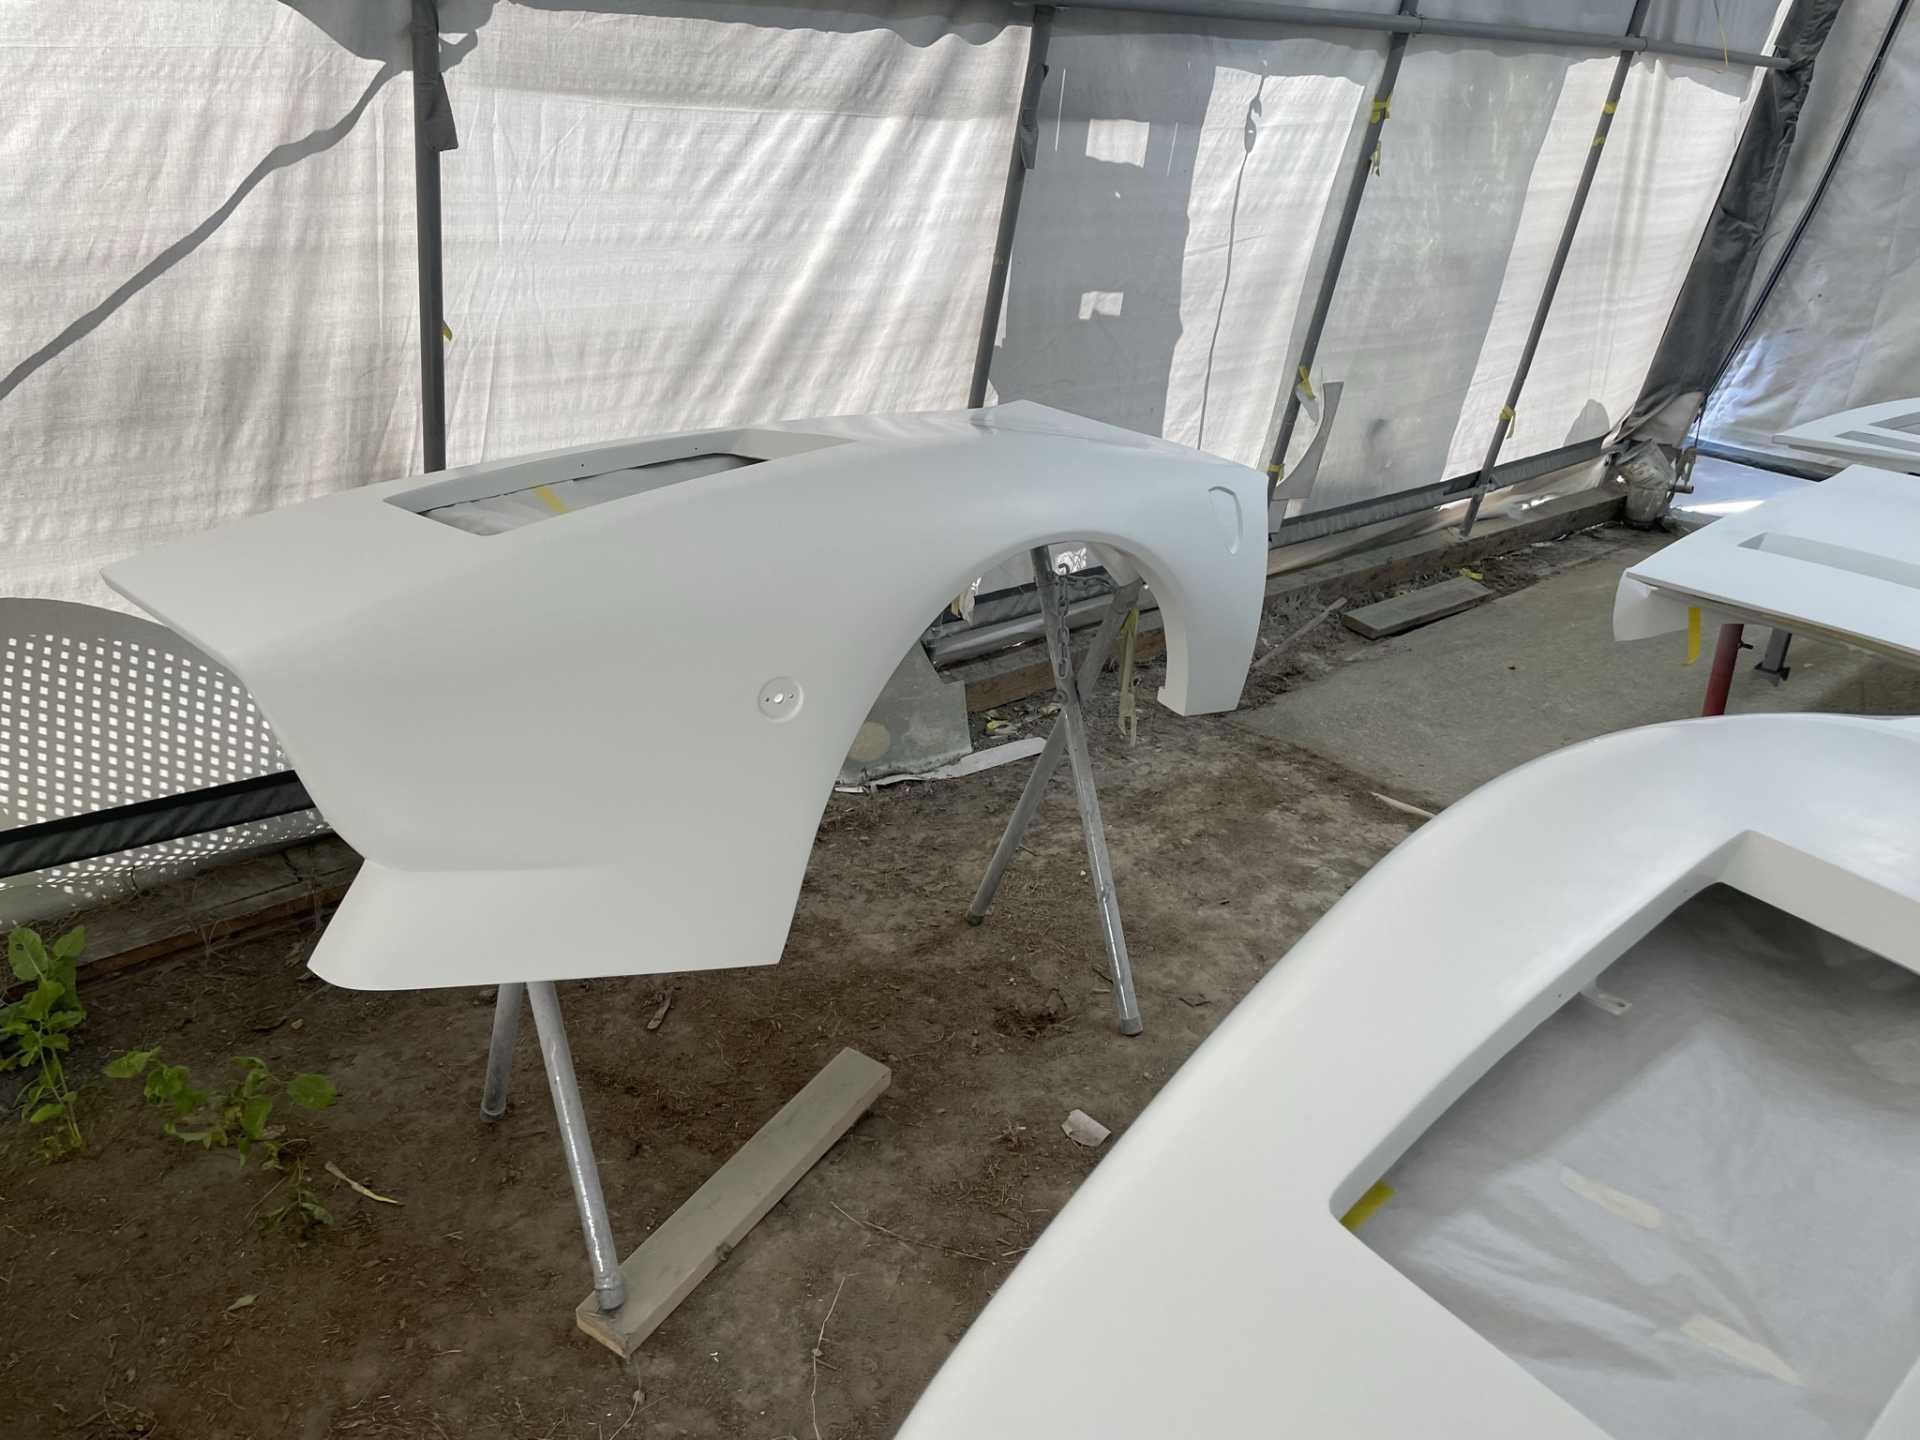
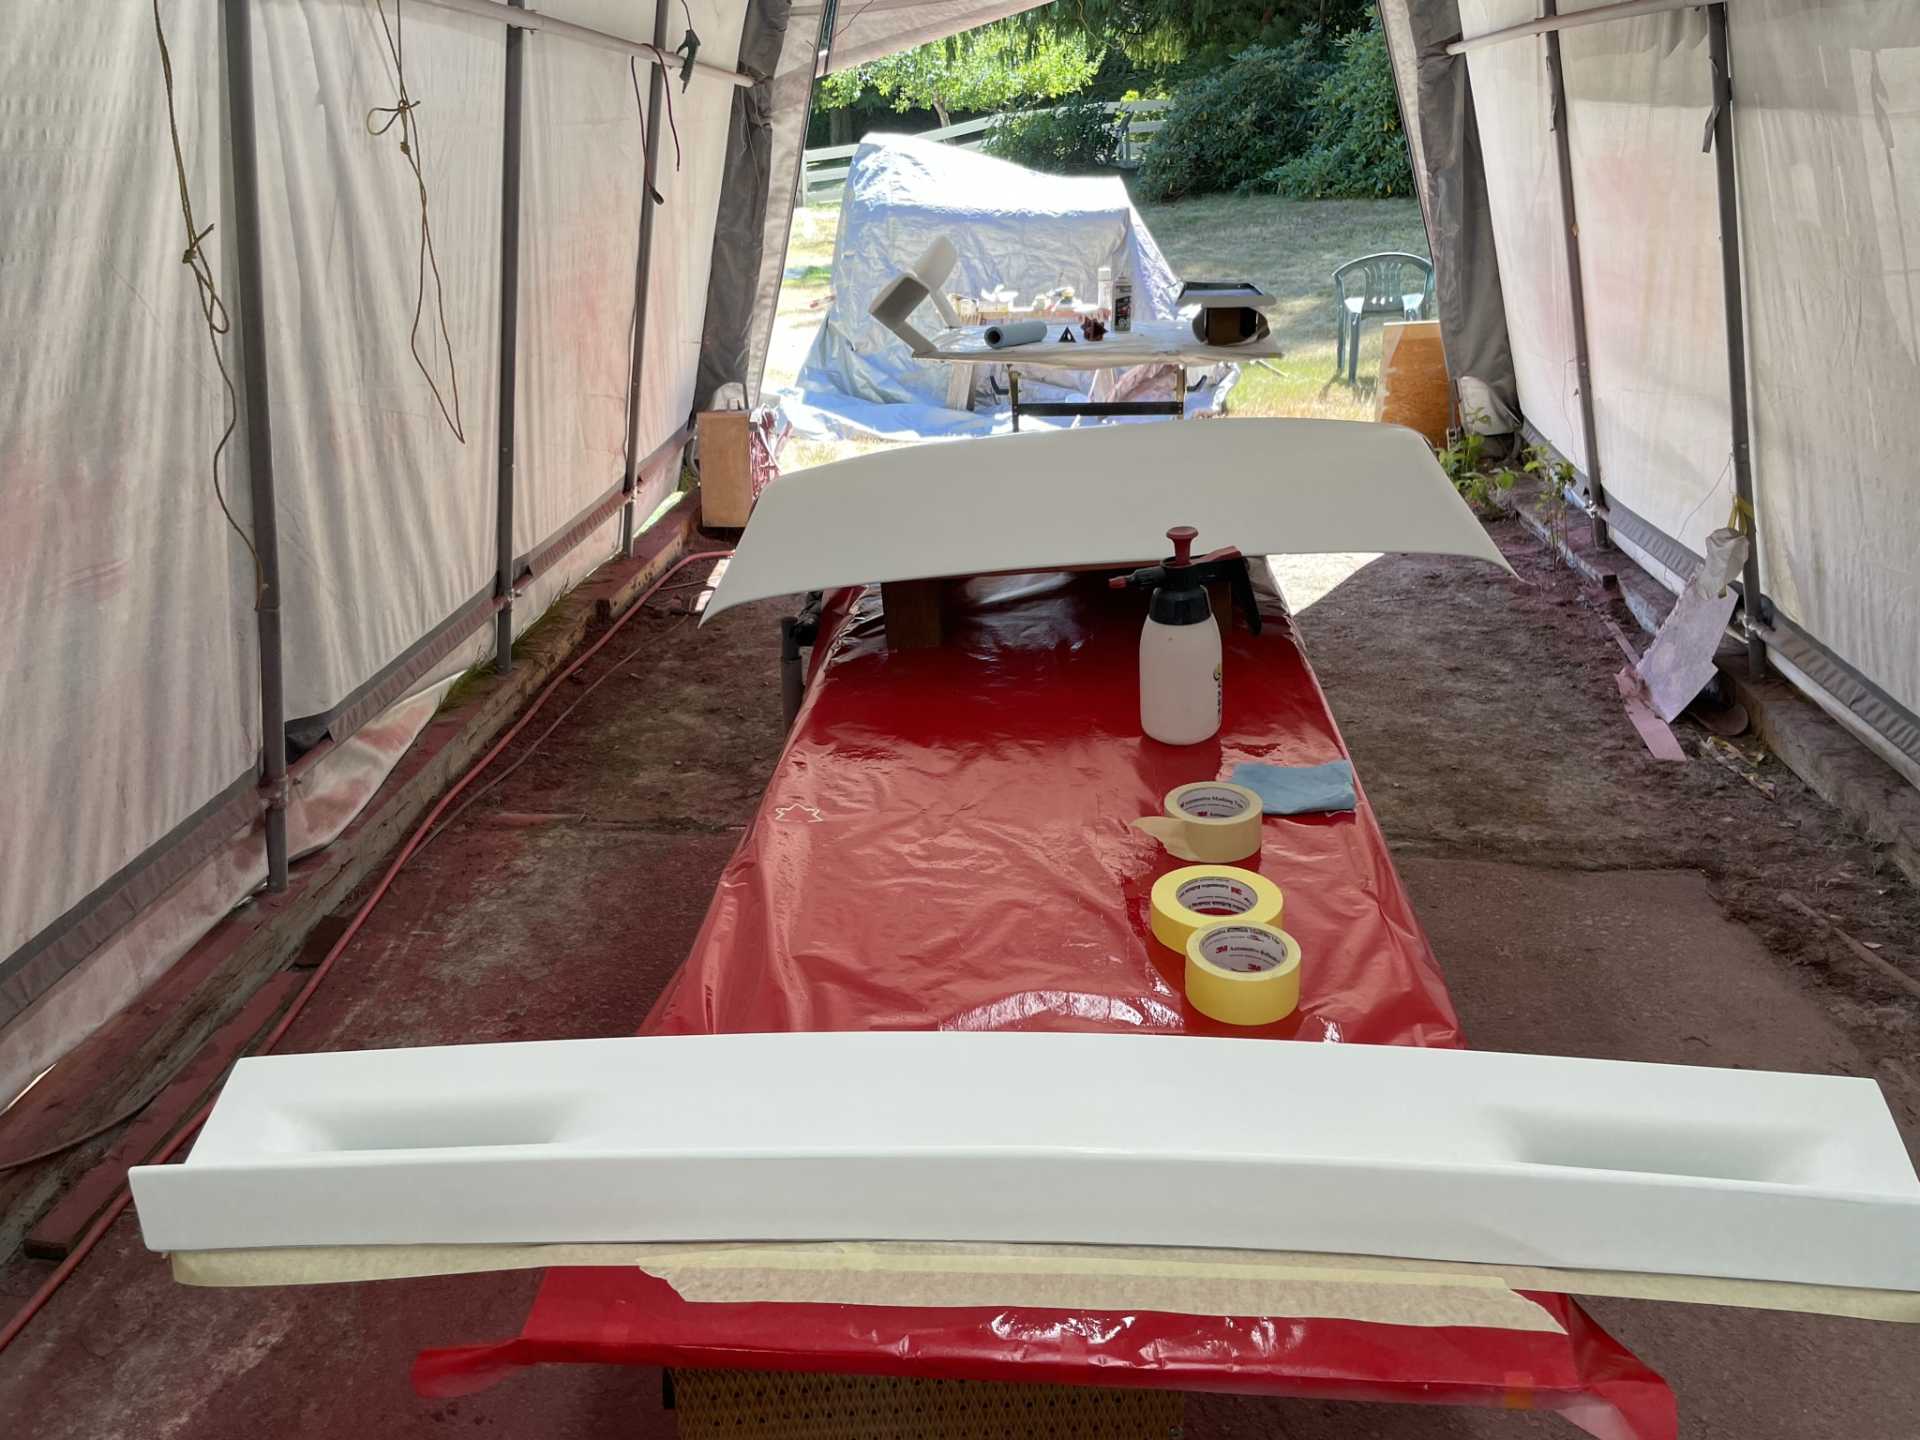
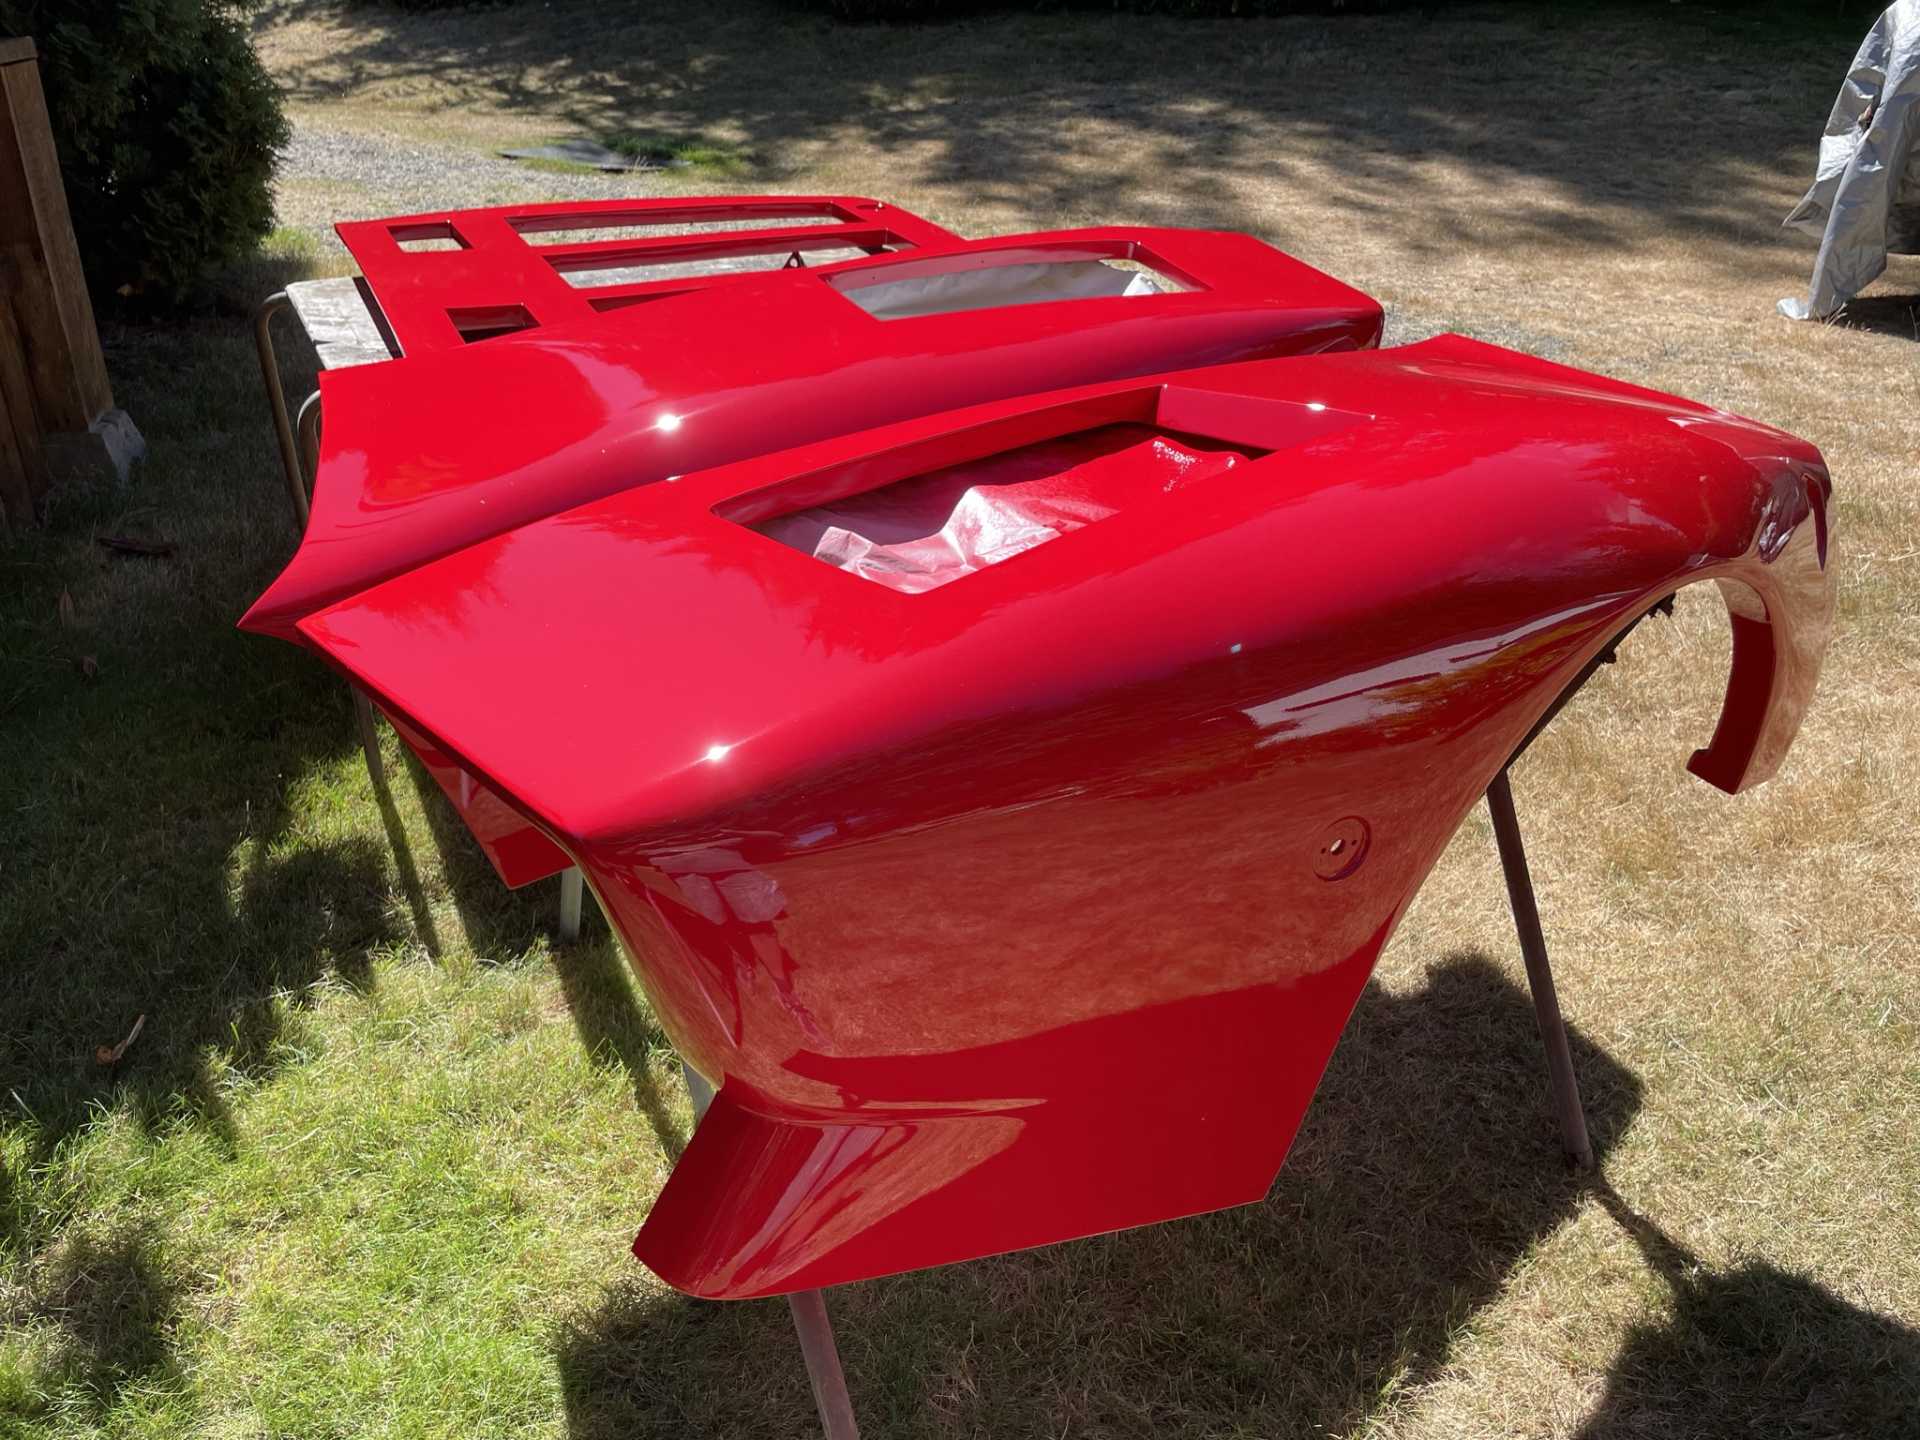
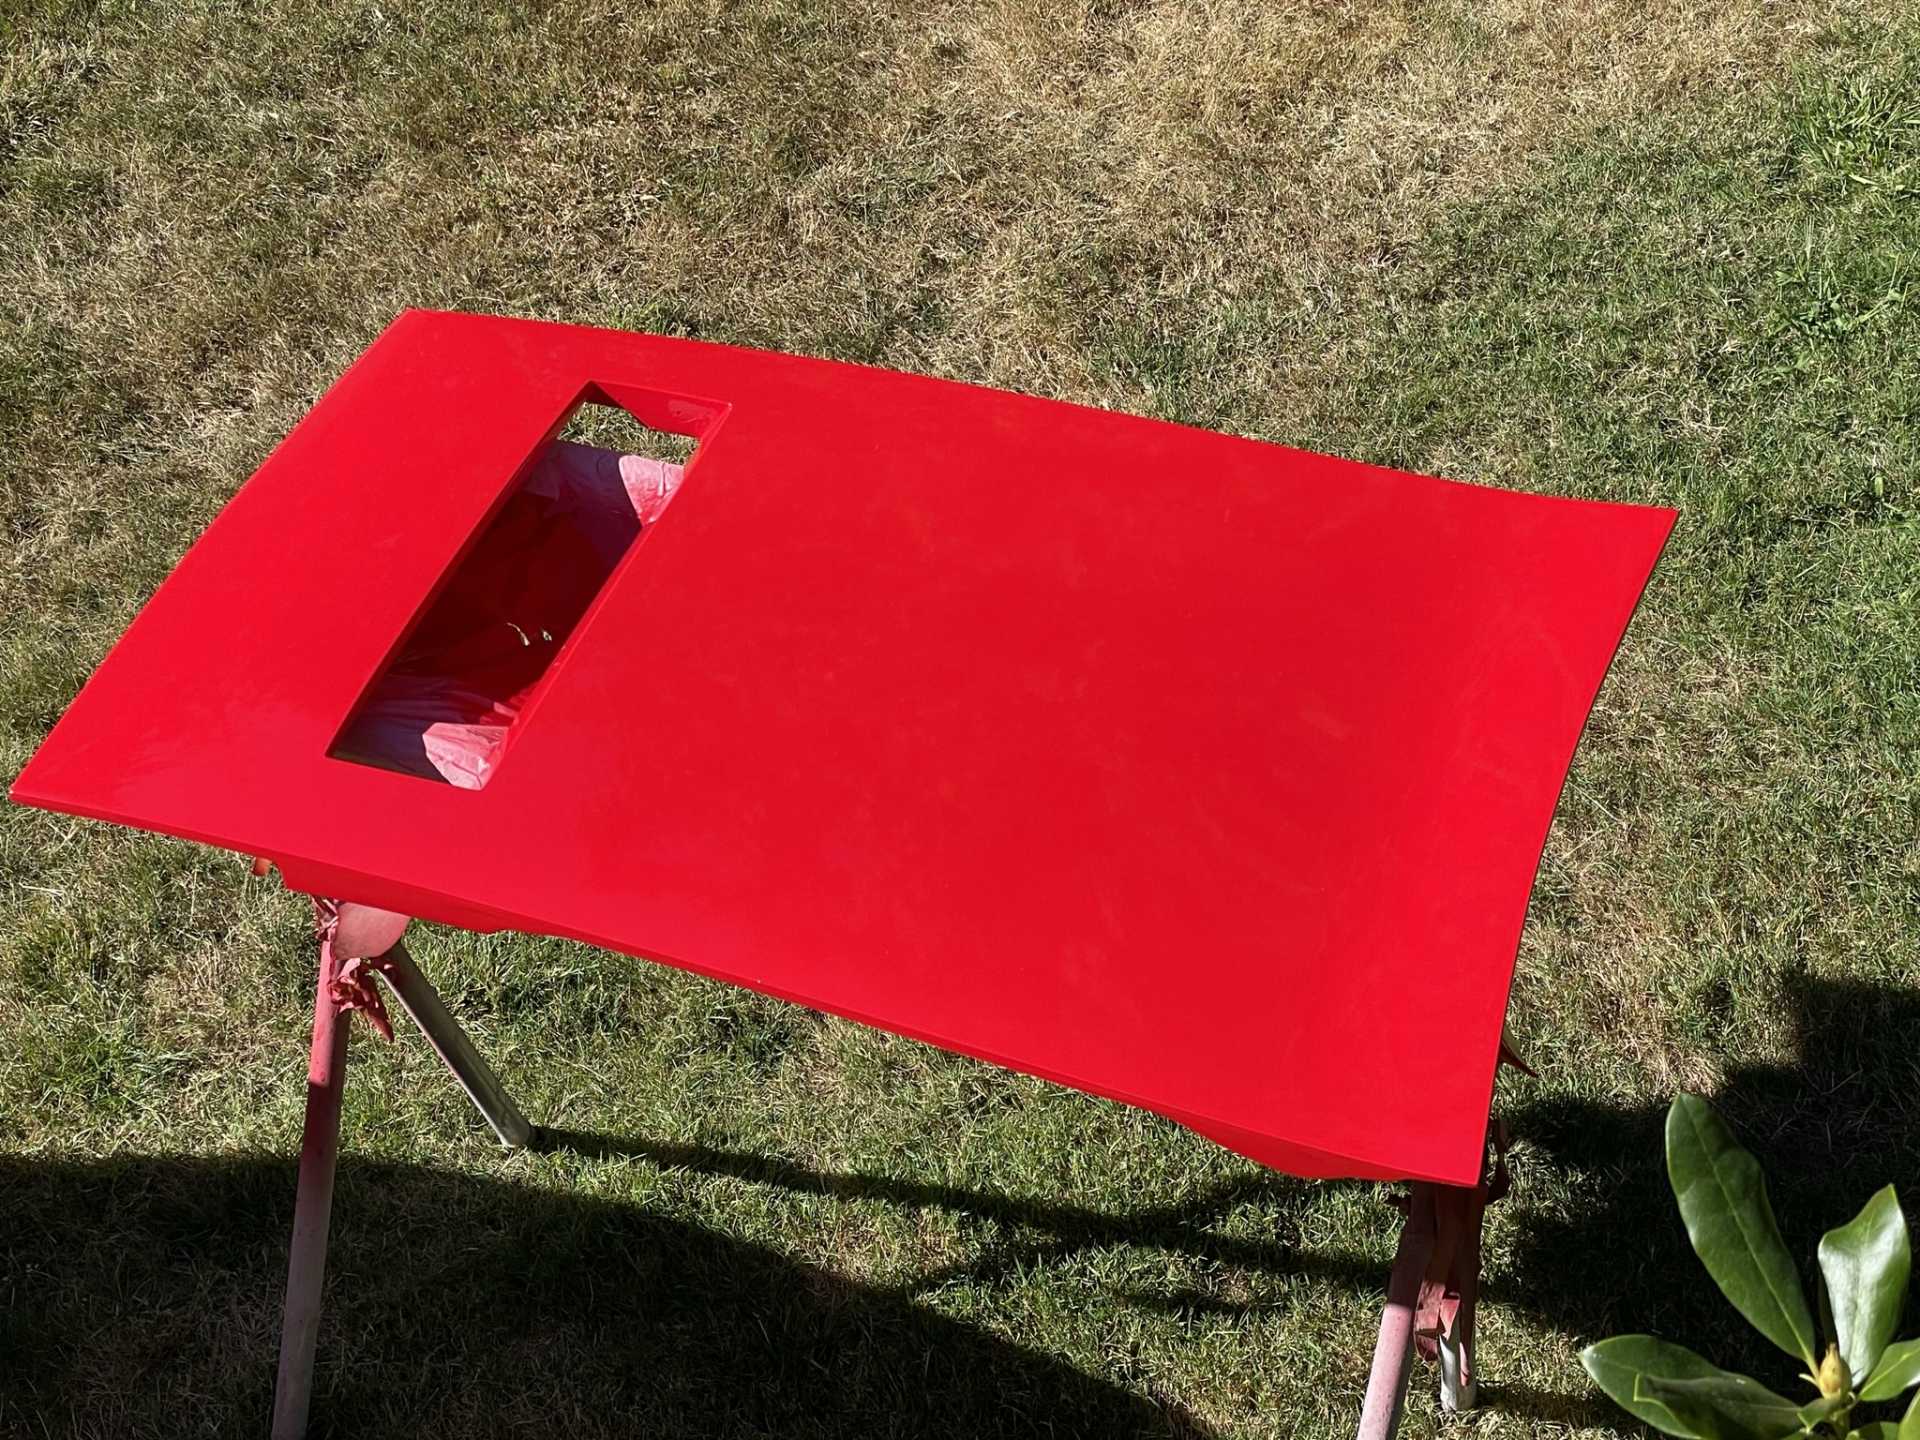
All the body pieces have been painted while and are off gassing for a week before being sanded with 800 grit sand paper. They will then be painted red and reinstalled and bonded onto the car chassis.
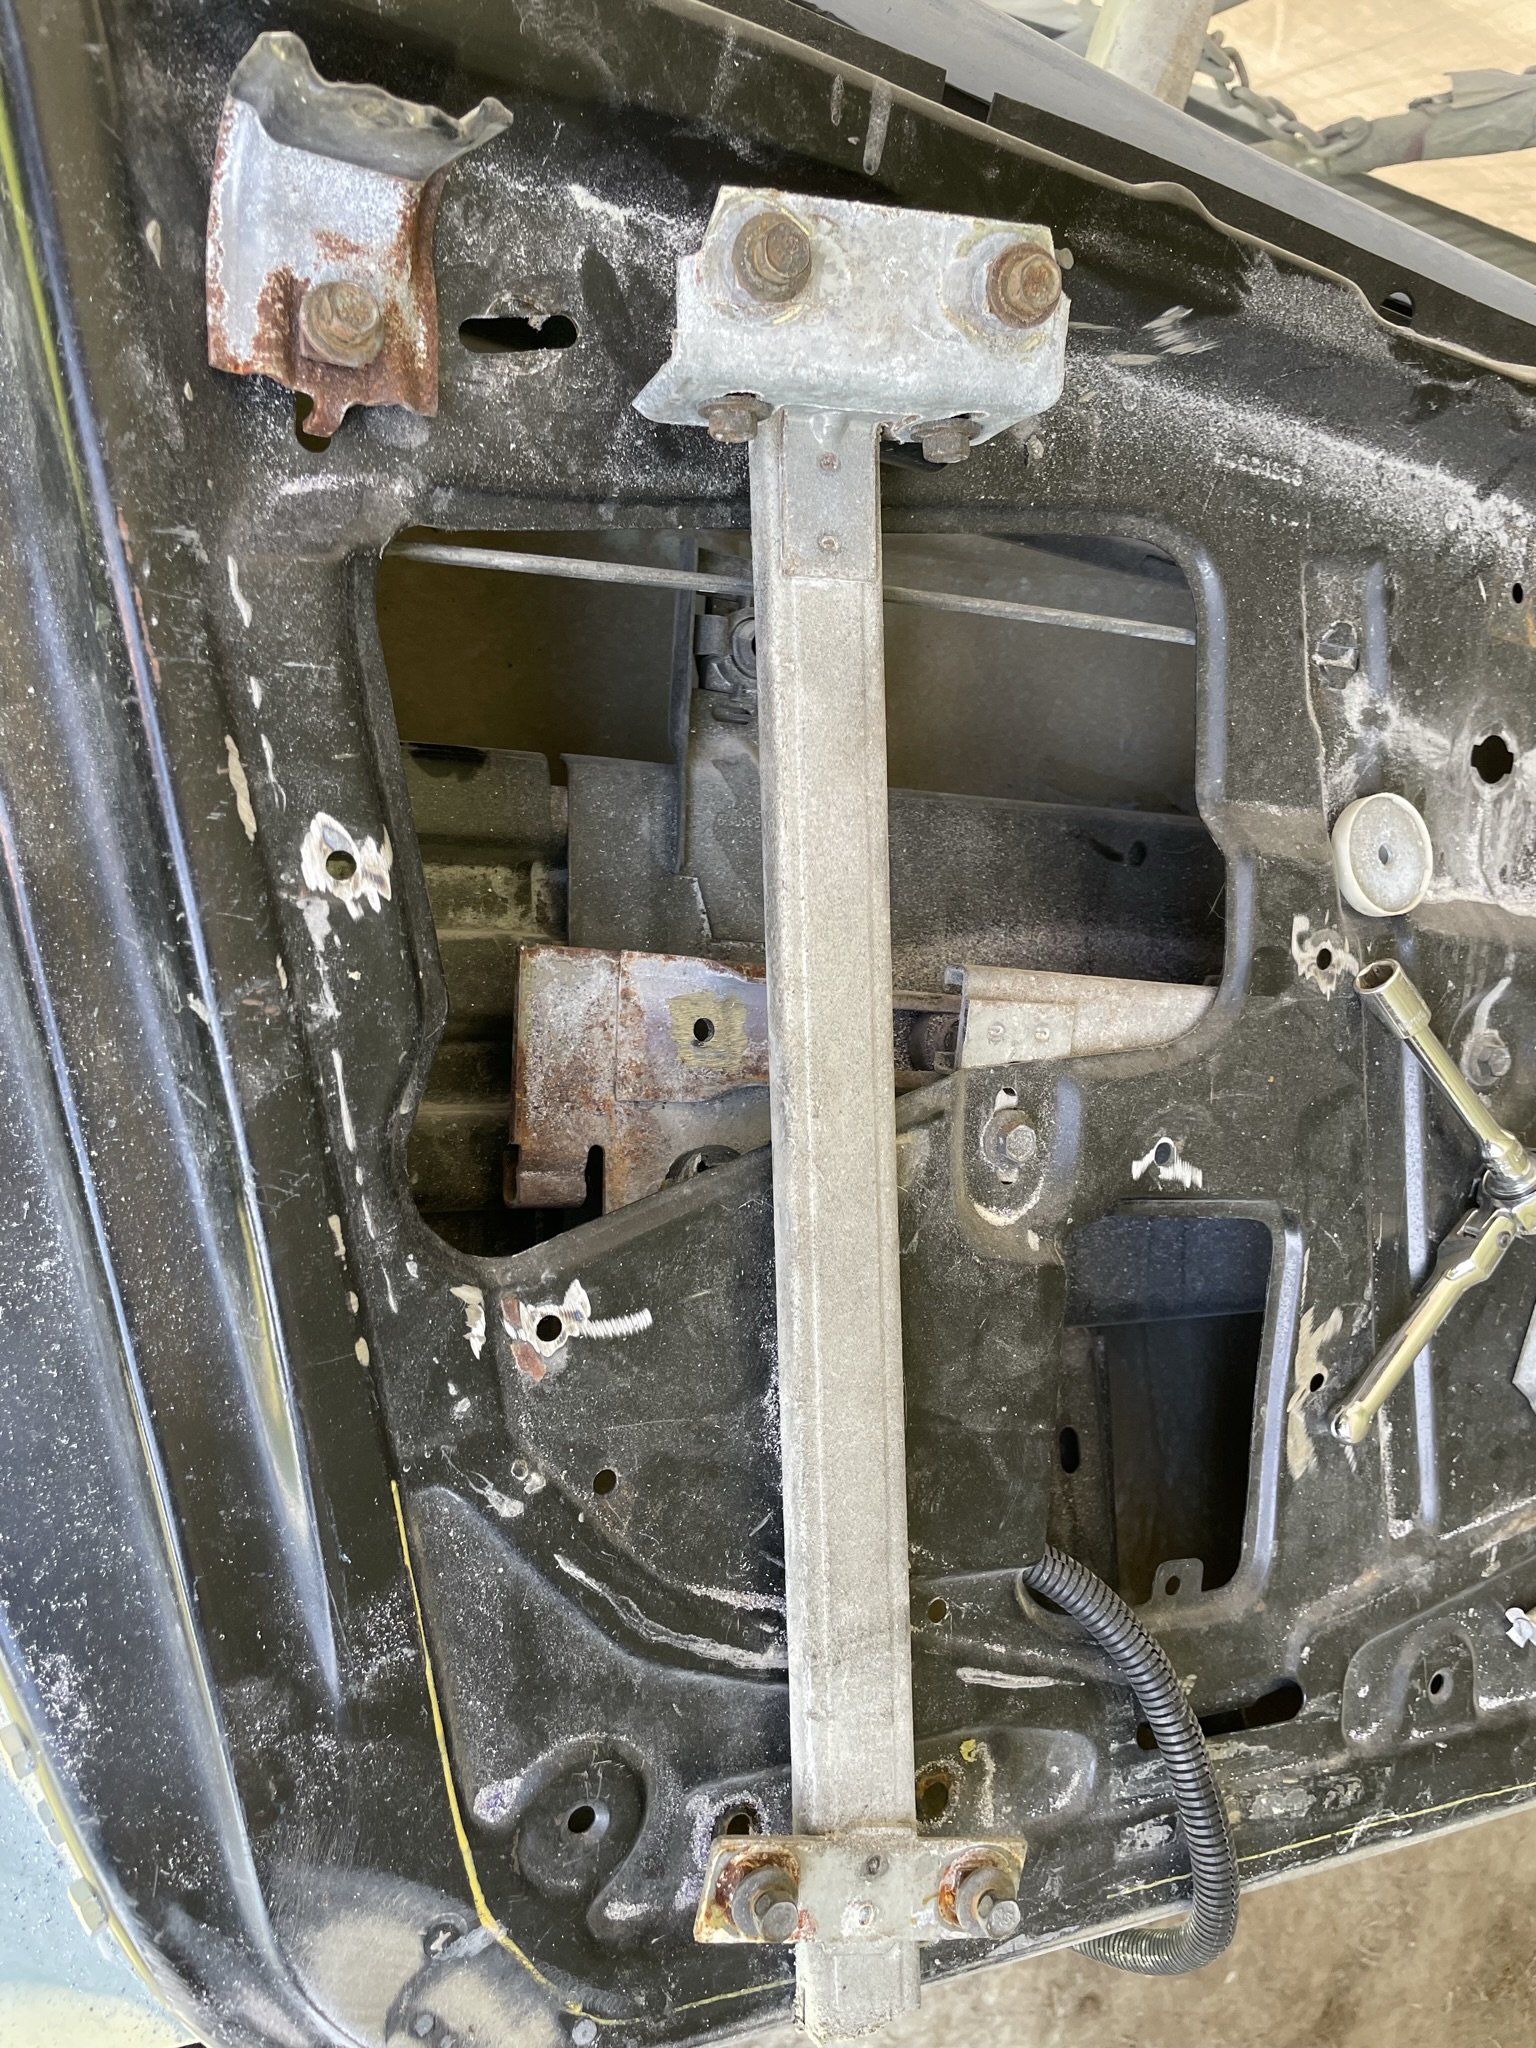
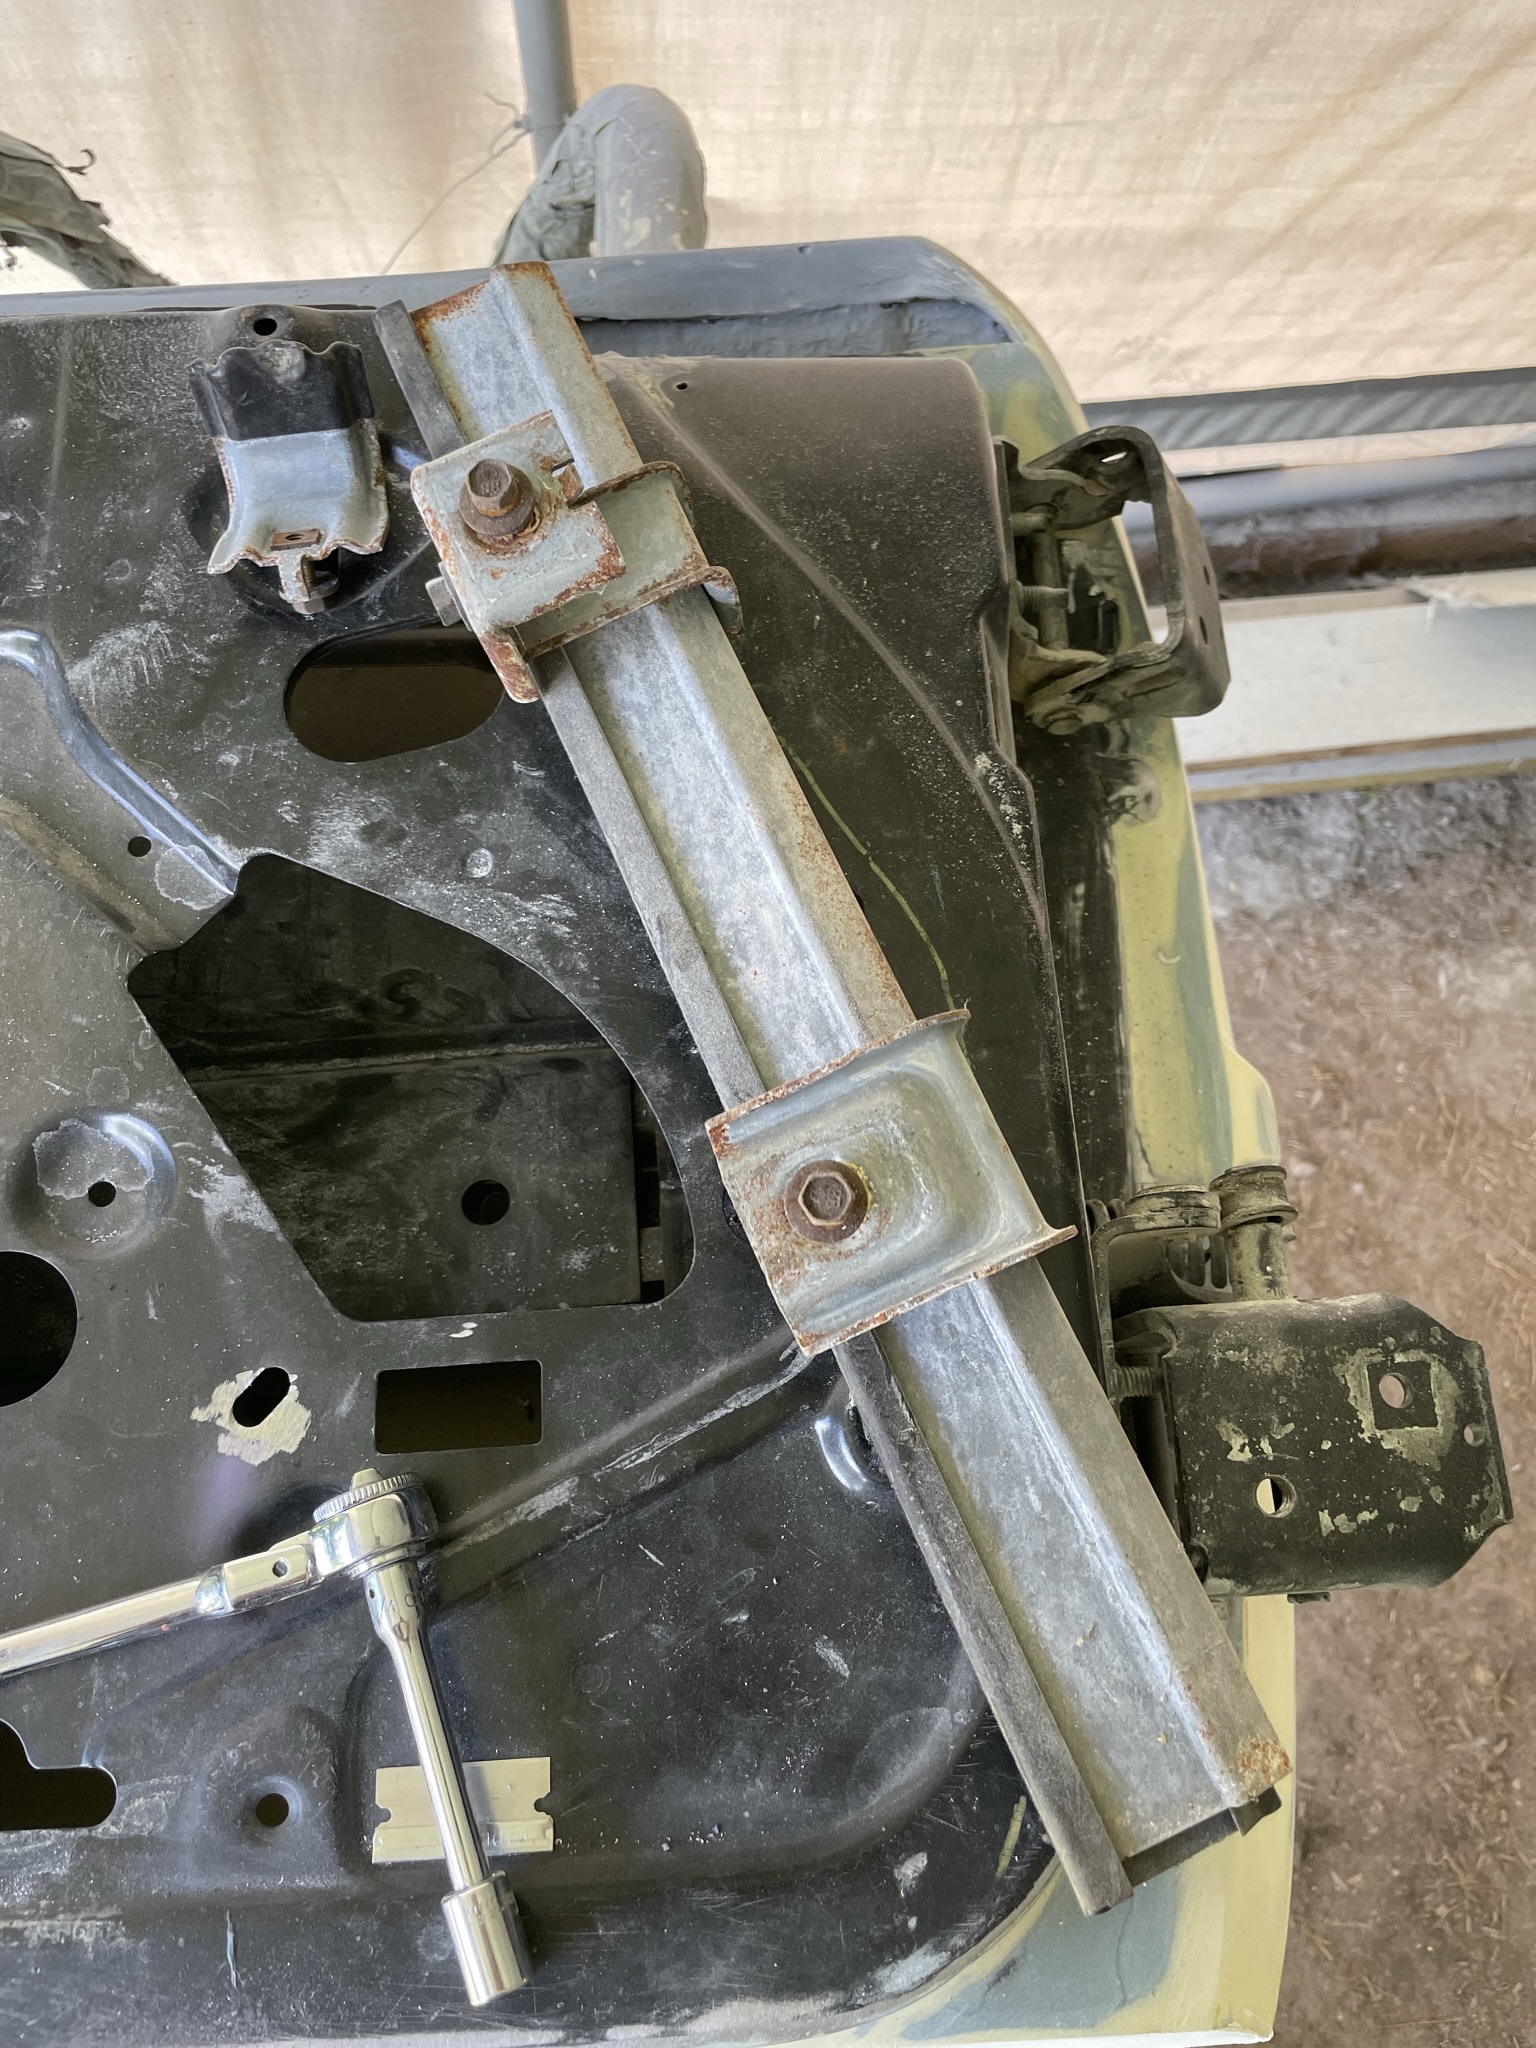
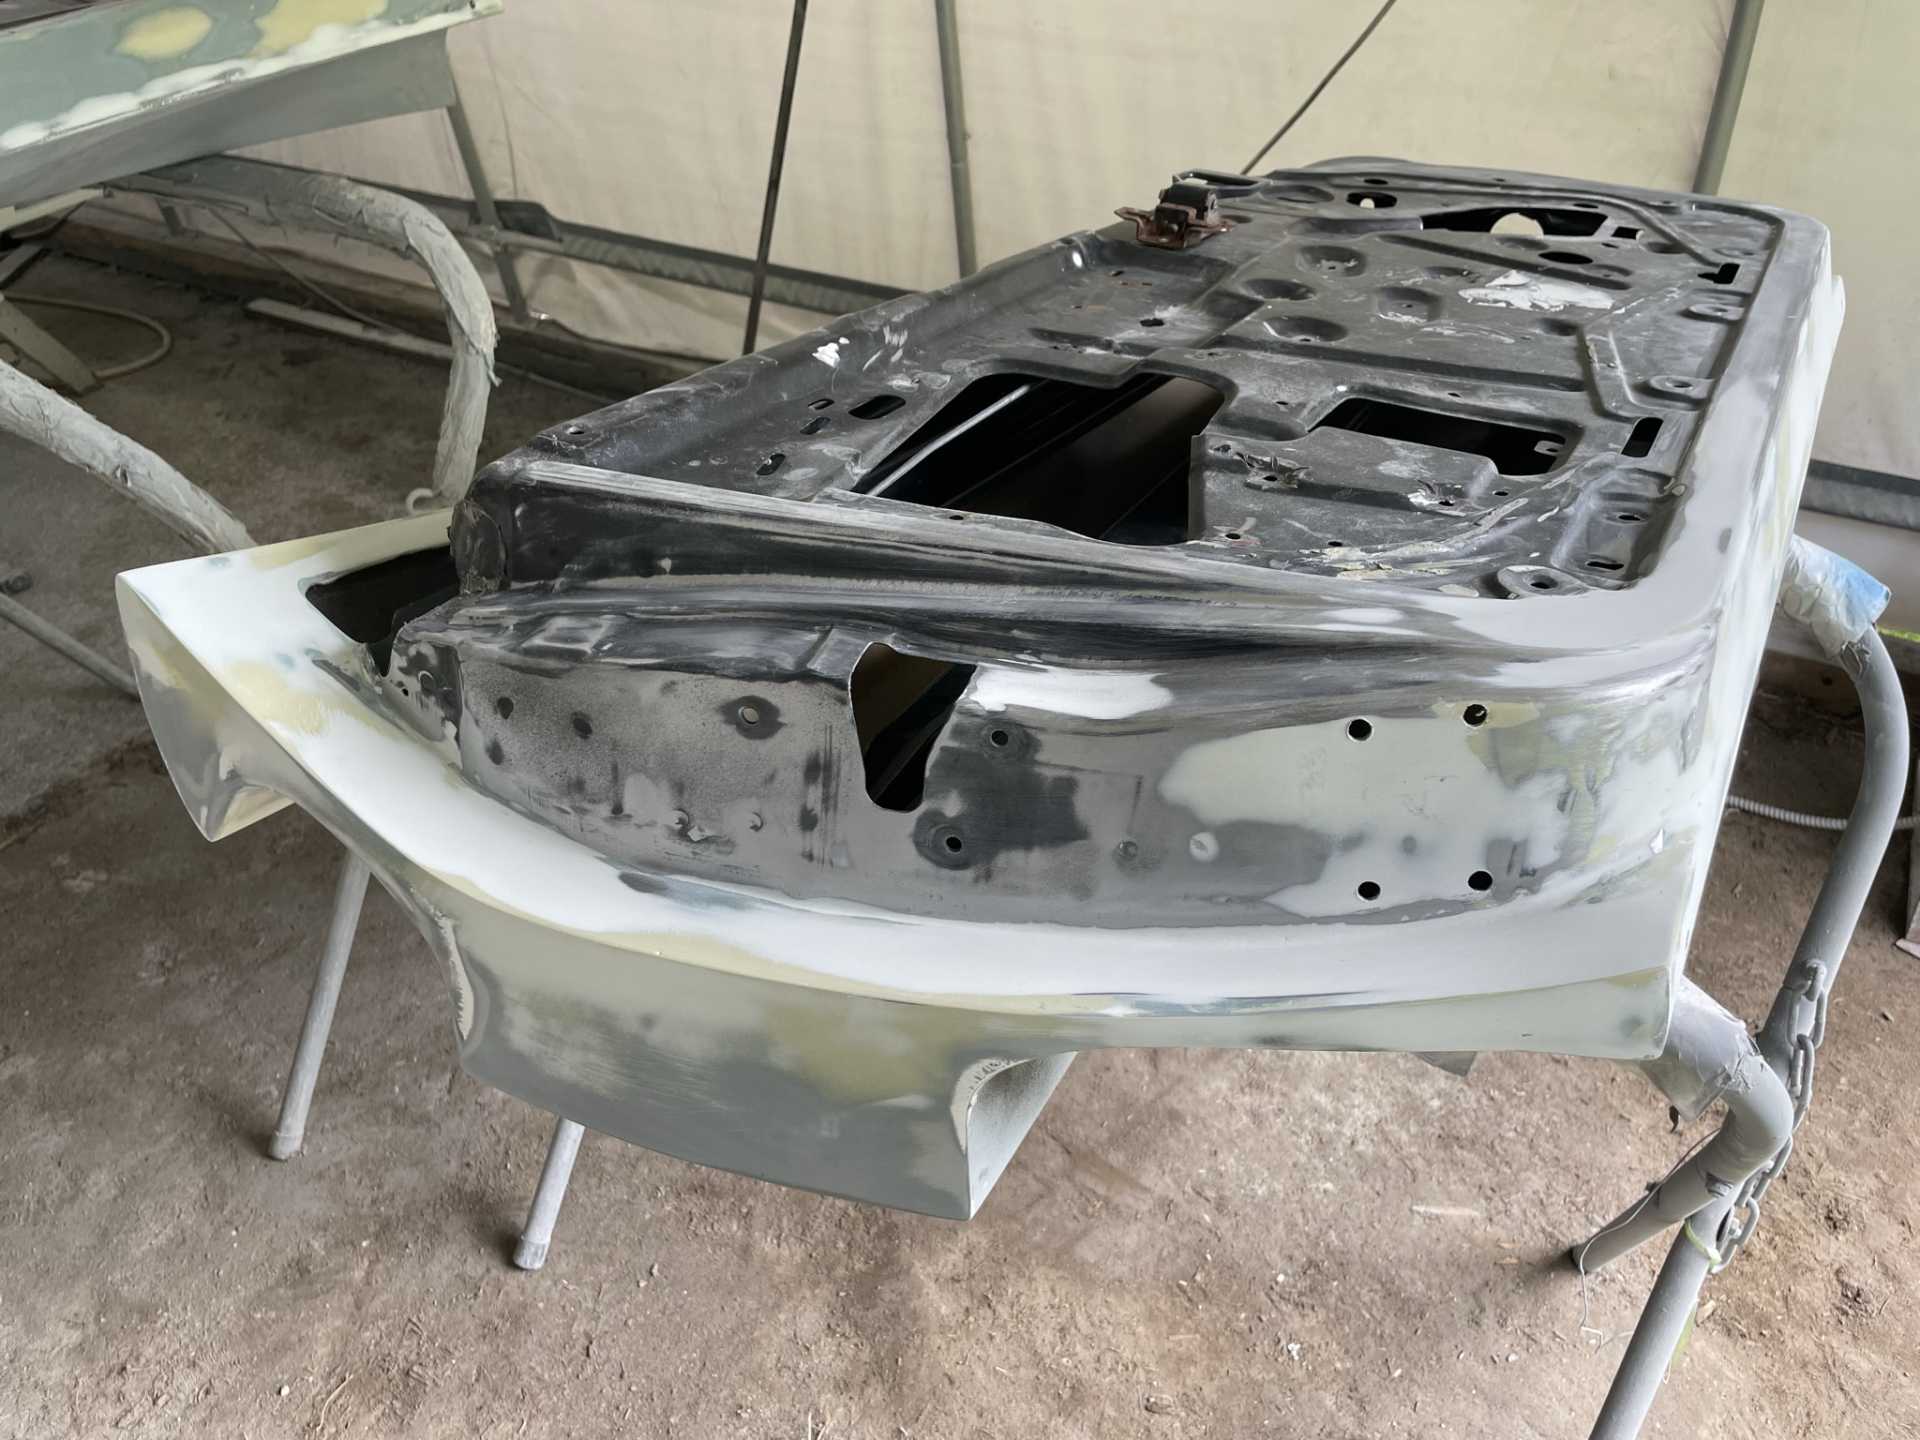
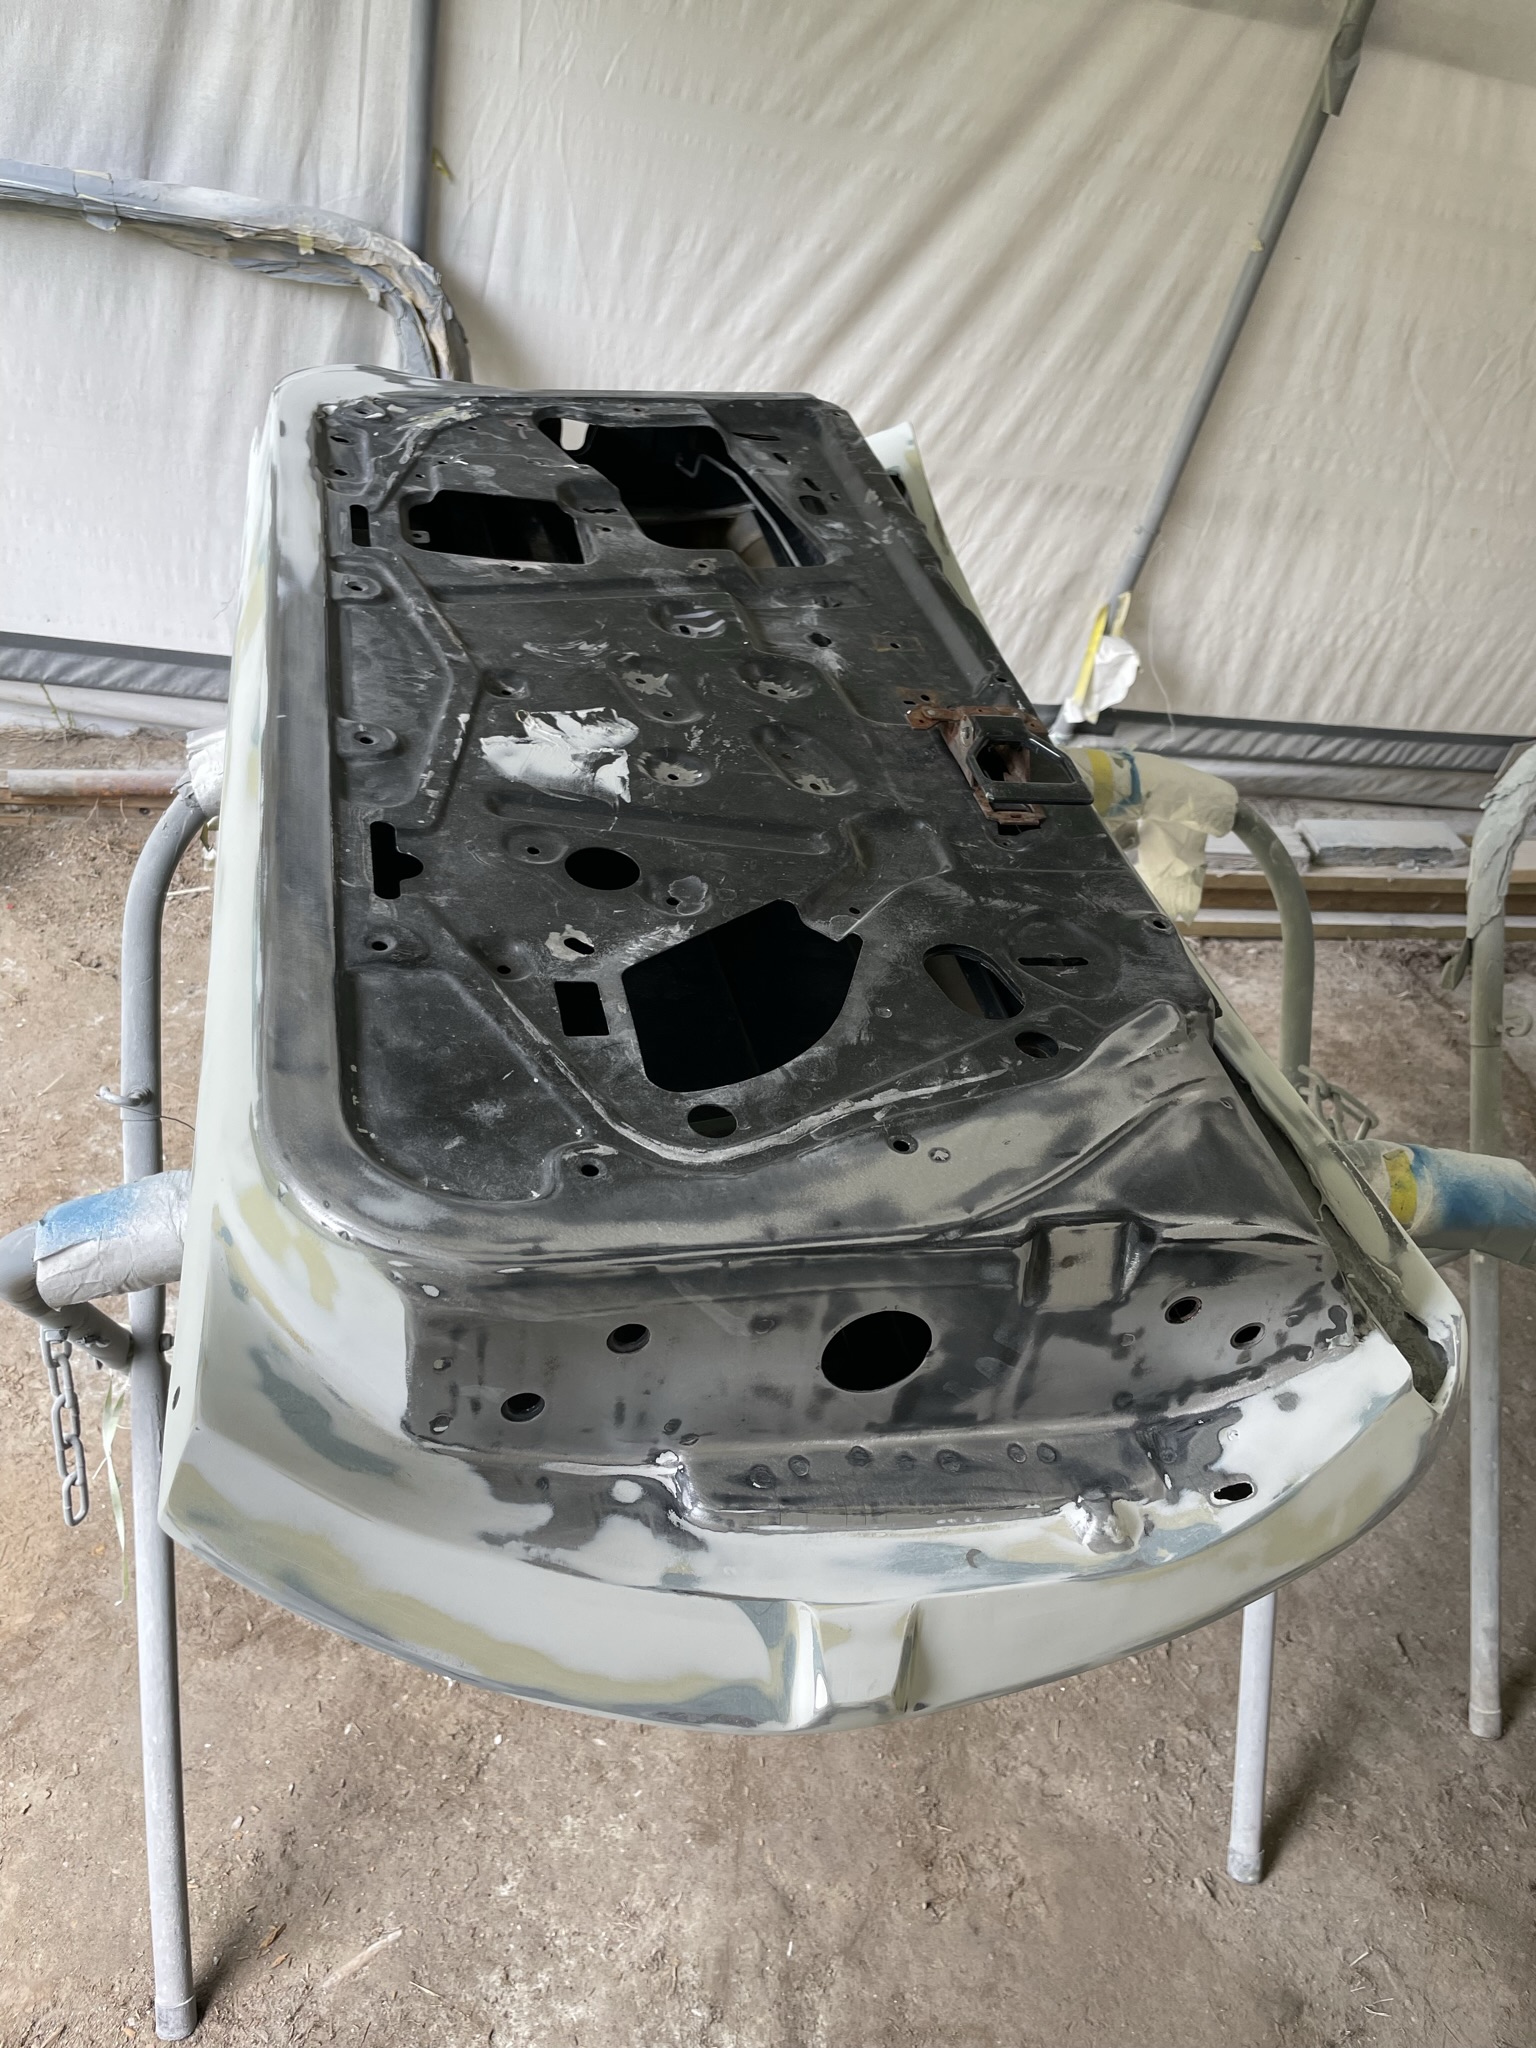
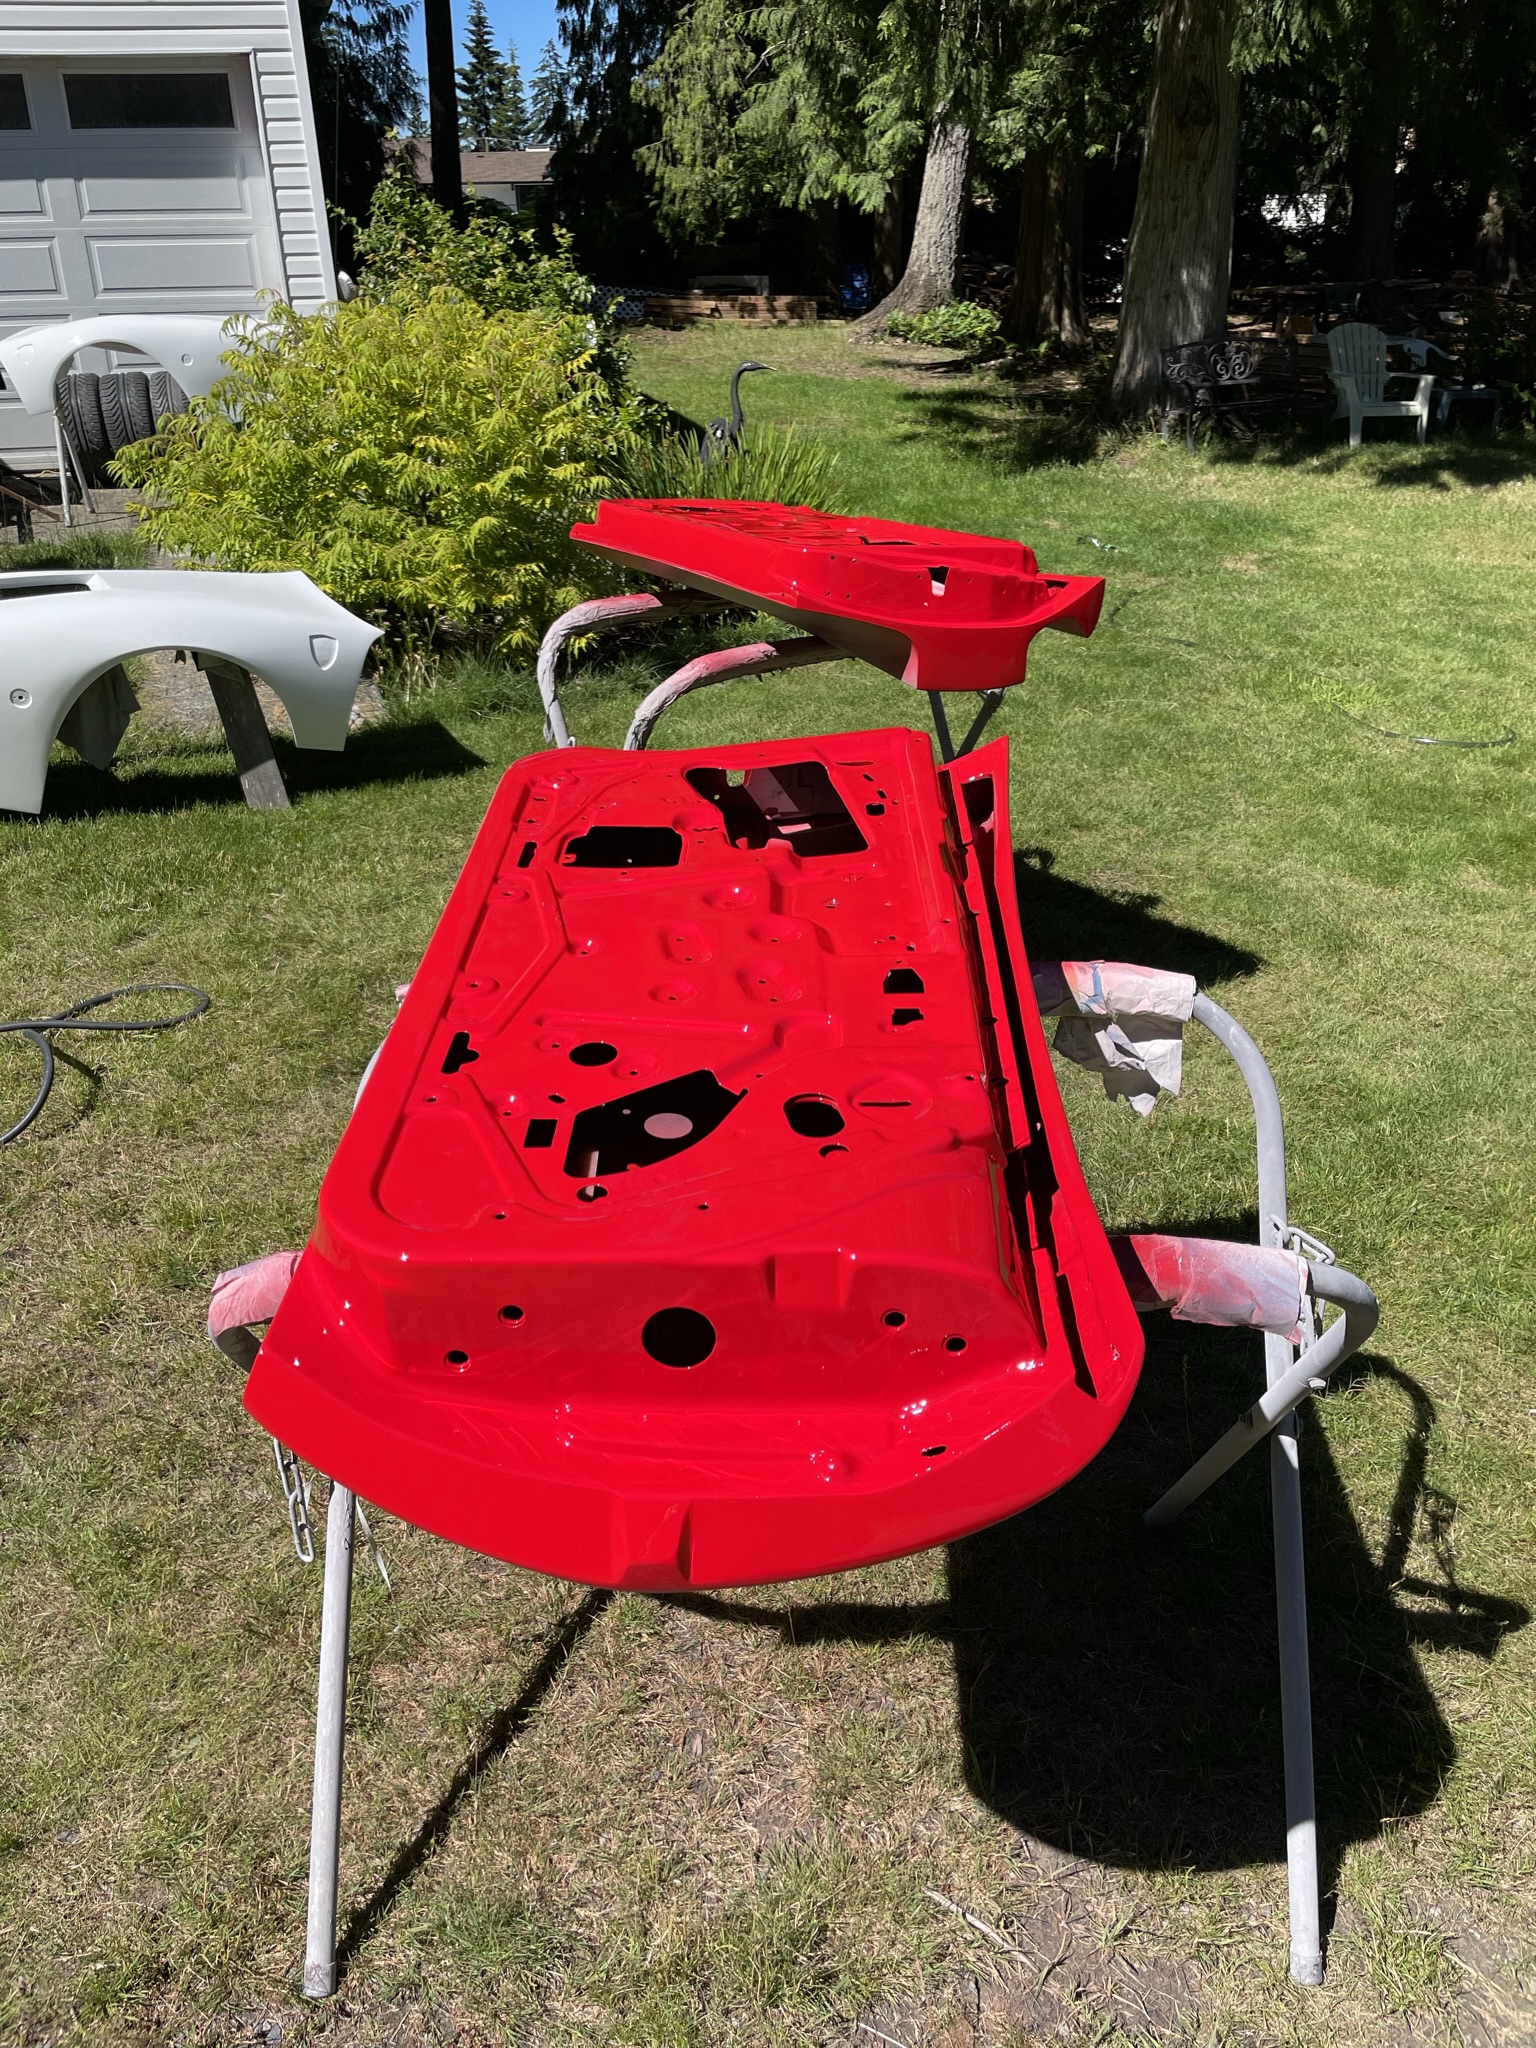
Lots going on, interesting that the last part finished is the first one painted “Red” After bonding the outside door panels to the steel doors the window assemblies were removed for total cleaning as they were becoming Sticky and slow over the duration off the build. After taking them assemblies out I found them quite rusty and spent the next couple days cleaning and grinding the rust off everything. I’ll spray everything with epoxy primer and paint everything black.
Then All the body work to make the panel and door one without seams.
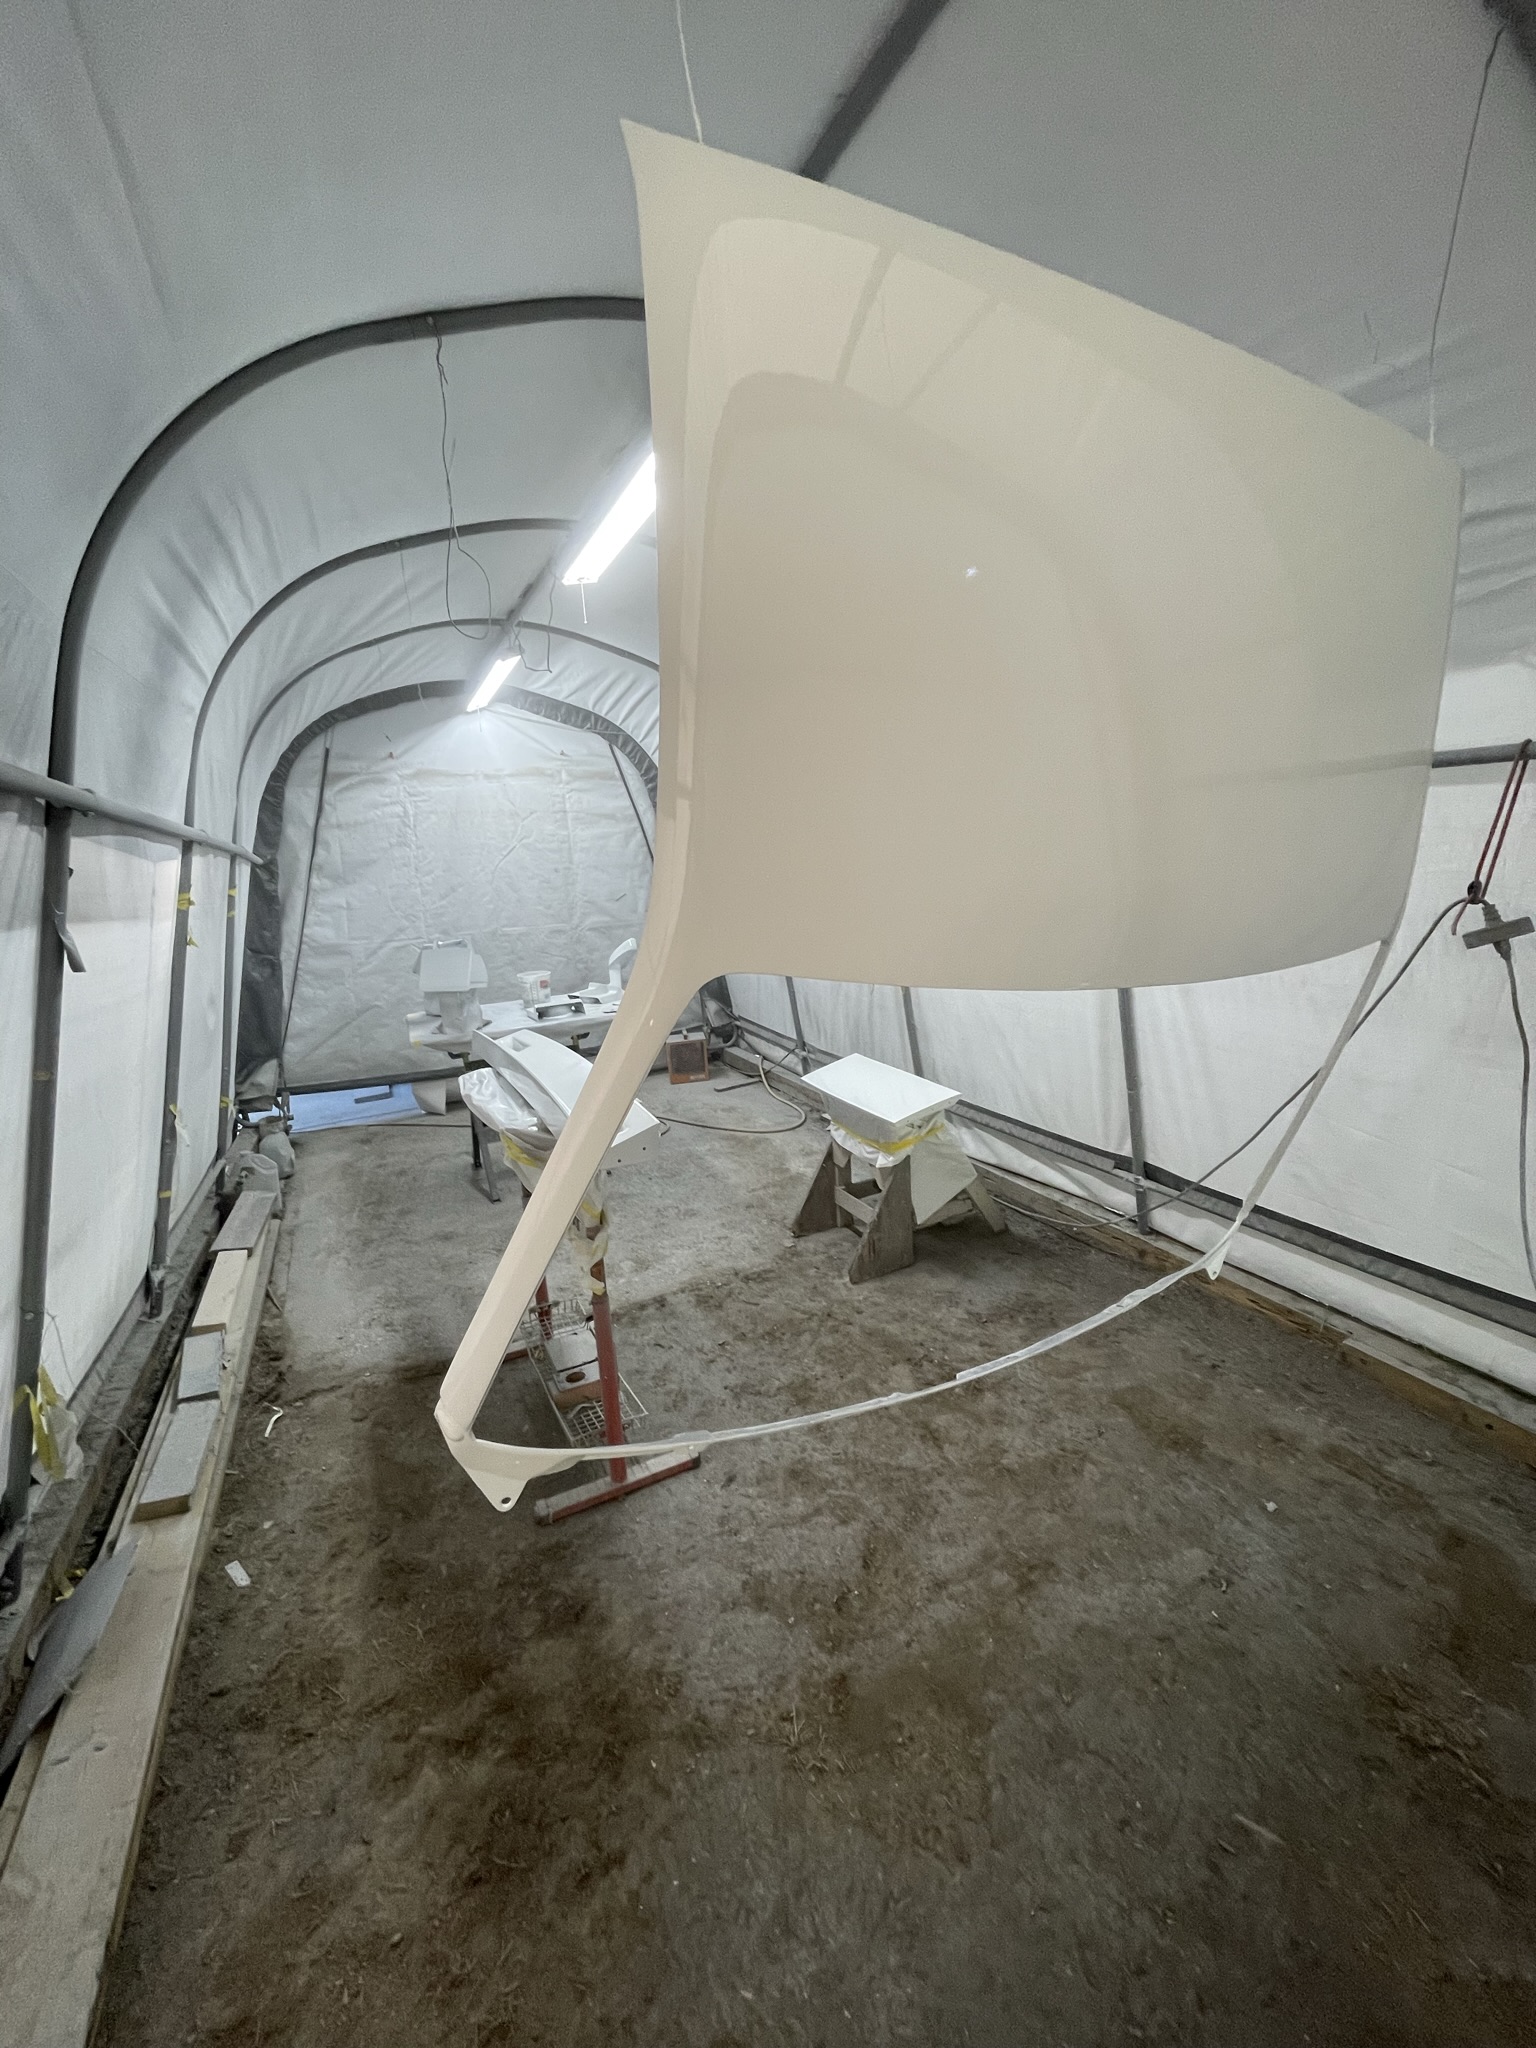
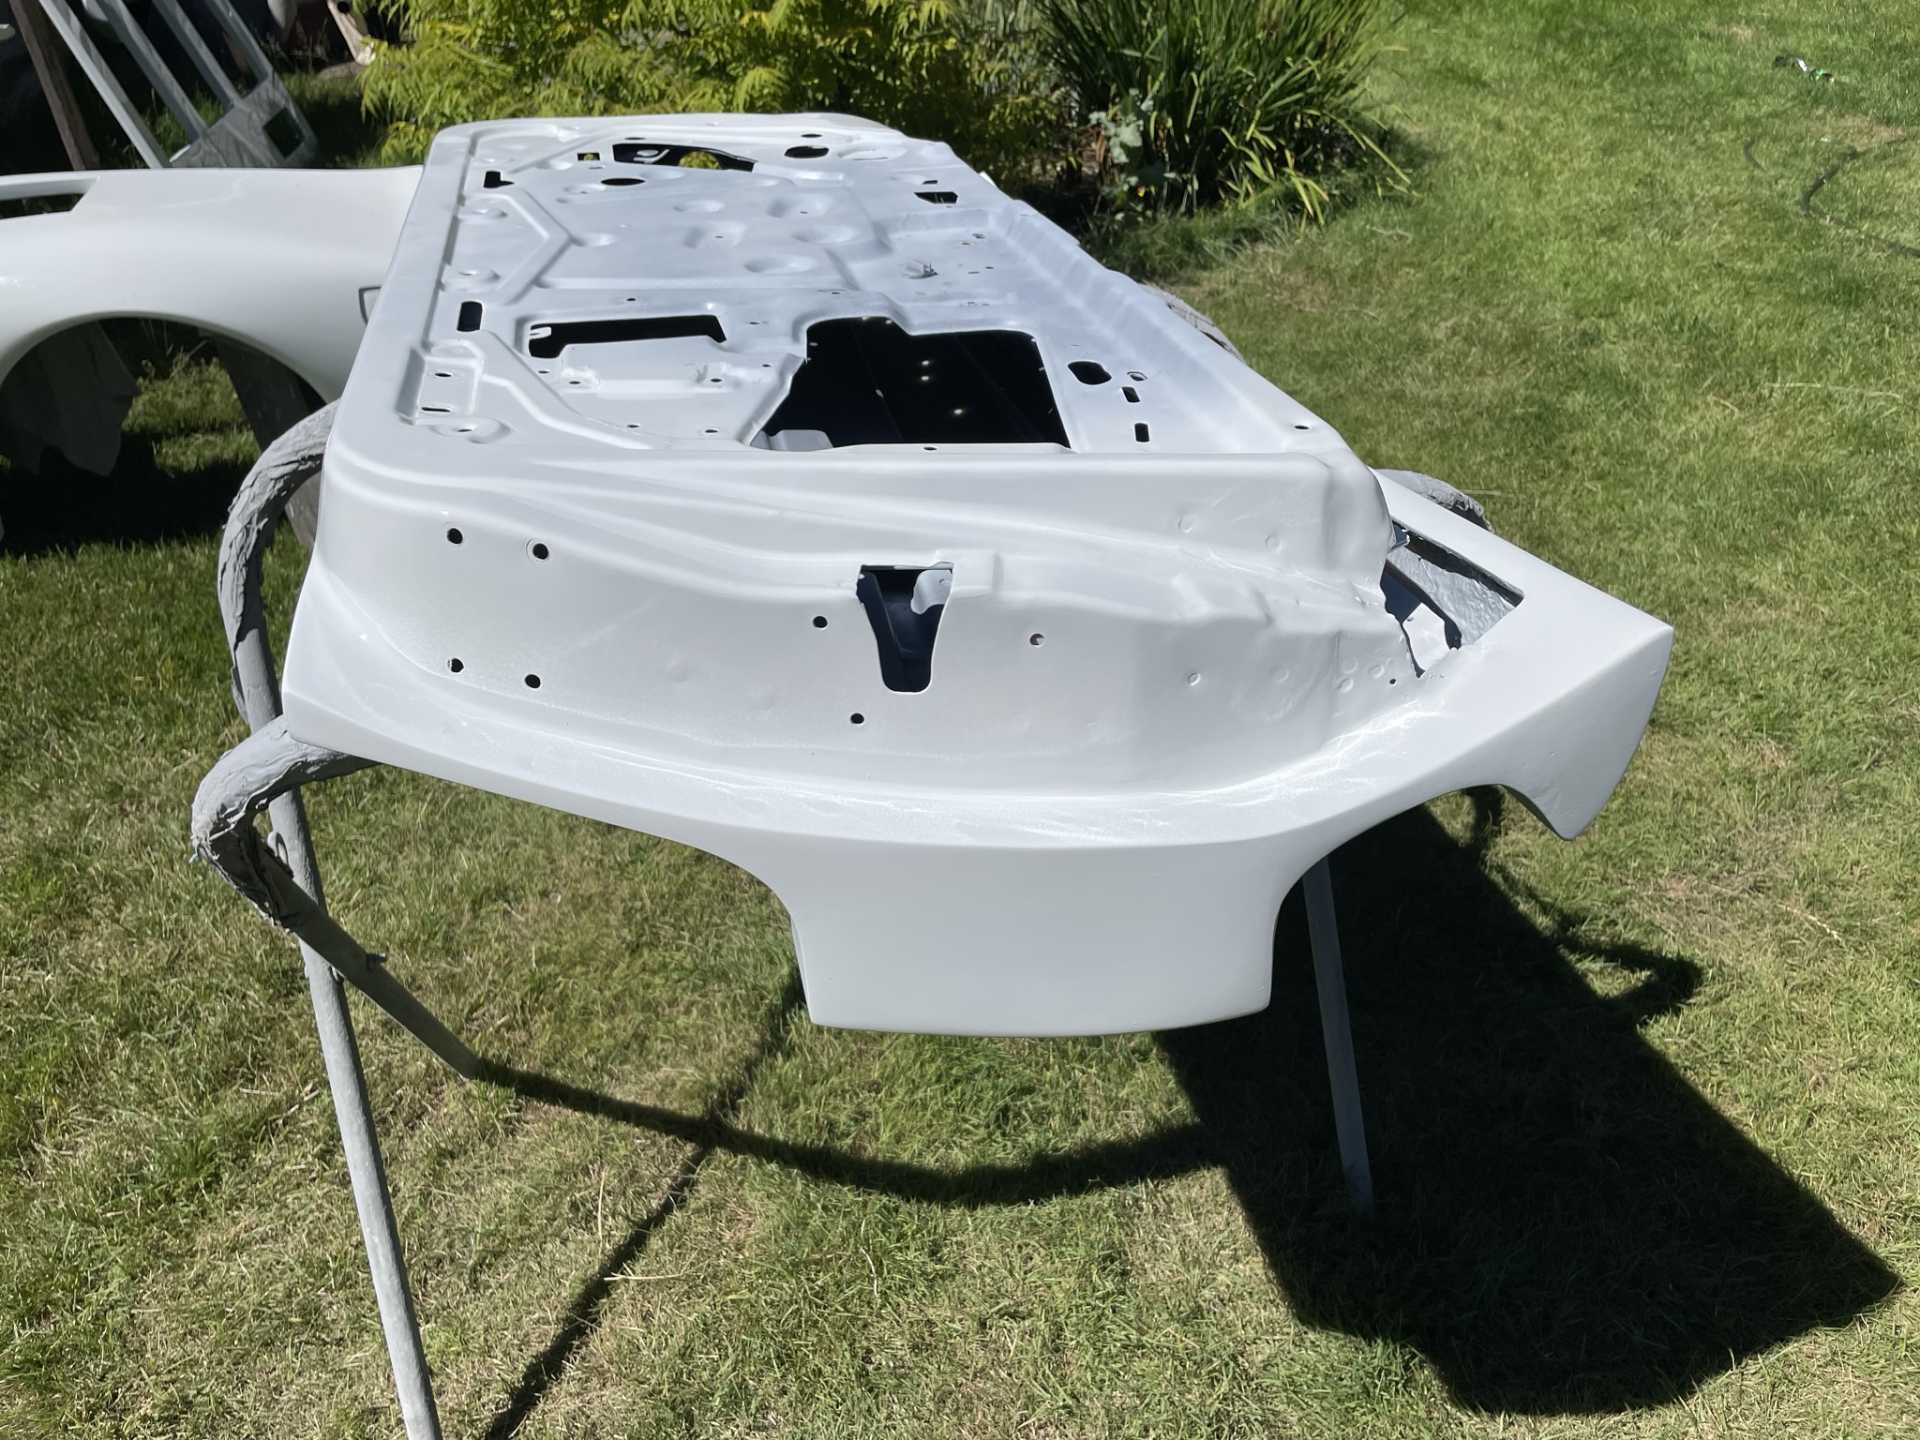
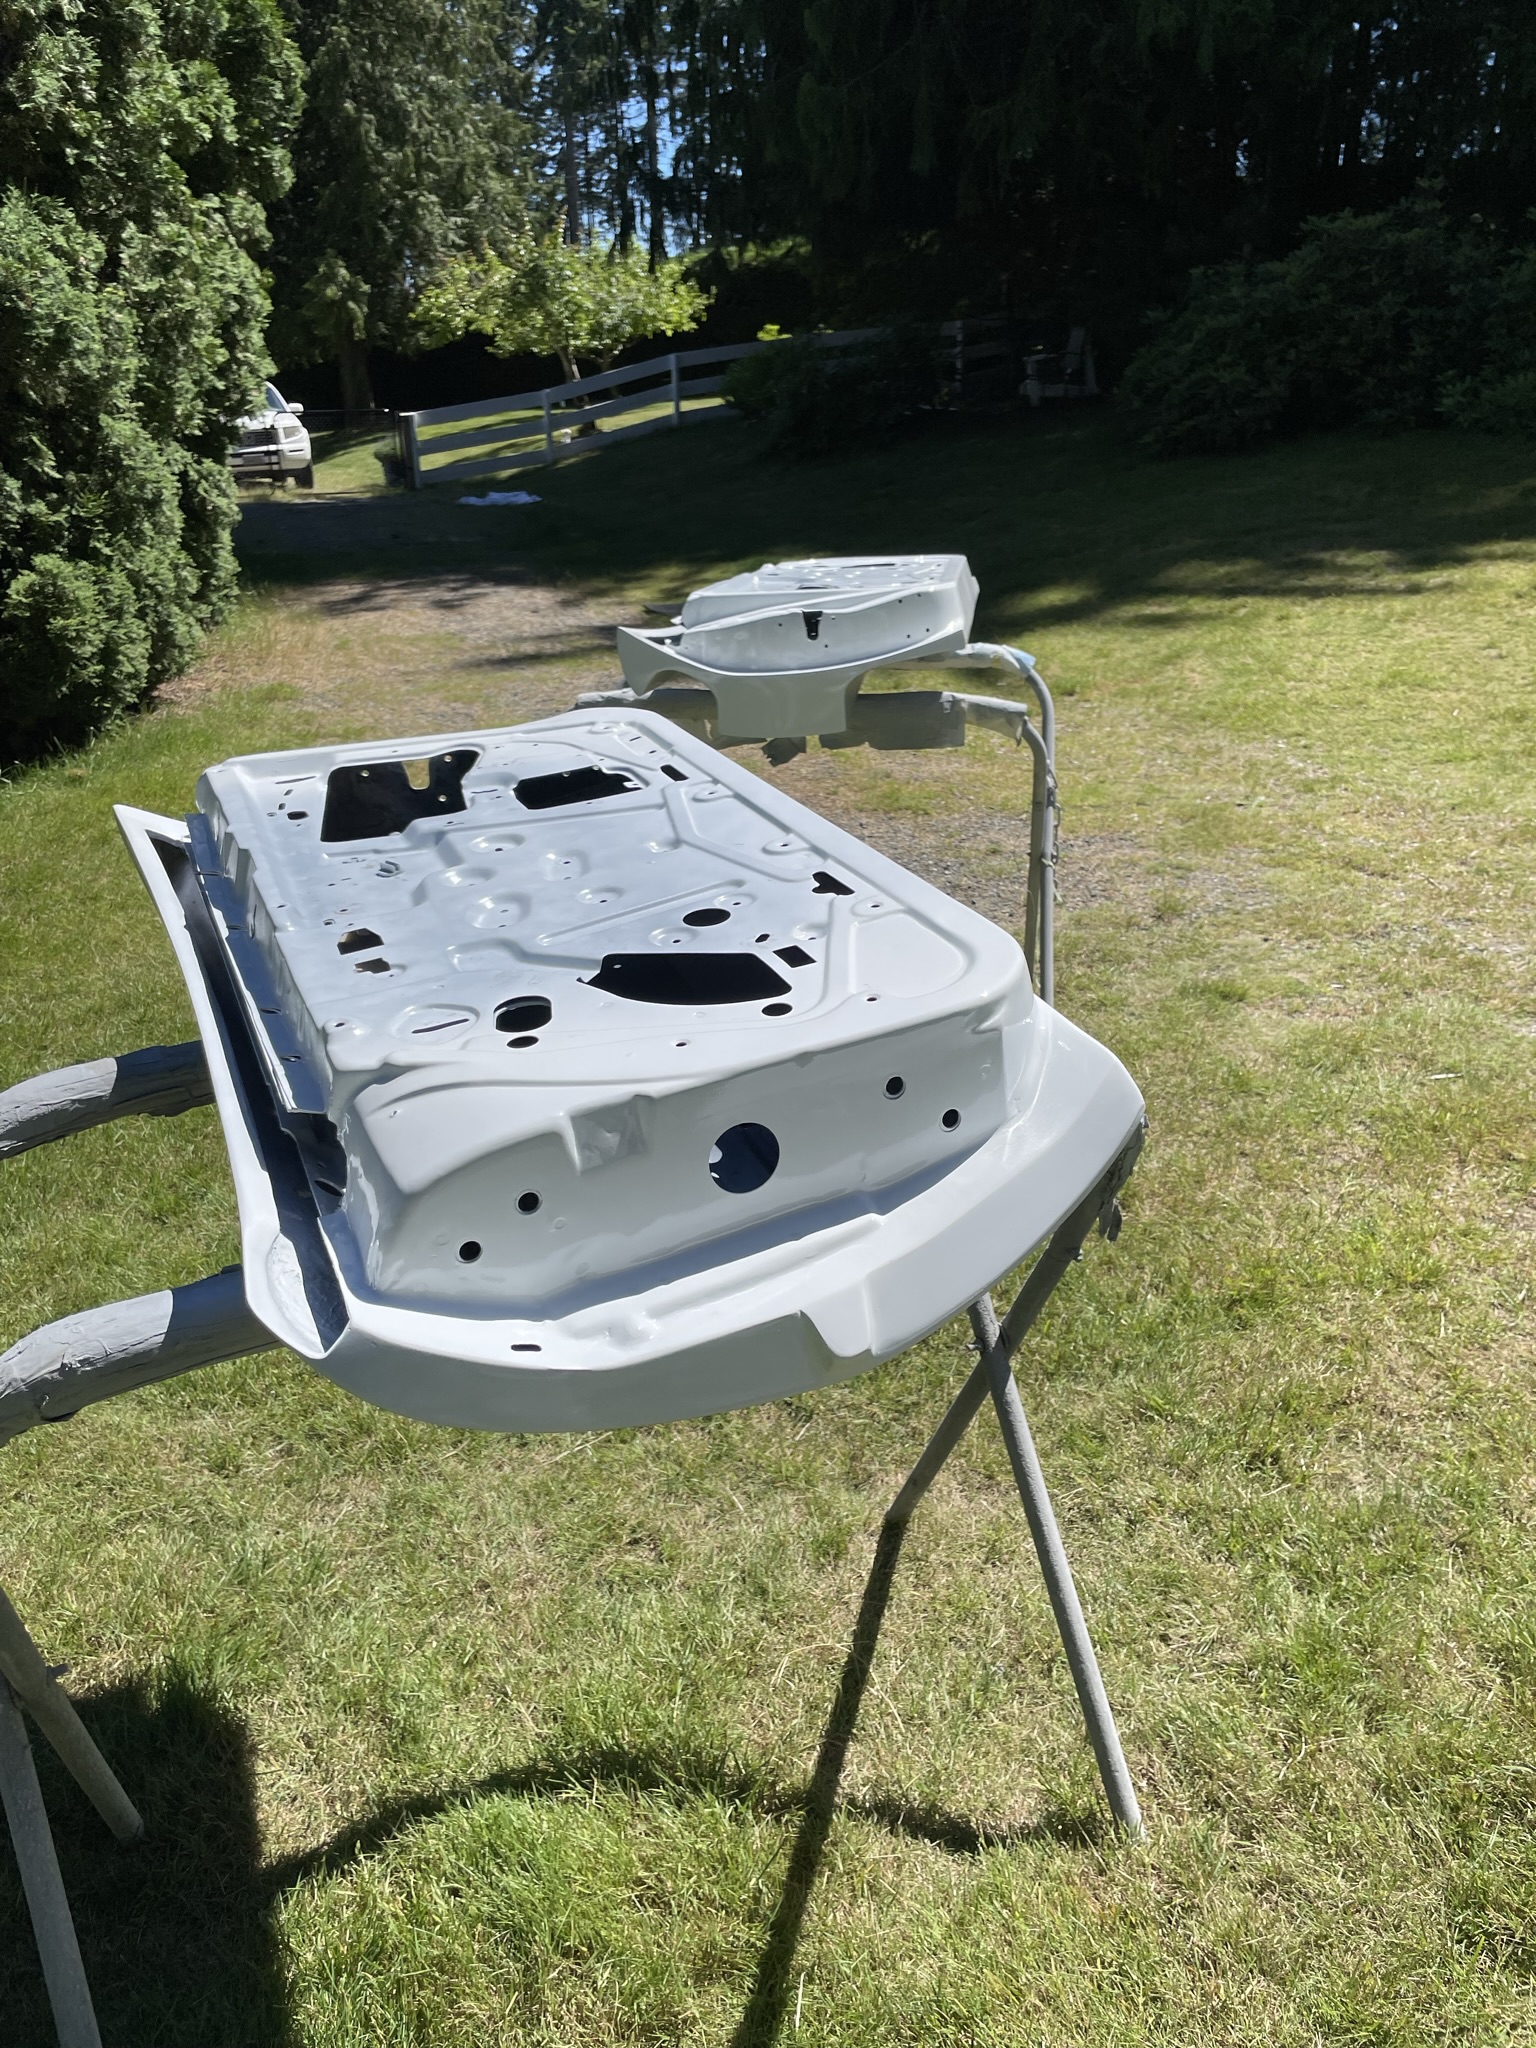
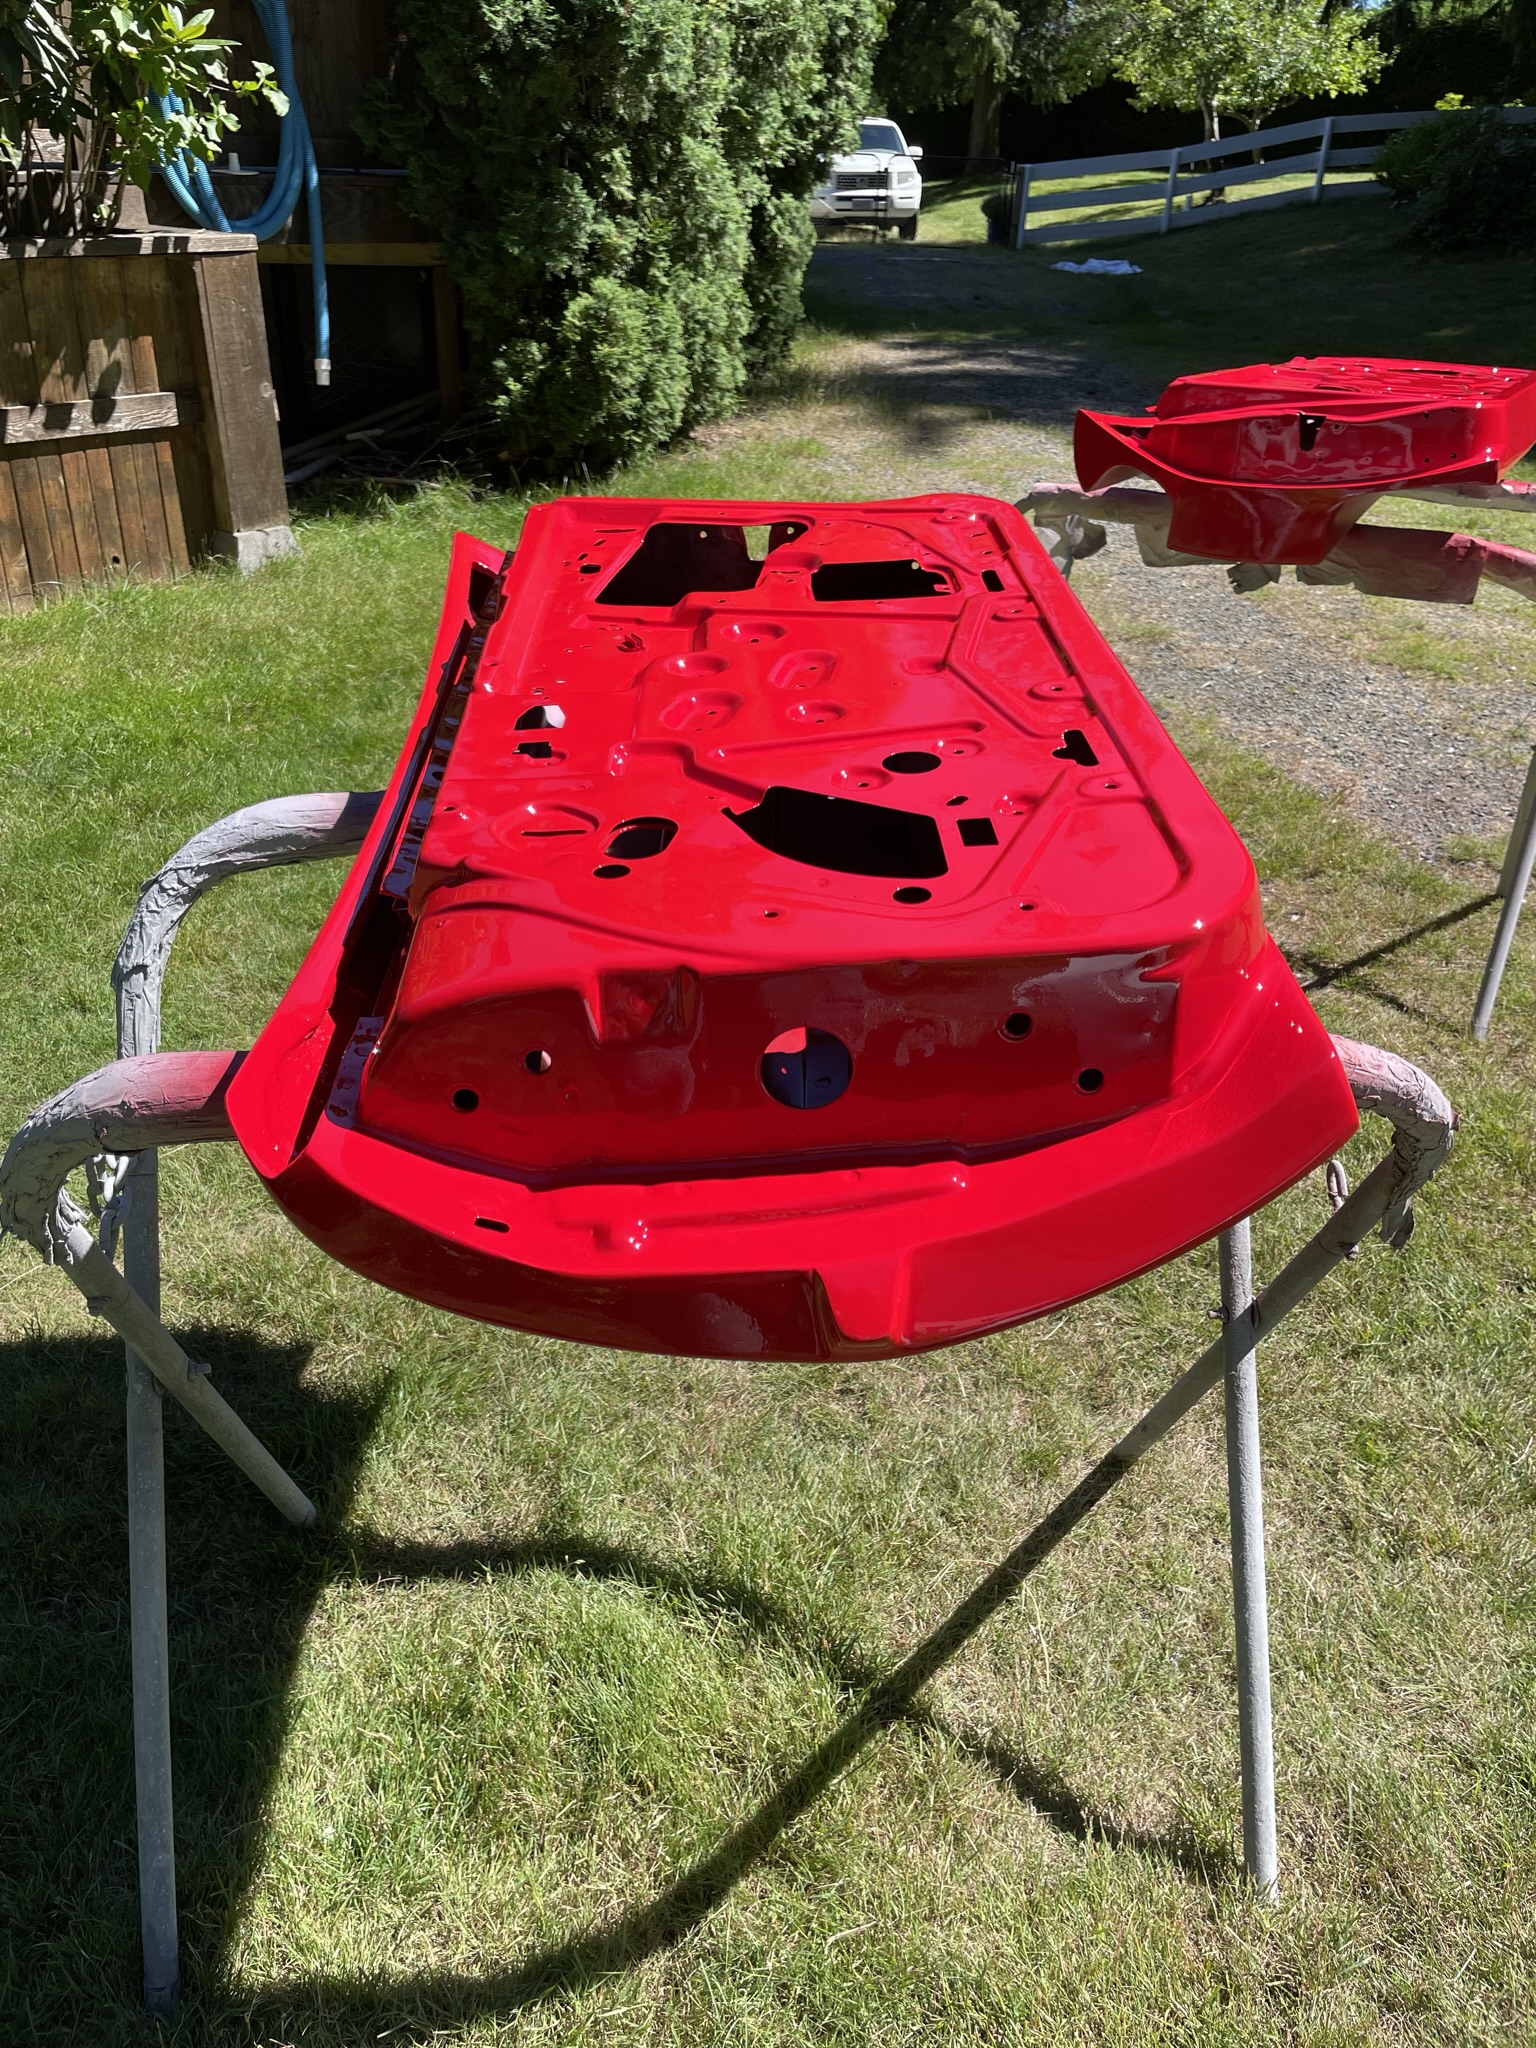
Then came the fun step adding Color to the part, as I posted before everything is painted with epoxy primer then white single stage paint
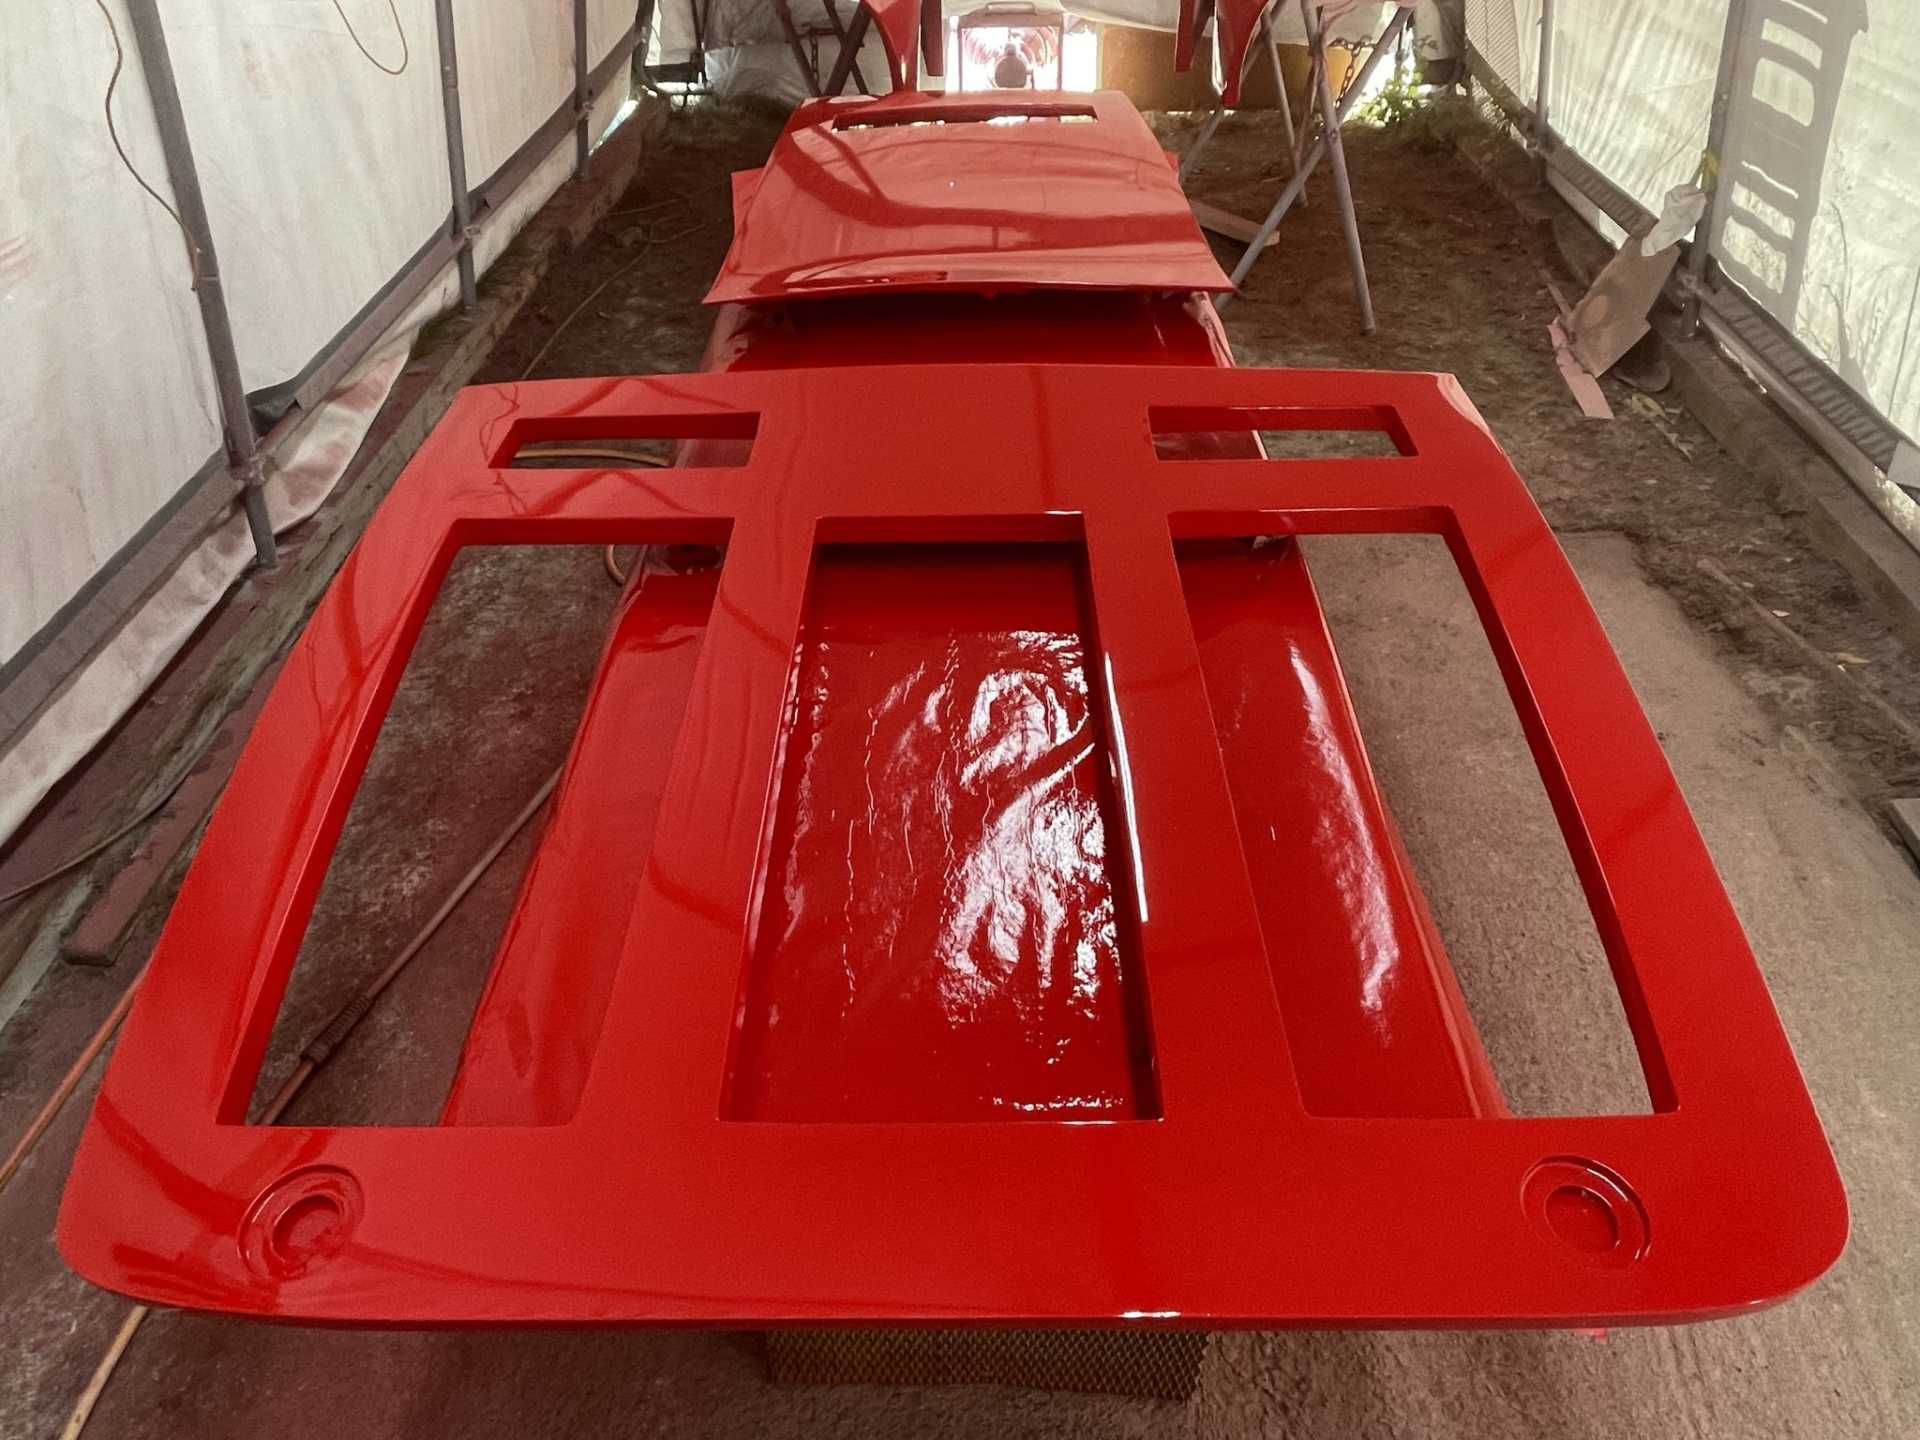
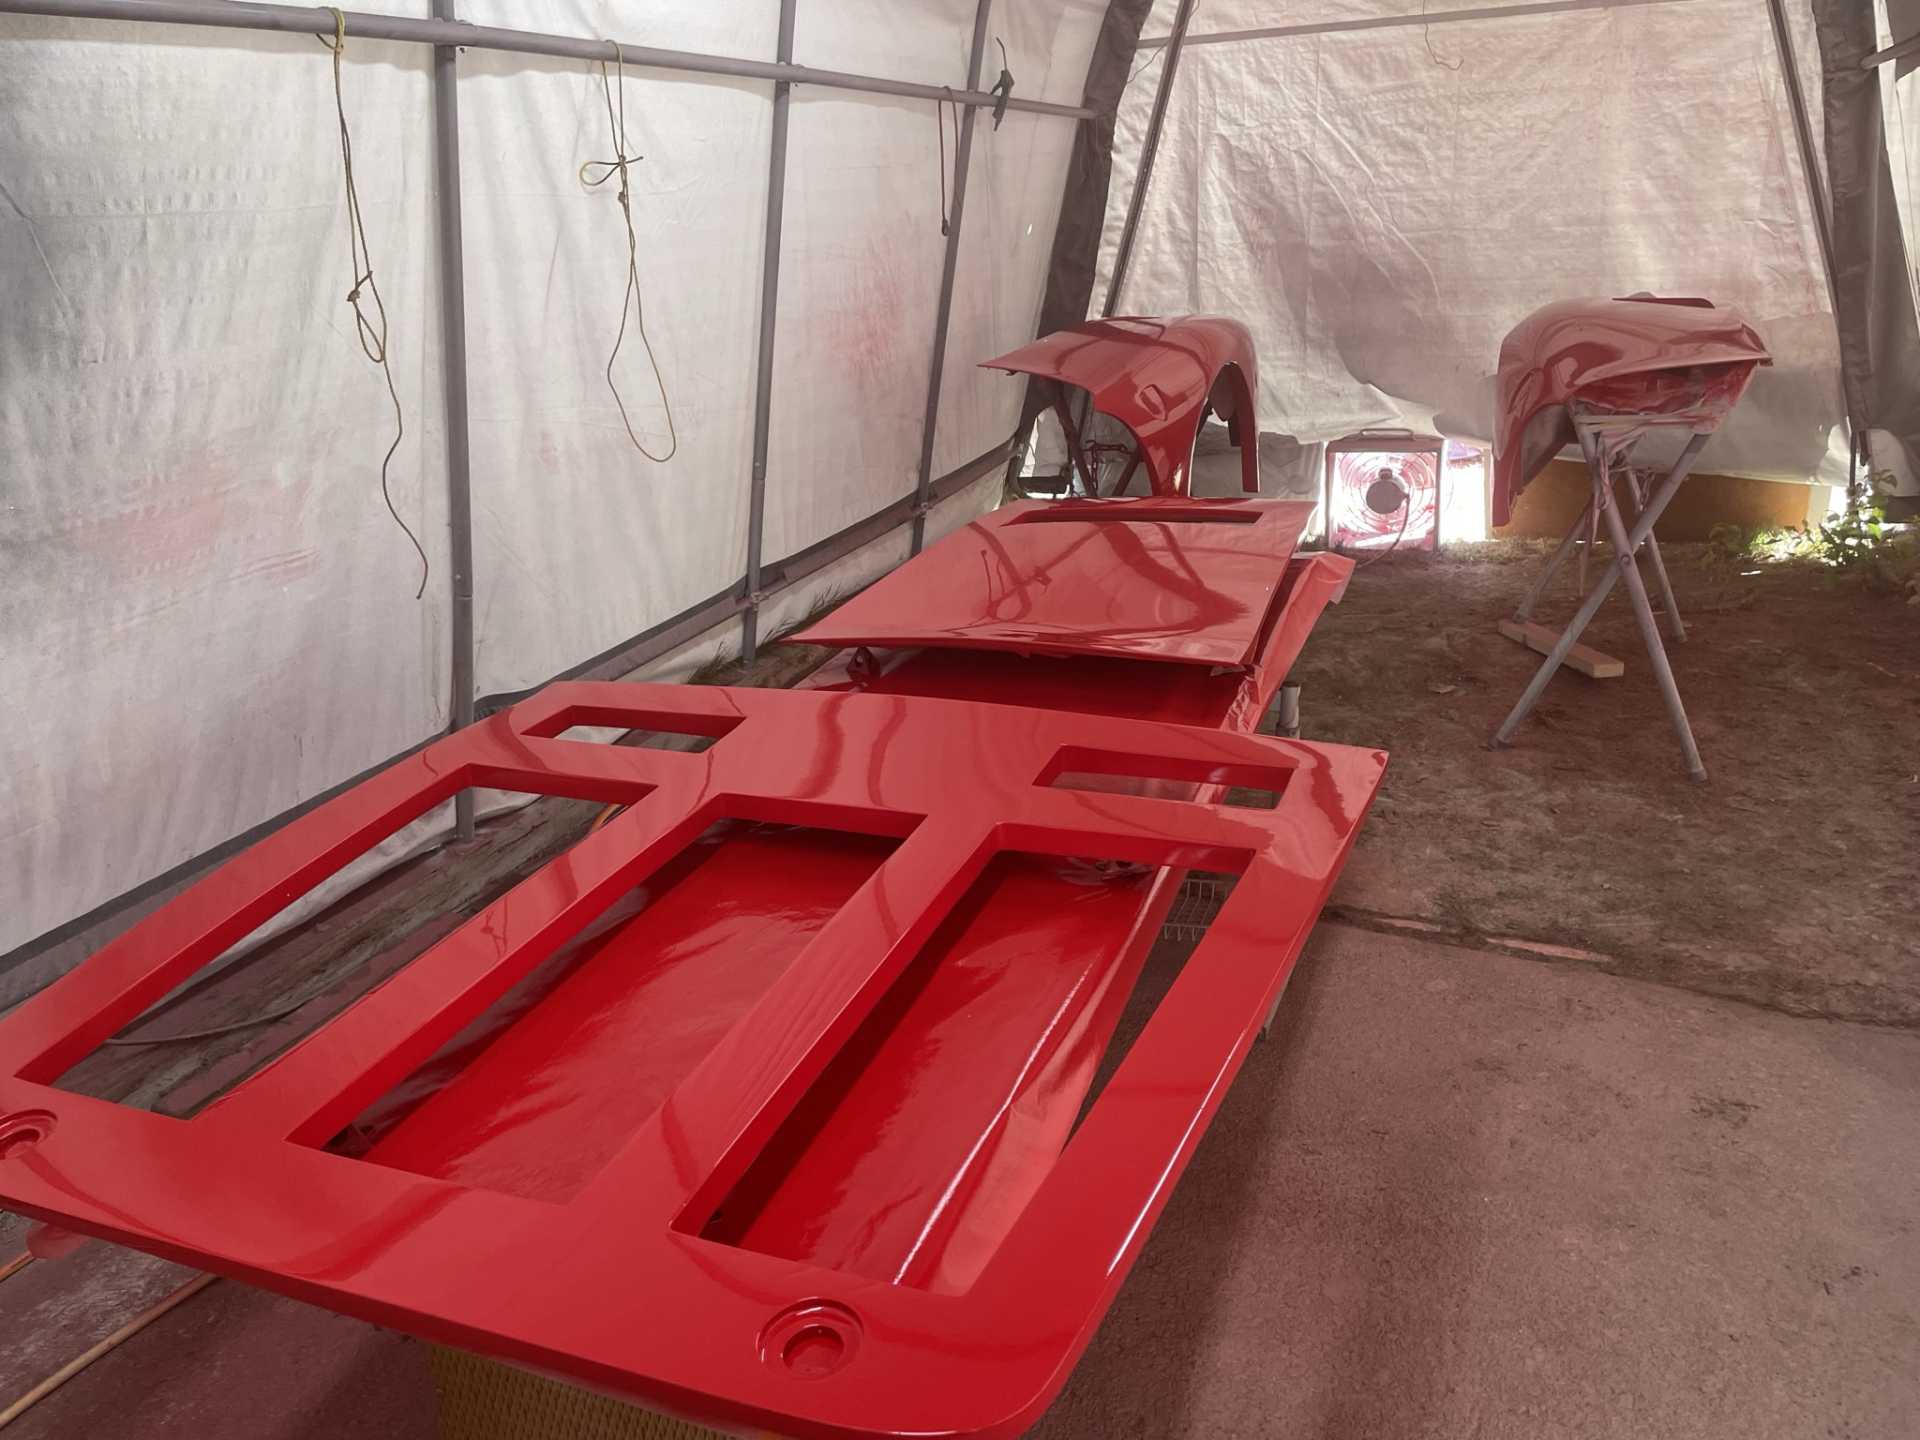
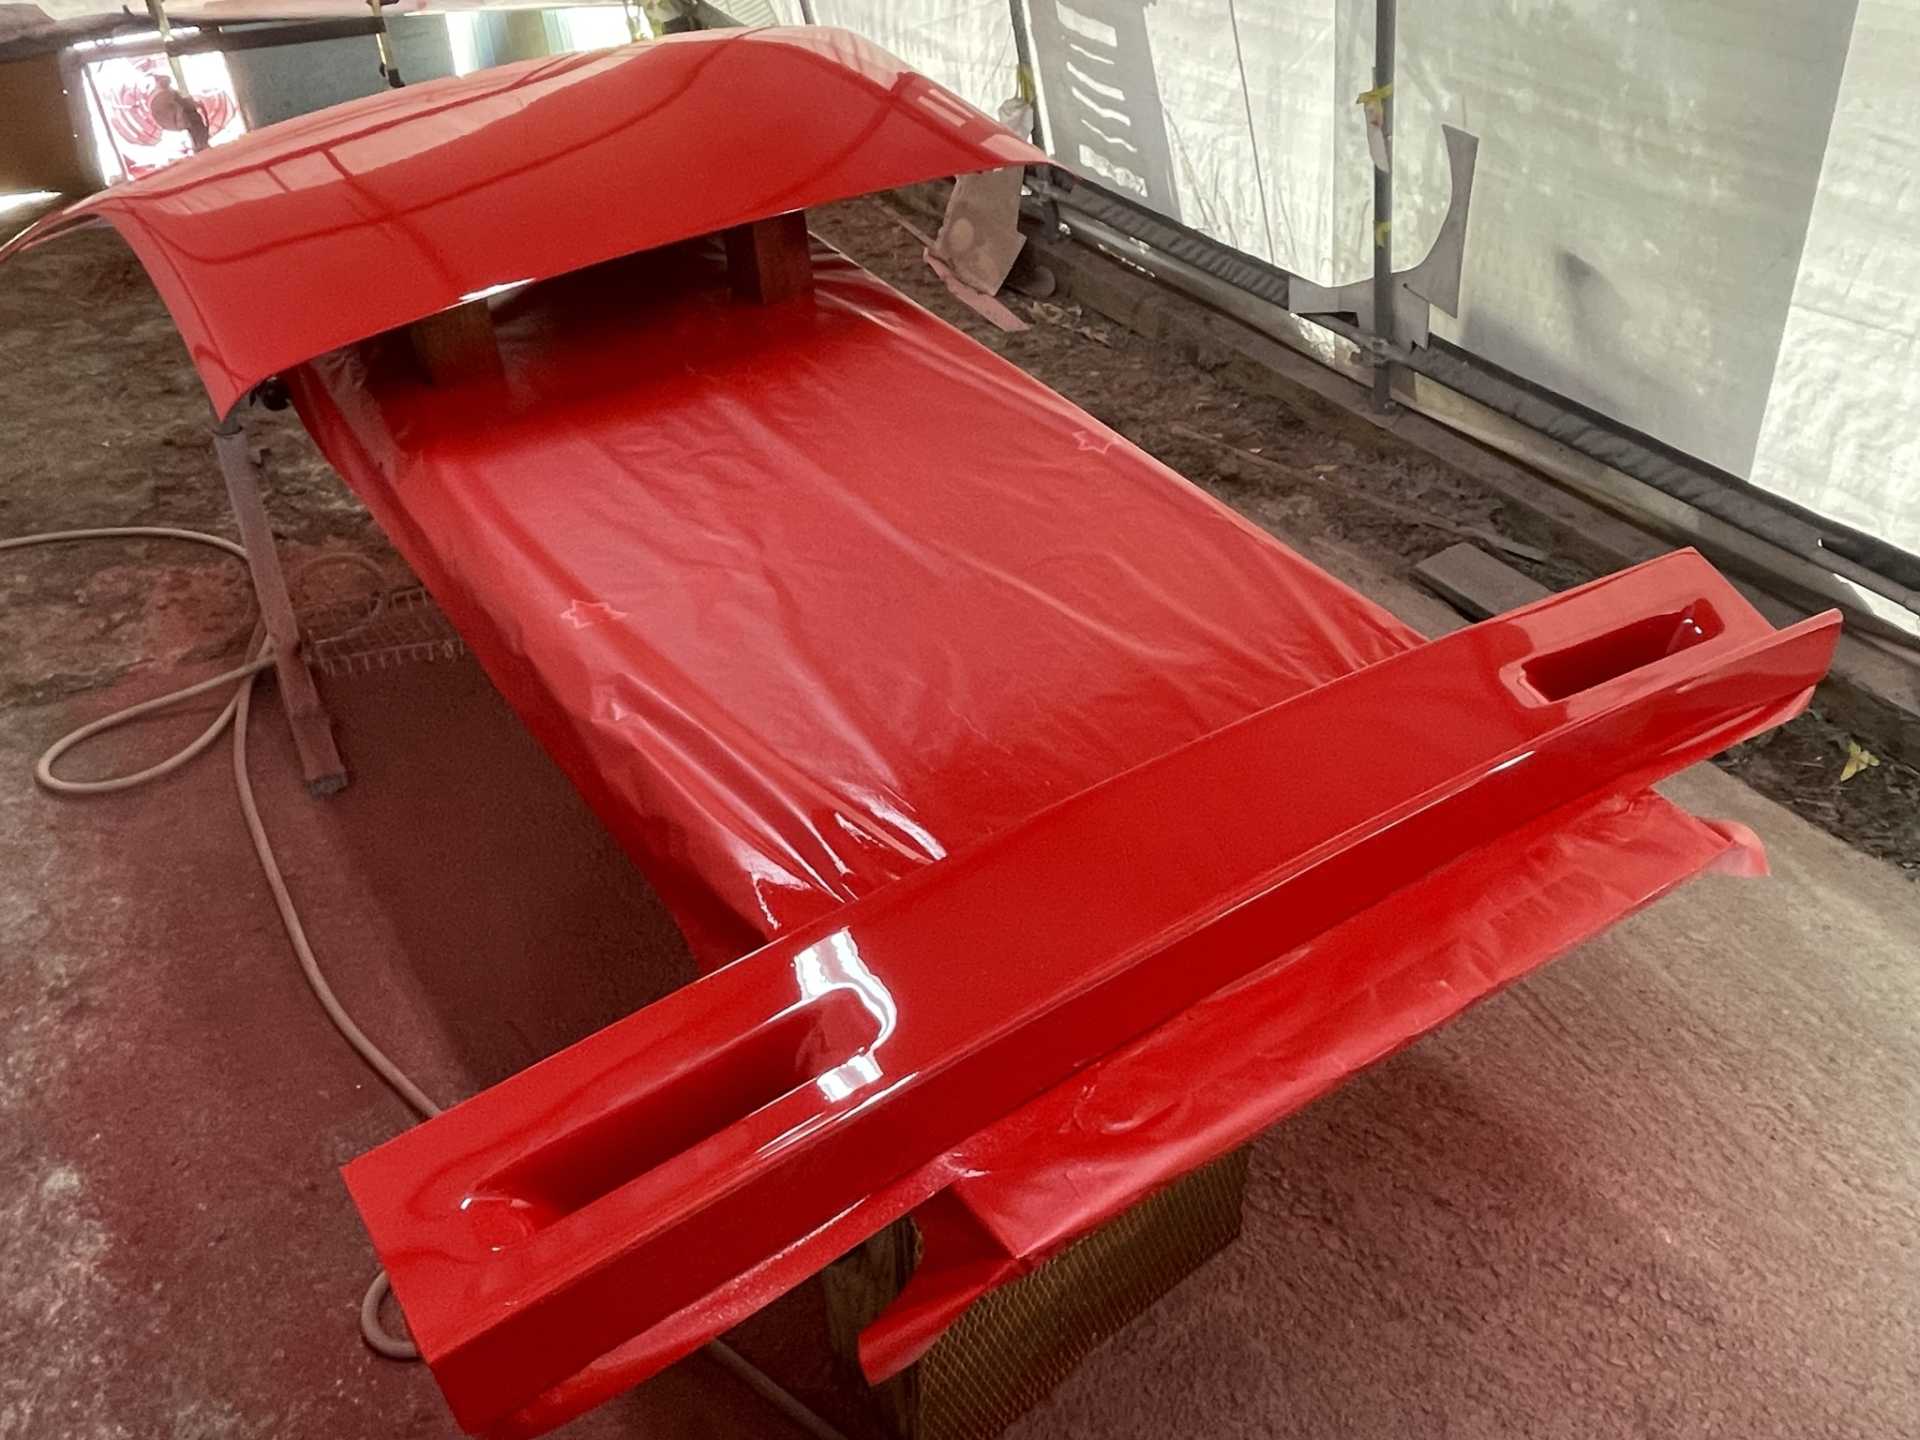
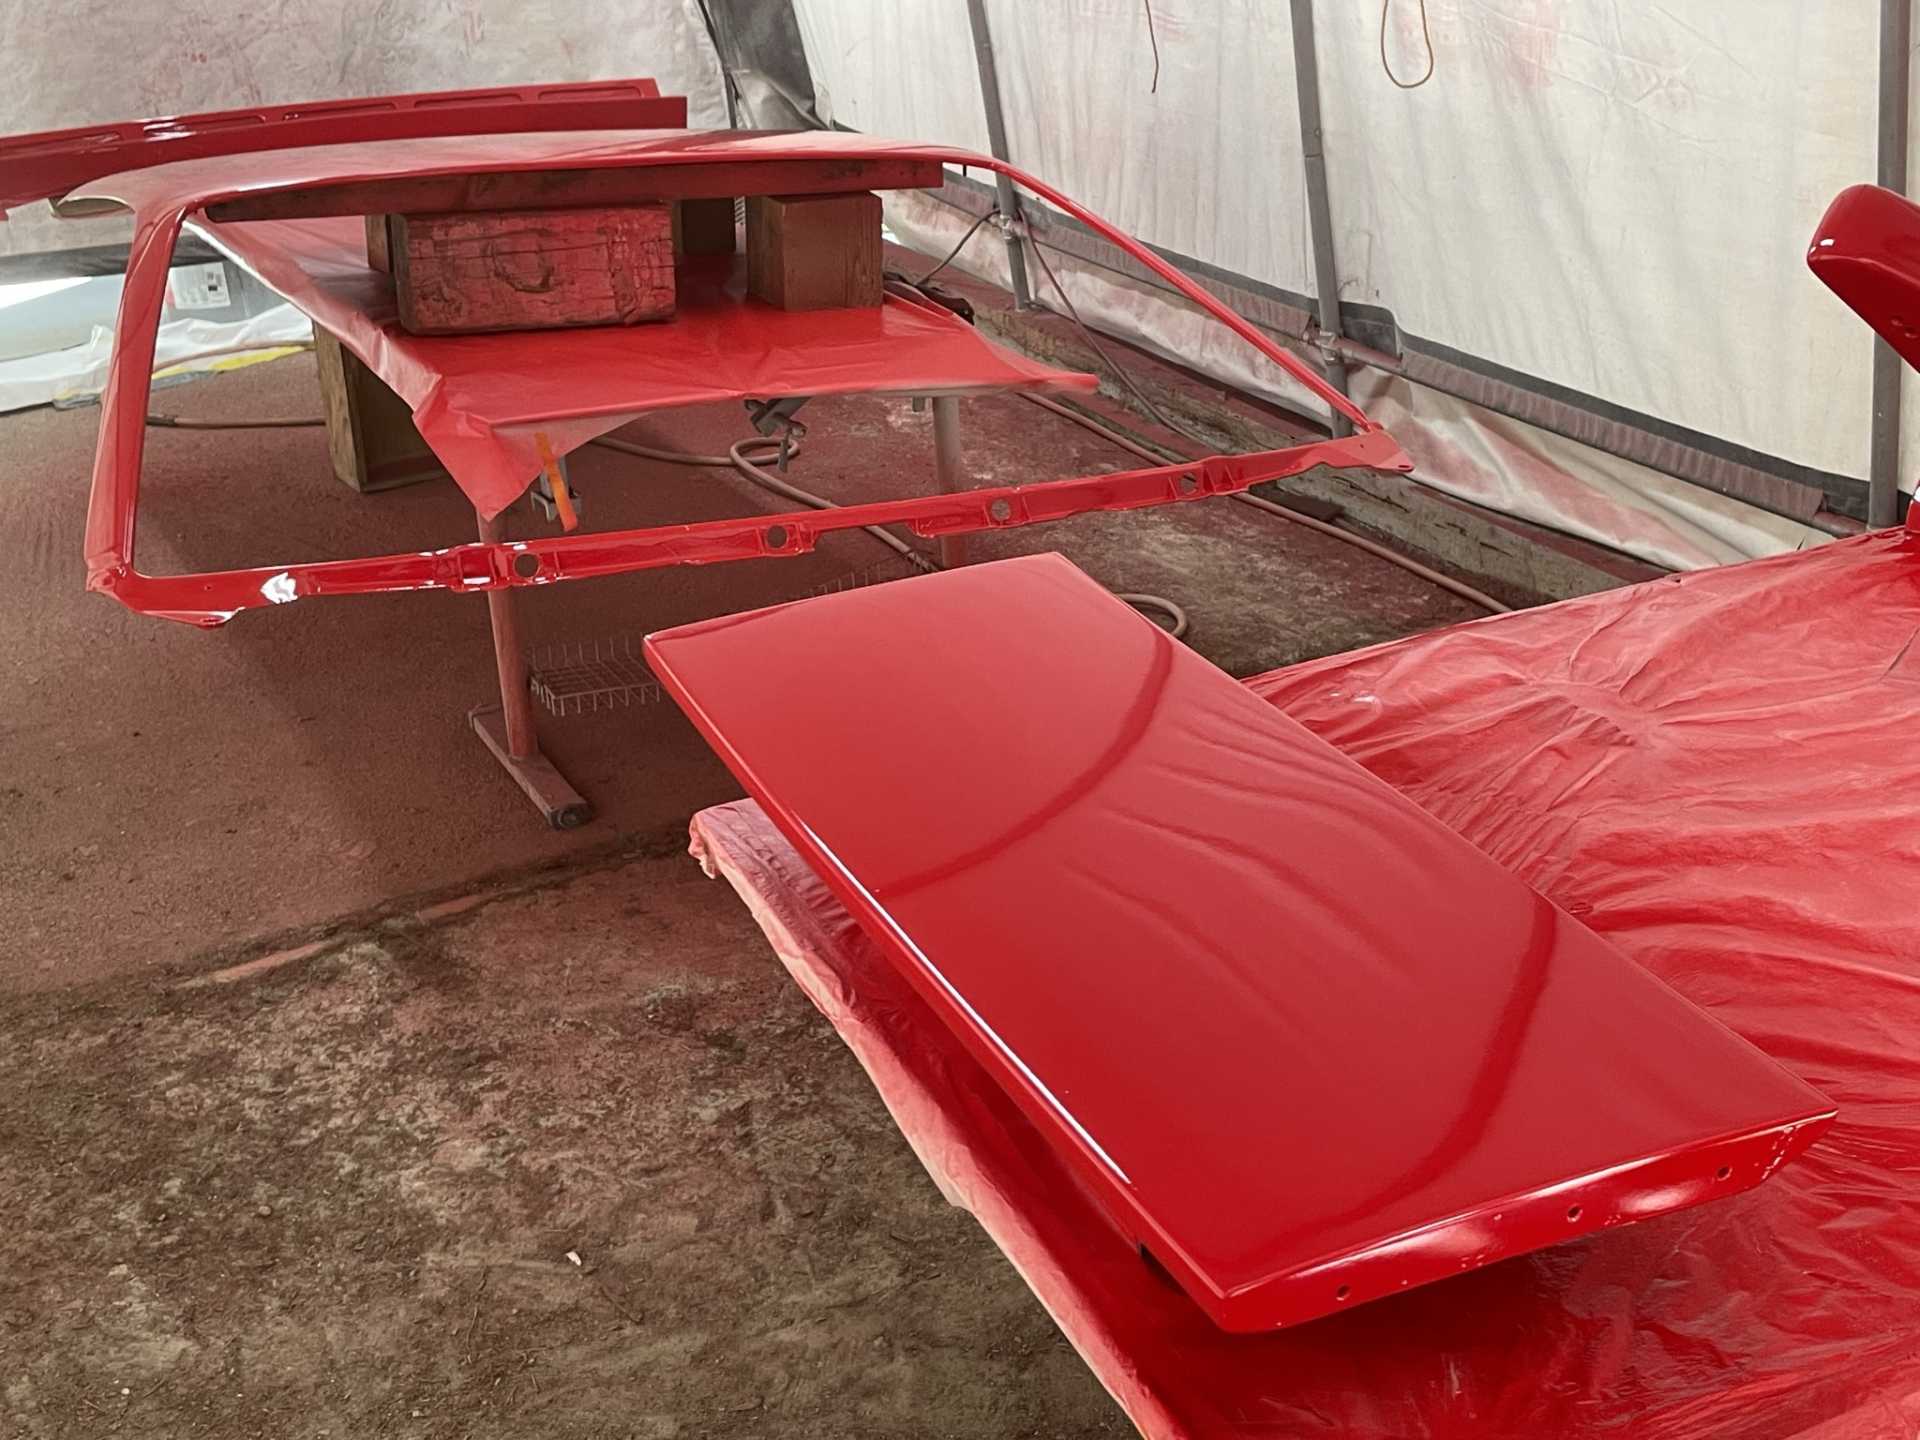
The final step “Rosso Corsa”
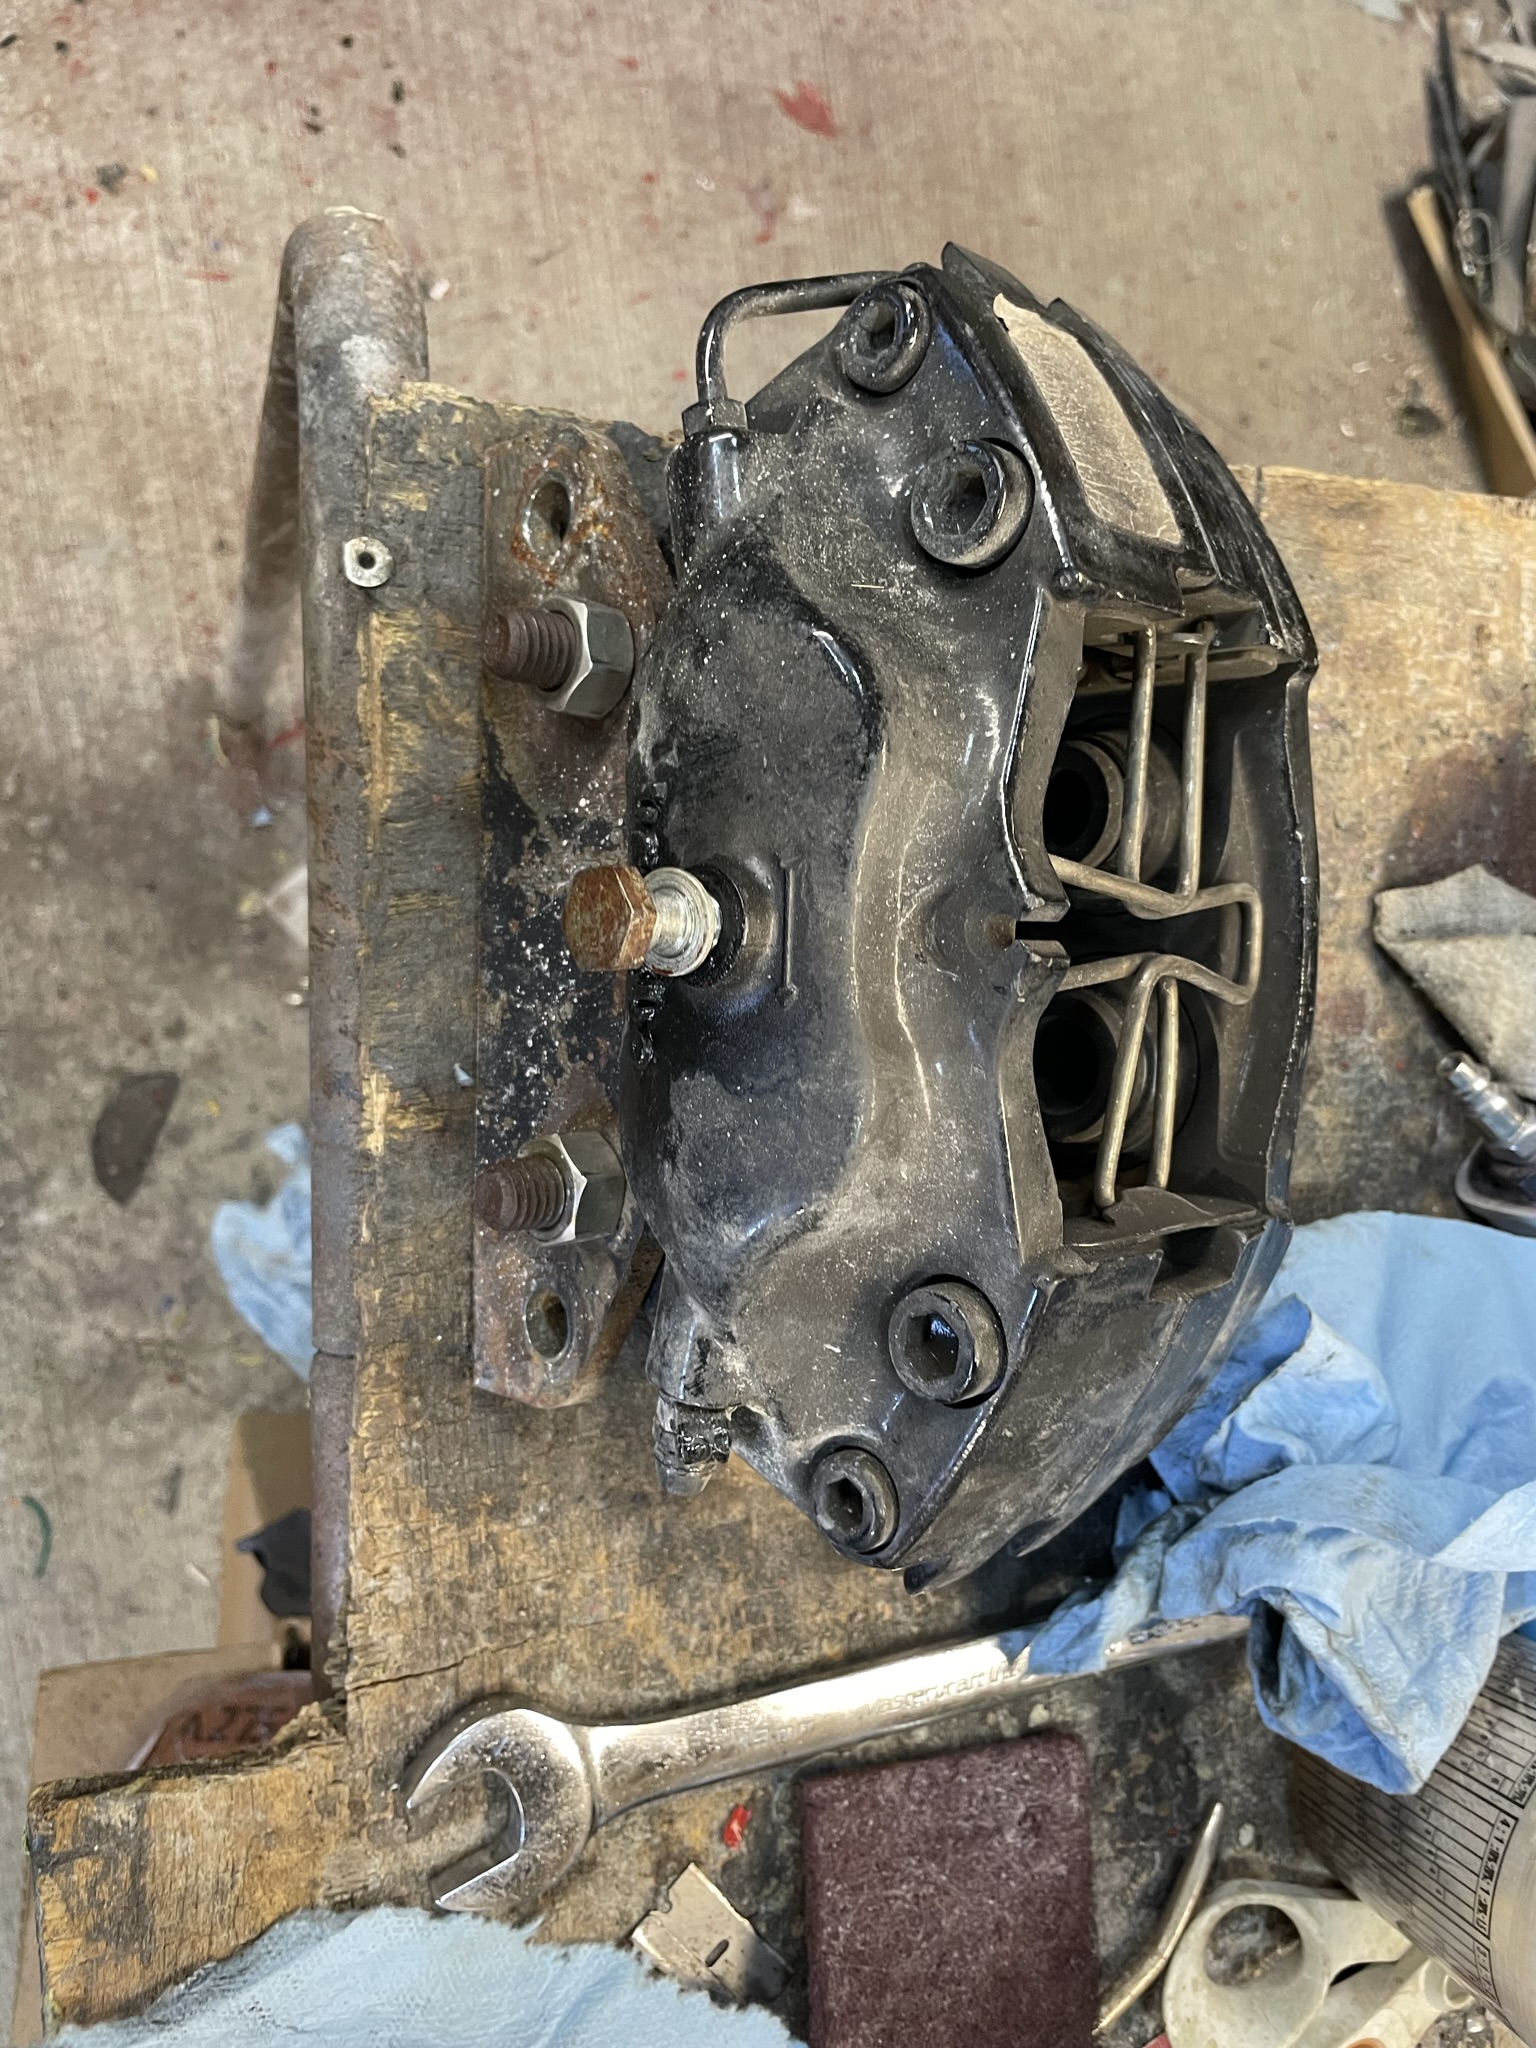
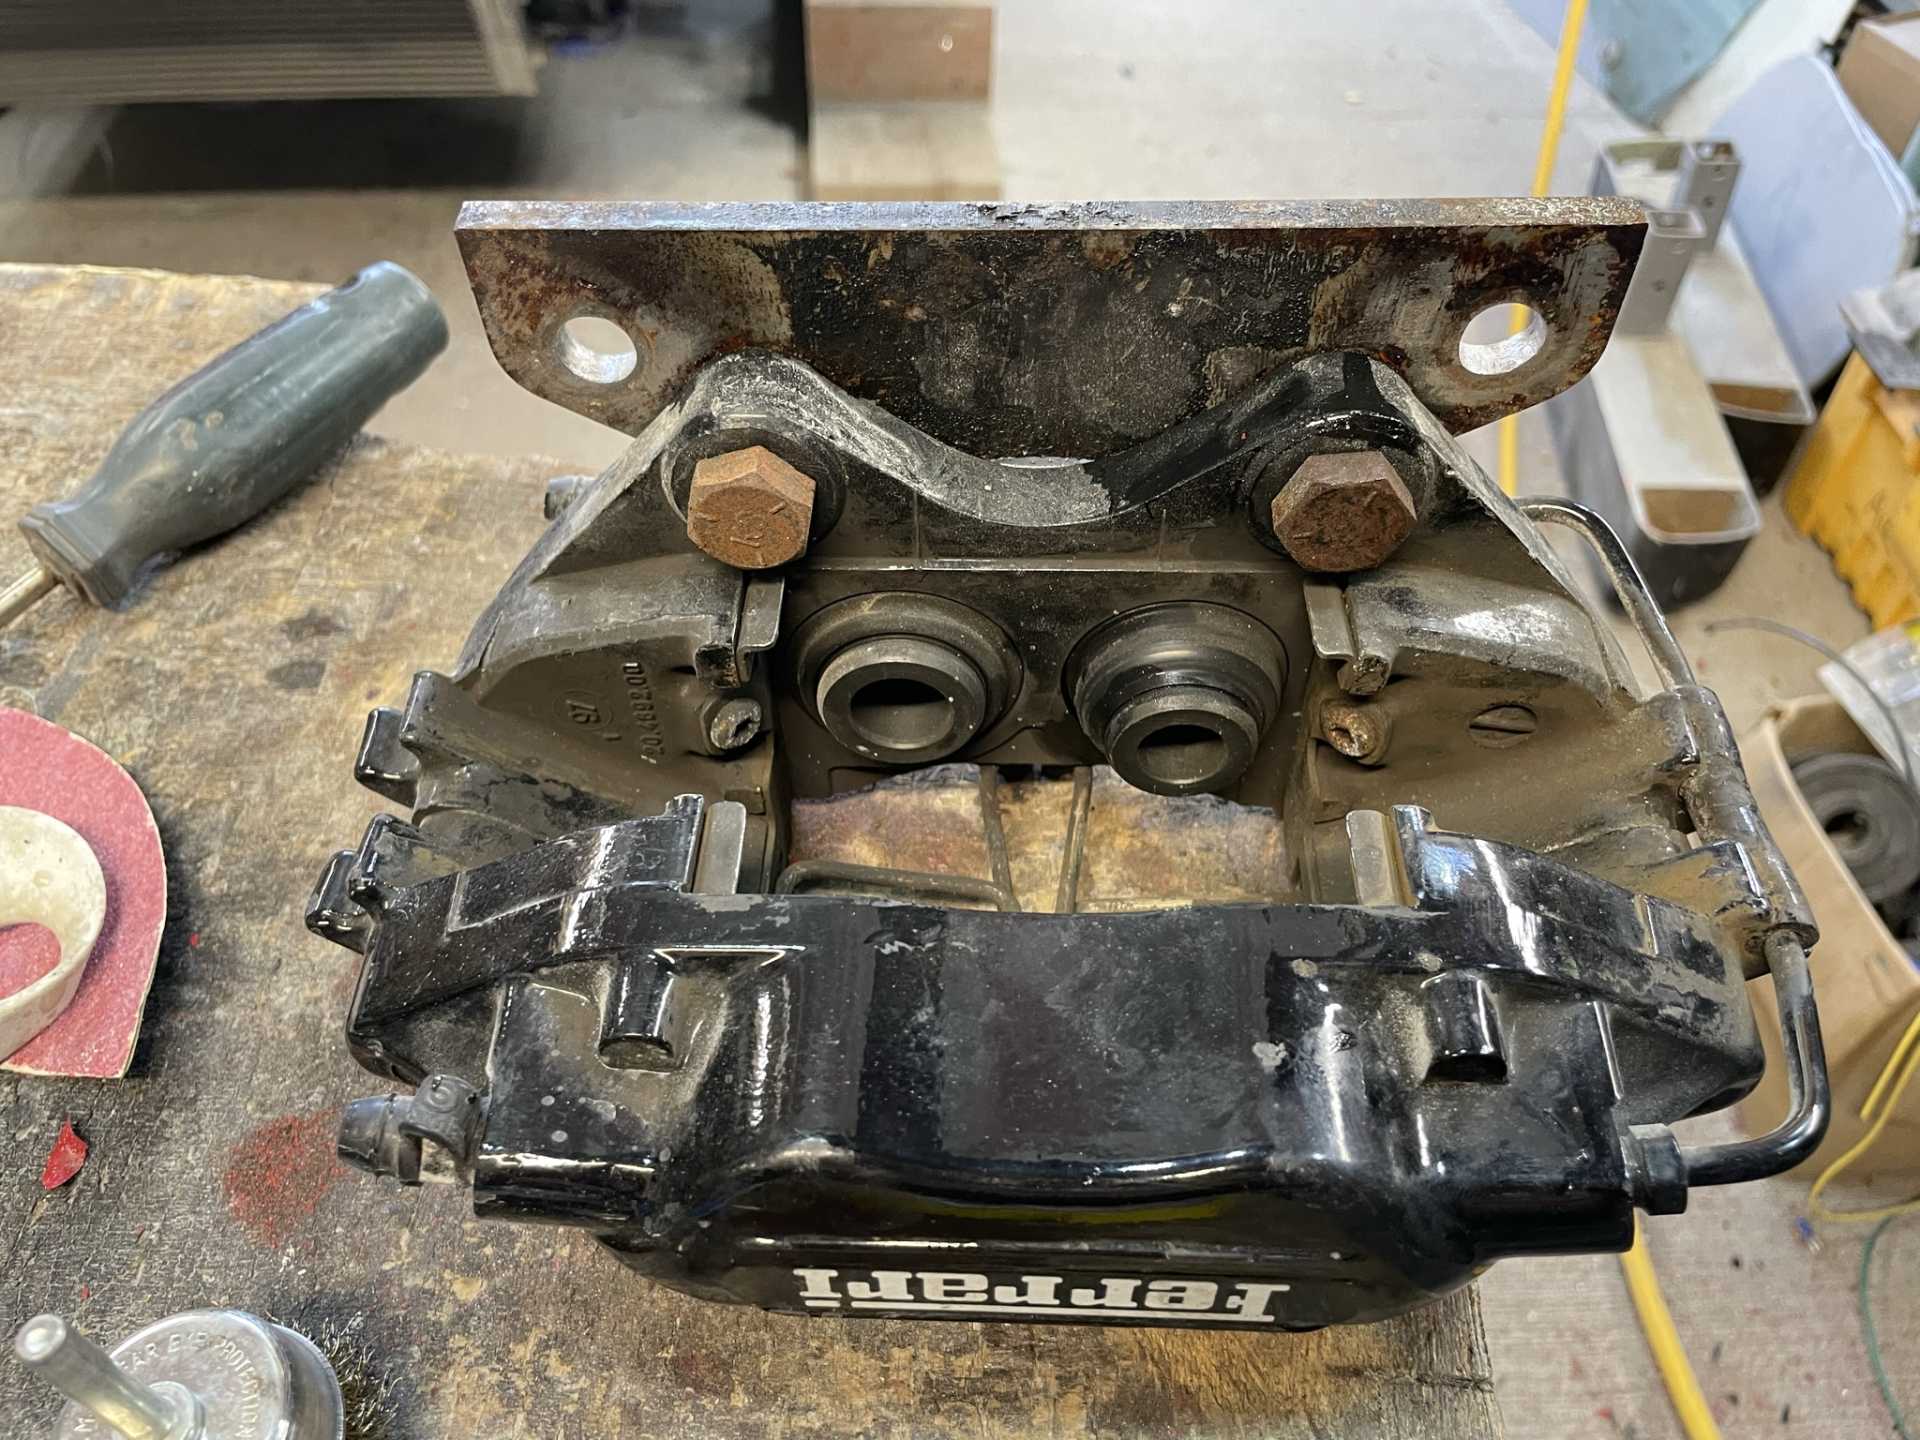
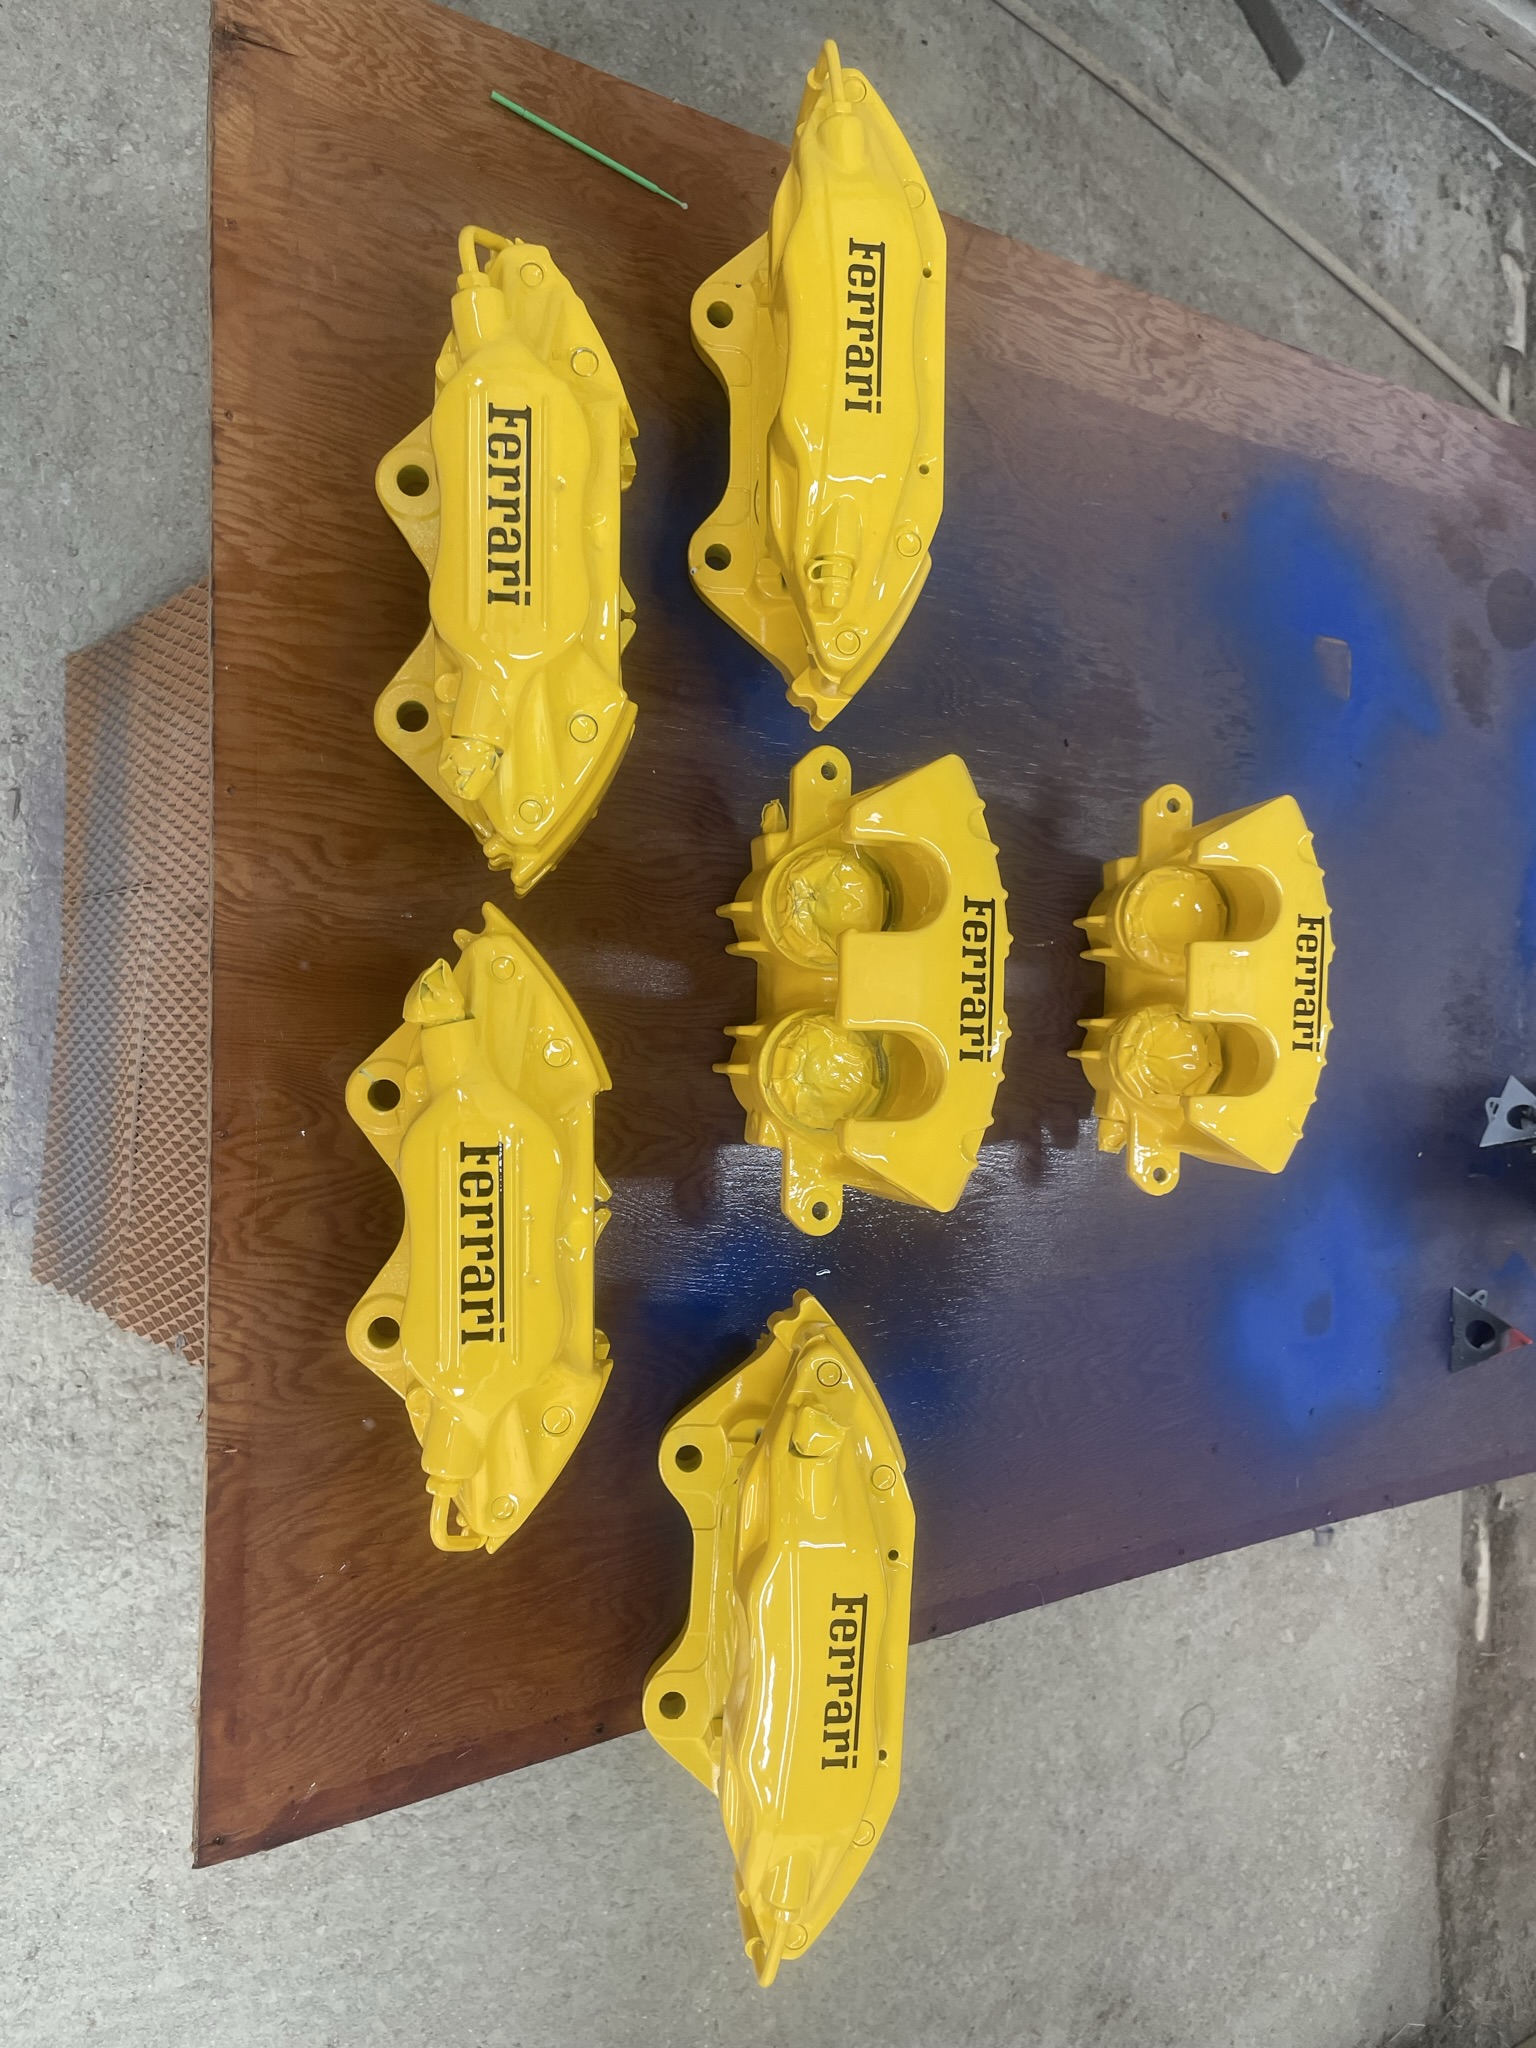
With the body off the car and doing all the suspension I pulled all the calipers off the car and stripped all the paint off them in preparation for A Color change . I should have them do in a couple days so I’ll keep the Color a mystery until they are finished.
So more progress, never as much as I would like but still moving forward.
So the process I used for changing the calliper Colour was degrease and clean really well then scuff everything with a red Brillo tape off everything that I didn’t want painted and wipe everything down with a prewash cleaner and air dry.
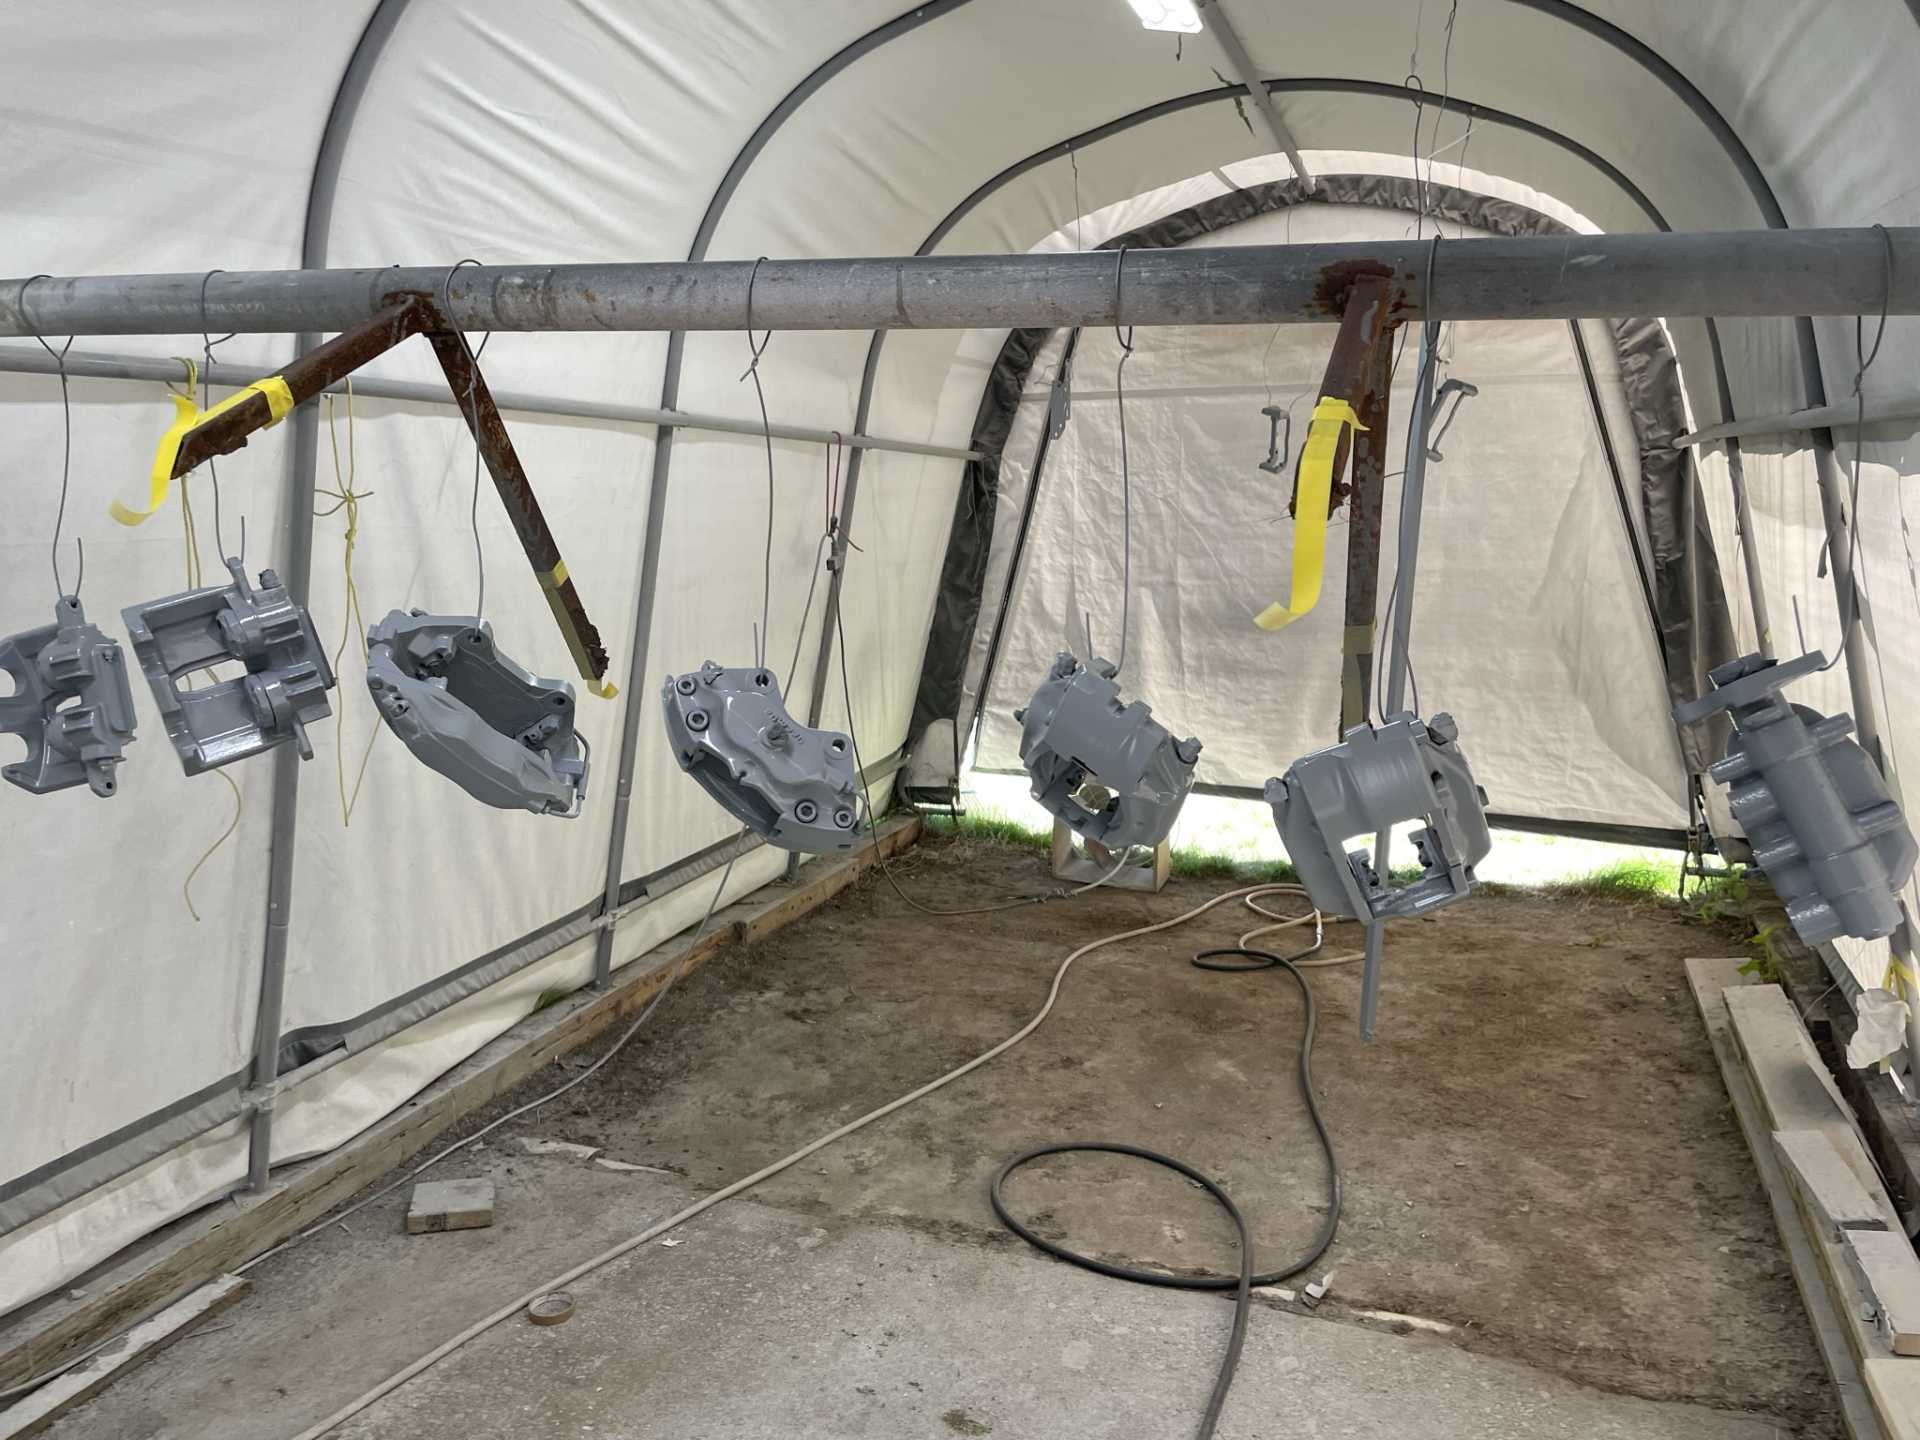
Once that was finished and everything was hung I sprayed everything with an epoxy sealer primer
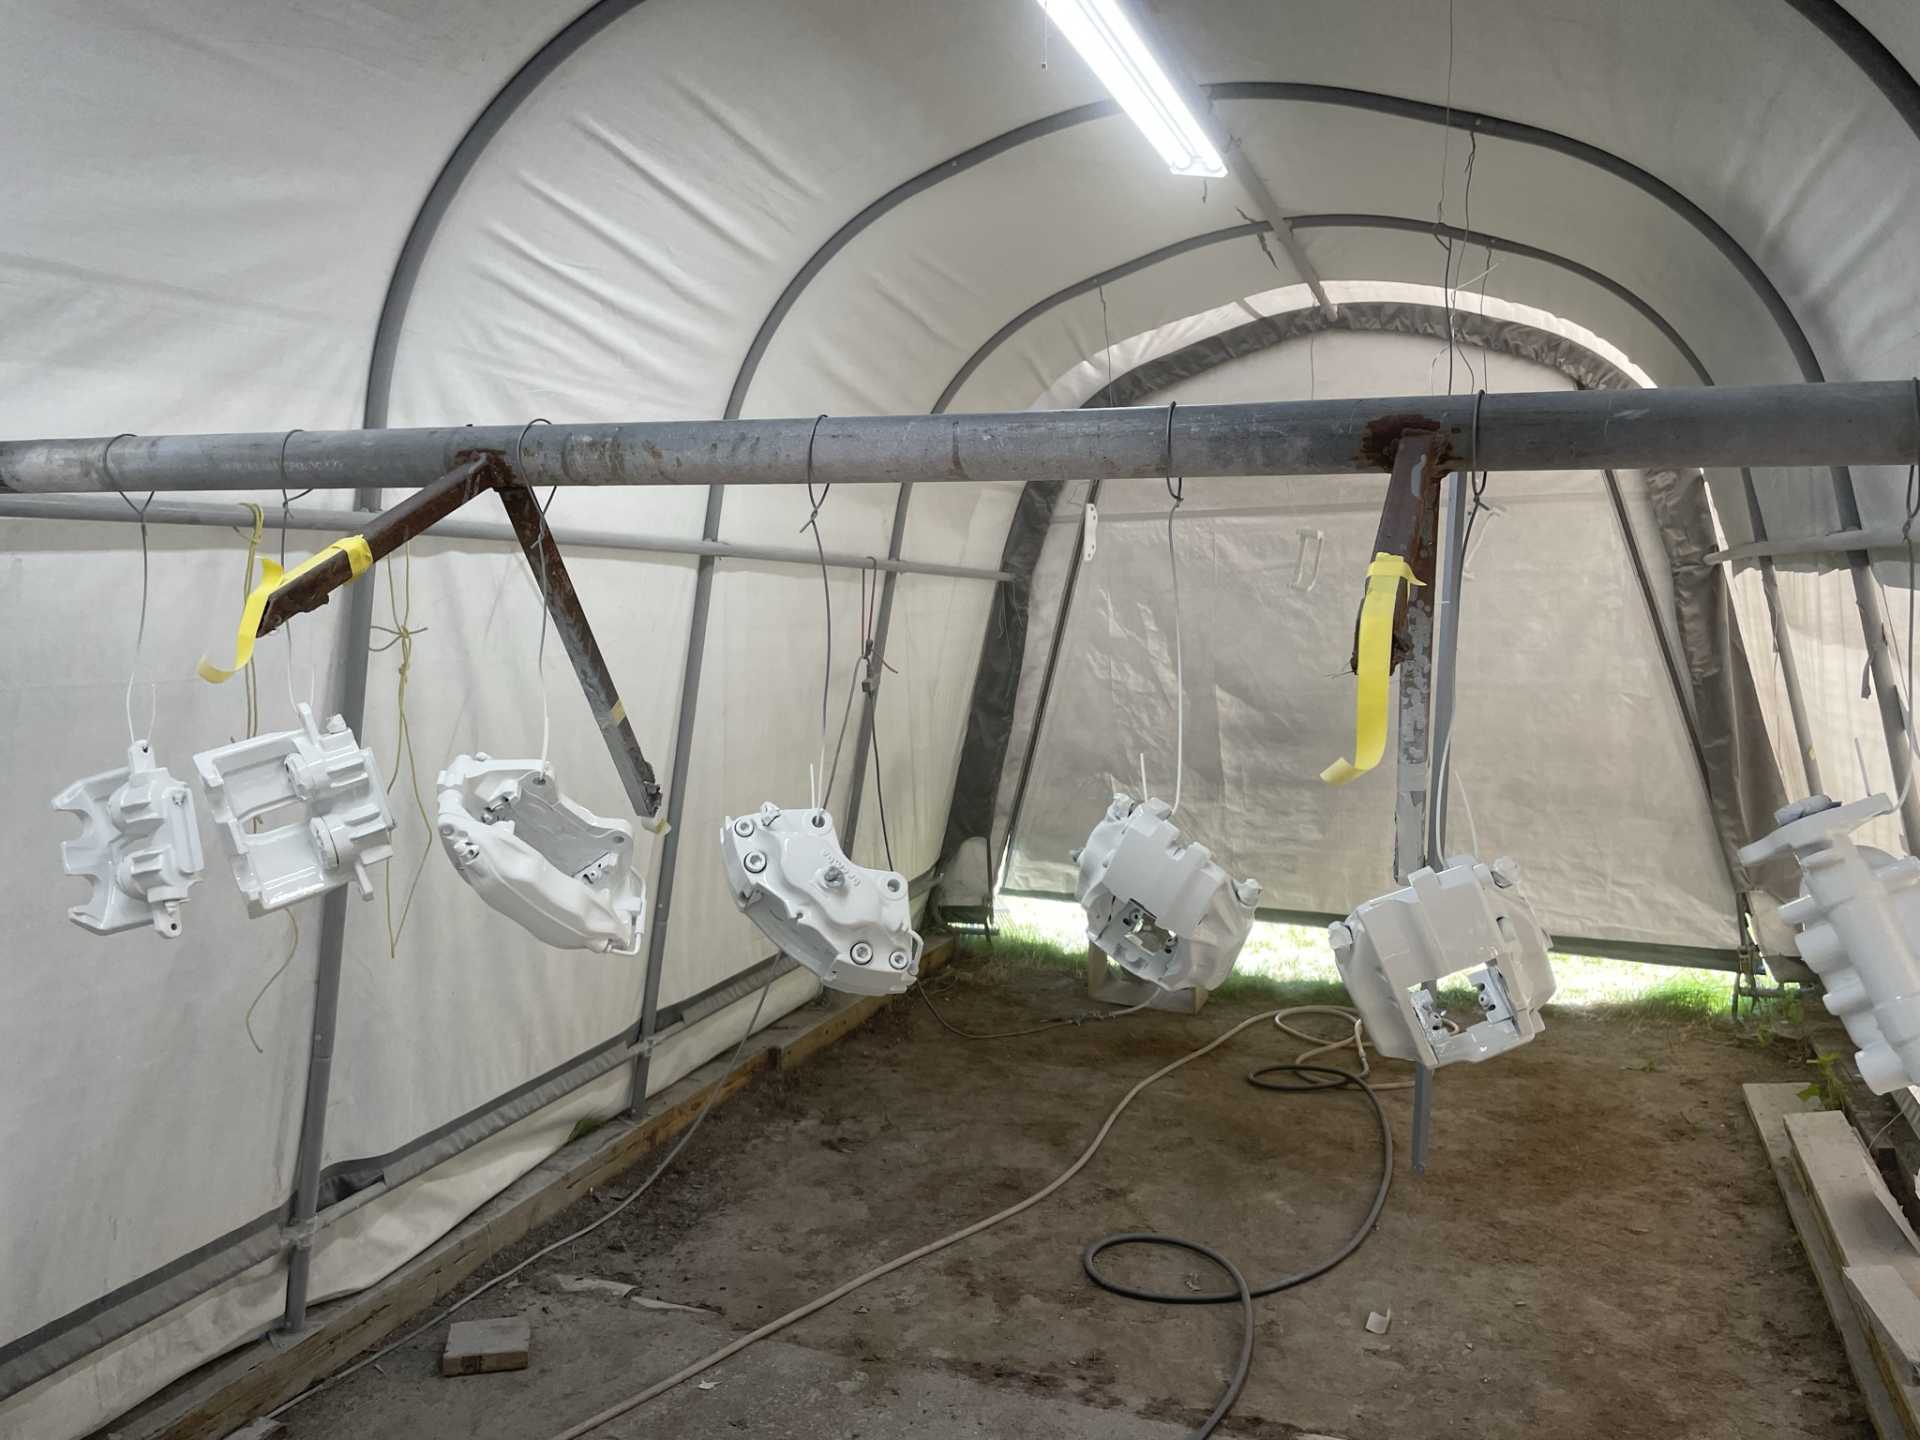
Then as with the red I needed to paint everything white as the value code primer as Giallo Fly is very transparent and needs the Light colour to build on.
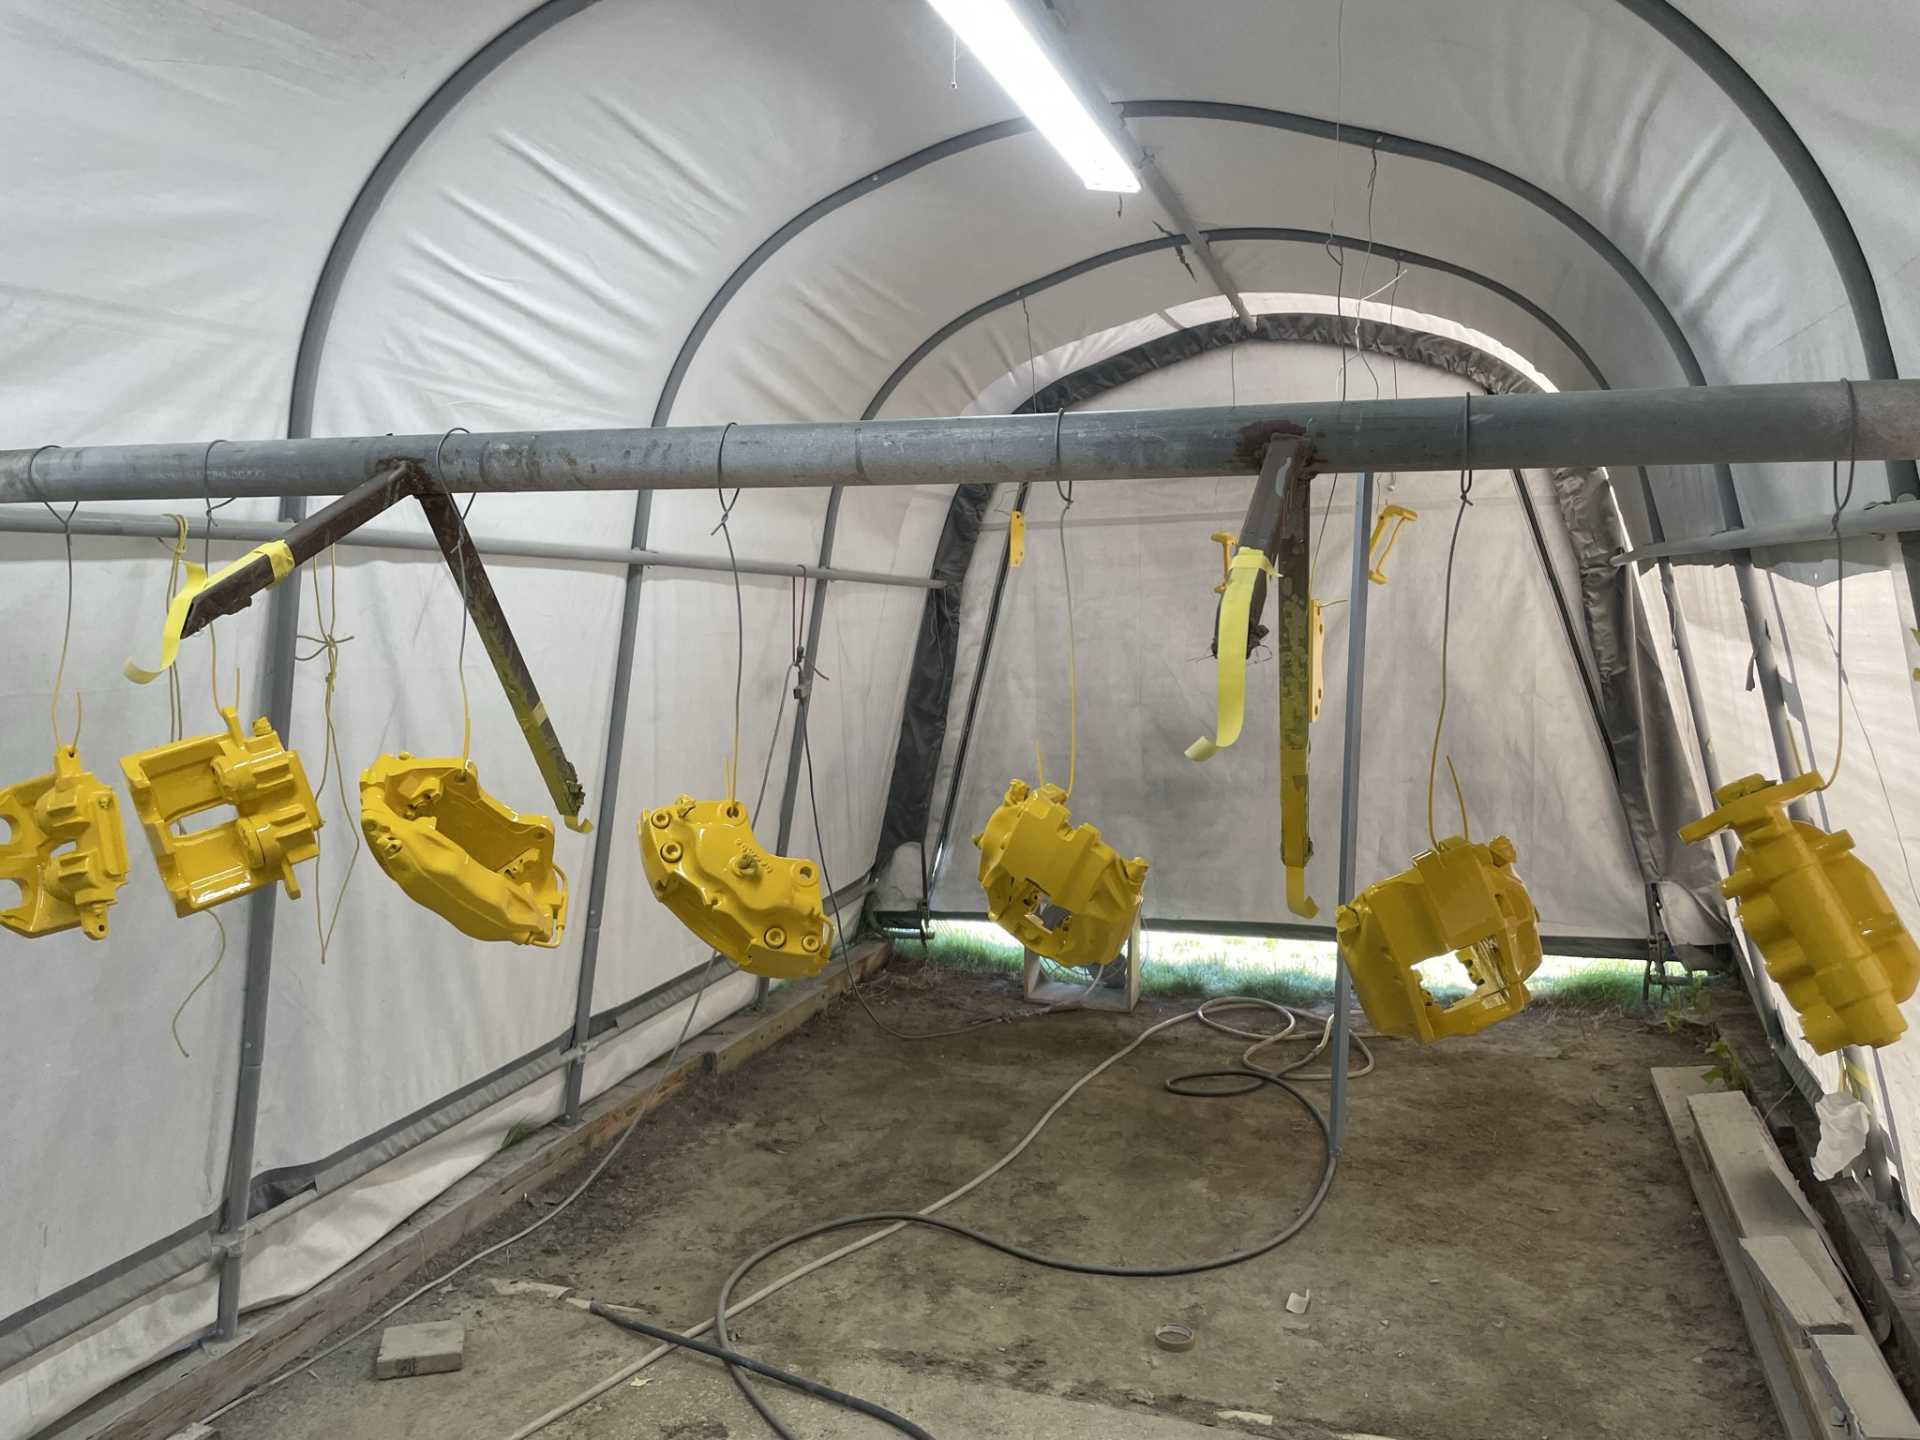
Then two coats of Giallo Fly , they came out beautiful, once I’ll give it a few days then apply the decals and then spray clear coat on the callipers
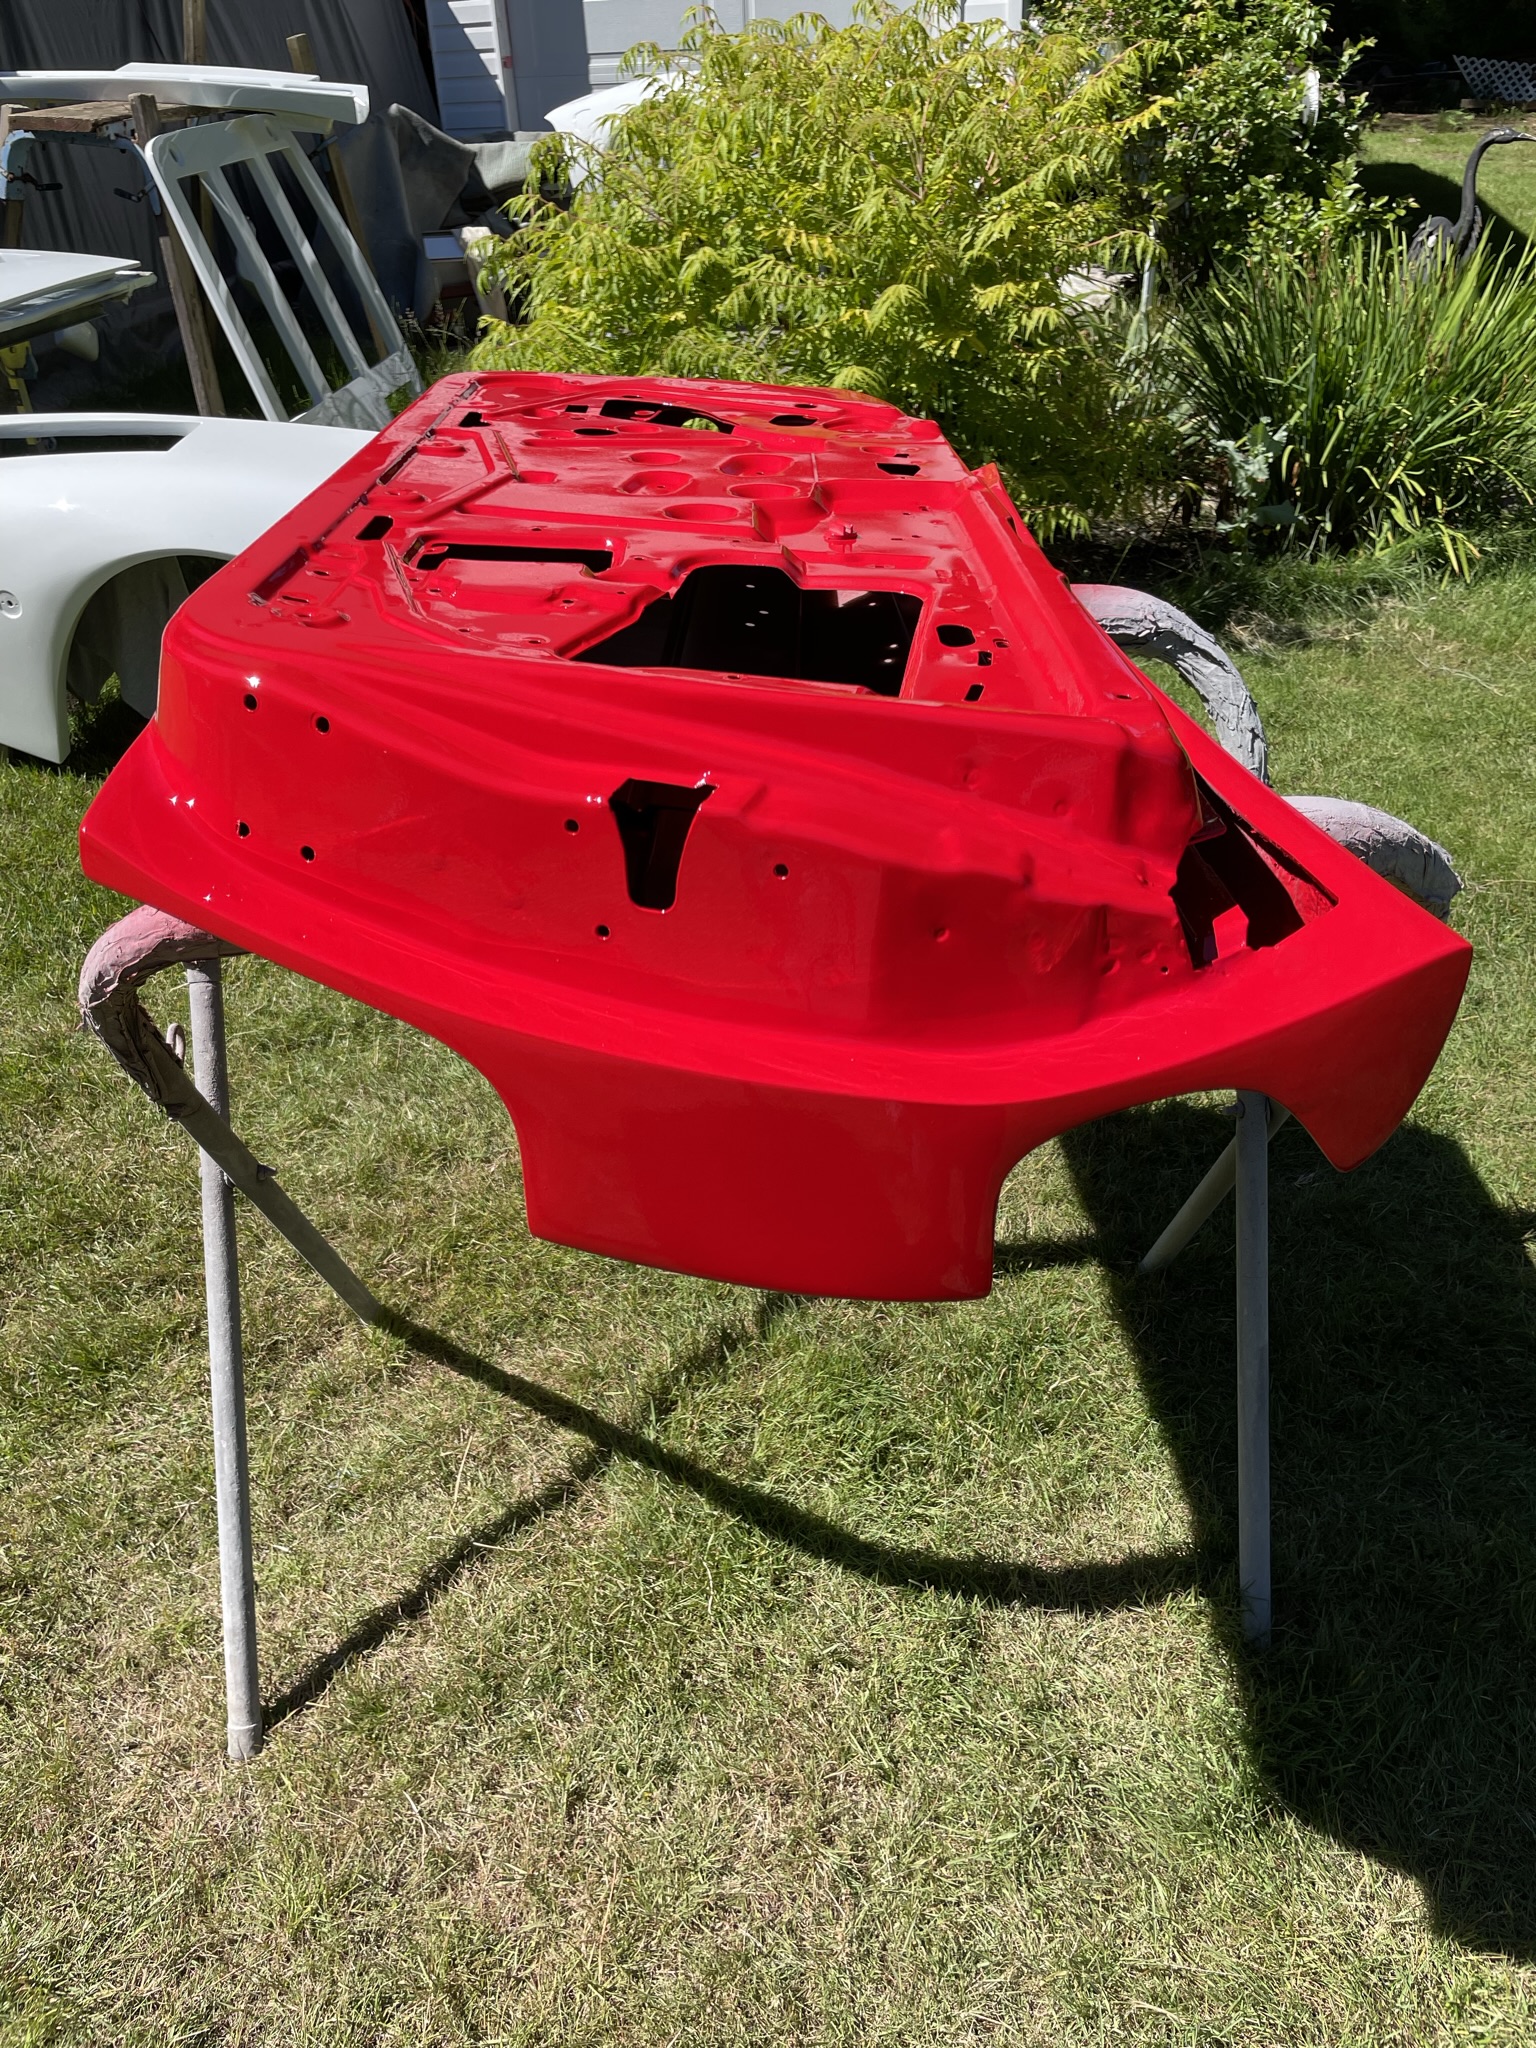
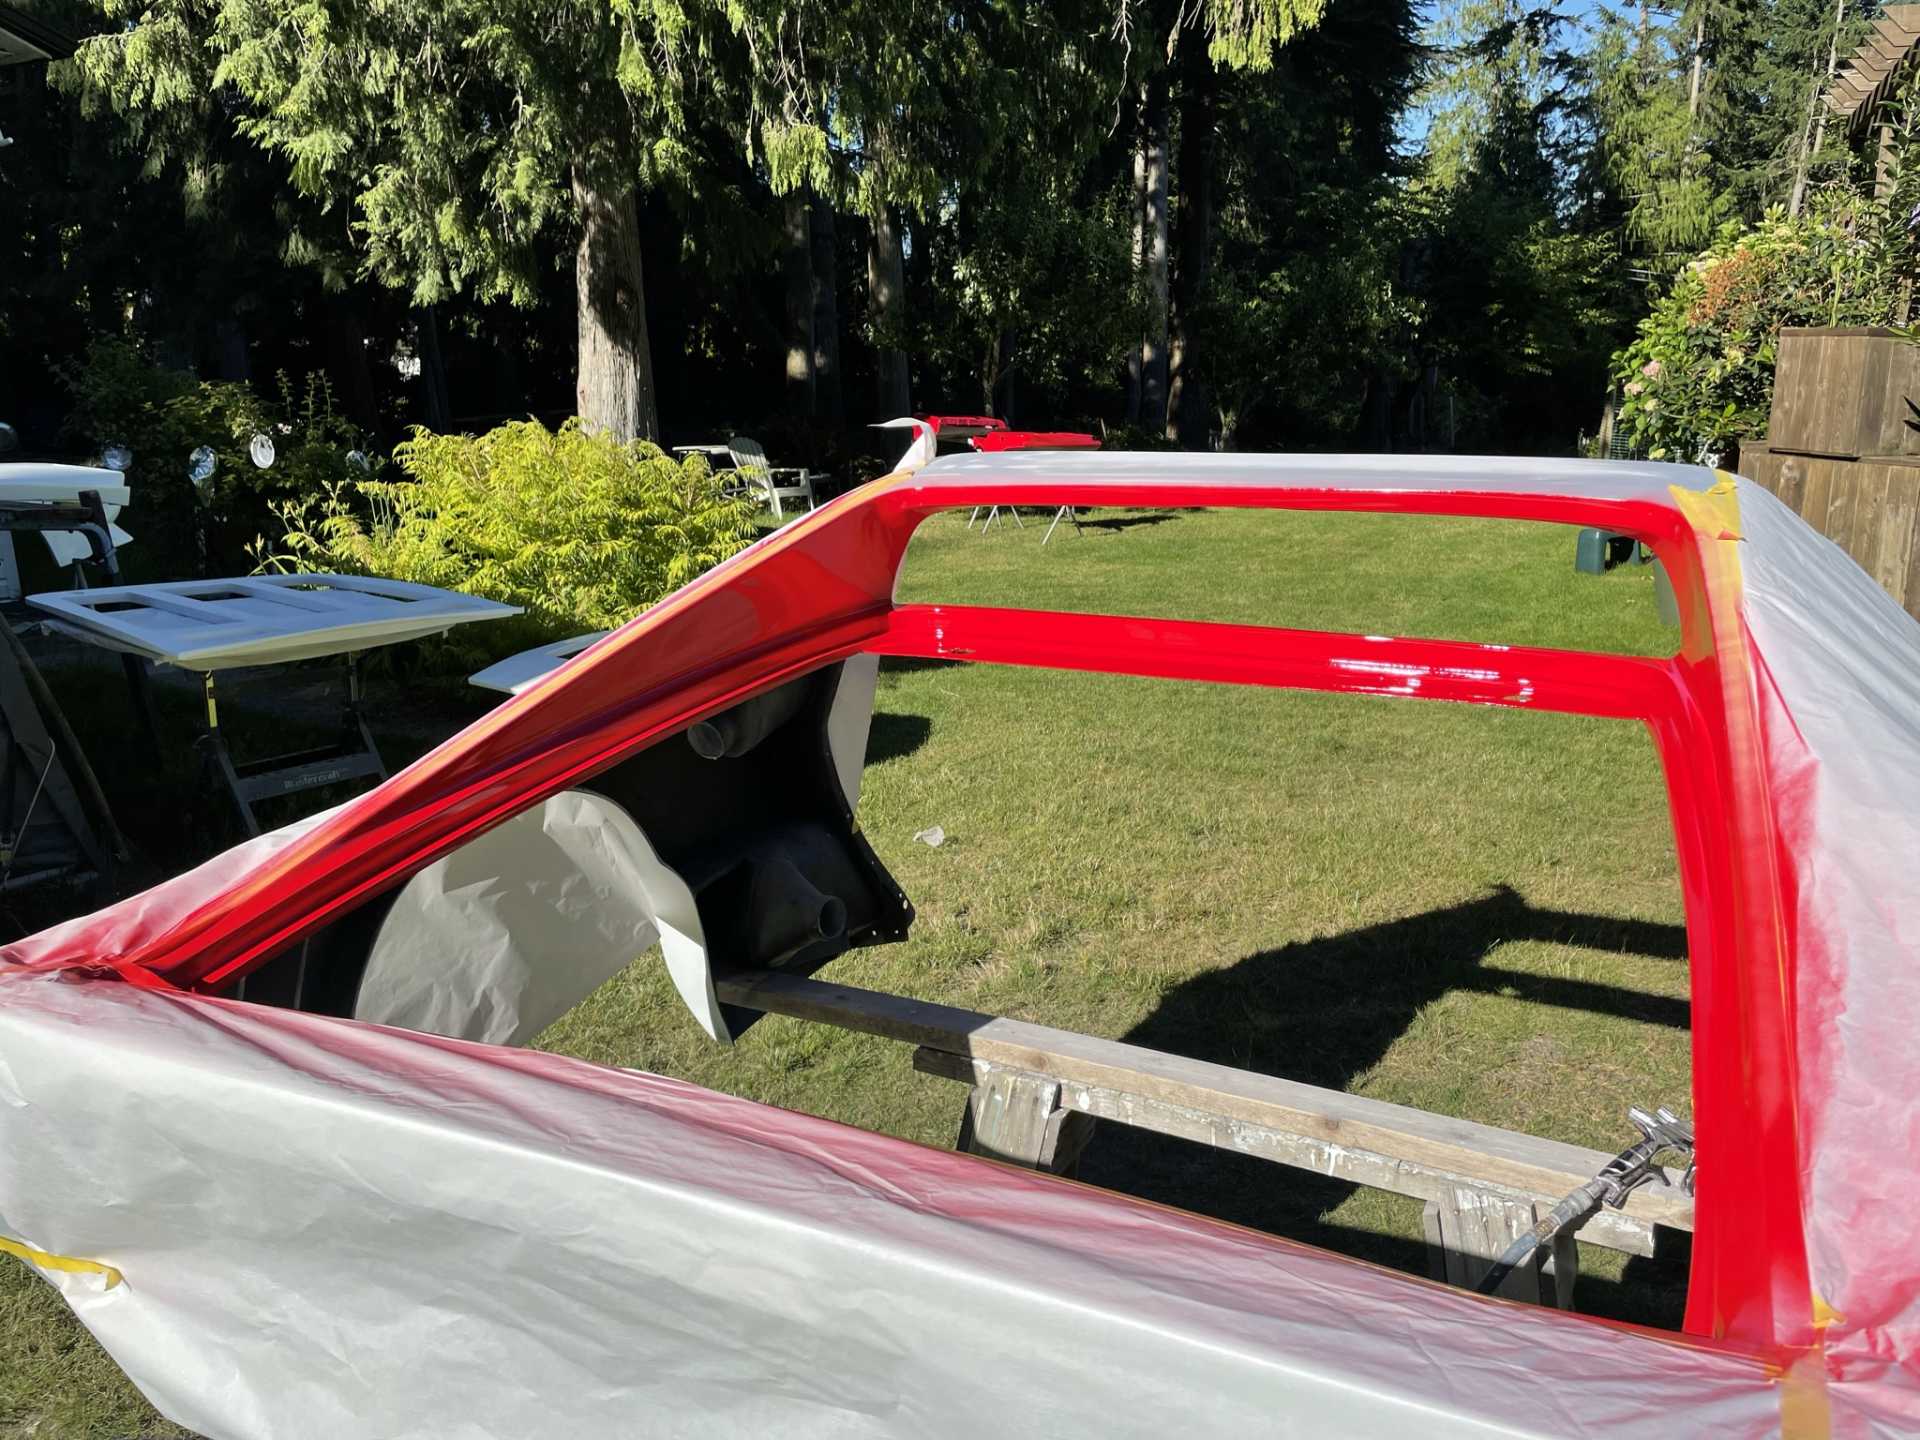
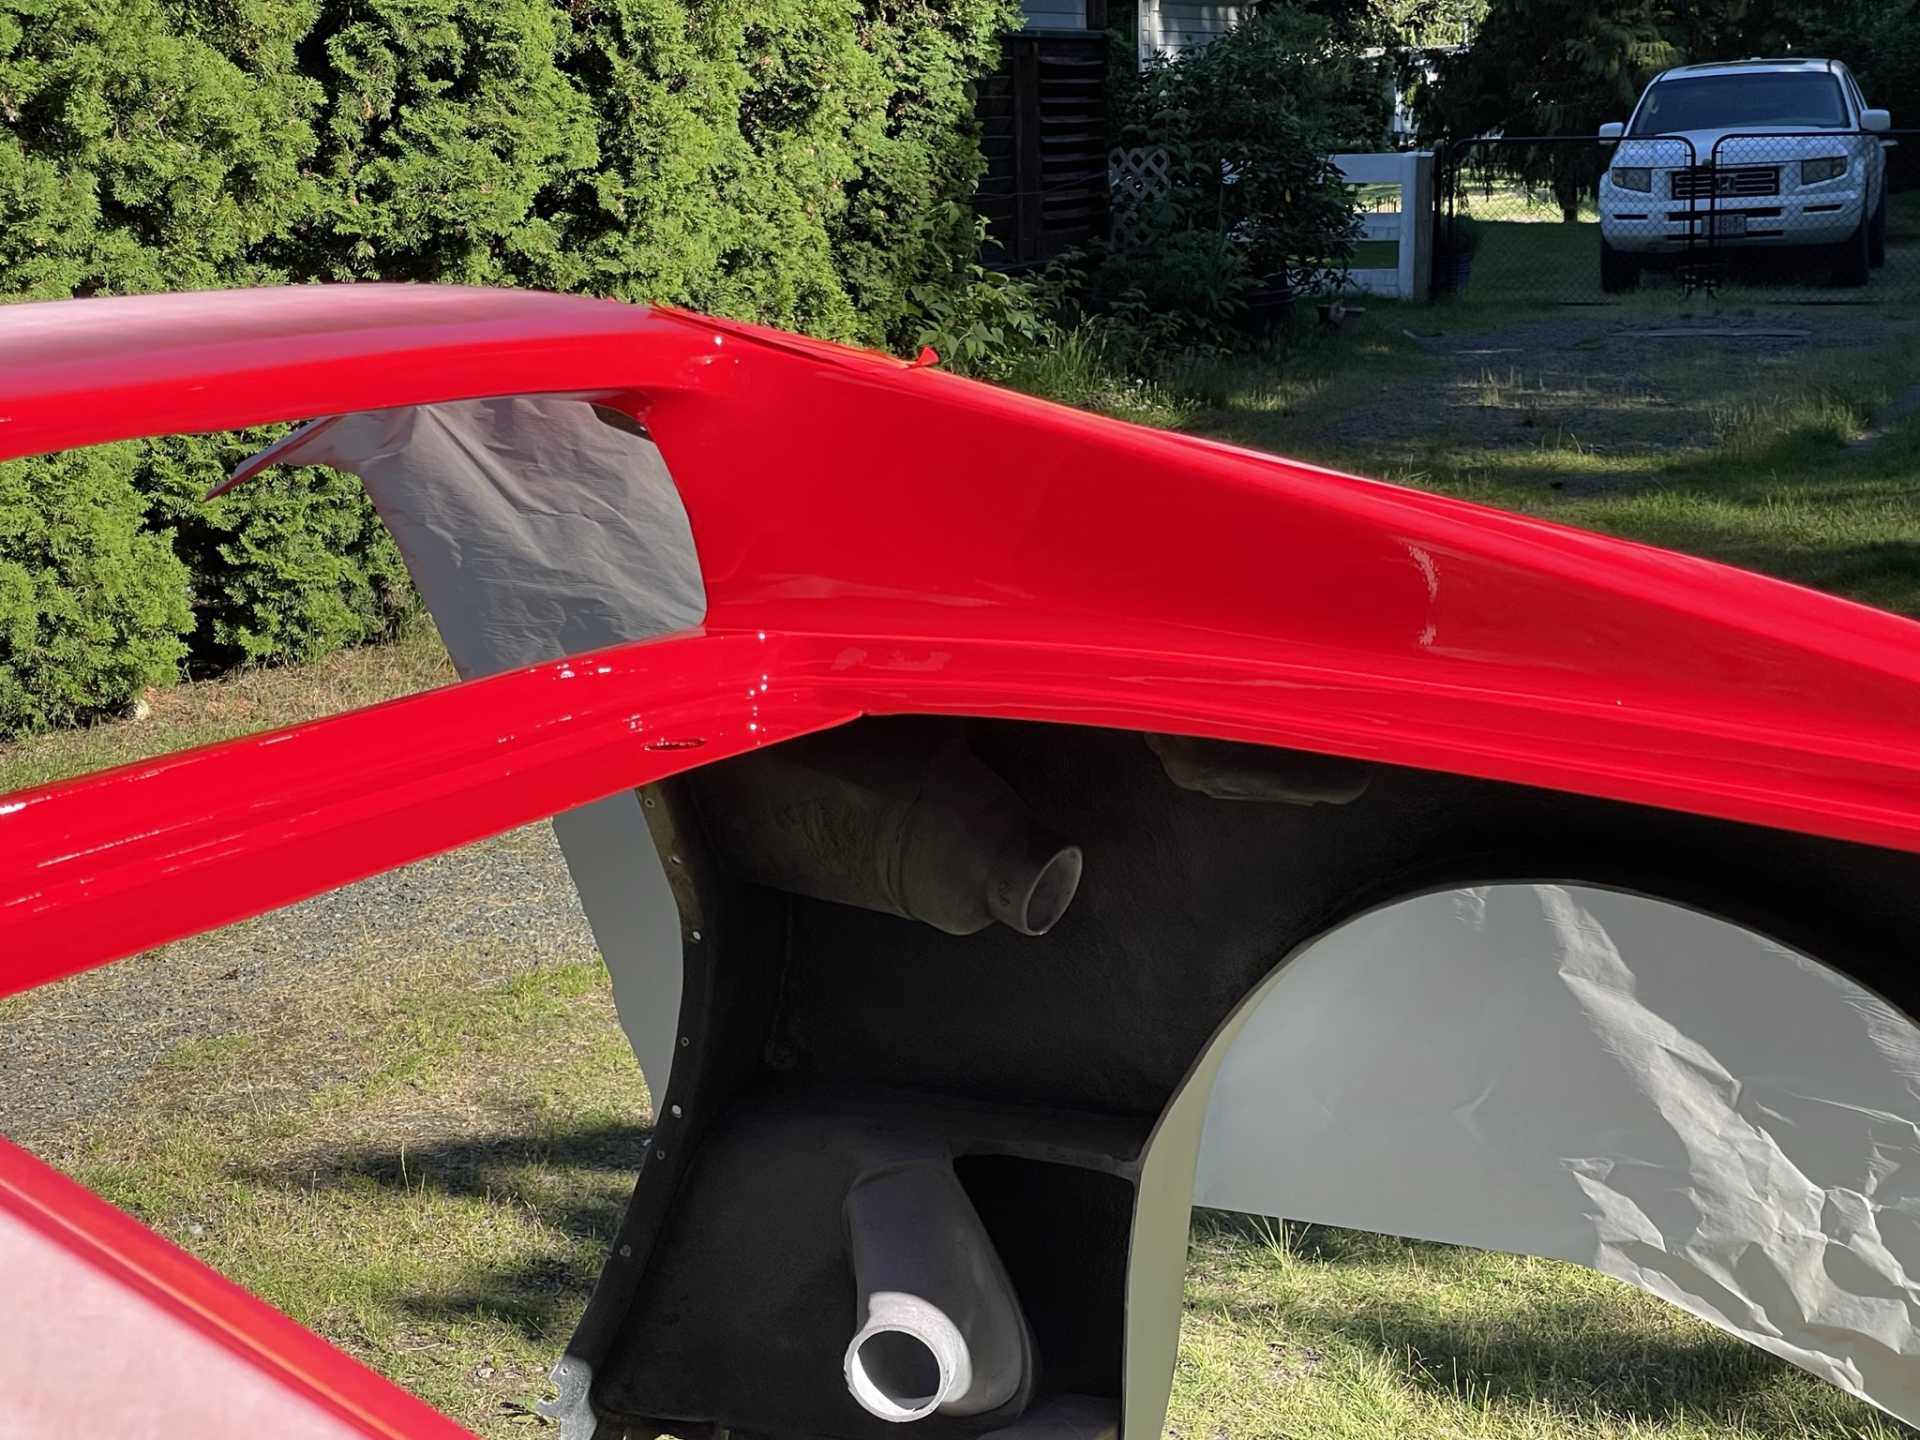
One of the difficult areas to paint on the rear area is the inside of the fast back so it was painted Rosso Corsa off the car it will get a wet sand then clear coated.
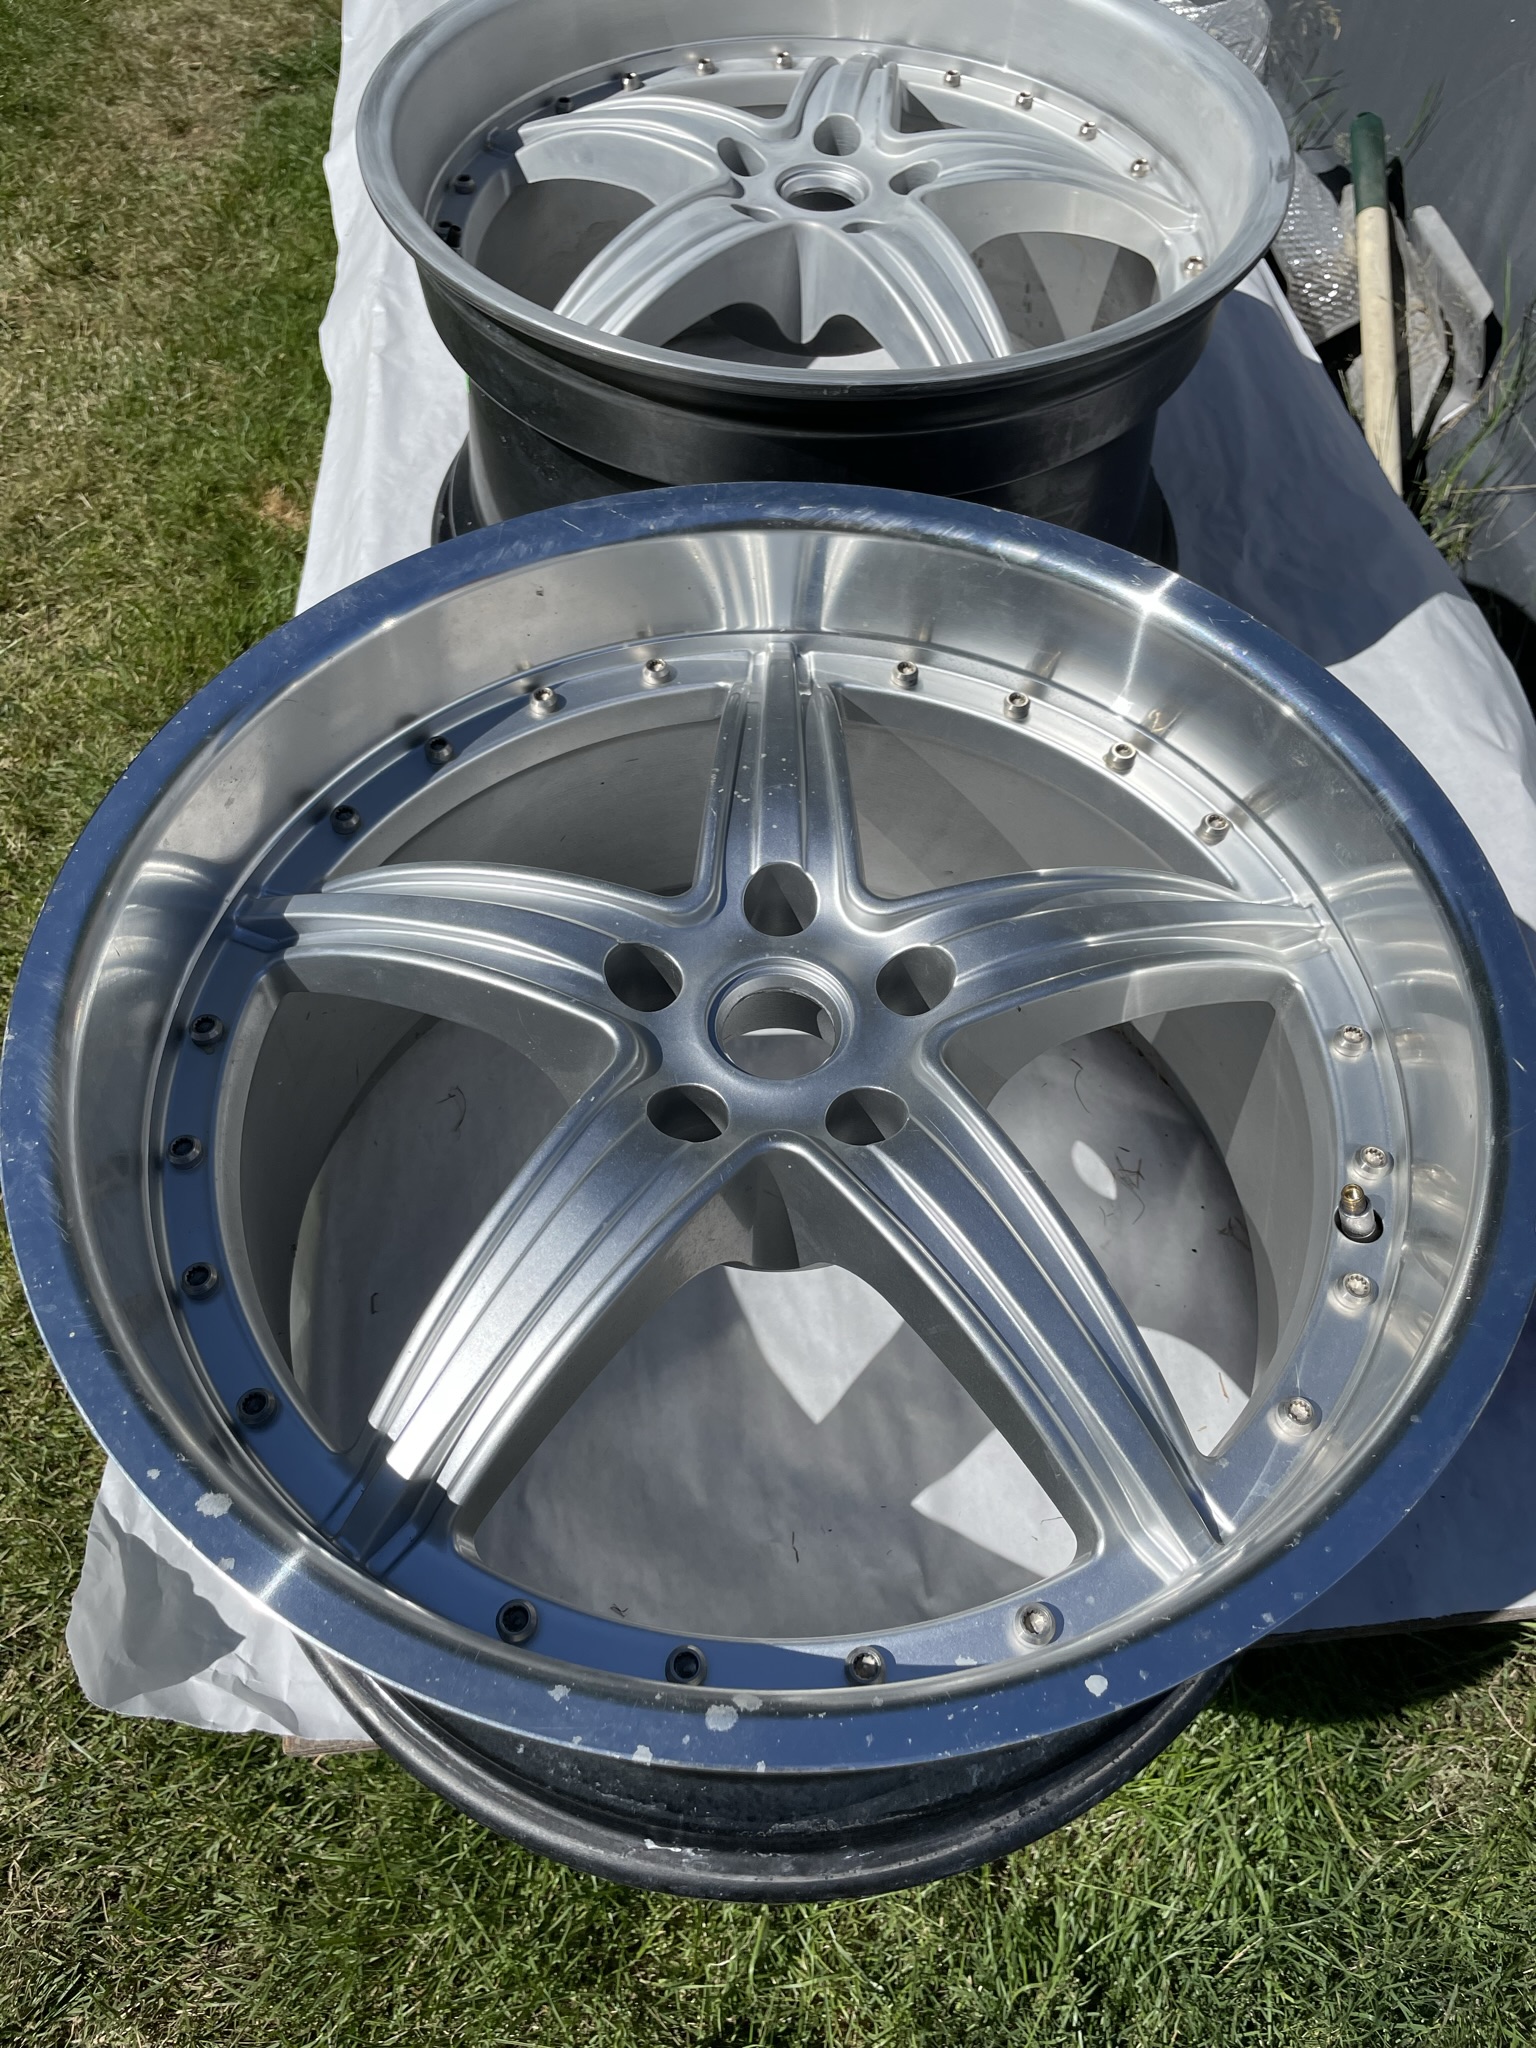
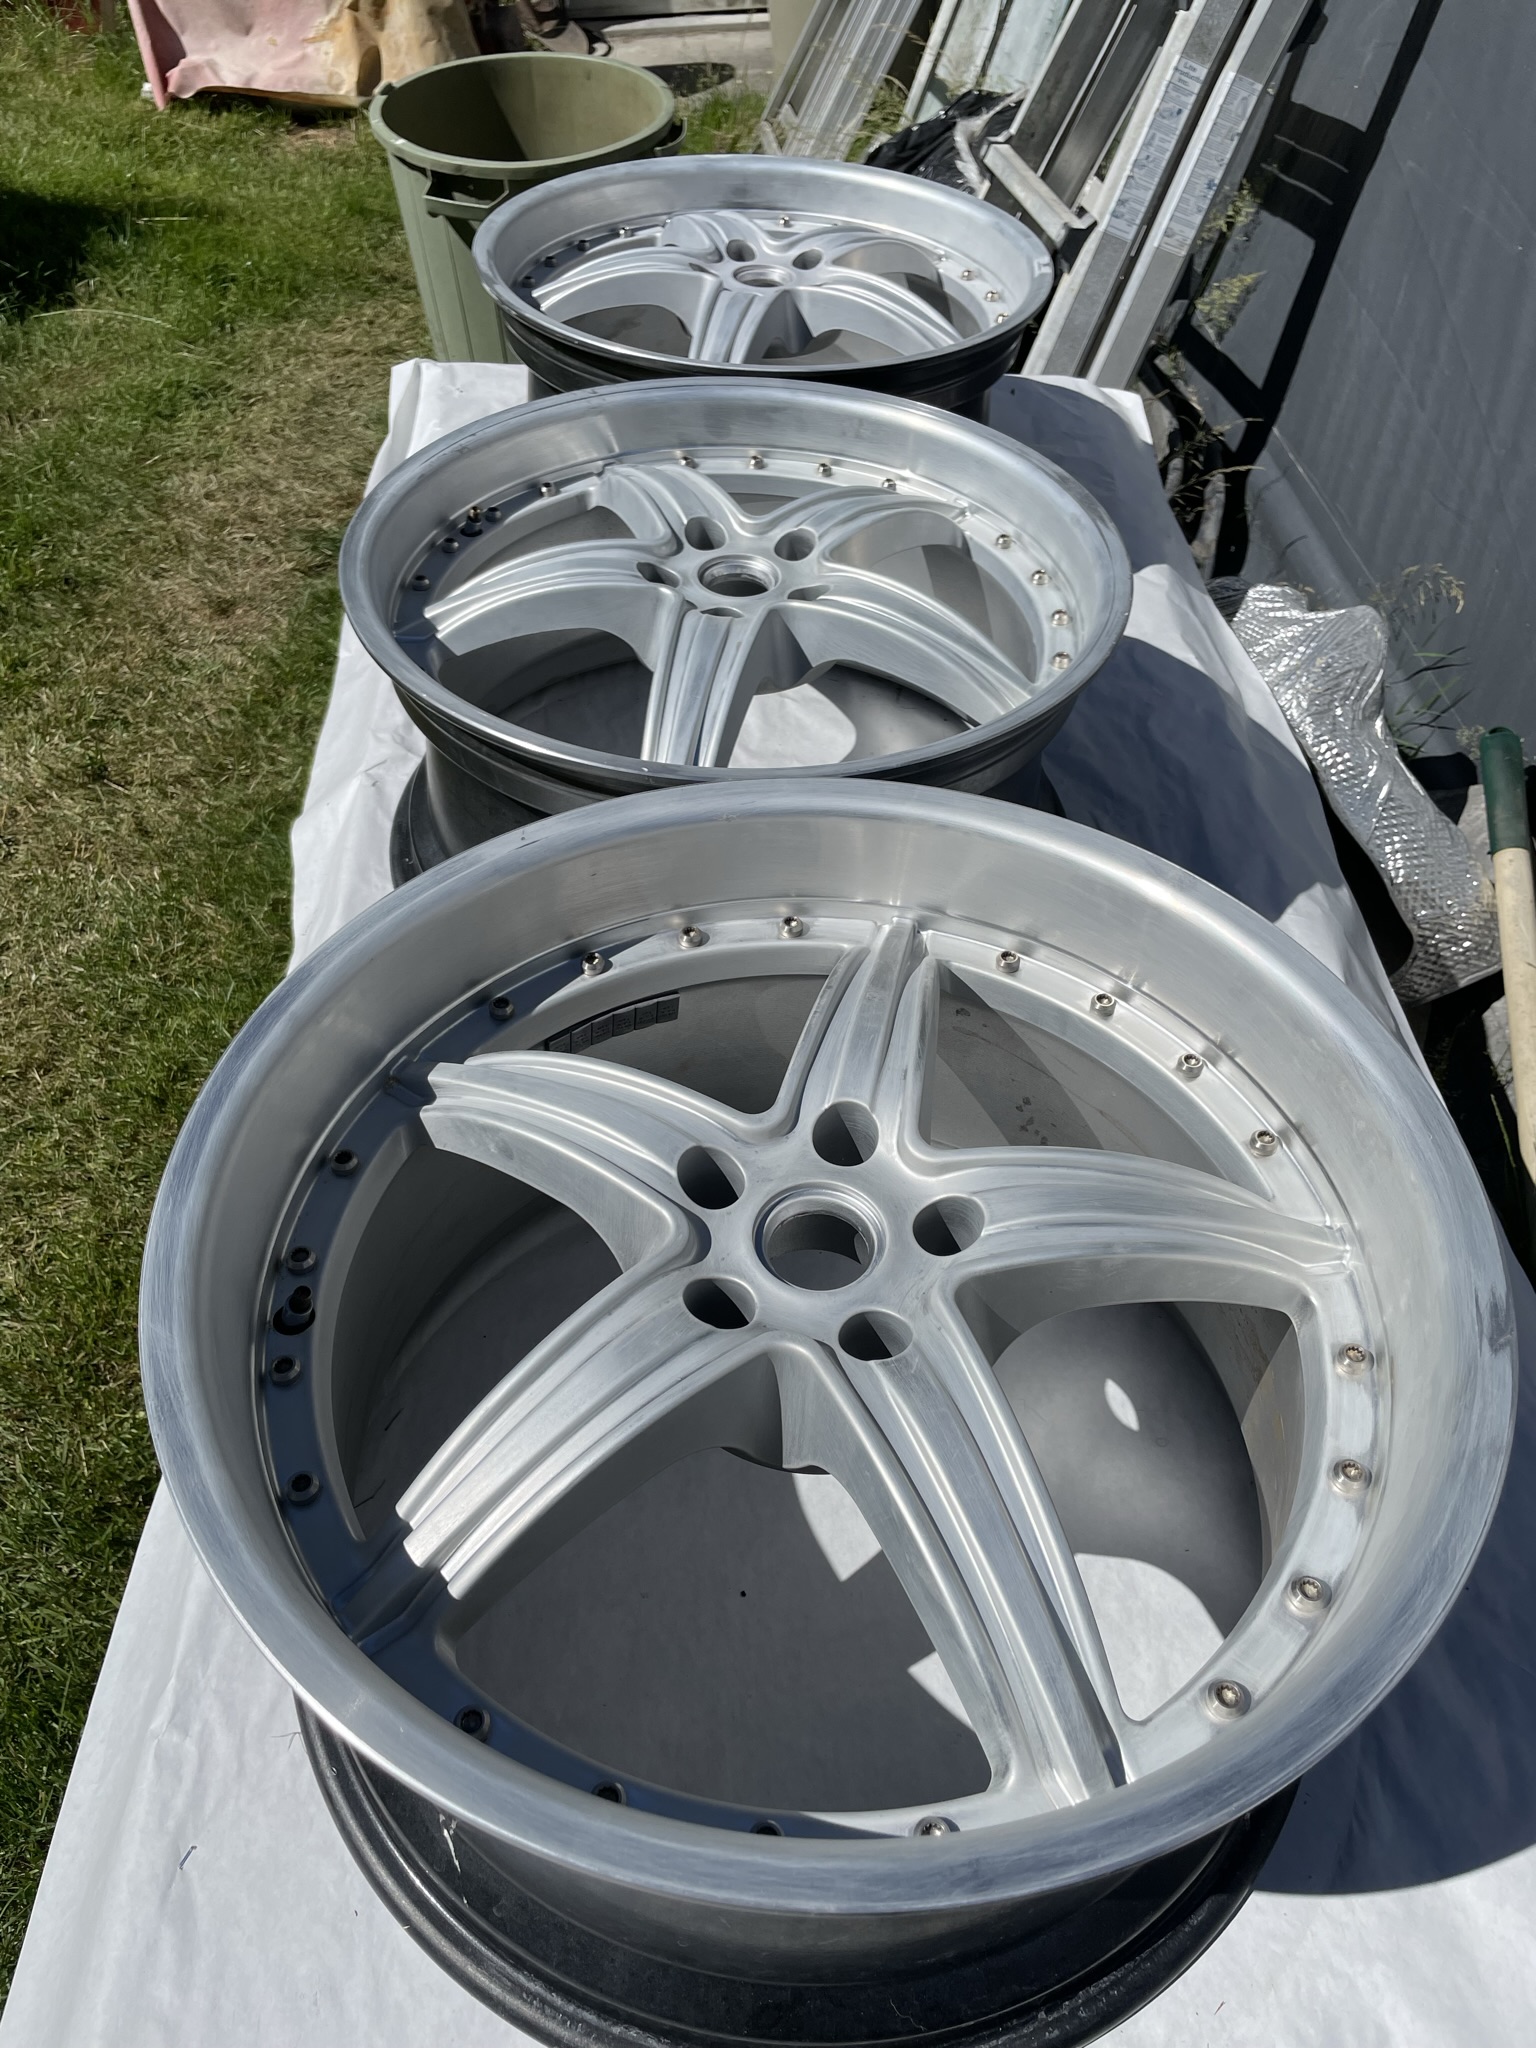
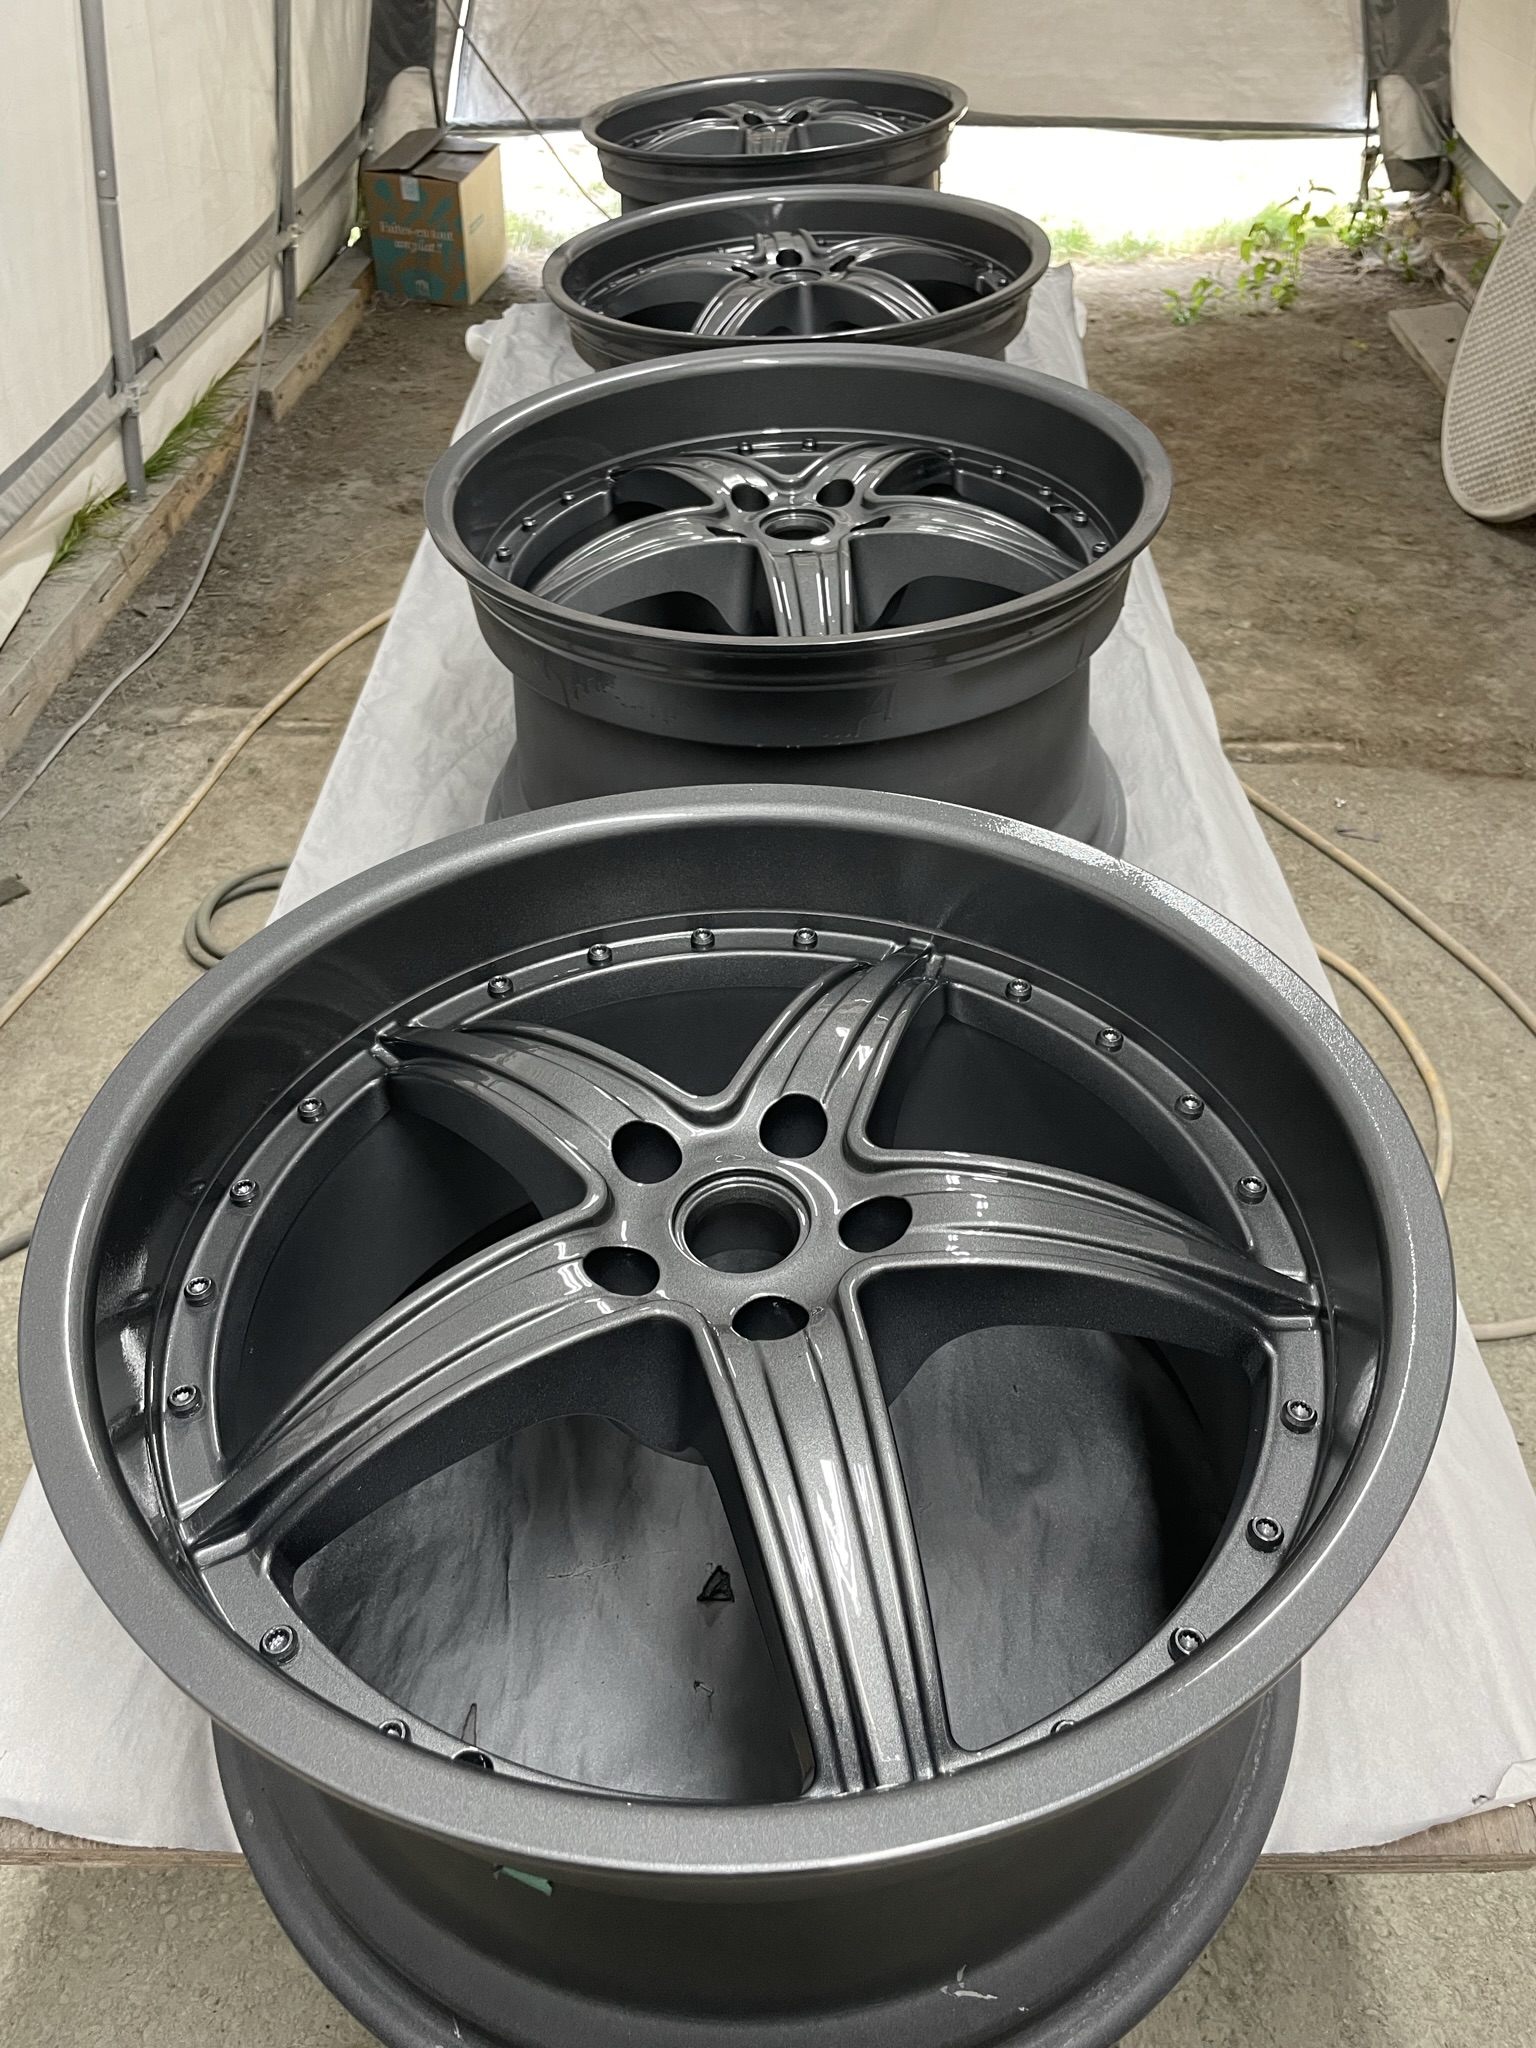
I also had the wheels and tires dismounted in preparation for painting the wheels. I repaired all the small nicks and scuffs with the red brillo pad and hope to paint them soon.
There's NO other red like rosso corsa....and it sure looks great on your superstar car!
Looking sooo good Wayne.....do take your time...but don't keep us in suspense any longer than necessary.
I do understand that there can be many things that keep one from "working on the car" and or other pet projects....just keep posting your progress as it is convenient.
Your doors look fantastic.
Your second, (or third....OR fourth...), wind should be kicking in anytime now.
That red does look great, will the wheels be painted red to match? I like the yellow calipers, will definitely make them pop. Are they real ferrari calipers with the adapter plate in the above pic? Keep up the great work!
Thanks everyone for the positive motivational comments always appreciated. Things are moving along in between family summer visits I have been able to get a couple small projects done.
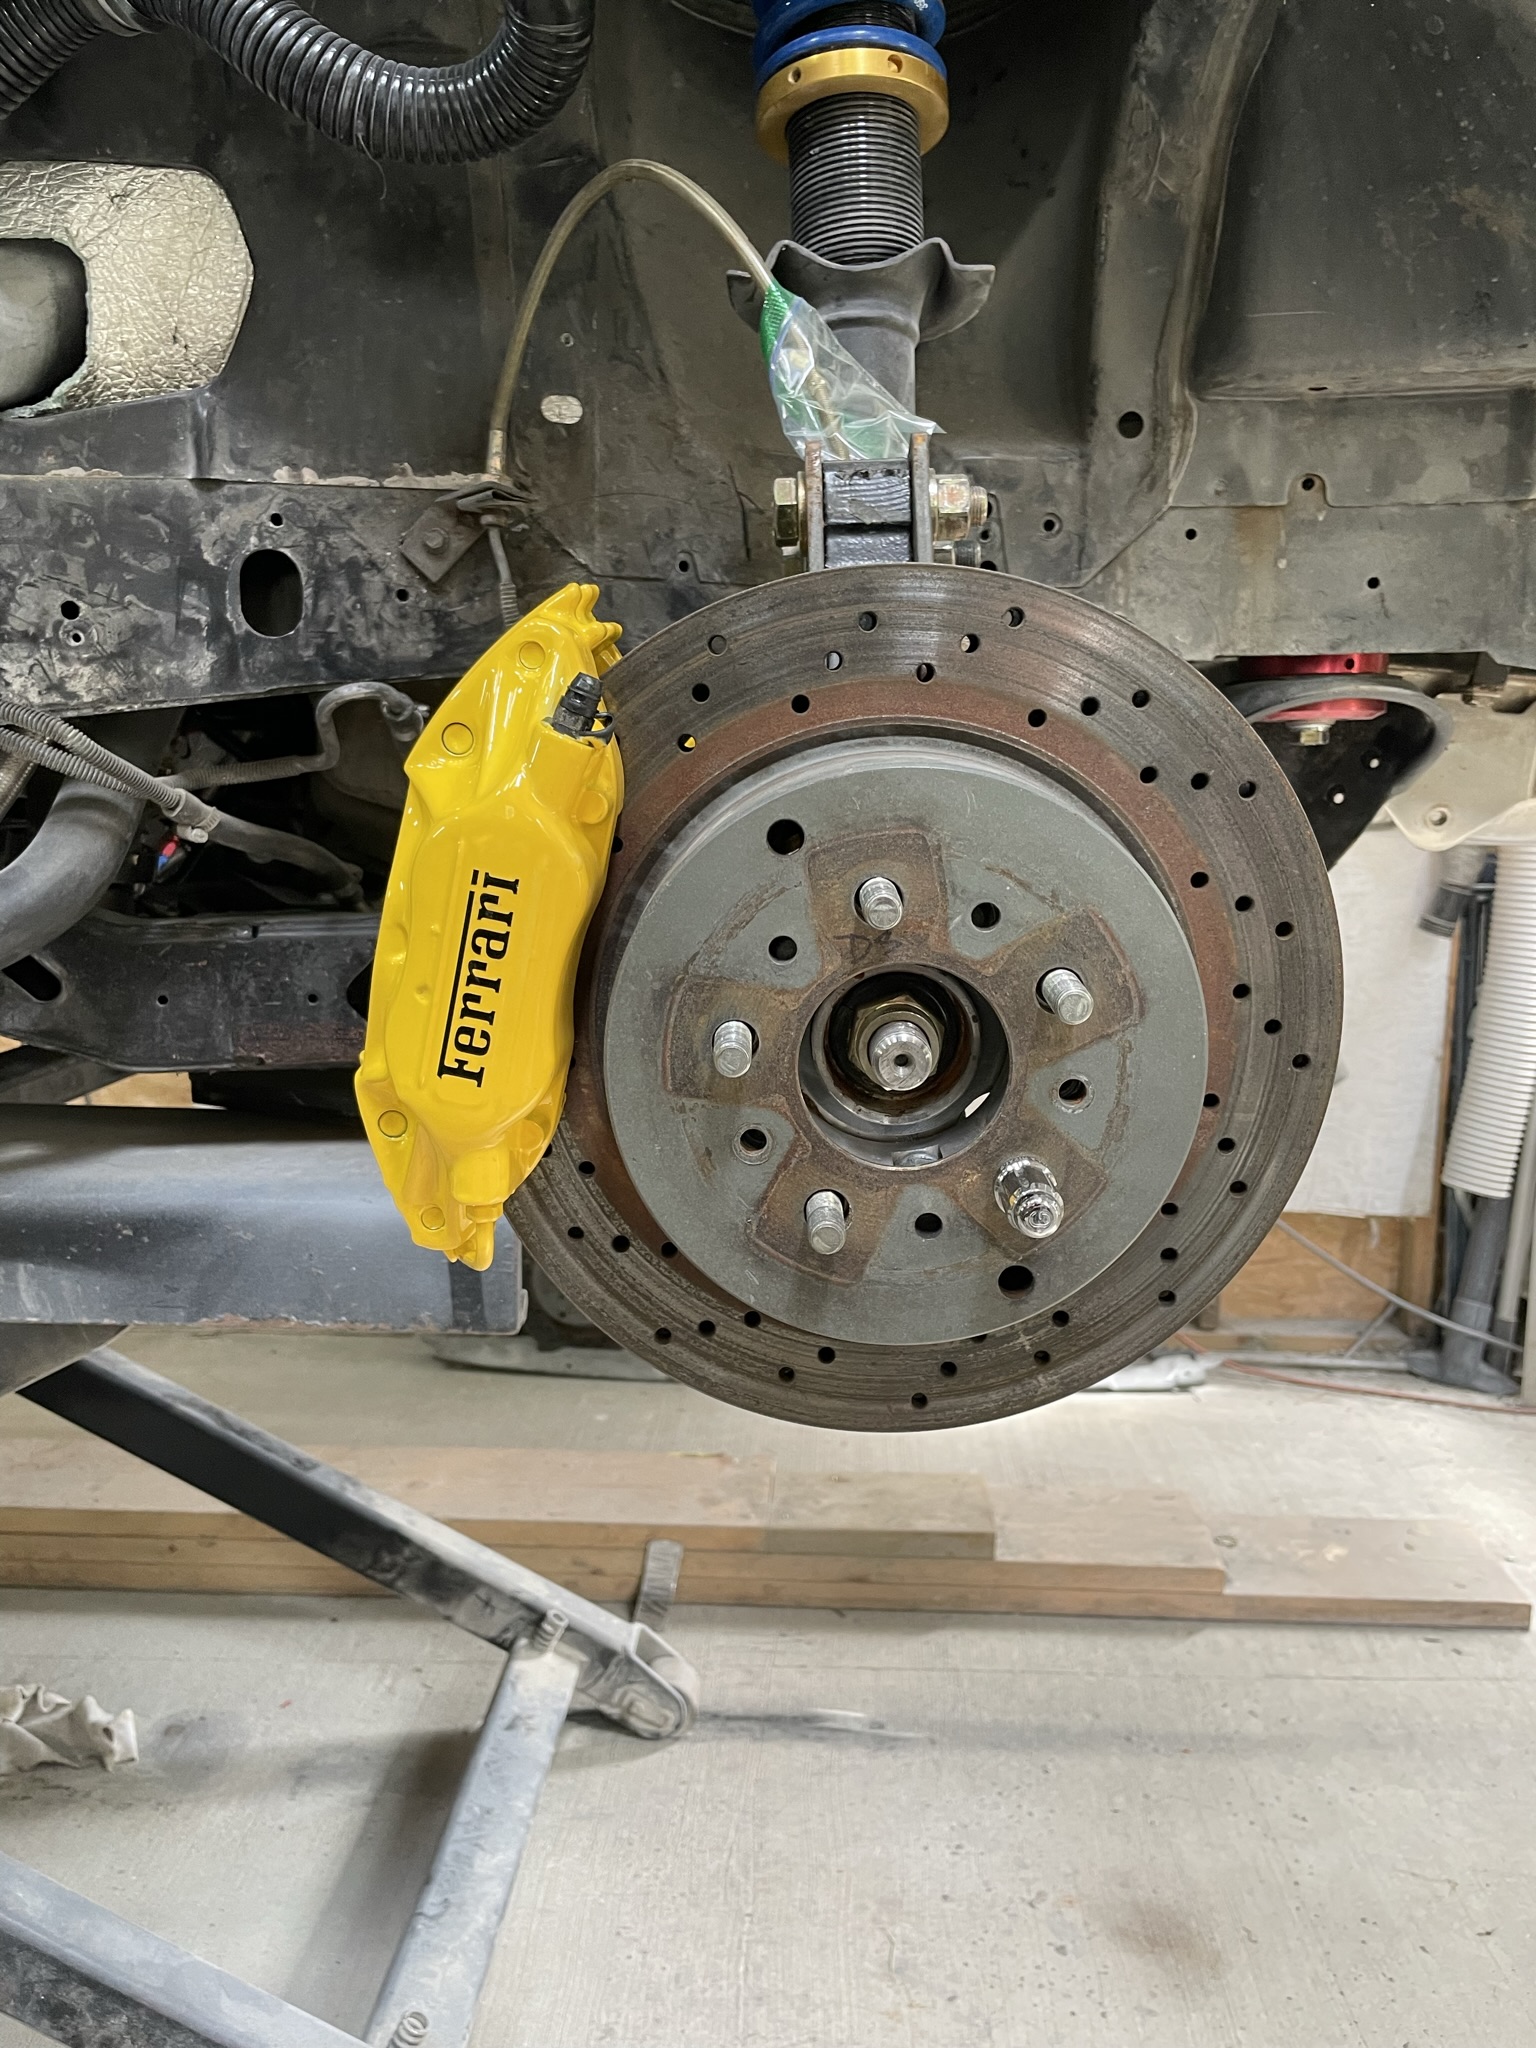
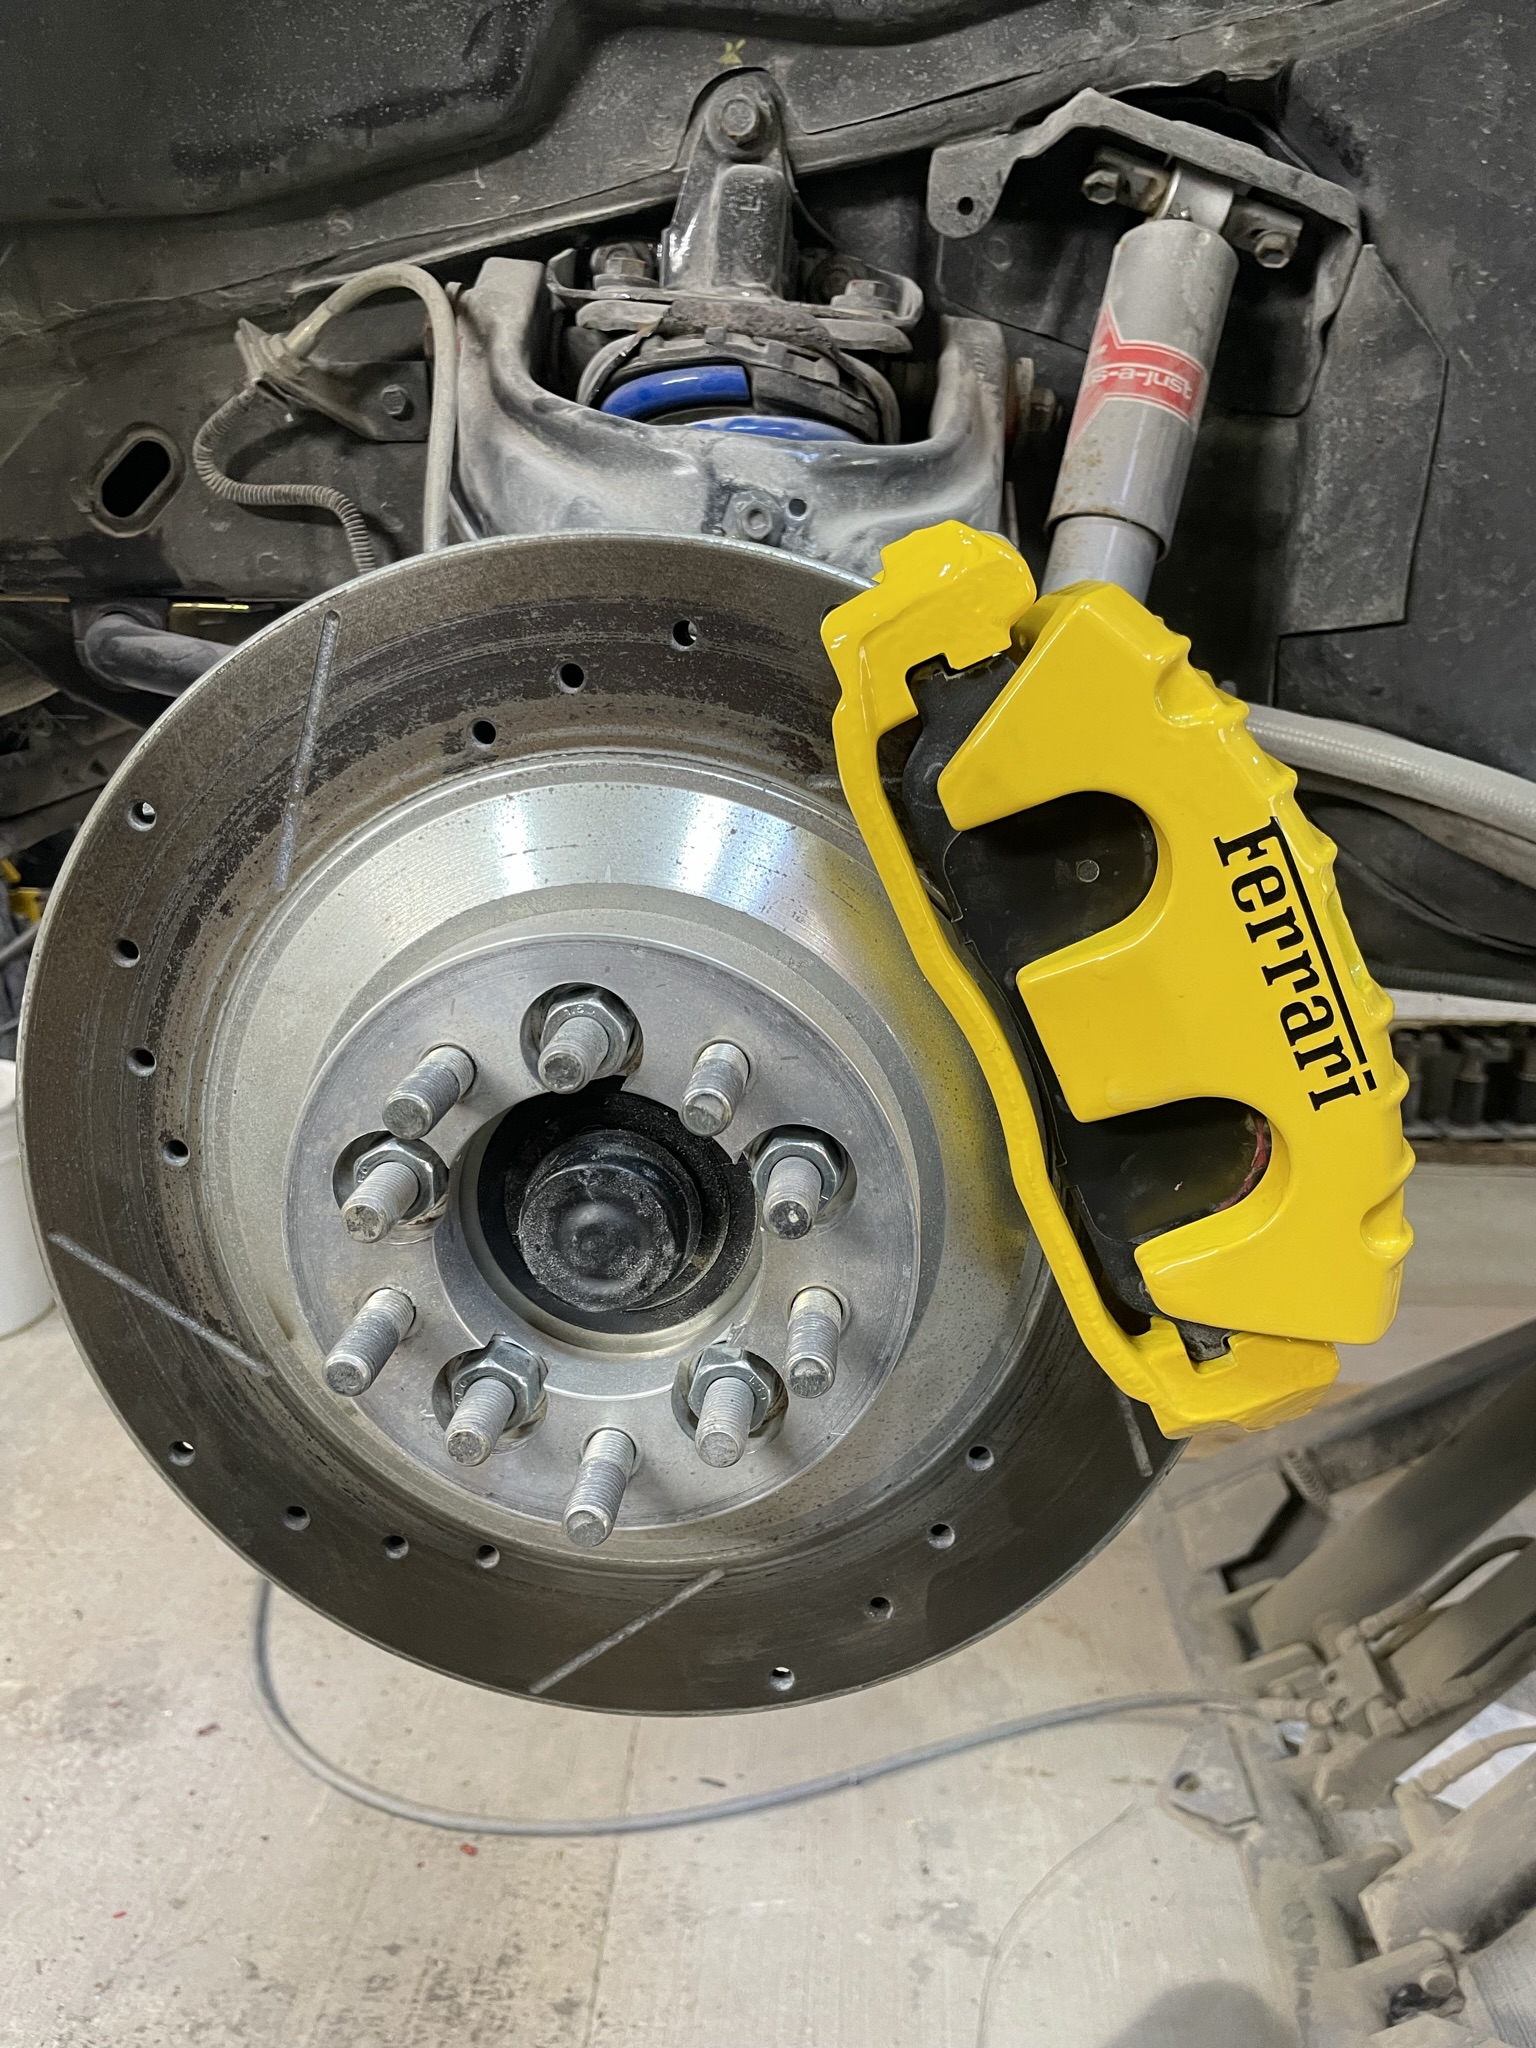
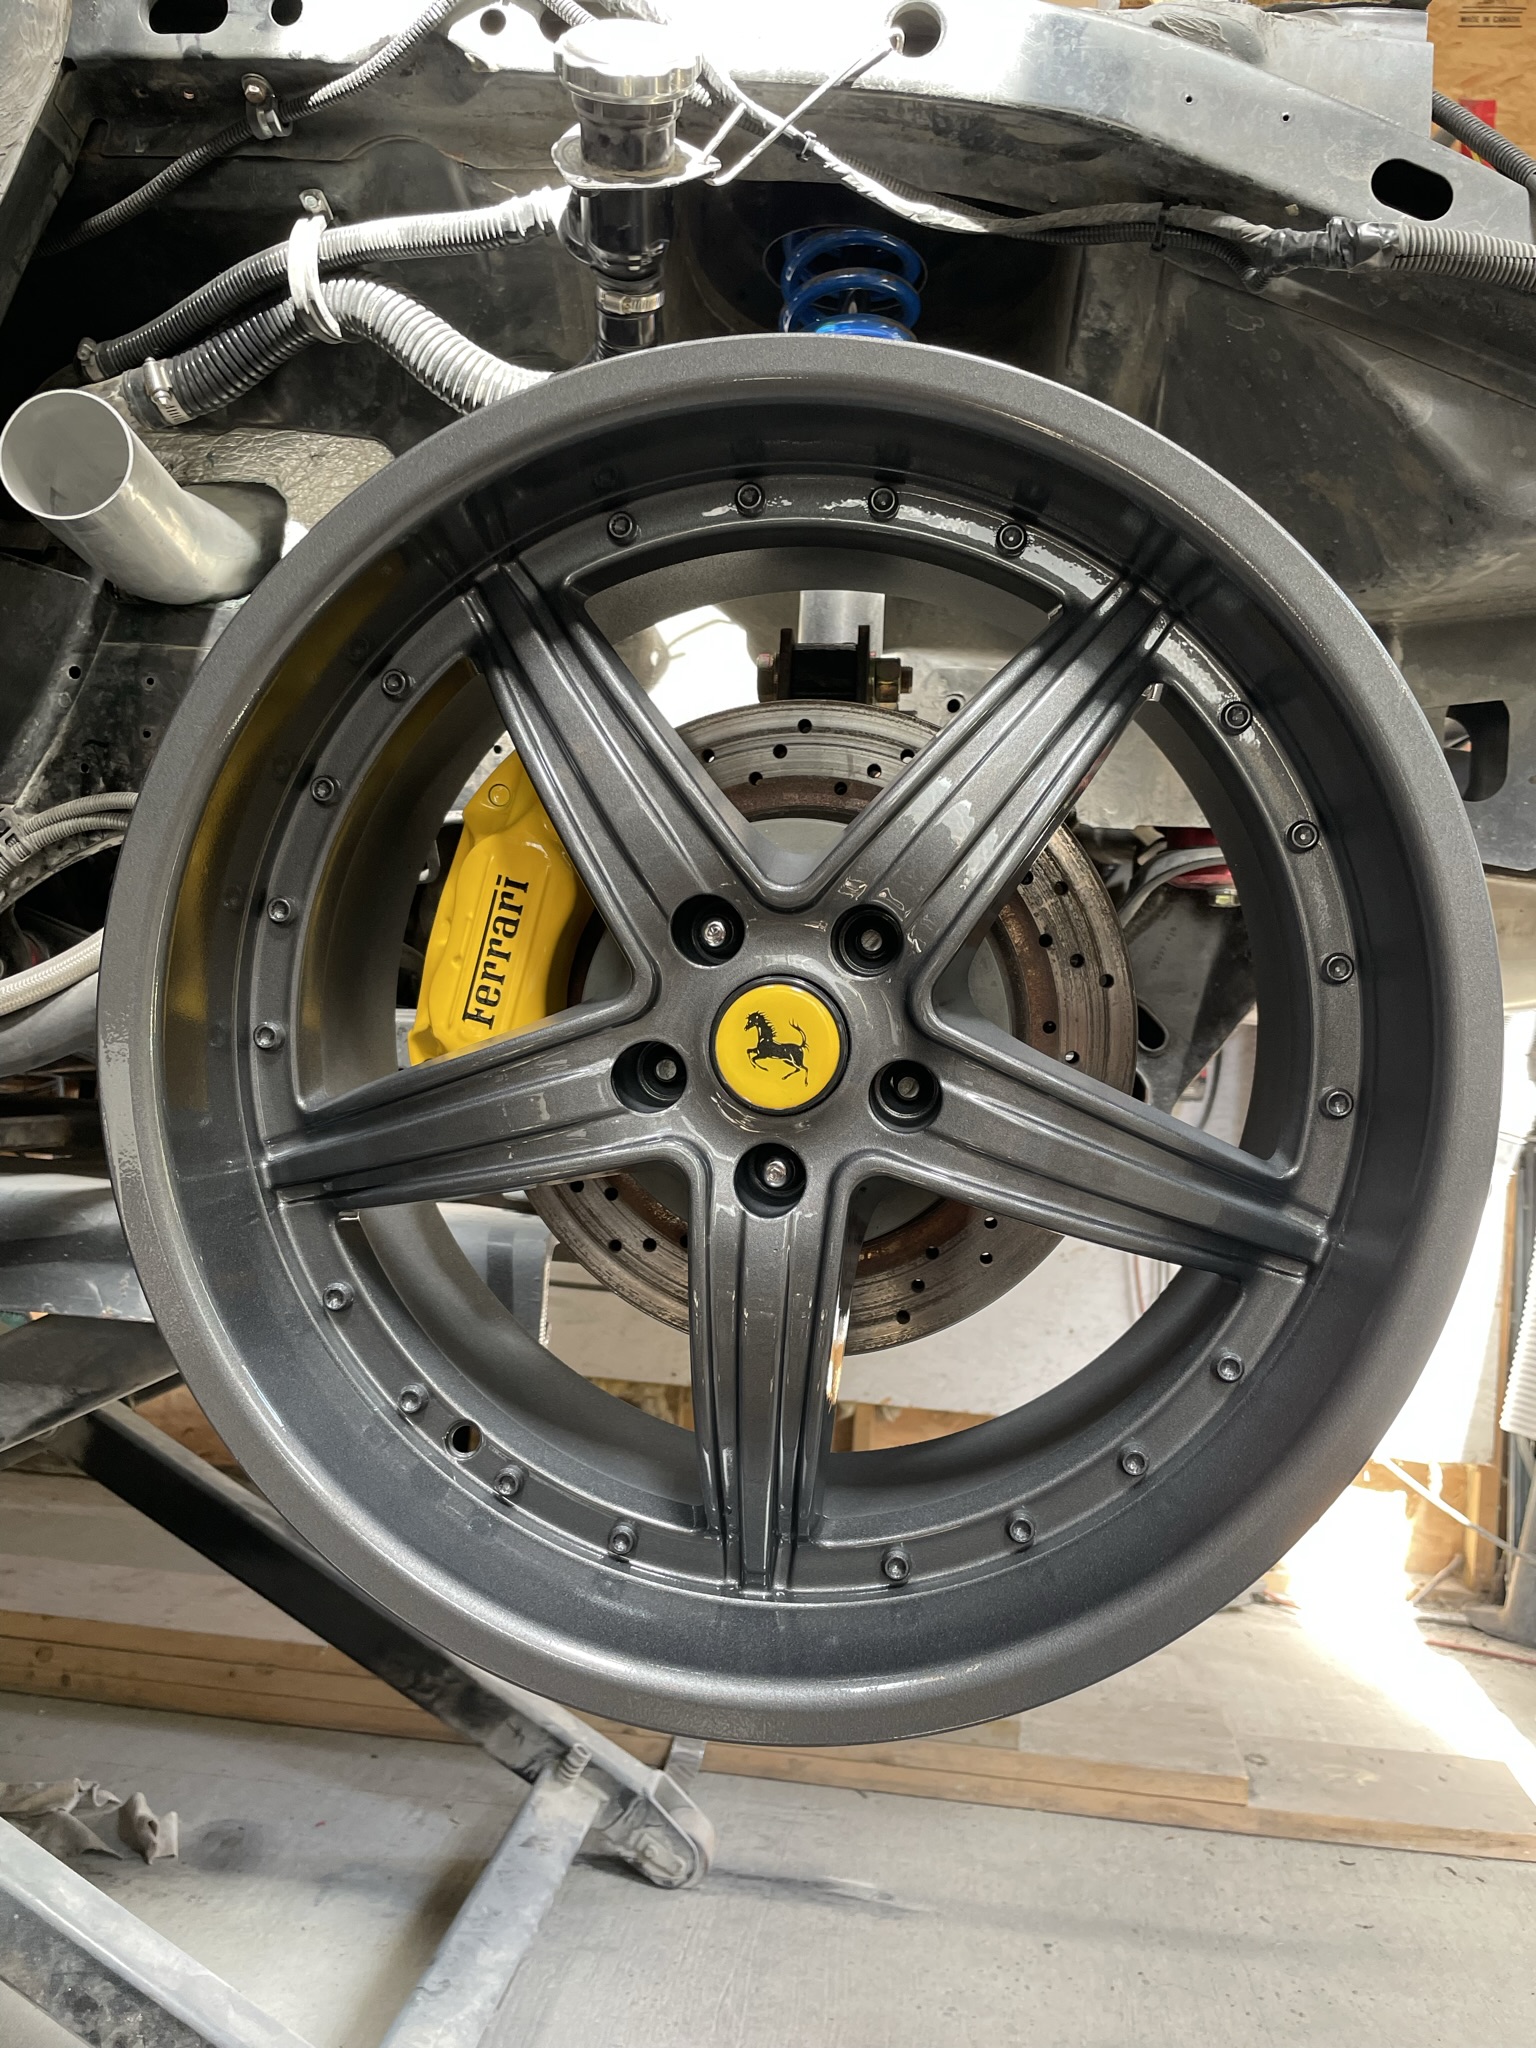
I got the caliper stickers applied and then sealed everything with a couple coats of clear coat.
Then got the calipers and rotors reinstalled front and back.
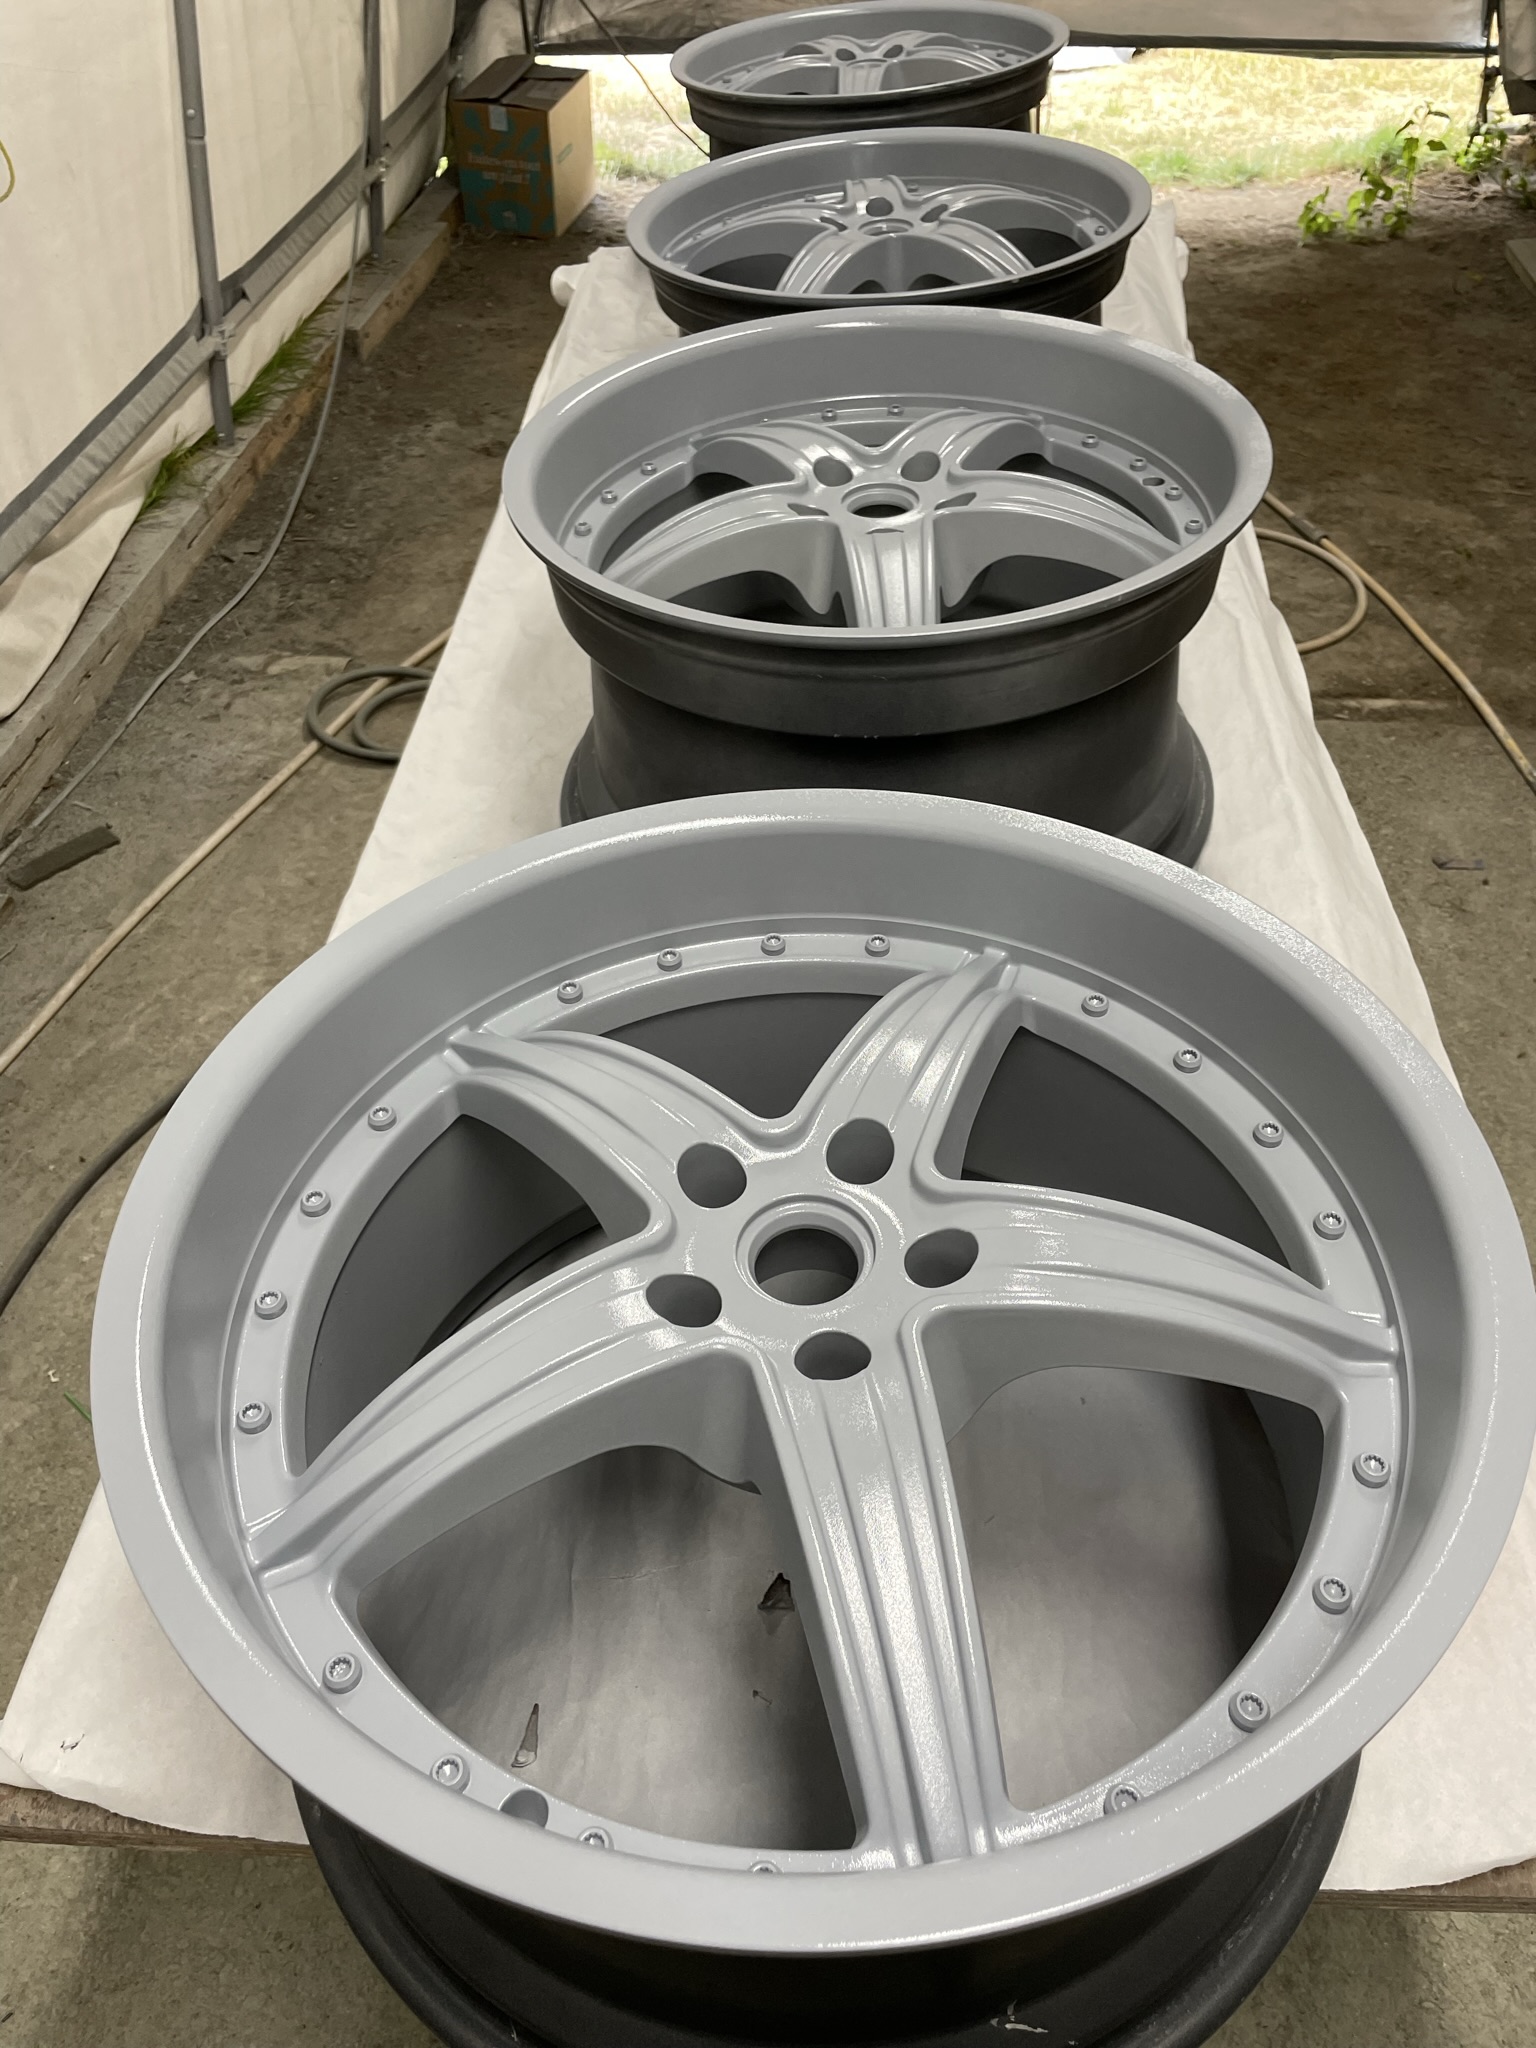
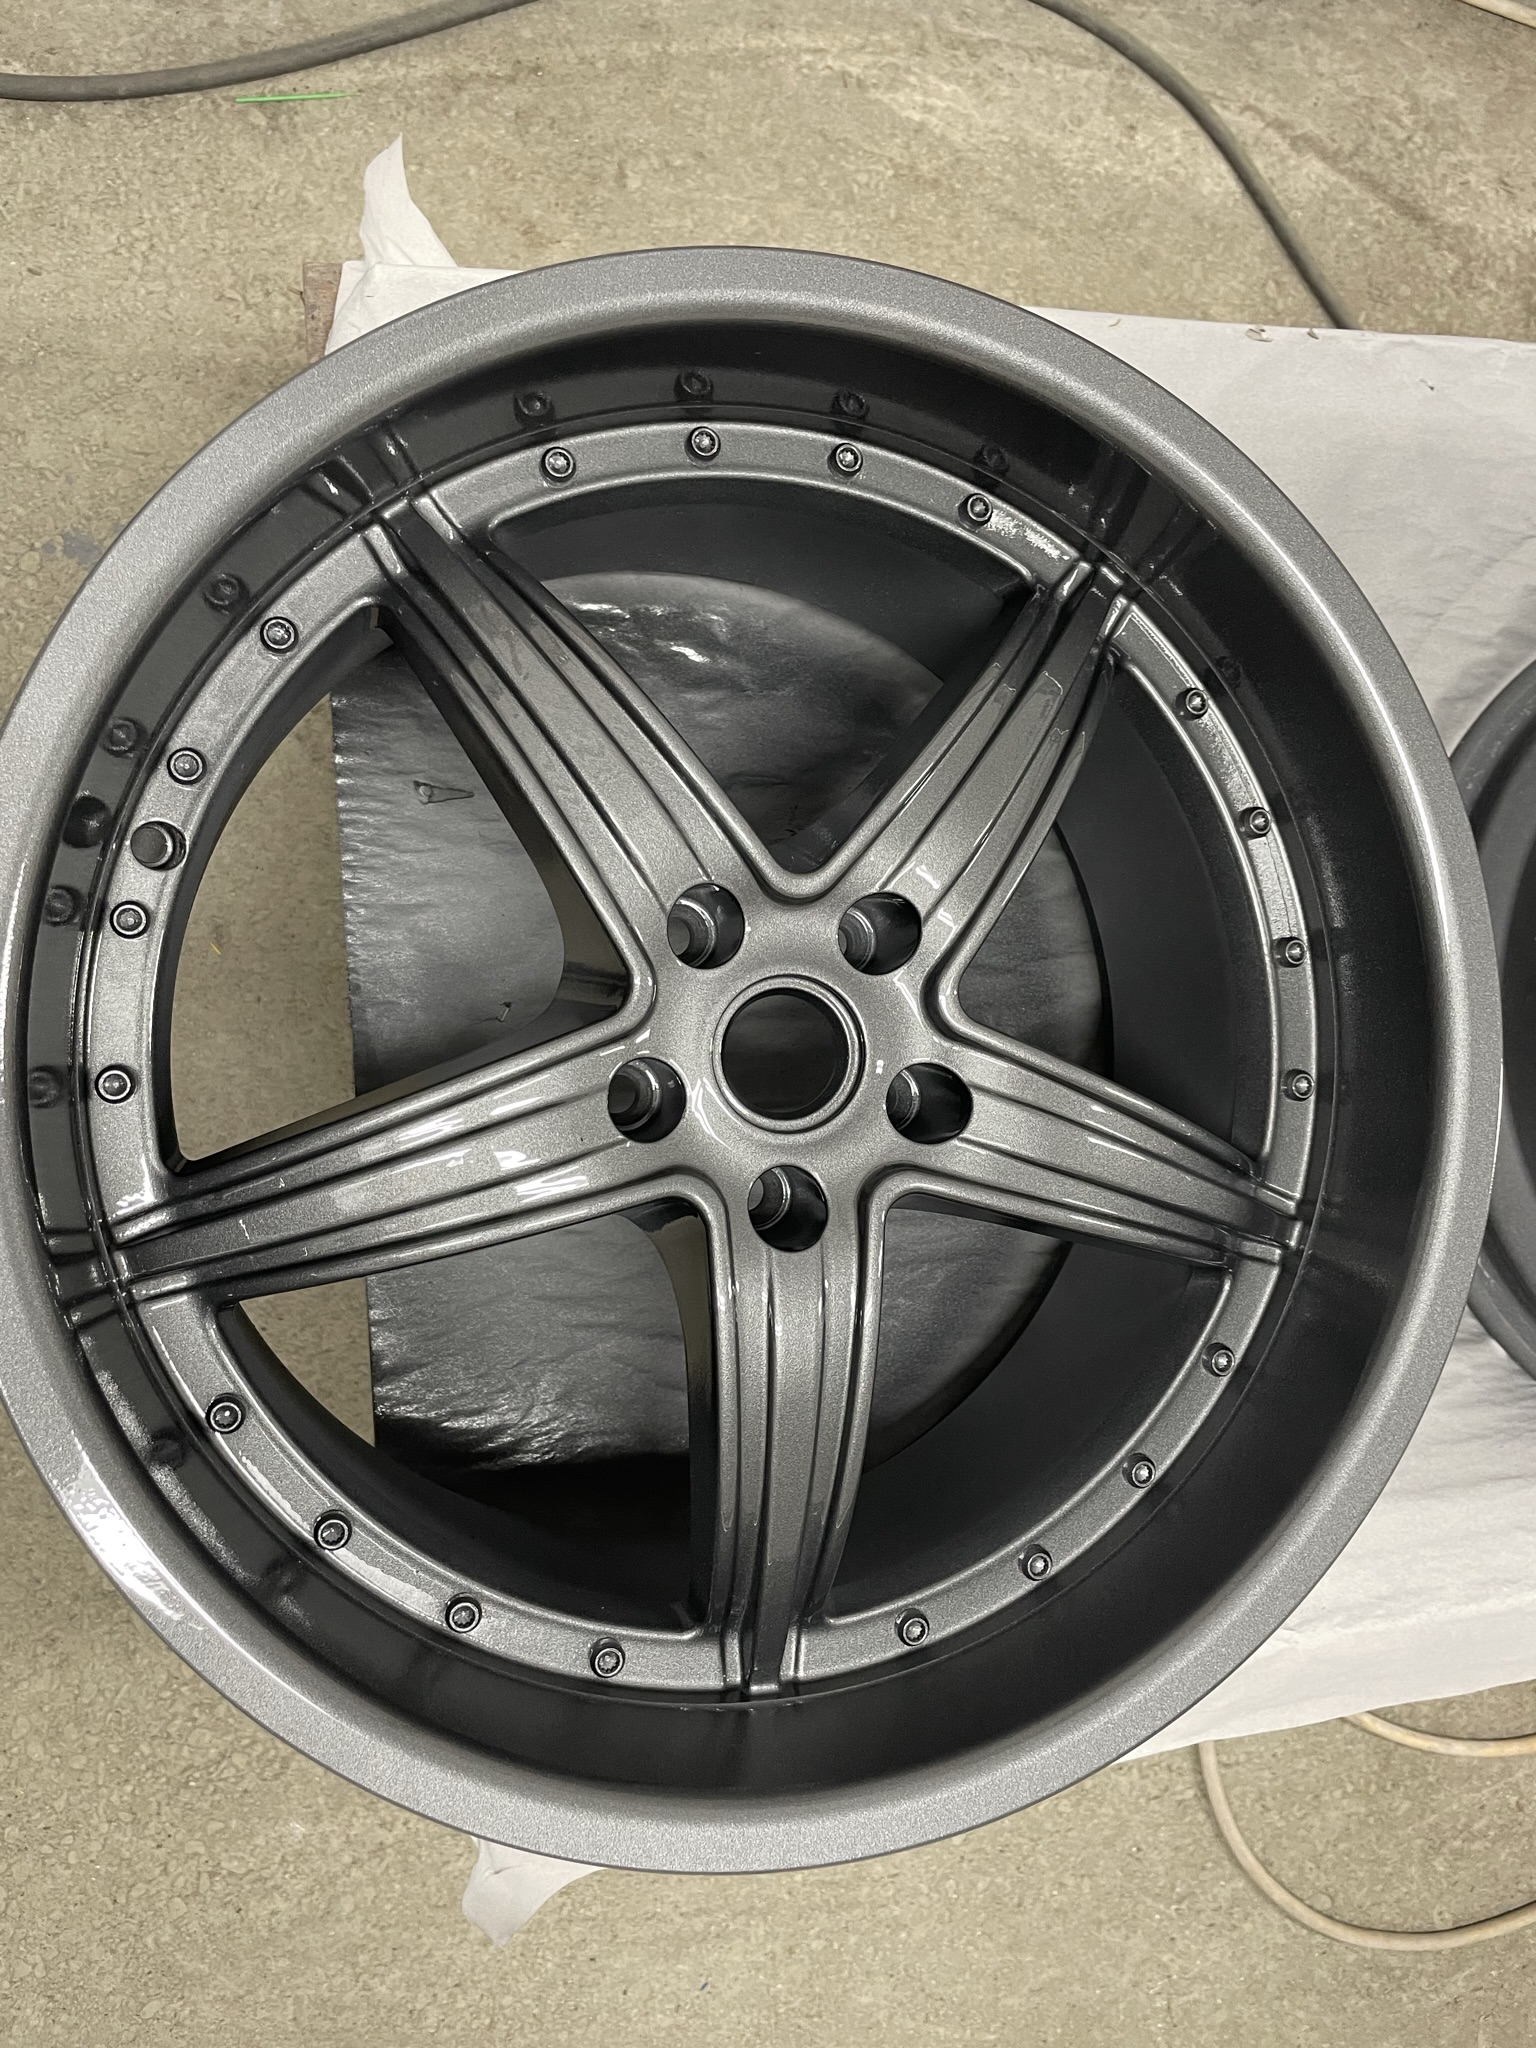
With that project complete I moved onto getting the wheel Color change finished so I can get the car mobile again. So I left off with the wheels all prepped and ready for a coat of epoxy primer as a base for the paint and clear.
The secret to painting wheels or anything for that matter is to not go too heavy on the first couple coats to avoid any runs, after The layer flashes the next two coats total “3” can be heavier. Then let it flash before the clear coat Is sprayed.
Well what do you think?
I still need to get back working out and finalizing the electrical so I can finish and install the body for the last time.
Stay safe everyone Wayne.
[This message has been edited by dobie1 (edited 08-10-2022).]
The wheels came out perfect and I really like the calipers. What about adding some red to the wheels? The raised center stripe on each spoke or the 2 indented areas running alongside the raised area on each spoke would make em pop. Im a big fan of the polished lip look and colored wheel centers, but it still came out great and looks the same. Good stuff man keep it up!
Its taking way longer than I ever imagined but progress non the less!!
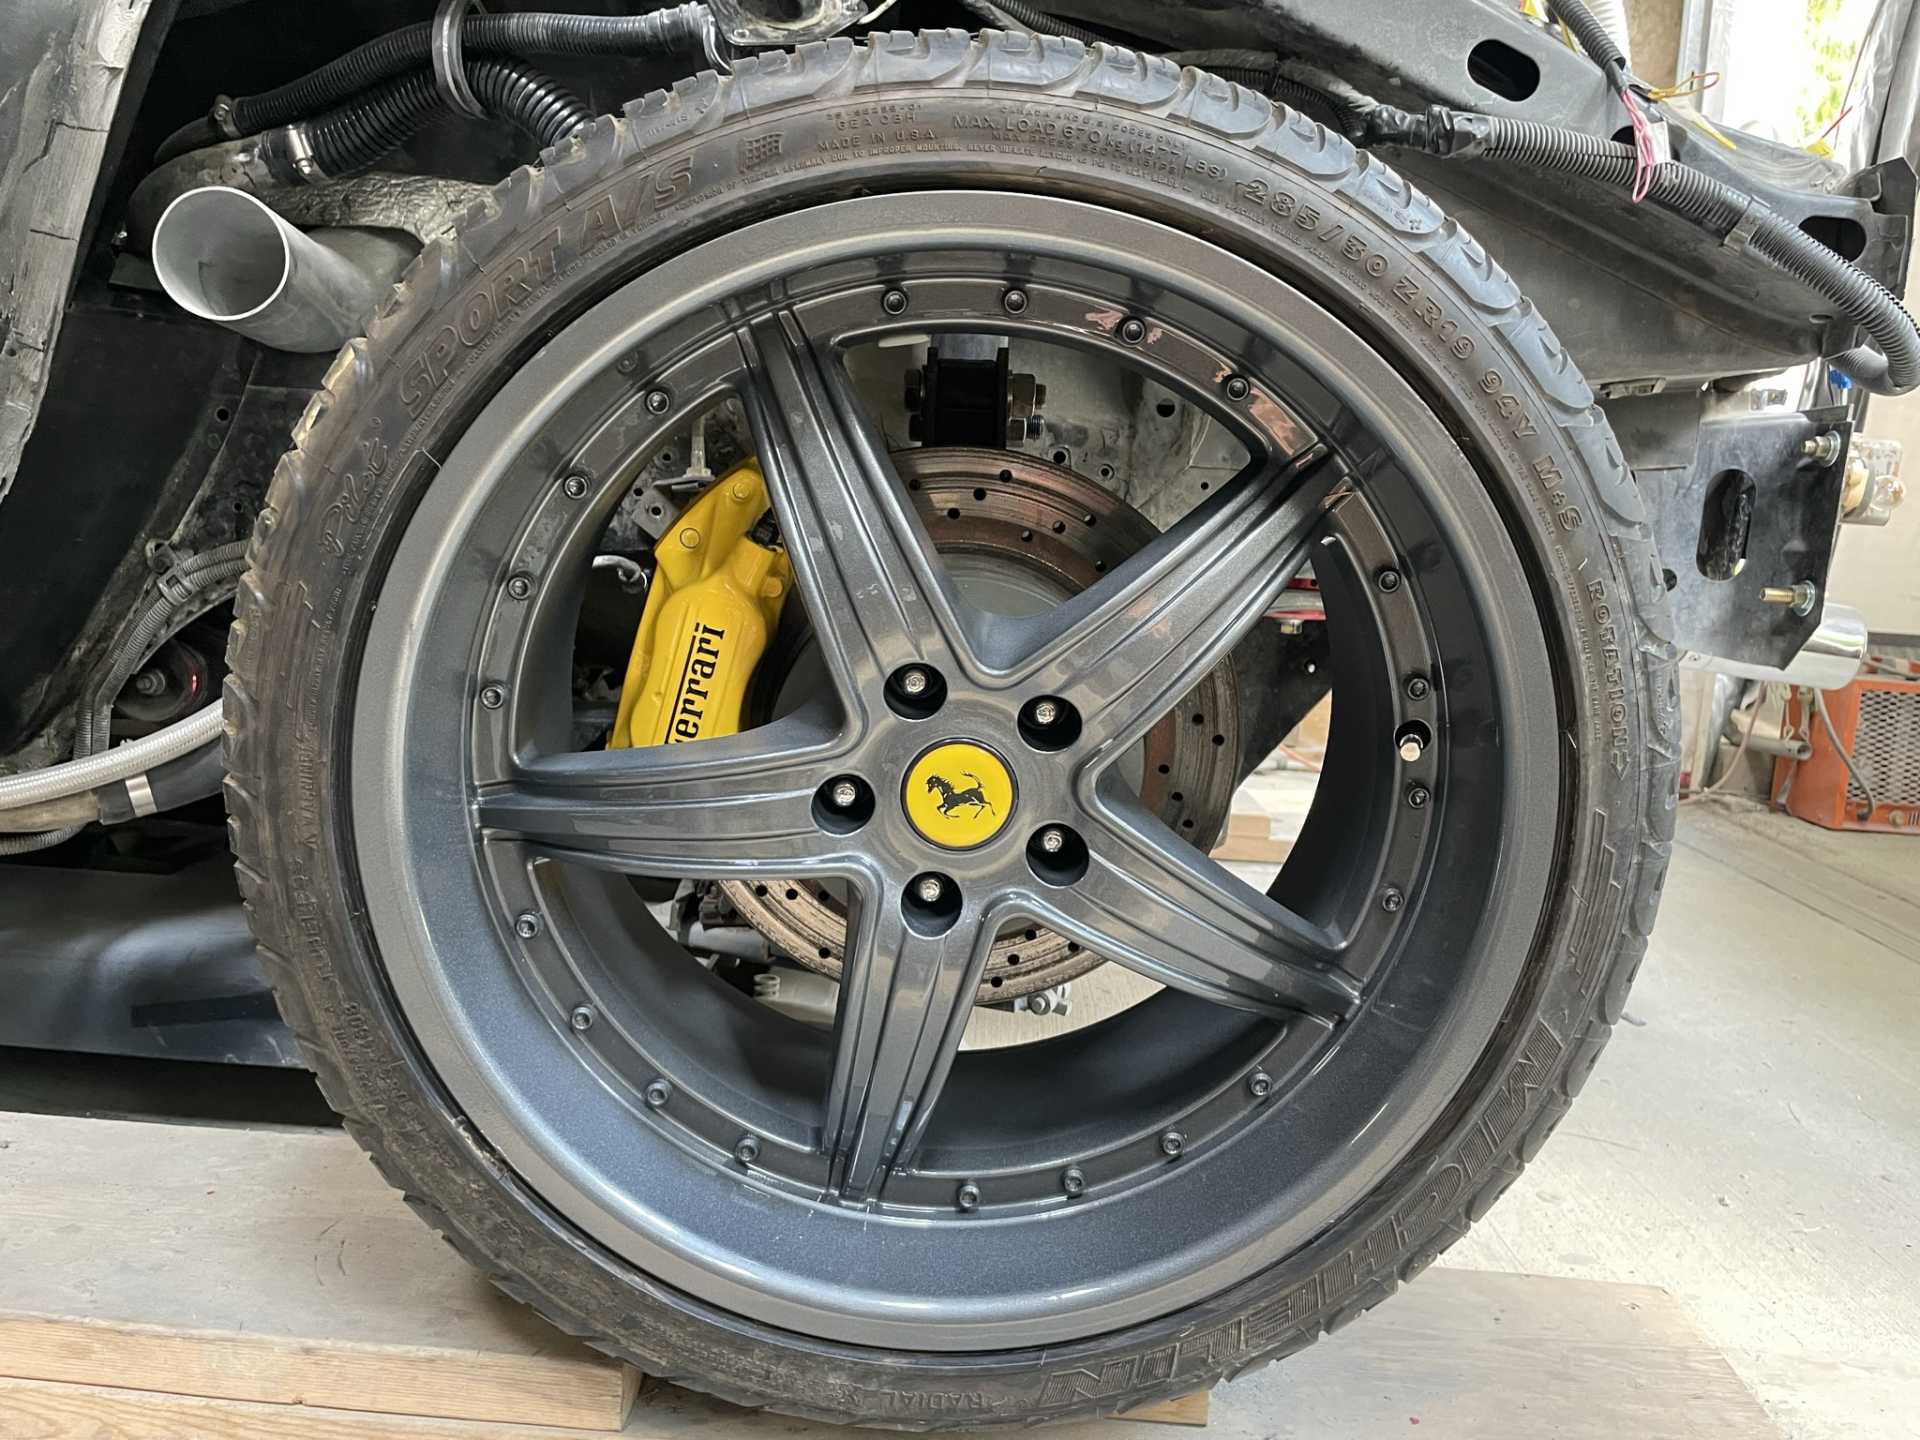
So I got all the tires and wheels mounted so it’s a roller once again.
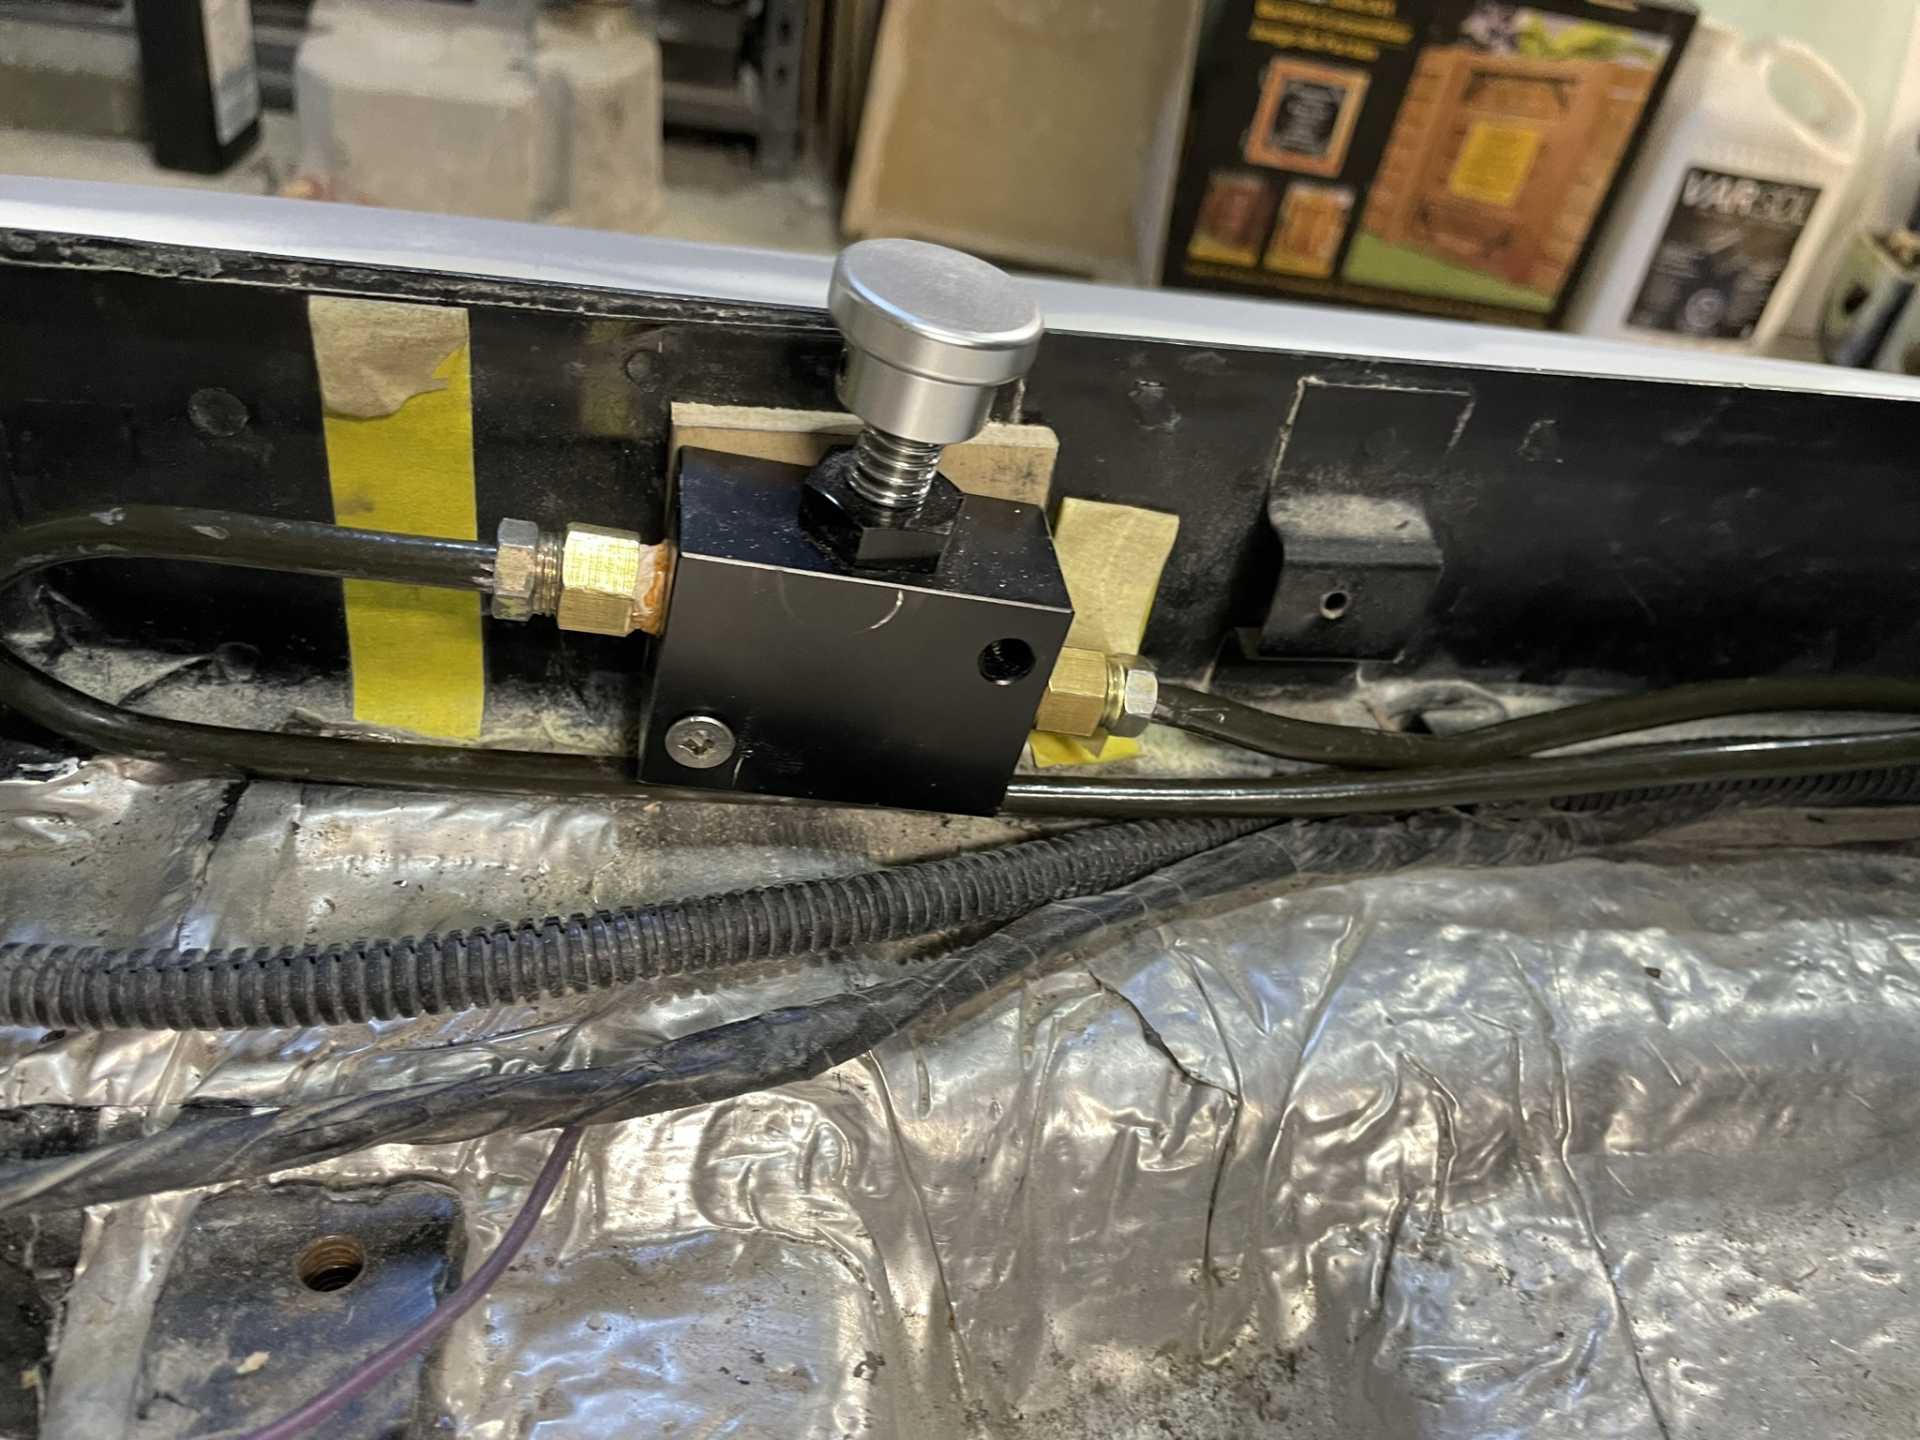
I still need to get the hydraulic brake lock installed “ my parking brake” Then I can bleed the brakes and can once again drive the chassis if needed.
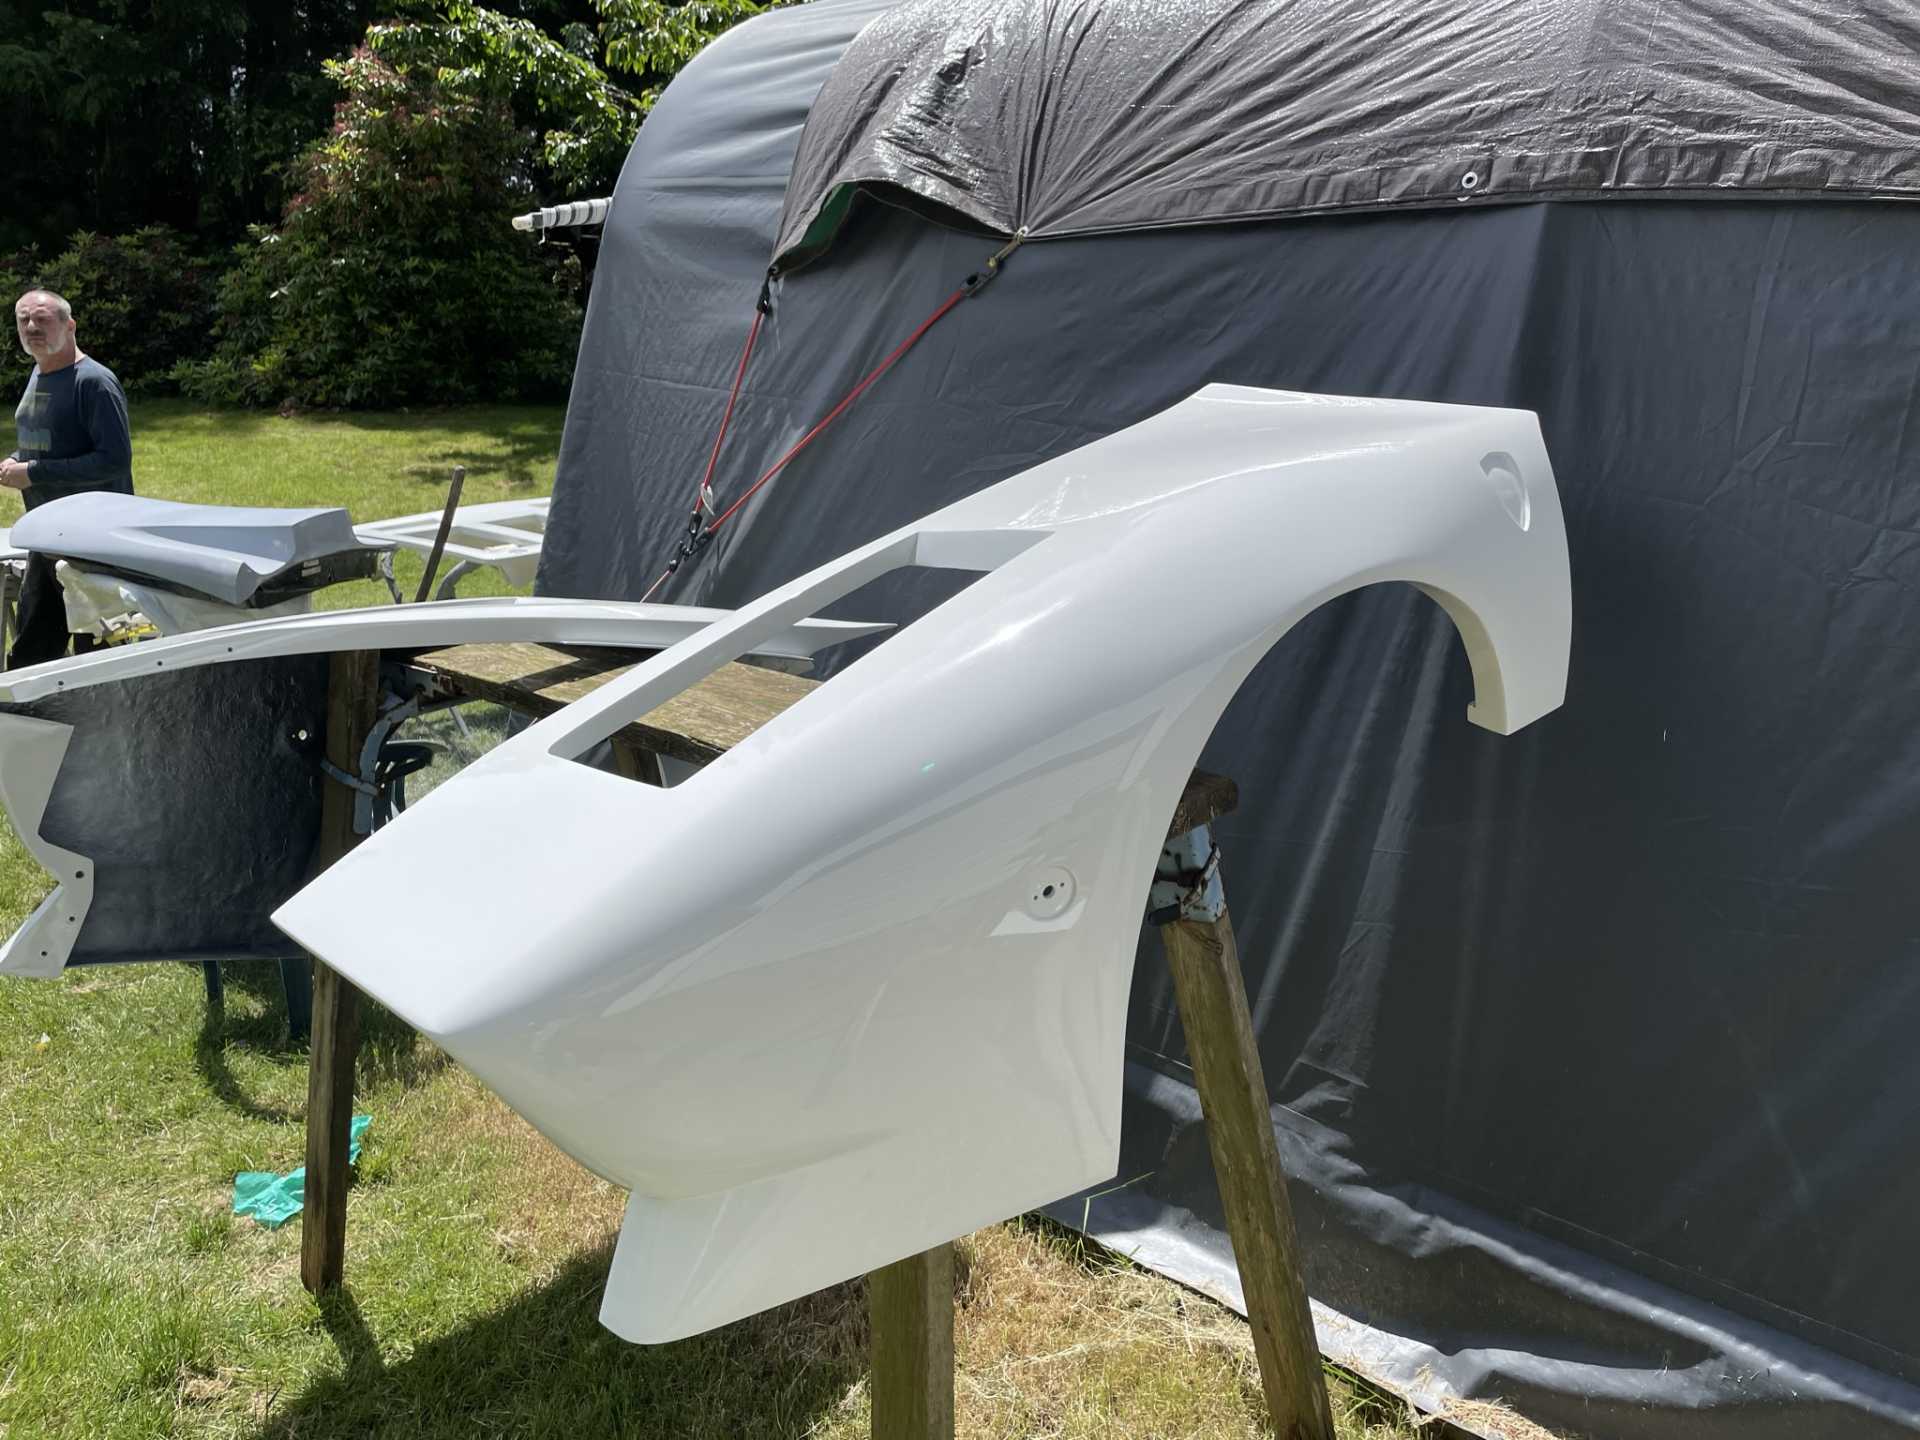
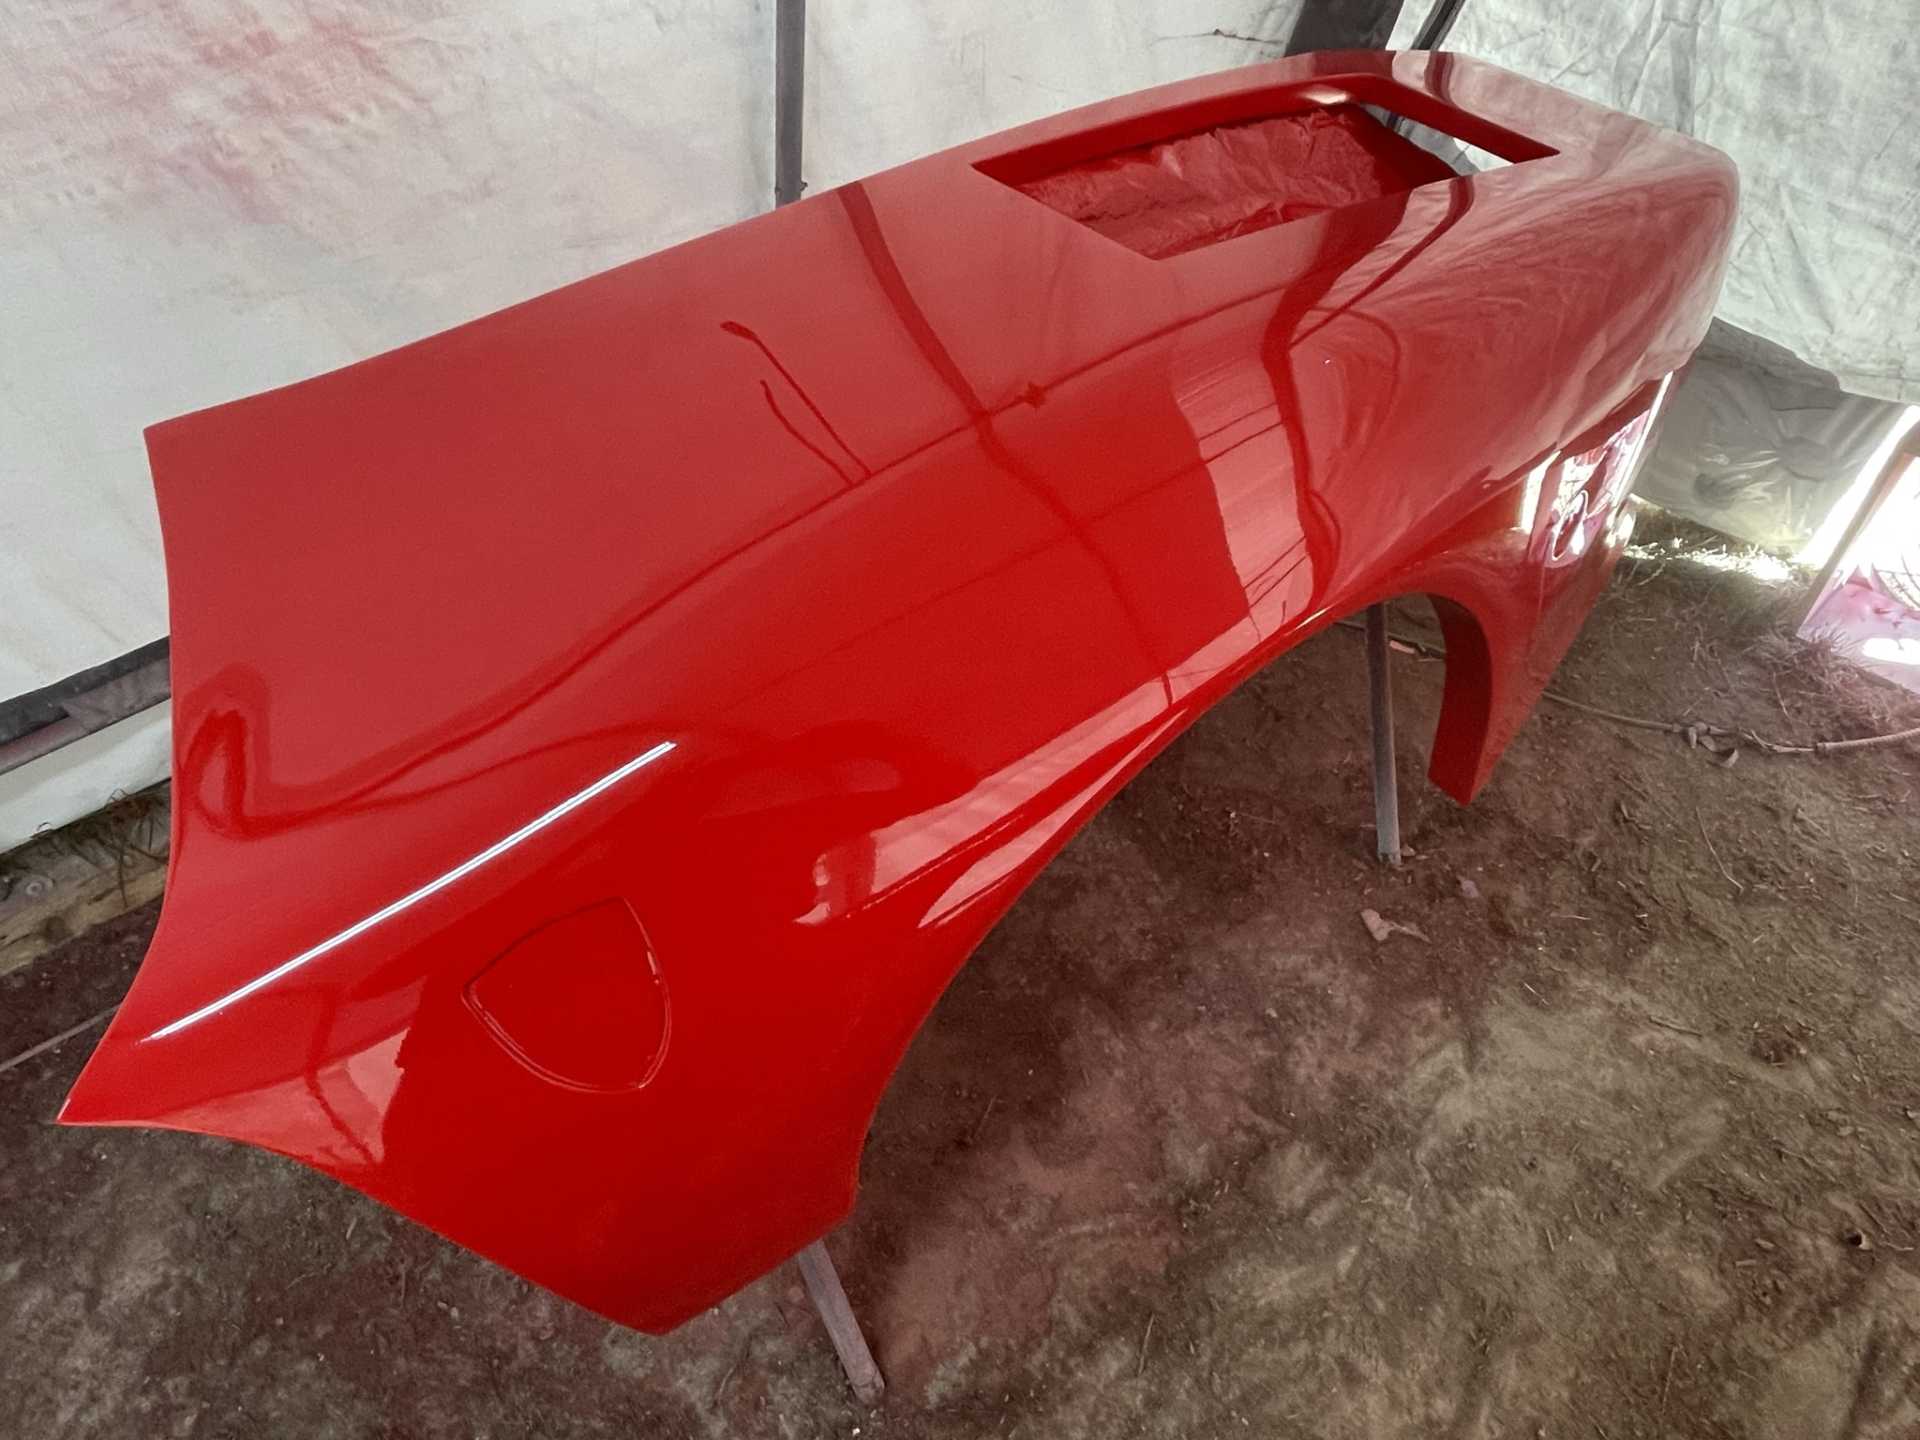
I sanded the fenders and hoods too 600 then to 800 grit
Then I sprayed three coats of Beautiful Rosso Corsa , I have to say I’m really happy with the Iwata WS 400 gun layed up Really flat. No runs but a few bits of dust showed up, thankfully when I colour wet sand 1000/1500 it should be ready for the clear coat. I’ll pull these piece out side tomorrow and let them sit for a few days while I get the other pieces done.
Thanks for stopping by stay safe everyone. Wayne
[This message has been edited by dobie1 (edited 08-22-2022).]
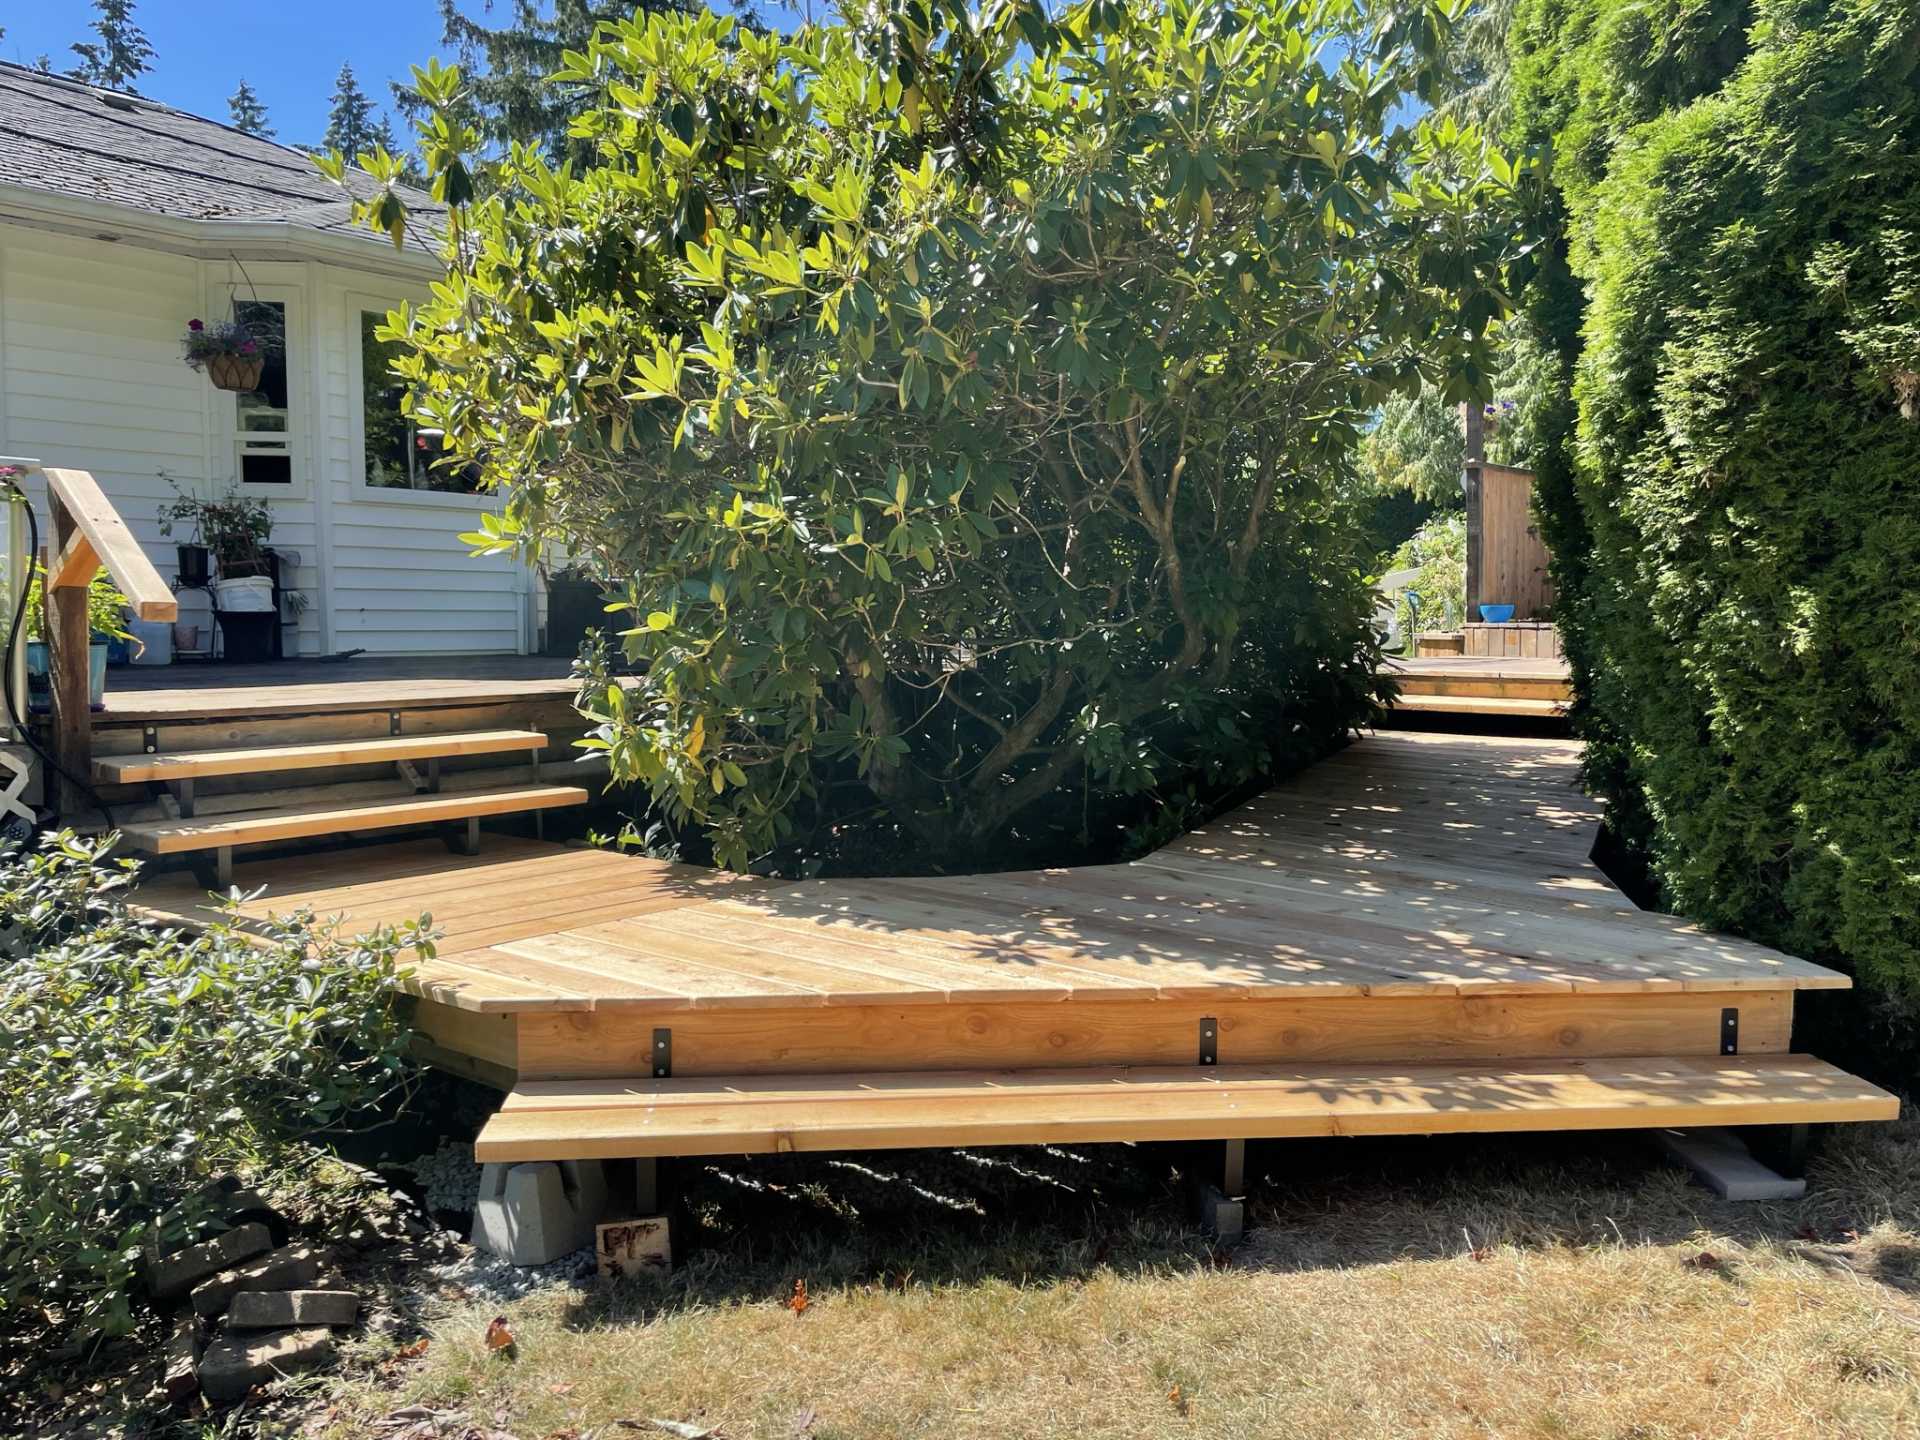
The project is moving along in between other projects!! I needed to build some stairs down off our deck with two yong grandkids running around I needed some landing areas for when they fall!!
After that honey due project was completed, I was back to painting more body panels
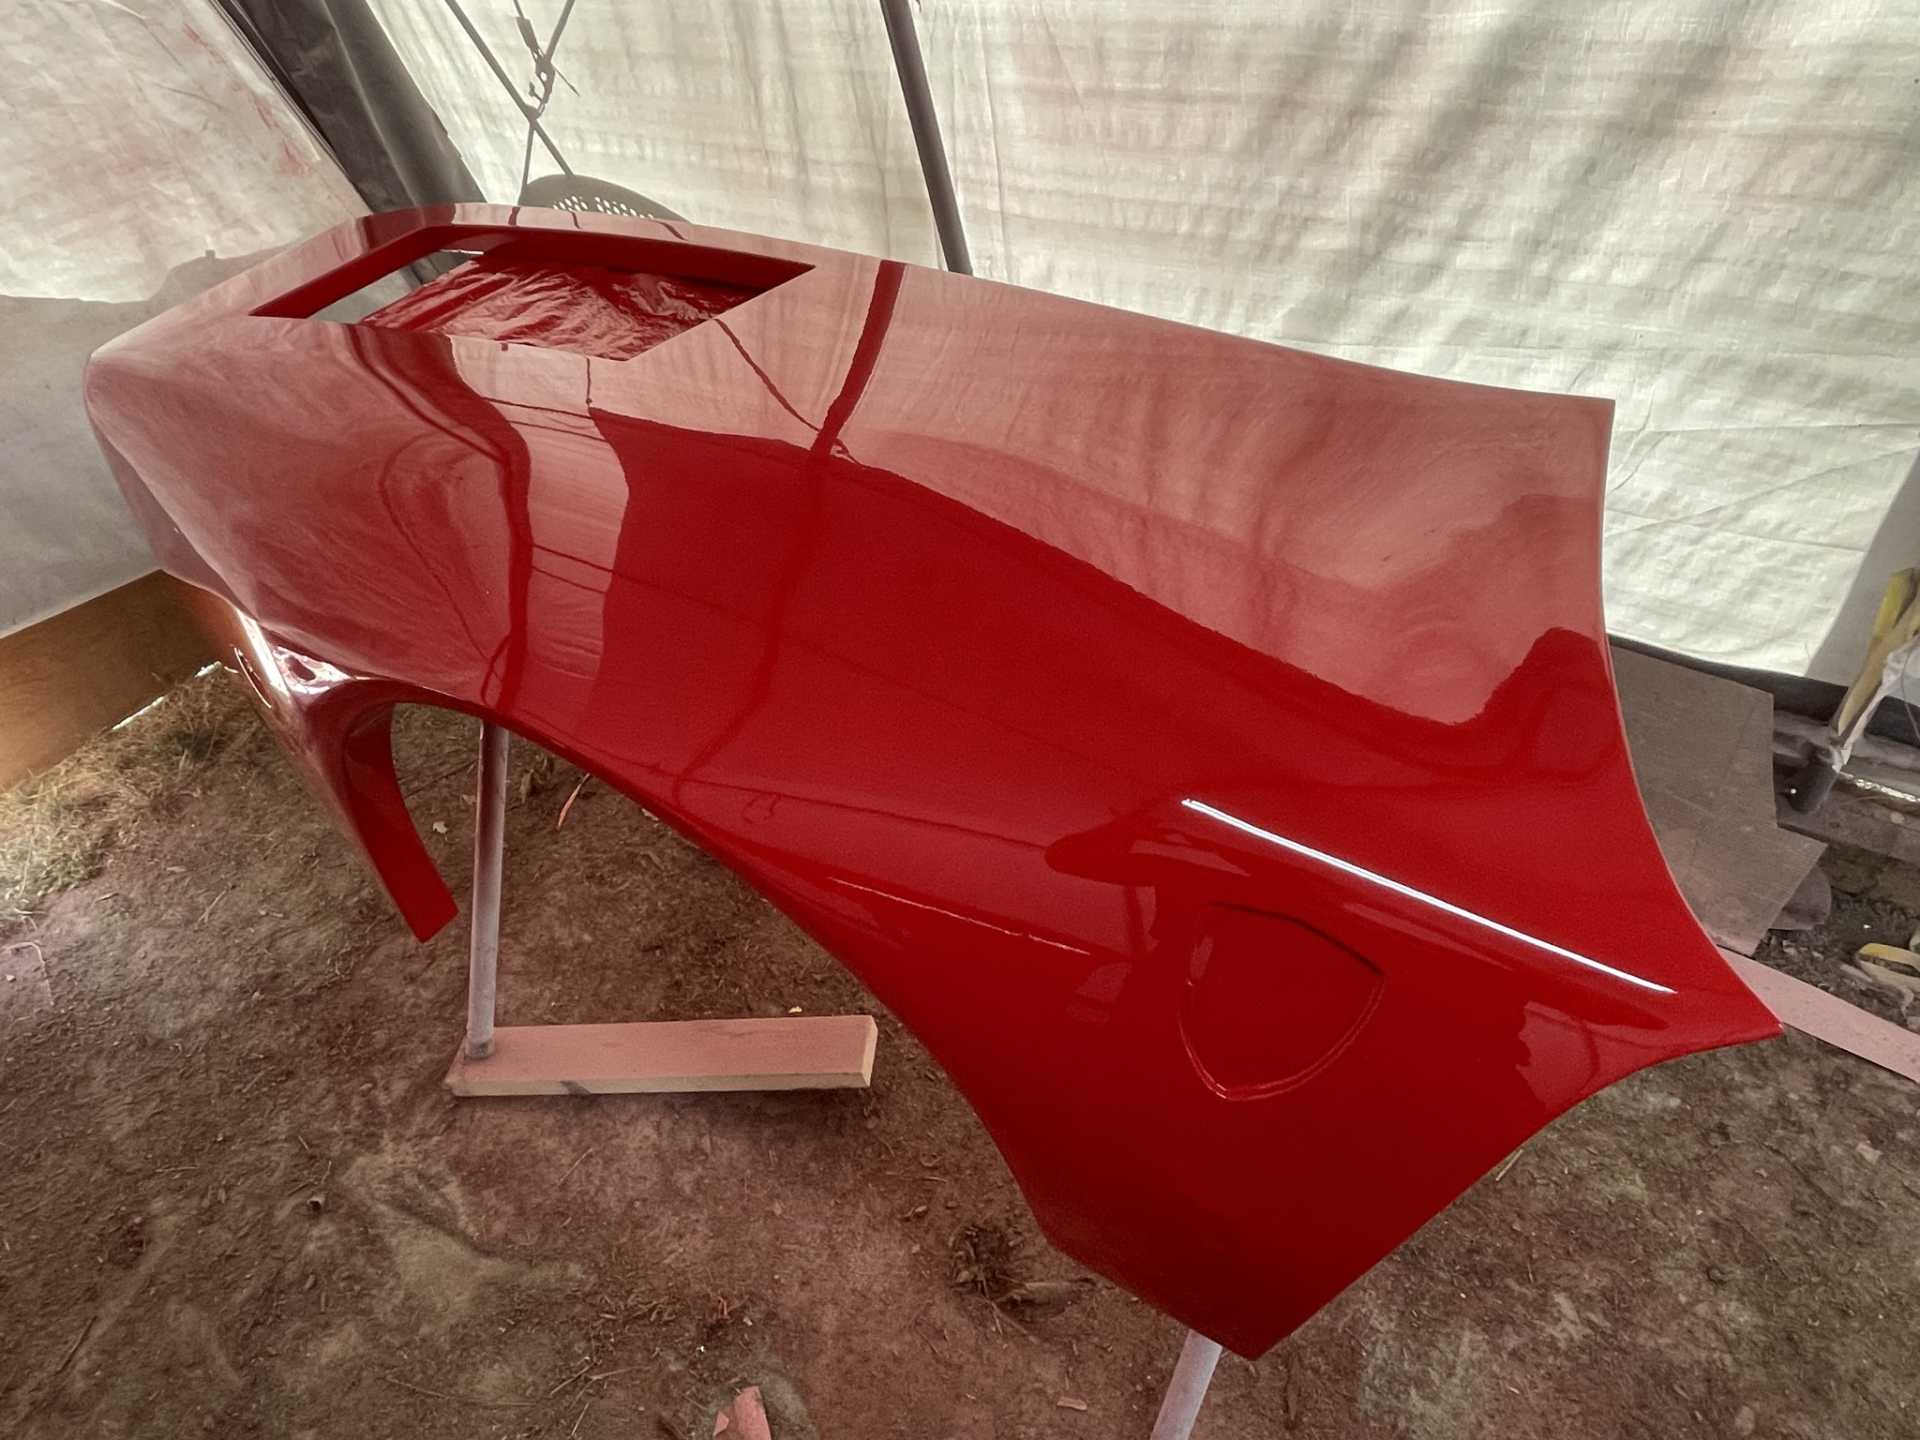
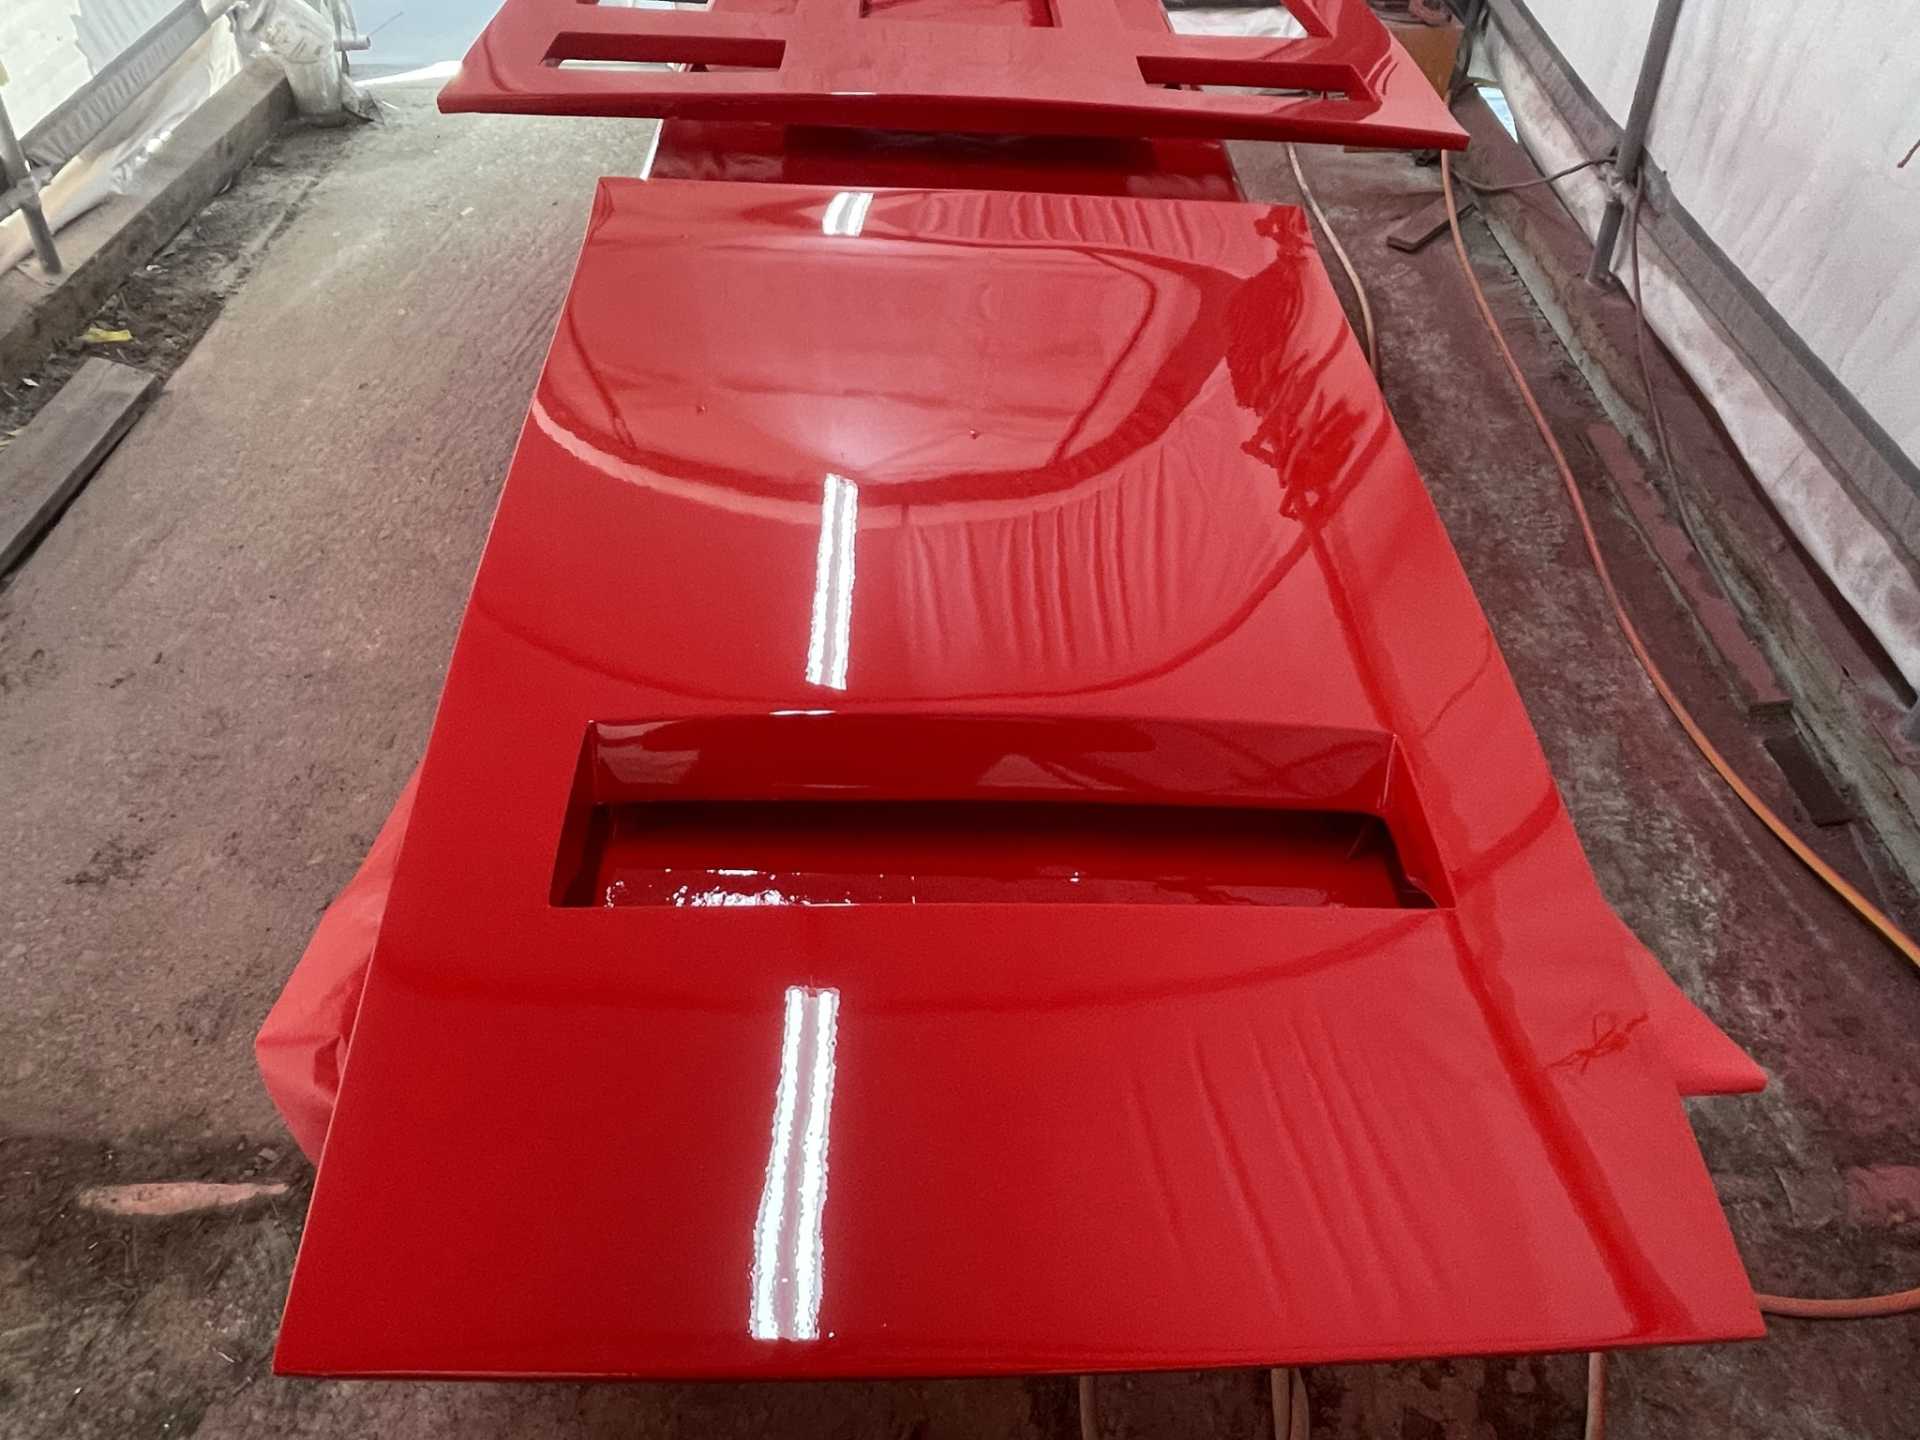
As before I sanded all the pieces to 800 grit and put down some more gorgeous Rosso Corsa.
I never realized how beautiful it is in sun light as it takes on an almost crimson red tone.
I’m leaving the parts to cure a couple weeks before preparing them to clear coat everything after it’s installed on the car.
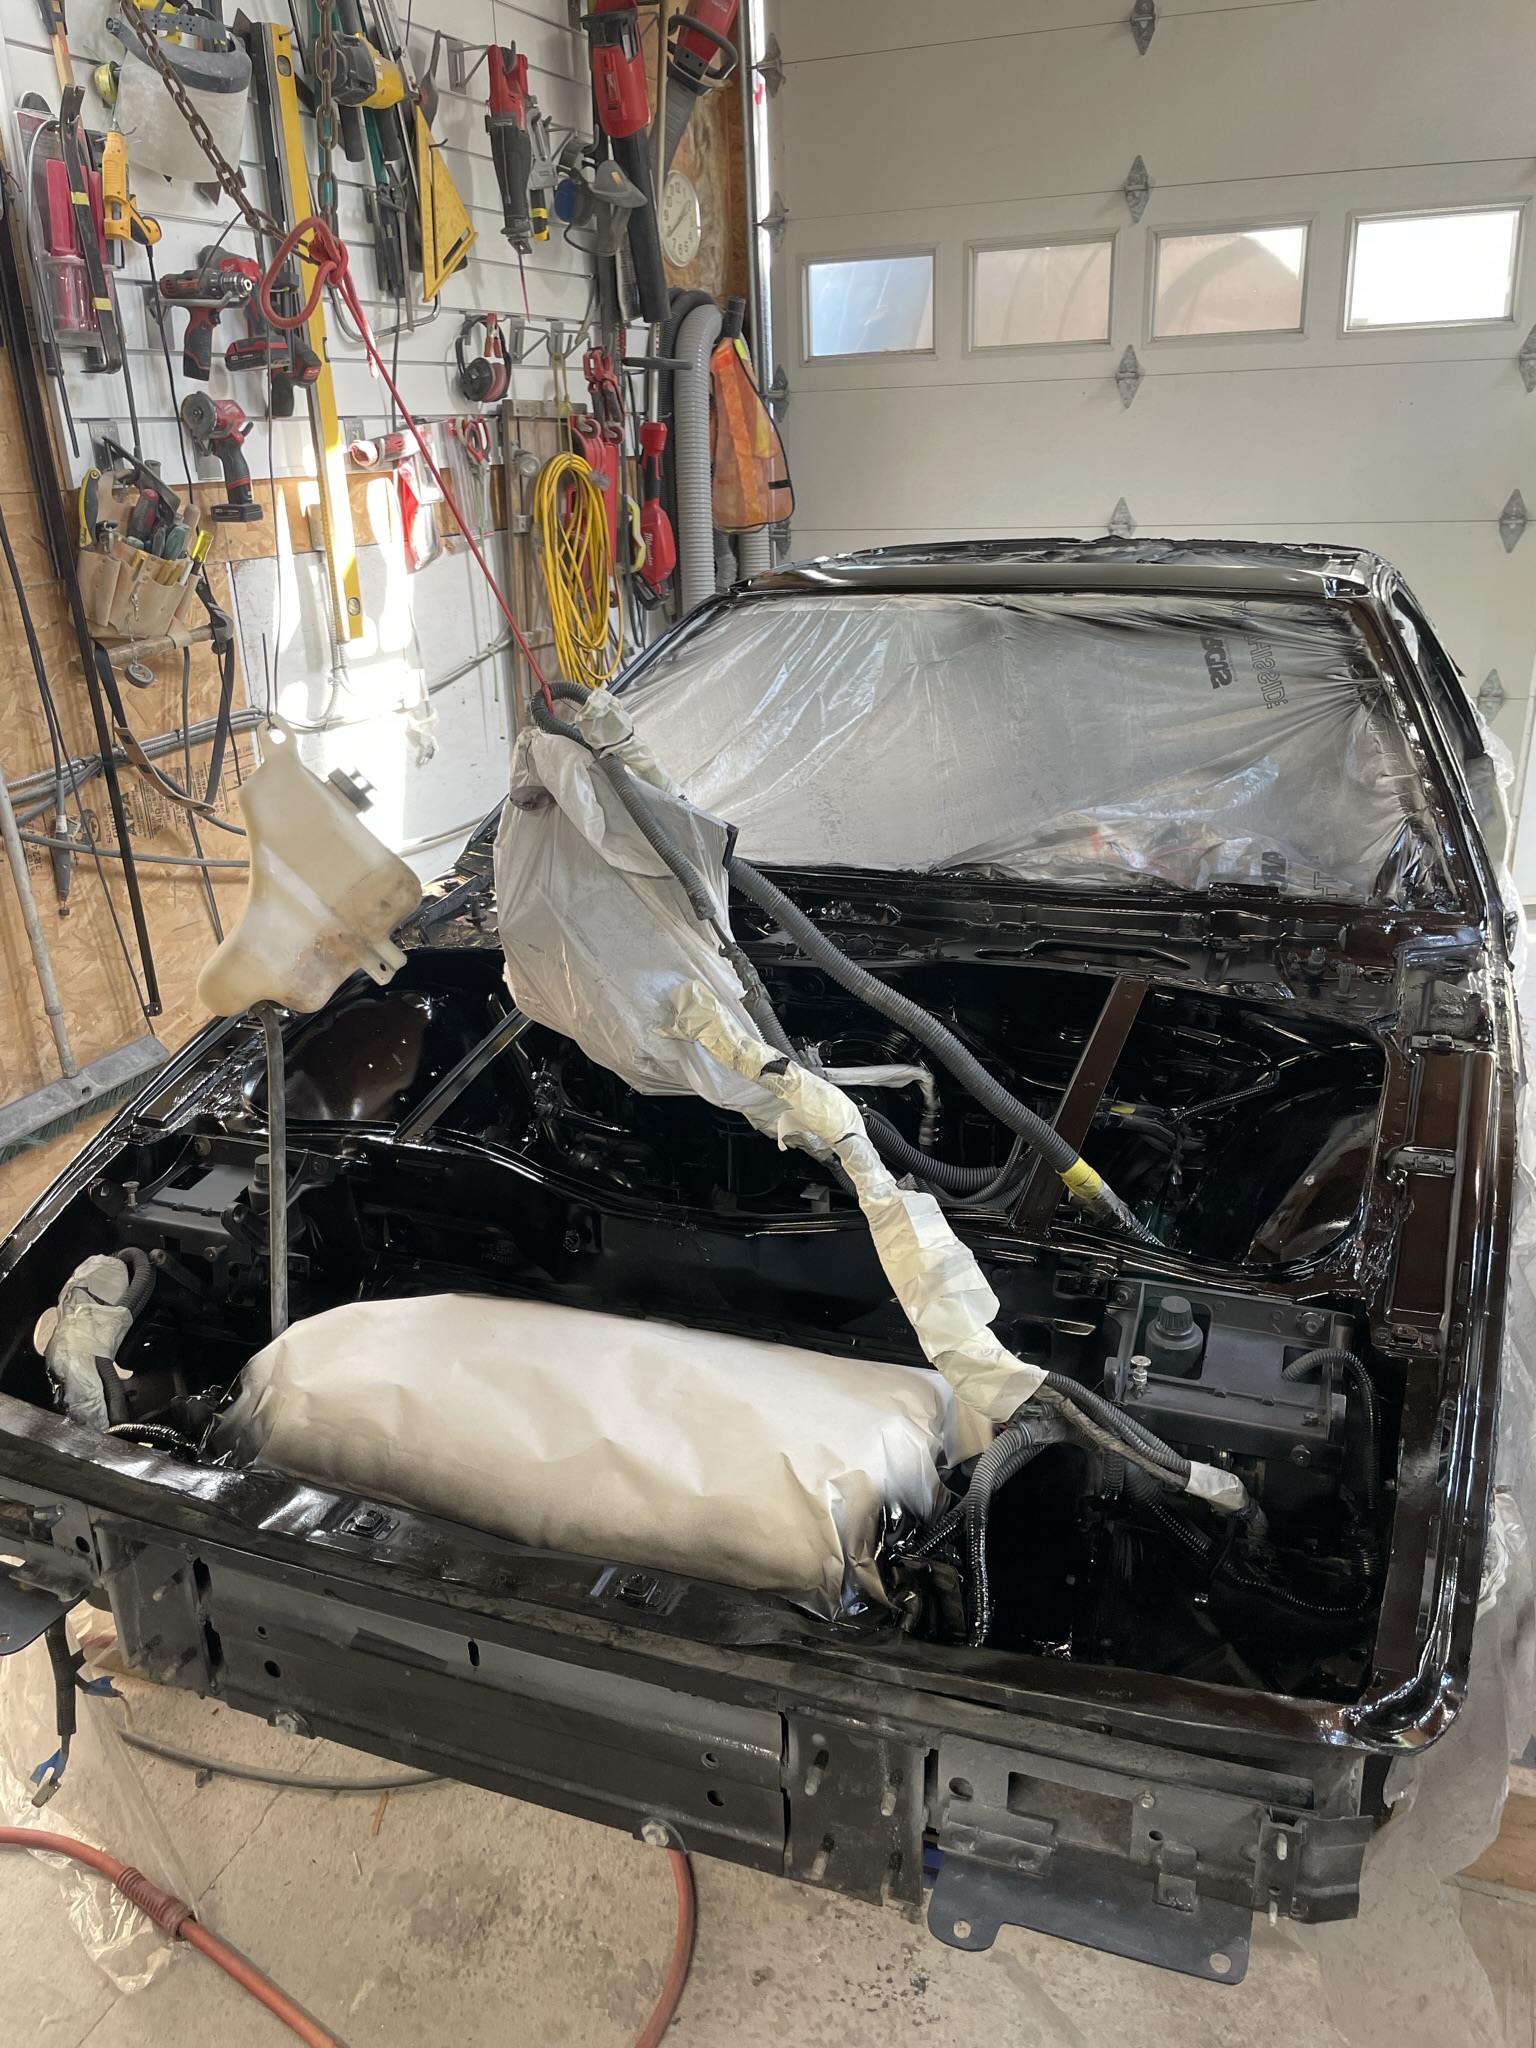
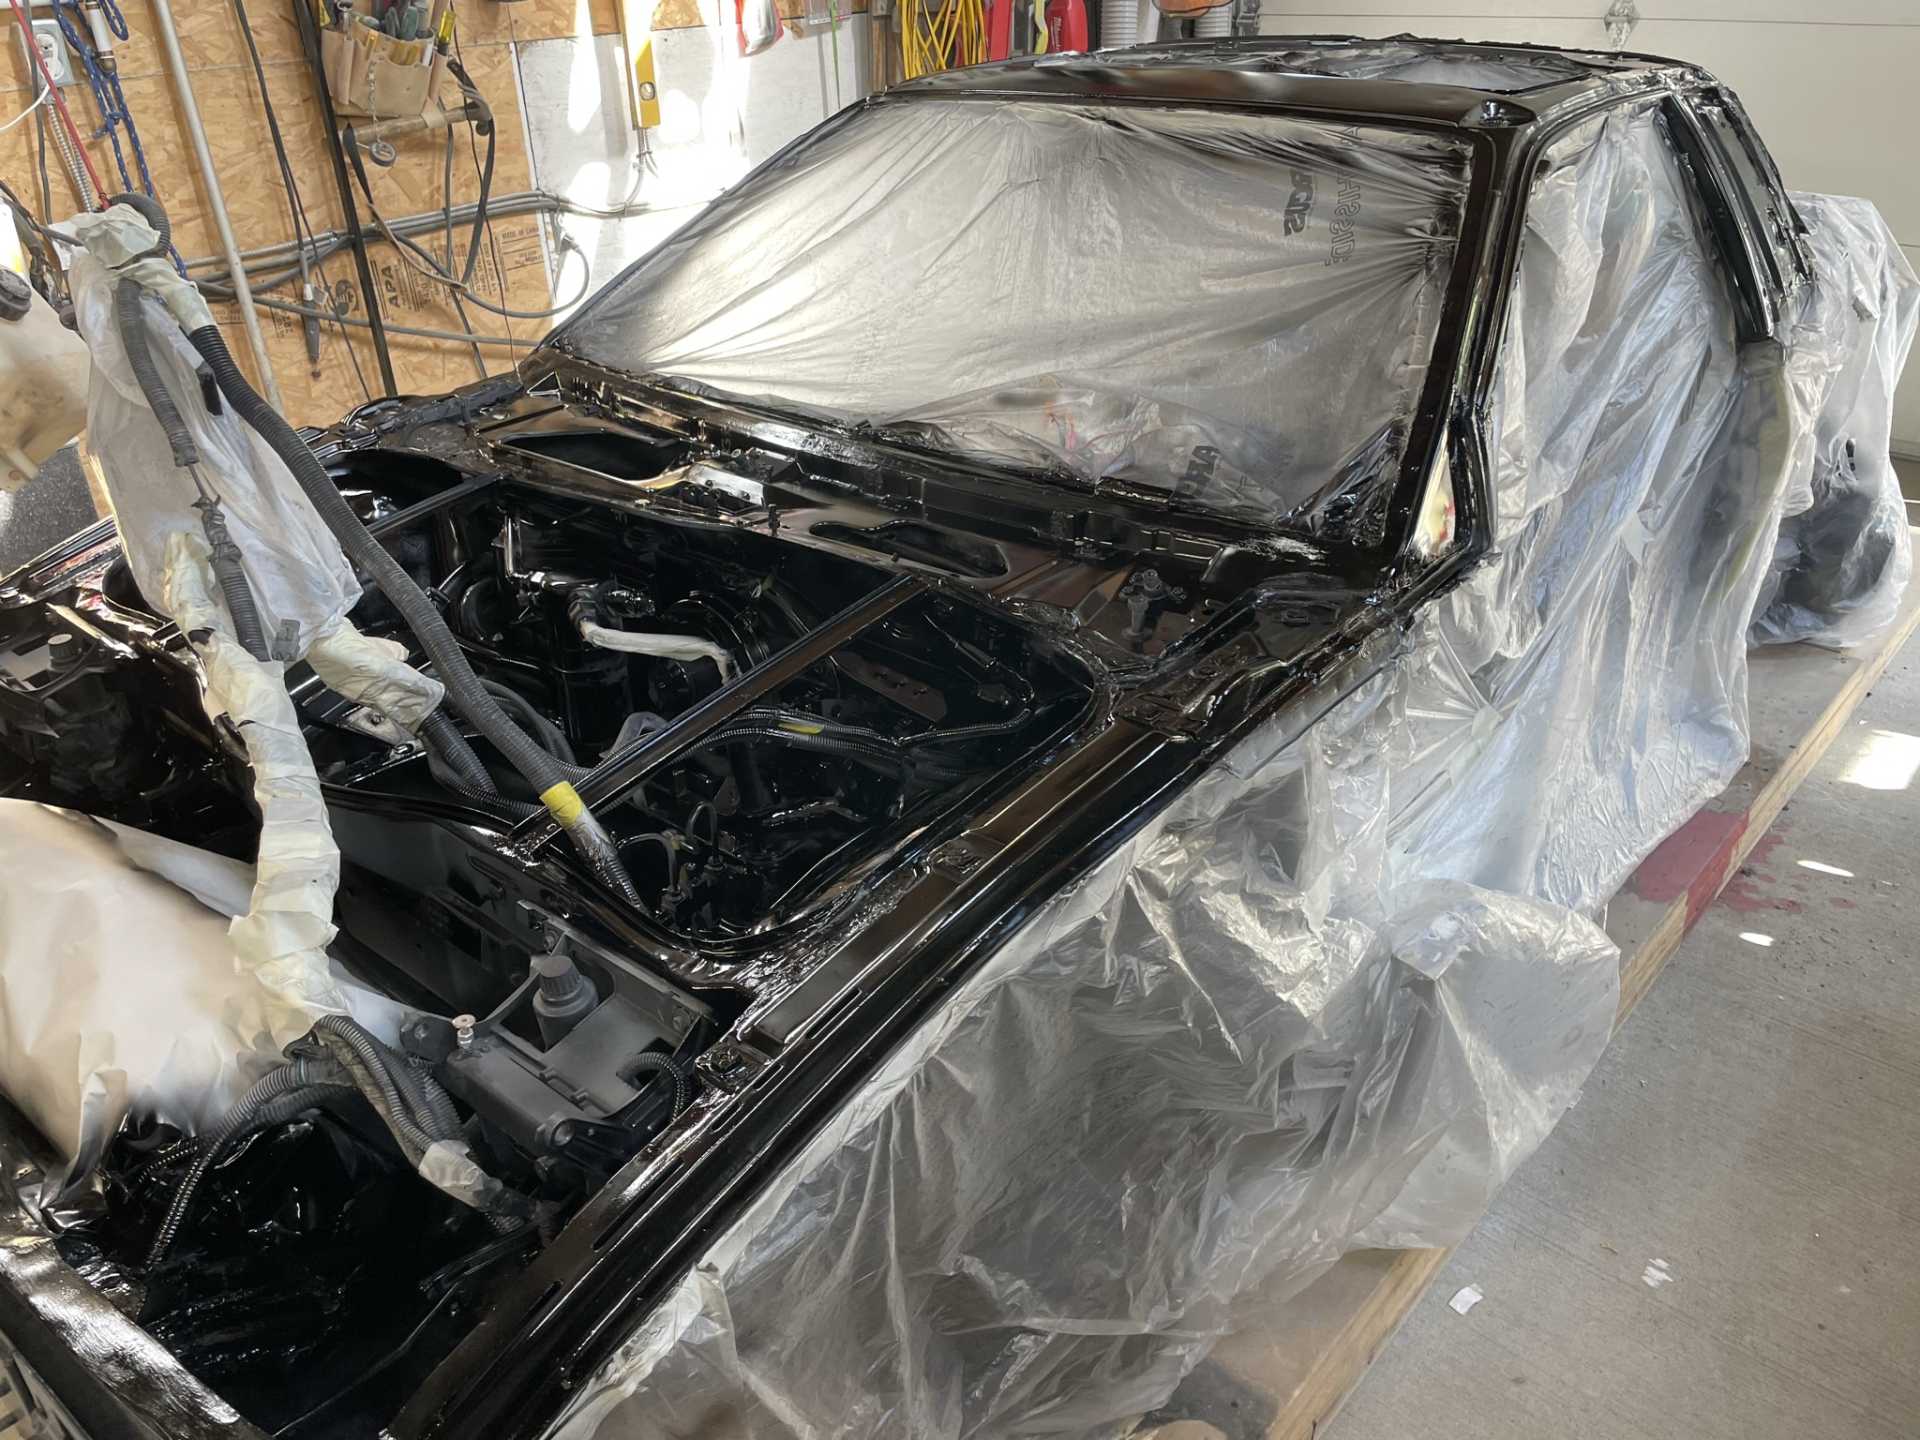
In the mean time I also prepared the chassis for the body panels and painted it hot rod black
I’ve also been working on the headlights, as I’m not using normal seal beams I need to fabricate an adjustable mounting system for the LED lights. I’ve gone thru a couple renditions as there isn’t a lot of room and hoping this will be the final version. Stay tuned!!
I like the idea of painting the frame. I don't know how many people have done that (at least not when the frame had any parts in there). I might have to add that to my list... sorry in advance to possibly stealing your idea.
I like the idea of painting the frame. I don't know how many people have done that (at least not when the frame had any parts in there). I might have to add that to my list... sorry in advance to possibly stealing your idea.
Hi Trinten I looked at the fact I’d put so much time into this project that I might as well go all the way a do it right.
Here’s the latest week update. I finally got the new brake lines run for the hydraulic lock parking brake, at the same time I also had to replace a couple other lines as I had previously modified when I installed a manual proportioning valve. In the end it didn’t work as I had planned so I went back to the stock proportioning valve. It’s really weird at how GM mixed up the different flairs and fitting between metric bubble flairs and double flairs but in the end I got it finished or so I thought. When I went to bleed the brakes all I was getting was bubbles found some leaking fittings tightened them up still bubbles I really had to wrench on the fittings and finally everything sealed brakes are bleed so that job completed.
Hydraulic lock
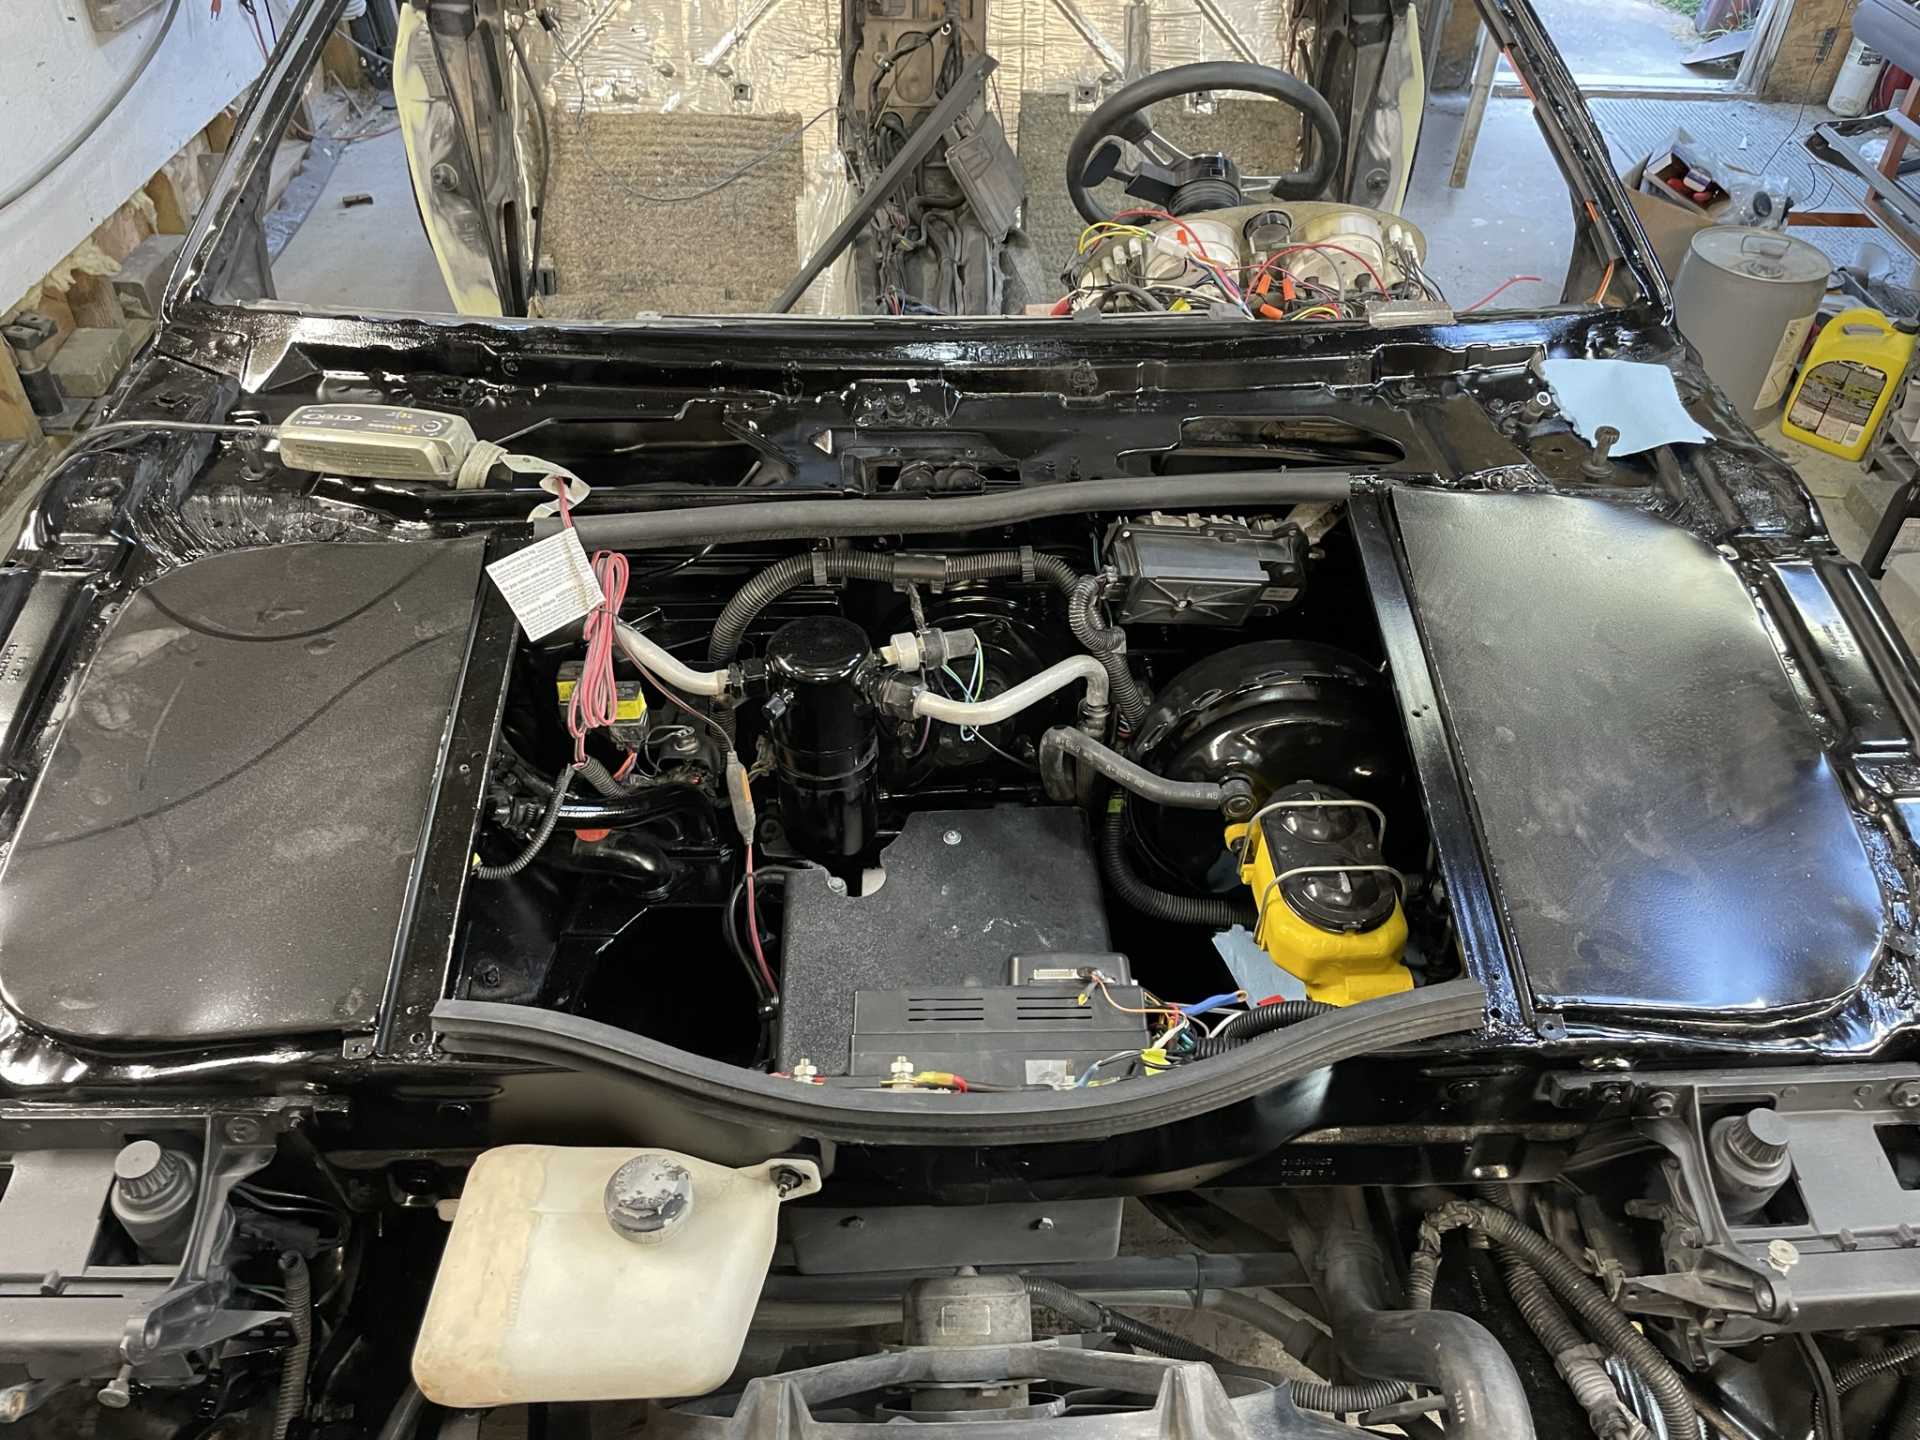
This is with the side covers in place that will seal the area under the fenders
I haven’t shown the inside of the front electrical box.
Here is the latest update as the build moves along , not as quickly as I would like but progress none the less.
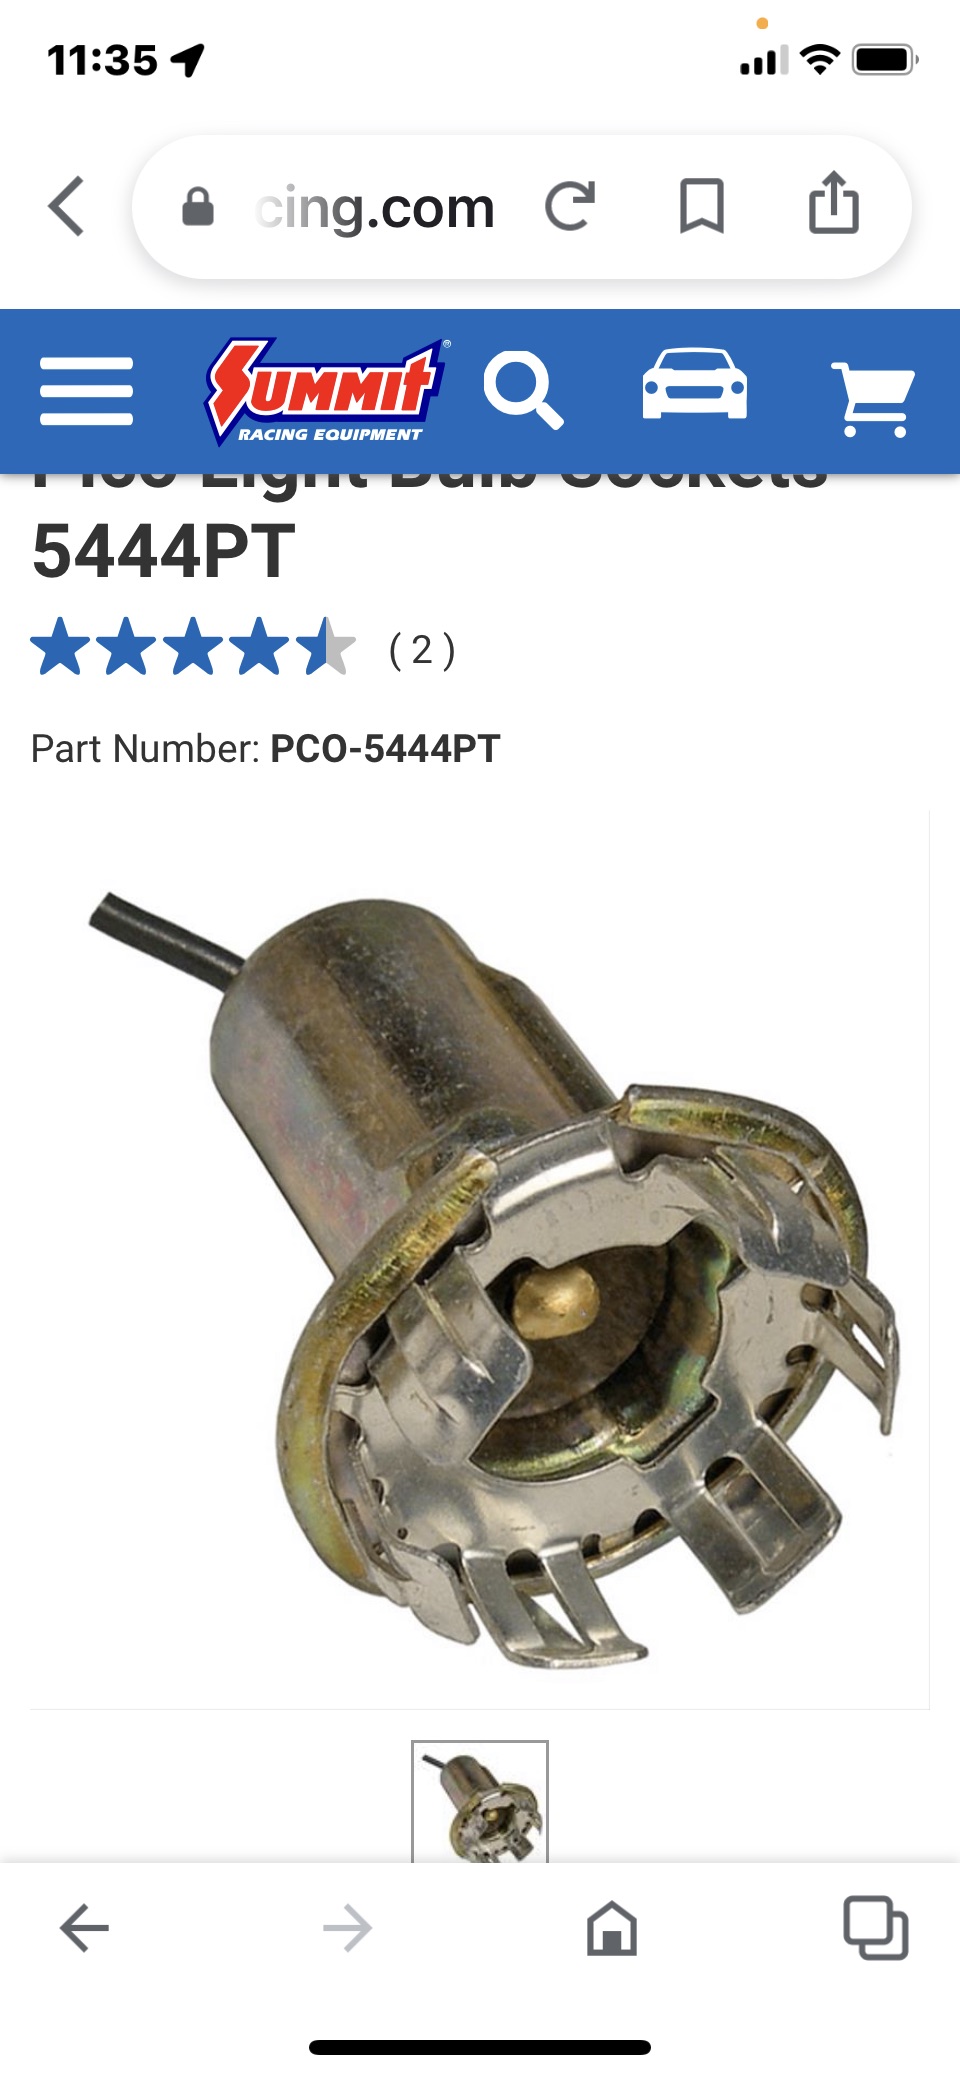
I’ve been working on the car electrical getting all the Ferrari rear bulb housing’s and lenses installed, sorting out all the dash lights and gauges and in general cleaning up the dash wiring looms. Still more to do but taking a break as
These are the bulb housings needed for the Ferrari lenses
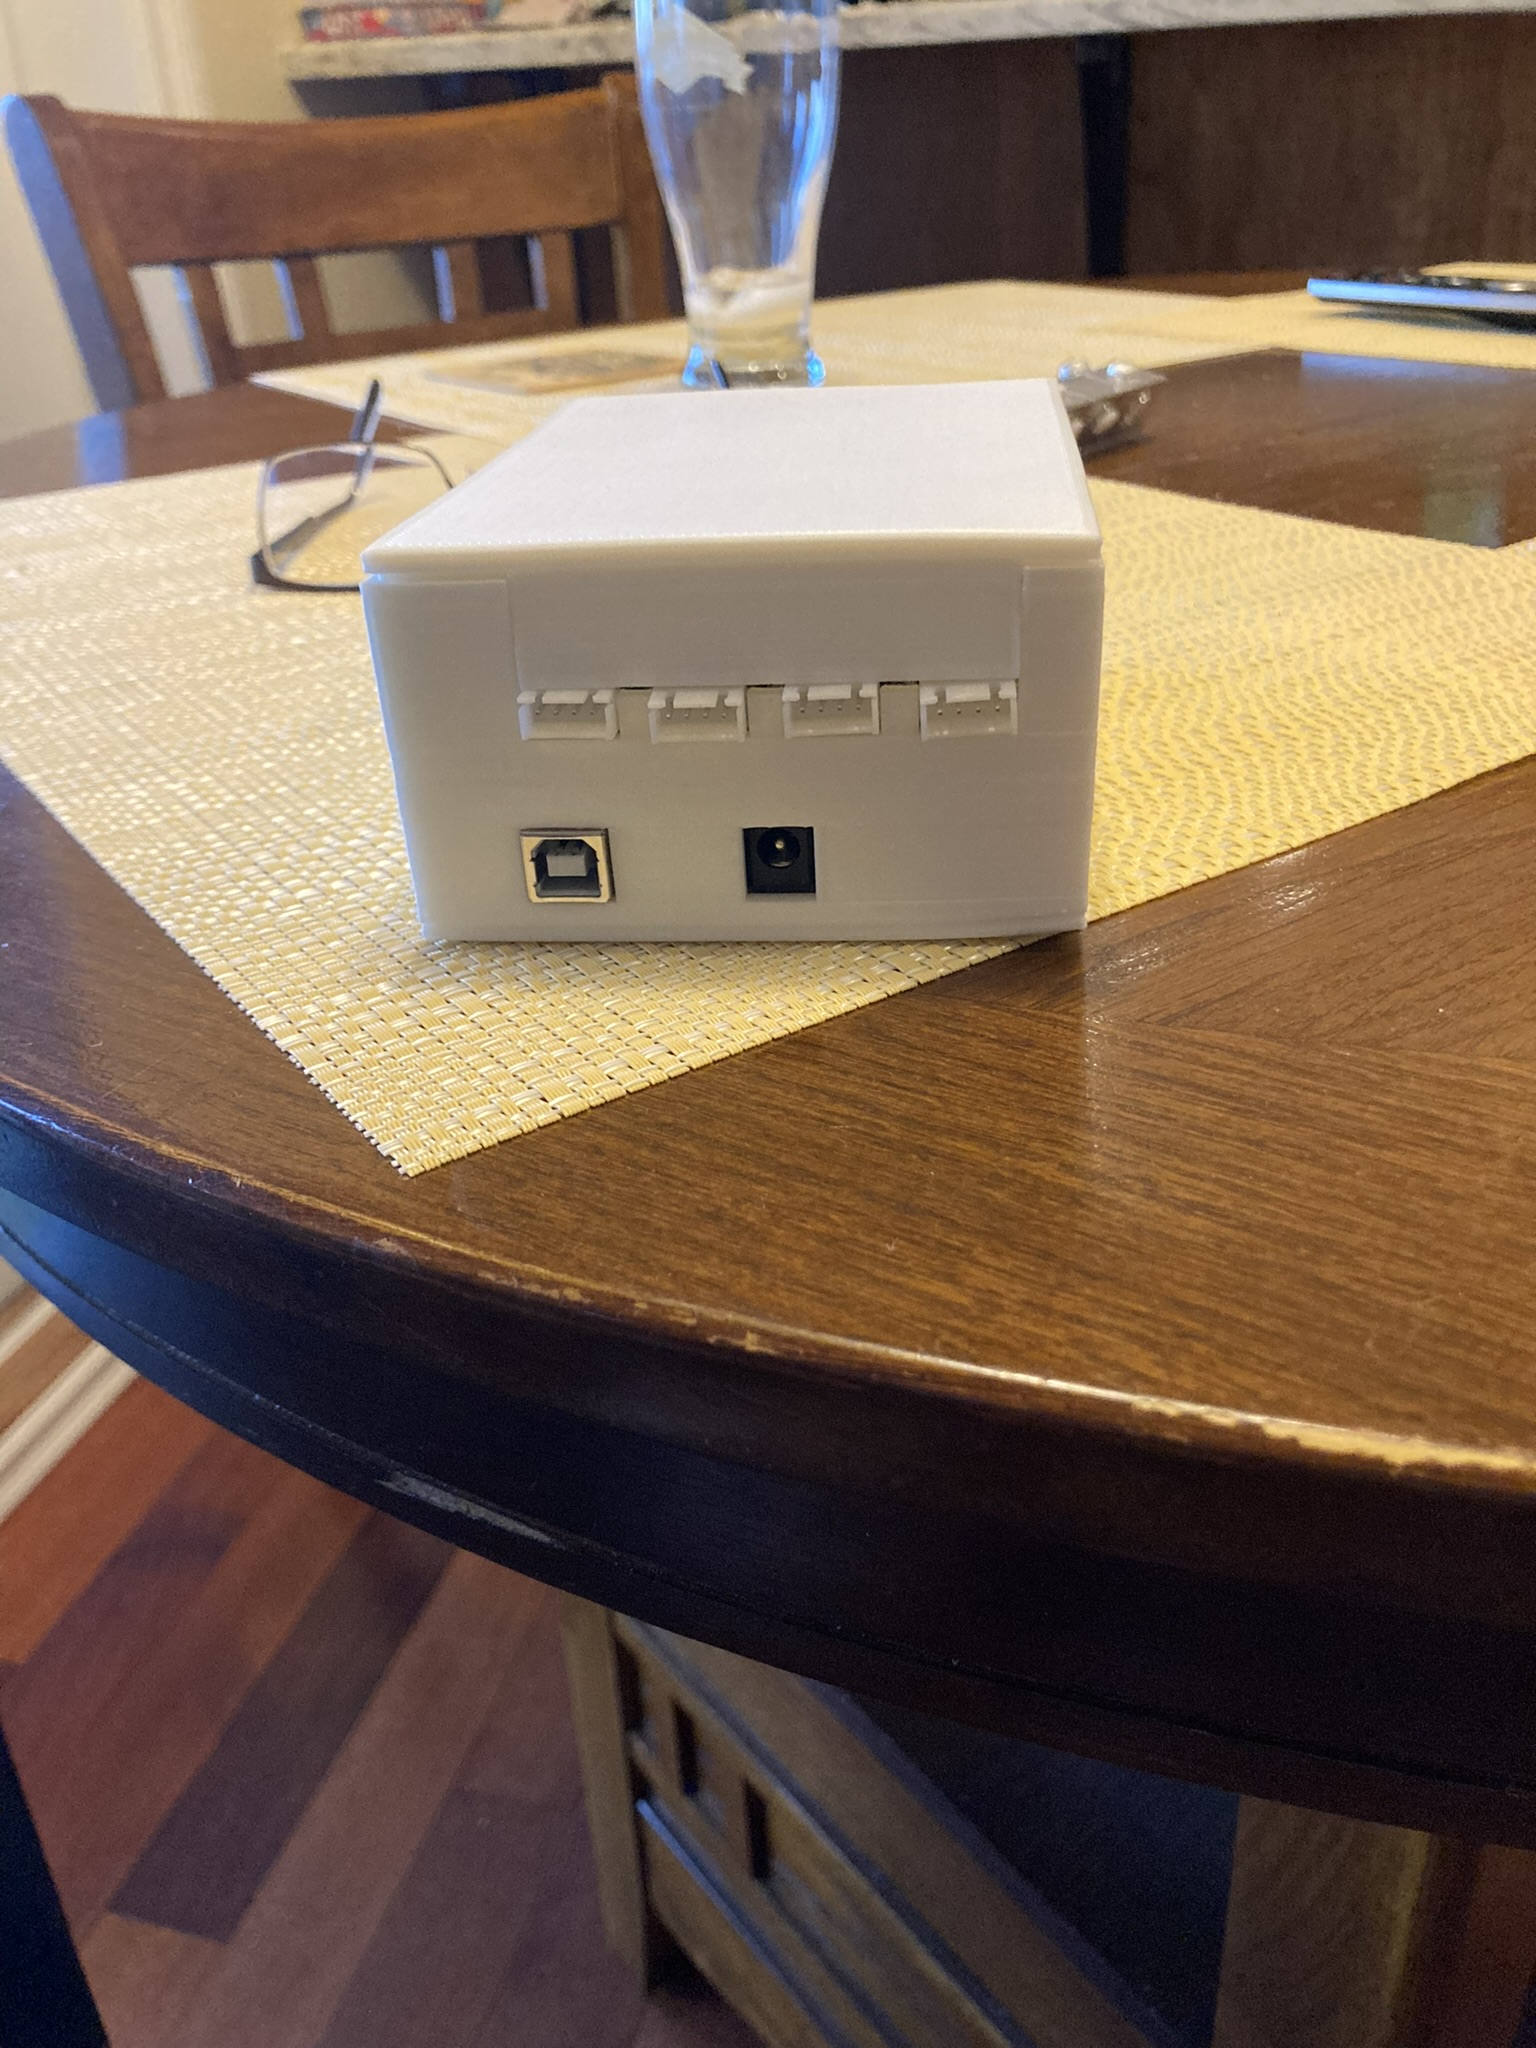
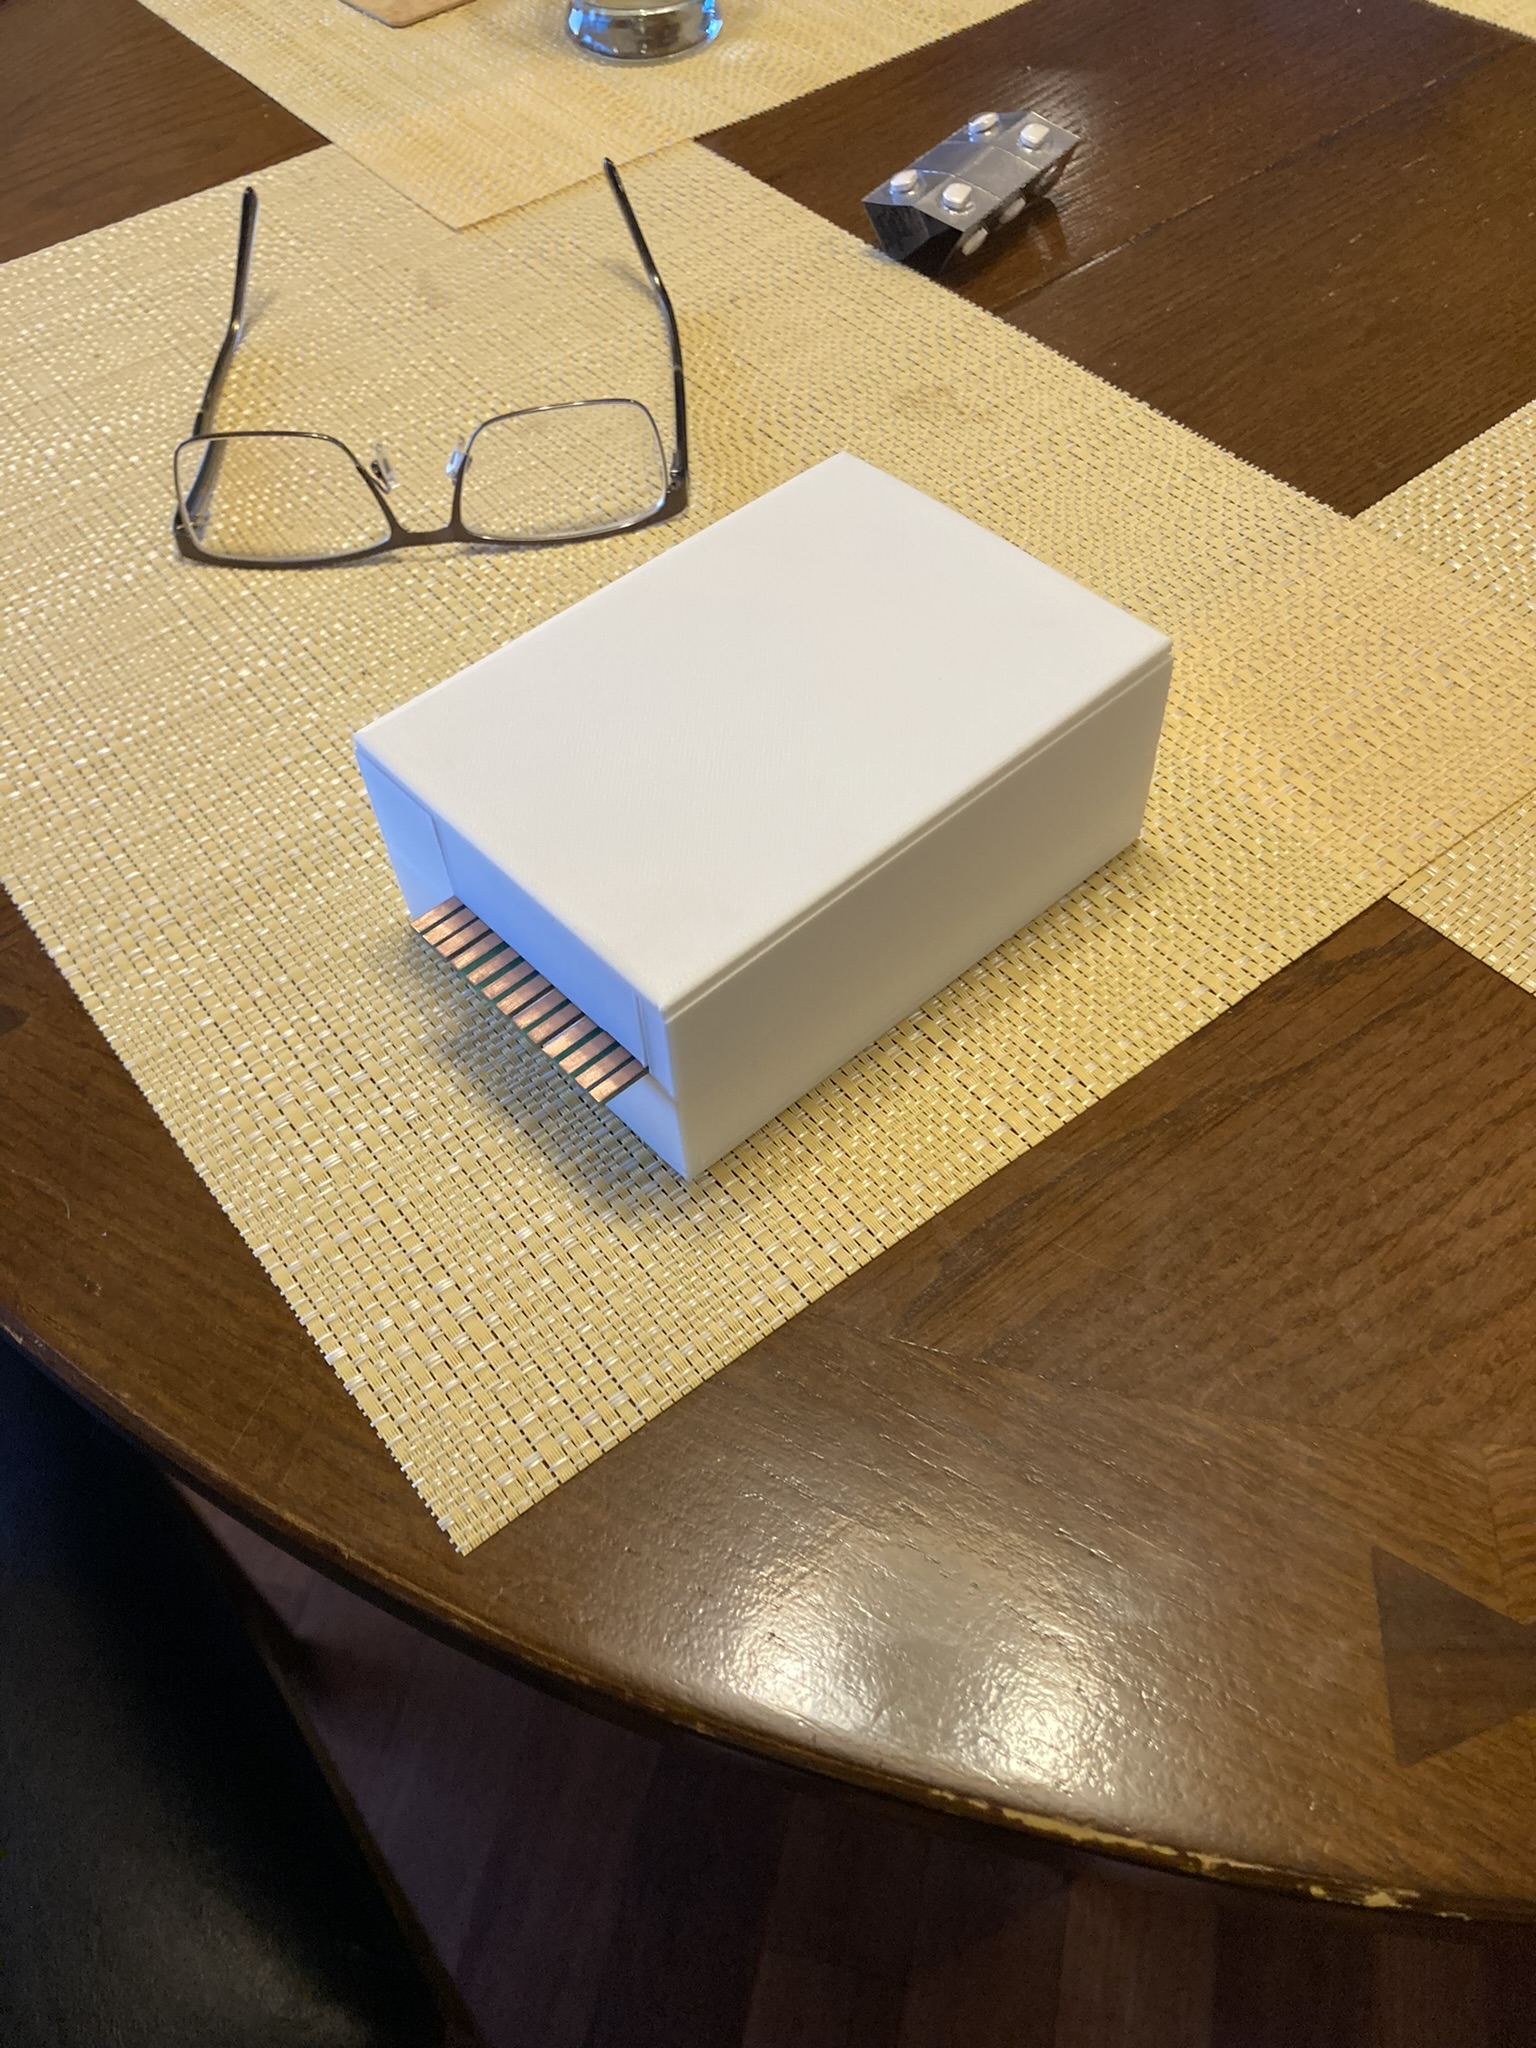
My buddy Don O. Has been working on my HVAC/ light computer board, he recently 3D printed a box to house the board and Arduino and is currently writing code to run everything. [img]https://images.fiero.nl/userimages/dobie1/AA8089BE-4581-49CF-B7 95-F23B9A50785E.jpeg[/img]
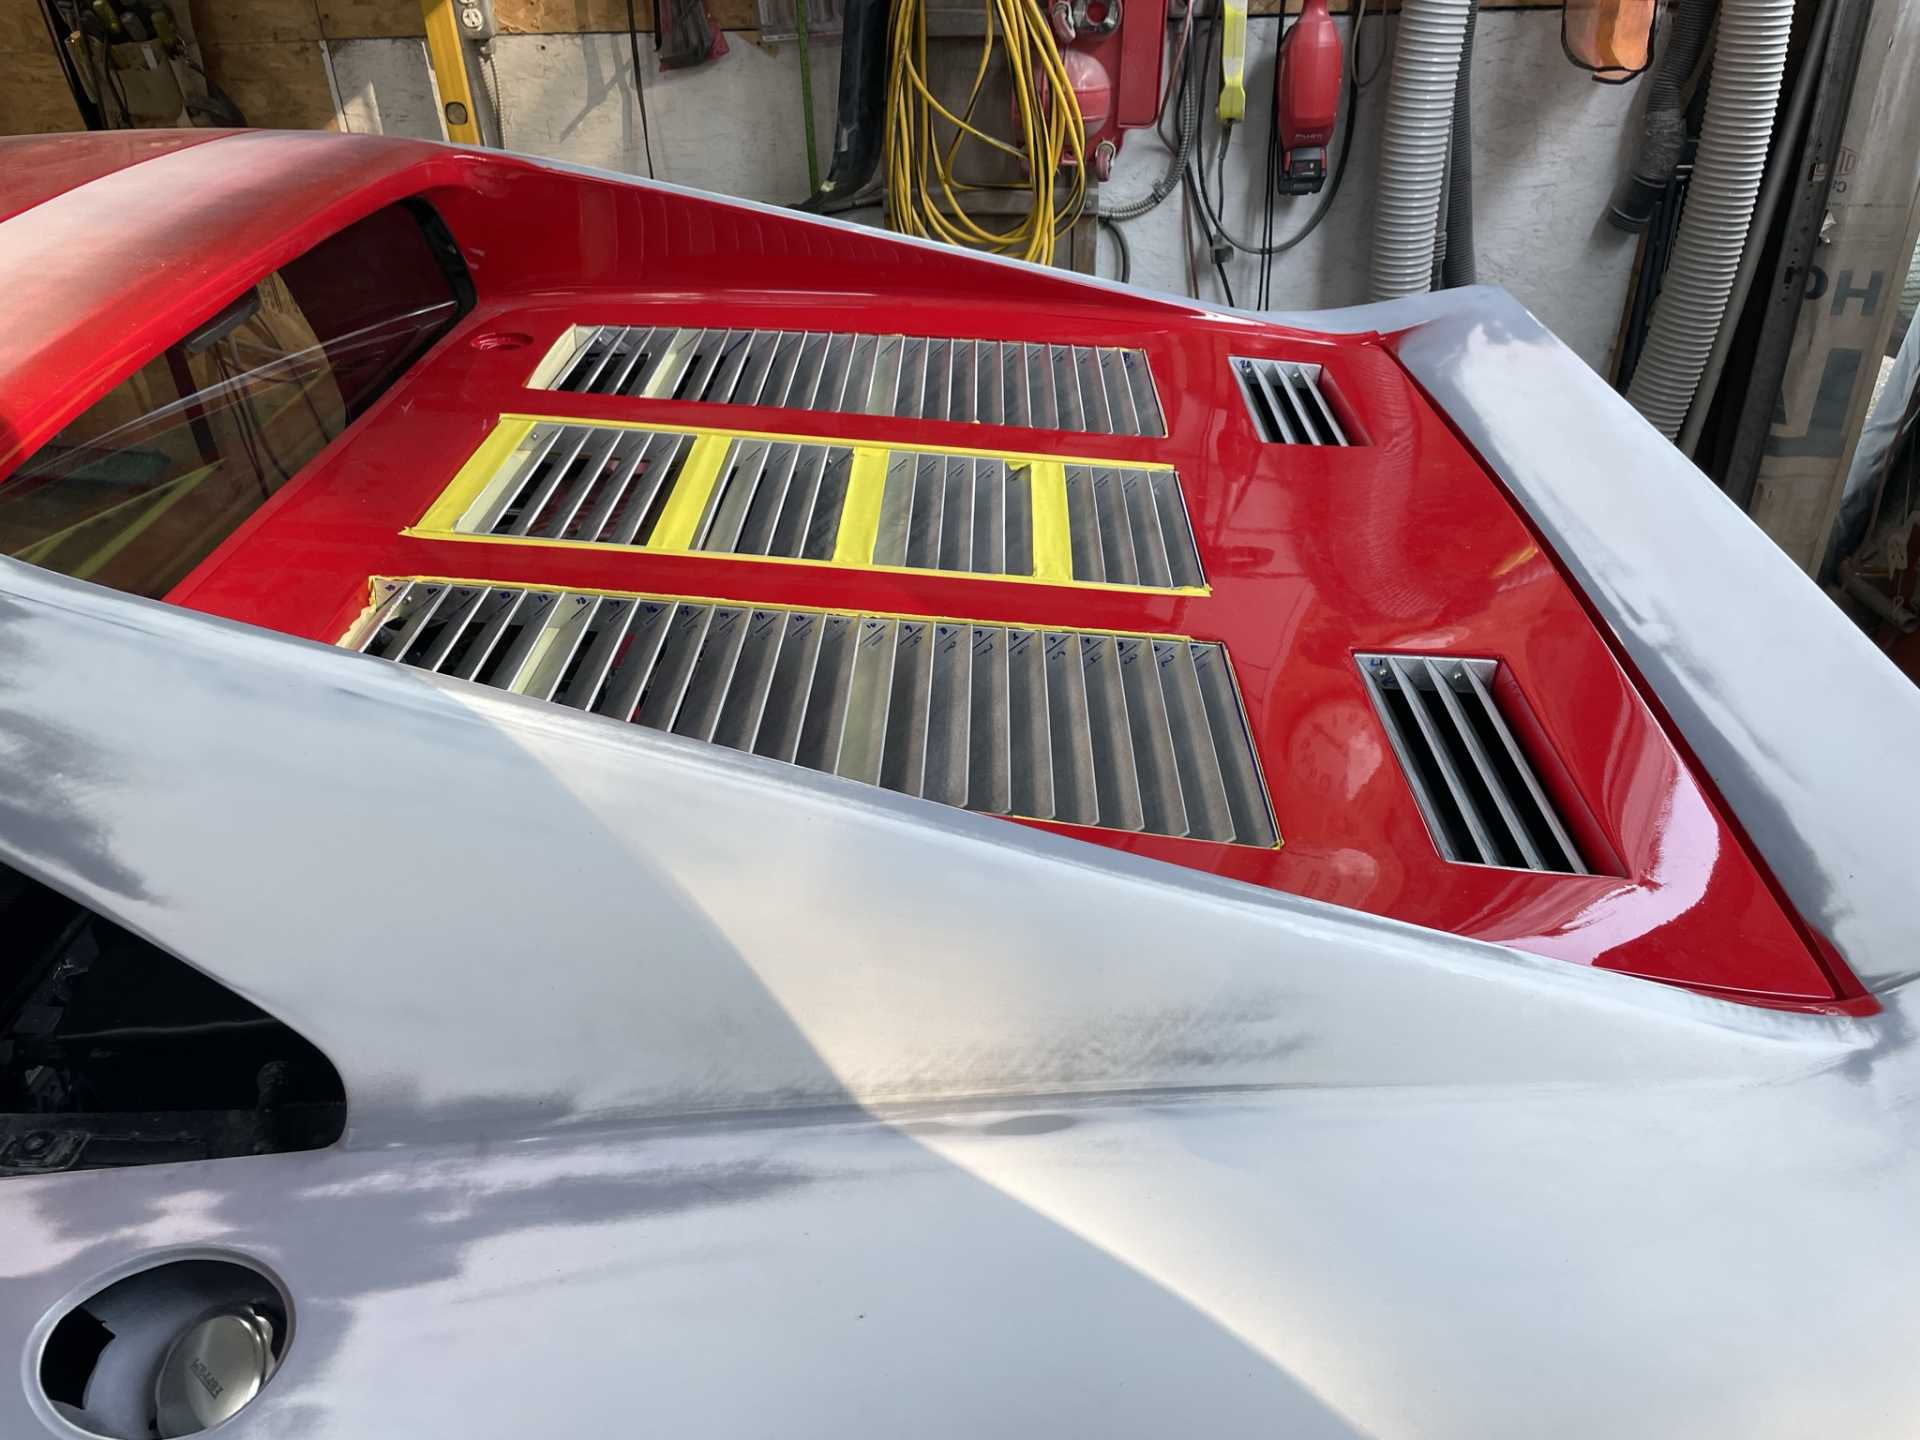
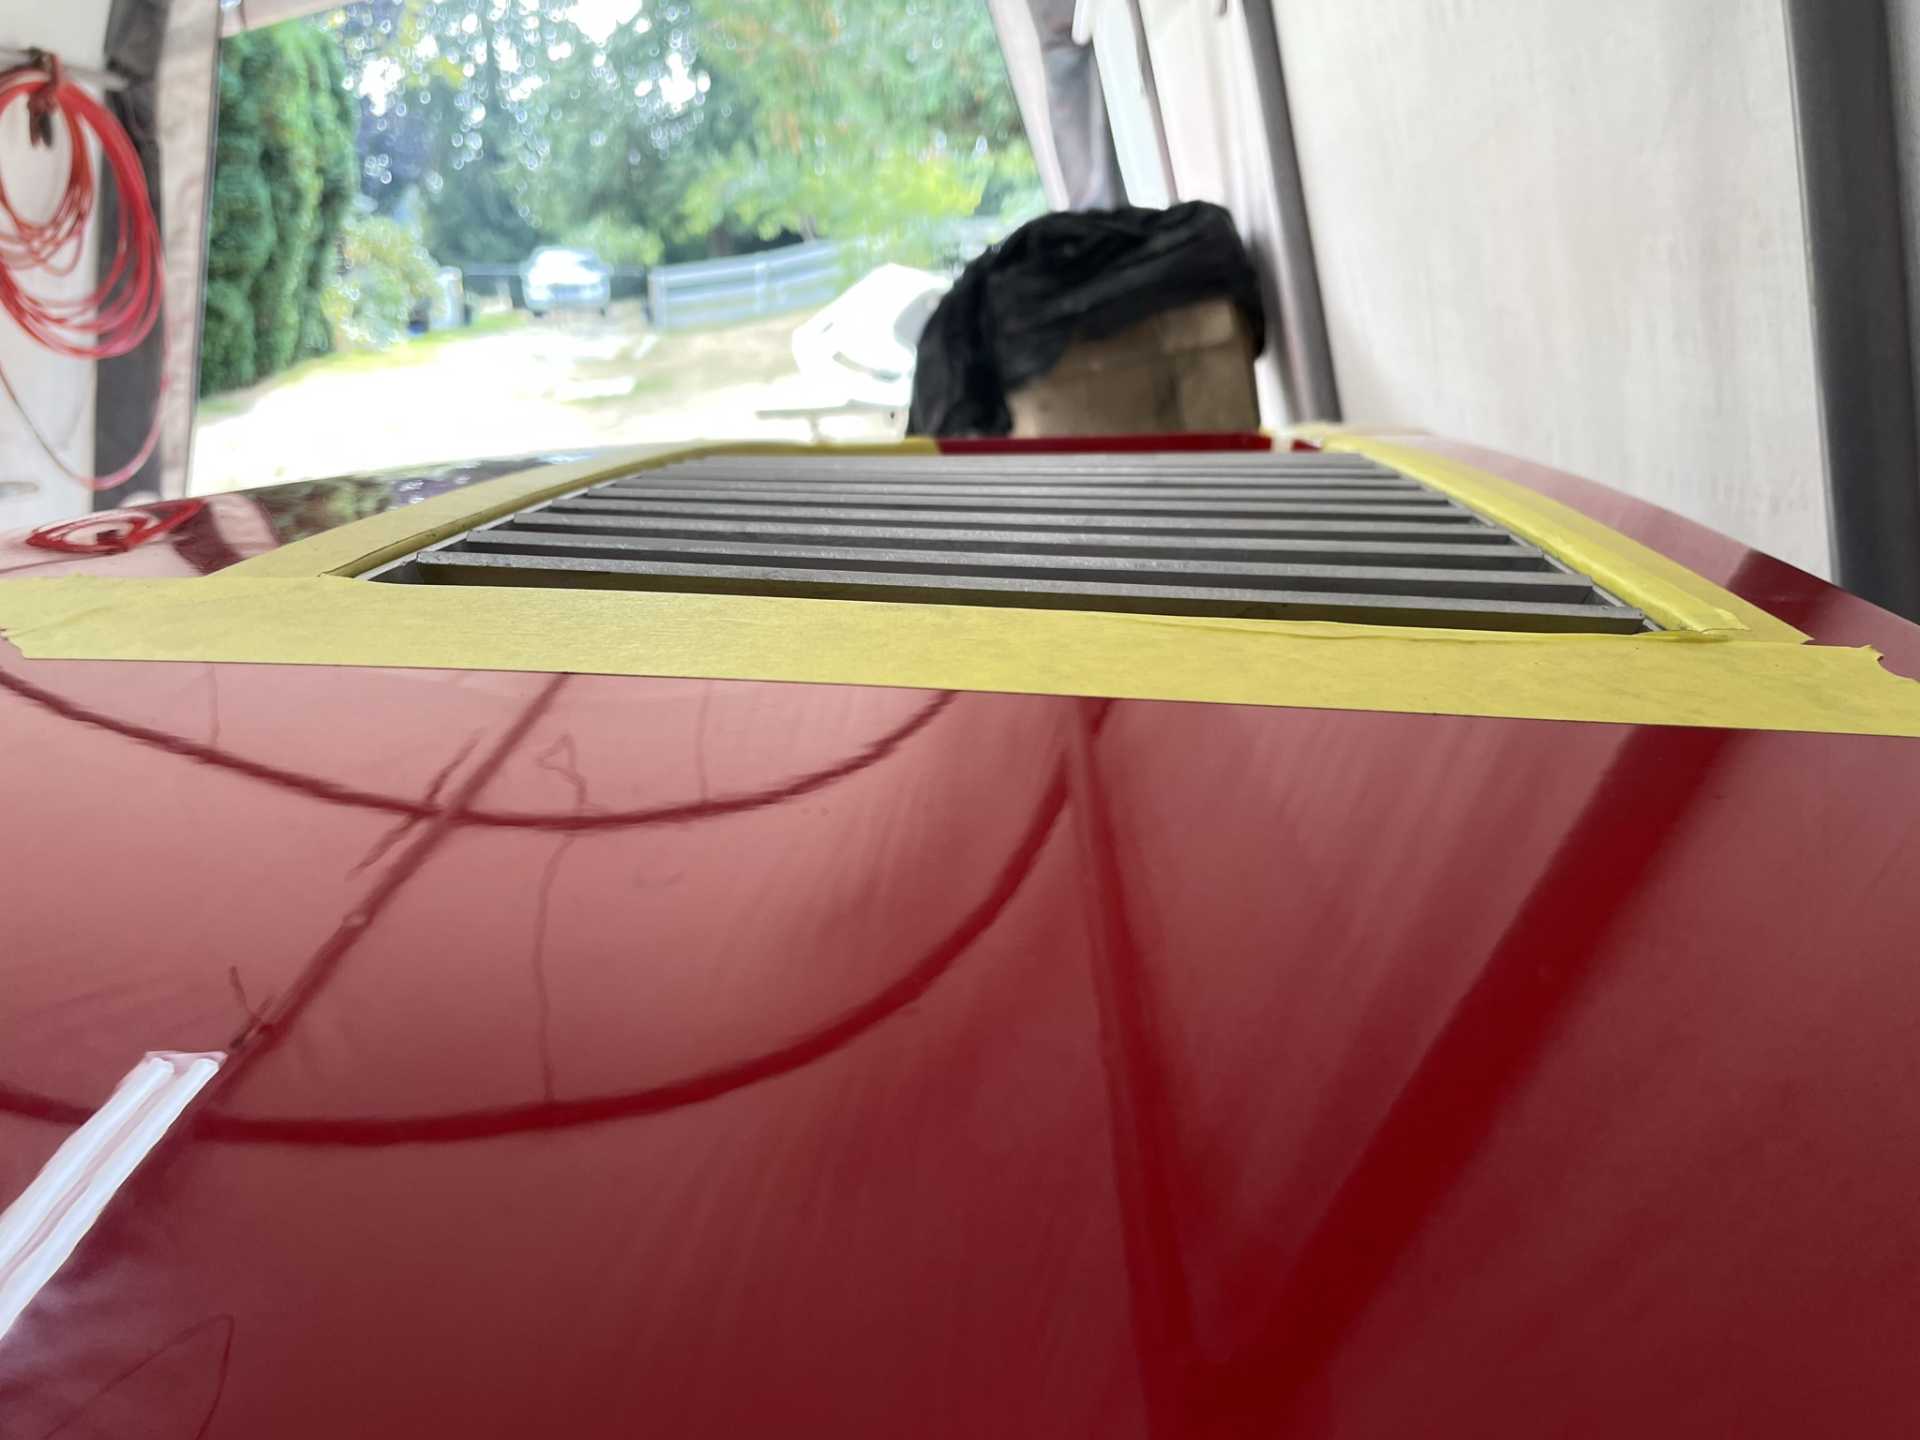
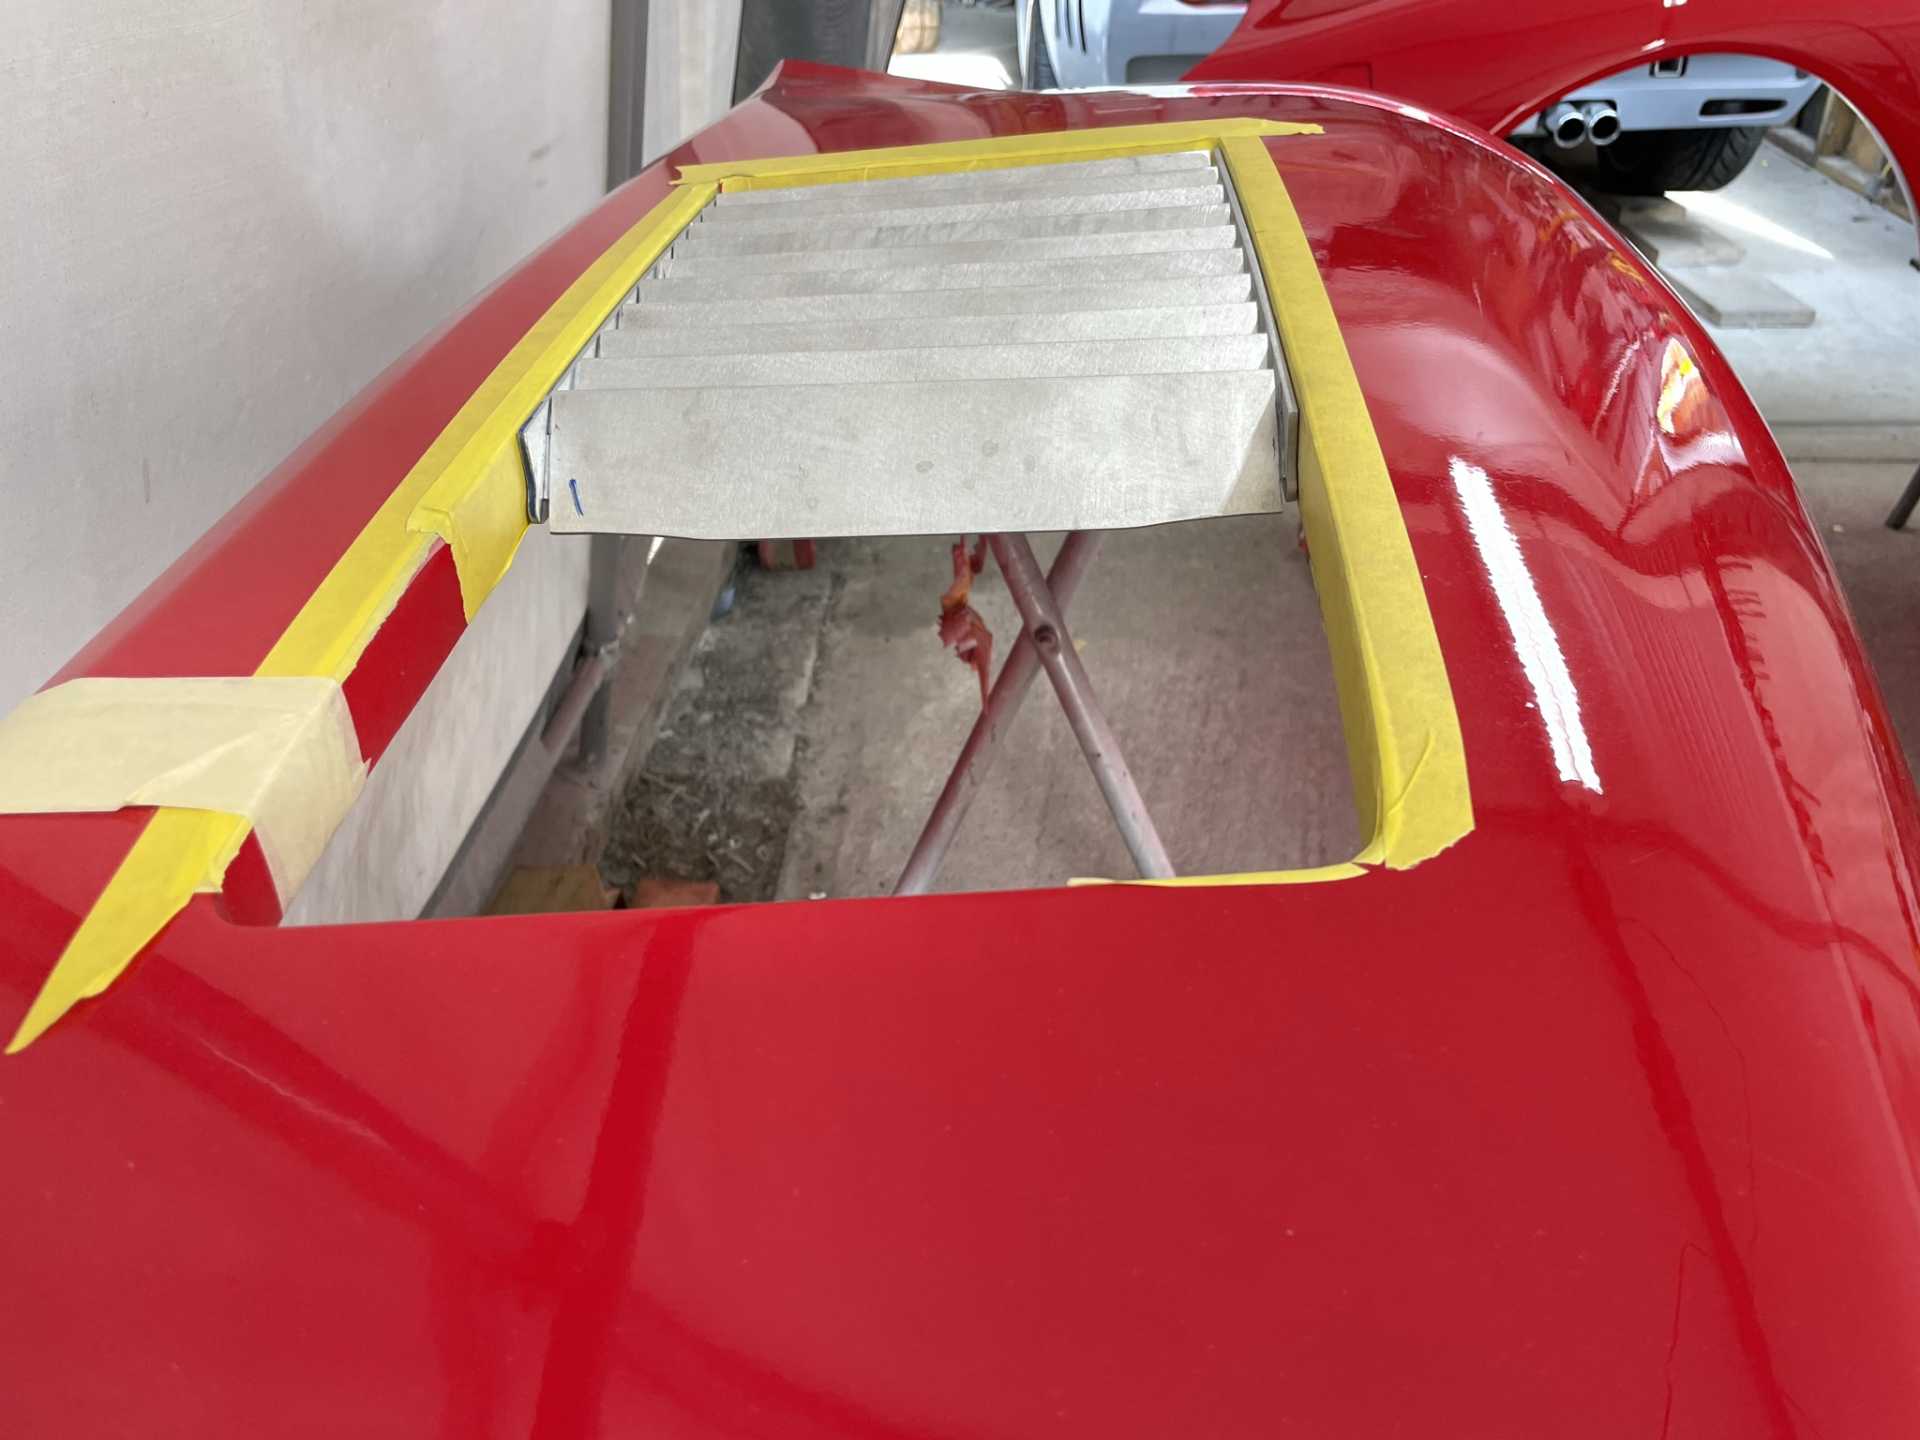
So for a bit of a diversion I started to get the body grills ready for Tig welding. With All the compound curves and angles on this car it’s not making it very easy.
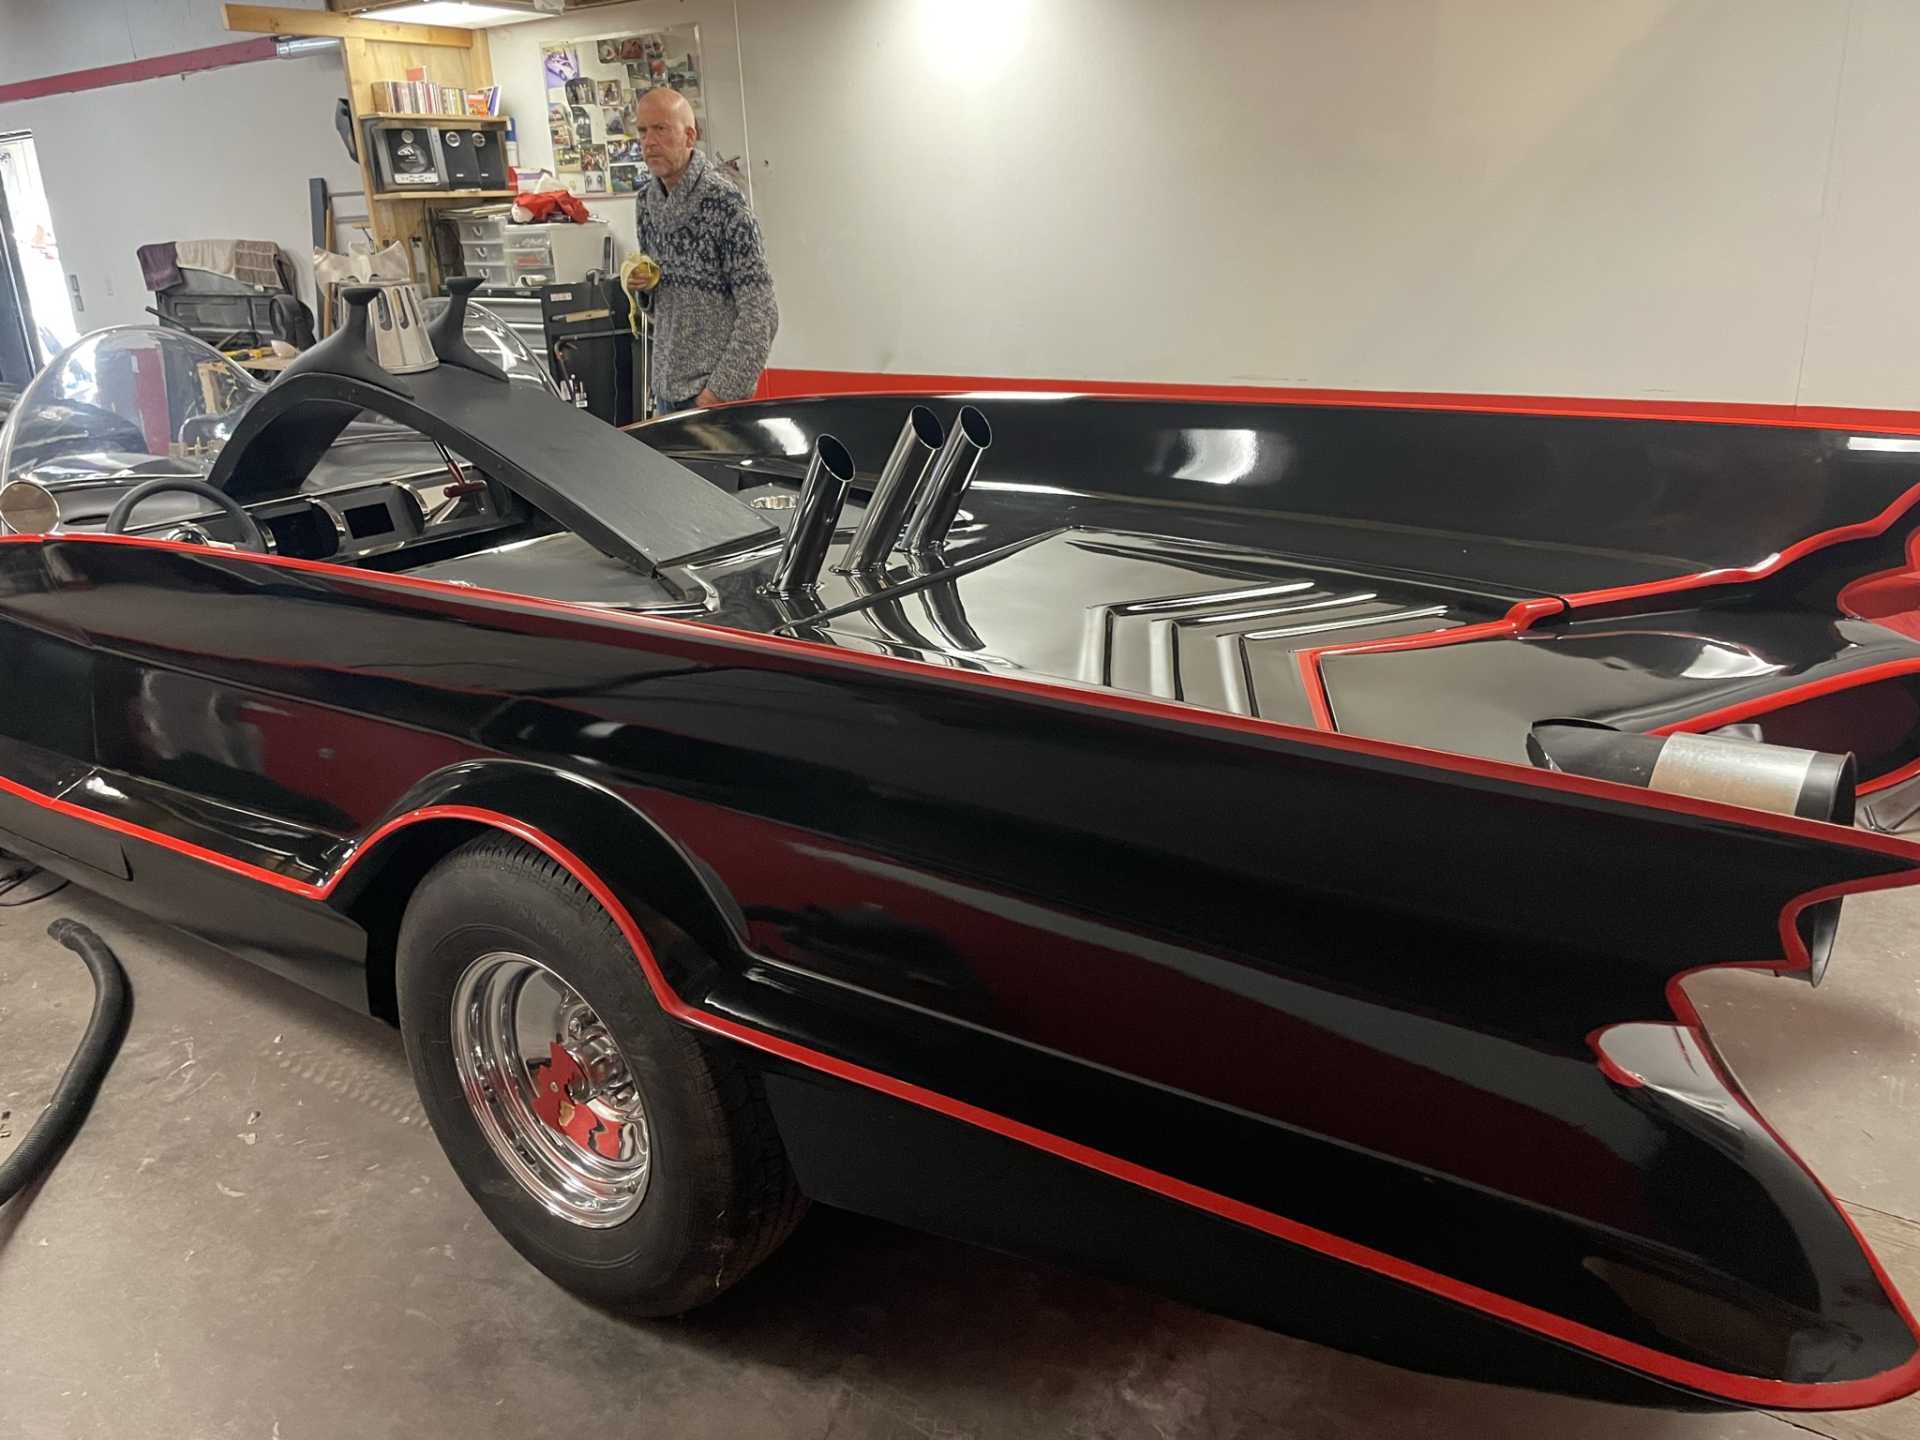
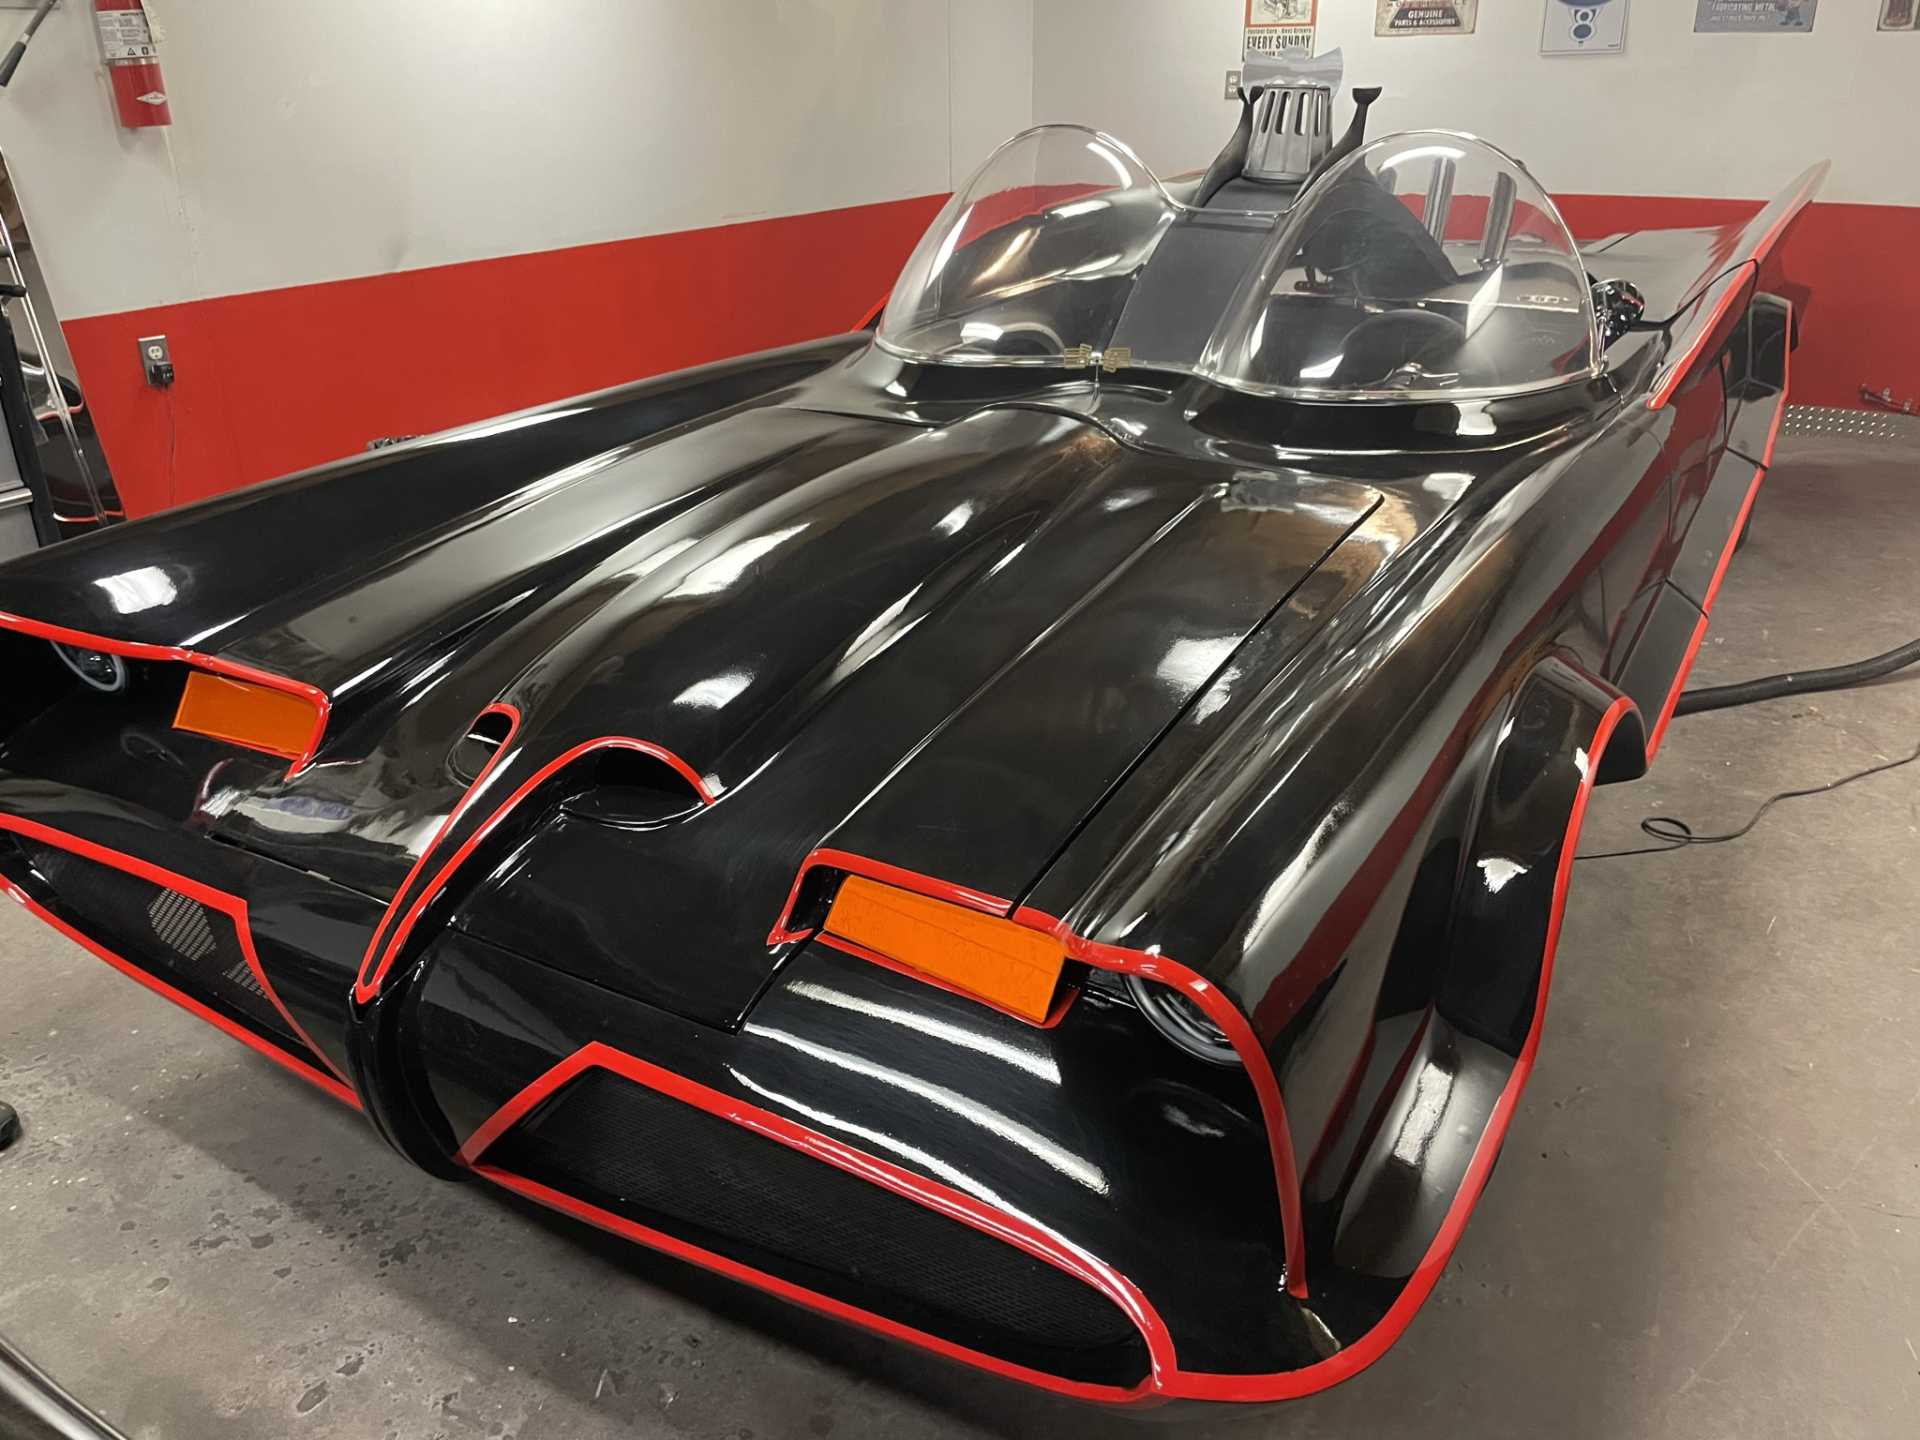
For a bit of a change another friend of mine is building this , I think this is his 10th [img]https://images.fiero.nl/userimages/dobie1/75A51D7E-8737-4DC2-8E 59-5473E7FD56D0.jpeg[/img]
Well the grills have all been filed and fit to accommodate the angles and curves of the openings. Next they will be Tig welded and the prepared for painting. “Let me know what you think” but I’m planning on painting them the same colour as the body (Corsa Rosso) but I keep thinking that black might actually look really good.
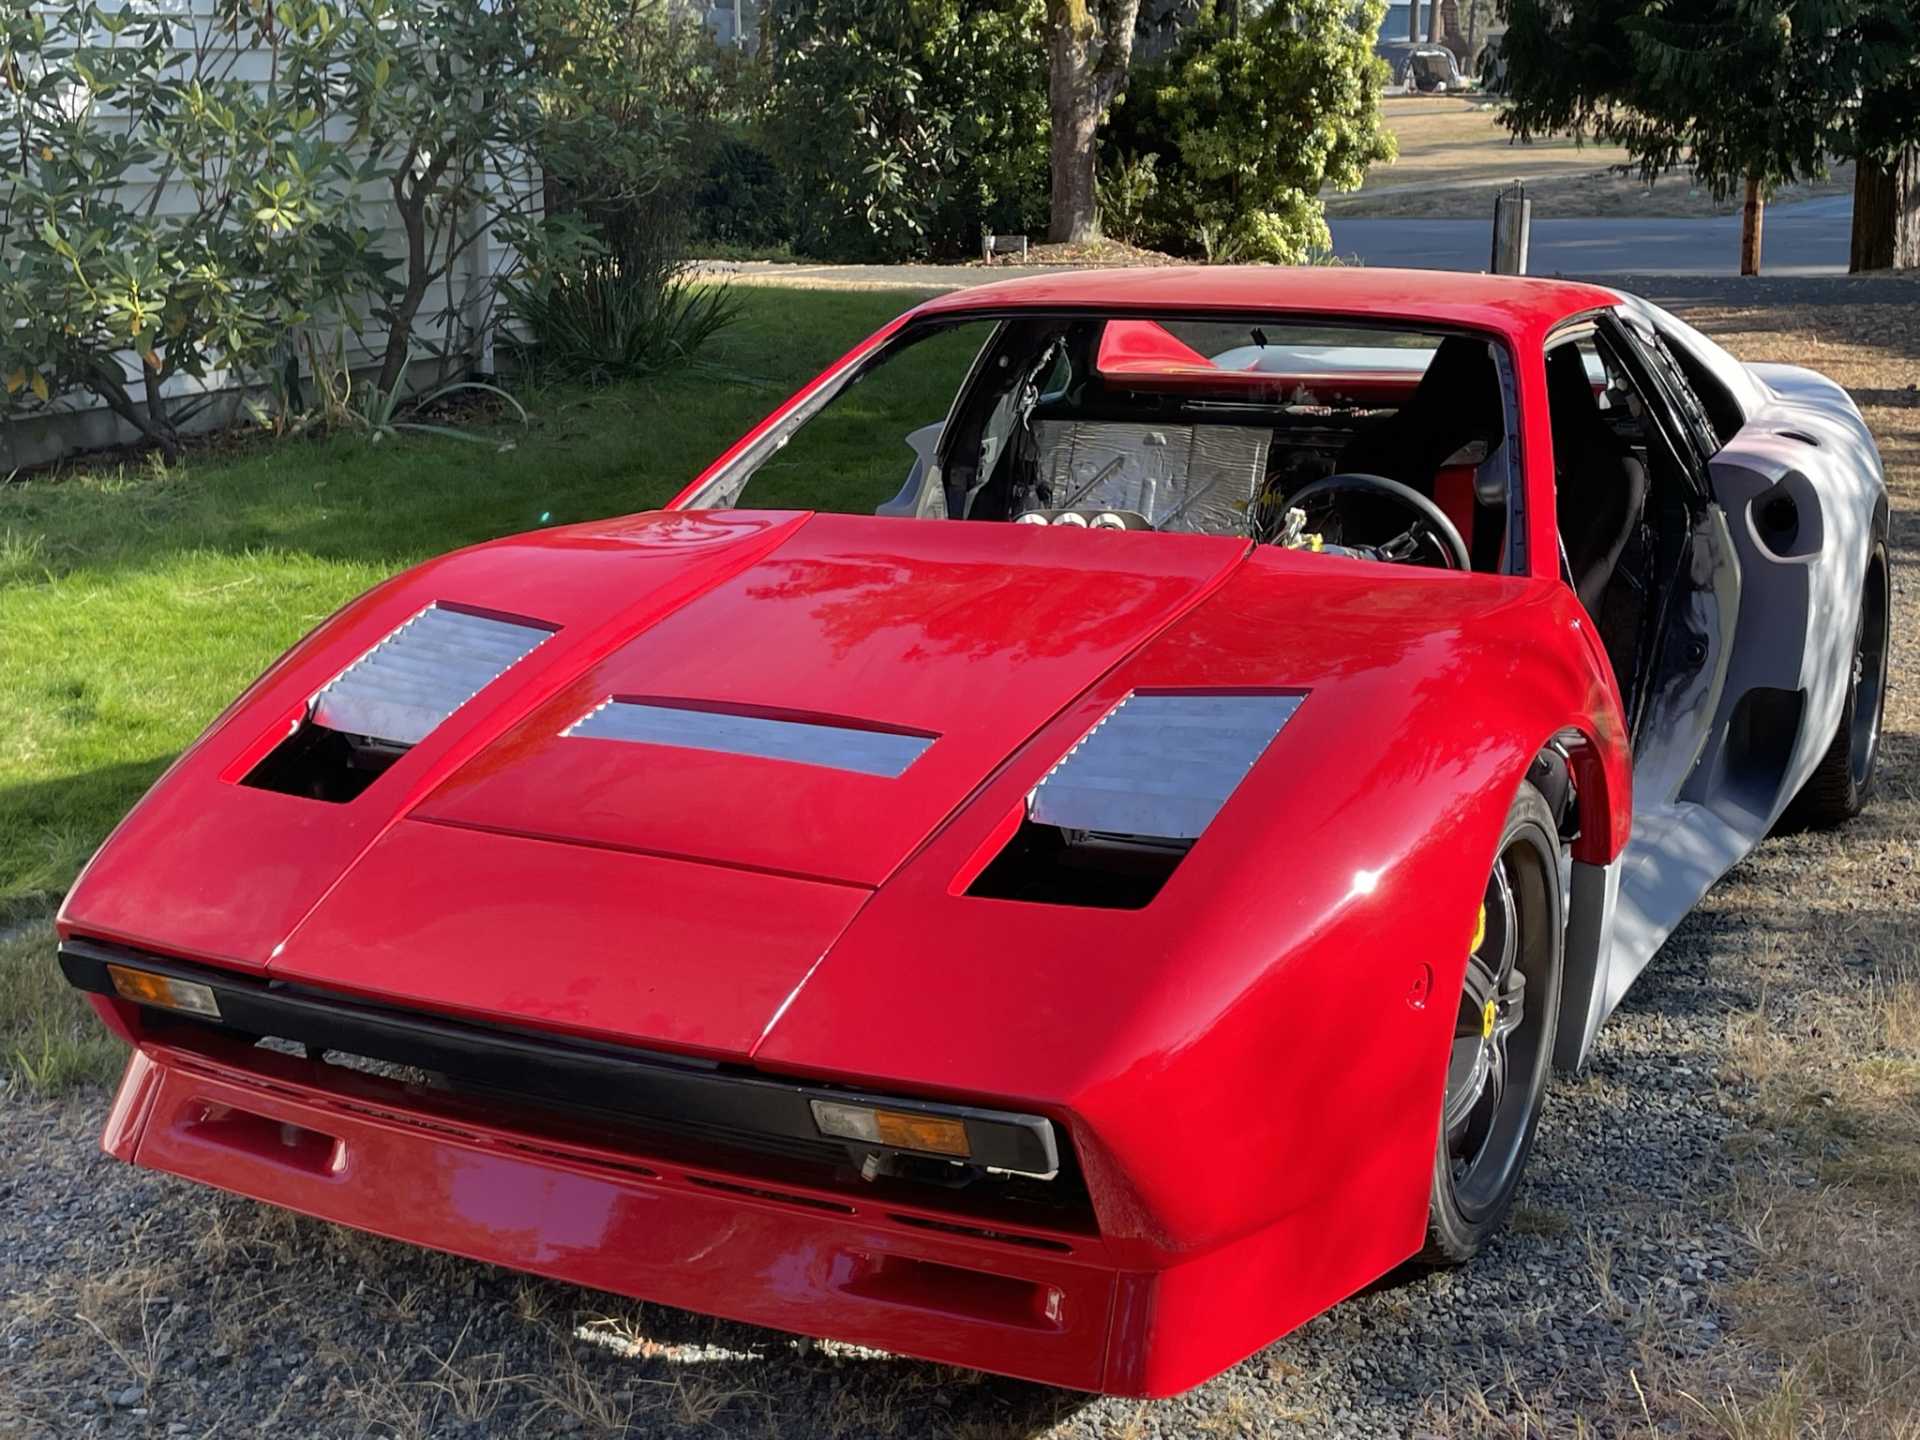
I decided to mount the front body panels I want to drive the car down the road to have the the muffler installation finished. Once done I can mount the body permanently, and finish the body work before painting, I will put insurance on the car so need to make it as legal as possible.
Thanks Zac and Maf for giving me your vote !! RCR thanks for the kind words, what’s happening on your build. I’m looking forward to some progress soon.
The weather has really changed up here in Canada, it’s wet and cooled off snow yesterday so painting and bodywork is not in the cards.
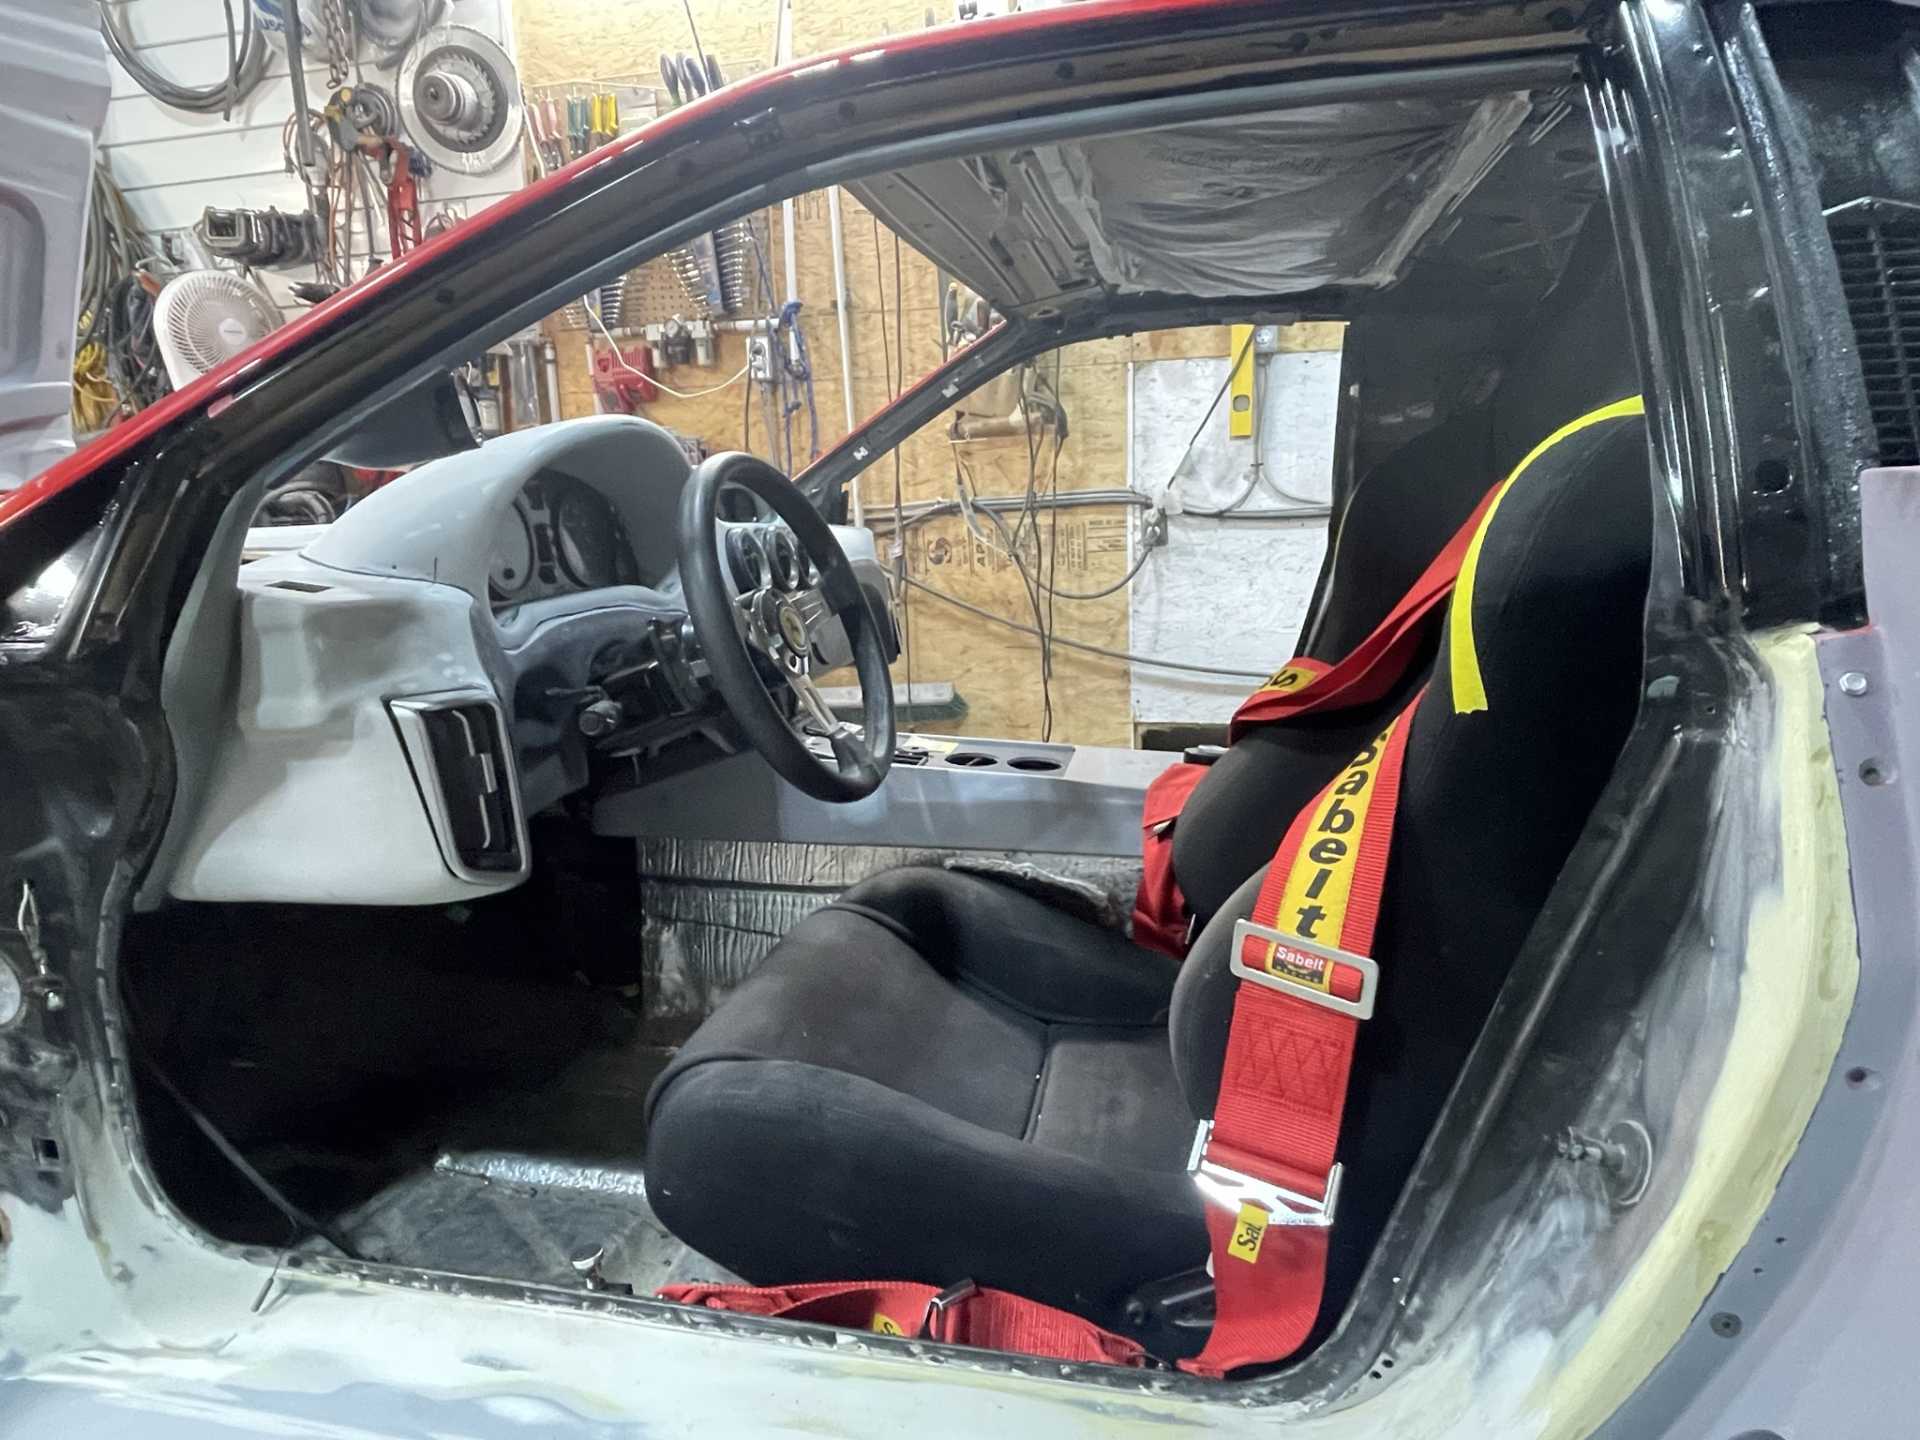
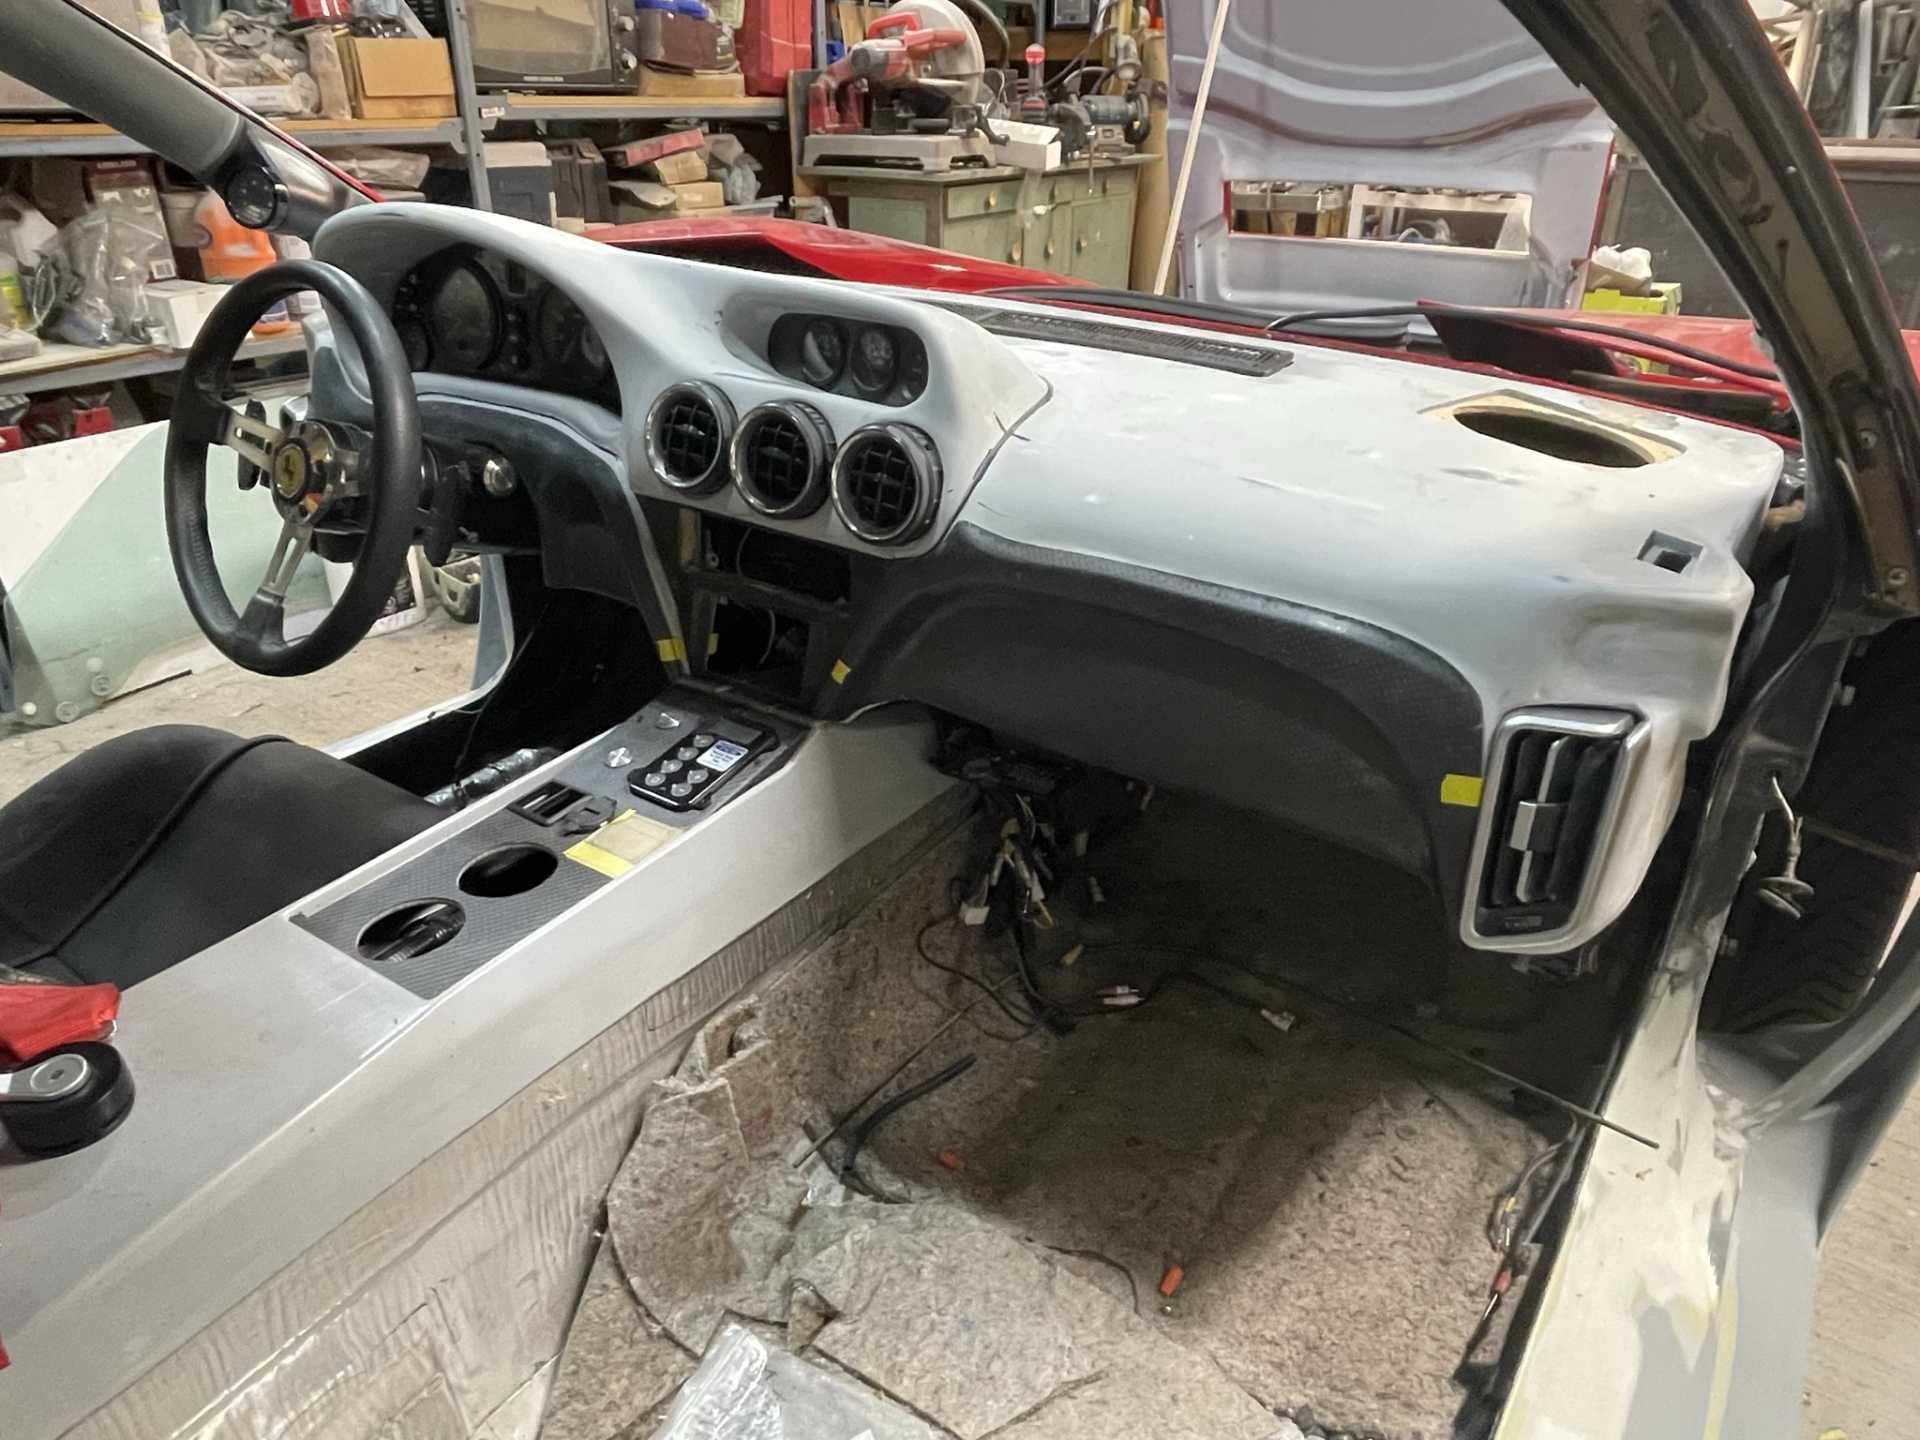
So segued into finishing the interior over the winter. I put everything together testing fit all the carbon fiber overlays and vents before I move to upholster the dash and centre console.
In the last picture the green is where the stereo will go and the red is the touch pad for the HVAC / light controller The light gray dash color will be where the Alcantera material will be installed. The interior trim will have a carbon fibre overlay applied.
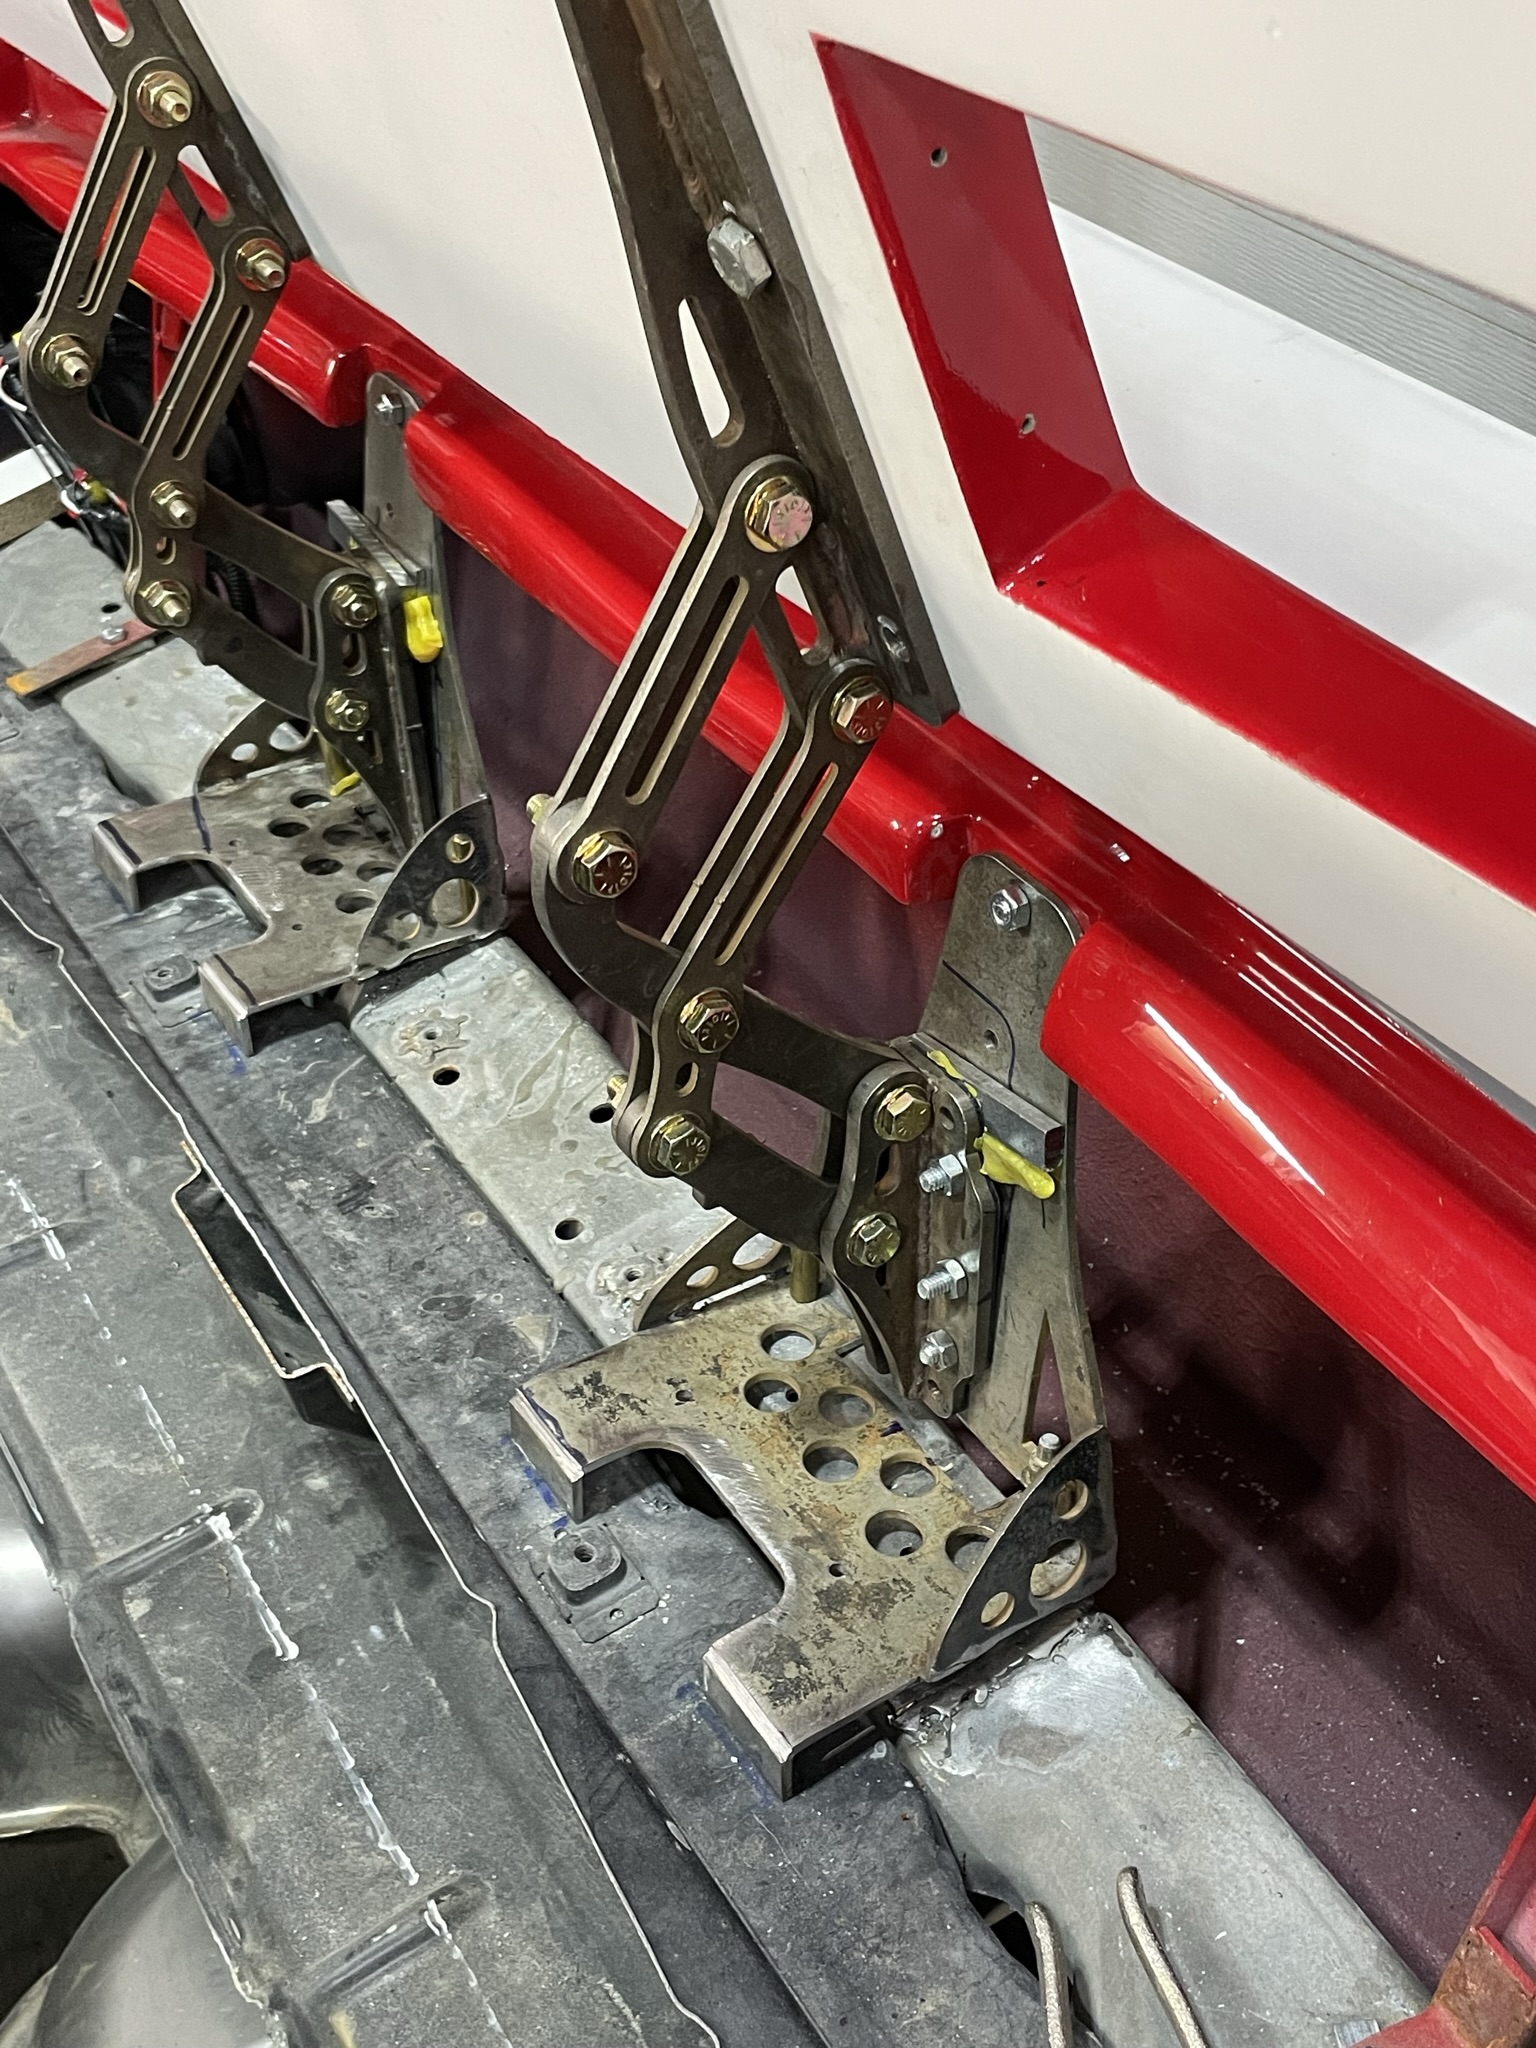
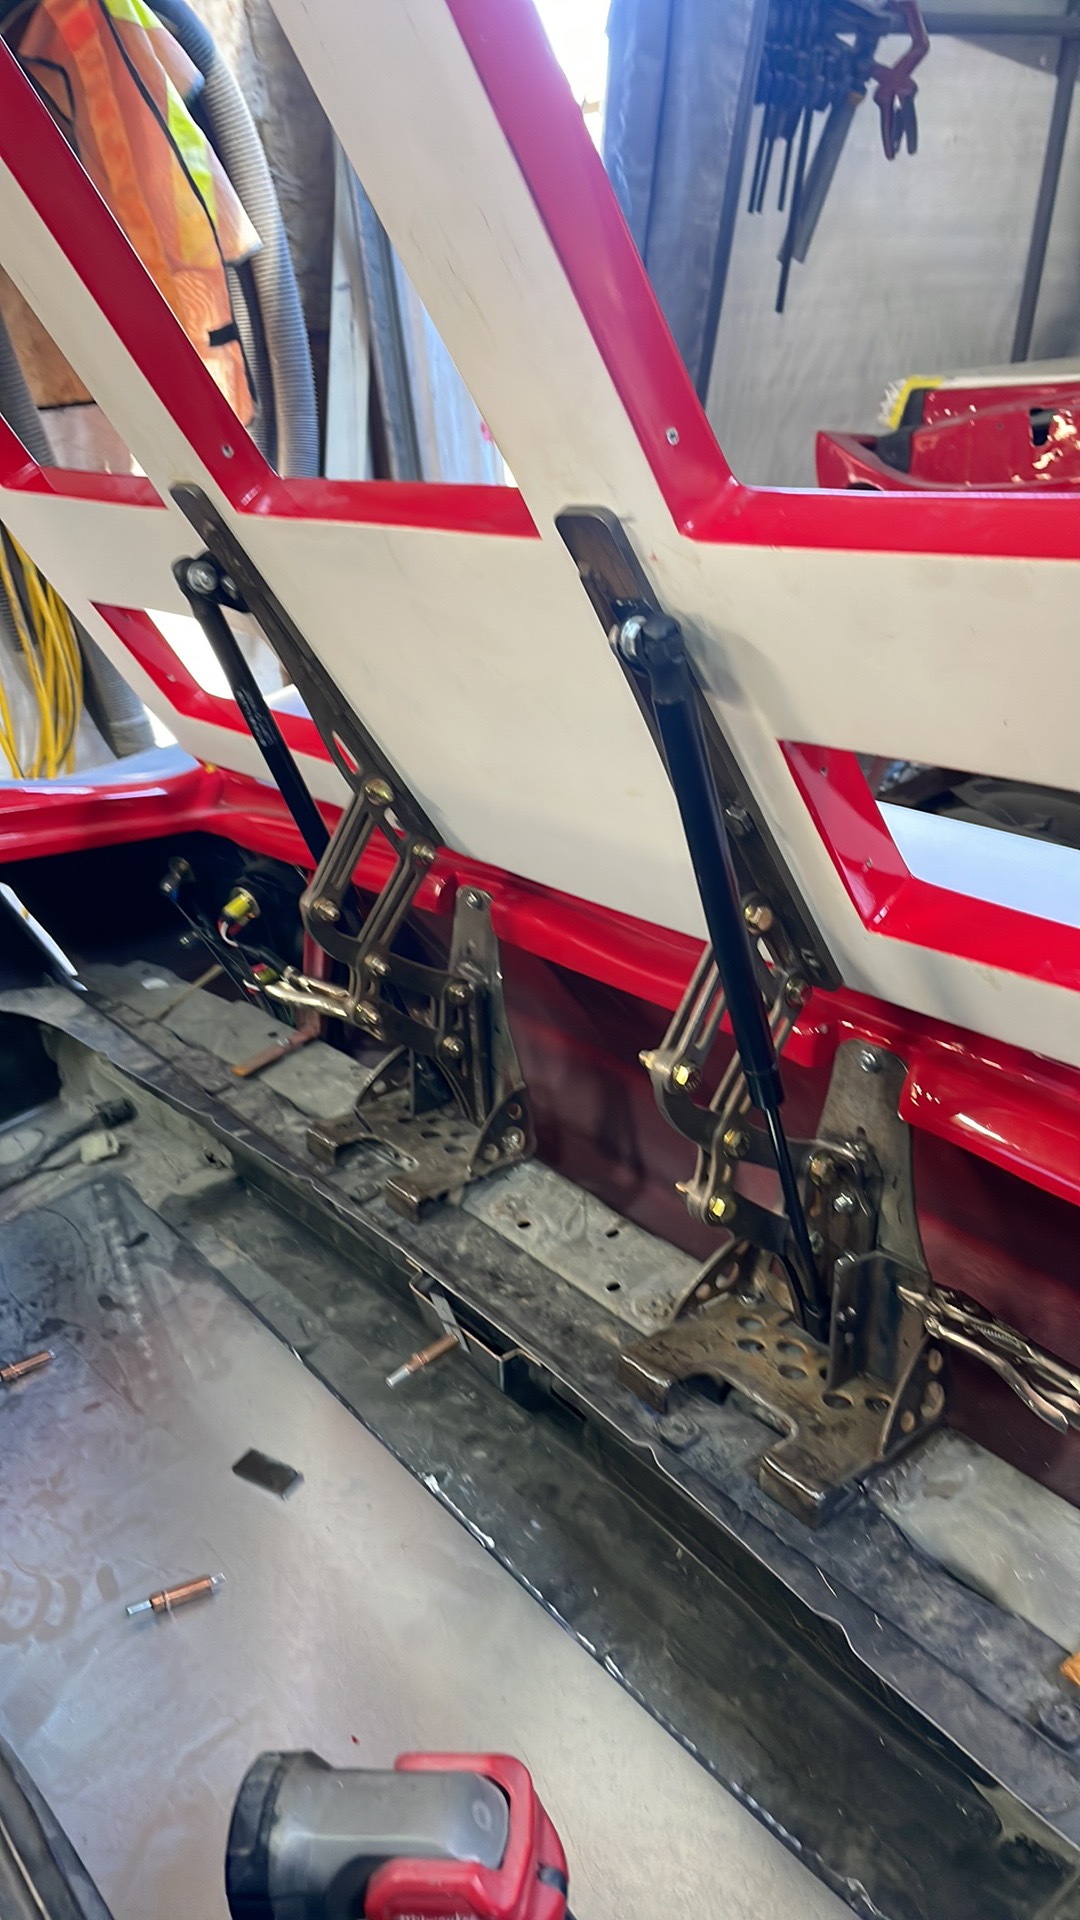
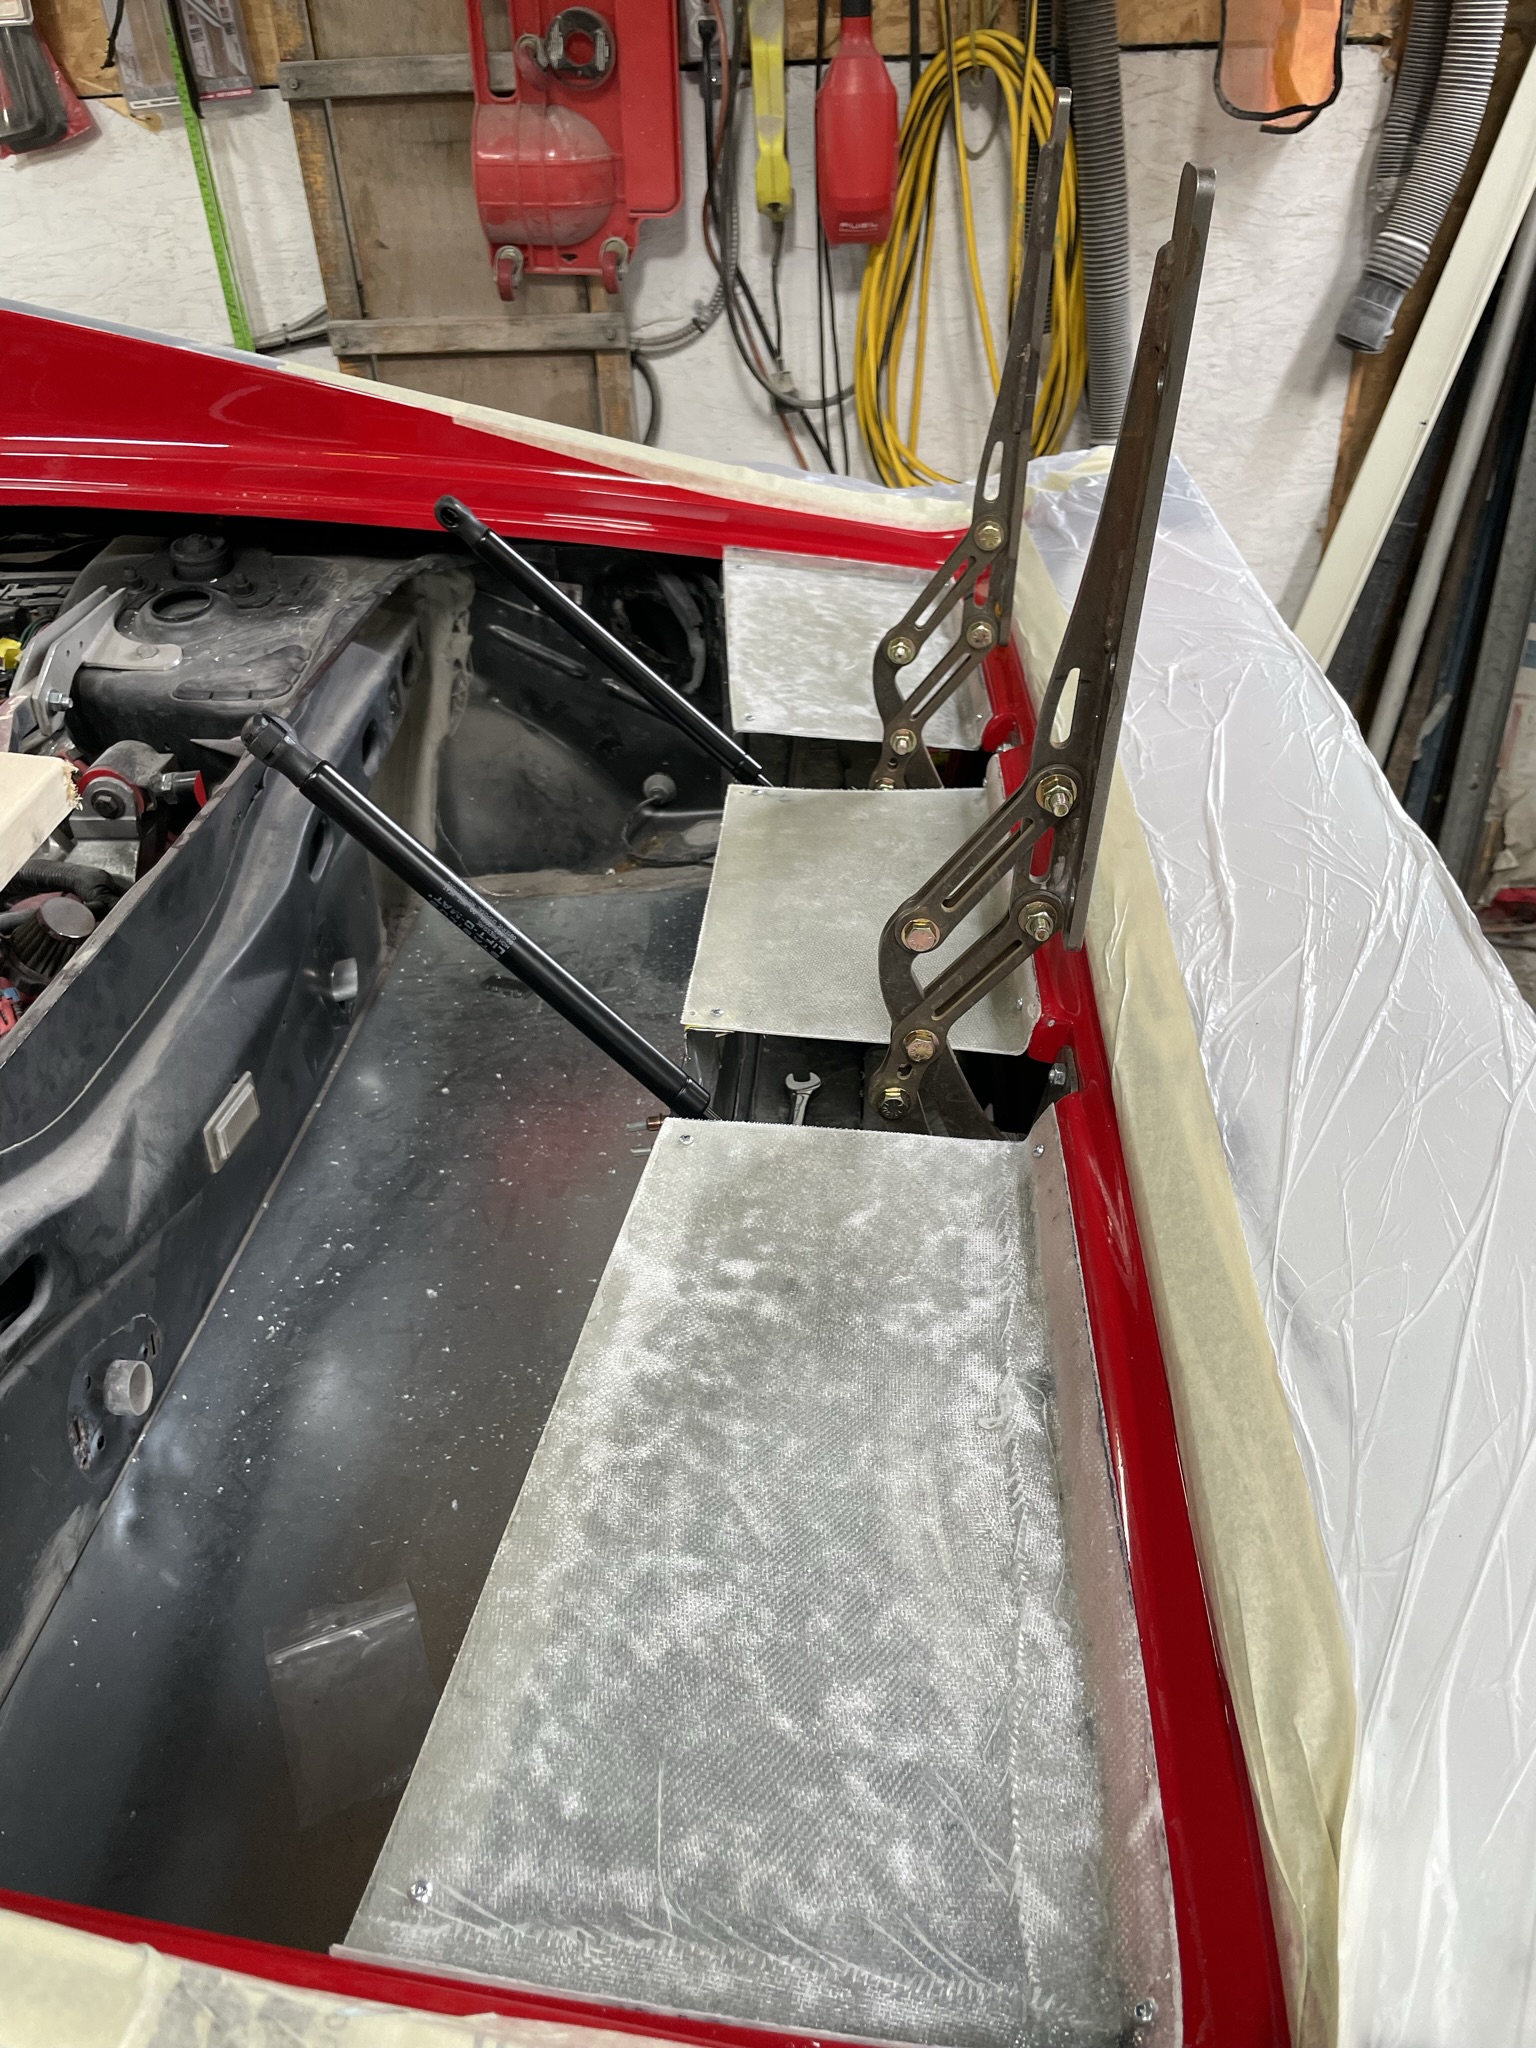
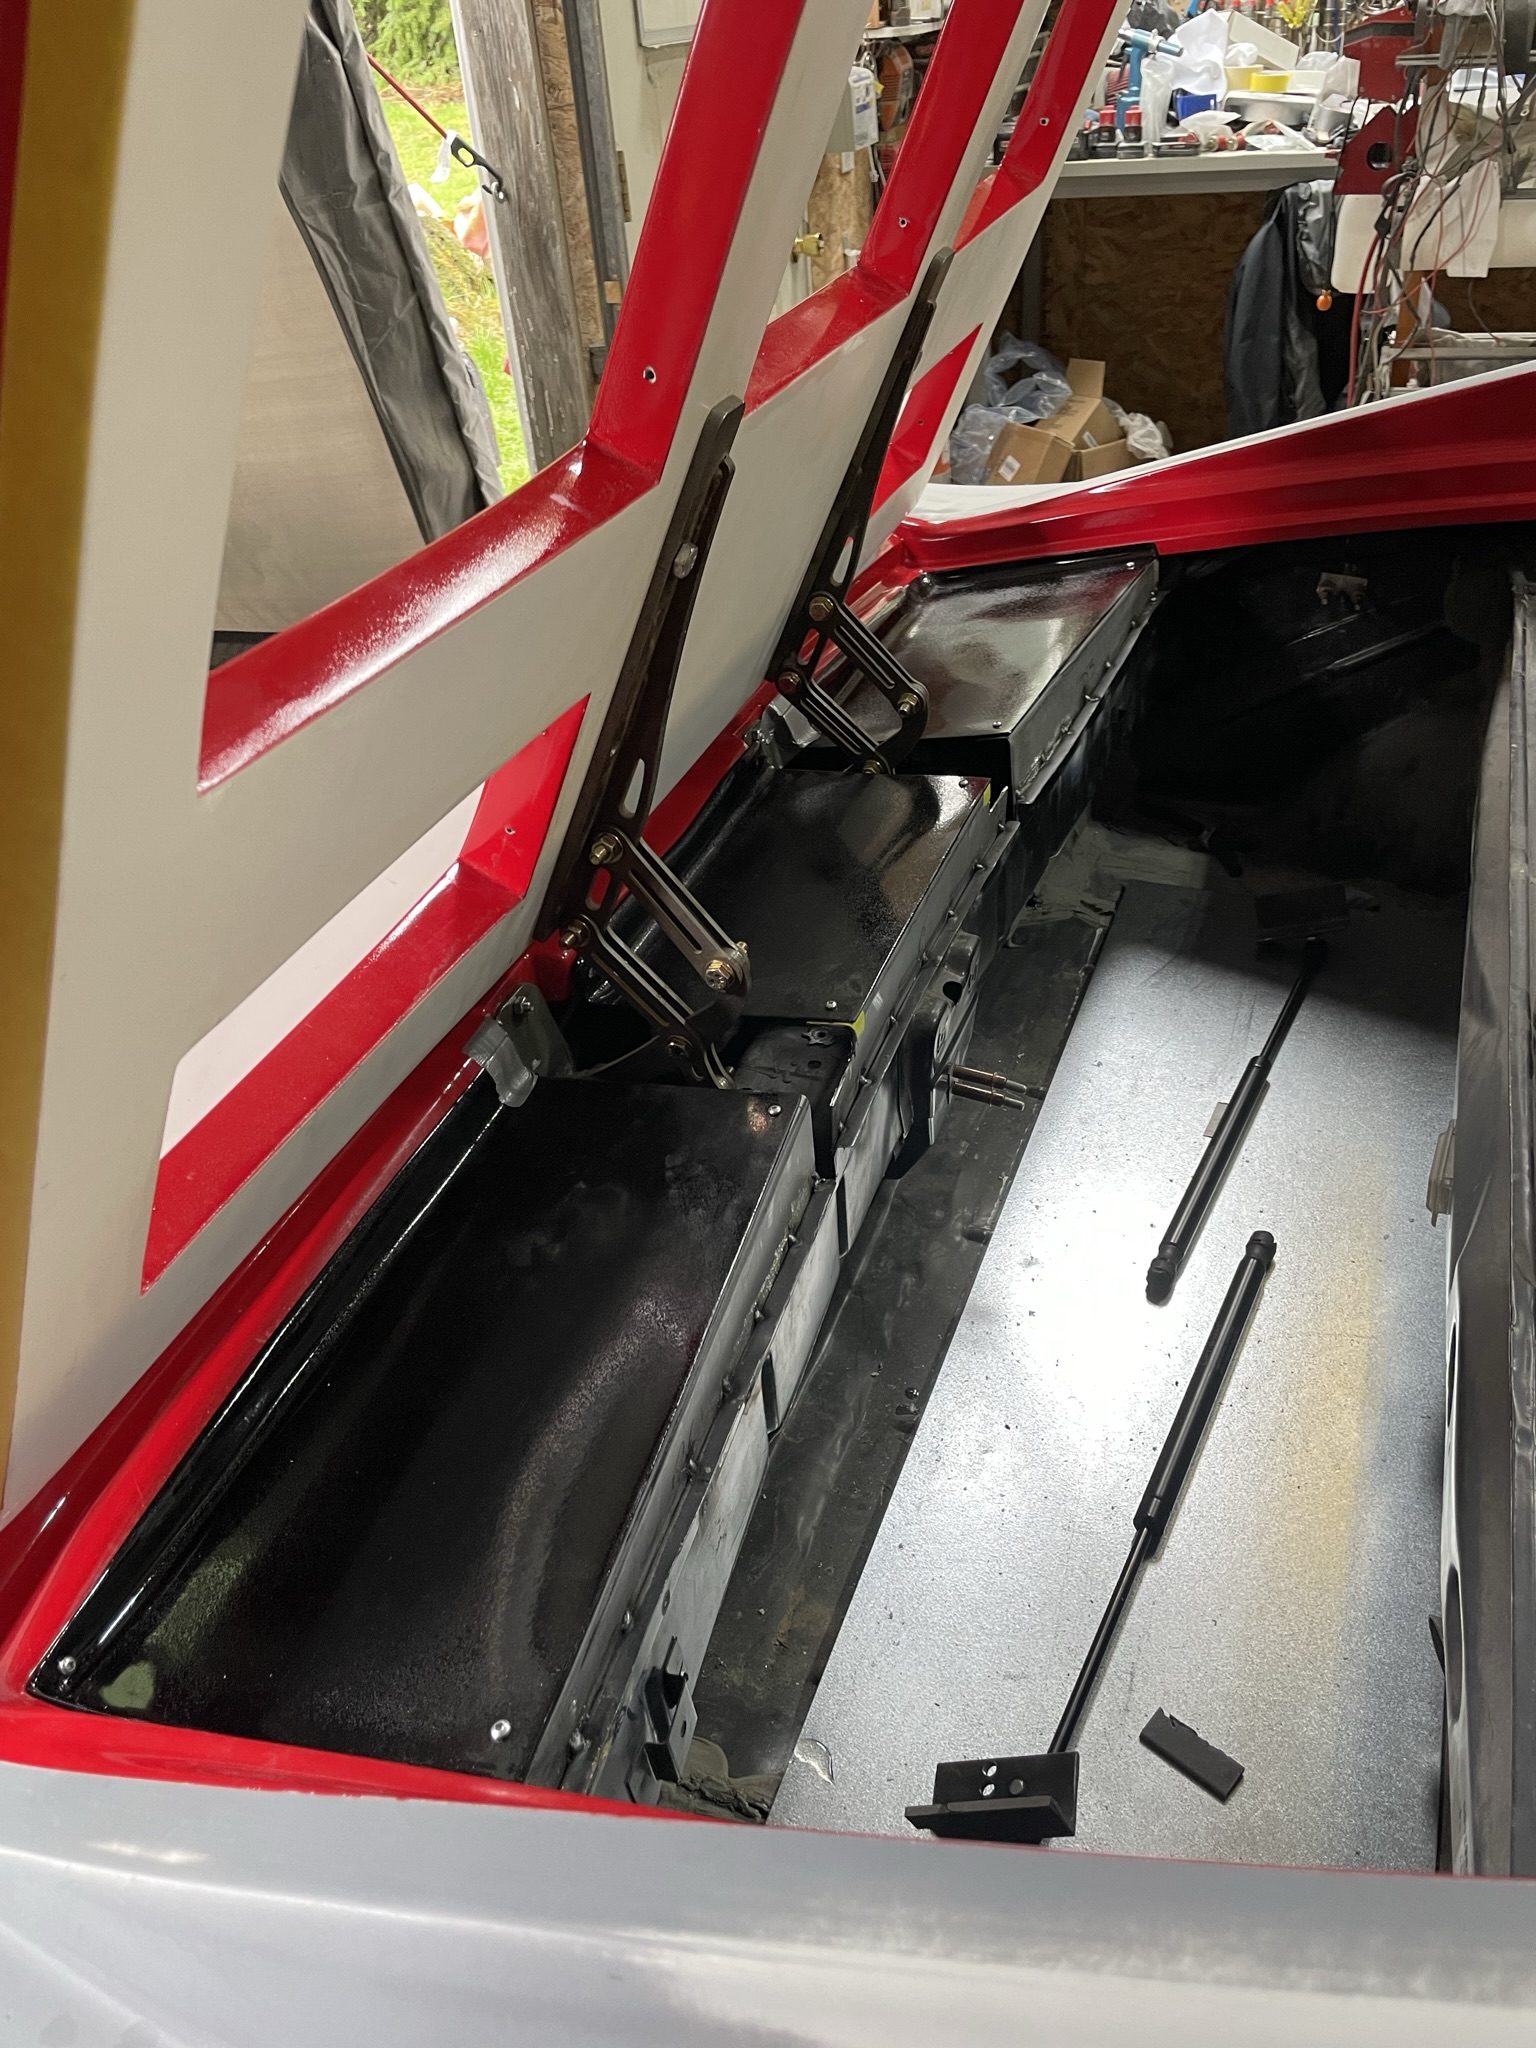
I also finally got the geometry figured out for the rear deck hinges to give me a workable opening. I’m looking at pneumatic Spring lifts instead of using a rear deck prop rod.
That brings everyone up to date. Stay safe Wayne
[This message has been edited by dobie1 (edited 11-09-2022).]
Looking good! Seems like you are getting close, though all that detail work will always be more than you expect it to be
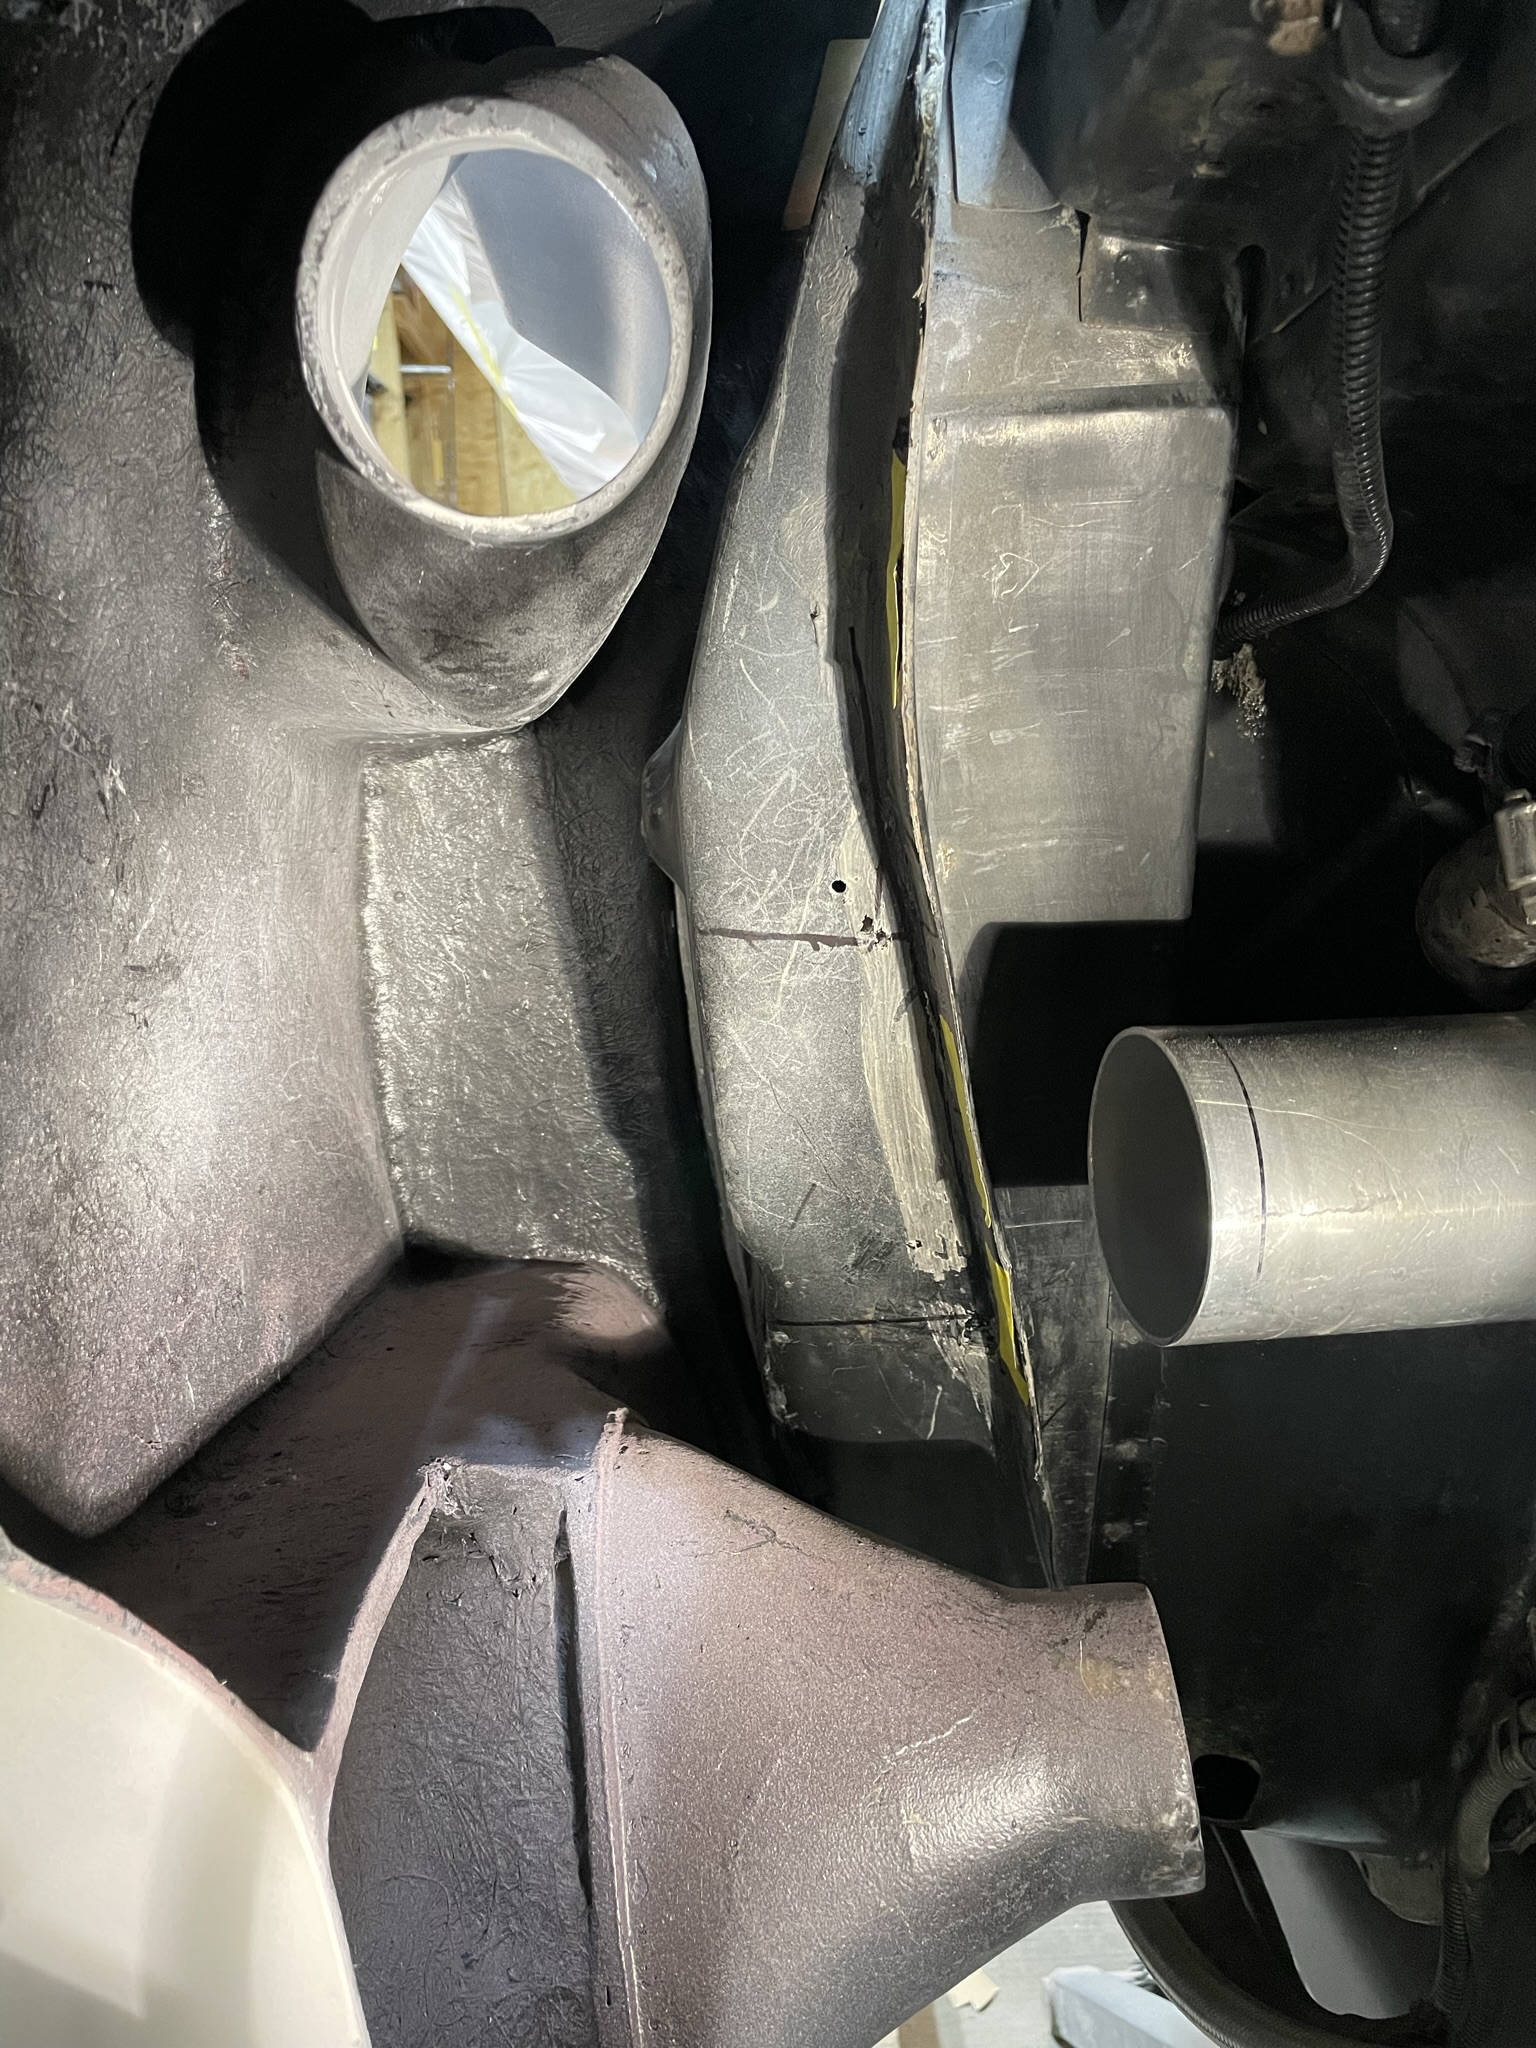
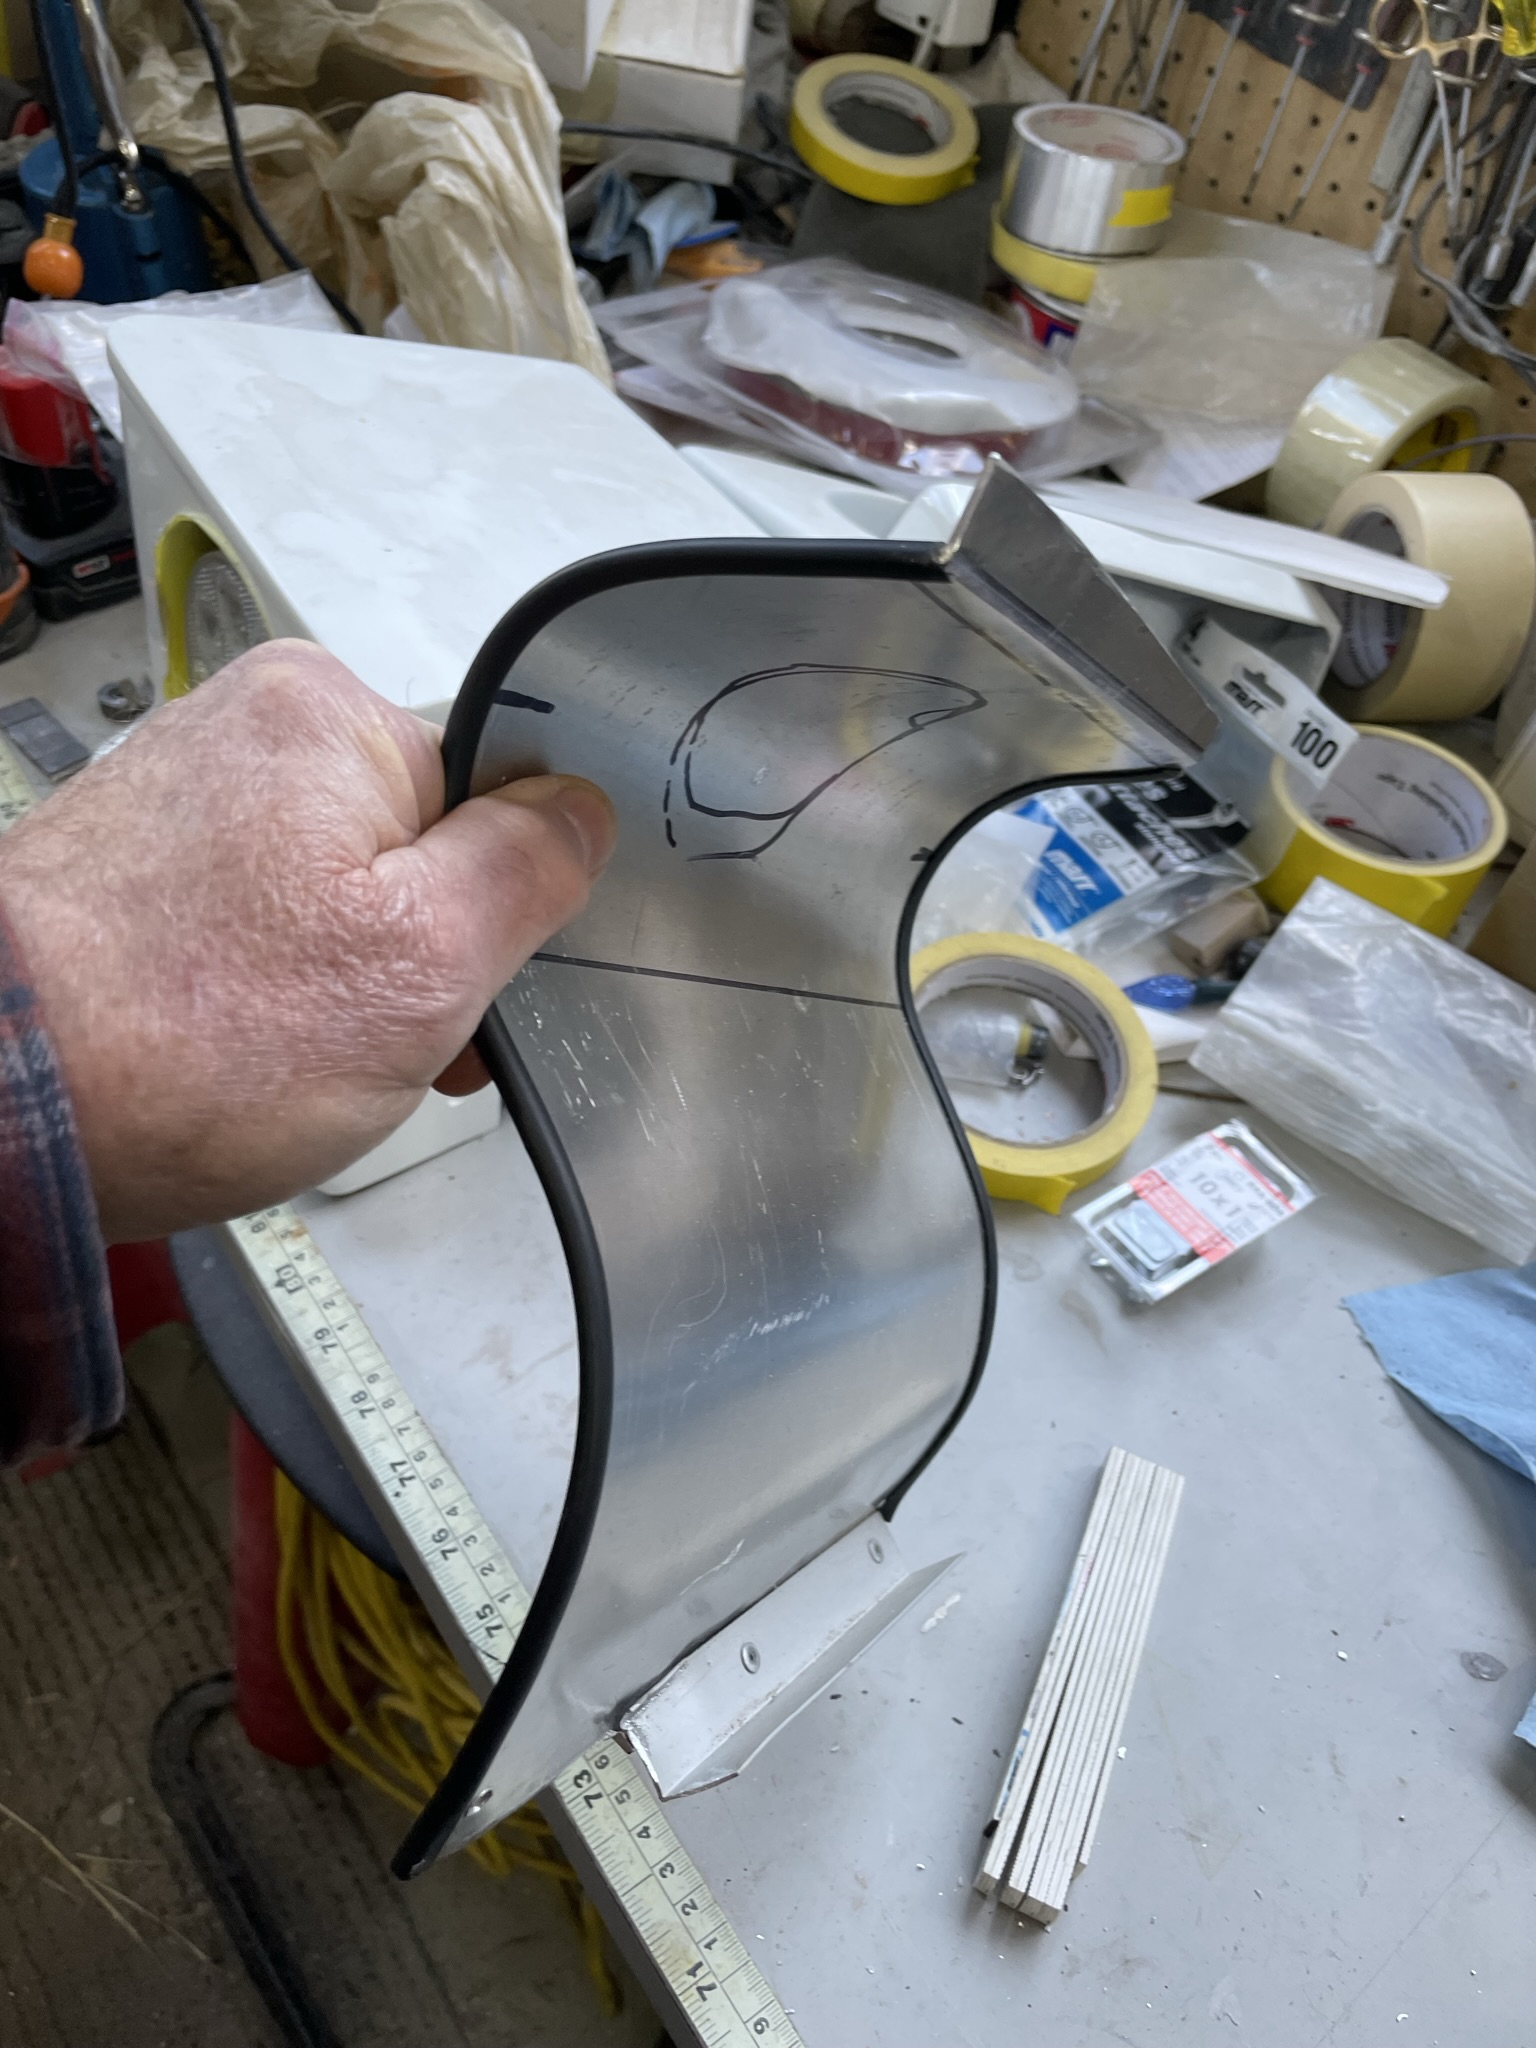
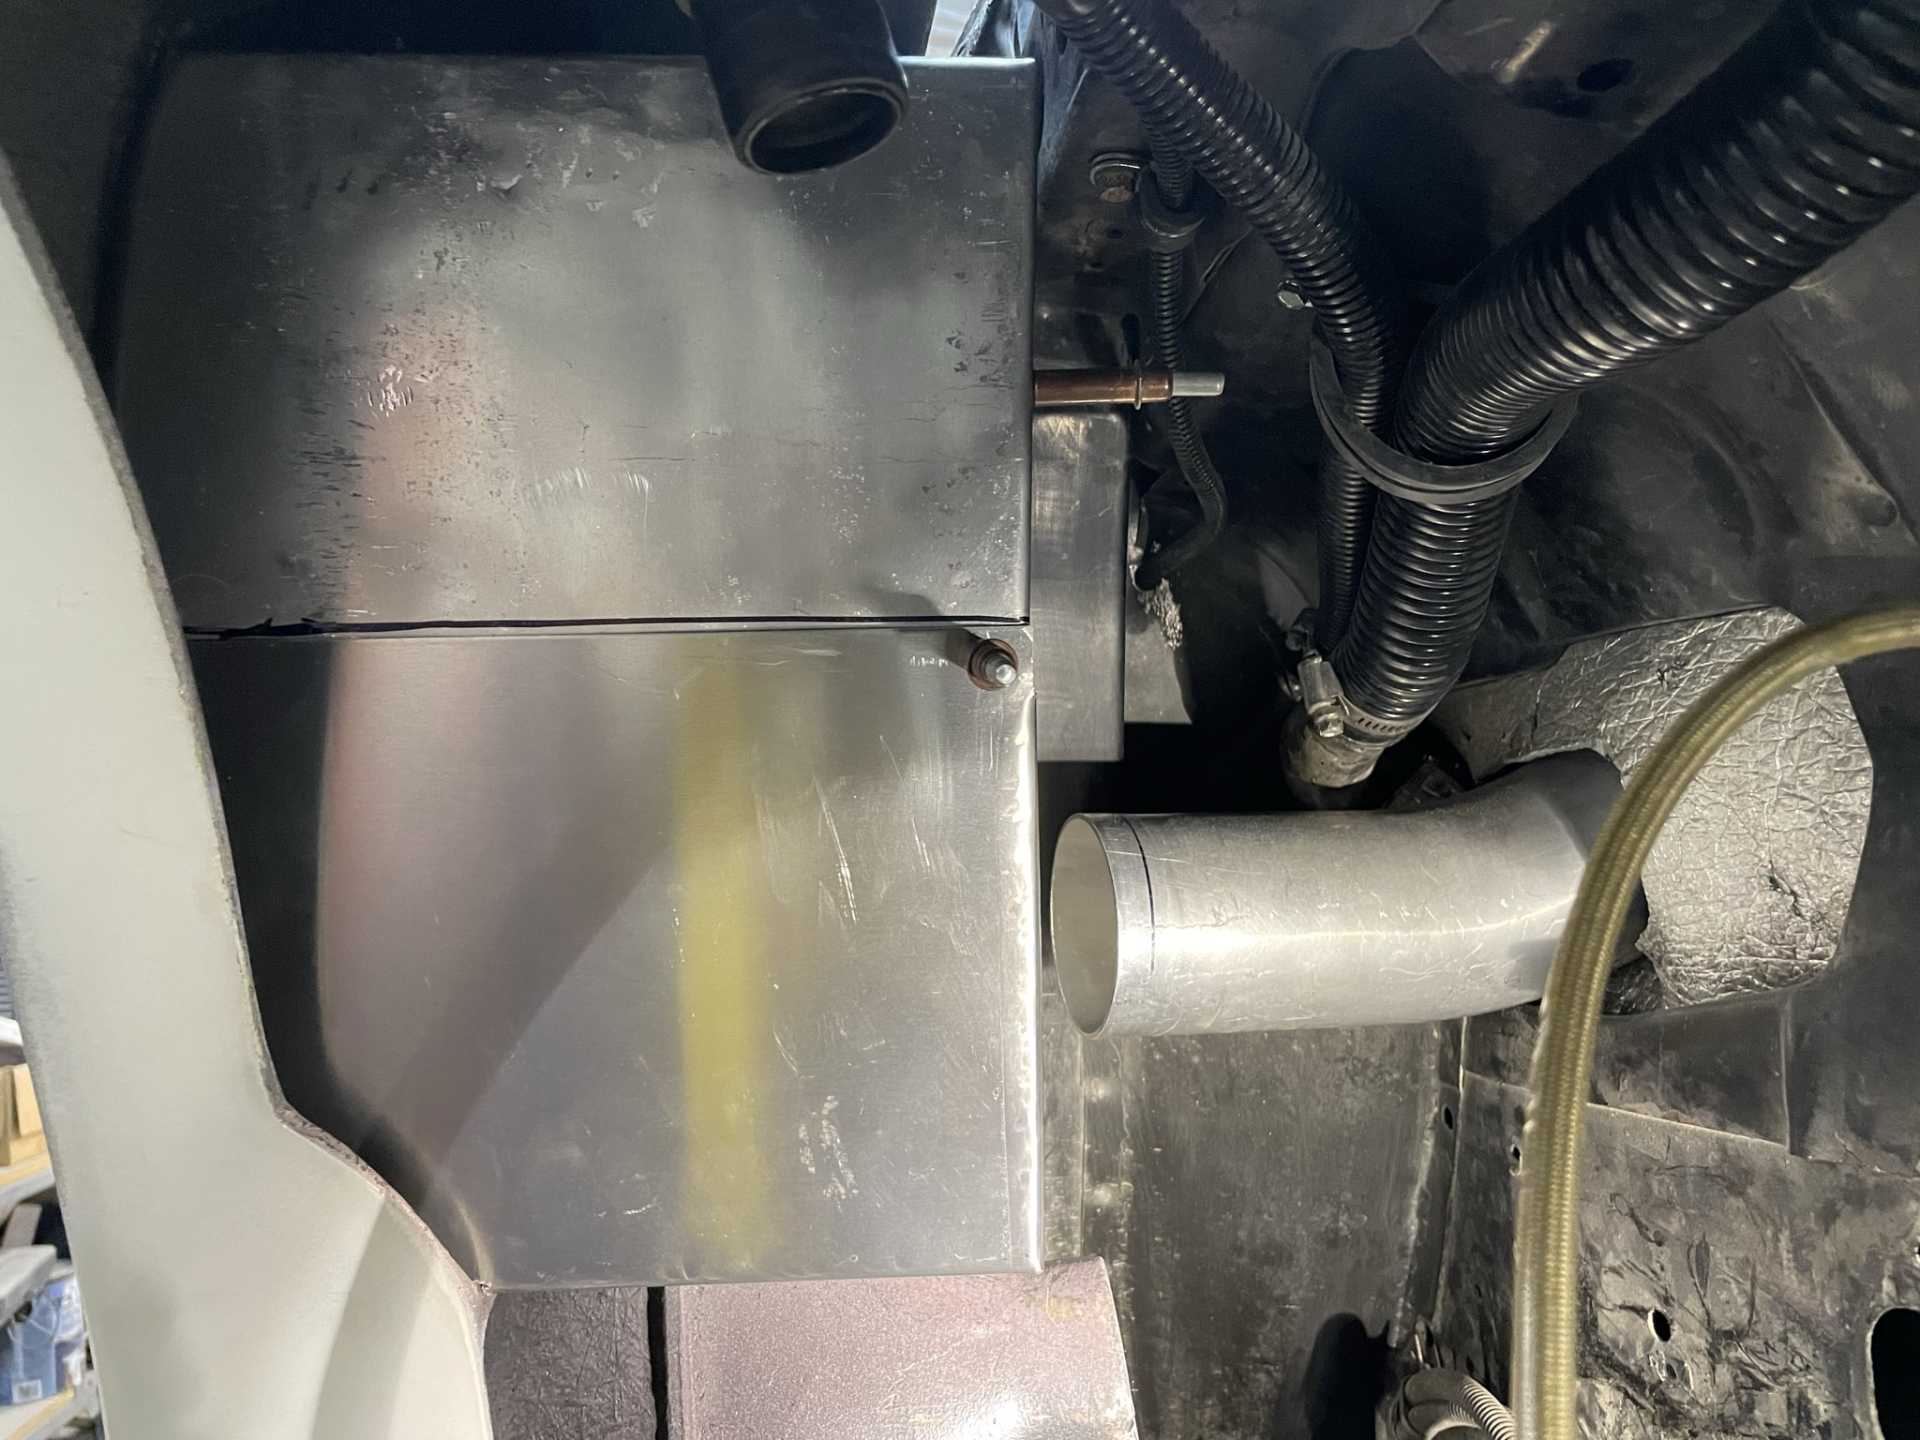
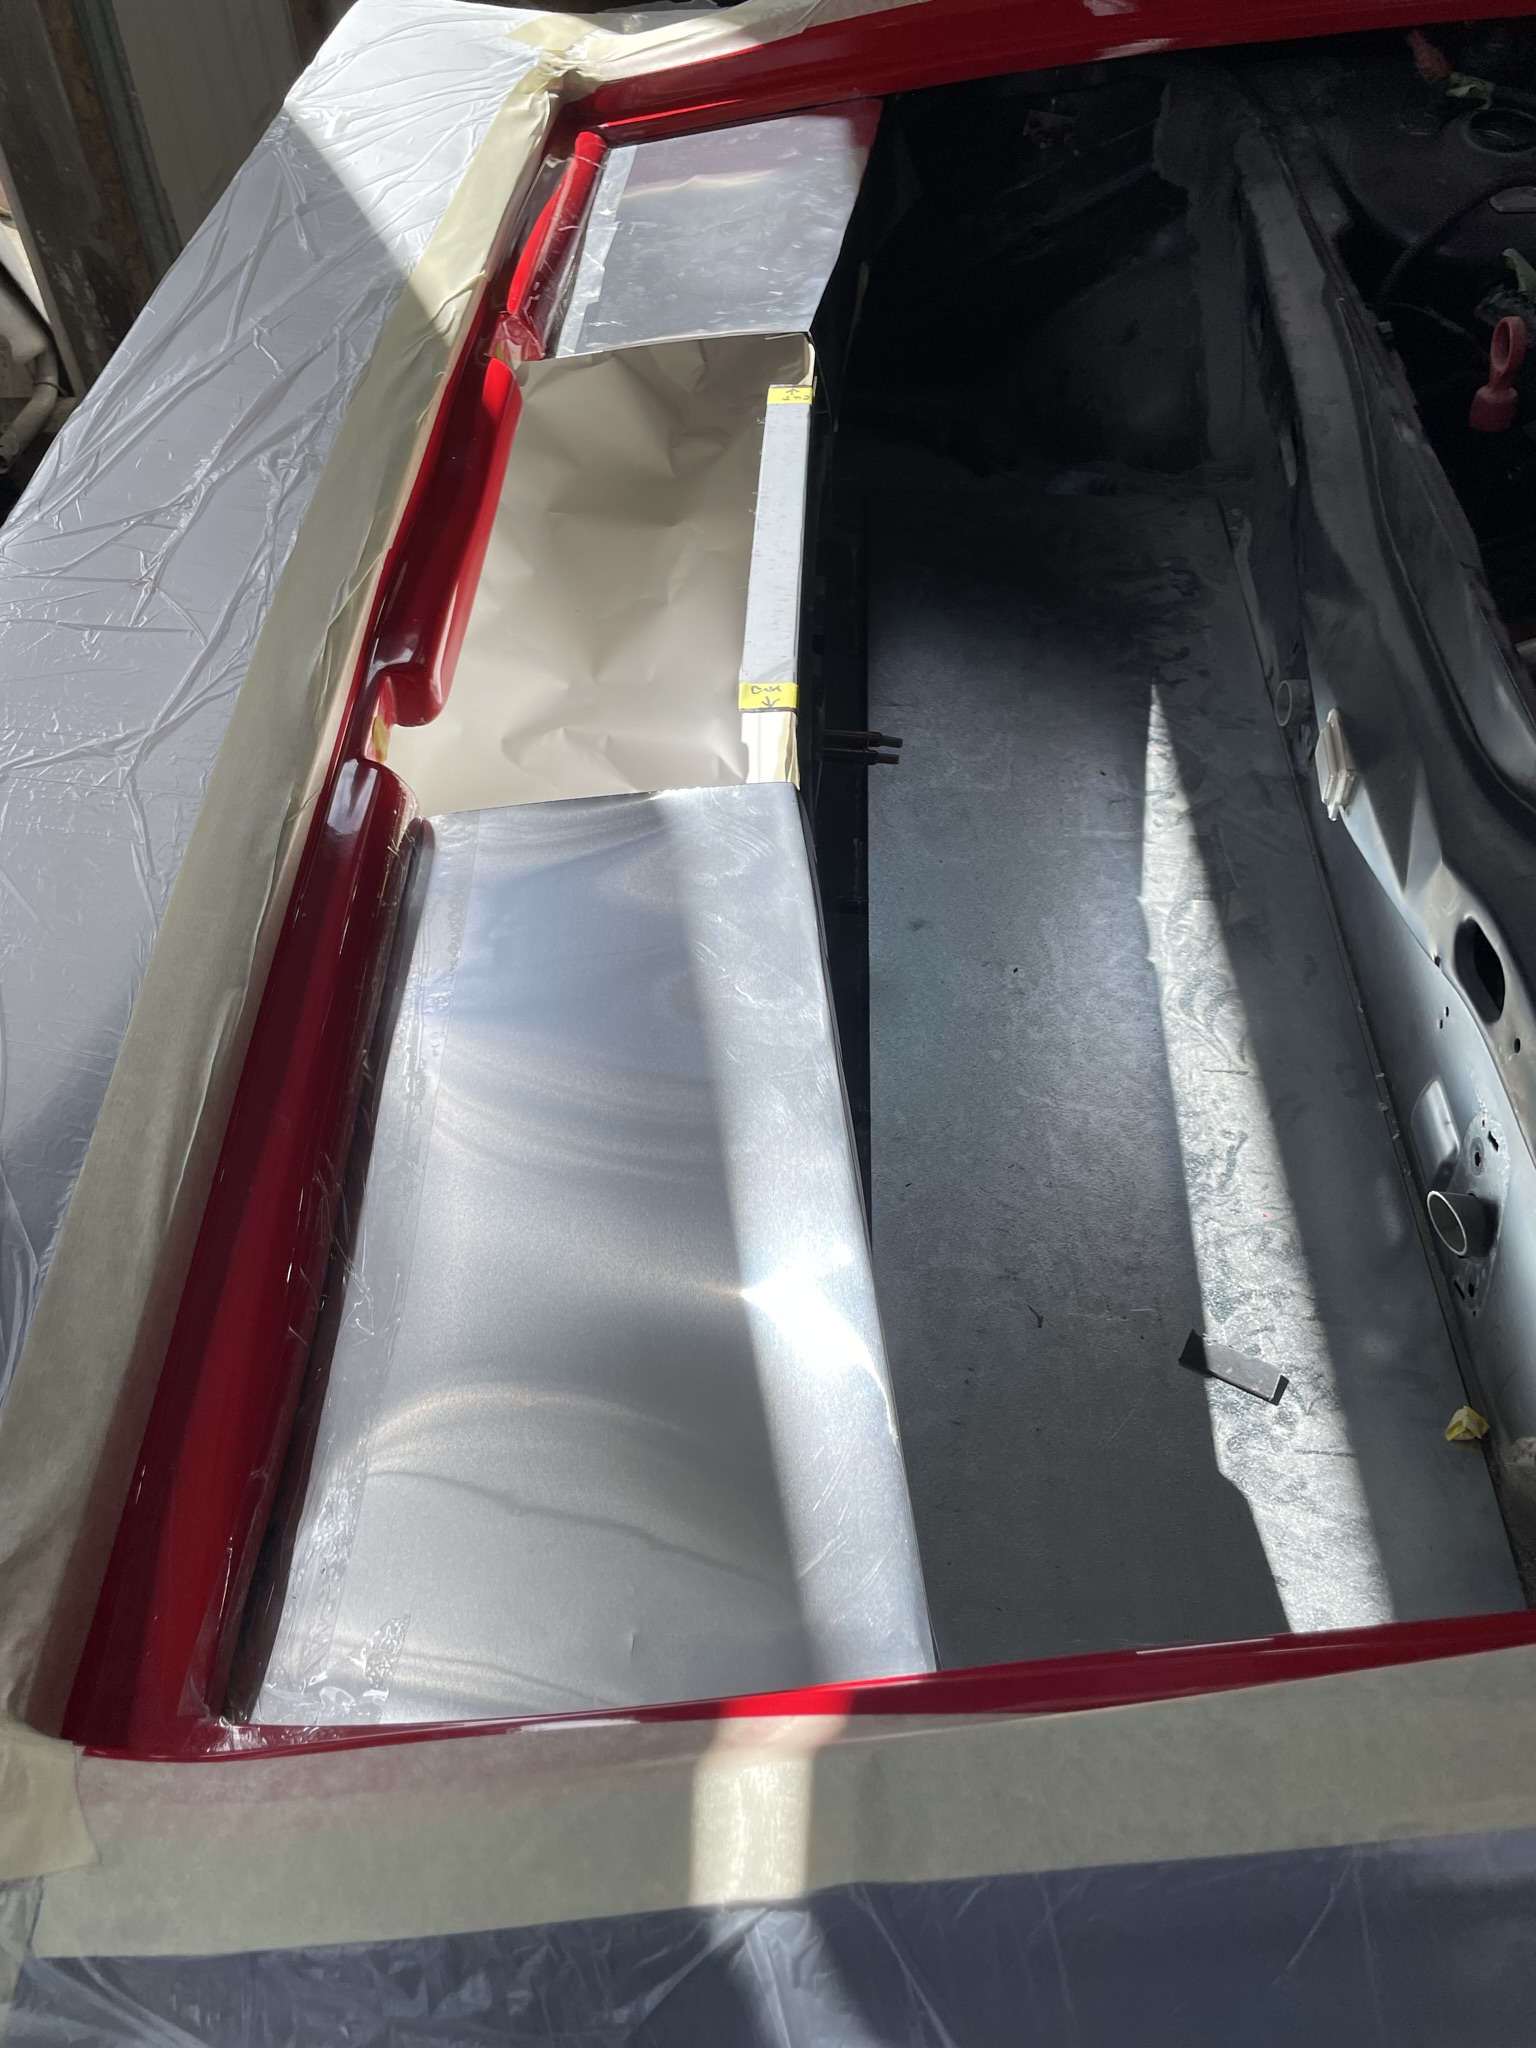
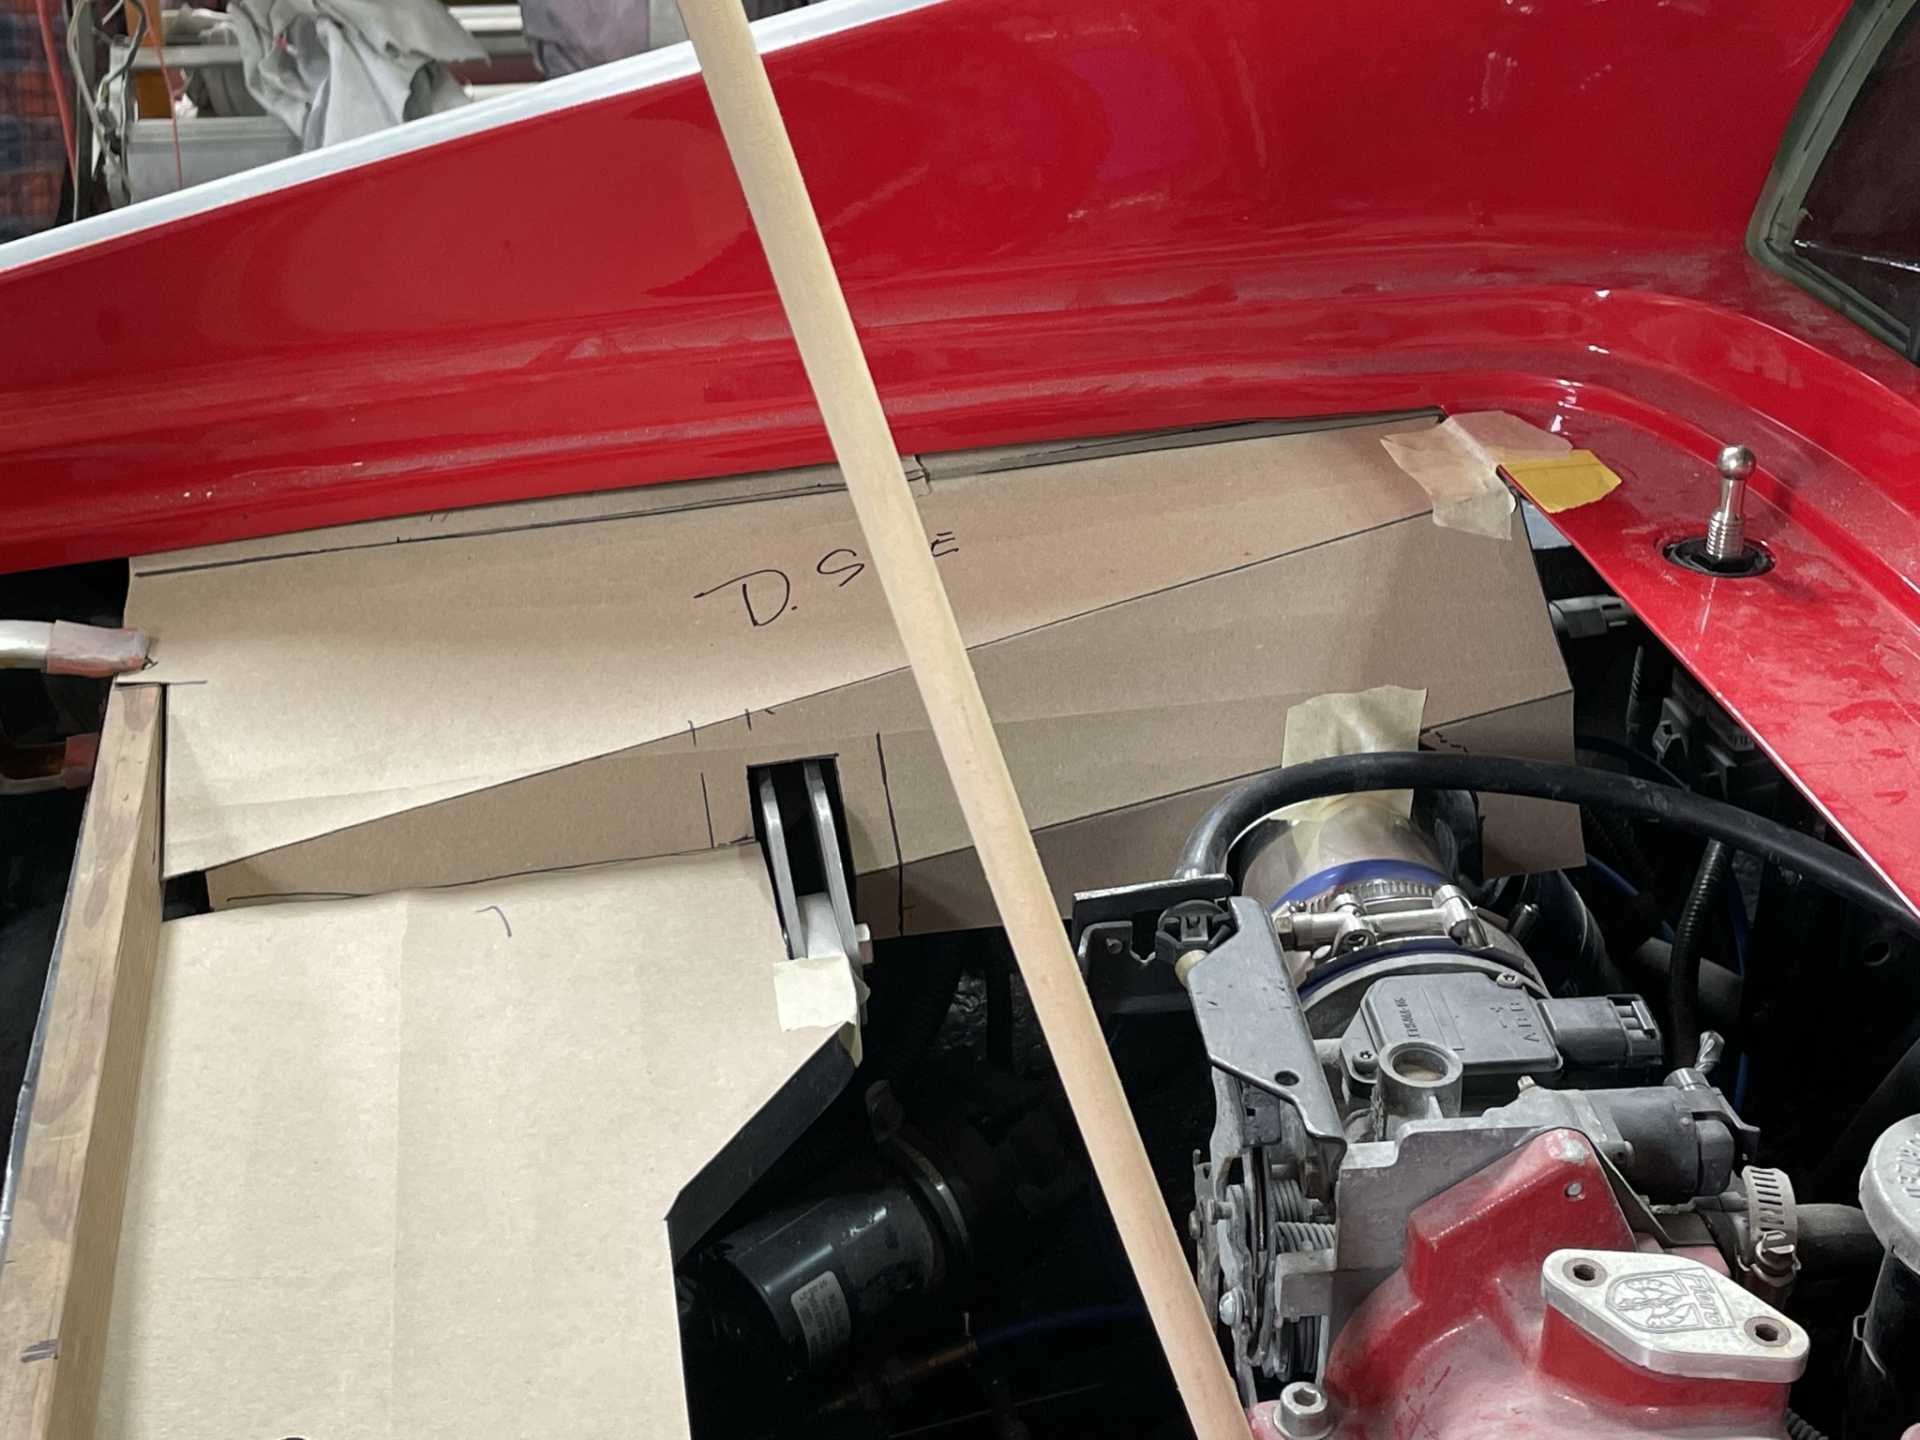
Yes you have got that right zkhennings !!! building out all the duct work to make everything functional and designing and building inner fenders Very time consuming. I finally finished the air box wow coming up with something that is functional but fitting into the space was a process!! And then a buddy Phil had to throw in a “but what about if you get caught in rain” well that was another week of templates and prototypes to come up with what I hope will work for all the what if’s!!
This is the space that I chose, the body flang marked in red is the inside edge the fiberglass body the othe side.
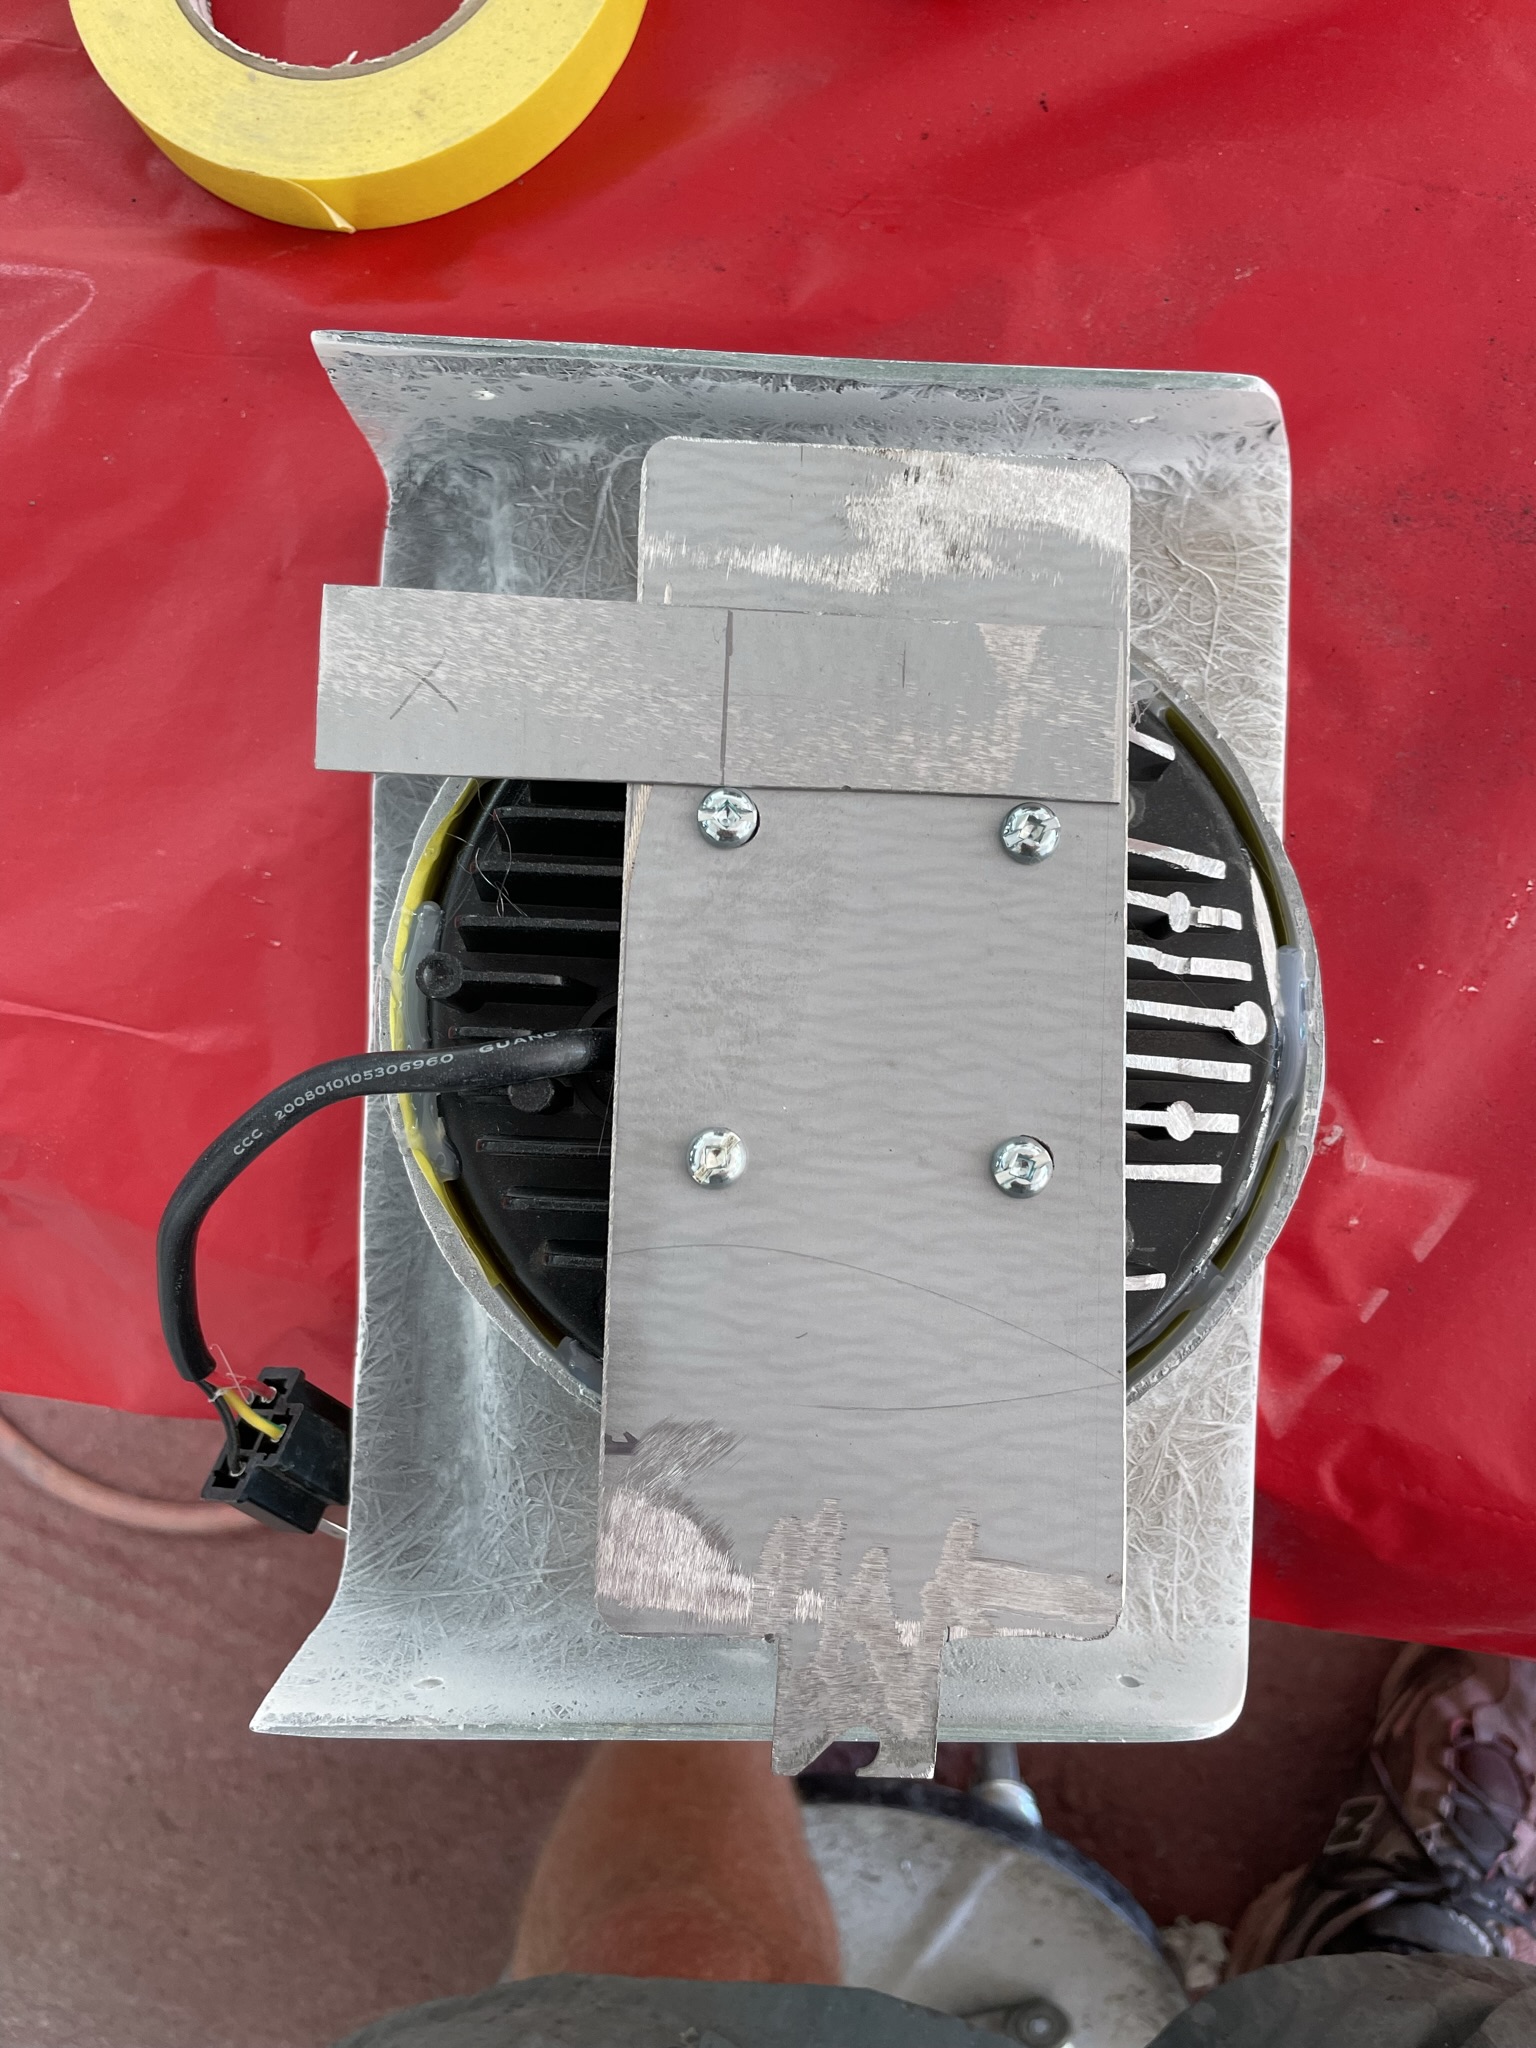
I used 14gauge aluminum for the enclosure, strong but malleable. It was so tight the outside enclosure needed to be built in two pieces. It’s secured along the body flange and the fibreglass lip left from the lower air scoop.
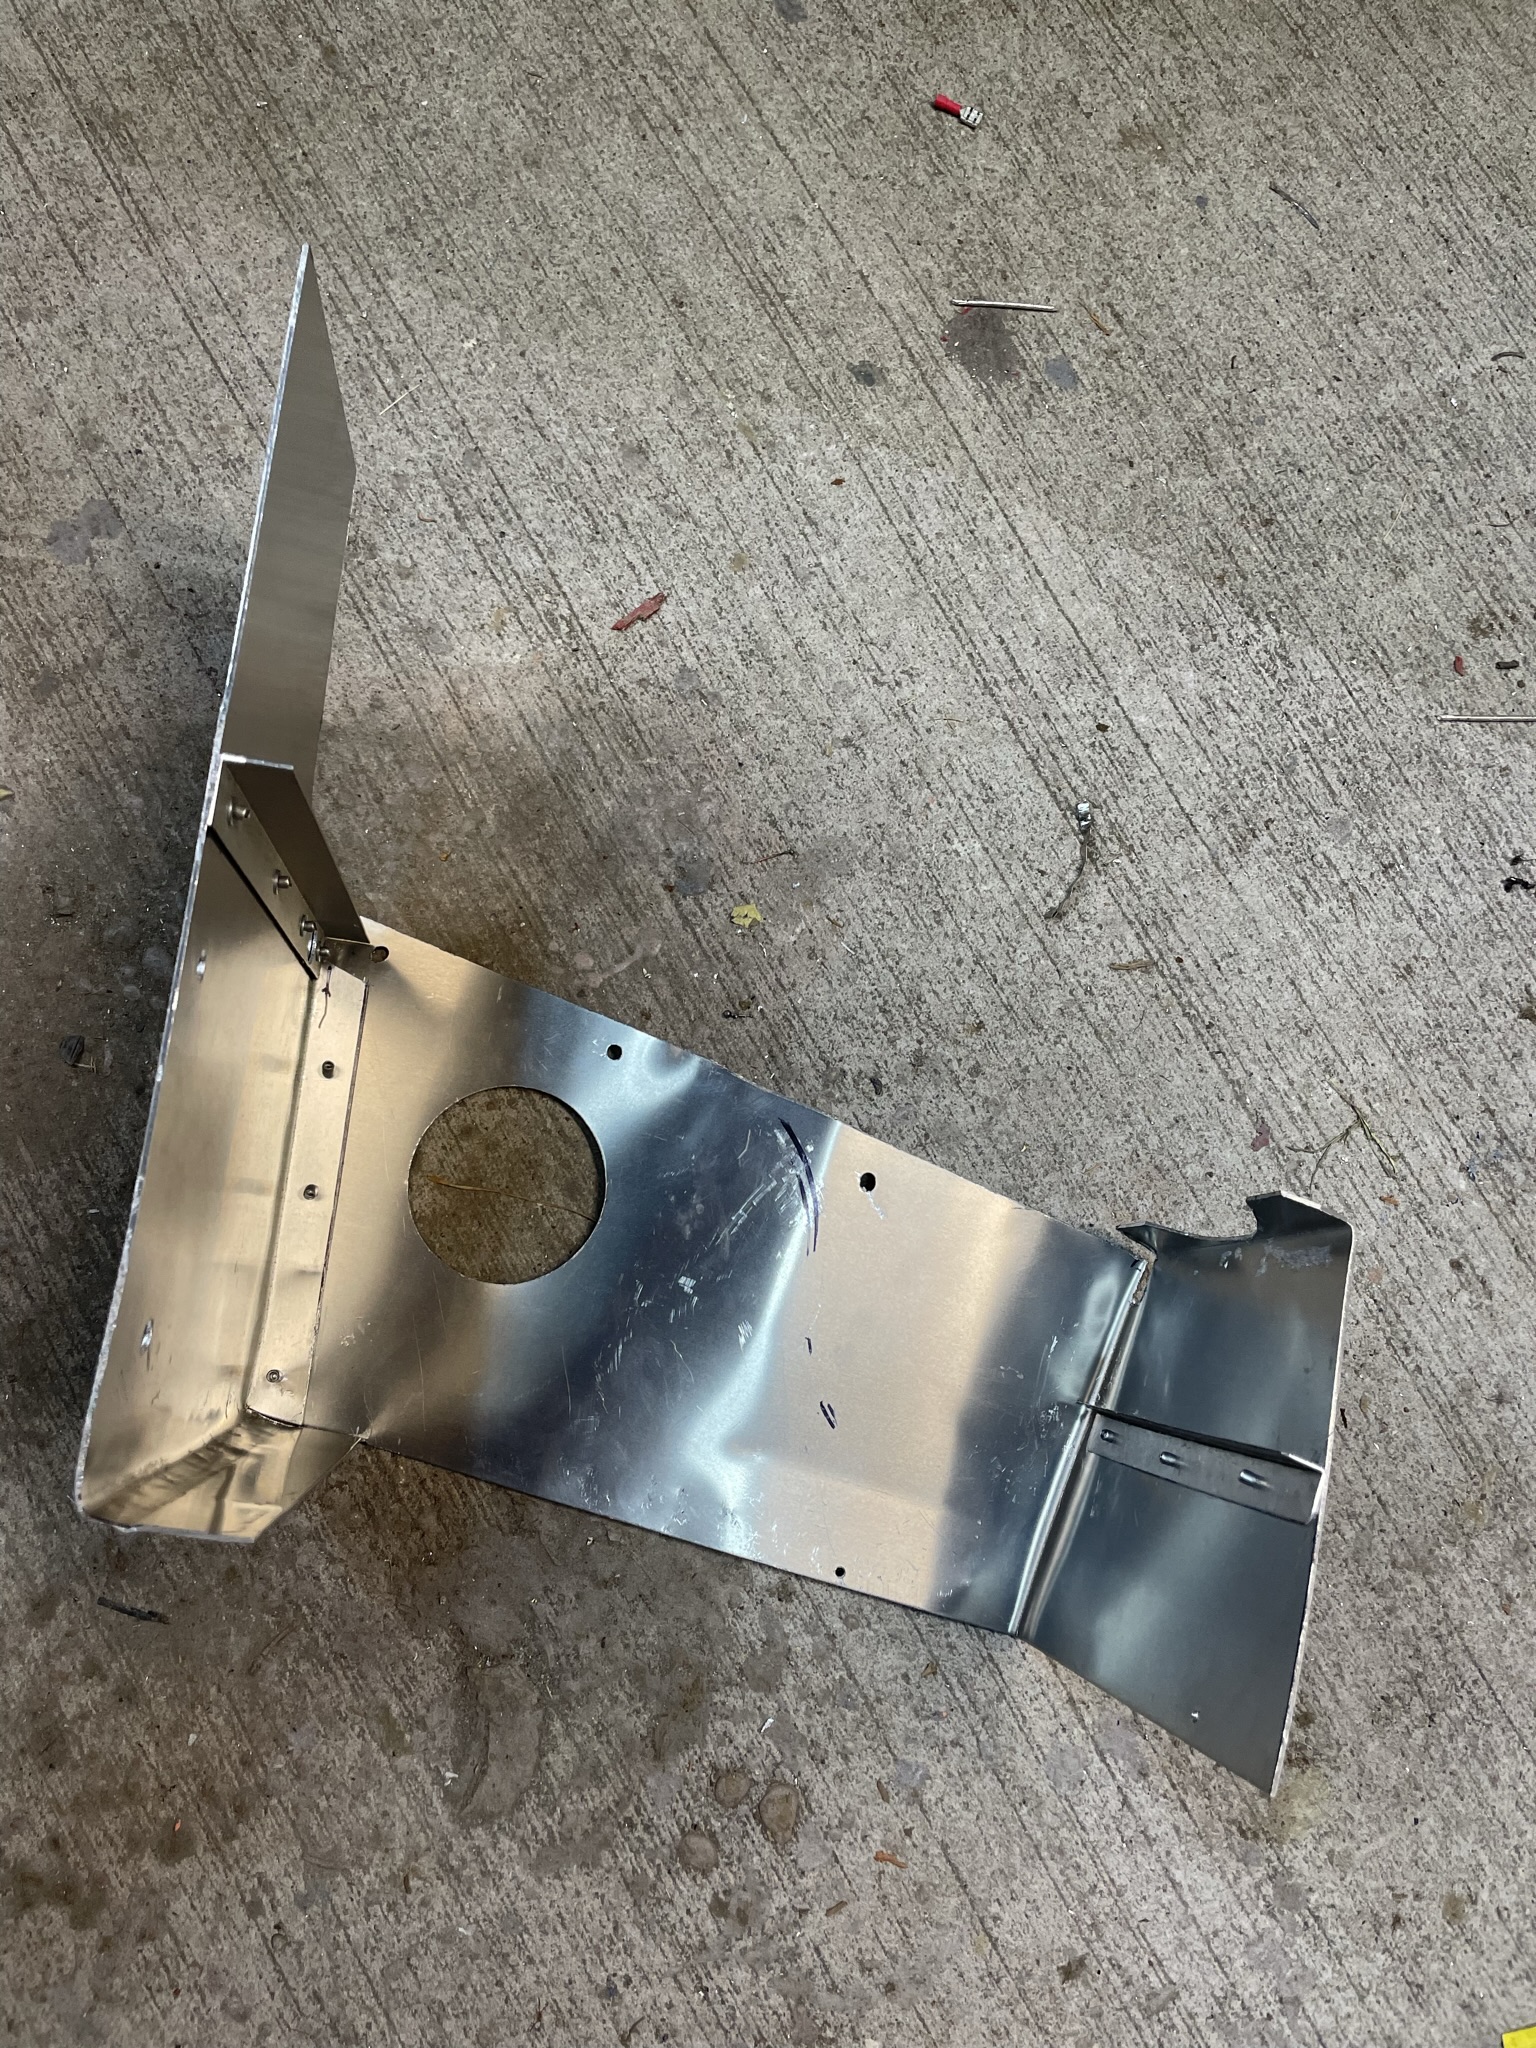
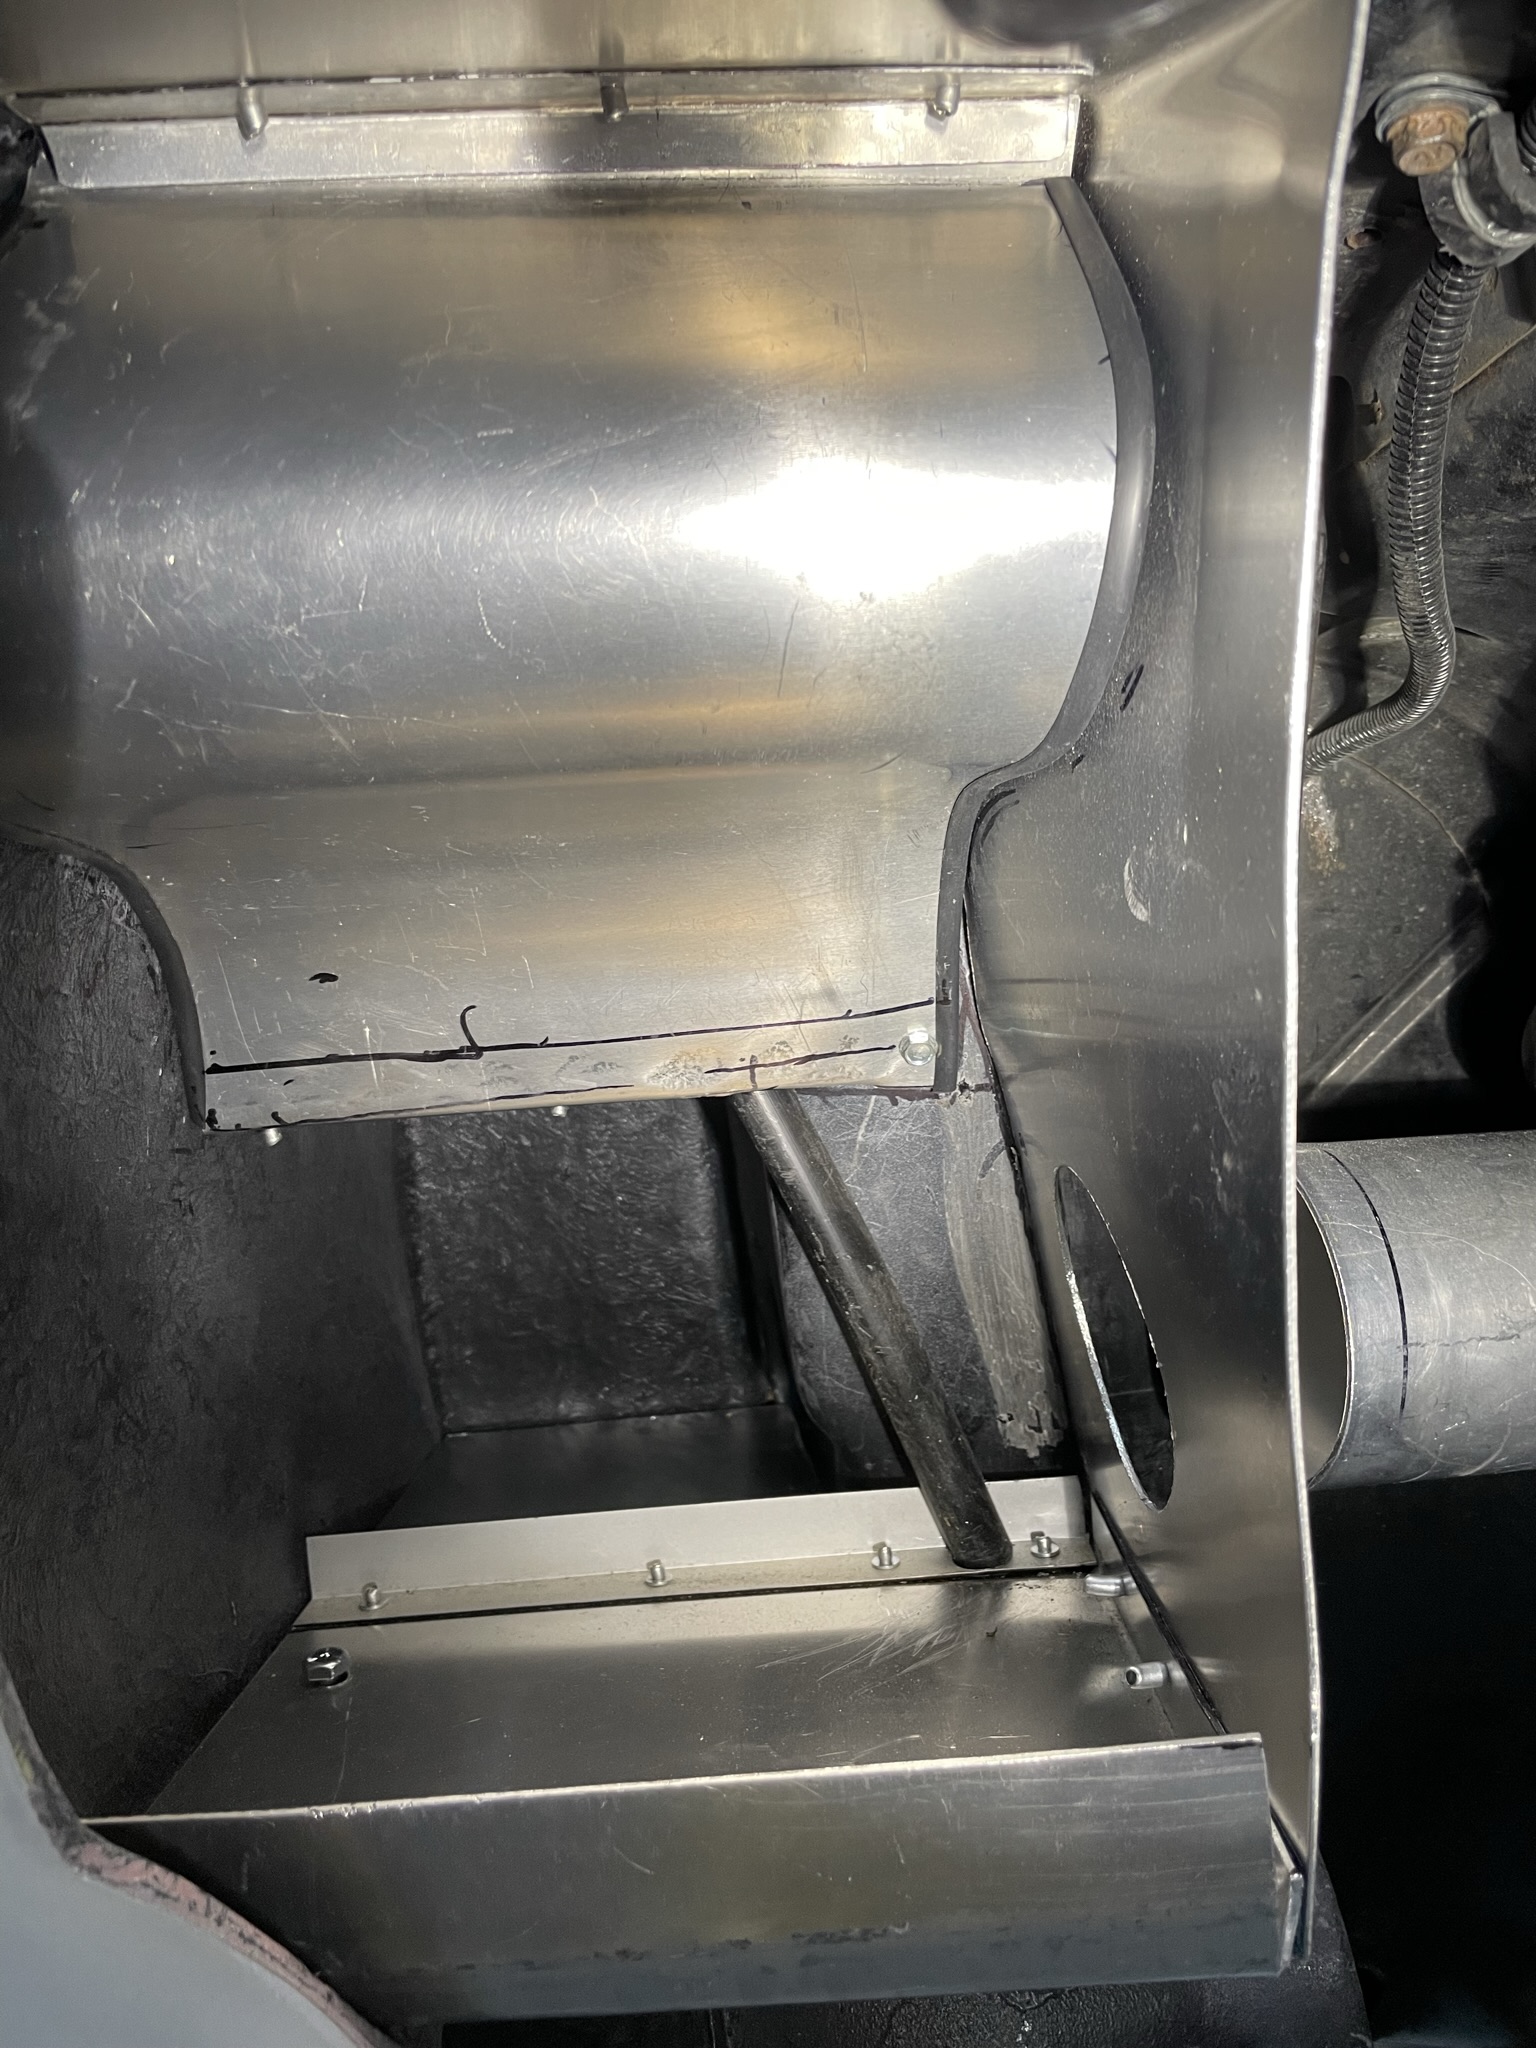
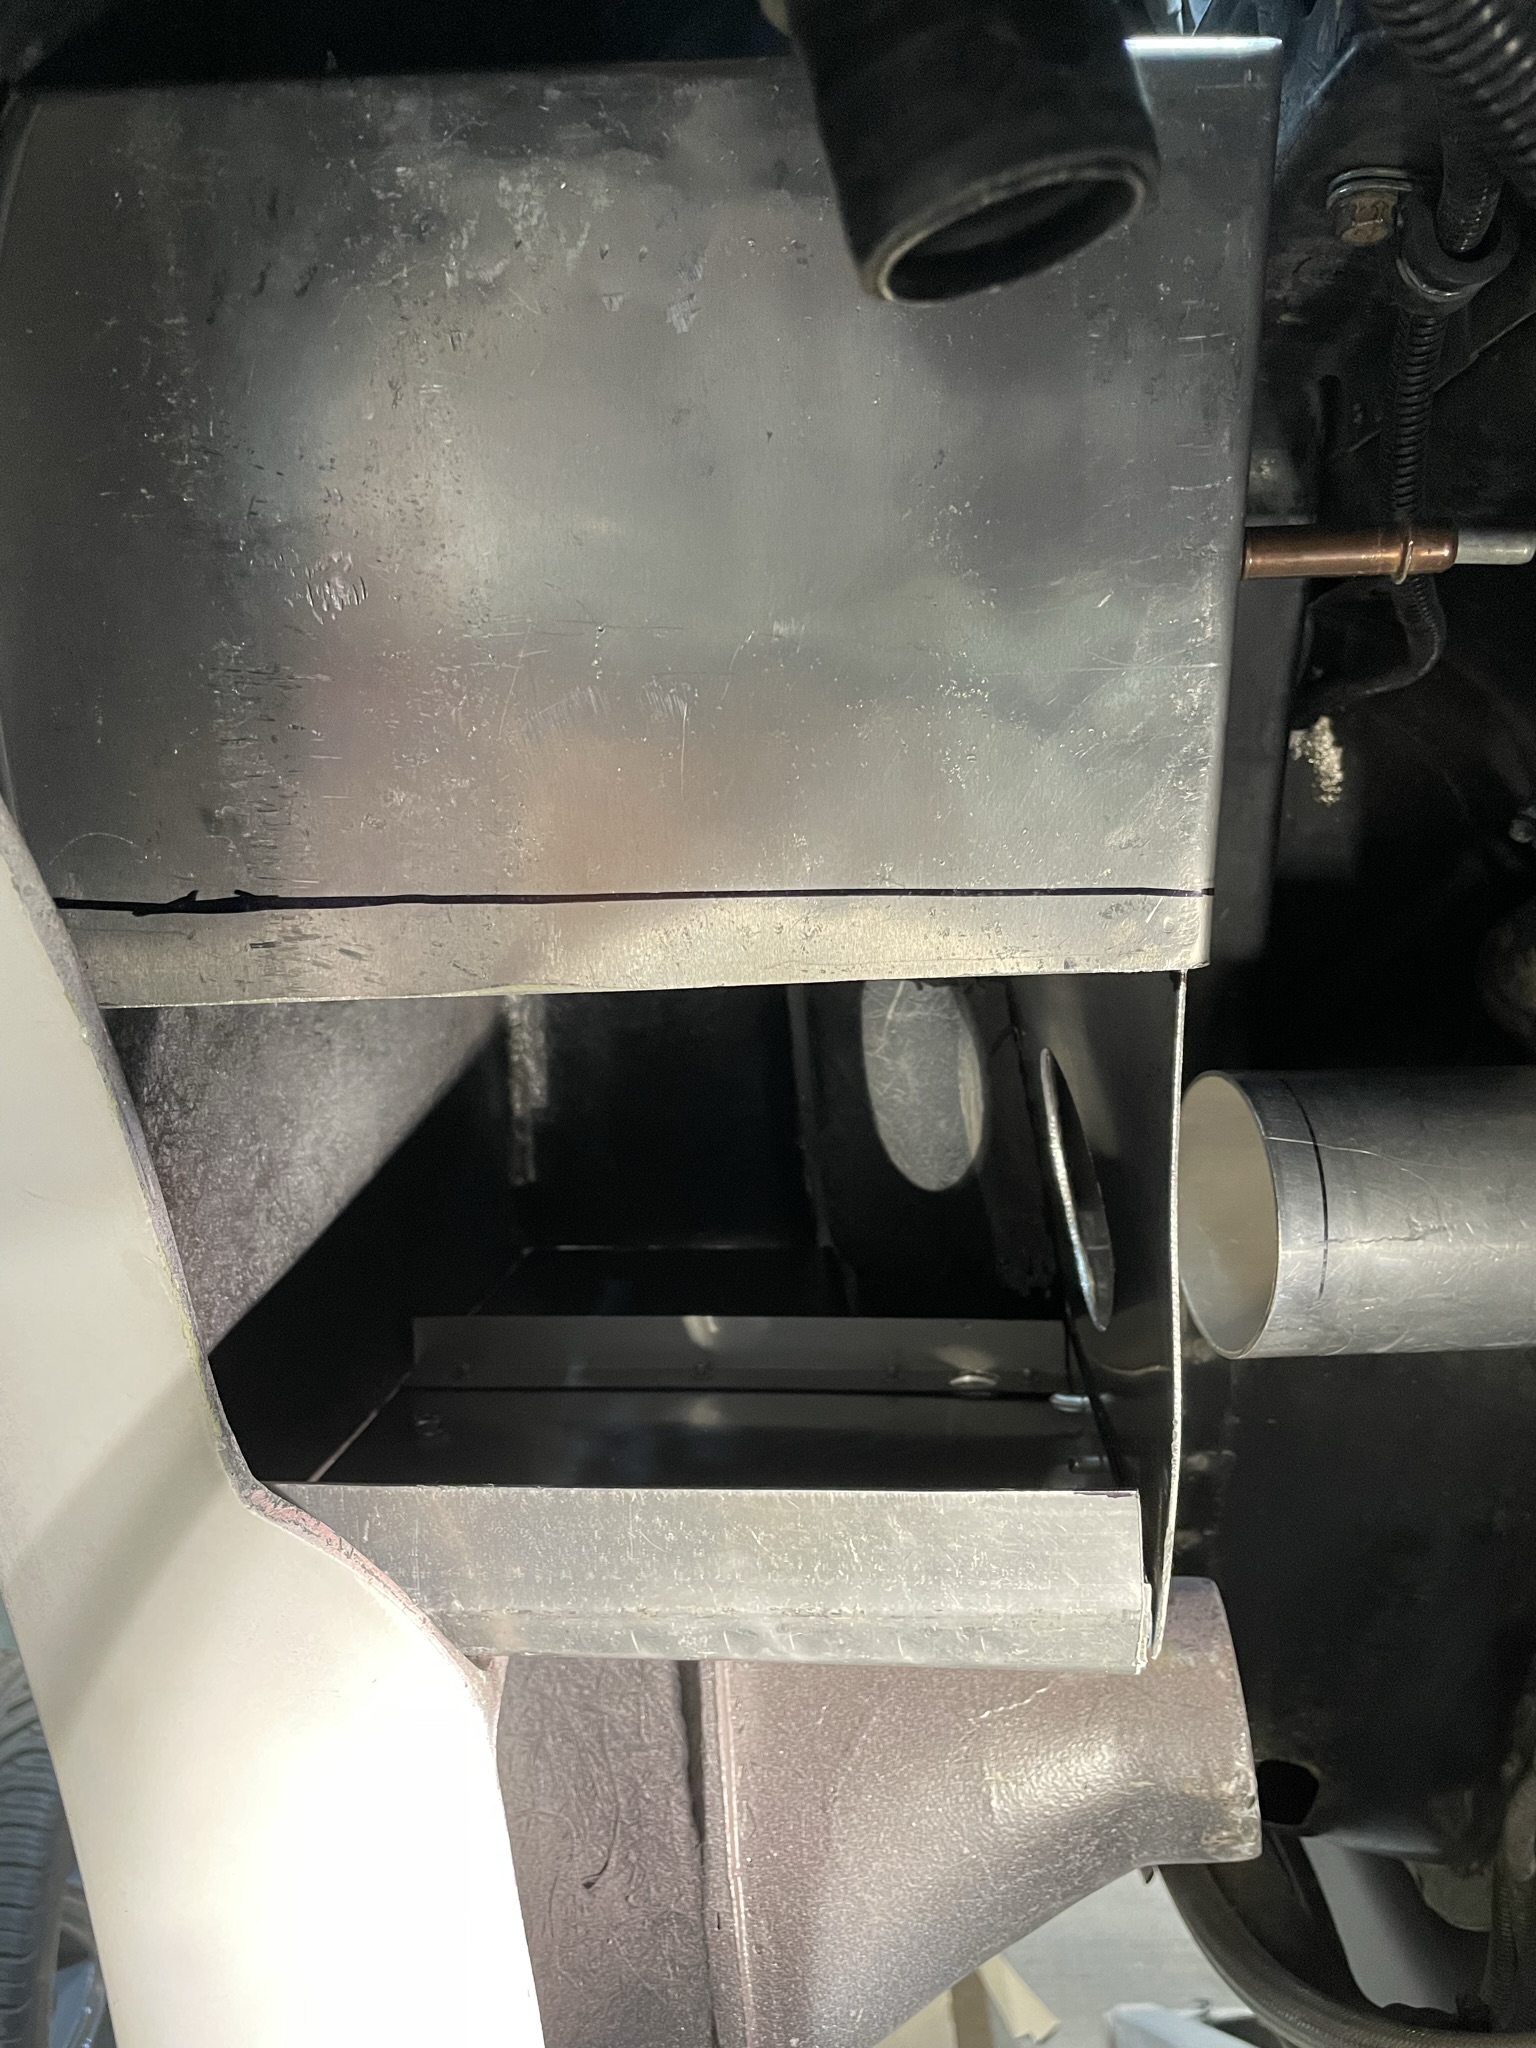
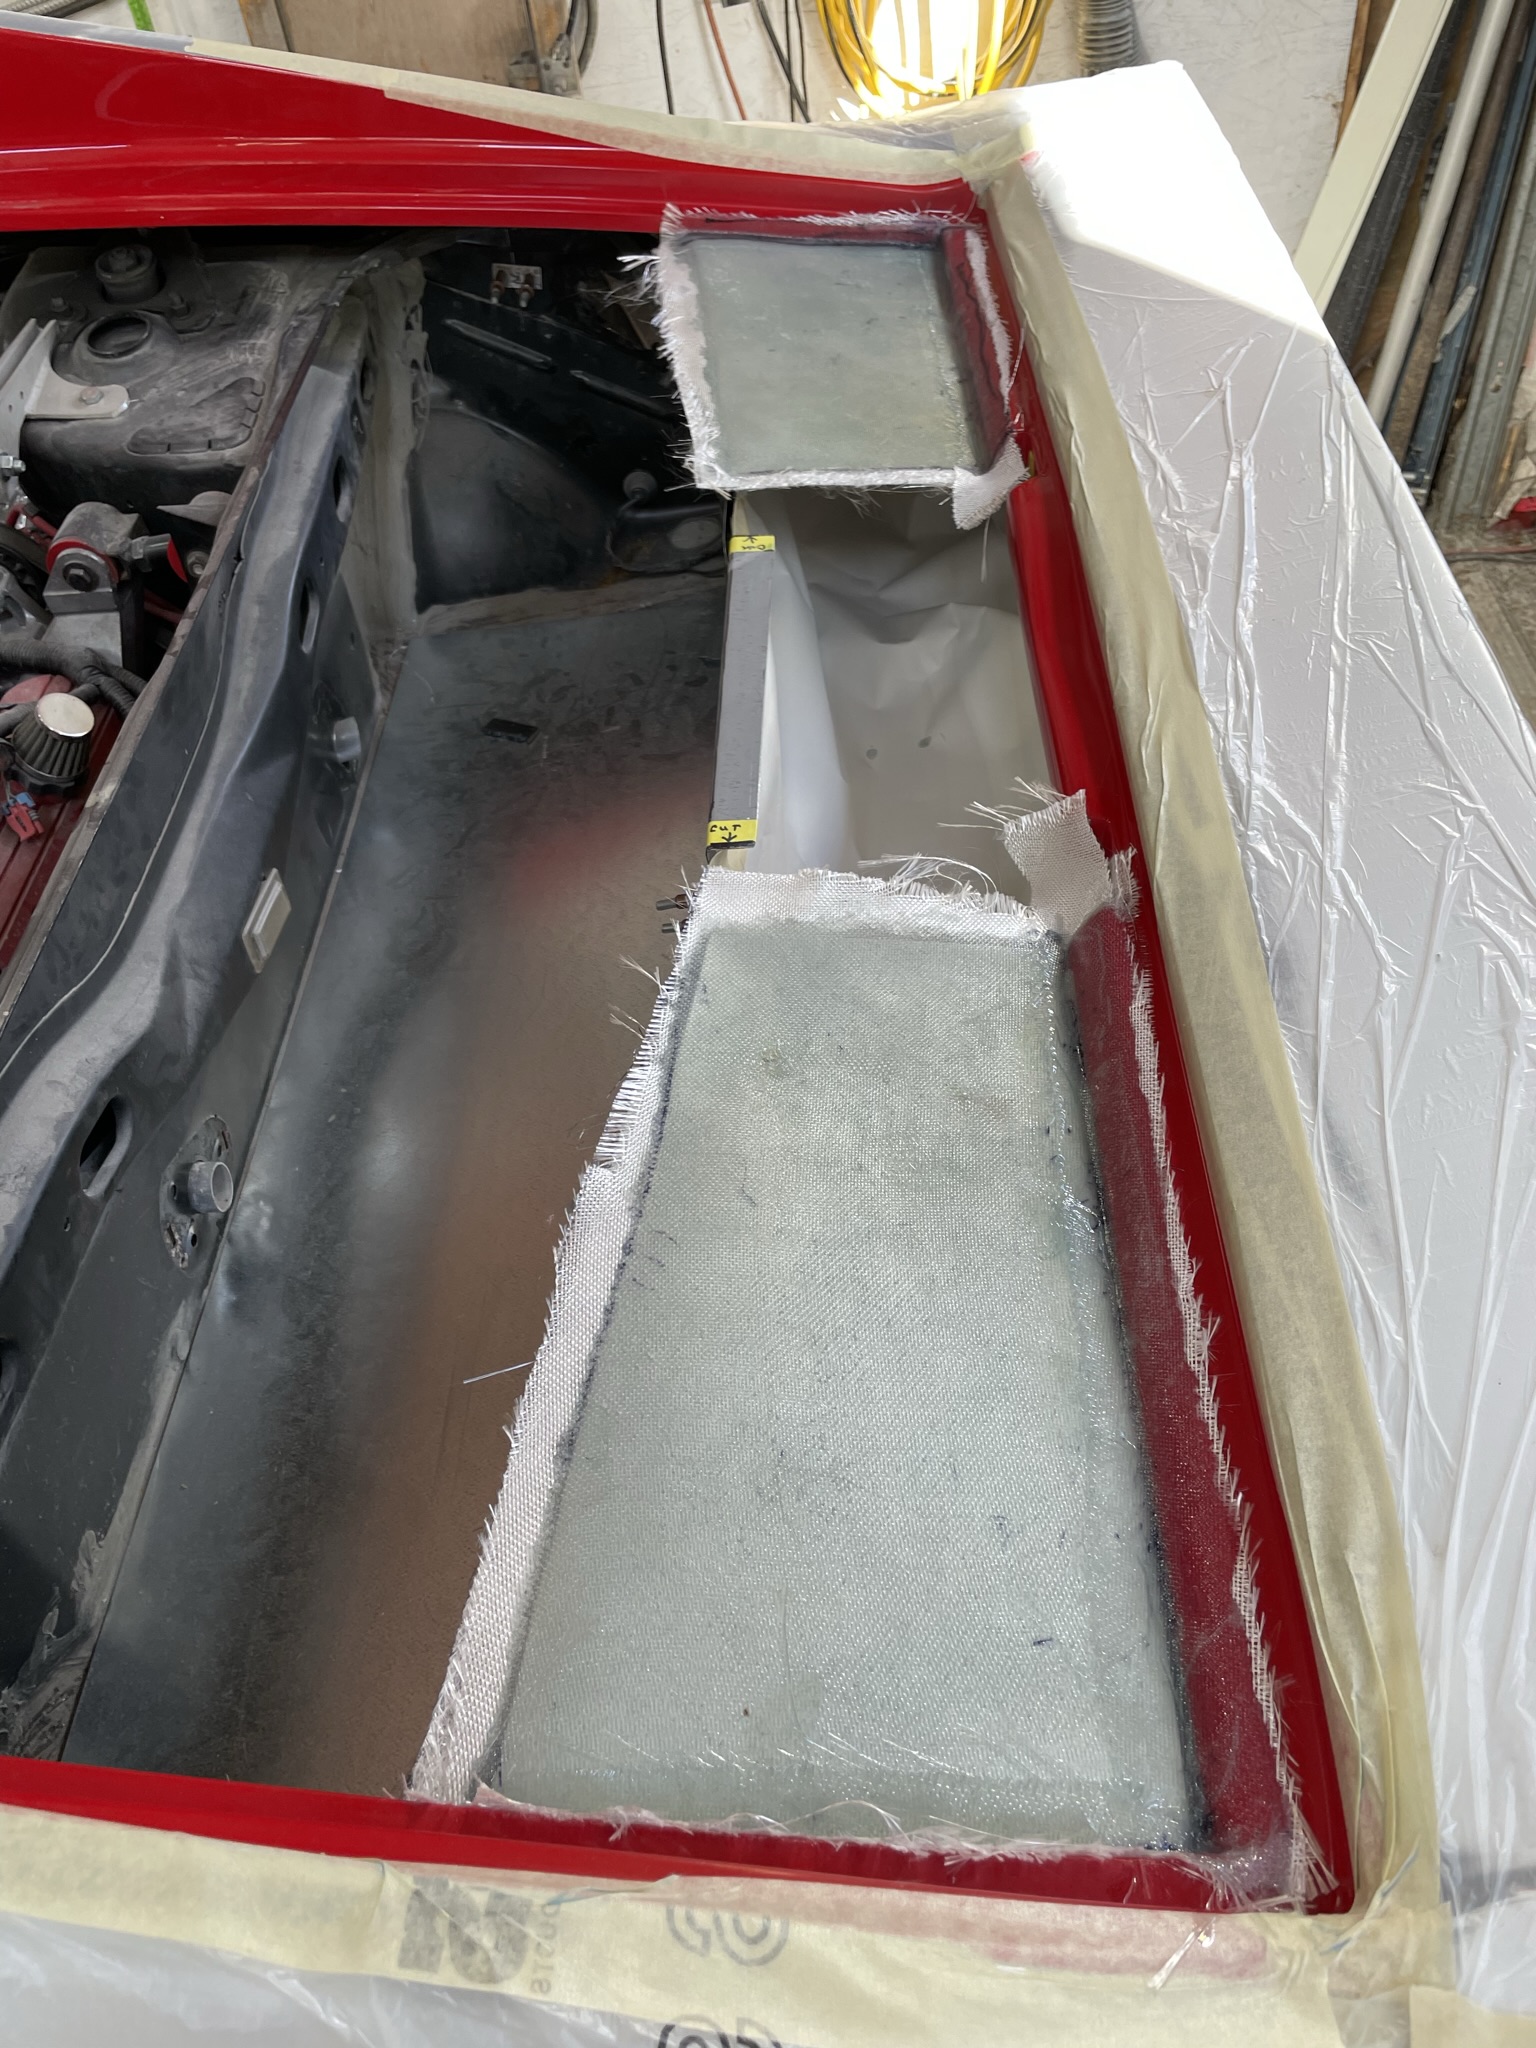
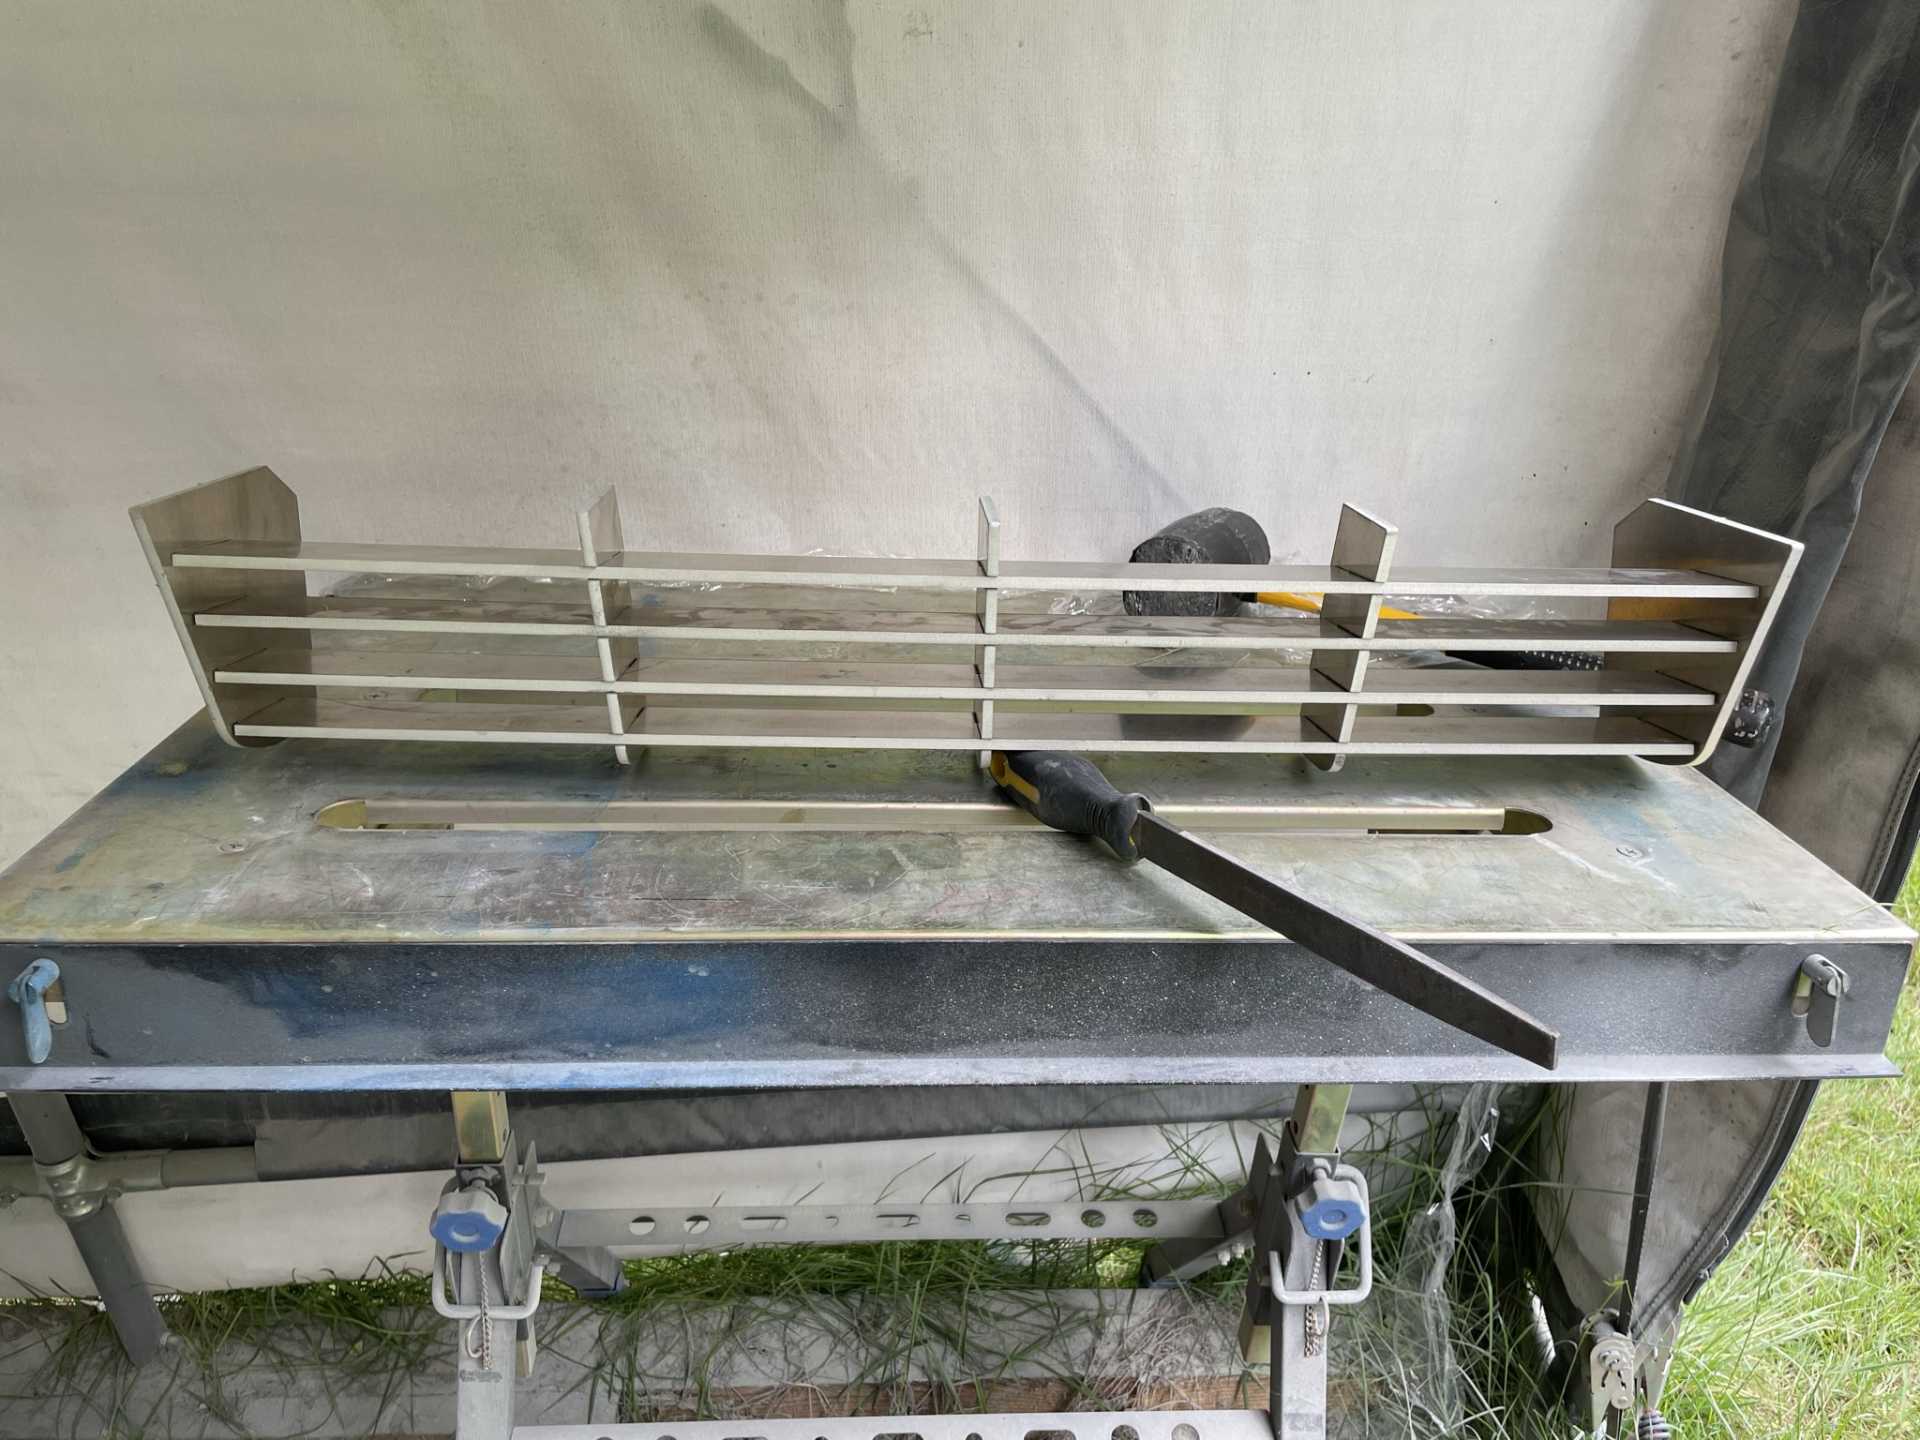
The inner plenum design uses the airflow to drive the air and any moisture along the curve hopefully following the curvature to a trough at the bottom to a hose that drains out of the air The blue locks the plenum in the top , the yellow is the flow , the green is the trough The blue is the total flow
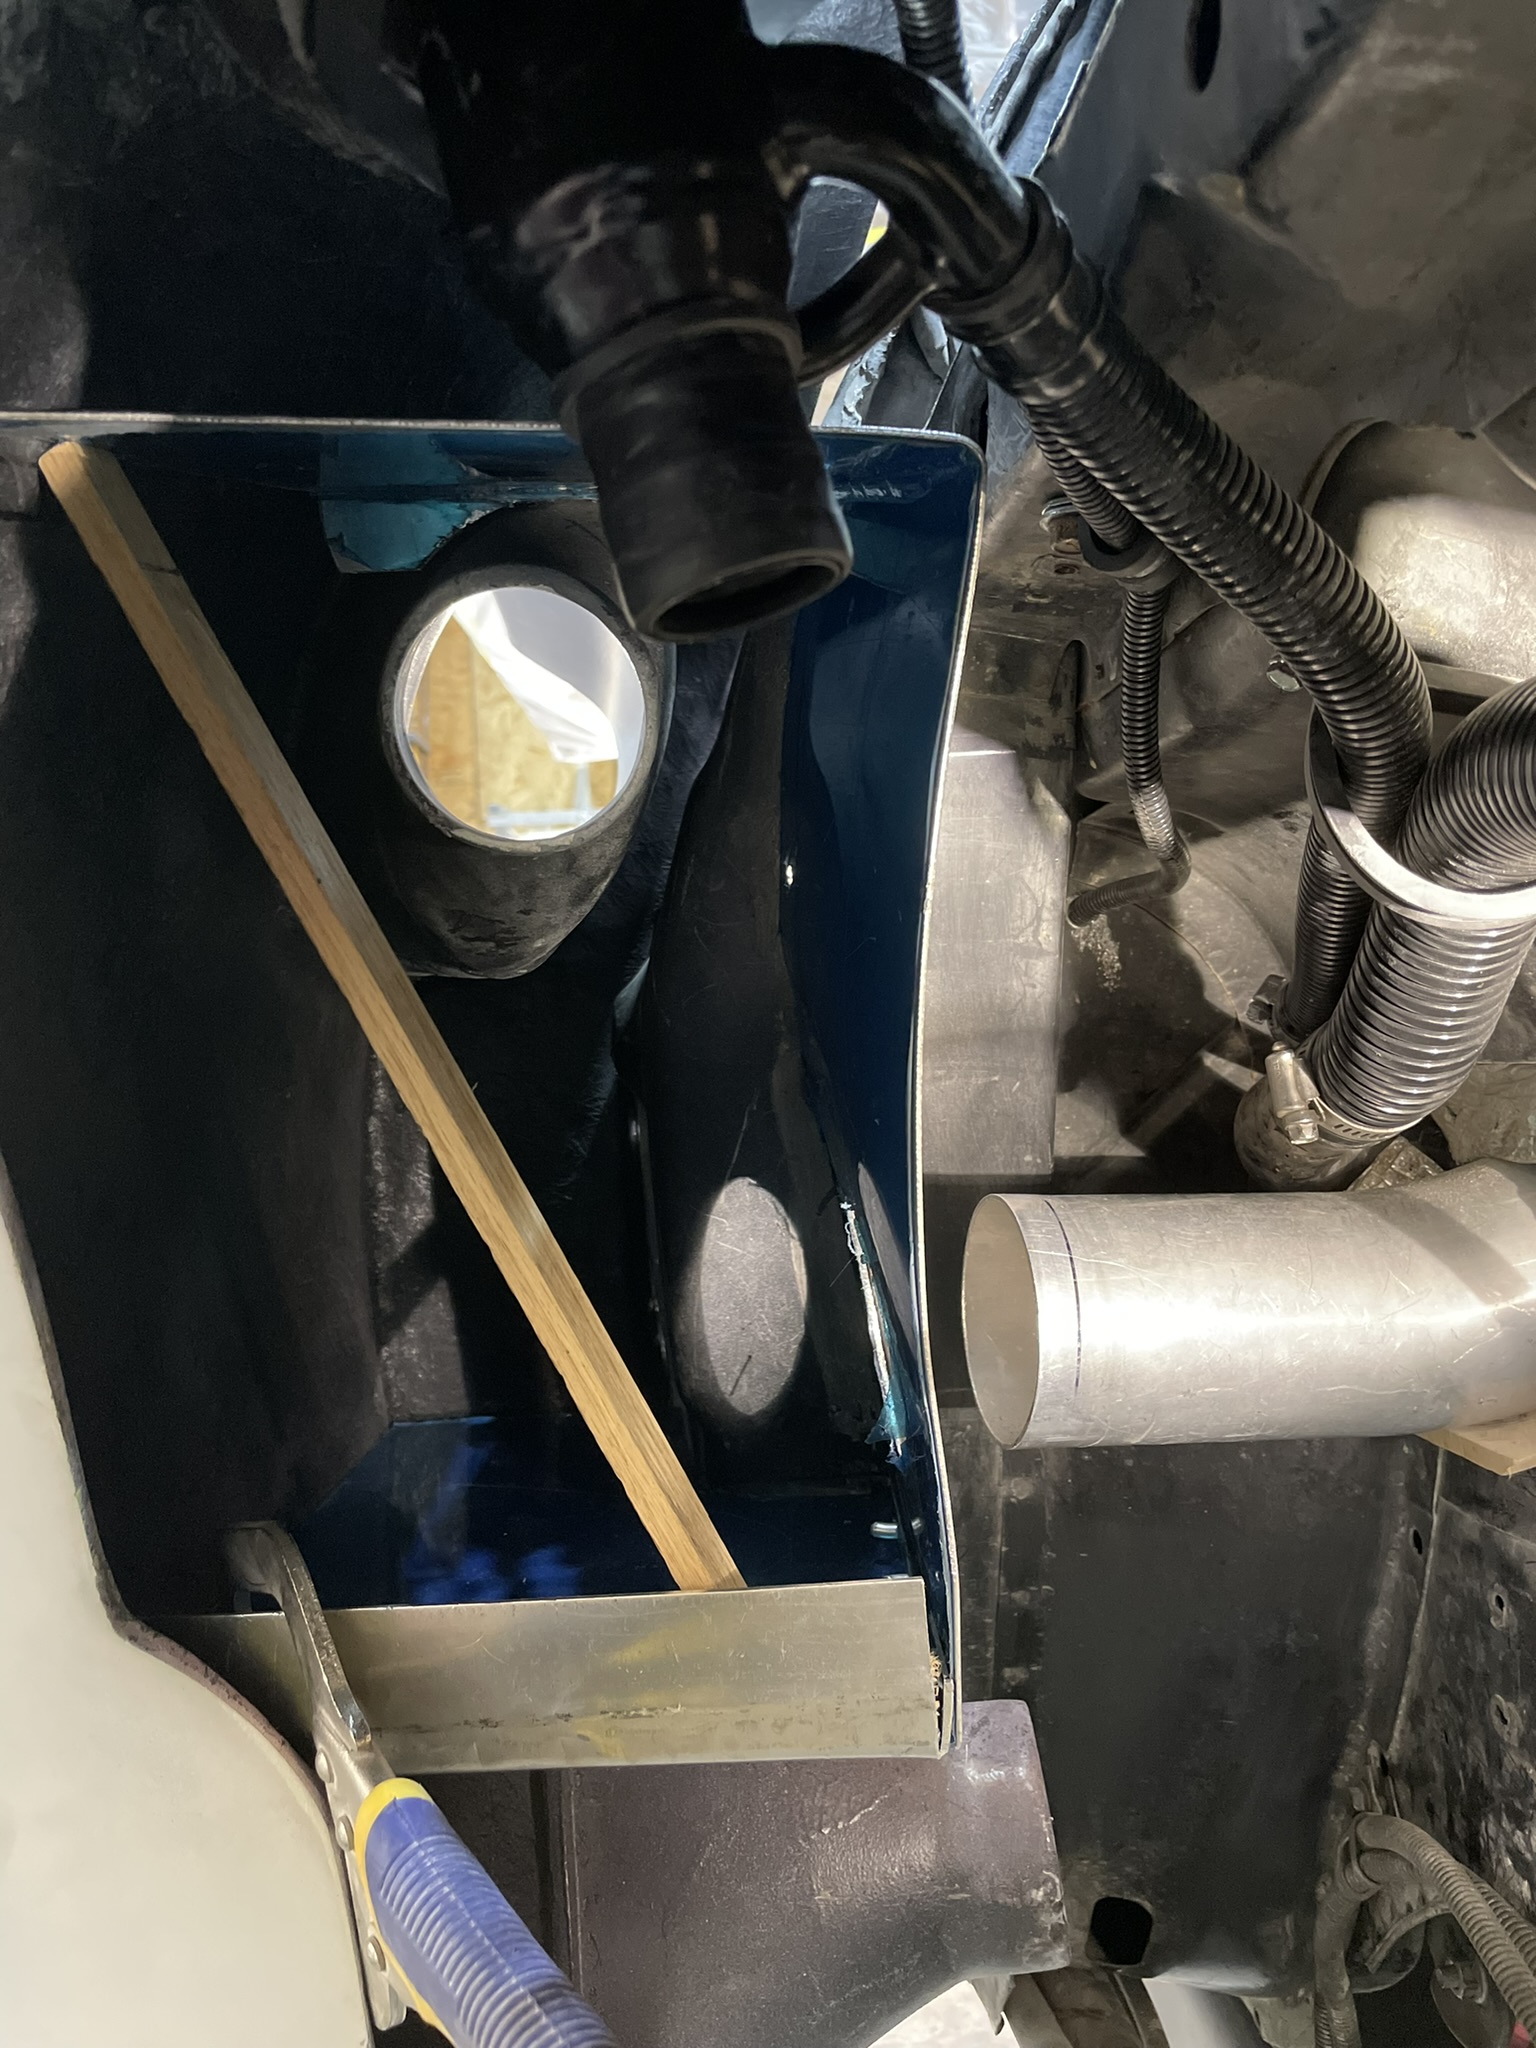
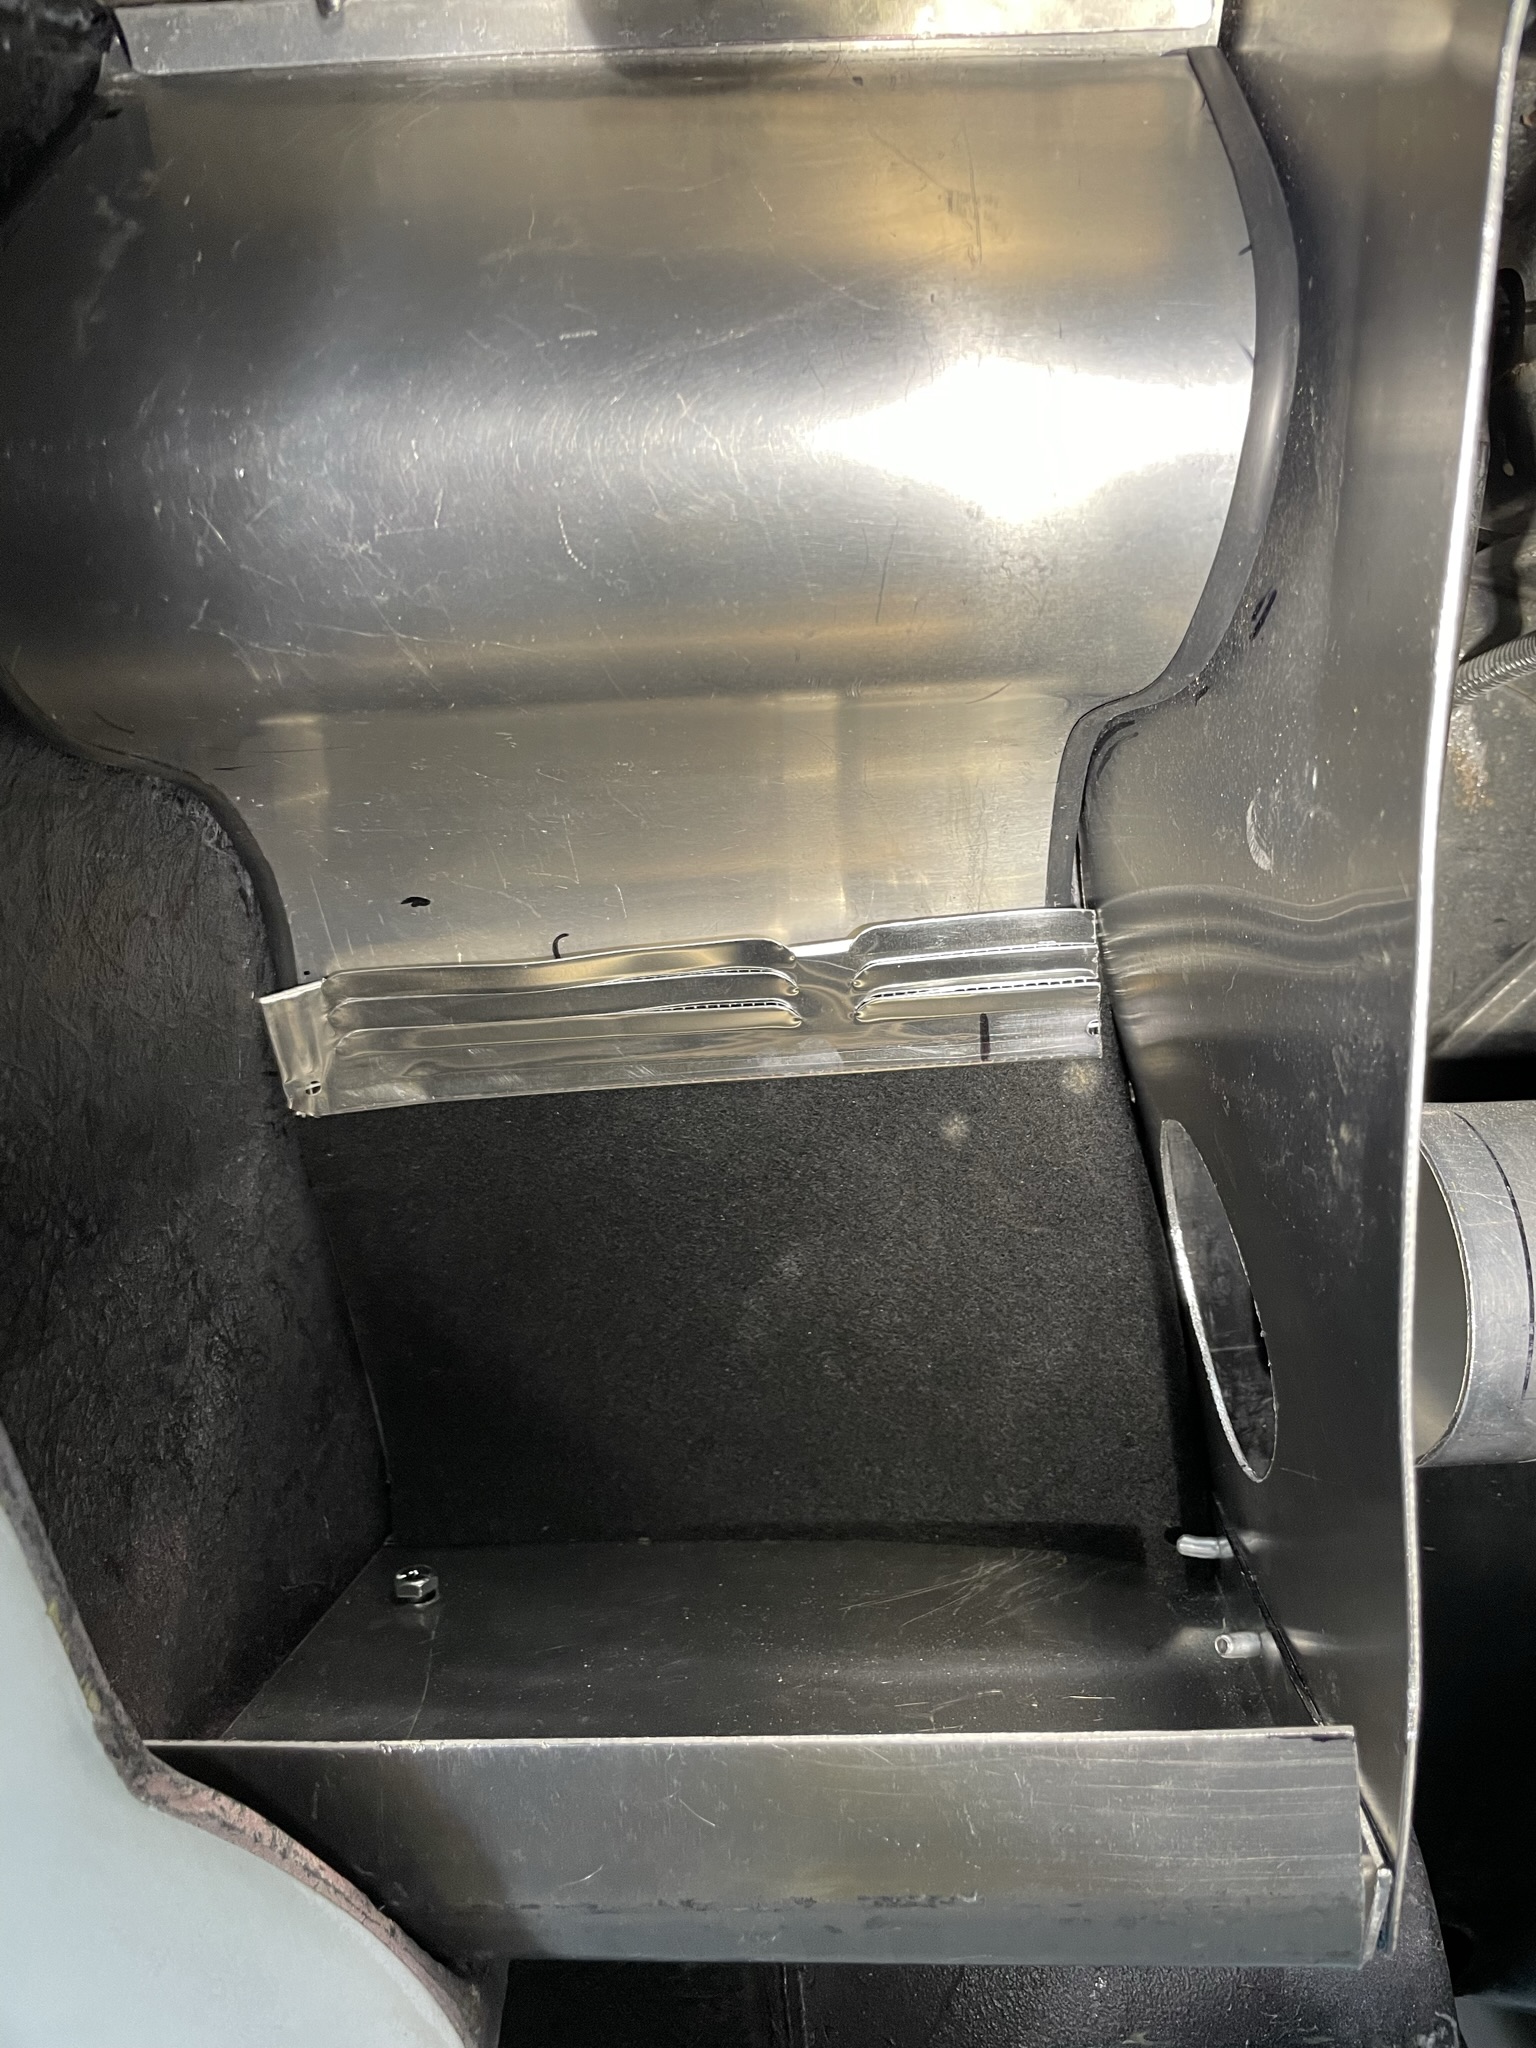
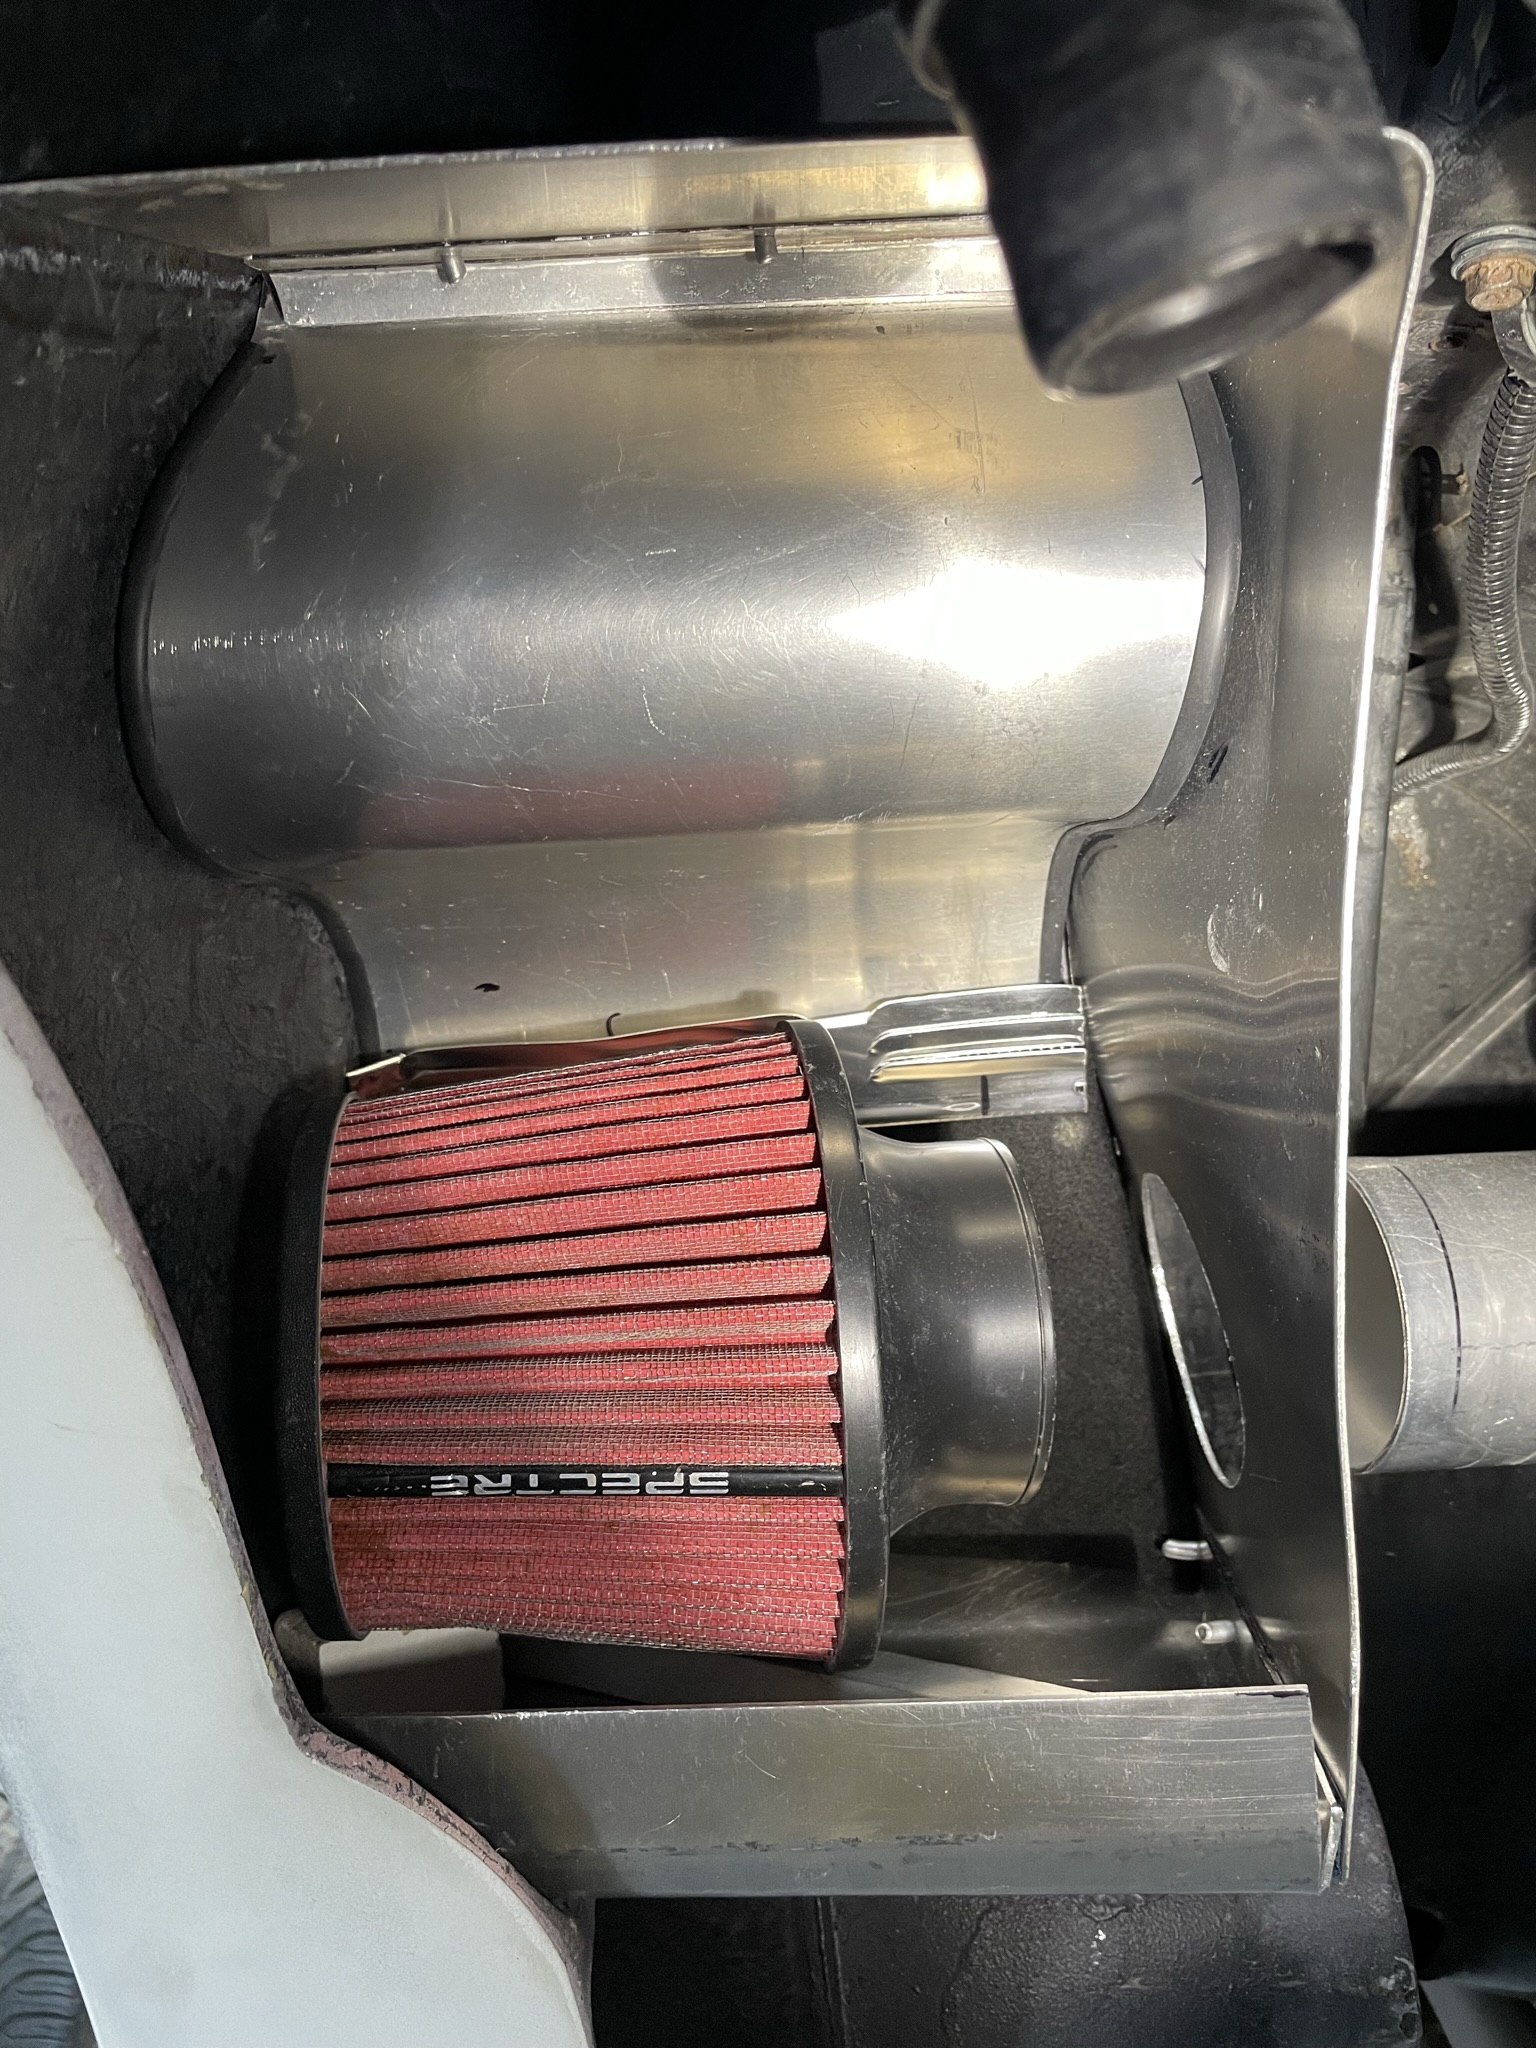
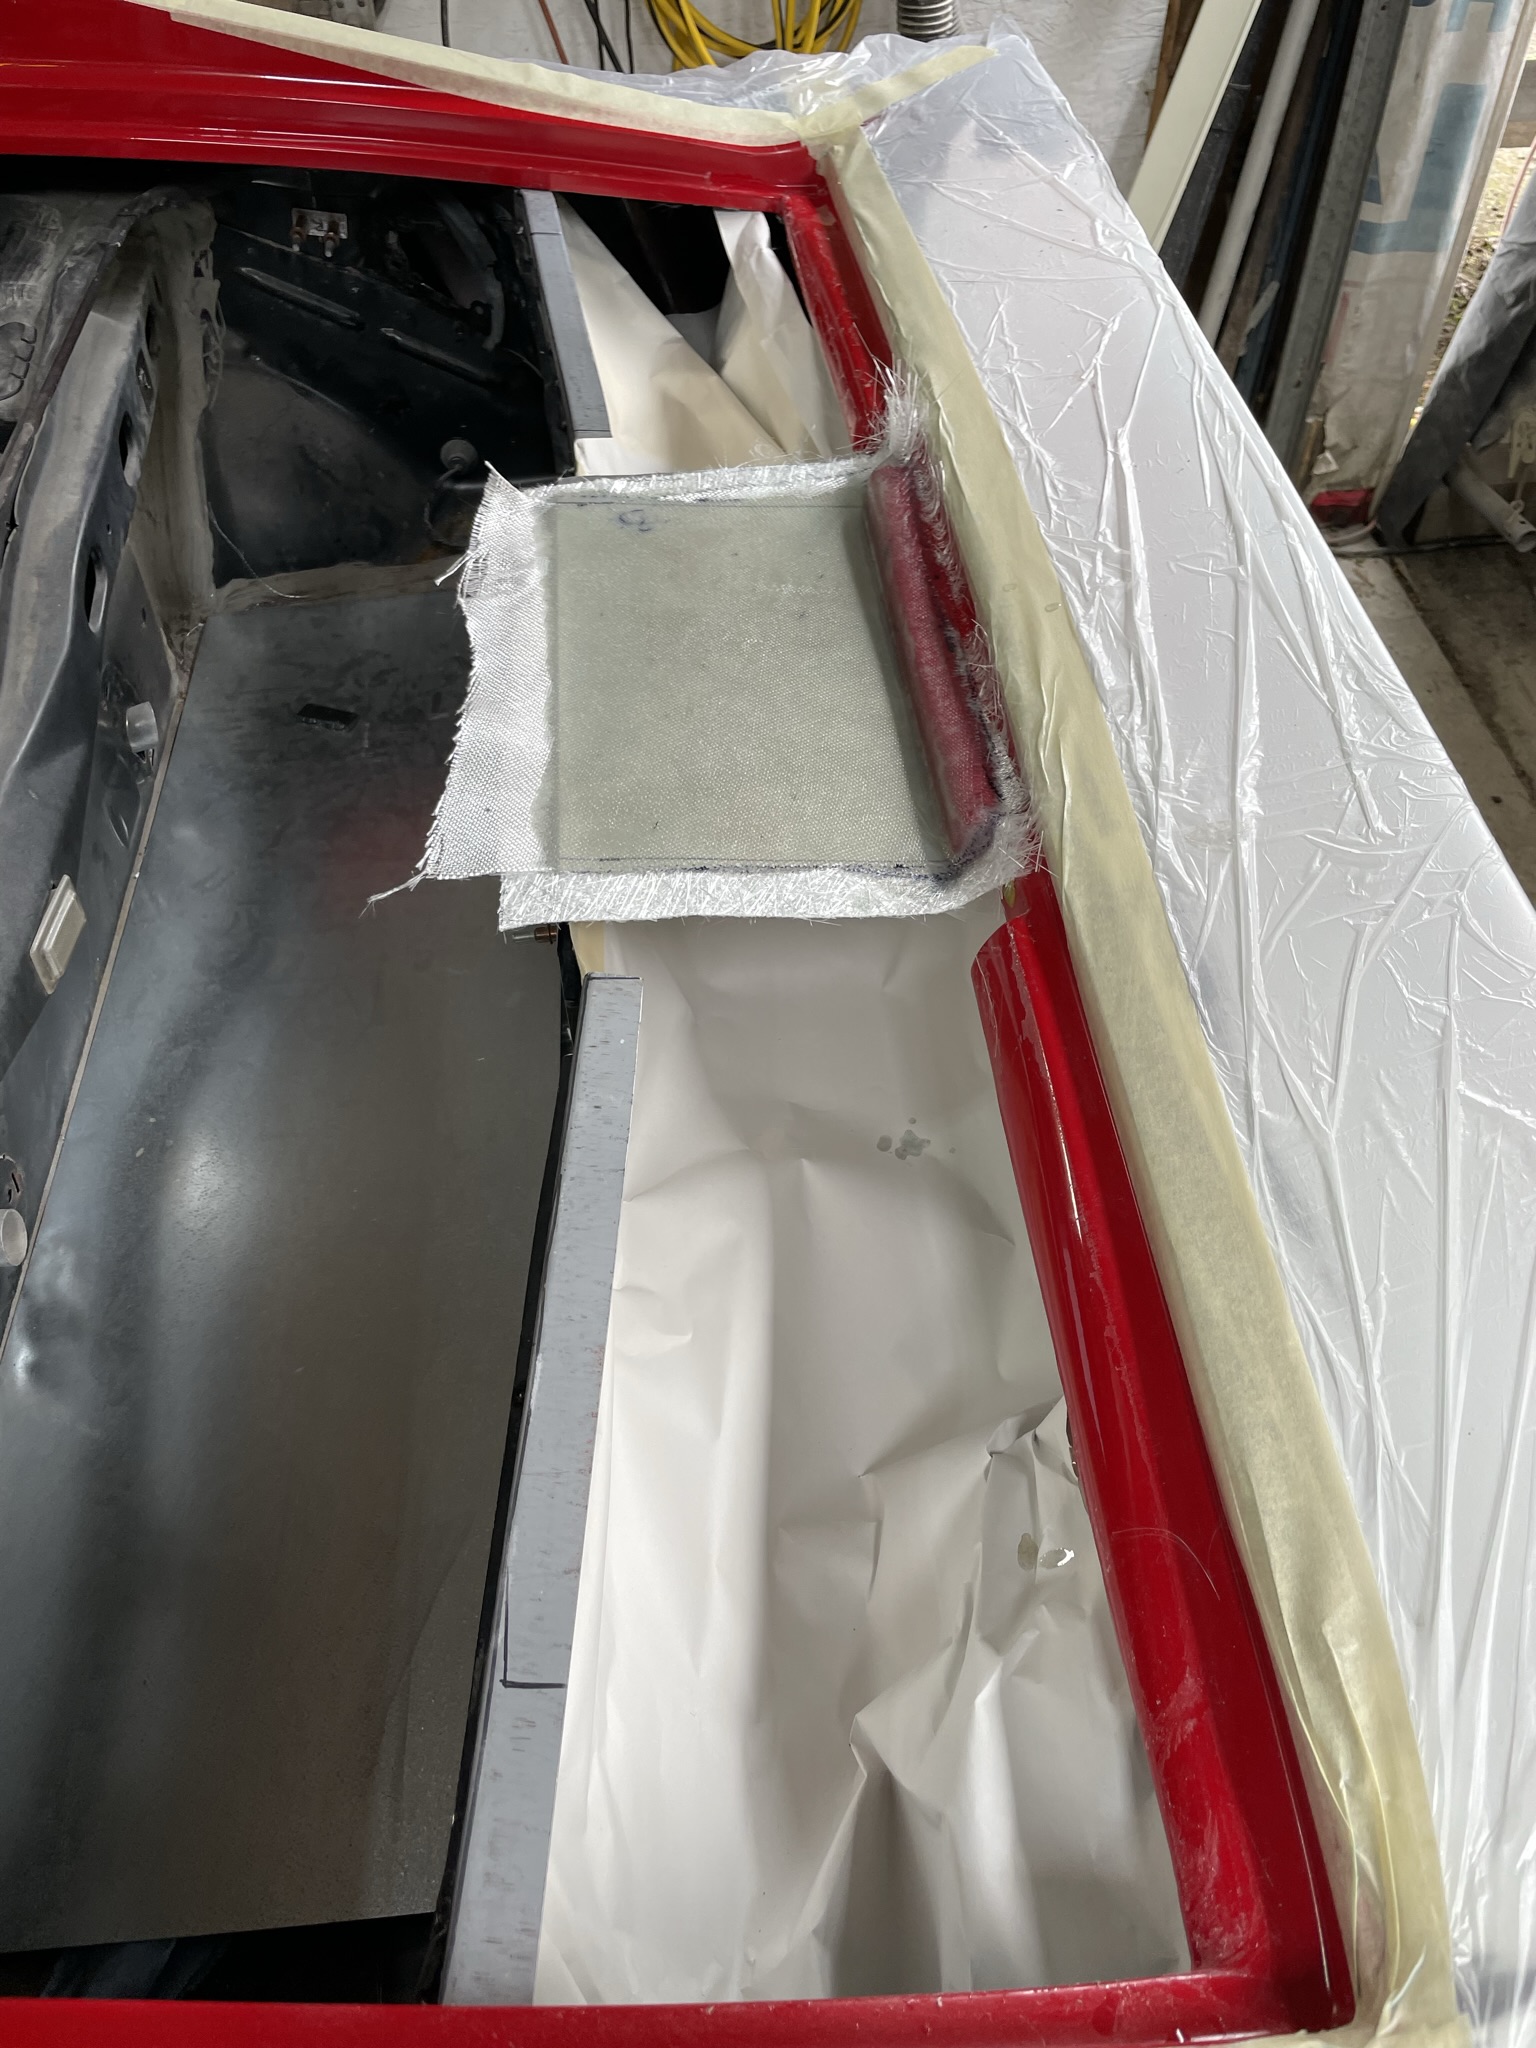
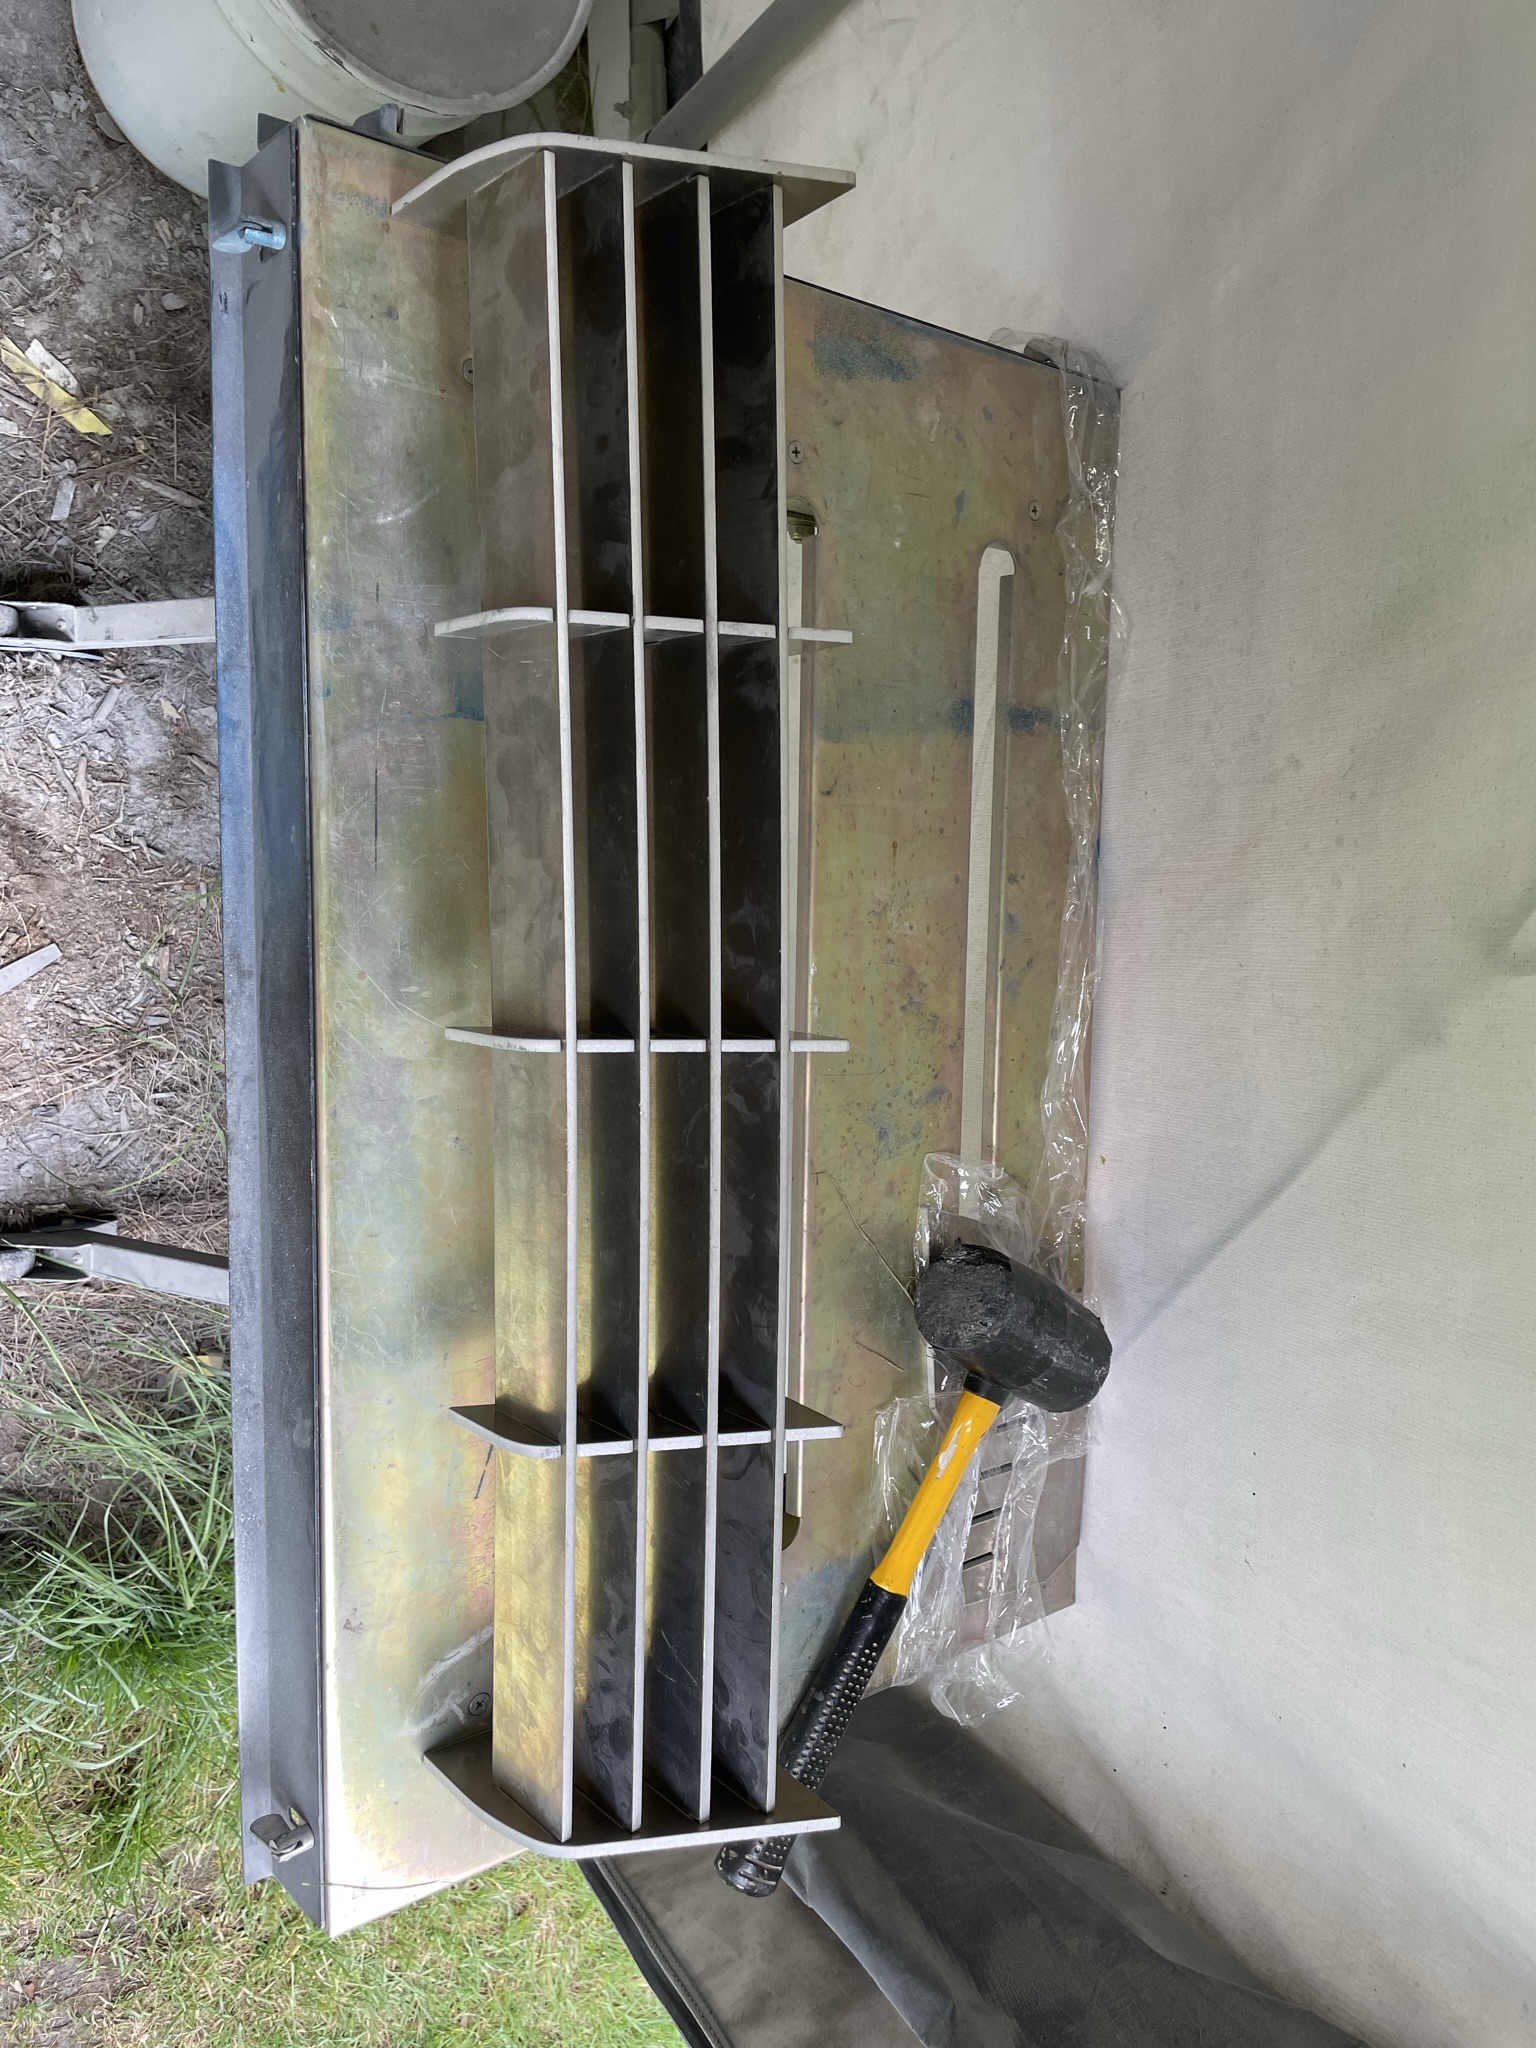
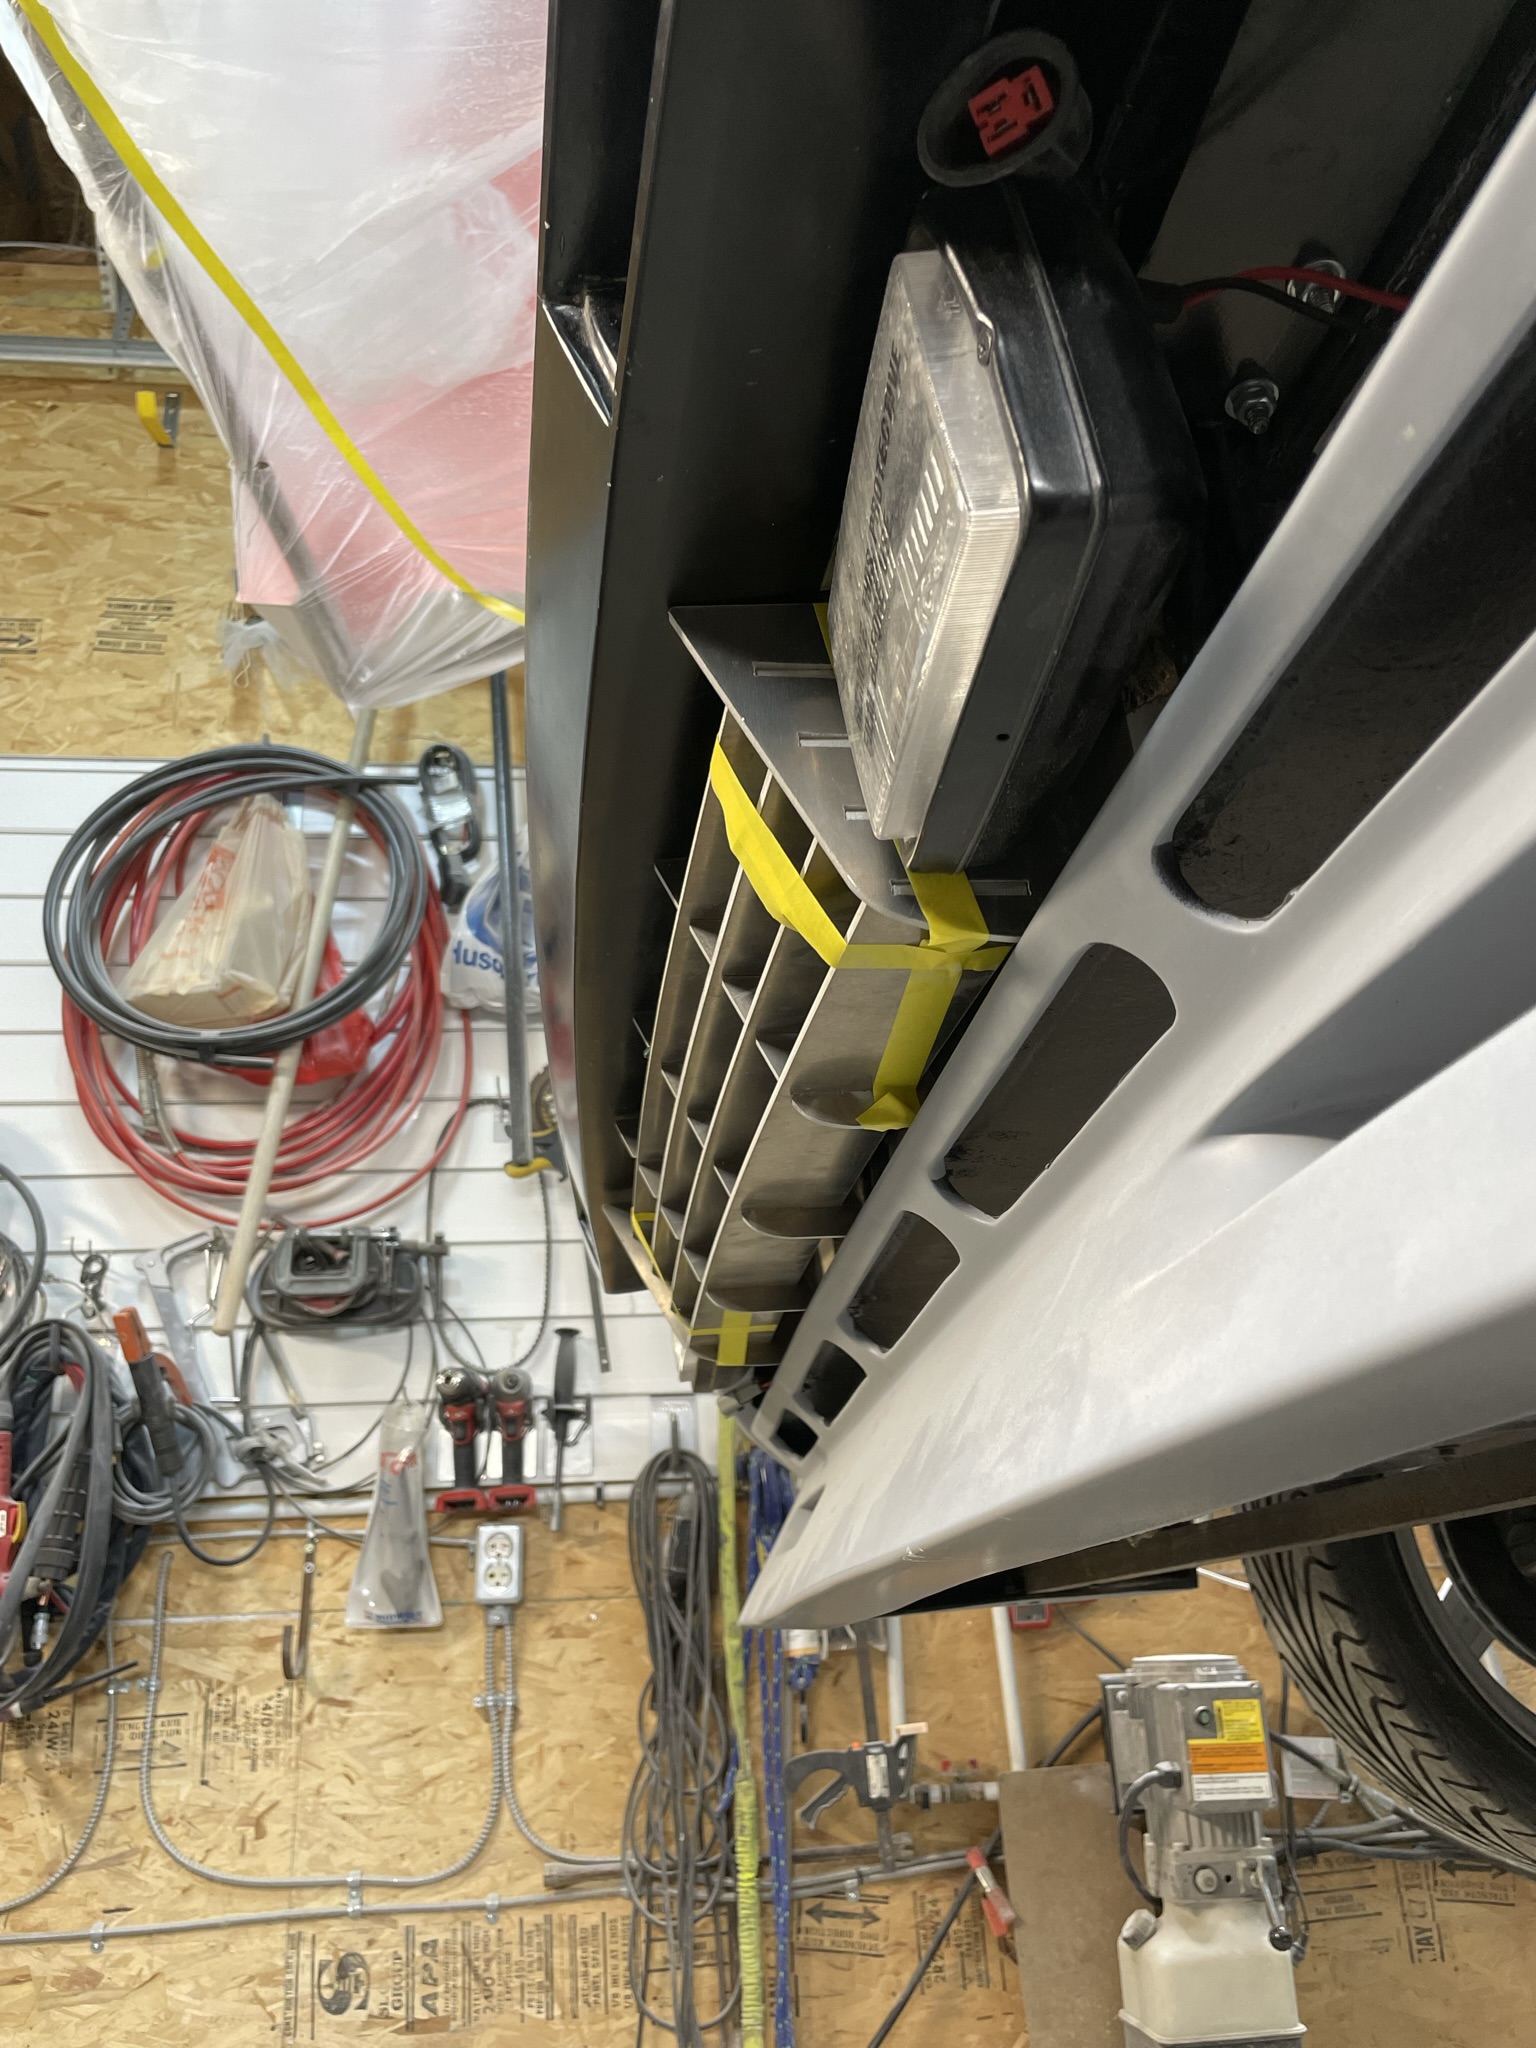
This shows the inner plenum installed along with the lower wall filter.
I’m still waiting for a piece of 3” aluminum duct to connect to the filter , there will also be a waterproof filter bag for additional Filtering.
And then there is a two piece cover to seal the air box
That s the update for now Stay safe everyone. Wayne
Hi Wayne Sorry I mentioned driving your car in the real world , with rain etc . lol We can 3D print a tube with a flange to hold the air filter , and mount it to the air box for you .
Thanks Bob!! Always appreciate your input!! I haven’t posted a lot lately but I have been moving along .
I put a self imposed deadline on myself to be driving the car by summer this year. I had planned to do all the build myself but with the self imposed timeline reality has set in that I can’t complete in time. So I’ve had to make a decision on hiring a trimmer to complete the upholstery on my car while I do everything else.
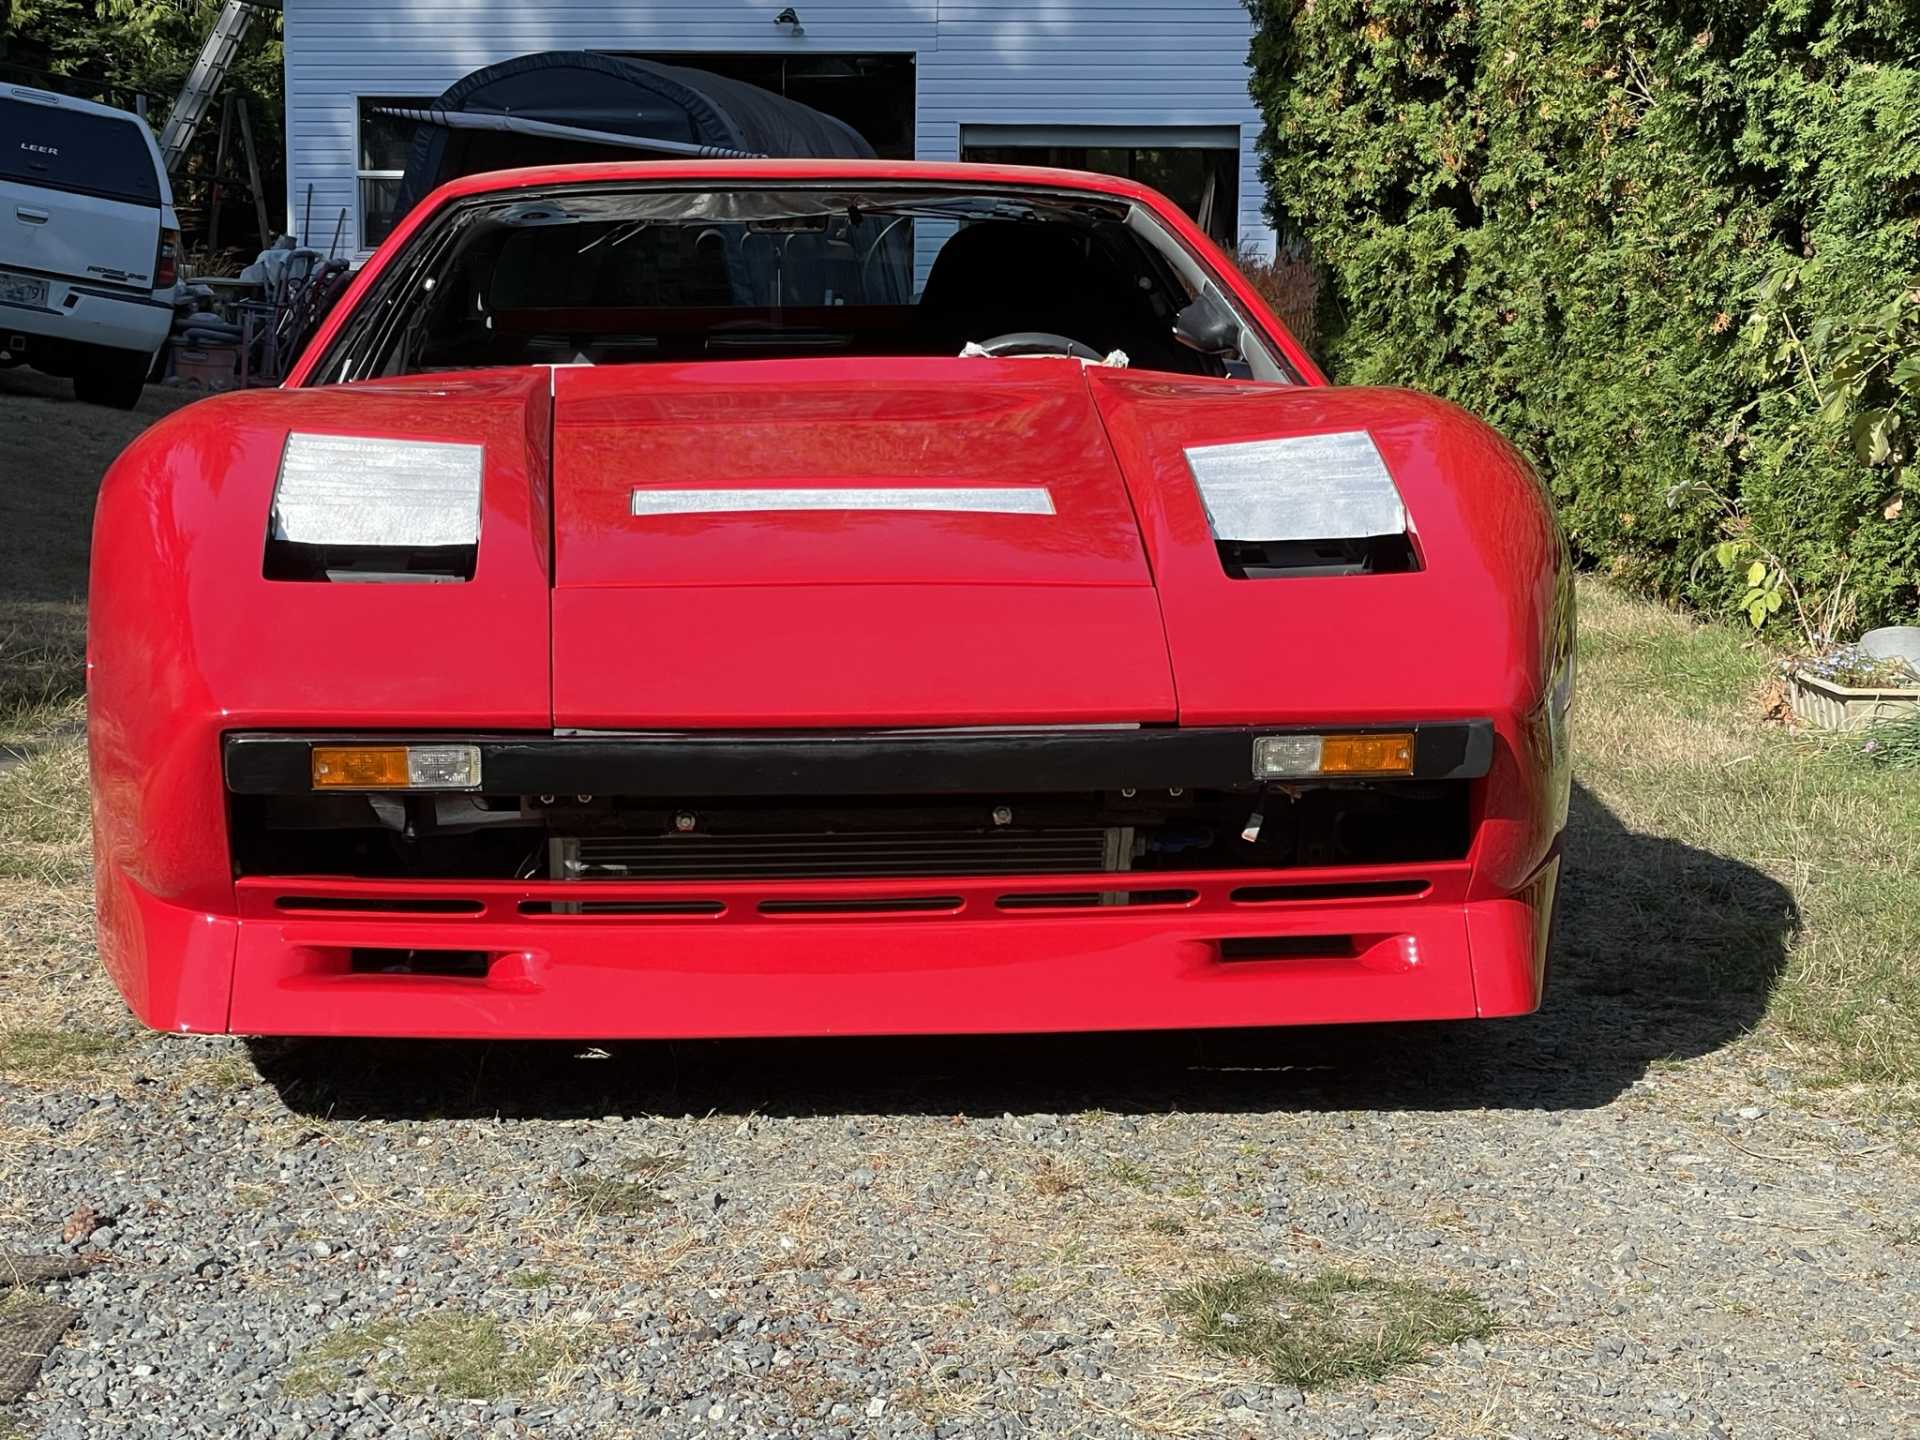
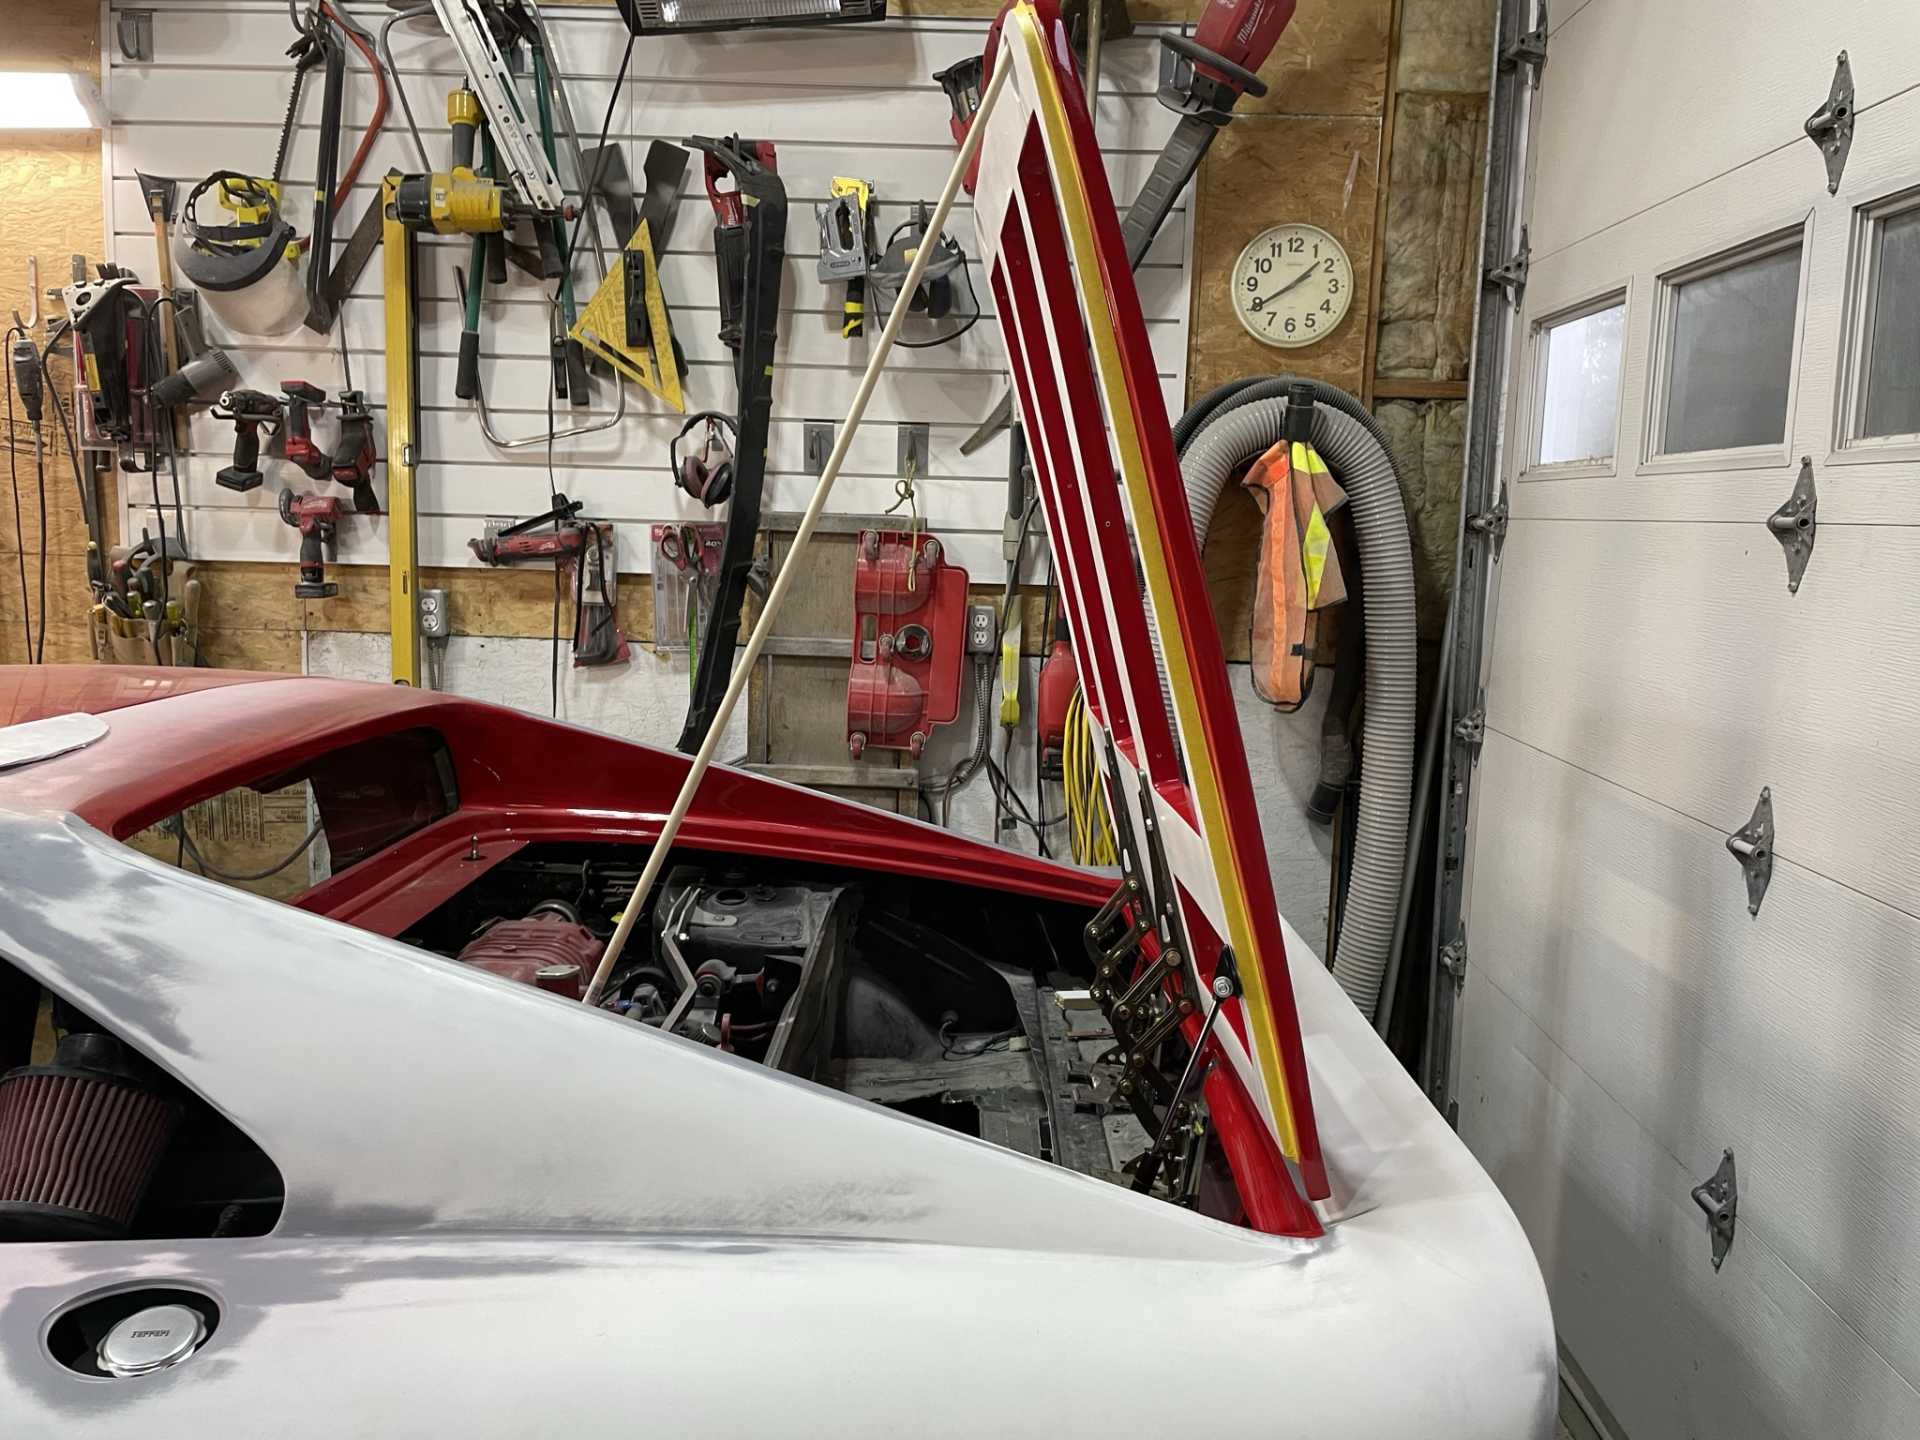
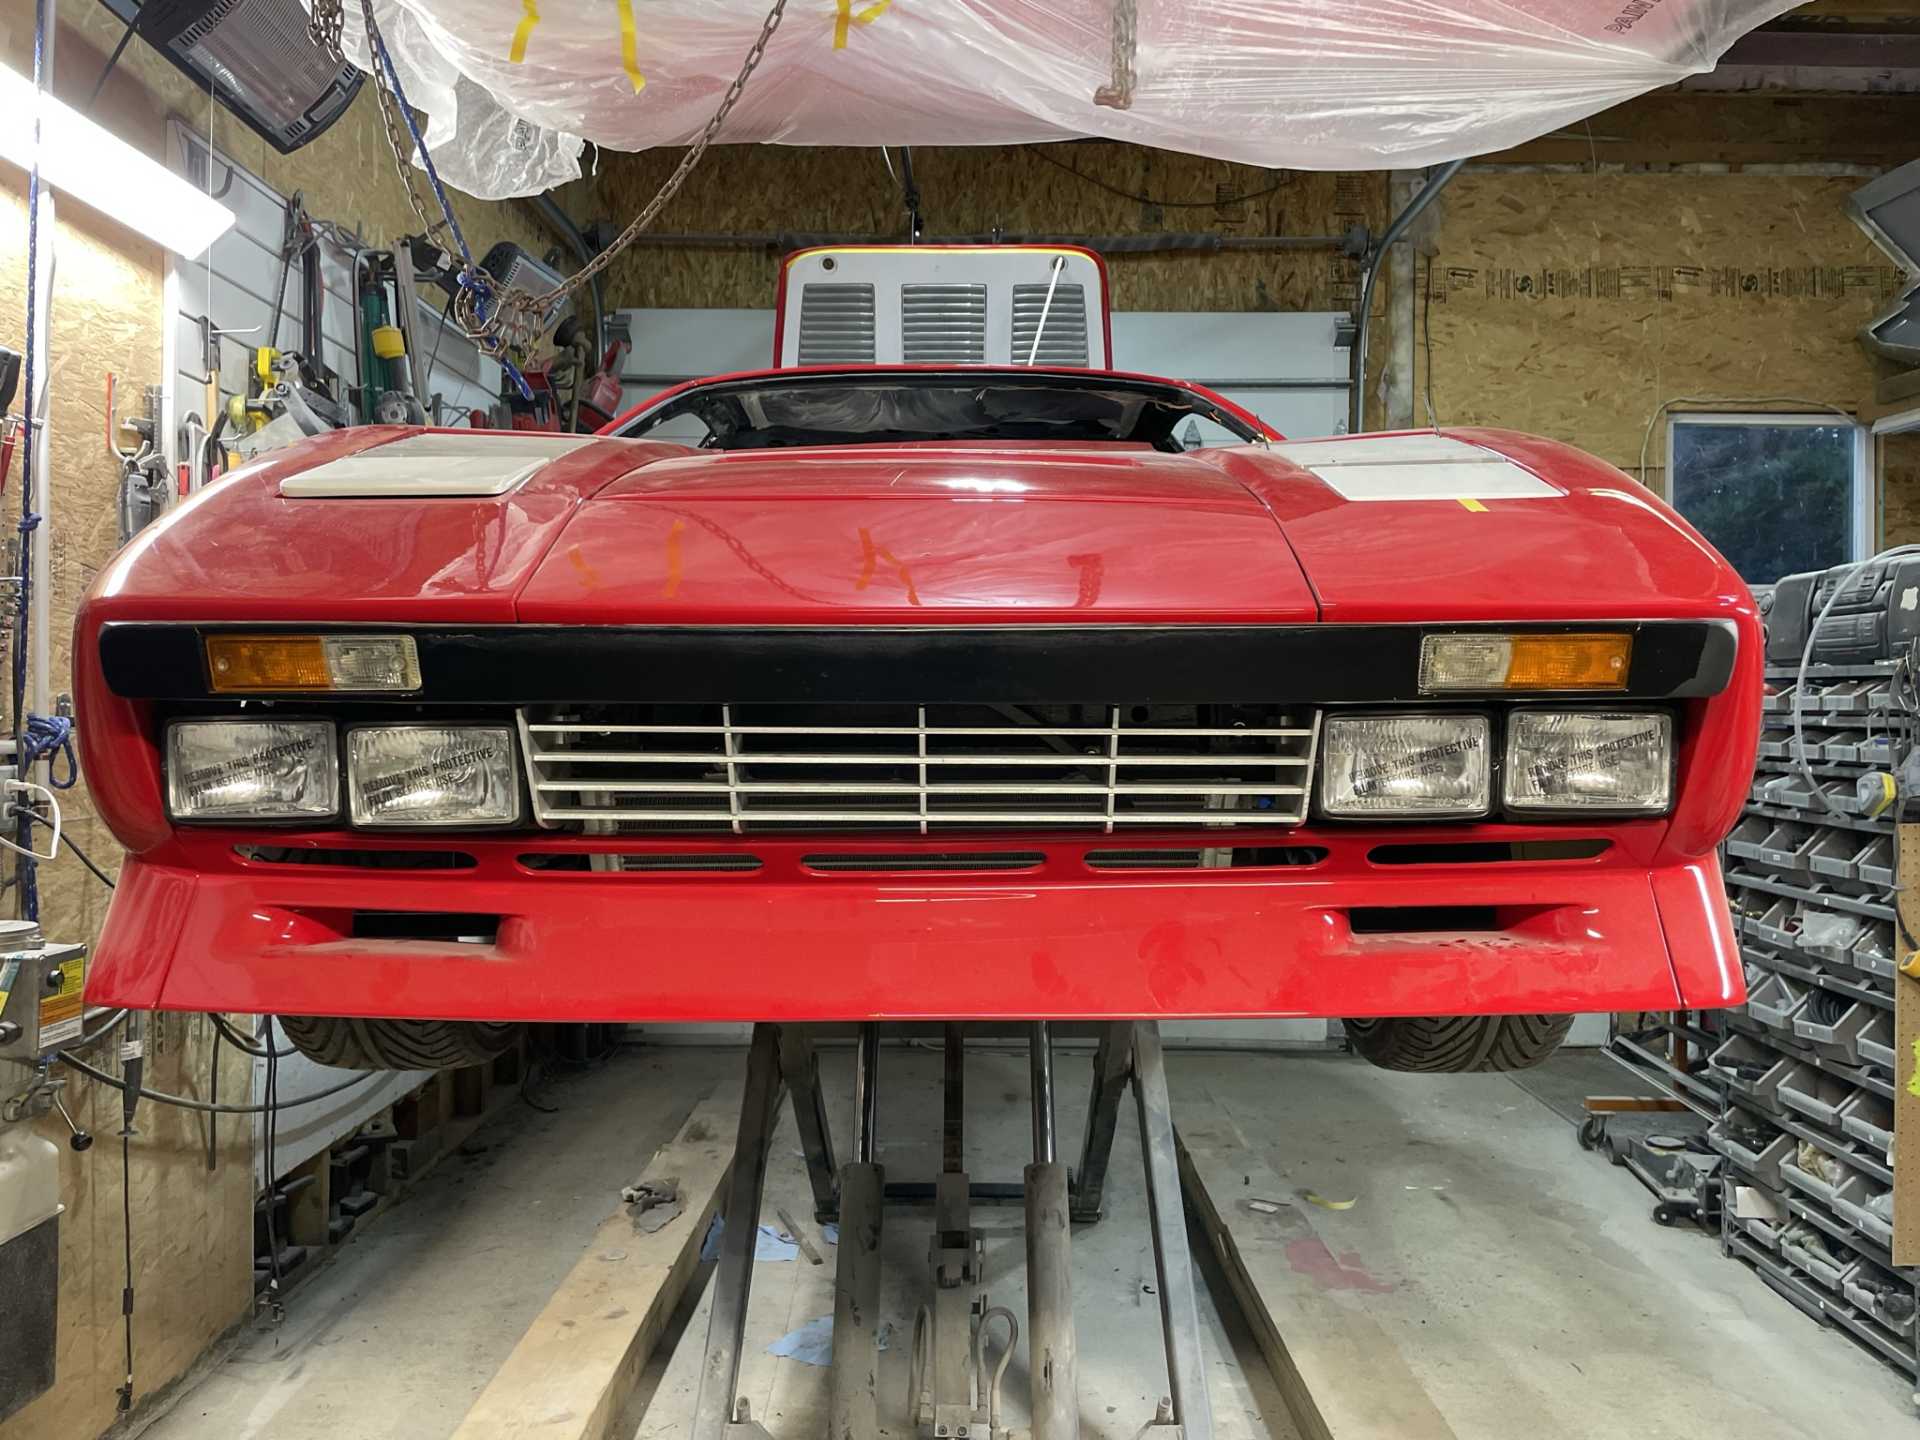
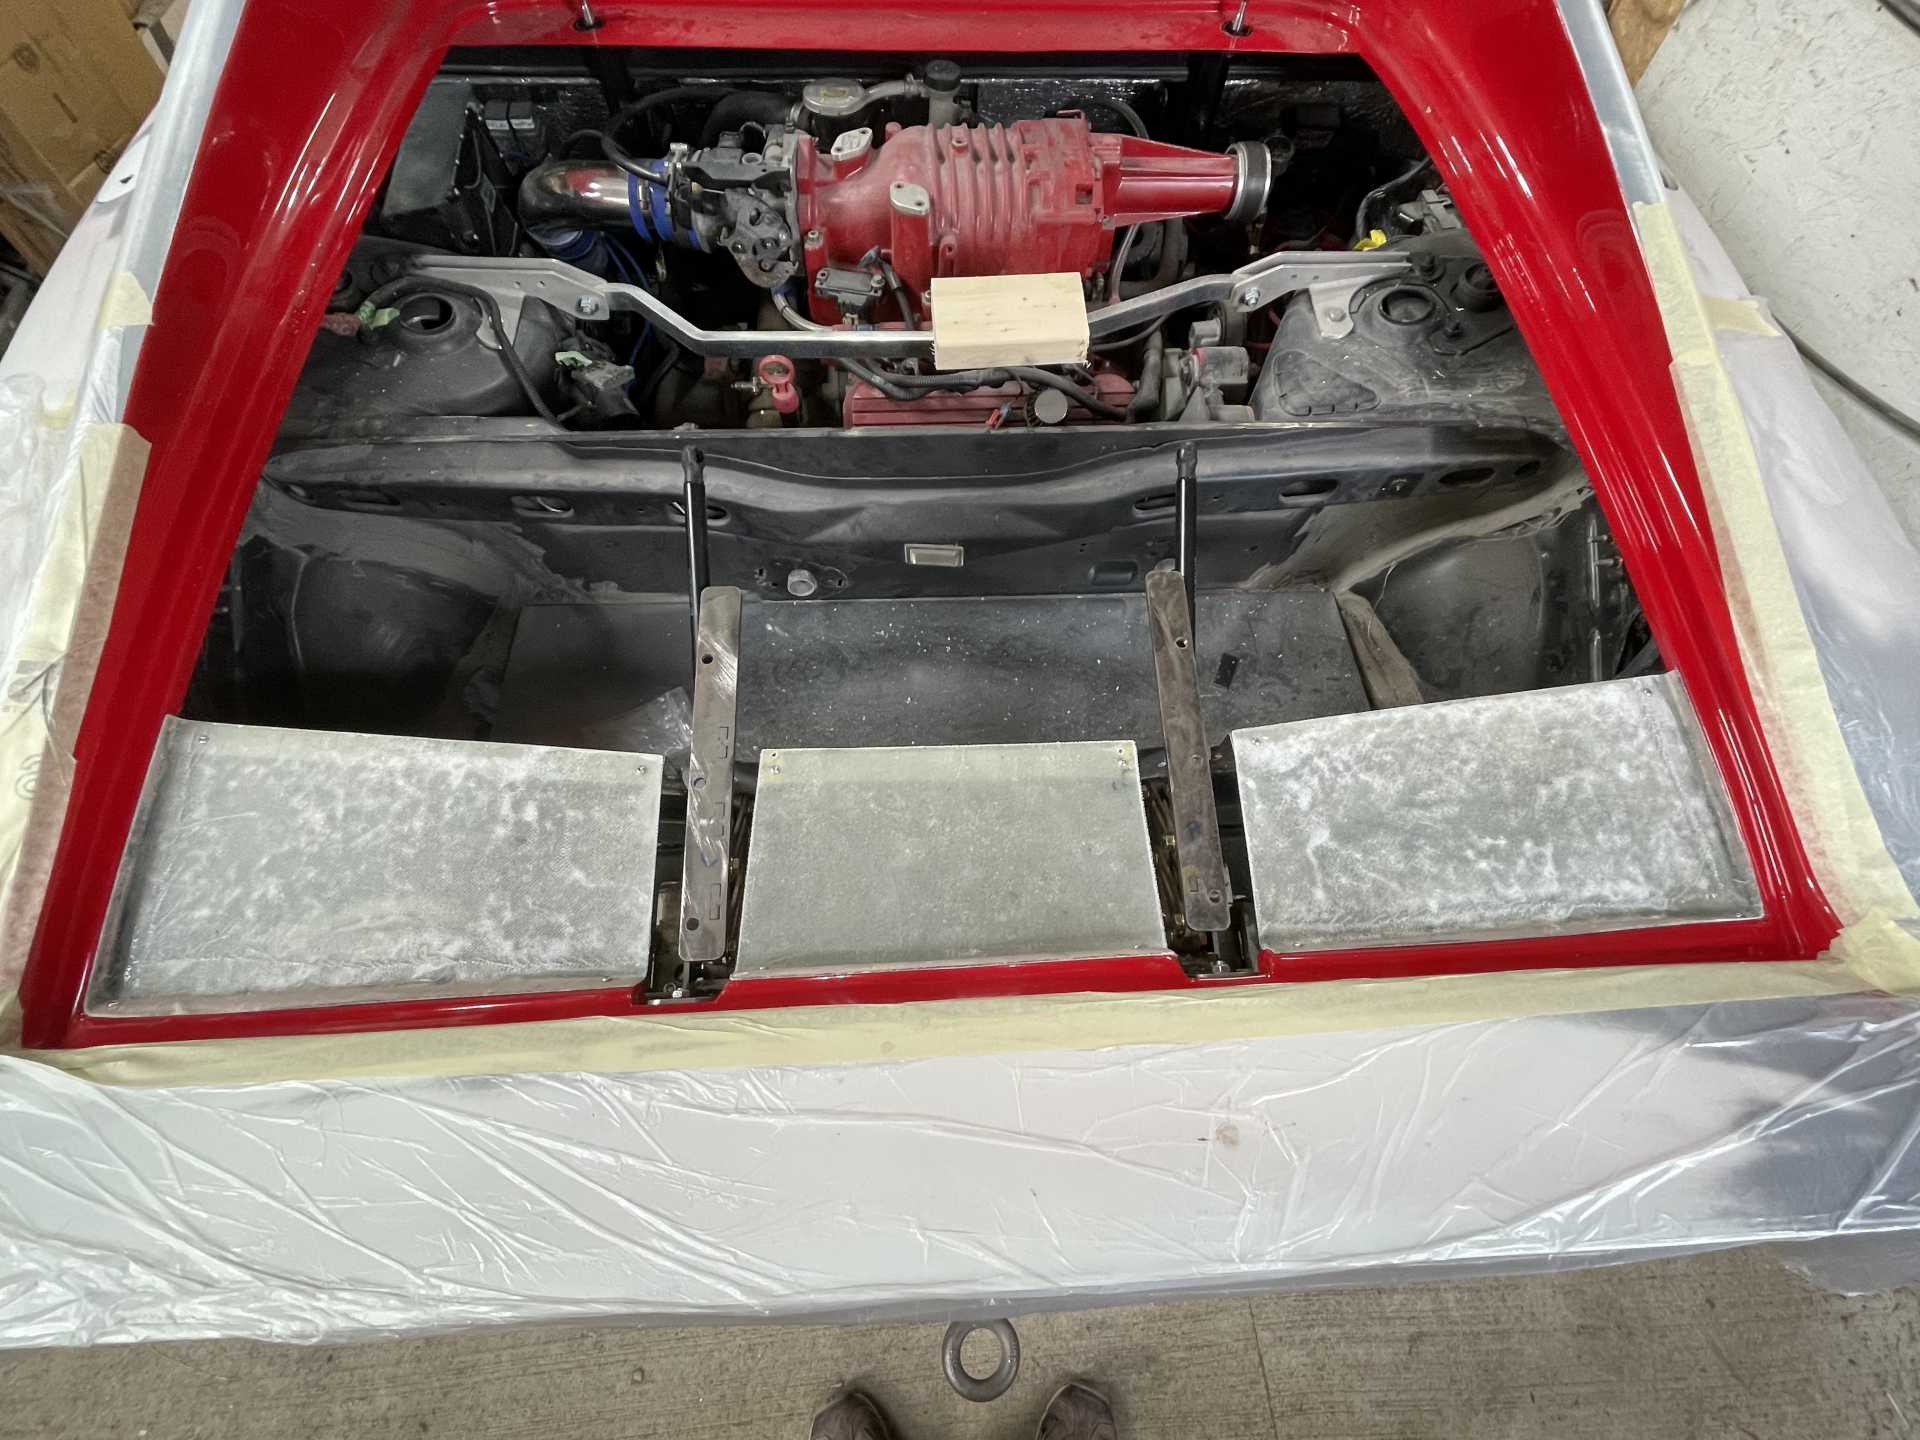
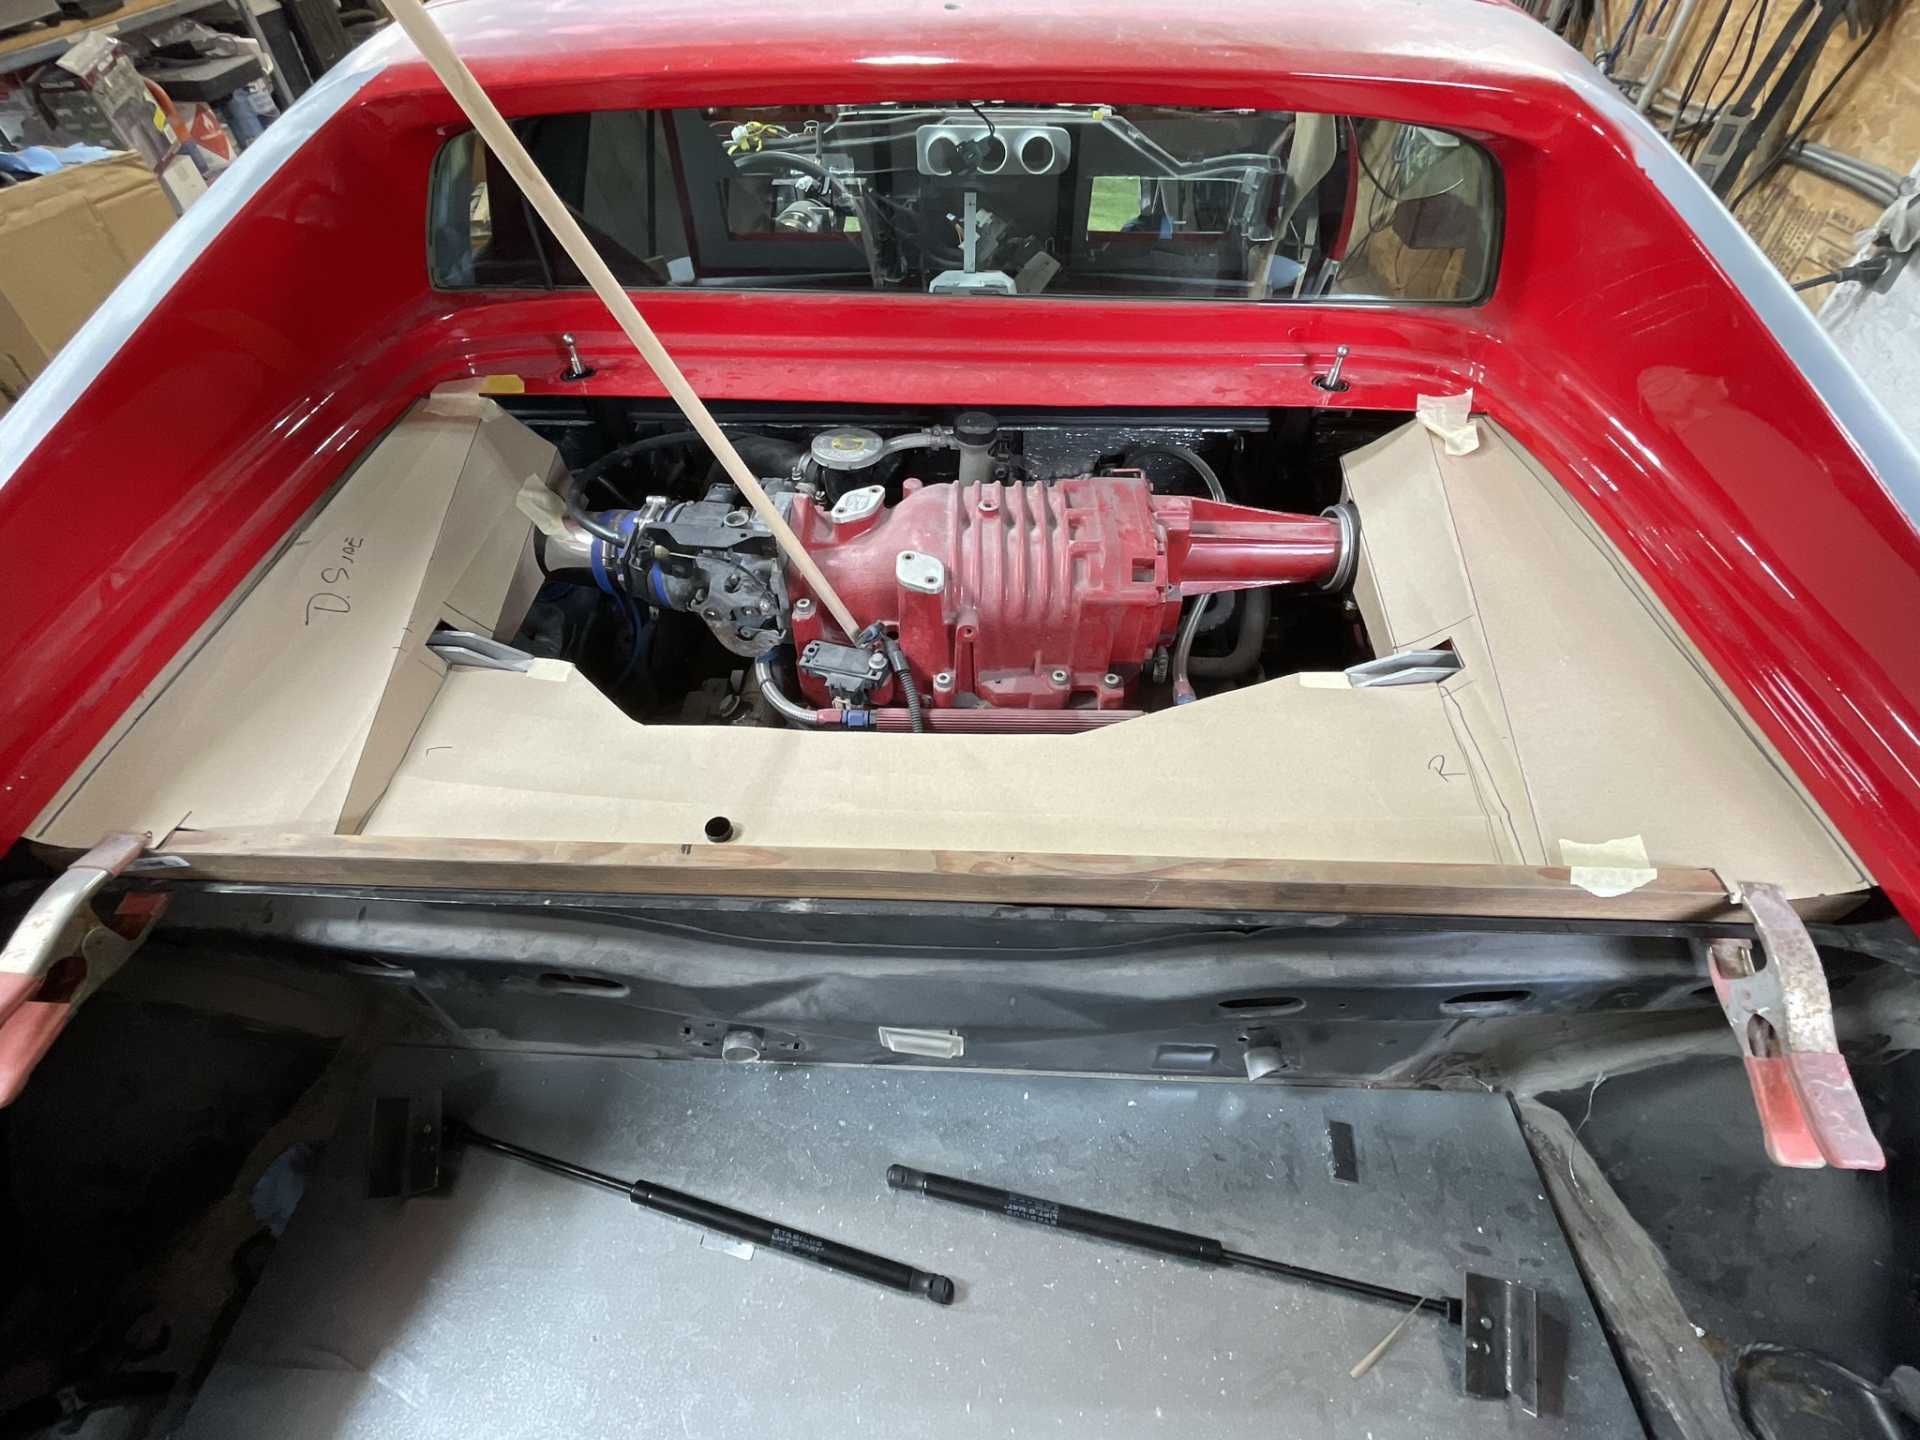
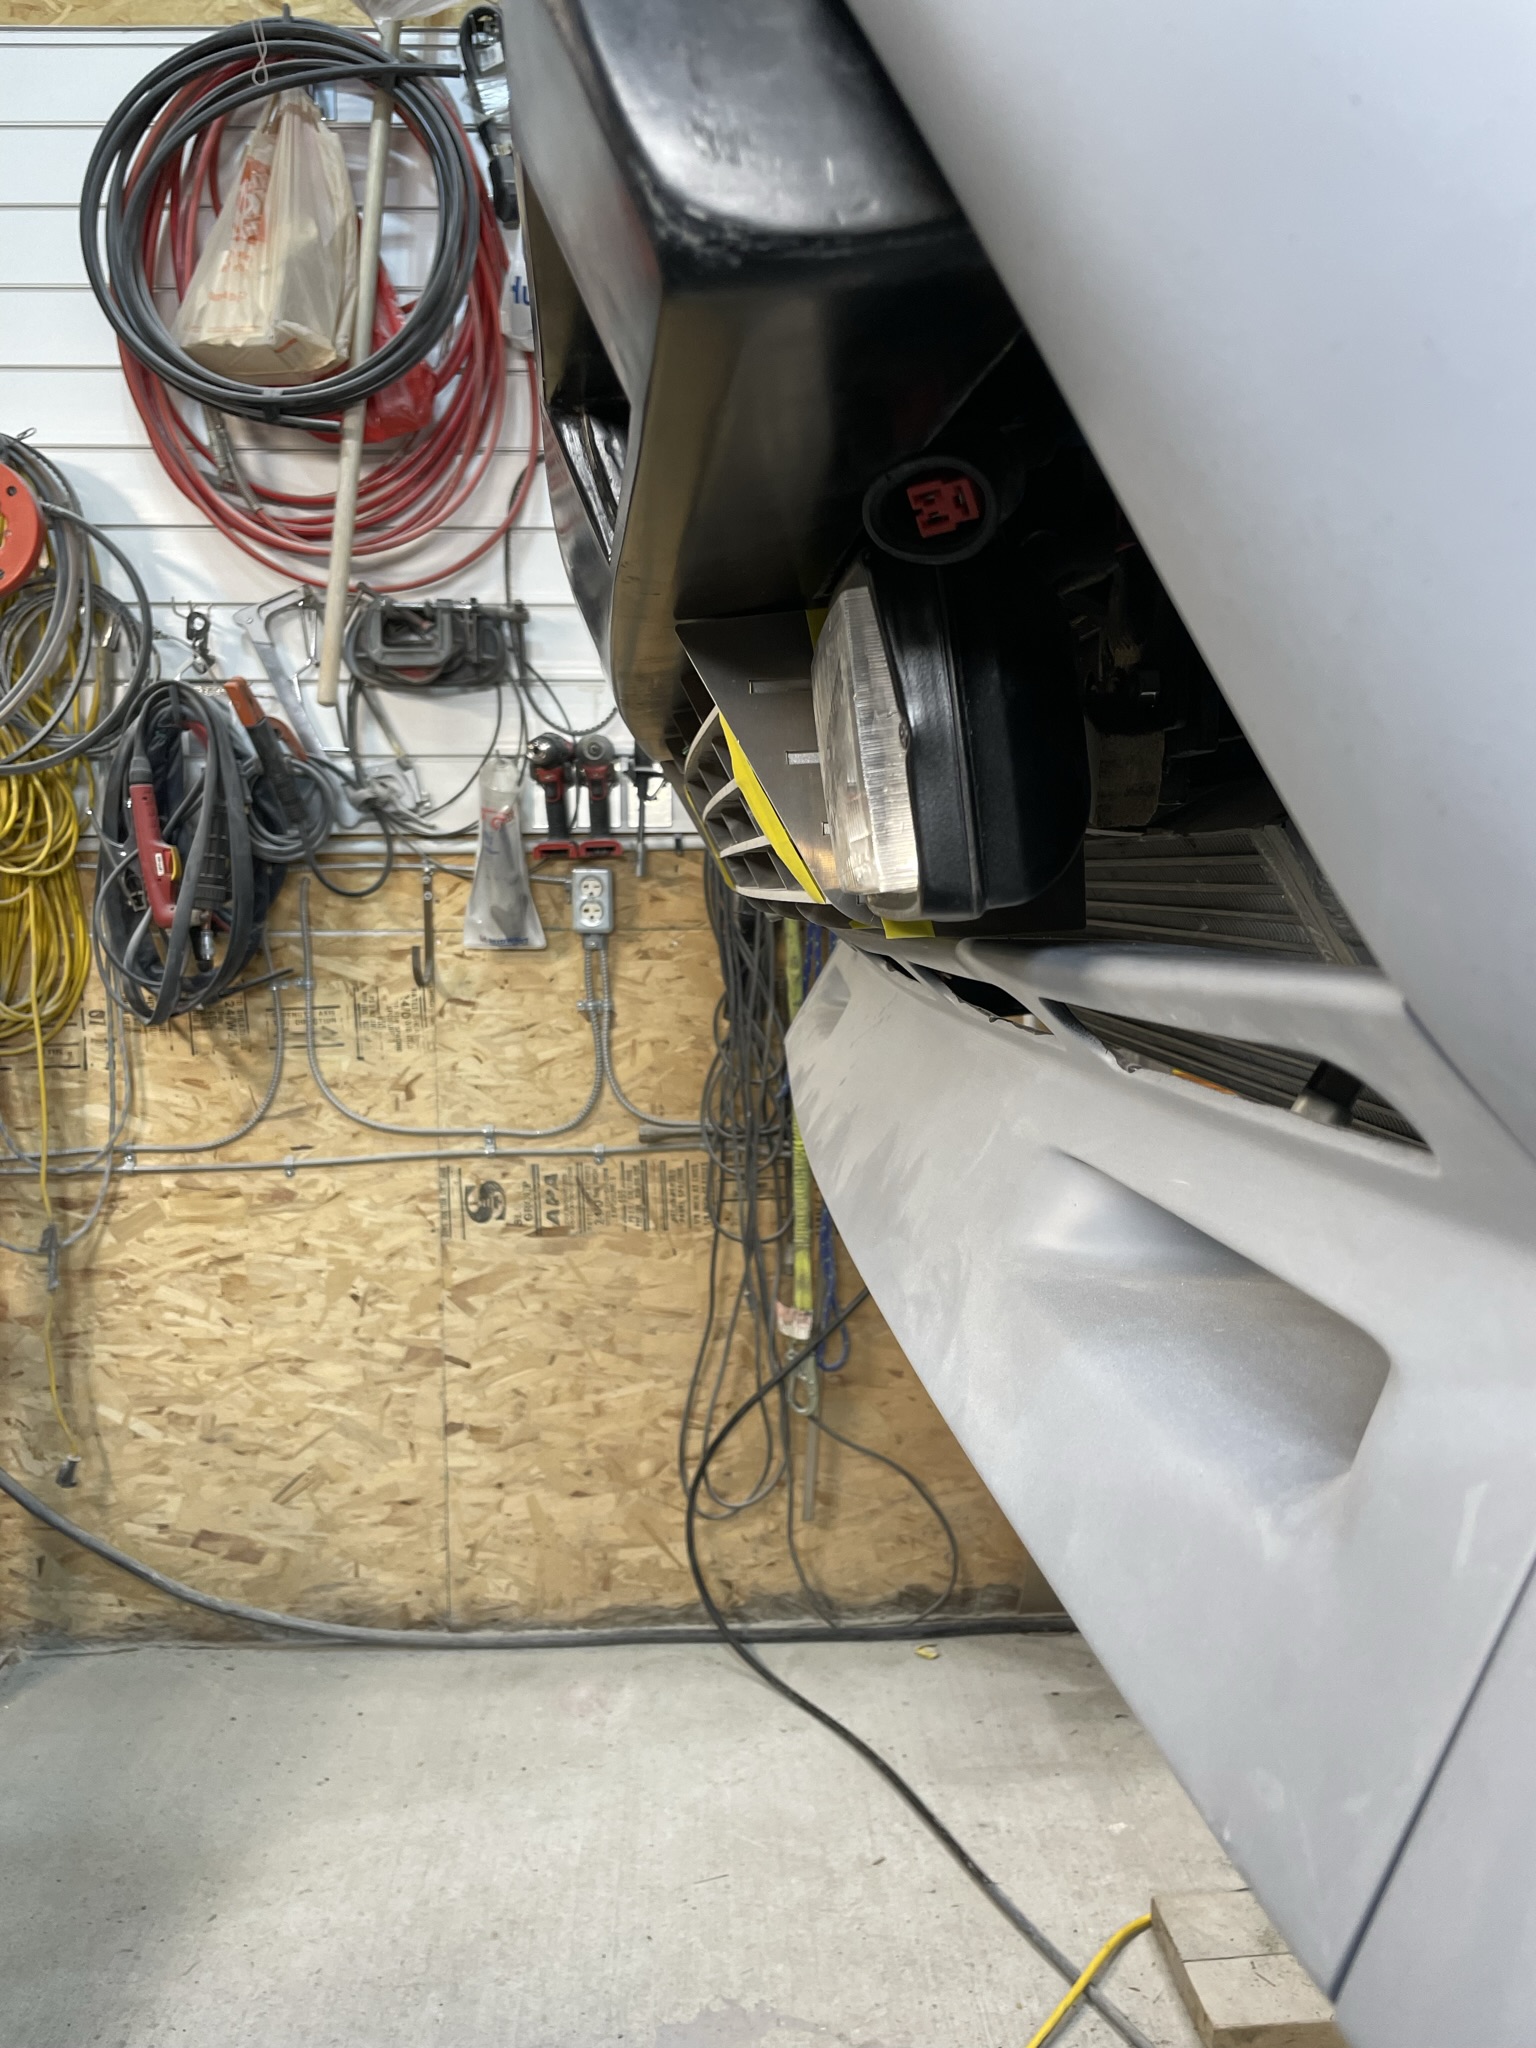
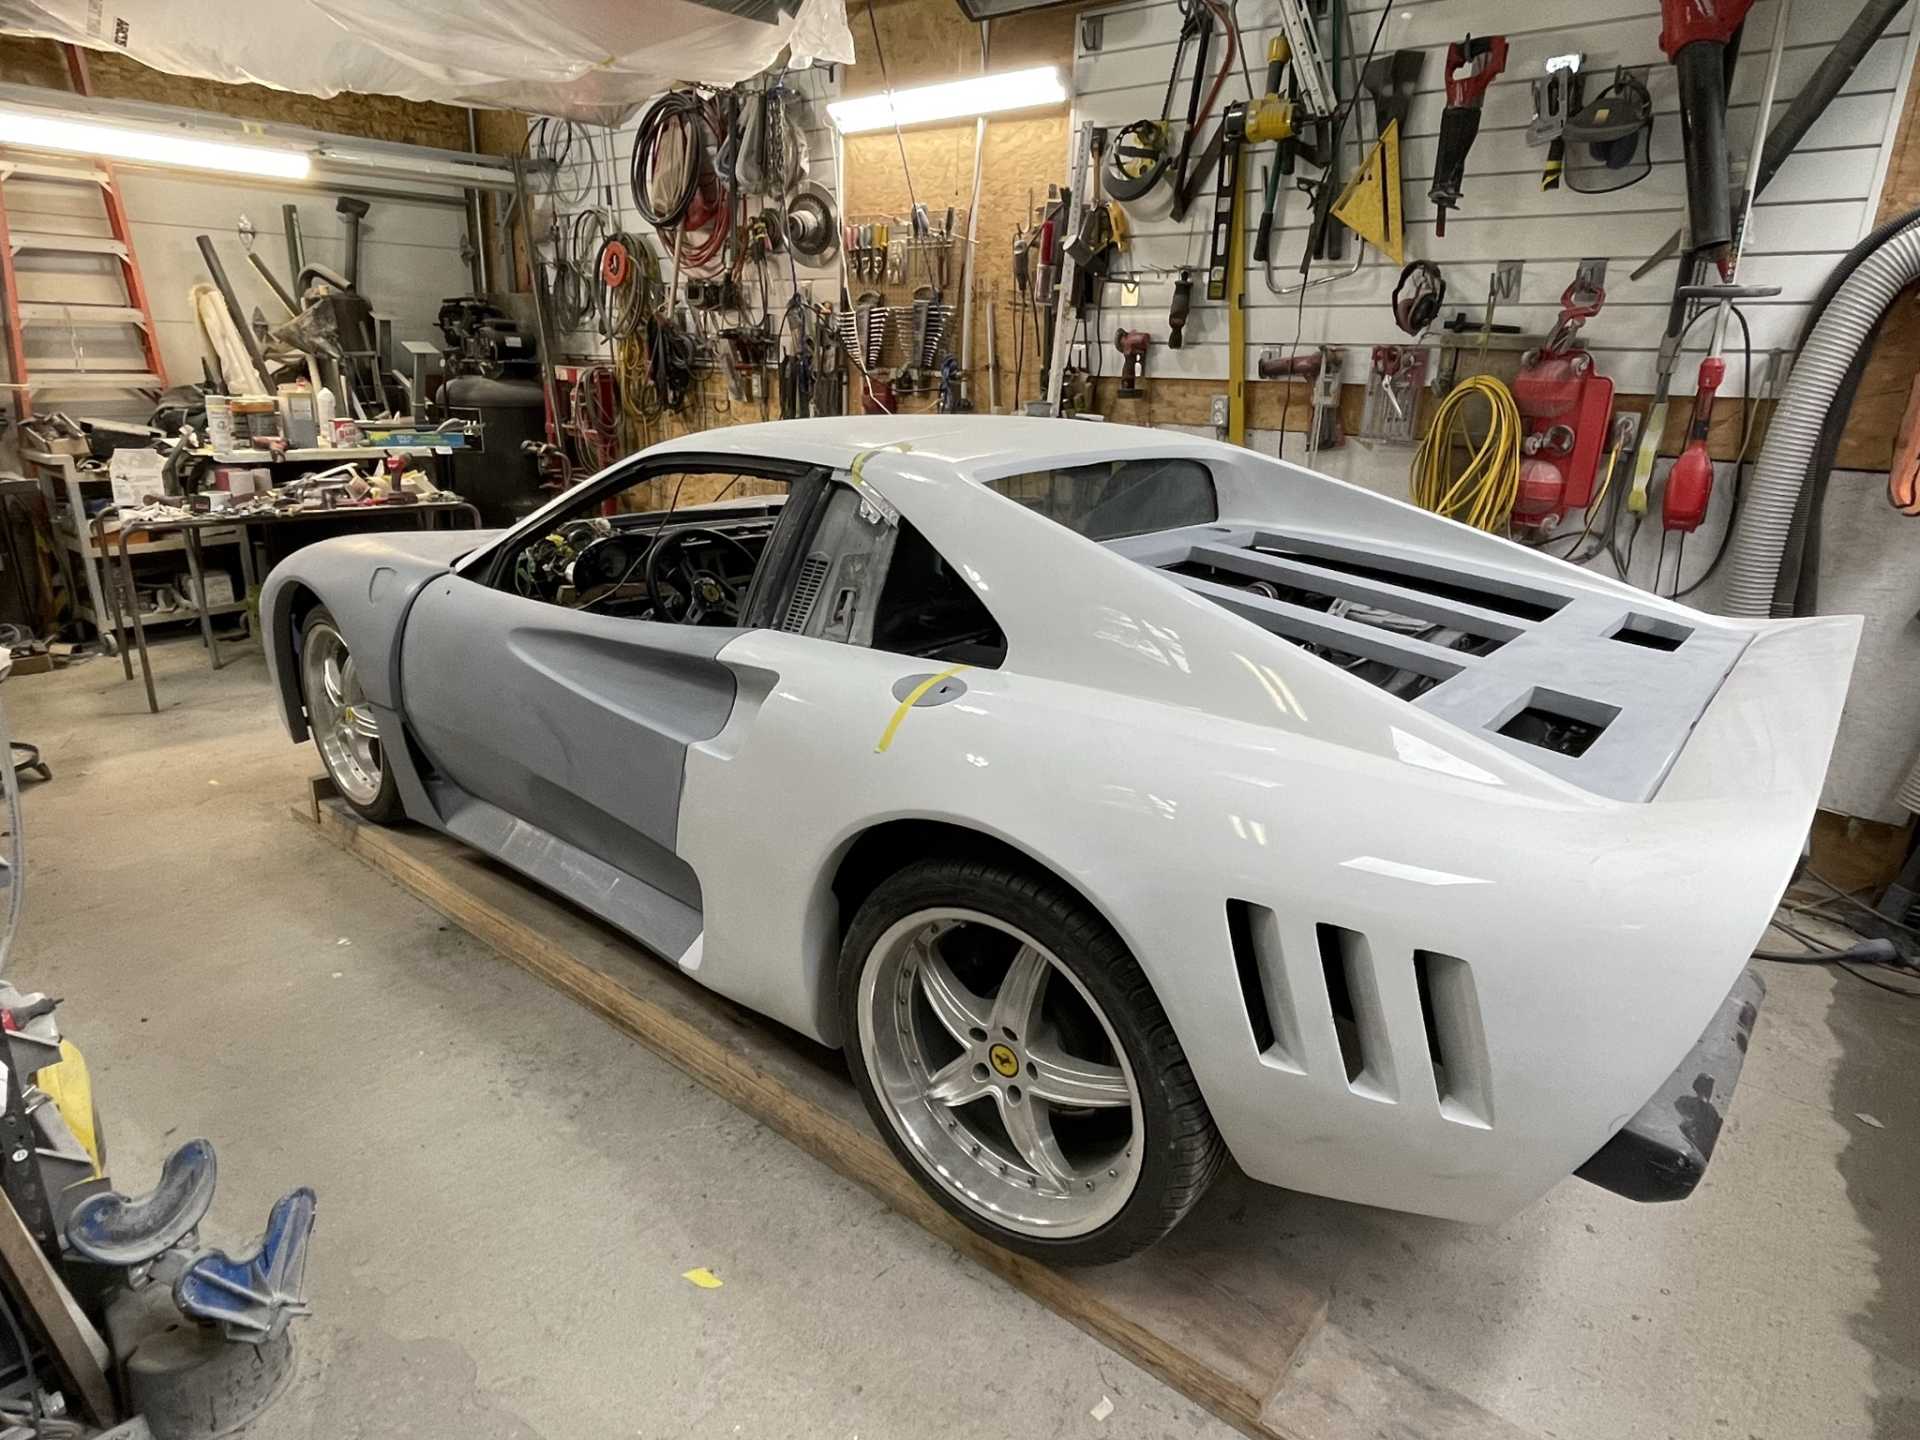
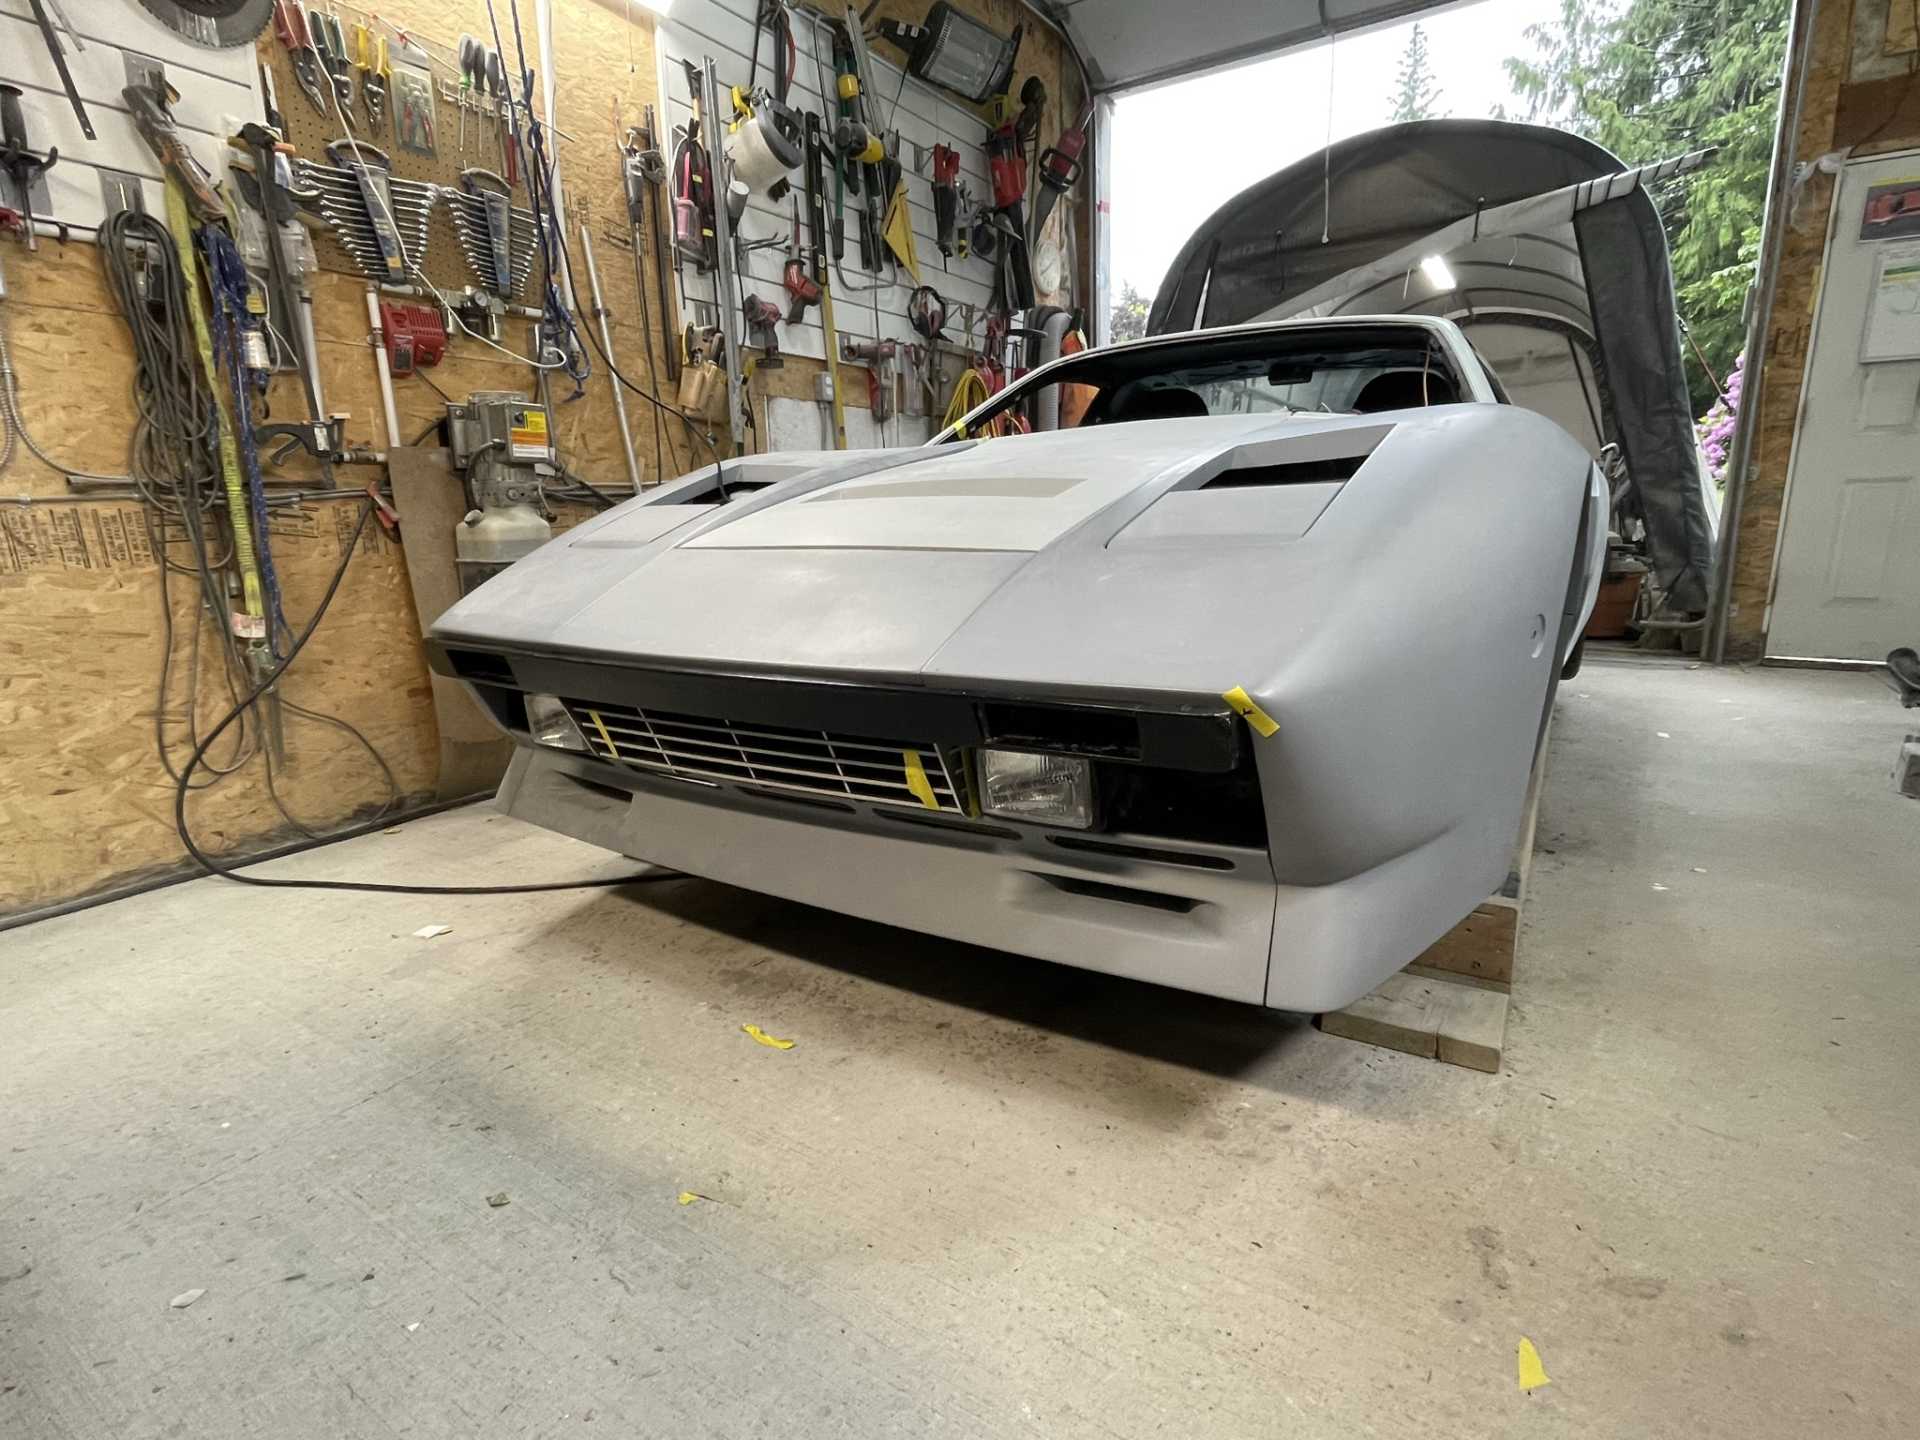
I needed to test the fit and gaps on the front end before I remove the body one last time to complete all the final electrical and Installations. Took a couple pictures, I think it fits pretty well!!
More pics more pics! Looks good man looks really really good. I dig the custom airbox and the fab skills. I really like the custom fuse/relay box. But, uh, the labeling job on the accessory relay looks like ass lol
It’s been a long cold winter on the west coast of Canada, normally I’ve been able to work in my unheated shop a bit more than I could this year. My hands would be to cold to work after about 20 minutes so not a lot has gotten finished.
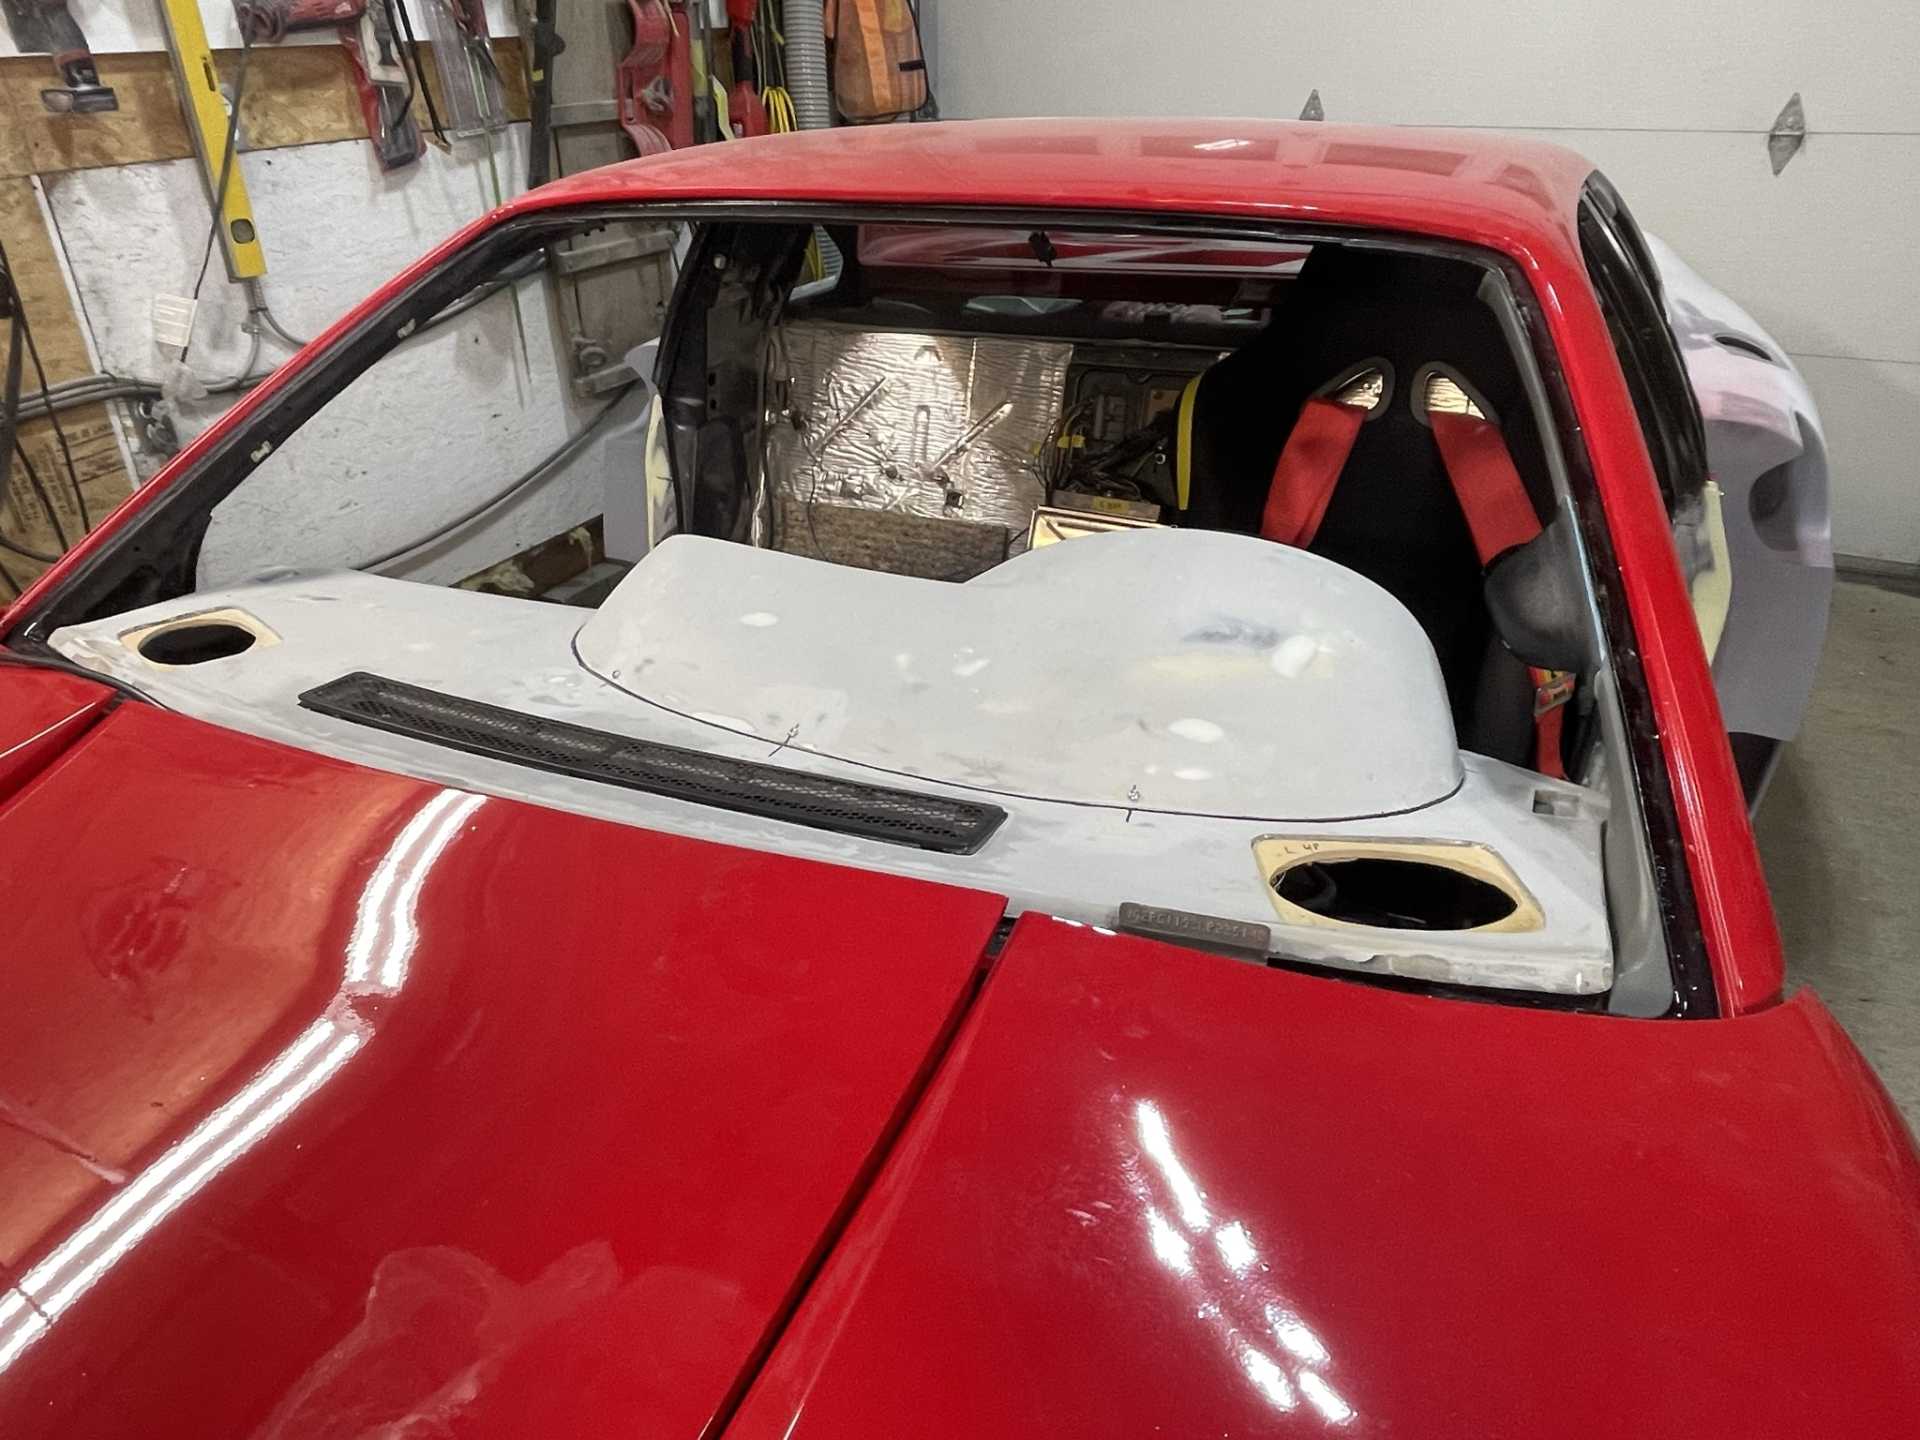
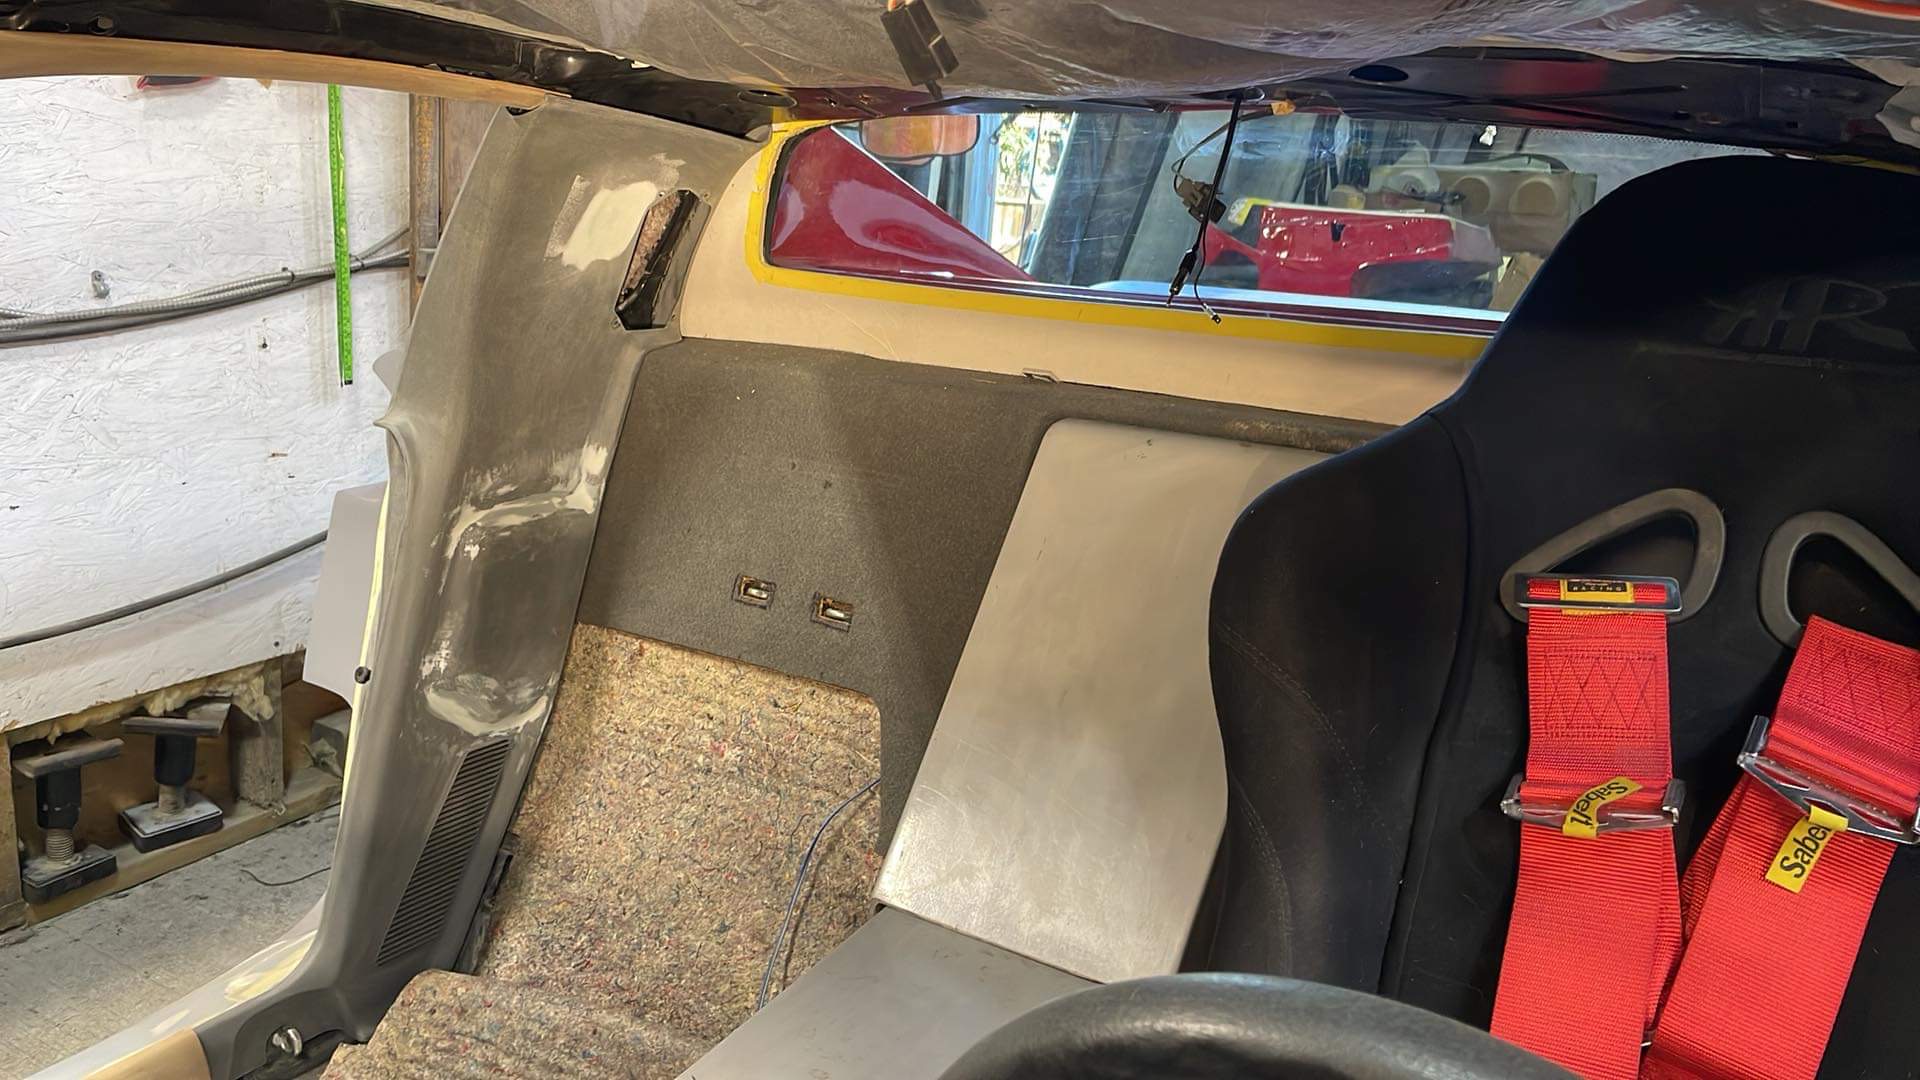
I started work on the interior getting it all ready to get upholstered, as I’m going from the stock 3 point seat belts to a 4 point the “B” pillar Trim pieces needed to be modified so I fiberglassed them from behind to give a backing and to strengthen them and then body worked the front. I also made a window trim piece that will be upholstered in Alcantera that covers the area of the rear window that needs to be hidden. The roof headliner has over time disintegrated a bit so I laid a layer of fibreglass mat on to reinforce it enabling it to be upholstered in the Alcantera as well.
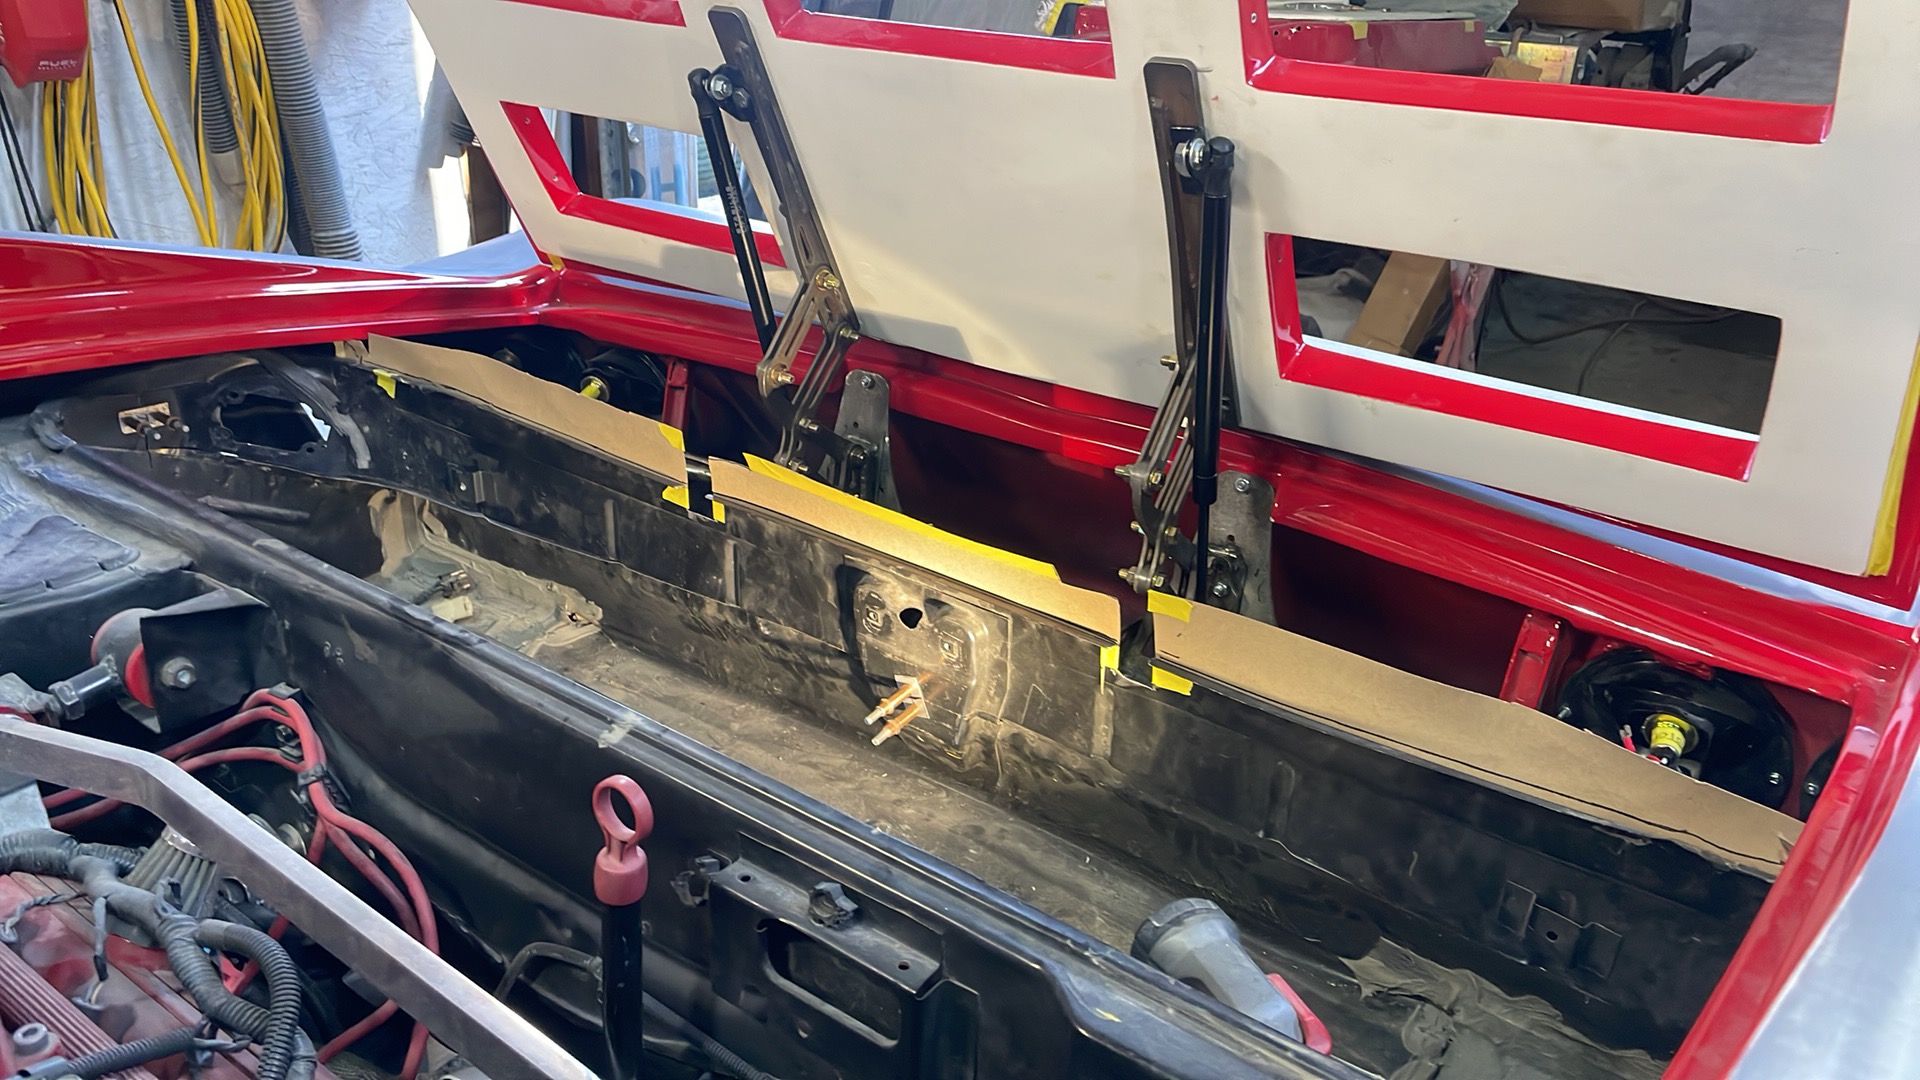
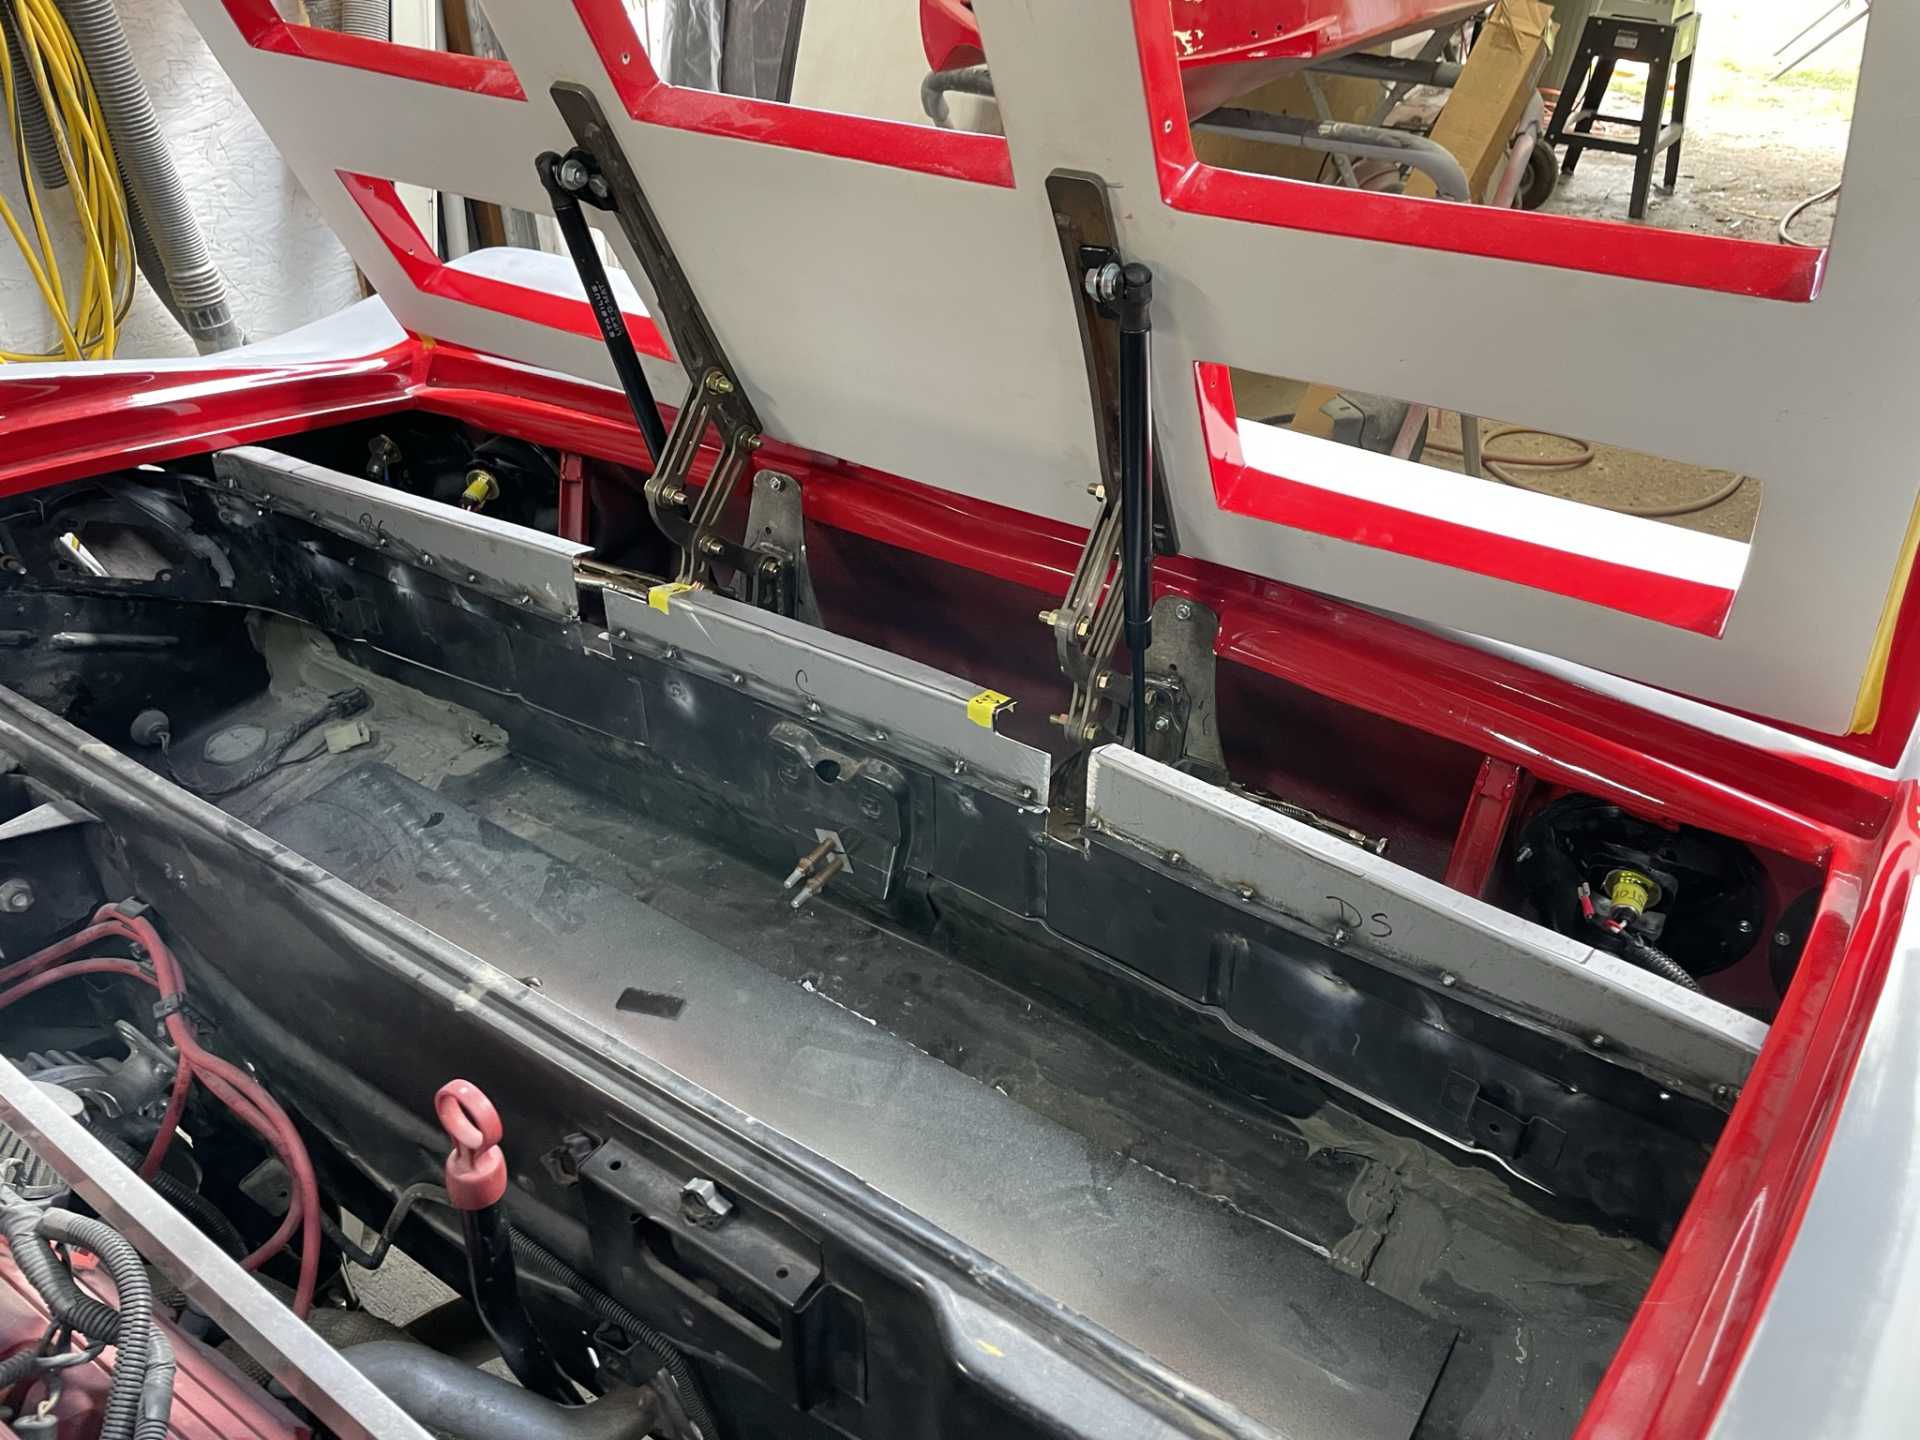
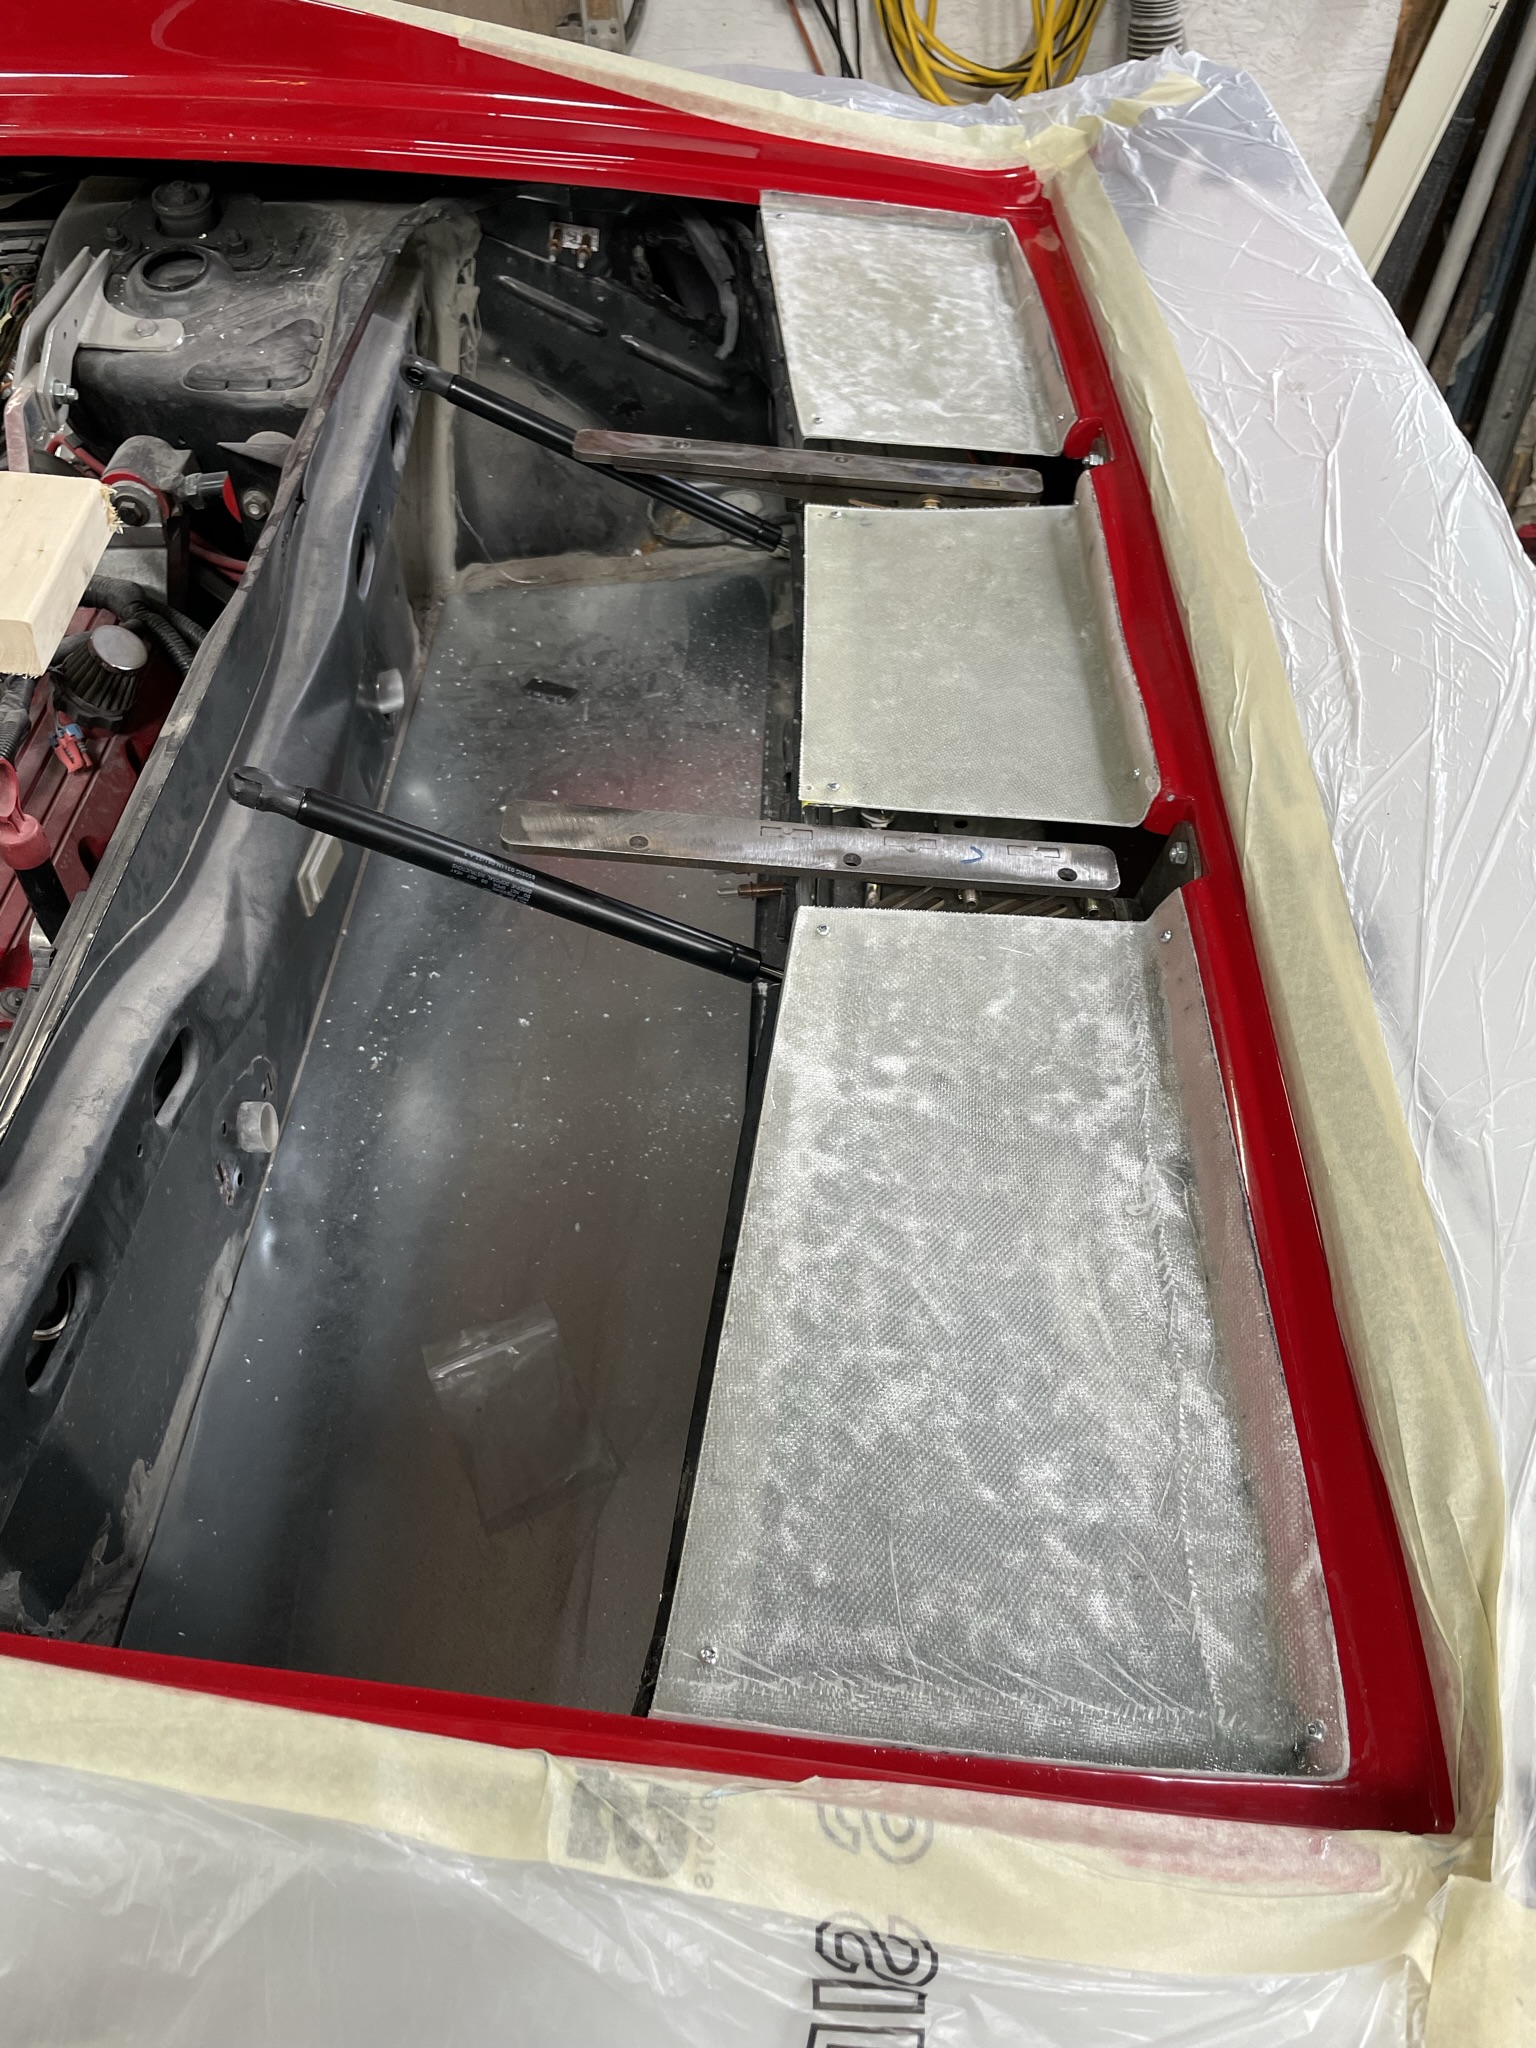
I also needed to build filler panels from the back of the trunk to the rear of the deck to accomplish a few jobs. - hide the hinges - hide the back of the rear lights - give the area a bit of water proofing, as well as keep the area secure from rodents etc.
I needed to raise the height of the rear of the trunk enclosure to allow for a seal. So made some templates
I then cut out some 18 gauge steel plates and bent a 1” lip and tak welded them to the existing rear trunk
Then I took some aluminum flashing and secured them to the rear area to lay up the fiberglass cloth and mat on to produce the pieces.
Then I trimmed them up and secured them to the area.
That brings it up to date. Thanks for looking Wayne
My garage is also unheated and temps get really low up here in NH, my gf got me this for Christmas, it works great, just a little noisy, but pretty normal noise level for a garage heater. All you need is a tank of propane. I fill propane at a Uhaul as pricing per pound is the best, It costs me about $1.50 an hour to keep my pretty large totally un-insulated barn at about 60*+. It is a nice portable solution for anywhere you want to have some serious heat.
Bob how is it going have seen anything from you in a bit ,I hope you’re doing well!! Actually my idea but no , the guy that helped me modify and do the CAD drawing for my hinges designed it. It does three things one more support and tie for the body to the frame, hinges mount to it and gives a mounting point for the pneumatic Arms to secure to.
zkhennings thanks for the info , I did look into those I’m not sure if it’s safe indoors without really good ventilation, but I will probably go that route as I don’t really have any other alternative.
Here is the latest update I finished the covers from the previous post ,I’m still waiting on some whisker seals to fill in the cutout ares hopefully next week it will arrive.
I then desired I need to come up with some engine trim pieces to finish and give it some eye candy. It’s just templates now but you’ll get the idea. My buddies Don and Phil have talked me into 3D printing the parts, they are both really good at it and are going to give me some training. After they’re done I’ll cover the pieces in carbon fiber for strength and of course eye candy!!
I’ll be removing the rear body this weekend to complete all the remaining electrical and repairs before final assembly and paint. While the body is off I want to get at the engine and clean it up, I’ll probably take the carb off to get it powered coated it looks ugly!!
Very cool that is going to look sweet in carbon fiber. If possible post a little how to with working with the CF, I would love to make some CF pieces for my car too.
And in regards to the heater, it does not need much ventilation, I put it near the garage door or the door to the garage and slightly crack it so it has plenty of fresh air to pull in. As long as there is some minor ventilation like a drafty garage in general, it is totally fine, it is designed for indoor use.
Normally I go set it up and leave it on high for 20 min, and when I come back it is nice and toasty. Once all the surfaces in the garage have gotten warm, it stays warm for a while. I cycle between turning it off and keeping it on low, unless it is single digits or lower. But I have not had any ventilation issues in my drafty garage even with doors closed on very cold days. If you were in a sealed basement or something it would be a different story, but looking at your garage setup I feel as though this would be a viable solution for you.


 [IMG]https://images.fiero.nl/userimages/dobie1/774D4875-A87E-41CE-92 57-DF527A14FD6C.jpeg[/IMG]
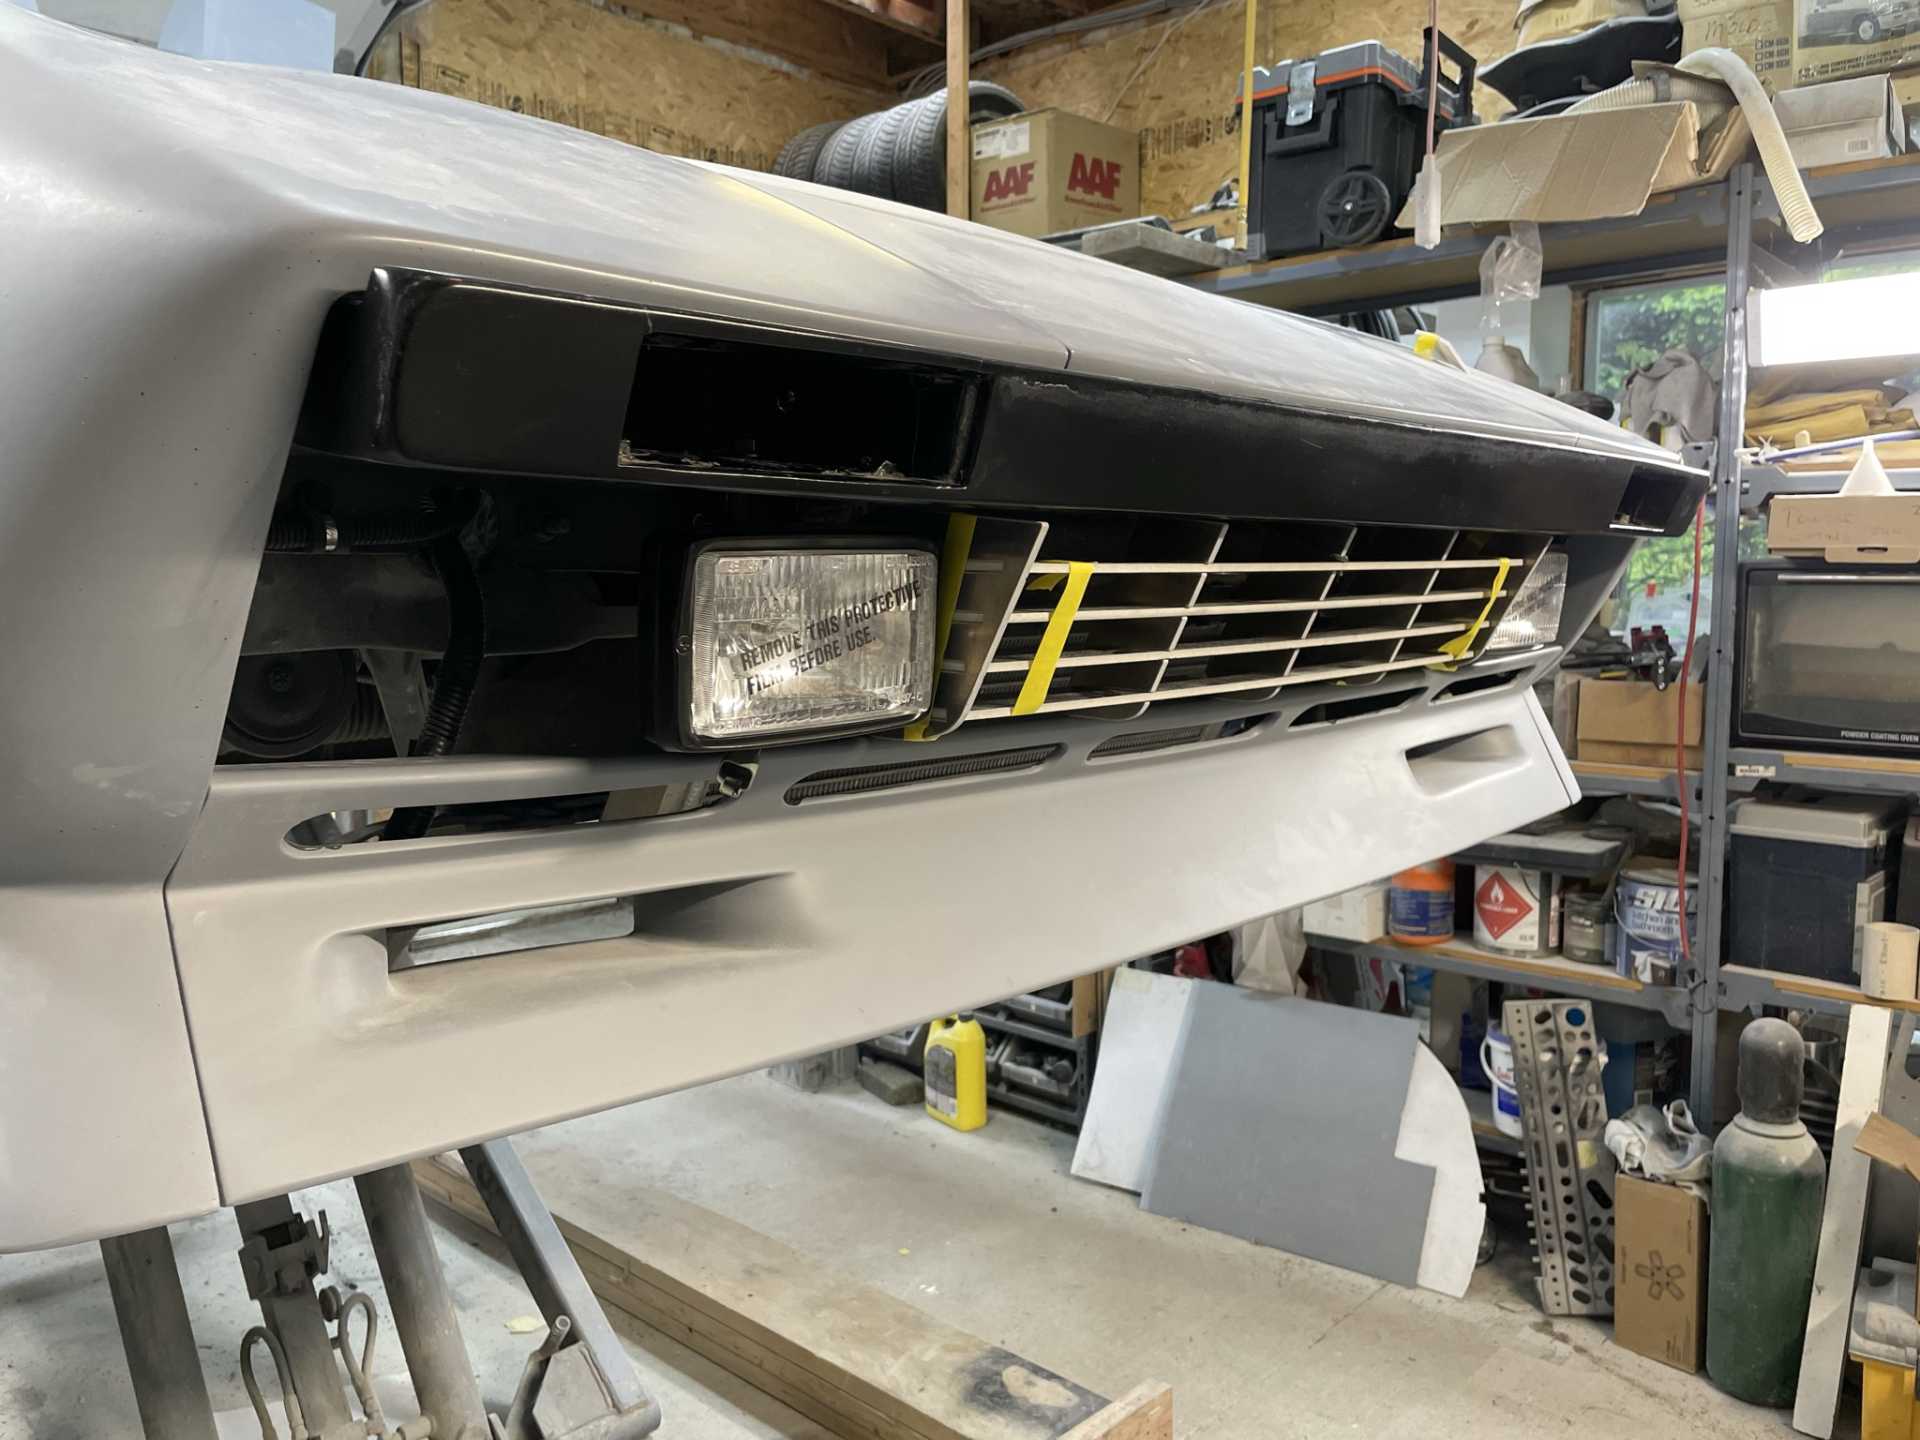


 [img]https://images.fiero.nl/userimages/dobie1/31DB94CE-1C73-424B-82 F7-736B9DE8FF71.jpeg[/img]
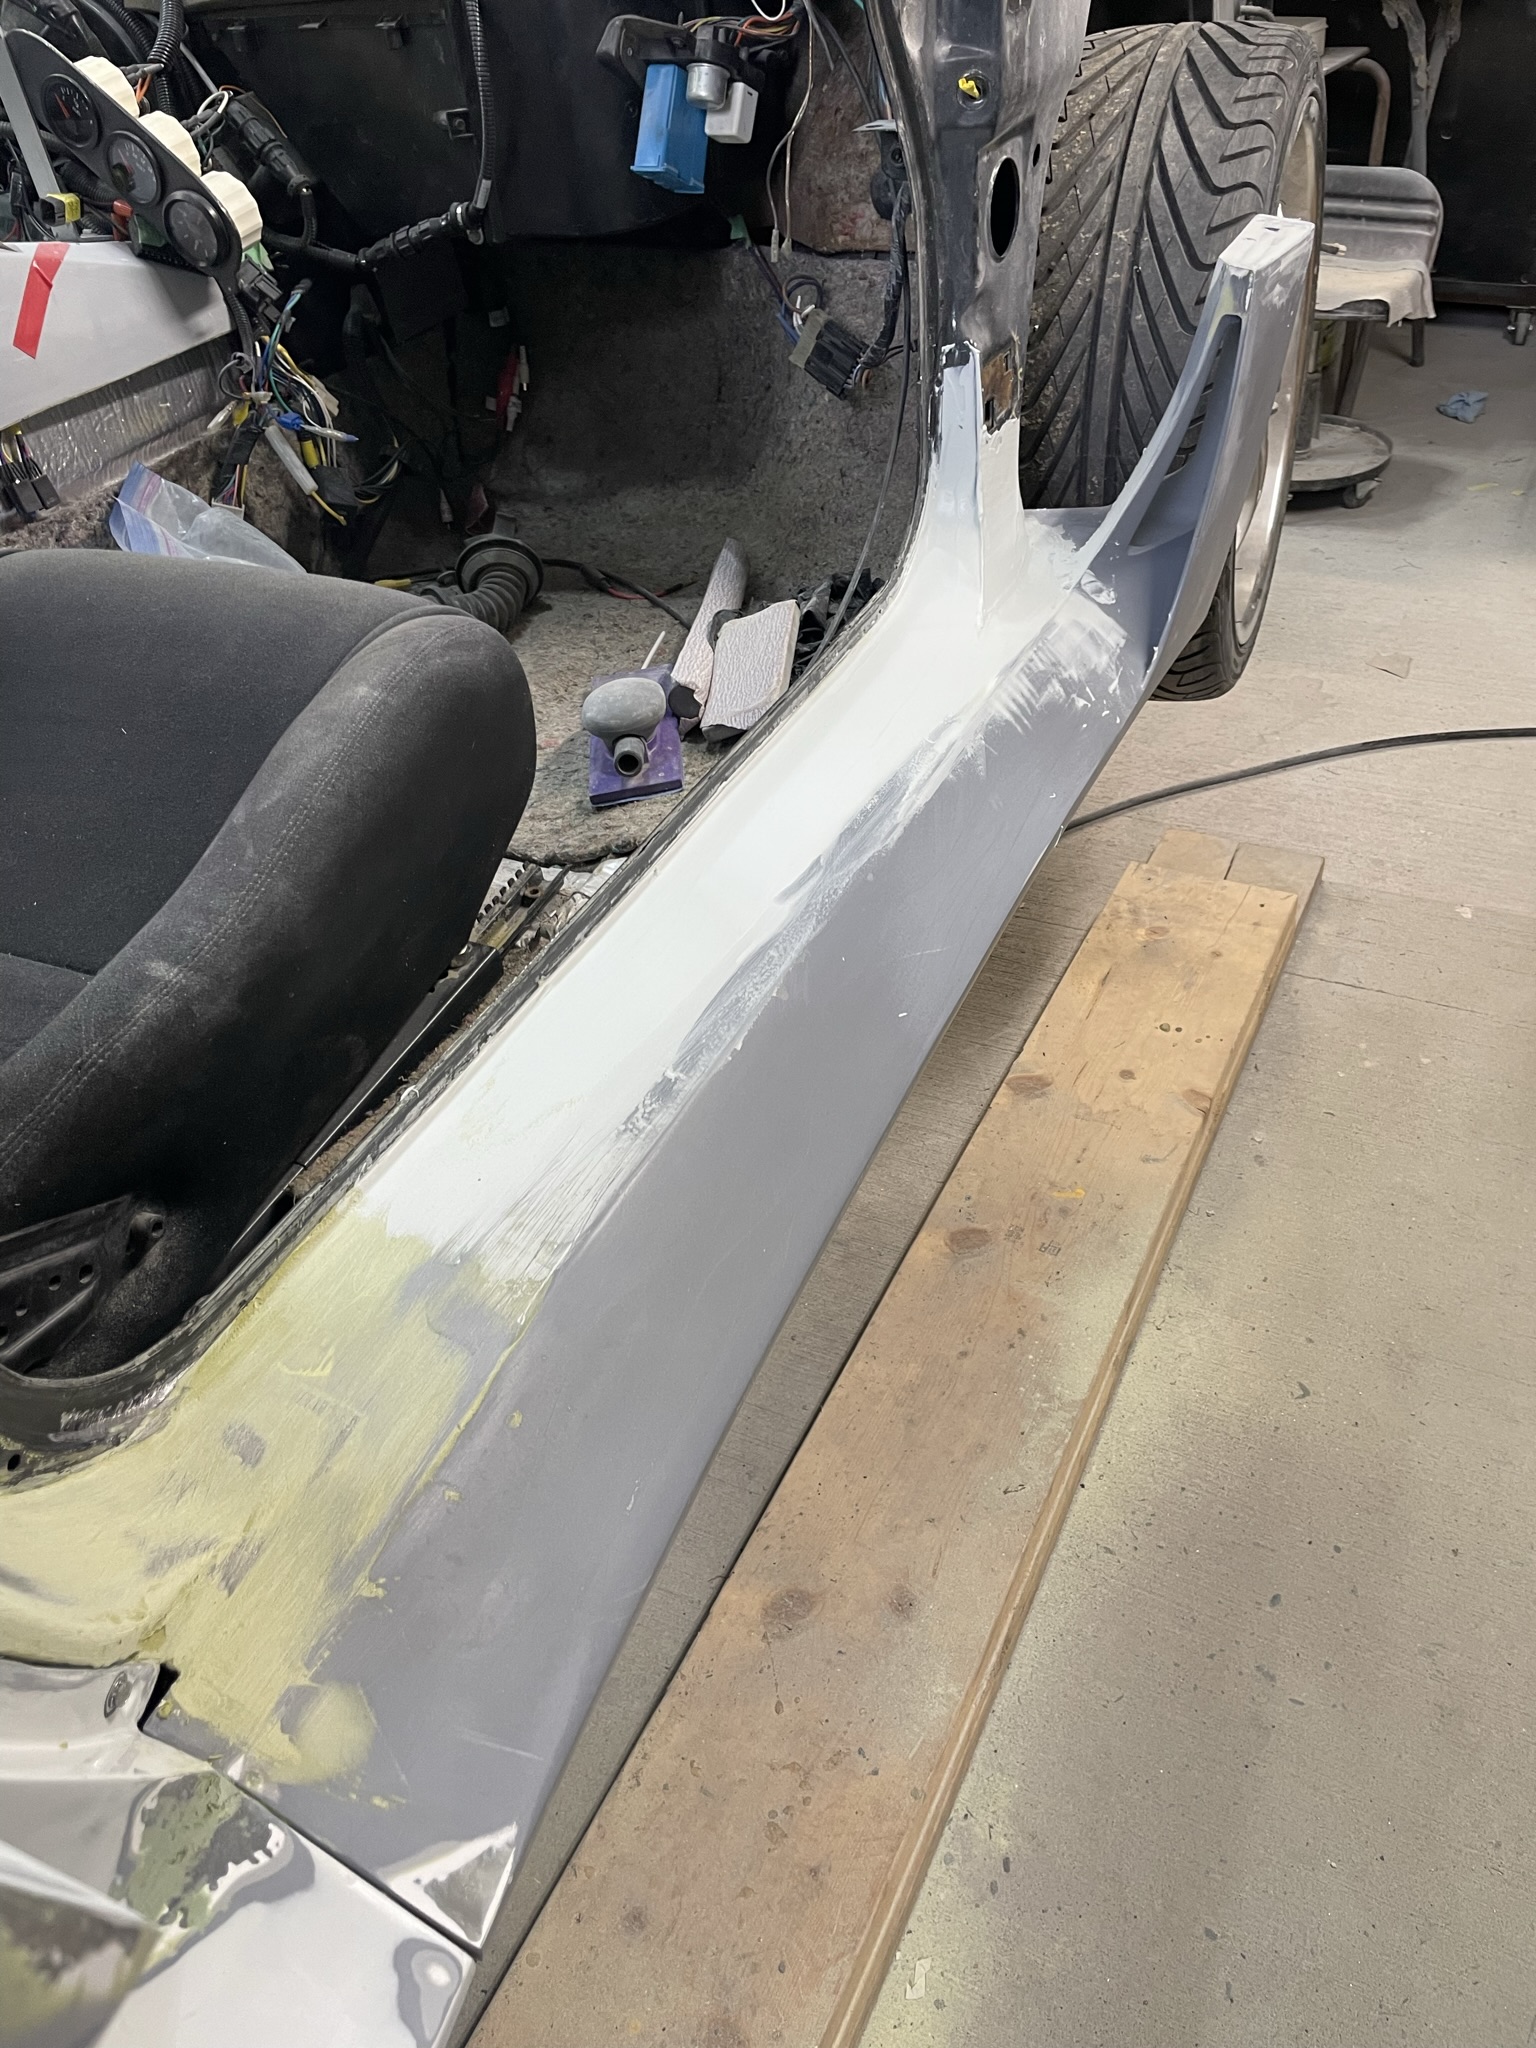
 [IMG]https://images.fiero.nl/userimages/dobie1/22299292-638E-4EE6-BB 18-E8B428E2EEC2.jpeg[/IMG]
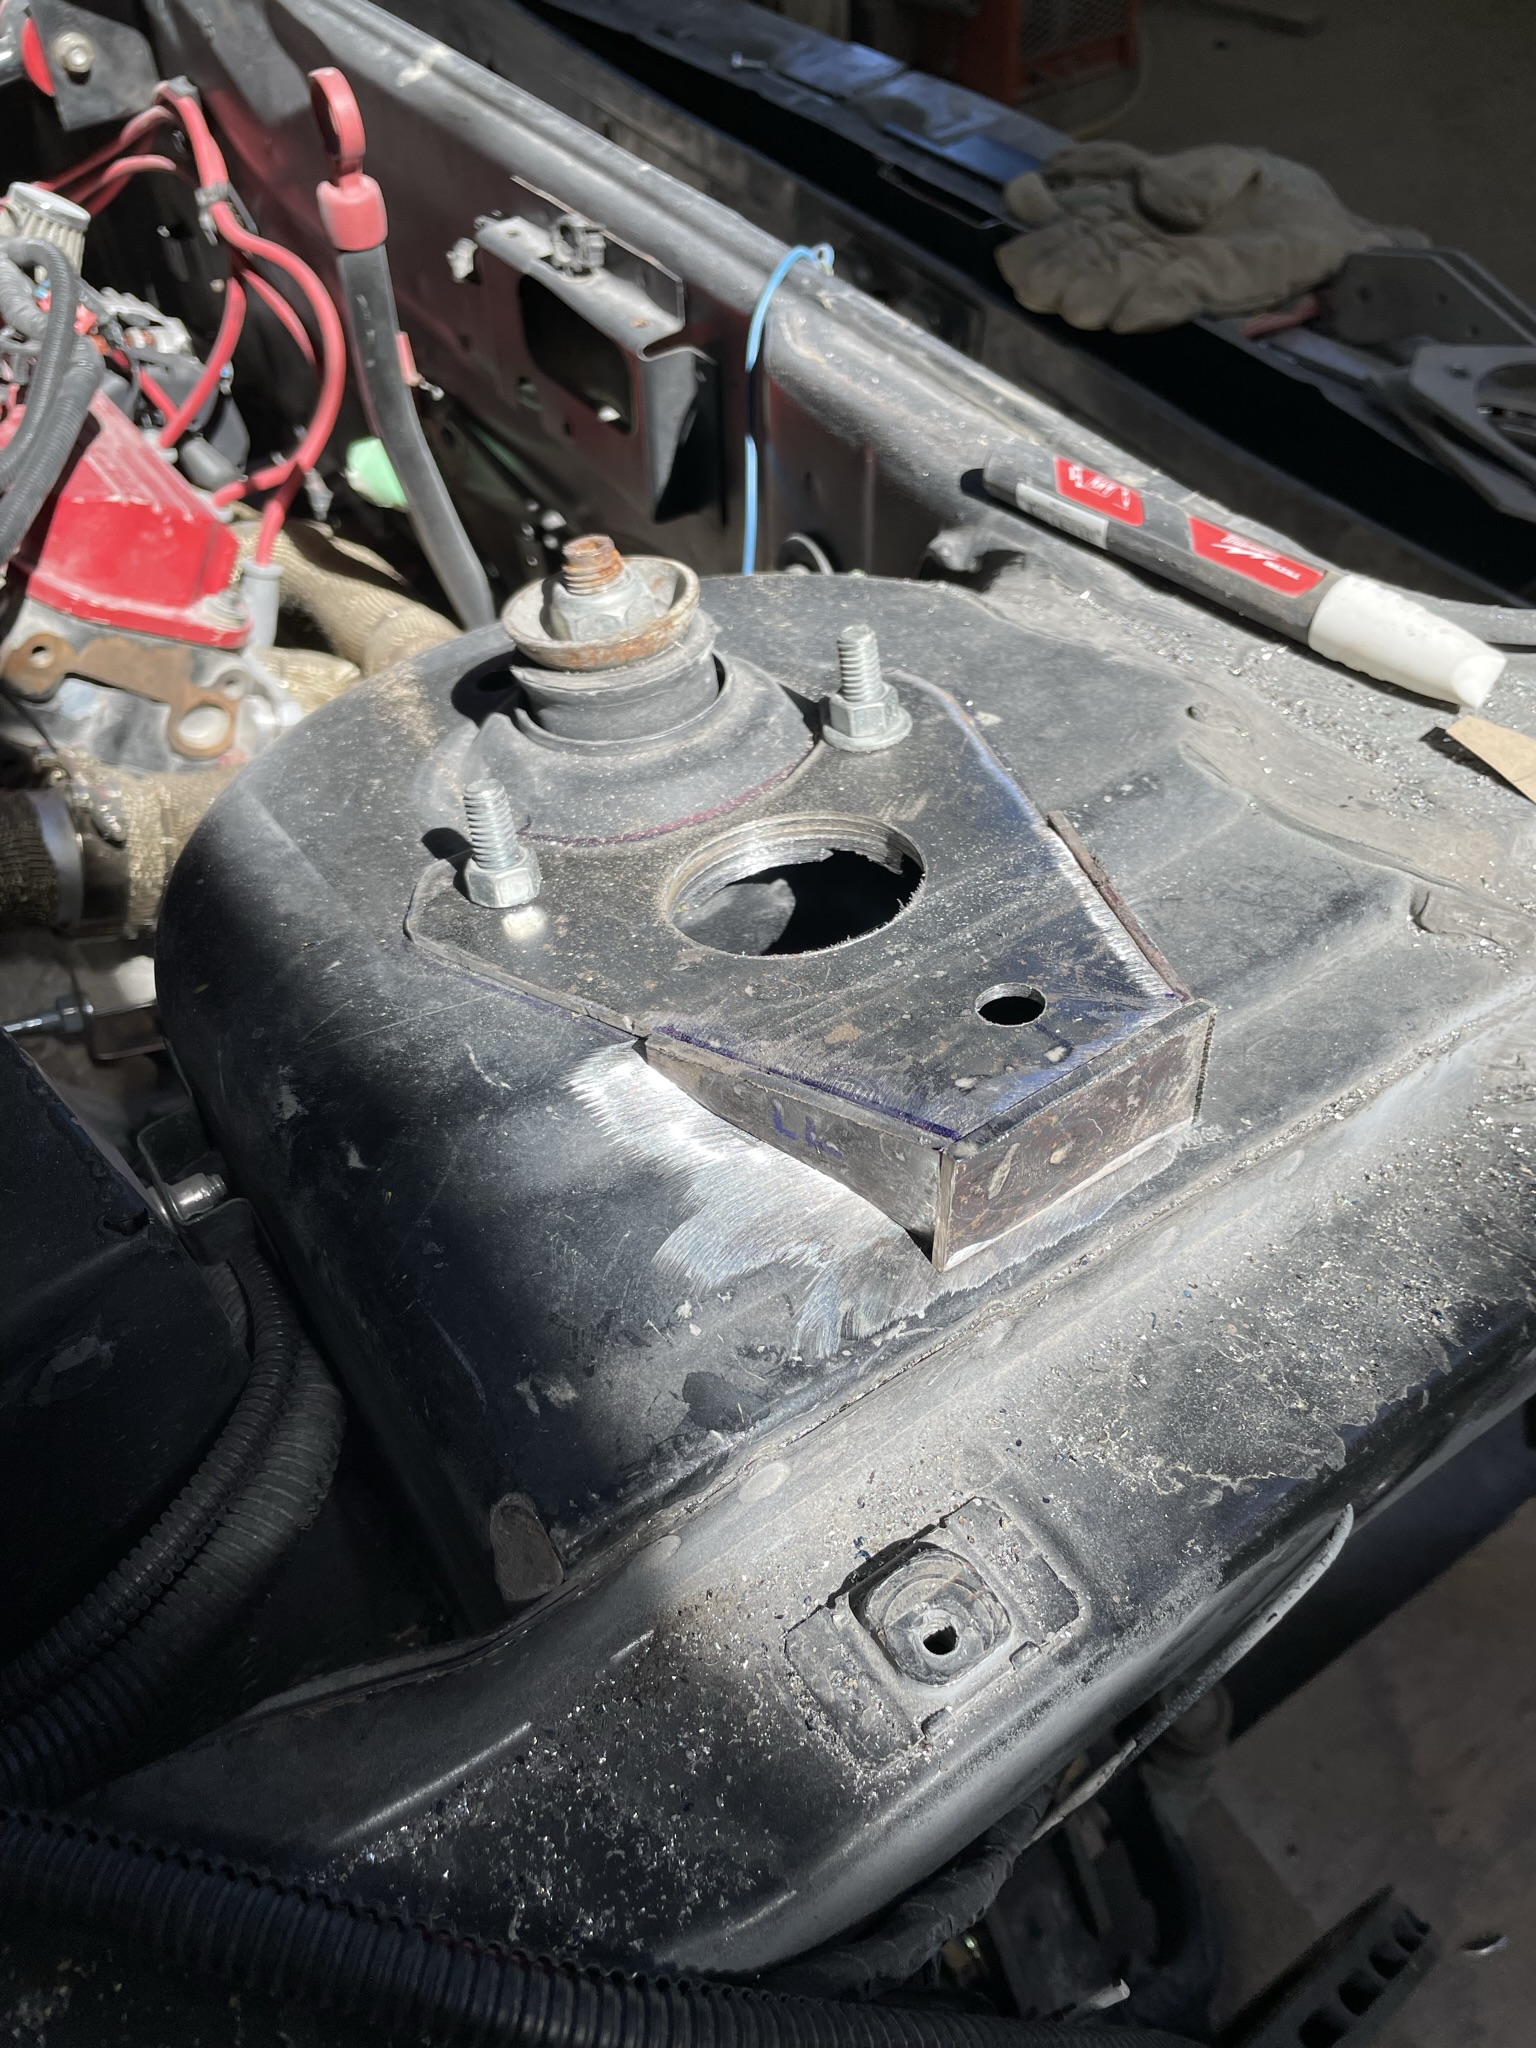
 [IMG]https://images.fiero.nl/userimages/do bie1/C871C34D-6195-47F4-9A34-E8A03B766E3D.jpeg[/IMG]
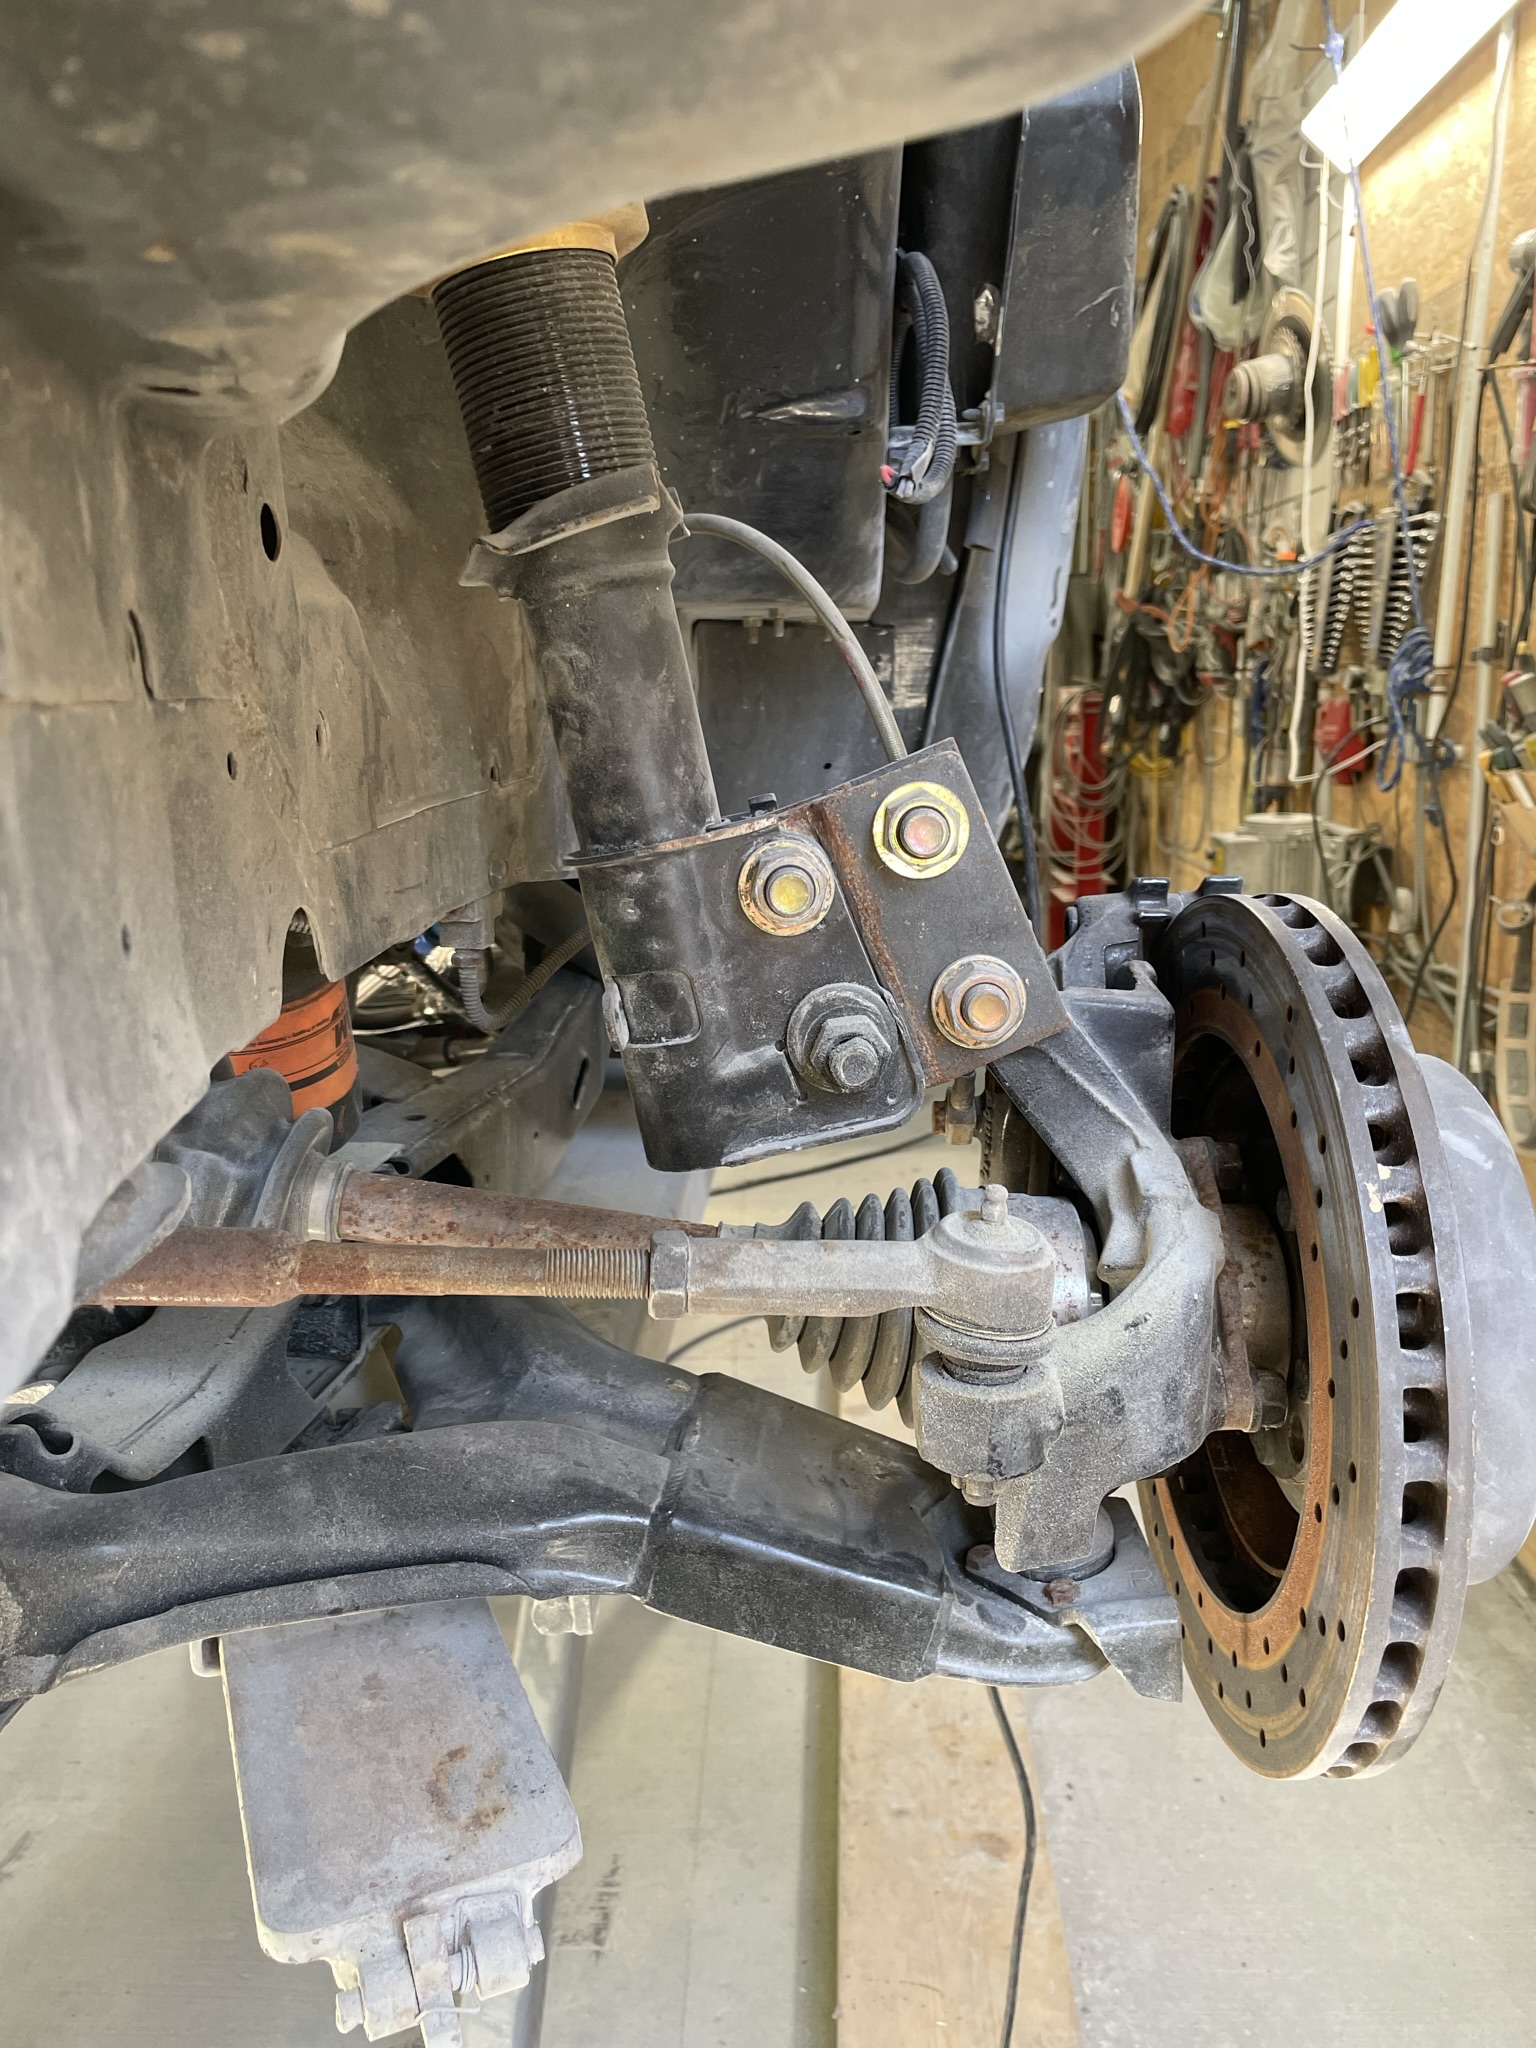
 [IMG]https://images.fiero.nl/userimages/dobie1/F360B242-ECD8-4F57-AD 00-3EBE15FC9F1B.jpeg[/IMG]
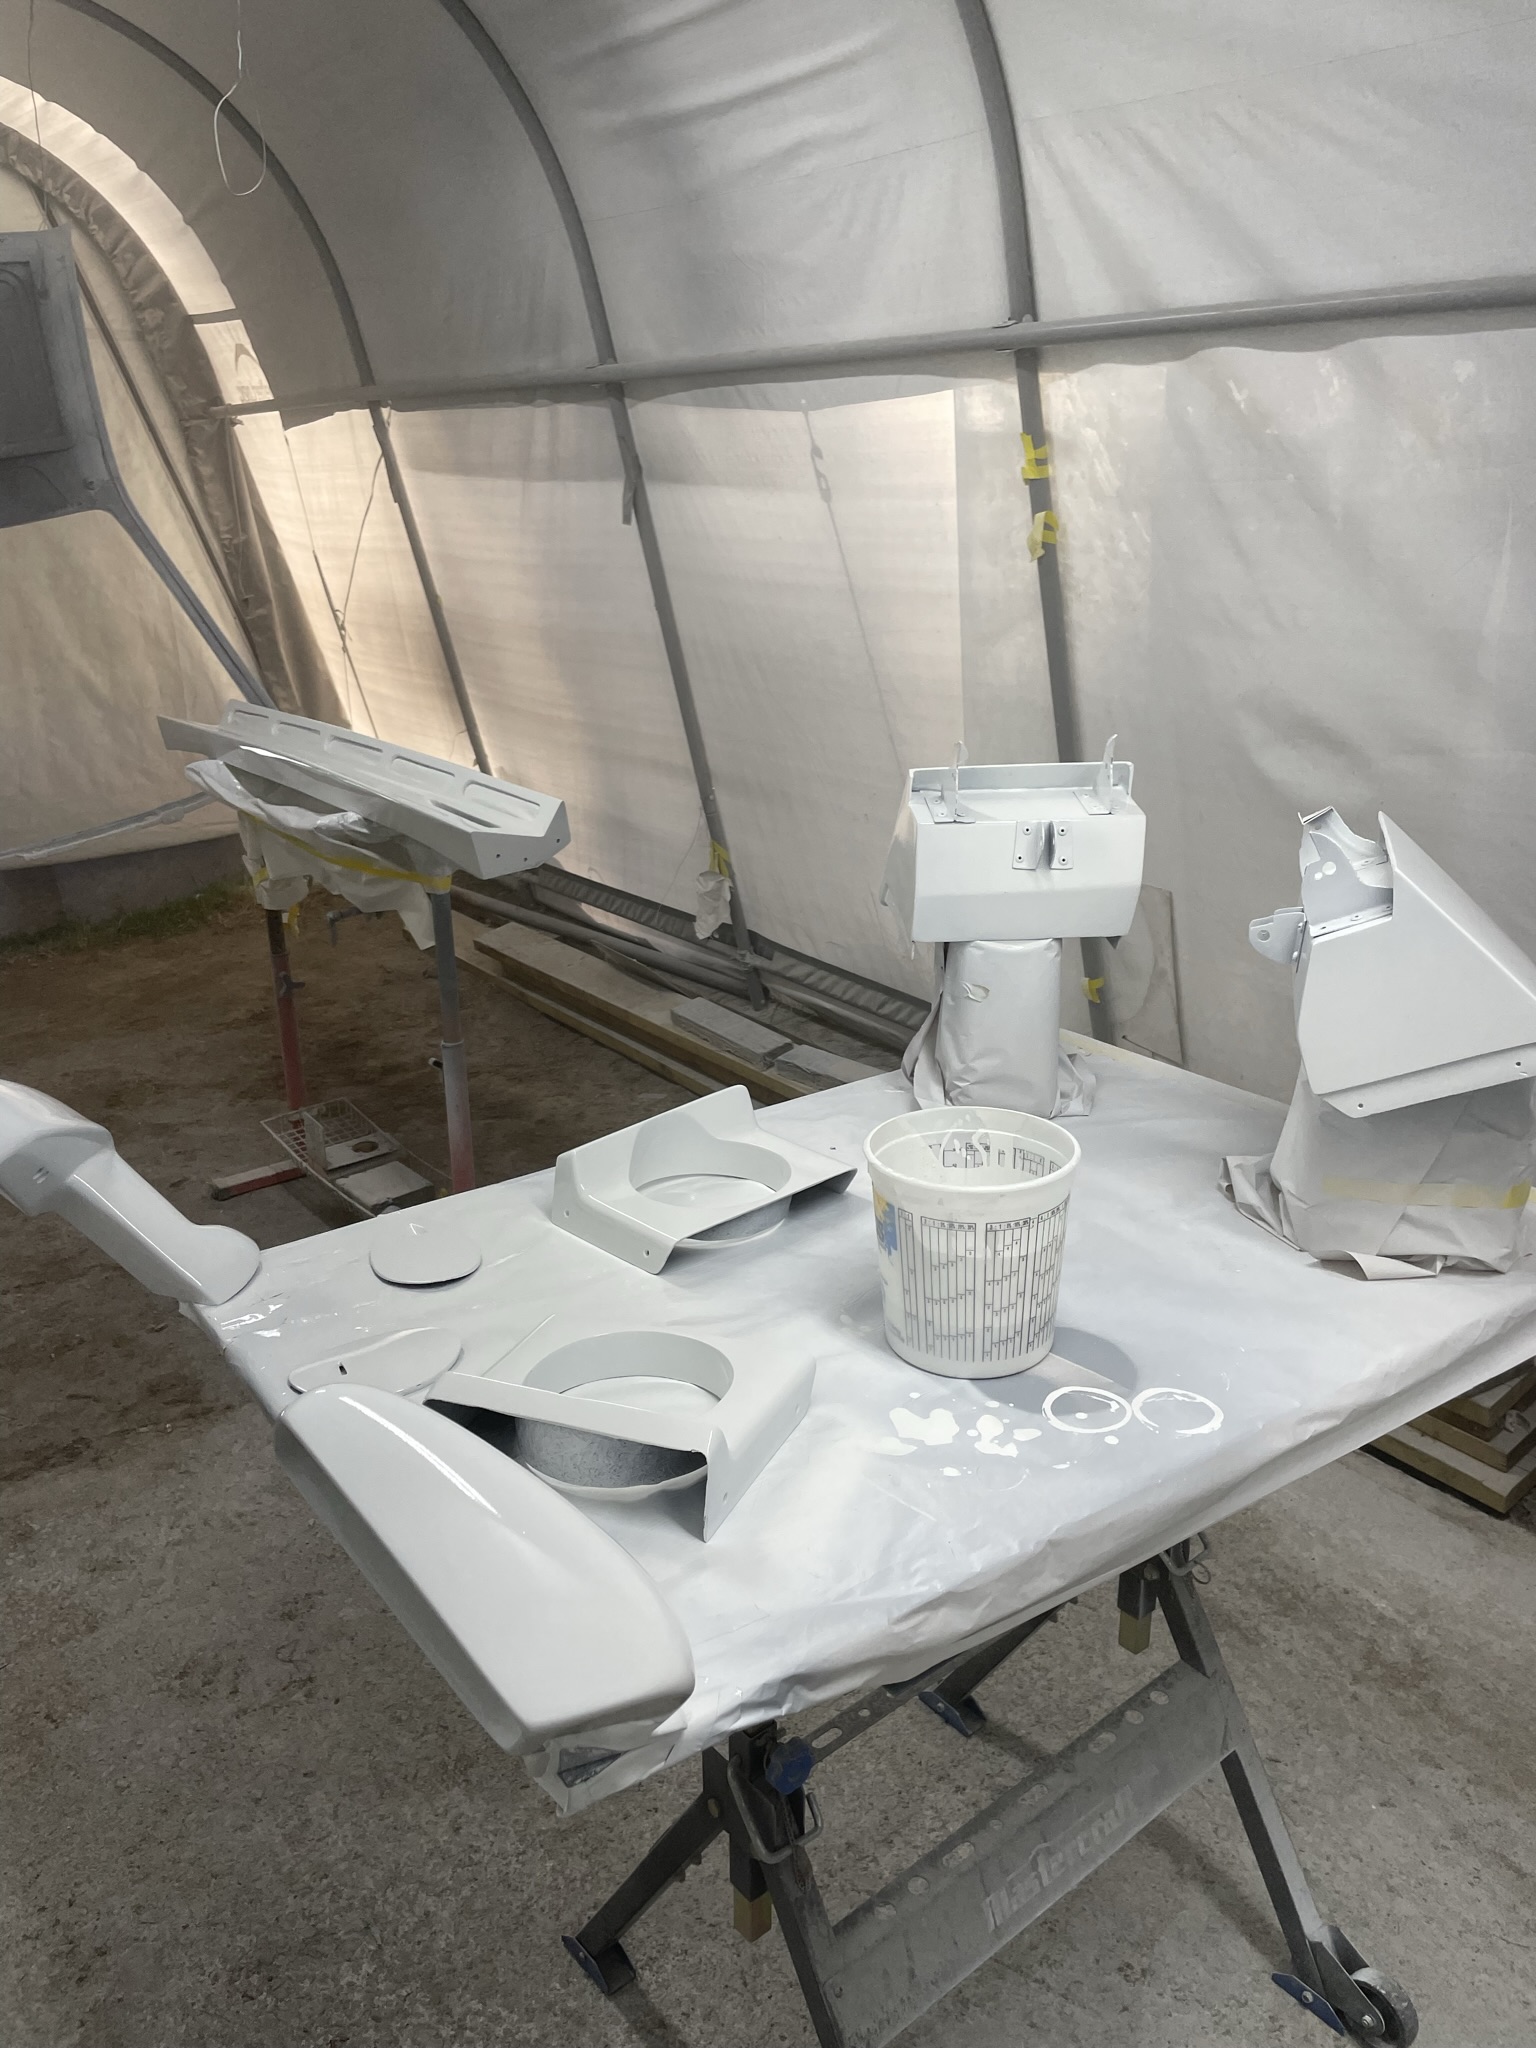
 [IMG]https://images.fiero.nl/userimages/do bie1/AD2BBCD6-D9D3-458A-BB8E-BDD2B23F5A35.jpeg[/IMG]
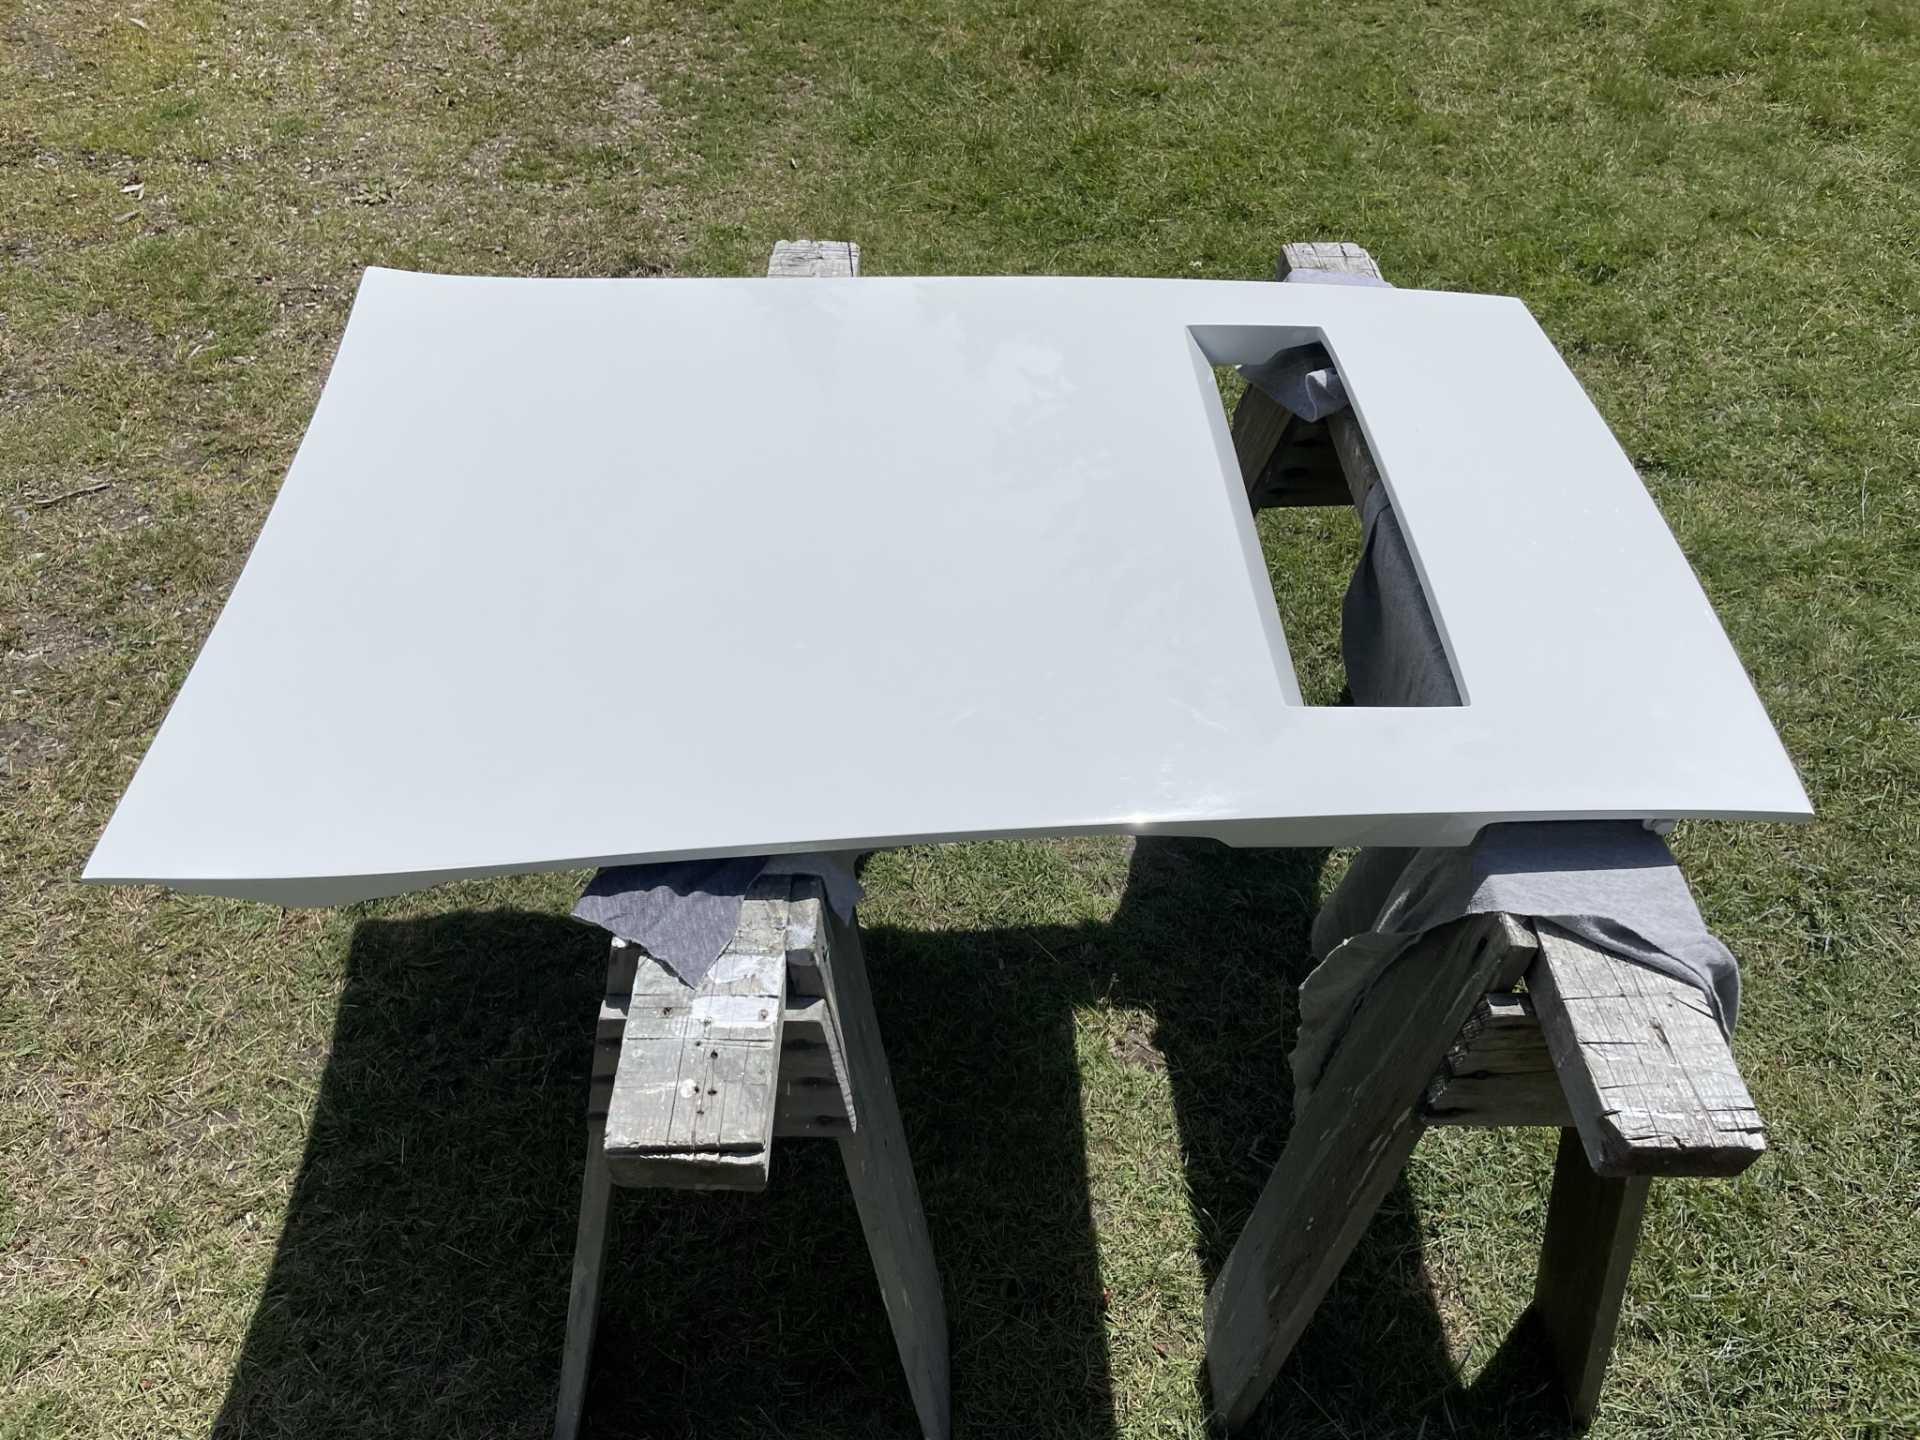


 [img]https://images.fiero.nl/userimages/dobie1/AA8089BE-4581-49CF-B7 95-F23B9A50785E.jpeg[/img]
 [img]https://images.fiero.nl/userimages/dobie1/28D833F7-298C-4D50-AF6 A-934F2E691B8F.jpeg[/img]
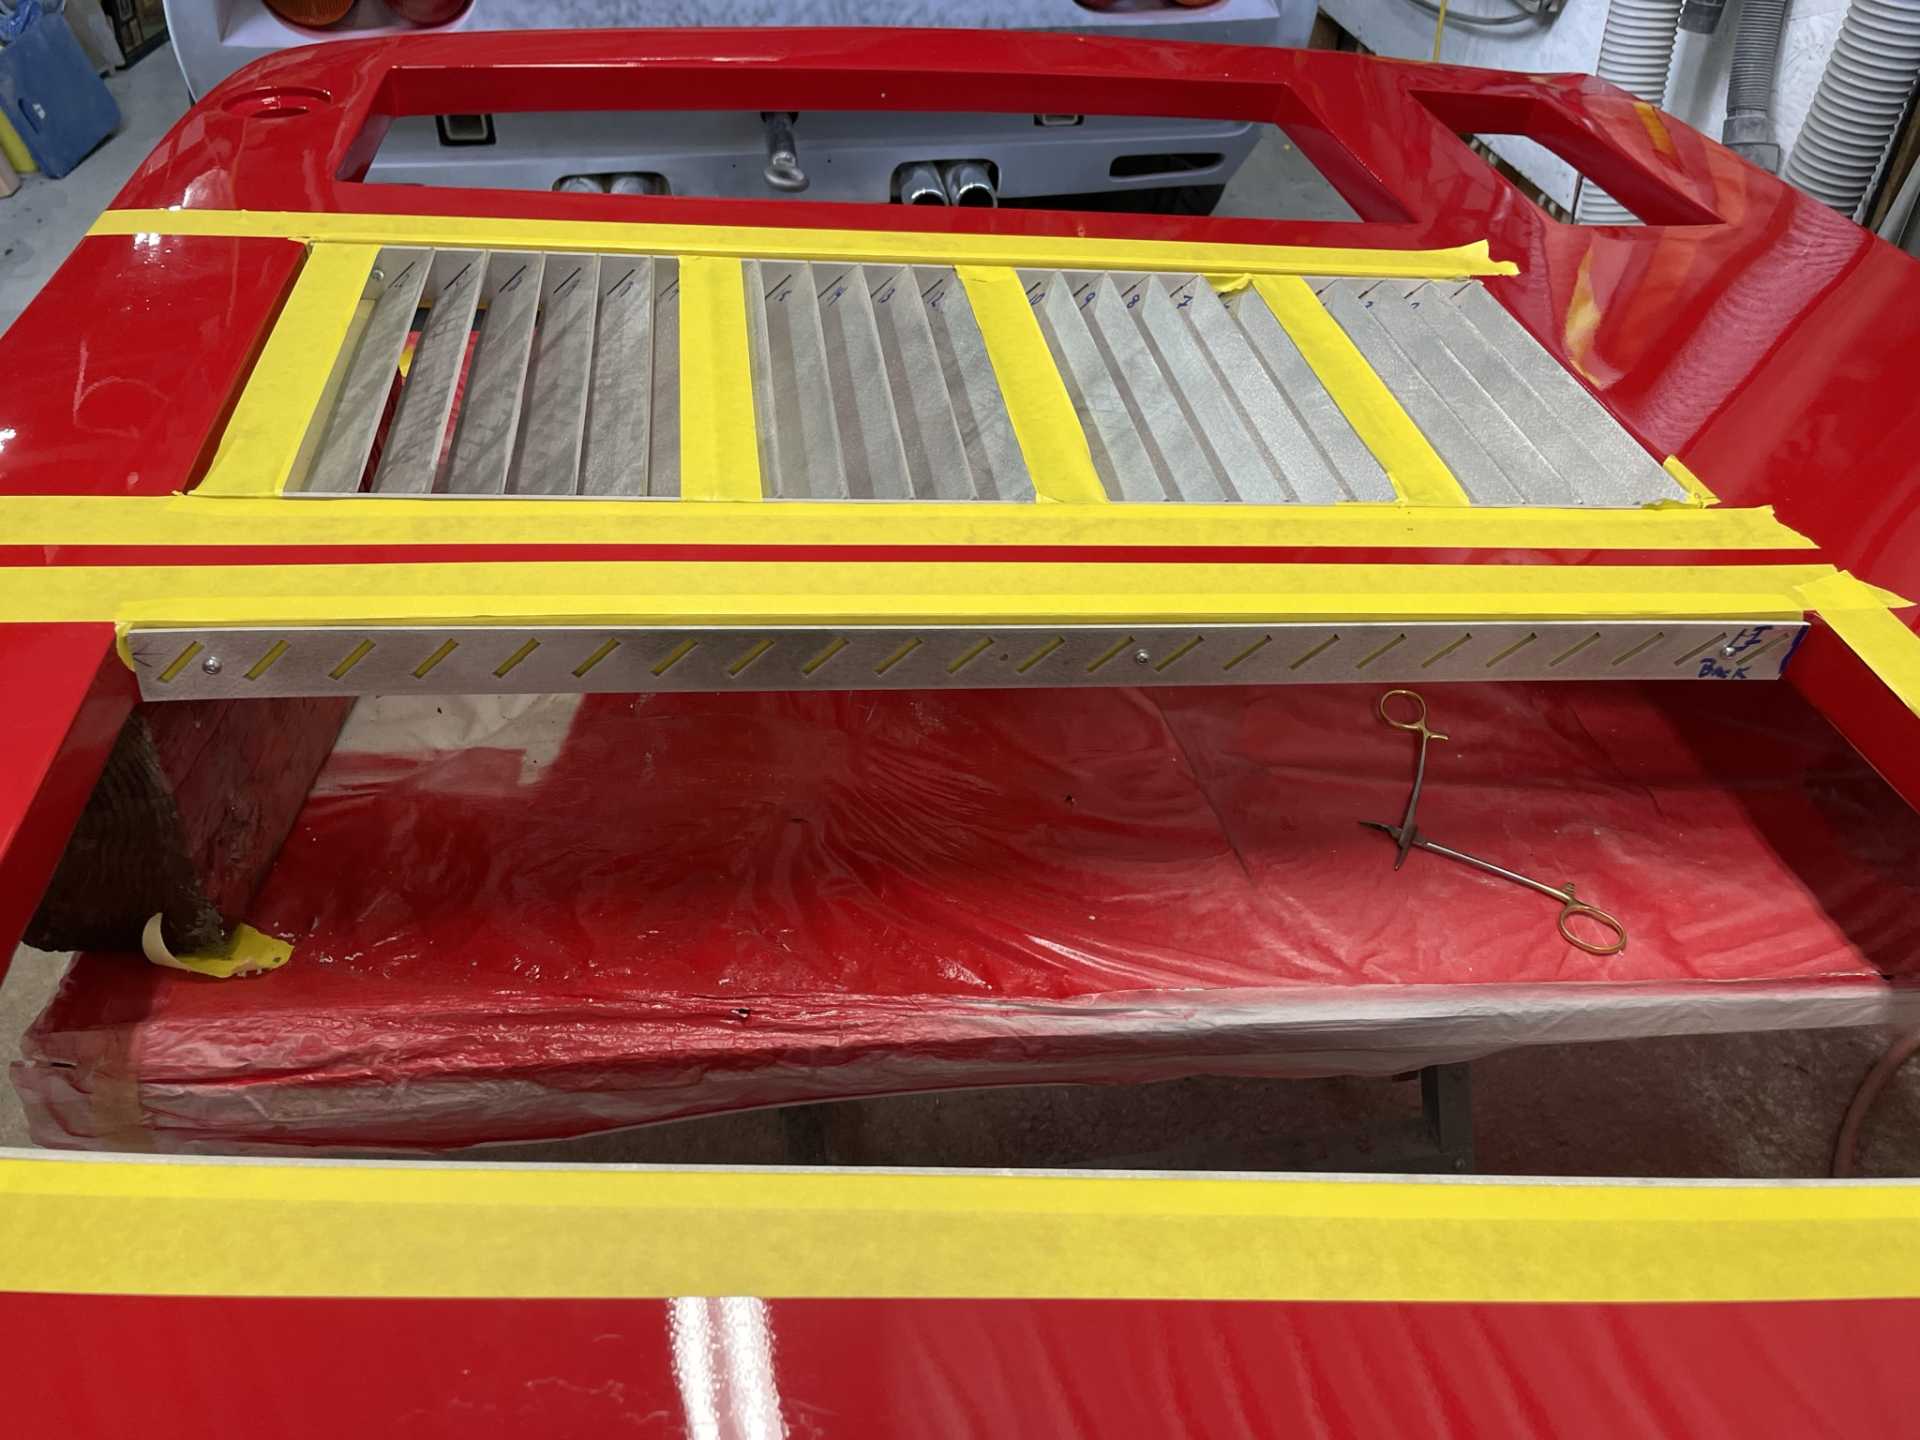
 [img]https://images.fiero.nl/userimages/dobie1/D1517D71-994F-4120-83 1A-CCB1857F72CF.jpeg[/img]
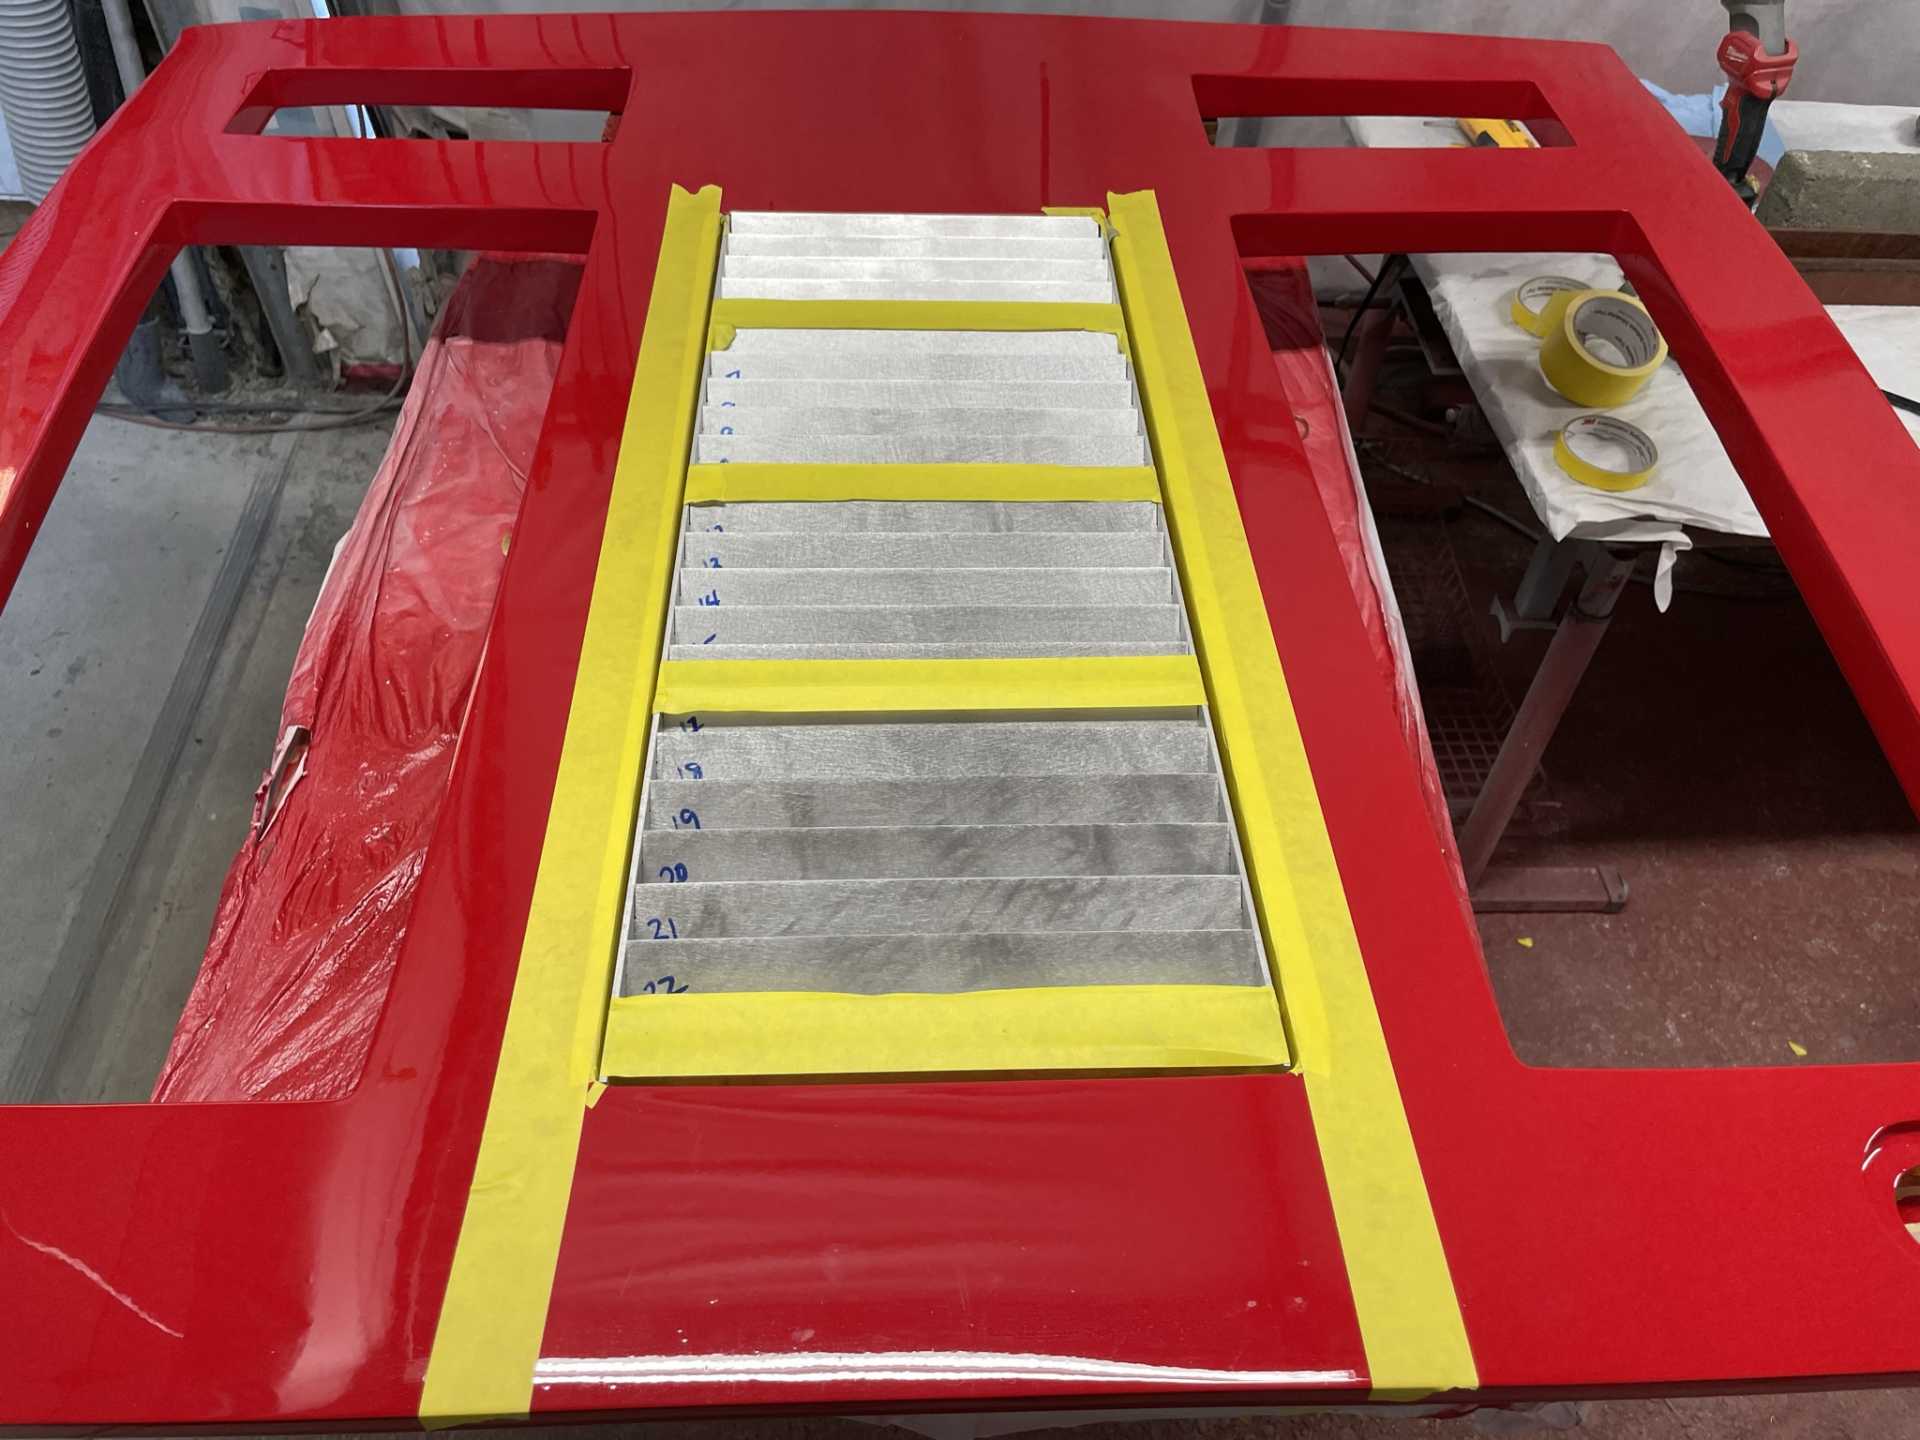
 [img]https://images.fiero.nl/userimages/dobie1/75A51D7E-8737-4DC2-8E 59-5473E7FD56D0.jpeg[/img]