Pennock's Fiero Forum
  The Construction Zone
  3.4L pushrod Swap (lots of pics) (Page 16)

Post New Topic  Post A Reply
Email This Page to Someone! | Printable Version

This topic is 16 pages long:  1   2   3   4   5   6   7   8   9   10   11   12   13   14   15   16 
Previous Page | Next Page
next newest topic | next oldest topic
3.4L pushrod Swap (lots of pics) by sardonyx247
Started on: 05-23-2004 02:00 PM
Replies: 618 (104655 views)
Last post by: Notorio on 02-14-2021 11:28 PM
sardonyx247
Member
Posts: 5032
From: Nevada, USA
Registered: Jun 2003


Feedback score:    (88)
Leave feedback


Total ratings: 218
Rate this member

Report this Post02-06-2016 03:13 AM Click Here to See the Profile for sardonyx247Click Here to visit sardonyx247's HomePageSend a Private Message to sardonyx247Edit/Delete MessageReply w/QuoteDirect Link to This Post
Time to do another 3.4 swap, I haven't updated this thread for a bit, so I figured I would put of some pics of my current 3.4 swap.

It will be going in this pretty 85 GT (BTW this Fiero will be for sale once the swap is done)


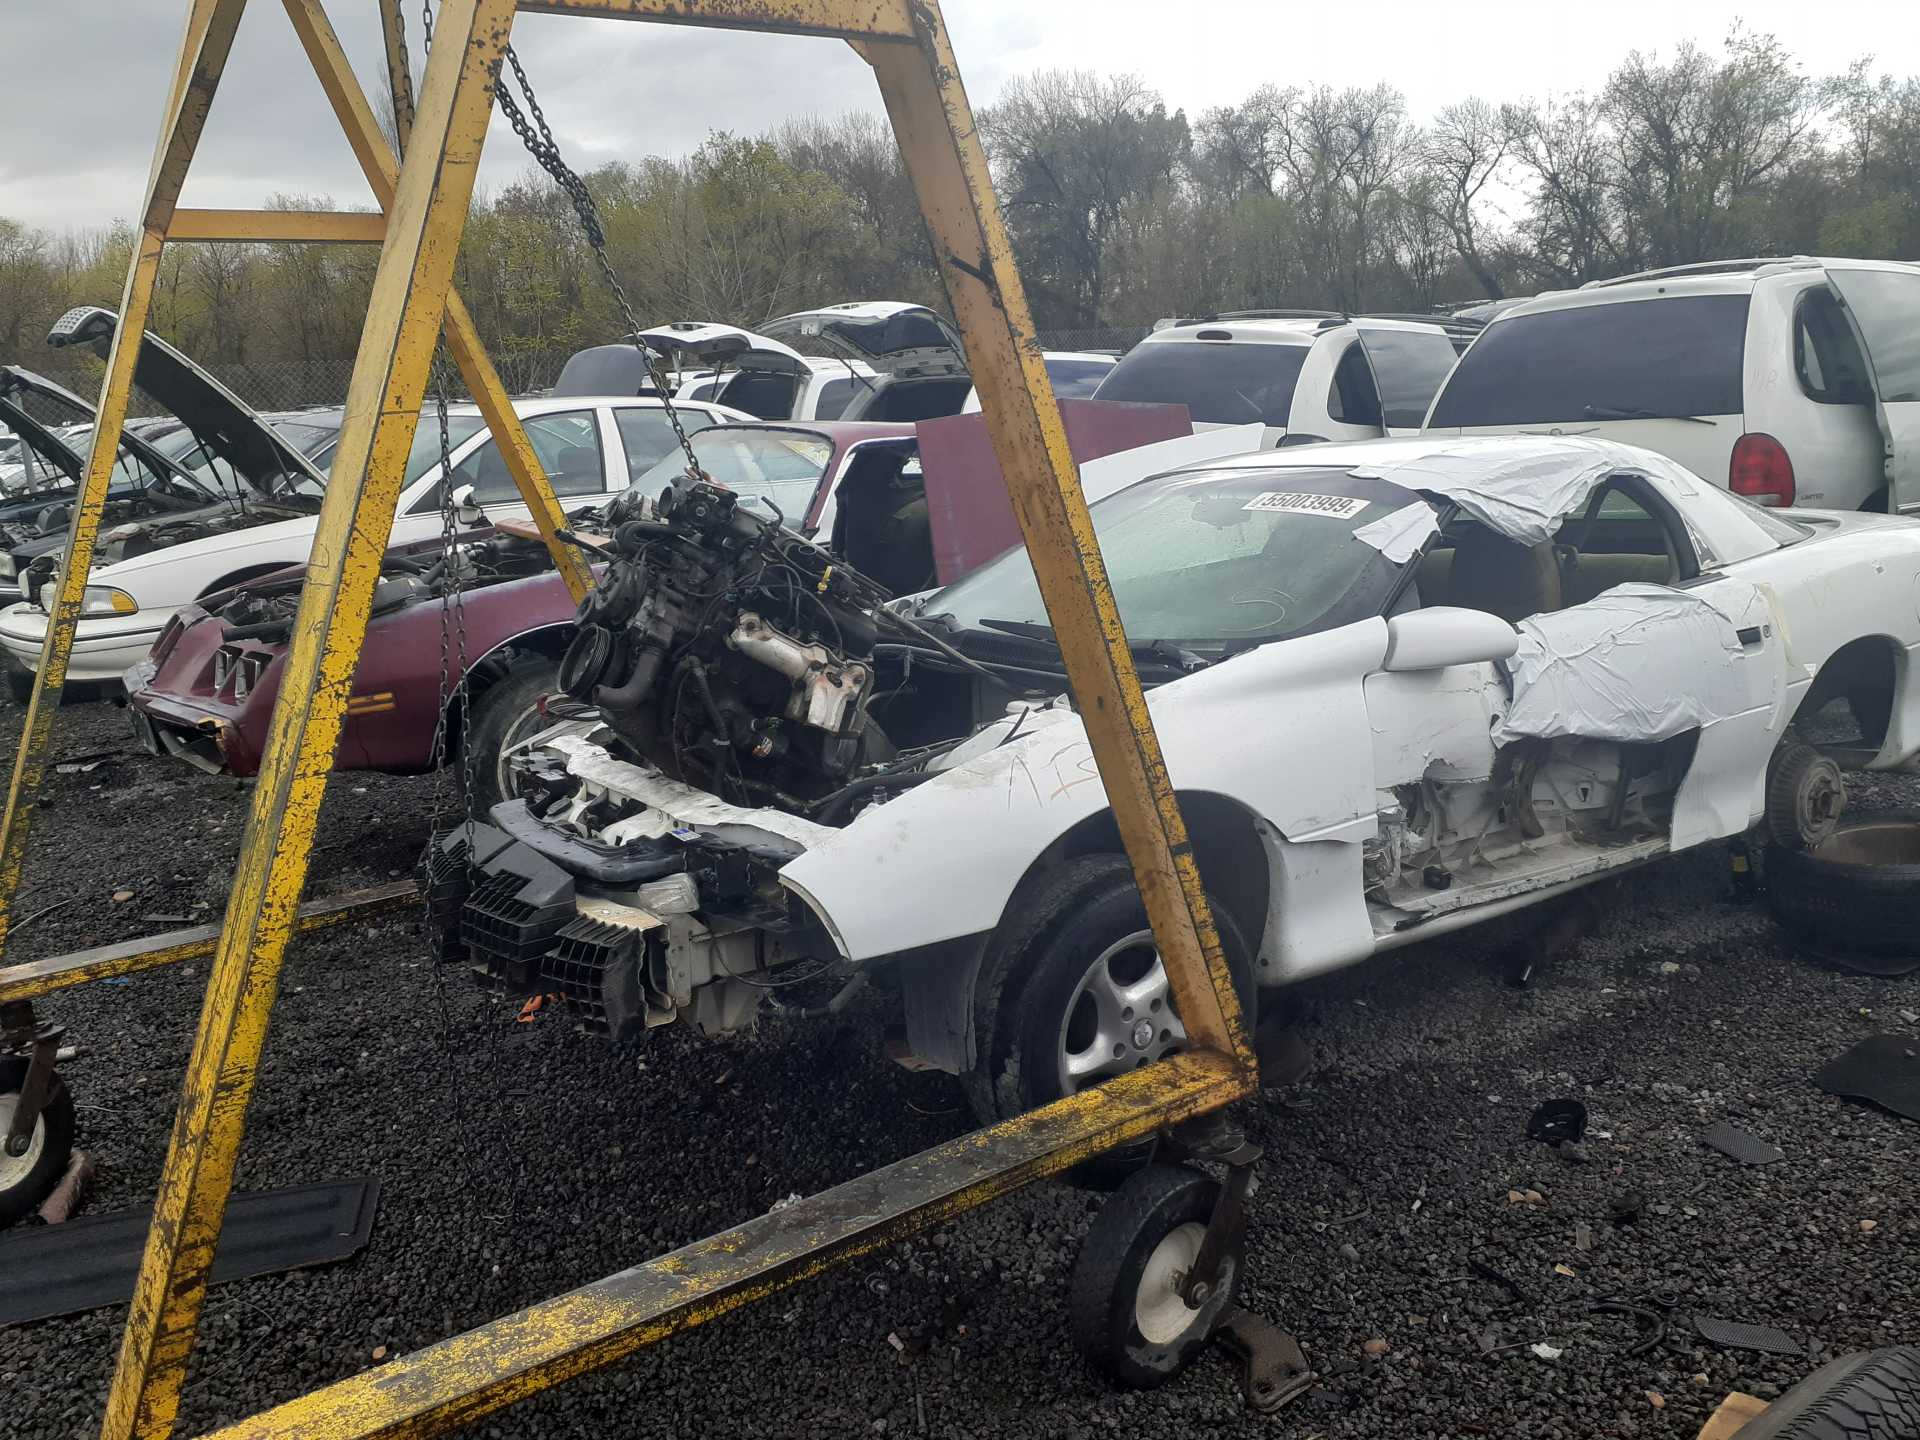
A 90k 3.4 from this Camaro my friend Cris and I pulled it one Saturday, that was a fun day. Only took us a couple of hours.


While we were there I grabbed some 1.6 rockers. I love more HP.


And the 3.4 injectors.


I cleaned and flow tested the injectors, until they were a matched set and flowed even with a good pattern, My injector test setup, in the coffee can is a fuel pump, I have a switch for the injectors and used a scale to measure the flow.


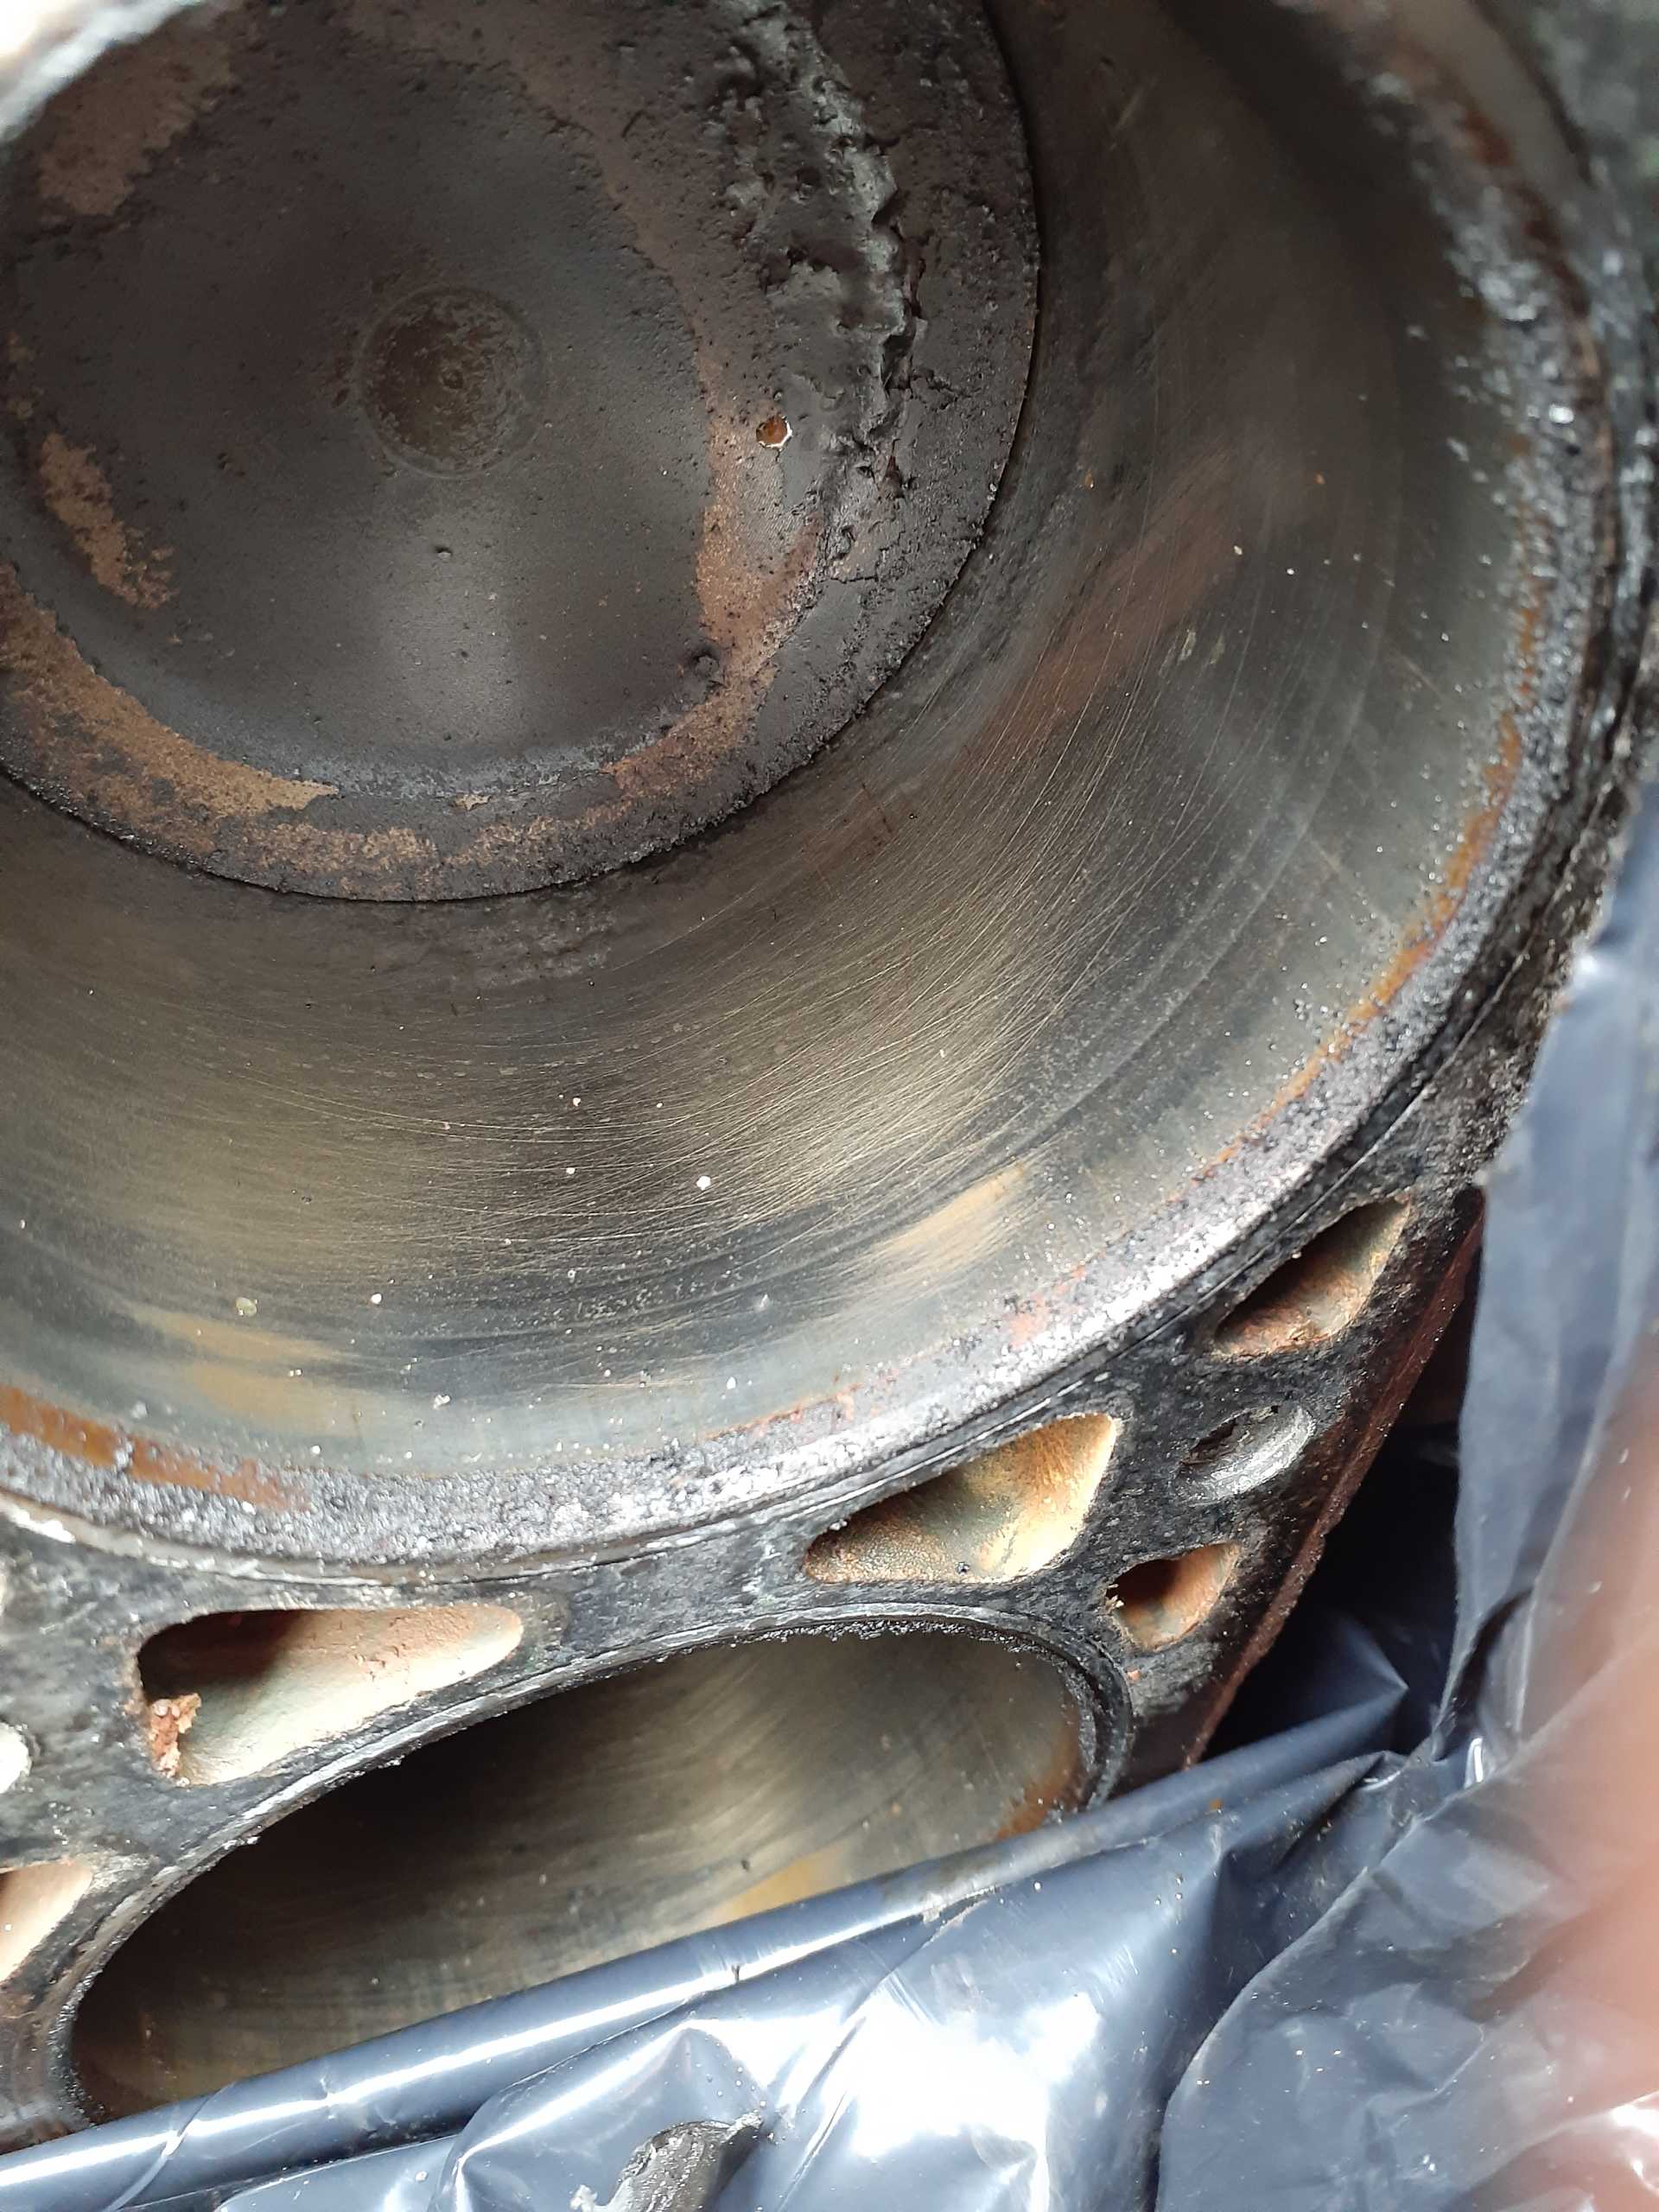
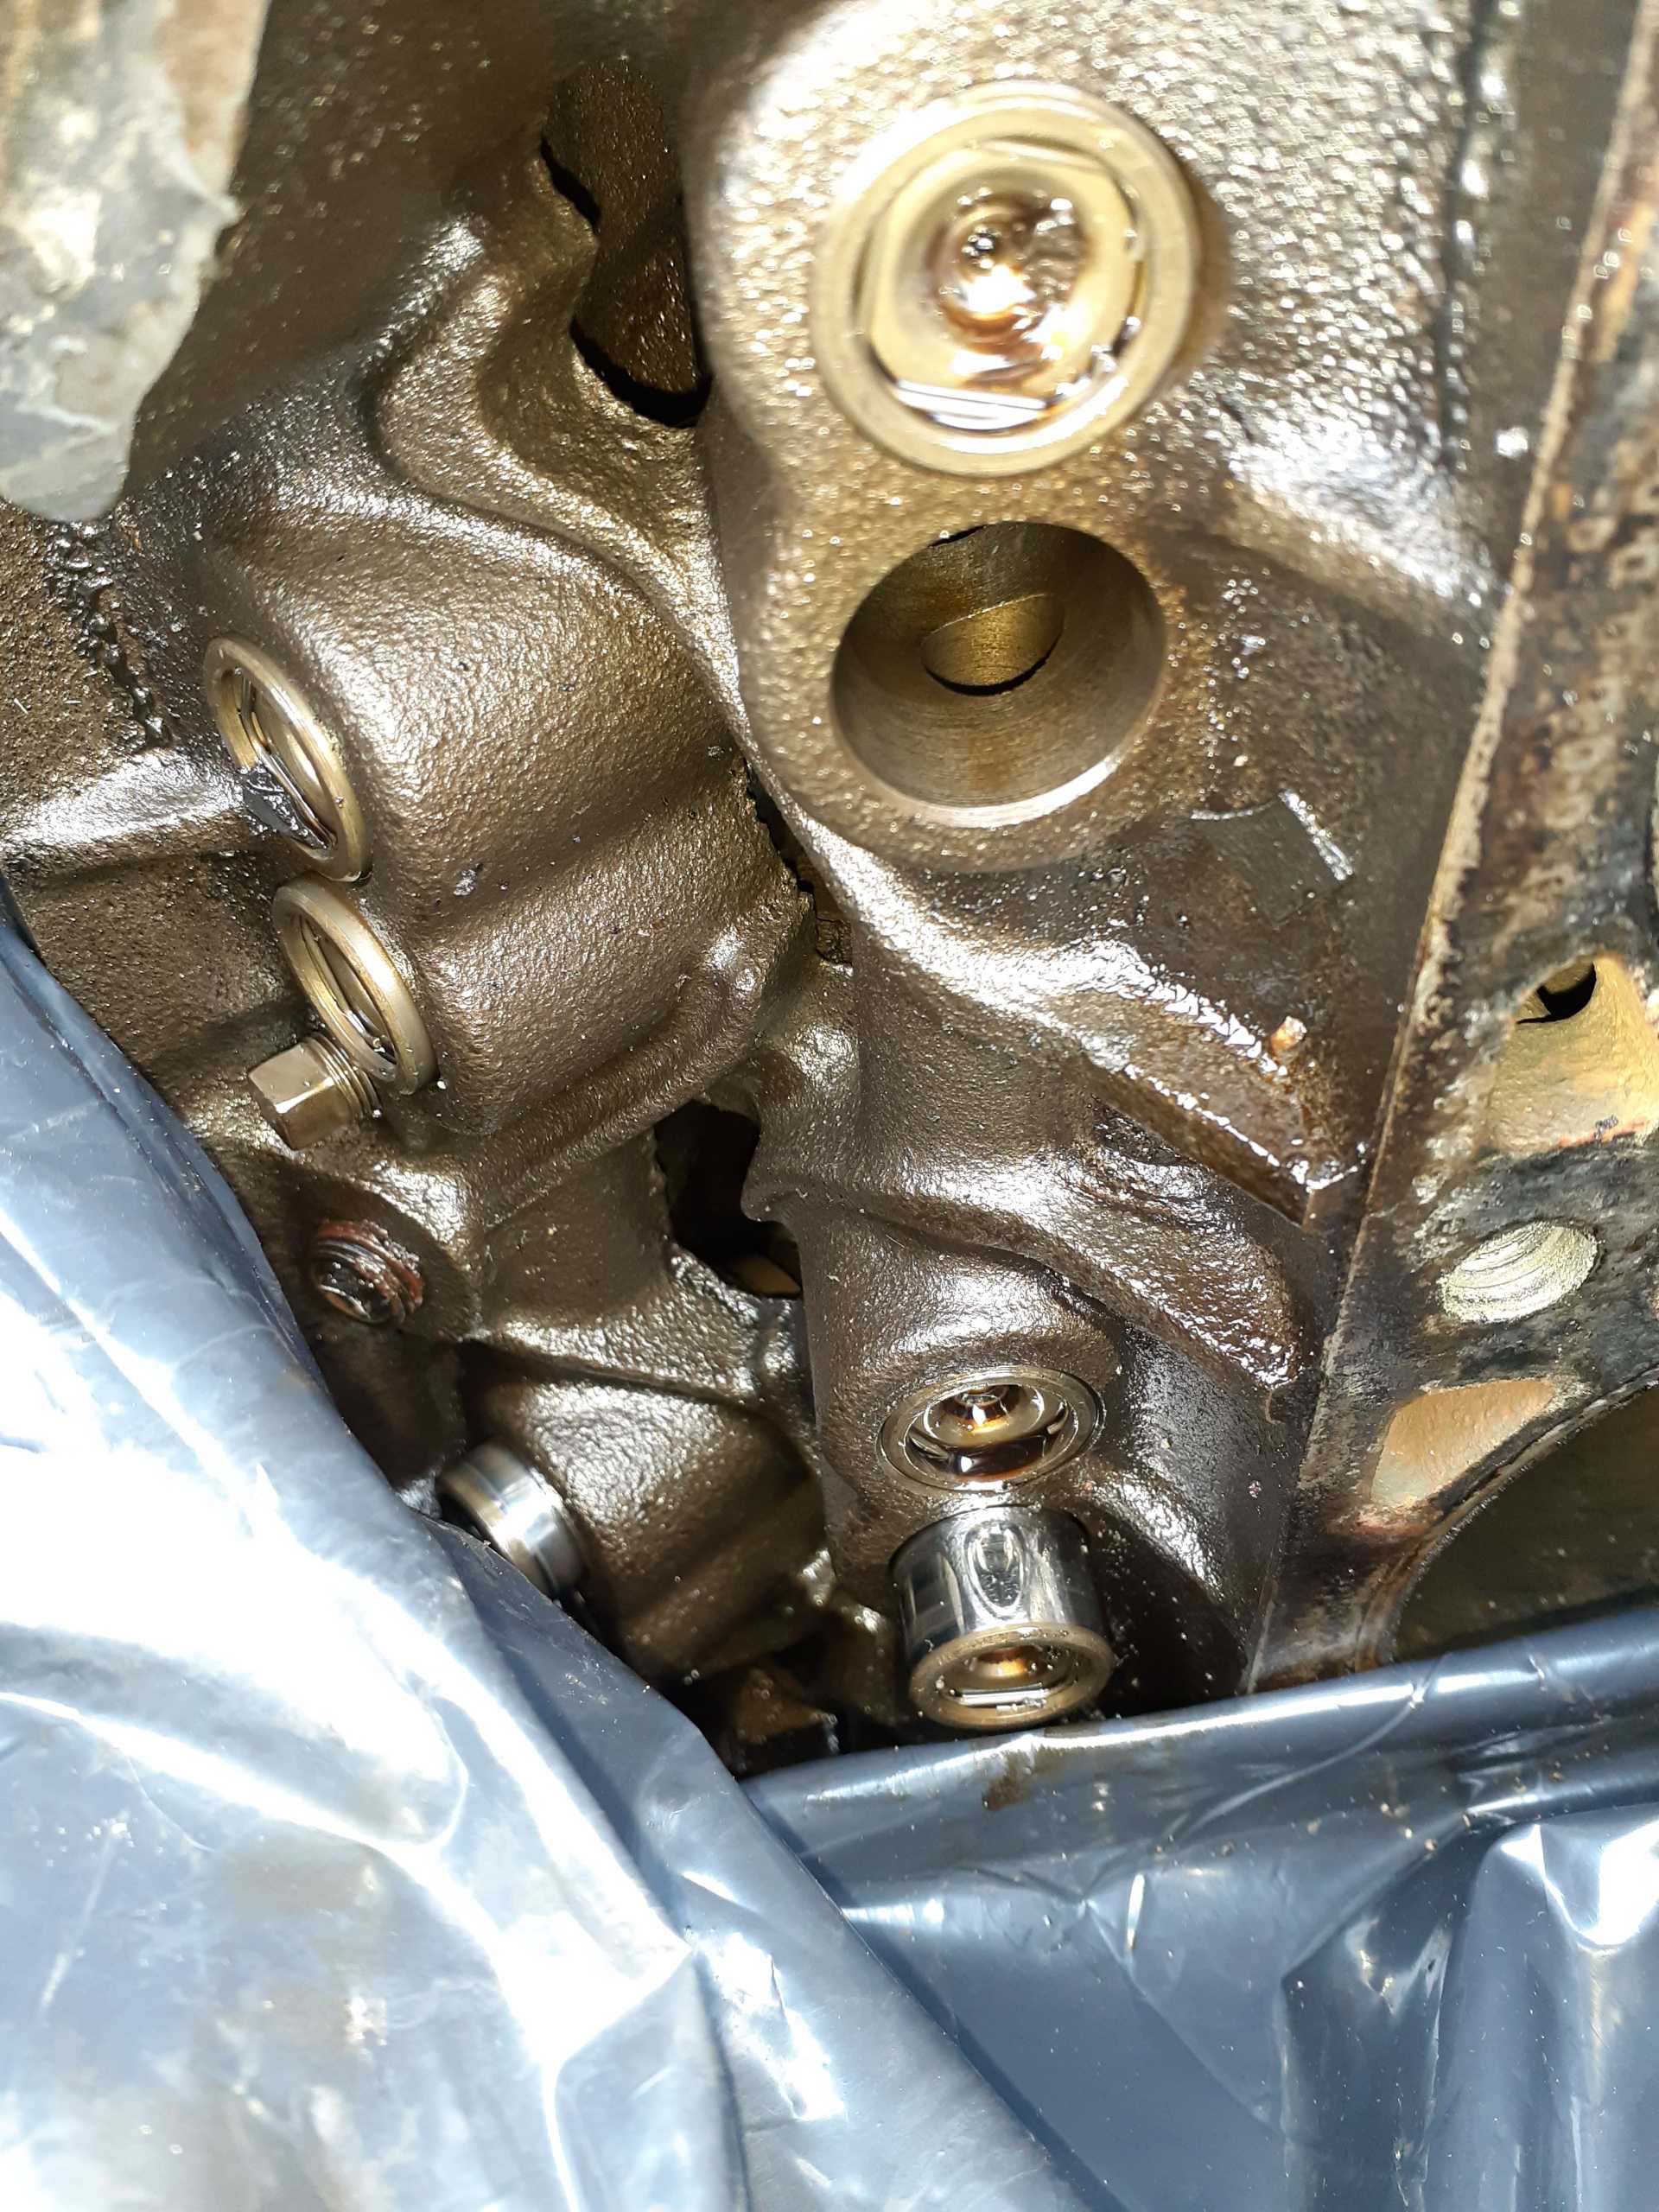
The block before disassembly. This one looks GREAT.


Always marks the rods and caps before you take them out. Example, this was no 6.


And all the pistons out to be cleaned up and looked over.

They look AWESOME.


Here you can see the cam bearings had some wear, not too bad but some. You can see the copper under metal of the bearings.


So new cam bearings it got, how to change them is in this post. //www.fiero.nl/forum/Forum2/HTML/137103.html


Plus all new freeze plugs.


And new main bearings.


To plug the oil sensor from the 3.4 I used this plug as posted earlier in this thread.


[This message has been edited by sardonyx247 (edited 02-17-2016).]

IP: Logged
sardonyx247
Member
Posts: 5032
From: Nevada, USA
Registered: Jun 2003


Feedback score:    (88)
Leave feedback


Total ratings: 218
Rate this member

Report this Post02-08-2016 03:46 AM Click Here to See the Profile for sardonyx247Click Here to visit sardonyx247's HomePageSend a Private Message to sardonyx247Edit/Delete MessageReply w/QuoteDirect Link to This Post
This build is going slowish, so many Fieros to fix, so little time. And I am taking my time to make sure everything is right.
But lets continue.

Always mic the cam to make sure no lobes are worn.


And now some more pics on what's needs to be done on the 3.4 conversion.

Transfer the timing marks to the 3.4 balancer. Always line up this way and not face to face, line up the key ways and transfer the big grove. With a hacksaw or die grinder etc....


I like to paint mine as it adds a bit of detail and makes it real easy to see.


Now the A/C bracket, since the 3.4 block is missing one of the mounting points you simply tap out the strut mount and drill the bracket, I find a SBC flywheel bolt fits perfect, (and we have alot laying around) If you have an 88 just get the strut mount and a pre 88 A/C bracket.


If you use the 3.4 oil pan it needs to be dented in the corner, or the mount ground down, but when I took out my mounts and saw how twisted they become I don't want to weaken the mount in any way so I choose to dent the pan. Or just use the Fiero pan.


Now if it is going in an Auto it needs part of the block ground down, (not needed on a manual swap) I get a square and match the 2.8 block. Also drill out the hole with a 1/2 drill, needed both auto and man, as the Fiero uses a bolt going in from the other side.


And the oil filter plug/mount has to be moved from the 2.8 to the 3.4 using an allen socket.


To this empty hole on the 3.4


Drilling the starter into this side of the block, (more pics posted earlier in this thread of how to)
This is the part of the block that has to be drilled.


I use an old starter, or even a new one doesn't matter, but I take off the solenoid to be able to engage the teeth.


I hold it in place, as tight as I can as too far and the block is screwed, too close and it can be simply shimmed out.


I mark the end of the bolt with a paint marker and use that to mark the hole.


Drill the hole and a long 1/4 extension works well the tap the hole.


Put your first bolt in to hold the starter in place and drill you second hole.


After that you can bolt up the starter and use jumper cables and a battery to make sure it spins right and then shim as necessary.

I have lost count on how many of these swaps I have done but it is well over 30.
I don't take pics of them all, but decided to add a bunch this time as the thread hasn't been updated in a while
IP: Logged
03Showbike
Junior Member
Posts: 9
From: St. George, Utah. USA
Registered: Nov 2015


Feedback score: N/A
Leave feedback

Rate this member

Report this Post02-10-2016 12:07 AM Click Here to See the Profile for 03ShowbikeSend a Private Message to 03ShowbikeEdit/Delete MessageReply w/QuoteDirect Link to This Post
sardonyx247 knows what hes doing. He does awesome work on fieros!! Listen, watch and learn!
IP: Logged
sardonyx247
Member
Posts: 5032
From: Nevada, USA
Registered: Jun 2003


Feedback score:    (88)
Leave feedback


Total ratings: 218
Rate this member

Report this Post02-10-2016 02:47 AM Click Here to See the Profile for sardonyx247Click Here to visit sardonyx247's HomePageSend a Private Message to sardonyx247Edit/Delete MessageReply w/QuoteDirect Link to This Post
The block painted.
I use old 3.4 valve covers, oil filter, spark plugs etc to paint.


The 1.6 rockers, This should be good for another 11 HP, just by math alone. The 3.4 Camaro guys claim 15HP on roller tipped ones, so minus the roller part, should be 11 HP at the wheels.
A trick I figured out, if you tape up the intake when installing the lifters, it is easier to remove the tape than to clean off all the oil from the intake.


Where it says "do not cut" DO NOT CUT IT, if you forget and put in the pushrods, then do it over, not hard to readjust the valves.


Now the pushrods are in and the valves adjusted.
Remember zero lash then 1 and 1/2 turns.


The porting/gasket matching on the lower intake.


With the intake on.


Do I take too many pics?
Even if I do, more to come.

[This message has been edited by sardonyx247 (edited 02-17-2016).]

IP: Logged
sardonyx247
Member
Posts: 5032
From: Nevada, USA
Registered: Jun 2003


Feedback score:    (88)
Leave feedback


Total ratings: 218
Rate this member

Report this Post02-10-2016 02:50 AM Click Here to See the Profile for sardonyx247Click Here to visit sardonyx247's HomePageSend a Private Message to sardonyx247Edit/Delete MessageReply w/QuoteDirect Link to This Post

sardonyx247

5032 posts
Member since Jun 2003
 
quote
Originally posted by 03Showbike:

sardonyx247 knows what hes doing. He does awesome work on fieros!! Listen, watch and learn!


Thanks
IP: Logged
sardonyx247
Member
Posts: 5032
From: Nevada, USA
Registered: Jun 2003


Feedback score:    (88)
Leave feedback


Total ratings: 218
Rate this member

Report this Post02-17-2016 03:37 AM Click Here to See the Profile for sardonyx247Click Here to visit sardonyx247's HomePageSend a Private Message to sardonyx247Edit/Delete MessageReply w/QuoteDirect Link to This Post
The bottom of the middle intake, gasket matched porting.


The oil sender adapter, 5/16" to 1/4"


It replaces this plug on the 3.4


Now to plug the cam sensor hole, I got a 3/4in freeze plug, a tiny bit small,


But here is a simple solution, get a lug nut place it on the freeze plug and smack it with a hammer, it widens it out perfectly.


With a little RTV around the sides, installed, fits great.


The old knocking 2.8L out.


And the home for the new 3.4L.


Exhaust manifolds ported out, good for 8 HP.


The gaskets are from a 62' bug, fit perfect and look better. (With part number)


Always add Anti-seize to exhaust bolts in case you ever have to remove them later, they won't rust in.


And the exhaust manifolds on


The plastic vac lines were broke up a bit, so I made up some metal ones, they will last forever and not crack.


Installed
IP: Logged
03Showbike
Junior Member
Posts: 9
From: St. George, Utah. USA
Registered: Nov 2015


Feedback score: N/A
Leave feedback

Rate this member

Report this Post02-17-2016 05:32 PM Click Here to See the Profile for 03ShowbikeSend a Private Message to 03ShowbikeEdit/Delete MessageReply w/QuoteDirect Link to This Post
Looking really good. You do awesome work!! You truly are the Zen Master of Pontiac Fieros!!
IP: Logged
sardonyx247
Member
Posts: 5032
From: Nevada, USA
Registered: Jun 2003


Feedback score:    (88)
Leave feedback


Total ratings: 218
Rate this member

Report this Post03-08-2016 12:36 AM Click Here to See the Profile for sardonyx247Click Here to visit sardonyx247's HomePageSend a Private Message to sardonyx247Edit/Delete MessageReply w/QuoteDirect Link to This Post
Slow update on pics and only have a few.

Here is a good way to get out the pilot bushing out of the crank, as Camaro-Firebirds use them and Fieros don't
Tap it for a big bolt, and use a slide hammer or pry bar on the bolt.
(This one got crooked after the slide hammer and it wasn't in far, but didn't matter as it came out with no harm to the crank.)


And the engine and trans matted.


And as always, a great pic

IP: Logged
ron768
Member
Posts: 775
From: Somewhere in the southeast
Registered: Apr 2004


Feedback score:    (9)
Leave feedback

Rate this member

Report this Post03-20-2016 09:02 PM Click Here to See the Profile for ron768Send a Private Message to ron768Edit/Delete MessageReply w/QuoteDirect Link to This Post
Looks like I will be working on a 3.4 for my car (85 SE 2M6) . Yesterday, she developed a knock at 197K miles. Mine will take some time as the 3.4 I found will need a complete rebuild. ( high miles) Thank you for posting all the info and pics. Other than the engine rebuild, mine should be about the same.
IP: Logged
sardonyx247
Member
Posts: 5032
From: Nevada, USA
Registered: Jun 2003


Feedback score:    (88)
Leave feedback


Total ratings: 218
Rate this member

Report this Post08-15-2016 03:11 AM Click Here to See the Profile for sardonyx247Click Here to visit sardonyx247's HomePageSend a Private Message to sardonyx247Edit/Delete MessageReply w/QuoteDirect Link to This Post
Time for another 3.4 Swap

Here is the current one I am working on.
Very pretty car with very low miles.


The engine. The old 2.8


And out of the Fiero.


------------------
"DRIVE IT LIKE A FIERO"
'84 Fiero, engine to be determined '87 Duke (Sold)
'87 Quad 4 H.O.
'87Blue GT 3.4L Swap Completed!!!!!!!! Boosted!!!!!!!
^^^^ Now in the Construction Zone^^^^
Las Vegas Fiero Club Parts/Sales/Service/Club
Fiero Road Club Of Northern Nevada
Now on my 11th Fiero

IP: Logged
vitog44
Member
Posts: 257
From: Las Vegas, NV
Registered: May 2007


Feedback score: (2)
Leave feedback

Rate this member

Report this Post08-15-2016 12:39 PM Click Here to See the Profile for vitog44Send a Private Message to vitog44Edit/Delete MessageReply w/QuoteDirect Link to This Post
Dave, I’m glad that I got hold of you when I moved from NY to Vegas. I want to thank you for helping me out with Fiero issues through the past two years. Your mechanical abilities and Fiero expertise is to be admired. I enjoy our conversations at the Fiero Yard and appreciate the opportunity to spruce up the engine cradle and parts before they go back in for the swap. I look forward to a faster car. Keep up the good work.
IP: Logged
PFF
System Bot
vitog44
Member
Posts: 257
From: Las Vegas, NV
Registered: May 2007


Feedback score: (2)
Leave feedback

Rate this member

Report this Post08-15-2016 07:56 PM Click Here to See the Profile for vitog44Send a Private Message to vitog44Edit/Delete MessageReply w/QuoteDirect Link to This Post

vitog44

257 posts
Member since May 2007
Took some pics of the car apart and some of the new parts in boxes waiting for the transplant (conversion).

I spruced up the cradle and exhaust with high heat paint, cleaned up the parts that will be going with the new engine, enjoyed watching the fighter jets flying low overhead and had a great conversation with Dave... A great day at the Fiero Shop!
IP: Logged
sardonyx247
Member
Posts: 5032
From: Nevada, USA
Registered: Jun 2003


Feedback score:    (88)
Leave feedback


Total ratings: 218
Rate this member

Report this Post08-20-2016 05:00 AM Click Here to See the Profile for sardonyx247Click Here to visit sardonyx247's HomePageSend a Private Message to sardonyx247Edit/Delete MessageReply w/QuoteDirect Link to This Post
Poly cradle bushings installed.


The block back from the machine shop.


New pistons waiting to go in, this one was bored .20 over.


Pistons in and where it sits tonight.


IP: Logged
vitog44
Member
Posts: 257
From: Las Vegas, NV
Registered: May 2007


Feedback score: (2)
Leave feedback

Rate this member

Report this Post08-20-2016 08:56 PM Click Here to See the Profile for vitog44Send a Private Message to vitog44Edit/Delete MessageReply w/QuoteDirect Link to This Post
Another glorious afternoon at the Fiero Club. Had a chance to have a chat with Dave and clean the replacement tranny. The one in the car had low mileage but was making noise and a bad TCC. Dave found me another.
Before cleaning
and after.
IP: Logged
lou_dias
Member
Posts: 5252
From: Warwick, RI
Registered: Jun 2000


Feedback score: (3)
Leave feedback


Total ratings: 67
Rate this member

Report this Post08-23-2016 01:18 PM Click Here to See the Profile for lou_diasSend a Private Message to lou_diasEdit/Delete MessageReply w/QuoteDirect Link to This Post
Great thread. You should do one with a 3400 block and Camaro pistons so that people don't think it's voodoo. Since those GEN2 1.6 rockers work on iron heads, that makes that conversion about $250 cheaper than before...
IP: Logged
lyleap-gmc
Member
Posts: 56
From: White Bear Lake, MN, USA
Registered: Jun 2015


Feedback score: N/A
Leave feedback

Rate this member

Report this Post11-24-2016 07:12 PM Click Here to See the Profile for lyleap-gmcSend a Private Message to lyleap-gmcEdit/Delete MessageReply w/QuoteDirect Link to This Post
[QUOTE]Originally posted by sardonyx247:

Slow update on pics and only have a few.

Here is a good way to get out the pilot bushing out of the crank, as Camaro-Firebirds use them and Fieros don't
Tap it for a big bolt, and use a slide hammer or pry bar on the bolt.
(This one got crooked after the slide hammer and it wasn't in far, but didn't matter as it came out with no harm to the crank.)


Another easy way to remove the pilot bushing is to pack grease in the cavity behind the bushing. Using a rod that is a fairly close fit in the pushing drive it in, Hydraulics will push the bushing out.
IP: Logged
Modesto
Member
Posts: 108
From: Utah
Registered: Apr 2020


Feedback score: N/A
Leave feedback

Rate this member

Report this Post04-22-2020 02:29 PM Click Here to See the Profile for ModestoSend a Private Message to ModestoEdit/Delete MessageReply w/QuoteDirect Link to This Post
Bump with another 3.4 in the works!


IP: Logged
sardonyx247
Member
Posts: 5032
From: Nevada, USA
Registered: Jun 2003


Feedback score:    (88)
Leave feedback


Total ratings: 218
Rate this member

Report this Post04-23-2020 09:54 PM Click Here to See the Profile for sardonyx247Click Here to visit sardonyx247's HomePageSend a Private Message to sardonyx247Edit/Delete MessageReply w/QuoteDirect Link to This Post
Nice,
3.4 blocks are deffenitly stronger, look how little wear there is.
Nice to see another build on the way.
IP: Logged
Notorio
Member
Posts: 2961
From: Temecula, CA
Registered: Oct 2003


Feedback score: (3)
Leave feedback

Rate this member

Report this Post02-14-2021 11:28 PM Click Here to See the Profile for NotorioSend a Private Message to NotorioEdit/Delete MessageReply w/QuoteDirect Link to This Post
 
quote
Originally posted by lou_dias:

Great thread. You should do one with a 3400 block and Camaro pistons so that people don't think it's voodoo. Since those GEN2 1.6 rockers work on iron heads, that makes that conversion about $250 cheaper than before...


I second that motion.
IP: Logged
Previous Page | Next Page

This topic is 16 pages long:  1   2   3   4   5   6   7   8   9   10   11   12   13   14   15   16 
next newest topic | next oldest topic

All times are ET (US)

Post New Topic  Post A Reply
Hop to:

Contact Us | Back To Main Page

Advertizing on PFF | Fiero Parts Vendors
PFF Merchandise | Fiero Gallery | Ogre's Cave
Real-Time Chat | Fiero Related Auctions on eBay


Copyright (c) 1999, C. Pennock