Back in late April, I started tinkering with the taillights. As shown, I made a mold to replace the vacuum formed backs. Since then, I've gone in a different direction (as usual). Here's some of the tale...
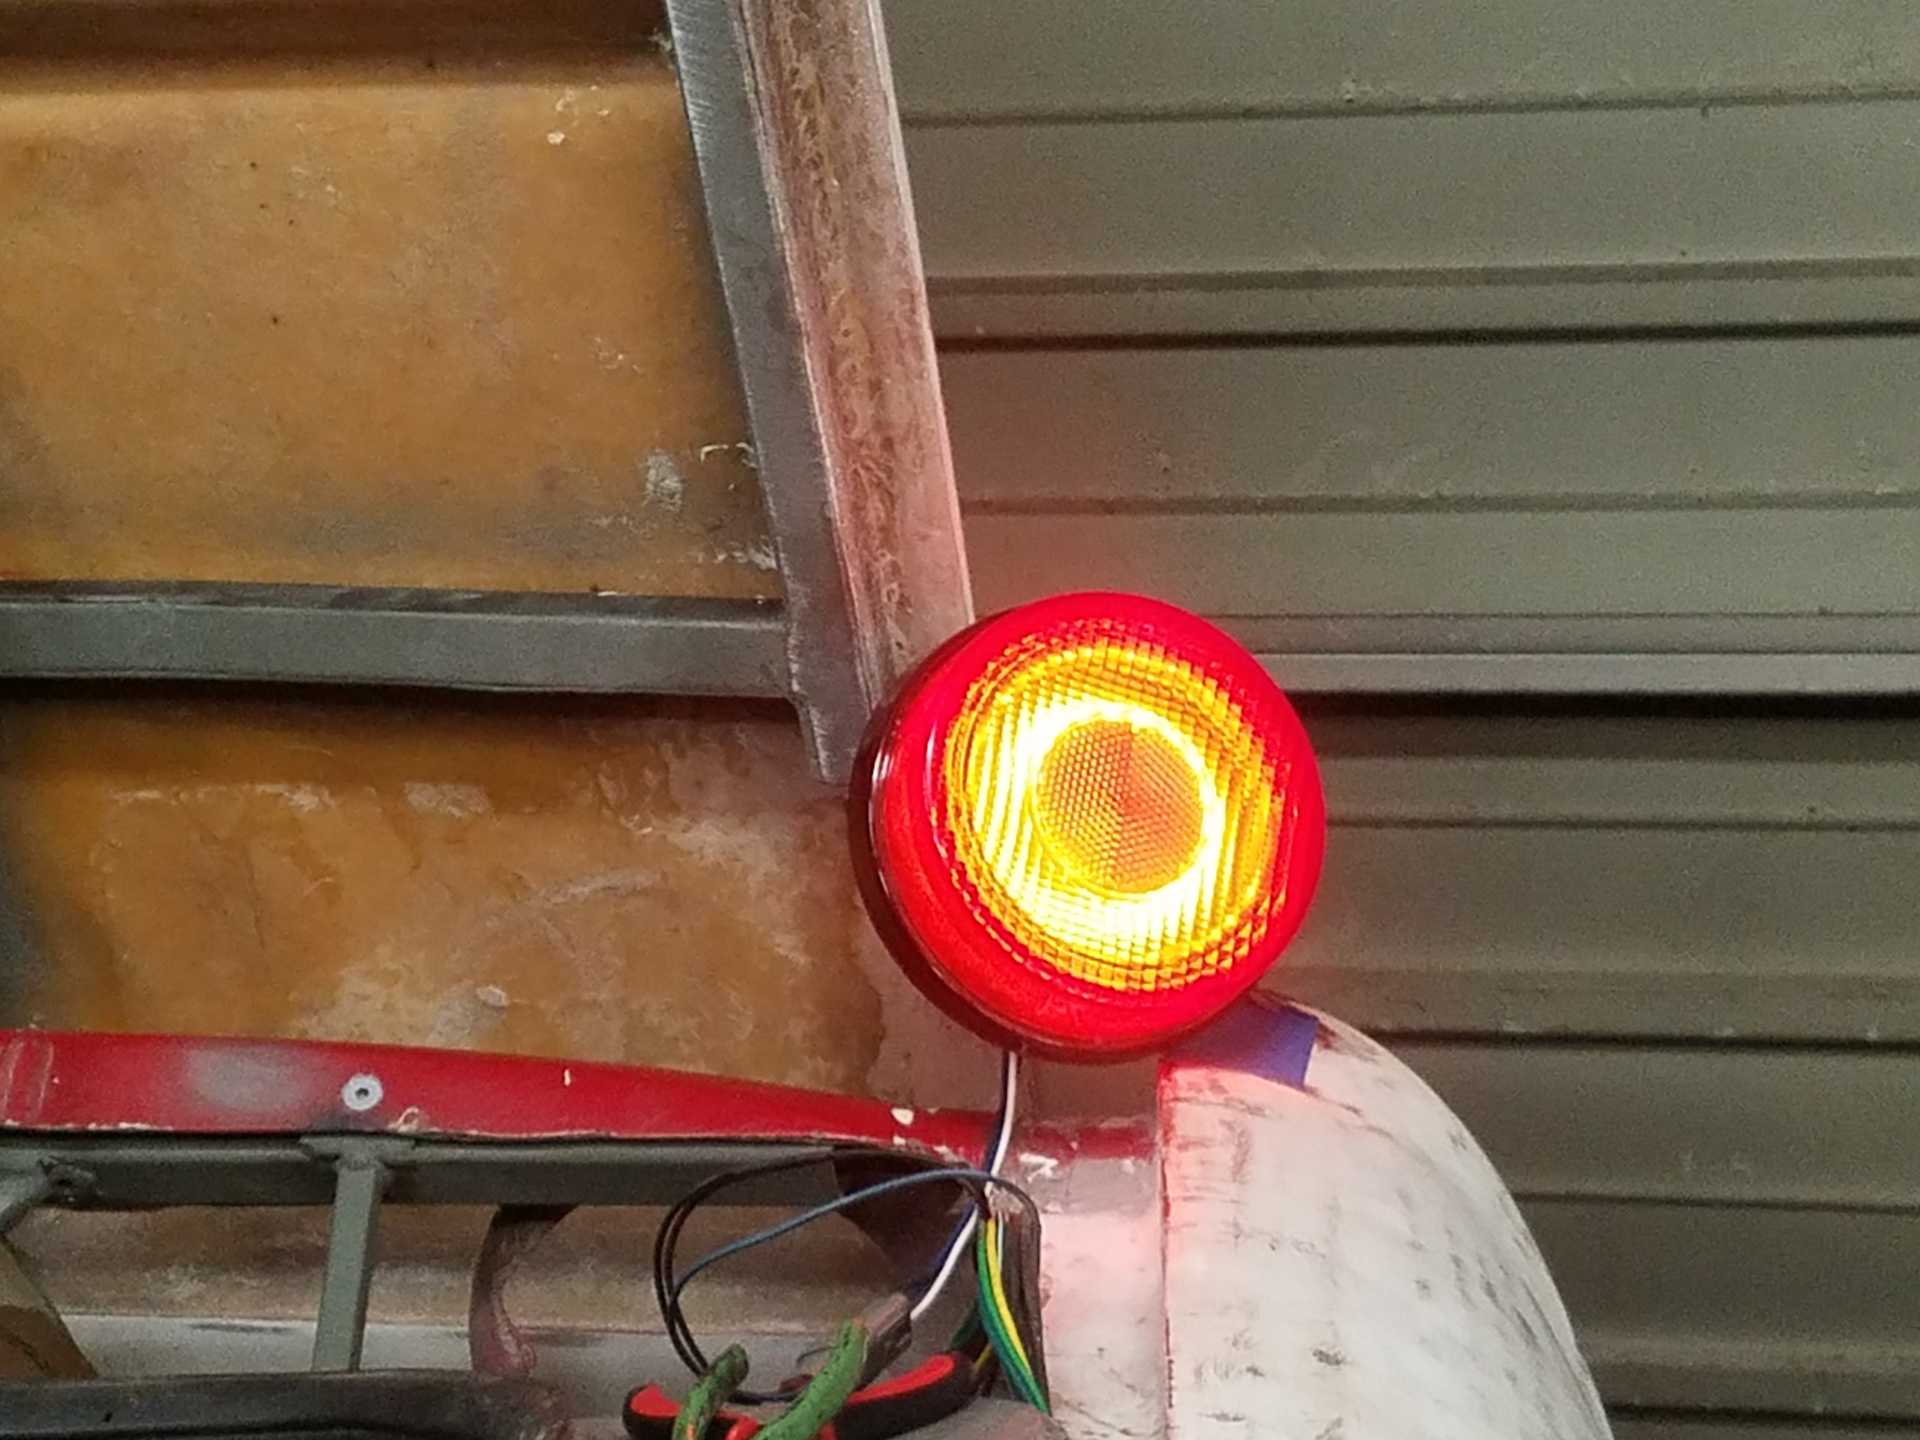
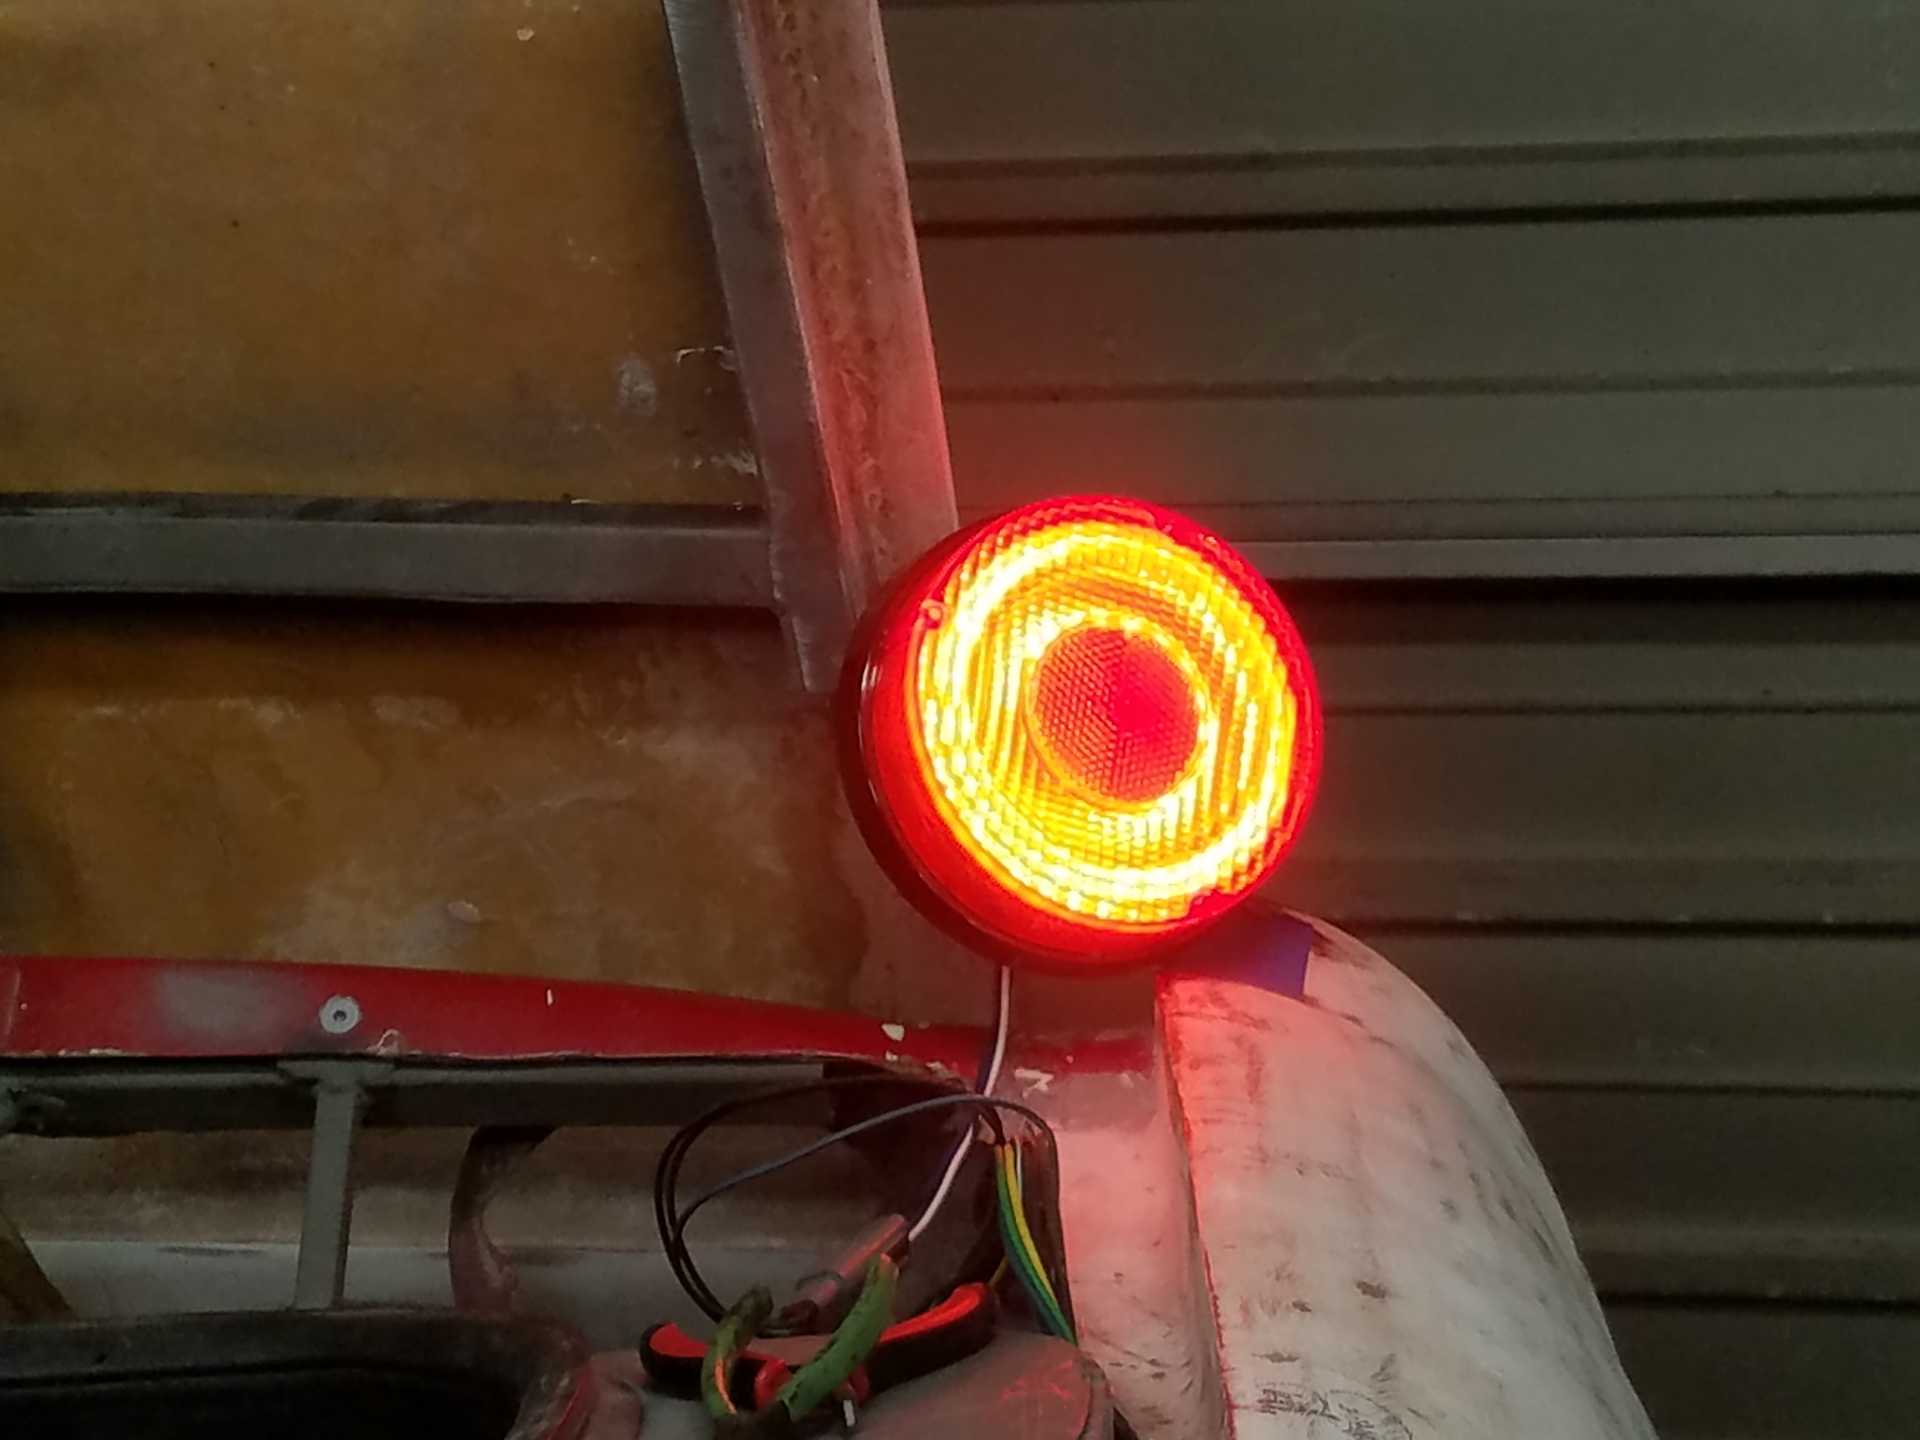
I wanted to update the lights from bulbs to LEDs. I also wanted to update the look. So, after a lot of research and some false starts, I ended up with halo rings from Superbrightleds.com.
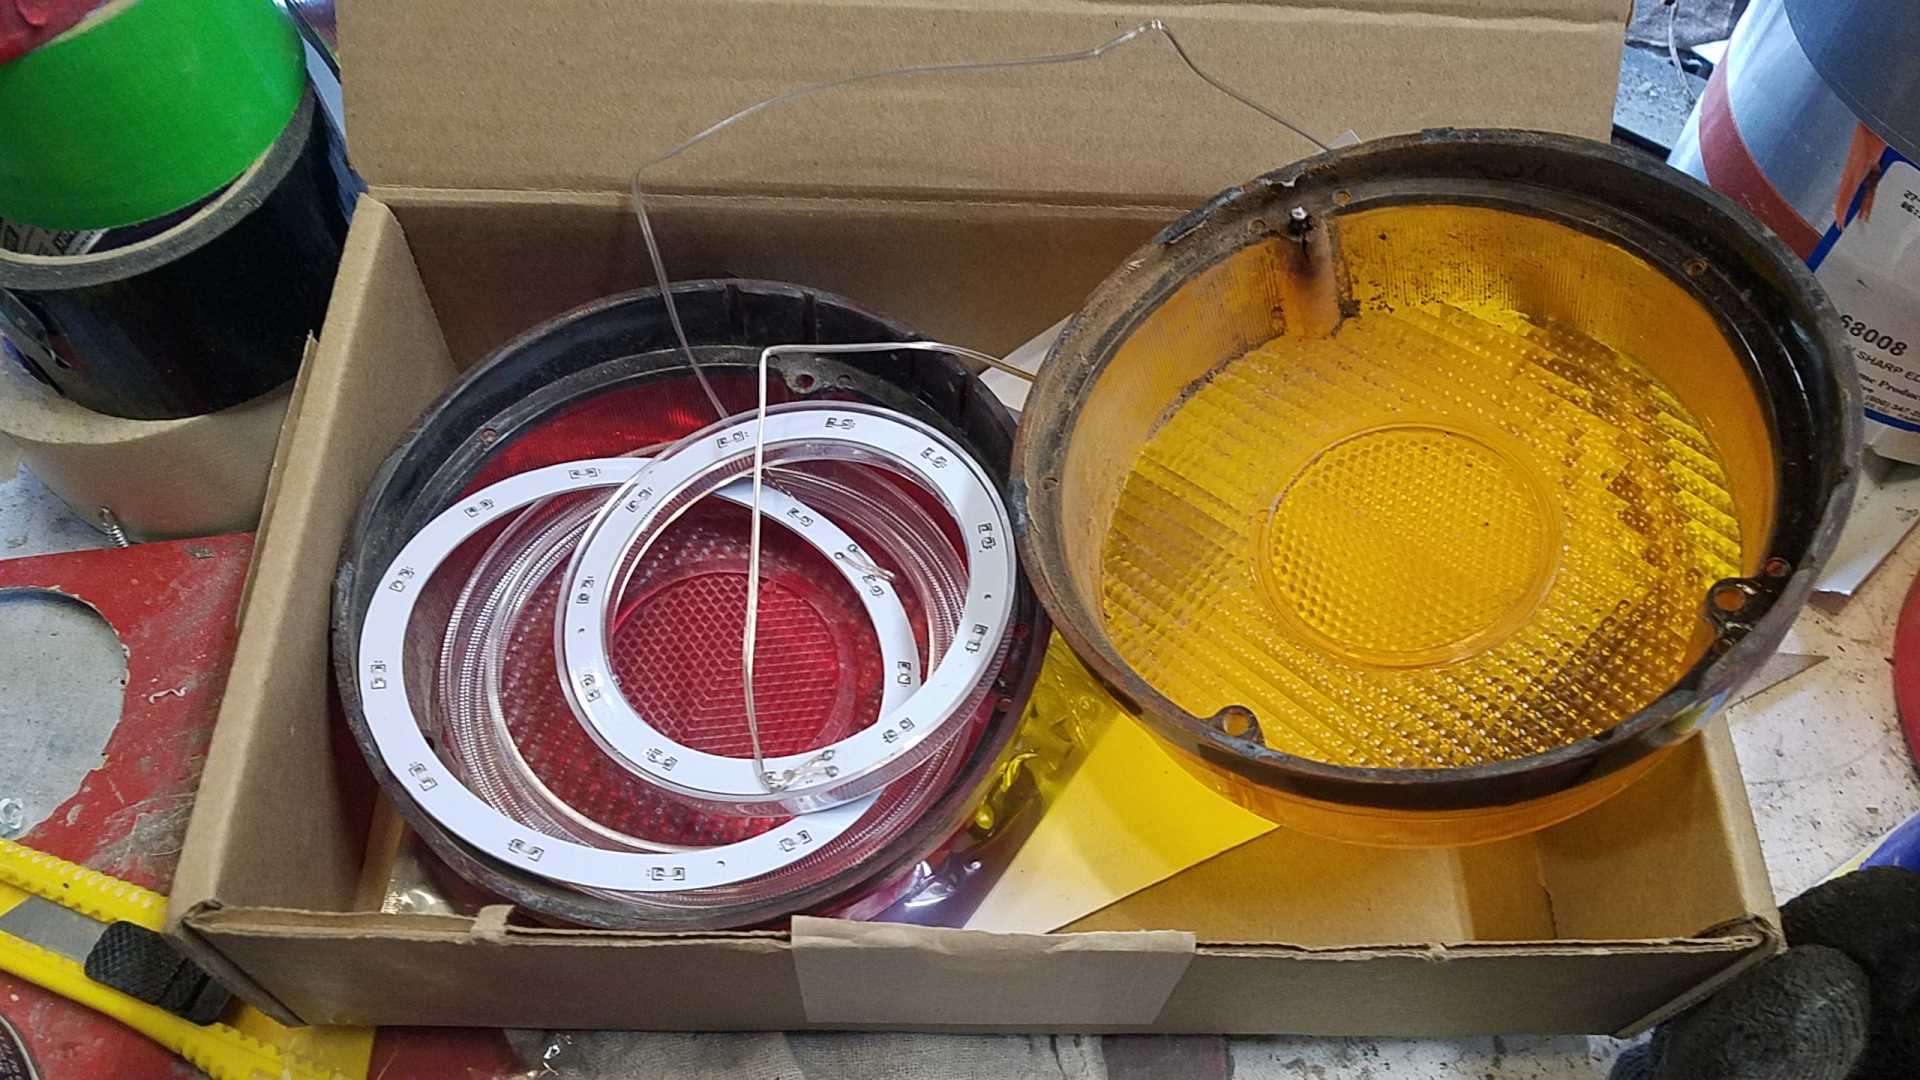
I tried a couple sizes and ended up with the 120mm and 80mm rings. I also purchased the halos to go along.
This image shows the 120mm and a 100mm ring on a turn signal lens.
The 120mm ring and halo nearly fit perfectly into the lens. Only a slight mod to the screw bosses was required. I then used clear J-B Weld epoxy to glue the halo to the lens, and the LED ring to the halo. I gooped enough epoxy on to seal the LED board from moisture.
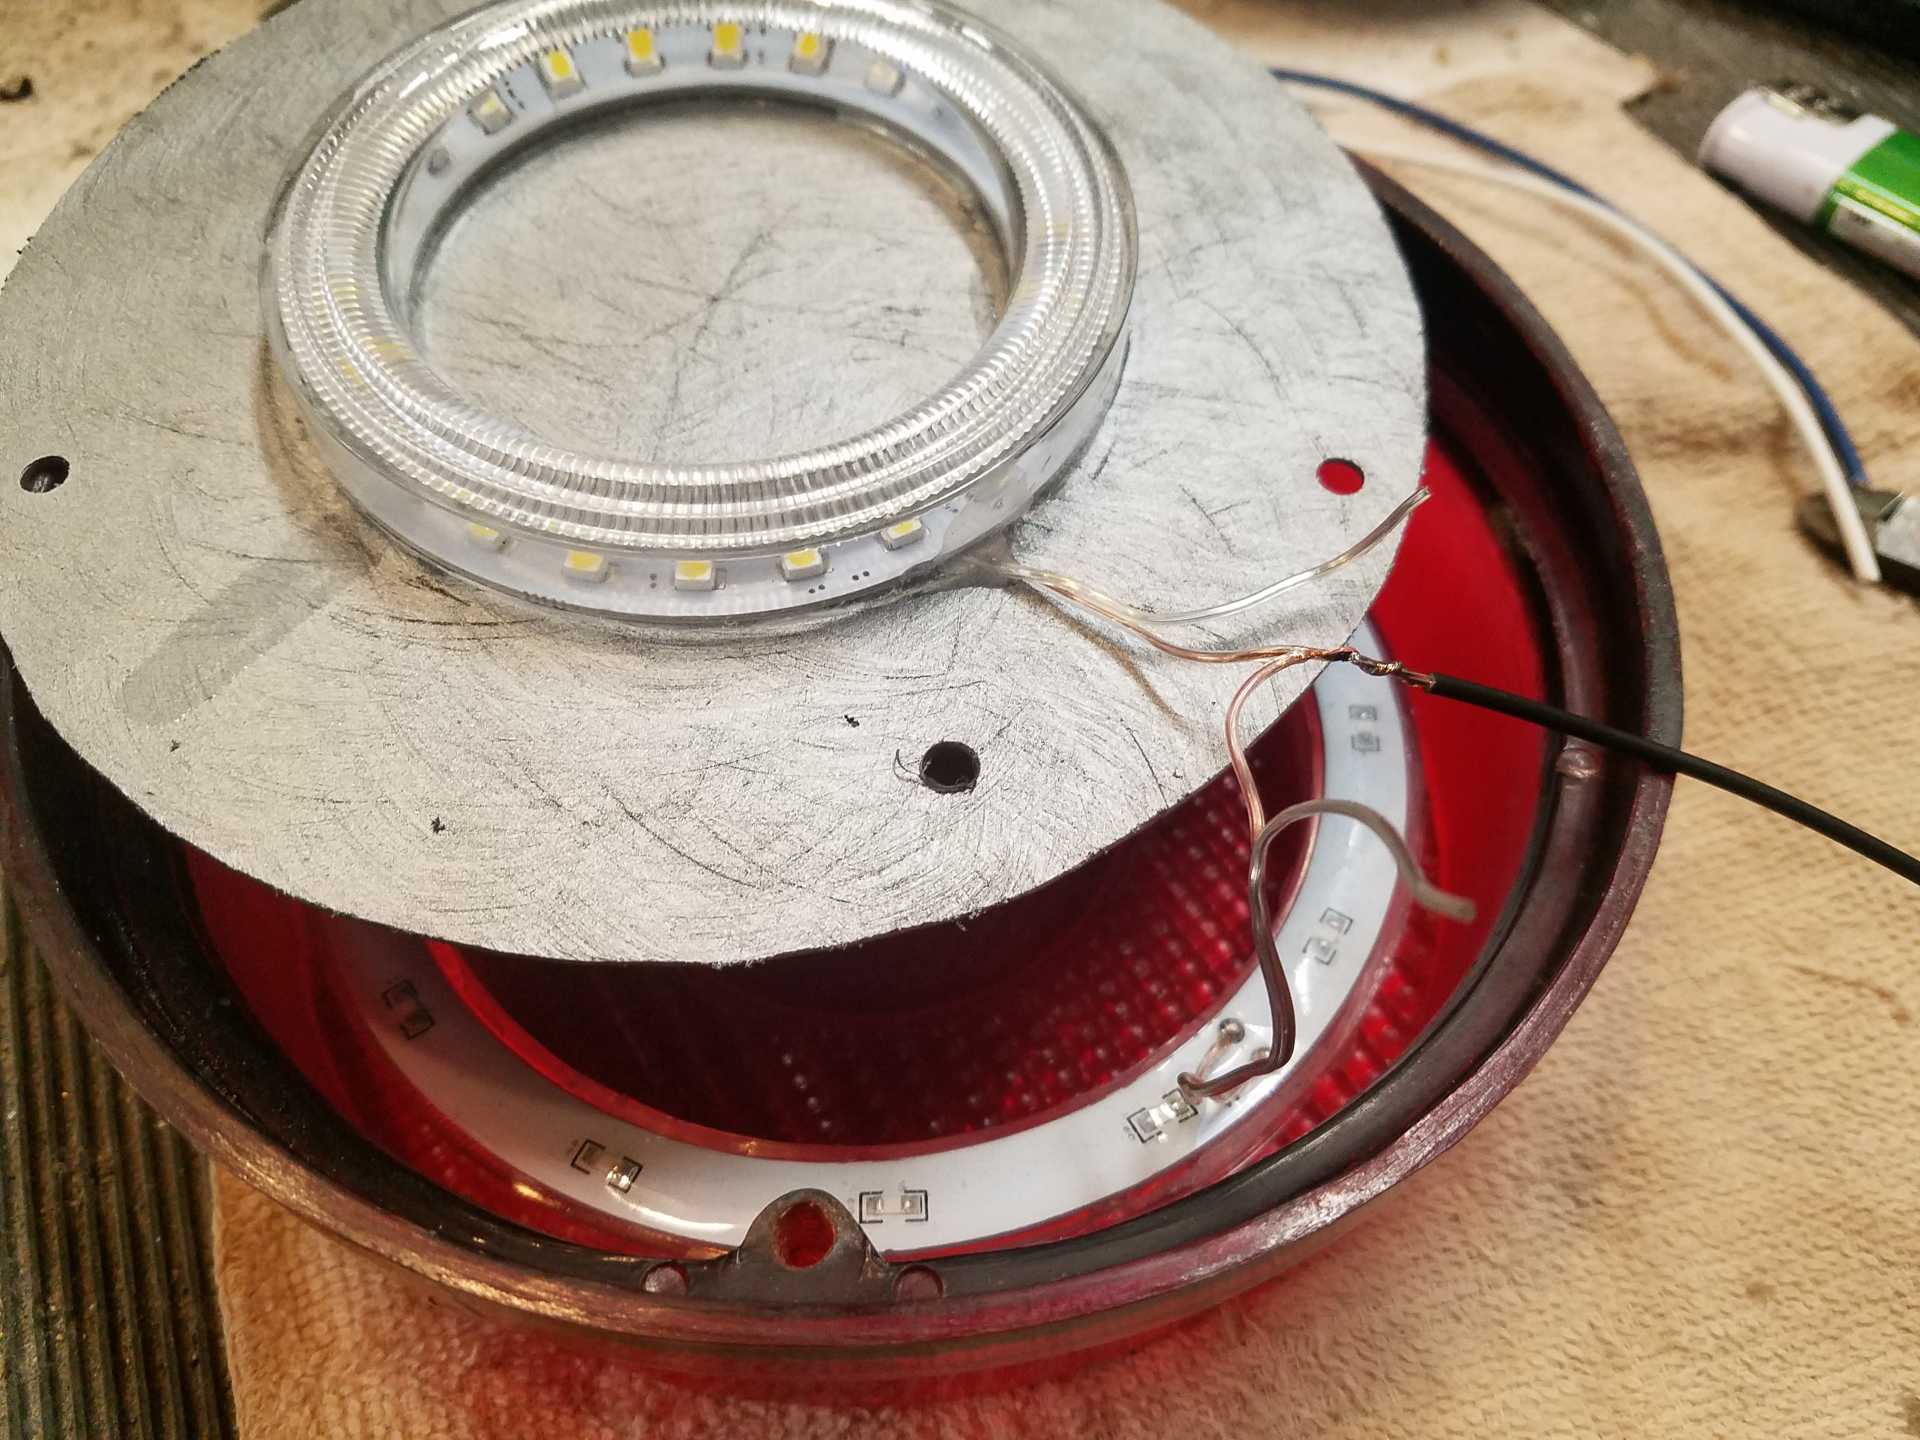
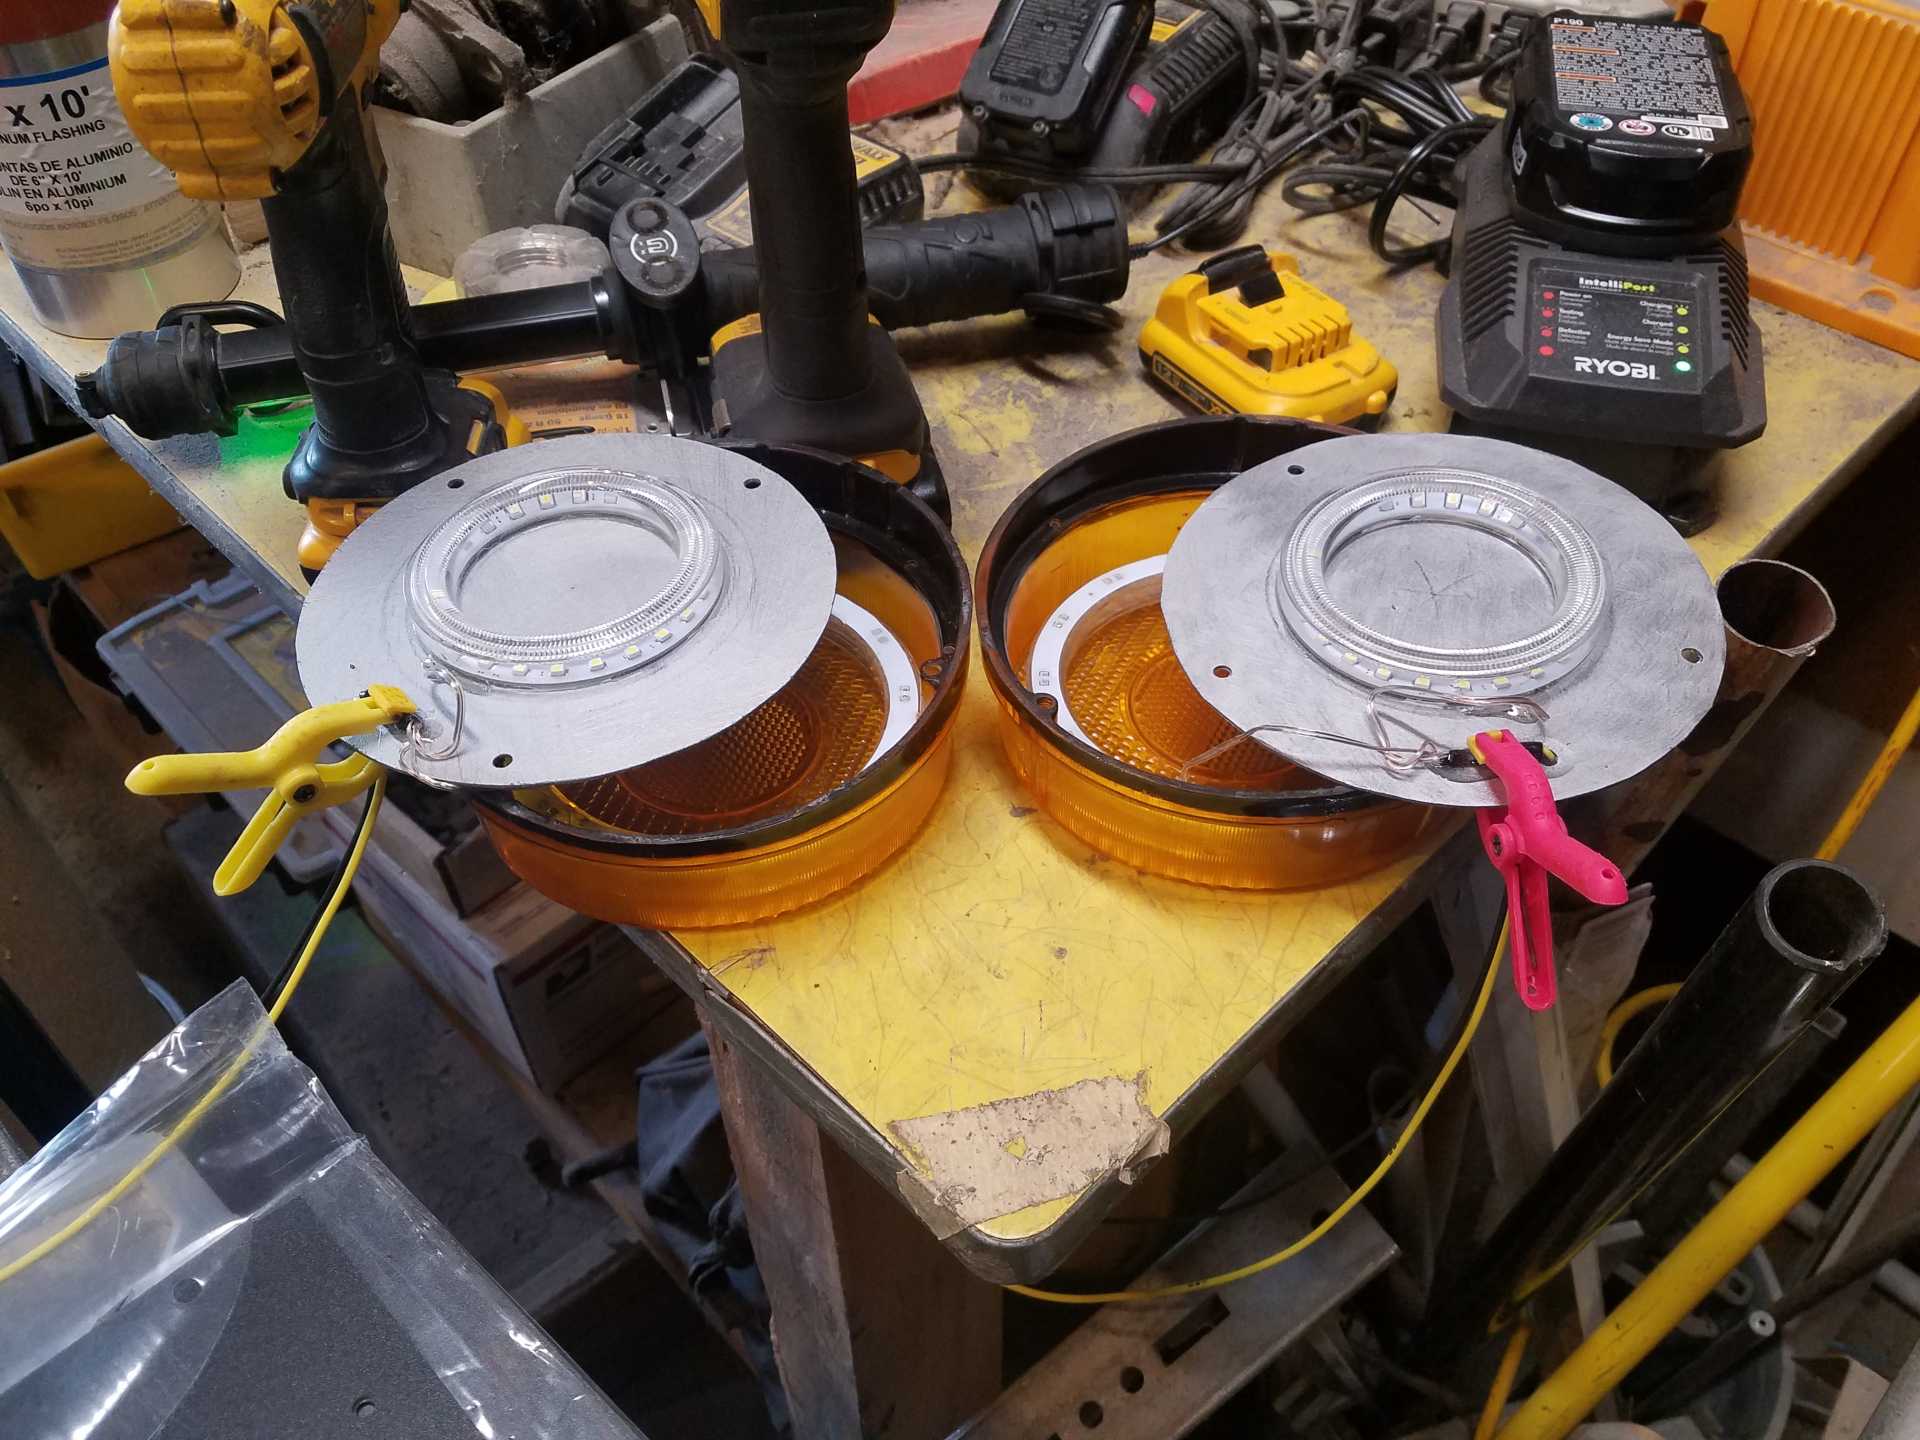
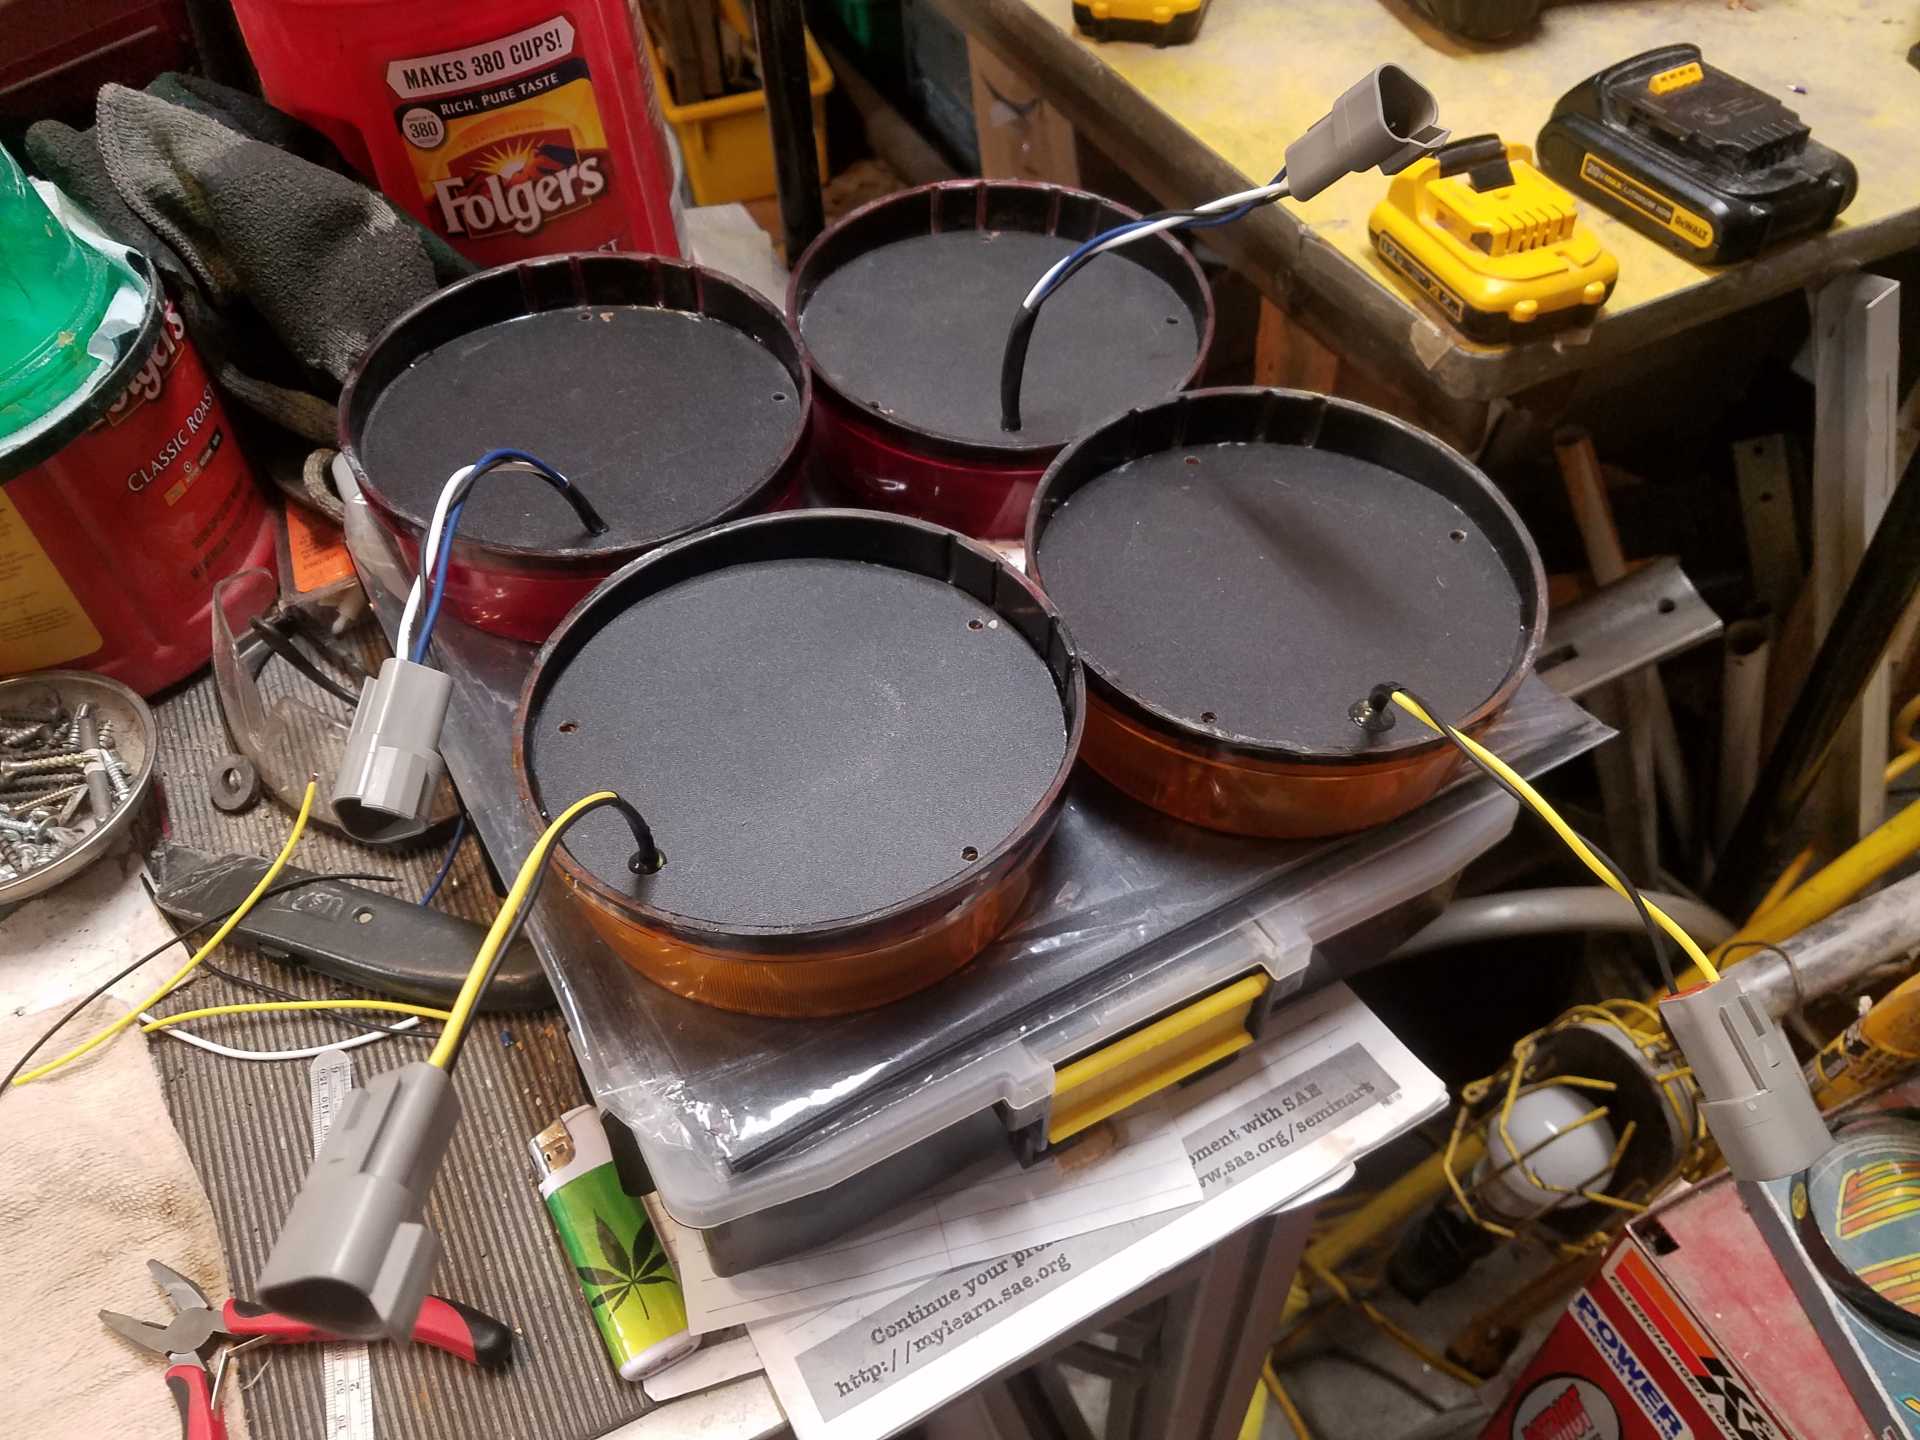
Instead of using the fiberglass backing I started to make, I ordered some 1/16" ABS stock and cut out flat plates that fit right into the lens covers. To this, I mounted the inner 80mm LED ring. I was trying to provide some depth to the look. After epoxying the LEDs to the halos, I epoxied them to the plates (I also painted the inner surface silver). I found that the back plate needed a good scuffing for the paint and epoxy to stick. Here, you can see the outer ring mounted to the lens, and the inner ring mounted to the back plate.
The wiring on the LED boards is pretty light, so I spliced everything into some 20 awg wires. The turn signals are pretty straight forward, tie the LED wires together and bring them out the back. The brake lights were only slightly more difficult. To maintain the brake and running lamp features, I placed a diode in between the outer ring and inner ring. The brake line can now drive both rings, and the running light is the inner ring.
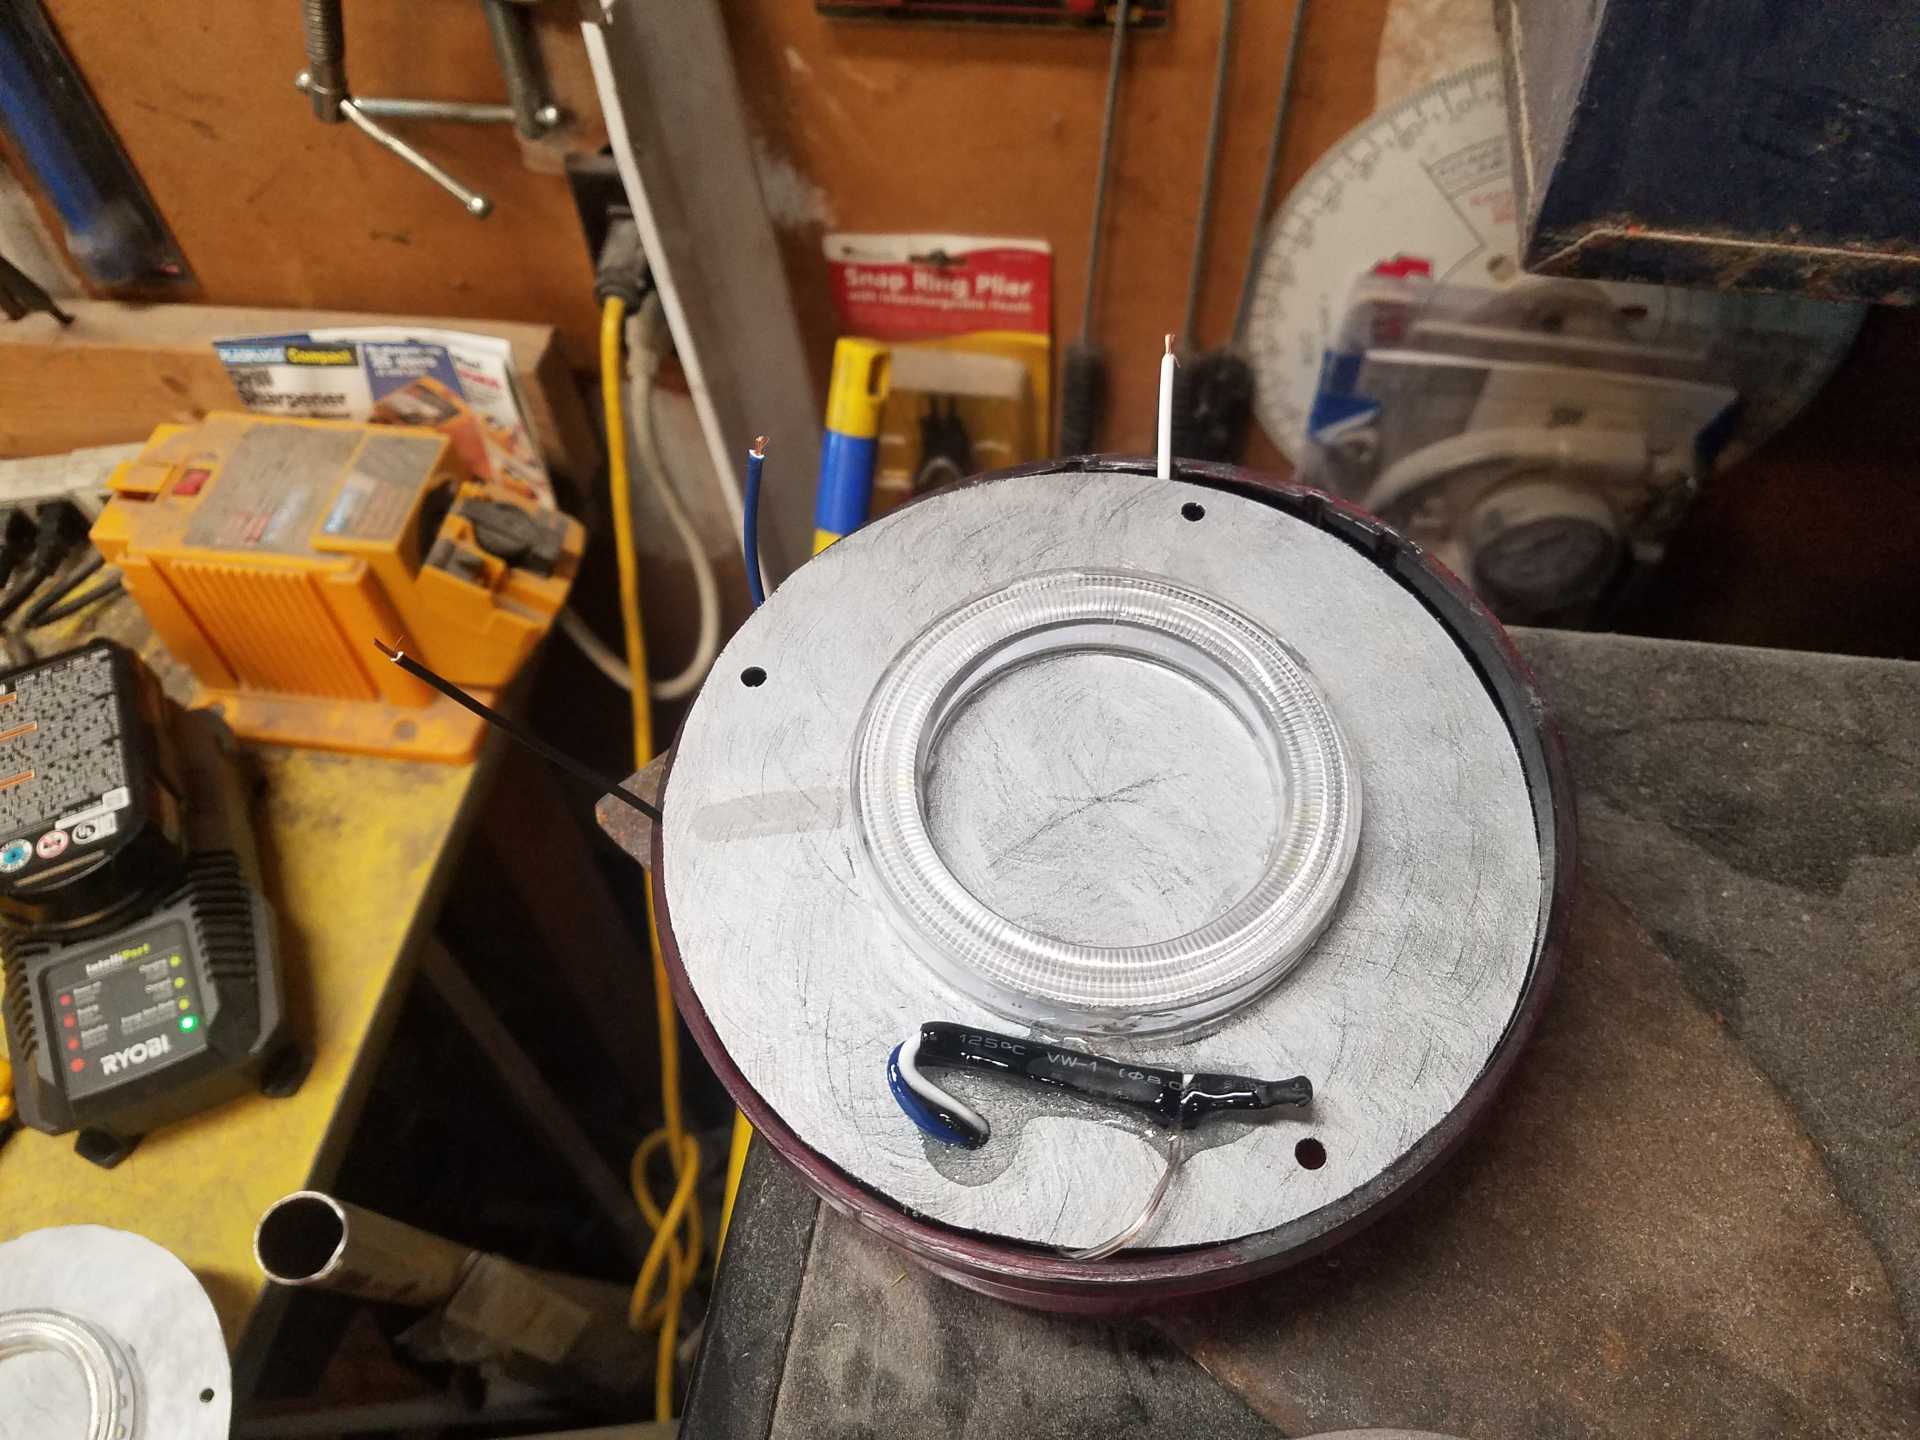
More epoxy was used to glue down the wiring in the housing and to seal the wires coming out. A little more epoxy was then used to glue the backs to the lens, but not so much I can't get them apart. A bead of silicone caulk was used to seal everything together. I bought some Deutch connectors to connect to the car.
Only thing left to do is to mount some studs for installation.
Bob
[This message has been edited by RCR (edited 07-02-2021).]
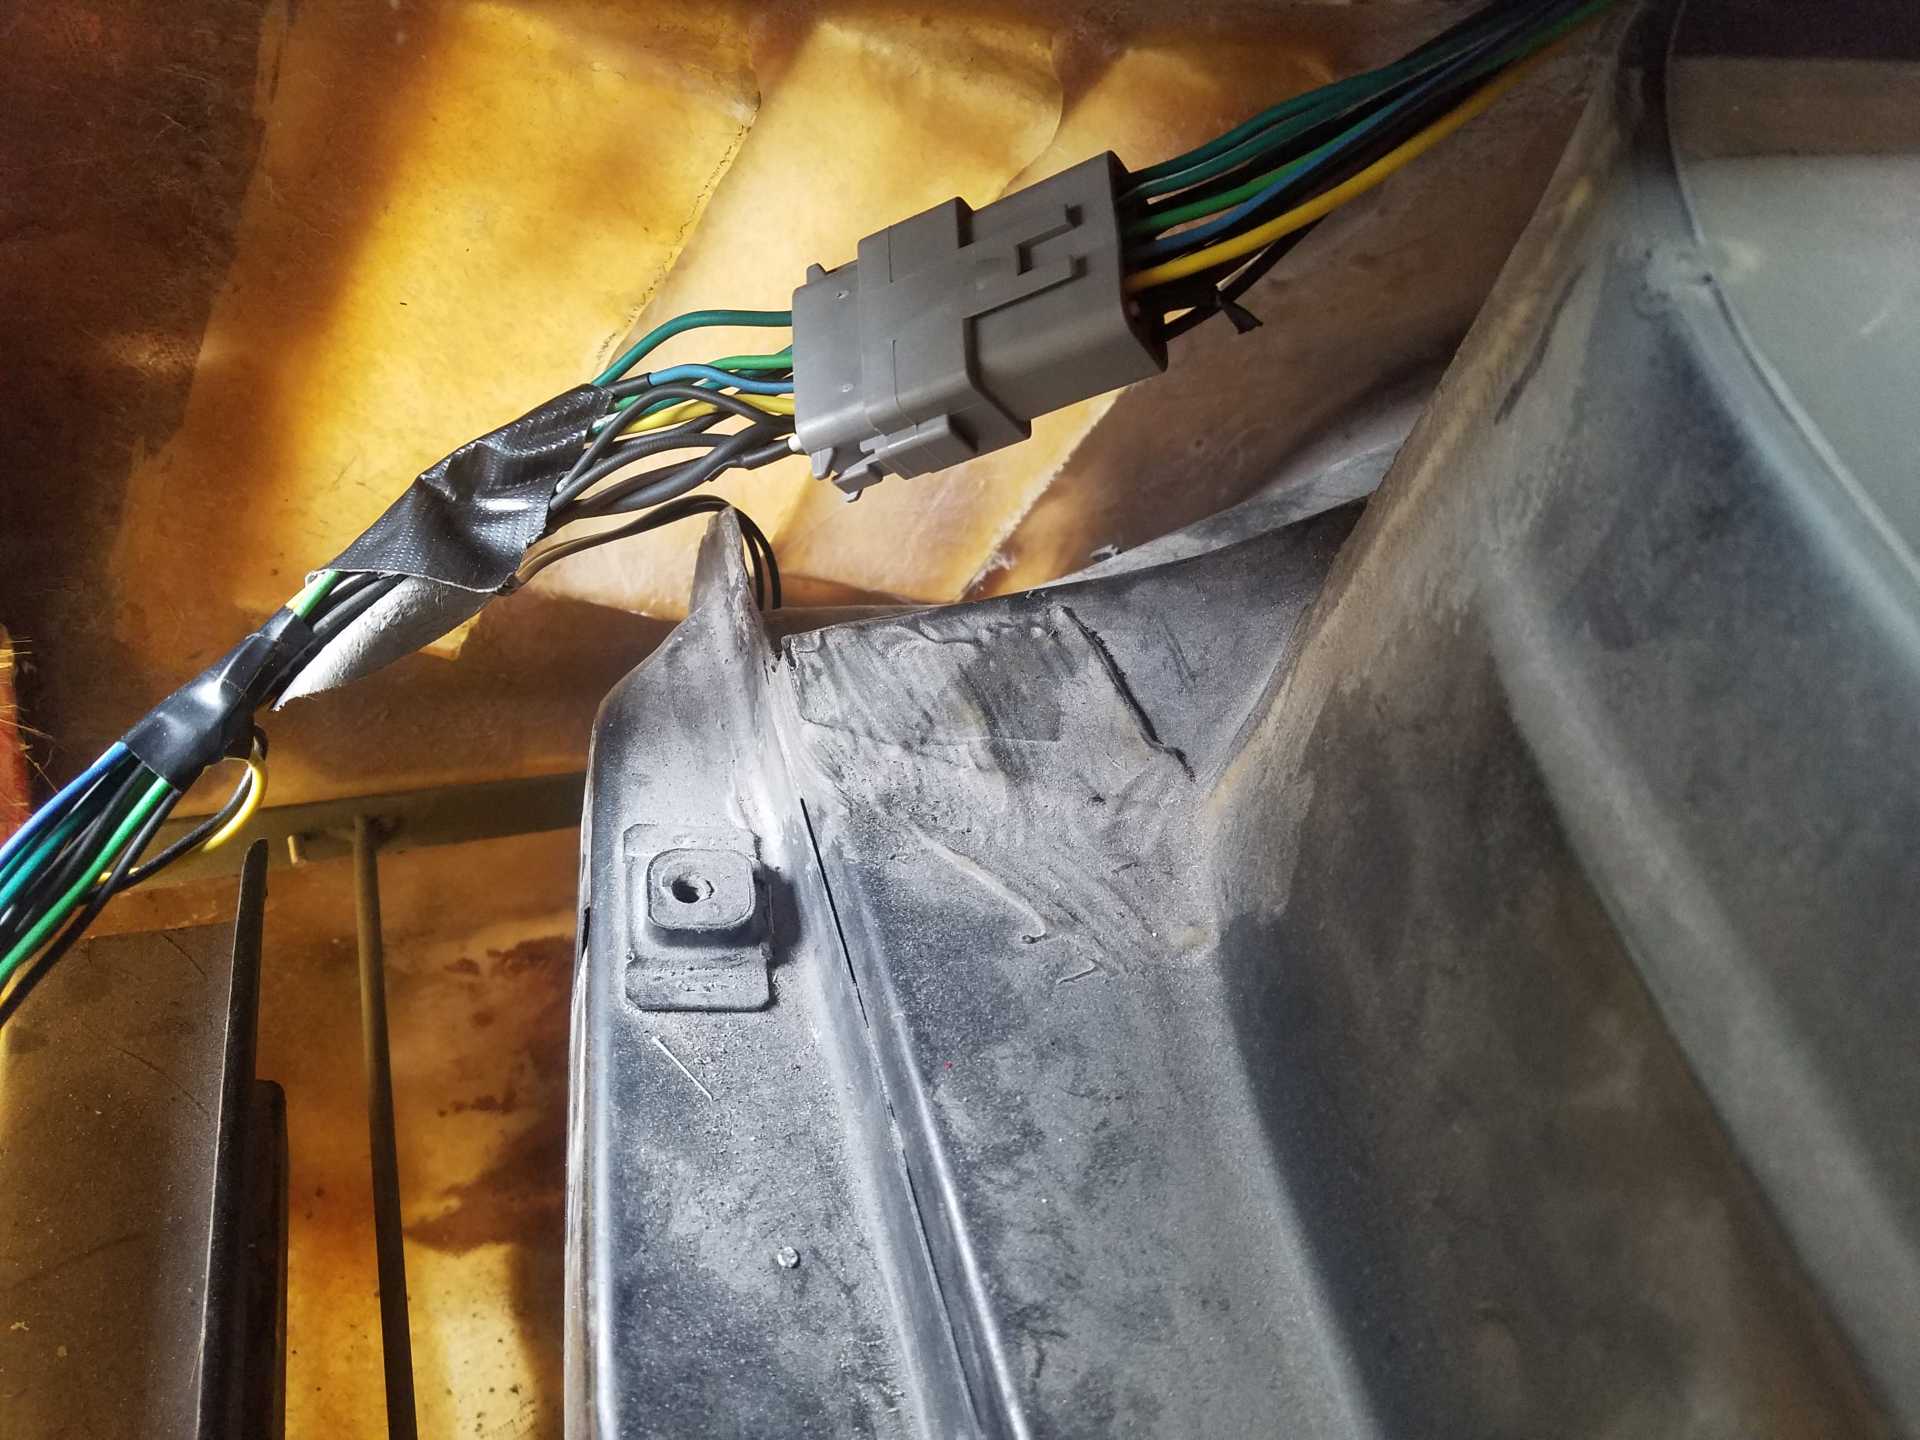
I also rewired all of the rear harness (as mentioned). I pretty much finished cleaning it up and terminated the ends for the new lights. I'm moving the harness from the chassis to the rear clip. There will be a single connector to ease removal of the clip.
I'm also adding in a single reverse lamp. Started modifying it to fit (and not look like it belongs on a Jeep.)...
Was just catching up on this thread and going to comment on how well the bodys turning out when I saw the new lights. Thats friggin awesome man, what a cool idea! Im debating getting a new set for my build, or start molding my own lenses. The innards of my lights are pretty beat as well and ill have to come up w something soon. Love the body work, the rear end is looking good. Just keep throwing time at it when you can, getting closer and closer. But they never seem to finish lol
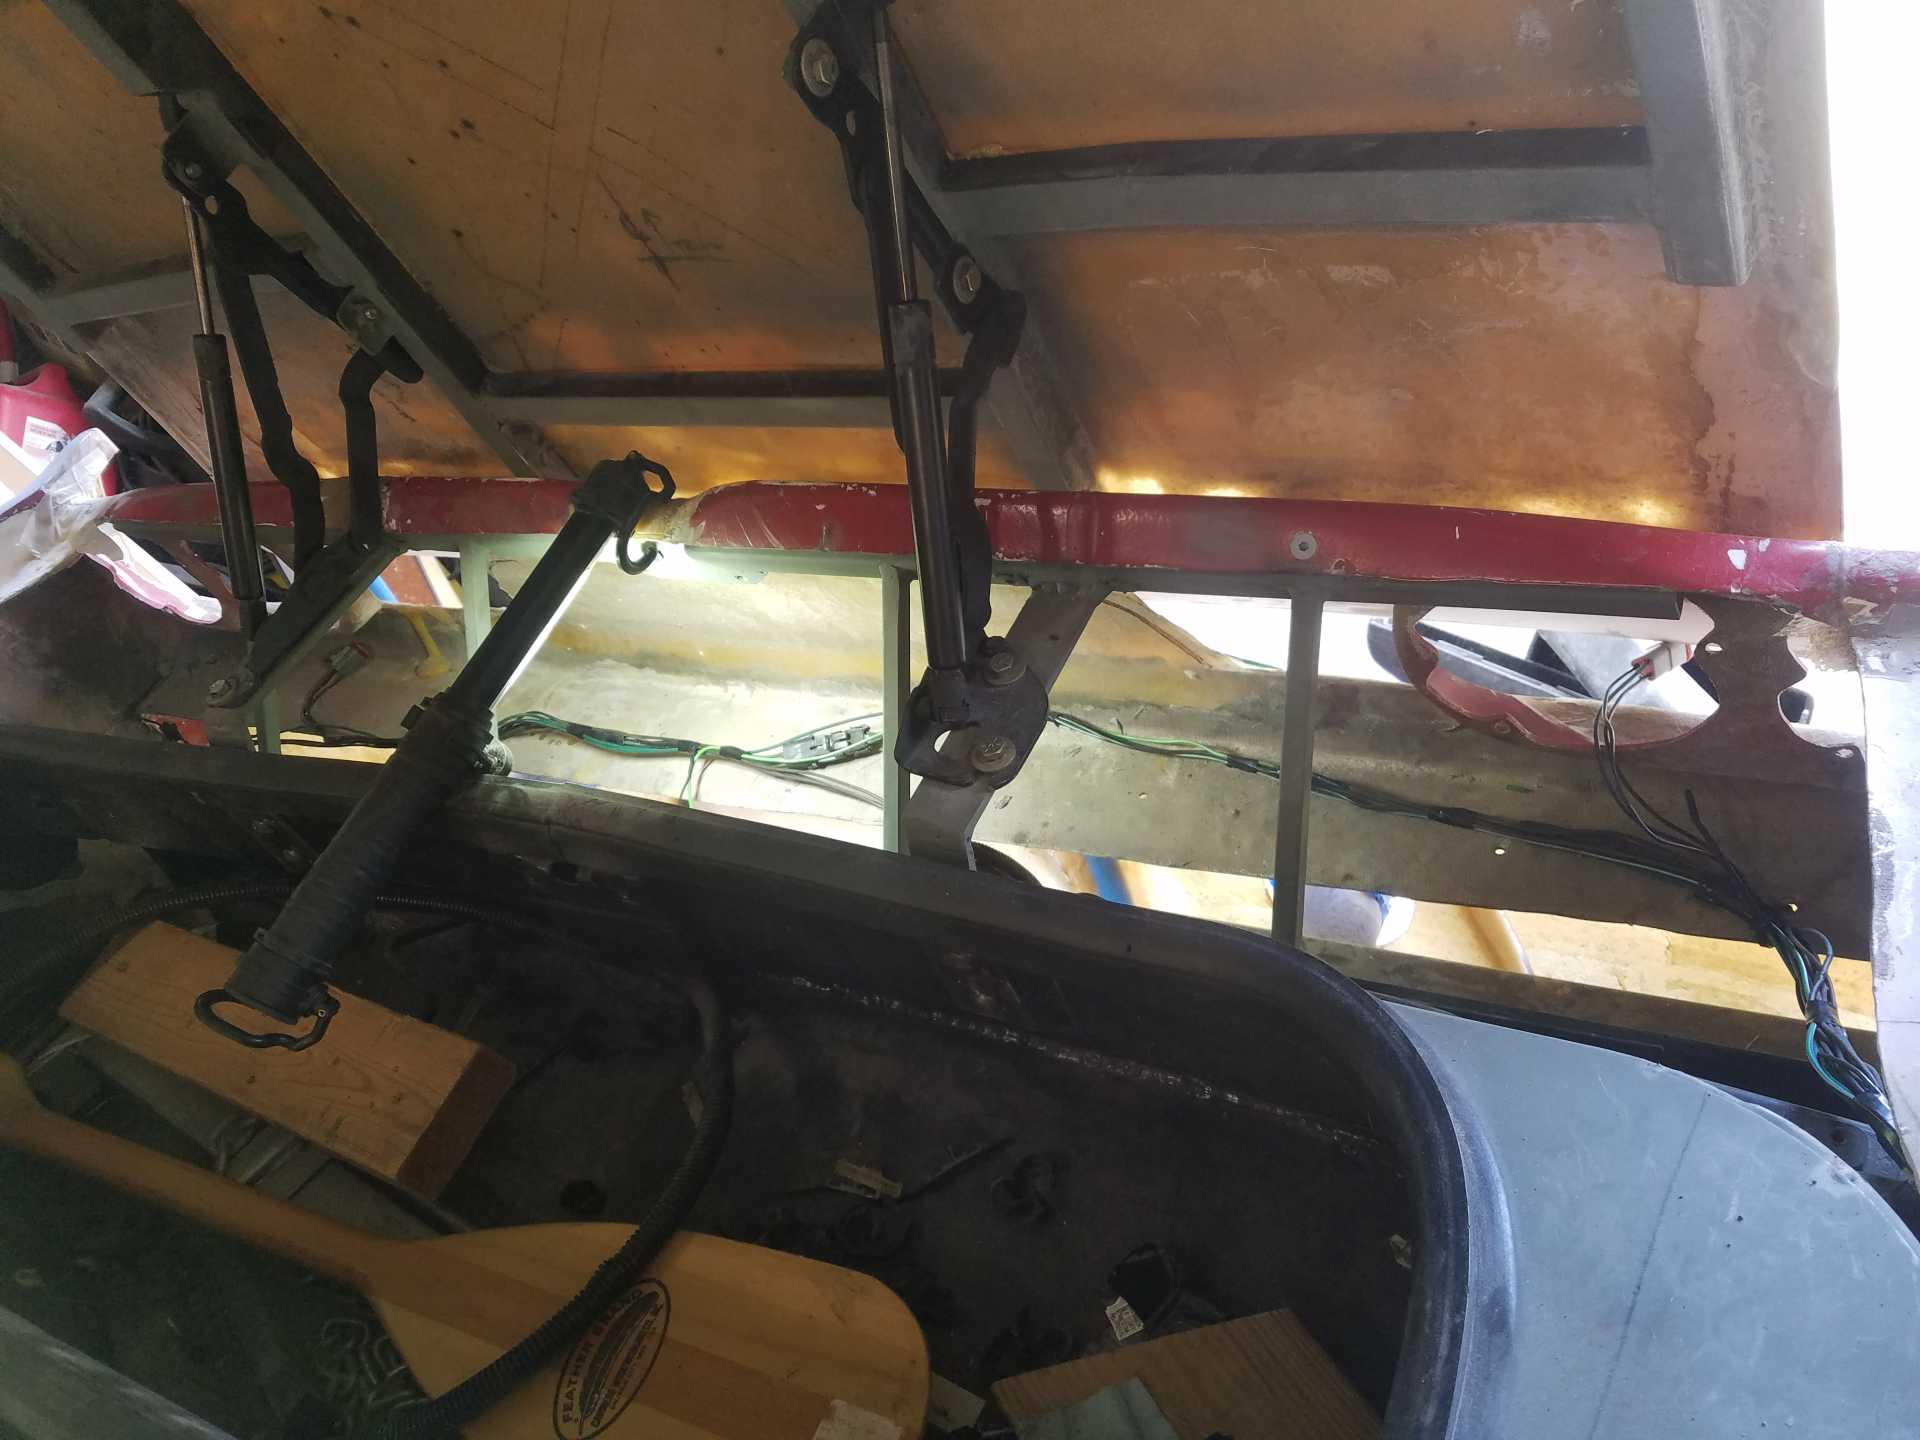
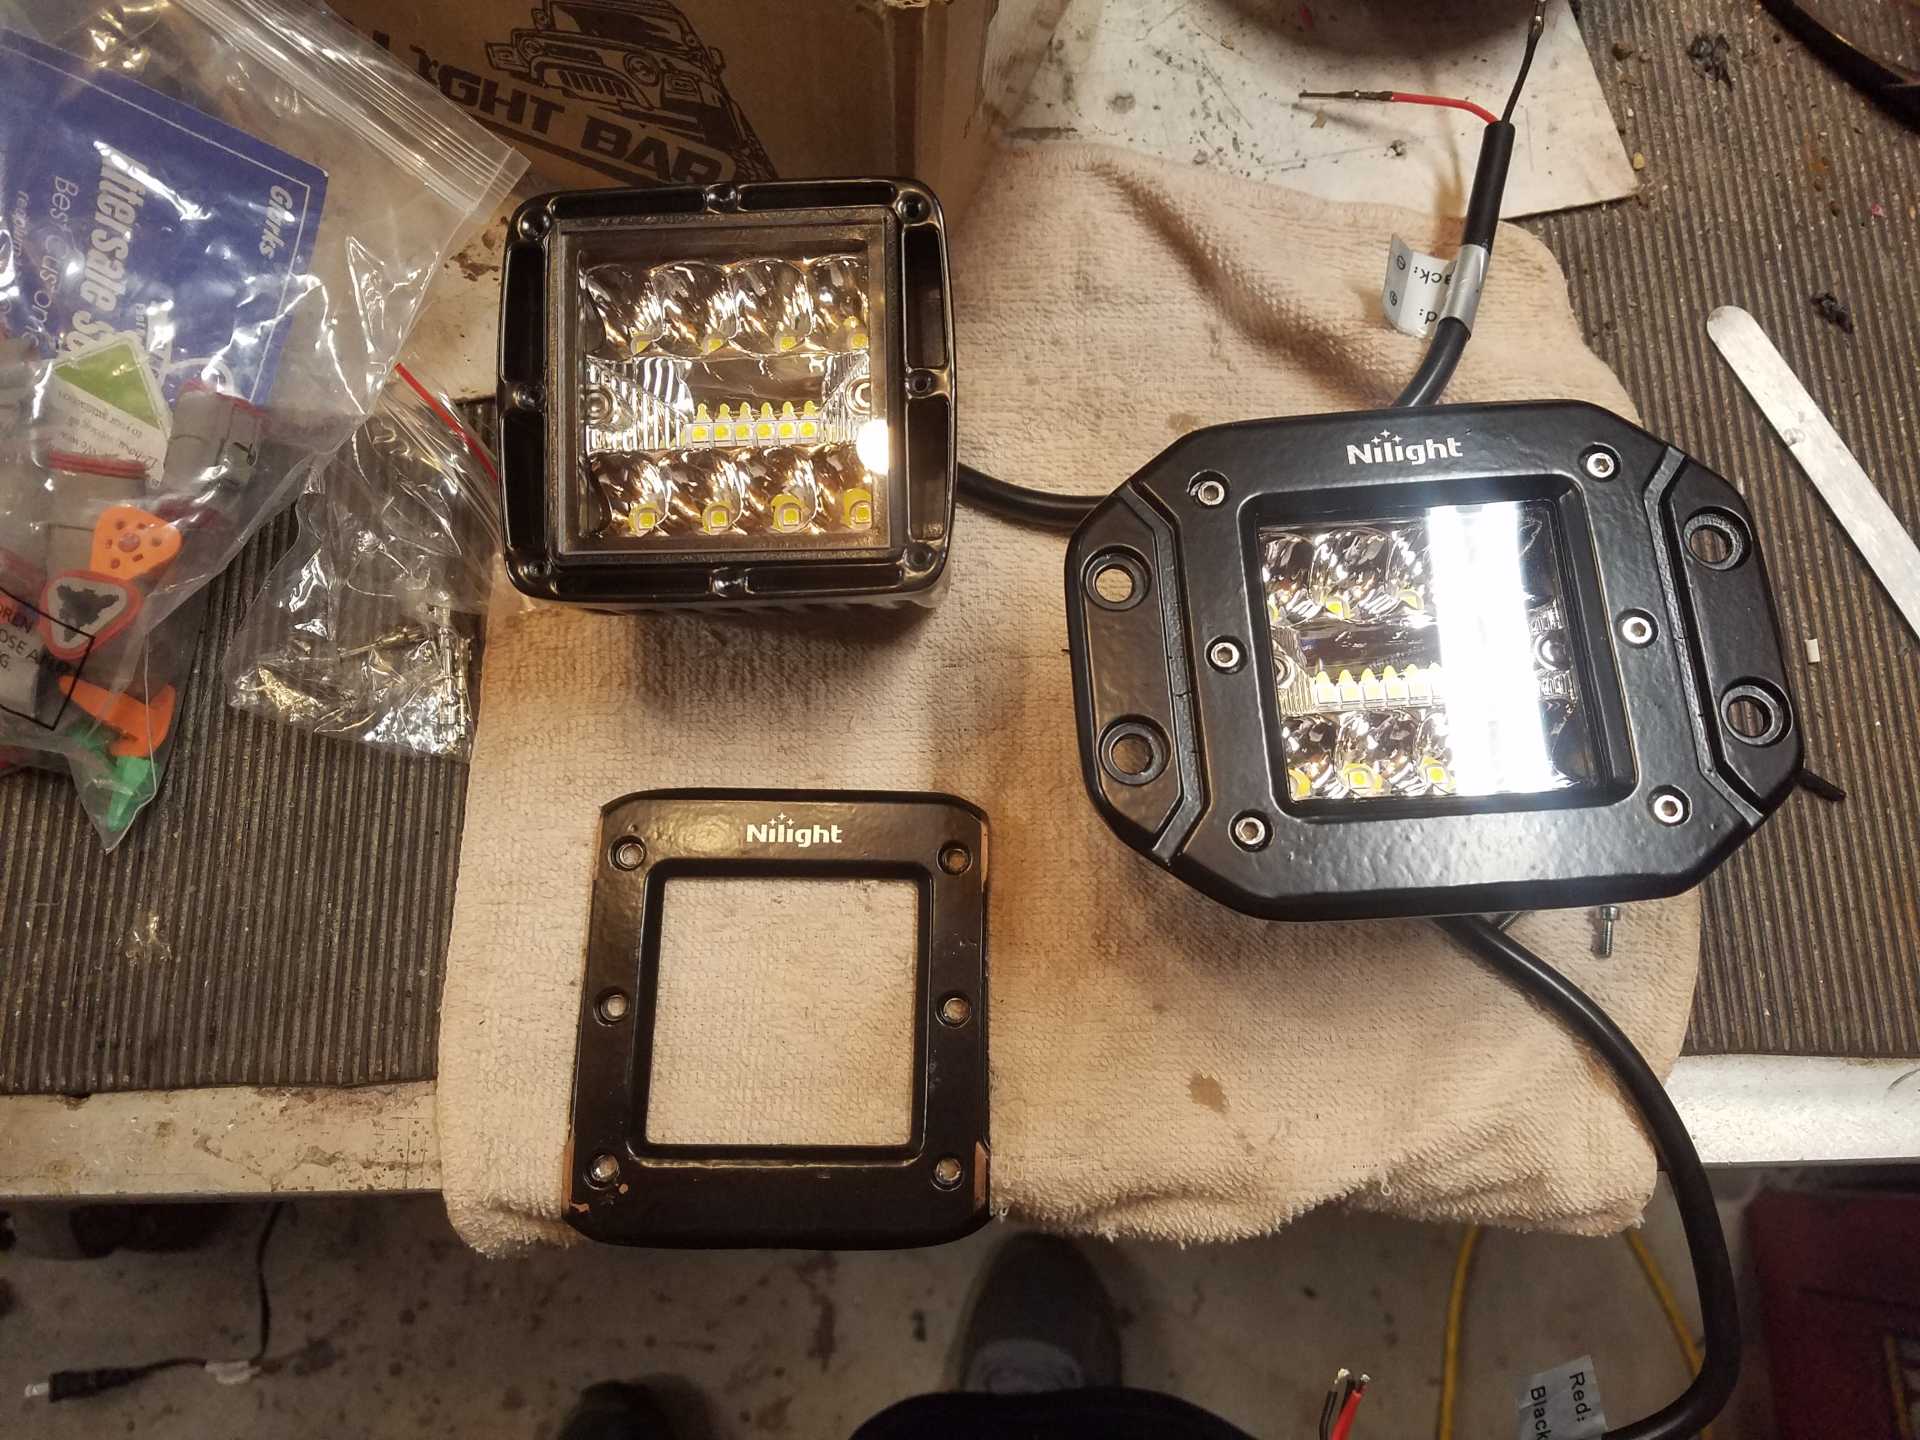
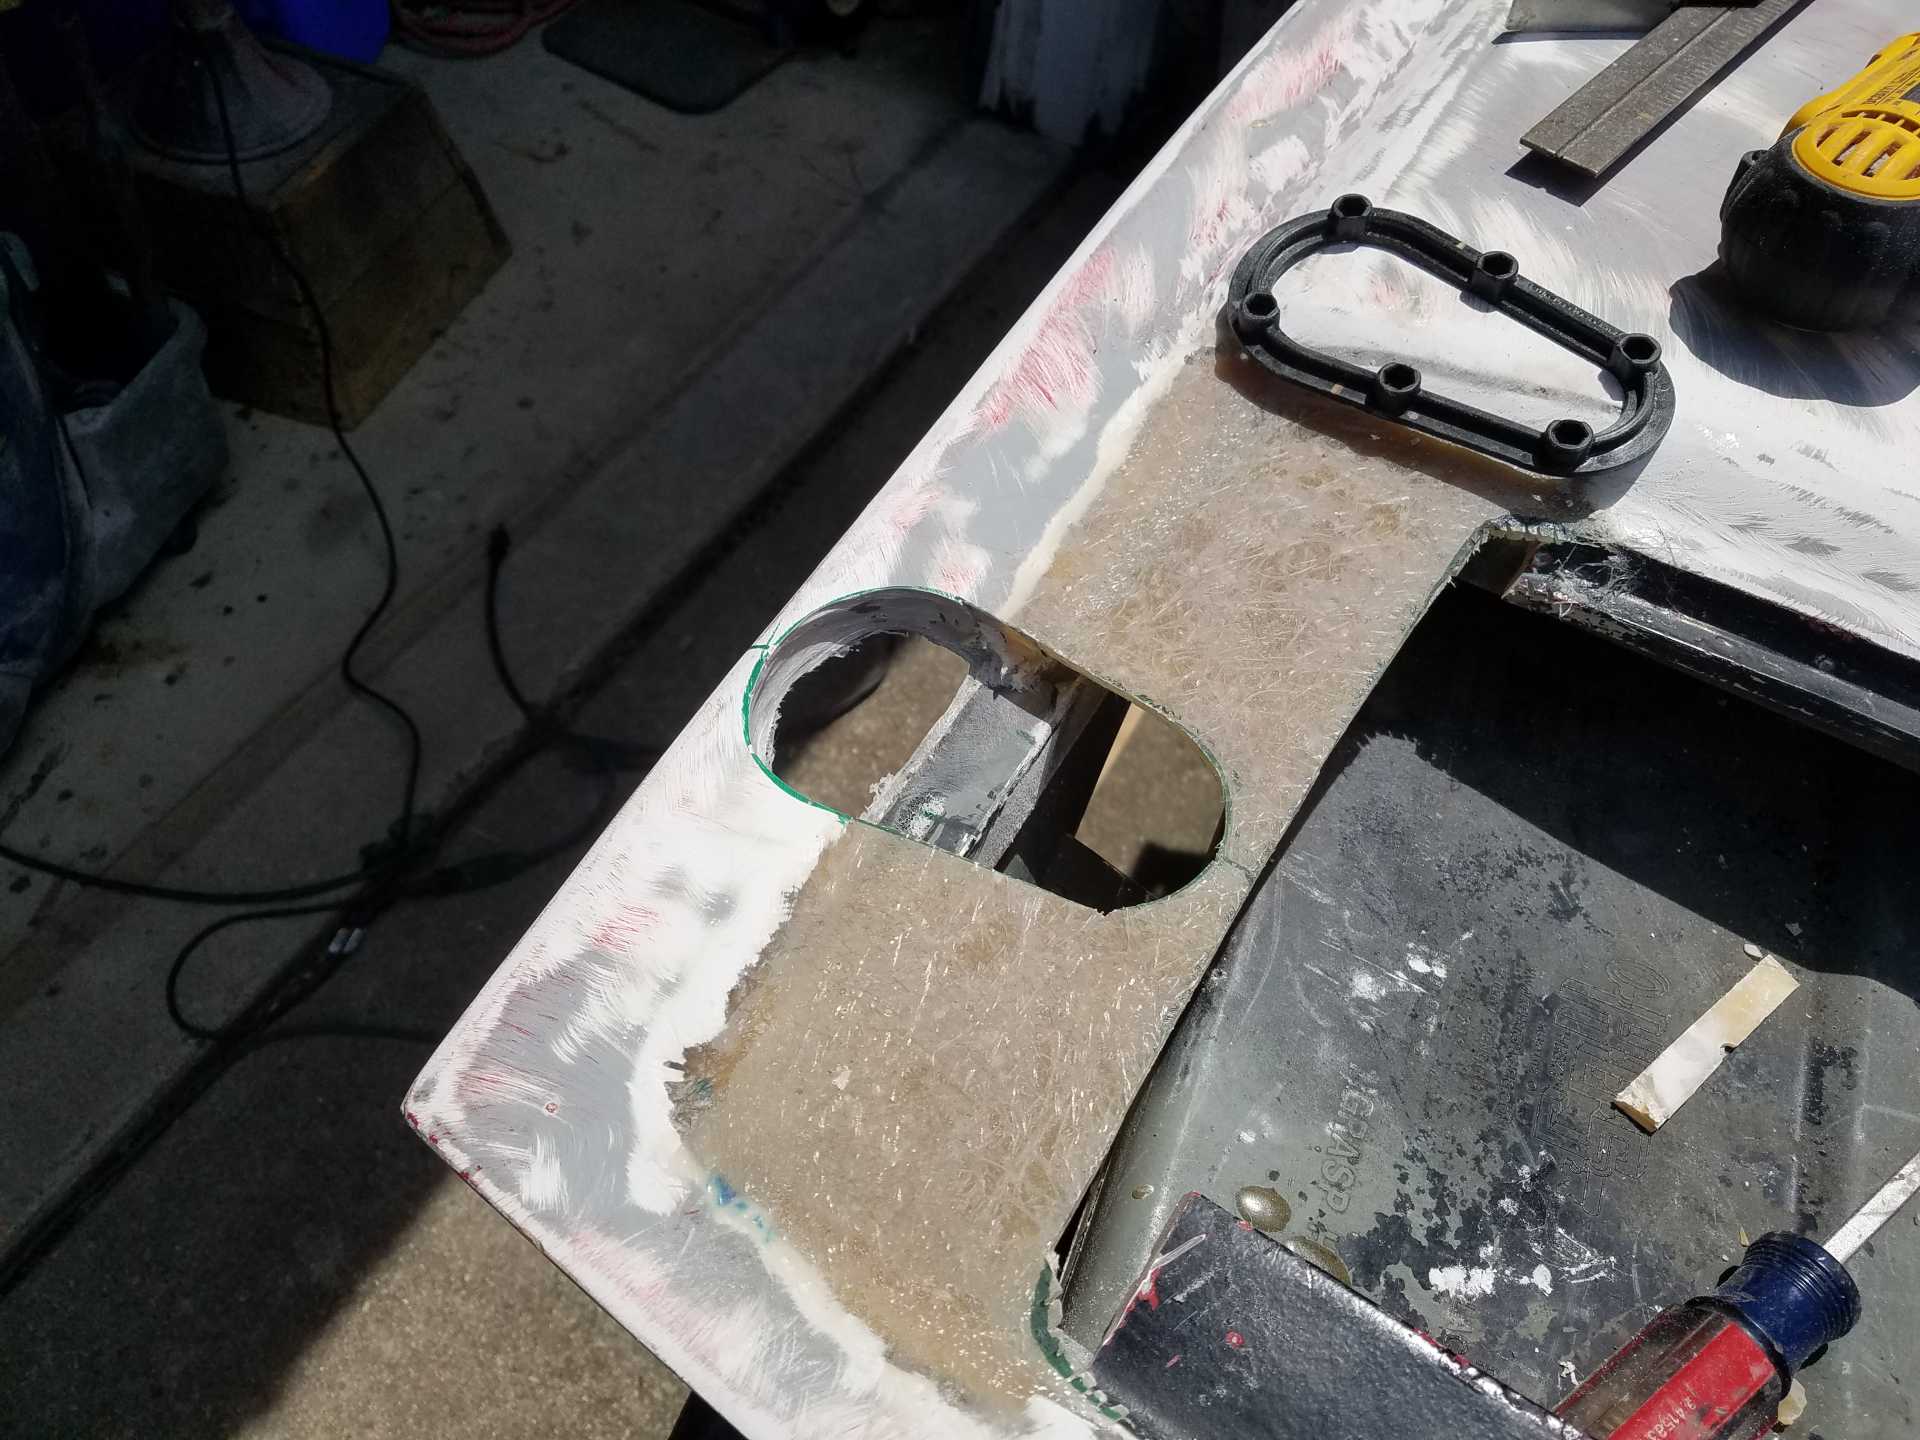
Today I played with something else a bit different. Picked up a pair of Aerocatches for the rear deck. These will match the ones on the front. Let the hacking begin.
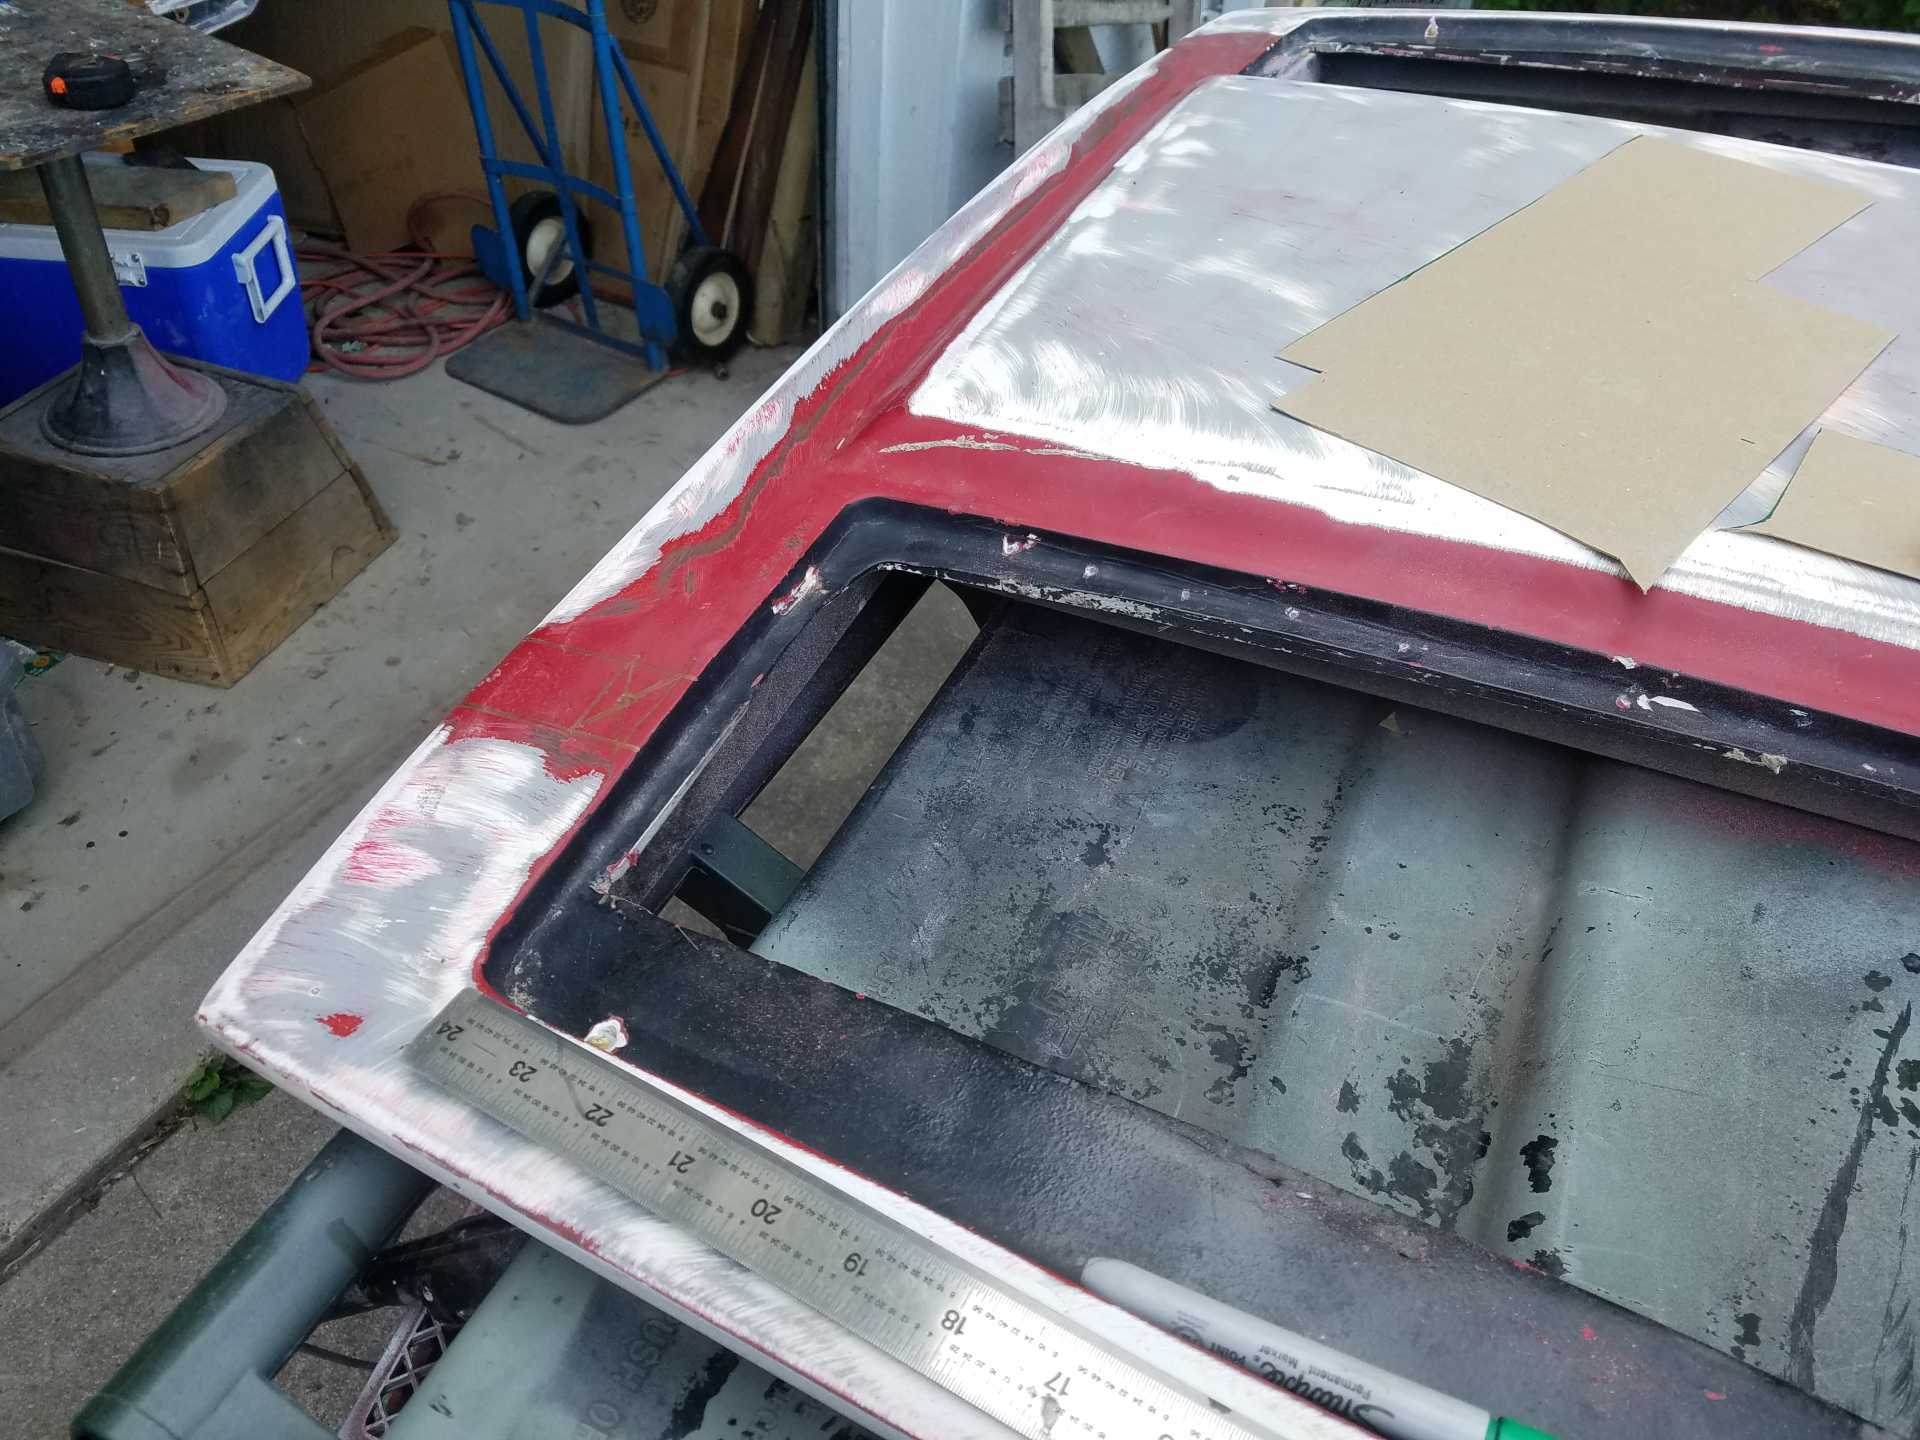
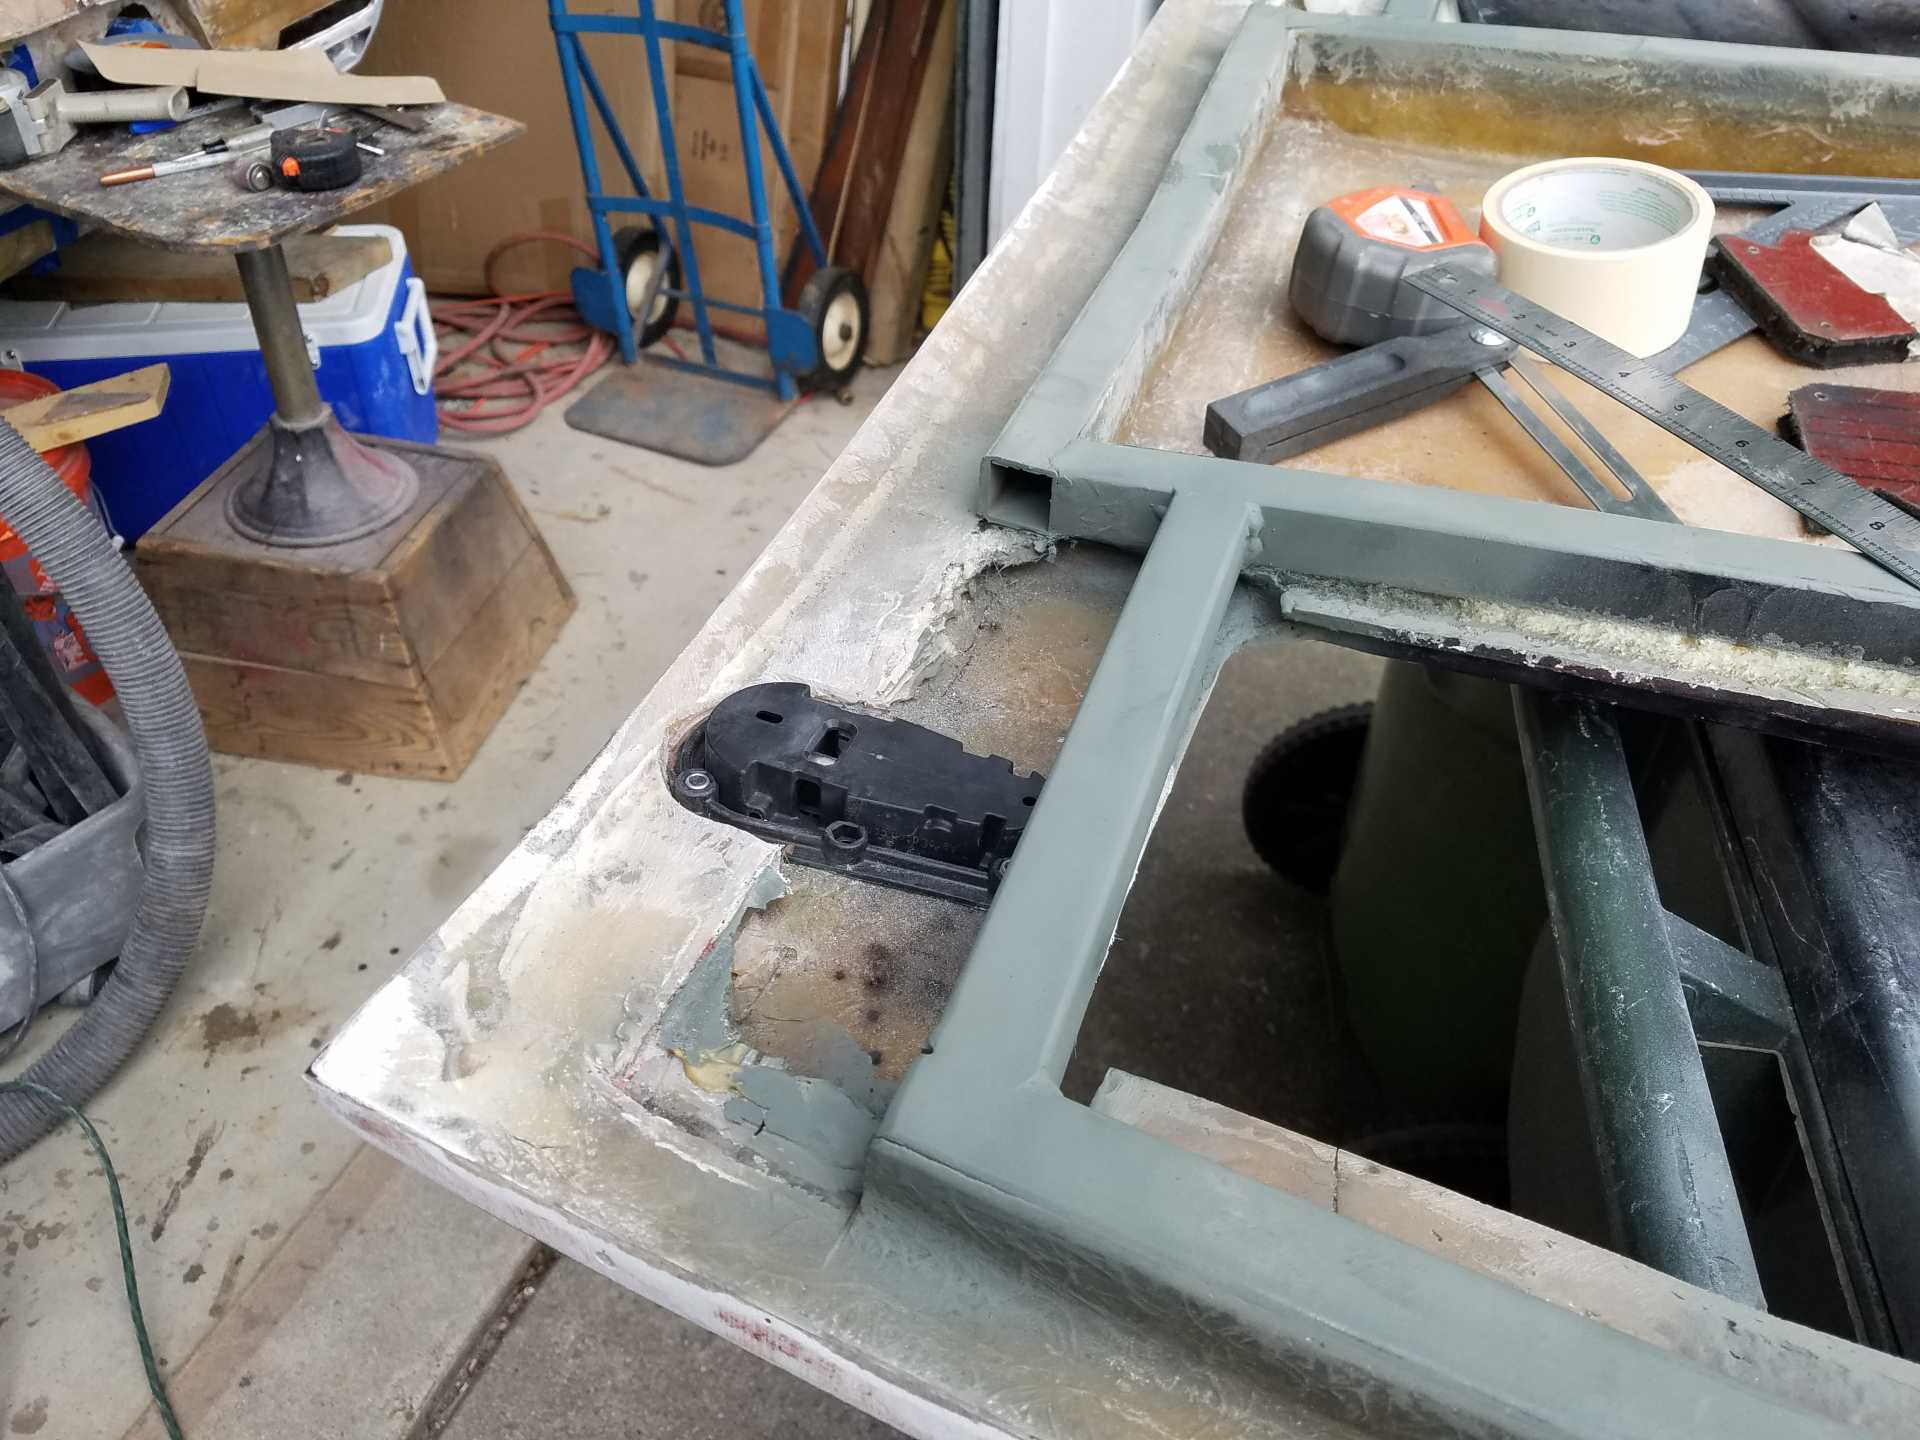
One of the challenges was locating a spot to put them. I was going to place them near the strut towers, but I had concerns with the amount of custom work required for the deck, but anywhere was going to require custom work. I ended up picking near the window. Unfortunately, the deck support tubes just hit where the catch post needs to go. More on that...
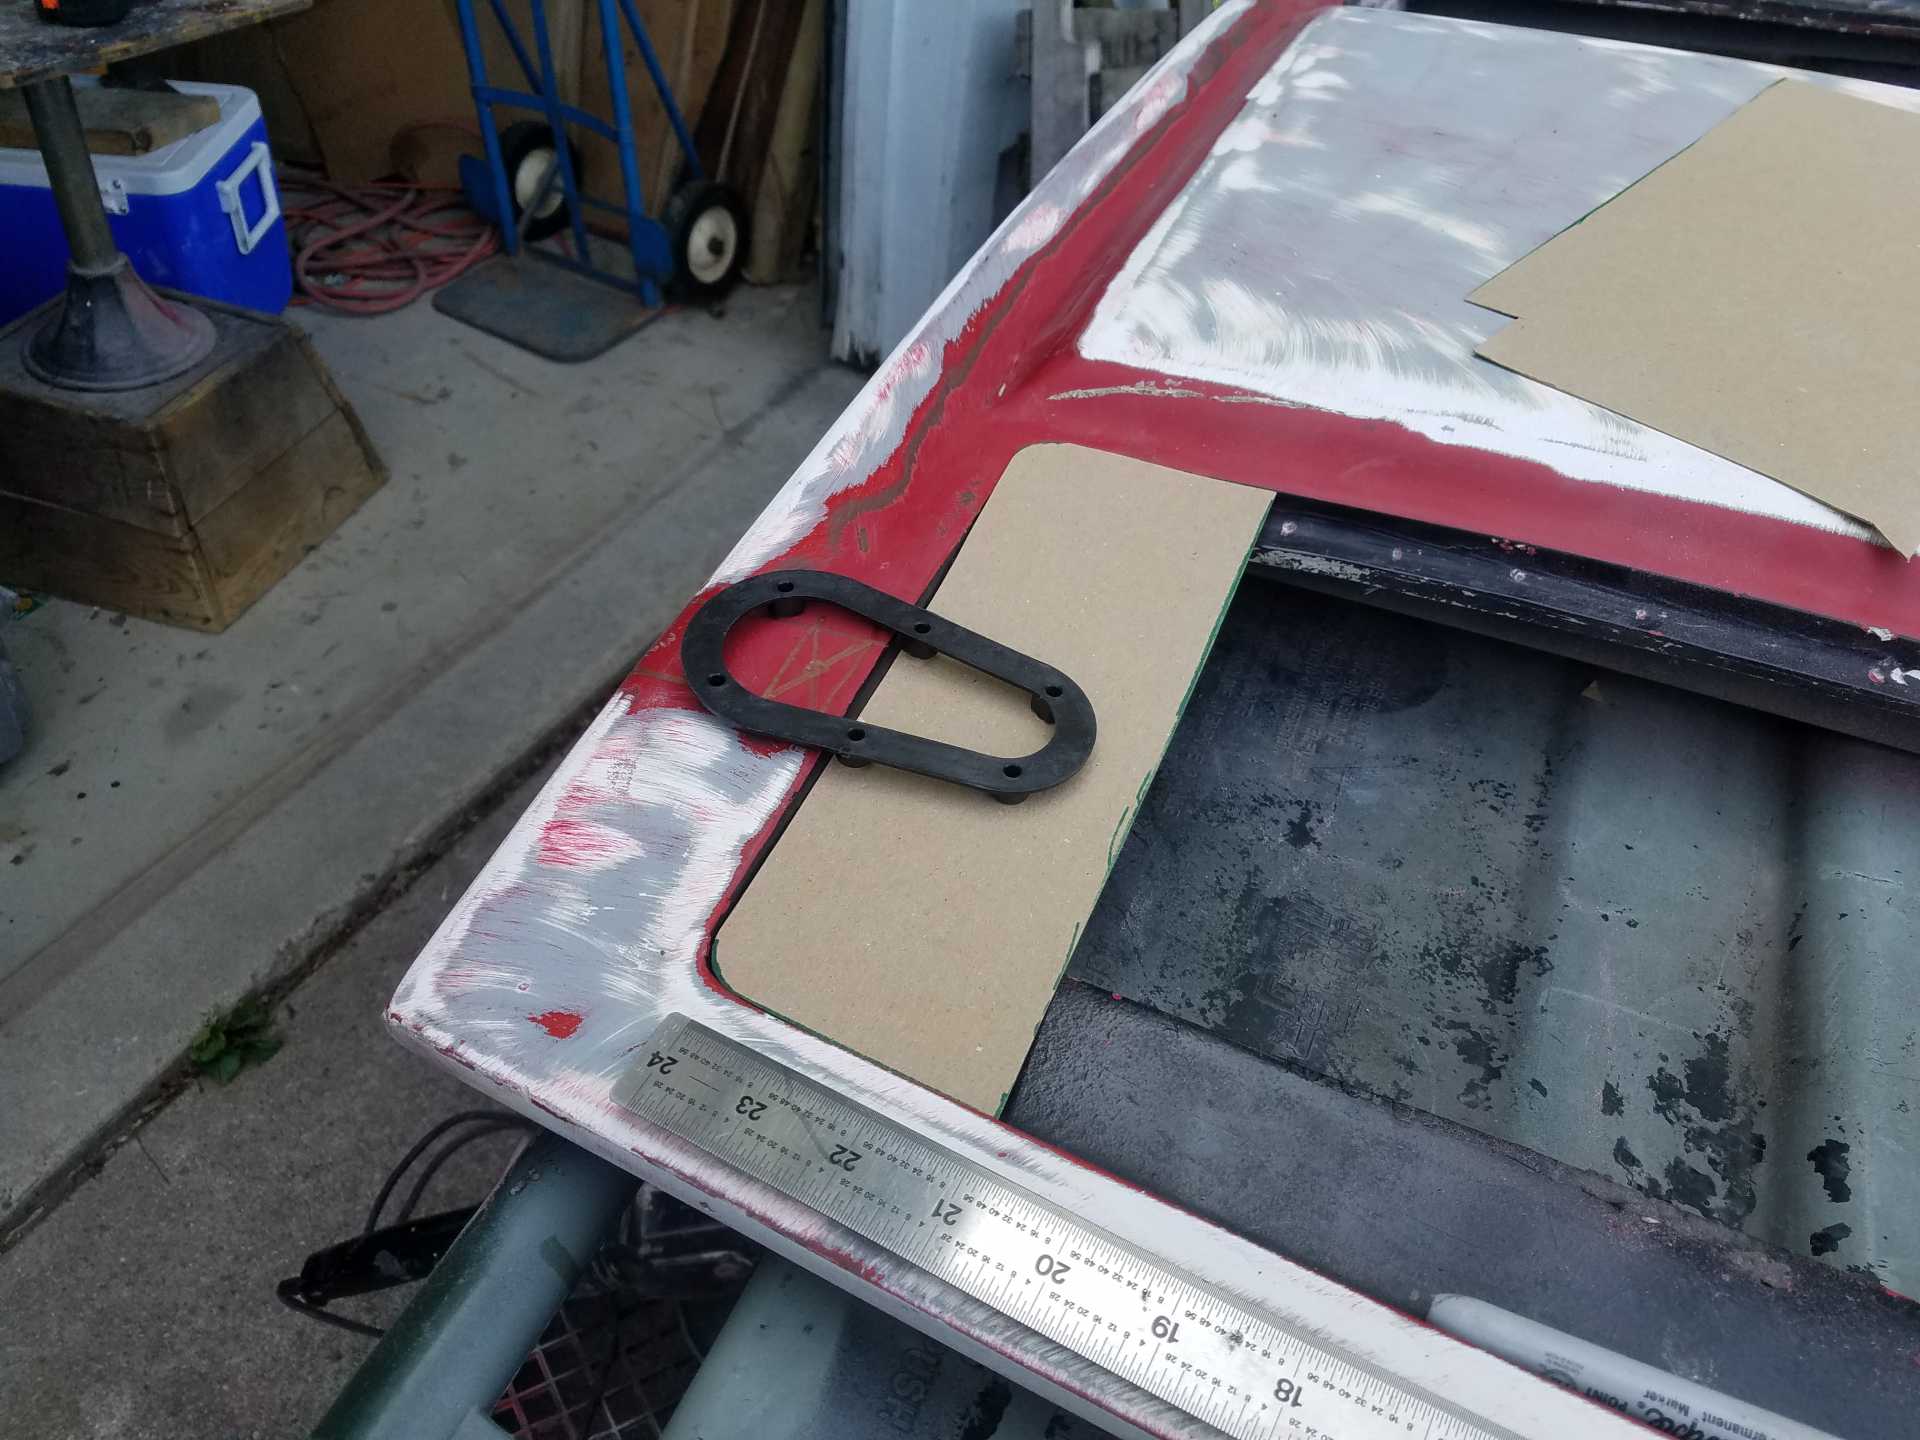
As can be seen in the pic, I'm going to need to add some real-estate to the deck lid to make this work.
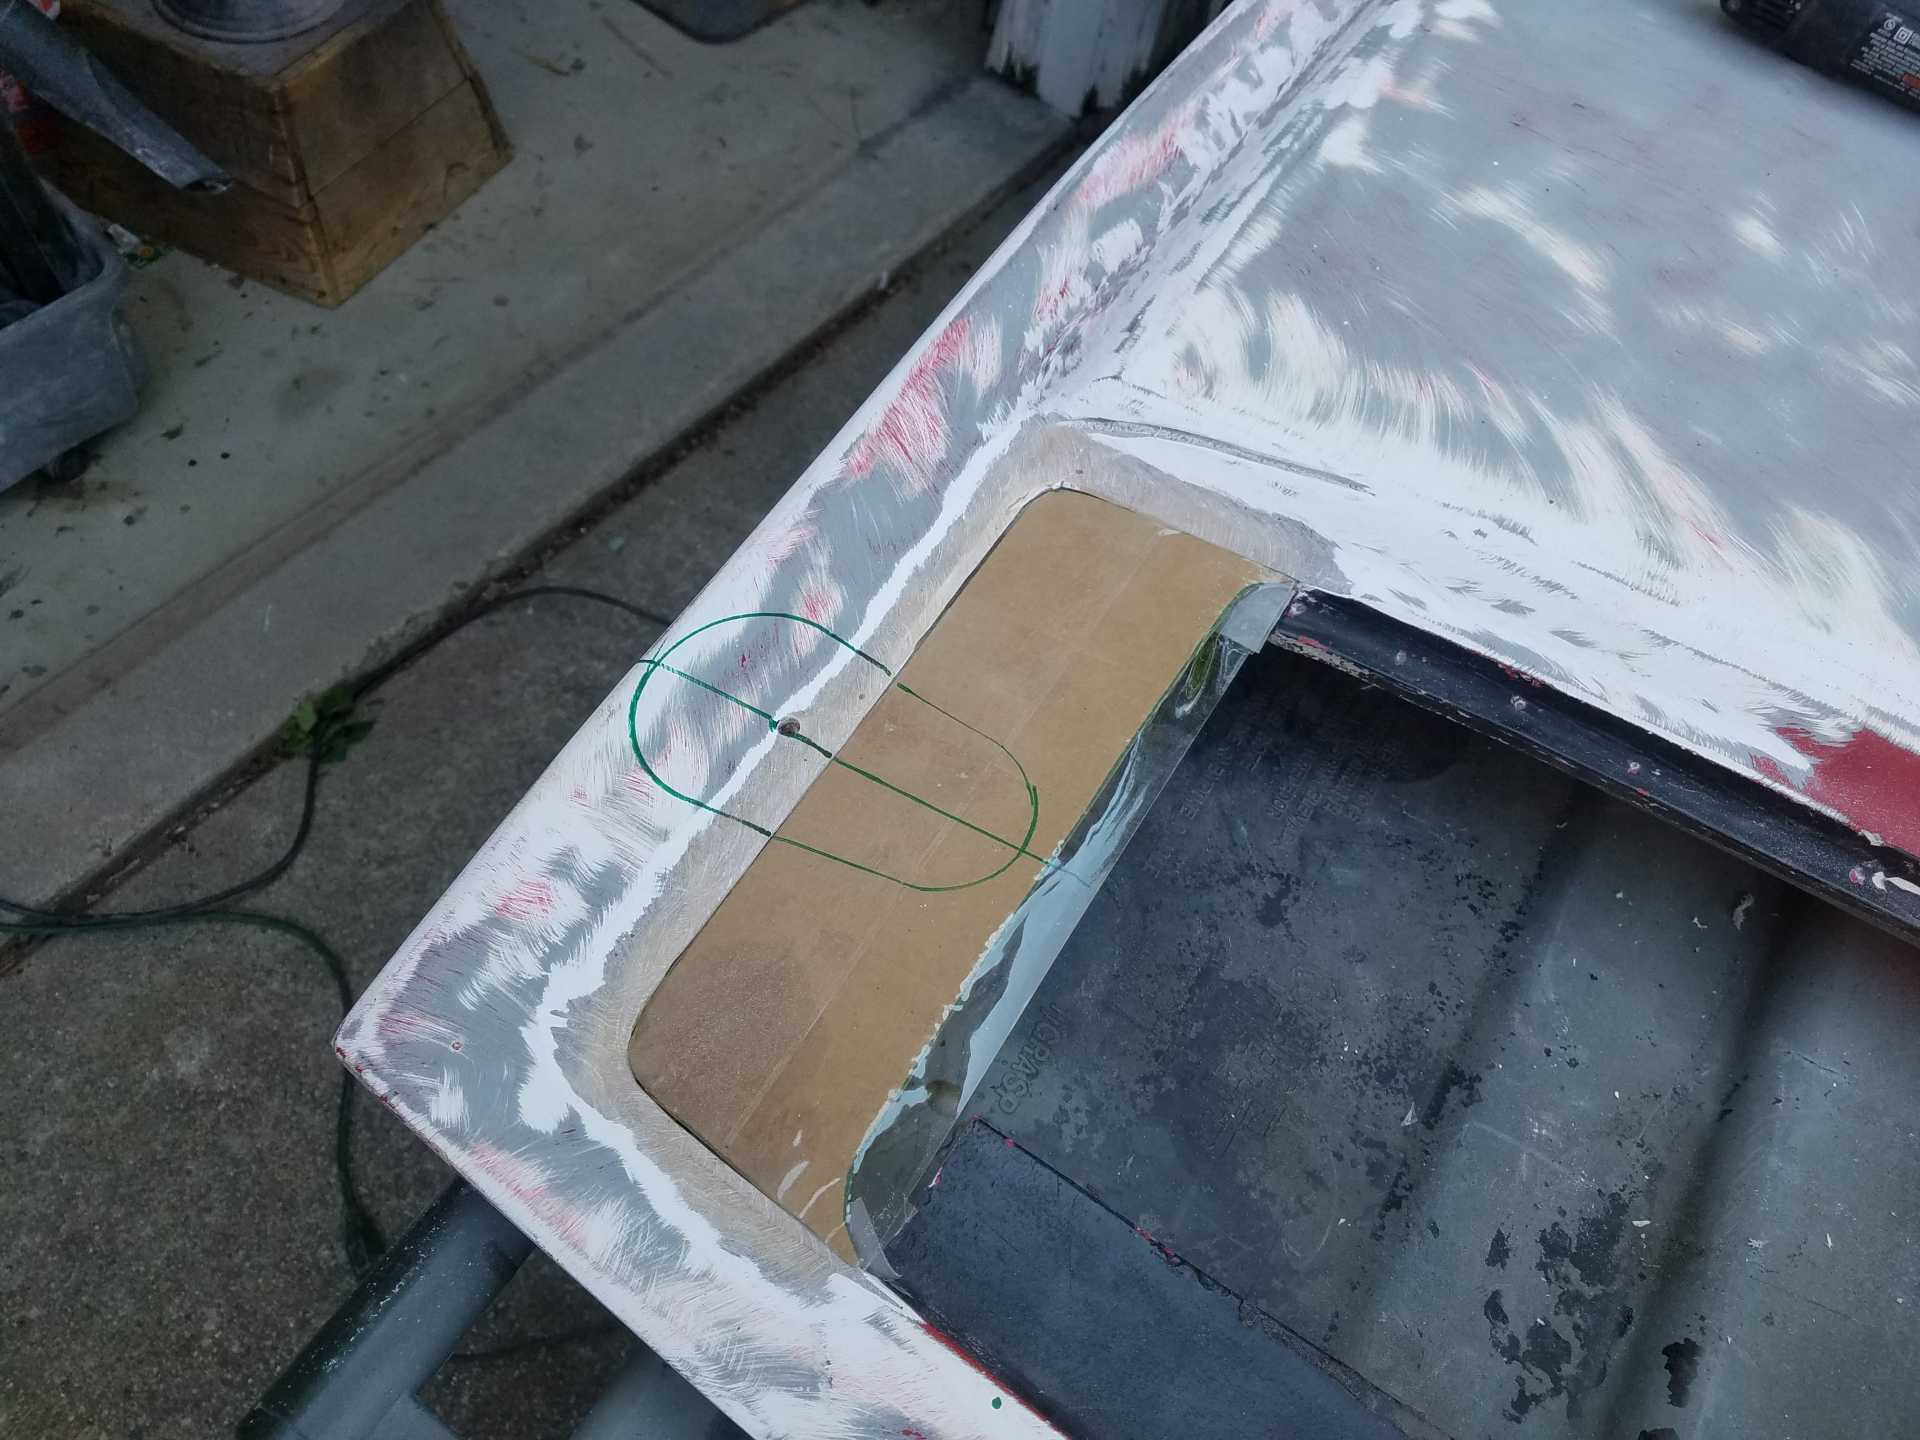
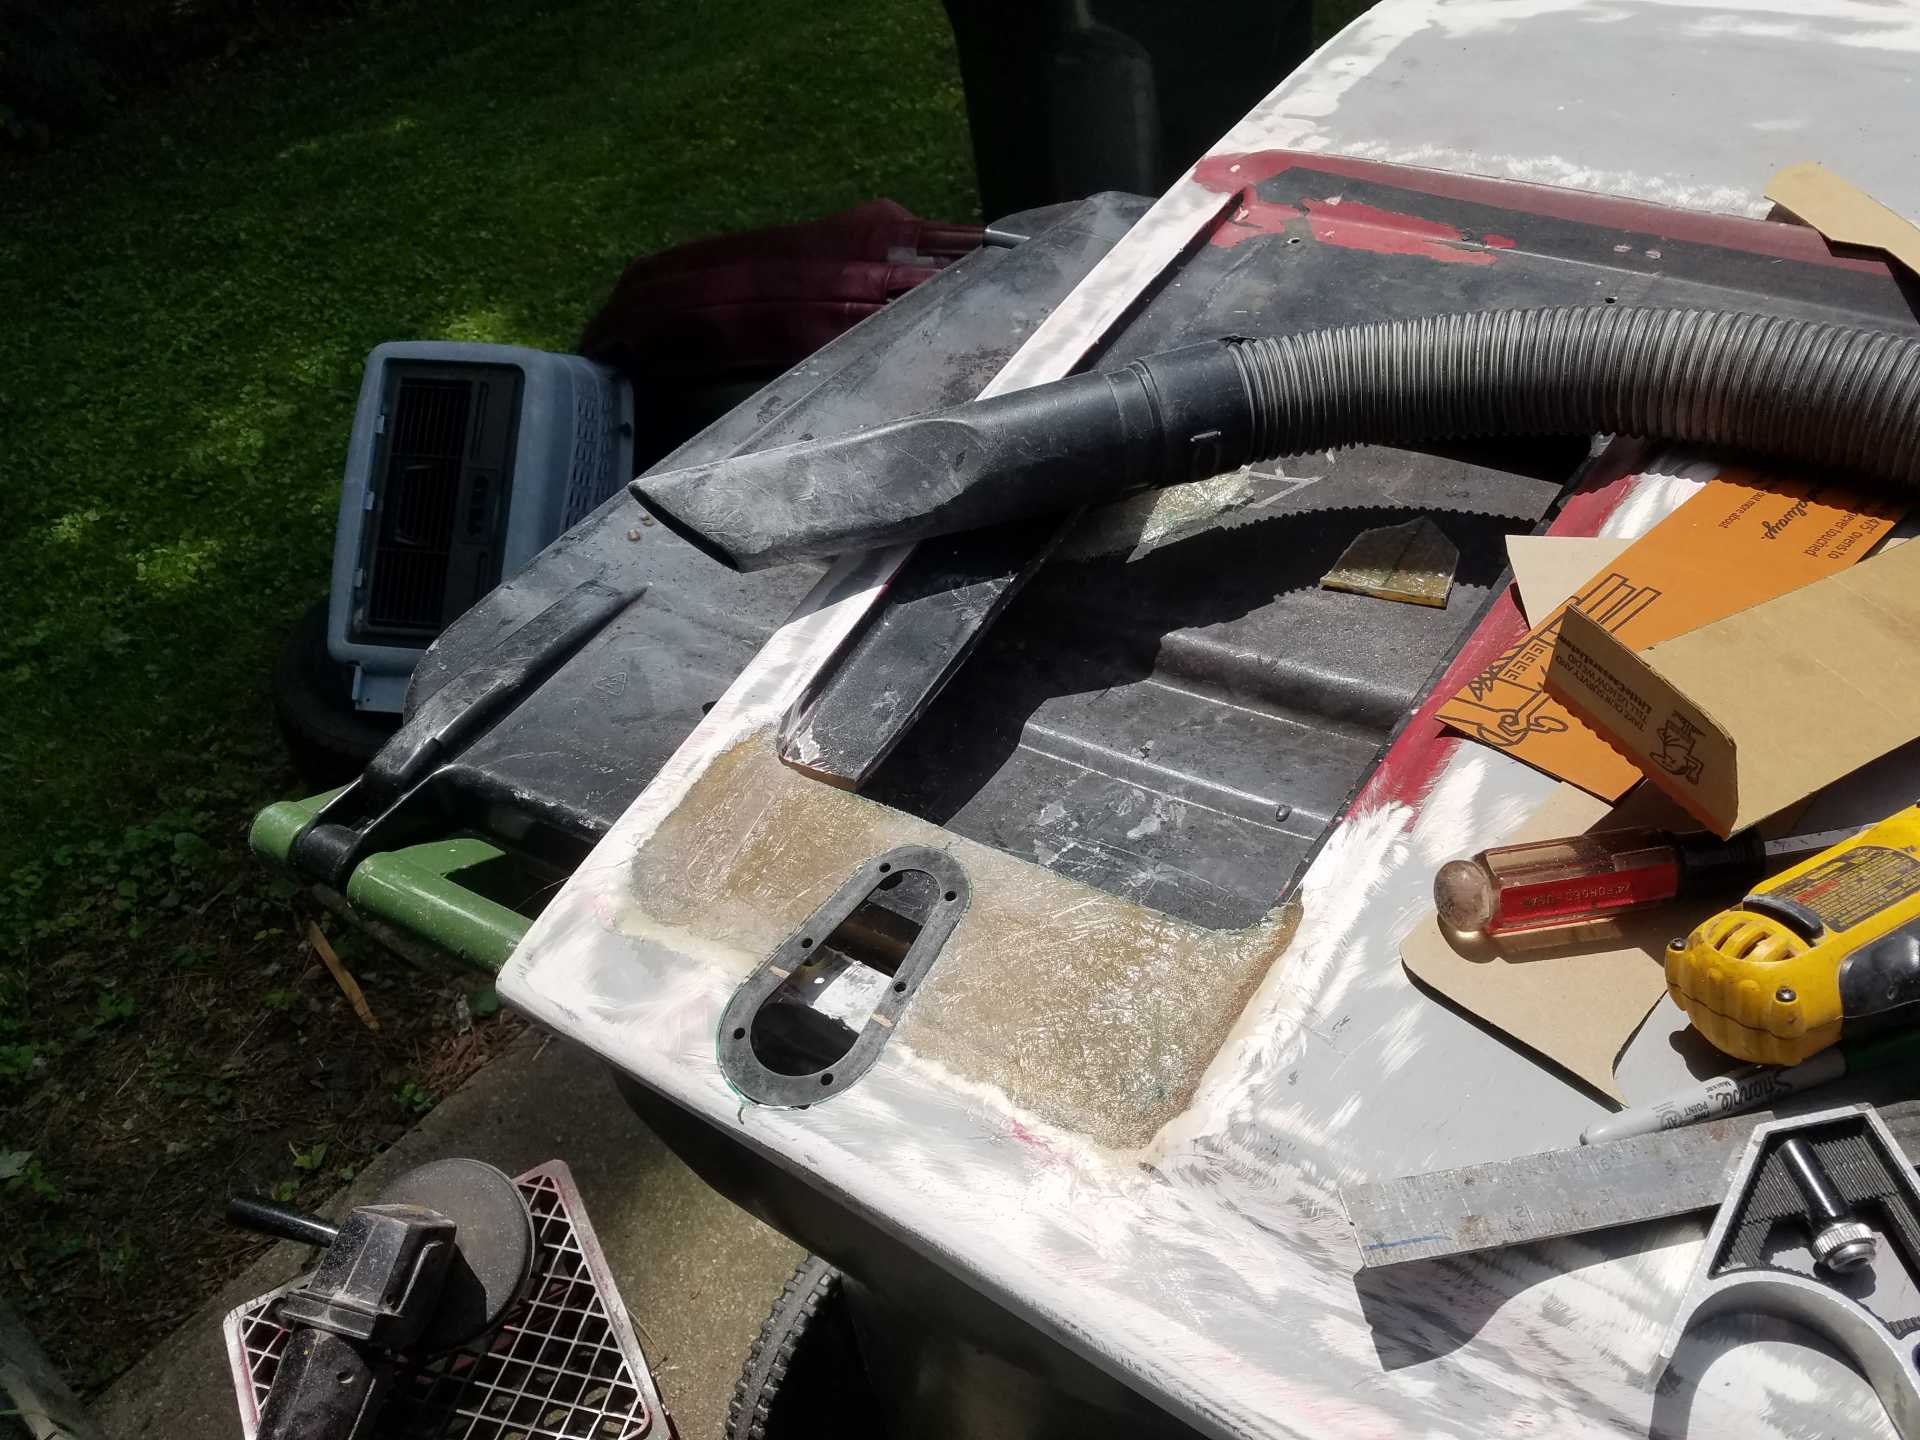
Made template and glassed it in.
Copy paste for other side.
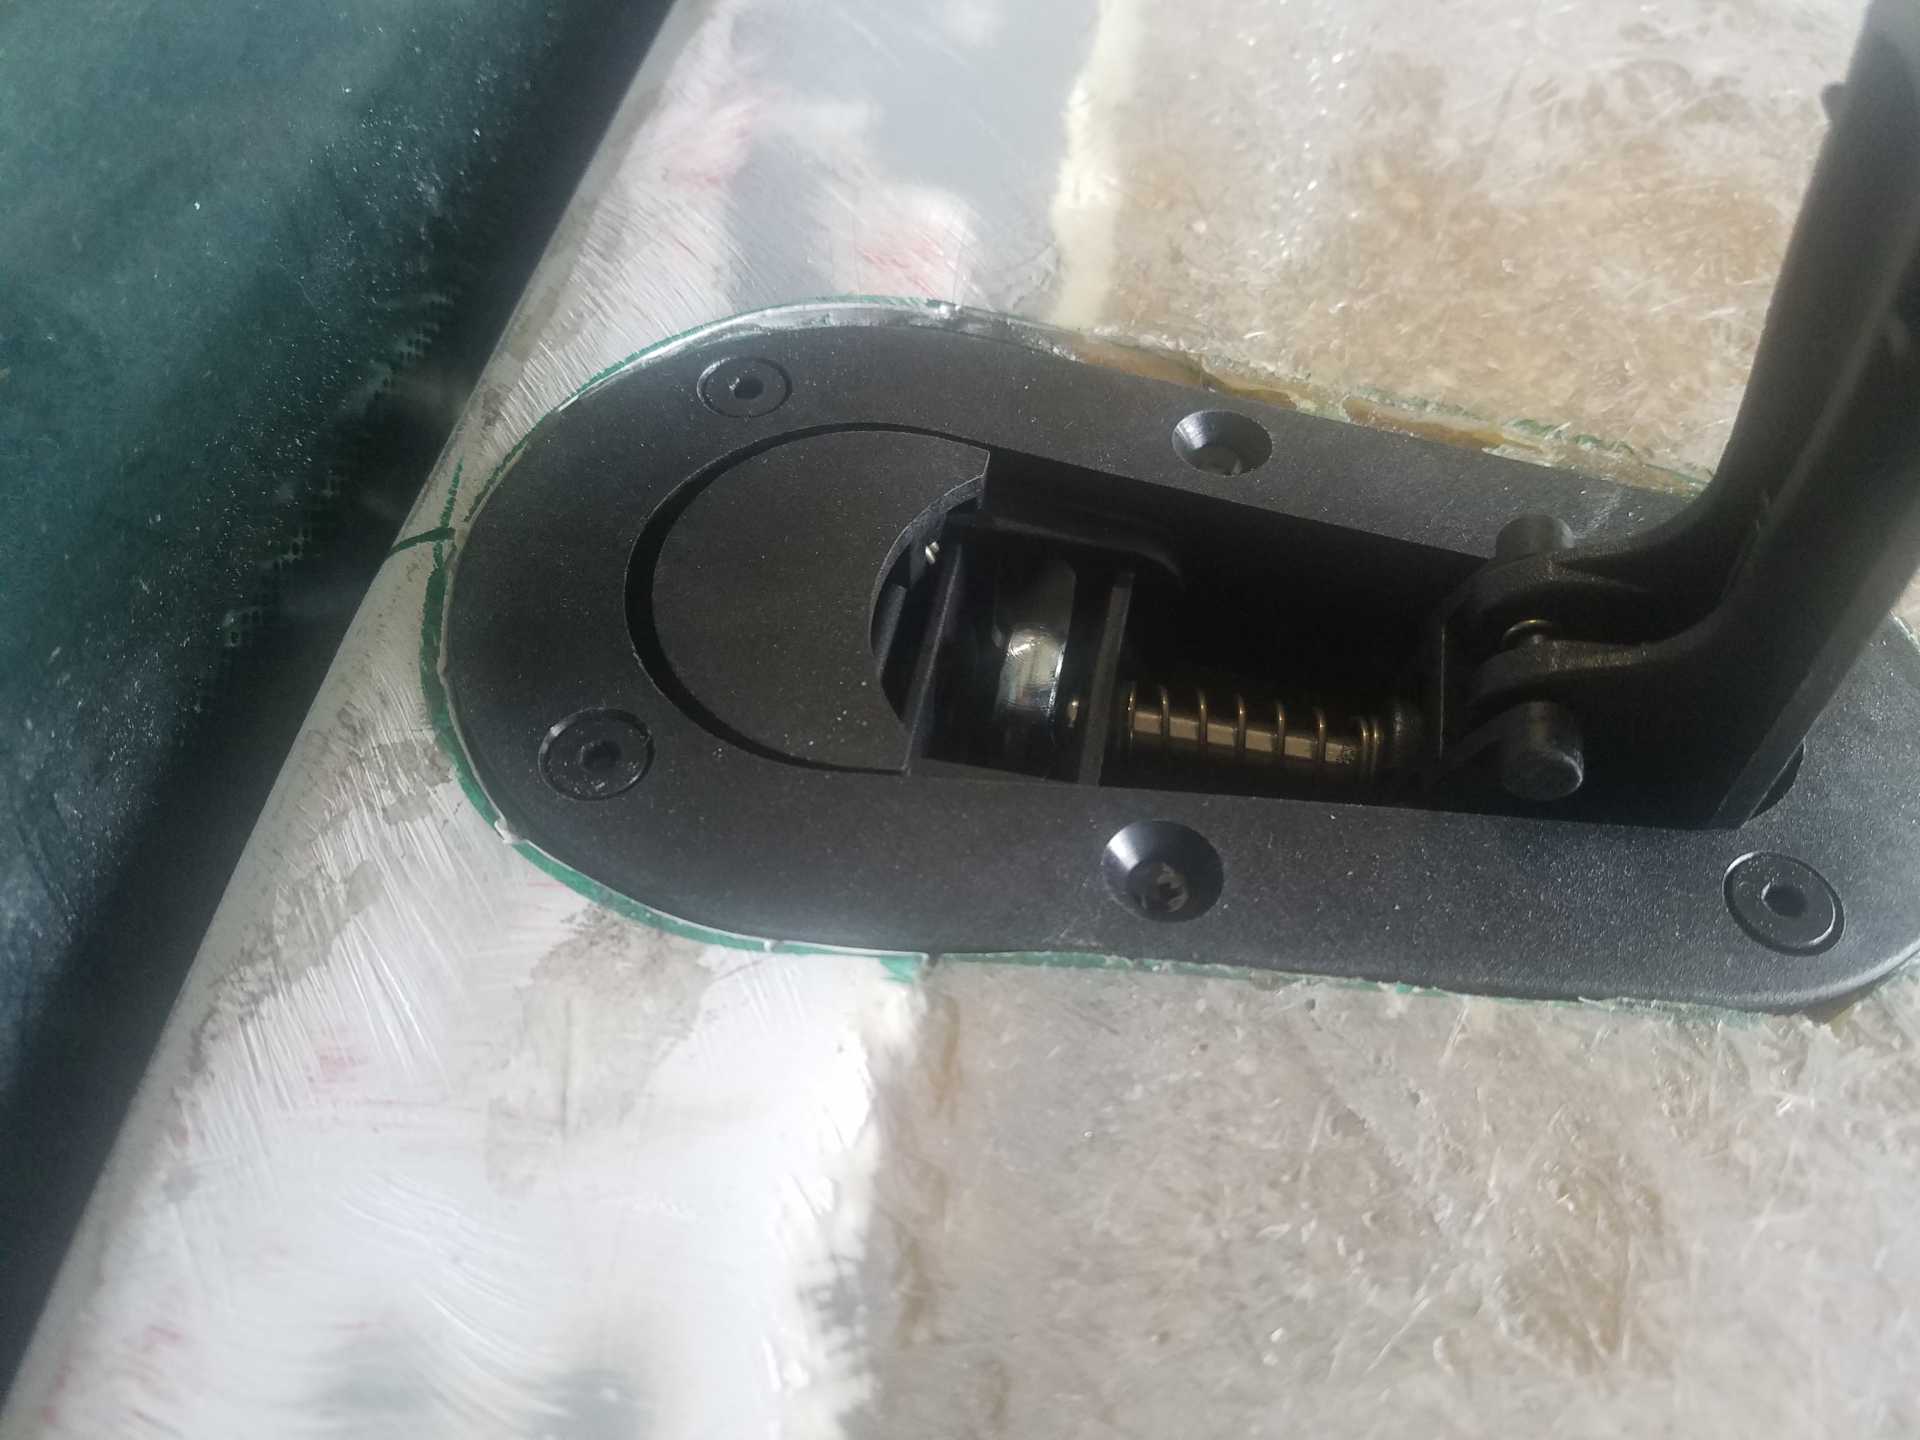
Now. I need to flush mount these, so I needed to make a flange underneath. I used the bottom rings as a mold to get the height right. Then glassed them in.
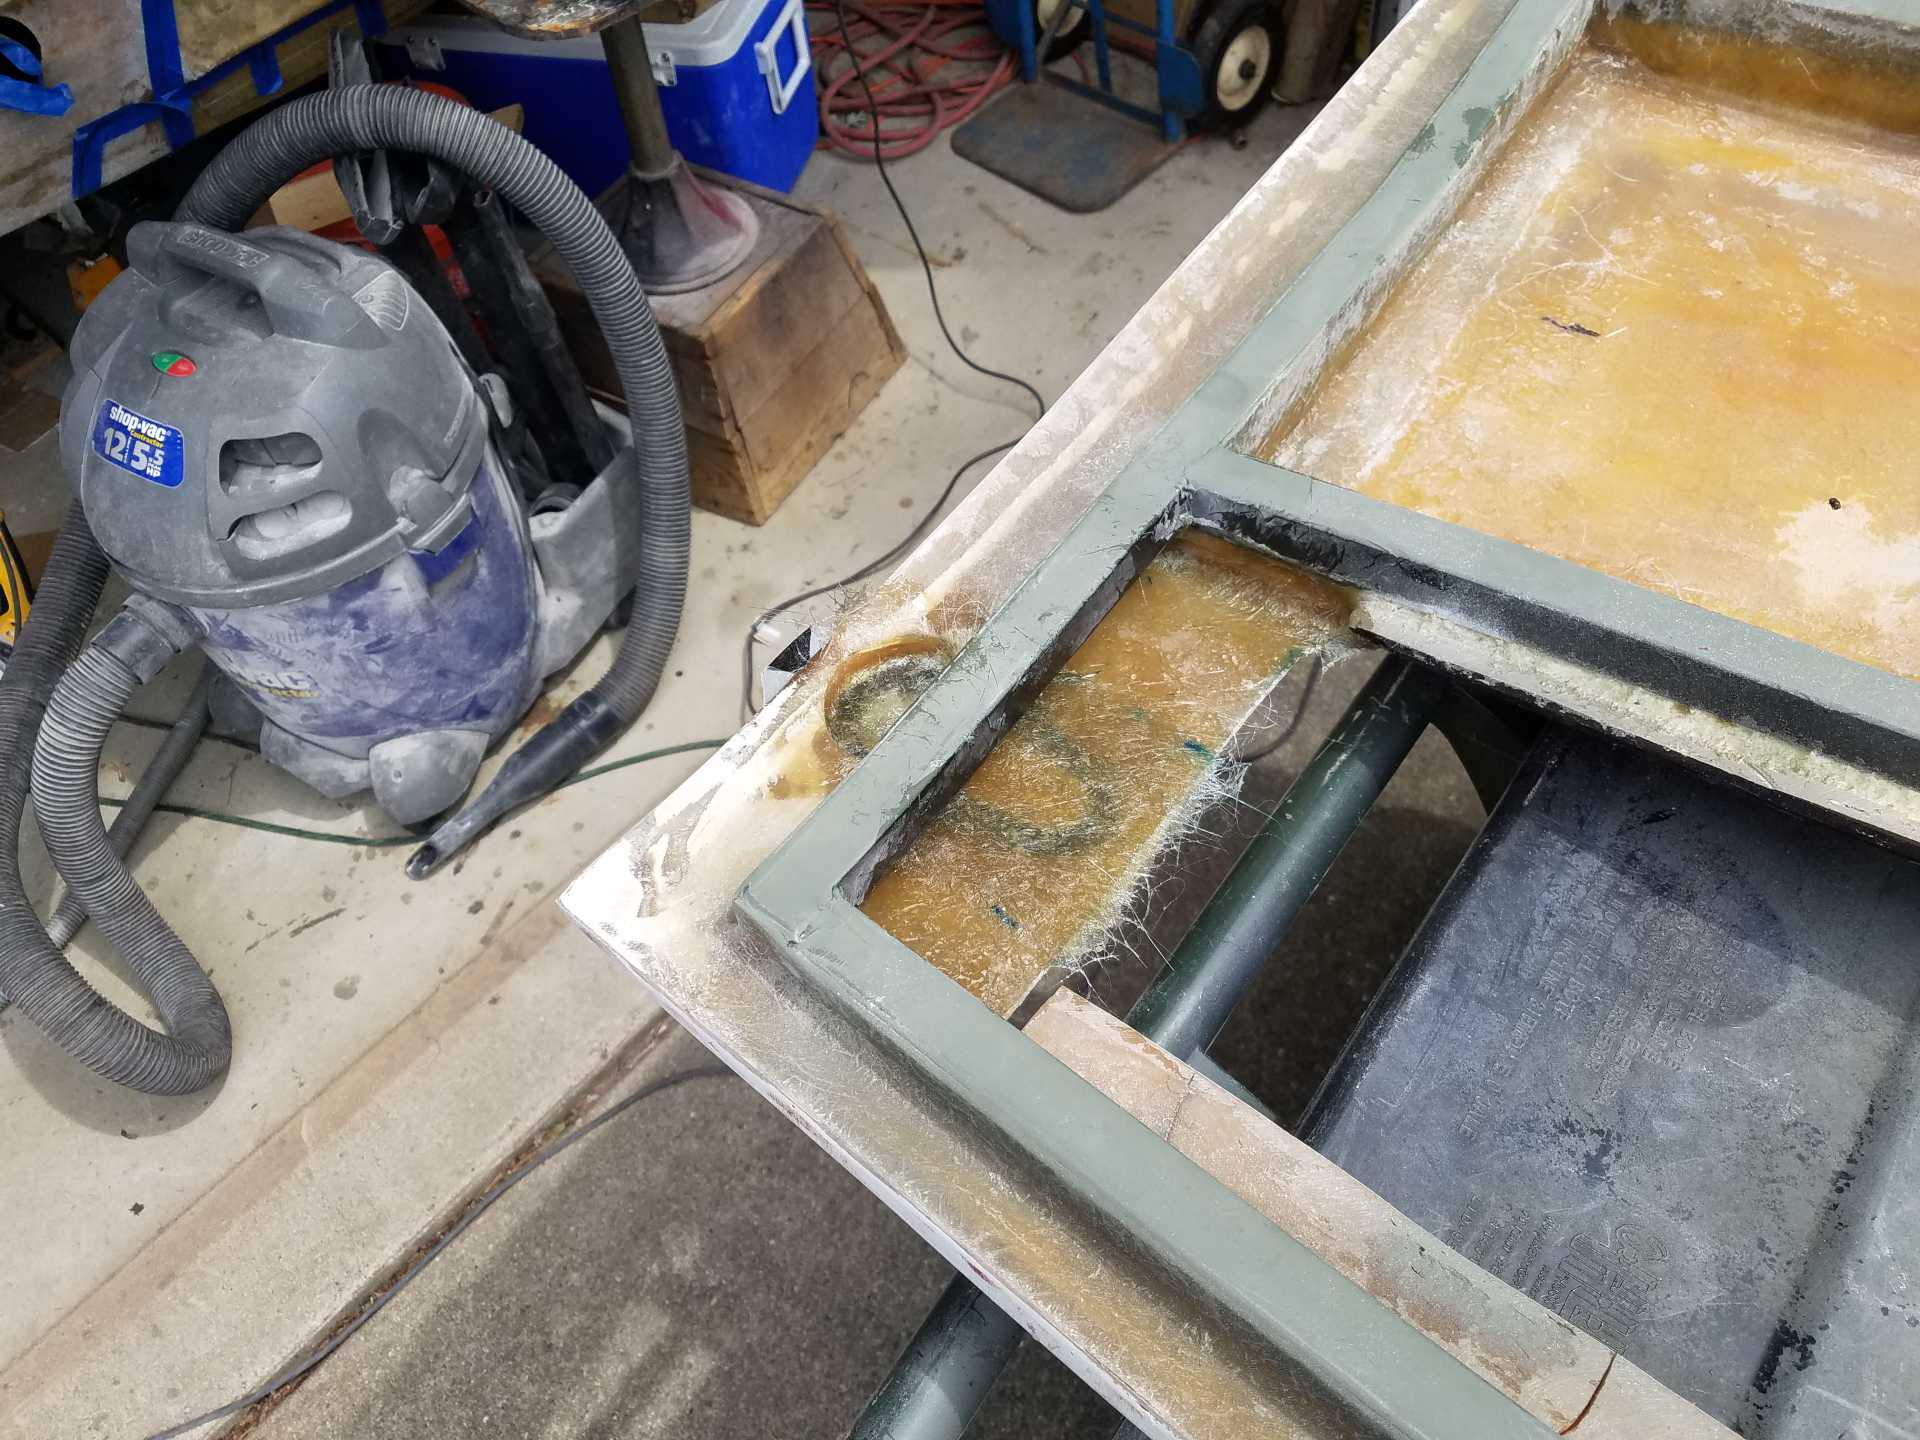
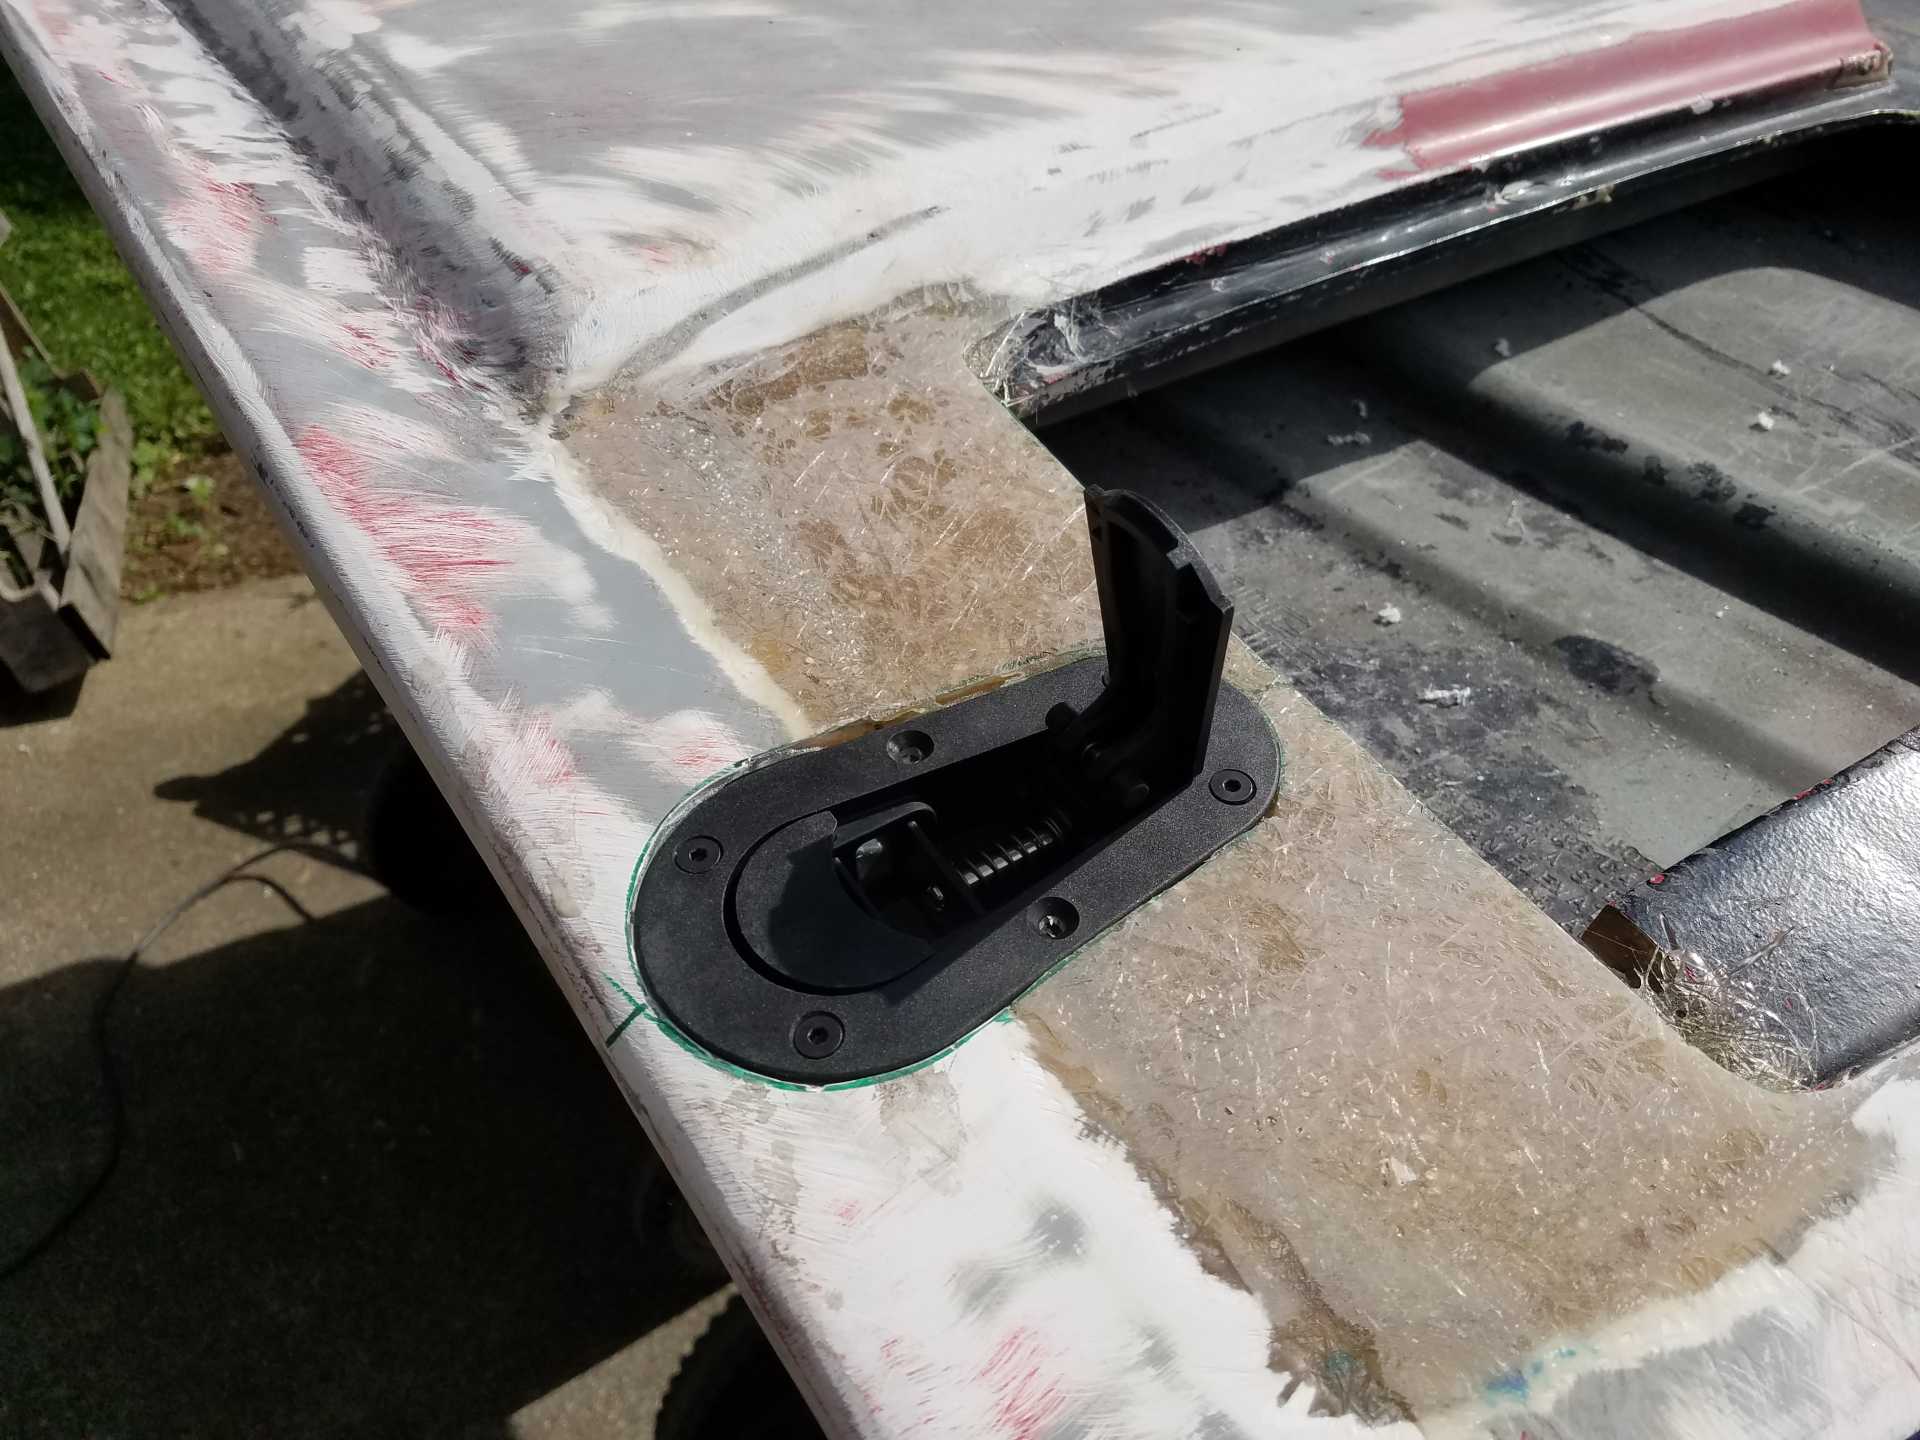
Notice the tube in the way. Inspiration hit, so I cut the tubes out.
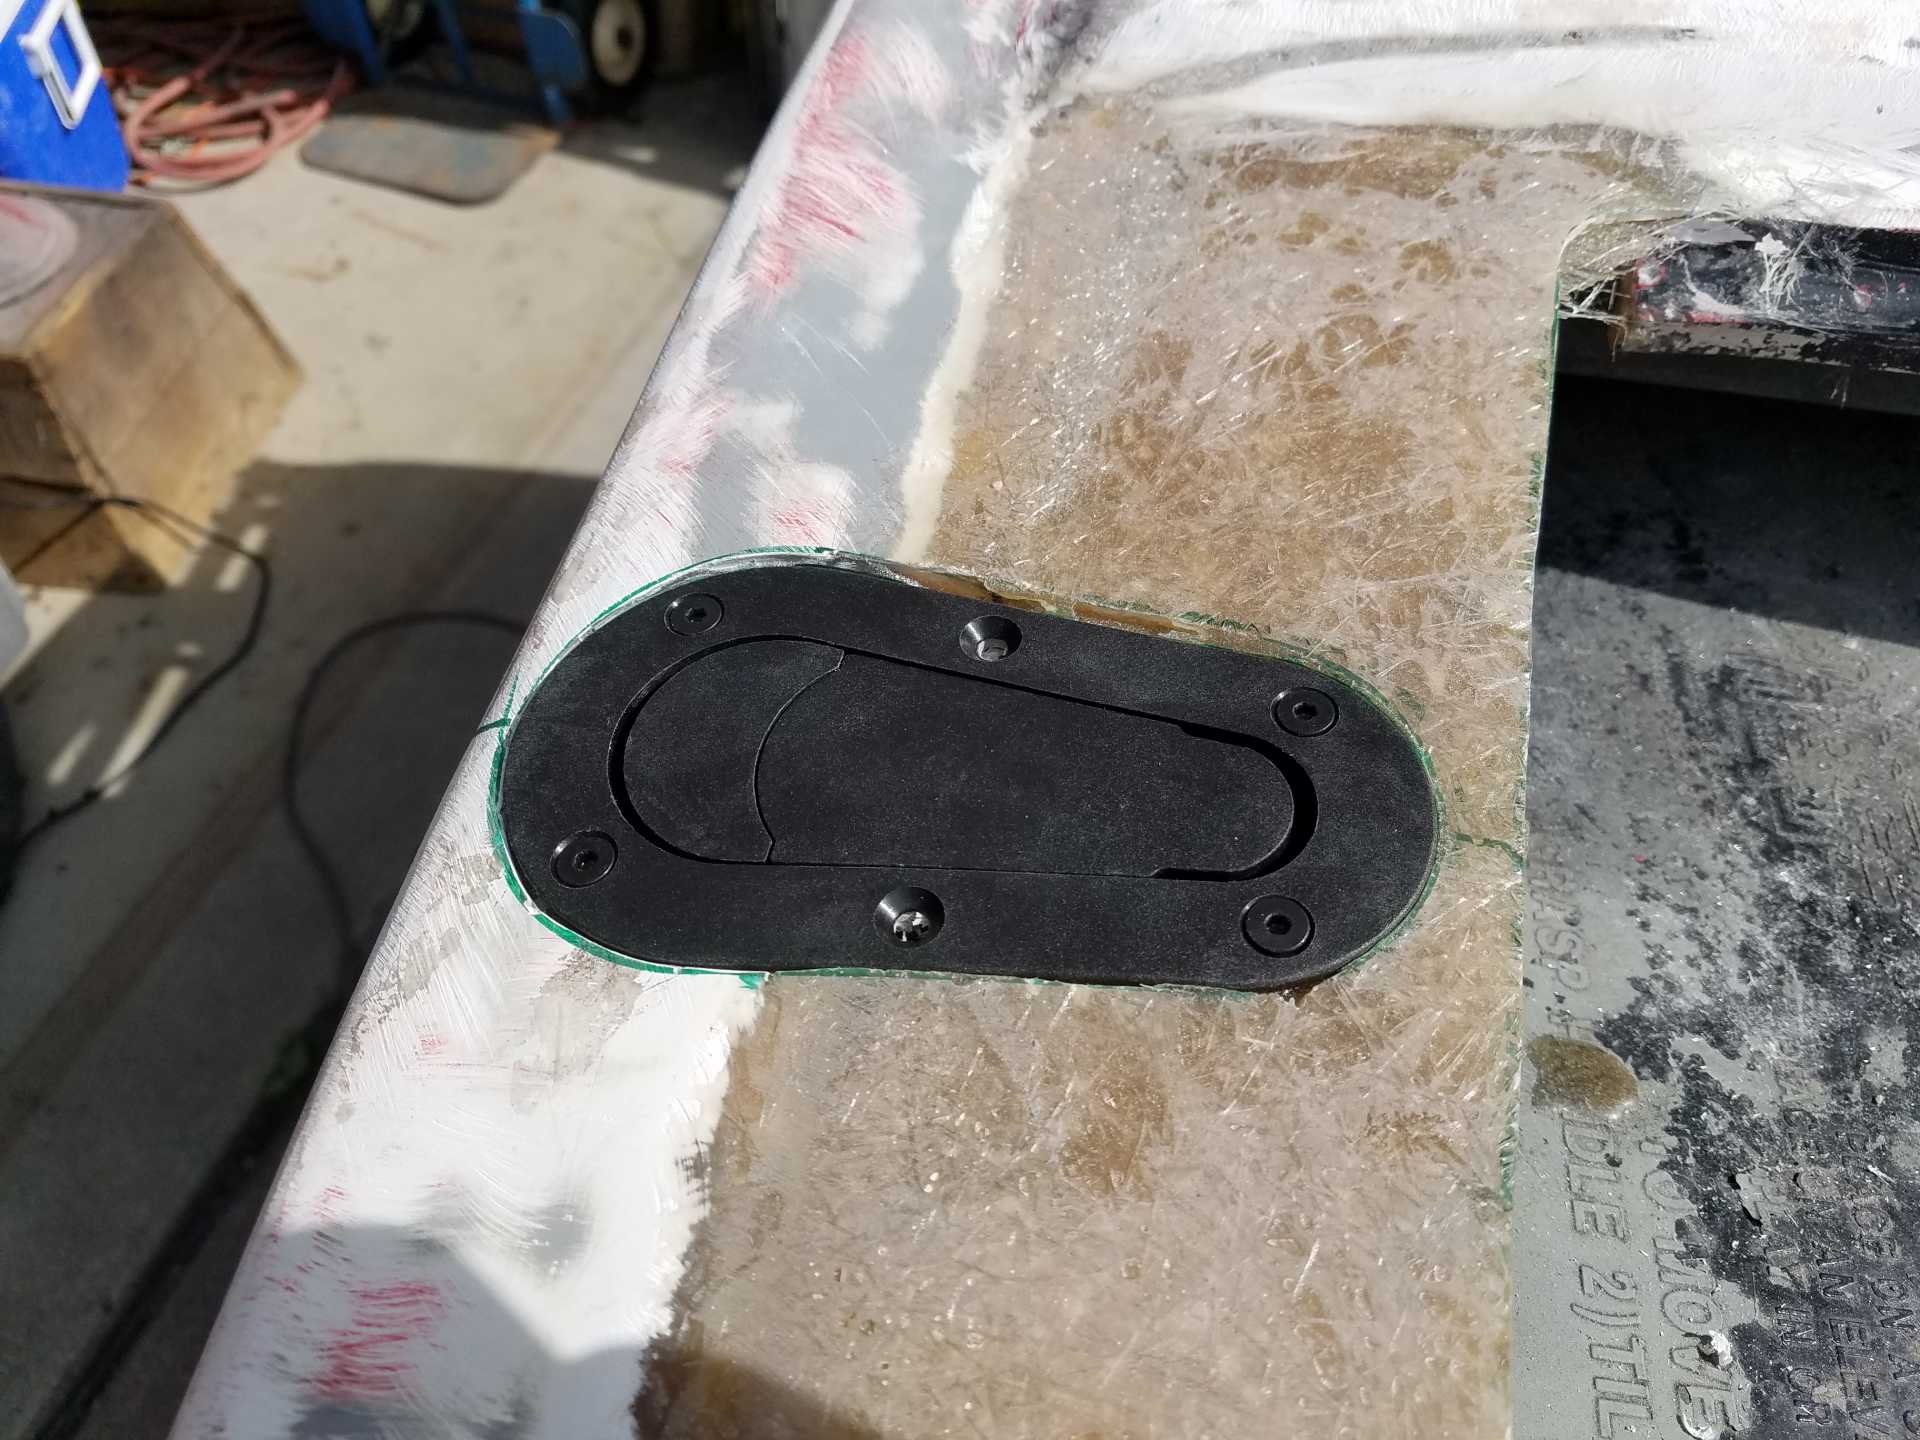
And Voila, flush mounted latches.
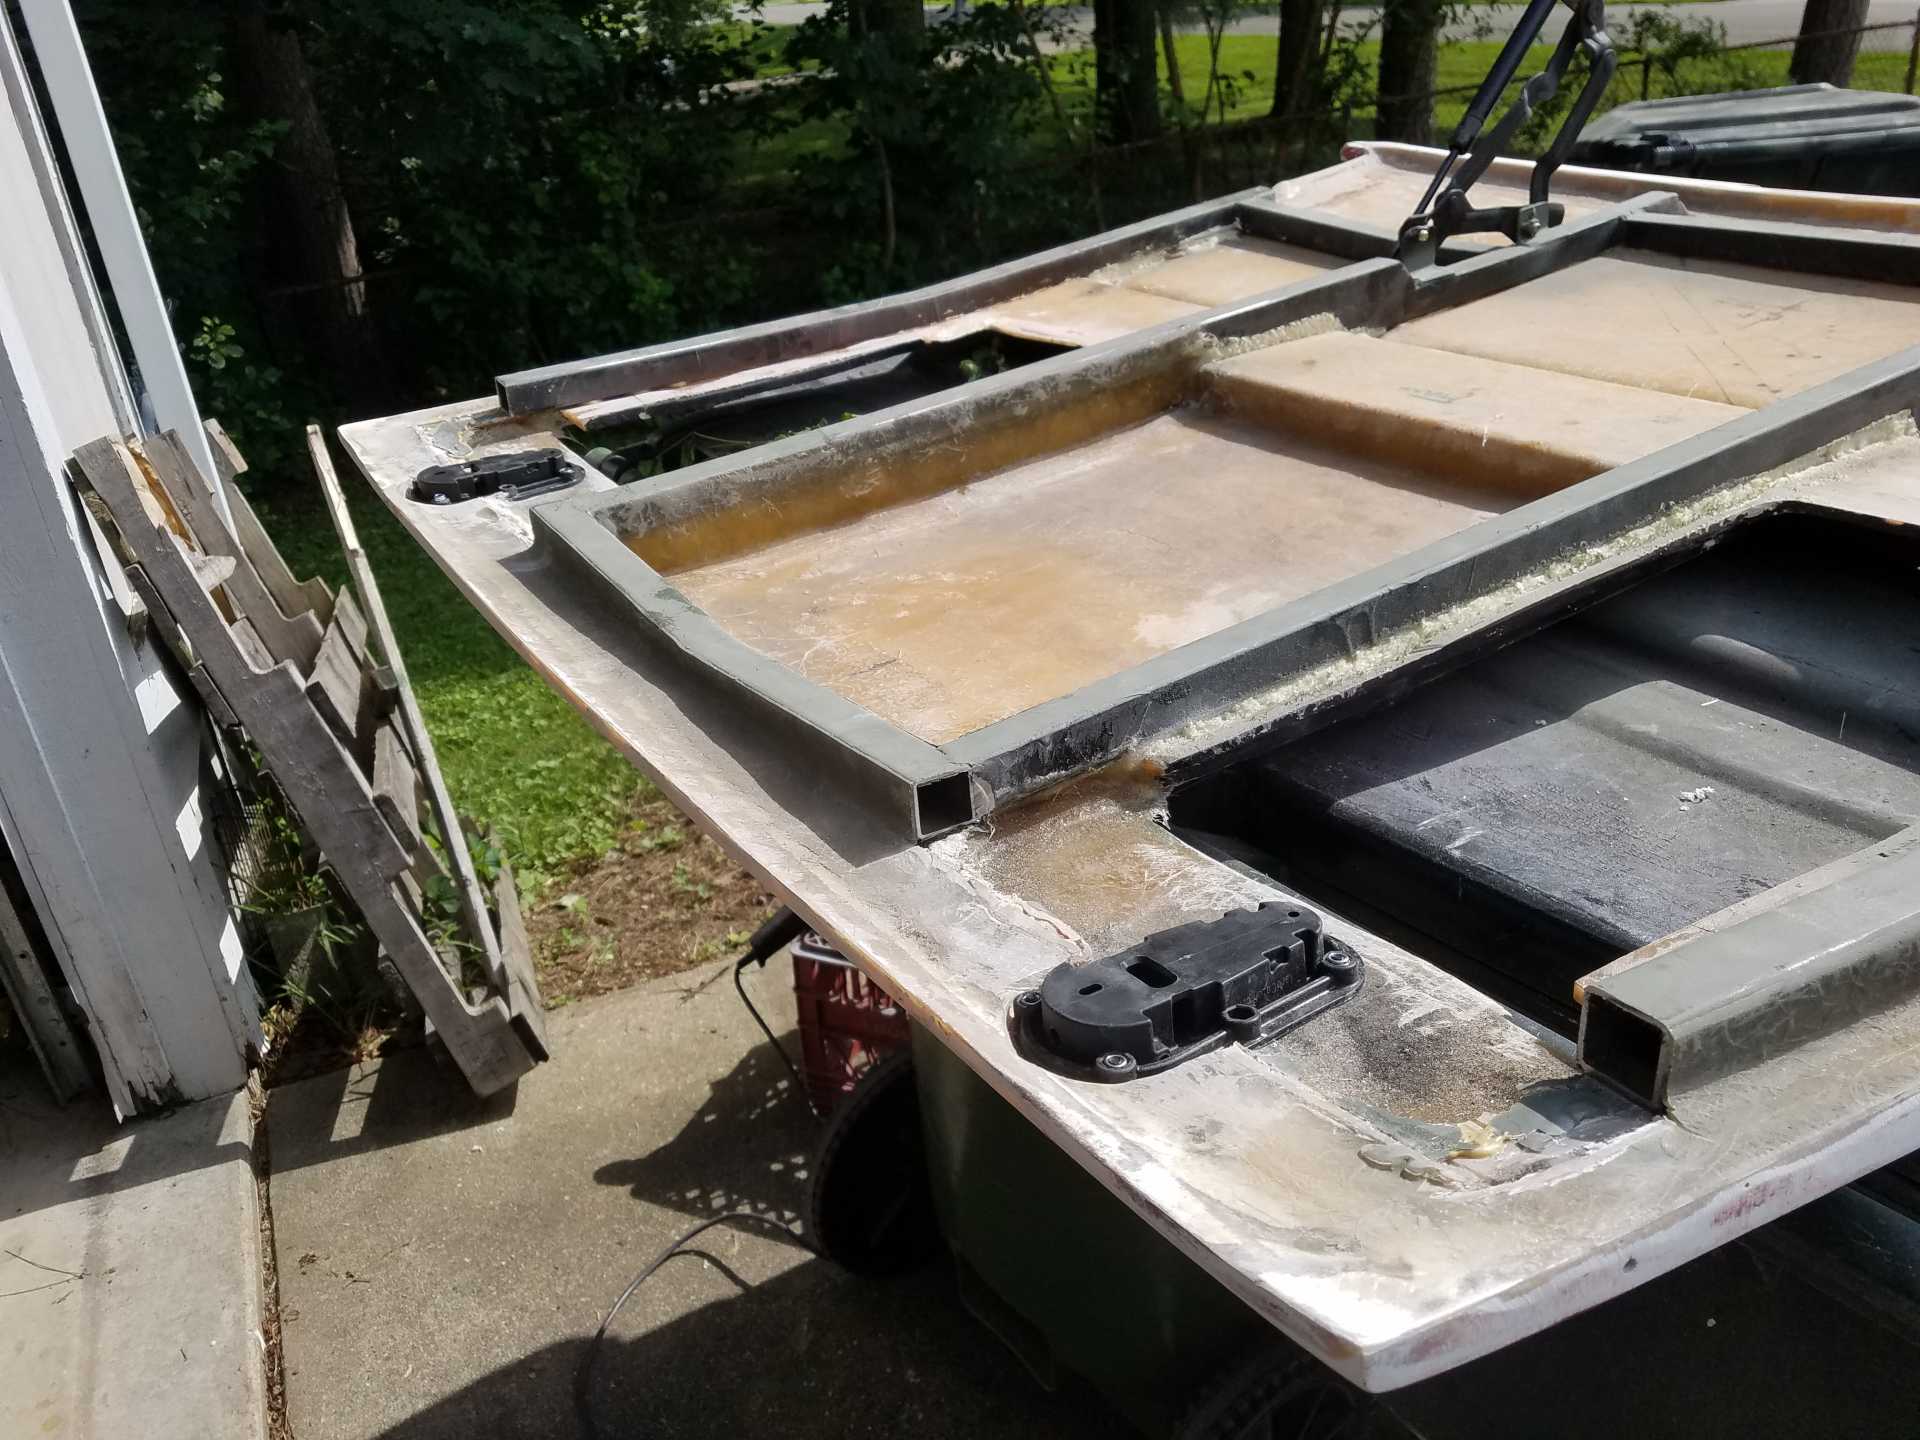
To bring it all together, I welded in new tubing.
I'm going to have to clean up the glass and make a new return flange for the vent, but that's another day.
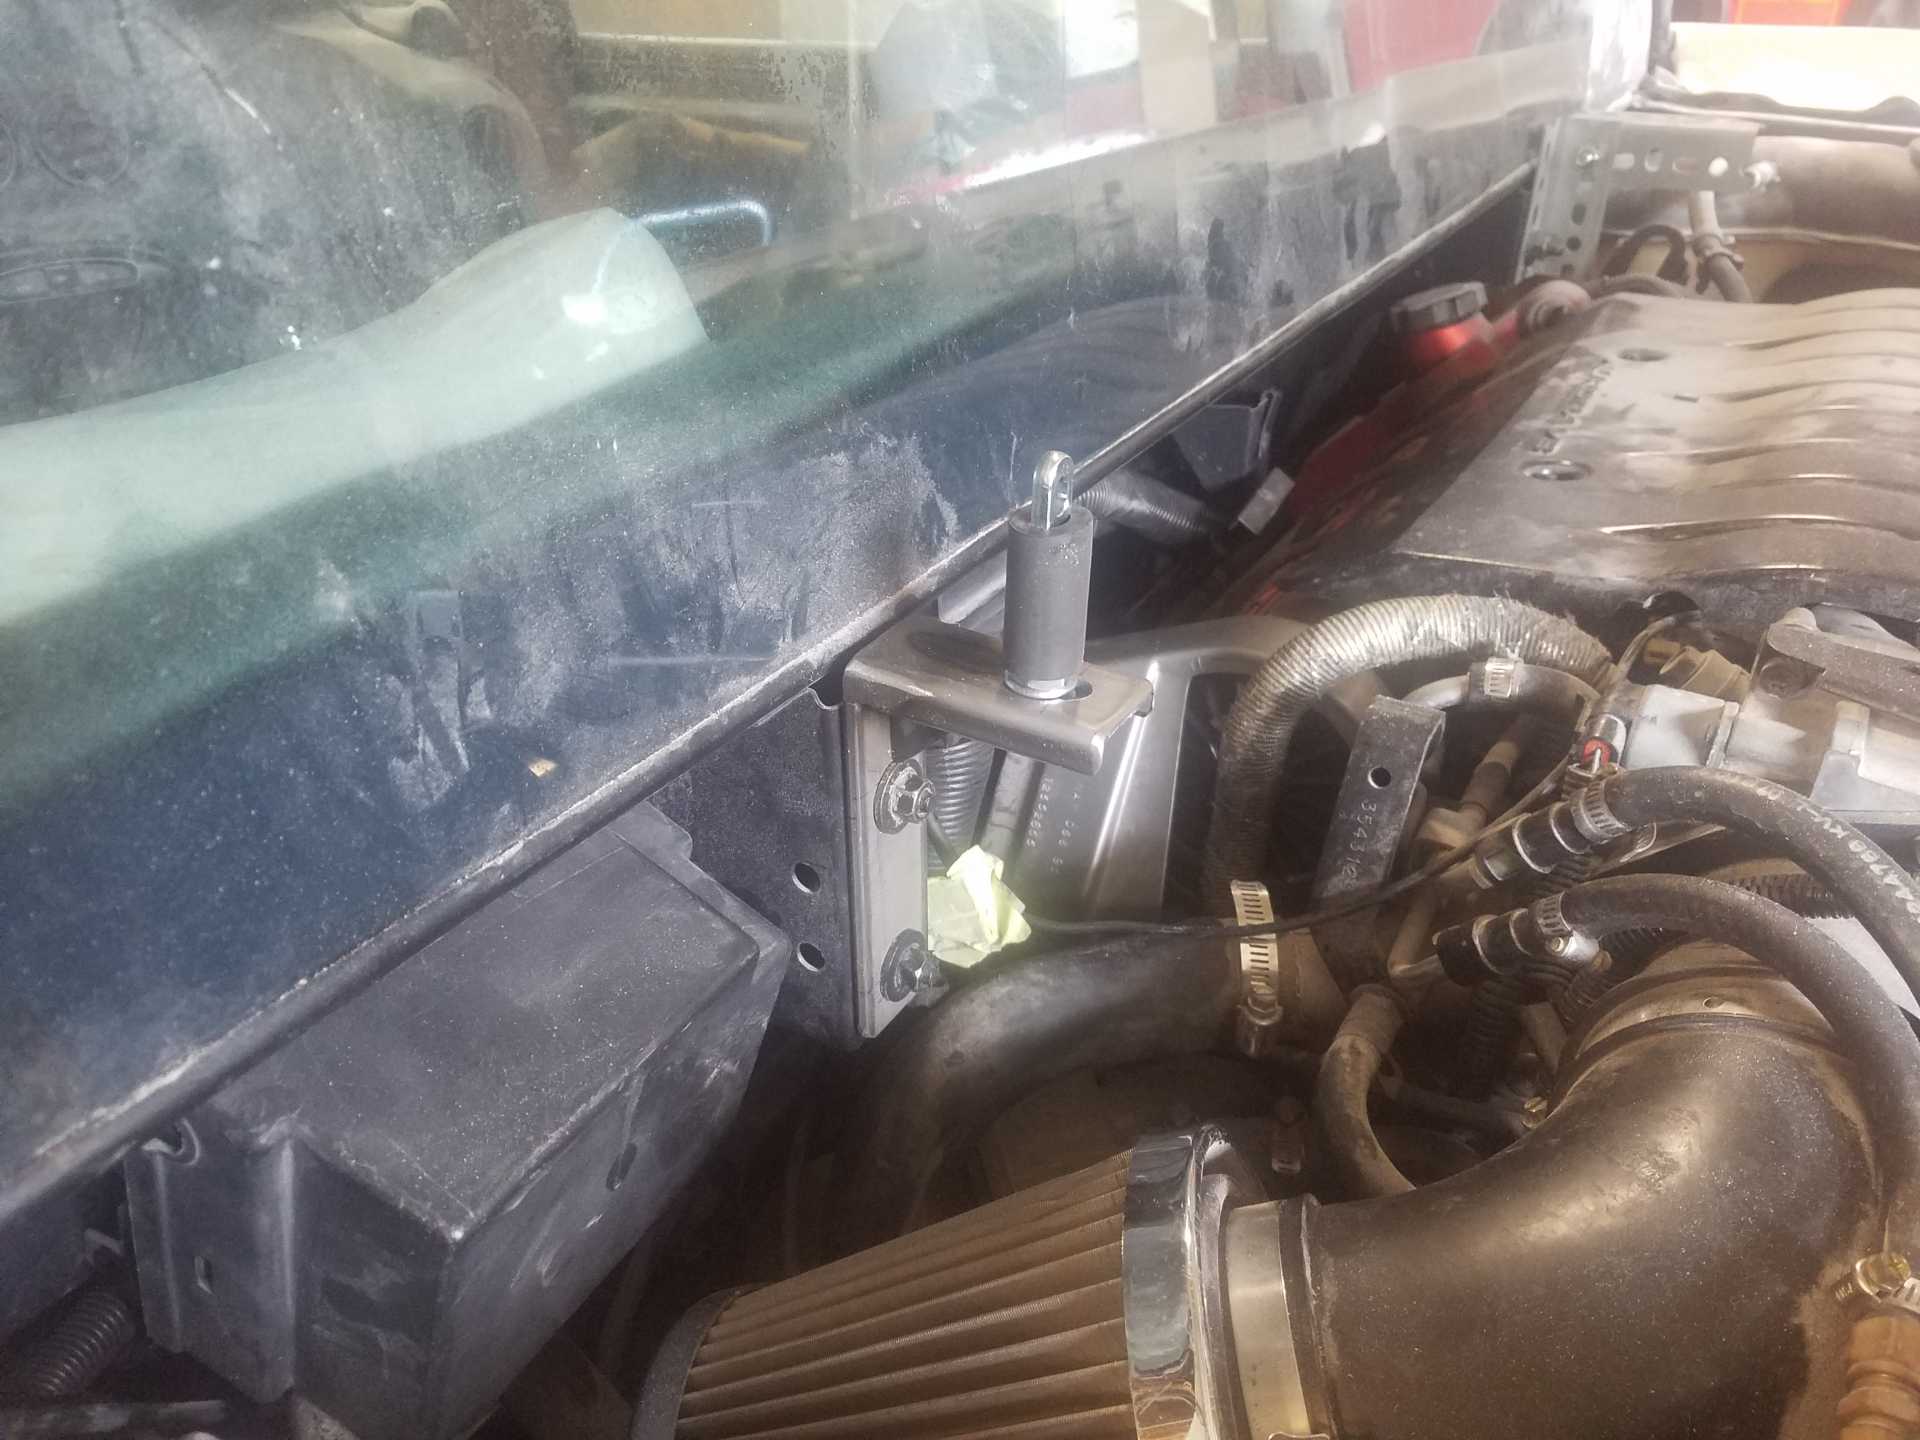
Here they are, back on the car. .
I will also have to make the post mounts. These will attach to the hinge supports.
Til next time... Stay safe.
Bob
[This message has been edited by RCR (edited 07-11-2021).]
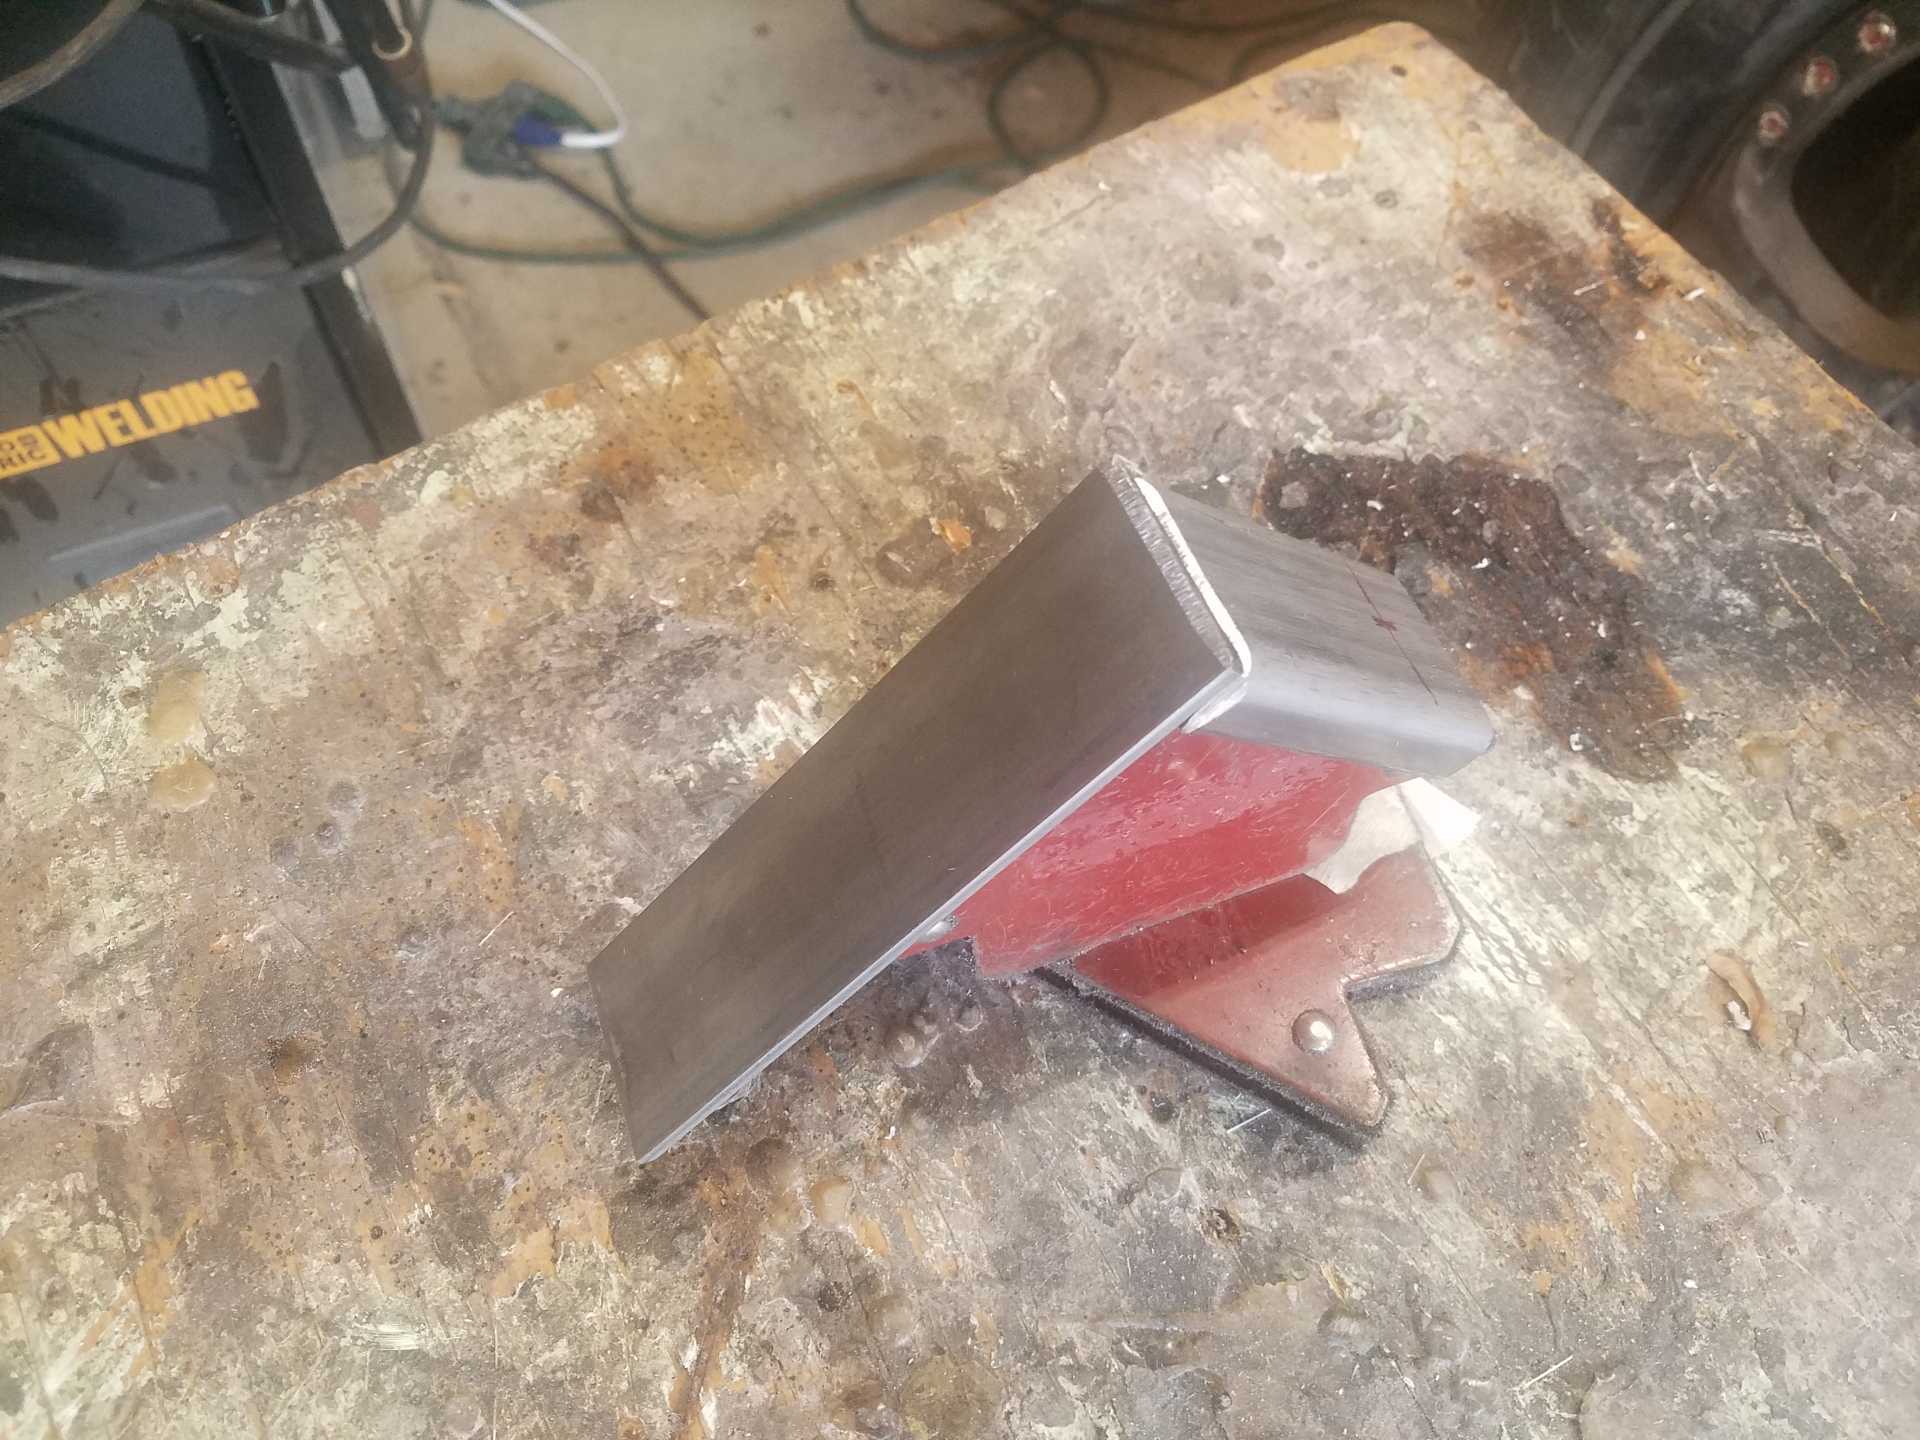
A quick update. Sunday was a wet day, so I tackled the post mounts. Looking back, I need more pics, but here's what I got.
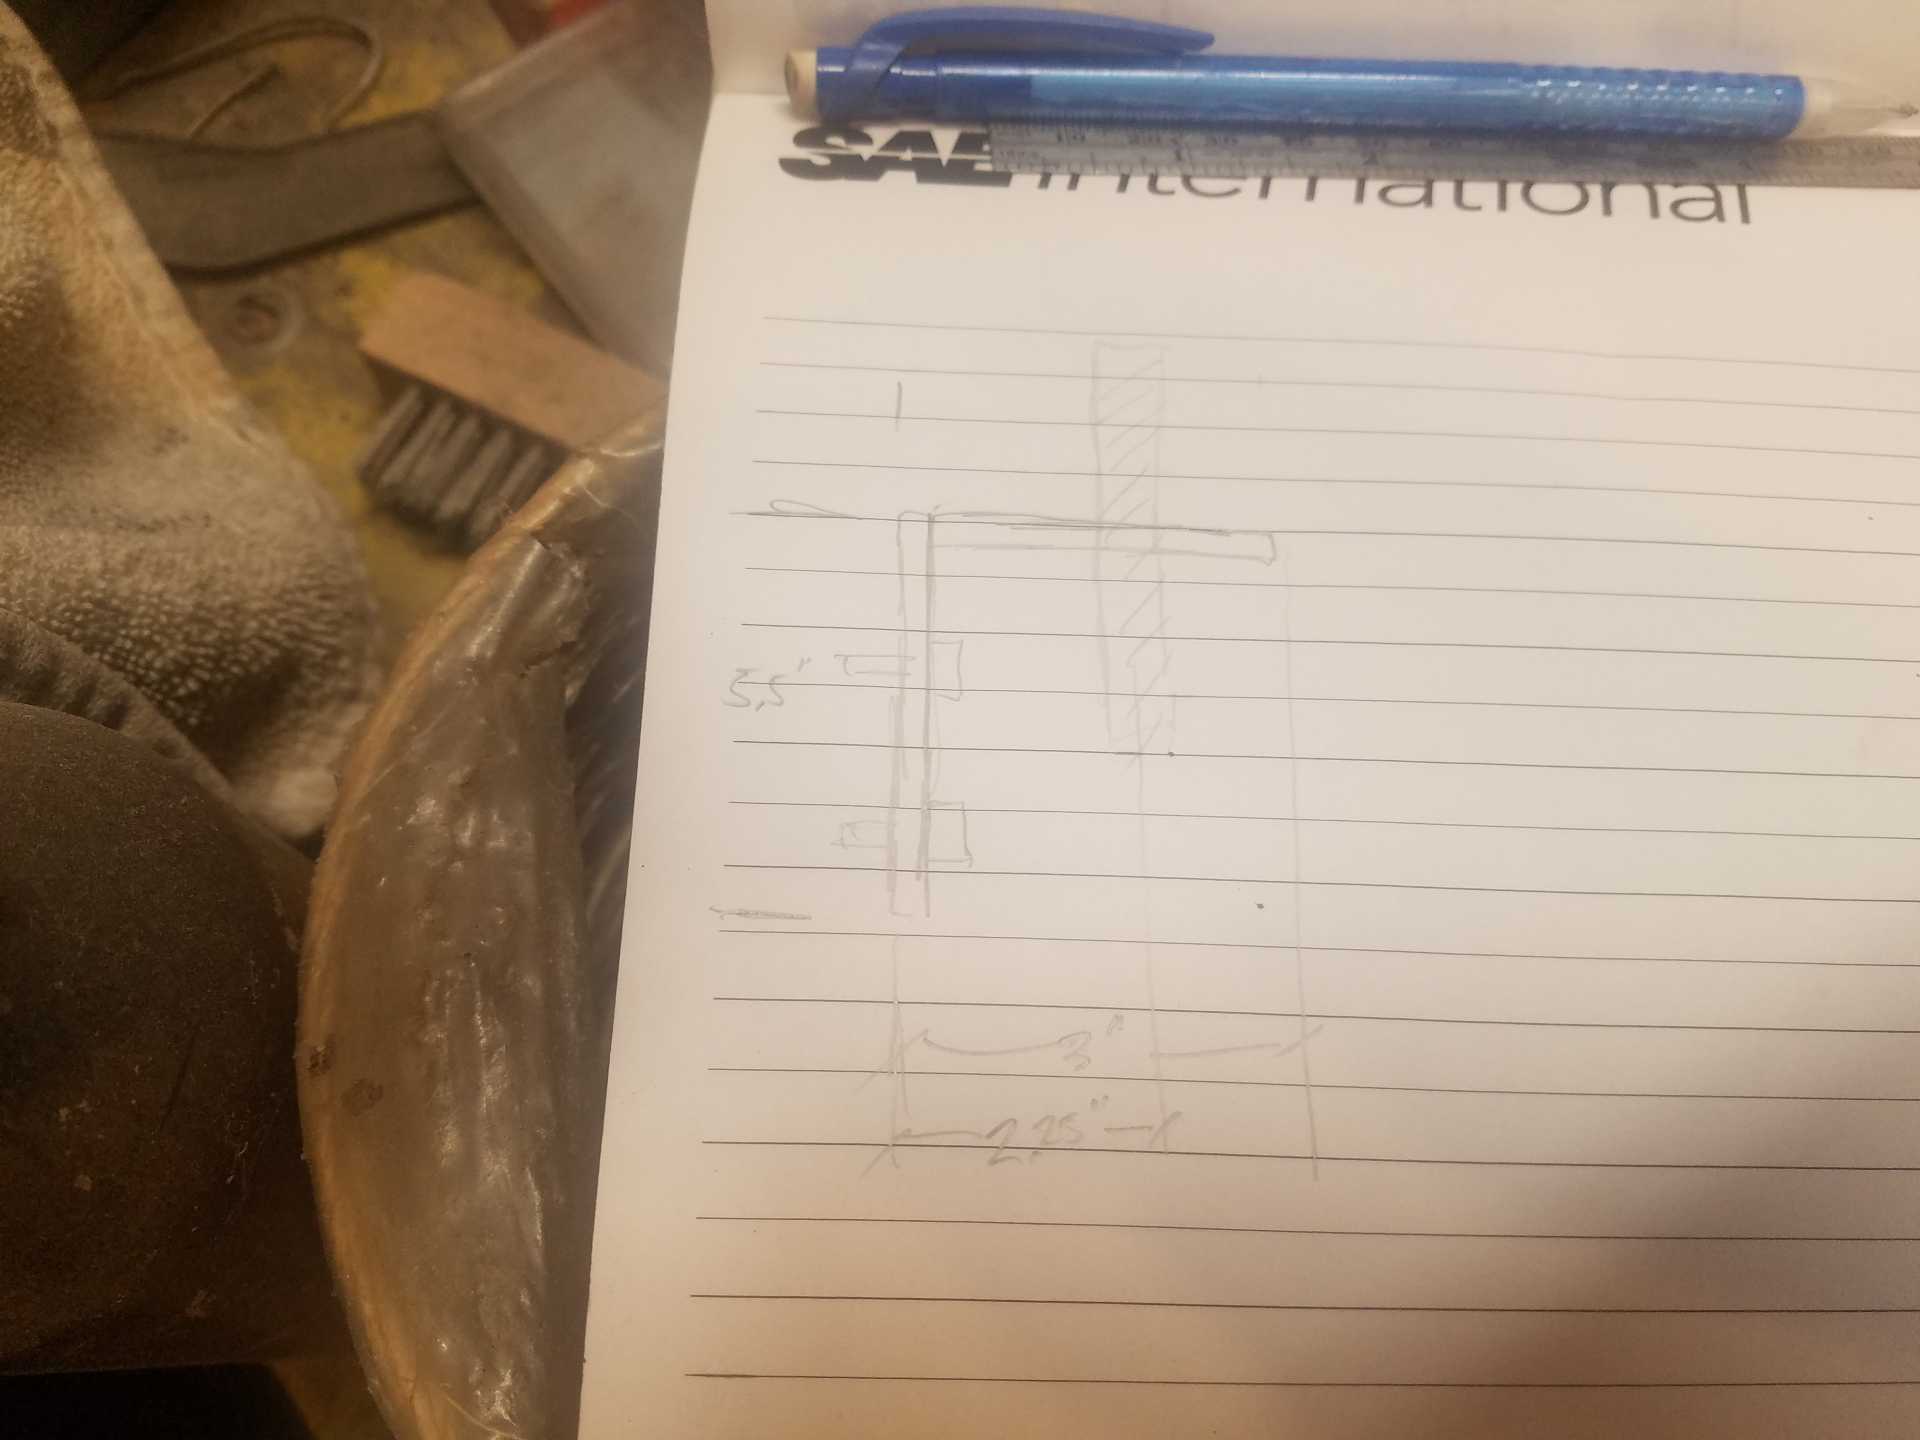
The plans: sketched something up and took some measurements.
The implementation: cut some metal (after trip to Home Depot to buy metal) I used 3/16" bar stock and c-channel. There's also a gusset that's not really viewable in the pics.
Weld it and trial fit.
In the latch.
Repeat for other side (need pics)
Later...
Bob
[This message has been edited by RCR (edited 07-12-2021).]
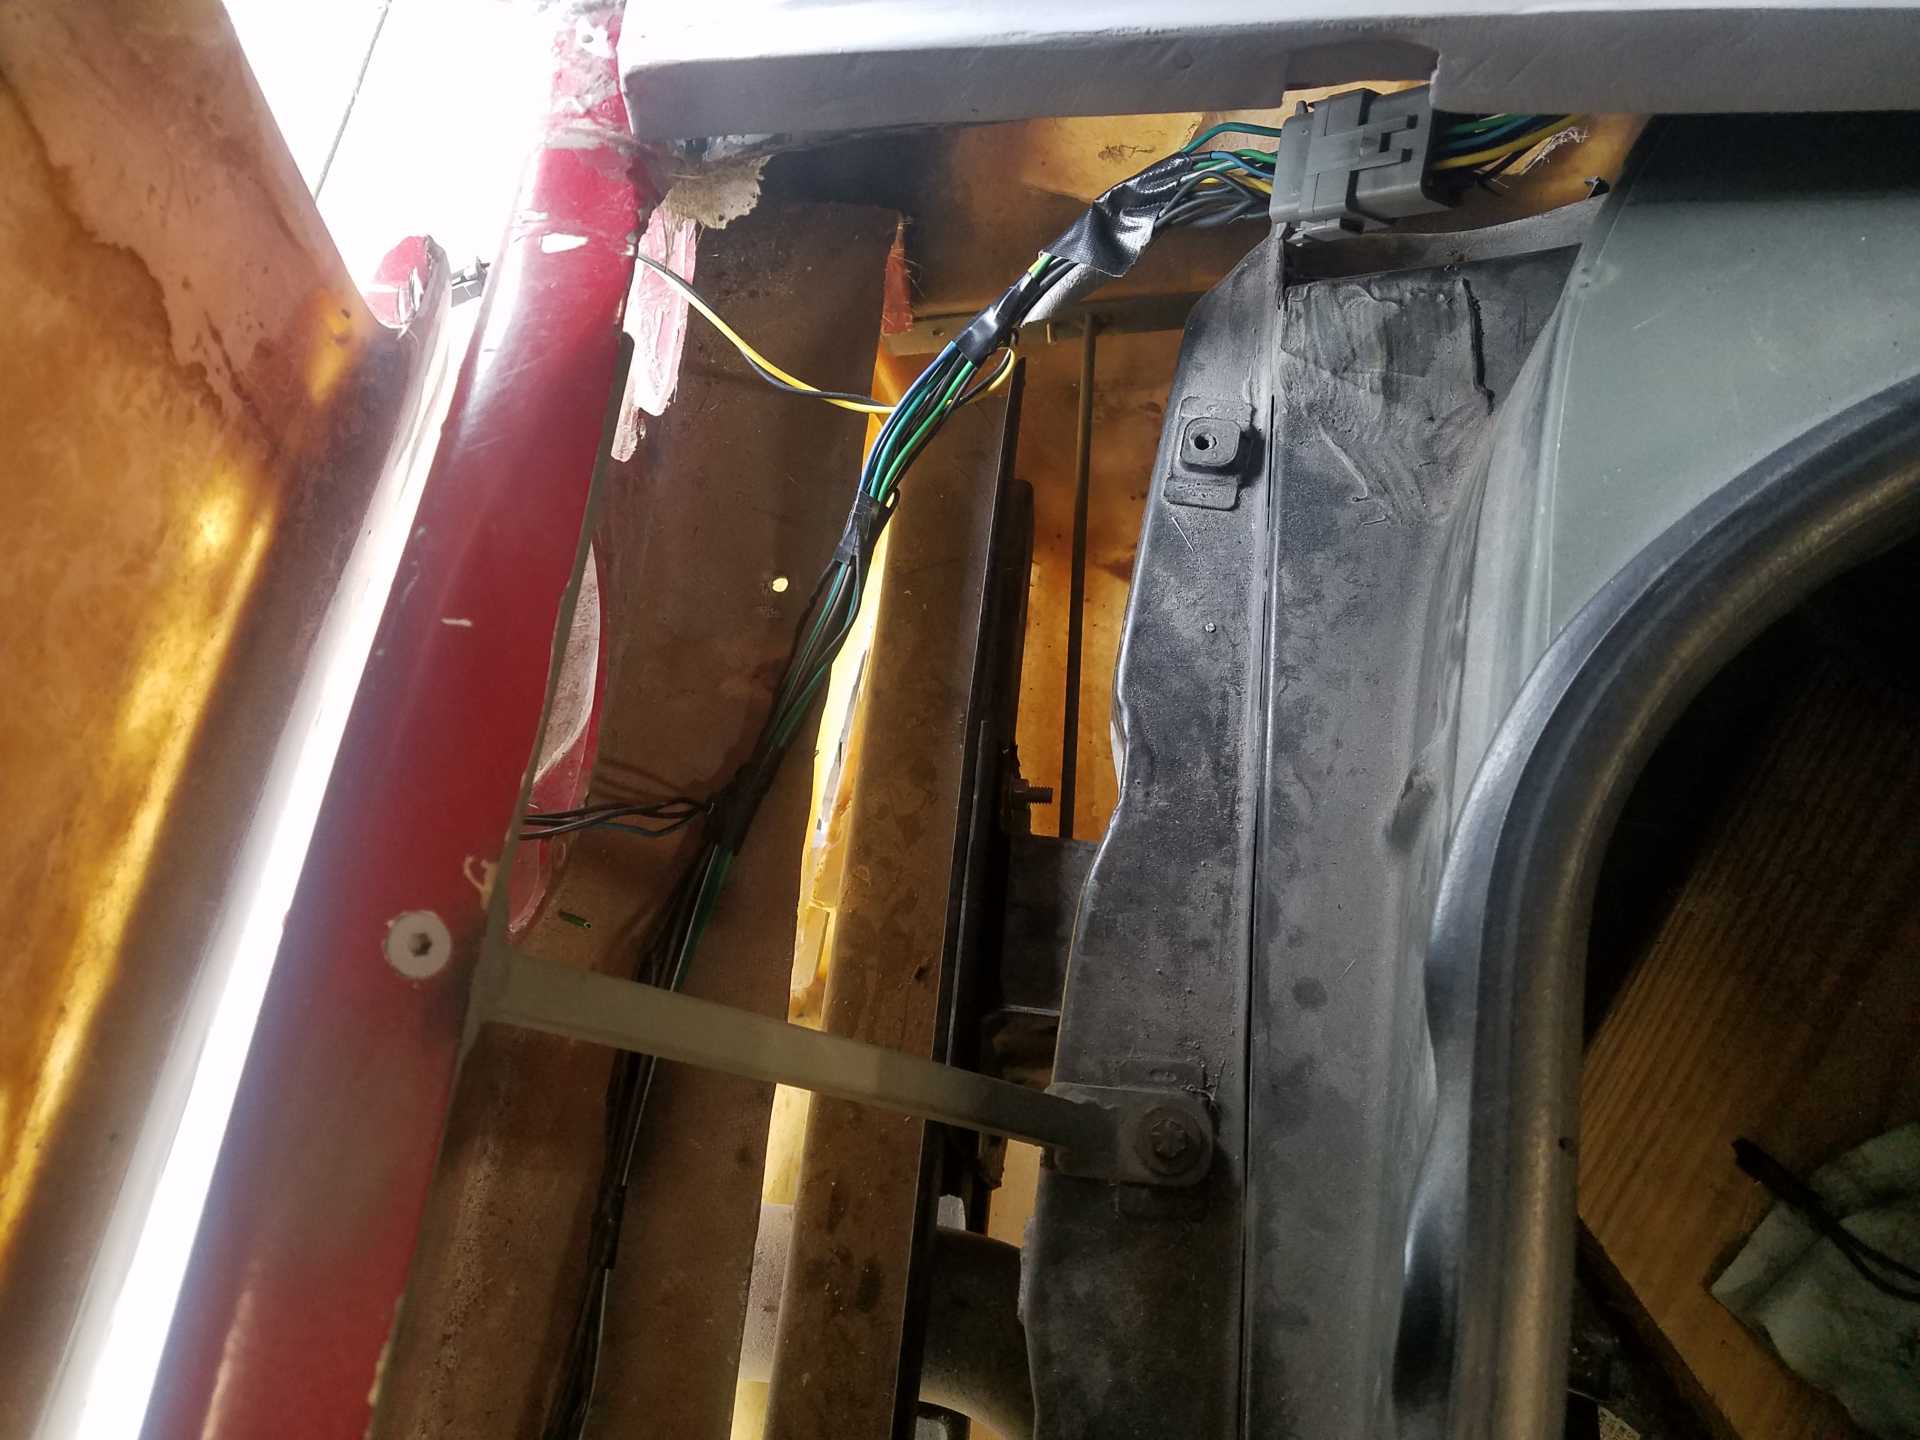
A tiny update: I wired in the 12 position connector so I can separate the taillight harness from the body harness. I used another sealed Deutch connector for the job. I also fixed my blinker issue, bad relay. And, if anyone asks, and as I recently learned, it's on the steering column, not by the blue dingy thingy (that's for hazards).
That is a great idea! If you don't mind me asking, how did you mount the connector so it wouldn't 'rattle' against the frame or the panels?
A picture of location where you did it would be greatly appreciated, most of the Deutch connectors I've seen are pretty large (for understandable reasons).
That is a great idea! If you don't mind me asking, how did you mount the connector so it wouldn't 'rattle' against the frame or the panels?
A picture of location where you did it would be greatly appreciated, most of the Deutch connectors I've seen are pretty large (for understandable reasons).
Hi Trinten, The connectors are not permanently mounted yet. I will either do something factory with the christmas tree style clip, or just tie wrap it. I will do that next time I have the rear clip off (hopefully soon). I will get some pics this weekend.
Bob
[This message has been edited by RCR (edited 07-16-2021).]
Still working too much, but I have been tinkering. Driver door gap near perfect, as well as the hood/fender gap.
Also, I bought Rodney's 1" lowering ball joints for the front. I got one installed last night. Along with about 2/3 of a coil cut out, the fender/wheel gap looks much better. Still need to do passenger side.
Bob, your posts have become as frequent as mine. I hope things are still progressing smoothly. Looking forward to some updates.
Neil
Hi Neil,
I know... I wouldn't say smoothly as much as sporadically, but I'm really itching to get back at it (no pun intended). Garage is cleaned of the Halloween stuff. If weather cooperates, may actually do something.
All I've managed to do is prep the door/hood - fender gaps, smoothed out the body work on the driver's door, and a bit of work on the rear fascia.
Hope you're able to keep progress on yours. Looked great last I saw.
First off, looks like there's not a lot of action here. The Construction Zone looks slow...
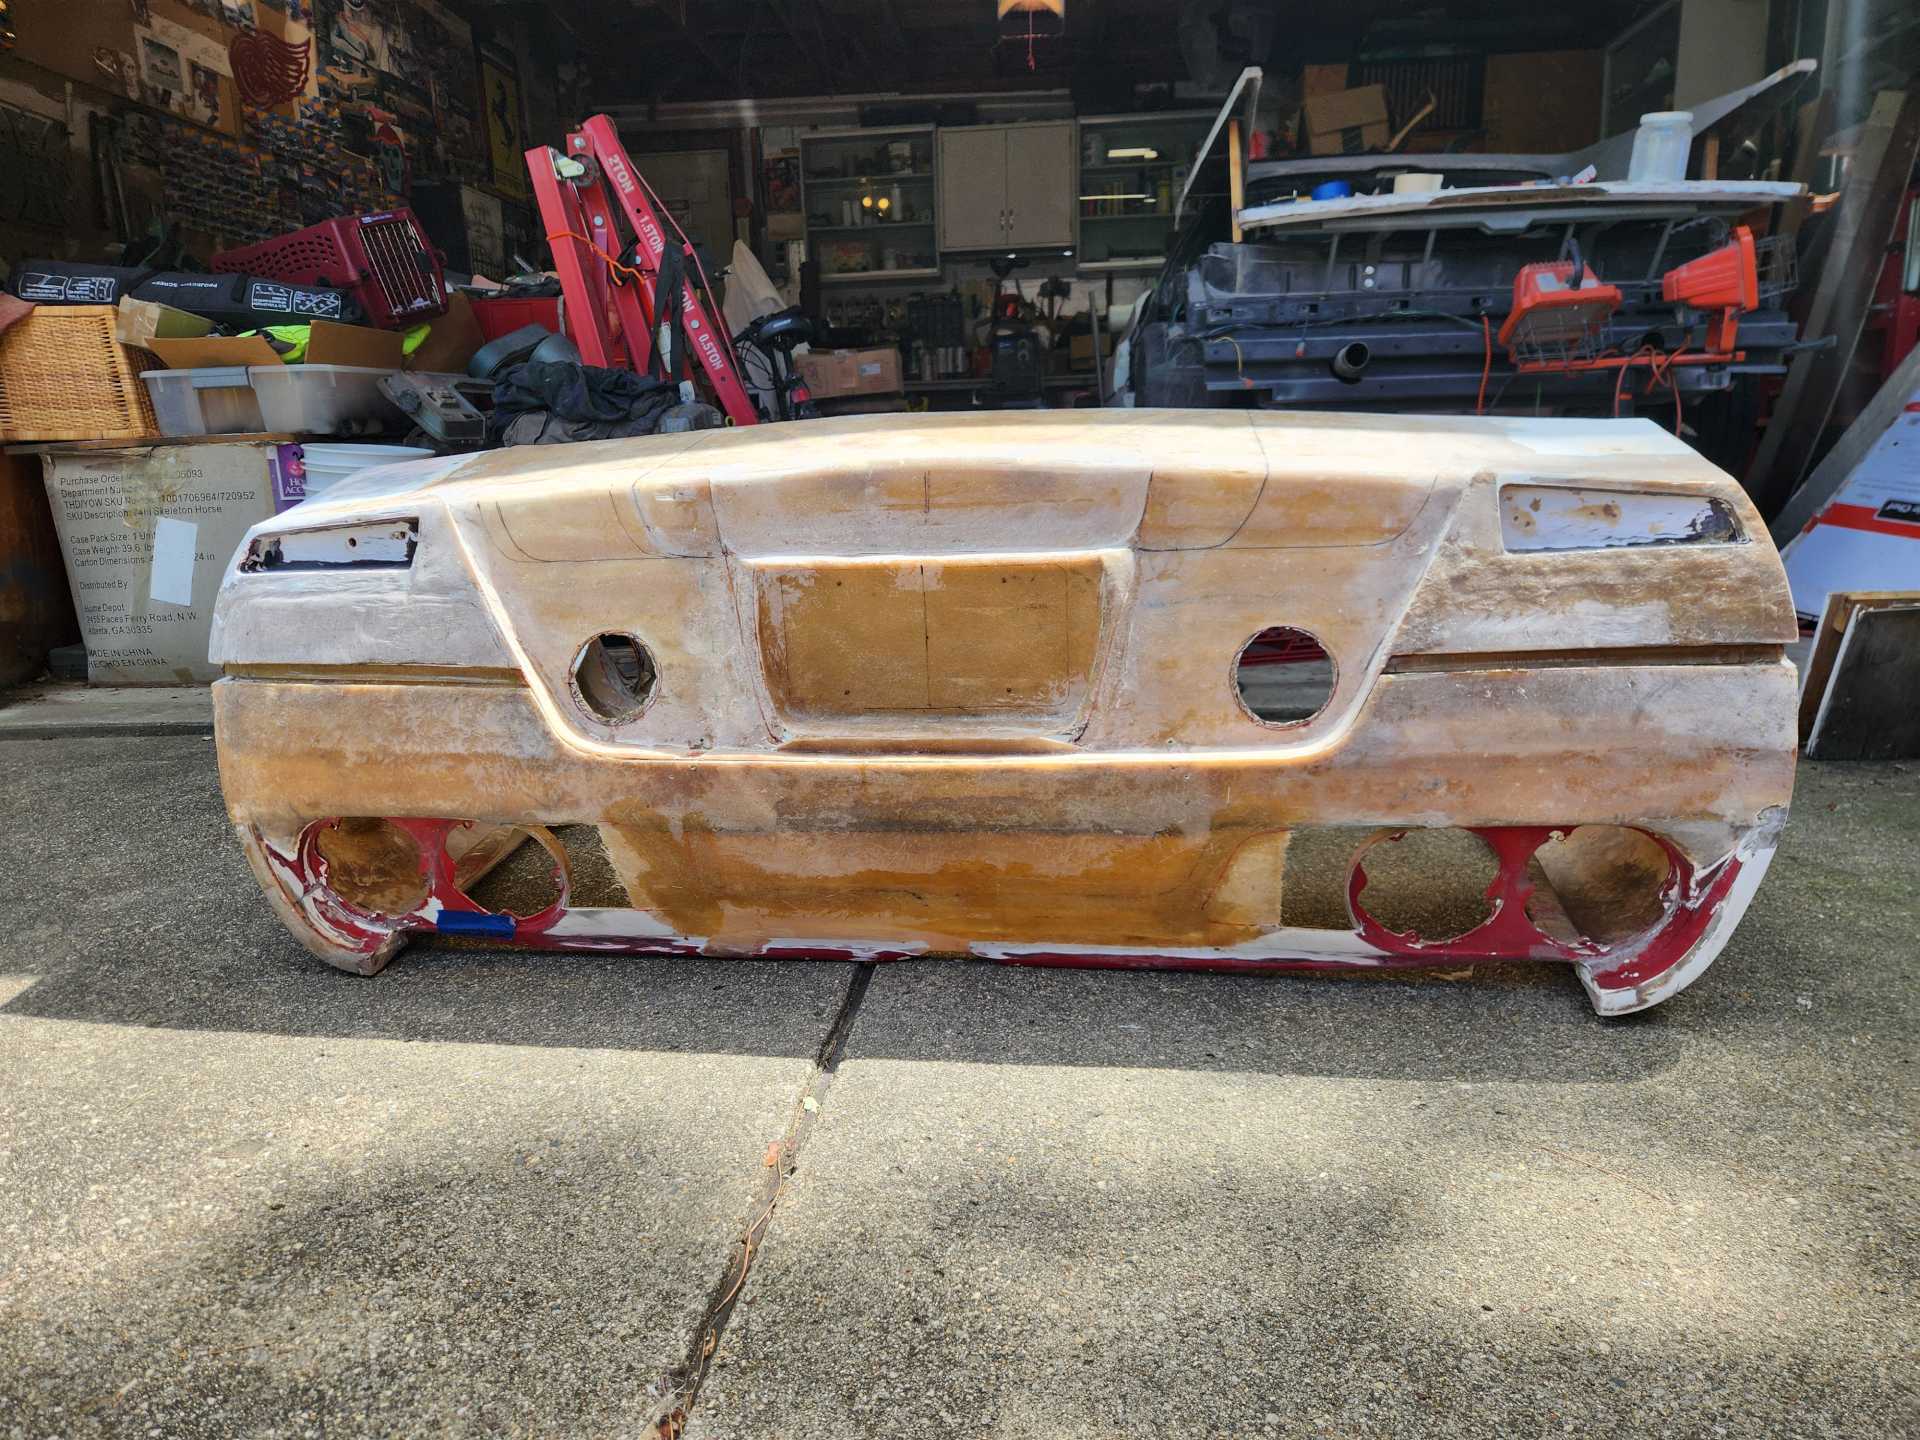
Anyway, been too lazy to upload pics, but I've spent the last 3 weeks working on the rear and rear diffuser. A lot of work with no real visible gains, but I can say that the rear diffuser and fenders each have a flange now that allows the diffuser to be mounted.
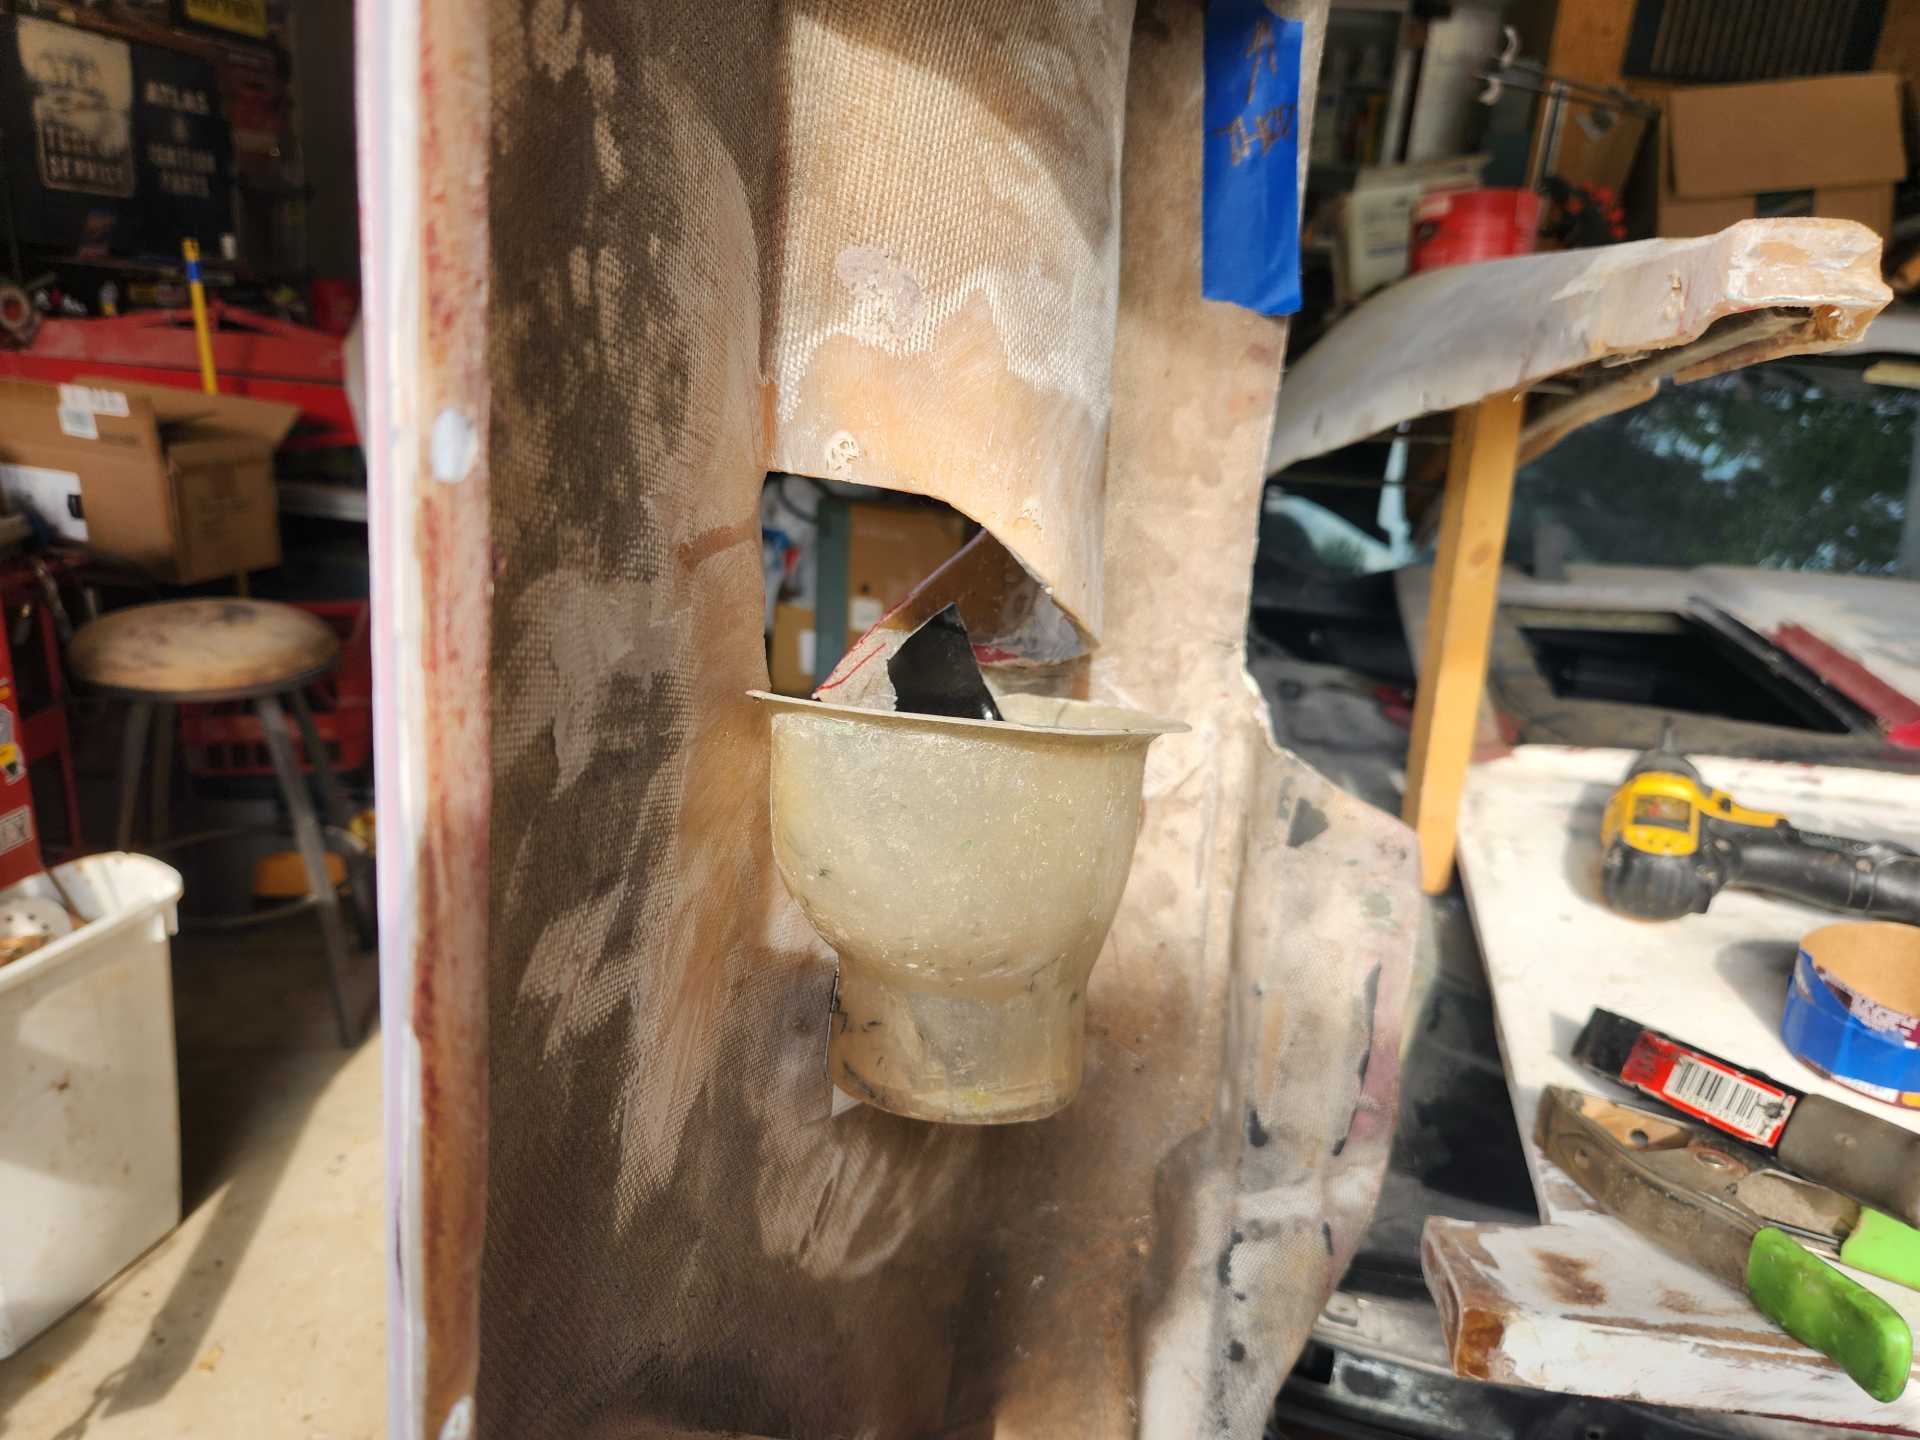
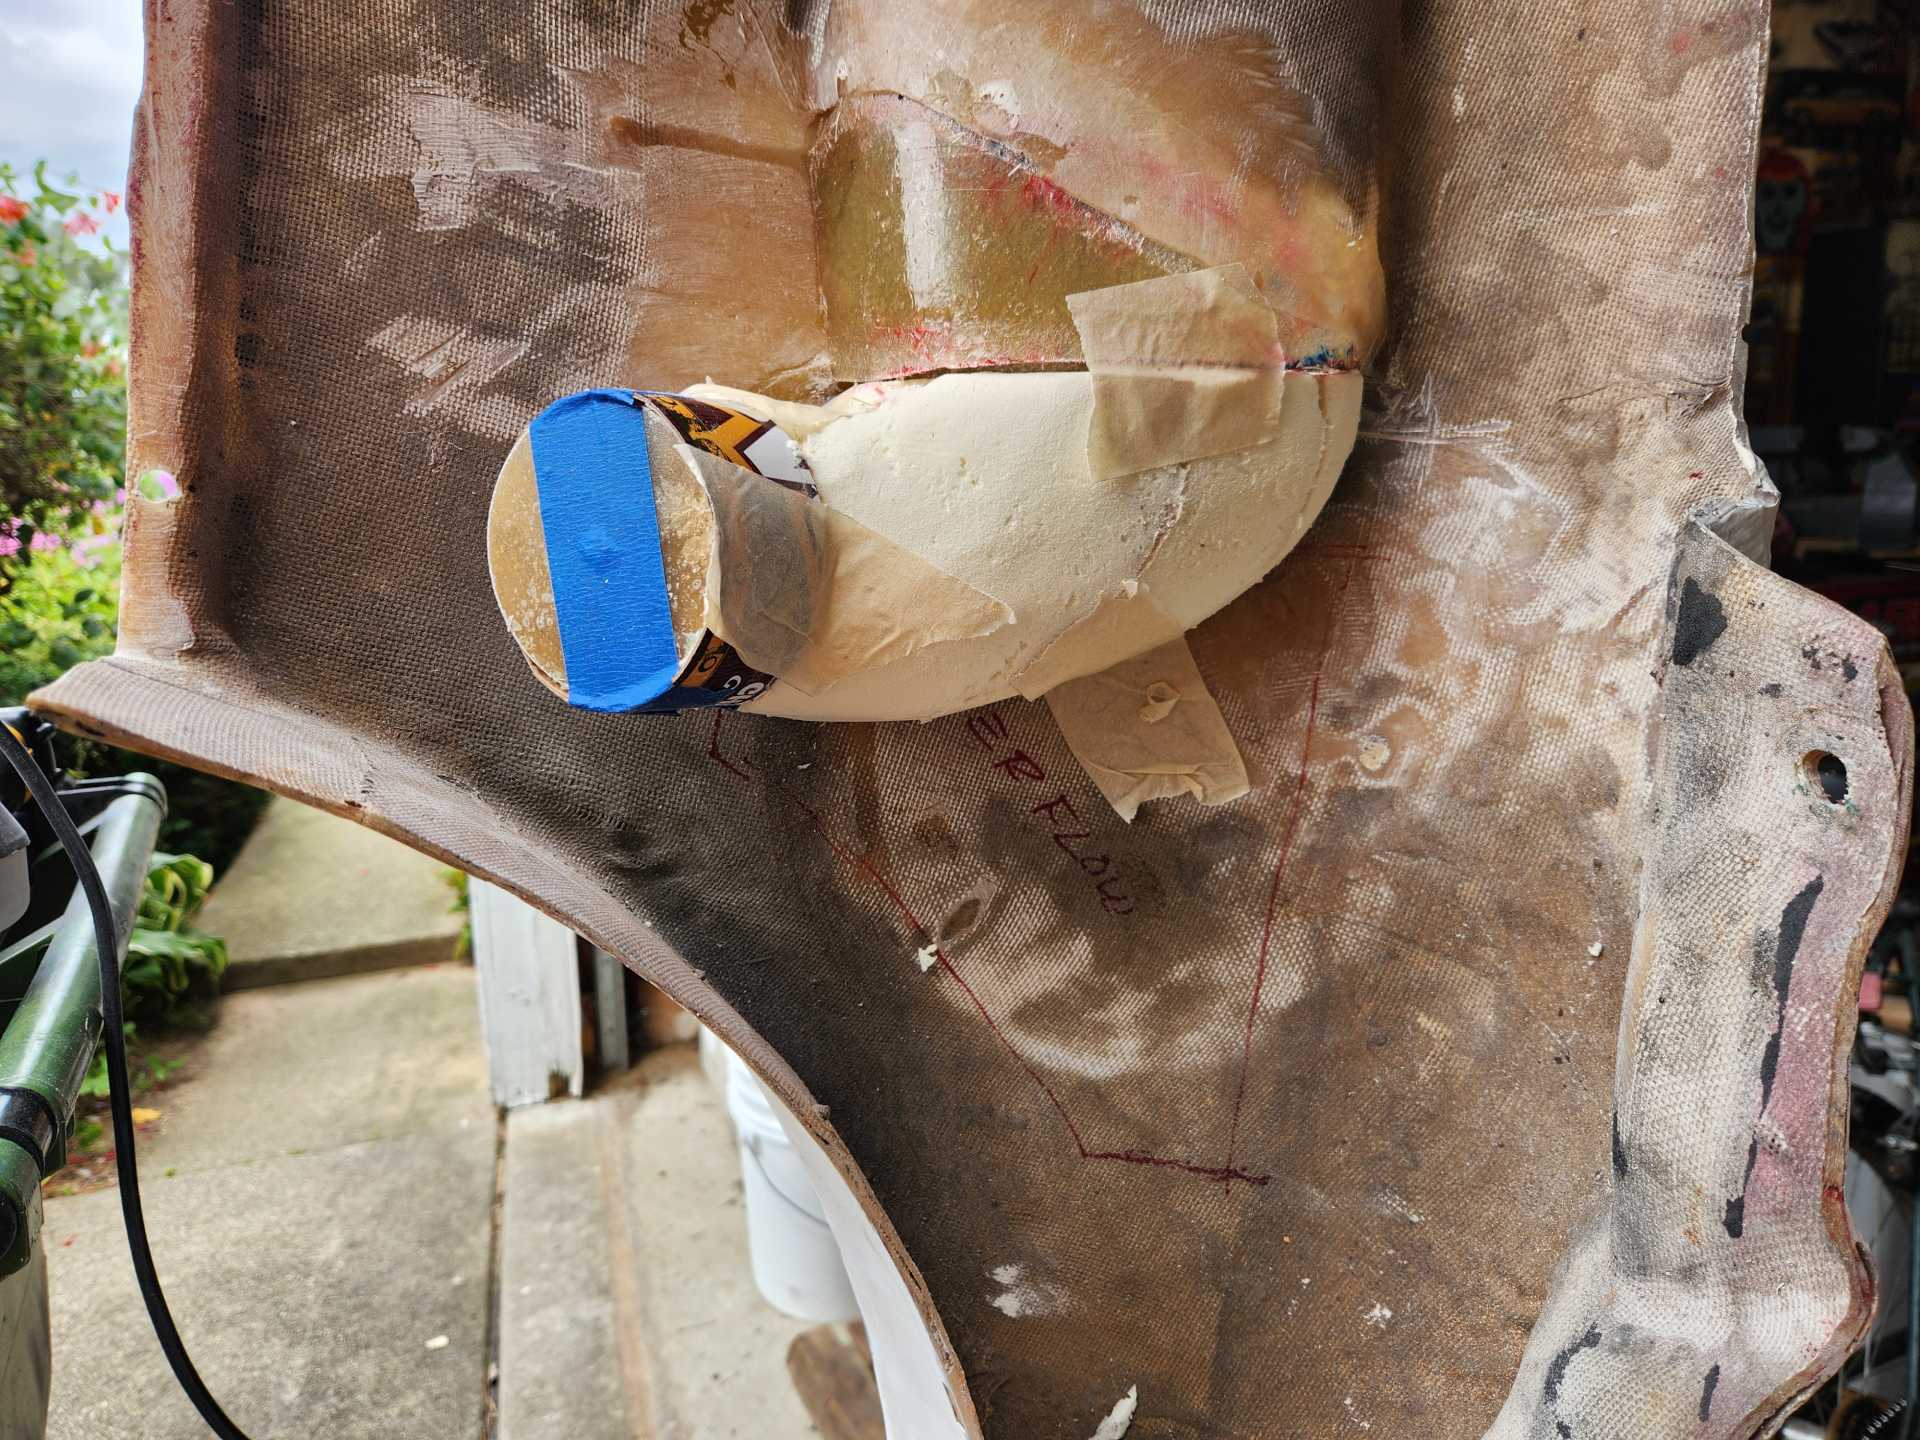
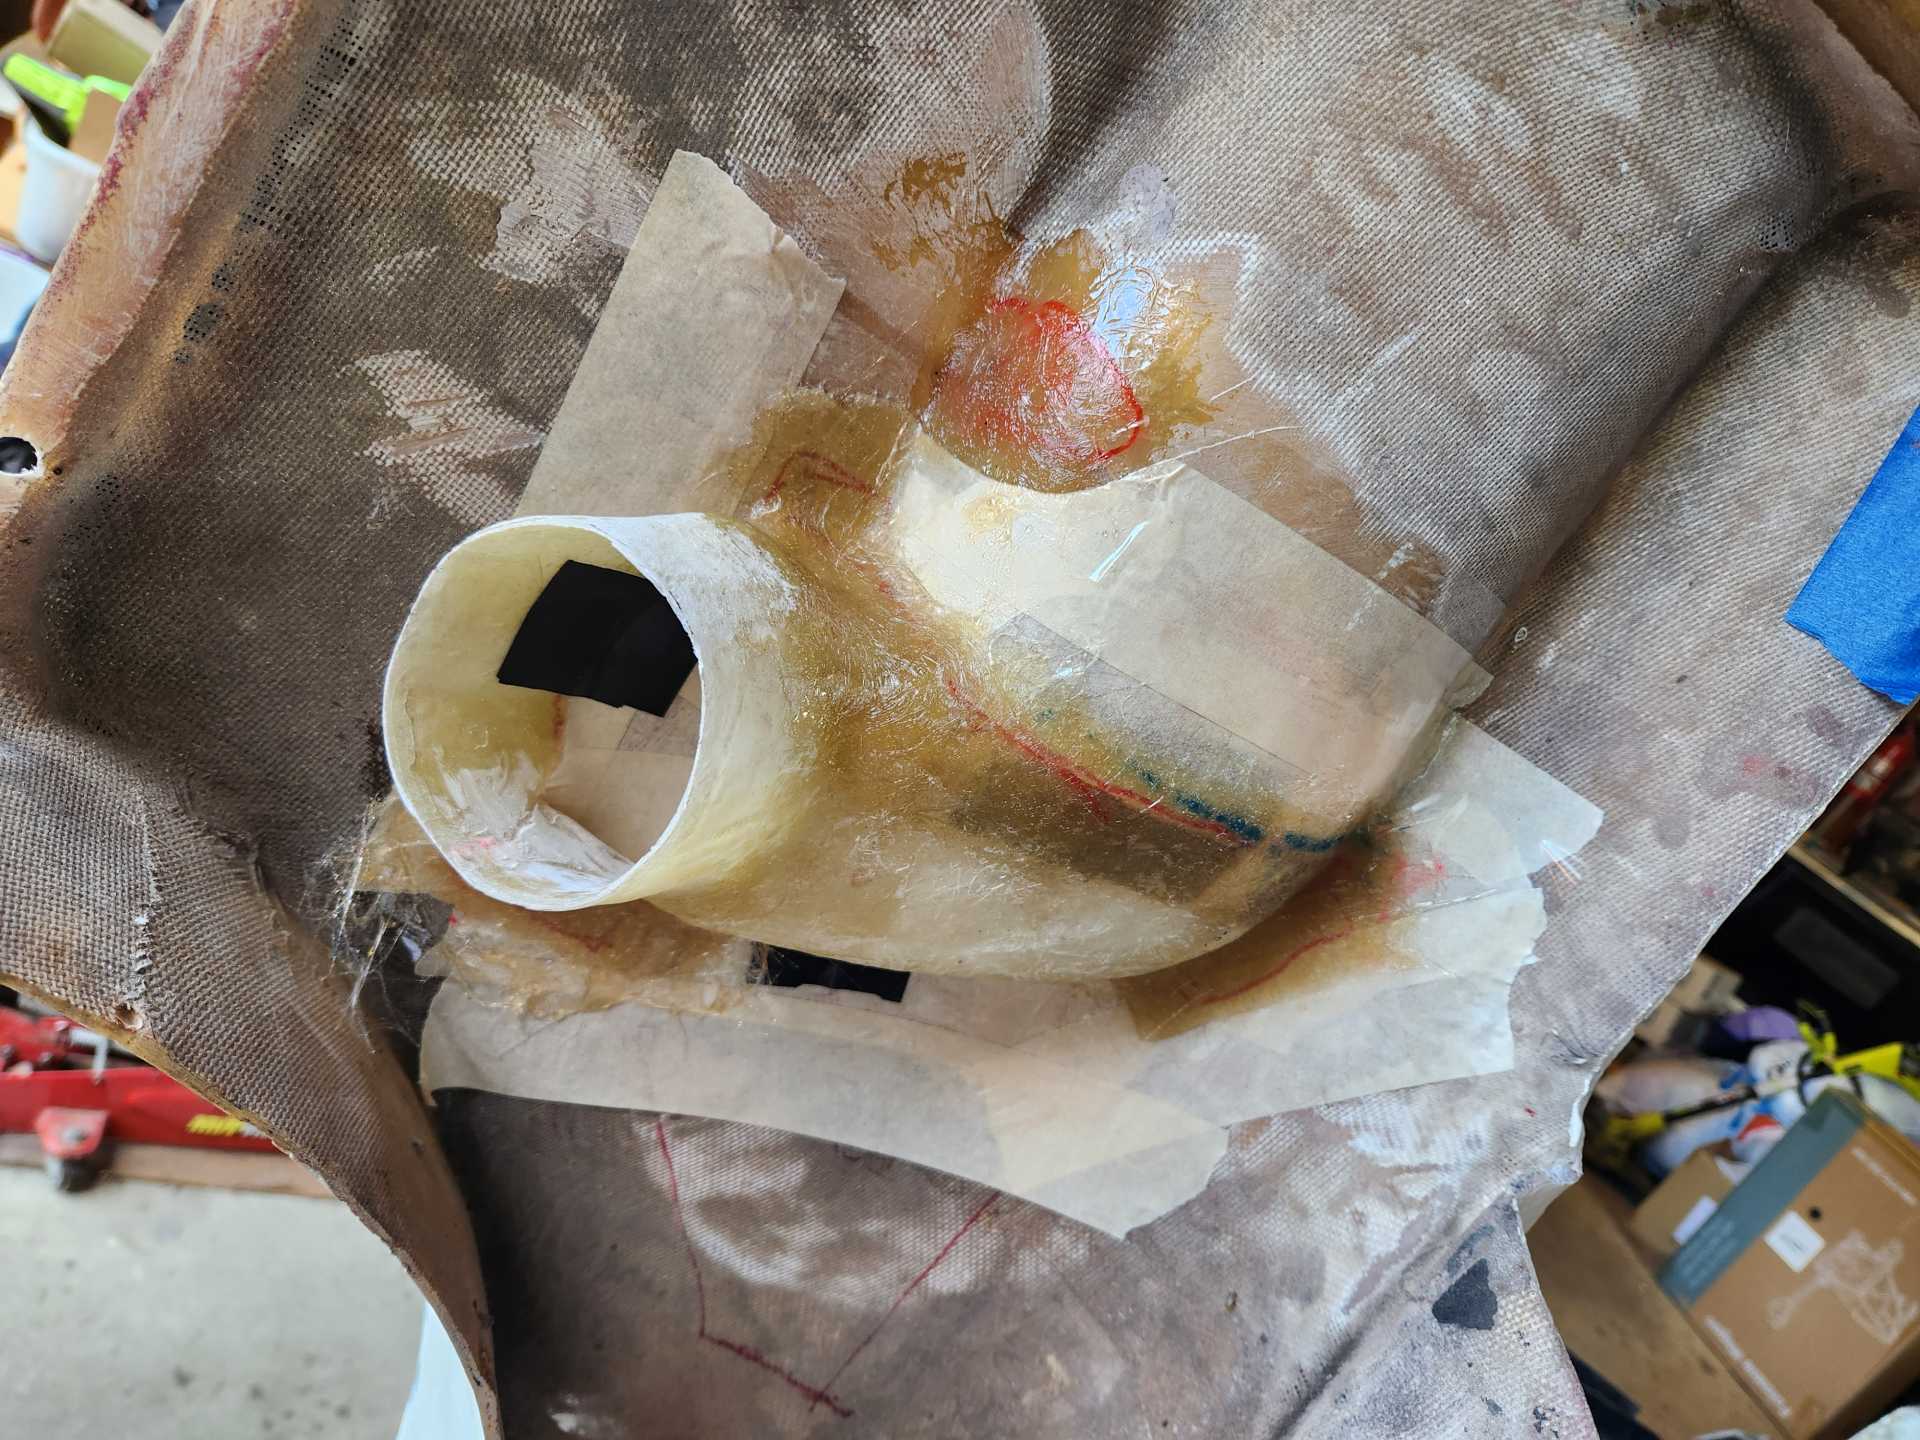
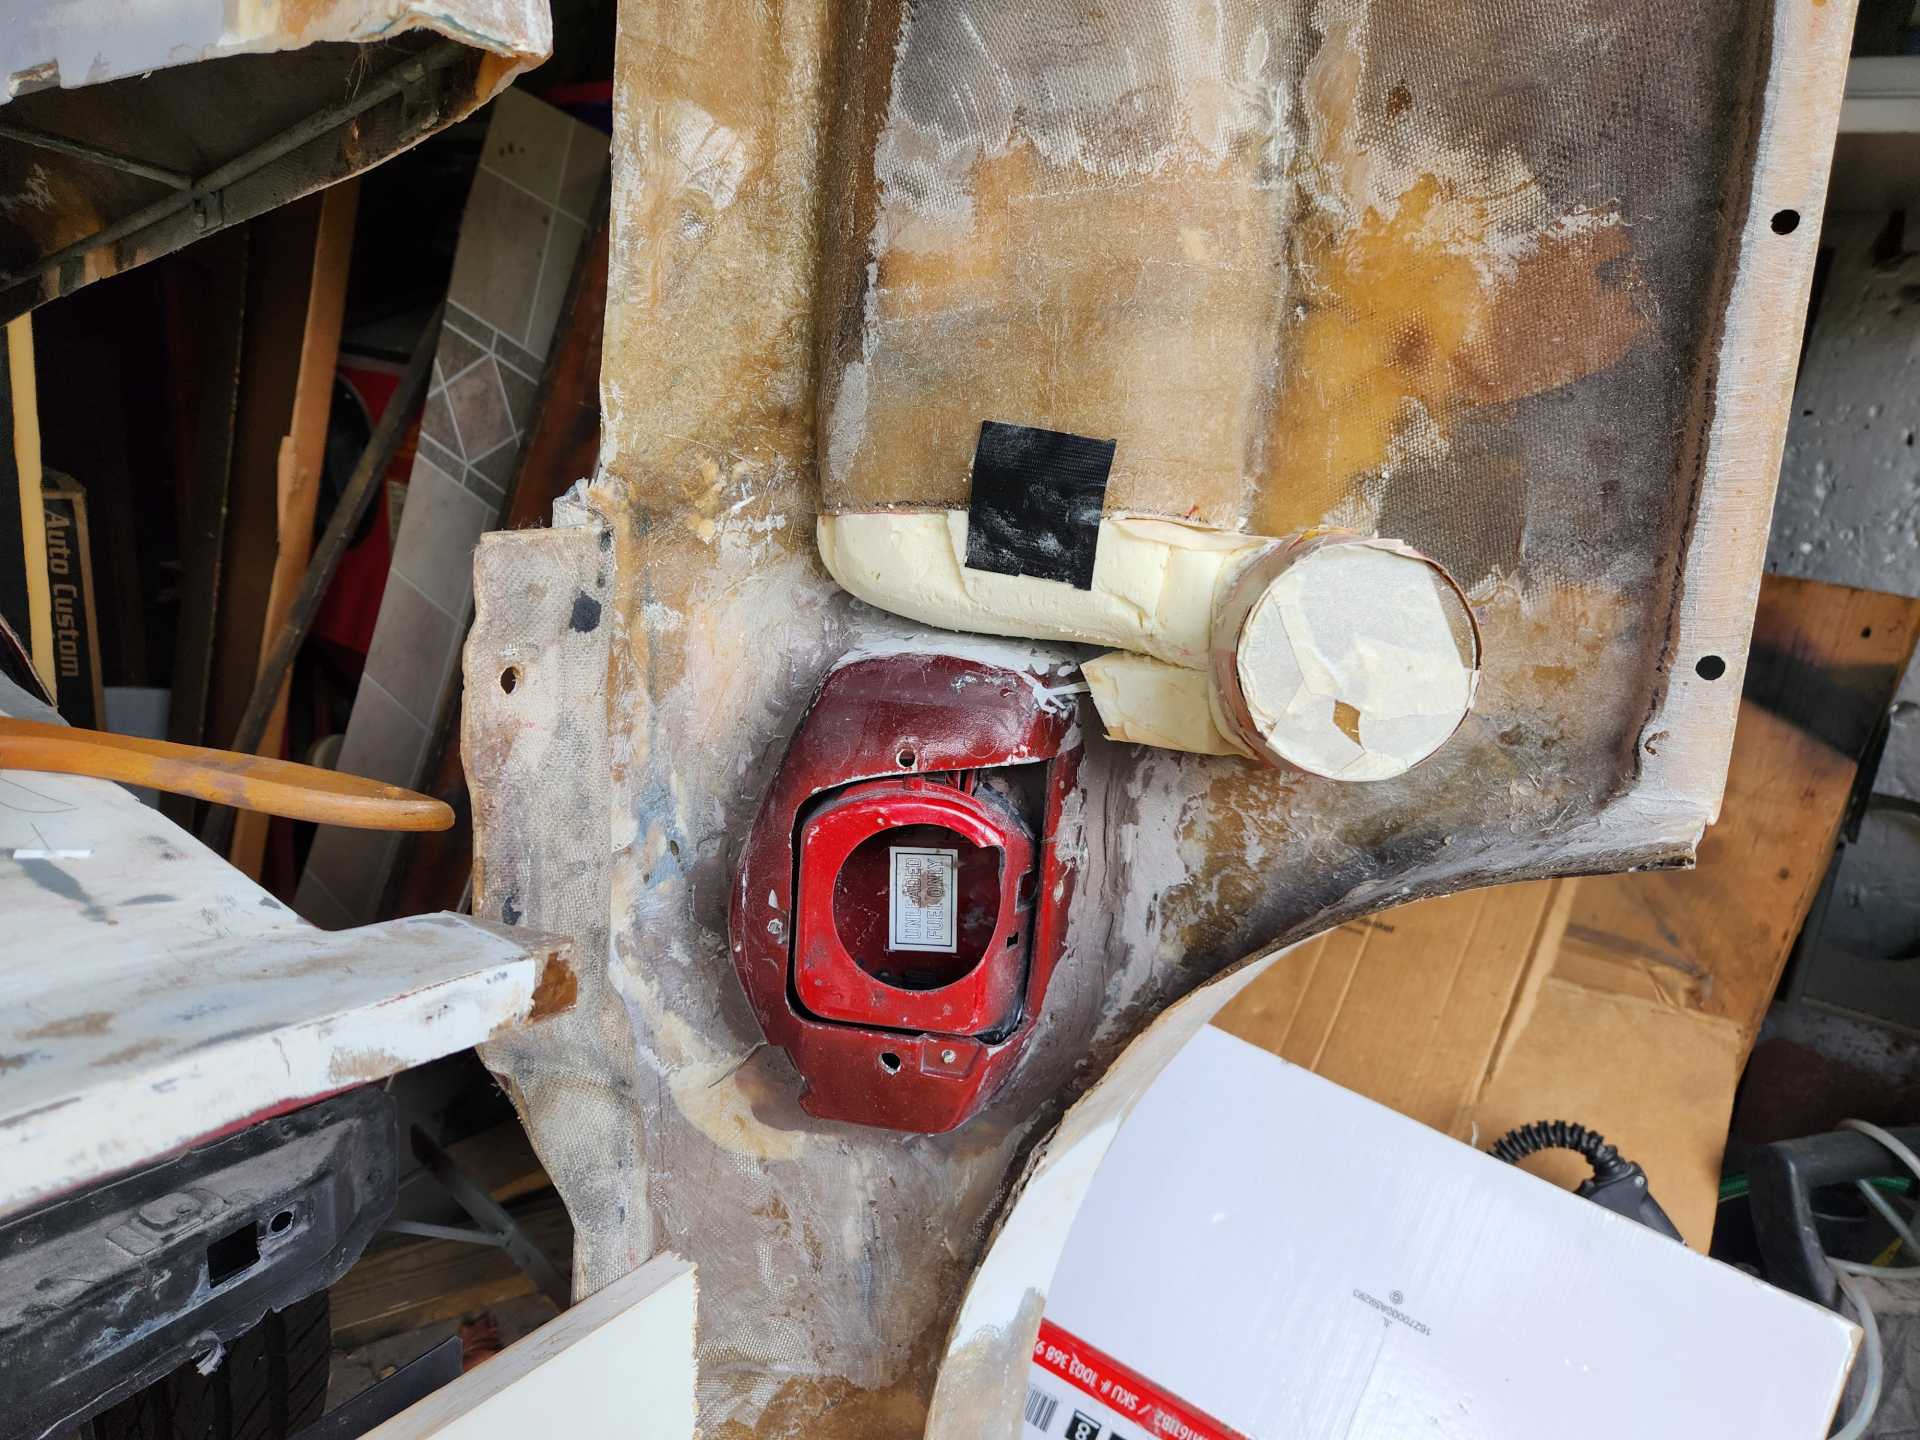
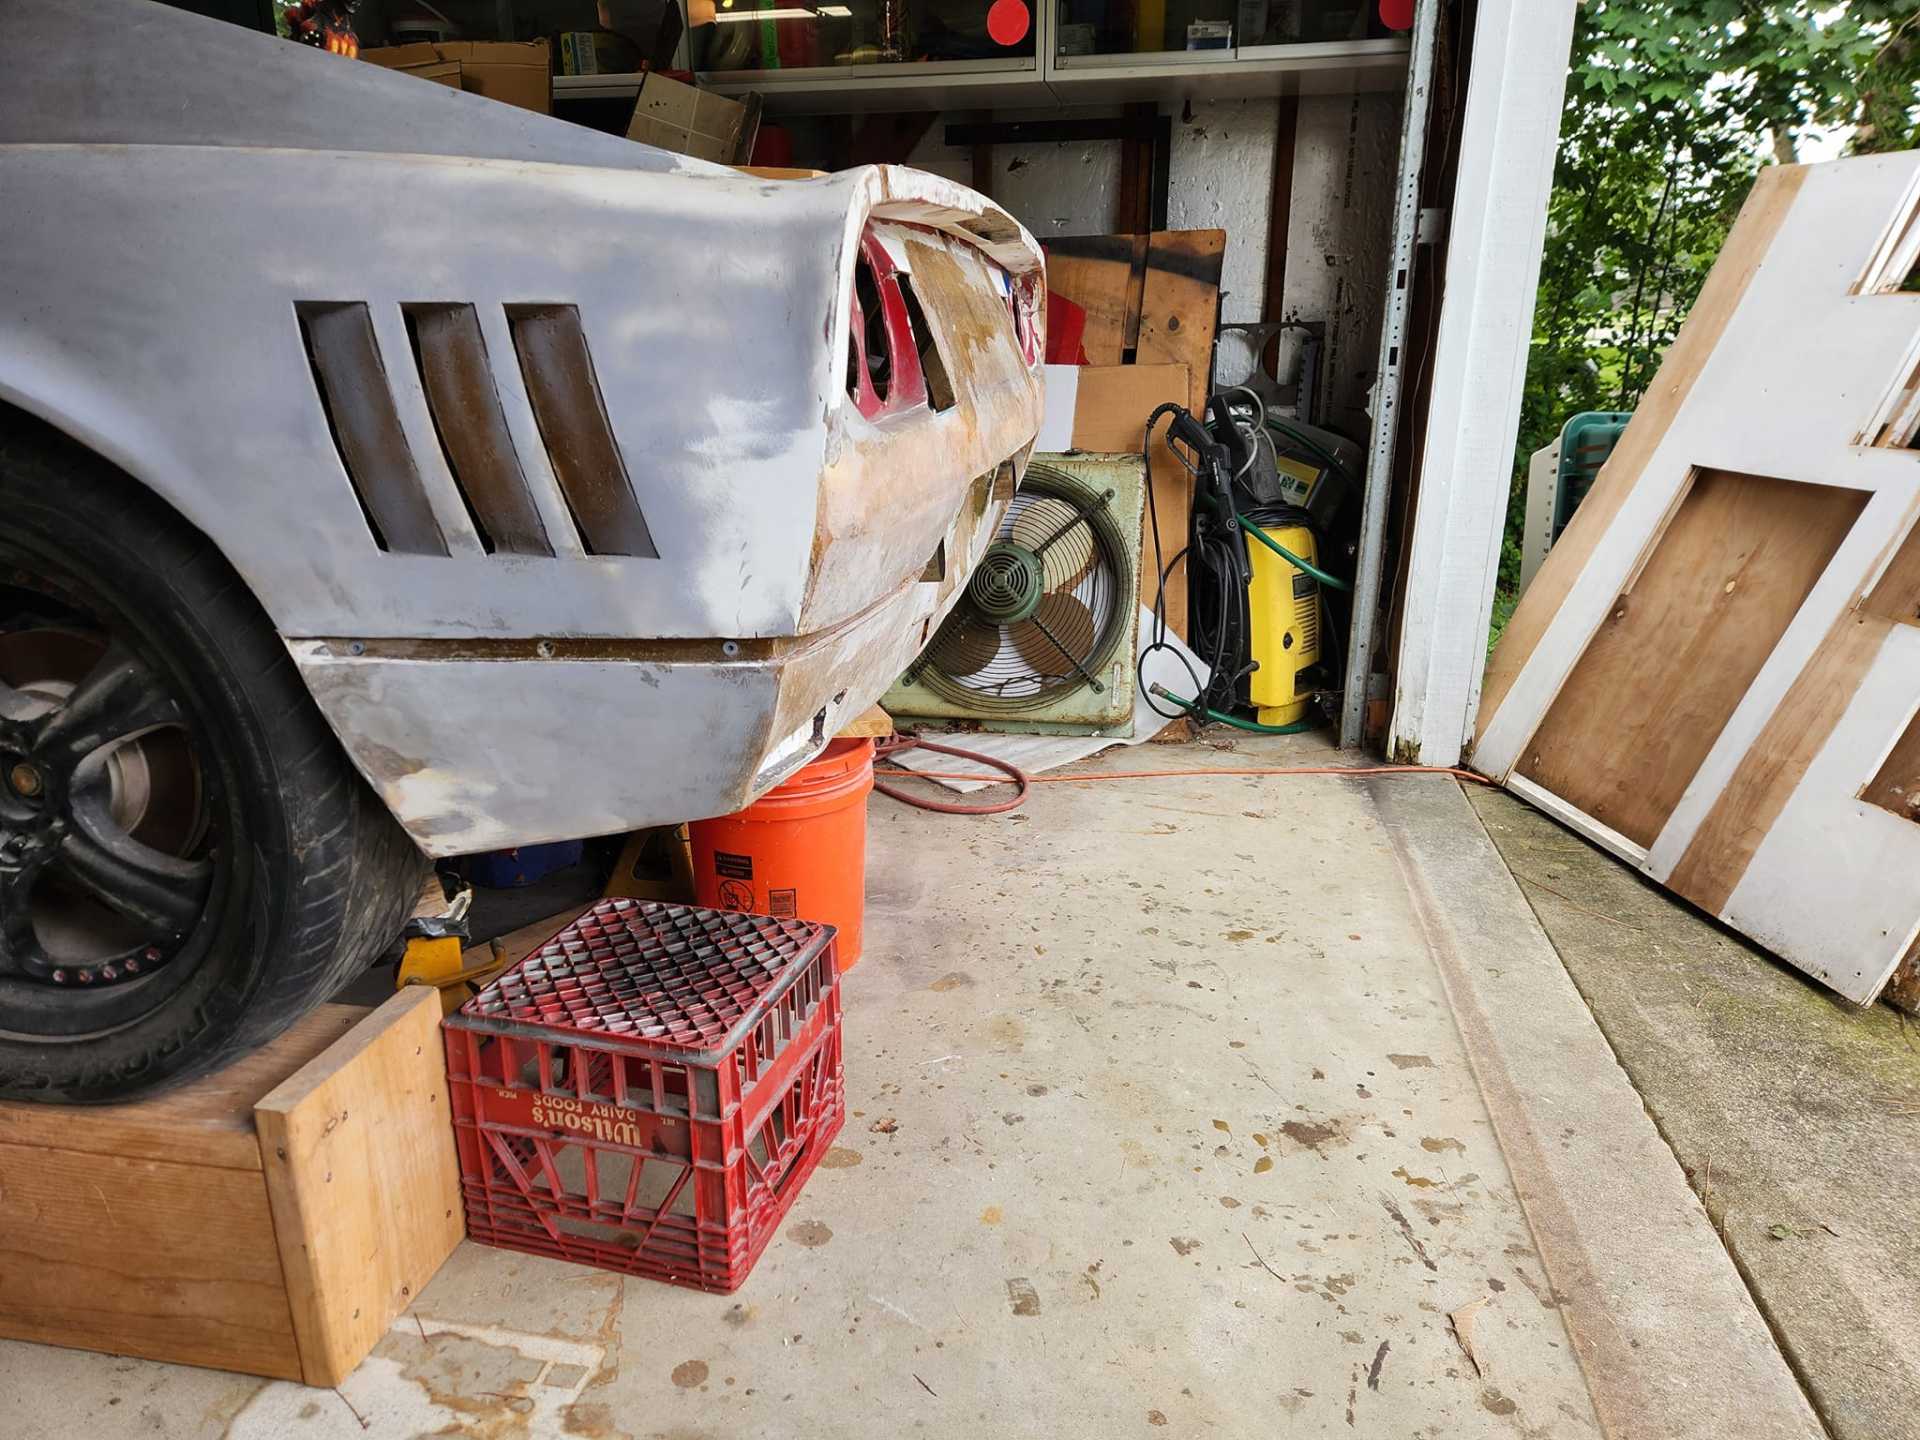
Also worked on adding ducts for the side vents. Probably going to run them to the rear brakes. Shout out to Wayne for sending me some ducts he made (several years ago). Very cool, much appreciated. Unfortunately, I could not use them. I knew the fuel filler would be an issue on the driver's side, but I found that the over-flow tank on the passenger side is also an issue. Glad I checked before gluing it all together. I ended up creating a buck from foam (haven't done that in years) and made the vent from glass.
Pics below... (edit: well that got mixed up)
Neal's duct:
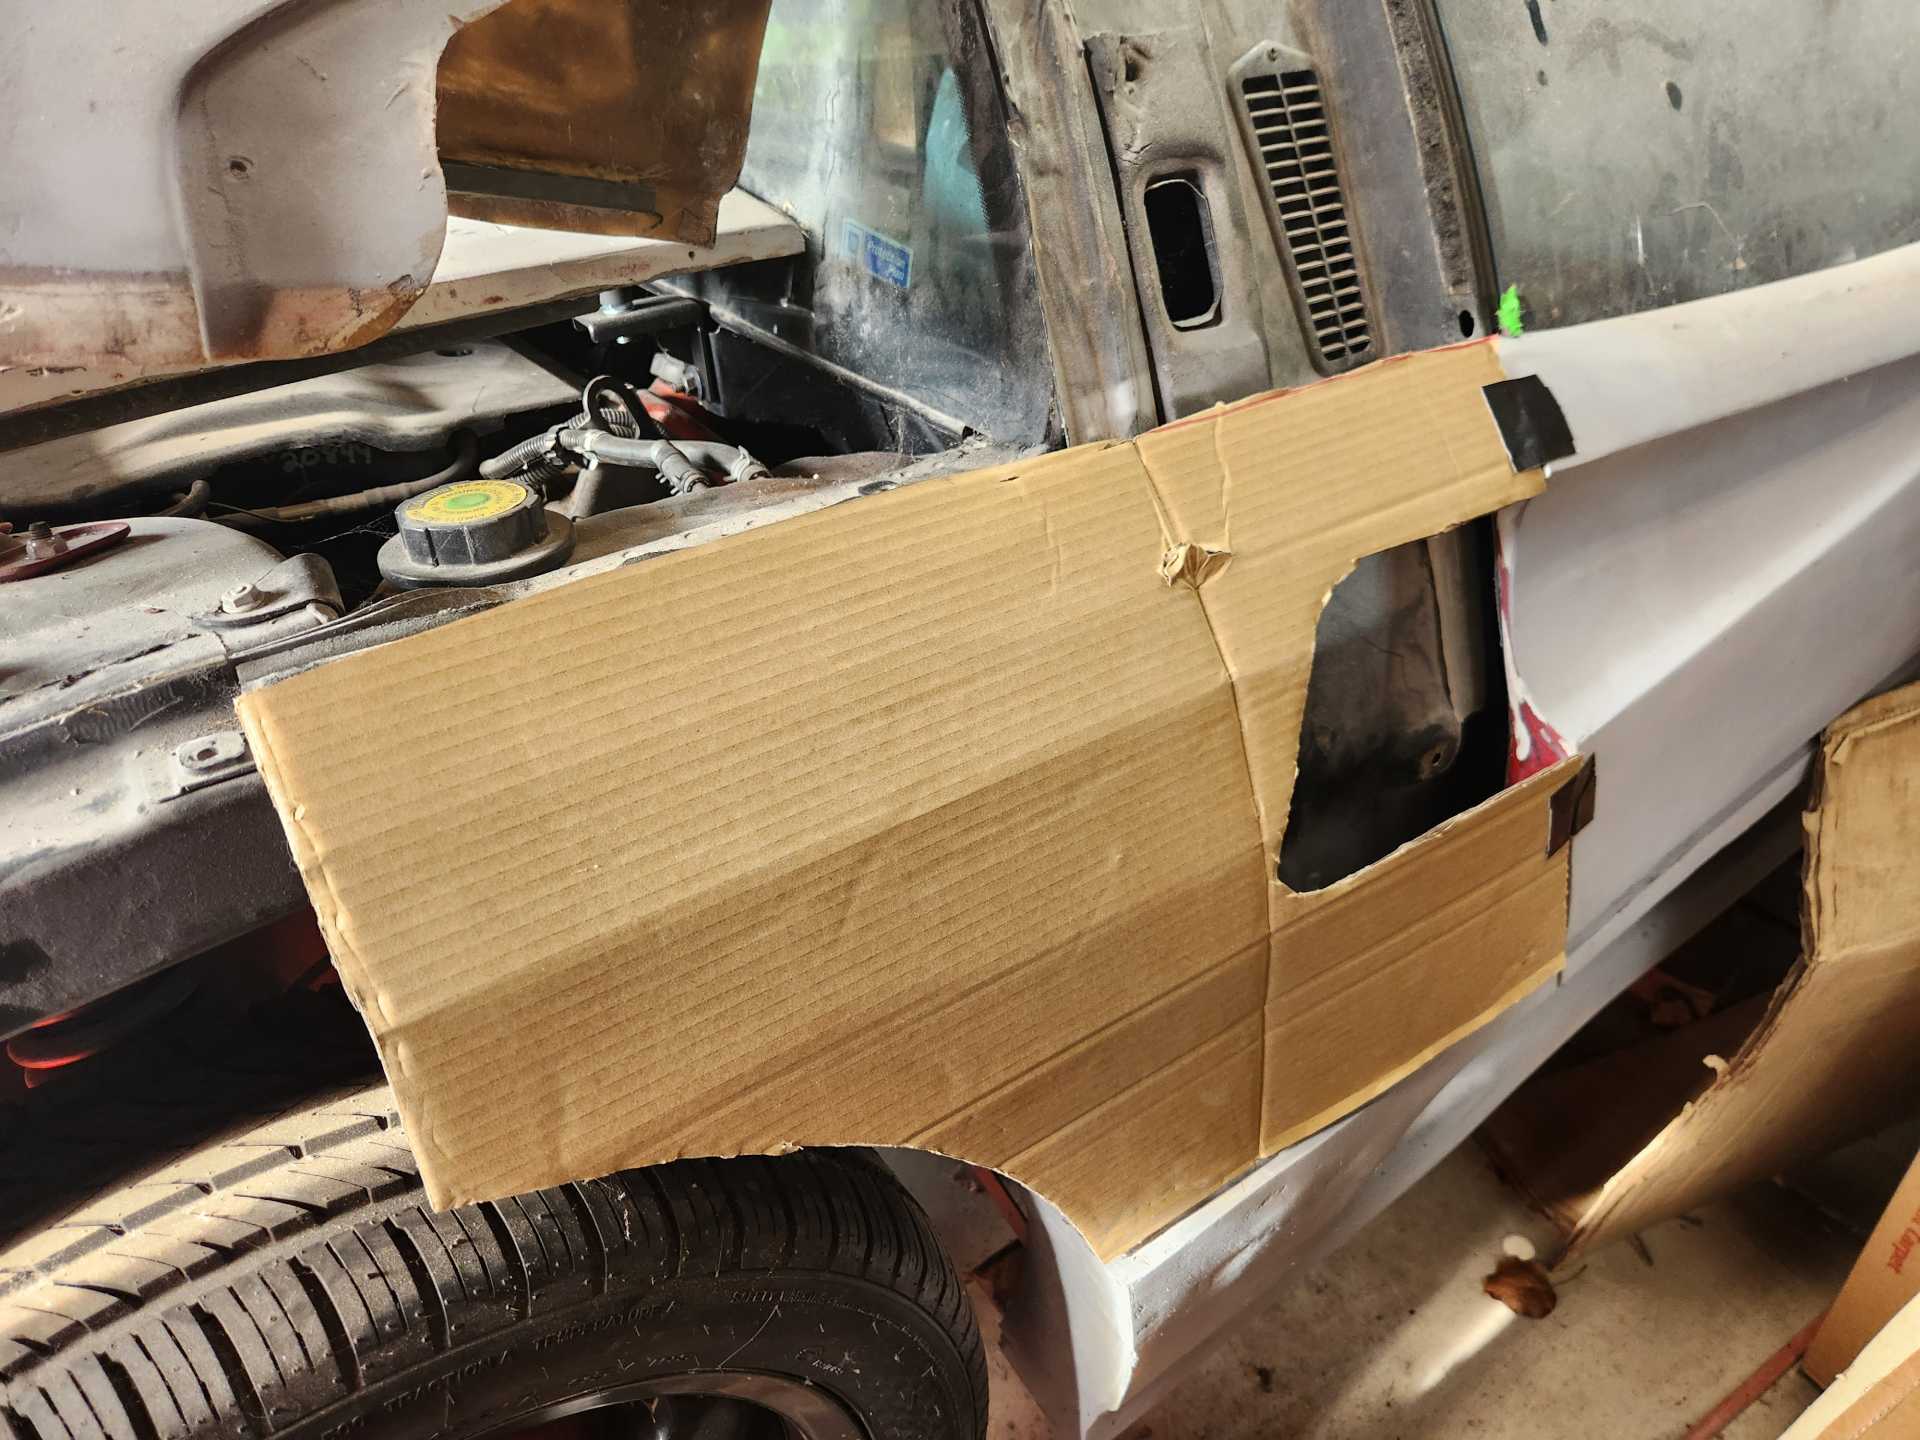
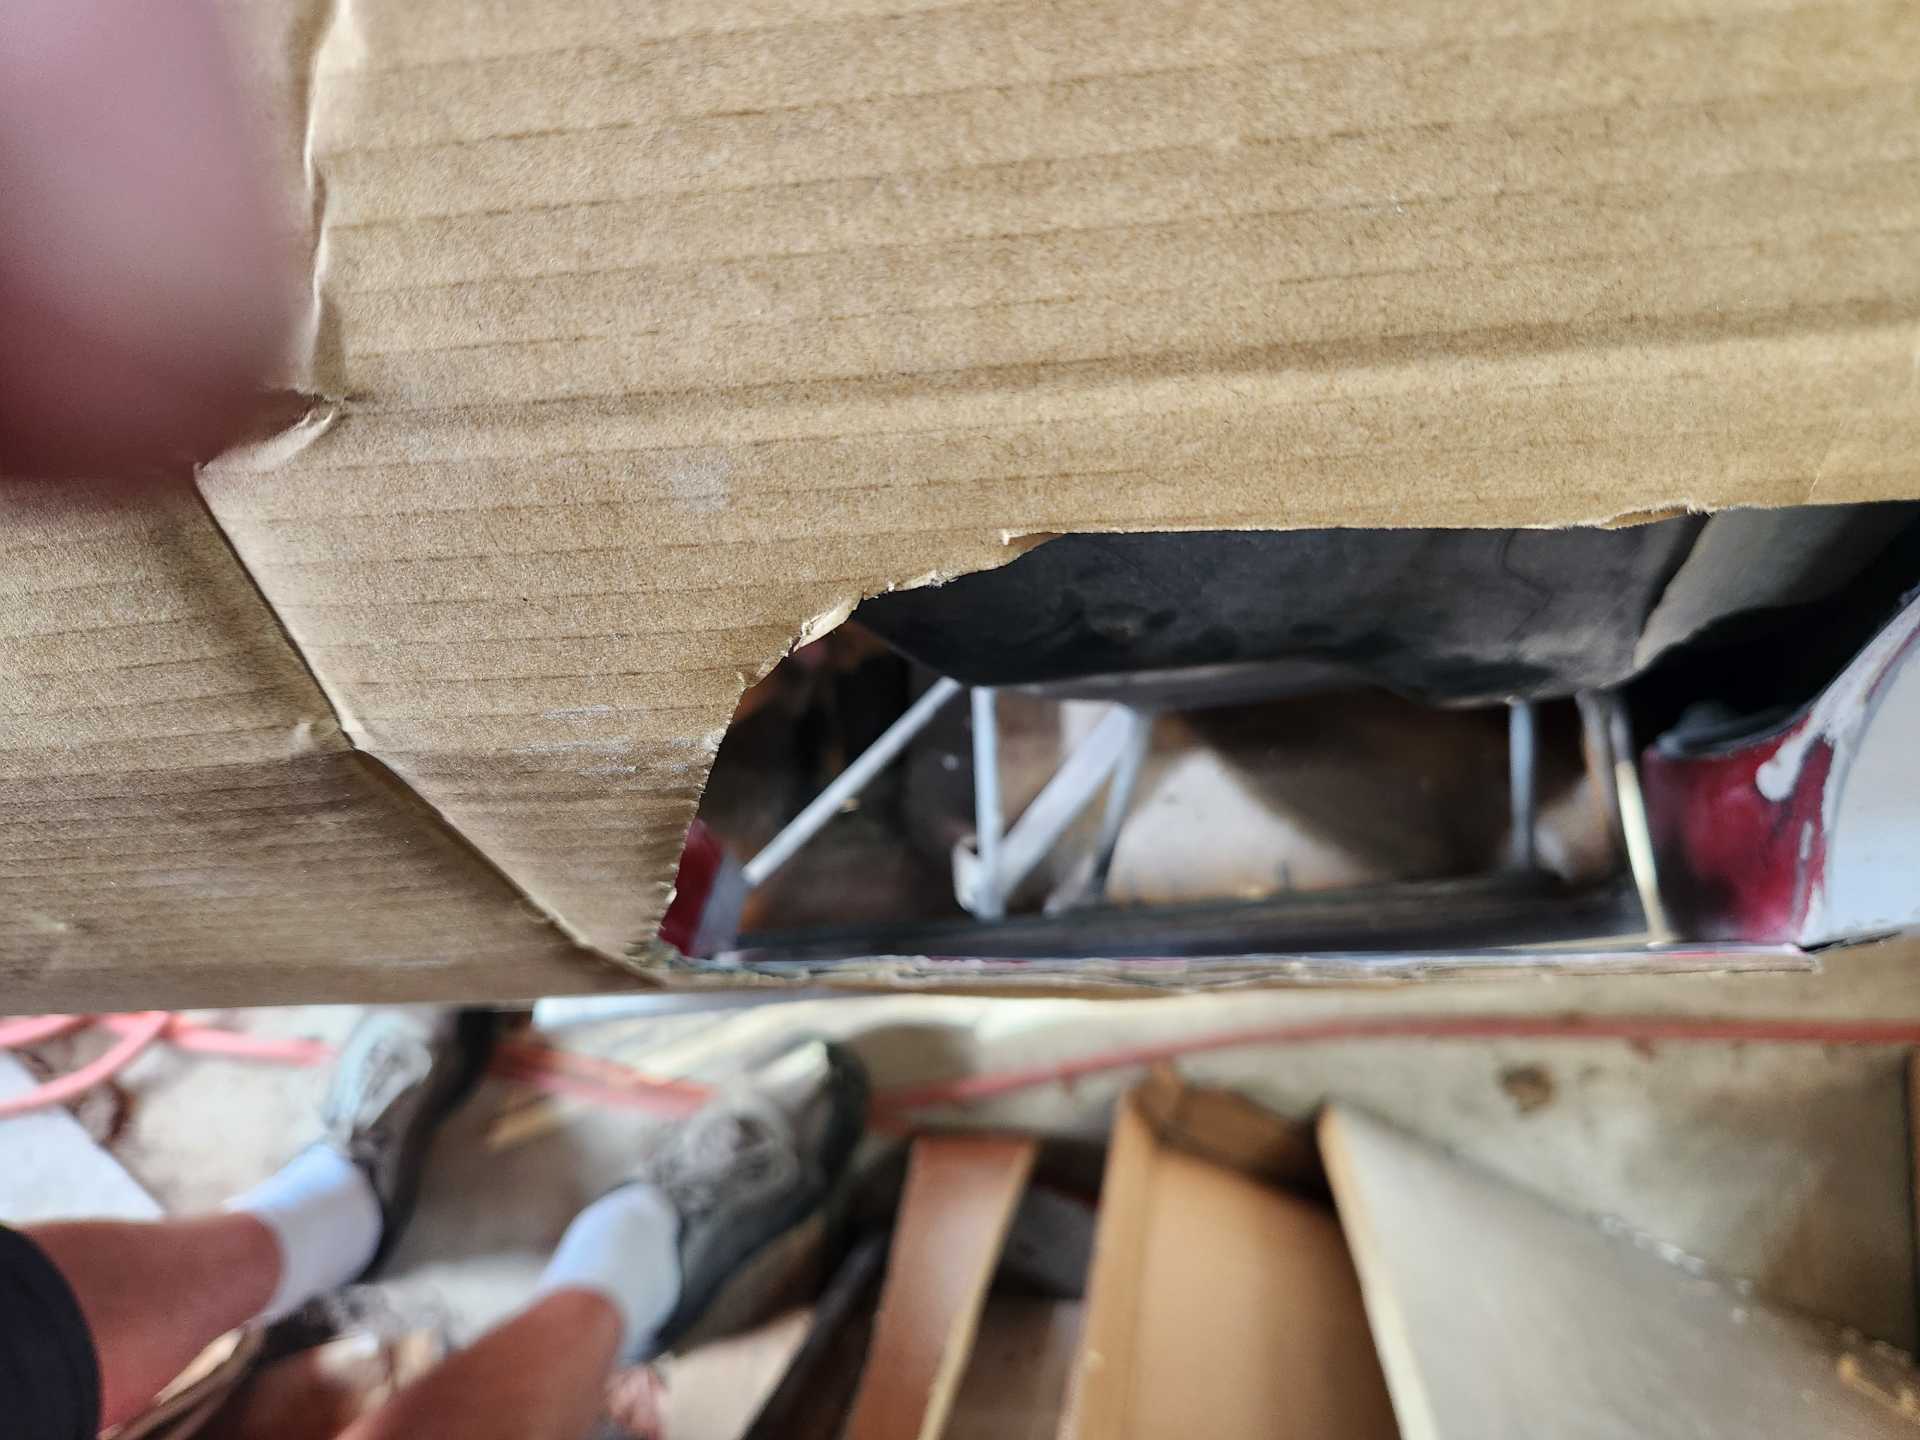
Using cardborgomi to replicate the fender so I didn't have to re-install the rear.
foam buck and new duct.
driver's side buck
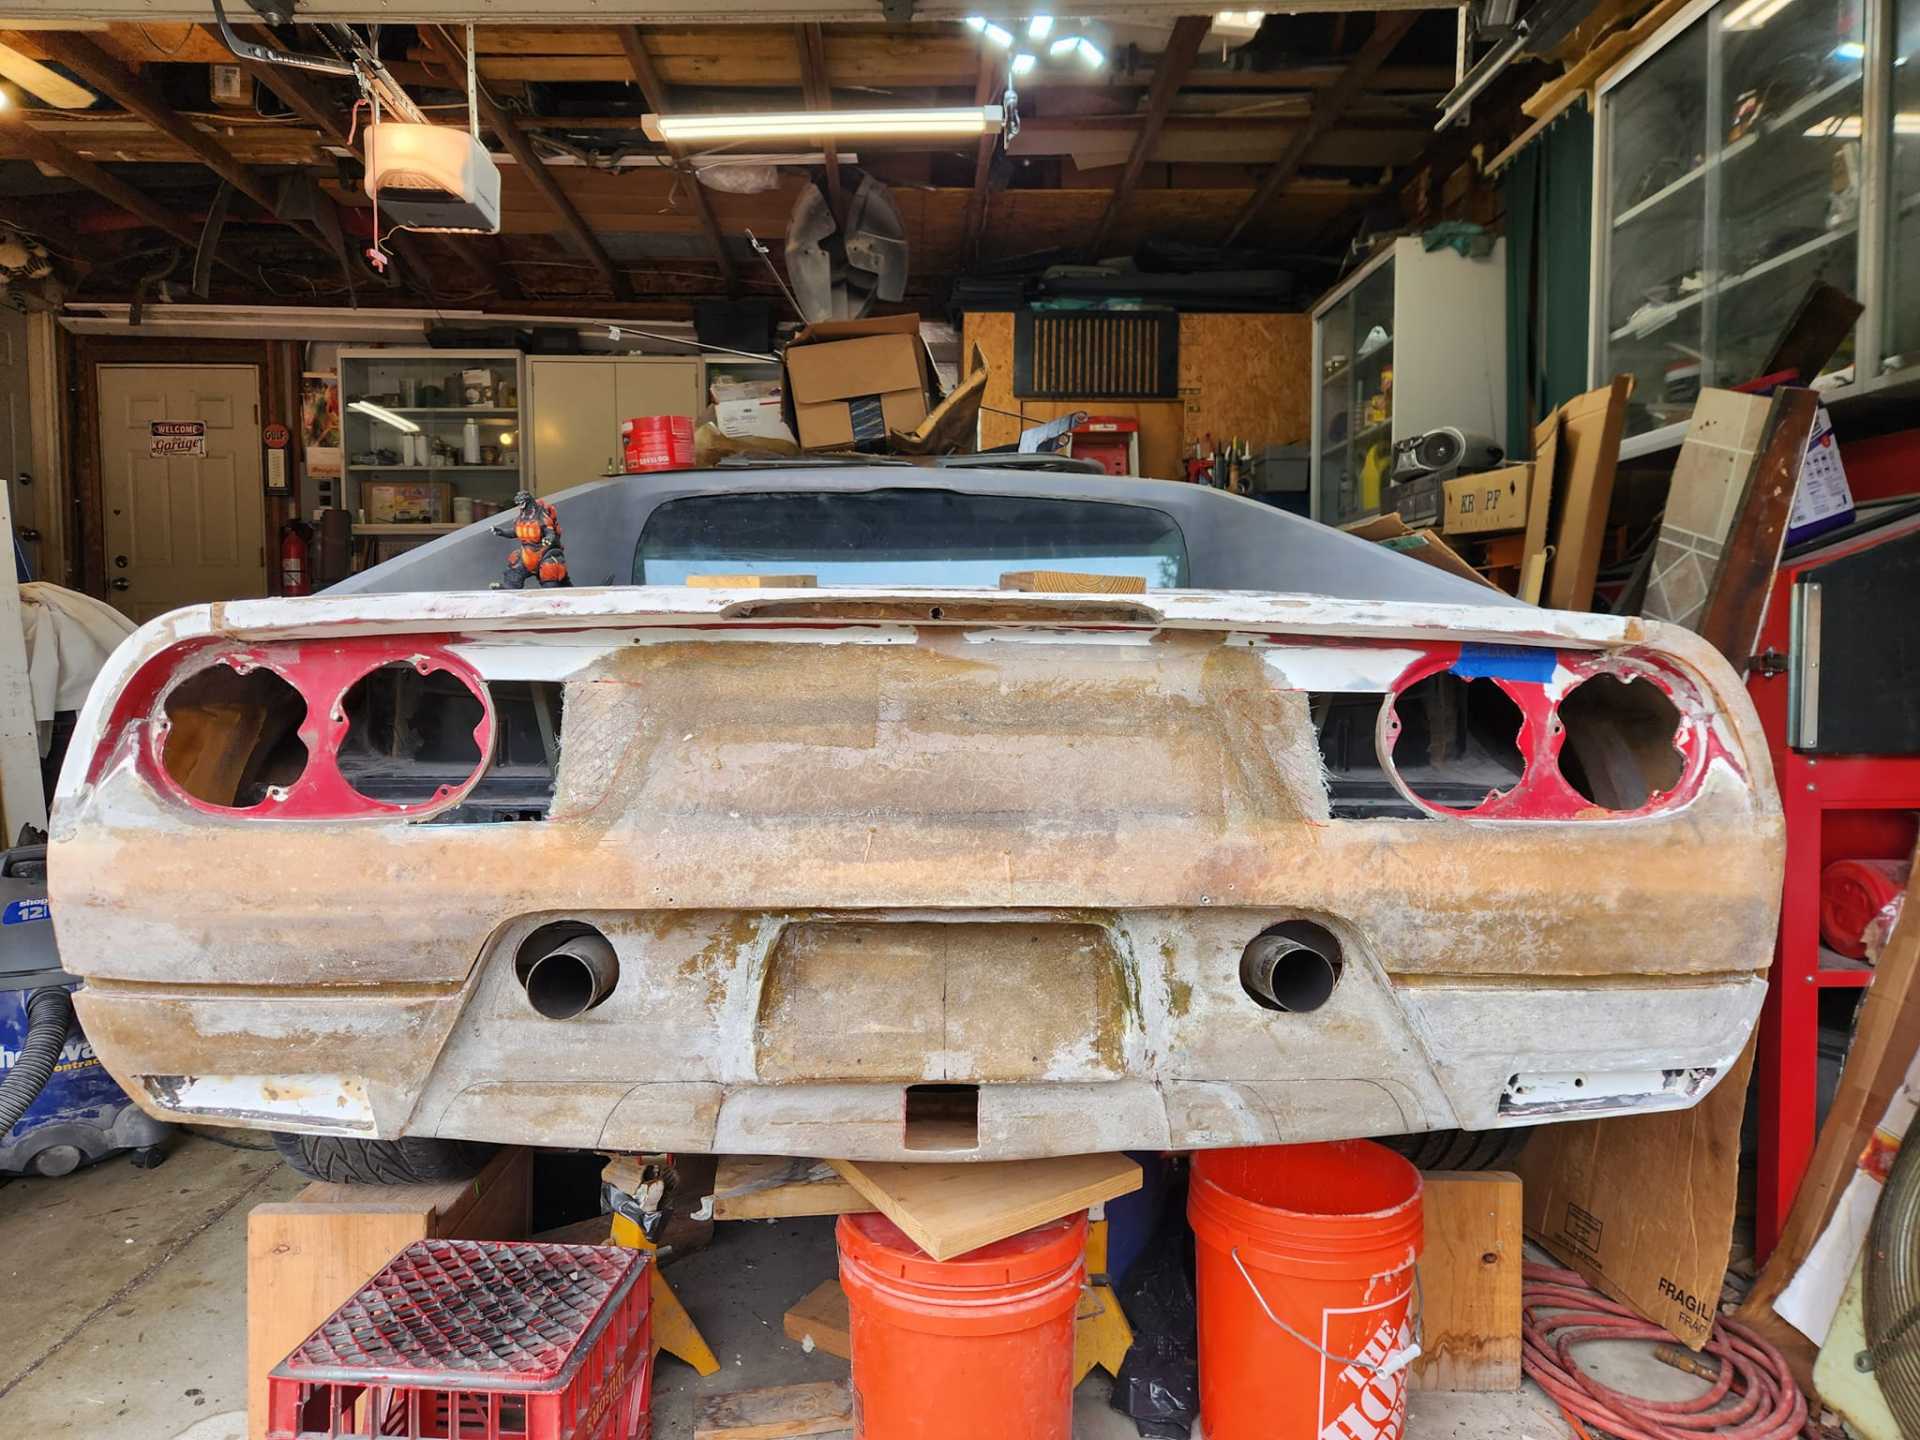
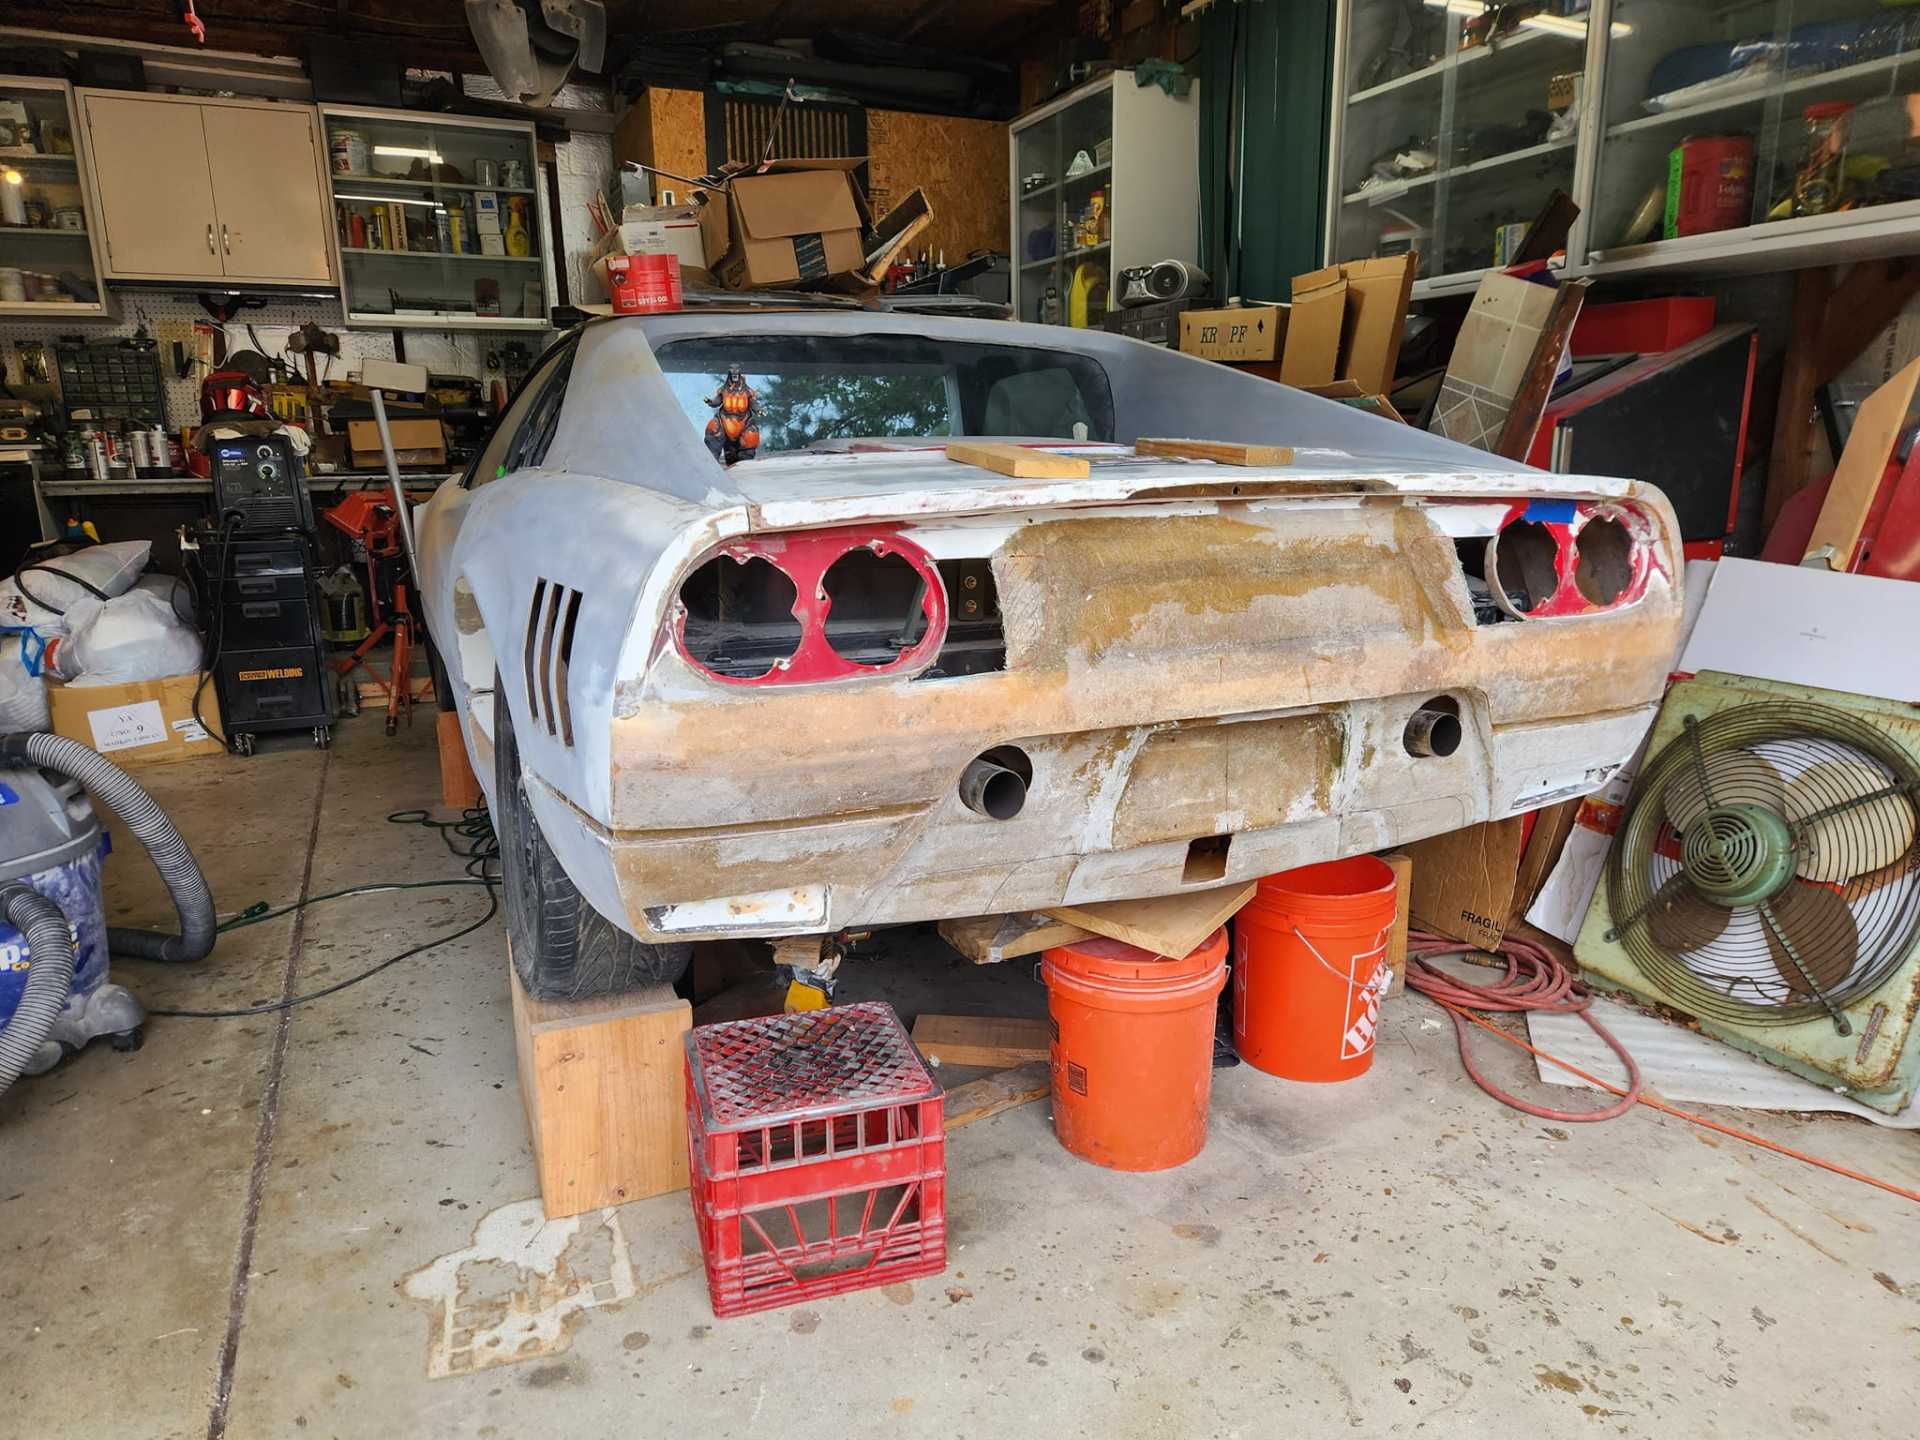
And a rear view with the flanges built, carrying the body line around the rear facia.
[This message has been edited by RCR (edited 08-14-2024).]
A very interesting post by a very creative builder. Good reading material but after 15 years the project continues unfinished. Will it ever be completed? If it is ever completed the owner should win the award for being the next Rip Van Winkle.
------------------ " THE BLACK PARALYZER" -87GT 3800SC Series III engine, custom ZZP /Frozen Boost Intercooler setup, 3.4" Pulley, Northstar TB, LS1 MAF, 3" Spintech/Hedman Exhaust, P-log Manifold, Autolite 104's, MSD wires, Custom CAI, 4T65eHD w. custom axles, Champion Radiator, S10 Brake Booster, HP Tuners VCM Suite. "THE COLUSSUS" 87GT - ALL OUT 3.4L Turbocharged engine, Garrett Hybrid Turbo, MSD ign., modified TH125H " ON THE LOOSE WITHOUT THE JUICE "
Given that Bob posts pretty regularly, and it's almost always an update, especially for a project this big and spanning that long... that's a testament to say 'yes, it will be finished'.
There are people out there that start projects, stick with it for x-amount of time, and when they either run out of funding or the task exceeds their abilities (and time to develop those abilities), the project and updates just.... stop.
I love seeing builds like this, seeing people come up with solutions I never would have dreamed of, or honing skills that I don't have (and/or don't have the room to even try to build). Like all that fiberglass work?! Man, just awesome stuff.
Appreciate the feedback guys. Yes, Dennis, it may not ever be finished. So what... It doesn't take anything away from my posts. Just trying to inspire others on what can be done ...
Thanx Trinten. Dennis may be right, but I enjoy working on it still and there is still motivation to finish. Too many ideas to try.