very nice! are you gonna spray the fascia with fiber glass too?
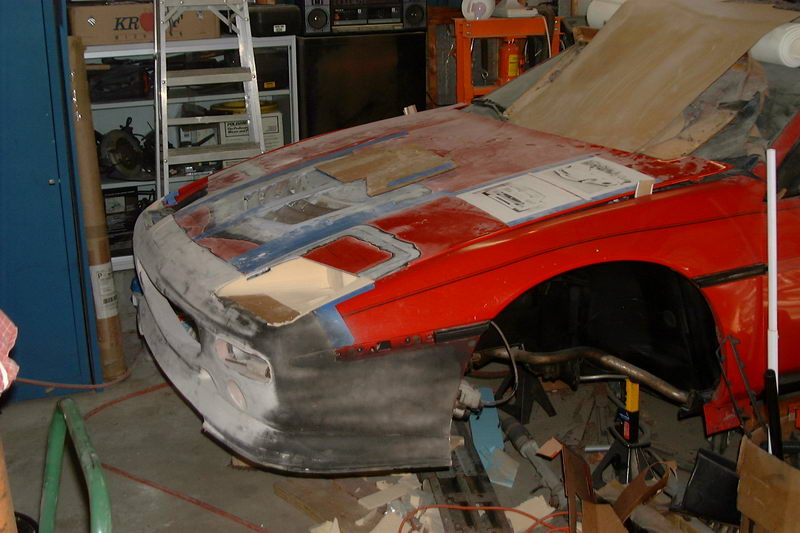
The plan at this moment is to take a mold off the nose once complete and make a fiberglass piece. Then re-fashion the bumper to make it all fit back together.
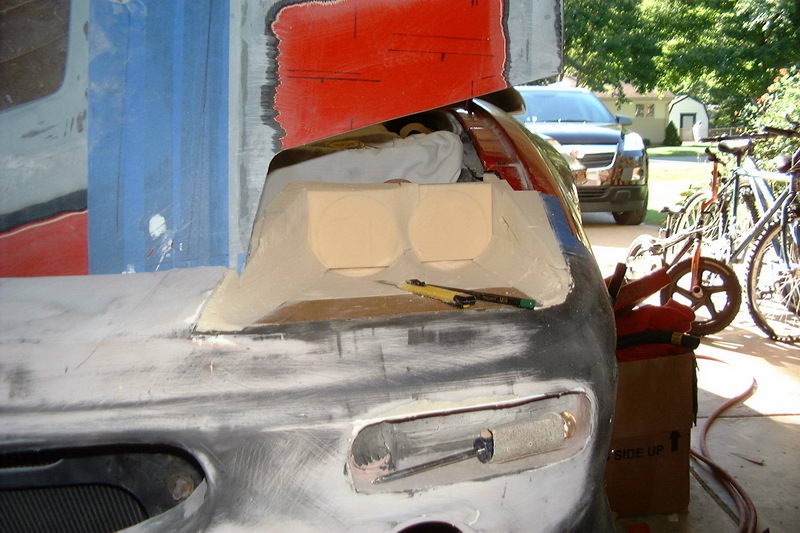
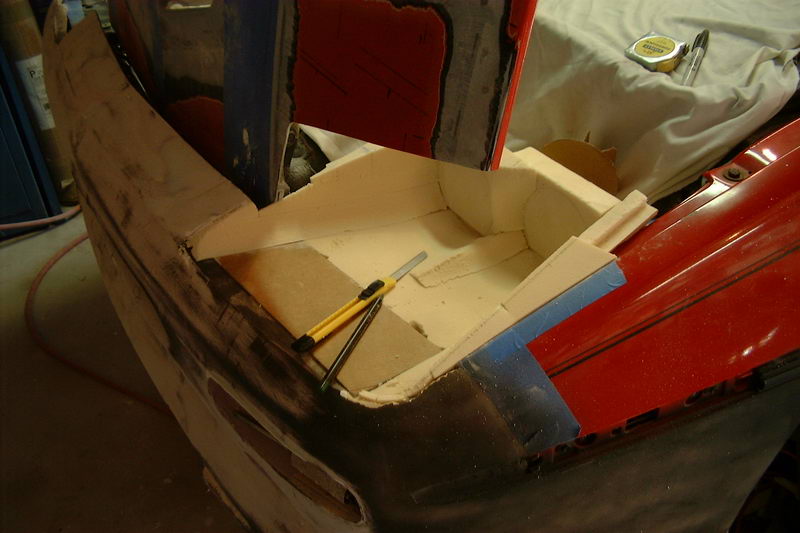
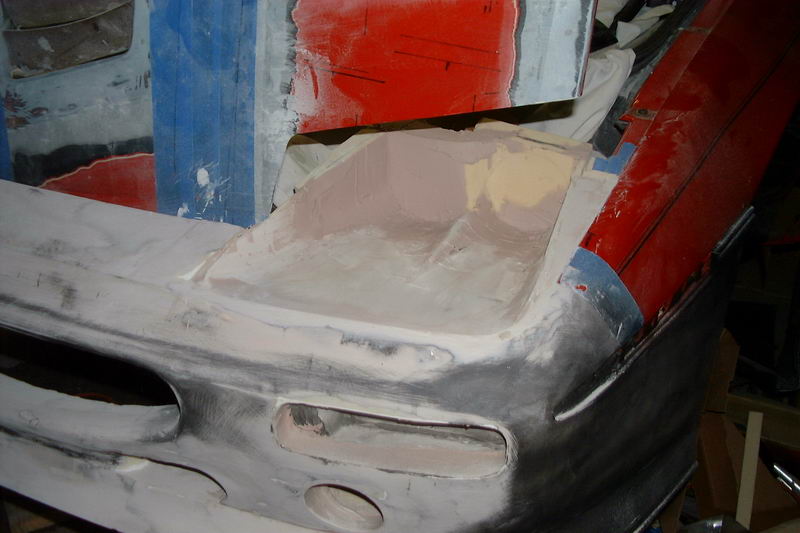
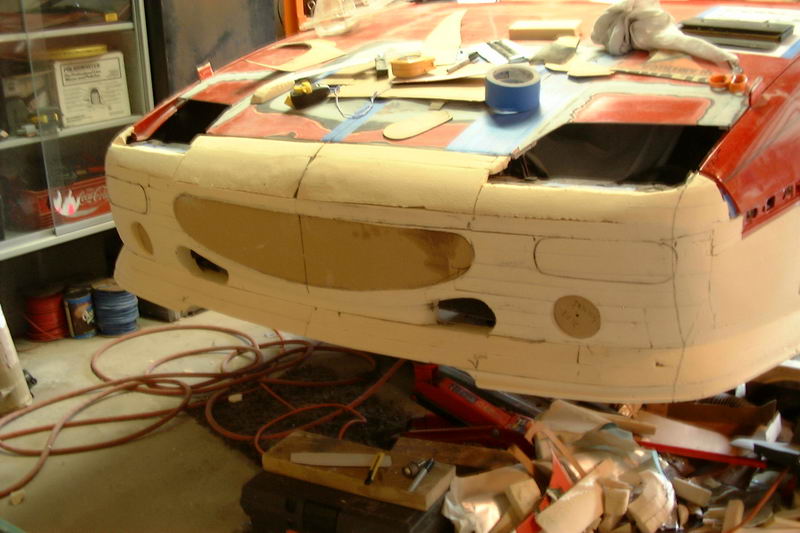
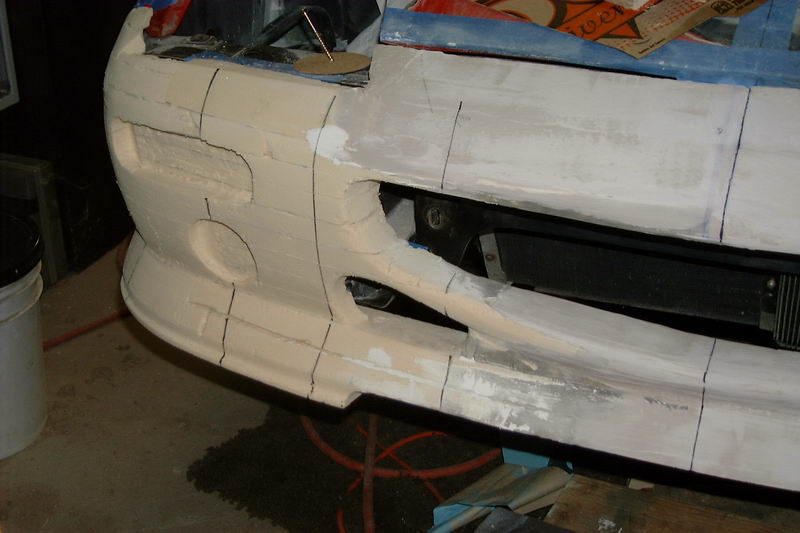
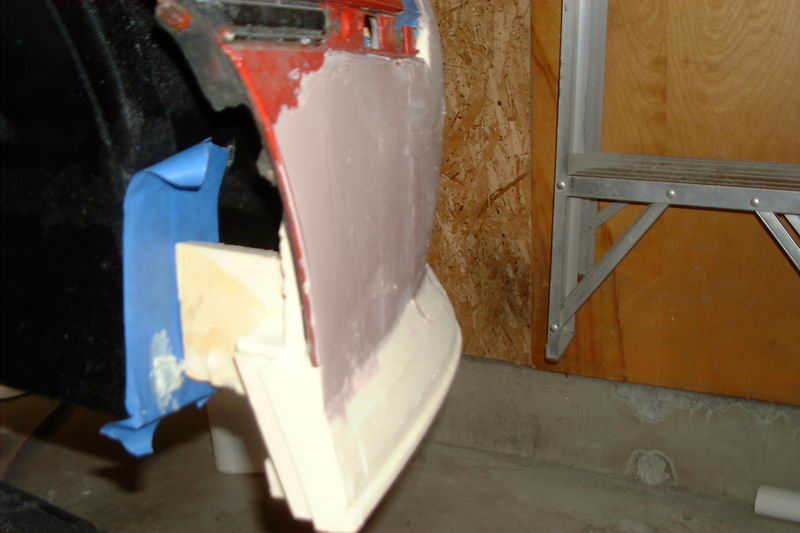
I'm going to use drywall compound (mud) to finalize the shape and smooth everything out. Here is my first attampt, starting only with a portion of the driver side.
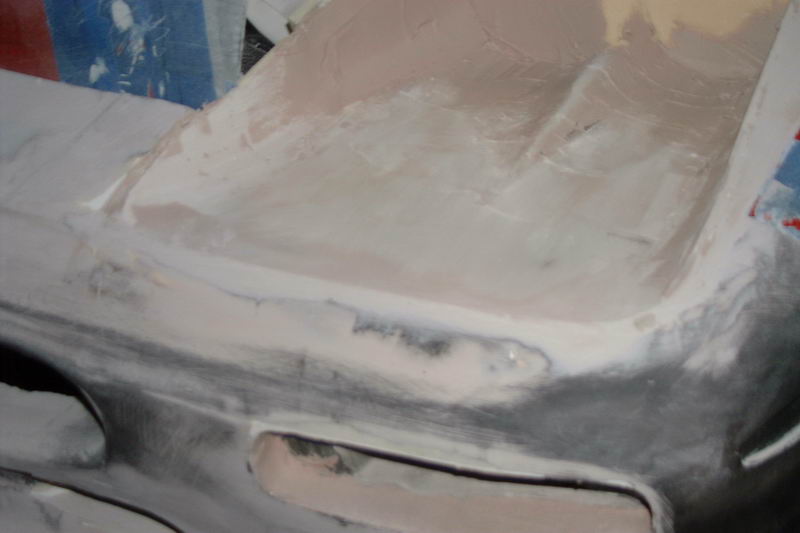
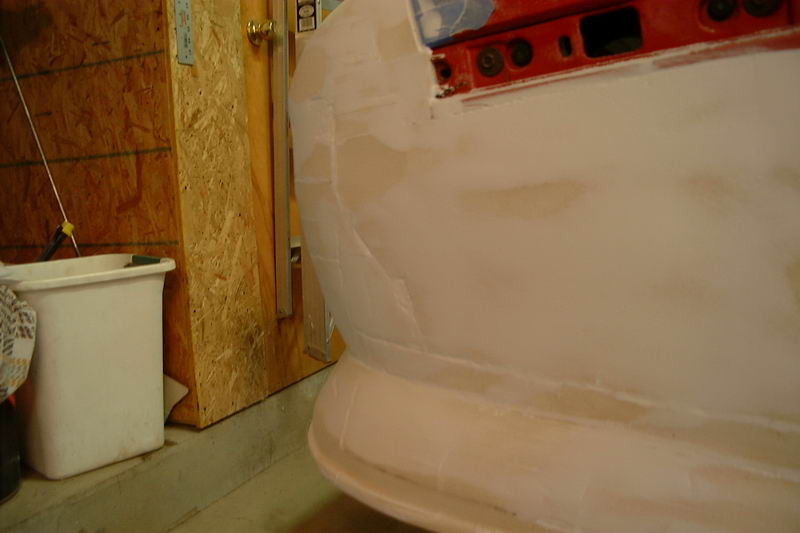
Closer shot of the side, showing some of the seams.
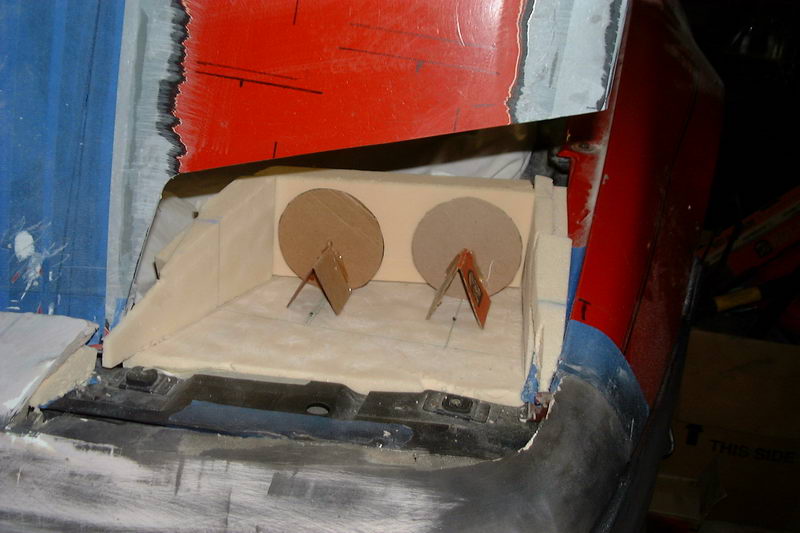
I thought I would try to make it even harder on myself, so I made a pocket for the light.
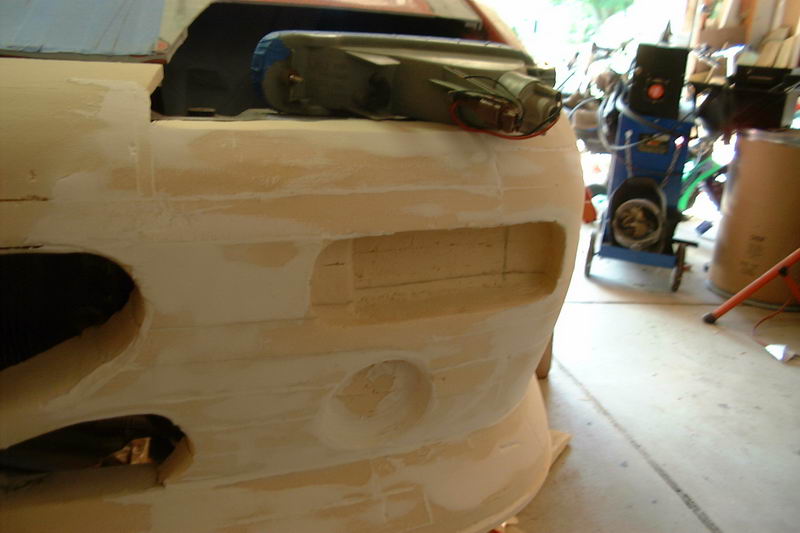
Although the mud is easy to work with, it's proved to be a very slow process because it takes a day to dry.
That's it for now. I've got 5 days to work on it (vacation) so hopefully I'll get some progress. Still need to match the driver and passenger sides better and there's a whole lot of mudding and sanding to do.
Great thread! Eventually i want to do alot of body mods to my new fiero... but have no clue how to even start i like how detailed all your pics are to help some of us "noobs" get a solid idea of the process thanks!!!!
Although the mud is easy to work with, it's proved to be a very slow process because it takes a day to dry.
Bob
Much too slow; I"m glad I used bondo on the Fi355 nose. I must have re-applied bondo dozens of times to fill low spots. If I had to wait a day for each application I probably would still be working on it.
Much too slow; I"m glad I used bondo on the Fi355 nose. I must have re-applied bondo dozens of times to fill low spots. If I had to wait a day for each application I probably would still be working on it.
You are absolutely right. After putting the 500W lights in front to help expedite the drying, and it still didn't help in this 100% humidity, I've switched to good ol' Bondo brand filler. Now, back to sanding.
You are absolutely right. After putting the 500W lights in front to help expedite the drying, and it still didn't help in this 100% humidity, I've switched to good ol' Bondo brand filler. Now, back to sanding.
Bob
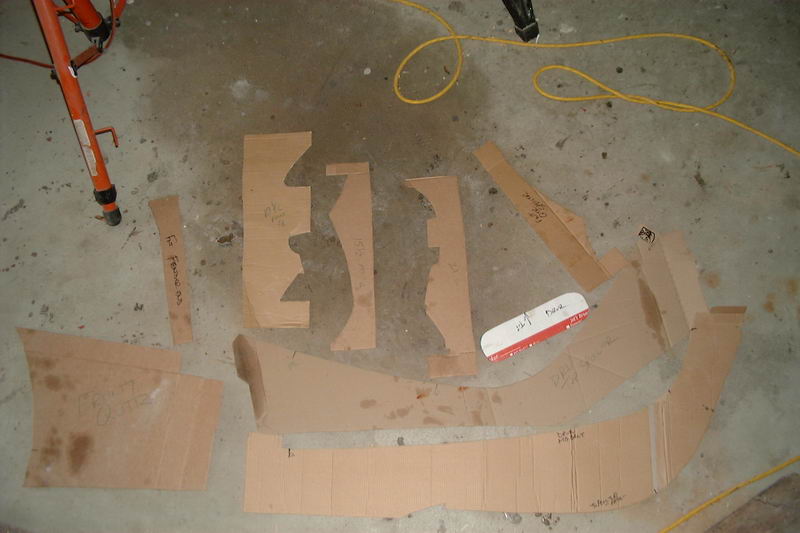
I never took a pic of it but I must have made 2 dozen profile templates to check symmetry between sides, and I used 3 different sized profile gauges. One thing for sure though...sanding sucks!
Thanx for the praise, guys. Hopefully it all works out. The use of Bondo has sped things up a bit (and 3 days of vacation to boot )
Rob, The profile gauges are working pretty good. I made a bunch of new ones today. I discovered in the process that the centerline I created when I started was off by 1/4" so I've had to move things, but it does explain why lines weren't lining up a week ago.
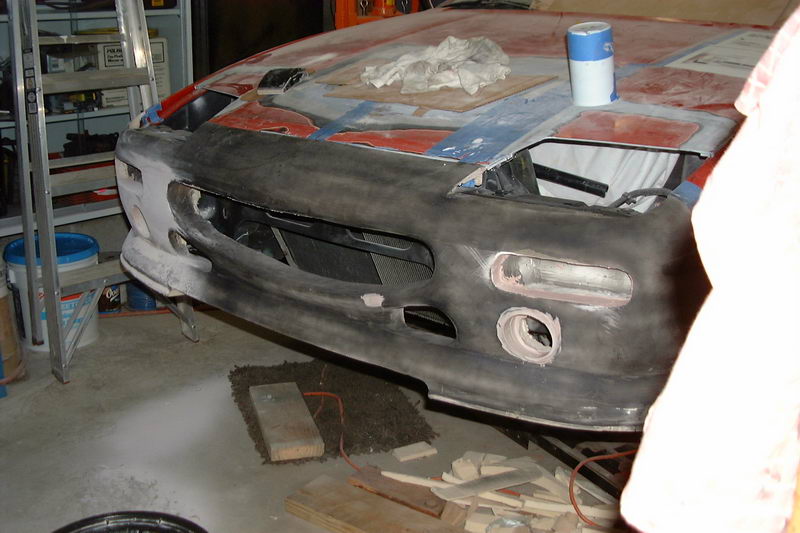
Nuf blah, blah...Here are some pics.
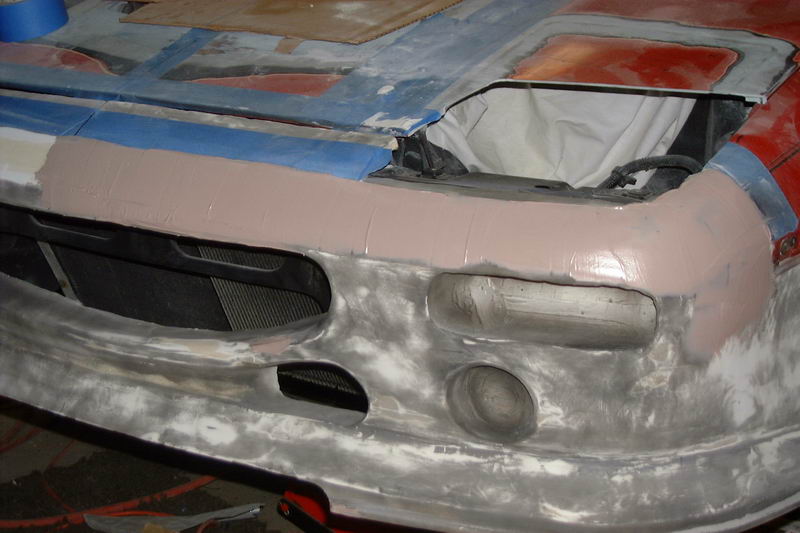
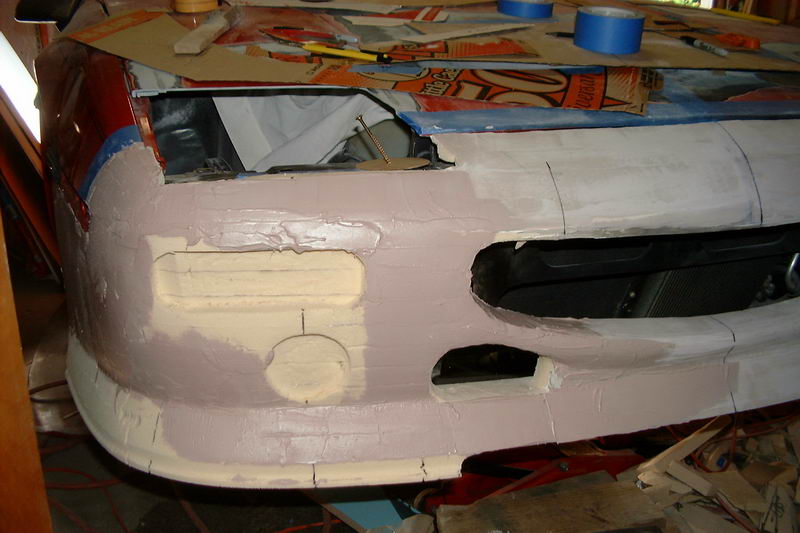
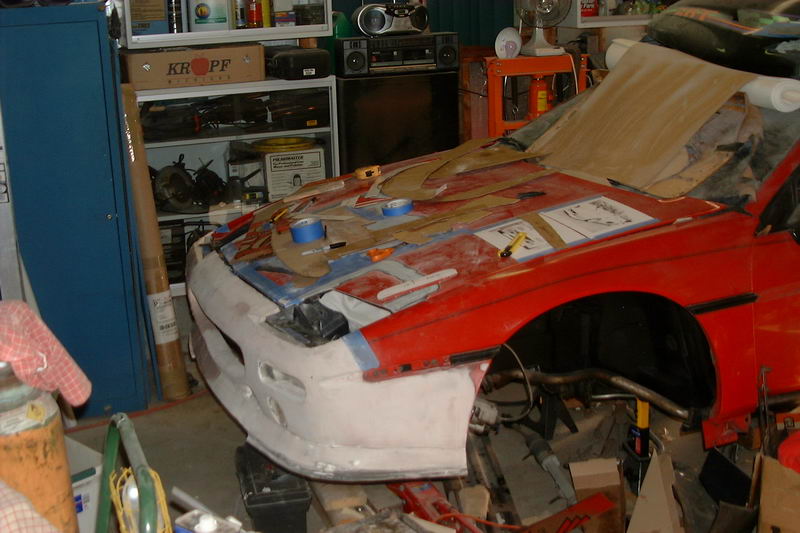
Threw a guide coat on the plaster to see where I was.This determined my switch to plastic.
First layer of Bondo:
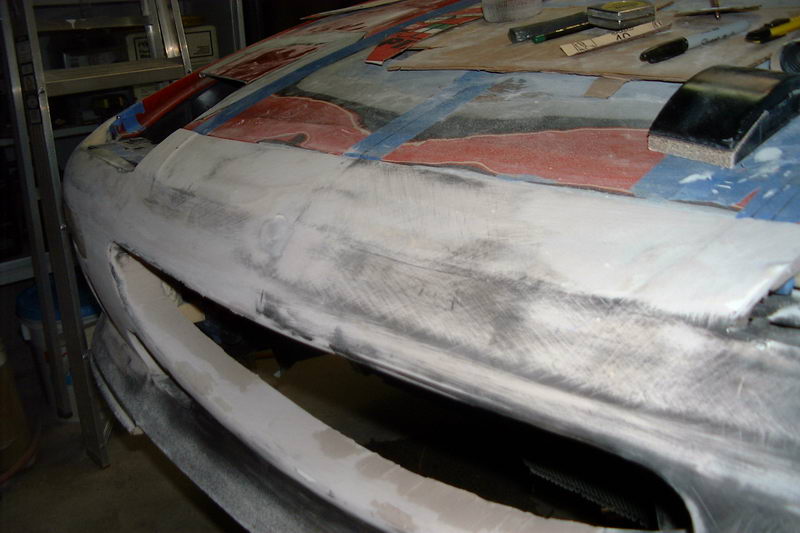
Added the ribbed molding to the front
Most of the profile gauges I made
Started matching the passenger side to the drivers side. The lines show areas in which the profiles match
Letting filler harden before attacking it with more sandpaper and a vacuum...
quote
Originally posted by Blacktree:
This thread really needs to be in the Construction Zone.
I'd like to be further along, but I'm up for that...
Now a question...Should I integrate the headlight bucket in with the mold for the front? Or at least make the bucks at the same time? I'm not sure I'm happy with the first shot, so...
Bob
[This message has been edited by RCR (edited 08-31-2009).]
It's up to you. I'm contemplating something similar (using Hella 90mm units), and was thinking of integrating the buckets into the front fascia. My reasoning is the less body seams there are, the smaller the headache.
The ADD is kicking in and i'm wondering how to make the front suspension mods work.
I've been tinkering with the headlights, too, trying to integrate the "foam" method for making the buck. I've got a few pics but I'm still in the "planning" phase.
the only way this would be allowed here would be with thousands of dollars in engineering reports. After crash testing a proto type .
Oh you gotta be effin joking. You really do believe the BS that you spout dont you?
Nice work RCR. Ignore comments like that. Australia is not like its biggest resident hater would like people to believe. Makes me ashamed to be an Aussie everytime I read his BS.
Just out of interest what are you using to stick the layers of foam plug together? Have ways we have been doing it for years but always intersted to see what others have come up with.
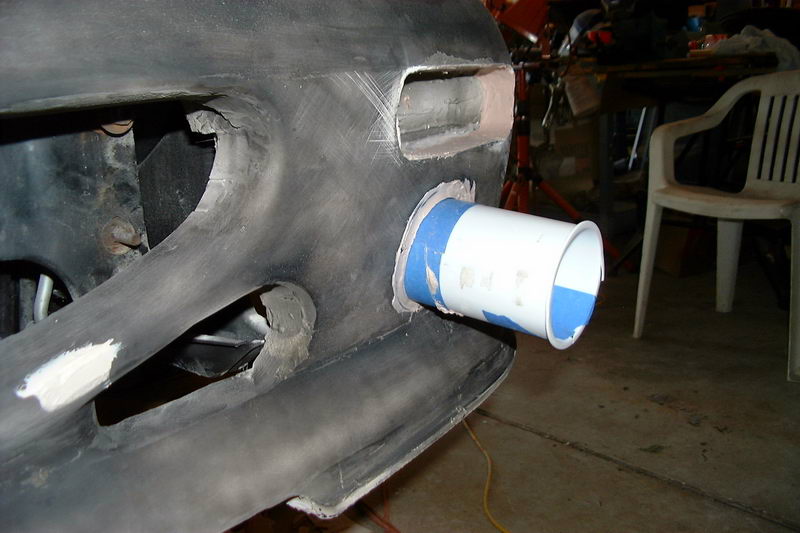
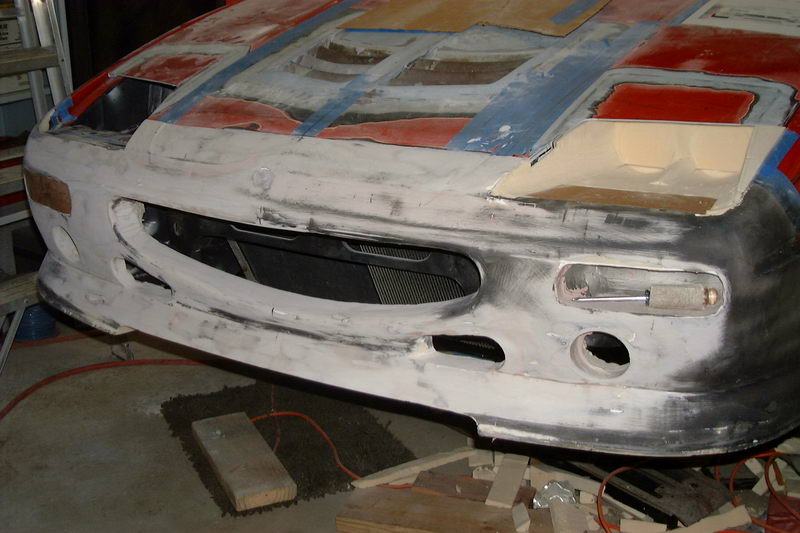
Update: Started reshaping the light fittings and the bottom vents so that they are round, not psuedo eyeballed. Used a cake frosting container as a mold.
Used a slightly smaller container for the vents.
And lots more sanding.
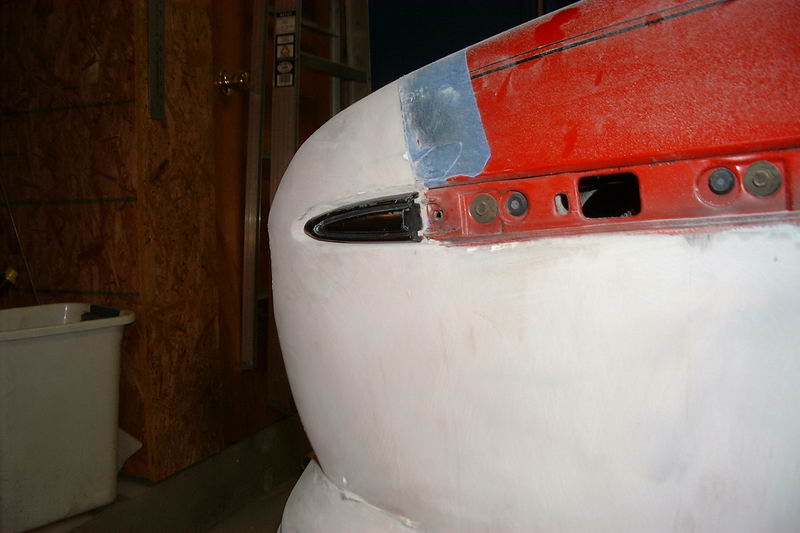
It bothered me the way the headlights had worked out previously, so I thought I'd give it another try.
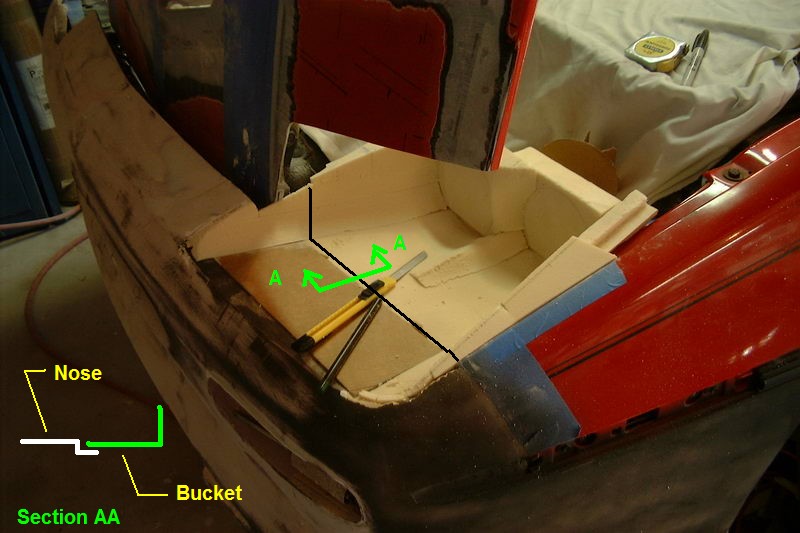
Well, since you asked... It just looks like to me that the nose with the integral headlight buckets wil be a problem to install. The front most fender bolts are obscured by the headlight buckets. If I might suggest: Making the headlight buckets separate from the nose, maybe along the black line, and making an overlap joint for them to mate to the nose, (like shown in section A-A) Use the forward vertical edge of the fender as the location for the horizontal joint line. That carries the natural body line over to the assembly you're making.
Just my $0.02 worth..
My only other suggestion would be to hurry up and finish this amazing piece of work, make some molds, then parts, and allow me to be your first customer! I like what I see here...A LOT!
[This message has been edited by randye (edited 09-19-2009).]
Randye: Thanks for taking the time to draw that up...To be honest, I did go over that scenario a dozen times. The issue I preceive is the seam. I didn't want the seam under the lens, and sealing the lens is that more difficult if the bezel is multiple pieces. I have the same problem If I try sealing the lens to the fascia at the front lip.
Food for thought though...
As for mounting, I was thinking of adding a point that goes through the fender, up above the bezel.
Bob
[This message has been edited by RCR (edited 09-20-2009).]
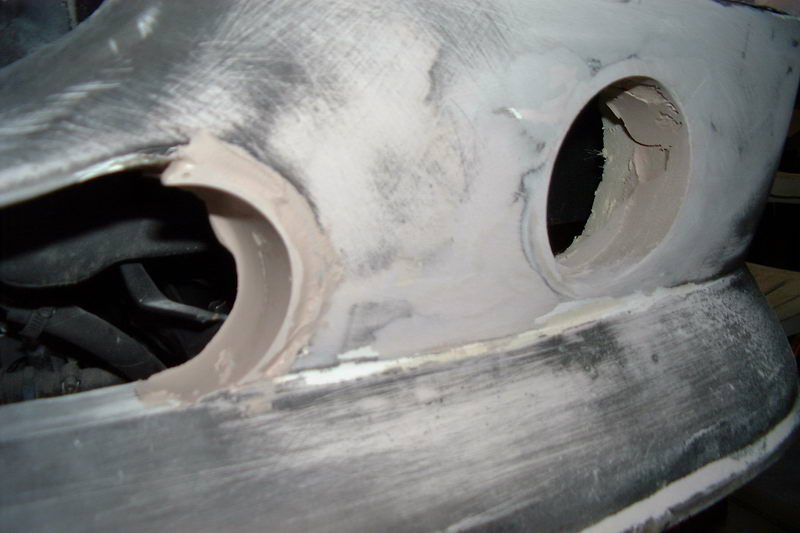
little update...Been filling and sanding the new headlight pod. Lot's more to do.
I think I've figured a way to do either a one piece nose that integrates the pods, or seperate it right at the seam. This picture shows the bottom seam after sanding. The seam is about 1/4" above the body line. I plan on routering the edge down to the body line. This will give me a lip to mount the lens that goes right to the edge of the body line. The depth will be about 3/16 or the thickness of the Lexan. If I want to seperate the pieces, it will be done right at the body line. At least that's how it will work in my head.


 to Rob for his advise. It's already paying off...Thanx Rob...


 )
)


 But, I have a weeklong vacation coming up so hopefully after some honey do projects...