Bob looks like your ready for some high build primer , now the tedious block sanding begins.😓🥵 with all your summer heat!!
Stay safe Wayne
Thanx Wayne. But in reality, it's only half the car. Still need to finish the glass on the driver's side and rear. Need to finish what I am doing so I can turn the car around to get access to the rest.
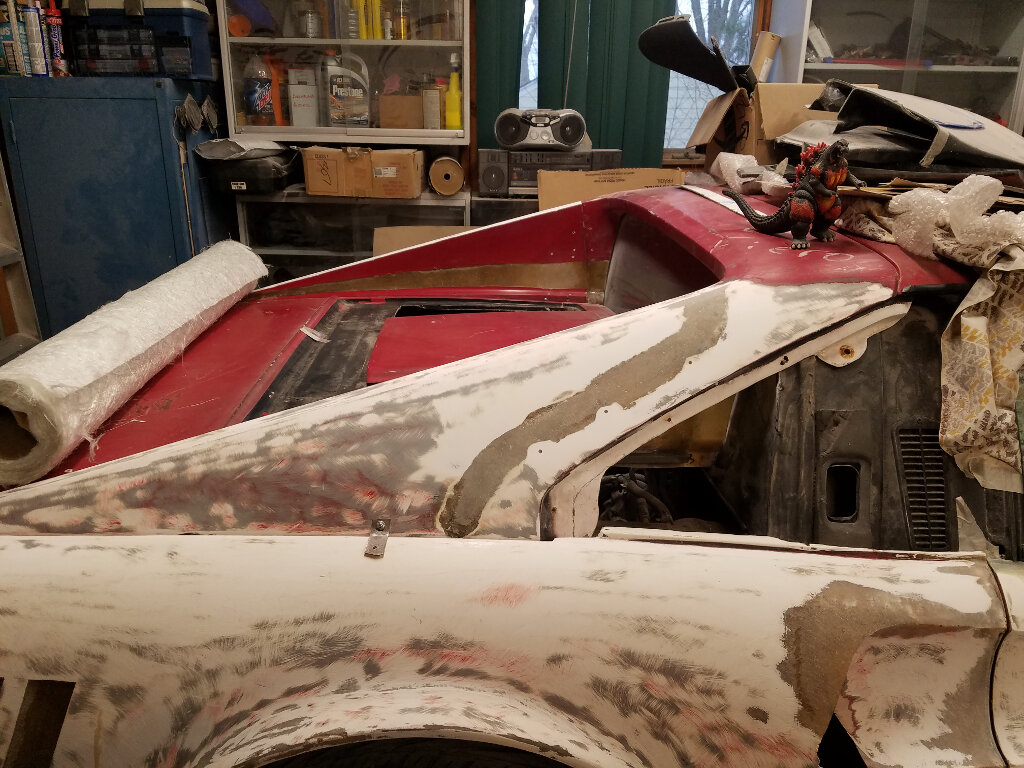
Update? Worked my butt off in this sweltering humidity, yet there is very little to show. Spent a total of about 4 hours grinding the old red paint off the rear deck and the c-pillars. Lots of sanding.
Update? Worked my butt off in this sweltering humidity, yet there is very little to show. Spent a total of about 4 hours grinding the old red paint off the rear deck and the c-pillars. Lots of sanding.
Bob
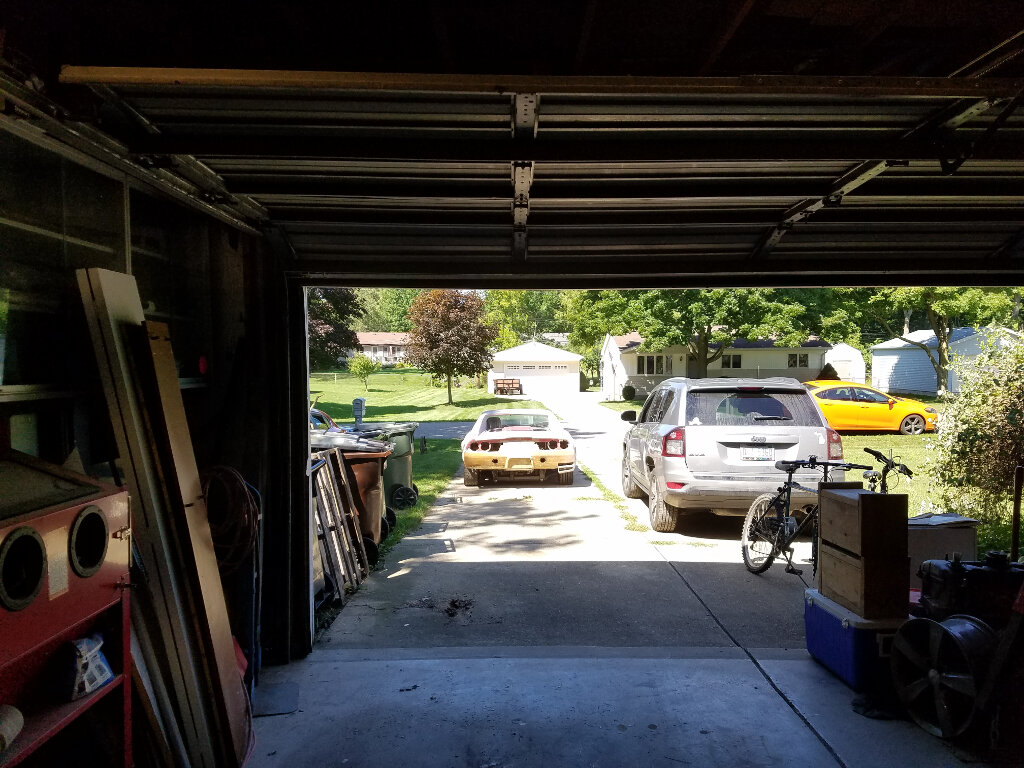
Keep the hands moving, Bob... I'm just gonna slide your car out of the way and my car in. With all the dust flying, I'm sure you won't notice a few more hours of sanding...
Keep the hands moving, Bob... I'm just gonna slide your car out of the way and my car in. With all the dust flying, I'm sure you won't notice a few more hours of sanding...
Oh sure, why not. It'd be nice to see something with a different shape sitting there.
No updates or are you in the same boat as me, the nothing interesting to show boat?
Oh sure, why not. It'd be nice to see something with a different shape sitting there.
No updates or are you in the same boat as me, the nothing interesting to show boat?
Bob
I ended up taking a month or so off the build. But I just started to get back to it a few days ago. Hopefully I'll have something worth showing this week. Your work always gets me inspired!
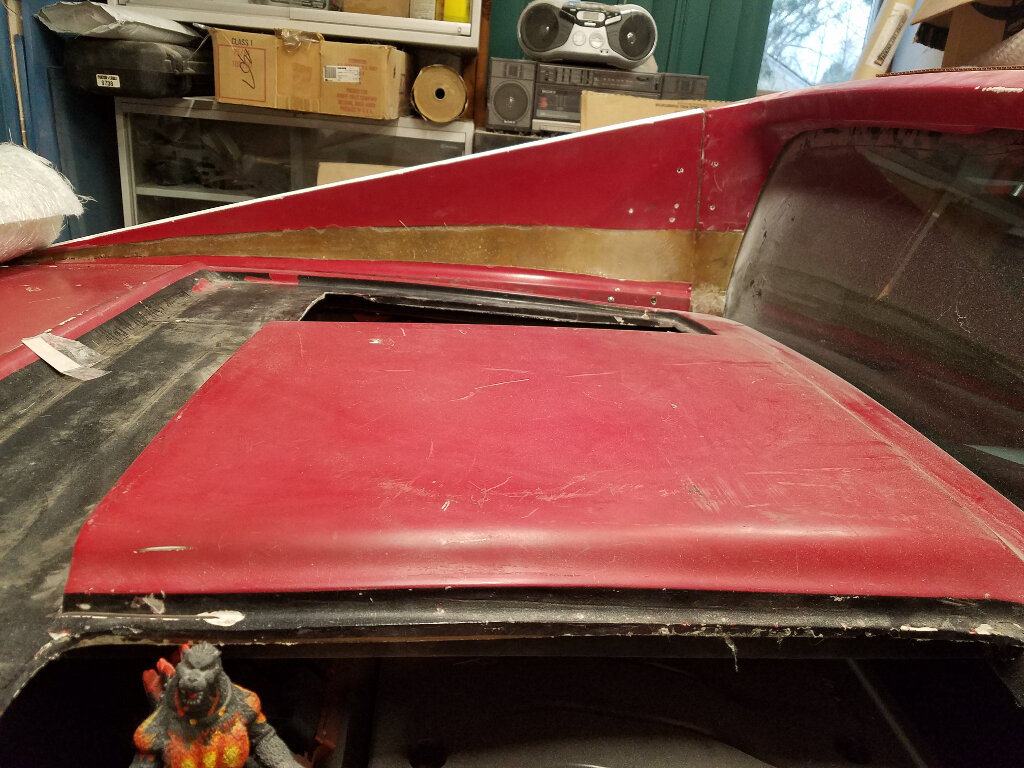
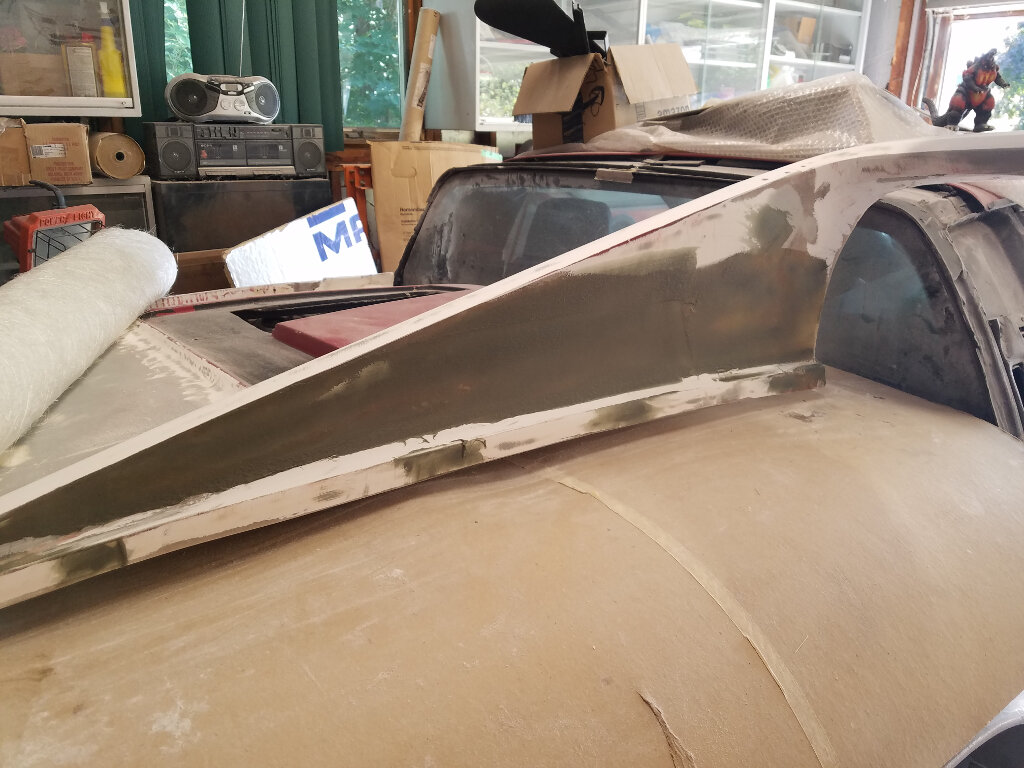
Been working on the c-pillars. It was so much more work than I was anticipating, but it's ready for the next step. I still need to extend the ends to close the gap with the decklid, but it's time to move on...
Looks great Bob!! The gaps on the rear deck look great , did you look at doing a rear hinge like mine?
Keep at it lots of fans to move that air.
Wayne😥😥
Hey Wayne,
Something like this?/
Bob
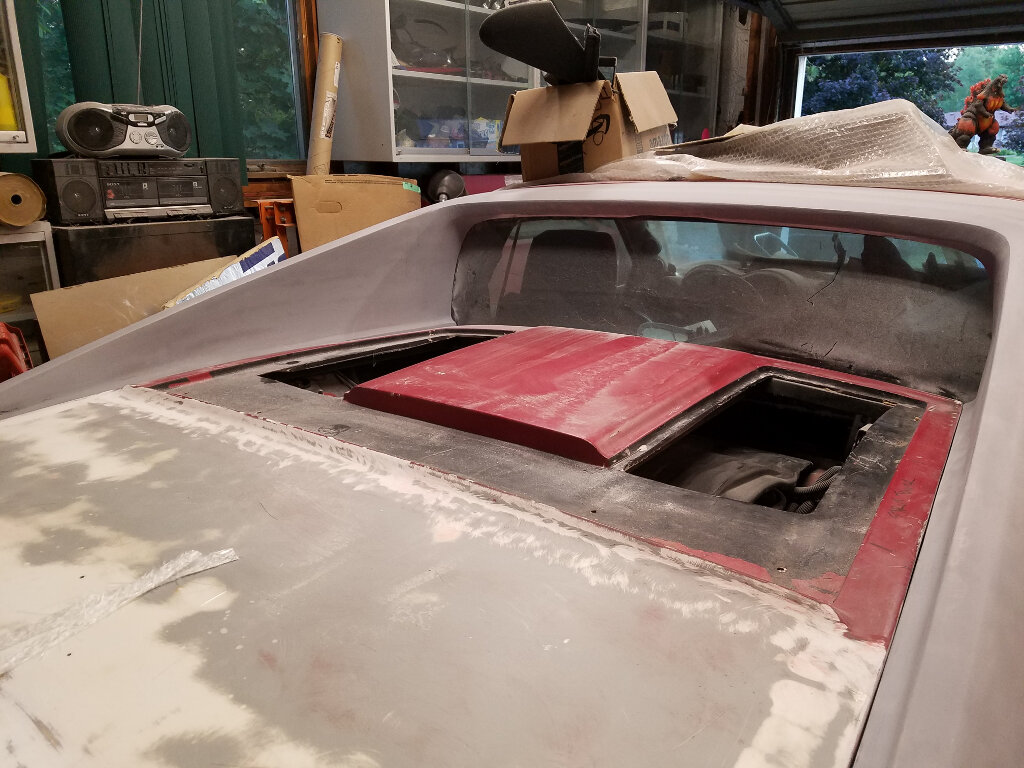
I forgot to mention this above, but short of the Stinger version, I think I have the only functional rear window of the Mera/308 clones. It made all of the work worthwhile.
[This message has been edited by RCR (edited 07-12-2020).]
As mentioned, it was a little warm this weekend. Still managed about 10 hours of work. Doesn't actually look like much, though...
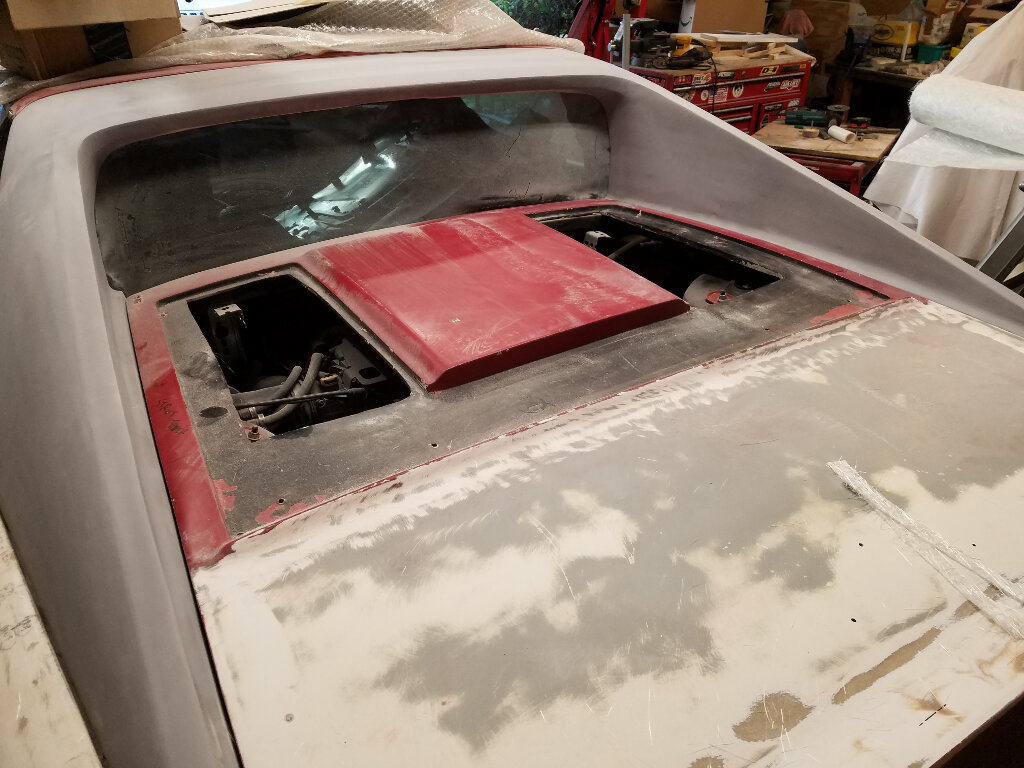
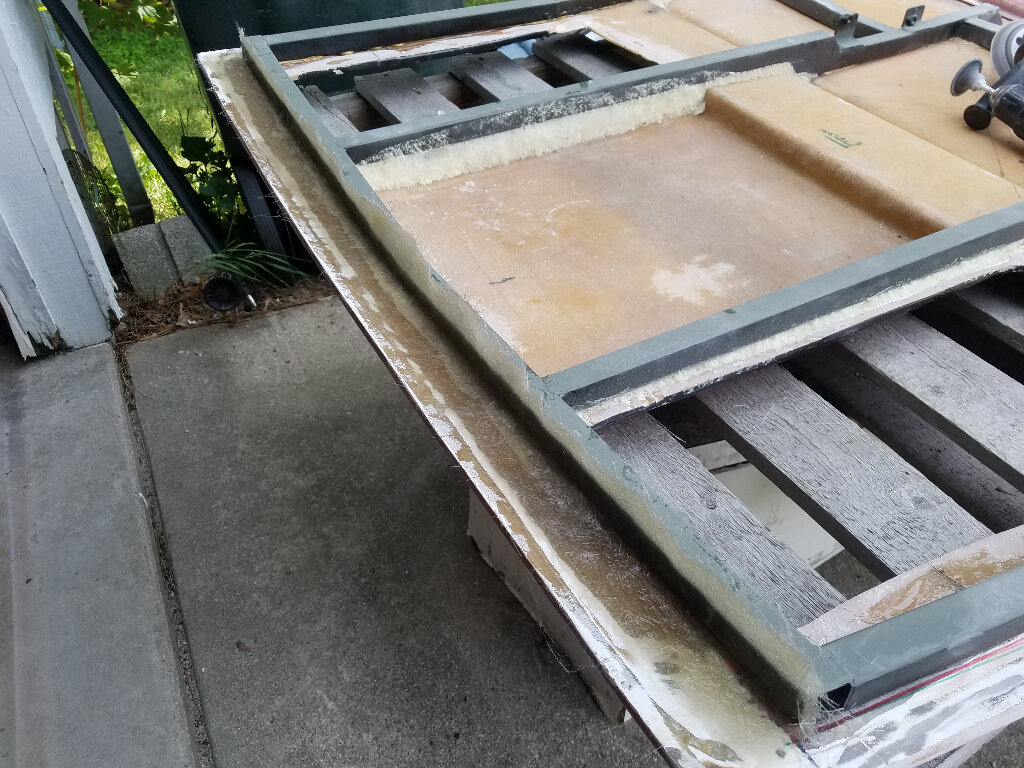
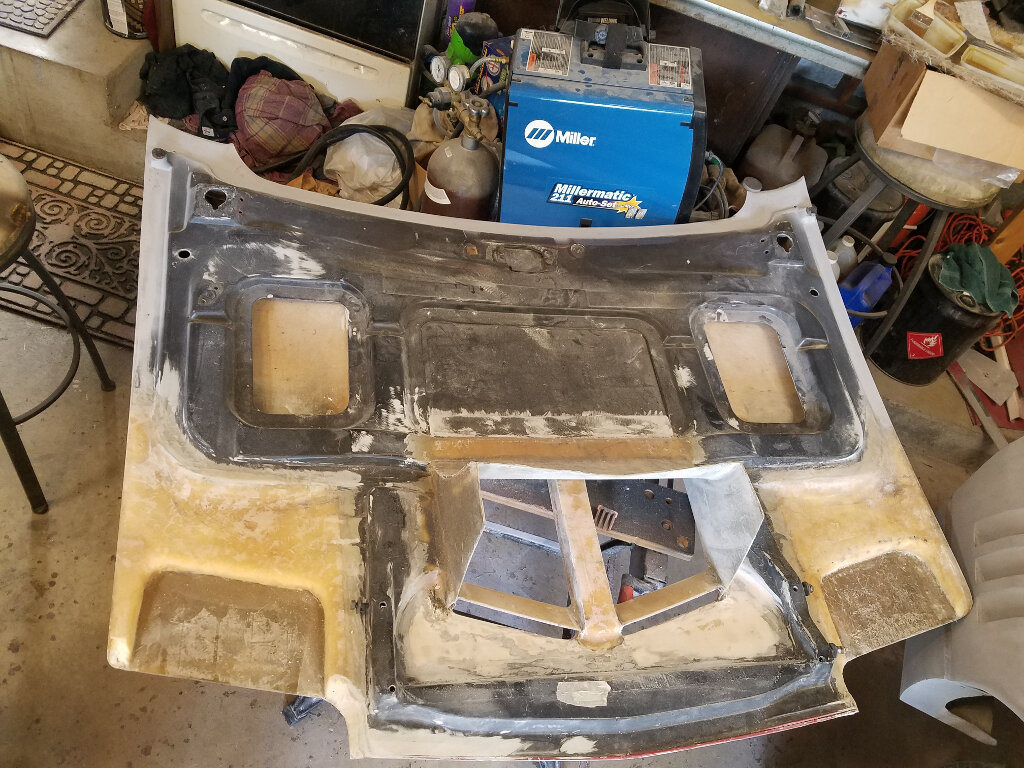
Worked on the rear decklid, namely, alignment and finish on the bottom.
I thought this was an interesting pic. Not going to move the decklid up, though.
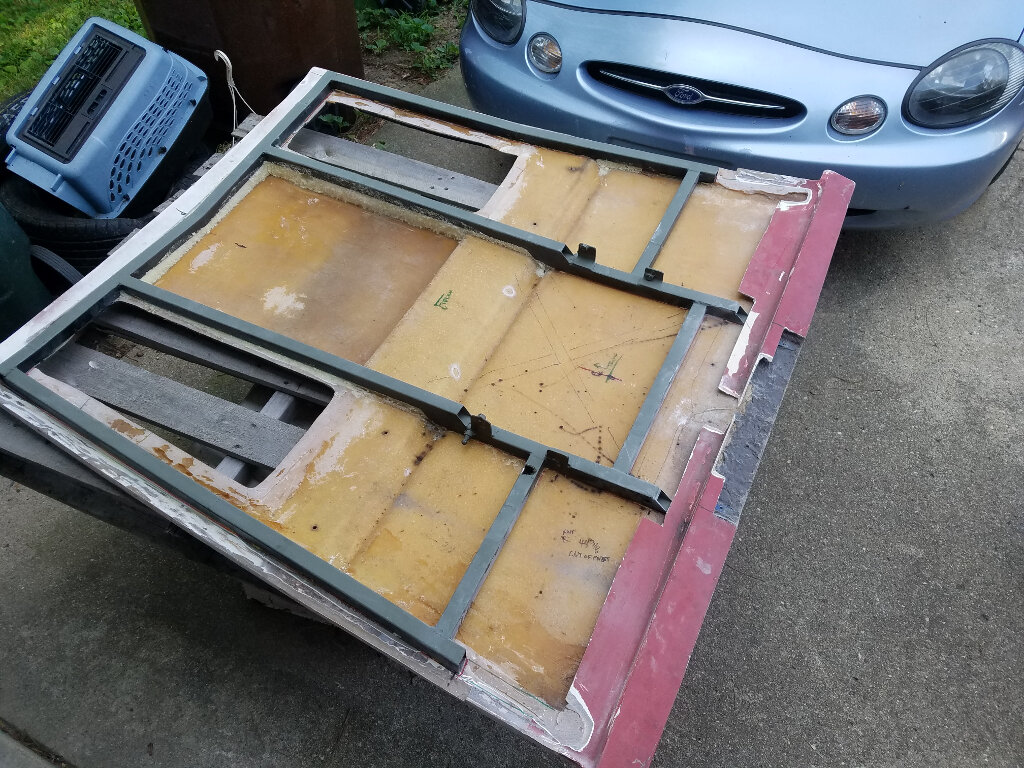
I started fiberglassing in the framework. I have all of the outer frame glassed and the top inner portion.All two layers of 1.5oz glass. I also glassed up the area for the brake light and cleaned up the area and glassed in the bottom sectioned that had previously been removed.
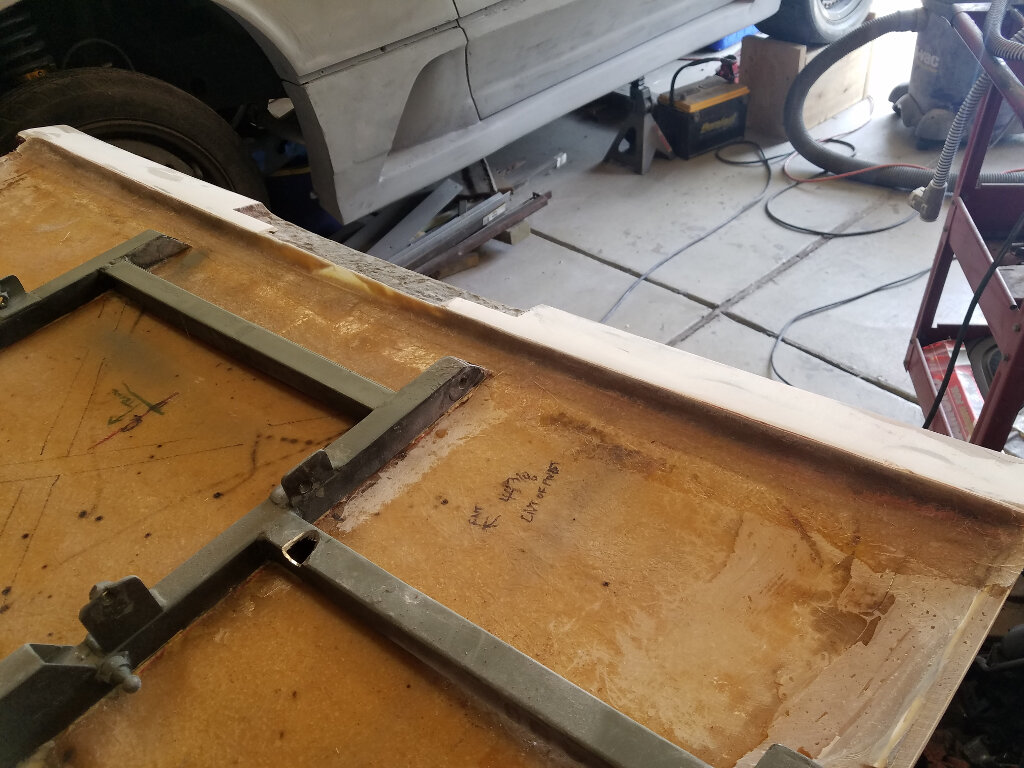
This is the top edge being glassed in. I thought the slats showing through looked kind of interesting. Might make a more modern look than the stock louvres.
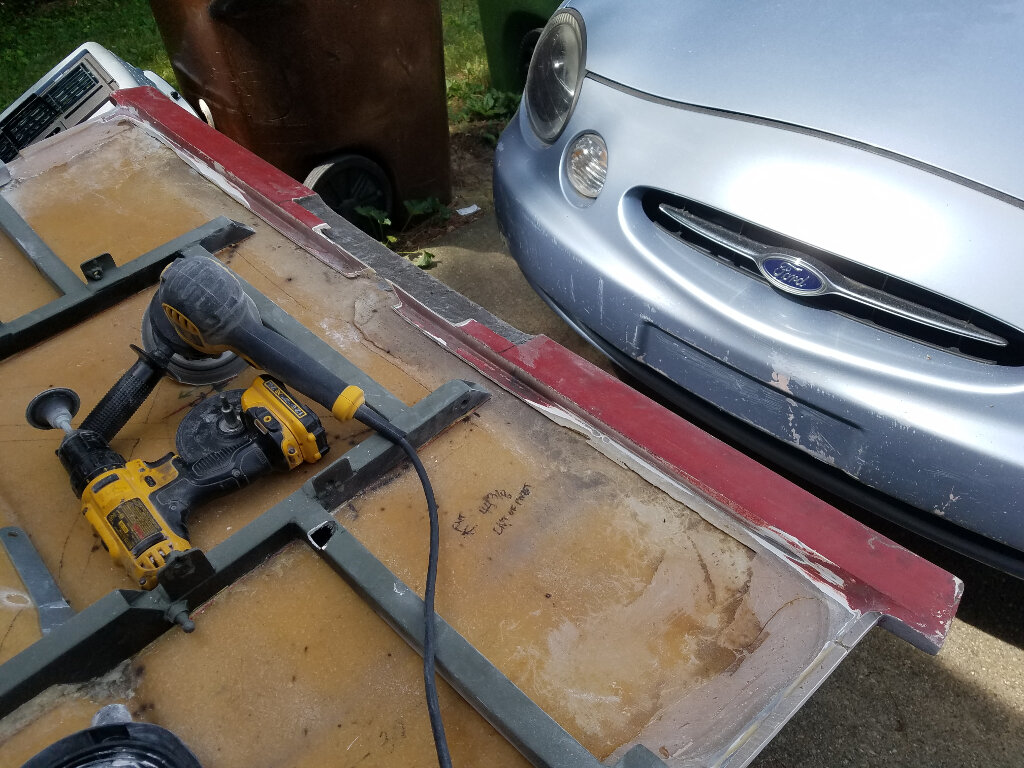
Here I'm prepping the rear most area to glass to the spoiler edge, and glassing in the edge of the frame.
After pic.
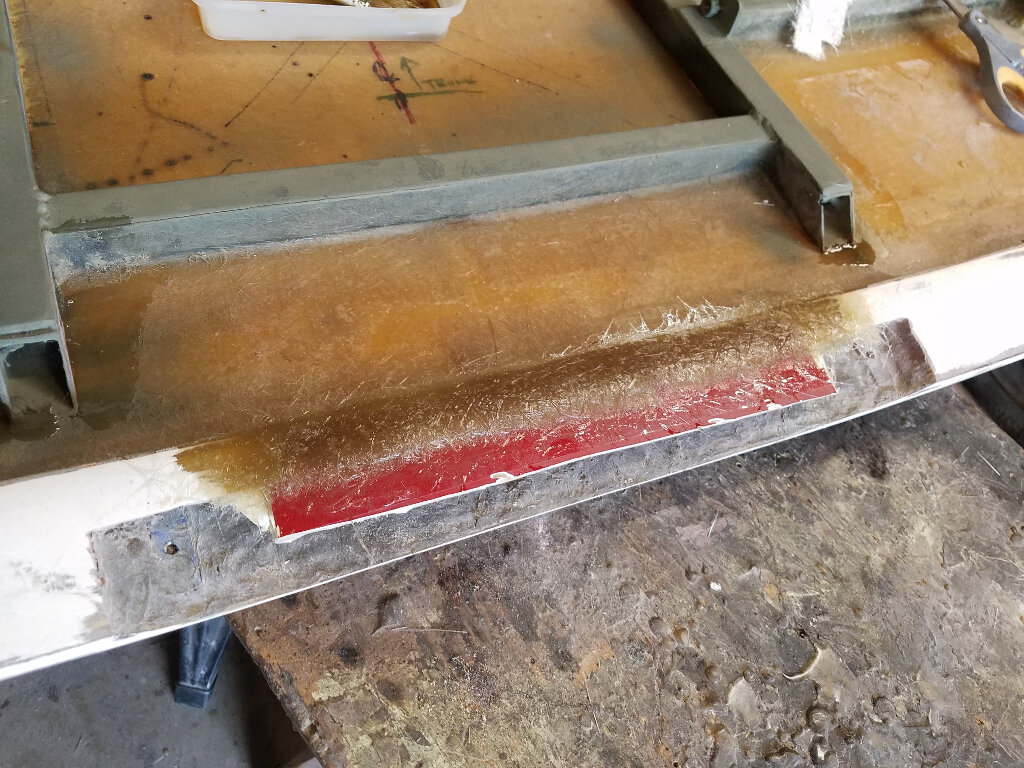
Here's a shot of the area around the light being repaired.
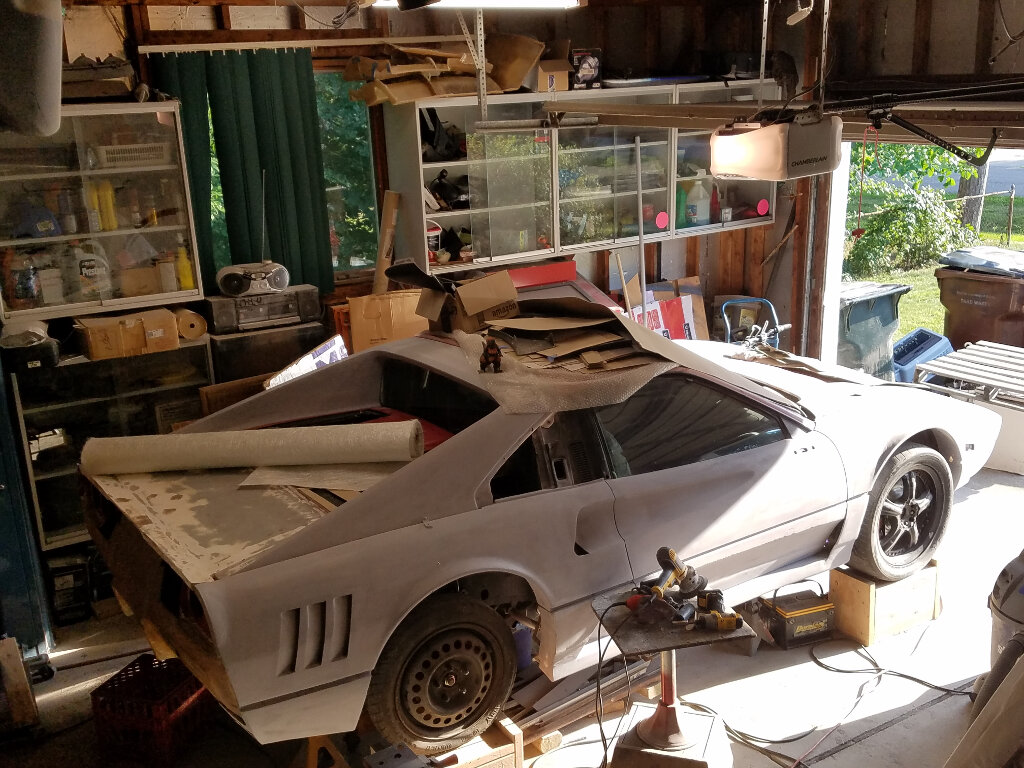
Still need to finish the inner areas, but I need to make some decisions on the vents, so in the mean time, I bolted it all back together. The heat was exhausting, so I'm done for now.
Til next time, stay safe.
Bob
[This message has been edited by RCR (edited 07-19-2020).]
Updates are looking good Bob. That fiberglassing is brutal in the heat isn't it? Sets off too soon even reducing the MEKP and sweating so itching like a son of a gun. I like the rear opening engine lid as well. Car looks good all one colour as you can see the lines better.
Keep at it a bit at a time and it will come to the end soon enough.....
Another hot, miserable weekend, and another pile of work that doesn't look like much. Lots of pics, though.
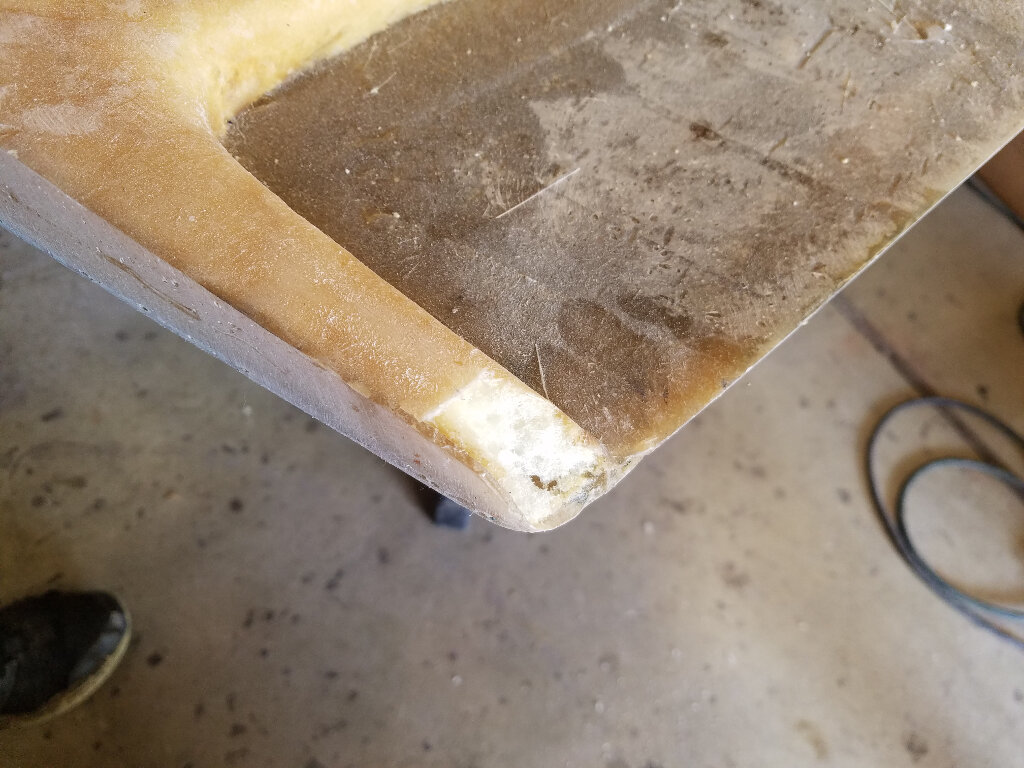
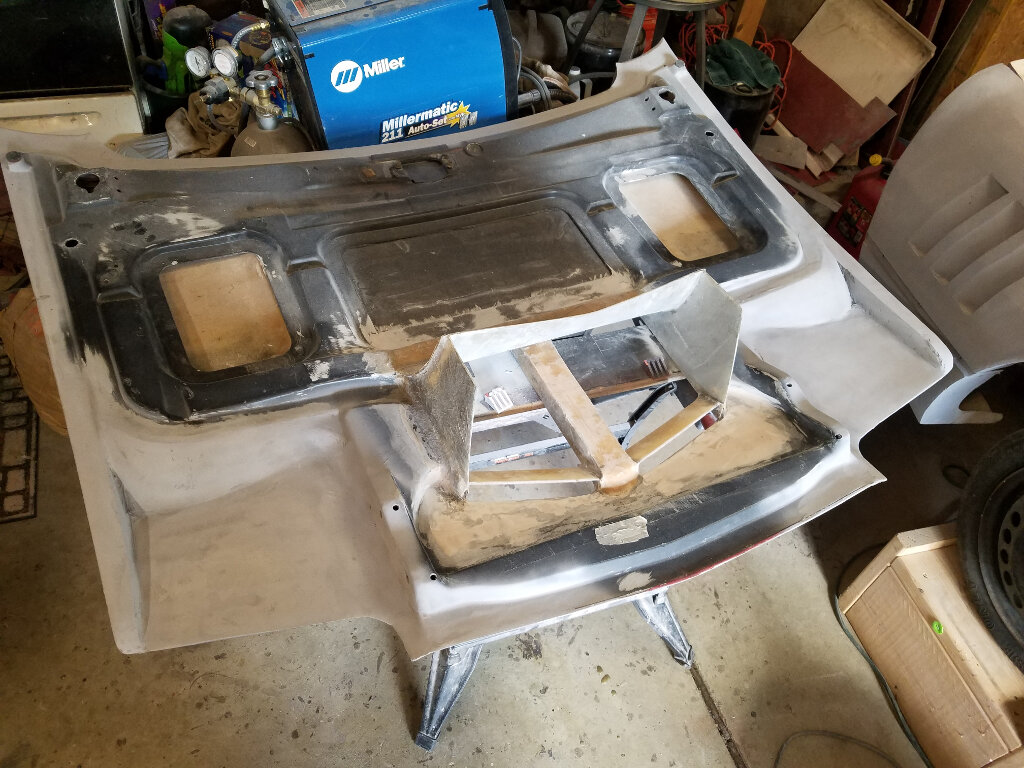
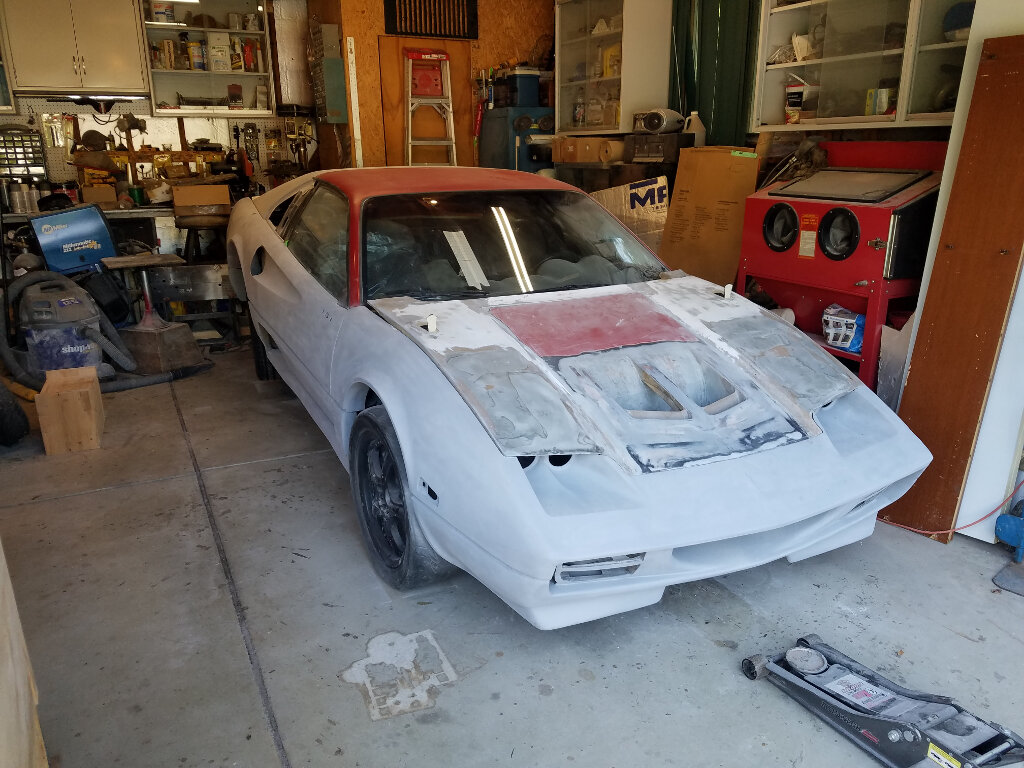
This time around, I moved on to the front hood. A lot of work to do on the bottom side. One of the main things is to finish to edges between the hood and the bottom. This was particularly bad at the rear edge, where I formed the little winglets. Then, I moved to the front edge that I created for the headlight pockets. Never quite liked what I did, so I totally reworked it.
How about the pics... Here's the rear edge, smoothed out and primed.
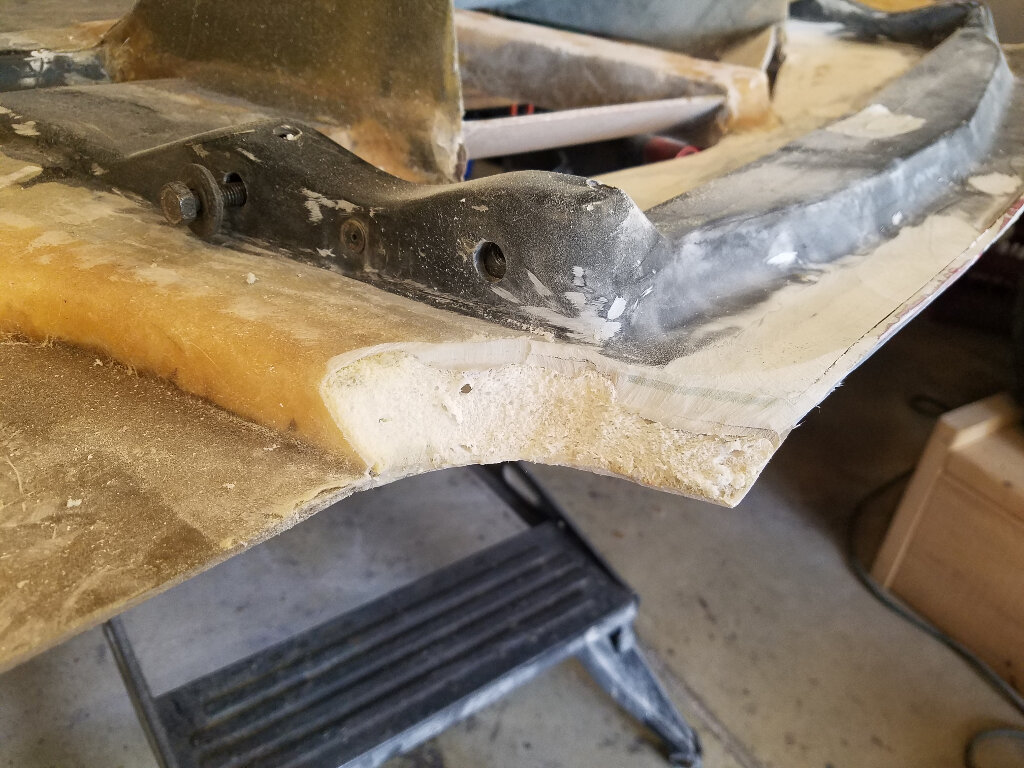
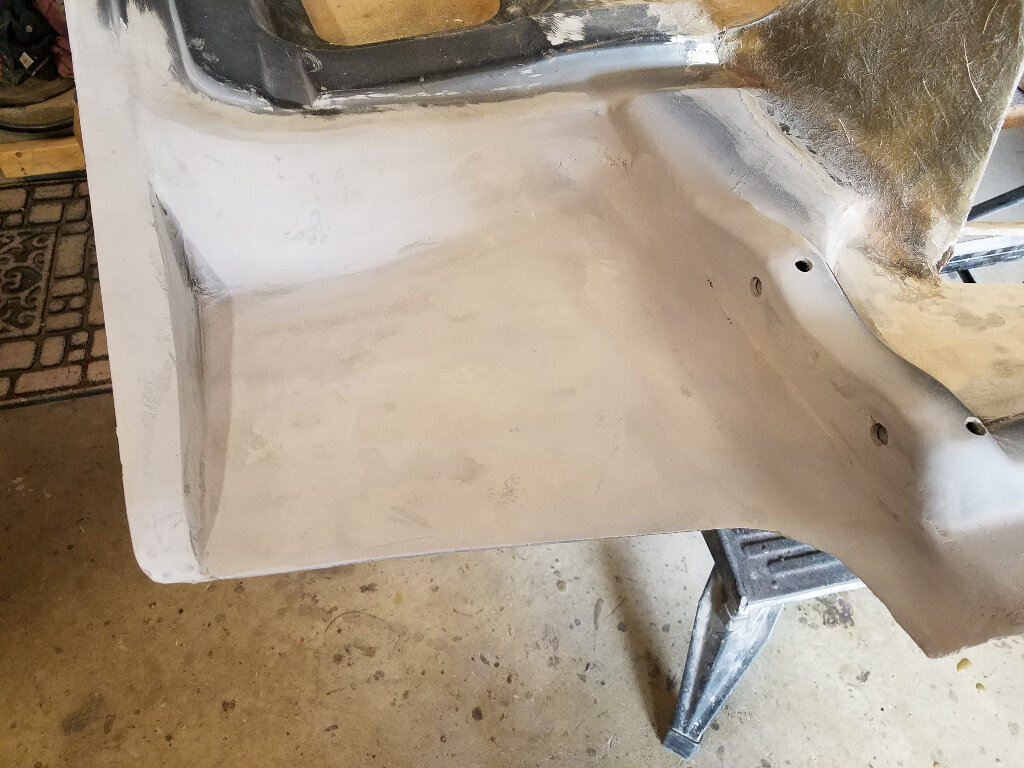
Front edge parts that needed reworking
How it looked when I started
Here, I'm filling a gap between the hood bottom and top fiberglass. I'm using a concoction of SMC panel adhesive with some fine ground glass mixed in. It has the consistency of toothpaste, and fills the gaps well.
After doing that, I realized I didn't like the way I built the foam up, so I cut it out and reformed it.
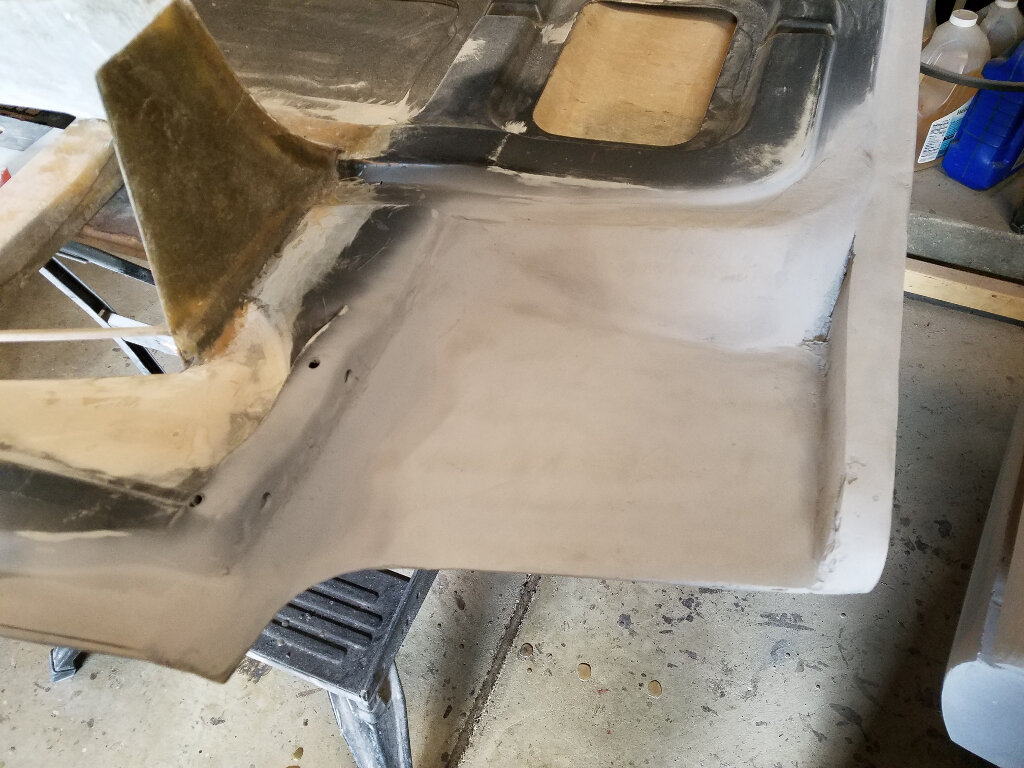
Once reformed, glass was placed over the whole thing. I concentrated more over the foam, to build it up a bit.
The other side
Now, onto smoothing it out. A couple treatments of bondo-glass and a bit of primer to see what 's left to be done.
This heat makes it difficult to do much of anything glass related, but you are killin' it! Just make sure it doesn't bite back.... (wear your PPE )
Keep pluggin' away at it...one o' dese days....you'll be driving, washing and waxing that beauty...in the meantime, keep the updates (and pics) comin'.
This heat makes it difficult to do much of anything glass related, but you are killin' it! Just make sure it doesn't bite back.... (wear your PPE )
Keep pluggin' away at it...one o' dese days....you'll be driving, washing and waxing that beauty...in the meantime, keep the updates (and pics) comin'.
HAGO!
Always happy to see you stop by, Ted. Thanx for the kind words.
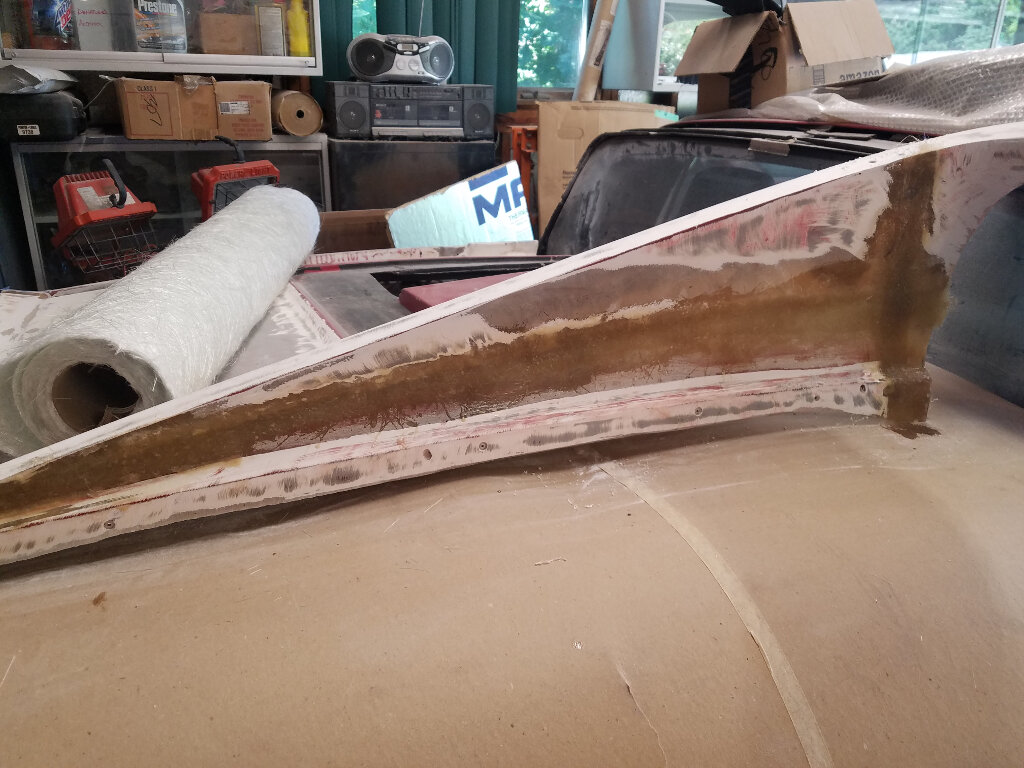
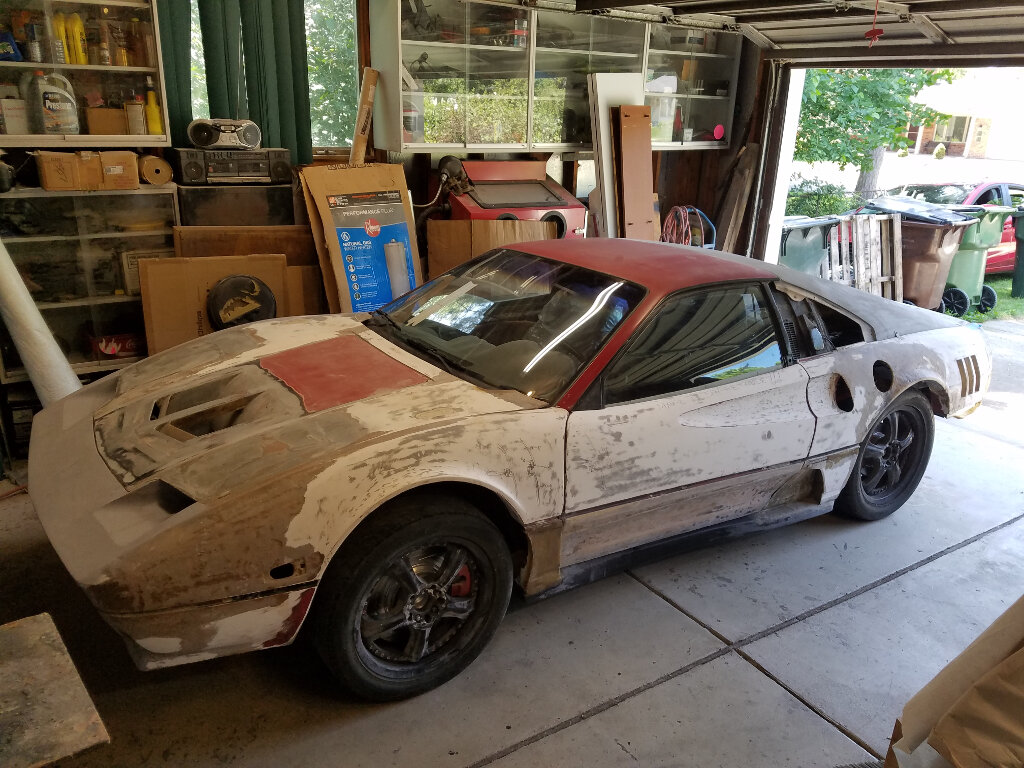
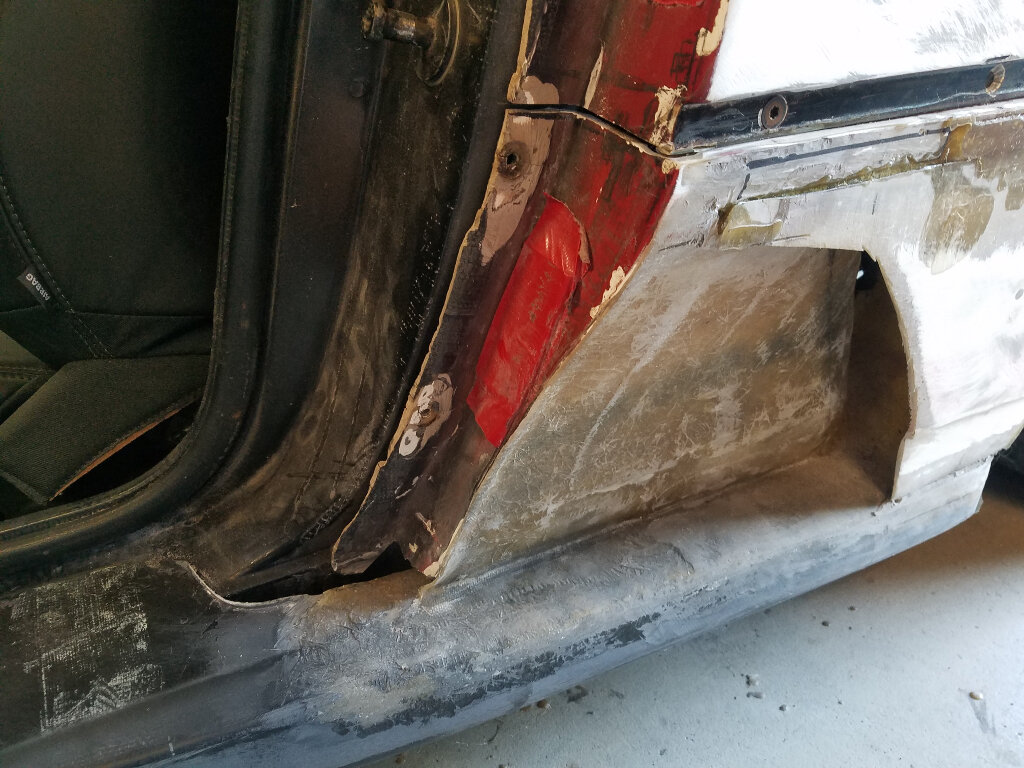
And today brings the start of finishing the driver's side body work.
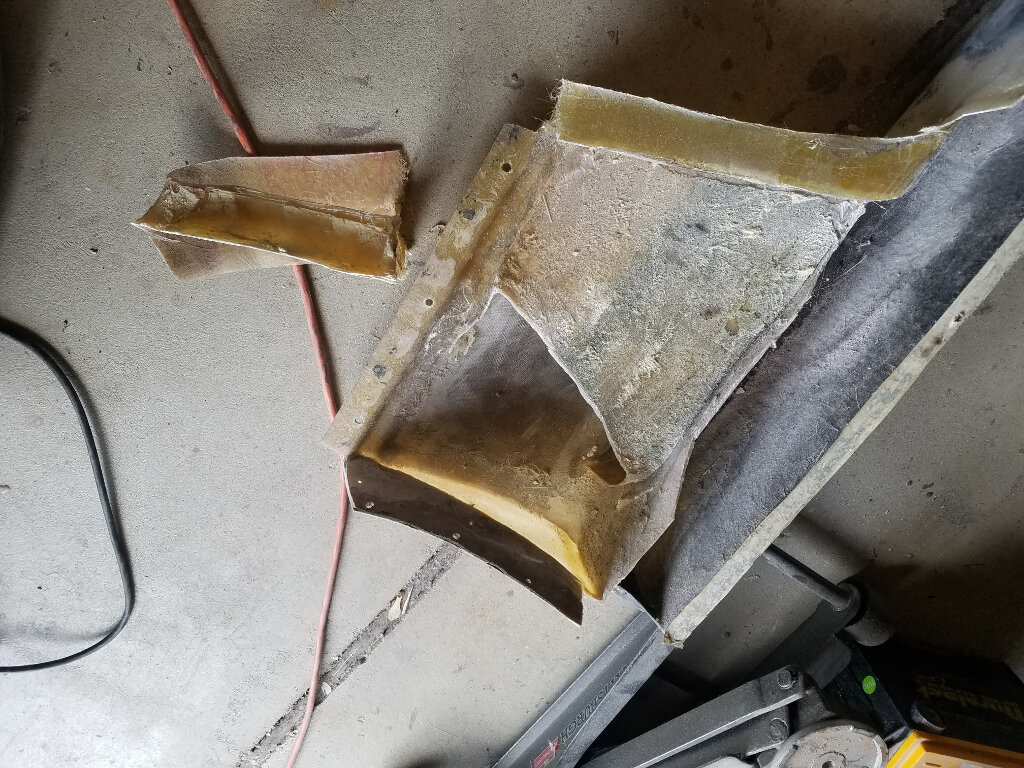
First up, the rocker panel. It needs to be fitted to the frame, and the vent needs to be redone so that it matches the other side.
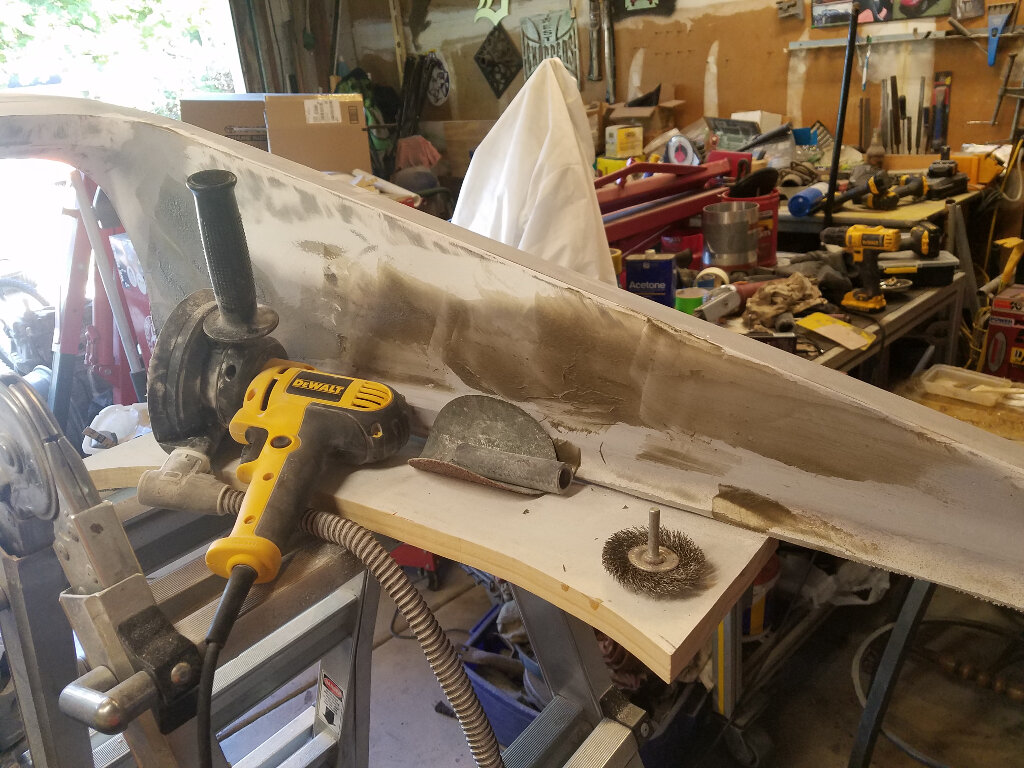
Here's the mess on the rocker. Need to redo the flange to frame and finish the hole in the bottom.
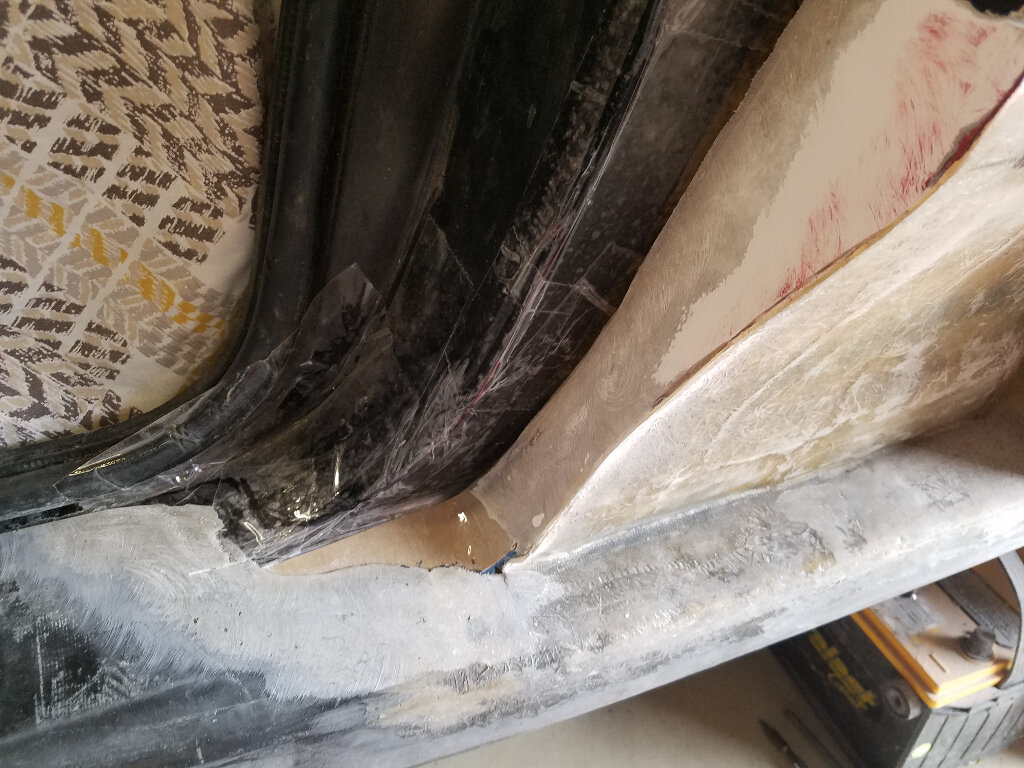
Here all the excess is cut off and ground down, ready to glass.
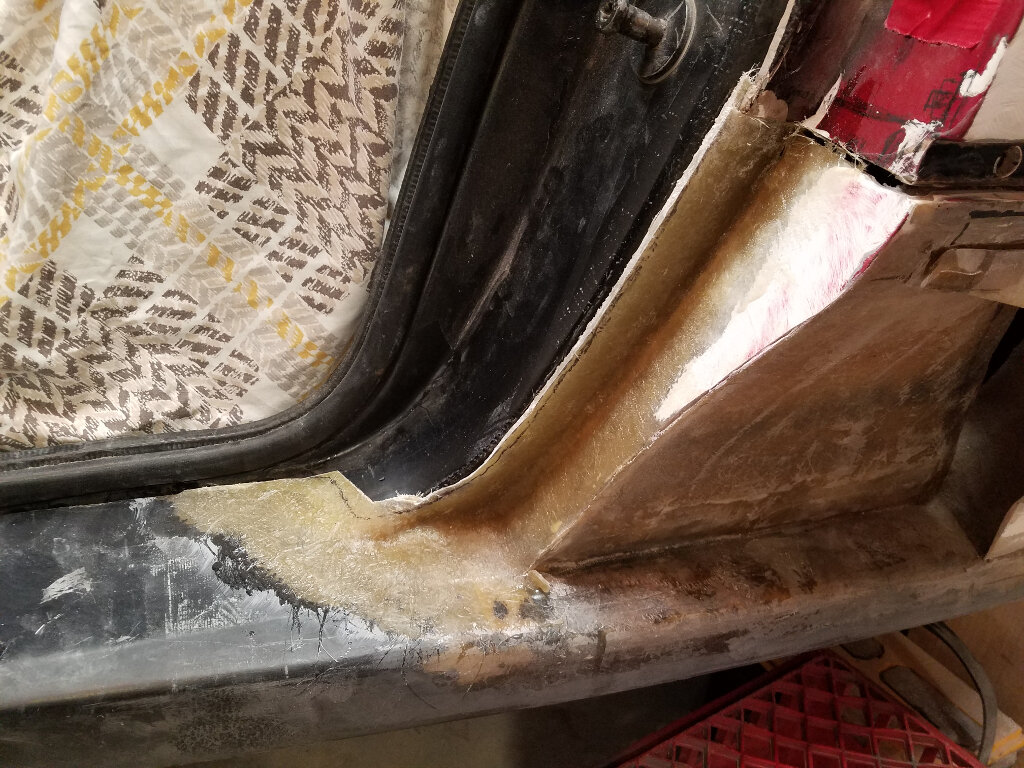
All glassed up.
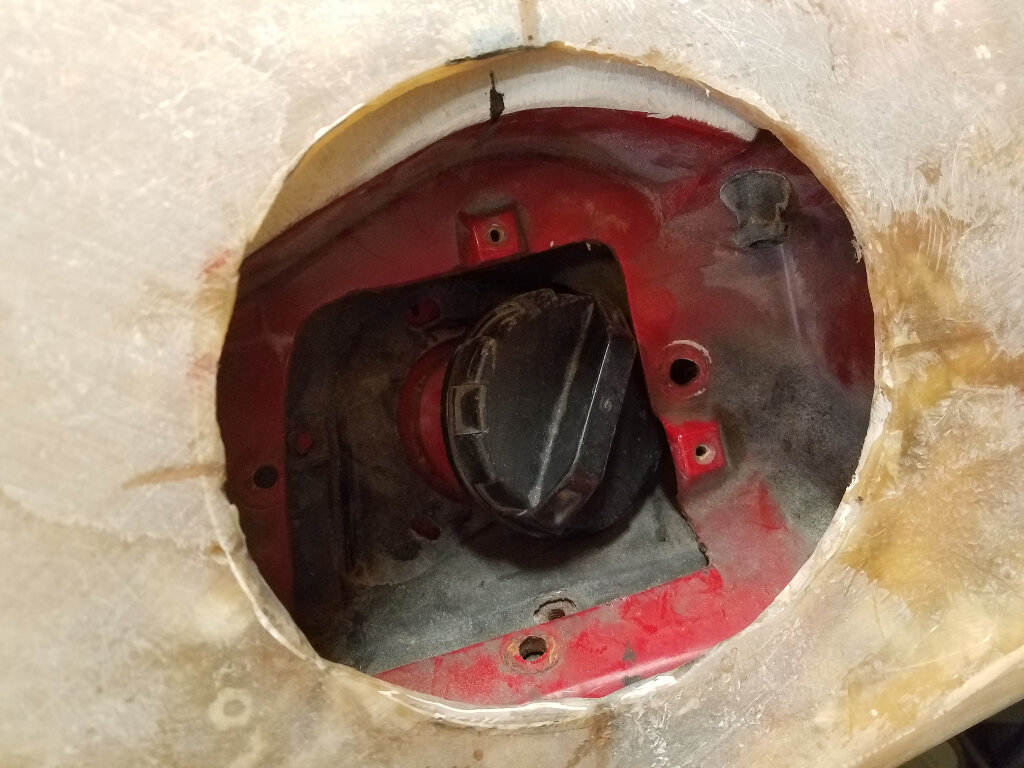
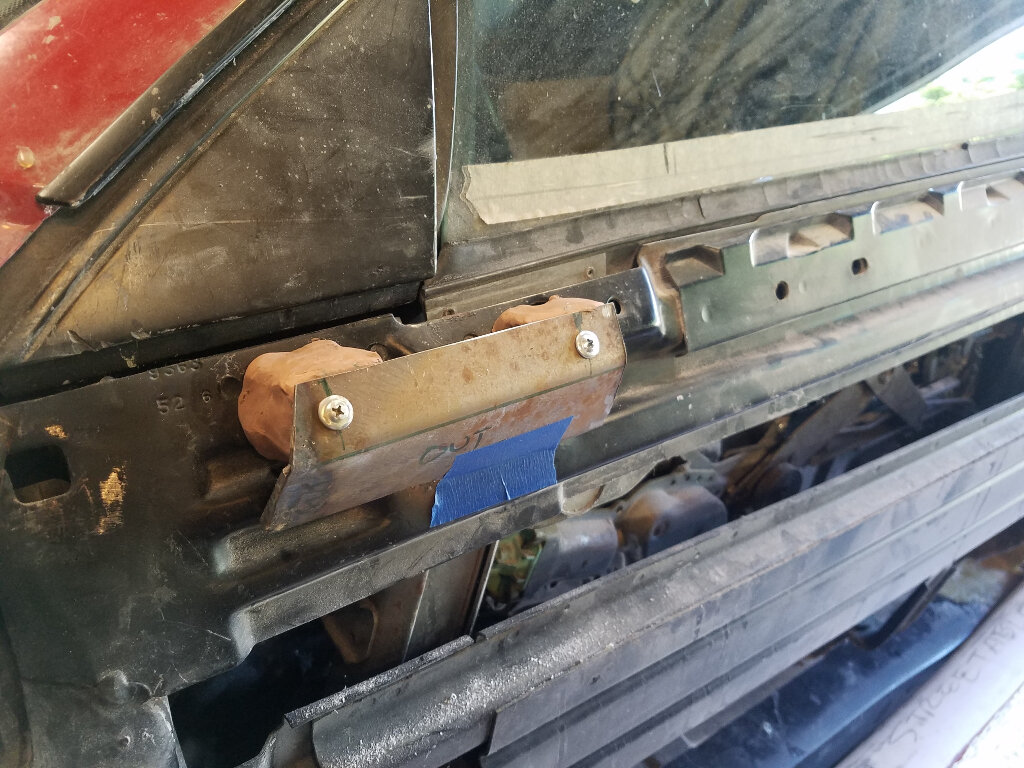
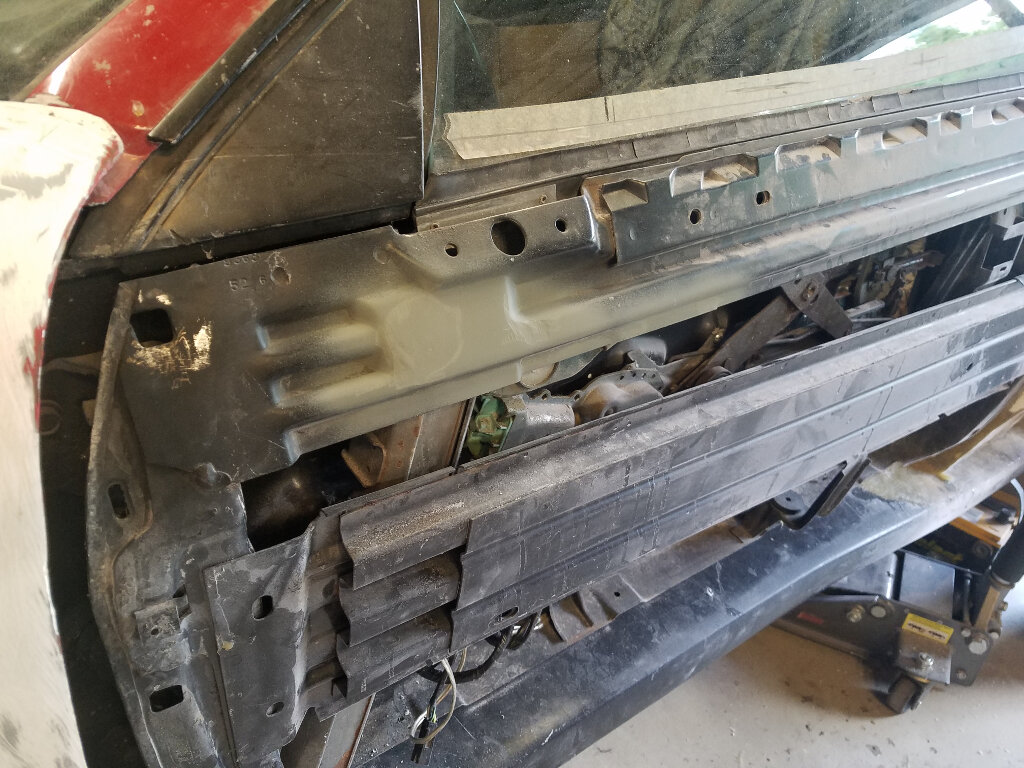
Next thing I want to tackle is cleaning up the fender repairs. To do this, I need the gas door, so I can make sure the contour is correct. So, to get the gas door, I need to install all of the innards for the filler tube. I'm using all of the Fiero pieces. I pulled them off the clip before I scrapped it. What I didn't take into account is that the body kit is wider than the Fiero, so nothing lines up. Looks like I'm going to have to butcher my pretty red powder coated fuel lines to make it work.
I will take some pics of my setup but I took the Fiero gas filler and cut it about 6" down from the filler cap and then used some fuel rated hose to connect both the fuel filler tube back together at the right length and the air tube. My setup is up in the side louvers though so somewhat different than what you are doing but the same concept. Fuel rated hose for both tubes and you are good to go.
Will take some pics when I get back to my garage early next week. Cheers Don
Bob I posted over on my build re the filler install. If you want any of it let me know it’s yours. Wayne
Appreciate the offer, Wayne. I have all the parts, just a matter of modifying them.
Now to the issue. Nelson was kind enough to measure the distance between the trailing edge of the door and the leading edge of the gas door on his MERA: 14".
Mine: 15"
For whatever reason, my gas door is 1" further back, which would make the stock fuel lines too short.
My first impression is that I'm going to leave it where it's at and modify the fuel lines.
Now, out of curiosity, I'm wondering if you guys (Wayne and Don) would mind taking a quick measurement.
I don't know the history or make of my body, but based upon the backup lights, I believe it to be a MERA clone. So, I'd think it would be the same.
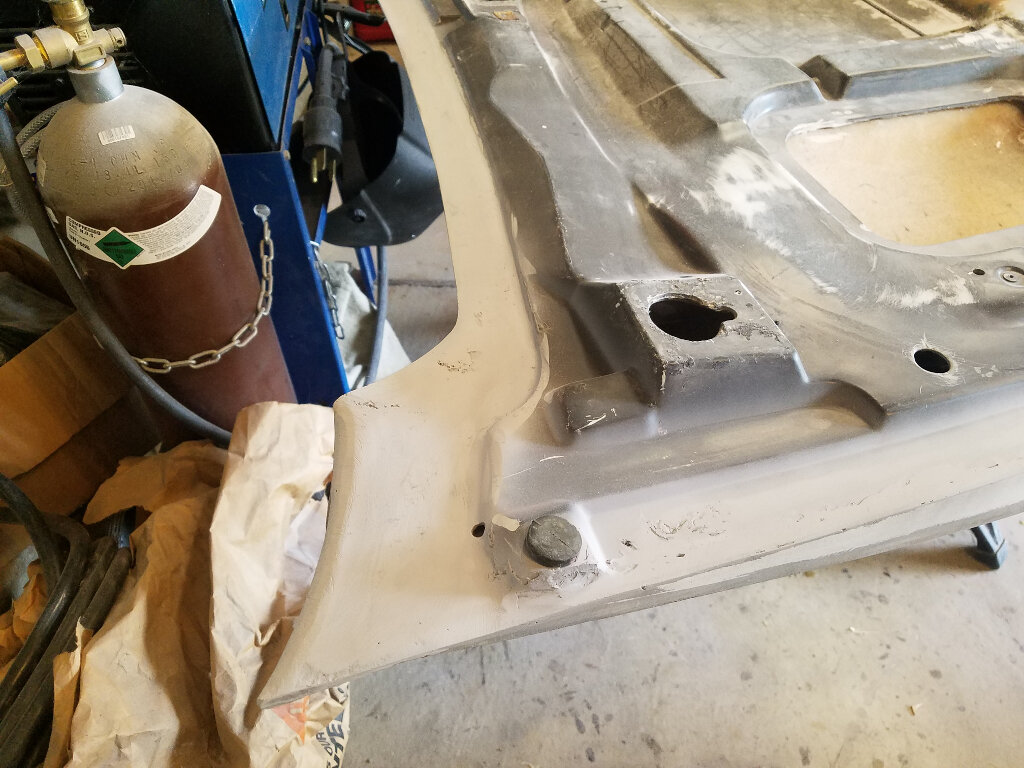
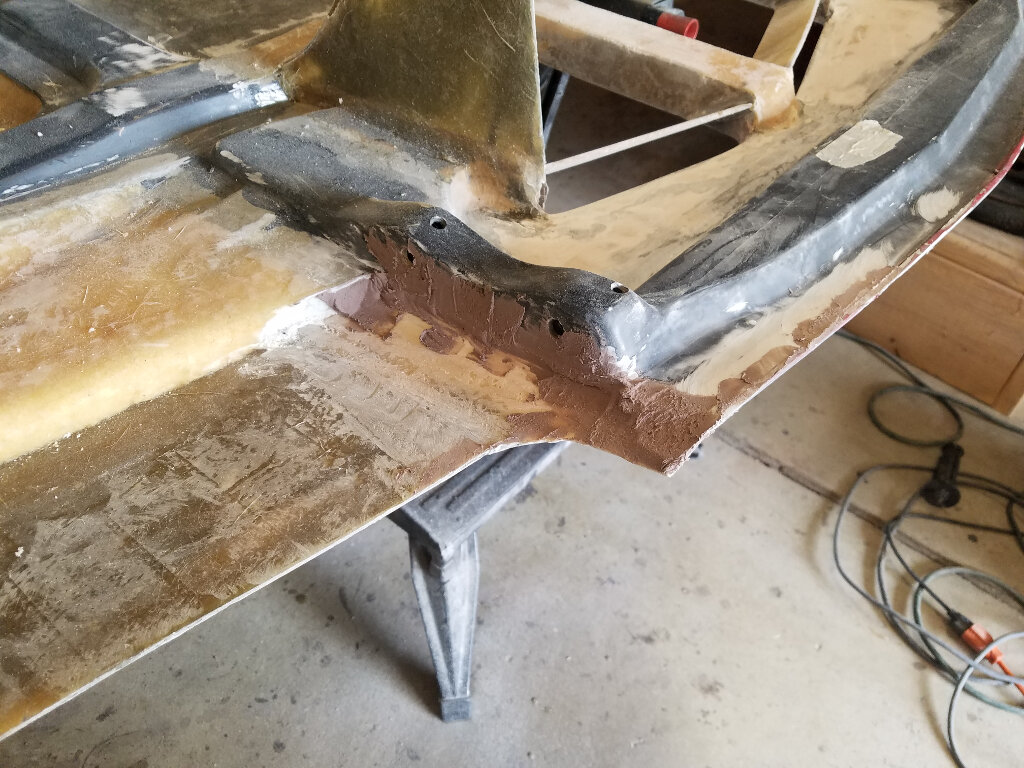
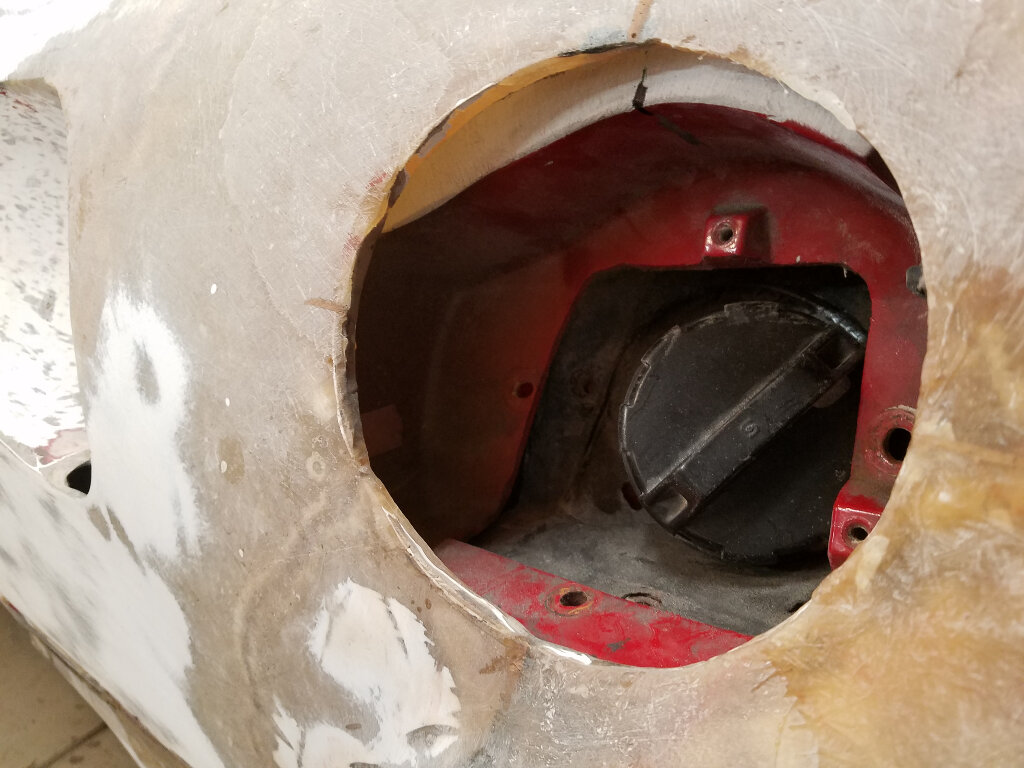
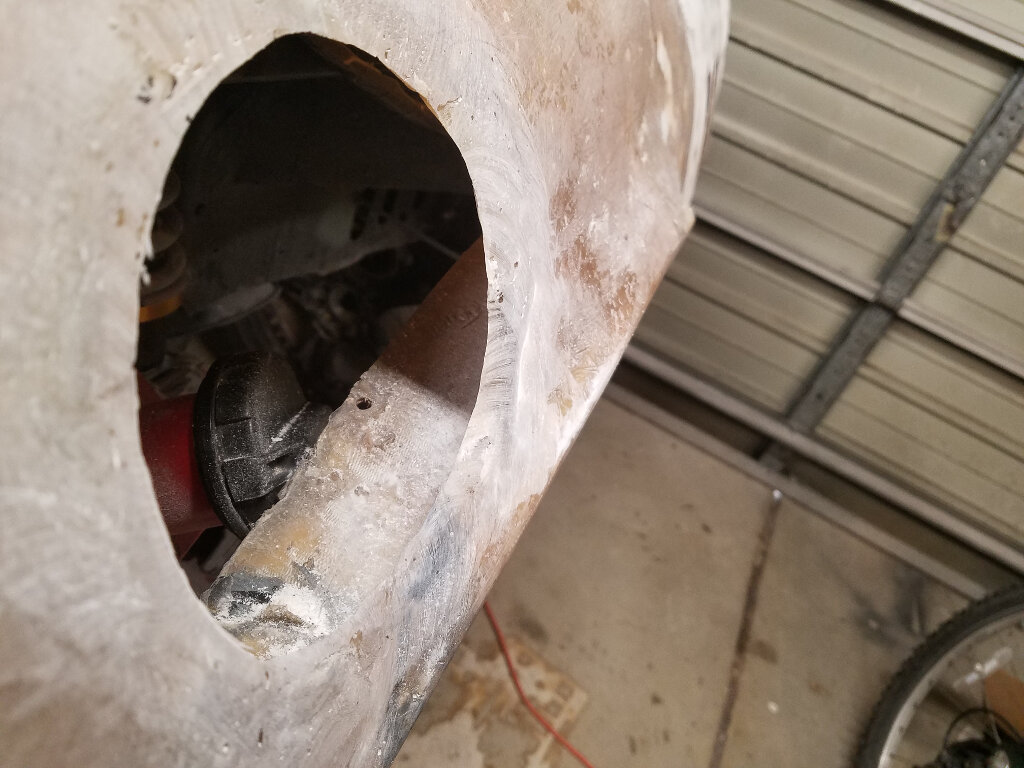
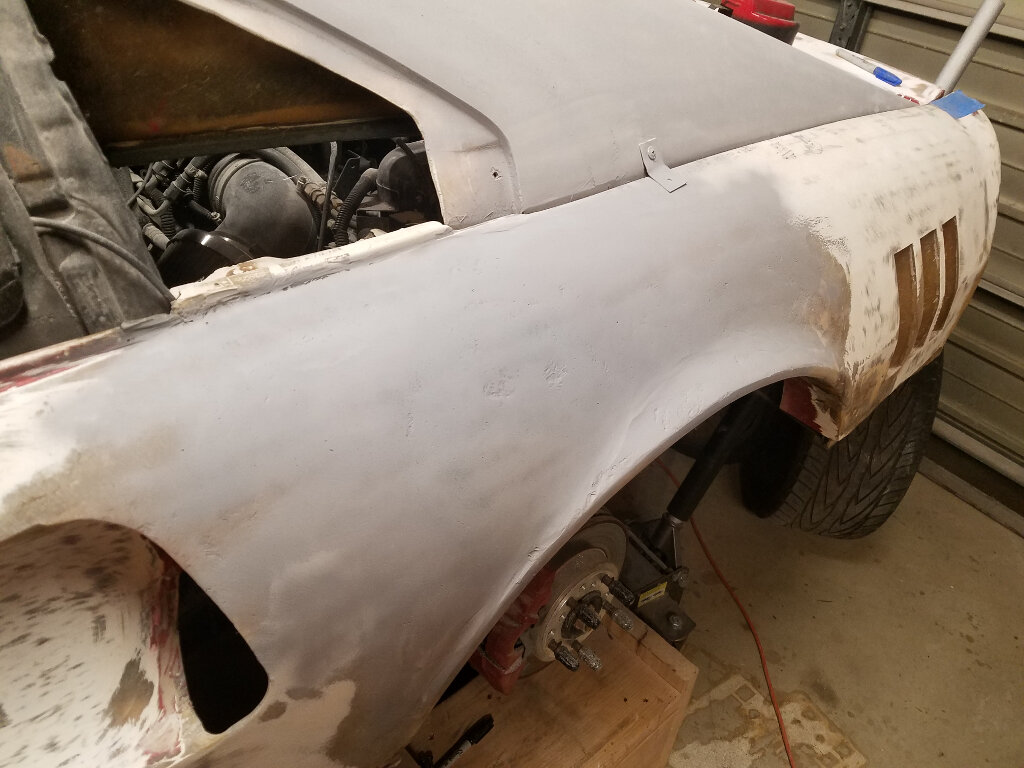
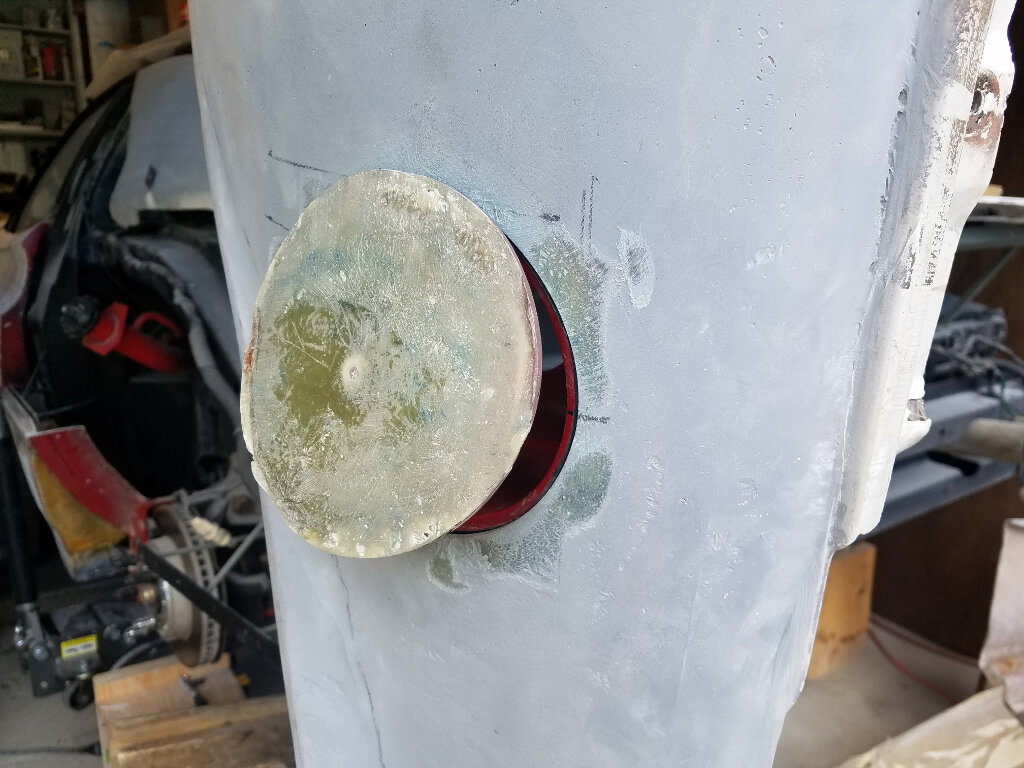
As mentioned, I needed the gas door to ensure the body contours were correct. That was screwed up by the gas lines not fitting properly, and the previous repairs had left the glass thickness uneven (it would show through the door.). So, new plan. Fix the body work and body contours with new gas door, ie, glass it all over and start again.
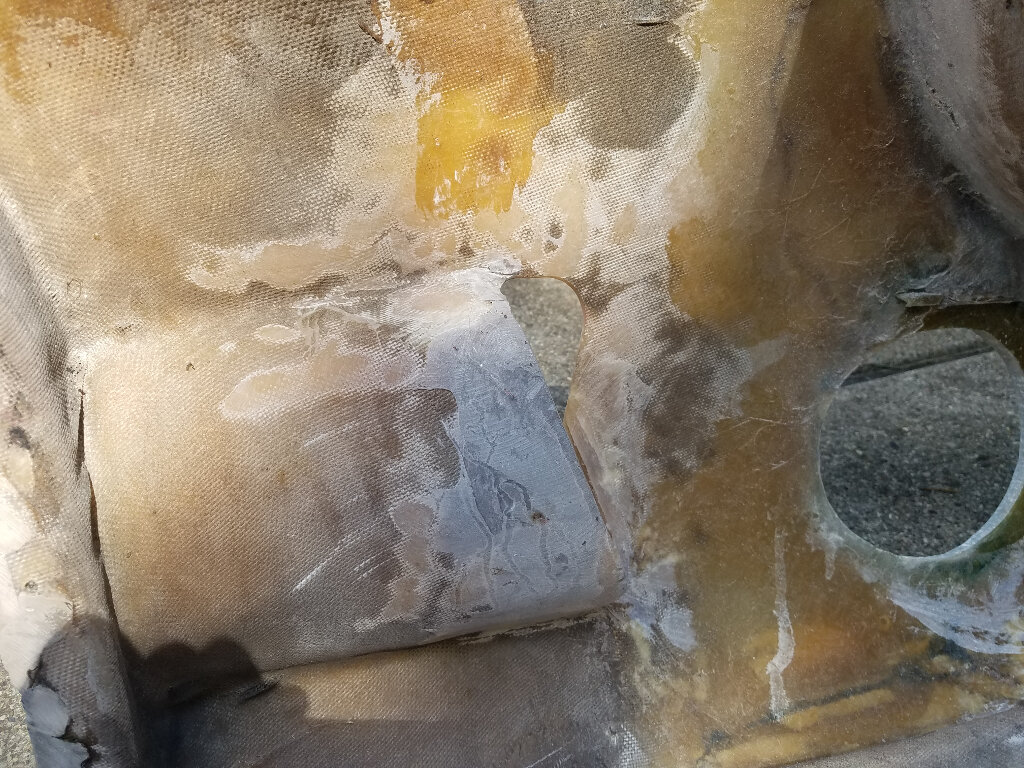
The first pics are the cleanup. Grinding all the glass back.
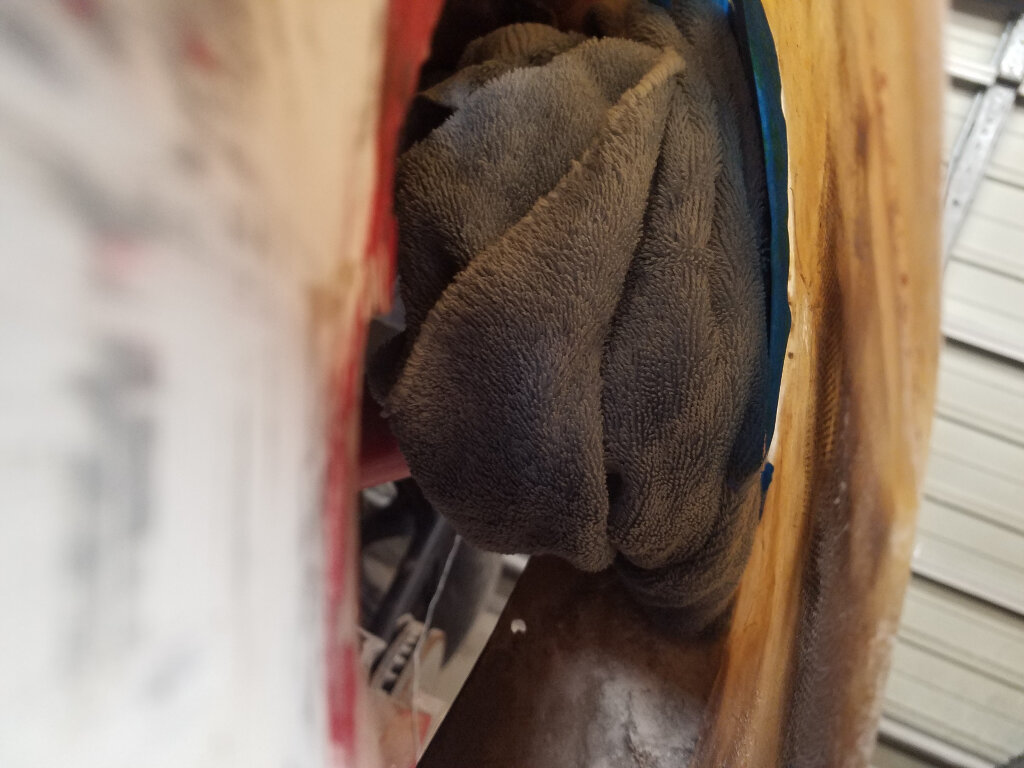
I backed the hole with some aluminum flashing, covered in tape.
Since I could not rely on tape holding it on and I didn't want to make a bunch of screw holes: I packed old towels behind the plate to hold it in place.
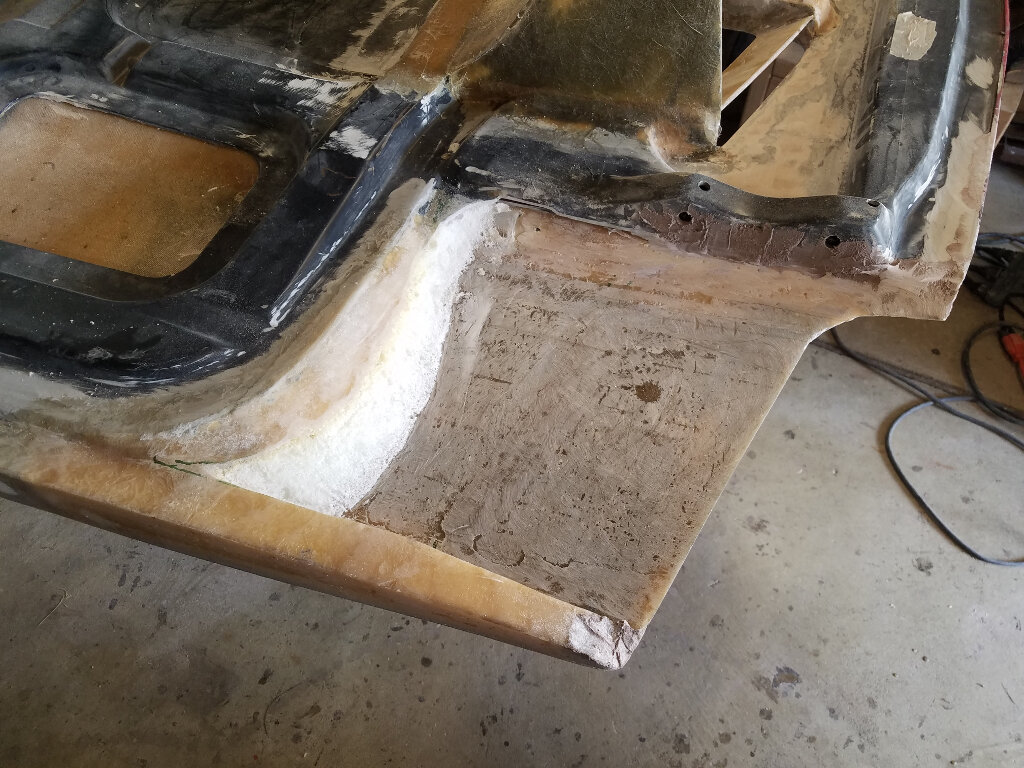
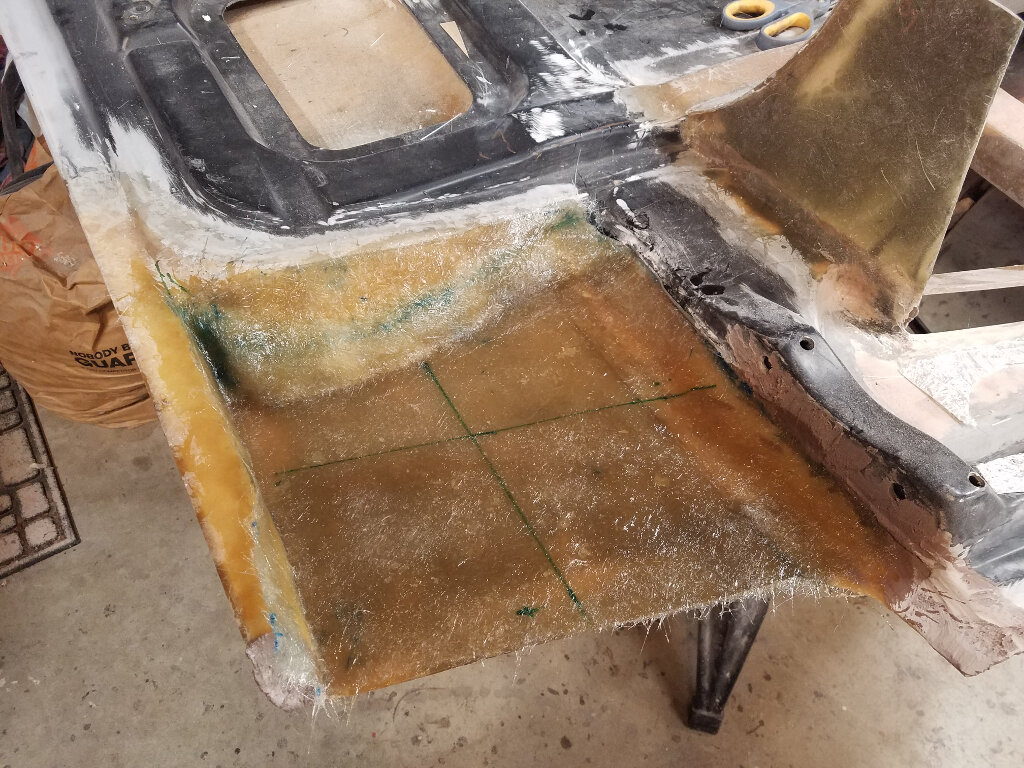
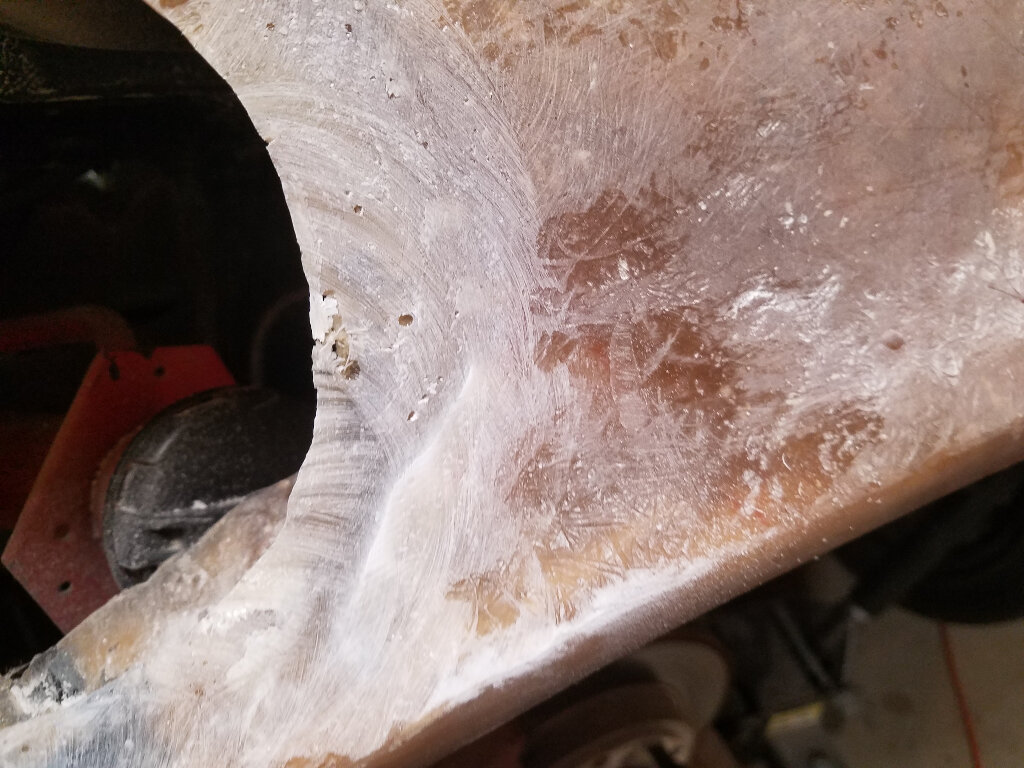
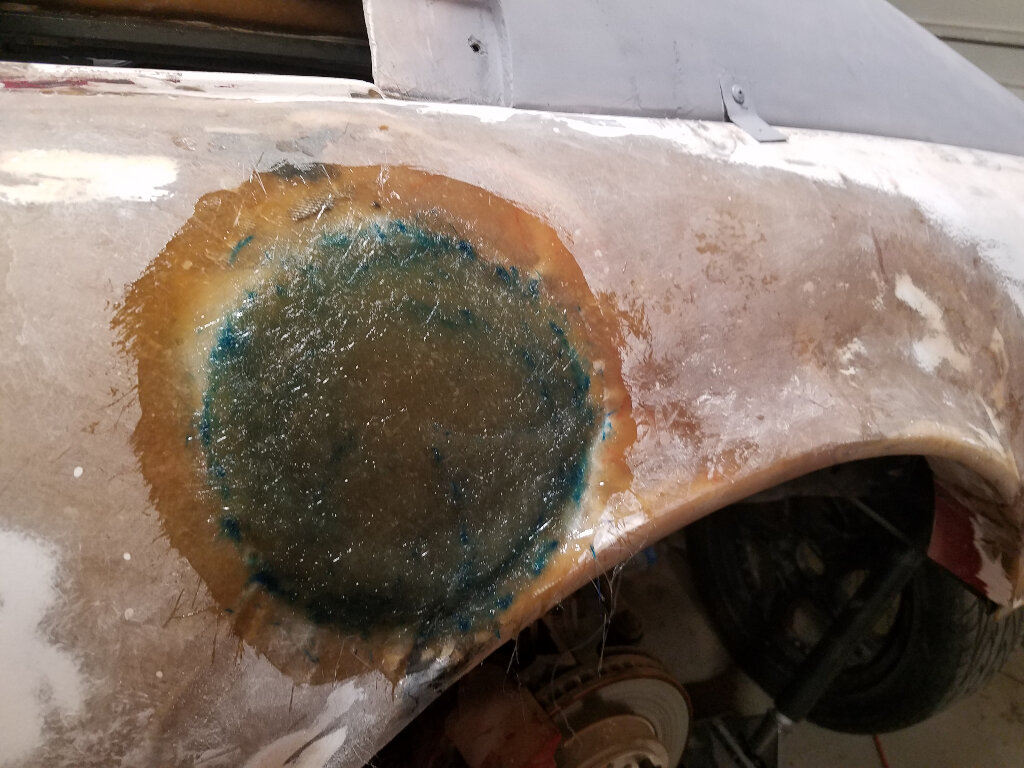
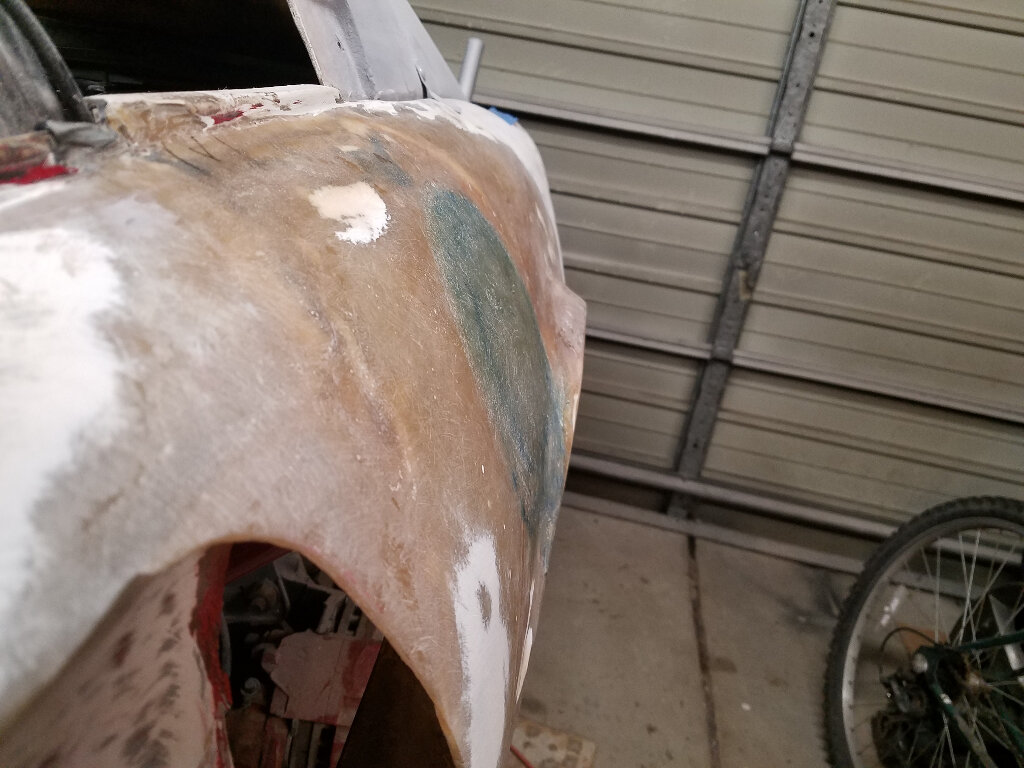
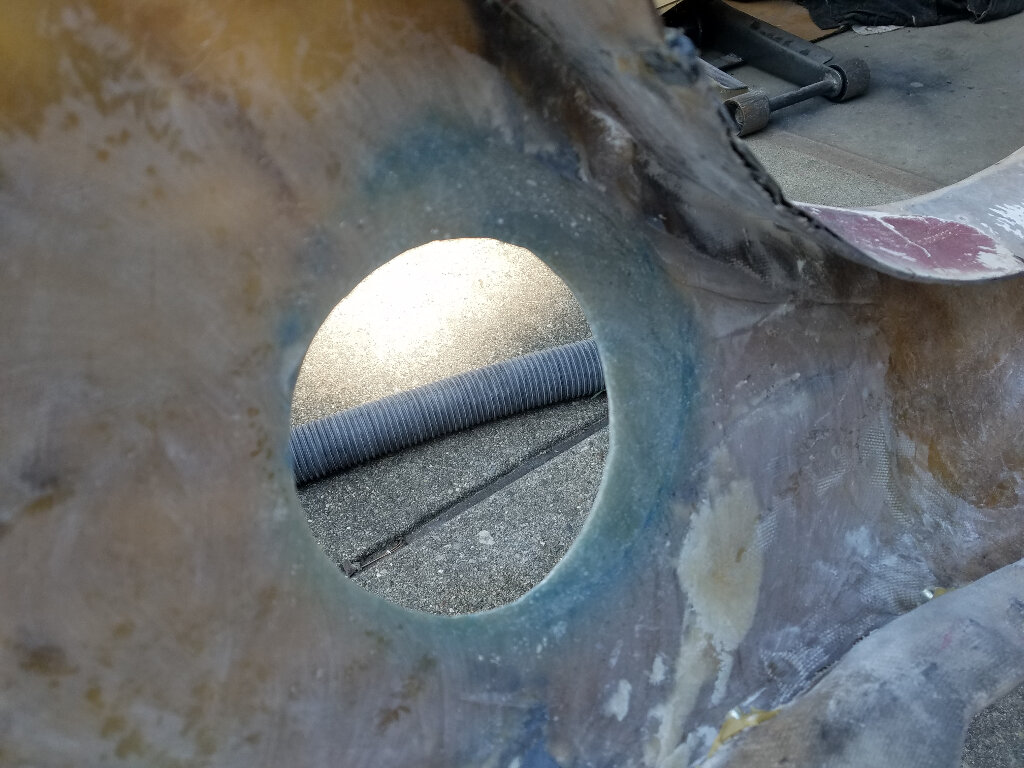
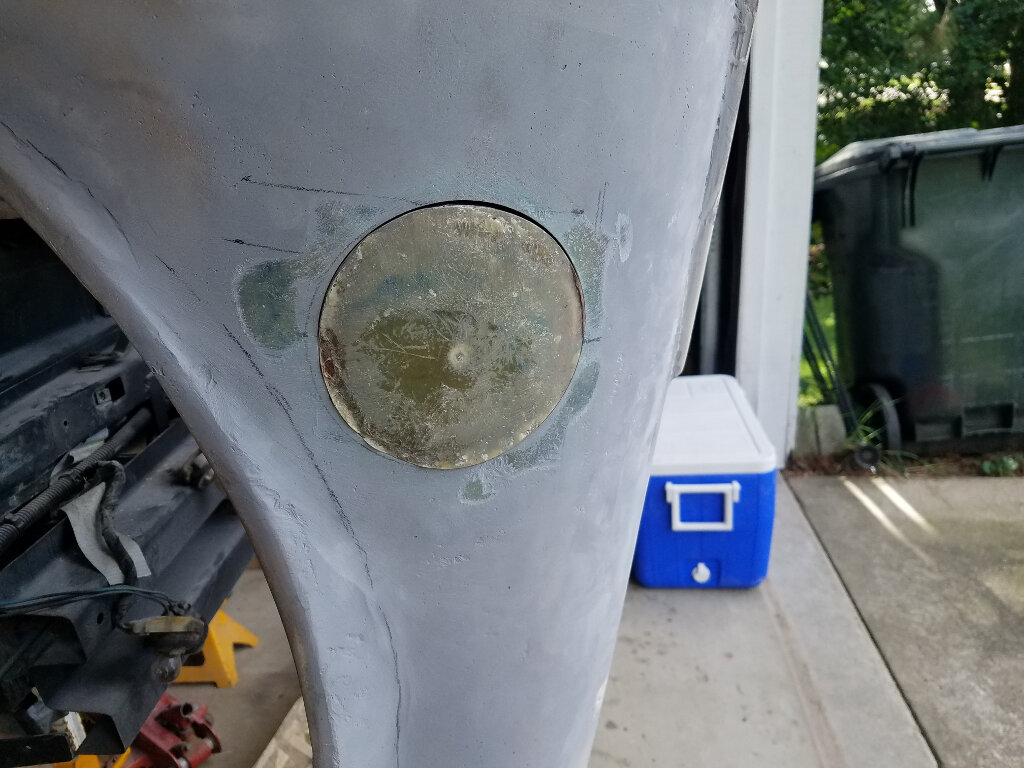
A lot of glass later...The blue coloring is from the sharpie I used to trace the glass circles.
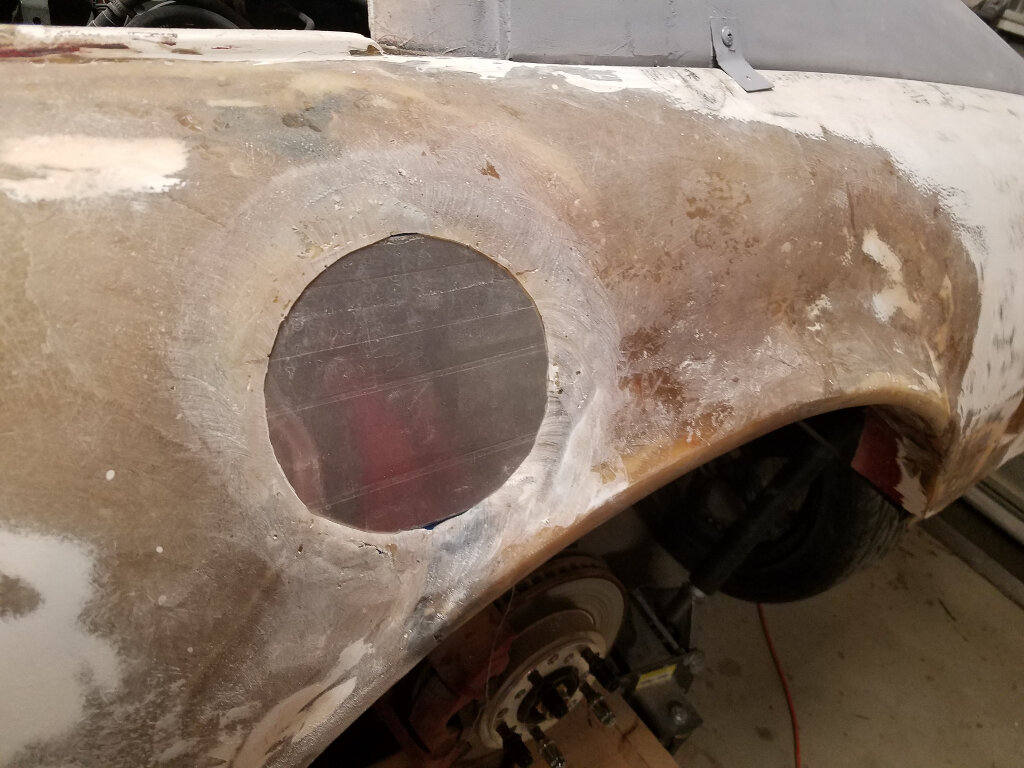
A little color...
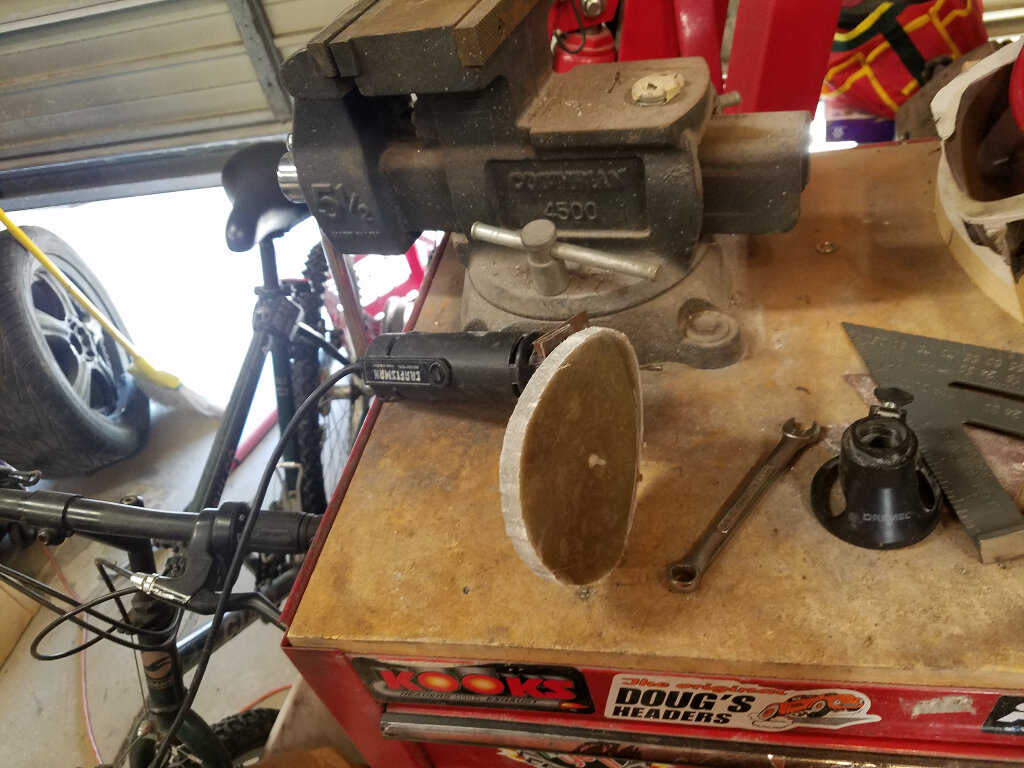
Now I need to figure out how to cut a perfect 5" circle to form the new door.
I would take a piece of semi rigid foam and cut a hole with a hole saw that has a 5”I.D. (Rigid and Milwaukee both make them) and drill a hole through it. Then use that as a jig (positioning guide) for the hole saw with the center pilot bit removed, positioned on the fender. I had to do something similar when I did the wide body on one of my old race cars. Oh BTW. Hi all! I still lurk your build thread Bob👍🏼
[This message has been edited by infinitewill (edited 08-16-2020).]
That is certainly one way to solve the issue......
You are correct that I went up into the sail panel vent with my fuel filler. The hoses I got online from Fuelines.com or something like that. I will have a look through the bills and old emails to see where I ordered from. Not cheap if I remember. I needed 90* bends though for both the fuel filler line and the vent hose so mine was a bit more targeted and needed the custom hoses. You "should" be able to get straight fuel hose from your local parts stores? You should not need any angles in yours so just an extension piece that should be straight.
I actually think my original pieces inside my fender well as still there as I did not use them so wil go have a look and take a couple pics.
Hey Don, thanks for the feedback. I'll take a look online if I can't get it local. No need to look up your old bills. Any pics of the old setup would be helpful, though.
Hey Will, Good to hear from you. It's been too long. Thanx for lurking and the idea. Kind of what I was thinking.
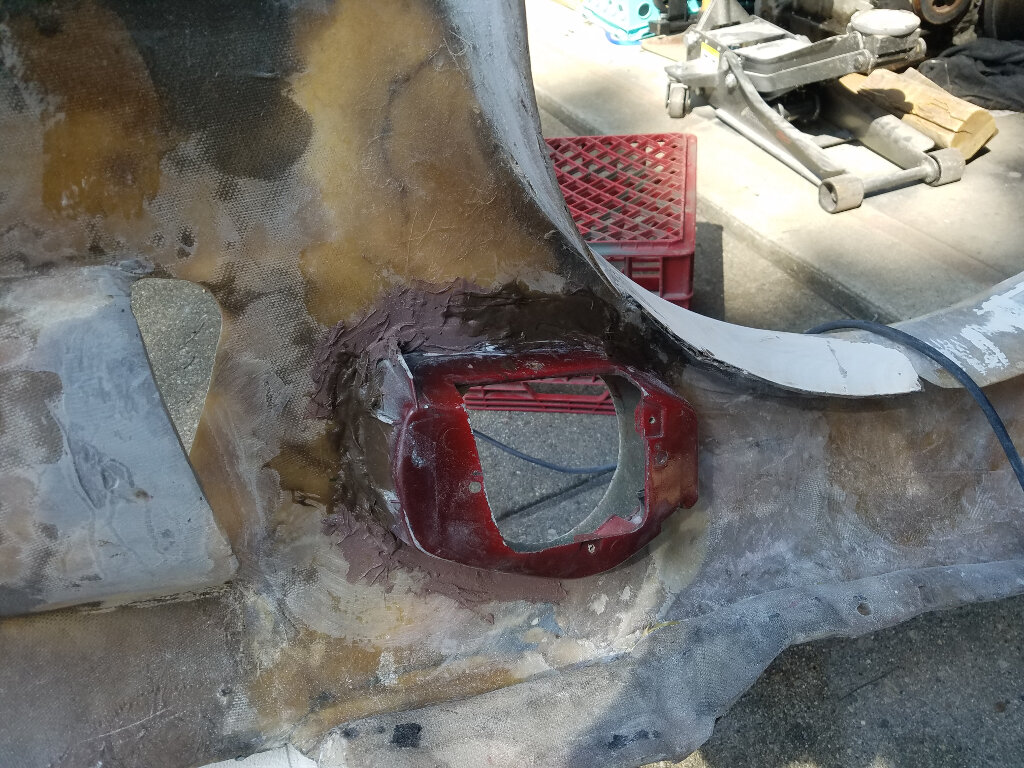
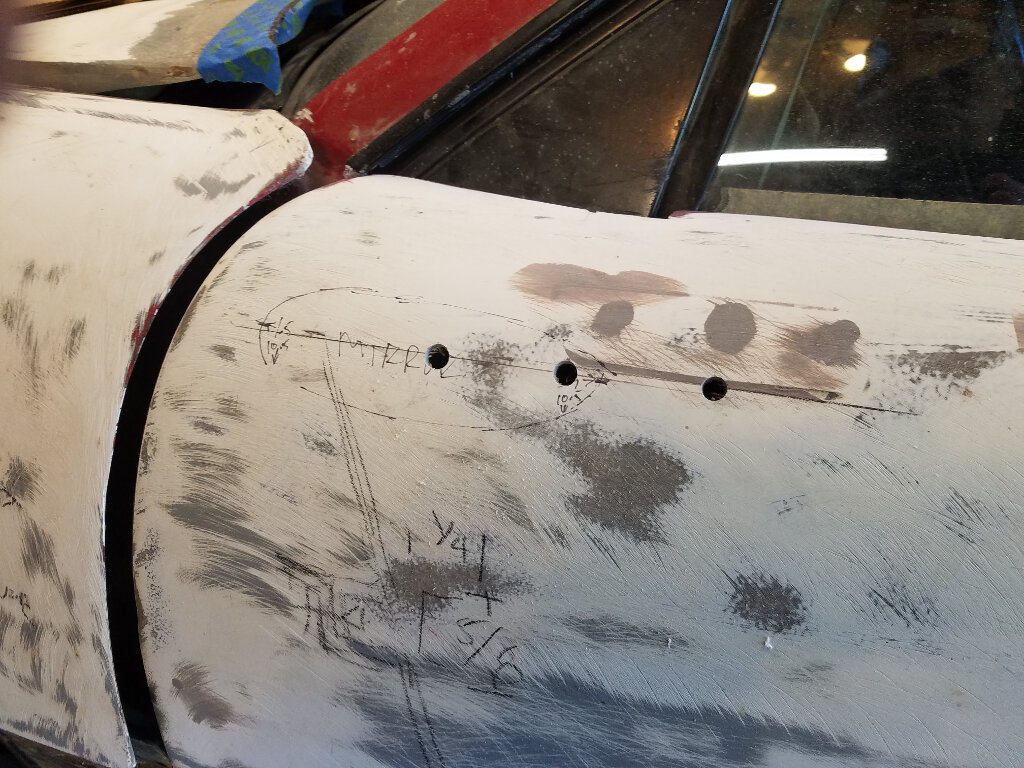
Wanted to do something different, so I went after the mirror. I created a "very complicated" mount on the other side. Time to reproduce it.
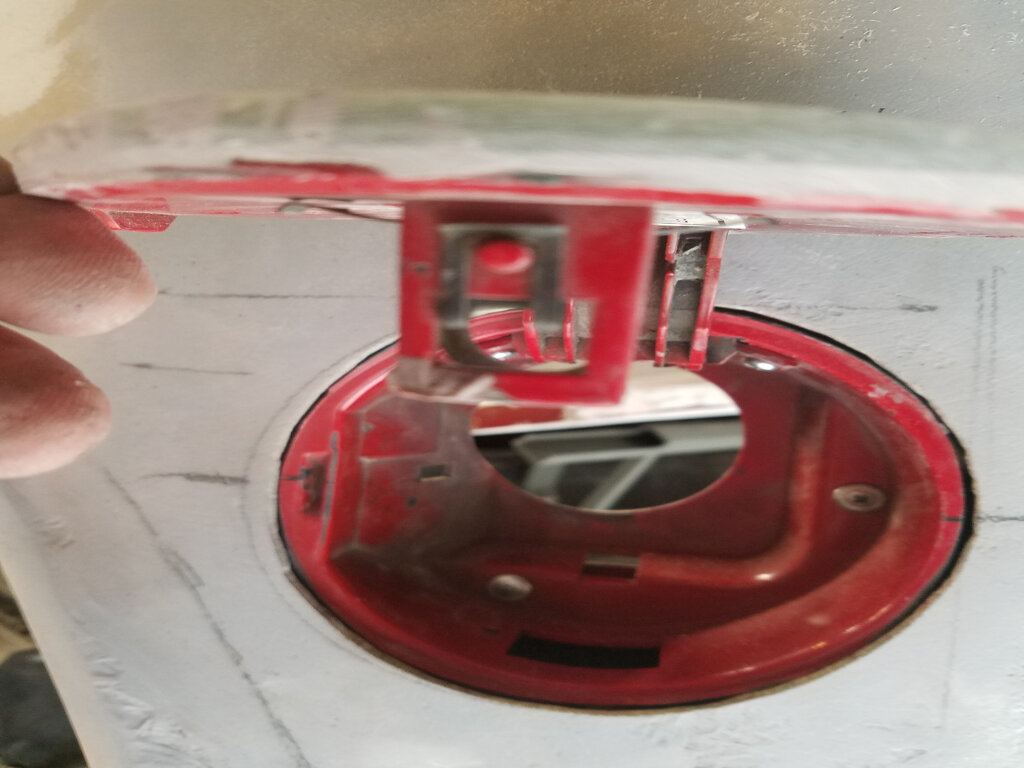
Holes marked out and drilled.
Using clay and cardboard to figure out the bracket.
Here's a picture of the door cleaned and primed. After I cut off the bracket and cleaned the clay. After 2 and half hours, I finally figured that the door skin itself is strong enough to hold the mirror, and way easier to reach the nuts.
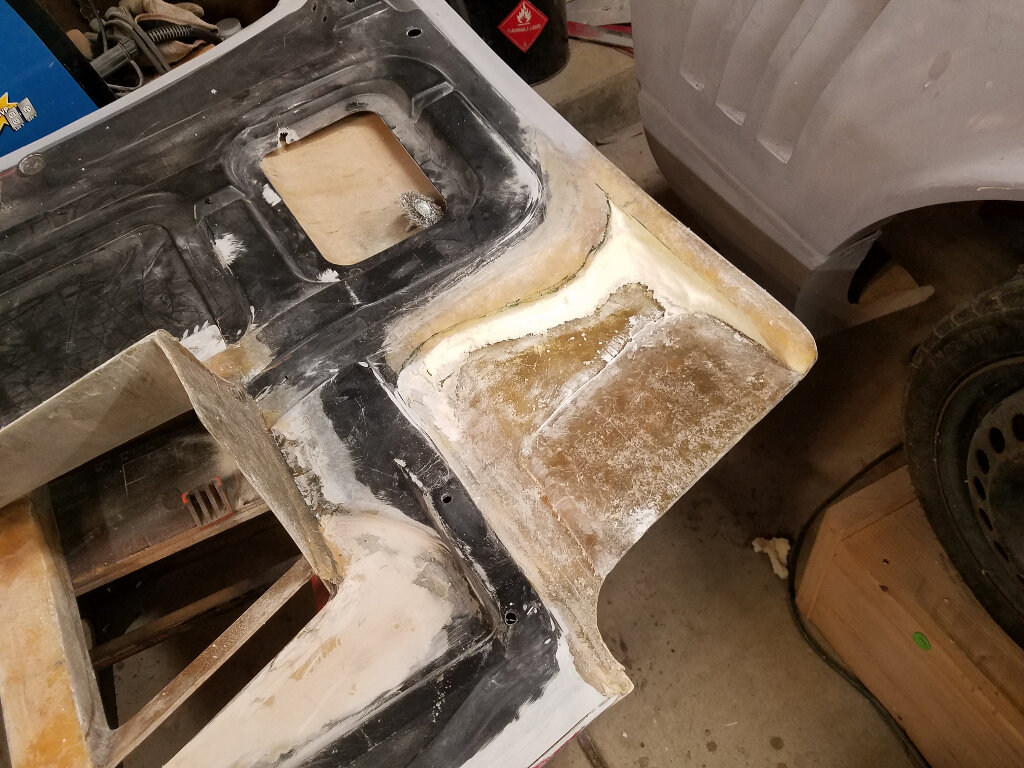
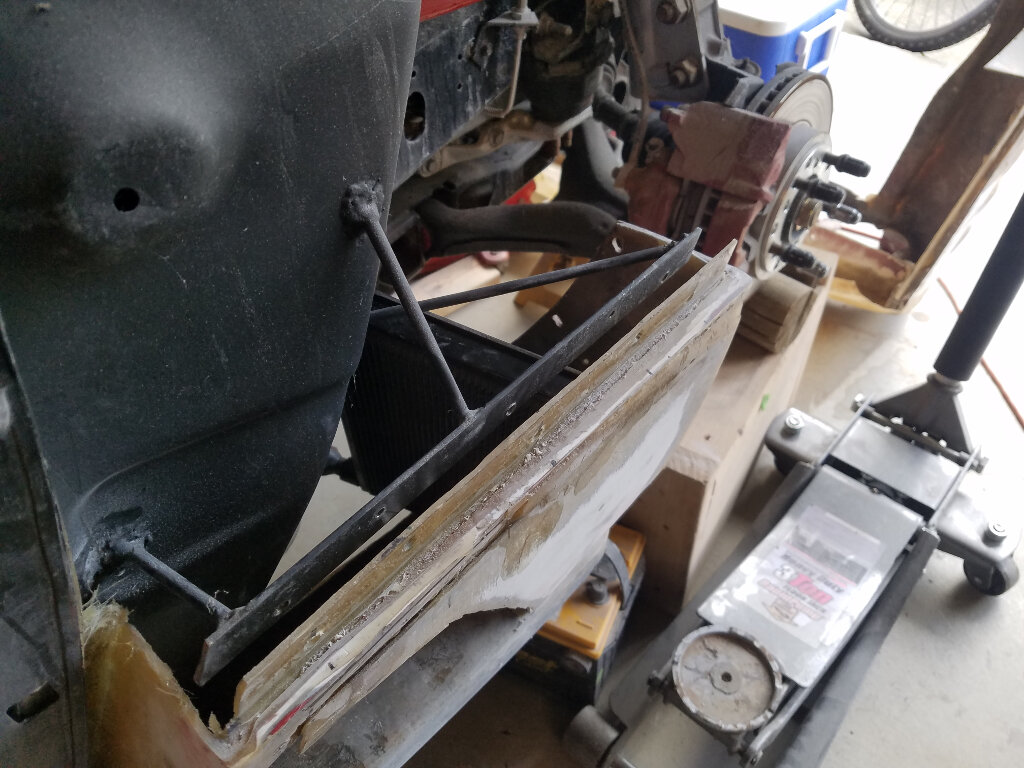
Noticing how easy it is to access the rocker without the door skin, I moved on to the vent. Here I'm building the frame for the trans cooler that's going in the vent.
Old vent lopped off.
And the closing shot, showing the cooler sitting in place. Next will be welding it up to the car. Then the glassing begins again.