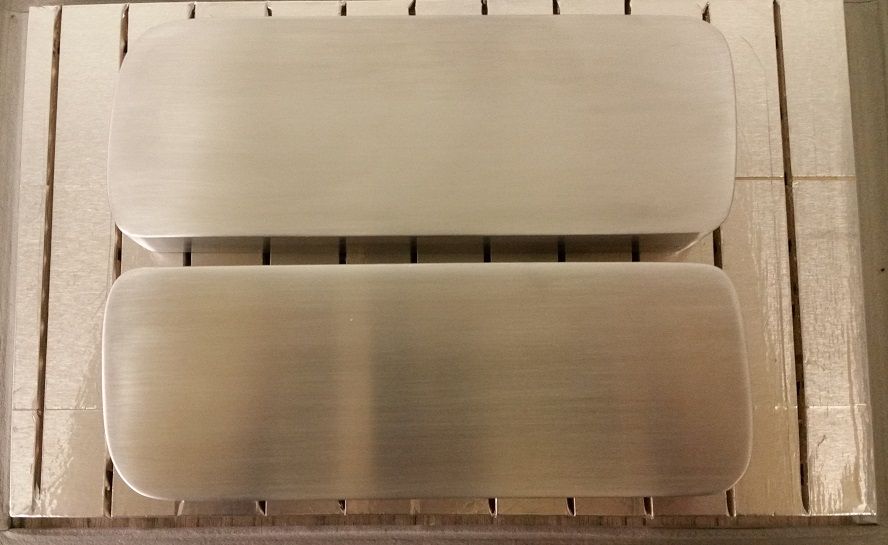
Both molds are done and ready for a production run:
I finally figured out what was causing my pock mark issue......dust! The kind of dust you can only see when the sun is shining in the window. Acrylic is really prone to static buildup, and the 18% humidity in my garage was only making it worse. No matter what I tried I couldn't stop the acrylic from acting like a giant dust magnet. I got the humidity up to 35% and even put a pan of water in the oven but nothing would stop the dust. After a dozen tries I finally found something that worked.......Plasti-Dip. There is a product out there specifically designed to protect acrylic throughout the thermoforming process, but it's not cheap, so I thought I'd try Plasti-Dip a substitute. It works quite well and eliminates 99% of the dust divots.
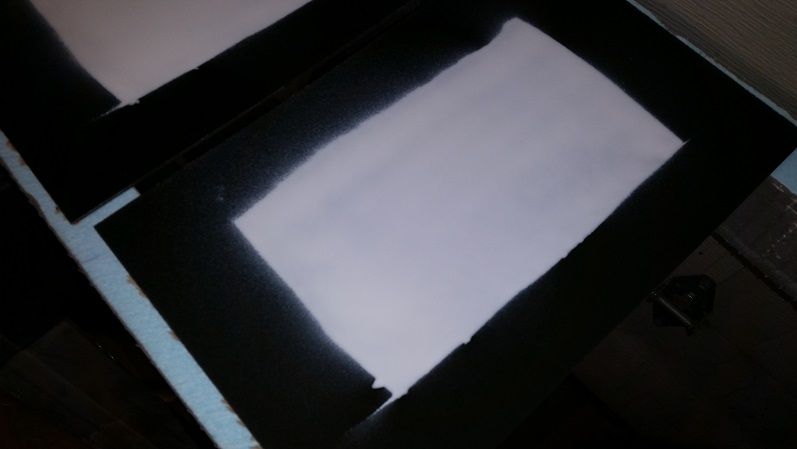
Blank coated and ready to form:
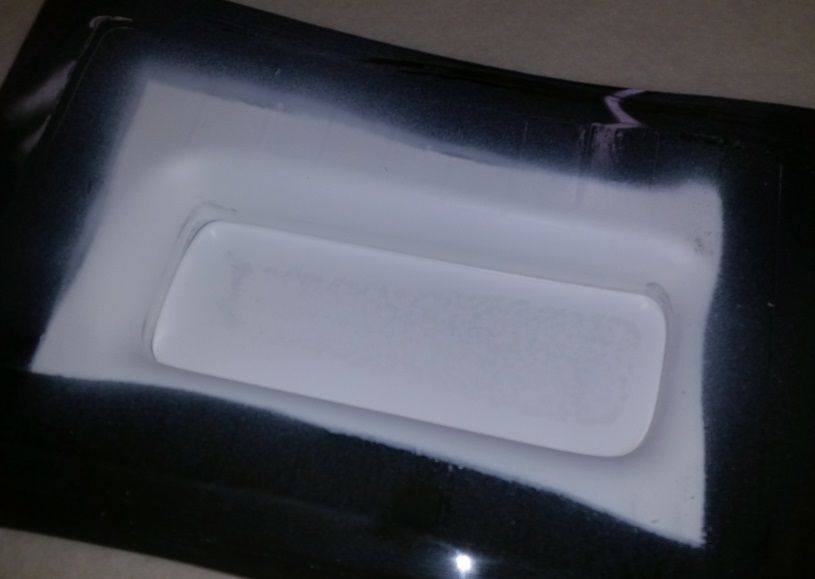
Formed:
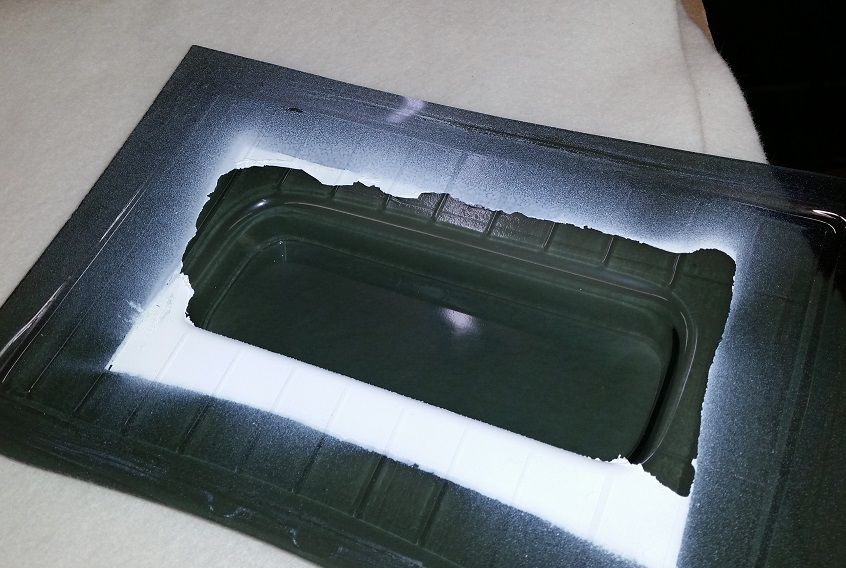
Peeled:
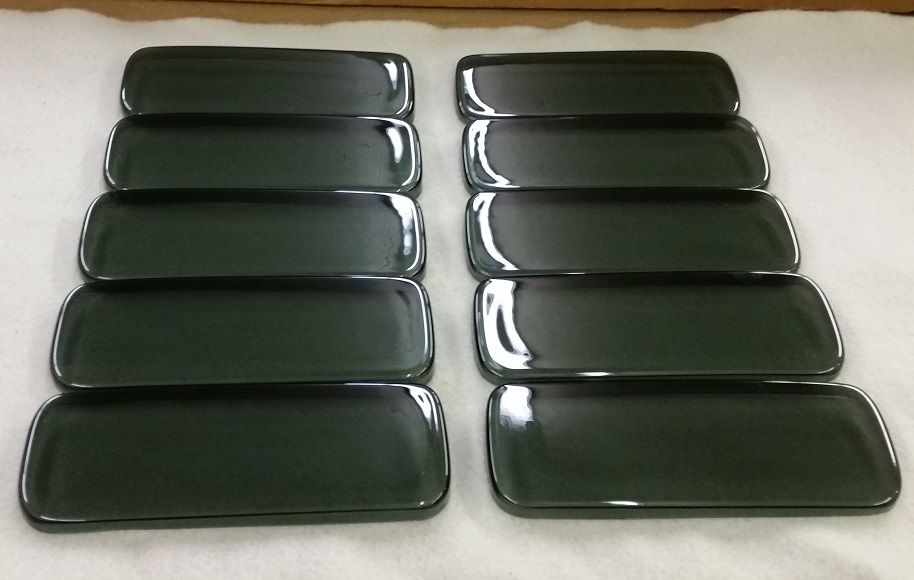
Cut and ready to install:
Overall I'm happy with the final product, they aren't perfect, but pretty close. I will start a sale thread in the mall. https://www.fiero.nl/forum/Forum4/HTML/073403.html Please check it out on contact me if you'd like to purchase a pair.
[This message has been edited by seajai (edited 01-24-2016).]
A much faster and cheaper solution is to leave the outer sheet on the bottom. This will only work if you can heat from above and the sheet hasn't been scratched.
A much faster and cheaper solution is to leave the outer sheet on the bottom. This will only work if you can heat from above and the sheet hasn't been scratched.
Will it work with the paper coated acrylic or just the plastic film? I thought about trying it but thought it would just melt the protective film.
Just the plastic. Every pull of acrylic I leave half wrapped
If you don't have an ir heater and have to remove the sheets, just use acrylic cleaner. It removes the static. And Don't blow with air as this creates static.
BTW, why are you using such a large sheet? For something so shallow, you can get away with less than an inch of trim. Get some half inch square tubing and remake your clamping frame. You'll save a ton of product
[This message has been edited by Slammed (edited 01-25-2016).]
Very cool. I am in line for the Formula front and rear bumper covers (non-tinted most likely)! Also, don't forget what I messaged you about on the headlight covers
Thanks, Amir
------------------
Best 1/4: 11.7 @ 115mph Best 60ft: 1.60
[This message has been edited by Rare87GT (edited 01-25-2016).]
Time for an update. Progress on the Formula lens covers has been a little slow but things are happening. Due to the long shallow area on the bumper I have decided to drape form the acrylic instead of vacuum forming it. This means the piece of acrylic will be cut prior to heating, after heating it is laid in the form and the other half is set on top to form it to shape.
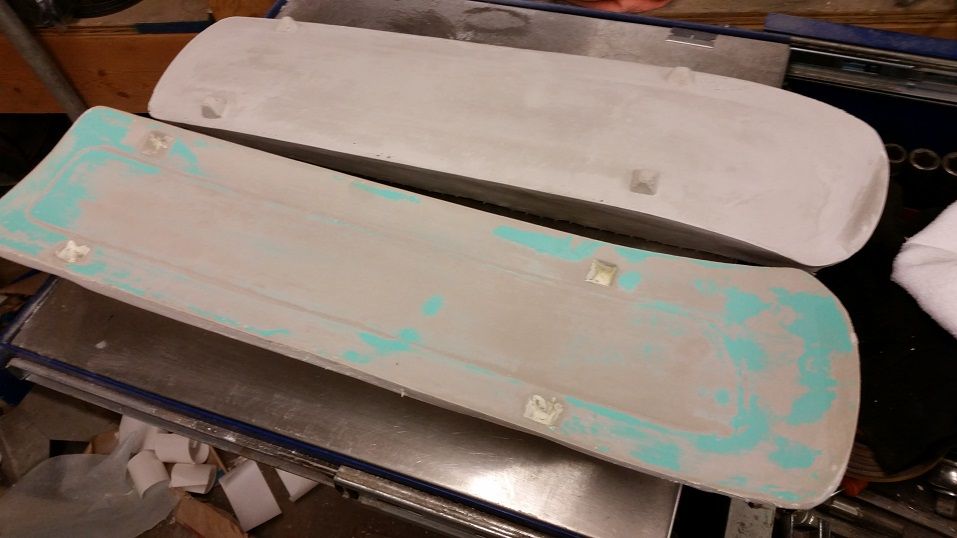
To make the molds, I used a Formula bumper set flat on some saw horses. After filling the opening with ultracal30, I formed a plug to the compound curve of the bumper opening. Once that was set, I applied a release agent and covered the area with another layer of ultracal30 to pull a negative mold. I left that to dry for a few days and then applied 4 coats of wax as a release agent. Tonight I filled the negative mold full of ultracal30 to form the positive half. This will need to dry for a few days before I can run a sample lens to check fitment. If all goes well, I will repeat these steps 3 more times to make molds for the other lenses.
Here are a few pics, note the compound curves, these follow the bumper contours exactly. As a side benefit the curves should also add some rigidity to the long narrow lens. Stay tuned.......
[This message has been edited by seajai (edited 02-18-2016).]
I suspect the challenge is going to be improvising a method of mounting these relatively long "Formula" lenses securely without needing to modify/damage the nose itself.
I suspect the challenge is going to be improvising a method of mounting these relatively long "Formula" lenses securely without needing to modify/damage the nose itself.
Yep..... been thinking about a mounting method for a while.....not sure what to do yet. I think once I make an actual lens it will come to me. If anybody has a suggestion let me hear 'em.
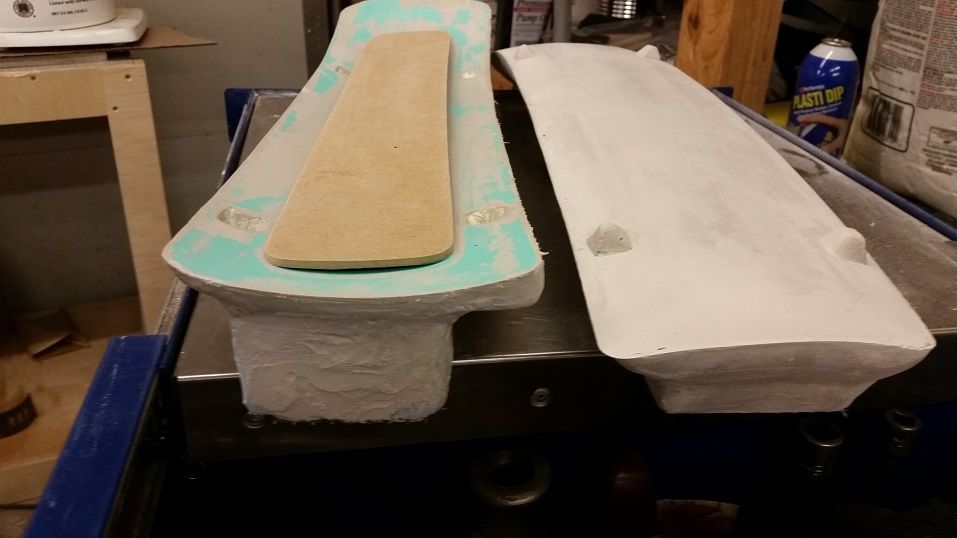
So here we go. I used the plug I made as a guide to make an MDF template for cutting the acrylic blanks.
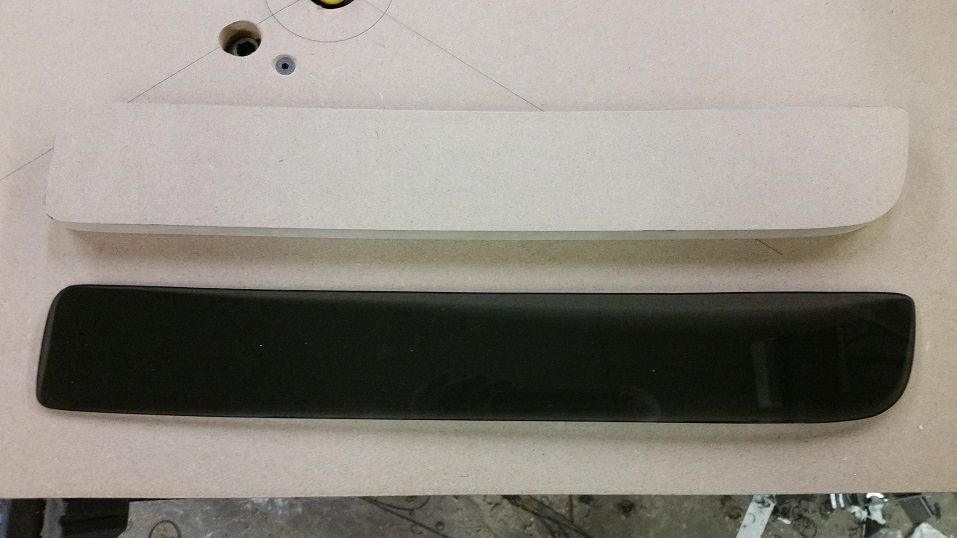
With the acrylic cut to approximate size, I attach it to the MDF with tape and run it through a spiral flush trim router bit to trim it to the exact size needed. Next I used a round over bit to to radius the edges of the acrylic so it fits the rounded sides of the opening. I did a few test runs experimenting with oven temp and time to get the best results and this is the finished prototype.
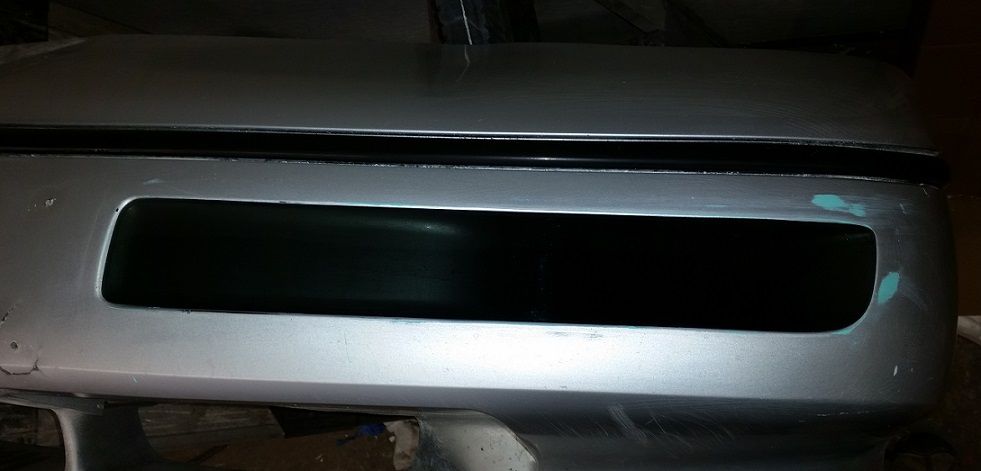
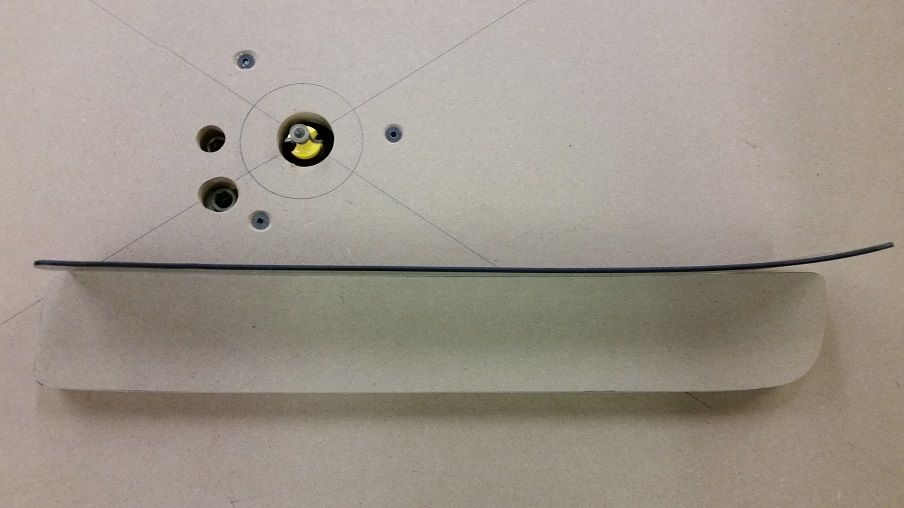
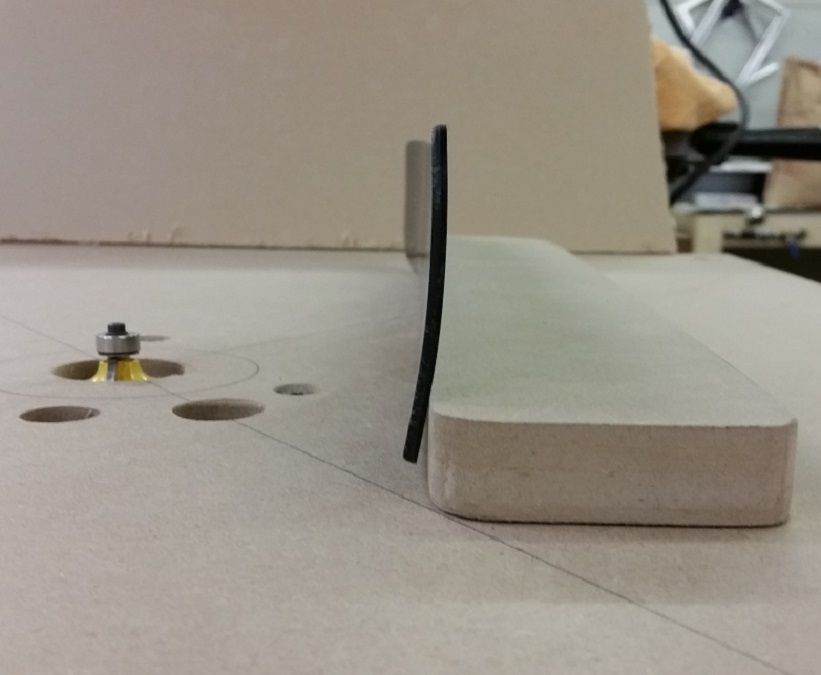
It fits nicely in the opening and is recessed only slightly from the surface to the bumper. Here are a couple profile pics of the finished cover showing the compound curves.
The benefit of using an MDF template and a router to cut my acrylic is that I just need to flip the template over to cut the opposite side. So now with a successful prototype made I just need to cast the forming molds for the right front and both rears and make a router template for the rear covers and I'll have them ready to sell. (Oh yeah, and figure out how to mount them). Stay tuned
I won't be making covers for the bumper pad cars or the rear GT reflectors, I just don't have the R&D time right now. I already have enough projects stacked up to keep me going til next summer. I may at some point but not right now. If someone wanted to make a mold and send it to me, I will form up covers for you.
Follow my sale thread in the mall for info and updates.
[This message has been edited by seajai (edited 10-11-2016).]
I like these and I have some old fashioned looking truck lights that pass registration as have to show yellow or a turn signal and white for parking but could build behind these.
Wow! It's hard to believe it has been so many years since I made these. I still have the aluminum molds on the shelf. We moved a couple years ago and my vacuum table didn't make it. Been thinking about trying to make these again....maybe if I have time this winter...
Wow! It's hard to believe it has been so many years since I made these. I still have the aluminum molds on the shelf. We moved a couple years ago and my vacuum table didn't make it. Been thinking about trying to make these again....maybe if I have time this winter...
Certainly interested in at least a set of GT and formula.