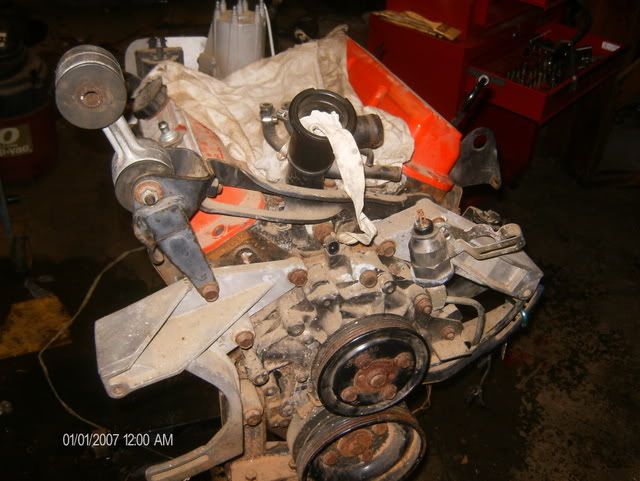
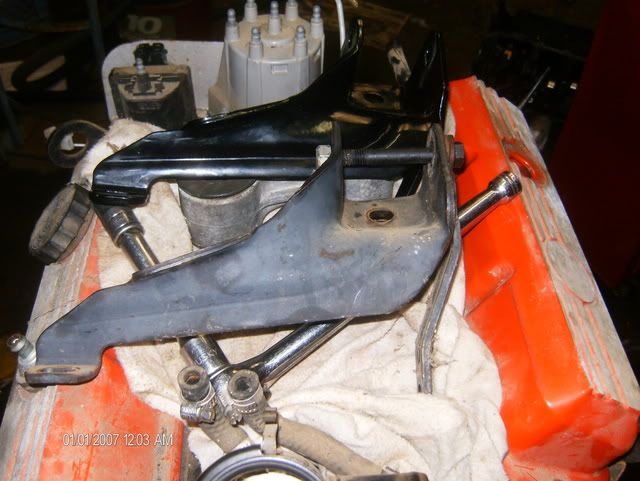
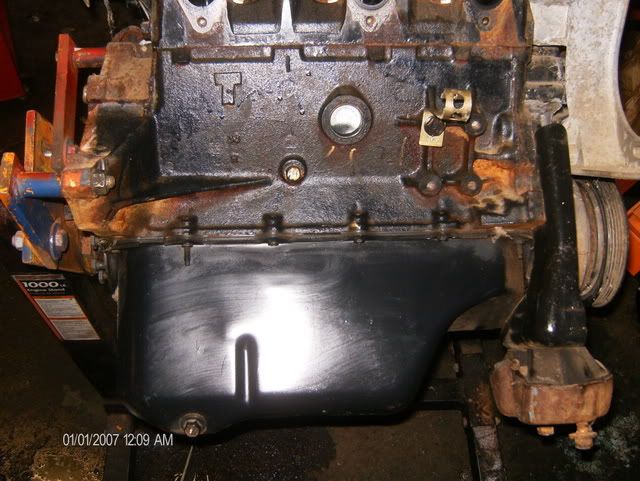
How she was in the garage when i walked in . Harness is off . Here is a little "sample". The dogbone bracket is powder coated. Everything is going to be powder coated . The stuff that looks like rust is dust. It wipes off. I simply sprayed some simple green on the rag and it came off with ease.
Watered down, Simple Green will keep dogs from pissing on your tires. Also, don't get too much on your hands; starts to burn after a while.
I dont really need a de greaser. I need a cleaner if that makes any sense. The engine has no grease on it but it is dusty. Im thinking about painting the block but it does not really need it. The best de greaser i have used is called ZEP. that crap burns...
IP: Logged
01:32 AM
Apr 30th, 2010
87antuzzi Member
Posts: 11151 From: Surrounded by corn. Registered: Feb 2009
wtf is a collent system? And paint.... are you on?????
Whe the car overheated and you went to the air port at the wrong time i had to burp it and such. and your painting jobs.... lol that speeks for itslef.... LOL im kidding with you dude.
IP: Logged
02:11 AM
May 1st, 2010
87antuzzi Member
Posts: 11151 From: Surrounded by corn. Registered: Feb 2009
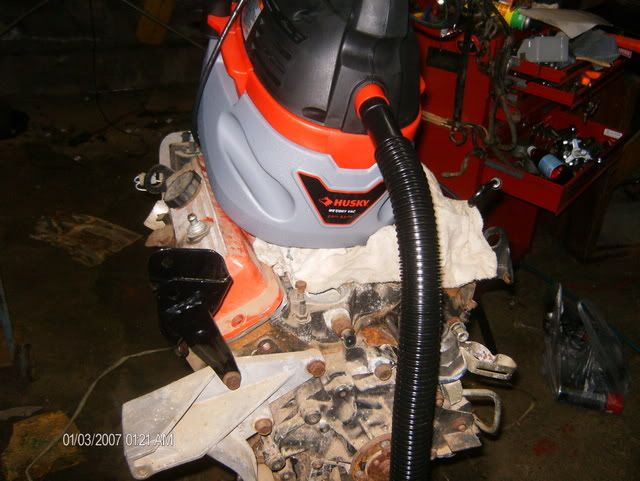
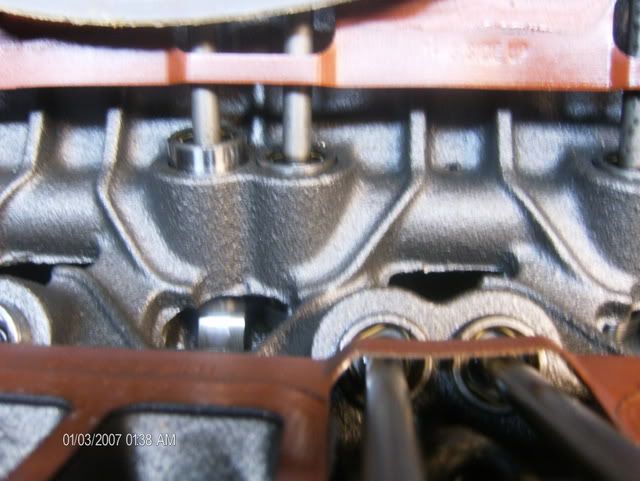
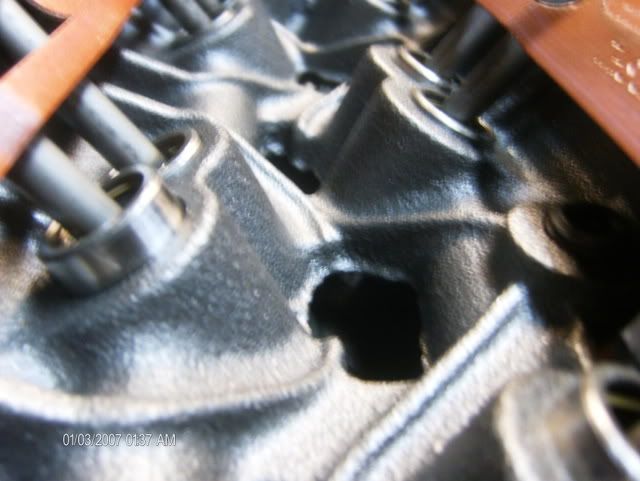
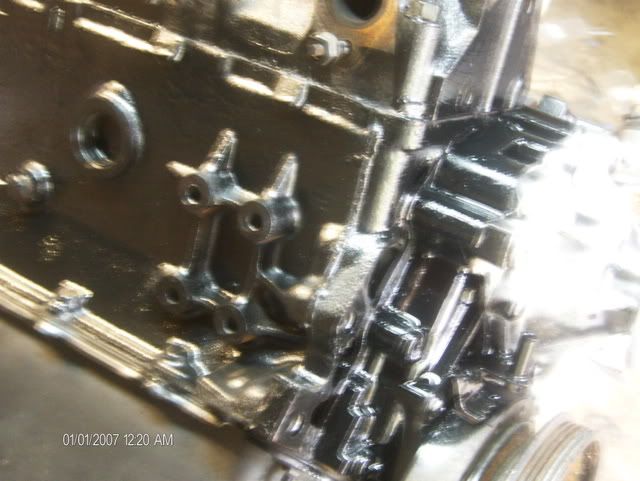
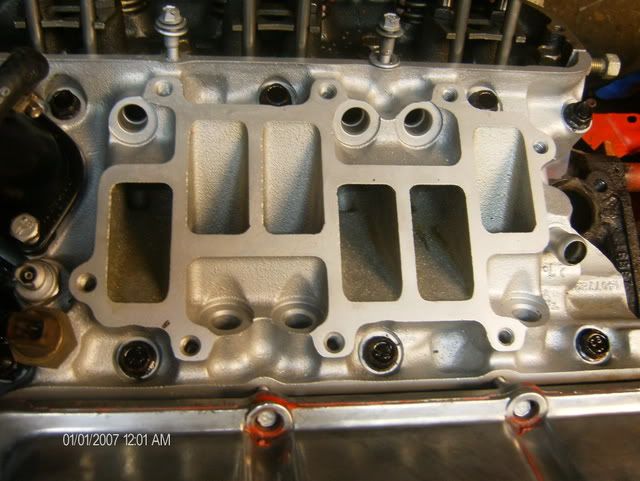
I bought a new vacuum at the home depot. I needed to get a filter for my shop vac but it was 25 bucks for a filter . then i spotted this for 20 bucks. I bought it and it works great. I used it to suck up all the debris that was lodged in the nooks and crannies of the intake. Please ignore my messy tool box. Its full of all my metric crap and that is whats needed for this job . I need a bigger box . . I pulled the lower intake off. And i thought this was a new engine . . . In the morning im going to start putting it all back together.
IP: Logged
03:01 AM
Philero Member
Posts: 390 From: Medford, OR, USA Registered: Oct 2007
BTW, I think PK did break something of yours... the date/time stamp on your camera!
------------------ Phil Always trying to create something new! '88 SE '86 GT '87 GT Extreme body mod and 2.8L Turbo Propane powered (in the garage and getting closer to being completed)
IP: Logged
04:03 AM
87antuzzi Member
Posts: 11151 From: Surrounded by corn. Registered: Feb 2009
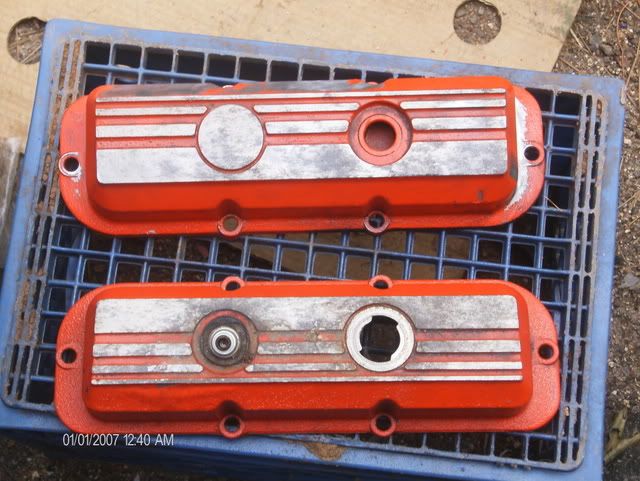
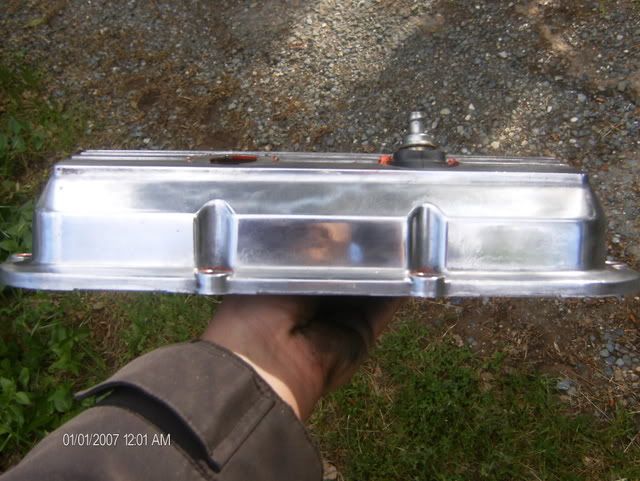
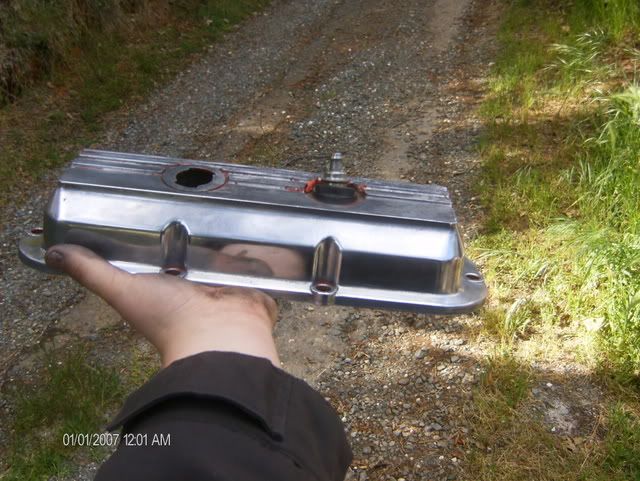
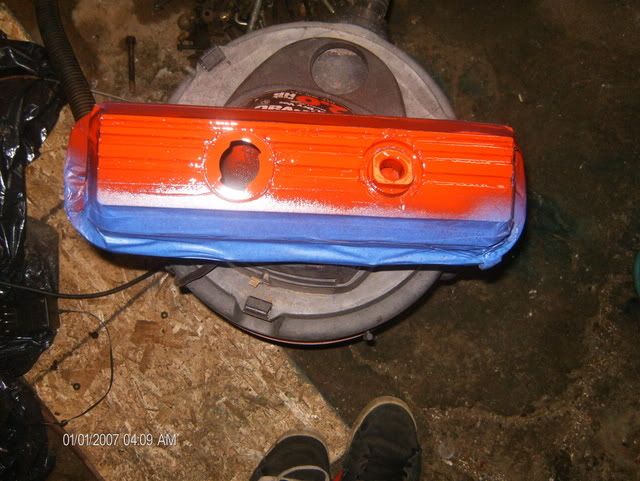
Ok. More progress . I even painted the bolt heads . I sand blasted the pully and sprayed clear on it. I like it . Valve covers meet aircraft stripper . As it sits at the moment. Excuse my messy garage . It was clean like a month ago
Thanks for the info on cam break in. How does that go???? 500 miles taking it easy? Well i stripped the valve covers and starting getting ready to paint them. Decisions????paint or polish.
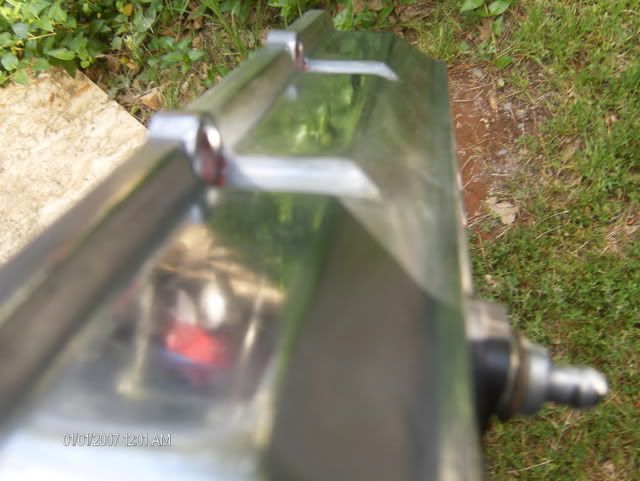
At the start of polishing . Half way . Half way done with 1 valve cover.
First, you need to prime the engine with oil, I'm sure there are threads on PFF discussing that.
As far as the cam break-in procedure:
quote
sourced from: http://www.carcraft.com/how...n_new_cam/index.html Once the engine fires, immediately bring the rpm up to between 2,000 and 3,000. Spinning the engine at these higher speeds for the first 20 minutes ensures sufficient oil reaches the cam lobes. Also, make sure engine rpm never remains constant for the break-in period. Engine speed should vary between 2,000 and 3,000 the entire time. This ensures oil reaches all points on the camshaft. Do not merely set the fast idle on the choke and walk away from the engine.
The risk is low, but it would be a shame to ruin a set of new lifters and a new camshaft within 1/2 an hour of firing up the engine.
You can also lube the bottom of the lifters and the lobes with something thick, like STP, to provide lubrication at startup. BTW, did you ever figure how to adjust the valves properly?
[This message has been edited by pmbrunelle (edited 05-11-2010).]
IP: Logged
09:02 PM
87antuzzi Member
Posts: 11151 From: Surrounded by corn. Registered: Feb 2009
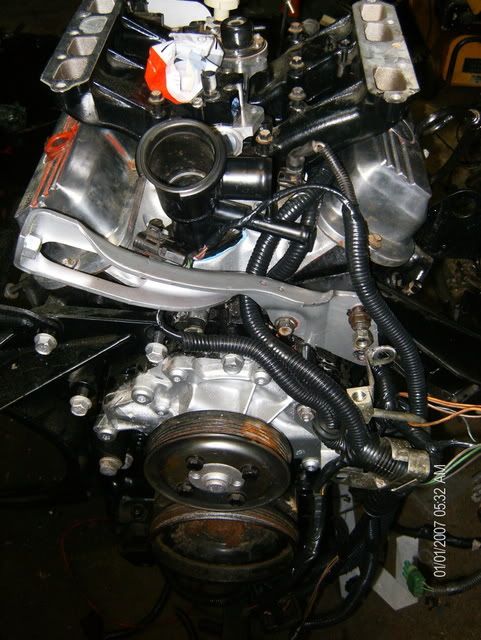
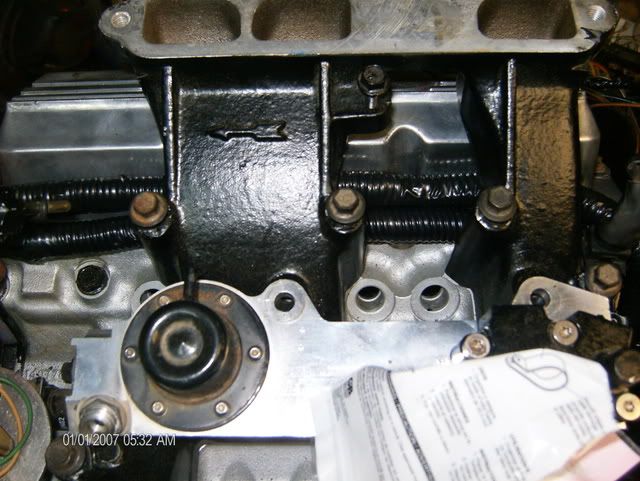
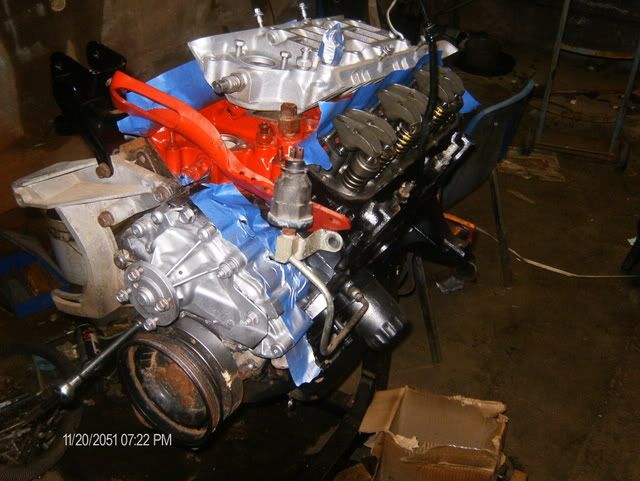
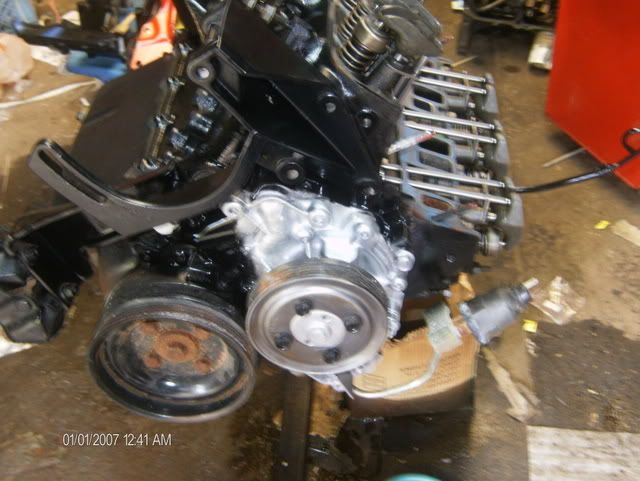
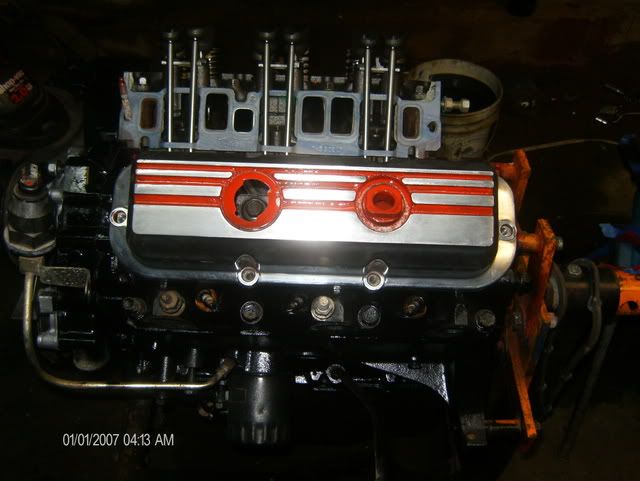
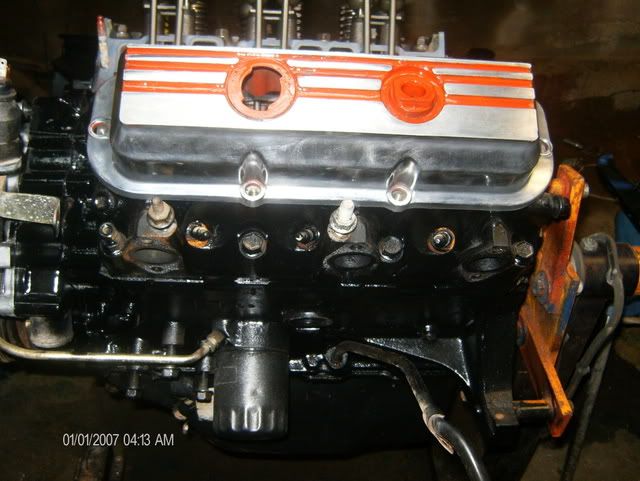
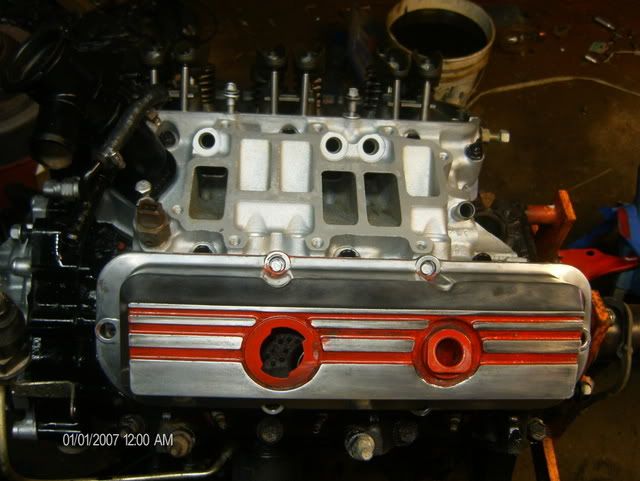
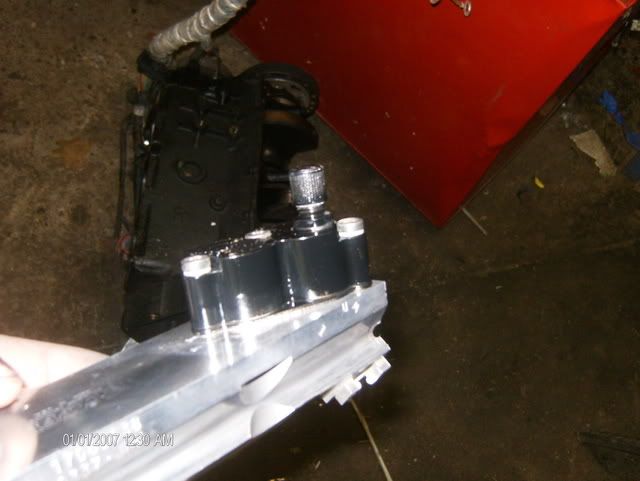
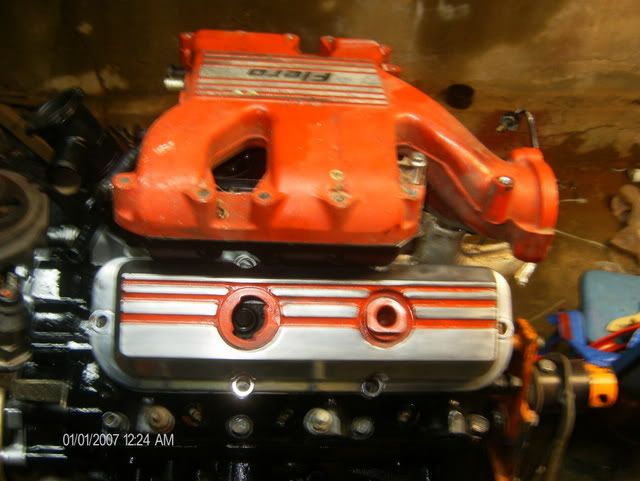
Ok. For like the 3 people following this thread. Progress for today. I put the intake on and got everything torqued to spec. . Thermo housing is on . Side view of everything . Polished the fuel rail (still cant figure out why i did that) and painted the block thingie . I stuck a red intake on to see how it would look with all the shiny stuff. I dont like it. Any ideas on what color look good with polished valve covers? and yes i know the cover is on the wrong side . And then there is this....The one finger on the intake took me a friggen hour. I had to sand out all the casting marks. So i dont know if im going to polish the whole thing yet. \ Thats it for today.
I don't have much patience for polishing, but if I were to find some, I would worry about cleaning up the INSIDE, rather than the OUTSIDE of the intake manifolds, ya know, where it actually improves performance...
The valve covers look sweet. If you did the same to the intake plenum, that would rock. But the bare aluminum will quickly tarnish. If you clear-coat it, or give it a heavy coat of wax, that should protect the aluminum. The wax will probably require more maintenance than the clear-coat, though.
BTW, that engine is unbelievably clean inside! Holy crap!
IP: Logged
11:05 PM
May 24th, 2010
87antuzzi Member
Posts: 11151 From: Surrounded by corn. Registered: Feb 2009
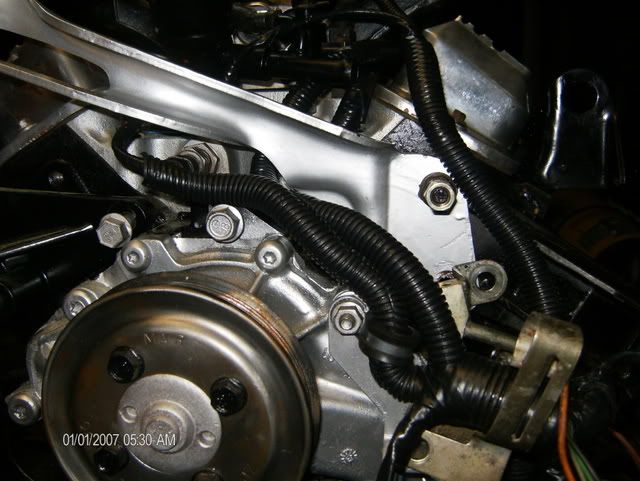
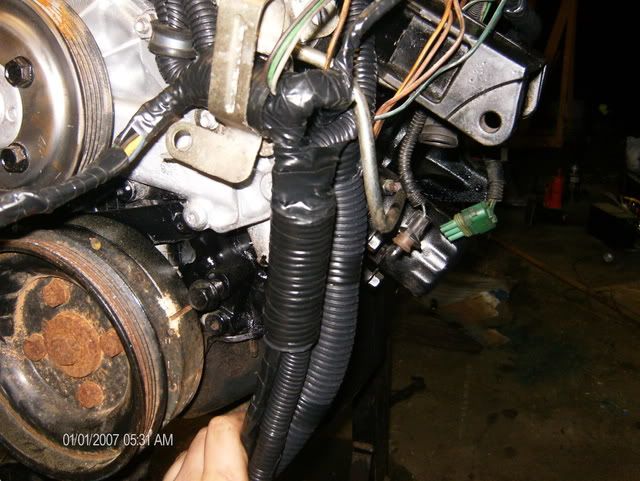
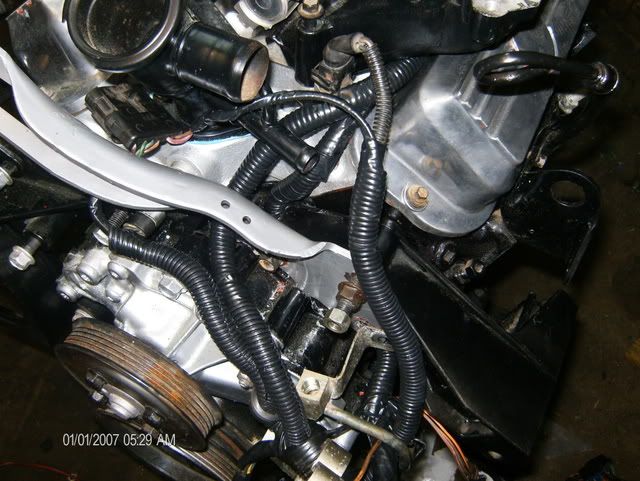
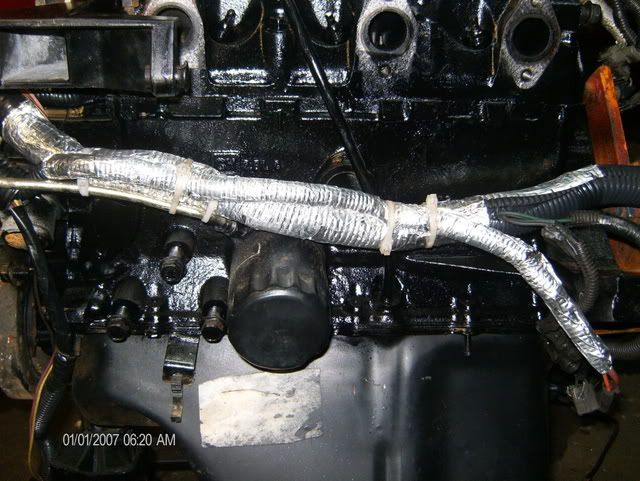
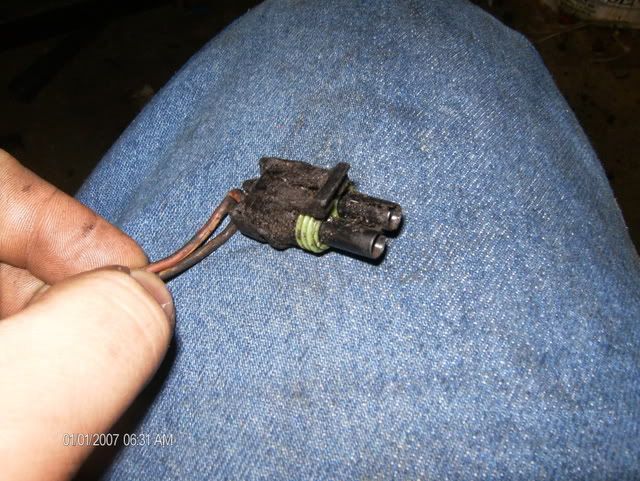
Time for some pics. I took the wire harness and completely striped the thing. I then untangled all the wires and ran the wires from each sensor in a separate loom. Rather than have all the wire run together i ran them in set where they needed to go. I ended up with 4 looms that can be seen. This is the only visible (if your looking) wires. . The big loom is coming into the engine bay about 6 inches over. Here i the new set up mounted and loomed Main harness from fire wall (right) and loom going to auto trans(left). Its not done yet but im posting a (half way done) picture. This is the entire upper deck harness. Overall view THe wires ran under the intake. More coming in a hour or so
IP: Logged
12:23 AM
aeffertz Member
Posts: 798 From: Ladysmith, WI Registered: Feb 2009
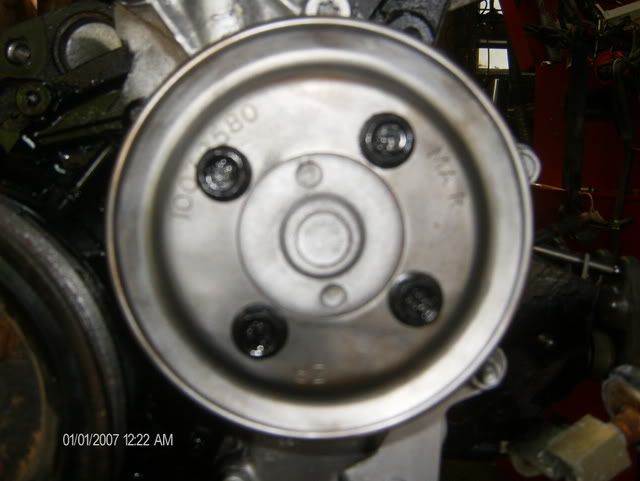
How did you route the wiring that goes to the trunk-side of the engine block (for the alternator, speed sensor, etc)? I'm thinking about running those wires under the water pump, but am not sure if they'll fit.
Also, what about the wiring bundle that goes over to the C500 connector?
Have you considered relocating the oil pressure sender? I'm seriously considering it. That thing sticks out like a sore thumb.
IP: Logged
12:42 AM
87antuzzi Member
Posts: 11151 From: Surrounded by corn. Registered: Feb 2009
Blacktree. Your answers are being uploaded as we speek . On a side not. Why can i not directly upload to photobucket? every browser i use (fire fox, chrome and opra) crashes when i try to upload. WTF
IP: Logged
01:25 AM
PFF
System Bot
Blacktree Member
Posts: 20770 From: Central Florida Registered: Dec 2001
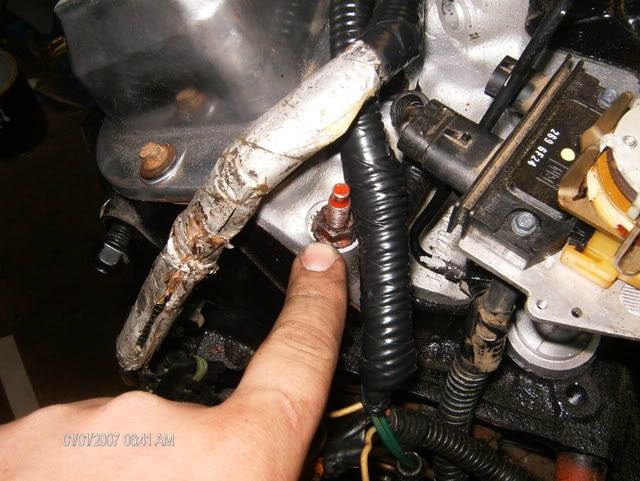
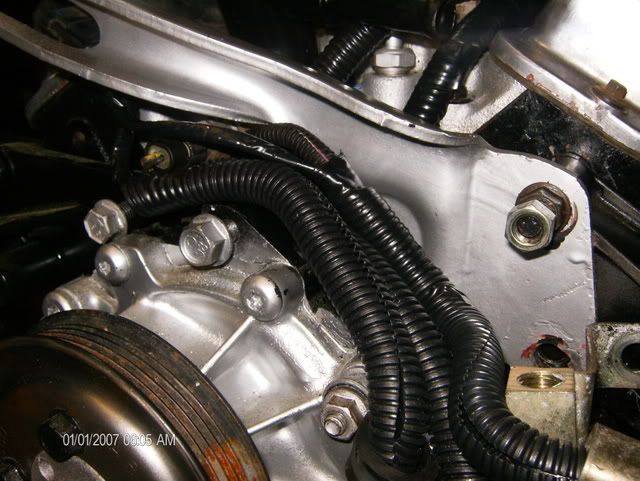
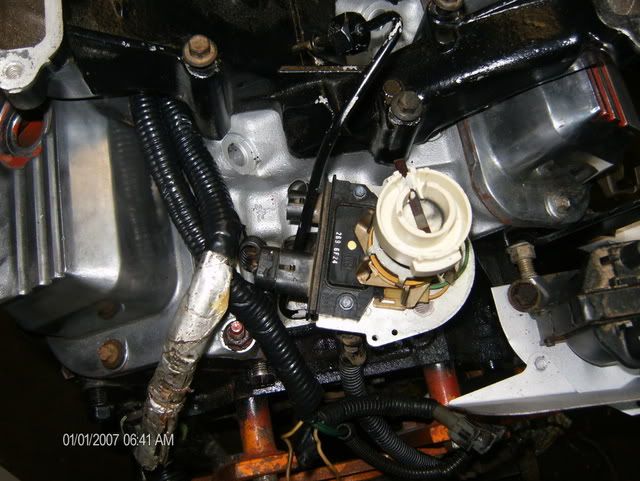
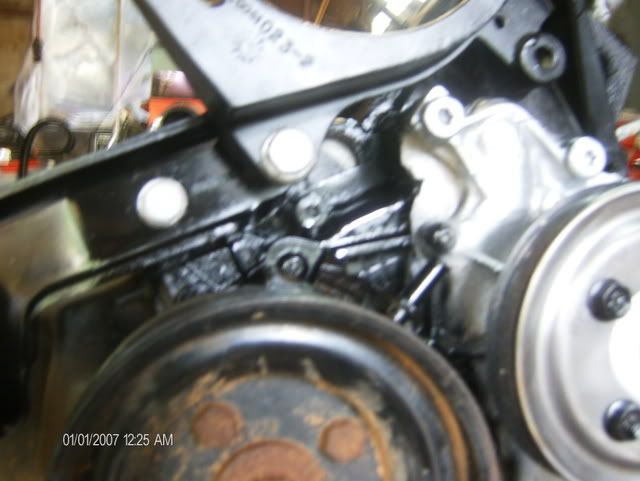
Ok. Here is how it sits now. Not one wire runs on the trunk side. Here is what the firewall side looks like. I checked the fiero rule book and it didnt say anything about not mounting the tach filter here. (where my finger is pointing but one bolt back under the manifold) I didnt like how the wire ran over things so I re thought the whole thing and came out with this Here is a question for you gurus. Why cant i mount my distributor like this? Its a serious question btw Here is one of your answers black tree. The loom off to the left is all the transmission wiring. If you un tangle all the wires from the factory there is plenty of extra wire to run it behind the engine. Where does this go??? . The oil sensor, map, and egr valve solenoid are being re located. Best yet, with all the untangling i did I dont have to cut one wire . All of the sensors are going to be next to the battery next to fuseable links. The vac lines are going to run along the firewall under a plate....Oh yea, Im doing a diamond plate fire wall to cover all this crap too.
IP: Logged
01:42 AM
Blacktree Member
Posts: 20770 From: Central Florida Registered: Dec 2001
You can orient the distributer any way you want. Just be sure to set the timing accordingly. As long as the rotor points to the spark plug wire for cylinder #1 at TDC #1 (on the compression stroke), you're set.


 are you on?????
 .
.


 . I had to sand out all the casting marks. So i dont know if im going to polish the whole thing yet.
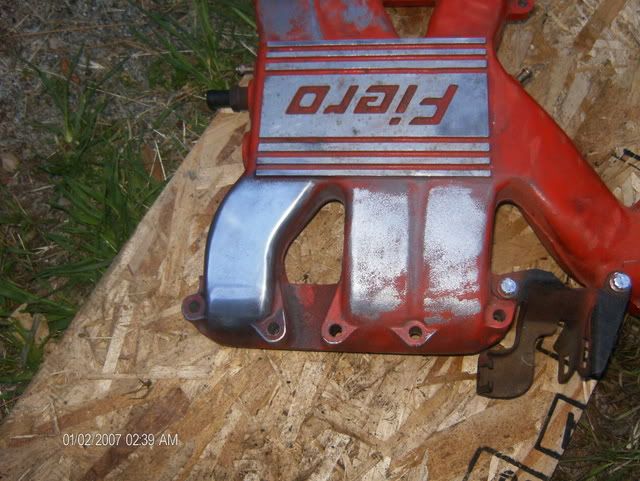 \
\