Yes, very nice. I do like your quarter windows. On the part that have the GT, is that just paint and buffed out? what kind of paint do you use?
The "GT" is a decal from TFS. I put it on on top of the black paint, but under the clear coat. Paint is Nason FulBase black, and Nason Select Clear. The blue paint is Axalta Chroma Base and Axalta Chroma Clear.
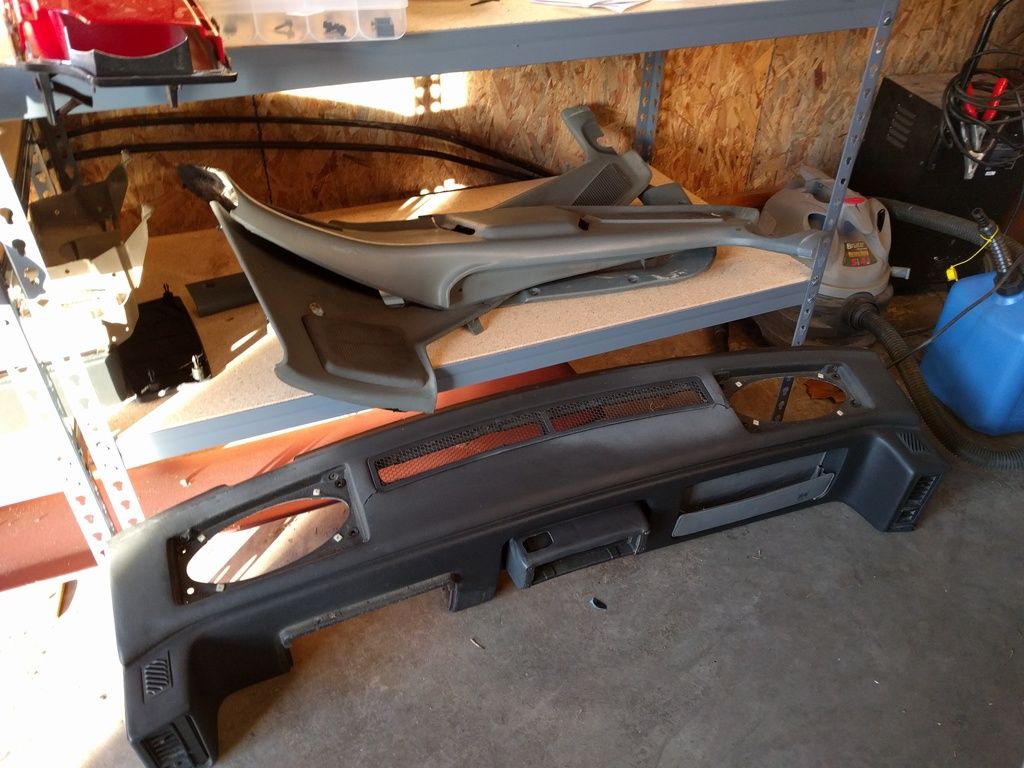
Nothing much done on The Blue Fiero this week. I installed a new clutch pedal, cruise servo, and shifter but that doesn't make much for pictures. I have started on the interior. My plan is to take as much from the 88 donor car as I can. With race season coming up, it is important to minimize down time with TBF. With that in mind, I got to stripping the interior of the parts car.
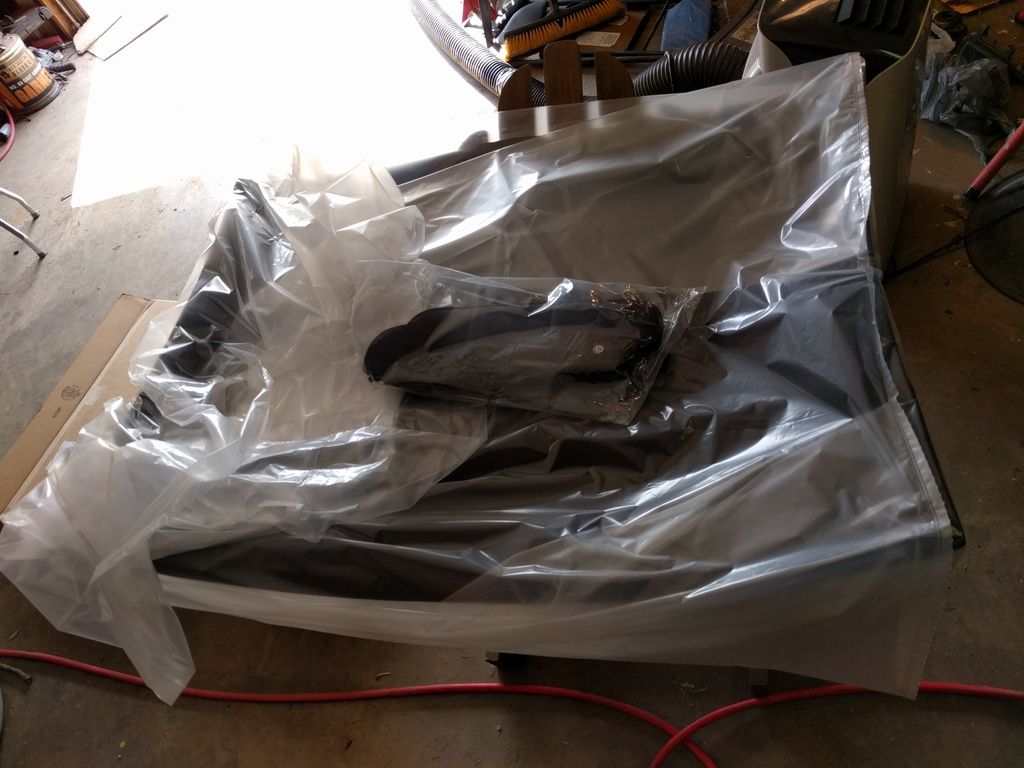
Some parts waiting to be cleaned, repaired, and painted
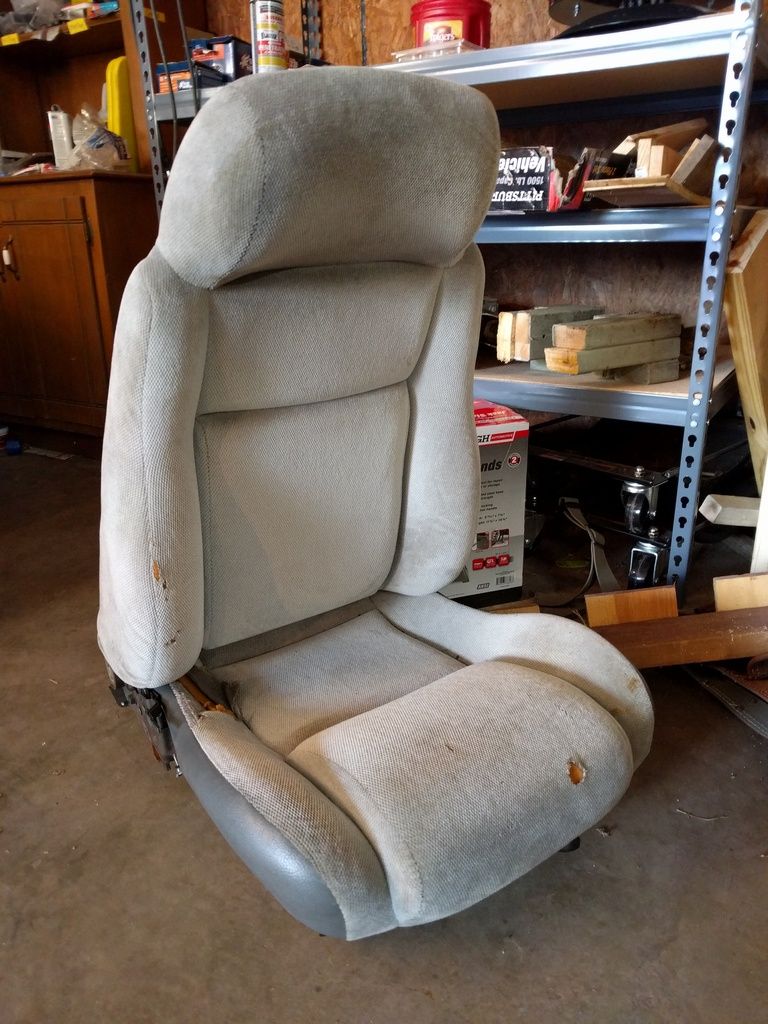
One seat out, waiting for Mr Mike's covers
Here's what's left so far. Needless to say, the driver's seat is in MUCH worse shape!
I need to figure out how to SAFELY get the piece off from inside around the top of the door. Any help would be appreciated!
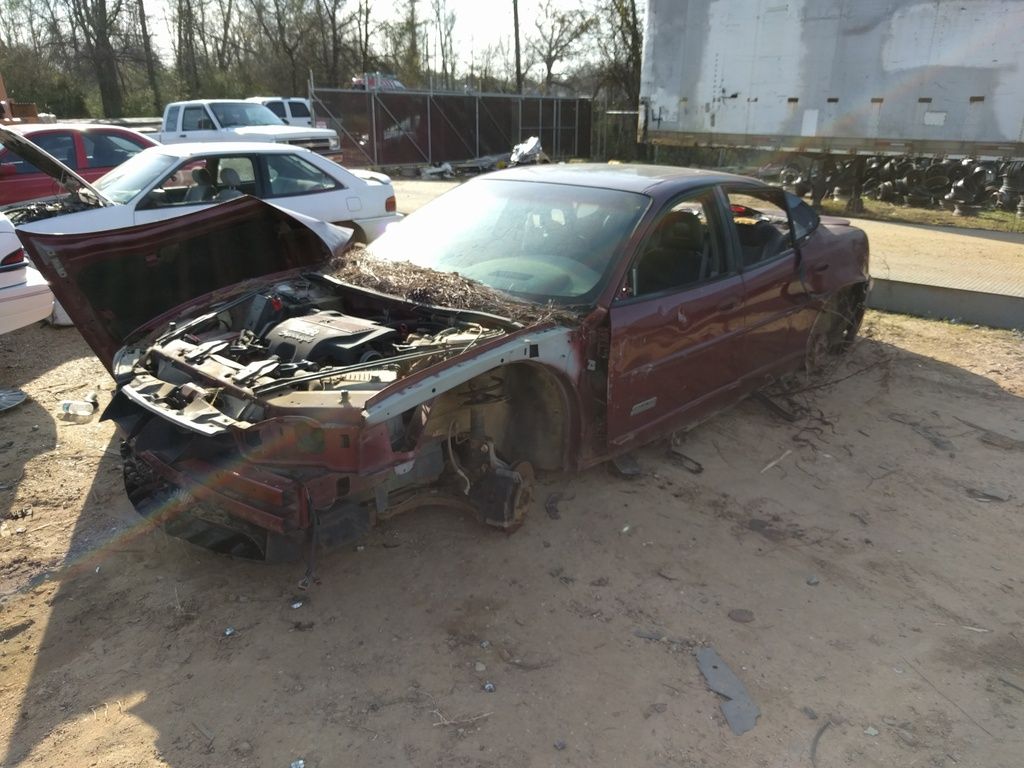
I haven't touched the blue car at all, but I decided the red car needed to go. I pulled it into the shop. This is the end of the road for this 88 coupe.
I'll be keeping the front and rear cradles, rear suspension and brakes, headlight motors and module, and whatever is salvageable in the interior. The rest will be parted out via a thread in the mall. Unfortunately, there's not much of value left on that car, but I'll be glad to help anyone I can.
I've got a part out thread going in the mall, so if there's something you want off this 88 check out the thread. My hands were greasy the whole time so I didn't take too many pictures aside from today when I finally got MY PRIZE!
Now I've got my 88 cradle out! I pressure washed it and will paint it soon. I'm probably going to clean and powder coat the suspension components. Then it will probably all go on a shelf until I start to build the swap.
I keep saying I'm going to start on the interior, but I haven't. I did order some blue suede material, and I have a pretty good idea on the color scheme, but the interior hasn't progressed any beyond that. The first race for the car is this weekend (if we don't get weathered out), so I need to keep the car intact for the time being. That doesn't mean that I haven't been busy.
I've been scouring Craigslist for a few months looking for a good donor car. I have come to the conclusion that there is nothing in my area (or I have no idea where else to look). With that in mind I took a ride to the local junk yard and came upon THIS
2000 GTP. 228k miles, which was higher than I wanted, but not enough that I would walk away. The car had been moved by the time I took the above picture-- when I found it it was under a tree in the corner of the yard, and looked like it had been there for months. I pulled the dipstick and the oil was CLEAN. Like, just changed clean. I got one of the guys at the yard to grab a jump box and the engine fired right up. No knocks, no pings, like it was just parked a few minutes ago.
I headed into the office and offered to buy the car. They gave me some noise about how they're a junk yard so they can't sell cars and blah blah blah. They quoted me $695 for the engine, plus tax. I walked. After I had lunch I went back there with my list of demands. I told them I wanted the following:
Engine with ALL accessories, to include the starter ENTIRE uncut wiring harness PCM OBDII port ENTIRE exhaust system upstream of the cat A/C system up to and including the drier
I got it all for $500 cash. I know I could have done better if I had keep looking for a donor car, and then I could make some money back on the donor car and blah blah blah. Bottom line I was tired of playing the searching game. I was tired of flaky sellers who I was never sure wouldn't just put a gun in my face when I showed up to look at their junk. And after tearing down that 88 I was tired of junk cars cluttering up my yard. (BTW-- still have that 88 frame, and I don't want it anymore).
I got the engine and my parts today, loaded it up and took it home.
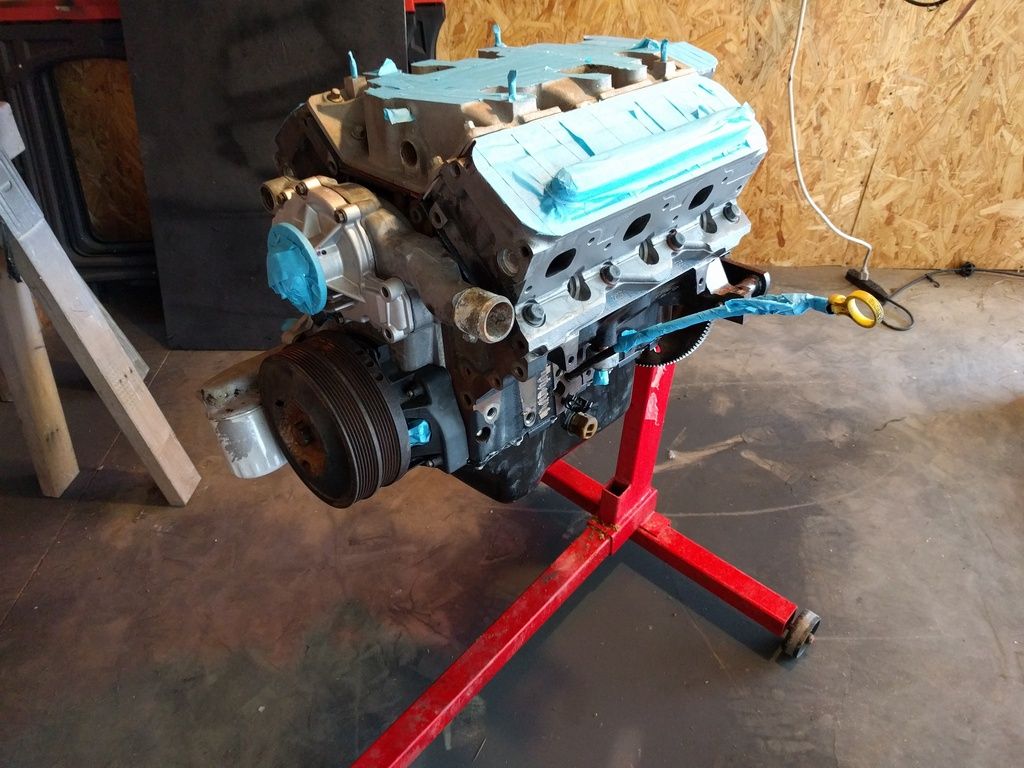
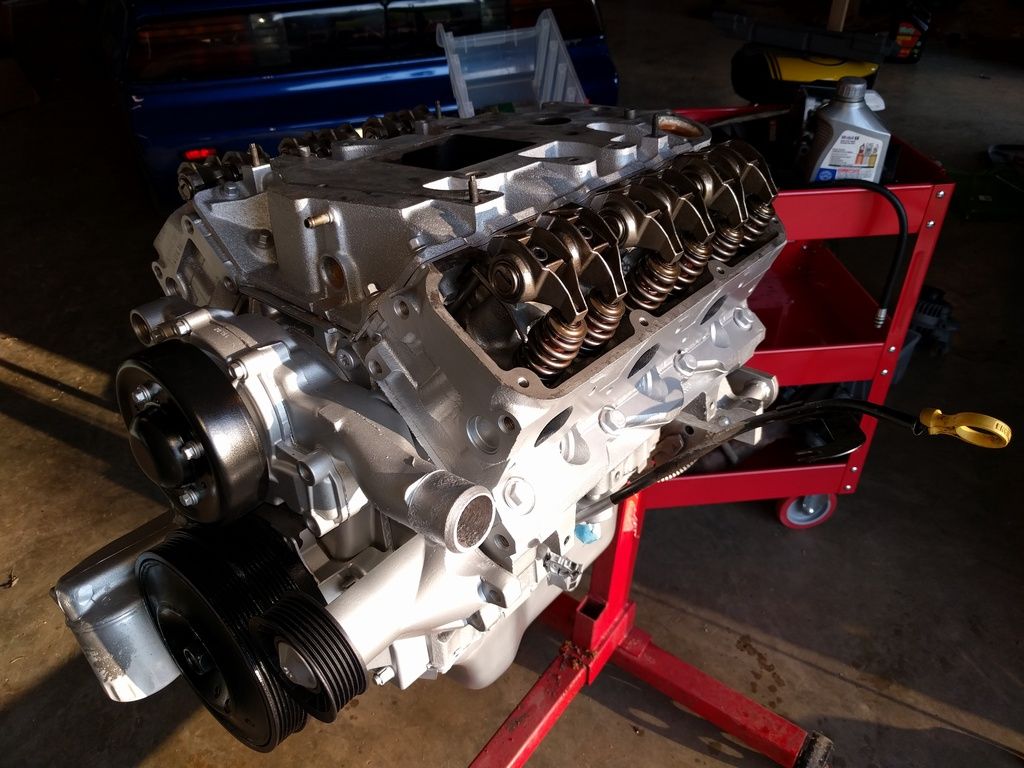
I got it unloaded and bolted up to my stand
I think this engine has the valve cover leak that's common with these engines. It was a complete MESS.
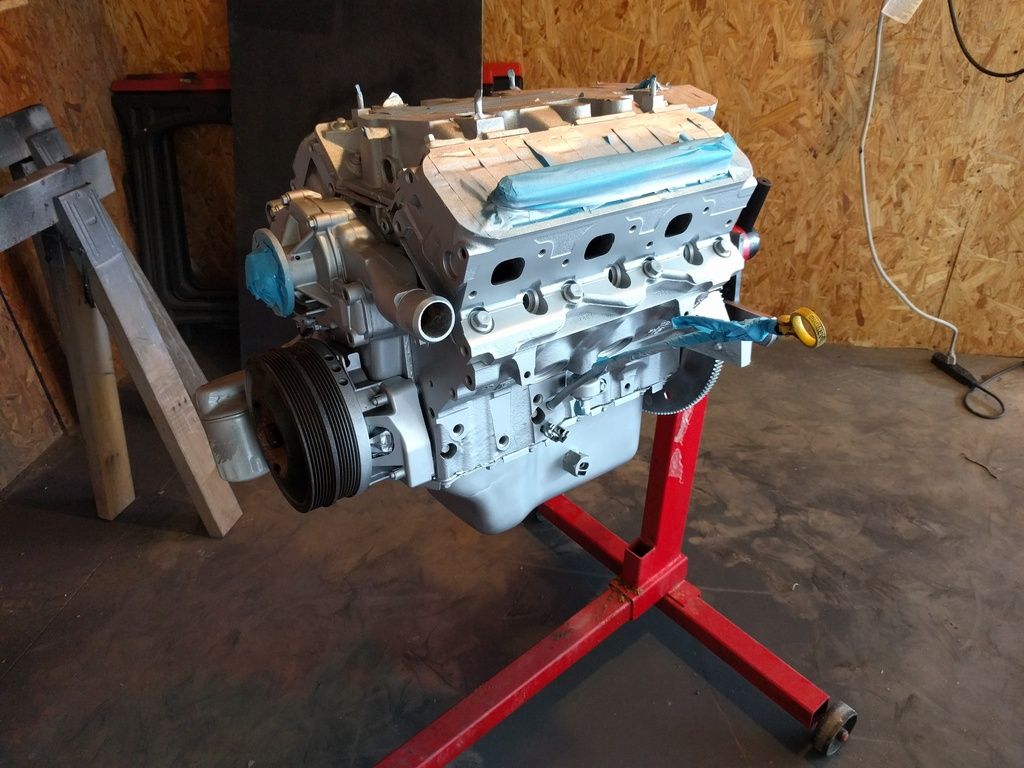
I hit it with the pressure washer, then hosed it down with two cans of Gunk, then pressure washed it again. It got a lot off it, but not everything.
Tomorrow I'm going to strip the wiring harness off of it, as well as some things like the exhaust heat shielding and stuff like that, then probably another round of cleaning. All told these are exciting times!
Nice find! I don't see anything wrong with paying a price you can afford for the convenience of being done with the search. Now, if you were sitting here complaining about paying too much, that would be different. I've paid more than I had to at times, but I figure, if I can afford it, that money is helping someone else out.
I think this engine has the valve cover leak that's common with these engines. It was a complete MESS.
You are correct sir. I own a 2000GTP and got a recall letter from GM telling me to bring it in. That is one of the first things to do if you go into the engine (which I'd highly recommend, considering the high mileage.)
Good find tho! This build is just getting better and better.
Did some work this morning taking the harness off and some accessories before I had to go to work. Had to take the obligatory "you gonna get it" picture.
Not sure how I missed this thread till now..... I guess I need to get on here more often!
I love the color, as you already know is very similar to the color I did my 86 We are certainly in the same boat engine wise, as I a just got my 3800SC Series III a few weeks ago. You and I have never done this before, and it is certainly a learning experience!
Reading your past few posts, it is amazing to see the similarities as to how and what you and I both started with and such. Tell me getting that engine on the stand (SAME one I have BTW) was not a royal pain in the A#$! I had a heck of a time getting the legs of the hoist out of the way of the legs of the stand LOL.
I subscribed to your thread, and look forward to the pictures and updates! I am a few weeks ahead of you as of now, with the cleaning, painting and such of the engine. I expect this to change real soon, and you pass me up, as I am only putting a few hours a week into it right now.
quote
Originally posted by zzzhuh:
You are correct sir. I own a 2000GTP and got a recall letter from GM telling me to bring it in. That is one of the first things to do if you go into the engine
You say "one of the first things to do"... do what exactly? it it just a matter of changing the silicone gaskets? Did the recall swap out the valve covers? I purchased a new set of silicone gaskets on eBay that are supposed to be an upgrade to OEM, as they have a slightly larger diameter, thus causing a tighter seal.
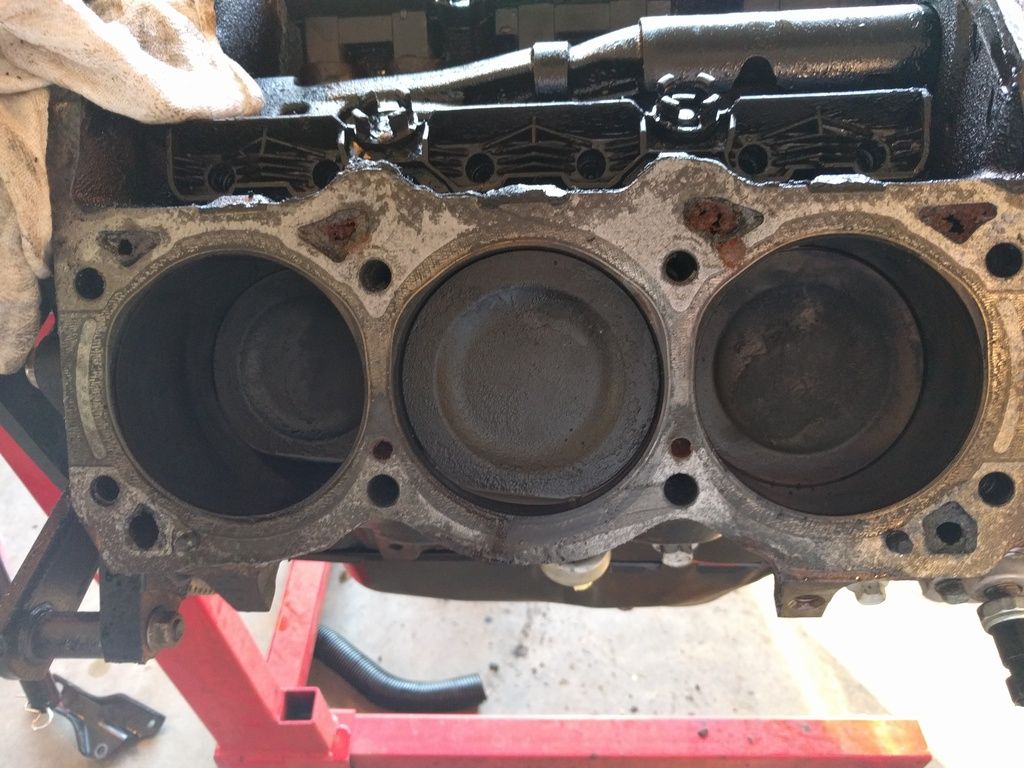
While I'm procrastinating on the interior, I kept working on the engine. I stripped it down to the heads. My neighbor is fired up to do a full refresh on it, but I've seen a consensus to NOT touch the bottom end. I'm thinking it could use a set of rings, but if it means risking more harm than good I will skip it. I'm thinking with cleaned heads and valves this engine will do just fine. I'll pull the oil pan and unless the rods are loose I'll leave the bottom end alone and just do gaskets.
Looking at this picture a little closer, I have to wonder of the engine has overheated at some point, as the inlets and outlets in the block, for the coolant to circulate through, look like they are pretty much clogged up. They look the same on the other side as well. If so or not, they certainly need to be cleaned out, and I would check the heads as well.
[This message has been edited by JohnWPB (edited 03-20-2016).]
Beautiful. Just got a call from the machine shop. Apparently both my heads are cracked. So instead of a quick cleaning and valve job it will be a full rebuild. Oh well.
Dexcool or not, I still bet the blocked (Or at least very restricted from the photos) coolant ports had something to do with the the engine over heating, and thus cracking the heads. All the ports look mostly closed in the pictures, and that is even after separating the heads from the block.... Not much water could have been getting through there.
I am sorry to hear the bad news.... It always seems just when you feel like you are getting something accomplished, something like this comes along.
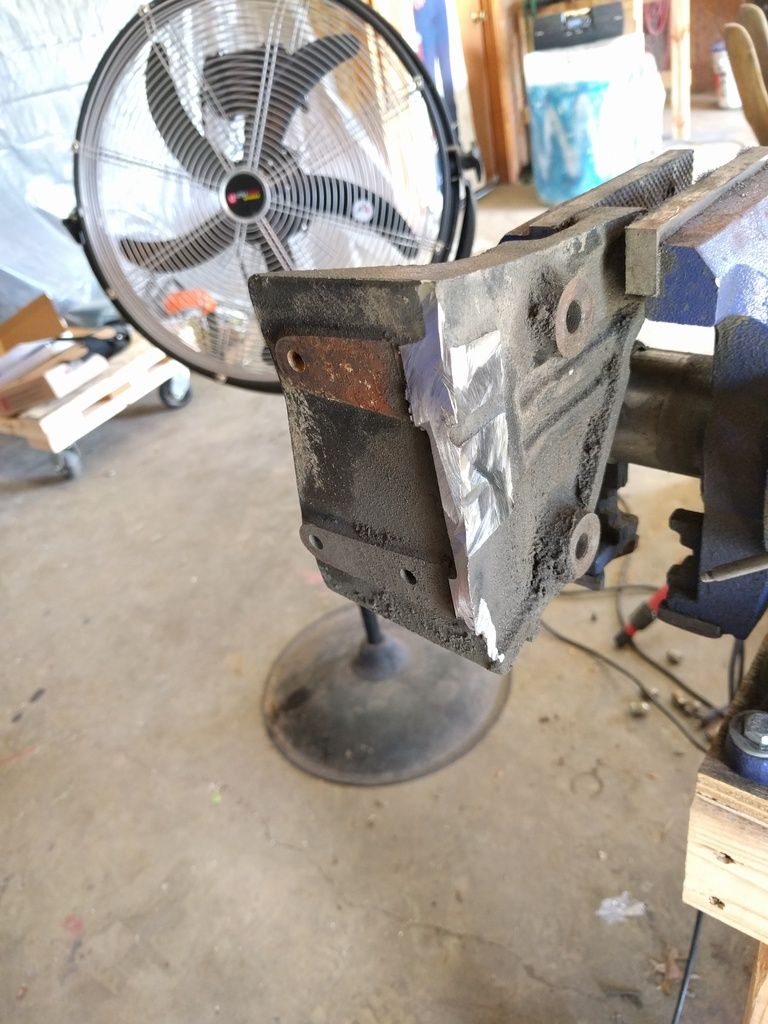
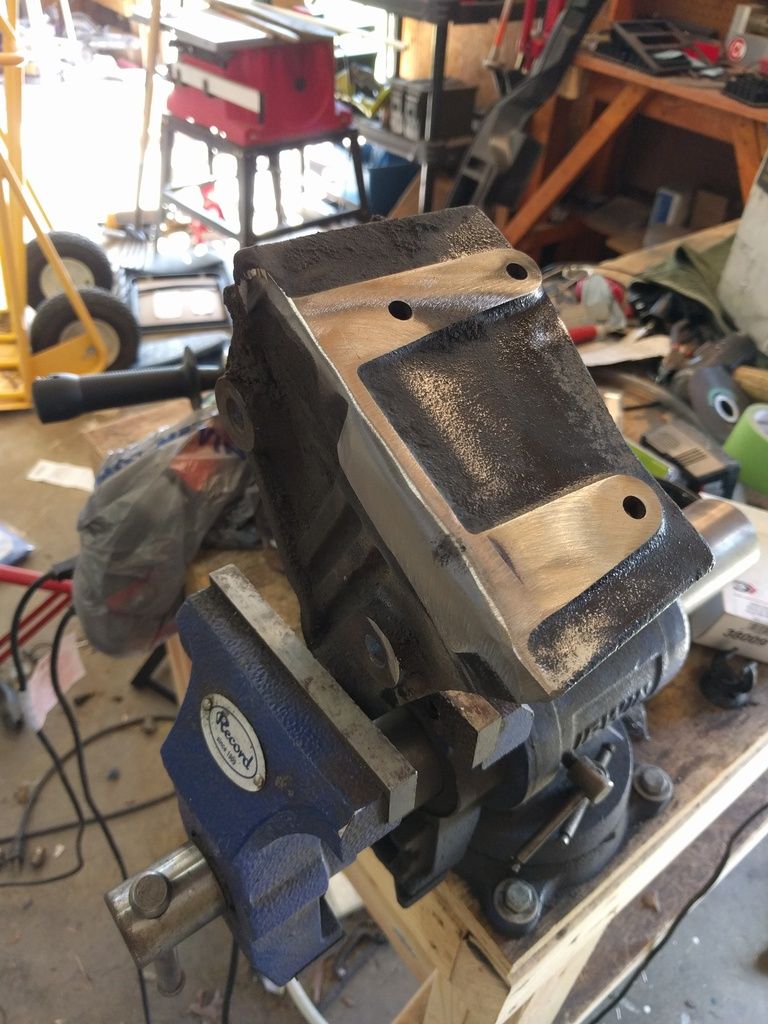
I had a couple setbacks as well. my AC compressor has a hole in it (around $250 to replace) and my transmission has a chunk out of the bell housing.....
[This message has been edited by JohnWPB (edited 03-23-2016).]
I did a bit more work over the past few days and took pictures. I haven't been doing a whole lot on a day to day basis, hence the lack of updates.
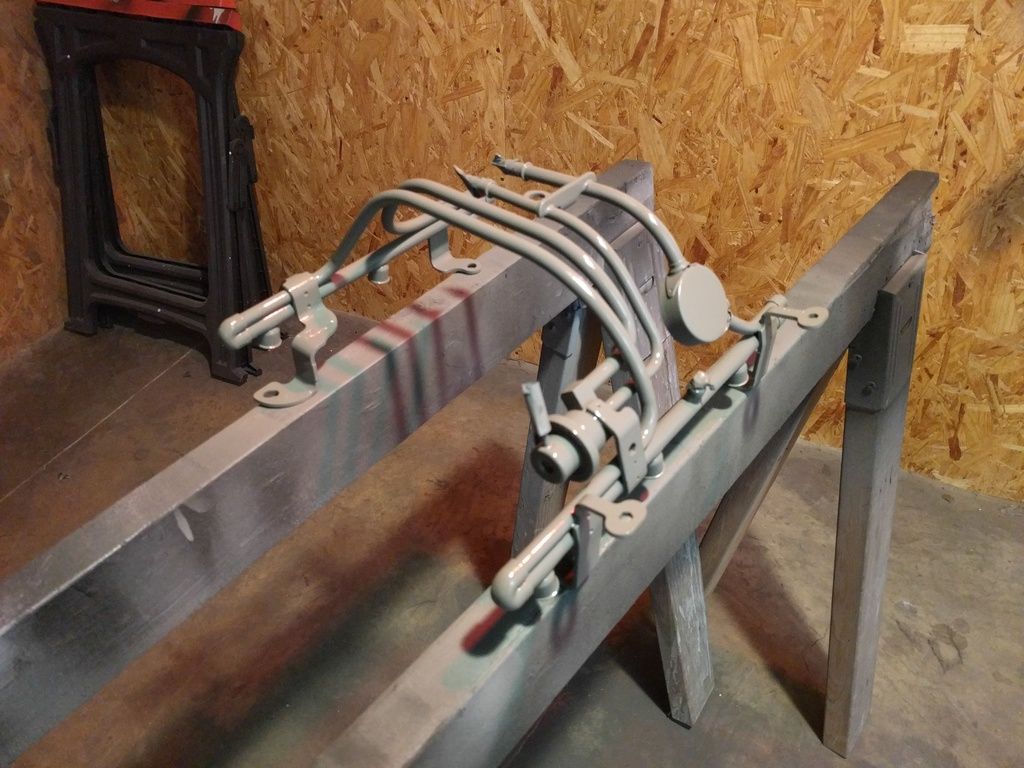
I did sand and paint the fuel rails
The above picture is them with the self-etching primer on there. I realized just now I haven't taken a picture of them finished, but they are. I painted them with aluminum colored engine paint, same as I'm planning for the engine itself.
I also got the new oil pickup, gasket, and pan installed. It looks much nicer than the dented, sludge filled one that was on there.
Once I did that I turned the engine back right side up and investigated the coolant passages. The clogging that is visible in the other pictures appears to be just around the opening. I scraped it out with a screwdriver and it all flaked out. I'm still debating how to go about cleaning the rest of the cooling system. I may just flush some fluid through it when I install the engine in the car in a few months.
I think it turned out great. I can't wait until I get everything done and back together.
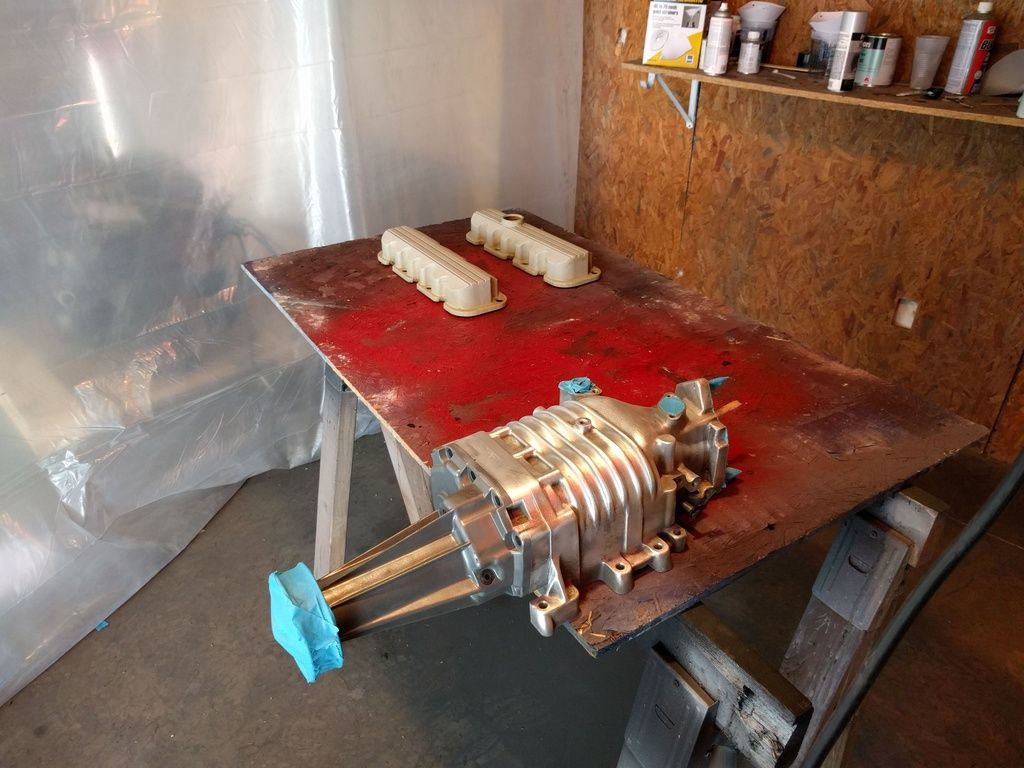
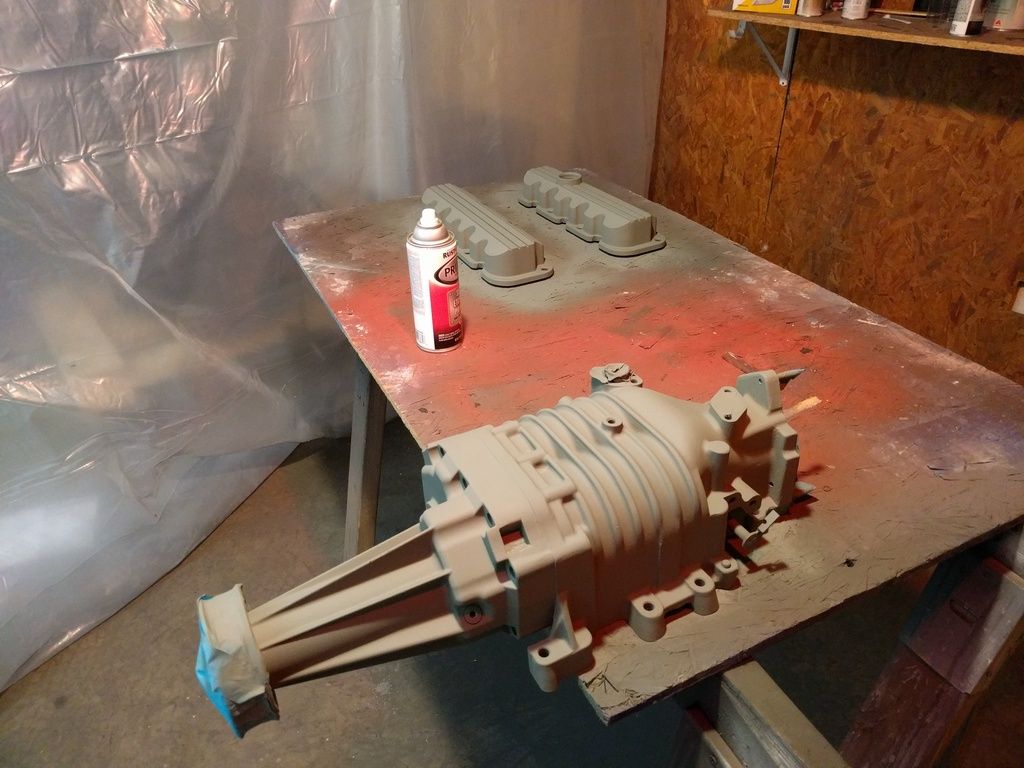
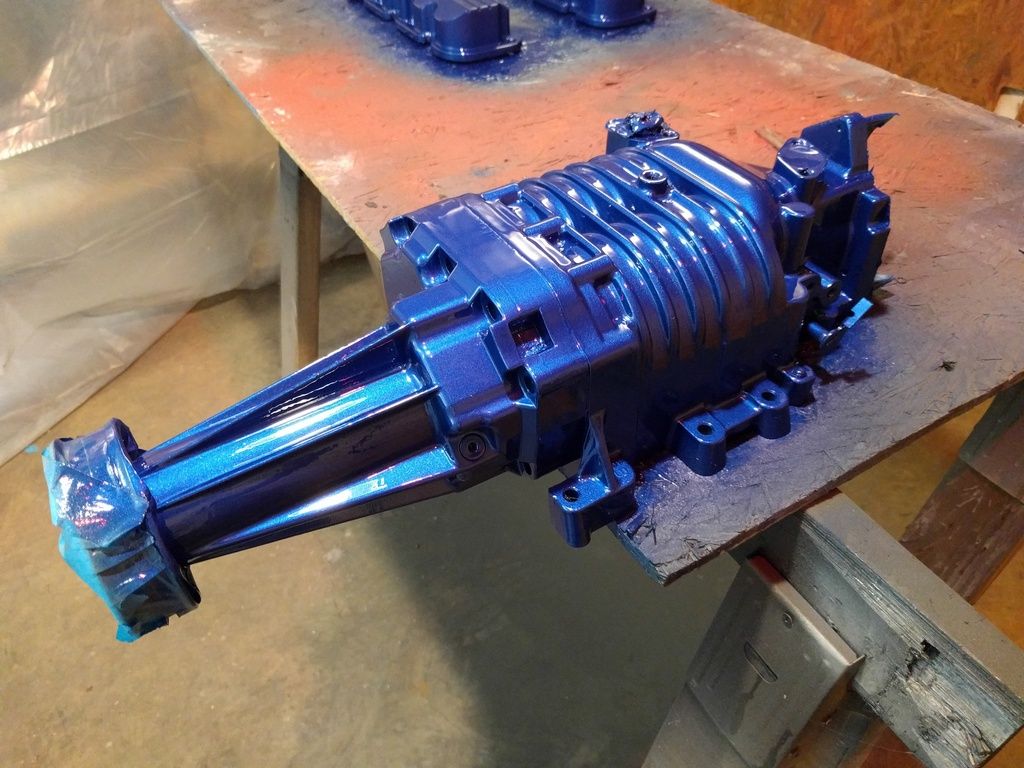
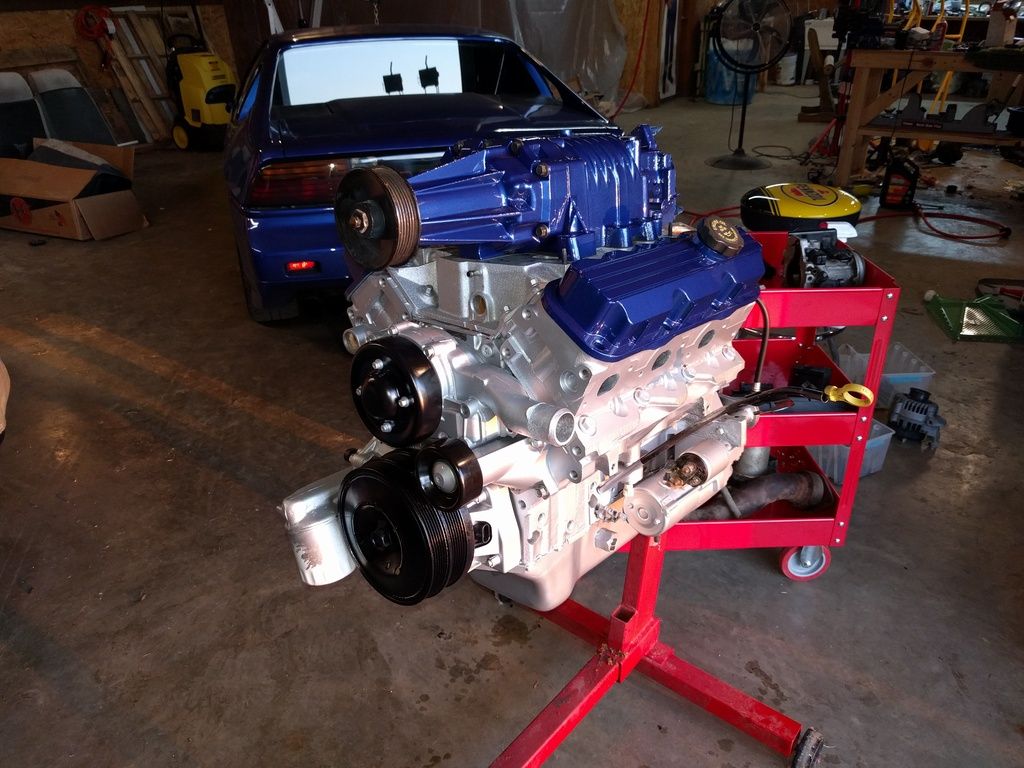
I also prepped and primed the supercharger and valve covers today.
Tomorrow I'll paint them. They're going to be the same color blue as the outside of the car. Should look really nice with the aluminum color fuel rails going across.
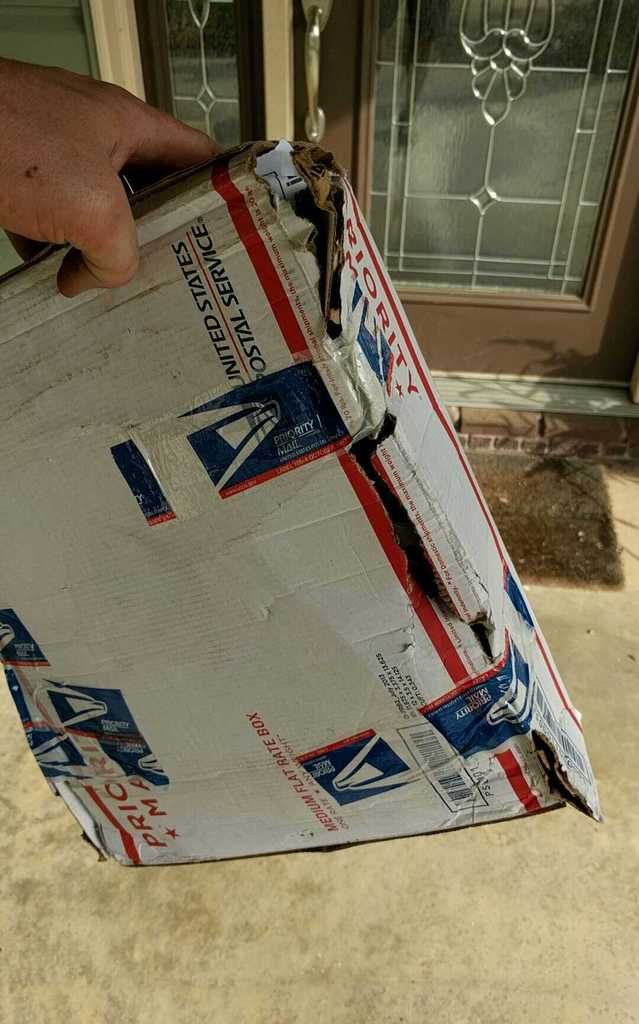
I also SHOULD have gotten my flywheel today. I bought it from a guy on facebook for a very reasonable price. This is the package that arrived today.
You guessed it. Those jackasses at the post office just taped the box closed AFTER the flywheel made its exit out the side of the box. So now I have no flywheel, just an excessively large box to deliver to me the small package of bolts that were SUPPOSED to go with the flywheel. I'm going to raise hell with them Monday, but I don't have much hope.
As for the primered parts, I swear looking at your thread is like DeJaVu sometimes! The fuel rail looks amazing, almost like they are new and not painted at all. Nice!
I know pretty much nothing from one year 3800 to another, but the fuel rail system on my engine appears to be all stainless steel.
[This message has been edited by JohnWPB (edited 03-28-2016).]
Just a quick update. No pictures of the car, as I haven't really done anything to it since the last update. I still haven't gotten around to painting the parts I showed you in primer, nor have I gotten around to doing any more reassembly on the engine, nor have I done anything on the interior. "Why not, you lazy ass??" I hear you asking.
Well, on March 31st I got hit by a tornado at my house. I was fortunate that my house and shop only had very minor damage, but the property is a complete mess. I've been cleaning it up over the past two weeks, and thus have had no time to work on the car. I'm not going to post pictures in this thread, but here is an album with my collected tornado damage pictures.
So far there have been three autocross races scheduled for this year, and ALL THREE have been cancelled. There is another one set for this weekend, and I'm really hoping they stick with it. I need to do something that doesn't involve yard work!
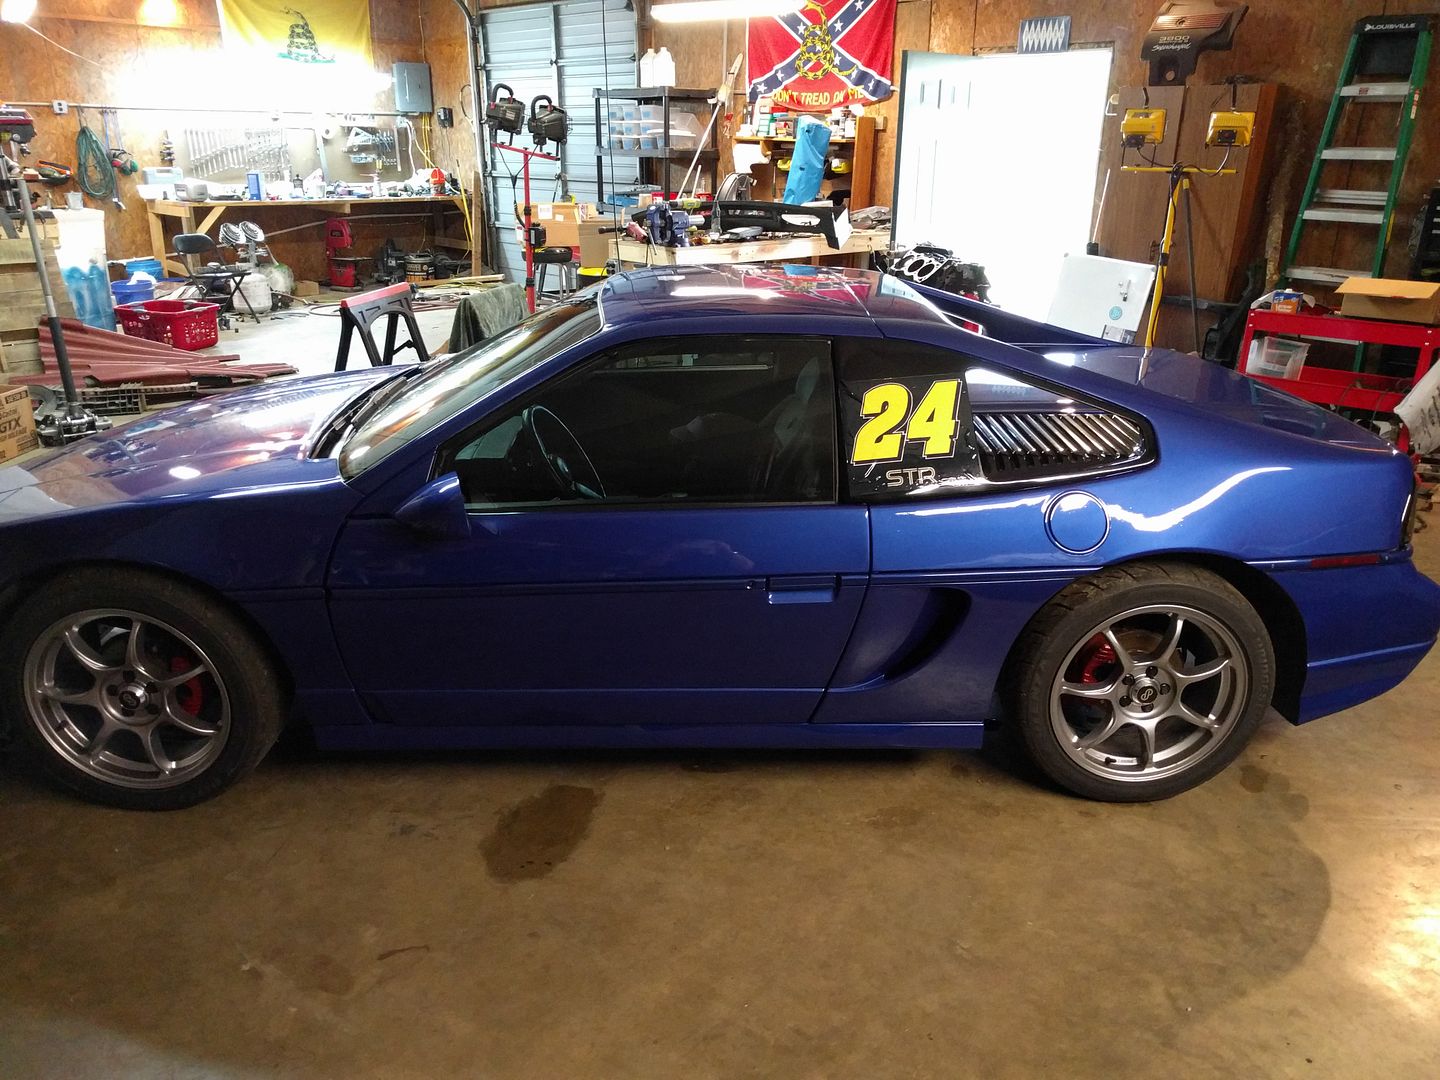
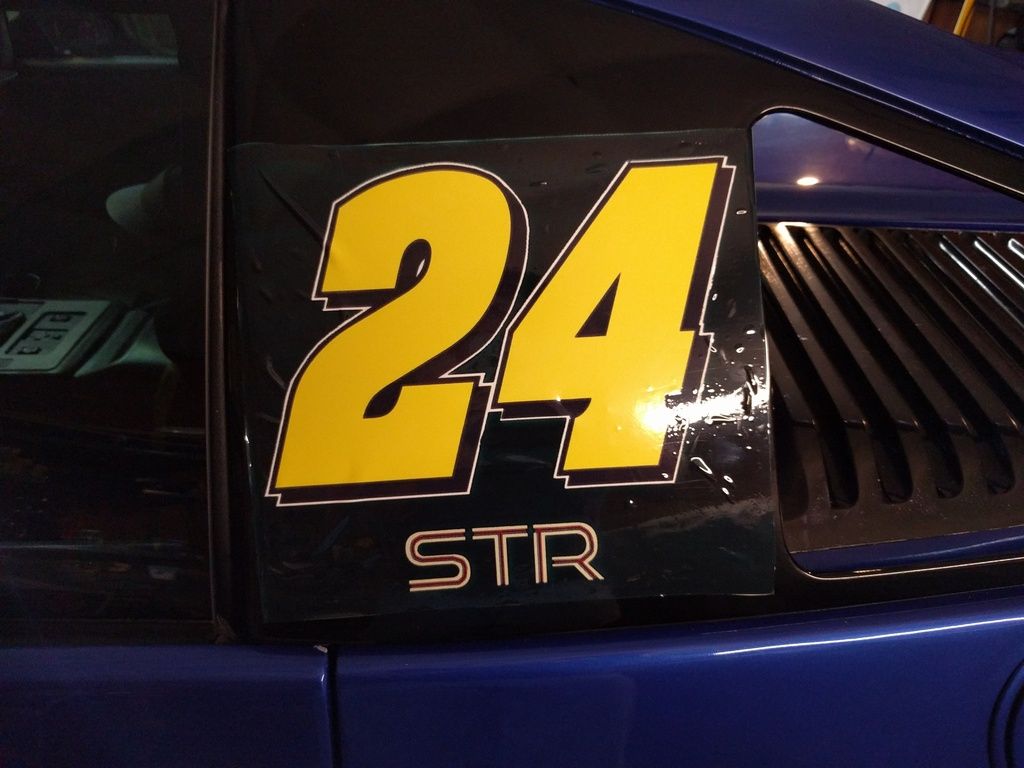
Today was the day!! I had the Fiero out for it's first Autocross race!
I got a set of vinyl cling decals to use for my numbers. Yes, I am a HUGE Jeff Gordon fan.
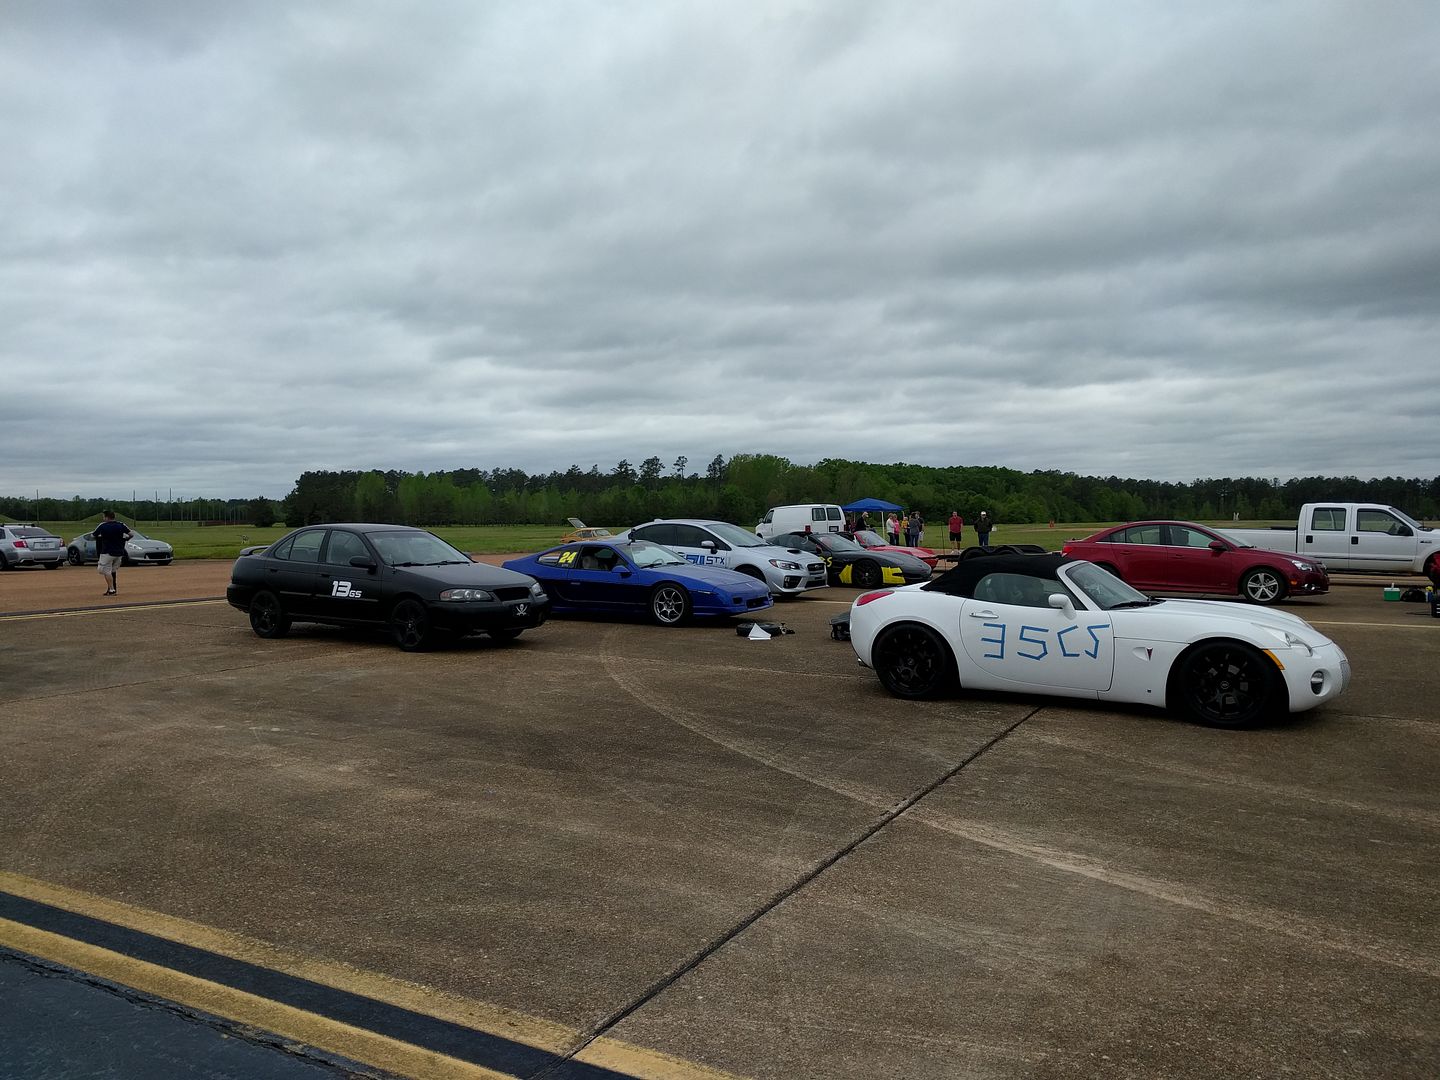
There were about 30 cars there. I got my ASS KICKED. I finished 17th out of 18 in the experienced category. It was disappointing, but not surprising. This car drives completely different than what I'm used to. My first two runs I got acquainted with off-throttle oversteer. My first run I spun out twice, and on my second run I spun out again. Once I got a handle on it my speed improved significantly, but I still need practice.
Some things I learned today:
Pros: 1. My brakes held up surprisingly well. I am using stock rotors and calipers with Hawkshead Carbomet pads from TFS, stainless steel lines, S-10 booster, and Castrol SRF fluid. I was expecting fade, but they took everything I could give them. I will push them harder tomorrow.
2. I didn't find myself missing power steering as much as I feared I would. I definitely noticed the heavier steering, but I had no problem putting the car where I wanted it.
3. Aside from the off throttle oversteer, the car is VERY well balanced. Whereas the GTO would plow its way through turns with ridiculous oversteer, the Fiero nose seems go to wherever I put it without much complaint. I need to learn to use this to my advantage, and once I do I think this car will be formitable.
4. This car was definitely an attention grabber. It's refreshing to have this car around "car guys" who appreciate it.
CONS:
1. The off-throttle oversteer is scary. There is very little edge with this car. It is either stuck to the track or it is GONE. The GTO had a much more forgiving edge to work, and did a much better job communicating when I was approaching it. The Fiero will take a bit more work to learn how to find the edge. Hell, the tires didn't even squeal until the ass end was around.
2. The stock 2.8 is gutless. Once it gets wound up it's ok, but I lose a LOT of time coming off the turns as I wait for that dog to wind up and actually make power. I need to learn to use my left foot to brake so I can keep the RPMs up during the turn.
Overall this is a FUN car to race. I'm looking forward to getting a better feel for it and hopefully being competitive. I definitely need to get my 3800SC in that car to remedy the power situation, and hopefully building the engine swap on an 88 cradle will help the handling too.
I was following your tornado pictures on Facebook. You had a CRAPLOAD of tree debris to clean up!
The Autocross should make you look forward to the day the 3800 is in the car all the more I have yet to ever Autocross, and look forward to finding a place when I get the car on the road. I think it is going to be a great way to get used to how the car handles for use in real world driving when some defensive maneuvers are ever required.
I guess I should not mention I ran into Jeff Gordon a couple months back It was, at of all places, a dog groomers! LOL! He just happened to come in and pick up his dog while I was there dropping mine off. I had heard he lived around here, out on the Island, but never actually thought I would run into him anywhere.
I've got most of the tornado damage cleaned up and decided to spend some time working on my car. I want to get the interior done soon, so that means it was time to get the paint booth cleared out. Only one way to do that-- paint the stuff that has been in there for a month waiting for paint!
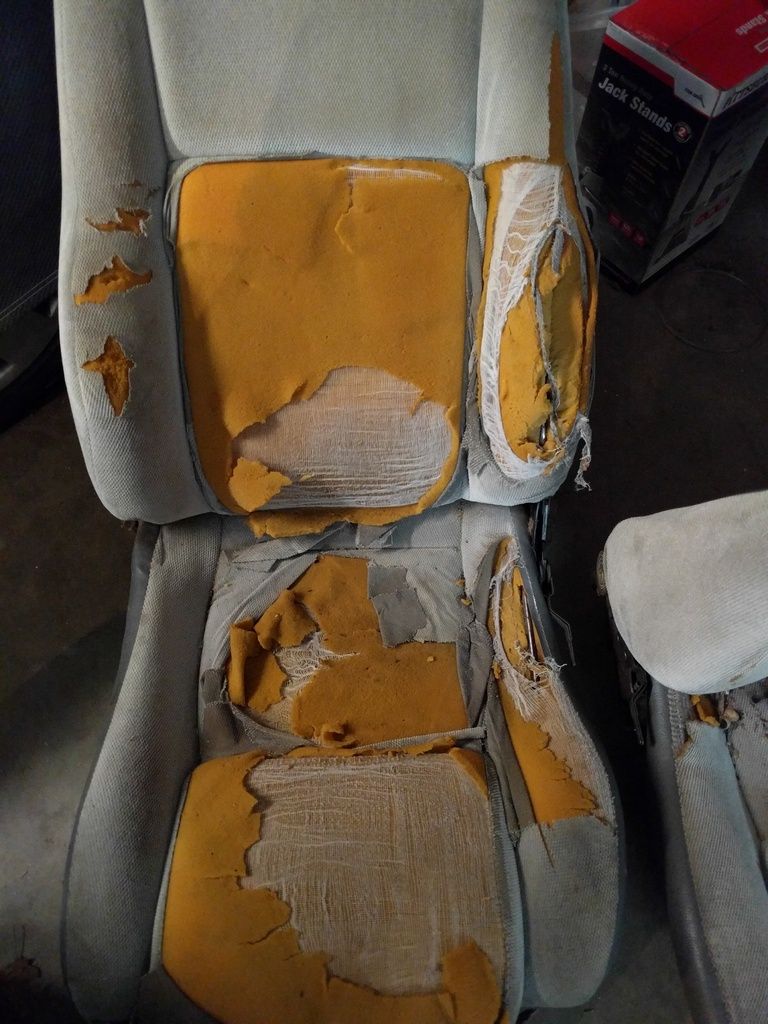
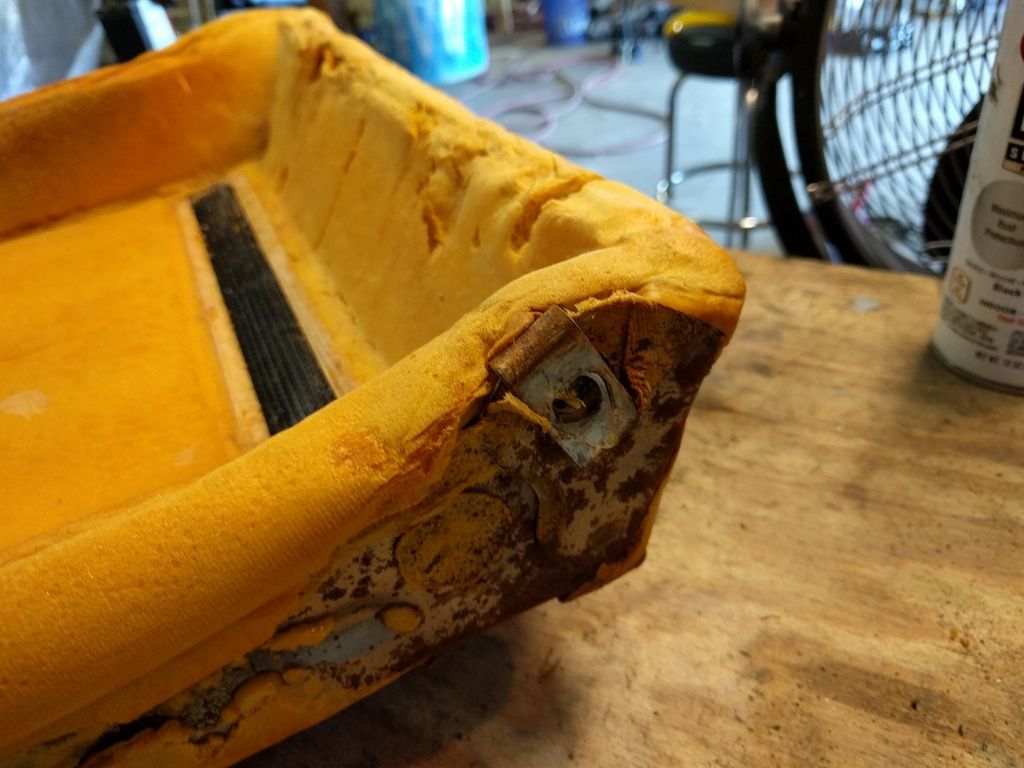
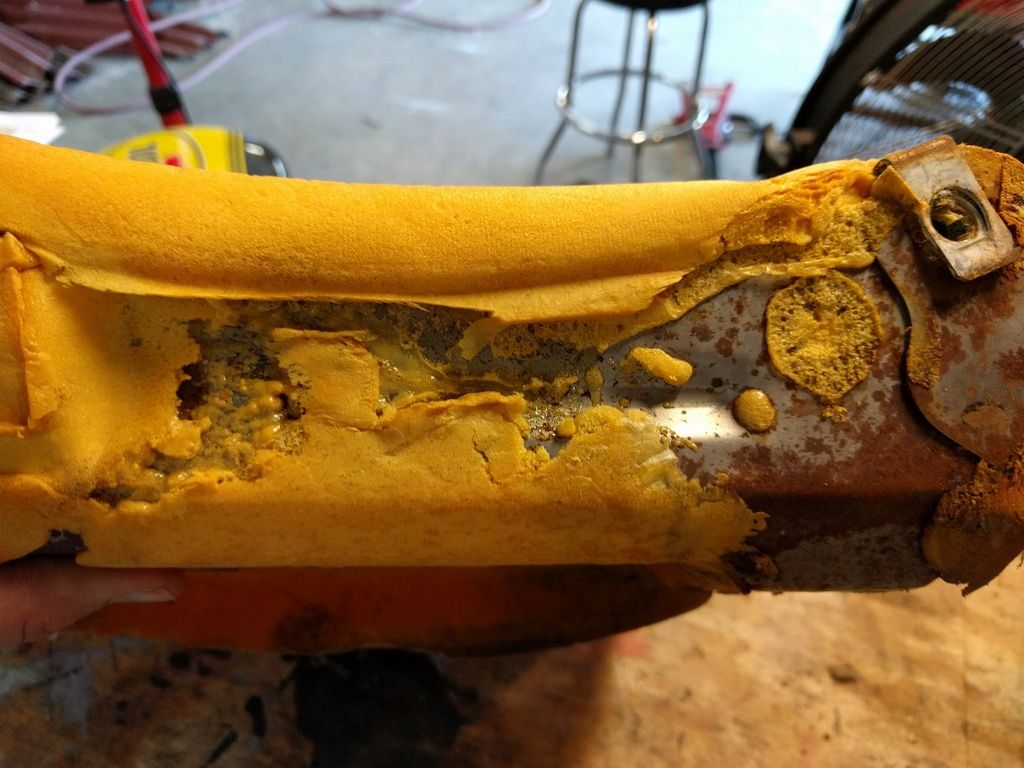
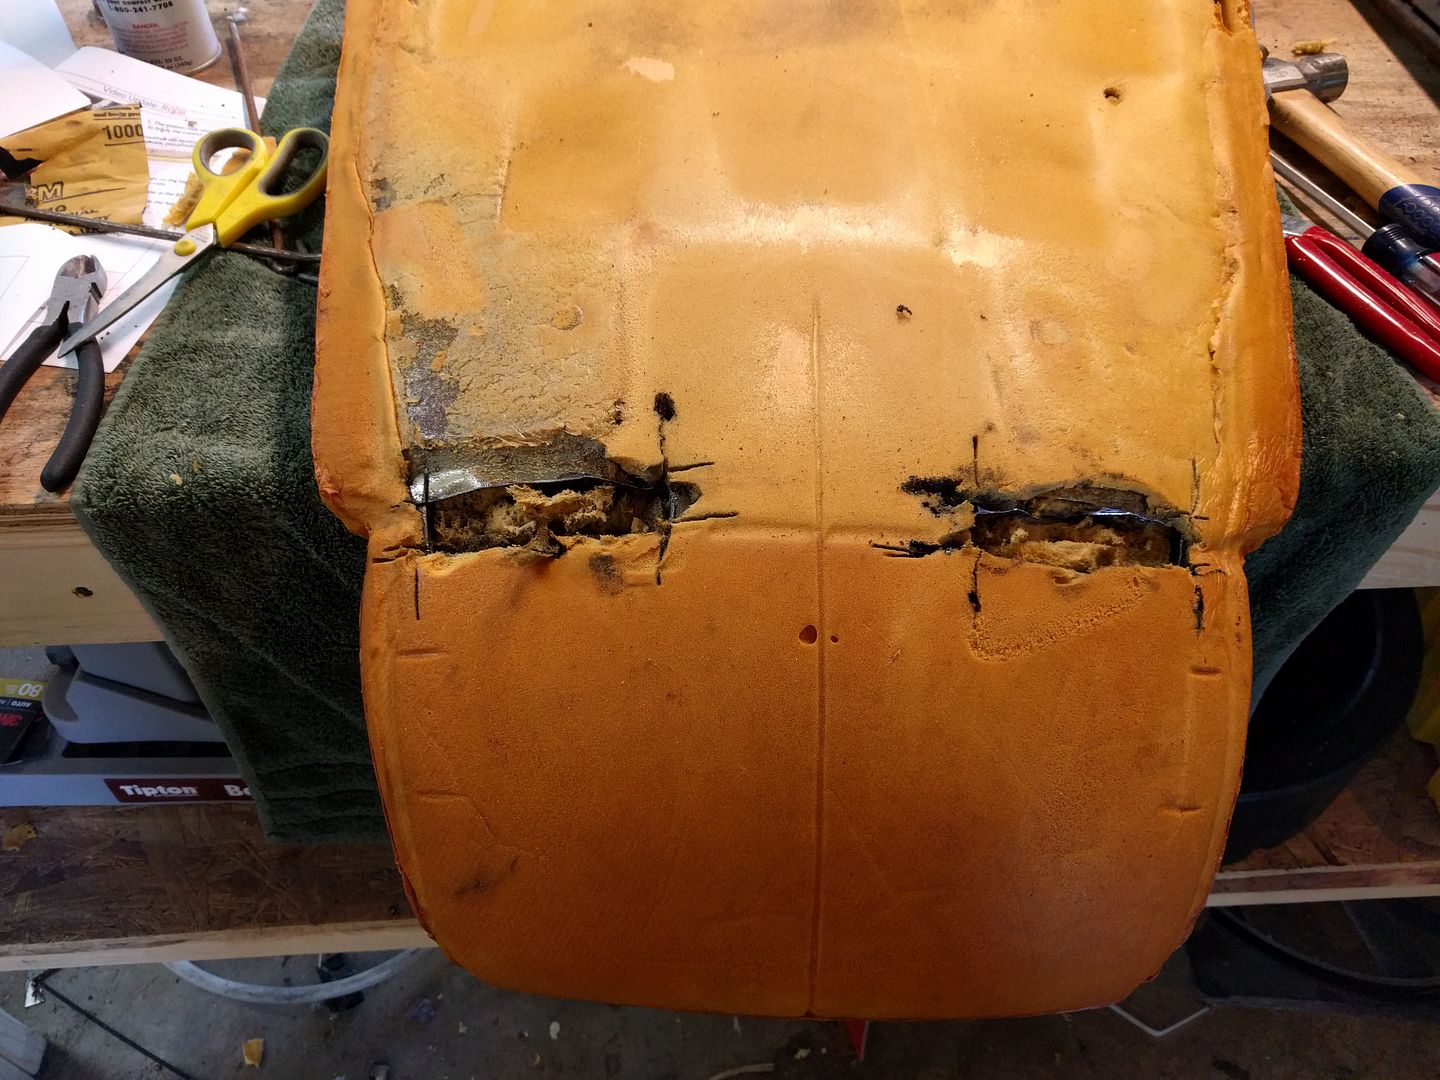
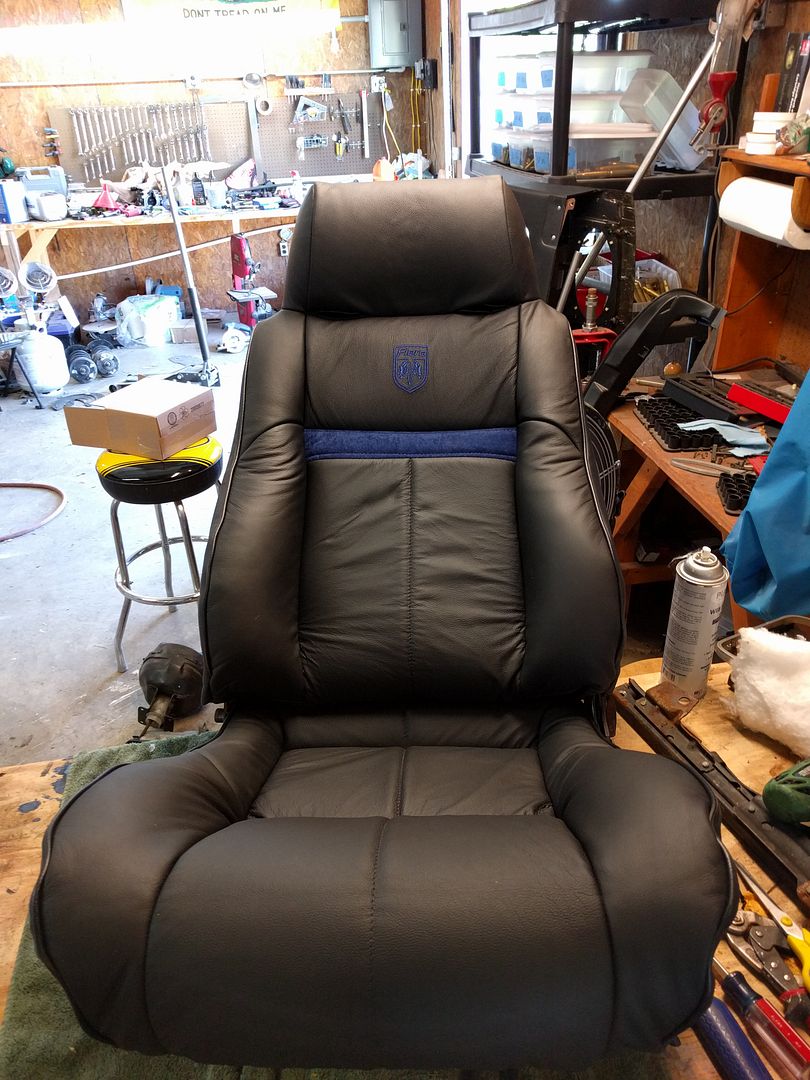
Now it's time to start on the interior. I got my MrMike's seats in earlier. As part of my plan to keep my 87 intact I had saved the seats out of the donor car. These will become the seats in my final build, so I got to work on them. The driver's side was in ROUGH shape.
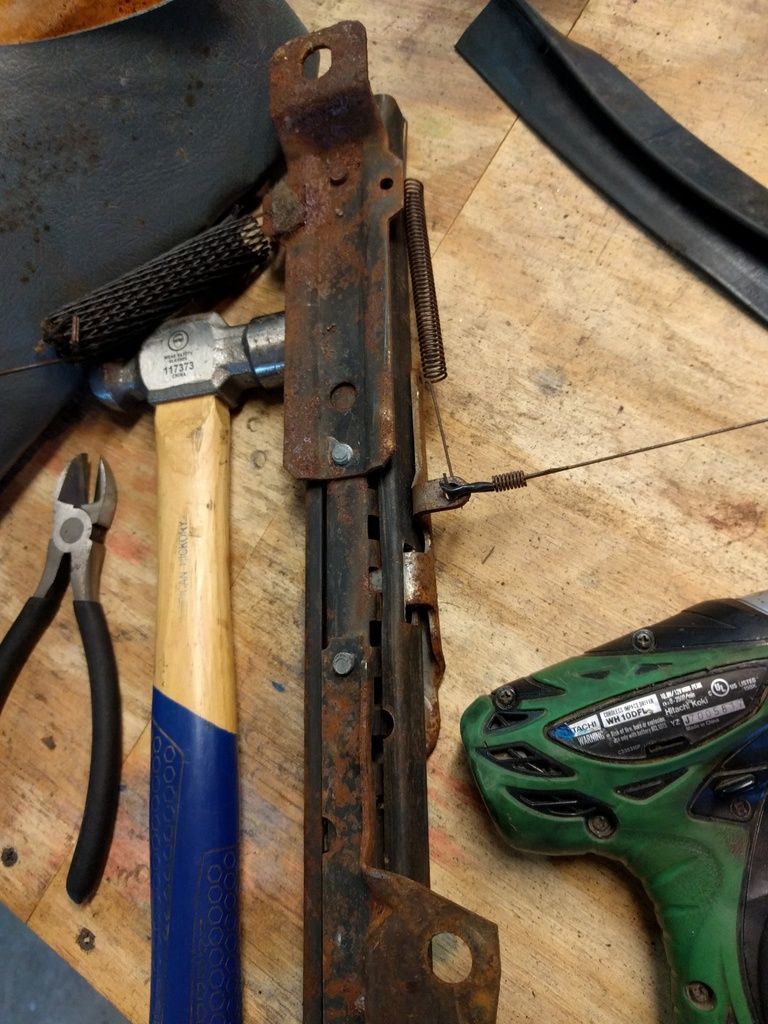
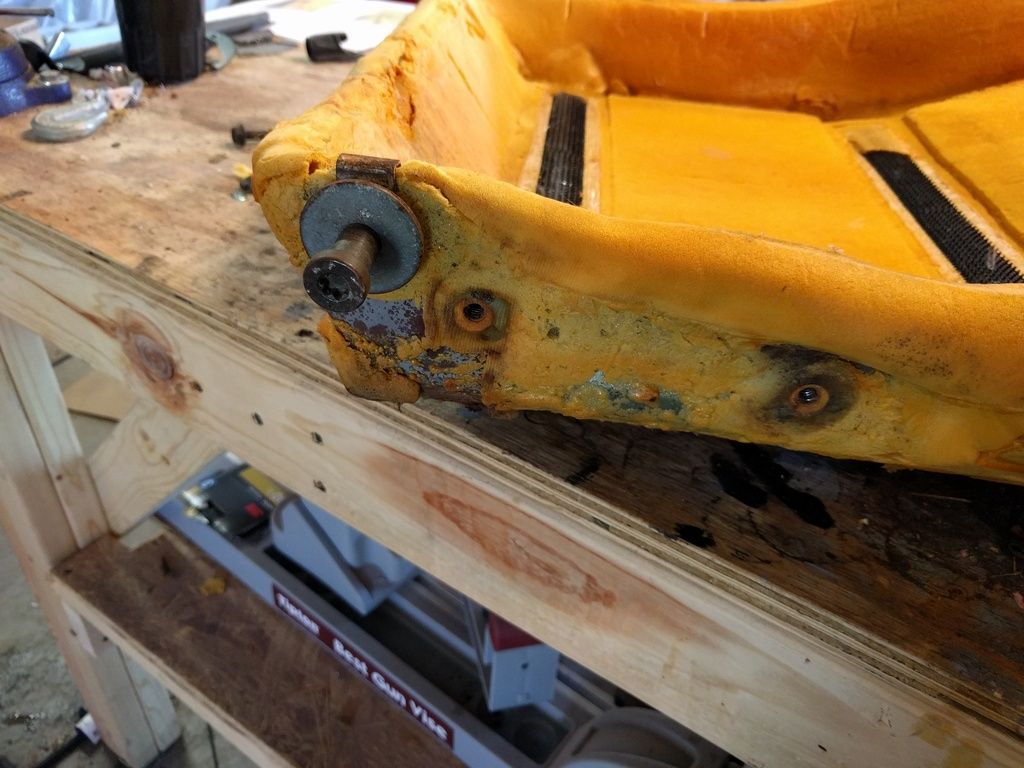
First I removed the tracks. There's a bit of rust on them, but a bit of WD40 and lithium grease got them moving nicely again.
I stripped the old upholstery off. It was dirty, dusty and nasty. I probably have ghonasyphaherpaids right now.
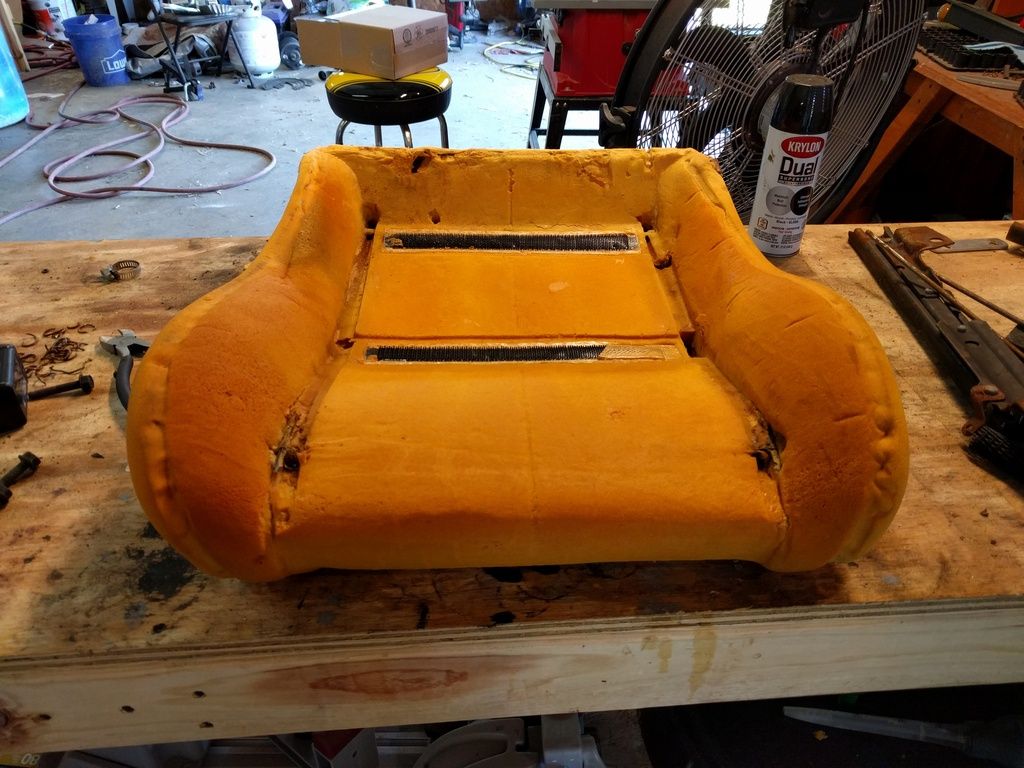
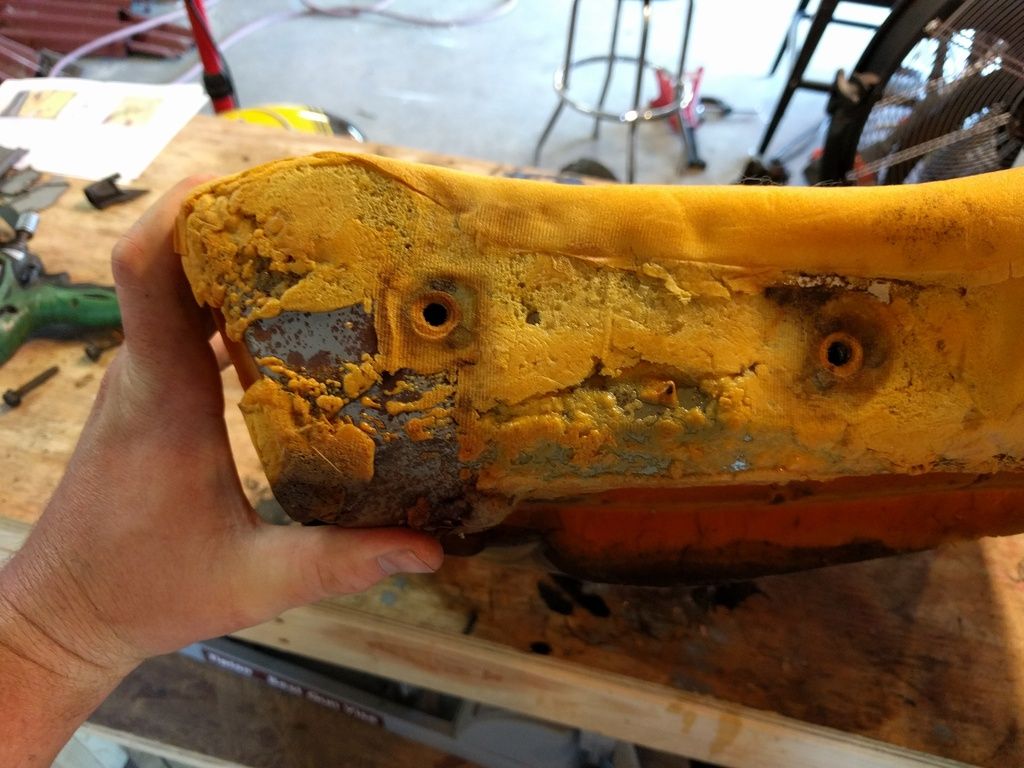
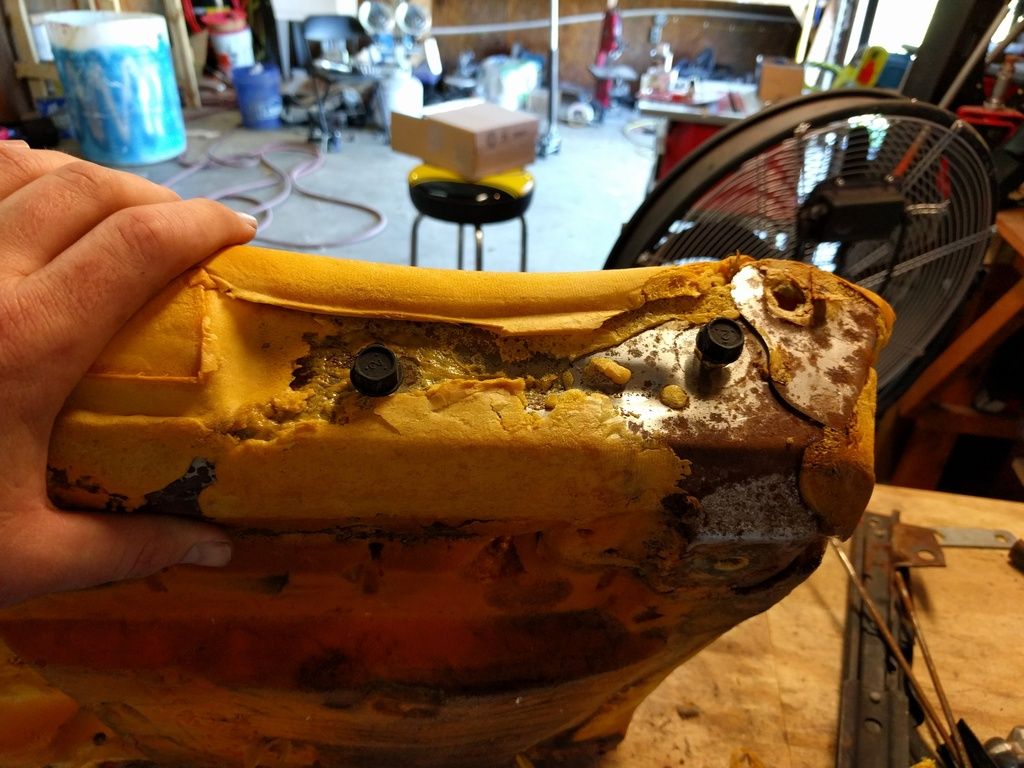
The passenger's side was in great shape, so I swapped the bottoms. This is a very simple process, and MrMike helped me through it. There are two bolts on the outboard side, and a speed nut on the inboard side. These simply need to be swapped and that's it! I had to cut away a bit of foam to expose the holes that were in the metal seat frame.
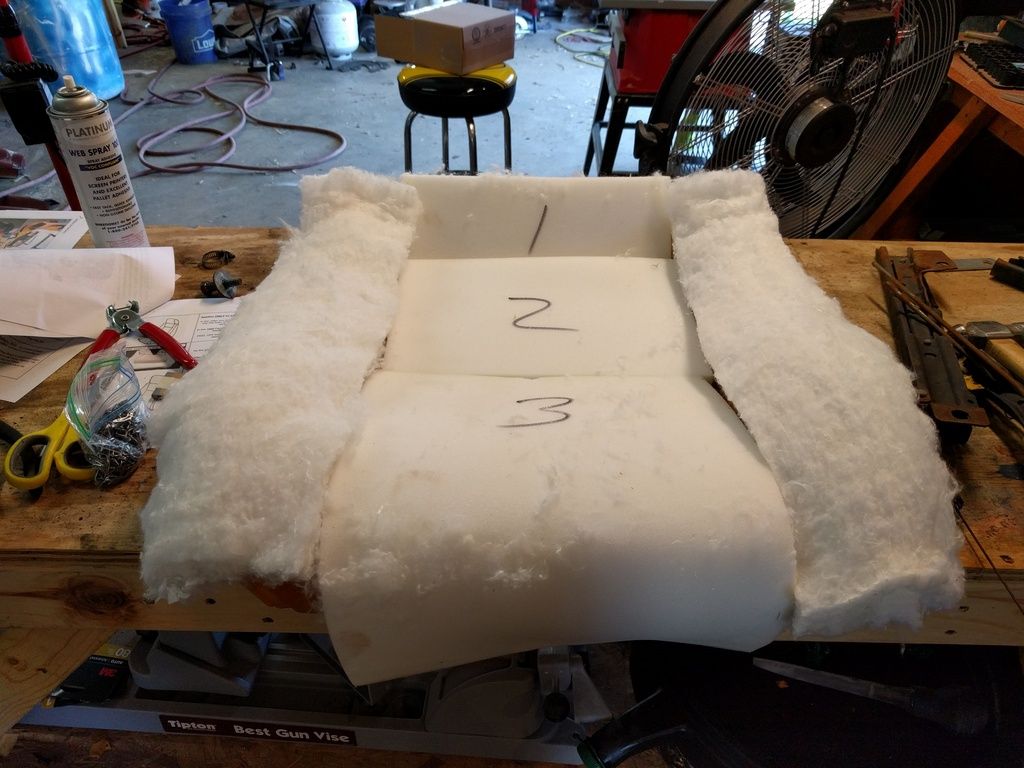
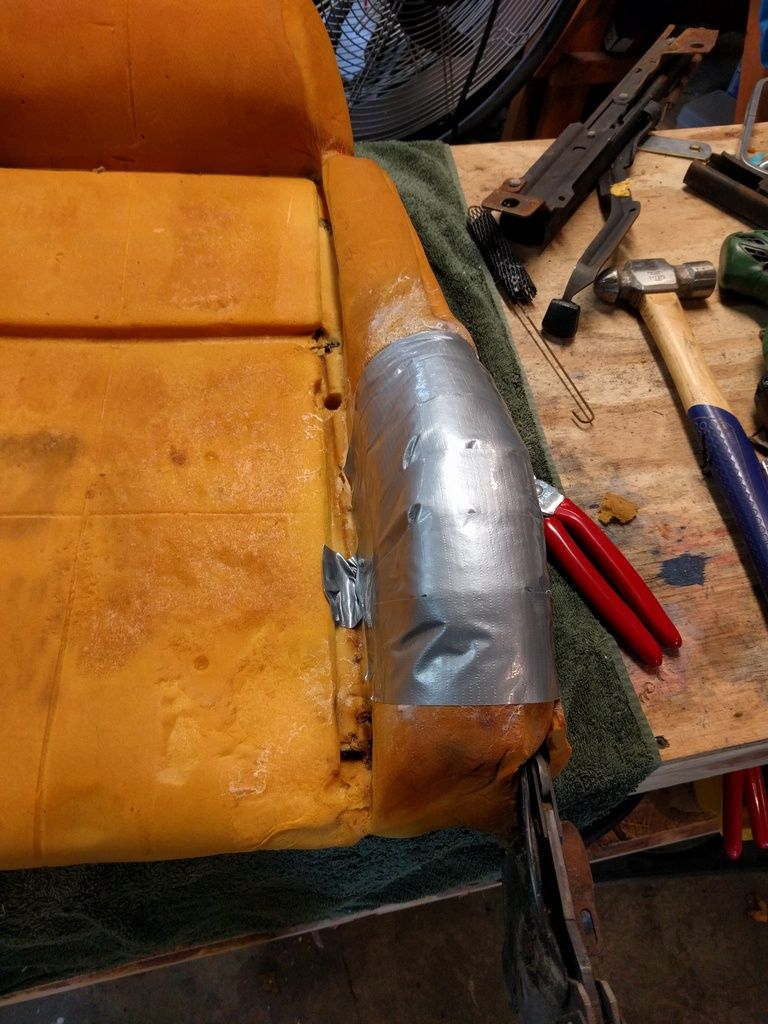
Then I got to the recovering of the seats. MrMike includes EVERYTHING you need to do a first rate job. This means extra foam, cotton padding, hog rings, pliers, razor blades, and spray glue. The only thing I used that wasn't included was some duct tape that I needed to repair some of the damage to the bolsters.
Repairing the damage to the driver's side bolster
I bought my driver's seat slotted for shoulder belts, so I had to modify the frame a bit.
Overall I can't say enough good things about MrMike and his product. Service was prompt, the product is OUTSTANDING, and he is very helpful with any questions you may have. I know it's not cheap, but if you want your car to look new (or better) than spend the money and get MrMike's seats!
Do you have a pair of valve cover gaskets? I bought some for $20, and then a pair also came later with the gasket kit that I purchased. If you need them, they are yours.
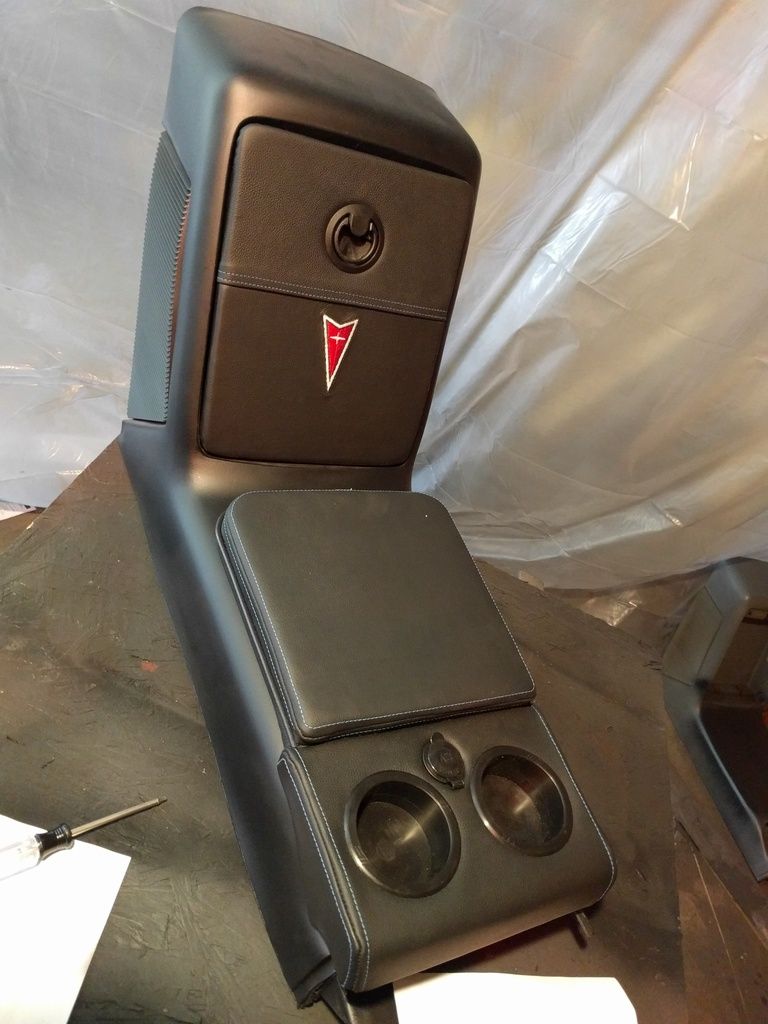
I'm weak. I had said I wasn't going to do any interior swapping until I had EVERYTHING on hand. Well, I lied. I have a 2 hour road trip next weekend and I figured it was silly to ride on my worn out seats while I have a set of PERFECT ones sitting in my shop. On top of that, I got my glove box door and arm rest from TXGOOD and my wheel back from Irrationable. With so much gorgeous leather work sitting around (about $1100 worth) I couldn't take it anymore! I had to start swapping stuff in.
First I had to get my center console ready. It had the typical separation. I used a "super strong" adhesive. It was ok. If I were going to do it again (and I might have to) I would look elsewhere.
Next I sprayed it black, and gave it a topcoat of flat clearcoat. Then I installed the beautiful leatherwork.
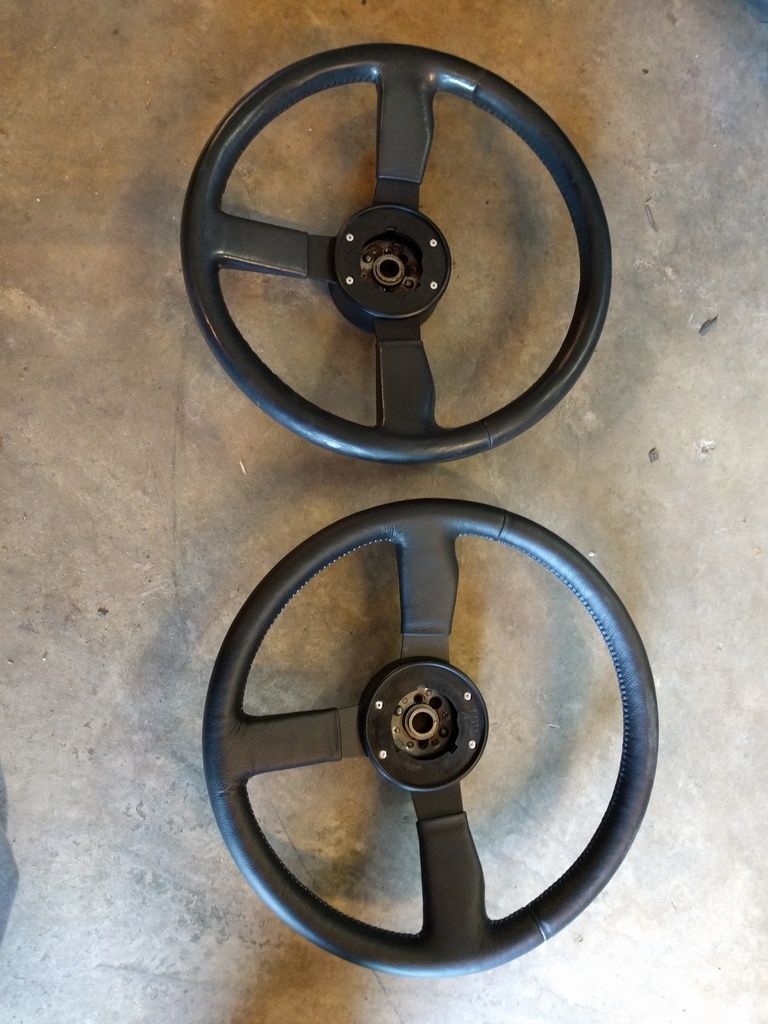
Then I turned my attention to the steering wheel. Mine was in decent shape, and it's officially for sale, but I wanted to get a new one to get it re-covered. I got another wheel from Slammed. It was in ROUGH shape (as expected) but Alex did an amazing job restoring it to better than new.
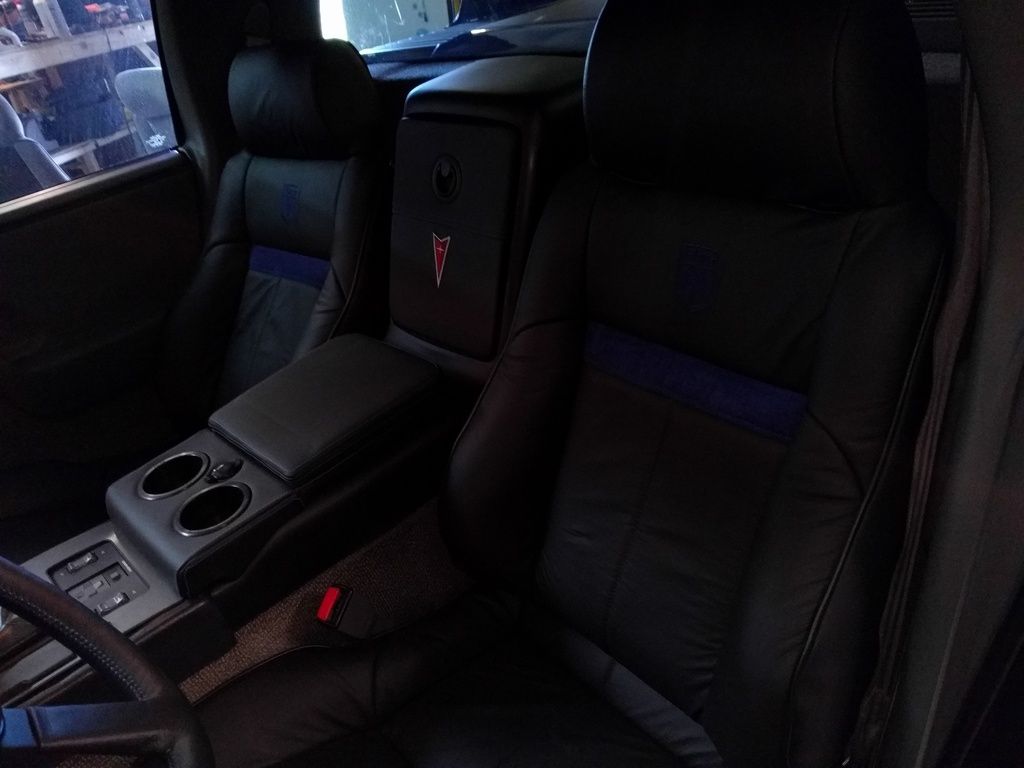
Here's the finished product. It's a bit dark of a picture, but you get the idea. I'm VERY happy. Everything but the wheel will have to come back out in a few weeks when I replace the carpet, headliner, plastic molding, dash, etc, but it is already beautiful.
Remember that in addition to a full cosmetic restoration of this car, I'm also in the middle of an engine and cradle swap? Well, I figured I've gone far too long without touching the engine.
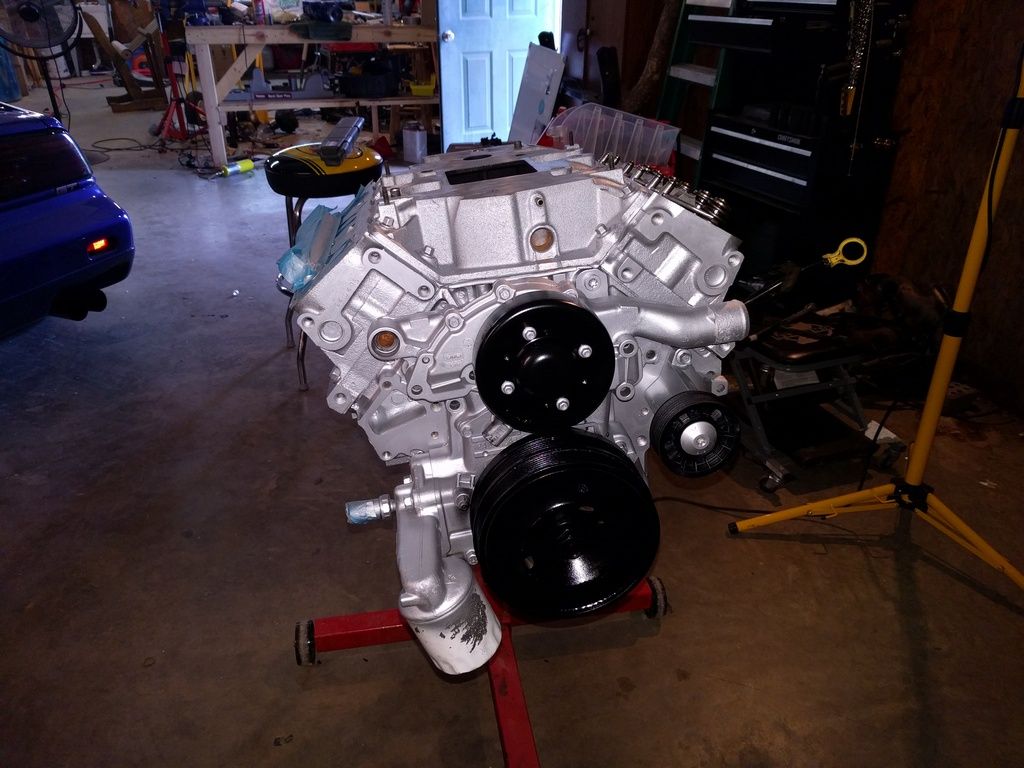
I masked off the LIM and heads
And gave it a nice coat of paint!
I swear I'm not intentionally ripping off JohnWPB's style, I thing we just have very similar taste. I still need to do the accessories, but the engine is slowly coming together.
I've been plugging along. Lots of toothbrush work and degreaser to prep parts for paint, so it doesn't look like a whole lot, despite the work that has gone in so far.
I painted the crank and water pump pulley black. Other pulleys will either be new, or also painted black
Painting more parts, in this case the starter and the AC compressor bracket. Brackets will be black.
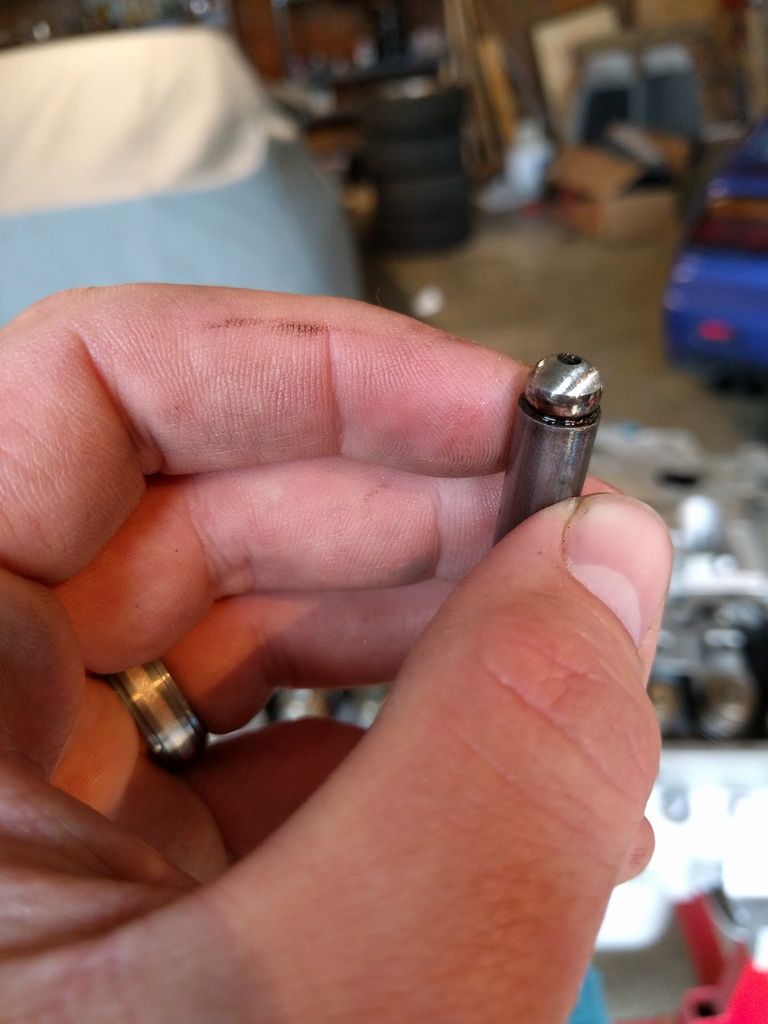
My pushrods were worn, so I ordered new ones
Once I got the new pushrods in I reassembled the rockers
I'm still waiting on some grommets for the valve cover bolts, so this is just mocked up right now with everything just set in place, but needless to say I'm getting excited about it!
Tomorrow I get some bracket surgery going!
Still trying to find a transmission. It hasn't been too high of a priority, but all of a sudden I feel like I'm catching up to this engine job and need to move on to the next phase, which will mean mounting it to the cradle and mating it to a transmission.
There are lots of things you can still do without a transmission... trust me! Water line routing, plugging off the EGR, Wiring harness, swapping the SC pulley, All the vacuum line routing, Exhaust parts and fabrication, putting all the pulleys back in place and routing belts, installing the lower alternator bracket and tensioner, throttle body and adapter plate, coil pack relocation, wires and plugs....... I speak as if I have been through all this in the past 2 days LOL
It is crazy just how much our builds are running in parallel. Not only in the fact we are about at the same stage, but the same colors and attention to detail.
Not to detract from you thread, but here is where I am presently. Now compare that to your photo's above.... pretty much the camera was just at a different angle
[This message has been edited by JohnWPB (edited 05-21-2016).]
I'm a few brackets away from being at that point. One thing I just noticed.... ditch the extended filler neck for your oil fill. It was on the list of "get rid of" parts for the 3800 recall, and serves no purpose for us anyway. Also you should consider swapping your valve covers. As you have it configured right now your oil fill will be against the firewall and a pain in the ass to get to once the engine is installed. I just looked at my picture again and realized I did the same thing. Good thing it's just set on the head and not bolted down.
[This message has been edited by Napoleon_Tanerite (edited 05-21-2016).]
I already ditched the oil extension filler neck, it is not in any of the more recent photos.
I decided to keep the "solid blue" valve cover towards the rear of the car. The front valve cover is just about the first thing you see when you open the deck-lid, and wanted to keep it clean and as uncluttered as possible. Yes, it is a little bit of a reach getting to the oil cap near the firewall, but something that is very easily done. When oil is required, I have an abundance of funnels that will aid in adding oil with no problem at all.
I had a few people suggest that it should be moved around, and one person tell me I would not be able to do it this way period. That I had to have the oil cap on the "front" valve cover or I would never be able to change the oil.
Here are a few examples showing that it most certainly be done this way, without issue (Re-posted from page 15 of my build thread):
[This message has been edited by JohnWPB (edited 05-21-2016).]
That's fine, so long as it's something you decided to do. I was hoping to prevent an "aaahhhh damnit" moment later down the road when things aren't so easy to reverse.
I painted it black, but while the paint was curing the project hit a MAJOR setback. I won't derail this thread with the issue, that will be discussed in a second thread. Long story short, this engine may be installed with a foreign object lost somewhere in the water jacket.
What's the difference between my build and Game of Thrones? After ENDLESSLY building up to it, I'm actually finally GETTING ON WITH IT! By that, I mean I have dove into the interior full force.
I was waiting on my new headliner to show up. It's the ABS one from The Fiero Store with matching sun visors. It's extremely nice.
I've mentioned it a few times, but I have been prepping the interior panels that I pulled from that 88. They're ready to go, and this will be mostly a one-for-one swap. I will remove the part from the 87 and install the already prepared part from the 88
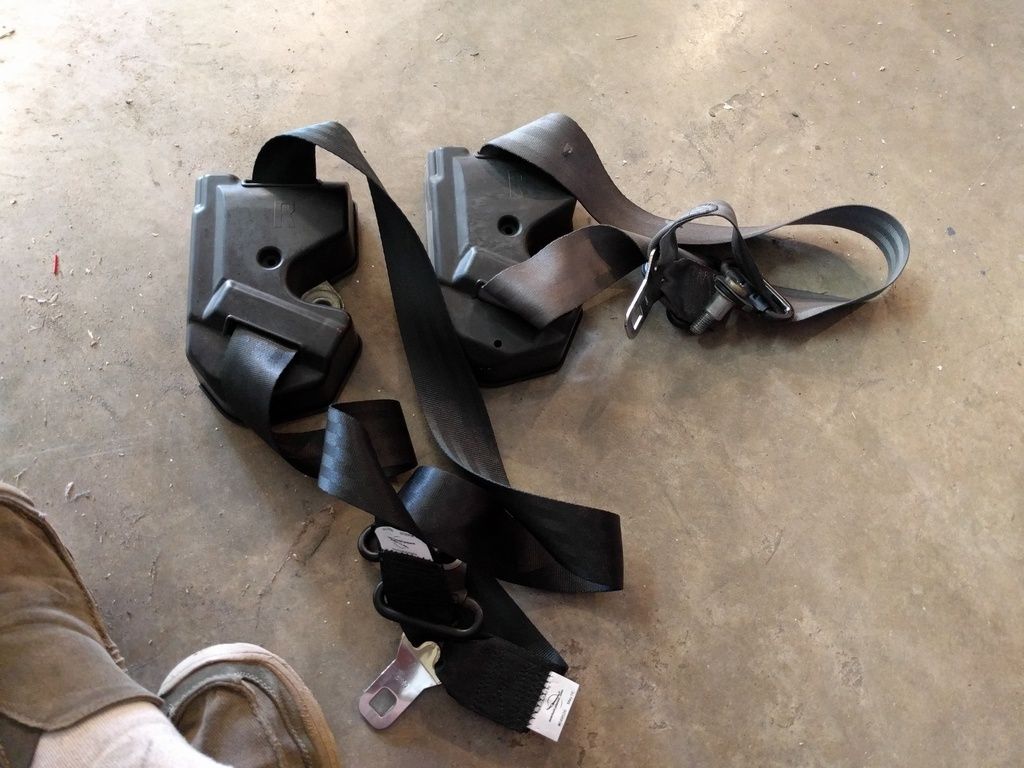
I even went so far as to get the passenger side seatbelt from the 88 rebuilt.
The driver's side seatbelt will be removed and will not be returning (at least until I get sick of my 5 point harness).
Most of it was a quick paint job, but I did do a bit of suede wrapping. This piece goes under the steering wheel
I will re-do the glove box pocket with the same blue suede once I figure out how.
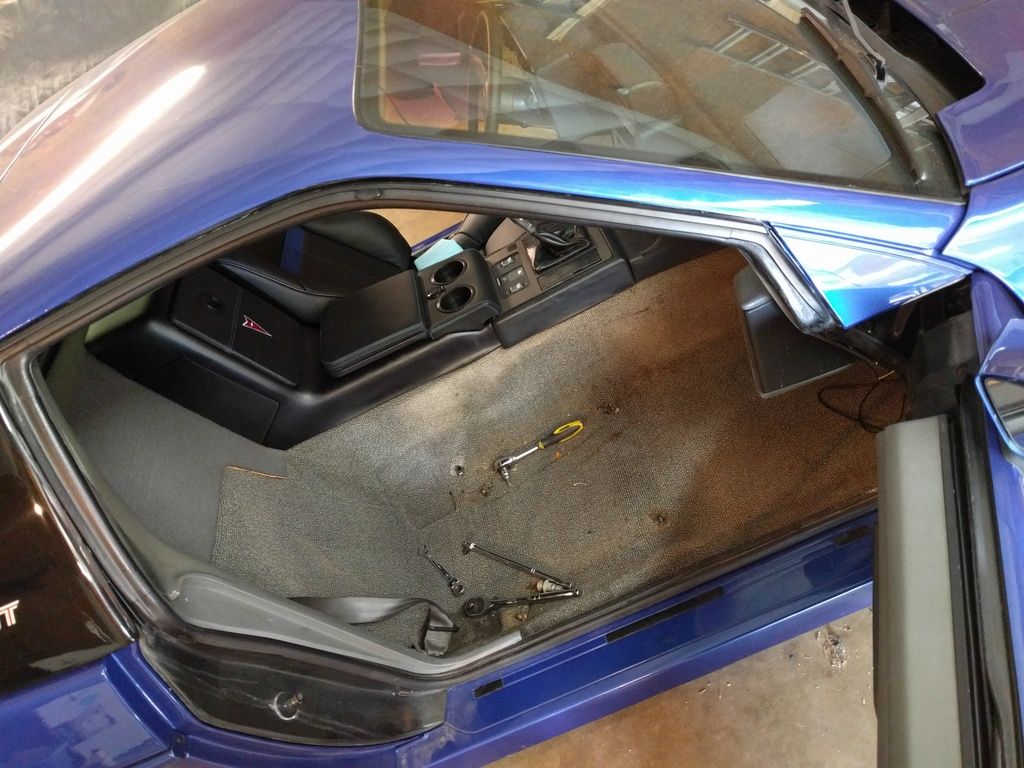
So I yanked out the seats, plastic molding, back panel, and carpet
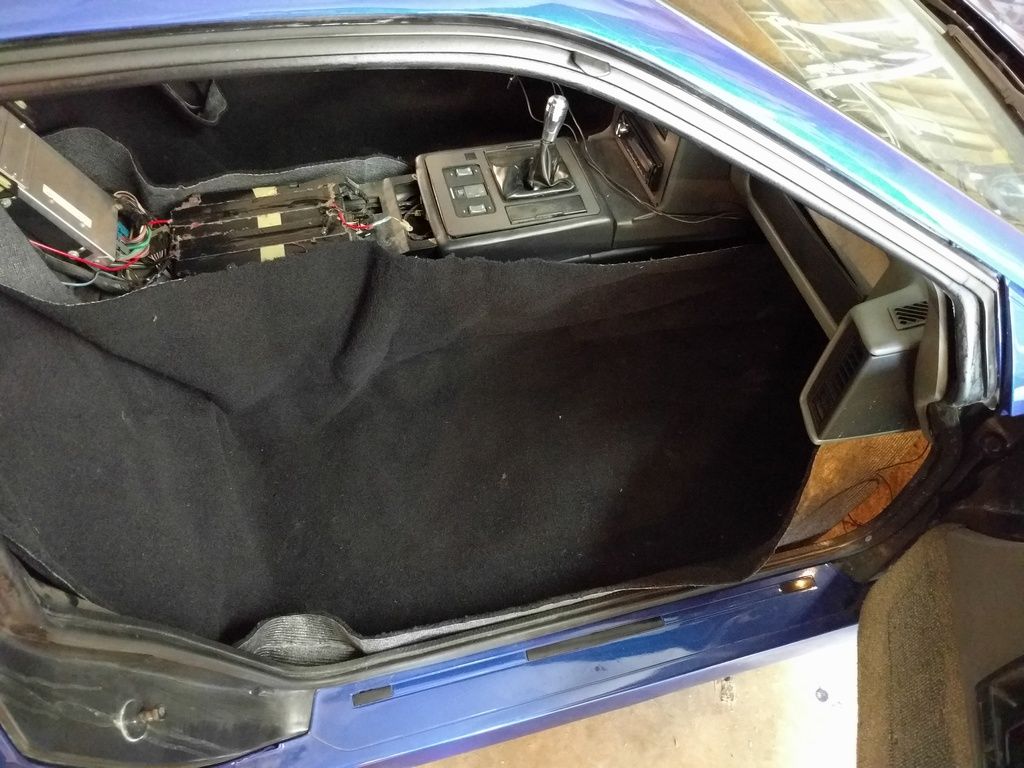
Then I laid the new carpet in. I was going to lay it over the old carpet for insulation, but the old carpet weighs nearly 20lbs between the two sides, and I just couldn't justify the extra weight. Looks like I'm going to have to cut a LOT more than I anticipated, but this is a nice piece of carpet.
Tomorrow I trim the carpet, install the headliner, and maybe put the seats back in. We'll see. I need to order some speakers (should have ordered those a while ago), so that will stall this project into next week or so. The good news is that will allow me to paint some more small parts (light housing, 3rd brake light, etc). I haven't started the dash yet, and I'm thinking the dash will be a separate project. I am also waiting on some parts from Russ, namely leather wrapped arm rests, suede door pockets, and shift boots. I won't start the doors until I have those in hand. This car is going to look AWESOME. I can't wait.


 We are certainly in the same boat engine wise, as I a just got my 3800SC Series III a few weeks ago. You and I have never done this before, and it is certainly a learning experience!