I bought an 87 GT a week ago. It's my first Fiero and my first project car beyond general maintenance and upkeep of my other vehicles. I wasn't going to do any kind of a build thread as I didn't think it was going to be remarkable, but I think this will be more of a "correct me if I'm wrong" thread where I post pictures of what I'm doing and hopefully if I'm screwing something up an astute and helpful member will point me in the right direction.
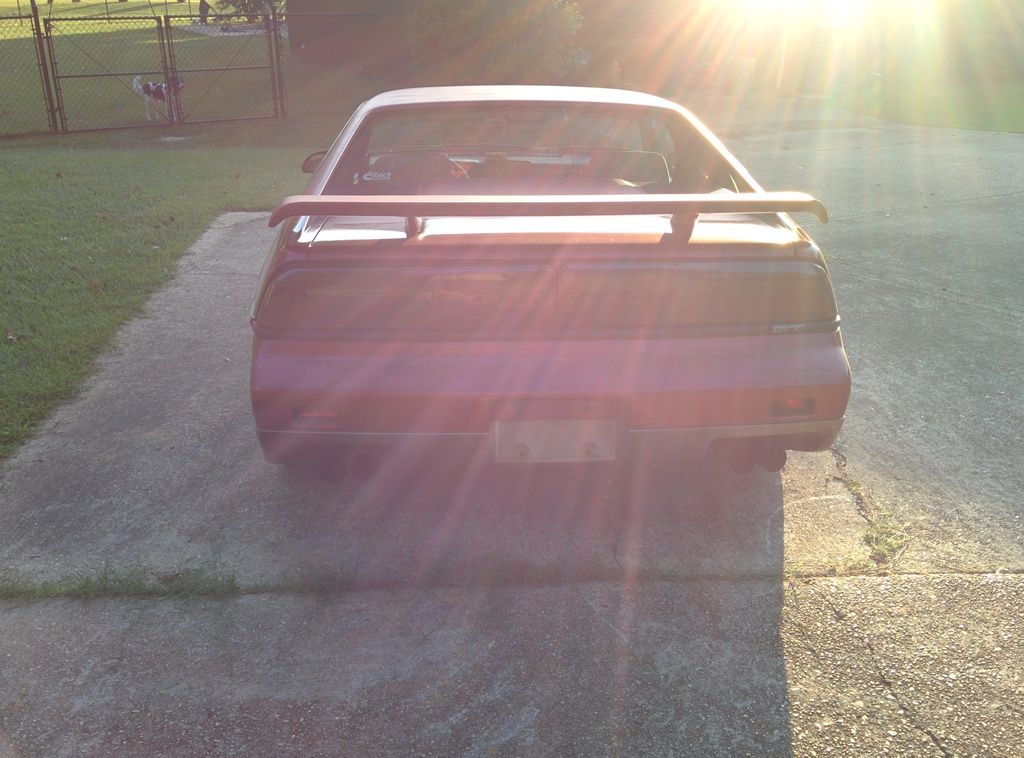
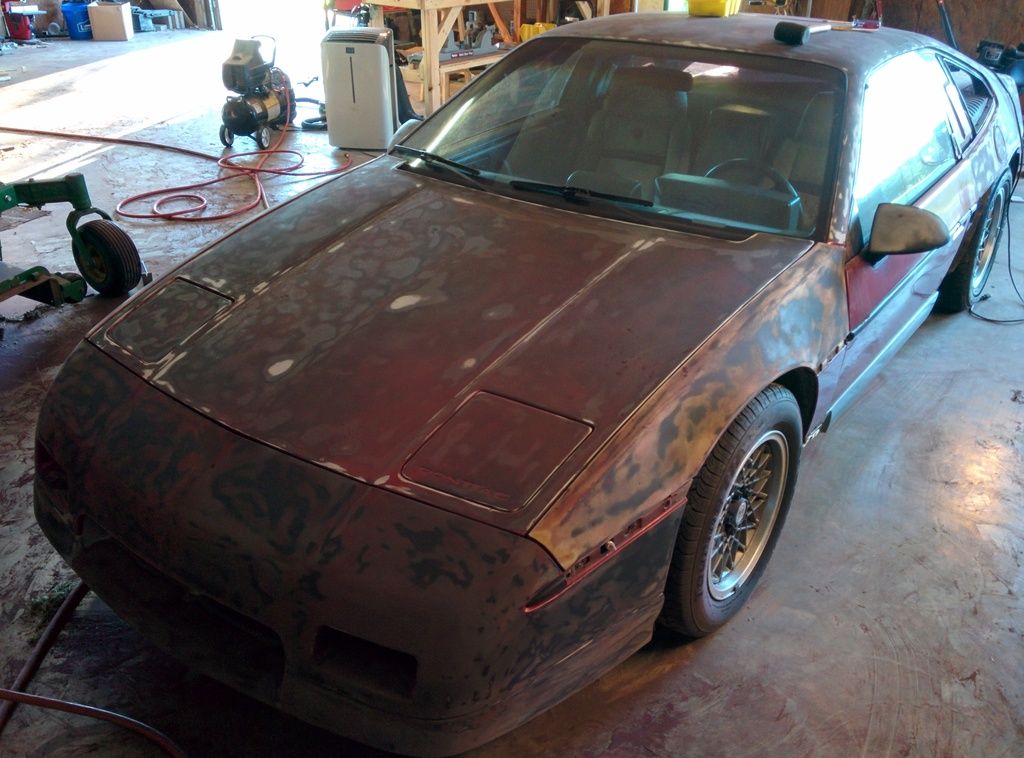
So here it is. 87 GT, 290something K on the odometer, but not really accurate as the engine was rebuilt within the past 50k and there has been a lot of general work done on it. Previous owner was a mechanic, and owner prior to that was an engineer, so I have records dating back to 1993 that include every bit of work done on the car right down to the quantity of oil put in! (This car lived around Athens, AL most of its life, so if this was your car PM me)
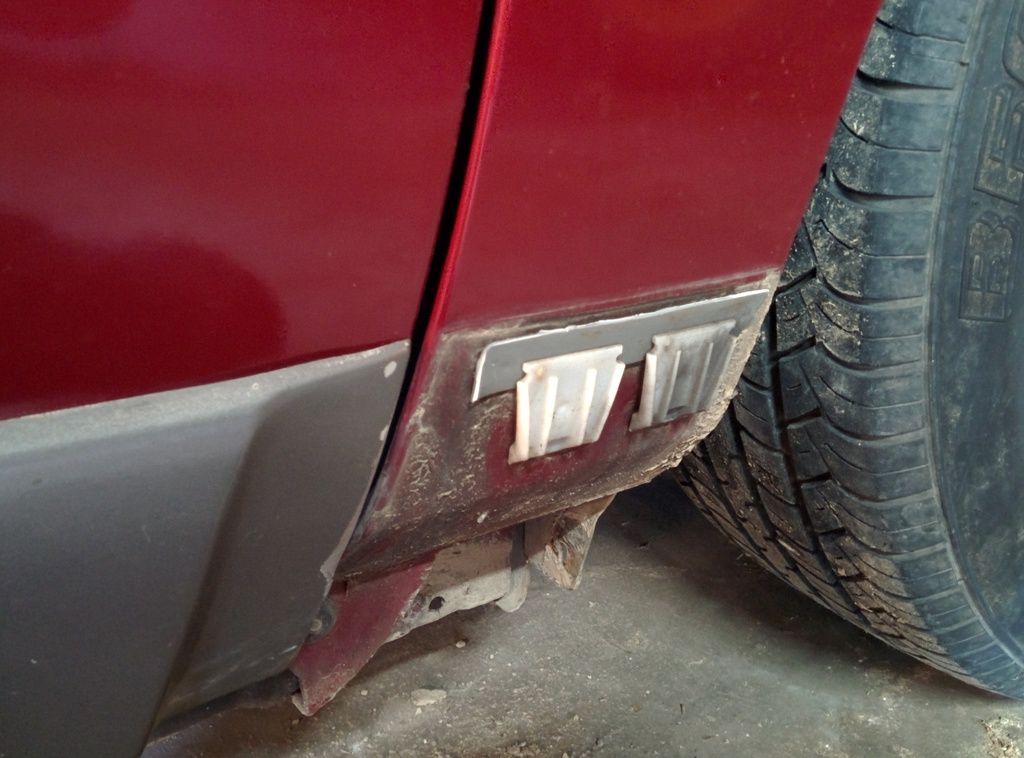
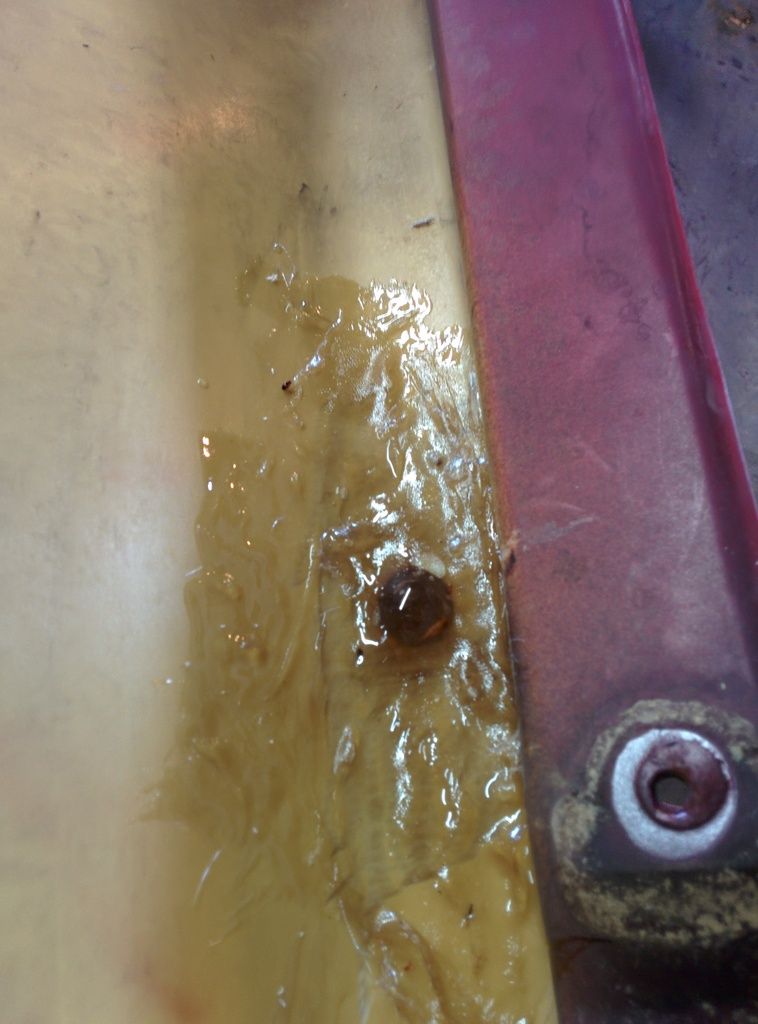
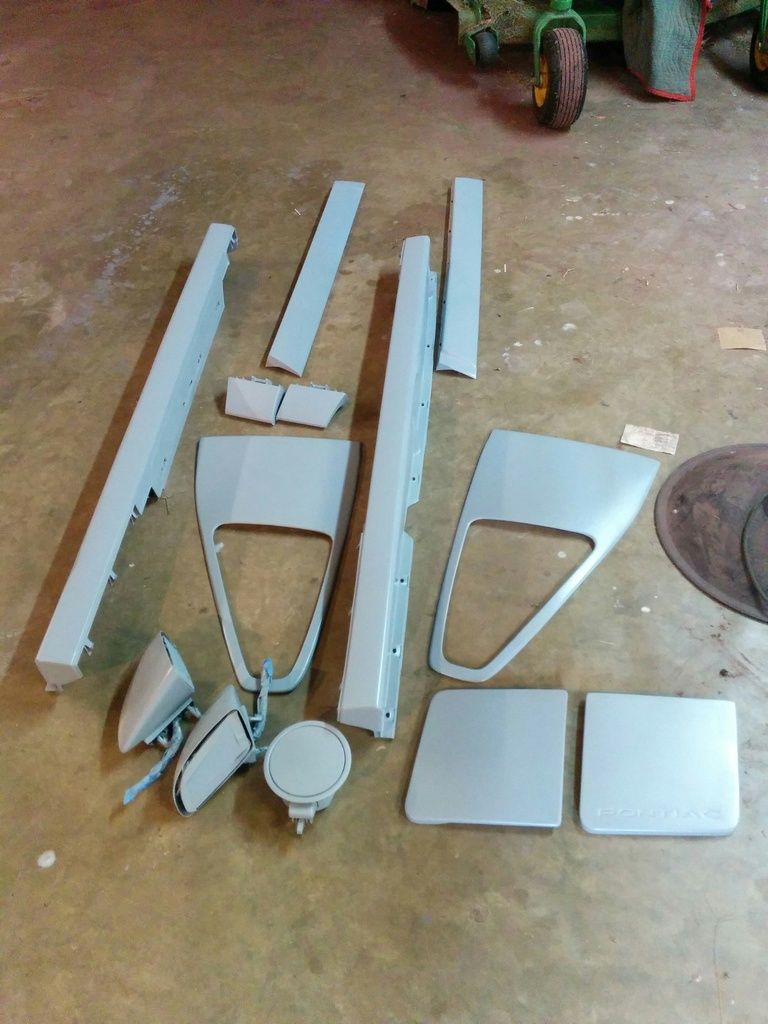
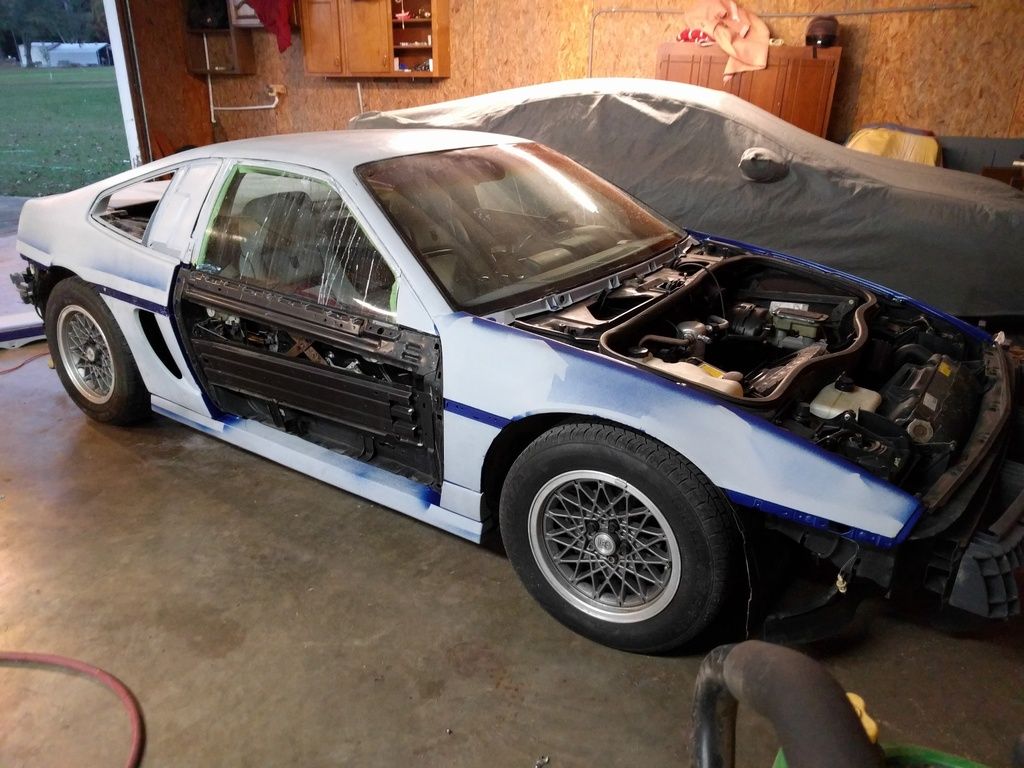
Minor damage in front of the driver's door, supposedly from when the car fell of a jack stand. I wasn't thrilled to find out that molding is somewhat difficult to get a hold of, but I secured it today from Fiero Jon (thanks!)
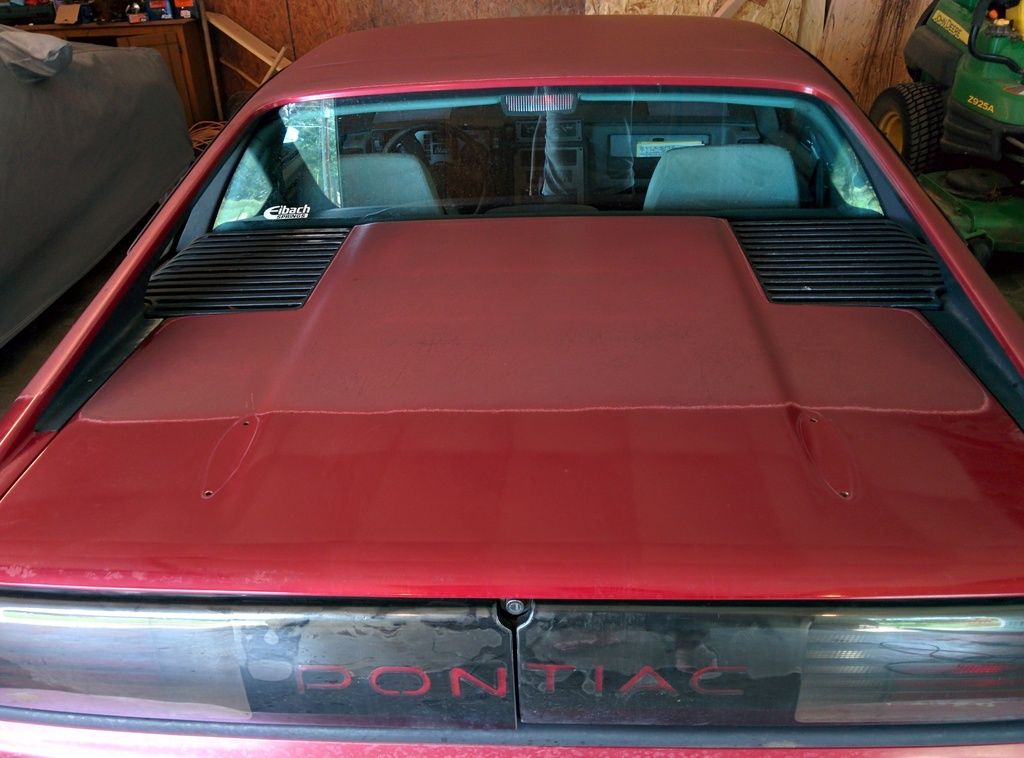
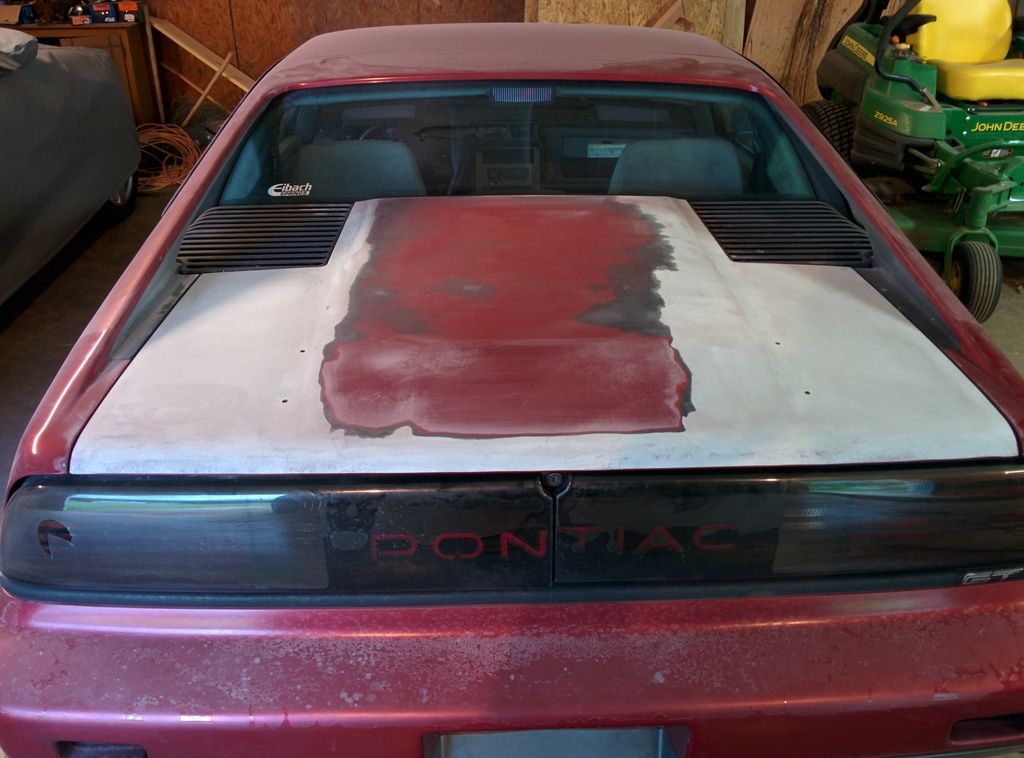
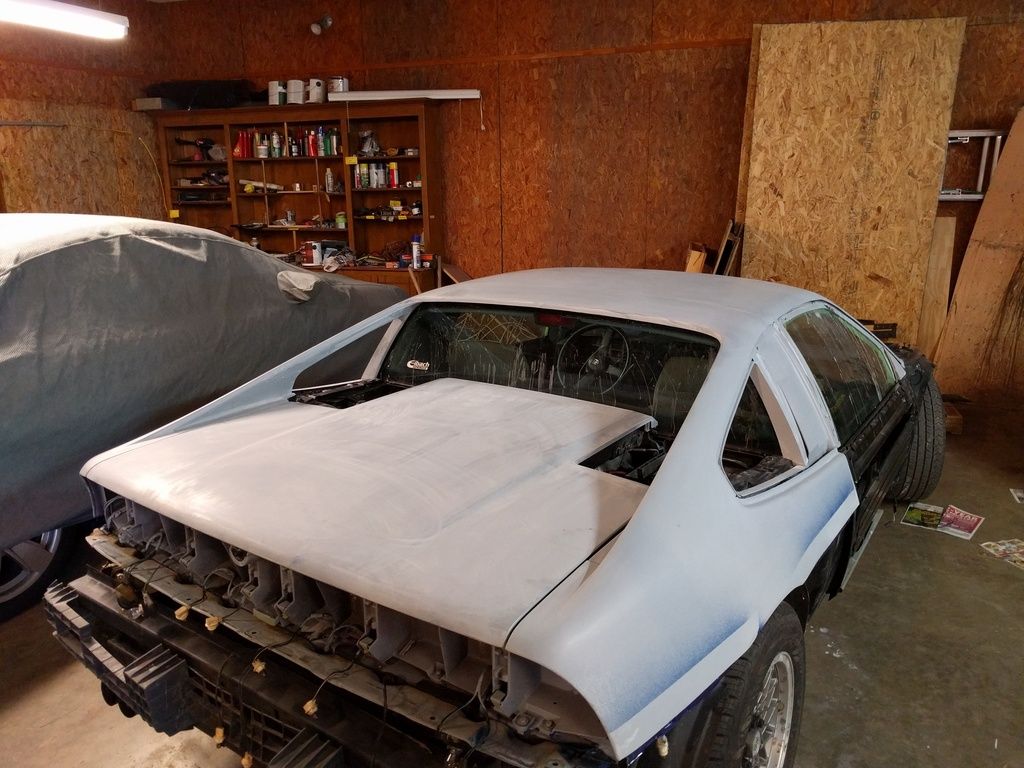
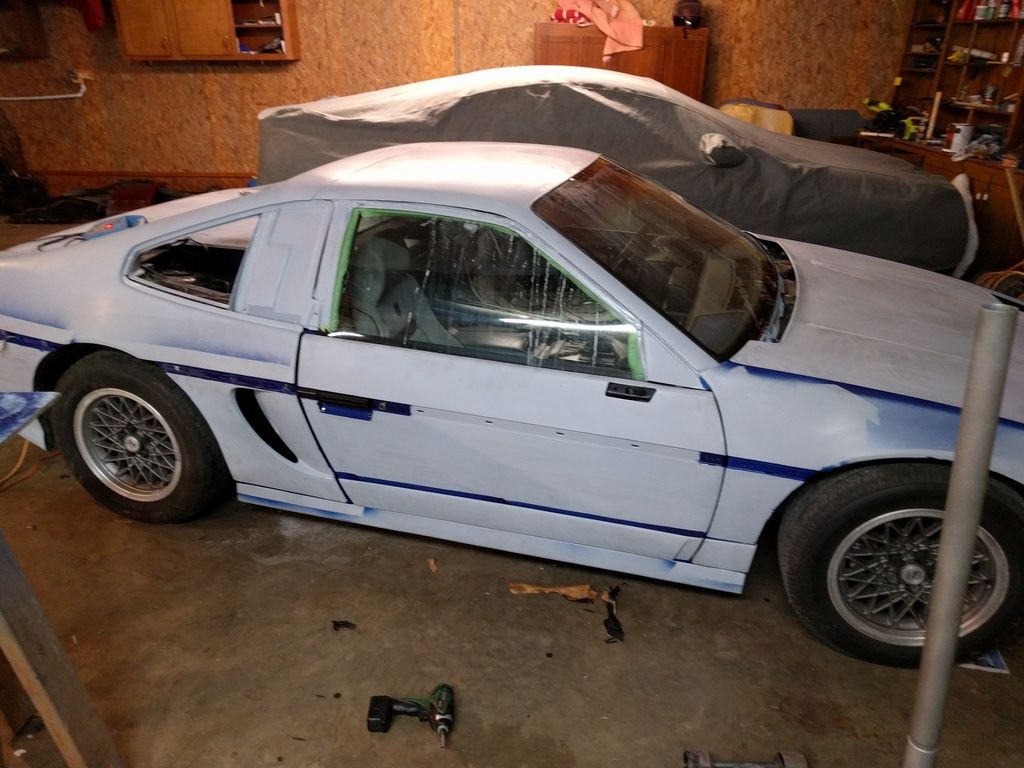
Paint is shot. It's obvious this car lived outside in TN and AL its whole life. That's ok, I was going to repaint it anyway
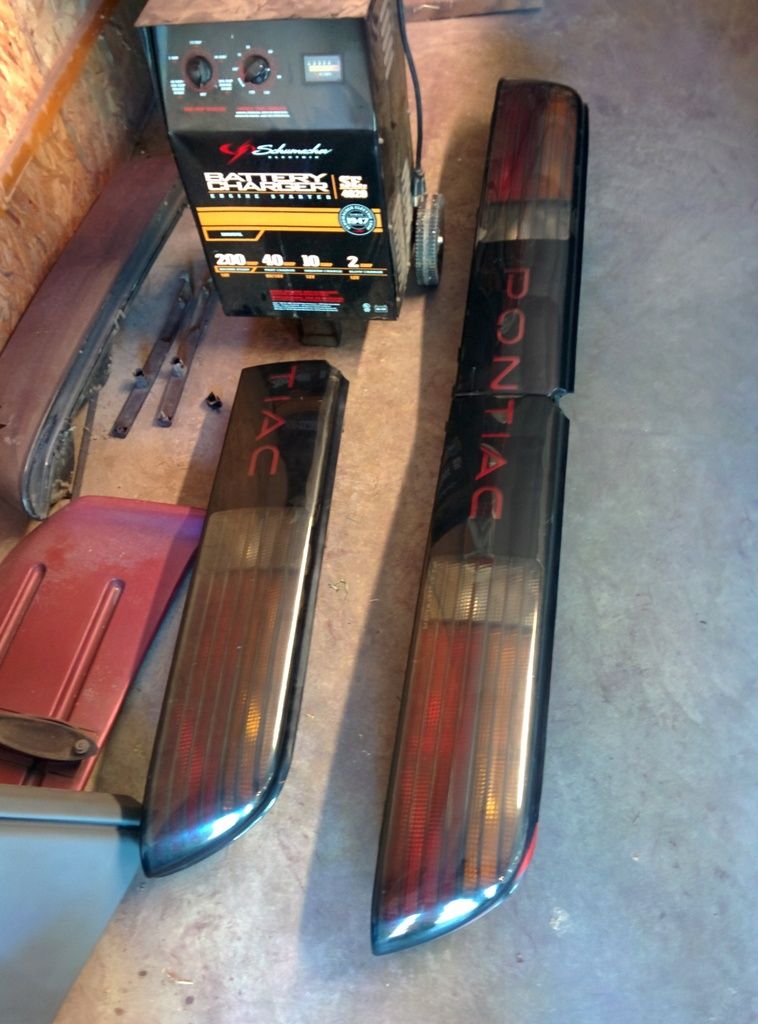
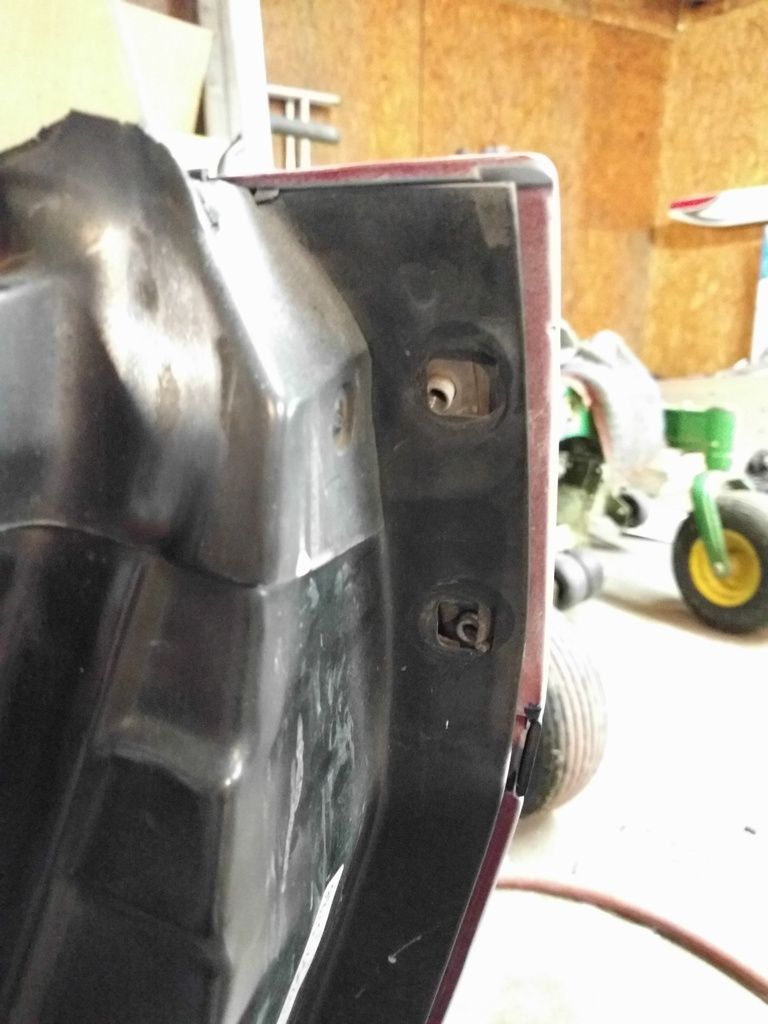
Can't really see in this pic due to the lighting, but the driver's tail light is missing a ~1.5 sq/in piece, and both lights are delaminated. I just ordered a complete set of lights from Fiero Jon (thanks again) as well as an additional drivers lens from another PFF member. I intend to use the broken drivers side one as practice for masking/painting, and then restore my two full sets of intact ones. So long as I don't screw it up I should have two complete sets of GT tail lights.
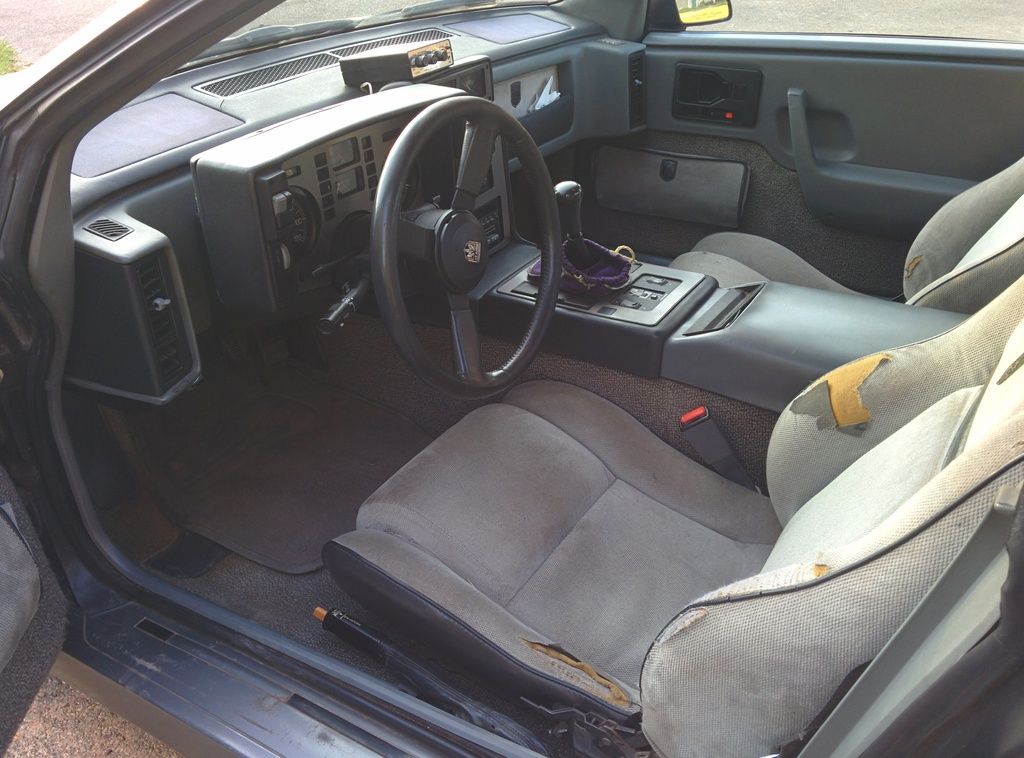
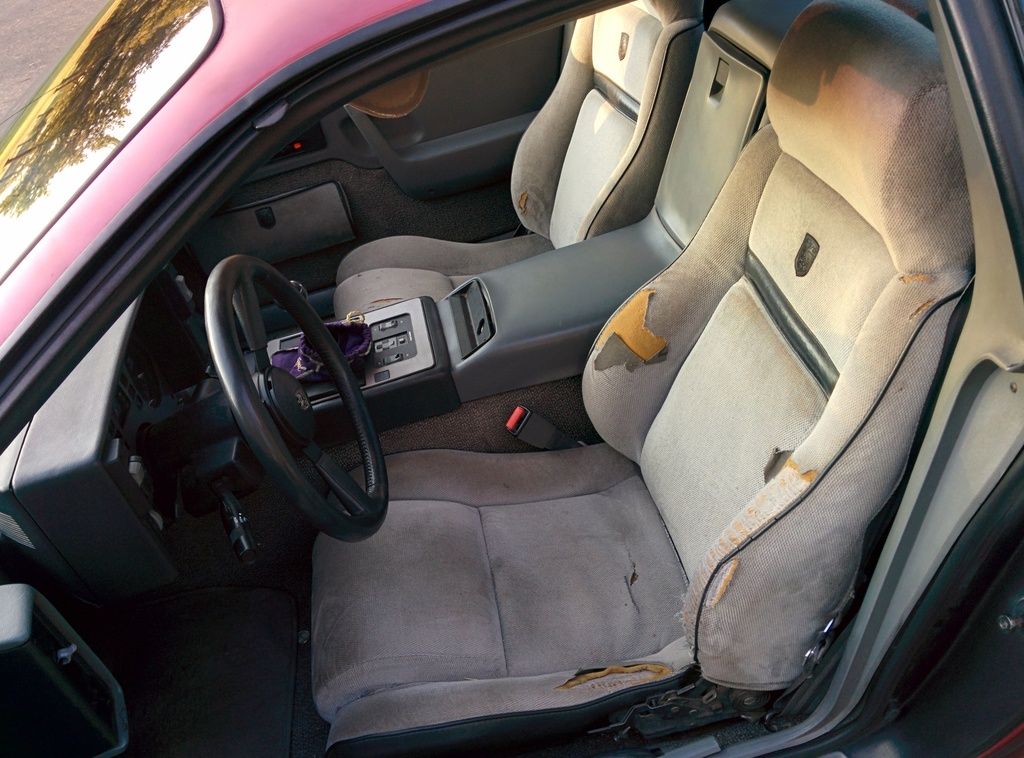
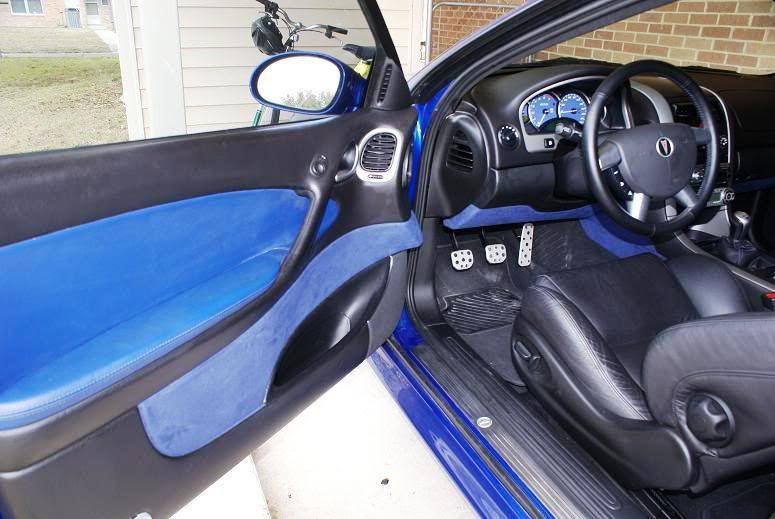
Interior also shows some wear, but I've seen far worse. The vinyl isn't too badly bulged. It will get a set of Mr Mike's seats in black leather, as well as black carpet, black leather armrest/cupholder/glove box cover, and the rest of the interior plastic and vinyl will be painted black. Doors will get blue suede, I'll tell you why in a few pics.
I already got rid of the ridiculous crown royal shift boot, as well as the novelty horn generator on the dash (if you were wondering what that was)
Stock 2.8 cranks up nicely and runs well. Previous owner put a Hypertech chip on the car, and I think as a result the car is running REALLY rich. There's a lot of soot around the exhaust pipes, it tends to bog on high throttle inputs, and it always runs COLD (like 100-120 degrees when it is 90-95 outside)
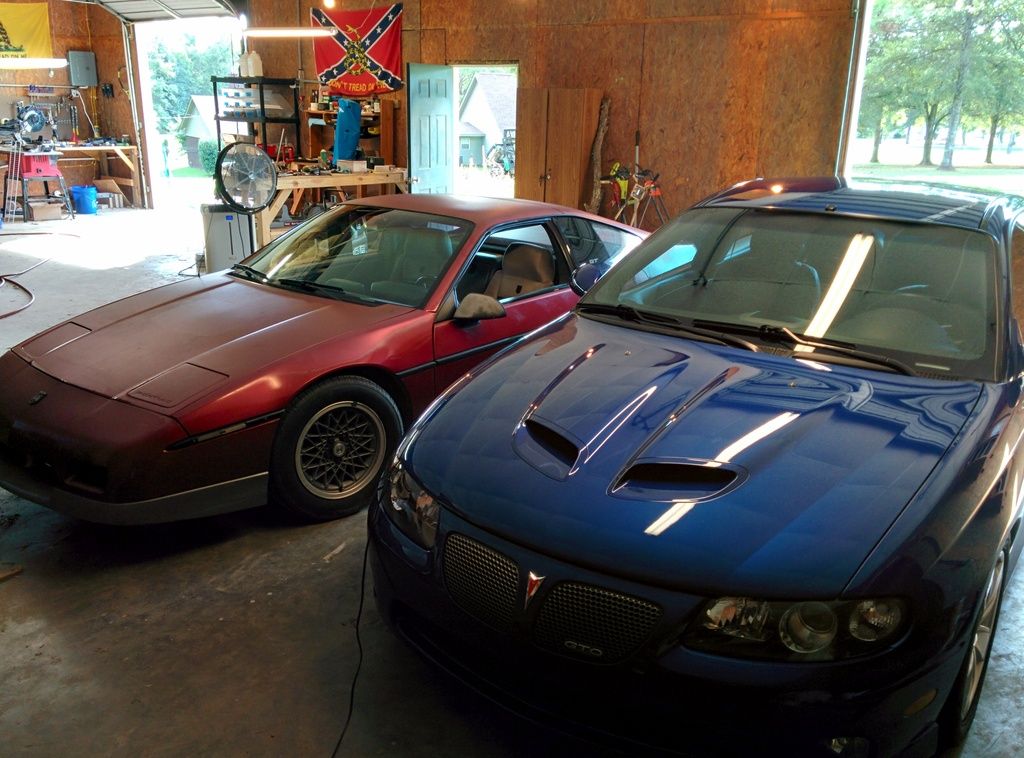
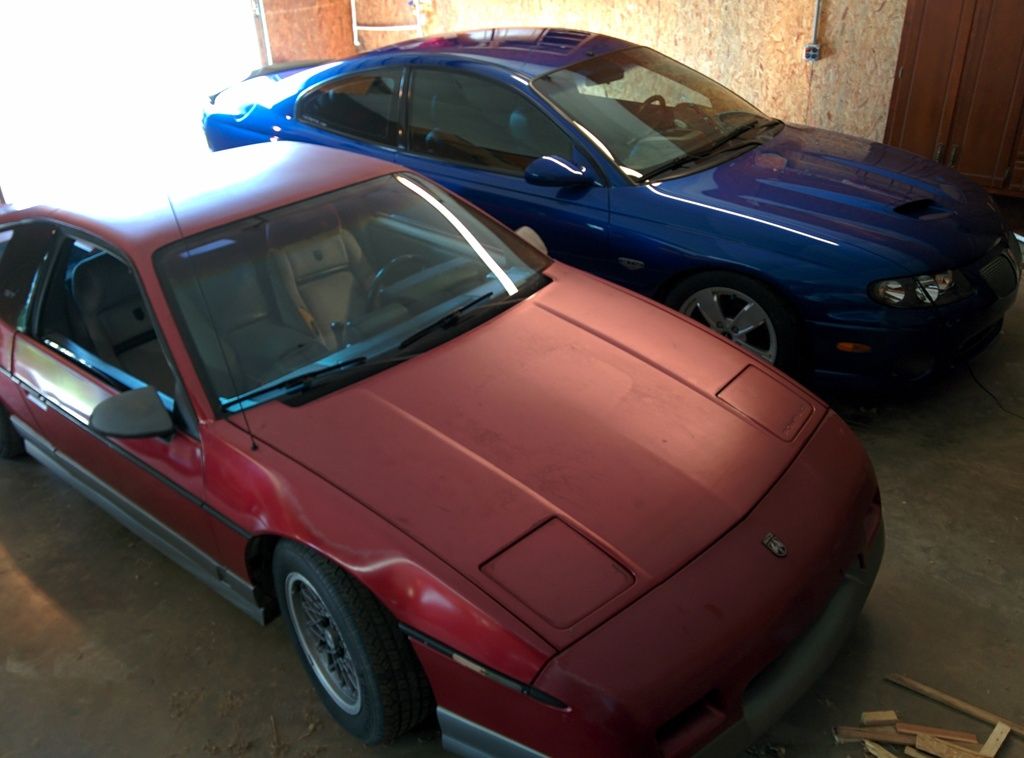
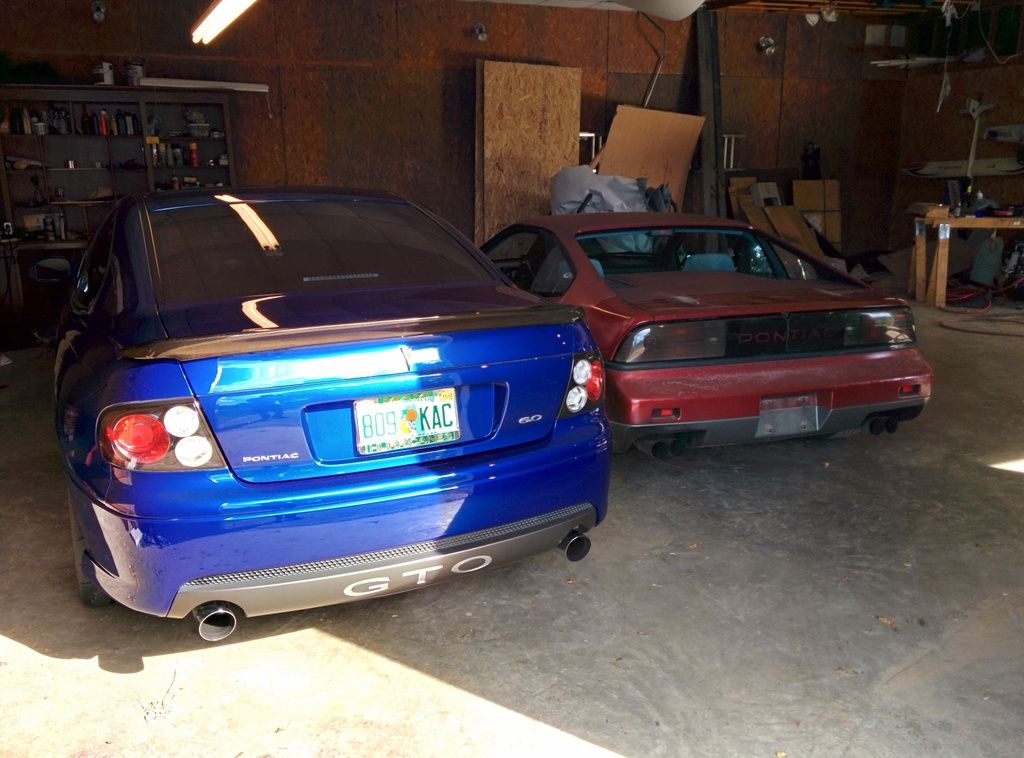
So here's the reason for the blue suede. The Fiero will be restored to resemble my 2006 GTO. The Fiero will be painted Impulse Blue Metallic and I will try to marry up the interiors as well as I can, while keeping it very much a Fiero.
Here's a look at the GTO interior to give you an idea of the look I'm going for.
I never thought the GTO would be my "big" car
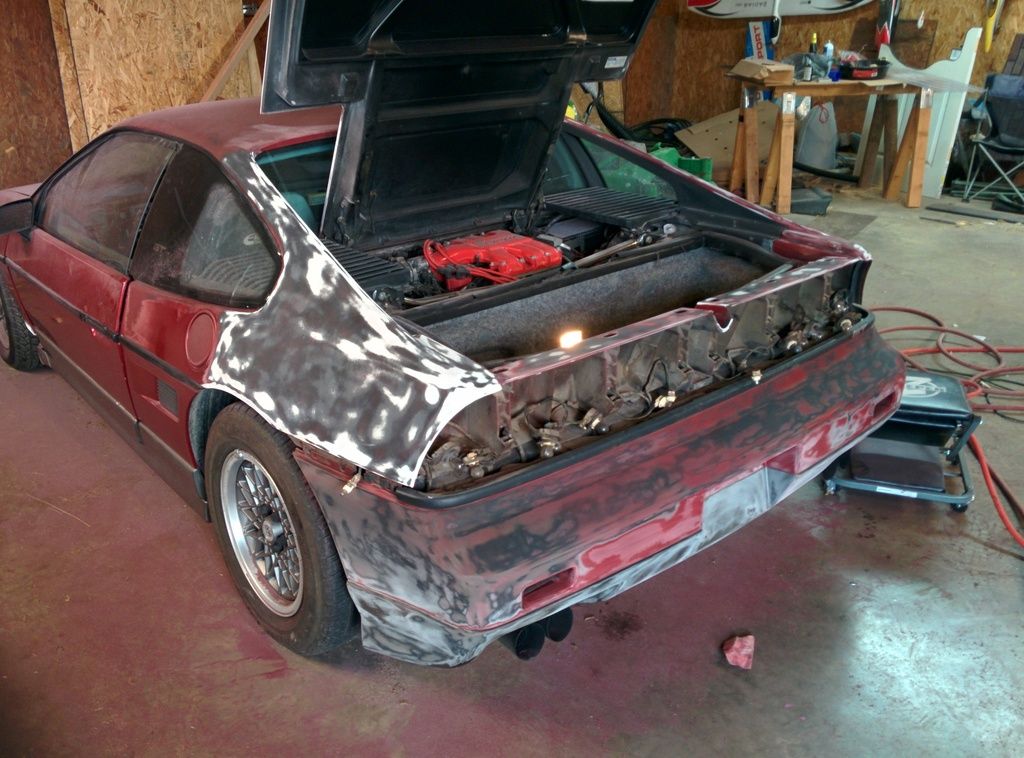
I already took the spoiler off of the Fiero. It will not be returning. If you're interested in buying it, PM me. I'm thinking if I do put anything on the back of the Fiero it will be a small lip spoiler.
You can see the sun damage on the paint. Even if I wanted to keep it red it would still need a paint job, so I may as well make it the color I want
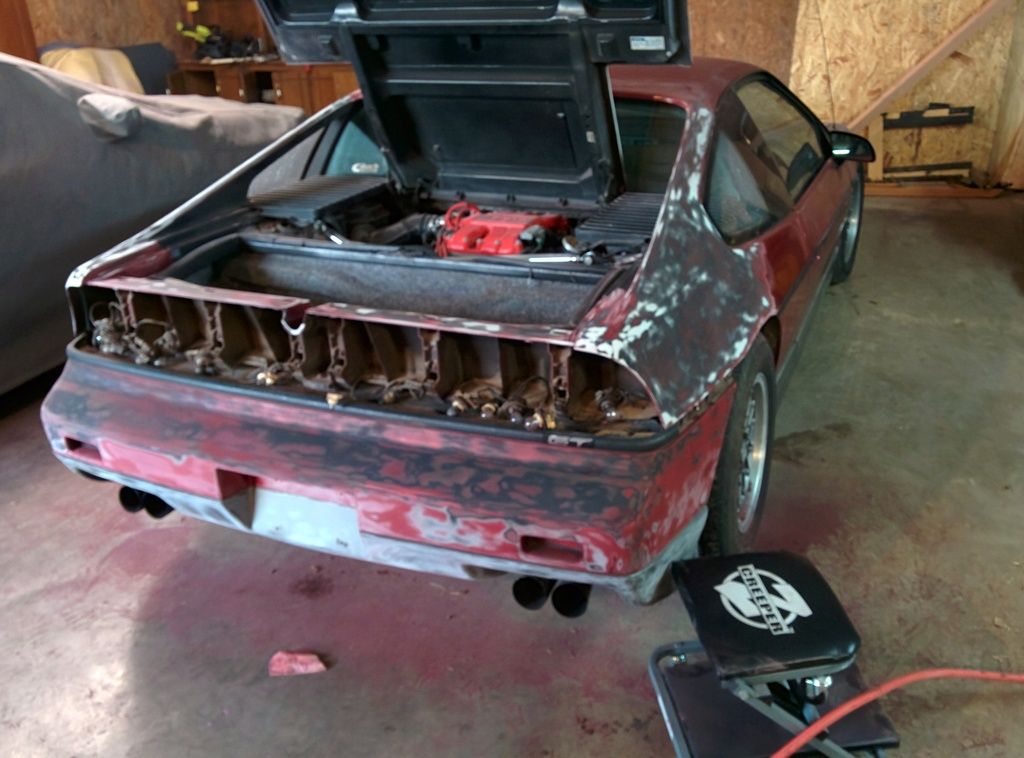
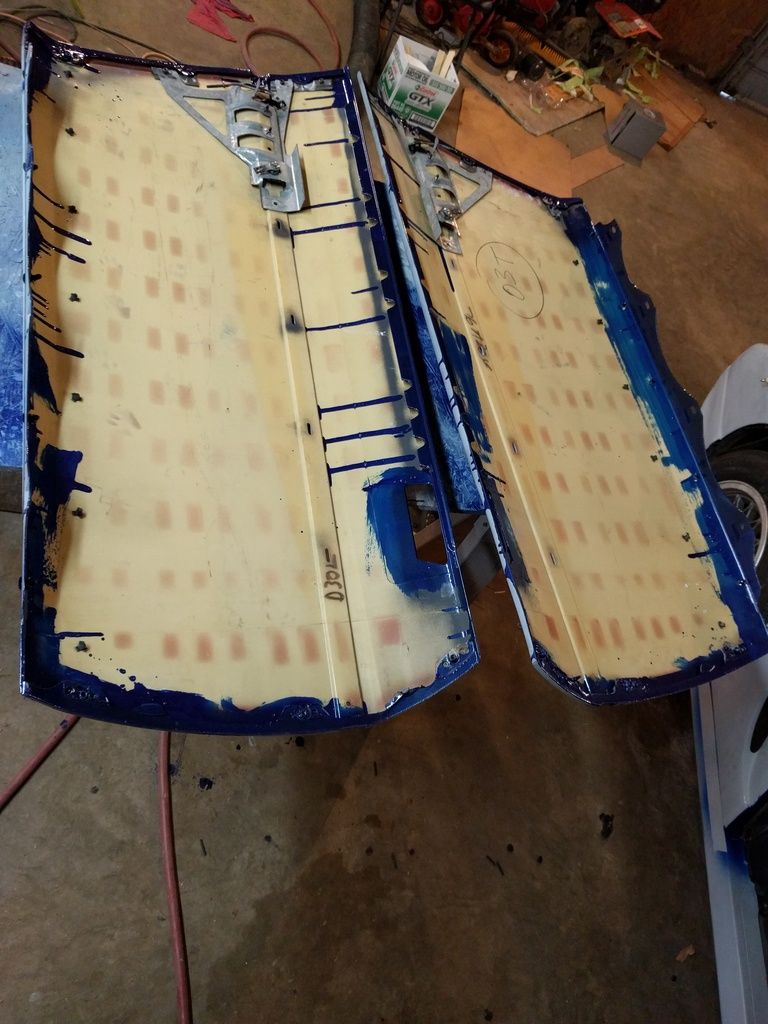
I posted this pic in another thread and was told I was sanding too deep. I have sanded the rest of the decklid, and only went to the black, though patches of white do peek out. Worst thing-- I nicked the rear window with the edge of the sander. I about got sick. There's a 1" scuff on the glass from the 80gr sandpaper. I'm hoping a little clear nail polish will hide it.
That's it for now. I'm going to continue sanding the car and hopefully will have the sanding complete by the end of the week.
A little bit of progress today. I went from sanding too much to wondering if I'm not sanding enough. That bumper SUCKS to sand because of how flexible it is.
In other news-- what the cure for sun rot on that black trim?
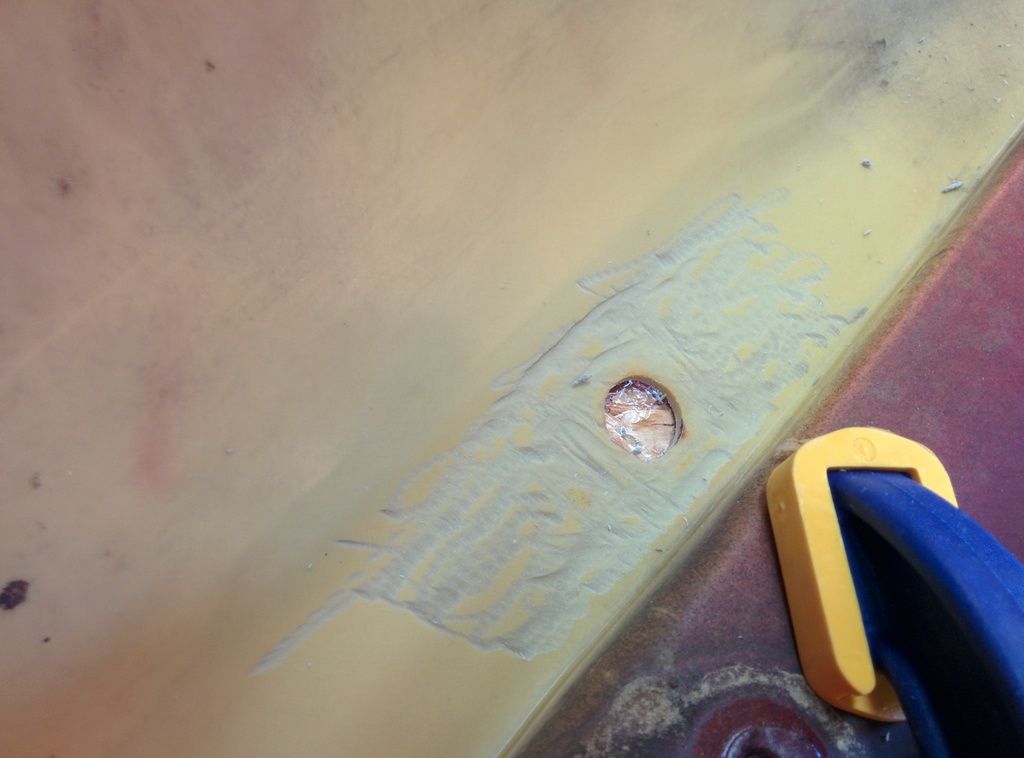
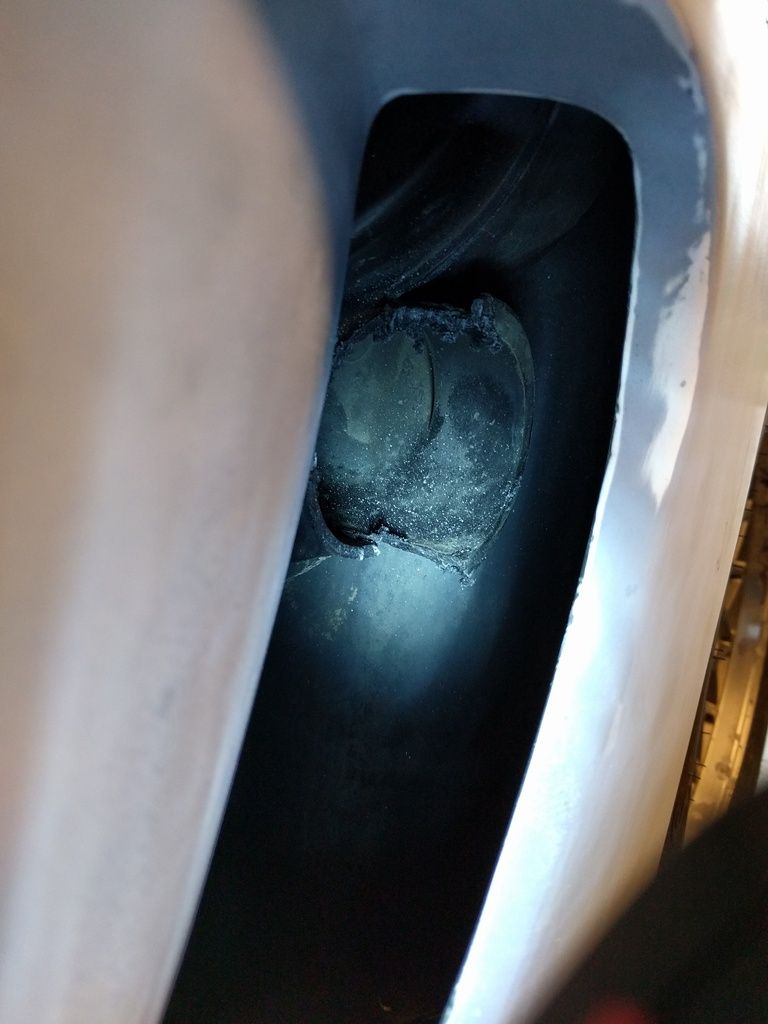
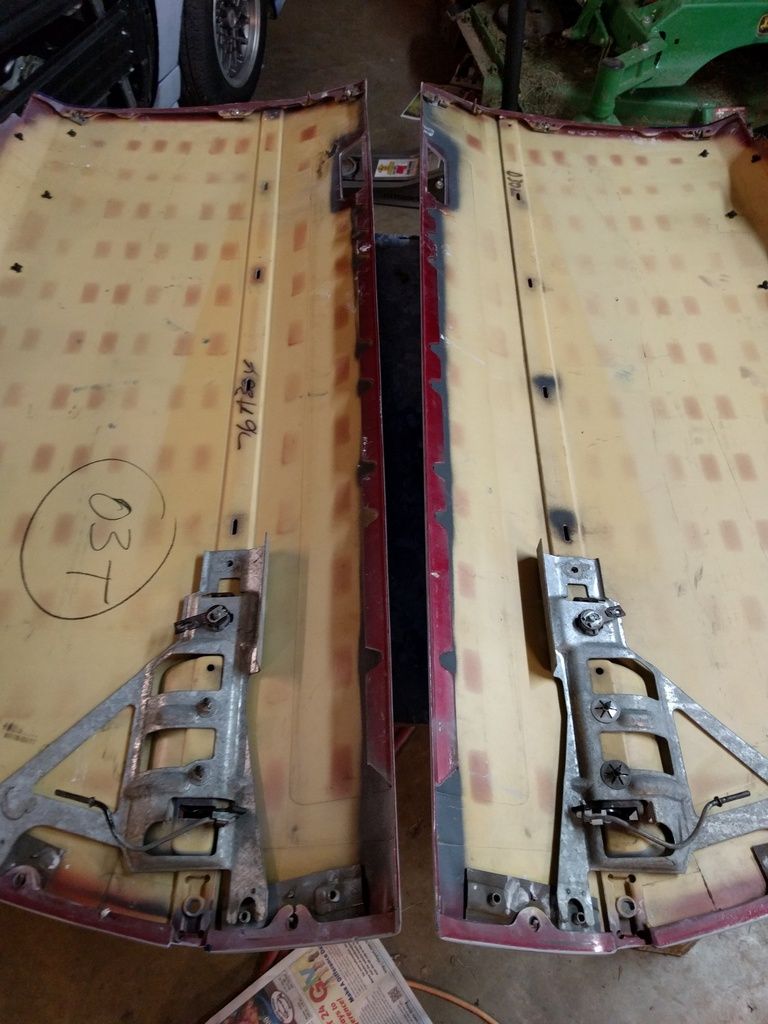
I did have a major disappointment today. When I pulled off the taillights, I found this
This is on my [what I thought to be] good passenger side tail light, and in the clear part on top of that! Any idea how to fix it, or at least hide it so it's not noticeable?
This is on my [what I thought to be] good passenger side tail light, and in the clear part on top of that! Any idea how to fix it, or at least hide it so it's not noticeable?
I wonder if one of those windshield resin chip/crack repair kits might be able to fill it in and make it unnoticeable? Something like that to try to hide the majority of it and then a layer of tint film?
Sanding looks about right but pics can be deceiving. A good fill primer will give you breathing room anyway so let it rip! Just be careful around the fender lips and the curvy parts so you dont dig a flat spot into it.
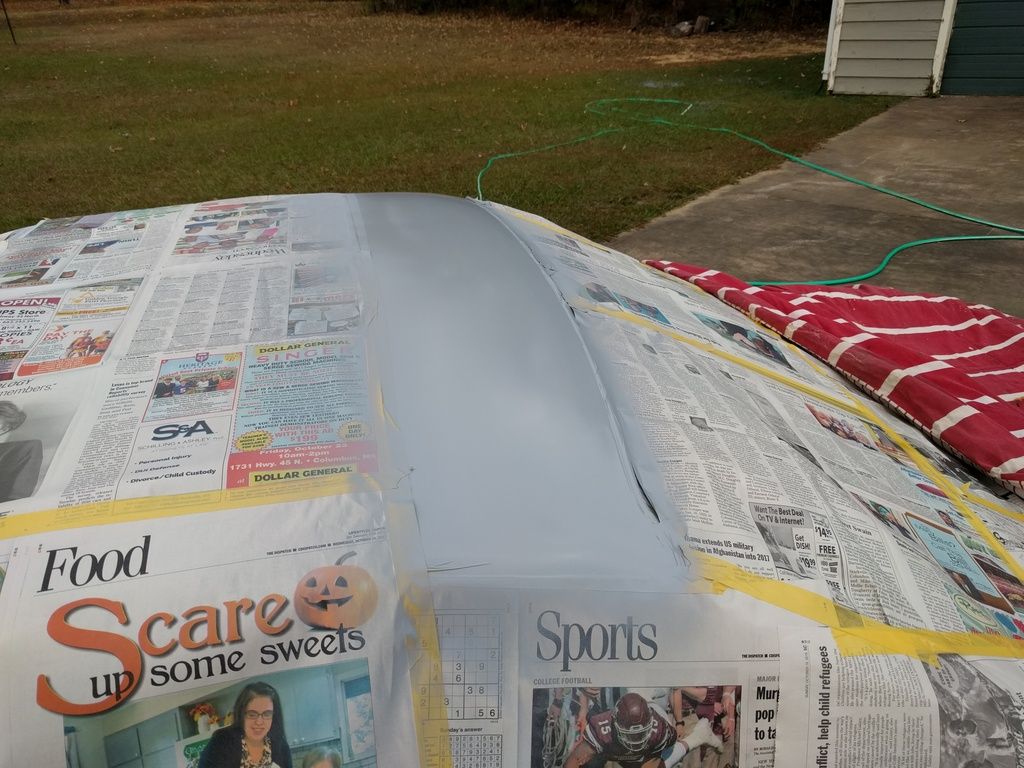
Not a lot of progress today, but I did get the roof sanded. My rain gutters are really dented, but overall intact. Is there a good way to straghten them? I'm thinking of getting a wood shim and smacking them with a rubber mallet or something. The shim would create a constant distance from the body. Ideas?
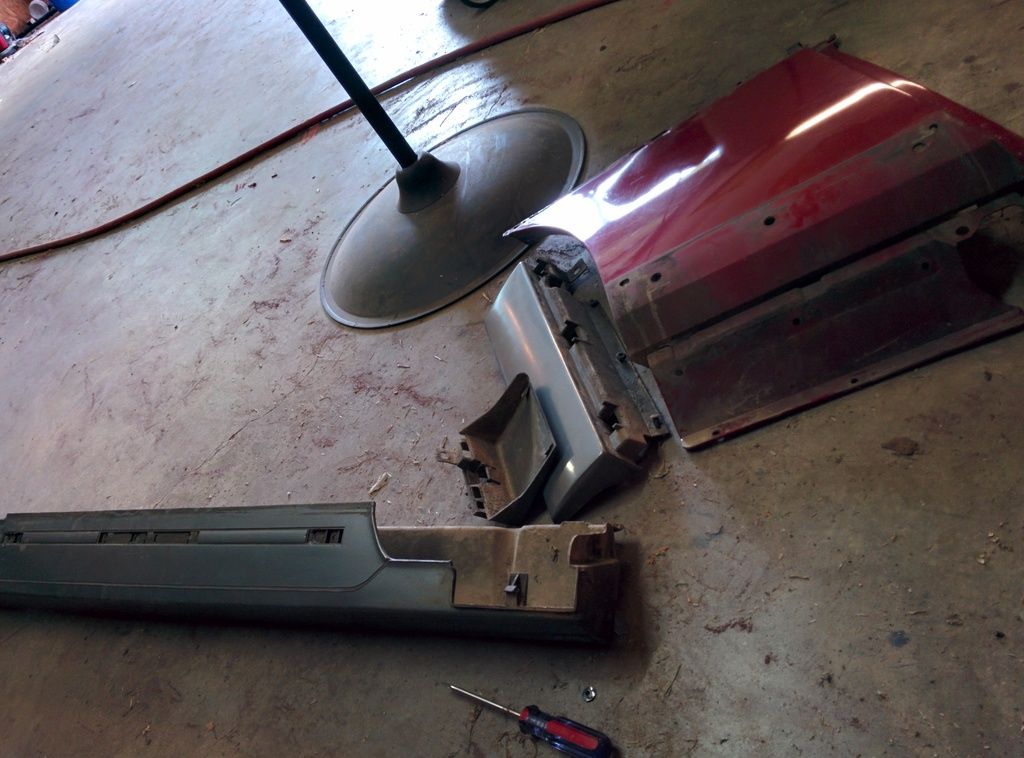
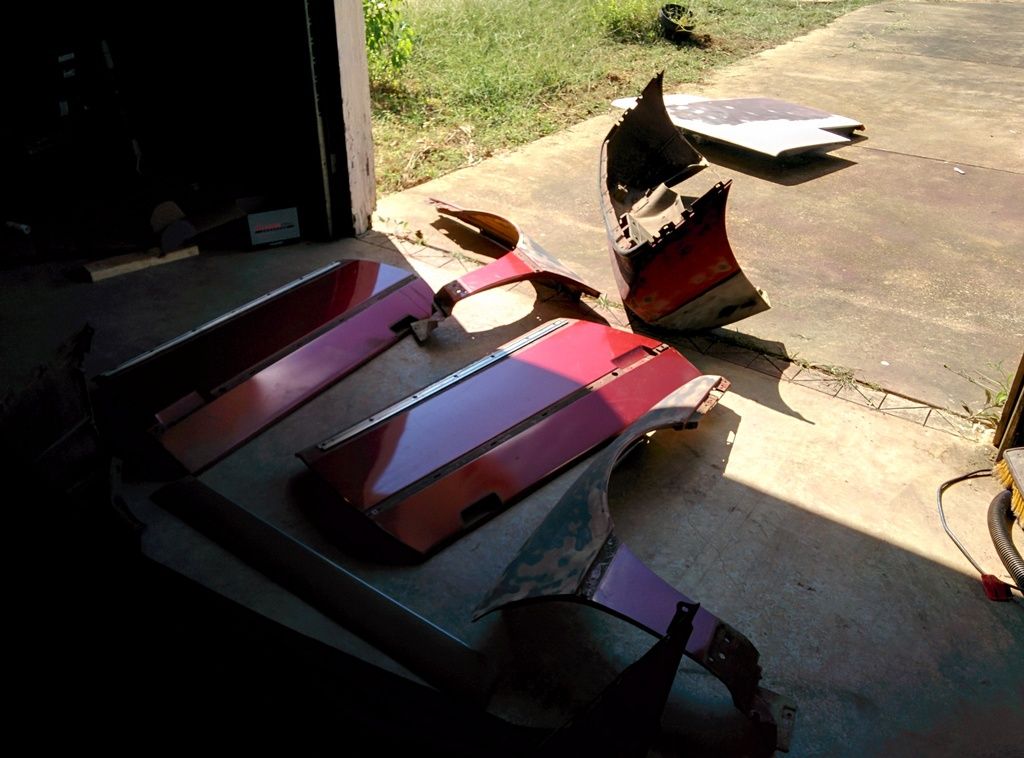
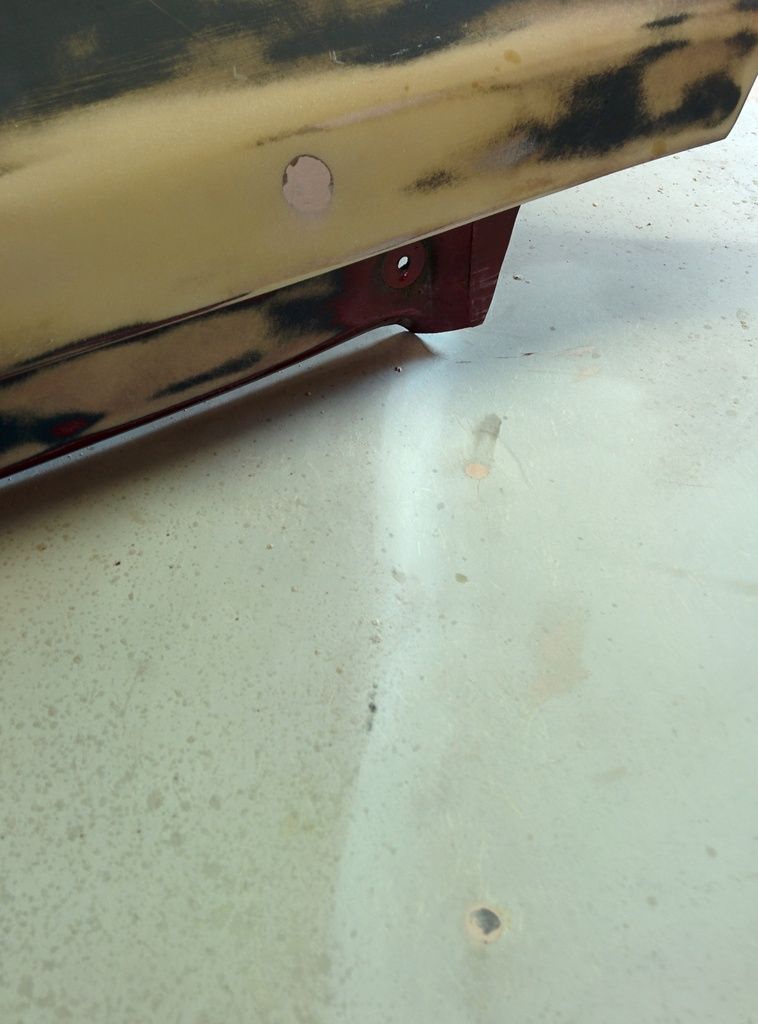
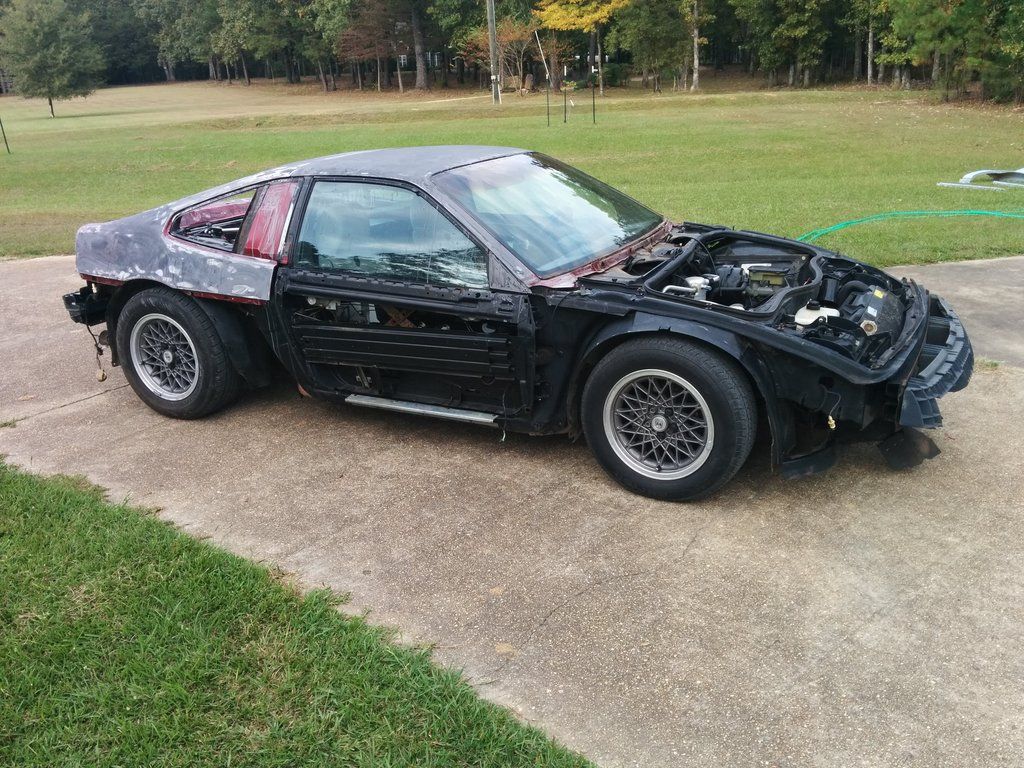
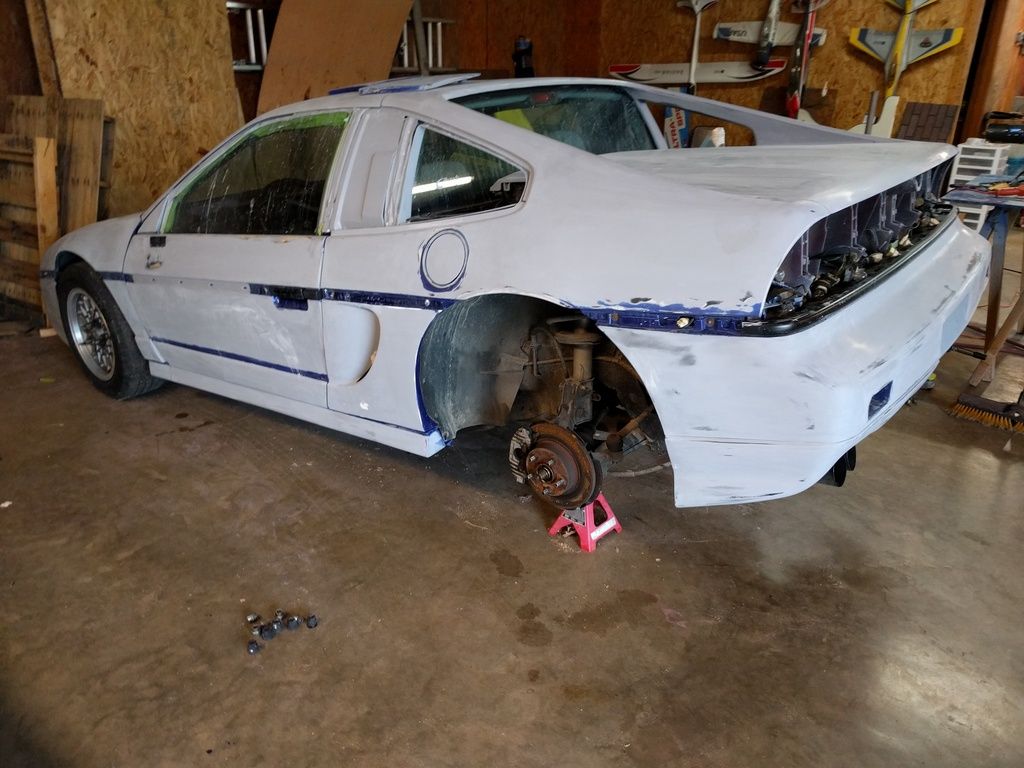
I pulled some body panels off this morning. I'm planning on putting Fiero Fiberglass scoops on the side, so the quarter panel isn't a concern, but I'm having a lot of trouble with the skirt trim, or whatever you call the piece that runs above the rocker. I'm condsidering not putting them back on the car, as I think the clean look would be better. Is there a practical reason I can't do that?
I'm hoping the mounting hardware is readily available. I had to drill out a LOT of rivets, and broke just about every plastic piece to get this stuff off of here!
Oops
[This message has been edited by Napoleon_Tanerite (edited 09-17-2015).]
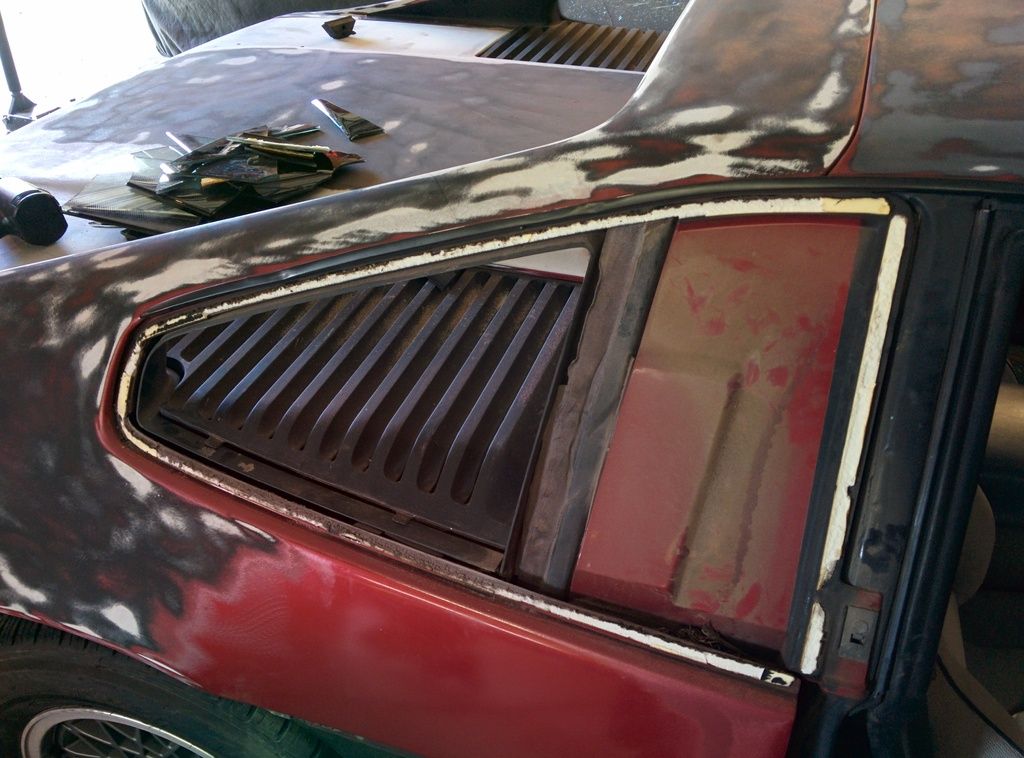
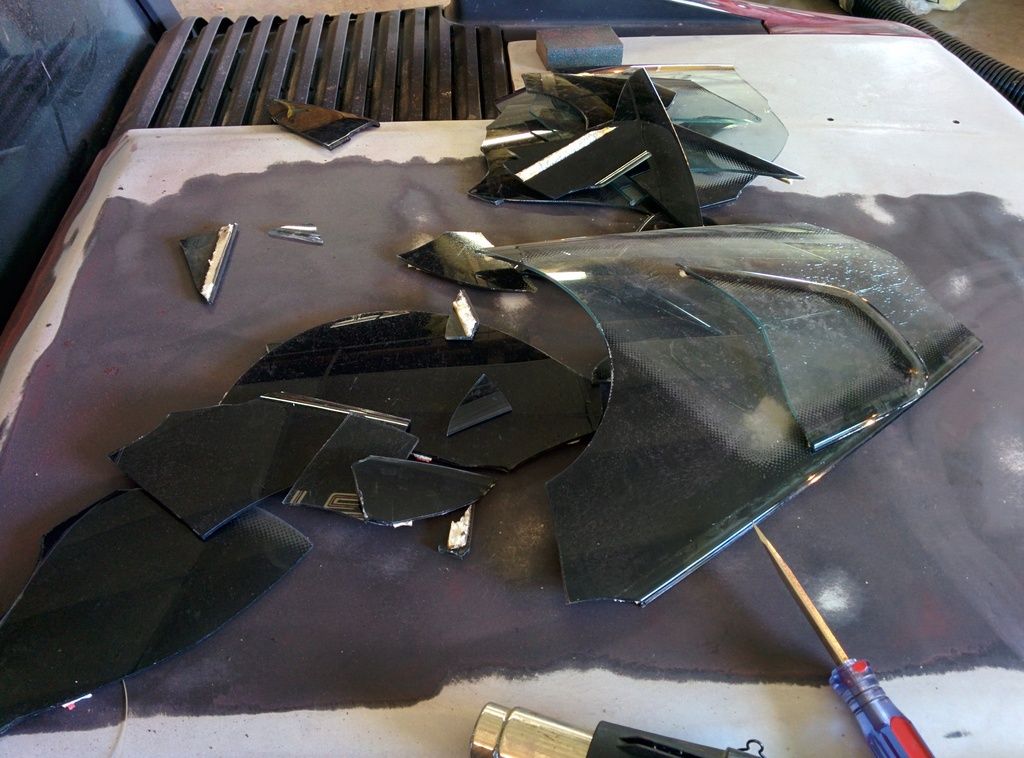
So I got my quarter windows off. It's a case of good news/bad news/good news. Good news-- I got them off the car. Bad news-- the plastic was really brittle and they came off in MANY small pieces. Good news-- I didn't slice myself all to hell in the process! I'm not too upset about it. They were already badly crazed and cracked, and I was planning on replacing them with some open ones from Fiero Fiberglass.
About your drip rail question: The bent drip rails are actually really easy to remove. Take a paint stick or something similar and lay it on the top of the rail at the front. Tap it with a hammer, and it will simply slide down. Do this all along the rail, and when you get to the back, there is a clip that has to kinda be "wiggled out" in the quarter window area. Taking them off has a few advantages; much easier to sand the car, easier to repair them on a bench, or find replacements to apply fresh paint to and then install after painting the car. Lastly, nothing to tape off when painting the car. Painting the car with them on it will leave a tape line all along the roof and the drip rail.
NOTE: Re-Installing the drip rail BEFORE replacing the quarter windows makes it MUCH easier.
Thanks, I'll pull them drip rails off tomorrow. They're not bad, I'm thinking I can pound them straight. I don't think they're "$100+ for new ones" bad at least!
What about some of the other stuff-- filling the black molding at the top of the bumper cover, or removing the ground effect trim from the doors? Any help there? (I'm aware of being greedy)
PS-- Scurvy, you know you want to make a mini GTclOne!
Good bit of progress today. I've been off work all week, and will be off all next week, so I've had time to work on the car. Would have had MORE time if i hadn't had to do both hubs on my Tahoe, but you know how that goes.
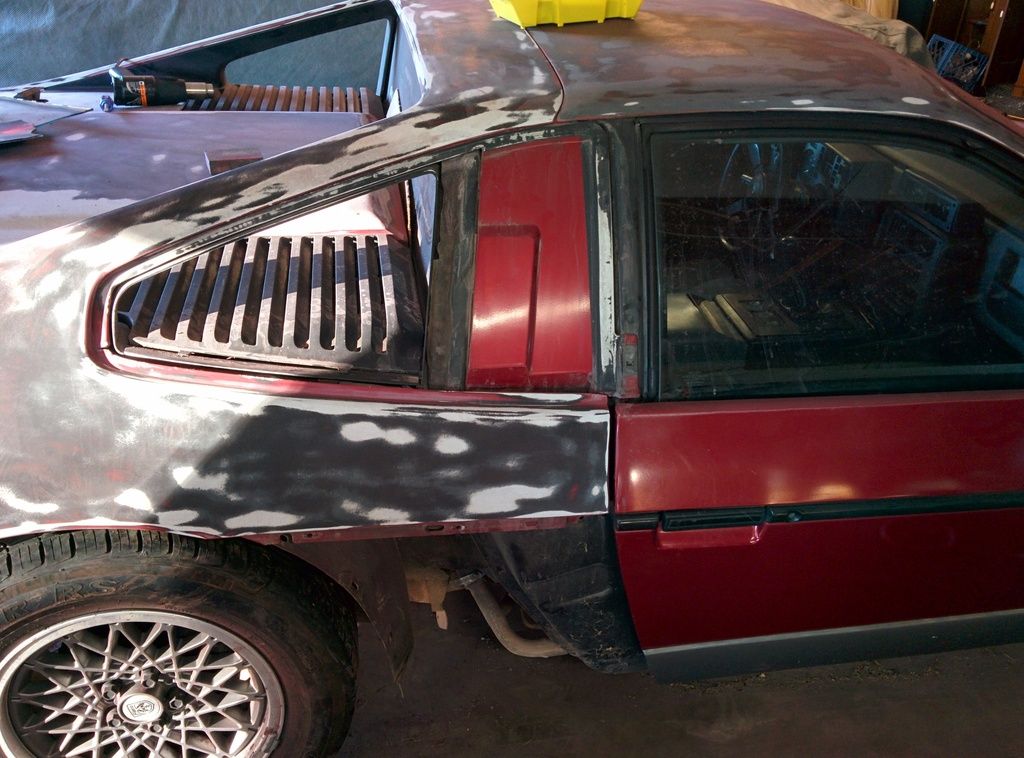
I got the openings for the sail windows cleaned up. 27 year old double sided tape doesn't like to come off. I ended up using a razor to take off the heavy portions, and a rough scotch brite pad soaked in acetone to remove the rest. It's a good thing I was already planning on painting this car, I'm not sure what I would have done if acetone wasn't an option due to nice paint!
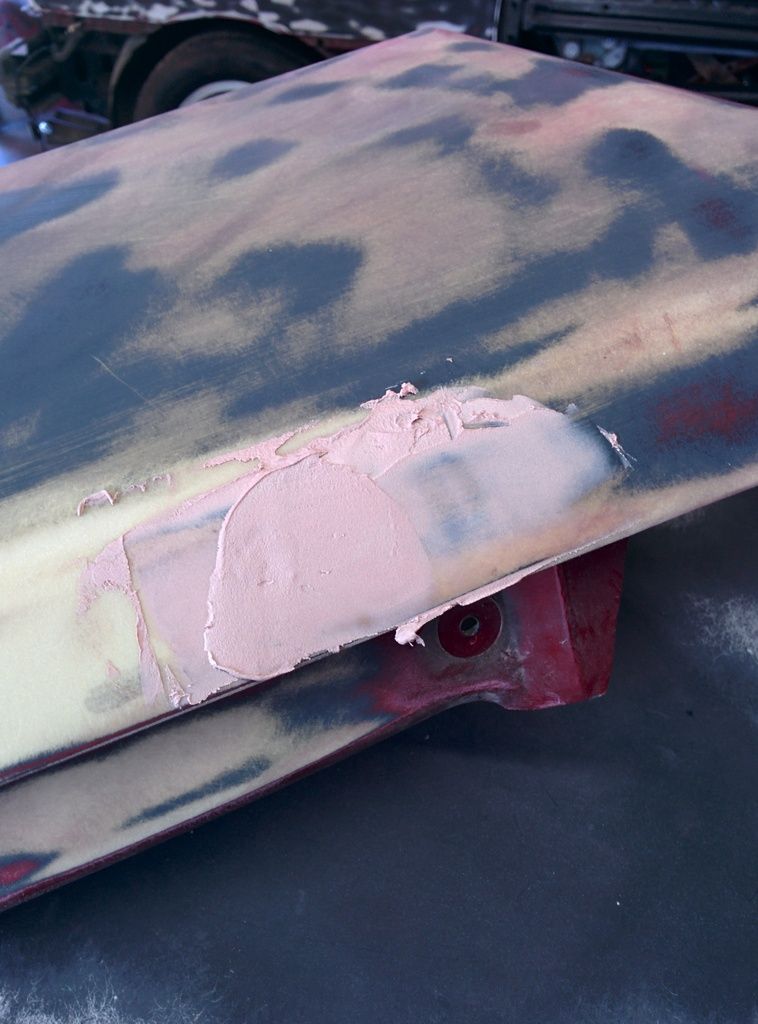
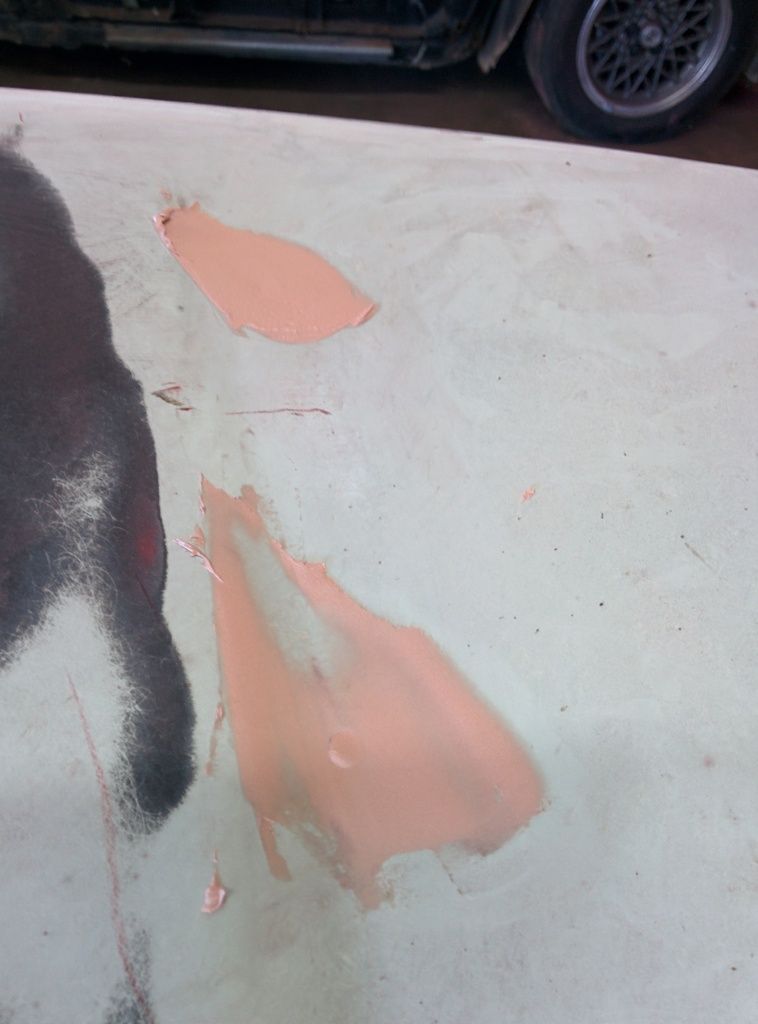
I got the entire front clip sanded down. I may need to jack the car to get under the nose better, and I will need to hand sand the light openings and grille. I'm pissed it myself-- I was in a hurry and zapped a flat spot into one corner of a headlight cover. I'll have to fill it back in with bondo and reshape it.
I'm shaving the antenna and wing, so I got around to filling those holes. I roughed up behind it to give the resin somewhere to stick
I then made a patch with fine fiberglass cloth on the inside of the holes
And then bondo on the outside
And sanded smooth. If you close your eyes and run your fingers over it, you can't feel the patch
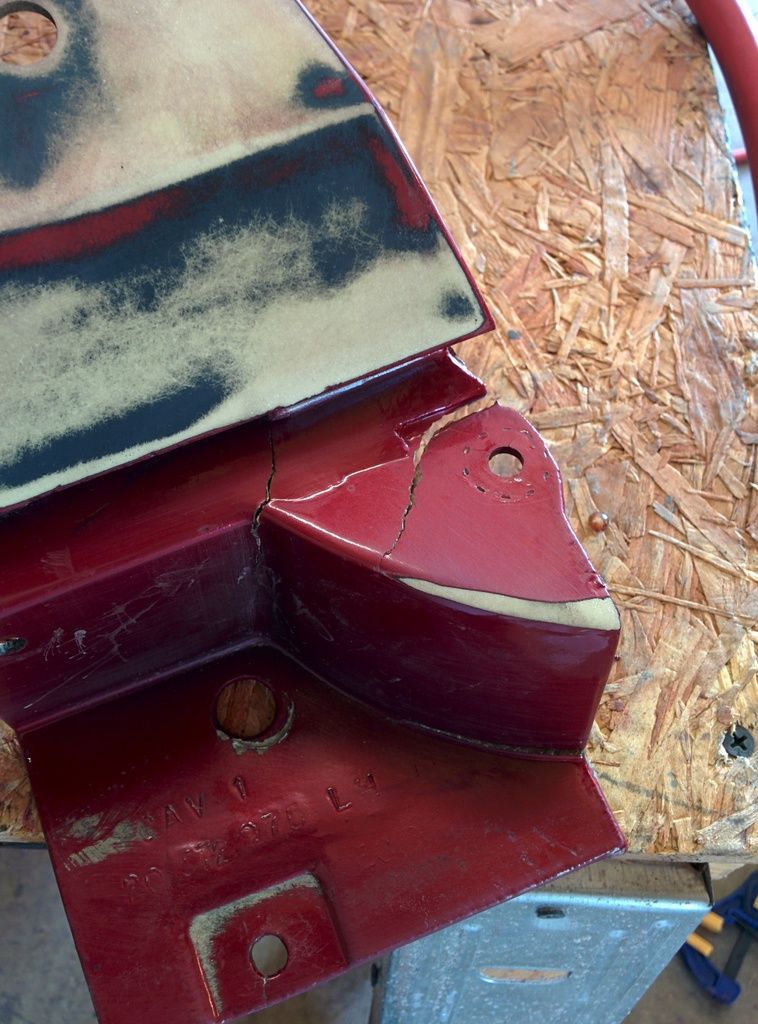
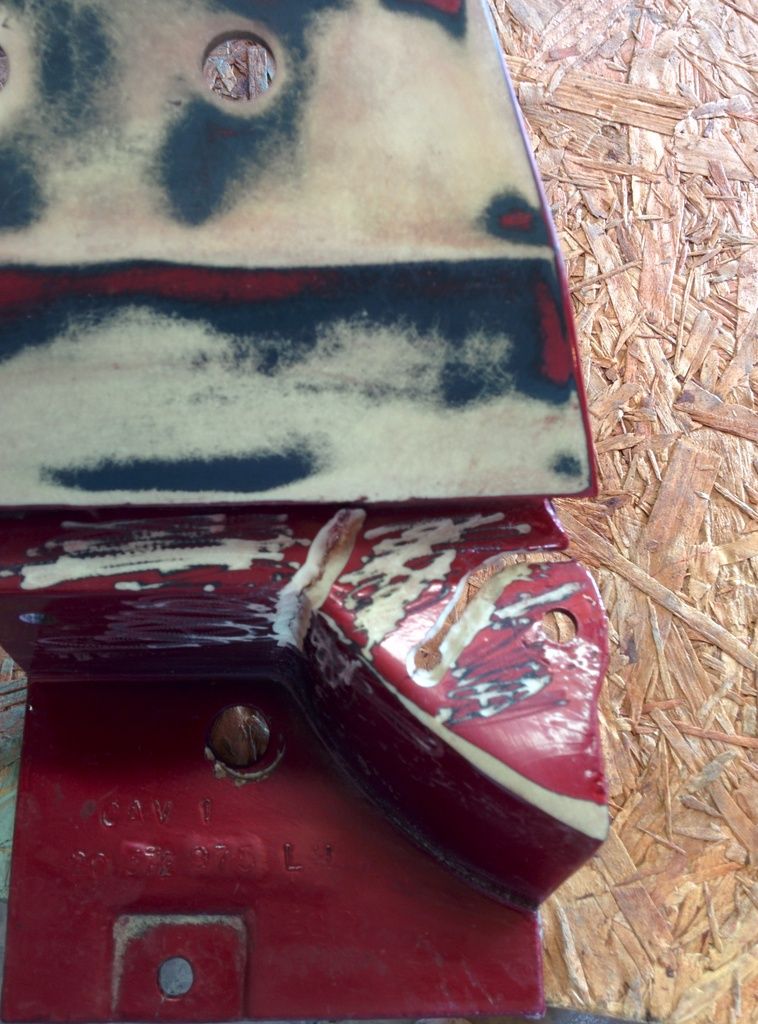
Next I turned my attention to the broken fender
I opened up the cracks with a die grinder, this should allow the resin to fill in the crack and bind it together
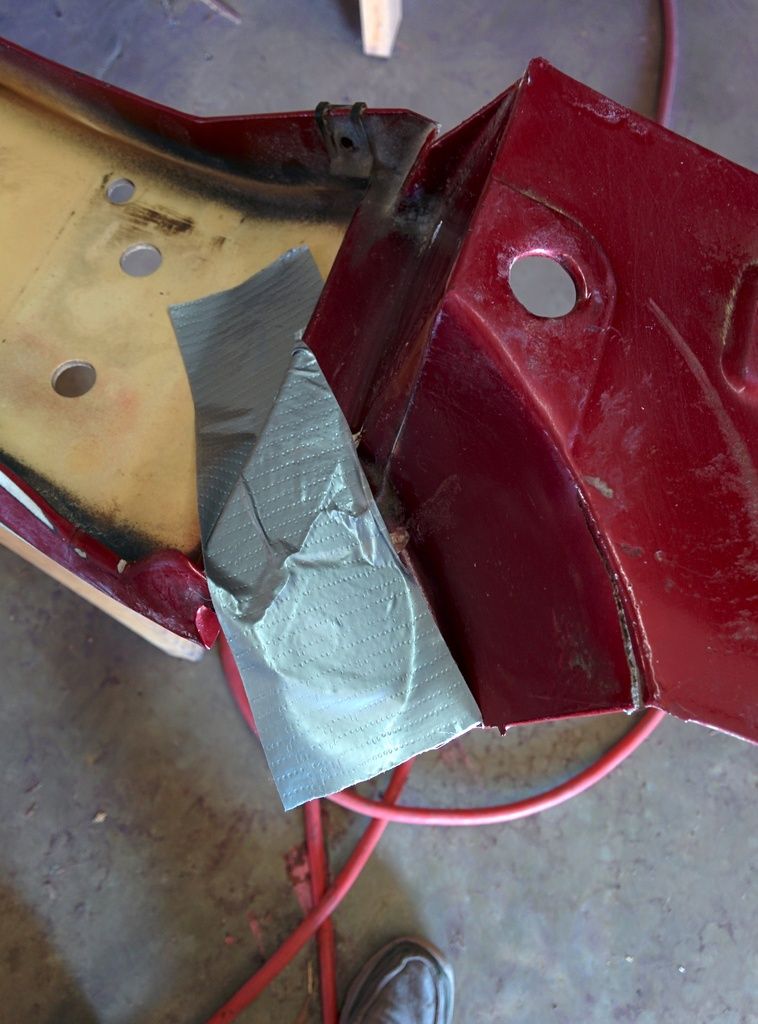
I used duct tape on the other side to hold the crack where I wanted it
Two layers of matt
Tomorrow after it cures I'll trim it and redrill the holes. I'm probably going to have to do a LOT of other damage to the car for that patch to let go!
Next was starting to rebuild the hinges
I replaced the rollers with Rodney's rebuild kits. I regret not ordering hinge pins and bushings when I ordered the rollers. I'm hoping O'Reilly's has them in stock. I wasn't going to do pins and bushings, but one of them was broken, and I decided that while I have the hinge out there's no real good reason NOT to replace the pins and bushings for a full rebuild. My mantra with this car is "do it right ONCE". The last thing I want to do is have to go back and fix something I half assed.
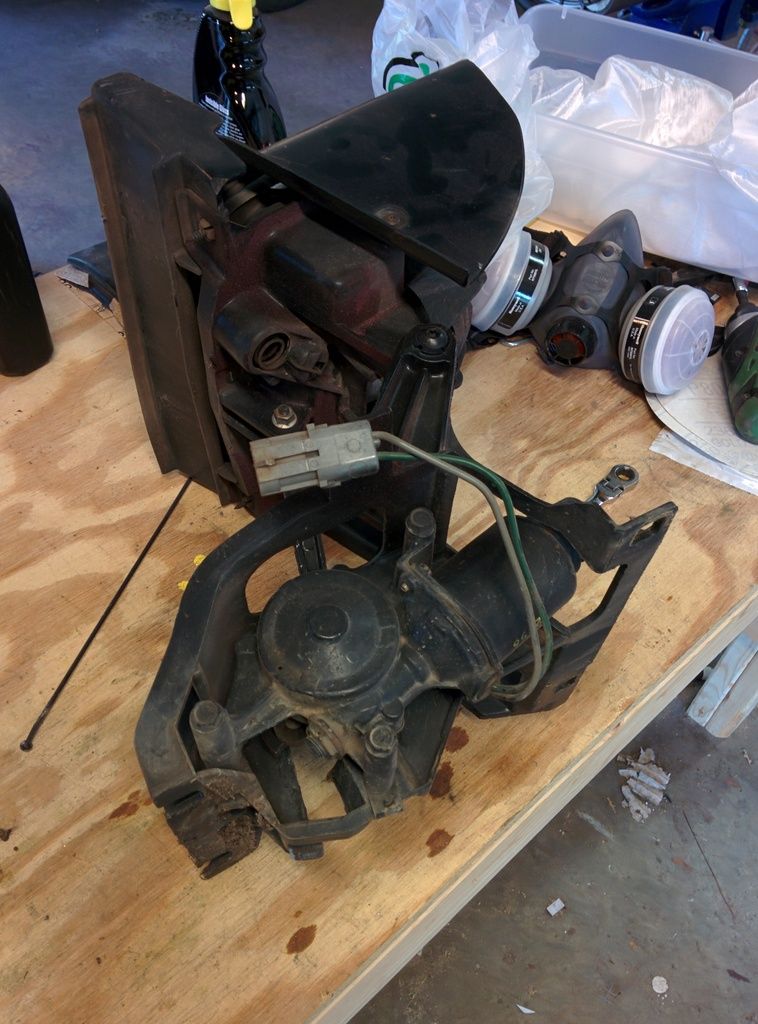
I also attacked the headlights today
These had clearly been rebuilt at some point in the past. The rivets are gone and replaced with screws. There are also no rubber bits inside the gear, instead a there is a solid piece that fills the inside of the gear. I don't see this on PFF or Rodney's page, but it's stout. The passenger's side wasn't bad-- a bit of dirt. The driver's side was a mess. The grease inside had turned to something like Elmers glue-- and lubricated just as well. I cleaned out both housings and regreased them. This helped a little, but still didn't fix my headlight problem. They come up about 90% of the time, but retract only maybe 20% of the time. I have to flip the switch a bunch of times to get them to go. What should I replace next to get them more reliable? I'm already planning on replacing the switch as all the paint is worn off of this one. What about the relay?
I finished rebuilding the hinges. I only ended up doing the bottom hinges, as the top ones look good with good bushings. The doors now open and close smoothly, though the interior and exterior panels are off right now. I'm concerned the exterior panel may not align properly right now. What's the best way to adjust them?
With the hinges done, it was time for a bath. I drove the car over to the wash rack and blasted it with the pressure washer. I think it lost 5lbs of dirt off of it! The front and engine bays actually look pretty nice now!
Got some parts in to replace some broken ones. I had ordered just the ground effect piece for the driver's side. Note how it arrived. Yes, that is the entire bottom part of the driver's side fender. I guess that's one way to get it! Thanks to FieroJon for the parts.
Look what else came in! I've got another driver's side coming in. That will give me two full sets of tail lights. My intention is to restore all four of them, plus my broken set that came on the car, and then figure out what to do from there. I'm not saying I'm going to sell them, but I'm also not saying I'm NOT going to sell them. I suppose it all depends how tight money gets during this build. I like the idea of having a spare, but I also like the idea of eating something other than ramen noodles.
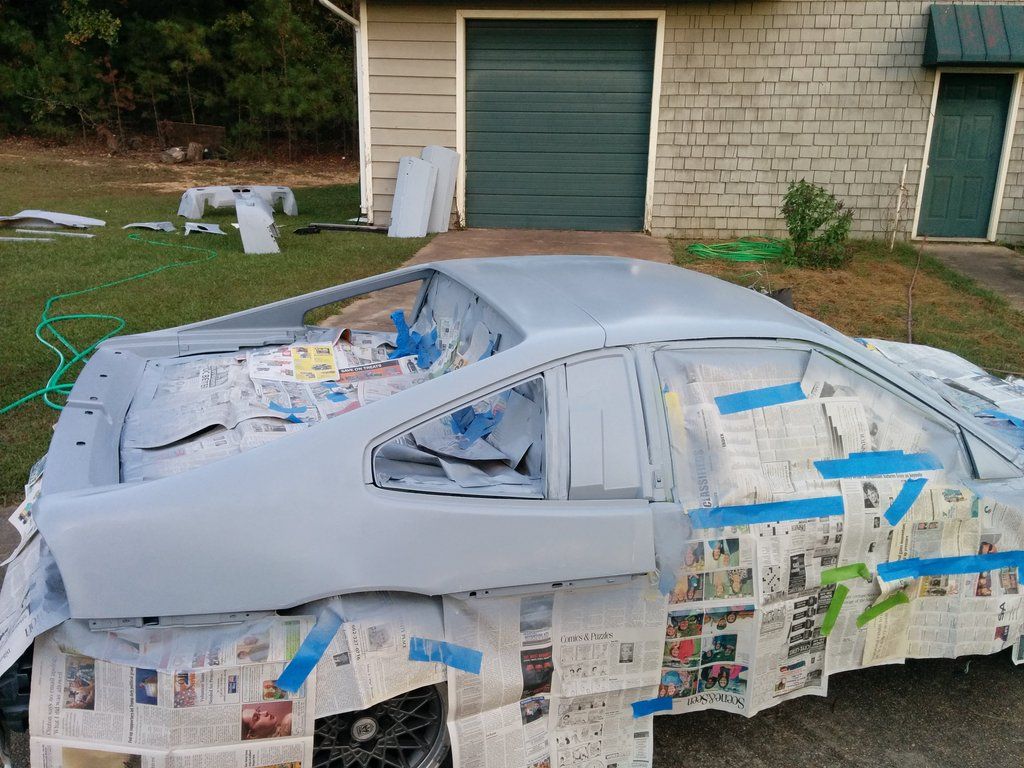
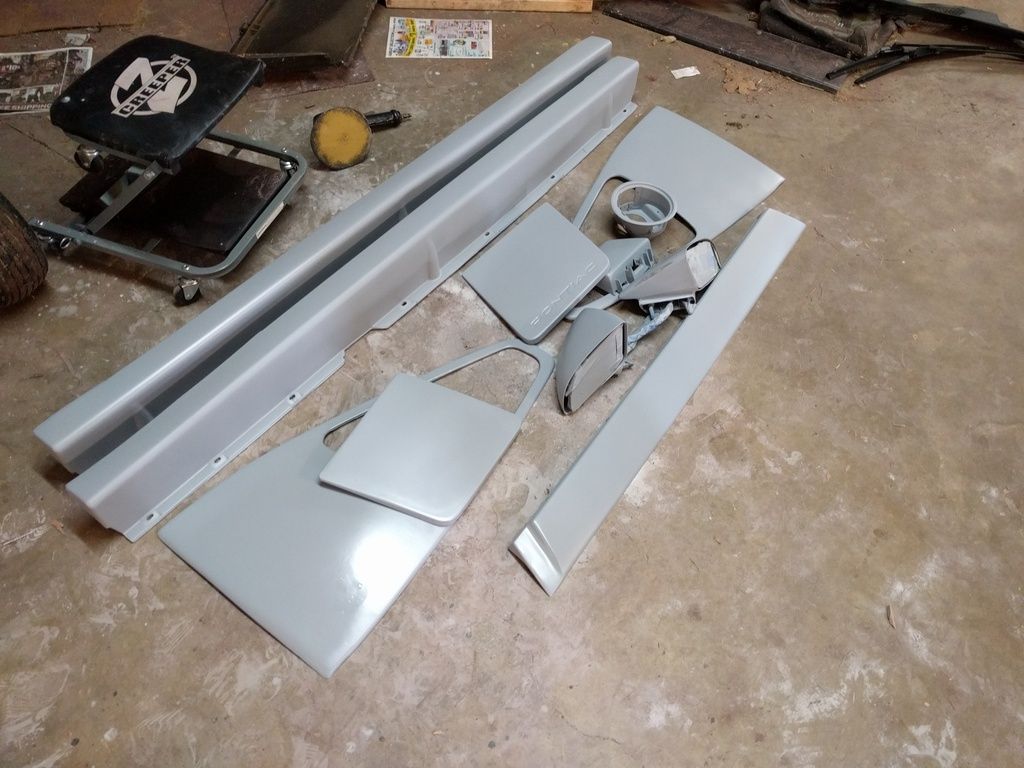
With the parts washed, I wet sanded them at 320gr, one final wash, and it was time to shoot primer. I'm using Nason/Axalta epoxy primer. It goes on very nice, but will take a few coats.
Weather sucks right now, no way I can paint for a while. I used my time to wet sand the remaining parts. The only thing I need to sand still is the rear bumper, the mirrors, and the roof of the car. With a few more days forecast to be crappy, I'm thinking I'll have plenty of time on my hands to get sanding.
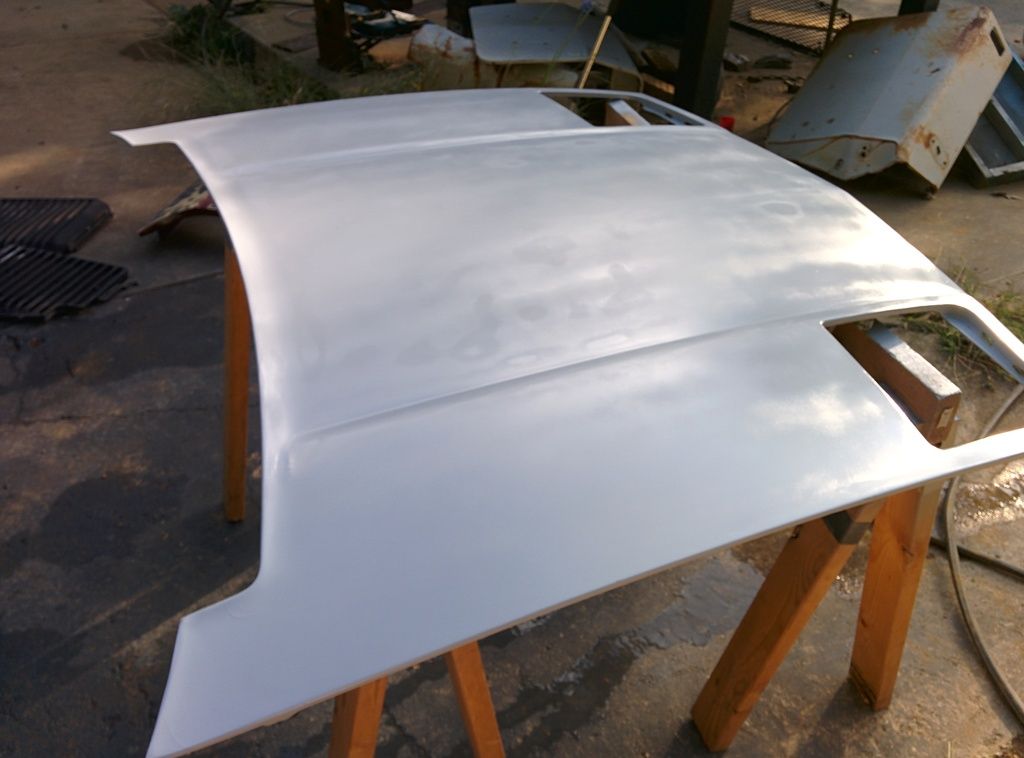
I've been back to work, so progress has been slow. I got all the major parts primed and sanded with the first coat. Only parts left to prime are the rockers, sail windows, roof, and small parts (headlight covers, mirrors, etc). Now I know why body shops charge thousands of dollars to do a proper paint job, especially a color change job. This is tedious, nasty, messy work. I'm hand sanding EVERYTHING at this point, and even though the Fiero is a really small car, it's a lot of work! It took me the better part of an hour just to sand the rear decklid. And I'm going to have to do it all again in another week or two once it gets its second coat! The top surfaces (hood, decklid, and roof) may end up needing three coats of primer due to sun cracks running that deep.
I'm nearing the end of the priming phase! I got the roof sanded and drove it outside for priming
Masking this thing was a pain. On top of that, some of the paper blew up when I wasn't paying attention and I got some overspray on the windshield. I'm hoping that's the only place I got overspray
Also got all the small parts primed. I did two quick coats of it without sanding between. I'm hoping I can get away with only having to touch up thin spots as opposed to having to do an entire second coat.
Now I need to finish the priming and have the painter take a look at the car. Based on his direction I'll paint trim and/or reassemble the car. I'm getting excited, it's starting to come together!
I haven't had a phone the past 10 days, and that means I haven't had a camera. Not that anyone here actually cares given the replies to this thread...
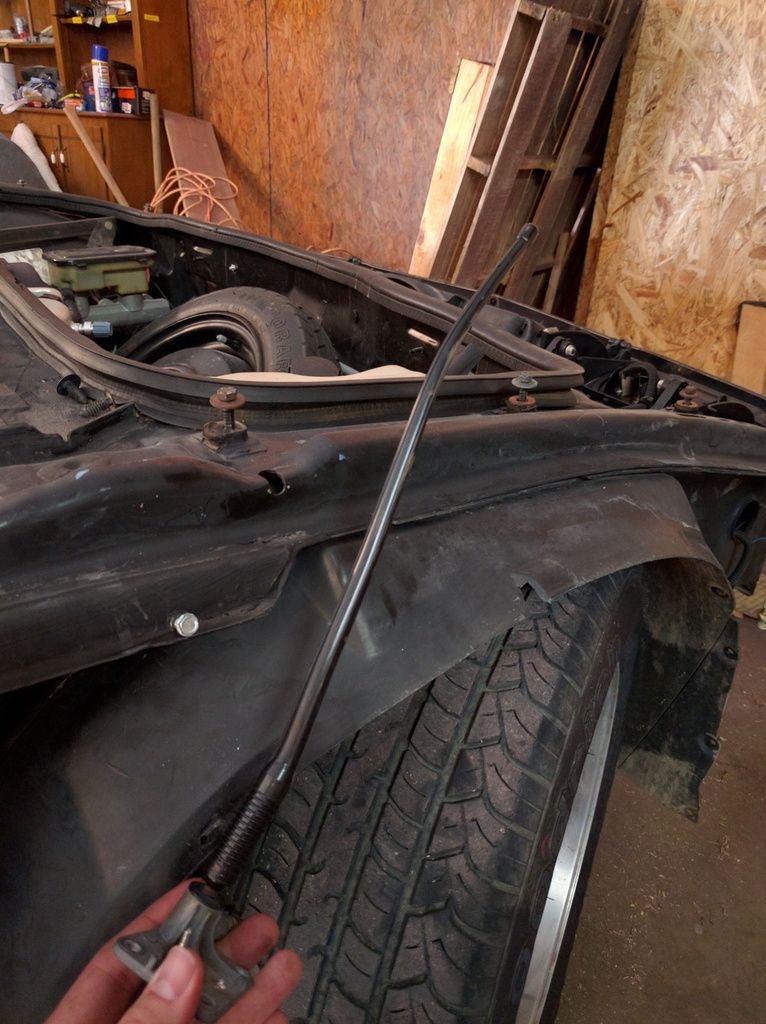
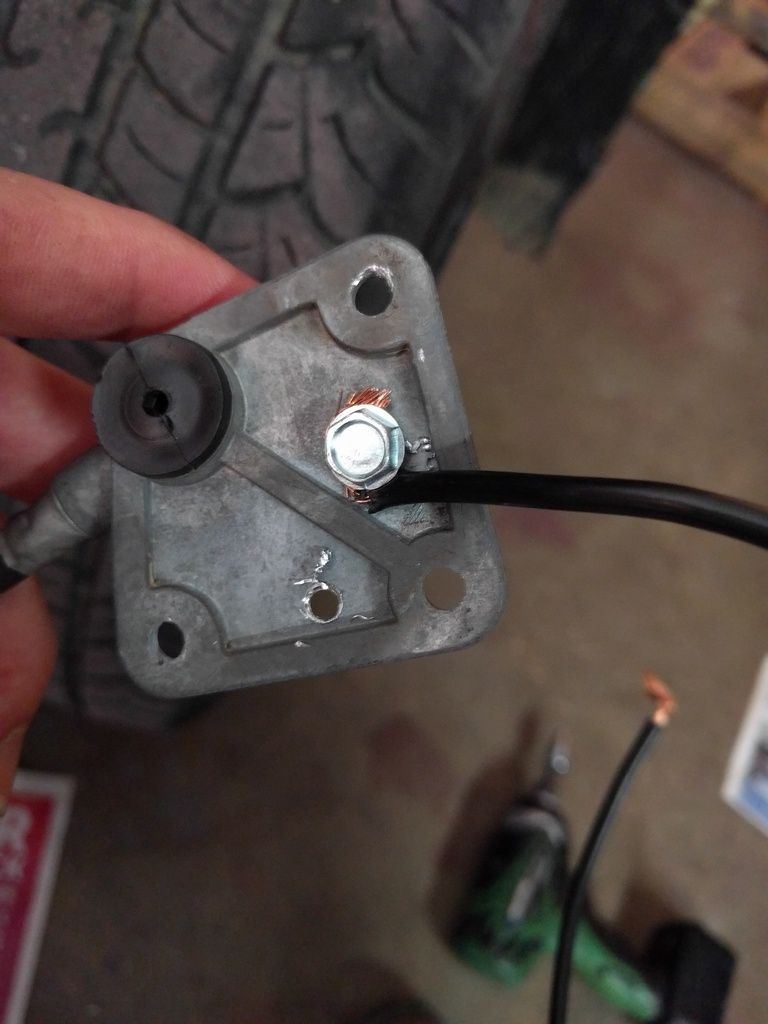
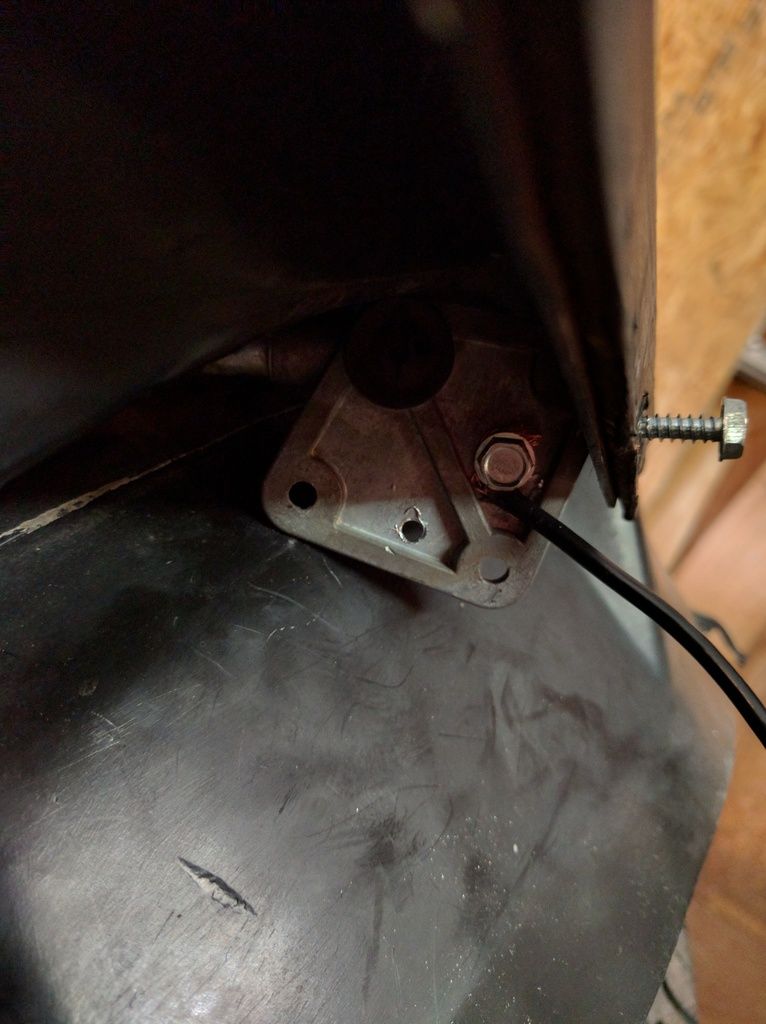
I bought a 14" rubber antenna. I was concerned about grounding out the old antenna, so this should fix it. I may have went overboard ensuring the antenna base was grounded, but oh well.
I think I have finished the priming. This is the THIRD quart of primer I have gone through, but this should do it. I laid it thick on a few spots to fill some marks. No regrets.
I did some more work on the roofline. This meant another round of primer. I was thrilled.
All the parts left to sand...
As a preview of how bad this will hurt my butt-- these three containers cost me $72
Lots more progress today! I finished sanding all the primed parts, and painted all the edges and tabs!
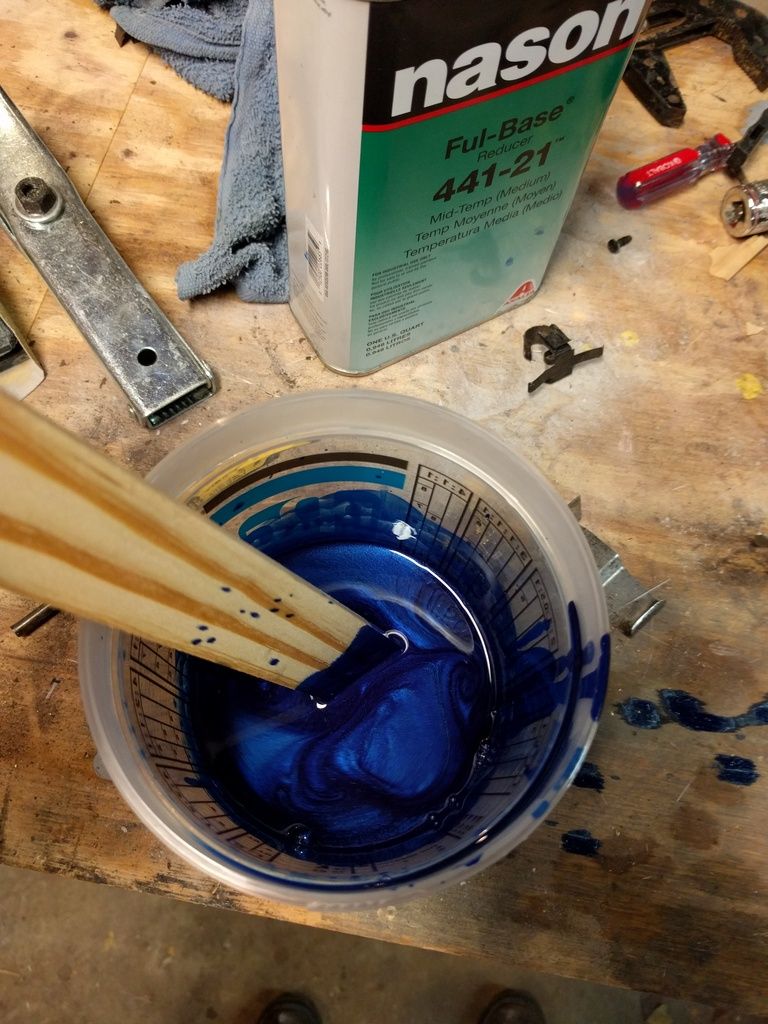
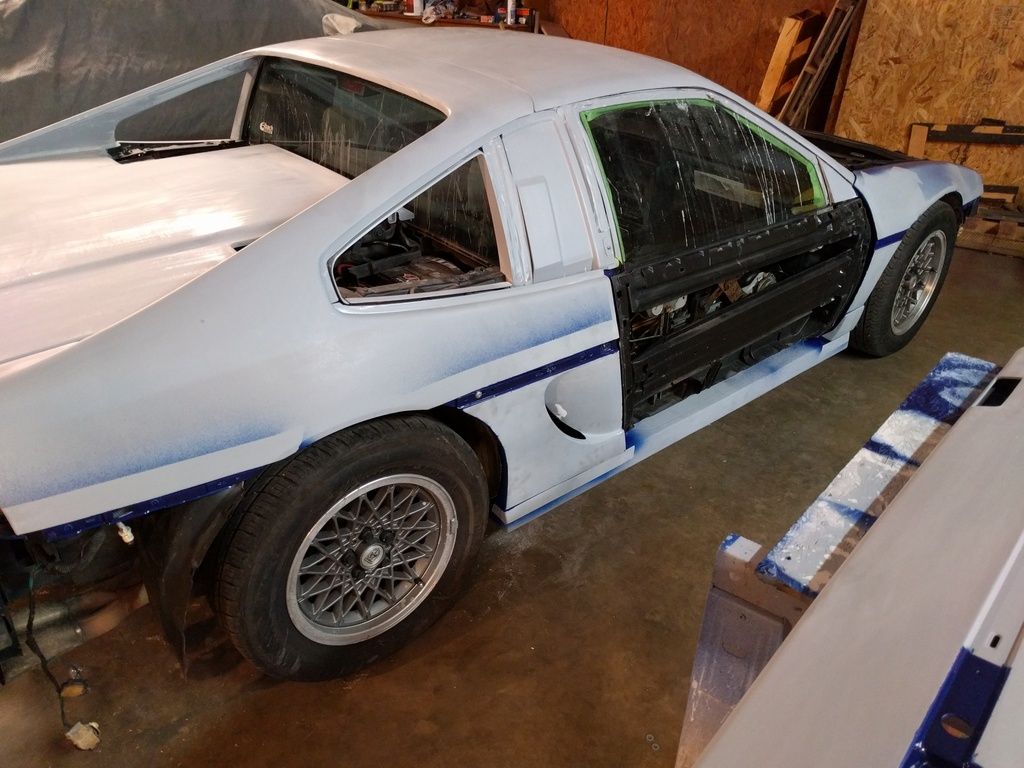
That paint is so pretty
It actually looks a bit darker than the blue on the GTO, which I'm totally ok with.
I also started to reassemble the car, if you can count putting one part back on it as reassembly.
Of course I'm a complete retard and forgot to hook up the release, so now I have to dig the key out of wherever I have it stashed to get the decklid open. Oh well. It really feels like this project is gaining momentum. I won't work on the car tomorrow (going to Talladega) so that means Monday at the soonest I'll get back at it. Next up is the complete reassembly of the car minus a few things like the mirrors and headlight covers. It may be ready for paint by nest weekend, or at least the weekend after!
Wow! Sorry I didn't see this thread earlier our you would have gotten more comments from me on that very nice car you have going. Thanks for the how to do ideas and pics. Great paint color also!
[This message has been edited by davylong86 (edited 10-24-2015).]
More progress today. Reassembly is moving along, and I hope to have it back together by the weekend.
I modified the intake tube to work better with the new scoop. Slightly ghetto, but it won't matter because nobody will see it
My repaired fender went together well
Tomorrow I put the front bumper and hood on and start working on the doors. The paint came in, so I'll respray the belt molding before I put the rear bumper on.
I got it all back together! I got all the panels put back on and it all fit pretty well. I had to do a bit of fitting on the fiberglass scoop quarters, but other than that it went back pretty well. I realized afterward that I will have to peel the front fenders back a bit to access behind them to attach the clips for the side molding, but that should be relatively simple. It reminds me a bit of a cop car with the colors on it.
When I was putting the door panels back on I noticed a problem. The inner edges are visible, and still red. I know nobody will ever notice it blah blah blah, but I will, and I have OCD, and it's my car, and I'm going to do it right.
Off the panels came.
So I said I was going to do it right.... well, sorta. I didn't feel like busting out the paint sprayer for such a minor part, so this is where the "nobody will ever see it" came into play as I brushed the paint on
There are a few runs that go around to the other side of the door, but I am going to sand it anyway so it doesn't matter. The inner edges are now blue and won't have any of that old red poking out taunting me. Once the paint dries tomorrow I'll put the door panels back on, and for real this time the car will be back together!
I got the door edges painted, and rolled it outside for final sanding. I am wet sanding it at 400gr. I really need to stop making "I think I'm done" type statements, because I've been proven wrong too many times. Due to the overspray and a few deeper than expected scratches I will have to reprime several parts of the car. I've got the sanding done, but it was too dark for pictures by the time I finished. I'll include them in the next update.
Weather was crap the past few days so I put it inside and replaced the leaky bearing seals. Not too bad of a job. I am glad I live in the south and we don't have salty roads-- there's not a speck of rust on this car, just a lot of dirt.
Weather finally cleared yesterday morning, so I sprayed the last of the primer on it. I did the last of the sanding today. I can officially say-- SHE'S READY FOR PAINT!!!!!!
I'm hoping I can get is sprayed this weekend, in which case I'll meet my goal of getting the paintjob done before Thanksgiving. After that we begin the interior.
No new pictures, but I got the price for the paint job today-- $800. It's a bit more than I was hoping to pay but far less than I would have paid had I not done all the body work myself. I also need to buy the paint, so it will probably be in the neighborhood of $1000 to get it sprayed. I drop it off tomorrow afternoon or Friday, depending on when I can escape work.
For $800.00, are they going to color sand and buff it? You could paint it yourself. I did mine, my first paint job, and it came out great. I used a Harbor Freight paint gun. You did all the other work
For $800.00, are they going to color sand and buff it? You could paint it yourself. I did mine, my first paint job, and it came out great. I used a Harbor Freight paint gun. You did all the other work
They're going to do any last sanding they find, mask, base coat and clear. I will be doing the wet sanding and buffing. My neighbor and I asked around and this guys name came up EVERY time we asked who we should go to to get a car painted RIGHT. After all the work I did I'm not going to screw around with a junk backyard paint job.
Hey guys, I'm going to need you to support my race team for the next two weeks. We'll be racing in Phoenix and Homestead and hope to bring home the championship! Who is my team?
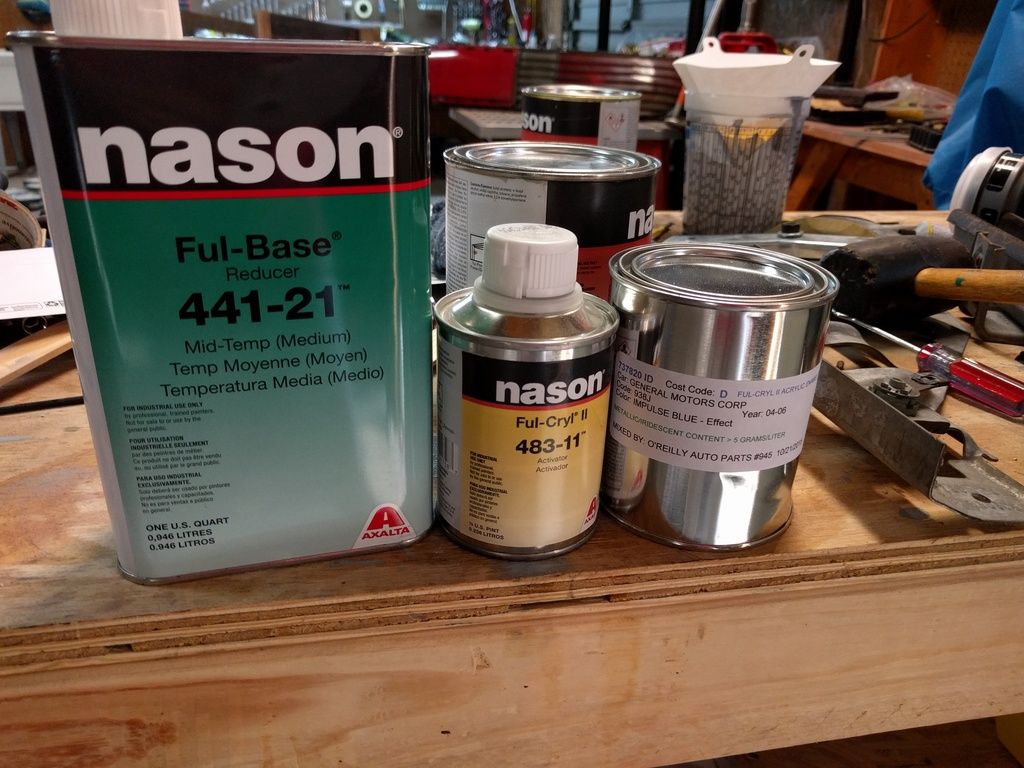
But serious, I bought the paint today. I was expecting ~$300 for two quarts of base and a gallon of clear. HAHAHA! $830 for those paints. I'm using Axalta Chroma paint and clear, so I could have gone cheaper, but that's not the direction I want for this project. It's a good thing I'm a Jeff Gordon fan, as I think I helped finance his run for a 5th championship today! That's it, I dropped the car off at the paint shop today. I'm hoping to have it back next week!
[This message has been edited by Napoleon_Tanerite (edited 11-12-2015).]
When you buff the car, if you hadn't done it before, tape off the edges of the panels to keep from burning through. I found out the hard way. Show us a photo when you get it back from the shop and after you are finished with it. That is a nice color
Just read your whole thread and wishing I could paint my car. Everything looks great so far and I can't wait to see how it comes out. I think the blue is going to be gorgeous.