The mounts look great! I have to admit I am surprised, with your level of detail, that you did not sand and paint the cradle. Everything else looks factory new!
Are you going to trim the trunk to get the coil packs to fit in their stock location? I did not try, from what I heard, the decklid will not close with them mounted there without modification. I would have liked to have them there, to keep the "front" of the engine clean when opening the decklid.
I decided against doing the cradle since I'm not doing the frame. There was no rust of anything on the cradle, so I wasn't worried about how it looked since the rest of the frame won't look new anyway. The suspension parts will be powder coated, so the parts that will be visible will have nice paint.
As for the coils, the plan is to relocate the battery to the front. I will then mount the coils and computer in that place. I also plan to take advantage of the passenger side scoop and route a duct from that scoop into the bay to flow air over the computer and the coils. I understand it's not necessary, but any airflow will help, and the air the flows over the computer and coils will also go into the engine bay.
Just read through this whole thread. I know at times you said you haven't been doing much, but it's been less than a year. A lot of people (myself included) take a lot longer to do what you've done in less than a year. I know you still have more to do, but nice job so far! I'm a fan of blue, and that's a nice color.
Lots of little stuff done the past few days. I'm at the stage now where there's not much major left to do. I'm seriously considering doing the swap much sooner than I originally planned. I was going to wait until the end of the race season to do it, but the next race is Oct 15-16, and there is a month between then and the last race in Nov. I had originally planned to wait until after the Nov event, but I'm really considering trying to get it done in that one month window, but it doesn't leave me a lot of breathing room.
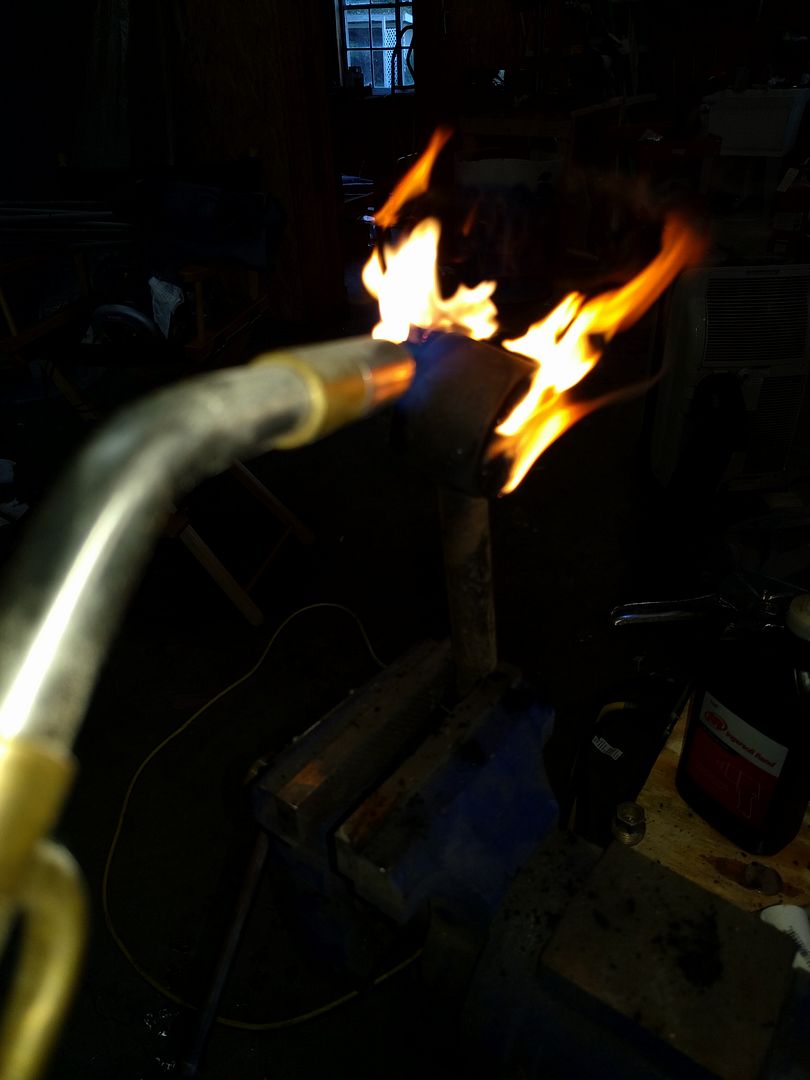
I had a little camp fire yesterday.
I ran everything on the wire wheel
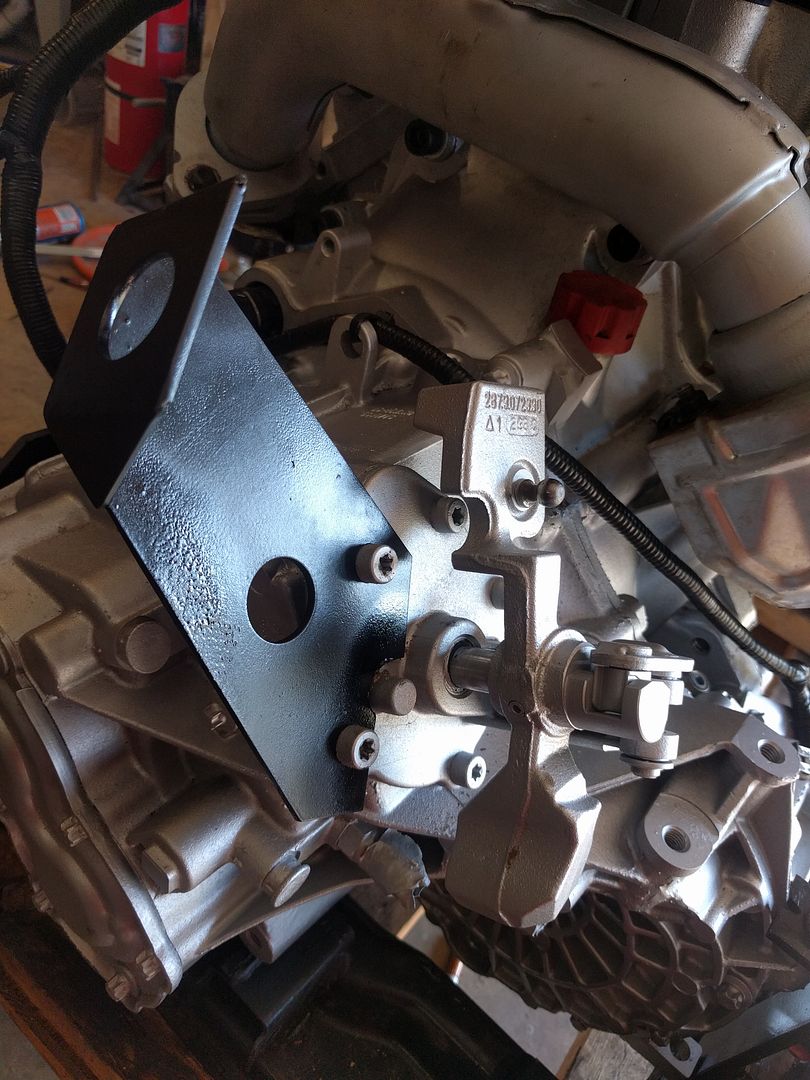
Now it's out getting powder coated. I ran most of the vacuum lines and wiring harness today. It looks like a mess right now because the excess is laid back over the top of the engine, but it's a pretty clean run once I get everything routed.
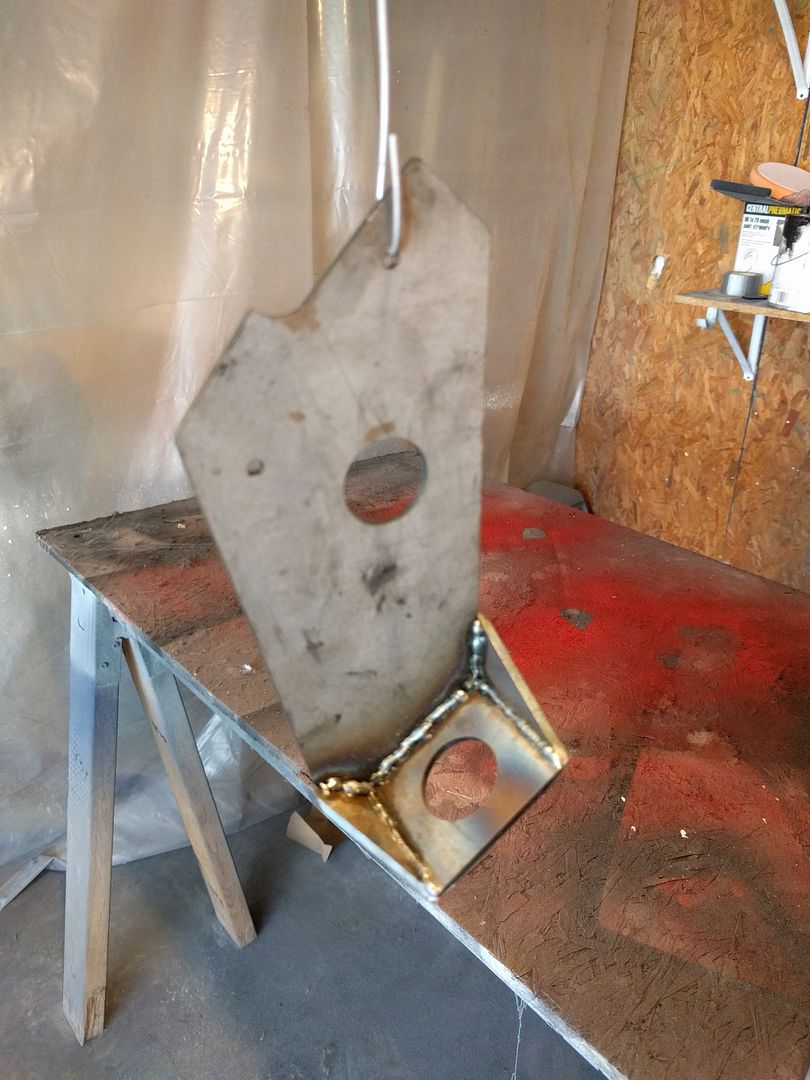
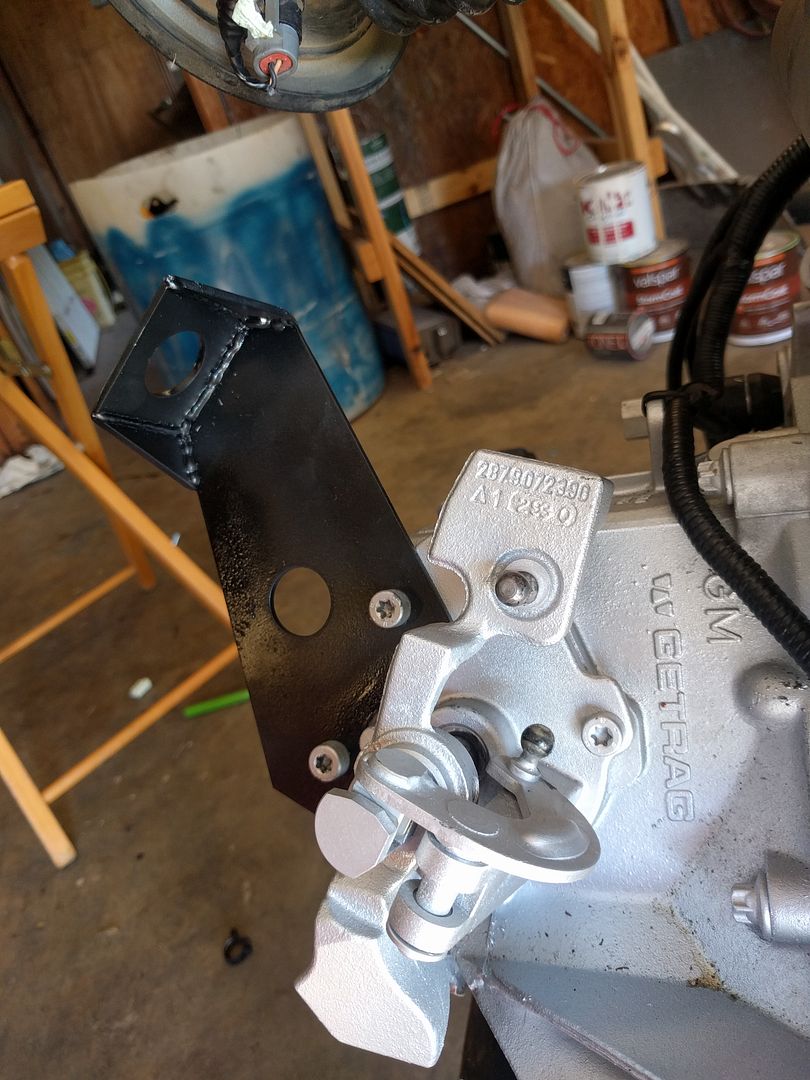
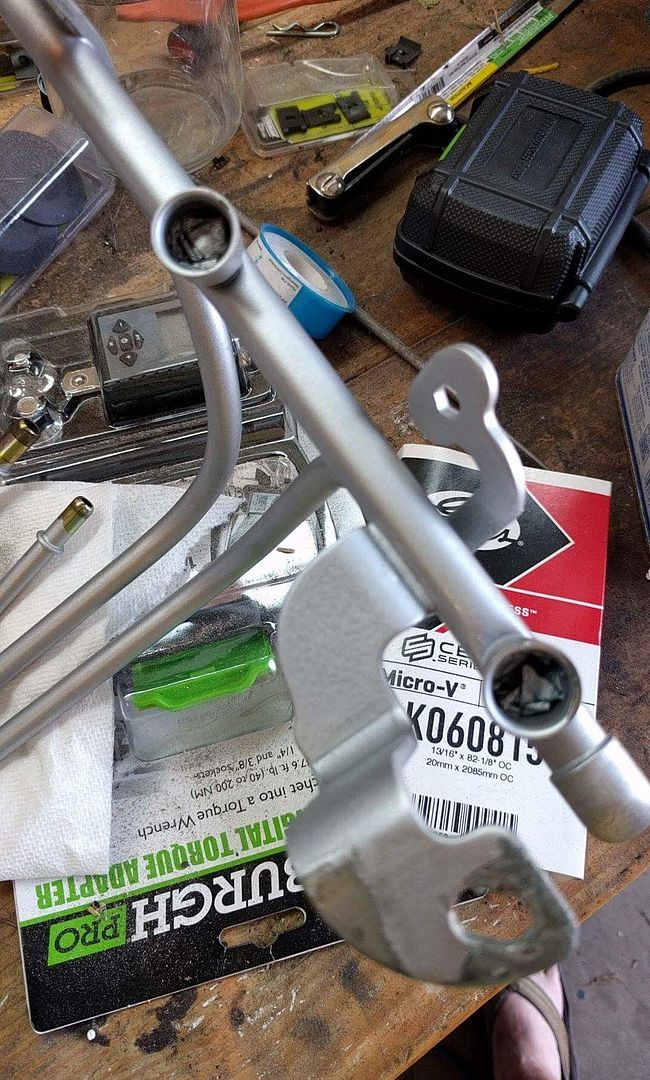
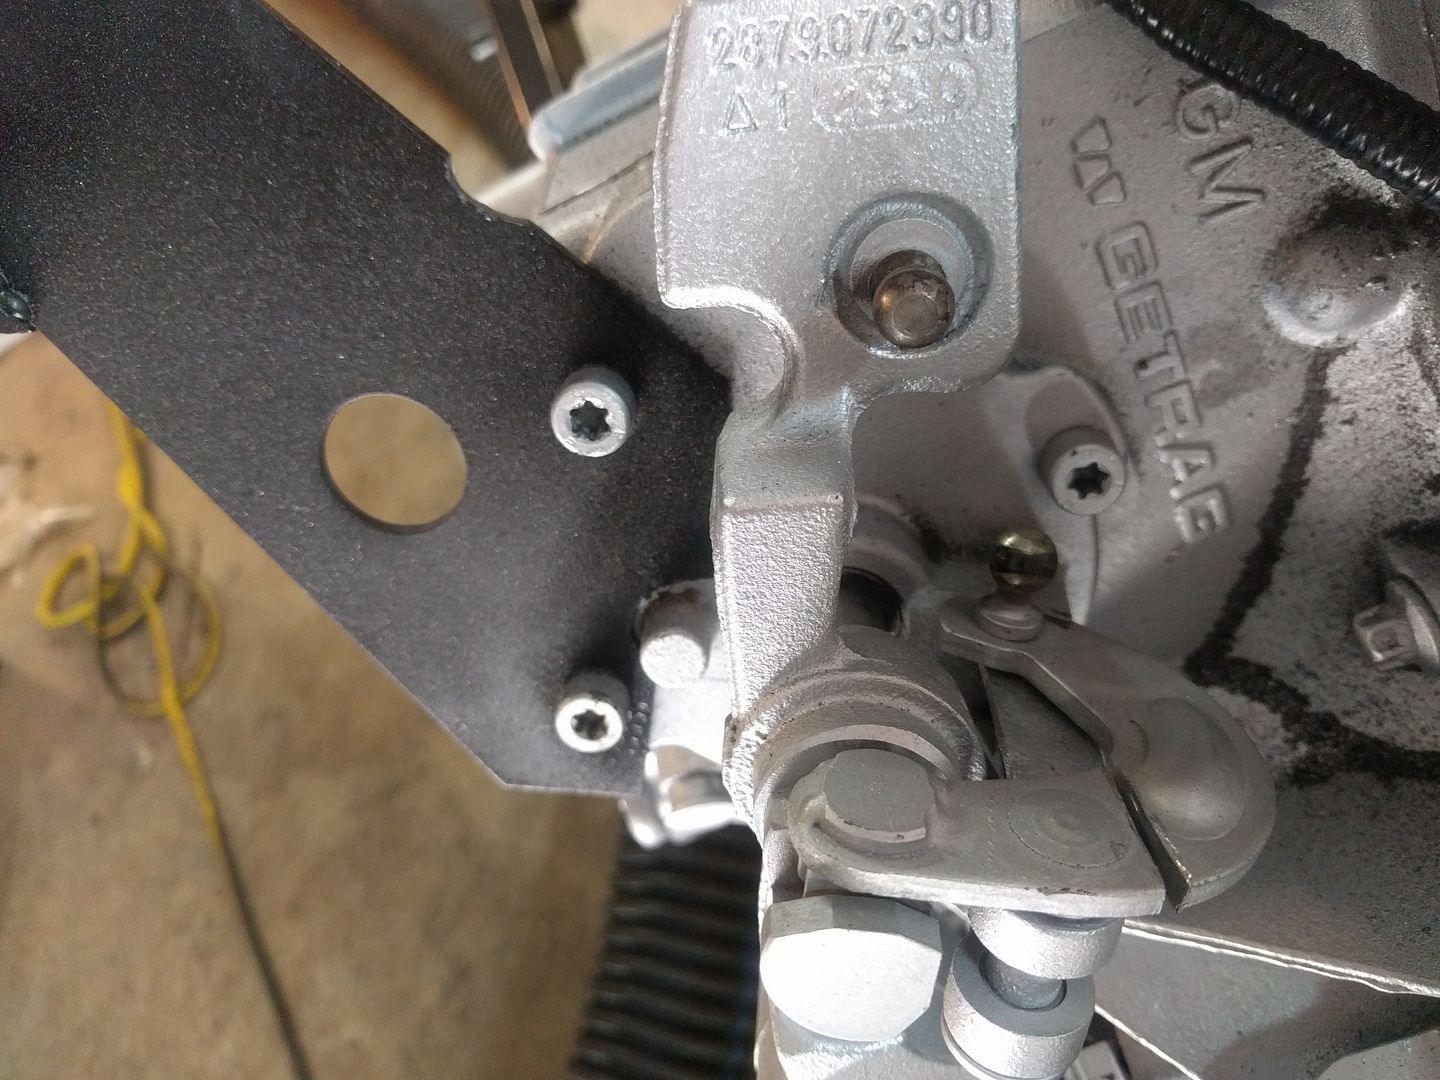
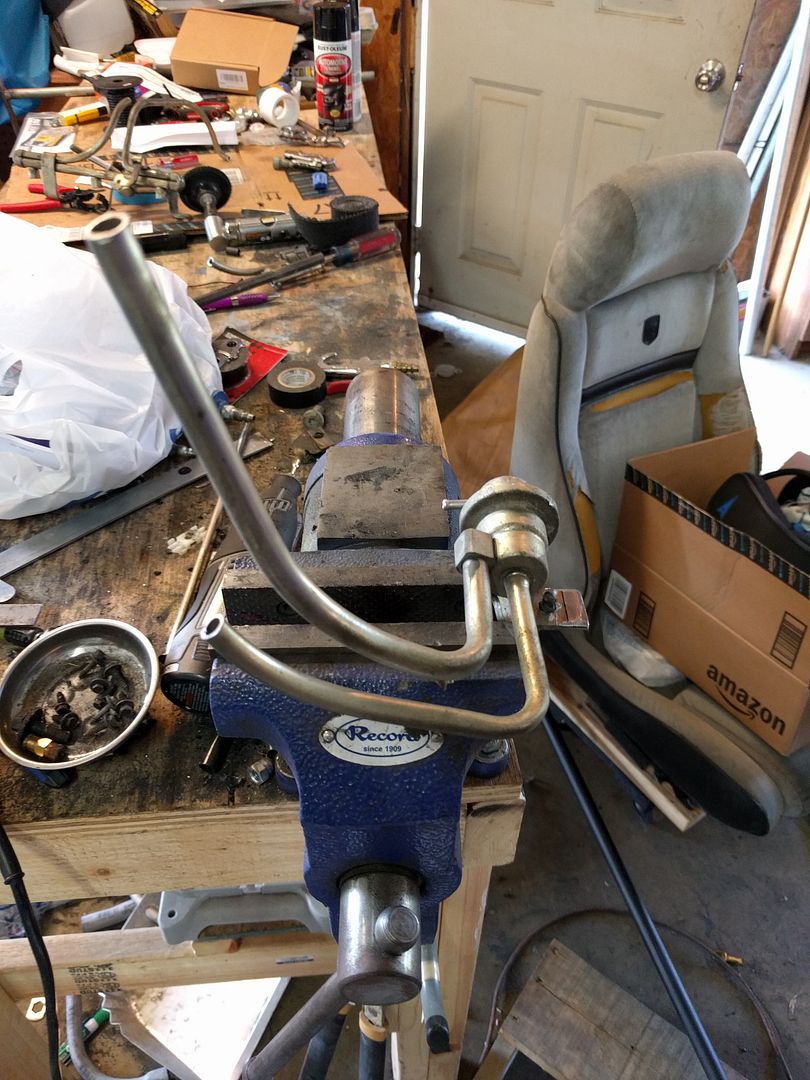
I welded up the shift bracket for the F23. I still need to find some sort of arm to weld on for the select lever. If anyone has a scrap manual trans, let me know.
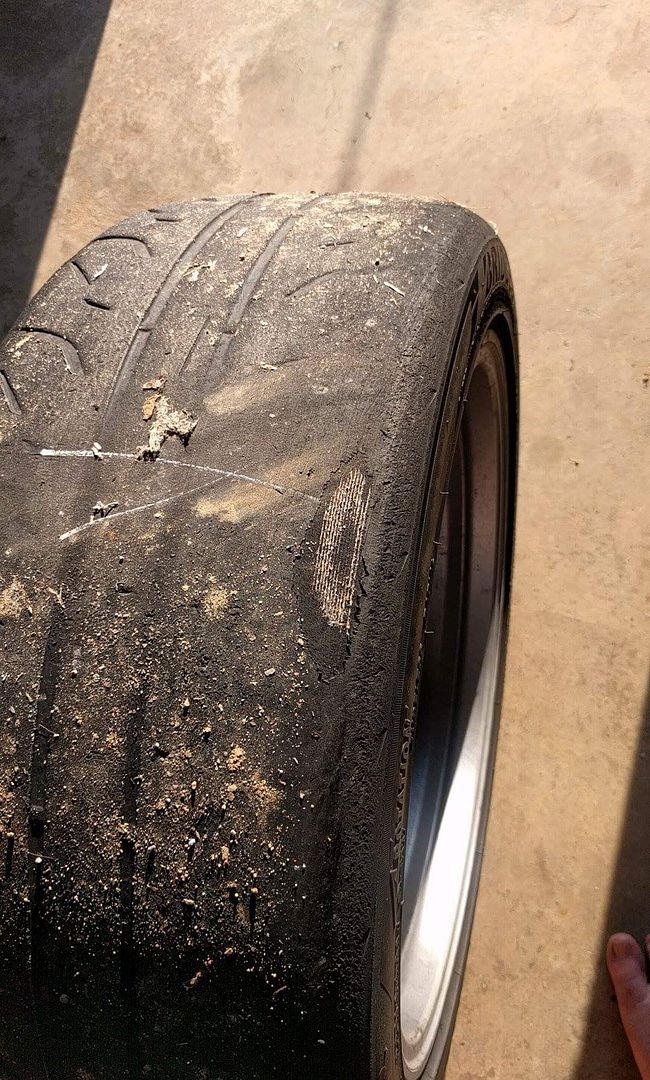
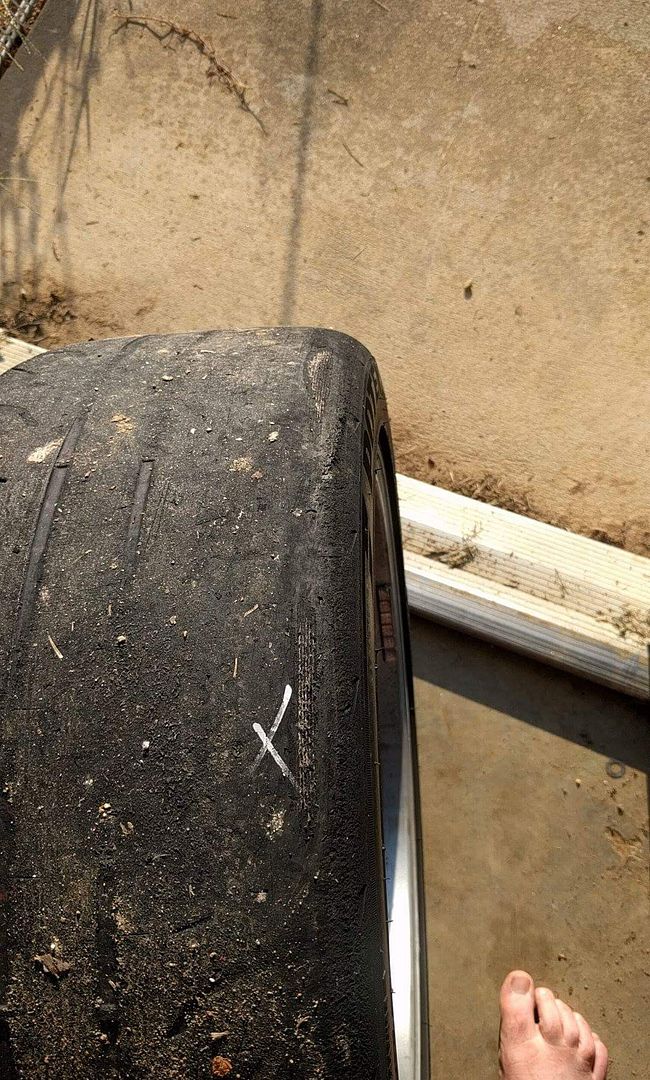
I did have a bit of a setback this week. Nothing major, financial more than anything. I had hoped my tires would make it to the end of the race season. That was not meant to be.
I would have run this one. It's flat spotted all to hell, but good enough to get by
I averted a MAJOR disaster today. I had asked a trusted advisor about my fuel rail not being as far down on the injectors as I expected it to be. He told me to try lubing the o-rings. So I pulled the fuel rail off and found this
I never had removed the wads of masking tape I used when I masked the fuel rail to paint several months ago! That would have been at least a major annoyance as I tried to troubleshoot a no-start, or a complete disaster if it pissed fuel everywhere and caught on fire!
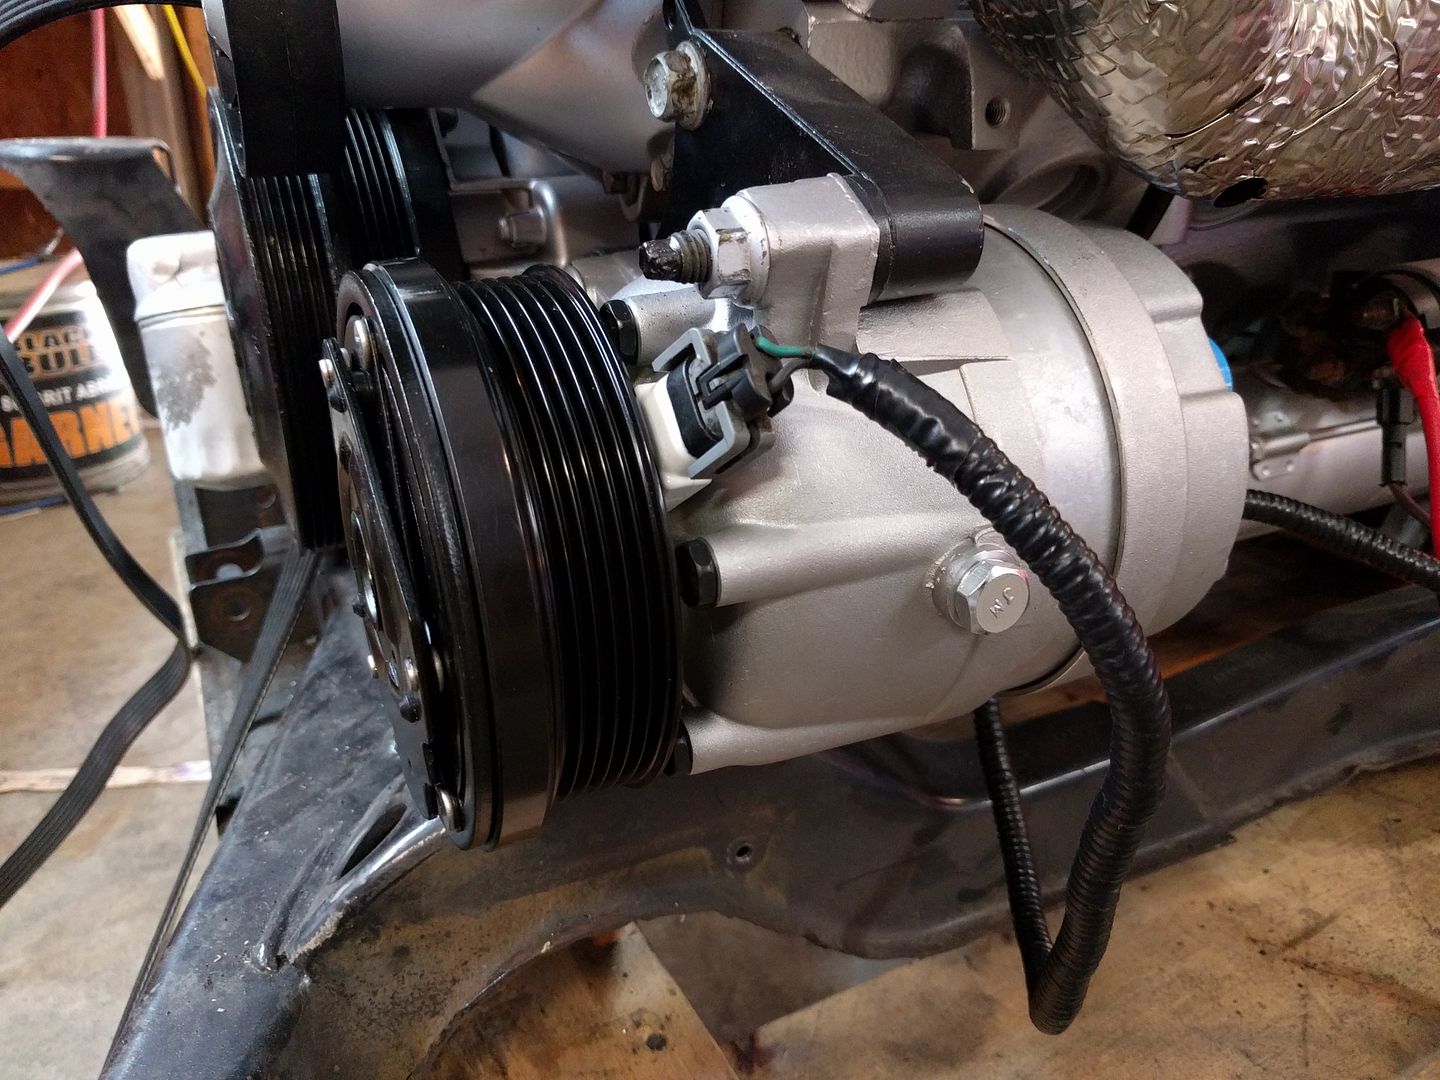
Not much work done today, at least not directly. Only thing I did was a 10 second job of replacing the AC compressor. I never trusted the one that came on the engine, and I figured it was worth it to replace it before I went through the trouble of getting everything set up just to find out it doesn't work.
Since I was pretty much caught up on the engine, I went to the junkyard today. As a result my project has a setback now. I need to re-do the supercharger, LIM, and probably modify the harness and PCM. It's not that I screwed anything up, I just found........ this.
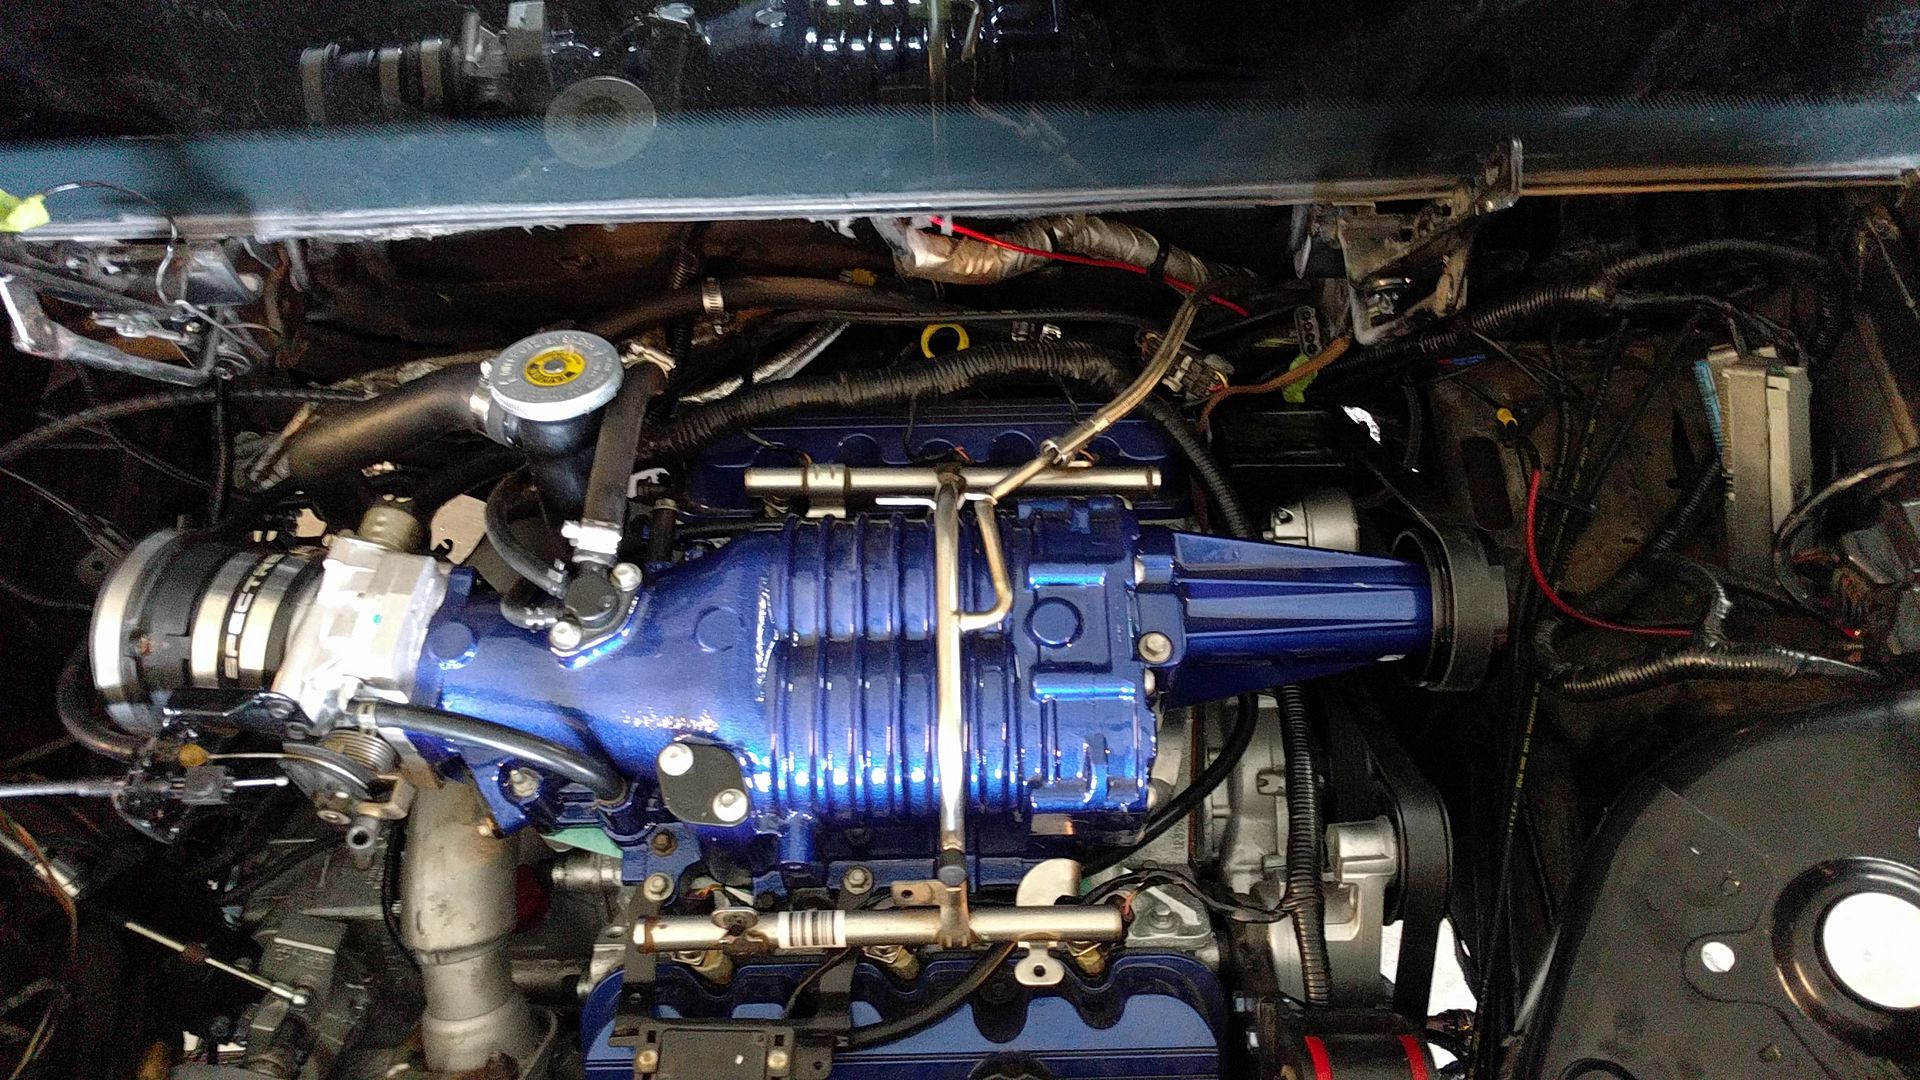
I was on the yard maybe 5 minutes and I saw a new body style Grand Prix. I figure what the hell so I walk over. I approach it from behind and see the GTP badge on the back. I'm thinking "no way, this thing is stripped". Well I opened the hood and it was like this:
There it was. A GenV supercharger. Junkyard unicorn. Battling a swarm of mosquitoes and oppressive Alabama (yes, I drove an hour and a half to get to this yard) I unbolted the blower and LIM. I cart my bounty to the front office and pay the man $250 for everything. Quite the score indeed!
Now I will need to clean and paint it along with the LIM, as well as pull the pulley and replace it with the MPS that's on the GenIII. I'll probably go 3.6 on the GenV, at least until I know that the engine can handle more. I've already got a Northstar TB and adapter on the way. It will be more work until the swap is ready, but I think it will be worth it!
I started today by cleaning the supercharger. About 30 minutes with a wire brush and it looked new
Masked it off and into the paint booth with it!
I gave it a decent coat of self etching primer to start out with
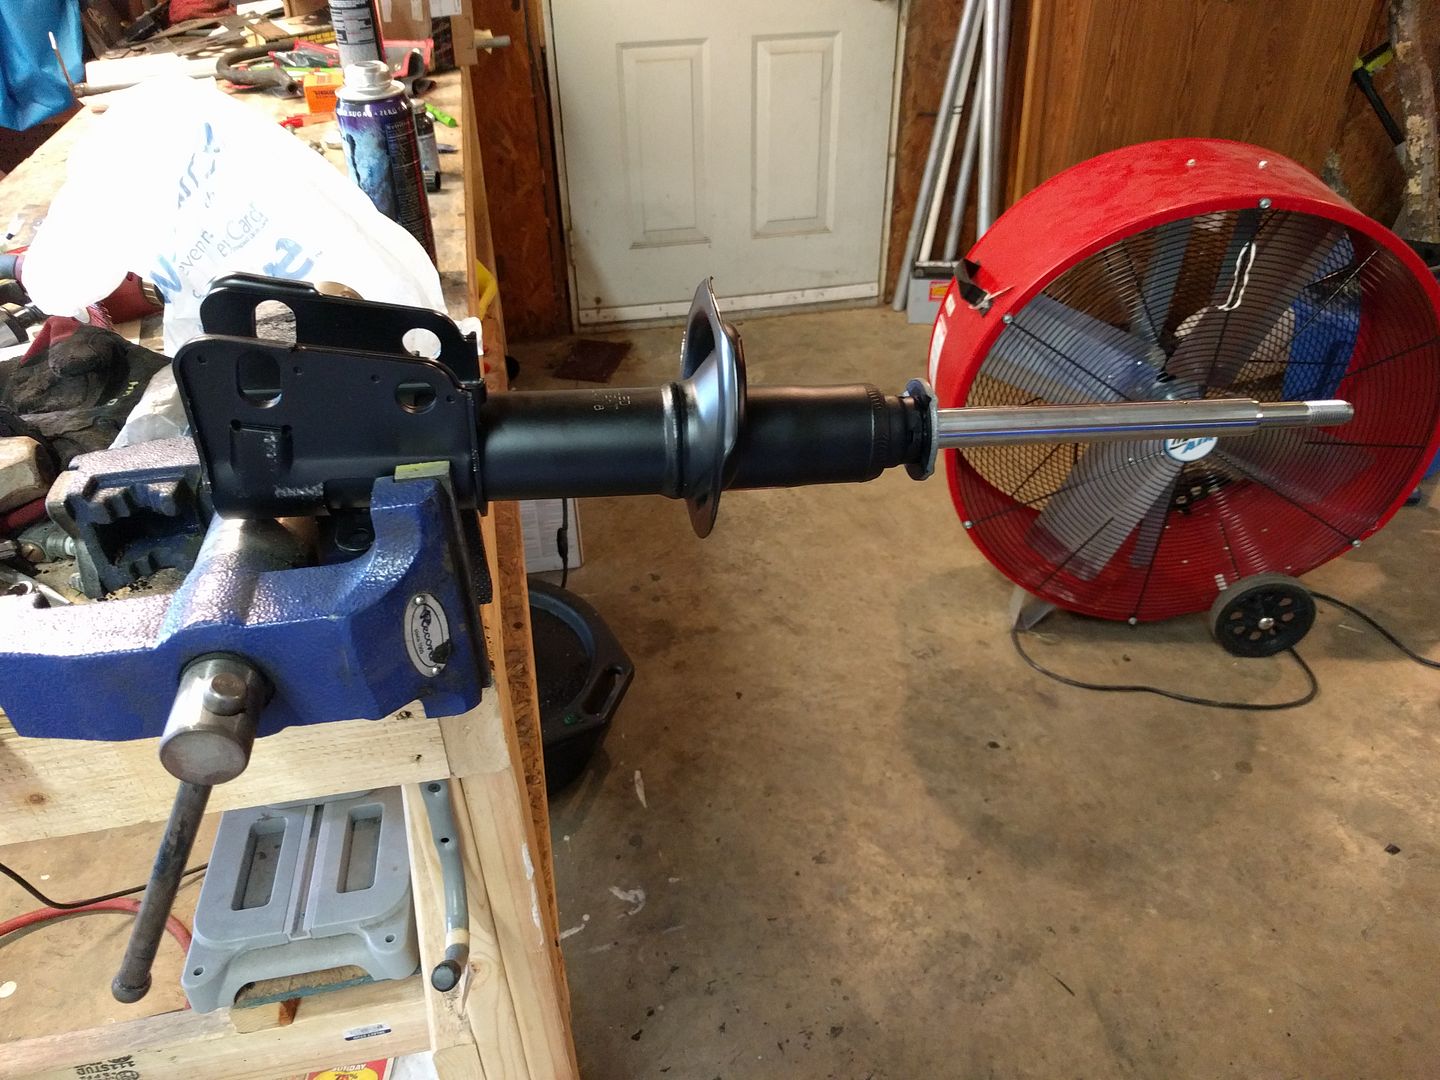
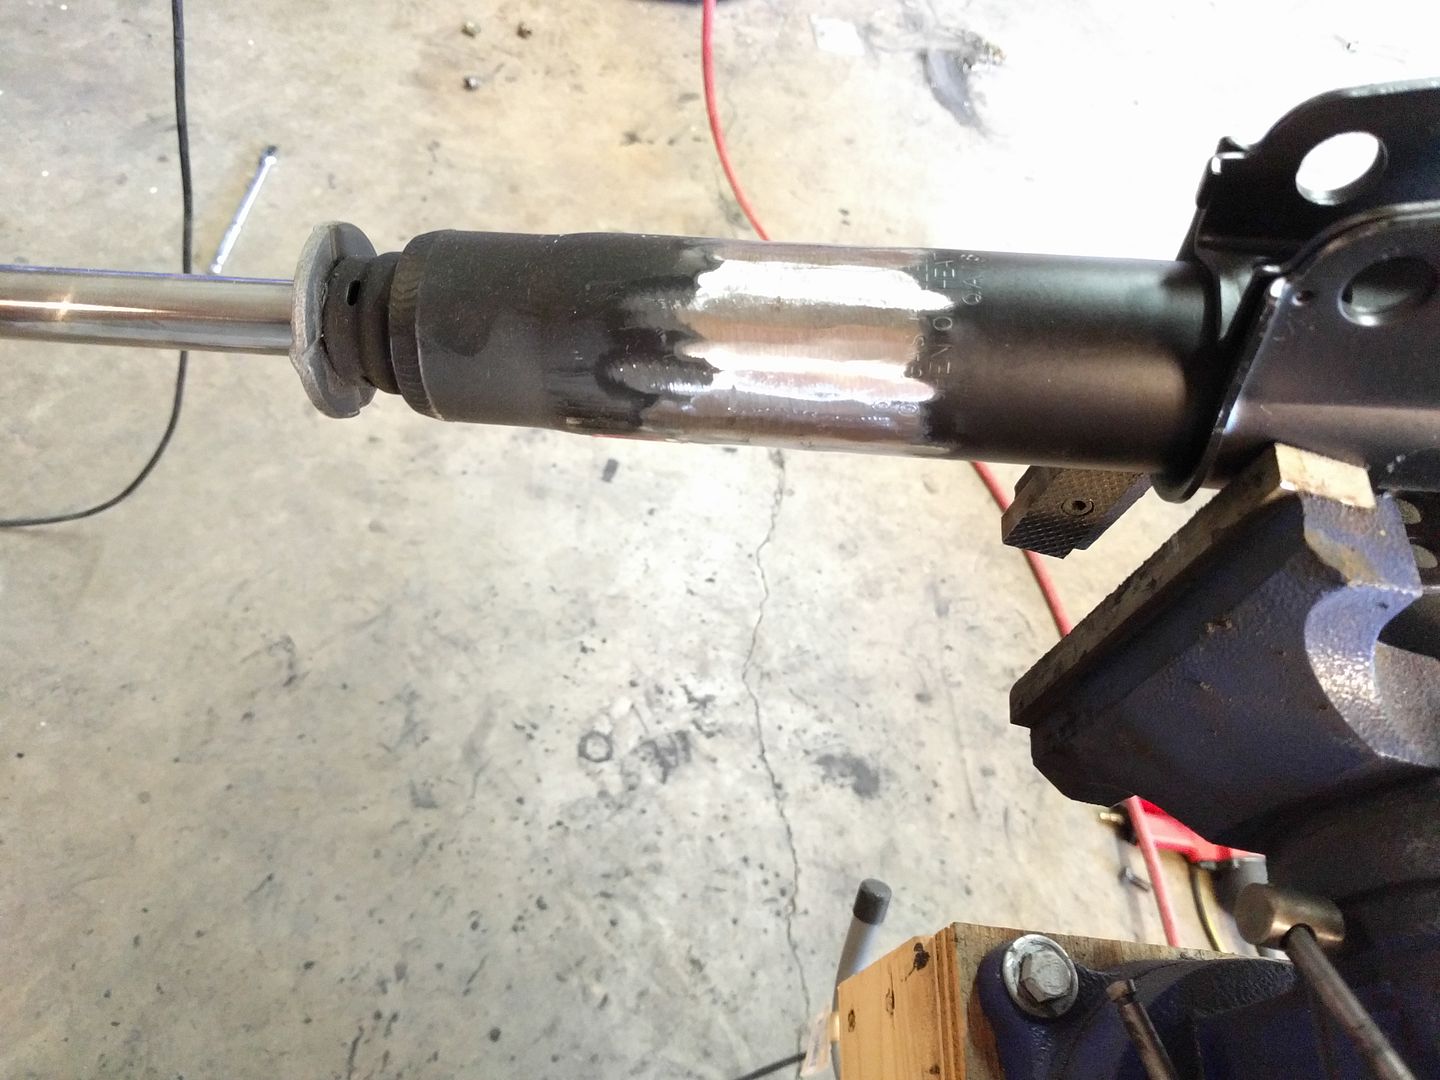
While I was waiting on the primer to cure I got to building my coilovers. I had purchased the kit used months ago and it has sat in a box. The price was right and I knew I would end up needing it eventually. The shocks were worn out, so I needed to rebuild them with new shocks. I used a set of KYBs
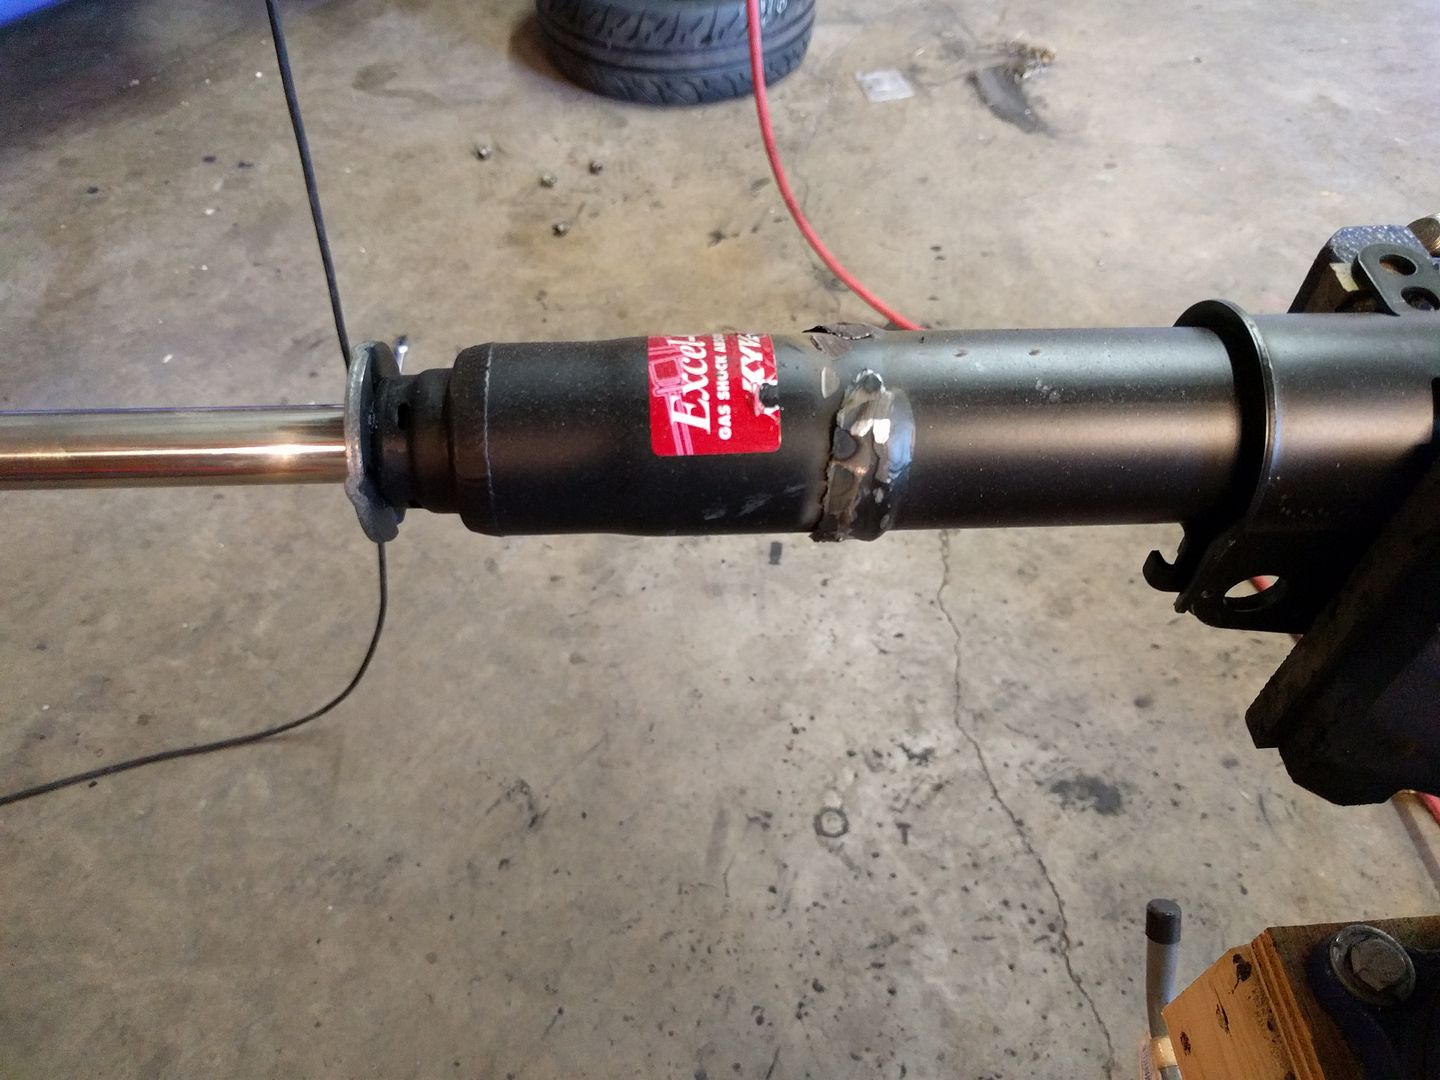
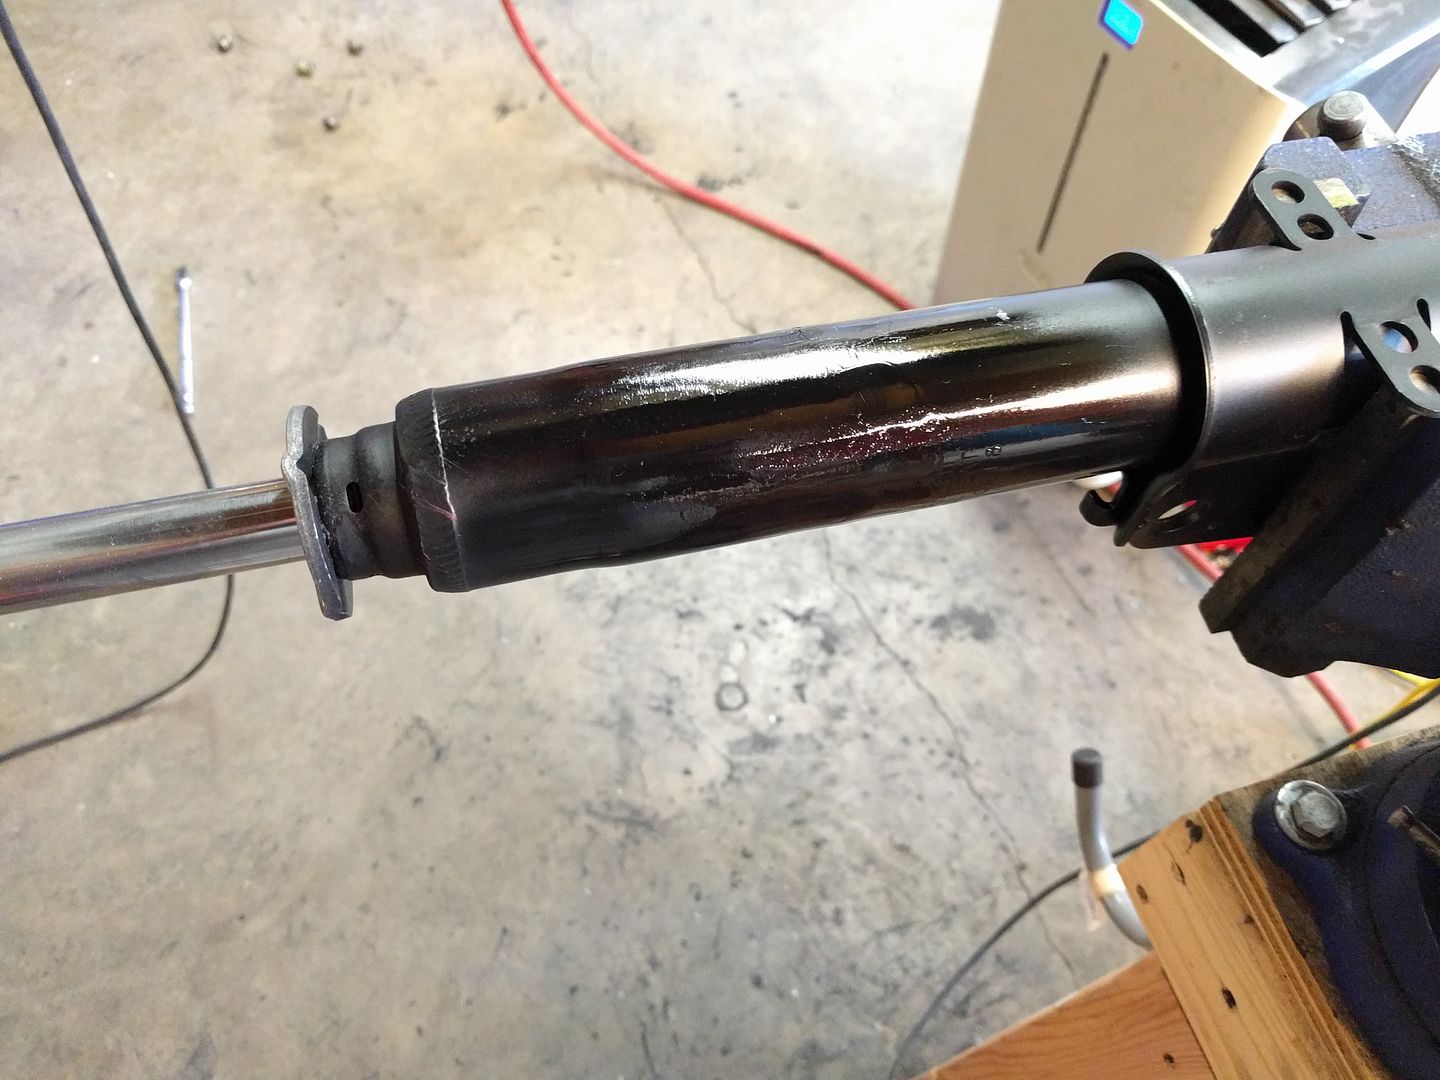
I cut off the spring perch
smoothed it out
And a shot of paint
Repeat with the other shock, then it was a simple matter of assembly.
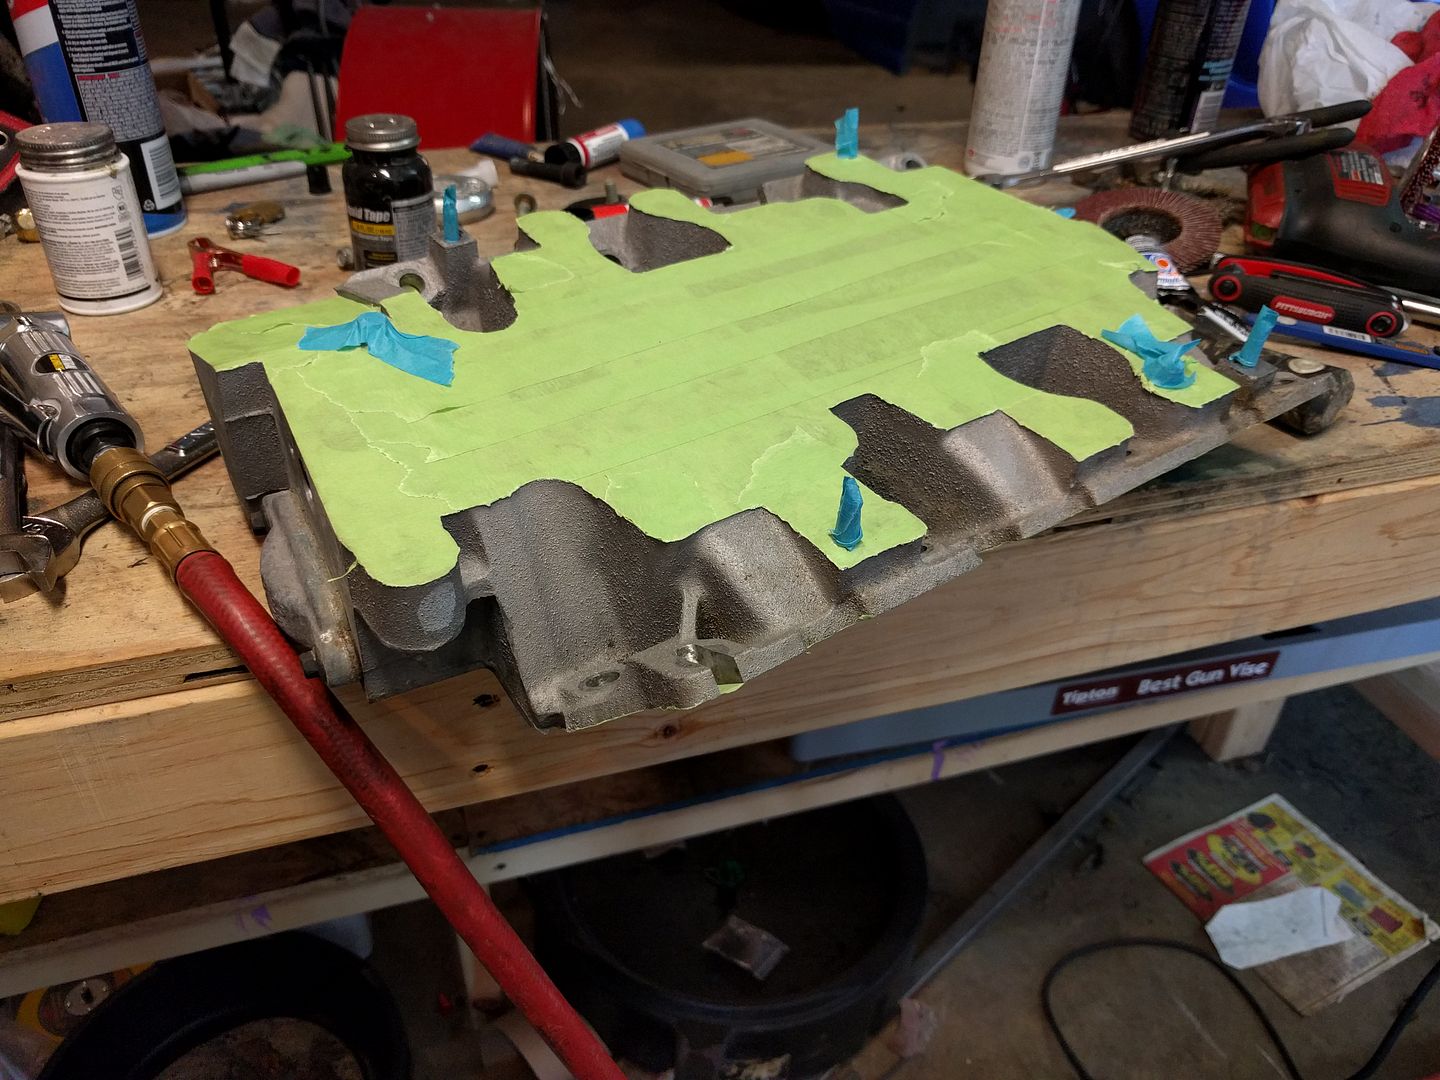
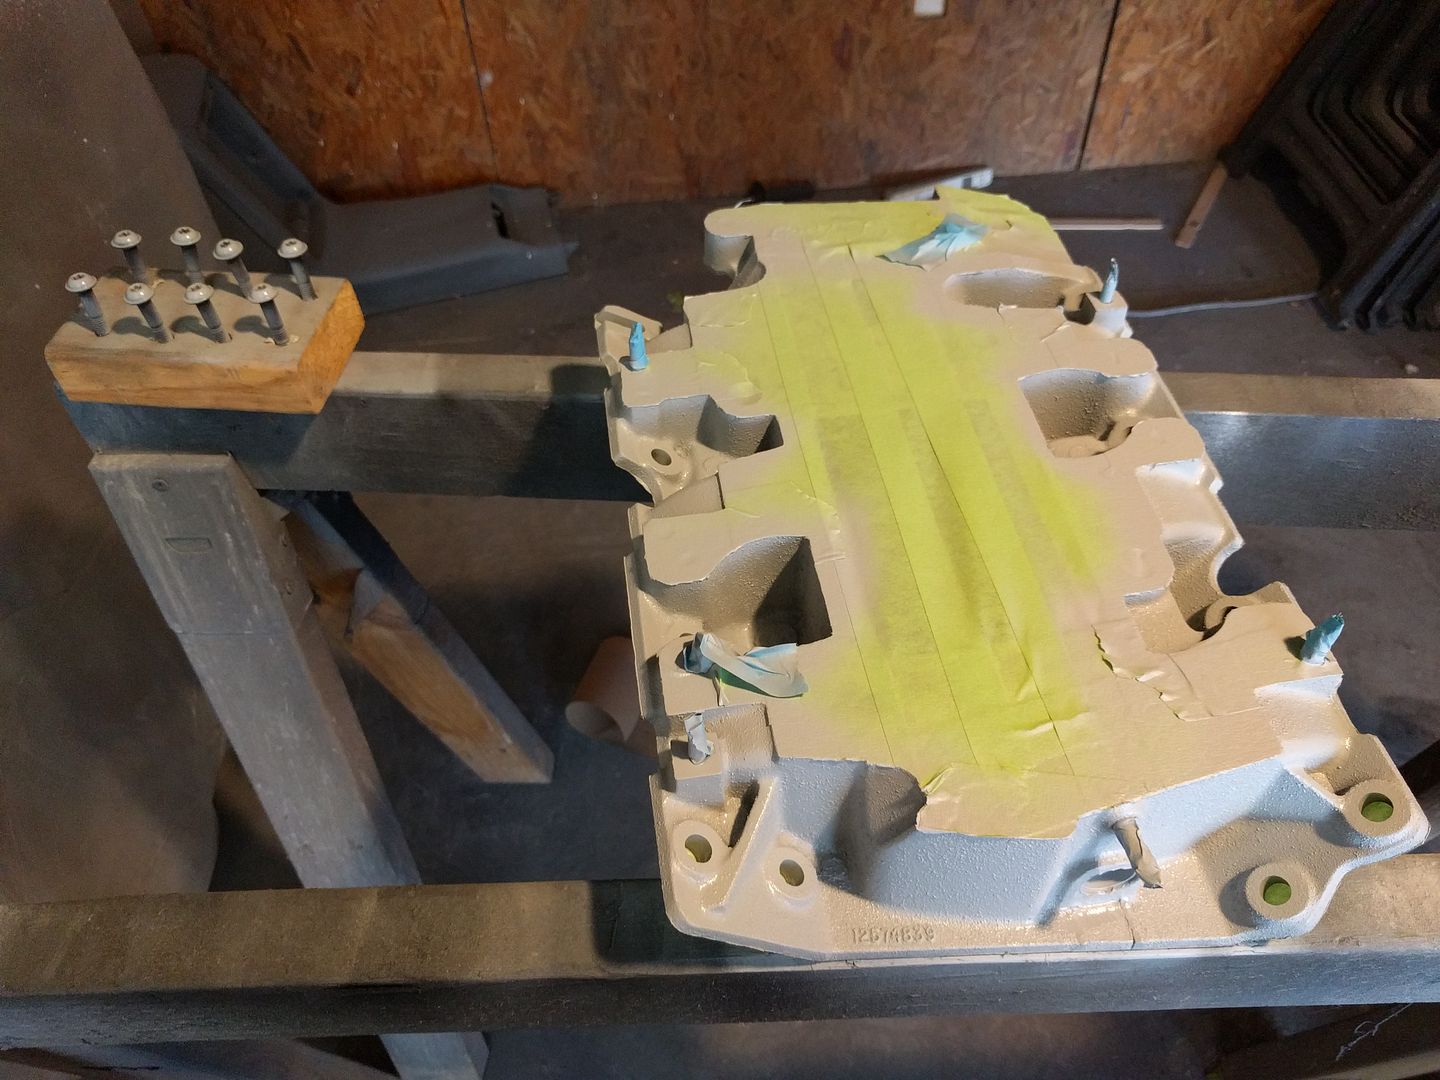
I cleaned and masked the LIM
Primer. I also did the snout bolts too
Now I began a dance of going back and forth working on something while waiting for paint to dry, then spraying paint. One thing I did was remove the GenIII supercharger and LIM
I almost forgot how nasty it was inside my really nice looking engine
After painting the LIM silver, I installed it
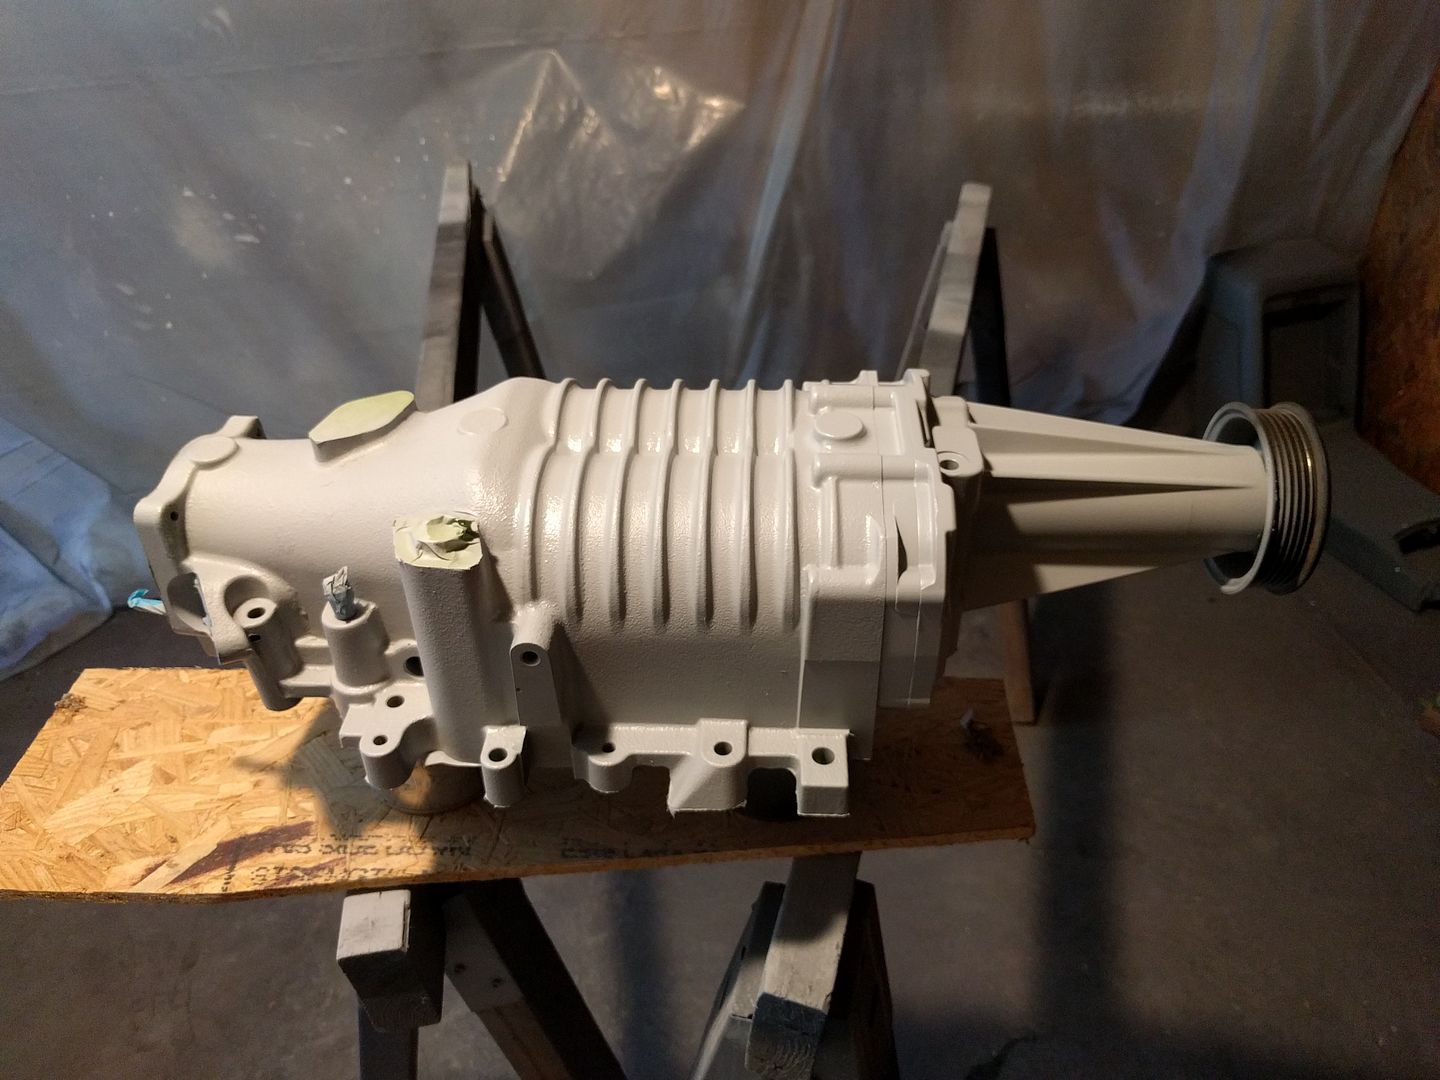
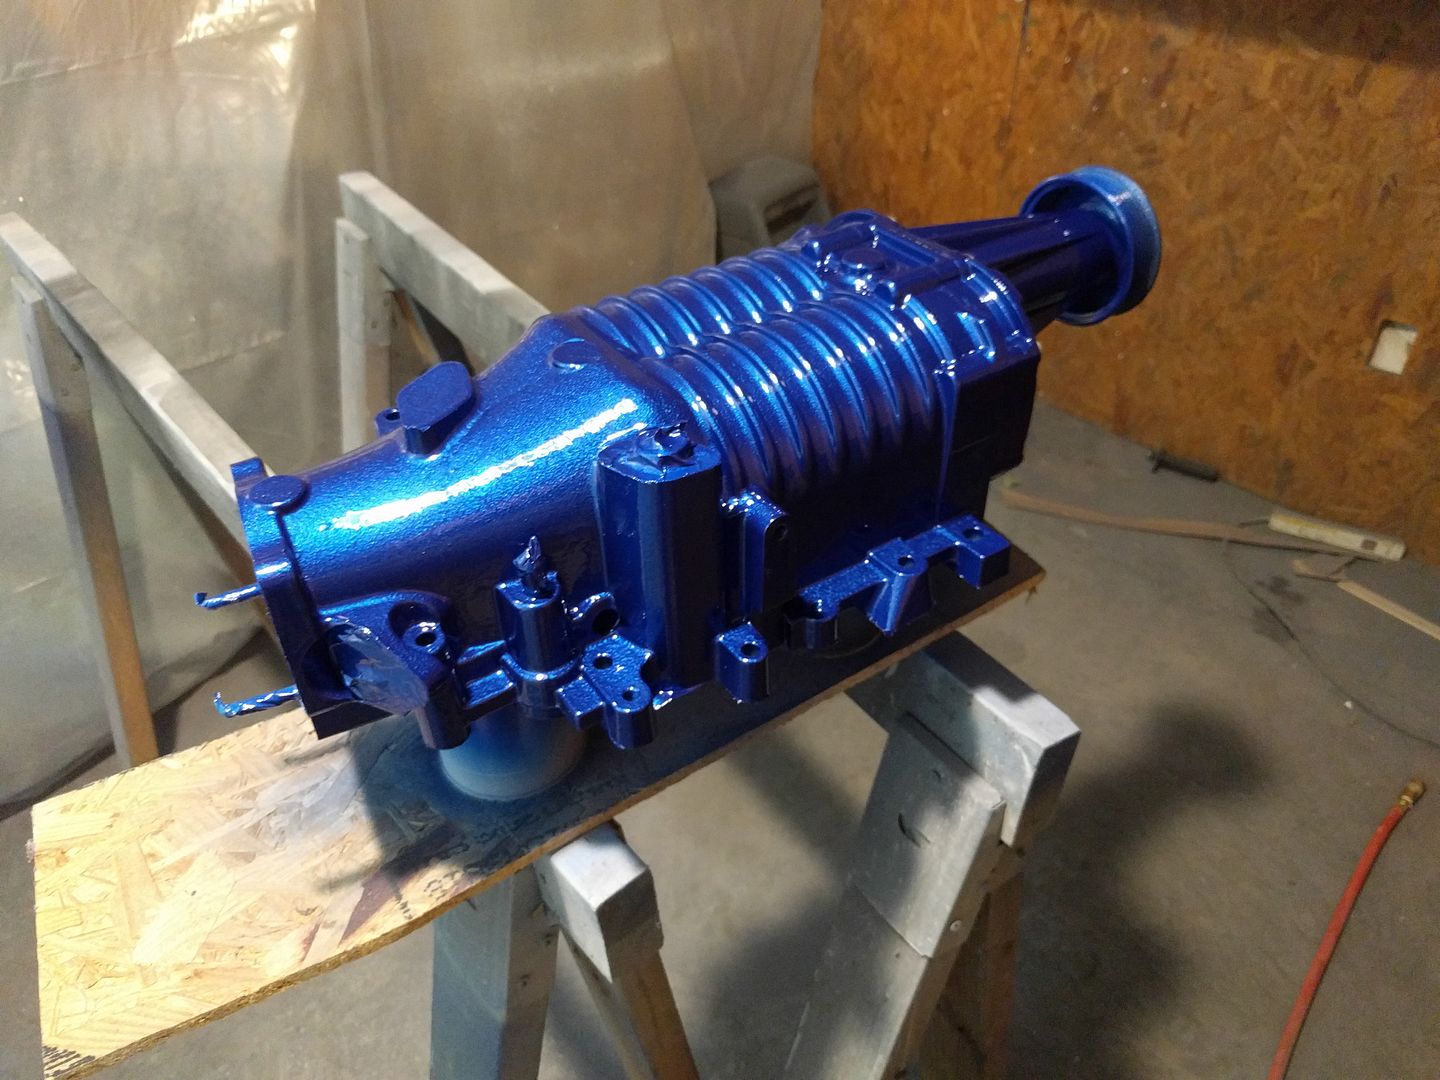
The supercharger got a lot LOT of paint and clear. It looks AWESOME!
You can see the bolts that I painted here. I think it gives a really cool contrasting effect.
I'm waiting on some stuff to come in from ZZP, notably the gasket and TB parts so I can put this SC on the engine. Once those parts come in it shouldn't take me more than a day or so to get myself caught back up to where I was before I decided to go off on a GenV tangent.
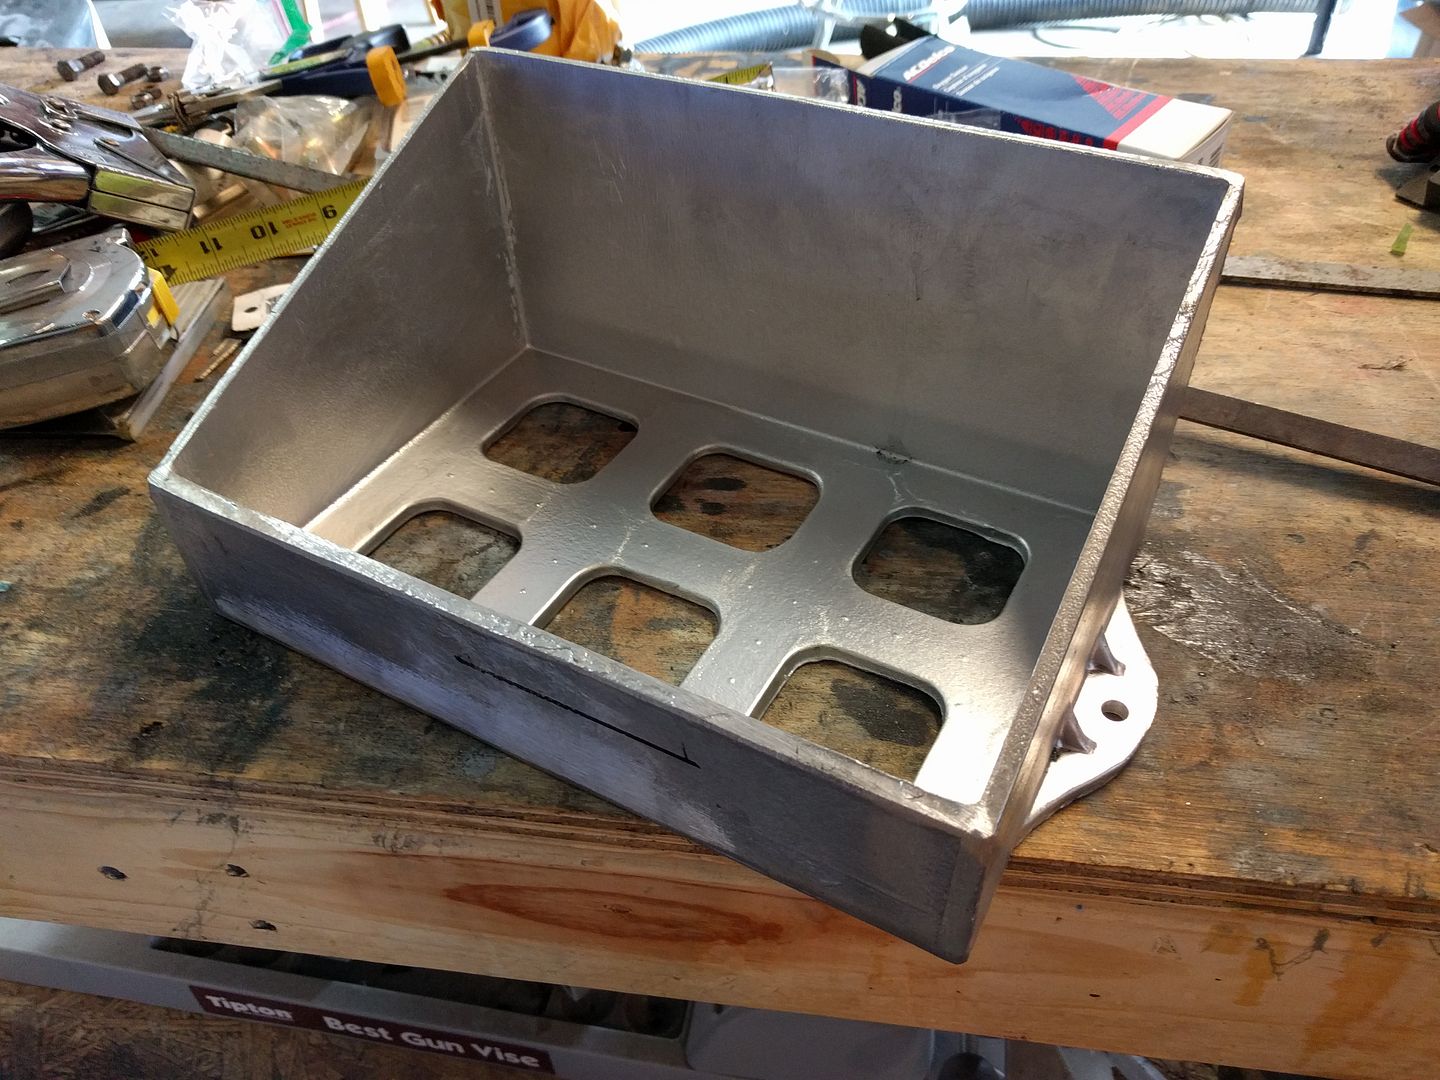
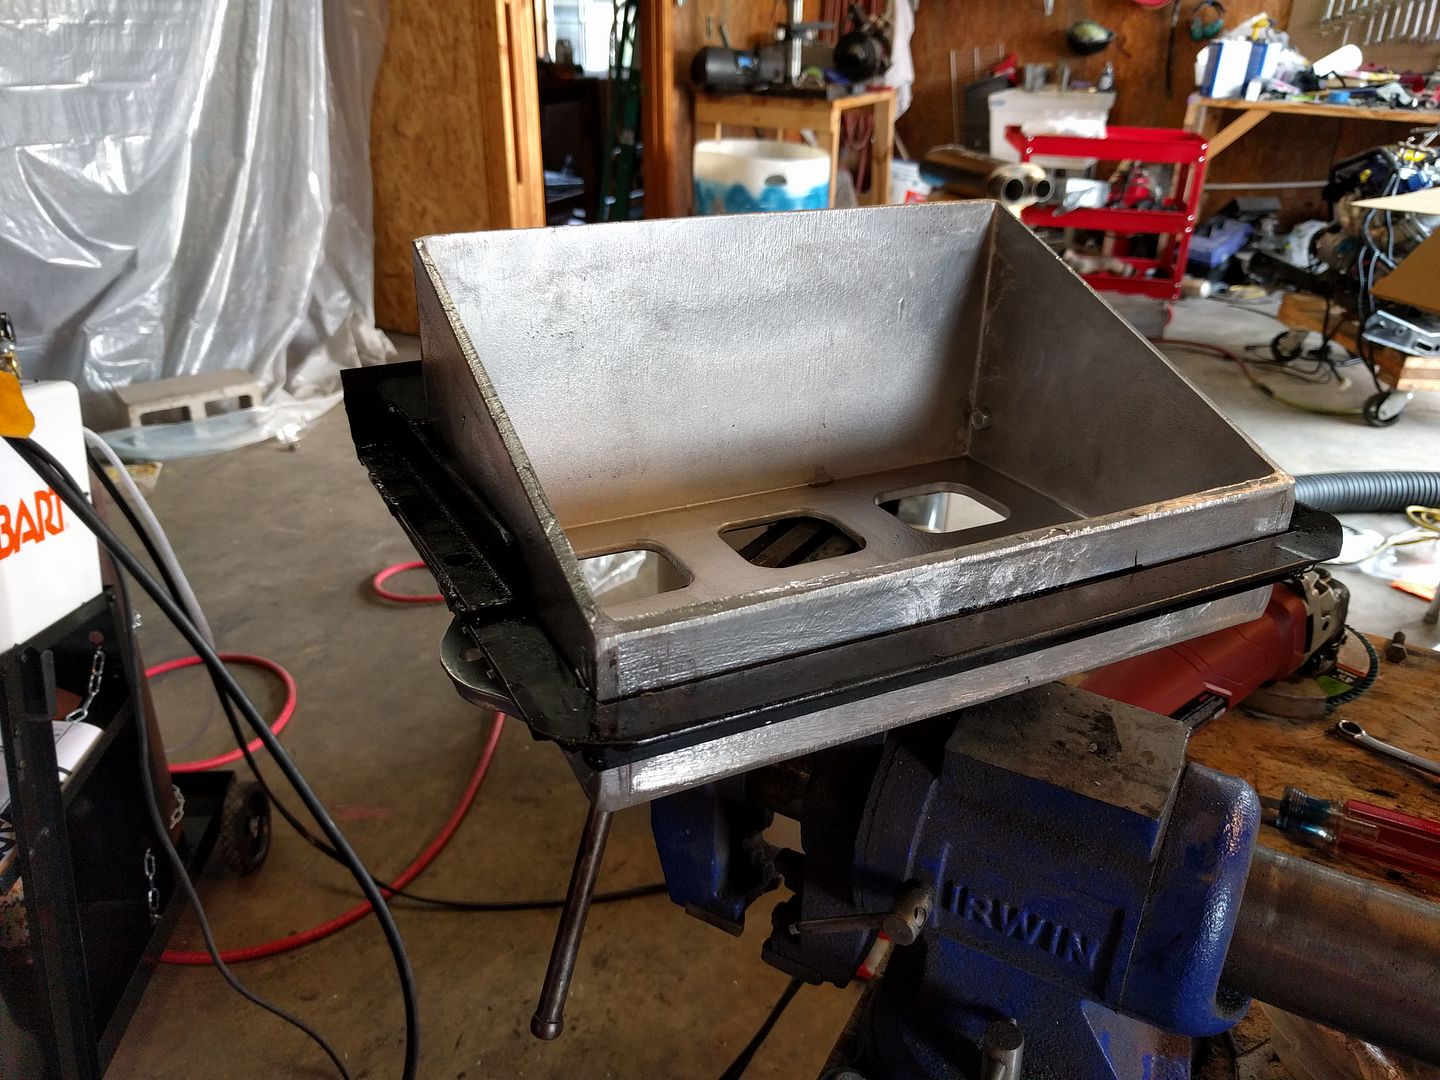
I also made the first changes to the car that are directly related to the engine swap. Up to this point if you just looked at my car, there would be no indication that I was getting ready to do an engine swap. That changed today. I started working on moving the battery up front. I bought a really nice aluminum battery tray.
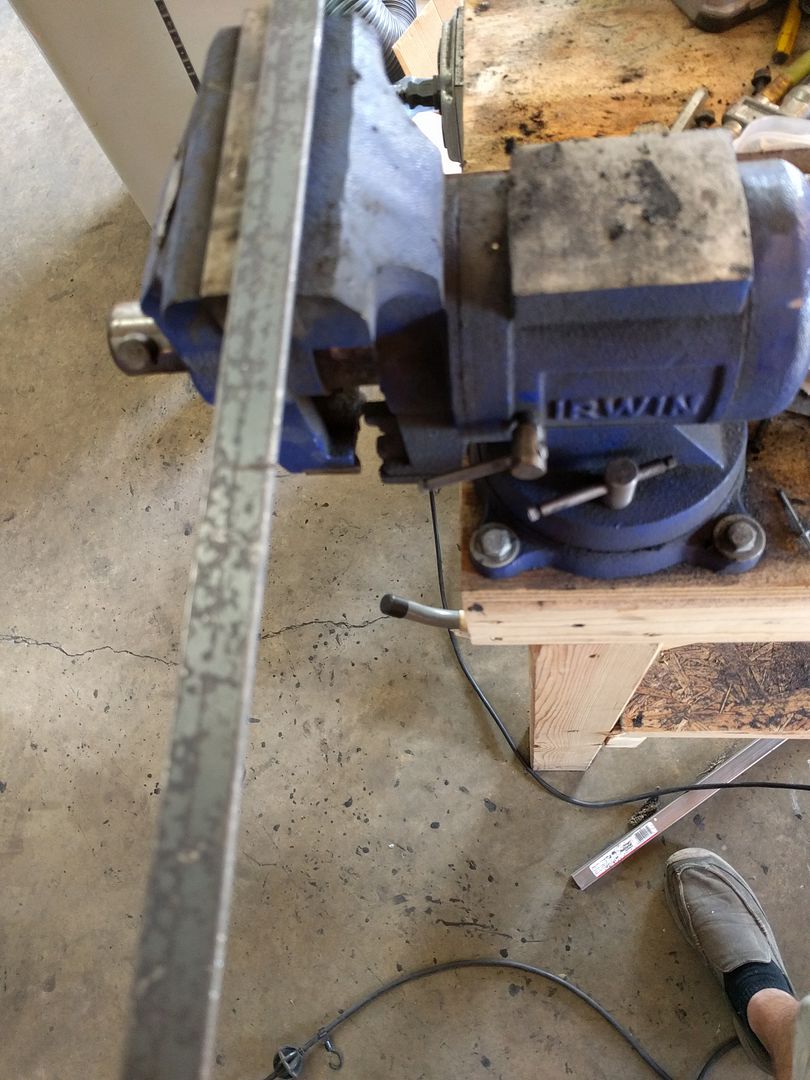
I needed to make a bracket to mount it up front. I started with some 1/2" angle iron
A bunch of cutting and bad welding later and
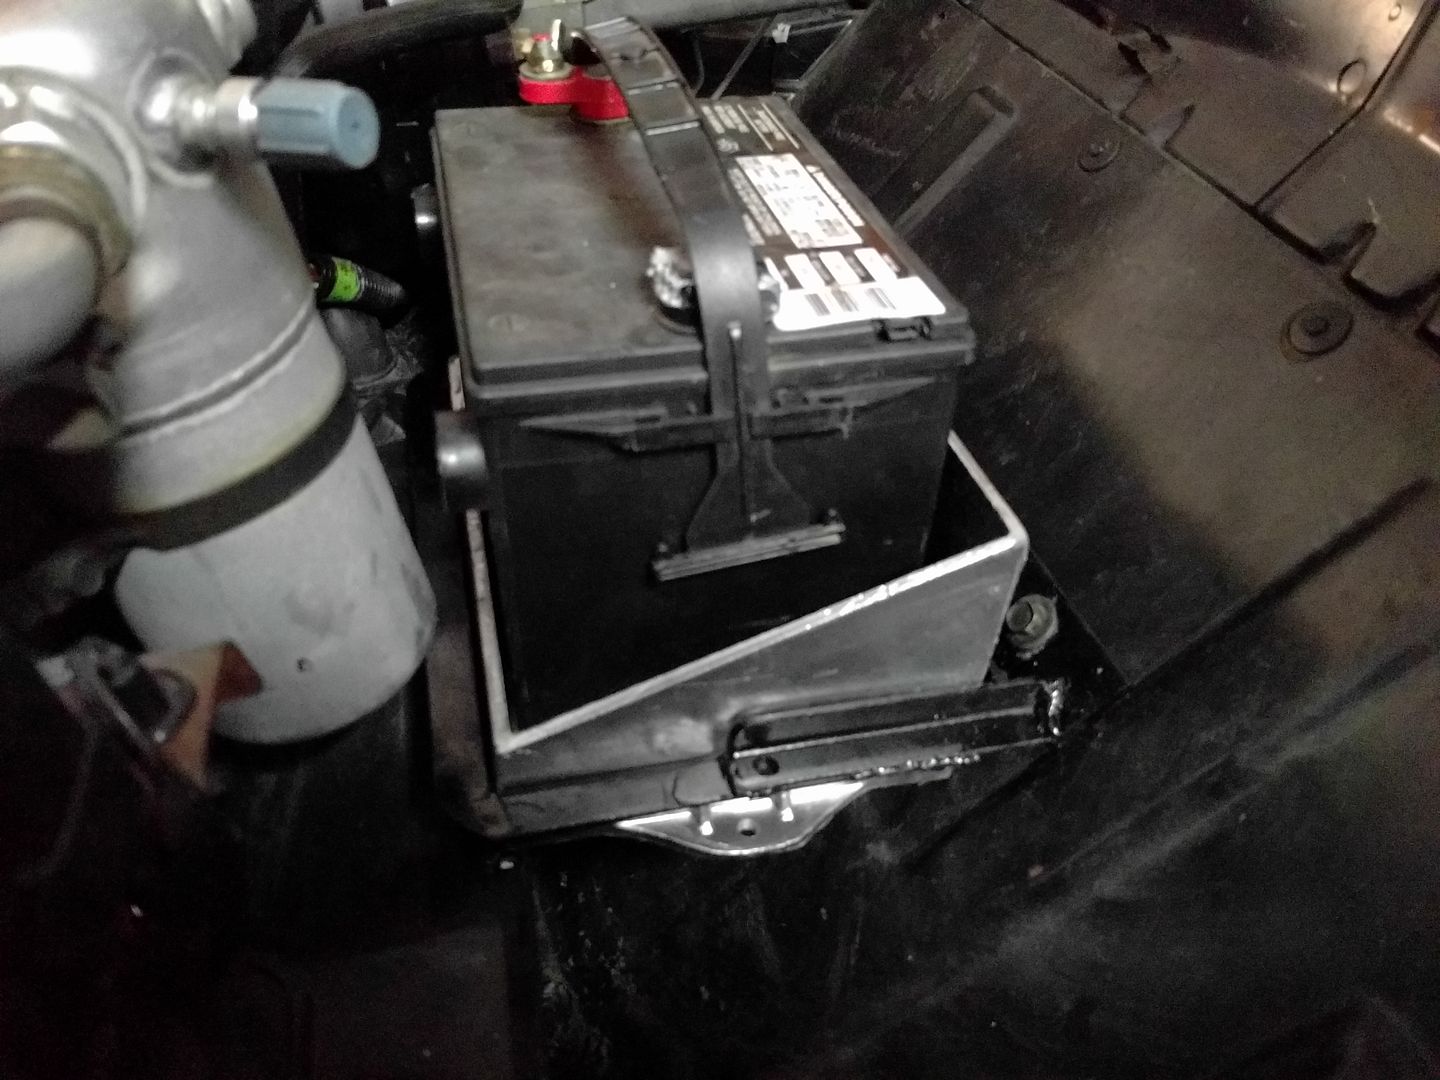
Bolted it in and we're in business! (ignore the broken terminal, this isn't the battery for the car, it's just another battery of the same size that I have floating around)
Next I need to run the cables. I already have just about everything in hand, so it should hopefully be a relatively simple matter. I don't believe that for a second.
I've been chipping away at it, and am just about caught back up to where I was before I decided to change superchargers. I got the new SC mounted back up to the engine, along with the adapter plate for the TB.
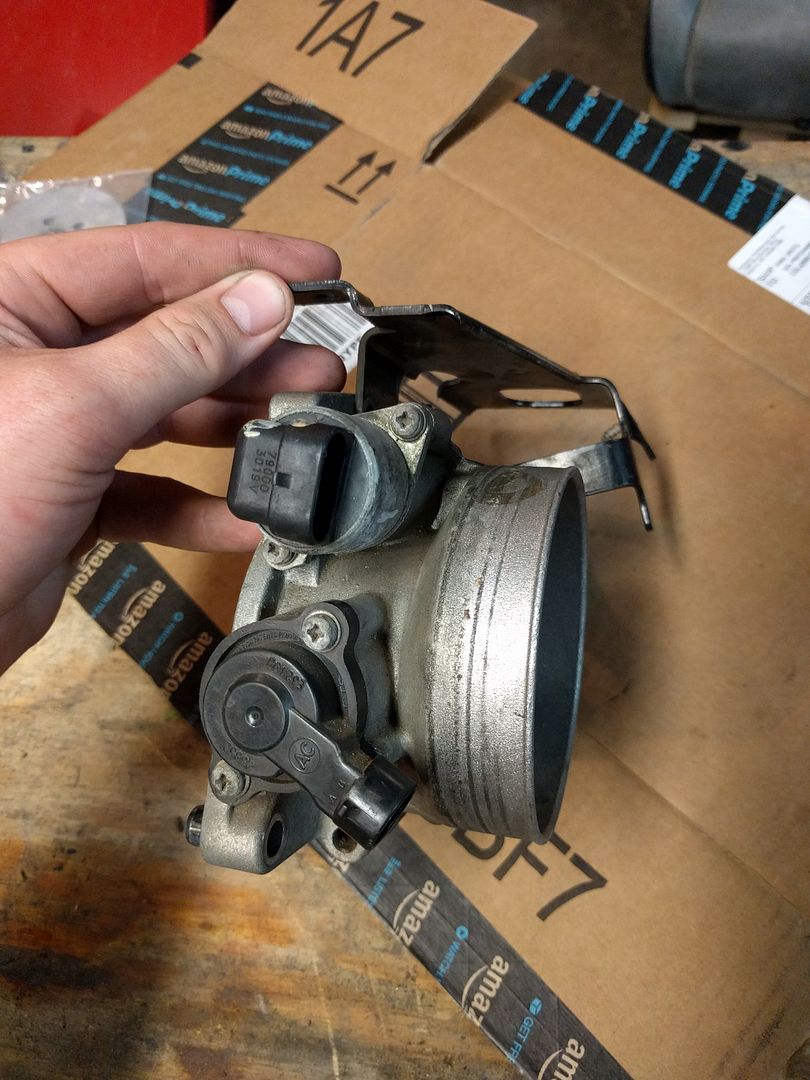
Then I got to disassembling and cleaning the Northstar TB
I got it cleaned, painted, reassembled, and installed.
I really like this TB vs the 3800 TB. The Northstar is much simpler and easier to work with.
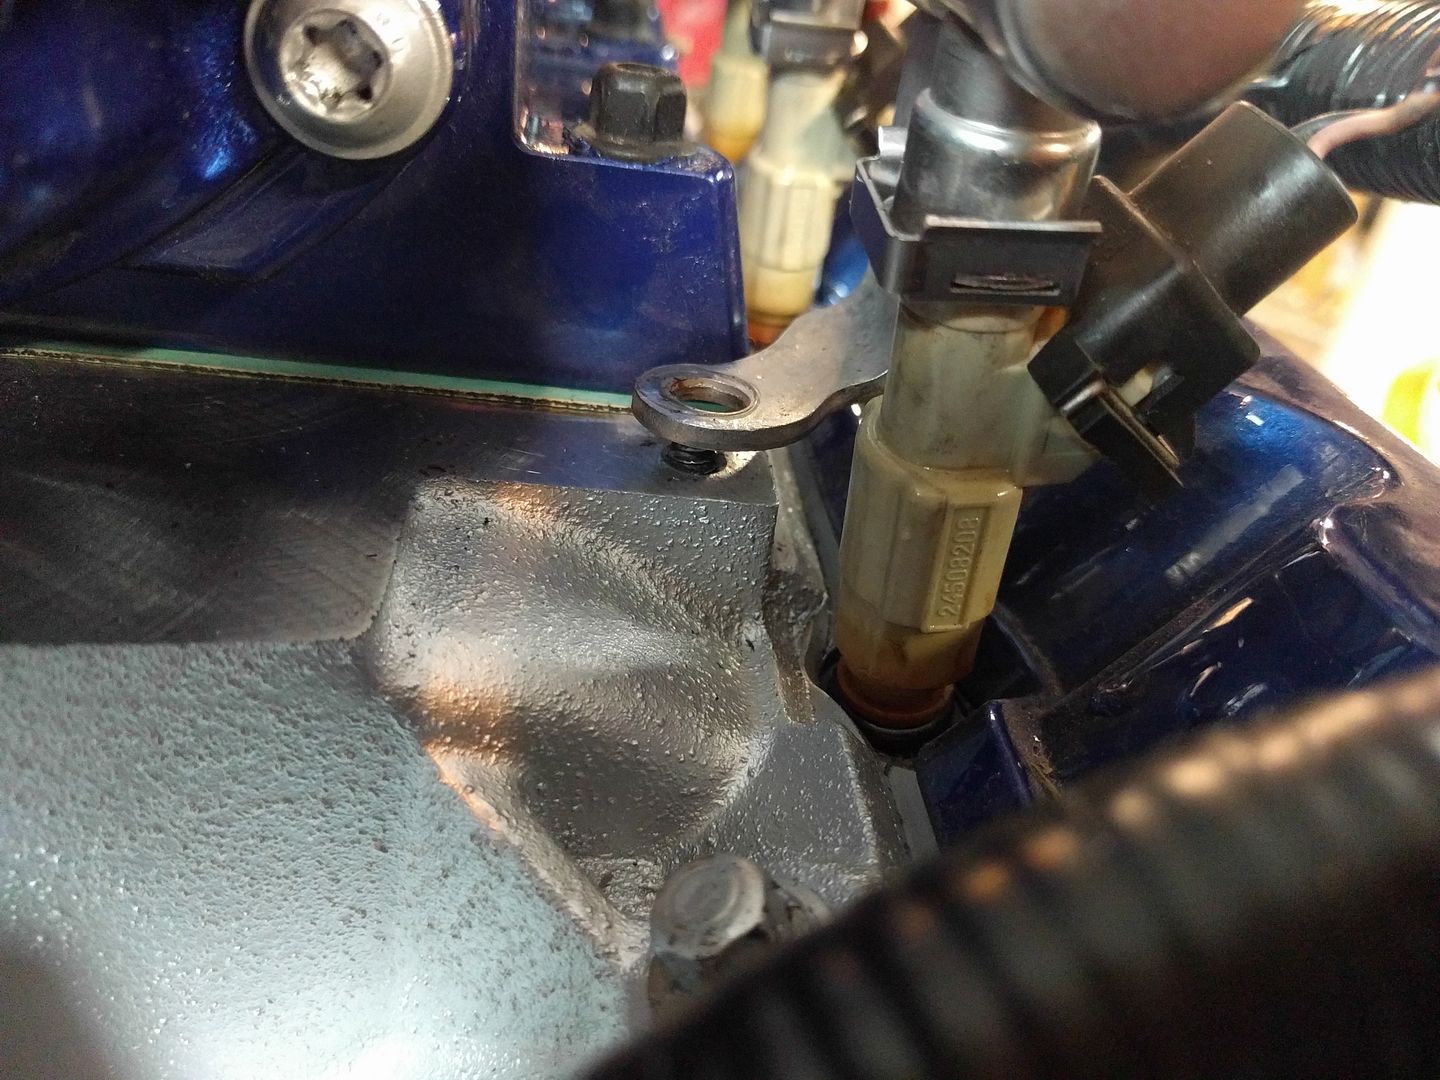
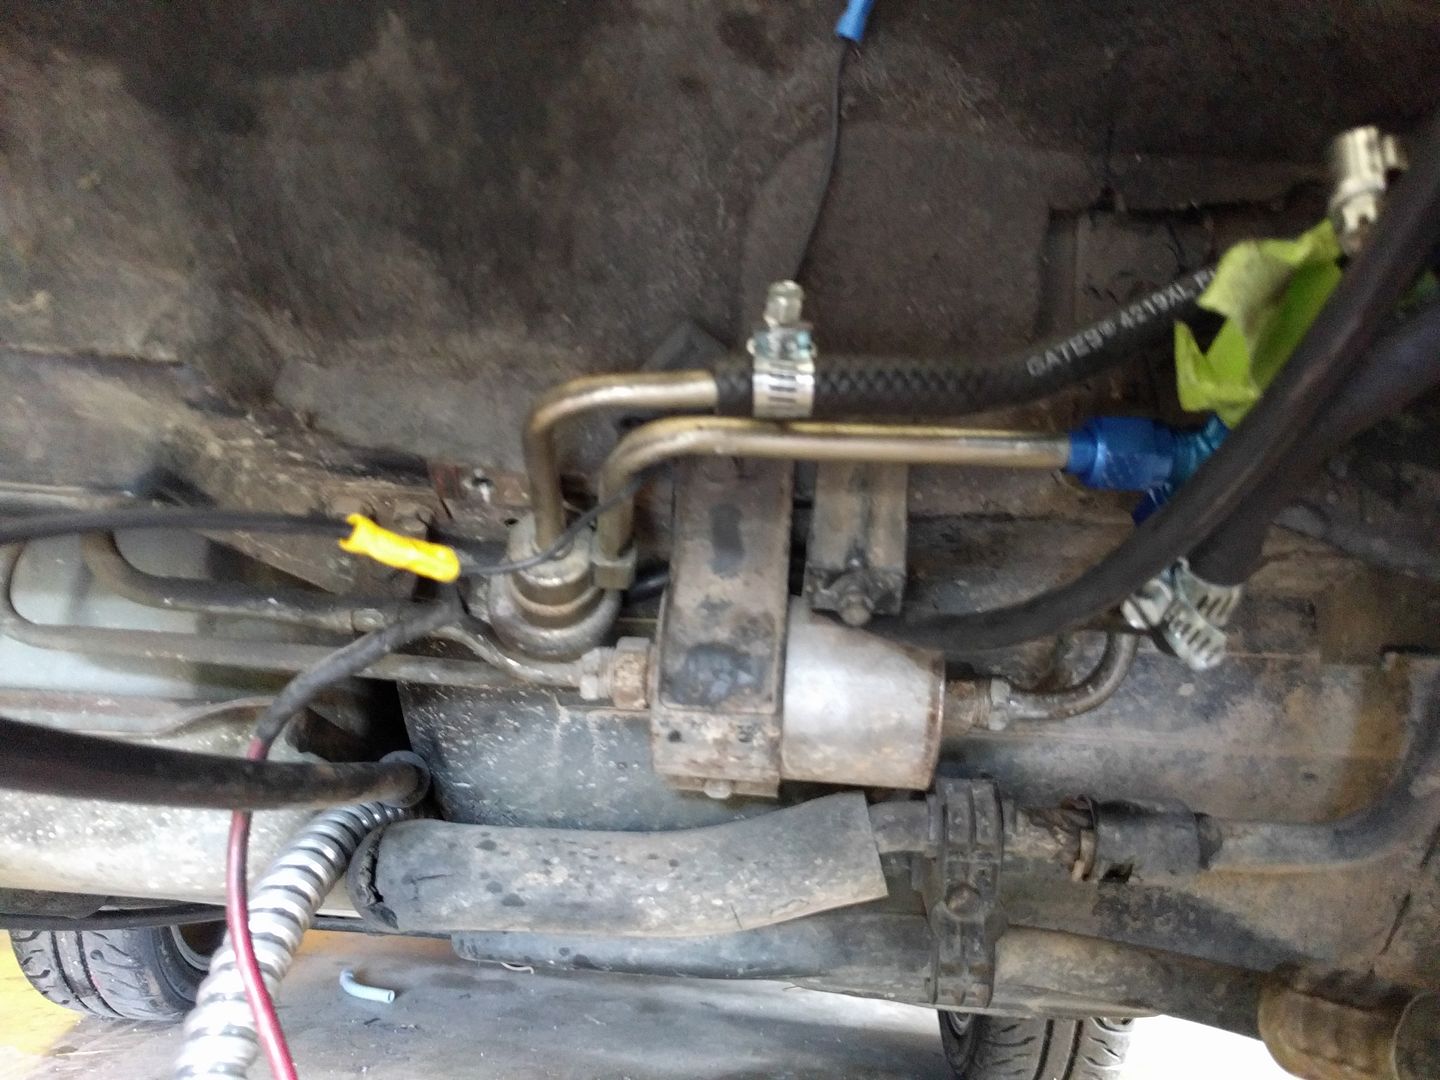
Next I got around to doing the fuel rail. It required some cutting and bending to get it to mount backwards (fuel nipple facing what will be the front of the engine). I learned the hard way not to try to adjust the position by just cranking the nut tighter on the stud.
After a few hours working to extract that (ok, maybe AN hour, but it sucked so it felt like longer) I got it out and finished bending and prying my rail into place. I think it's on there well enough with the injectors seated well enough. I guess I'll find out the first time I crank it up and fuel either does or does not piss all over the place!
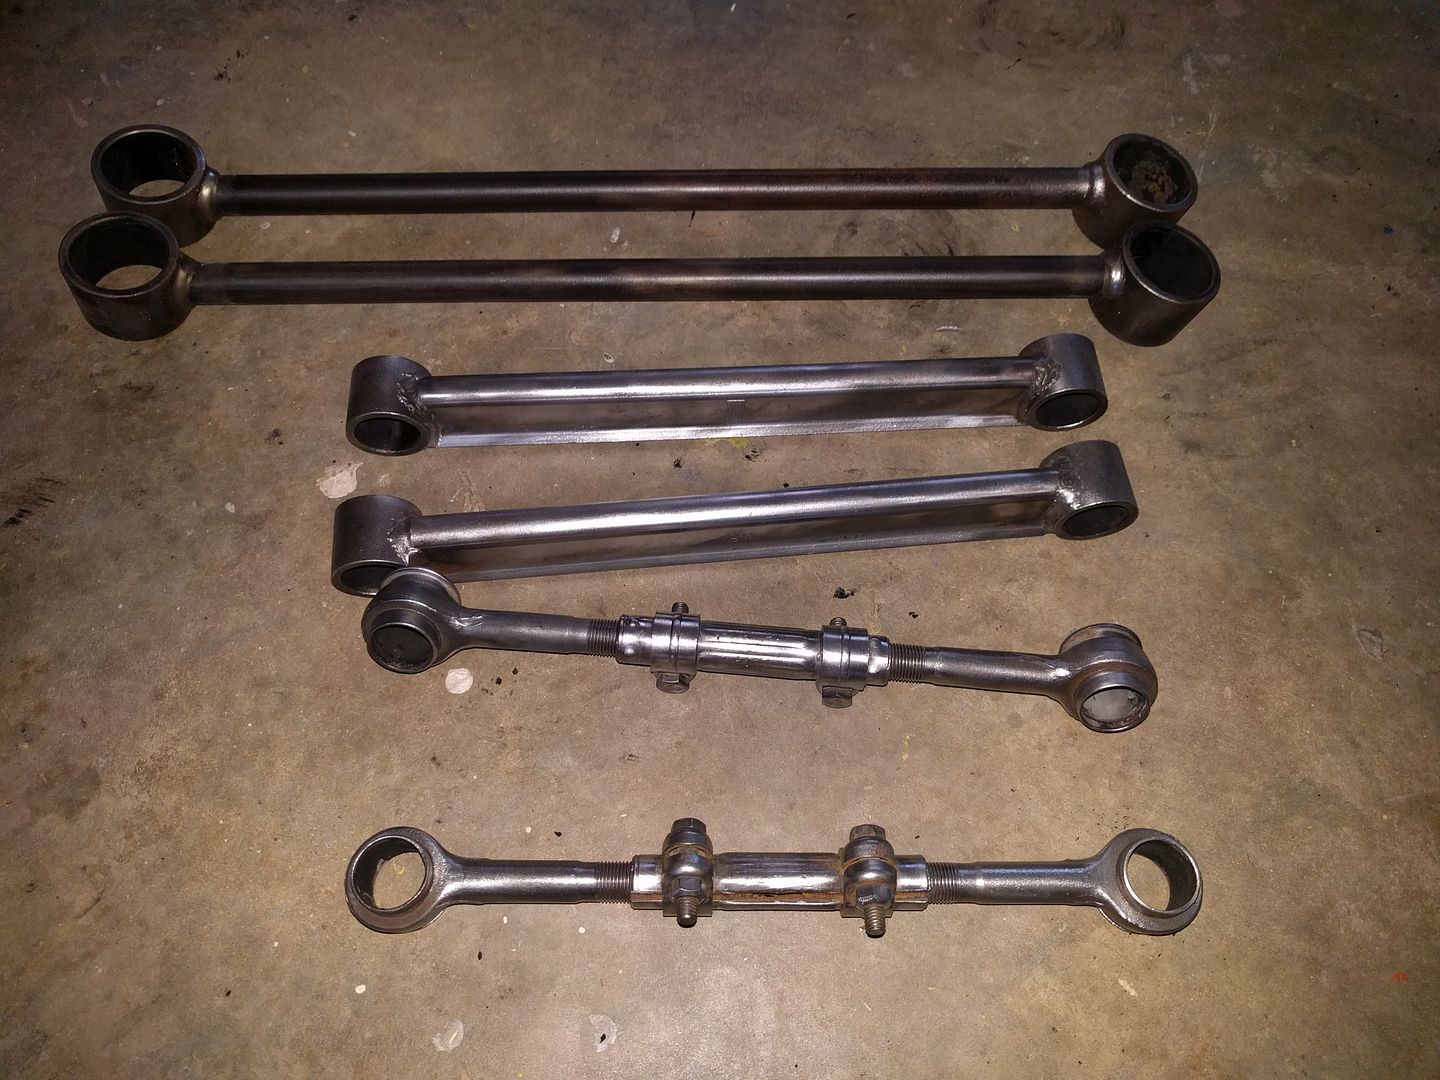
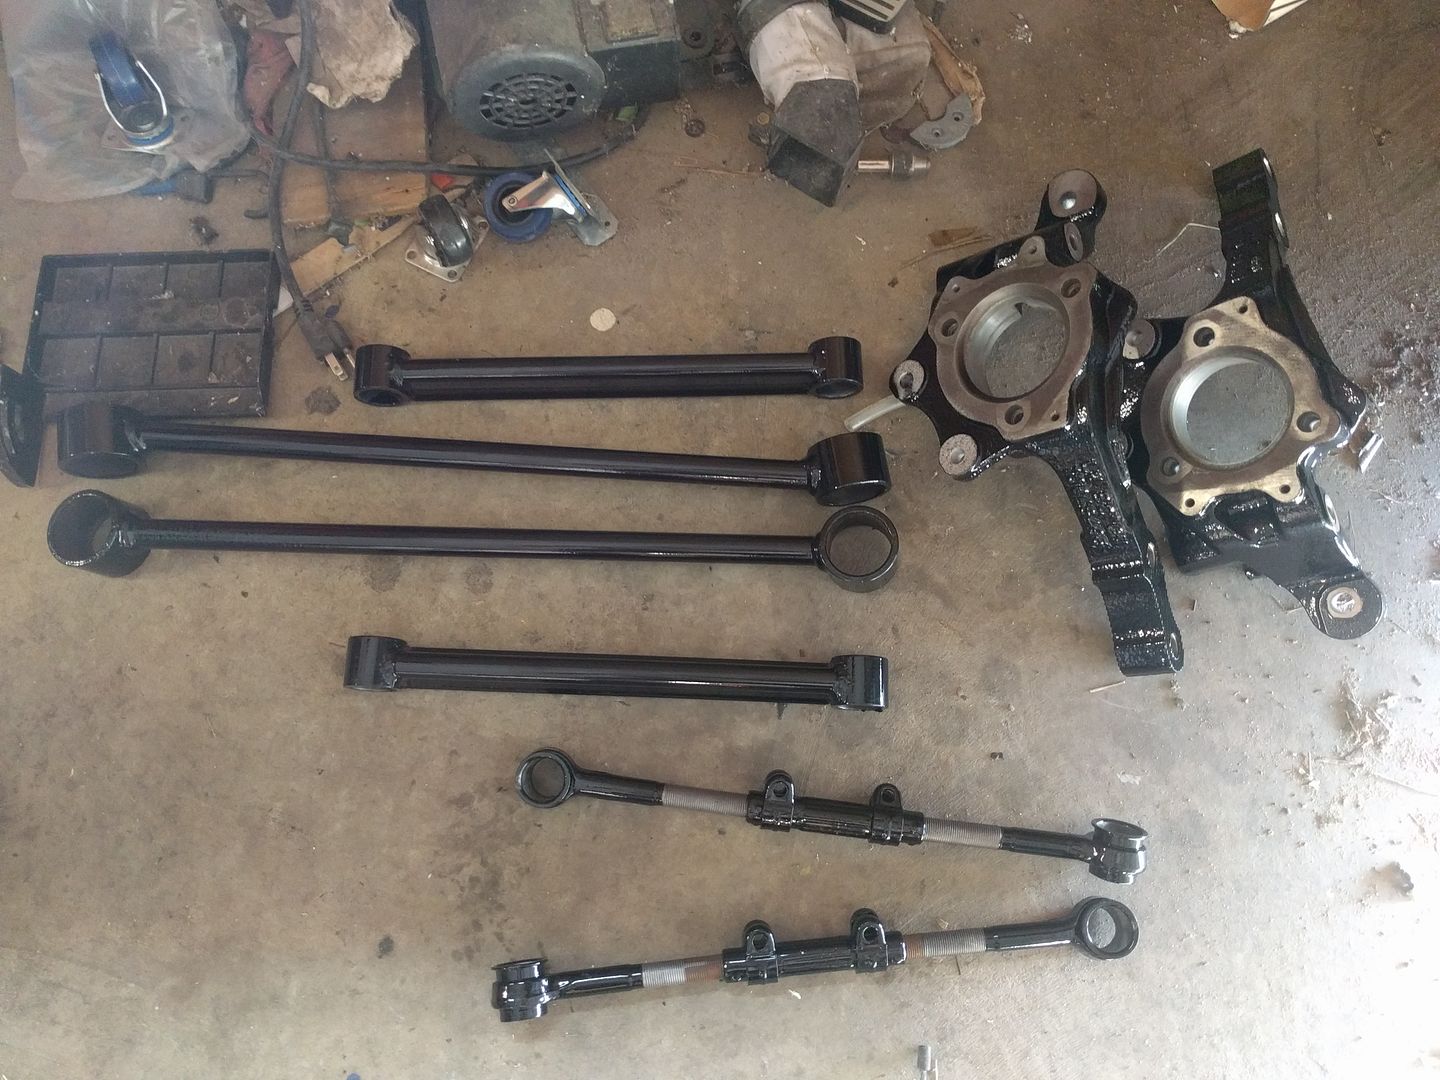
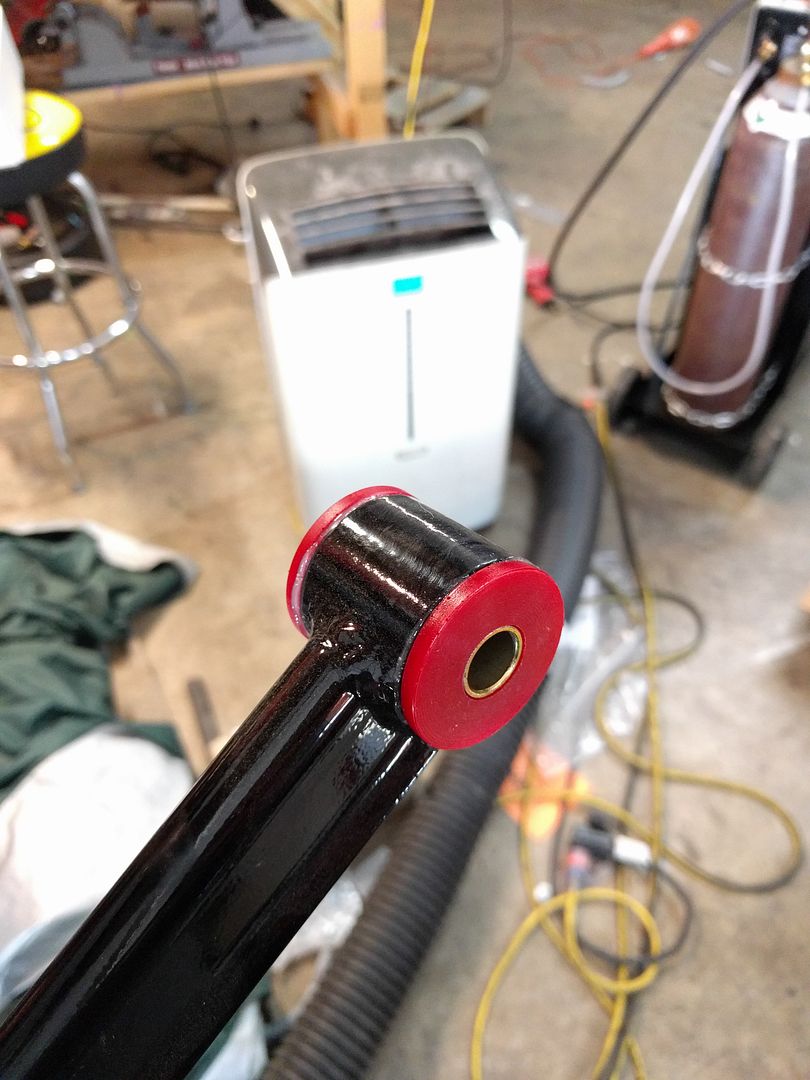
I got my suspension parts back from powder. They look REALLY nice.
This weekend I will work on putting most of the suspension into place (can't do all of it since I don't have axles to use-- those will be coming from the car once I drop the cradle). I also will try to get working on the exhaust. I'm nervous about that because A) I'm a **** welder and B) I'm just going to be winging it in terms of measurement and where things will be placed.
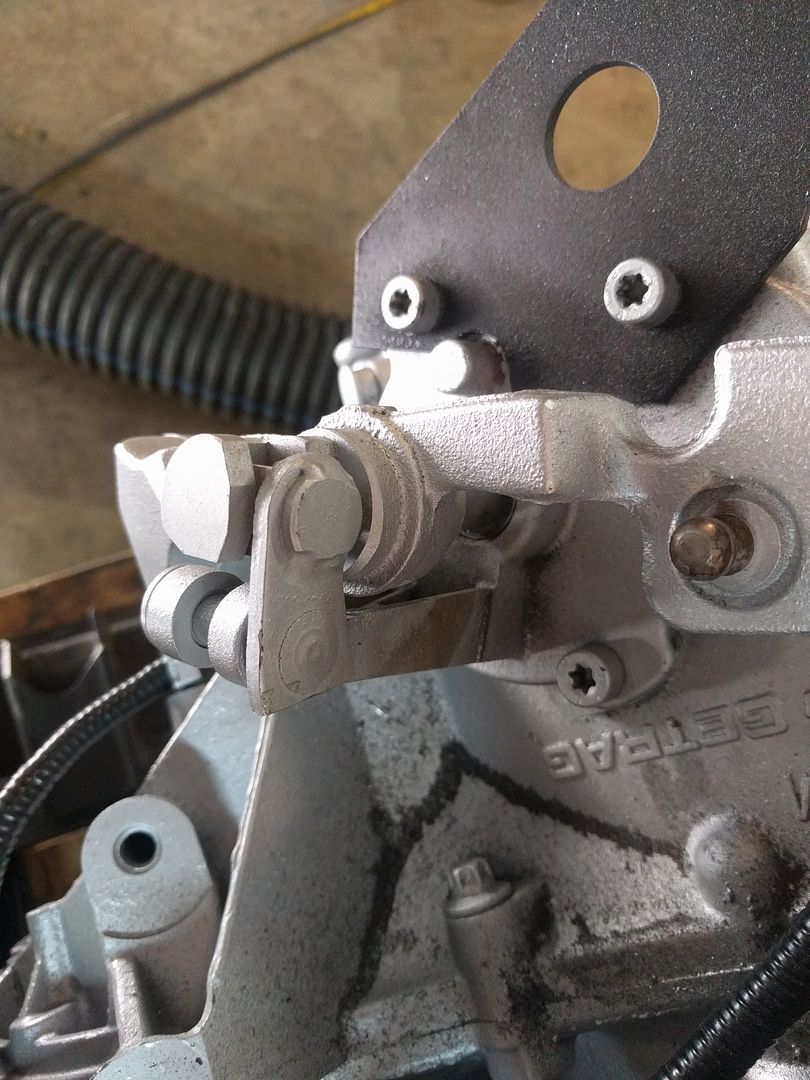
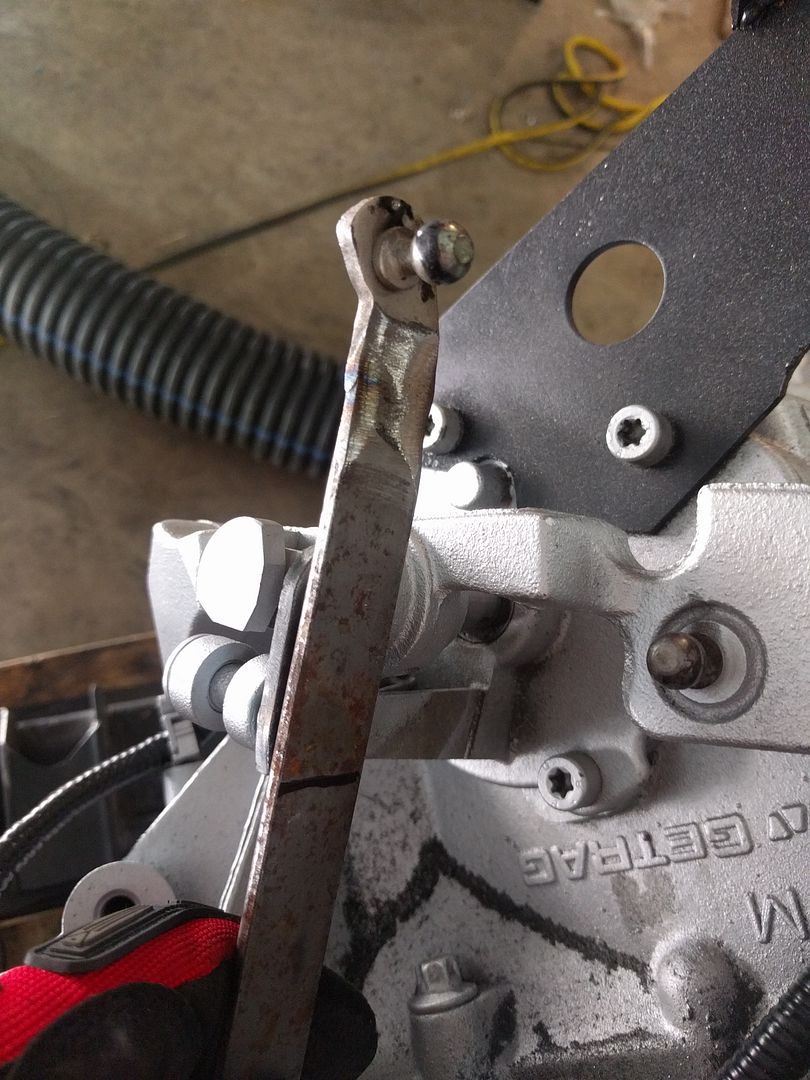
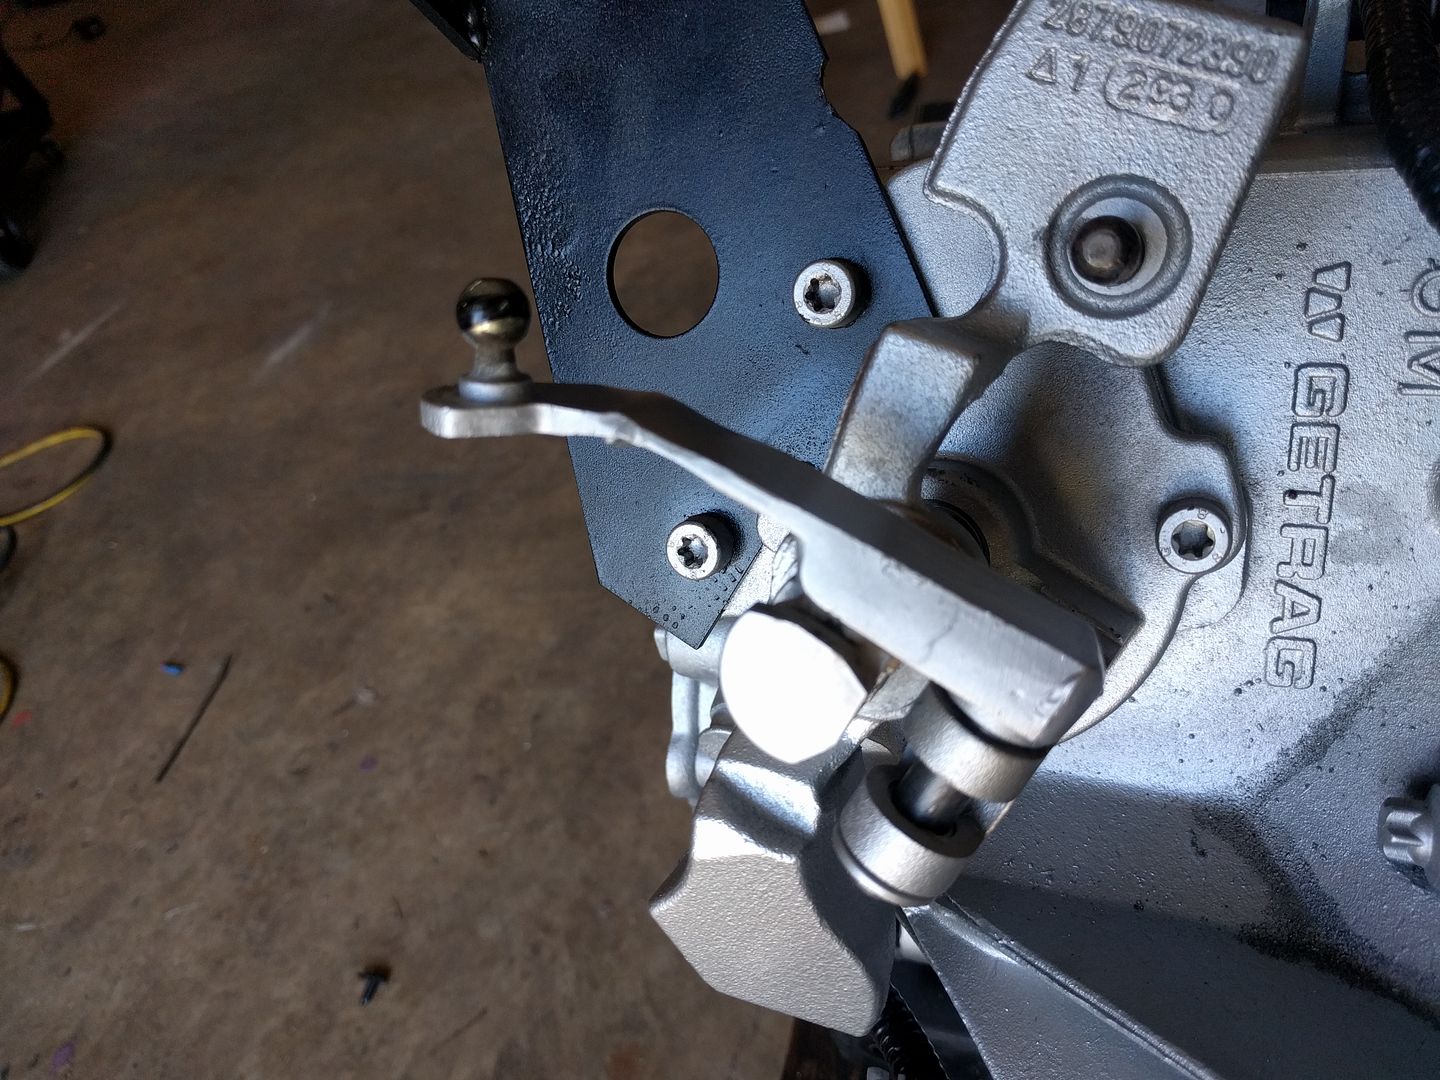
If you've read the F23 guide you know it's configured for a front mounted orientation. As a result the shift/select arms are in a bit of an awkward location for the Fiero application. Part of the remedy is the bracket that I welded up a few posts ago, but the other piece of that is relocating the select arm to the other side. For a while I was trying to find another ball to use but then it dawned on me-- why not just use the ball that's there??
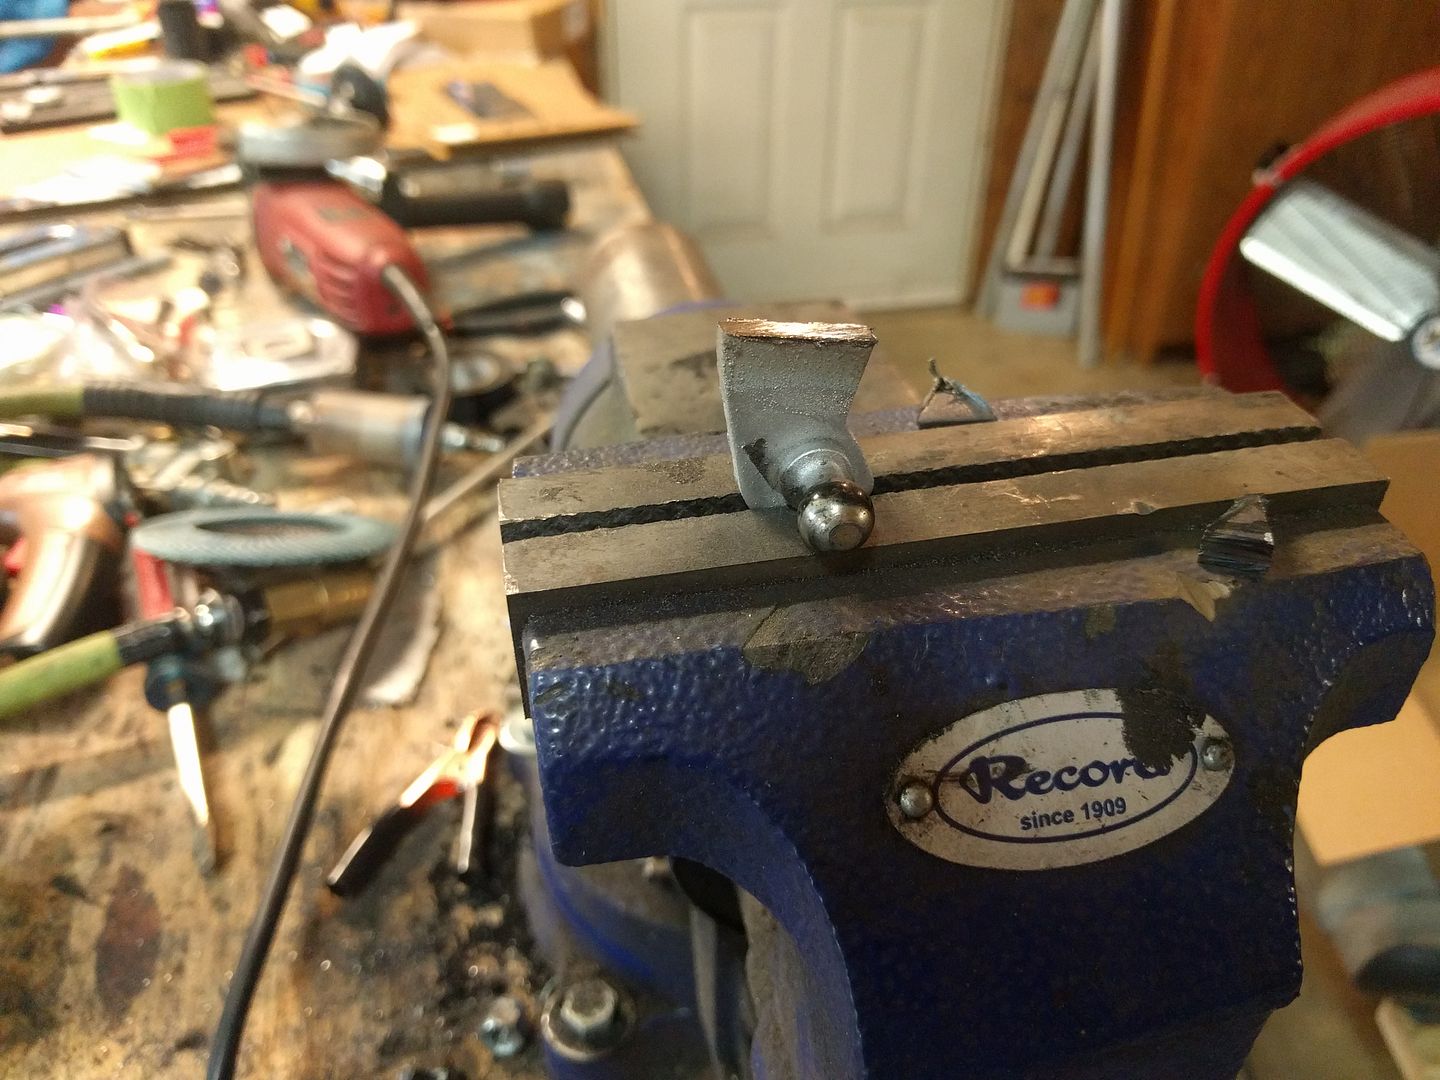
It's always nerve wracking when I'm doing "no going back now" type mods to parts. This was one of those things. I hacked the factory select arm off. I took this pic when I was most of the way through the cut so you can see where I made the cut.
I welded it up to a piece of bar stock that was a pretty close match to the size of the arm
The reason I put it on the whole bar is it allowed me to just mark where I needed to cut instead of trying to eyeball it before hand
It was at this point the project went off the rails a bit. I attempted to weld my new arm directly on the transmission. This was stupid because I melted a plastic bushing that was nearby. So now I need to find a new bushing in addition to the work I have put in. I've got the arm welded up and painted, so once I get the bushing I will put it in.
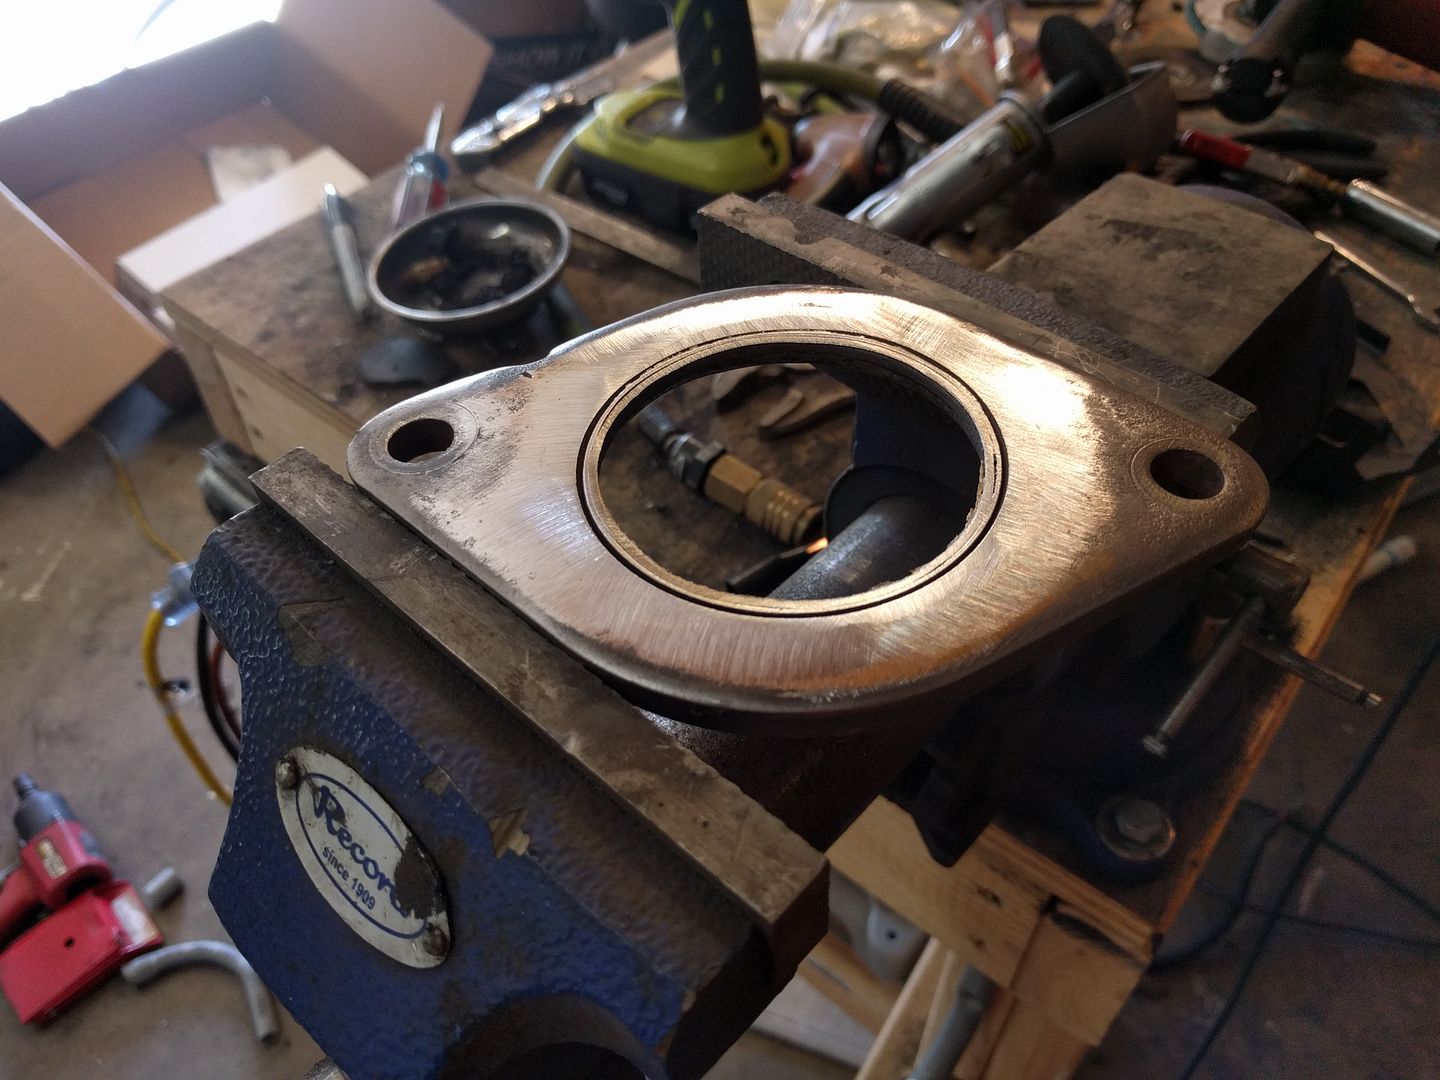
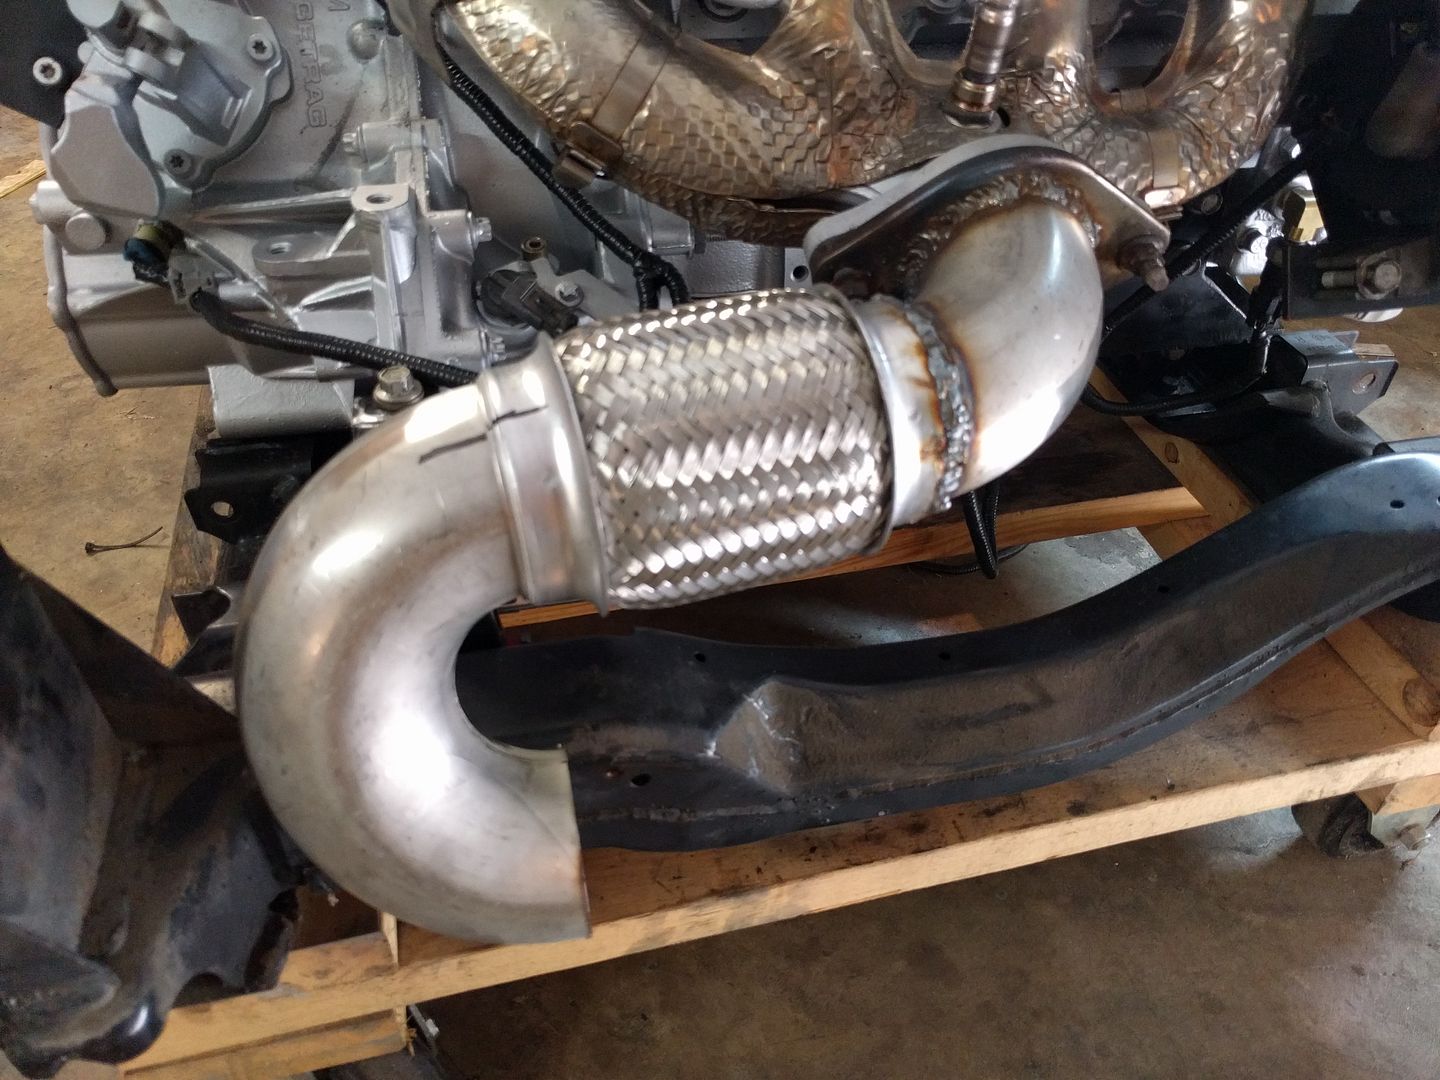
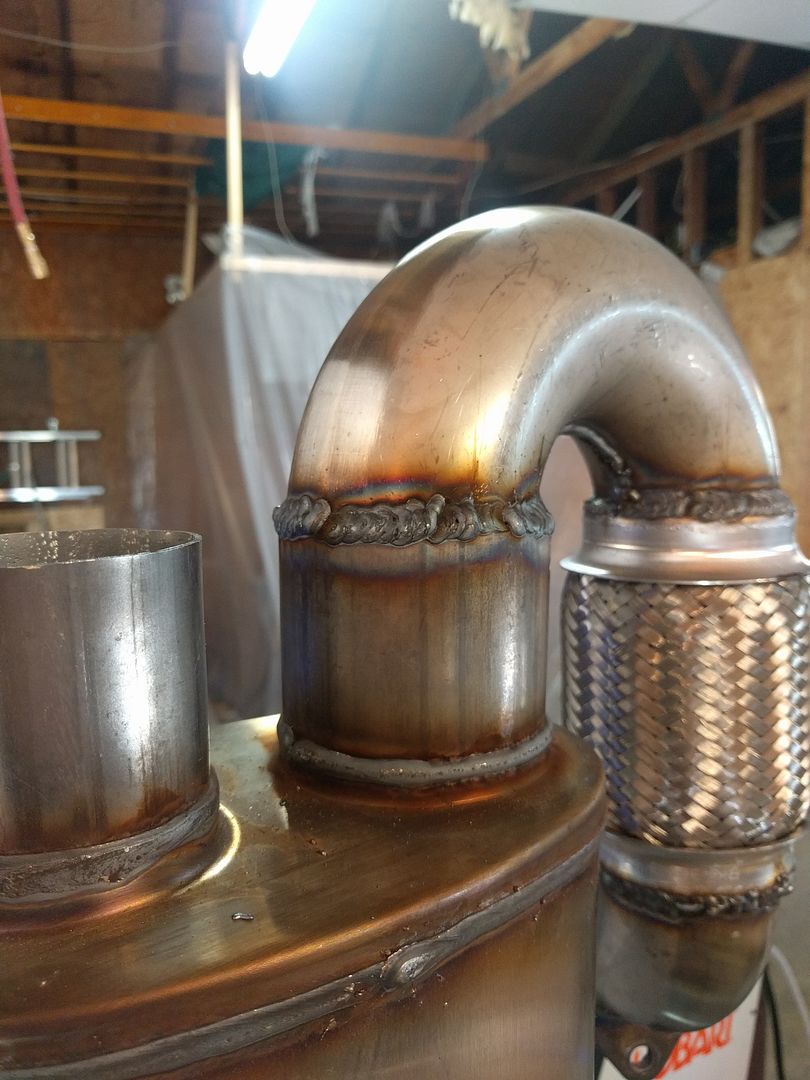
I also started on the exhaust today. I cleaned up the factory flange after cutting everything off
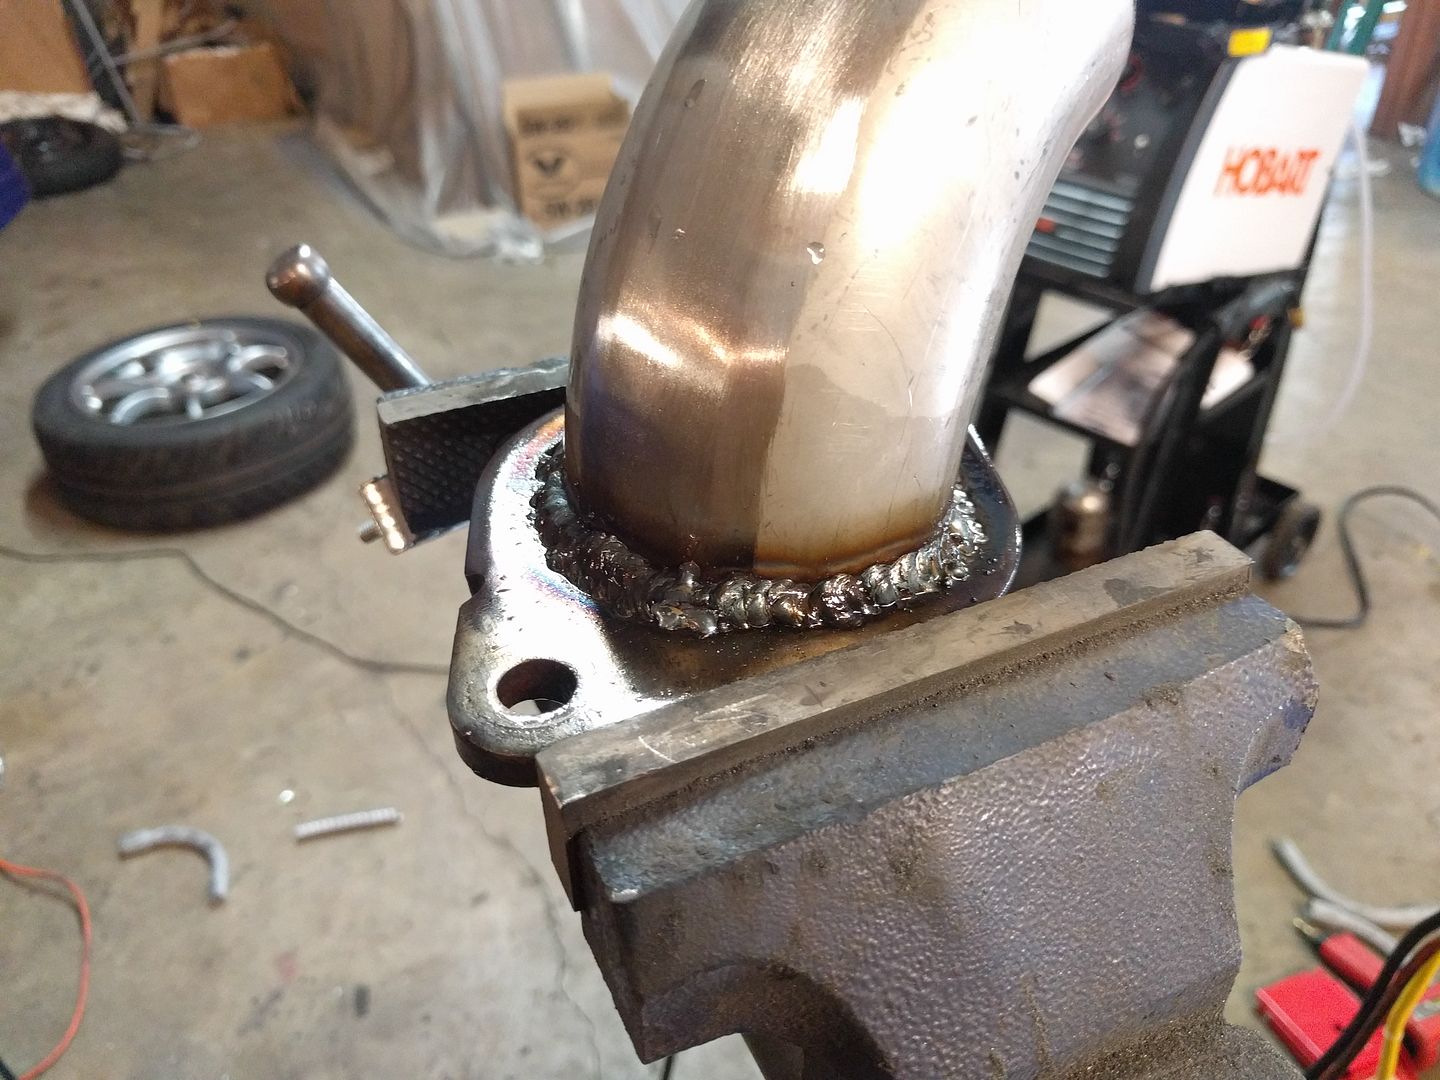
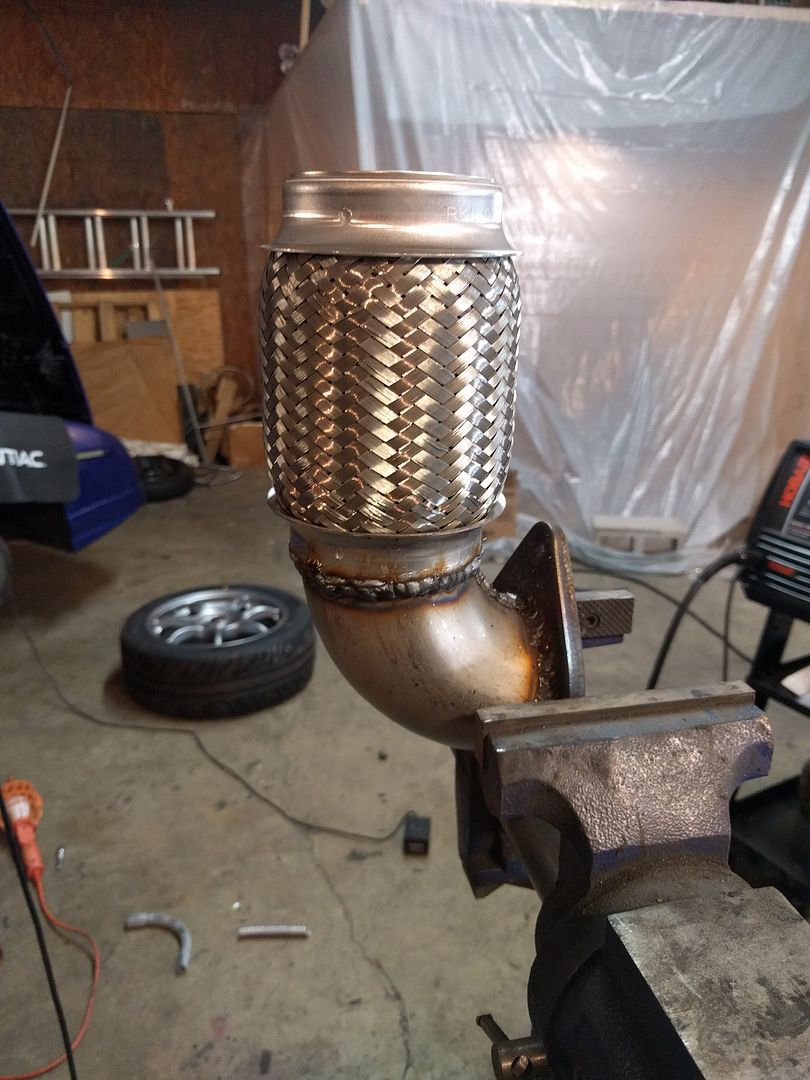
After that it was just a segmented approach to putting it together. I'm a terrible welder, but I'm going to wrap the exhaust anyway, so I'm just telling myself it won't matter
Unfortunately this joint slipped a little bit as I was welding it. As a result I'm going to need to cut and reweld it because right now the muffler is touching the cradle.
Tomorrow I will fix that joint and probably finish the exhaust. After that it's time.
I'm dropping the cradle out of the blue car within the next few days. The swap is more or less ready and I have next week off of work. This project is about to get REAL.
Here's the finished select arm. I decided to just reuse the melted bushing. It's not too bad, just deformed, but it's not something you can really see anyway. If it breaks than I'll get another one.
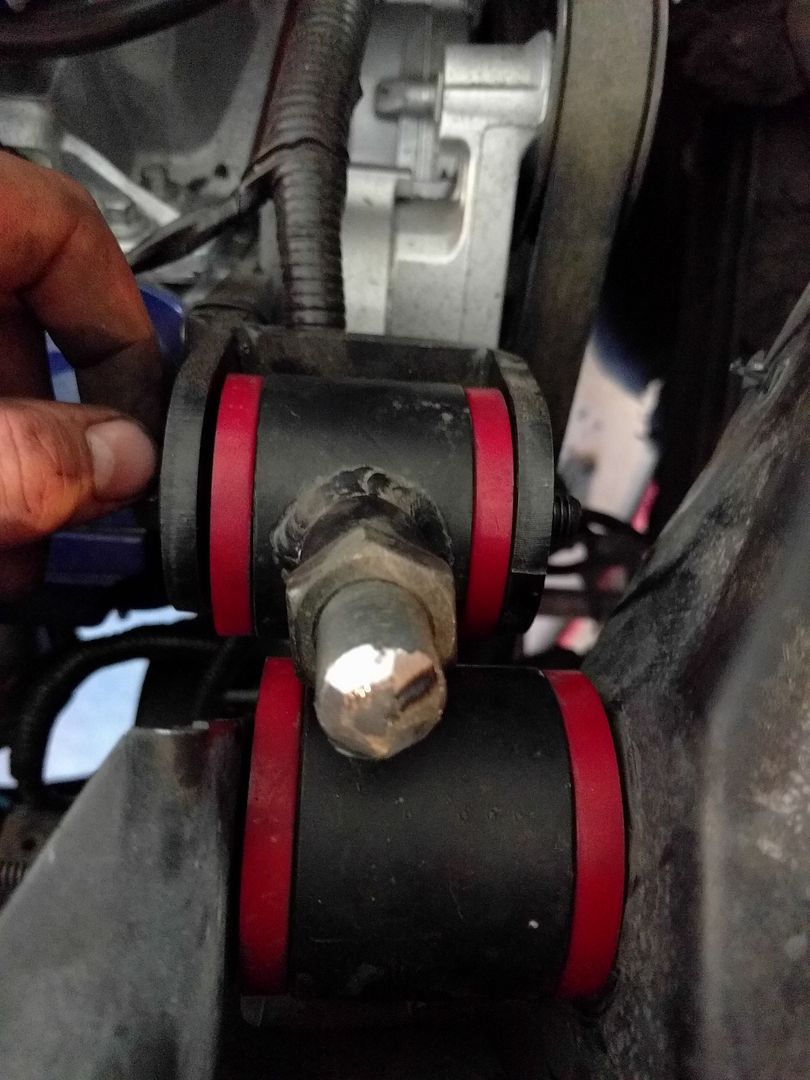
I put all new poly bushings in the suspension
All mocked up. Still missing the axle in this pic, but everything else was ready. You can also see I wrapped the exhaust. That wrap is MISERABLE. I did the wrap on Sat and I'm STILL itchy!!!!!
Everything up to this point was all fun and games. It was a hobby. I had a perfectly good running and driving car. Well, that has now changed. After taking it for one last drive (and recording a video of the engine running, shifting, etc) it was time to do it.
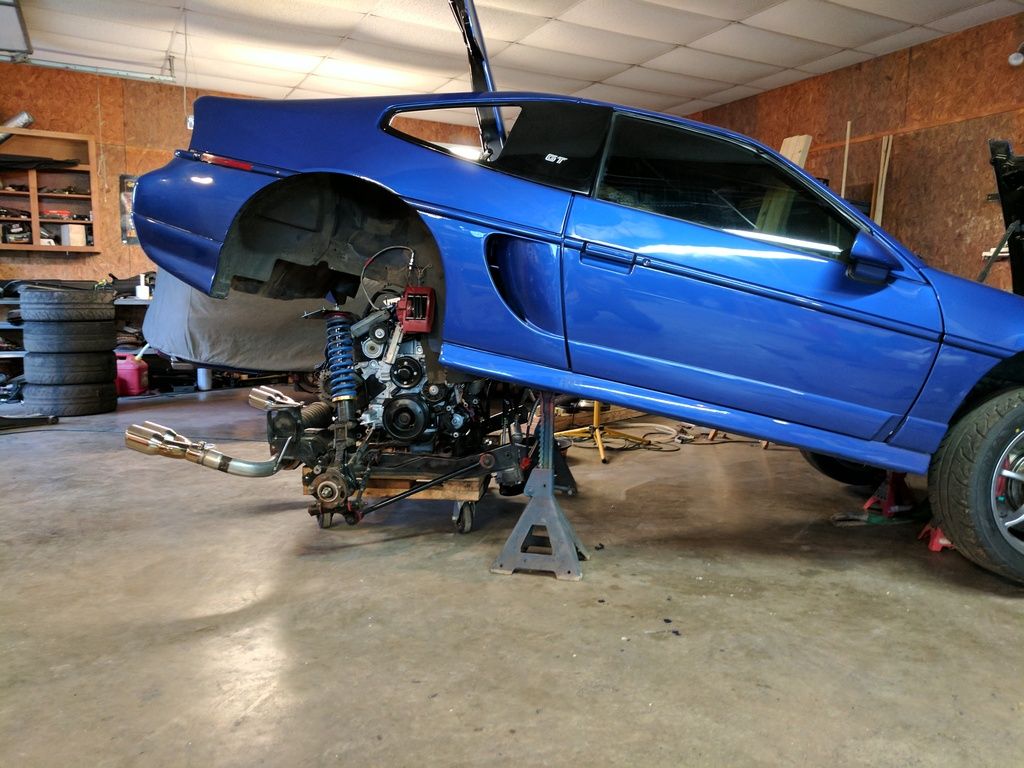
Yesterday I dropped the cradle.
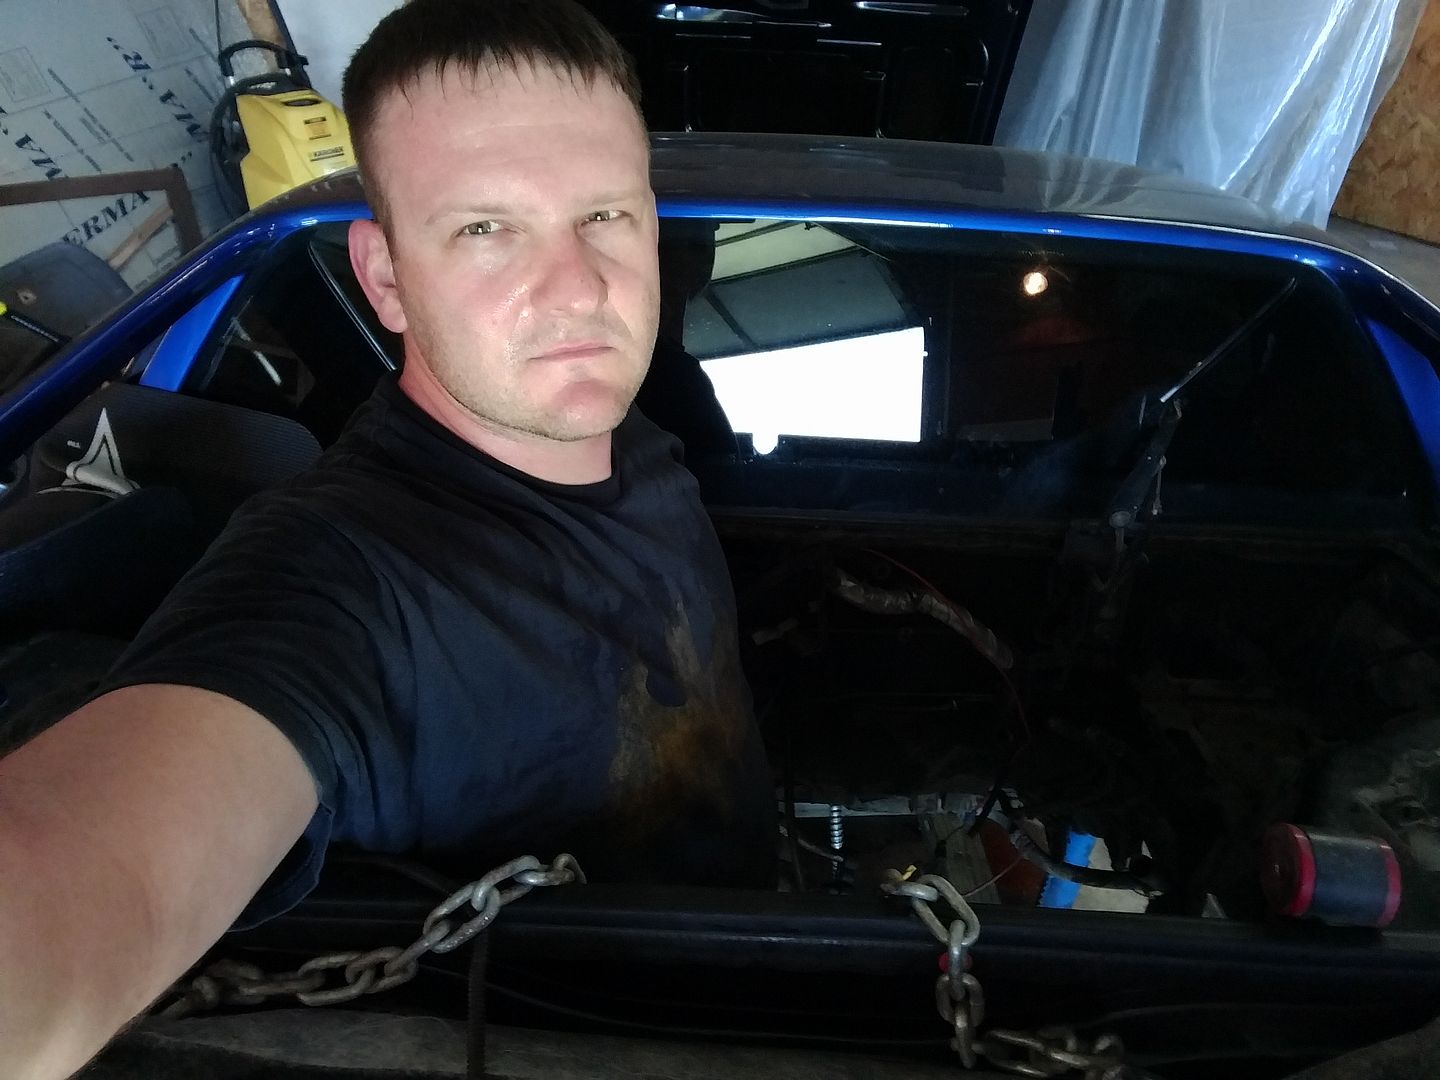
Obligatory standing in the engine bay picture. I didn't have a camera man, so you're going to have to settle for a selfie.
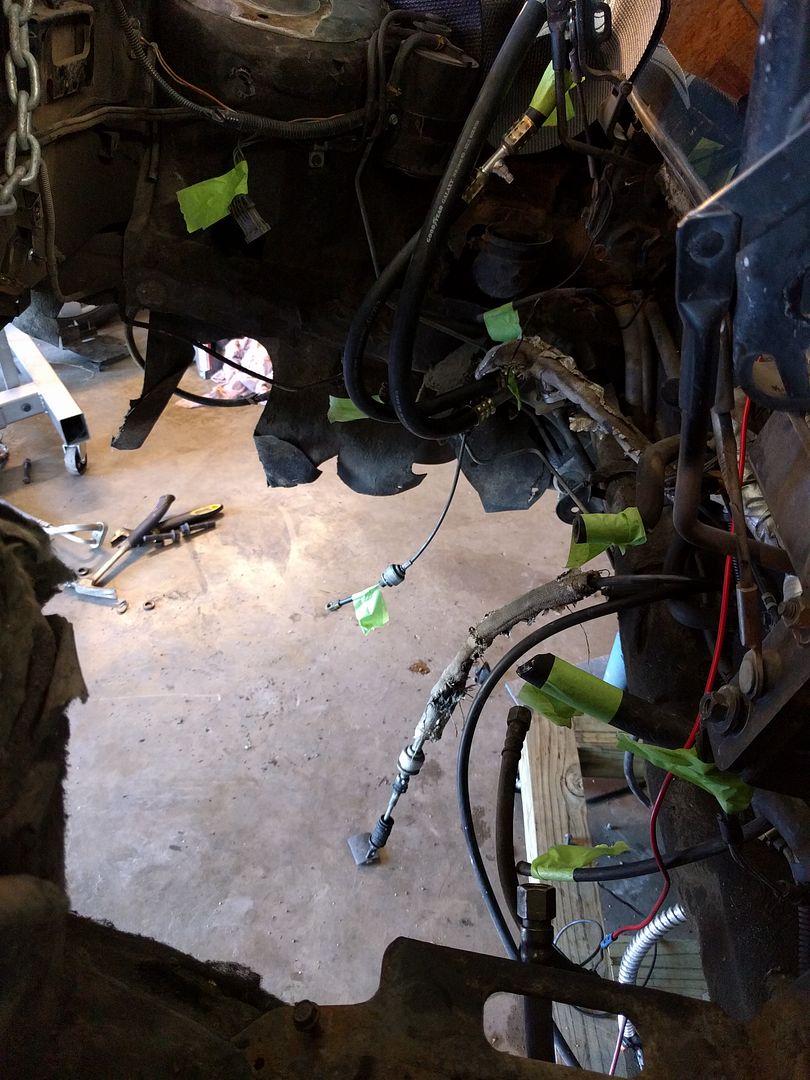
I put a green tape flag on every loose connection in the engine bay. Hopefully it will help ensure I reconnect everything to where it's supposed to go.
While I had an open engine bay I got to building the fuel system. Since I'm going to use the series 3 rail, I needed to add a FPR to the fuel system. I got another S2 rail from the yard and hacked the FPR out of it
After a bit of plumbing it was ready to install
It gets a flag becuase there's an open port on the T for a fuel pressure sensor.
I harvested the axles from the 2.8. I also took the bearings as they are good OEM units.
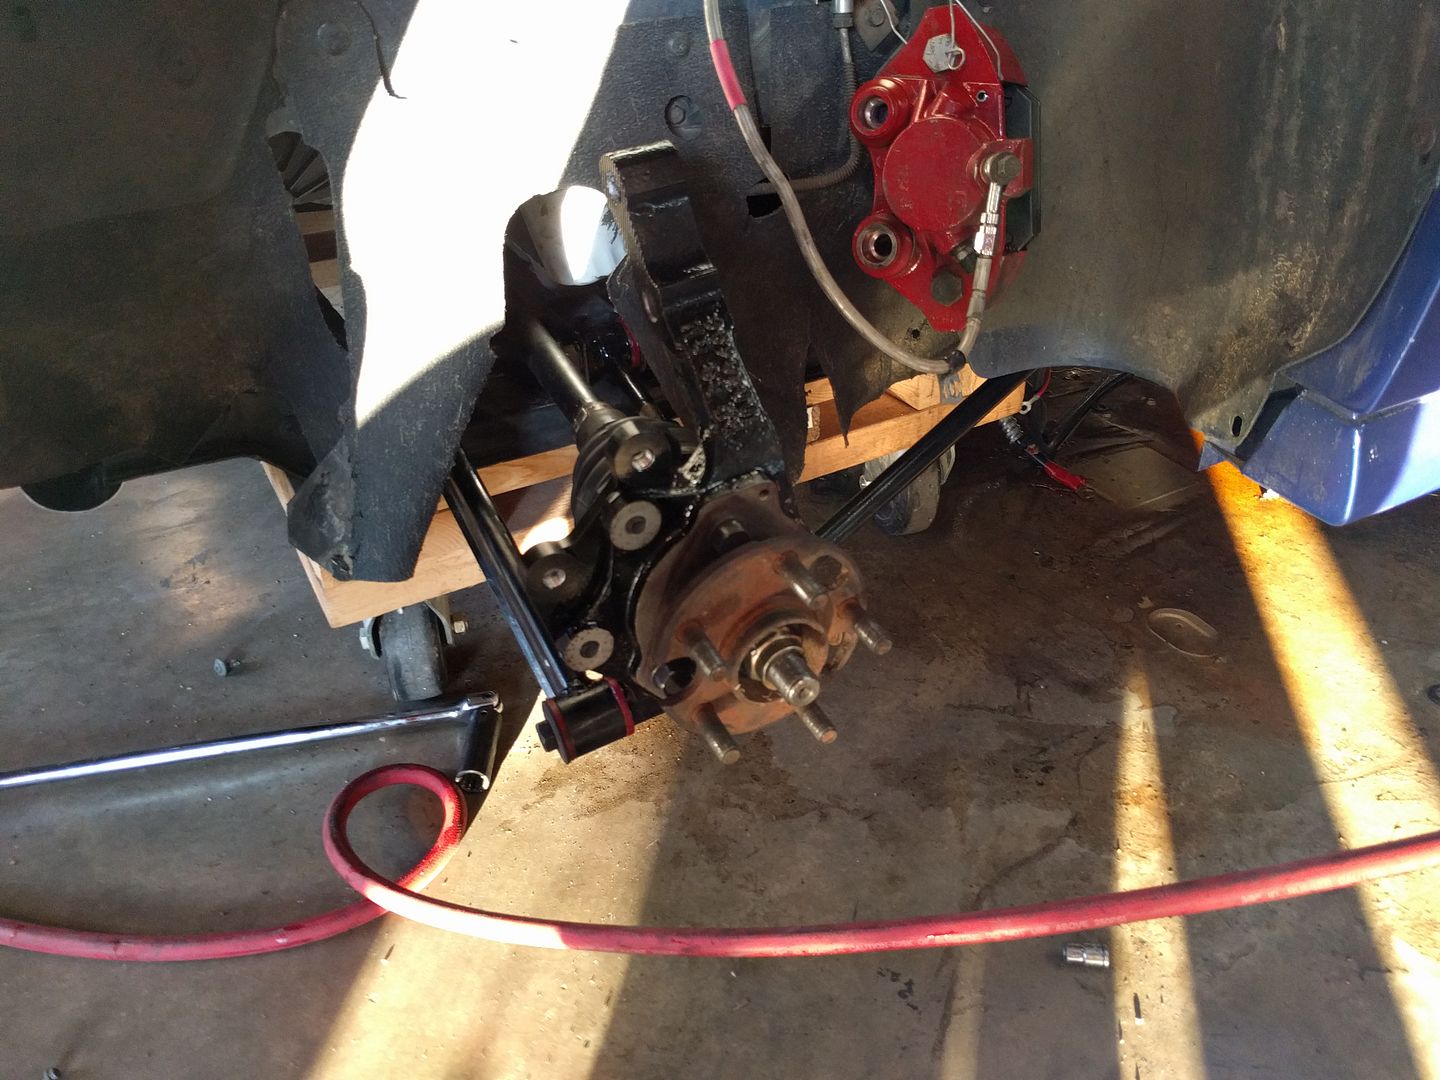
Axles installed with the rest of the suspension.
And it's in!
It really sucked getting the cradle lined up, but I finally got it
Wheel wells need to be cleaned up with the skirting and such
That's it for today. Tomorrow I begin to hook everything up.
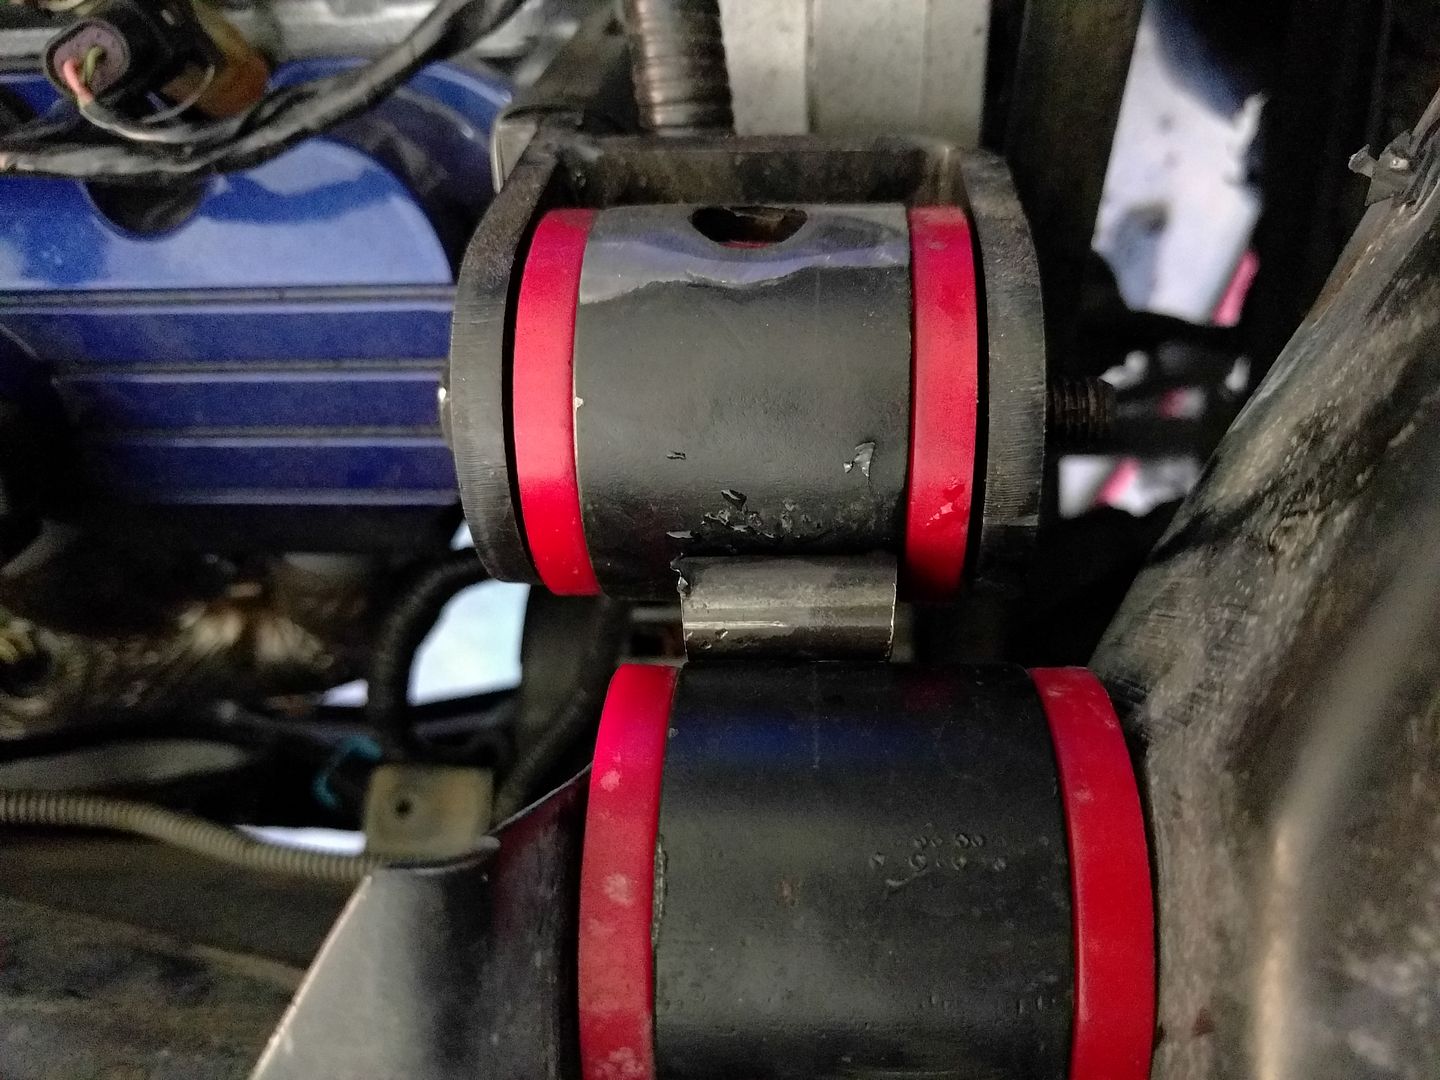
Not much worth taking pictures of today. Lots of inserting tab A into slot B hooking up wires, hoses, ect. Really the only fabrication job I did today was the dog bone. If you look at one of my pictures from yesterday you can see the dog bone does not line up with FieroRog's dog bone mount.
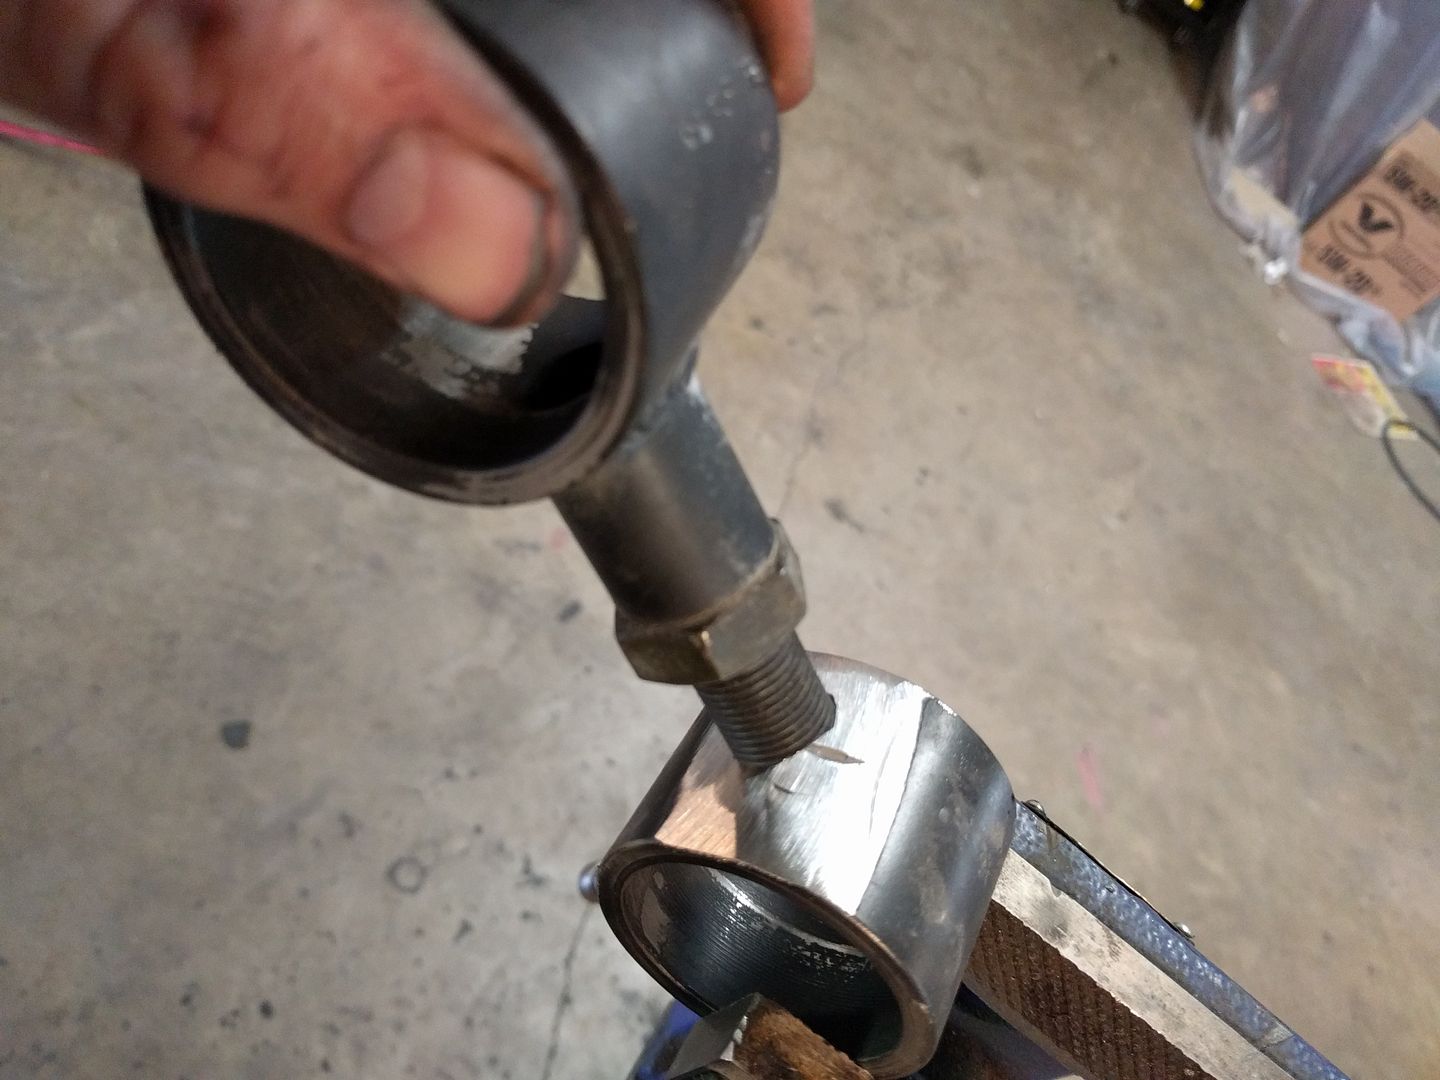
As with lots of jobs, I started work before I realized I needed to take pictures. So here i had already cut the knuckle off the bone
My original plan was to only cut one knuckle off and reweld the threaded portion at the correct spot on the other side. I quickly realized that wasn't going to work.
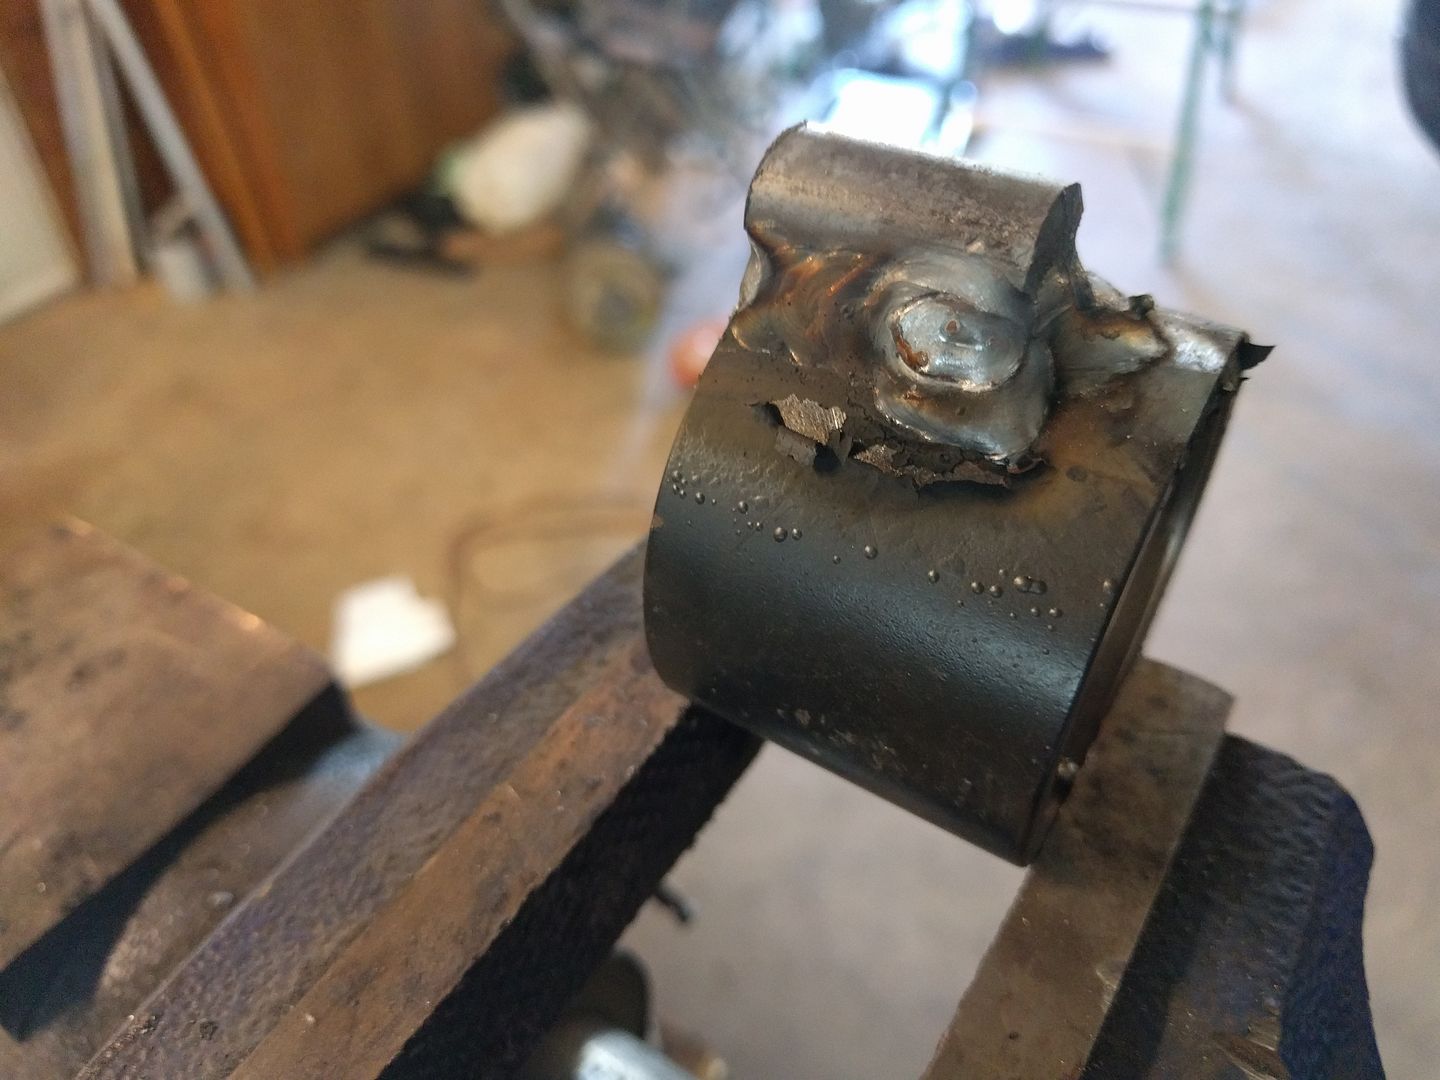
So the next plan was to just fabricate a center section. This would sacrifice adjustability, but it's not like a dogbone needs to be adjusted once you have it in place. With both knuckles in place they say almost exactly 1/2" apart. I just so happened to have some 1/2" rod lying around. I cut a piece to the proper length and it fit perfectly
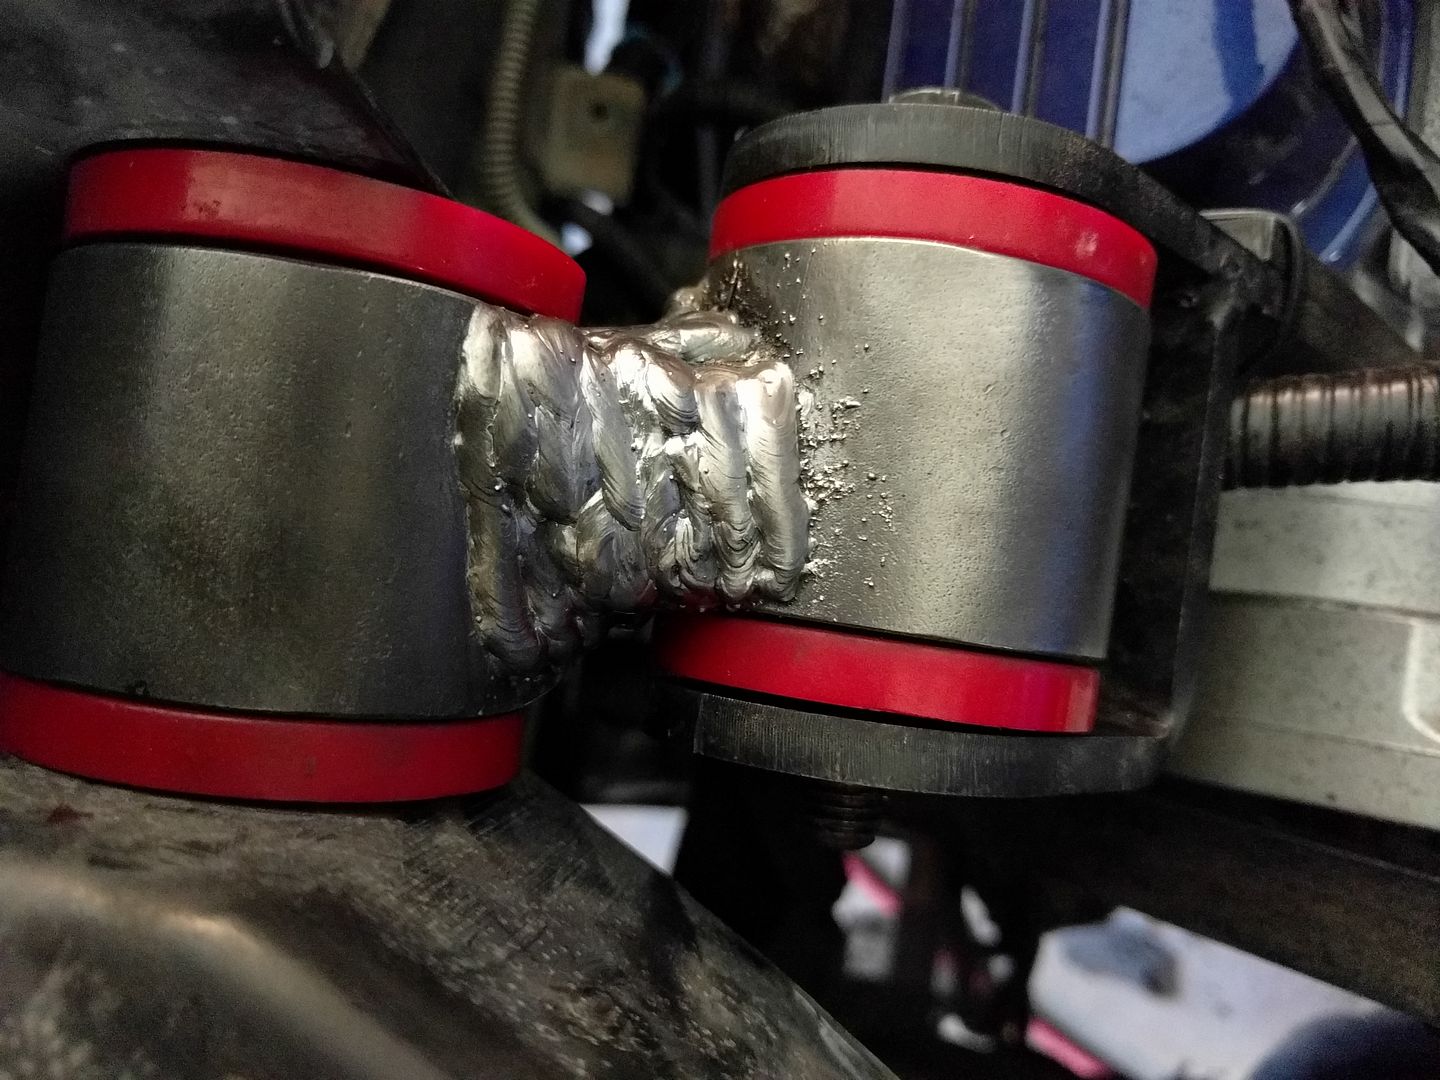
Welded it up
So I used a LOT of wire on this. It's not going anywhere.
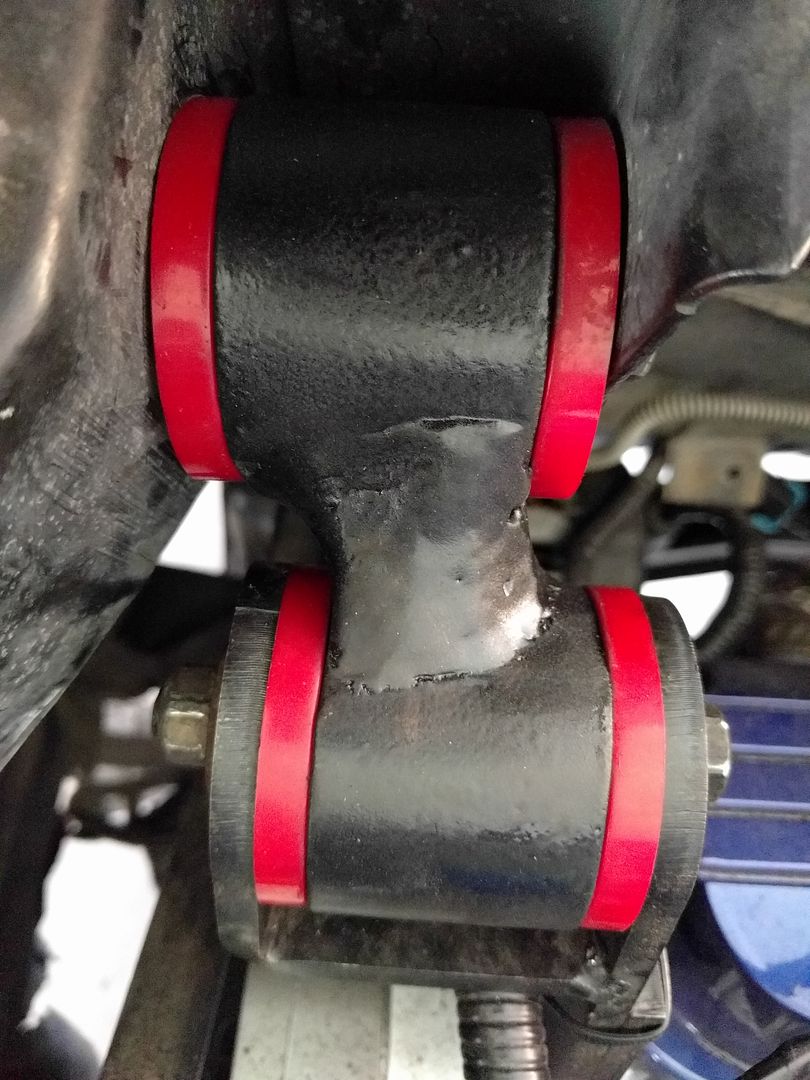
Sanded, painted, and DONE.
I also did some fab work on a throttle cable bracket. I'll post a final picture when I get around to it. I need to fab up an intake tube, figure out plug wires, and a bunch of other stuff. Still waiting on some parts to come in (fuel pump, shift cable, AC stuff, etc). I think I'm on track to get the thing started as soon as I get the PCM back. Overall I'm really happy with the progress.
Just about done. I keep bumping up against parts I don't have in hand. I did get the coils mounted today. I was going to do some elaborate mount, but then I just decided to screw them into the firewall and call it good.
I've rebuilt the throttle bracket half a dozen times. I think I finally got it right this time. You can see it in this shot.
This is how it sits right now. The short list of stuff to do is
--Change fuel pump --Change SC pulley (and put a belt on it) --Install PCM (once I get it back) --Tidy up the wiring where I can --Wire in the cruise control --Put the interior back together
It's been miserable hot here this week. Tough to do a lot of work, or at least enjoy the work.
I did do this today though..
IT TURNS! And it doesn't leak fuel! I can't tell much beyond that, but it sure was cool to hear that.
[This message has been edited by Napoleon_Tanerite (edited 09-15-2016).]
I had to go back to work this week, so progress was limited. I have gotten some more stuff done.
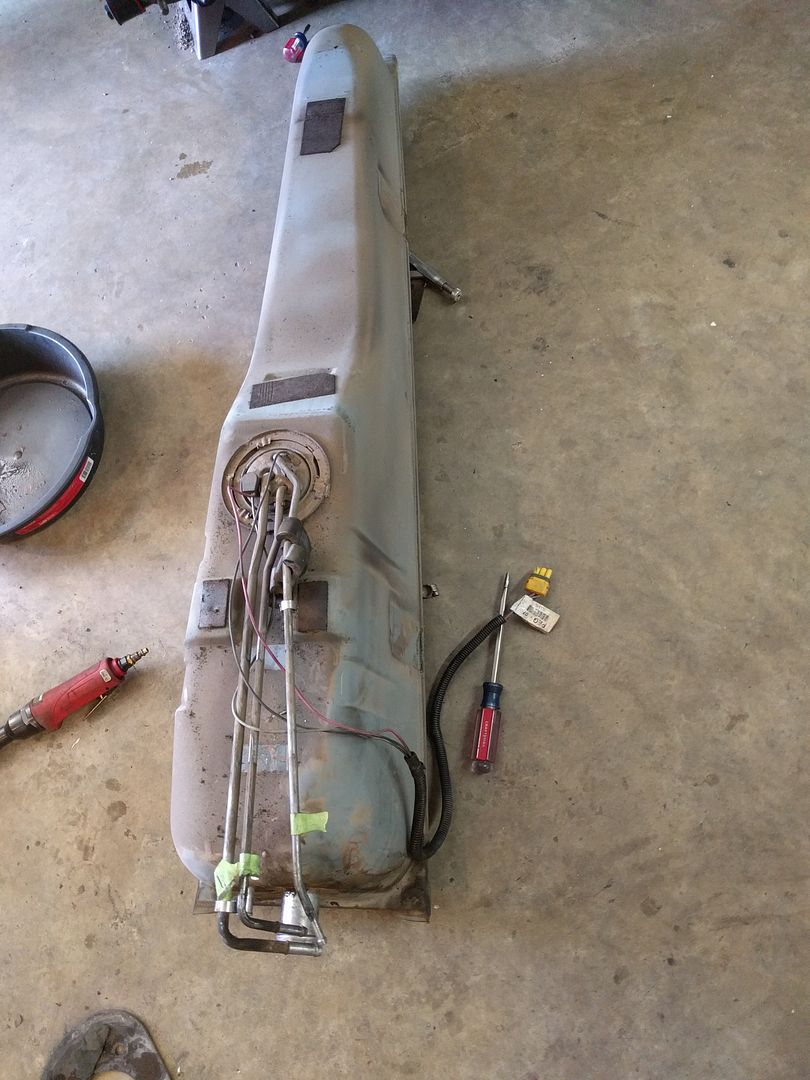
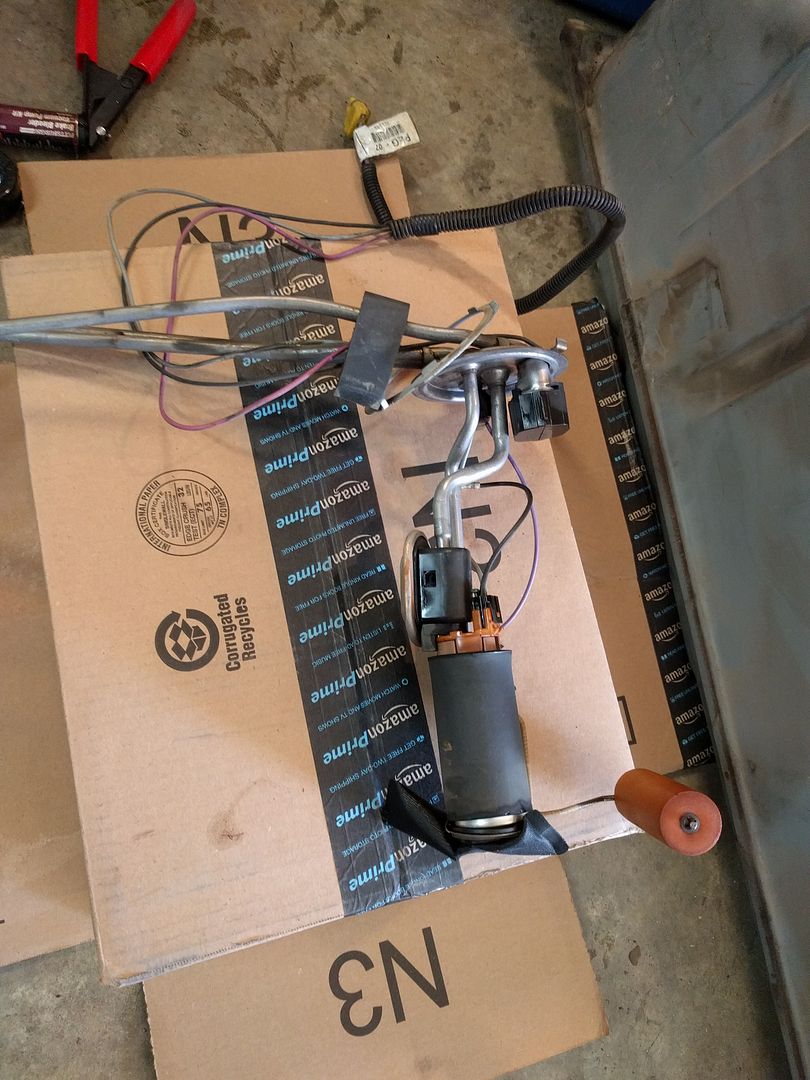
I pulled the fuel tank and discovered the first real problem with this car.
Tough to see in this picture, but the sock on the old pump was disintegrating. It was already partially disintegrated when I pulled it, but as I was pulling the old pump off the rest fell apart in my hand. I'm pretty sure it didn't have much time left even if I hadn't started the swap when I did.
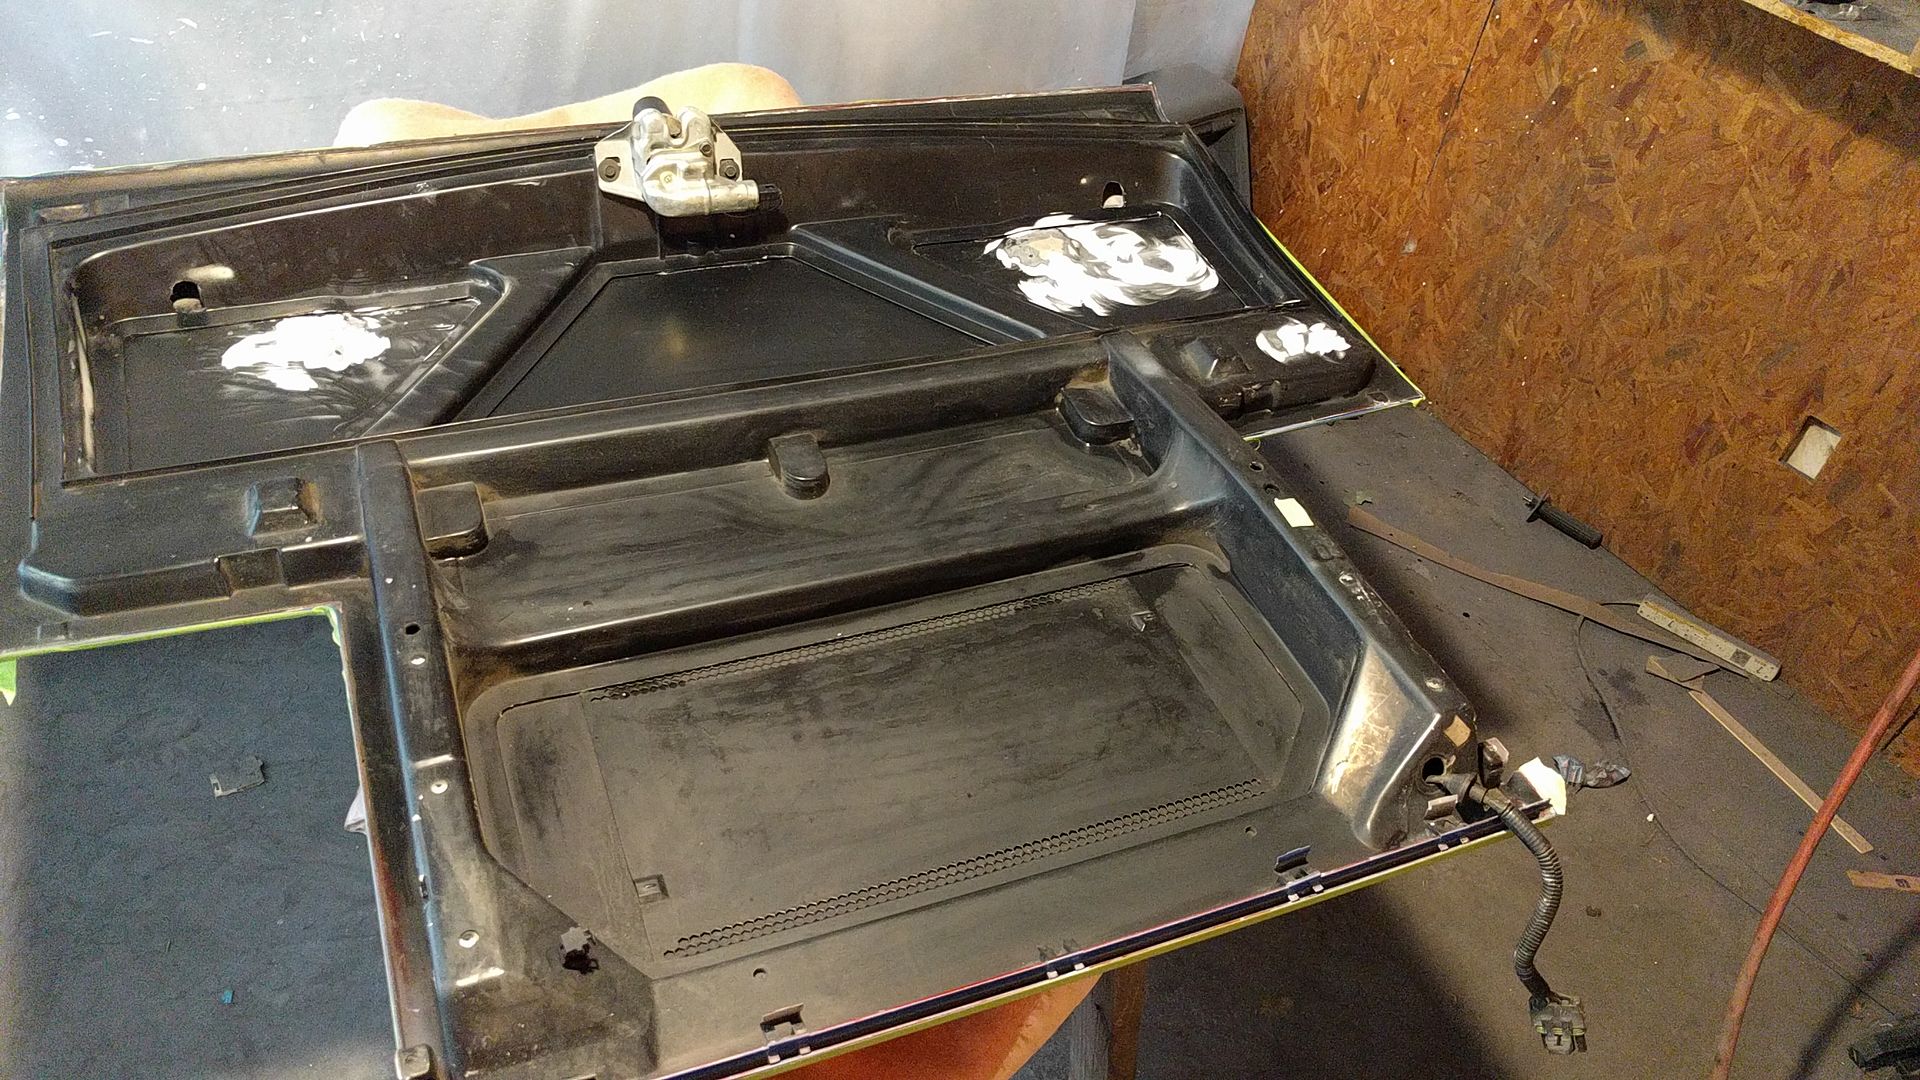
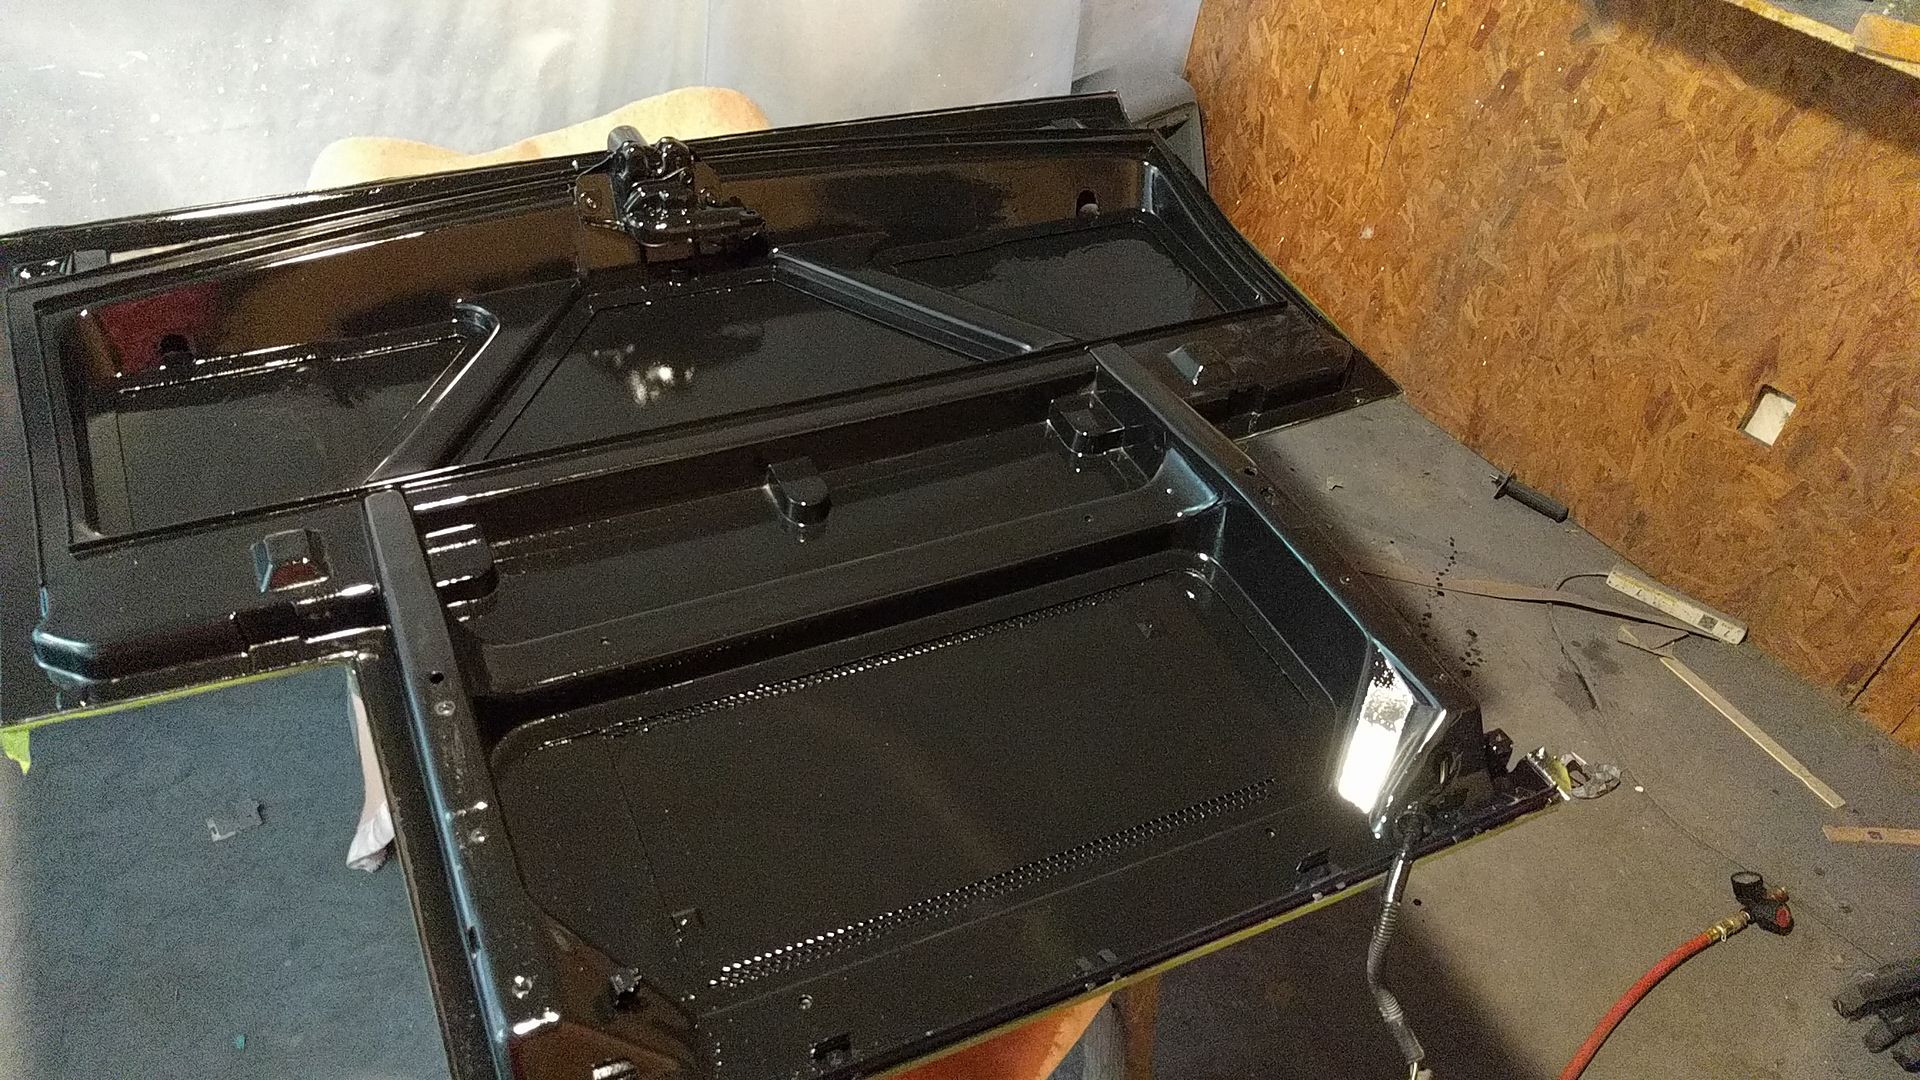
While I had the decklid off, I decided to paint it nice gloss black to match the underside of the hood I did a few months ago
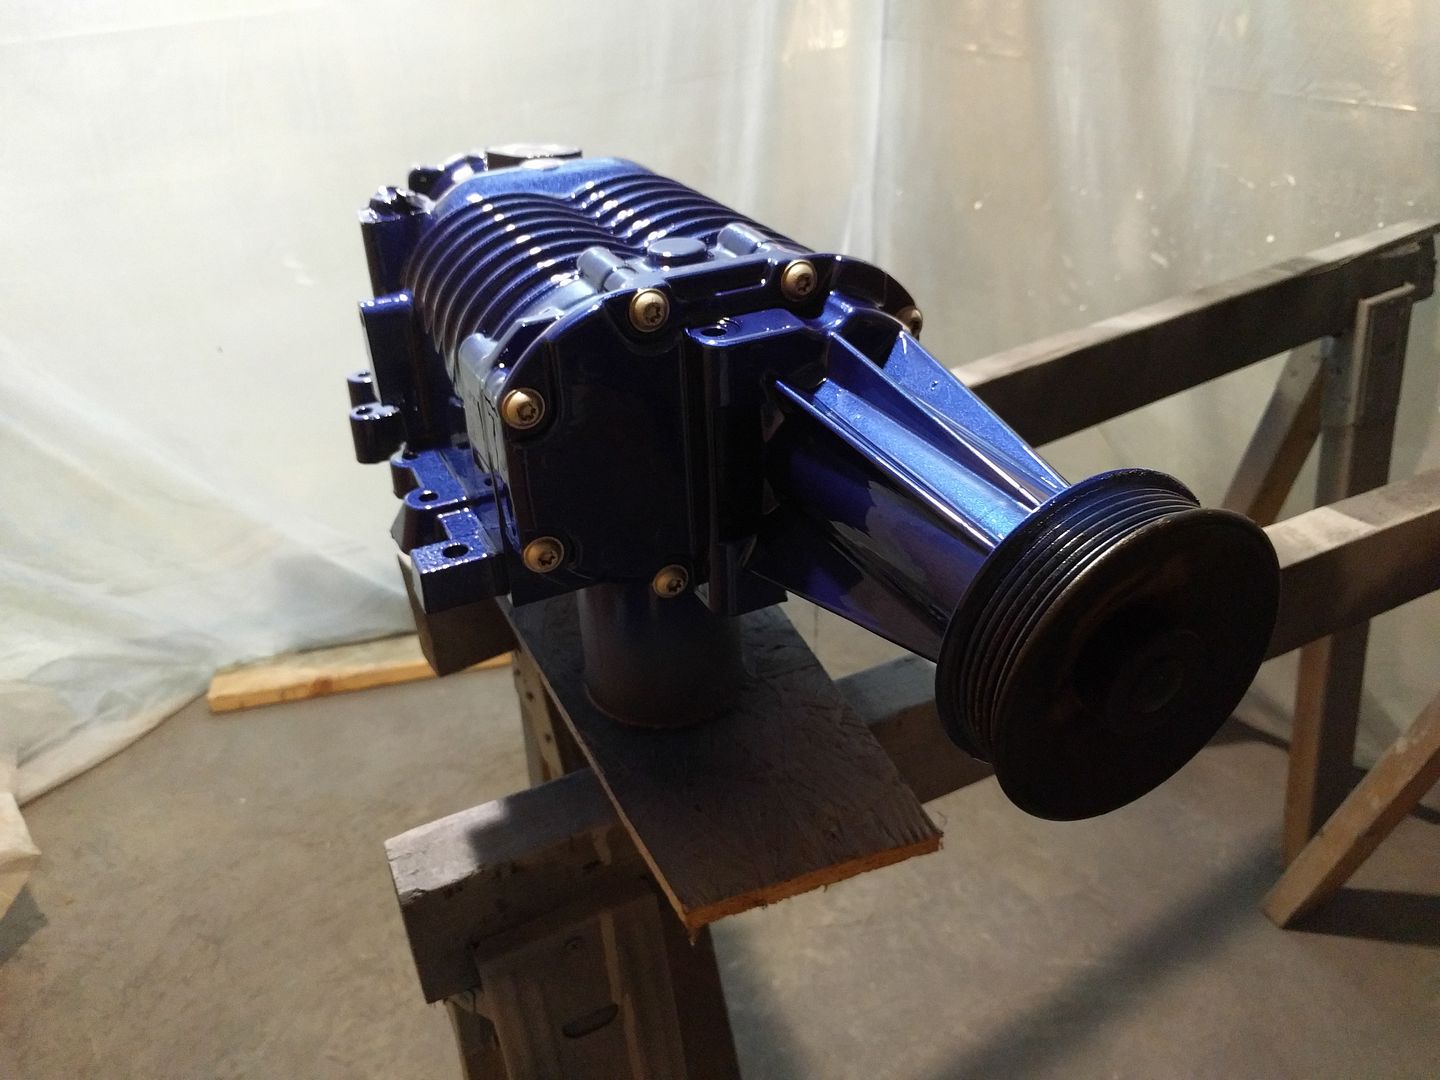
I swapped the pulley, so now it has the ZZP MPS hub on it with a 3.6 pulley. I still have the 3.4 on hand, so if my KR looks good with the 3.6, I'll give the smaller pulley a shot.
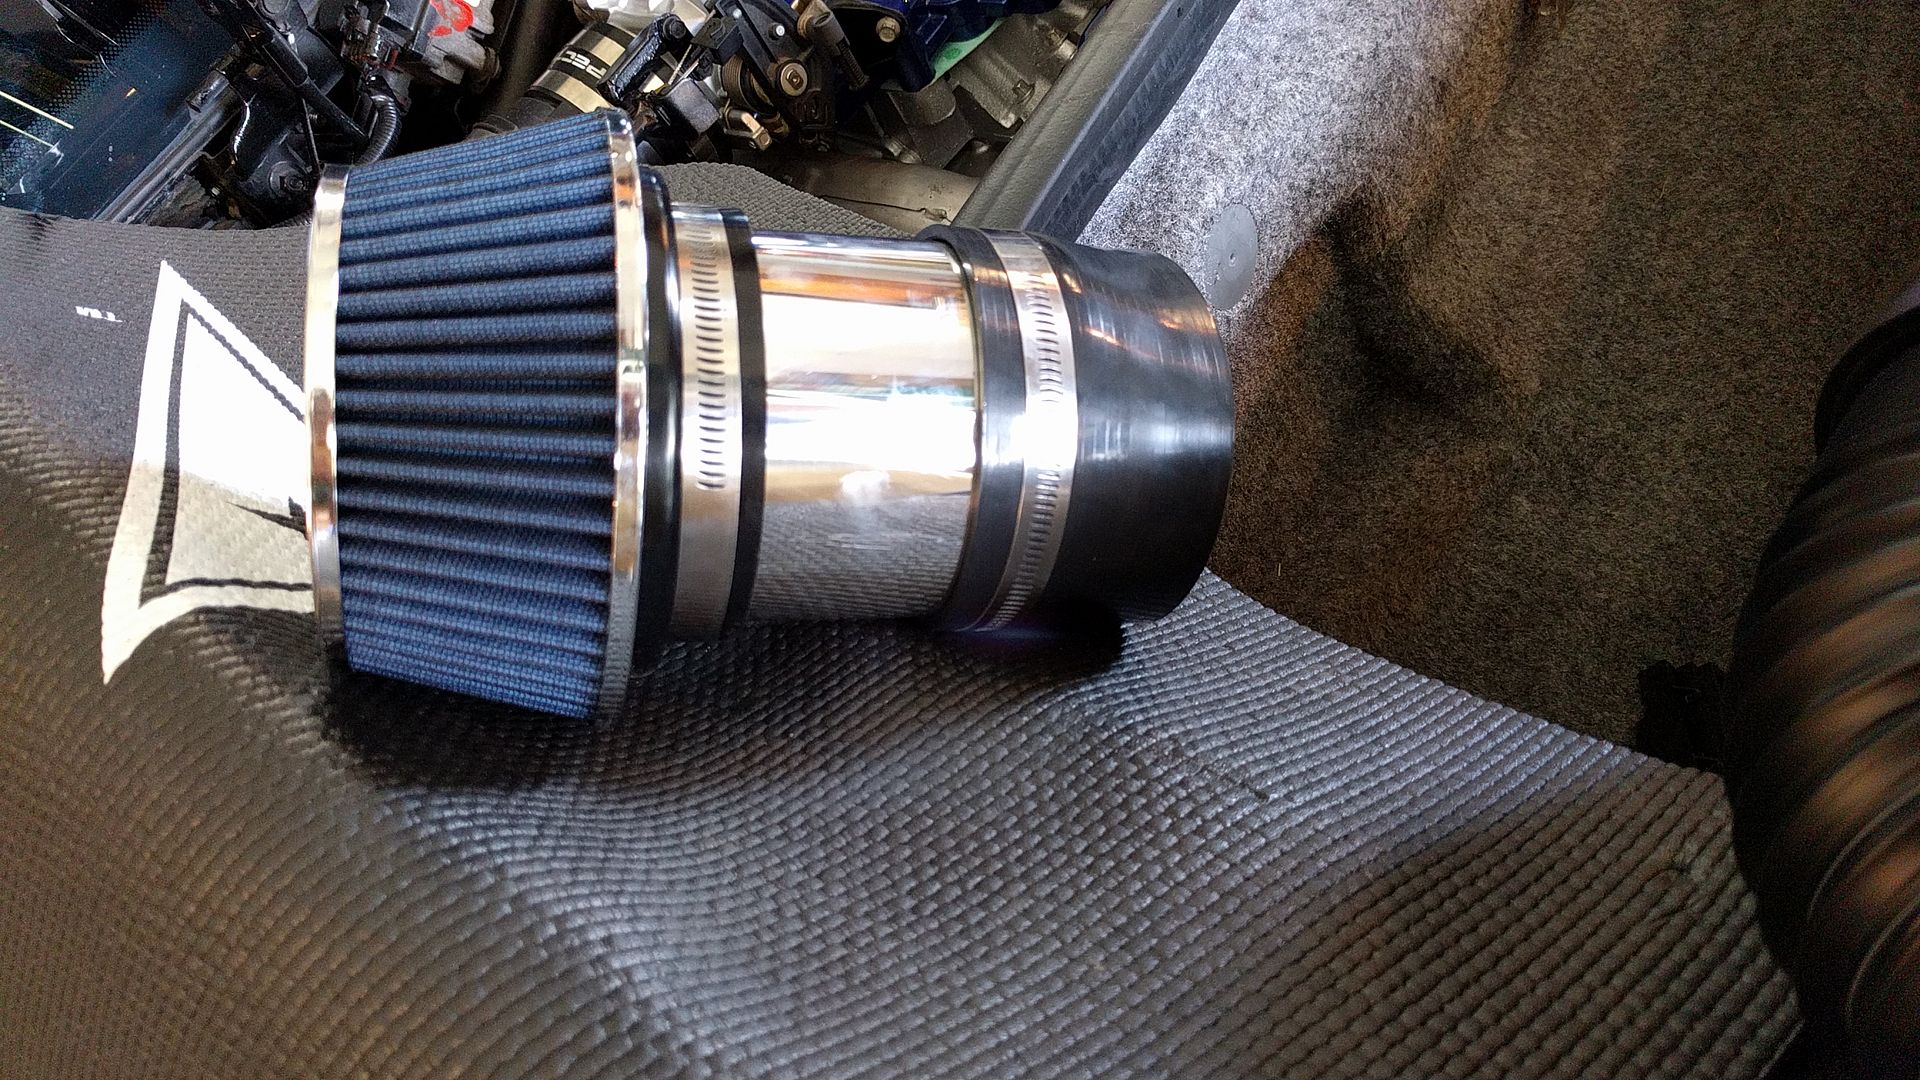
I also started work on the intake routing. I got a filter and a base to mount it to. The color is a nice coincidence.
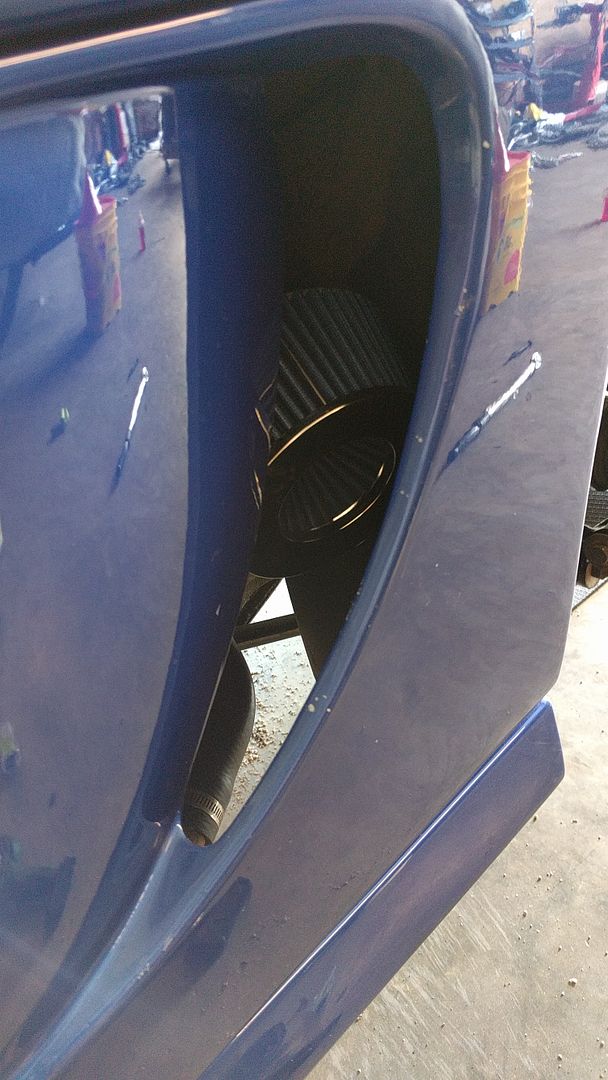
Peekaboo
That's it for now. I spent a lot of time today struggling with the rigging of the transmission and shifter. I've just about got it, but there's a lot of play and a lot of stiffness. i'll figure it out.
I would check that filter for a metal cap on the inside of the center inverted portion. Many of them have a metal cap and some of them have come loose and were sucked up and into the intake track. If you have a MAF screen, that should stop it before it causes any serious damage, but having a metal object glued to rubber inside the intake track is a cause for concern.
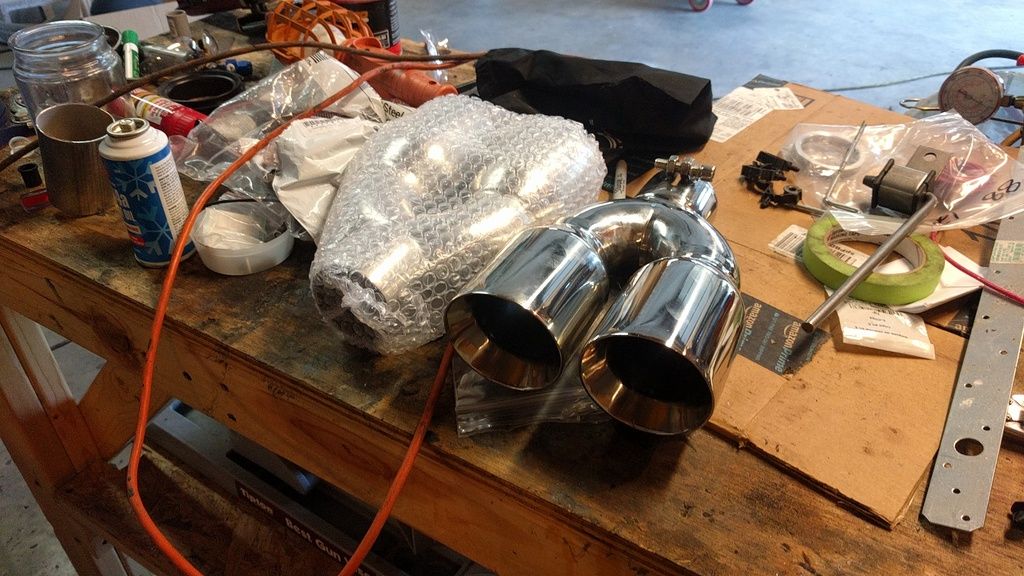
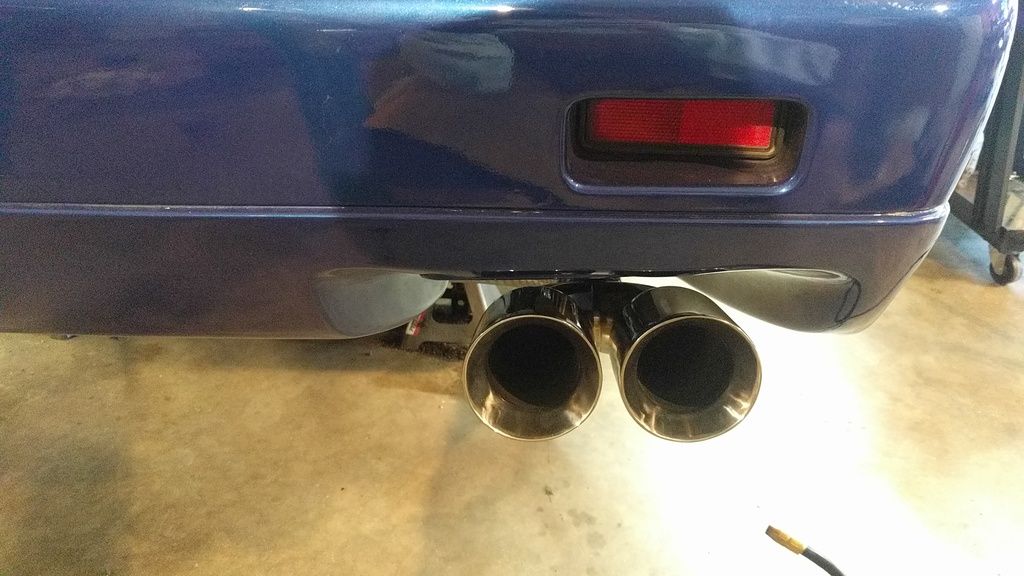
I've continued to get everything done. Lots of stuff not worth taking pictures of (minor wiring, cruise control module mounting, filling AC, etc) but I did finish the exhaust system today.
I went with a pair of polished Y tips.
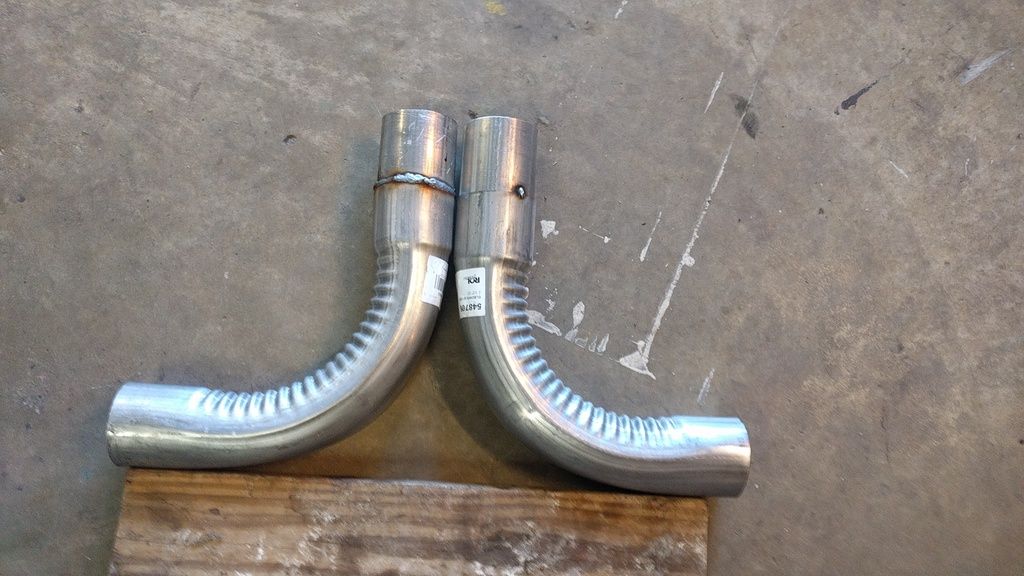
I had to add a little to the bent pieces, but not too much
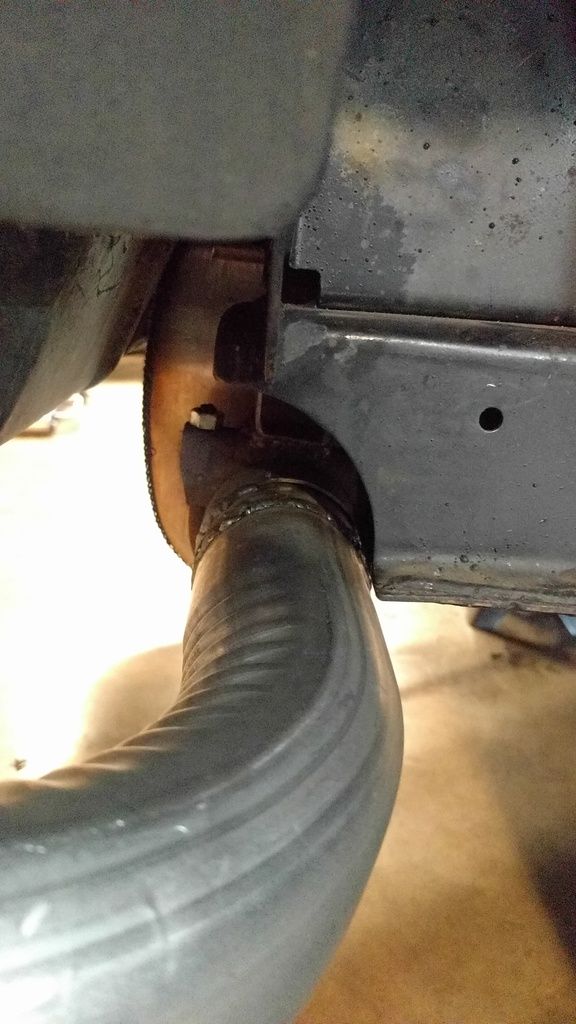
The passenger side pipe ended up VERY close to the cradle
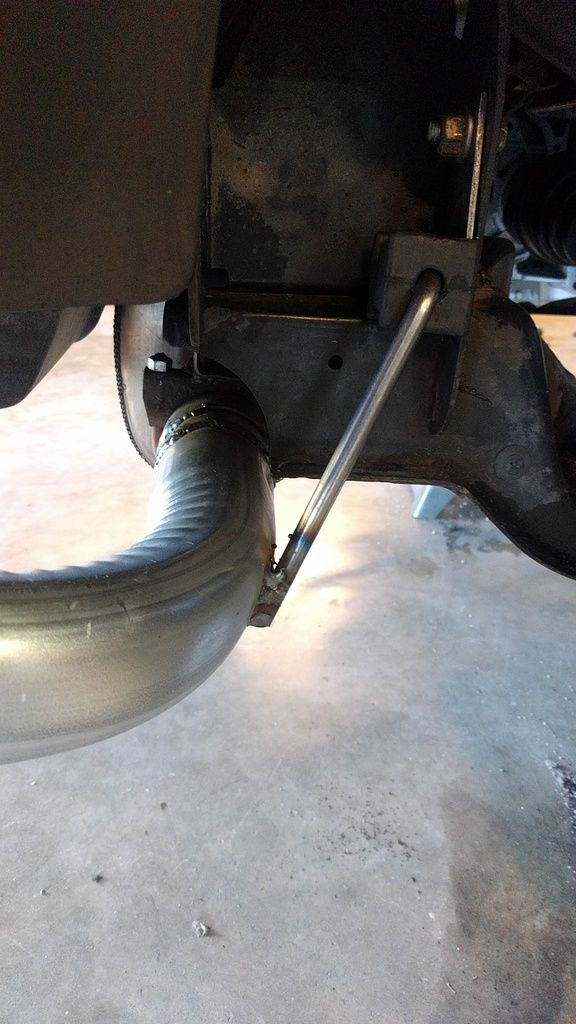
I didn't need a hanger to support the weight, but I did use this one as an arm to keep the pipe from contacting the frame.
Finished product
And the sound.... oh the sound....
[This message has been edited by Napoleon_Tanerite (edited 10-01-2016).]
No pictures today because my phone is dead. But big news! I moved the car under its own power today!!! Unfortunately it wasn't a full test drive, but I got everything put together, wheels on, and it did move. The reason I couldn't do more is due to that burned bushing. Scroll back a bit to when I was modifying my select arm and I melted the bushing that goes there. Well, I had decided that it "wasn't too bad" and just put it back in. This ended up being a mistake. There wasn't much play in the bushing before, but I think when it got melted it also got very brittle because the play has increased drastically since I started moving the shifter testing things out and such. I first suspected there was a problem a few days ago when I had the car up on stands still. I was shifting it into the gears and when I attempted to shift it into reverse, the hubs still turned forward. I didn't do much about it because I wanted to get everything else done and see how it did with actual weight and resistance on the system.
Well fast forward to today and it still wanted to roll forward in what should have been reverse. Upon further review it looks like it was slipping back into 4 when I was trying to go R. The only way to get it into R right now was to disconnect the shift cables from the transmission and have my neighbor manually shift the levers on the transmission itself. By doing this we were able to successfully get it into R, but that's not a long term solution.
New bushing should get here tomorrow, so hopefully I'll have better news then.
Today was an emotional roller coaster. I ended up improvising a bushing for the transmission and modifying the select arm. That allowed me to get the car into reverse, which got me on the road! The car was fast. The car was VERY fast. It was at least as fast as the GTO. I could hear the supercharger howl. It was everything I hoped it would be.
Now, you may be asking yourself why I'm referring to this experience in the past tense.........
The engine is dead. I'm not sure what broke, but after a few short test drives I decided to run it to O'Reillys and back (7mi each way). On the way there performance got progressively worse. It started with some power loss, and got to the point where it would die and be difficult to crank. I arrived at my destination and checked the oil. It was clean, but there was some steam or something coming from the valve cover when I opened the oil cap. I started the way home and it was difficult to get and keep running. After about half a mile it started knocking, then the temperature spiked, the knocking got far worse, and it finally died. The coolant overheated and pissed out all over the place. After letting it cool and adding coolant it knocked like a Jehovah's witness when I tried to crank it. I haven't dug into it yet, but I'm confident my bottom end is dead.
Sad news indeed As you mentioned, I hope you can get the salvage yard to give you another block in replacement. Playing the "dumb card" may help. Tell them you had a mechanic swap in the engine for you, and when you started it the first time, it was knocking. The other alternative is telling them you tore down the engine, and they will probably laugh at you when you blame it on them.
It is s setback for sure, but the bright side is, you have the mounts, wiring, water and everything else figured out. It is pretty much just swapping in the new block.
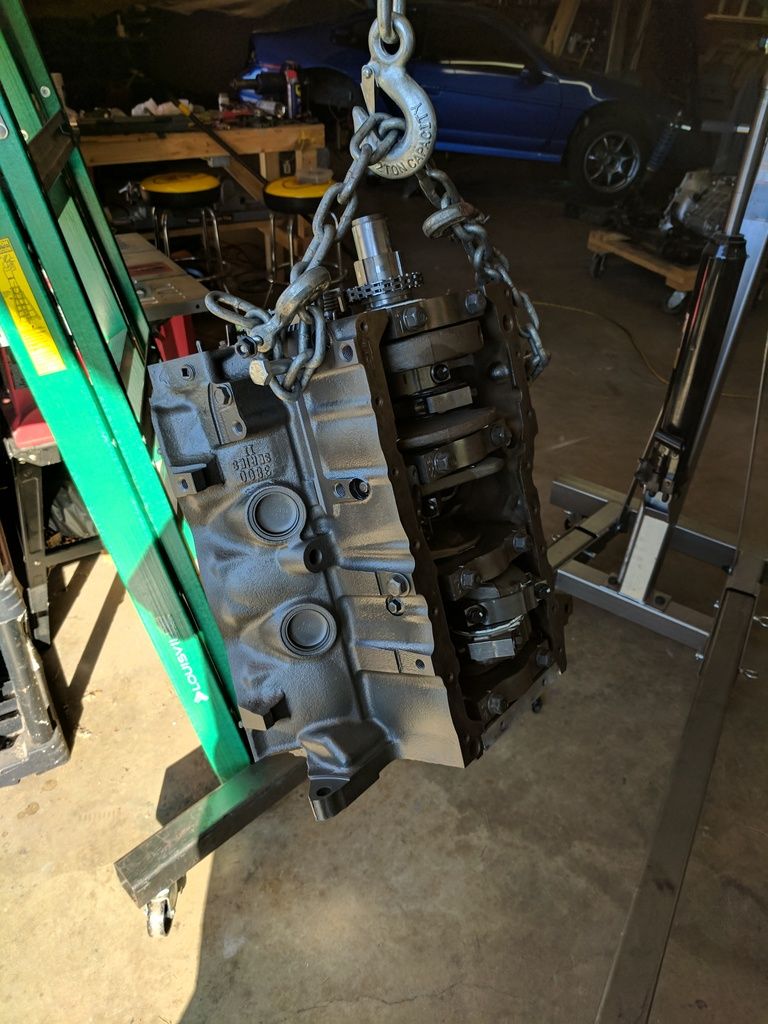
I pulled the engine out today and had the autopsy. I was able to find the WHAT, but not the WHY. It looks like it ate the rod bearings for both middle cylinders. As far as if this caused the overheat or if the overheat caused the bearing failure, I don't know. I still need to investigate the cooling system on the car and make sure the radiator is flowing well. I may have just had an air pocket in the system.
I'm writing off this block for now. I already have a line on a new block from a NA car. I will do the top swap from the SC engine and that should get me back in business. I will then take the L67 block and build a monster with it to install at a later date. Hey, at least I'm getting pretty good at slinging the cradle around.
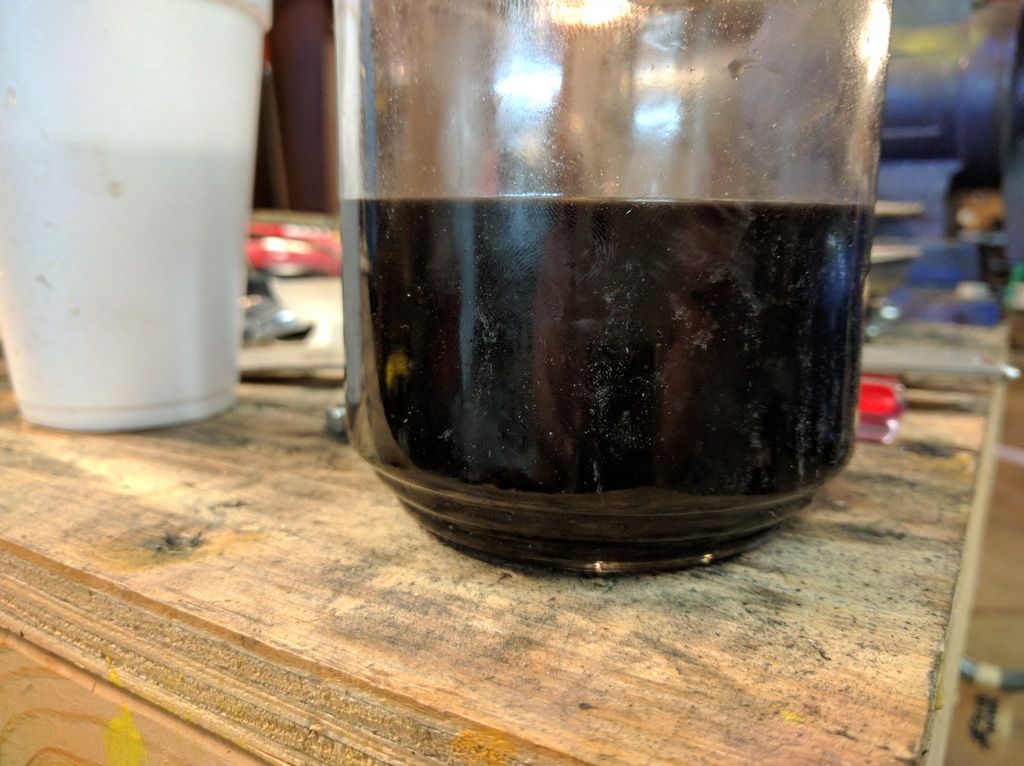
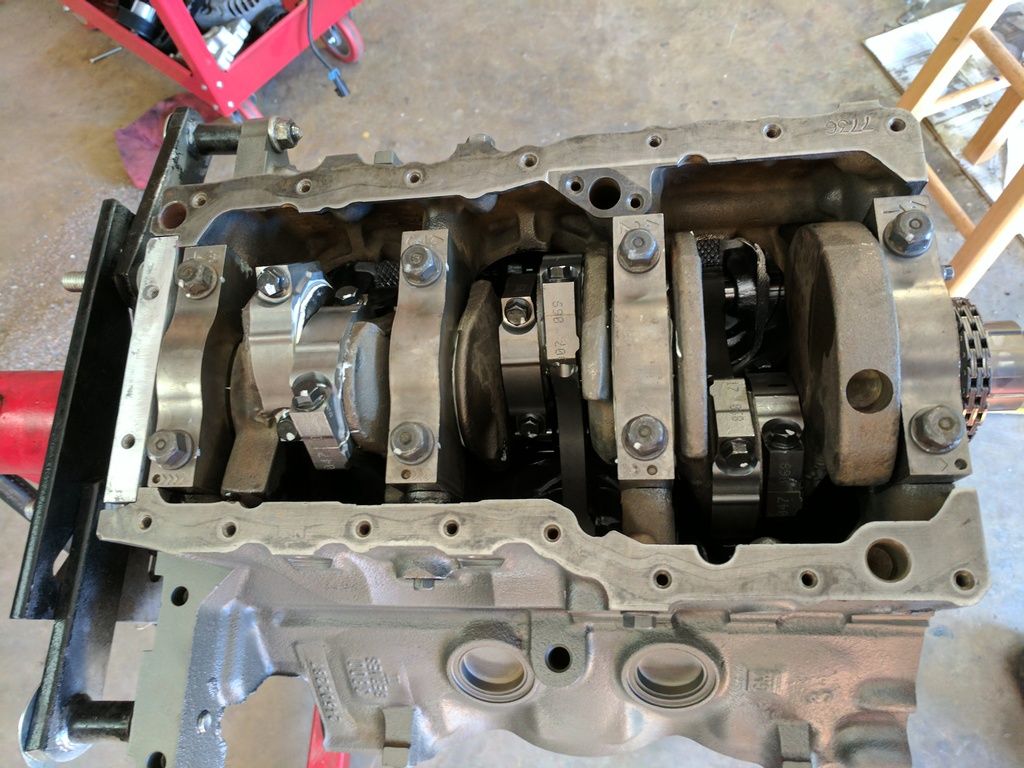
I finished the autopsy and took some pictures. The oil was brand new and still new looking about 1.5 miles prior to the failure.
I think I still had oil pressure as this dark oil was present throughout the engine, so it was clearly being circulated.
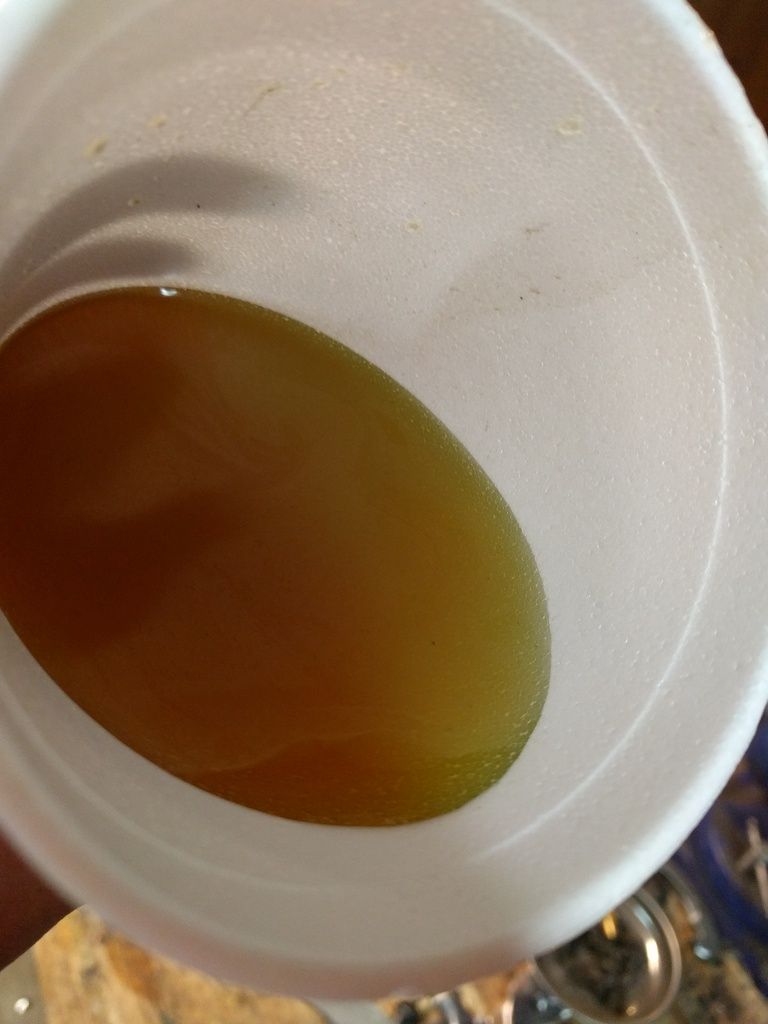
Coolant was a similar story. This formerly fresh coolant rapidly turned very dark. Some of the coloration can probably be attributed to leftover dex in the system and whatever nastiness got boiled off the interior of the lines. I need to test the flow of the cooling system back to front, but I had at least some flow since the tank up front boiled over.
This was my moment of disappointment saturday morning. 4ish hours or so to pull the cradle. I'm getting better at this, though I would rather not work on that skill.
Ugh. Tearing into this sludgy, dirty engine gave me a serious feeling of "I got what I deserved". I settled for a bad engine, and the bad engine did what bad engines do.
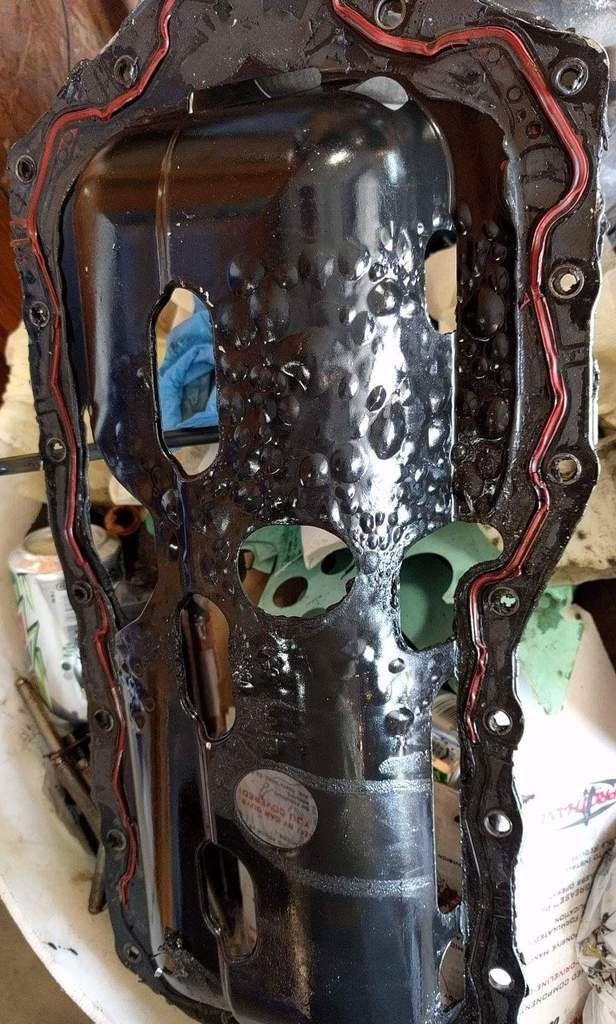
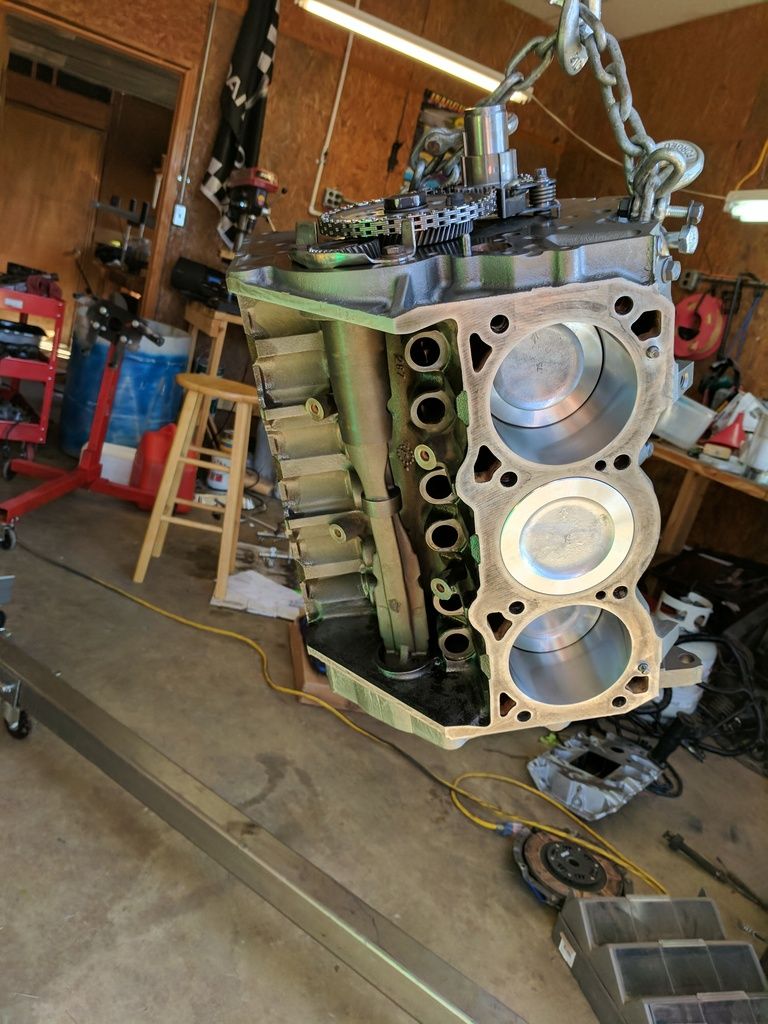
So I'm pretty sure the engine failed due to the failure of the #2 and #3 rod bearing. It's pretty clear they got HOT. Like really hot. Like hot enough to overpower the cooling system and boil the coolant hot. Like hot enough to do this
I think I'm really lucky this thing didn't burn with how hot the oil got. I wouldn't be surprised if these rods were glowing red even submerged in the oil pan.
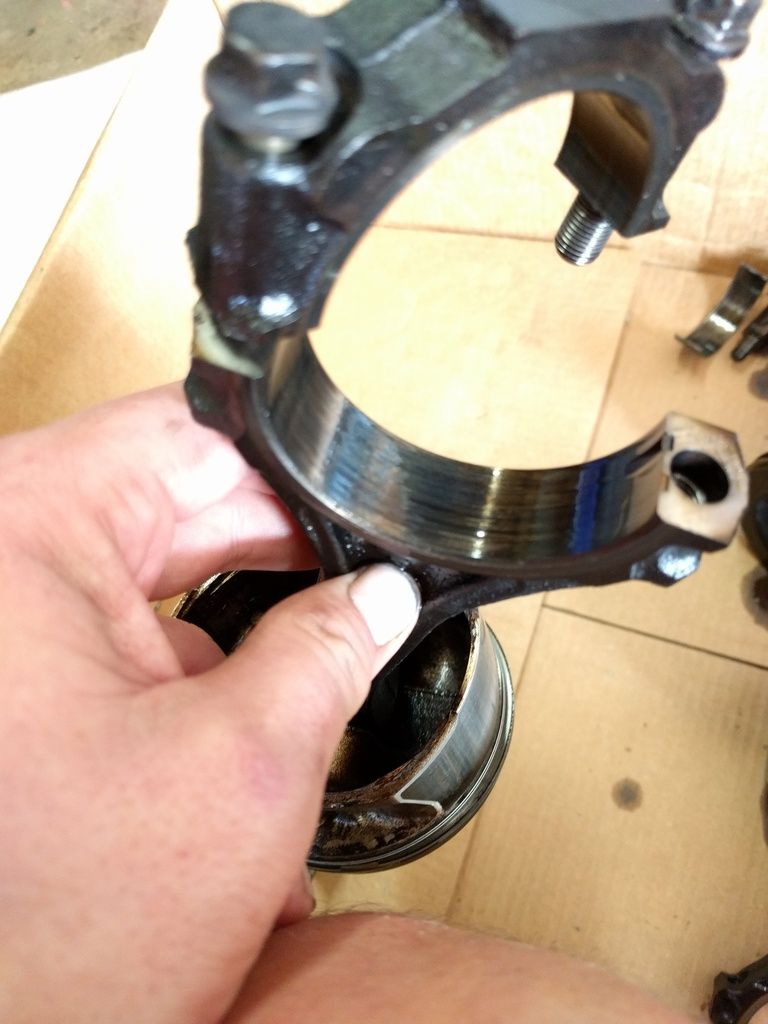
Journals are shot
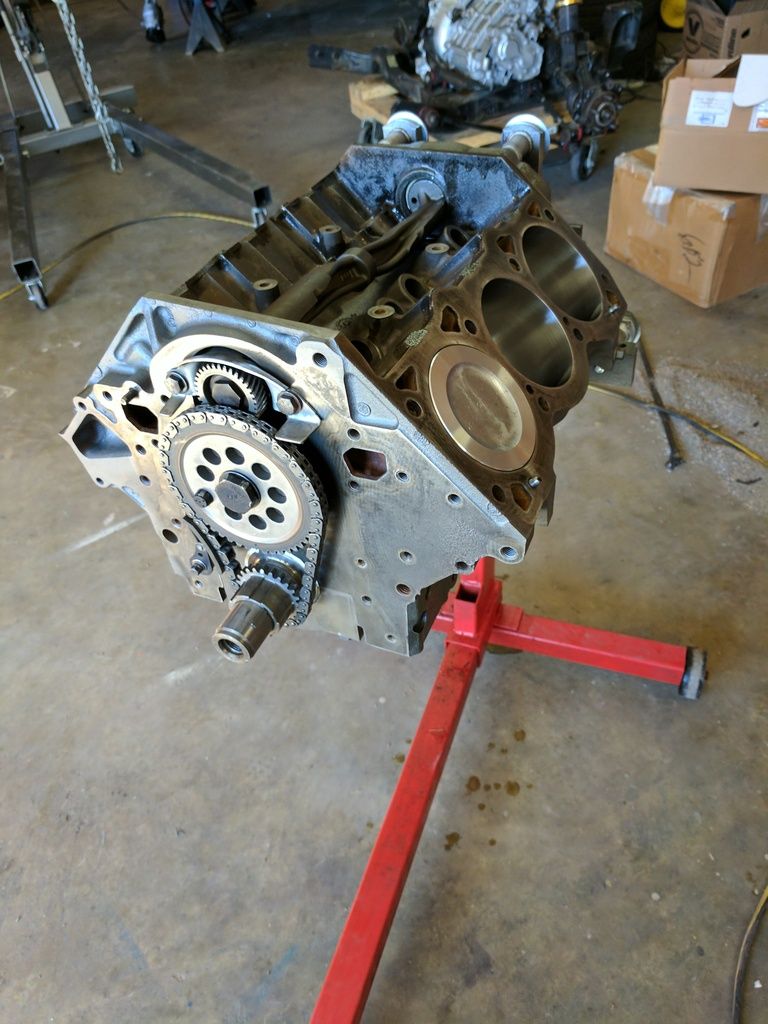
So this engine is done. Fortunately Fred Hall had a spare short block that he offered to give me. It's in good shape, but ended up getting sand in it at some point. I had to seriously consider if I wanted to continue with this block due to the sand. I decided I would, but that meant I full tear down, cleaning, and rebuild. It's going to probably be 60% of the work I would have needed to do to revive the old engine, but this block is a FAR better starting point. It's a NA block, so I need to decide if I want to get the SC rods and pistons to convert it over.
I've been following this thread. Very sorry to hear about the engine. You've work very hard to get that car going. I wish you the best of luck with your next engine
You can't be serious! Even having to think about that? You will never be happy, going through all of this work, and then going with a NA engine.
So, STOP thinking about it, no seriously, STOP and get the rods and pistons that you need. End of story!
I didn't say I was going NA, I said it was a NA block. I'm going to wait to see what the machinist says about the cylinders. If they're good as-is, I'm sticking with the NA rods and pistons. If it needs to be bored I'll get a set of L32 rods and pistons.
A little confusion, sorry. You did say it was a NA block, but you went on to say " I need to decide if I want to get the SC rods and pistons to convert it over. " I read that as you were undecided to keep it NA or "convert it over" to a SC engine....
A little confusion, sorry. You did say it was a NA block, but you went on to say " I need to decide if I want to get the SC rods and pistons to convert it over. " I read that as you were undecided to keep it NA or "convert it over" to a SC engine....
Sorry for the confusion. Yes, it's going to get the supercharger either way. The difference between the NA engines and the SC ones is the compression ratio, and that is a function of the rods and pistons. If I were to replace the rods and pistons on this NA block I would make it a proper SC block. With that said, it's not really necessary for the power I'm planning on putting through it. I'm going to let my machinist make the decision. If the block needs to be bored, it will get new rods and pistons (gotta buy pistons anyway at that point). If it's good, I will keep the wallet closed. If in the future I ever get a wild hair up my ass to try to build a 600hp monster then I will get the right parts. In fact, I'm considering keeping and trying to revive my original block for the purpose of building just such a monster.
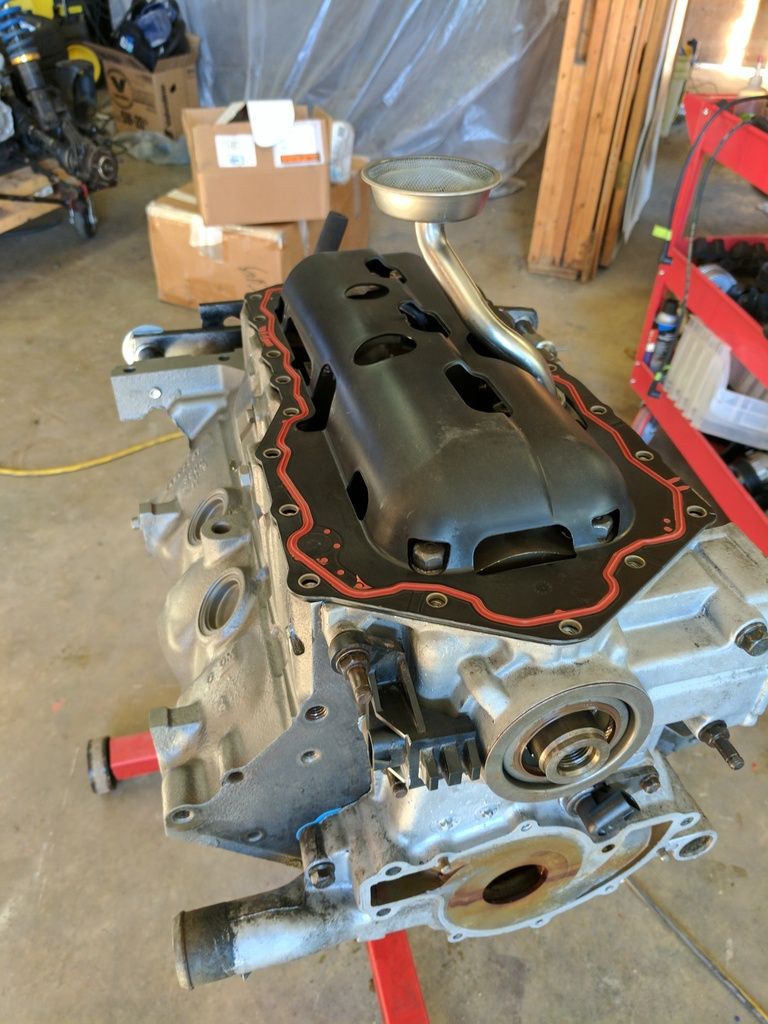
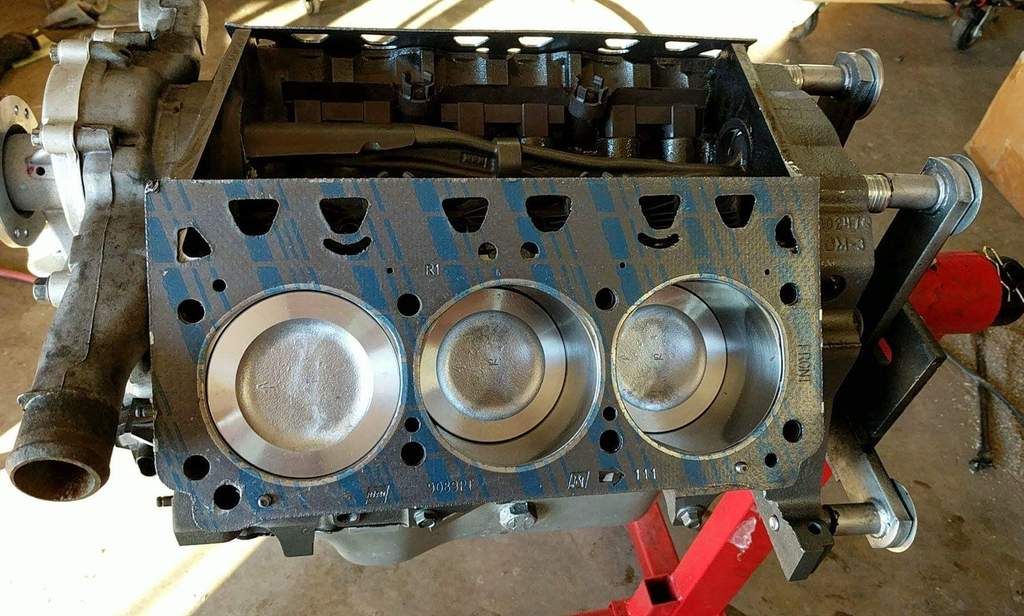
Finally got the engine back from the builder. It's awesome. It is a complete rebuilt zero mile engine. New rods, pistons, rings, bearings, seals, etc. Everything measured and machined to spec. I also upgraded to a VS cam. It's ready to go! This is my weekend sprint to get it done. I picked up the engine at 3:30 yesterday afternoon, and here's what I've done.
Ok, enough **** shots, time to get to work. New oil pan gasket. I reused the pan itself as well as the pickup, but the gaskets are all new
Brand new LS7 Lifters
New head gaskets
Heads on
LIM
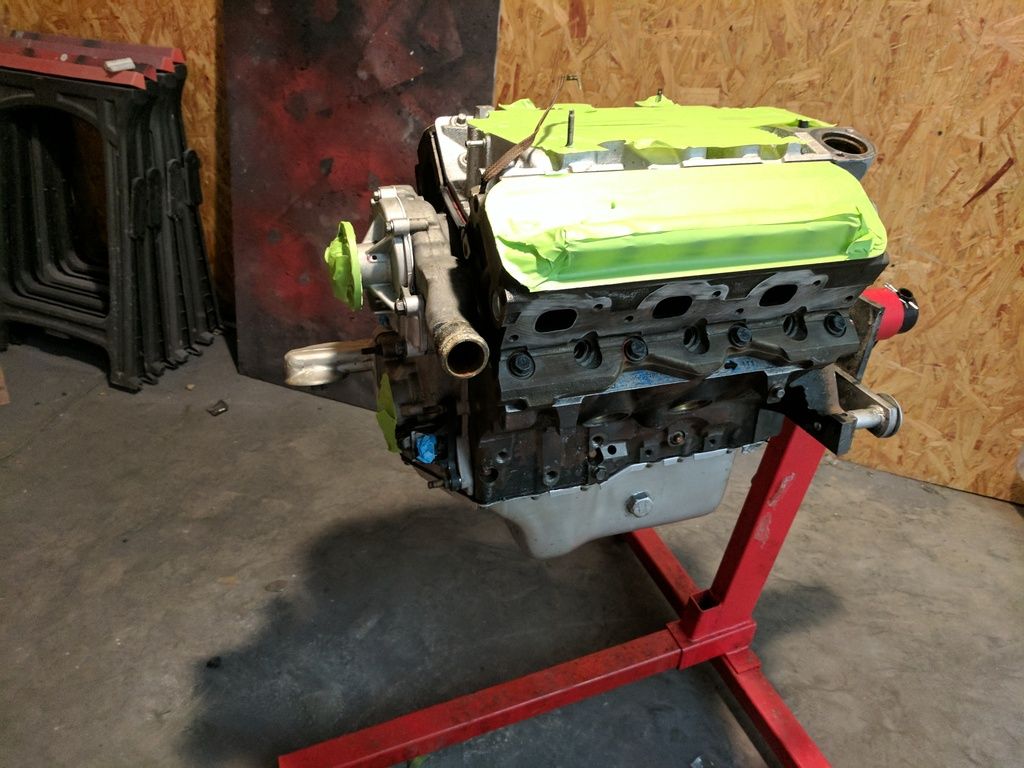
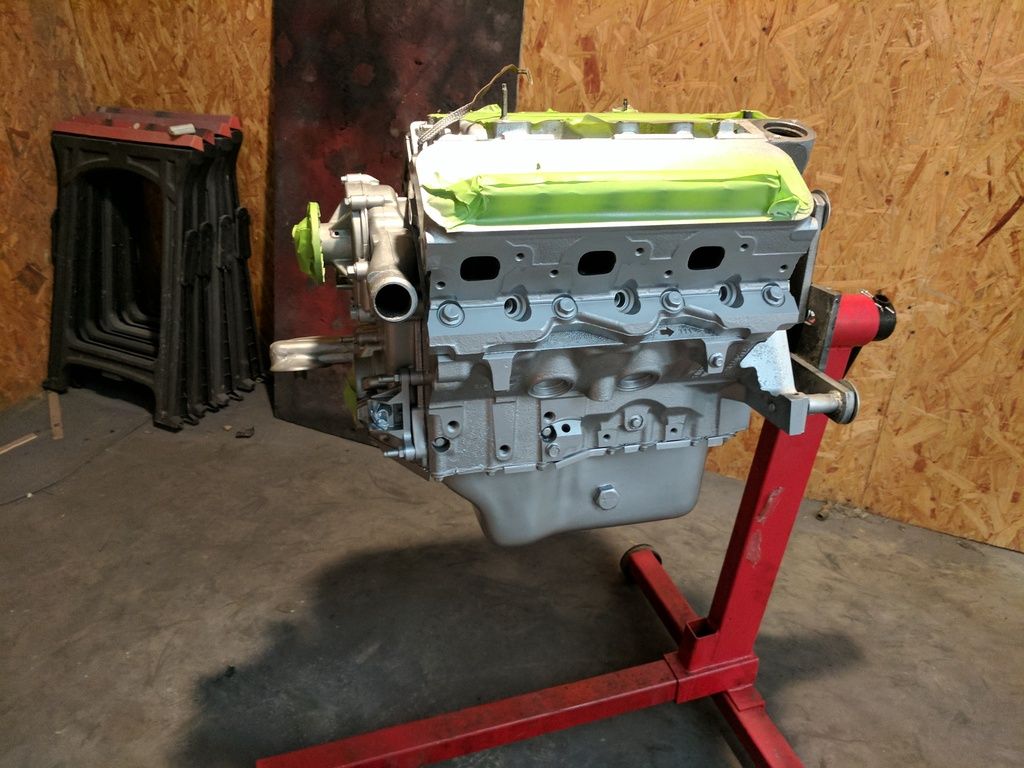
Masked and painted
And that was Friday. My goal for Friday was to get it assembled to paint and sprayed to dry overnight. Done!
On to Satruday. I started at around 5:30 this morning. I didn't take nearly as many pics due to my hands being dirty all day.
Replaced the valve springs with new 90# ones.
Flywheel and clutch back on
And onto the cradle
Everything back on and ready to install
Car up!
And we're in!
That was my goal for today-- to get the engine back installed in the car. I've got the cradle bolted in, and that was it for today. Tomorrow's goal is to get everything reconnected and get this monster fired up!
I woke up at 3:30 this morning and got to work. In my defense, it would have really been 4:30, so I'm not THAT crazy, right?
Well, I only took one picture all day, and HDR jacked it up, so you don't get to see the contraption I made to prime the oil system. I took a piece of 2" PVC pipe about 12" long. At each end was a bushing that necked it down to 3/4". One one side it fed to a piece of 1/4" tubing that fed into a fitting that I threaded into the oil pressure sensor hole on the engine. On the other end I put a valve and a connector to attach it to compressed air. It held about a quart of oil or so, and I used it to blow about three quarts of oil into the engine under pressure to prime the oil system.
That's about it for the excitement. I didn't take any other pictures today, if you want to see what I did scroll up a few posts to the first time I installed the engine in the car.
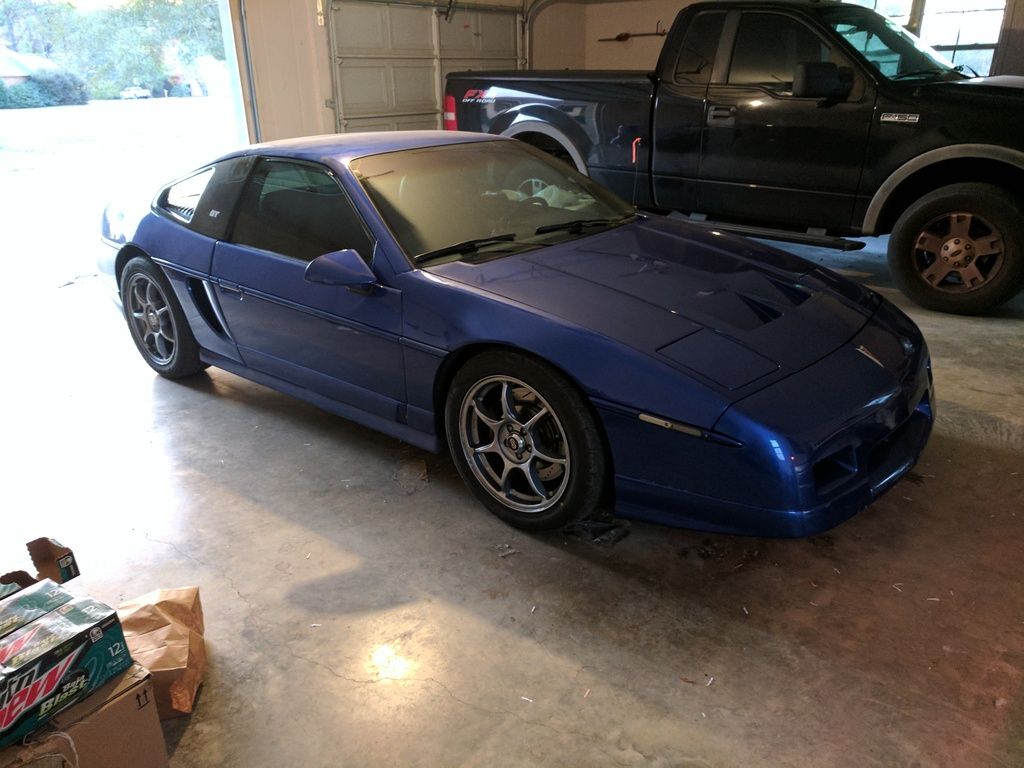
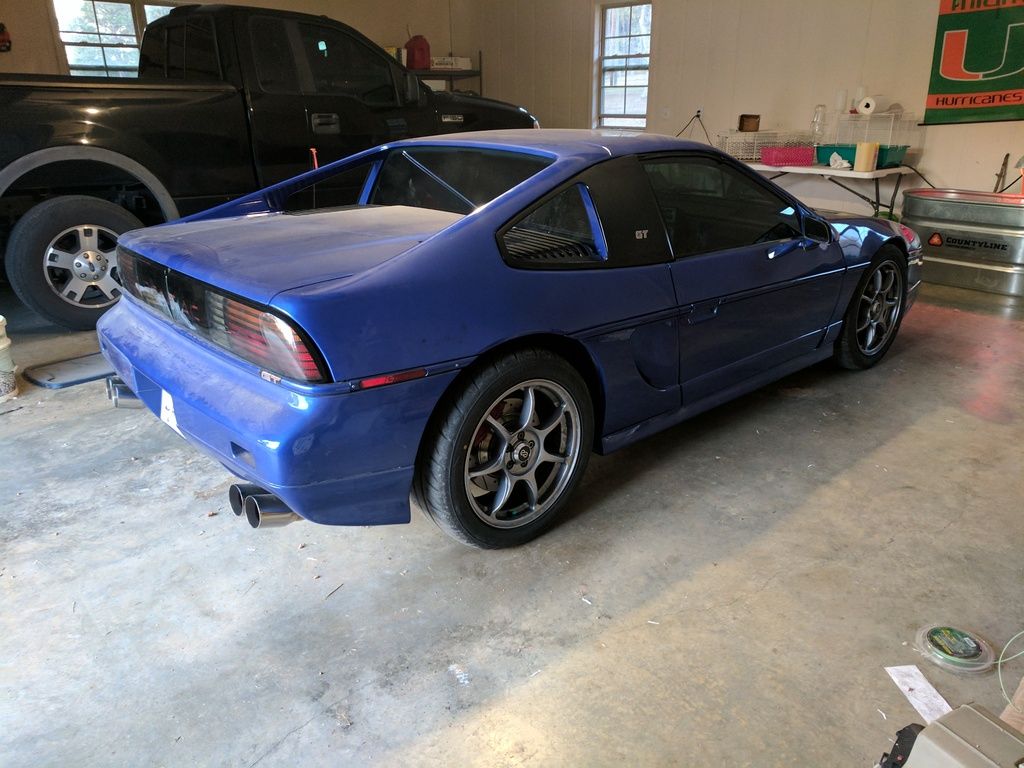
I did end up taking a pair of pictures a few minutes ago....
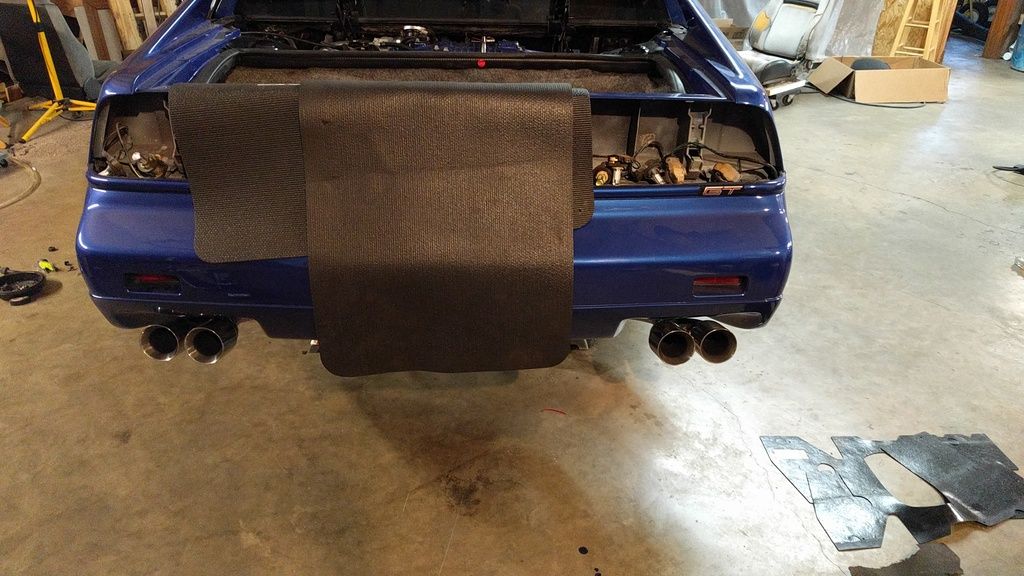
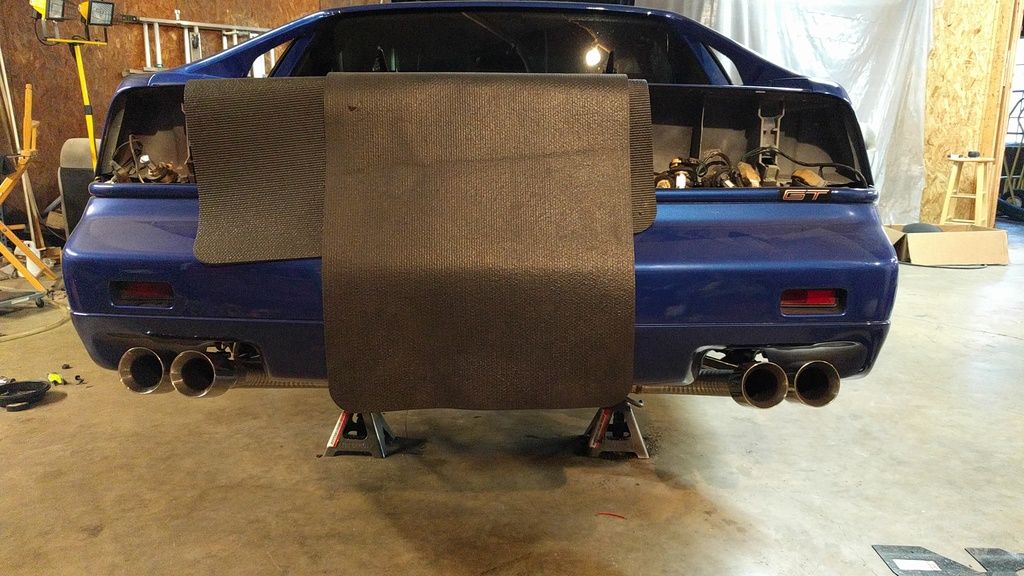
Whooptie do right? A dusty car in the garage. Wait... THE GARAGE? How did it get there? Well kids--- it's done! It runs and drives under its own power. I took it for about 5 miles worth of laps around the neighborhood and it was flawless (and FAST). I haven't even gotten on it with everything it has (break in and all) and it's enough to throw you into the back of the seat for sure. The plan is to DD it this week for shake down and break in.
So I think I did pretty good-- went from a short block on Friday afternoon to a running and driving car in about 48 hours (car was done around 3:30 today). Finally!
First race with the swaps complete. This thing is FAST. It's a lot of fun, but still has a few bugs to work out.
--It's leaking oil at high RPMs, likely from a front crank seal. I will replace the seal soon --It has a lot of body roll (visible in the video). I don't have a rear sway bar and will probably not add one. I might go stiffer on the rear springs. I currently have 300# springs in the rear, I may go higher. I don't want to go too crazy until I get the new front suspension on there and figure out where I stand with the complete setup. --The shifter is marginal at best. I retained the select cable from the old setup, and I'm not sure if it's worn out or the routing has put some additional friction in the cable, but either way it makes shifting kinda suck, especially 2-3. I'll take a look at the routing first, and if that's not the problem I'll try a new cable
Overall I'm thrilled. This thing is everything I hoped it would be, and was worth the work and money.
Originally posted by Napoleon_Tanerite: --It has a lot of body roll (visible in the video). I don't have a rear sway bar and will probably not add one. I might go stiffer on the rear springs. I currently have 300# springs in the rear, I may go higher.
Glad to see the car back running!
The 88 rear suspension when lowered will roll more than when at stock height. Lowering it really messes up the geometry, which is why most people buy my lateral link relocation kit. I run the lateral link relocation brackets, rod end lateral links, 425 lb/in coilovers, and Konis set at full stiff on my 88.
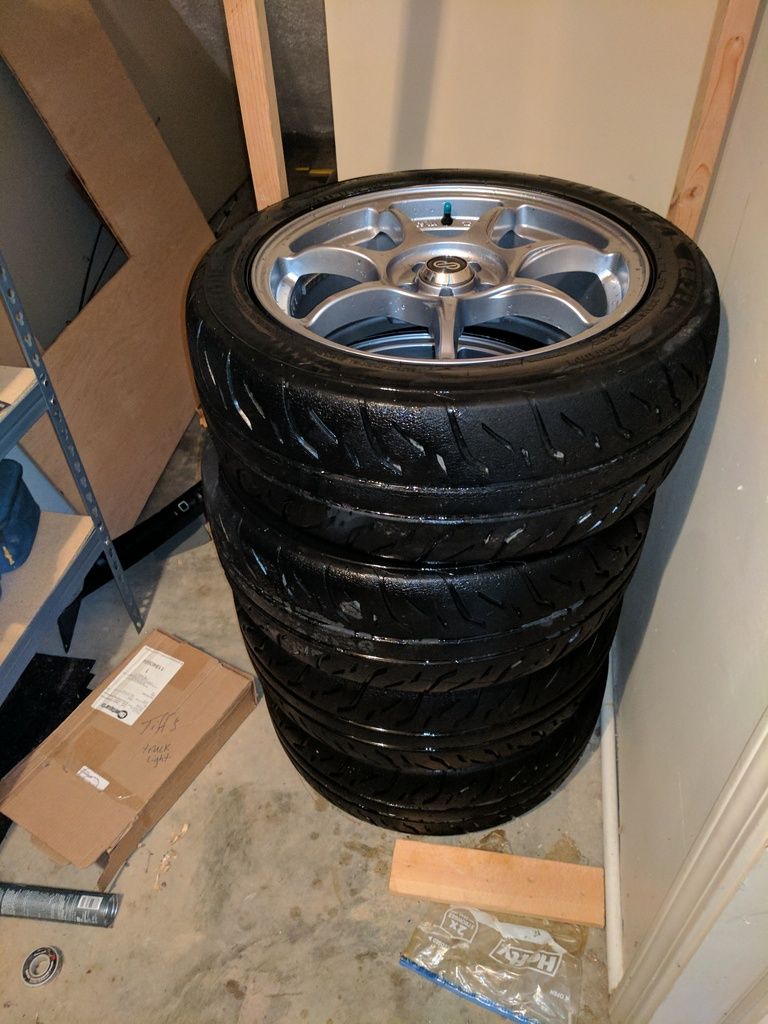
Haha, just kidding. Here's what I've been up to. Short answer, not a whole lot in terms of actual accomplishment, but a lot of planning and spending money (just like Congress, amirite?) I have the car up on jack stands right now, and the tires are packed up in my nice warm garage for winter.
Bridgestone says that these tires should never be exposed to freezing temperatures, so they will stay warm until winter is over (or at least I get a warm day and want to drive the car.
I also jumped on ZZP's black friday sale and grabbed myself a set of PLOGs!
And the final thing I have acquired is a new transmission.
It's another F23 from a Cobalt. It has a much better gear ratio than my Cavalier F23. The plan is to take the gears from the Cobalt trans and transplant them into the Cavalier one that's currently in the Fiero. This will change my FD gear from 3.93 to 3.63, so hopefully I don't run out of gear so quickly. Running out of 2nd gear at 52mph kinda blows, especially when racing. Couple that with the shitty shifter and it makes for a less than pleasant experience.
So now I'm playing the waiting game. Specifically I am waiting for Santa to hopefully bring me a Quaife LSD for Christmas. I don't have my hopes up, so that means I will be keeping my traditional Dec 26th tradition of going and buying the **** I want in the first place after my family has given me a bunch of junk that I don't want but they think would make a better "gift" than what I was asking for.
So either way, I will be pulling the cradle (again) in January. I haven't bothered swapping out the leaking crank seal since I know I will be dropping the cradle and it will be a LOT easier. Also while I have it out I will be replacing the select cable with a new one. Hopefully that will help with my stiff shifting. I still need to finish fixing the brakes as well.


 As you mentioned, I hope you can get the salvage yard to give you another block in replacement. Playing the "dumb card" may help. Tell them you had a mechanic swap in the engine for you, and when you started it the first time, it was knocking. The other alternative is telling them you tore down the engine, and they will probably laugh at you when you blame it on them.