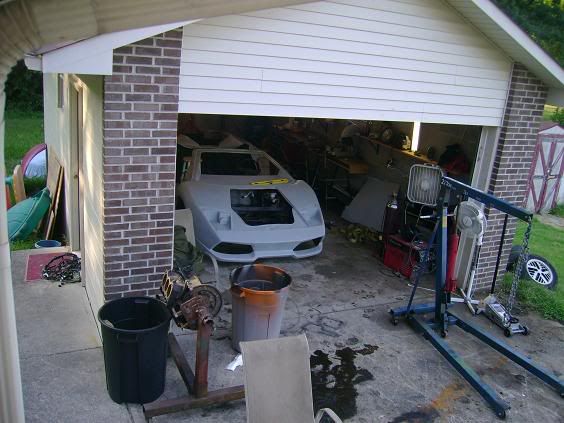
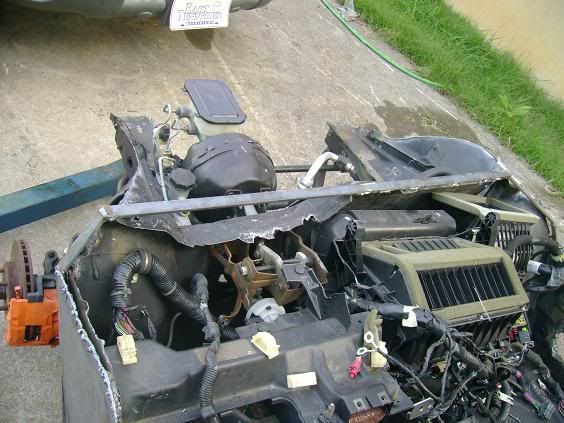
ok got the wiring in as you can see i had to remove the stock gas pedal and put the 06 in since its drive by wire. i had to fabricate the brake switch to work on the fiero pedal. i had to fabricate the 06 master cylinder to work. and the air box is in, all the wires and dash components are in now im just cleaning it up. i also have the 2 radiators on im using civic radiators. and now i have to extend the wires for the engine bay to the rear.
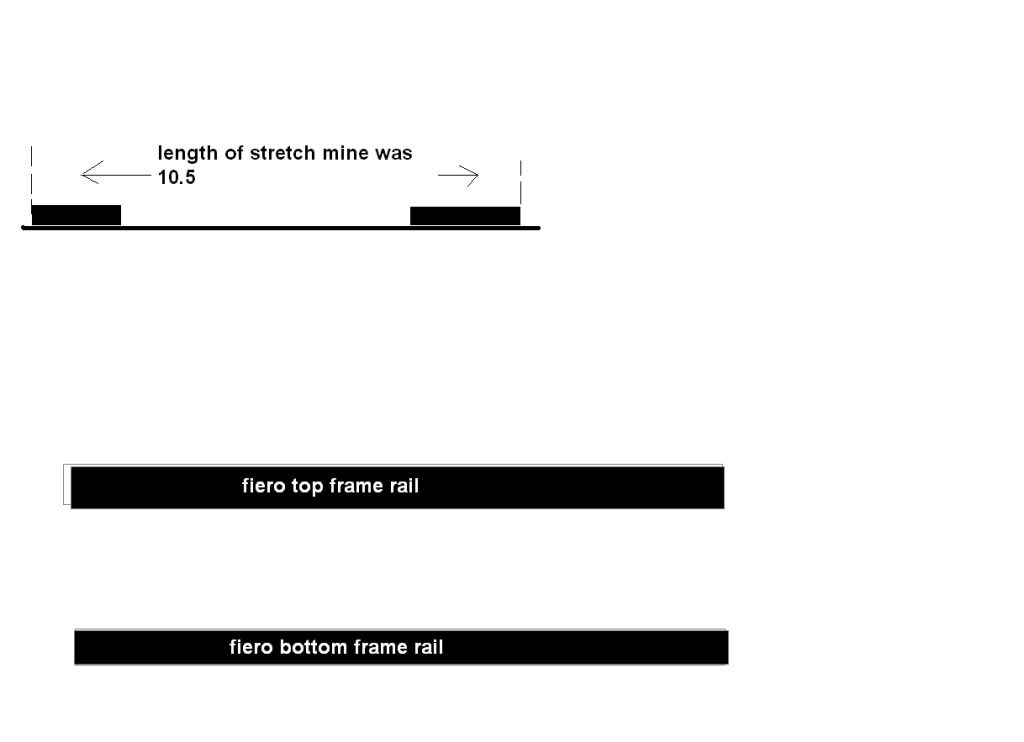
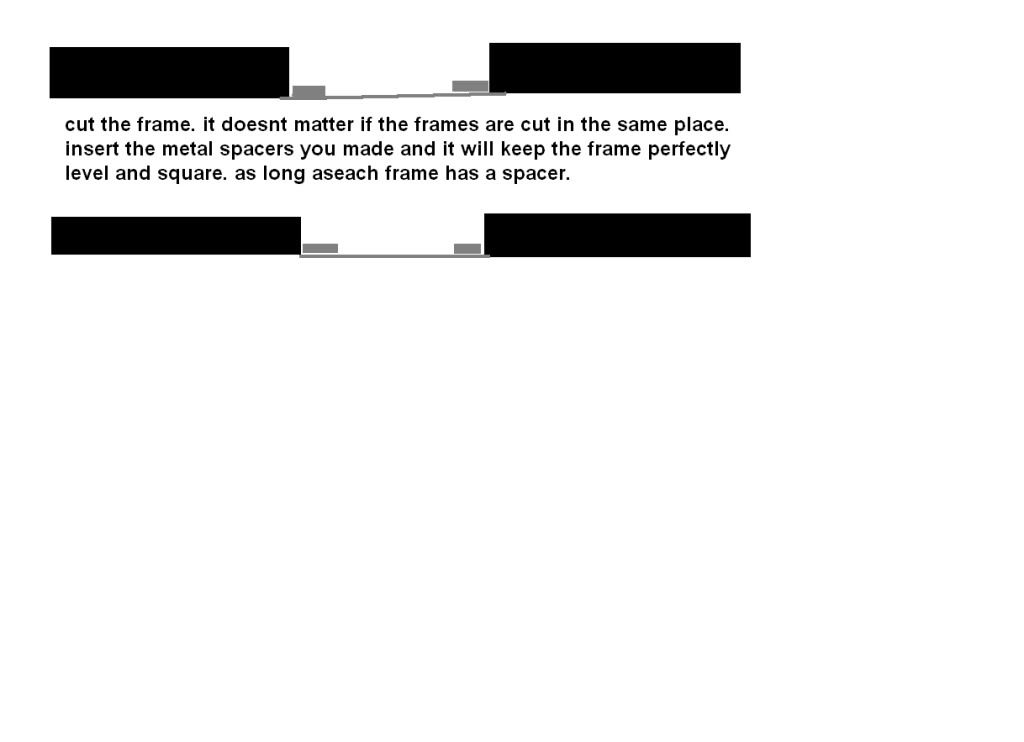
safastro take a pice of flatbar metal about 1inch wide and weld a tab at each end about a inch and a half in. make the tabs the length of your stretch apart. mine was 10.5.... cut the frame and put the pacer into the frame rail, one on each frame rail. push the frame up to the tabs.. clamp them into place then start your welding. this will keep everything in line i have done many stretches and this is the best way to keep it square. but cross measure before welding just to double check, it sounds like you know what your doing. but if you need any help let me know. ill do what i can
Nice build is this the same kit that Merci me used? I look forward to seeing more from this build. Are you going to the show in pigon forge on the 5th? I am going to try to be there. D.
[This message has been edited by whodeanie (edited 05-11-2009).]
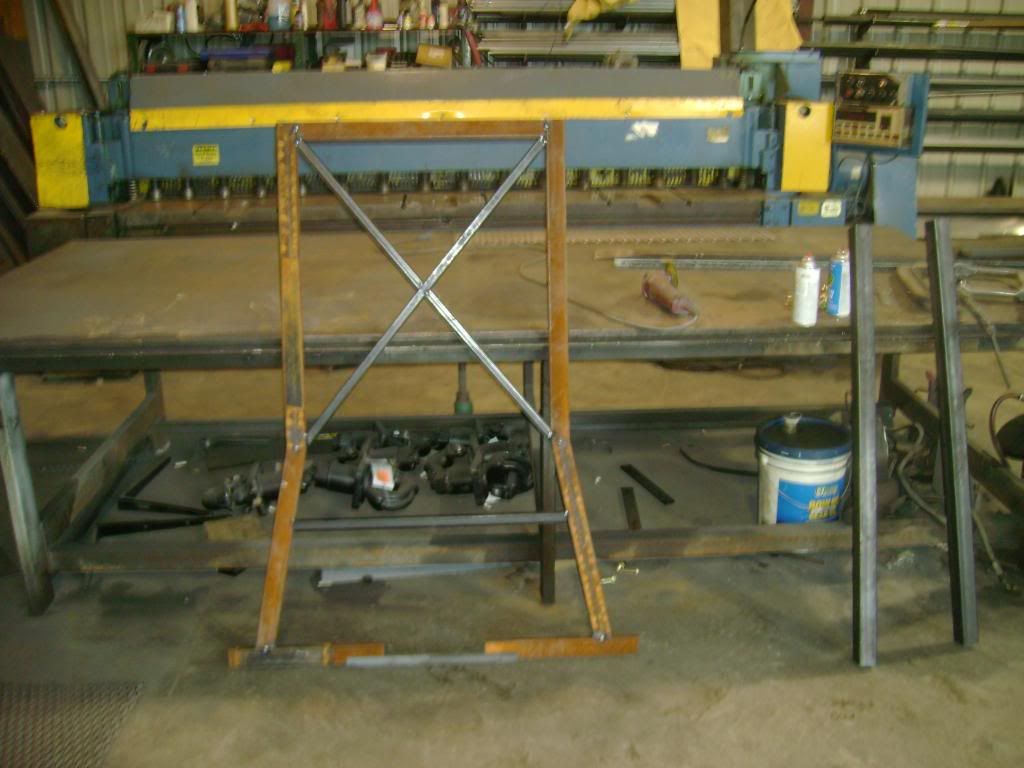
no its not the same kit. i think he had a g28 mine is a g24 with updates. but i might try to be at the show. if i can get the dsm done. but im not sure yet...... but i just got done with the x brace for under the car. im hoping to weld it on this weeend well see.
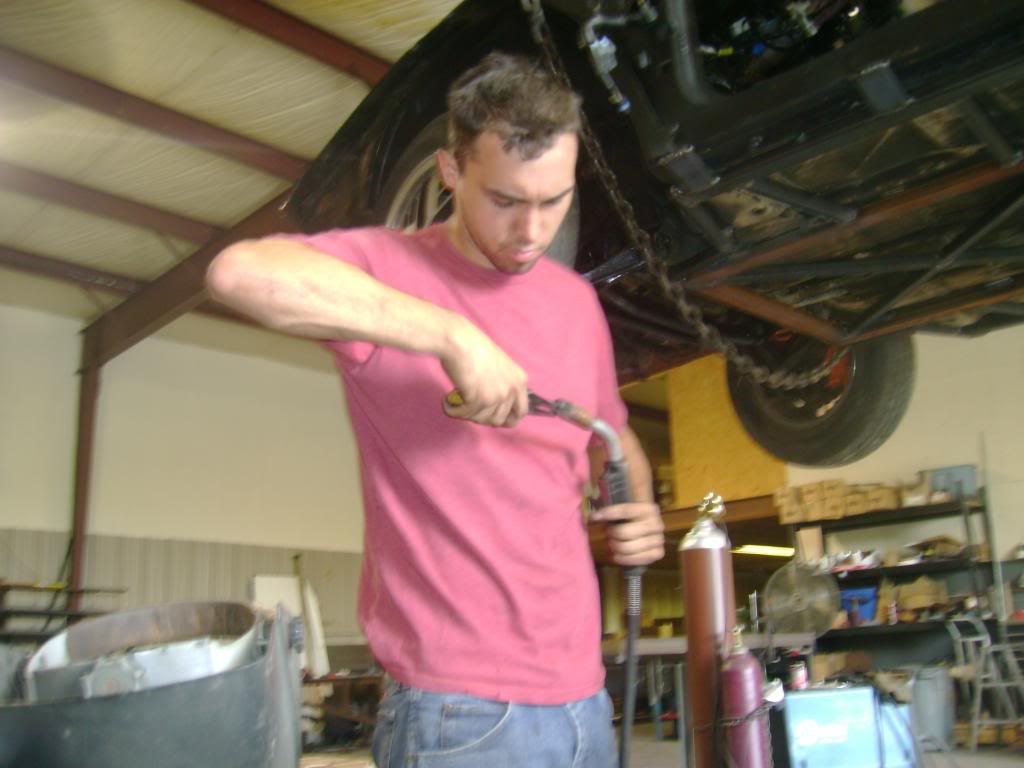
im welding the x brace and runner pipes in tomorrow ill have my wife take lots of pics.... BY THE WAY DOES ANYONE KNOW HOW TO GET AHOLD OF MURCI-ME I GOTTA ASK A FEW QUESTIONS
im welding the x brace and runner pipes in tomorrow ill have my wife take lots of pics.... BY THE WAY DOES ANYONE KNOW HOW TO GET AHOLD OF MURCI-ME I GOTTA ASK A FEW QUESTIONS
Did you join the kit car forum that i posted ? That may be the best way to communicate with him.
I have the same HVAC you are installing, but I could not fit my foot in between the HVAC and gas pedal with the system were you have it. I placed mine a little diferently so I had greater foot room. And still used the adjustable pedals.
I used the Fiero steering shaft but removed the "U joint" and instaled the aluminun "U joint" onto the Fiero shaft.
BTW that "aluminum" beam that was under the dash IS NOT aluminum. It is magnisium. DONT burn it. I had fun with some of the shavings in a metal can and a lighter. DO NOT DO THIS AT HOME if you get hurt or burn some thing down, dont blame me
------------------
[This message has been edited by Rickady88GT (edited 05-15-2009).]
BTW that "aluminum" beam that was under the dash IS NOT aluminum. It is magnisium. DONT burn it. I had fun with some of the shavings in a metal can and a lighter. DO NOT DO THIS AT HOME if you get hurt or burn some thing down, dont blame me
nice that is exactly how i have to do mine the steering shaft and all..... good work. did this thread inspire you or were you already in the process. what did yo do to your hvac to make more room for your feet?
nice that is exactly how i have to do mine the steering shaft and all..... good work. did this thread inspire you or were you already in the process. what did yo do to your hvac to make more room for your feet?
I have had the HVAC system for a a year or so. I have cut the box up in several pieces trying to avoid cutting the car. But I wound up cutting the car and then plastic welding the system back together. I think the key to foot room is to move the HVAC closer towards the passenger in all three axis, X,Y and Z. If you move it towards you in the Y, that will allow you to move it further over to the right. And lifting it up a little will give you even more room. Mine is not under a Fiero dash so I think I have room to move it around. I cut the top off of a diferent HVAC al plastic welded it together to fit it under the new dash.
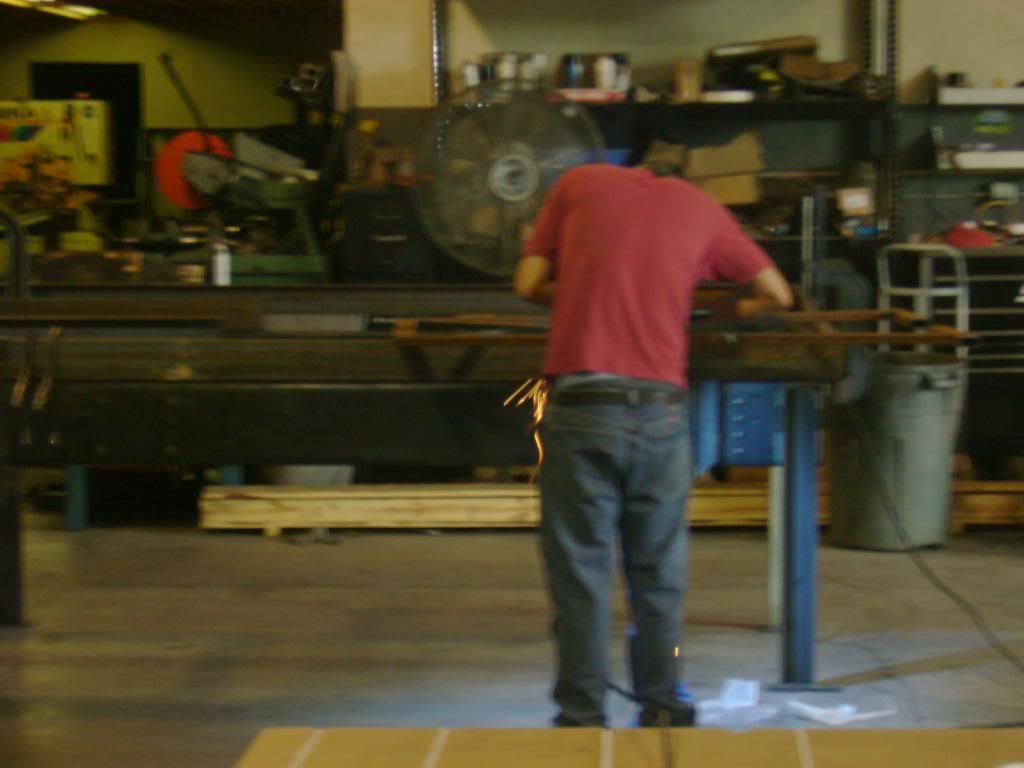
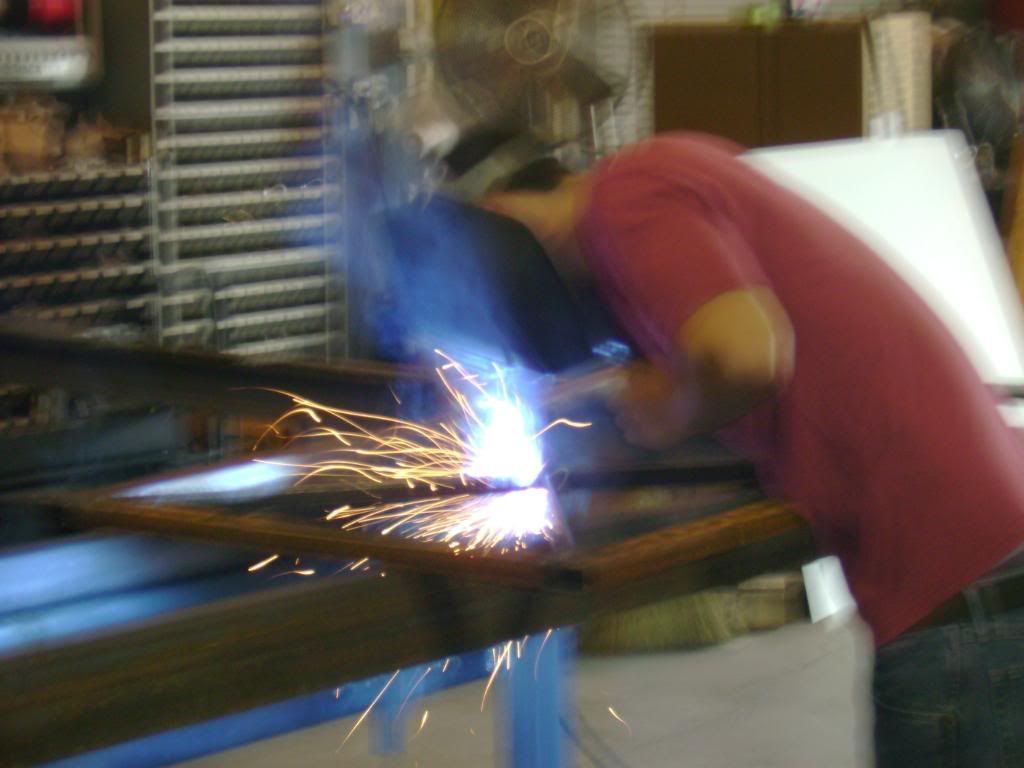
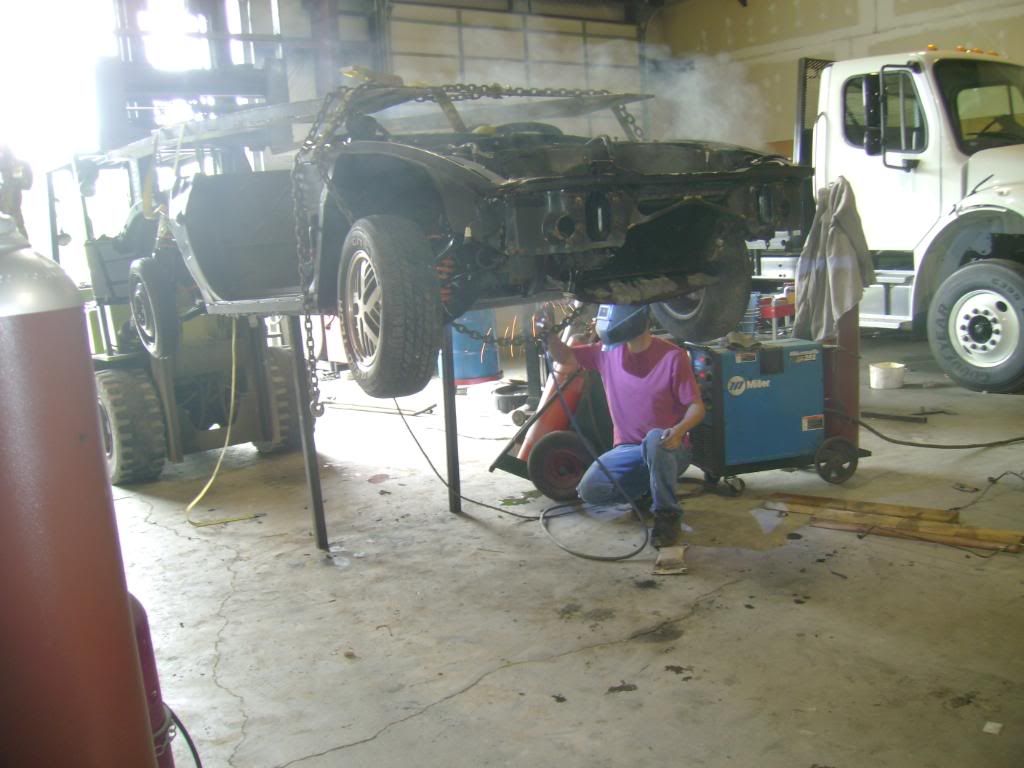
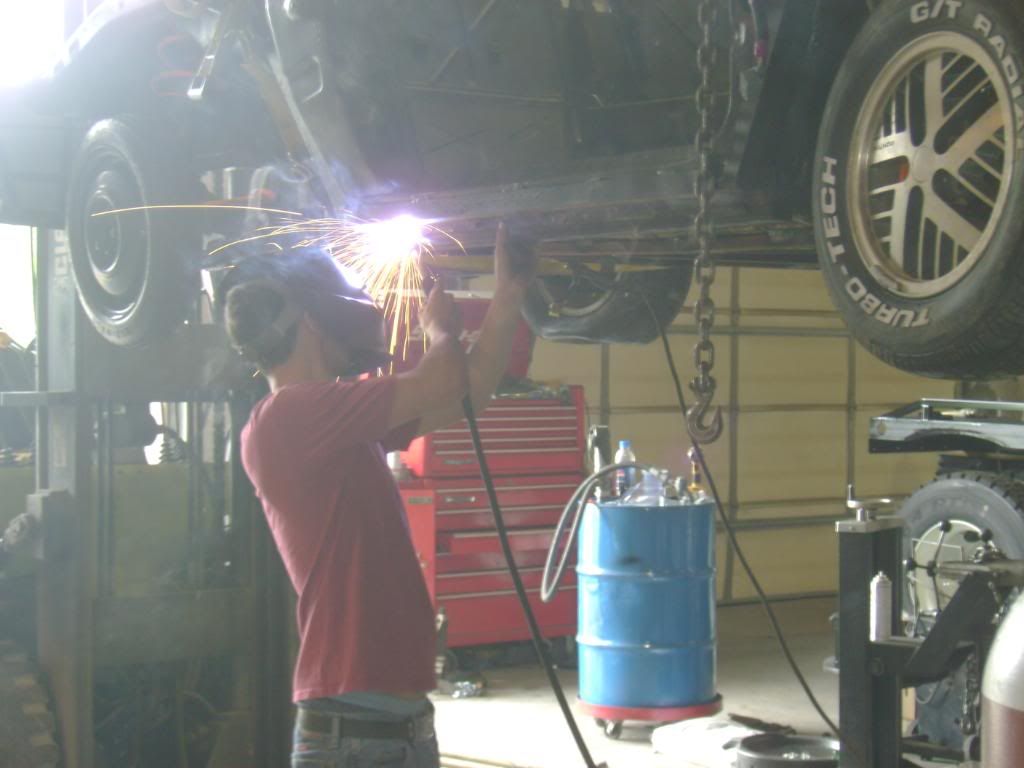
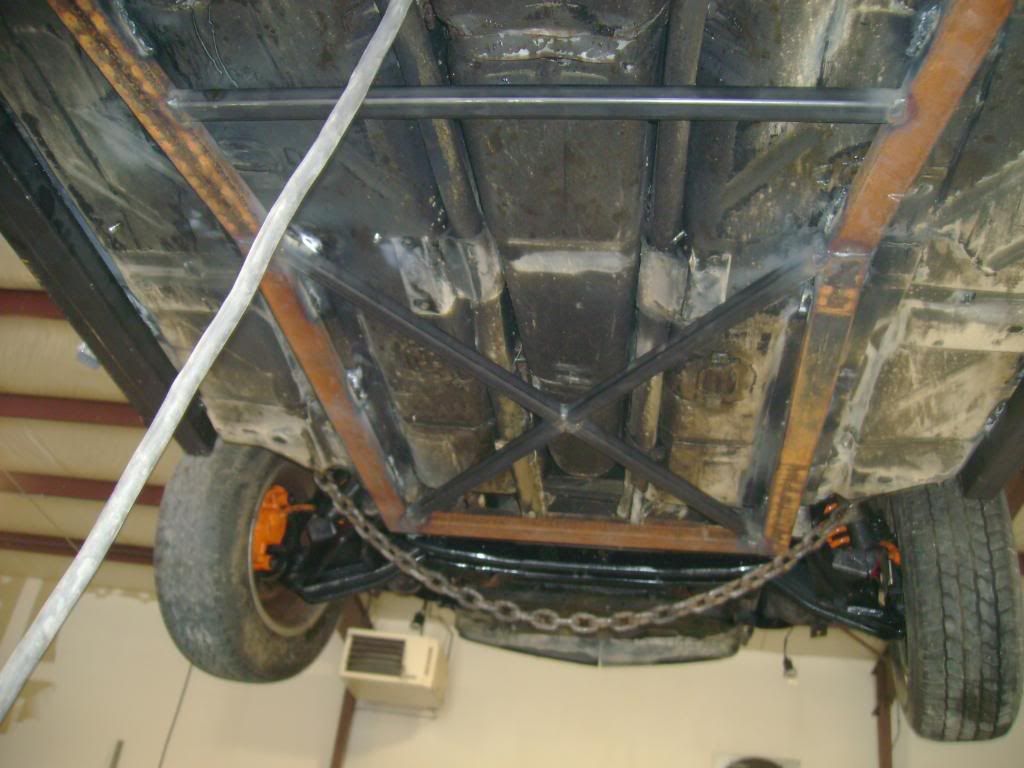
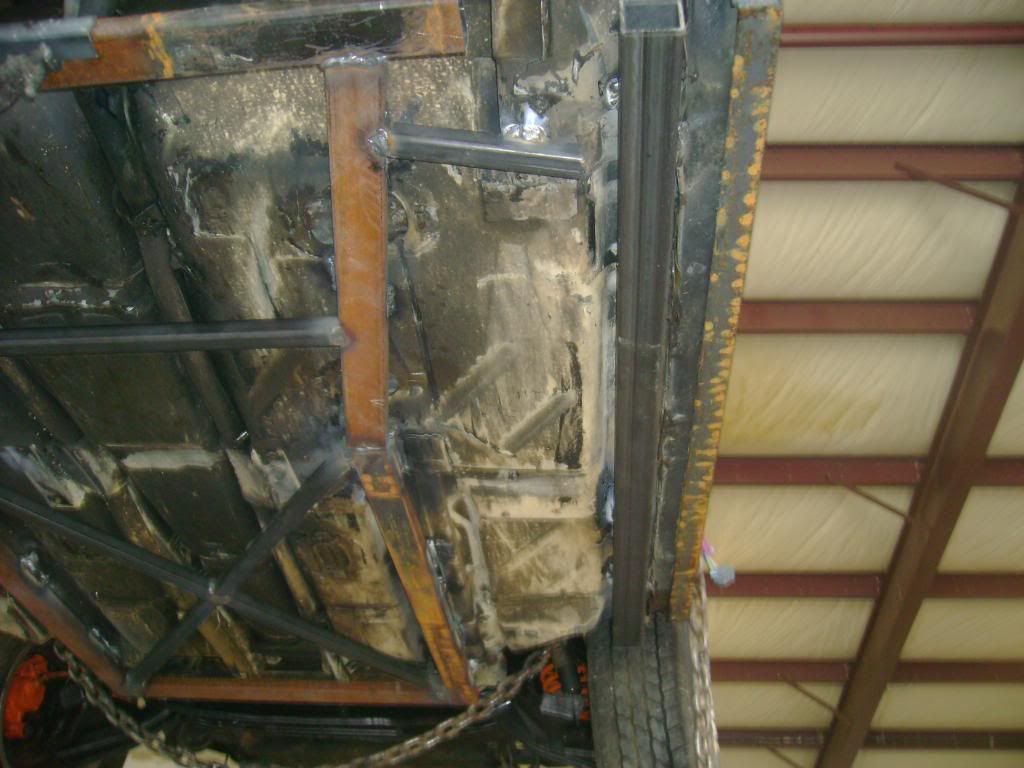
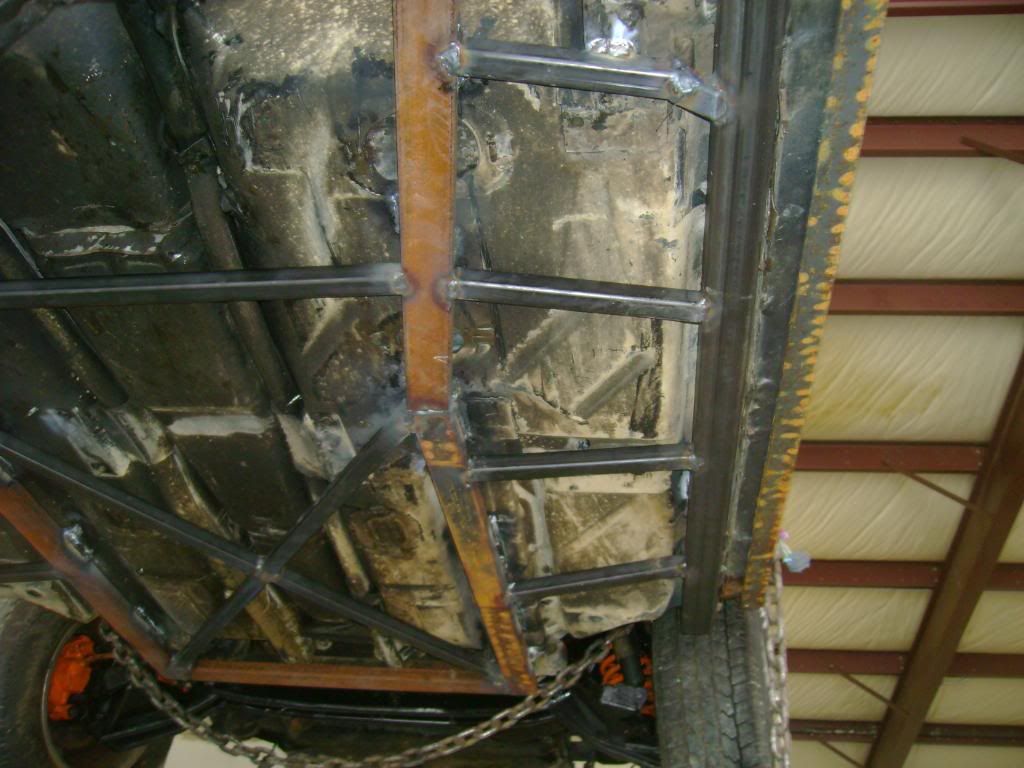
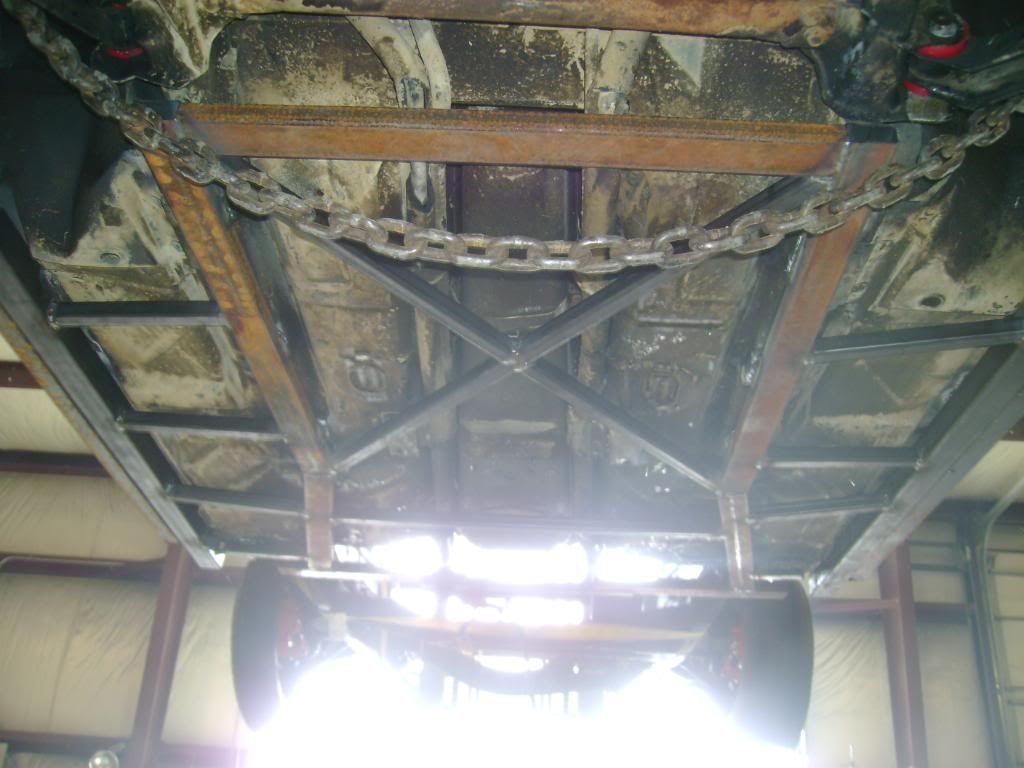
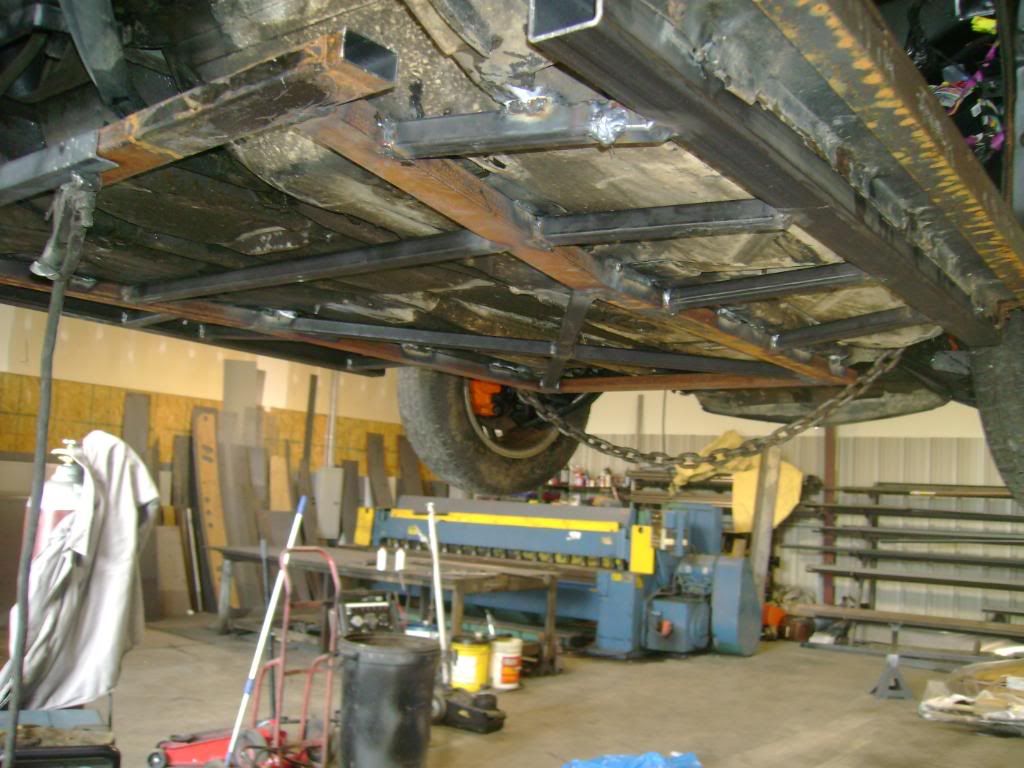
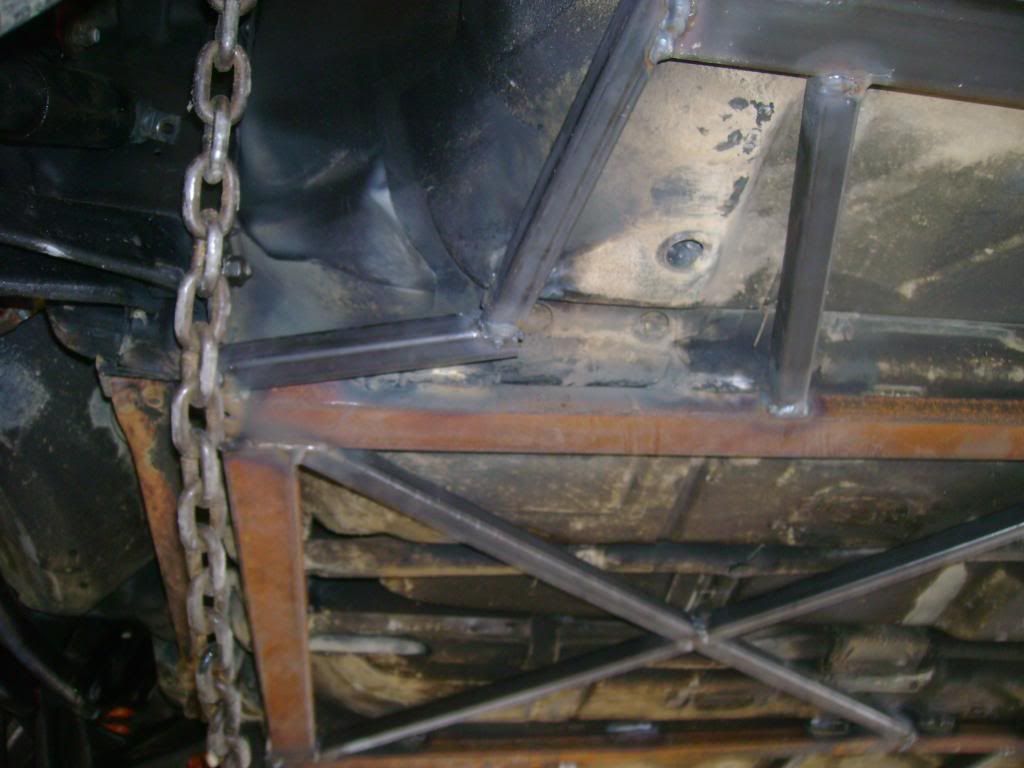
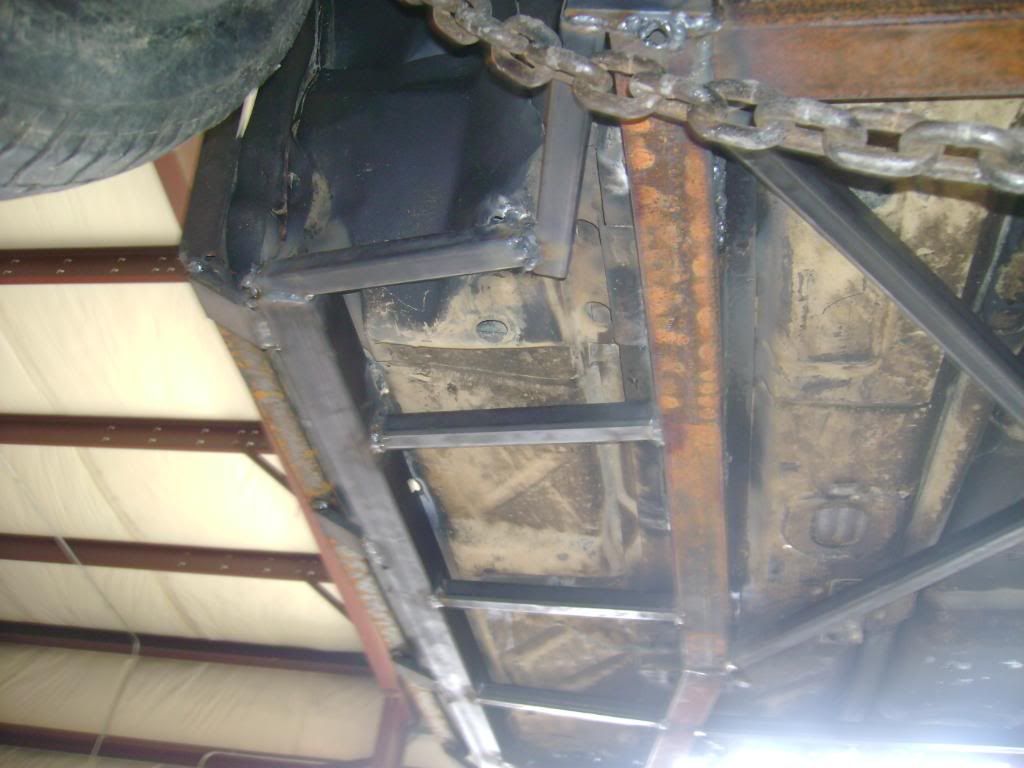
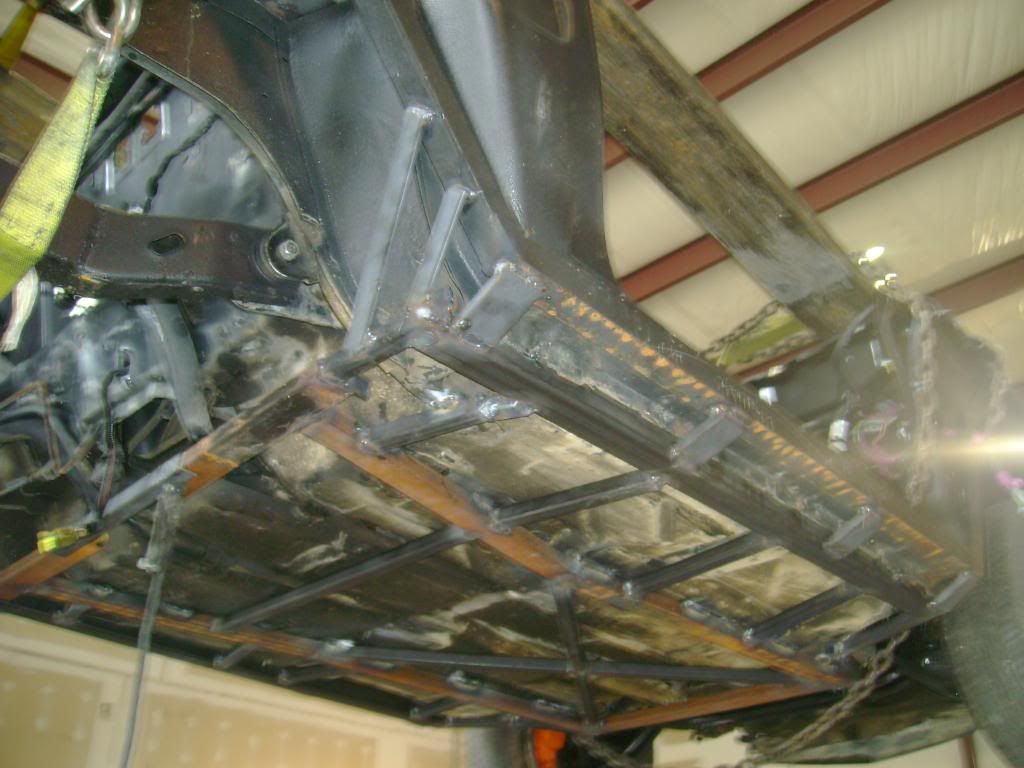
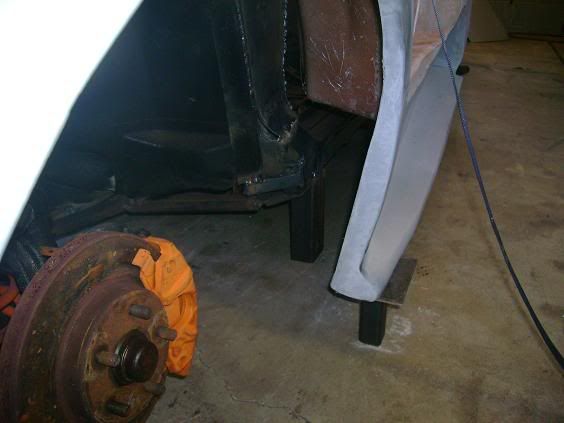
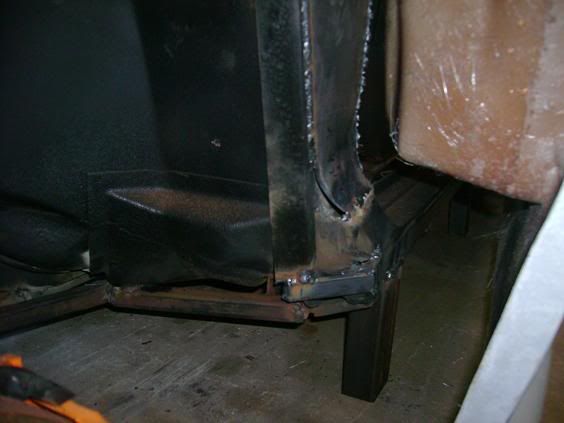
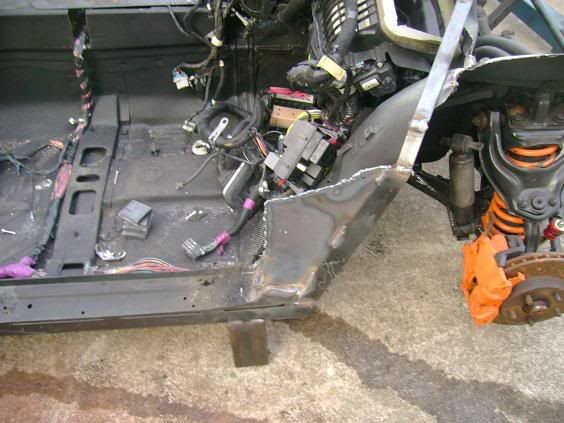
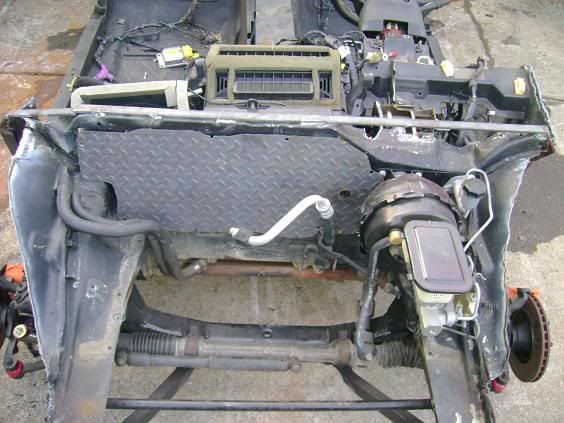
ok guys i just got done welding the x brace under the car and added supports all around. this is the stoutest fiero ive ever seen.... i went a lil over board with the bracing but heck there is no such thing as too strong...
I hope you never have to do anything under that car any time soon! I think if I was going to do that I would have replaced everything under their first and then given myself an easy way to drop the fuel tank just in case.
I like the build don't get me wrong but sometimes function comes before form
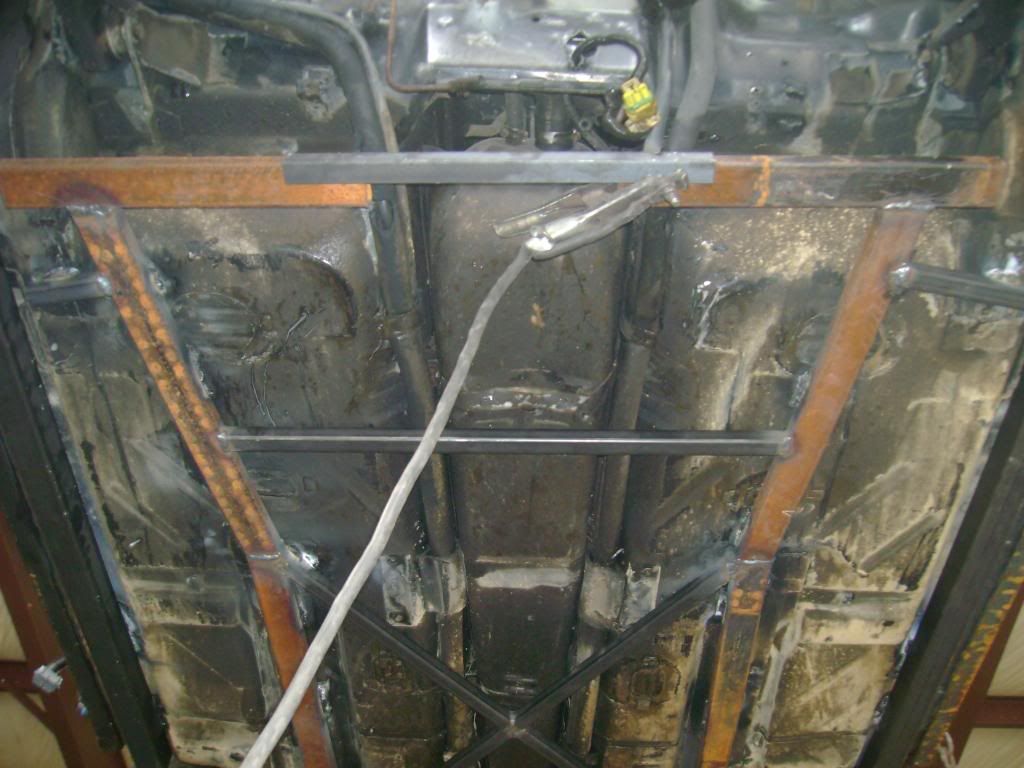
the back brace is going to be bolted on it just tacked right now so i can drill it. the middle brace also has a bolted on section.
but by the way what was my biggest mistake? and what could i replace under the car there is nothing left but the tank all brake lines hoses ect have been removed for steel braided lines to go in.
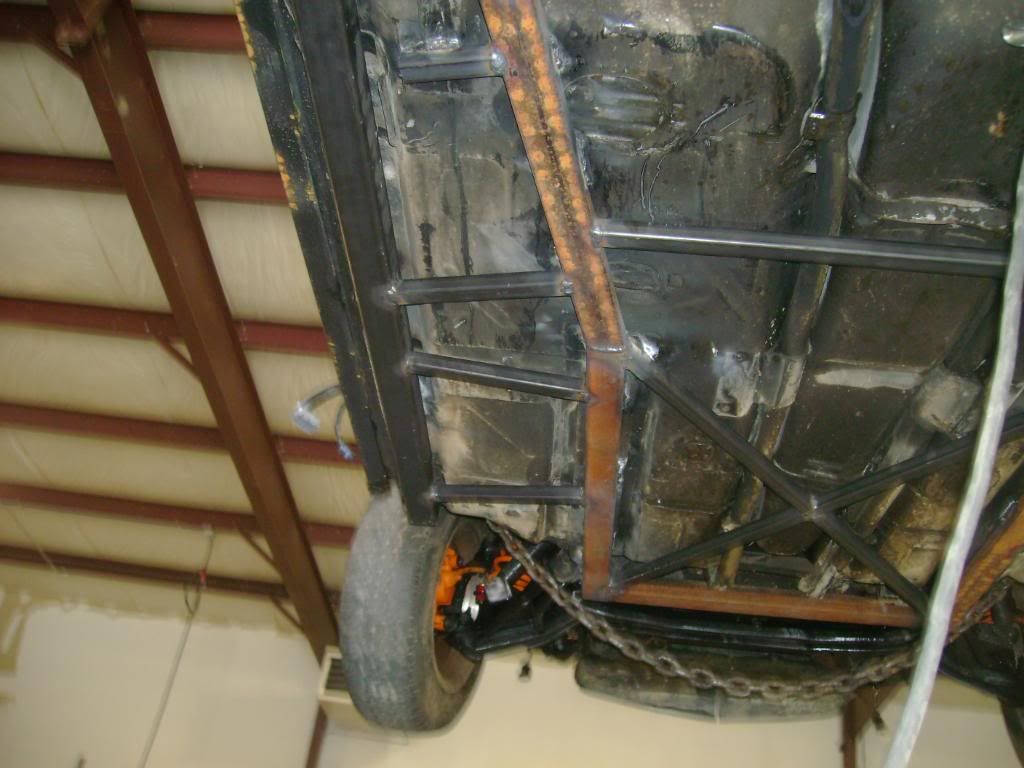
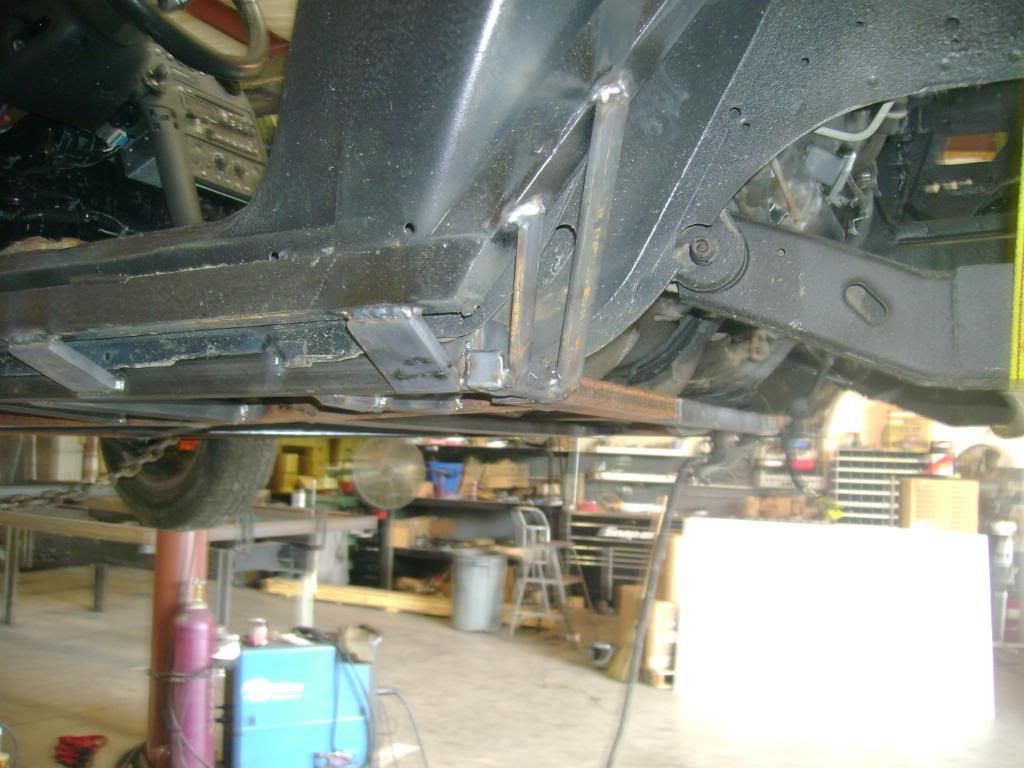
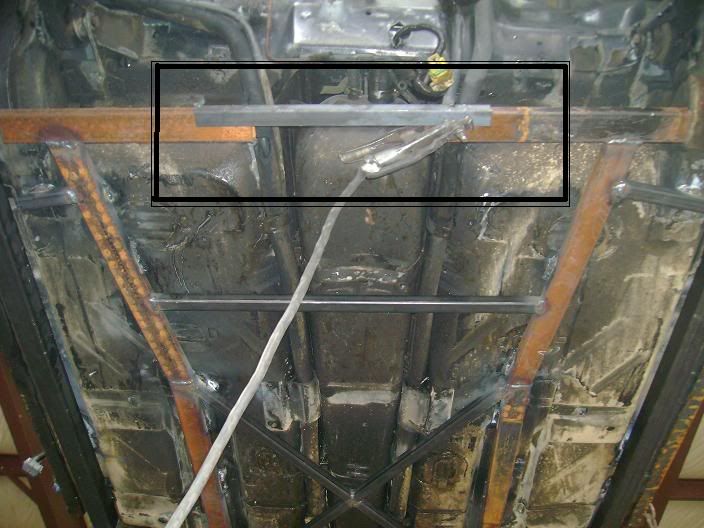
and by the way. the middle stock brace was removed. once i have time i will drill the back angle and bolt it up. and the middle brace about a foot and a half in front of it will be the same way...... but i did think about that since i have to put a performance pump in the tank. but everything is removed besides the a/c lines and heater lines which i checked and are perfect.... dont take this as me defending. i actually enjoy critisism. thats the only way for a builder to perfect, is through anothers piont of view....
and by the way. the middle stock brace was removed. once i have time i will drill the back angle and bolt it up. and the middle brace about a foot and a half in front of it will be the same way...... but i did think about that since i have to put a performance pump in the tank. but everything is removed besides the a/c lines and heater lines which i checked and are perfect.... dont take this as me defending. i actually enjoy critisism. thats the only way for a builder to perfect, is through anothers piont of view....
from the pic's I could not see that you were going to make it removeable. I have seen others that never thuoght about it till it was too late. I try very hard not to critisis. I would rather try to help before something becomes a problem. as long as you know what you are doing all is well. I love the build I can't wait to see the body on the chassis. D.
the back brace is going to be bolted on it just tacked right now so i can drill it. the middle brace also has a bolted on section.
but by the way what was my biggest mistake? and what could i replace under the car there is nothing left but the tank all brake lines hoses ect have been removed for steel braided lines to go in.
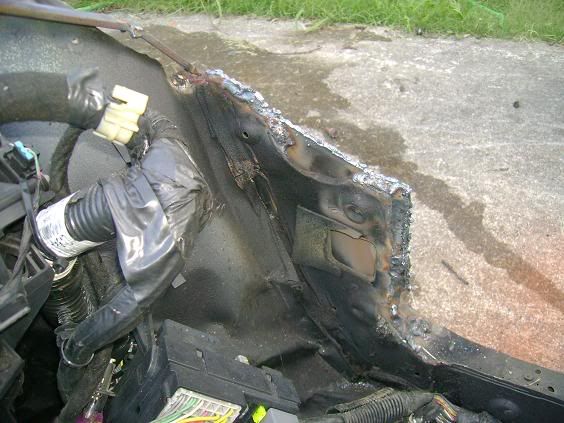
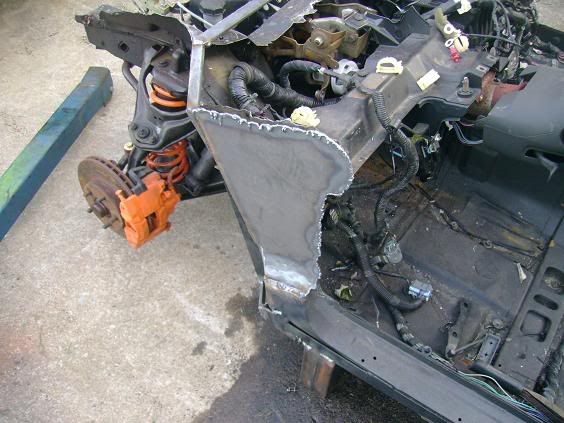
oh its cool guys ide rather somebody notice now then me have to cut it later..... but i just cut the front end off to clear the kit and i had to trim the door jams......... which i reallly reallly did not want to do..... but pics will come tomorrow
ok back on the build im working out some kinks with the body being mounted.... i had to cut alot off the dash and front... so im taking it to the shop sat morning and weld up all that i cut... and cut a lil more.... but ill take pics and explain everything as im doin it.
My 355 spyder frame was done by a nascar builder but apparently he built it to the body manufacturers specs. It has the x frame, but it's not strong. My murci roadster has the 2 x 2 side frame rails and it makes a huge difference. Your frame braces more than either of mine. Do you know how much weight was added?
[This message has been edited by dratts (edited 08-10-2009).]
not sure but the shippment of the metal was 300 but not all of it was my metal...... so im assuming 150 but compared to how much of the stock wieght i took off..... i have plenty of room to add..... but post pics of your murcie. i would love to see it.
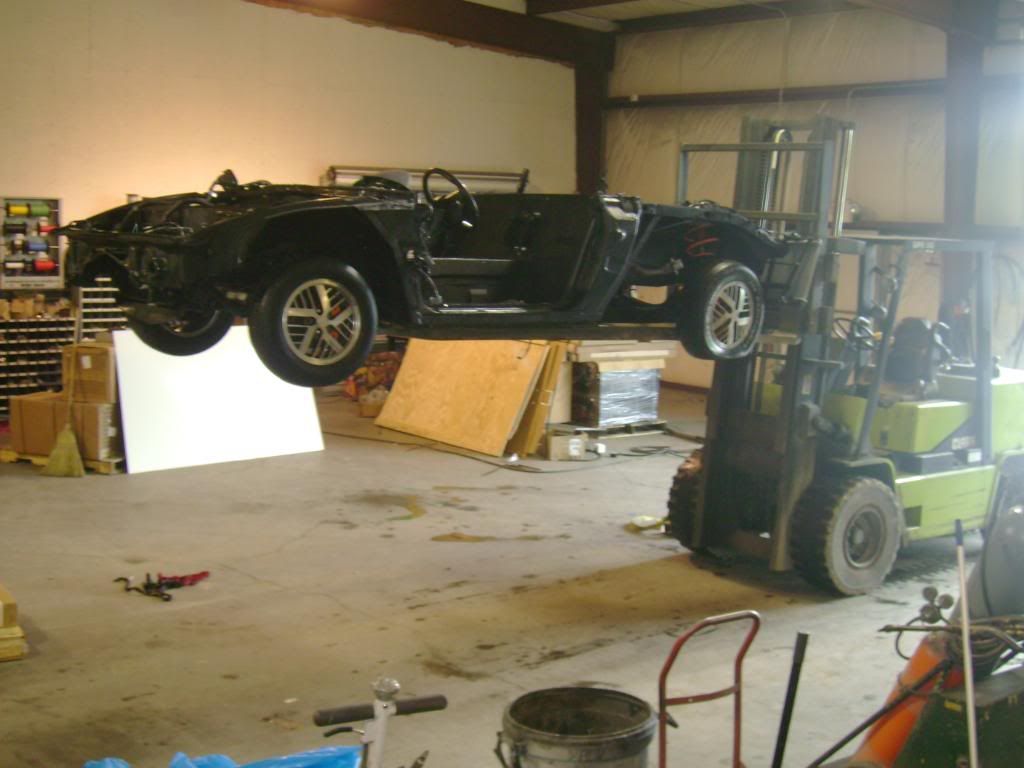
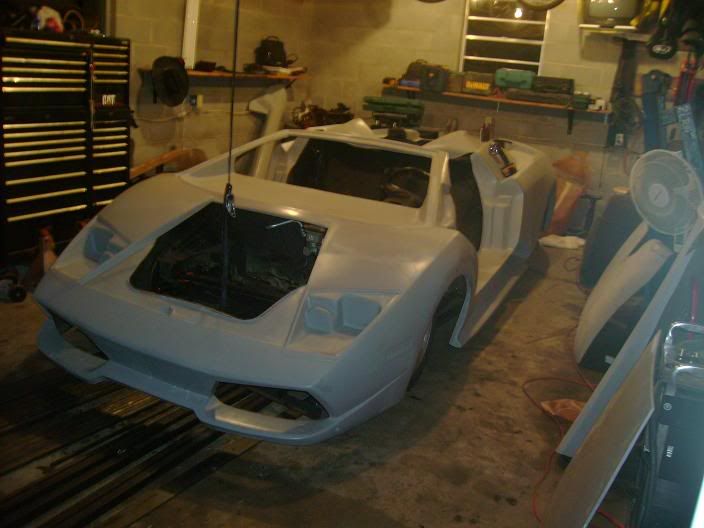
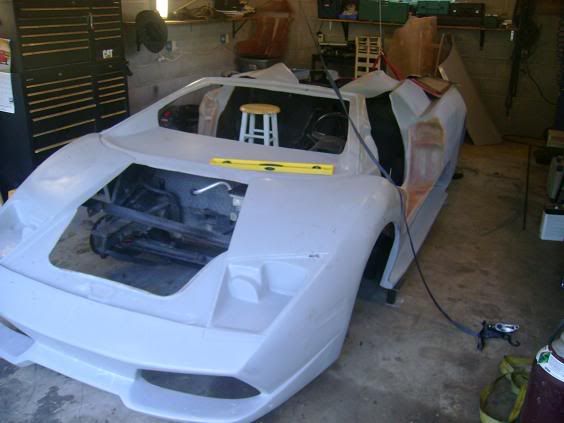
the kit is sitting on there... ill take some more pics today... i gotta lift the body off.... my problem is .. there is no motor or wieght on the car so the suspension is maxxed all the way up... if i put the kit on and set it to ride hieght. then when i get the motor in and put the wieght of the kit on the car will squat and sit too low.... so now i made some tube spacers to sit the fiero chassis and stock ride hieght of 7.5 inches and then i made some spacers to sit the kit at 5 inches. so the ride hieght will be set when the fiero squats for the motor..... so ill pull the body off glass some metal to it. weld on the spacers and take a bunch of pics........ hopefully tonight
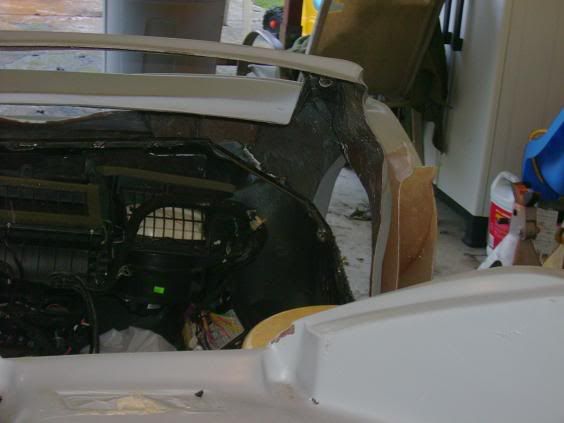
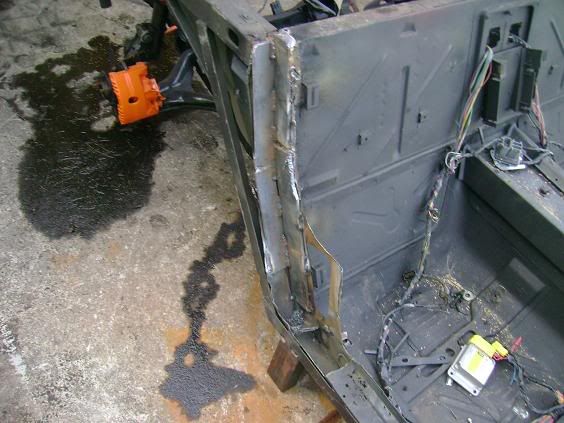
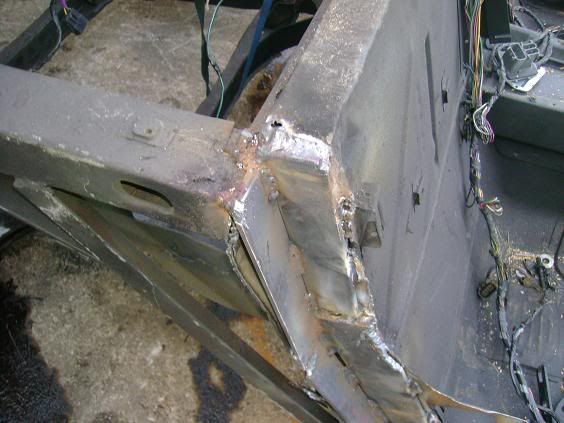
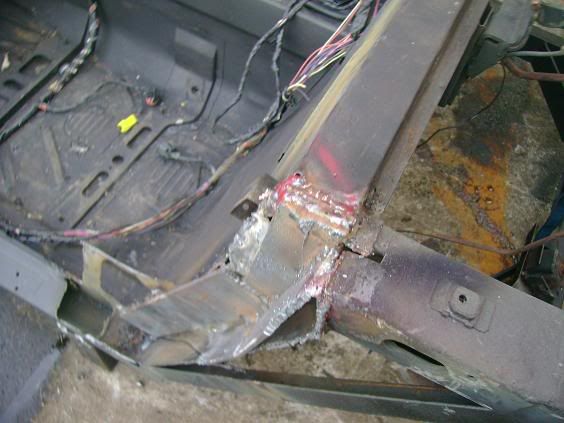
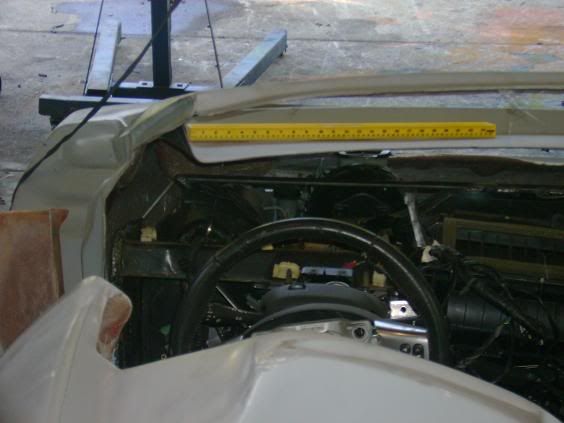
ok i got a few pieces framed up with metal. now i just have glass it to the body piece........ i have the body off so i can clean up all my welds and edges becuase they look rather crappy... here are some pics of the trouble areas that had to be cut
That is a lot of work. You might want to put a seat in and check the steering wheel to driver (chest) clearance. Mine was about 2-3 inches closer with the new column and wheel. I am not sure exactly how much longer the column is but the steering wheel definitely "thicker" because of the deep dish for the air bag.
yeah i need to check it but i gotta get the body on so i can check the steering wheel to windshield space also.... im cutting metal for the body right now so ill post picks of how to get the body ready for mounting in a day or so.
Nice work! A very clean stretch too. I'd like to have my 3"-er come out as nice as yours. I saw that the passenger foot well is bashed in, I hope the frame wasn't warped during the impact.
When are you going to add the window frame support? Make sure you tie that to all the undercarraige stuff you are doing. You will get some movement from side to side if you don't. Also make sure you use a thicker wall tubing in this area.
Check out these for a little more info., even though this was for a diablo I think the "triangulation" will help you.
well im going to frame the entire body and glass the metal to it.... then ill sit the body on the chassis and weld the 2 together.. and thanks RUNDLC i never really thought about that... attaching it to the undercar supports will strengthen the windshield area so much and stout up the whole upper half of the kit...... very good idea. i like the metal work on those 2 builds. once mine is cleaned up and all together i hope its half as clean....... but im waiting to do my skeleton of the body.. i need my wife to get off my ass for a day or 2..... and when she works i gotta watch our 14 month old...... so my build is starting to slack......
If I were you I would not f.g steel into the body, they expand at different rates you only need to use window urathane to mount the body to the steel, that the way it been done for a long time, once curred it's not going anywhere. Study the pics that I emailed to you and they should help. Do you have the correct tires and wheels yet? I would want them on prior to bonding the body down.
Oh yea one other thing, your 14 month old needs you right now too, she/or he will not be that young long! Take the time to spend and enjoy your child they grow up real fast. The car can wait
[This message has been edited by RUNDLC (edited 08-12-2009).]
RUNDLC i like you, your a real stand up guy........ another thing, you say bold the metal to the body with the urathane.......... it wont come loose down the line? my body doesnt touch the chassis anywhere..... i am building an entire skeleton of the body.... so i will have alot of metal on it...... i doubt it is going anywhere but..... i just wanna be sure.... MikeV. does his like that...... he is who i got the kit through... his kits come out very good... but he also told me to put coremat in between the metal and body.... im using very thin foam.... in between the metal and kit..... but can you send me a few pics of your build how you mounted the diablo. other kits like mercie me, mercenary, and anyones else kinda sits on the frame in certian places to help hold it.... but mike modified this one to fit a boxster so everything was removed..... now nothing touches the frame..... so i have to suspend it in the air with the metal i add....... im just worried bout the kit coming loose..... what do you suggest
So you bought the car already stretched and are adding more bracing? The body looks nice; you have a lot of hard work ahead of you. When I braced my convert. I just made sub frame connectors for it and it was very strong and only used very little steel I never understood why no one else has done that. I might have missed it but what engine set up areyou going with?
no when i got the car it was stock.... i did the stretch myself....... im using the motor and trans out of the 06 grand prix GT... its the 3.8 supercharged v6 what do you meen subframe connectors? could you post a few pics for me... im not sure i follow


 is this the same kit that Merci me used?


.JPG)
.JPG)