Pennock's Fiero Forum
  The Construction Zone
  ~~ T-Top Conversion Story ~~ by Mister ~~ (Page 3)

Post New Topic  Post A Reply
Email This Page to Someone! | Printable Version

This topic is 3 pages long:  1   2   3 
Previous Page | Next Page
next newest topic | next oldest topic
~~ T-Top Conversion Story ~~ by Mister ~~ by Mister
Started on: 06-12-2007 12:24 AM
Replies: 113 (19143 views)
Last post by: jjd2296 on 04-15-2024 03:58 PM
jjd2296
Member
Posts: 1437
From: toronto ON
Registered: Jan 2016


Feedback score:    (8)
Leave feedback

Rate this member

Report this Post12-01-2022 08:20 AM Click Here to See the Profile for jjd2296Send a Private Message to jjd2296Edit/Delete MessageReply w/QuoteDirect Link to This Post
 
quote
Originally posted by pmbrunelle:

Are you running the Comp Cams Magnum rocker arms on your gold Fiero?


Yes 1.6 roller tip on the gold one and this one has 1.6 roller top too but for a sbc. You have to use the proper nuts for a 2.8-3.1-3.4 though when you do this.
IP: Logged
jjd2296
Member
Posts: 1437
From: toronto ON
Registered: Jan 2016


Feedback score:    (8)
Leave feedback

Rate this member

Report this Post12-01-2022 03:13 PM Click Here to See the Profile for jjd2296Send a Private Message to jjd2296Edit/Delete MessageReply w/QuoteDirect Link to This Post

jjd2296

1437 posts
Member since Jan 2016
EDIT, passed on this idea and stuck with the stock wing.

Going with the Dodge Shadow spoiler, what do you think? (just test fitted). This has been done before I love the look of it.

[This message has been edited by jjd2296 (edited 02-14-2024).]

IP: Logged
jjd2296
Member
Posts: 1437
From: toronto ON
Registered: Jan 2016


Feedback score:    (8)
Leave feedback

Rate this member

Report this Post12-01-2022 03:17 PM Click Here to See the Profile for jjd2296Send a Private Message to jjd2296Edit/Delete MessageReply w/QuoteDirect Link to This Post

jjd2296

1437 posts
Member since Jan 2016
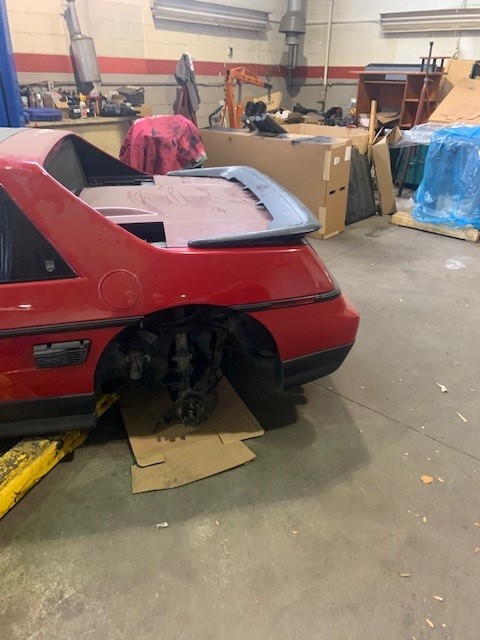
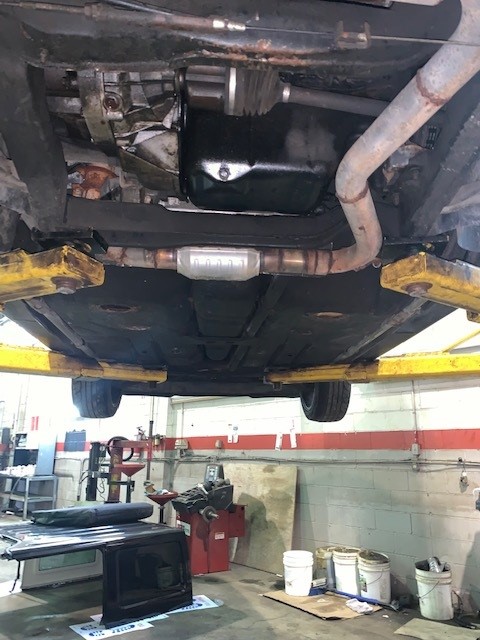
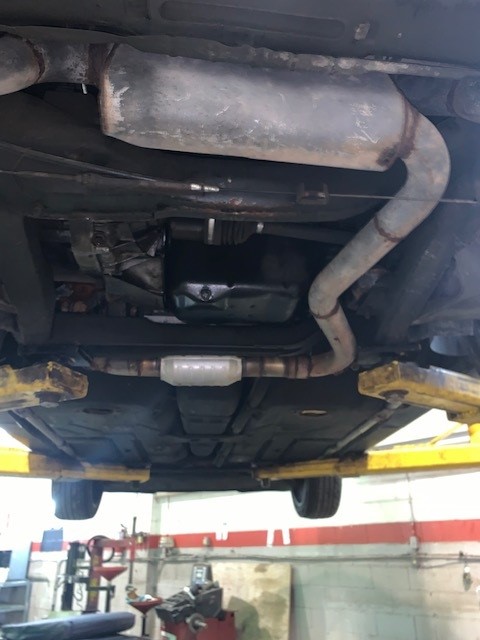
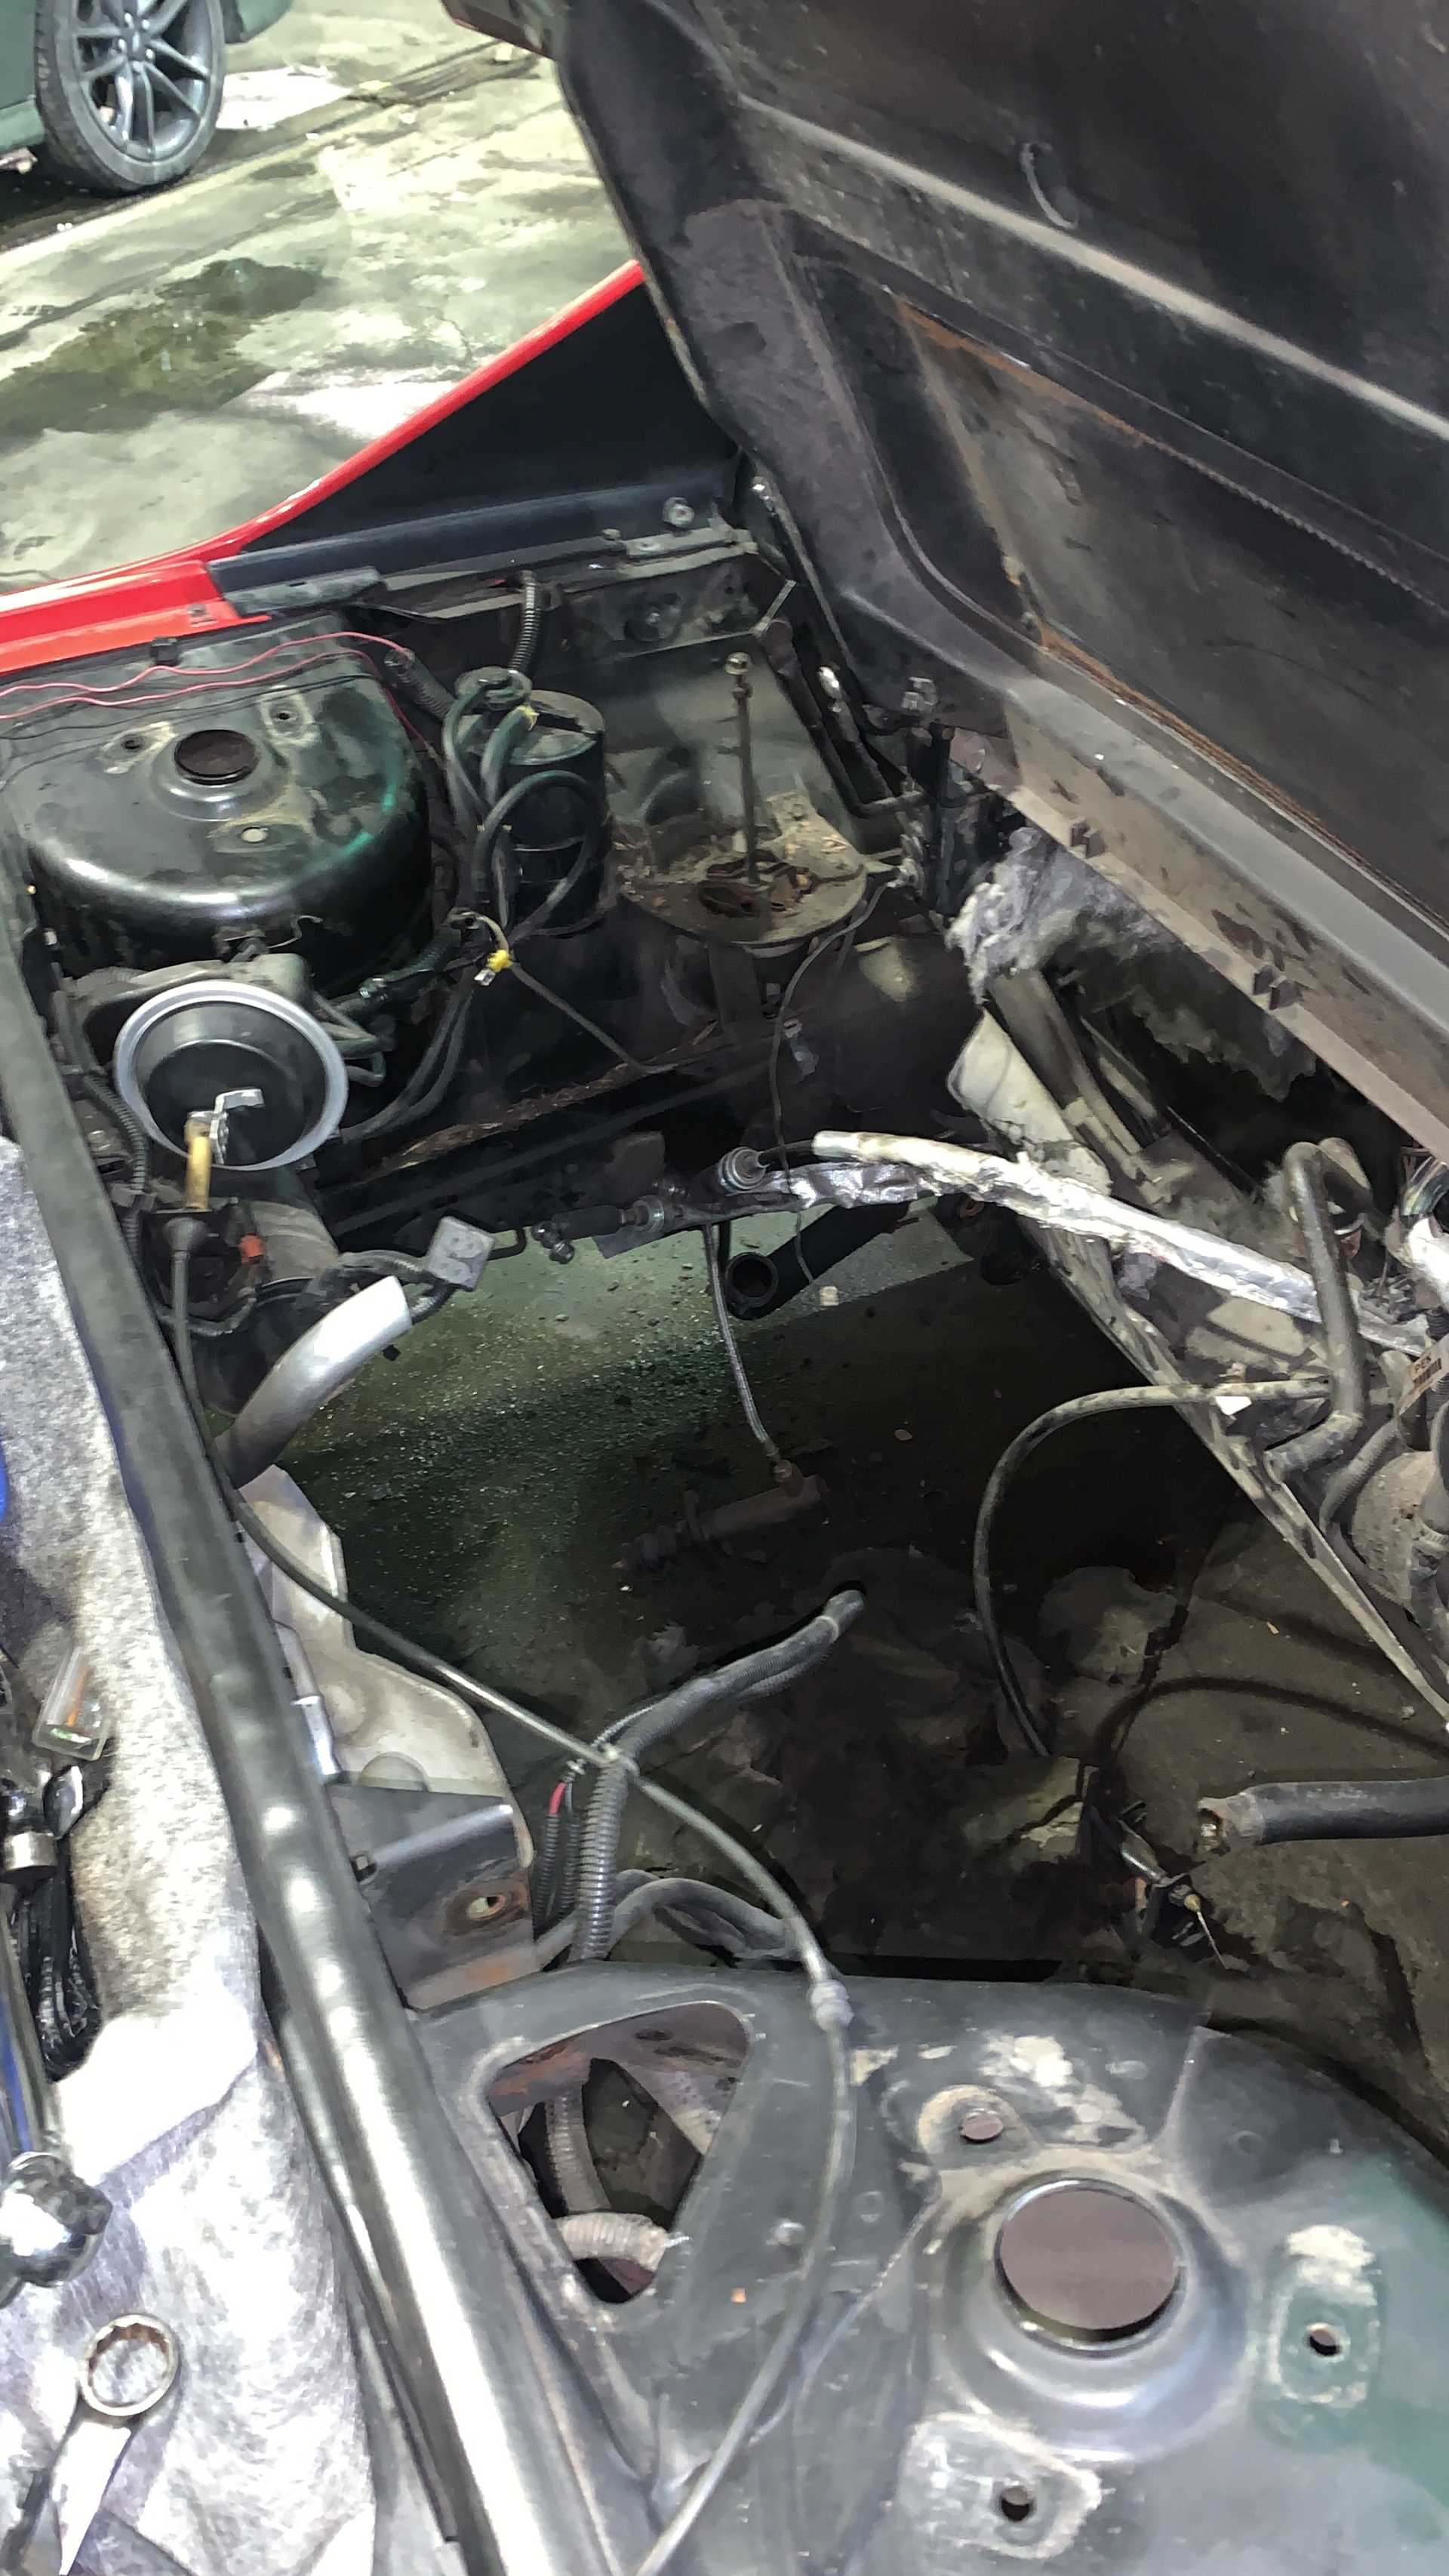
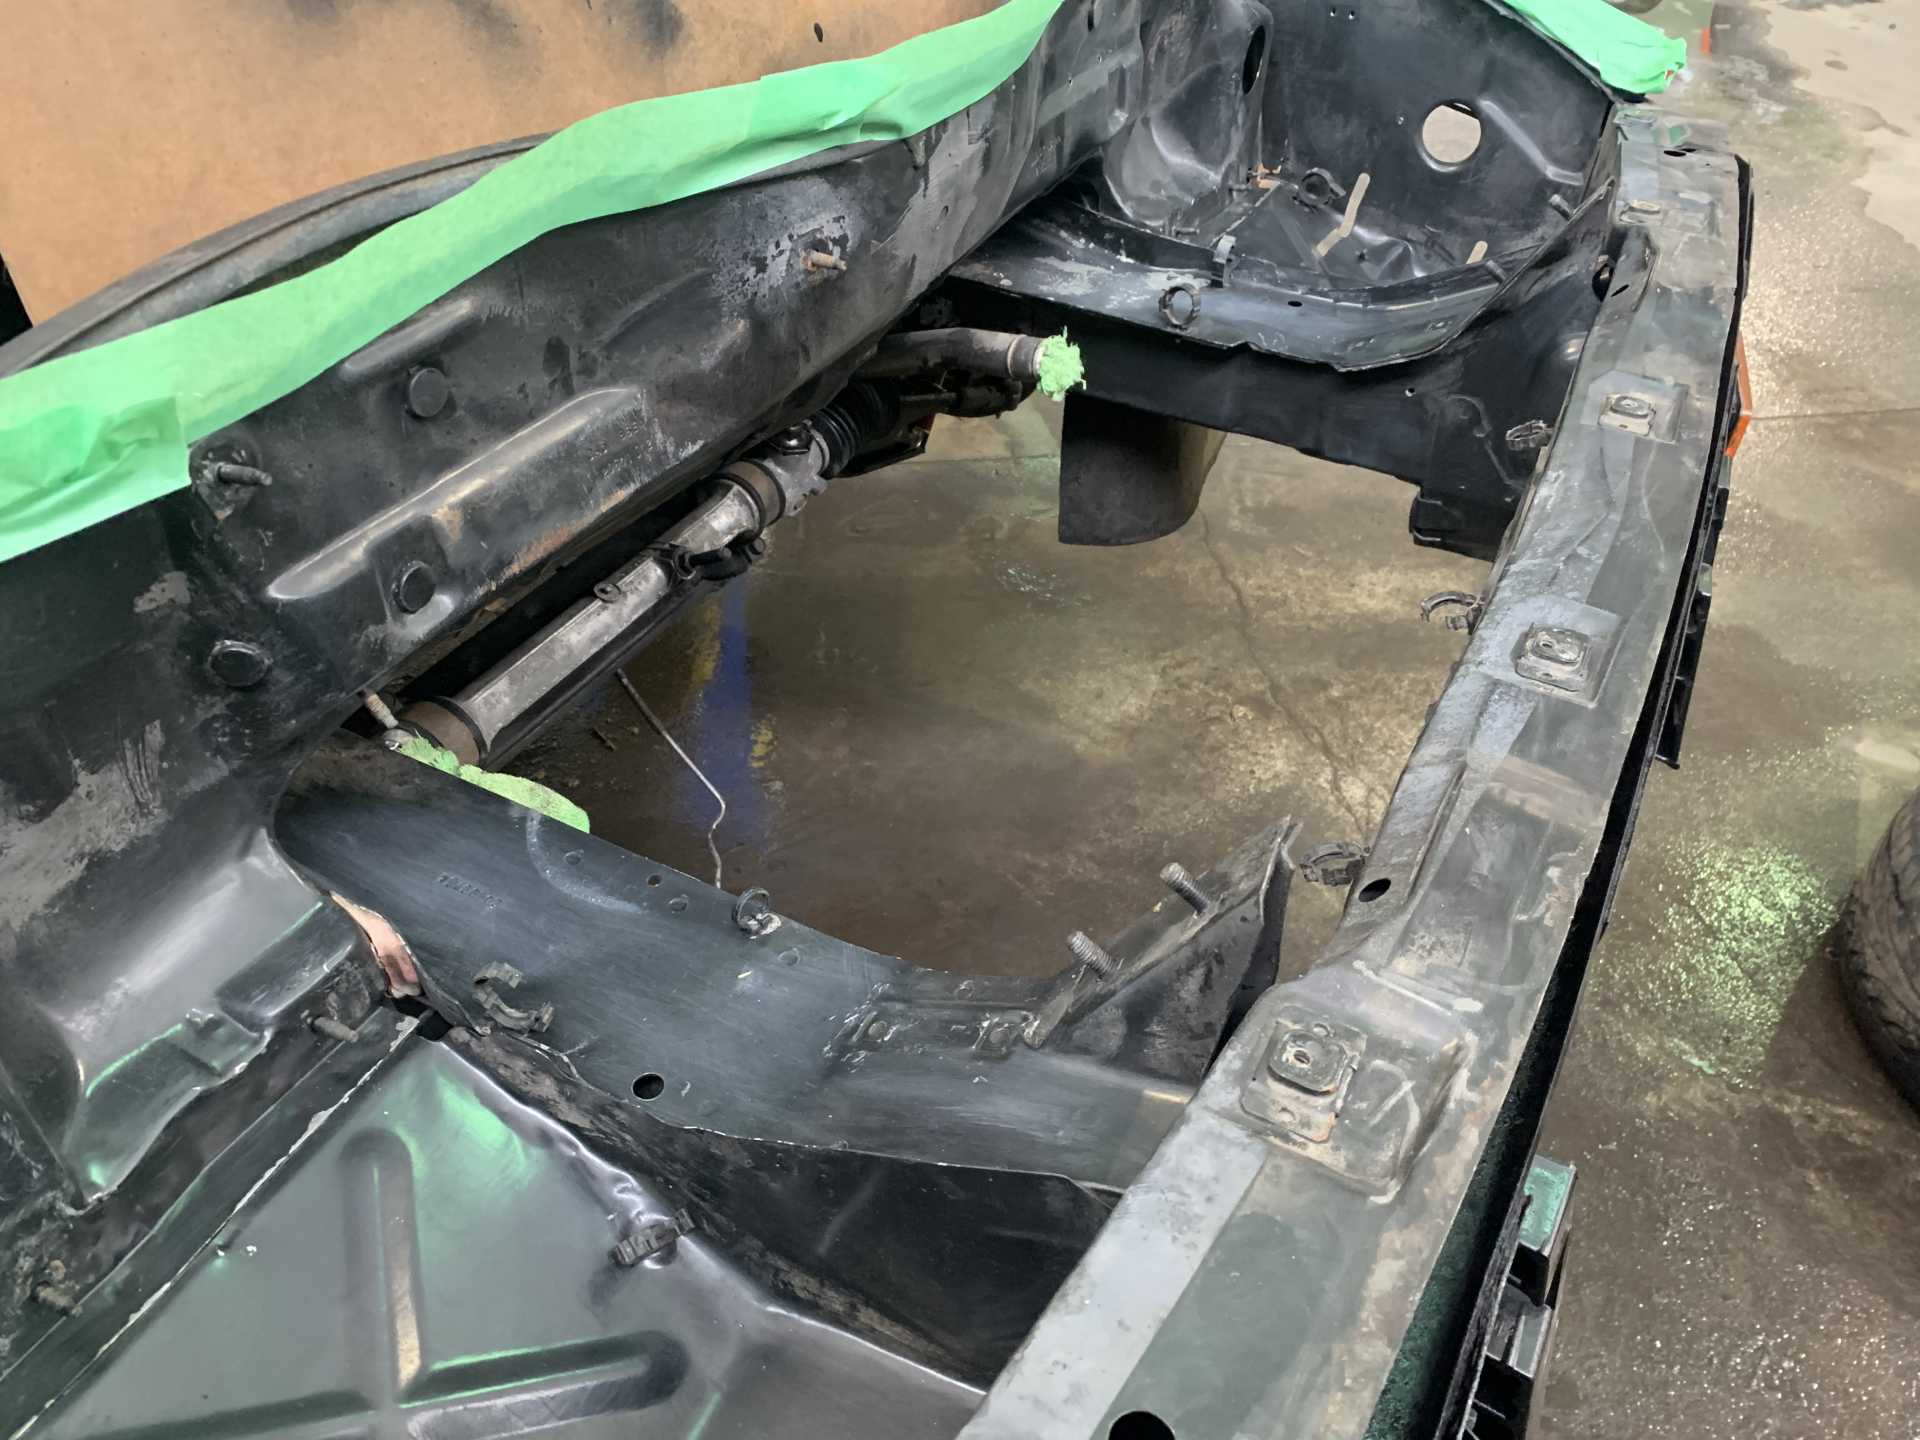
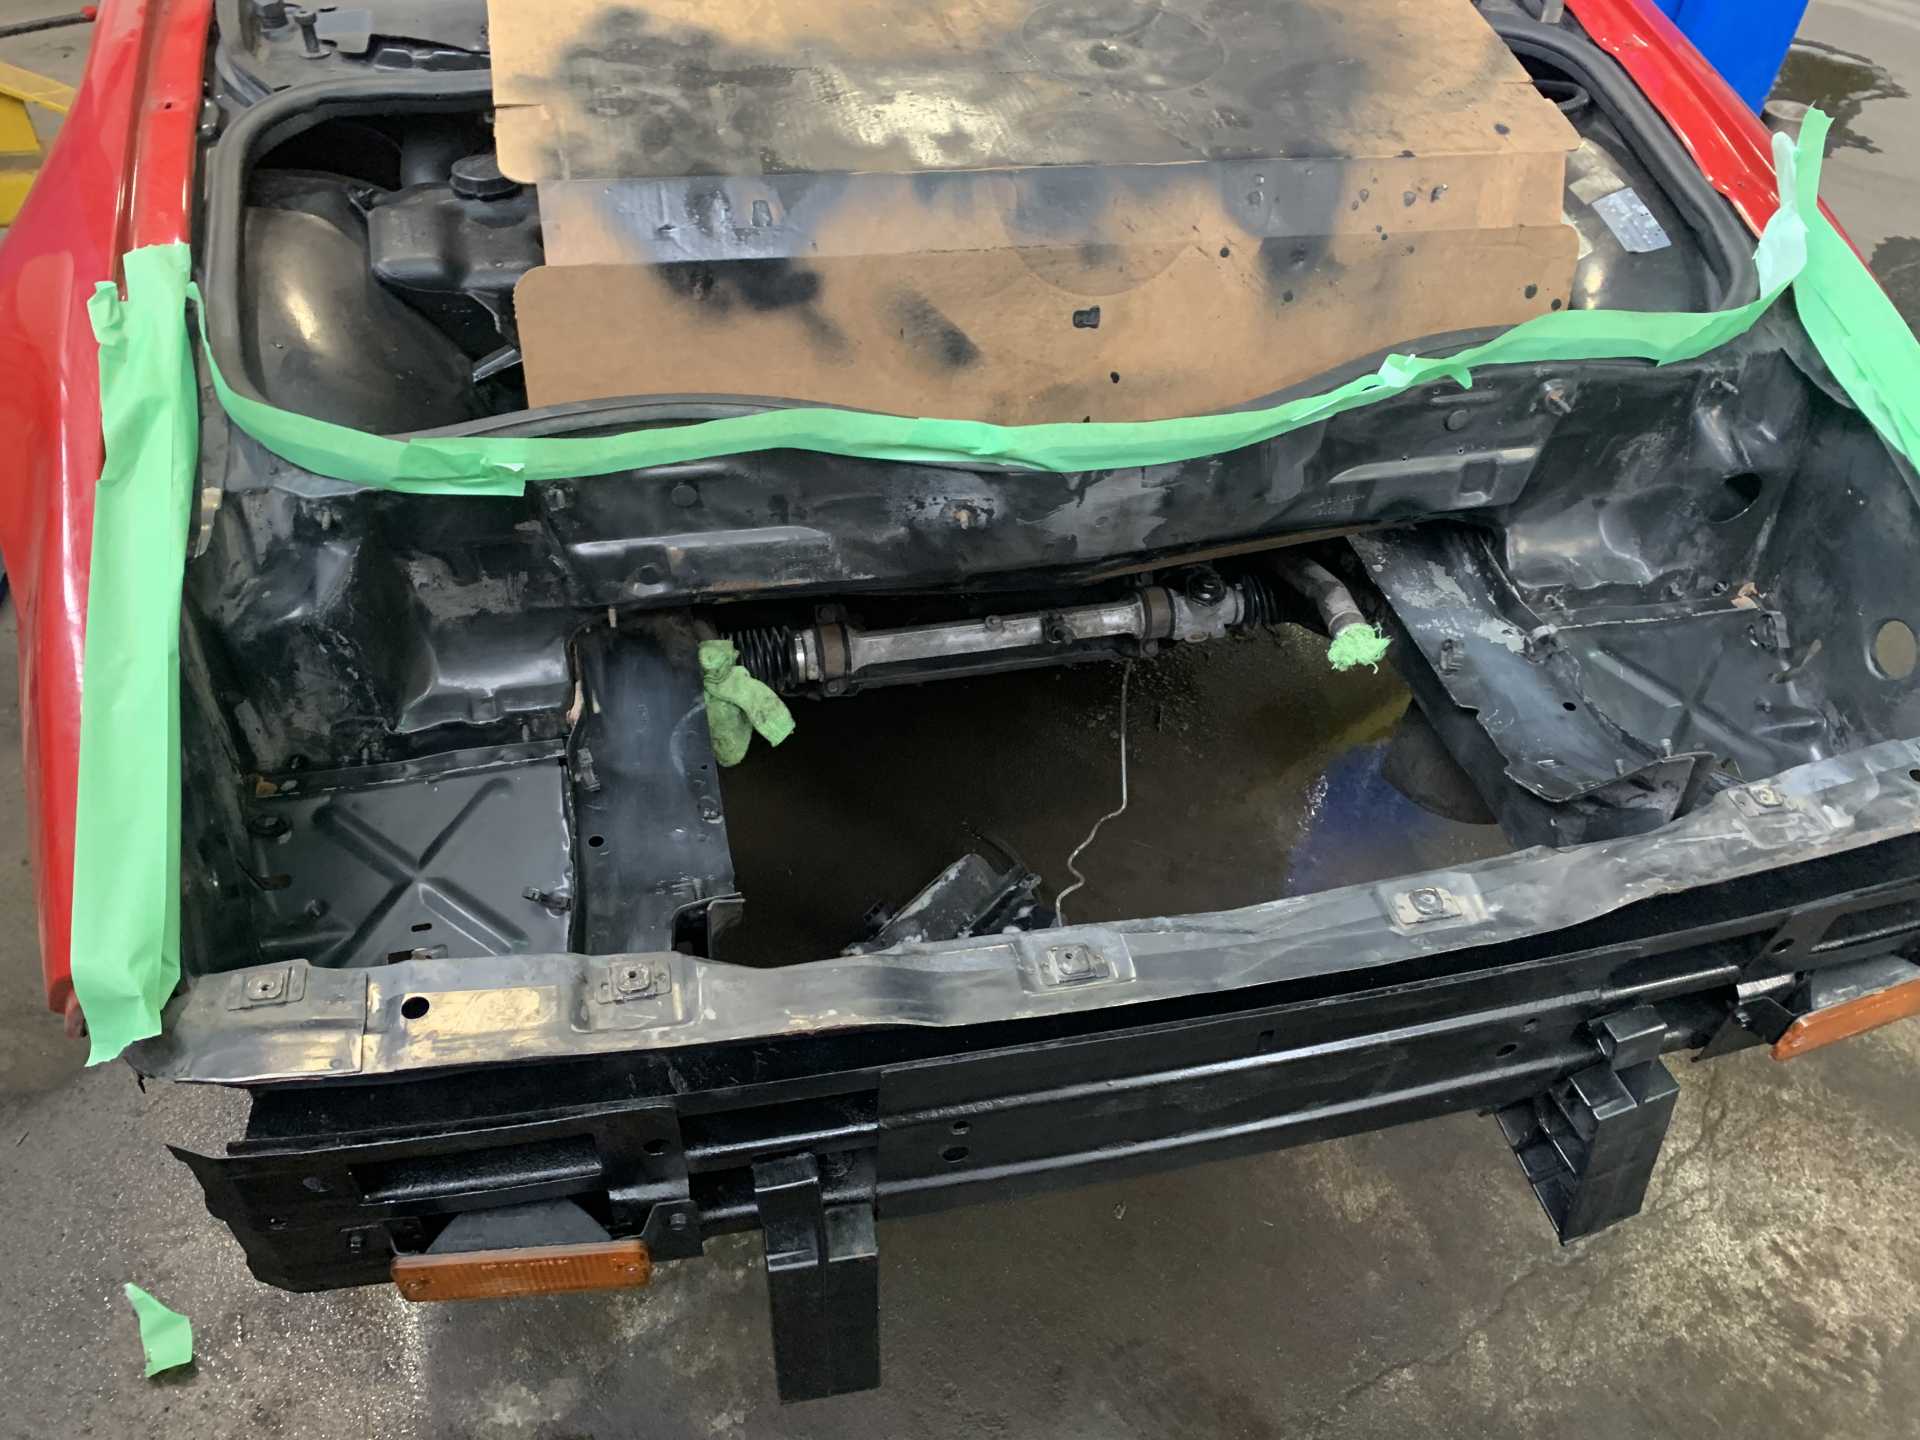
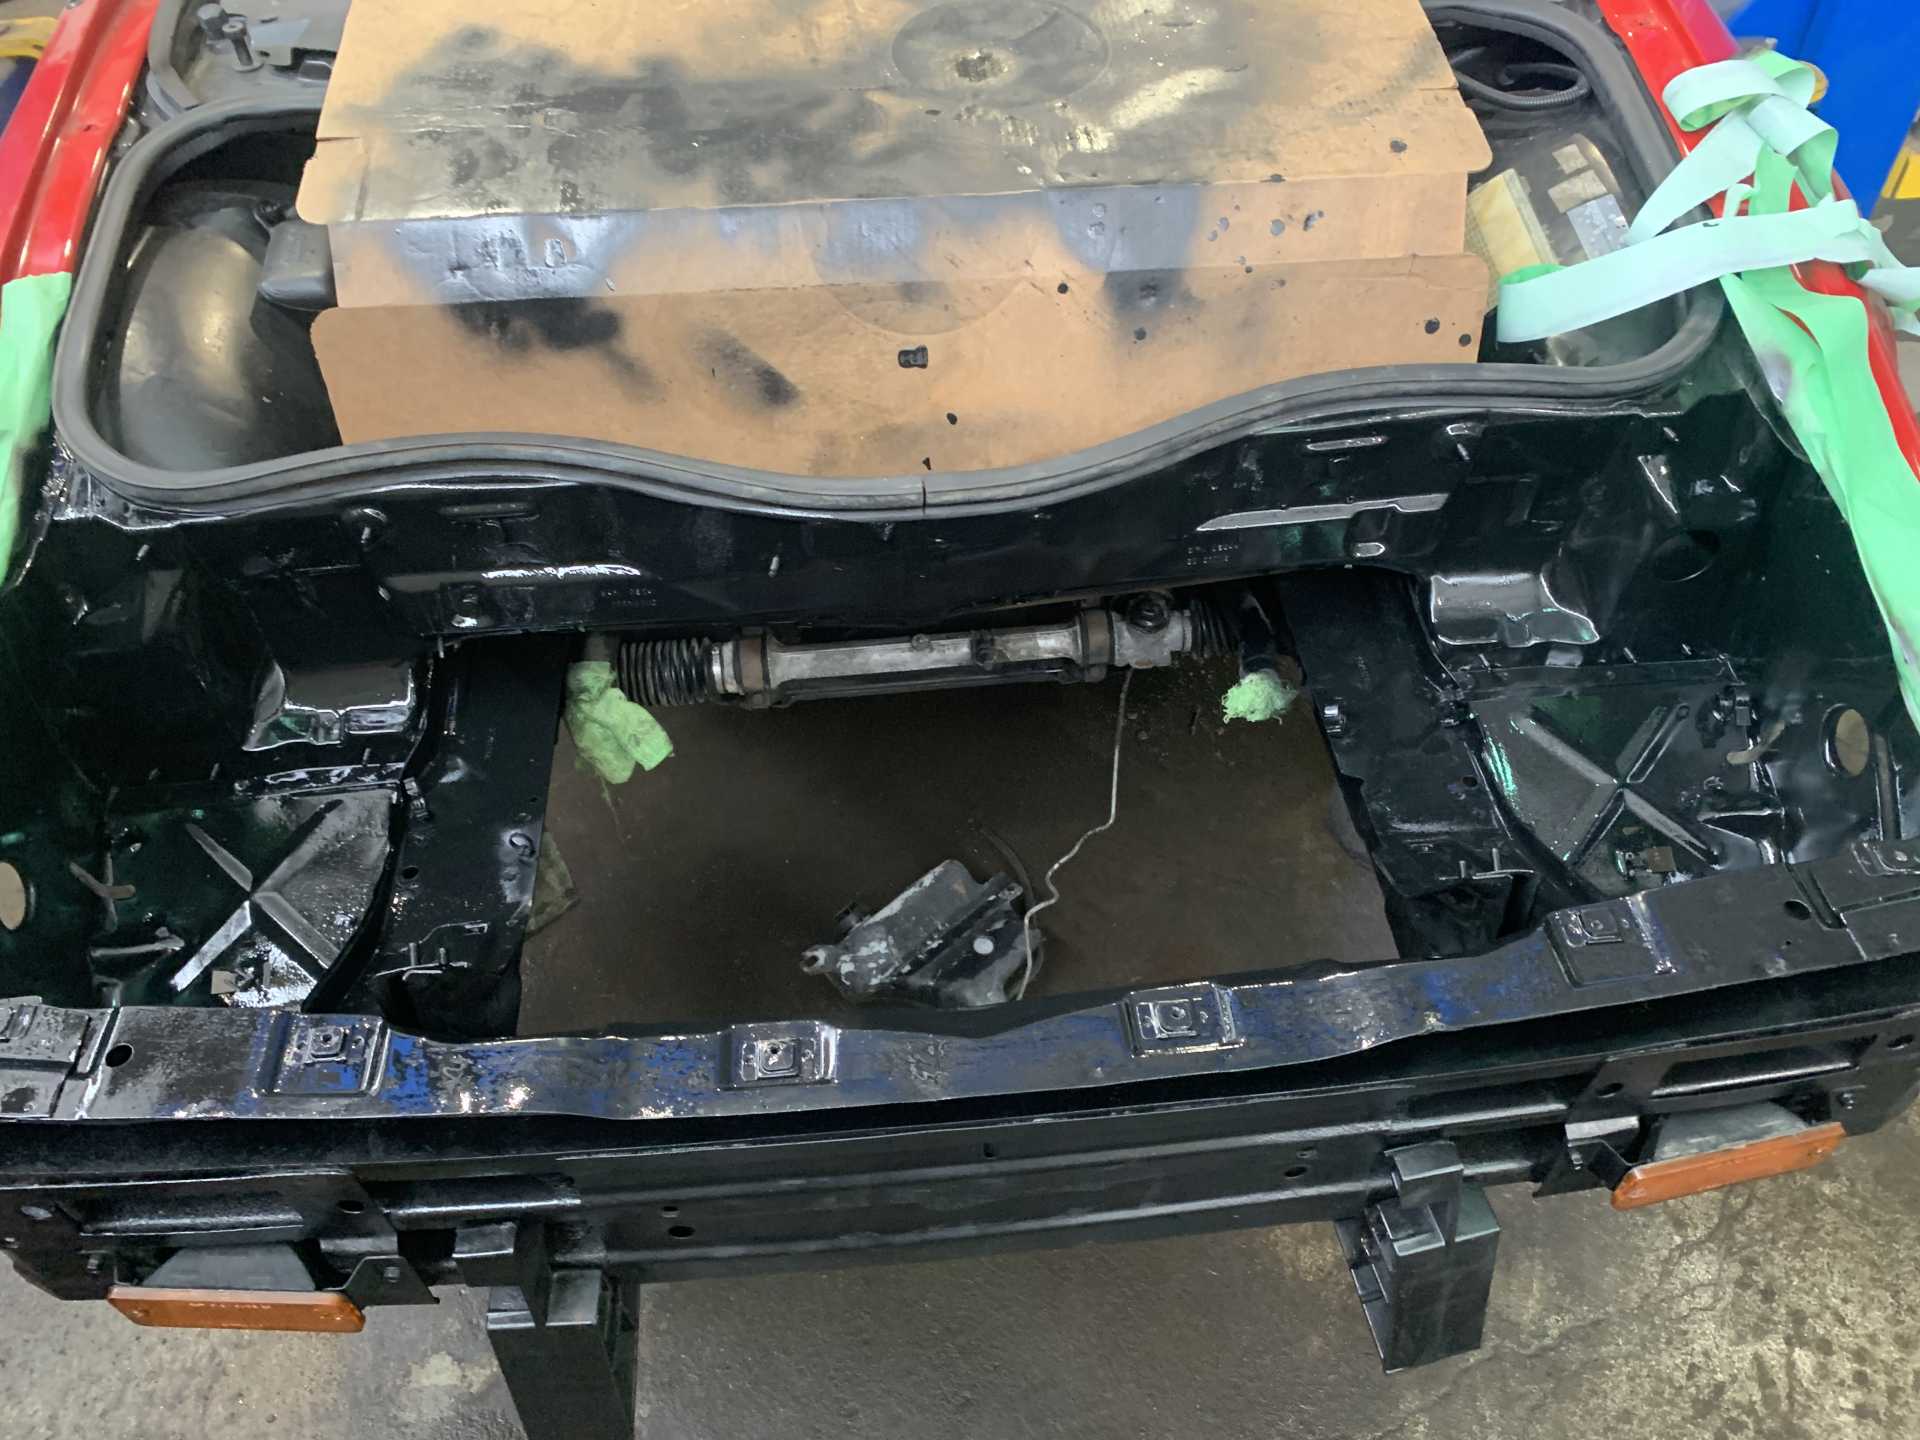
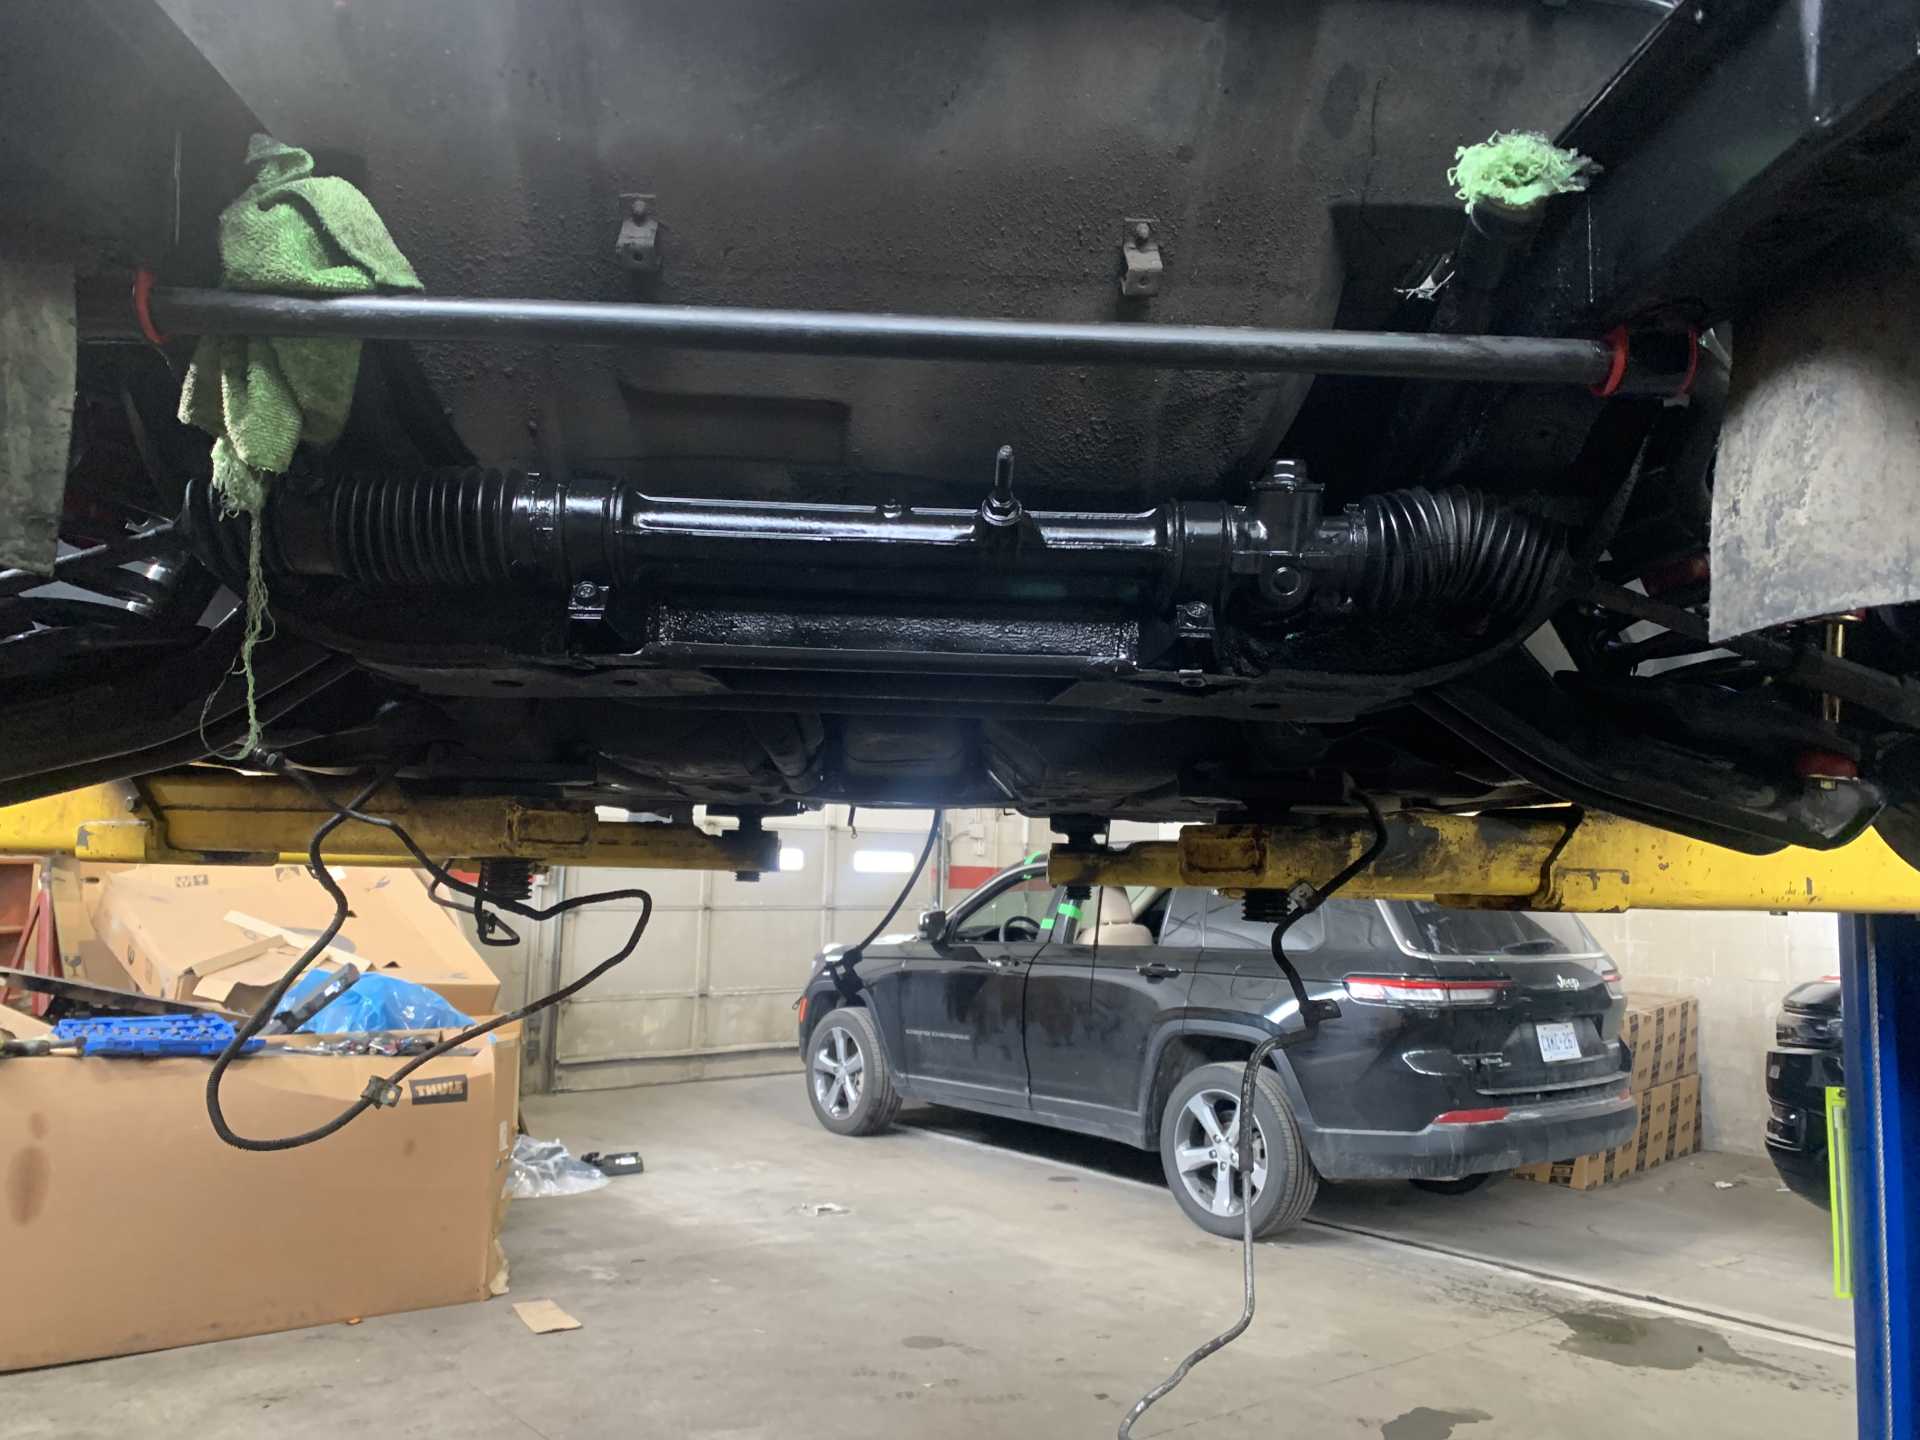
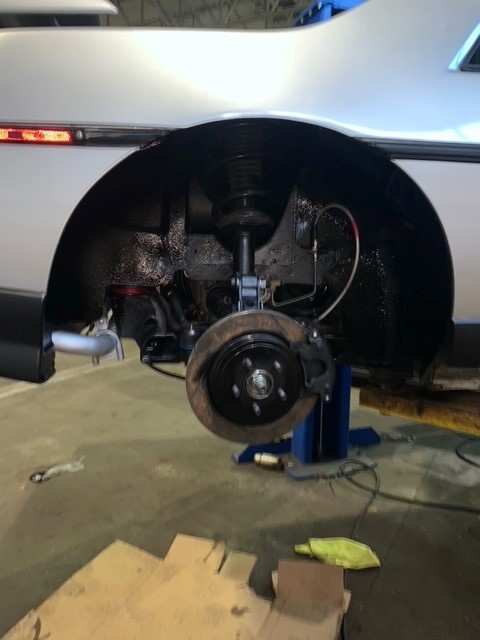
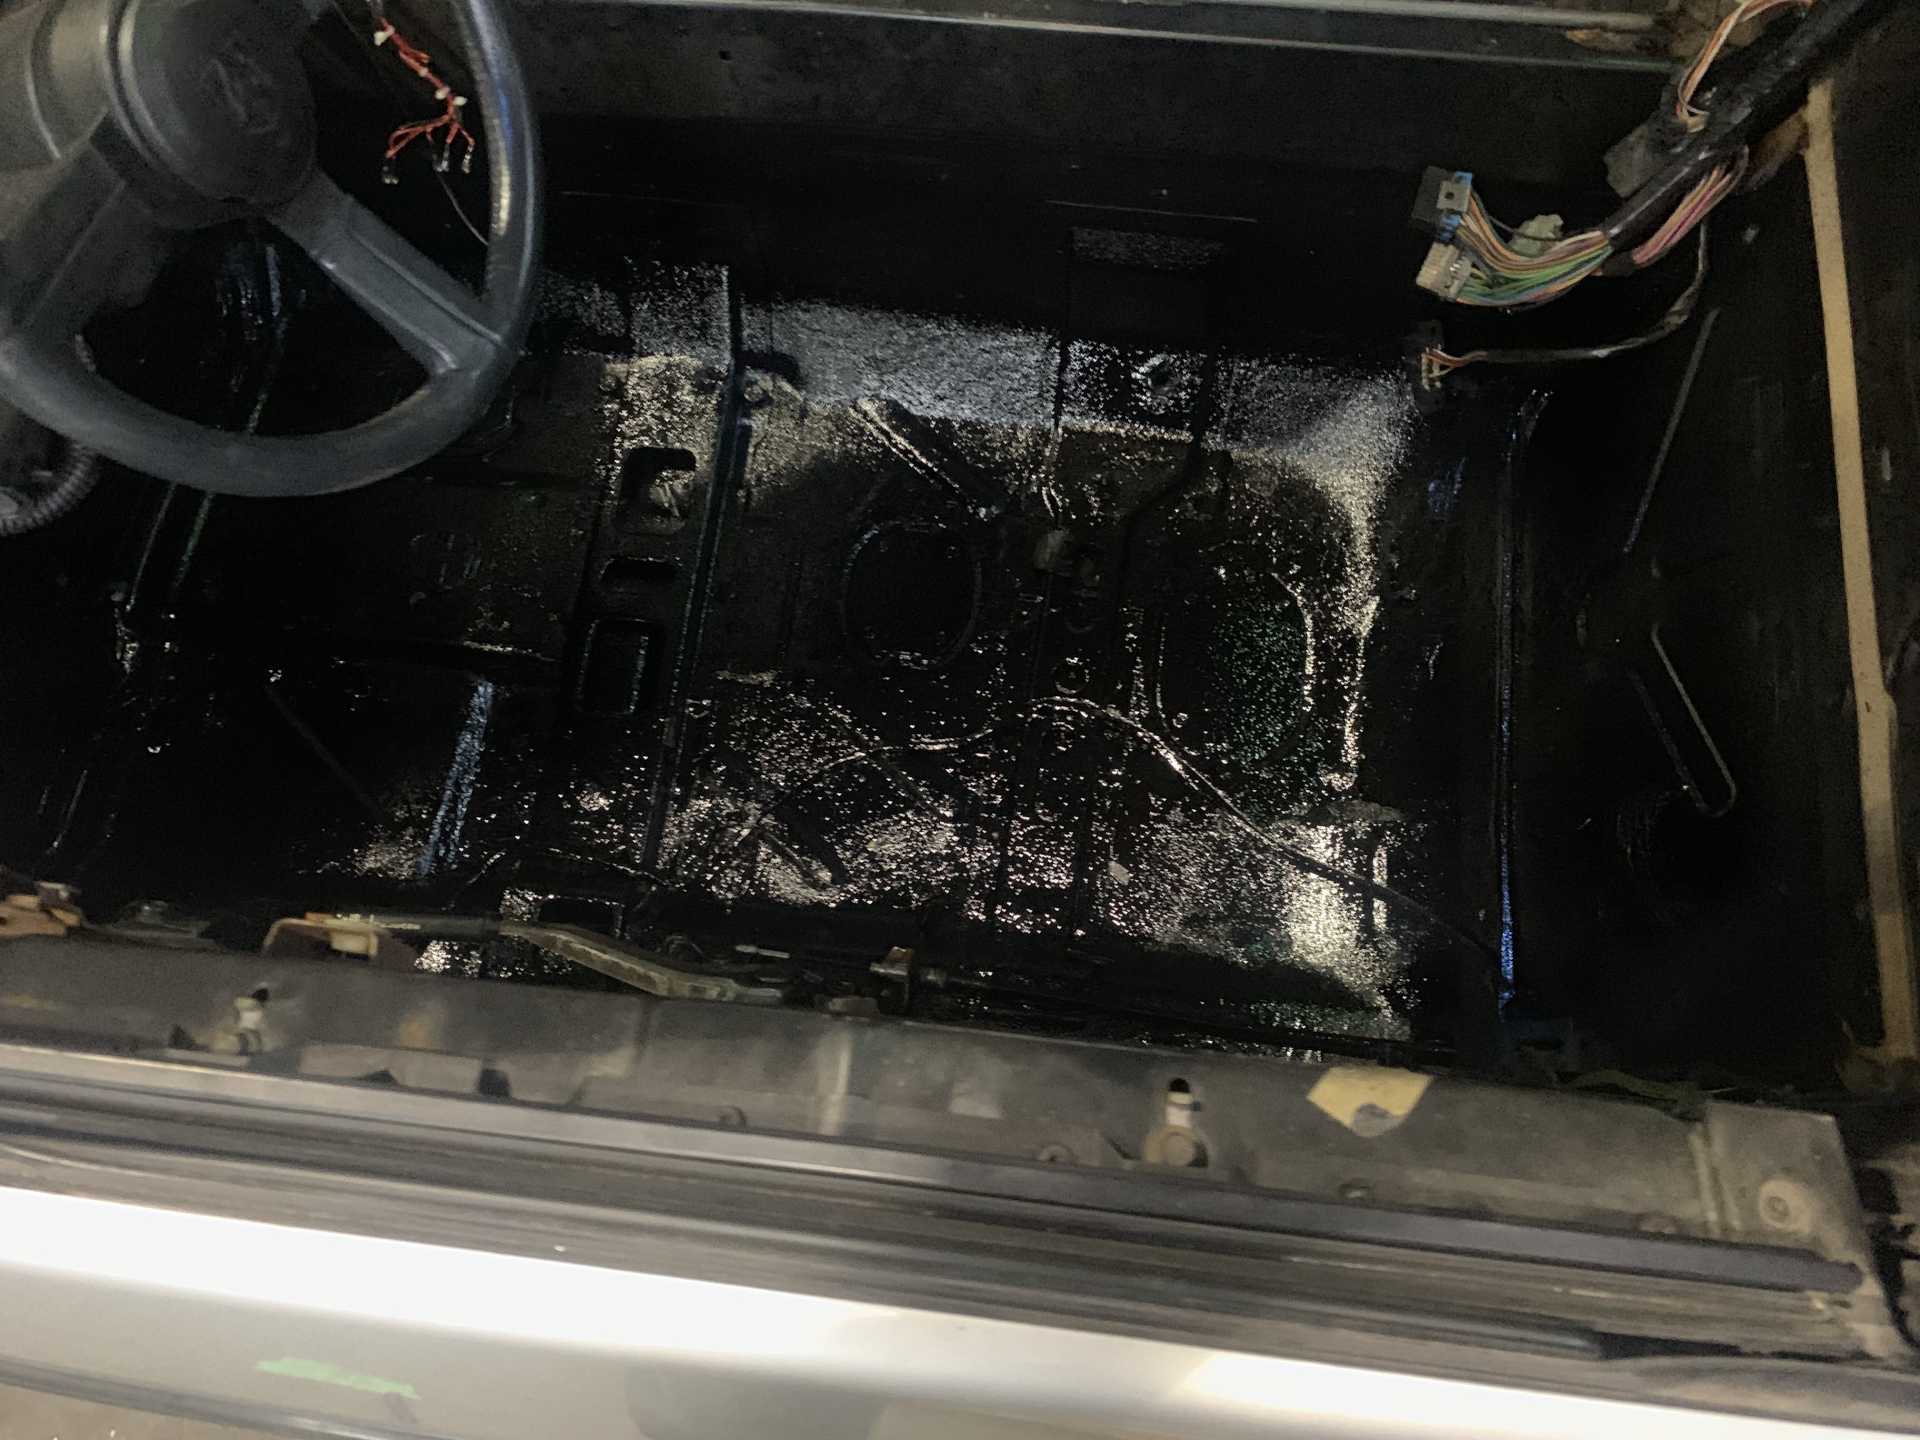
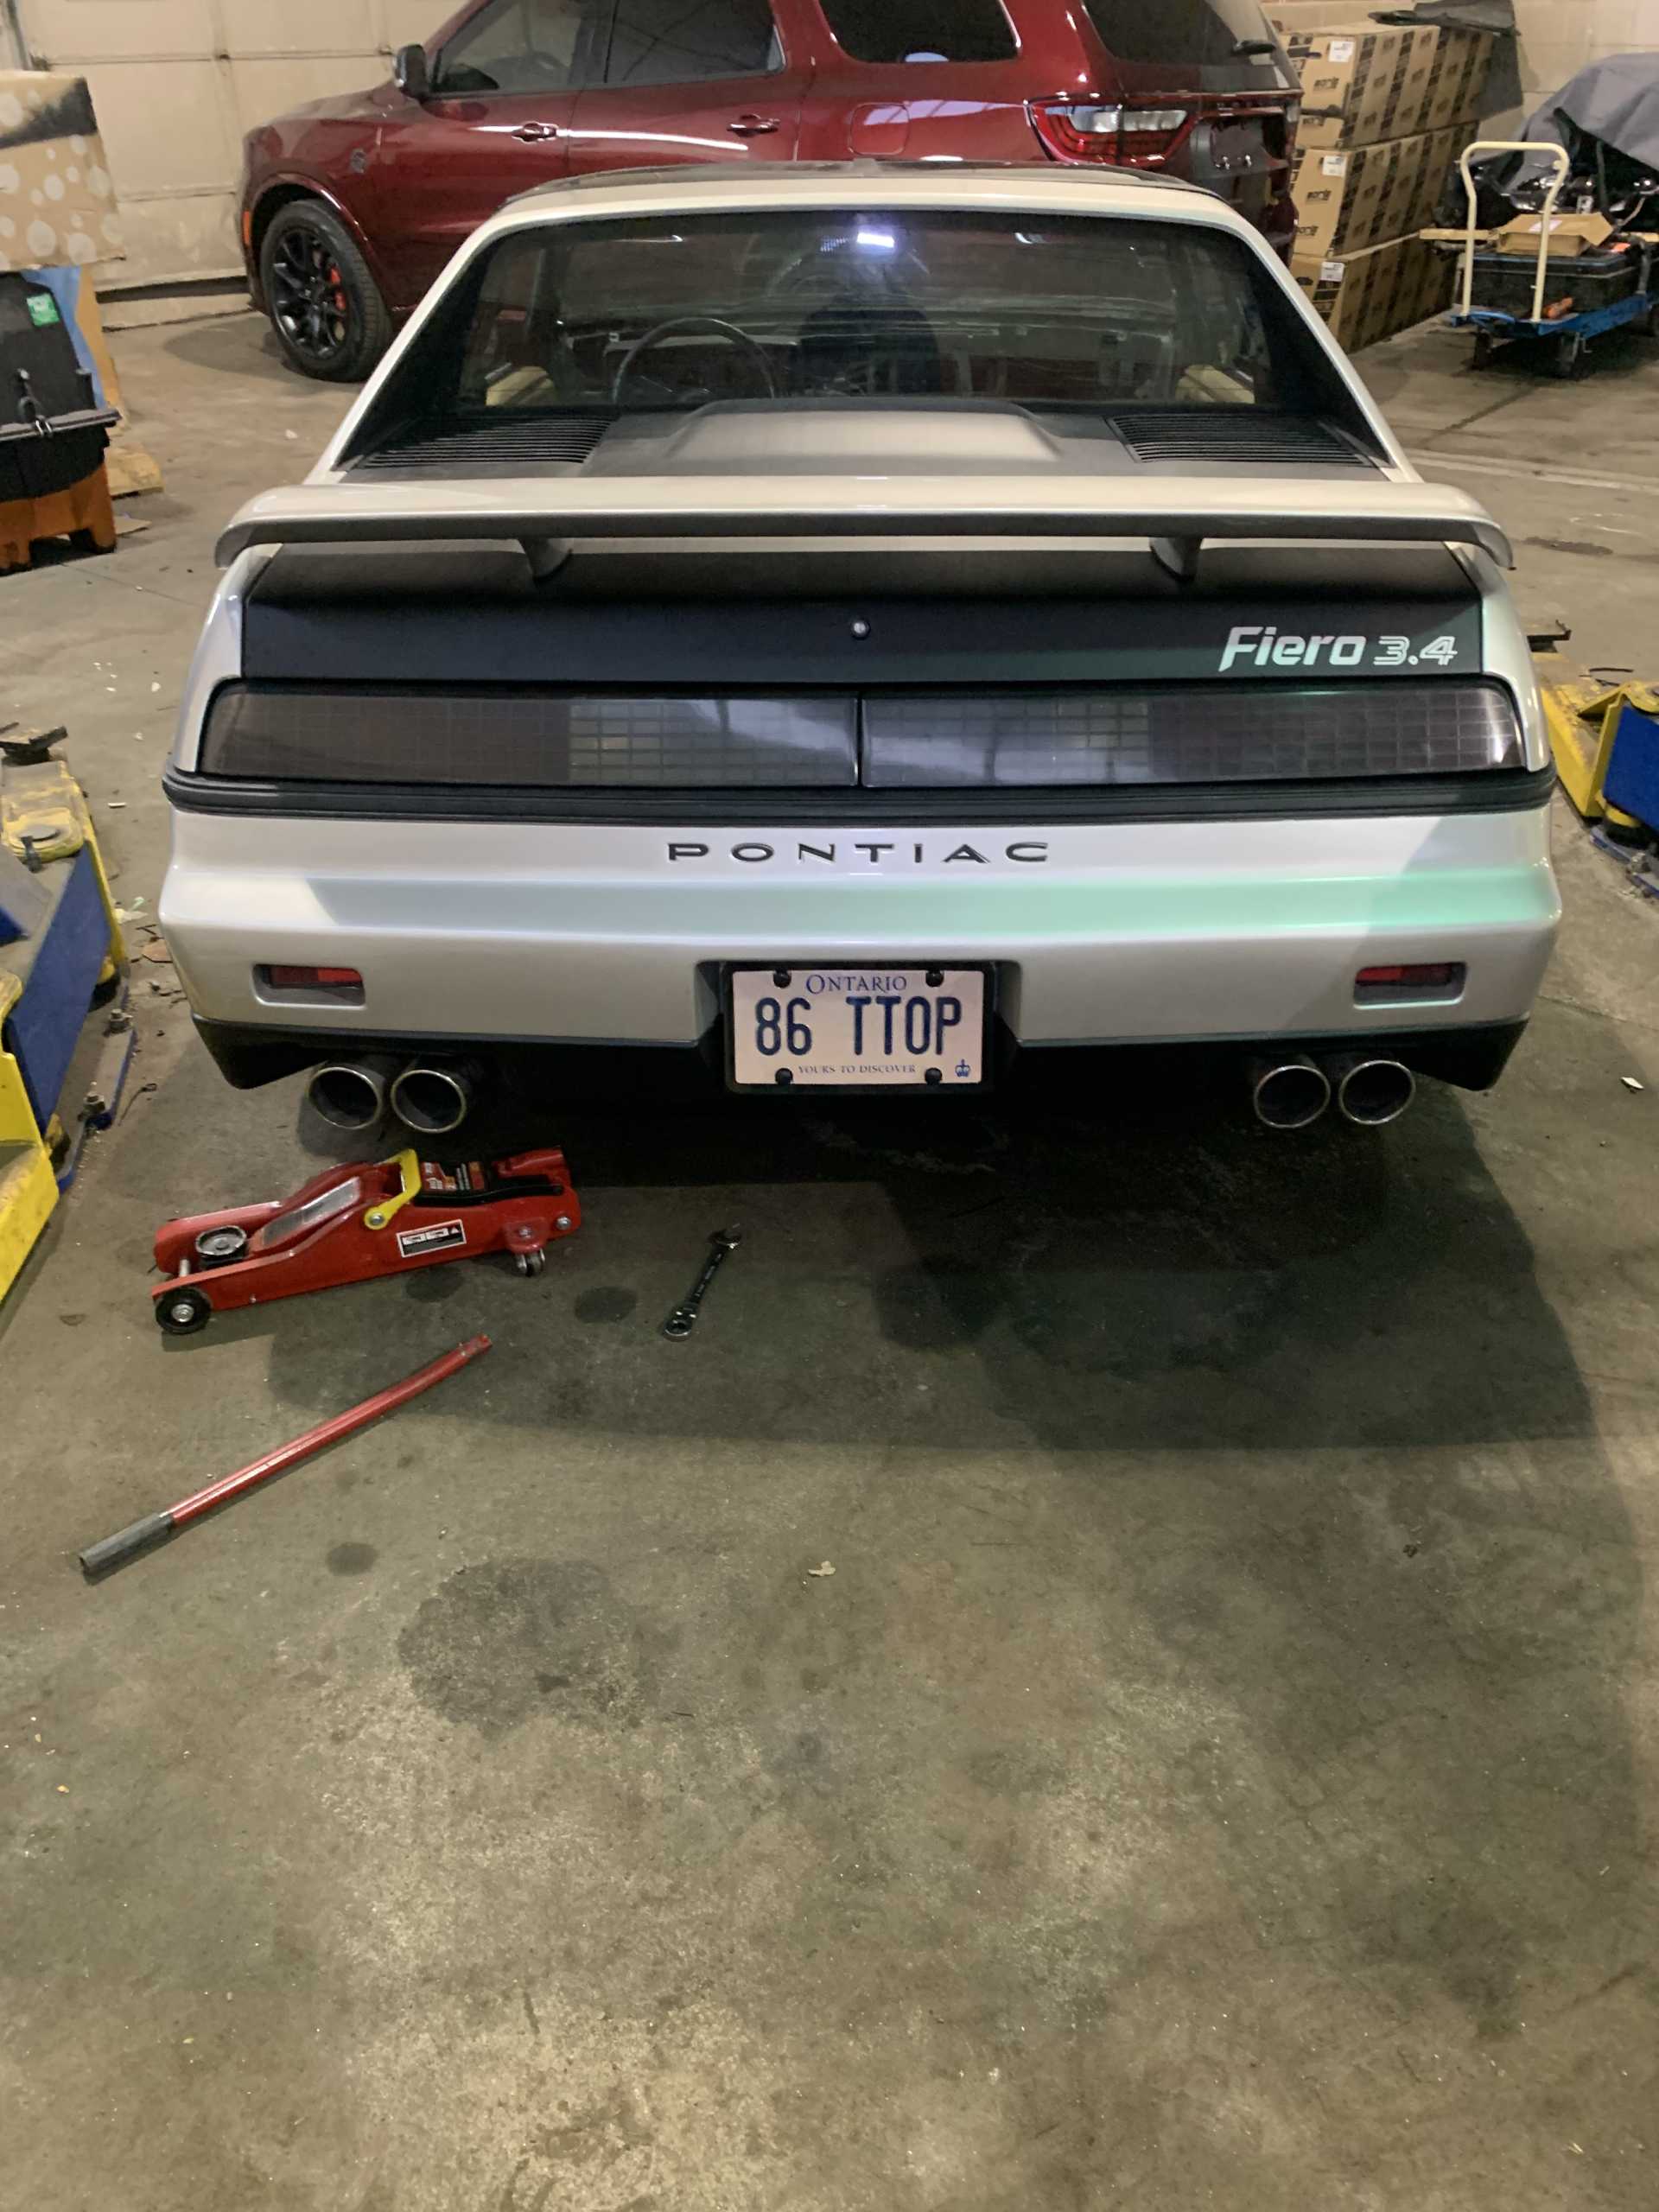
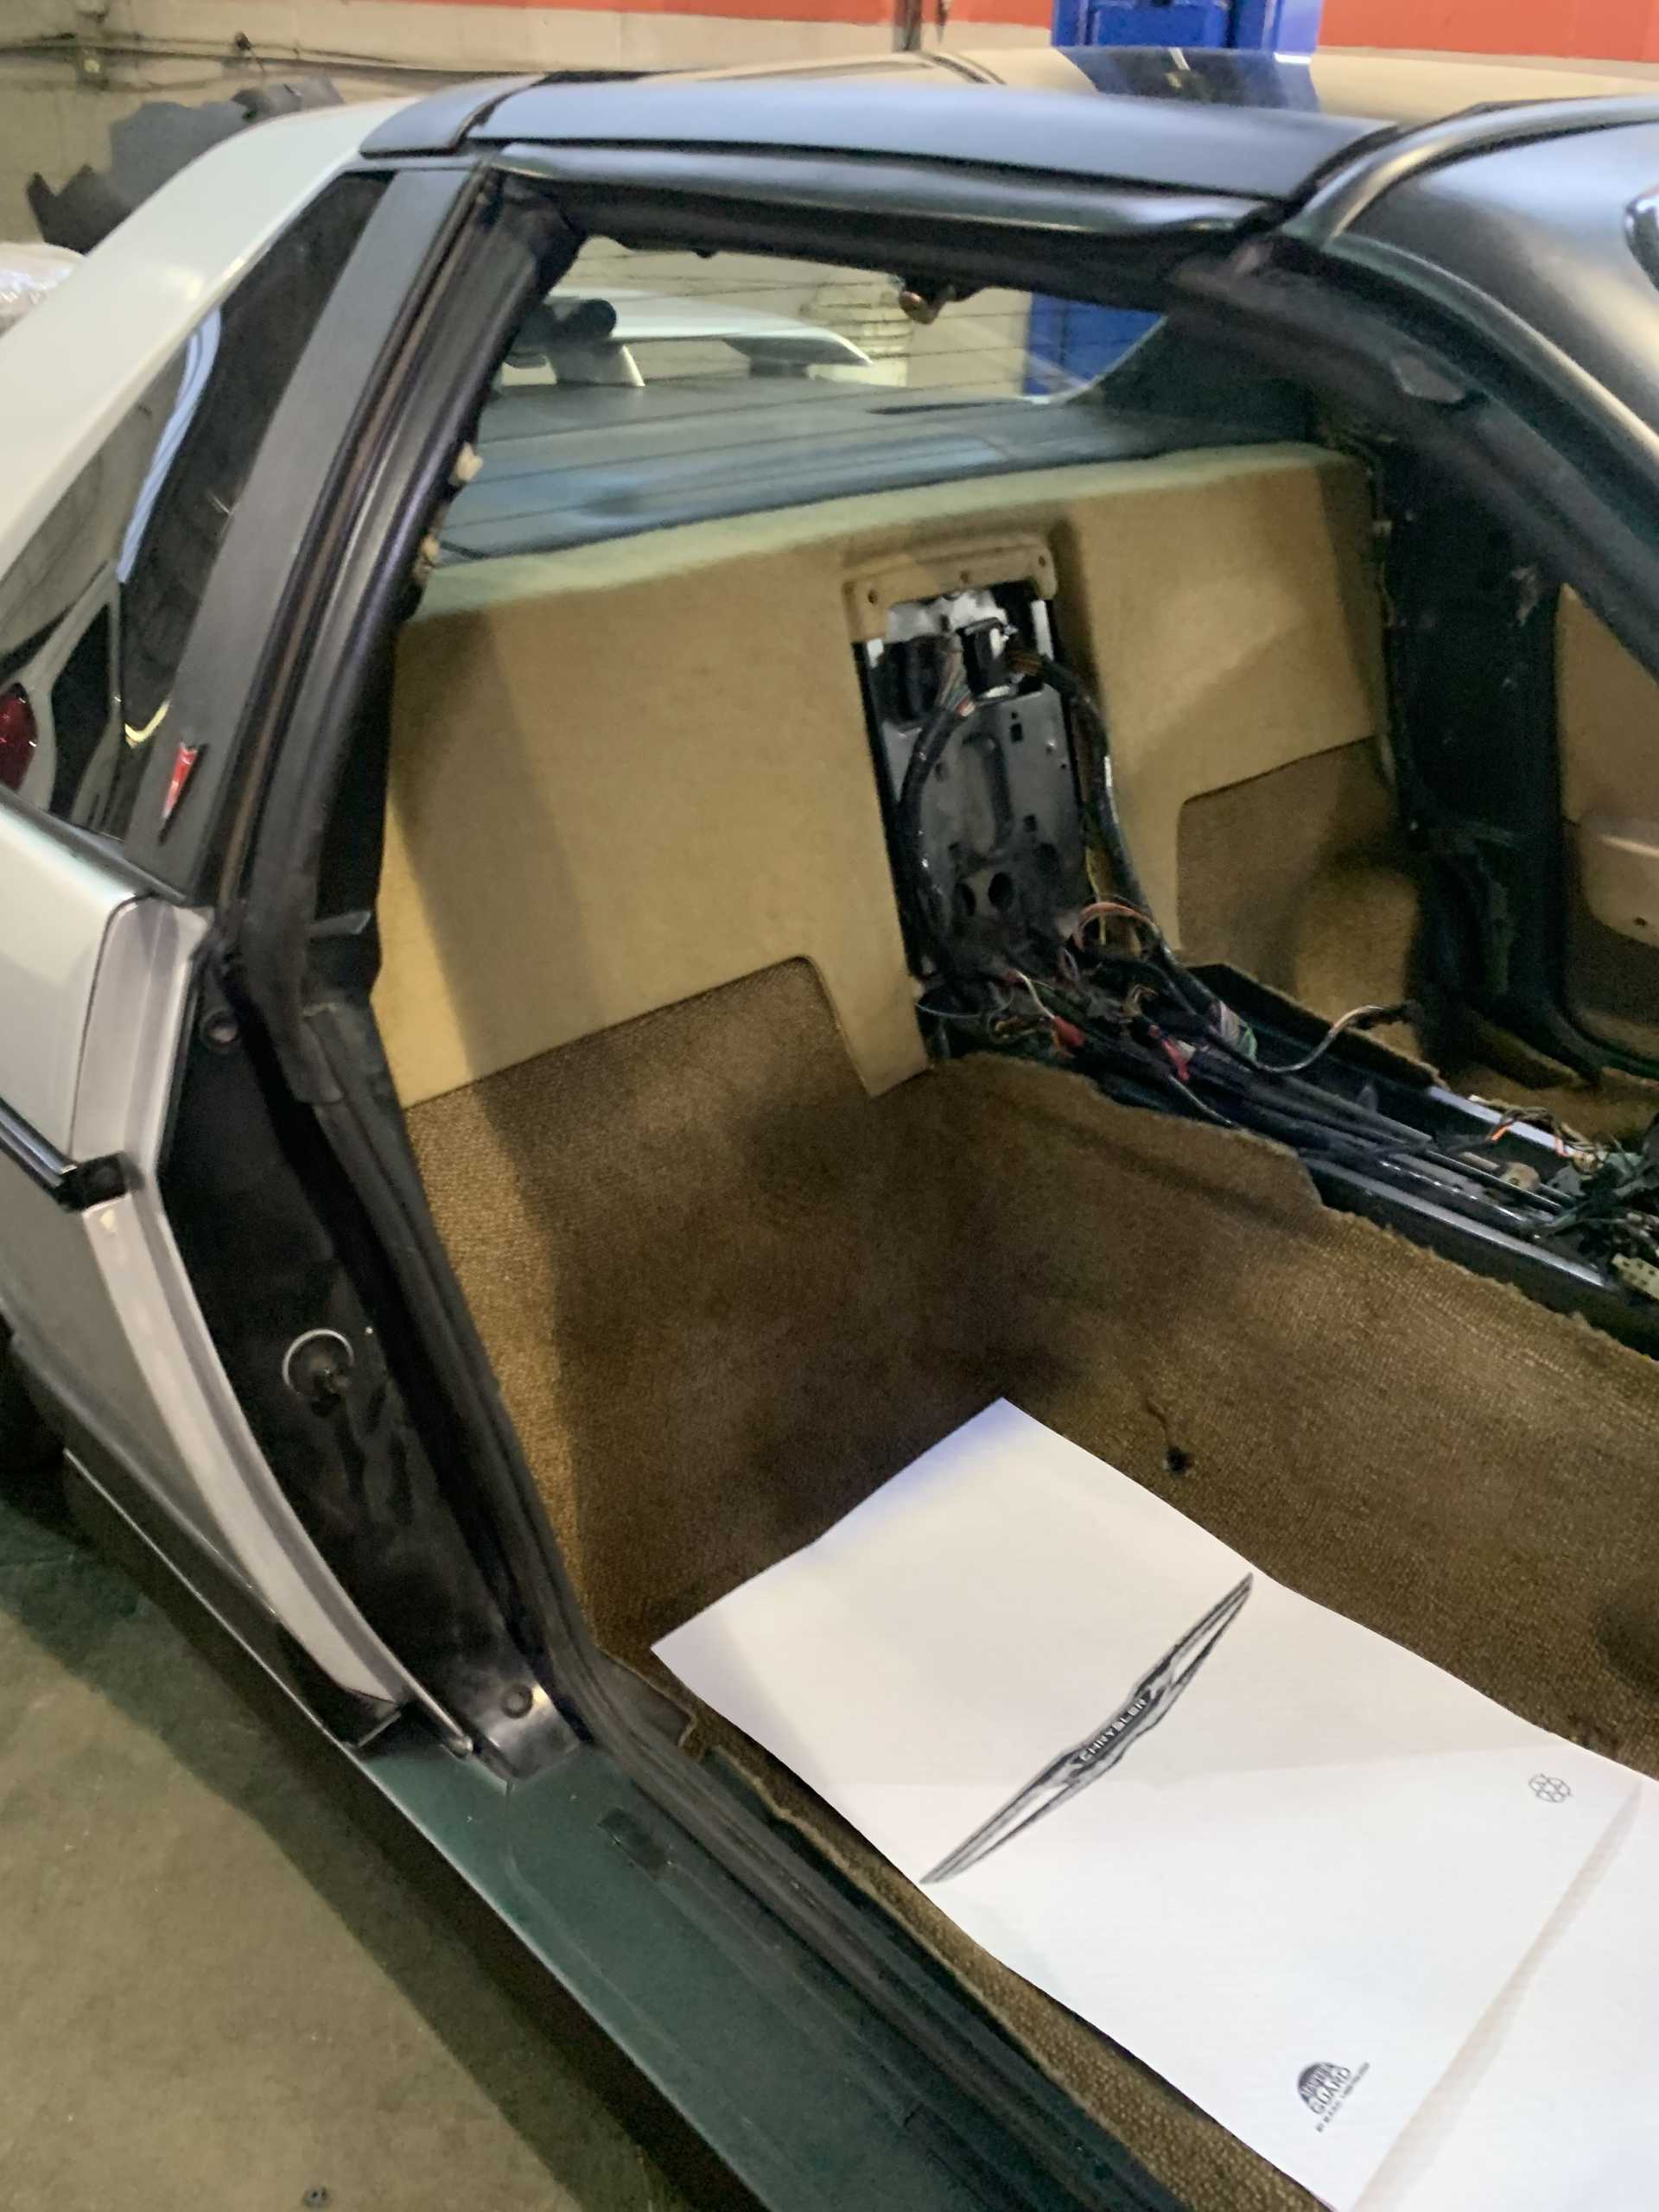
I was pleasantly surprised at how little rust this car has considering that it has 350,000 km (218,750 miles) on it! the rear trunk is clean, frame rails are decent and the undercarriage is solid. only things needing replacement are the floor drain plugs (bought Rodneys replacement plugs) and the lower rad support (found a good used one).

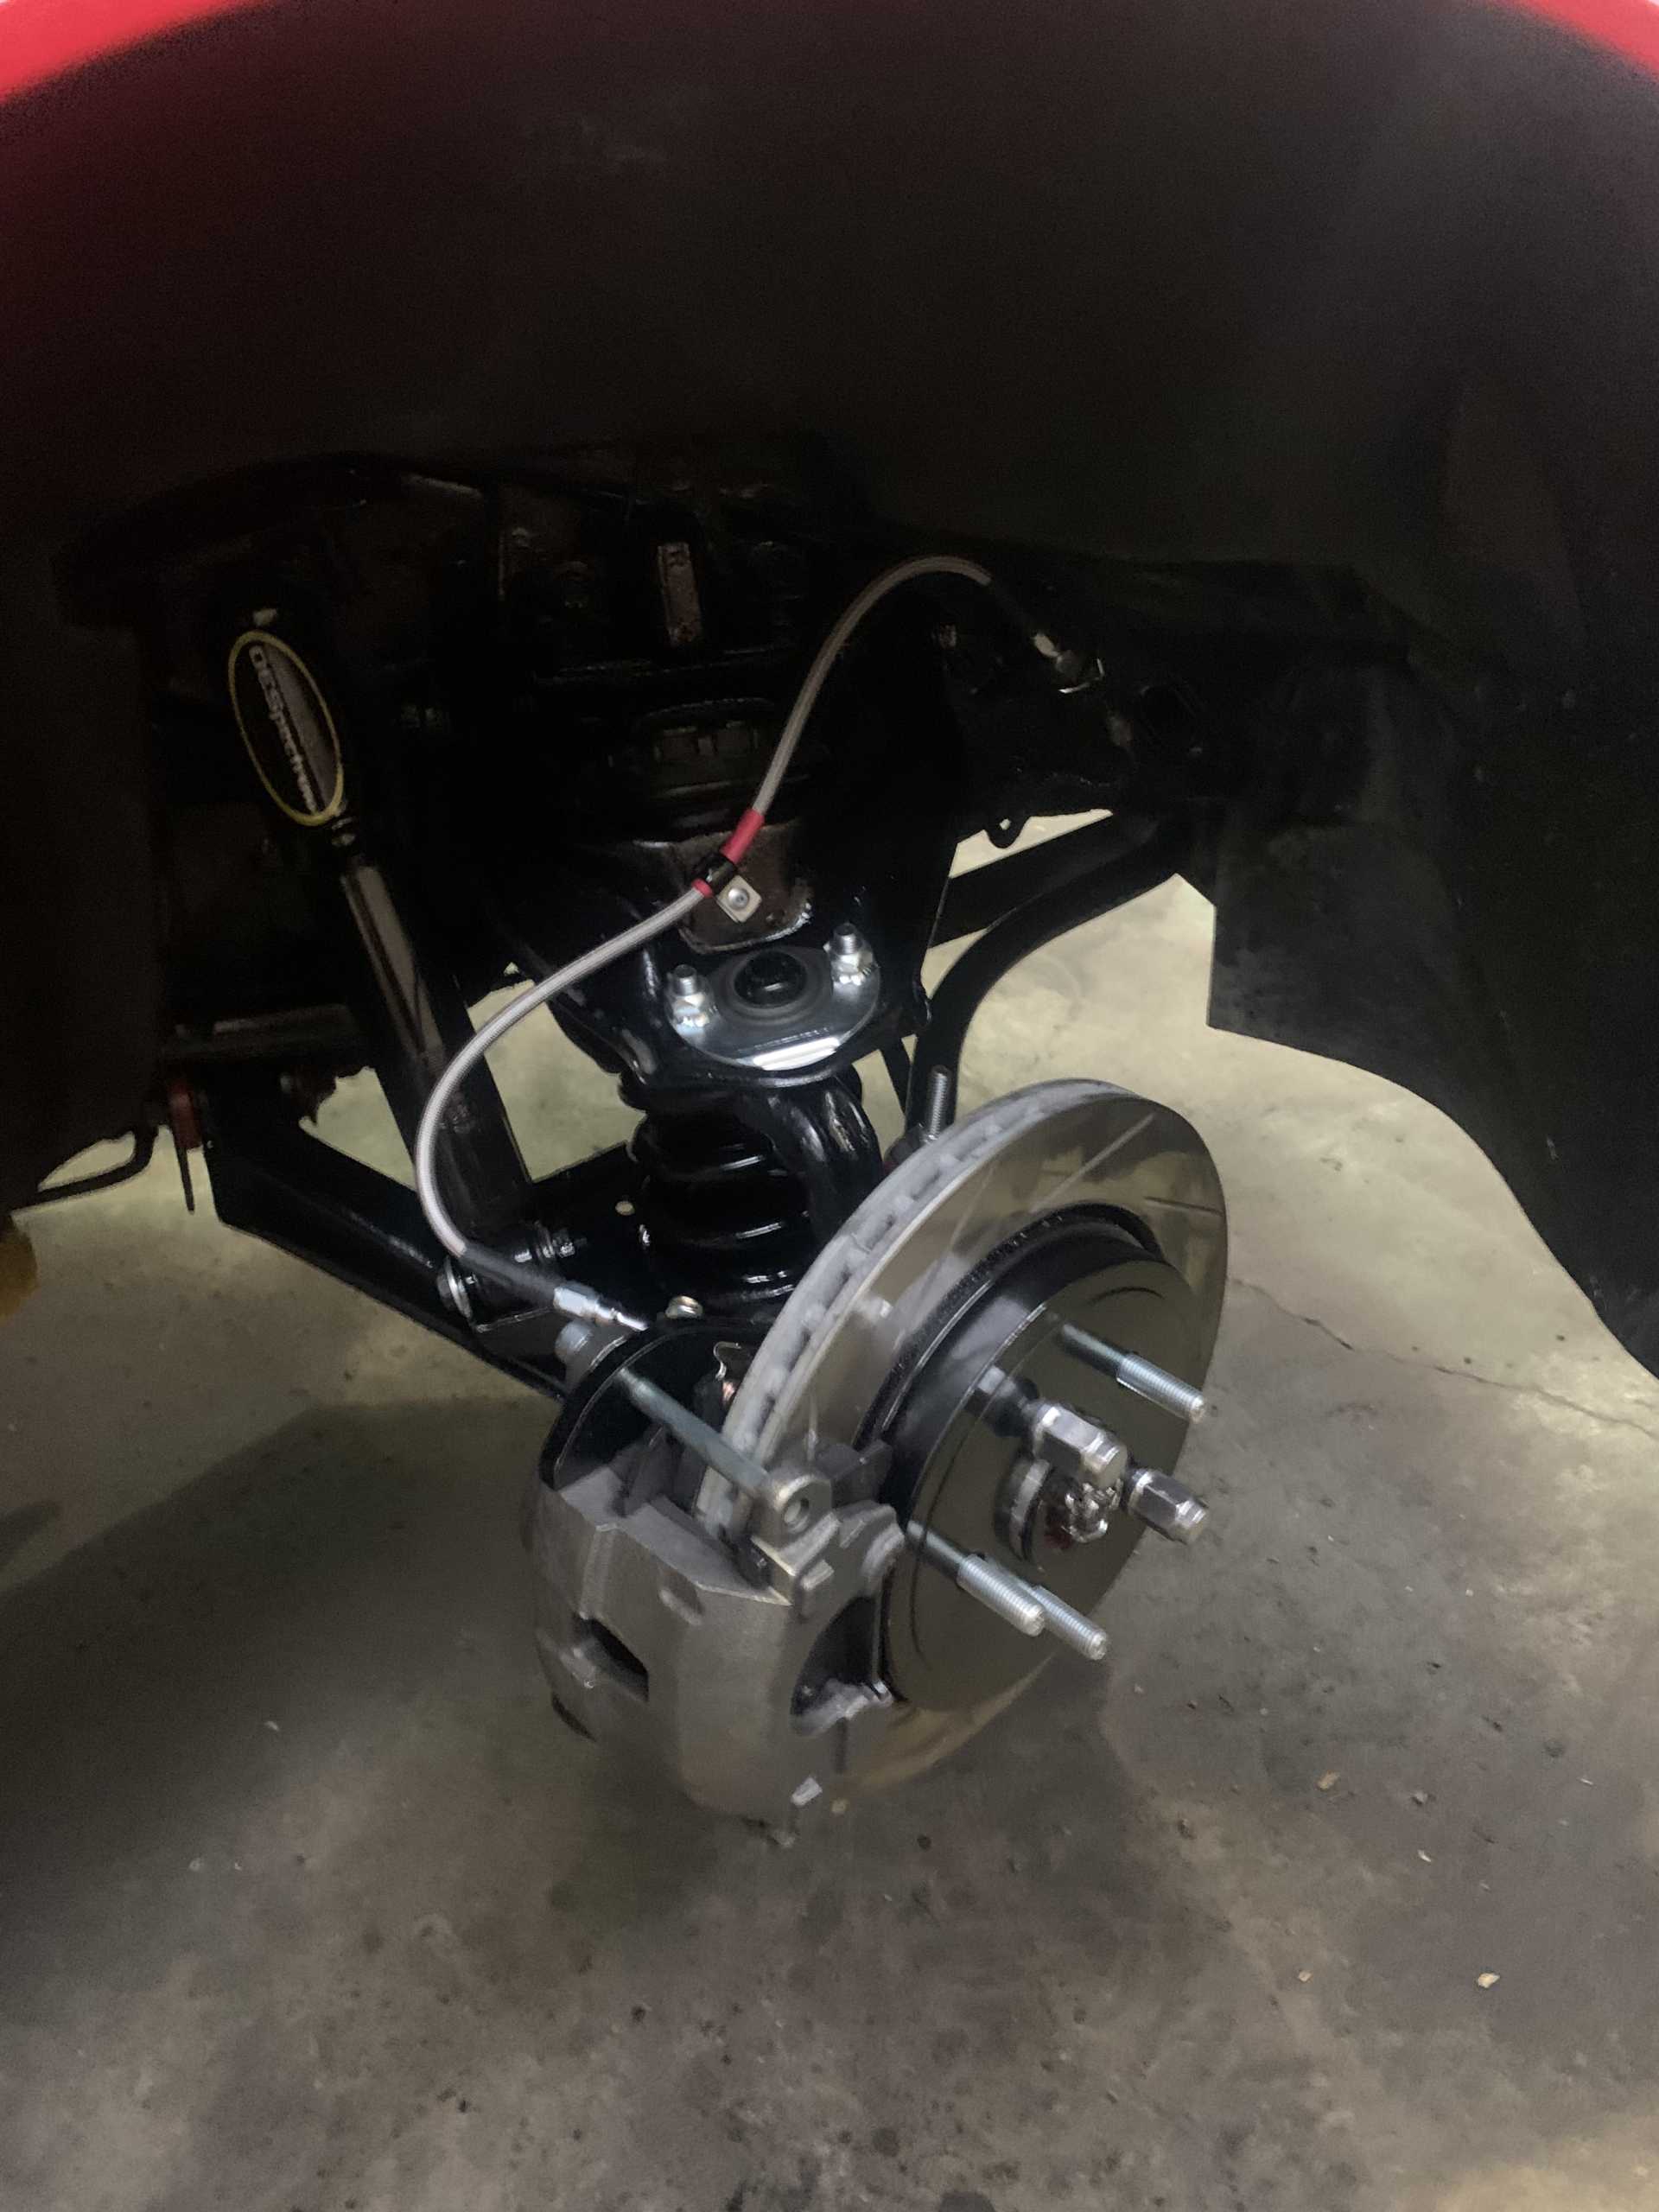
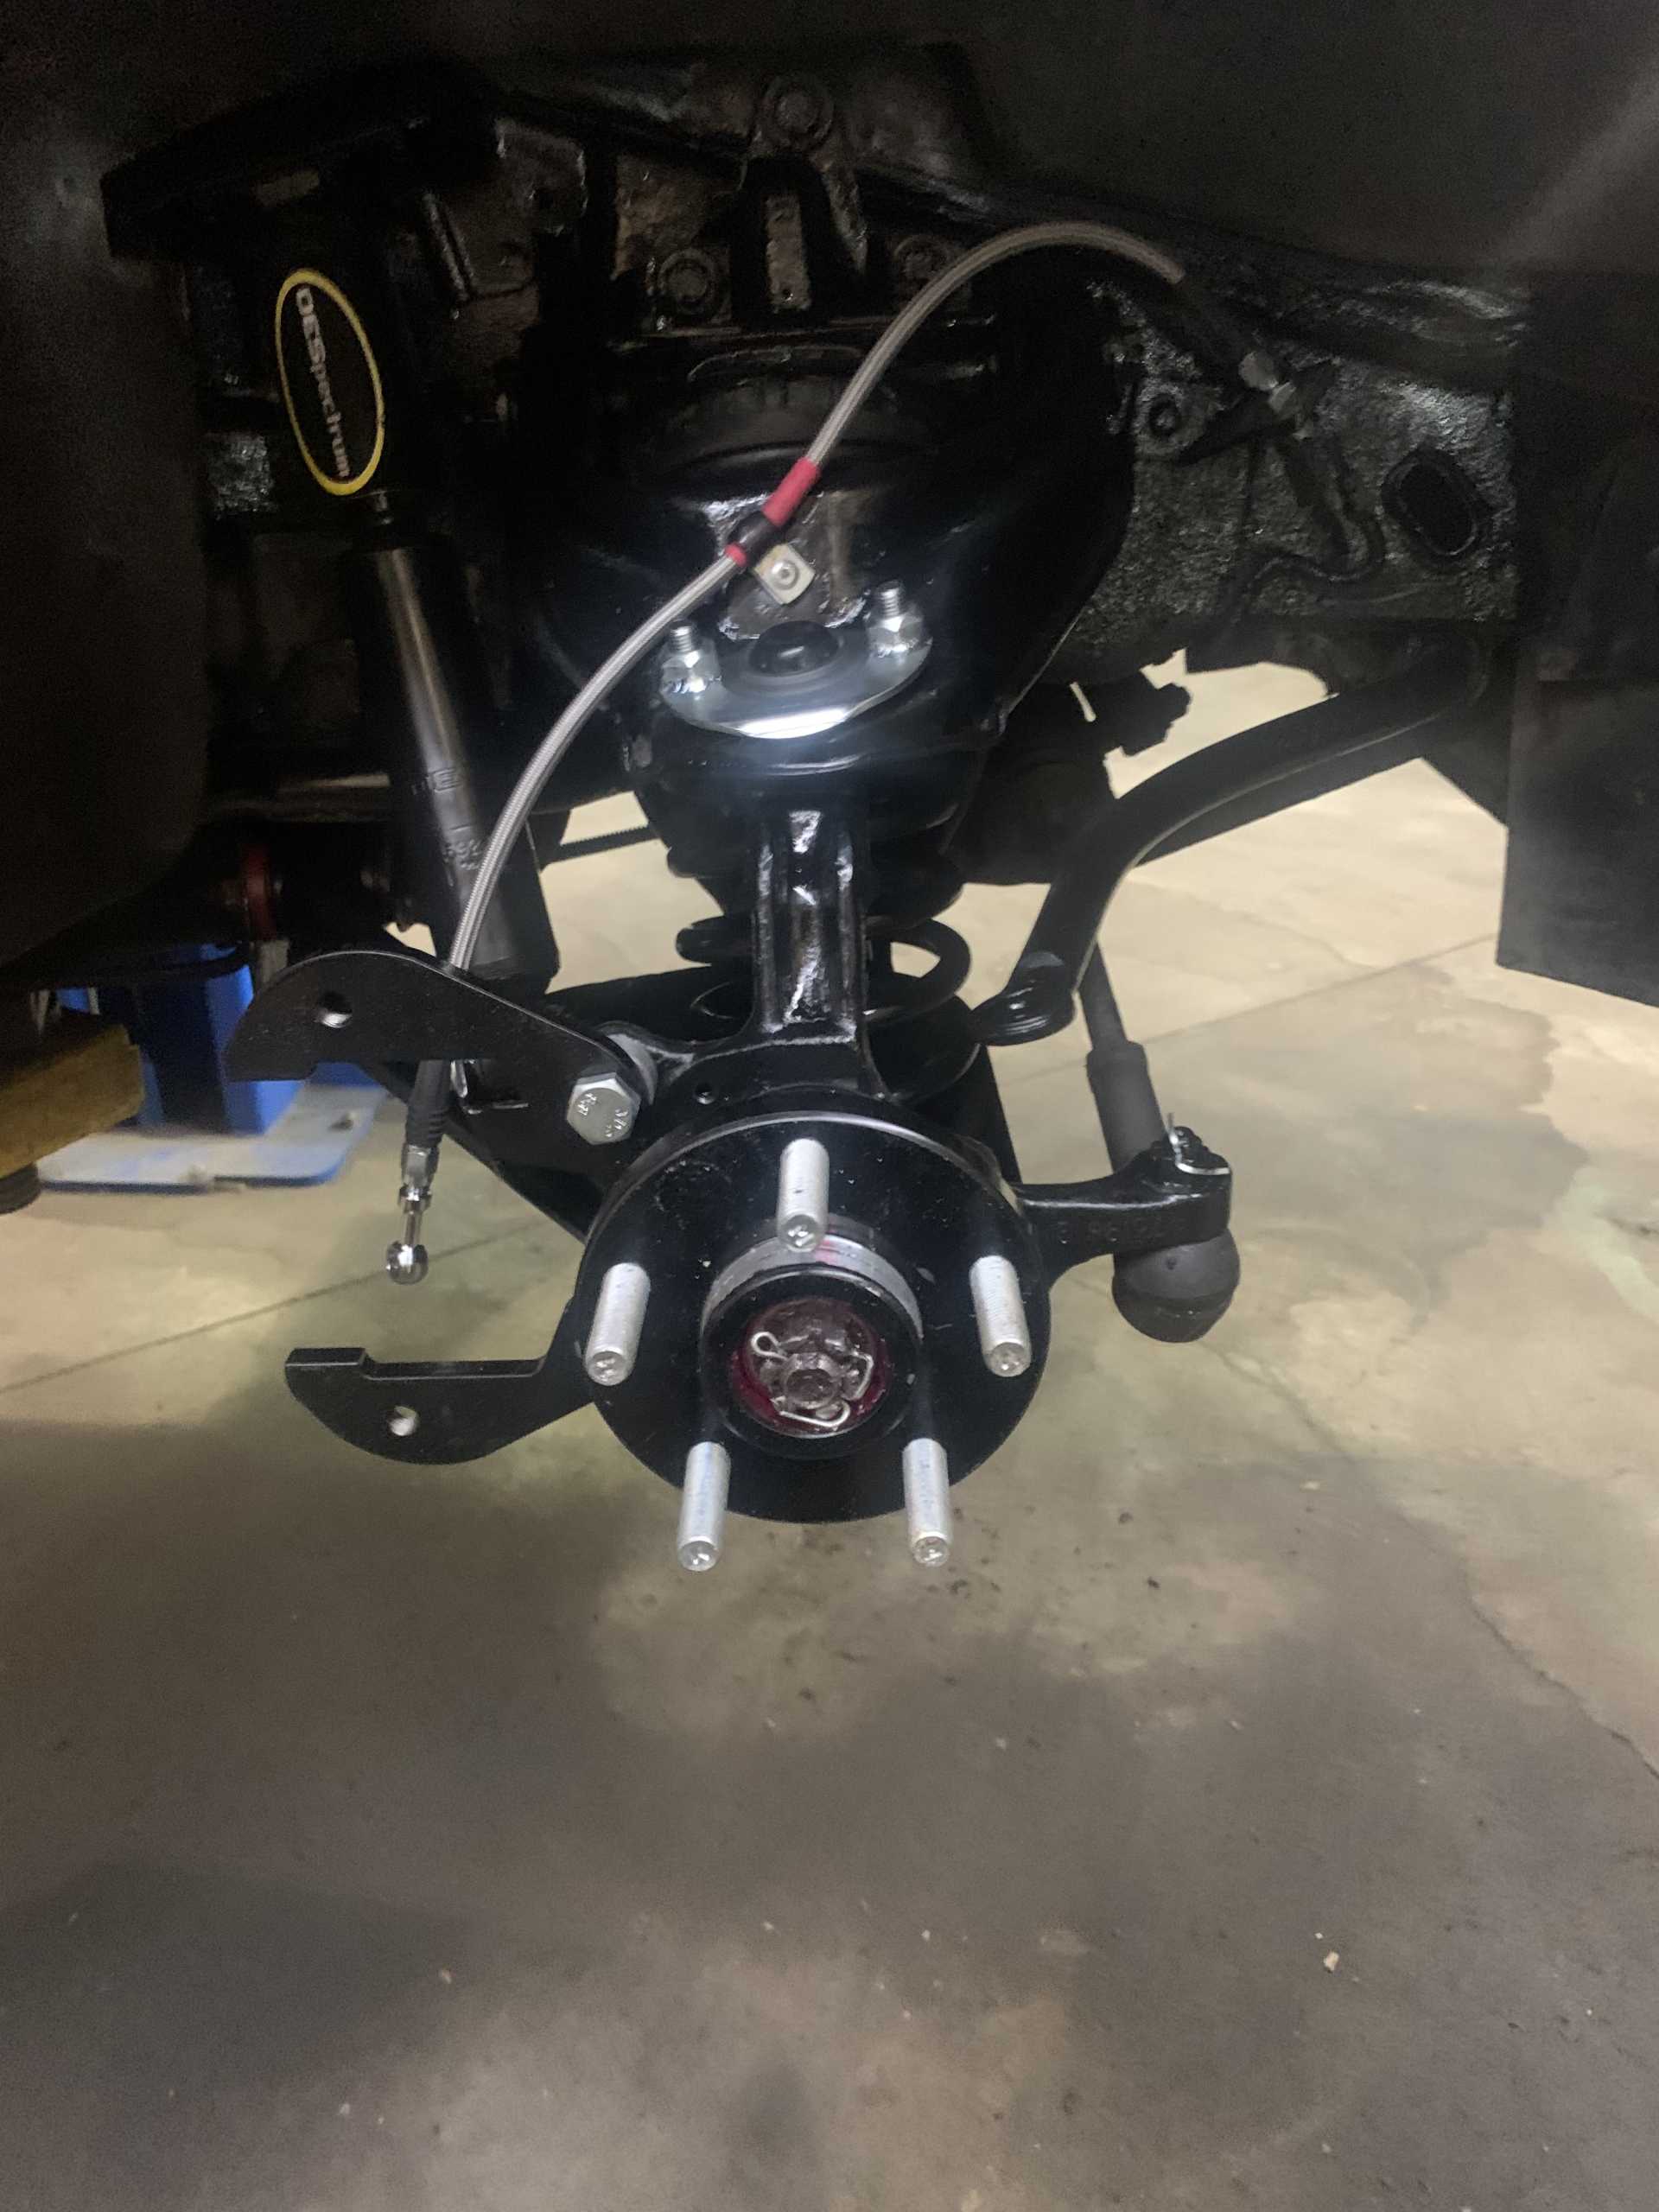
I do have new brake lines and im contemplating just replacing them all while im at it.


IP: Logged
jjd2296
Member
Posts: 1437
From: toronto ON
Registered: Jan 2016


Feedback score:    (8)
Leave feedback

Rate this member

Report this Post12-14-2022 08:28 PM Click Here to See the Profile for jjd2296Send a Private Message to jjd2296Edit/Delete MessageReply w/QuoteDirect Link to This Post
Engines coming along. Supercharger installed. Wiring harness on trans is ready to hook up to
Engine and new cradle

IP: Logged
jjd2296
Member
Posts: 1437
From: toronto ON
Registered: Jan 2016


Feedback score:    (8)
Leave feedback

Rate this member

Report this Post12-18-2022 08:56 PM Click Here to See the Profile for jjd2296Send a Private Message to jjd2296Edit/Delete MessageReply w/QuoteDirect Link to This Post
Out with the old.


[This message has been edited by jjd2296 (edited 12-19-2022).]

IP: Logged
jjd2296
Member
Posts: 1437
From: toronto ON
Registered: Jan 2016


Feedback score:    (8)
Leave feedback

Rate this member

Report this Post12-22-2022 06:08 PM Click Here to See the Profile for jjd2296Send a Private Message to jjd2296Edit/Delete MessageReply w/QuoteDirect Link to This Post
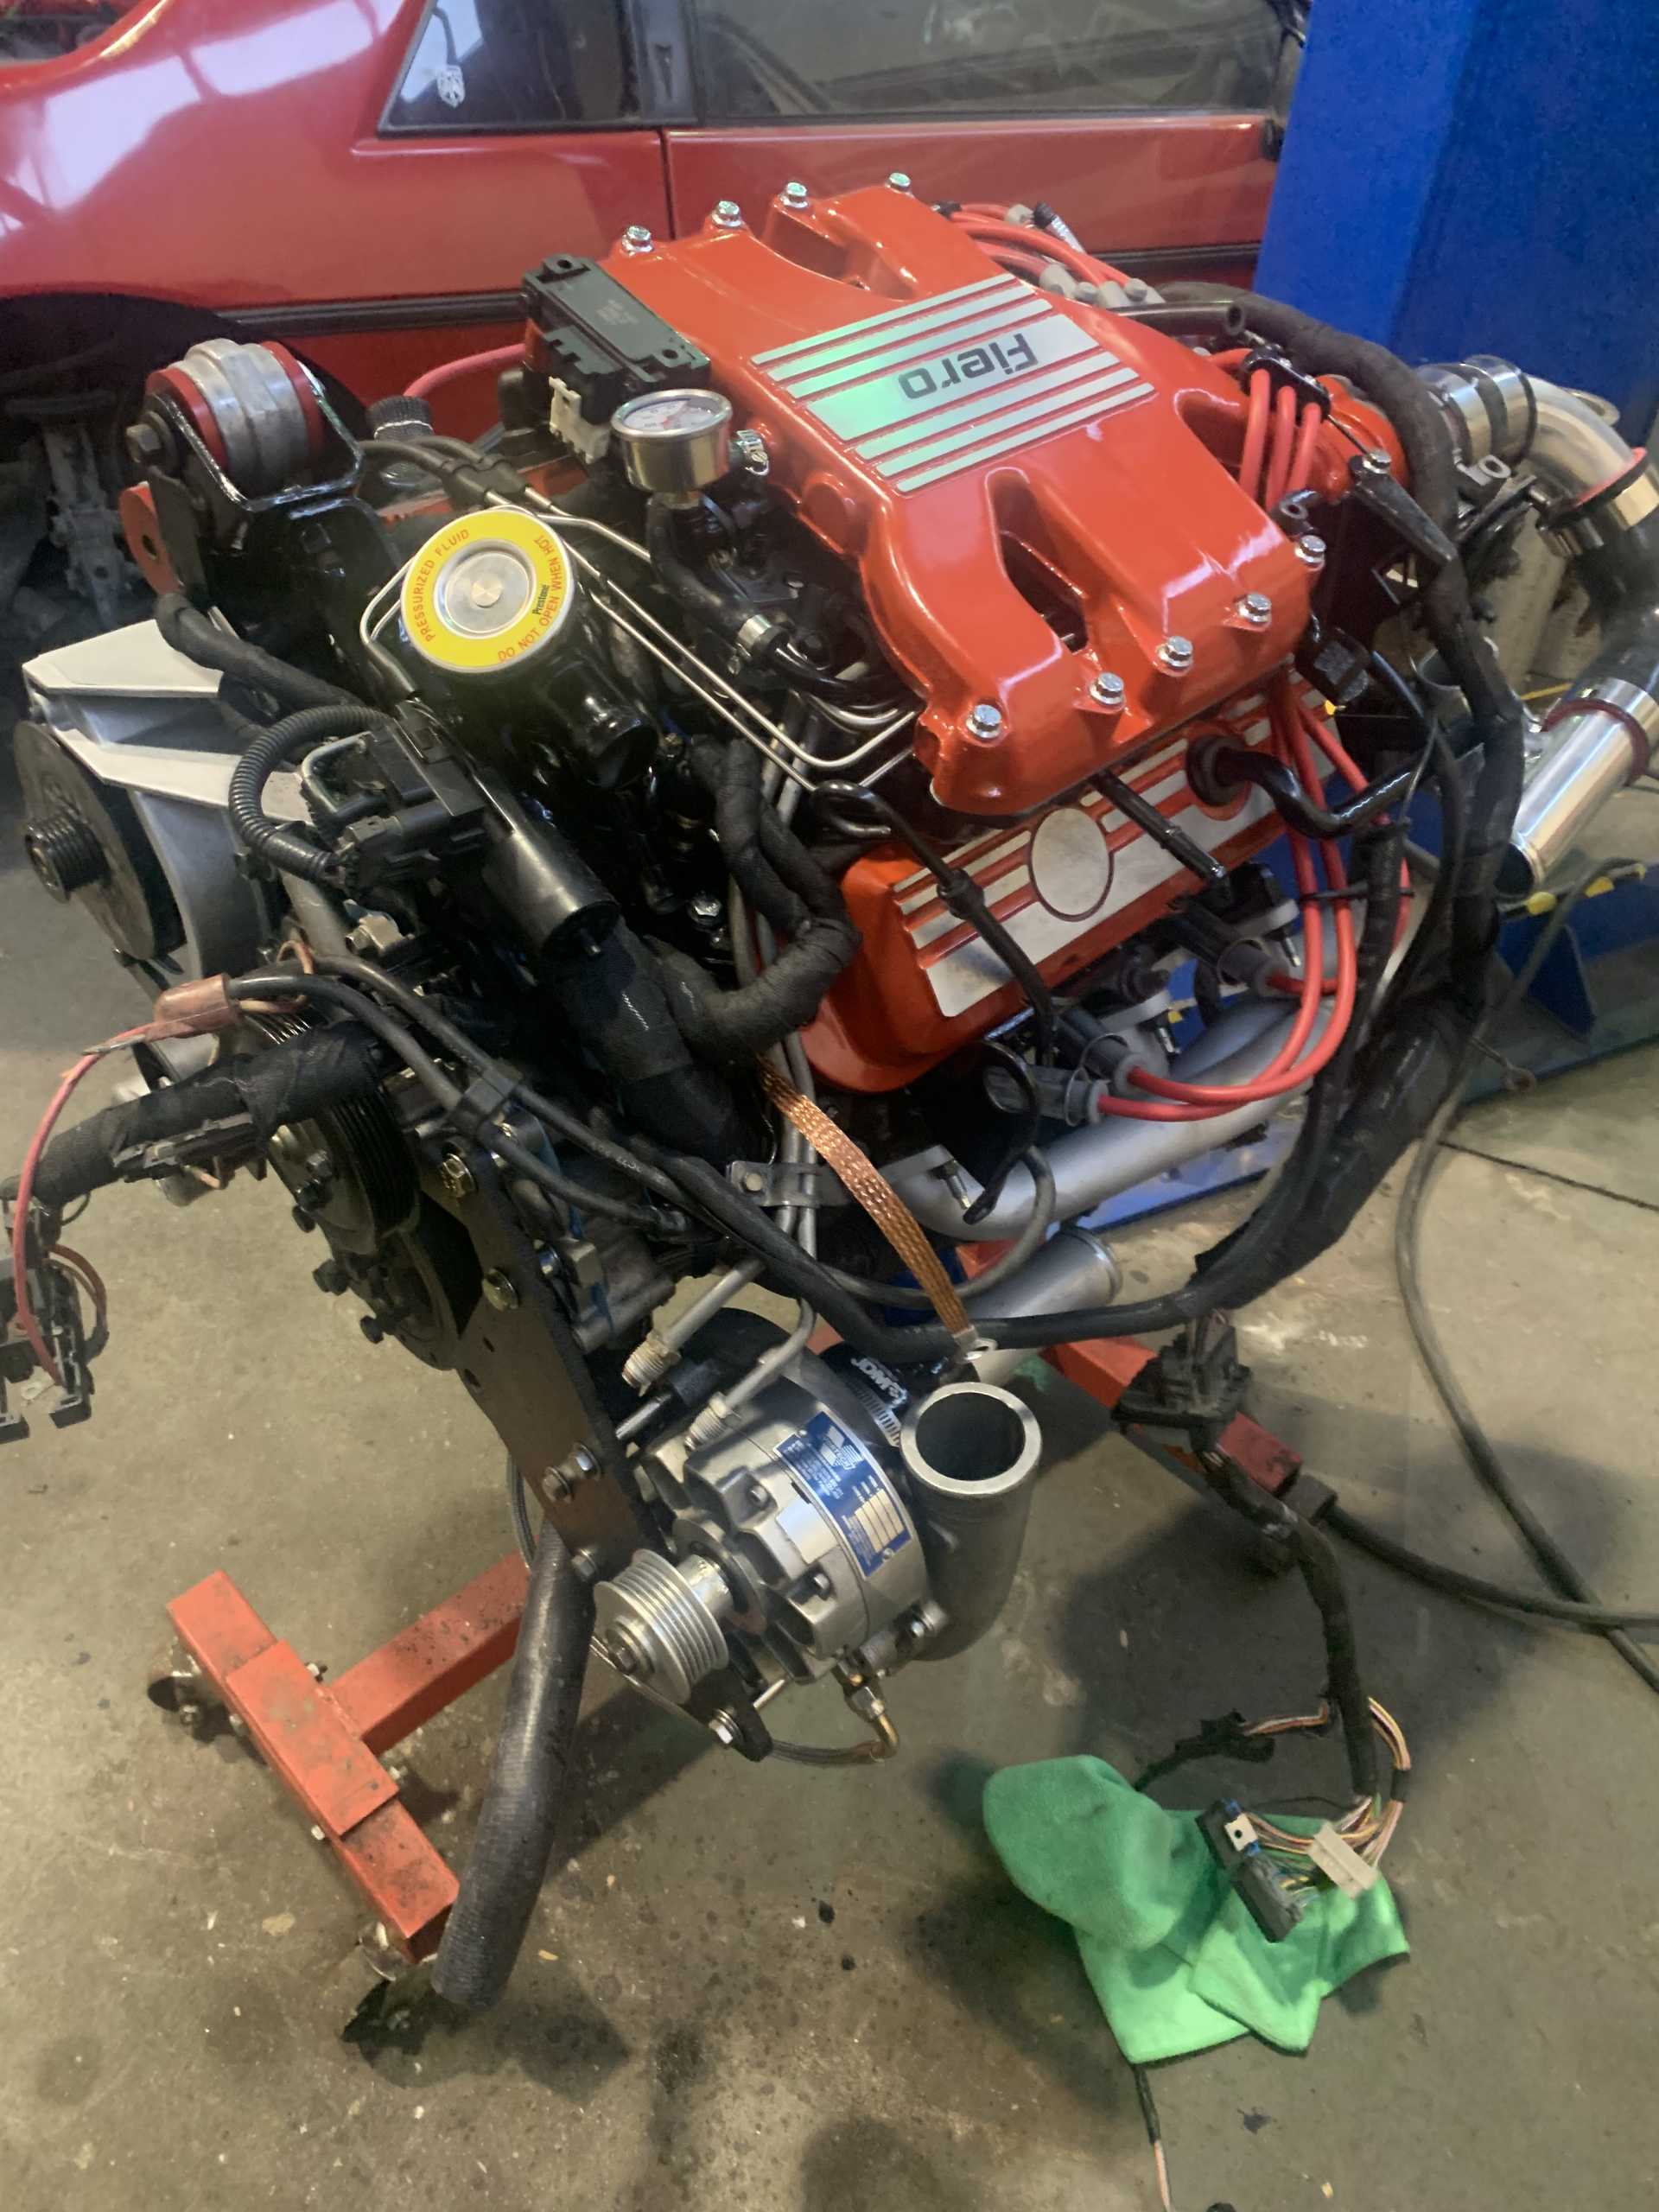
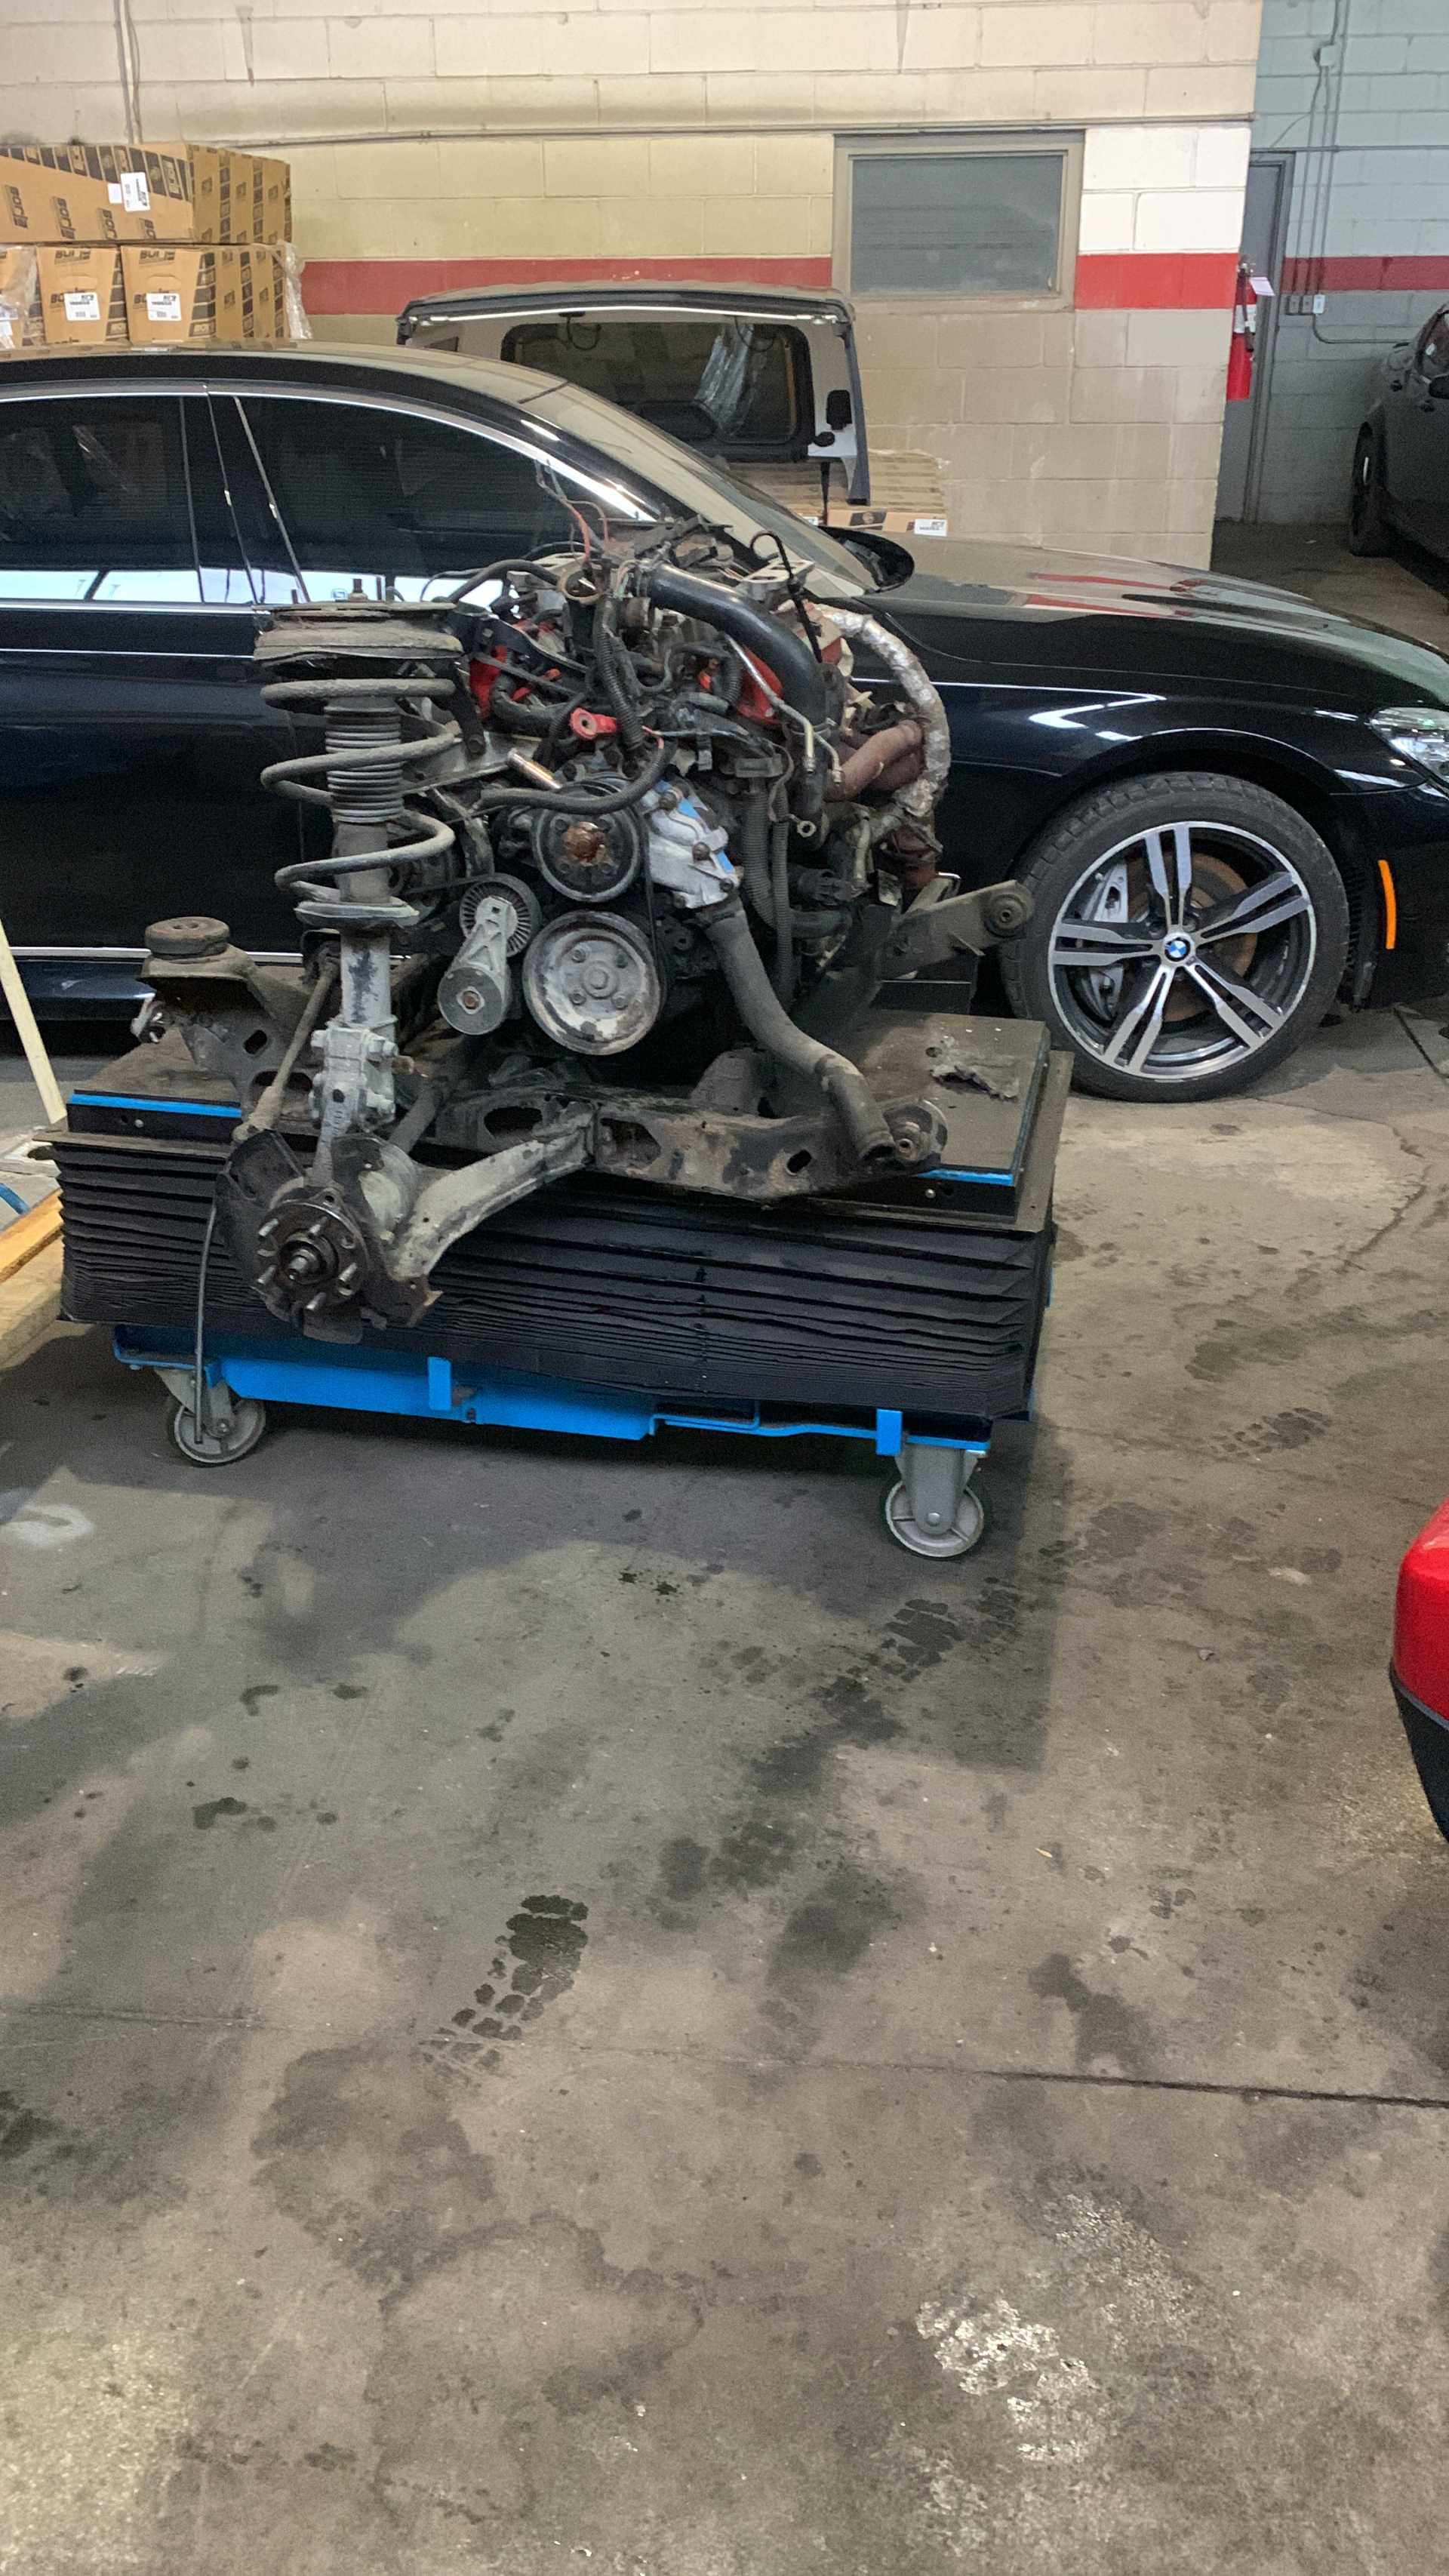
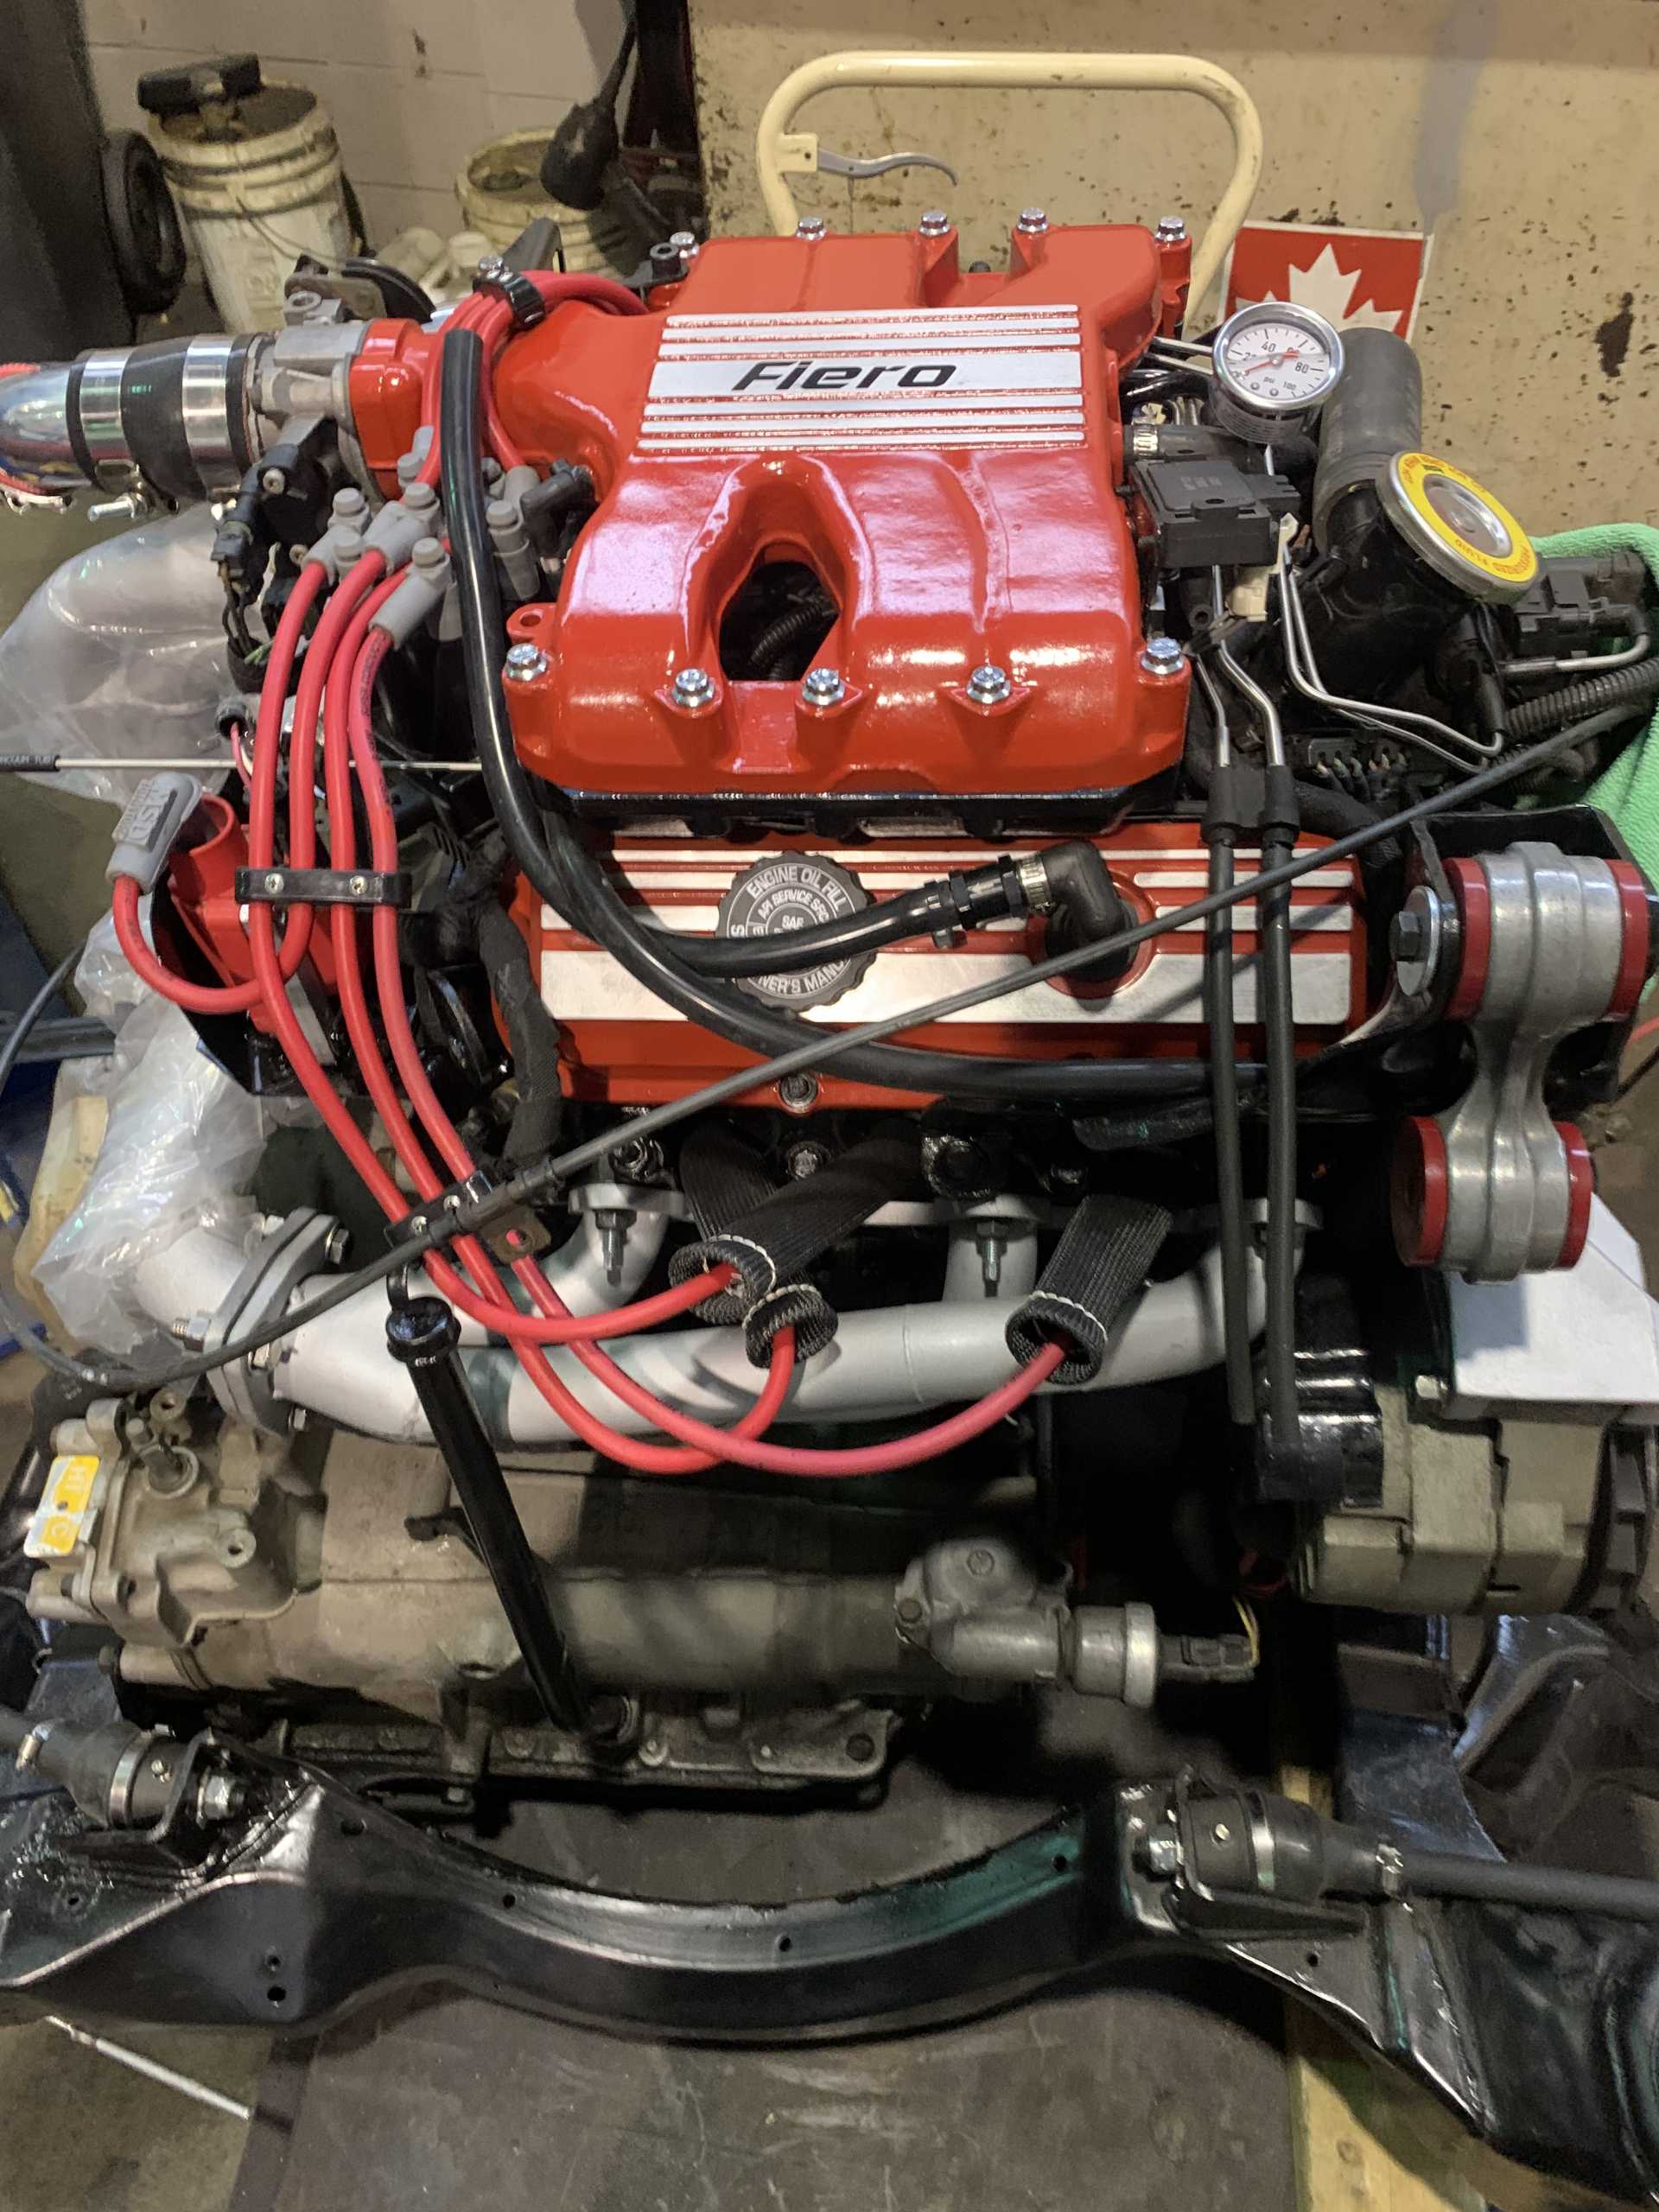
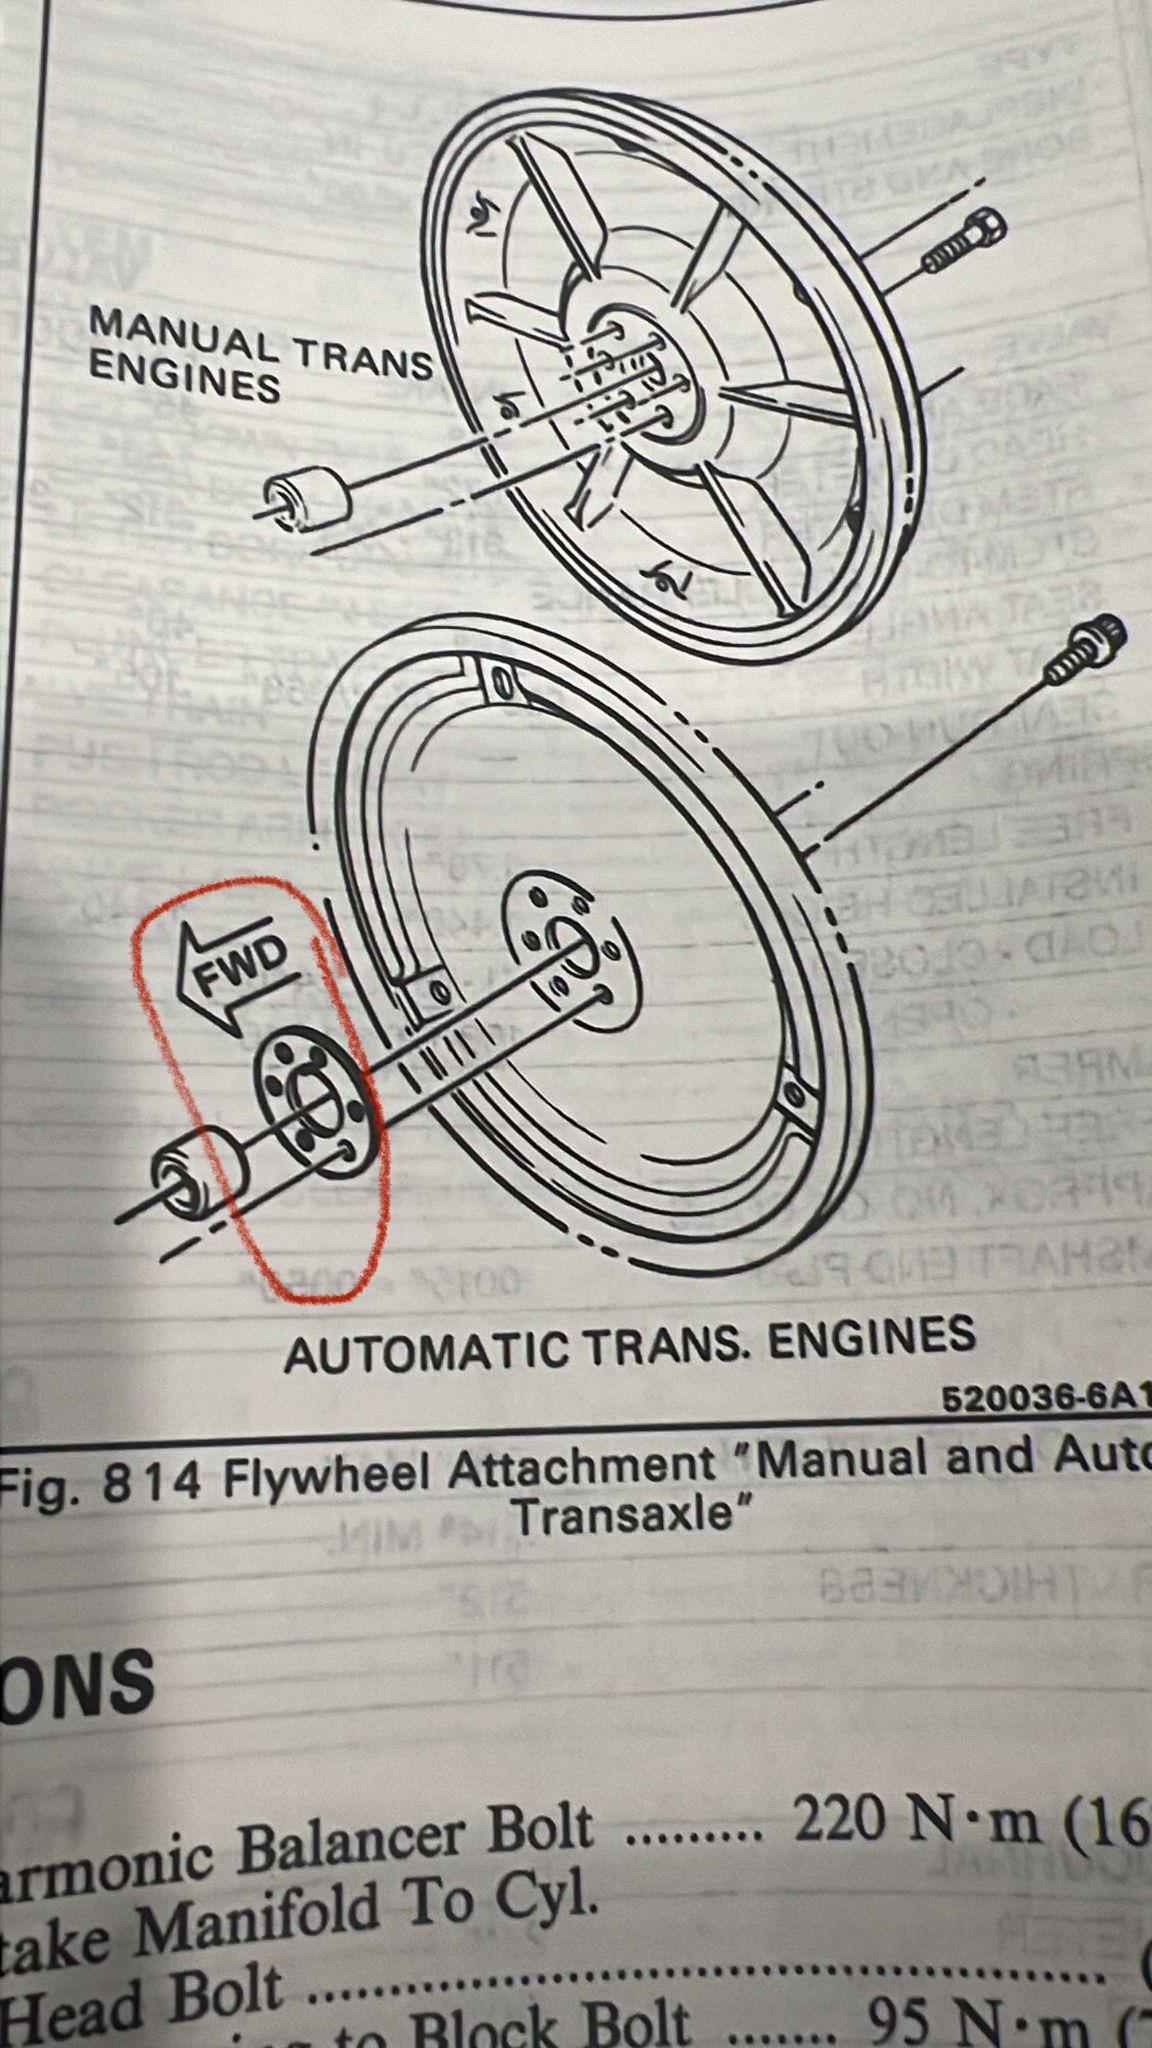
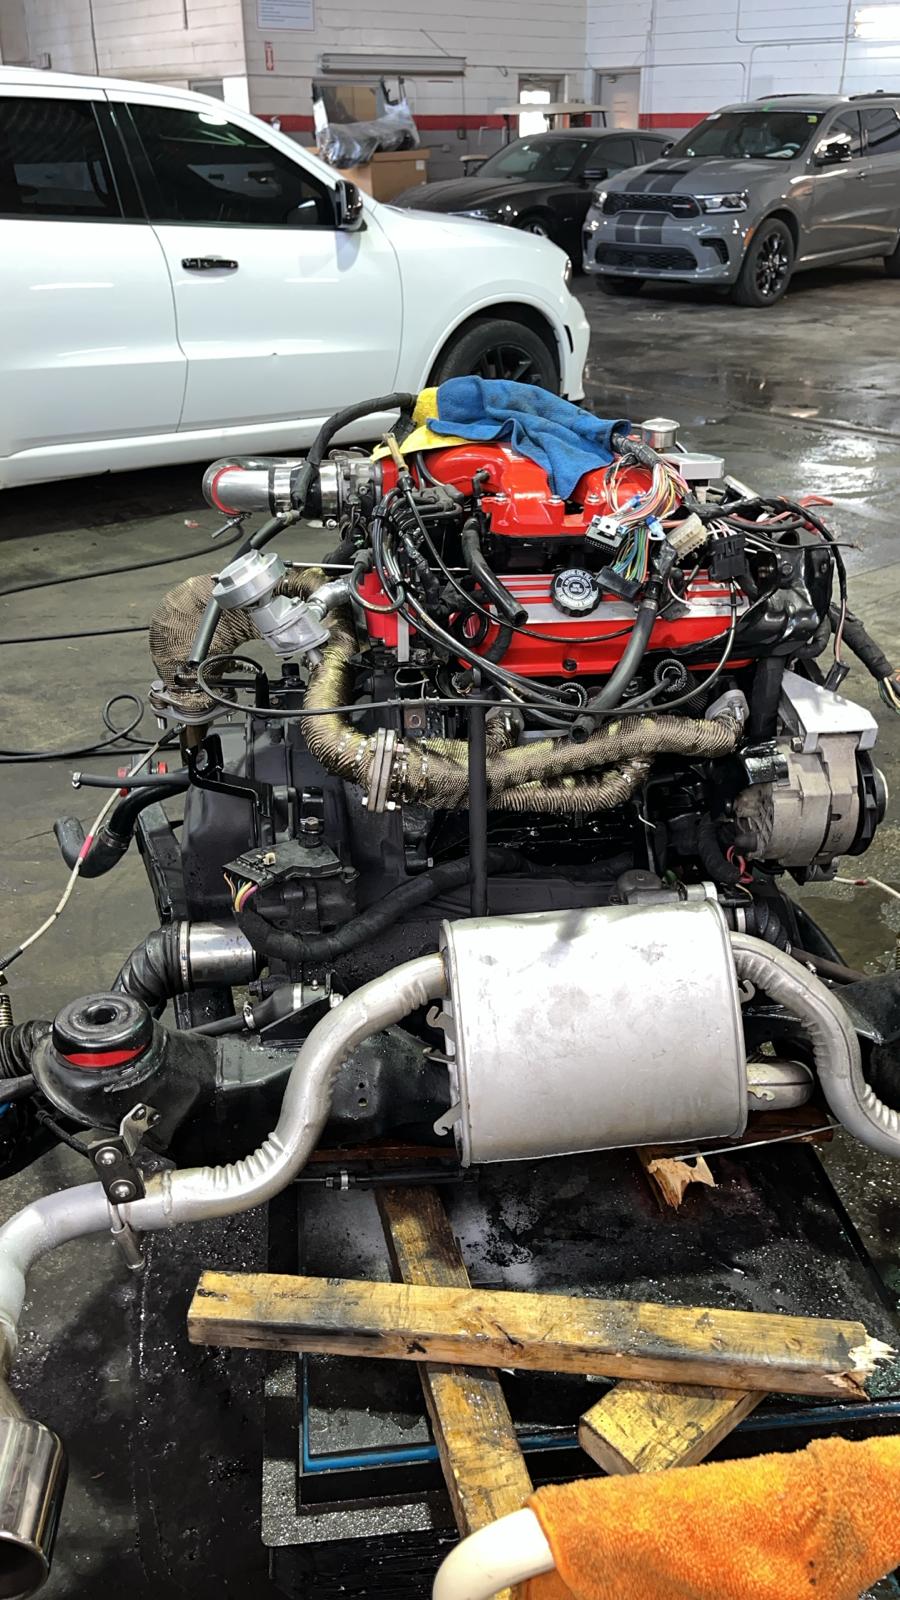
More progress! NOS auto tranny from a 1991 Chevy lumina van (better top end gearing) Mounted to cradle with engine with WCF shorty headers and Rodney dickman poly engine and transmission mounts.


[This message has been edited by jjd2296 (edited 12-22-2022).]

IP: Logged
jjd2296
Member
Posts: 1437
From: toronto ON
Registered: Jan 2016


Feedback score:    (8)
Leave feedback

Rate this member

Report this Post01-22-2023 10:08 AM Click Here to See the Profile for jjd2296Send a Private Message to jjd2296Edit/Delete MessageReply w/QuoteDirect Link to This Post
Some progress on the front suspension


IP: Logged
jjd2296
Member
Posts: 1437
From: toronto ON
Registered: Jan 2016


Feedback score:    (8)
Leave feedback

Rate this member

Report this Post01-28-2023 06:26 PM Click Here to See the Profile for jjd2296Send a Private Message to jjd2296Edit/Delete MessageReply w/QuoteDirect Link to This Post
Some more work. Front end cleaned up and painted. Headlight wiring harness removed and gen 2 wiring harness going in.


IP: Logged
kendell
Member
Posts: 94
From: Hinesville, GA
Registered: Aug 2017


Feedback score: N/A
Leave feedback

Rate this member

Report this Post02-06-2023 02:01 AM Click Here to See the Profile for kendellSend a Private Message to kendellEdit/Delete MessageReply w/QuoteDirect Link to This Post
Great progress! Way to go
IP: Logged
jjd2296
Member
Posts: 1437
From: toronto ON
Registered: Jan 2016


Feedback score:    (8)
Leave feedback

Rate this member

Report this Post02-11-2023 04:00 PM Click Here to See the Profile for jjd2296Send a Private Message to jjd2296Edit/Delete MessageReply w/QuoteDirect Link to This Post
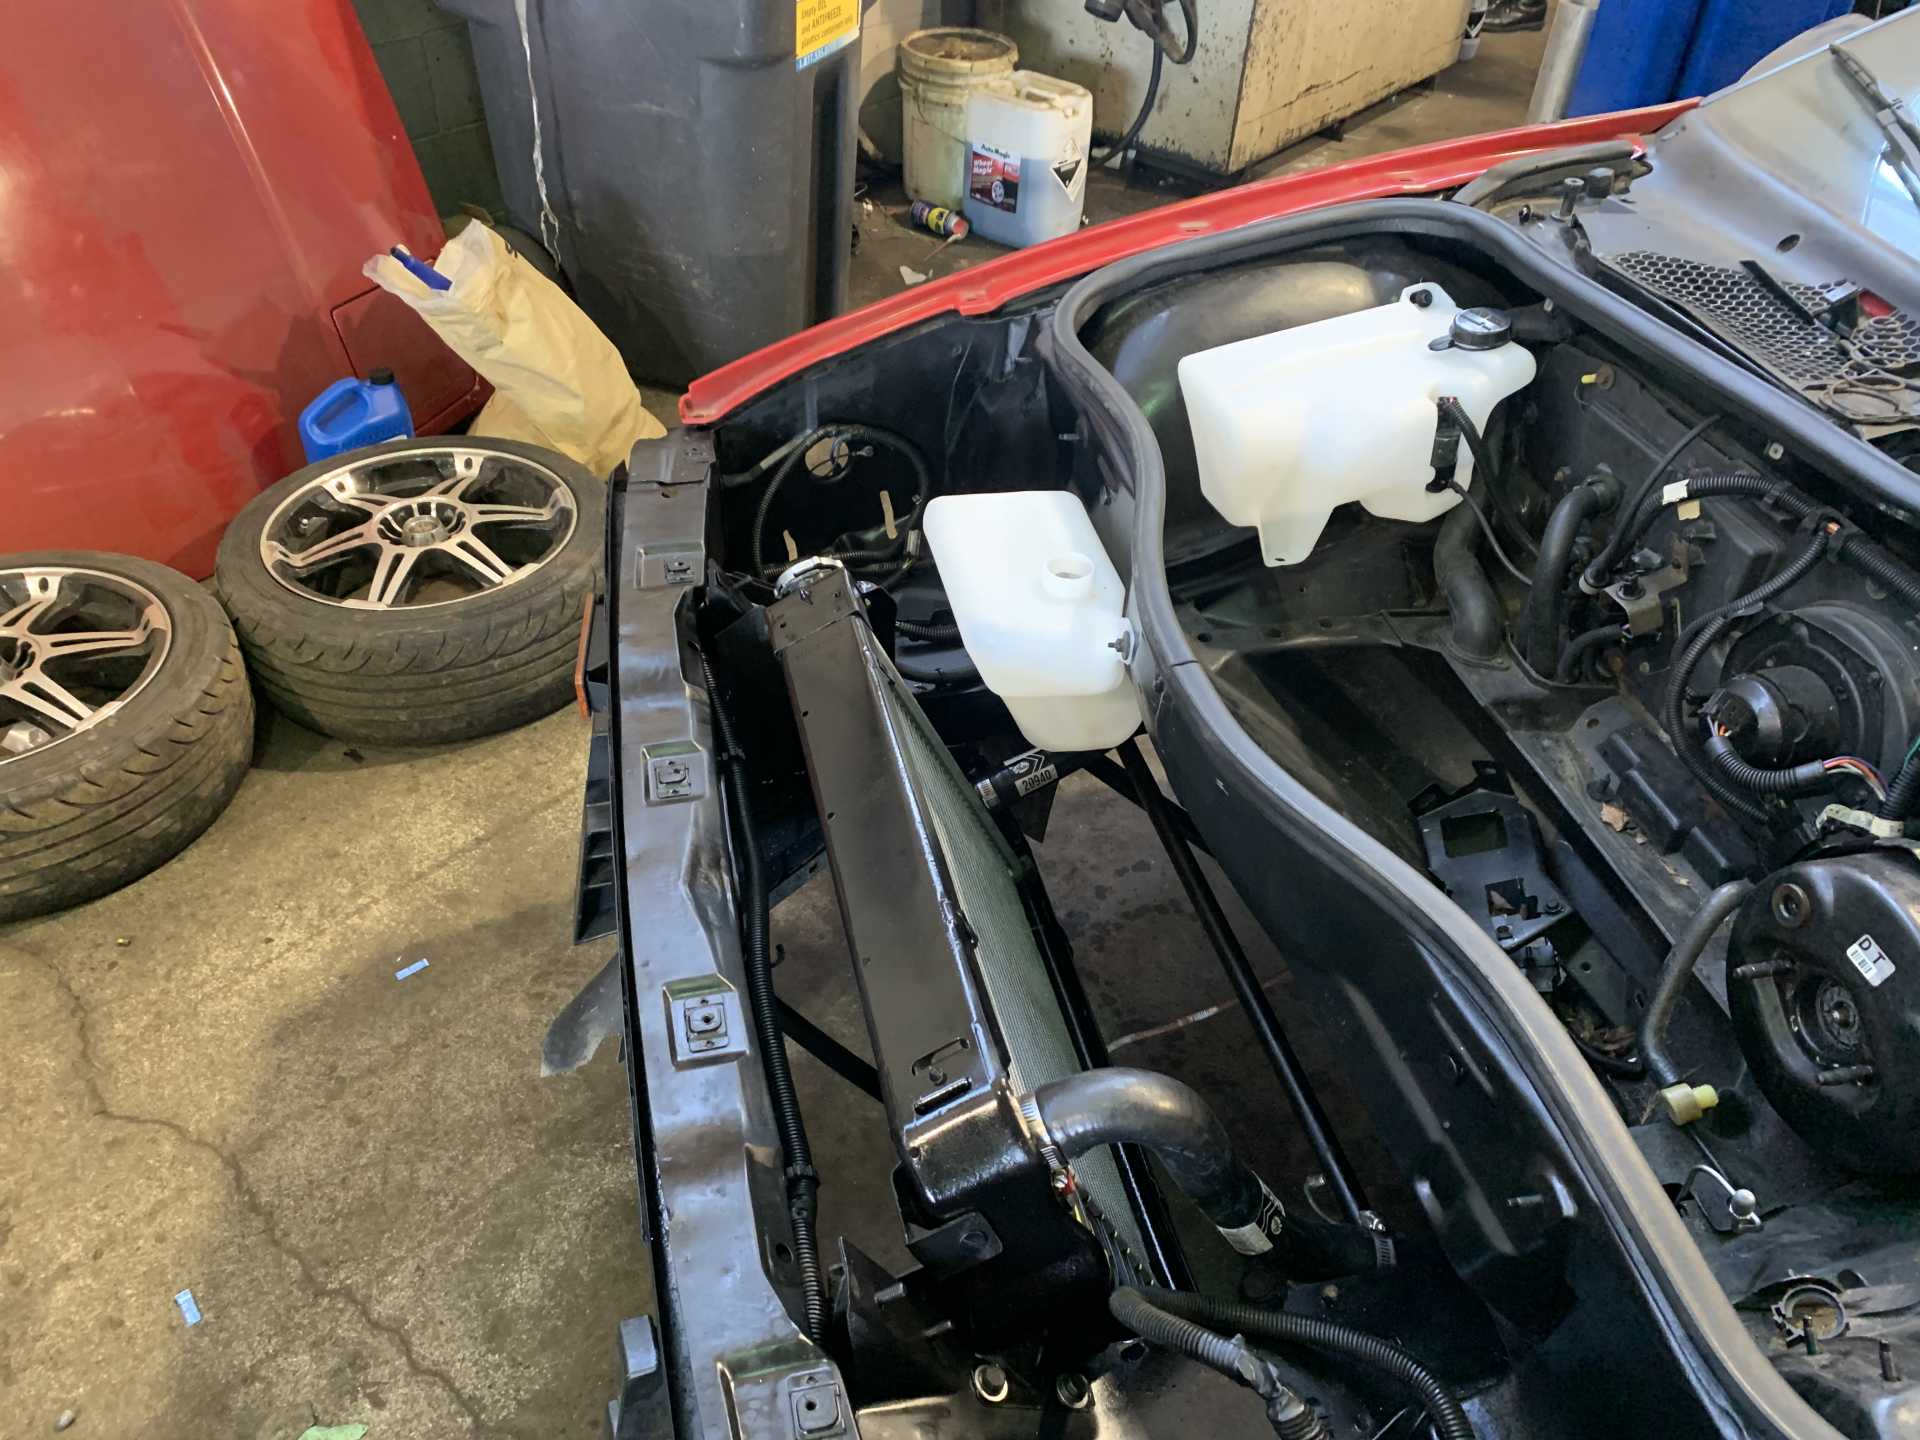
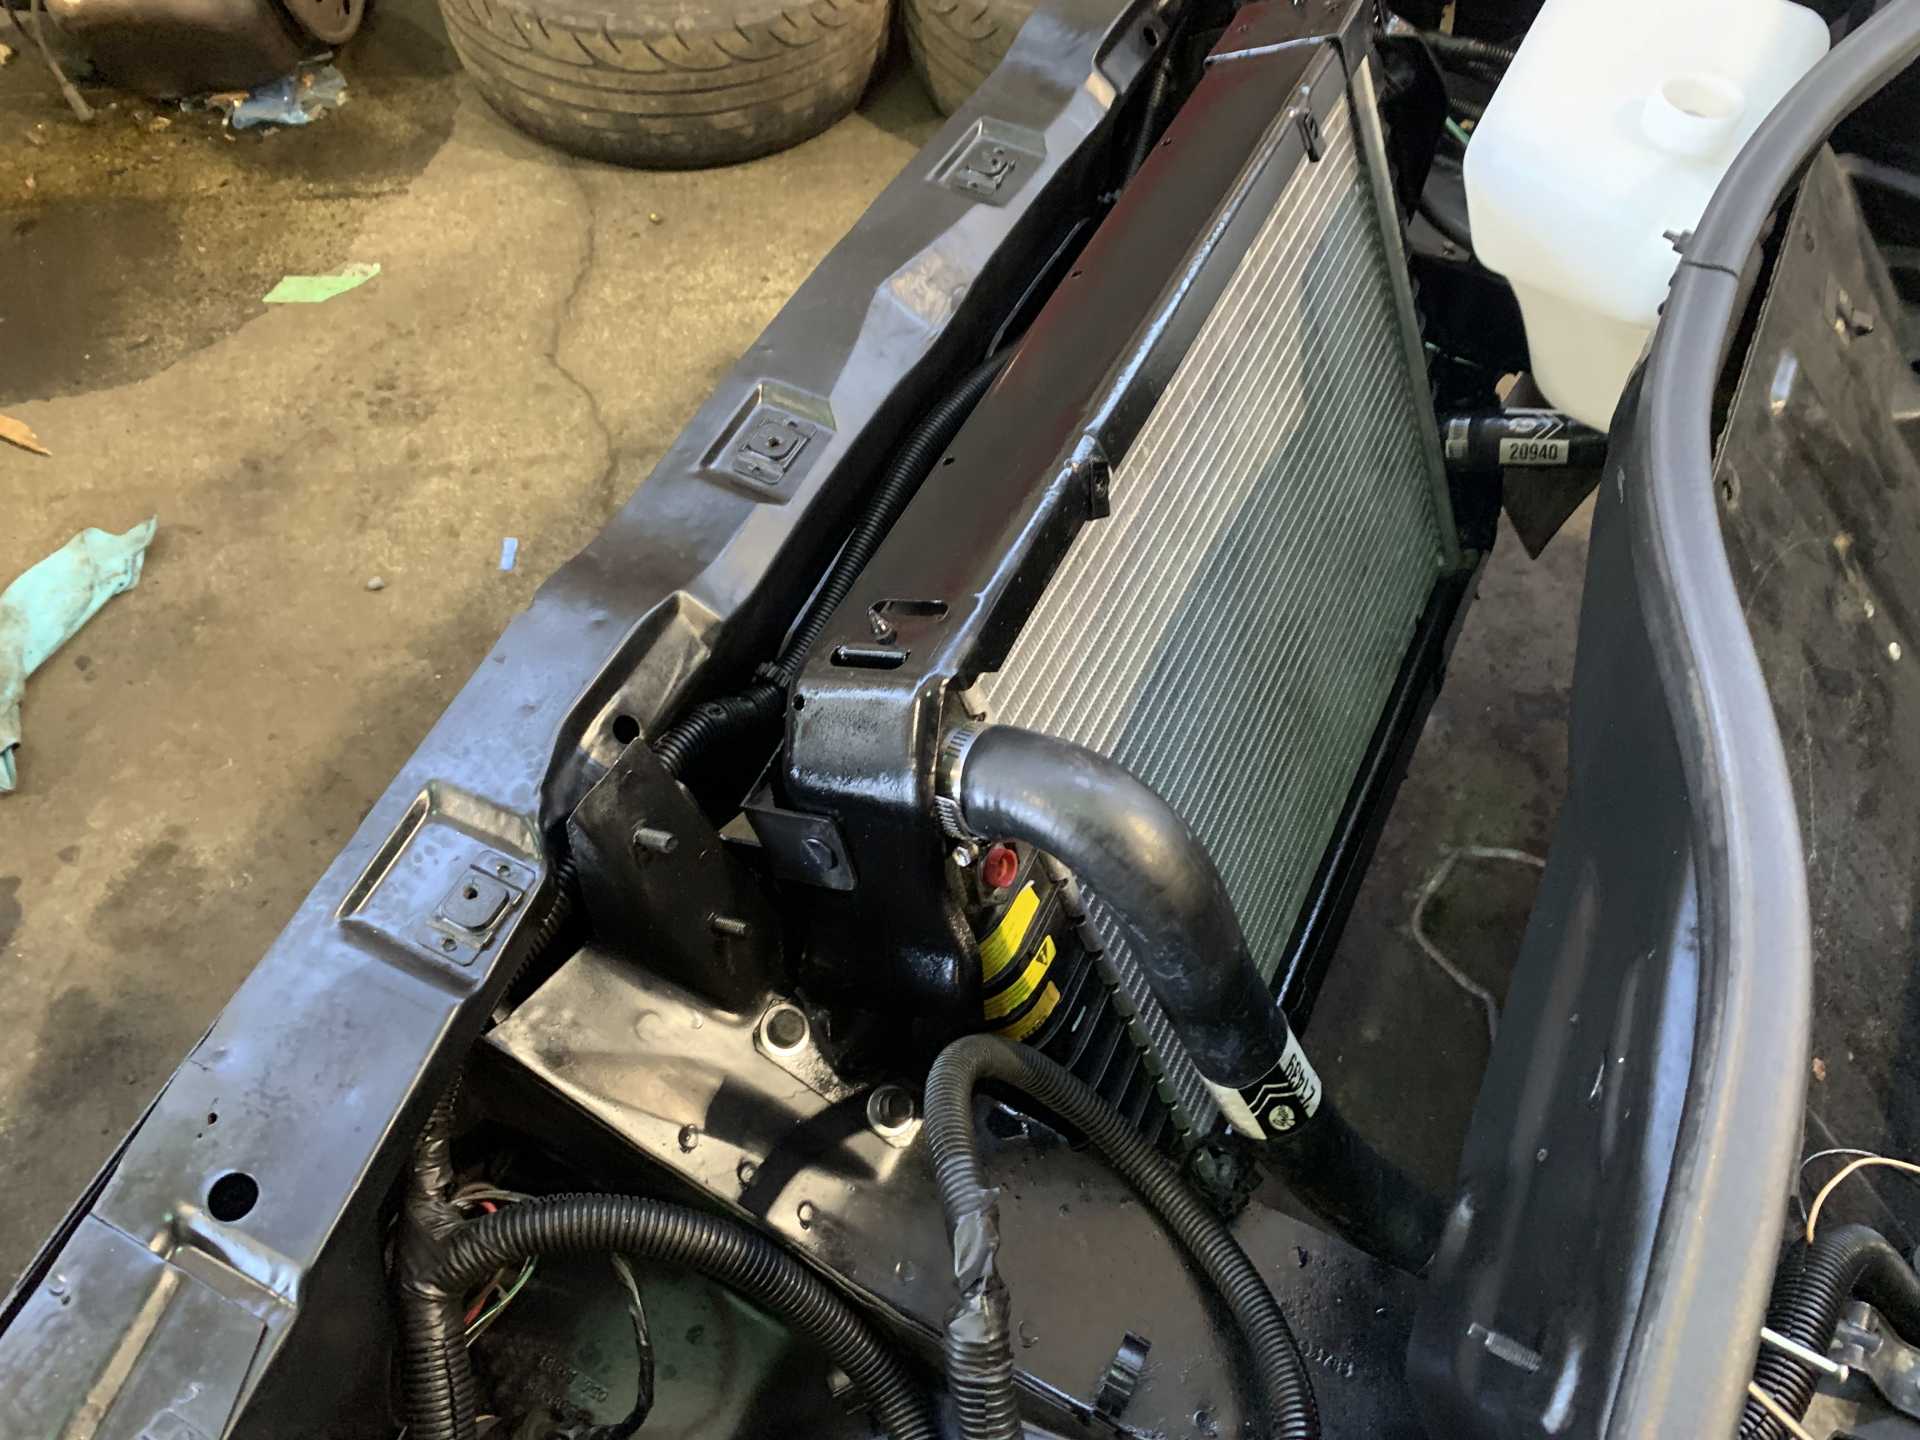
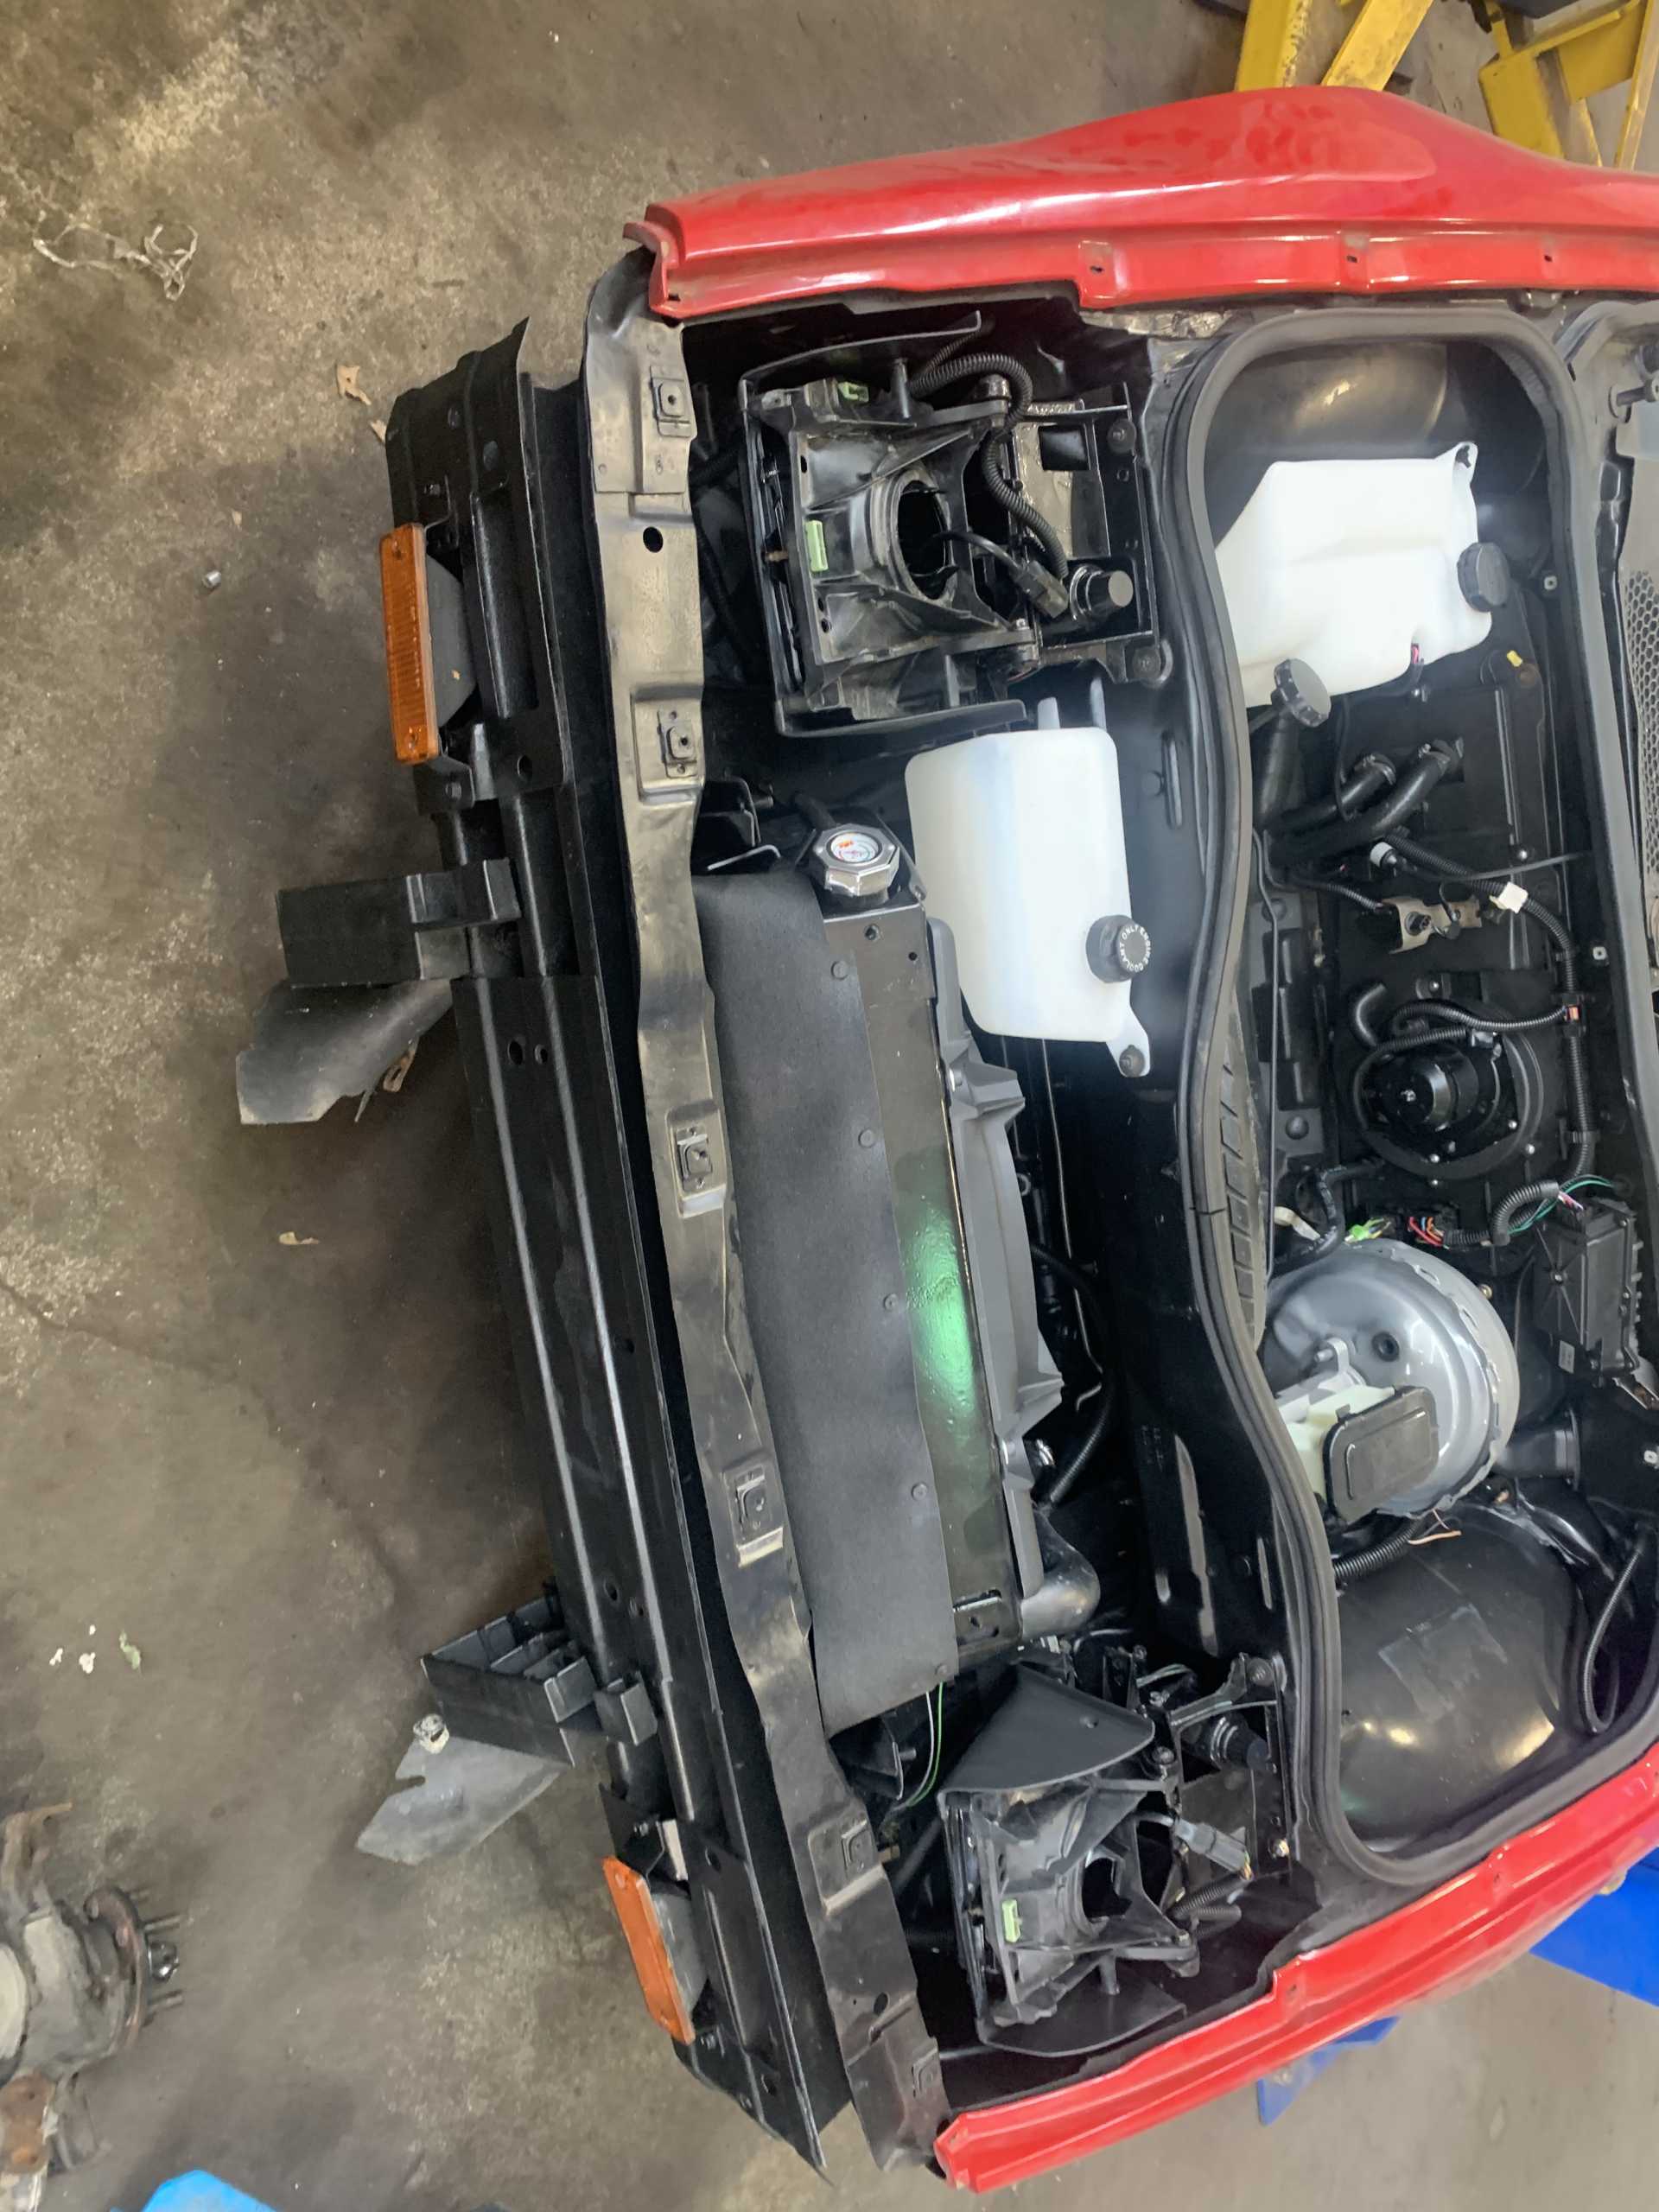
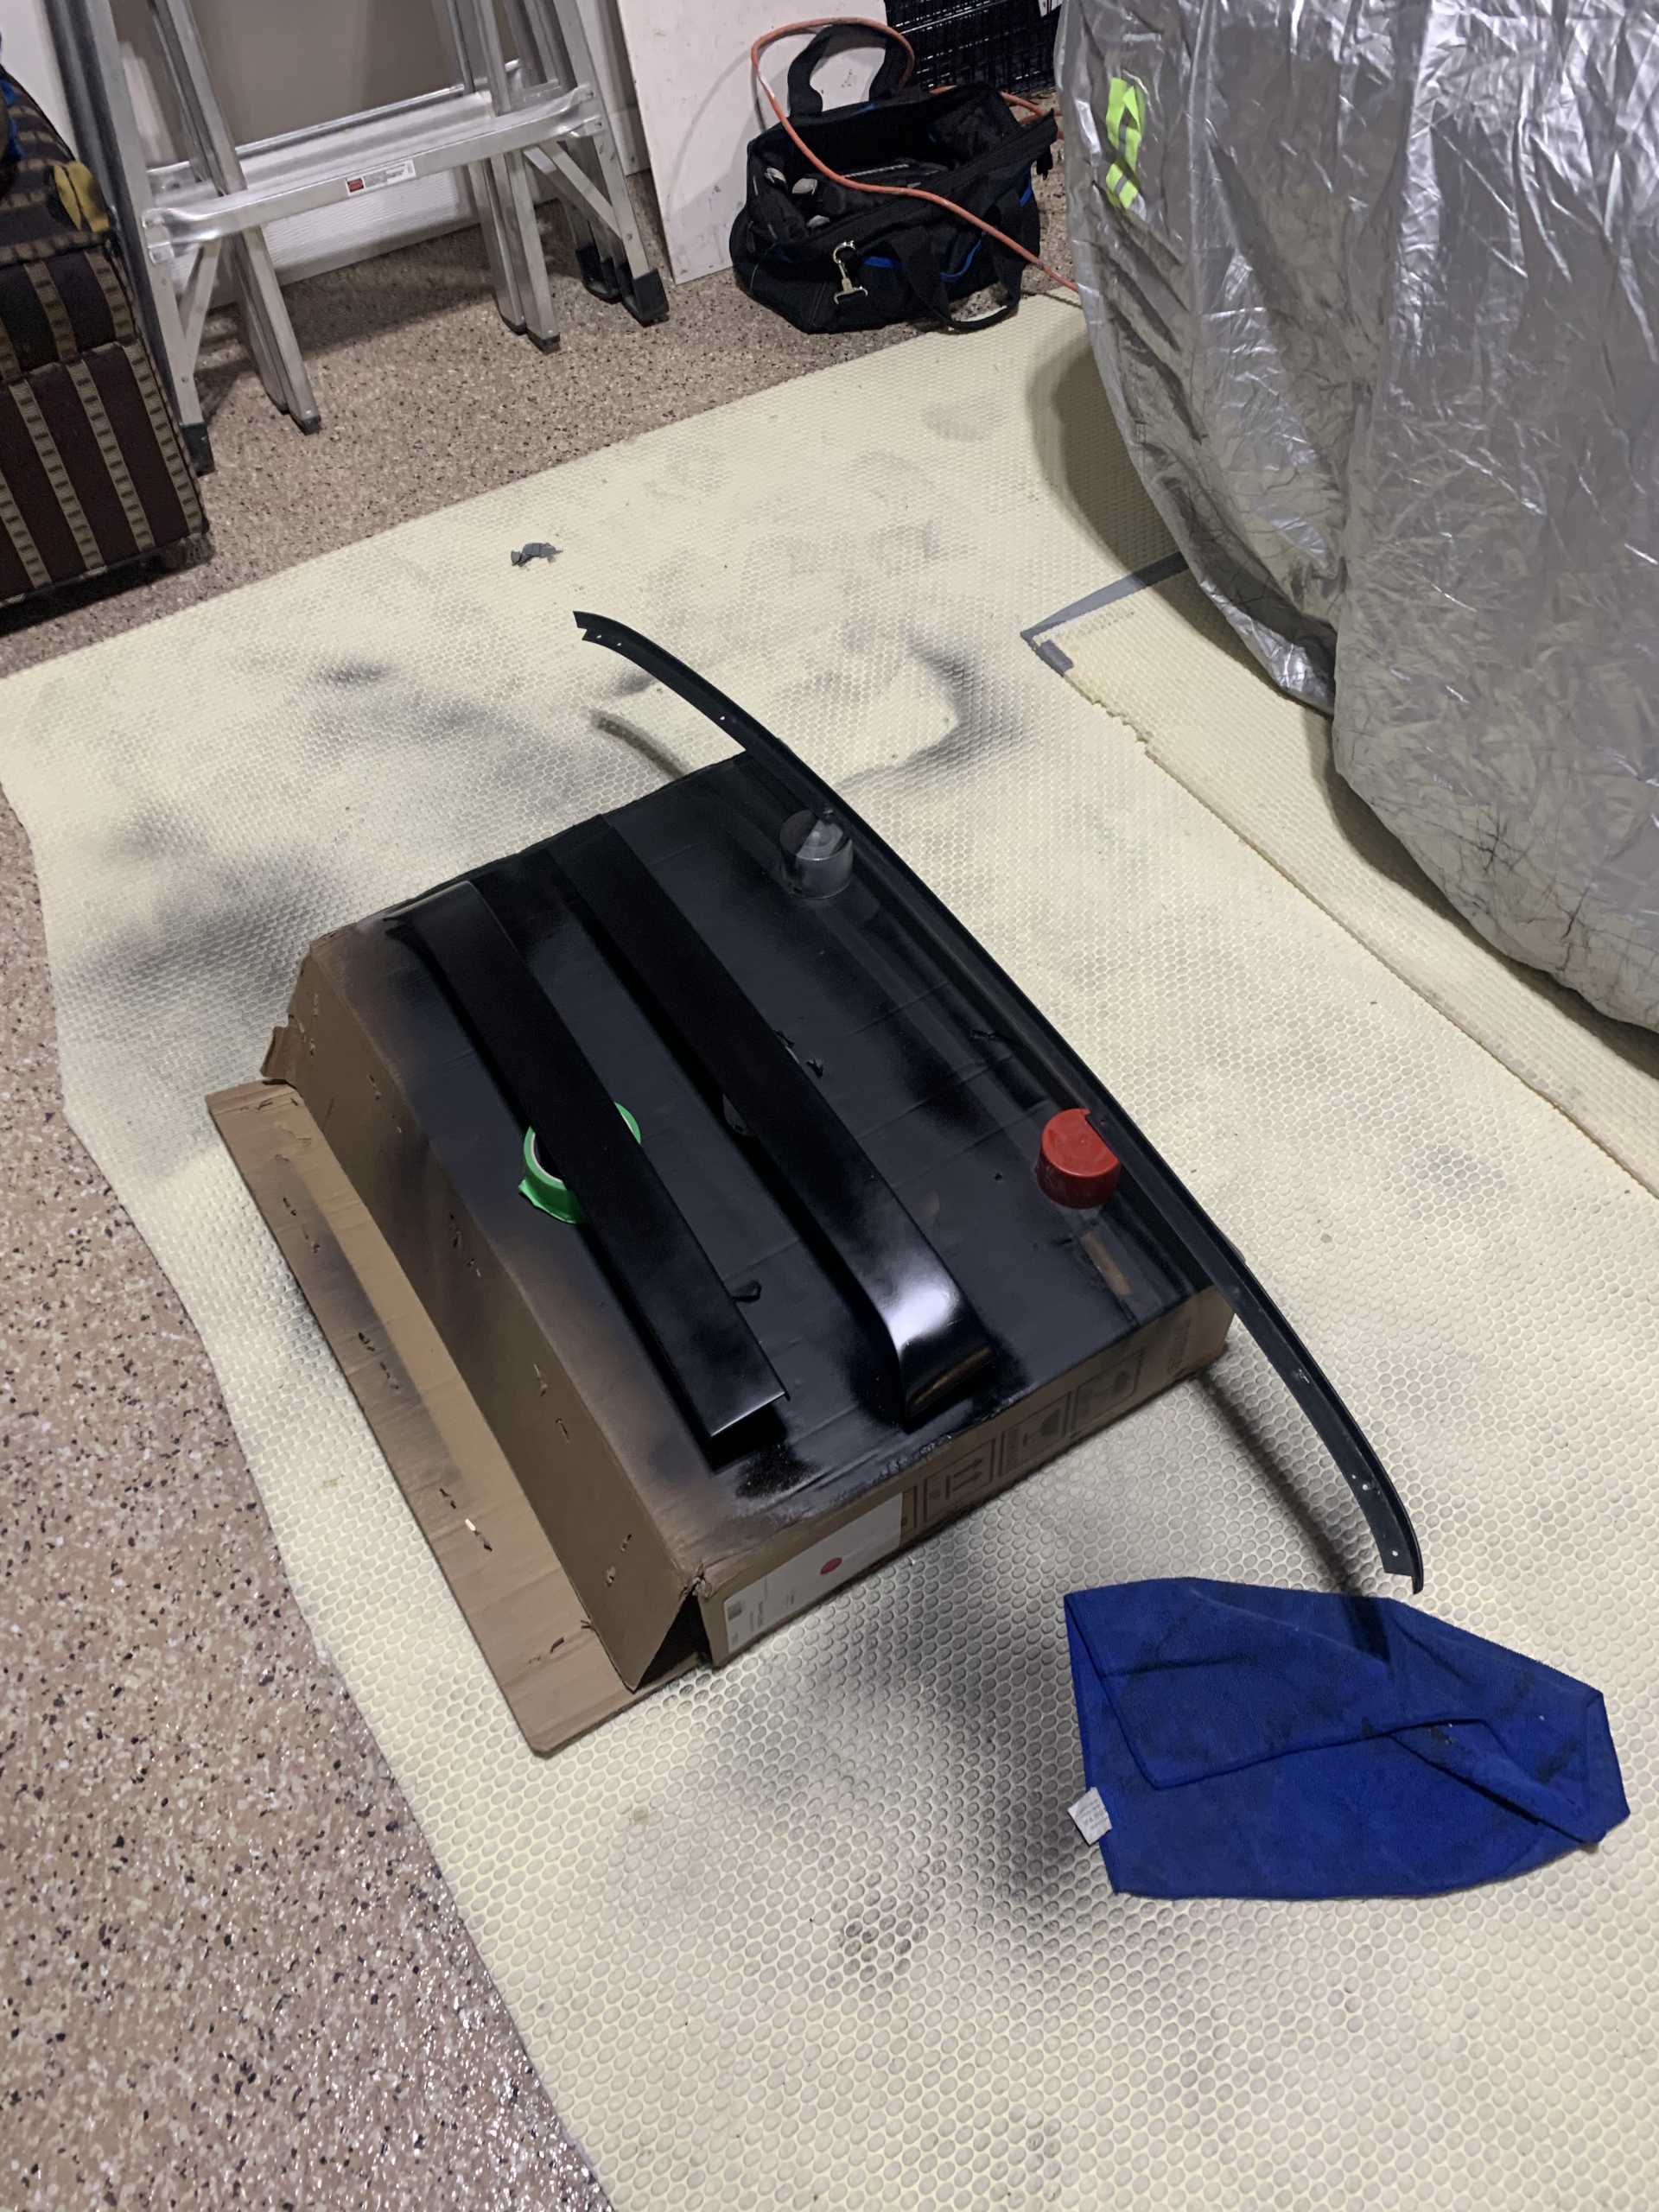
A little more work done today. Doesn’t seem like much but when you have to sandblast and pair rad parts it takes time! New rad housing new braces new washer and rad overflow tanks.


IP: Logged
fierogt28
Member
Posts: 2952
From: New-Brunswick, Canada.
Registered: Feb 2005


Feedback score:    (14)
Leave feedback

Rate this member

Report this Post02-12-2023 08:50 PM Click Here to See the Profile for fierogt28Send a Private Message to fierogt28Edit/Delete MessageReply w/QuoteDirect Link to This Post
jjd2296,

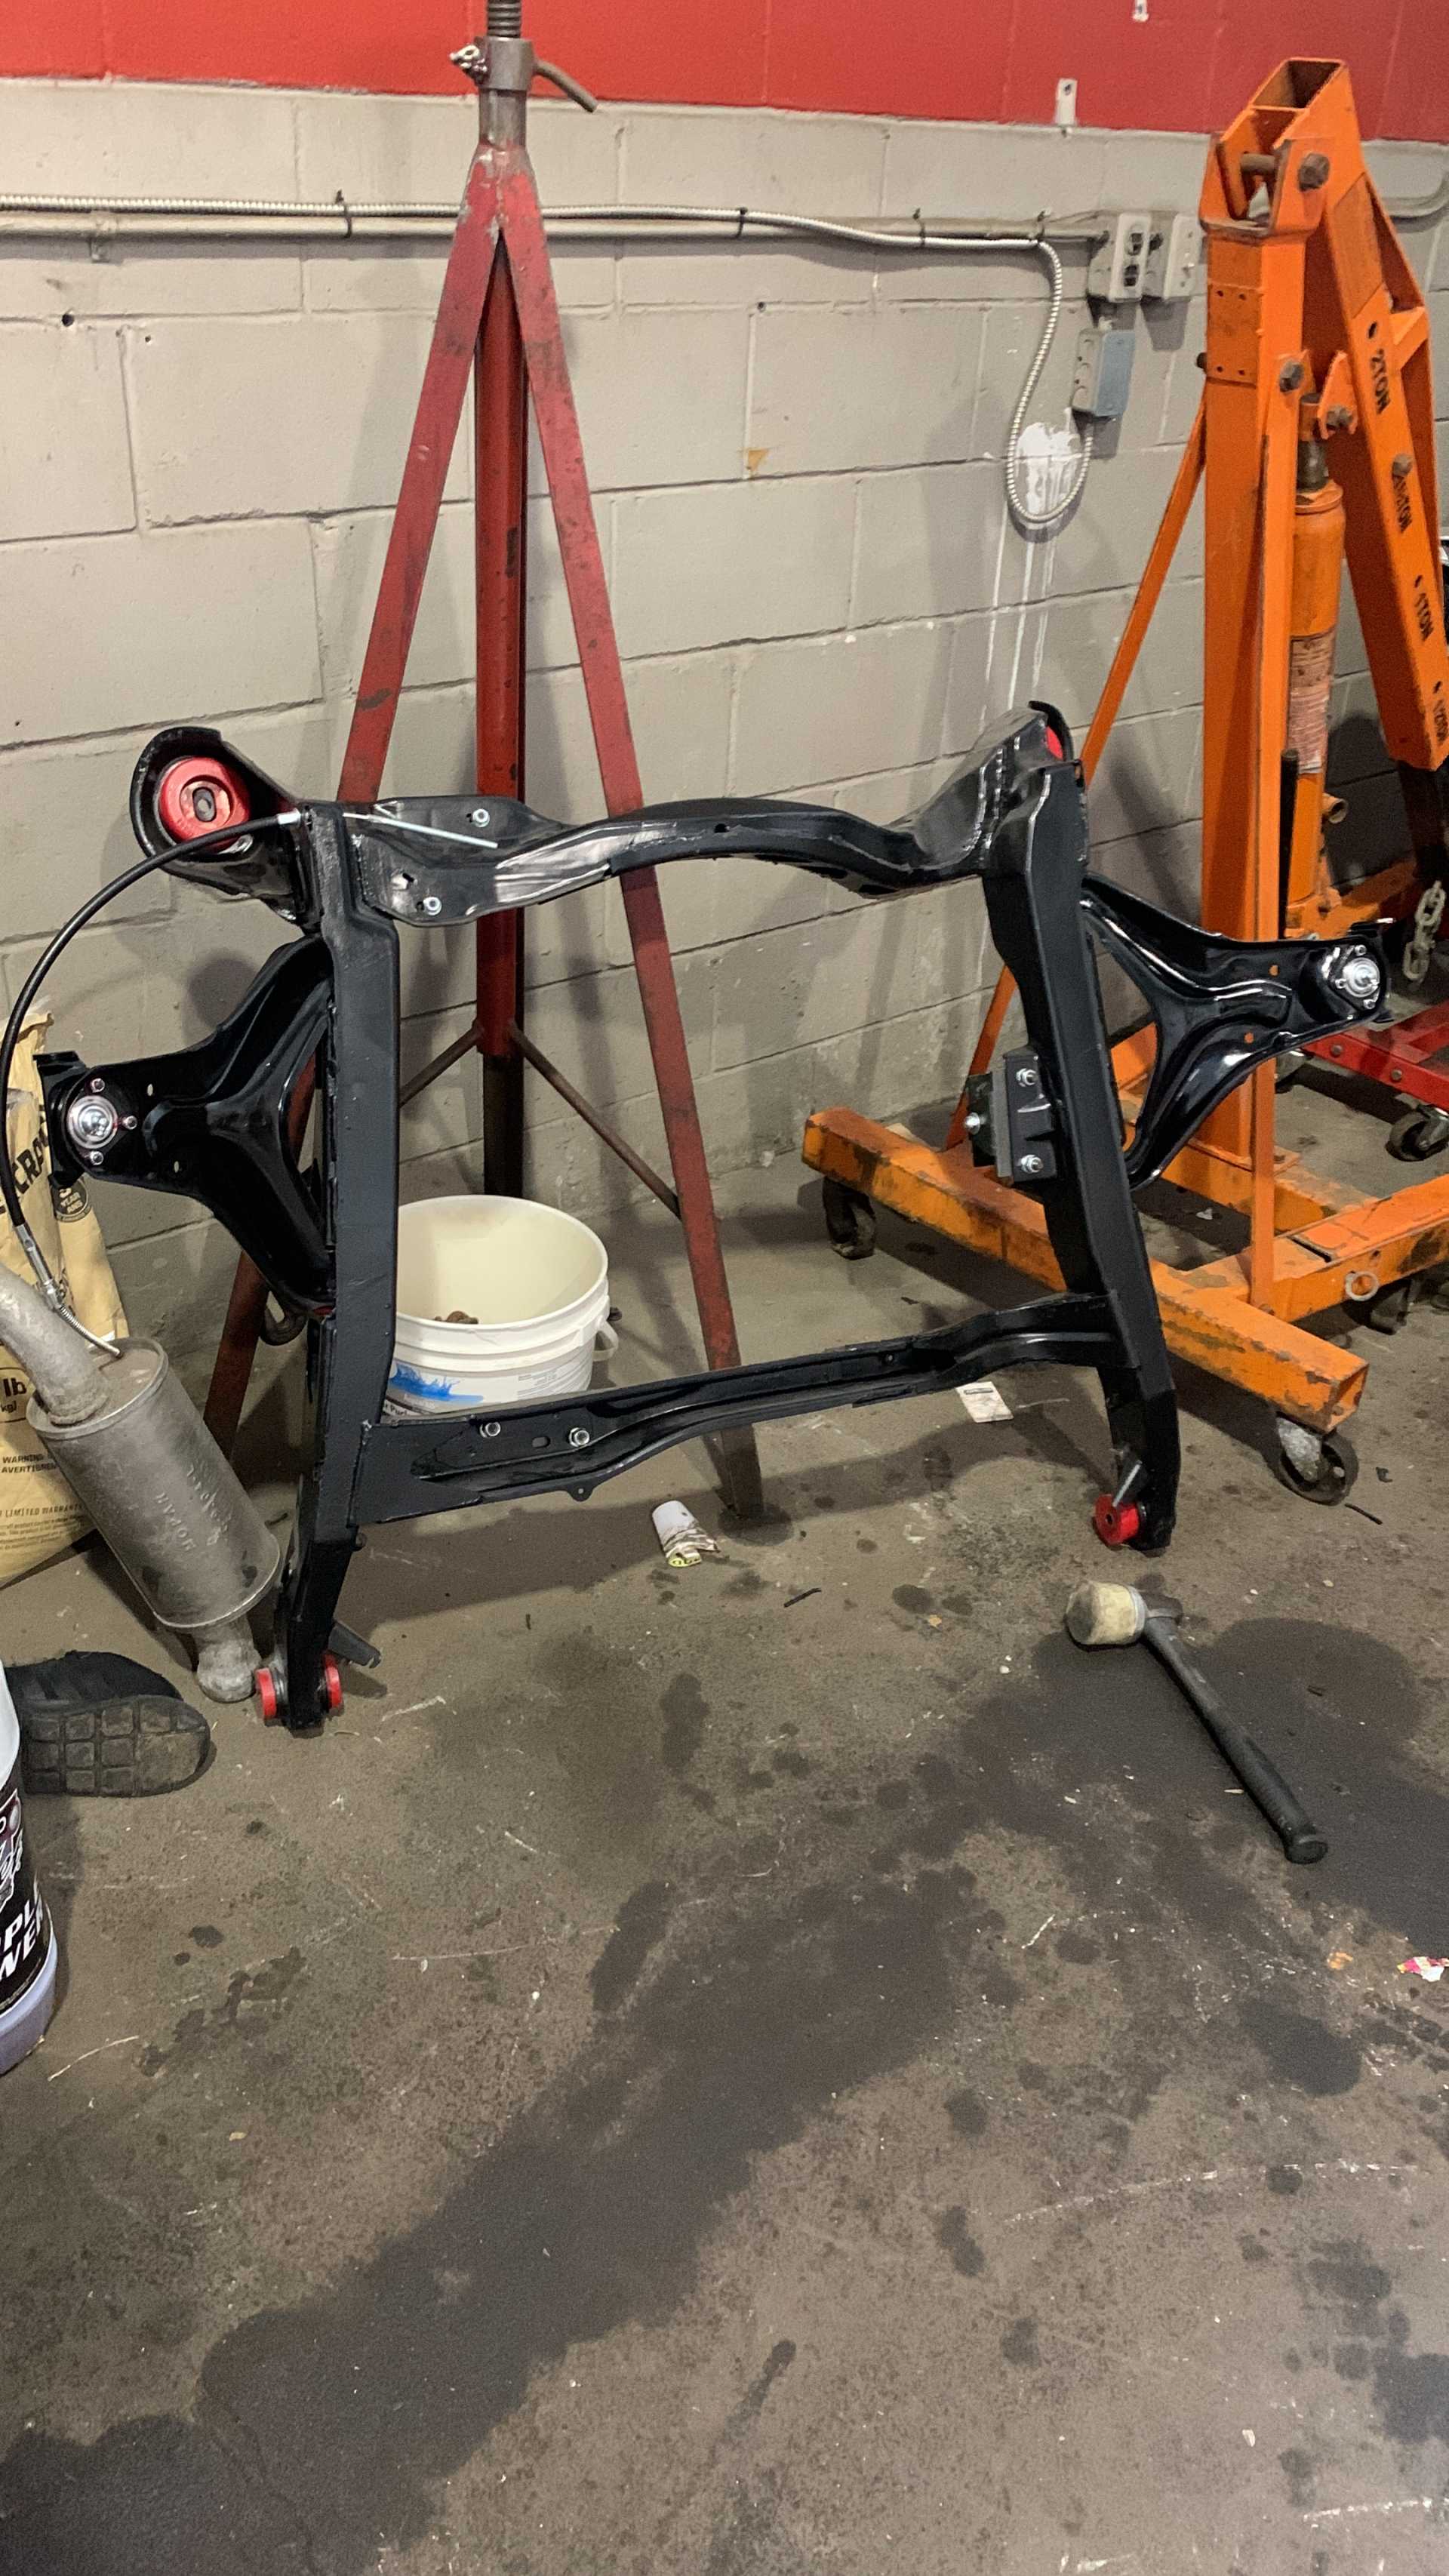
I seen you redid your upper control arm ball joints with Rodney’s adjustable ball joint plate. Sorry, but that plate goes under the control arm. The bolts are required to go downwards to make the UBJ adjustment made when the alignment is being set. The technician loosens the 2 upper bolts to facilitate the alignment process. It’s sorta like the 88 set up. That why Rodney made these 84-87 UBJ plates. Actually I bought a pair for the day I buy a pre-88 if that day ever comes. Never know, Rodney’s parts might not be available in 10-15 years. So I bought them.
He designs / makes quality Fiero reproduction parts…
Every serious Fiero owner should buy his parts for improvement, or because the parts are simply discontinued or not available through the aftermarket or GM.

------------------
fierogt28

88 GT, Loaded, 5-speed.
88 GT, 5-speed. Beechwood interior, All original.

IP: Logged
PFF
System Bot
jjd2296
Member
Posts: 1437
From: toronto ON
Registered: Jan 2016


Feedback score:    (8)
Leave feedback

Rate this member

Report this Post02-12-2023 09:05 PM Click Here to See the Profile for jjd2296Send a Private Message to jjd2296Edit/Delete MessageReply w/QuoteDirect Link to This Post
Thanks for the tip. Ill flip it but I don’t think from a mechanical standpoint it makes any difference. The plate just makes adjusting the alignment easier.
IP: Logged
fierogt28
Member
Posts: 2952
From: New-Brunswick, Canada.
Registered: Feb 2005


Feedback score:    (14)
Leave feedback

Rate this member

Report this Post02-15-2023 07:34 PM Click Here to See the Profile for fierogt28Send a Private Message to fierogt28Edit/Delete MessageReply w/QuoteDirect Link to This Post
The issue is you won’t be able to adjust anything because the bolts are loosened on the top to adjust / move the plate underneath with the ball joint. It’s to adjust negative and positive camber. The purpose of Rodney’s kit here is so you don’t have to reach underneath to un-tighten / tight the nuts that keep the ball joint in place. You just un-tighten / tighten the bolt on top of the ball joint as this is what the alignment tech will do. A lot easier for him. Again, it’s to facilitate the alignment job.
The nuts are welded to the plate for this reason.
Your ball joint will be non adjustable the way you have it install now.
IP: Logged
jjd2296
Member
Posts: 1437
From: toronto ON
Registered: Jan 2016


Feedback score:    (8)
Leave feedback

Rate this member

Report this Post02-21-2023 12:07 PM Click Here to See the Profile for jjd2296Send a Private Message to jjd2296Edit/Delete MessageReply w/QuoteDirect Link to This Post
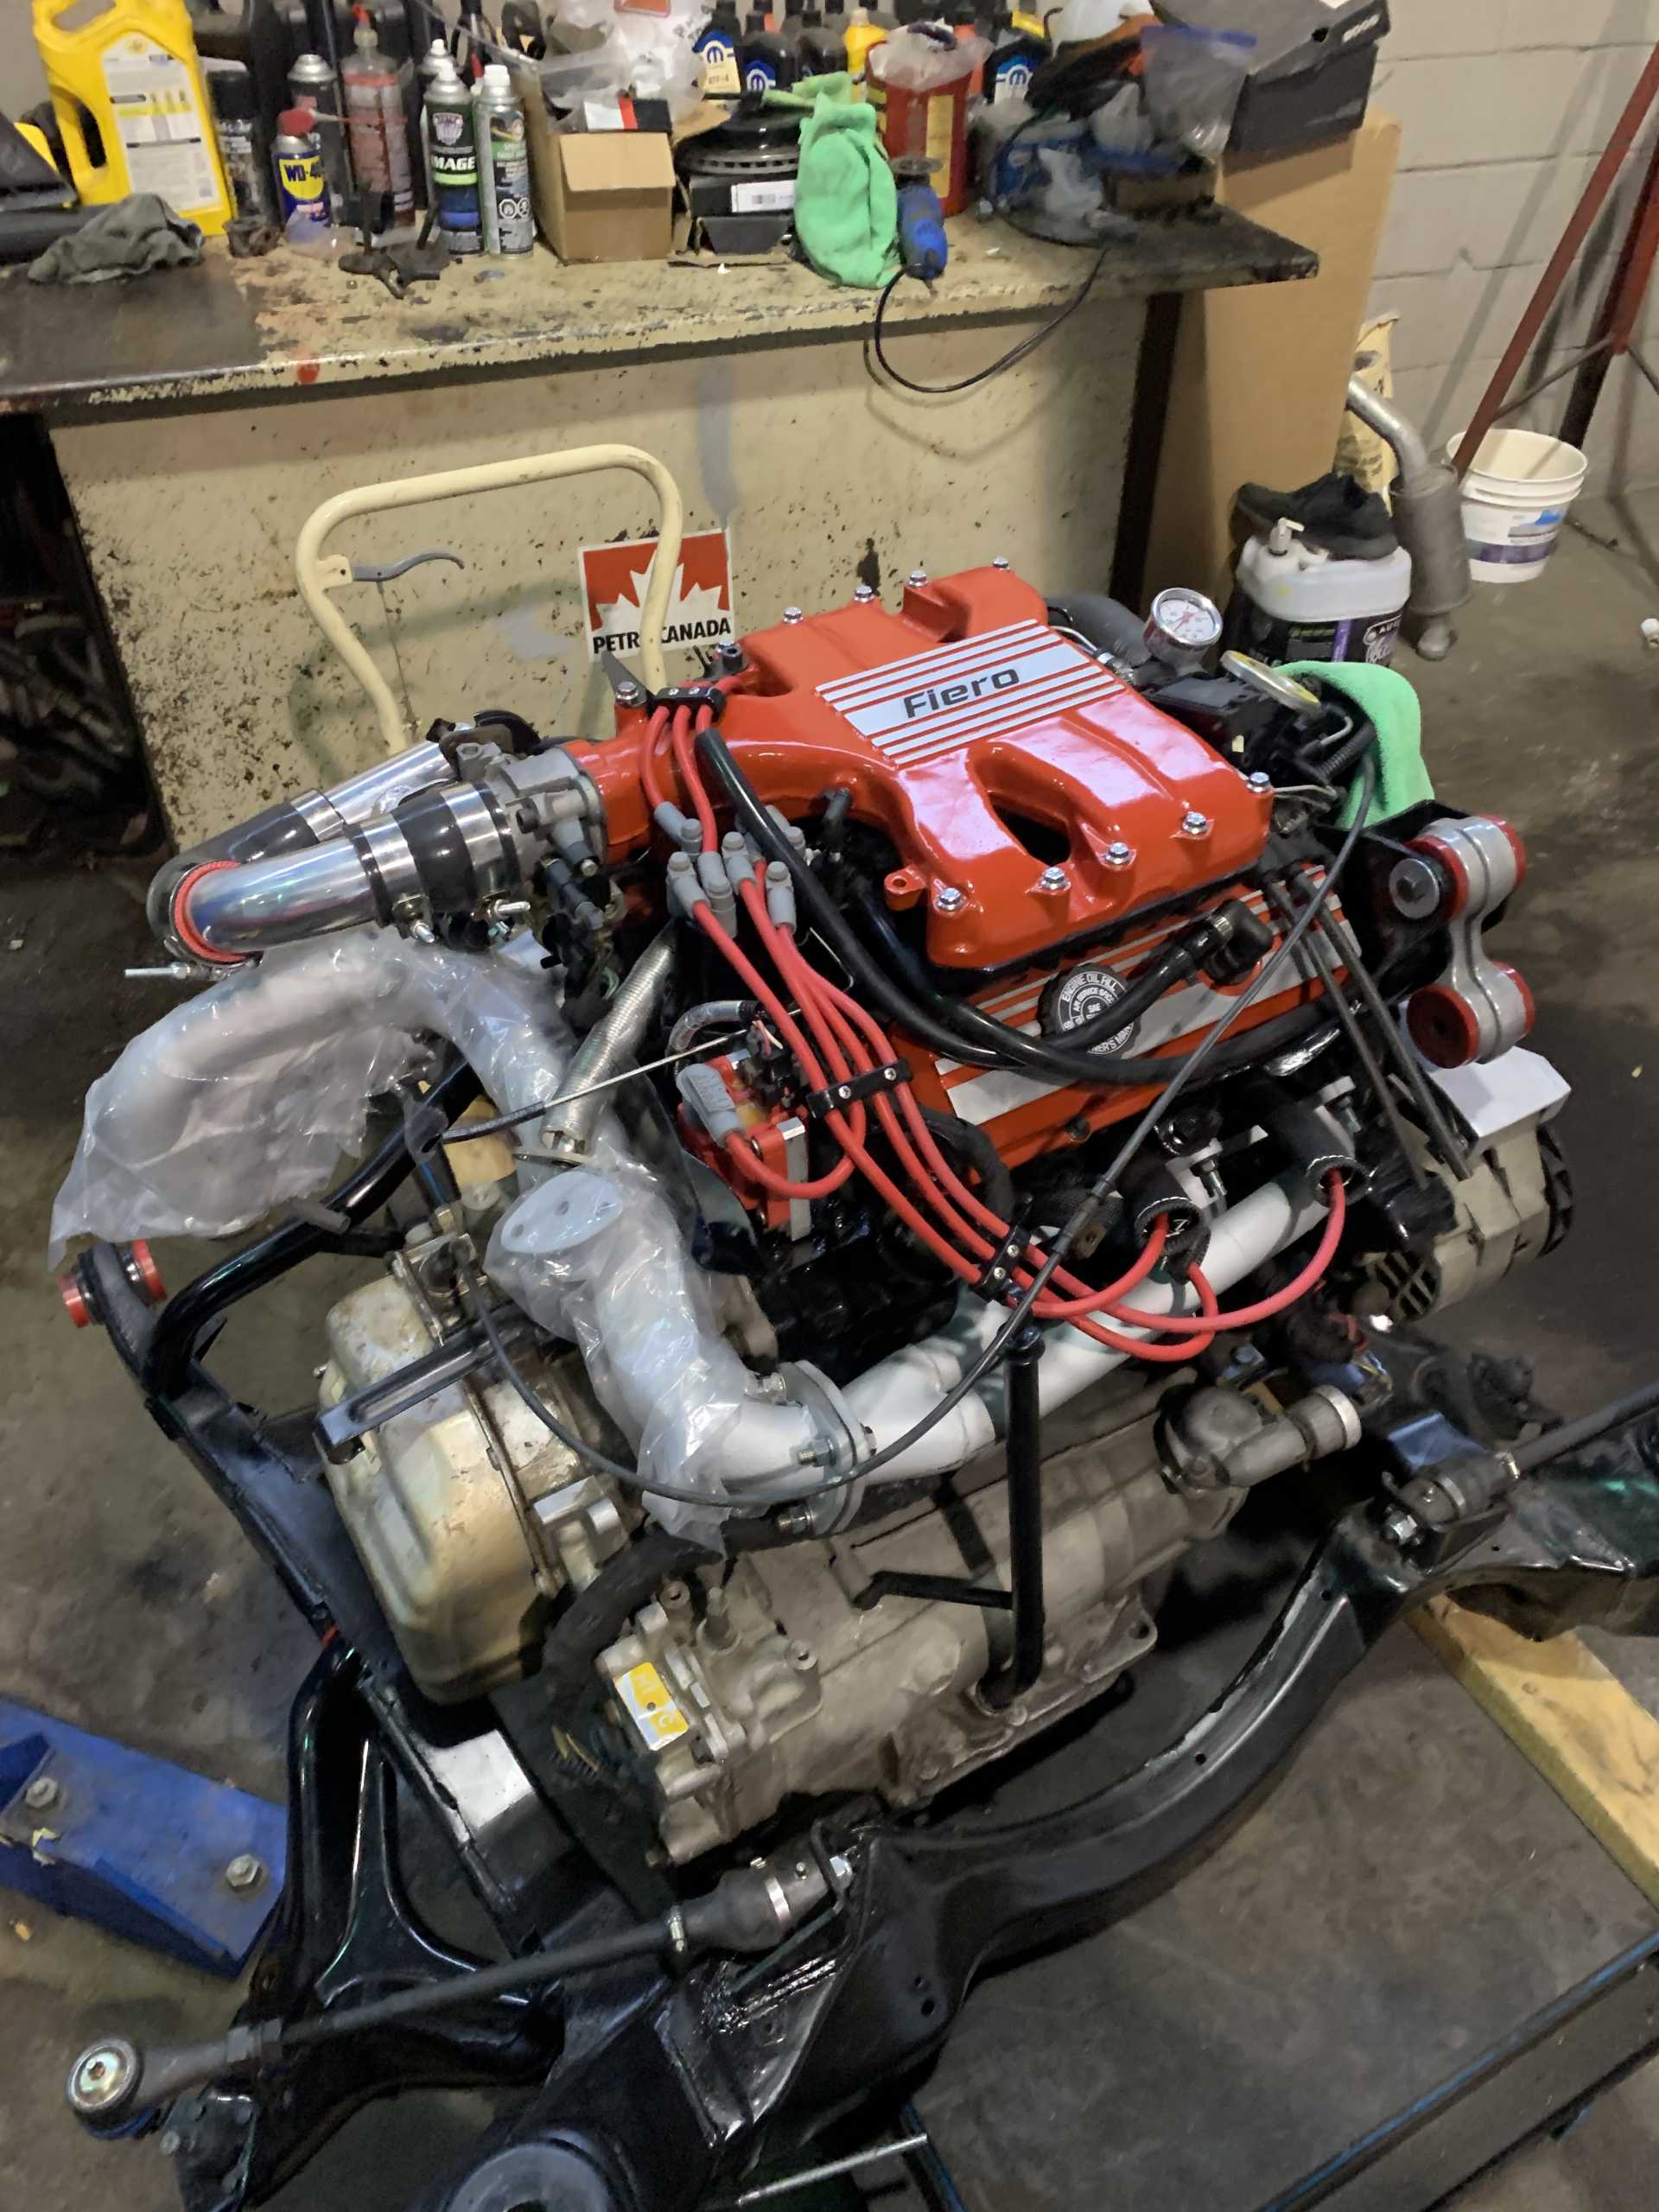
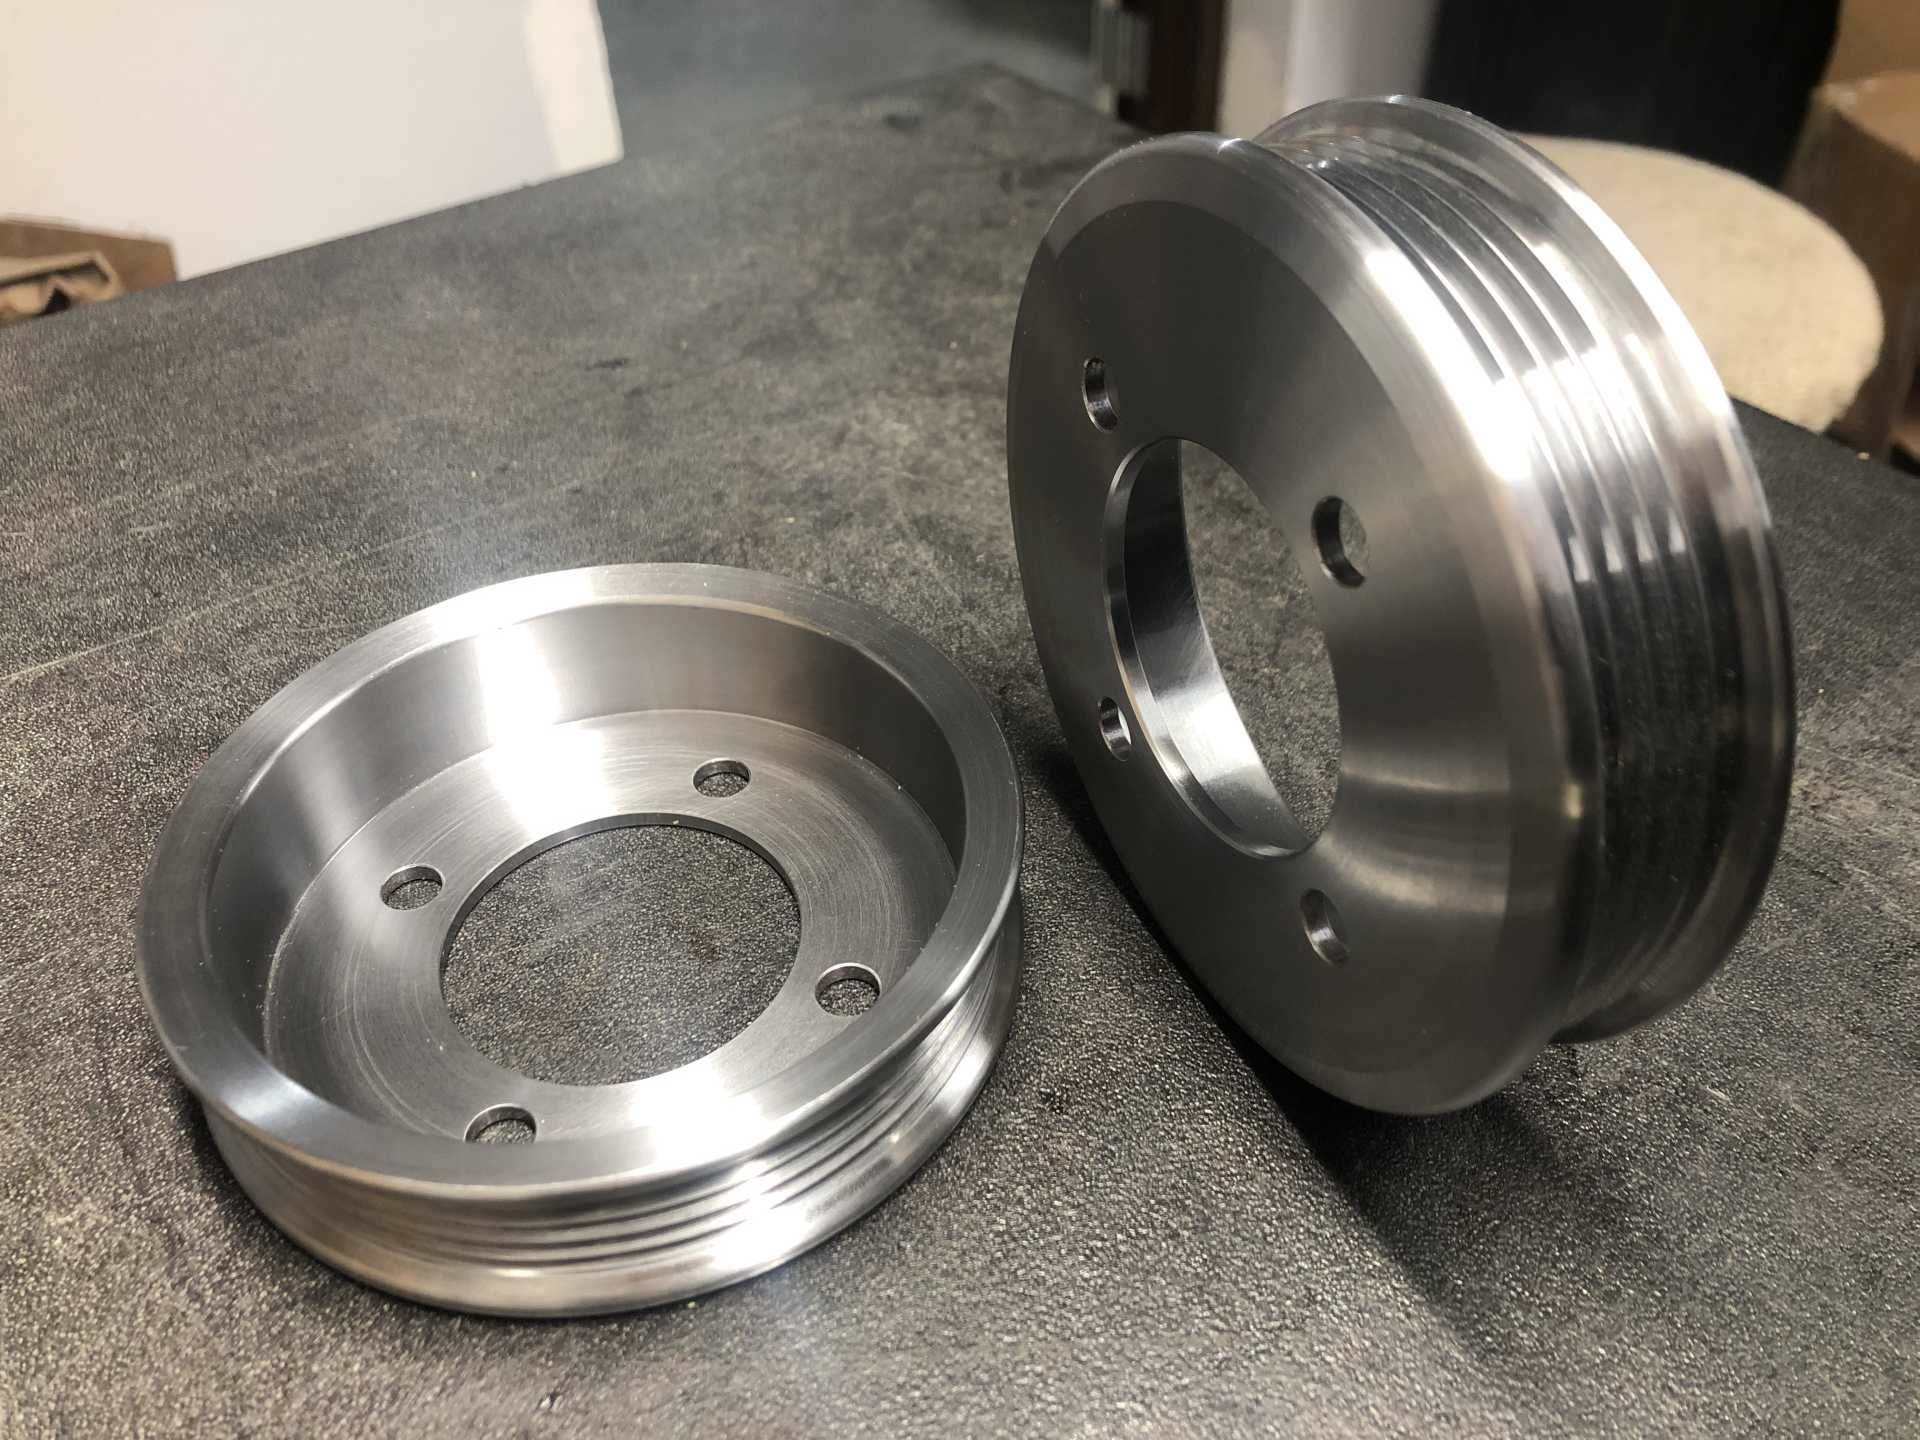
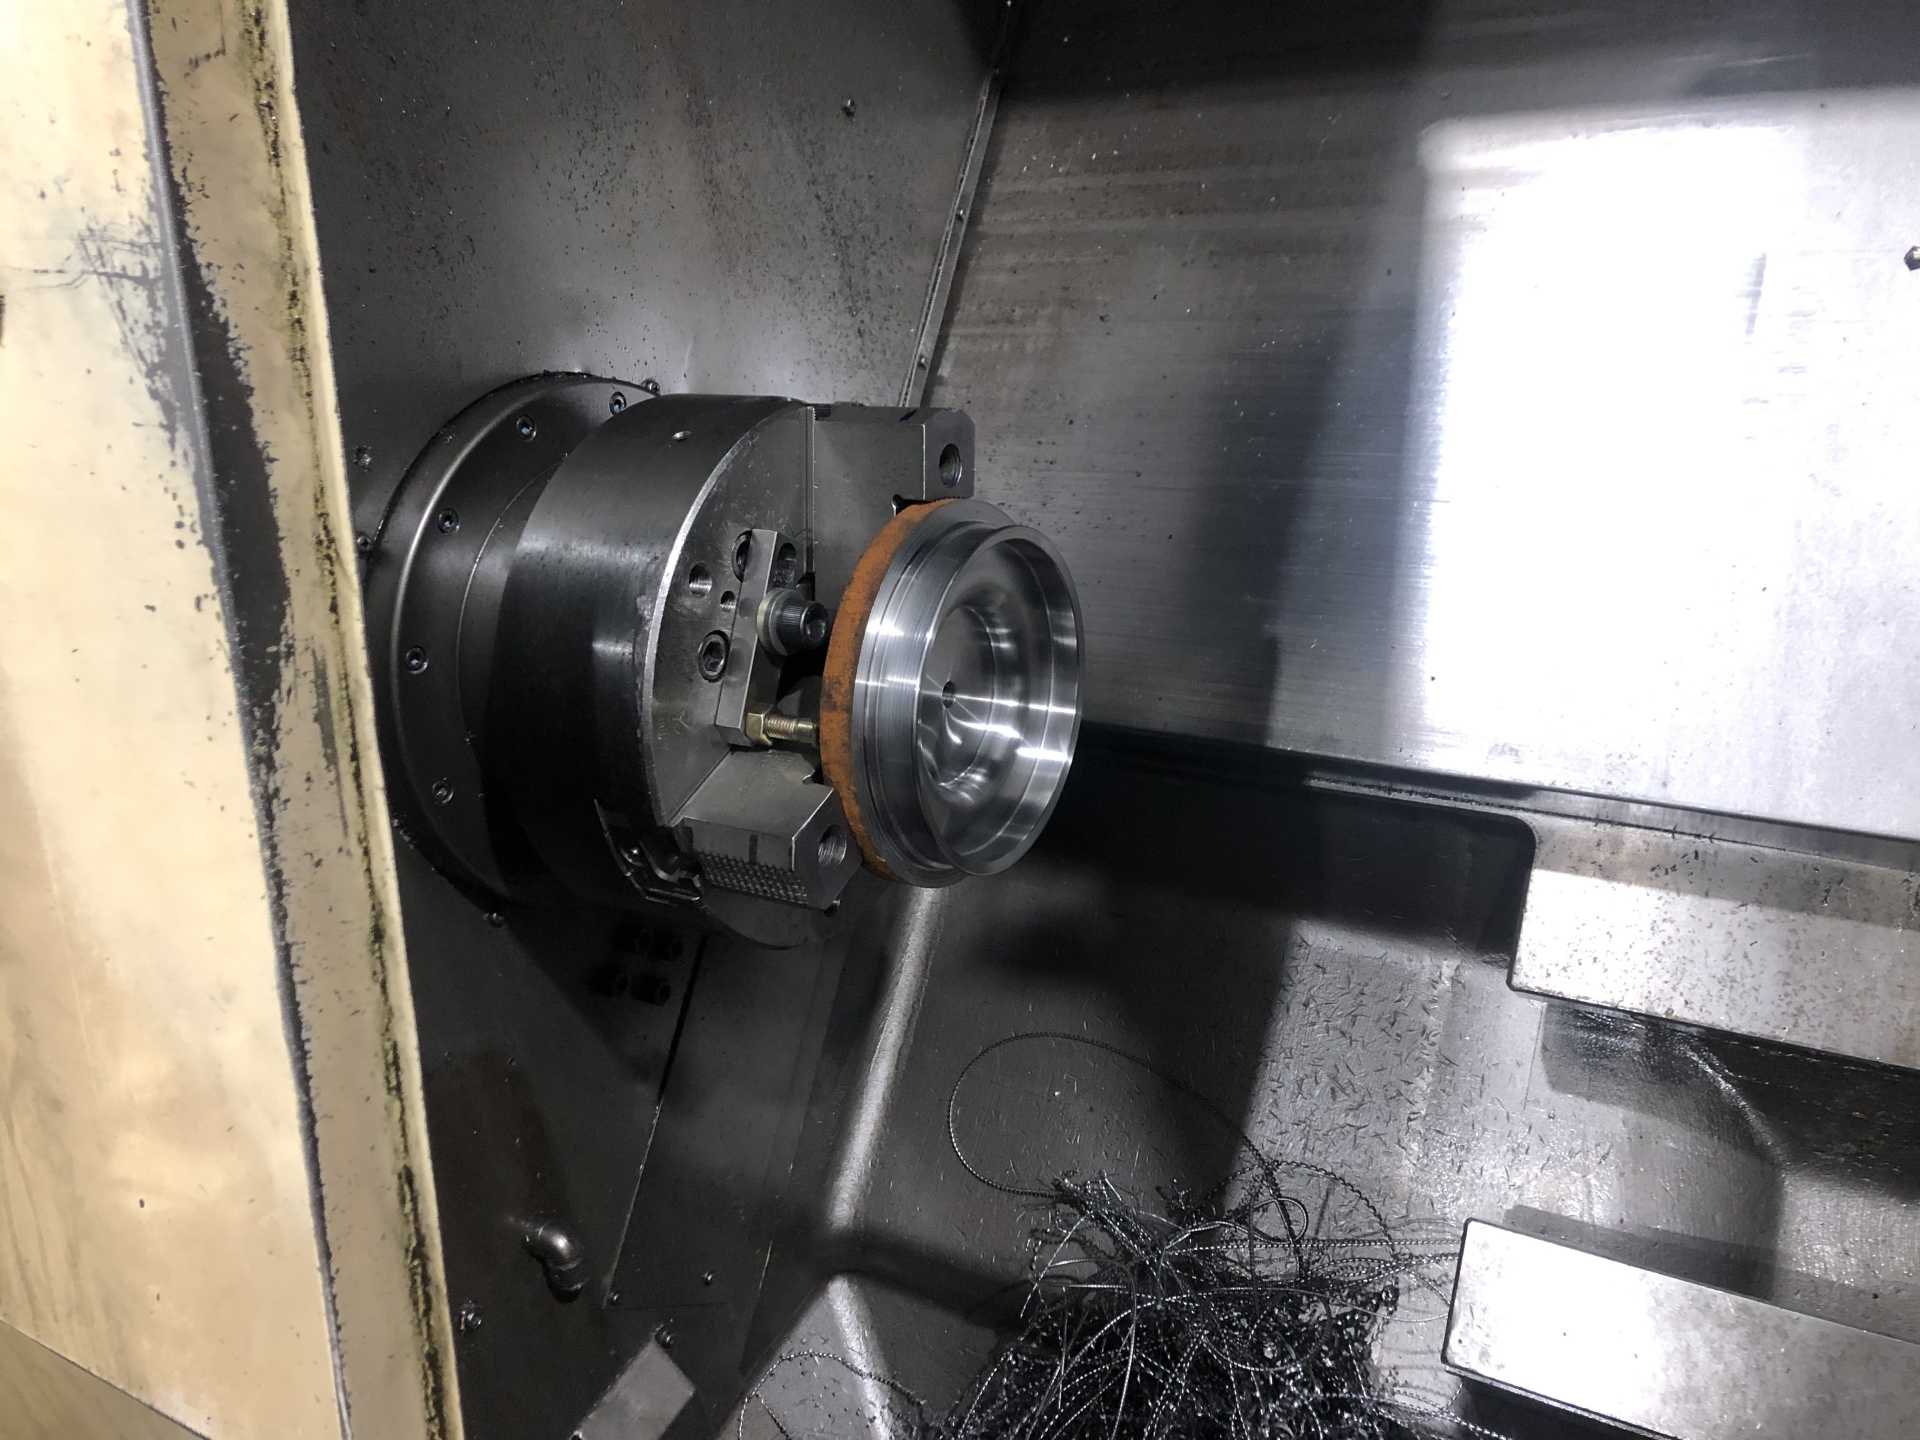
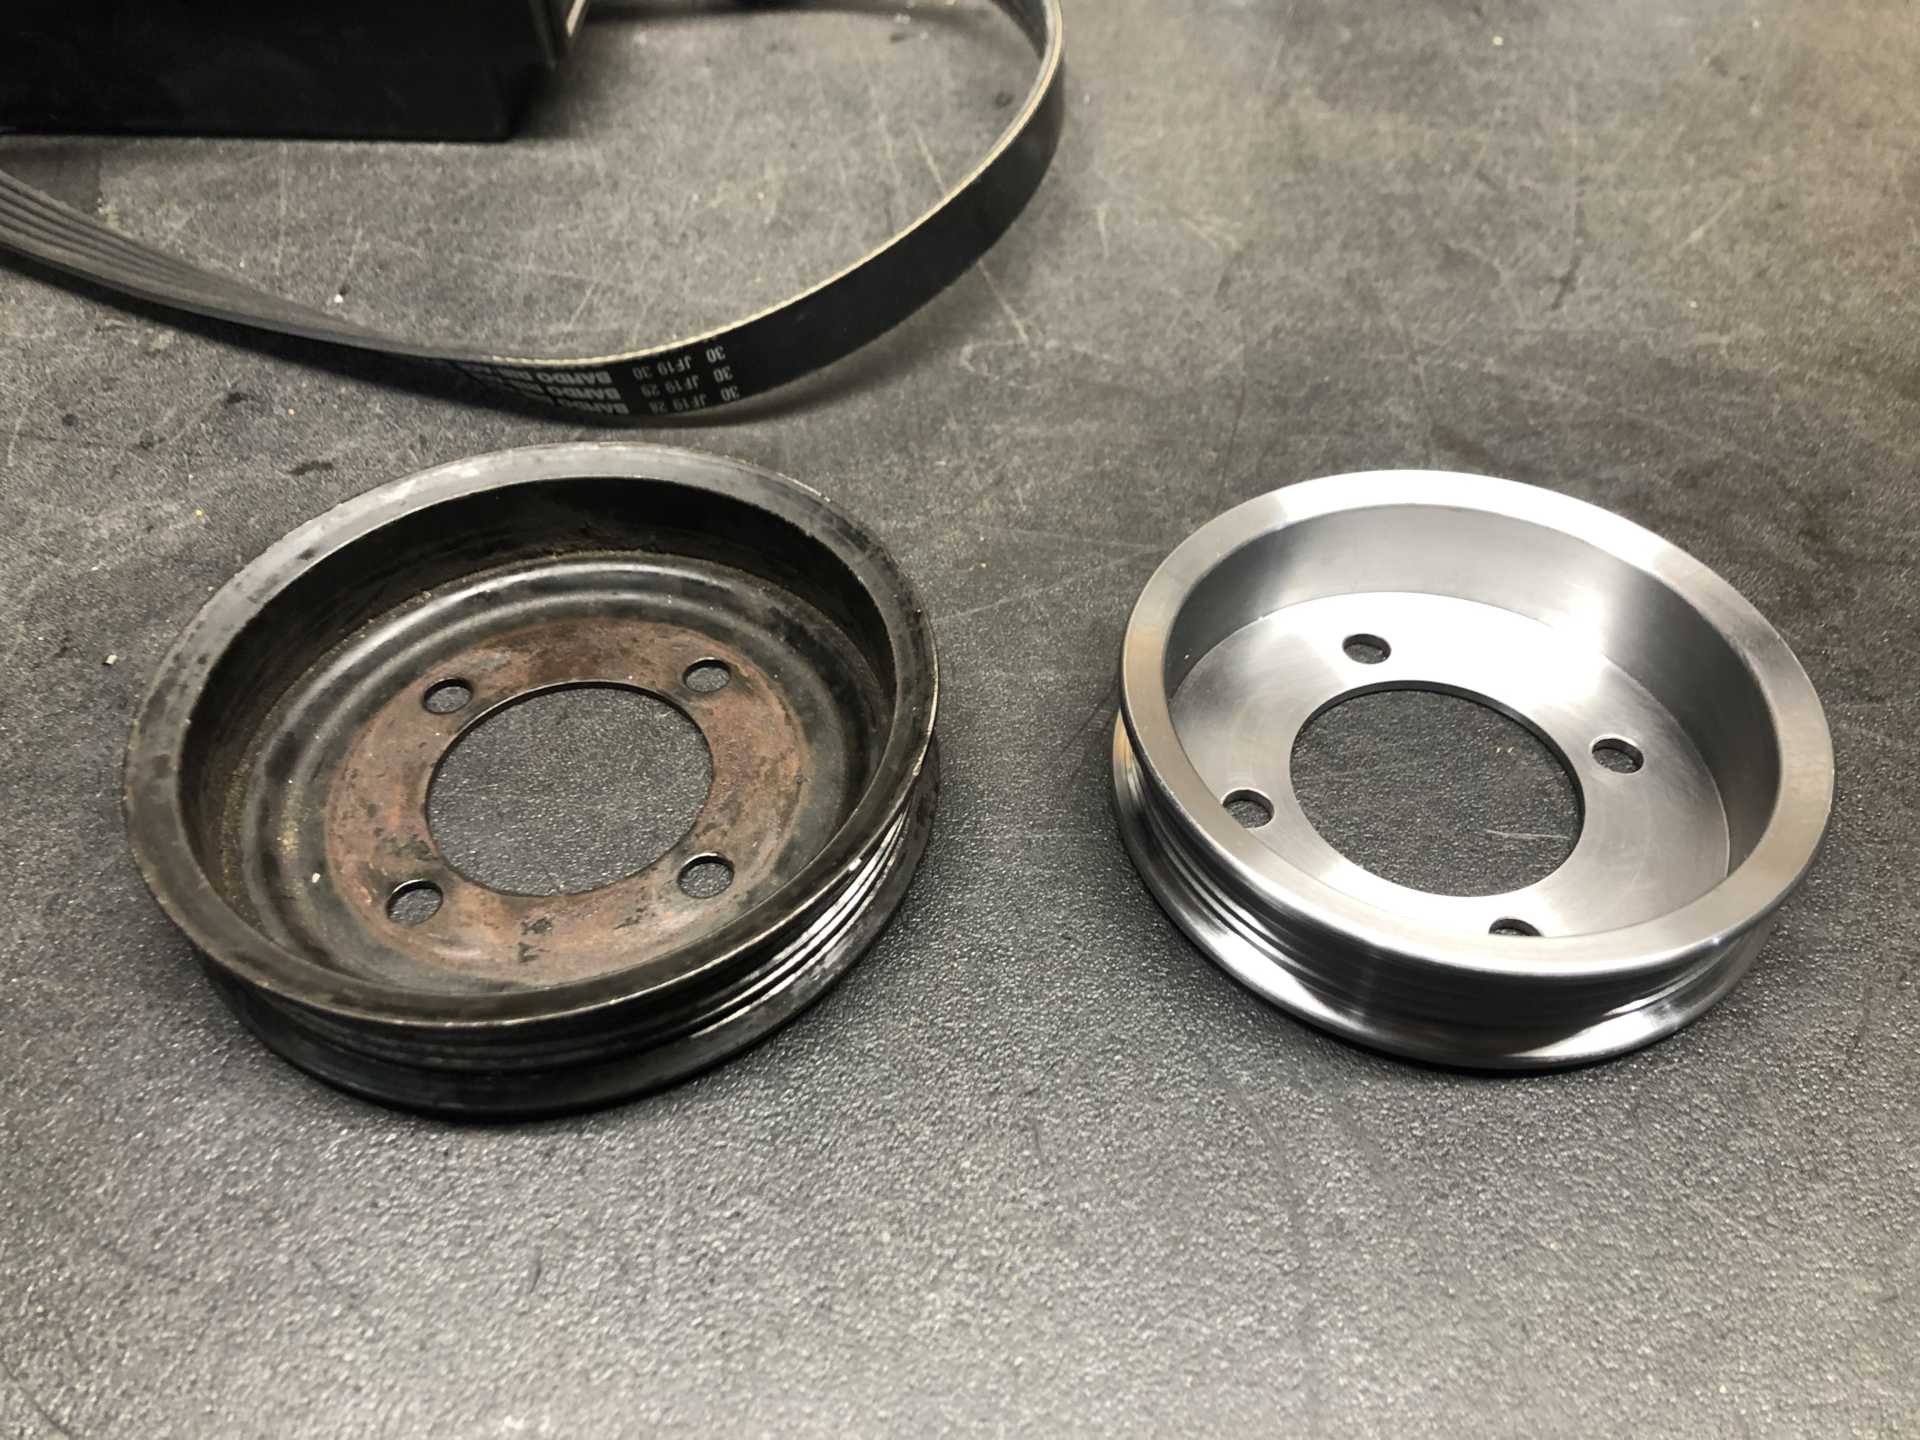
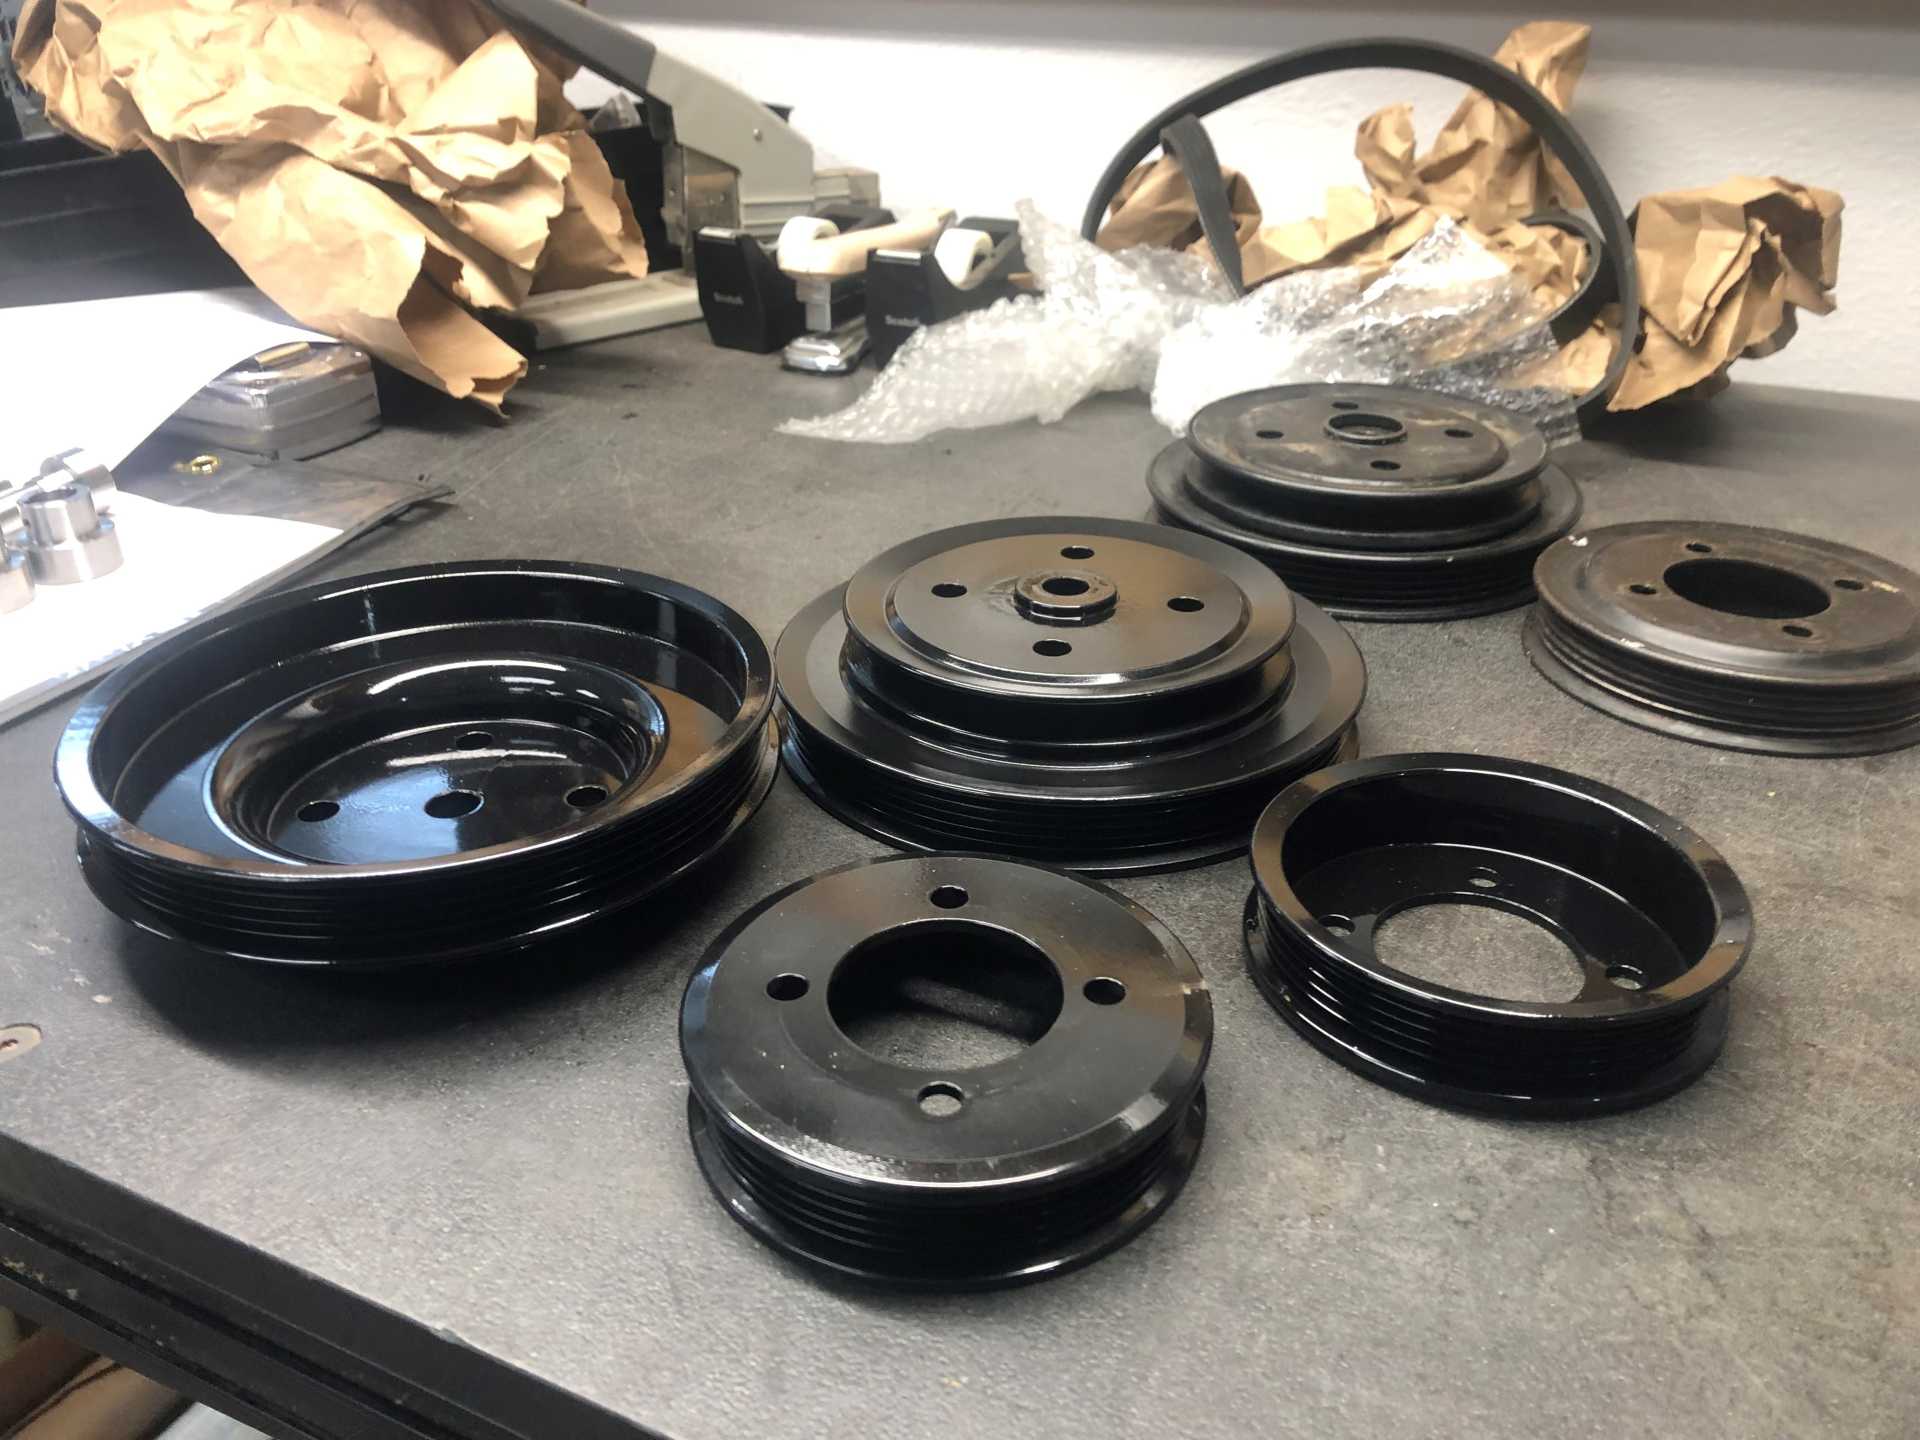
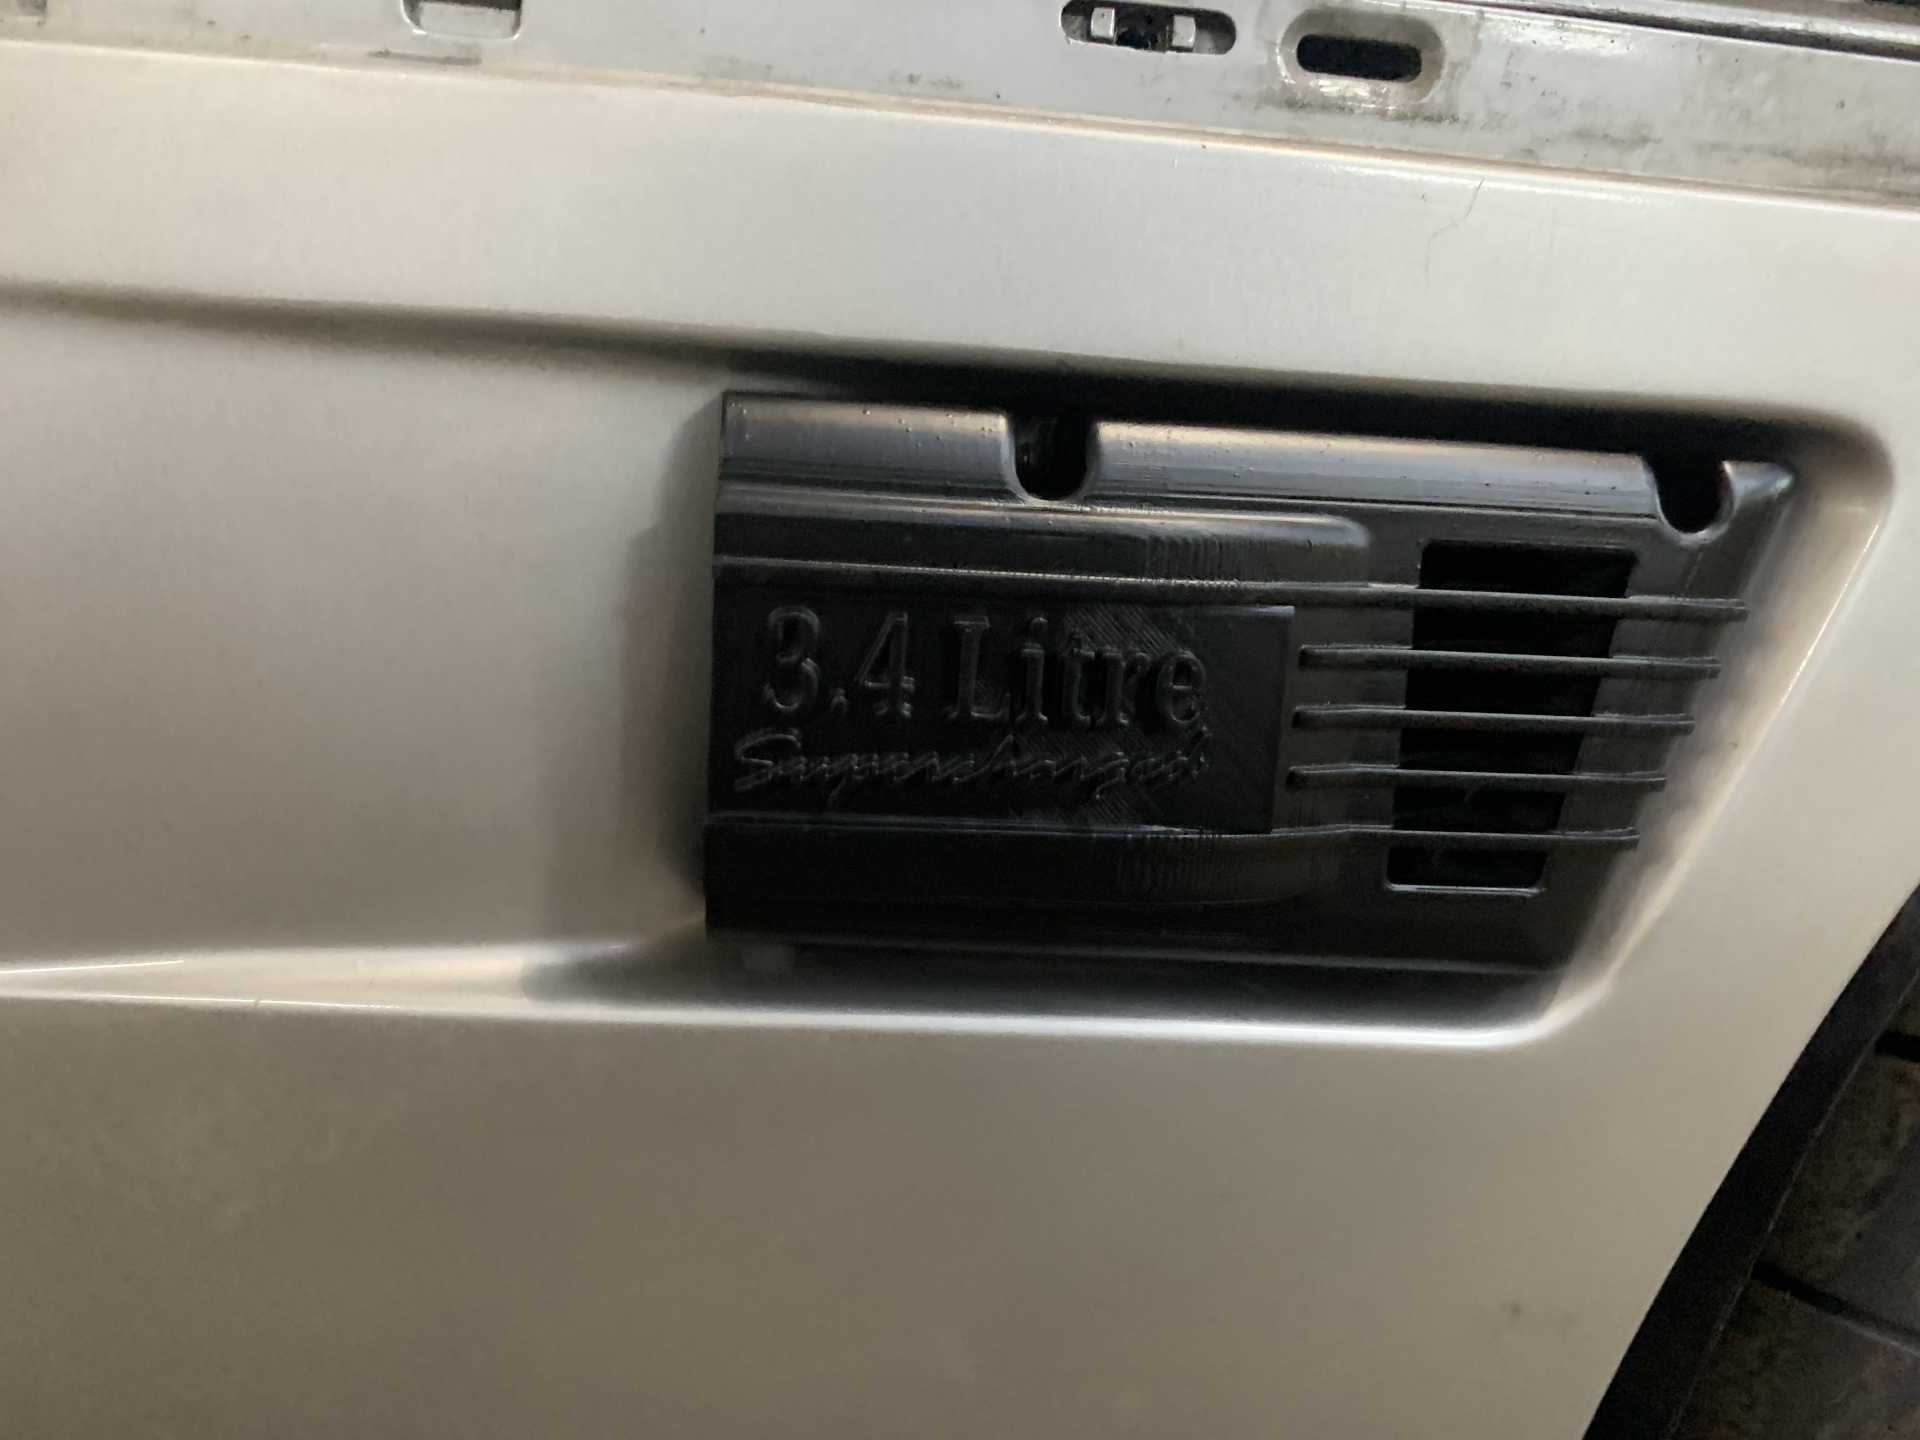
custom pulleys are almost ready for the engine. Increased size of crank by .7 and reduced water pump pulley by .7 this will see me gain another 6k rpm through the entire sc boost range. I couldn't go smaller on the sc pulley as I was already at a 2.4 which is the smallest made. Im running an older V5 which max rpm is 65000. with these custom pulleys ill get the sc spinning just over 60k at 6000rpm. previously I was only hitting approx 54000 rpm with the stock pulleys.


[This message has been edited by jjd2296 (edited 02-21-2023).]

IP: Logged
zkhennings
Member
Posts: 1922
From: Massachusetts, USA
Registered: Oct 2010


Feedback score: (3)
Leave feedback

Rate this member

Report this Post02-21-2023 03:26 PM Click Here to See the Profile for zkhenningsSend a Private Message to zkhenningsEdit/Delete MessageReply w/QuoteDirect Link to This Post
Those pulleys are beautiful.
IP: Logged
jjd2296
Member
Posts: 1437
From: toronto ON
Registered: Jan 2016


Feedback score:    (8)
Leave feedback

Rate this member

Report this Post02-28-2023 06:41 AM Click Here to See the Profile for jjd2296Send a Private Message to jjd2296Edit/Delete MessageReply w/QuoteDirect Link to This Post
Pulleys are done just waiting for them to arrive.

[This message has been edited by jjd2296 (edited 02-28-2023).]

IP: Logged
jjd2296
Member
Posts: 1437
From: toronto ON
Registered: Jan 2016


Feedback score:    (8)
Leave feedback

Rate this member

Report this Post04-17-2023 03:34 PM Click Here to See the Profile for jjd2296Send a Private Message to jjd2296Edit/Delete MessageReply w/QuoteDirect Link to This Post
Engine bay all cleaned up and ready for reassembly. New brakes lines, cruise, then engine to go back in.


IP: Logged
jjd2296
Member
Posts: 1437
From: toronto ON
Registered: Jan 2016


Feedback score:    (8)
Leave feedback

Rate this member

Report this Post04-27-2023 02:18 PM Click Here to See the Profile for jjd2296Send a Private Message to jjd2296Edit/Delete MessageReply w/QuoteDirect Link to This Post
New fire wall insulation.

[This message has been edited by jjd2296 (edited 04-27-2023).]

IP: Logged
jjd2296
Member
Posts: 1437
From: toronto ON
Registered: Jan 2016


Feedback score:    (8)
Leave feedback

Rate this member

Report this Post05-08-2023 06:33 PM Click Here to See the Profile for jjd2296Send a Private Message to jjd2296Edit/Delete MessageReply w/QuoteDirect Link to This Post
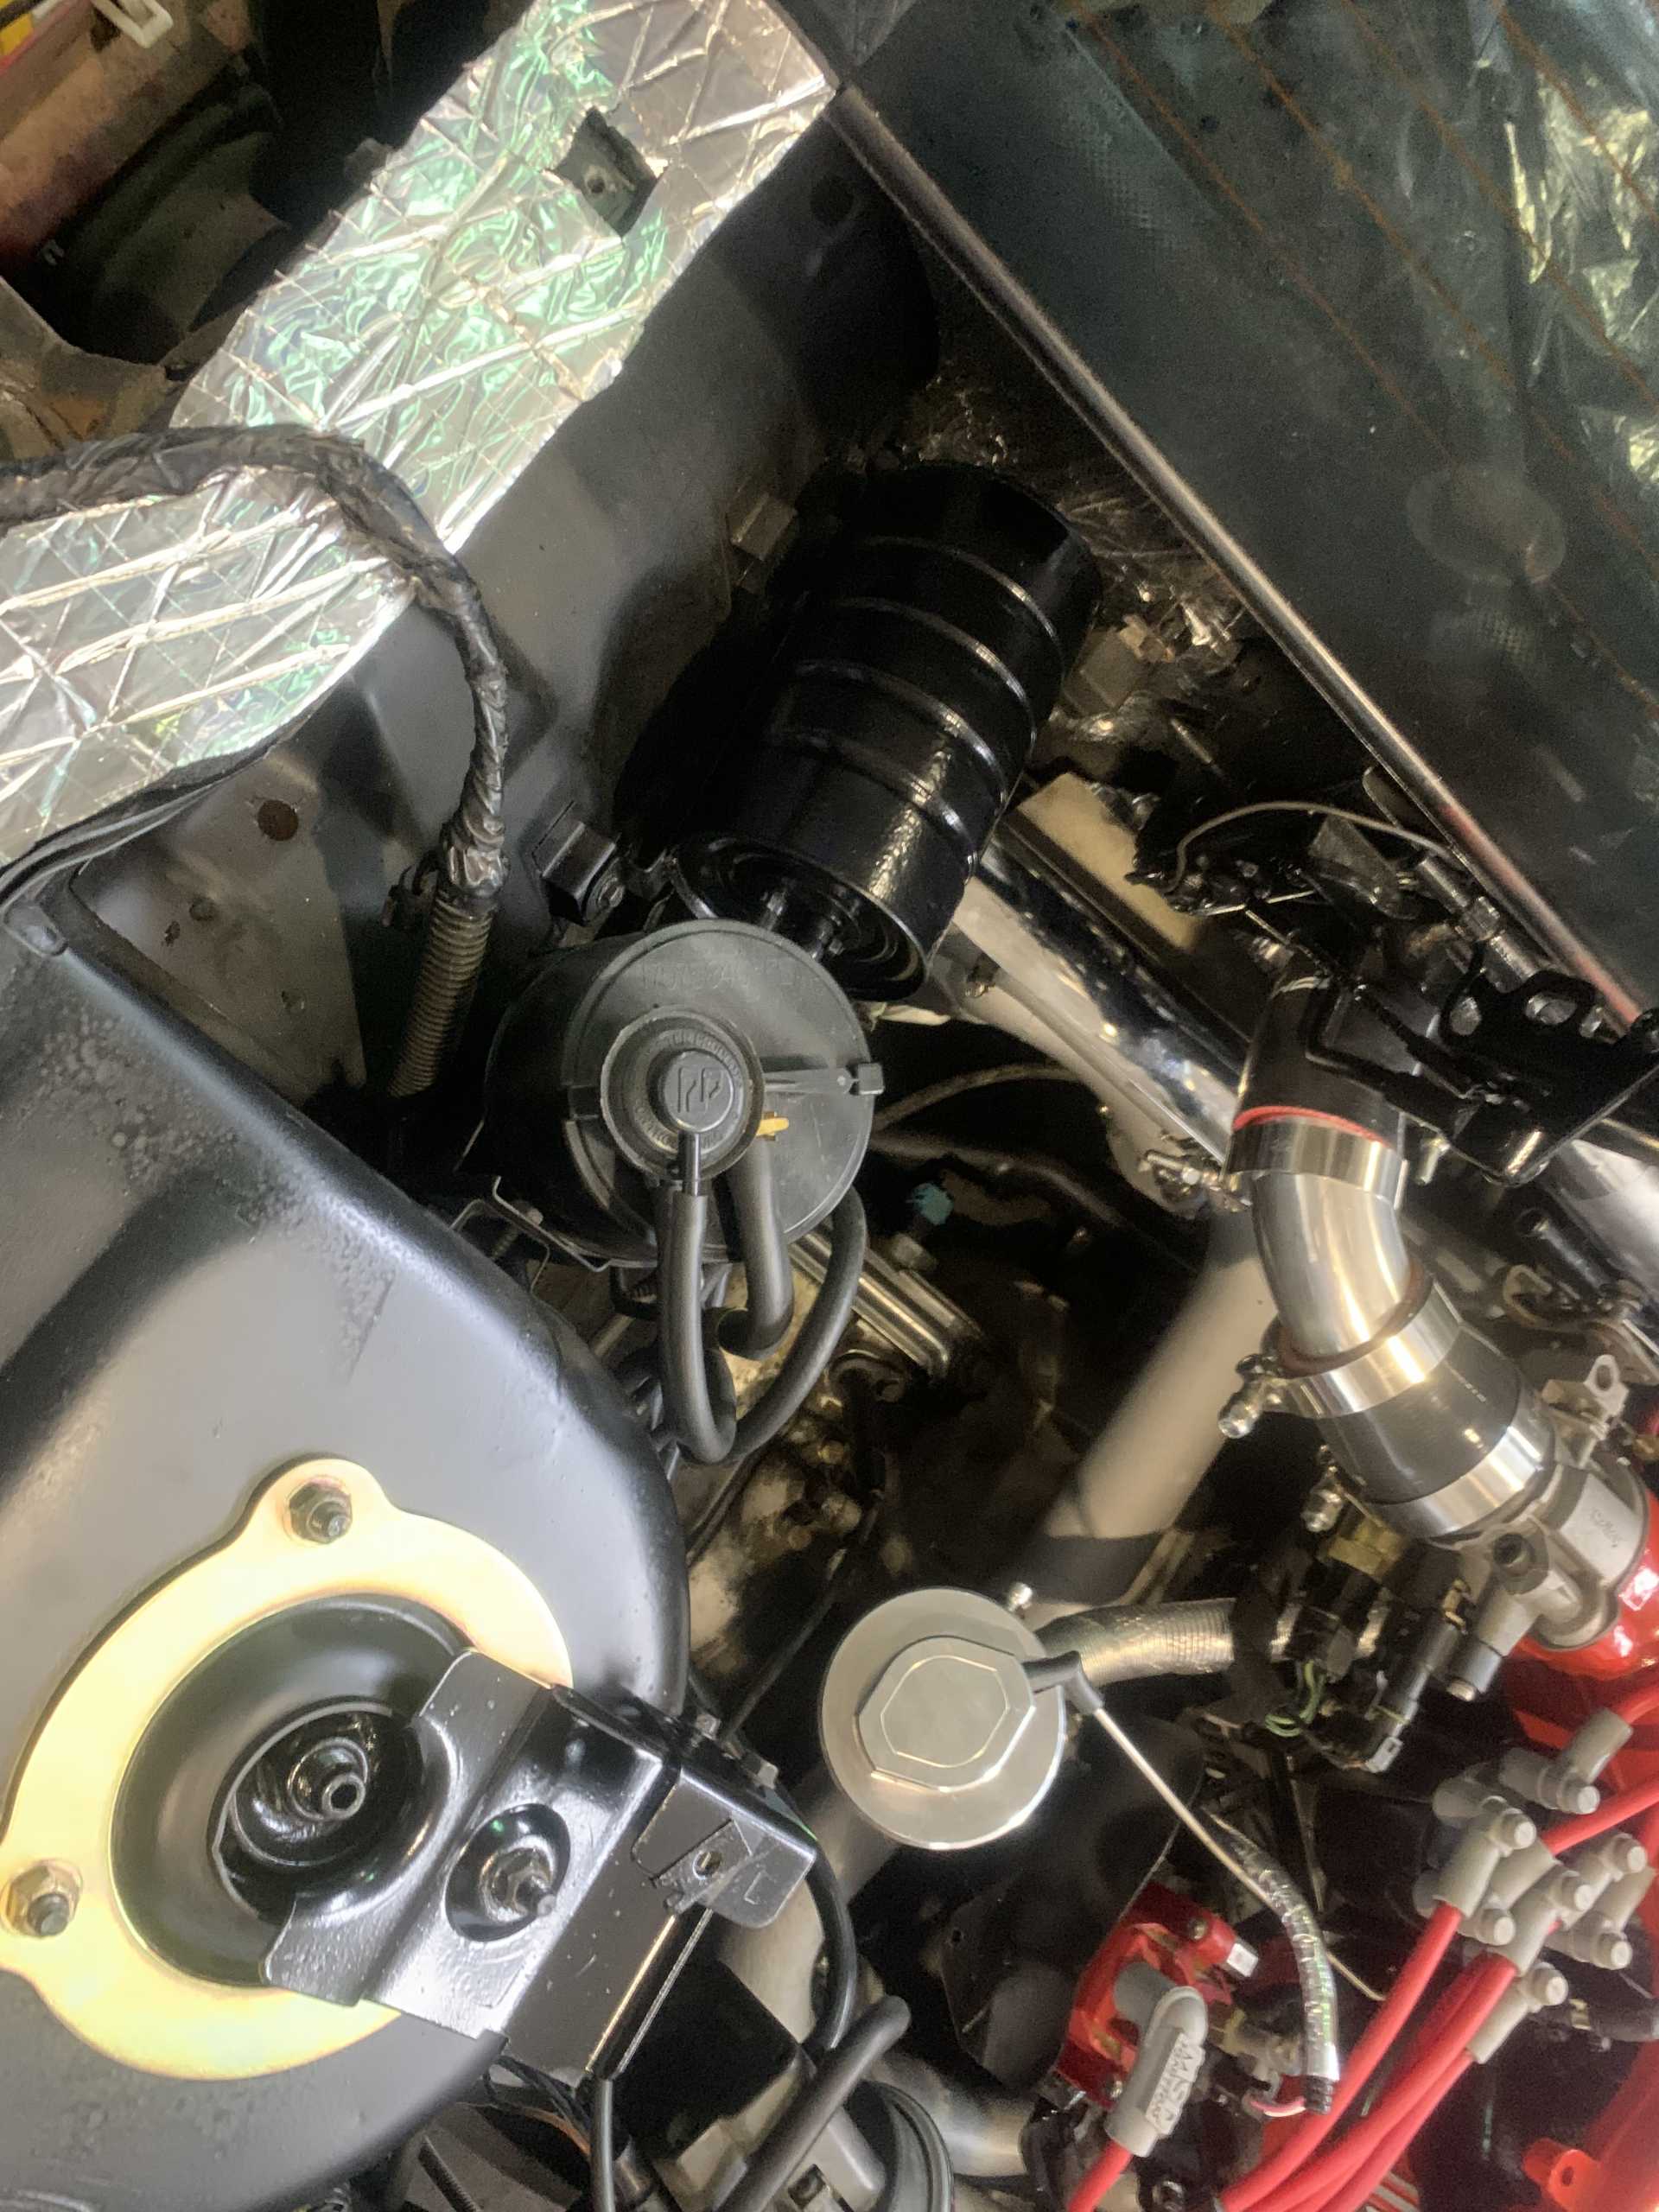
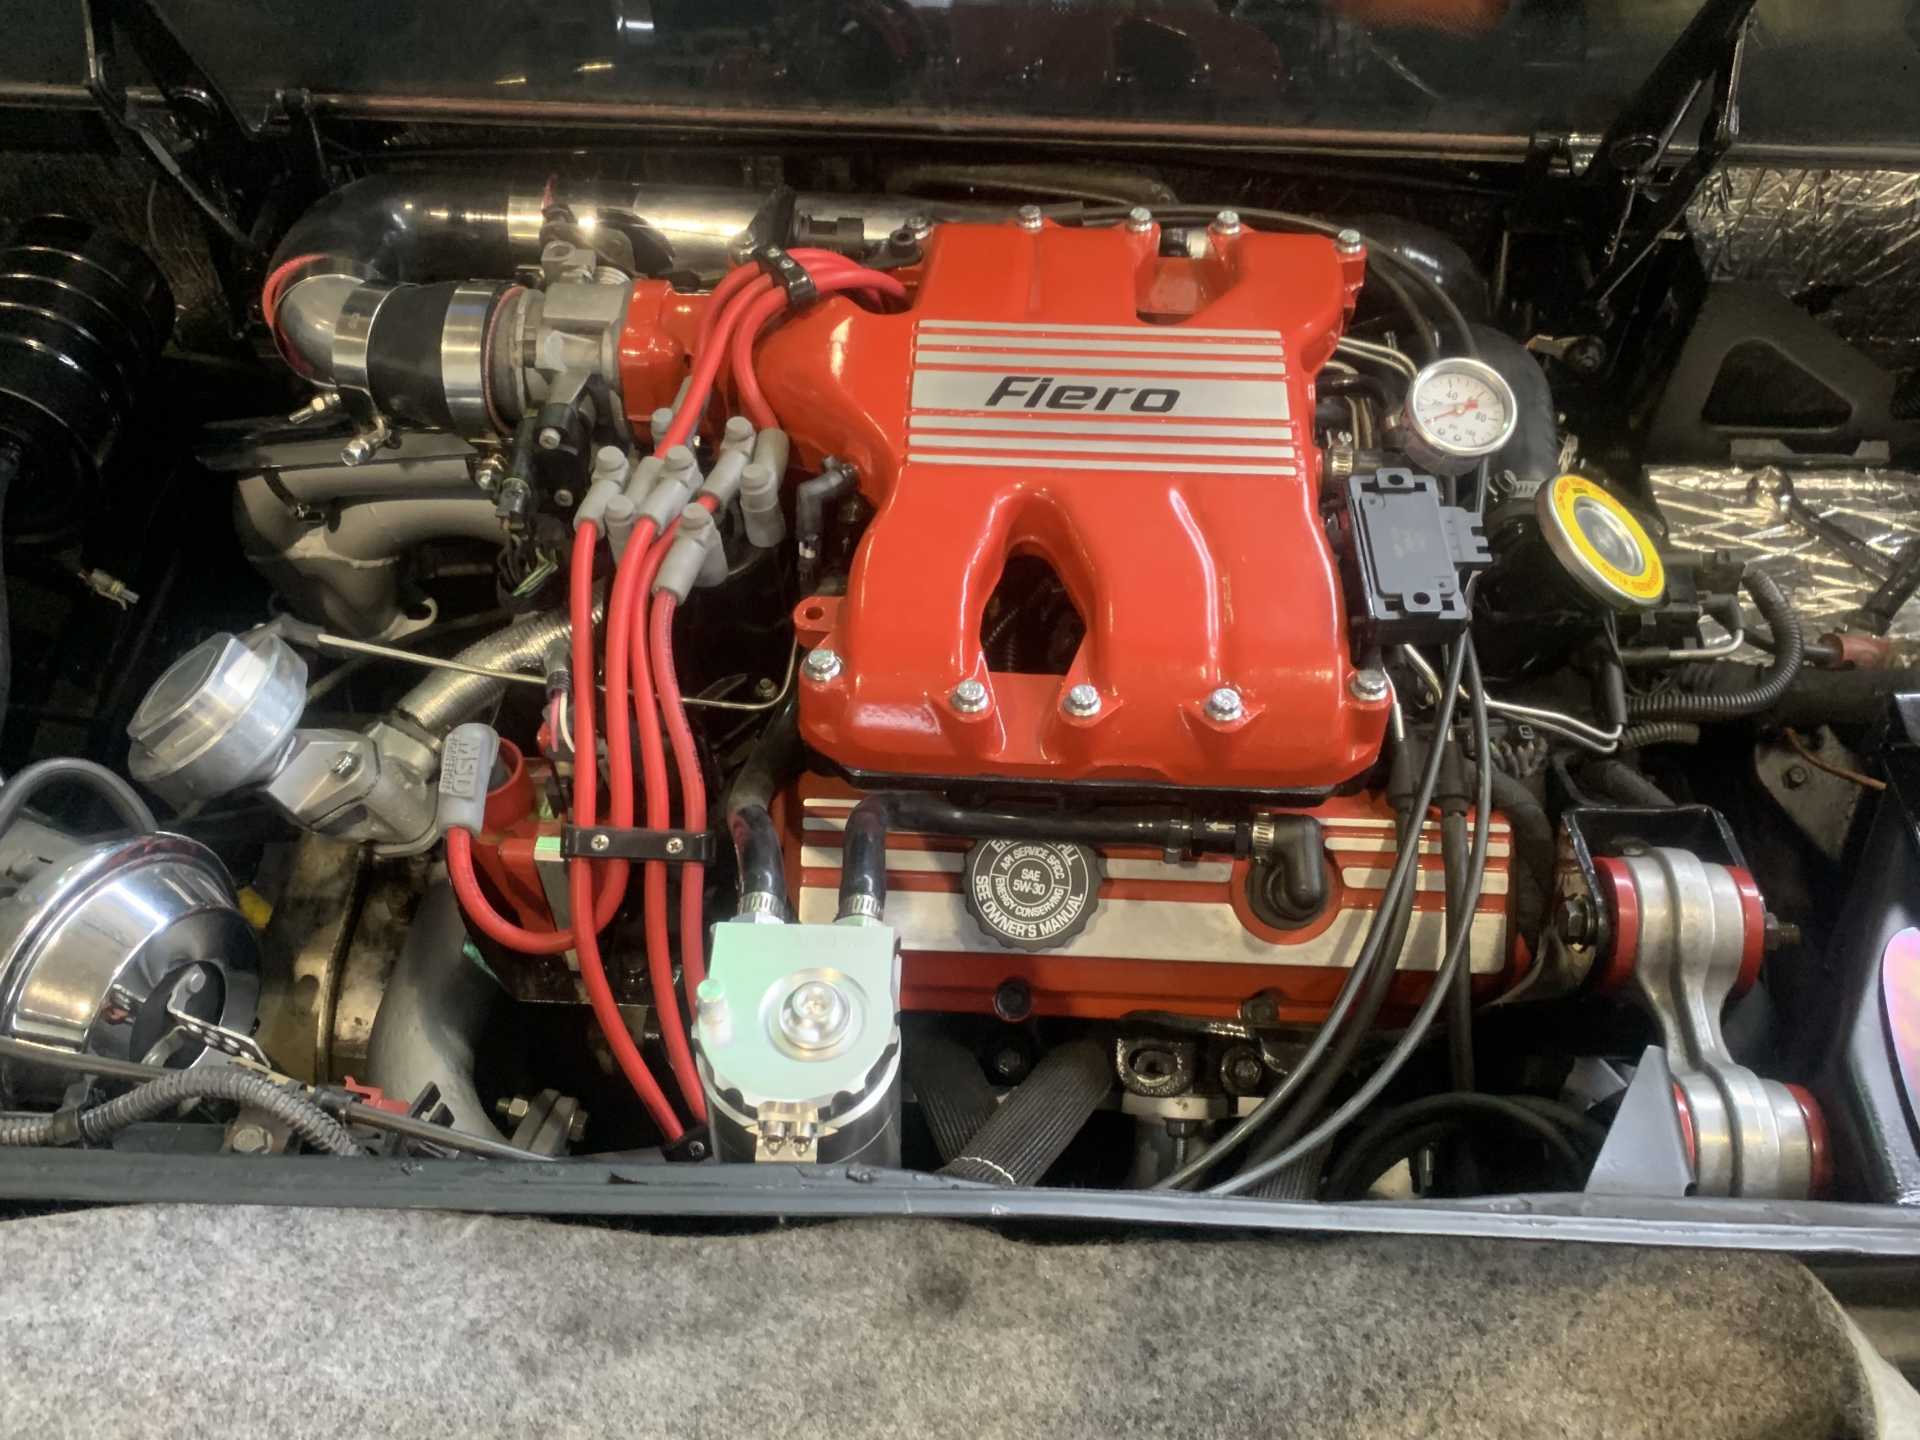
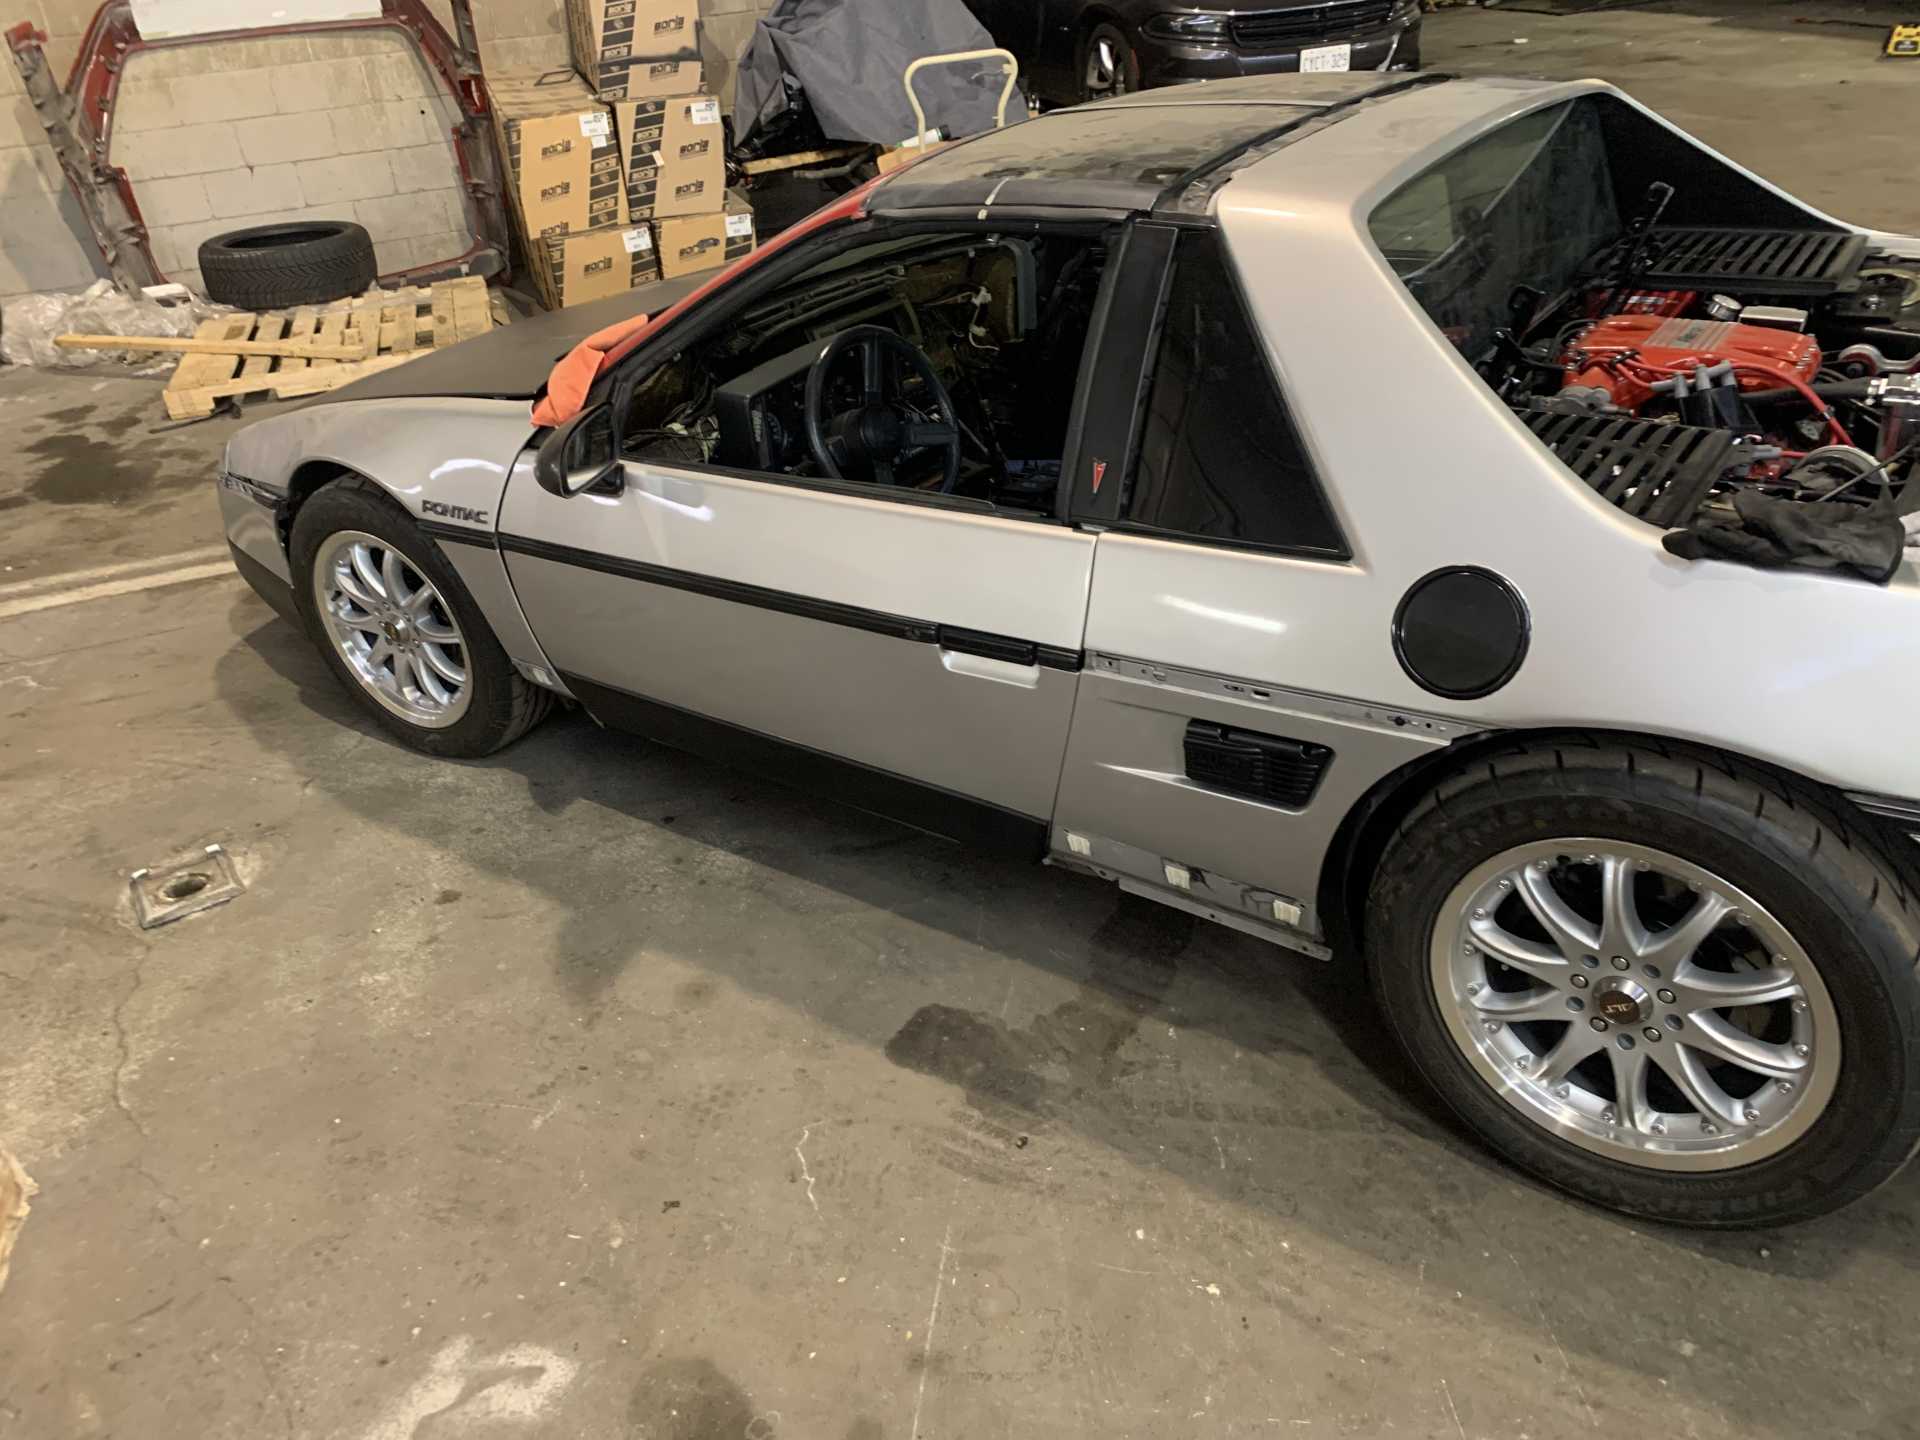
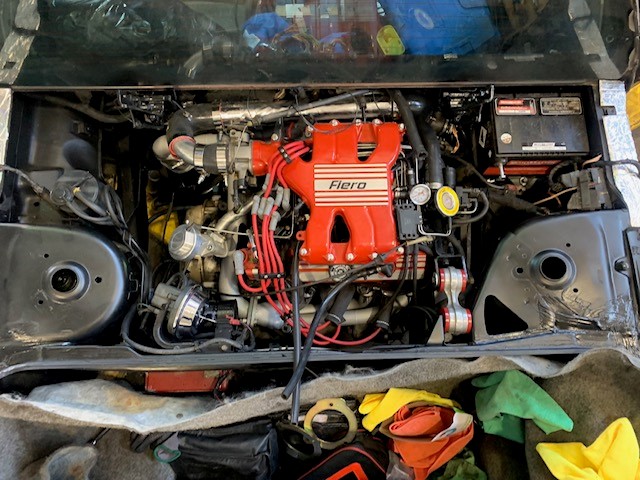
Engine is installed. some slight fitting issues but minor, just some adjustments needed with the SC tubes. coming along! the cruise control canister is touching the WCF exhaust, not sure if thats a problem or not? should I make a half canister?

[This message has been edited by jjd2296 (edited 05-08-2023).]

IP: Logged
zkhennings
Member
Posts: 1922
From: Massachusetts, USA
Registered: Oct 2010


Feedback score: (3)
Leave feedback

Rate this member

Report this Post05-10-2023 02:01 PM Click Here to See the Profile for zkhenningsSend a Private Message to zkhenningsEdit/Delete MessageReply w/QuoteDirect Link to This Post
Looking good, can you just slot some holes and move the assembly over to gain a little clearance?
IP: Logged
jjd2296
Member
Posts: 1437
From: toronto ON
Registered: Jan 2016


Feedback score:    (8)
Leave feedback

Rate this member

Report this Post05-10-2023 06:52 PM Click Here to See the Profile for jjd2296Send a Private Message to jjd2296Edit/Delete MessageReply w/QuoteDirect Link to This Post
good point I didnt think of doing that on the cruise canister mounting bracket.
IP: Logged
PFF
System Bot
jjd2296
Member
Posts: 1437
From: toronto ON
Registered: Jan 2016


Feedback score:    (8)
Leave feedback

Rate this member

Report this Post06-22-2023 10:15 PM Click Here to See the Profile for jjd2296Send a Private Message to jjd2296Edit/Delete MessageReply w/QuoteDirect Link to This Post
Made some more progress. Upgraded to gen 2 headlight motors and harness.

IP: Logged
jjd2296
Member
Posts: 1437
From: toronto ON
Registered: Jan 2016


Feedback score:    (8)
Leave feedback

Rate this member

Report this Post06-26-2023 07:40 AM Click Here to See the Profile for jjd2296Send a Private Message to jjd2296Edit/Delete MessageReply w/QuoteDirect Link to This Post
Made some more progress. Relocated the cruise canister to the old filter box location.


Installed my oil catch can and hooked up all the lines.

[This message has been edited by jjd2296 (edited 06-26-2023).]

IP: Logged
jjd2296
Member
Posts: 1437
From: toronto ON
Registered: Jan 2016


Feedback score:    (8)
Leave feedback

Rate this member

Report this Post11-13-2023 07:47 AM Click Here to See the Profile for jjd2296Send a Private Message to jjd2296Edit/Delete MessageReply w/QuoteDirect Link to This Post
more work being done, most of it is small stuff, but I have begun swapping panels off the car to turn it to silver! with some mat black wrap.


[This message has been edited by jjd2296 (edited 11-13-2023).]

IP: Logged
jjd2296
Member
Posts: 1437
From: toronto ON
Registered: Jan 2016


Feedback score:    (8)
Leave feedback

Rate this member

Report this Post11-27-2023 09:36 PM Click Here to See the Profile for jjd2296Send a Private Message to jjd2296Edit/Delete MessageReply w/QuoteDirect Link to This Post
Ttop trim pieces refinished in Matt black with a Matt clear coat.

IP: Logged
jjd2296
Member
Posts: 1437
From: toronto ON
Registered: Jan 2016


Feedback score:    (8)
Leave feedback

Rate this member

Report this Post02-04-2024 08:36 PM Click Here to See the Profile for jjd2296Send a Private Message to jjd2296Edit/Delete MessageReply w/QuoteDirect Link to This Post
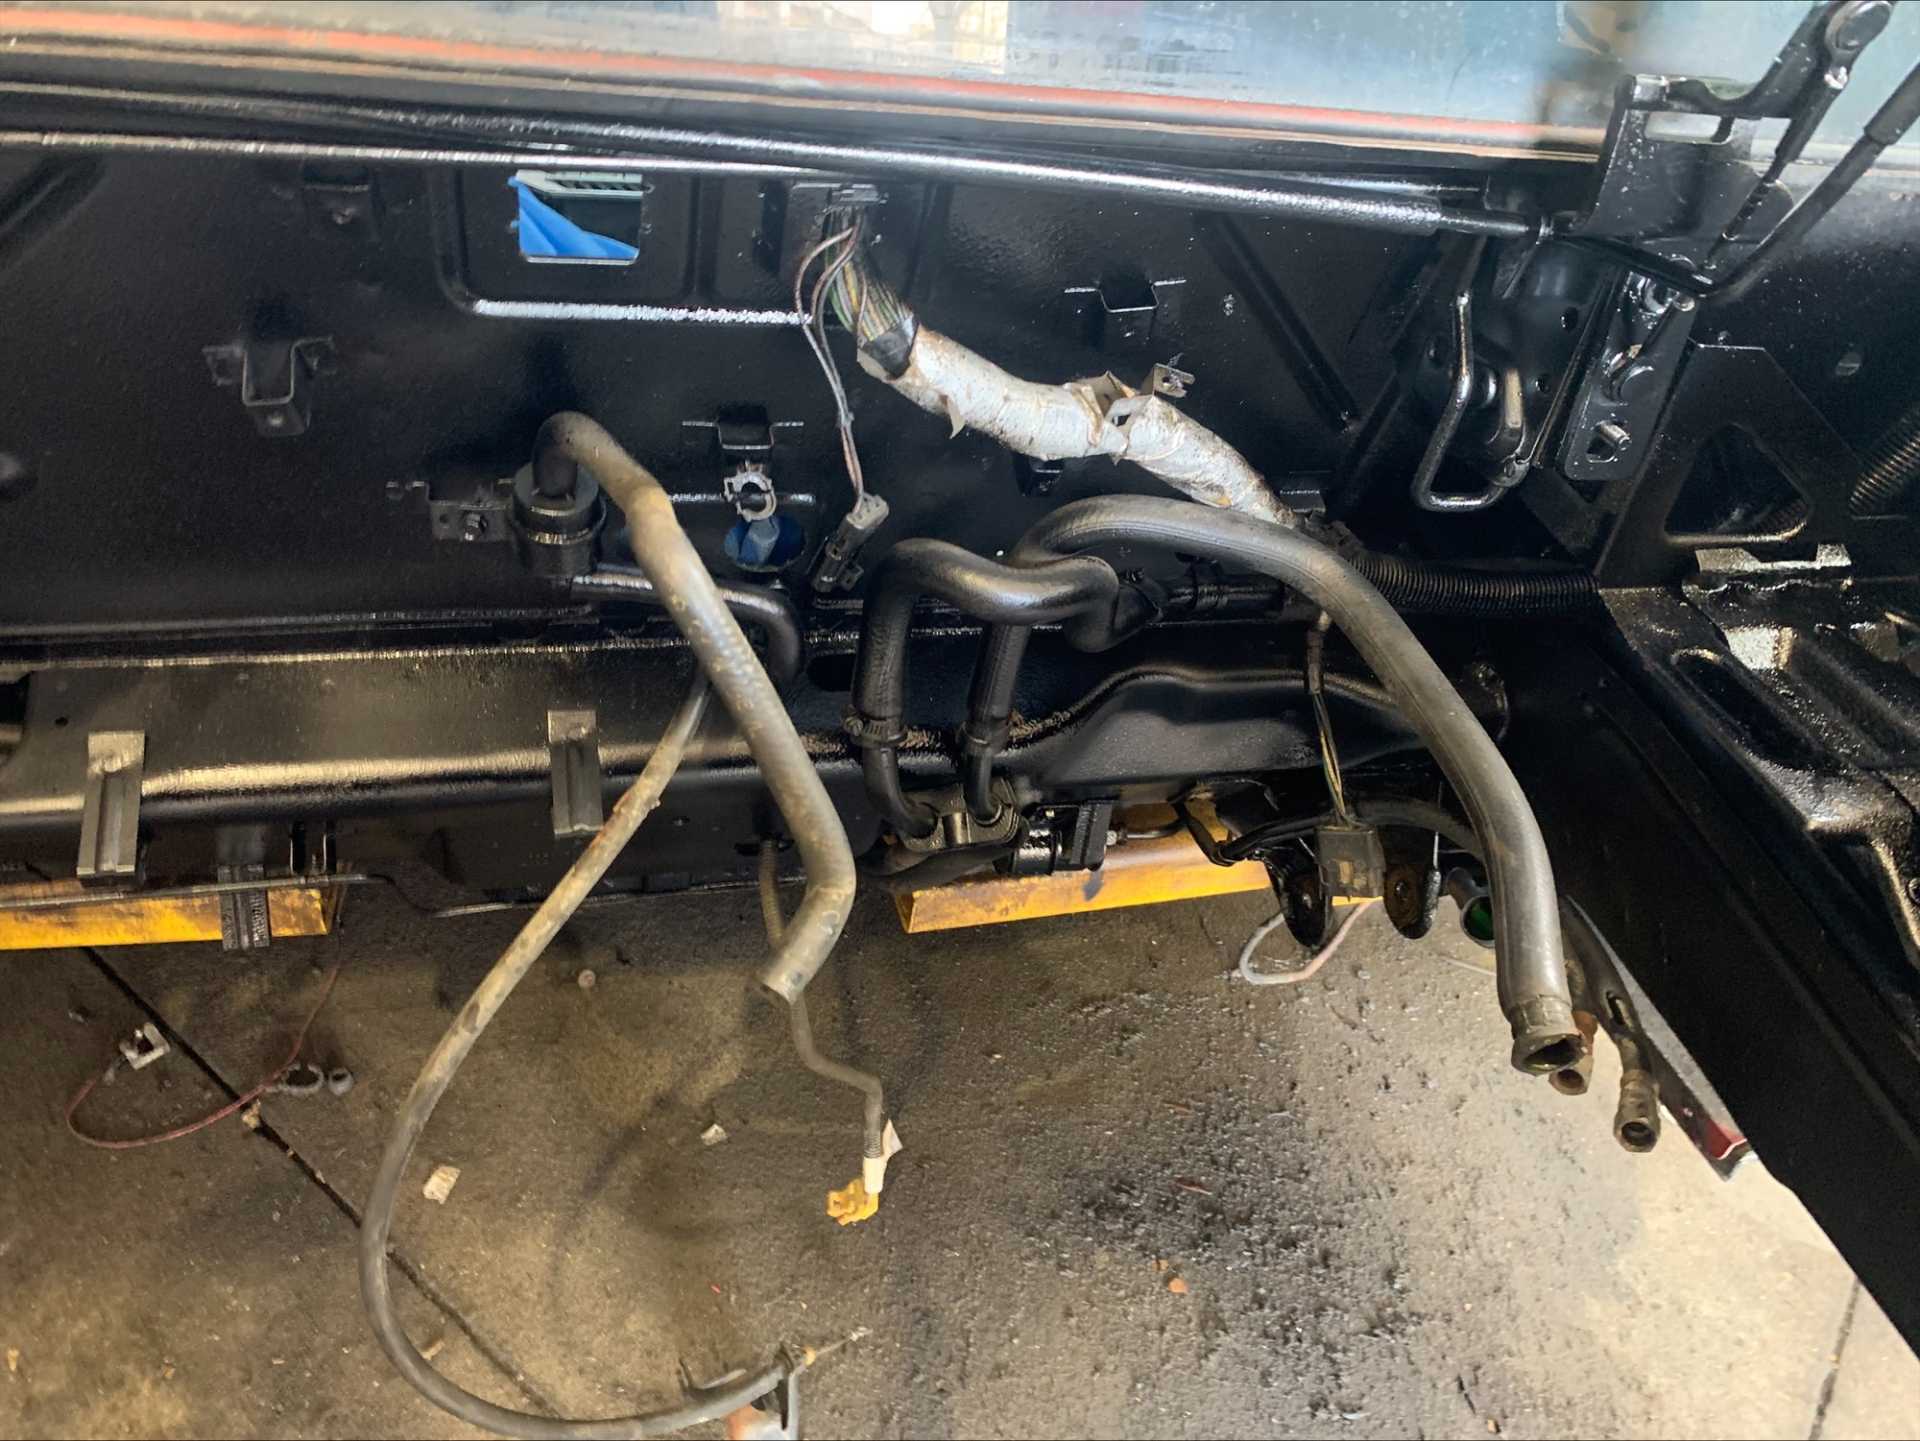
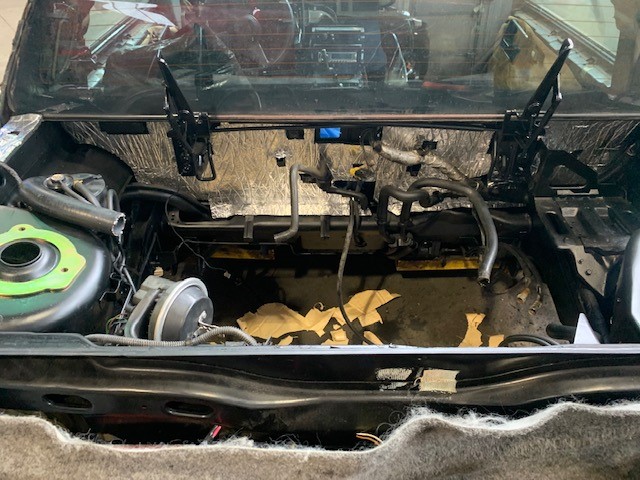
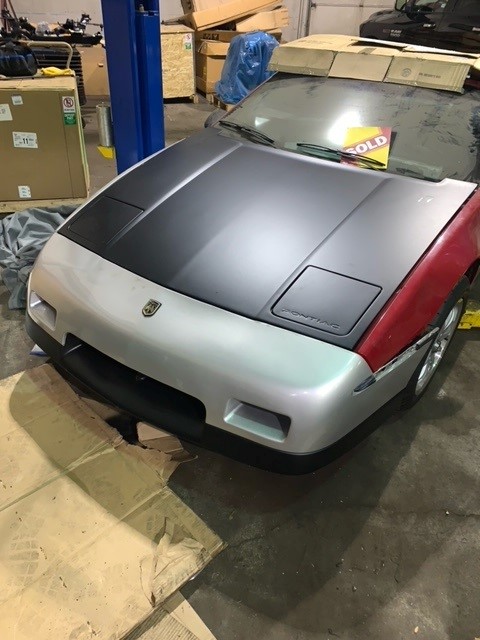
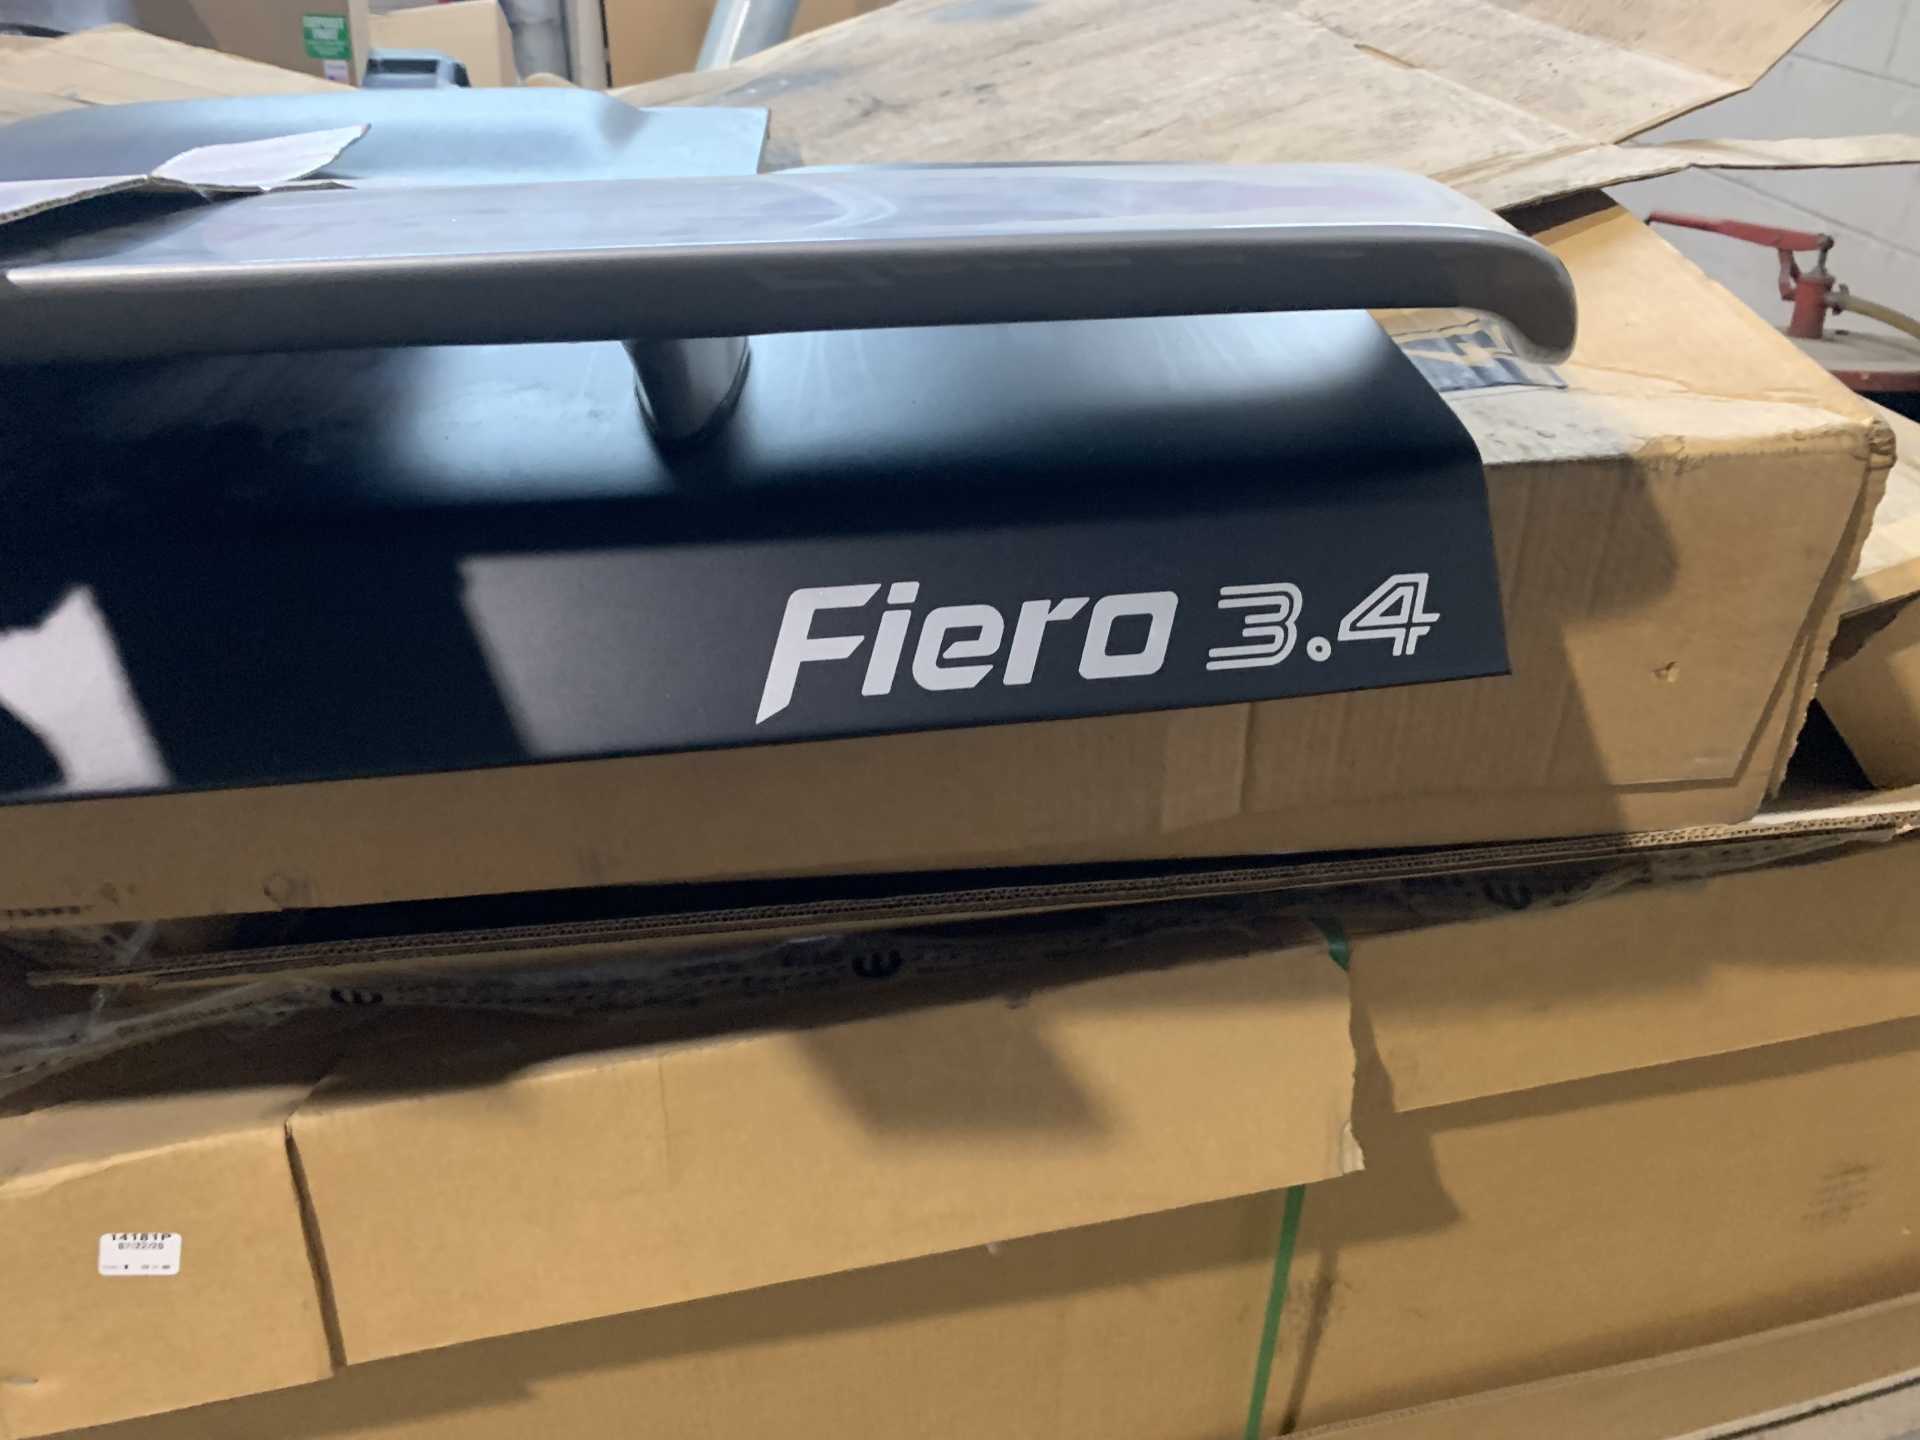
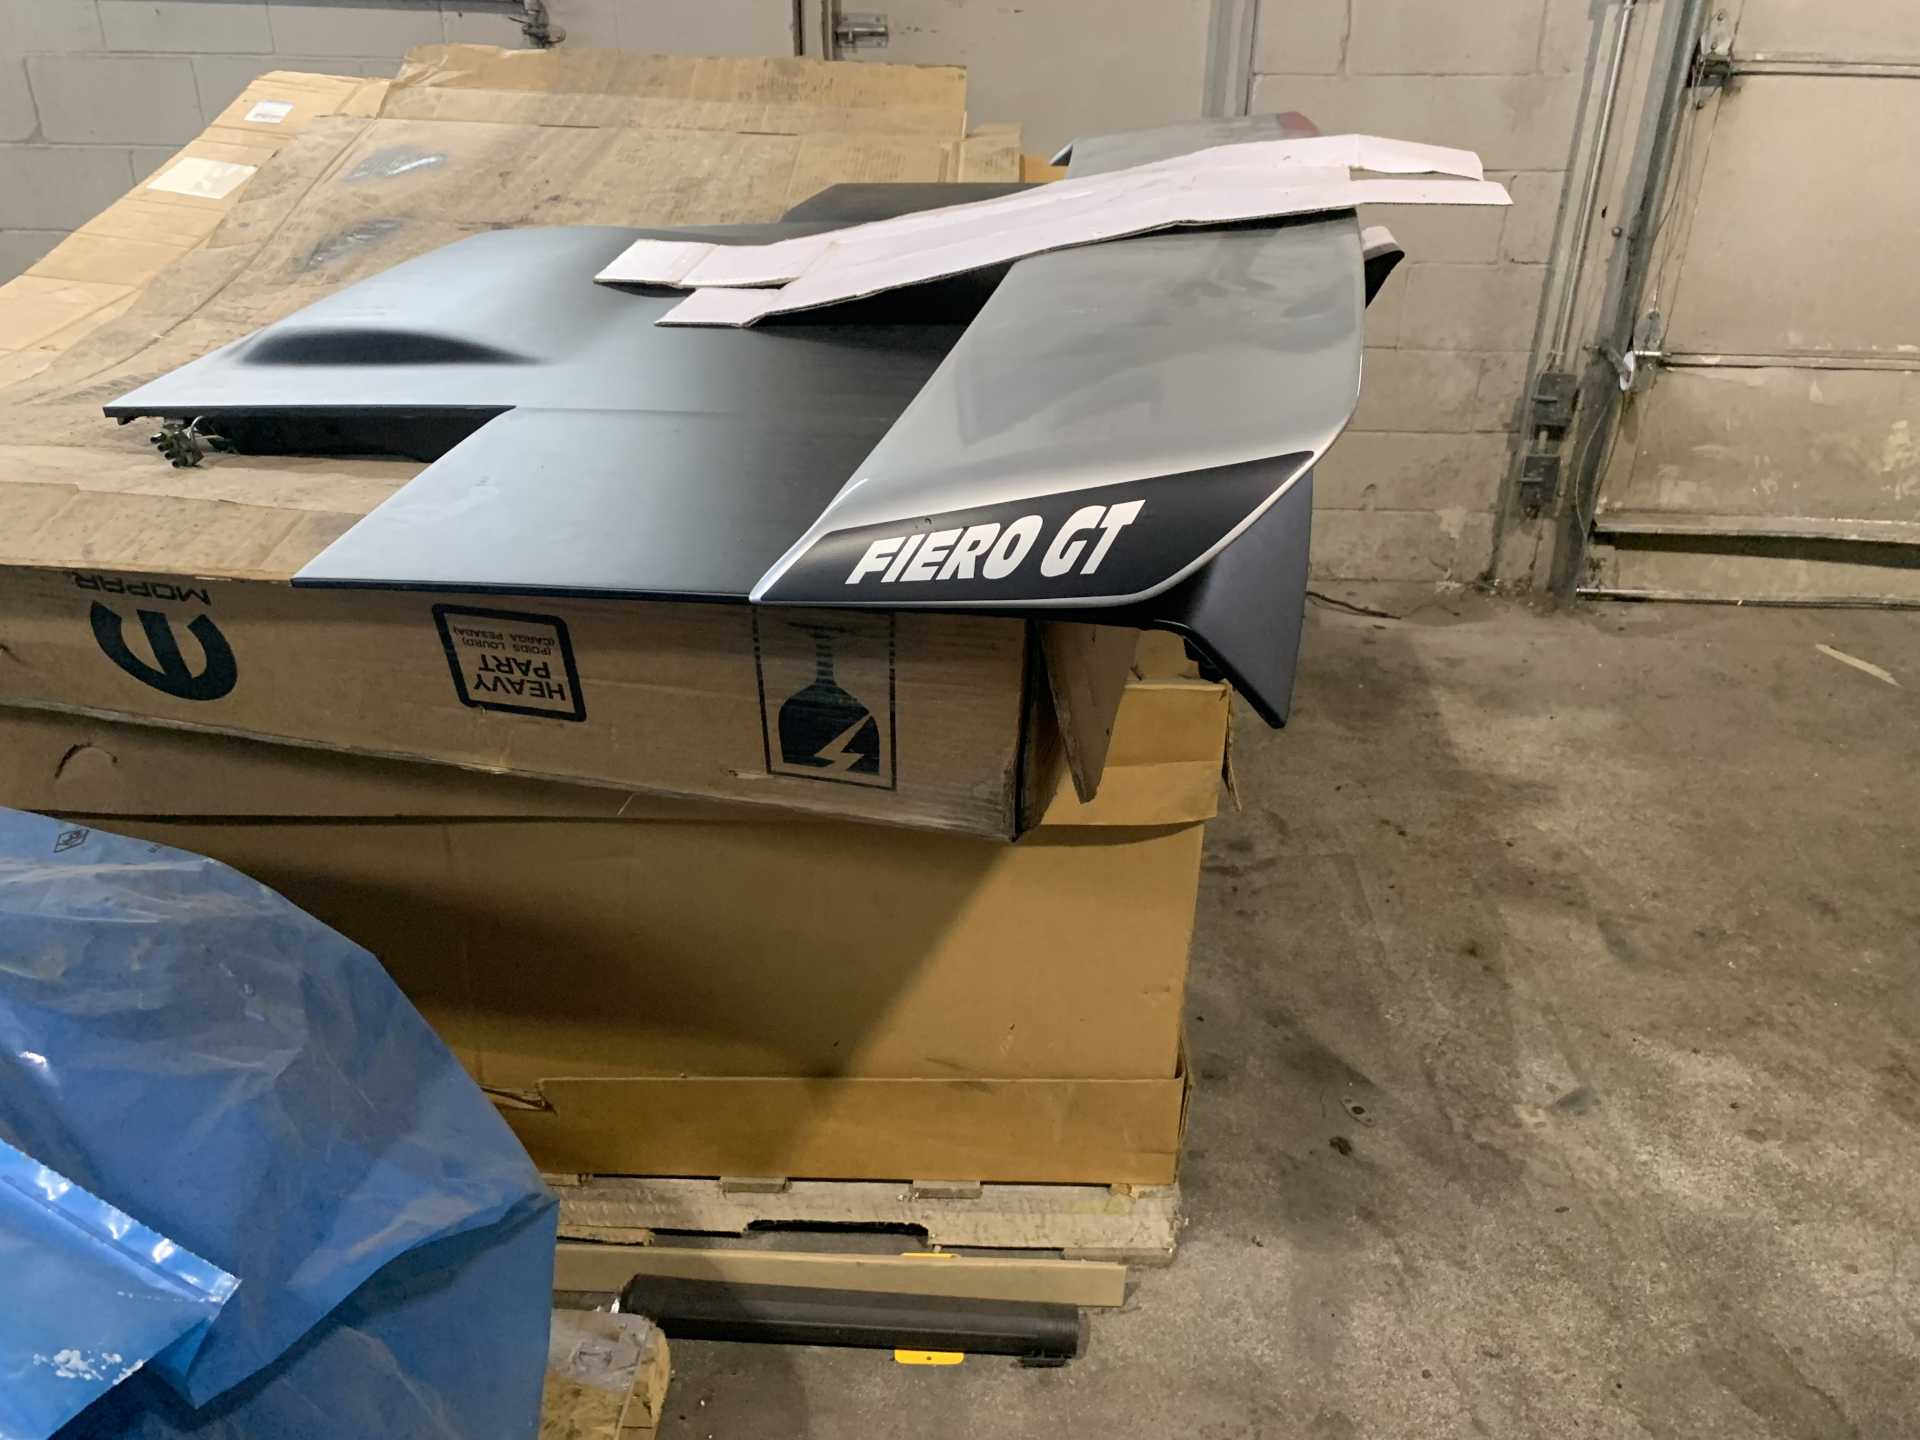
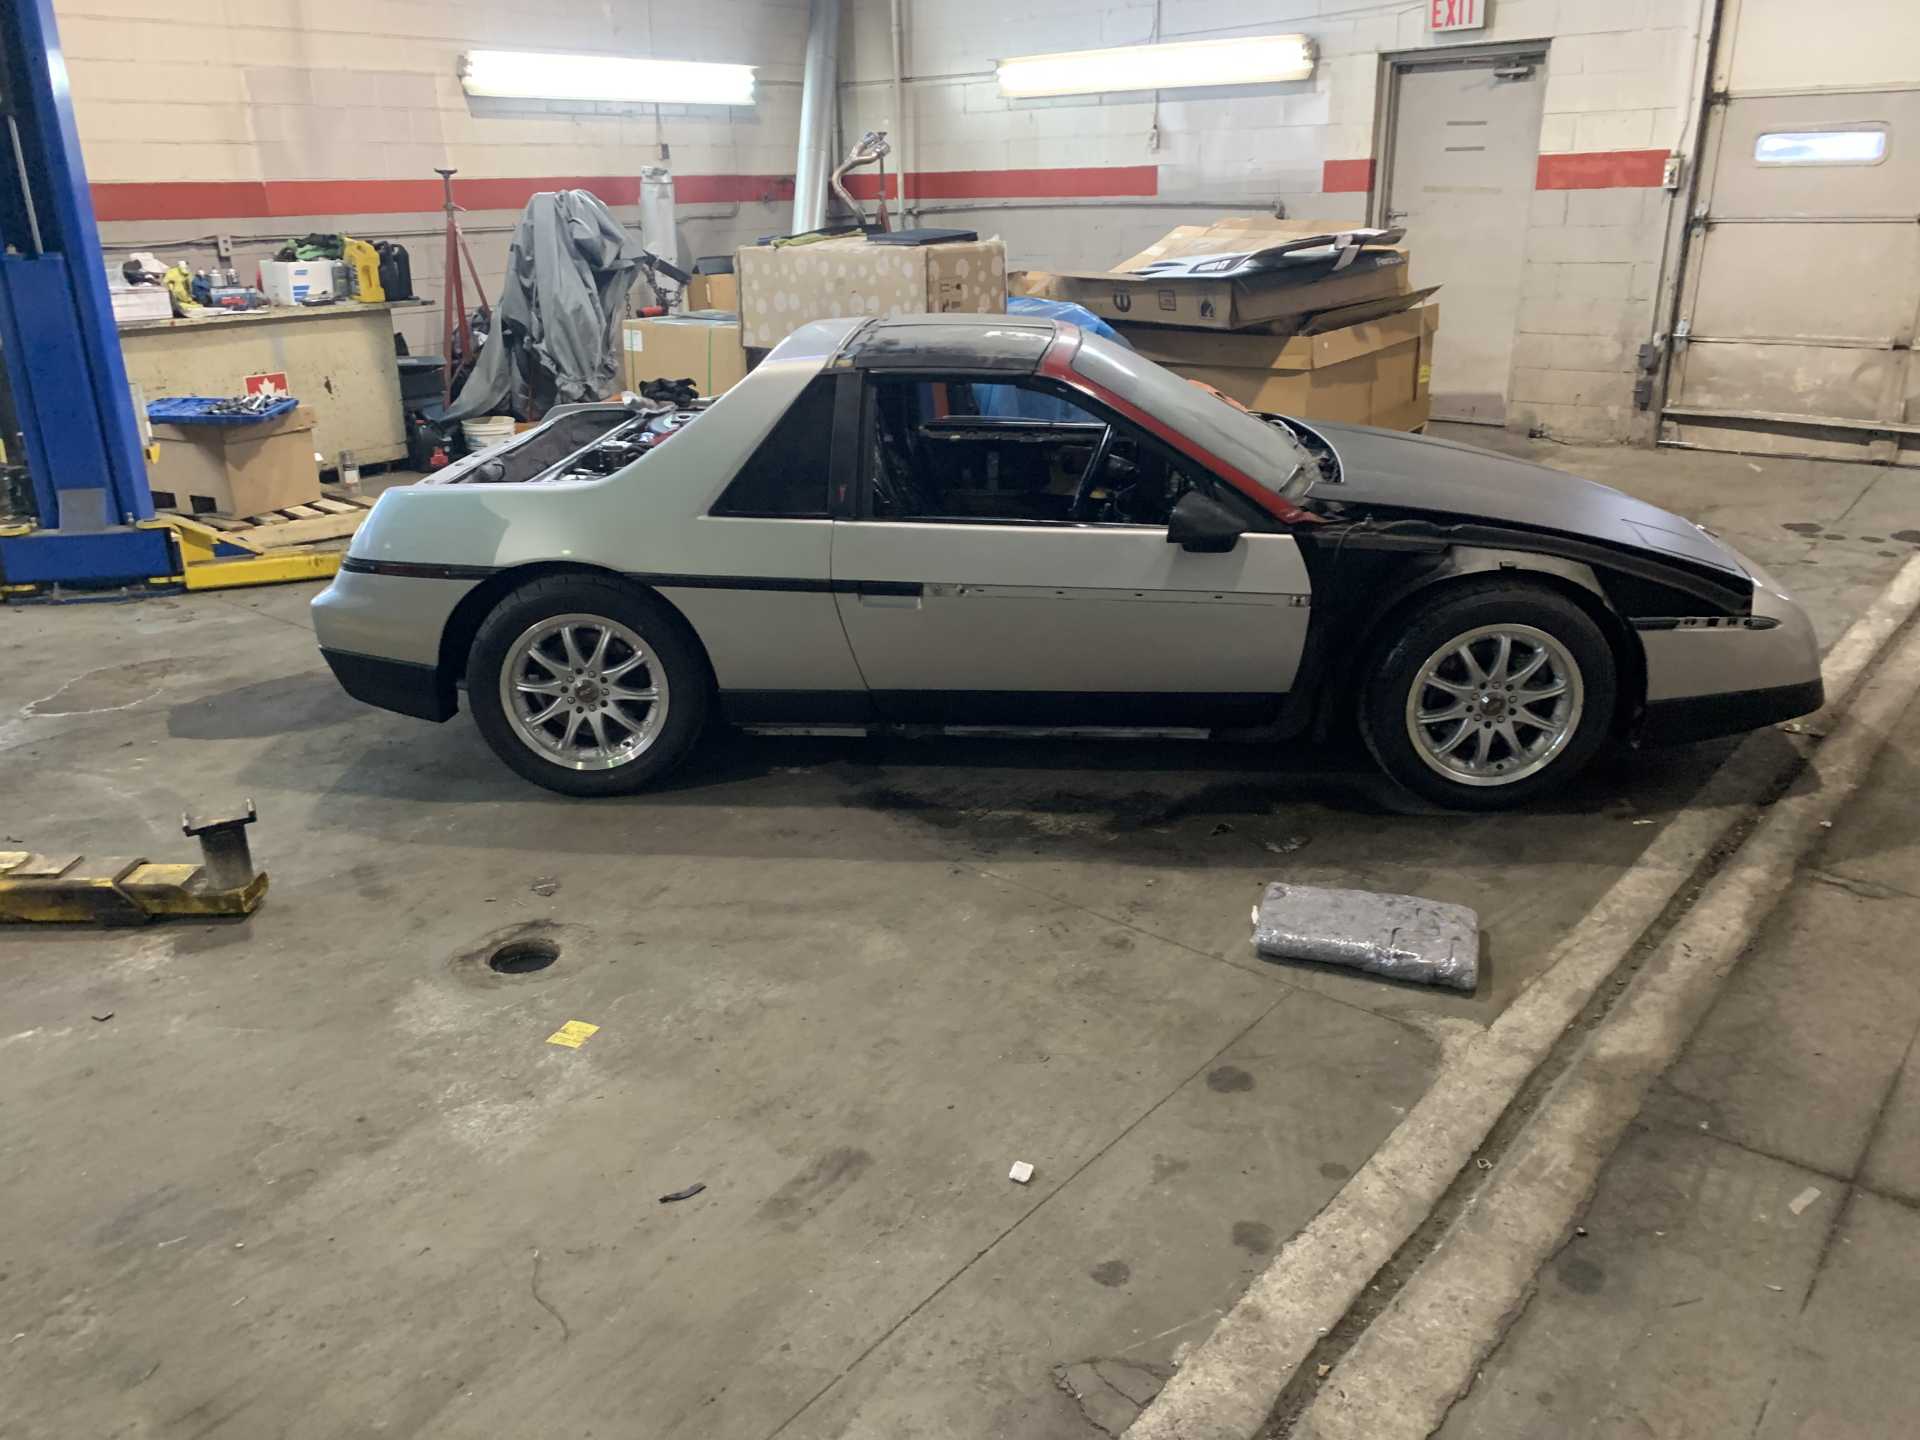
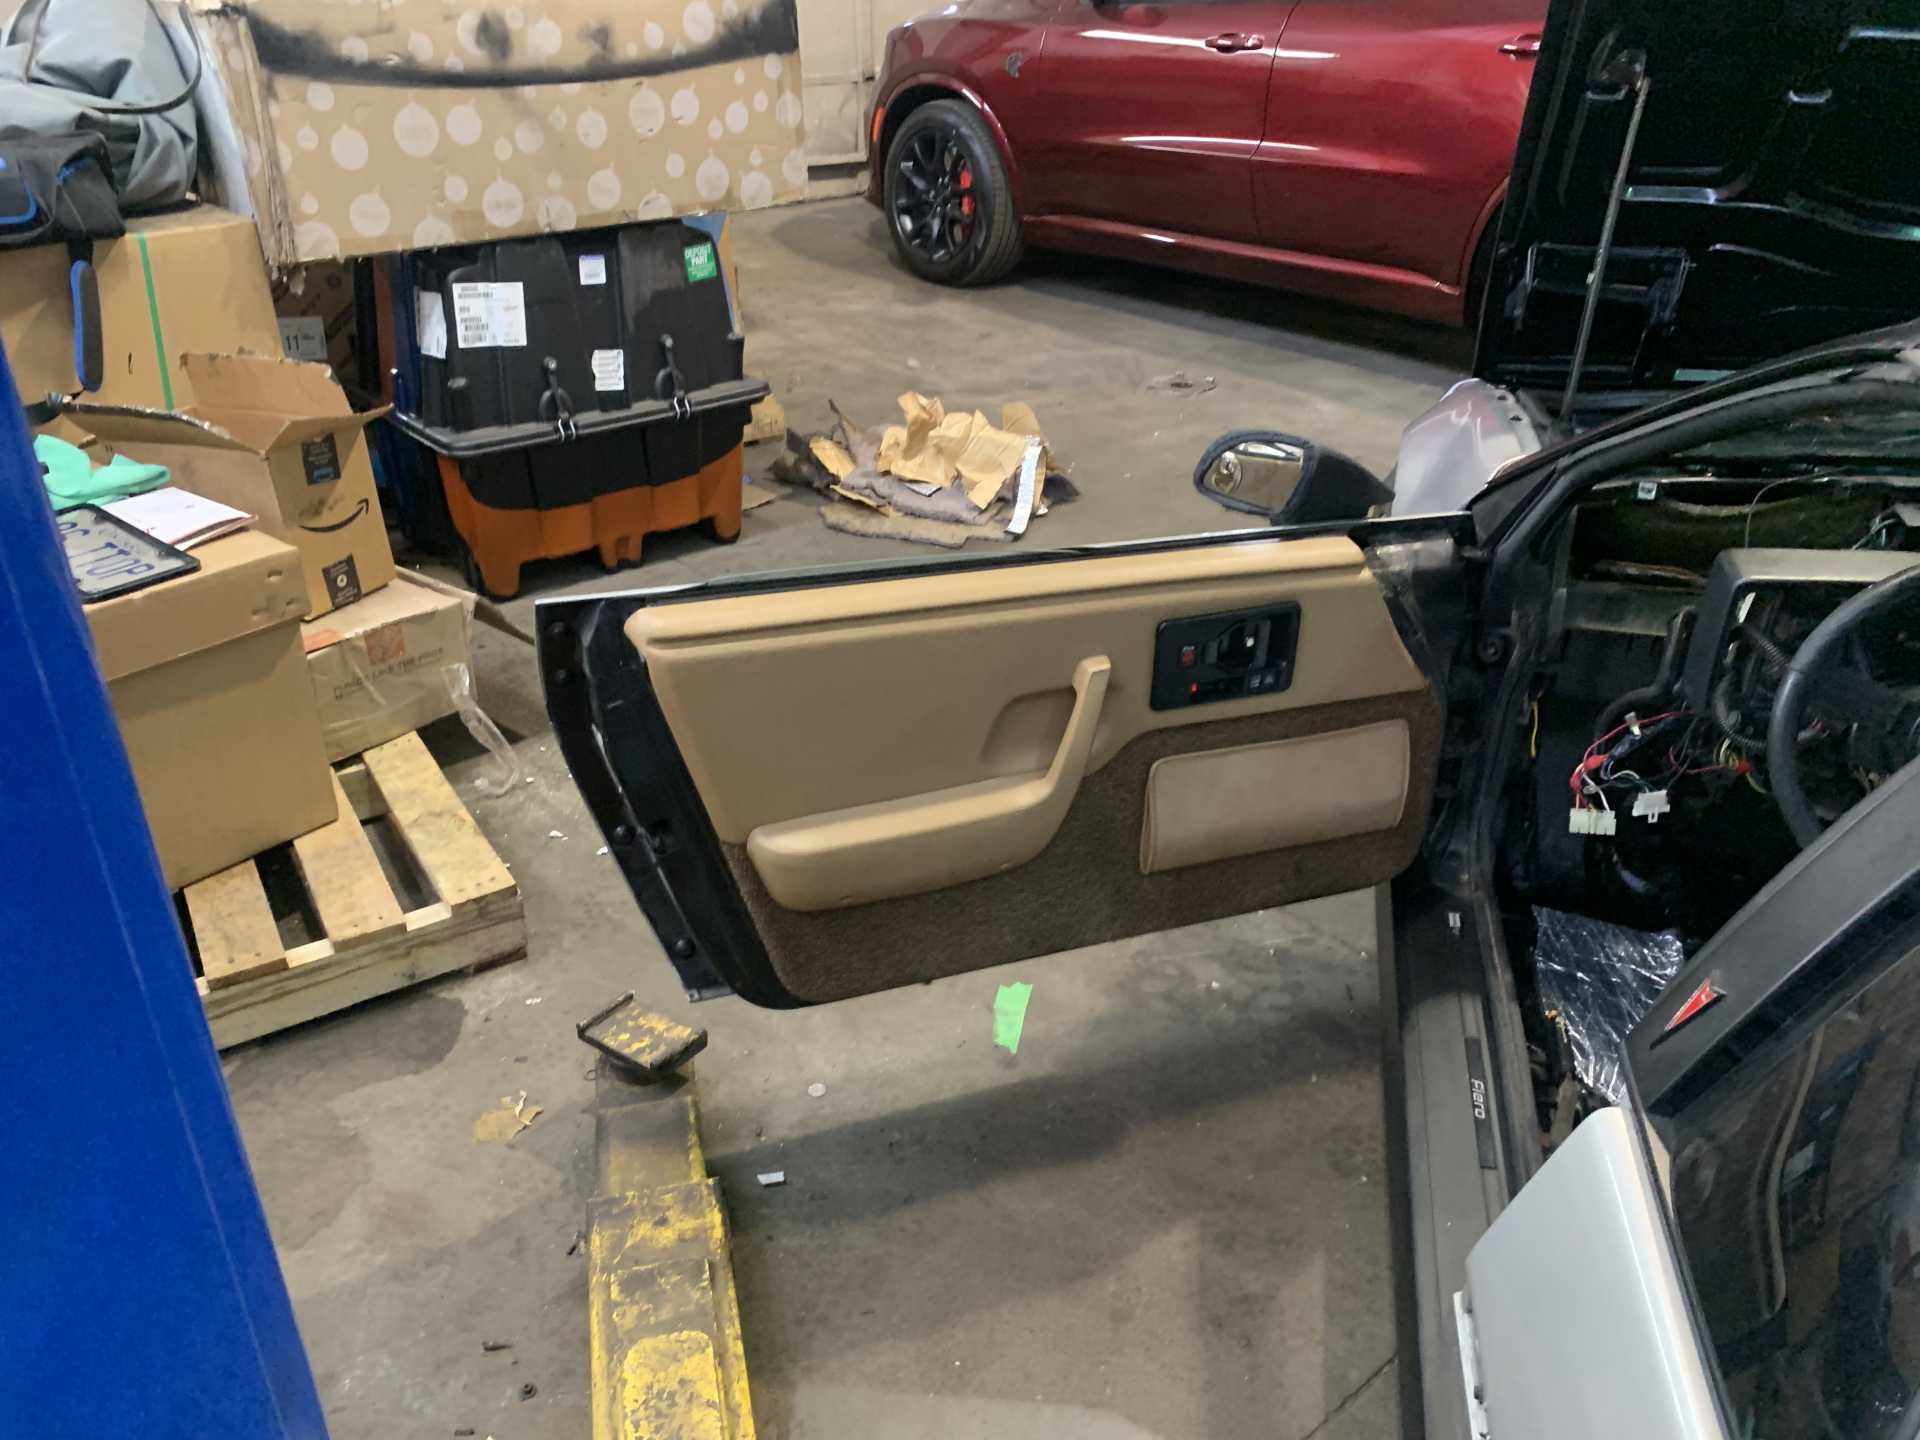
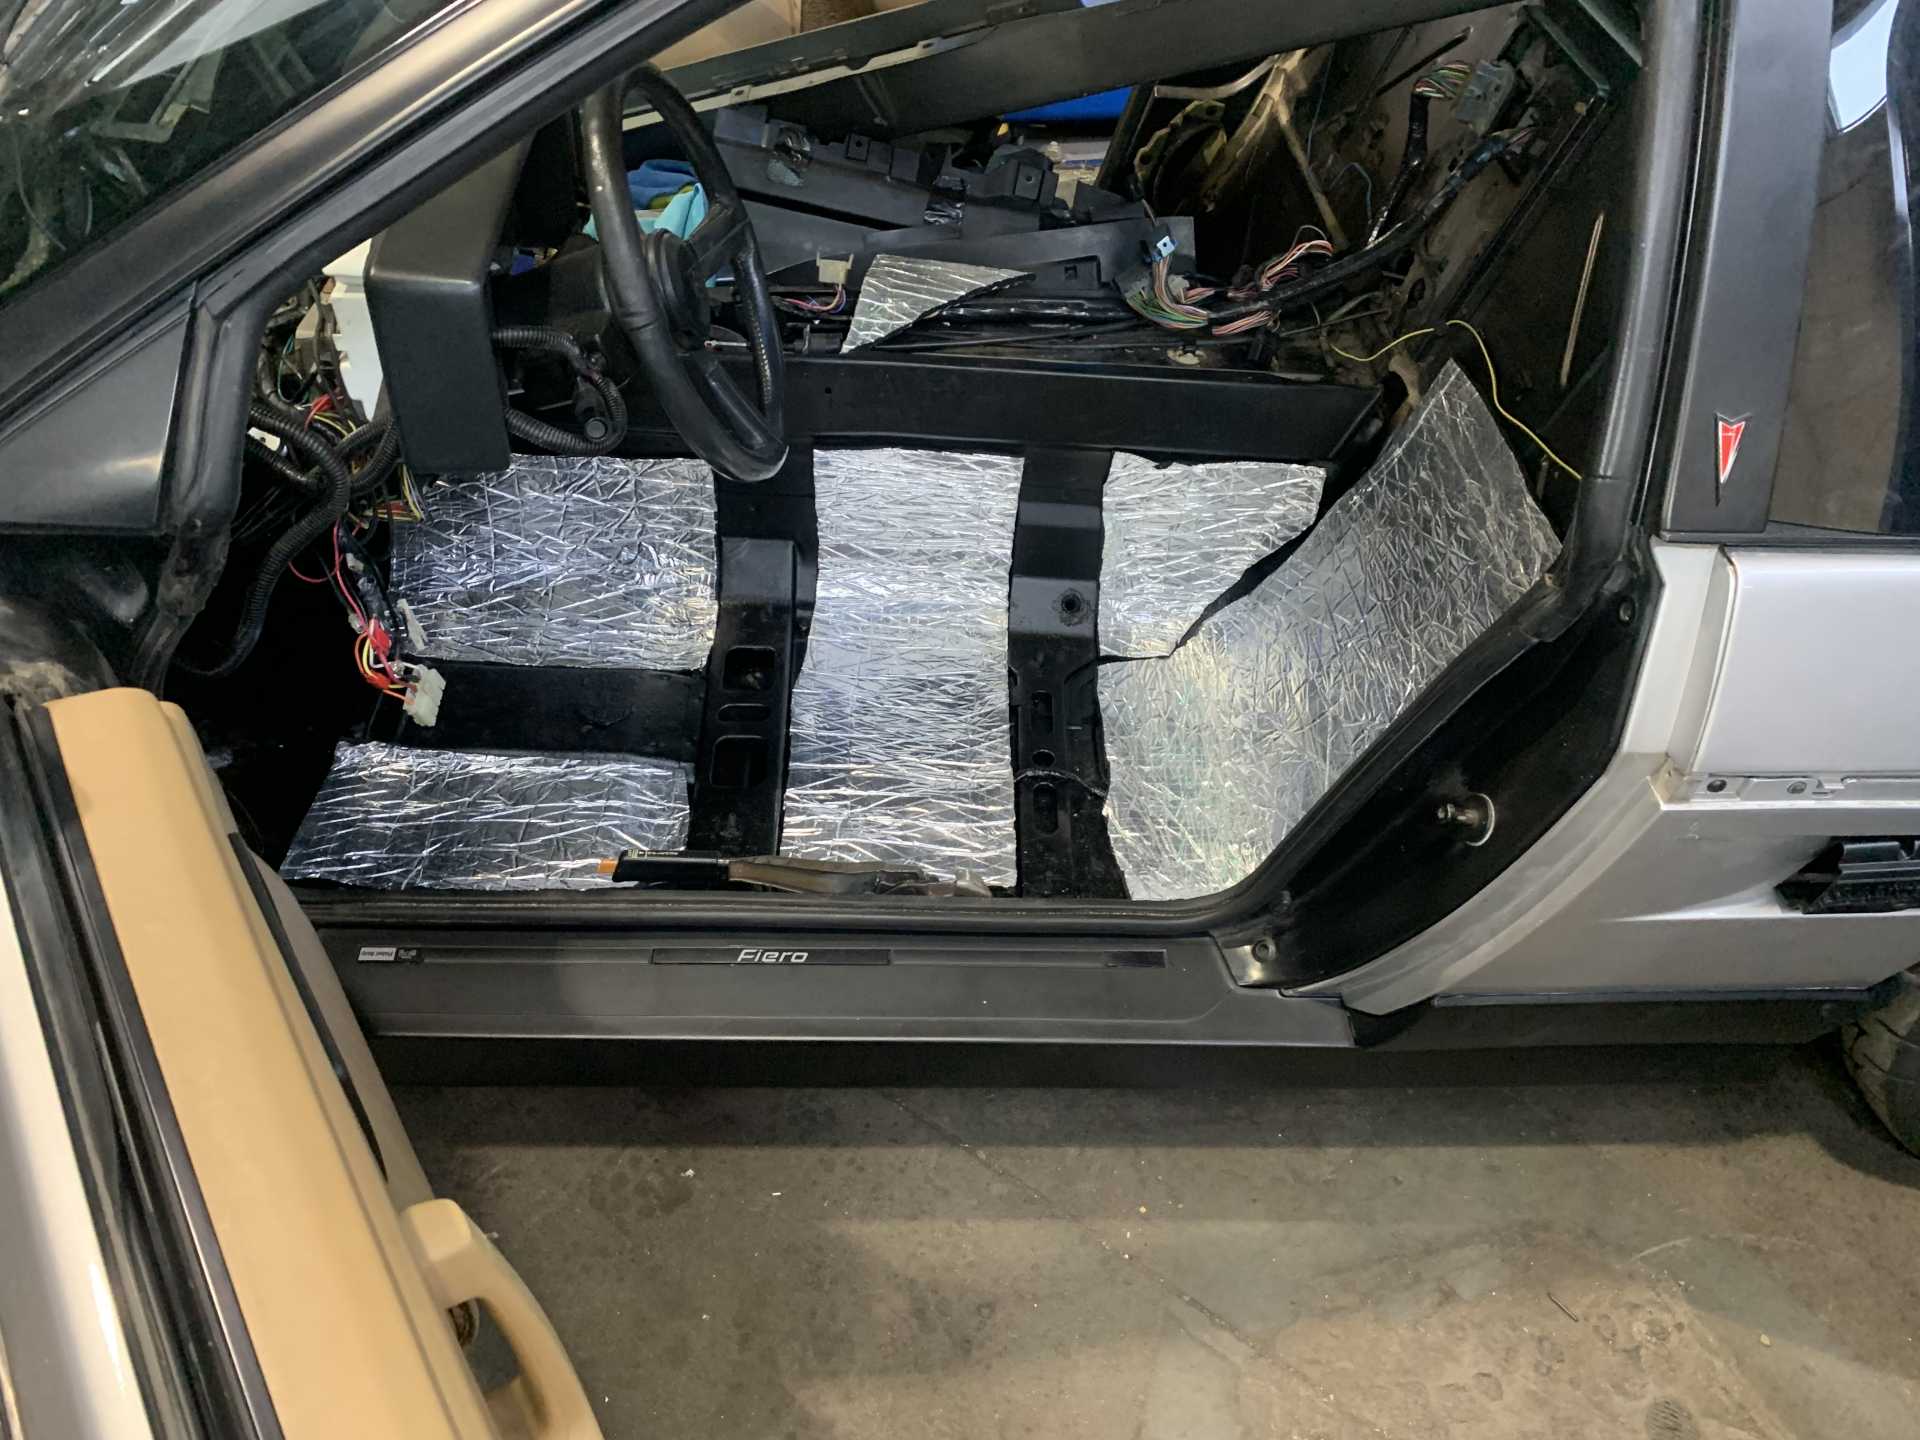
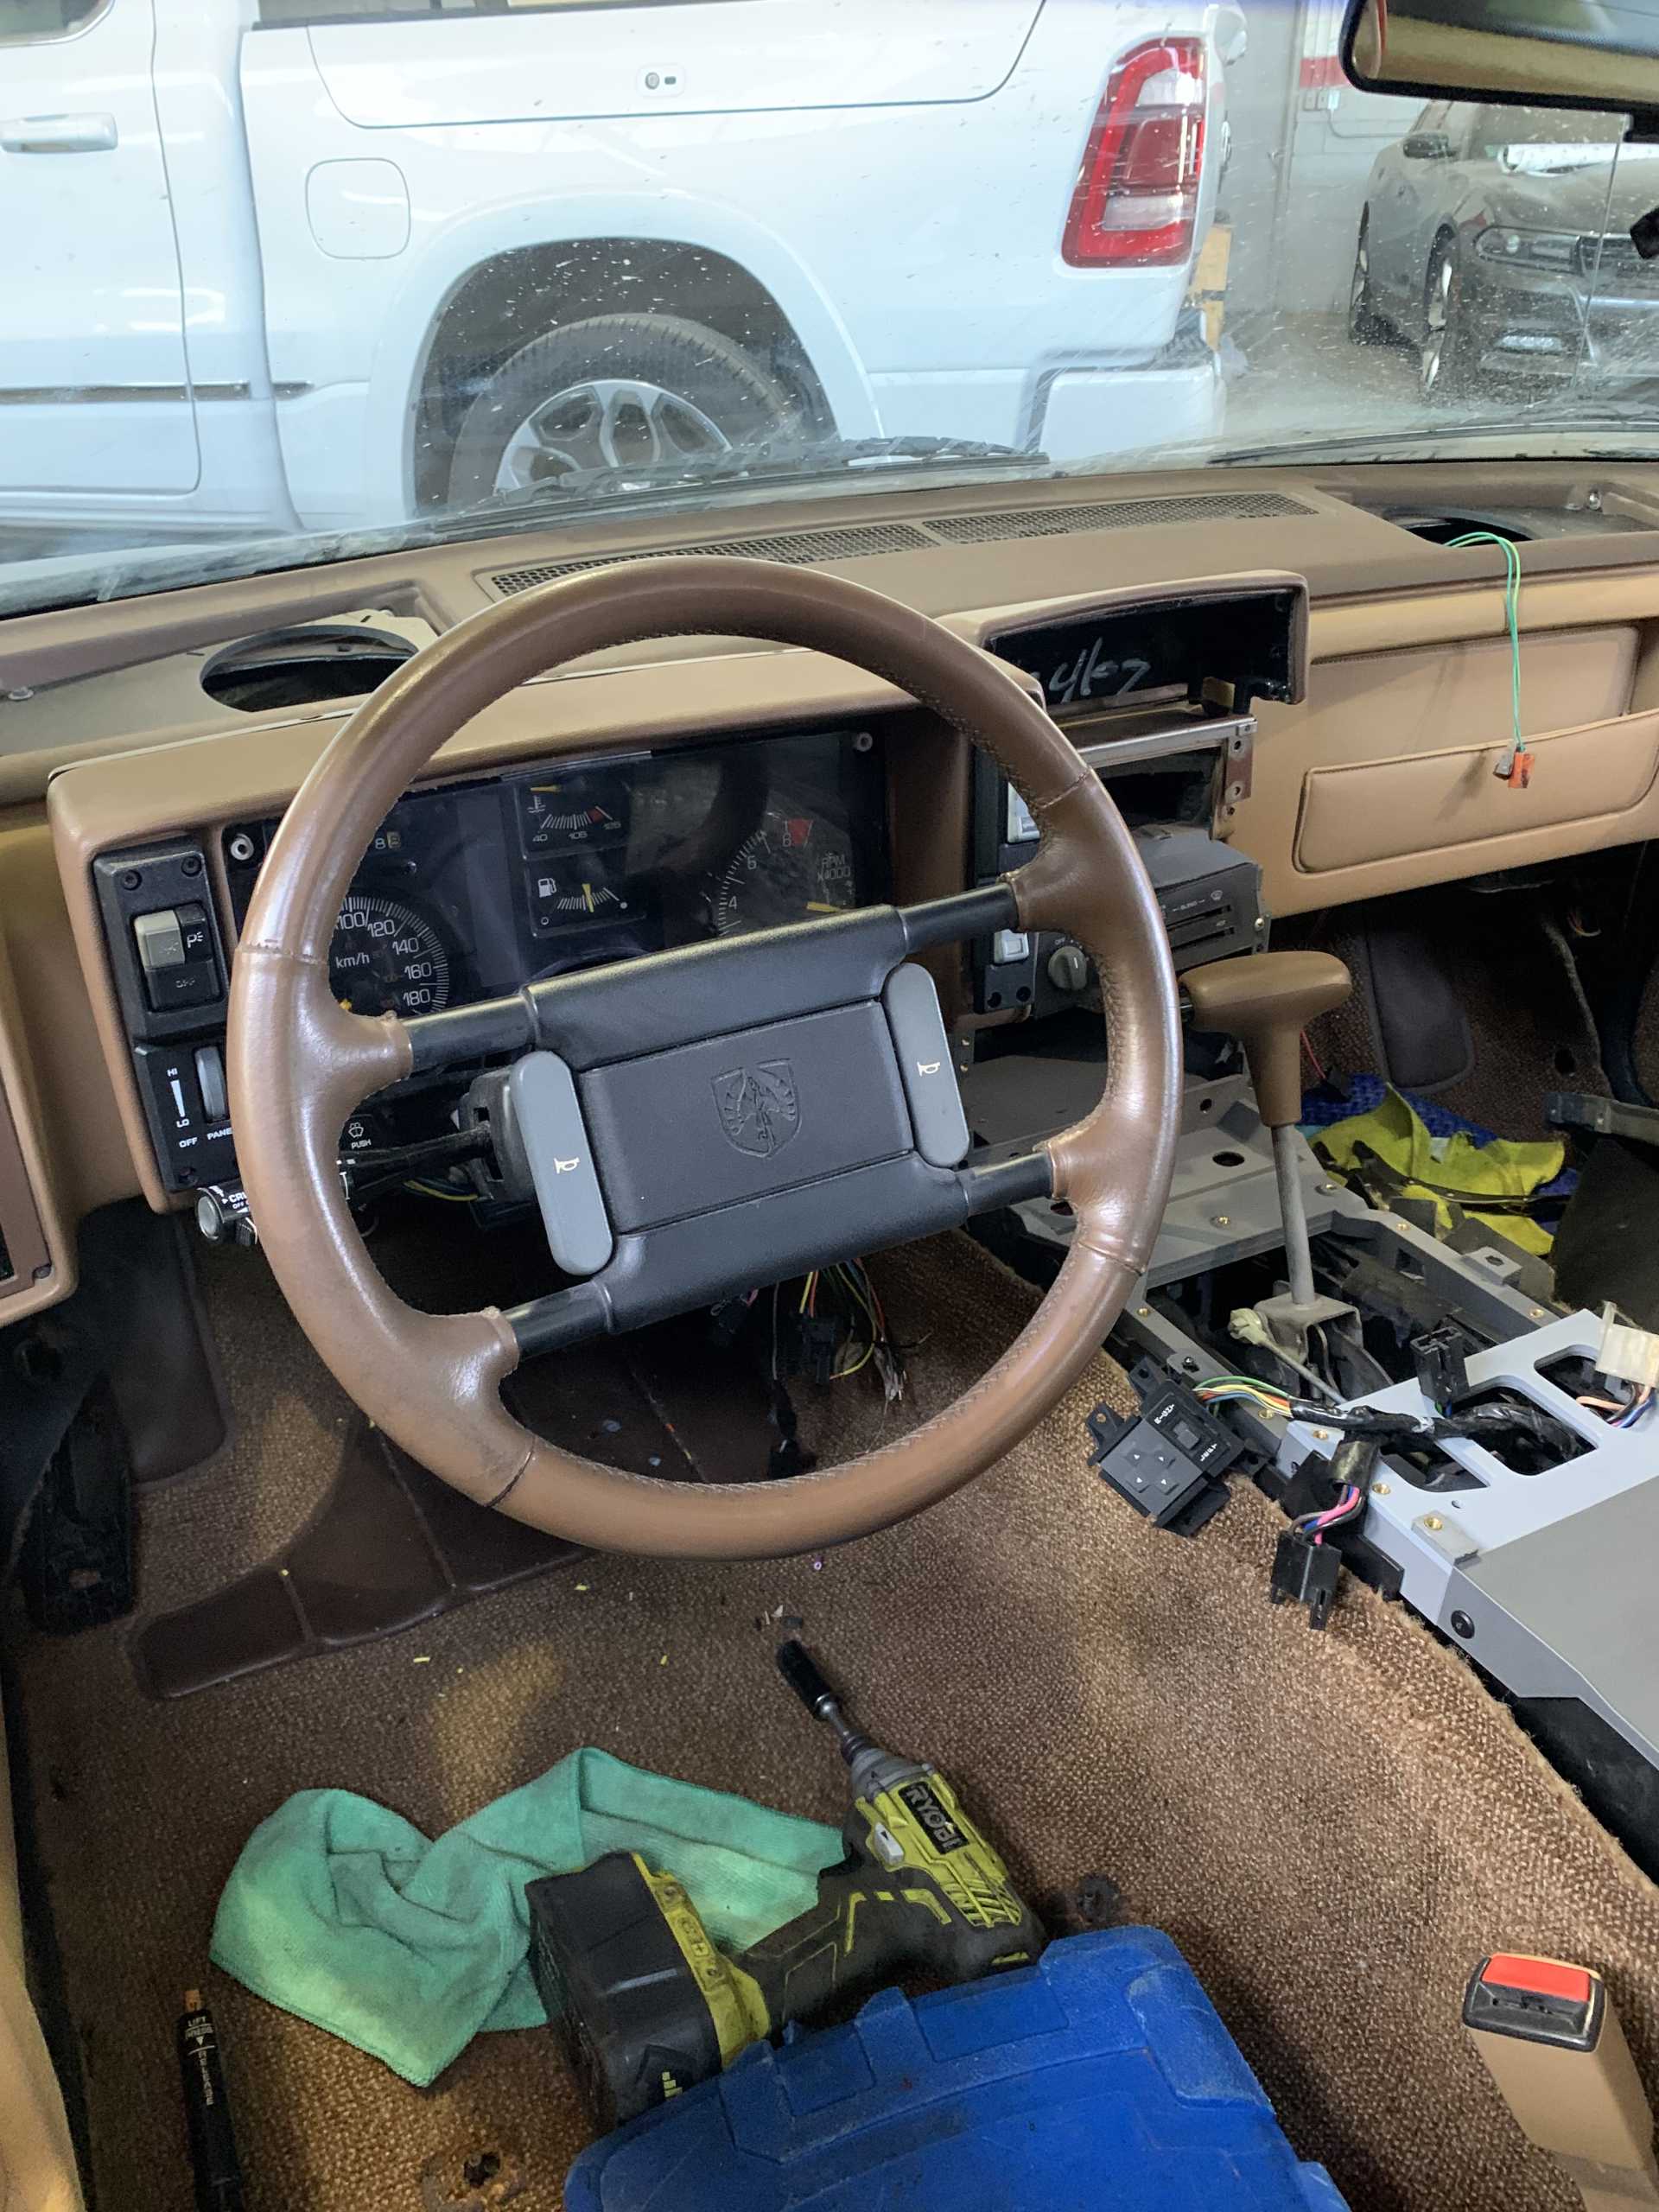
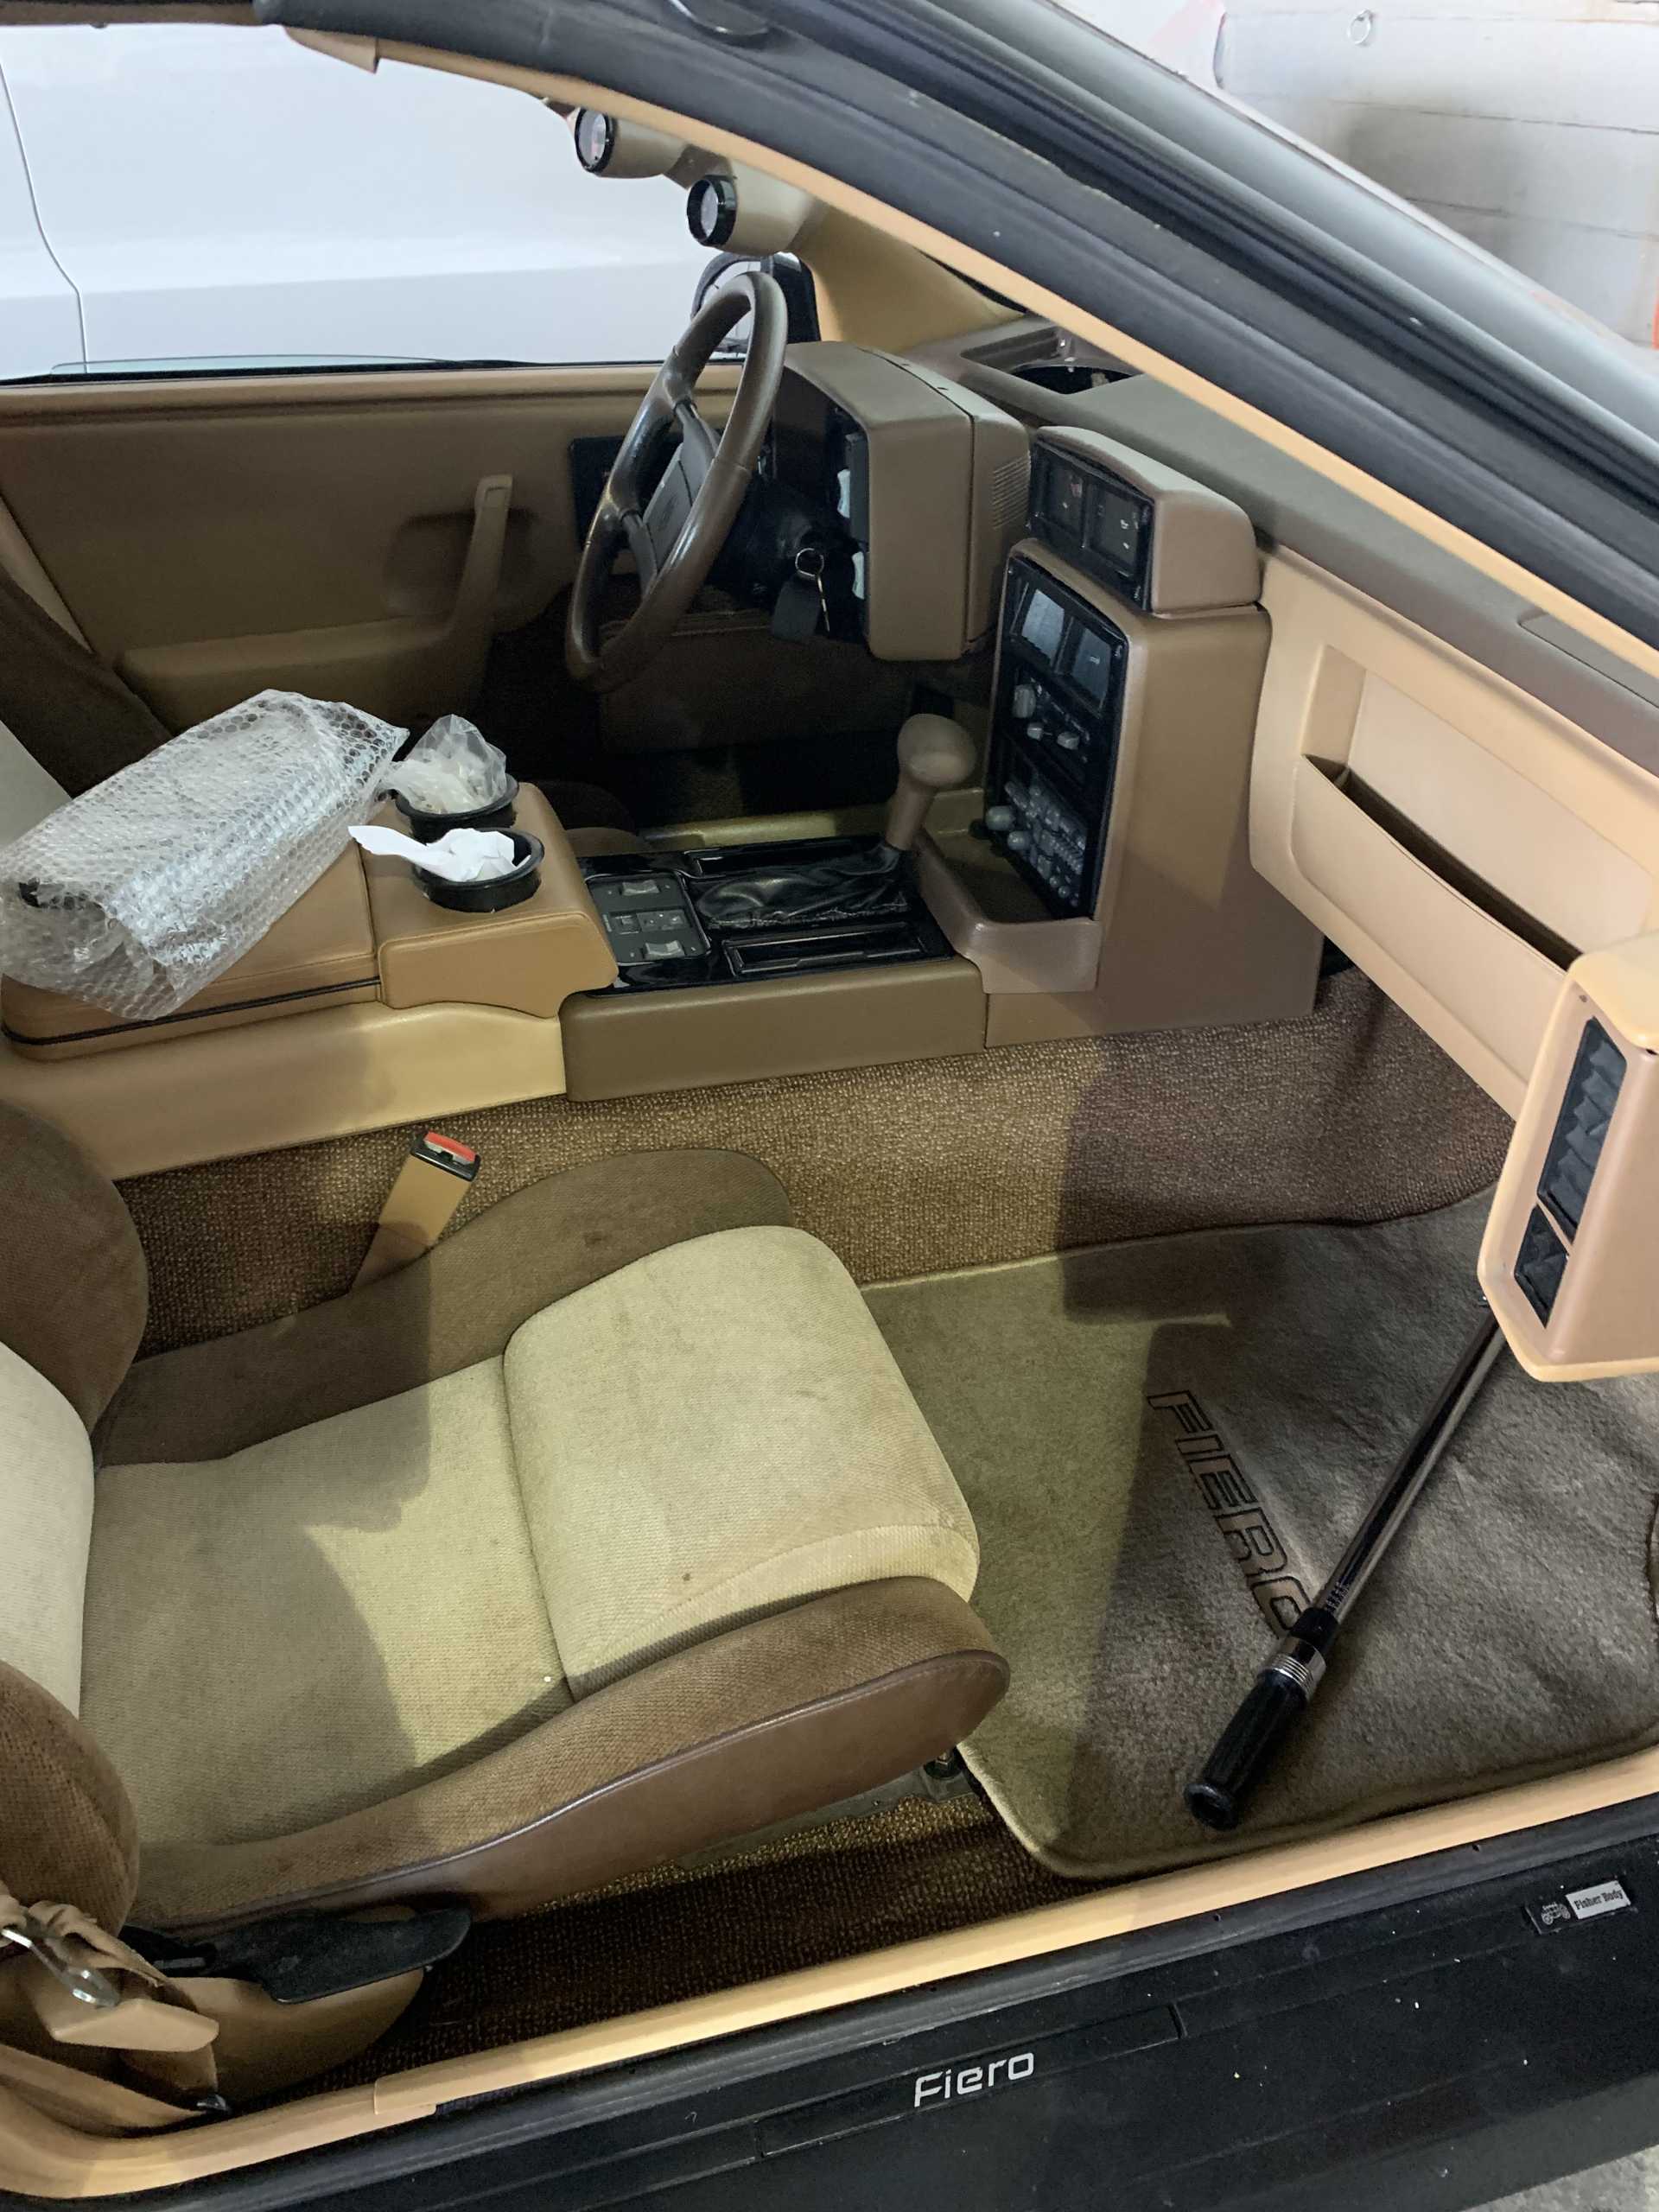
Been a bit since my last post. Family and work have kept
Me busy. Engine all in and buttoned down. Just need to hook up trans coolant lines and master brake cylinder. Still need to get started on the interior but the headliner is done. Today was the painstaking process of swapping panels, changing key locks and doing decals.


IP: Logged
jjd2296
Member
Posts: 1437
From: toronto ON
Registered: Jan 2016


Feedback score:    (8)
Leave feedback

Rate this member

Report this Post02-10-2024 10:12 PM Click Here to See the Profile for jjd2296Send a Private Message to jjd2296Edit/Delete MessageReply w/QuoteDirect Link to This Post
All exterior panels are installed finally!


IP: Logged
jjd2296
Member
Posts: 1437
From: toronto ON
Registered: Jan 2016


Feedback score:    (8)
Leave feedback

Rate this member

Report this Post02-25-2024 08:12 AM Click Here to See the Profile for jjd2296Send a Private Message to jjd2296Edit/Delete MessageReply w/QuoteDirect Link to This Post
So I ordered replacement p seals from the
Mustang shop. They come with an aluminum backing that’s is fairly thick. The sticky backing isn’t all that sticky and the aluminum is difficult to form into place after making some cuts to be able to bend it accordingly. I don’t like how it looks. So I have ordered a set of
P seals with 3M backing and no aluminum backing off eBay for 50 bucks for the set. Let’s see what they look like when they arrive. Here’s the link. https://www.ebay.com/itm/40...r=artemis&media=COPY
IP: Logged
jjd2296
Member
Posts: 1437
From: toronto ON
Registered: Jan 2016


Feedback score:    (8)
Leave feedback

Rate this member

Report this Post02-25-2024 06:57 PM Click Here to See the Profile for jjd2296Send a Private Message to jjd2296Edit/Delete MessageReply w/QuoteDirect Link to This Post

jjd2296

1437 posts
Member since Jan 2016
Little more progress. Installed the auto shifter, costed the floor pans replaced the floor drain plugs installed the windshield seal. Getting there.


[This message has been edited by jjd2296 (edited 02-25-2024).]

IP: Logged
jjd2296
Member
Posts: 1437
From: toronto ON
Registered: Jan 2016


Feedback score:    (8)
Leave feedback

Rate this member

Report this Post03-03-2024 07:01 PM Click Here to See the Profile for jjd2296Send a Private Message to jjd2296Edit/Delete MessageReply w/QuoteDirect Link to This Post


IP: Logged
jjd2296
Member
Posts: 1437
From: toronto ON
Registered: Jan 2016


Feedback score:    (8)
Leave feedback

Rate this member

Report this Post03-13-2024 11:41 AM Click Here to See the Profile for jjd2296Send a Private Message to jjd2296Edit/Delete MessageReply w/QuoteDirect Link to This Post


IP: Logged
PFF
System Bot
jjd2296
Member
Posts: 1437
From: toronto ON
Registered: Jan 2016


Feedback score:    (8)
Leave feedback

Rate this member

Report this Post04-07-2024 04:04 PM Click Here to See the Profile for jjd2296Send a Private Message to jjd2296Edit/Delete MessageReply w/QuoteDirect Link to This Post
Edit wrong post

[This message has been edited by jjd2296 (edited 04-09-2024).]

IP: Logged
jjd2296
Member
Posts: 1437
From: toronto ON
Registered: Jan 2016


Feedback score:    (8)
Leave feedback

Rate this member

Report this Post04-14-2024 07:44 PM Click Here to See the Profile for jjd2296Send a Private Message to jjd2296Edit/Delete MessageReply w/QuoteDirect Link to This Post
Interior is finally done. Ecm in and wired in the knock sensor module as well.

IP: Logged
jjd2296
Member
Posts: 1437
From: toronto ON
Registered: Jan 2016


Feedback score:    (8)
Leave feedback

Rate this member

Report this Post04-15-2024 03:58 PM Click Here to See the Profile for jjd2296Send a Private Message to jjd2296Edit/Delete MessageReply w/QuoteDirect Link to This Post
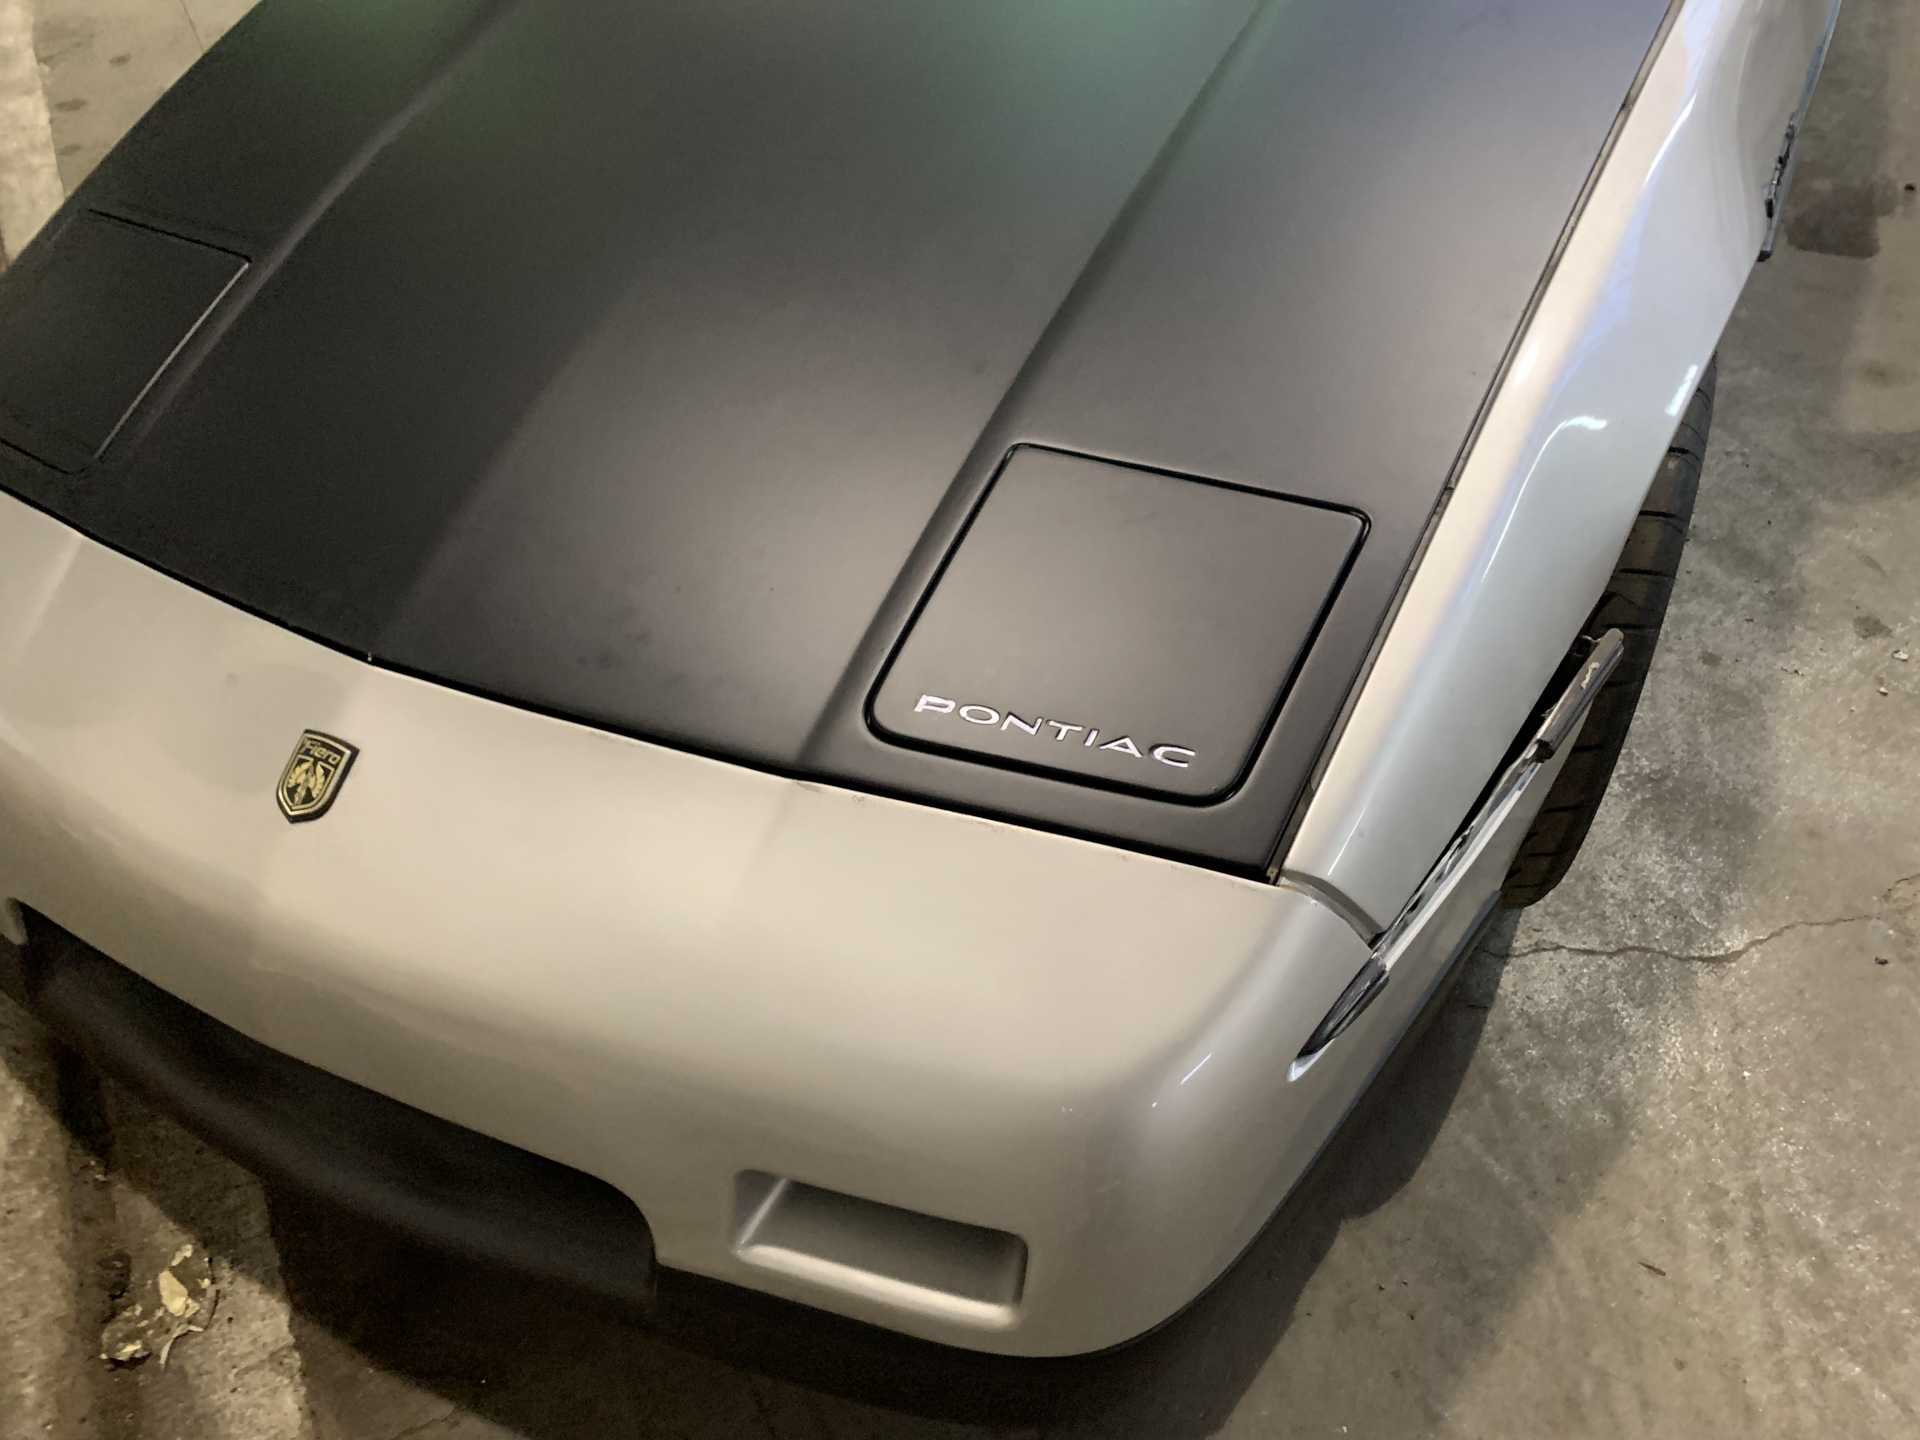
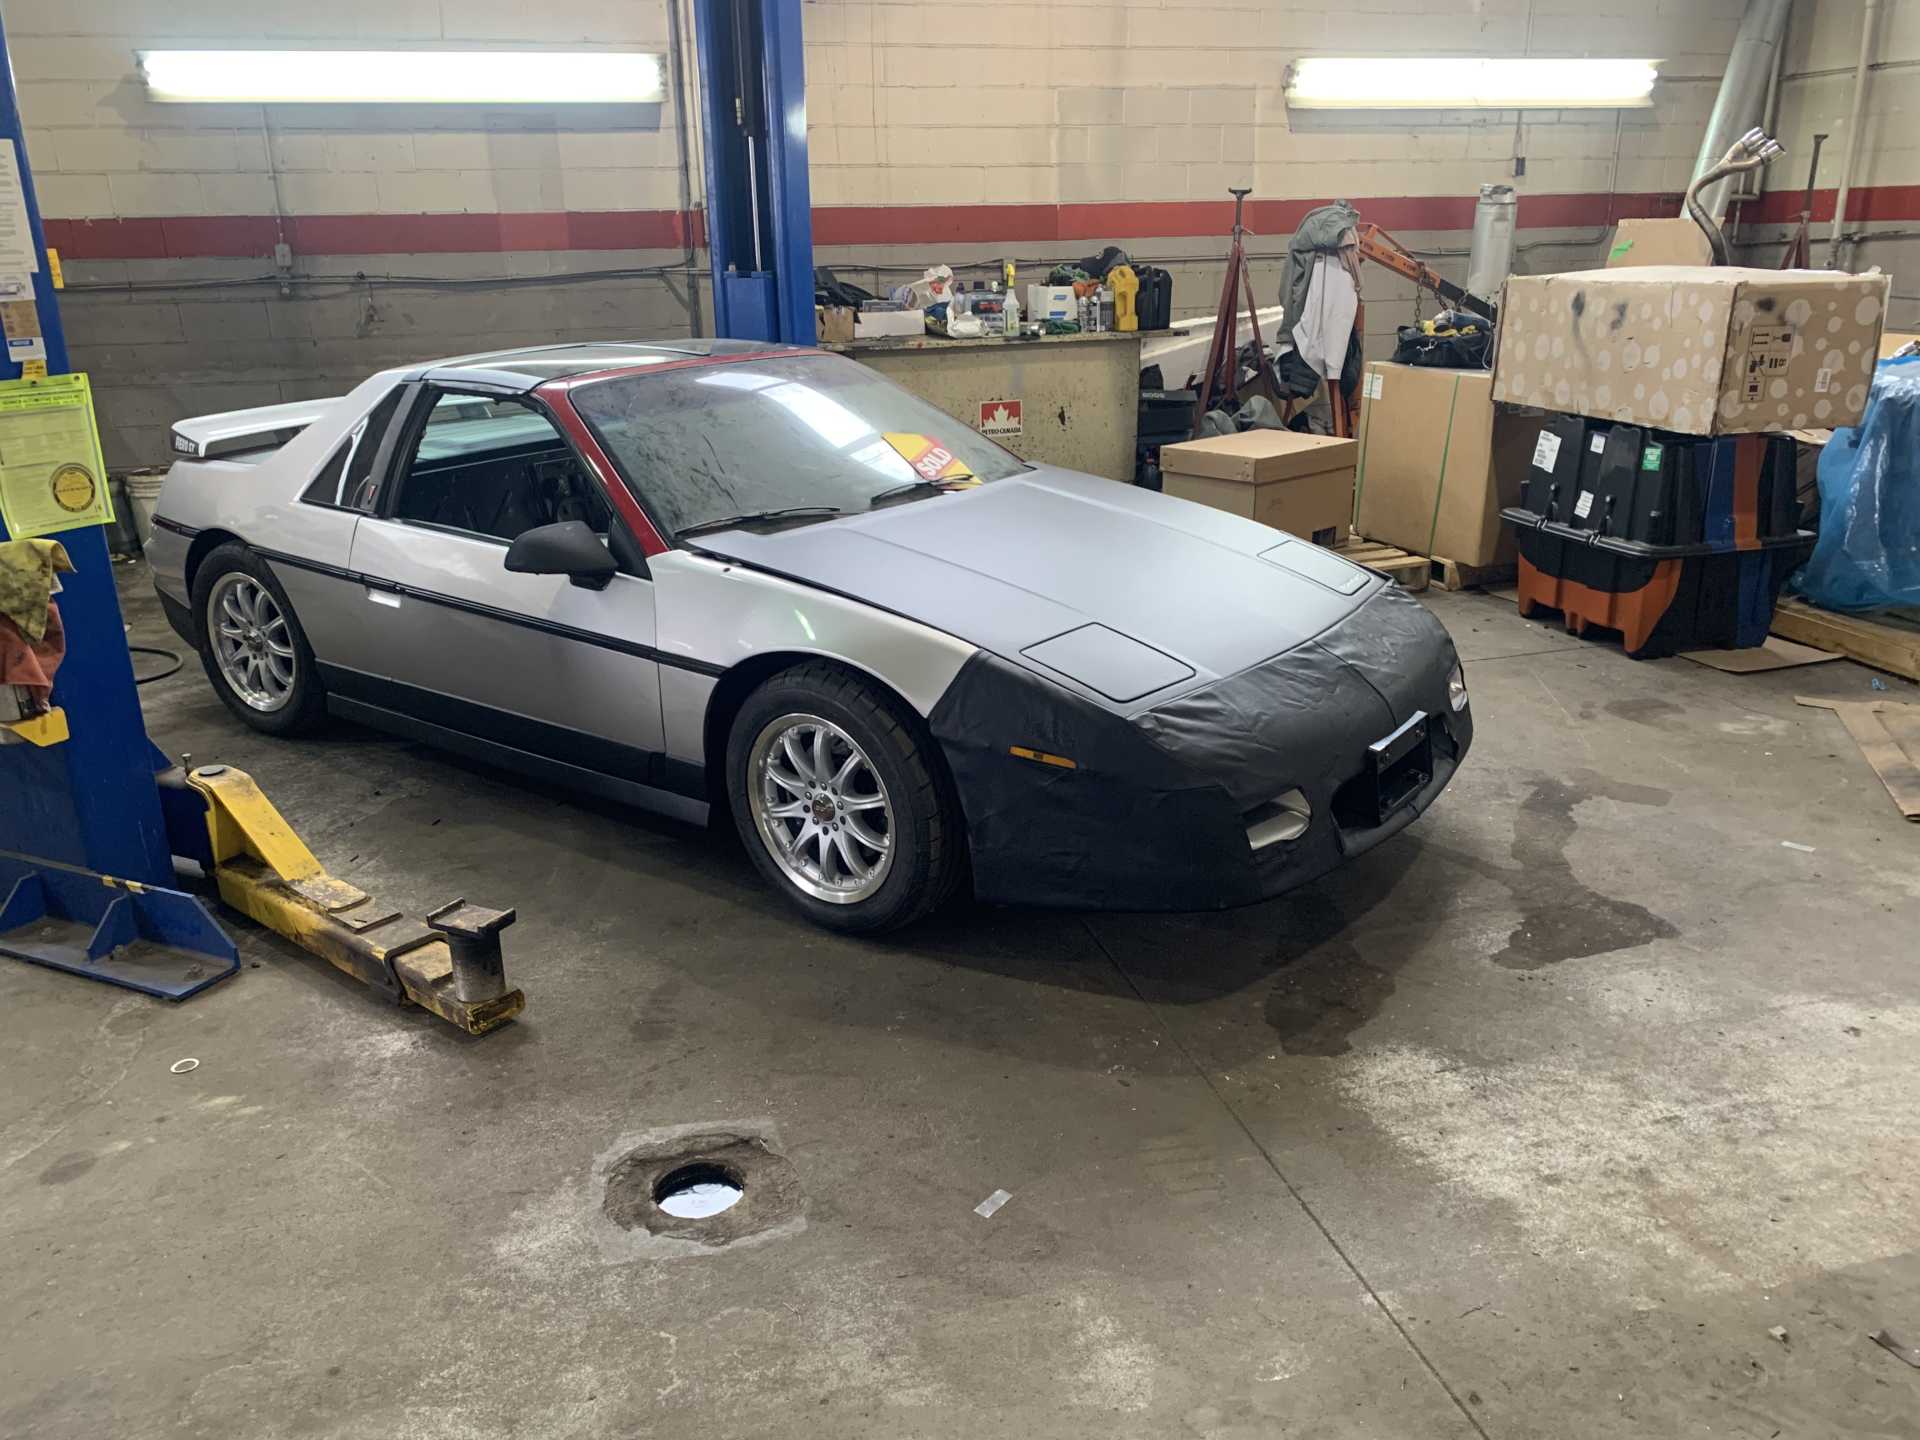
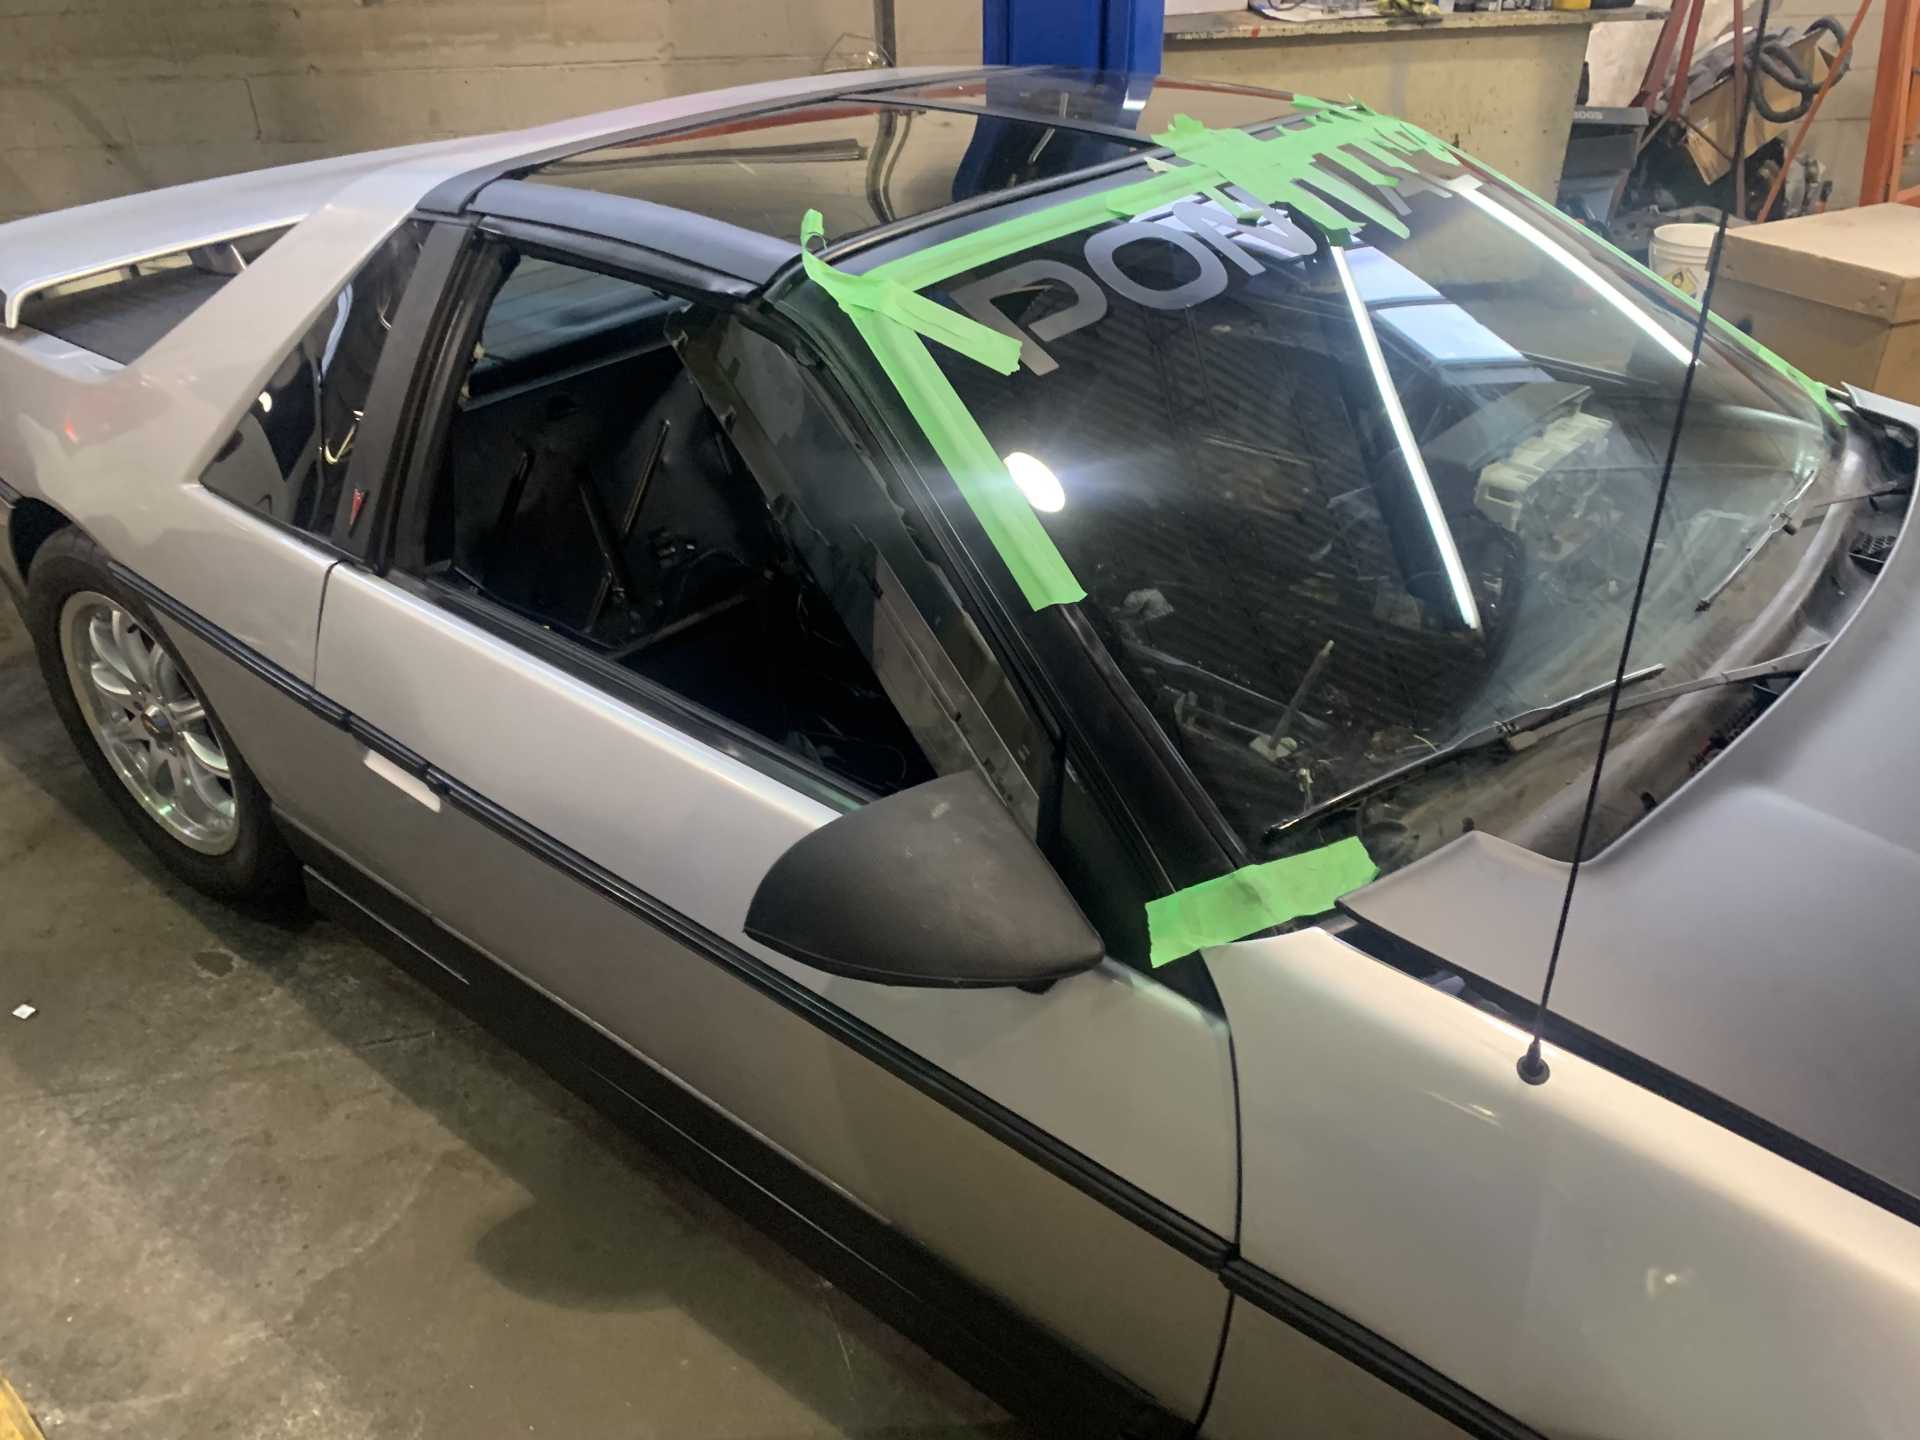
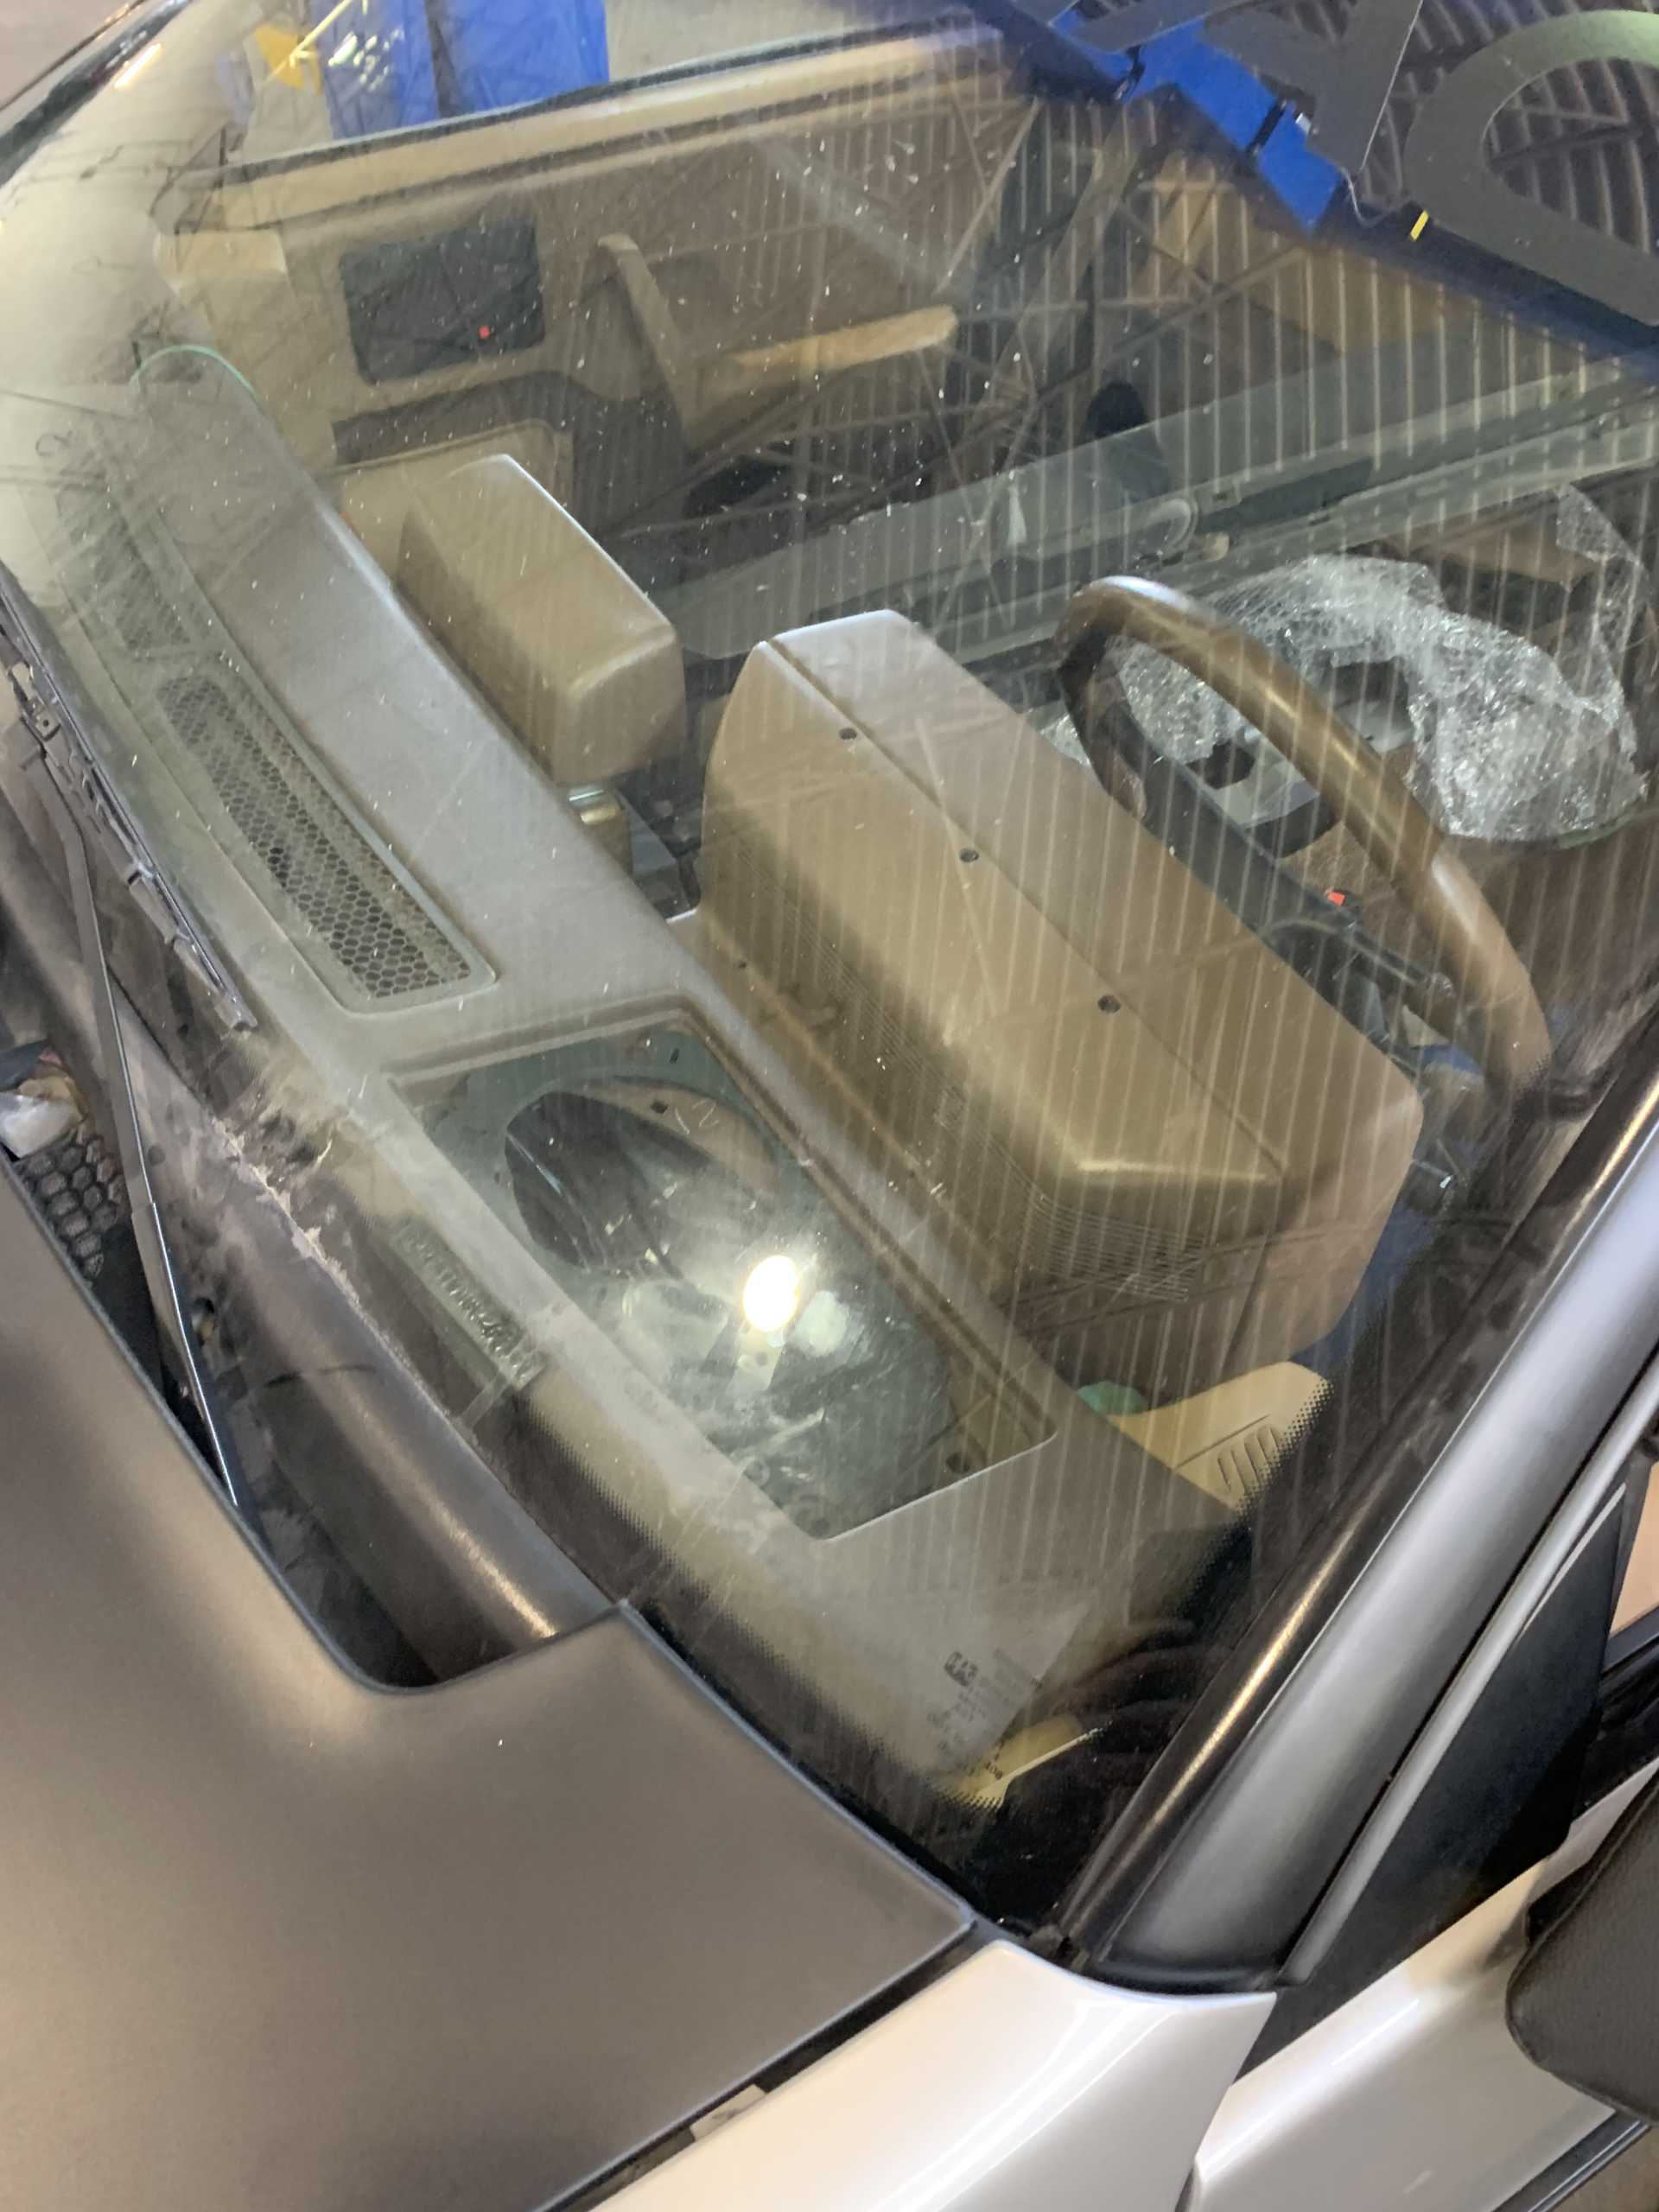
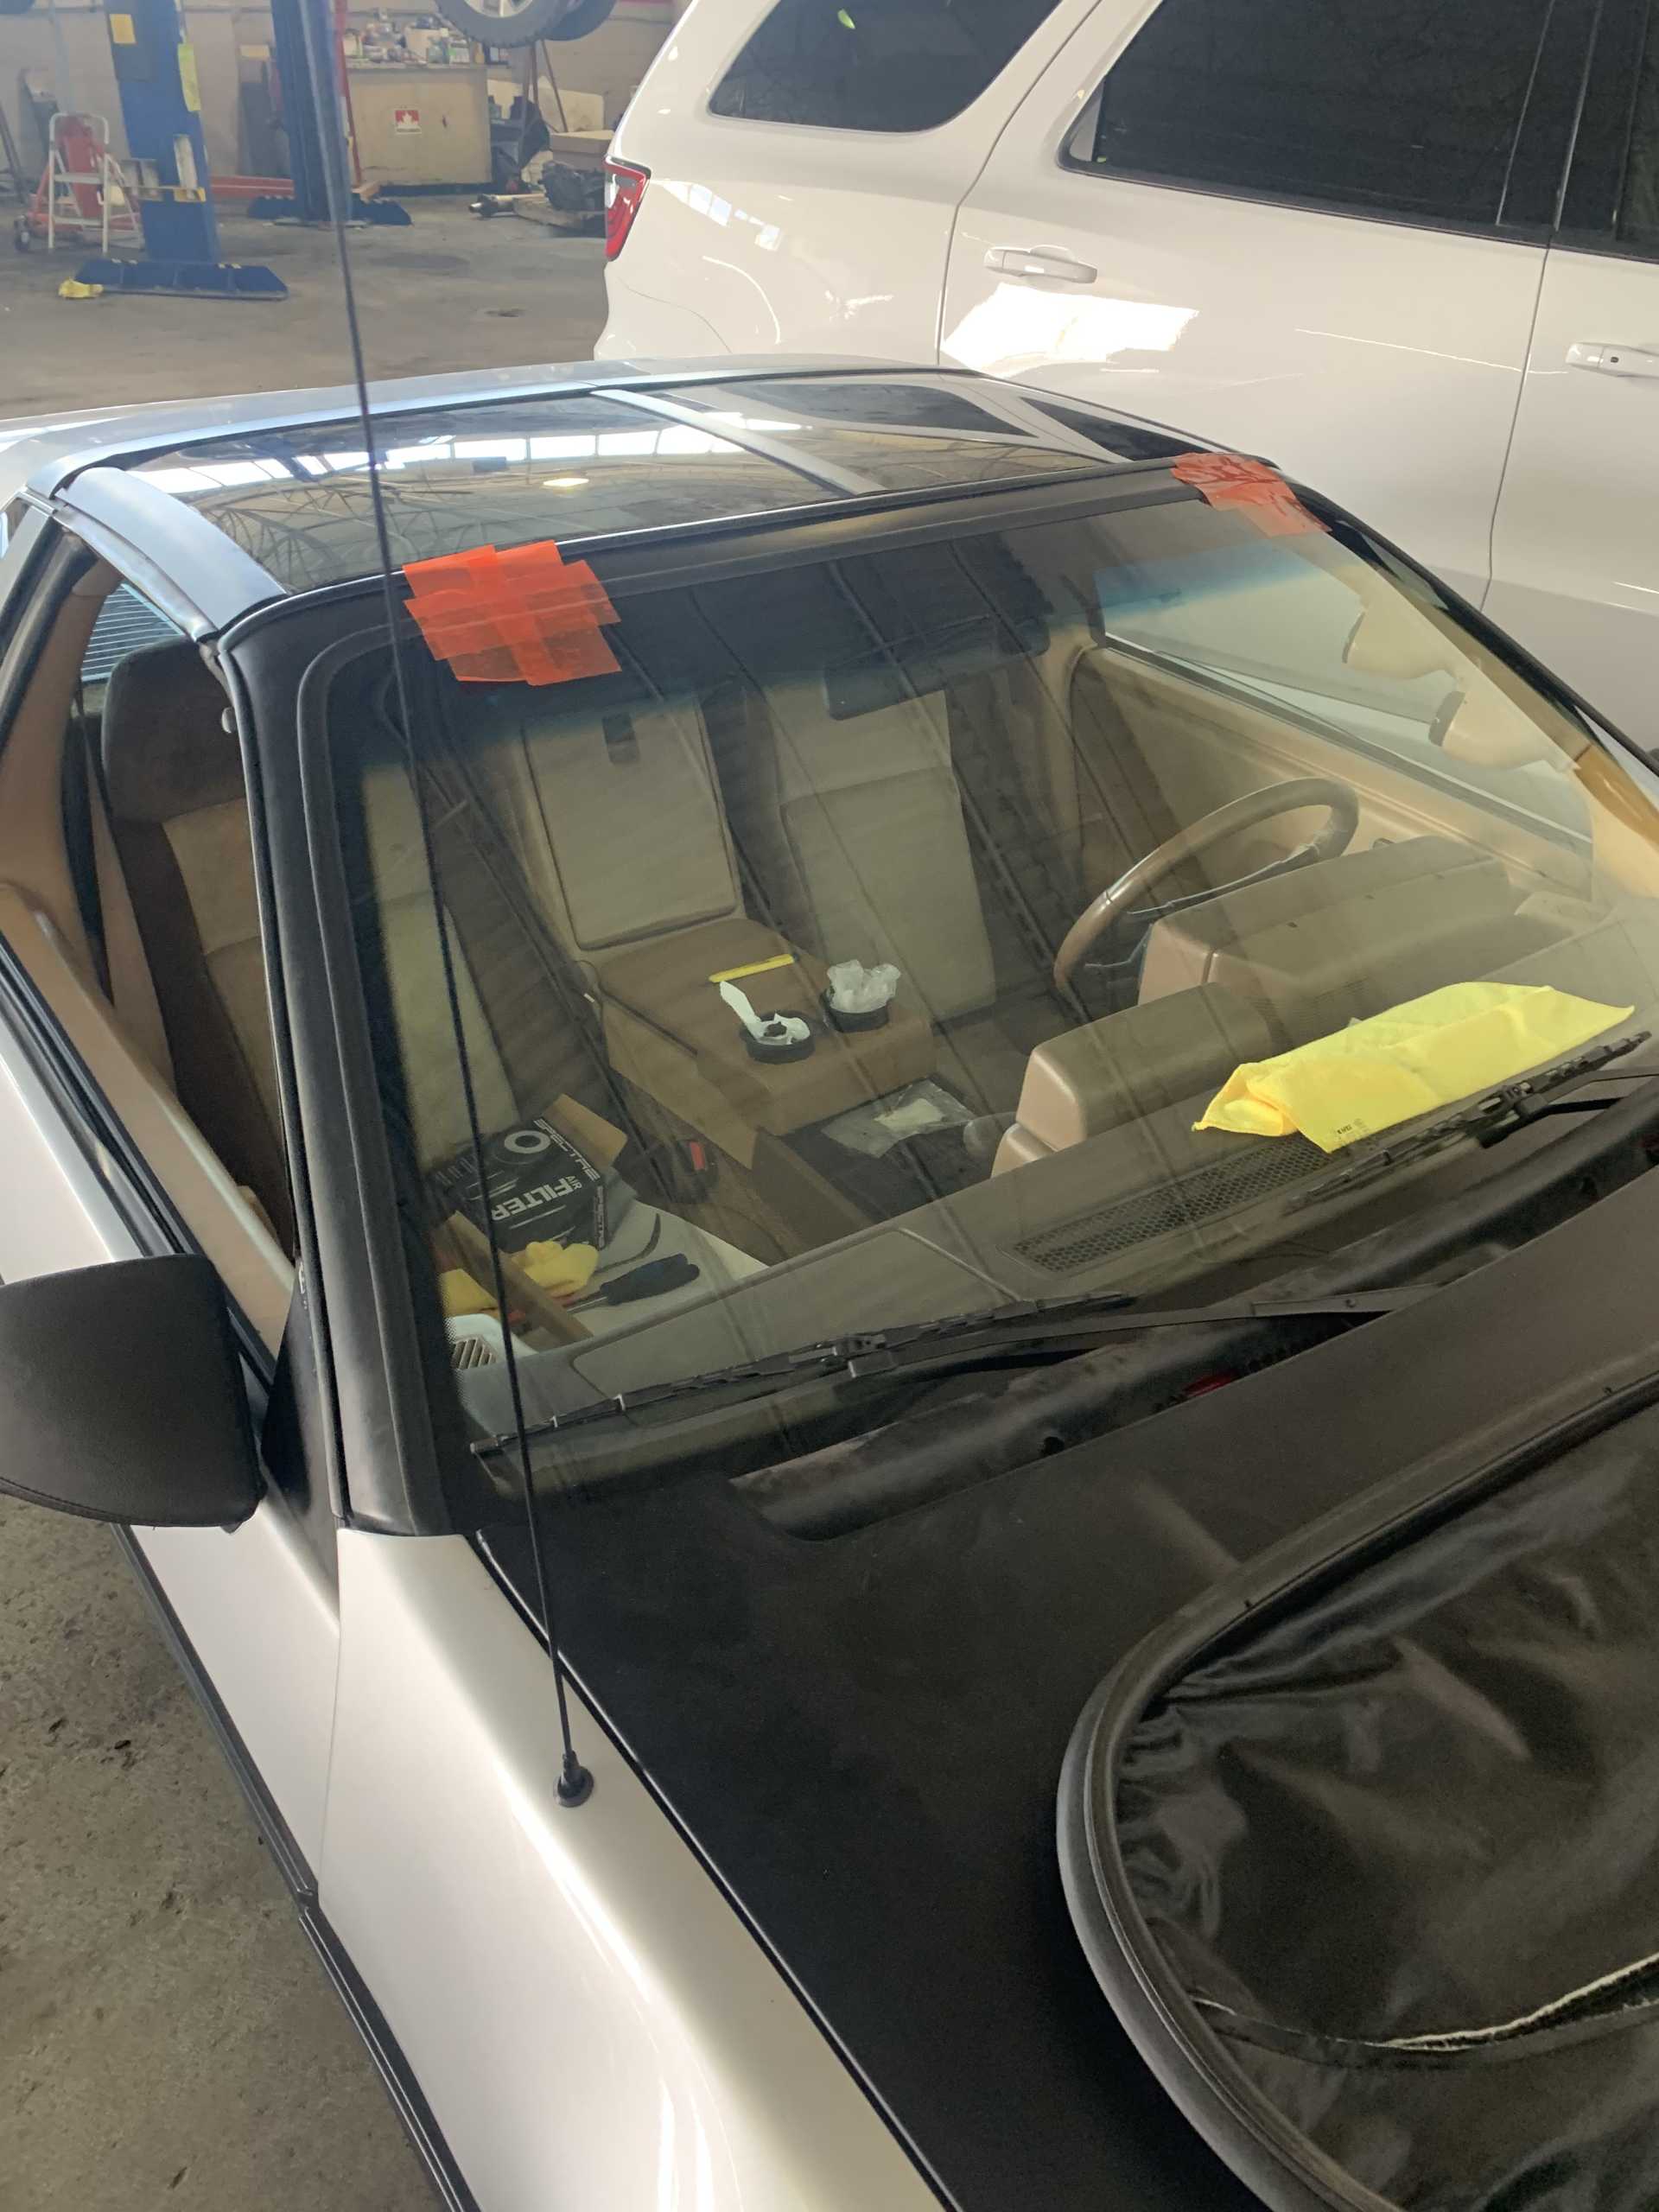
New windshield installed today. Also got the visors and front speakers installed. One more day left of hooking up a few more things then prime and try starting it!
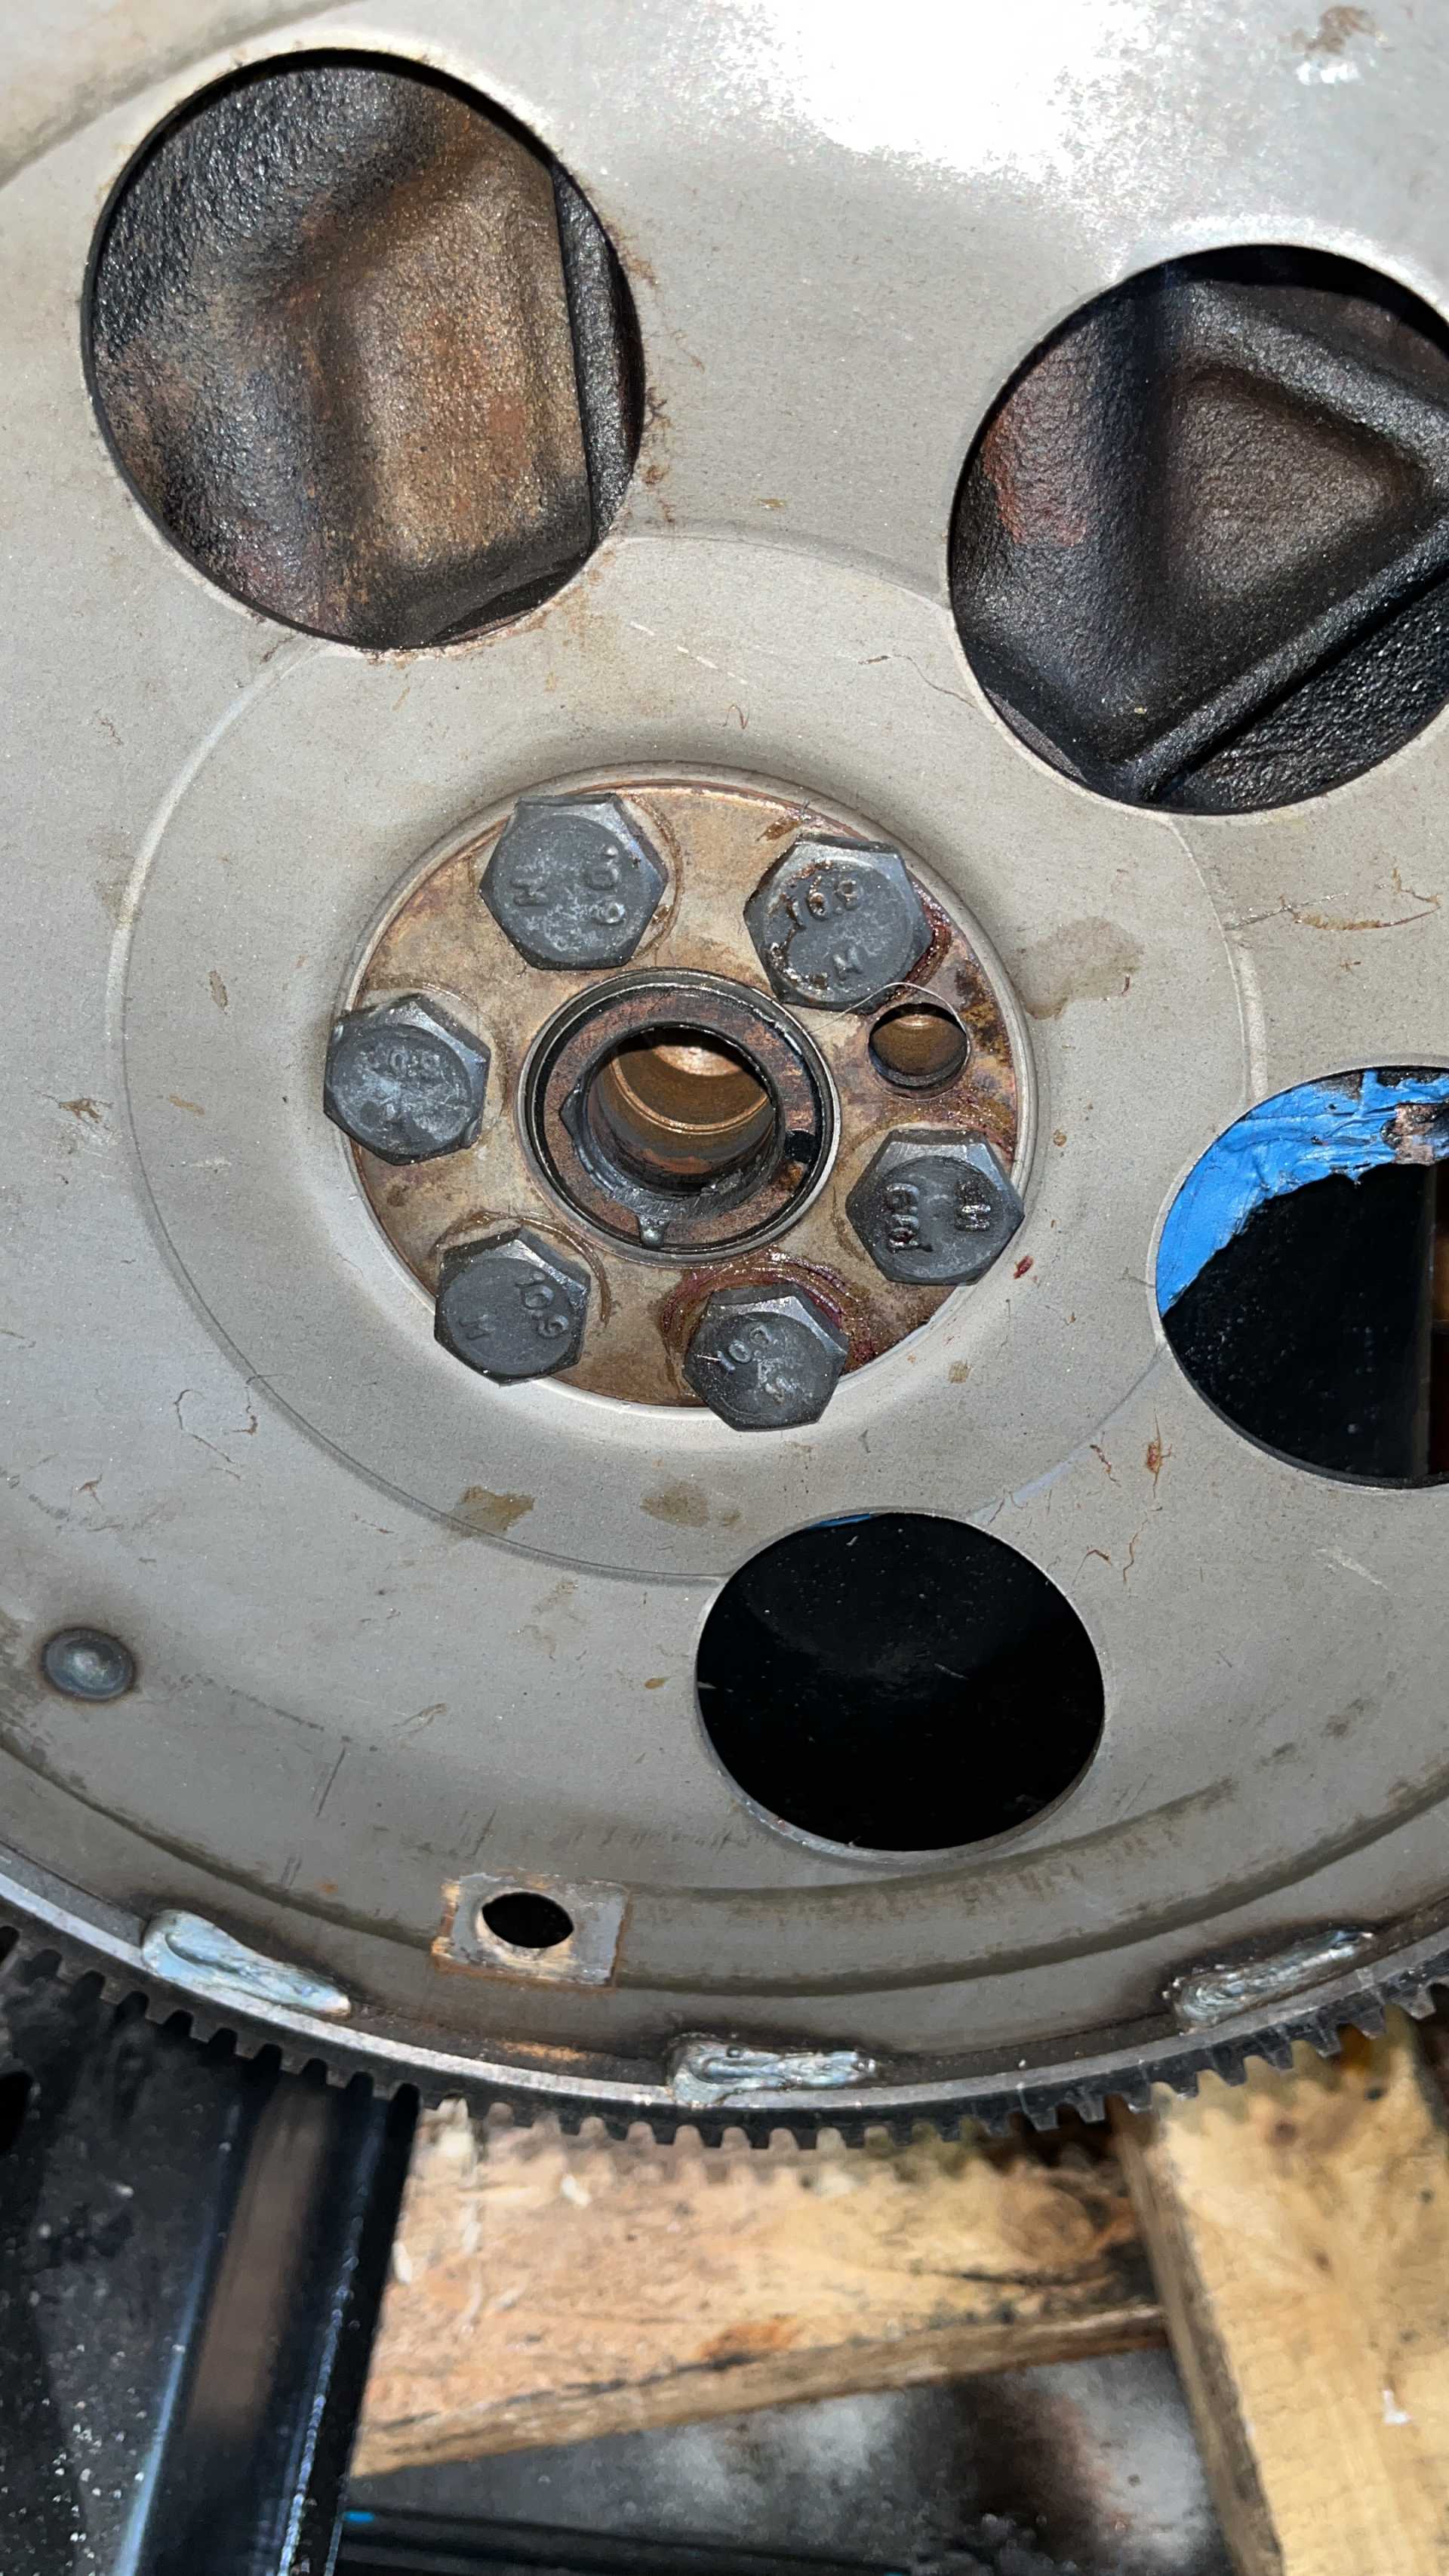
IP: Logged
Previous Page | Next Page

This topic is 3 pages long:  1   2   3 
next newest topic | next oldest topic

All times are ET (US)

Post New Topic  Post A Reply
Hop to:

Contact Us | Back To Main Page

Advertizing on PFF | Fiero Parts Vendors
PFF Merchandise | Fiero Gallery | Ogre's Cave
Real-Time Chat | Fiero Related Auctions on eBay


Copyright (c) 1999, C. Pennock