I took apart a seat I had a while ago to do this as well. I got about as far as tracing out the patterns but don't have the time at the moment to finish.
I would like to see any detailed pictures of how you went about sewing the seats up.
Do you just lay them together inside out and go for it?
It seams (little joke with spelling there...hehe) that it might get kind of tricky with some of the smaller pieces that make up the bolsters.
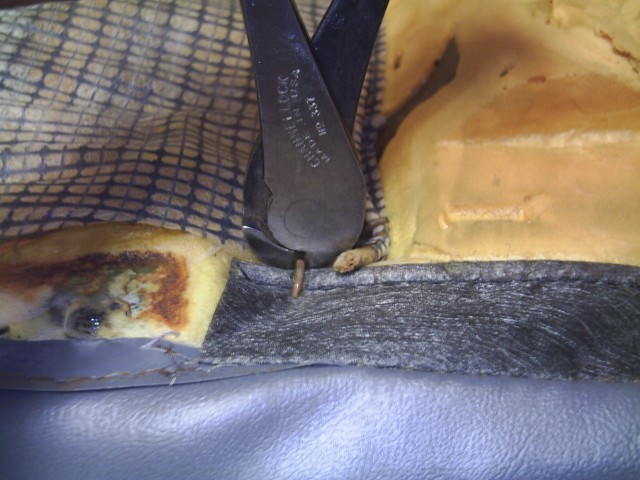
On the main front panel, sew the side flaps in place before sewing on any other panels. One tool that really helps is a seam ripper. That way, if you make a sewing mistake, just cut the threads & try again.
[This message has been edited by 30+mpg (edited 06-12-2006).]
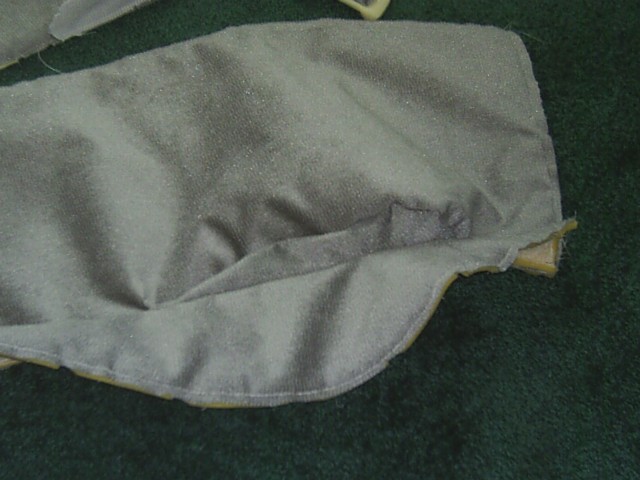
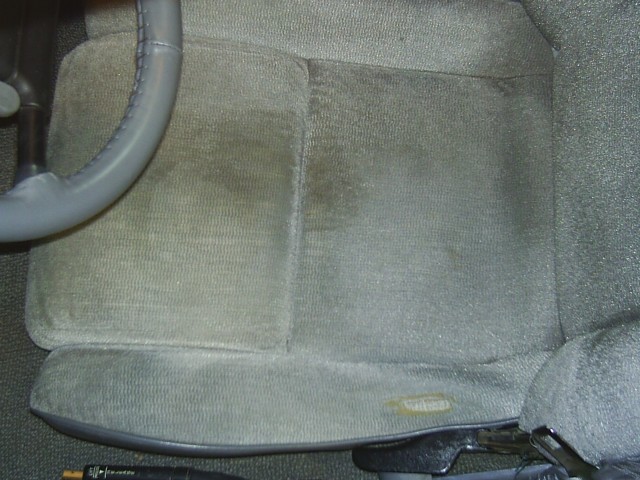
Next sew all 3 front panels togther along the top or bottom edge. The top panel is recycled. That's why it was shown getting washed earlier in this topic. Then pin the panels together w/ straight pins at the V notches to keep the fabric from moving while sewing the panels together.
[This message has been edited by 30+mpg (edited 10-14-2005).]
I was going to try this with some good vinyl, but the sewing machine my wife has just can't handle the job.
I have the pieces all cut and ready to go ( packed away since my move), and need to try and find a better machine.
I would try leather, but I'm not stupid enough to waste all that money on leather that will be hacked up by my non existent sewing skills. Vinyl is cheaper and if you get the right stuff, it can be as nice as leather.
Thanks for this thread....I think I'll go dig out that box thats still packed away.
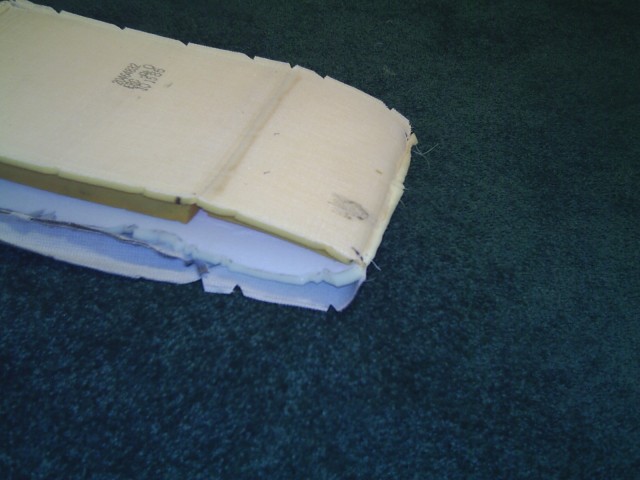
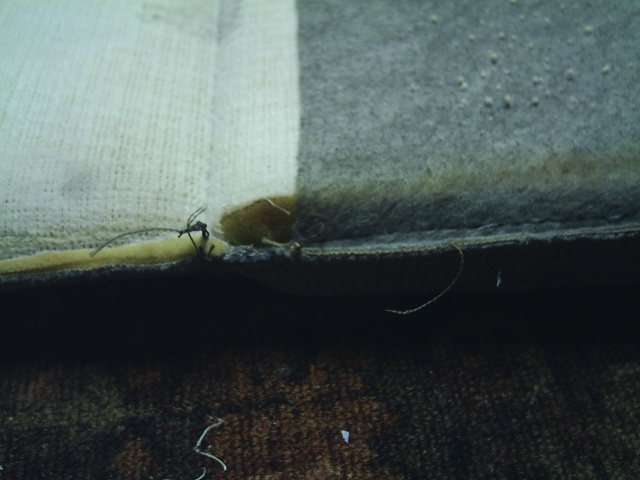
Problem: When sewing through two plys of foam, the thicker foam creates too much fricton on the thread. When the needle comes back up it won't pull the thread tight on the bottom even with the tension setting on the sewing machine at max.
Solution: Increase tension on the thread by pressing the thread against the side of the machine with your thumb. By pressing hard one can increase the drag on the thread such that the needle pulls the thread back up through the foam.
[This message has been edited by 30+mpg (edited 10-24-2005).]
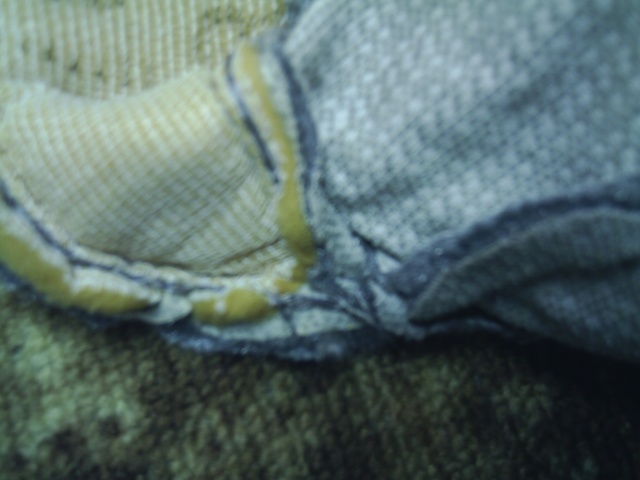
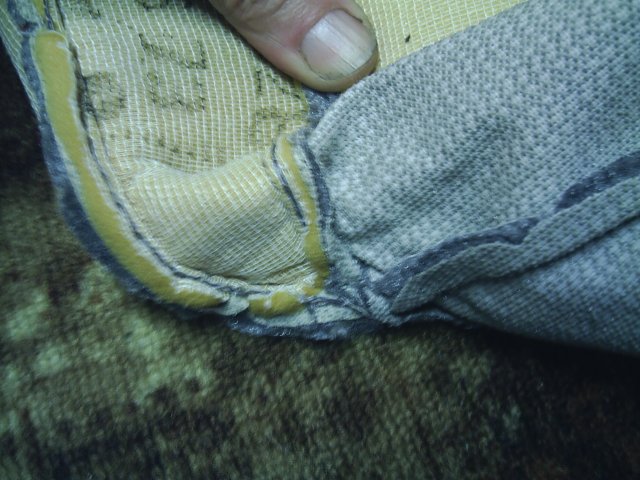
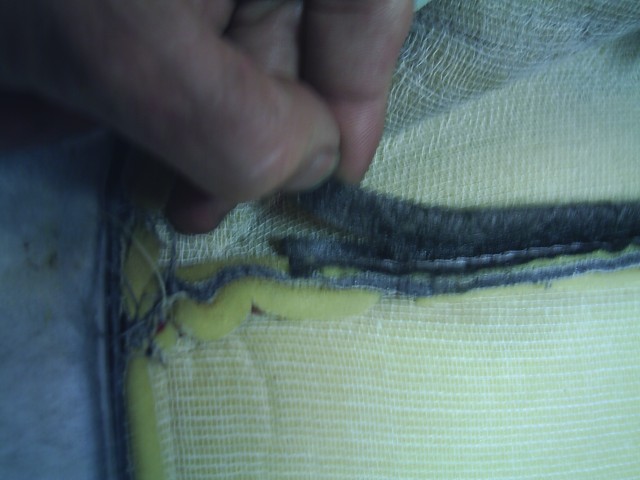
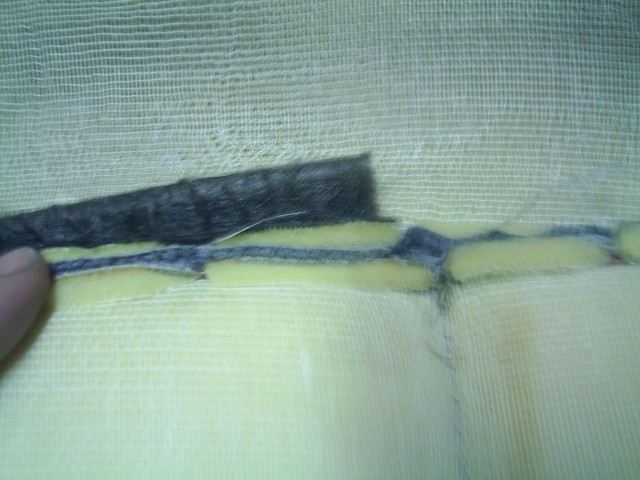
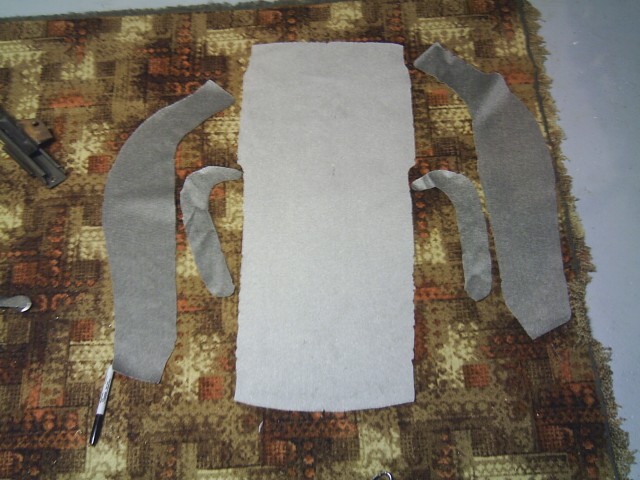
Here's a suggested sequence: 1. Sew the narrow bolsters to the sides of the front panel along w/ the black rod retainers. 2. Sew the wide bolsters to the back panel. 3. Sew the wide bolsters to the narrow bolsters. 4. Sew side headrest panels to headrest strip. 5. Sew headrest to lower panels w/ the black rod retainer on the front.
[This message has been edited by 30+mpg (edited 06-03-2006).]
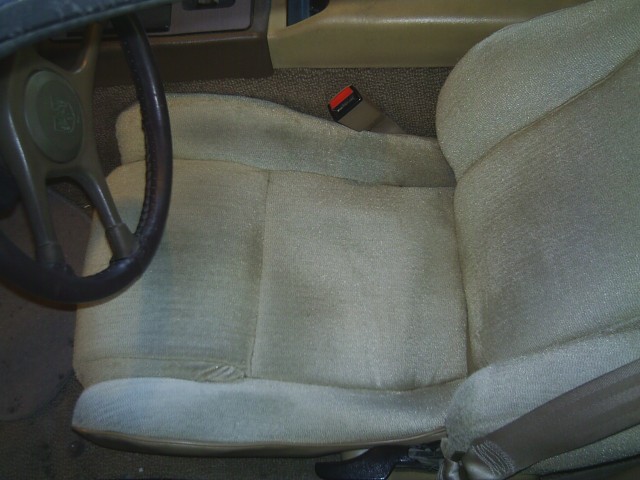
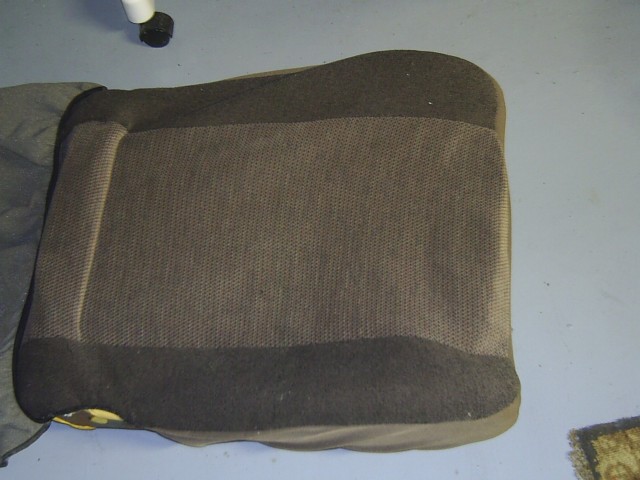
Here's the results. If I do anymore, I'll use 1/4" thick foam instead of 1/2". The thicker foam was harder to sew with a home machine. 1/2" made the upper bolsters pucker.
One could even wash and reuse the console side bolster foam from the original upholstery if it isn't damaged.
[This message has been edited by 30+mpg (edited 03-07-2009).]
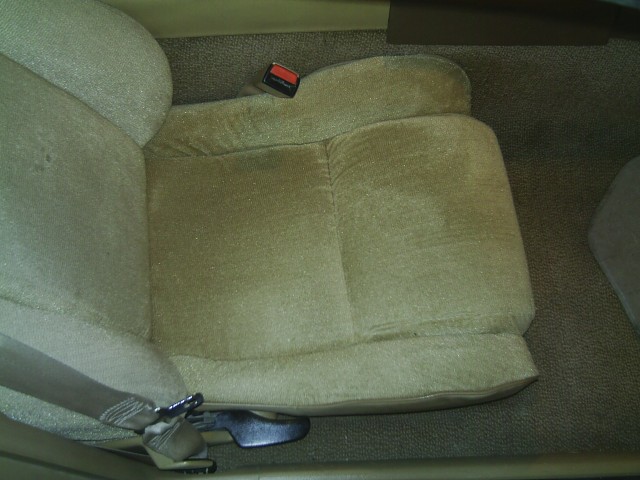
Hey, no holes, and it will be a bunch of years before they reappear. Not bad for $30. I still have enough material to do the seat bottom and the passenger's seat complete.
Great job, that tan seat looks particularly amazing! This has been a great thread to follow, almost exciting as some of the engine swaps simply because it's such a plausible project; especially since the fiero is my only vehicle. I've yet to decide completely on a color scheme for my interior, and hopefully once Christmas has blown through, I'll have enough money left over to buy a sewing machine. I need to do some research first though, since I'm currently completely clueless. I've browsed through sewing machines in a few places, and to be honest, I can hardly tell the difference between the $99 models and the $500 ones. I don't want to be paying extra for useless features and stitches I'll never use, but none of them seem to mention what kind of load they can handle. I've asked a couple salespeople, and they all say if I want to do upholstery, I'll need the heavy duty, expensive ones. To do a professional job, they are probably correct, but for the amount I expect to use it, I think "barely adequate" would suit me fine :P What about the older style sewing machines with the big wheel on the side? Seems to me, that if one of those machines was having trouble, you could just turn the wheel by hand, and keep it going? The newer machines have no provisions for manual input, so if it couldn't hack it, you'd be SOL.. Anyone here have some basic pointers for me on how to select a sewing machine? Thanks a lot, David
[This message has been edited by Notchie Luvin David (edited 12-03-2005).]
Who said sewing is for girls Great job, I bet after they relax a little bit they will look even better. I tried to make some visor covers but the machine we have wouldnt sew through the foam. I think I will take it in and get it cleaned and oiled and try again. Thanks again for posting this.
great how-to. but now a question for those of us who aren't satisfied with the fiero seats. what would you have to do in order to make the side bolsters a little deeper? cause i have some spare seats, and looking at them they are all reinforced inside with a metal frame. would this frame need to be extended as well? or could you just cut off the stock side bolsters and make some larger ones from the foam material? i've been looking at them for a while trying to figure out the best way to do it, i figure you probably have some good ideas, or at least some advice to keep me on track. thanks
From ebay.com "1004 items found for sewing machine in Sewing Machines & Sergers Show only: Max Price: $50.00"
Don't you have any female relatives that you could bum the use of a machine off of?
Heh, I love ebay But still, that selection is a little, erm, intimidating.. I still have no idea what I'm looking at. Well, except for this one of course, I'm pretty sure it could handle upholstery A little bit above my planned price range, but I could have a lot of fun with that machine, it can do double stitching for example, which could make for some really nicely upholstered leather or vinyl stuff. hmmmm Still pretty much lost on most of the other units though :P
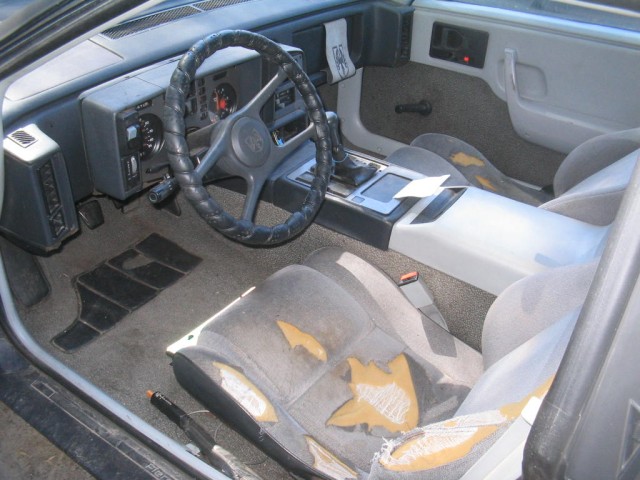
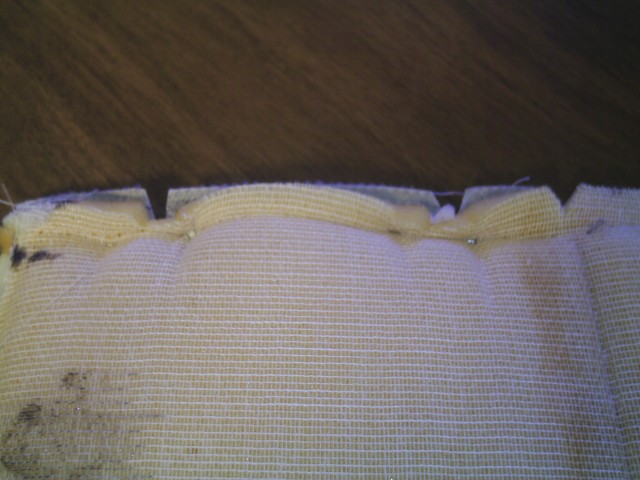
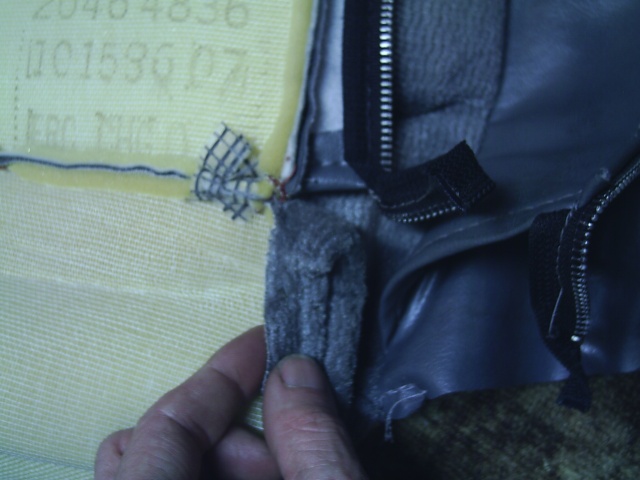
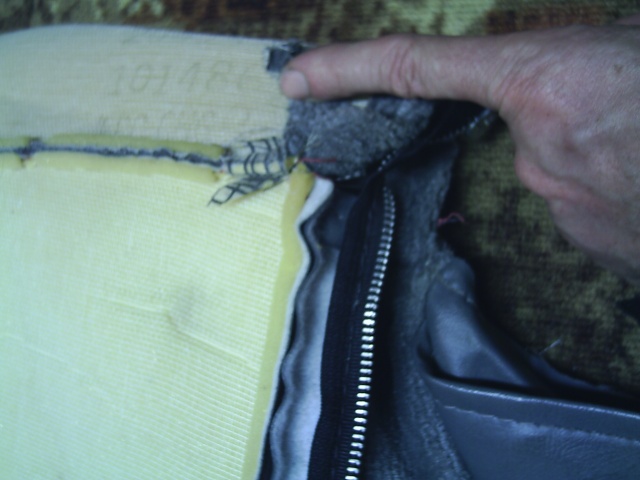
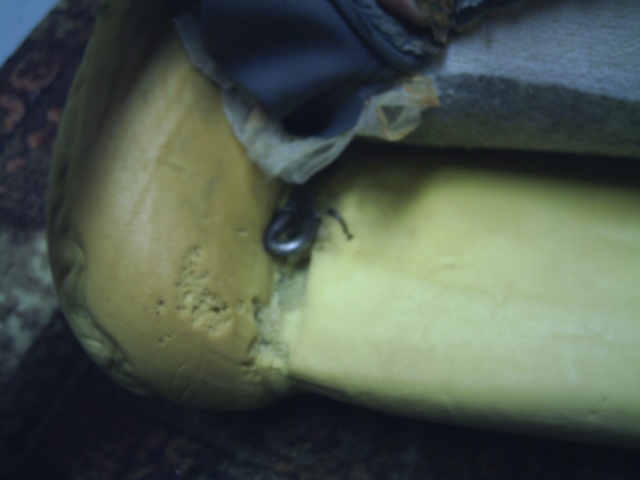
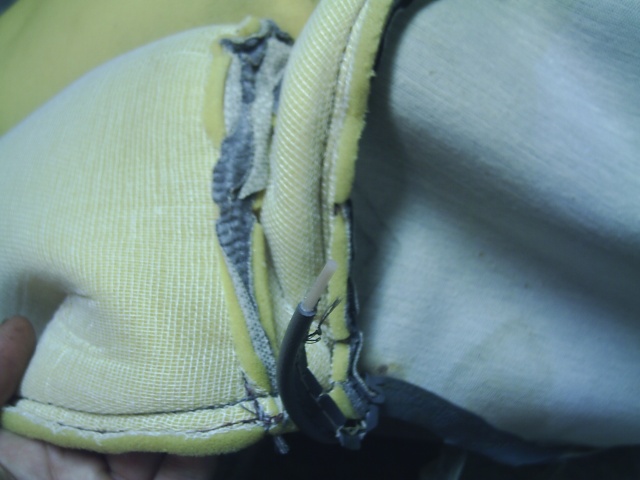
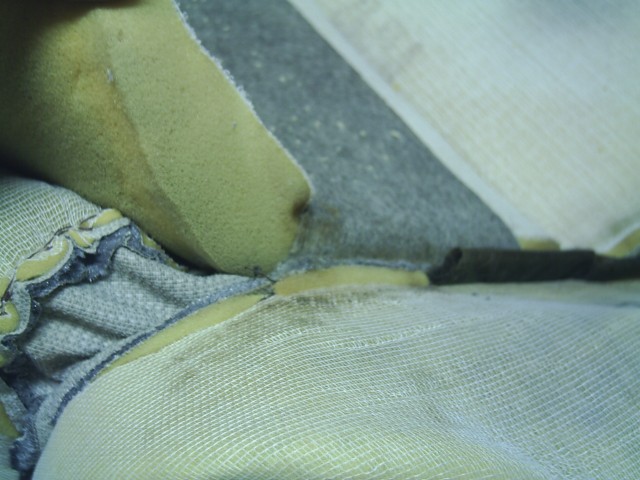
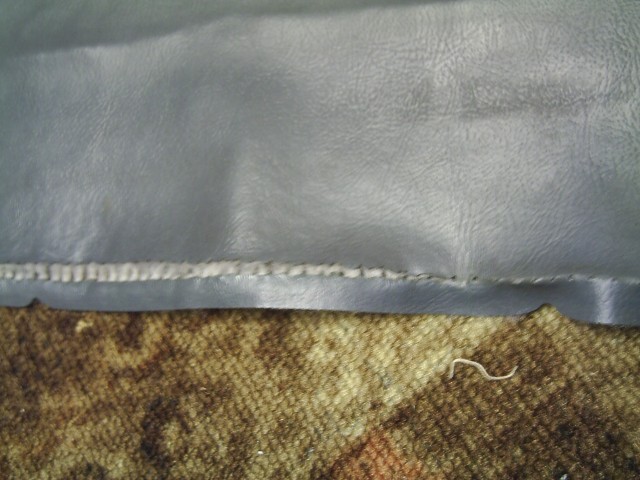
The vinyl part of the seat where the fabric attaches has stretched.
To fix this problem, I'll mark the center section pattern a bit longer on the edge that attaches to the vinyl. That way I can sew in front of the stretched holes.
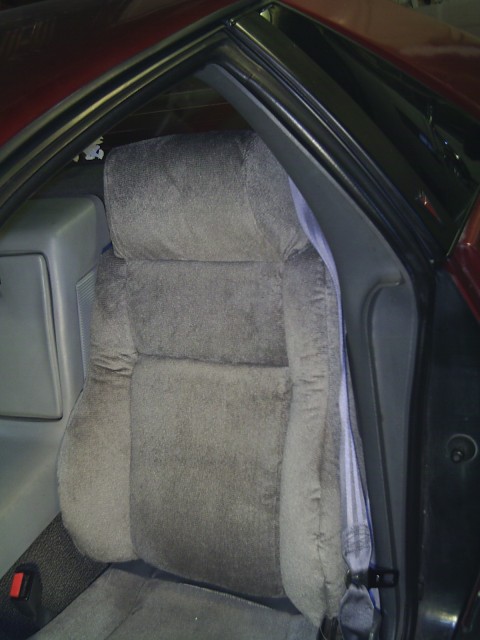
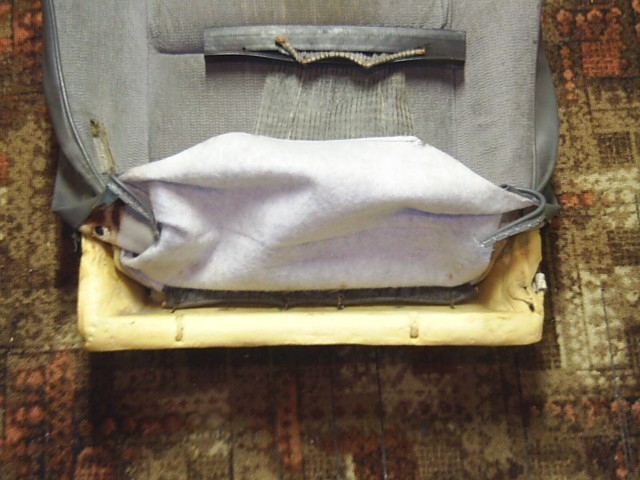
To use the seat while stitching new material, I can slip on old seat cover onto the bottom.
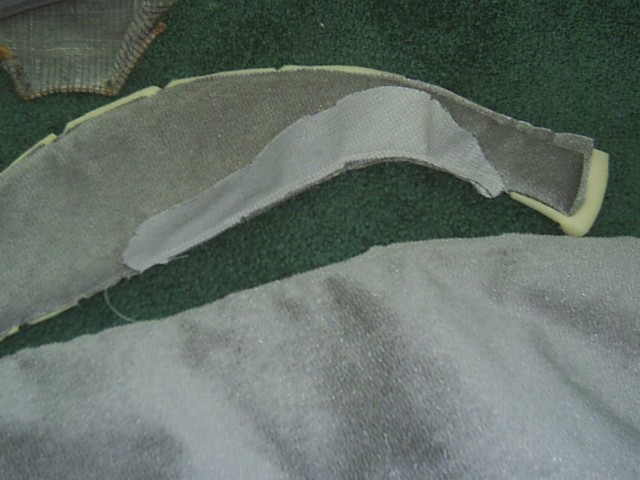
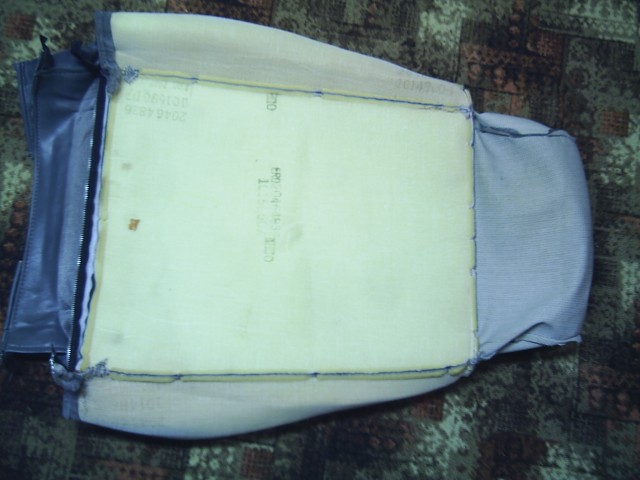
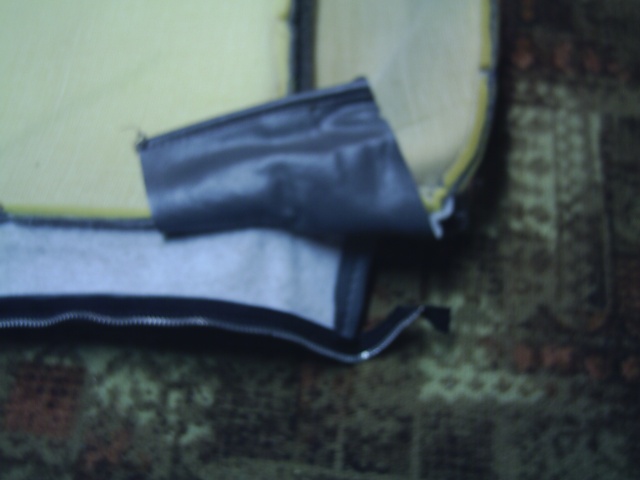
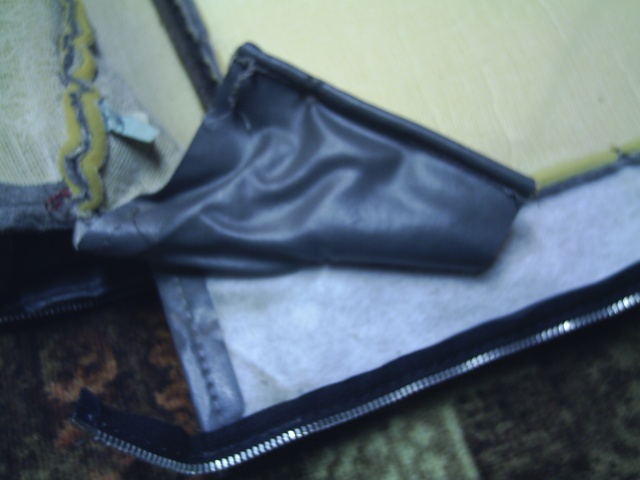
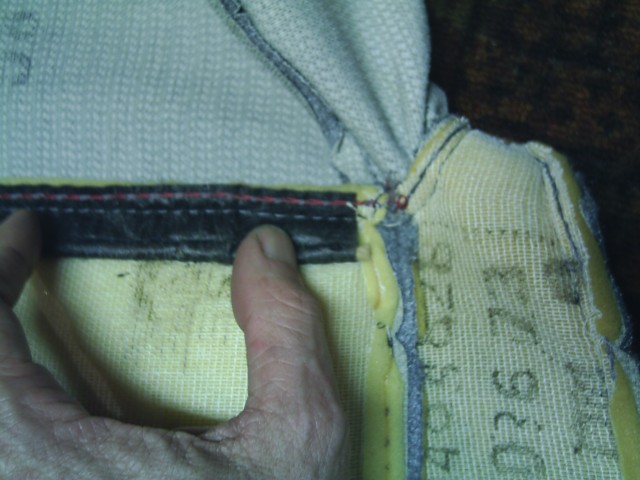
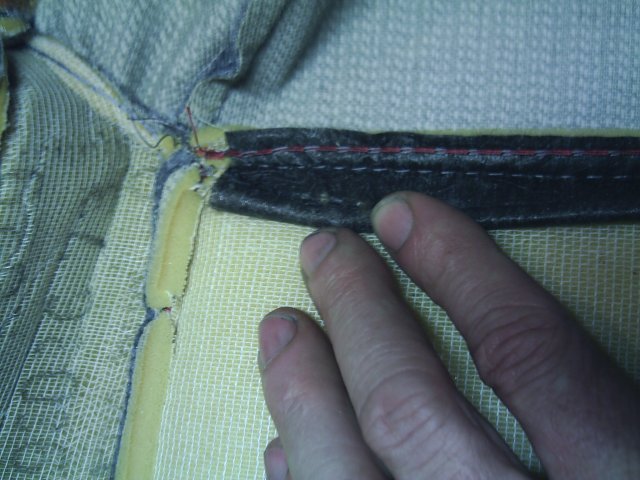
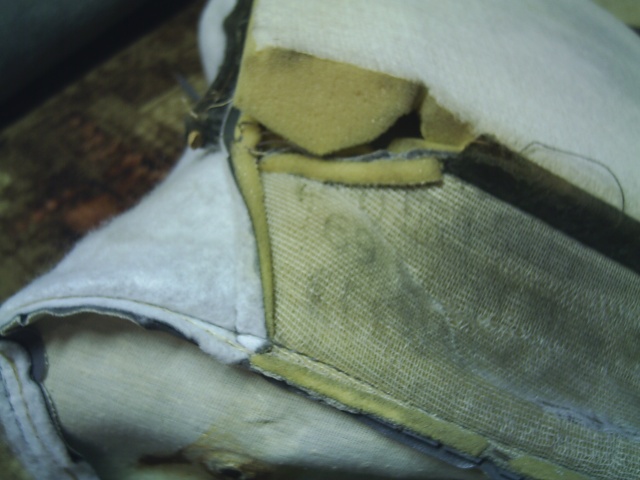
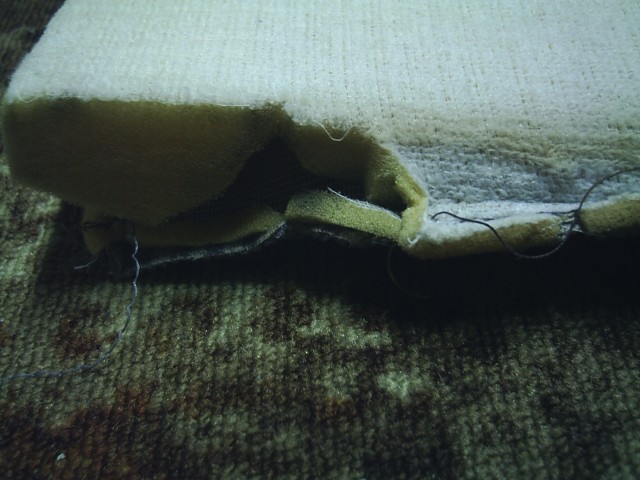
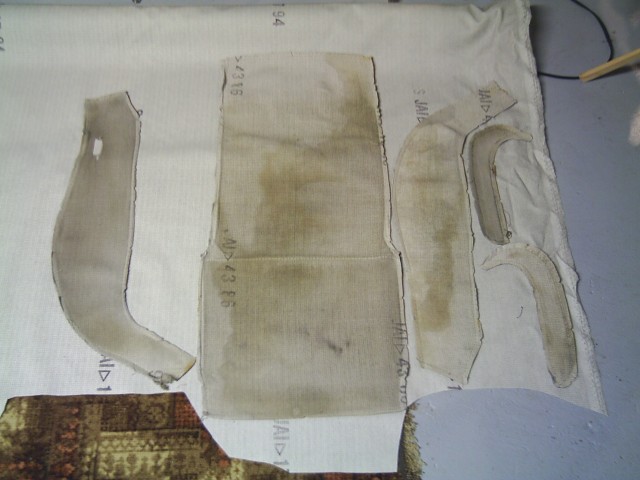
Someone has asked about a seat cover for the upper part, Here's the upper part turned inside out showing the rod guides and the top strip, all from blue jean mat'l. The top strip has a piece of heavy wire inside it so the hog rings won't tear thru the denim.
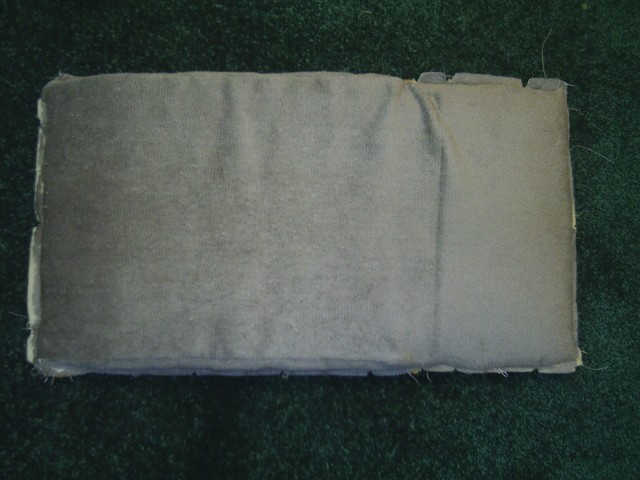
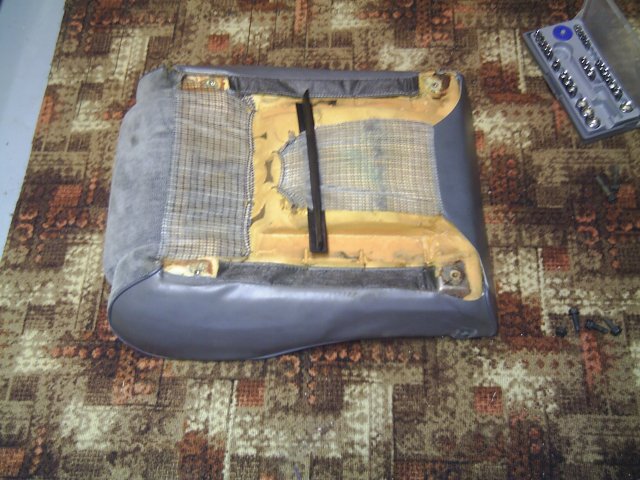
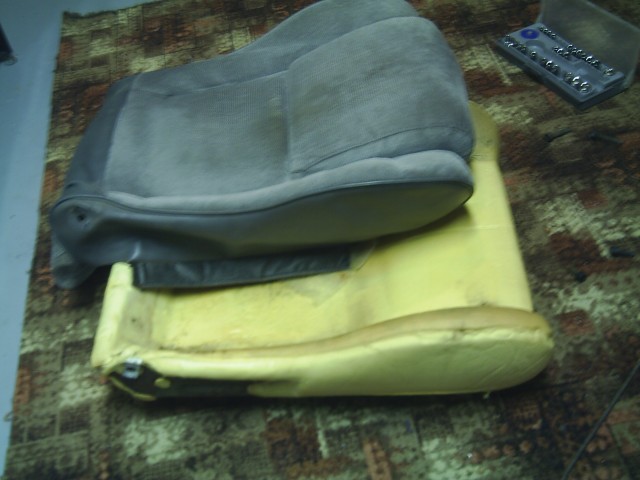
The bottom is easier than the back. Fewer pieces.
[This message has been edited by 30+mpg (edited 06-03-2006).]
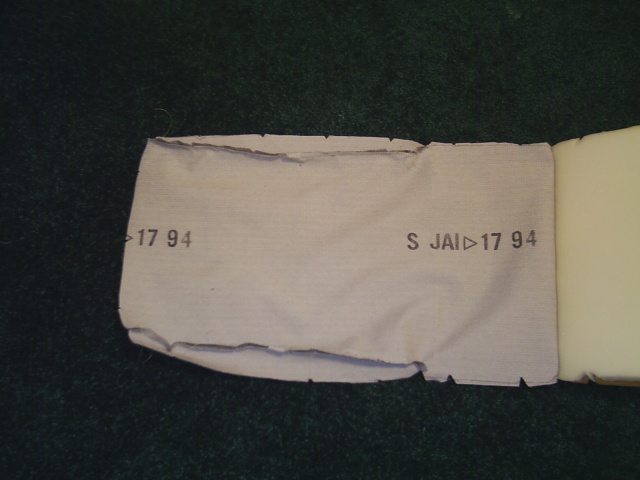
I'm not an upholestry person, however I do know that this kind of fabric has a grain to it. Align all the pattern pieces with the grain going in the same direction IE: top to bottom. or it will have a funny feel when touching the different panels and I'm guessing it will wear differently.
------------------ 1987 L4 Coupe Automatic
[This message has been edited by Mr.Chipps (edited 06-03-2006).]
Mr.Chipps:I'm not an upholestry person, however I do know that this kind of fabric has a grain to it. Align all the pattern pieces with the grain going in the same direction IE: top to bottom. or it will have a funny feel when touching the different panels and I'm guessing it will wear differently.
Look closely at the above pic of the old patterns on the new roll of fabric. All of the old fabric letters & numbers are in the same direction as the lettering on the new roll.
Just ordered everything I need, Wife is game for doing the sewing, however my Current seats are 7 out of 10 (pass 9 out of 10), The drivers side Vynal is ripped. I hate to rip these seats apart so that leaves me to buy junk yard trashed ones or get patterns from someone, anyone want to make me a pattern?
linenoise:... I hate to rip these seats apart so that leaves me to buy junk yard trashed ones or get patterns from someone, anyone want to make me a pattern?
?????Are you emotionally attached to worn out upholstery? ??
Just buy some cheap slipcovers. You're gonna have to take the worn out fabric off sooner or later, plus patterns won't provide you w/ the thick contoured foam that's sewn into the center fabric sections of the back & bottom of the seats.
[This message has been edited by 30+mpg (edited 06-04-2006).]
?????Are you emotionally attached to worn out upholstery? ??
Just buy some cheap slipcovers. You're gonna have to take the worn out fabric off sooner or later, plus patterns won't provide you w/ the thick contoured foam that's sewn into the center fabric sections of the back & bottom of the seats.
I just hate to think about tearing these up just to fix the minor tear on the drivers side.


 ??
??