|
| World's slowest Fiero/Quad 4 Swap (Page 29/50) |

|
Quadfather
|
DEC 10, 04:44 PM
|
|
|
|
|
Quadfather
|
DEC 10, 04:53 PM
|
|
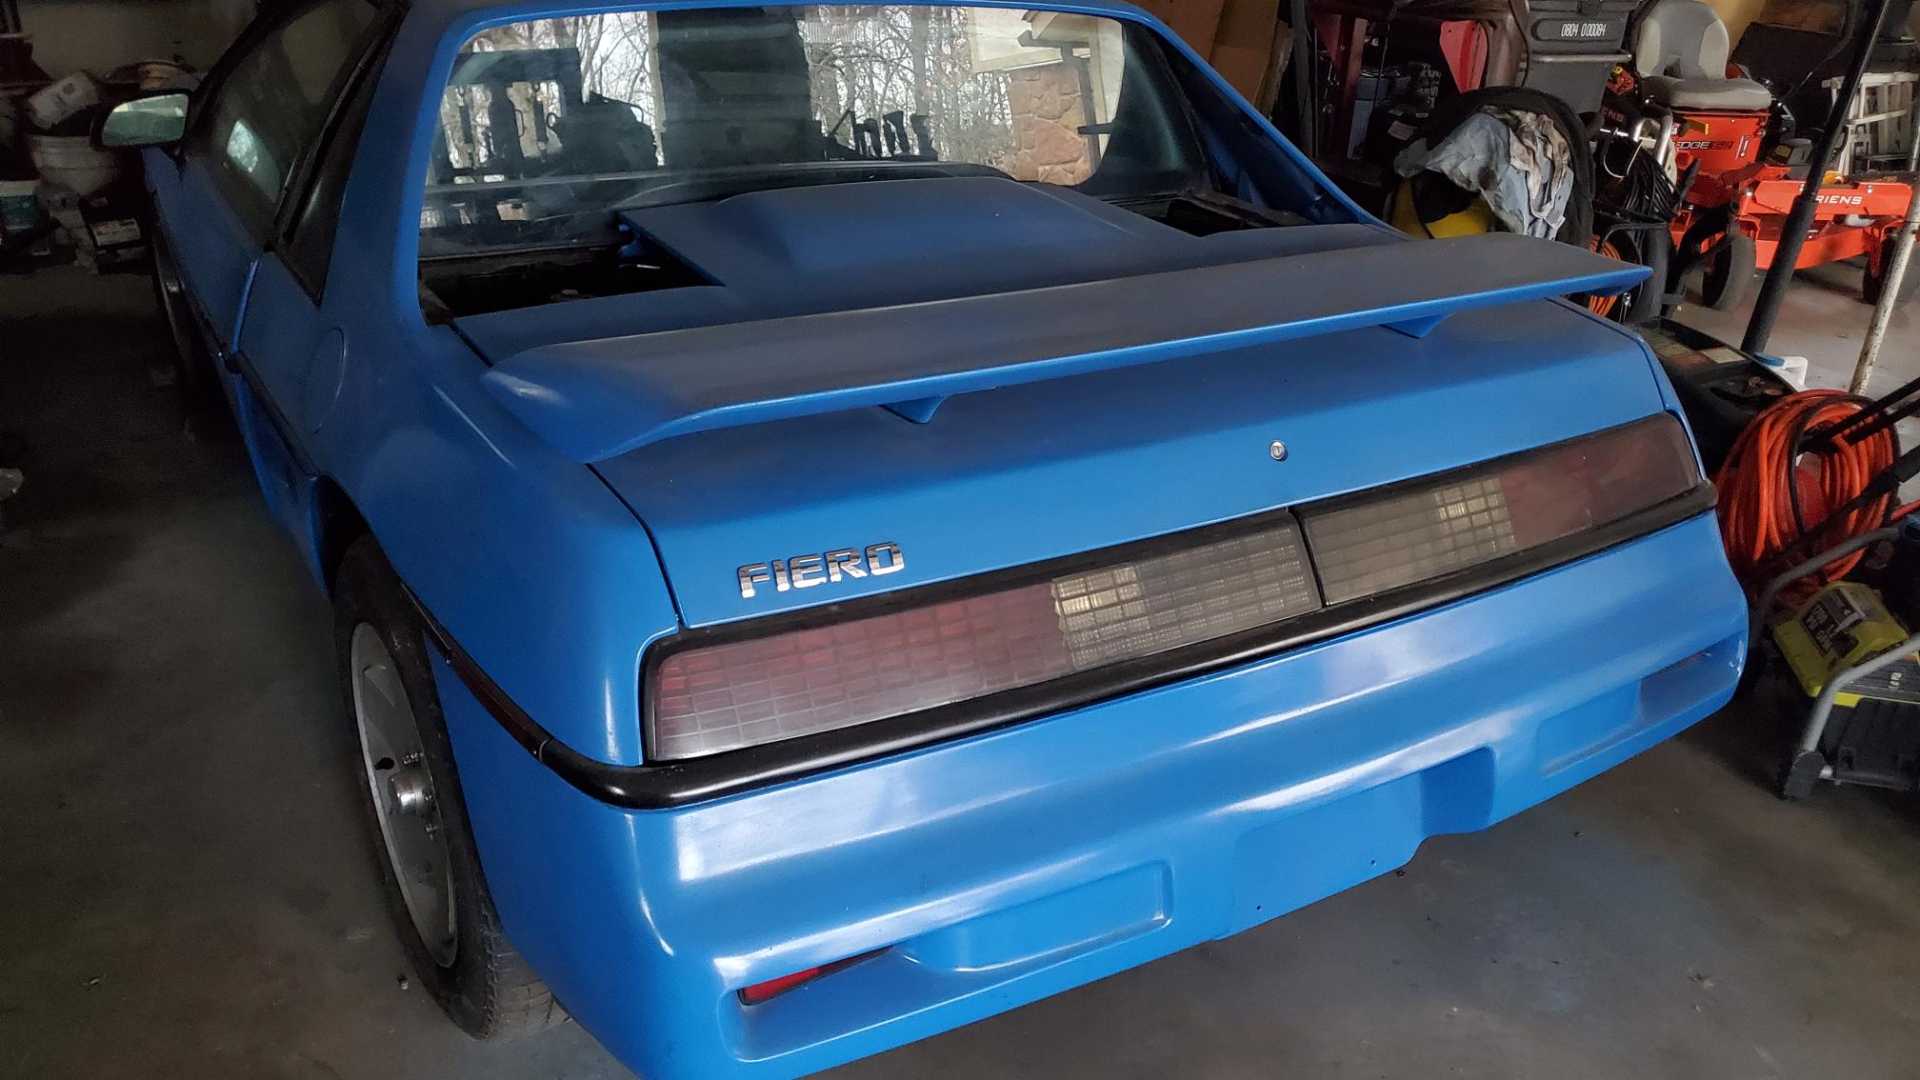
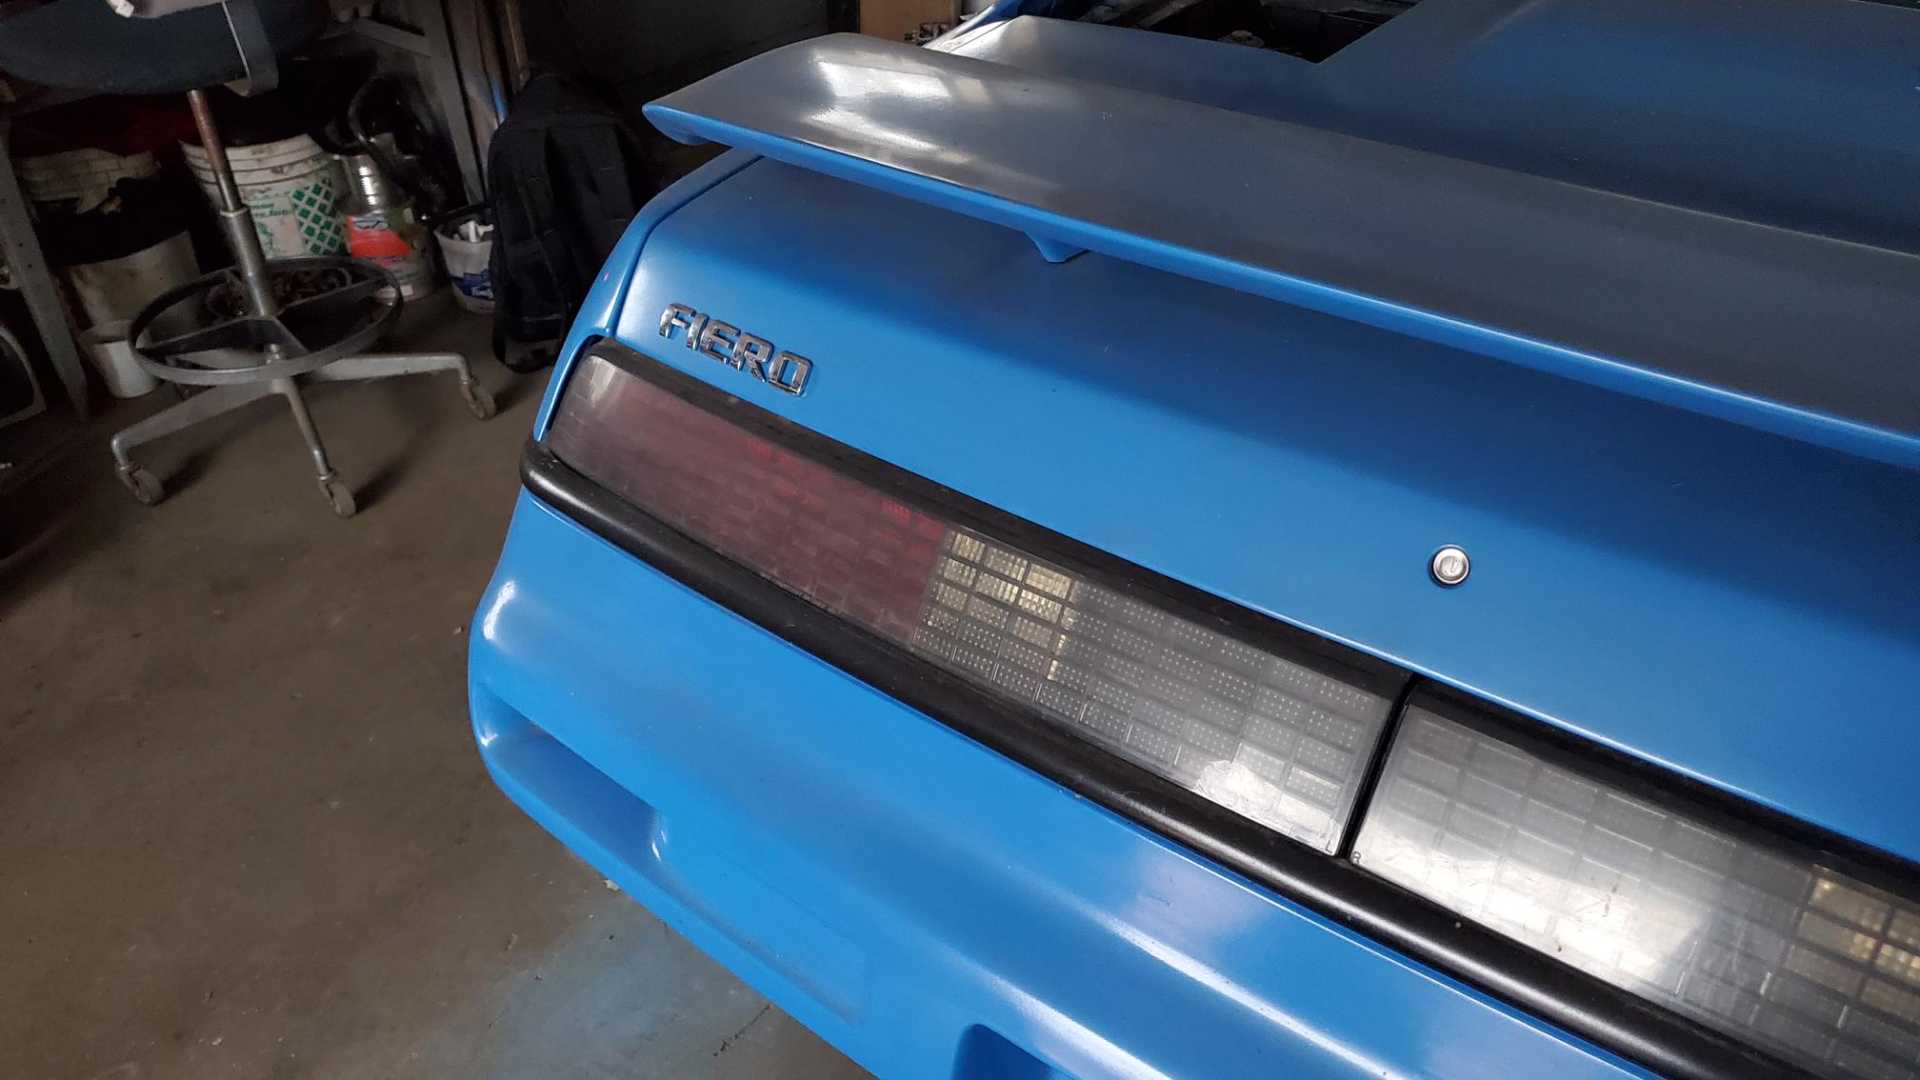
I did a major cleanup in the shop last Sunday as I prepare to remove one of the spare Quads from the Fiero. Stumbled across this in the process. Can’t remember if I’ve ever posted about it.
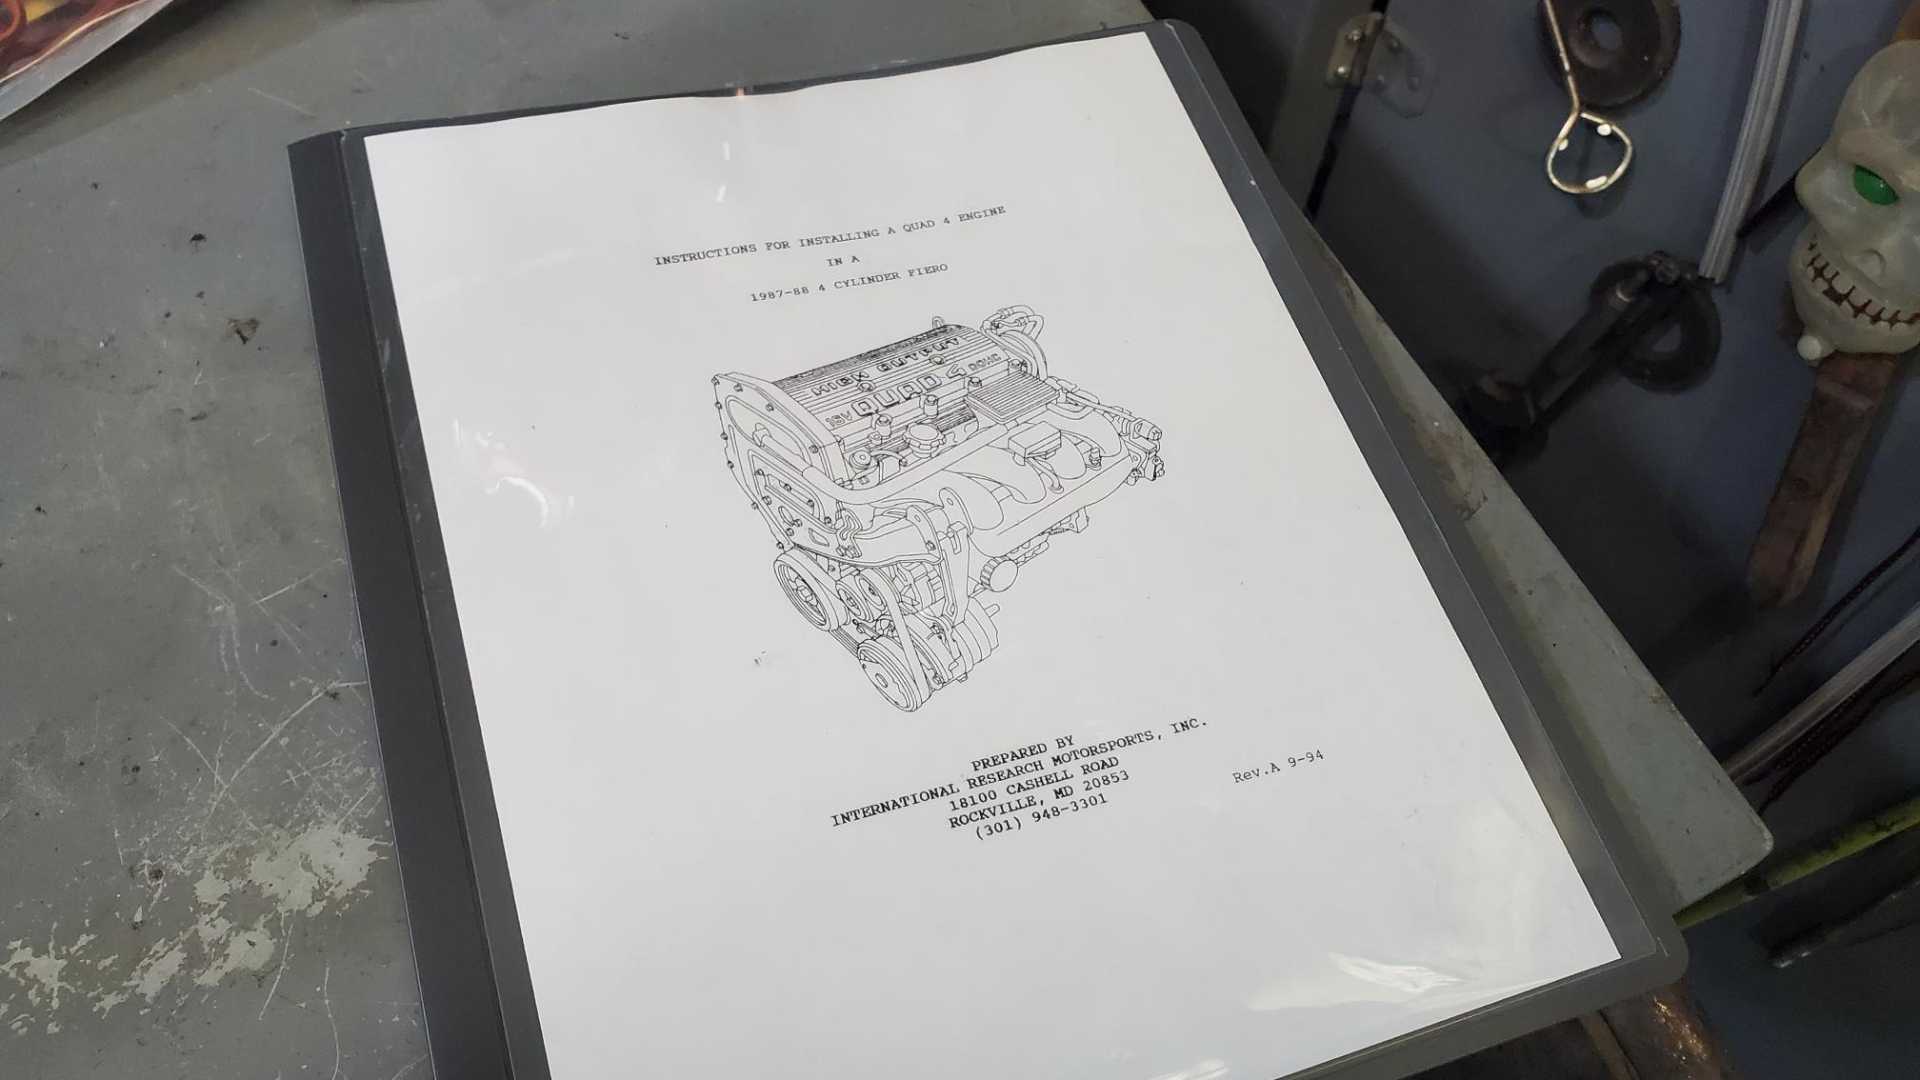
I believe I first saw it posted by GA Fiero Club or something similar. It says “Instructions for Installing a Quad 4 Engine in a 1987-88 4 Cylinder Fiero.” It was prepared by International Research Motorsports in Rockville, MD and this version is from September 1994!
The manual includes drawings of all the modifications that need to be done to the car so I’ll be sharing those pages in the coming weeks. It’s very helpful, but it focuses a little too much on the mechanics of preparing the engine, which other manuals already cover, and some of the key instructions don’t have enough detail.[This message has been edited by Quadfather (edited 12-11-2021).]
|
|
|
|
Quadfather
|
DEC 10, 05:00 PM
|
|
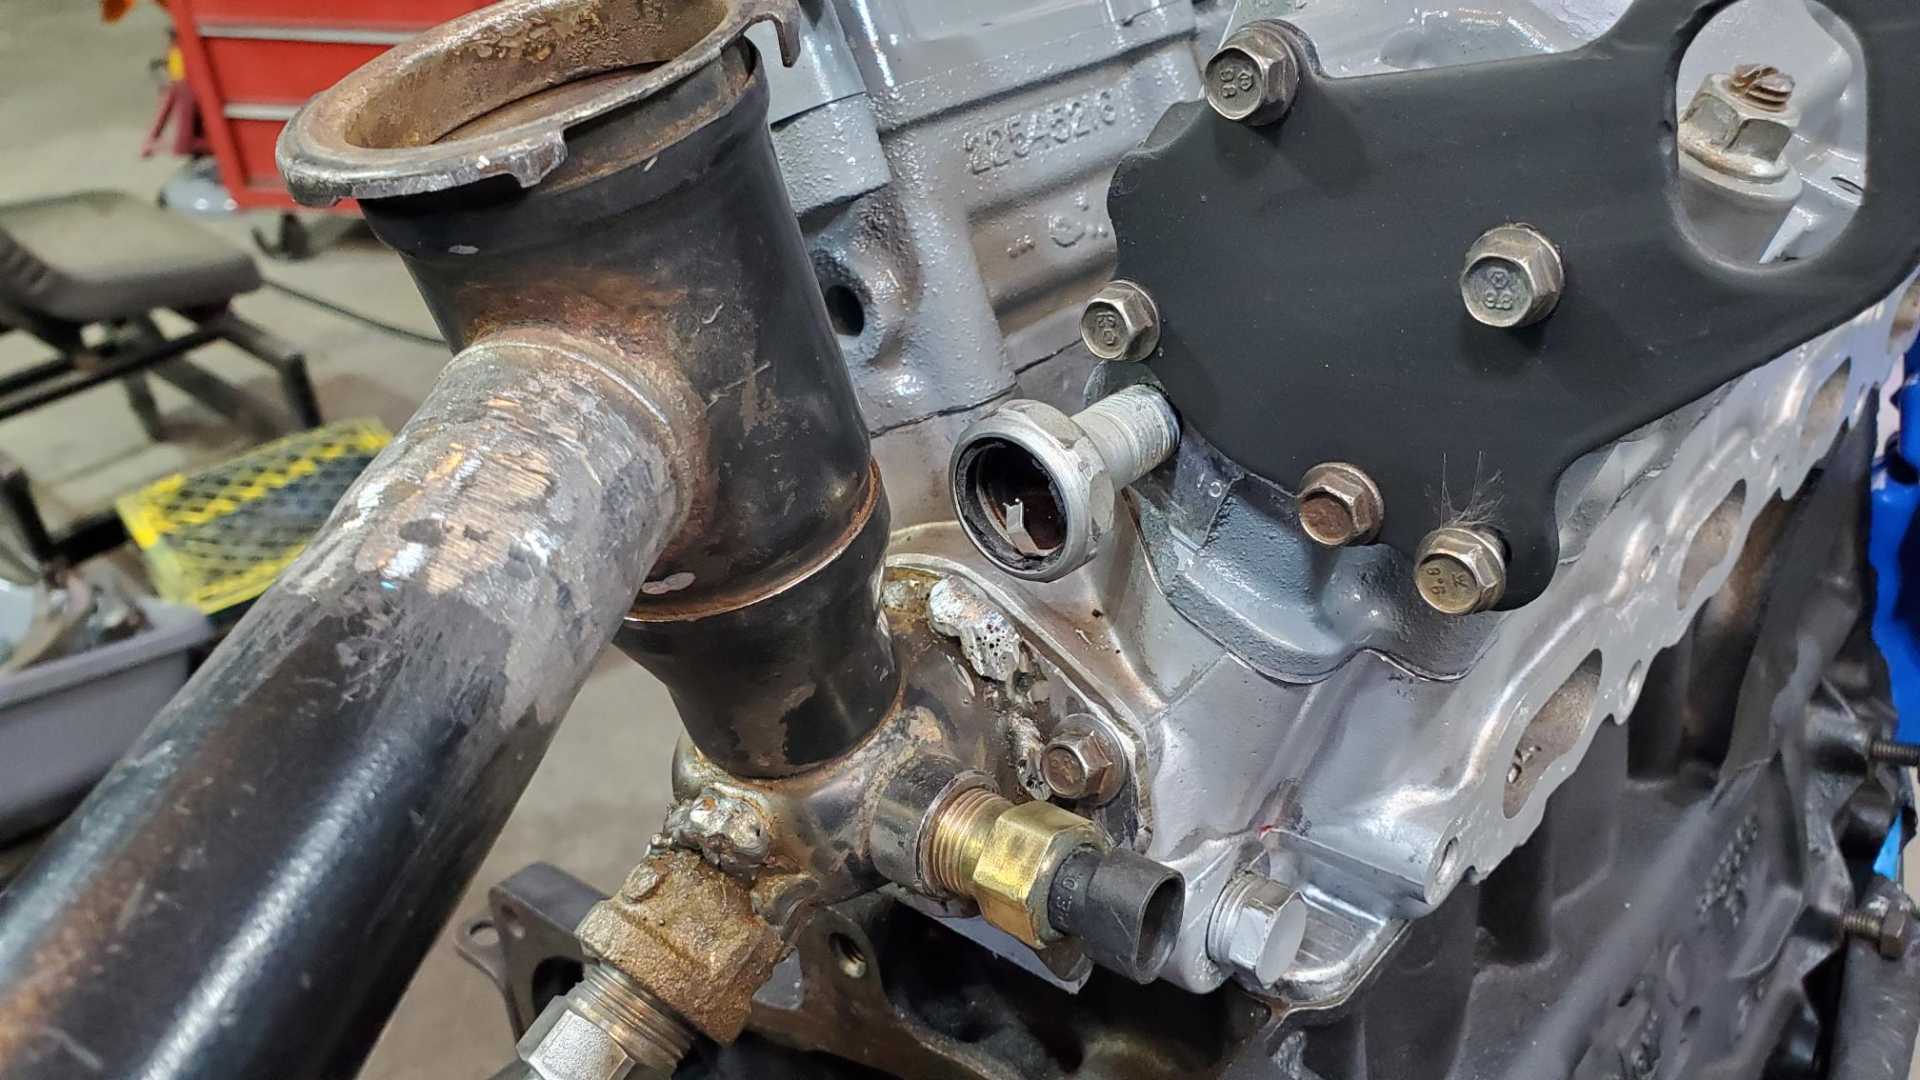
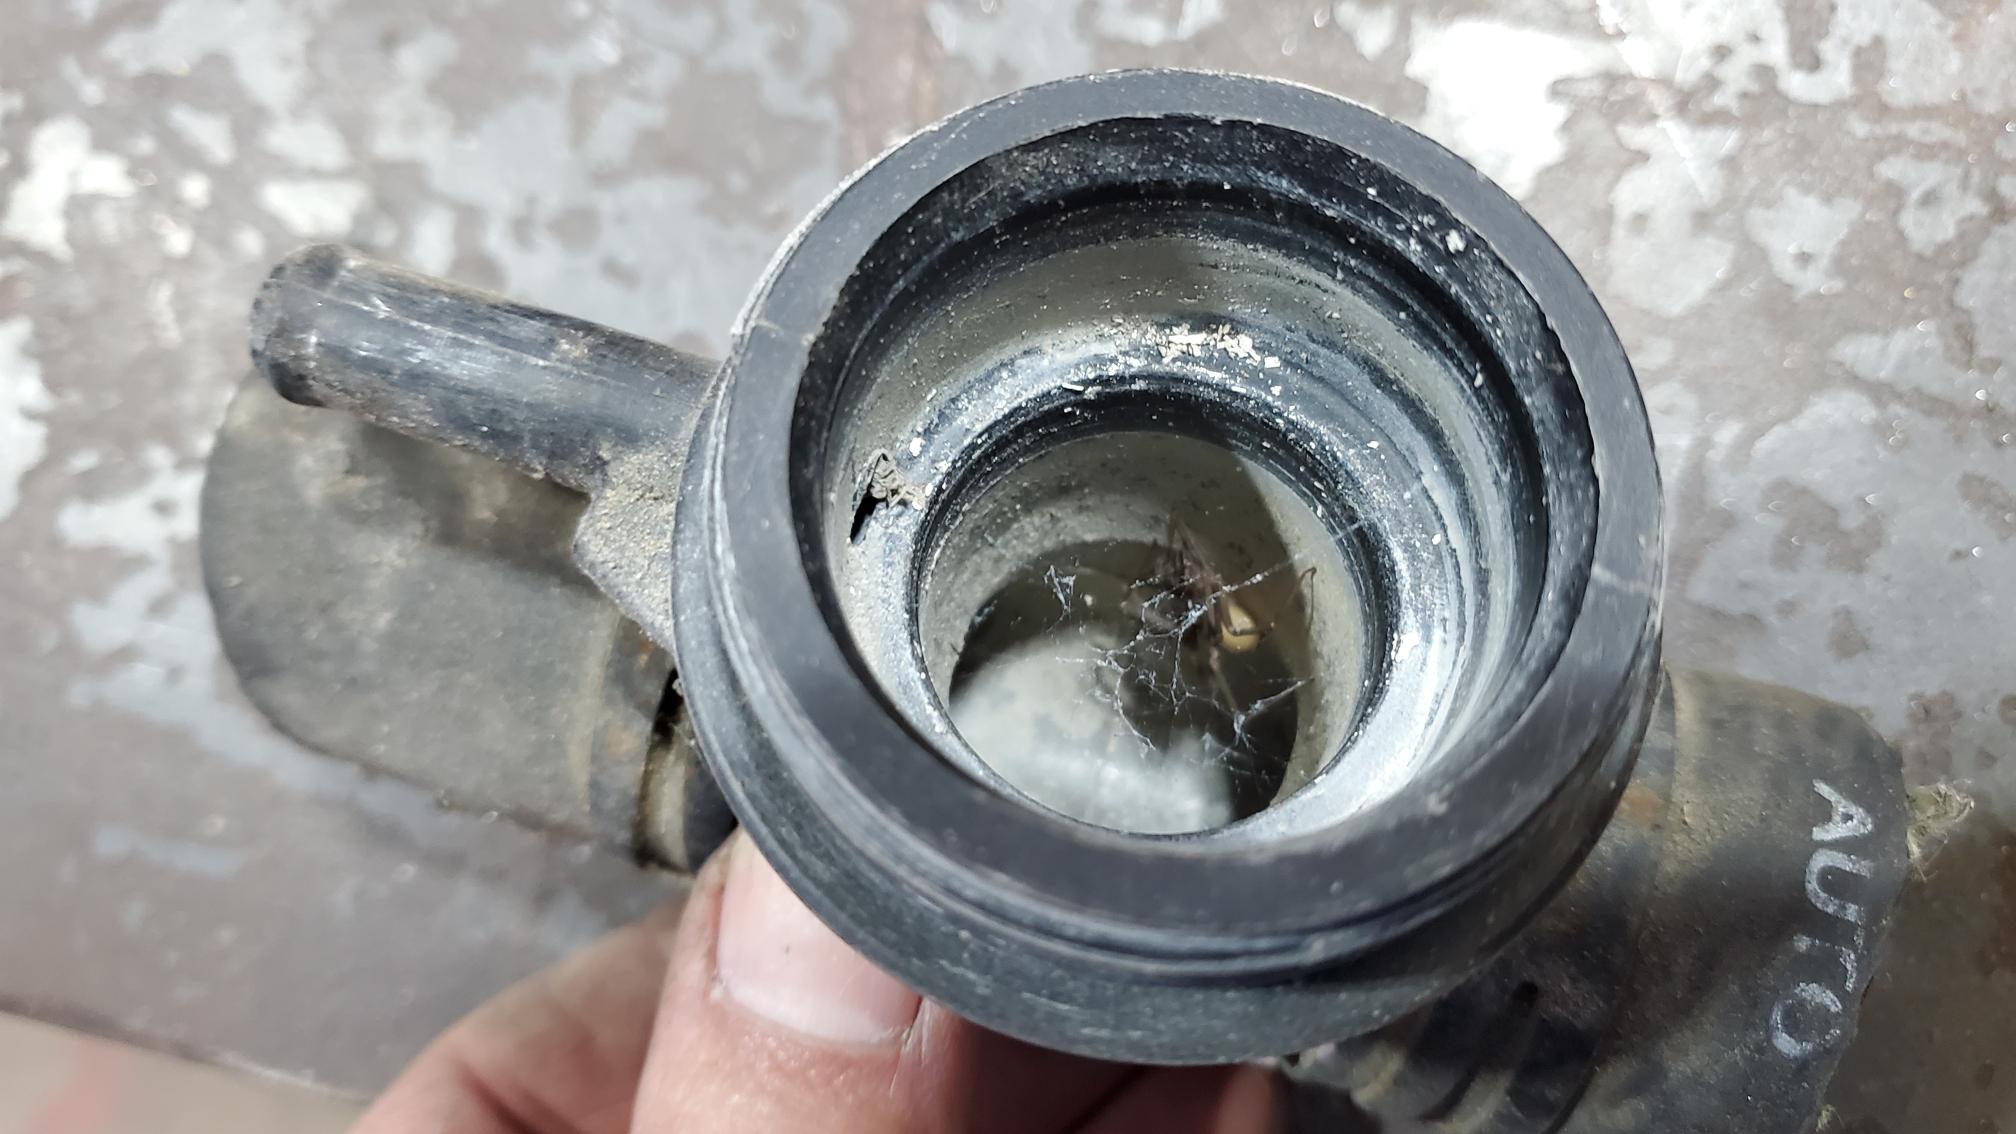
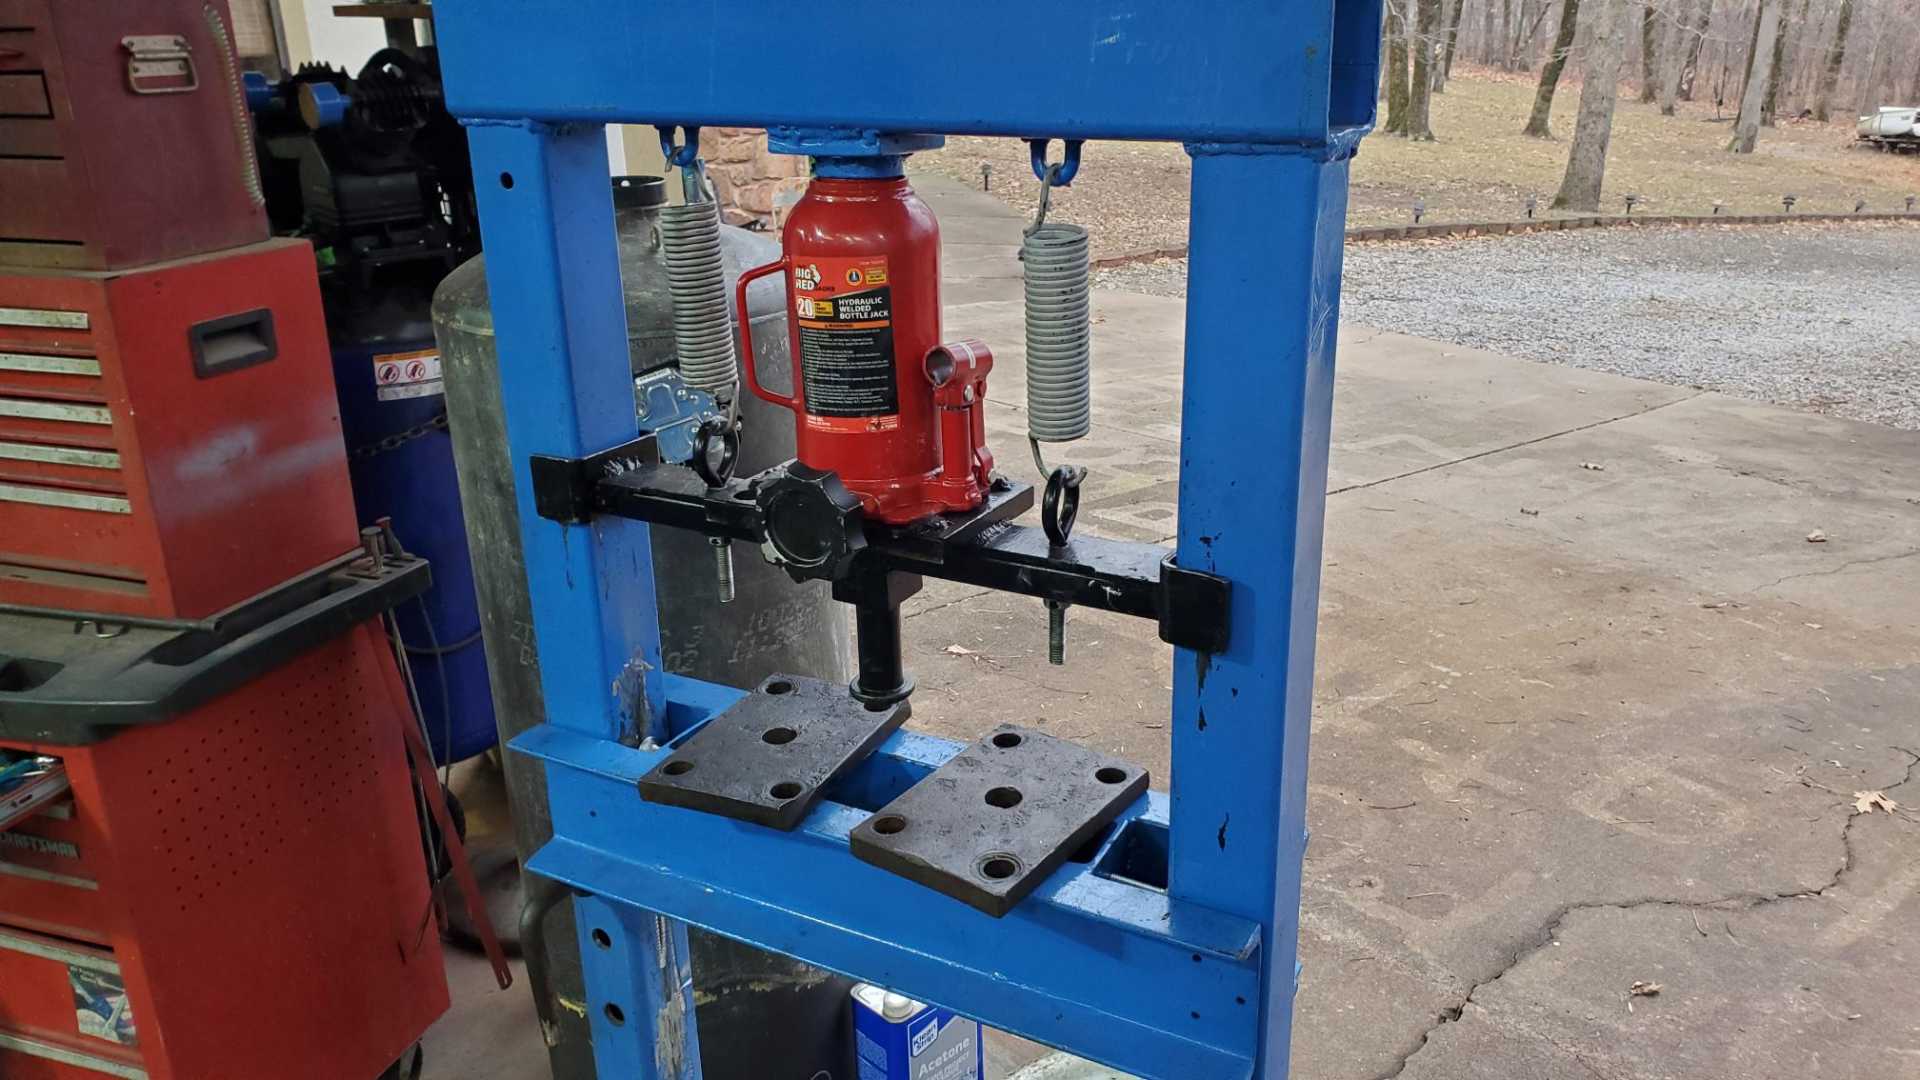
Haven’t done much work to the engine today, aside from cleaning the thermostat housing and AC compressor bracket. I need to buy a water pump and get it installed.
A few weeks ago a friend borrowed my press to install all the new front end suspension parts on his ‘68 Chevy C10 project. He had some suggestions for tweaks to the press when he returned it. I made most of those today, including more holes for the platform and a handle for the valve on the jack.
Hopefully more engine progress this weekend.
|
|
|
|
Quadfather
|
DEC 11, 09:05 AM
|
|
|
|
|
Quadfather
|
DEC 11, 09:18 AM
|
|
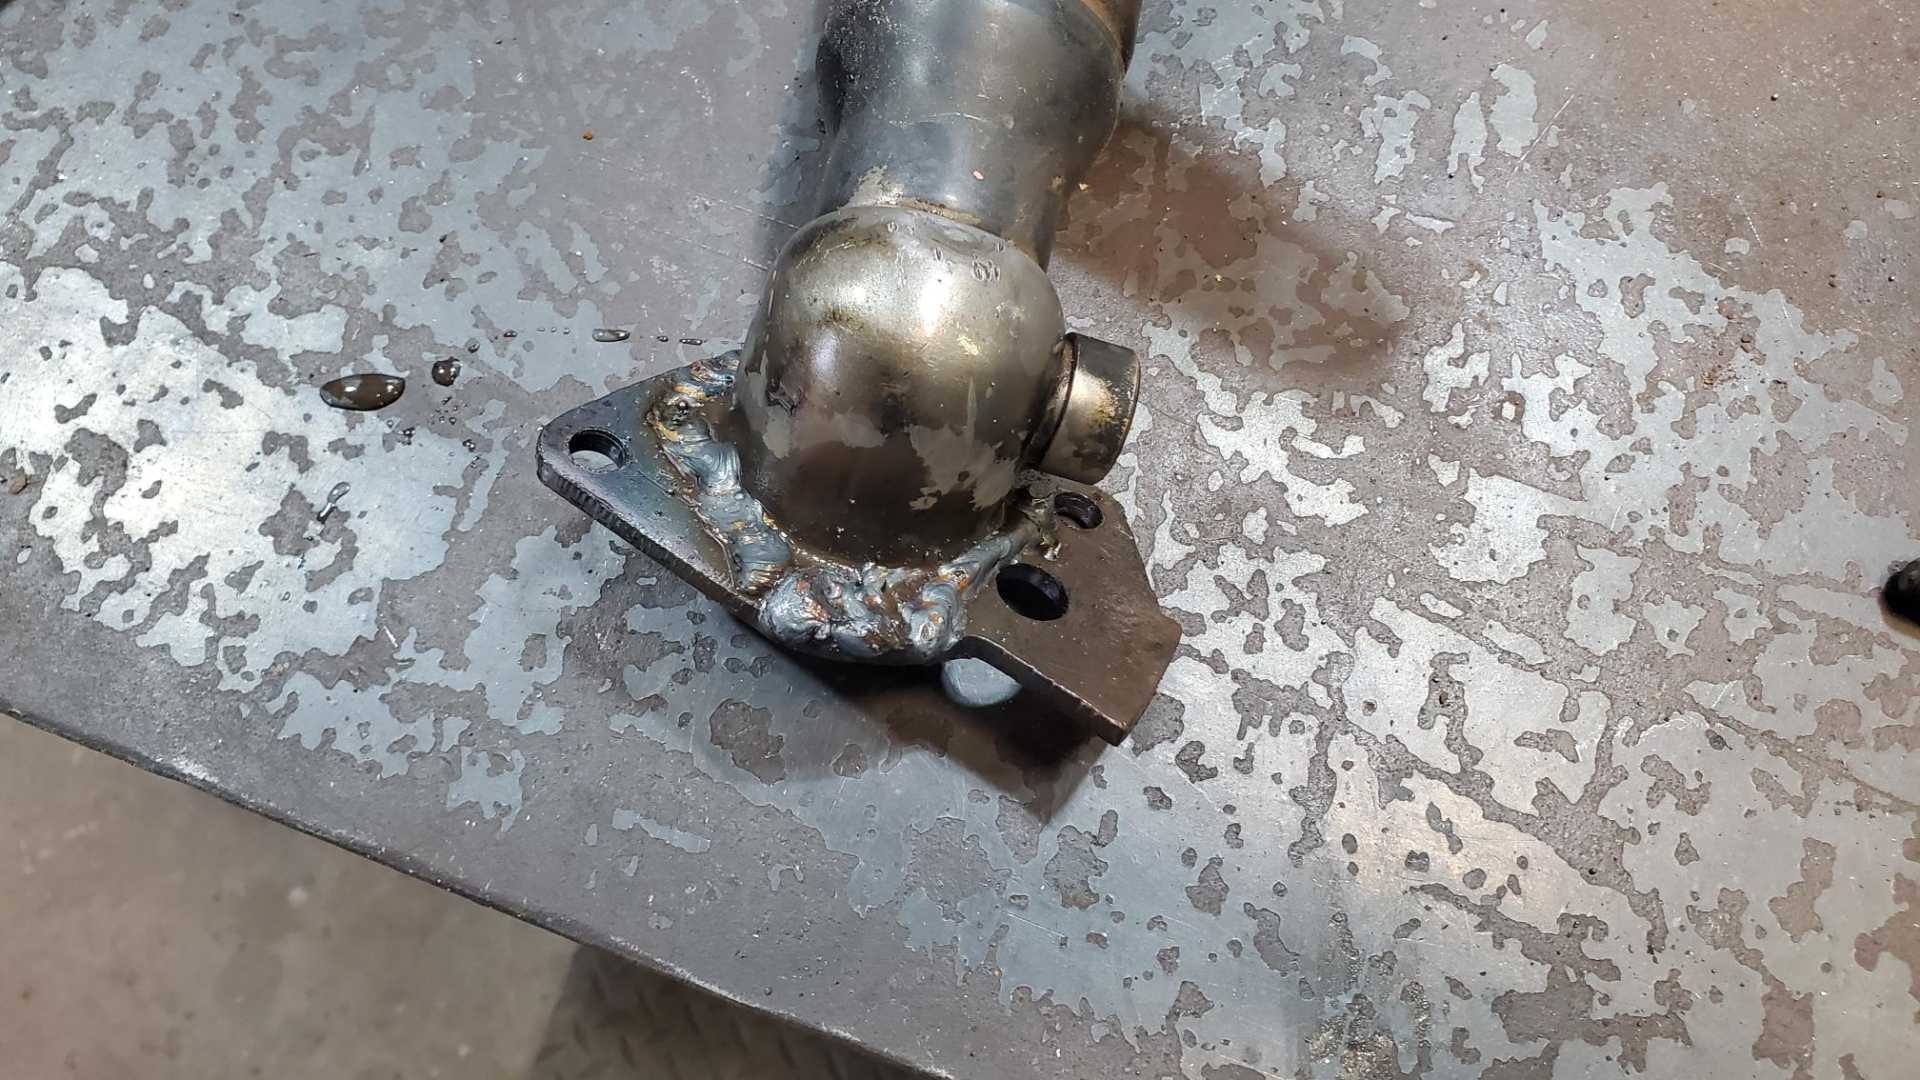
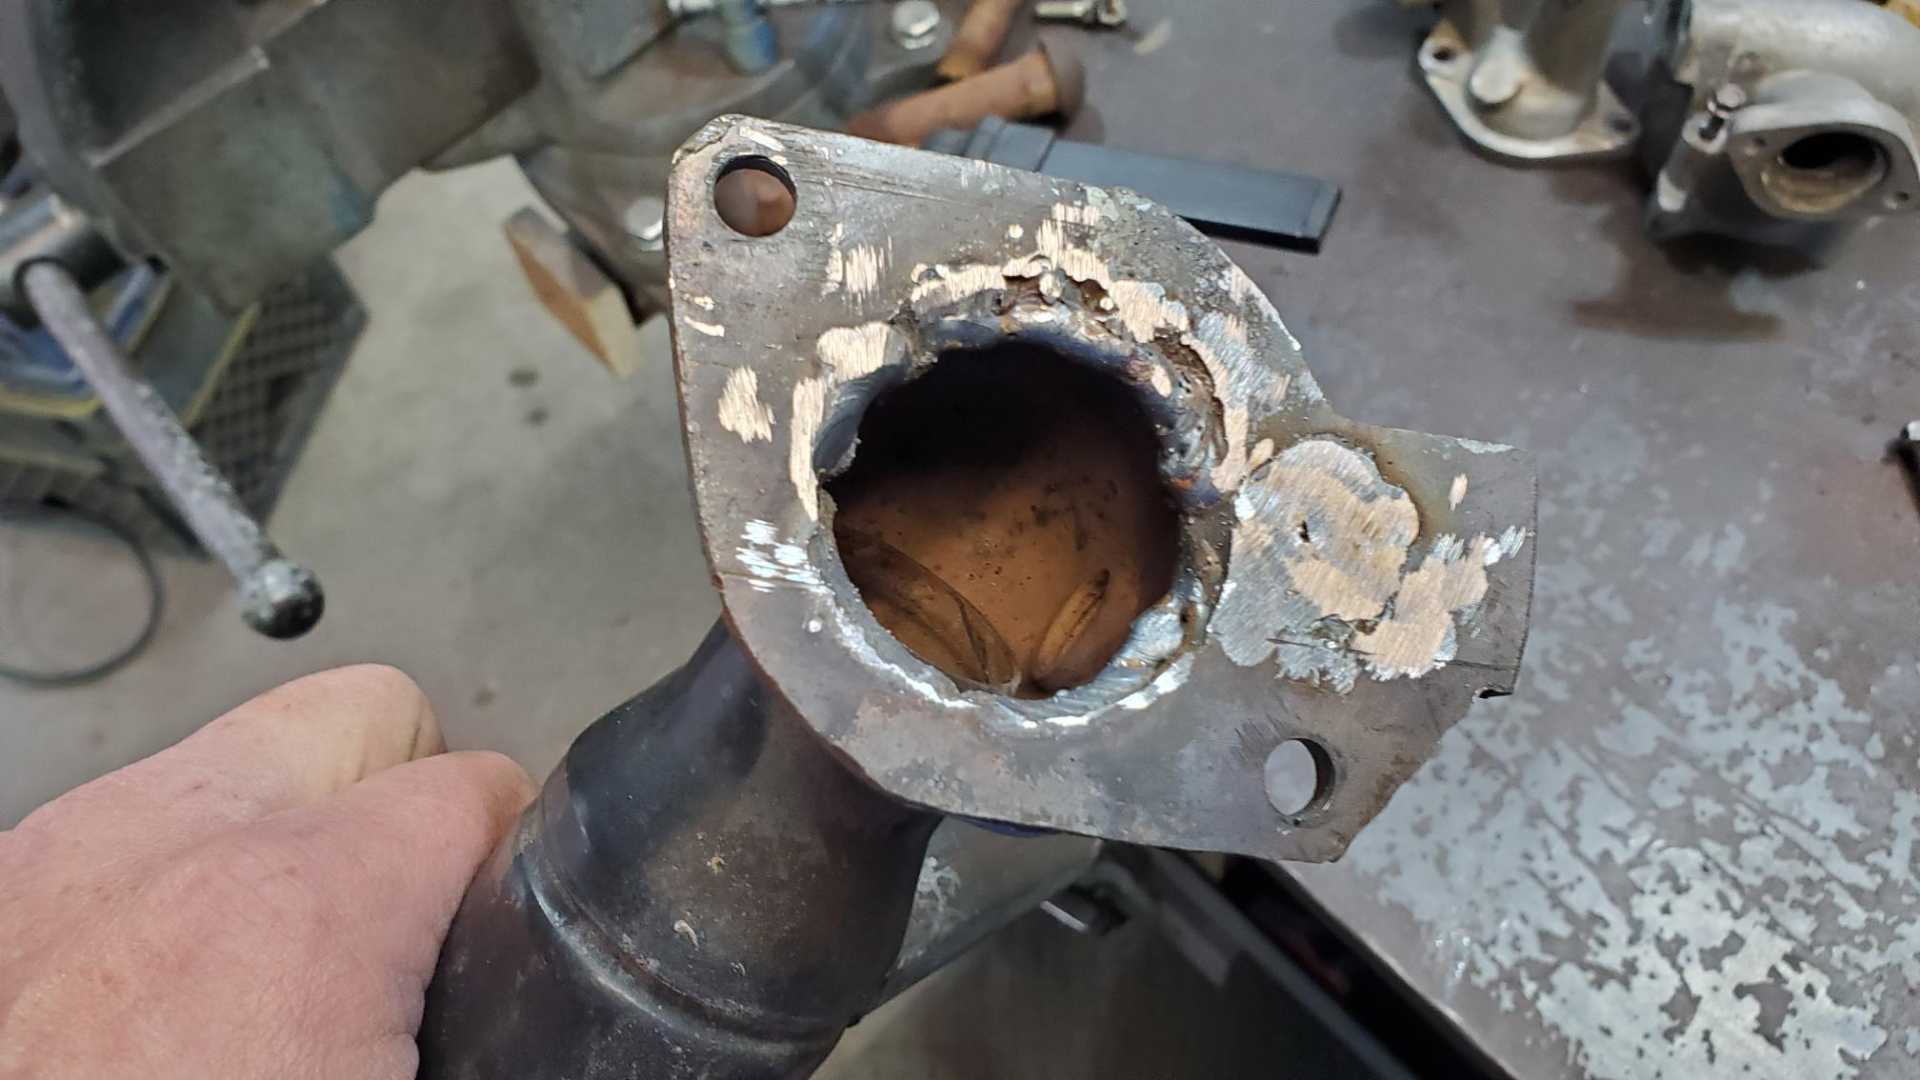
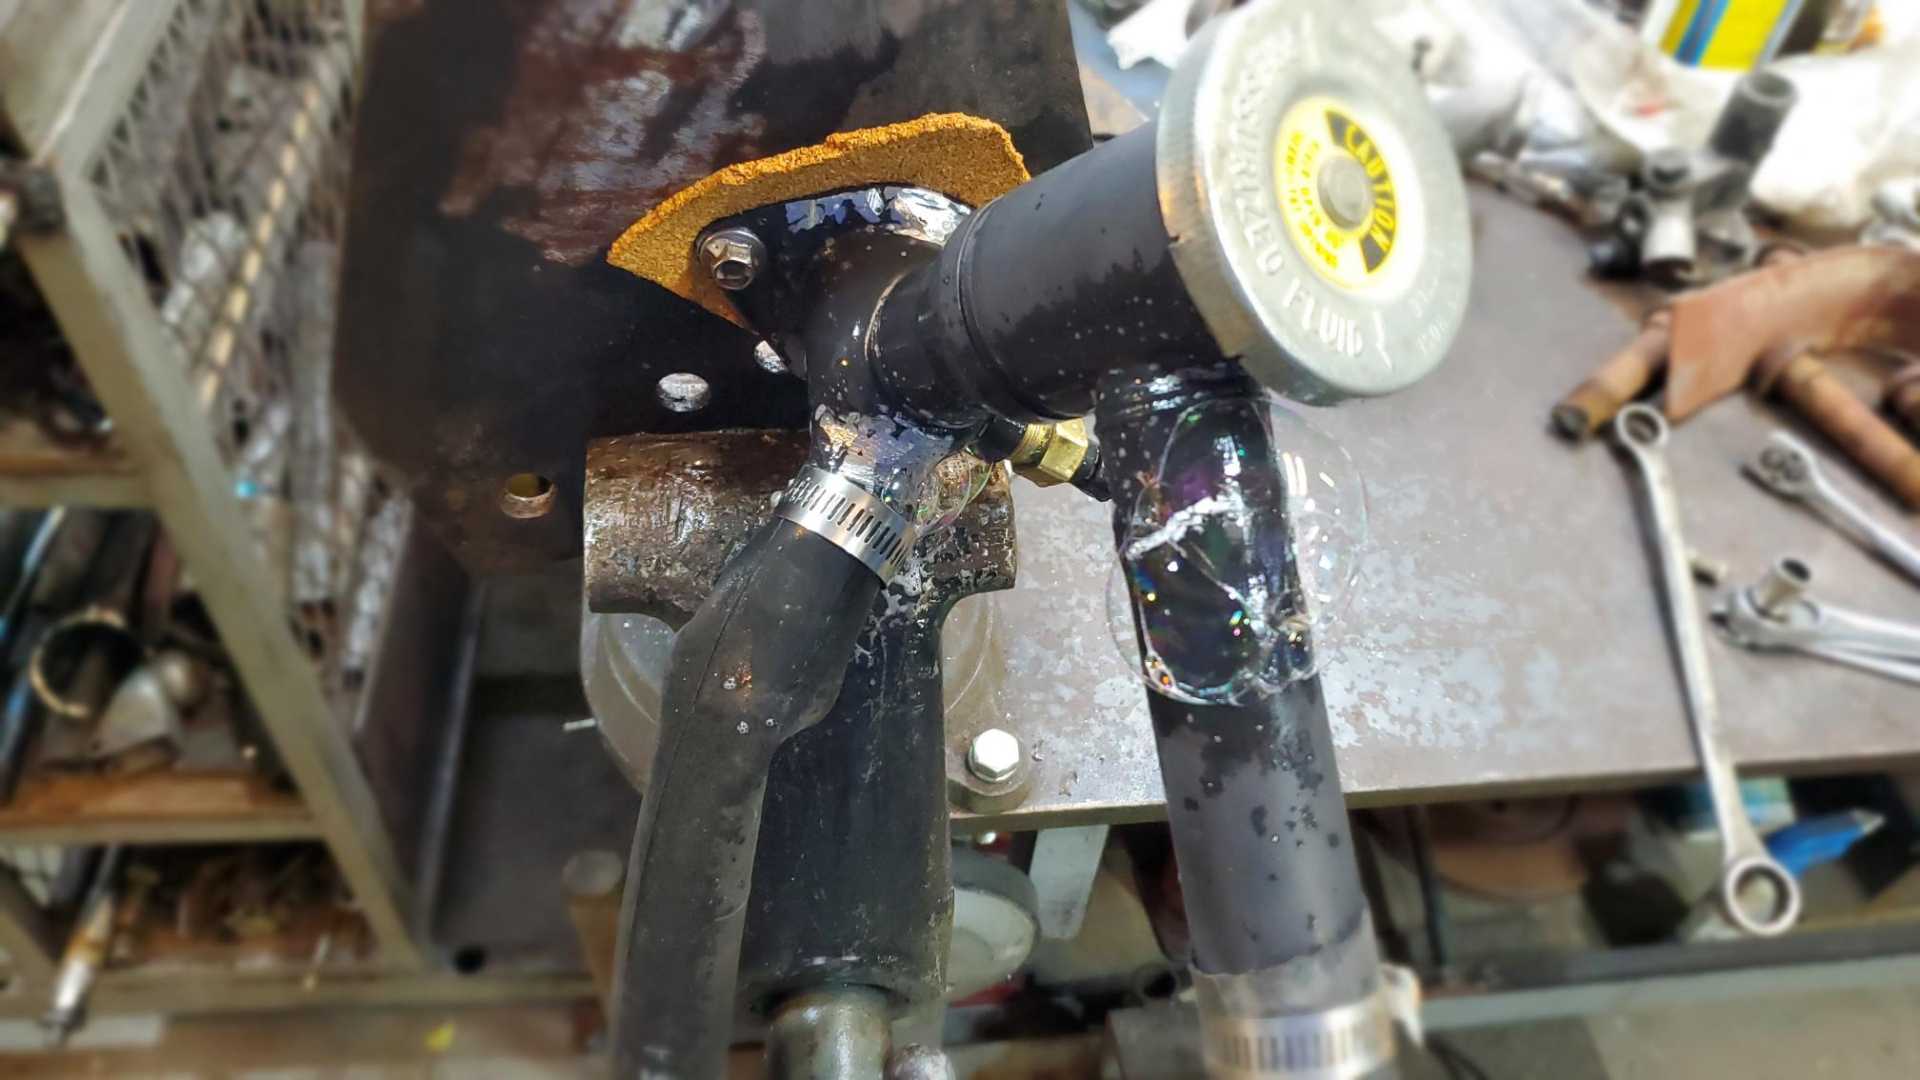
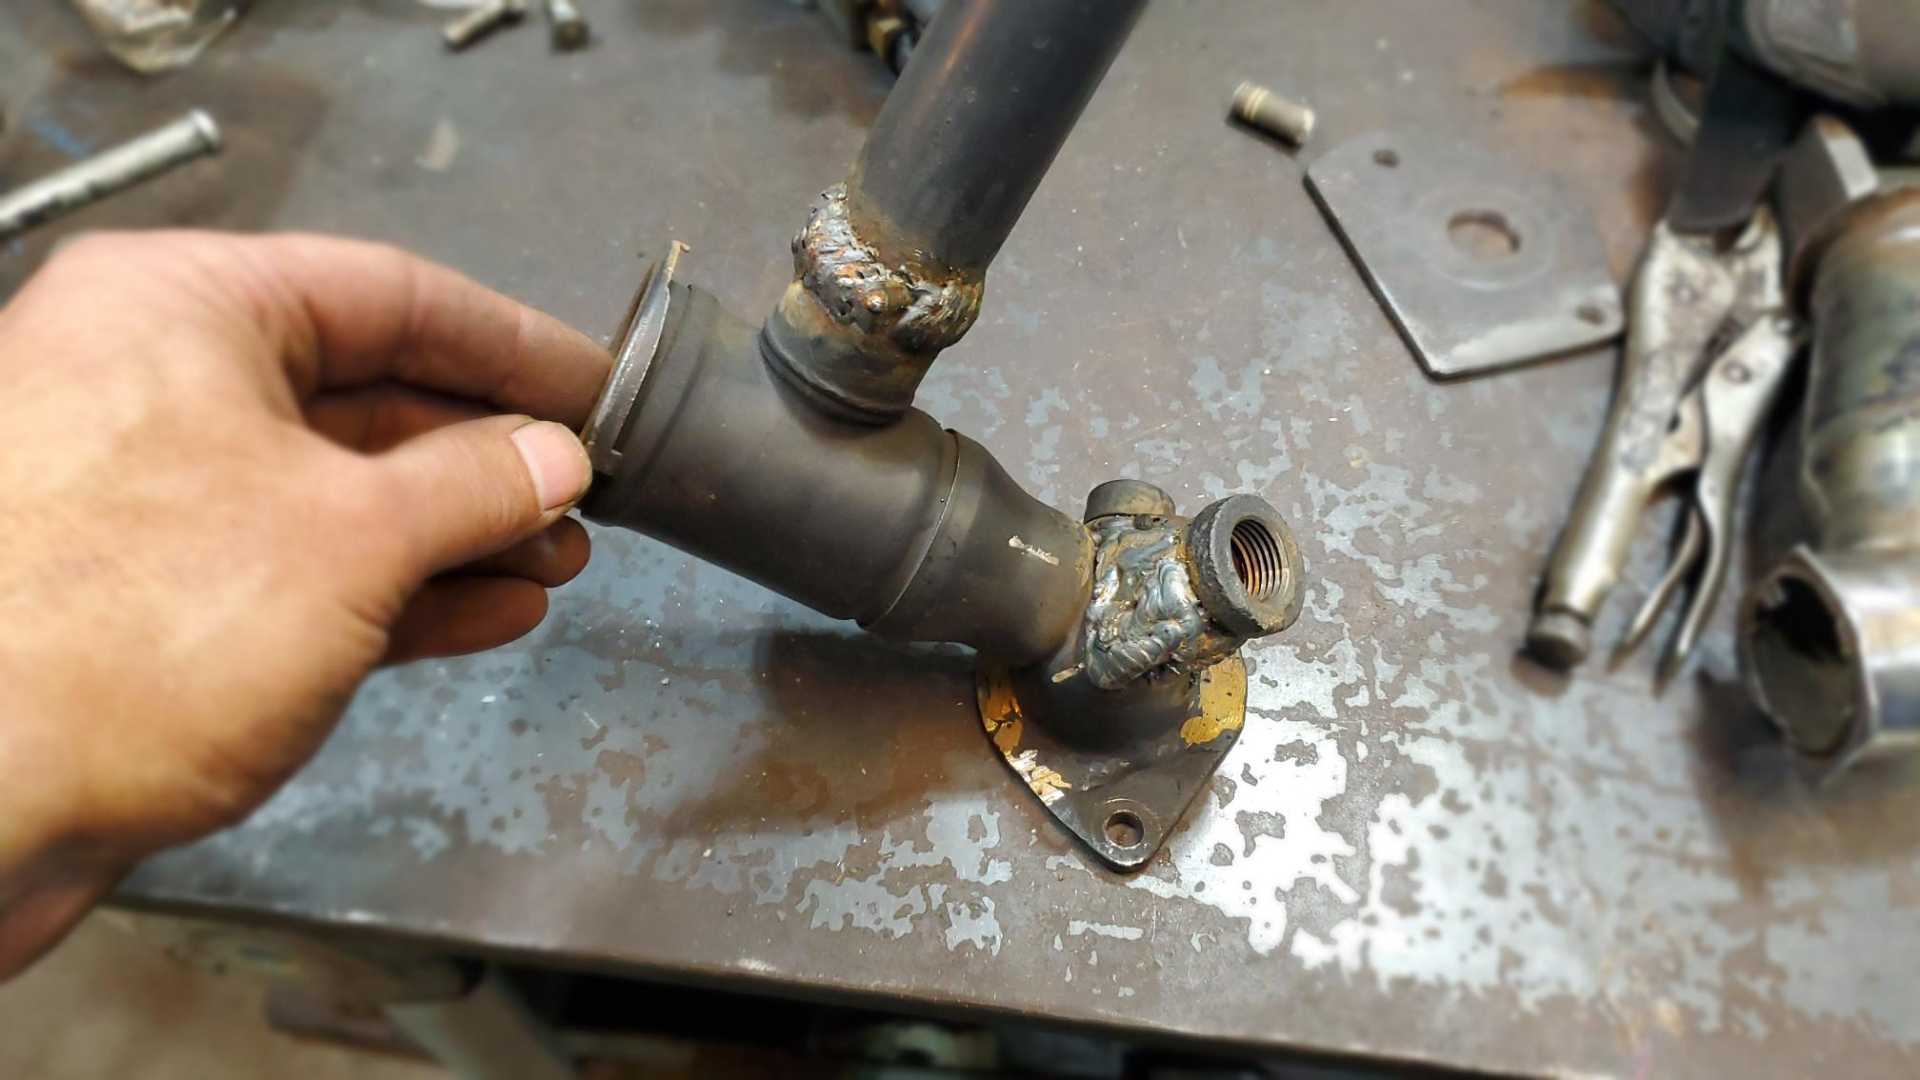
Here’s where I saw the idea about mating a Fiero V6 t-stat housing to the Quad. It’s from Sardonyx’s build thread.

Maybe I should give this a shot after all. I like the idea of keeping connections in the cooling system to a minimum.
Sardonyx’s thread is excellent because of all the photos and descriptions he posted.
https://www.fiero.nl/forum/Forum2/HTML/123416.html
|
|
|
|
Quadfather
|
DEC 17, 04:53 PM
|
|
|
|
|
Quadfather
|
DEC 17, 05:32 PM
|
|
|
|
|
Quadfather
|
DEC 19, 06:49 AM
|
|
|
|
|
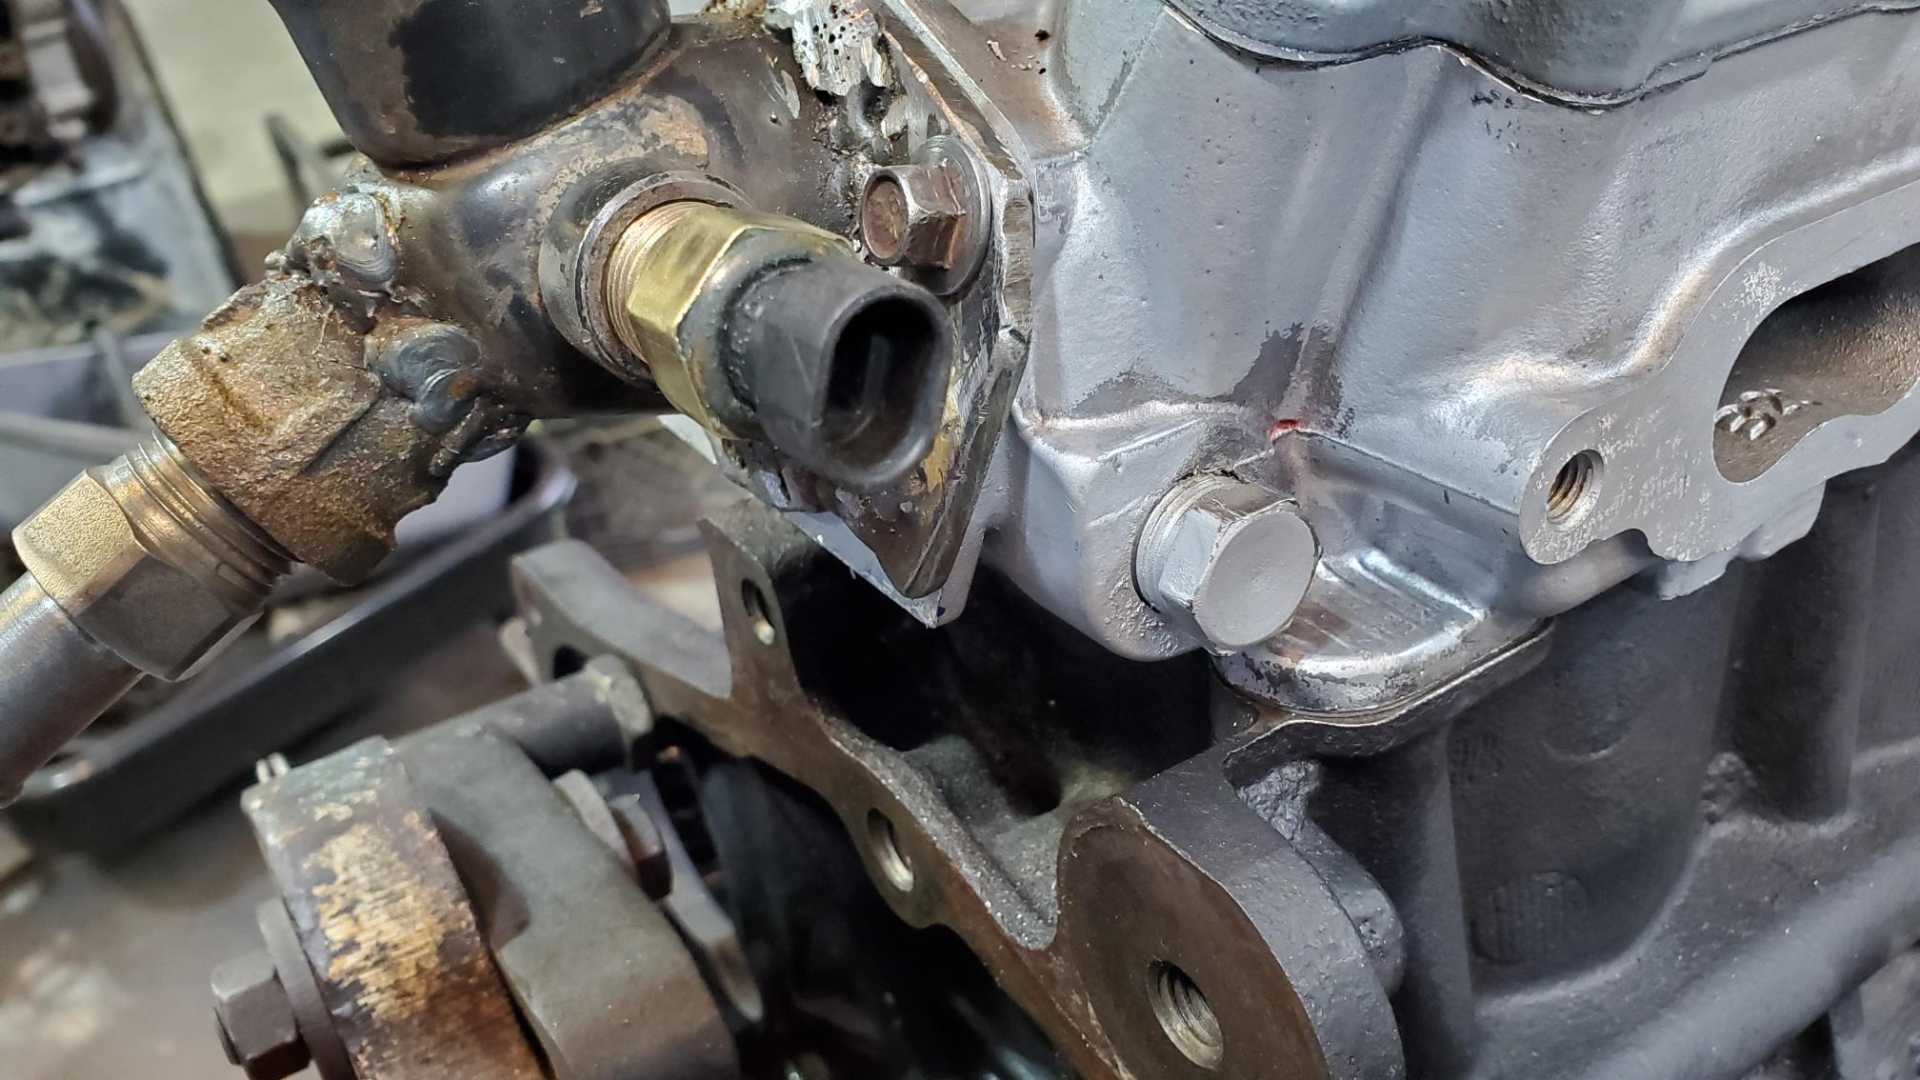
Quadfather
|
DEC 19, 07:19 AM
|
|
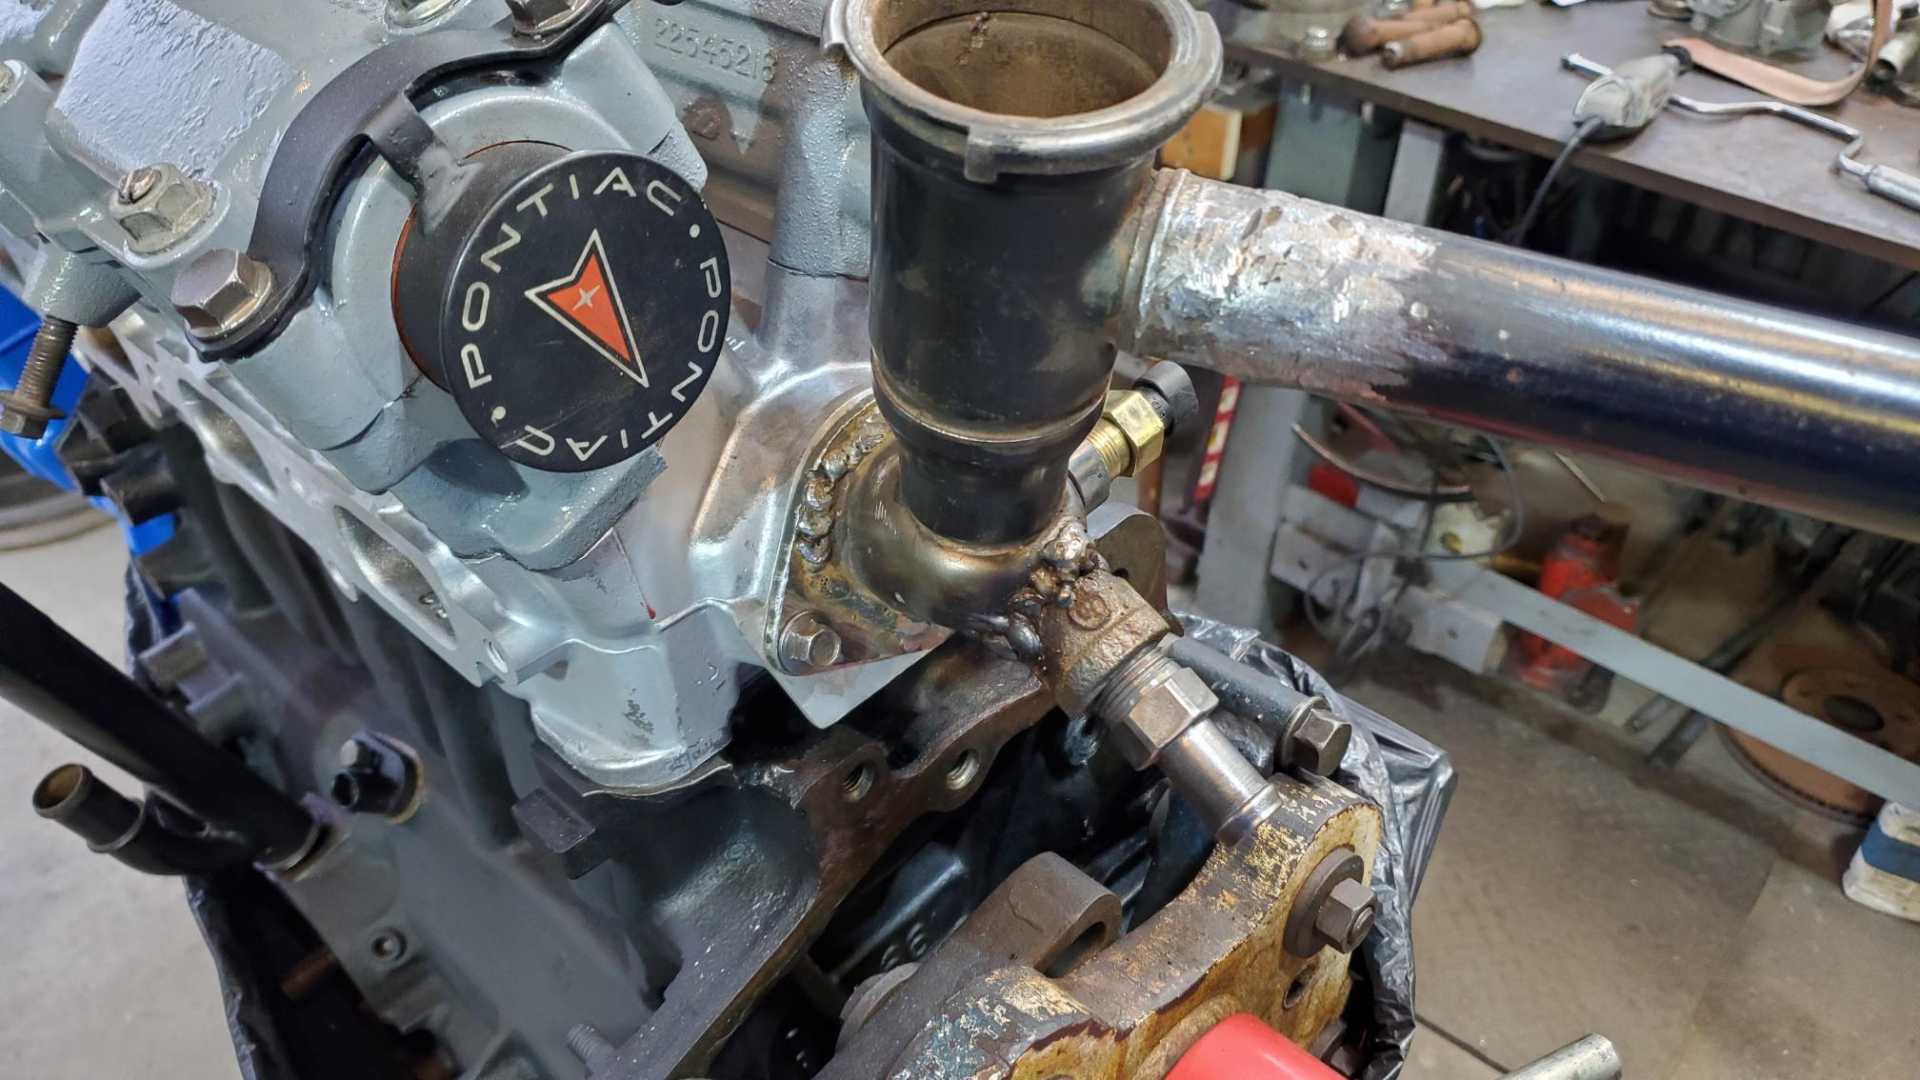
This process also showed me I need to clock the neck on the mounting flange about 5 degrees clockwise. That way the temp sensor won’t interfere with the mounting bolt. Fierobsessed mentioned he did the same thing for the neck Sardonyx used in his build.
| quote | Originally posted by Quadfather:
|
|
[This message has been edited by Quadfather (edited 12-19-2021).]
|
|
|
|
Quadfather
|
DEC 28, 09:01 PM
|
|
|
|