|
| World's slowest Fiero/Quad 4 Swap (Page 28/48) |

|
Quadfather
|
NOV 27, 07:35 PM
|
|
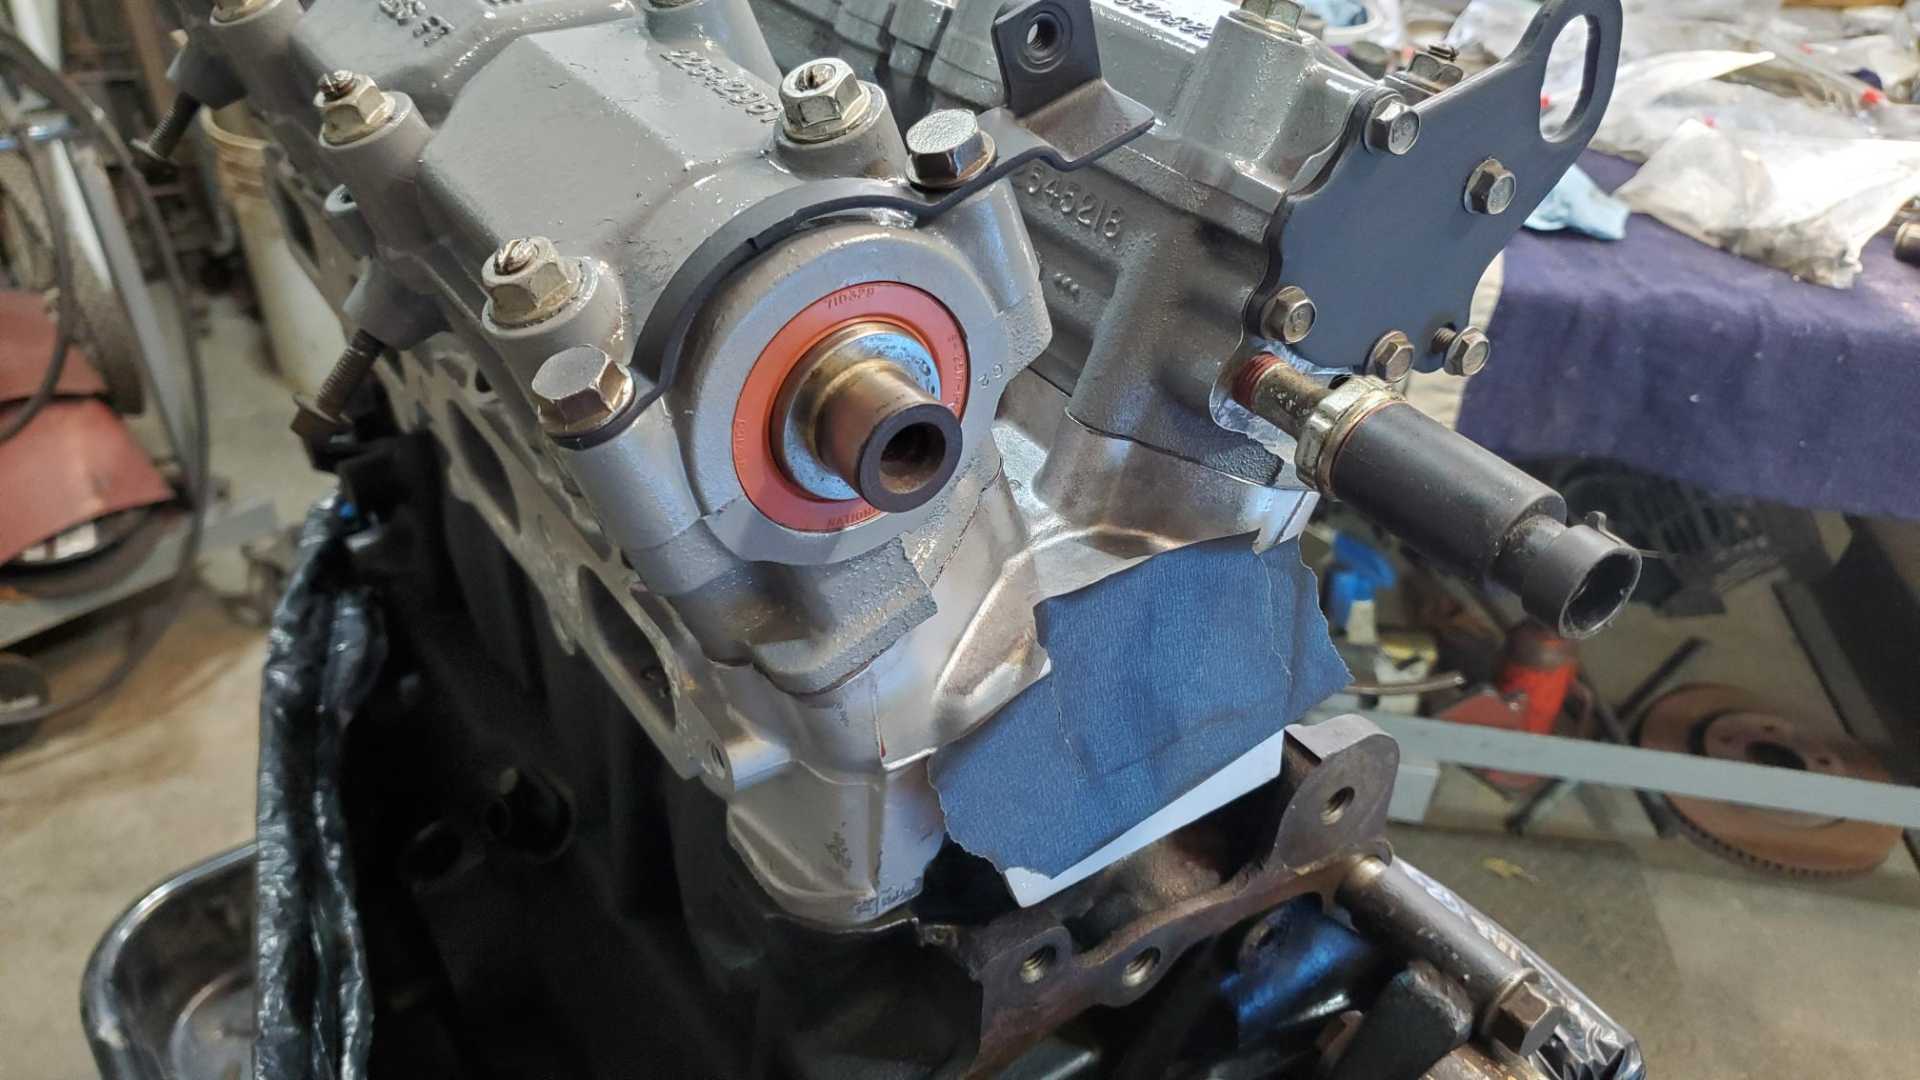
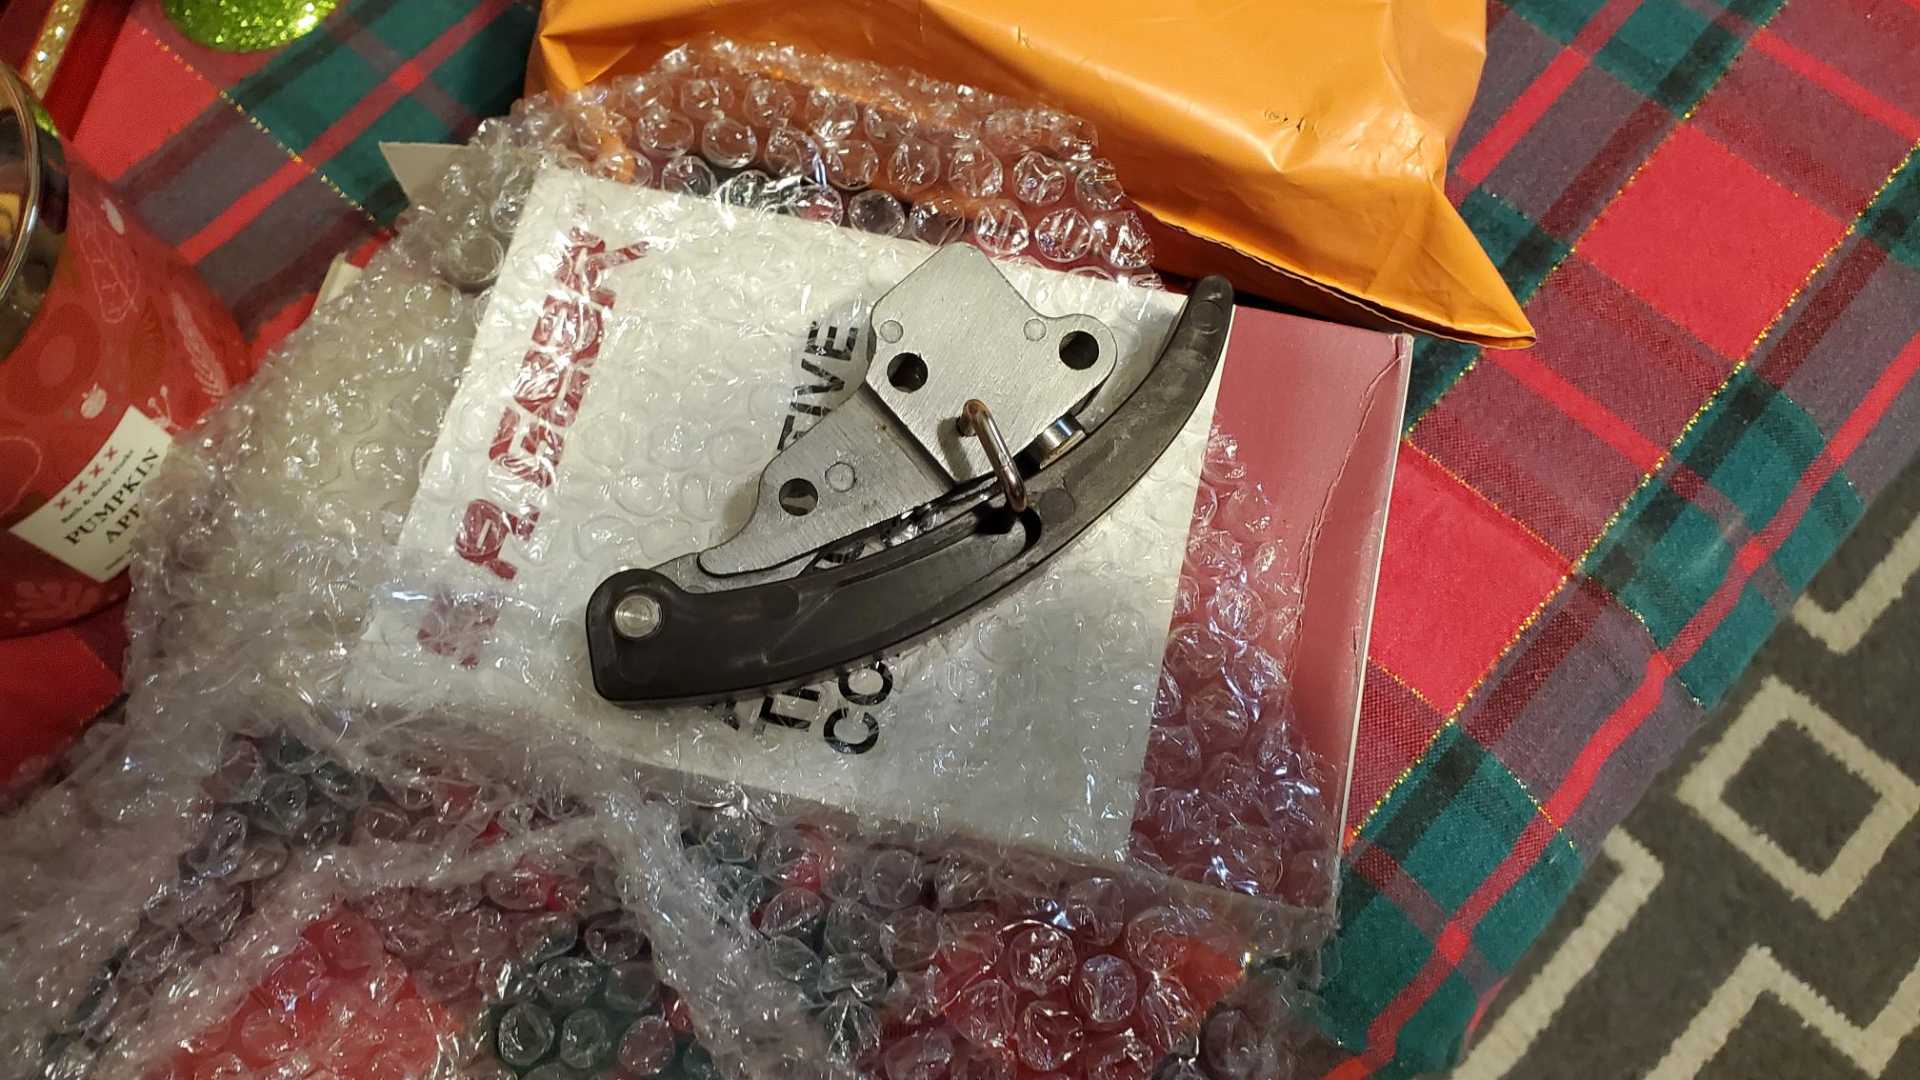
Can’t do much reassembly while I wait for parts. My eBay timing chain tensioner arrived this afternoon.
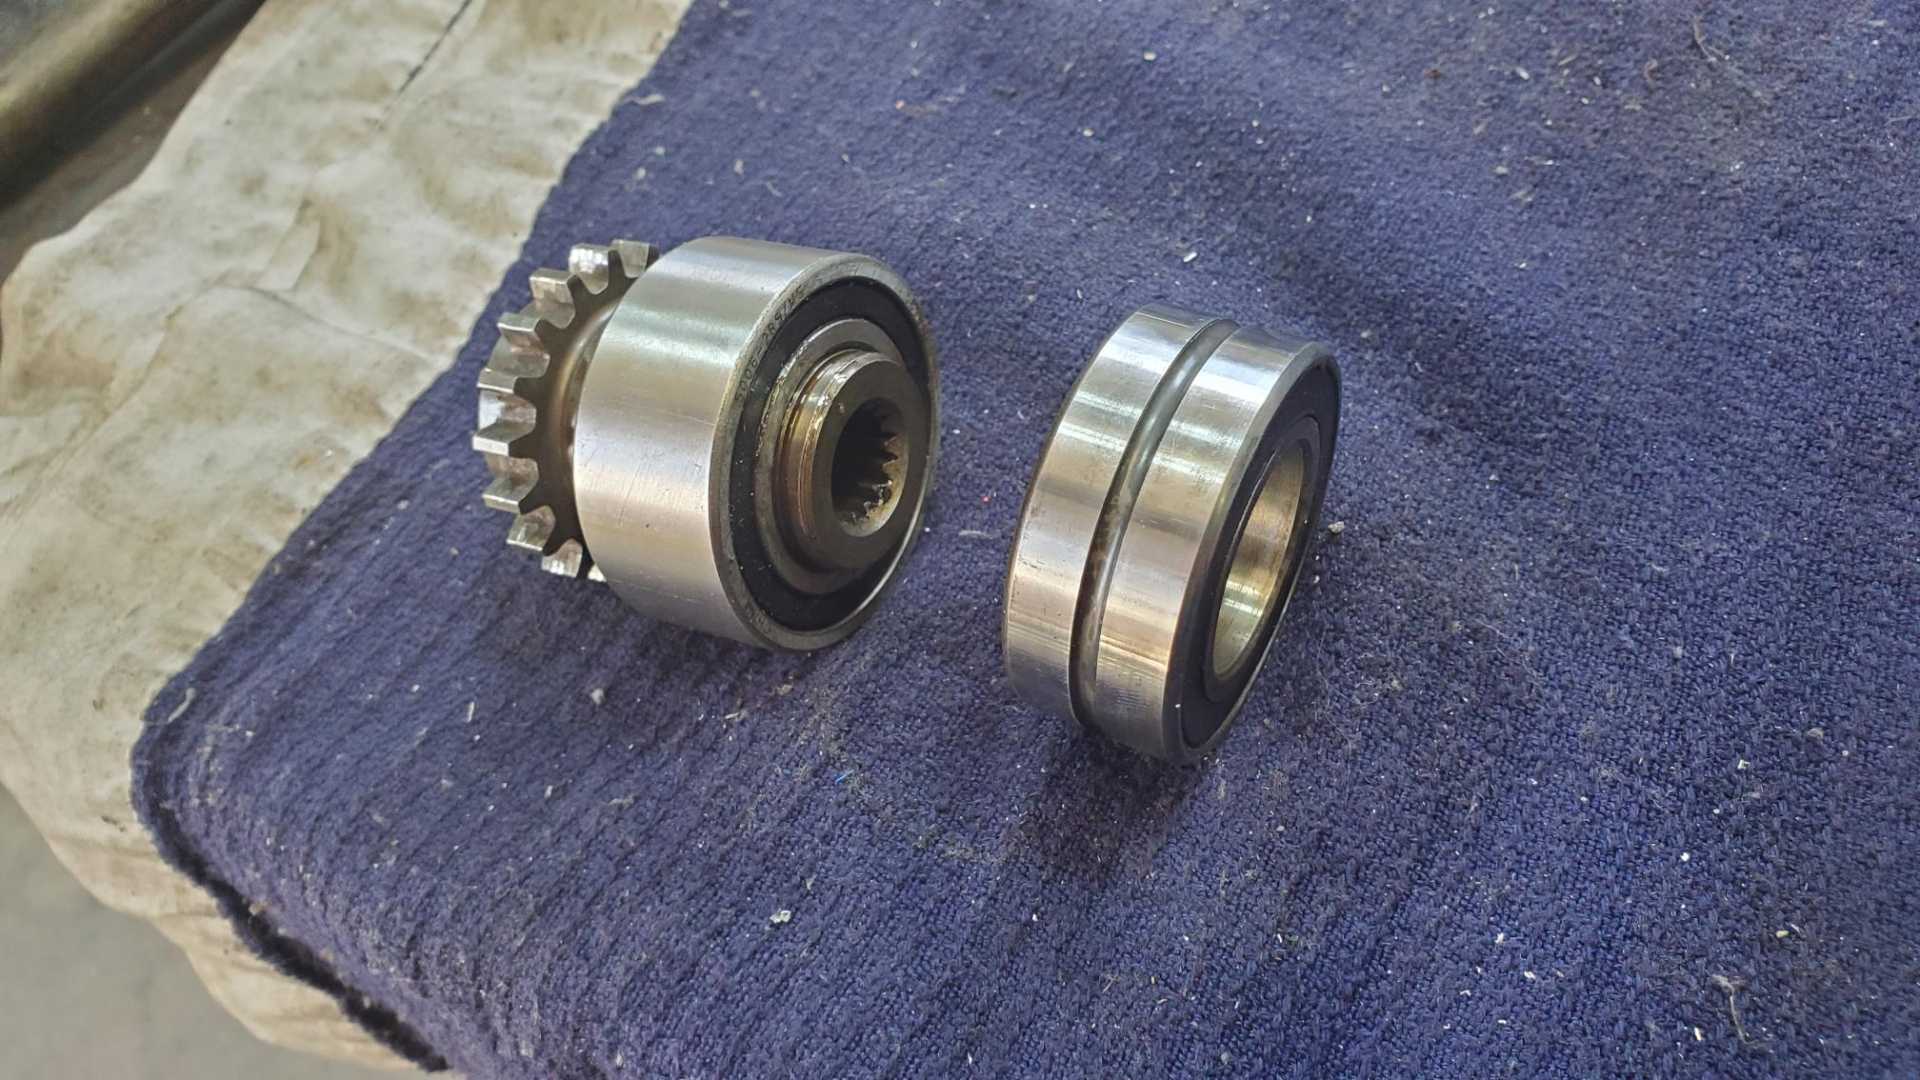
I also need a new bearing for the timing chain idler gear/water pump drive. I pressed out the bearing the other day to check it, then ruined it when I tried to reinstall it. Can’t get a replacement until Monday at the earliest.[This message has been edited by Quadfather (edited 11-27-2021).]
|
|
|
|
Quadfather
|
NOV 27, 07:49 PM
|
|
|
|
|
Quadfather
|
DEC 03, 10:24 PM
|
|
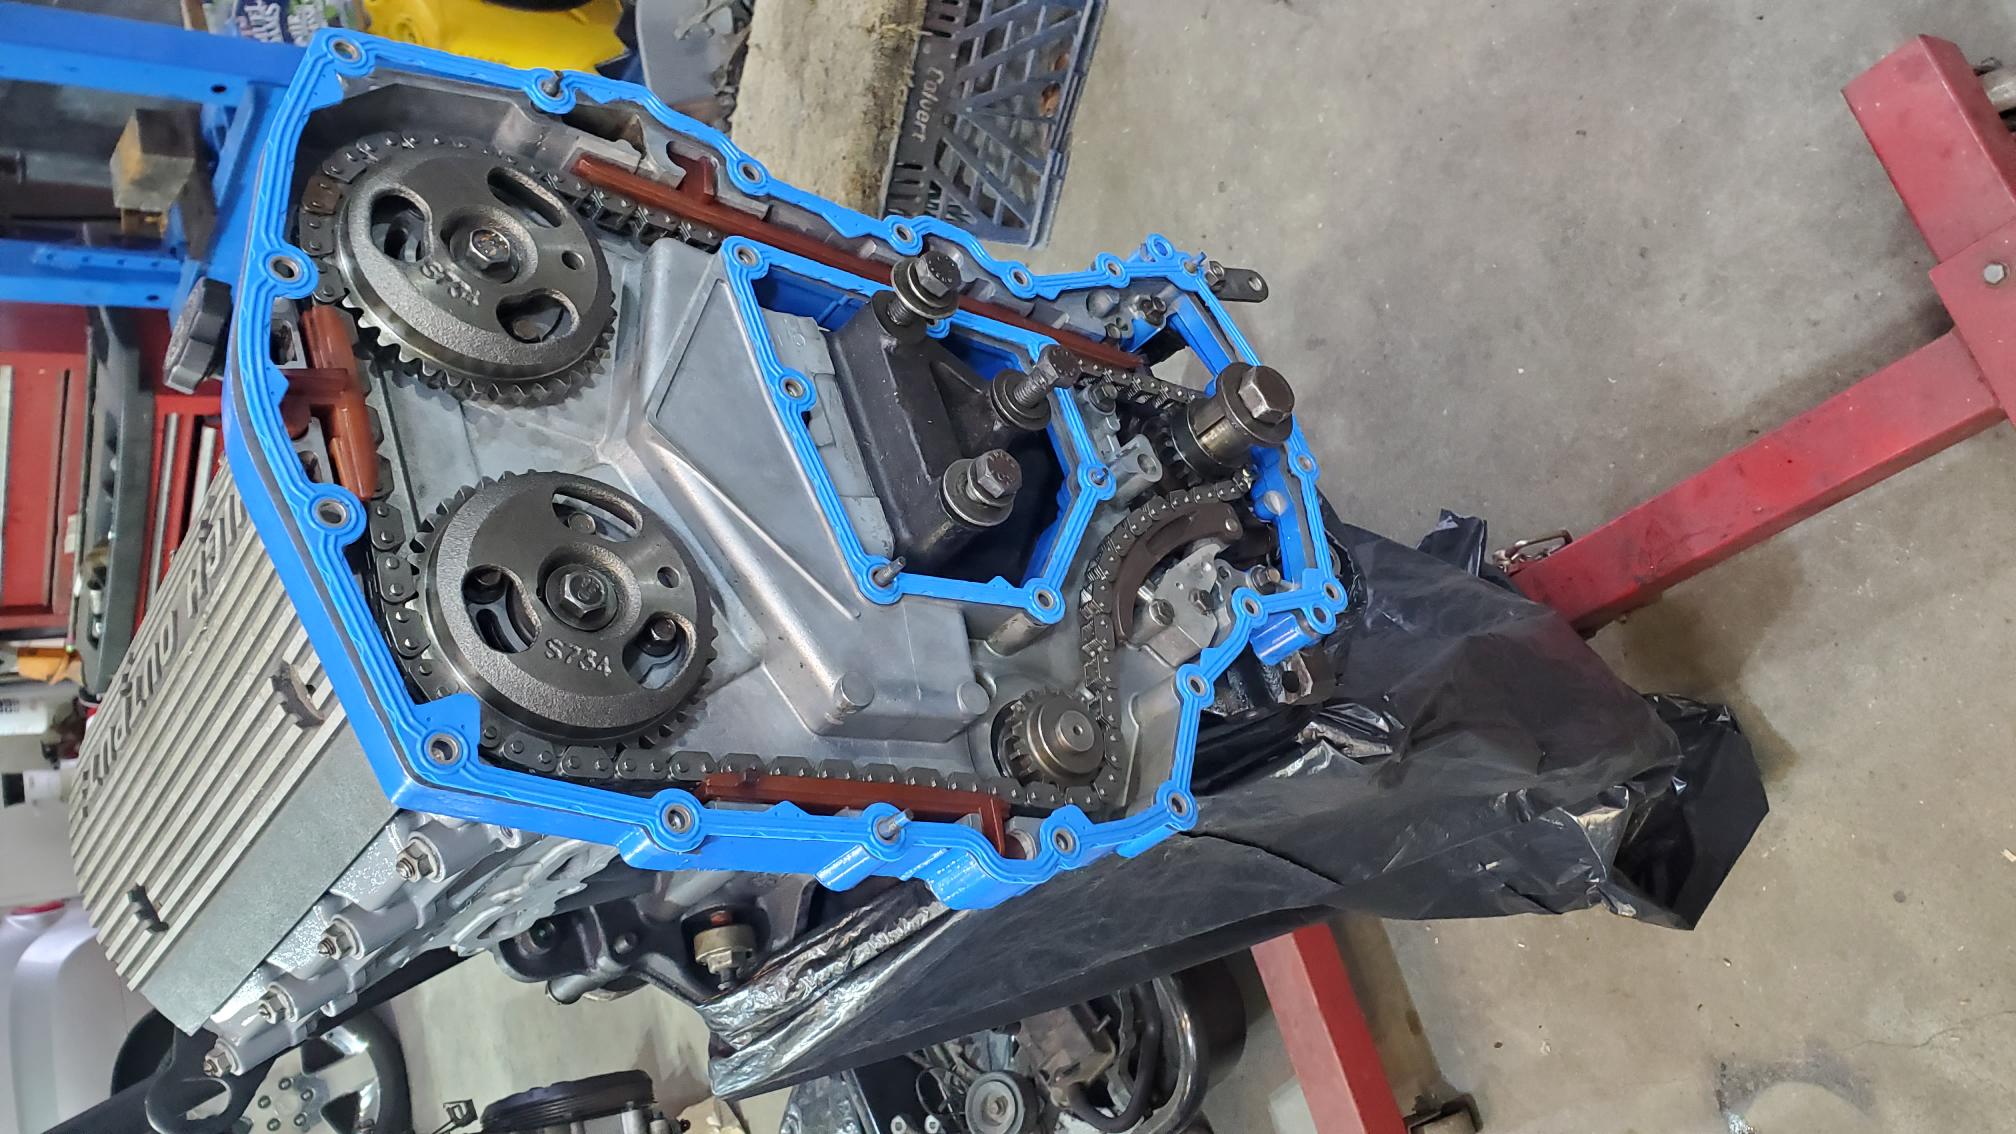
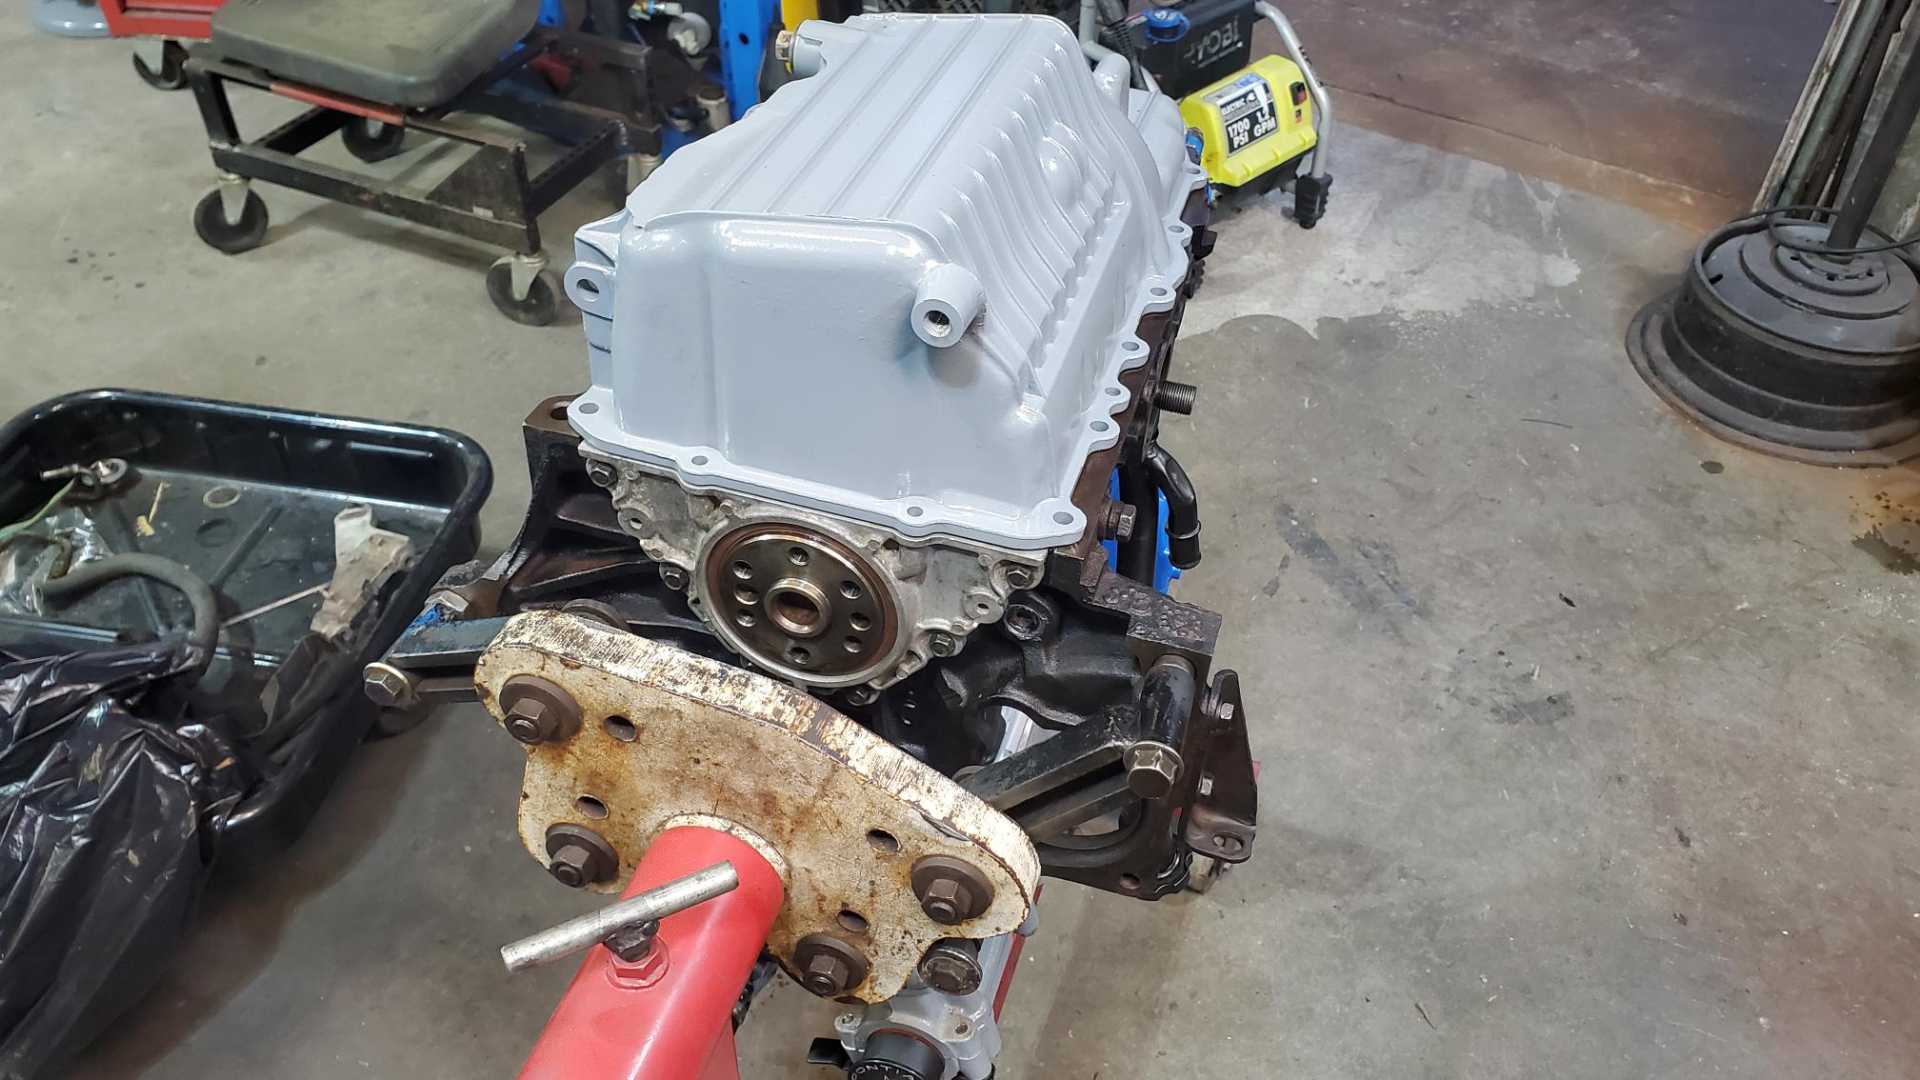
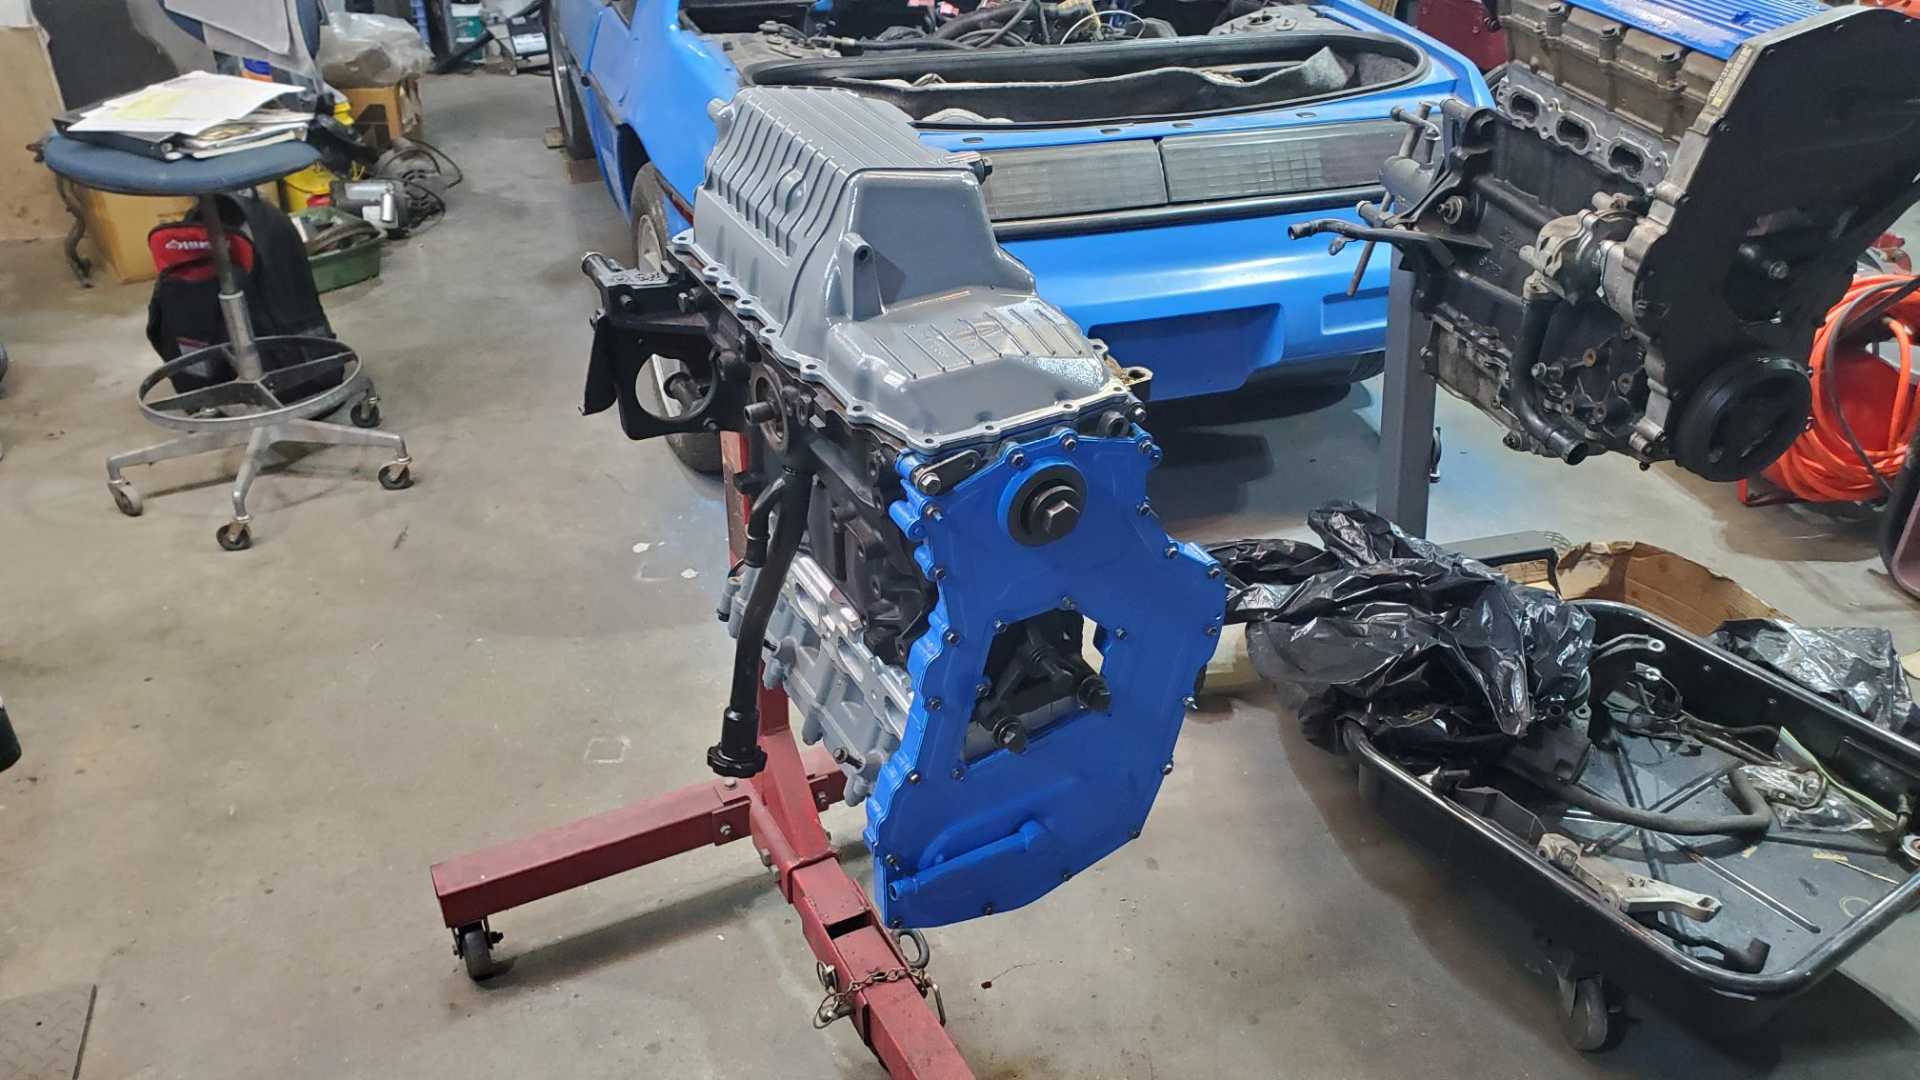
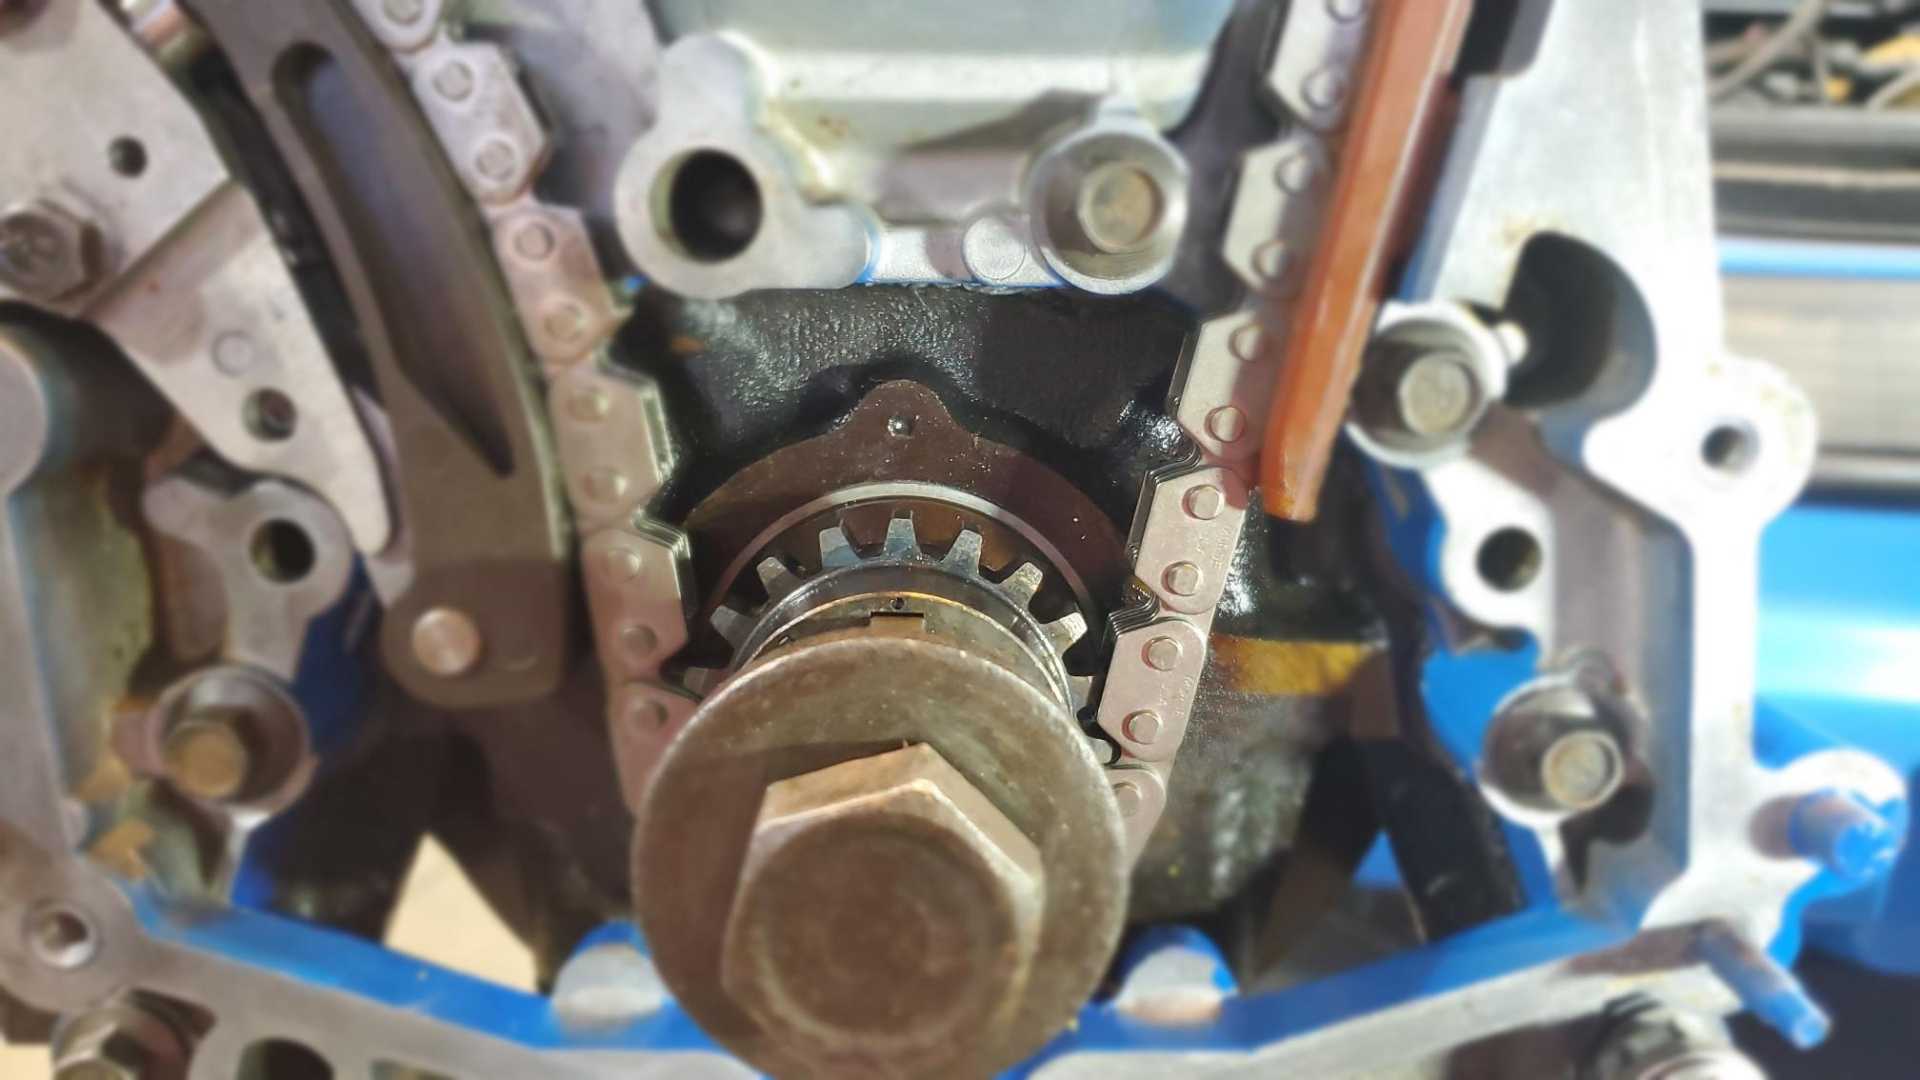
The timing chain is installed. Took me a week to track down a bearing for the water pump sprocket/idler. It doesn’t have the groove like the OEM one did, but the bearing store dude and I don’t think it will matter.
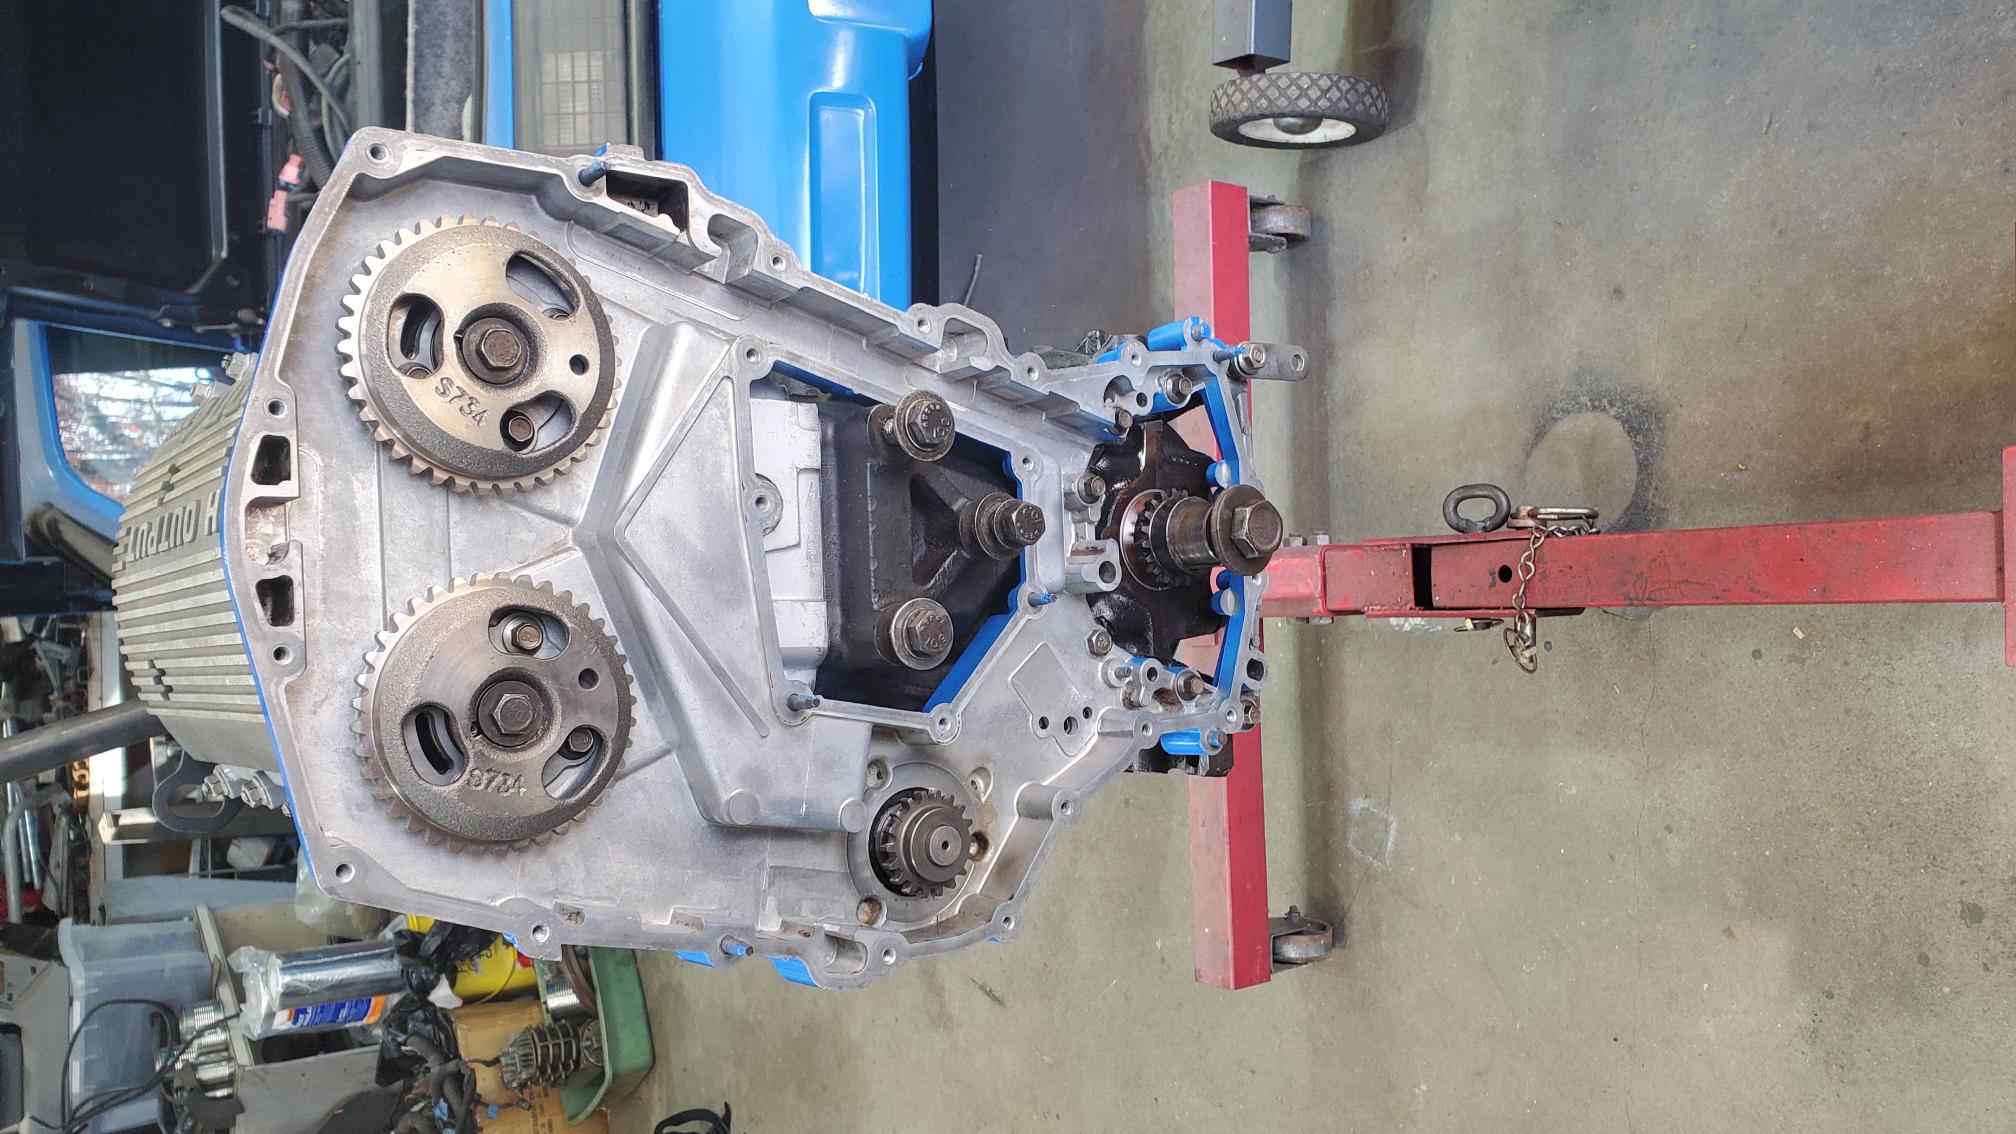
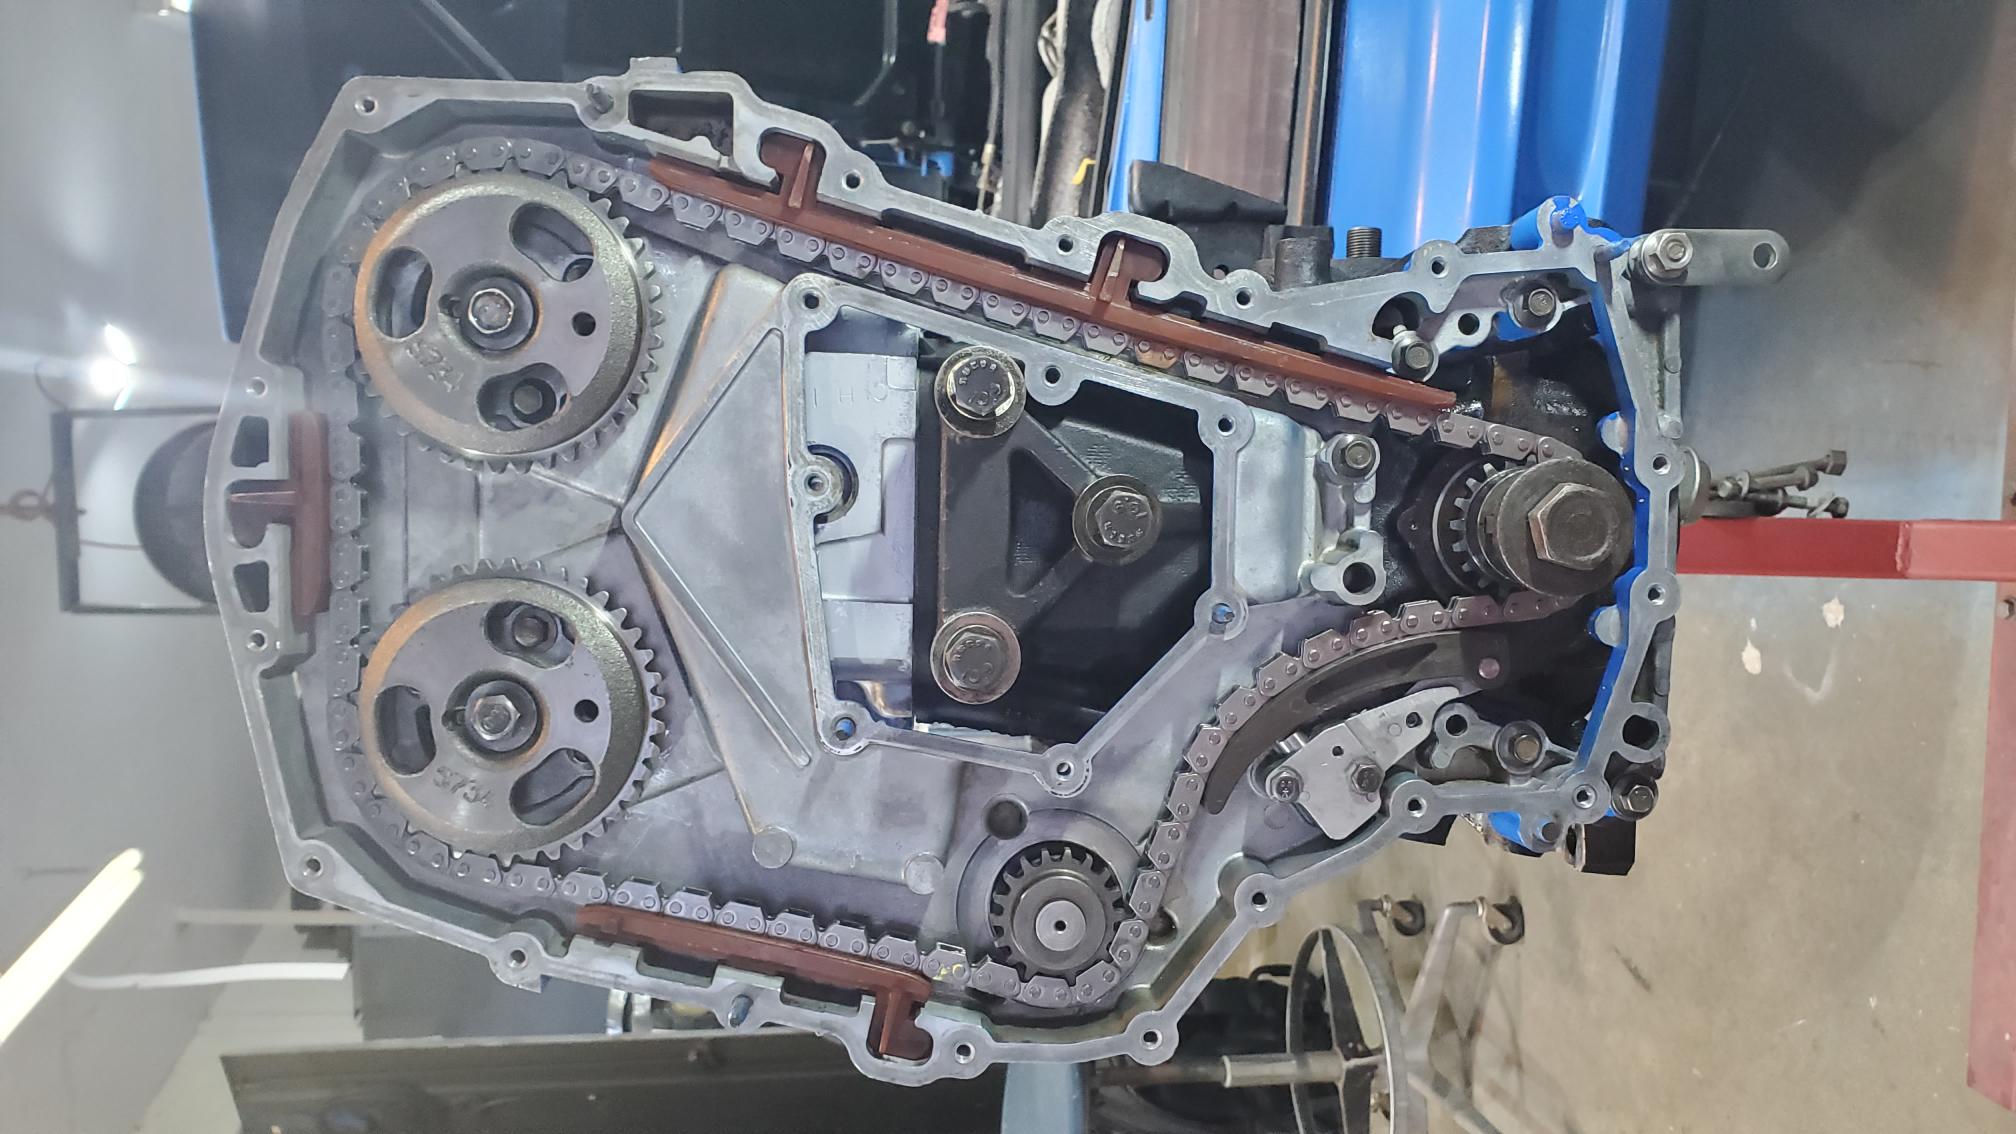
Took me about three hours to get the timing chain installed and dialed in. Timing a Quad begins with turning the crank 90 degrees off TDC. Each cam gear has a hole for an 8 mm bolt that aligns with a hole in the housing. Once those bolts are in place, the crank can be turned to TDC and the chain placed on the cam gears, then the crank gear, then the water pump, making sure the chain stays tight between the crank gear and the intake cam gear. Once the chain is tight around the three gears, you can install the tensioner and the guides, then pop the temporary wire off the tensioner. If you’ve done it right, you can remove the bolts from the cam gears, turn the crank twice and stop at TDC, and then be able to easily slide the bolts back into the cam gears.
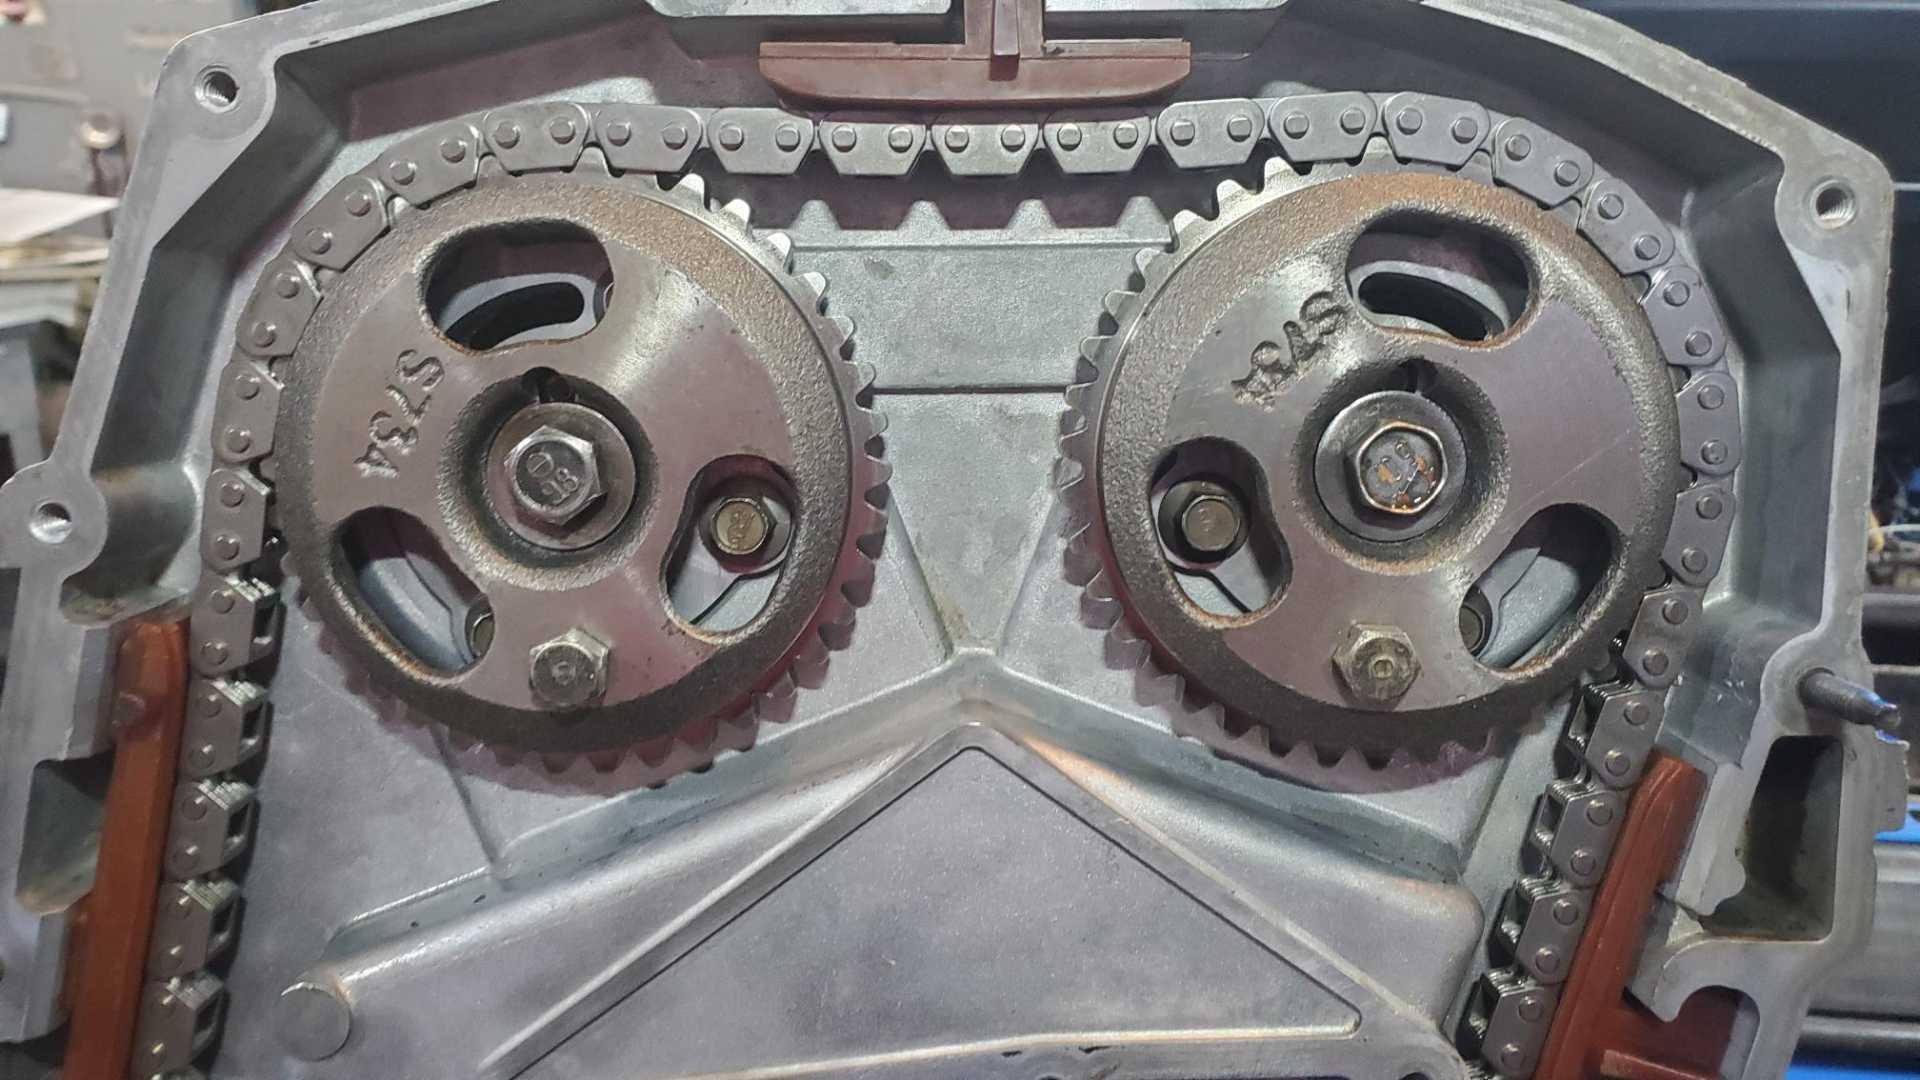
I had a heck of a time getting the chain tight between the two cam gears. Even when I did and then turned the crank 720 degrees, the crank gear would be one tooth off of TDC. I was so frustrated I thought Rock Auto had sent me the wrong parts. I was in the process of boxing them up to get a refund when I noticed one cam gear was stamped “4” while the other was stamped “5”. The book says you should mark the cam gears before removing them, but these new parts didn’t come with any instructions. I swapped them and tried again and it worked.
 [This message has been edited by Quadfather (edited 12-04-2021).]
|
|
|
|
Quadfather
|
DEC 05, 06:24 PM
|
|
|
|
|
Quadfather
|
DEC 05, 06:35 PM
|
|
As reassembly of the engine wraps up, the next big step will be cleaning up the transmission, painting it and mating it to the engine. The GTZ Getrag is bolted to my second spare Quad which is currently installed in the Fiero.
The shop would be very cramped with a third Quad in it, so today was cleanup day. I took 90% of my spare parts to the storage unit.
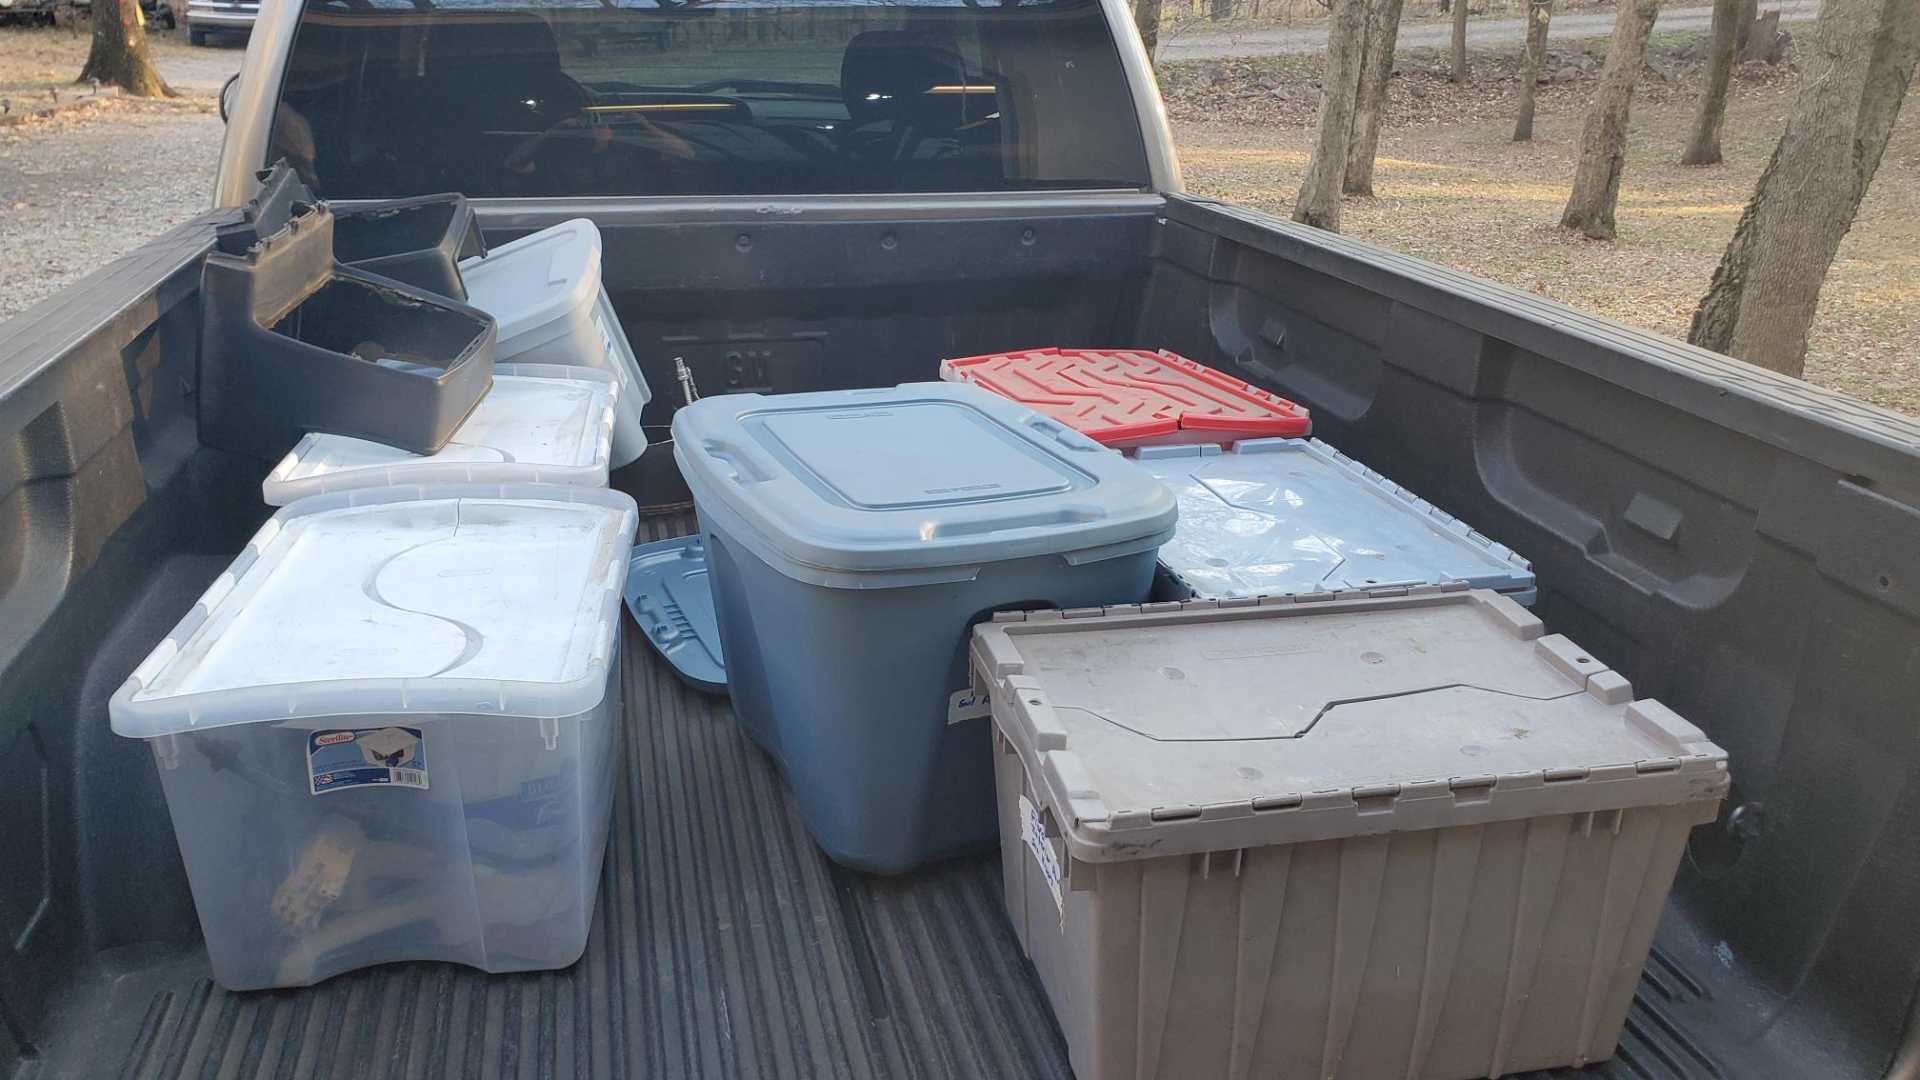
Still have to move some other non-Fiero items but I can’t decide if I’ll try to sell them, move them to storage or just dump them.[This message has been edited by Quadfather (edited 12-05-2021).]
|
|
|
|
Quadfather
|
DEC 05, 06:44 PM
|
|
While organizing parts today, I came across these letters from one of the Silverados my company owns. When I first moved into the job I’m in now about two years ago, I found these letters in the office. One of our Silverados is wrapped, so the shop must’ve removed the lettering and given it to one of my predecessors who just left the letters in a drawer.
I’ve always liked this font and also noticed that except for the missing “F” the letters are in the same order in “Silverado” as they are in “Fiero”.
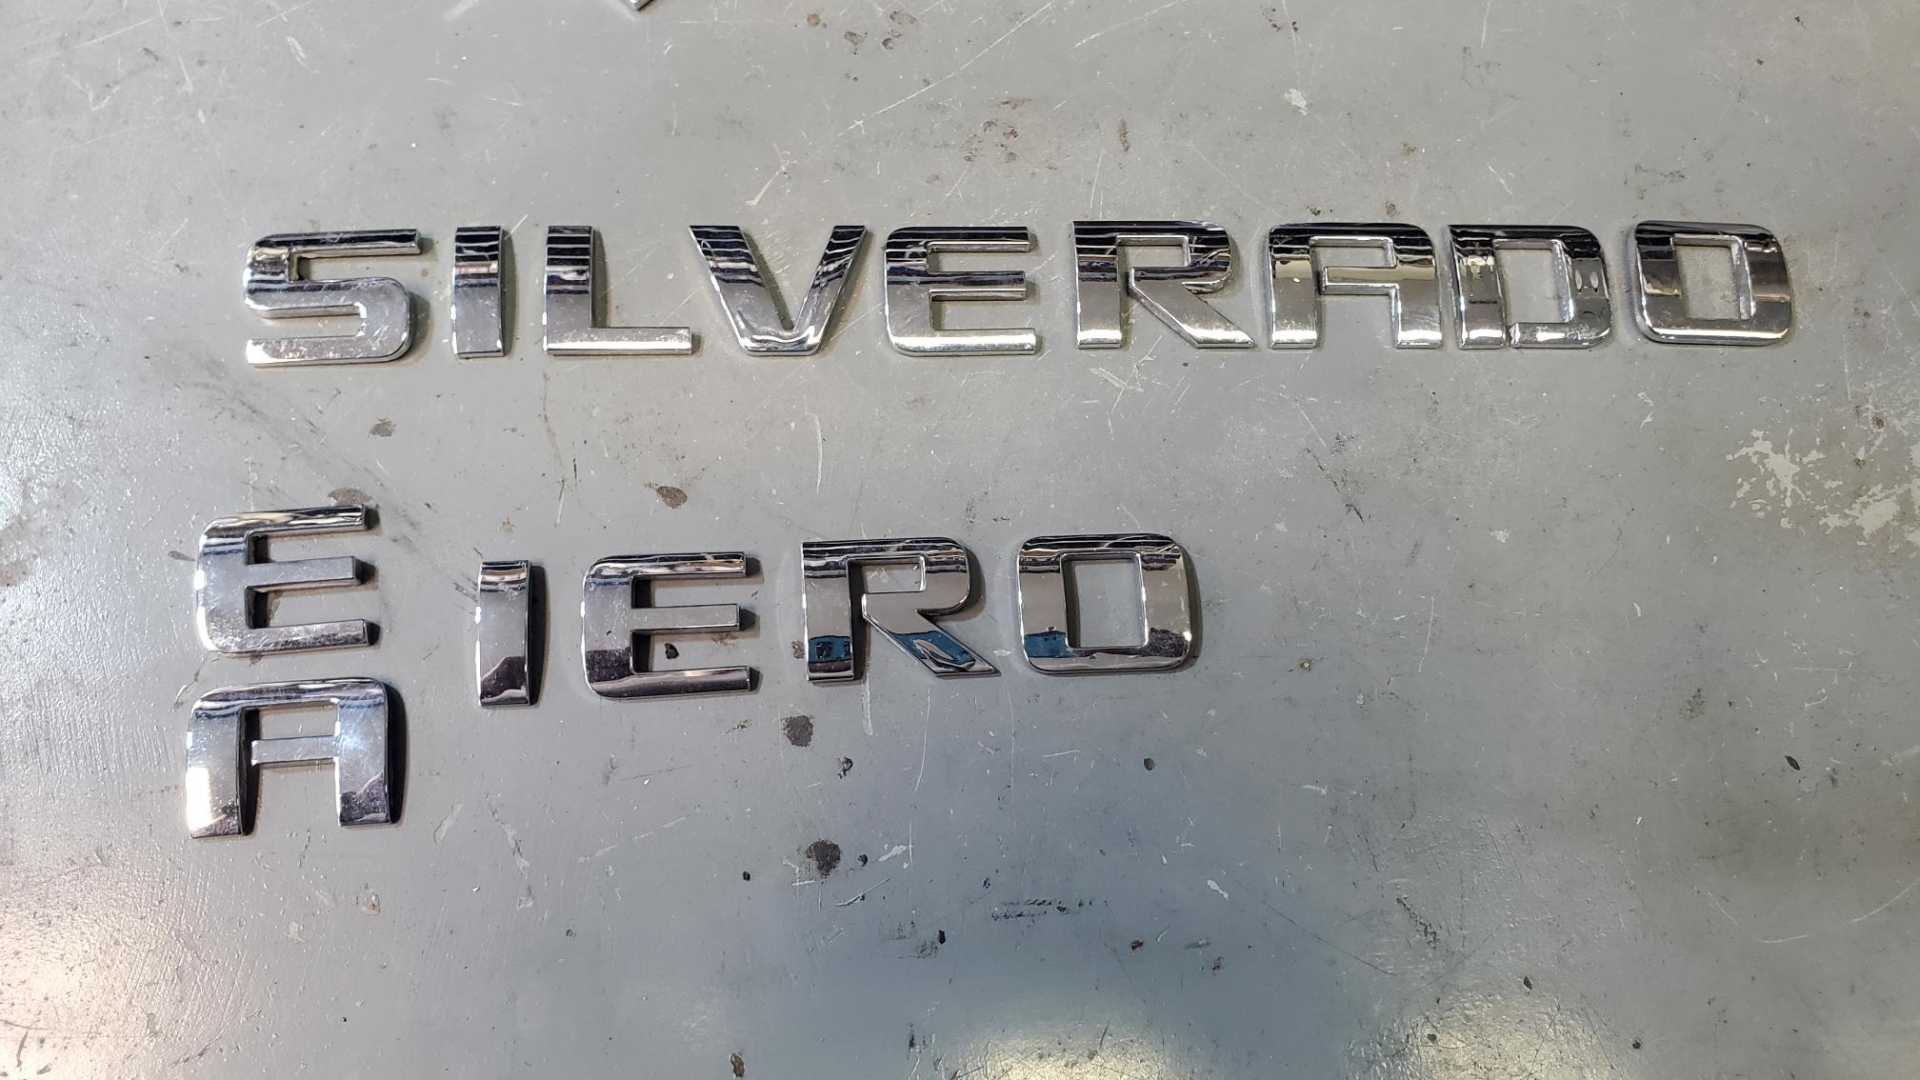
These would look cool on the left side of the deck lid. I’d have to modify either an “A” or an “E” to make an “F”.
|
|
|
|
Quadfather
|
DEC 06, 01:51 PM
|
|
Been thinking a lot about the work that's going to be required to get the engine bay ready for the Quad. These photos that I posted earlier in my build thread show how nicely the Quad fits in the Fiero. The engine bay looks OK with a dirty old salvage yard engine sitting in it, that won't be the case when the shiny rebuilt engine goes in.

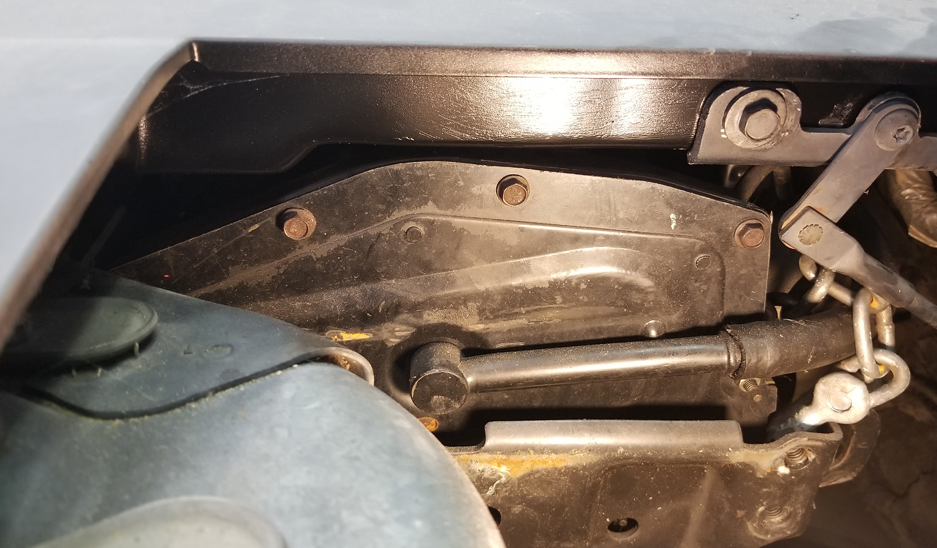
I need to re-engineer the upper engine mount I fabbed where the dog bone normally goes. More on that later. I'm also wondering if I need to redo the lower mounts so the engine tilts toward the back of the car a bit more. Based on this picture, I'm a little concerned about getting all the oil to drain out of the pan.
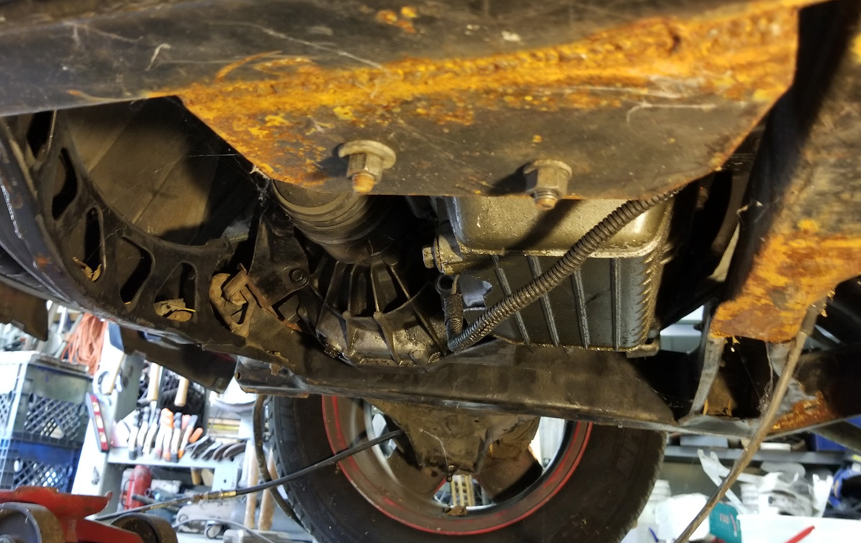
Of course the cradle still needs to be stripped or sanded and repainted, as do the rear suspension parts. Sigh. Lots of work. The plus side is this mechanical stuff doesn't intimidate me the way electrical work does.
|
|
|
|
zkhennings
|
DEC 08, 01:08 PM
|
|
|
Nice progress, I like your idea of oven cleaner. I myself have used LA's Finest degreaser from Dollar Tree. It is $1 per quart, so you can buy a lot of it, I use it in a big storage bin undiluted and I can clean most things in that, just don't leave aluminum things in it longer than 10-15 min before pressure washing. Also Klean and Strip Concrete and Metal prep from Home Depot is cheap phosphoric acid that can be used to extra clean parts after degreasing. Just keep off of sealing surfaces because it is an acid.
|
|
|
|
Quadfather
|
DEC 08, 09:52 PM
|
|
|
|
|
Quadfather
|
DEC 08, 10:12 PM
|
|
| quote | Originally posted by zkhennings:
Nice progress, I like your idea of oven cleaner. I myself have used LA's Finest degreaser from Dollar Tree. It is $1 per quart, so you can buy a lot of it, I use it in a big storage bin undiluted and I can clean most things in that, just don't leave aluminum things in it longer than 10-15 min before pressure washing. Also Klean and Strip Concrete and Metal prep from Home Depot is cheap phosphoric acid that can be used to extra clean parts after degreasing. Just keep off of sealing surfaces because it is an acid. |
|
Interesting. I used some muriatic acid to clean out an air compressor tank and wondered if I could use it to clean engine parts. Don’t know that I trust myself to avoid damaging the parts.
|
|
|
|