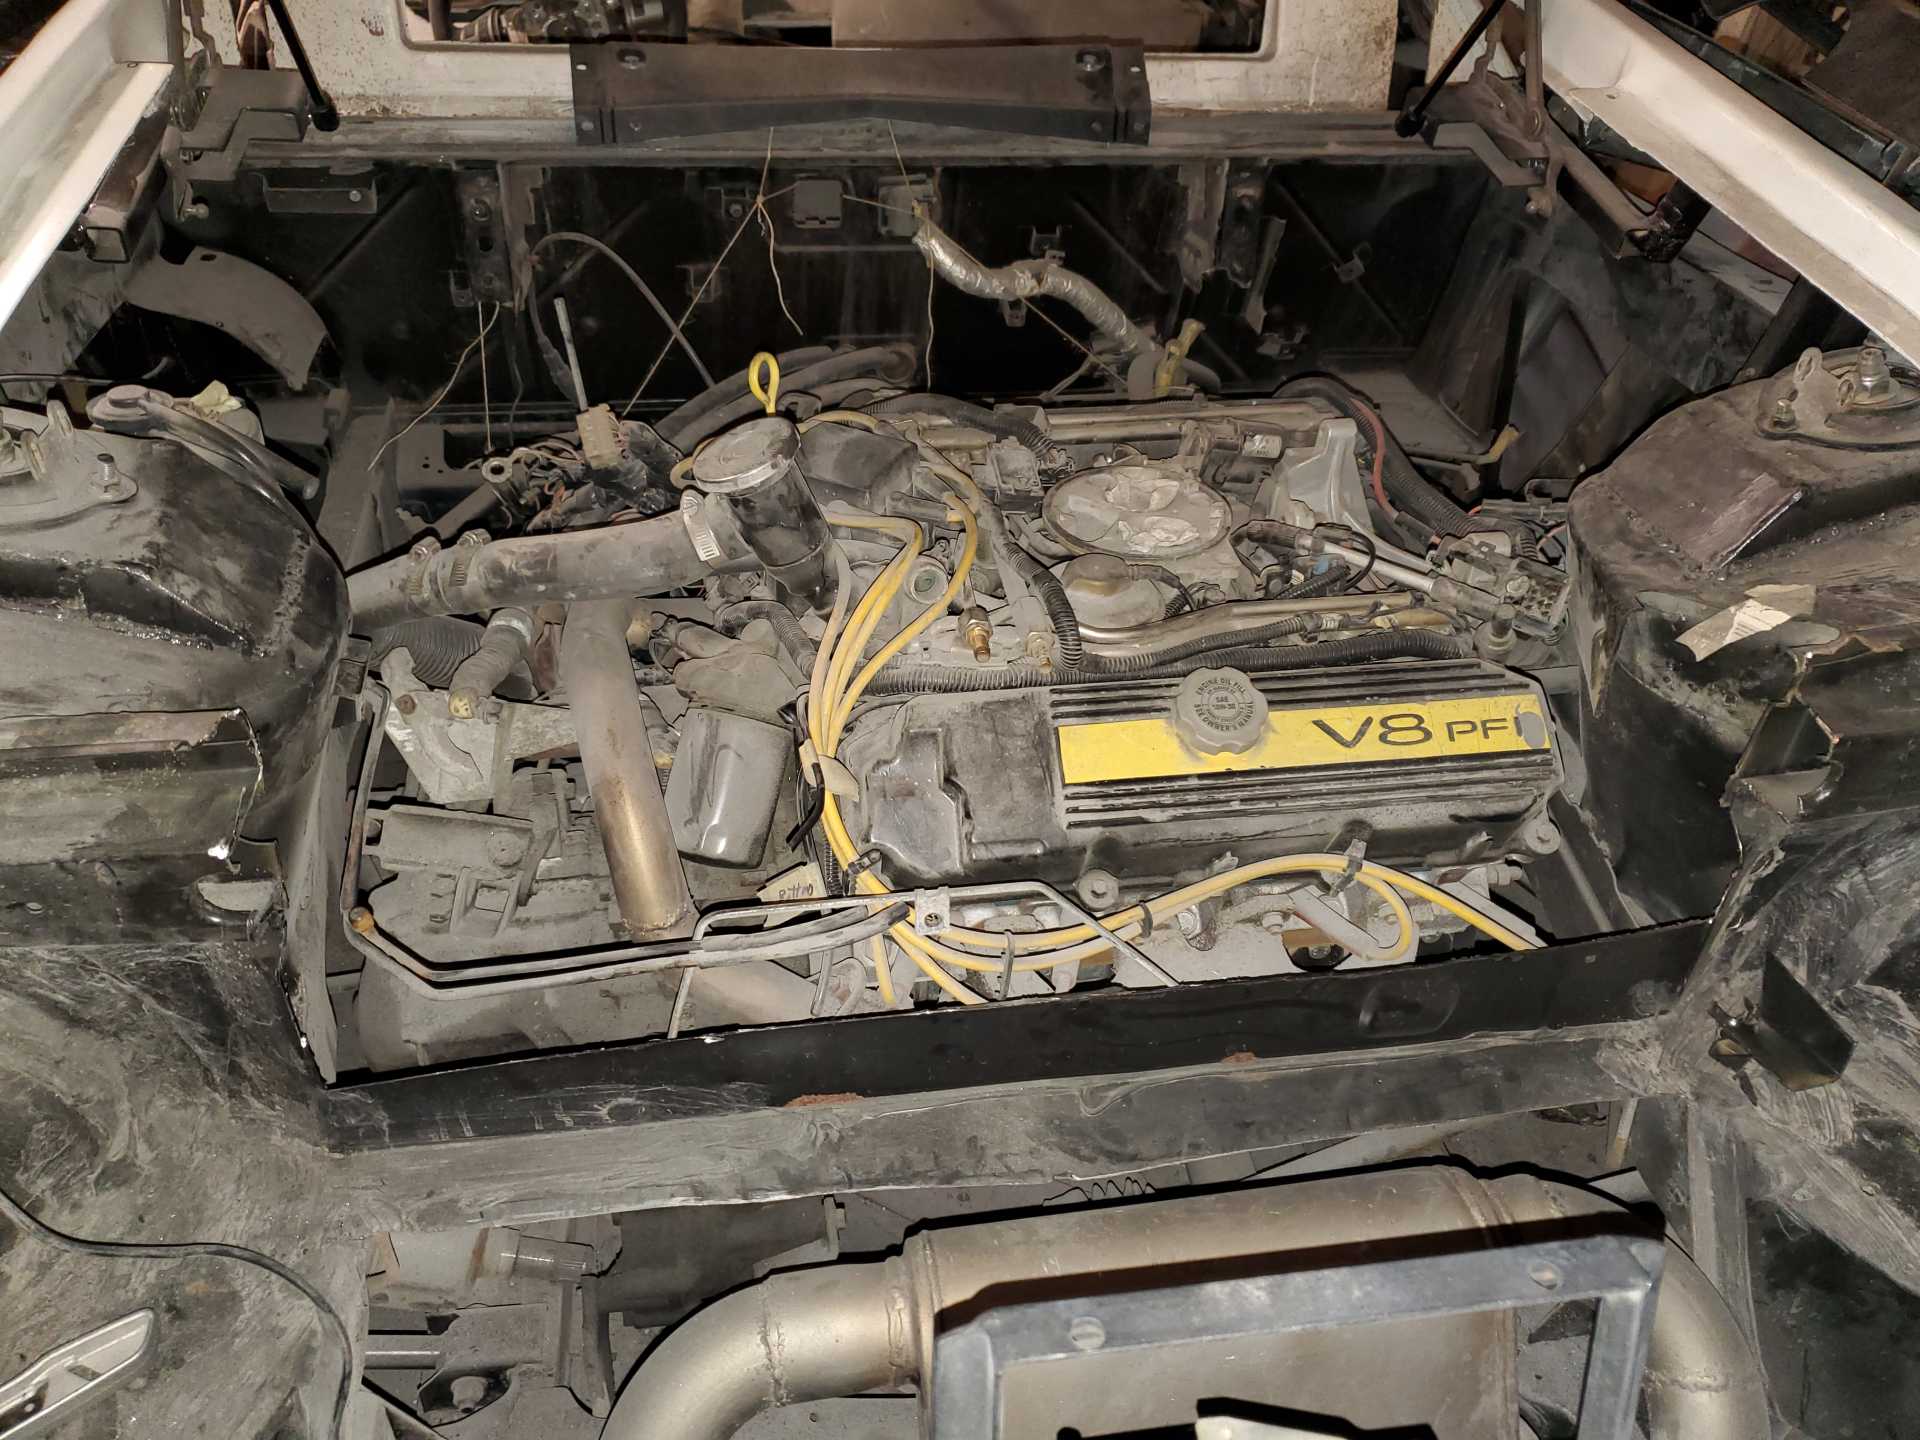
To keep things interesting, I jumped into something new. For the next few weeks, I decided to work on the engine bay trim. Nothing major, but I want to install the Lamborghini engine cover (there's a pic of it somewhere in my build thread), the engine bay cross brace and the rear shocks.
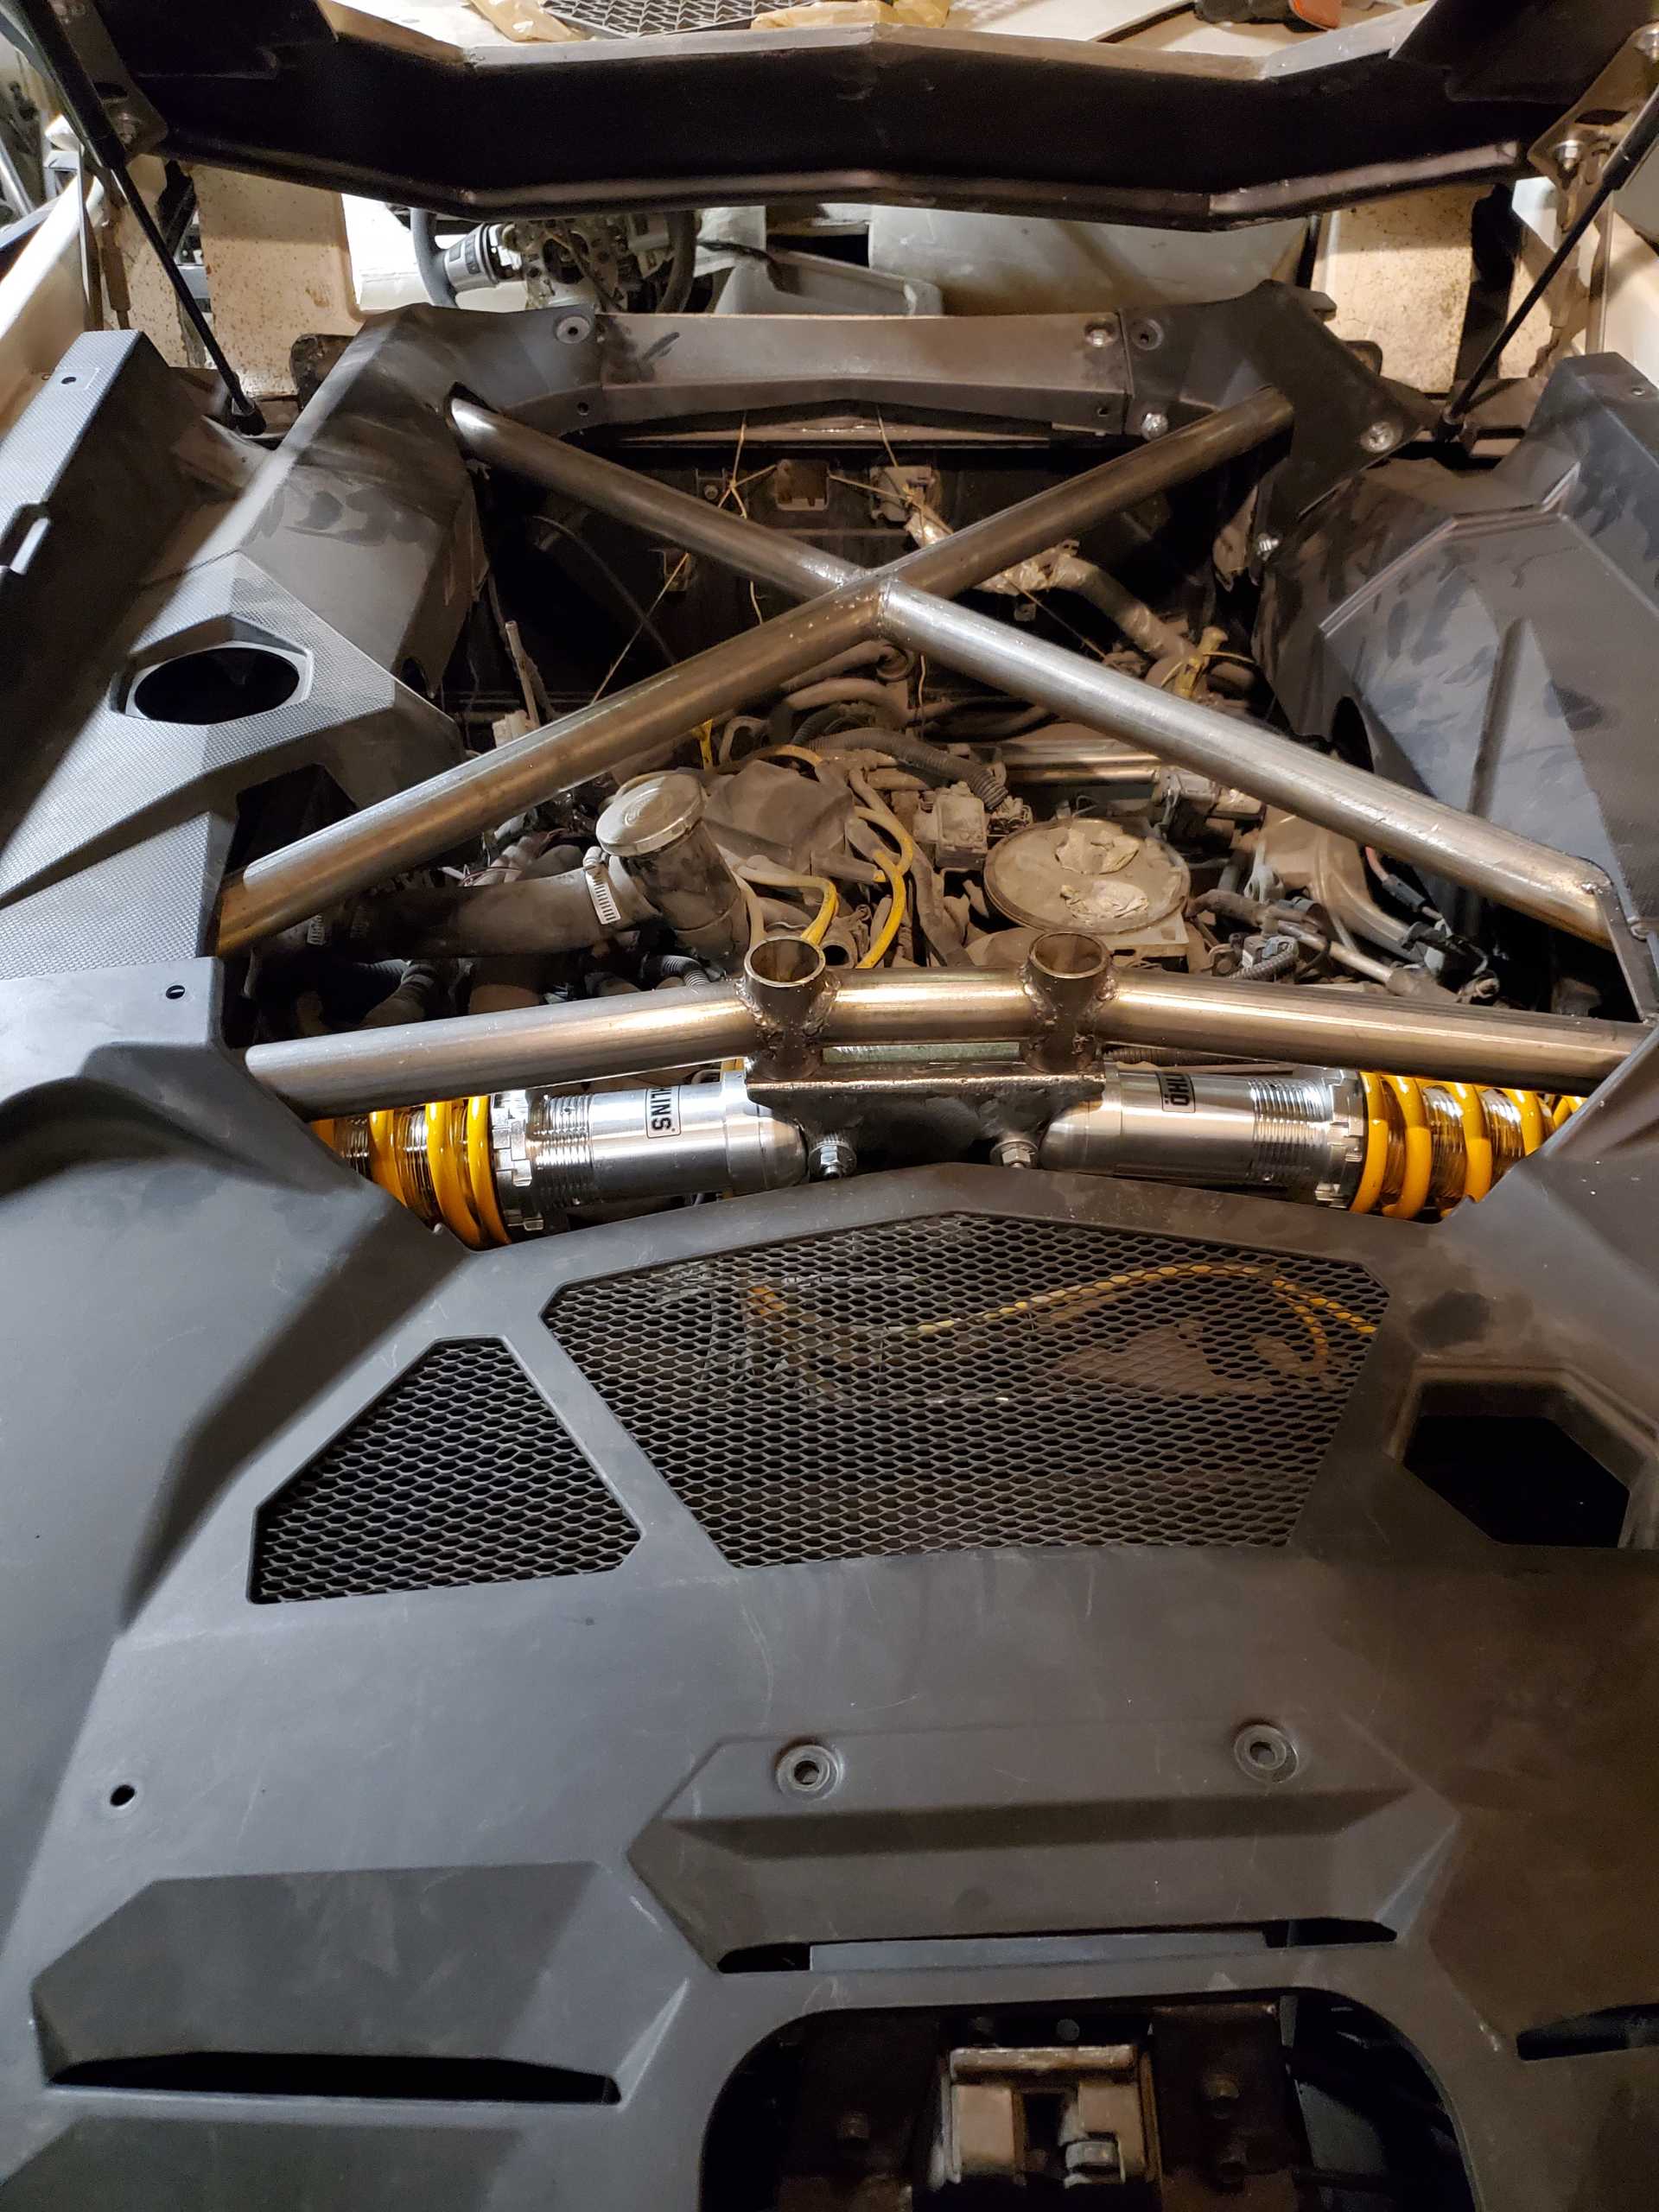
For those that didn't know, the rear shocks of the Aventador are visible in the engine bay, even when the hatch is closed. The springs are typically color matched to the calipers.
Although I have functional coilovers in the stock Fiero position, I will still need an appropriate set in the engine bay for appearance.
The first pic below, shows how the shocks are placed in a real Aventador. The second pic is of the shocks/springs that I will be using. 🙂
The cross bracing for the engine bay is progressing. I just need to align and attach the center shock mount to the cross brace, then it can be installed (the pic below shows it clamped roughly in place). The Fiero structural frame that ties the two shock towers together has now been removed (second pic). This is fine since the new center shock mount will replace it once it is properly mounted.
Nice looking shocks. Are they going to be functional? I have been following your build for as long as it has been on here. It is one giant how to thread, great work.
------------------ 86 GT built 2.2 ecotec turbo rear SLA suspension QA1 coilovers on tube arms
Nice looking shocks. Are they going to be functional? I have been following your build for as long as it has been on here. It is one giant how to thread, great work.
I must confess.... I actually made those shocks myself. They are only for show, and are definitely non- functional...I was just waiting to see if anyone noticed. I have functional QA1 shocks/ coilovers in the stock Fiero location. Since you can't see them, I'm hoping the fake ones will be convincing.
The cross brace, shock support and the shocks are now installed. I will paint the bracing later once it warms up a bit and will get some nicer looking bolts to dress things up. The bracing is fully structural to compensate from the Fiero trunk wall/ brace being completely removed now.
I need to build a new thermostat housing to give room for the Lamborghini replica air intake system. I'll leave that for now, and save it for when I need a change of pace with the build.
Here's a pic of how things look now. (Trim panels are just sitting roughly in place)
Looking awesome as usual! Love the shocks, where did you get the engine cover- custom made?
shem
Thanks shemdogg. I got the engine cover from the same guy who built the fiberglass body kit. It took a little bit of reworking to get it to look good. (I documented it earlier in the thread). Once I get the thermostat housing adjusted, I'll be able to install it.
Edit.... unless you are referring to the trim panels around the edge of the engine bay? Those are oem panels. I get my OEM stuff from Eurospares in England. (Supercar wrecker).
[This message has been edited by Neils88 (edited 01-29-2020).]
Looks amazing Neil! Keep it up! I am looking forward to it getting a little warmer to get back on my Countach lookalike too. Your work is truly impressive - Thanks for sharing the journey with us.
I've been primarily working on the outside of the car. The interior won't be touched until last.... this includes finishing the dash. Having said that, last year I did rewrite some of the code to improve the efficiency of the screen updates. Visually it looks the same, but reduces the load on the CPU. (Basically I went from crappy code... to slightly less crappy code )
I'll definitely post any dash updates when they happen.
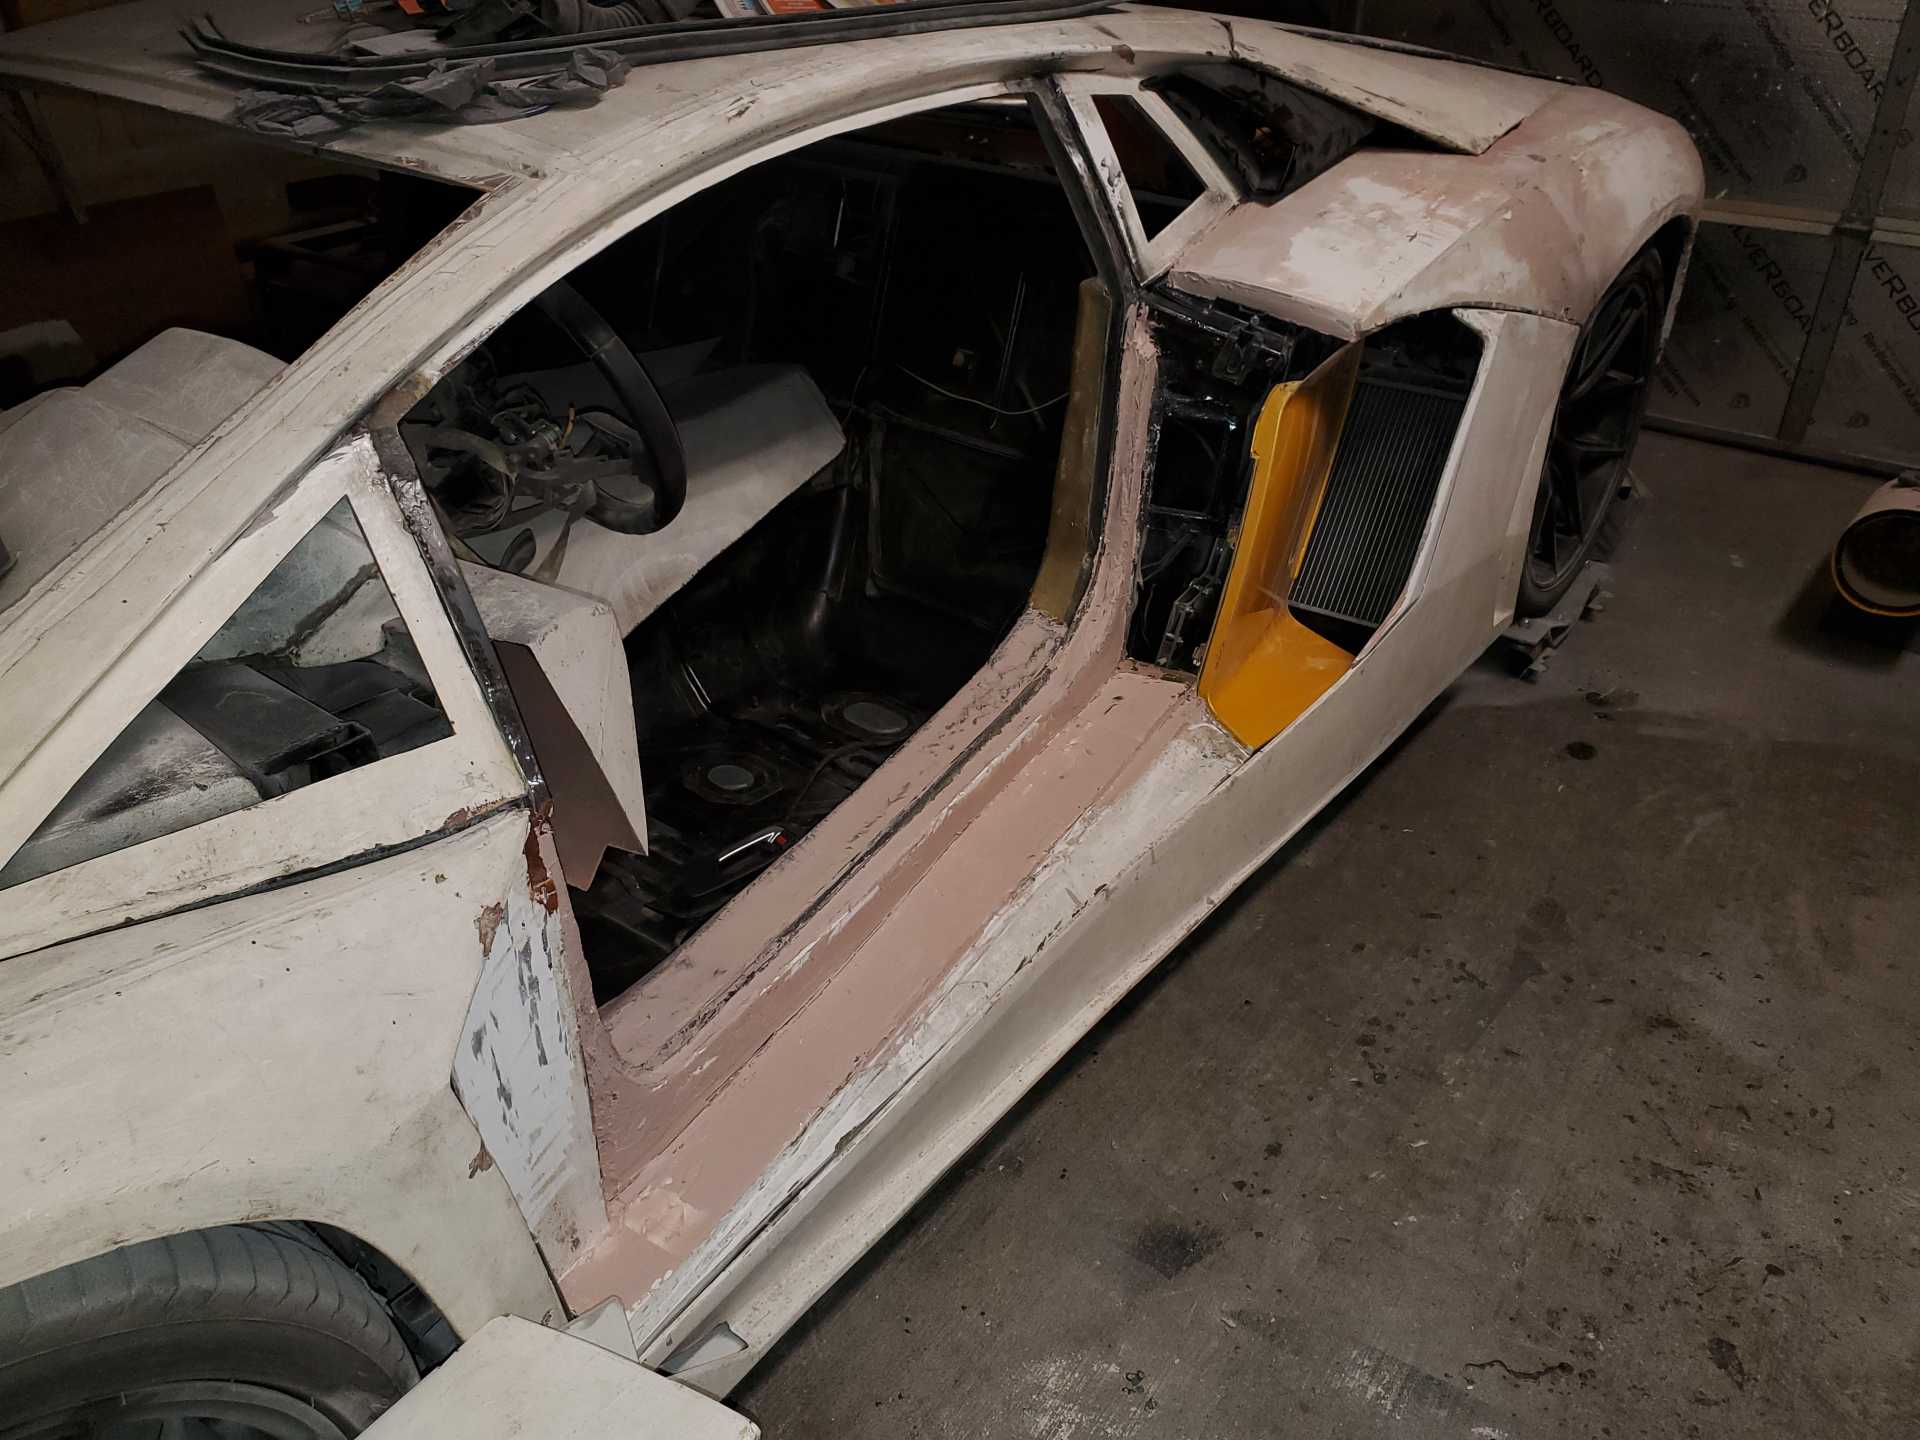
I now have almost all driver's side panels installed. I've also started to add some body filler just to give everything a more finished look. This helps me to make sure I'm not missing anything. I'll have to take some time to get the passenger's side paneling completed so I can finish all of the body work at the same time.
[This message has been edited by Neils88 (edited 02-24-2020).]
I hope everyone is staying safe in these troubled times!
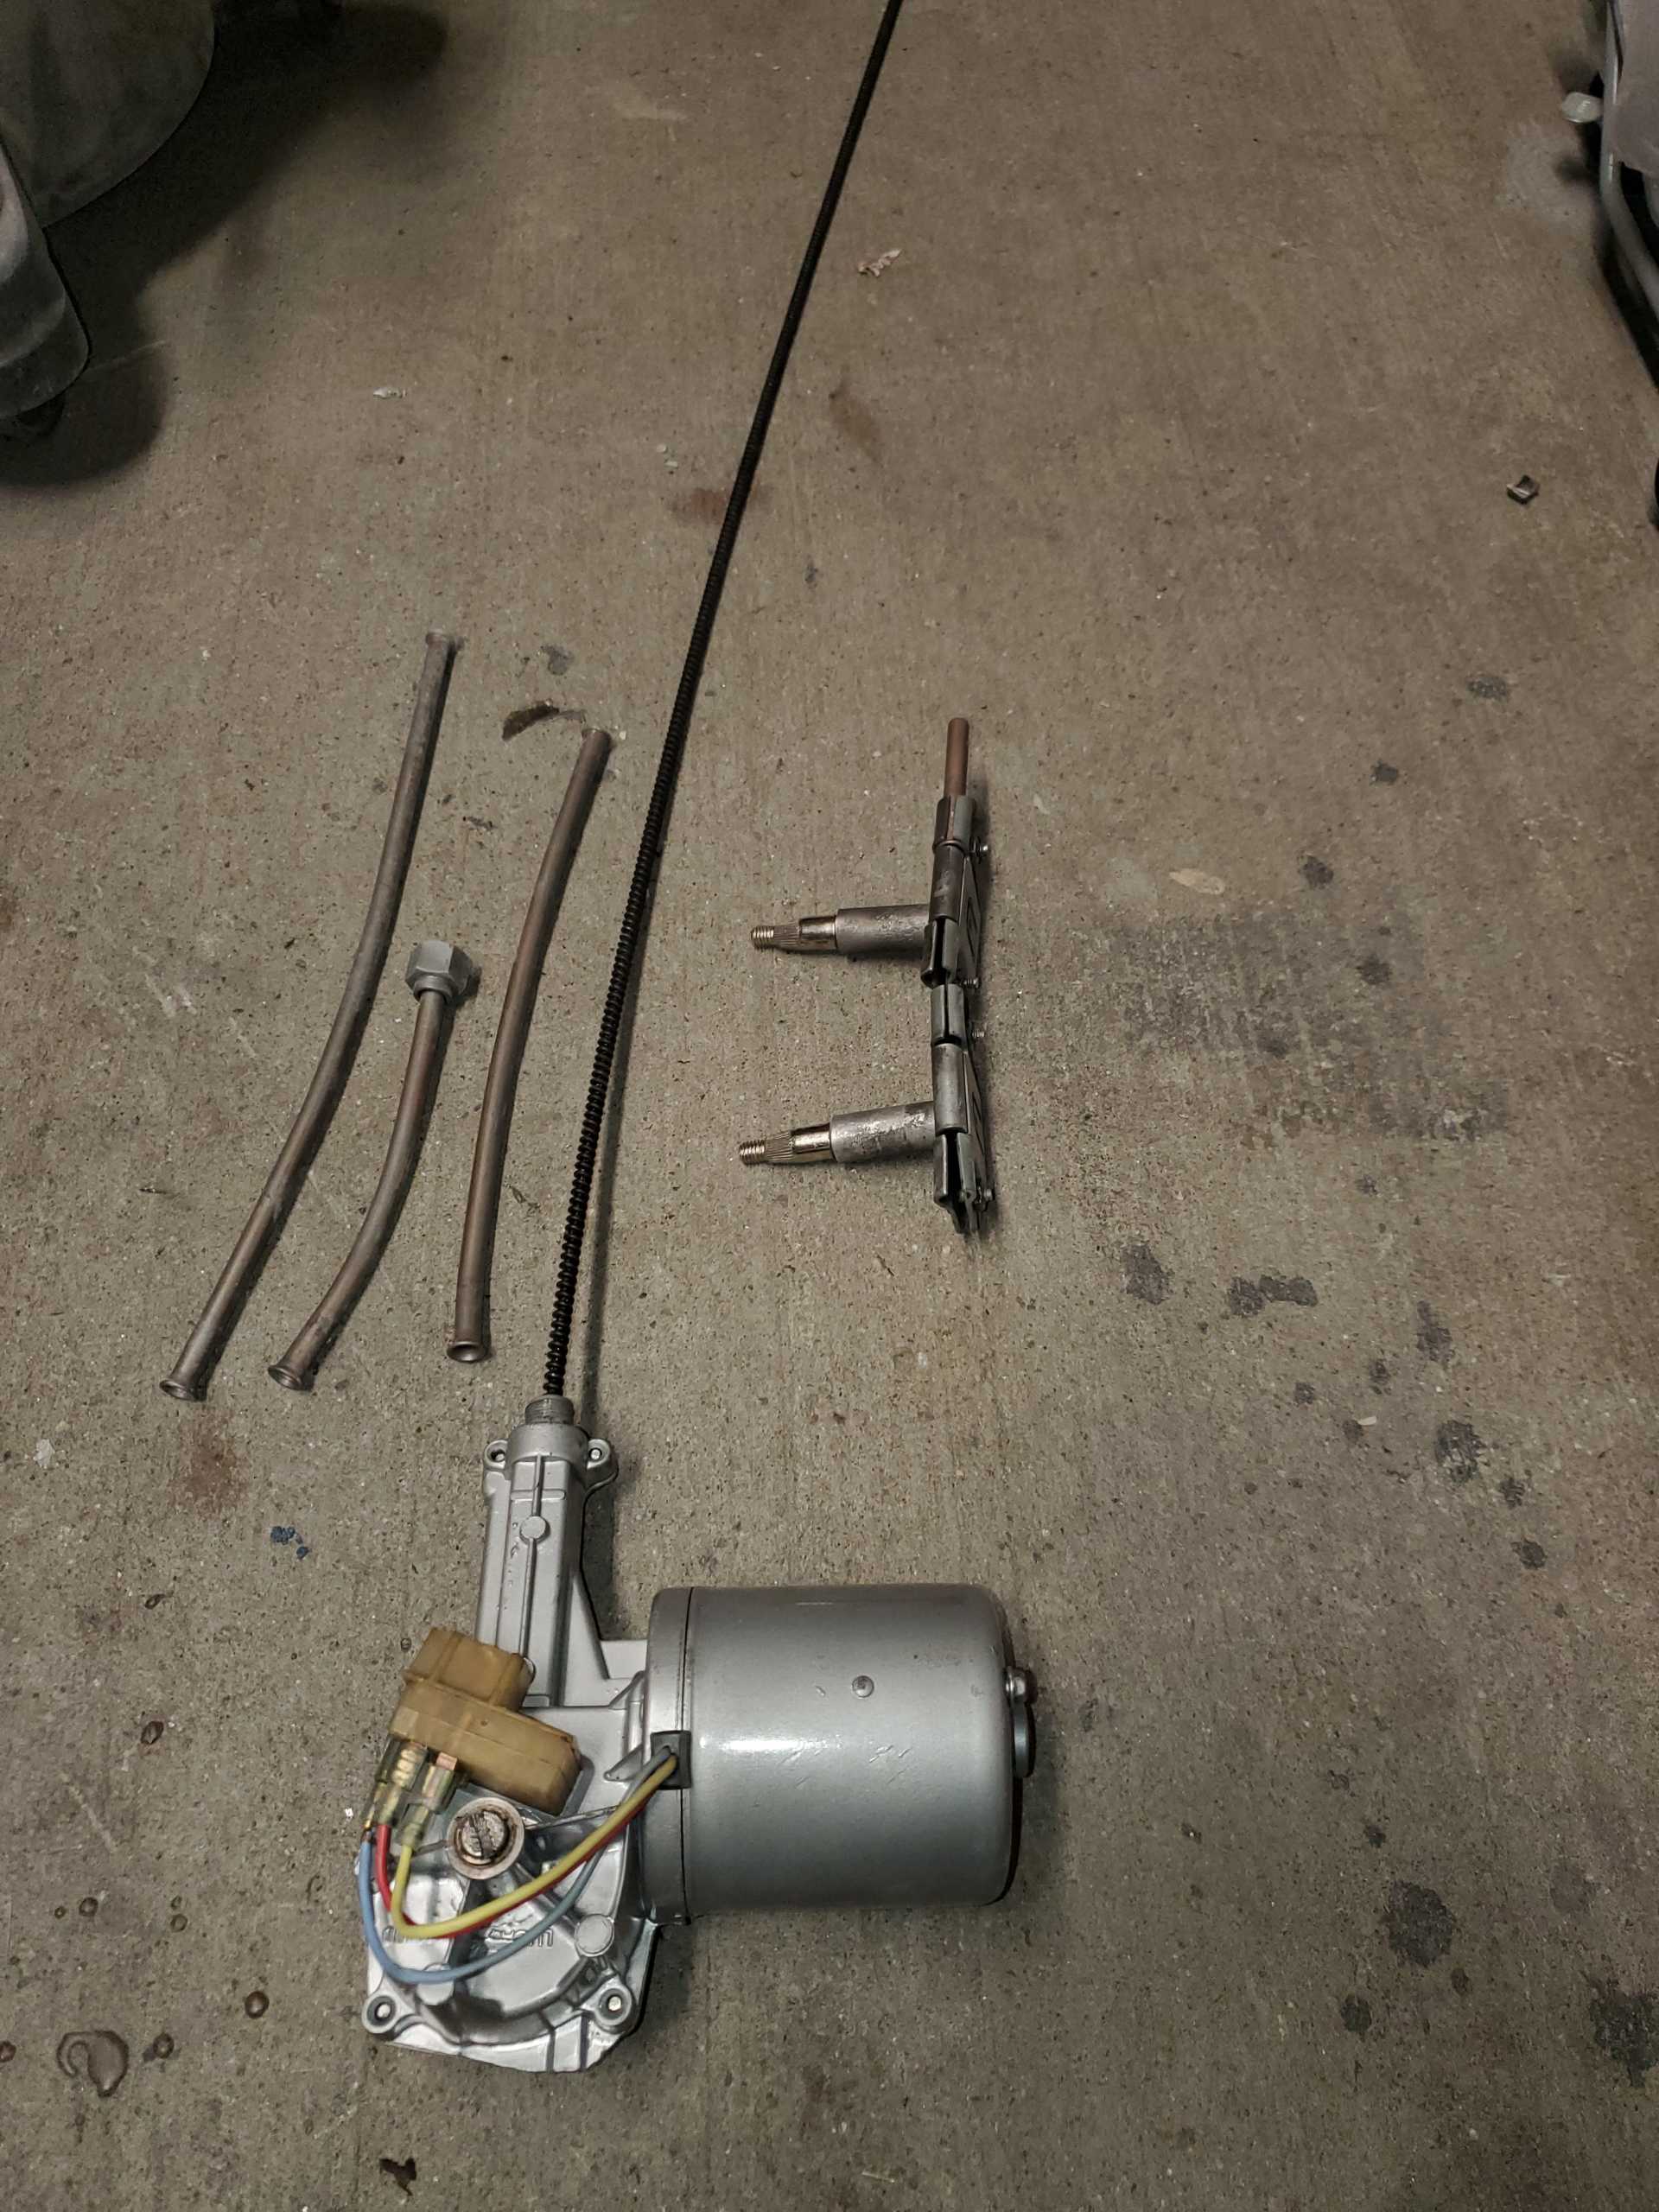
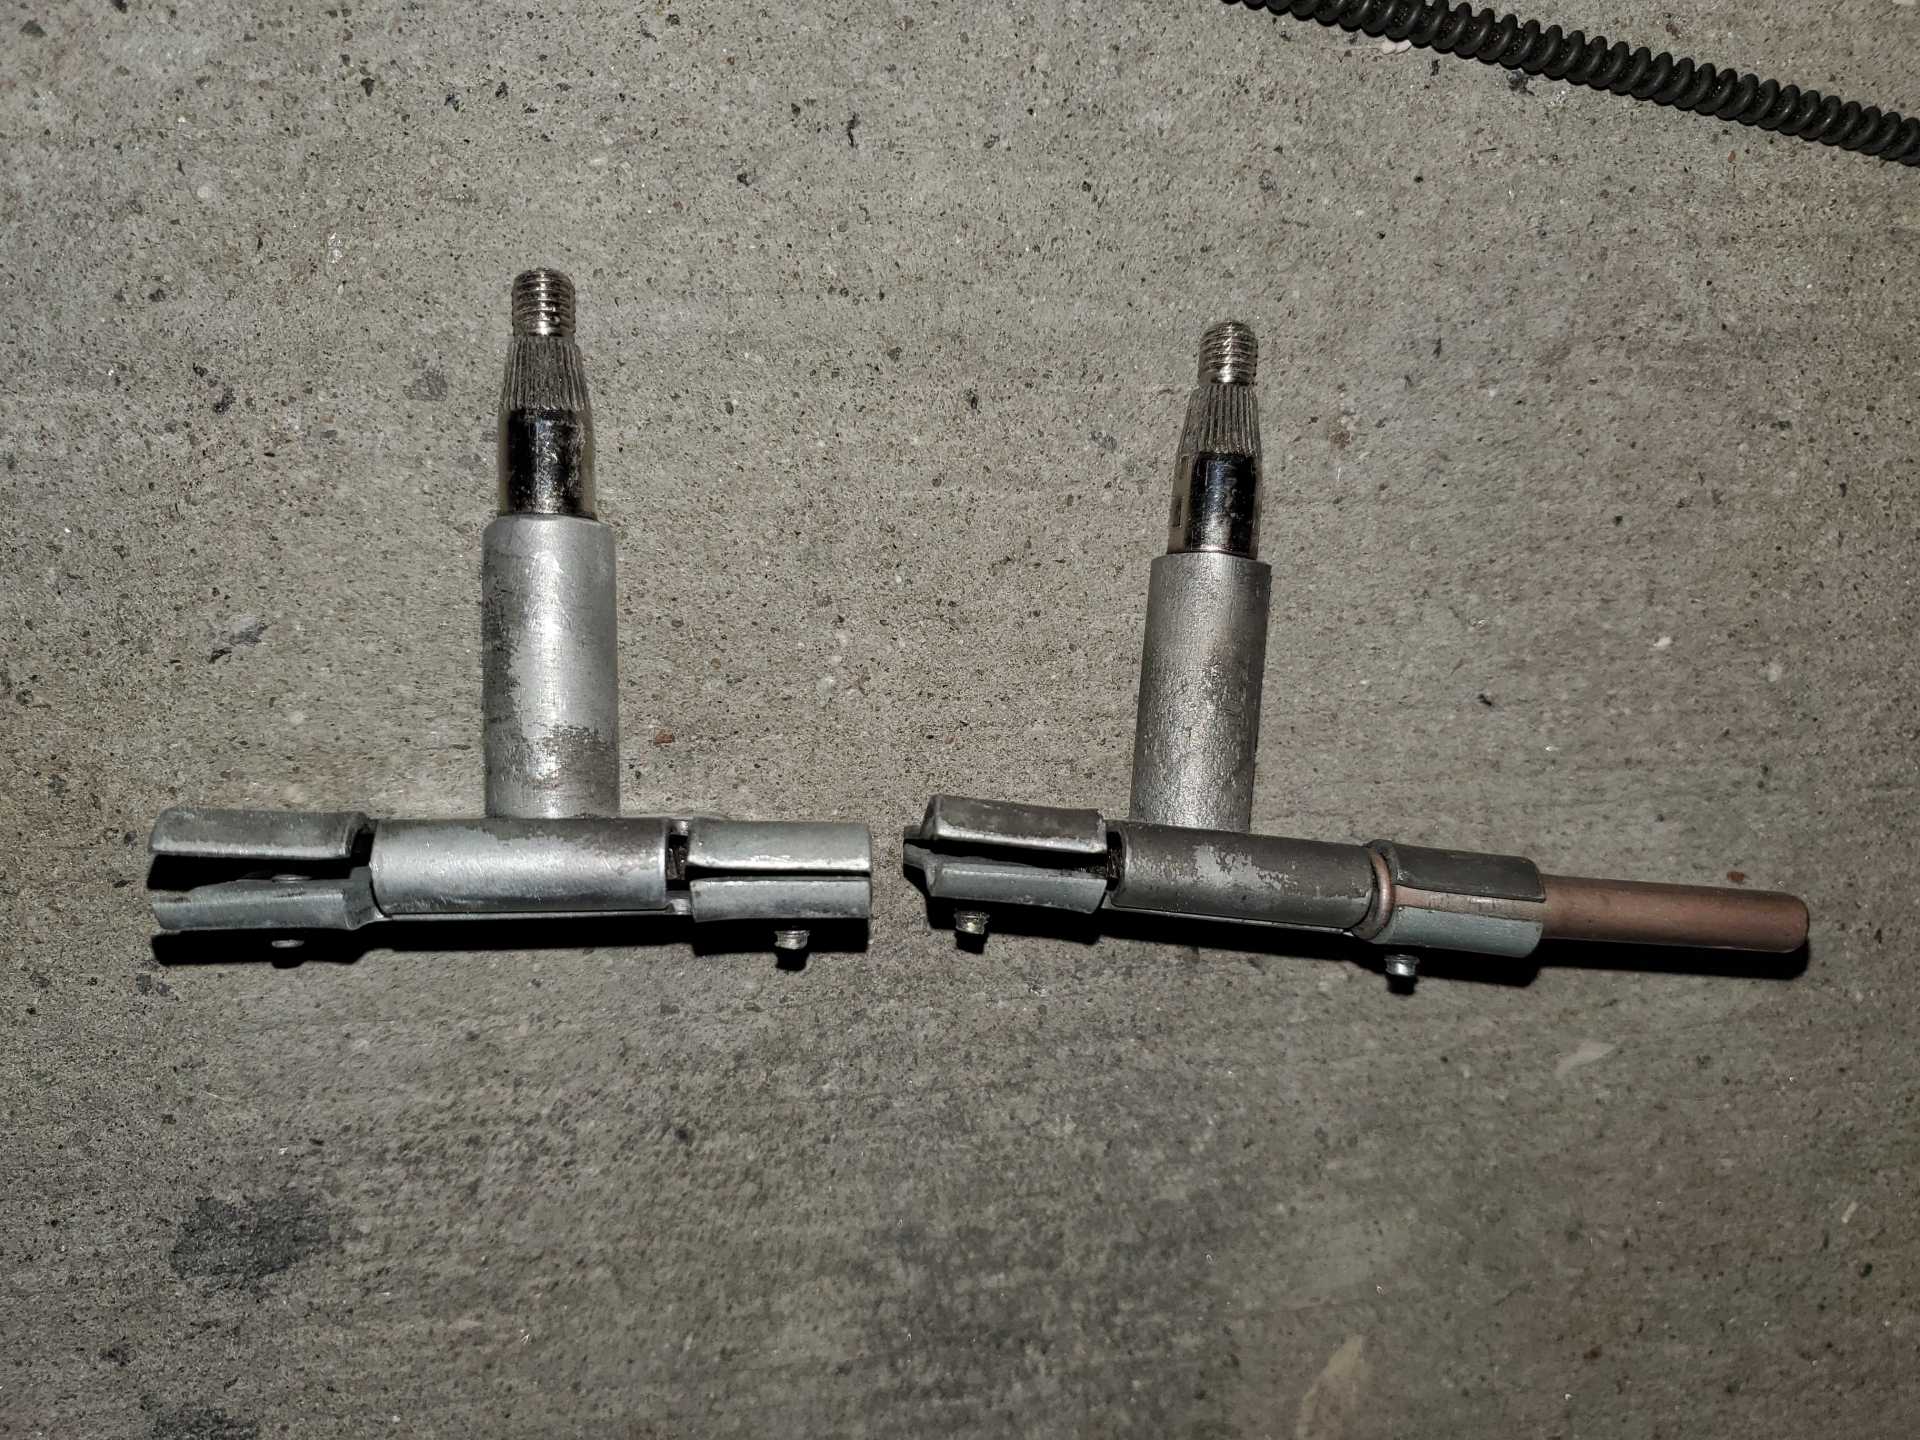
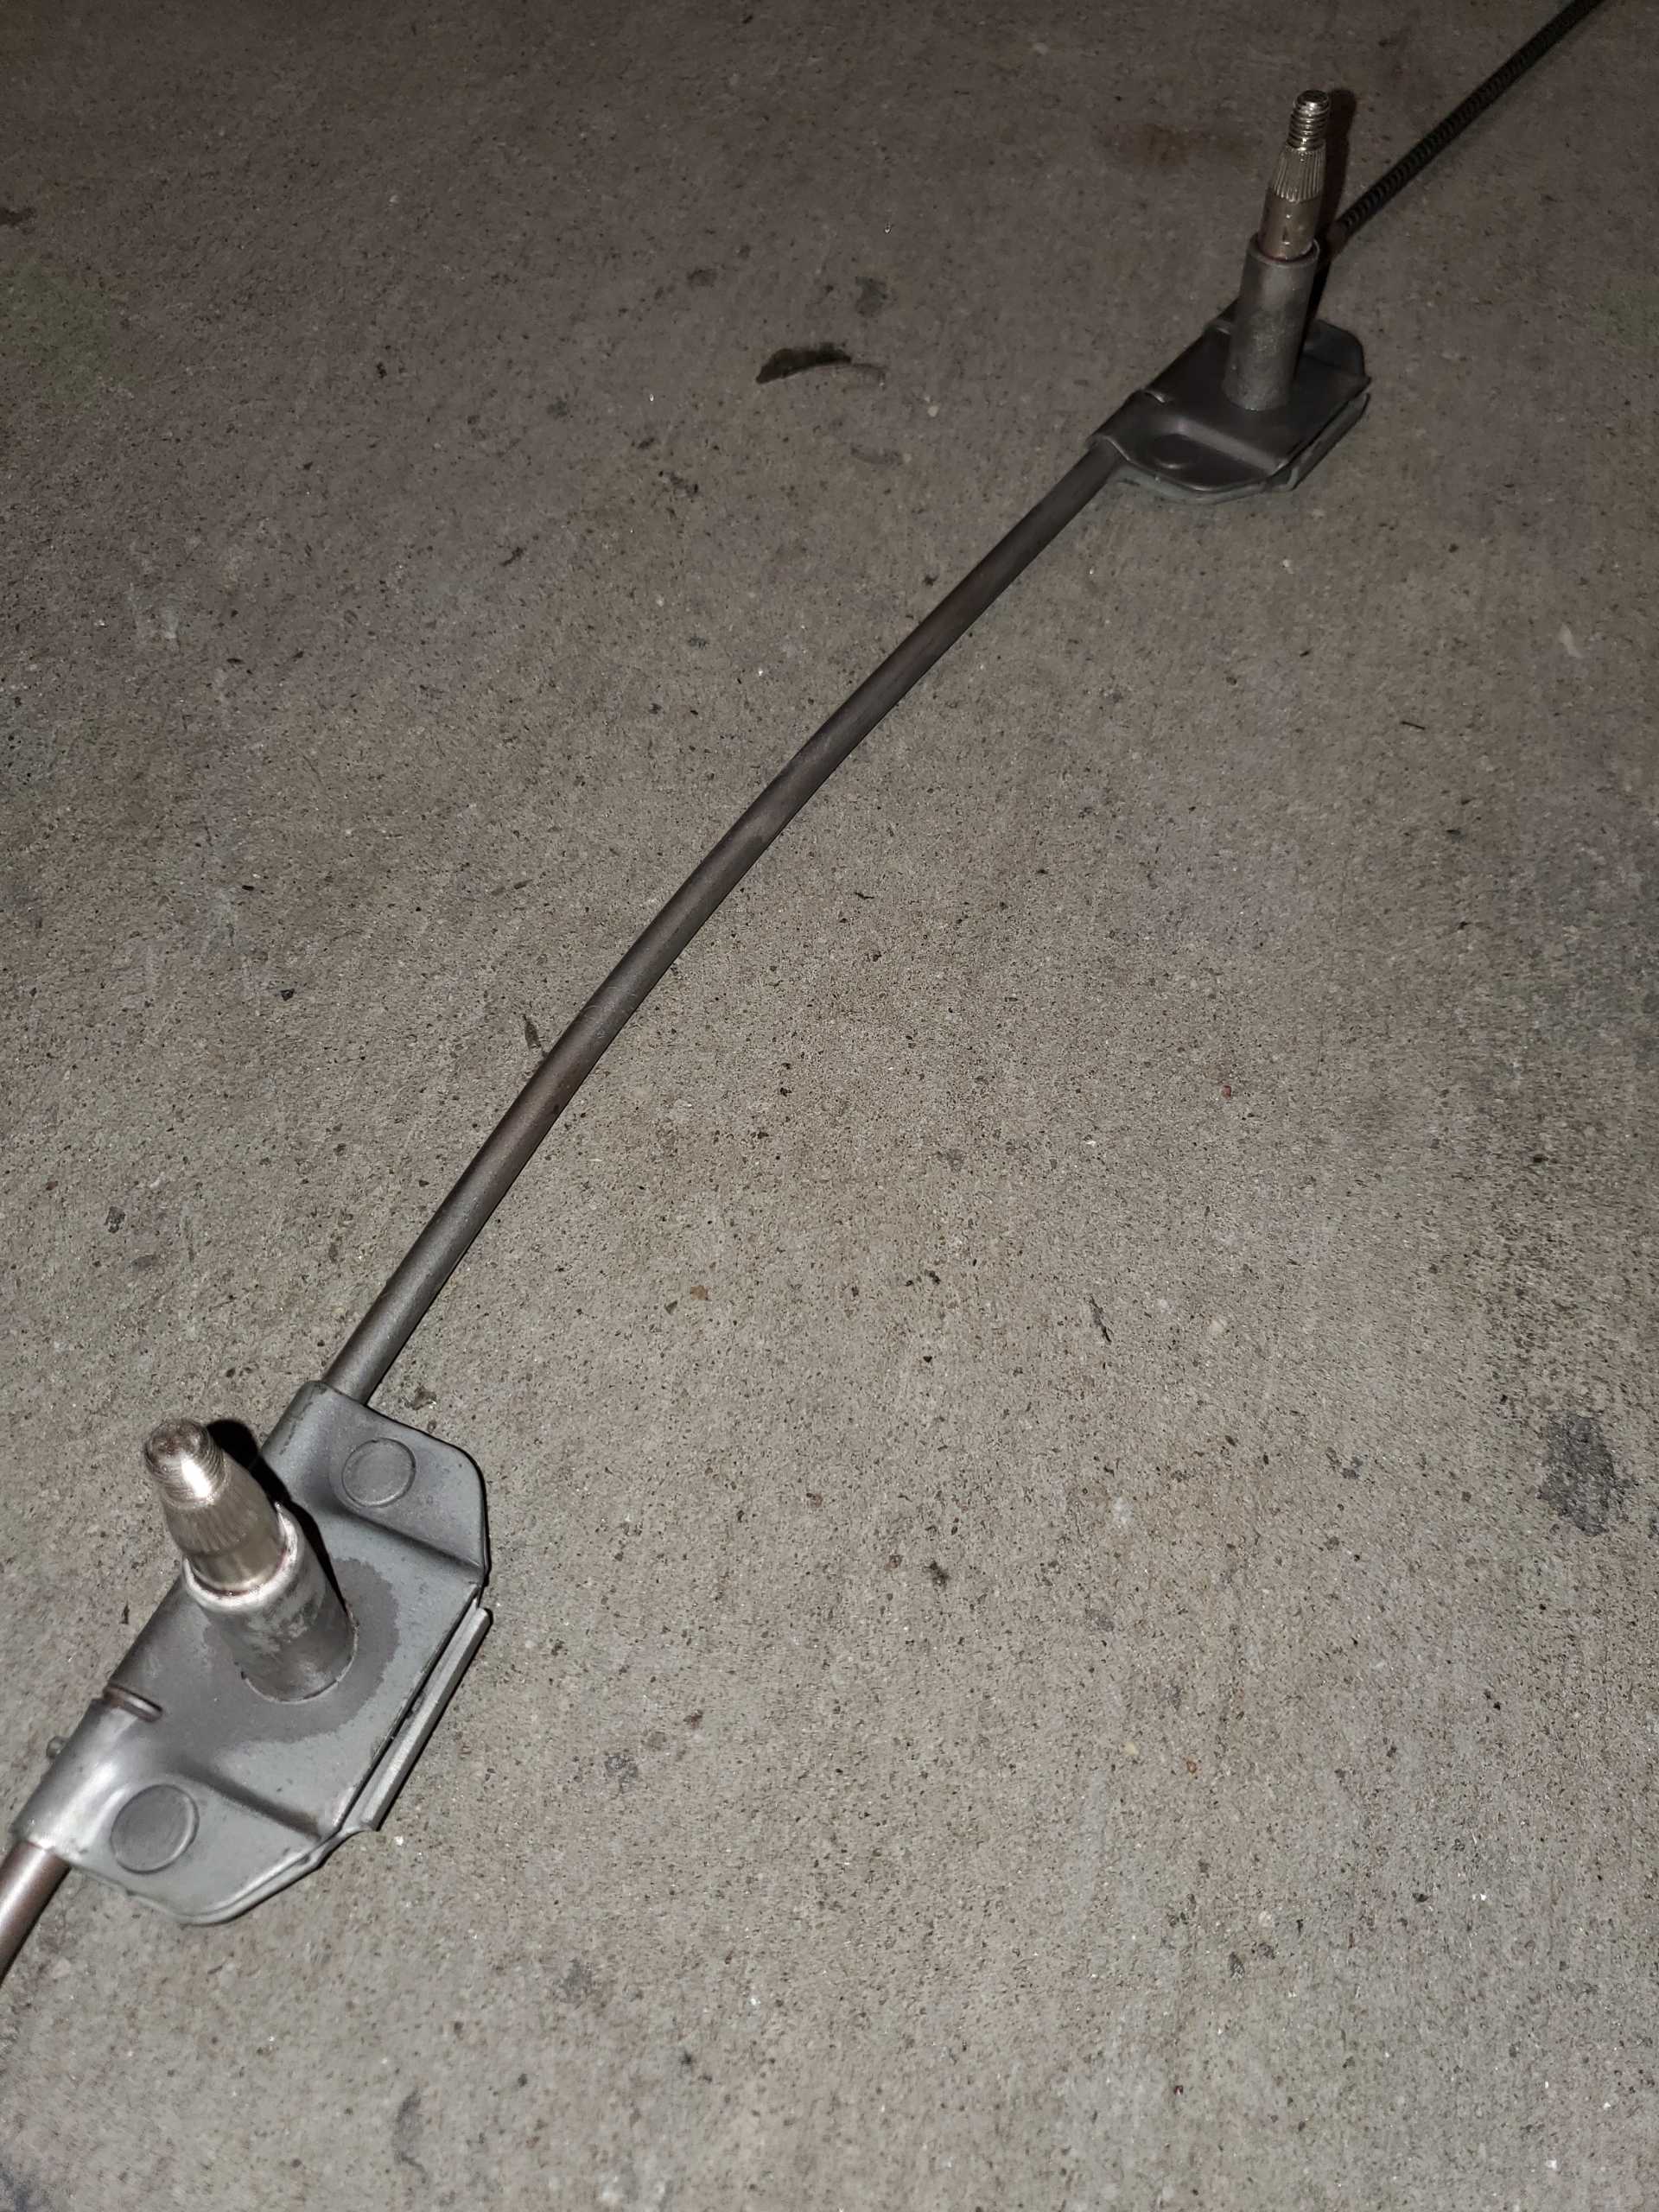
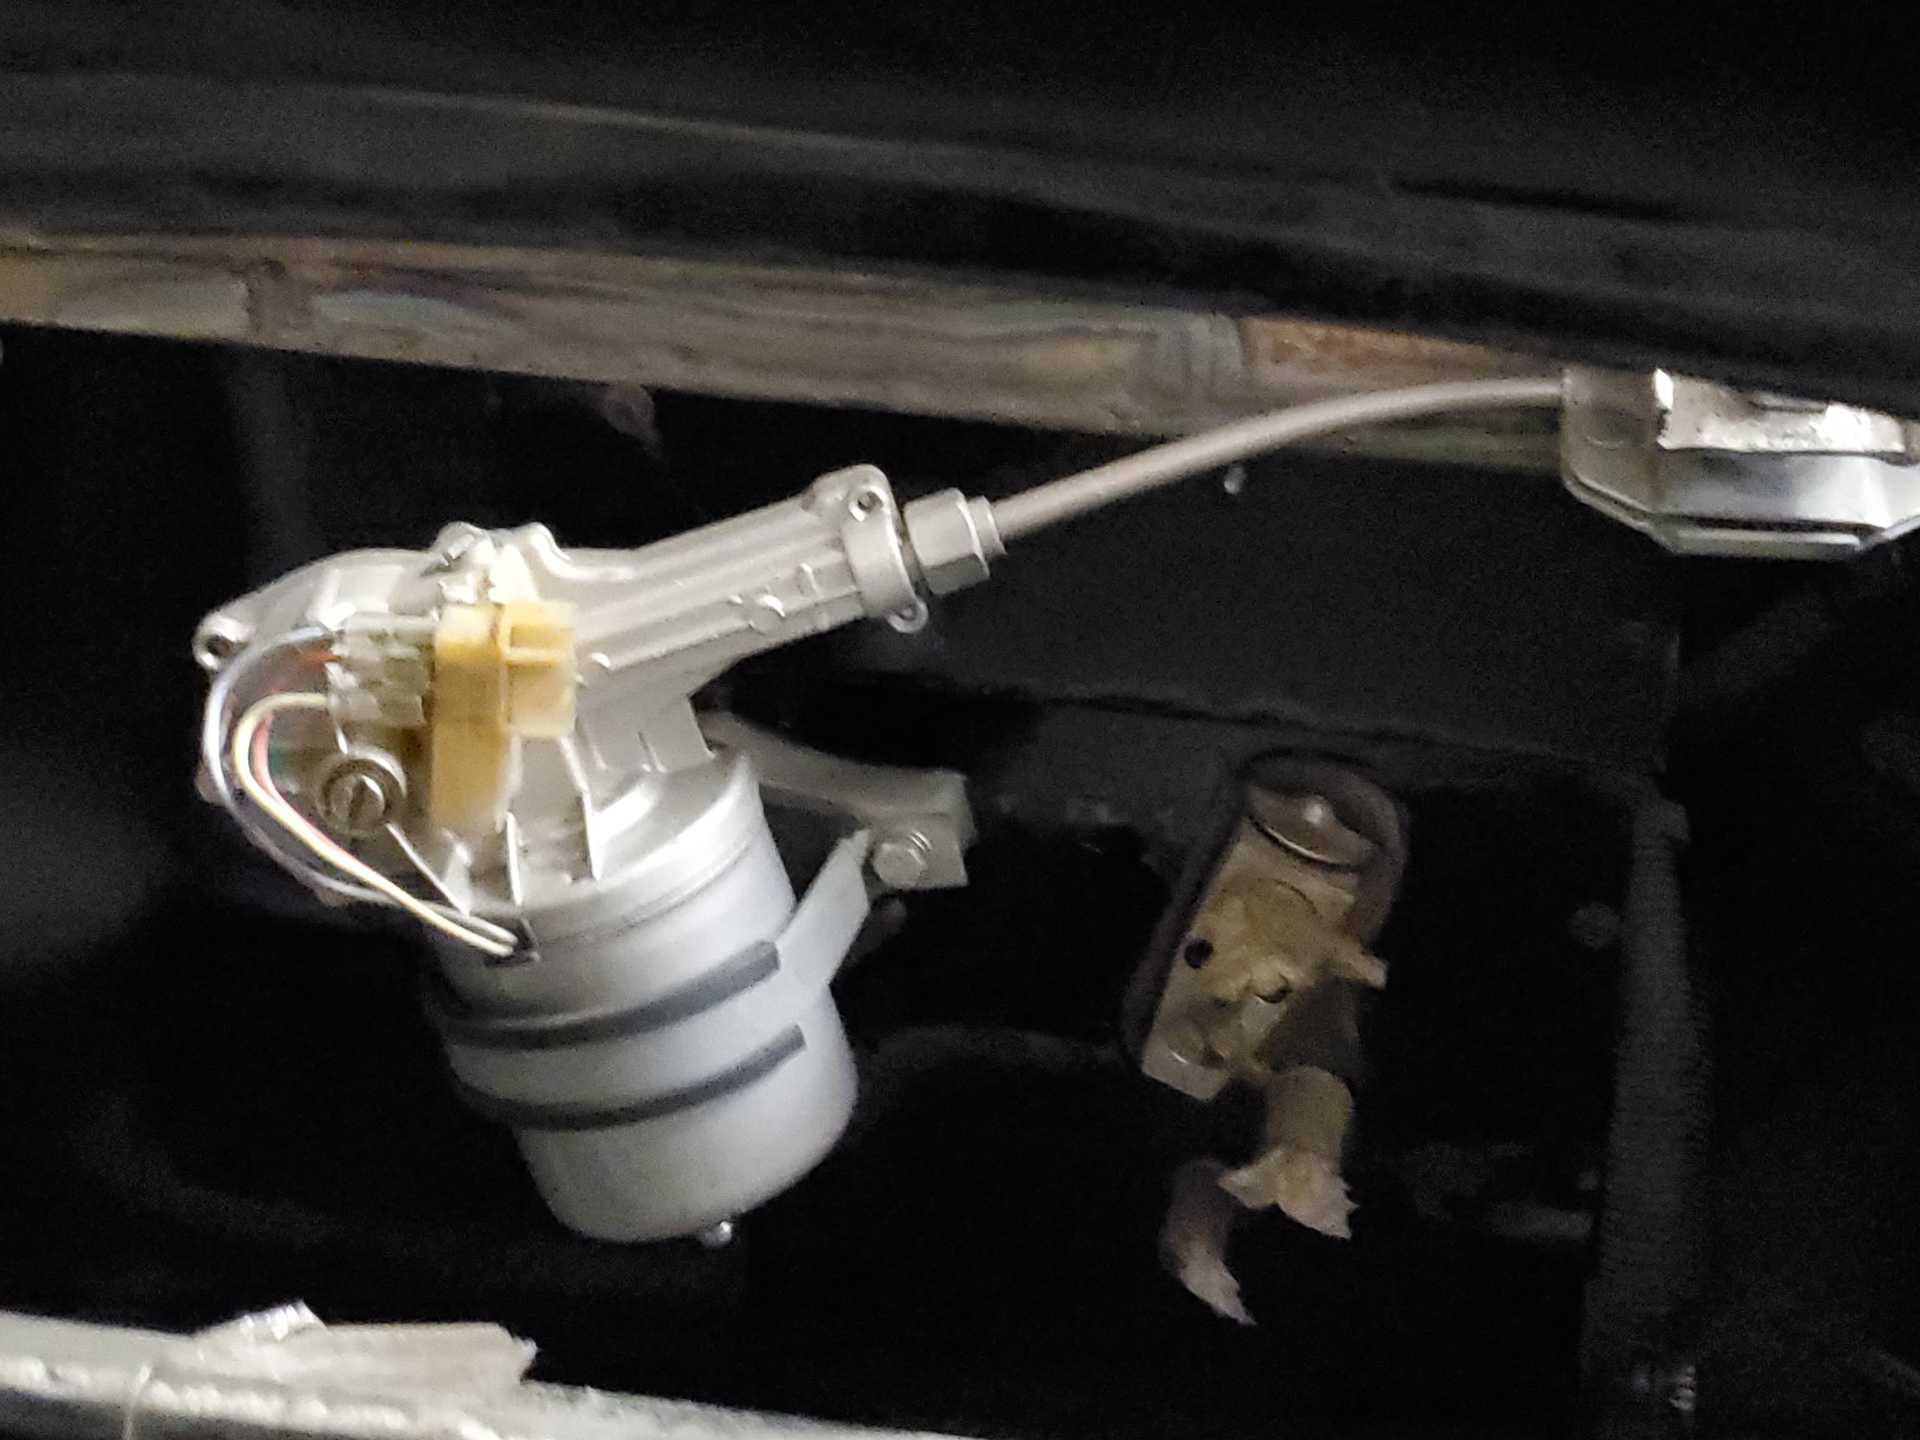
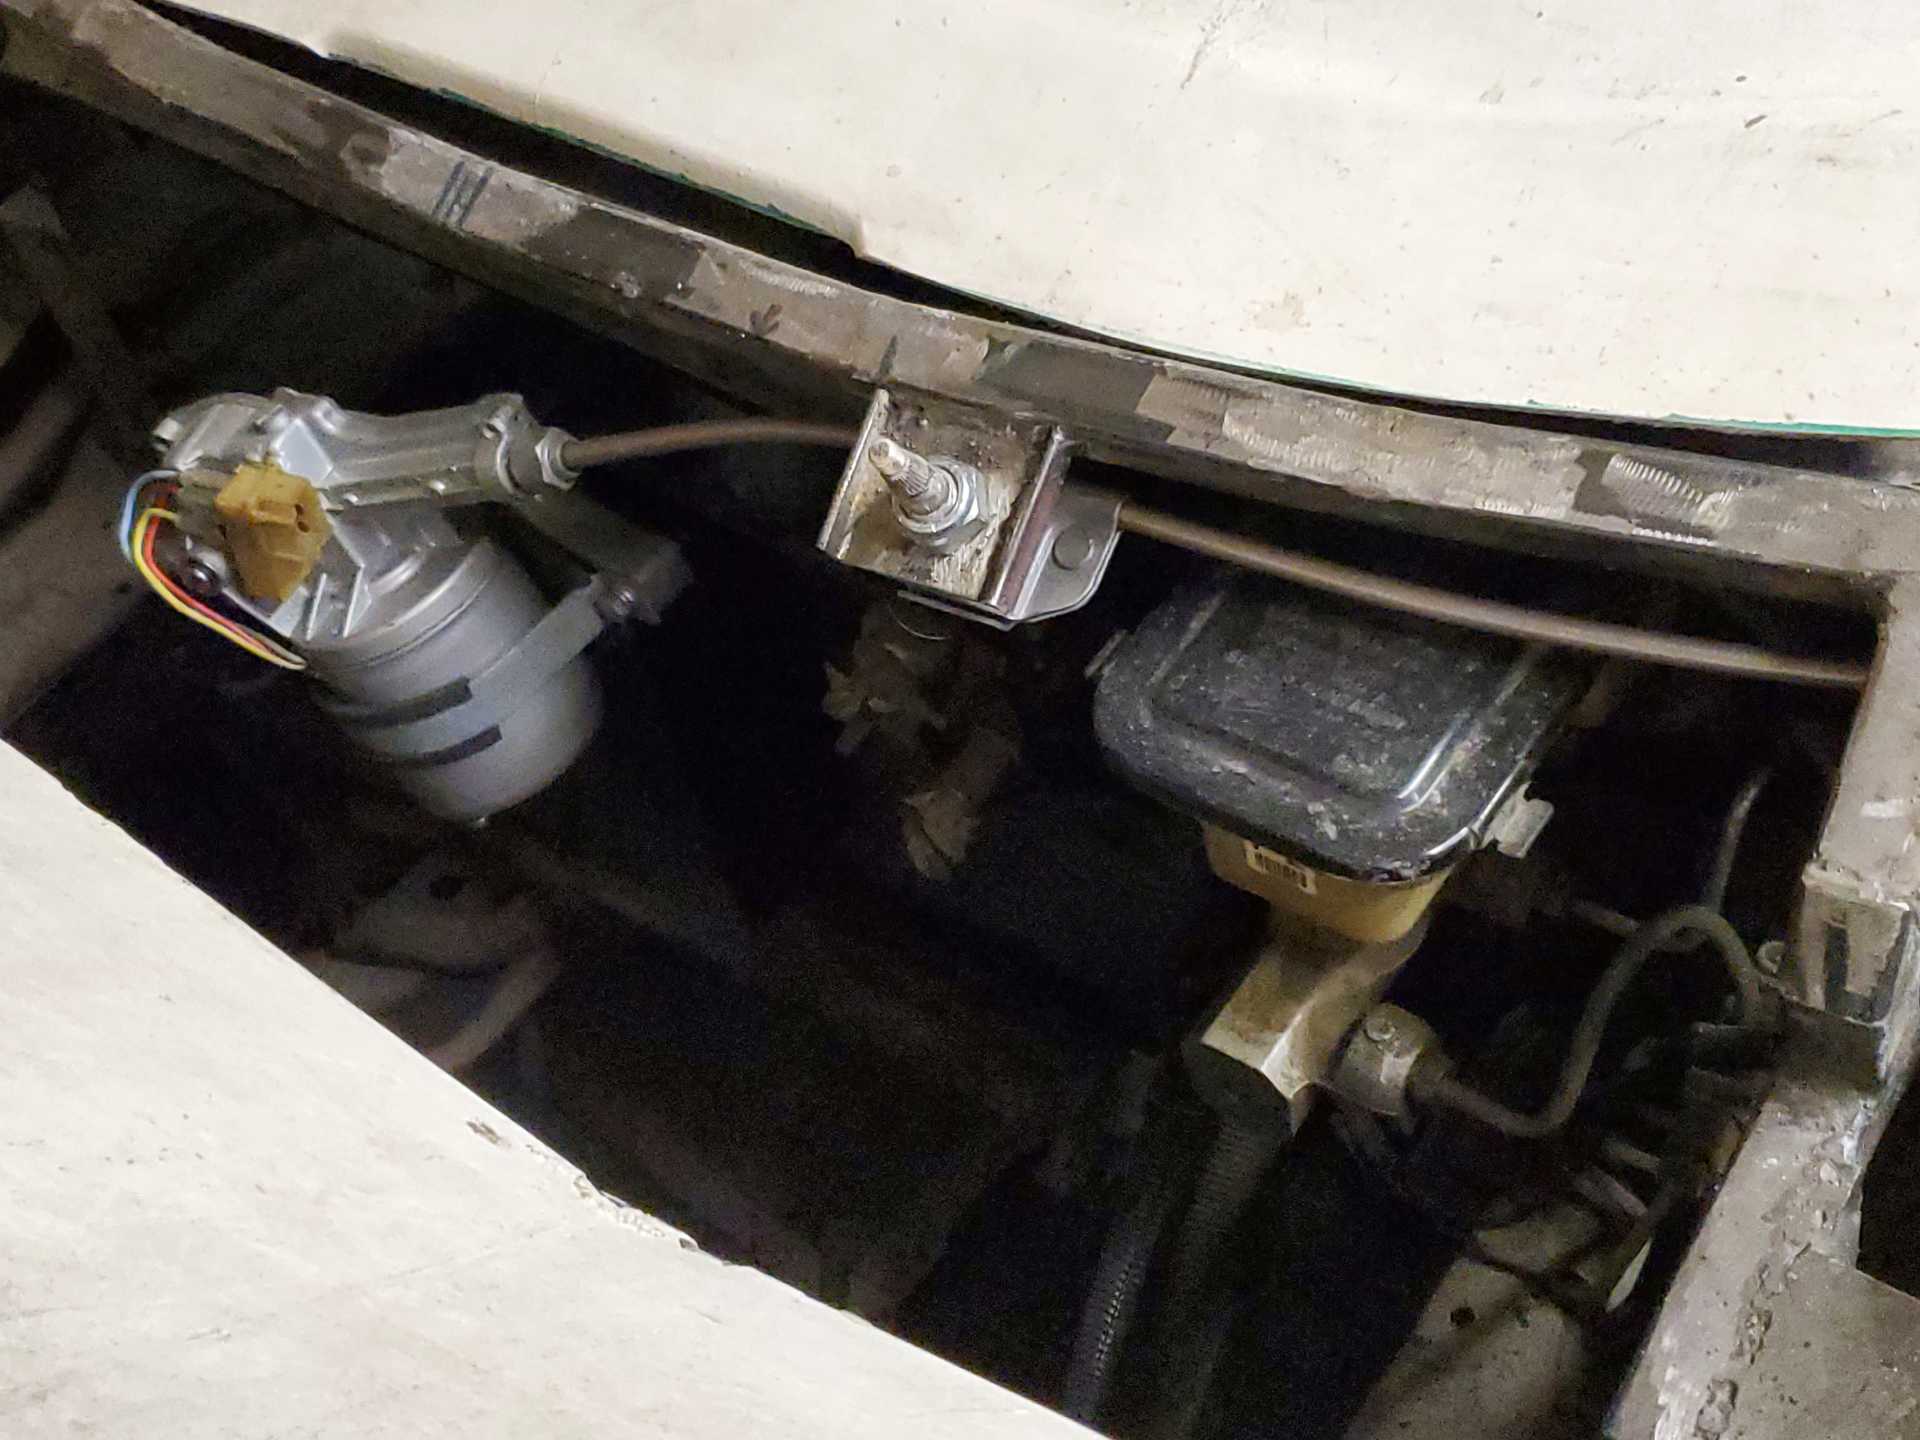
I've been taking a little time to work on the wiper system. I need to get this finished so that I can complete the fiberglassing at the bottom of the windshield. Originally, I had planned to utilize the stock Fiero wiper mechanism and the Fiero wiper arms, but quickly changed my mind due to the "whimpyness" of the Fiero arms. I looked around and couldn't find any mass produced wiper arms that were any better. I decided that I'd be better off using the OEM Aventador wiper arms, which I ended up buying quite cheaply. The Aventador wiper arms use the tapered spline posts. I picked up the complete wiper linkage system for an Audi A4 (with the tapered spline), with the hopes of cutting it up and creating a custom linkage. Unfortunately, I quickly found out that there just wasn't the room for any type of traditional bar linkage. However, I was able to get a complete remanufactured wiper system for an MGB, which uses a cable drive instead of a bar linkage. I did have to modify the posts from the standard straight spline to the tapered spline, but this proved to be relatively simple. This system is great! It fits in place even with almost no room. The cable moves back and forth, driving the posts via gears that are attached to the bottom of each post.
I was welding a couple of brackets onto the car and accidentally left an opening into the defroster uncovered. A spark found is way down and ignited something there. The first indication came while I was admiring the beautiful welds I'd just finished, when I saw a "shimmering" light from somewhere inside the car. I ran through all the possible sources of shimmering lights through my head (had I installed Christmas lights inside the car??) before concluding that the car was indeed on fire.
But being a seasoned naval engineering officer/ damage control officer I immediately brought the garage to Emergency Stations and deployed the Rapid Response Team.
... translation...I yelled SH!T !!!!!! Grabbed my respirator off my face. Dove onto the car like in a scene from Starsky and Hutch and started huffing and puffing down the defroster opening until the flames went away.
I'm using Honda Civic radiators. The ones currently sitting there are just the cheap oem radiators simply for mock up purposes. Ultimately they'll be replaced with performance, 3 core radiators to ensure I get enough cooling regardless of what power plant I'm running.
I won't know the full extent of the damage until I pull the HVAC unit out. However, I think it ended up just burning the foam seal. Worst case would force me to replace the HVAC body, but with my setup it would be a relatively quick and easy swap. I purposely made the whole thing easy to access.
I was welding a couple of brackets onto the car and accidentally left an opening into the defroster uncovered. A spark found is way down and ignited something there. The first indication came while I was admiring the beautiful welds I'd just finished, when I saw a "shimmering" light from somewhere inside the car. I ran through all the possible sources of shimmering lights through my head (had I installed Christmas lights inside the car??) before concluding that the car was indeed on fire.
But being a seasoned naval engineering officer/ damage control officer I immediately brought the garage to Emergency Stations and deployed the Rapid Response Team.
... translation...I yelled SH!T !!!!!! Grabbed my respirator off my face. Dove onto the car like in a scene from Starsky and Hutch and started huffing and puffing down the defroster opening until the flames went away.
If I drank, now would be a good time for a beer.
LOL, I feel your fear. I was on high alert every time I worked on my dash swap. The Malibu LTZ used a magnesium frame. Cutting that thing and grinding was a fireworks show. Slow and easy did it, but nail-biting and head on a swivel.
I was welding a couple of brackets onto the car and accidentally left an opening into the defroster uncovered. A spark found is way down and ignited something there. The first indication came while I was admiring the beautiful welds I'd just finished, when I saw a "shimmering" light from somewhere inside the car. I ran through all the possible sources of shimmering lights through my head (had I installed Christmas lights inside the car??) before concluding that the car was indeed on fire.
But being a seasoned naval engineering officer/ damage control officer I immediately brought the garage to Emergency Stations and deployed the Rapid Response Team.
... translation...I yelled SH!T !!!!!! Grabbed my respirator off my face. Dove onto the car like in a scene from Starsky and Hutch and started huffing and puffing down the defroster opening until the flames went away.
If I drank, now would be a good time for a beer.
Ouch.. Glad you got it under control. I did something similar when welding the body mounts on. I set the jute behind the panel on fire. Just happened to have a squirt bottle of water handy for just such an emergency.
I categorically deny ever setting alight greasy rags I'd forgotten I'd dropped behind the welding table, or the dry grass outside my shop window with the window open, or ...
However, there are now *multiple* fire extinguishers in my workshop, within easy reach, well-marked. You be the judge as to what happened
-- A
[This message has been edited by dremu (edited 04-23-2020).]
I categorically deny ever setting alight greasy rags I'd forgotten I'd dropped behind the welding table, or the dry grass outside my shop window with the window open, or ...
However, there are now *multiple* fire extinguishers in my workshop, within easy reach, well-marked. You be the judge as to what happened
-- A
I usually just set myself on fire. I guess I wanted to mix it up a bit.
Well, I continue to be terrible at posting any updates... over a month since my last post. Unfortunately, I've only been able to work on it once or twice a week. And even then, it's usually for not more than an hour or so.
There were a few things worthy of a mention....
I finally got the wiper system installation completed, minus the wiring. I really like the versatility of a cable system. Much easier to install when space is limited. I welded a wiper motor mounting bracket to the HVAC housing. Before anyone asks, yes I can still remove the brake master cylinder cover.
I installed bonding bolts in a number of places on the front bumper. The bumper fits really well, so I will only use the bonding bolts to secure it.
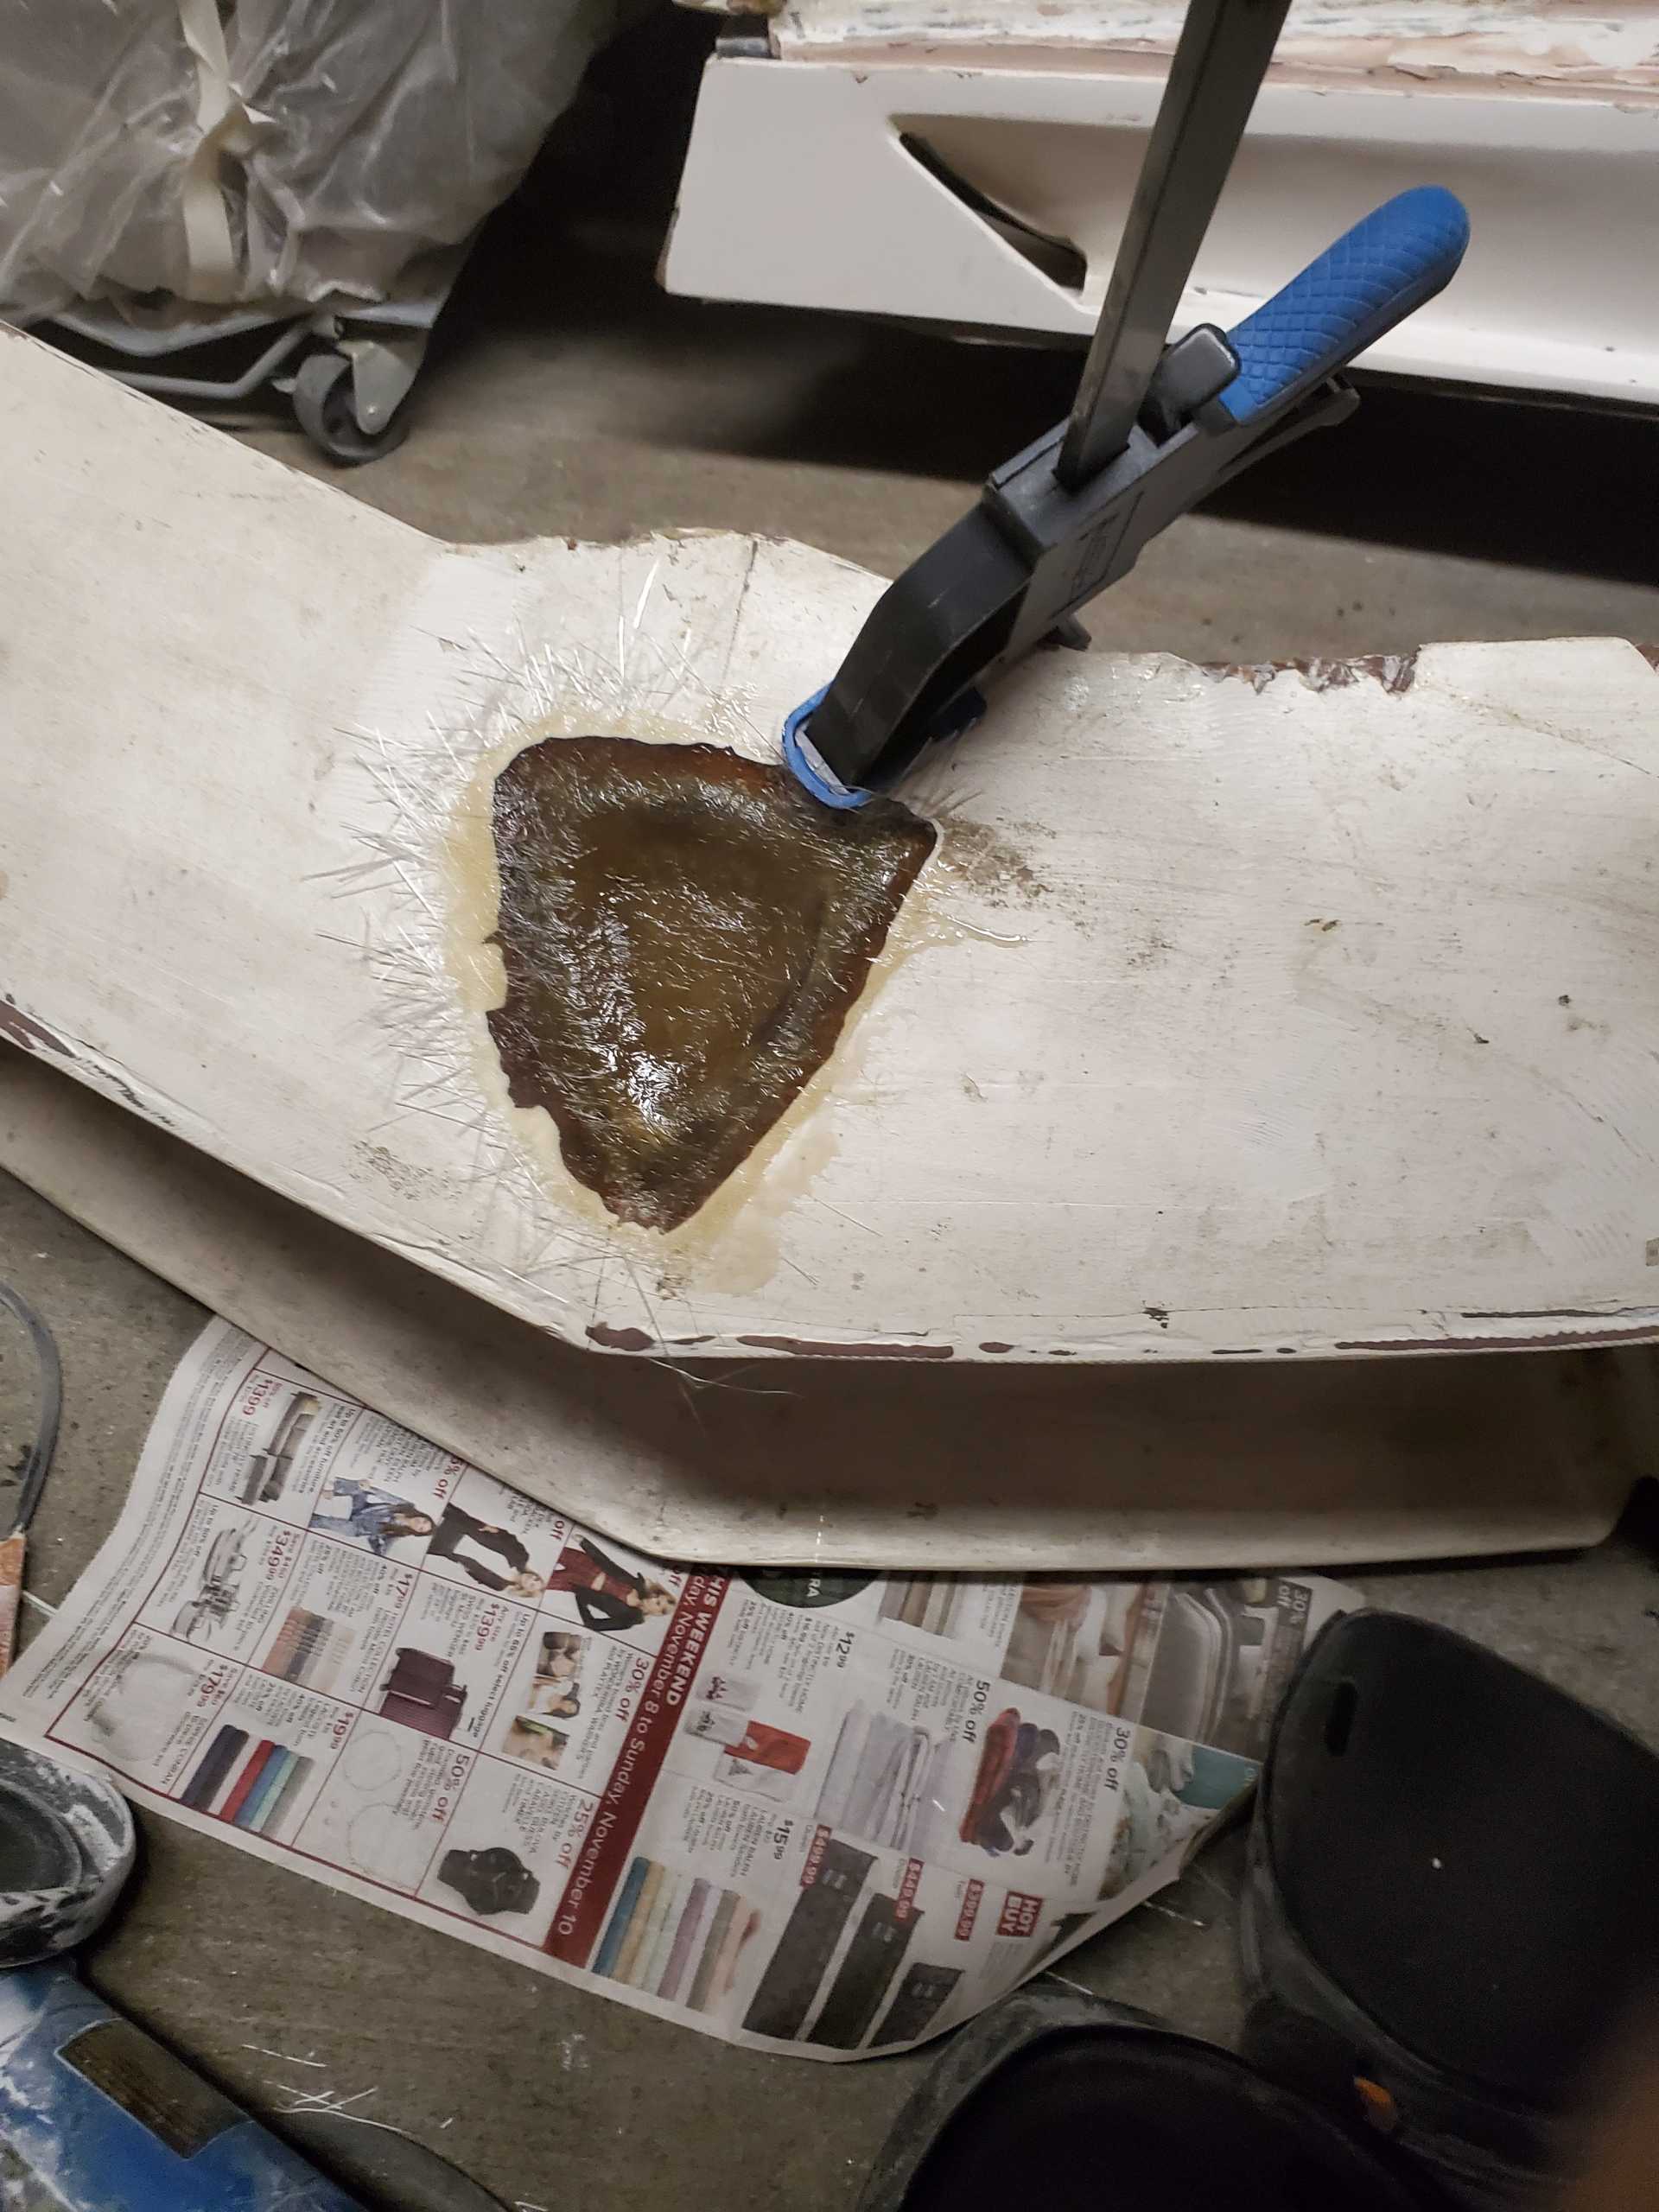
For some reason the bumper didn't already have a recess for the nose emblem. I cut an opening for the recess and fiberglassed it. I was able to use a piece of a real Aventador front bumper as a mold. I'll still need to finish it with some body filler.
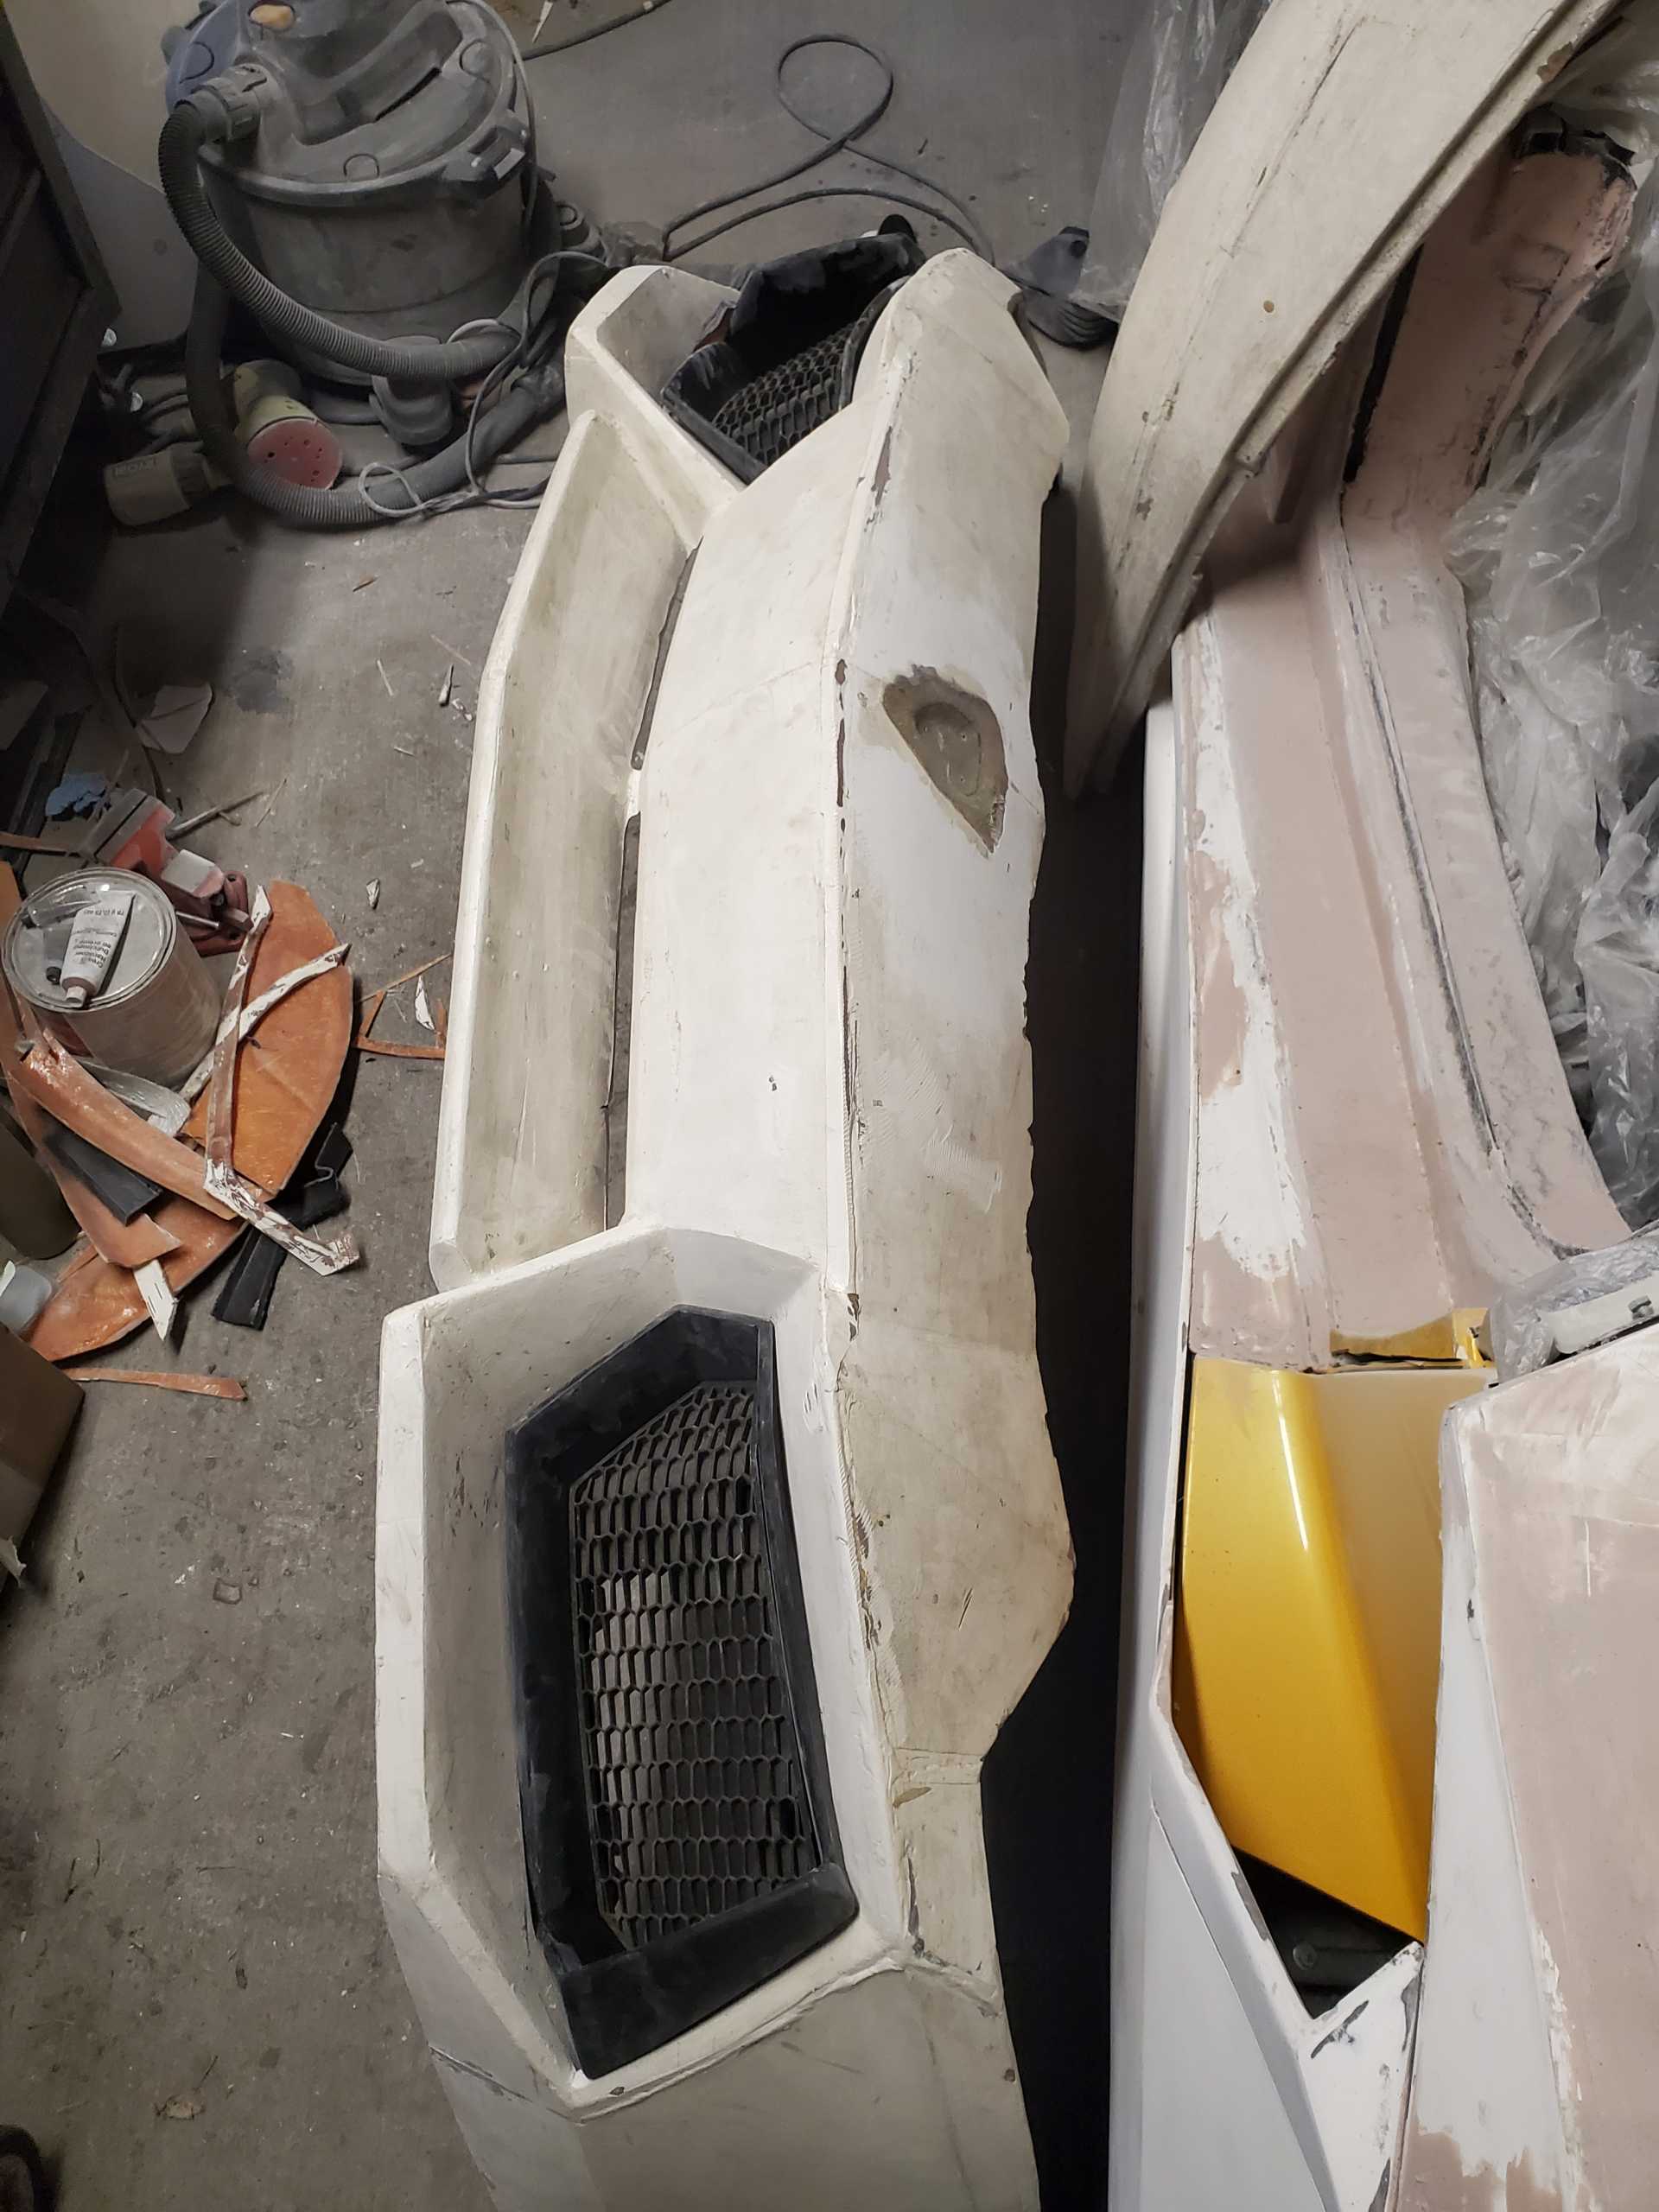
Lastly, I began installing the front vent grills and grill housings. The grills and housings are oem. Unfortunately, the bumper clearly wasn't designed to match the oem bumper so it's going to take lots of finessing to get them to look like they belong there. Once I'm happy with the fit, I'll add some mounting brackets.
I finished installing the front grill housings. This involved a lot of fiberglass trimming to get the oem housings (the black parts in the last pic I had posted) to fit into the front bumper. Once they fit, I spent several days fiberglassing some brackets in place on the inside of the bumper that I'll be able to secure the housings to. They seem to fit quite well.
I also finally installed the front oem hood latch and cable system. I created a support bracket and welded it to the main front bumper support beam. I just need to install the hood gas shock now.
I wanted to give an update of the Aventador project. Unfortunately, the project will be on hold until next summer.
:sleep:
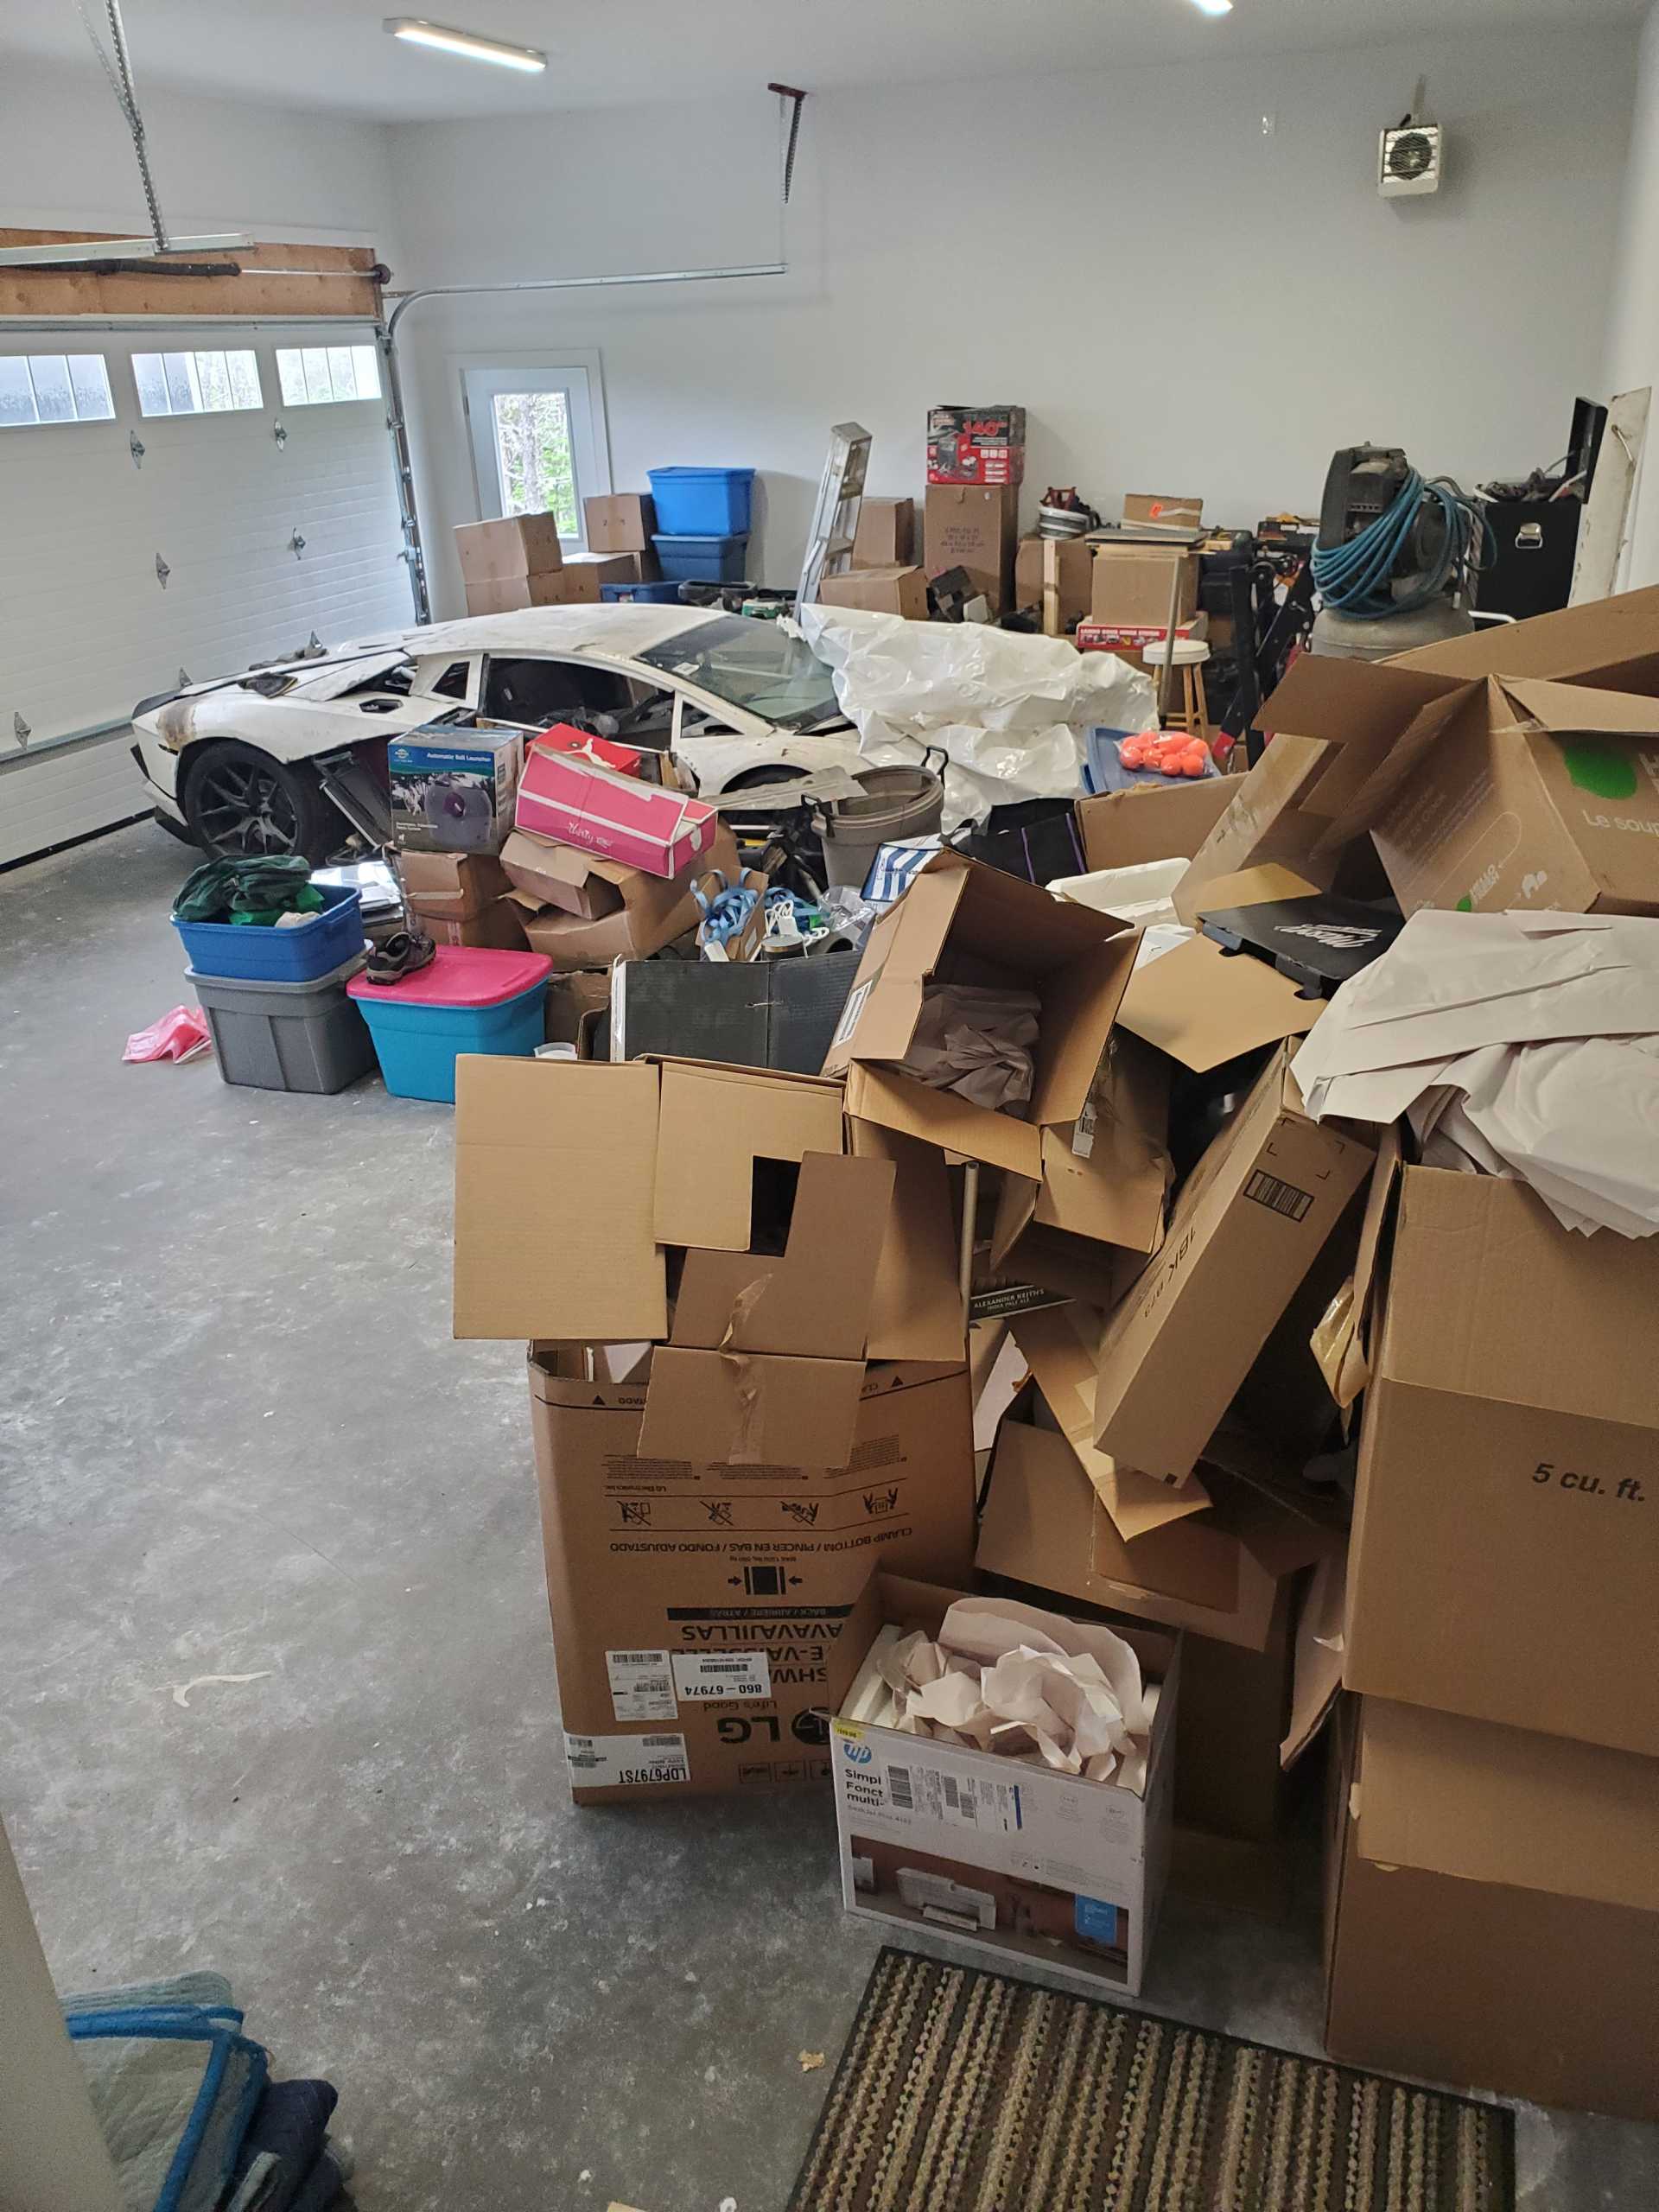
However... there is some good news associated with this. We sold our house in Ottawa and are moving back to Nova Scotia! (Just a stone throw from Bloozberry). We just broke ground on our new house... which will also come with a garage actually big enough to work in. .... finally!
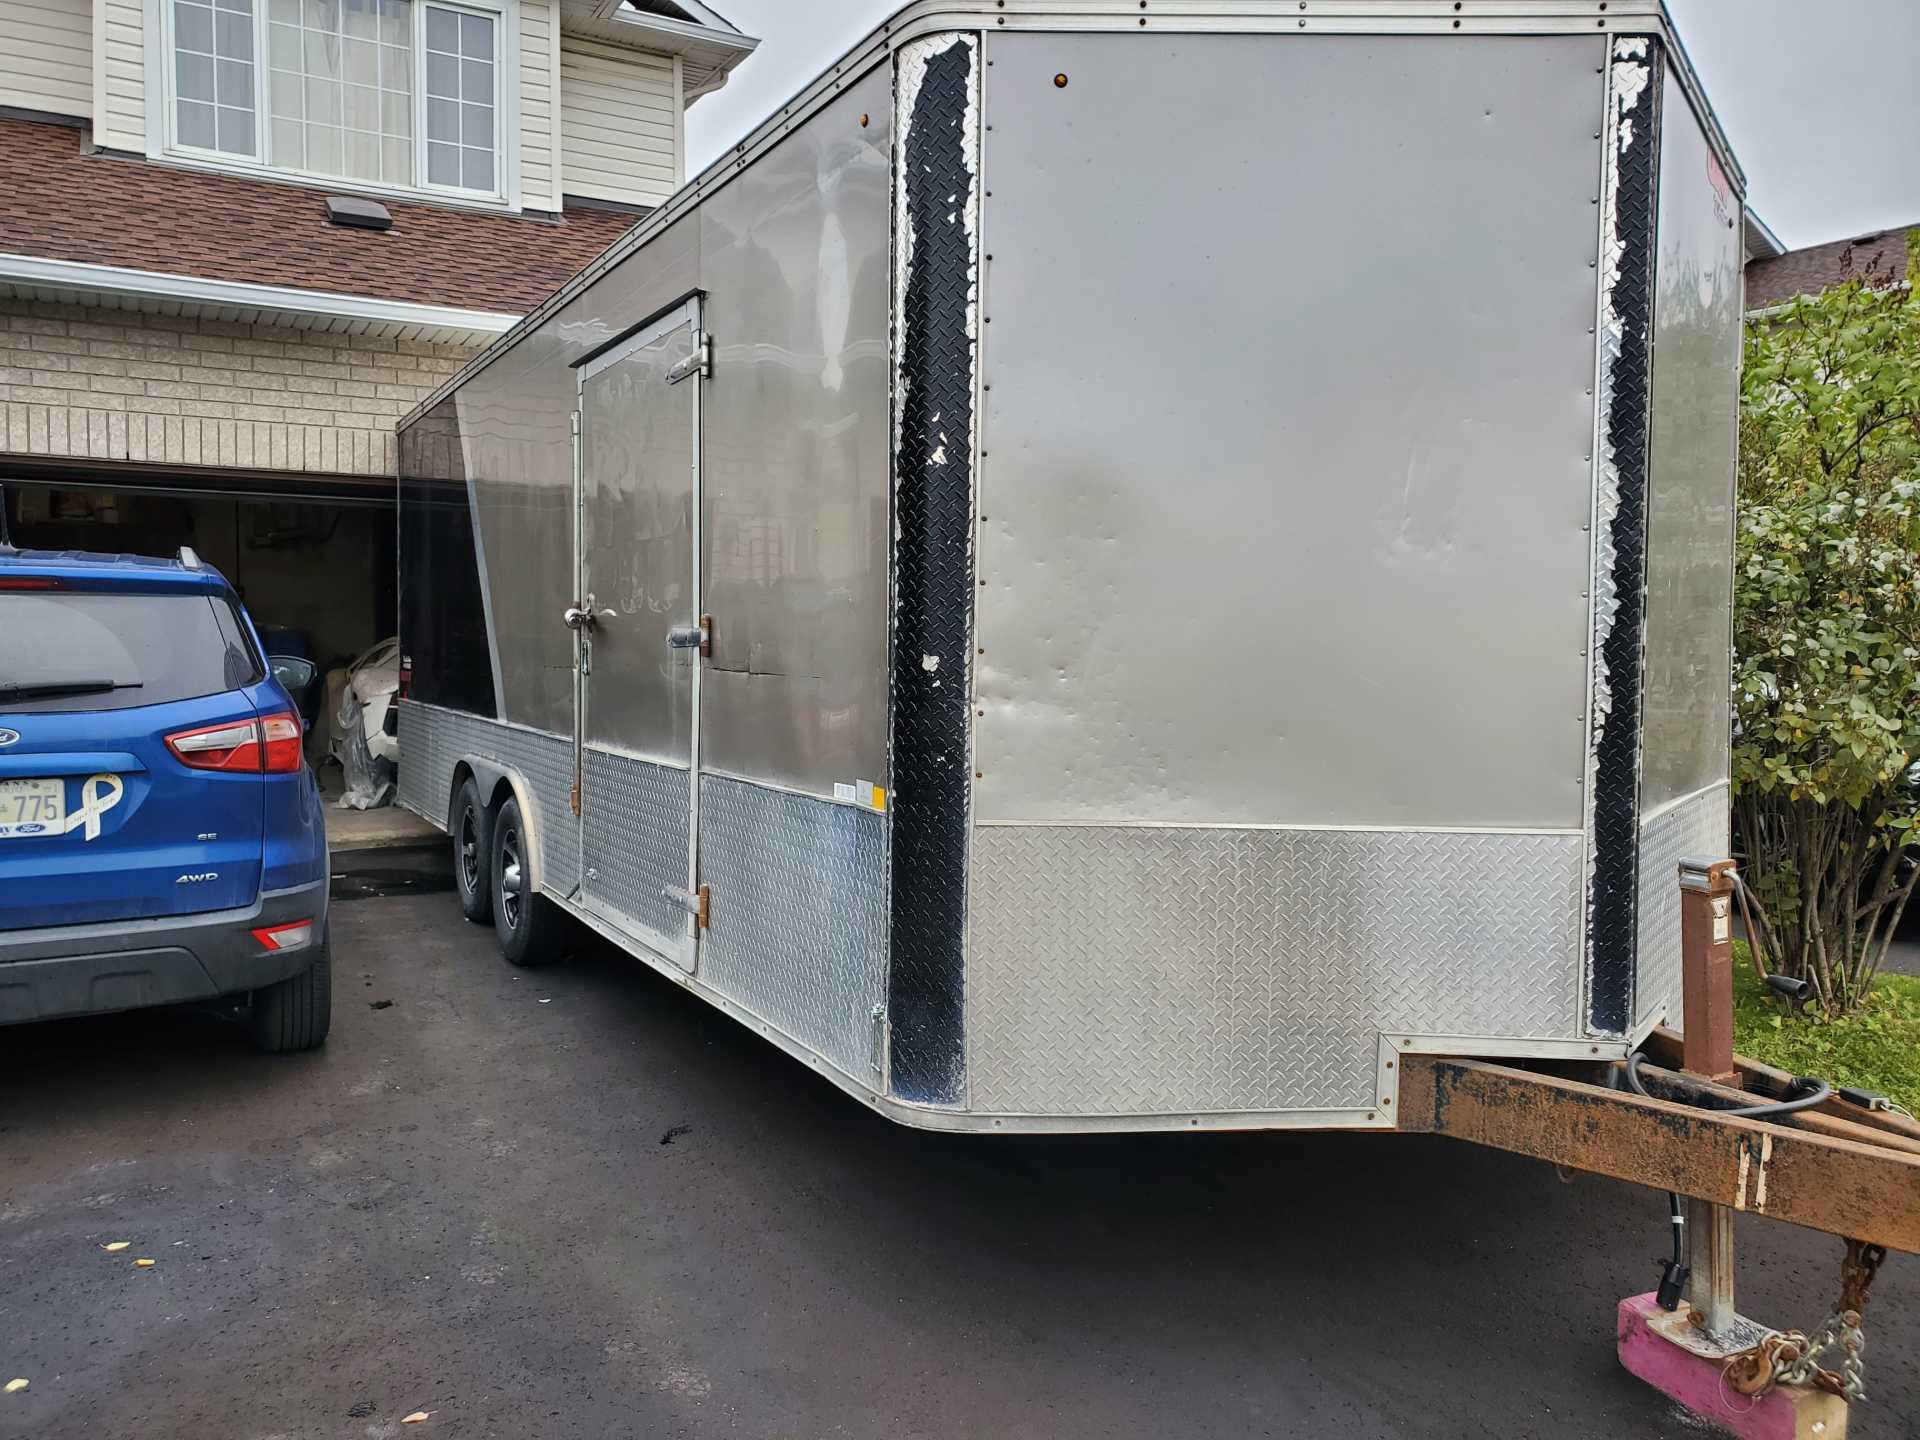
Until then, since I won't have access to a garage, the car will get a new home...
I look forward to getting back on track next year!
It looks better in the garage with you working on it, but it's good to hear you're well and still around. Looking forward to the project resuming.
Take care.
Bob
Thanks Bob. The new house (situated on 3 acres of oceanfront ) will also have a 4 car garage with a car hoist. I'll actually be able to work easily on the car... finally! It'll be nice to be able to open the garage door and work without neighbors complaining. We actually received a bylaw complaint today about the car trailer...
Good to hear you are moving home. I was at Bloozberry's place last winter and saw the setup. A great gentleman to know and very open to ideas and help. I think you will both get along great. I also lived in Orleans back in my Air Force days mid 90's and had the same type of neighbours.... I get what you are talking about. I have to say my neighbours here are pretty good really given all the noise I have made in the last 10 years. And a final best for you is now your neighbours are 3 acres away.....
I still haven't truly restarted the project, but this is only because other retirement projects have been taking up all my time. And my daughter decided to renovate her house.... translation...."Dad, come over and renovate my house."
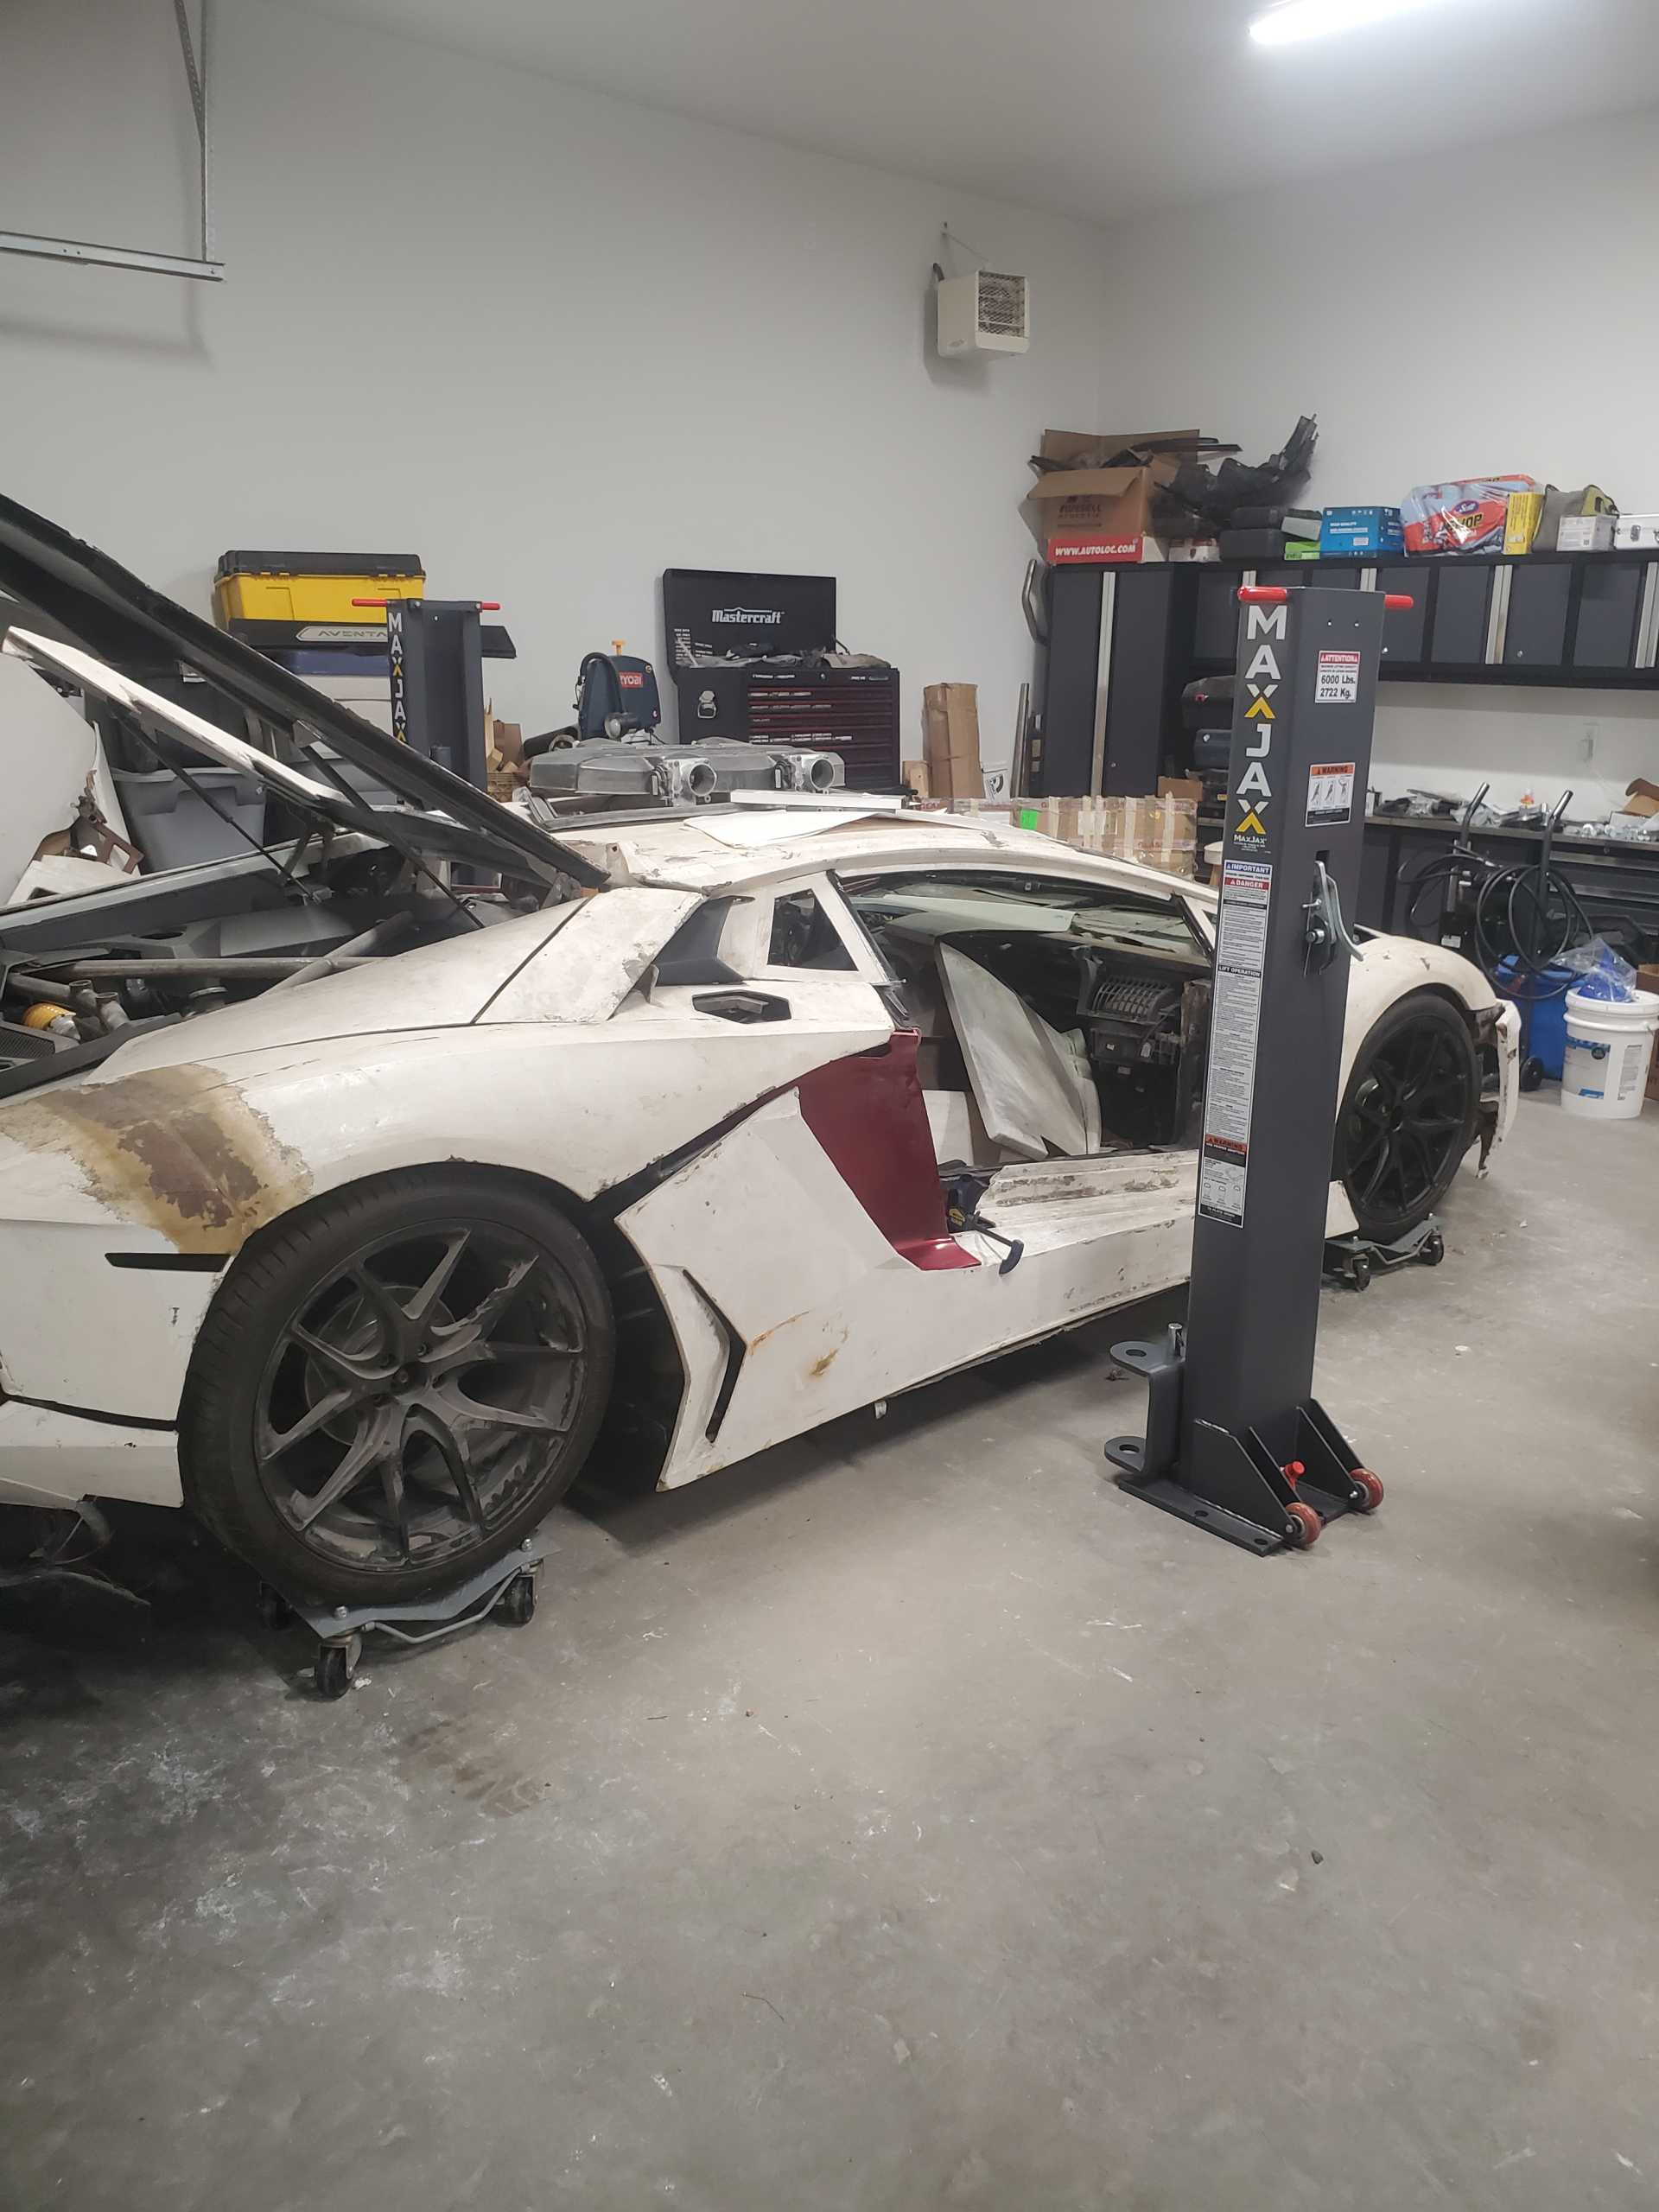
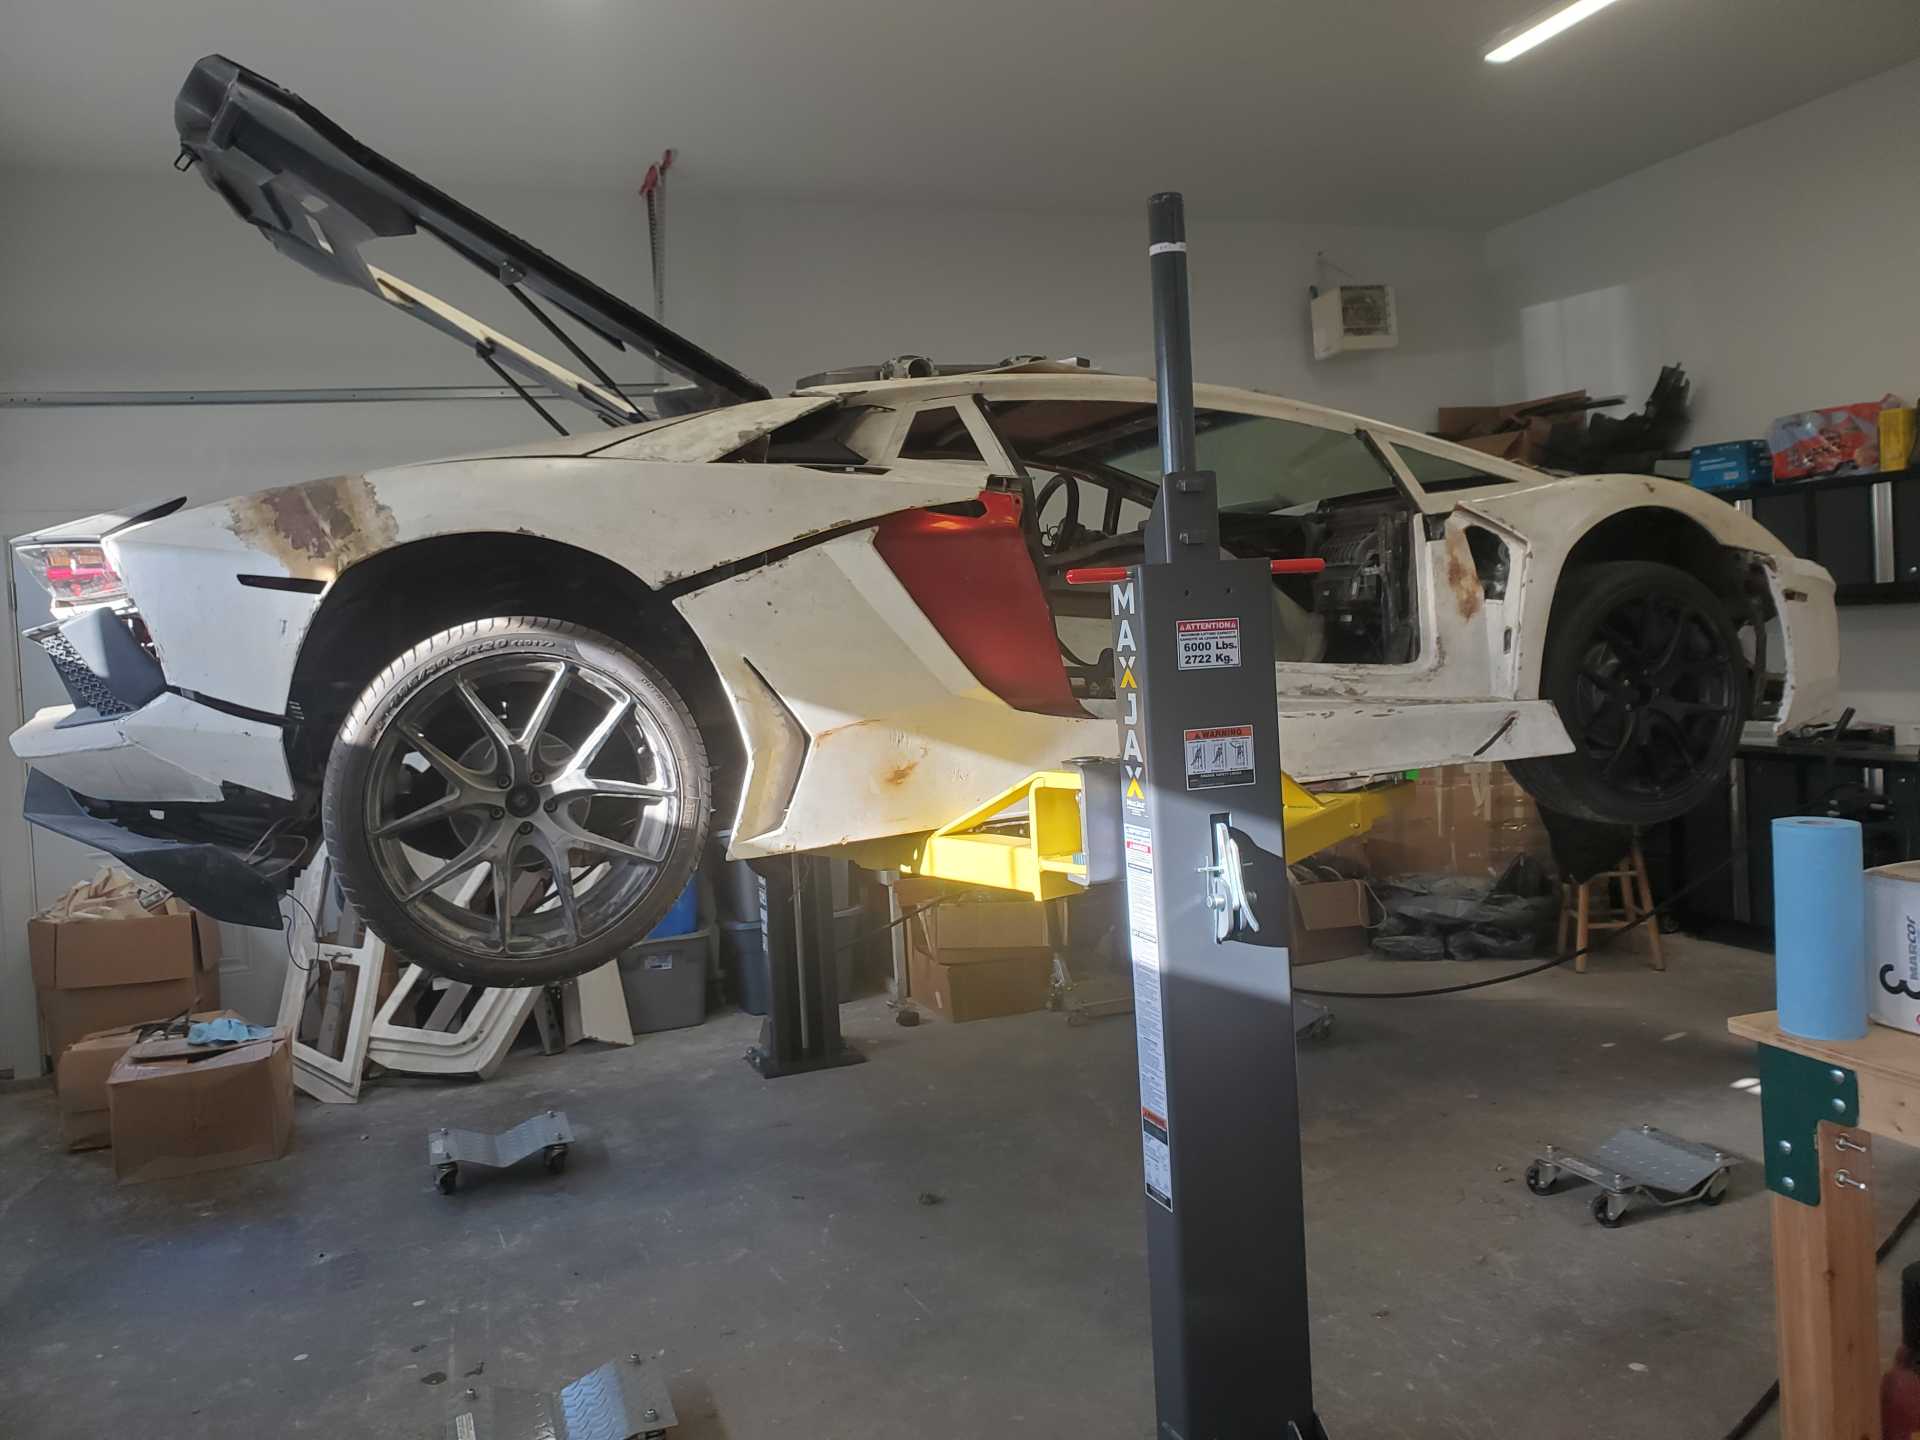
I'm also in the process of installing a Maxjax "portable" 2 post lift. Of course after drilling the first hole in the floor, the magic blue smoke escaped from my old hammer drill. So I've bought a new rotary hammer... but I struggled for a while to find the correct drill bit. Hopefully I'll be able to finish the installation this weekend.
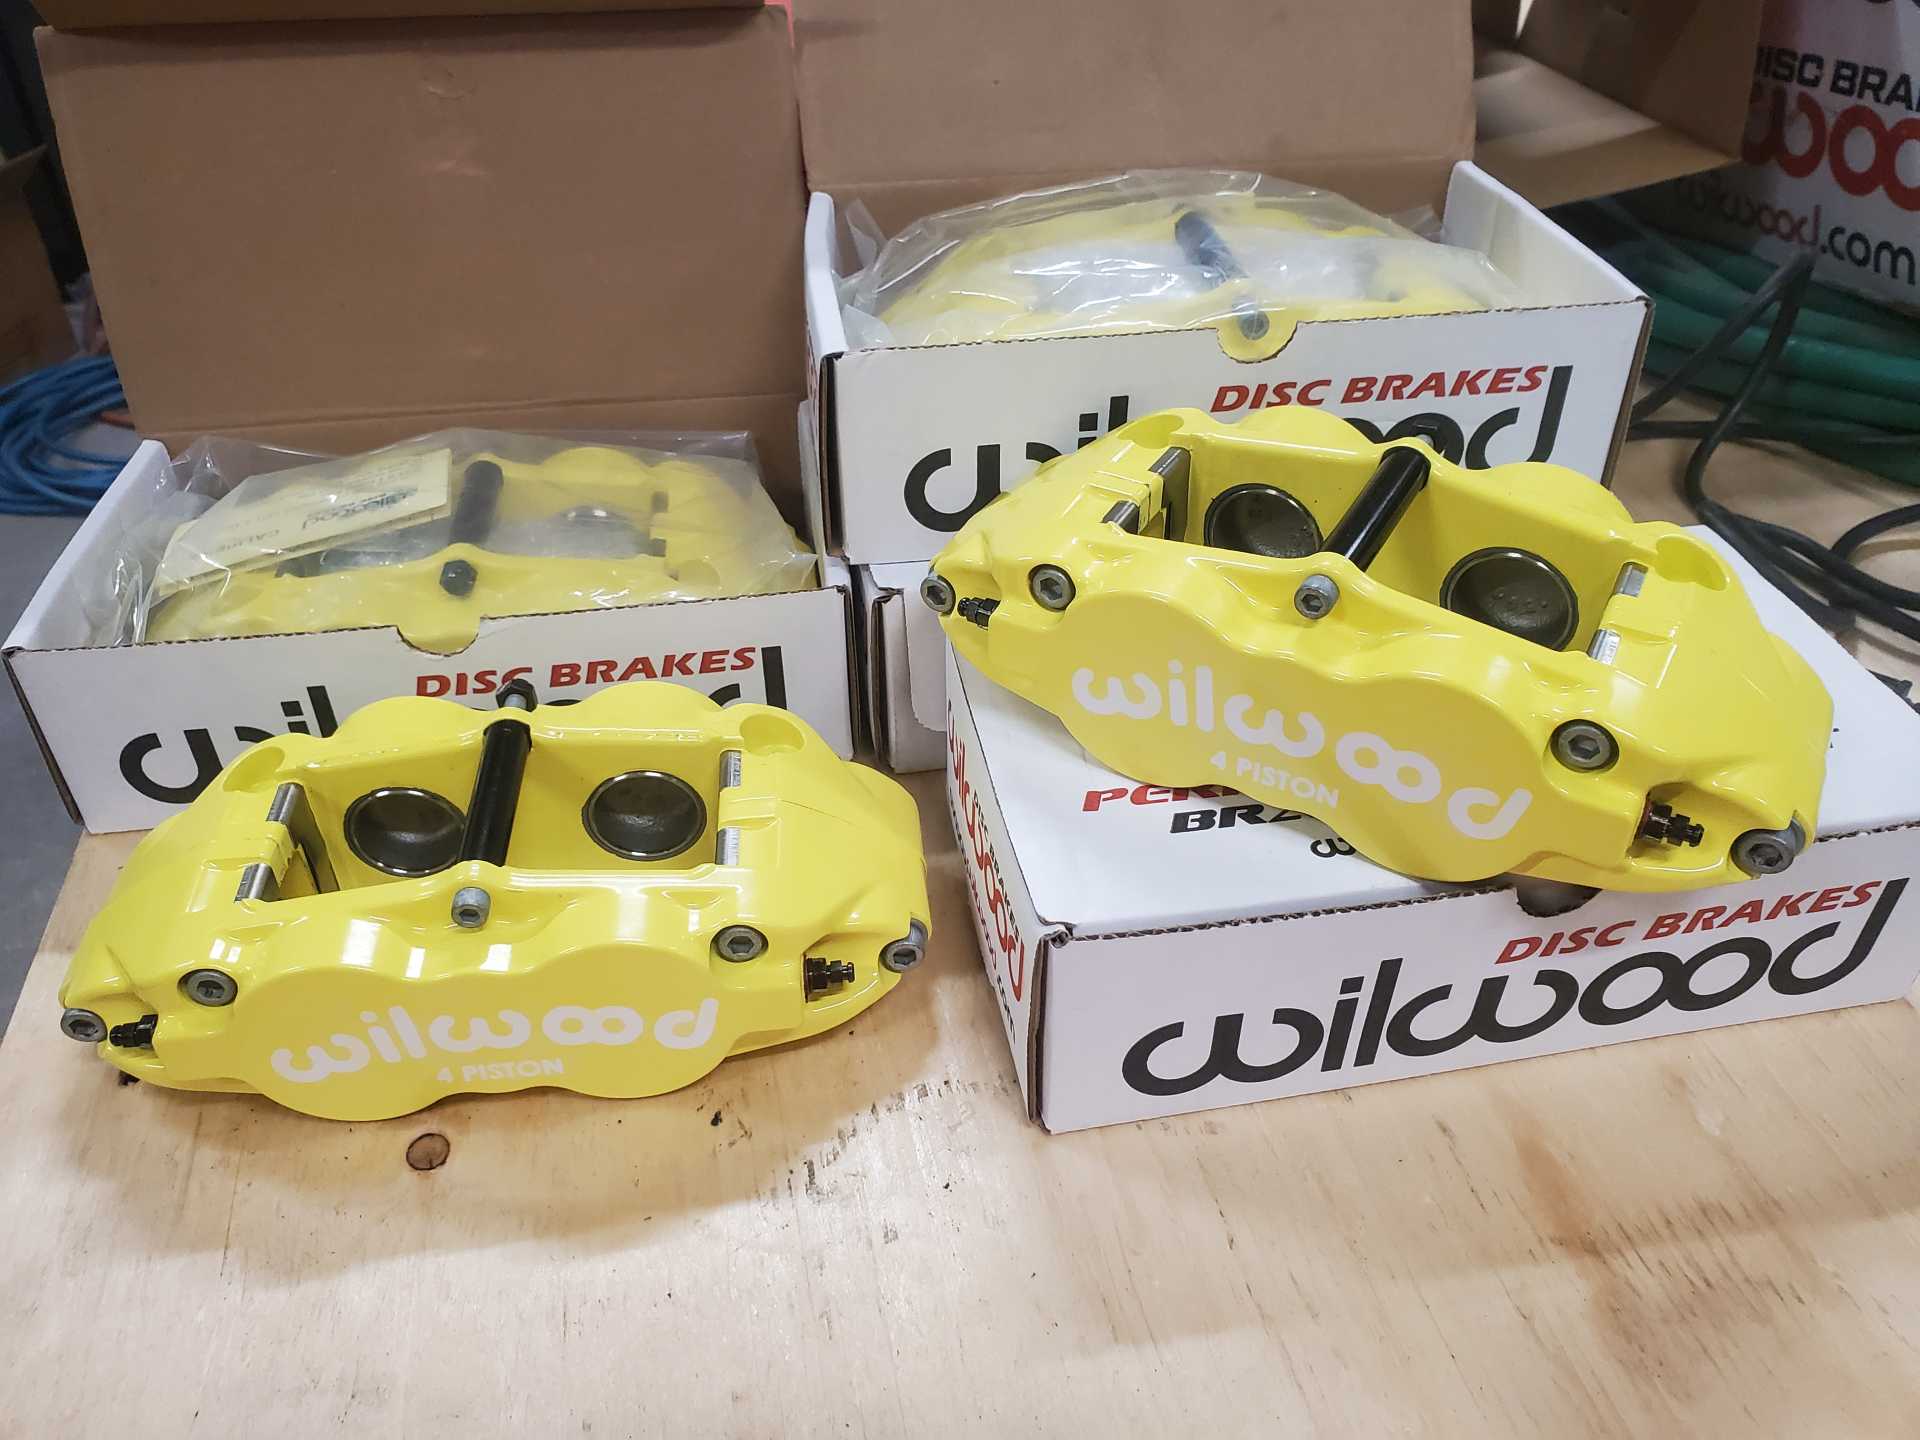
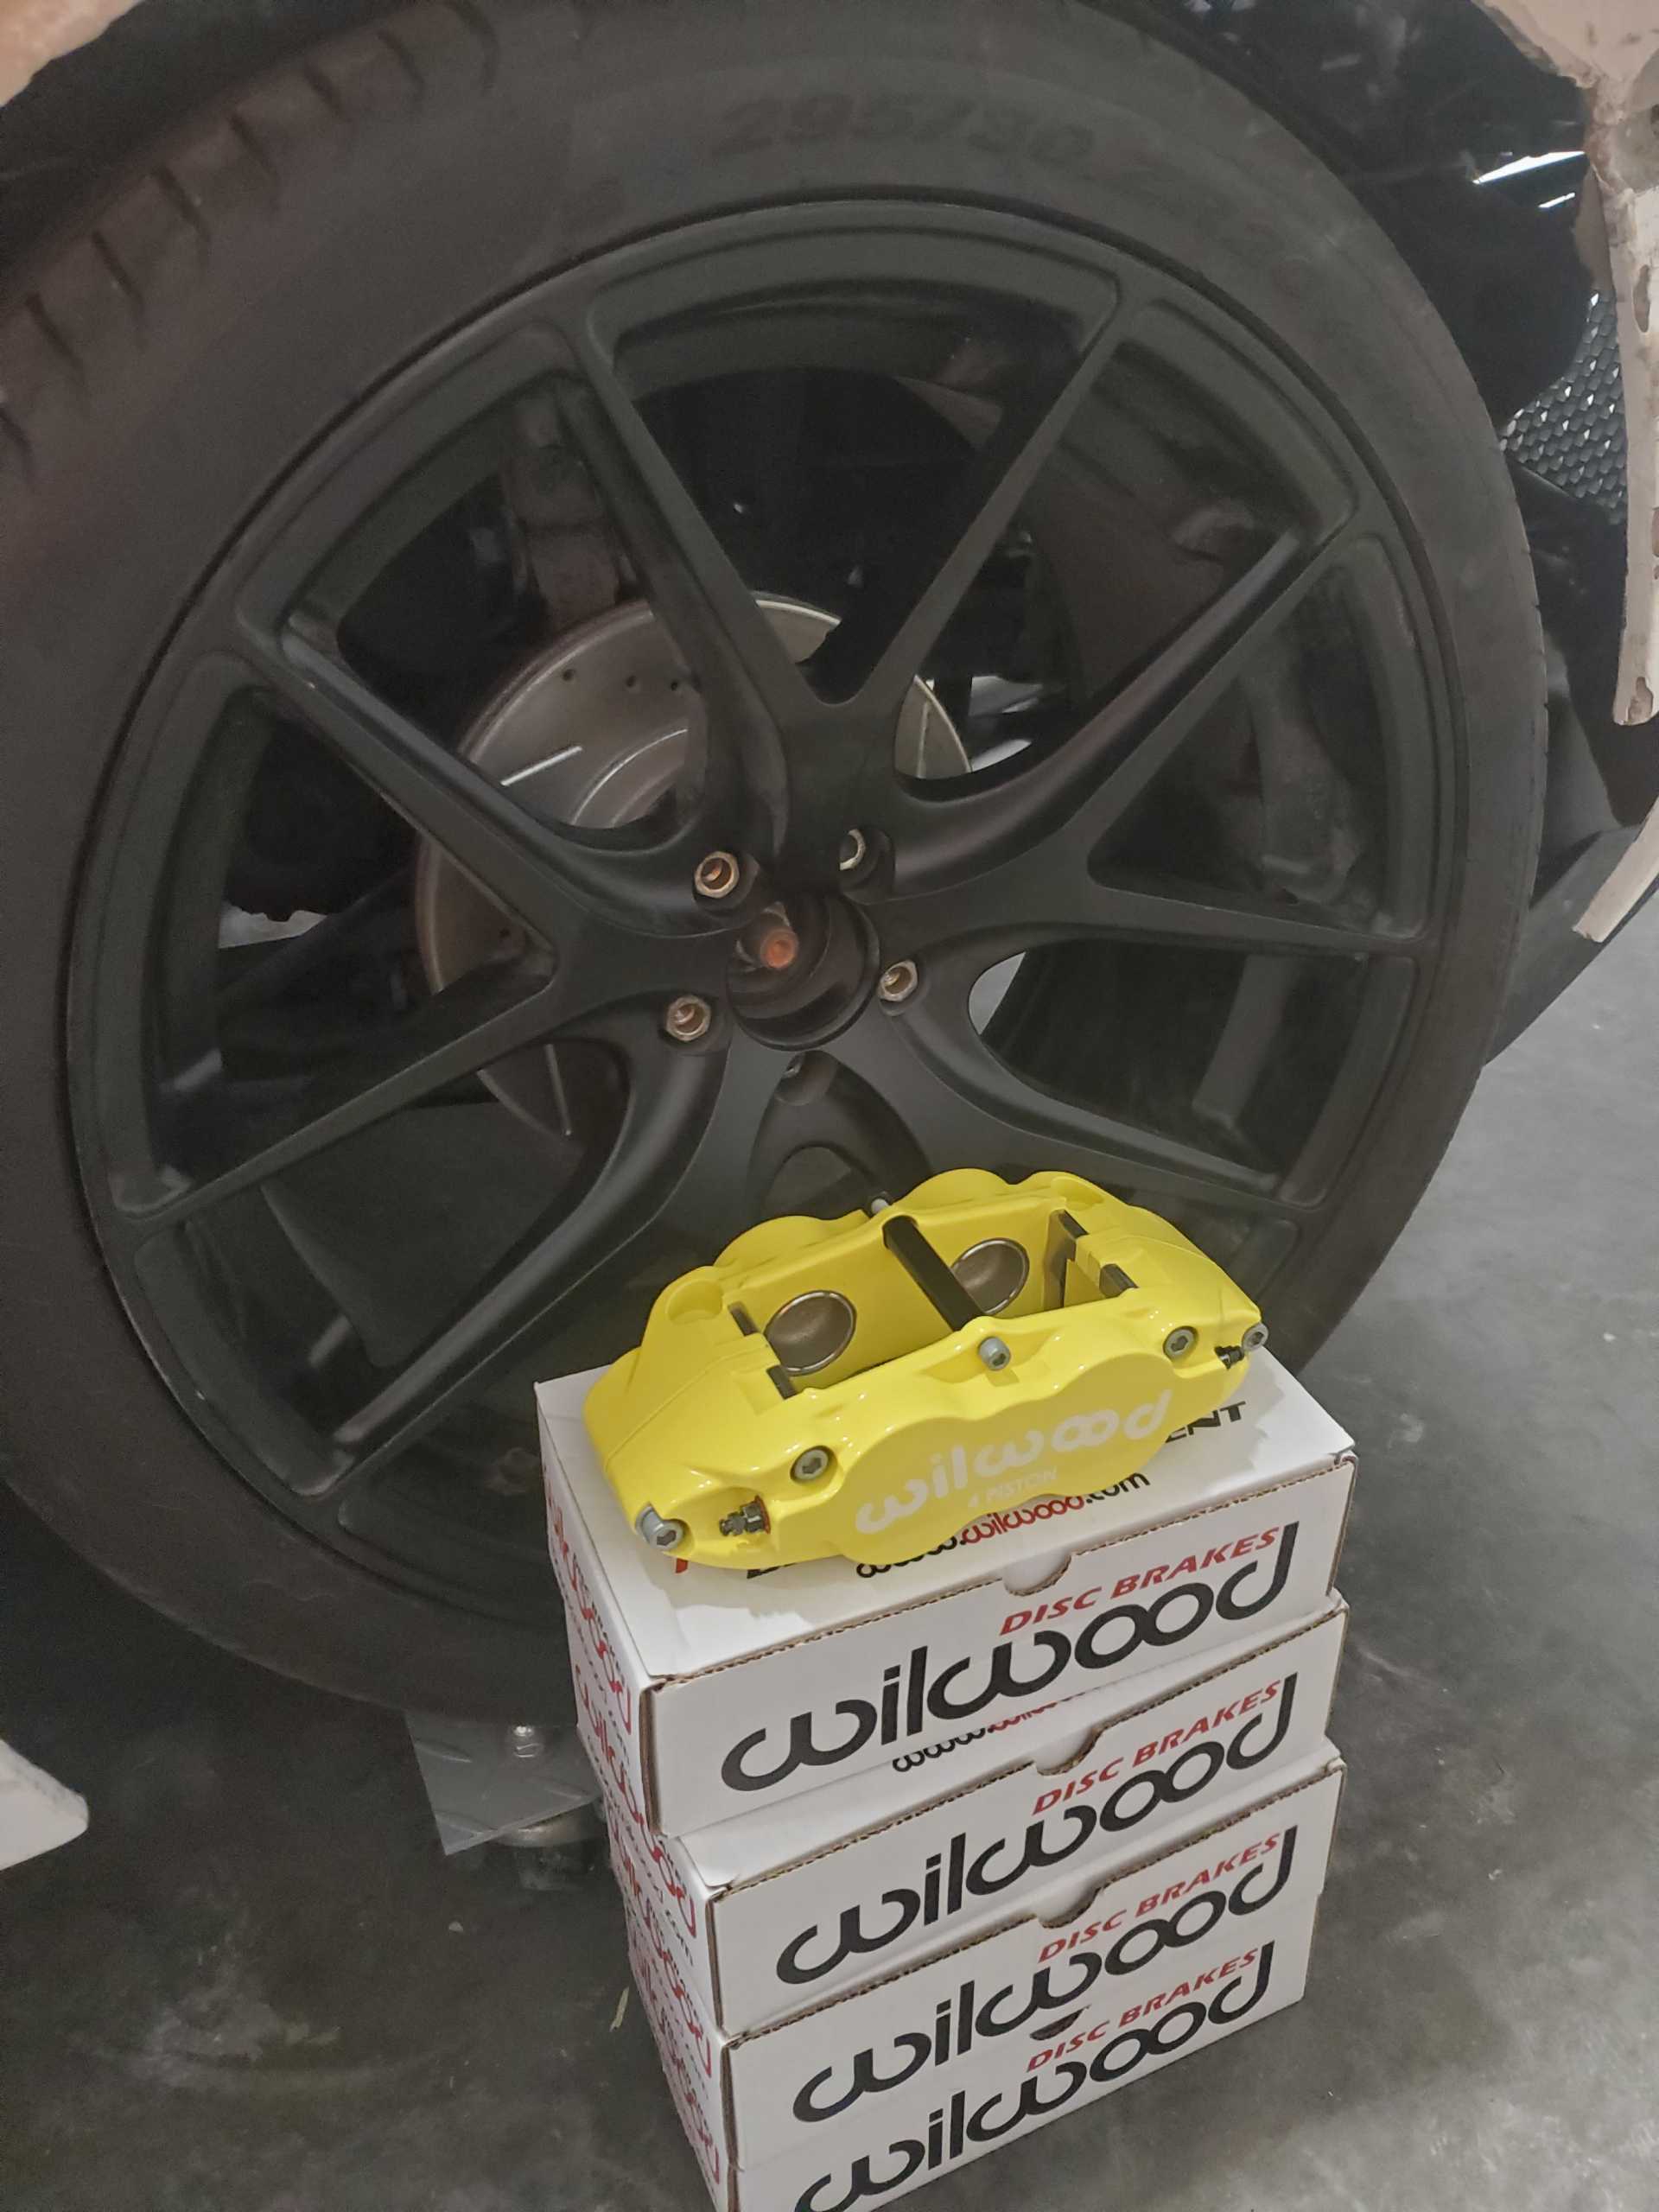
In the meantime, here are my new Wilwood Superlite calipers in the Lemans yellow. I still need to order the rotors, hats and parking brake calipers. I'll be machining my own brackets.
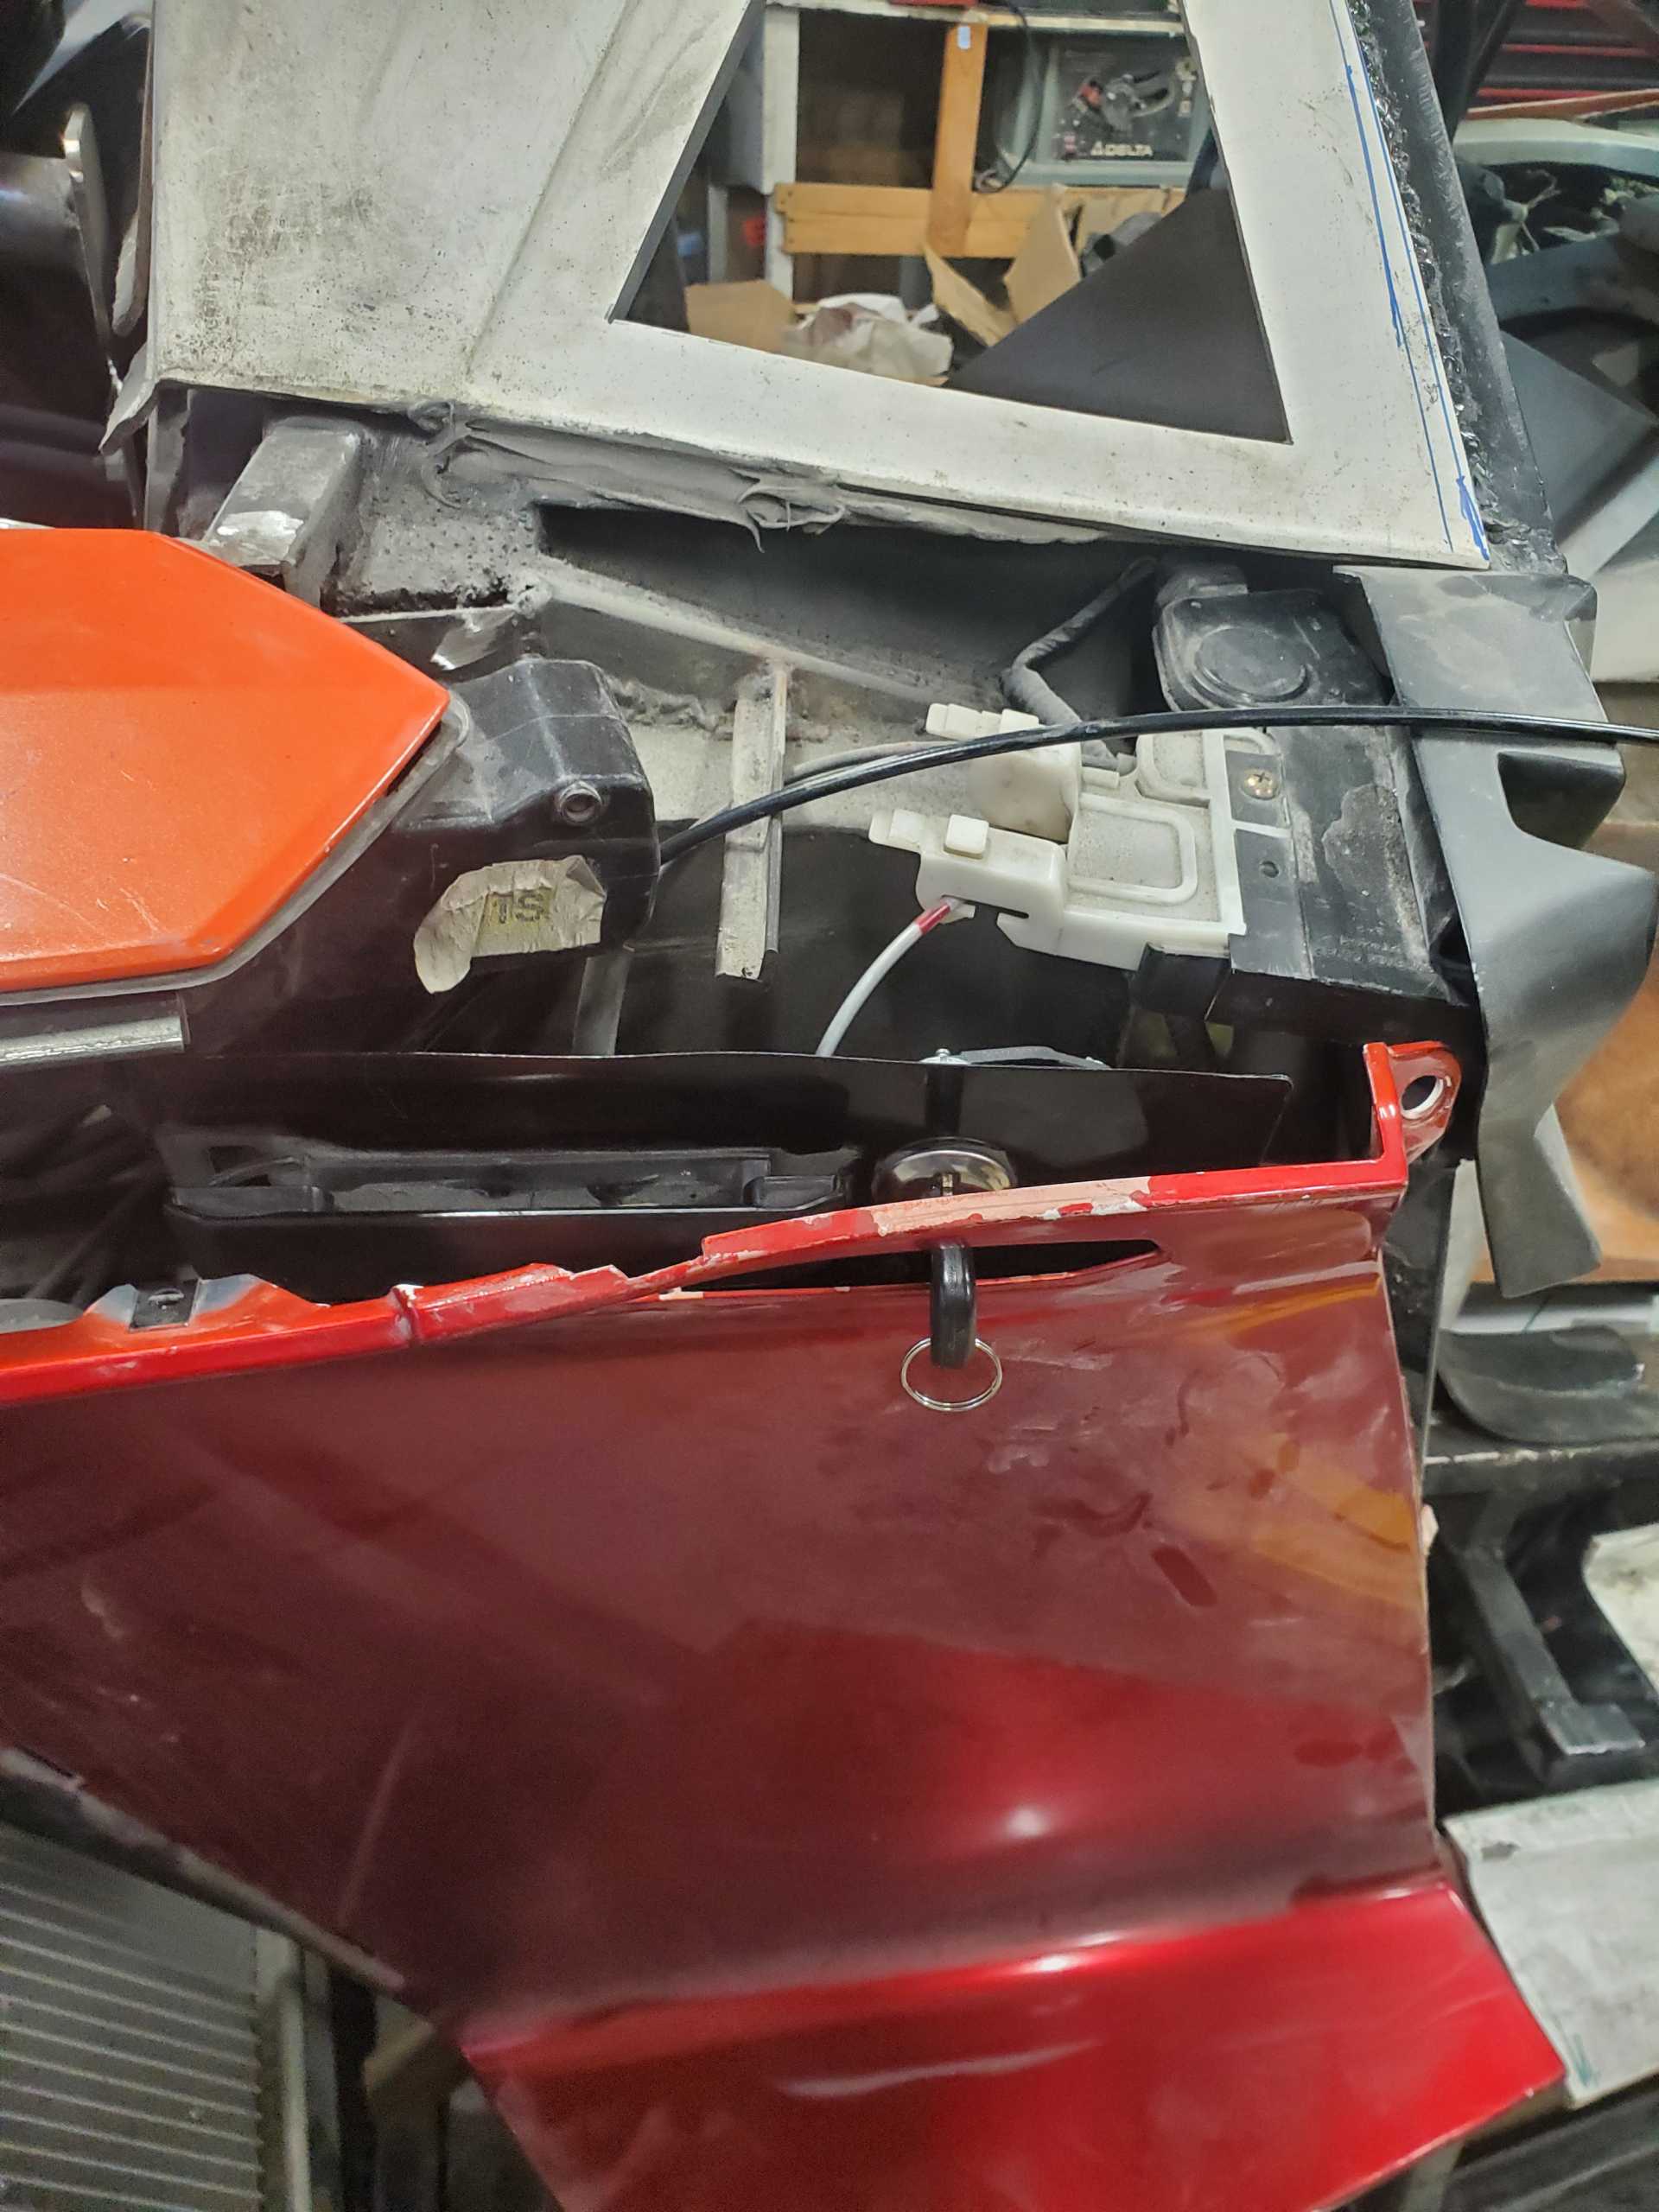
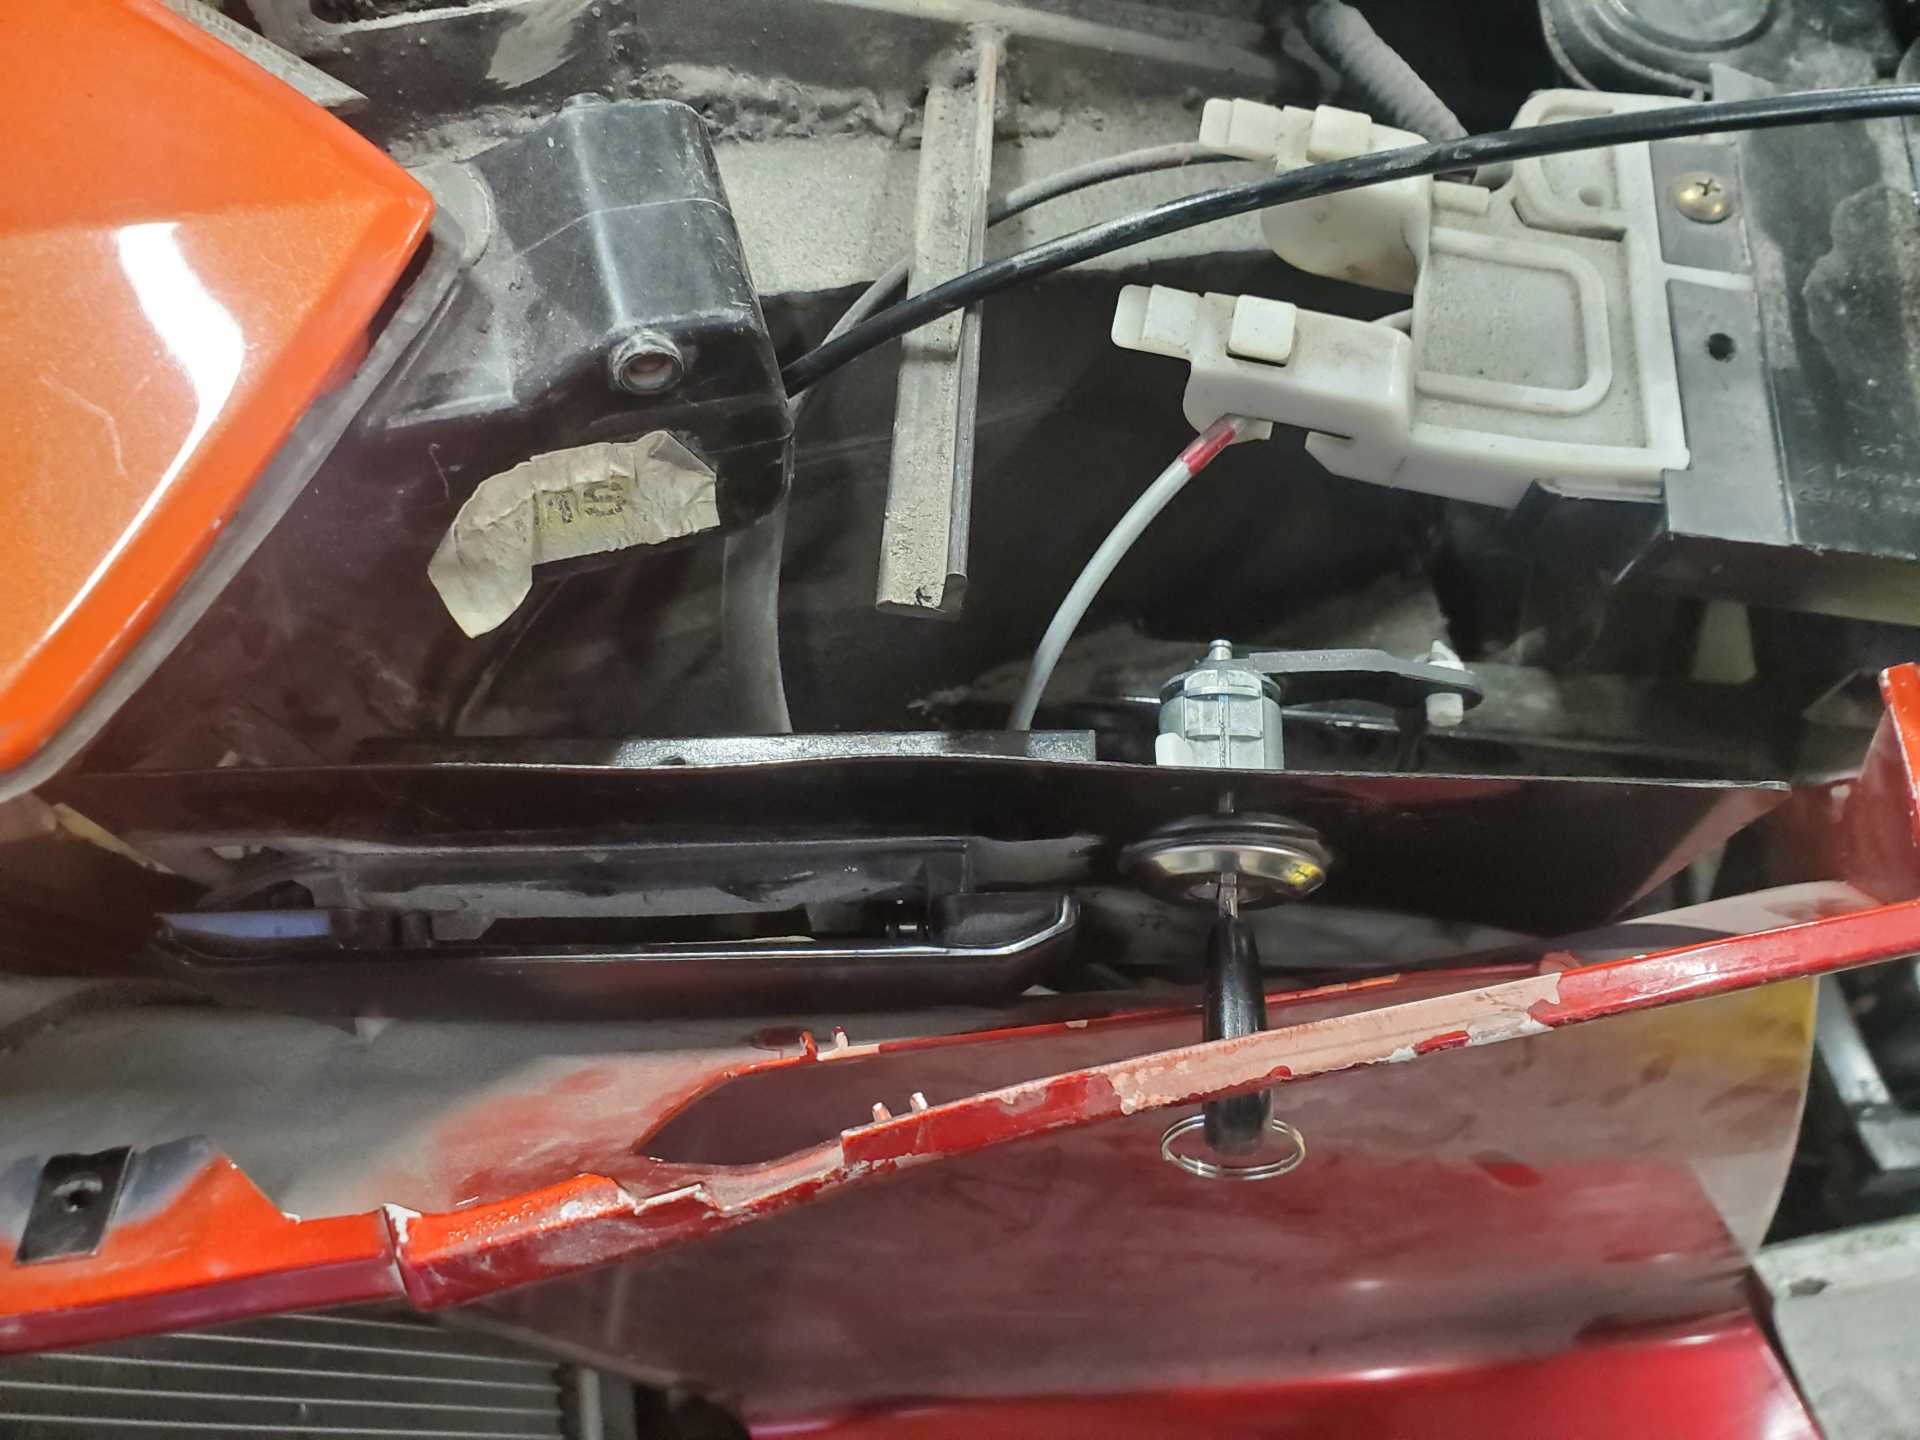
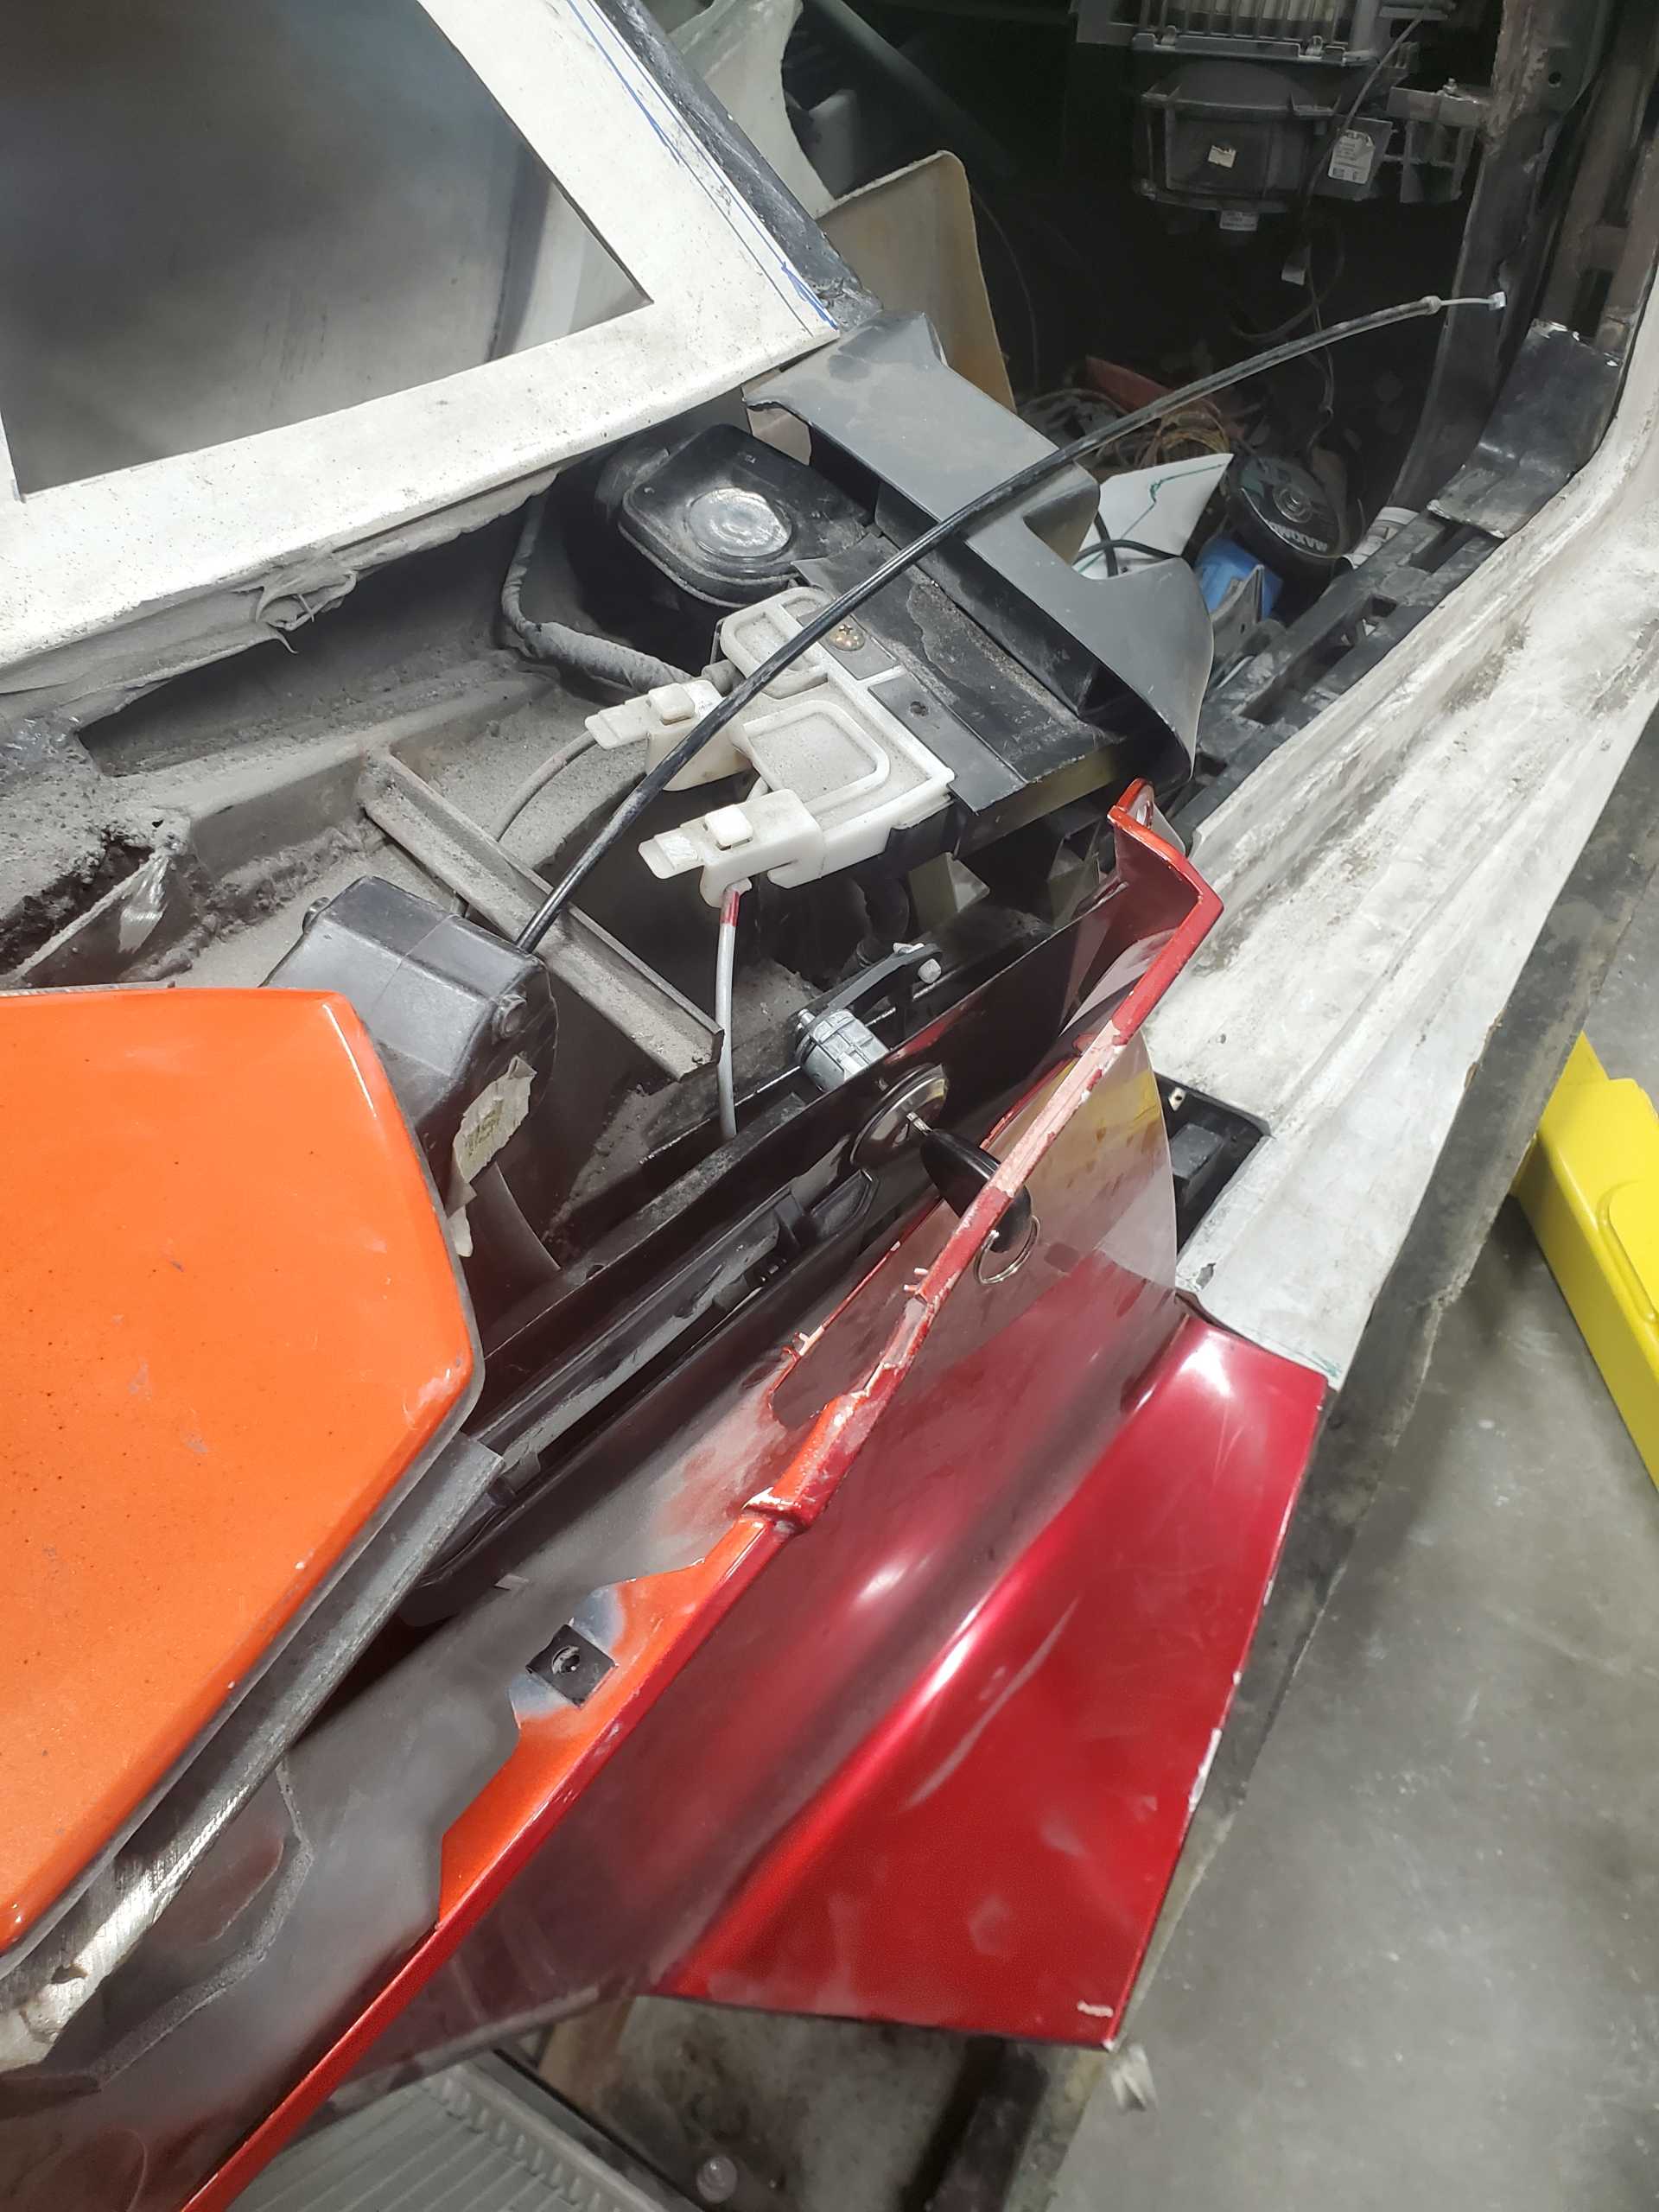
Since it's been more than a year since I actually did anything constructive on the car, it's going to be a little slow going as I move forward. I am starting by bringing the passenger side up to the same point of completion as the drivers side. Specifically the lock/ handle mechanism, the door opening and the side paneling.
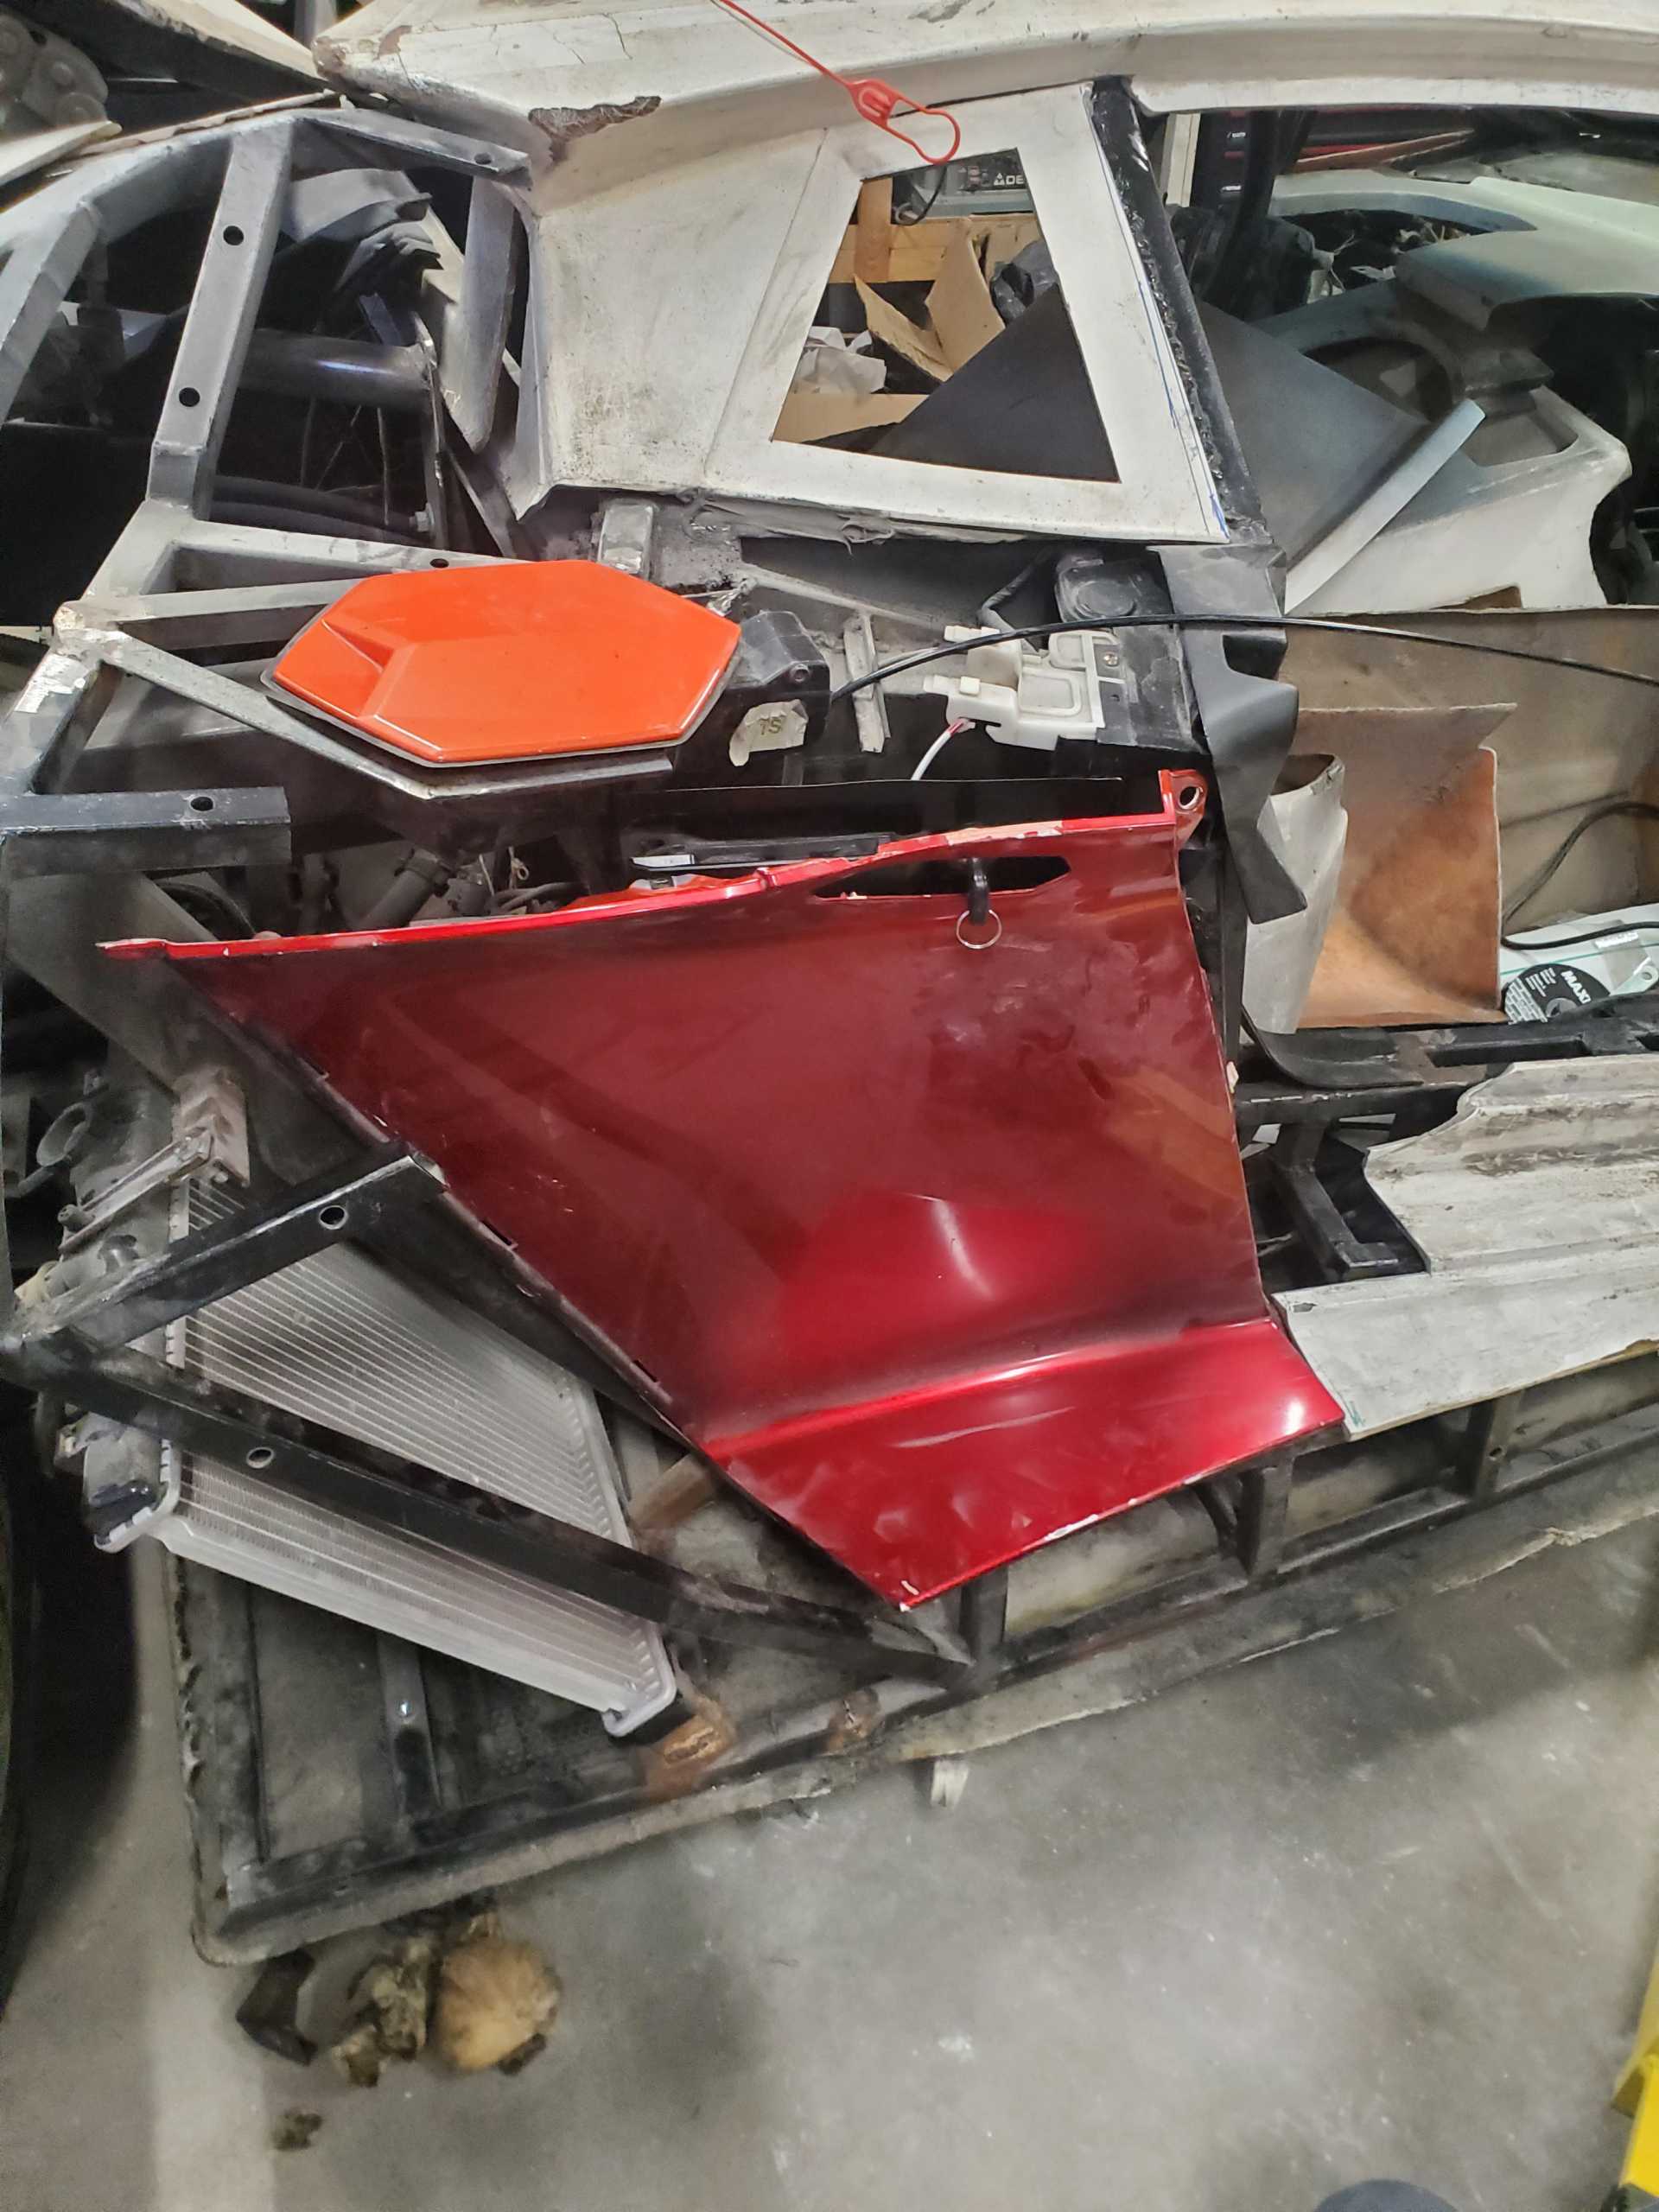
Today I managed to get the lock connected. It ended up being a little fiddly. Since the lock is connected by a rigid bar I needed it hooked up first to ensure the handle/ lock unit gets mounted in the correct location. This is the emergency use handle/ lock, which is located behind the door under the small removable panel. I plan on installing the brackets for the main air intake panel (red panel in pictures) next.


 Topic Closed


 (second pic). This is fine since the new center shock mount will replace it once it is properly mounted.
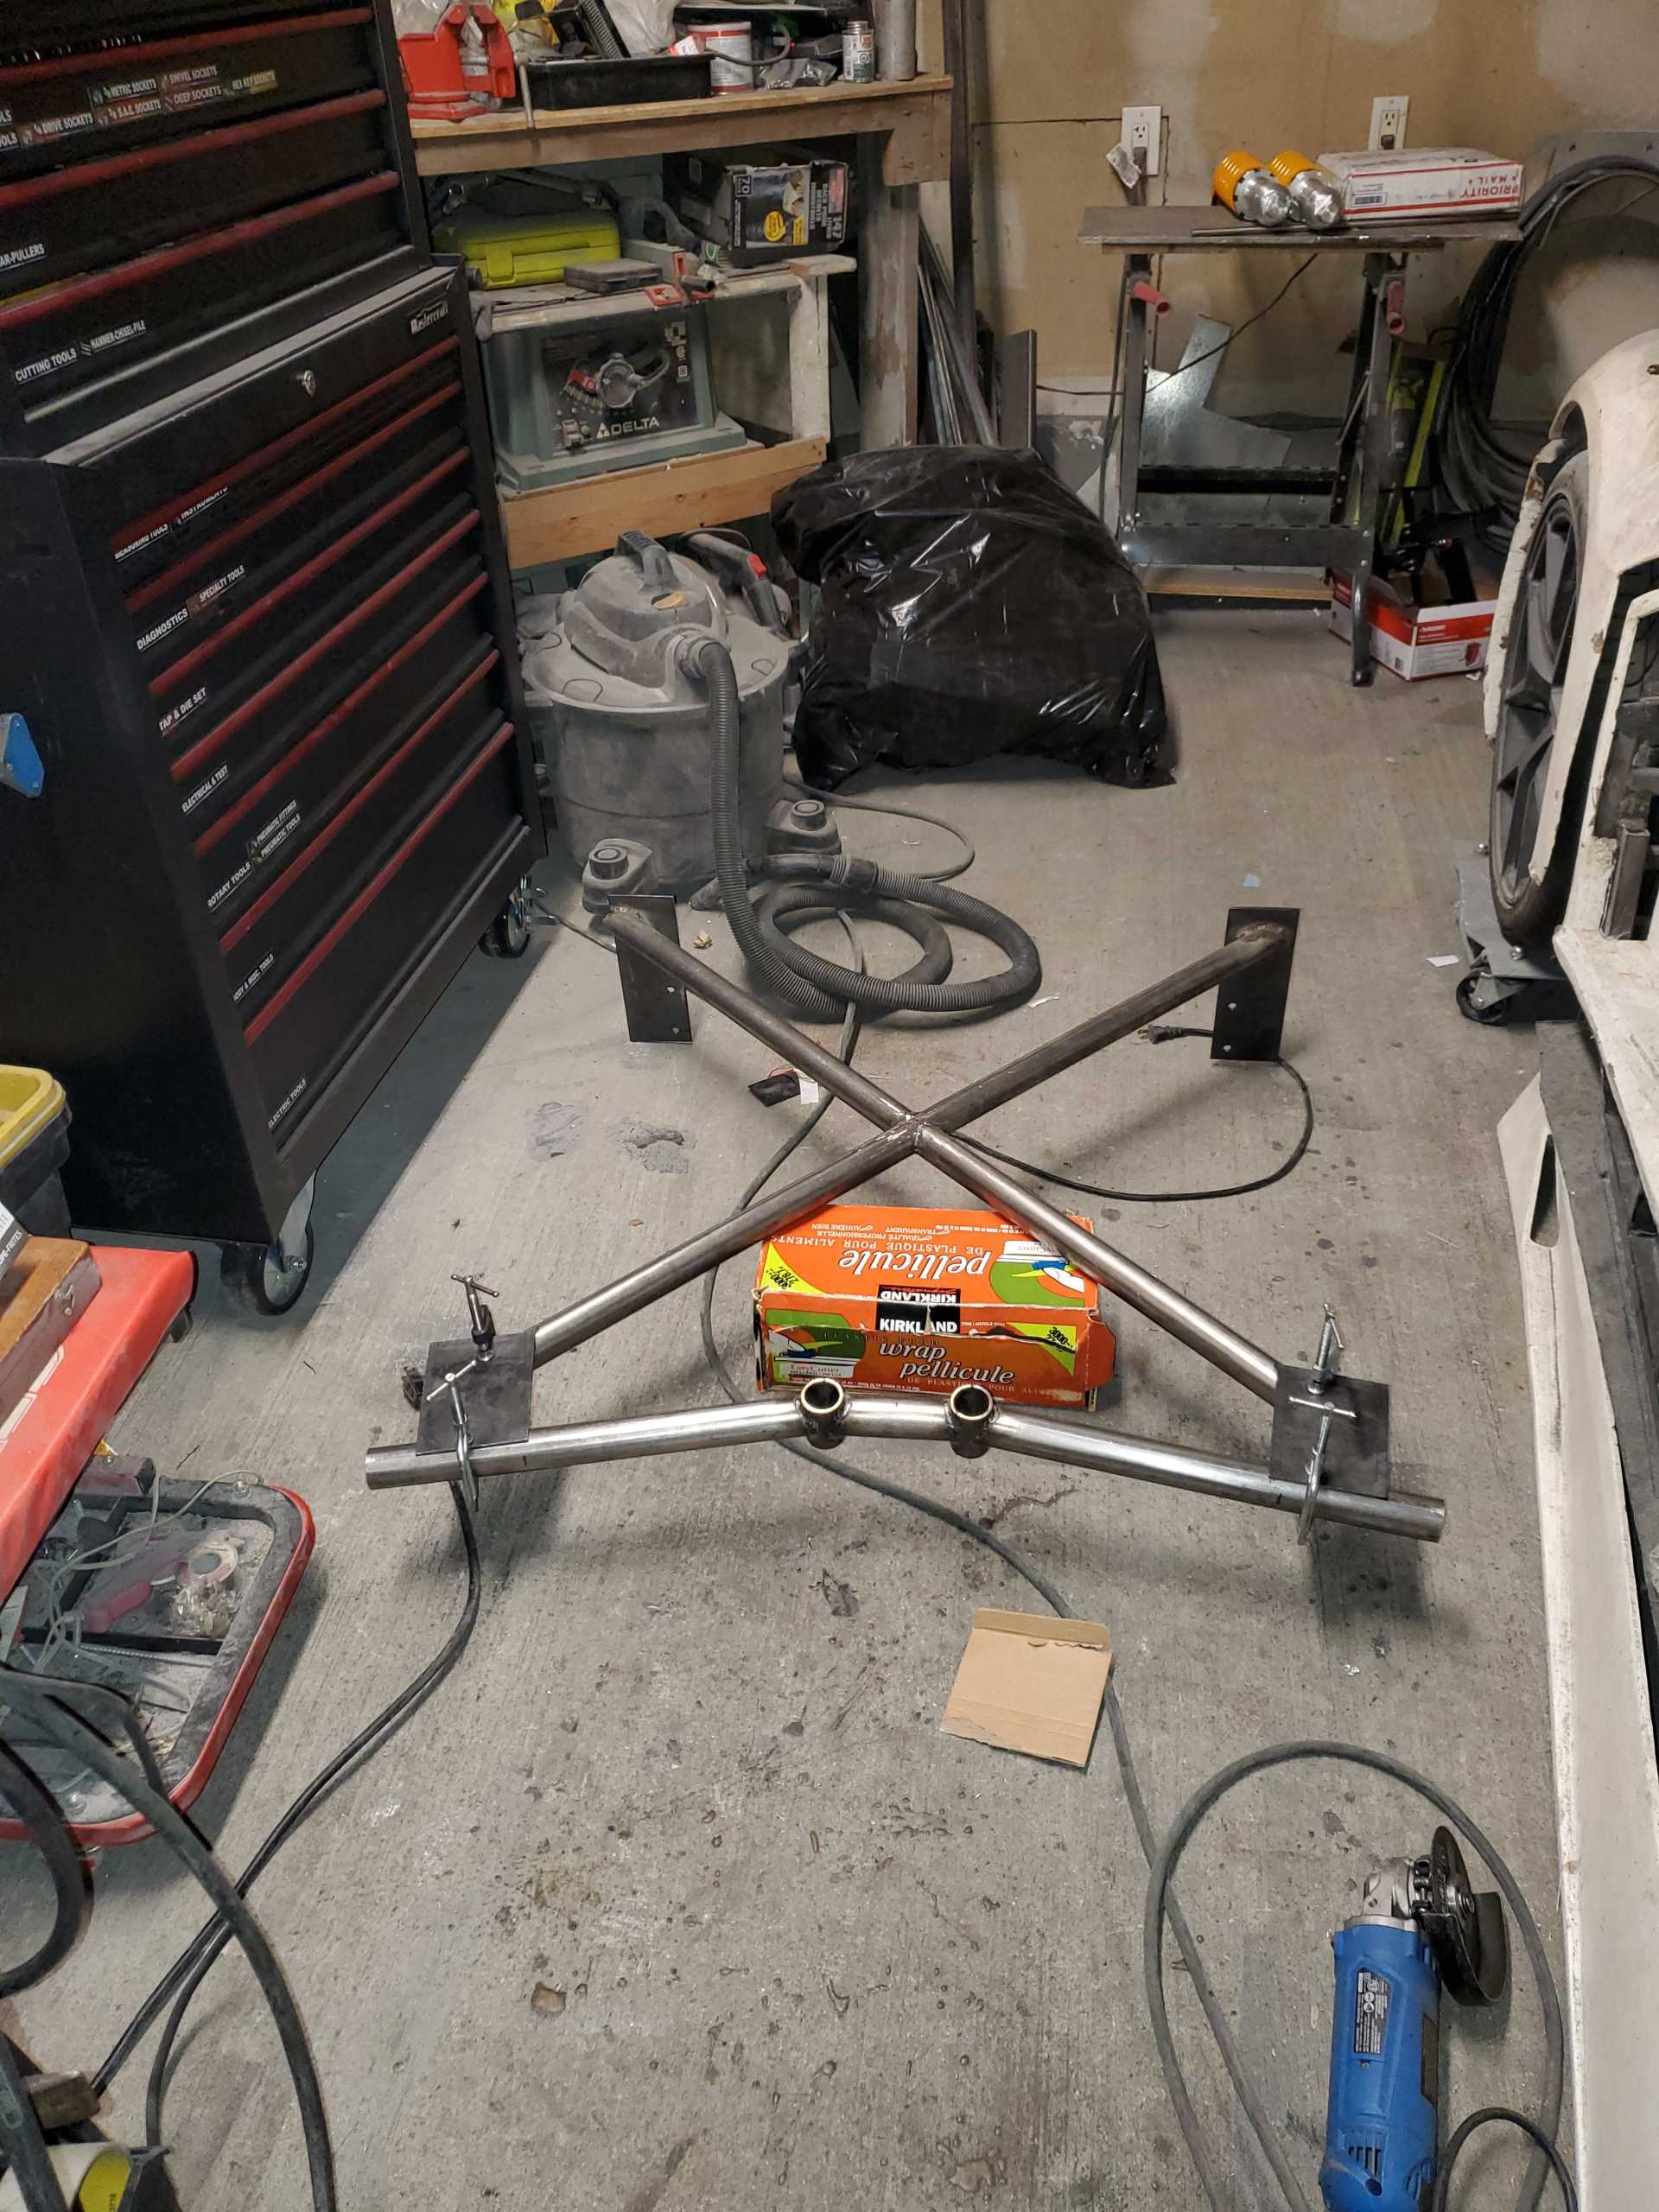
 They are only for show, and are definitely non- functional...I was just waiting to see if anyone noticed. I have functional QA1 shocks/ coilovers in the stock Fiero location. Since you can't see them, I'm hoping the fake ones will be convincing.


 )
)