Pulling the cradle was a COLOSSAL MESS. That oil leak resulted in EVERYTHING on the passenger side of the engine bay being soaked in oil. Even though it has sat and dripped for two months, there was still a LOT of oil everywhere. It will take a lot of cleaning before it's ready to go back in.
I began the next phase of this build-- performance upgrades galore! I installed the PLOGS I bought on black Friday. They look SWEET. My only concern with them is the factory heat shields don't fit on them, and ZZP says not to wrap them, so I'm worried about heat in the engine bay. Time will tell if it's an actual concern.
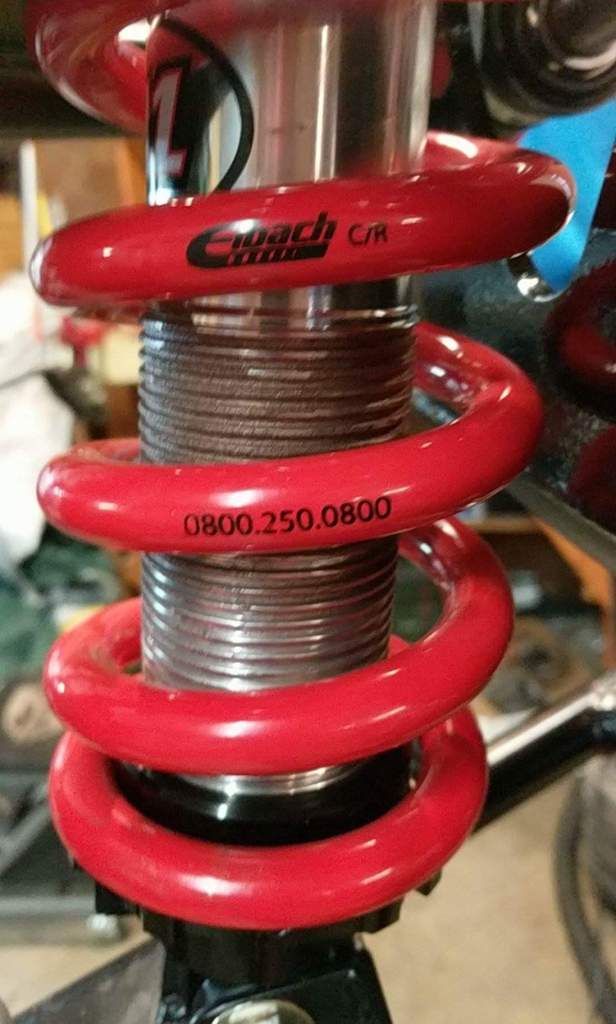
Continuing with the trend of taking care of the easy jobs, I swapped in the new Eibach 400# springs.
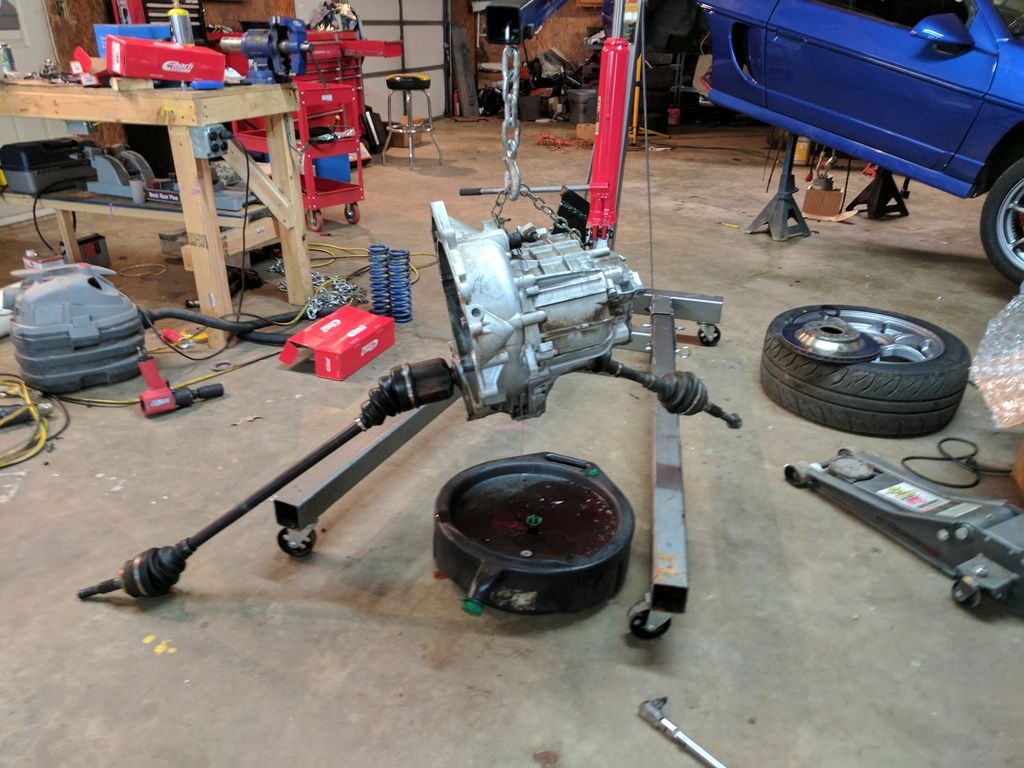
All of this I could have done with the engine in the car (albeit nowhere near as easily). Now it's time to do what I pulled the cradle for.
Here's the donor trans.
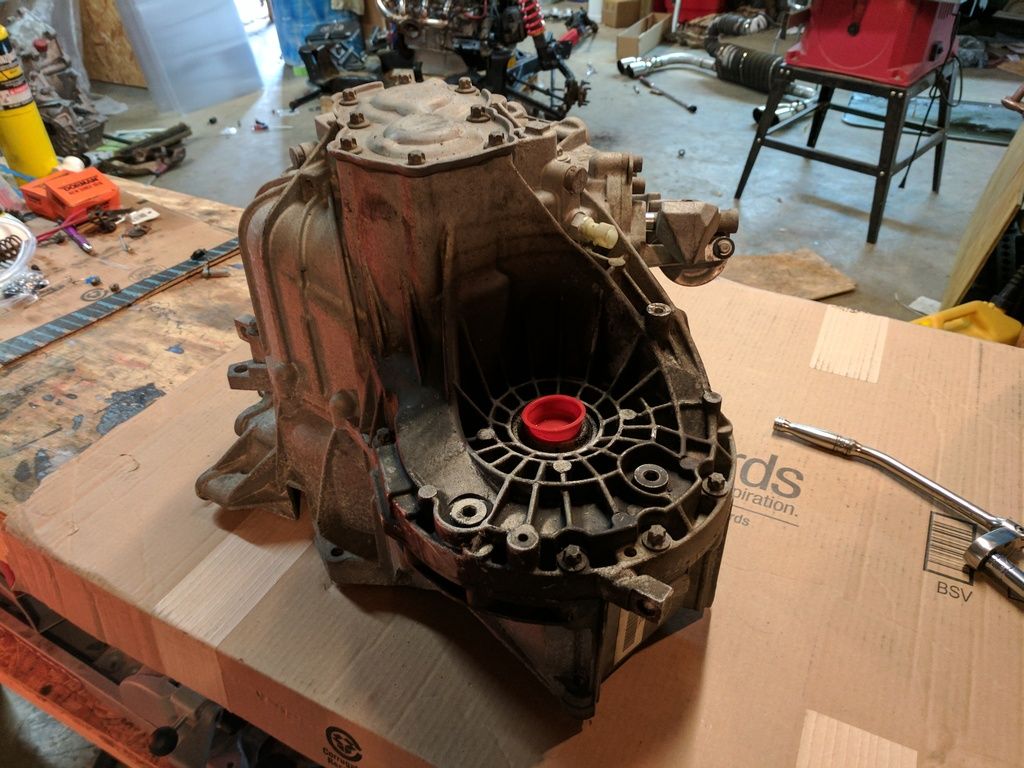
Time to gut that fish! This was a MESSY job. Despite having drained the unit, every time I turned it more transmission fluid leaked out.
The gear shaft nearest the camera is my prize, specifically the final drive gear at the bottom of the shaft. The only other thing coming along from this transmission is the ring gear from the differential.
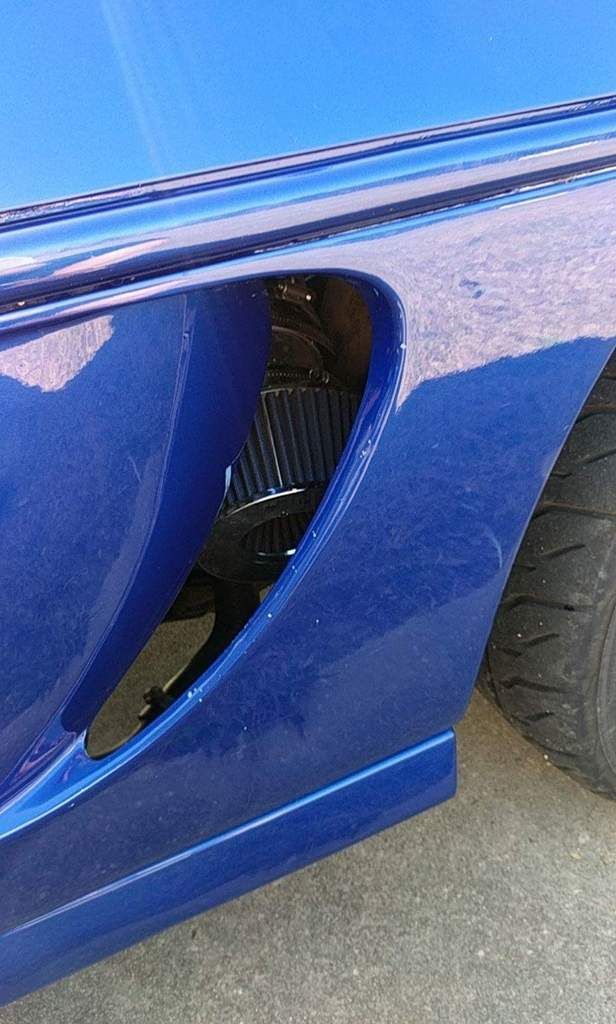
And then there's this...
I opened up the other transmission (the one that was in my car). Here's a comparison of the gear shafts. FY1 is on the left, M86 Cavalier on the right. You can see the difference in teeth on the bottom gear. The FY1 final drive ratio is 3.63, and the M86 is 3.94. This should make a pretty big difference in how the car drives.
I stacked them back up and began to reassemble the transmission.
Here they are sitting back in the case.
That's as far as I got on the build. I need to get new carrier bearings for the differential, as well as a new intermediate shaft seal. So it will sit for a few days and wait for parts. I'm going out of town tomorrow until Monday, so I wouldn't have been able to work on it anyway. Once the parts come in, all I need to do is put the transmission back together and we're ready to go. Before I put the cradle back in I will replace the select cable to hopefully smooth out my shifting a bit. Last thing on the list is to fix the oil leak from the crank seal up front. Getting the balancer bolt off has been more challenging than I anticipated. I'll get it though.
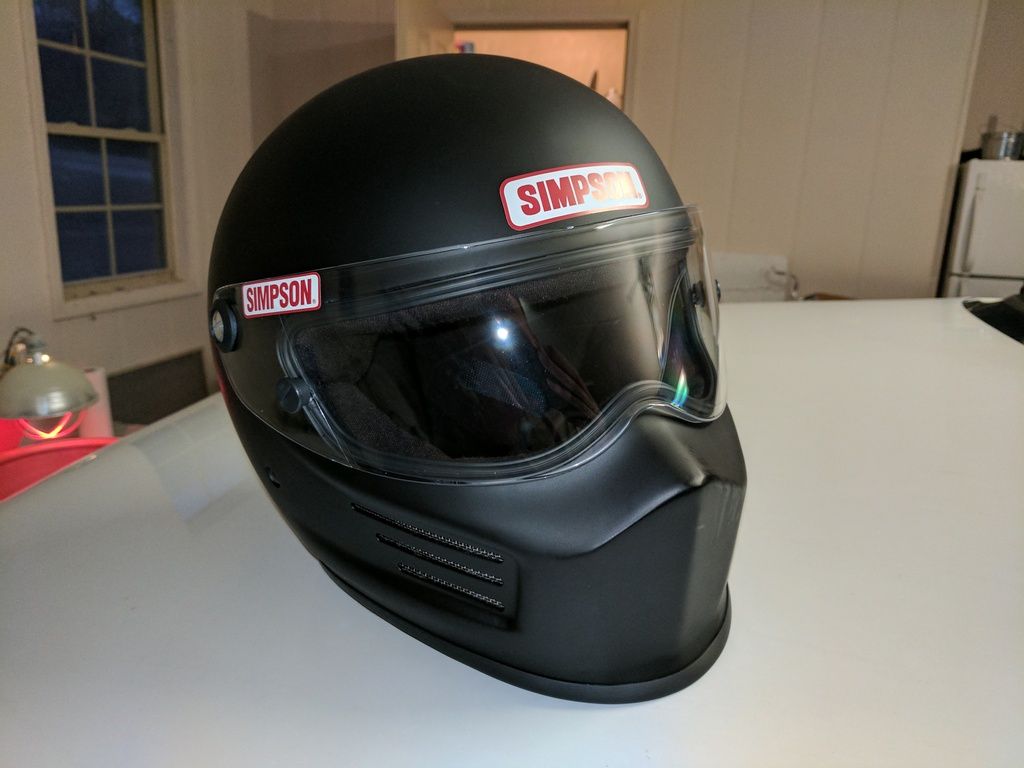
I also got a new lid. I got recruited to run a 24 hours of Lemons race (not in the Fiero) so I needed a new helmet.
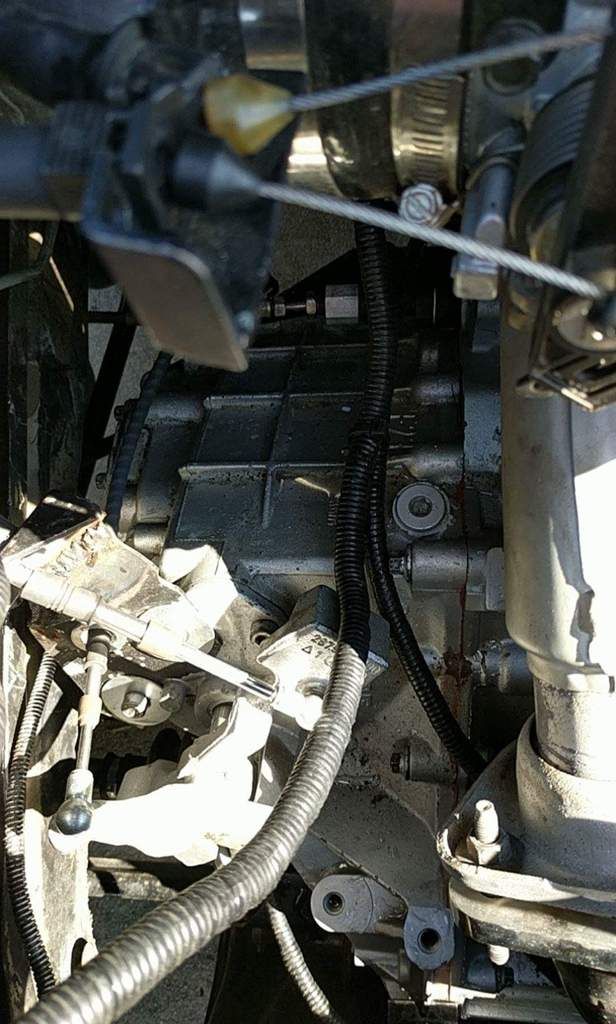
I put a few hours of work into the transmission today.
First up was to press the new bearings onto the LSD. This was pretty simple. I reused the shims from the old differential, so it should all work out
Pulling the races wasn't so simple. I ended up breaking my puller, so I had to resort to hammering them out from the other side.
The LSD is a bit fatter than the stock diff, so I had to grind a bit of the inside of the case to allow it to spin freely.
Ready to seal it up! No, this isn't ghetto laziness, this is factory spec to seal it with red RTV.
And that's it. I called it quits after this. The sealant will cure overnight, then I'll put the rest of it back together. Not much left to do with it. I need to reinstall the shifter, replace the output seals, and reinstall the sensors. Hopefully I can get it all done and mounted back up to the cradle without too much more effort.
I realized I did a LOT of work and didn't take any pictures. The transmission ended up being an absolute nightmare. When I left off on my last post I had closed the trans up and thought it was done. It was not. When I went to turn the input shaft it was locked up tight in any gear. It would turn in neutral, but in any gear it wouldn't turn. At first I thought it was the differential still rubbing the case, so I coated the differential in grease and put it back together. The trans still wouldn't turn, but after opening it back up there was no grease on the case, meaning that the differential wasn't hitting. I spent a LONG time arguing with the damn thing until my neighbor came over and spotted the issue in ten seconds-- I had a bearing installed upside down. This was causing the plastic bearing race to lock up and prevent the gear it was attached to from turning. Well, I also noticed that in the process I had broken the plastic bearing race, and the one from the other trans was broken too. This means I was waiting on parts. I ordered them and when they arrived I realized I had ordered the wrong part, so there was ANOTHER wait. Once I finally got the correct parts in and put the trans back together it was smooth sailing. Everything turned well, so in the trans went.
I was off work the whole week, so I had plenty of time to get the car put back together. I put the trans back on the engine, and the cradle back in the car. I hooked everything up and was having trouble getting the trans into gear while trying to adjust my new select cable. I went to bleed the clutch and BOOM-- big problem. The clutch pedal wouldn't budge. I pressed on it more and bent the banjo rod-- here's one of the few pics I took all week.
So after some troubleshooting I came to the conclusion that something was wrong with the HTOB. This meant I need to remove the entire cradle again, and wait on parts. Monday night I ordered a new HTOB and a new master cylinder from Rodney. I went from having PLENTY of time, to doubting if I would get the car ready to race by sunday.
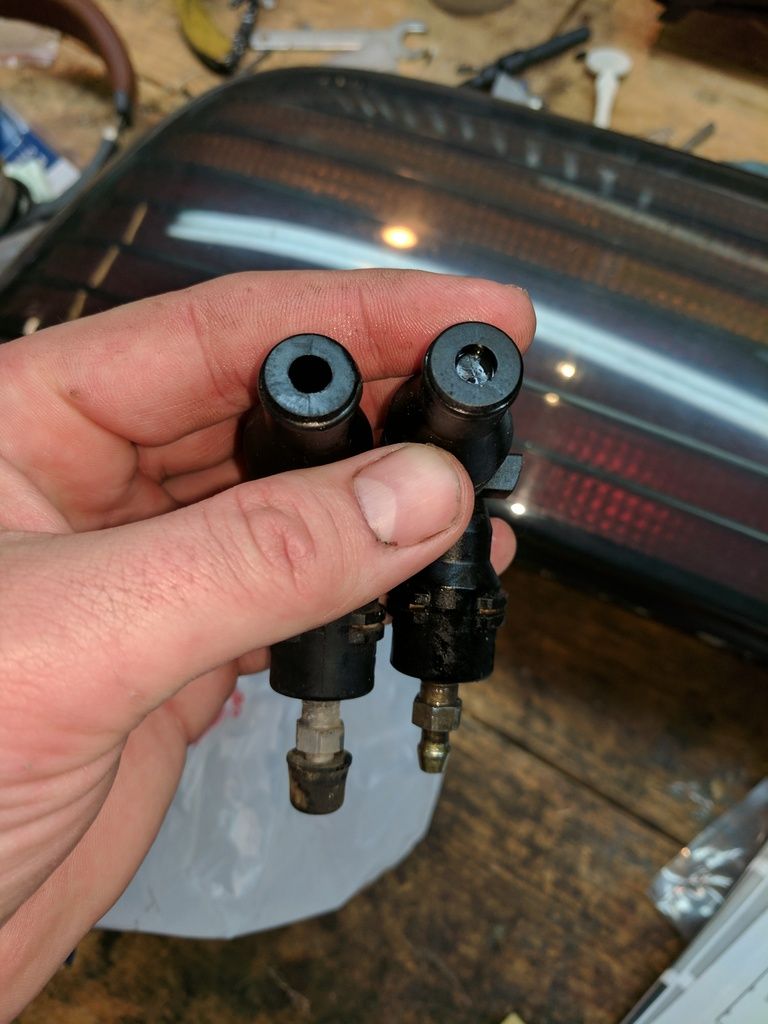
Once I got the HTOB out I finally realized what the problem is.
I had used the HTOB from the Cobalt FY1 transmission because it appeared to be in better condition than the one from the Cavalier trans I started with. Well, if you look at the bleeder valves you can see the difference. In the Cavalier one (right) there is a spring loaded valve that is designed to allow you to remove the transmission without needing to bleed the clutch. This feature was deleted for the Cobalt trans. That means that the Cobalt HTOB did not have the little pin in it to open that valve, so no fluid could get to the HTOB. I got the HTOB replaced and called it a night on Friday evening.
When I got into the shop Saturday morning my transmission was hanging from the engine hoist. I went from that point to driving the car by 2pm on Saturday afternoon. Needless to say, I've gotten pretty quick at getting the cradle in and out! So I got it all done and got to race Sunday!
I got it loaded up and drove up to Memphis
The "race" wasn't much of a race. More of a test and tune on a chunk of the road course. It was fun and gave me a chance to shake some bugs out of the car.
Here's a video of the run. You can see one of the major issues I'm dealing with.
The shift bracket that was described in the F23 tutorial thread is crap. It's too long and holds the shift cable too far away from the arm. Furthremore, it holds the select cable at an odd angle from the select arm.
You can see where I've already modified the bracket a lot. Well, I modified it a lot more. Shortened the shift cable mount by about 3/4" and rotated it counterclockwise as well as moved it up. I also bent the bracket into an S shape from the mounting screws with about 15 degrees of angle in the bends. This made it a LOT better, and the car now shifts as well as it did with the old Getrag 282.
My other issue is the clutch/HTOB. It is fully released at about 3/4 pedal travel, and anything past that starts to reengage the clutch. I have heard that this problem goes away as the clutch wears in, so I'm not going to mess with it. It is slowing my shifting down, but it is manageable.
My last problem is it was STILL leaking oil. I had replaced the crank seal when I had the engine out, but it was still leaking and blowing oil all over the engine bay. Needless to say this was frustrating. I went with a hail-mary solution. I had been running 15w40 for break in, and my theory was that the oil pump was having trouble moving that molasses and blowing some past the crank seal. I switched to 5w30 and wouldn't you know it looks like it worked! I'm not positive it's 100% fixed, but after a hard drive yesterday afternoon it doesn't appear to be leaking. I'll keep an eye on it, so hopefully it behaves.
That's about it for now. I'll make another post in a bit that recaps the entire build with all the mods I did. It's a pretty extensive list.
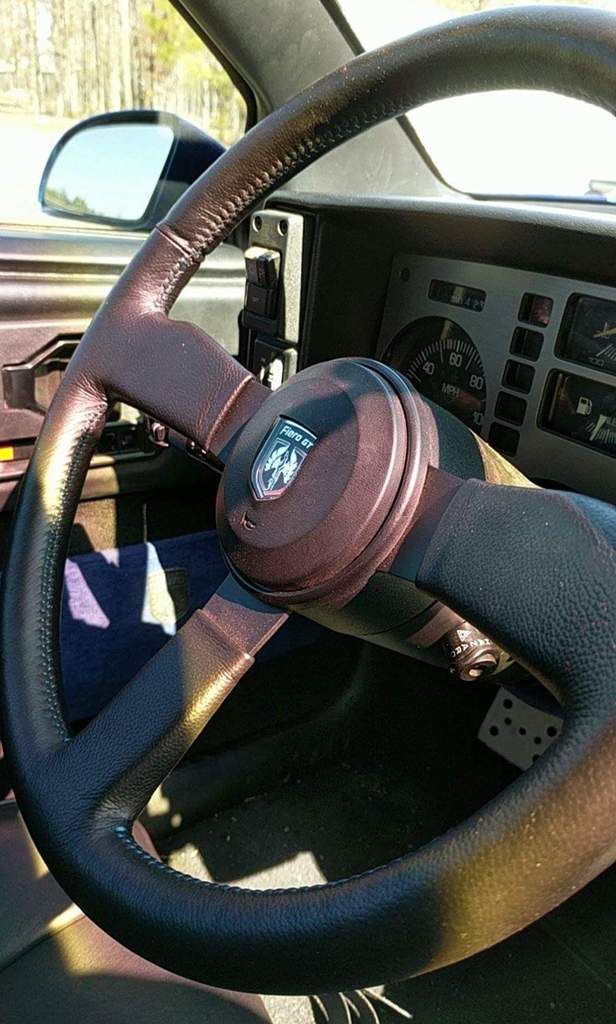
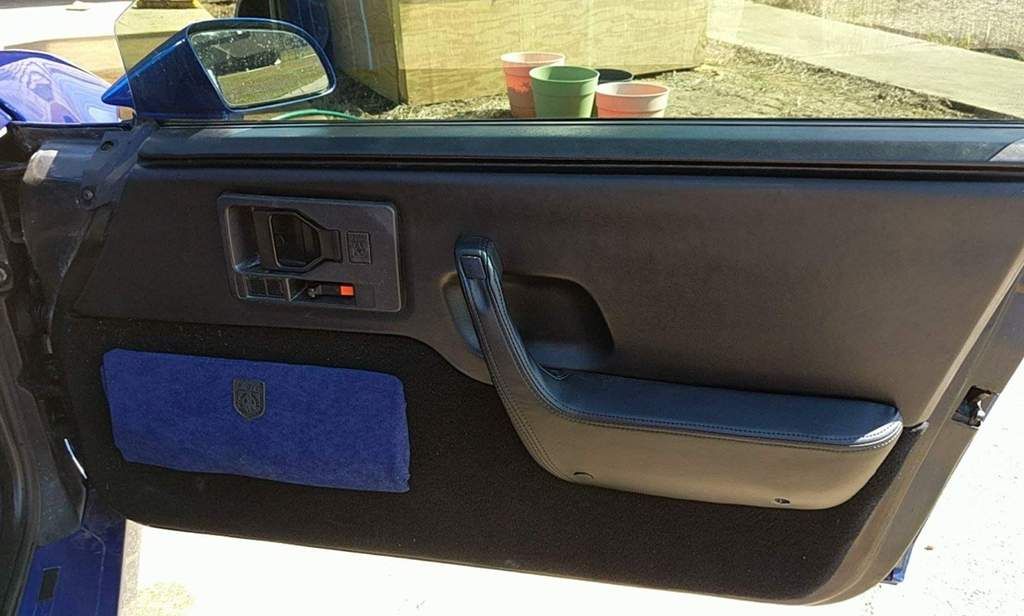
Re-wrapped steering wheel with matching blue thread
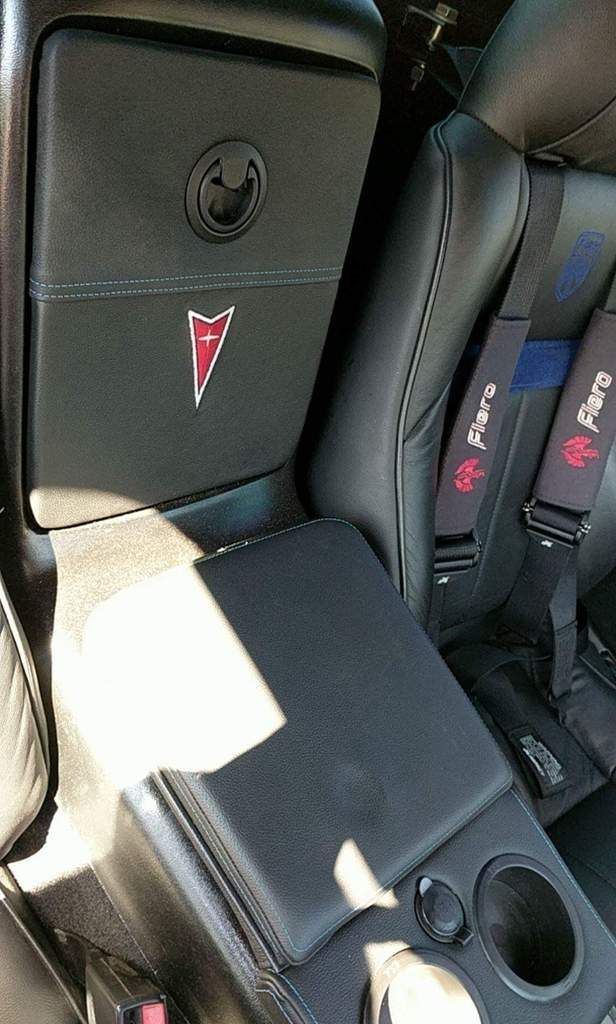
Mike Good arm rest and glove box door
Redone map pocket
Russ88TTop arm rest and door pockets
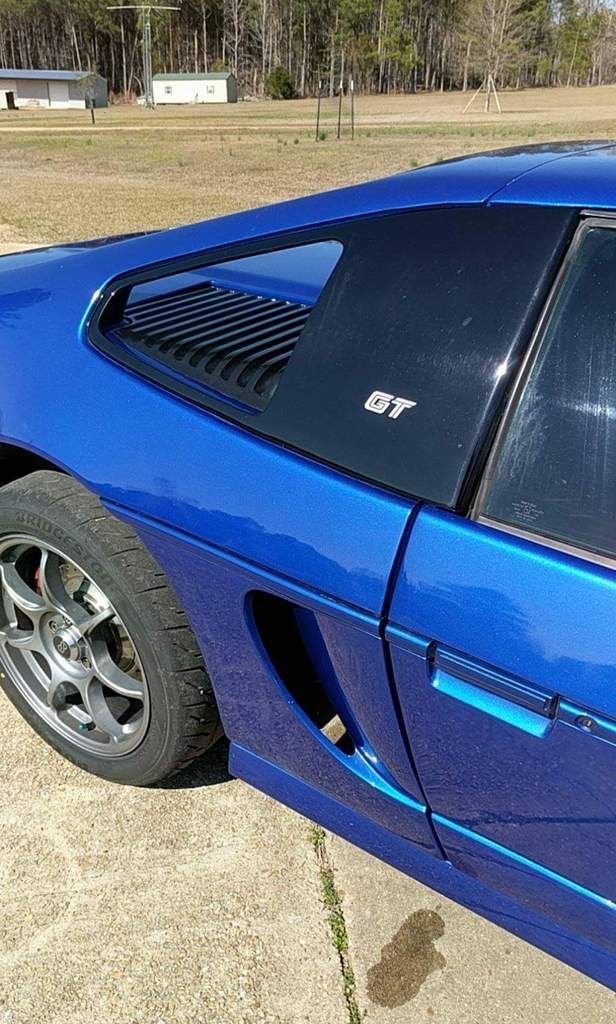
Fiero Fiberglass quarter windows and side scoops
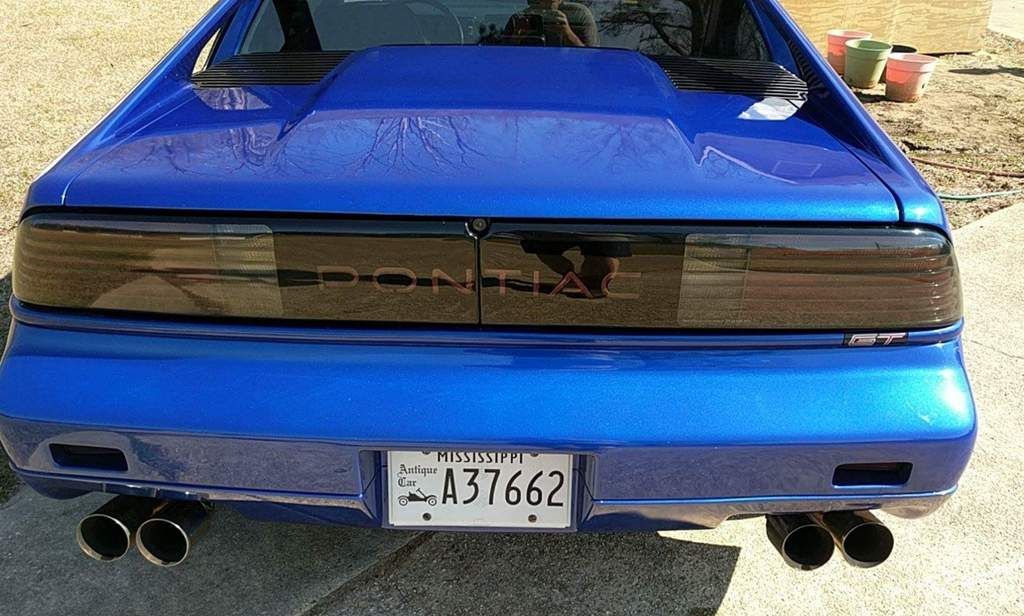
Restored tail lights by yours truly
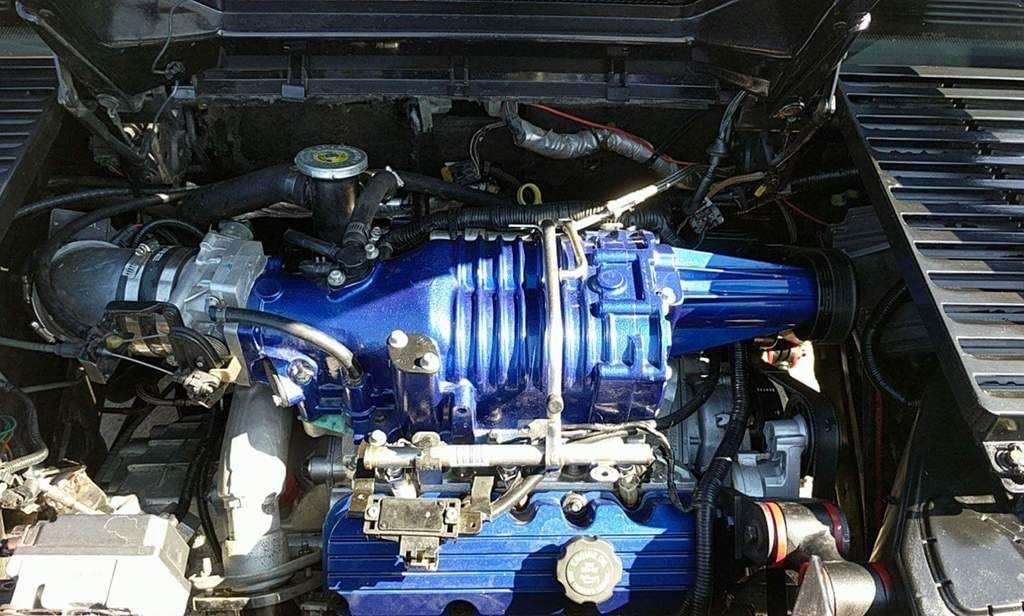
3800SC swap. Engine bored 30 over, VS cam, Keith Black pistons, L32 rods, GenV supercharger with 3.4 pulley, Spec stage 3+ clutch
4" cold air intake
F23 transmission with FY1 gears and Quaife LSD
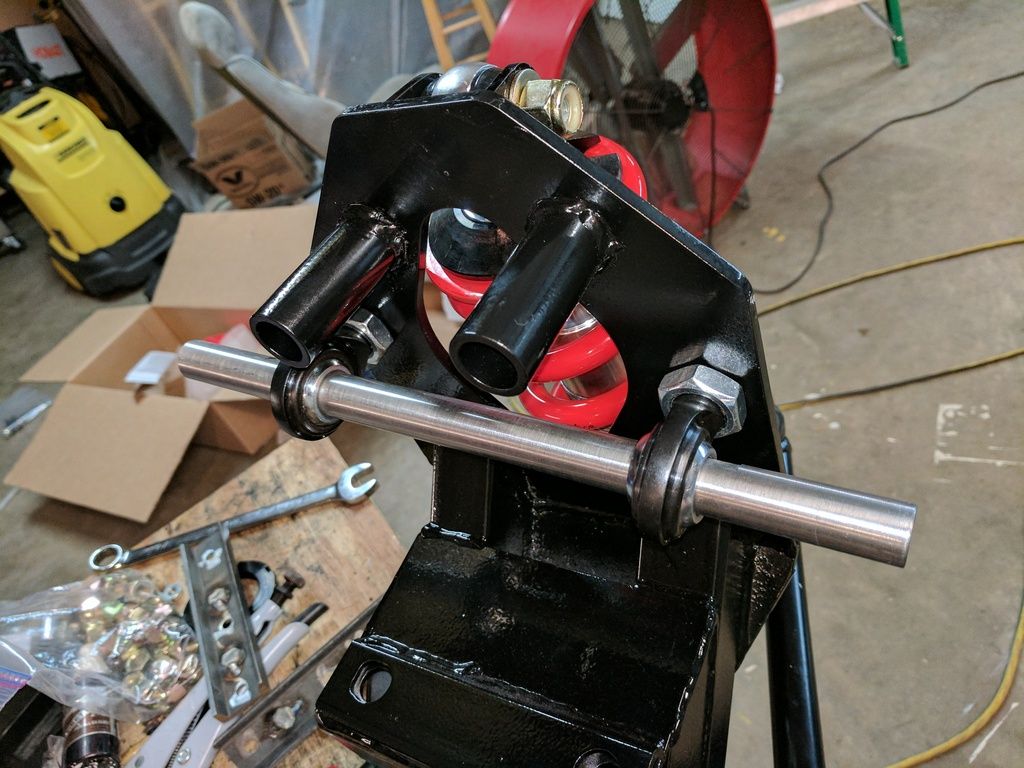
88 cradle swap with Arraut coilovers on KYB shocks and 400# springs
Rear wheels have 12" rotors, Hawk pads on all four corners
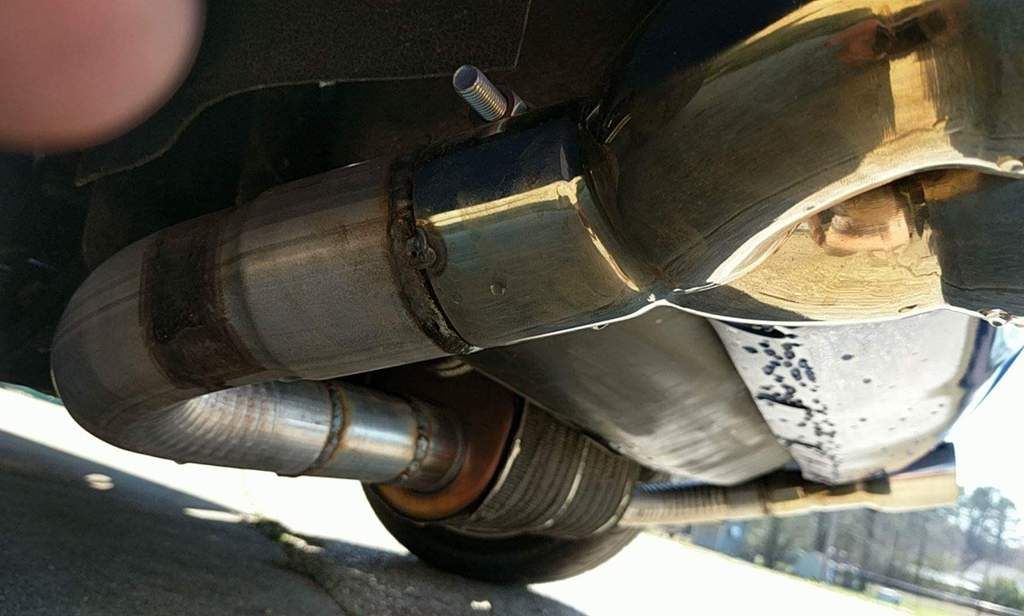
Magnaflow exhaust with 3" inlet and dual 2.5" outlet
exhaust is fed from a set of ZZP plogs
So that's the build up to now, but like any project car, it's not done yet! Here's what I'm working on now
I deleted the spoiler from my decklid because I like the clean look, BUT It would be advantageous to have a spoiler for racing. I acquired another decklid to use a spoiler with so I can swap back and forth depending on what I'm doing.
This thing is ROUGH. It's got some fiberglass damage and some rust on the metal. I think I can clean it up and use it, but it will take some work
Everything on this was trash. It will need a whole new set of hardware
I managed to get the old spoiler off, but the studs were rusted solid
I had to use a grinder to cut the heads off of the studs, and I managed to zap it with the grinder a bit, but nothing a little bondo can't fix
Here's another upcoming thing--
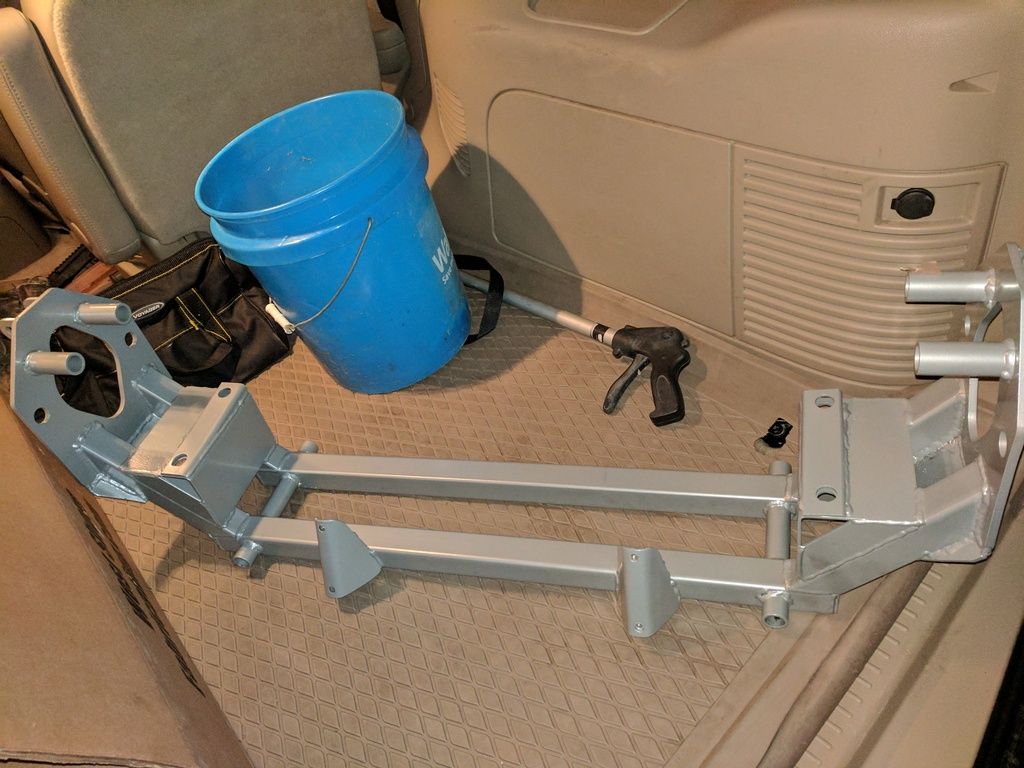
That's right! I finally got my hands on the Arraut slalom suspension. This is the new design that uses 88 stock brakes, but still uses rear bearing for easy parts sourcing
Here's the basic mock up. I'm still waiting on springs and bearings, which are supposed to ship this week
I painted the cradle black instead of the silver/gray powder coat
And that's it for now. Once I get the rest of the parts in I'll install the suspension. Hopefully the installation goes smoothly.
I painted the crossmember black to match the rest of the suspension.
And then I started the assembly
Getting the nuts on the balljoints was a complete pain in the ass. There was no clearance to allow any wrench in there. And getting a cotter pin in was a pain too.
Here's how the upper control arm mounts
And here's the assembly ready to go in
The jury is still out on these. They're not as harsh as I feared they would be, but still may be too much
Out with the old
This was actually lighter than I expected. It's about the same weight as the new unit.
And it's in
I didn't take more pics, but that's about it. I got it aligned and the thing is a MONSTER. The steering is much lighter now, and the thing holds. I won't be able to race it for three more weeks, but I'm expecting good things.
Going back to the f23 swap. I know you used the caviler case and Cobalt gears with the lsd.
Can you go into more detail of what parts were needed to mount the tranny and make everything work? And where you got it? (Example's fly wheel, axles, mounts, throughout bearing, shift cables, special brackets etc?)
What would someone need to do the covering from a 88 speed to f23. Have found a good step by step b with sourced parts for that yet.
[This message has been edited by ltlgt88 (edited 03-21-2017).]
Reference the F23 tutorial thread for the basics, but here's the general rundown.
I sourced my transmissions from a Facebook post and eBay, but that doesn't really matter. Going rate for an F23 is around $200, sometimes more, sometimes less.
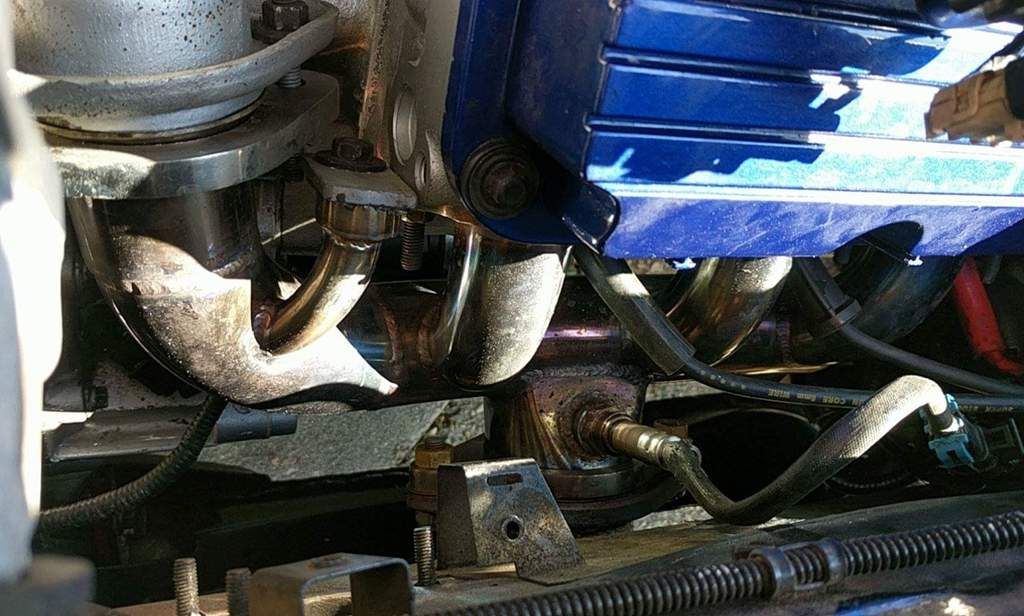
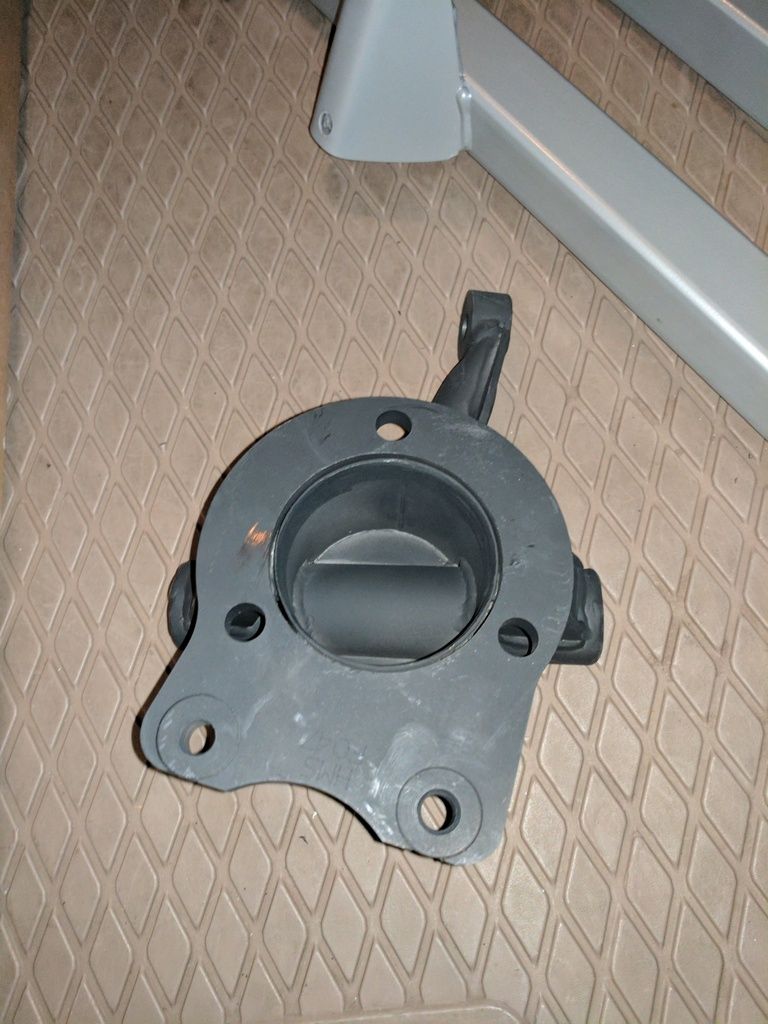
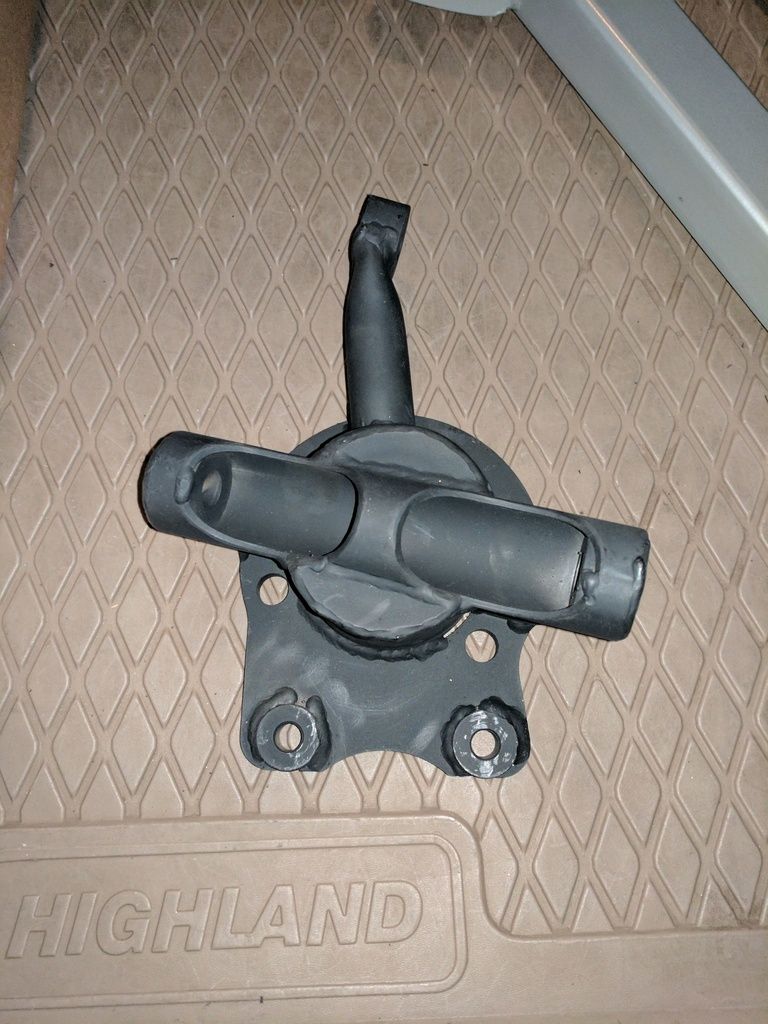
Mounts I got from a very old, long time Fiero vendor who is no longer in the mount business. FieroRog now makes his mounts with permission, to include the F23 mounts. I believe they are ONLY for the Cavalier case, and therefore if you want the FY1 gears you need to do what I did instead of just swapping the bell housing. The F23 mounts in a slightly different location than the stock Fiero transmission, so you MUST get a different engine mount as well. The entire engine sits slightly aft and left of it's normal location. Reference the modification I had to make to my dog bone to get an idea of the different position.
Since I was doing an engine swap anyway, a lot of the F23 conversion stuff was built into the swap as a whole. Namely when my harness was built I had the plugs integrated into the swap, same for the PCM programming. The F23 uses a different VSS signal frequency than the Fiero 5sp. There are a few workarounds for it, but I'm not familiar with them because it wasn't an issue for me.
Flywheel came from FieroRog, and bolts I bought fromGM for $45 for the set.... Yes, that's nearly $6 PER BOLT. Clutch was a Spec Stage 3+. Spec has an application guide on their site, and it's the clutch they sell for the stock 2.8/5sp Fiero. Throw out bearing is integrated into the F23 system and is hydraulically actuated directly from the clutch line, no slave cylinder. You will need a quarter inch spacer. I bought that directly from Spec as well. You will also need a clutch line connector from Fieroguru to attach the Fiero clutch line to the F23 HTOB actuator. Reference my pictures to see what type of HTOB actuator you have, as early ones are not compatible with later HTOB units.
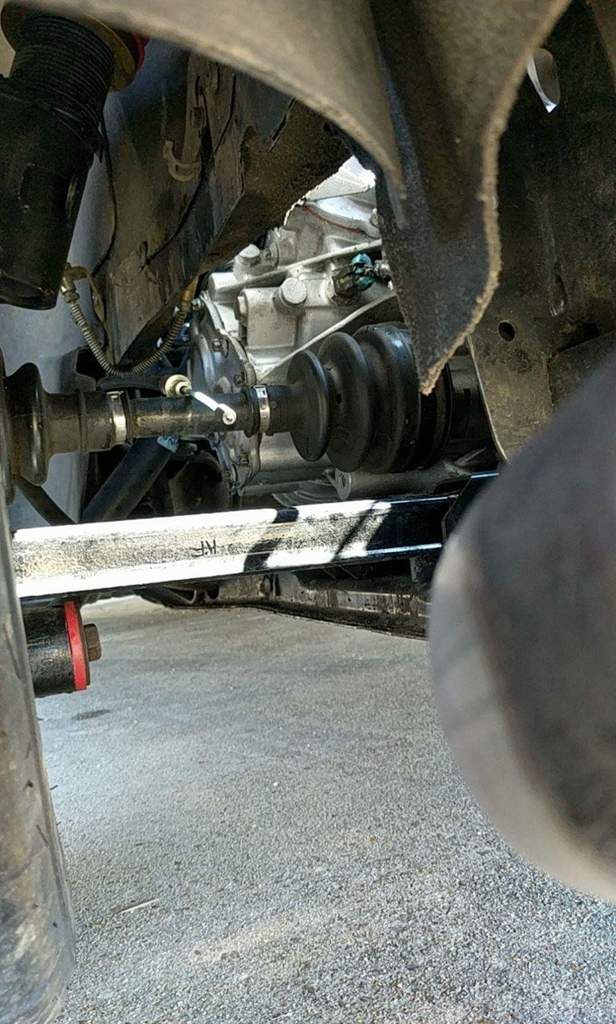
The F23 uses stock Fiero 5sp axles, so keep the ones from your Getrag. Even though the trans mounts in a slightly different location, the output shafts are in the same spot as a stock transmission.
The LSD isn't necessary for a street car, but makes a big difference for racing. Quaife QDF17B. Reference my picture for the modification you need to make to the inside of the case. It helps to coat the outside of the differential housing in grease to see where it's making contact with the case, just be sure to remove the grease when you're done because it can change the friction properties of the transmission fluid. I use Royal Purple Max ATF. Yes, ATF in a manual transmission.
That's about it, if you have more questions, please let me know.
So going back to the mounts. You got the trans mount from fieriorog and modified the dog bone. The mount by the bottom of the engine on the passenger side had lunch has to be custom made?
There are two transmission mounts, both must be custom made. They use the original mounting location on the cradle, so no drilling or welding required.
Bump. I've decided to sell this car. $12.5k or trade for an 02-13 Corvette. I'm glad to negotiate on cash to compensate for the difference in value between this car and any proposed trade.
[This message has been edited by Napoleon_Tanerite (edited 05-02-2017).]