Edit: Got pages 5,6,7 and now 8 too....what are the odds...
Couple more projects completed:
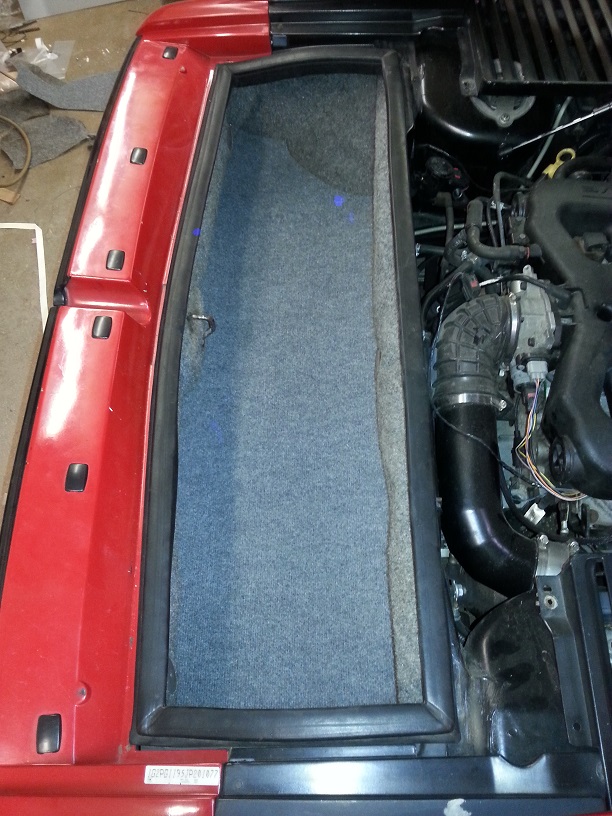
New trunk floor. Used the original trunk carpet for the sides and a piece on indoor-outdoor for the bottom.
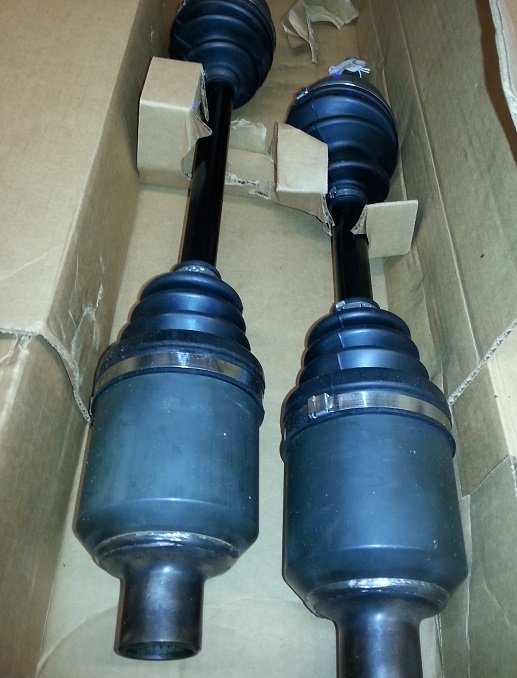
When I replaced the torn inner C/V boot last month I noticed my cobbled together junkyard axles were starting to get a little loose so I decided it was time to bite the bullet and spend the big bucks on a pair of custom axles. Ever since the swap I've had a driveline shudder on acceleration caused by the offset angle of the axle shafts. The inner tripod joints were running at 7deg (L) and 11deg (R) which is at the upper limit of what they can handle. The solution was to replace the inner tripod joints with a ball and cage style C/V joint which can handle the angle and will operate smoothly. I settled on Driveshaft Shop for the axles. I just sent them a couple of Chrysler inner tripod joints and they cut and welded the splined portion on to their C/V joints. The axles are custom length and the outer C/V joints are brand new as well. The pair was $899 bucks plus shipping. Got 'em installed and went for a drive, what a difference! No more shudder and shake, just glass smooth acceleration from idle all the way to redline.
[This message has been edited by seajai (edited 10-02-2023).]
As seen in the post above, I dropped $900 smackers on a pair of custom axles and got them installed the day before the trip to Frazee. After about an hour in to the trip I started to smell something like oil burning, I thought it was one of the cars in front of me. When we made a stop, I notice some smoke from the engine area. There was CV joint grease spraying on my exhaust system! My new $900 axles had a leaky boot. I found a small hole that looked like it was put there when the band clamp was installed. I made a metal shield for the exhaust and used some RTV to try and plug the hole while at Shipmans and drove it home. I made a call to Driveshaft Shop and they sent me 2 new boots. Pretty easy to replace the boot and problem solved.
The Chrysler swap has been running pretty well all summer but has had some intermittent "hiccups". This spring I had it stall at a red light and it took me a few minutes to get it restarted. A couple months go by without a problem and then a stumble in the parking lot of a gas station on the way home from Dells. It made it to Frazee and back without incident. Then last week on the way to a show, The engine stumbled and the transmission downshifted to 2nd, I reved it a little and it straightened out. After a brief stop at Kwik Trip for beverage, I had trouble getting it started again. Once running and on the road, another stumble/downshift event, and then it ran fine the rest of the day. A couple days later, it stumbled, the gauges all went to zero, and the engine stalled. Had a helluva time getting it started but managed to limp it home. Now it barely runs...start, stall, spit,spudder......then nothing. No spark, weak/no injector pulse on the noid light. The way the Chrysler is set up is the coils and fuel injectors receive power through the auto shutdown relay and the PCM drivers ground to fire the coils and pulse the injectors. When I built the wiring harness, I used eyelet terminals with the heat shrink on the ends for the PCM/TCM grounds (5 wires in total). Well, come to find out, the heat shrink is worthless for sealing out moisture but perfect for hiding corrosion. I cut the covering off and whadda ya know.....white powdery corrosion everywhere! I installed new terminals and no more problems! Lesson learned.... no more using the terminals with the heat shrink ends.
The transmission has developed a new noise and has an old noise I thought was my old axles but apparently wasn't. Still haven't checked 'em out yet so not sure what's wrong there. Ahhh the joys of owning an old modified car....never a dull moment.
[This message has been edited by seajai (edited 09-07-2014).]
I just finished reading your thread from start to finish. WOW. Your innovation and broad range of talent is impressive. A big thank you for taking the time to post it all. Good luck as you near completing the build.
Me too... I can't believe I missed this thread all these years. The engine looks absolutely right in that bay... like an F355. Interestingly from the videos, it doesn't sound much different than a stock Fiero, so you could easily surprise someone at a stop light when those extra 120 ponies rear up. Gotta hand it to you... excellent idea, great workmanship, and lots of quality photos showing how you did it.
(Now paint that intake something more exciting than black! )
Thank you so very much for the kind words, it means a lot!
Guess it's time for a mid-winter update: The car is in storage right now, with a few projects still left to be completed. I just bought all new Moog rubber bushings to rebuild both front and rear suspension. Some of the other projects may need to be postponed due to a lack of funds. But I am hoping to get a start on my custom door panels.
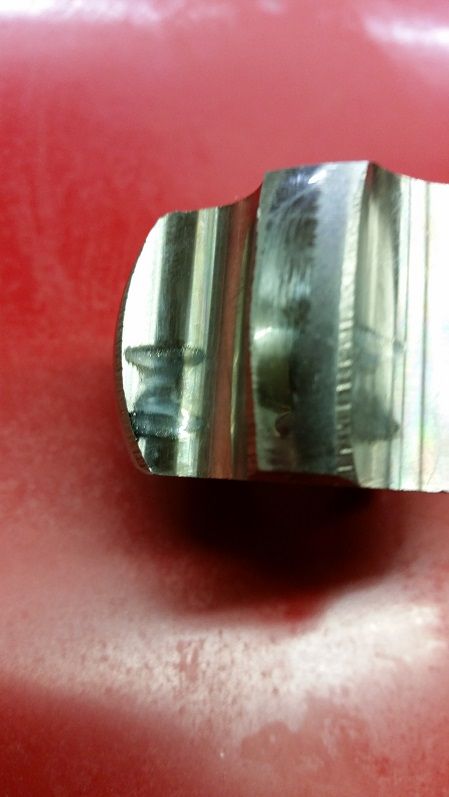
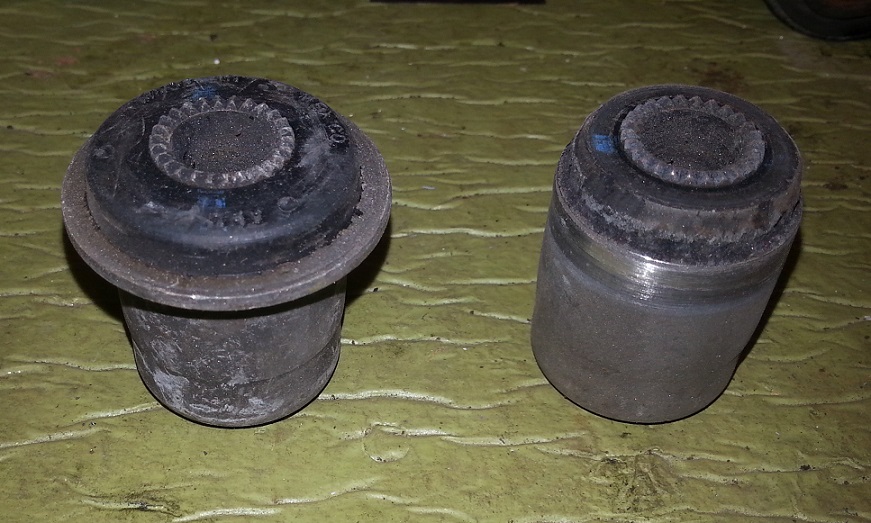
I have been having problems with my $900 customs axles. After just a few hundred miles the right axle inner C/V started making a clicking noise on acceleration. Driveshaft shop uses Interparts to make their custom plunging inner C/V joints. The one on the left in the pic is what they used on my axles.
When I removed the axle, it seemed like there was excessive rotational play in the joint so I sent it back to Driveshaft Shop for a warranty repair. They sent it back saying they took it apart and inspected everything but didn't find anything worn or damaged, but they did use a different type of high-temp grease on reassembly. I re-installed the axle and it was quiet.....for about 300 miles....and it started clicking again. And now the left side inner C/V is clicking too. I'm running an offset on the axles but the inner C/V's should be able to handle it, the outer C/V's have the same angle and they're fine. So now I need to send them back again, hopefully this time they'll replace the joints. I'm pretty disappointed with the whole thing, I assumed for $900 I was going to get quality, trouble free axles but that hasn't been the case. Hell, my cobbled together $100 junk yard axles were quiet for 10,000 miles, they just shook on hard accel because the tripod joints and the high angle.
I was going to pull the engine and take it all apart to inspect everything and fix a couple oil leaks that have popped up, as well as paint and detail all the other parts including the plastic intake. But lack of funds may push that to next winter as well. I'll post plenty of pics when I get the suspension taken apart.
Ok, so here we go, finally getting going on my suspension project.
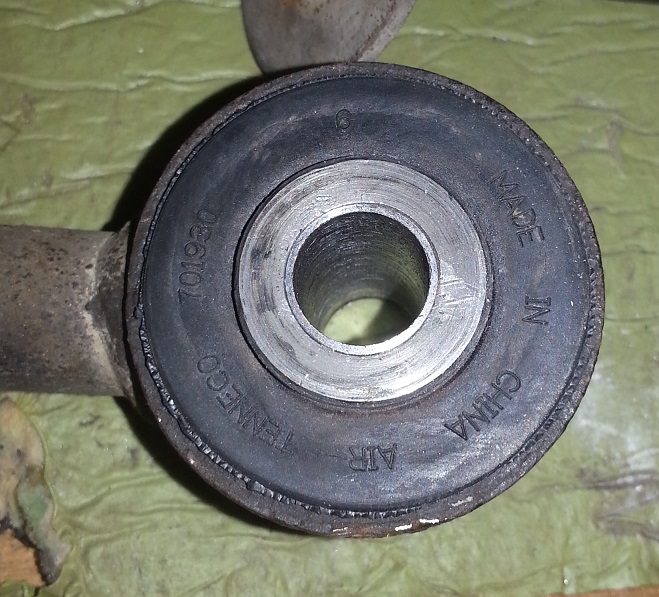
Picked up all new MOOG bushings through rockauto .com, only $140 bucks for everything. K6170 - front upper control arms, rear toe and lateral links. K6163 - front lower control arms K200102 - rear trailing arms (tenneco# 701930)
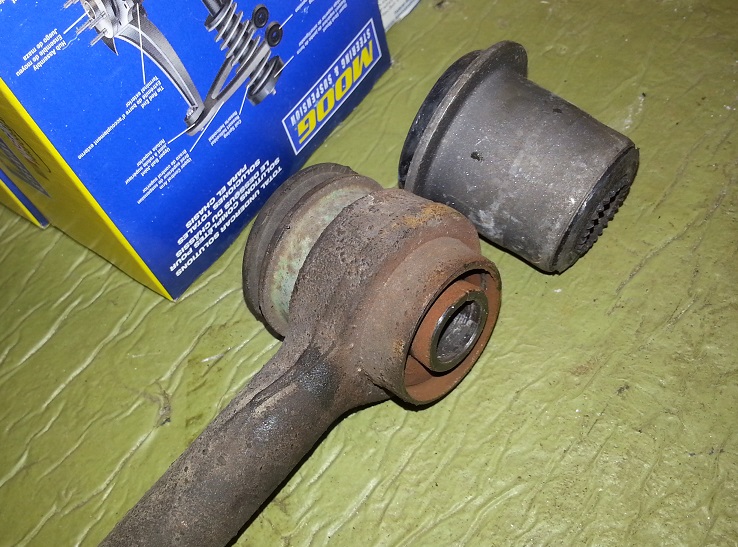
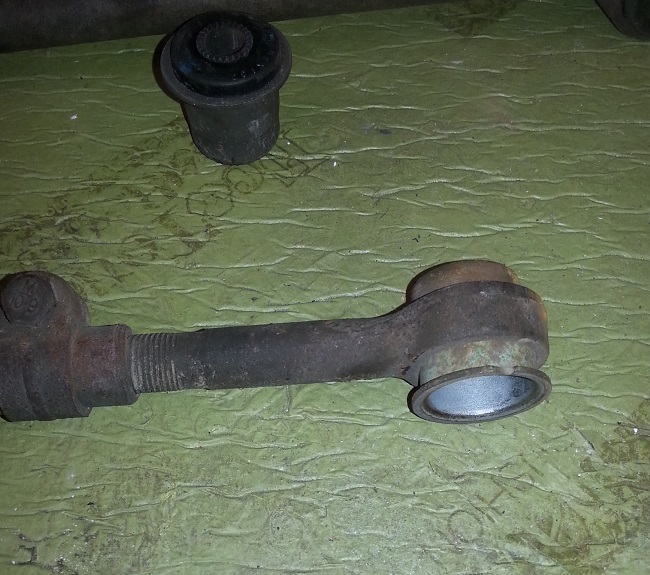
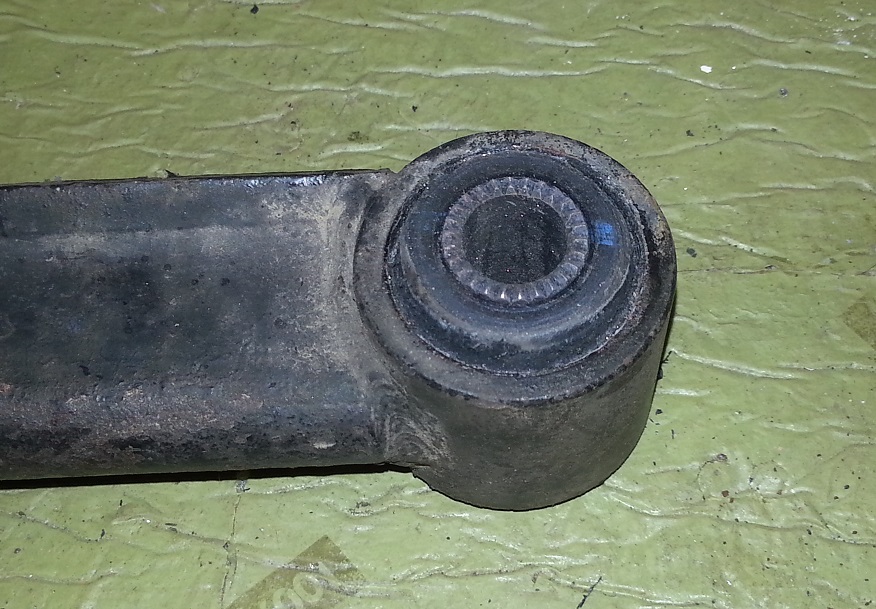
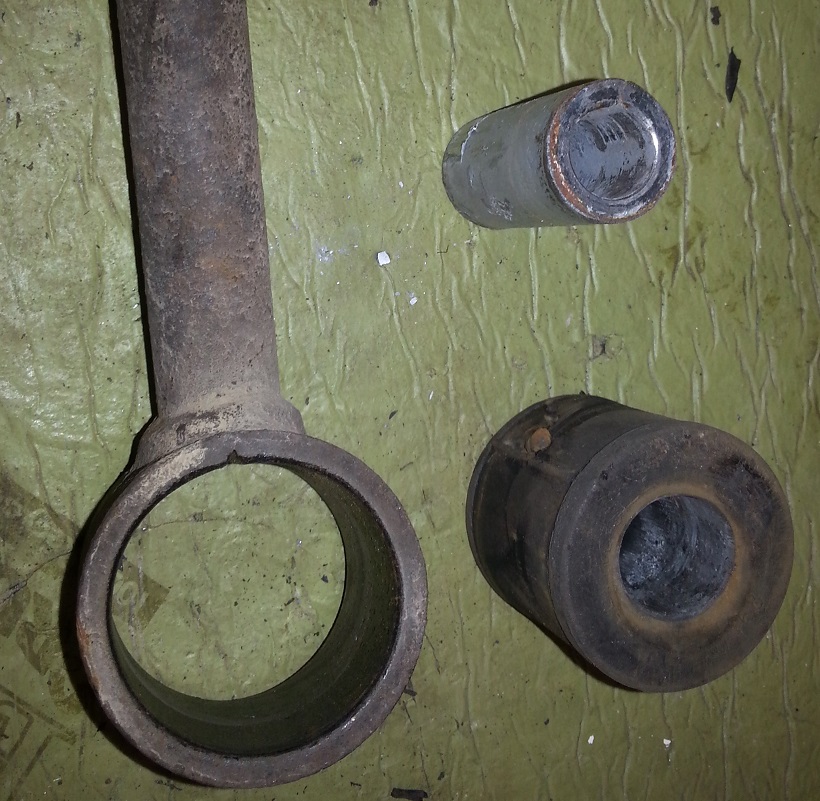
First off, the toe links. As you can see by the picture, the rubber of the bushing has slid out of place and the metal shell was rubbing on the mounting tabs.
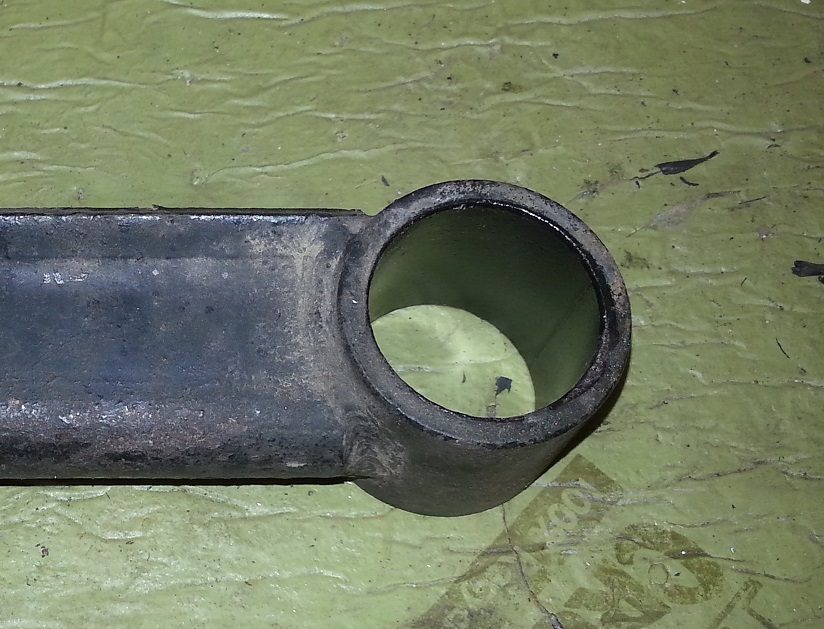
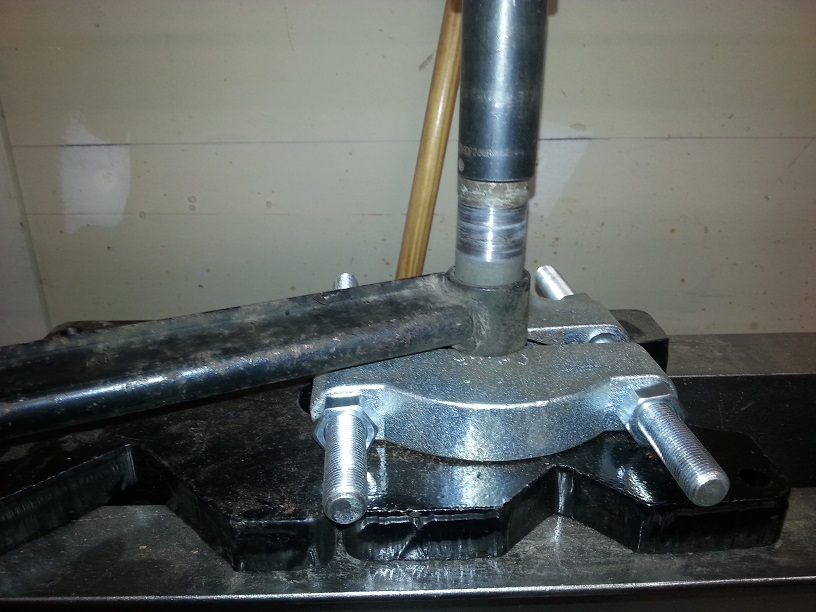
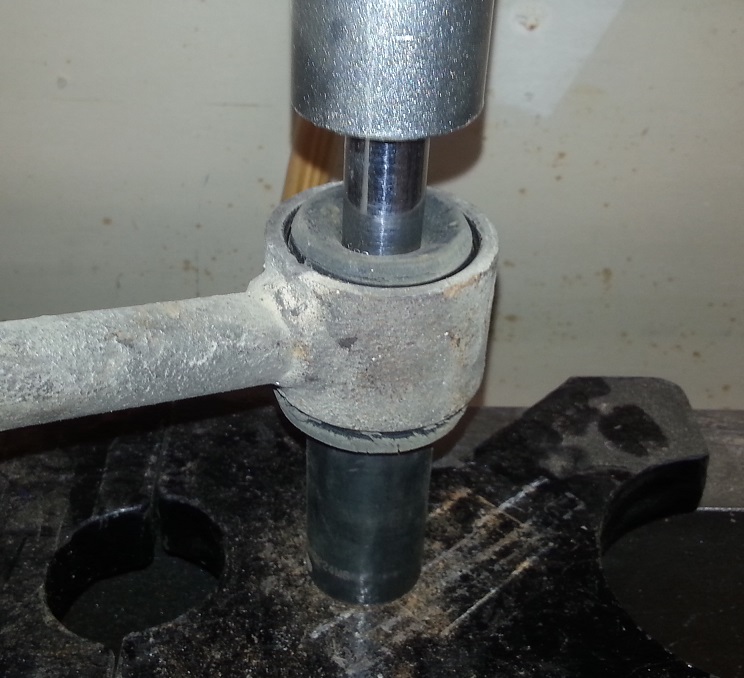
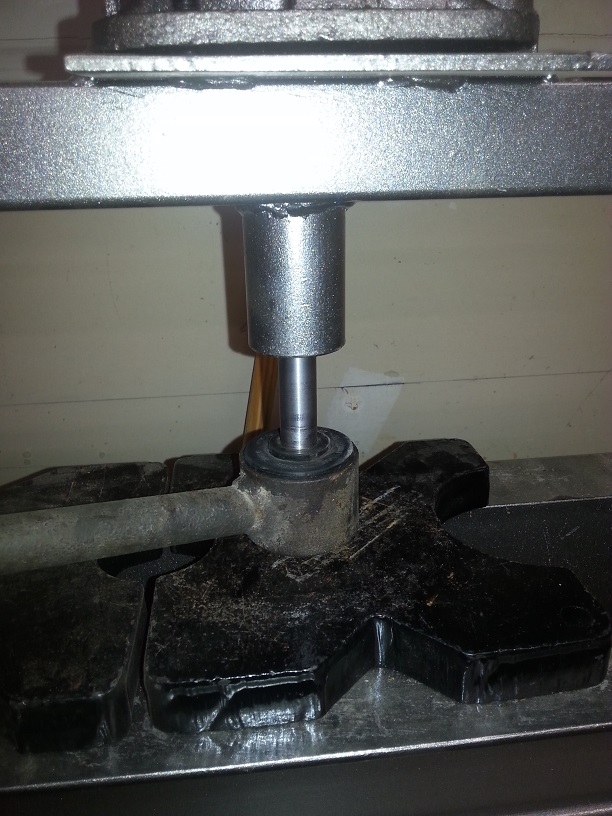
To take things apart, I decided to first press out the metal sleeve inside the bushing. Once removed, it was easy to grab the rubber bushing with a pliers and remove it from the shell.
I then pressed out the shell and pressed the new bushing into place, easy schmezy.
Next up is the lateral link. The problem here is that the bushings are not designed to be replaced but the K6170's will fit with some modifications. First, I removed the bushings the same way as the toe link.
The issue here is that the shoulder on the bushing shell won't let the bushing press in far enough, leaving it off center. The way I decided to get around this issue was to remove the shoulder from the shell and then remove the overhanging part of the rubber.
I used a shell from the old bushing to make an install tool for the new one. Removing the rubber "overhang" allows the tool to fit tight against the bushing.
And pressed the modified bushing into the lateral link
The new bushing has to be pressed in a little past the "flush" with the arm to center it. Here are a couple of pics of the installed bushing:
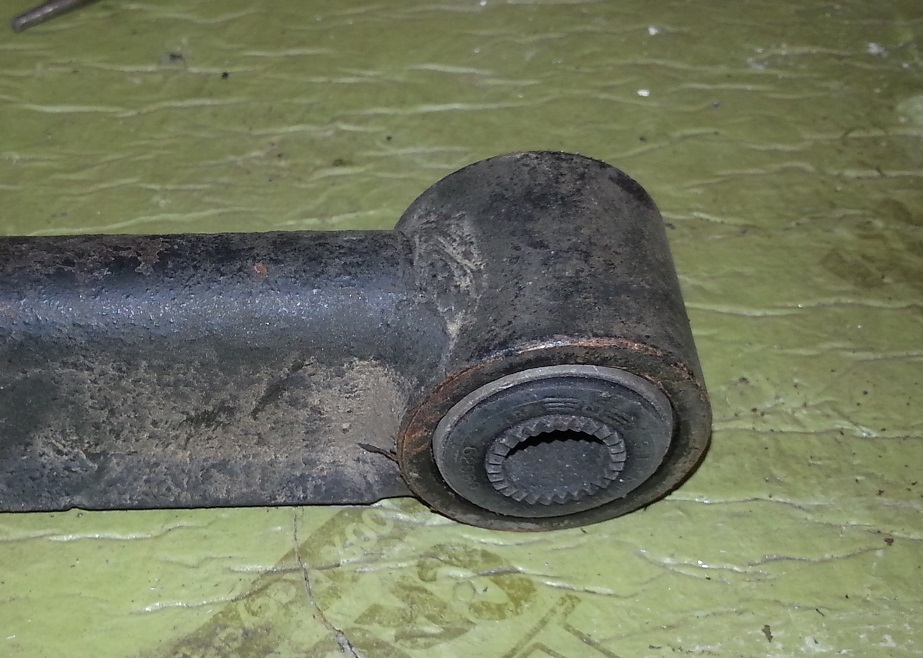
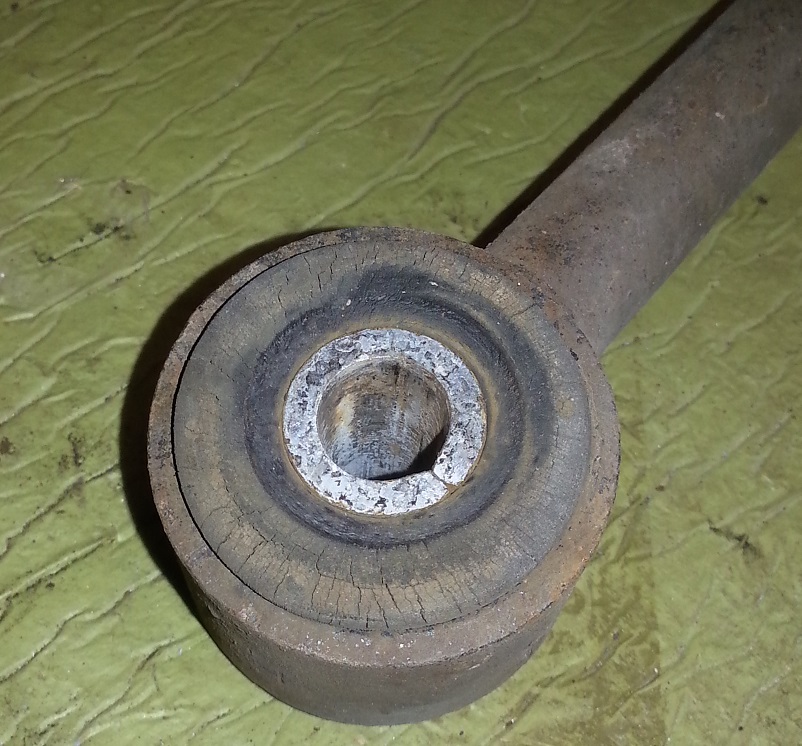
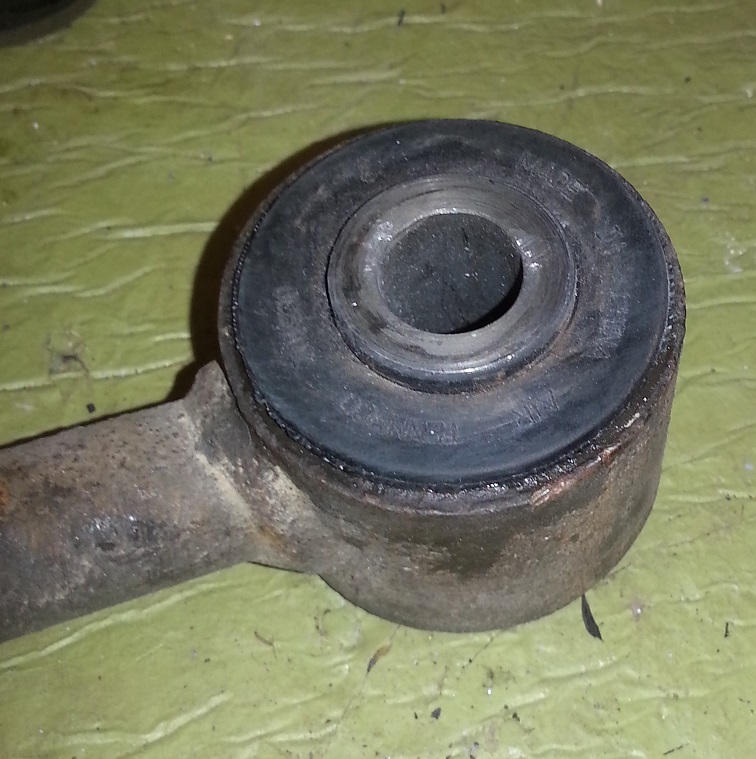
Next, the trailing arm. The bushings were pretty cracked.
Push out the center sleeve:
Bushing removed:
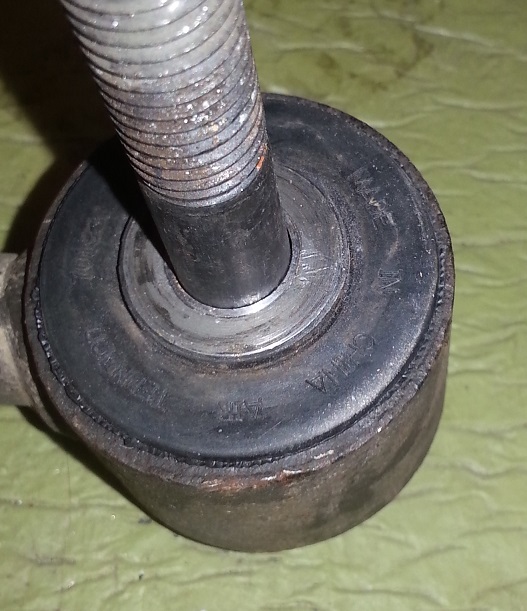
The new bushing installs quite easily. Just lube it up with some dawn dish soap and in it goes.
The K200102 bushing center sleeve I.D. is too large and the suspension bolt is loose in the bushing. The work-around for this is to have the old bushing sleeves turned down on a lathe to fit inside the new sleeve. I am currently having this done and will post a pic or two when I get them back this weekend.
And now on to the front.........
[This message has been edited by seajai (edited 10-02-2023).]
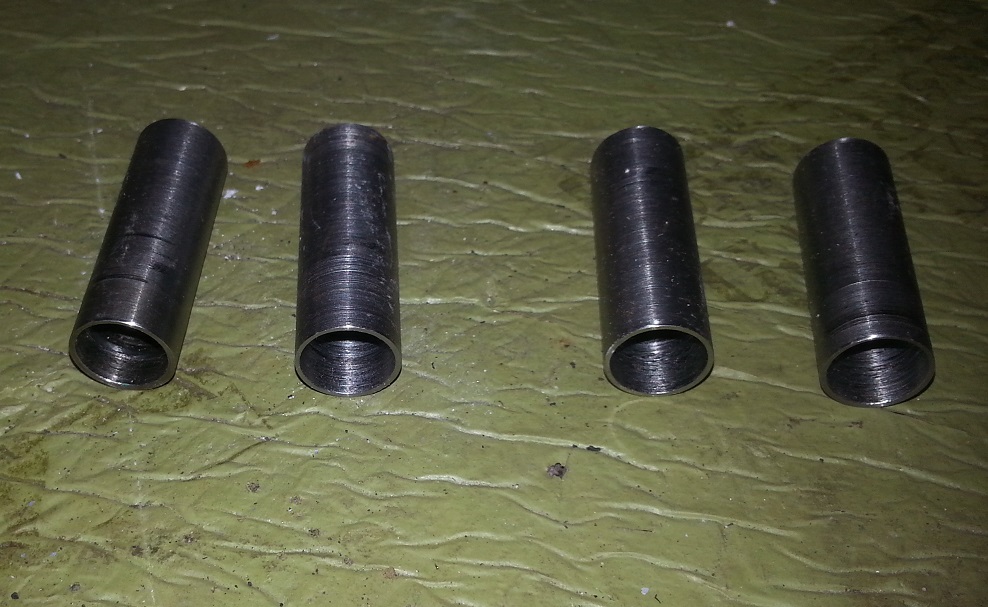
So my plan of having the old bushing sleeves machined down into spacers didn't work out.
Matt (gingerRT), was doing the machine work for me. Since the original idea didn't work out, he made up a set of spacers out of some heat treated tubing. They measure .640" OD by .563" ID by 1.876 long.
Spacers were .002" bigger than the sleeve so they pressed in easily:
Installed:
[This message has been edited by seajai (edited 10-02-2023).]
Great work on the suspension! It's nice that you took the time to share with us. Was there a reason you chose rubber over poly? Just curious as I'm almost at that point as well.
Great work on the suspension! It's nice that you took the time to share with us. Was there a reason you chose rubber over poly? Just curious as I'm almost at that point as well.
Had poly front and rear in a previous car and didn't like the ride or the constant suspension squeaks.
Thanks for posting the suspension bushing info Chris! I've been looking forward to seeing how it went after the discussion we had at last month's MFF meeting about it.
I picked up a rust free 88 coupe last weekend to swap my drivetrain into this spring, and I'll be looking to replace the worn suspension shortly after that so this should come in handy.
excellent buid. one you should definately be proud of.
Thanks It's definitely been a lot of fun blazing new trails with this project. Always fun to see the reactions at shows when people look under the hood trunk.
Well spring is here and the car is back on the road. It was kind of a disappointing winter and I didn't accomplish nearly as many projects as I had planned. Lack of money and time conspired against me and all I managed to get done was replacing the bushings in the rear suspension and changing the oil . My axles were sent out and repaired by DriveShaft Shop for the 2nd time. This go-around they replaced all the internals in the inner joints so we'll see how long that lasts. Looking forward to a fun summer of car shows and Fiero events
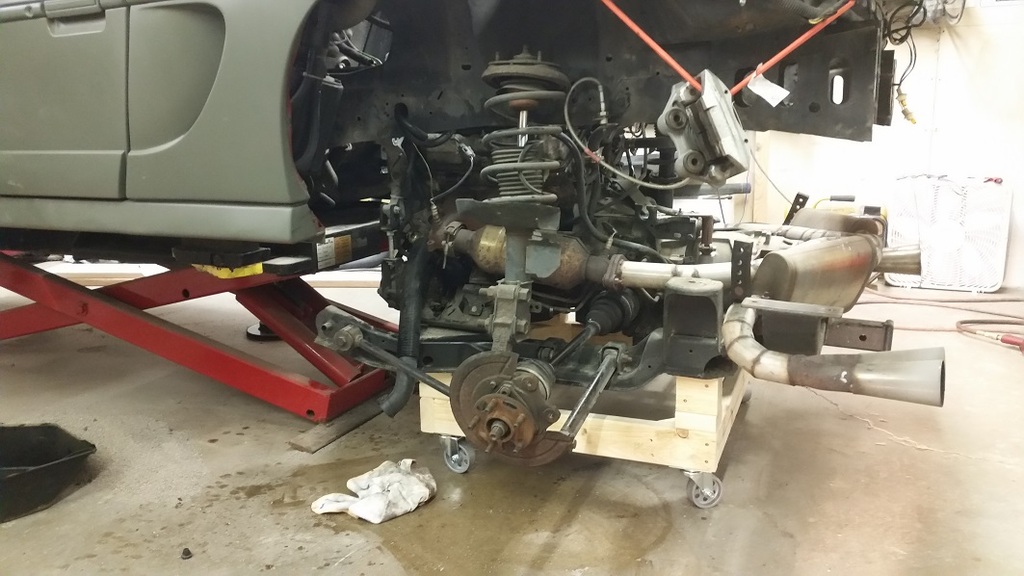
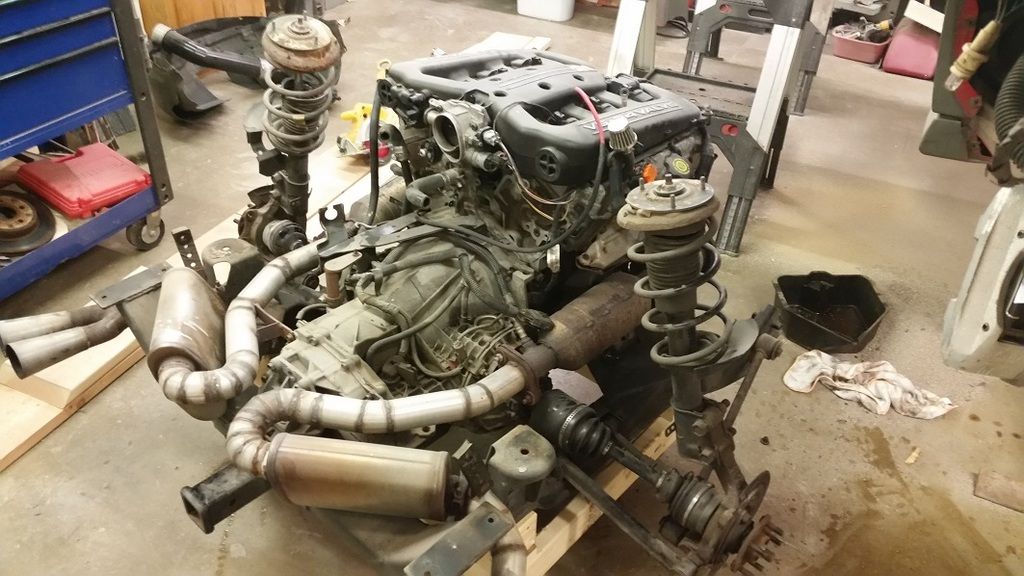
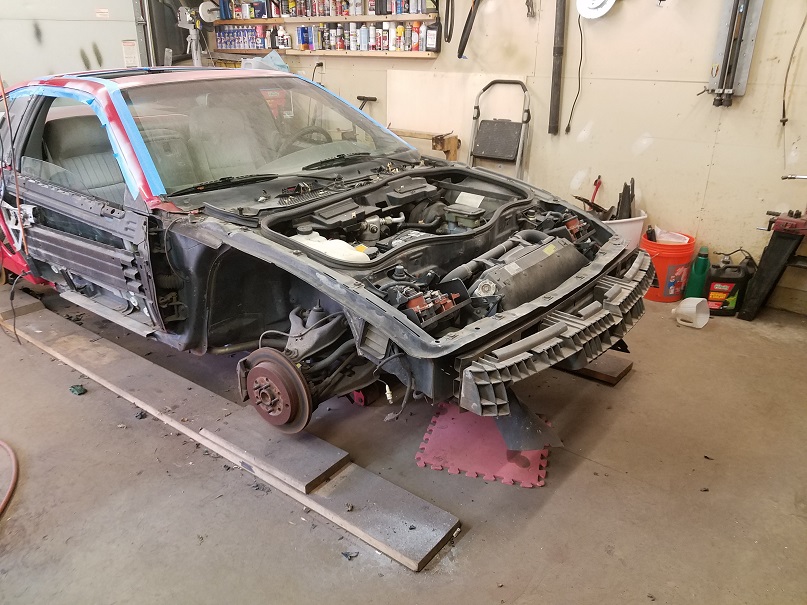
Hard to believe its been 3 years since I completed this swap and I've 3 years of almost trouble free motoring. But a few oil leaks have crept in and the time has come to repair them as well as a few other things. Last fall I purchased a Snap-On mid rise scissor lift in anticipation of this project. Removing the drivetrain from a Fiero with the aid of a lift is almost effortless, I wish I would have had one when I did the swap. I built a cart to hold the complete drivetrain and lifted the car off of it, easy-peasy.
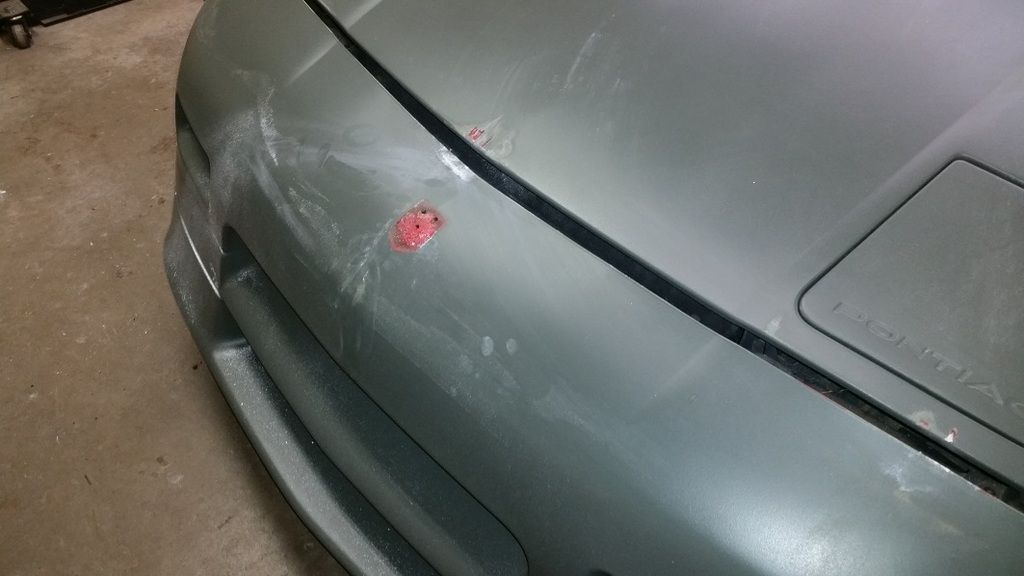
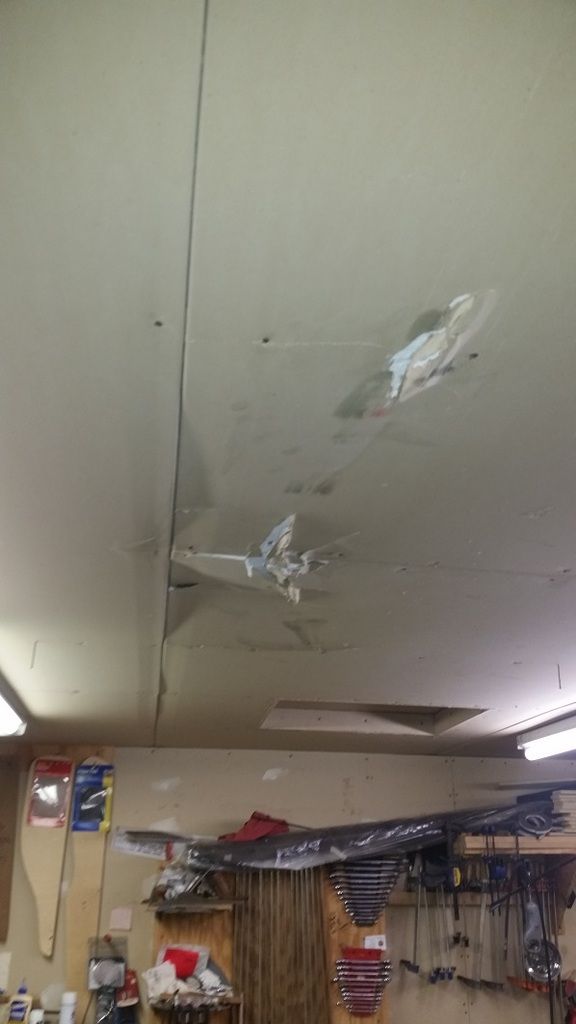
Unfortunately I had a mishap with the lift last fall. The scissor lift has a stationary leg and a leg with rollers that moves toward the center as the lift raises. With the engine in the rear, I should have put the car on the lift with the stationary leg at the rear but I didn't. As I raised the car, the roller leg moved in changing the center of gravity and when the lift reached full height the car and lift tipped over backwards. This caused the nose of the car to crash into the ceiling of my garage, damaging the car and filling the air with sheetrock dust. As the car tipped, it spit the lift out the front and into my garage wall. Luckily I wasn't standing there or it probably would have been bad. The only damage was to the hood and bumper (and my nerves).
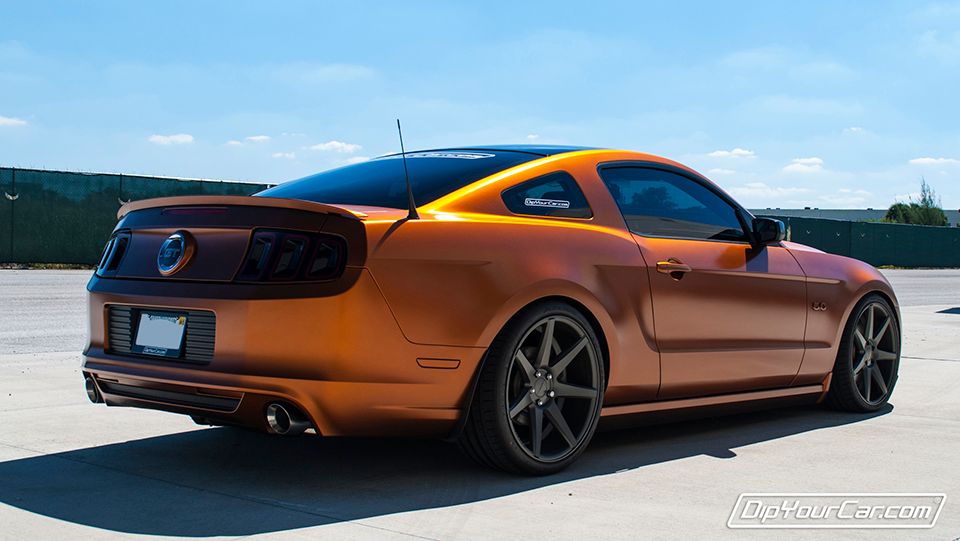
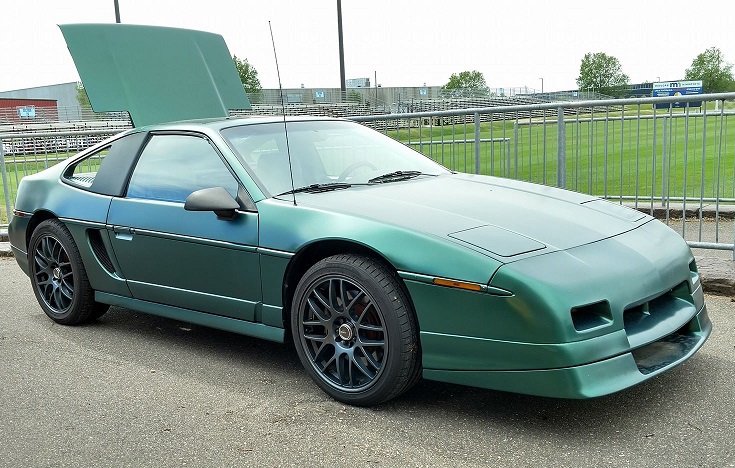
This mishap has lead to 2 more projects, sheetmetal and fiberglass repair, and re plasti-dipping my car due to the damage. Think I'm going to use the opportunity to change the color of my car......just not sure to which one. Leaning toward this color:
[This message has been edited by seajai (edited 05-25-2020).]
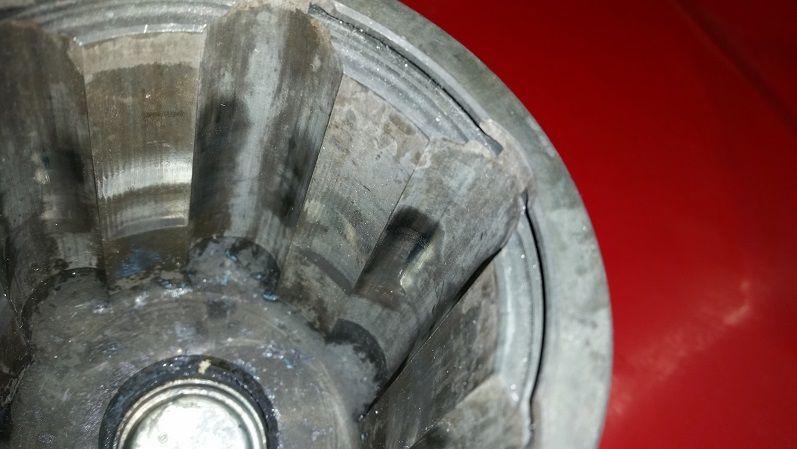
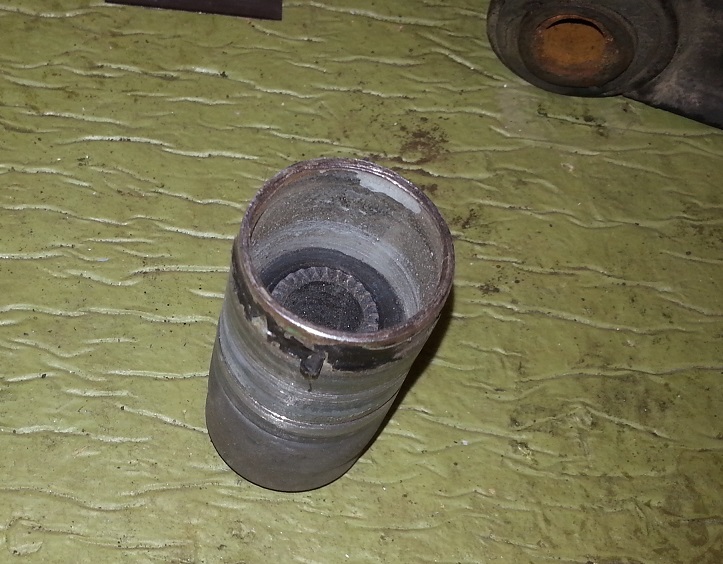
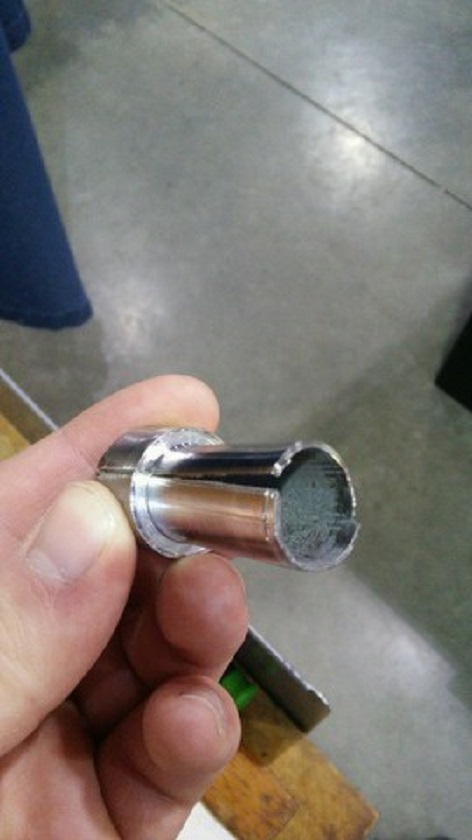
Not too much happening this summer. I ended up dipping the car Tahitian Green pearl back in May just before the Dells run. Wasn't as happy with the color as I thought I would be and now I'm having trouble with it lifting in areas. I'm trying to work out a deal to get my car painted with real paint this winter, we'll see how that goes. I deleted the catalytic converters this spring, I think they were a little plugged because I got a little more get up and go now. Plus my horrible rattle during engine braking is gone. The car is running great, although I haven't had as much time to drive it this year. My $900 custom axles continue to be a pain in the arse. After finding another leaking C/V boot, I decided to take the inner joint apart and clean off all the grease to inspect it for myself. I found both inner C/V joints were excessively worn in the cups and races. 15,000 miles looked like 100,000 miles, I was pretty disappointed. They were noisy as hell again this year, and now I know why. I ended up sending the inner joints back to the Driveshaft Shop again (4th time) for warranty replacement. I got 2 new joints back but haven't had time to install them...which I need to do because the Tyler show is fast approaching.
Worn joints:
[This message has been edited by seajai (edited 07-18-2016).]
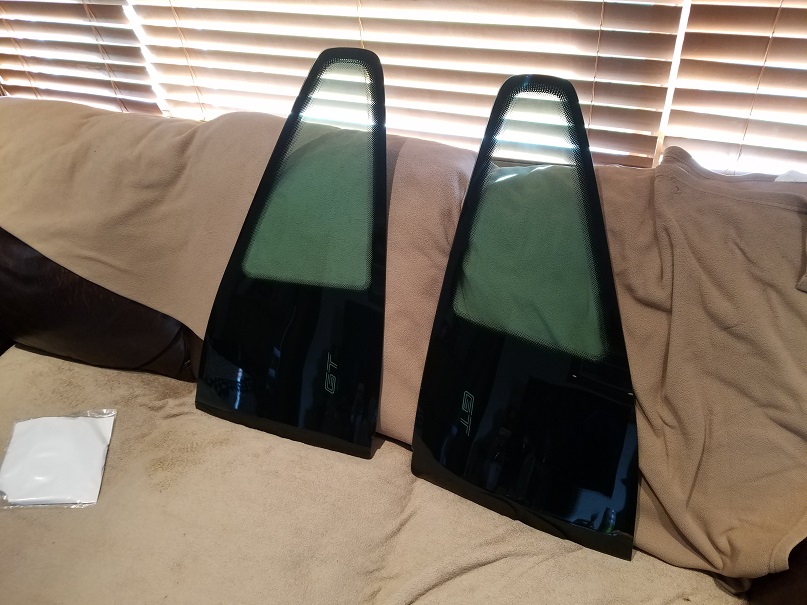
The sail panels look great (along with everything else). How did you attach them? What materials did you use?
I used 2 door panel fasteners on the leading edge and some butyl tape in a couple spots along the top and bottom towards the back.
To do this I drilled 2 holes in the strip of fiberglass on the rear clip that is covered by the large flat area of the sail panel. I then took some modeling clay and put it over the holes, lined up the panel, and pushed it into the clay. The clay blobs stuck to the panel and gave me the exact location of the holes. I made a couple of fiberglass squares, drilled and installed the door panel fastners into the squares, and glassed them to the back side of the sail panel. This worked better than the double stick tape because the perimeter of the fiberglass panels had a curved lip and reqired a large buildup of tape. And it also allows for easier panel removal.
Thanks. That's a creative way of installing those. You do a lot of creative thinking on you whole build. I've been watching this and I'm very inspired.
Lots of great ideas and information in this thread. I'm sure it's a blast to drive.
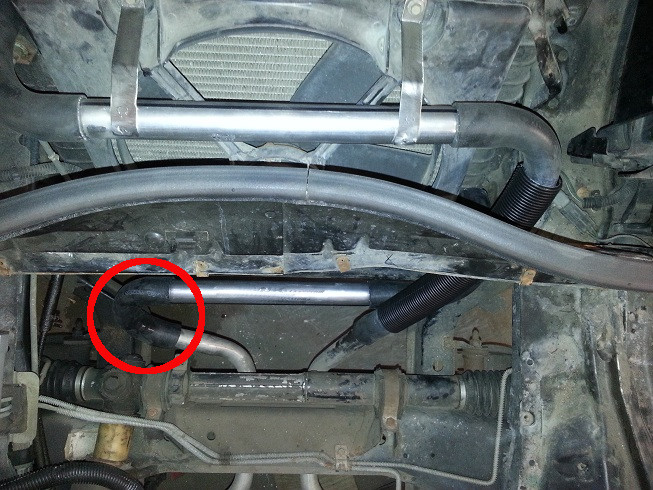
On another note, can you share the part number, or application, of the hose as seen below please? I too have to run a crossover as you did. However, my local Napa store didn't have a very large selection to choose from.
From this photograph, the surface finish on the races in these outer CV cup is far from what i would consider ideal for a bearing surface. It also appears to lack any surface hardening to prevent exactly what happened to them.
I haven't been too pleased with my experiences with The Driveshaft Shop. I have however been very pleased with working with Mark Williams Enterprises, and Rockford CV.
The joints they use are made by Interparts, I'm thinking they're pretty low quality. The Drive shaft shop has always been good with customer service and warranty repairs but I'm tired of the problems. Last summer they replaced both the inner joints due to the wear in the pics. The new joints were quiet for less than 500 miles before the noise started again. I was going to send them back over the winter but never got around to it so I decided to run them for the summer and deal with it this fall. The joints are noisy all the time now and I suspect look about the same as before. I may have them switch to a stock Porsche or Audi inner joint and make a flange for the transmission output shafts to bolt the joints to. I guess we'll see what happens. They owe me something, this whole process has been a real PITA!
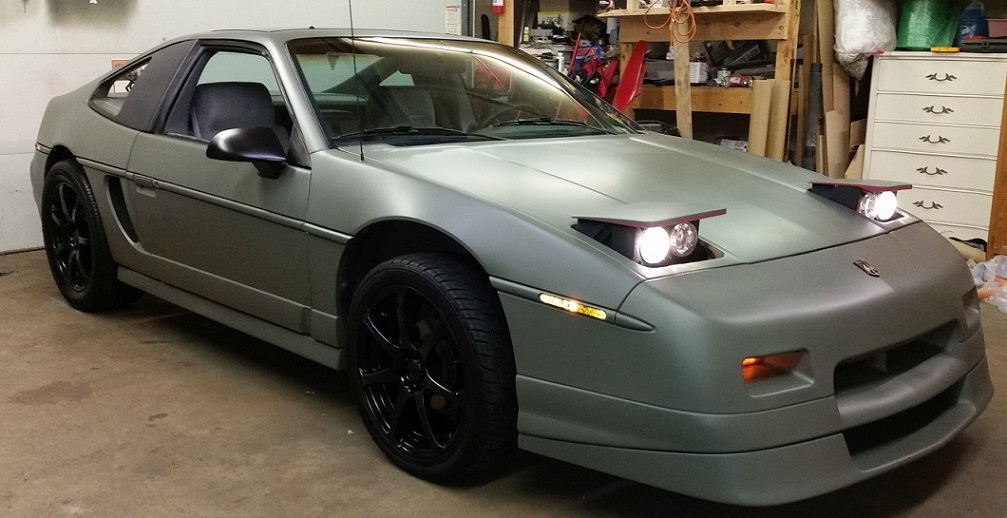
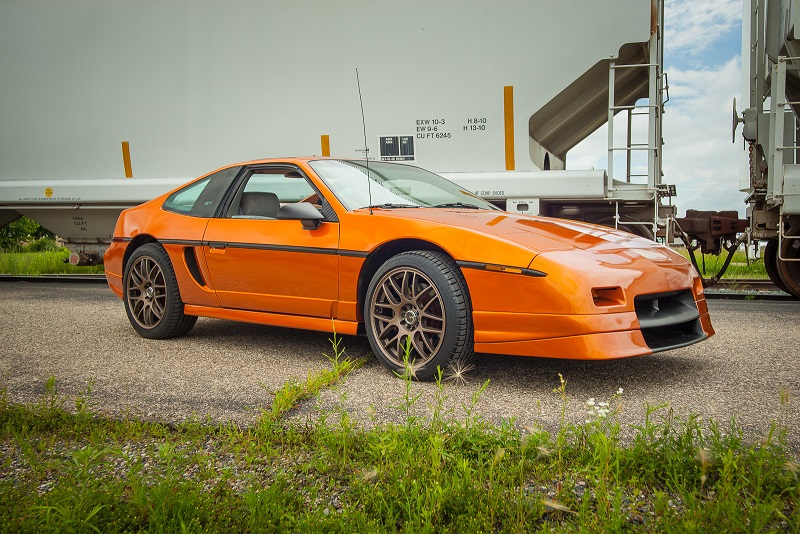
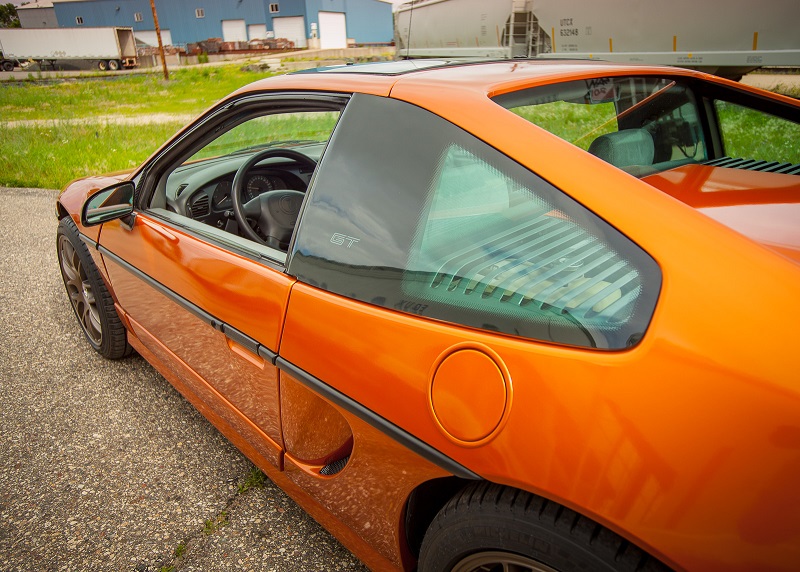
Well it's been a little over 2 years without any sort of update so I should probably do that. The swap is still running strong, the only trouble I had recently was a loose cable at the starter causing a no crank issue. This spring, after a couple years of living with the dark green color, I decided that I had had my fill of plasti-dip and it was time for a change.
I contacted a friend of mine who owns a vinyl wrap business and worked out a deal to get my car wrapped. So the adventure of removing all traces of green plasti-dip began. I ended up removing all but the fastback clip and the roof panel to get rid of the dip overspray. There are more nooks and crannies on a Fiero for the dip to hide than I could count. There was also some body and paint problems to address before the wrap could go on.
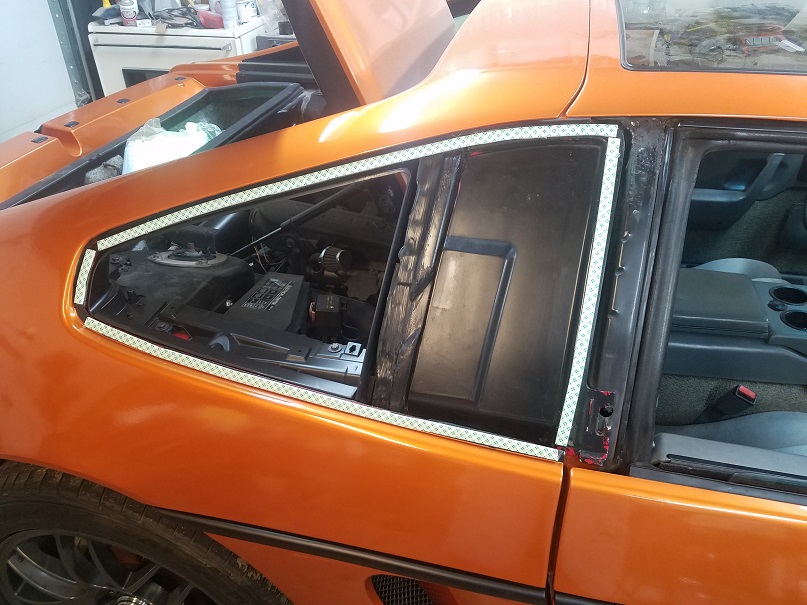
After The wrap was done and the car reassembled I decided I wanted get rid of the fiberglass pieces and to go back to regular quarter windows. After weighing my options, including a pair of NOS windows, I decided to get the new Fiero store premium quarter windows.
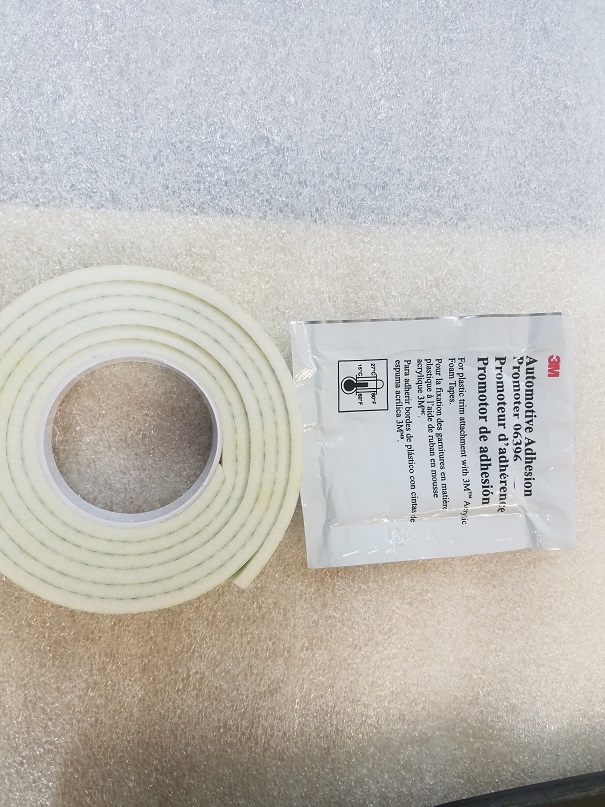
I did not use the supplied tape. I opted for 3M urethane foam acrylic adhesive tape and adhesion promoter.
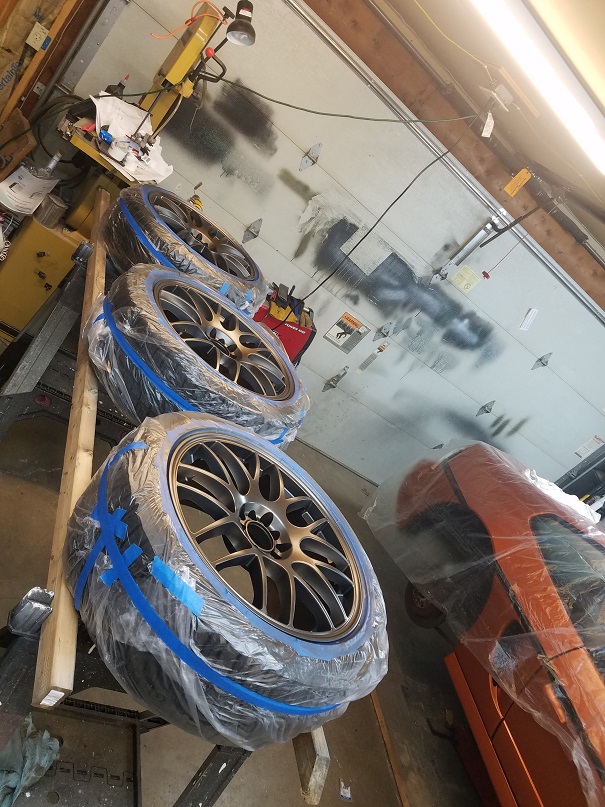
I also wanted to go with a bronze colored wheel but they weren't in the budget so I opted to paint my existing wheels. I used Dupli-Color wheel paint and matte clear. This is great stuff, it laid down nice and flat and covered in just a few coats.
I normally am not a fan of people modifying the body of Fiero's too much (Just purely personal taste), HOWEVER, yours is absolutely fantastic. Love the look so much! Great taste and beautiful work!
One thing I worry about is the water pump. The 3.5 chrysler water pump was designed for a short run of fluid. The run from the rear of the car to the radiator in the front can put a lot of extra pressure and heat on the impeller. You should not use a plastic impeller but a steel one if you can.


 )
)


 . My axles were sent out and repaired by DriveShaft Shop for the 2nd time. This go-around they replaced all the internals in the inner joints so we'll see how long that lasts. Looking forward to a fun summer of car shows and Fiero events