The wipers are nothing short of "masterpiece" status, and I'm sure the windshield will turn out the same way.
You may never know how great it is for the rest of us to have a build like this to look at and marvel, and use as a source of guidance and inspiration. Maybe there's something in the water north of the border?
Keep up the good work, and don't forget to keep us all updated!
Thank you for the kind words Sage. All I can say about the water north of the board is that it's still frozen solid.... probably much like it is in your neck of the woods.
For fear of falling completely off the bottom of the first page of the construction zone, I figured I better post an update.........asap!
The wiper system is pretty much finalized and the parts are out getting tig welded. Once I have it all back and assembled, I'll post the final drawing and various components used.
I have also been researching suspension components and have decided to go with the Arraut wide track system. To start with, I'm going to use their rear control arm with bump steer correction. As per instructions detailed by Richard at Arraut, I made the necessary modifications to the stock rear spindles, including the removal of the steering stop tab, that vestigial lump of steel left over from the GM front wheel drive arrangements.
In an effort to make the spindles a little more attractive, I also removed some of the excess flashing left over from when the parts were originally cast. The spindles were then sent to be cleaned up and powder coated. While the original wheel bearing assemblies have low mileage and seem to be tight, they are 29 years old, thus I ordered two new bearing assemblies from the local autoparts store.
While I wait for everything to come back, I did some online shopping and picked up a set of four used Ferrari 355 tail lights for my build. They are not in flawless condition but they are a complete set of LH and RH inner and outer units so I think they'll suffice.
Like many of you, I'm waiting patiently for spring to arrive and a bit of natural warmth for my garage. I've never been a big fan of wearing wool mittens while I work on my car.
Edit: for poor grammer
[This message has been edited by Yarmouth Fiero (edited 03-11-2014).]
Nice find on the lights... they do come up every now and then on eBay but they don't usually last very long.
As for the knuckle mods, I seem to remember someone saying earlier that the mods irreversibly change them so you can't convert back to a stock config even if you wanted to. So far, I don't see how removing the steering stop affects anything. Are there other changes? Lookin' good BTW.
Thanks Blooz. Yes, the other significant mod to the spindle is to drill the tapered steering arm hole to accept a straight 5/8" bolt. I guess that would be considered irreversible. I'm not concerned because going to a wide track control arm means I am never going back to stock suspension anyway. After all the chassis mods I've done, going stock again is in the rearview mirror.
Hopefully it's not too late, but I would suggest that you pitch those stock uprights and get the larger bearing uprights of the GM intermediates. The widened suspension and big wheels will abuse those stock bearings. The larger bearings were available on the Pontiac 6000 and Celebrity wagon (and a few others)/ It will also give you larger vented brakes (although I know you're already doing that), and a larger hub face with 115x5 bolt pattern. Using this upright, you can also use the S10 bearing with the 4.75x5 bolt pattern.
Bob
[This message has been edited by RCR (edited 03-13-2014).]
Thanks for the info and suspension suggestions. Since I am seriously looking at the Arraut wide track upgrades that are based on the stock spindles, I didn't really consider looking at other vehicle offerings. As well, my automotive knowledge and experience is quite limited so I really wouldn't even know where to start looking for alternatives. On top of that, I am committed to the Fiero bolt pattern as my wheels are sitting on a rack in my shop.
One thing I am learning about this project is that it's way too easy to get bogged down in the research to the point where making a decision becomes stressful. ha-ha-ha
But please keep offering suggestions and alternative ways of doing things. Its a great learning experience for me.
Thanks for the info and suspension suggestions. Since I am seriously looking at the Arraut wide track upgrades that are based on the stock spindles, I didn't really consider looking at other vehicle offerings. As well, my automotive knowledge and experience is quite limited so I really wouldn't even know where to start looking for alternatives. On top of that, I am committed to the Fiero bolt pattern as my wheels are sitting on a rack in my shop.
No problemo... I'm sure it will work out.
quote
One thing I am learning about this project is that it's way too easy to get bogged down in the research to the point where making a decision becomes stressful. ha-ha-ha
I hear you. It can be a time consuming pain in the butt.
quote
But please keep offering suggestions and alternative ways of doing things. Its a great learning experience for me.
Tonight I got the rear spindles back from the powdercoater so I slipped in a new bearing assembly just to see how they look and take a picture. As you can see, I will be carrying the gold theme from the rollover hoops down through the suspension components. Hopefully it will look ok with the black car body.......one day.
Hi everyone, sorry for the slow progress lately. Work has been all consuming as our latest project approaches completion. Its a 400 passenger ferry for the City of Halifax and is named after a local soldier who gave his life in Afganistan. We were also the successful bidder for 3 more identical vessels so its going to be a busy few years ahead.
The M/V Chistopher Stannix
As well, I lost my mom recently following a very brief battle with liver cancer. That took the wind out of all our sails.
Once life gets back to normal in a few weeks I'll be right back at the project where I left off. Hope you can stay tuned.
Thank you everyone for your condolences. My mom was one of my first passengers the day I brought my new Fiero home in 85. She had such a smile because it reminded her of when she toured Europe in her red MG while teaching english in the 60's. She had always been a supporter of my project car and she smiled and nodded approval as I described my plans during her many visits to my garage. She left it to my dad to point out the large quantity of rocks I must surely have inside my head...ha-ha-ha.
I got to spend my 50th birthday with her in the Palliative Care Unit. She passed away the next morning with all our family by her side. I will find some appropriate way to include a tribute to her as the project developes.
Again, thank you for your support.
[This message has been edited by Yarmouth Fiero (edited 05-04-2014).]
With everything else going on in life, I still try to find some time to lapse into a project state of mind. I suspect like most of us on this forum, our project cars are a place of solitude to escape to when we feel the need to relax and unwind from our hectic lives.
I have been focusing on the rear suspension lately as it will be an important aspect which requires resolution not only get the chassis rolling but also find an acceptable compromise between the requirements of the widened track of the 355 body, the lowered and limited suspension travel available and still utilize off the shelf components that will provide some measureable increase in performance over the stock 85 suspension.
As always, I start by drawing the known components I have, in 3D so I have a starting point to build on. The wheels are done and next are the new wheel bearings. I also included a sample 13" rotor with hat that I suspect willl be similar to the pieces I will use.
The next part that I am currently working on is the rear spindle. Those castings and complex to measure and draw accurately but worth the effort as they will allow me to get a good idea of the control arm requirements.
Thanks Blooz. I am still thinking the Arraut bump steer corrected rear control arms. Once I have the spindle drawn, I will put it all together and match your track width and see what I come up with for arm length.
Well, this project is now in service and carrying passengers in Halifax as of last night. Been a long couple months with work and personal matters. Now its time to get back to the NS 355 project. Thanks for your patience.
Who are you trying to kid... we read in the newspaper that your company won the contract to make another three(?) of these ferries. There's a pool out on the streets where people are betting to see how long it will be before the car gets listed on eBay.
Really?? Ouch. Are you kidding? Do you see that SS exhaust system on the ferry? I've been honing my skills for my future 180 degree headers and I have a tonne of 8 inch diameter SS pipe squirreled away for the exhaust on my car.
Lately it seems progress has been slow with regards to actual fabrication. I have been spending lots of time researching and trying a few new design ideas for the project. I have been focused on the rear end and specifiaclly the brakes and suspension. Its amazing how much time it takes to draw cast parts like the rear spindle/ knuckle in 3D. With regards to researching for suitable brake components, I think its even more difficult than selecting wheels.
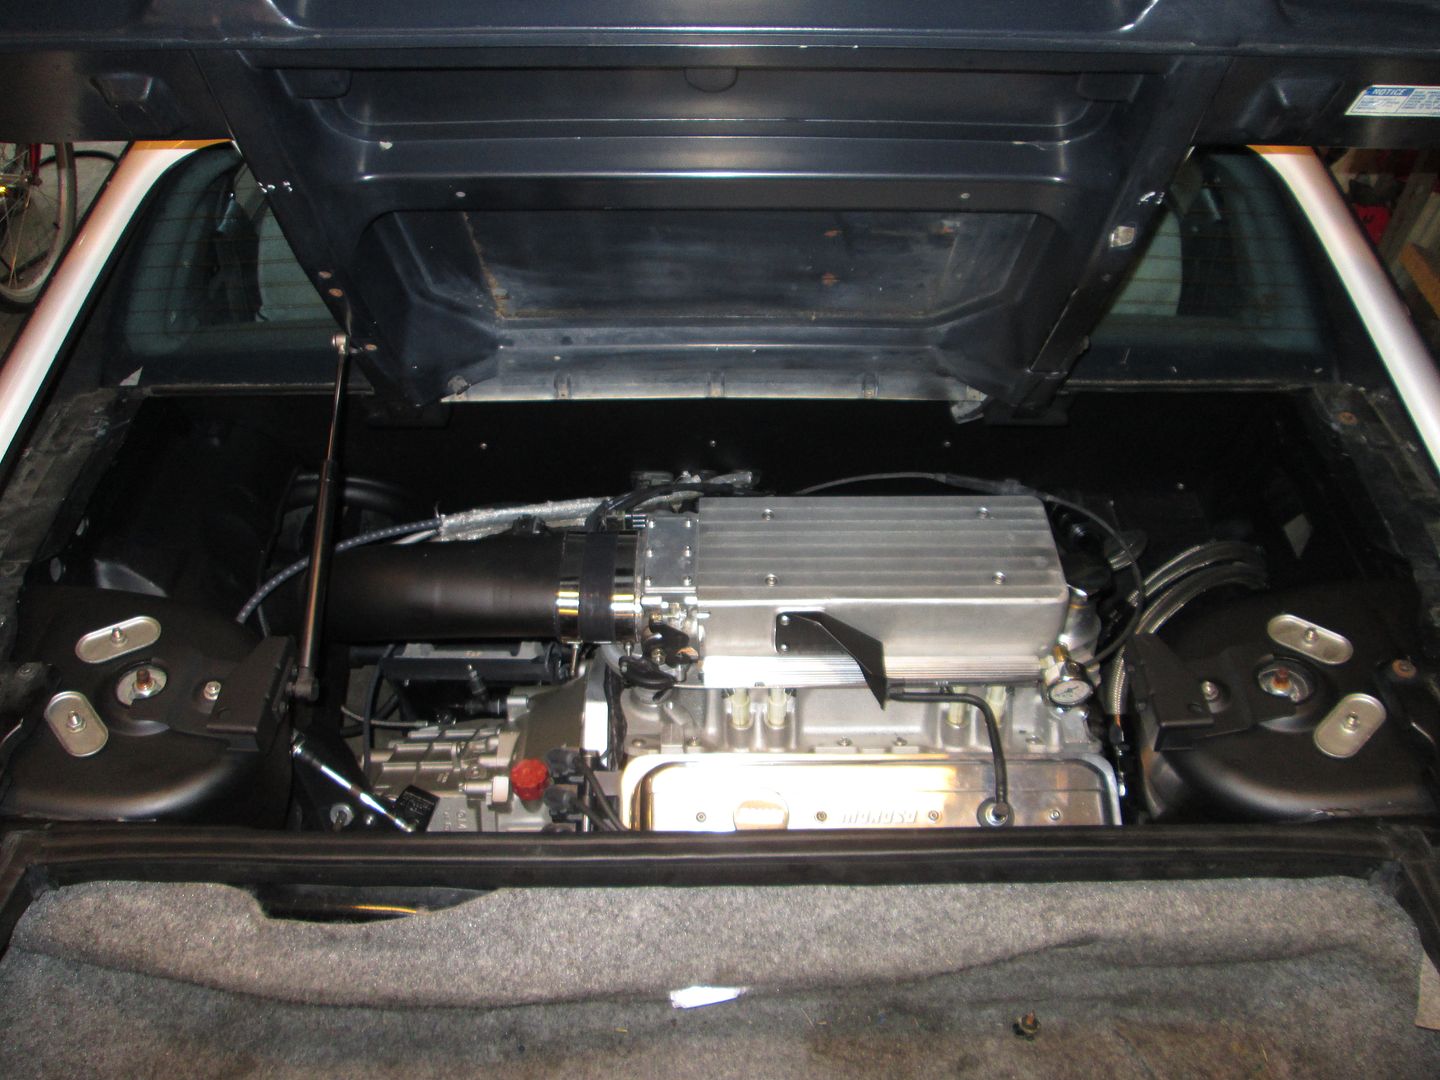
I also added a SBC 350 to my 3D model and started dabbling in 180 header designs. With the 6" + track width increase, I am considering moving my strut towers outward 3" per side. Here are three screen shots showing the SBC in place with the stock and modified strut towers as well as an intial start on 180 degree headers.
SBC with stock strut towers
SBC with modified strut towers
SBC with initial styling of 180 degree headers
Clearly I don't have the engine located in the exact spot but its close enough to give me an idea of how it will all fit. Moving the strut towers outward really opens up the engine bay and may allow me to run half of the headers around the passenger side of the engine bay. I am also prepared to remove most or all of the trunk and make the space available for the 180 headers and exhaust components and make them a feature of the engine bay.
[This message has been edited by Yarmouth Fiero (edited 06-21-2014).]
From the looks of things, the engine is around 3" too far to the driver side in your drawing. Final side to side placement depends on which adapter plate you use (Archie = 1" or Zumalt knockoff = 1/2 to 5/8") and if you are willing to notch the driver side or passenger side frame rails. Here is a SBC swap that used an Archie adapter plate. The rear bolt on the valve cover is almost dead center to the chassis.
You have a keen eye Fieroguru, my engine was off about 3 1/4"
SBC location corrected.
Perhaps this is the frame notching you are refering too Fieroguru? Would you care to make a suggestion regarding the current height of my SBC based on the location of the crankshaft and the lower frame rail? I would appreciate your input.
[This message has been edited by Yarmouth Fiero (edited 06-18-2014).]
I always place the engine/transmission as low as possible and try to get the oil pan flush with the bottom of the cradle.
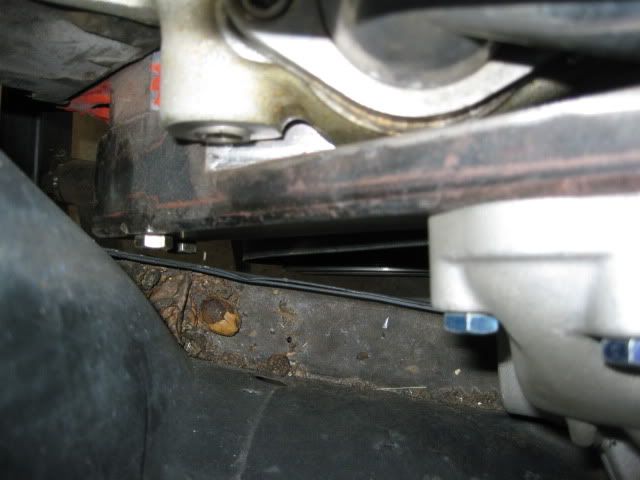
Here is a picture of the crankshaft centerline well below the bottom of the frame rail:
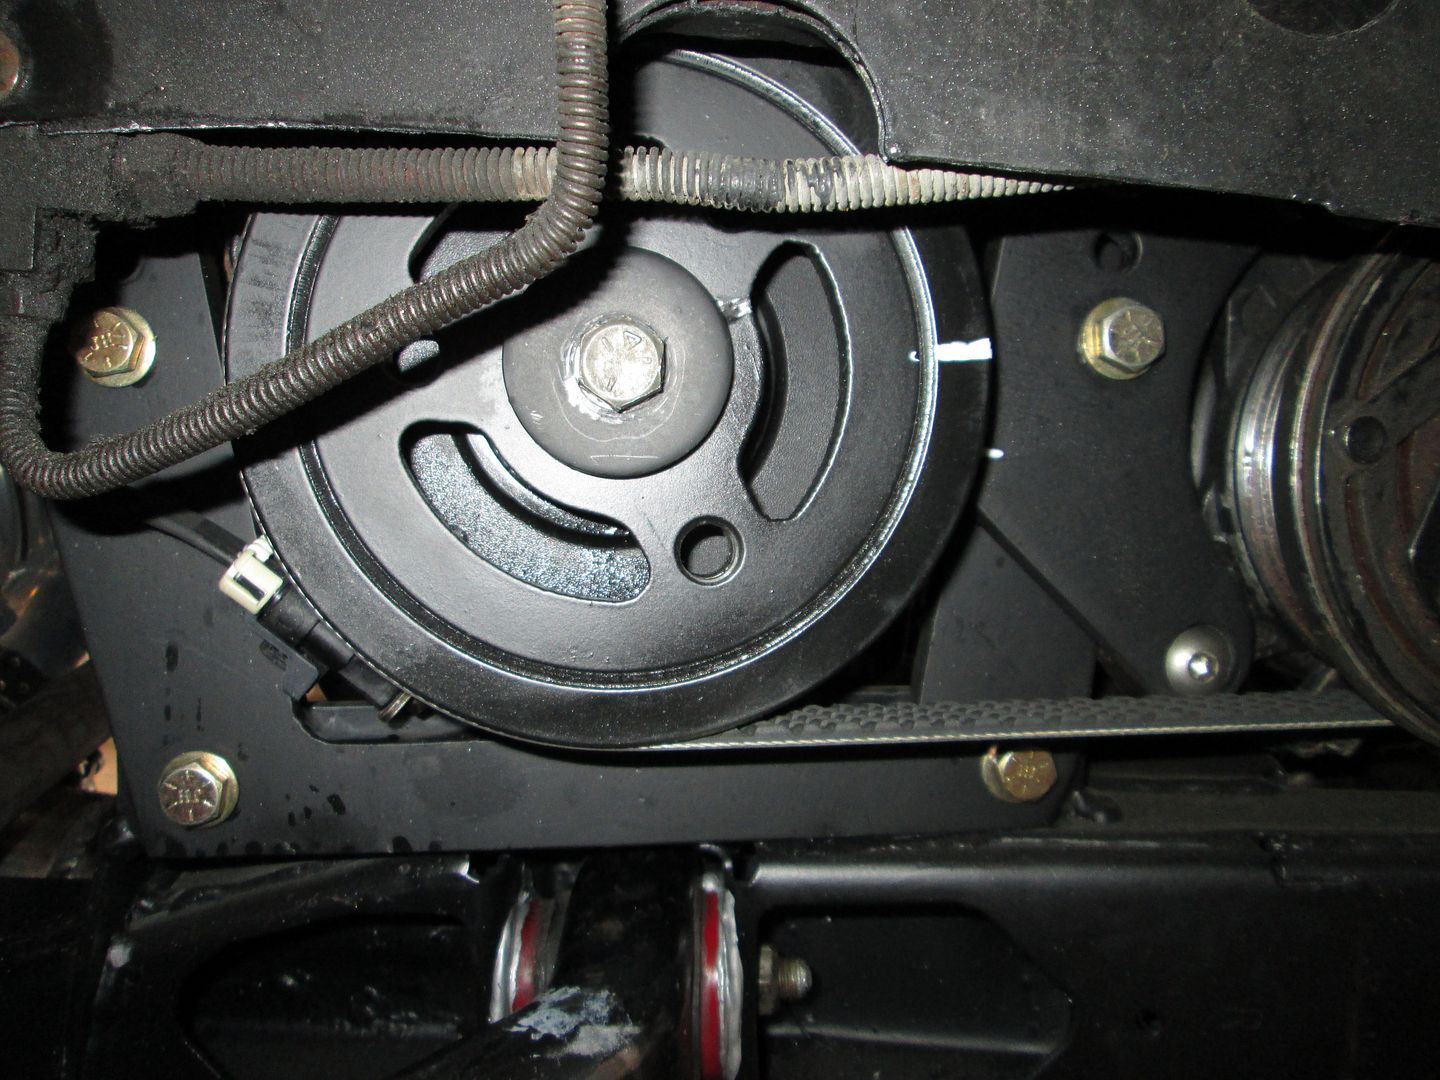
The engine still needs to be further to the PS frame rail. There normally is about 1 3/4" between the 2 rear water pump bolt holes on the engine block and the frame rail. Your accessory drive shown should be nearly completely through the DS frame rail (that is unless you want to notch the DS frame rail for transmission clearance):
You've just discovered the difference between Archie's V8 adapter kit and the Zumalt knock off kits. The Archie kit with the thicker adapter plate ends up making the water pump pulley interfere with the lower frame rail on the passenger side, so his solution was to extend a shaft from the ends of the crank and water pump pulleys to relocate the pulleys on the outside of the frame rail. Later options included low profile electric water pumps. The Zumalt kit used a thinner adapter plate, a shorty-style water pump with a single V-belt drive pulley on the crank, which kept the pulleys inside the engine bay. That however necessitated a notch in the driver's side lower frame rail to accommodate the transmission though. So there are pros and cons to either approach with the bottom line being that there simply isn't enough room between the frame rails without some compromises.
The adapter I sold you several years ago is an Archie style adapter, though I'm not certain who actually made it.
Thanks Blooze. The 3D is alot of work but its so easy to move things around once they are drawn. The engine model is a generic engine set up. I had always thought about using a remote electric water pump and I don't have any air conditioning or power steering so the belts and pullys will be minimal. I'm still searching for a good 3D model of the 6 speed manual gearbox. I suppose the adapter plate I have now may not suit that. With regard to frame chopping, I've gotten good at that so I don't mind doing whatever is necessary once I have my engine and transmission sitting in my garage. I am still thinking that I'll move the strut towers out in hopes that it provide a little more room for whatever I may decide to do next.
[This message has been edited by Yarmouth Fiero (edited 06-19-2014).]
Originally posted by HarryG: That looks like Archie's front mount; do you modify it to gain more adjustability?
Yes. I cut 1/2" off the very bottom, filled the half holes and drilled 2 new mounting holes. I also cut 1/2" off the bottom of the adapter plate and notched the cradle for the starter.
I was using a 1/8" adapter plate and a serpentine belt drive with the L31 timing cover and barely fit within the stock frame rails. With the Zumalt adapter plate, you probably have room for a V-belt balancer and the F40. The serpentine balancer or the Archie adapter plate will require a frame notch on one side or the another.
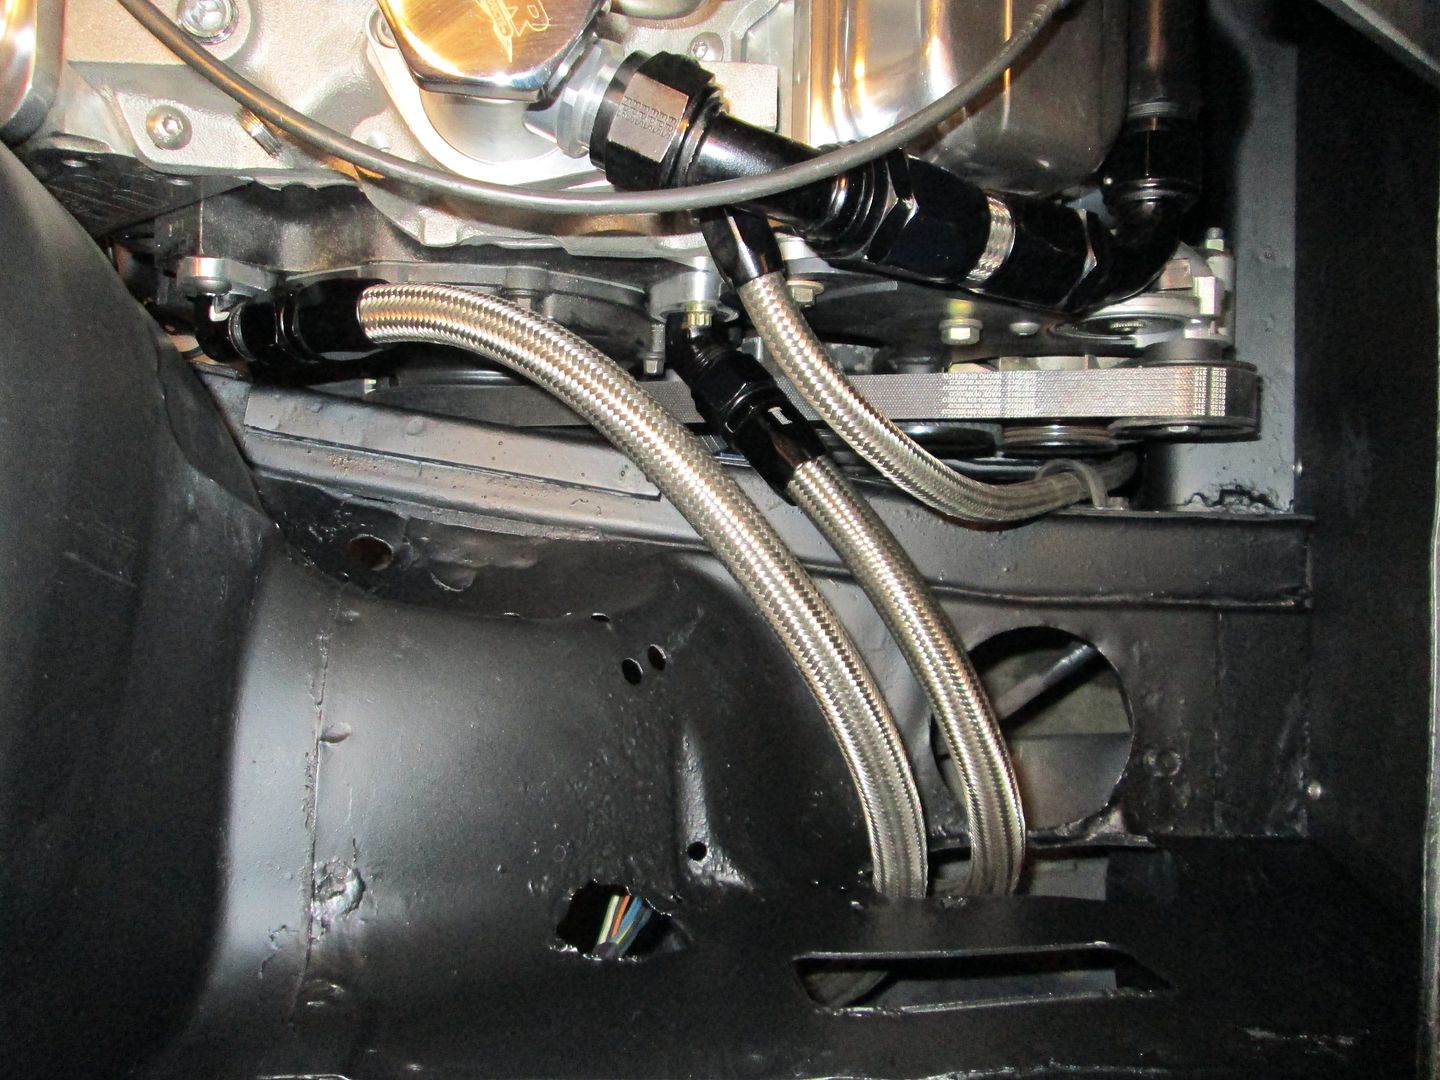
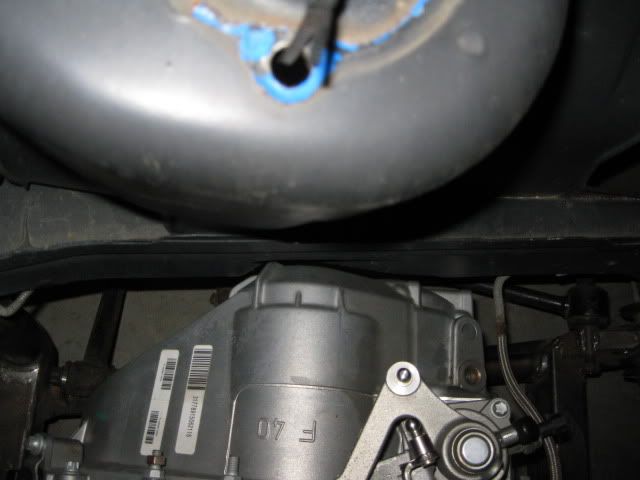
Here is a overall picture of the SBC/F40 combo - notice the engine is further to the DS than the earlier SBC picture I posted. Then pictures of the clearance on each side.
Wow, that is certainly a tight fit. Thanks for the photos Fieroguru. Hopefully my 3" chassis stretch may help a little in way of reducing frame interference.... but clearly not enough.
Keeping with the theme of moving the strut towers outward about 3" per side to match the increase in track width, I started removing the sheet metal connecting the upper and lower frame rails forward of the strut towers. The stock sheet metal is arched to form the wheelwells on both sides of the engine bay, however, with the increase in the rear track, there is going to be plenty of room to square the replacement sheetmetal off thus providing a little more room in the engine bay.
Here are a couple screen shots showing the difference in stock and revised strut locations as well as the difference in chassis sheet metal from stock to revised.
Stock strut tower and sheet metal
Proposed strut tower and sheet metal
My chassis has been essentially clear of any rust but as I started removing the sheet metal, lo and behold, there was some rust on the inside face of the upper frame rail. Its easy to see why the Fiero chassis is so susceptible to rust in this location. Clearly the chassis design is deeply flawed with regard to rust prevention.... much like all three of my Grand Caravans over the years.
I'll repeat this process of sheet metal removal on the passenger side while retaining the strut towers in the best possible condition for reuse.