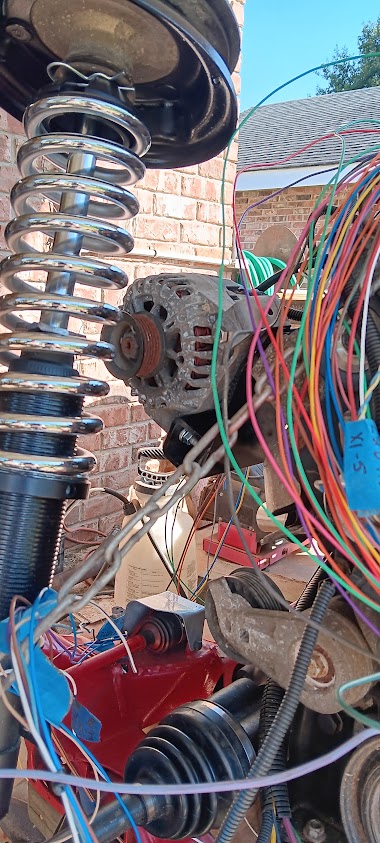
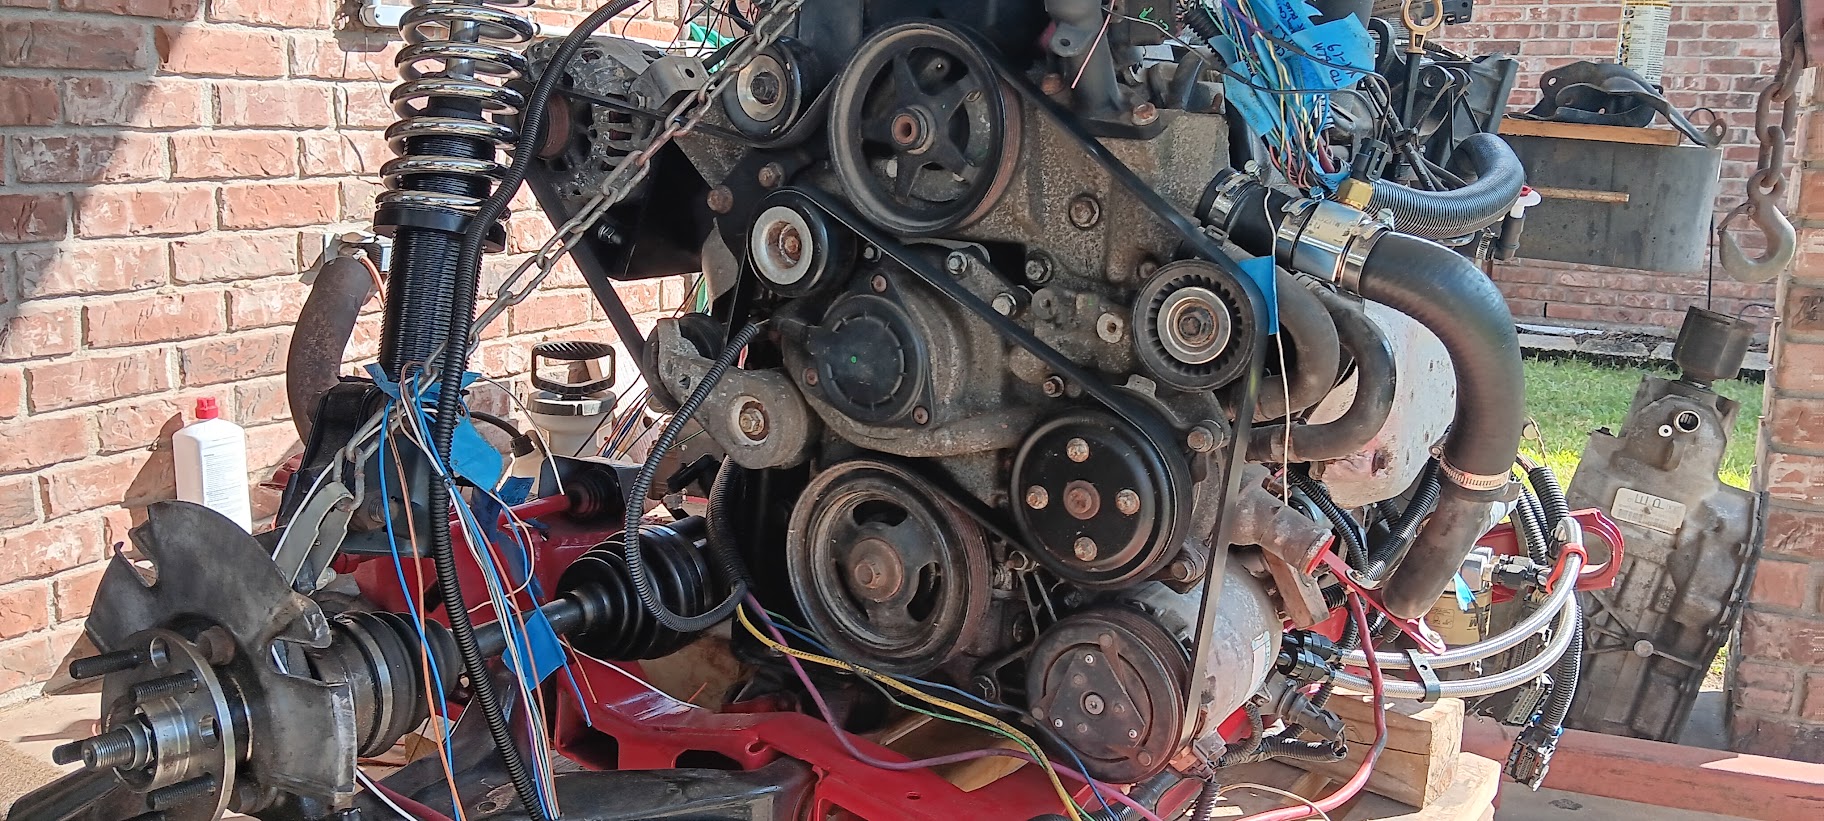
At long last, I have both CV axles installed and some $500 later! Man, what trip. My extreme measure was to cut the shaft on one axle (outer knuckle area on the Fiero manual axle). Then drill out the shaft. That took two days and over a $100 in hardened steel drill bits. I ended up rebuilding the passenger side axle. Pretty much the same for the driver side. More or less..... ended up using a driver side CV axle I had from my 4T440 transmission swap when I discovered the 2002 GM mini-van CV axle that I have purchased for the driver side build has a different spline pitch and axle shaft diameter. It fit like a glove. I used the Tri-cup from a 4T65e transmission.
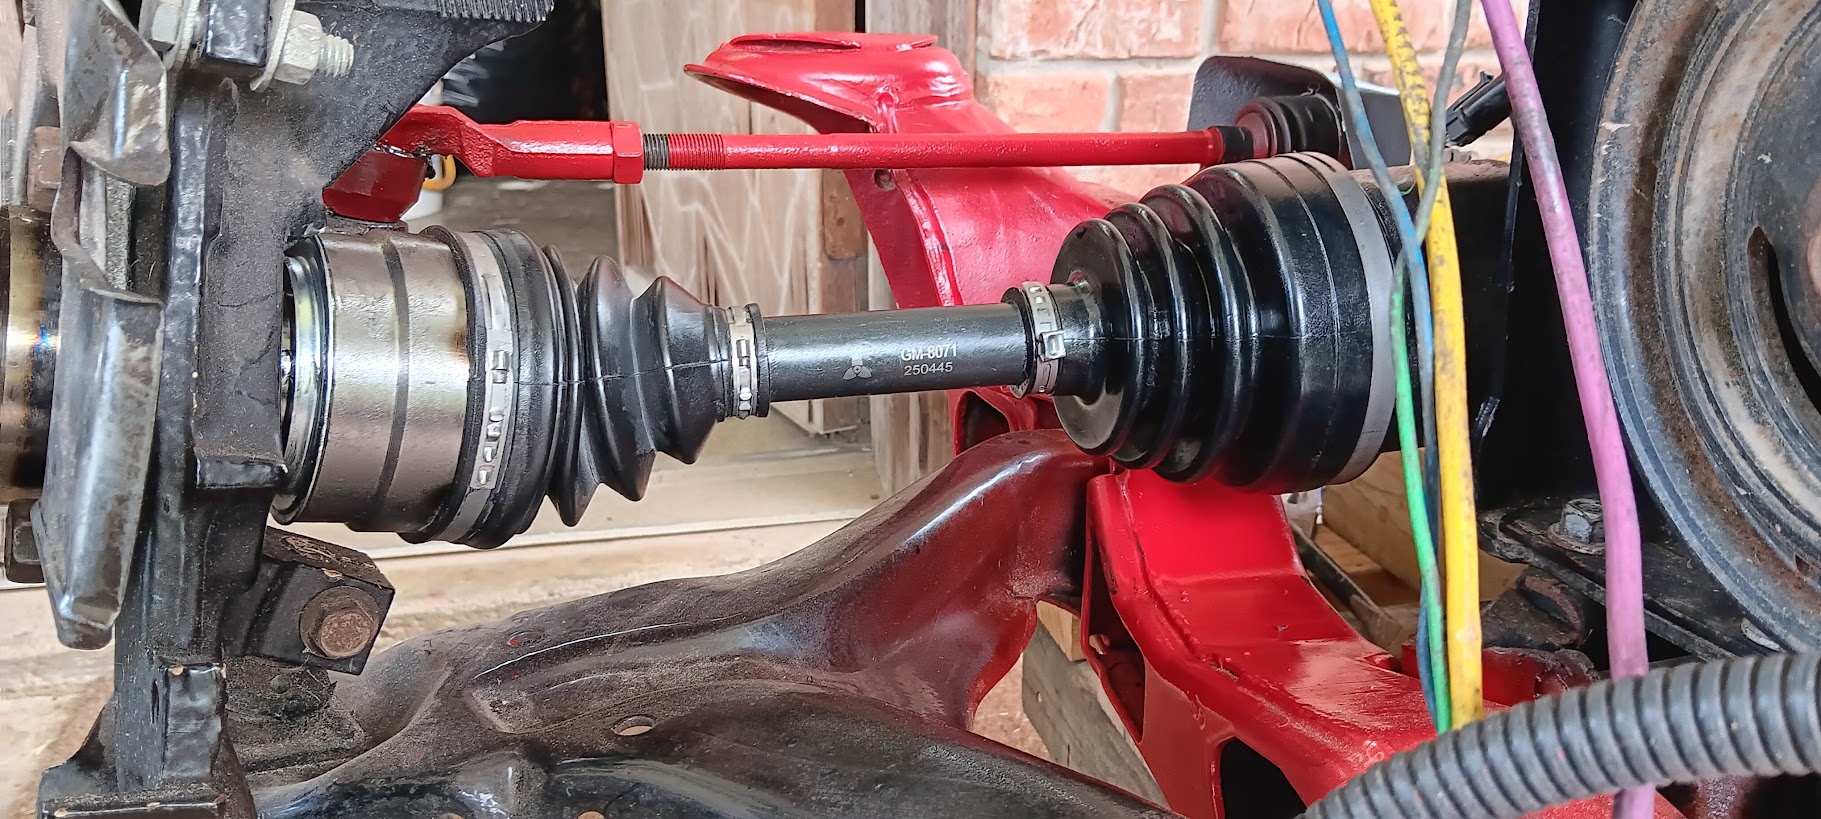
Passenger side CV axle:
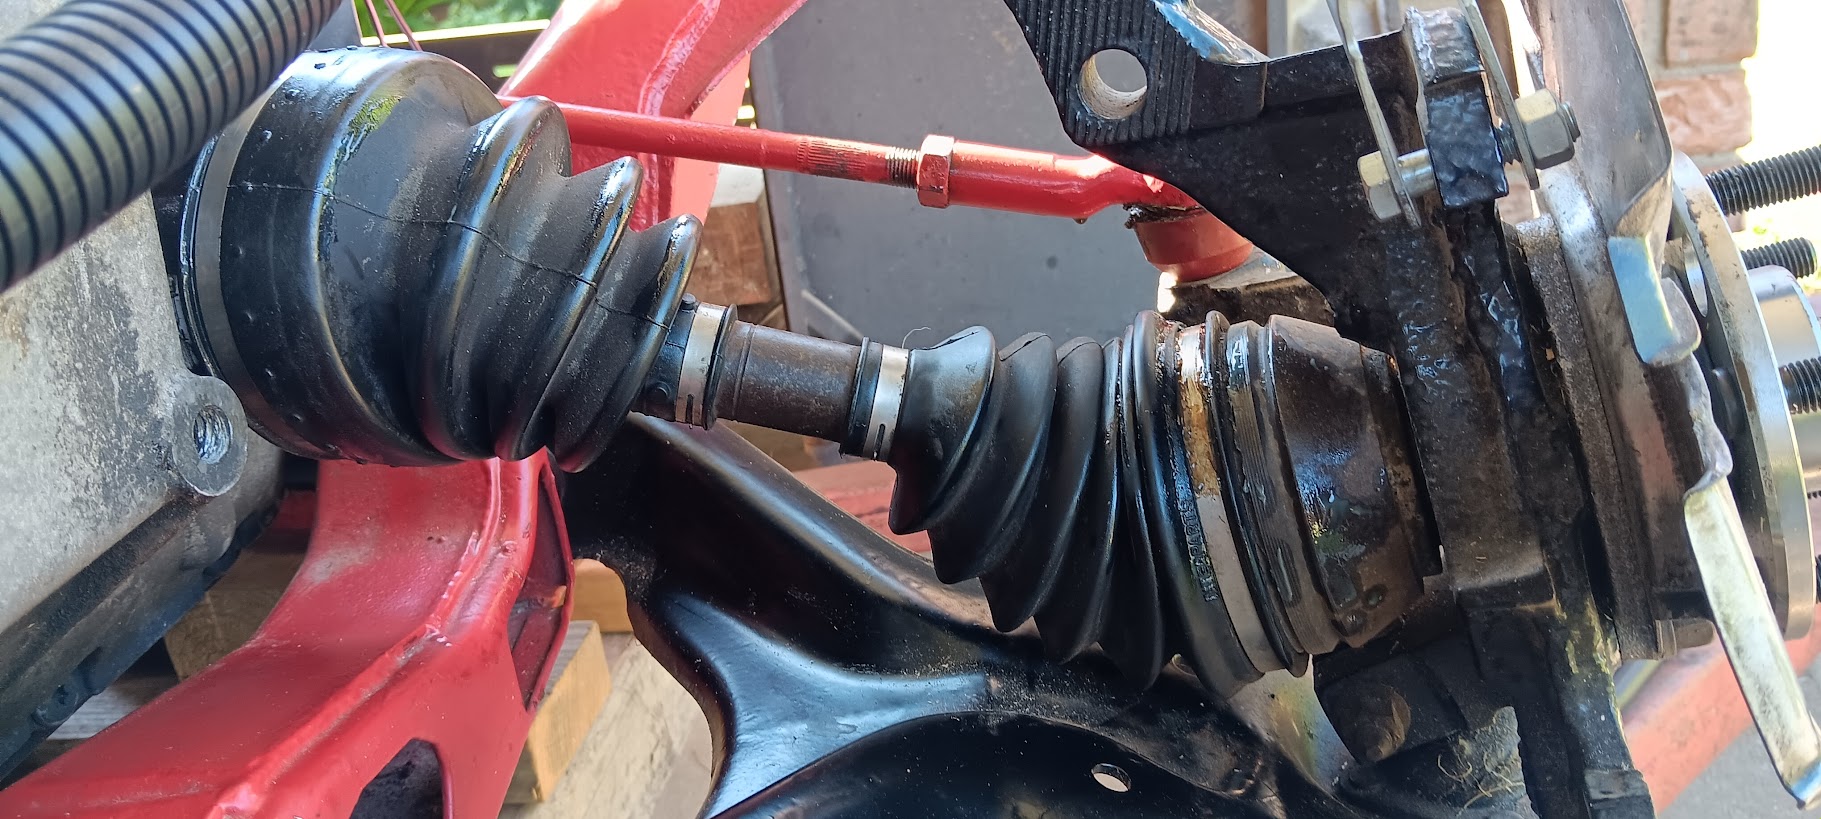
Driver side CV axle:
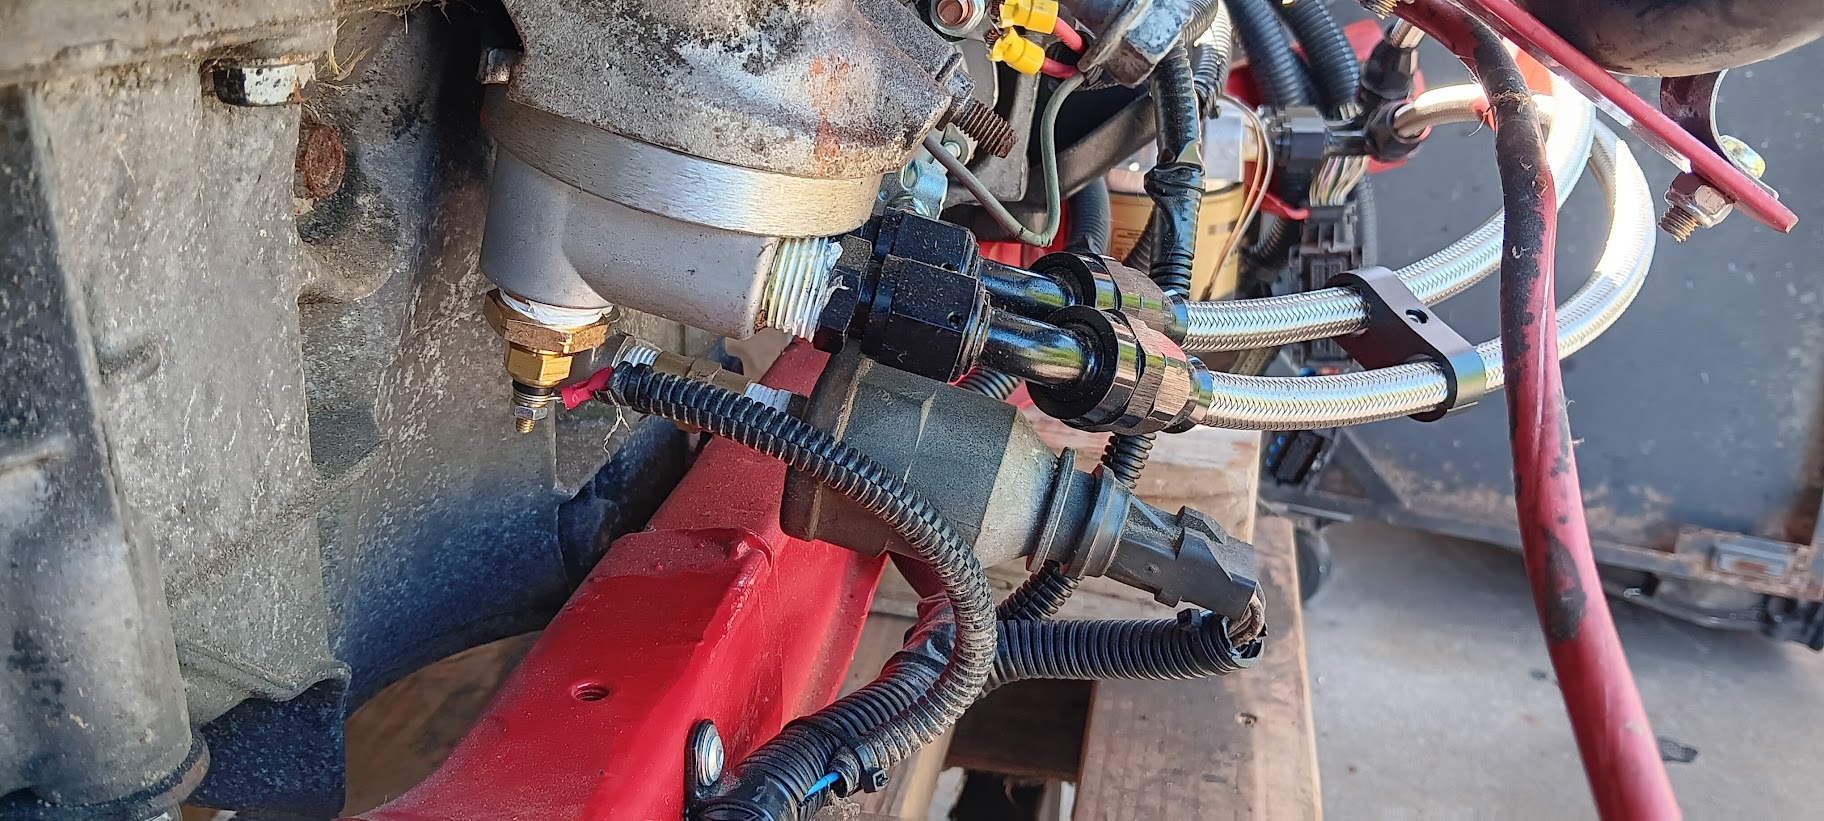
I have completed plumbing the carbon filter canister.
Now in the process of building the exhaust system. That should be real fun.....
Later I will provide information on my CV axle built with part numbers. That will give anyone the opportunity to follow the build and use the part numbers.
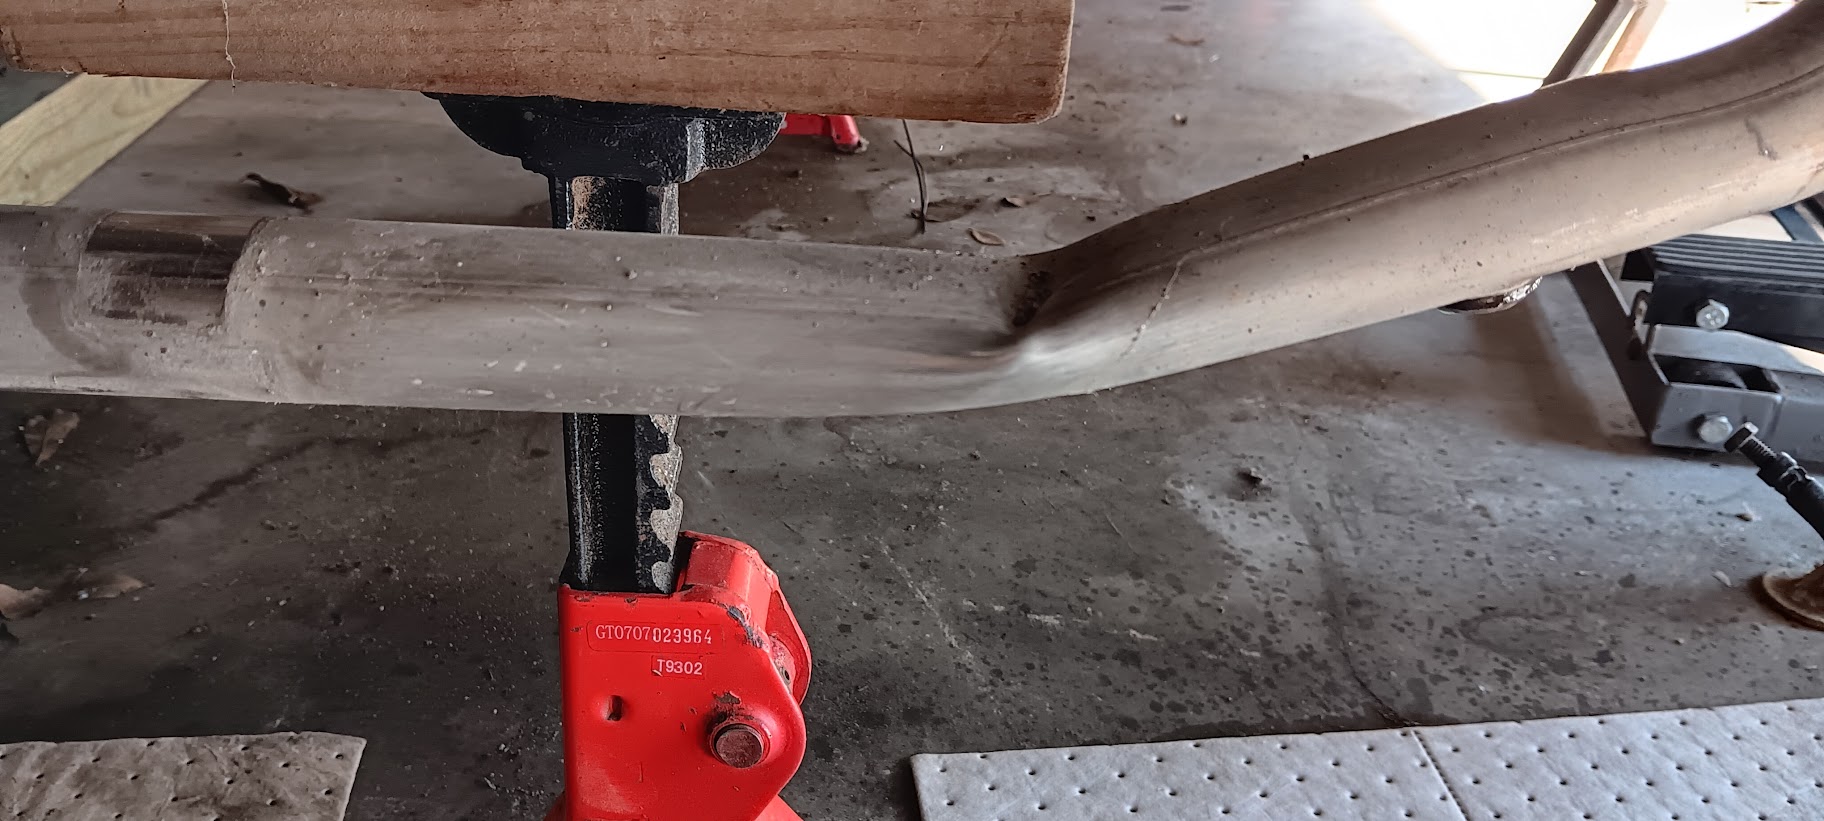
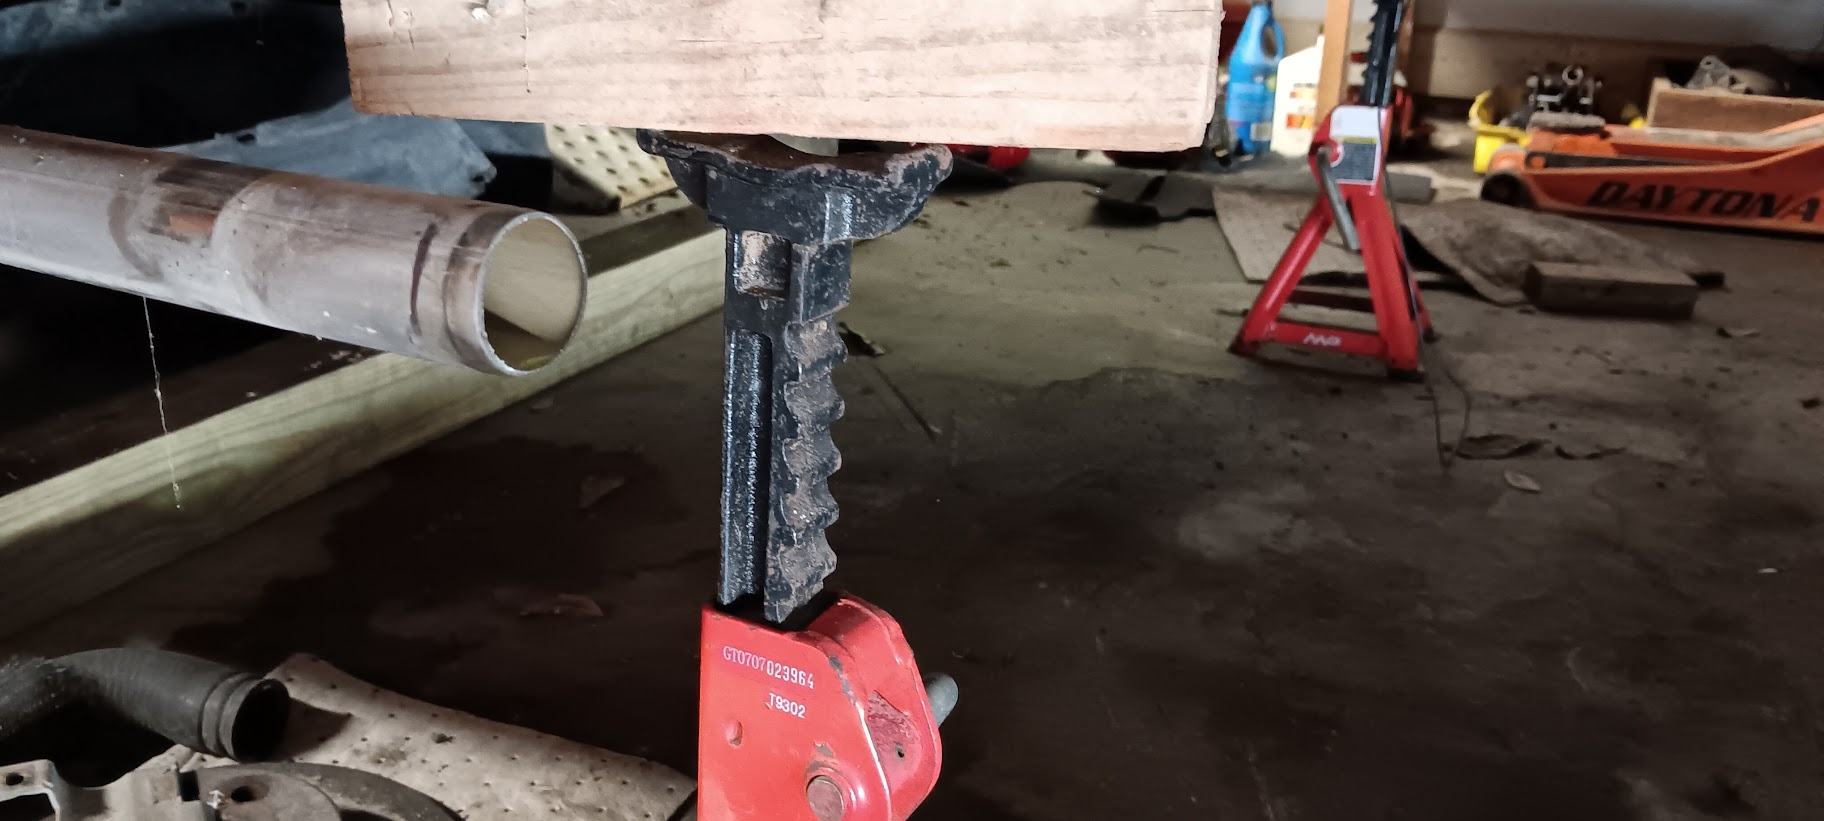
Currently I am fitting the exhaust system (muffler & piping) to the cradle so I will have reference points for the exhaust build from engine to muffler.
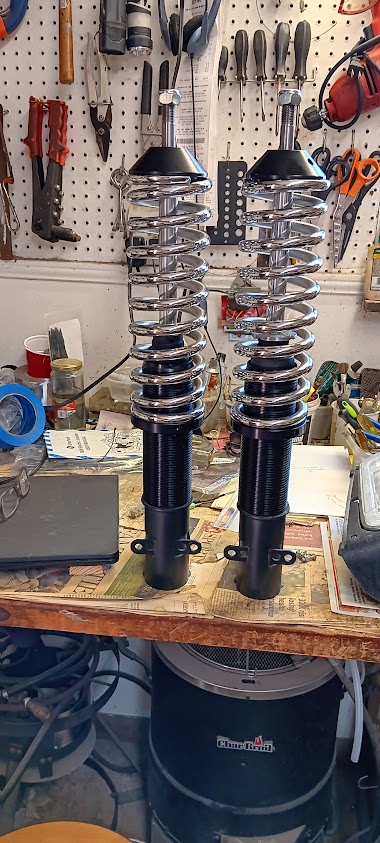
Still waiting on parts: coil-over springs and sleeves.
I am still at it trying to complete this project. The CV axle build ate my lunch.
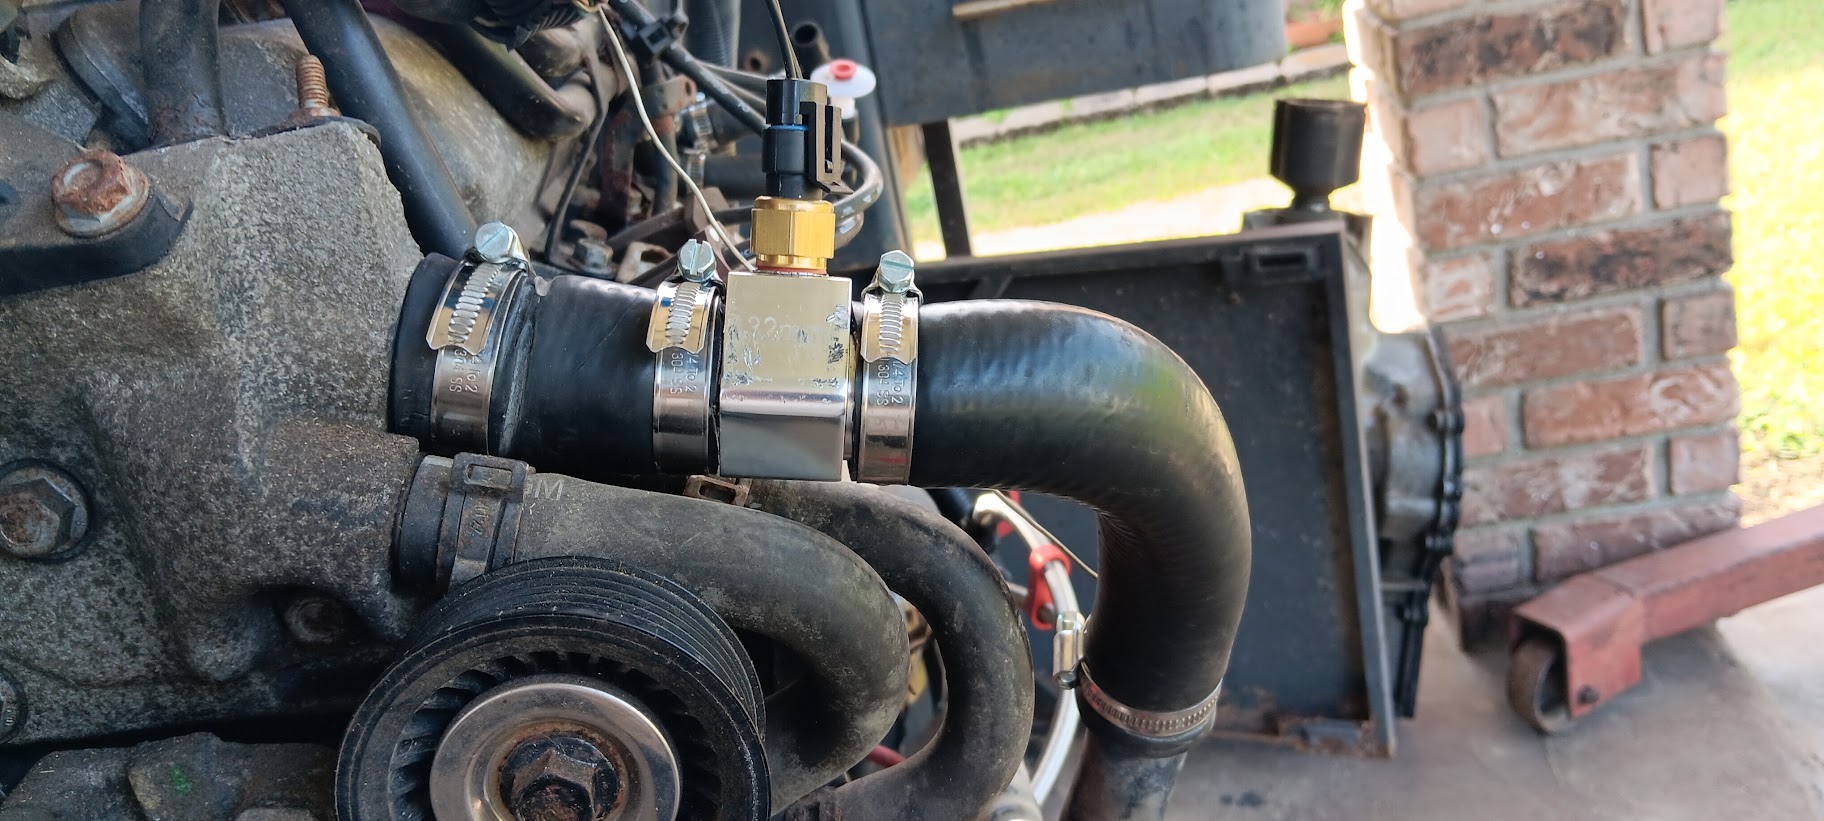
I have added an engine oil temperature sensor to monitor the engine.
I also added an engine water temperature sensor (Fiero OEM) to provide information to my digital instrument cluster.
The coil over sleeves have arrived, however they did not slide over the struts. So, they are currently at my son's shop being machined. Hopefully the coil over springs will arrive in the next couple of days.
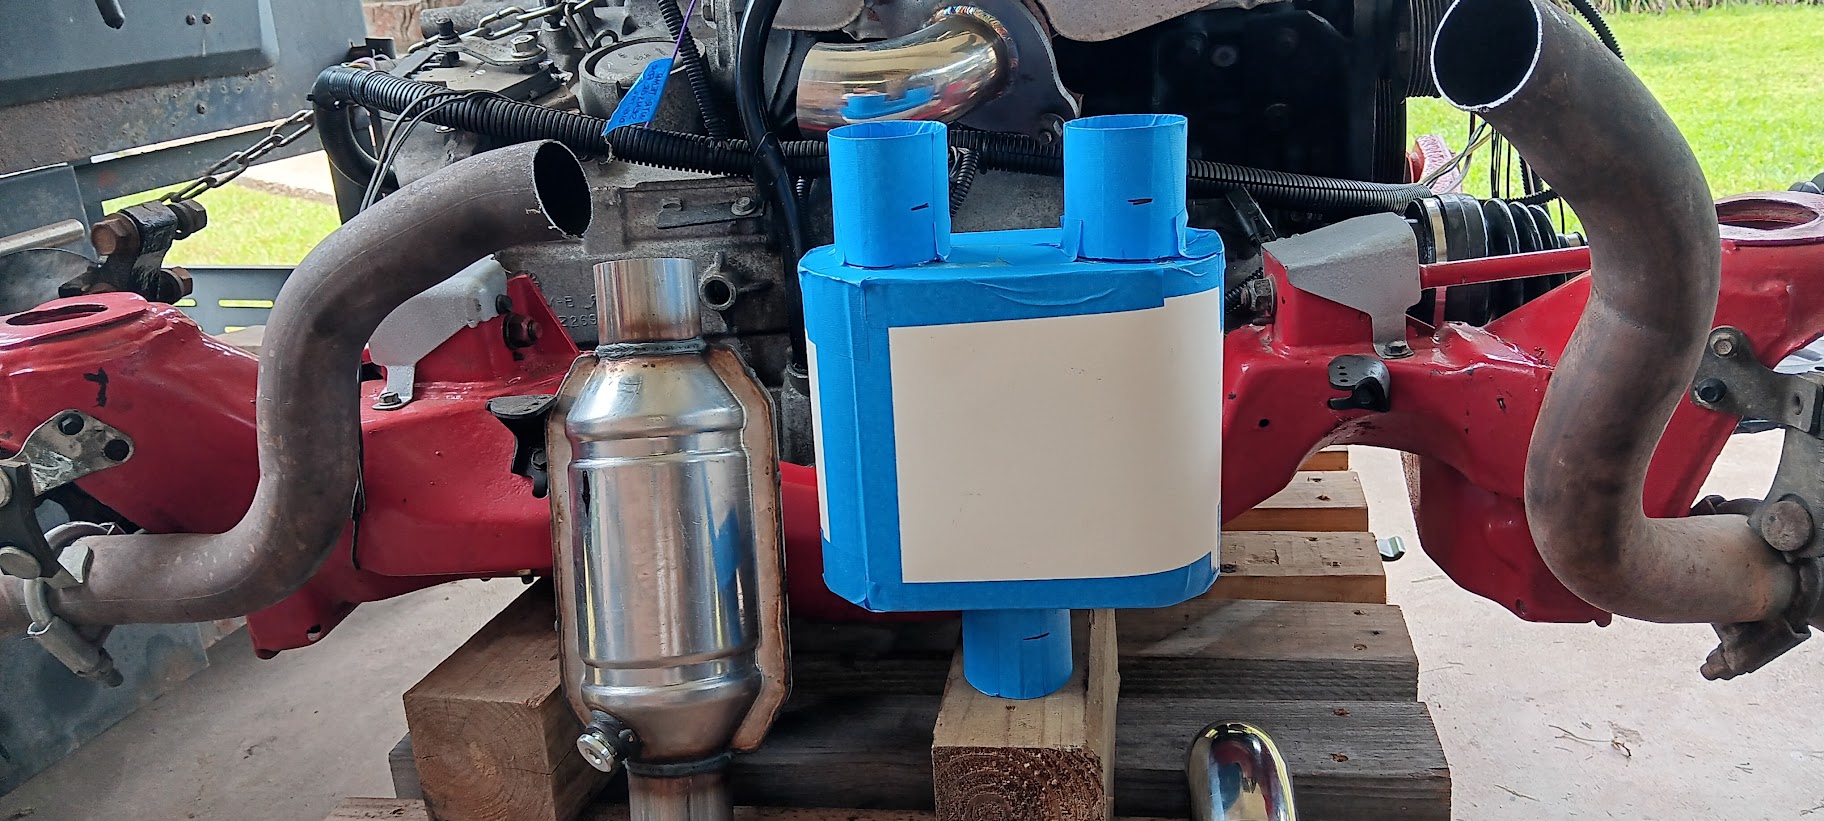
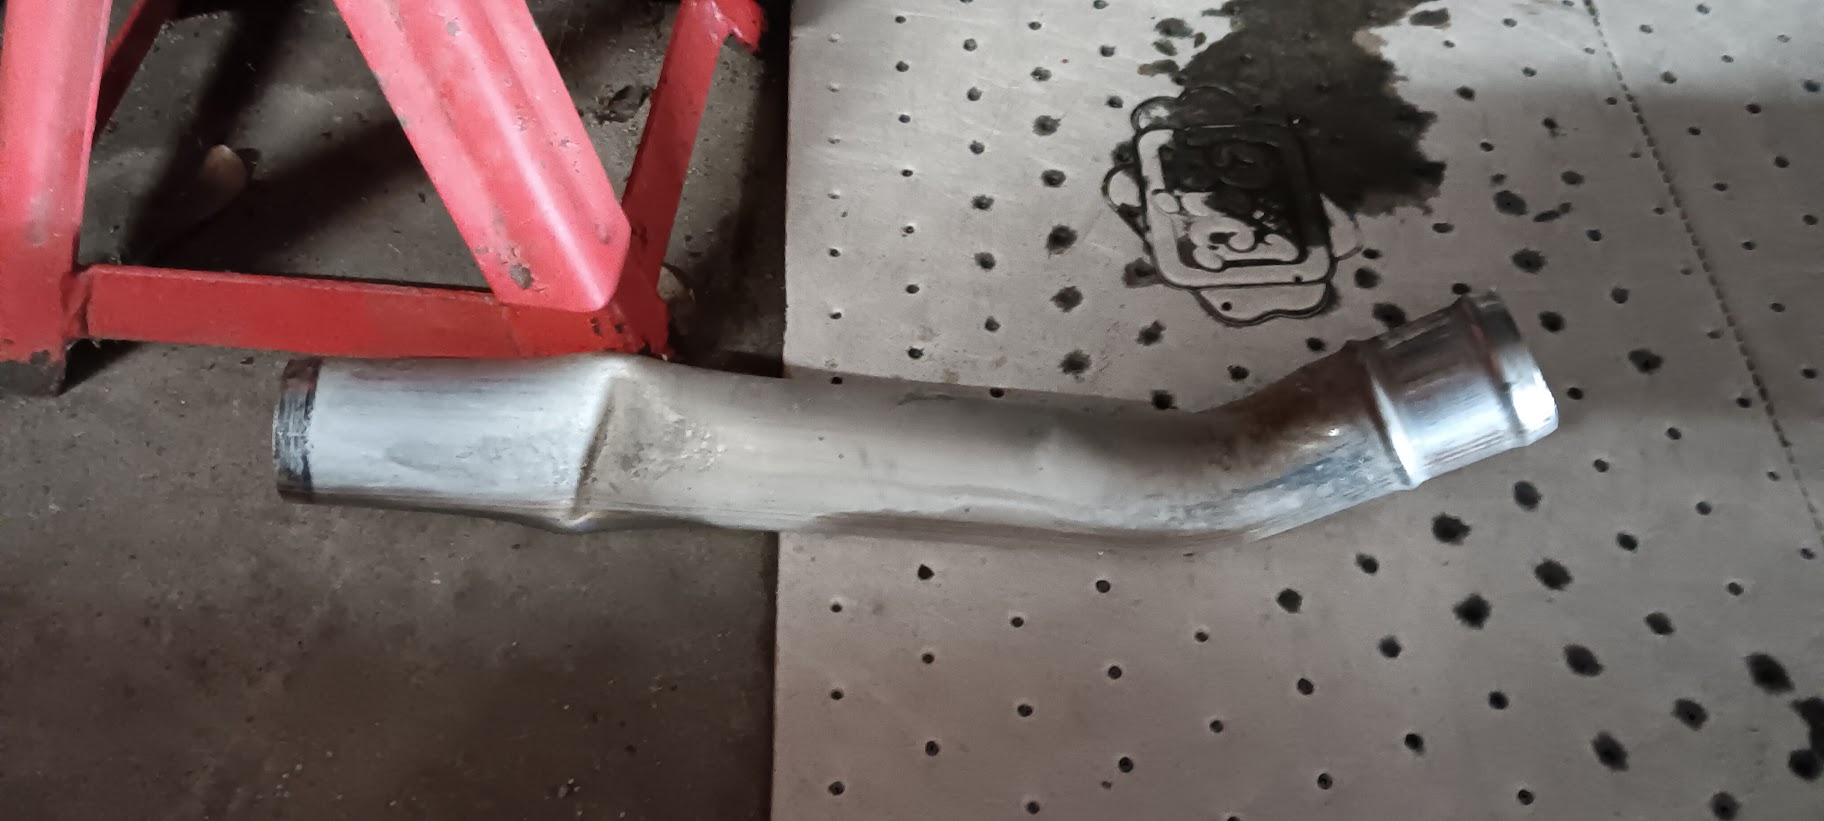
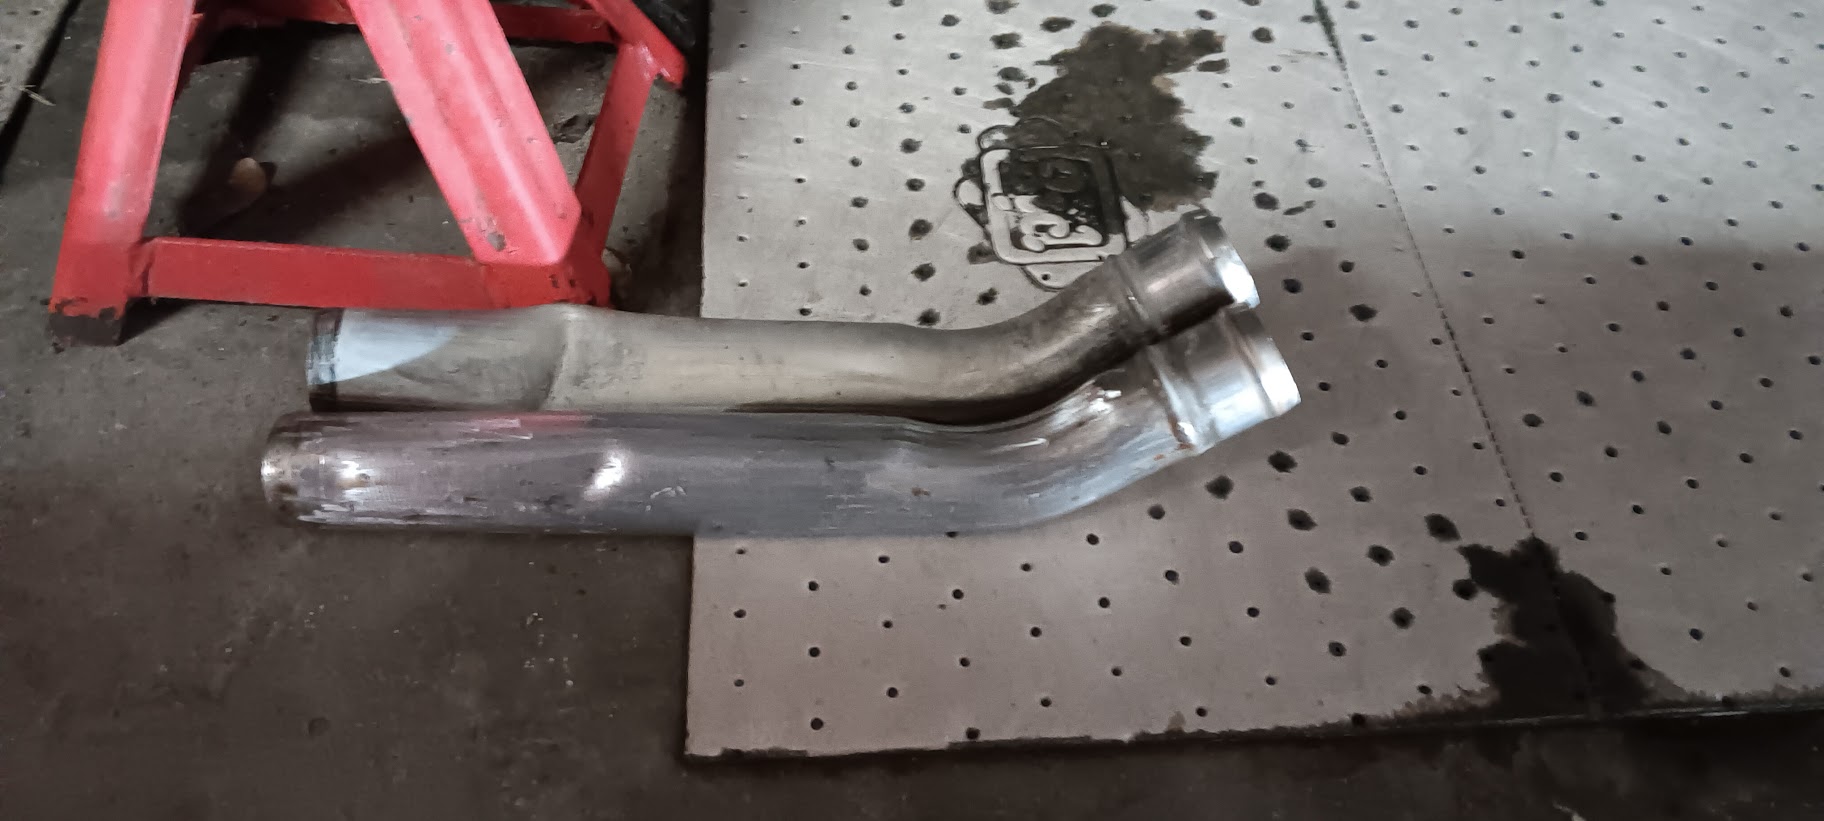
I have been working on attempting to sort the exhaust system. I am going with Stainless steel components, piping, connectors, muffler and catalytic converter. He is a photo of the mock up.....
I need to drop the gas tank before I can install the engine/cradle assembly. I am dropping the gas tank to check out the fuel level sender.
[This message has been edited by Cajun (edited 10-10-2025).]
For the Passenger Side: 1. For the outer CV joint - the part that couples to the wheel bearing hub - 84-88 Fiero Manuel CV outer joint 2. Concerning the inner CV joint portion and CV axle inner shaft from a late 90's to early 00's GM W-body vehicle with the OD transmission; I used parts from a 2001 Lumina; P/N NCV 19542 from Rock Auto 3. Basically, one has to separate the Fiero CV axle for the outer joint (knuckle); P/N GM 8071 4. The inner CV joint and axle is from a W-body vehicle 5. For my build I was not able to separate the outer joint from the axle. I ended up cutting the axle near the knuckle and drilling out the shaft to be able to use the knuckle for the build 6. I used the inner tri-pot (transmission side) from a 4T65e transmission
For the Driver Side: 1. I attempted to use the suggested CV axle build but was unsuccessful; again, had issues with separating the outer knuckle from the axle. 2. When I was able to separate the outer knuckle from the axle only to find out the spline count and angel was wrong for my build. 3. I ended up using the Drive side CV axle from my previous 4T440 build. 4. The difference is that I utilized the inner tri-pot from a 4T54e transmission. I fit like a glove and way less hassle. 5. The driver side CV axle is from a driver side CV axle from a 1990 Pontiac 6000
On a side note, my coil over springs should be in Wednesday.
The coil over springs have arrived. Unfortunately, the other parts, i.e. Bumper, dust cover & thrust washers are not due to arrive until Wednesday at the earliest.
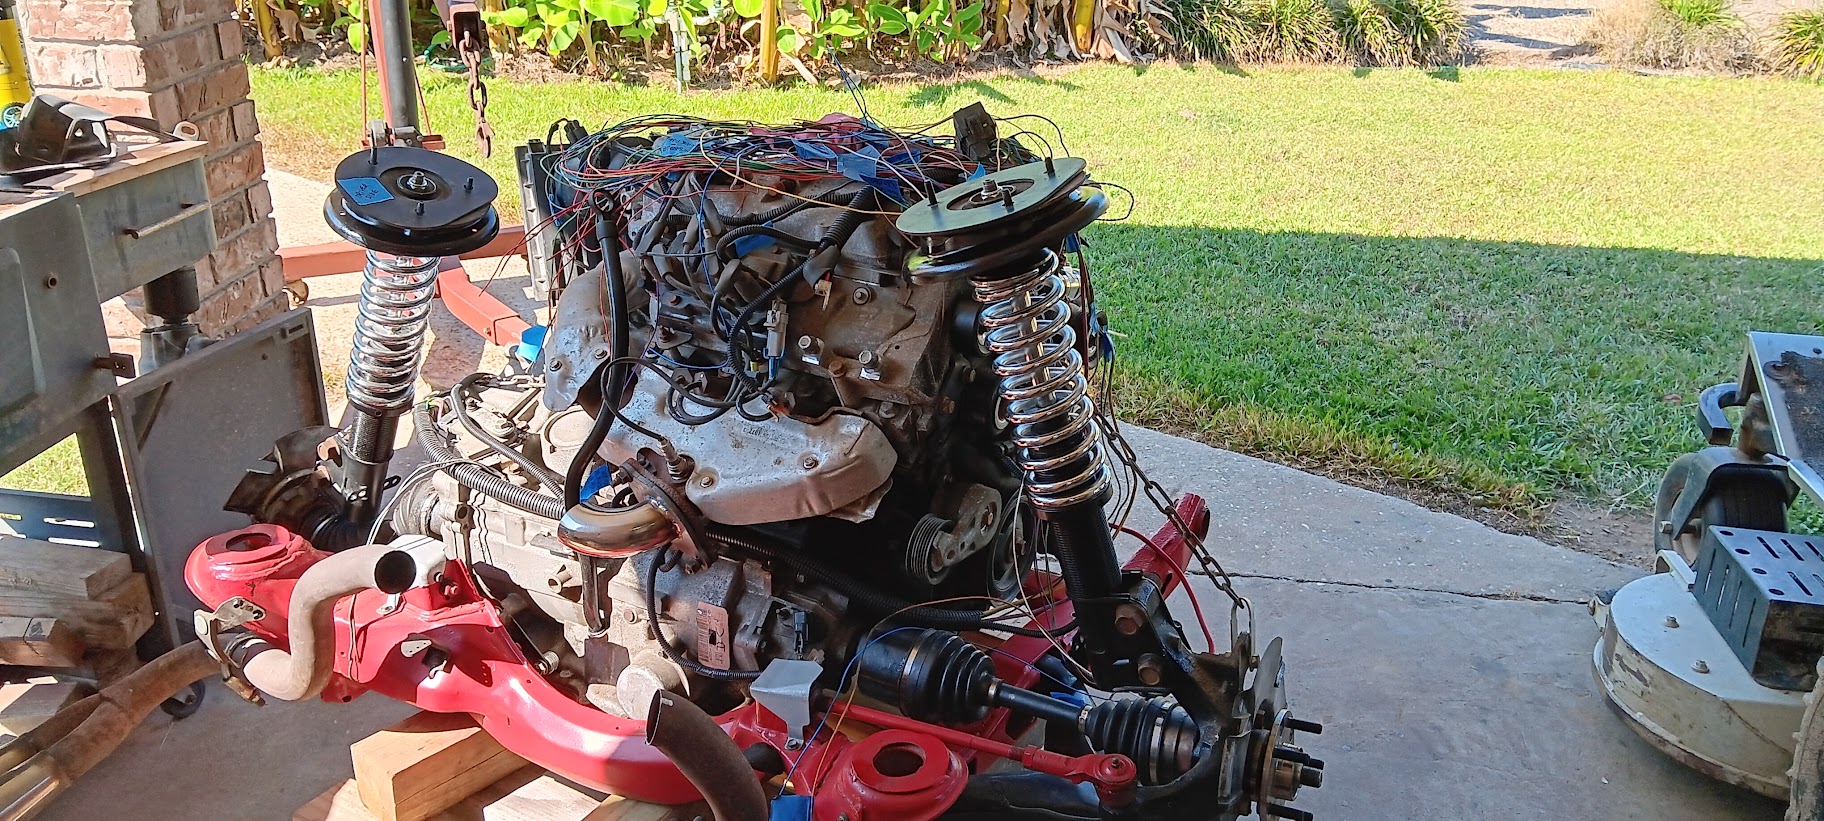
At long last, the rear strut towers have been installed.
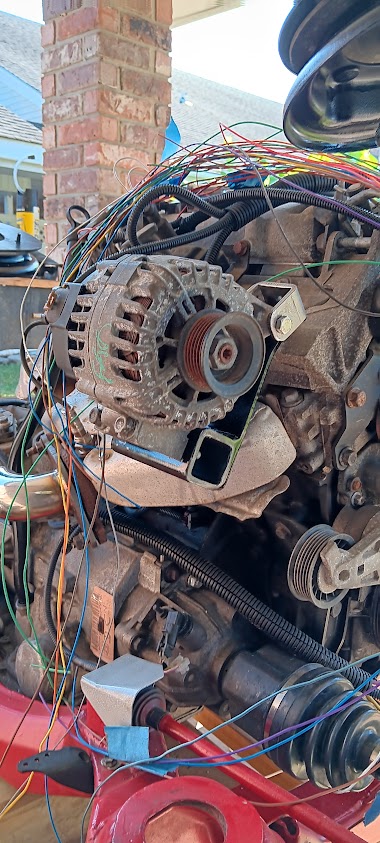
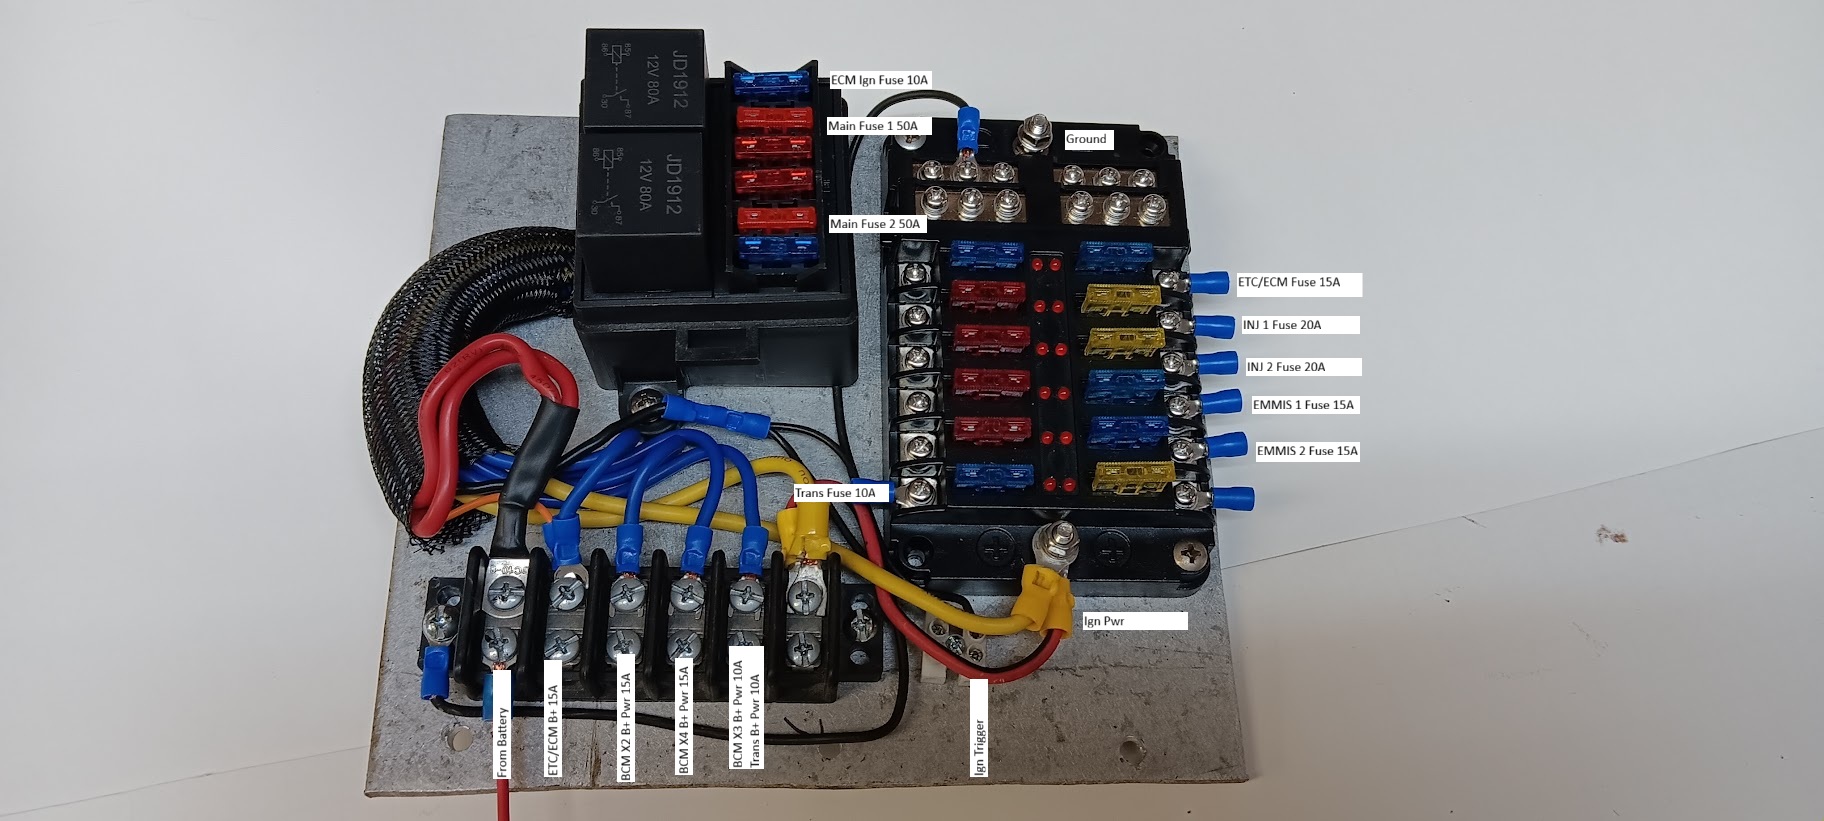
Currently and still working on sorting out the wiring! Recently built the fuel pump & AC compressor control relay blocks and installed.
Waiting on my son to complete fabricating the alternator mounting bracket. At first, I had planned to leave the alternator in the OEM location but have since decided to relocate so I don't have to deal with adjusting the engine body cover. Hopefully we have come up with a simple relocation bracket design. Only time will tell once the bracket has been installed.
All of the exhaust components have arrived. Fabrication is planned once the engine/cradle has been installed in the car.
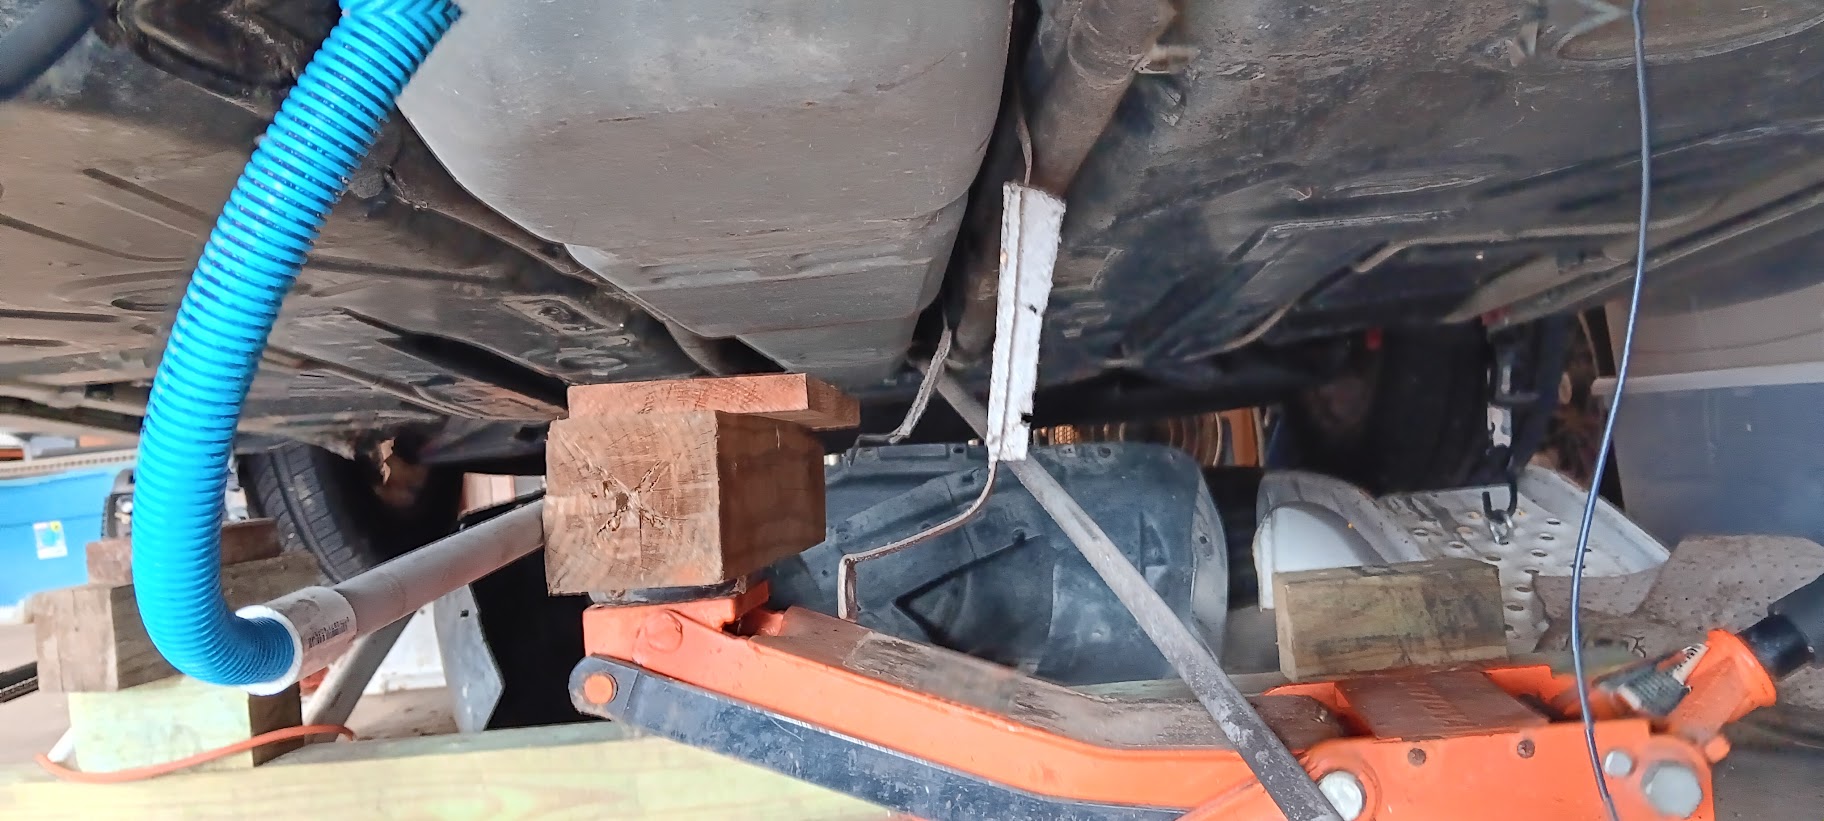
Making preparations to move the engine/cradle assembly to the car's location. But before doing so I need to drop the gas tank. I want to check out the operation of the fuel level sensor. In the past, the fuel level gauge never went bellow 1/2 tank. I suspect that somehow the float for the fuel level sensor is getting hung up. For that operation my son is fabricating two (2) tall jack stands to lower the car unto them from its present position. In conjunction with that operation, I plan on addressing a collapsed driver side coolant tube.
My plan now is that since I have the car pretty much all tore apart, I plan to address any and all issues I was having with the car.
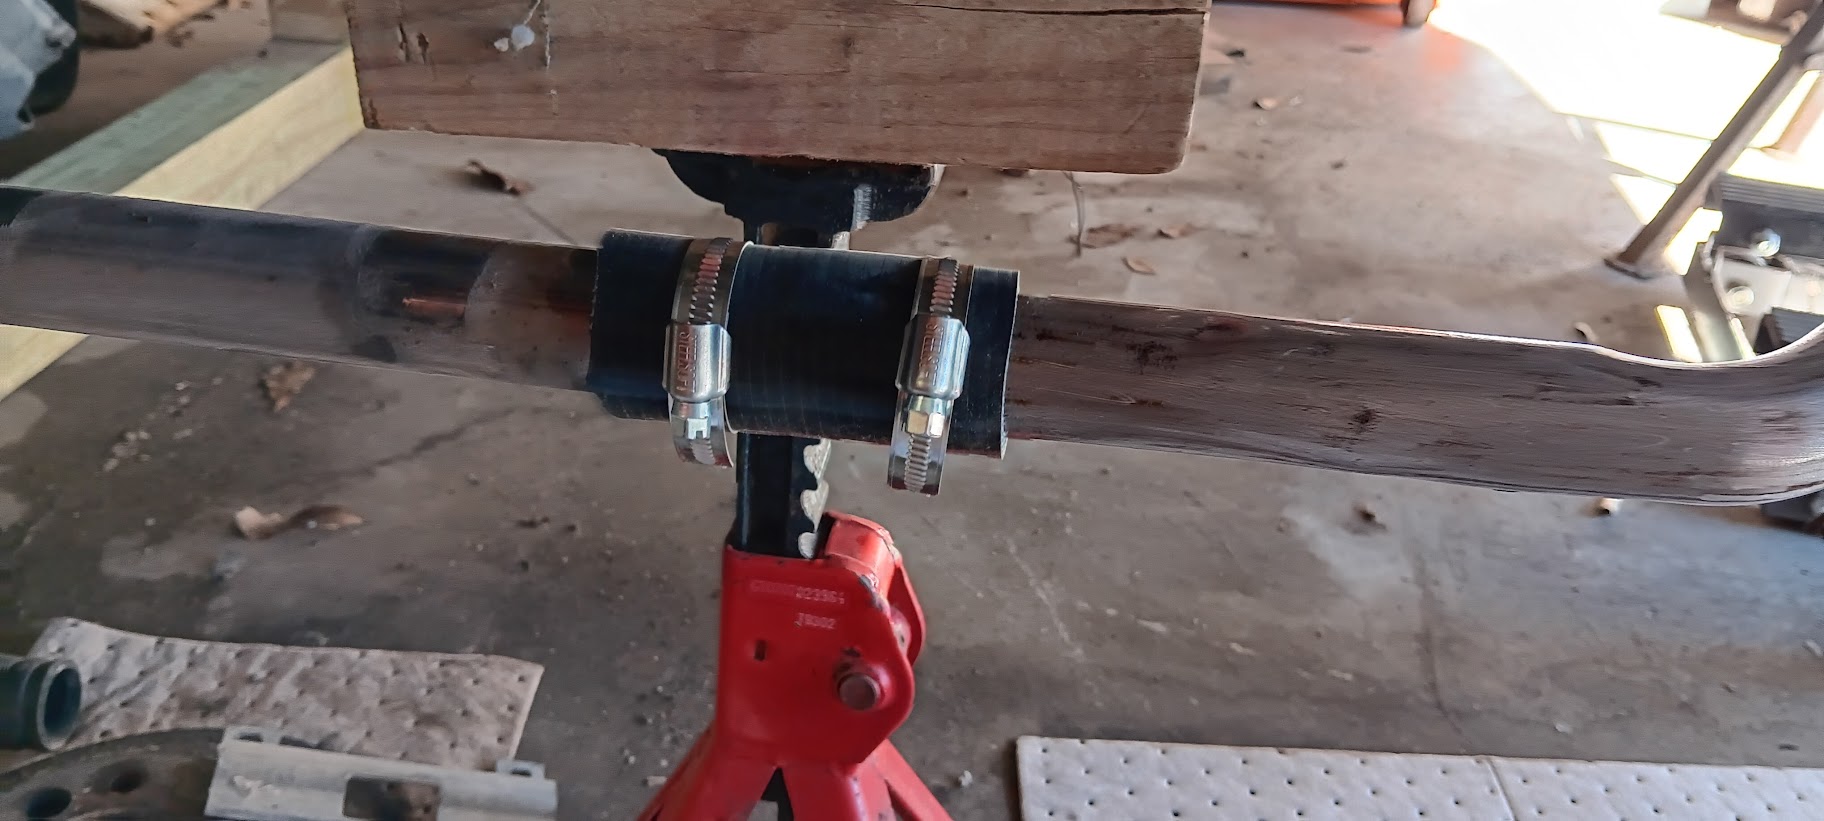
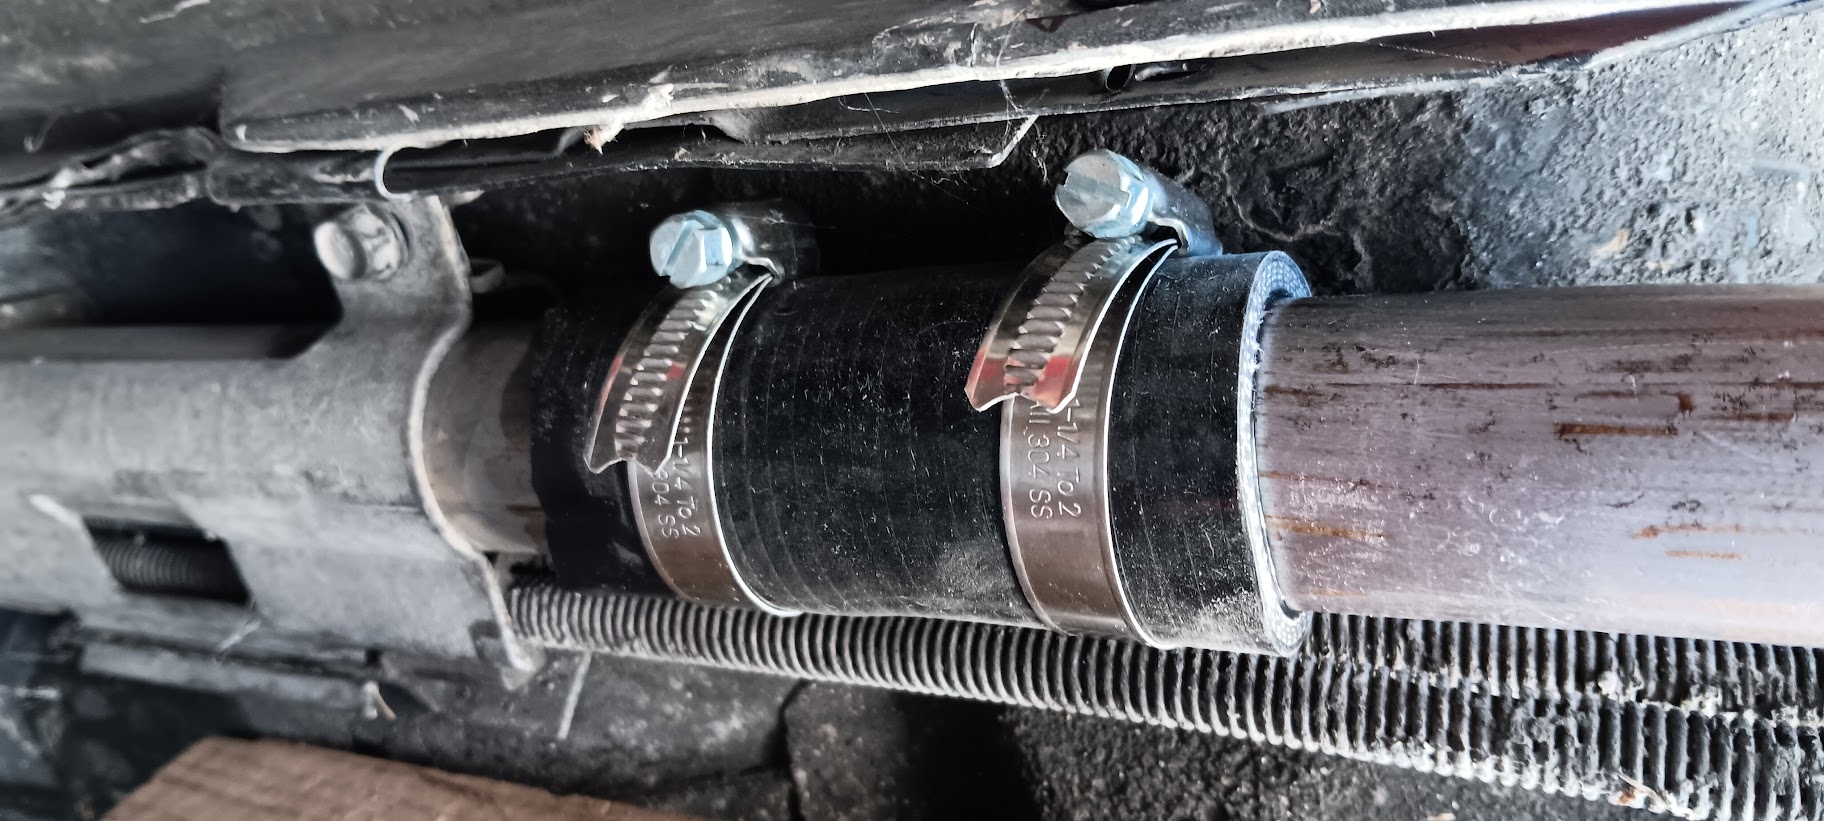
In the process of repairing the driver side crushed coolant tube...
I have a replacement section of the coolant tube ready to be installed. However, my tubing cutter decided to take a dump. So now, I am in the process of repairing it (relacing the forward roller).
Once the driver side coolant tube has been repaired, I will be tackling dropping the fuel tank to see what the issue is with the fuel level sensor.
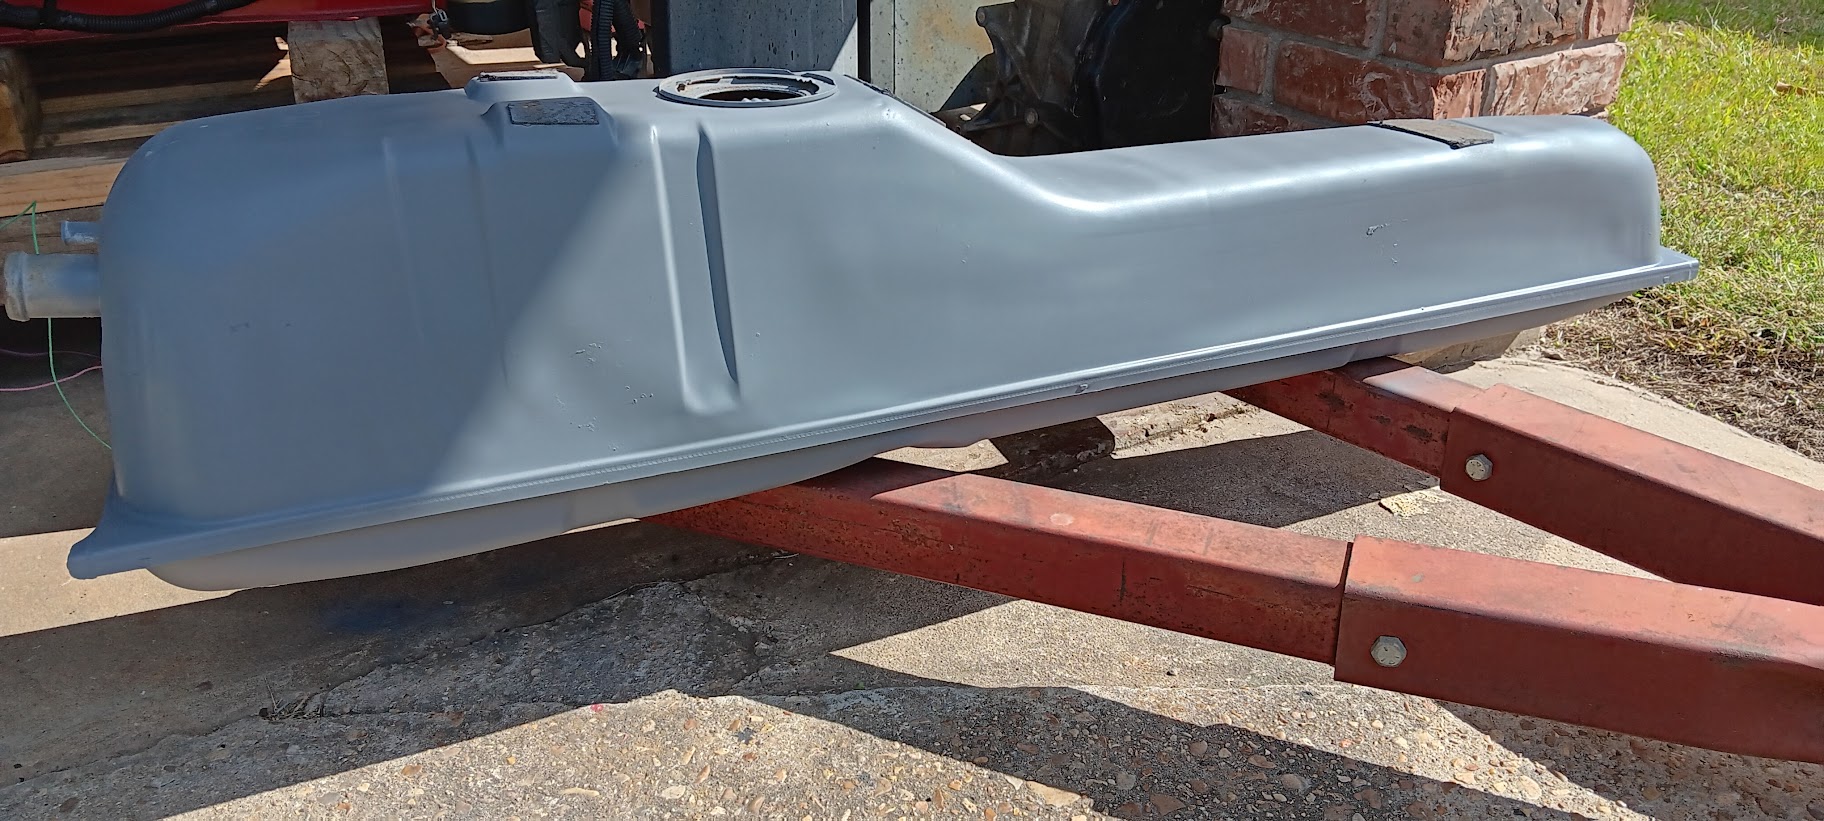
I have decided to go ahead and replace the fuel tank on my 86 GT. I will be installing a fuel tank from an 87 GT, my parts car. Larger fuel capacity.
That being said, I have been in the process of cleaning the 87 fuel tank. The fuel tank is currently drying out from it's weeklong diluted acid wash. As usual waiting on metal prep and fuel tank coating solutions to arrive so I can complete restoring the fuel tank to like new condition.
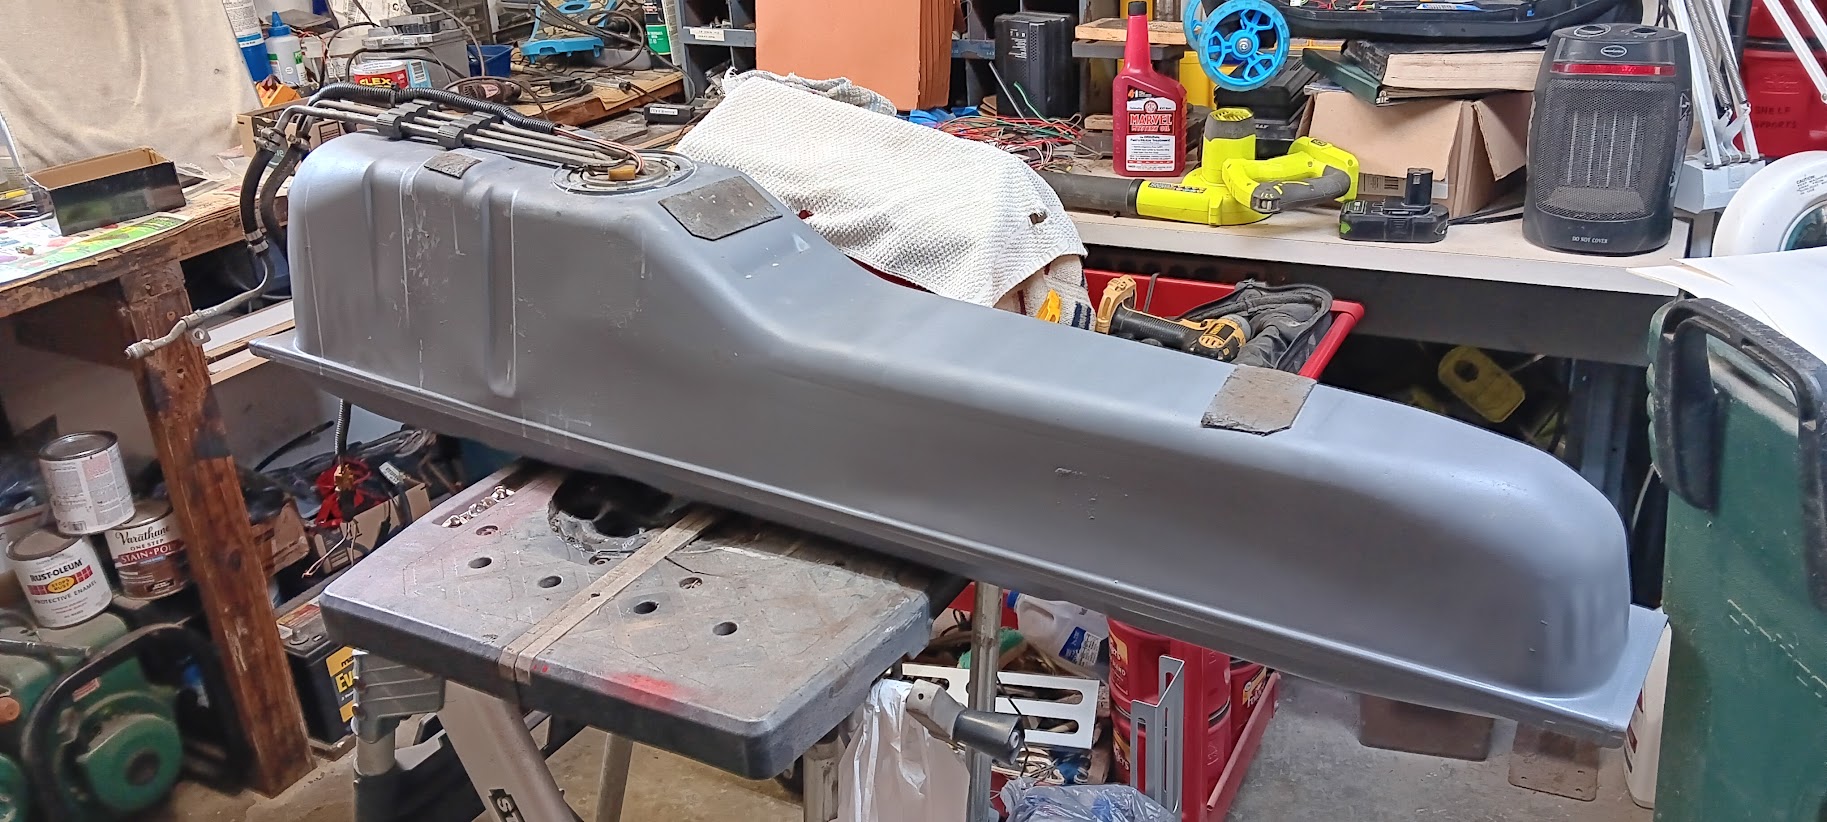
Photo of the '87 fuel tank from my 87 parts car:
I'm thinking this more than likely will be my last opportunity to get my GT that way I want or envision to be (advanced age 80).
I am still in the process of removing the fuel tank from my GT. More involved that foreseen! Have to remove the AC lines that parallel the fuel tank as well as the power cables that I installed when I relocated the battery to the front of the vehicle. Once the tank is out, I plan on posting photos for size comparison.
Yeap, I am still in the process of cleaning the fuel tank from my 87 GT parts car. I did realize that it was going take this much time to clean, etch and coat a fuel tank. The wait period between procedures ranges from 72 to 96 hours. Wow....
I was also in the process of removing the fuel tank from my 86 GT but had to suspend operations due to having surgery last week. So, pretty much work has come to a halt until I get a release from the doctor. I go back for a follow up next week so, hopefully I will get a release then.
I was finally able to get the fuel tank out. That was a job, had to remove the power cables that were running alongside the fuel tank for the battery relocation to the front. Also removed the retaining brackets for the AC lines in order to facilitate the installation of the 87-fuel tank into the 86.
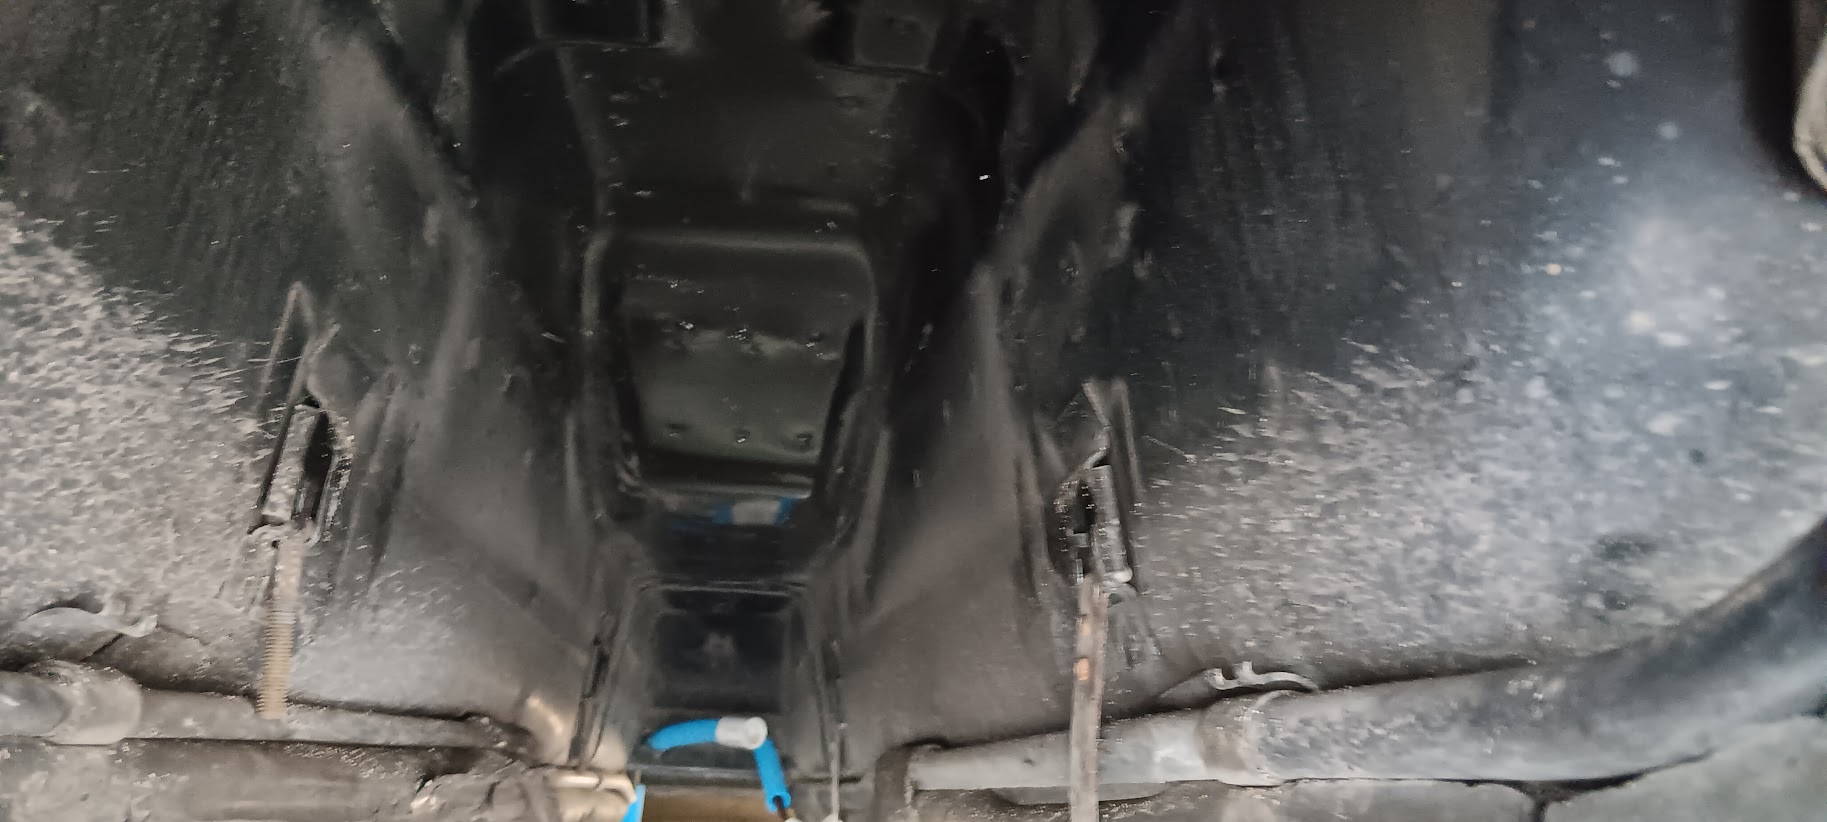
Photo of the fuel tank location void spot:
Photo of the fuel tank: I have completed cleaning and coating the 87 GT fuel tank that will be replacing the 86-fuel tank. I am waiting for the coating to cure, about 96 to 100 hours.
In the meantime, I have ordered a replacement fuel pump and the fuel tank gasket for the fuel sending unit.
Getting very close to installing the 3.5 v6 ......
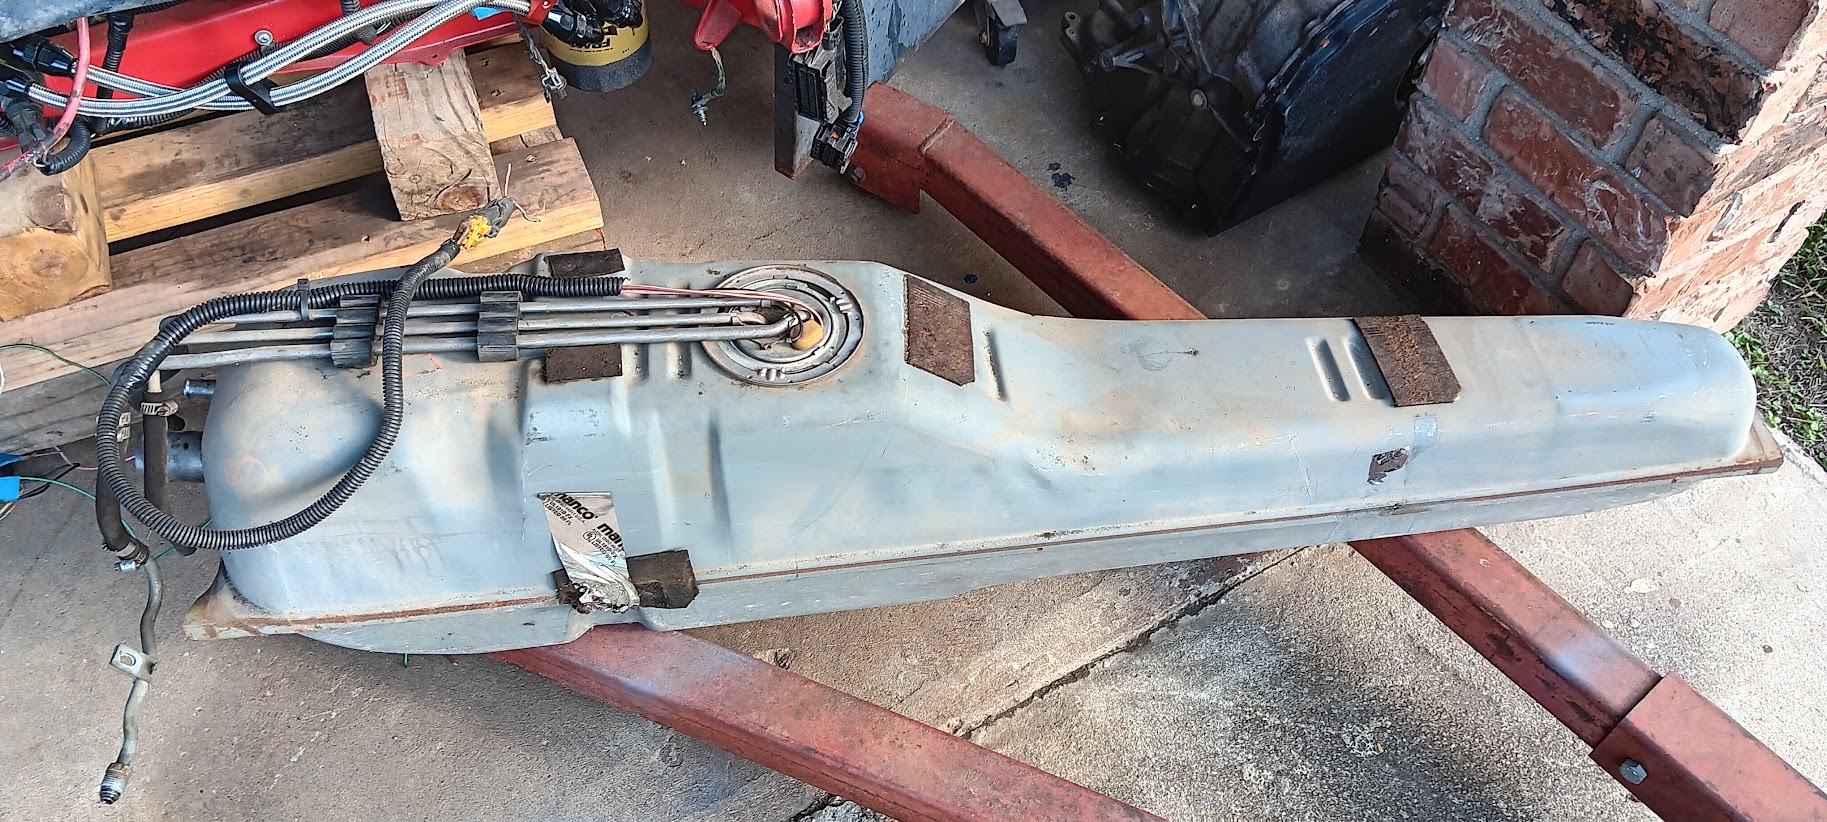
As I have mentioned I have removed the fuel tank from the 86 GT.
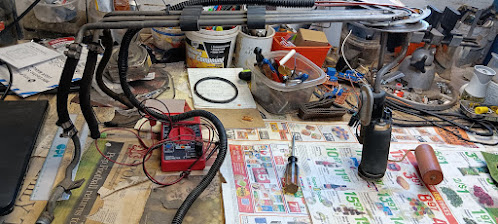
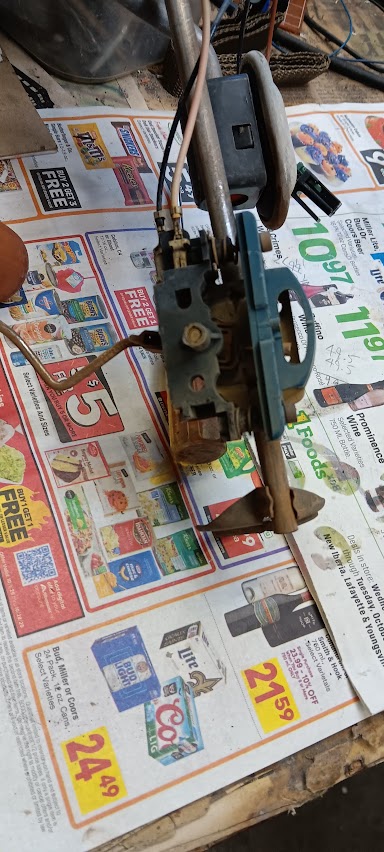
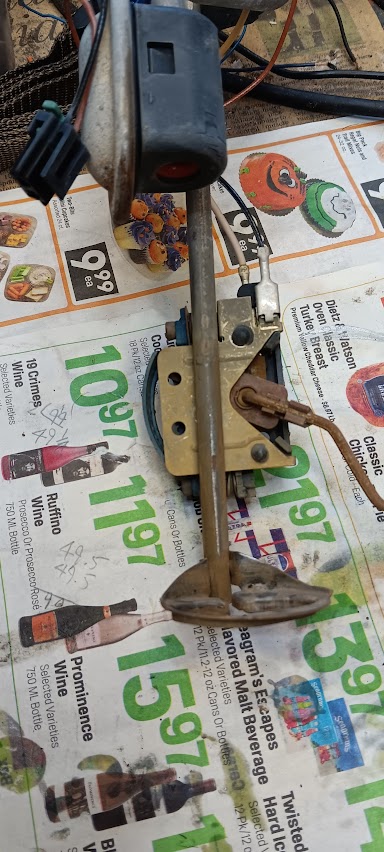
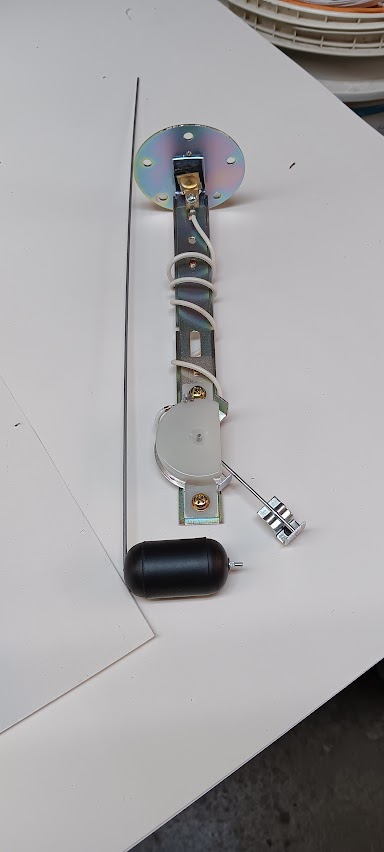
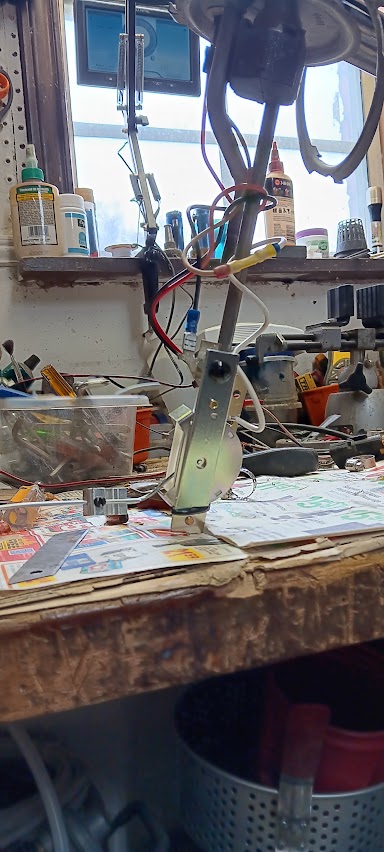
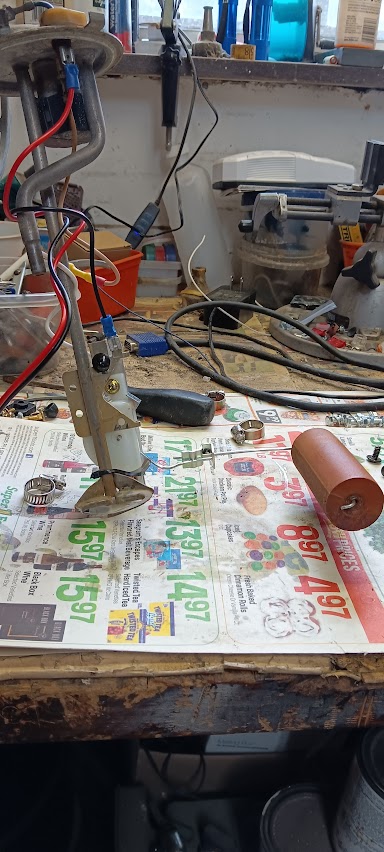
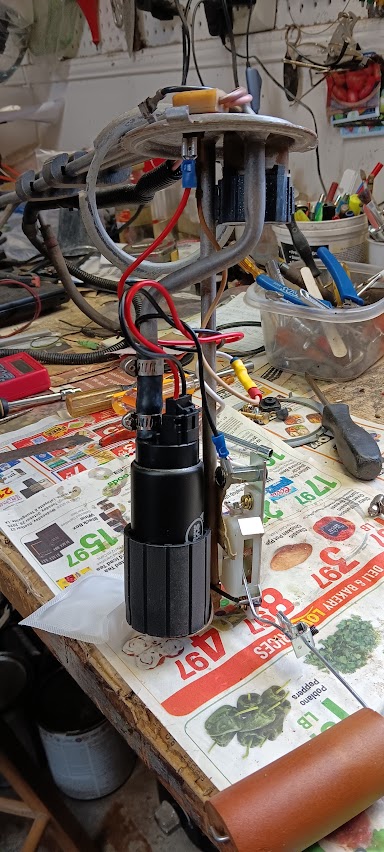
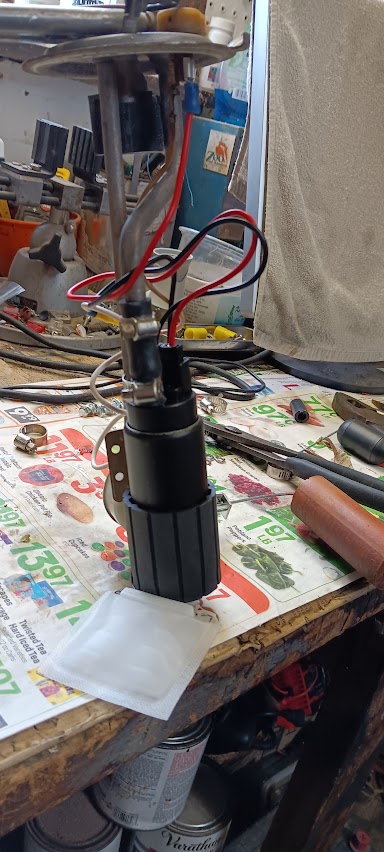
Removed the fuel pump/fuel level sender unit from the tank:
I have ordered a replacement fuel pump (already mentioned) and should be arriving tomorrow?
In testing the fuel sender found out it was acting erratically. It would not produce constant ohm readings when moving the float up and down. So, I have ordered an aftermarket replacement 0–90-ohm fuel level sending unit. It's supposed to arrive next week some time?
Once I have the new fuel pump and fuel level sender and installed, I will endeavor to install the 87 Fiero fuel tank in the 86.