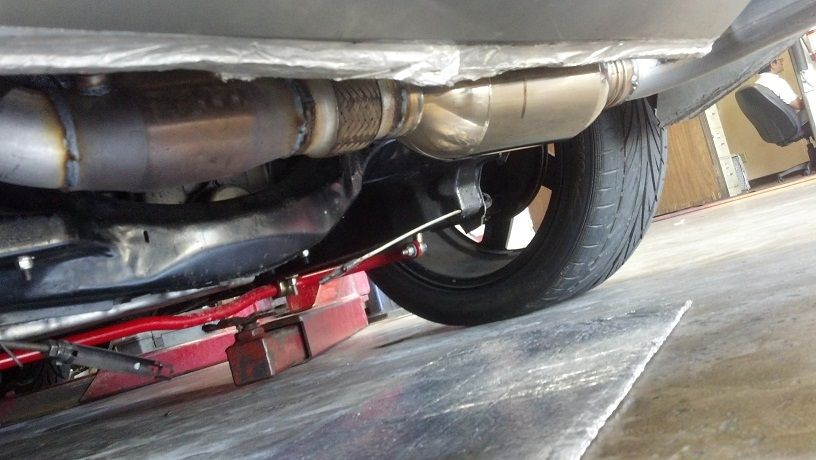
So... Not there yet but thinking about exhaust, I'd like to have the car as muffled/quiet as possible while driving around town, to avoid unwanted attention / not sound like a tractor / not drive myself crazy on long trips. But i'd also like to be able to open it up a bit here & there.
That's a really, really rough photoshop of what I was thinking. 90 to another 90 (or a 180) into an electric cut out straight out the passenger side tips. When it's closed, though a resonator or cat & through a full size muffler & then out the drivers side tips.
I've heard that the cutouts don't do much on these setups, but i'm really looking at it as a way to keep the dual exhaust & be able to fit a muffler & a resonator and/or a cat for sound. Get rid of some of the raspiness.
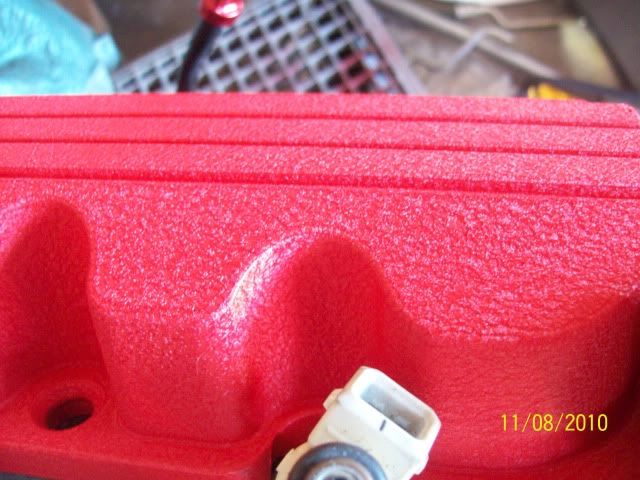
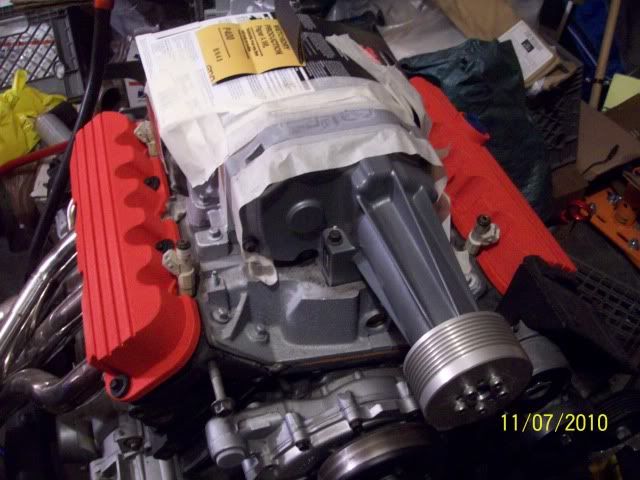
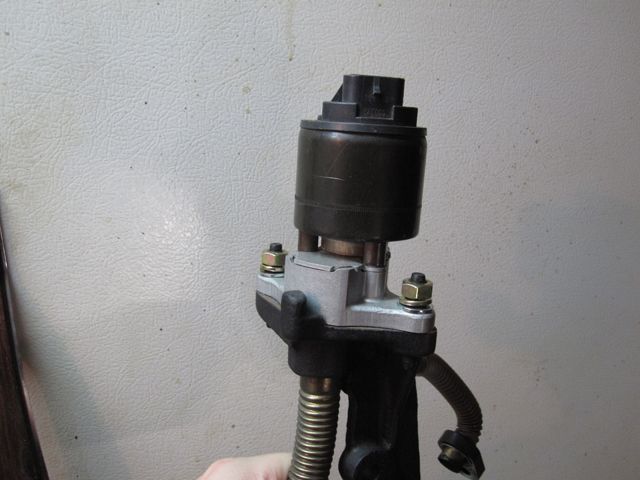
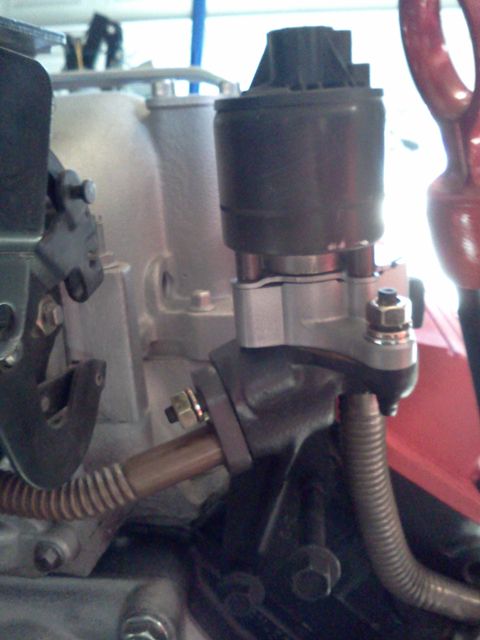
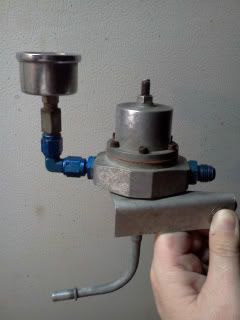
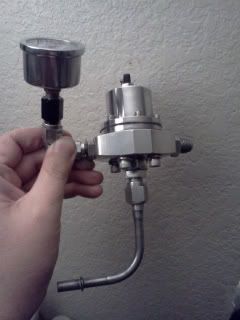
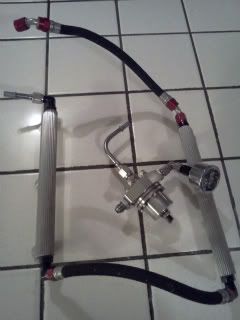
Some updates: Bought some PRJ fuel rails from ignorant prodigy in the mall here, can't stand the stock setup covering the SC. They were used & needed a little cleaning.
Now it looks like something you'd see in a hospital lol. I think I'd rather have it, & the rails anodized black, but polished (fpr) & satin (rails) looks good too.
Before & After _-_-_-_-_-_-_
Can't find pics of the rails when I got them, but this is after I cleaned them up a bit.
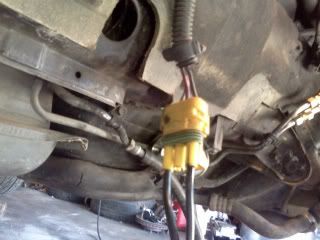
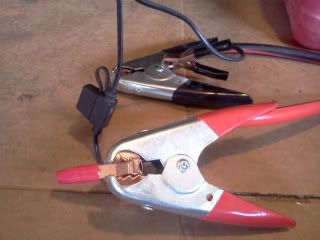
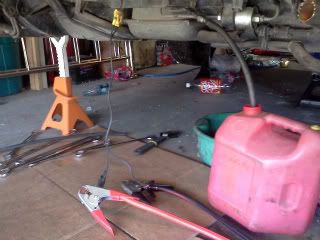
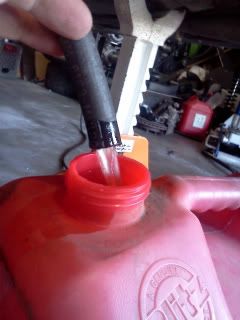
Finally installed the new fuel pump, of course the tank was pretty much full... & since I had already removed the factory harness I had to find another way than what was suggested on the forum (jumping the aldl behind the cig lighter). So I hooked up 12v & Ground to the harness coming straight off the fuel pump. Don't remember which wire colors were which at the moment.
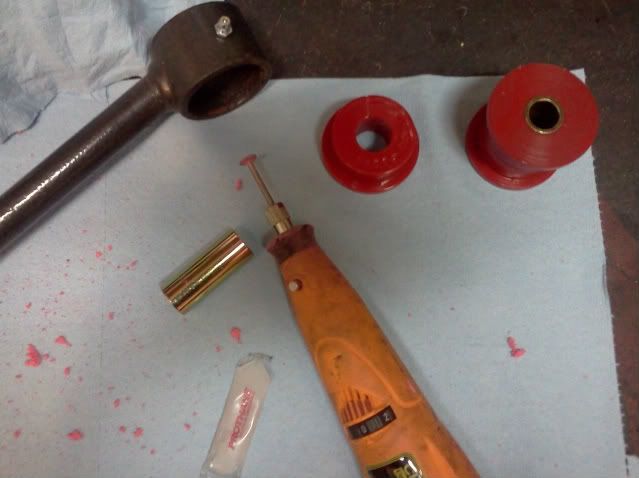
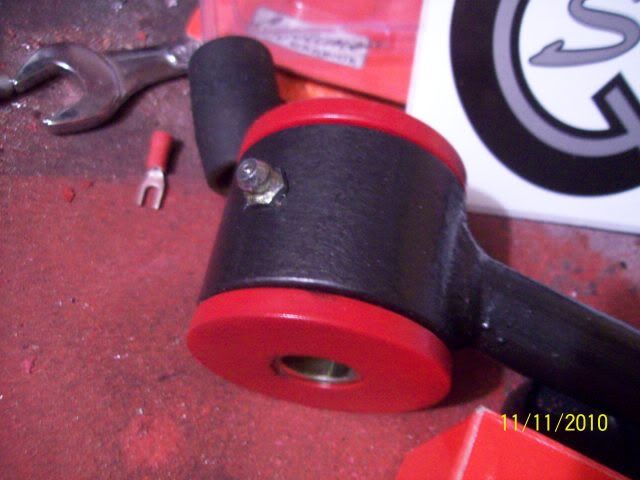
I also cut a little slot into the end of each poly bushing, lined up with the zerk fitting on each arm, so the grease can get to the center of the bushing. (You can see it at the top of the bushing on the left)
& I have no idea if it's going to stay lined up...
[This message has been edited by jaybeezi (edited 10-20-2012).]
So... Not there yet but thinking about exhaust, I'd like to have the car as muffled/quiet as possible while driving around town, to avoid unwanted attention / not sound like a tractor / not drive myself crazy on long trips. But i'd also like to be able to open it up a bit here & there.
That's a really, really rough photoshop of what I was thinking. 90 to another 90 (or a 180) into an electric cut out straight out the passenger side tips. When it's closed, though a resonator or cat & through a full size muffler & then out the drivers side tips.
I've heard that the cutouts don't do much on these setups, but i'm really looking at it as a way to keep the dual exhaust & be able to fit a muffler & a resonator and/or a cat for sound. Get rid of some of the raspiness.
i went the way too expensive route and purchased a corsa for the 2000 camaro ss. its way to fat to fit in the stock location and then my headers... bye bye trunk.
[This message has been edited by americasfuture2k (edited 08-13-2011).]
i went the way too expensive route and purchased a corsa for the 2000 camaro ss. its way to fat to fit in the stock location and then my headers... bye bye trunk.
not yet, its been way too hot this summer so i havent been able to go work in the garage. im headed out to the garage since its not 103+ out and finish building my harness. but believe me, there will a few videos put up of my setup running with the corsa. i am very curious as to how it will sound. it sounds amazing on my brothers 96 LT4. altho, he did fit a c5 corsa setup to his C4. it sounds ah-mazing.
Got everything together & tried to fire it up today. Can't hear the fuel pump, headlights, & gauge lights don't turn on, & I'm not getting any fuel pressure, so I need to figure that out.
Took a video of it, sounds very, dry...
[This message has been edited by jaybeezi (edited 11-03-2011).]
The headlights & dash lights are working, it was just the headlight switch.
No mil light, none of the warning/indicator lights came on at all, just the 2 lights on the rally gauges.
Plugged in my Interceptor scan gauge to the obd2 port & it came on, but only stayed on the menu screen where you pick which parameters you want it to show, it was getting power, but no signal from the PCM.
Bought the harness from a member here who told me it was a FieroFlyer harness. FF had stopped making them right before I was going to buy one new.
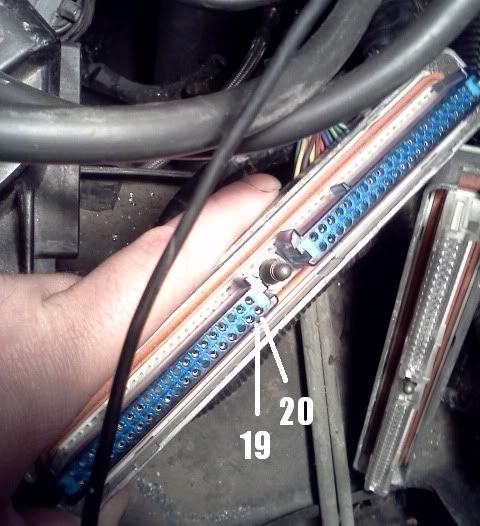
I checked to see if it was possible if I had the PCM plugs reversed, I don't. I was getting spark... So would that indicate somethings not right with the C500 / C203 connections?
For the scanner to connect to the PCM, power is needed as pins 19 and 20 of the blue connector, and the PCM needs to be operational, and the scanner needs to be connected correctly.
Check for power on pins 19 and 20. Pin 19 is switched ignition power that runs through C203. Pin 20 is direct always on battery power. Pin 20 might connect to a separate ring connector at the power distribution post right under C500. If you left off a smaller orange wire there, that might be your problem.
The blue and clear covers on the pins are keyed and prevent the connectors from being reversed.
For you to get spark all that is needed is power to the ICM. The ICM gets its power via a pin in C500
[This message has been edited by phonedawgz (edited 11-04-2011).]
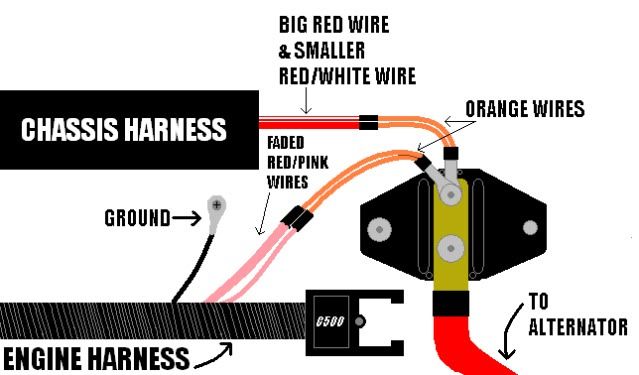
Unplug both connectors of the PCM and check for continuity between pin 20 and the 'ground lug' by C500. Then also check for continuity from the ground to ground. If you have continuity between pin 20 and the lug, and no continuity to ground, then I looks like that wire is used to provide the uninterrupted power to pin 20.
One more indicator to show that is supposed to be connected to the power distribution posts is if the wire is Orange. GM uses the color Orange to signify circuits that are fused but always on. Note however - they also use orange for other circuits also.
They use Red for the circuits that run to the fuse box and are always on. The fusible link portion of those wires are orange, just because that is the color that the fusible links come in. That is why the fusible links are orange. The wires past them are supposed to be red.
Of course you could always ask FieroFlyer directly if that lug is supposed to go to the power distribution post too,
[This message has been edited by phonedawgz (edited 11-05-2011).]
That little block below the C500 is supposed to be connected directly to +12 volts constant battery to supply power to the rest of the car and factory to the ECM. The 3800 PCM also needs constant power on C1 pin 20 as you have noted this junction block is a good location for that power or as some like to do the orange wire at the cigarette lighter will also work. Simply use a meter to check for continuity between C1 pin 20 and the junction block if that is good check to make sure you have a good connection to the positive battery terminal. On swaps keeping the battery in the stock location I usually build it so a wire is needed from the positive terminal of the battery to the junction block just like stock. For swap remote mounting the battery I add in a larger wire that goes from the alternator to the starter and to the junction block below the C500 so only one wire from the positive terminal of the battery to the starter is needed. If your PCM is mounted inside the car a quick test would be to run a wire from the cig lighter to the PCM and see if every thing works then. Dan
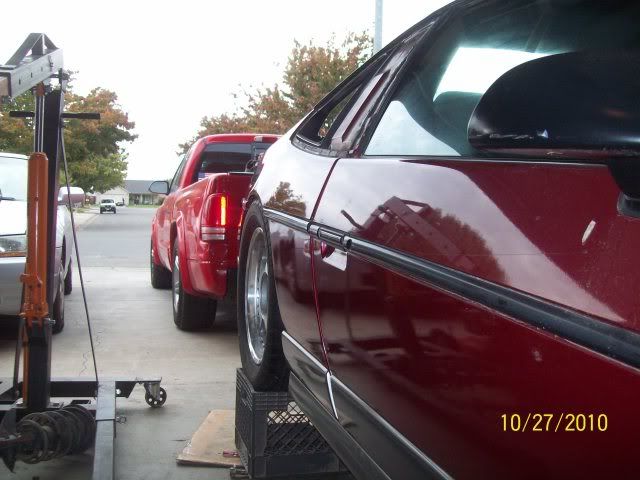
Wayyy over due for an update, I got the fuel pump issue dealt with (I'll get into that later). Got the motor to start a couple months ago, & this is what happened...
[This message has been edited by jaybeezi (edited 10-04-2012).]
I was super excited, for all of 5 seconds lol, for the last 2 months I've been moping around thinking the motor was seized. I finally pivoted the cradle down today, pulled all the spark plugs & tried to turn the motor by hand, no dice. Sure that it was seized I went back inside for a couple hours, then decided I'd take the belts off, hoping a pulley had seized & not the engine.
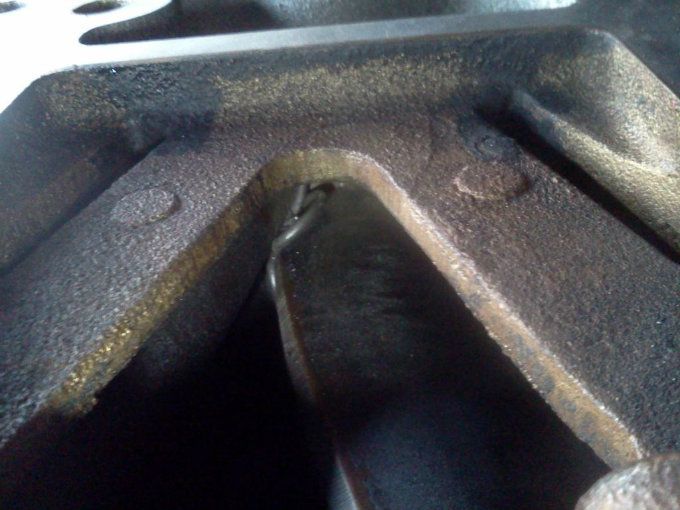
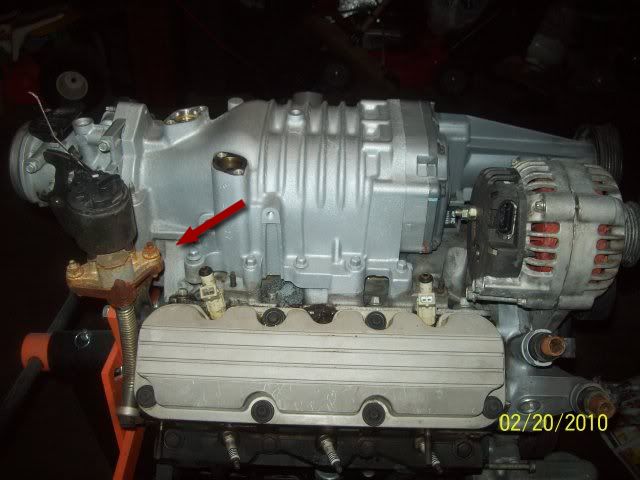
Took the SC belt off & tried to spin the SC pulley..... Wouldn't budge Anxious I went to the crank... aaaaannd the motor easily turned.
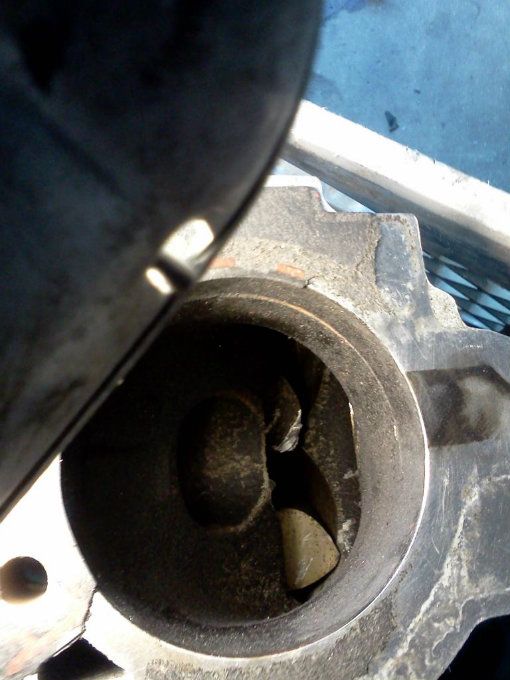
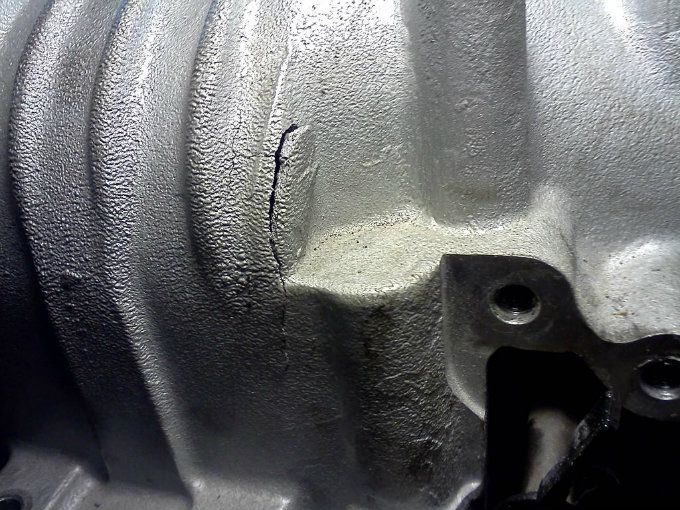
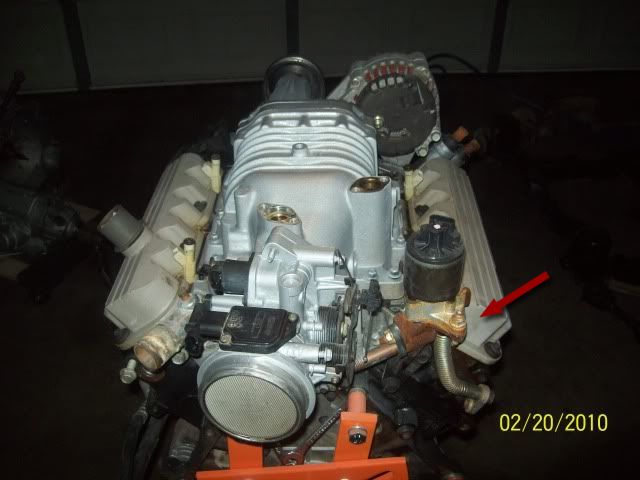
Took the SC off & snapped some pics.
Crazy. Looks like I need a new SC (no $ for turbo parts right now, otherwise I probably would)
Yeah I guess I'm lucky it didn't happen at a higher RPM or there could have been major damage (supercharger explosion...?) my wife was standing right there filming.
No cutout but I wanted to route my system exactly like your picture.
I wanted the Aero muffler, Aero Resenator, and then to a Aero tip. The other side would be the cutout to an Aero Tip.
However, the muffler police made me use a cat and jacked up my idea.
I didn't want too many components but I was going for the quietest highest performing exhaust.
Oh ok, it was RULOOKIN's build thread I was thinking of with the cutout. Sucks about the cat, sound good though, your swap looks awesome. I'm going for cleanliness on mine, but not a lot of bling, I like brushed aluminum, cast coat aluminum, satins, wrinkle coat valve covers, etc...
I love the wrinkle red, I think I may redo mine like those... Good job! Bummer on the blower, did it spin freely? Did you take it off? I just finished my build and oh man you will love it! It's awesome! And mine is just basically stock just removed emissions, and cleaned it up a ton...


 _-_-_-_-_-_-_


 Anxious I went to the crank... aaaaannd the motor easily turned.