Here is some information that I posted in a very
similar thread here.
To prep the car properly, you will want to:- Remove the drip rails (Tutorial I did here)
- If possible, and if you are looking to replace them anyways, remove the quarter windows / wing windows.
- Remove the reflectors inside the bumper, all marker lights and tail lights (Take a screwdriver to the shop to remove the tail lights, you will need those to drive it there)
- Remove the headlight doors.
- Remove the plastic cowl (Under the windshield wipers).
- Remove the gas cap surround and door
- If equipped, remove the sunroof and tracks.
- Remove all the body molding all the way around the car (unless you want it body color)
- Remove the side view mirrors
- Remove the spoiler
- Remove the trunk seal and plastic clips covering the tail light screws
- Remove the antennae
- Remove any stickers and emblems (Nose emblem, 2M4/6 on the rear ect.)
For that extra touch, I had my windshield removed and new molding installed when put back in. The windshield gasket is one of the first places to look to tell if a car has been repainted.
I also highly recommend getting new mirror gaskets, spoiler gaskets, nose emblem, rear stickers, side markers and such to install when the paint is done. Its surprising how bad old molding, stickers and trim looks on a brand new paint job! All of these items can be purchased from the Fiero Store.
Now is also a good time to upgrade the marker lights while you have them off.
Here is a tutorial I did that is super cheap and easy.
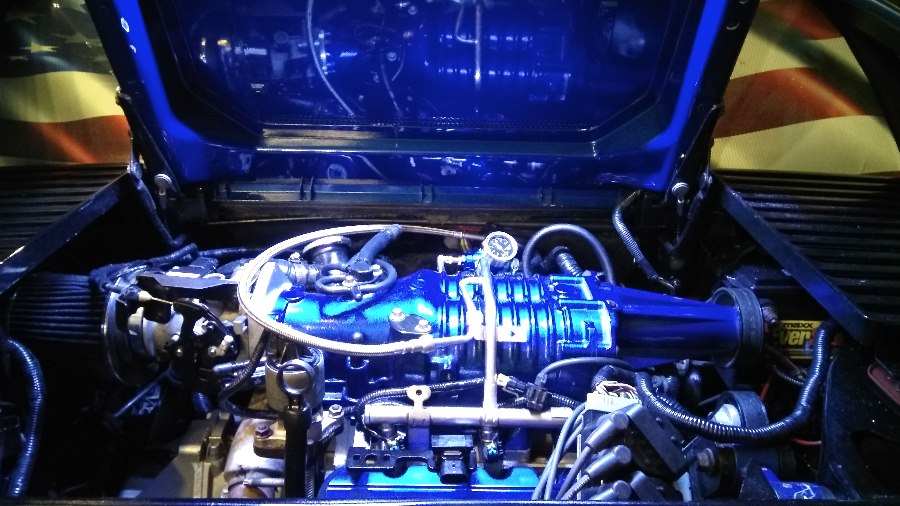
I also painted under my decklid and hood in body color. It really tied the whole paint job together in my opinion. As for water spots, you can just as easily get them on the black plastic under the front and back, as when they are painted. I actually find it MUCH easier to wipe dirt and crud off the painted surface than on the mat black plastic.
Here is a photo of the engine bay in my car. I like the reflection of the engine in the paint -vs- the dull black