I was given the opportunity to beta test Rodney's motor upgrade for the Fiero power windows.
http://rodneydickman.com/ca...h=21&products_id=383Fierobsessed was the first to adapt these late model motors to a Fiero about 2 years ago.
https://www.fiero.nl/forum/Forum2/HTML/000317.html The motors must have an adapter plate to be mounted to the Fiero scissor cam bracket, and this adapter is what was pushing the motors too far into the door causing potential interference issues as well as motor shaft support challenges.
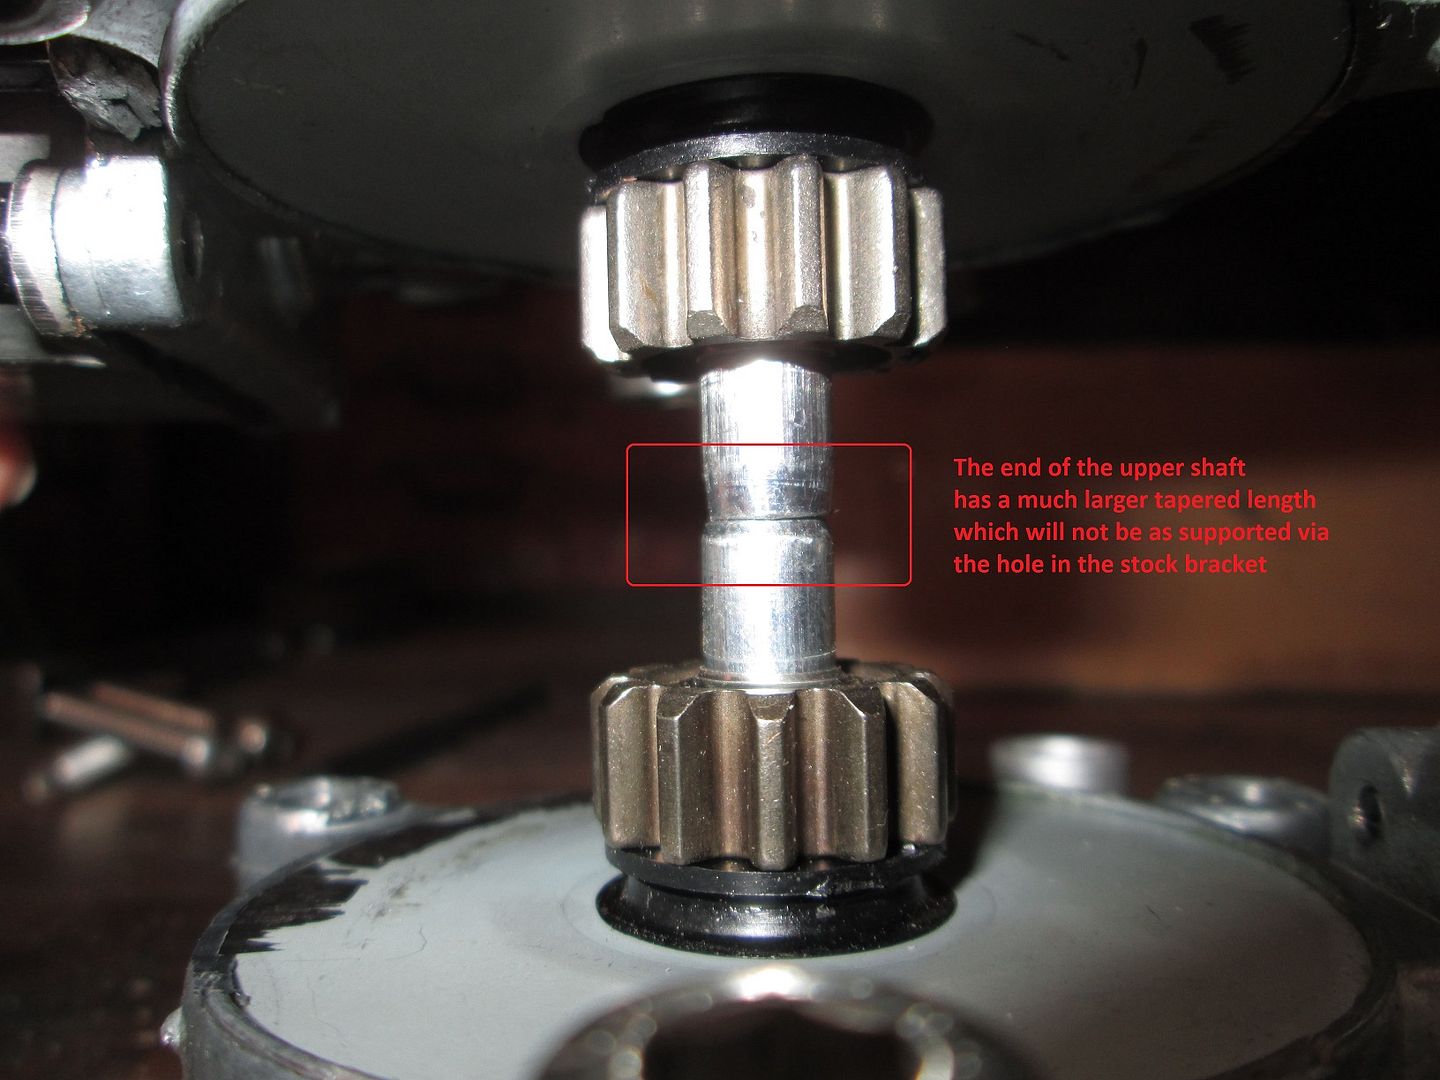
Rodney's solution is creative in that his adapter plate mounts to the backside of the motor gear box (not in between the gear box and the scissor cam bracket). This allows him to use a 1/8" plate without concerns of interference. It places the shaft of the motor into the existing hole in the stock scissor cam bracket, so there is no need for a support bushing. The motor is mounted below the stock mounting surface and has a very close clearance to the body of the scissor cam to ensure it stays properly meshed with the motor gear.


The install requires trimming a small tab off the stock bracket for motor clearance, enlarging 2 of the stock rivet holes, and locating and drilling a 3rd hole. From there everything bolts into place and he supplies the bolts, nuts. You will need to extend the wires on your harness.
Here are the results I got from this installation (note: I am using the stock harness and old switches of unknown condition - no quickener relays). I have new switches on order and will see if they make a difference from the window speed I currently have.
With Rodney's kit, both of my doors ended up with about 1/4" of clearance between the motor and the window track which should be enough to overcome any variation from door to door (unless collision damaged).
Driver Side:
Passenger Side:
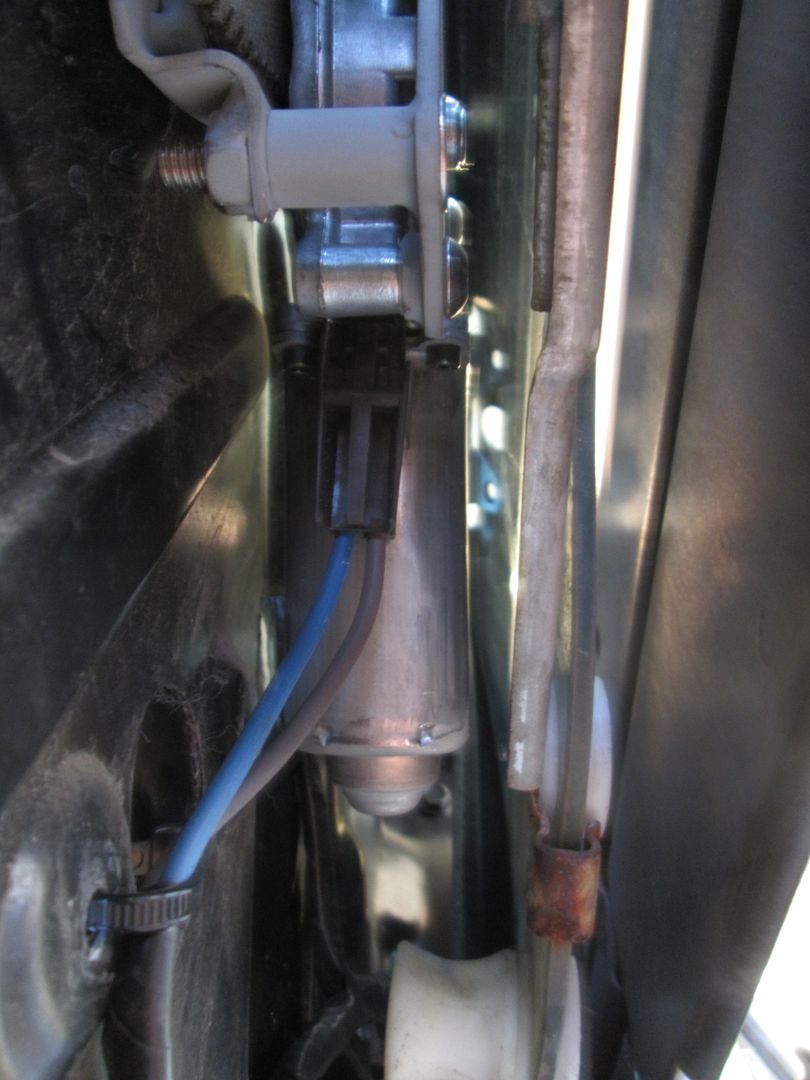
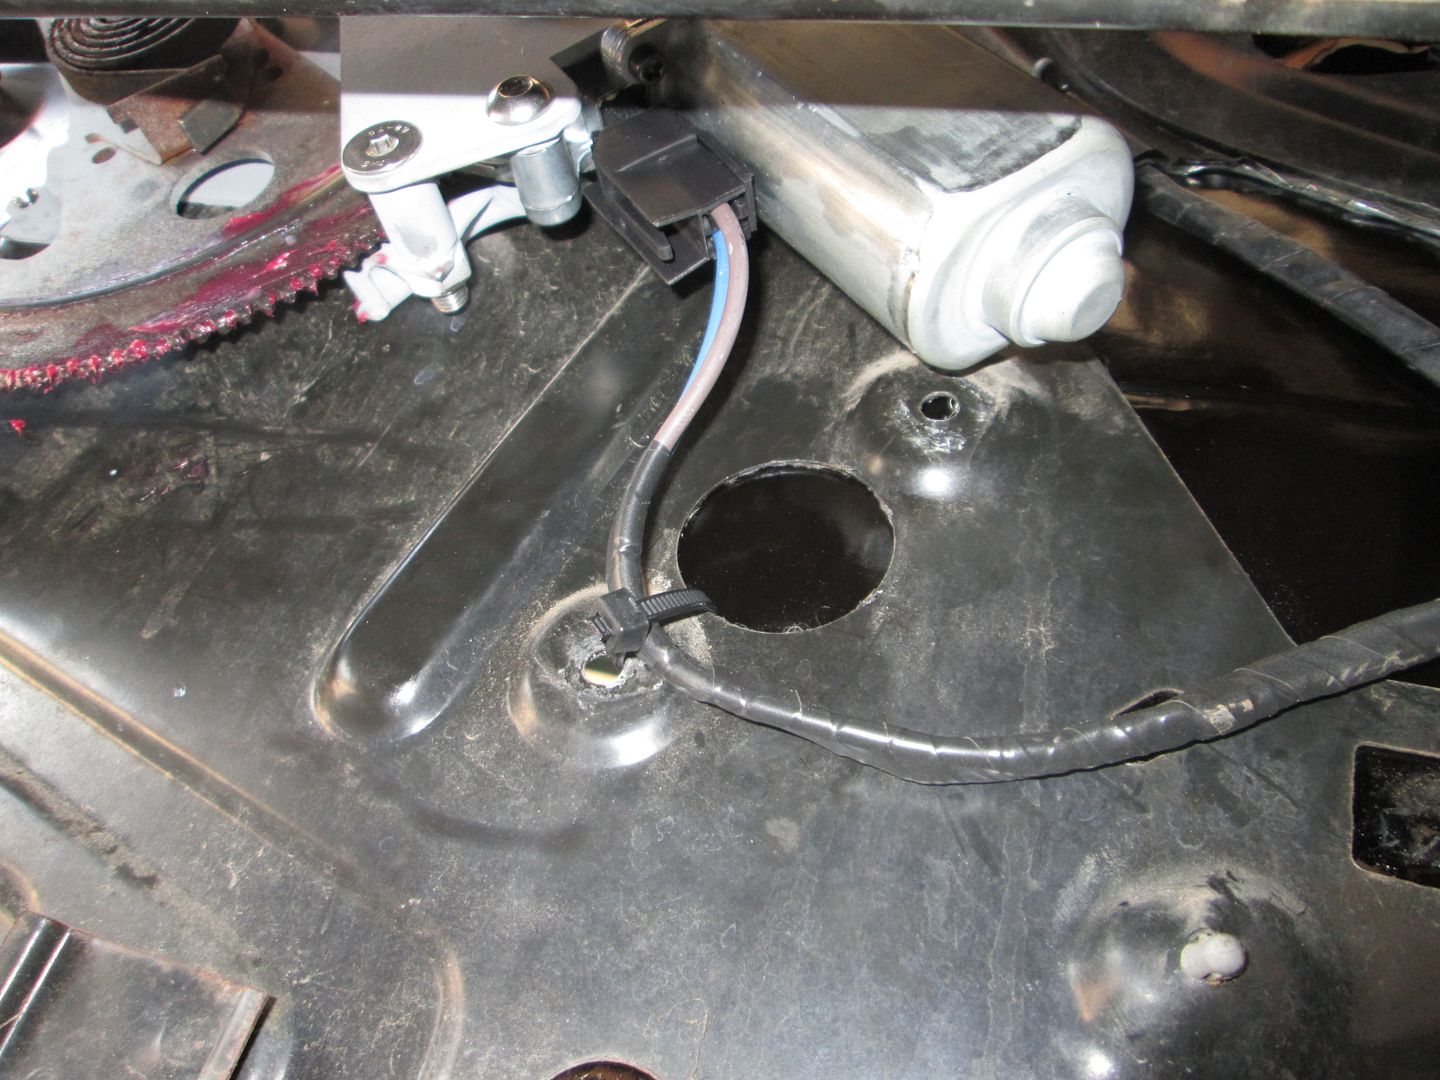
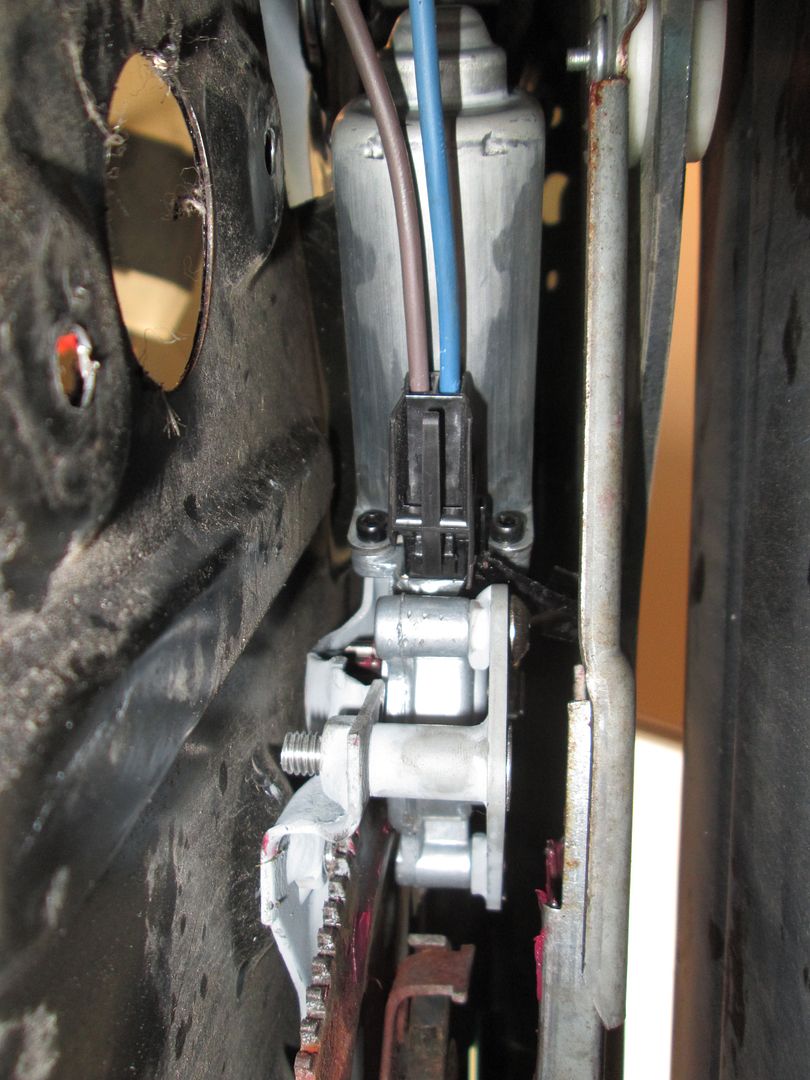
A couple of pictures with the motor installed. Since I welded the nuts to the bracket, I went ahead and painted mine.
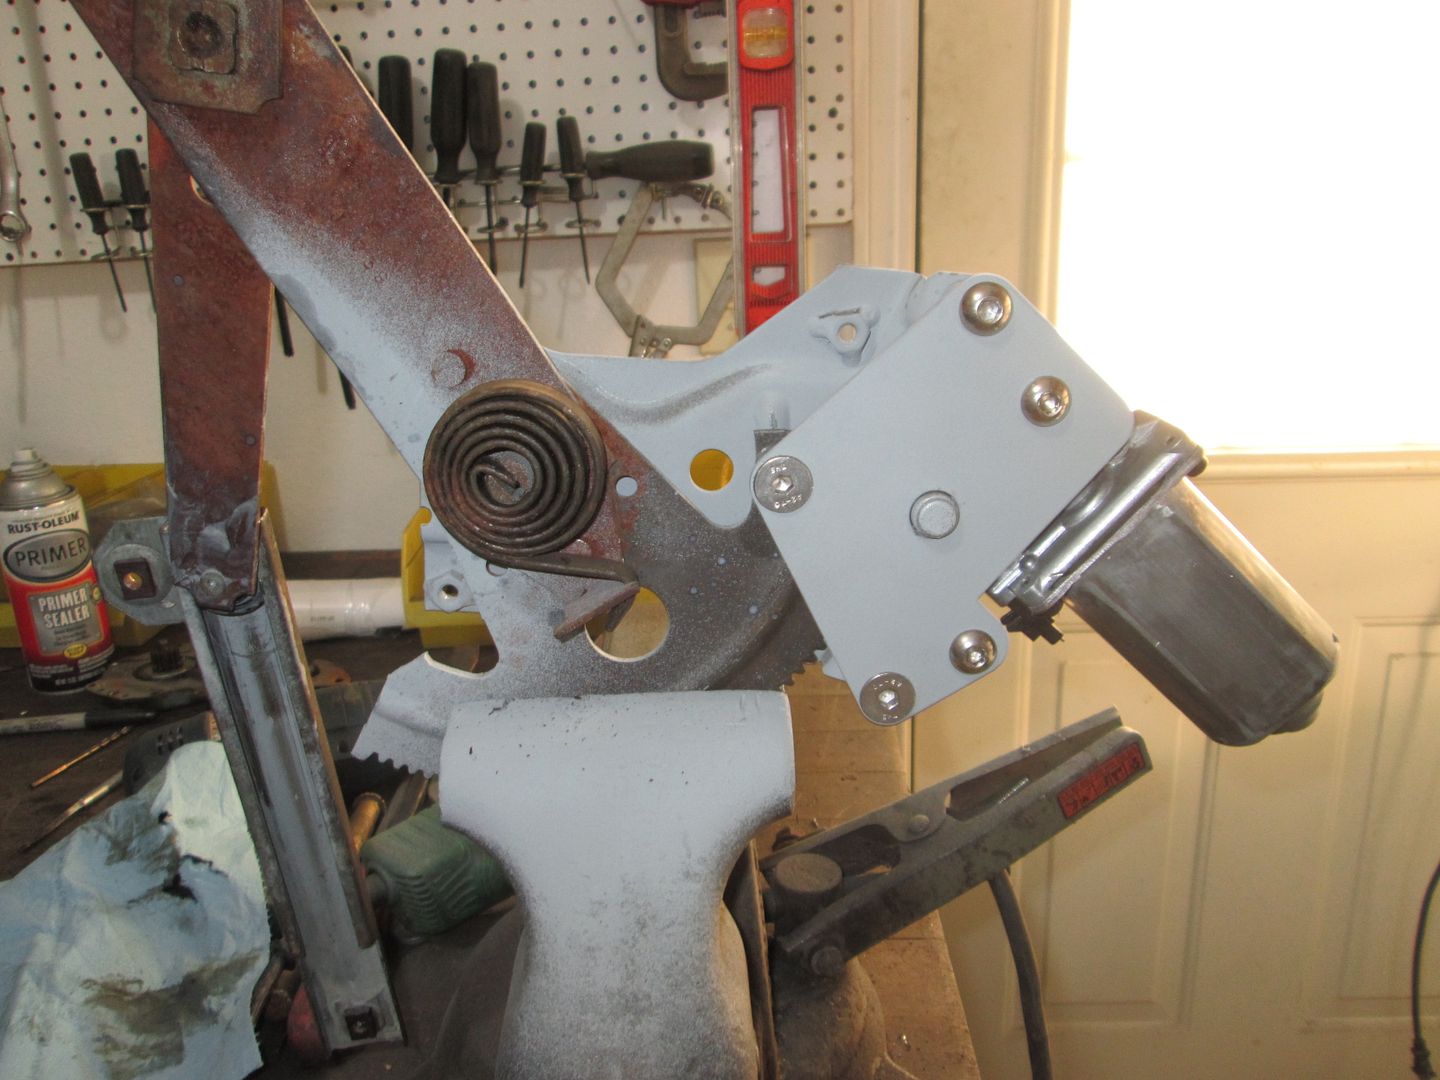
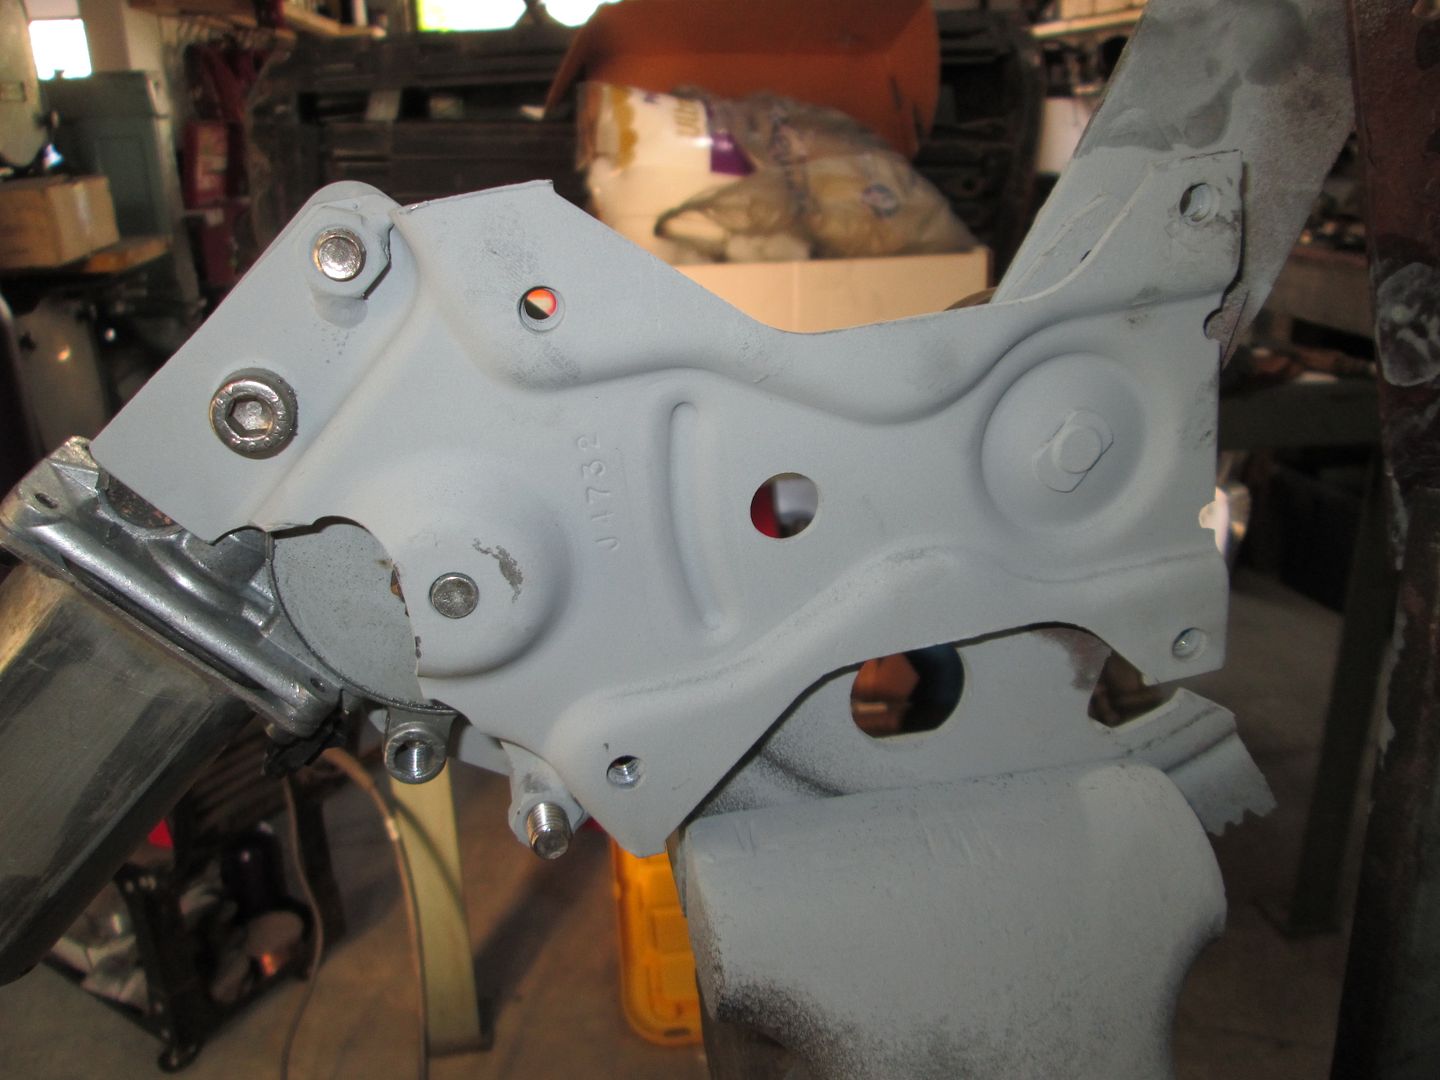
Now, a couple of noteworthy things to pay attention to:
1. To maximize the results from this installation, you need to clean and lubricate the 2 horizontal tracks as well as the one vertical track that all the window wheels ride in. I found WD40 worked well to soften the existing grease so that it could be wiped away. I used a small wire brush for the harder grease deposits.
2. When extending the wires, reverse the polarity (Brown to Blue, Blue to Brown). The motors install LH on the driver side and RH on the passenger side as they should, but since these motors do not have the extra idler gear the stock Fiero motors have, the rotation of the output gear is reversed. You need to reverse the polarity at the motor to correct the output gear rotation.
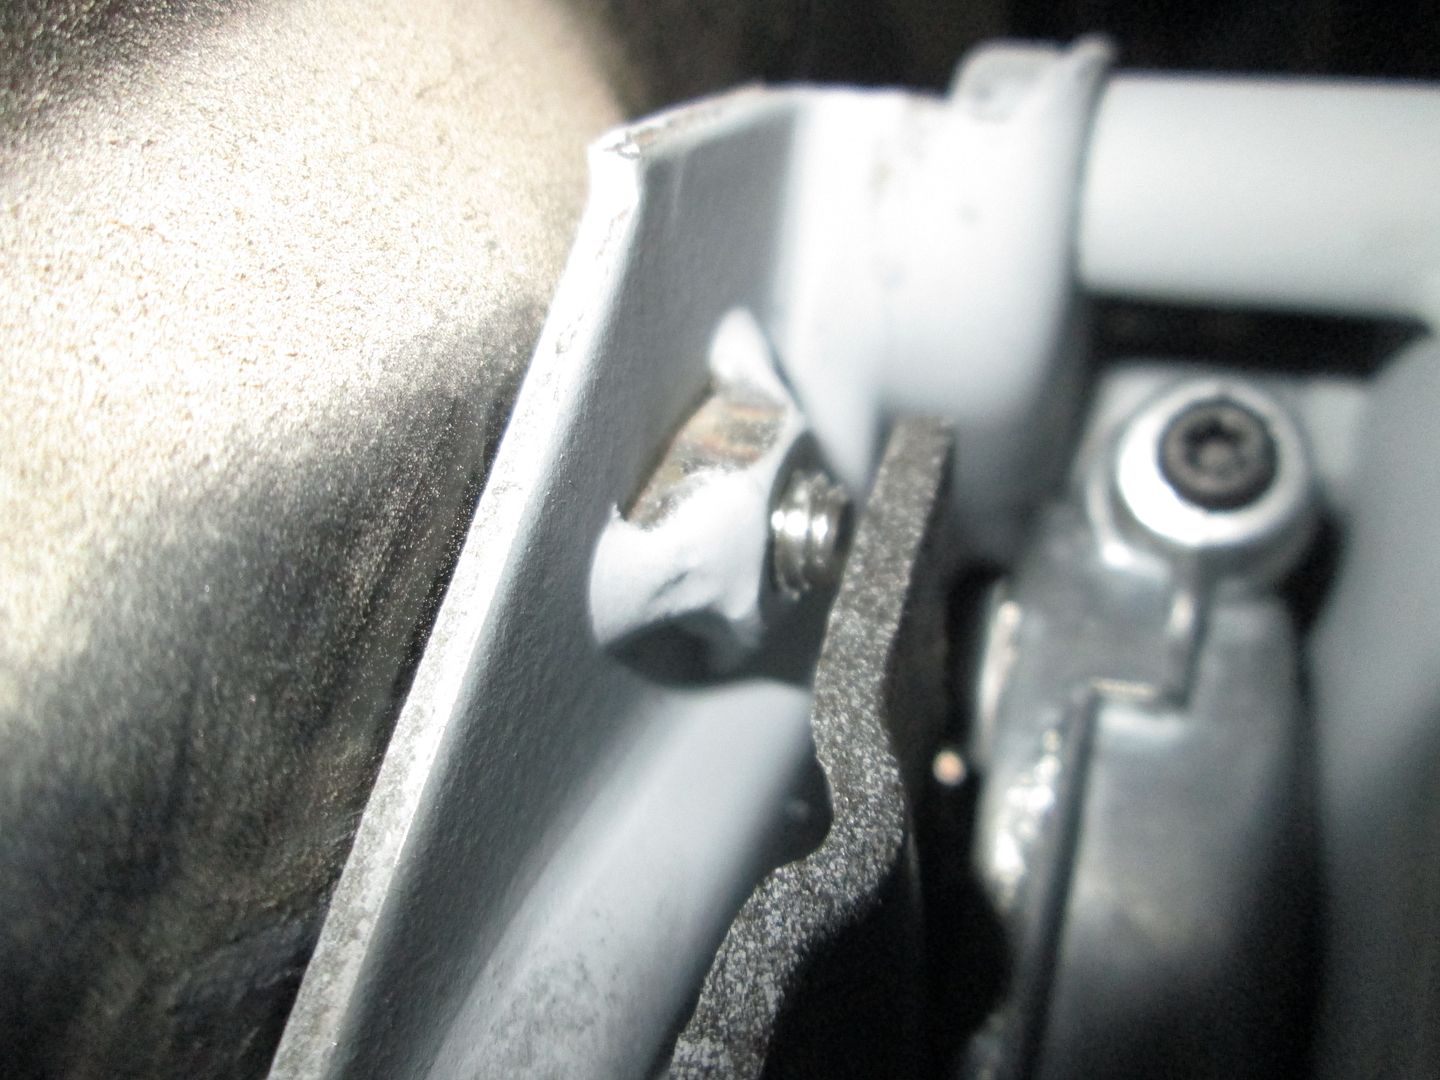
3. The mounting hardware to attach the scissor cam/motor assembly to the door has very little room. Rodney will supply the proper length bolts (slightly shorter than shown), but it is worth verifying this or there might be some binding. Here is an example picture of the bolt to scissor cam clearance:
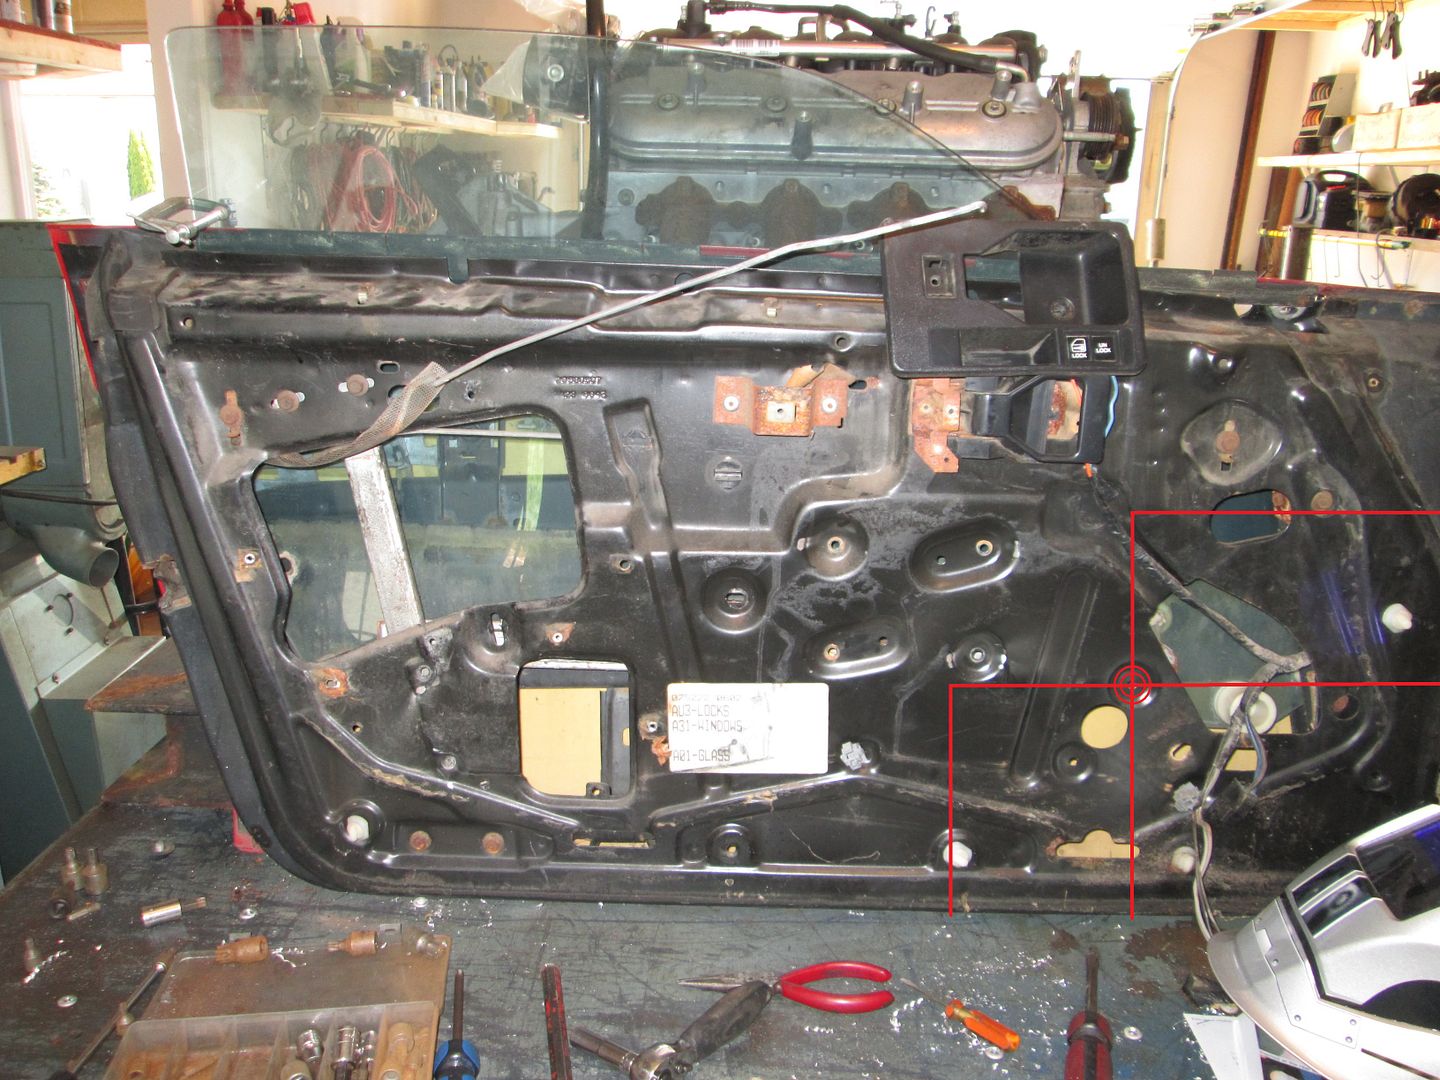
4. I removed the inside door panel as well as the outer door skins for the installation. This allowed me to get the best access to the area for cleaning as well as picture taking. You could do this conversion without removing the outer door skin if you wanted to.
Overall I am quite pleased with the kit and it ended up being a better solution than I was working on!
[This message has been edited by fieroguru (edited 05-26-2016).]


