Pennock's Fiero Forum
  General Fiero Chat
  Aldino Spider (Page 2)

Post New Topic  Post A Reply
Email This Page to Someone! | Printable Version

This topic is 2 pages long:  1   2 
Previous Page | Next Page
next newest topic | next oldest topic
Aldino Spider by Fieromaineac
Started on: 05-23-2016 05:21 PM
Replies: 42 (2170 views)
Last post by: Fieromaineac on 07-21-2016 06:19 PM
Fieromaineac
Member
Posts: 233
From: Kittery, Maine USA
Registered: Jun 2003


Feedback score: N/A
Leave feedback

Rate this member

Report this Post07-12-2016 05:36 PM Click Here to See the Profile for FieromaineacSend a Private Message to FieromaineacEdit/Delete MessageReply w/QuoteDirect Link to This Post
Amida is working on my dash and FedEx says the items from Aldino will be here this Thursday. Now I know what they mean by Christmas in July!


[This message has been edited by Fieromaineac (edited 07-12-2016).]

IP: Logged
Neils88
Member
Posts: 4045
From: Jeddore,Nova Scotia
Registered: Aug 2013


Feedback score: N/A
Leave feedback


Total ratings: 56
Rate this member

Report this Post07-15-2016 10:24 PM Click Here to See the Profile for Neils88Send a Private Message to Neils88Edit/Delete MessageReply w/QuoteDirect Link to This Post
 
quote
Originally posted by Fieromaineac:


That is one sharp looking dash!
IP: Logged
Fieromaineac
Member
Posts: 233
From: Kittery, Maine USA
Registered: Jun 2003


Feedback score: N/A
Leave feedback

Rate this member

Report this Post07-21-2016 06:19 PM Click Here to See the Profile for FieromaineacSend a Private Message to FieromaineacEdit/Delete MessageReply w/QuoteDirect Link to This Post
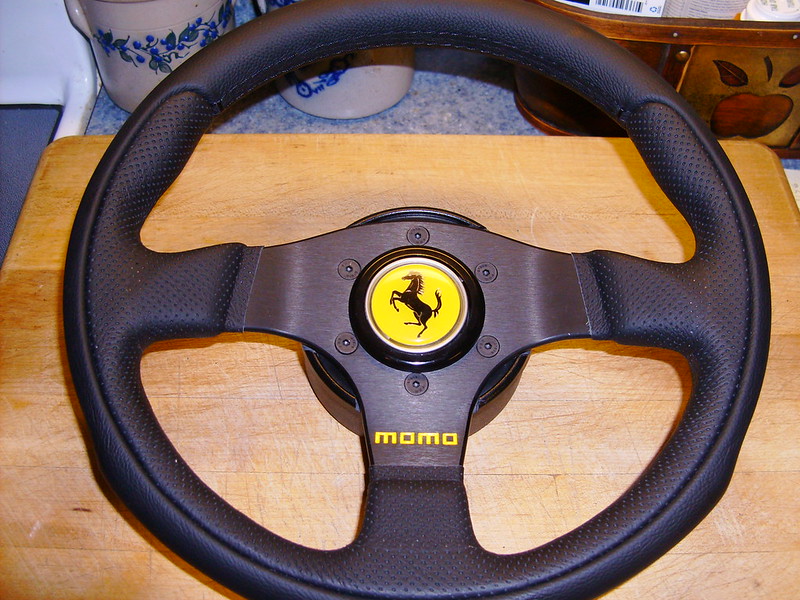
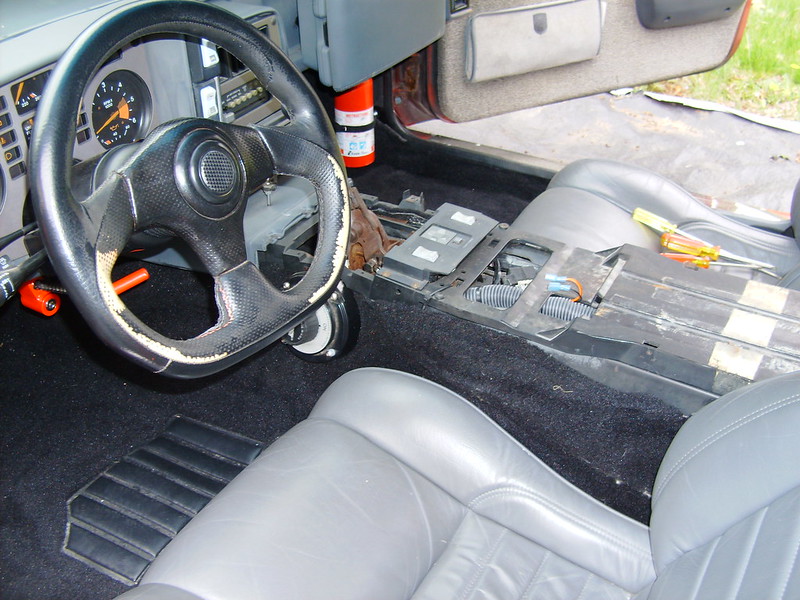
The steering wheel that came with the car wasn’t to be desired, so a new MOMO 300 was in order.


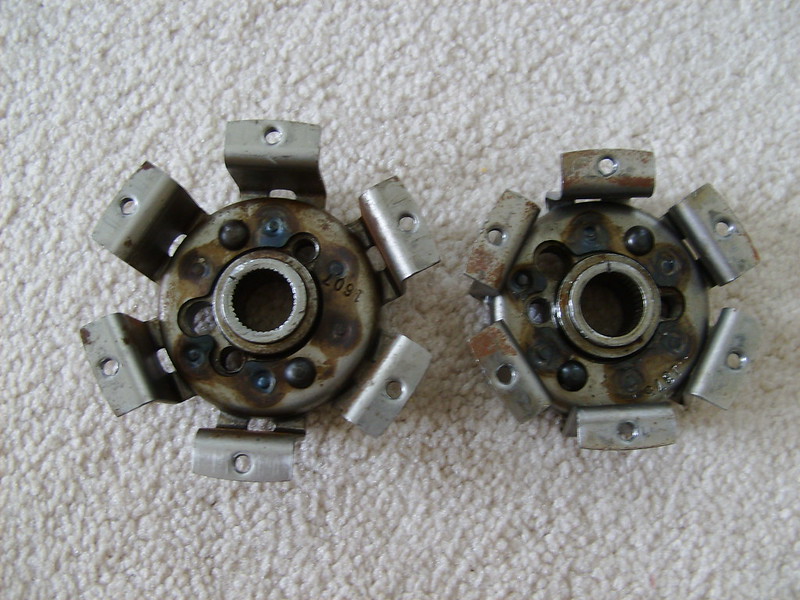
From a Fiero GT steering wheel you will need the hub and hub plastic cover pieces.


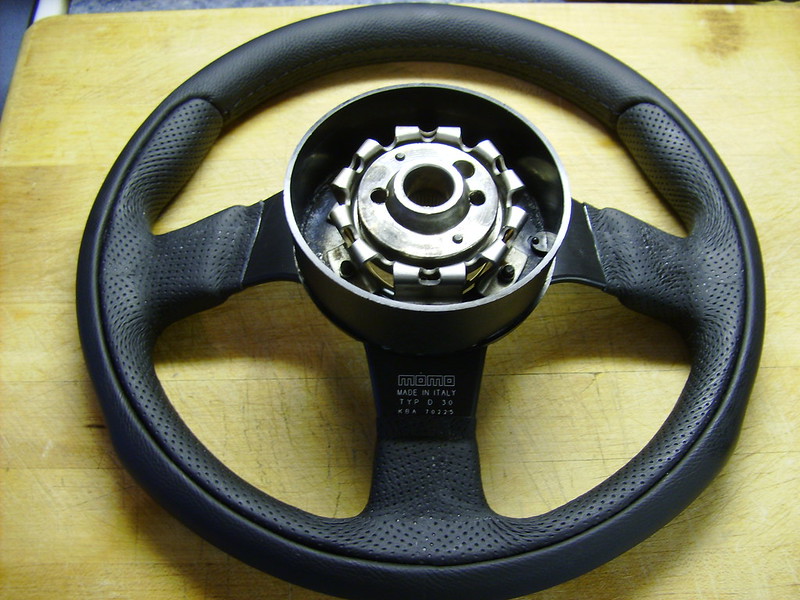
I don’t like the MOMO adapter so I made my own. The Fiero hub has six mounting arms like the MOMO so bend them in to the same diameter as the MOMO hole pattern. Make sure the end tabs are flat and level.


Glue the two plastic hub cover pieces together. You will need to recess the area on the top cover so the new steering wheel will sit flat. Now center the steering wheel on the hub cover to mark and drill the six mounting holes. The center hole will also need to be enlarged to allow the horn button to fit through.


Now that the steering wheel is sitting closer to the hub nut, you will need to modify the horn button. Disassemble the horn button and with a one inch hole saw cut a hole in the back.


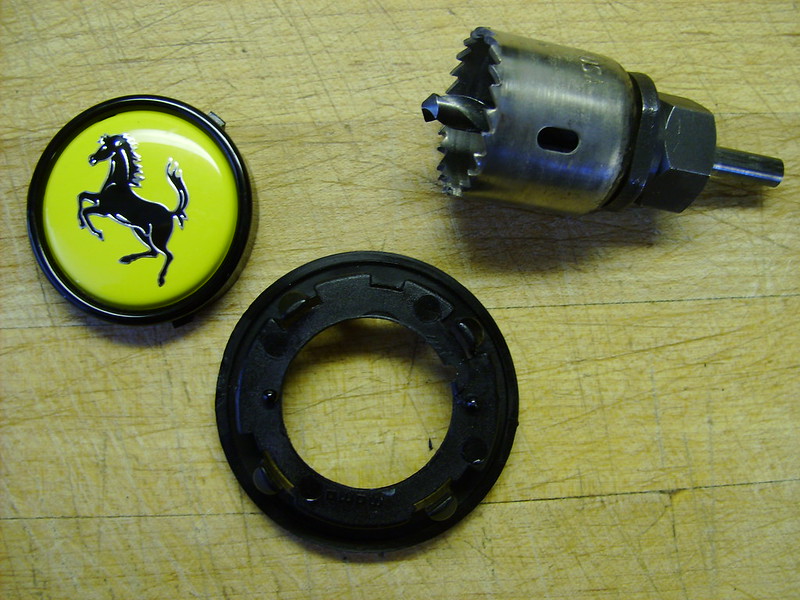
The horn button spring maybe riveted to the case, if not you will need to solder the ground wire to the spring.


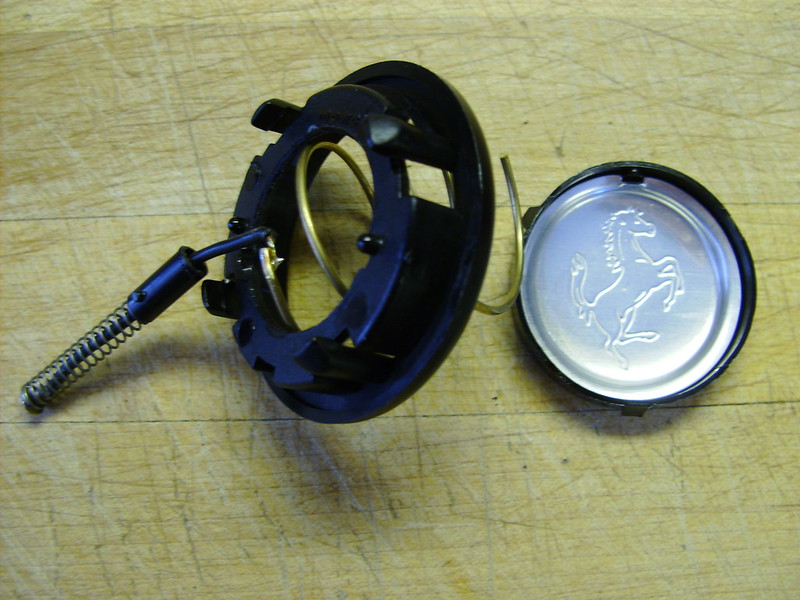
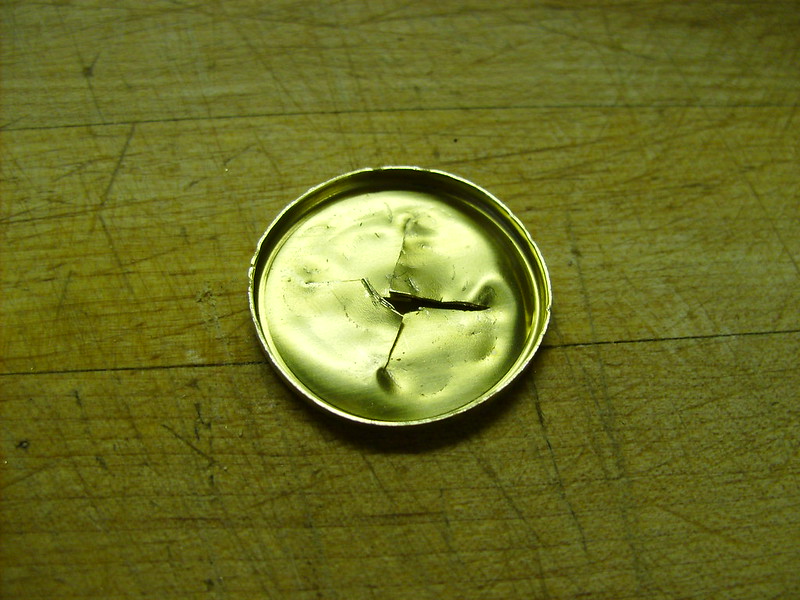
The inside copper spring centering cap will need to be flattened. Cut an “X” in the top then flatten with hammer.


Reassemble the horn button and install in steering wheel. We now have a new MOMO Ferrari steering wheel ready to install with the new interior “after” to body shop!


IP: Logged
Previous Page | Next Page

This topic is 2 pages long:  1   2 
next newest topic | next oldest topic

All times are ET (US)

Post New Topic  Post A Reply
Hop to:

Contact Us | Back To Main Page

Advertizing on PFF | Fiero Parts Vendors
PFF Merchandise | Fiero Gallery | Ogre's Cave
Real-Time Chat | Fiero Related Auctions on eBay


Copyright (c) 1999, C. Pennock