OK, I guess I'm just used to the seats in the 85s and 86s. The seats in both of my SEs, my 85 Econo as well as my 86 GT just look different, at least in the head rest area. It could be worse...the PO could have used a OD green T-shirt for a seat cover on the seat back.
The GT loses it's seats (and the T-shirt) on Saturday when I get a new pair from my mechanic. I have to remember to take the Pegasus shields off as well as the leather strips in order to put them on my seat covers. Have a good week all.
[This message has been edited by J-Holland (edited 04-11-2011).]
Nah, I can't do that to PK. But if he doesn't get them soon, I'll be paying you for them and putting them in my car.
Hey Andy Not backing out on your or anything but if you do need them go head and use them. I would hate to ruin good carpets when there needed as when i get them I'm most likely going to cut them in half just so they cover my footing area in my Formula. so if you need them go head and use them I'll just grab sh*tty ones from the junk yard. But if not I'll take them.. or your old ones for that matter
There was a thread a day or so ago, about using Resolve spot and stain remover with a medium-bristle brush and a power washer to clean the trunk carpet, might try that before scrapping the carpet altogether? Great thread so far!
IP: Logged
12:27 AM
Hulki U. My-BFF Member
Posts: 5949 From: Back home in East Berlin, PA Registered: Apr 2008
There was a thread a day or so ago, about using Resolve spot and stain remover with a medium-bristle brush and a power washer to clean the trunk carpet, might try that before scrapping the carpet altogether? Great thread so far!
Yeah that was JohnWPB's thread. I tried using Resolve but I'm not sure it was the right one, but I'm still going tomreplace the carpet because there are two burn spots back there as well. It looked as though there might have been an amp power wire back there that got grounded out and burnt into the carpet. I kind of know what that looks like because I did it in an old Camaro I had.
IP: Logged
10:43 AM
Jul 4th, 2011
Hulki U. My-BFF Member
Posts: 5949 From: Back home in East Berlin, PA Registered: Apr 2008
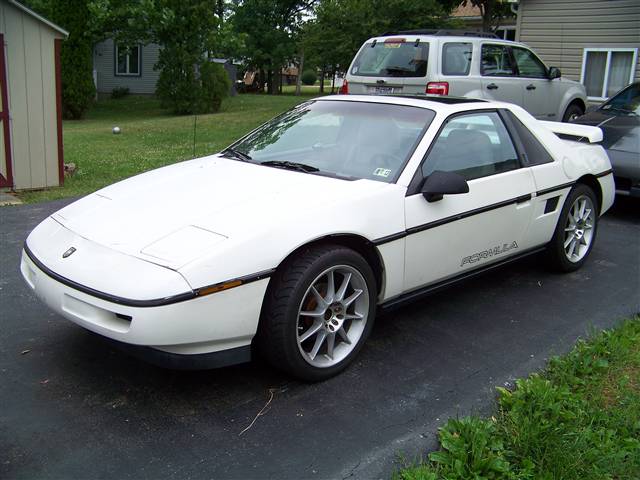
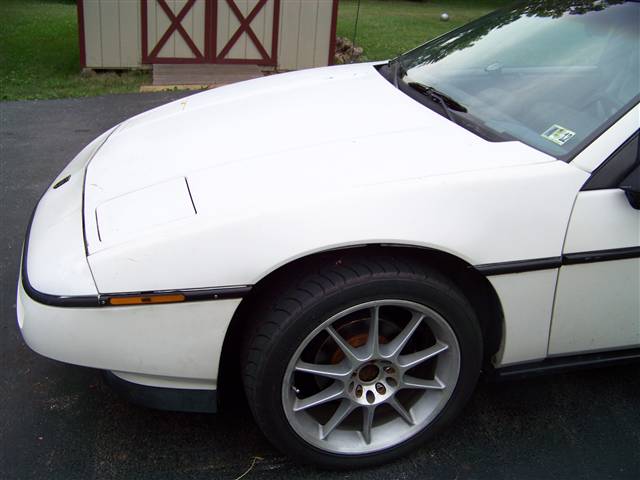
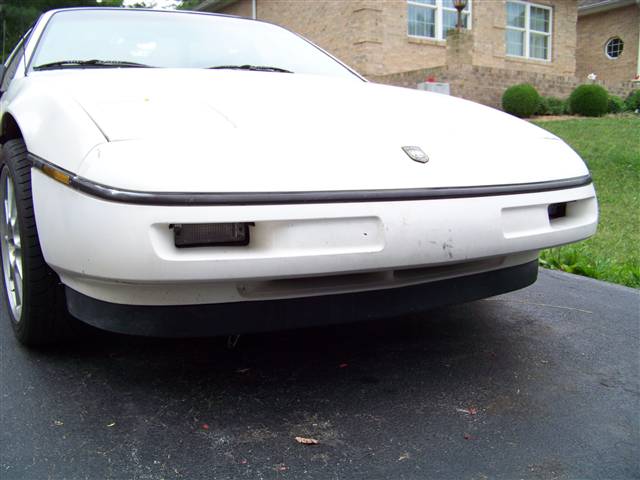
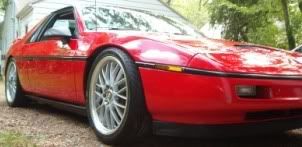
I wanted to post a few catch-up pictures since it's been a while. I've replaced the broken old fender with a decent one, as well as replaced the front bumper with one that wasn't torn. Although it does have plenty of spiderweb in the paint.
I also replaced my courtesy lights inside with LEDs. What a huge difference in brightness, and my goal is to replace most all of the lights on the car with LED.
IP: Logged
08:14 PM
Jul 25th, 2011
Hulki U. My-BFF Member
Posts: 5949 From: Back home in East Berlin, PA Registered: Apr 2008
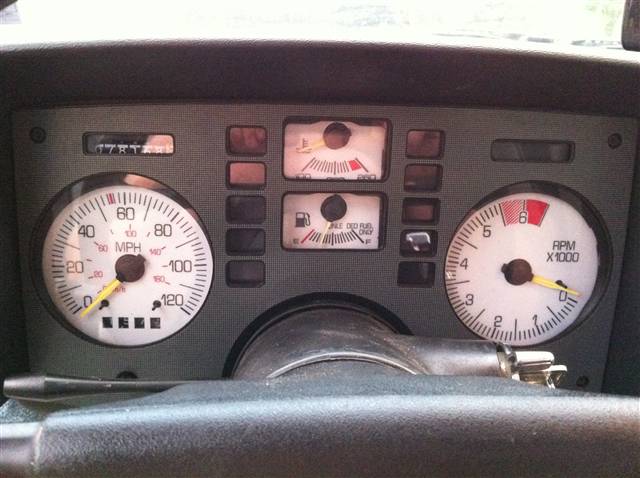
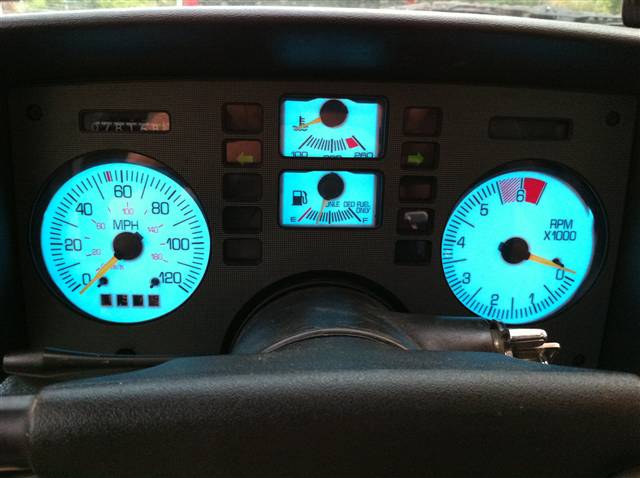
This weekend I managed to squeeze in some time for Petey. I started by replacing the gauge faces with the glow overlays that I had bought off of Ebay a while back:
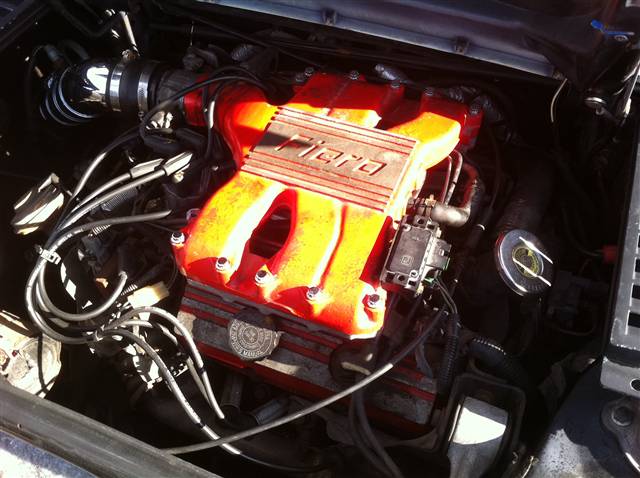
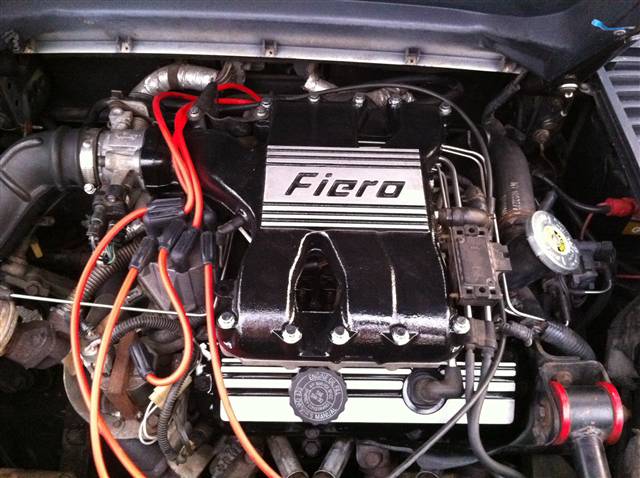
Also, I have had those valve covers and the upper intake that I painted way back when. I finally took the entire day today to replace them. While having the intakes and valve covers off, I took the opportunity to change the plugs and wires, as well as install the low temp fan switch I got with Rodney.
Awesome! Looks much much better. How did the engine look under the valve covers?
It didn't really look too bad, though it could use a Seafoam treatment. There is a layer of deposit on the pushrods, rockers, and pretty much everything under the valve covers. But not real bad. The next step will be to remove the engine bay insulation and pressure wash the engine bay. Then it will be on to the front suspension for new poly, ball joints, and some paint for the control arms.
IP: Logged
10:04 PM
FieroMaster88 Member
Posts: 7680 From: Mattawan, MI Registered: Nov 2000
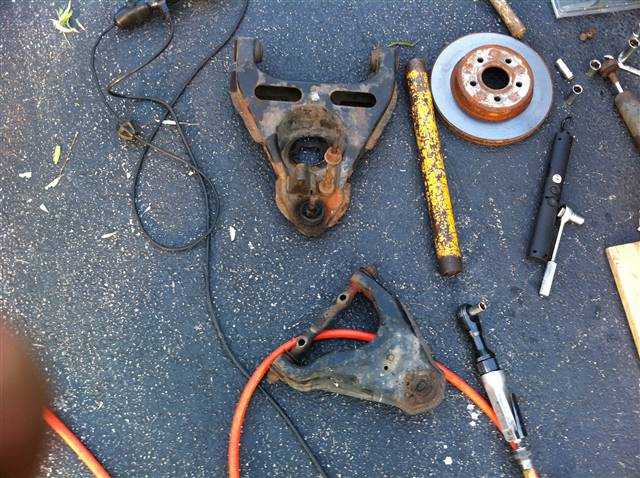
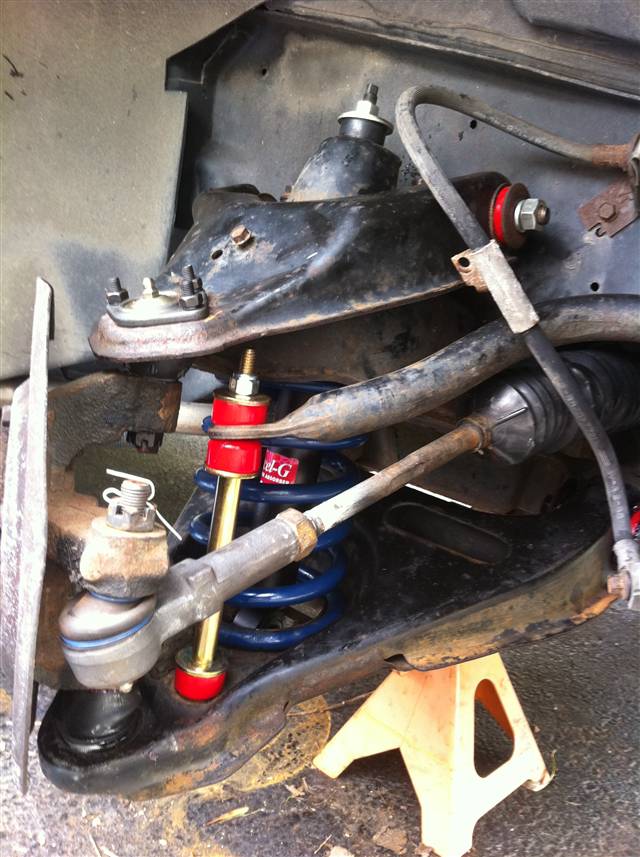
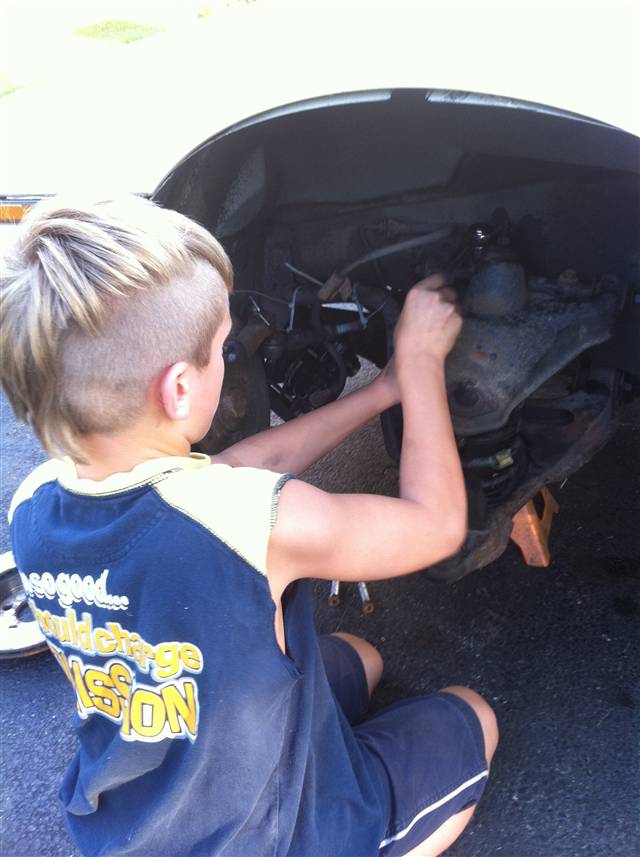
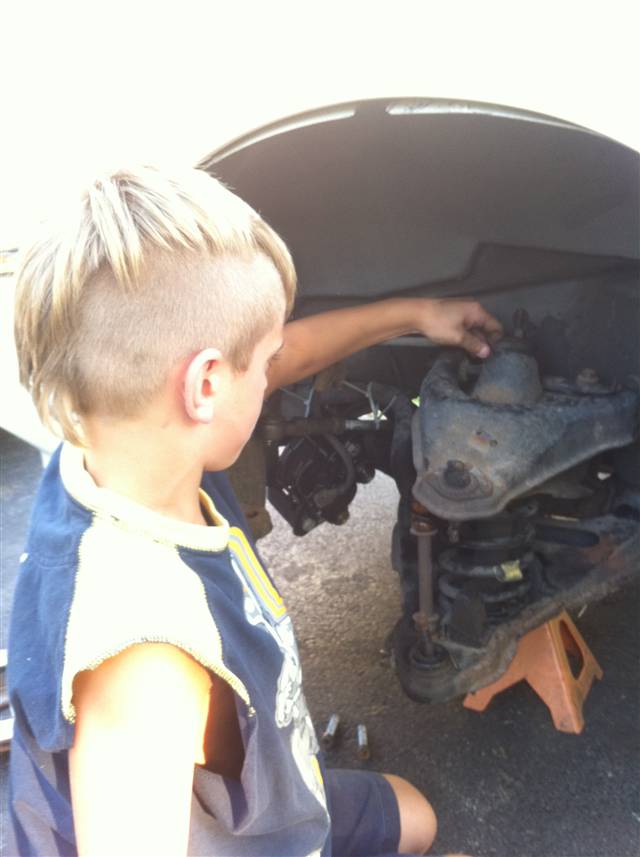
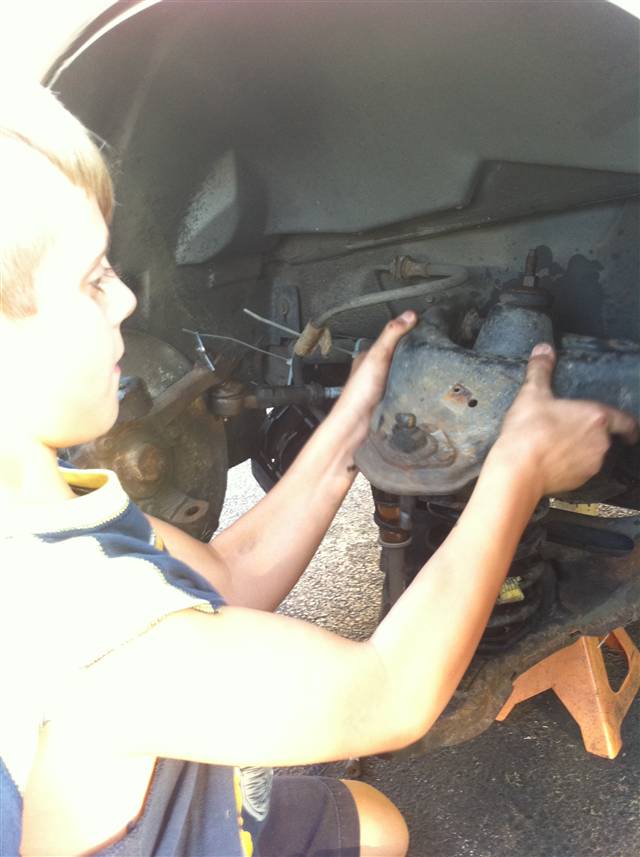
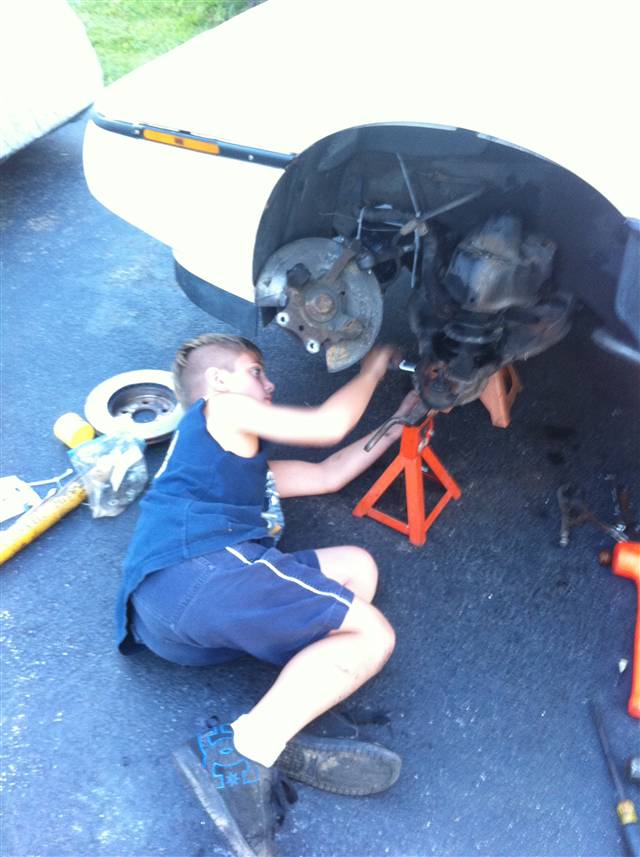
Finally, time has been made to do some more work to Petey in the form of rebuilding the front end. This includes new poly bushings for both upper and lower control arms, new shocks, new sway bar end links, and new upper and lower ball joints. Working side by side with my work buddy, we have been tackling this job together. He disassembled the entire left side suspension more or less by himself. I only assisted in breaking the LCA bolts loose.
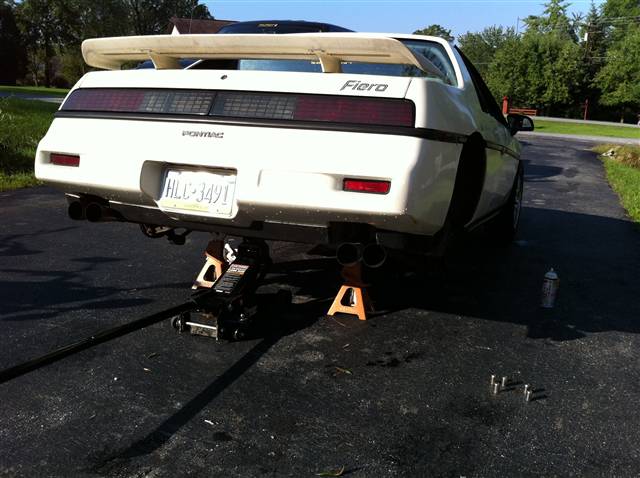
Nope, did not use the lowering ball joints. The reason those end links look so tall is because is that picture, nothing was tightened or torqued at that point. Everything was just on hand tight. Good eye.
IP: Logged
09:54 PM
Sep 18th, 2011
Hulki U. My-BFF Member
Posts: 5949 From: Back home in East Berlin, PA Registered: Apr 2008
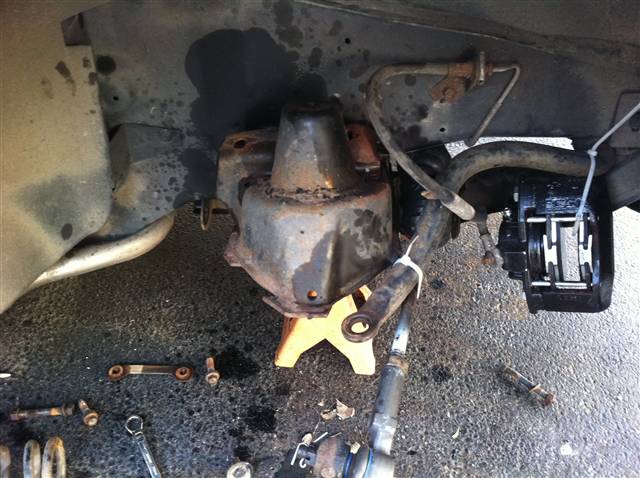
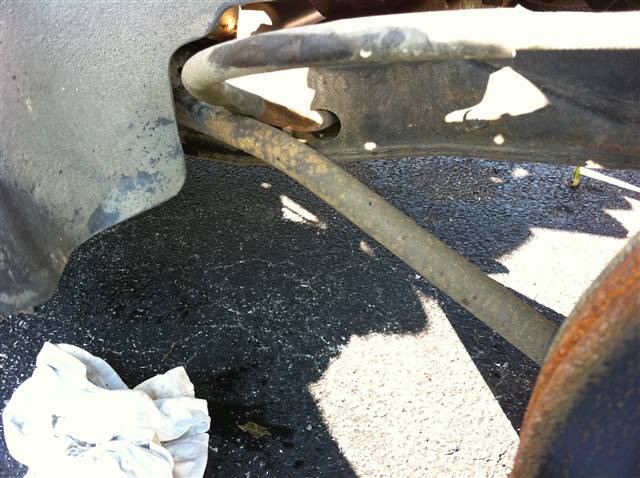
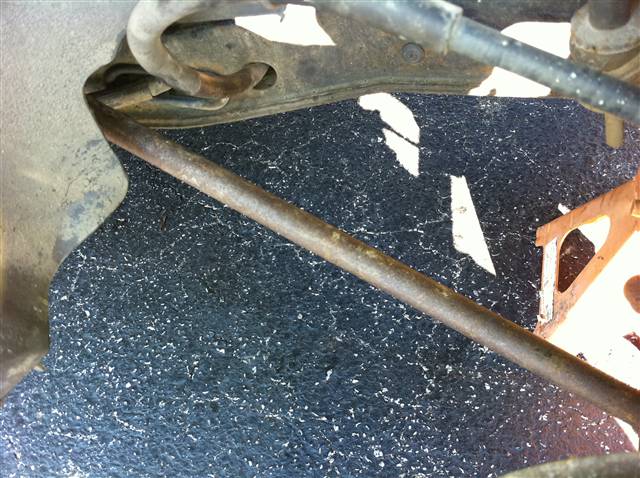
Now with the front suspension all back together, this car rides 100% better. It handles superbly, much better than it was before. So with the front done, I turned my focus to the back of the car a little. The trailing arms on the car look like someone put jack stands under them and set the car down. They were bent pretty bad. But mattwa had sent me a set way back when it was still cold out, I just never got the chance to put them on until today.
Old bent arms
New arms in place
The dizzy was also looking pretty foul, rusted, and miserable, so I replaced it with the new Cardone that I had sitting on the shelf, all with a brand new GM ignition module as well. I didn't get pictures of the new one, but here's what the old one looked like:
IP: Logged
05:16 PM
Sep 19th, 2011
Hulki U. My-BFF Member
Posts: 5949 From: Back home in East Berlin, PA Registered: Apr 2008
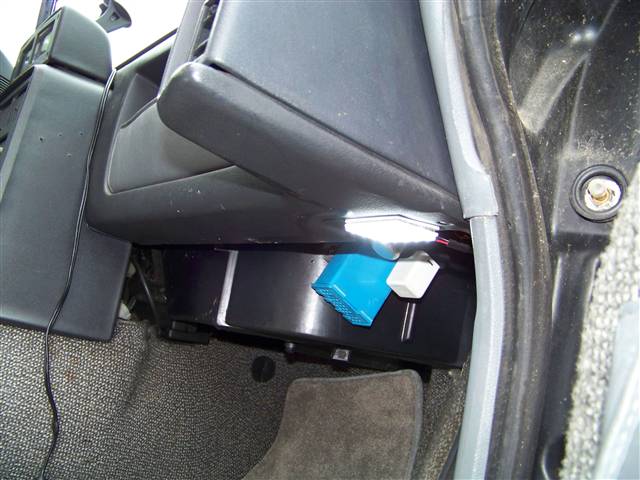
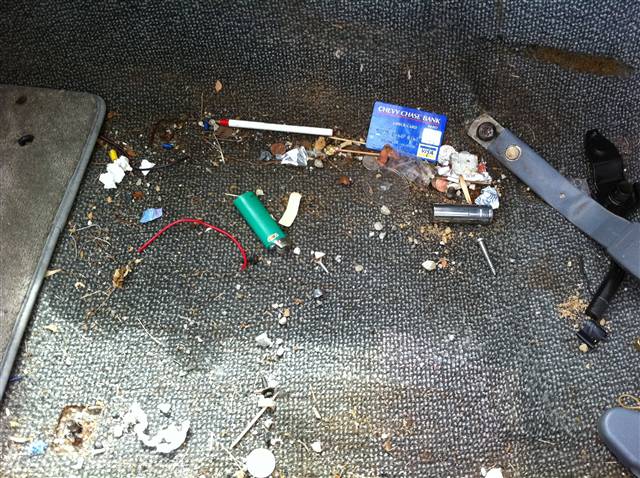
JACKPOT! I had the driver's seat out while I was replacing the lower door sill trim and adjusting the brake warning switch, and uncovered a trove of buried treasure.
$2.55 in change 5/8" deep well 3/8" drive socket BIC lighter assorted screws a red BIC pen a 2009 expired VISA debit card.
IP: Logged
08:37 PM
Sep 20th, 2011
Tomski Member
Posts: 152 From: Middletown, DE Registered: Apr 2011