During all my hunting and pecking long ago I saw one of those EGR covers with a pegasus logo on it. I loved it. I got a cap, but was trying to find out how to get that logo on it. I have been through countless pages of searches. Can not find it.
Any of you wiseguys know where I can find this person or how to get the logo on the top of the cap??
TIA for your help- As Always!
IP: Logged
06:10 AM
PFF
System Bot
pswayne Member
Posts: 1282 From: Lawrenceville, GA USA Registered: Sep 2006
We (fierosails.com) used to sell the EGR cover with the Fiero logo or with anything else that would fit. In five years we sold less than one a year so we dropped it. A sample photo is here: http://fierosails.com/images/EGR_Cov.jpg
If you would like something similar it would typically be $5-$7. Contact us via the web site fierosails.com (go to the Order Form) if you wish to pursue.
Paul McKibben Norcross, GA
IP: Logged
03:17 PM
sjmaye Member
Posts: 2468 From: Hendersonville, TN USA Registered: Jun 2003
Thank you, Paul, but not exactly what I was looking for. In fact, it looked like the Fiero wheel center logo stenciled in while on the top of the EGR cap.
Originally posted by sjmaye: I got a cap, but was trying to find out how to get that logo on it.
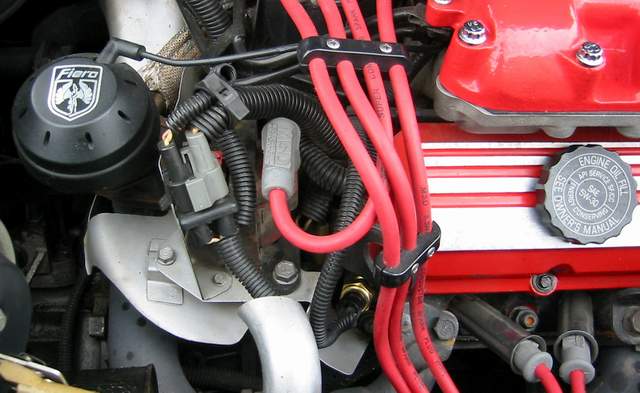
symaye, could you tell us where you got your EGR cap, even though it doesn't have a logo on it yet? Does it look something like that vented item in the first picture shown in this archived thread: https://www.fiero.nl/forum/A...040710-1-036545.html ?
IP: Logged
04:28 PM
sjmaye Member
Posts: 2468 From: Hendersonville, TN USA Registered: Jun 2003
It is exactly like that one. I found it at a junk yard. I went to a pullapart yard and looked at all the mid-to-late 80's oldmobiles and such. Easier to find than I thought.
[This message has been edited by sjmaye (edited 05-12-2008).]
IP: Logged
06:56 PM
May 12th, 2008
paulmckibben Member
Posts: 332 From: Atlanta, GA, USA Registered: Nov 2001
Sorry to be unclear. We can make pretty much anything that will fit on the EGR cover. The Fiero logo is no problem. Send us an email with specifics rather than use bandwidth here. Email address is "fierosails@yahoo.com".
Paul McKibben fierosails.com
IP: Logged
12:40 AM
Mister Member
Posts: 1975 From: Calgary, Alberta, Canada Registered: Aug 2004
Get the decal of your choice and slap it on there I had mine made from the Fiero logo file at the local graphics store (It had to be a very specific silver material). I would recommend supporting fierosails.com and any of our loyal Fiero merchants
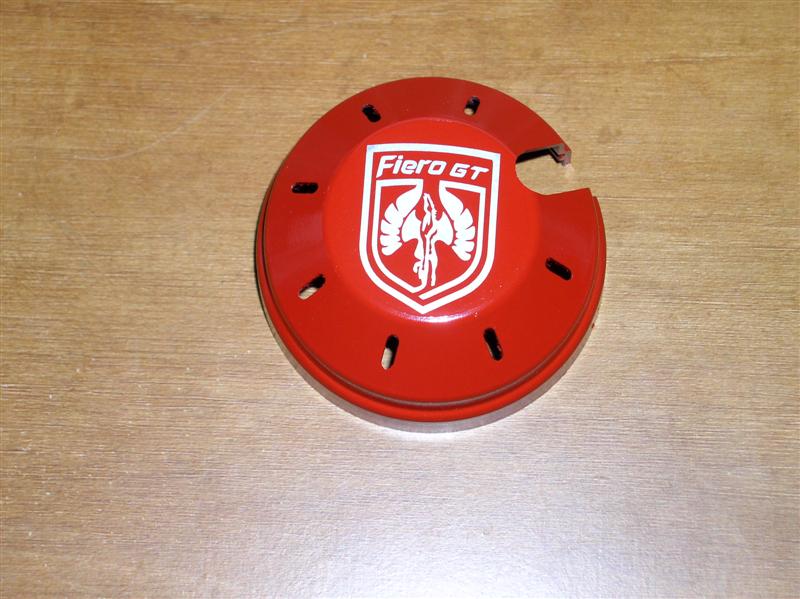
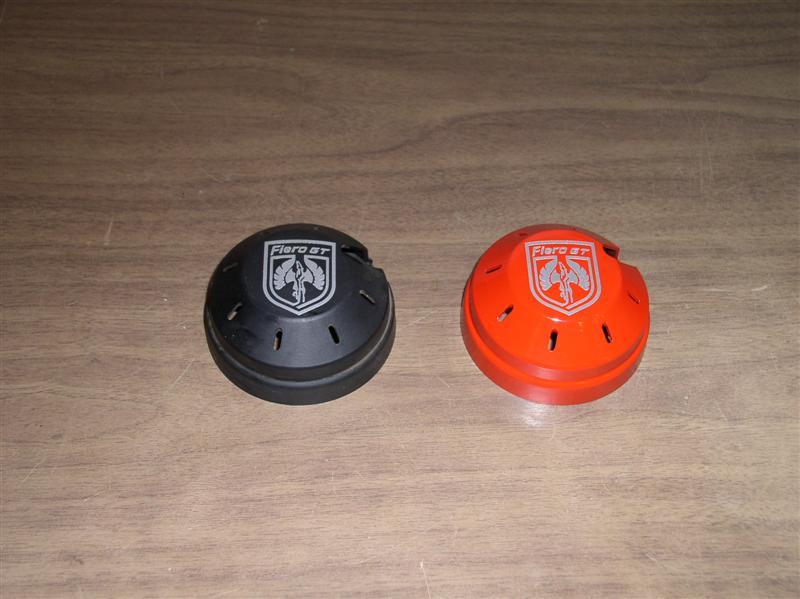
So Steve (sjmaye) and I made a deal ... I got a set of 5 decals but didn't need all 5 ... so I sent him a couple of mine for his cars, and he sent me an extra cap he had. I had a little project in mind. I wanted to try and more closely match one of the EGR caps to the Fiero valve covers and plenum. It took me a few tries but here is the result. I have to say, I'm more than pleased with the way it turned out. edit: after posting I noticed the fiero emblem looks white, but it is in fact silver, it's just due to the flash.
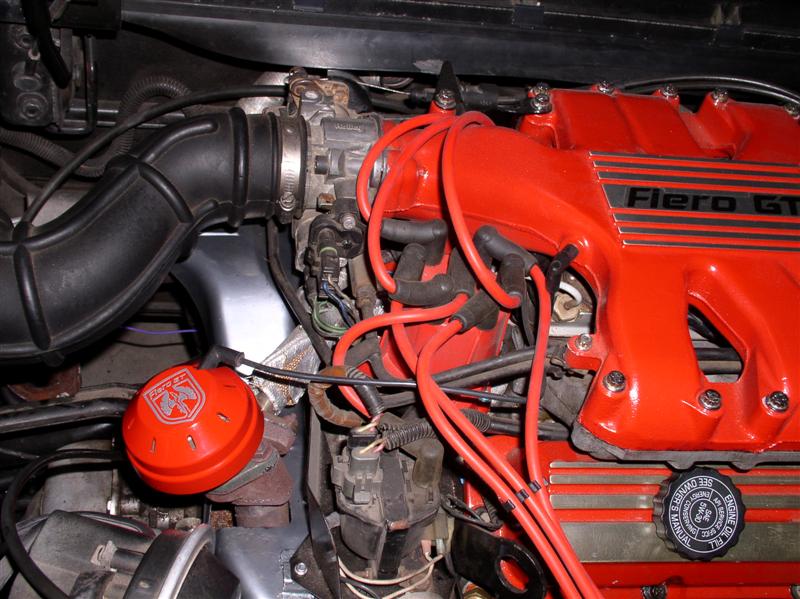
The reason it took me a few tries (and I expected it might) was due to difficulties painting the plastic EGR cap. I knew I was going to use the same high temp engine paint I used for the plenum/covers (no long drawn out arguments over which off the shelf color is the "Right" one please, been down that road before ... use whatever your happy with and matches what you used before). So first try was the high temp paint directly on the cover - bubbled & puckered pretty bad. So I took that off with acetone & tried again. I have some krylon fuzion for plastic, so I tried that as a base on the cap - worked great. Then I tried the engine paint as a top coat over the fuzion .... bubbled & puckered again (though not quite as bad. Okay, third try... stripped it all off again with acetone & start with the same self etching primer I used for the valve covers & plenum, next followed by the engine paint - Success!!! I'll get pics once I have it installed, then I get to decide which I like better. Rich
[This message has been edited by Richjk21 (edited 05-17-2008).]
So Steve (sjmaye) and I made a deal ... I got a set of 5 decals but didn't need all 5 ... so I sent him a couple of mine for his cars, and he sent me an extra cap he had. I had a little project in mind. I wanted to try and more closely match one of the EGR caps to the Fiero valve covers and plenum. It took me a few tries but here is the result. I have to say, I'm more than pleased with the way it turned out. edit: after posting I noticed the fiero emblem looks white, but it is in fact silver, it's just due to the flash.
The reason it took me a few tries (and I expected it might) was due to difficulties painting the plastic EGR cap. I knew I was going to use the same high temp engine paint I used for the plenum/covers (no long drawn out arguments over which off the shelf color is the "Right" one please, been down that road before ... use whatever your happy with and matches what you used before). So first try was the high temp paint directly on the cover - bubbled & puckered pretty bad. So I took that off with acetone & tried again. I have some krylon fuzion for plastic, so I tried that as a base on the cap - worked great. Then I tried the engine paint as a top coat over the fuzion .... bubbled & puckered again (though not quite as bad. Okay, third try... stripped it all off again with acetone & start with the same self etching primer I used for the valve covers & plenum, next followed by the engine paint - Success!!! I'll get pics once I have it installed, then I get to decide which I like better. Rich
It might be fun, unfortunately Spare time being at the premium it is, I'm lucky to find time to work on stuff for my own car. I already covered the basic steps. And the pieces to put it together are easy to obtain. Fellow members frequently snag the caps on part pulling expeditions & offer them up for sale in the mall. Paul from fierosails is a true pro and an asset to the fiero community. The decals Are the same ones he sells for the fiero wheel center caps. You can get 5 for right around $10.00 shipped. That being said I'm sure some enterprising individual will start throwing them together and selling them for $20-25 a pop, but more power to them, I'm just happy it turned out the way I wanted.
Who knows, I just started assembling all my parts for the 7730 ECM upgrade which uses a different EGR that doesn't accept the cap ... maybe mine will be for sale soon
Rich
[This message has been edited by Richjk21 (edited 05-17-2008).]
IP: Logged
09:27 PM
Richjk21 Member
Posts: 2228 From: Central Square NY, USA Registered: Feb 2006
I got the decals. Thanks. Before I do anythign with them let me run a worry by you. These caps have a textured finish. I was concerned the decals would not adhere adequately. I could see how painting it would mask some of the texture and enhance the adherance.
Did you do anything special or just "STICK 'EM"?
IP: Logged
03:42 AM
Richjk21 Member
Posts: 2228 From: Central Square NY, USA Registered: Feb 2006
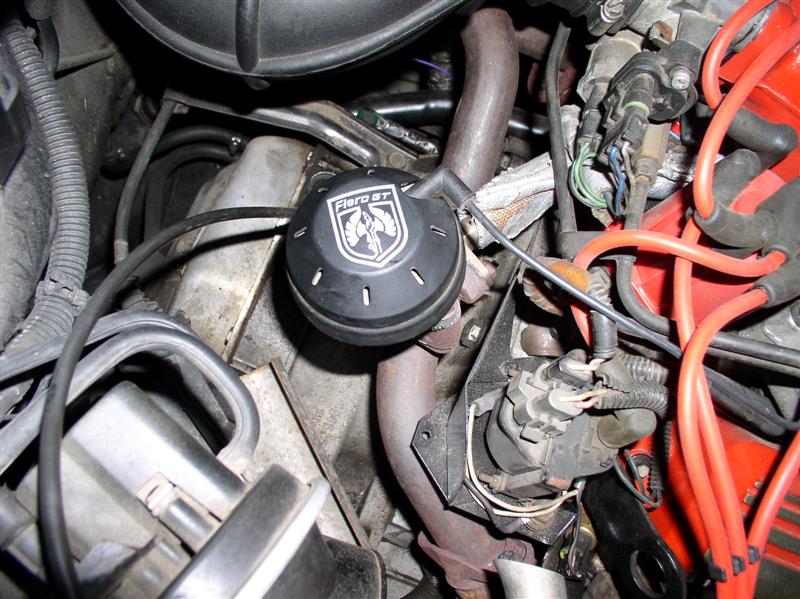
The black one has the decal right on the cap itself. The decals have a clear front binder and a paper backing. All I did was peal the paper backing carefully line up the decal/clear binder (the circle outline makes things a little easier) and lay it on the surface. Once sure the positioning was good rub over the logo area with either your fingernail or a spoon ... something hard and smooth, once you've rubbed over the whole logo, carefully peel the clear binder off and voil� you're done. Of course if you want a color other than black you can use the steps I posted earlier and make it whatever color you like. Rich
IP: Logged
11:43 AM
Electrathon Member
Posts: 5241 From: Gresham, OR USA Registered: Dec 2002
The reason it took me a few tries (and I expected it might) was due to difficulties painting the plastic EGR cap. I knew I was going to use the same high temp engine paint I used for the plenum/covers (no long drawn out arguments over which off the shelf color is the "Right" one please, been down that road before ... use whatever your happy with and matches what you used before). So first try was the high temp paint directly on the cover - bubbled & puckered pretty bad. So I took that off with acetone & tried again. I have some krylon fuzion for plastic, so I tried that as a base on the cap - worked great. Then I tried the engine paint as a top coat over the fuzion .... bubbled & puckered again (though not quite as bad. Okay, third try... stripped it all off again with acetone & start with the same self etching primer I used for the valve covers & plenum, next followed by the engine paint - Success!!! I'll get pics once I have it installed, then I get to decide which I like better. Rich
The reason that you had blistering paint reactions is that the paint that you used likely has acitone as a base solvent. A few years ago a number of paint manufactures started doing this as a way to save money. You can paint right over the first coat, or wait for the paint to really dry (days and days) before recoating then you generally will not have reactions. I ran into this issue at work a few years ago (it caused me a LOT of re-do time on the stuff I was working on. I then contacted the tech guys at the paint manufacture. I was told that they knew abouit the problem, but if you wait the proper amount of time it is a non-issue since it will work them. The trouble is there is not way to really know the proper amount of time. The no-recoat window can start in as little as a couple hours and can last up to days. There is no way to know unless you recoat. Then if it blisters strip it and start the whole process over. Changing paint brands to one that uses a differant solvent base will fix the problem.
IP: Logged
11:46 AM
Richjk21 Member
Posts: 2228 From: Central Square NY, USA Registered: Feb 2006
Right, but I was getting the blistering and puckering with the high temp engine paint on just the bare plastic cap. Which in my experience is not unusual... some paints & plastics don't like to mix. But shooting a quick coat of primer cleared up the issue in short order. And you are right, the engine paint is exactly as you describe, it says to do your additional coats within a window of 10 min to 1 hour. Rich
IP: Logged
11:57 AM
Electrathon Member
Posts: 5241 From: Gresham, OR USA Registered: Dec 2002
Acitone and plastics are generally not friendly to each other, so what you are saying makes since. If the acitone sttacks the plastic it could easily cause blistering. I just realized that you said you wiped the parts with acitone, so that could likely cause it too.
Either way, what you did came out good in the end.