Okay I got the manifolds off. Wasnt't that hard once I removed the trunk lid, then I had enough room to sqeeze my arms behind the firewall. I ditched the heat sheilds and scraped the crap off the heads and cleaned all the threads with a tap. Much to my suprise, the rear manifold was almost cracked all the way thru. Luckily for me I got the new headers and that I didnt snap off any exhaust manifold bolts.
IP: Logged
11:32 AM
Smoooooth GT Member
Posts: 8823 From: Lake Palestine, Texas Registered: Jun 2001
yes it includes a blow off valve and a 2 bar map sensor too.
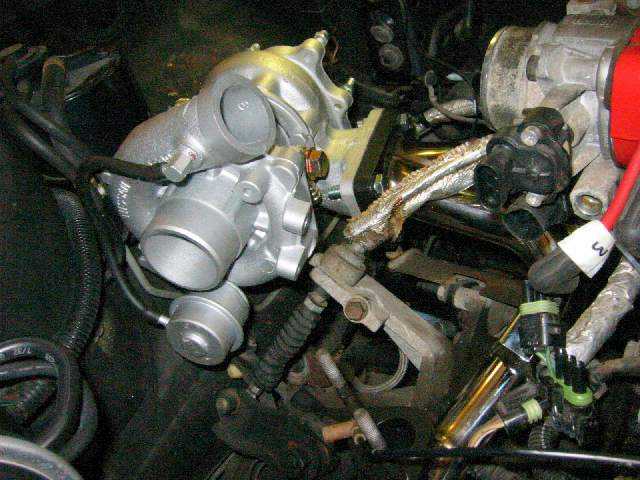
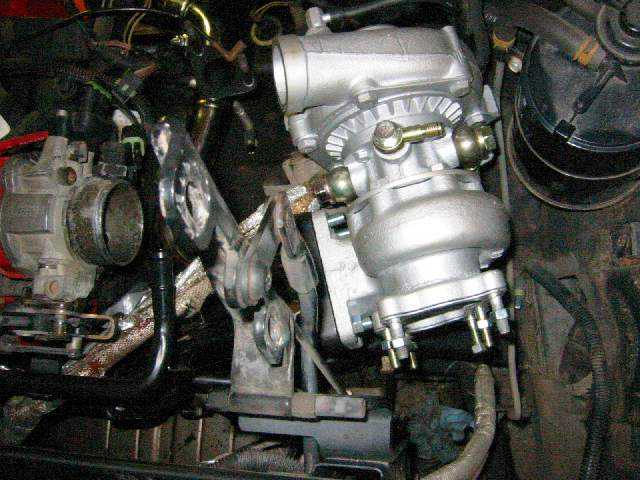
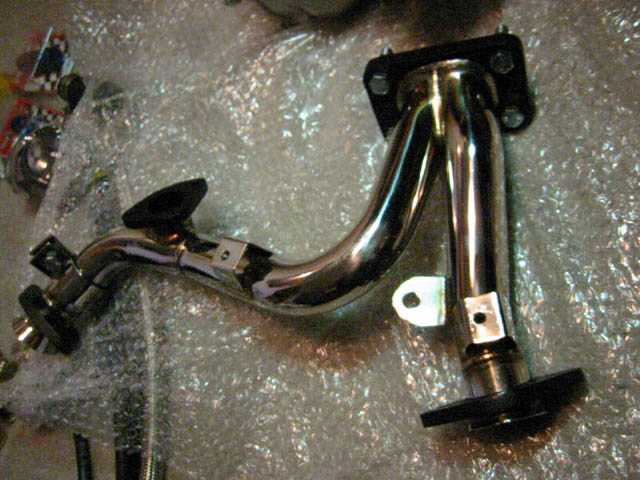
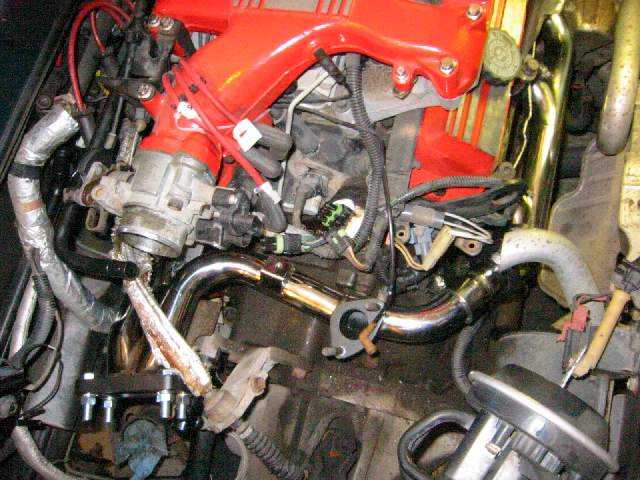
here's some shots of the new manifolds and y-pipe for the turbo
As you can see, I used the Saturn studs but just like Leadfoot I couldnt use the Saturn nuts, had to use the nuts that came with their headers, no big deal.
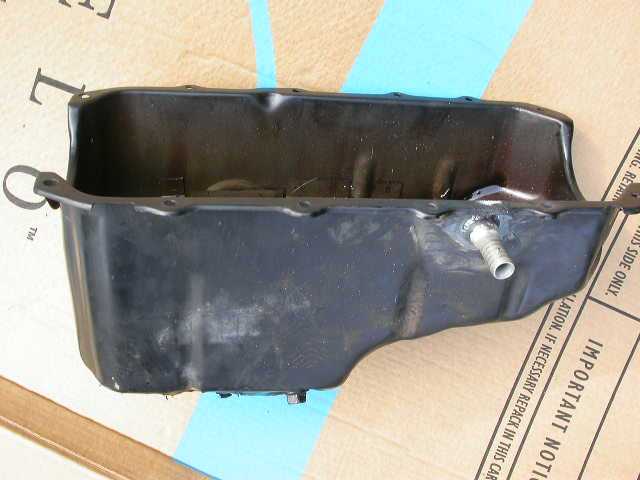
tomorrow I attack the oil pan...
[This message has been edited by LordBoOsT (edited 08-11-2003).]
Sweet, moving right along. Let me know how the oil pan goes. Thats on my list of things to do on tuesday or wednesday. Its pretty much the 1 thing I'm not looking forward to, lol.
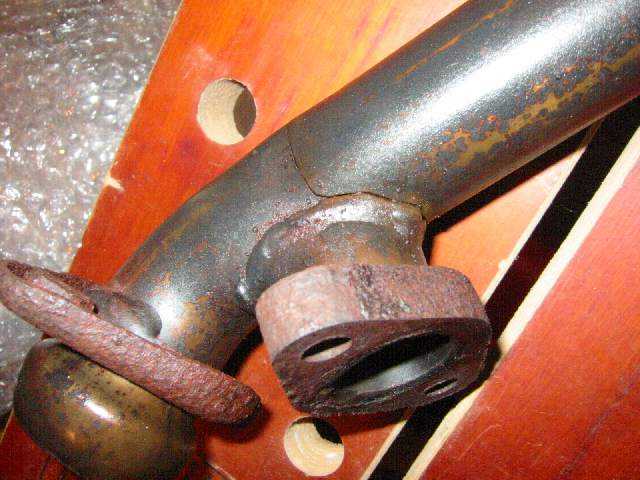
this was the manifold on the driver's side. that crack goes all away around. must have been only half an inch left holding it together. guess its not repairable huh?
Sweet, moving right along. Let me know how the oil pan goes. Thats on my list of things to do on tuesday or wednesday. Its pretty much the 1 thing I'm not looking forward to, lol.
starting the oil pan in a few hours. still not decided when to take the coolant supply from. u think the pressure is stronger off the block or the filler tube?
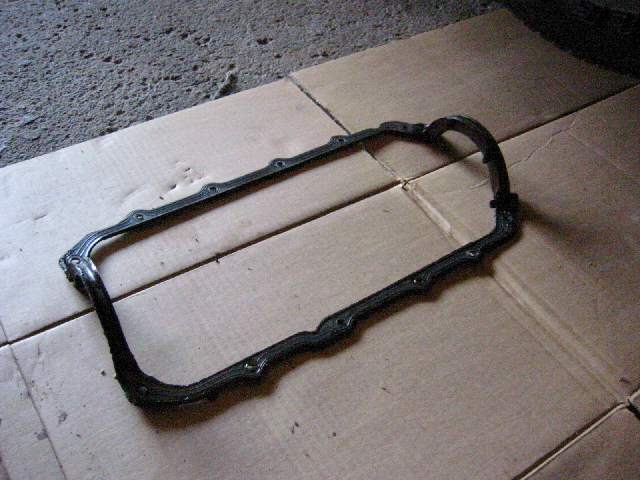
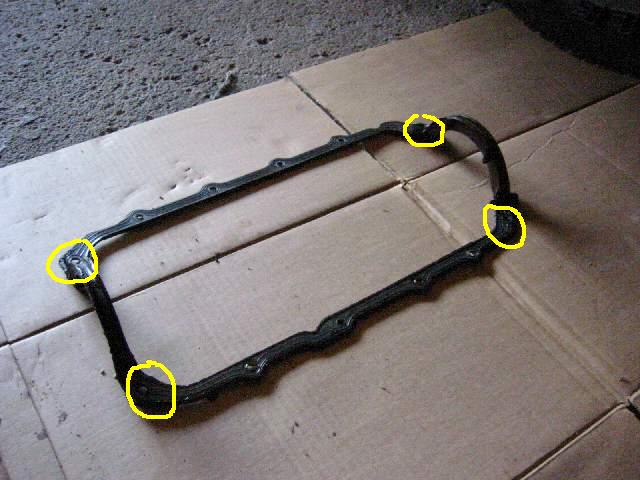
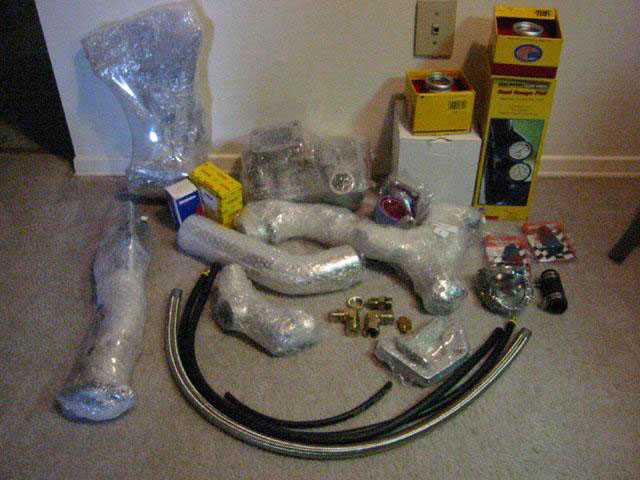
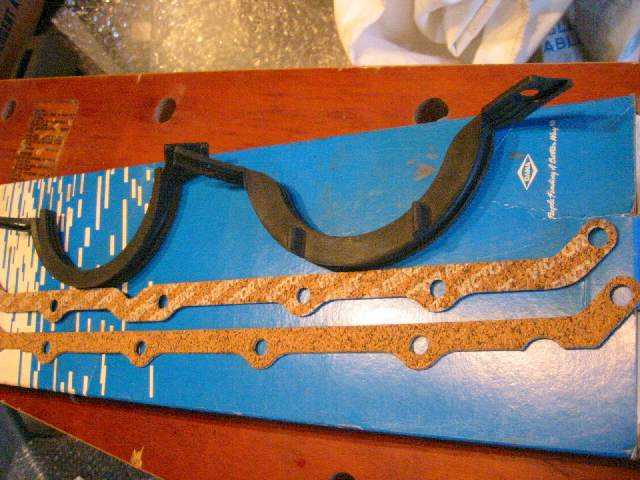
this is the oil pan gasket kit. its for an '87. anyone know if i need to rtv it anyplace? or just put it in dry?
IP: Logged
08:40 AM
Paul Prince Member
Posts: 2935 From: Kansas City, MO Registered: Dec 2002
I would take the coolent from the block like mentioned just above as well as a lil goop on there as well.
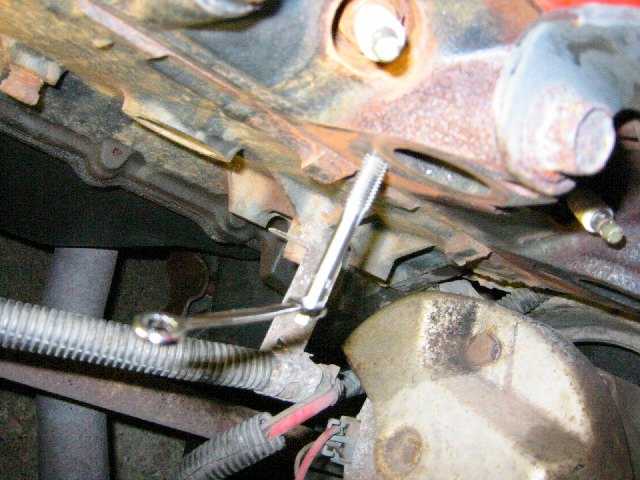
When you pull out the plug from the block, the coolent is going to pour out. Since I had to do this laying under the car, with the chassis about 3" from my head, I had to improvise a lil. Rather than letting the coolent drain out like mentioned in the design 1 manuals, etc, I tried to save what I could. If you crack the plug free, then liquid teflon/teflon tape, etc the new ANGLED fitting, You can hold the new one in one hand, unscrew the old with the other. Once its unscrewed, hold it against the block to preventt spillage, and quickly swap to the new one.
I used a 90� fittng, and a spare 1/4 plug (that I took out for the knock sensor) plugging my 90�. Once I had that tightened, and angled as I wanted it, I pulled that plug in exchange for my barbed nipple, with hose attached, and screwed that in. I only lost maybe about 1/4 cup antifreeze.
Now, how much I lost trying to get the right fitting, thats another story, lol. (Damn cheap person I am and my homebrew kit )
IP: Logged
10:35 AM
watts Member
Posts: 3256 From: Coaldale, AB, Canada Registered: Aug 2001
Originally posted by LordBoOsT: this is the oil pan gasket kit. its for an '87. anyone know if i need to rtv it anyplace? or just put it in dry?
That's an early style gasket: 85-early87 (or a really bizzare late one!).
Sorry, I don't know what year engine you have (but from the pictures you posted above, I'd say it's an early one).
My point was? Some 87's have the "88" pan, mount, etc on them.
As for RTV - put a seam of it on both sides of the gasket where the front cover meets the block (where your pan swoops up). A thin layer on one side everywhere else seems to make them happy and stay in place.
IP: Logged
12:29 PM
Dennis LaGrua Member
Posts: 16187 From: Hillsborough, NJ U.S.A. Registered: May 2000
yes it includes a blow off valve and a 2 bar map sensor too.
here's some shots of the new manifolds and y-pipe for the turbo
[This message has been edited by LordBoOsT (edited 08-11-2003).]
The stock ECM is incompatible with a 2 BAR MAP sensor. Make sure that you get a new chip program which is compatible with a 2 BAR MAP or expect your engine to go boom!!
thanks everyone! watts, the parts guys gave me that for my 87 oil pan but from i can see the original has one continuos rubber one on there and i can see where is was rtv'ed.
dennis i know i'll need to do something about the fuel management and ignition, havent crossed that bridge yet and i'd like some info on what u r offering on chips, etc..
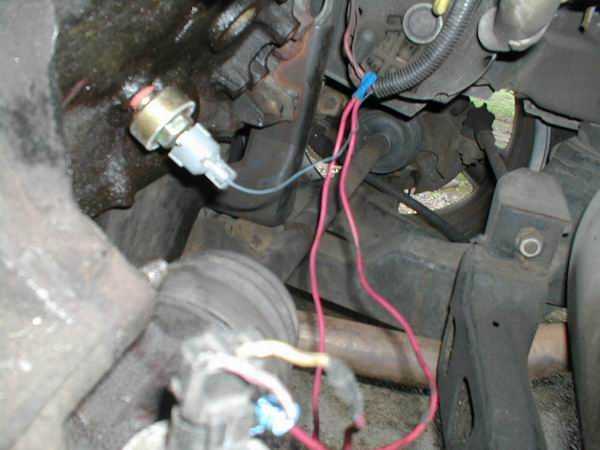
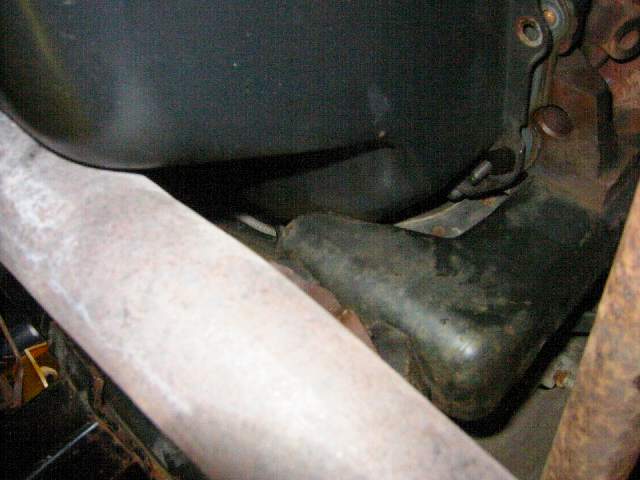
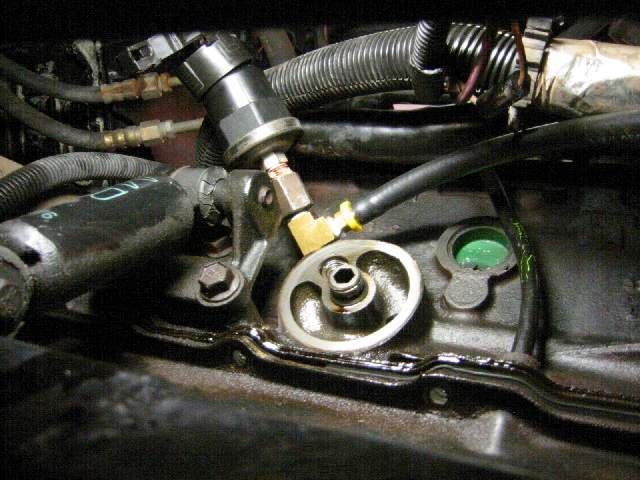
well here's what i got done today, or should i say "tried" to get done? got all the bolts off the pan but i cant drop it because to wont clear the front motor mount. doesnt look like i'll be able to remove the bracket on the engine that attaches to the motor mount without finding a way to support it from the top, that will be my last resort. first i'll try removing all the studs on the pan but i got to go buy the torx socket first. at least i got the oil feed together....
IP: Logged
04:42 PM
Will Member
Posts: 14305 From: Where you least expect me Registered: Jun 2000
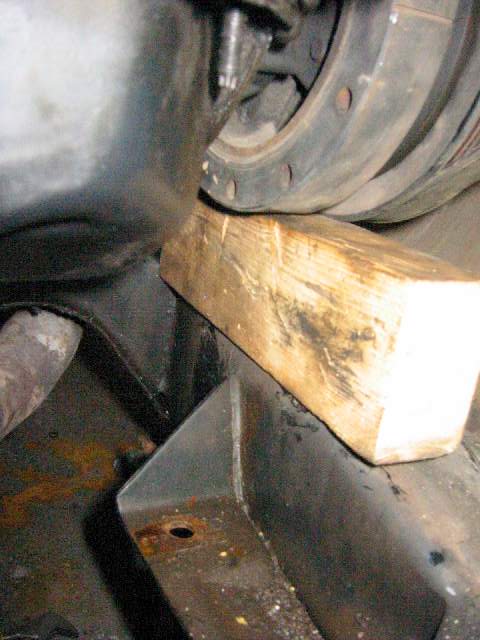
Originally posted by LordBoOsT: got all the bolts off the pan but i cant drop it because to wont clear the front motor mount. doesnt look like i'll be able to remove the bracket on the engine that attaches to the motor mount without finding a way to support it from the top, that will be my last resort. first i'll try removing all the studs on the pan but i got to go buy the torx socket first.
Put a 2x4 block between the crank pulley and the cradle rail.
------------------ '87 Fiero GT: Northstar, Getrag, TGP wheels, rear sway bar, rod end links, bushings, etc.
'90 Pontiac 6000 SE AWD: Leaking ABS unit fixed, load levelling rear suspension fixed, still slow
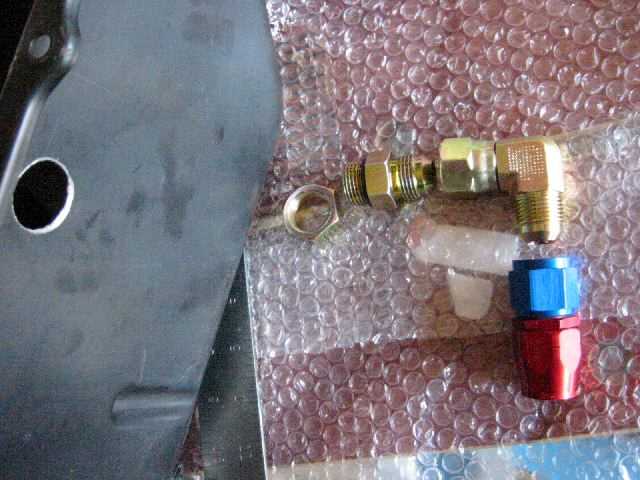
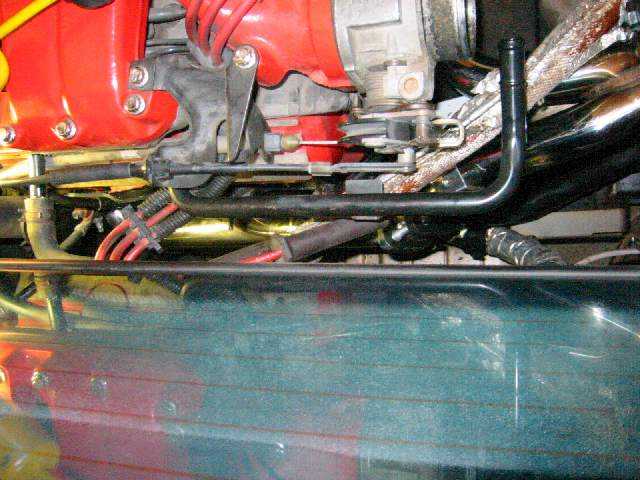
Hmm, the oil feed setup is a little different than mine, but I suppose it works. Only question though, your putting a clamp on that rubber hose to barbed fitting connection, right?
Hmm, the oil feed setup is a little different than mine, but I suppose it works. Only question though, your putting a clamp on that rubber hose to barbed fitting connection, right?
yes, the clamp is actually just outside of the camera view on the hose, just havent slid it over yet. all the hose will be clamped of course. btw, what size elbow fitting did u use for the block coolant?
hmmm, i discovered there is another plug on the block just like the one above the starter but its on the trunk side. looks exactly the same. wonder if i could use that for coolant flow to the turbo instead. its much more accessible and easy to see if it leaks sometime in the future. anyone know about this?
I'm wondering what kind of fitting is supplied with the kit for the return? I have 2 here that I can use. One is a barbed connector, with threads on the otherside, and a nut, with a rubber o ring on it to seal.
The other is just a barbed piece of tubing that would need be welded in place. Just curious how that one is set up.
Jncomutt I'll take some pics of the fittings for you today but I can tell you now that it isnt barbed, its all threaded for the ss hose and AN connecters.
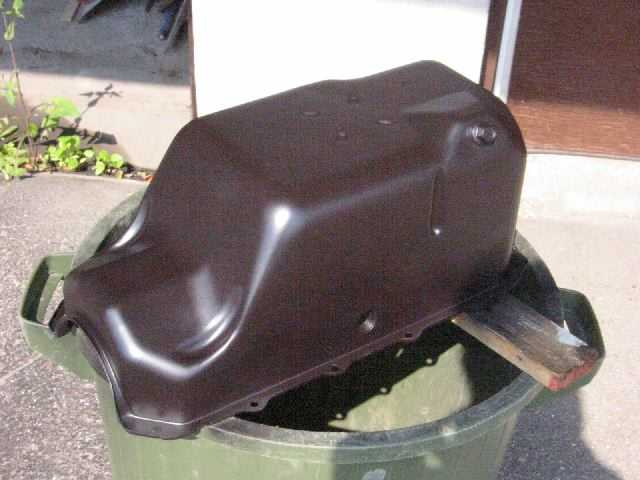
Ohhhh yea, I forgot that kit comes with braided lines. I'm just using high temp rubber for now as the braided line I have around is too thin. I'm using it for feed however. I decided to go with the welded finish. Pan is wet with paint as I type this.
IP: Logged
06:21 PM
Alex4mula Member
Posts: 7410 From: Canton, MI US Registered: Dec 1999
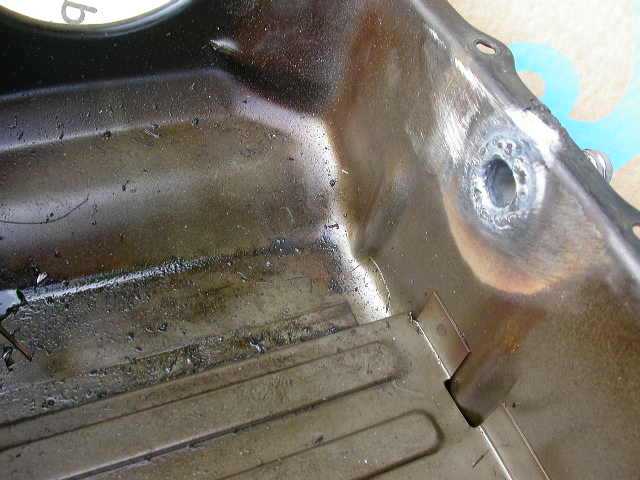
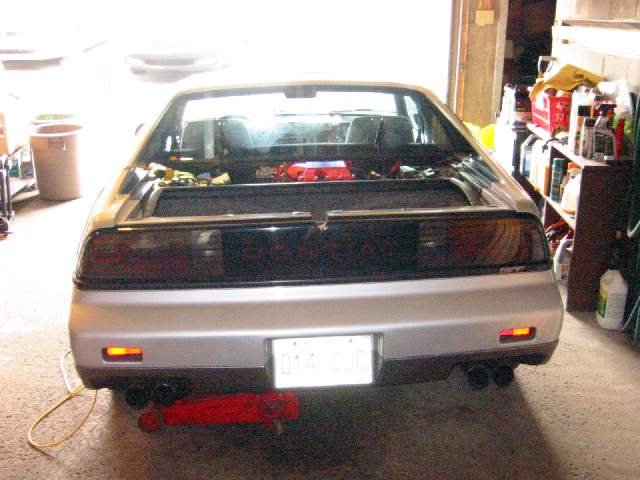
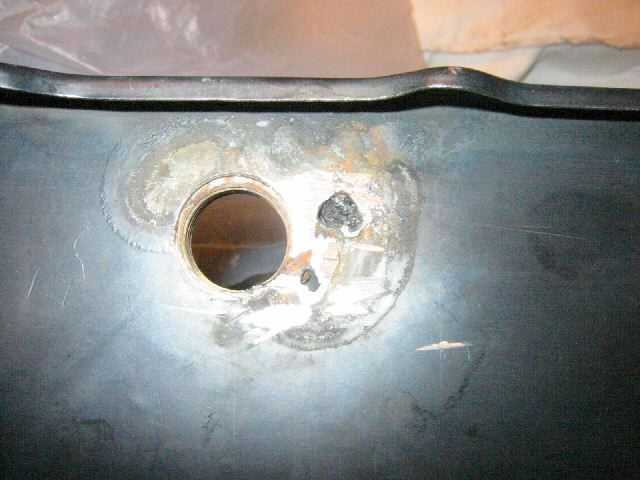
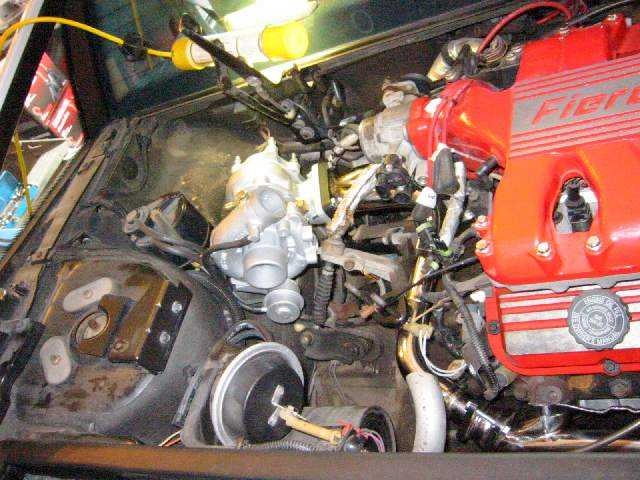
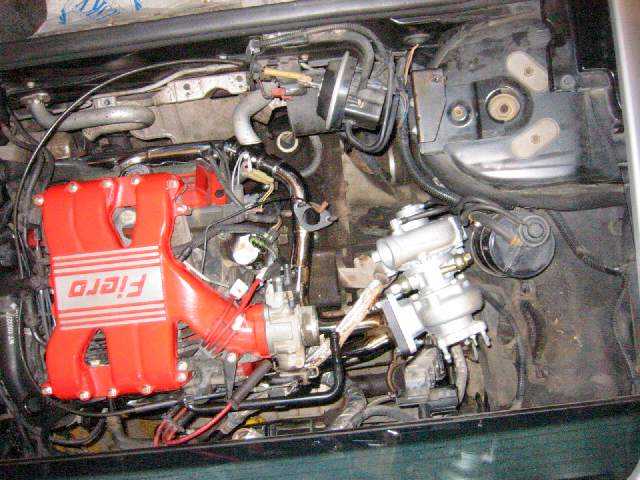
Sigh....everything was going well until I decided I wanted the nut welded to the inside of the pan in case i ever wanted to change the seal on the oil fitting so I wouldnt have to drop the pan ever again. Buddy of mine has a welder but the both of us have no experience so I guess you can guess what happened? Yep, burned a hole! Anyway, tried to fix it but I think I'll just bring it somewhere and have them repair the damage we did. At least the nut is welded on now...lol Here's a pic to tie you over till then. Its not pan related, forgot the camera in the garage but its something to look at.
Did you make sure that the hole is high enough to clear the axle, and in BETWEEN the oil pan screws? lol. I'm assuming you did, but for others planning to conquer this task, keep those in mind.
Can't wait to hear about the final results, and to actually see your car one day. When I come up hand me the keys and I'll take her for a spin If I don't come back you can have my 85 GT :P
IP: Logged
01:17 AM
watts Member
Posts: 3256 From: Coaldale, AB, Canada Registered: Aug 2001
Originally posted by LordBoOsT: Yep, burned a hole!
Just an FYI - if you (or anyone else!) ever does this, an easy way to fix it is to go pick up a copper plate (1/4-1/2" thick) from a metal recycler type place. Grind the backside flat again, then hold the plate on the backside of the hole, then just fill away (puddling around the hole, going towards the middle). The weld won't stick to the copper, and it radiates the heat (DO wear a big glove!!) away.
IP: Logged
11:49 AM
PFF
System Bot
m0sh_man Member
Posts: 8460 From: south charleston WV 25309 Registered: Feb 2002
You need to take your oil pan gasket back and get the right one, the 87-88 engines use the solid rubber one, the 85-86 used a 2 piece design, sometimes 4 pieces, and its cork and rubber, they are not interchangable and the older ones are more known to leak.
You need to take your oil pan gasket back and get the right one, the 87-88 engines use the solid rubber one, the 85-86 used a 2 piece design, sometimes 4 pieces, and its cork and rubber, they are not interchangable and the older ones are more known to leak.
matthew
yeah Matthew I didnt like the one I got anyway, the original was a one piece rubber gasket so I ordered one from GM instead, I should recieve it tomorrow. I'll bring the other one back to Napa. Geez these gaskets are expensive.
Thanks Watts, thats good advice. But I opted to bring it to a professional this morning. Showed him what what I did and he laughed at me...lol. Anyway, 15 minutes later he handed it back to me and asked for 15 bucks. I should have went to him in the first place. Oh well, at least I know where to go now when I need a something welded.
Here's the before I burnt a hole shot... here's the after I burnt a hole shot... now here's the repaired shot... good as new!!
Originally posted by LordBoOsT: is this where i put the rtv? on both sides?
This one is up for debate.
According to the instructions, they're supposed to be installed dry, with no sealants.
Personally, I use a tiny dab/film of UltraBlue RTV (best damn stuff in the world IMHO!) at the back, where the gasket loops over the rear main bearing shell. I know you're not supposed to need to, but whatever... heh...
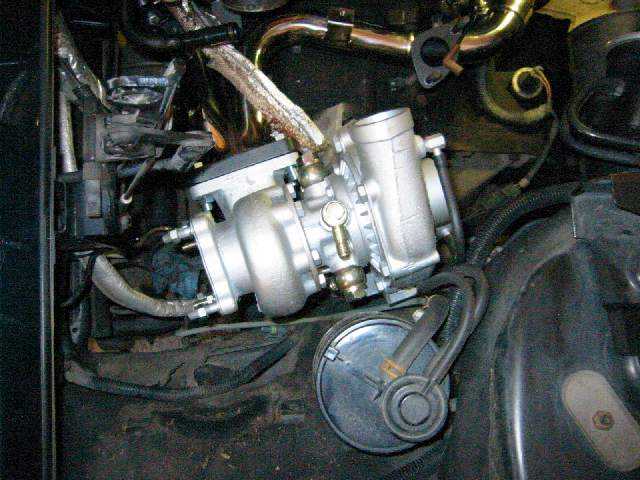
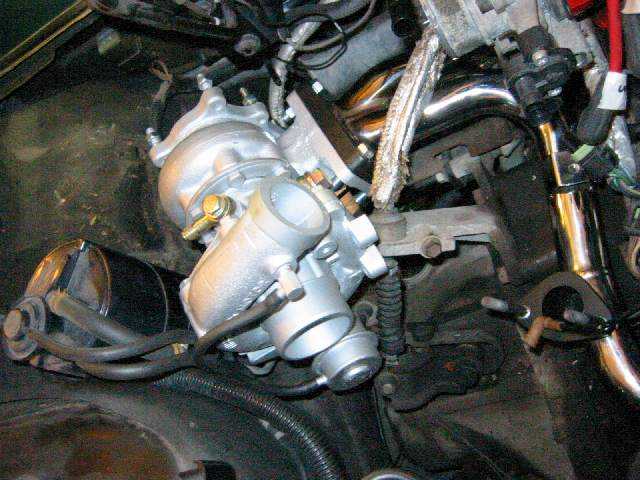
well....looking at the original gasket, it does have some rtv on the front(both sides). so if GM put it on, then thats good enough for me. stuck some on the rear too even though GM didnt do it. pan is on now. so is the turbocharger. just have to plumb it all up now.
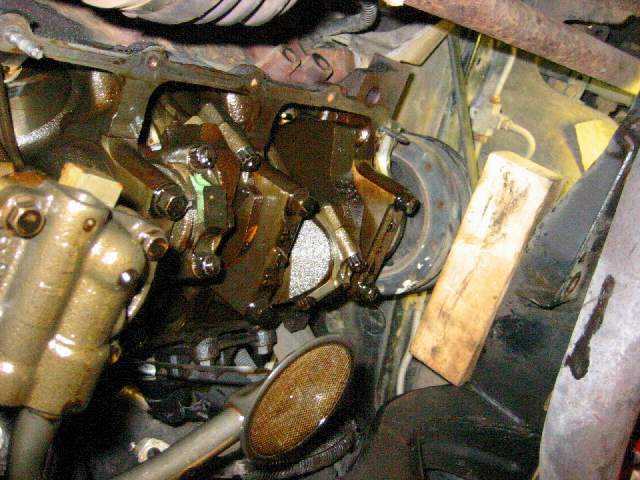
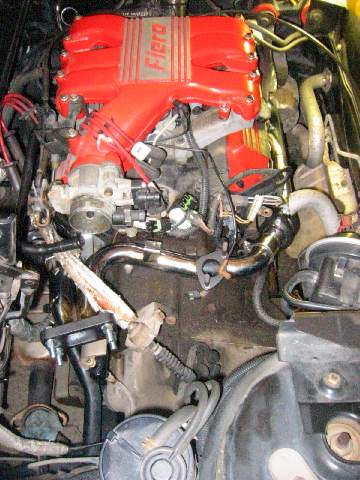
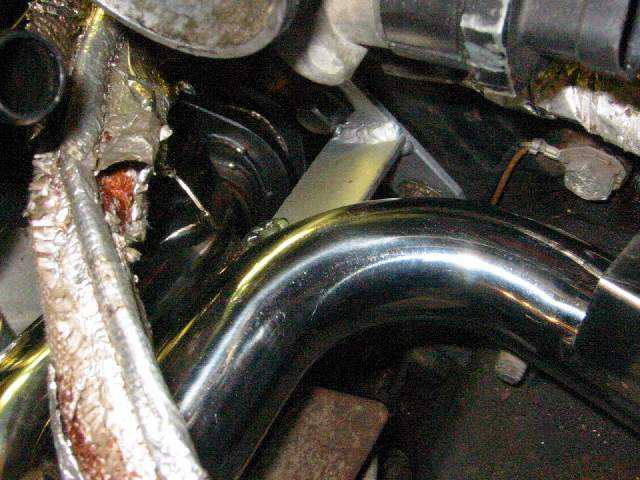
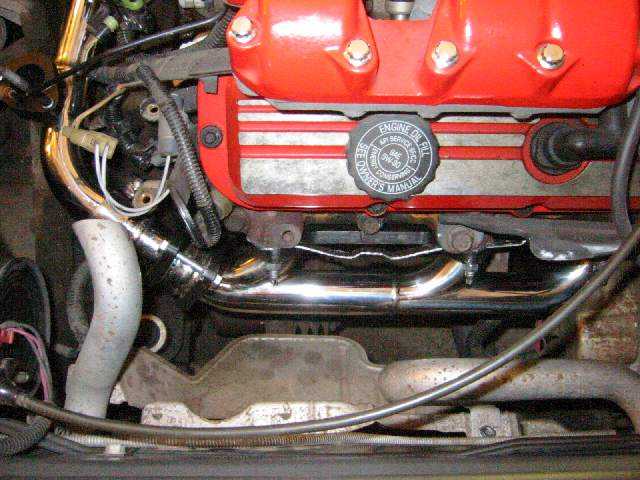
here u can see the crossover installed. this is where a bracket connects the crossover to the left side cylinder head.
[This message has been edited by LordBoOsT (edited 08-17-2003).]


 )
)

 at least i got the oil feed together....